Coalsmoke
-
Posts
4 -
Joined
-
Last visited
Content Type
Profiles
Forums
Gallery
Events
Everything posted by Coalsmoke
-
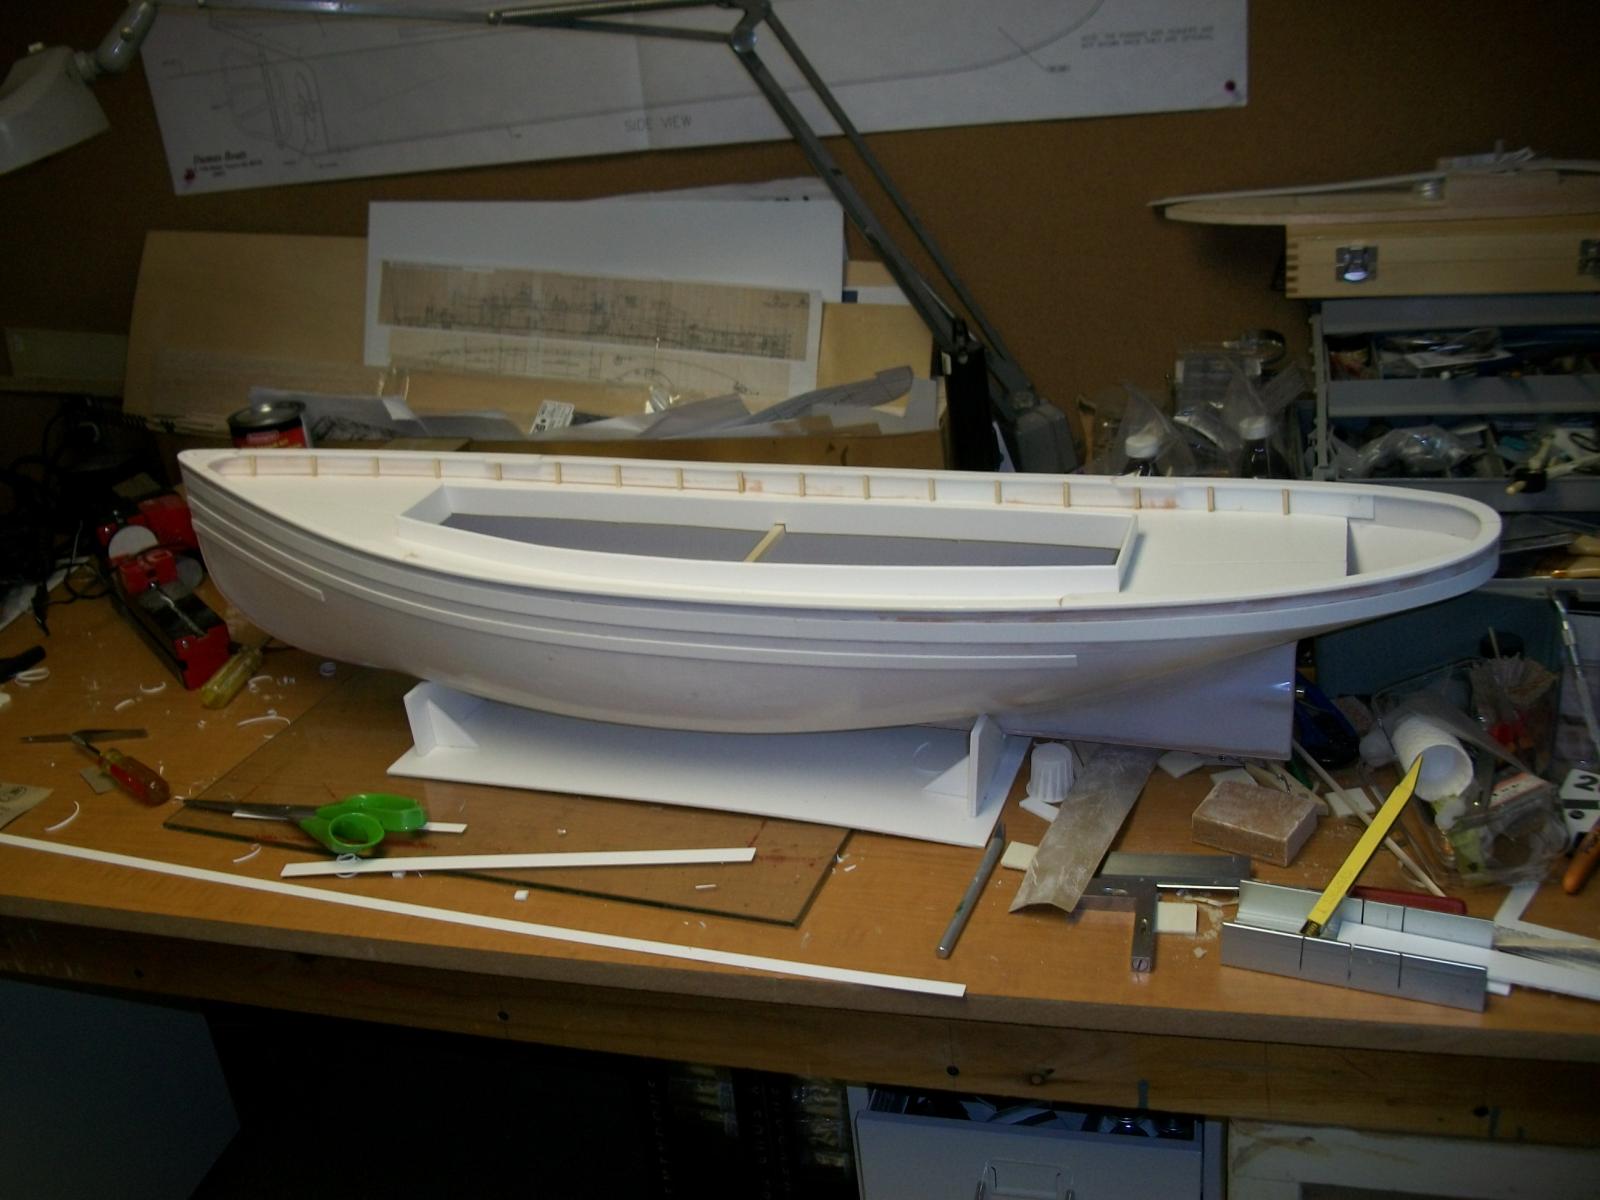
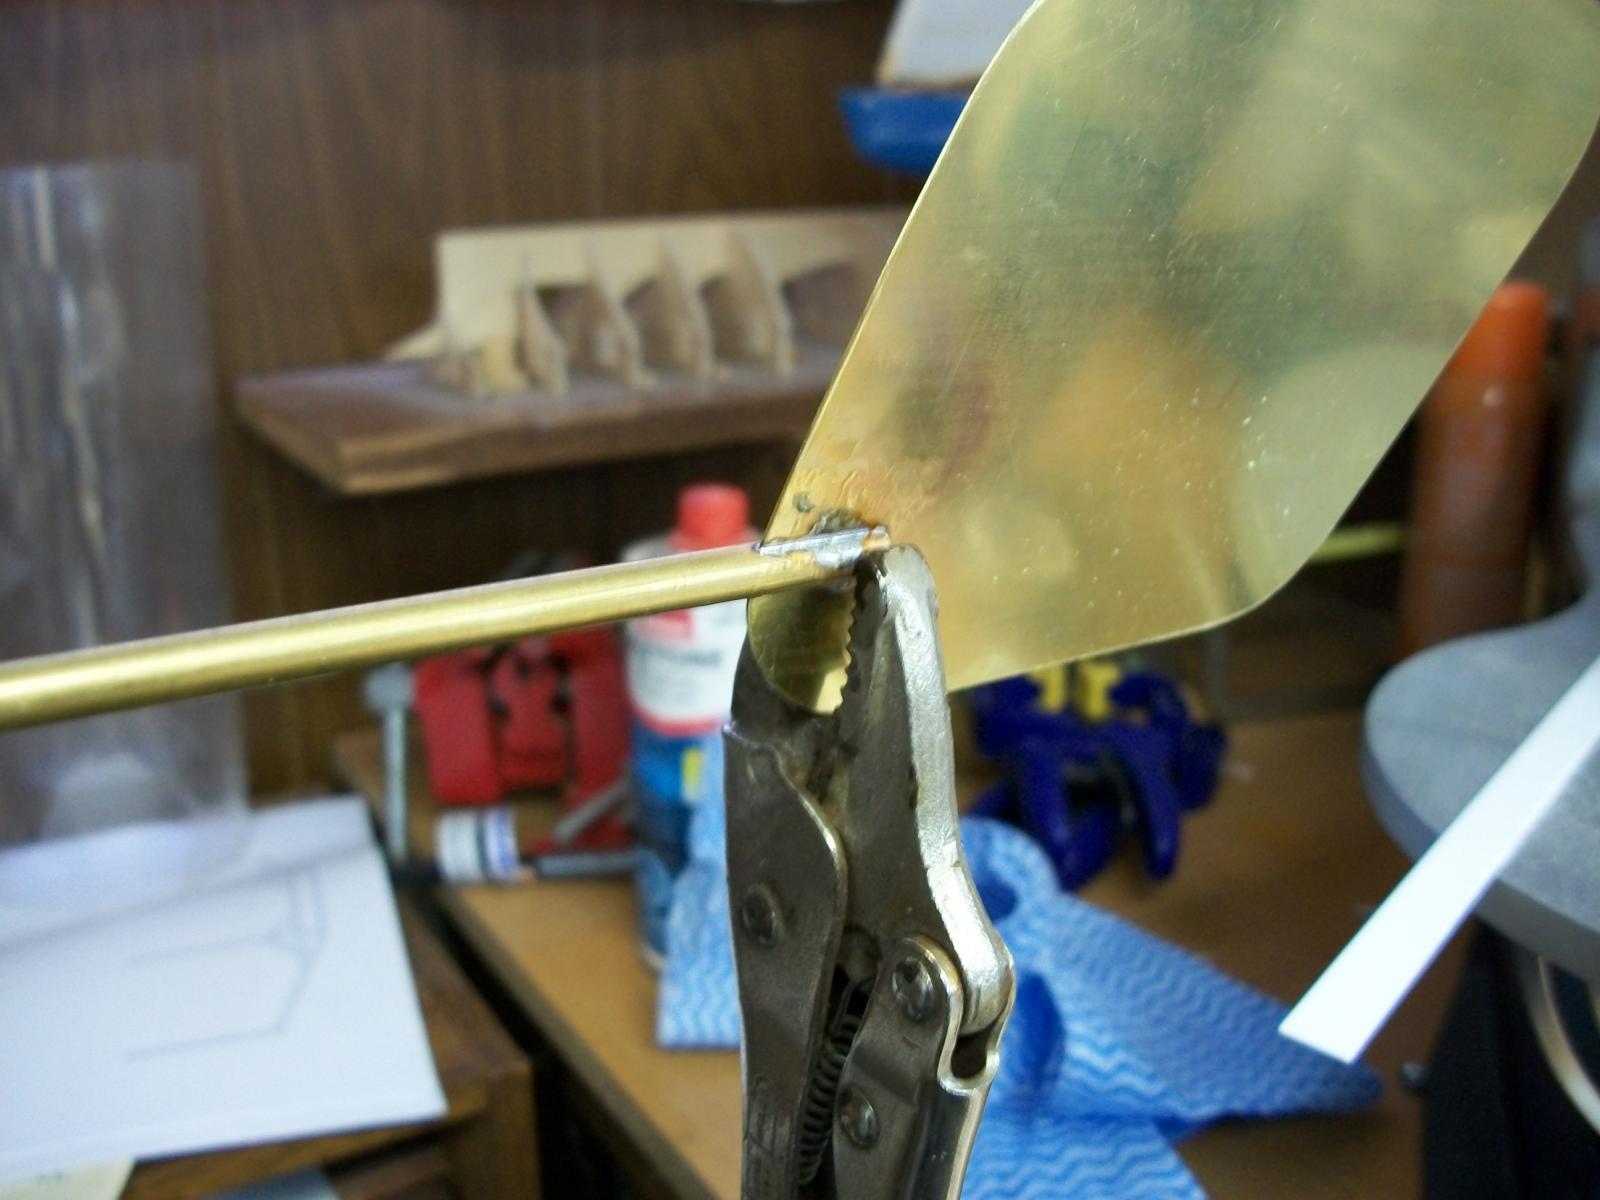
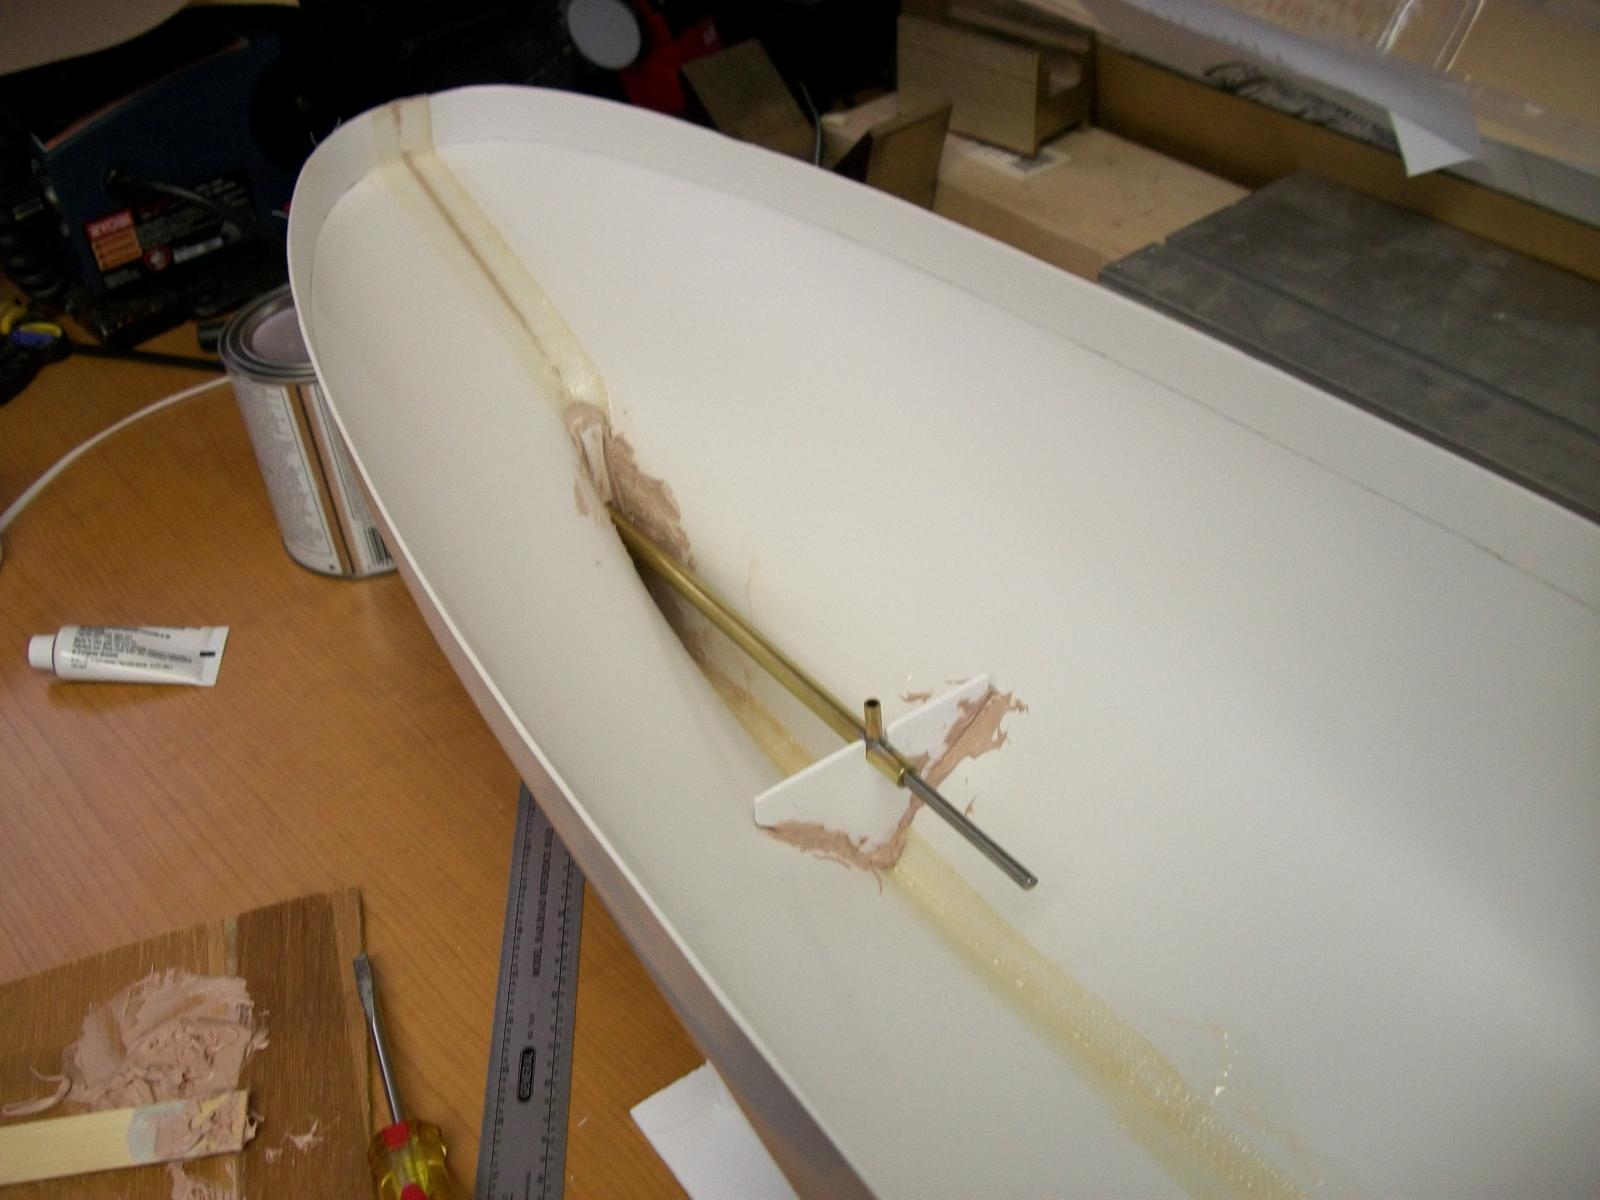
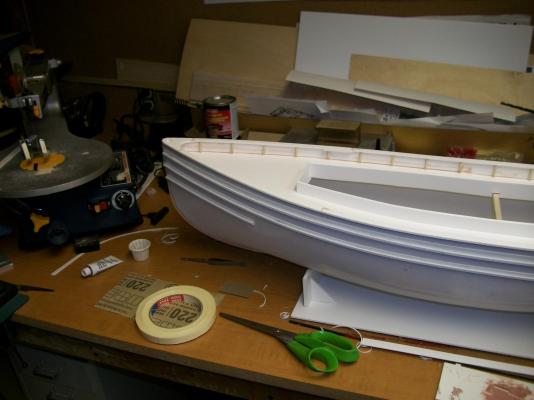
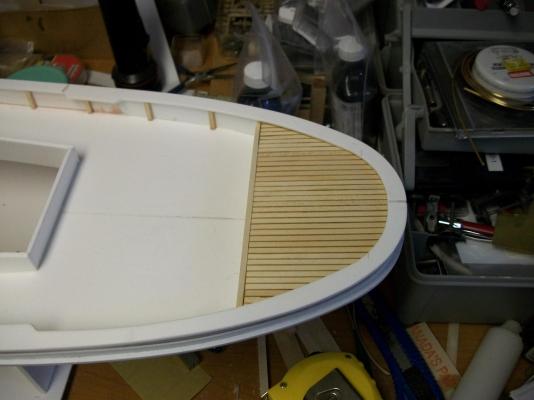
 Okay, it's been a while since my last post on this build but a wicked hand injury at work put off any building for about four weeks. Now that i'm back at it again... The saga continues. The deck was assembled according to the printed instructions which involved gluing the two halves together and then attaching the deck beams, which are 1/4" x 1/4" wood. This assembly was in turn glued to the hull and that action took two people to complete, one to press the deck against the supports on the side and one to squeeze the hull halves together at the same time. We got the deck in but it wasn't noticed until later in the build that there is one spot where the deck does not touch the support beam and makes a slight hump. Too late to get in there and tear it open to fix. So i'll have to swallow my pride and live with it. One thing though, following the instructions, there is absolutely no camber to the deck. Cap and rub rails were installed. Straight forward with no major issues except the the top rub rails don't quite line up at the bow. Again, they are off about a 32nd of an inch. I"m concened about it but that flaw will be easily covered by the bow fender. The coaming was installed with no problem. The rudder block was made and installed. The instructions call for the block to be sanded to conform to the countour of the hull, but the assembly diagram shows it as being left square and held in place with a good glop of Bondo. I did a bit of both. The rudder was a challenge. Soldering the shaft pieces in place was easy enough but fastening the plastic cover to the rudder was a challenge. Getting the one side of the rudder cover to overlap the other one evenly was difficult and tool a fair bit of time. The instructions called for running a bead of gap filling CA around the perimiter of the rudder to seal and make it watertight. Sanding this bead revealled a thin coating on the plastic pieces that frays like crazy once sandpaper touches it. I'm hoping that once it is painted, a light sanding with 400grit will eradicate the frays. Finally the fantail was constructed and installed. That completes the hull build. Now i'll put a coat of primer on the hull and see all the flaws that will appear.


-
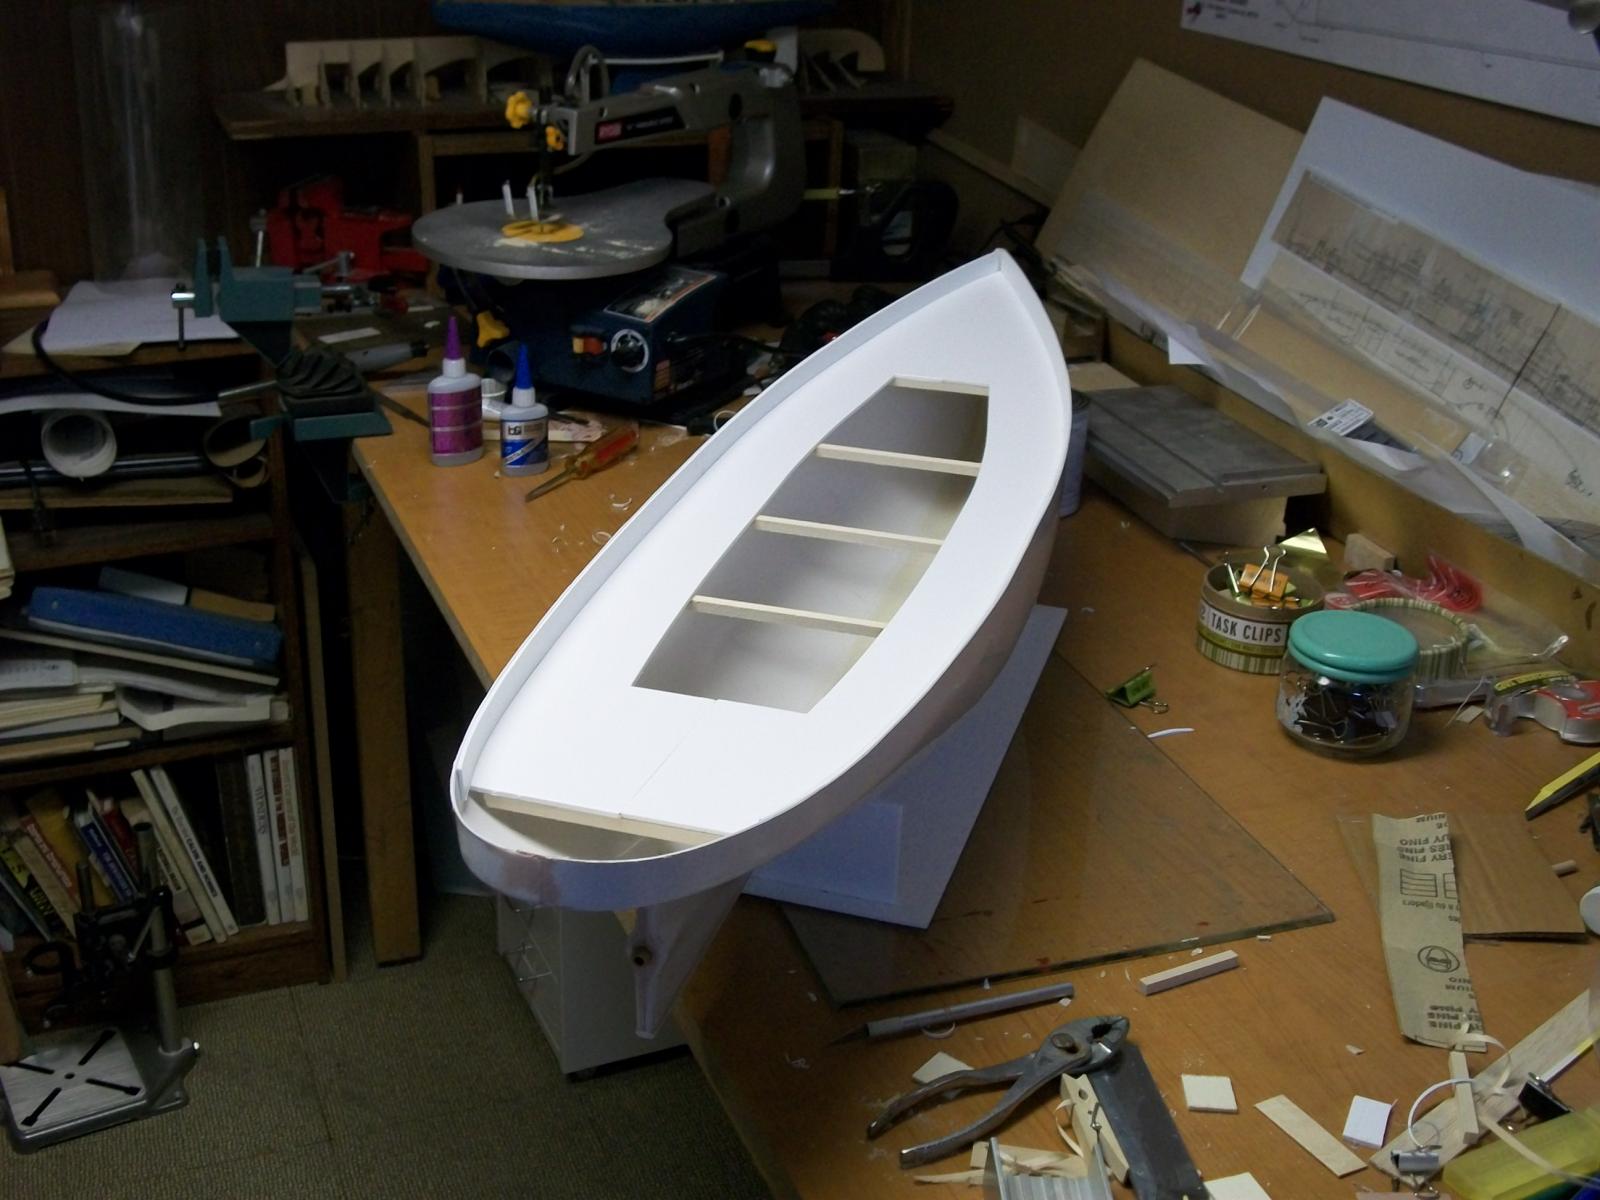
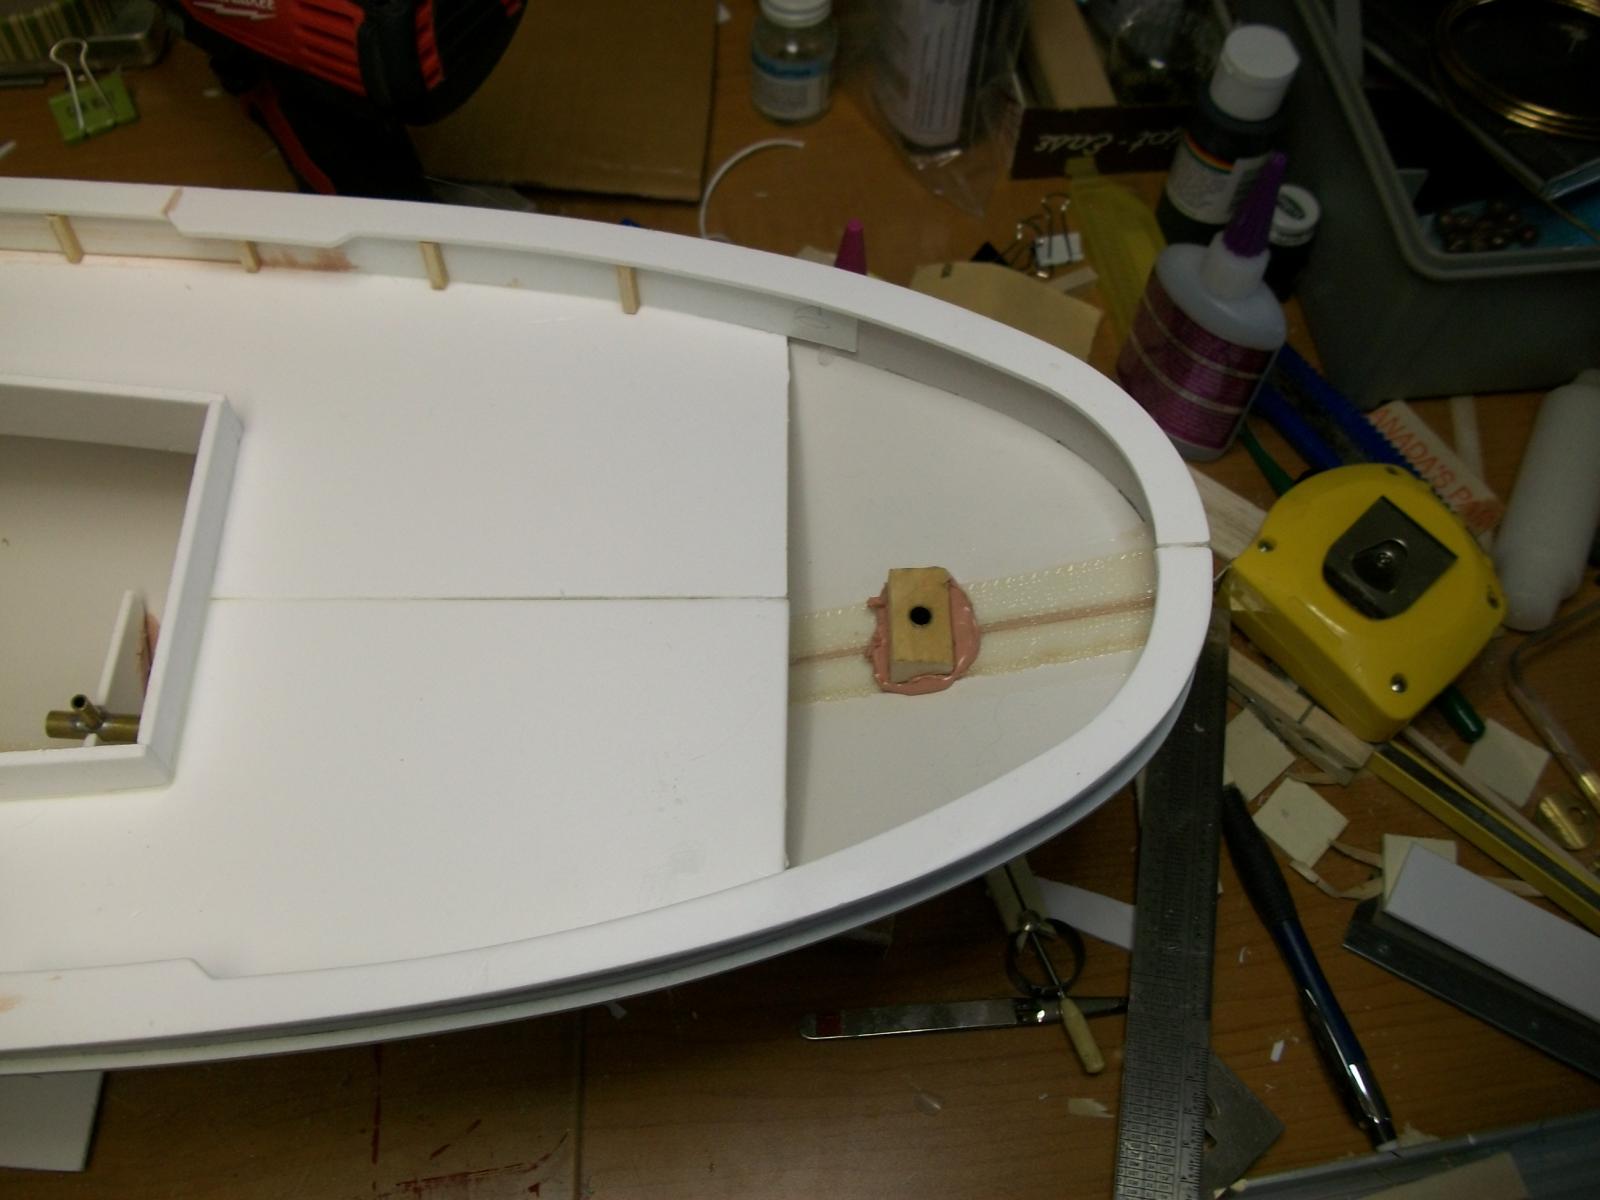
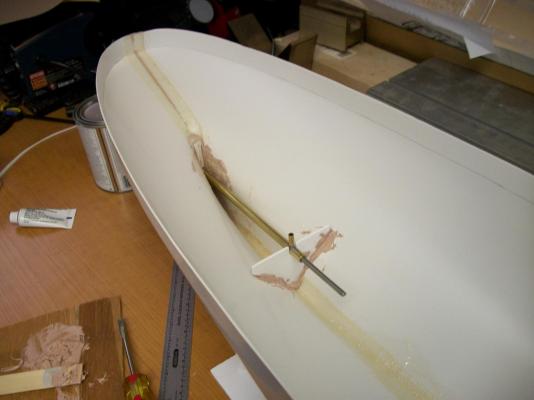
I had reached a point in the assembly where I had to wait 4 weeks for the propeller shaft/motorizing kit to arrive at the hobby store. Now that it has finally come in, I can return to getting the job done. I'm sure I could have skipped ahead to the deck earlier but I'm going to follow the directions on this build and take it one step at a time. First of all, I've applied Bondo to the seam around the stern and added the keel pieces. It took an extra bit of Bondo the hide the slight difference in hull halves where it slipped while gluing, but the result is satisfactory. Whew! It would be most embarrasing to bugger this up so early in the build. Next the propeller shaft was installed with the corresponding support held in place by Bondo as recommended in the instruction sheet. It sure isn't pretty but it does the job. After that, the installation of the deck supports on the inside of the hull utilizing my wife's supply clothes pins. (I must thank her for contributing to my hobby!)

-
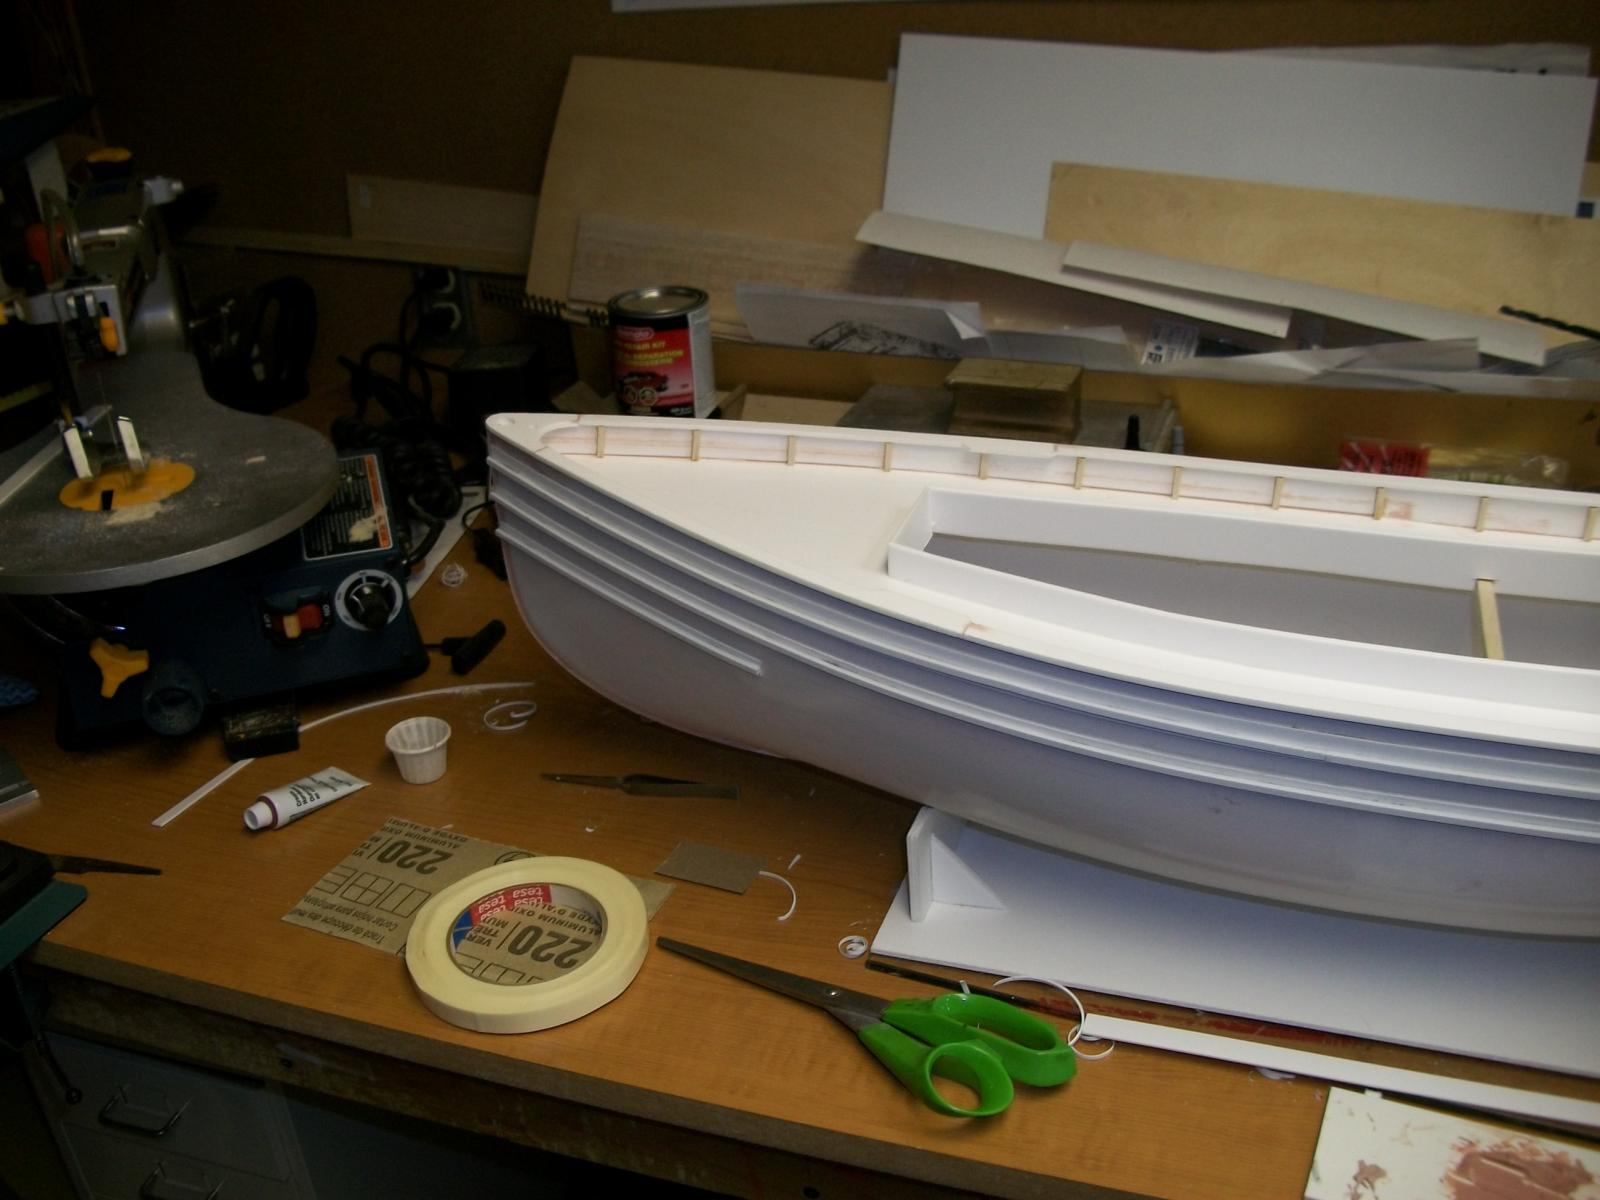
The sanding of the seam is now done. It took roughly 11 hours to trim off the excess where the clips held the hull halves together and sand smooth. A dust mask is absolutely necessary during this process. I was finding a very fine talc like layer of dust on everything within 20 feet from my hobby bench. Sandng the hull also revealled a problem that occurred when the hull halves were glued together. Being ABS plastic, it is slippery and despite the addition of over 25 spring clips holding the hull halves together, there was a tiny bit of slippage when the hull was turned back upright for gluing. At the bow, there was about a half a millimeter of difference between the two halves which i will have to figure out how to correct once the keel is applied. Visible is the difference between the two hull halves that slipped when the hull was turned over for gluing. The sanded seam ready for the application of Bondo to fill the seam Sternpost reinforcement which calls for an application of Bondo against the sternpost and a piece of 3mm ABS pressed tightly into the Bondo


-
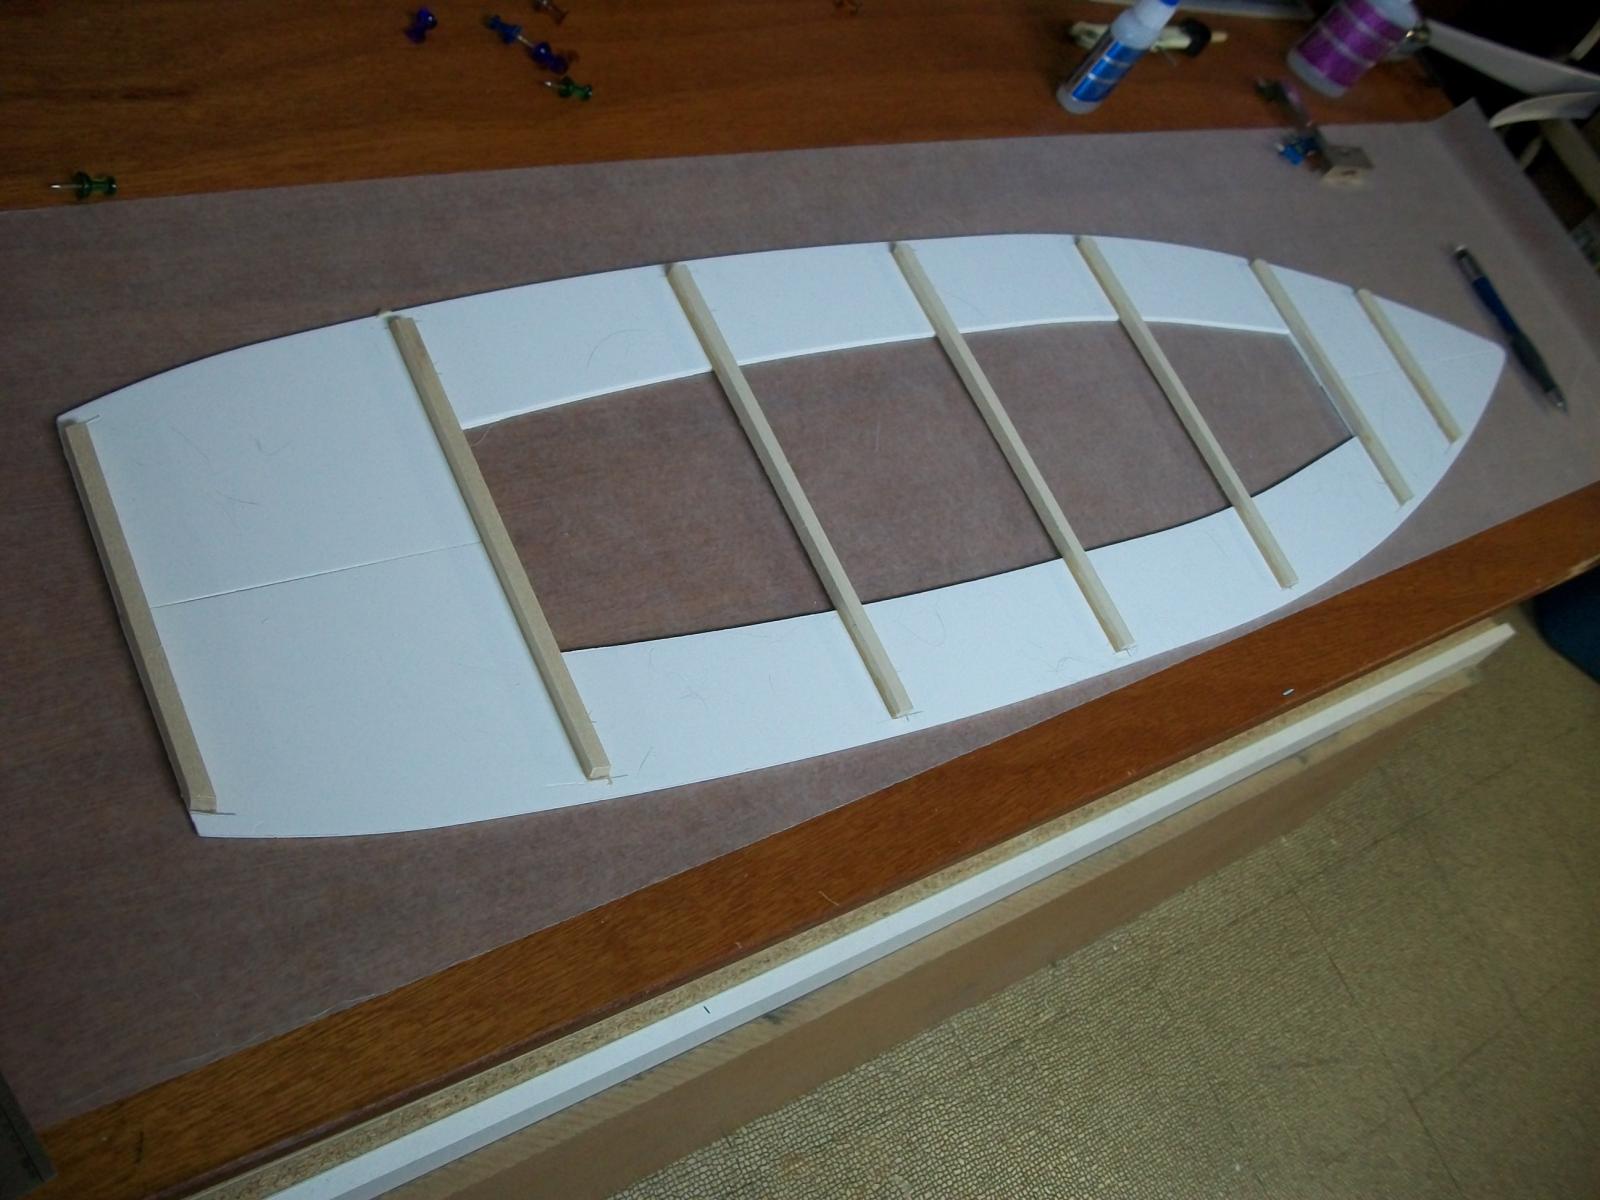
Having built over 12 scratch built static models for friends, family, and museums, I wanted a radio control tugboat, just to do something different. All my previous models were plank on bulkhead models and over time I have developed a quick and efficient (To me anyway) means of building the hulls. Now with choosing to go with an RC boat, I came to the realization that i have no clue how to build one so it is hollow for the motor, batteries, etc., and more immportantly, is watertight. That's where my wife chipped in and presented to me a kit of Dumas' "Brooklyn" Tug for my 60th Birthday. First of all, let me say that i am used to working pretty much exclusively with wood. This kit is almost completely plastic with the odd plywood parts thrown in for good measure. That being said, it could turn out to be a mjor learning experience. So far, following the directions has yielded positive results which was a pleasant surprise considering some reviews of the build on this kit were not so encouraging, mentioning hard to follow directions, etc. As is stands now, the hull has been glued together and the reinforcing stip of fiberglass cloth has been fastened using resin. One thing i will mention is that the fiberglass cloth was a real bugger to get placed evenly right next to the sternpost The more you prodded it with a stick to get placement, the more it unravelled and began to look like a shaggy dog. Another point; The instuctions say to begin the application of the fiberglass strip so it overhangs the stern by about an inch. Caution: Doing so will result in the strip being an inch short at the bow. Apparently there is exactly enough of the fiberglass cloth to cover the seam with nothing to spare.