tristanhallett
-
Posts
12 -
Joined
-
Last visited
Content Type
Profiles
Forums
Gallery
Events
Everything posted by tristanhallett
-
 Looking forward to the next installment :D. You're build always inspires me to get back to my Ballahoo.
- 1,039 replies
-
- 2
-

-
- ballahoo
- caldercraft
- (and 2 more)
-
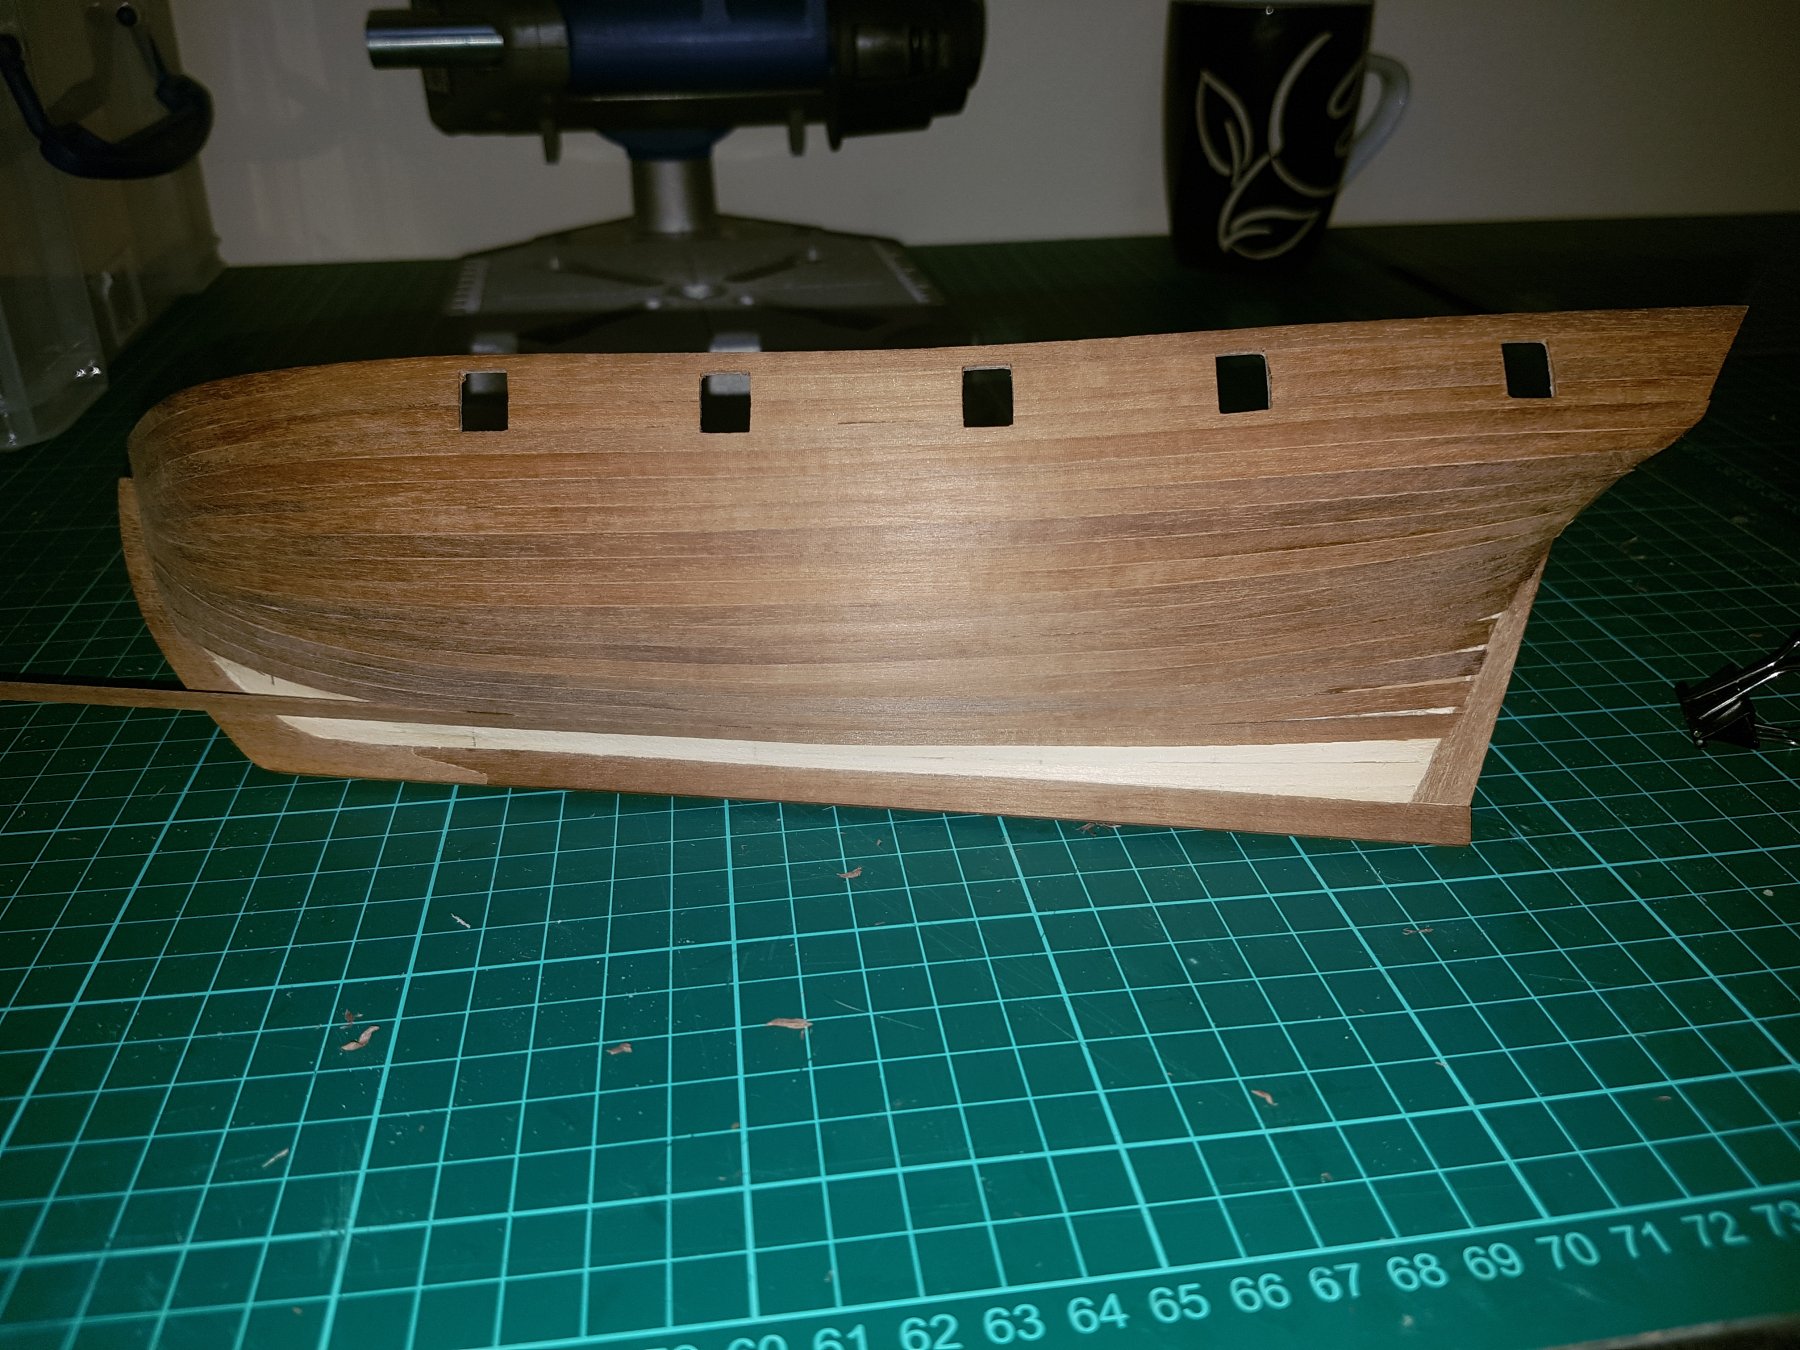
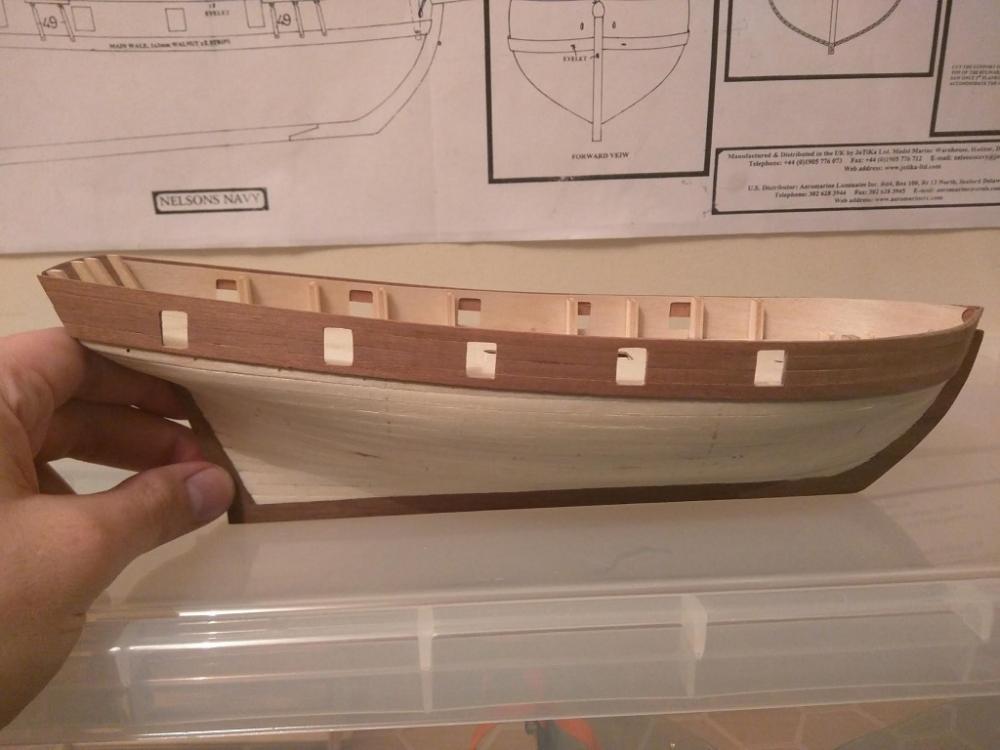
Sorry folks, it's been quite a while. But' I'm back now I've got the majority of the port side done now. However, I've realised I made a booboo and haven't created the indent for the planks (bearding line?) where they meet the keel. Unfortunately I'm too far down the line to pull those planks back up now but have an idea how I'm going to work around the issue... As the first layer of planking sits flush with the keel where the outer layer should sit. I will continue to finish the outer layer and sand flush. This will expose a little of the lighter wood below but only where it has been glued directly to the plywood, so the overall strength will not be affected. As the hull is going to be painted the "booboo" will eventually be covered up anyway. Prime example of why beginners should start small
-
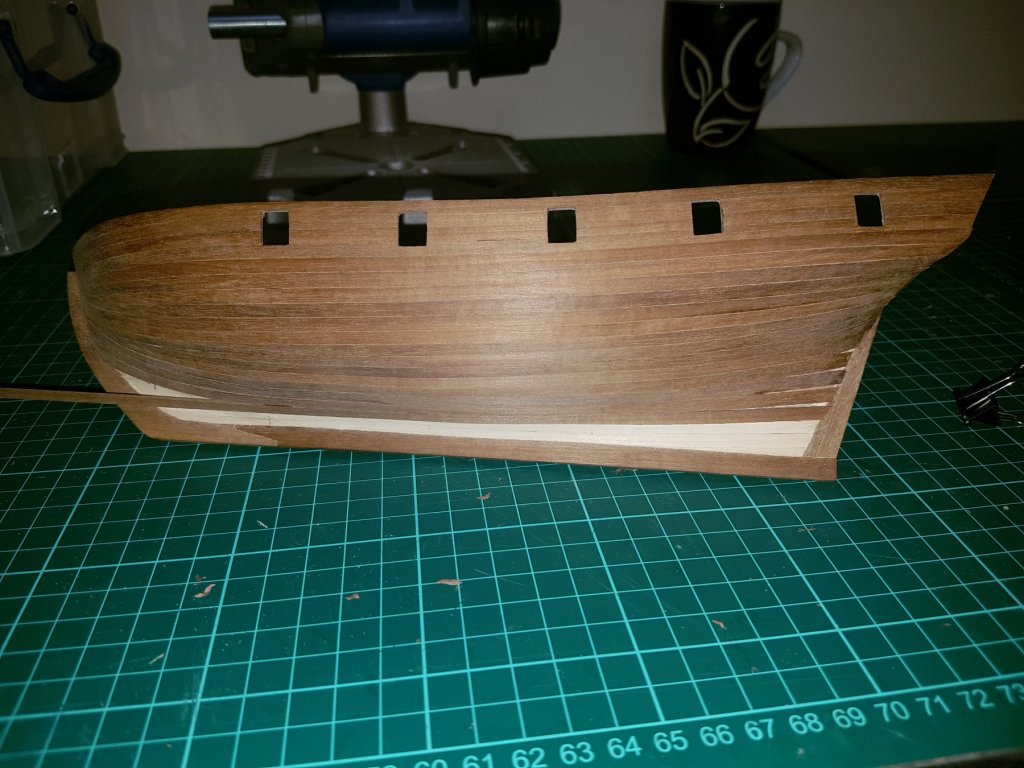
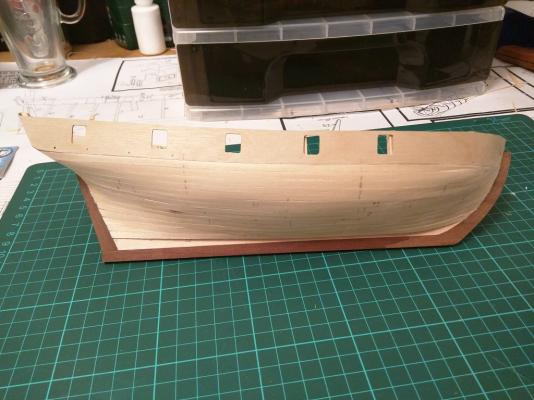
Finally got some time to get stuck in this evening, I have done 2 planks down one side and 4 down the other. I chose to glue the planks straight over the gun port holes and cut them out later. My thinking was that, as the plank has a slight bend to it, the curve would be more natural if I glued it to the hull in one piece. Standing back and looking at it I am glad I went for this technique. From here I will complete the same 4 planks on the other side, then the stern. Then I'll work my way up from the keel. The hull is going to be painted, except for the part between the wale and capping rail (I think the term is outer bulwarks?) this will be varnished in clear satin.
-
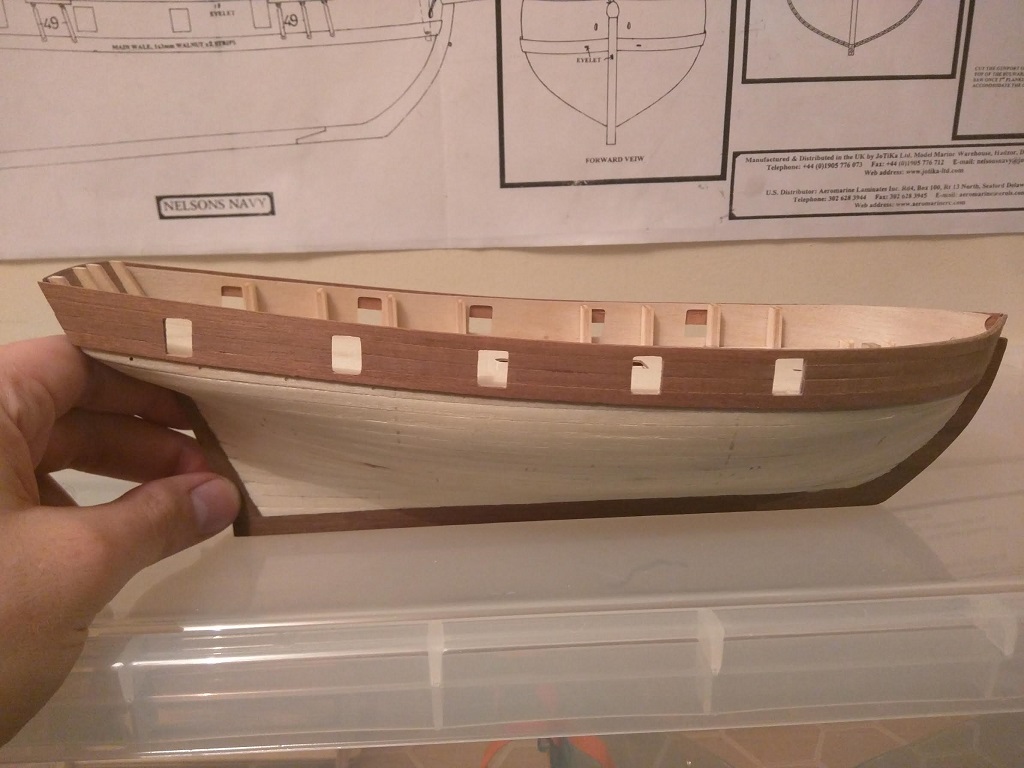
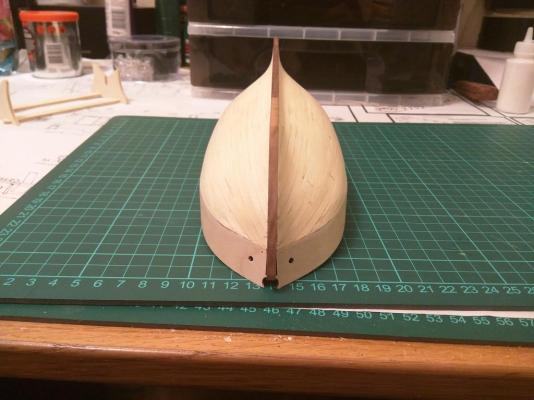
Ok, first layer of planking complete, filled and sanded. Now to start the outer layer...

-
Looking REALLY nice so far Heinz. This kit is on my do do list so will be watching this one carefully
-
Almost completed the right side of the first planking. Just one plank (some sanding and some filling) to go now, then onto finishing the other side My clamping technique had become less effective as I got nearer the keel, so I switched to superglue to save my fingers. Having had very little experience with superglue in the past there is surprising little of "me" permanently attached to the Ballahoo.
-
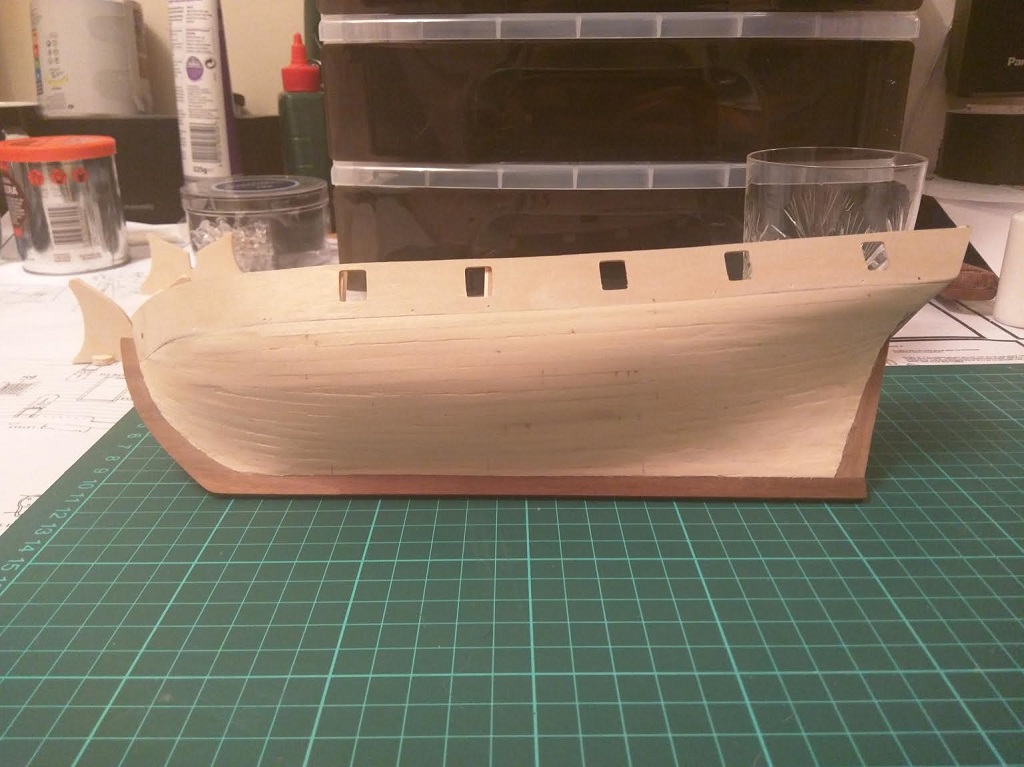
Thanks folks, I can't believe how much interest this log is getting . First layer of planking is coming on slowly (it was the wife's birthday on Sunday so couldn't put much time into it this weekend), but I think I'm doing it right. You can see on the picture below that I had to build up the second bulkhead a little. This was not due to overenthusiastic sanding, the bulkhead seemed a little small and would have left a slight flat spot on the planking. I caught it just before laying the 4th plank on each side so it was easy to rectify without un-sticking anything too much. Sorry about the picture quality, will be getting the camera charged up for the next lot .

-
Thanks Jim, just had a look through your log, what a beautiful finished model too. Makes me glad I've ordered the paint kit. Settling in to the first layer of planking now...

-
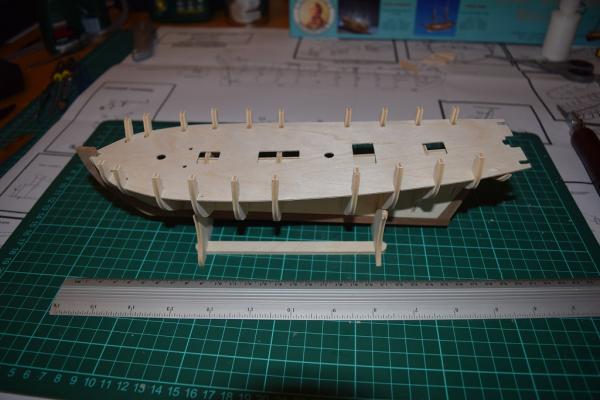
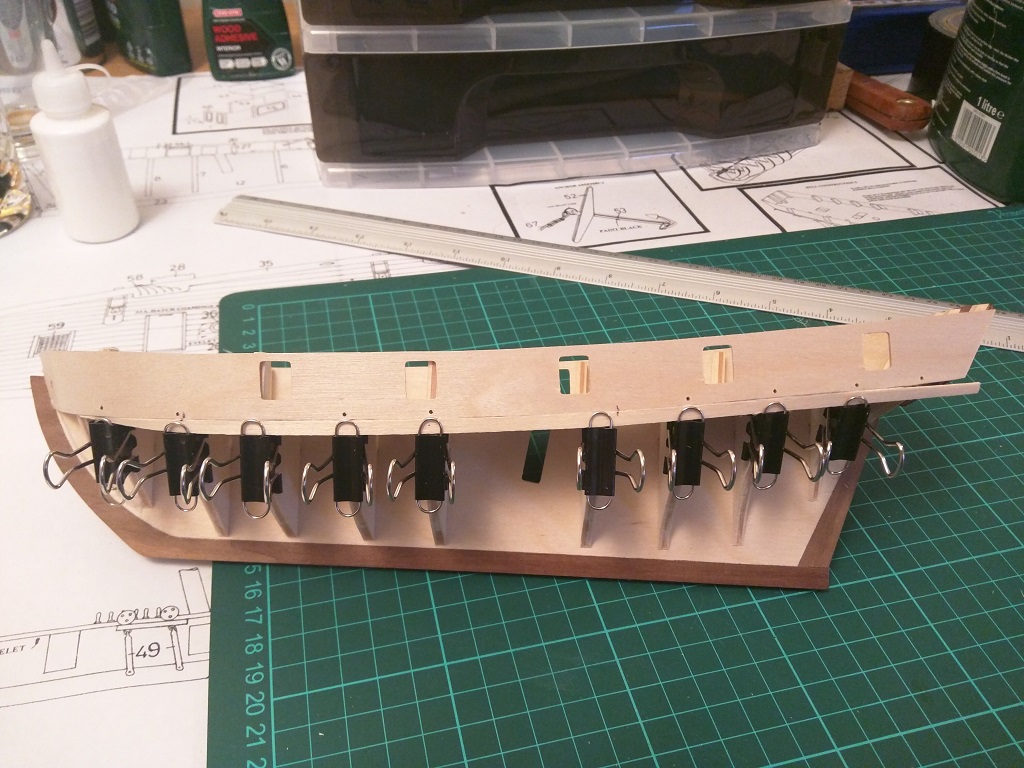
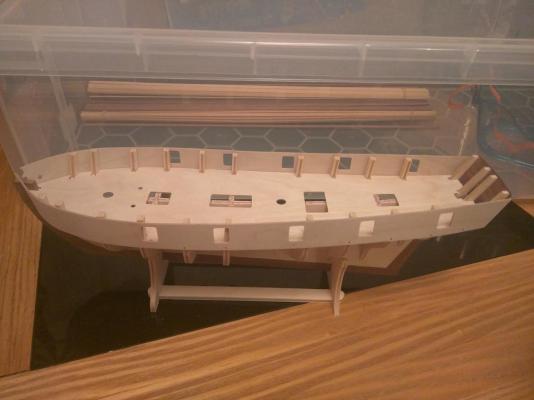
Been almost a couple of weeks now so thought I'd keep you all in the loop. After a little sanding, some steaming, some cursing, more sanding and a little gluing I have finally got the plywood sides on. This was achieved by first of all clamping it in place to get the position and bulkhead edges correct, I then drilled some holes slightly smaller than the pins through the plywood side into the edge of the bulkheads and pinned it in place. This allowed me to position it correctly without too much moving them around when glued. I then ran a bead of glue along the underside of the deck where it meets the side for added strength.
-
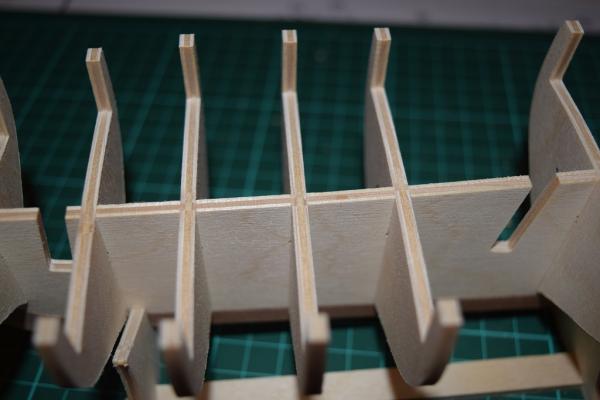
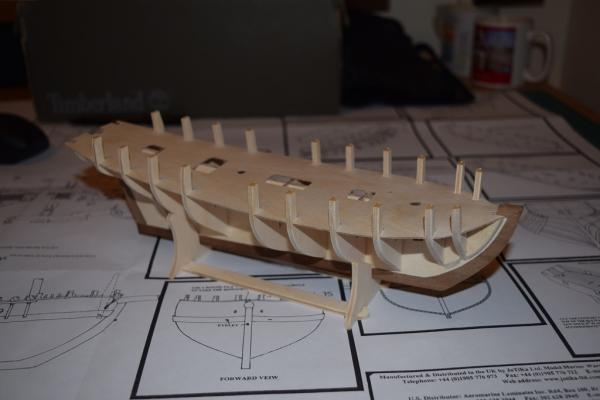
Thanks for the pointers on squaring up the bulkheads. As the model is so small I did this by eye. I marked off the halfway point on one side of all bulkheads with a ruler, then looked straight down from front to back. I was happy that all lined up so no adjustment was made. I have been having some fun sanding the bulkheads flush to allow the planking to sit straight. I'm hoping this comes easier with time, but will take it slowly for this kit as it's where I came unstuck on the victory. Here's a picture with the deck glued down and started sanding the bulkheads. Tip for any beginners reading this log... The plan indicates to glue the keel and the bow formers (the small parts of ply between the first two bulkheads at the bow) onto the frame before this stage, DO NOT DO THIS, it makes sanding extremely difficult.
-
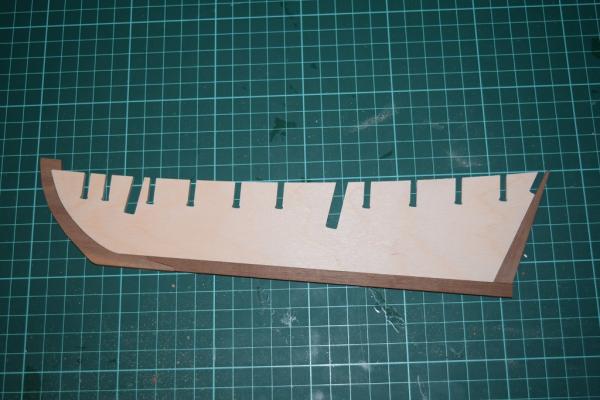
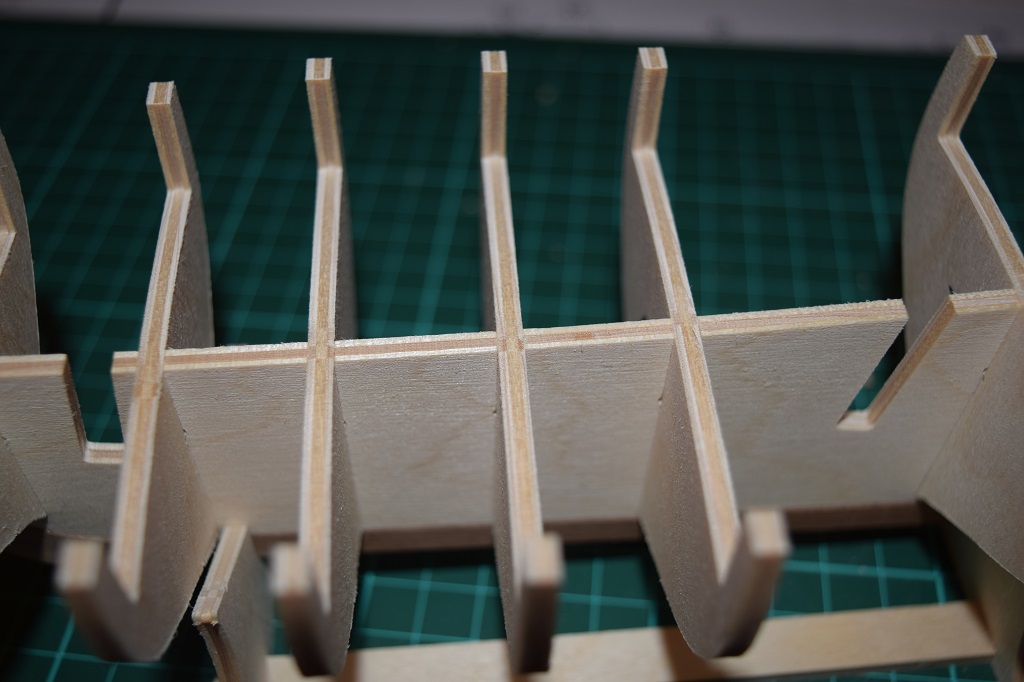
Ok, not seen many of these on the forums so thought I'd create a build log of mine. This will be my first kit after an attempt a few years ago on the Mantua Victory, so I have vowed to the wife that this one WILL be completed The first thing that struck me when opening the kit was the size of the model (after the Victory it looks tiny), the overall length of the completed model will be around 520mm with the hull being just short of 300mm. On closer inspection of the parts and after a dry test fit of the bulkheads you can see the quality of the kit starts to show. So far I have not had to make a single modification to the parts to make them fit. So far I have Constructed the frame of all 11 bulkheads, keel and bevelled the top edges of the bulkheads to allow the deck sheet to sit flush. The next step will be to glue on the deck, as seen dry fitted to the frame below...