


Baker
-
Posts
3,798 -
Joined
-
Last visited
Content Type
Profiles
Forums
Gallery
Events
Posts posted by Baker
-
-
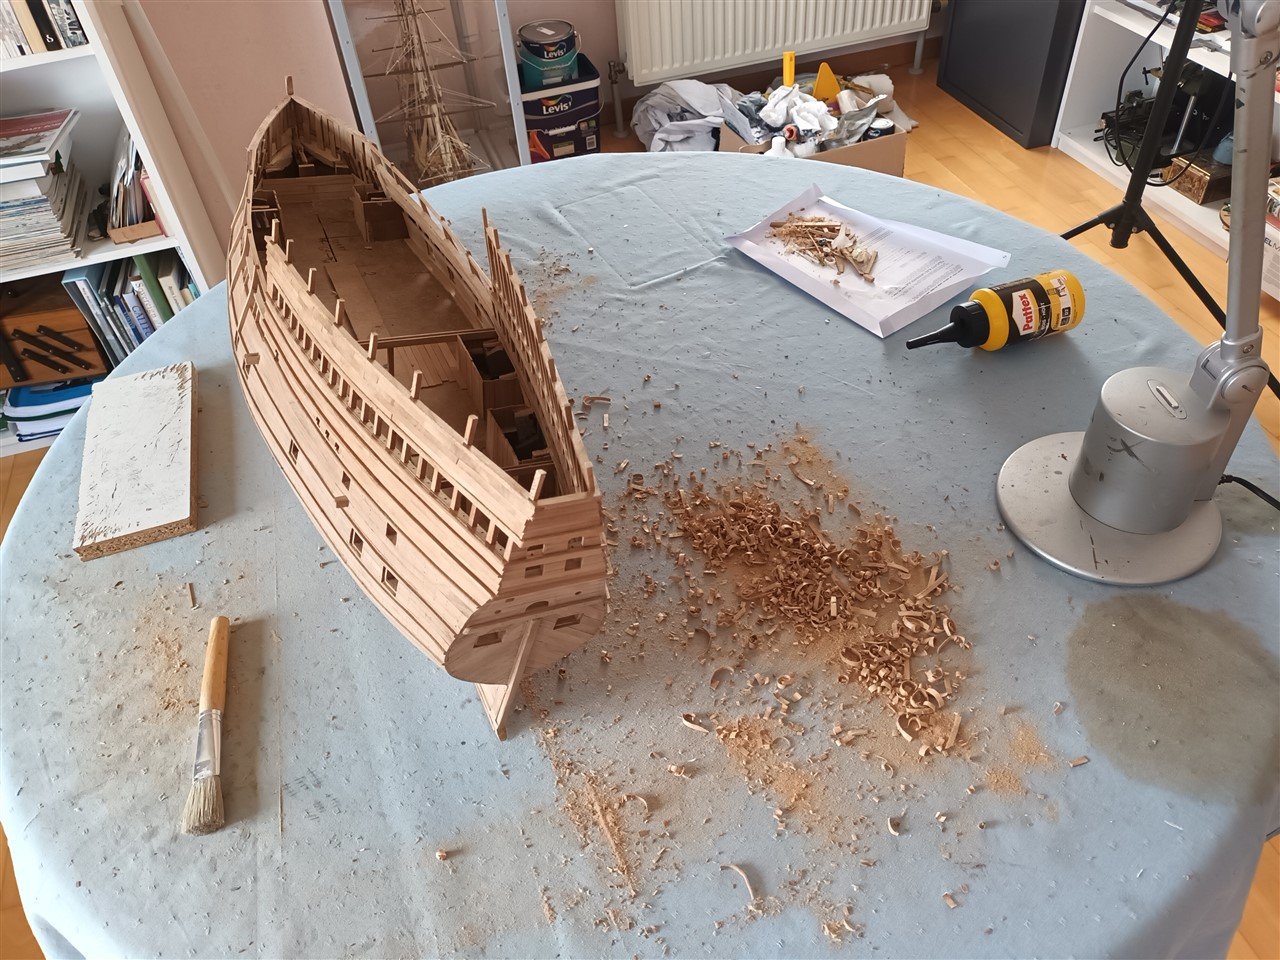
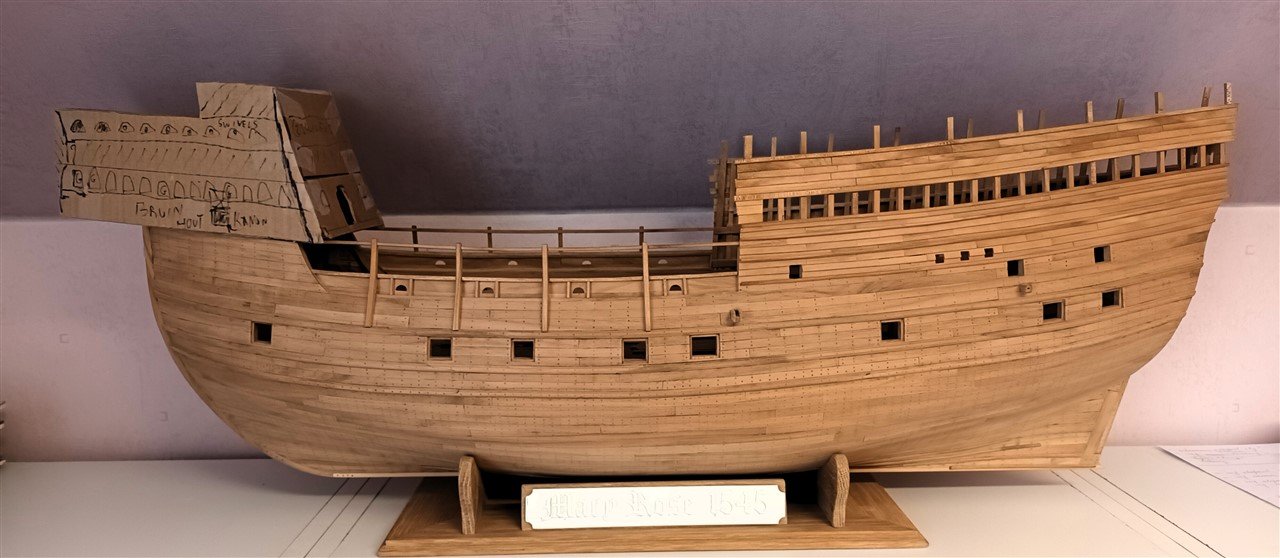
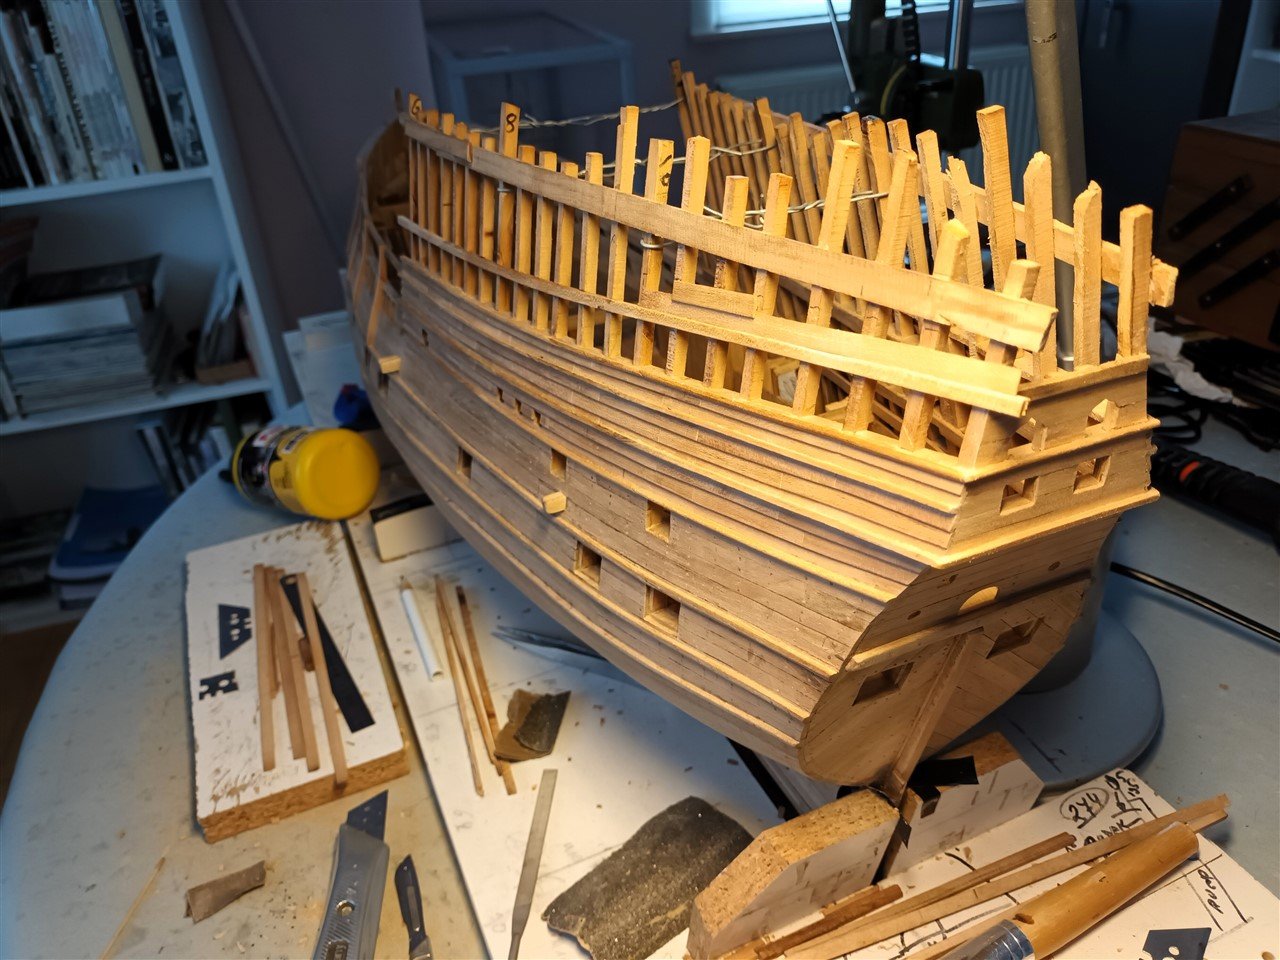
With all frames made thinner and the last planks attached to the stern, the rough shape of the hull and rear castle is largely finished.
A lot of wood chips.. And the first jar of PVA glue is empty
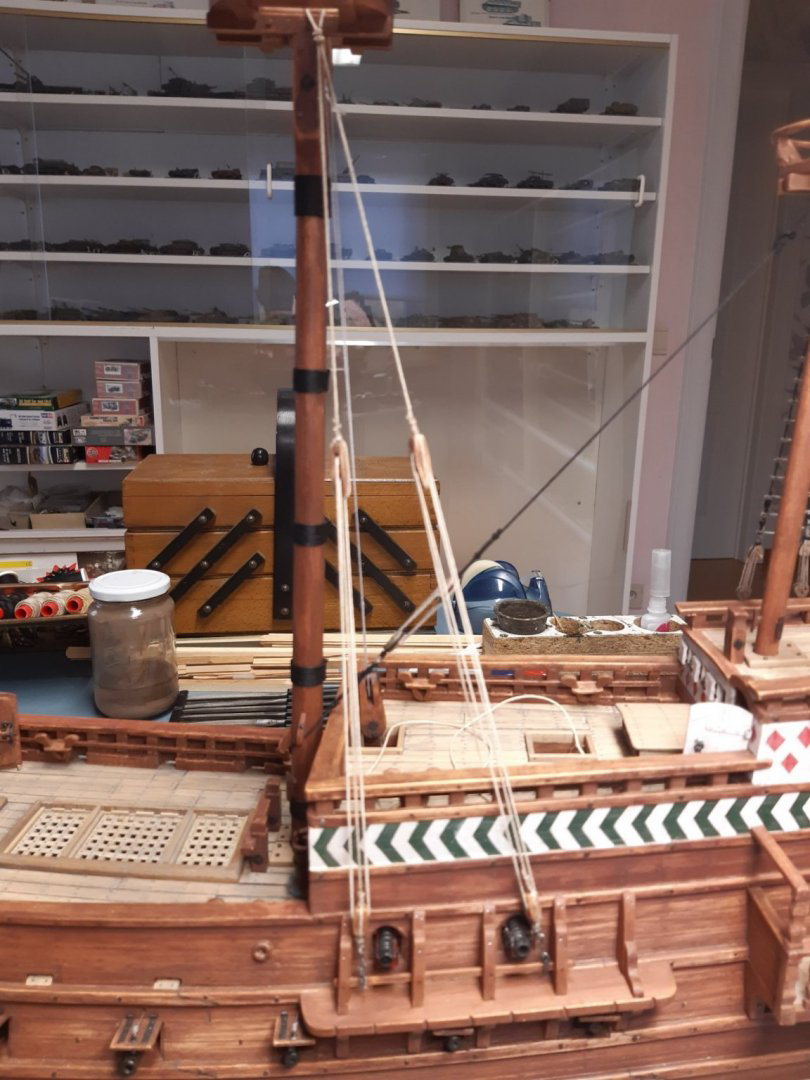
With paint pots visible in the background, time for some freshening up of the hobby room.
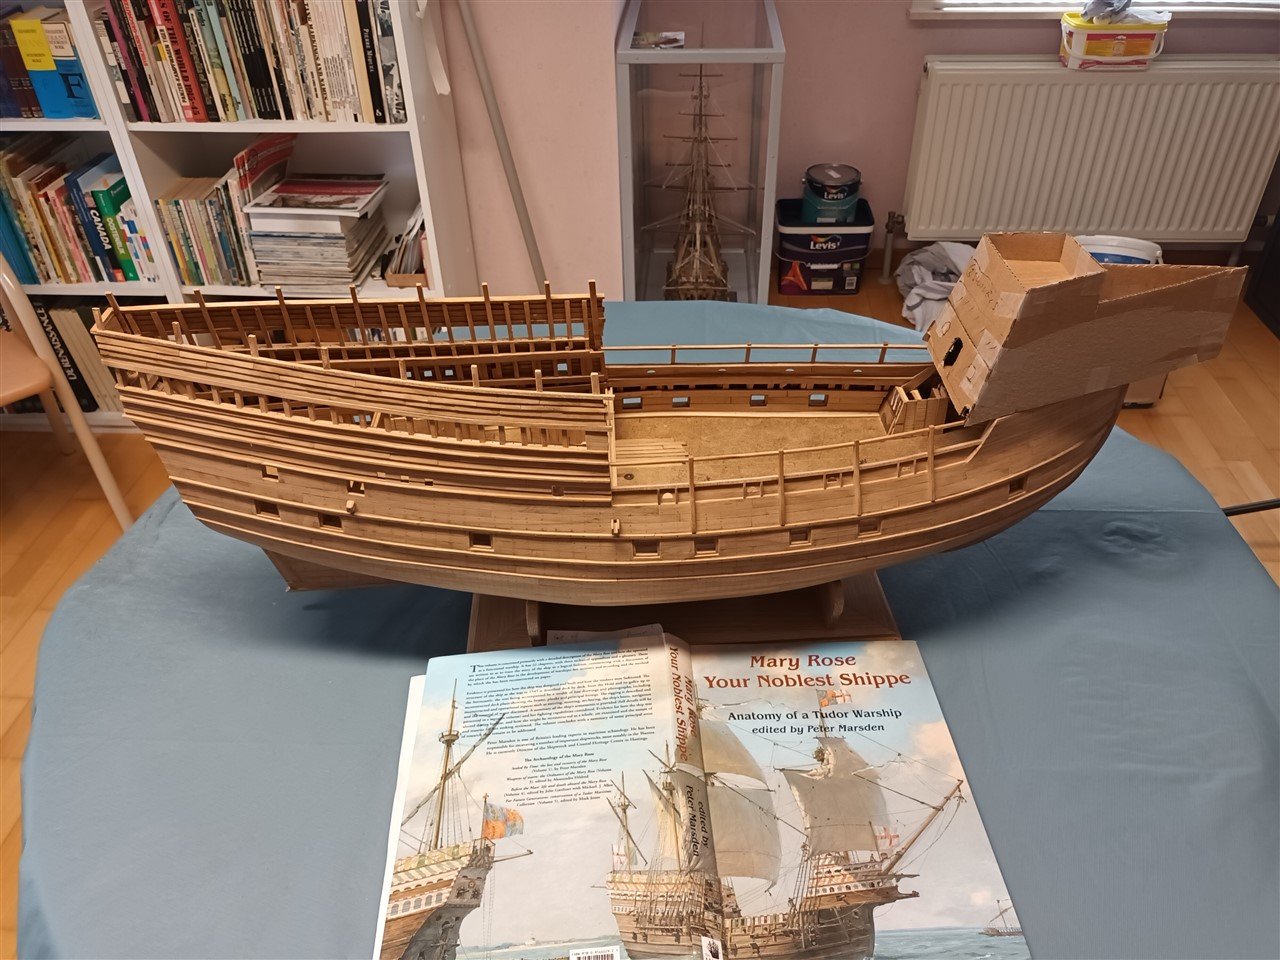
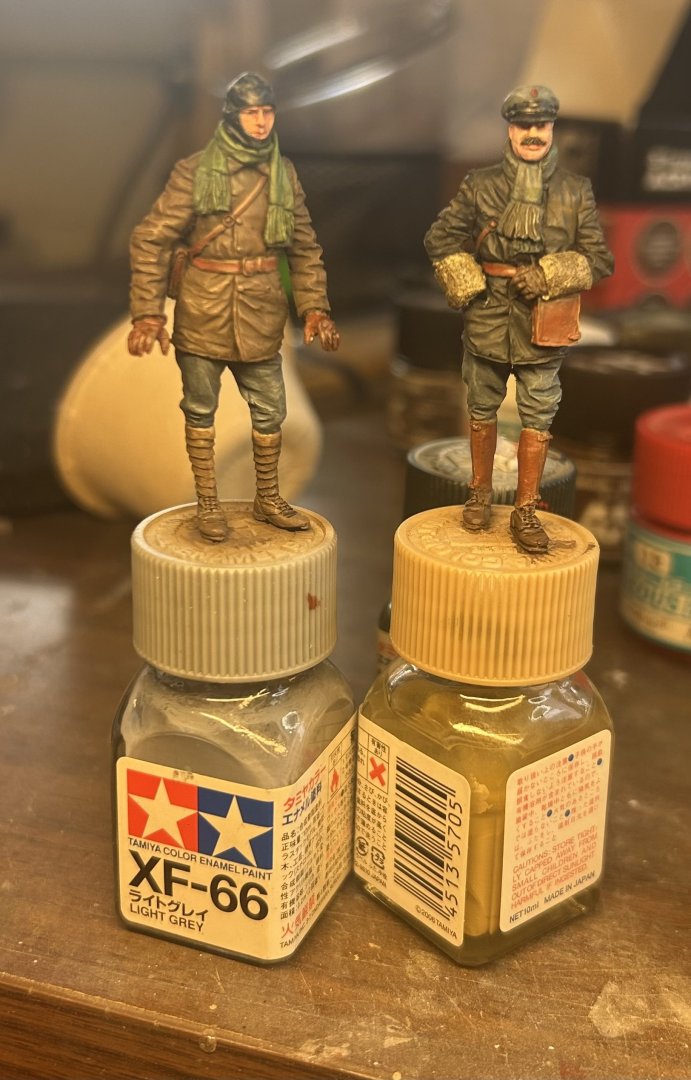
Current status with a cardboard fore castle
-
Wow, very small.
Looks like 48 mm 😉
- mtaylor, thibaultron and Keith Black
-
 3
3
-
-
-
Good luck, this will be great to follow.
- Ferrus Manus, PvG Aussie, mtaylor and 1 other
-
3
-
 1
1
-
-
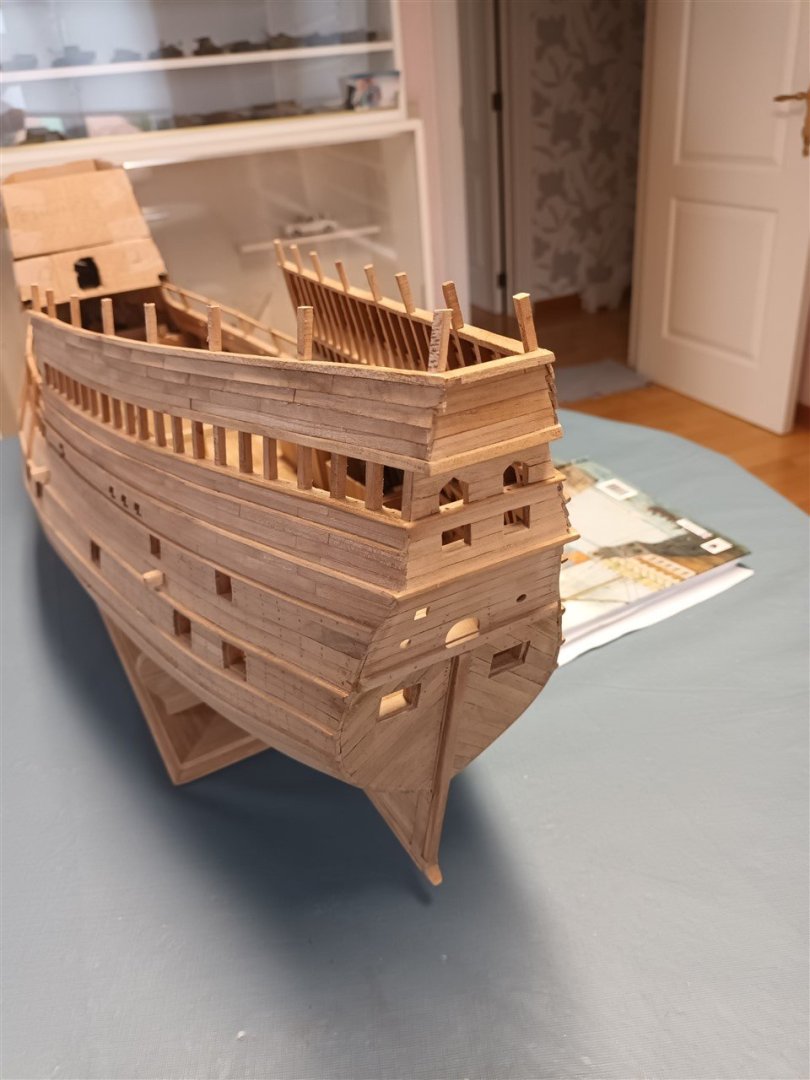
This time an update without a misstep.
") . Everything went according to plan
. Everything went according to plan 
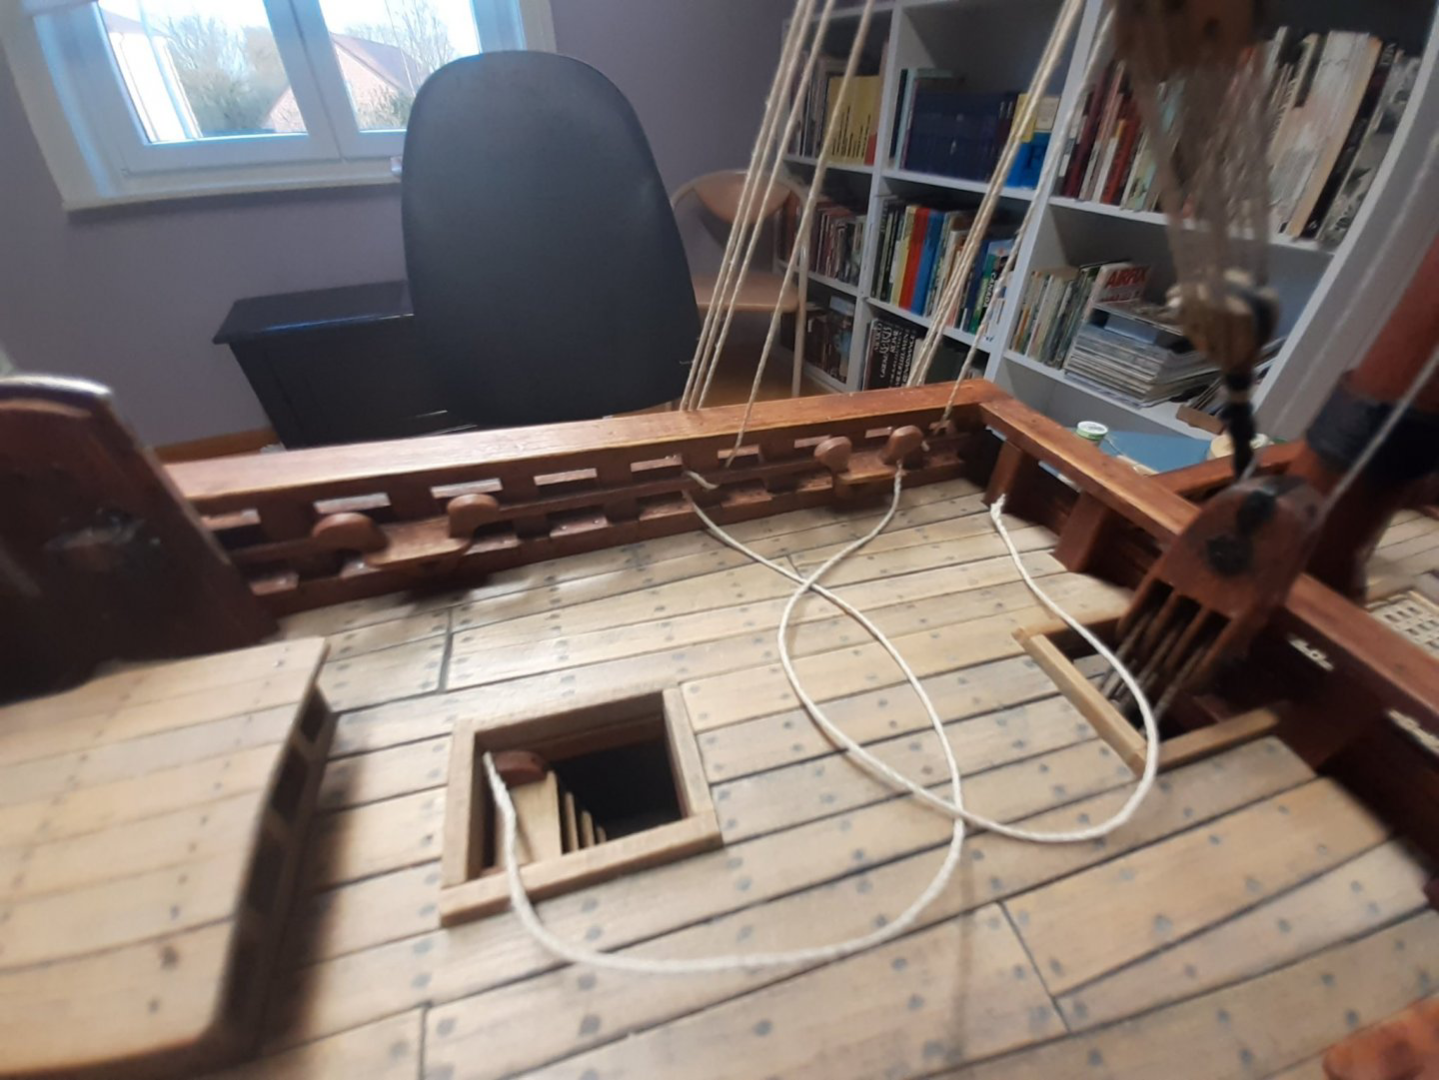
The bulwark (frames) of the upper deck :
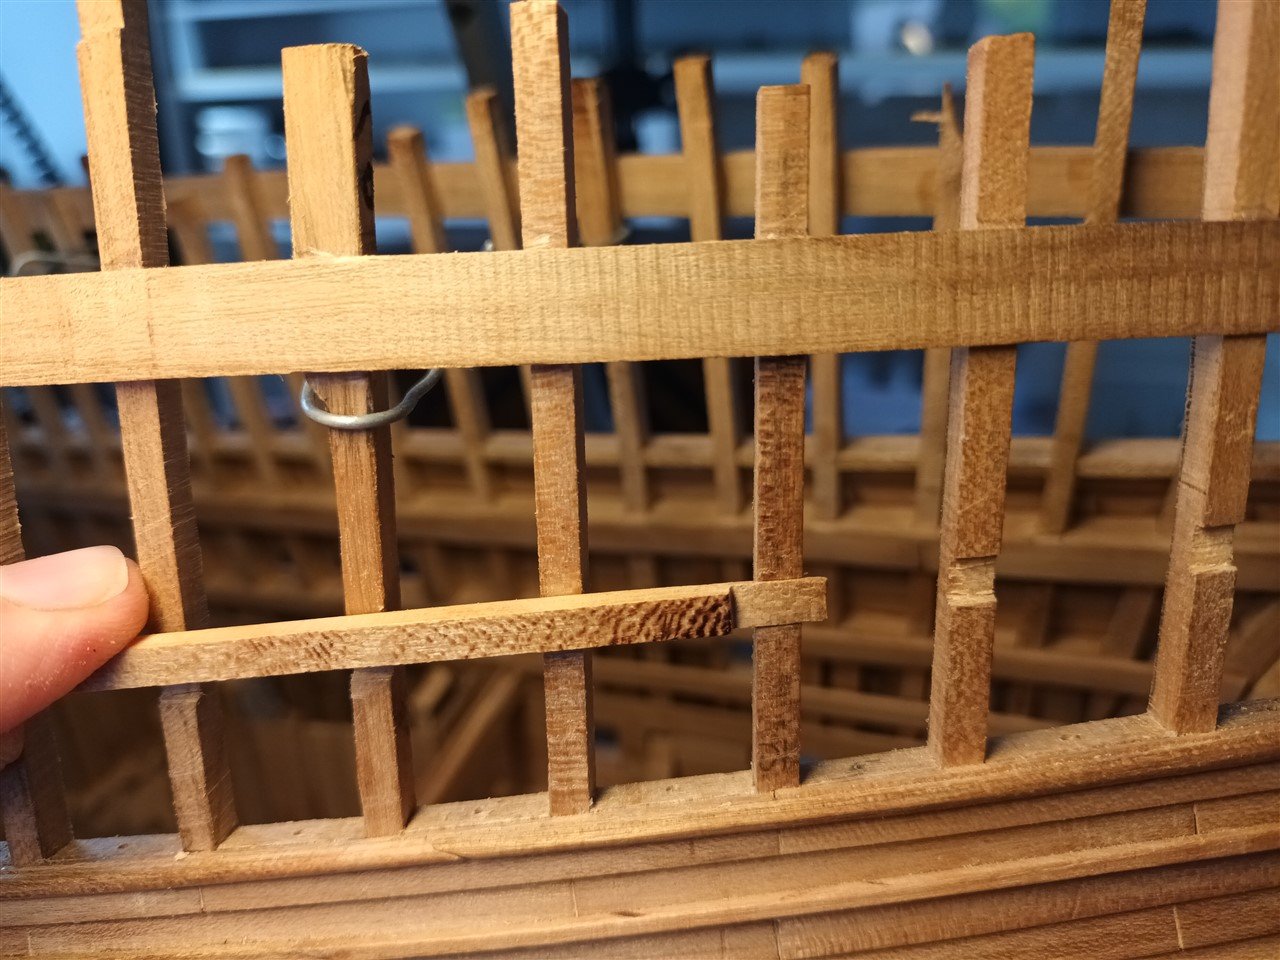
Logically speaking and thinking. This bulwark is constructed with partial planking and shields. In accordance with the waist, where there are also partly shields, why should all frames reach the top? If their only purpose is to hold up a beam with shields hanging from it?
Therefore, the height of the majority of frames is only up to the planking. And some go higher, the distance between these frames is approximately in accordance with that of the waist.Saw the frames to height
And then narrow them to the 3mm
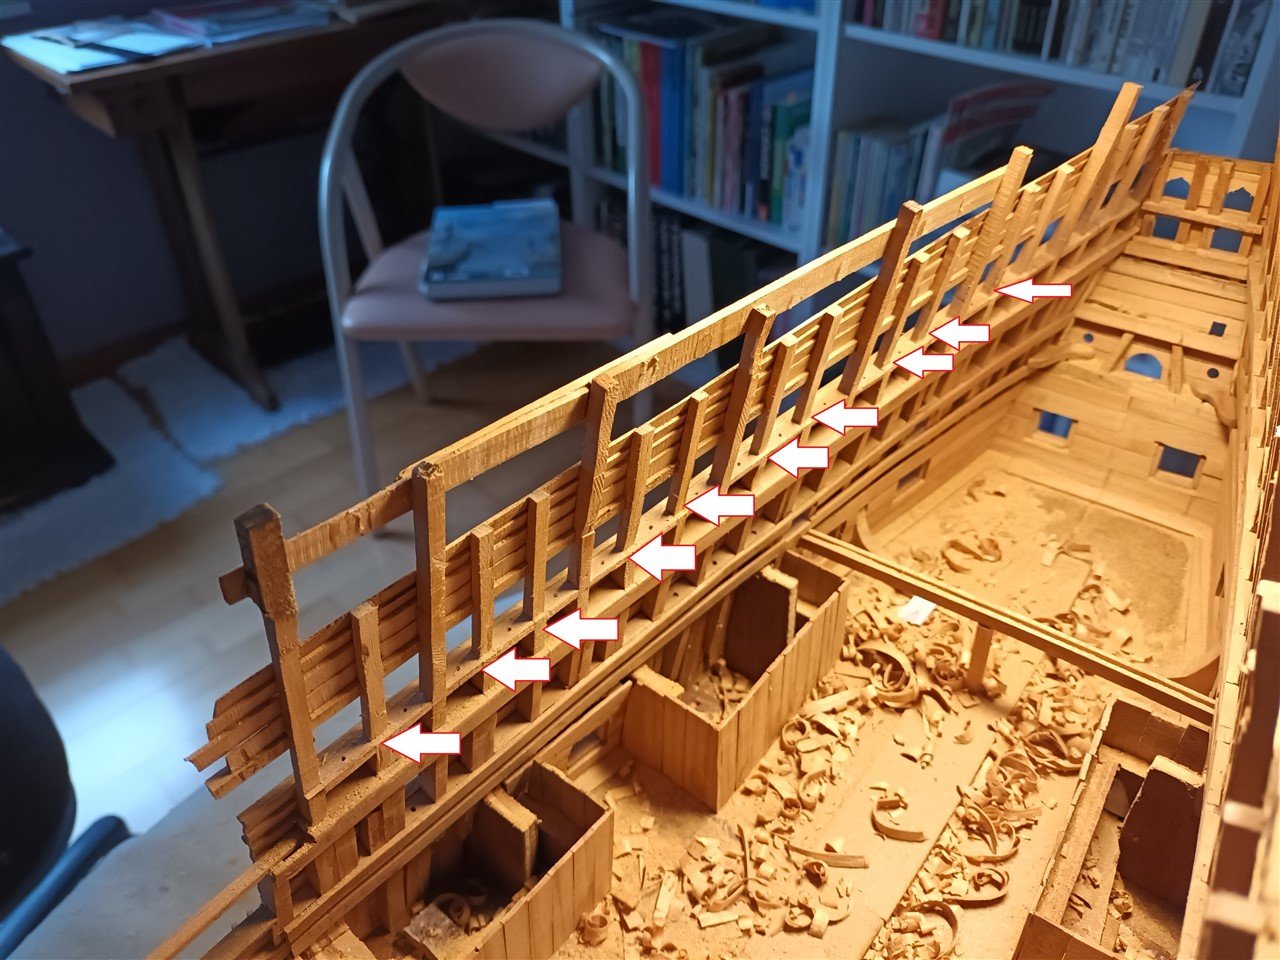
Then a beam is glued above the clinker planking. The connections are only to maintain sufficient strength on the model.

A new "frame" is placed And the longest frames are narrowed. and to 3mm.
The height is speculative, the shortest frame was the size.
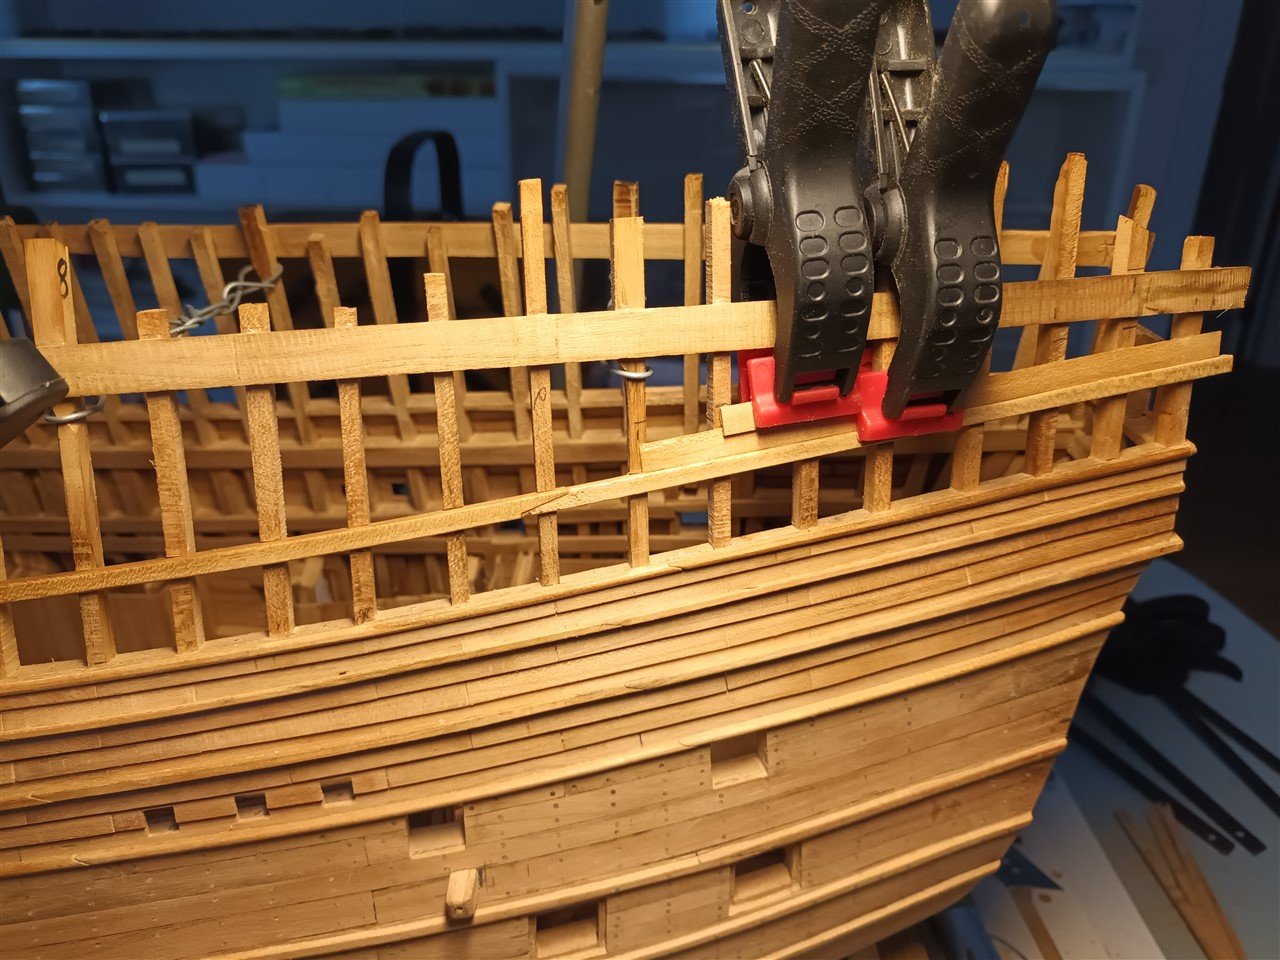
Starboard is ready, just a small beam needs to be attached at the top. Some extra planking is done (arrow)


Thanks for following, likes and comments.
-
-

And good luck with the build.
- Ryland Craze, Mollusc, mtaylor and 2 others
-
5
-
-
-
-
On 6/17/2024 at 8:37 PM, kirill4 said:
which occupied all almost 15 years
So it will be ready on my 75th birthday 😉
This will be great to follow 👍.
-
2 hours ago, LCdr Dave said:
Patrick, if you haven’t, maybe you should.
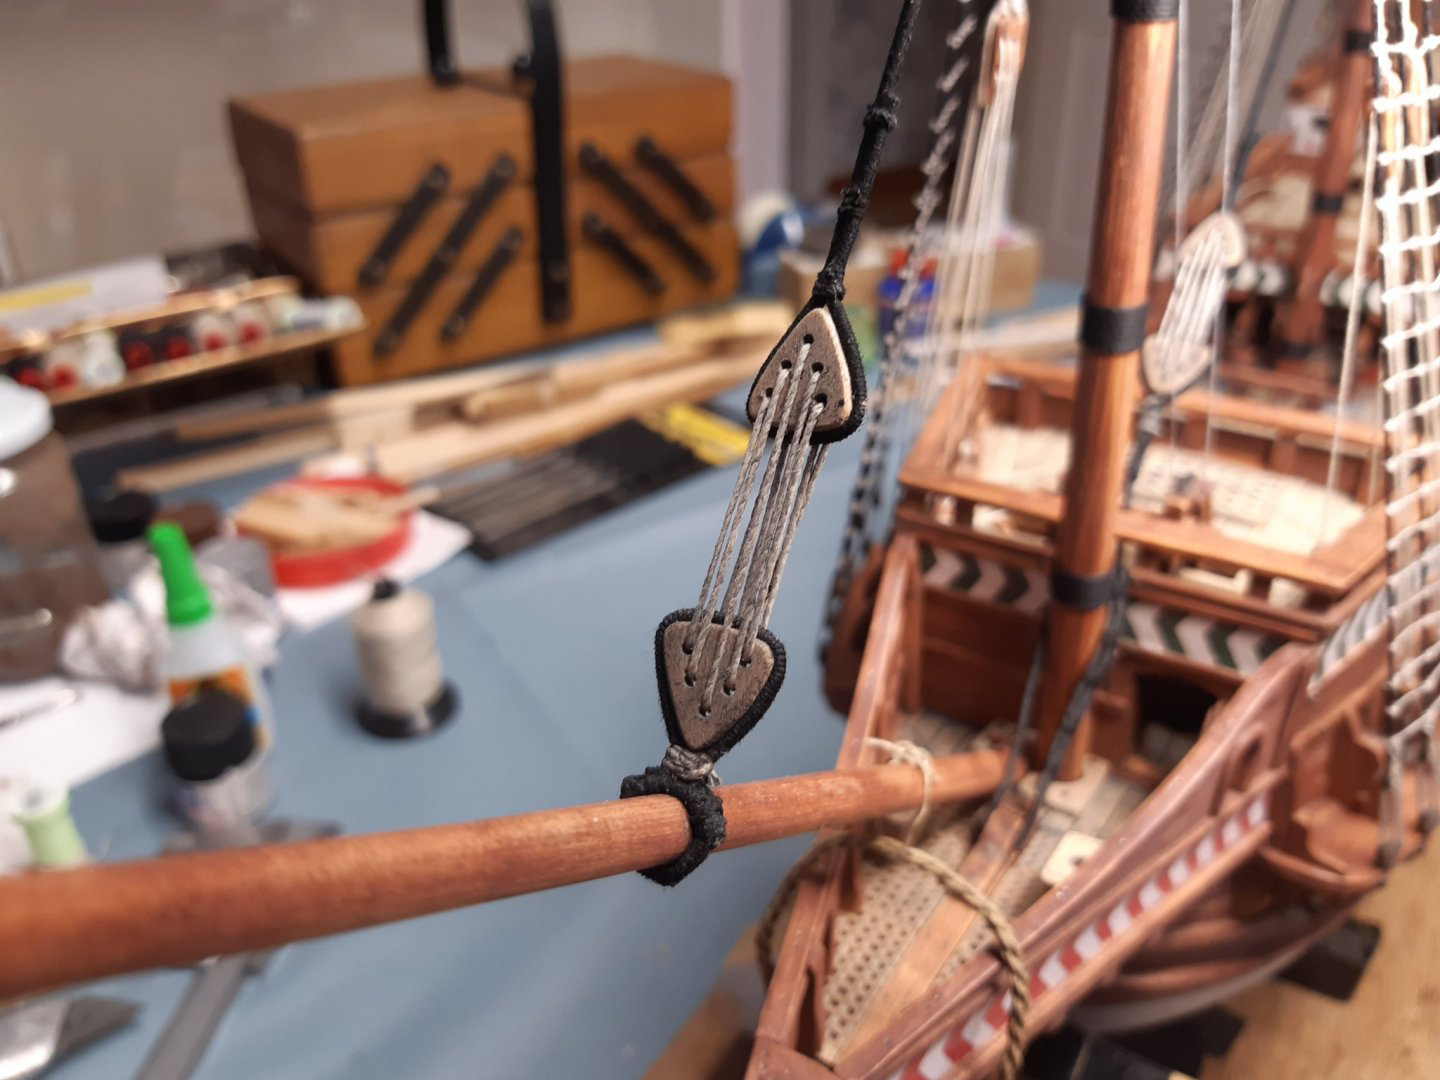
So…..I won’t be wrapping the rope but how did you actually go about tying the deadeye in?BTW, I really like your hole pattern
Dave
When an old men makes a drawing on a smartphone ...🤣
Bleu = seize
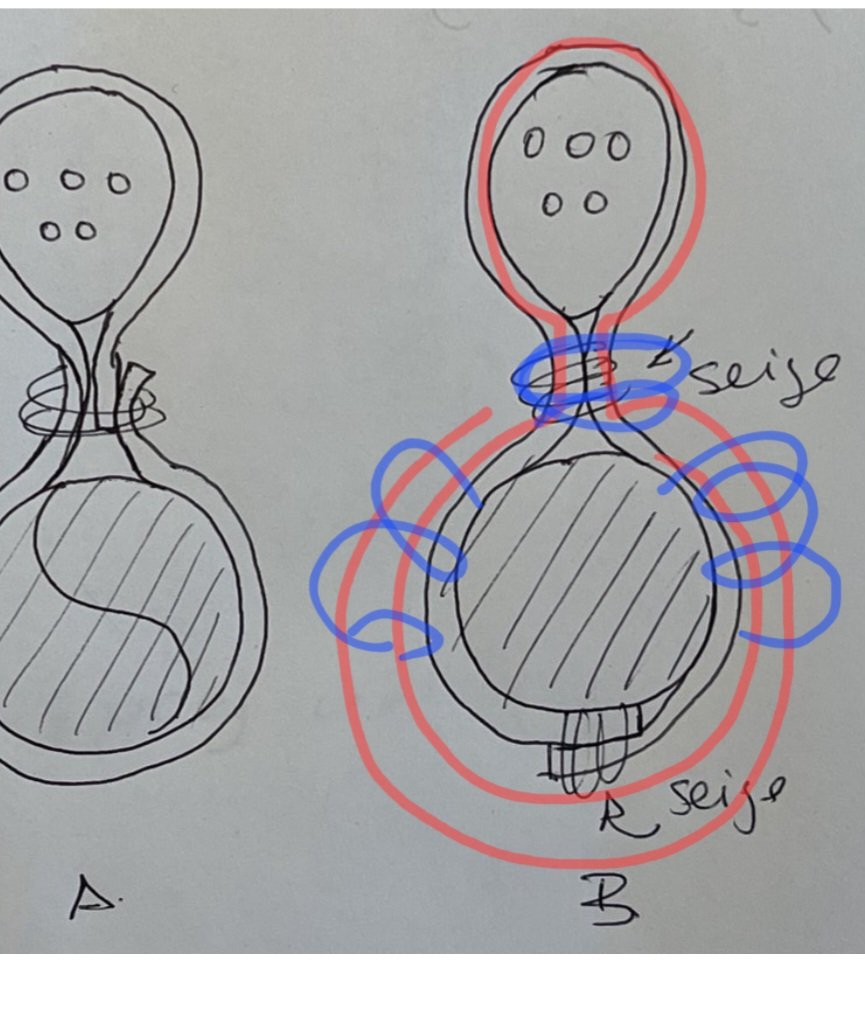
Kirill is more professional 😉
-
1 hour ago, LCdr Dave said:
according to Baker
have I written a book? 😉
-
Scratch modeling is fun. And you are doing a very good job.
And yes, those little life boats are actually a model in themselves. I always enjoy following the construction of one of these, but starting building one myself...🤔 😉
-
21 hours ago, druxey said:
Threaded rods are a much better option! And I don't recall that the original ship had permanent clamps....
25 minutes ago, Veszett Roka said:Thats a boomer
") I think a few minutes how would i recover the clamp
I think a few minutes how would i recover the clamp
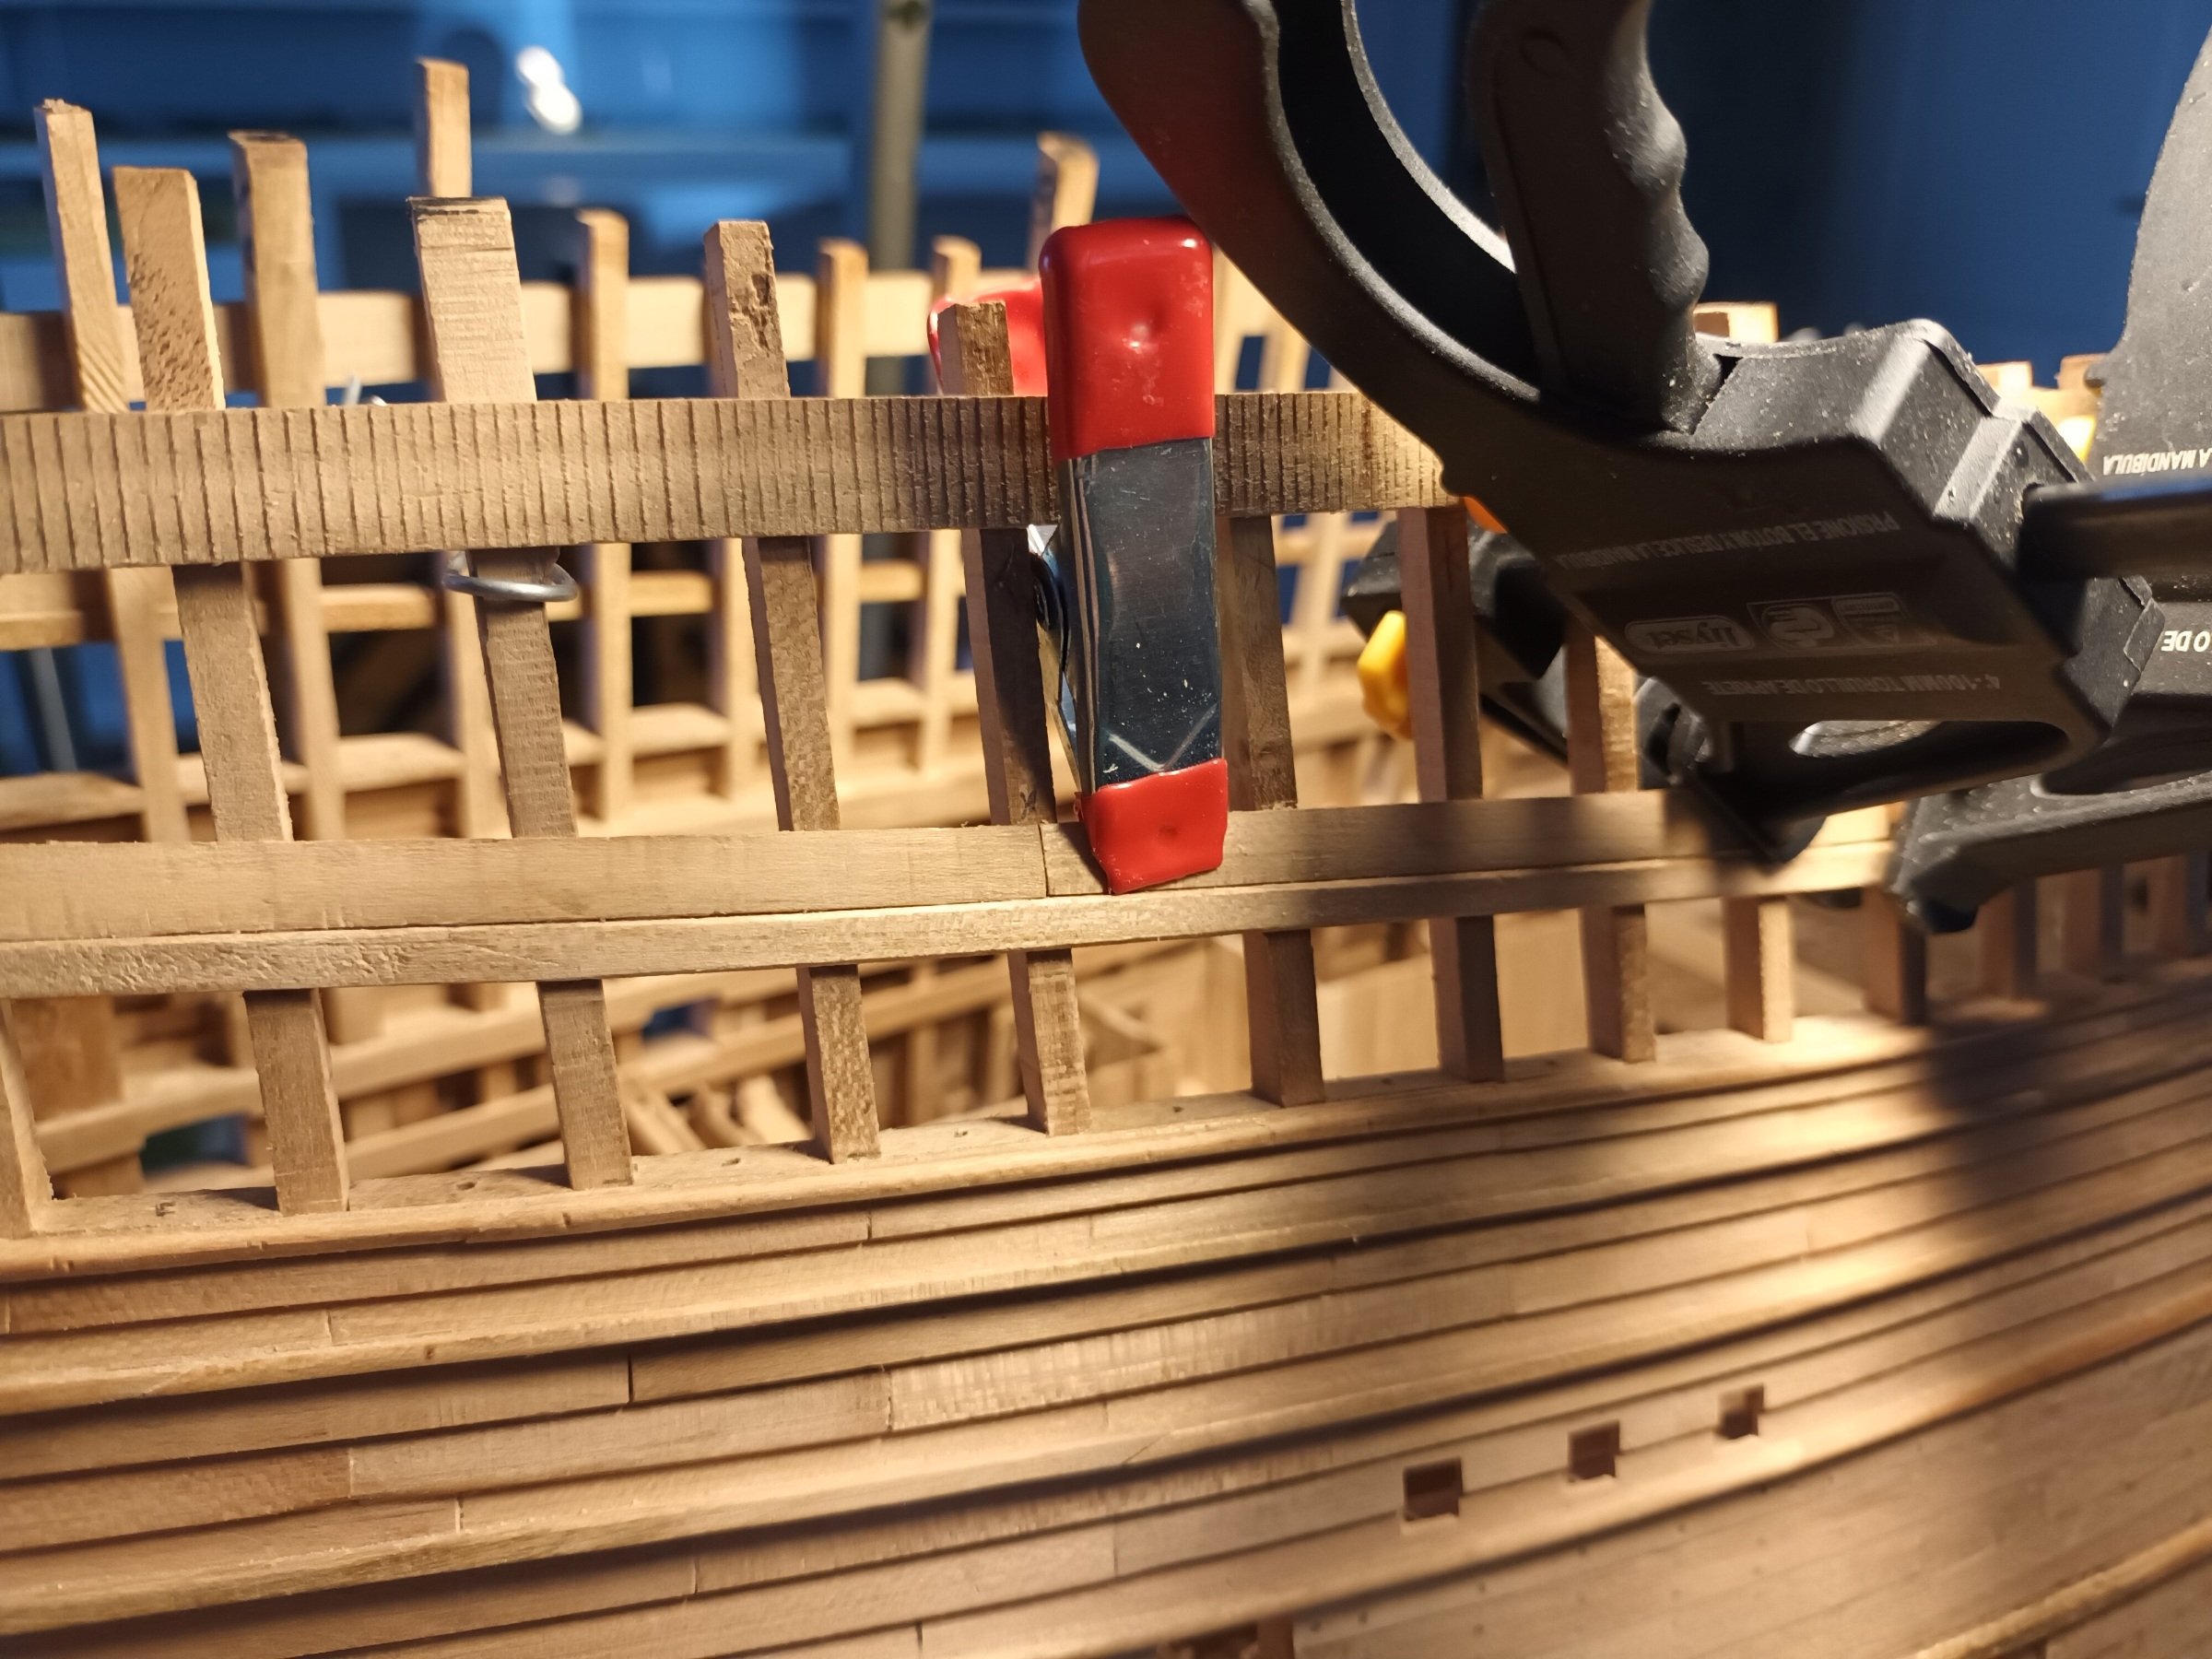
Good news. The clamp has been surgically removed and repaired.
Model and clamp are doing well after this medical surgery.
-
Did it on my main and fore mast this way.
- AgesOfSail, GrandpaPhil and Ronald-V
-
3
-
-
Thank you for the nice comments.
In the meantime, I've had a moment where you say to yourself "kieke" Flemish for "chicken".A fun way to say stupid 🤣
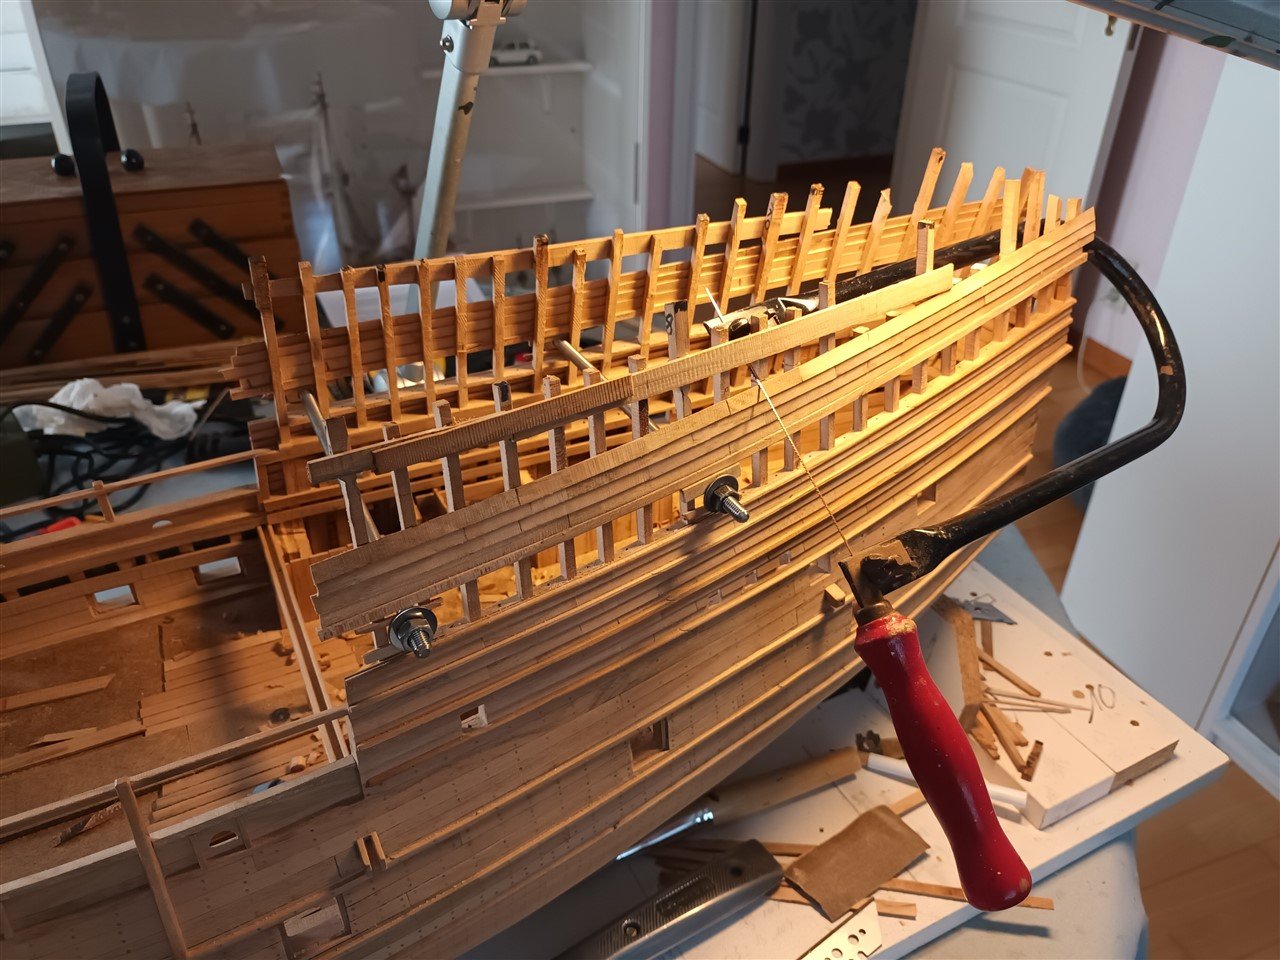
The plank is clamped and the clamp is now blocked
And the iron wire, which kept the sides of the rear castle at the right width, and on which I have already cut my fingers a few times. has been replaced by a pair of threaded rods.
Safety first at the shipyard 👍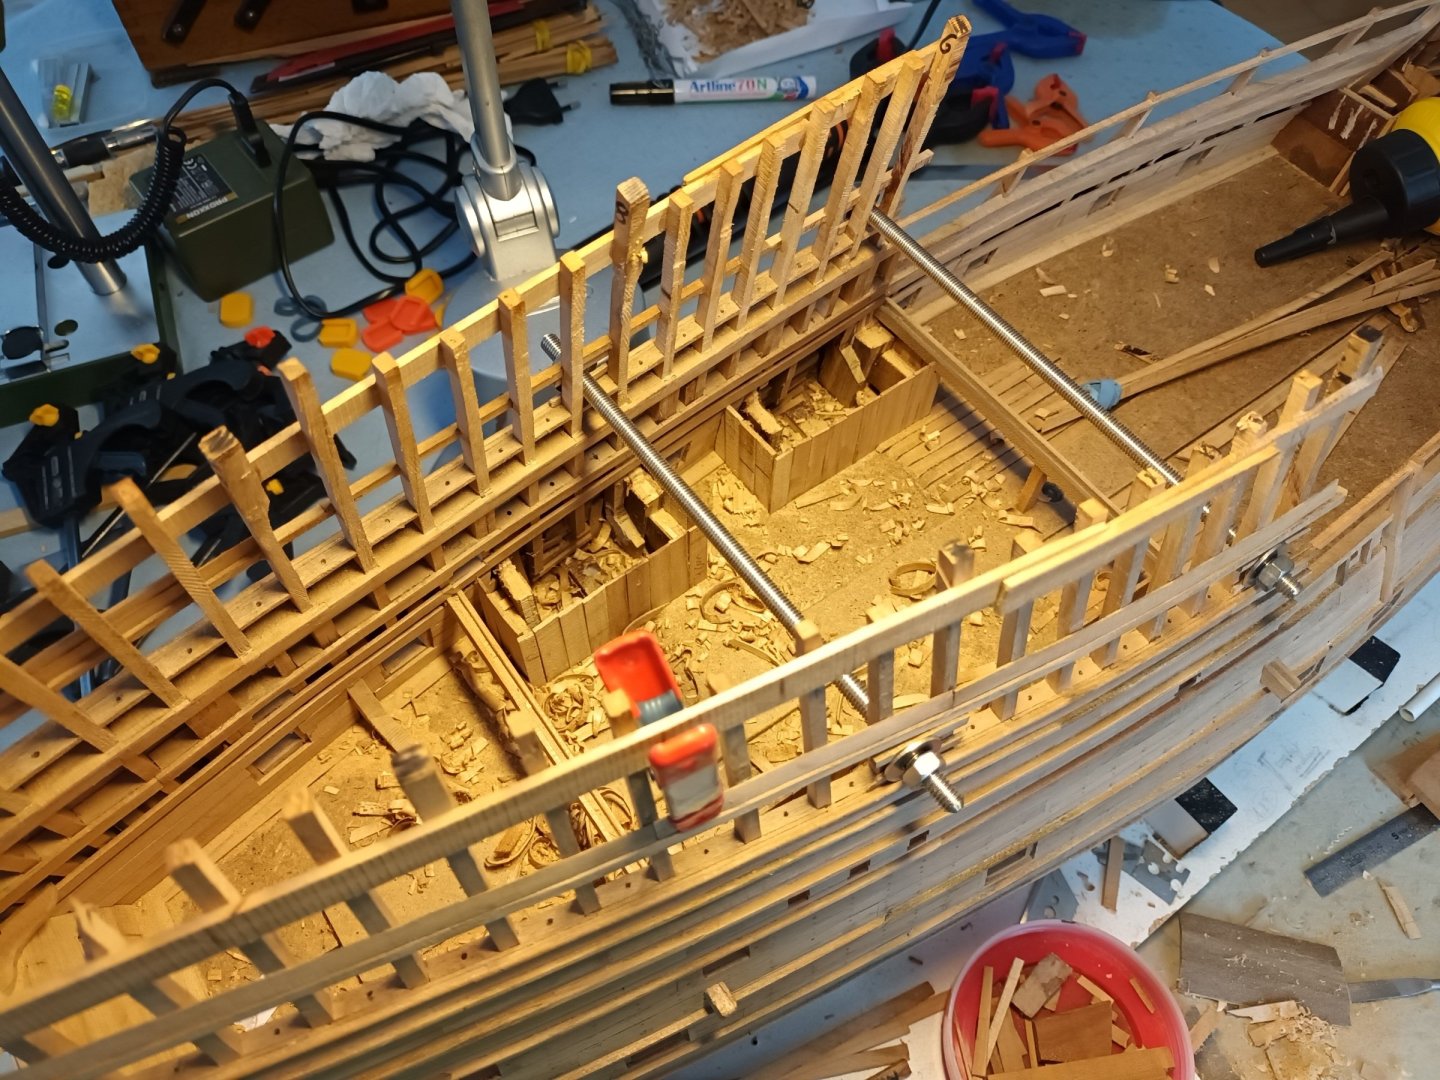
-
6 minutes ago, Scottish Guy said:
This is a piece of art what he archived there but sometimes I ask myself, should it really look like that? Did the real ships and boats really look that acurate and neat or were they just work items and no one spent so much attention to the details as we do in our models?
Don´t get me wrong here, I really like the build he did, I like this build here and I like being as neat, acurate and perfect as my skills allow me but sometimes I really ask myself if this would be authentic? Just buy a new car, even Mercedes or Rolls Royce have a clearance between their adjacent parts which is not always acurate (especiall Mercedes recently has massive quality issues with that) and that with computers and quality control mechanisms in place which definitely not existed in the early 20th century and definitely not earlier.
My humble 2c to this topic...
Micha
His model participates in competitions, the aim is to follow the plans you have as faithfully as possible.
He succeeds well in this and has already won several prizes.No one knows whether the model is completely historically correct, no detailed construction drawings were made during the era of 16th century period.
-
1 hour ago, RGL said:
Thoughts?
Yes,
Nice paint work

-
Maybe you can find some build info here,
-
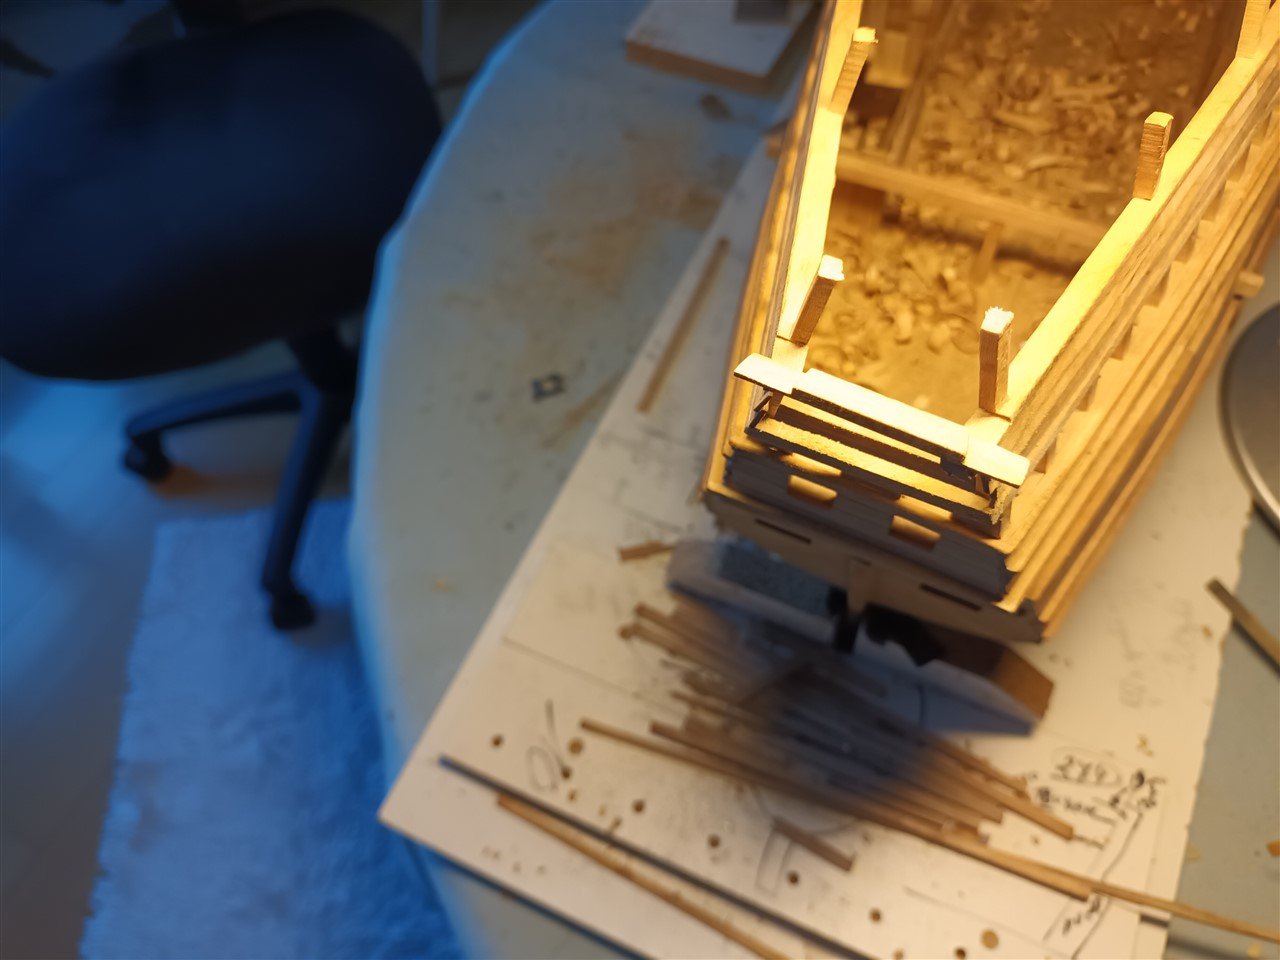
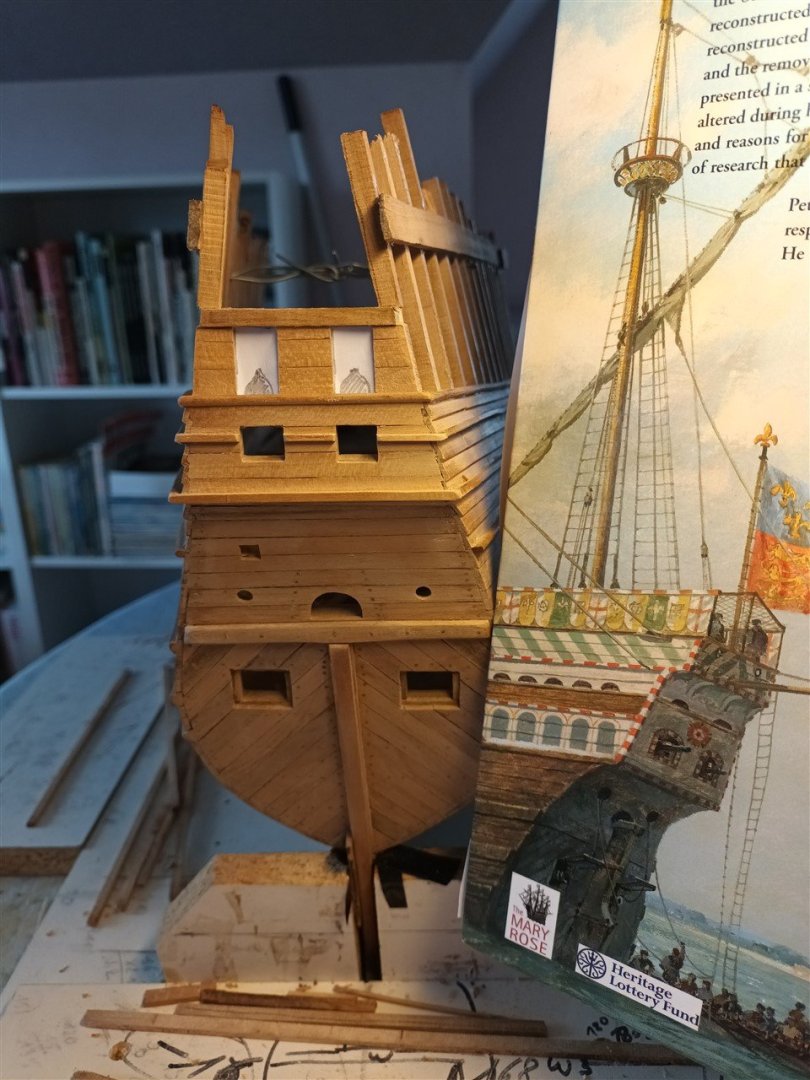
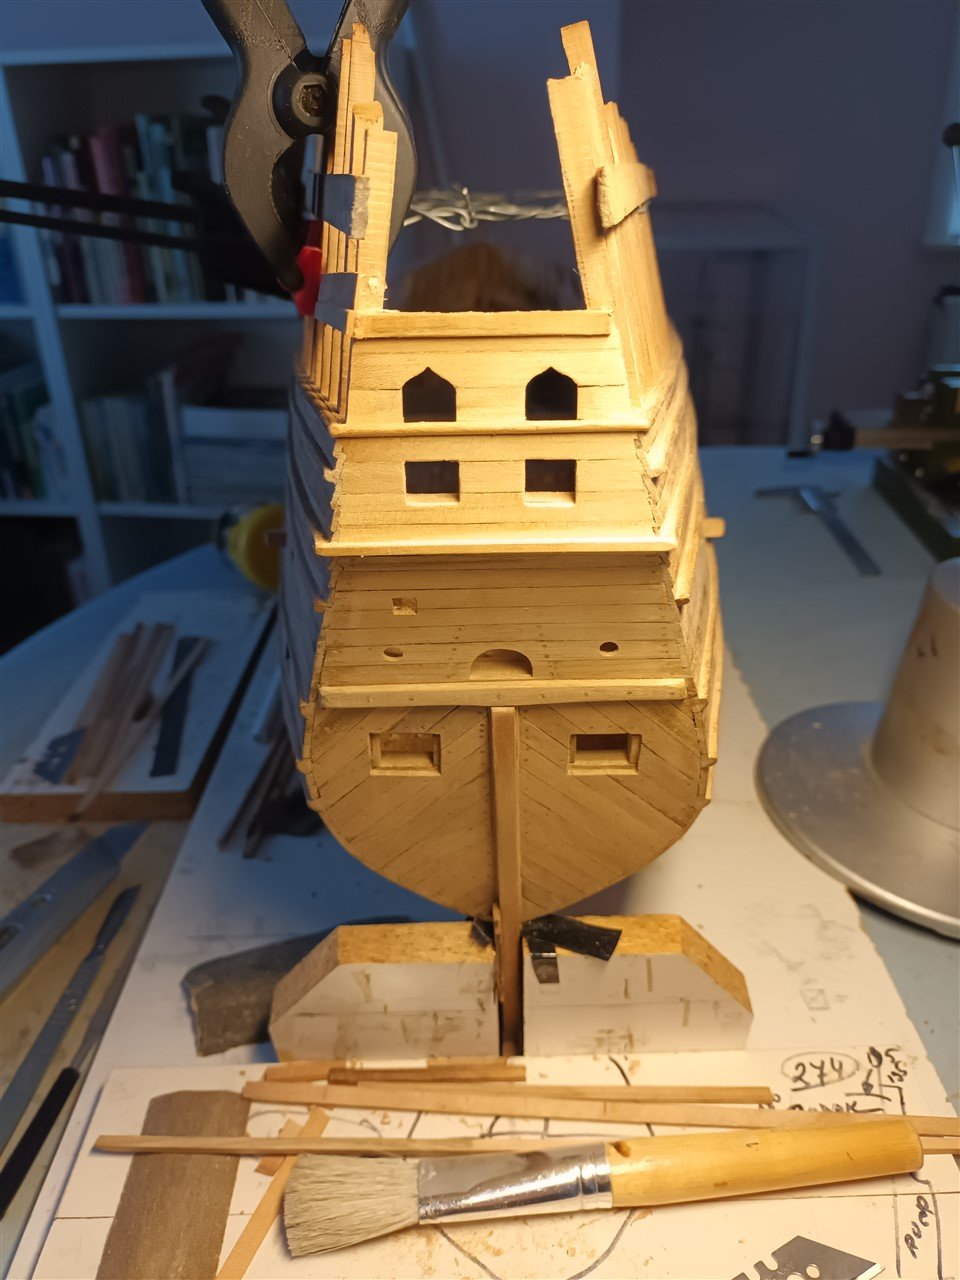
With the beam for the swivels on the port side also installed and the frames made thinner, time to continue working on the transom.
The clinker planking that was previously installed has been removed. And the intention is to install two stern chasers here, the openings of the swivels will then remain empty.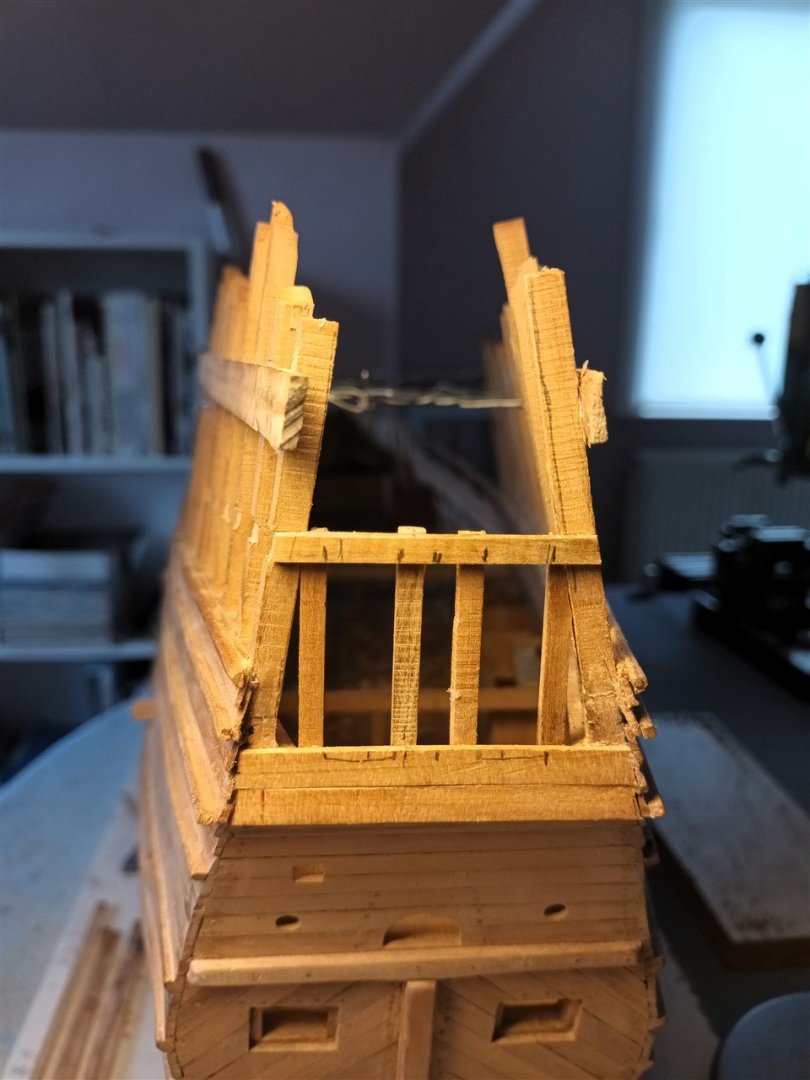
Applying the same number of cannons as the Anthony drawing is not feasible. A nice drawing to show to a king, but not a practical design in reality.
Several attempts...
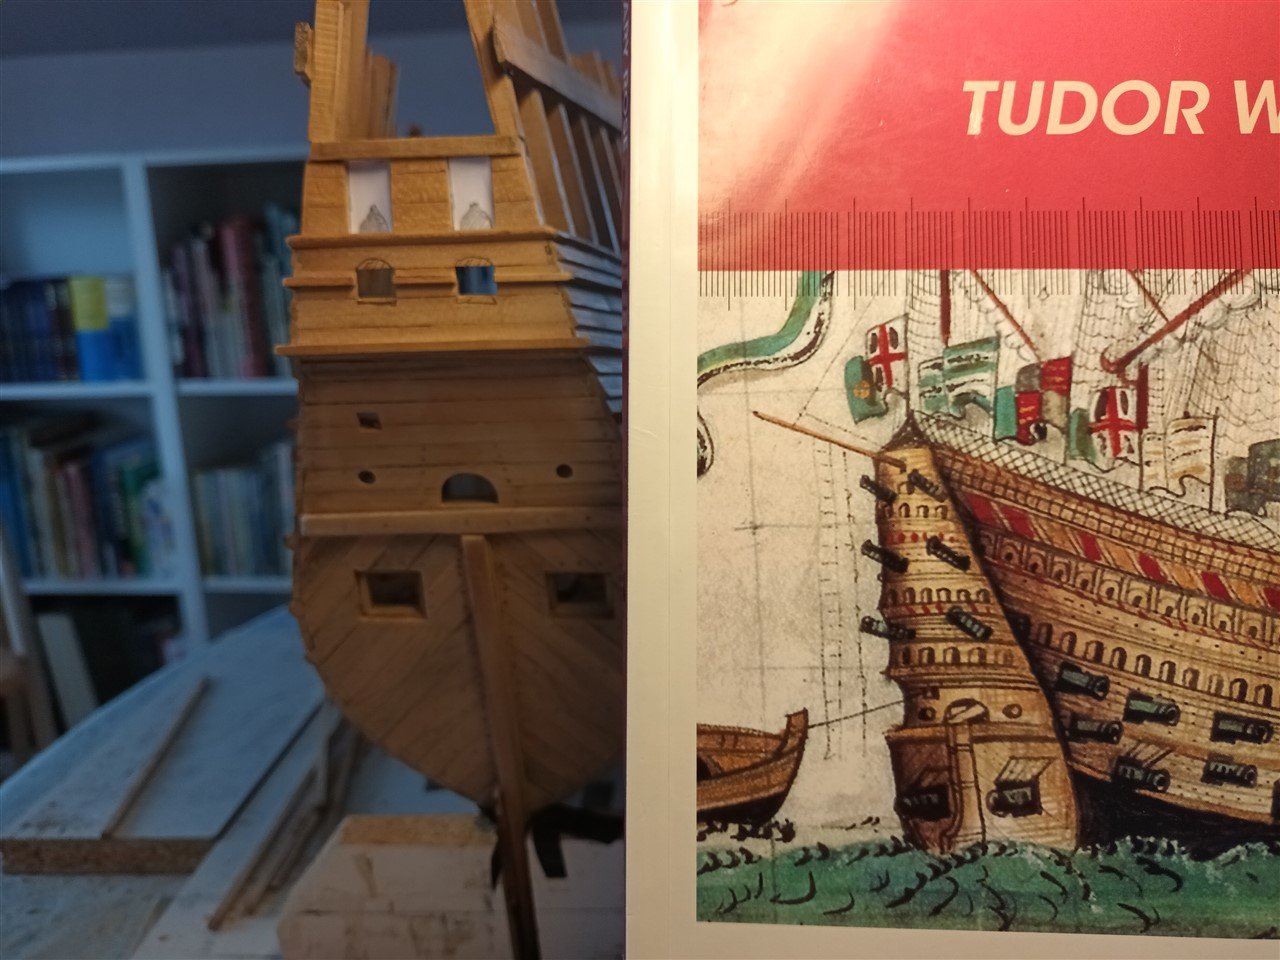
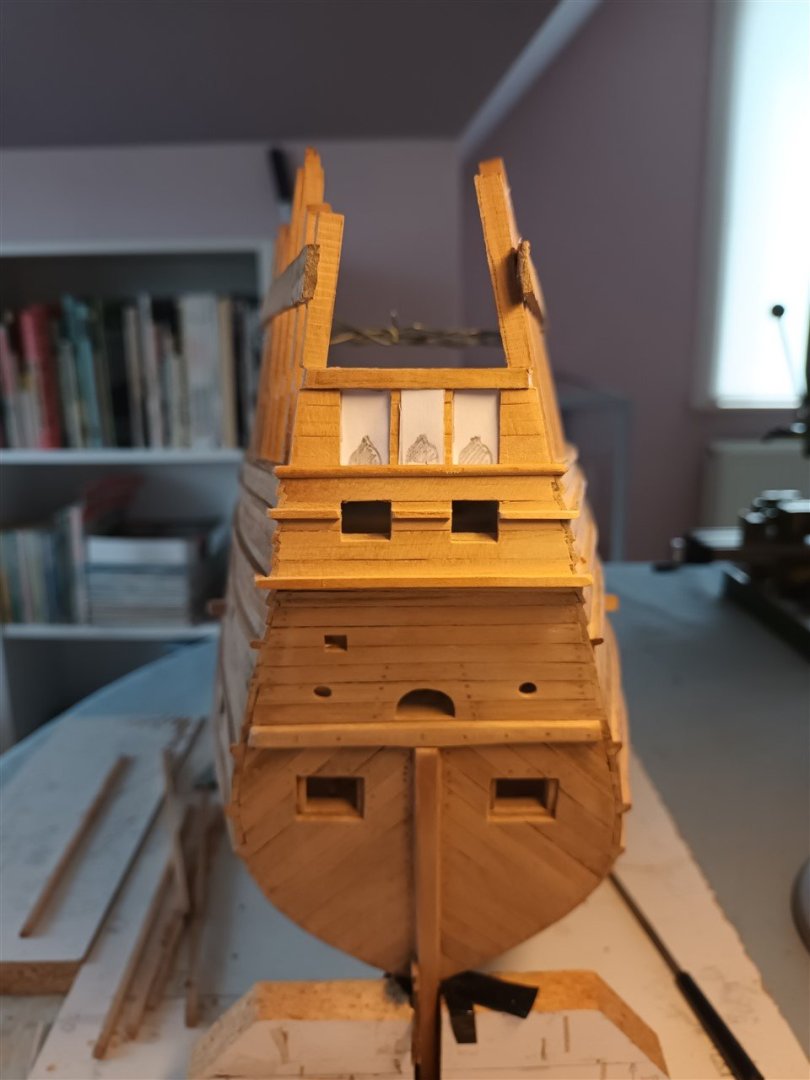
And after three attempts it became this.

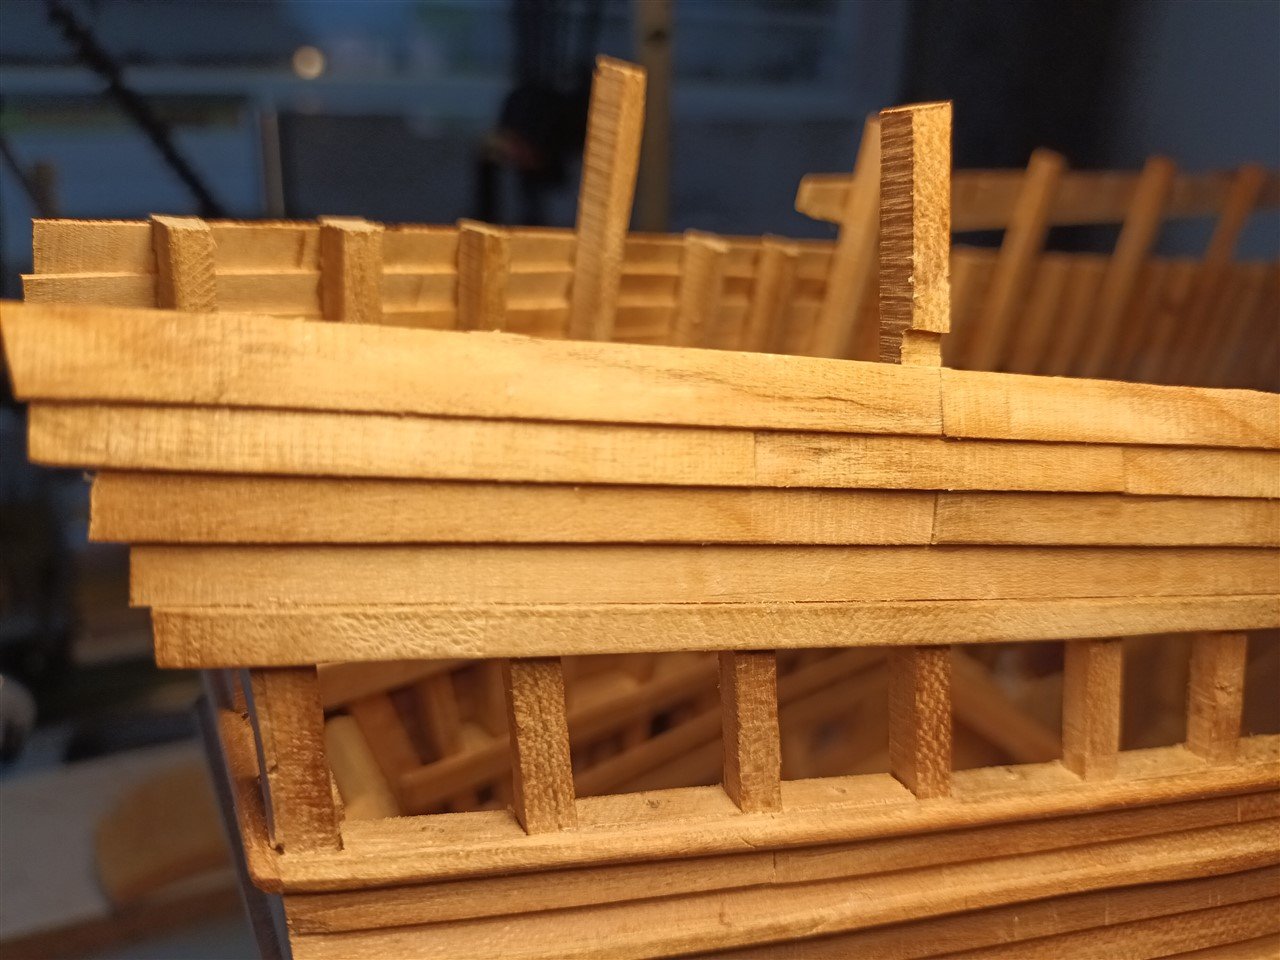
Finish the holes for the swivels with a beam on top
First i make grooves. This is more work, but positioning the beam correctly is much easier.
And above this beam back to clinker planking. This will provide more strength when the frames are made thinner later.


SS Klondike II by John Ruy - 1/8” = 1’ (1/96 scale) - Sternwheeler Riverboat
in - Build logs for subjects built 1901 - Present Day
Posted
Great work.
We visited this ship in 2005 (a long way from home") )
)