Brucealanevans
-
Posts
448 -
Joined
-
Last visited
Content Type
Profiles
Forums
Gallery
Events
Posts posted by Brucealanevans
-
-
Thank you James. I’m happy with the working boat look.
-
-
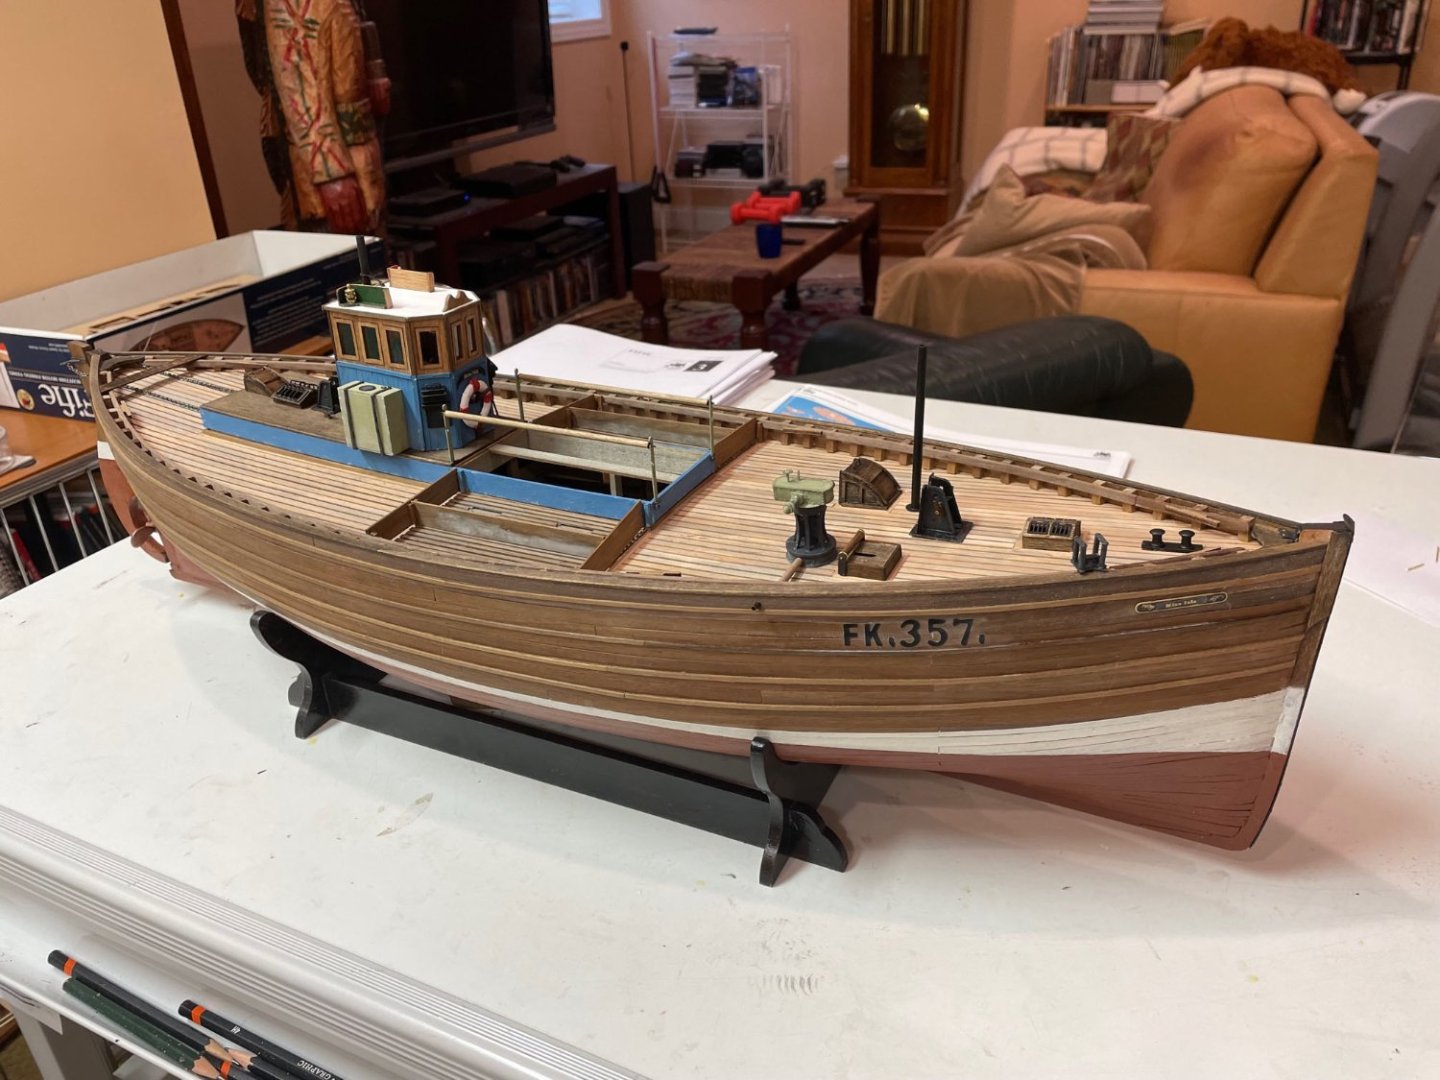
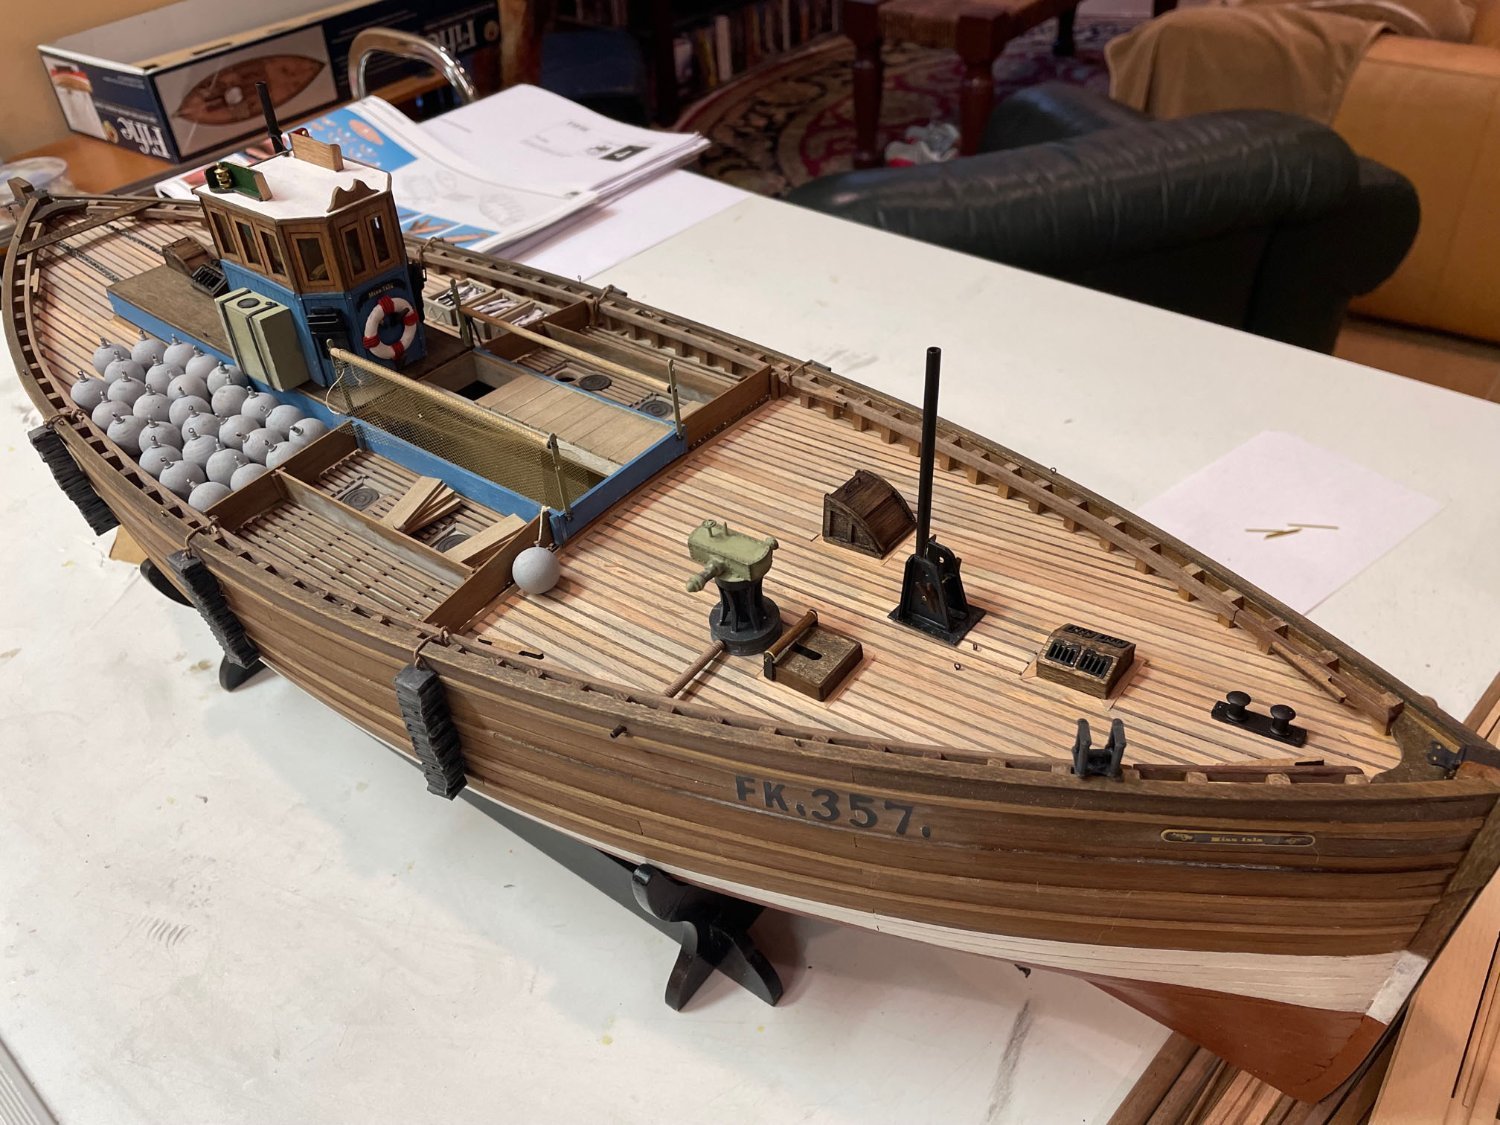
Everything finished to date fastened down. Stick on letters/numbers for registration sign looks pretty good so will keep it.
Next up is making the buoys and placing the drying net in the hold and up on the roller on one side. And adding the various eyebolts and remaining cleats.
- Dsmith20639 and Montaigne
-
 2
2
-
Finishing up the hull and gluing on the deck fixtures is on today's agenda. Then I have to assemble, paint, and weather the buoys, and then decide how to display the drying nets. I am debating adding registration numbers to the boat, but am reluctant to try and stencil/paint them on. I'll try some stick-on numbers/letters and see if I can keep them from looking tacky. If not, no numbers for the "Miss Isla"
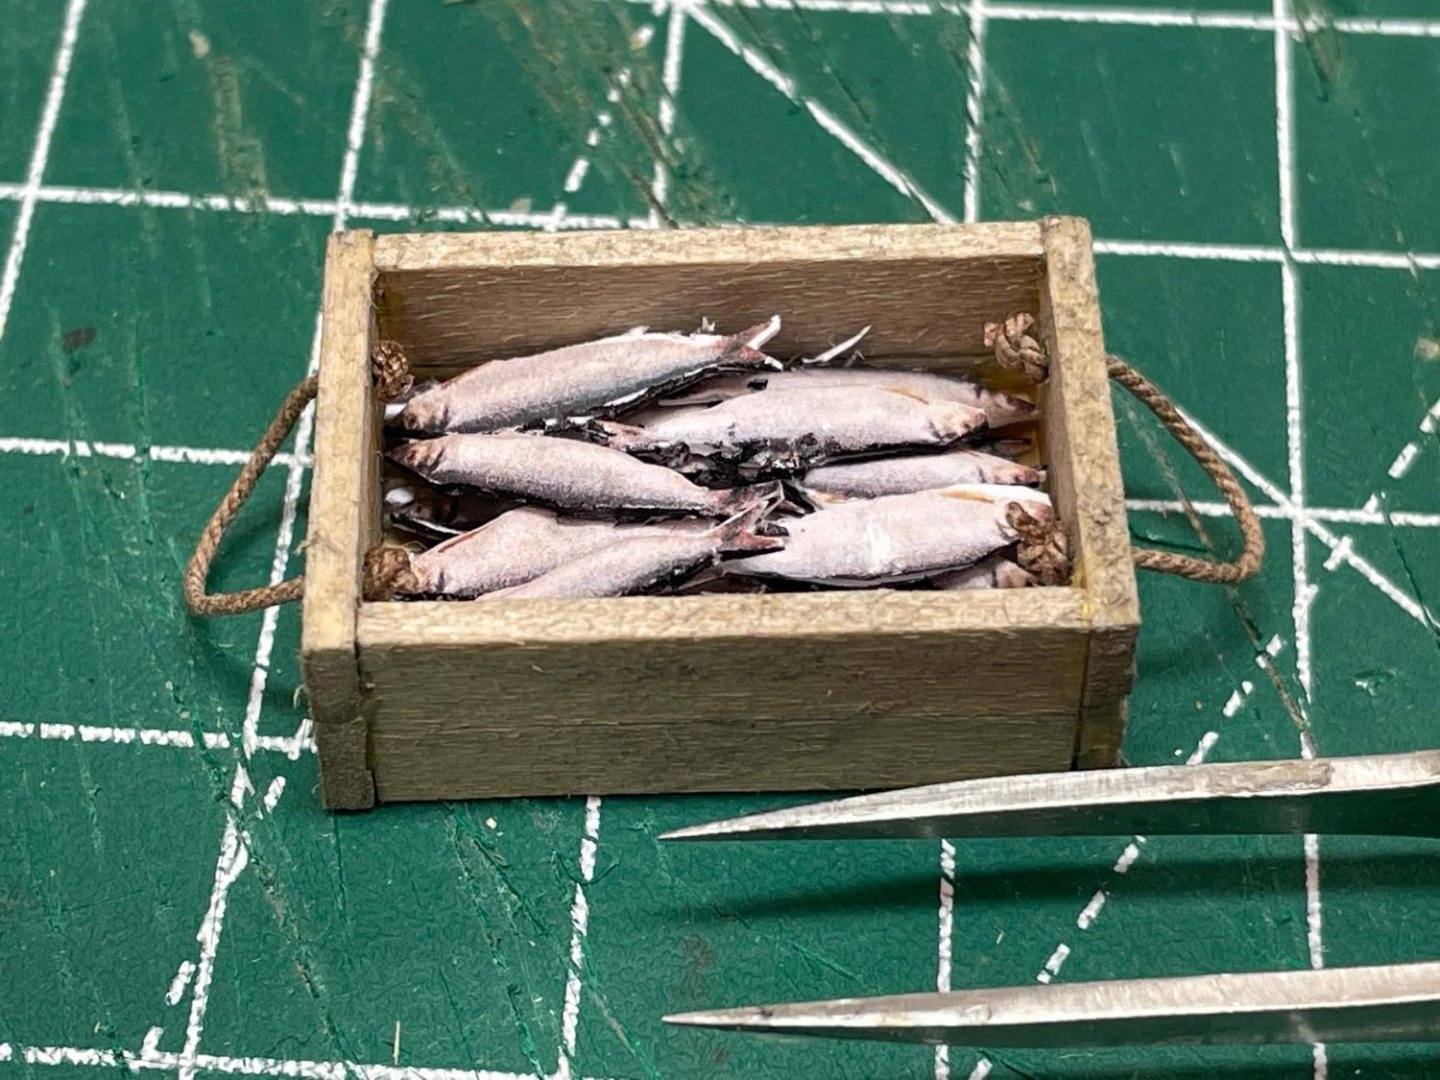
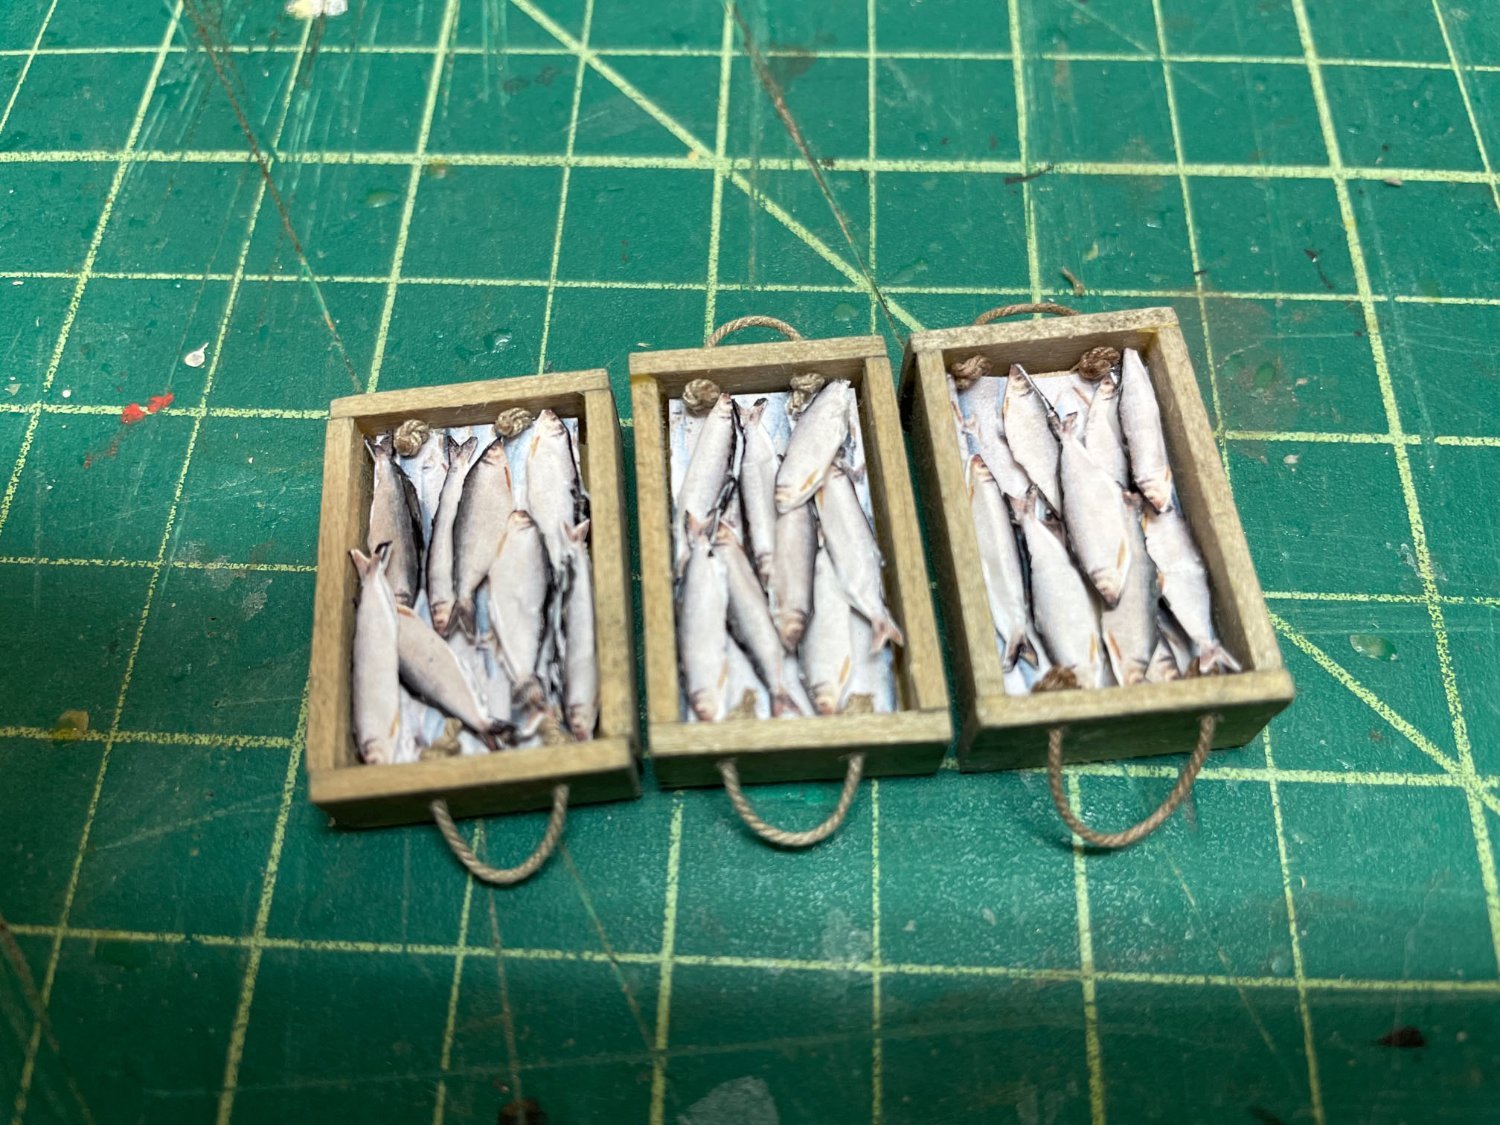
Meanwhile, I thought I needed more than one tray of herring ready to leave the boat, but I didn't want to spend another day making 50 tiny herring.
So I added a false bottom to the 3 trays, pasted on a photoshop picture of a pile of herring, and then distributed my supply of 3d herring amongst them (reserving 2 for lying around somewhere.
Here is the result. I think it looks pretty cool.

- VitusBering and JpR62
-
1
-
 1
1
-
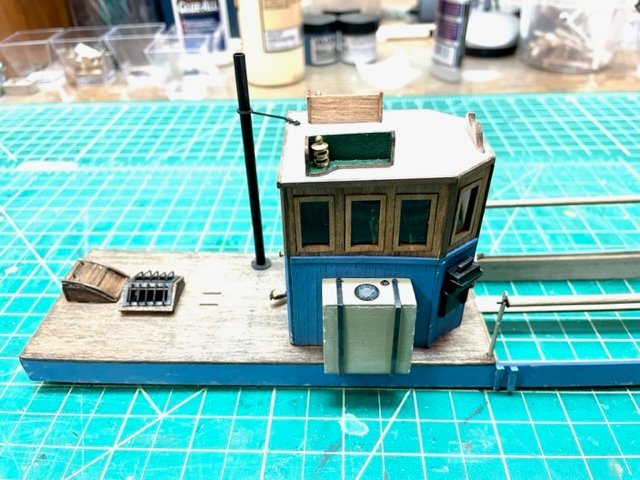
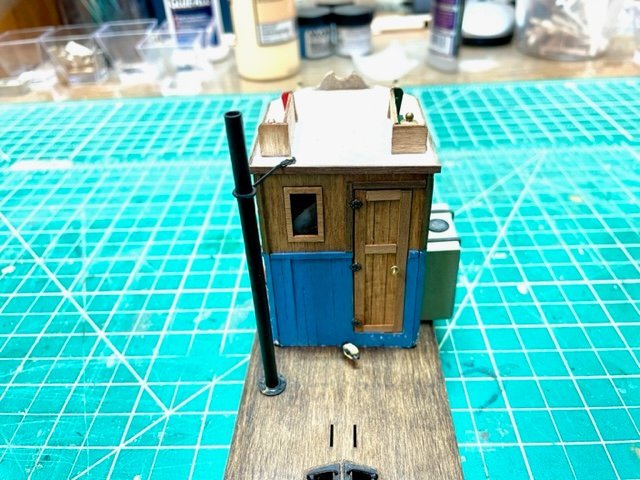
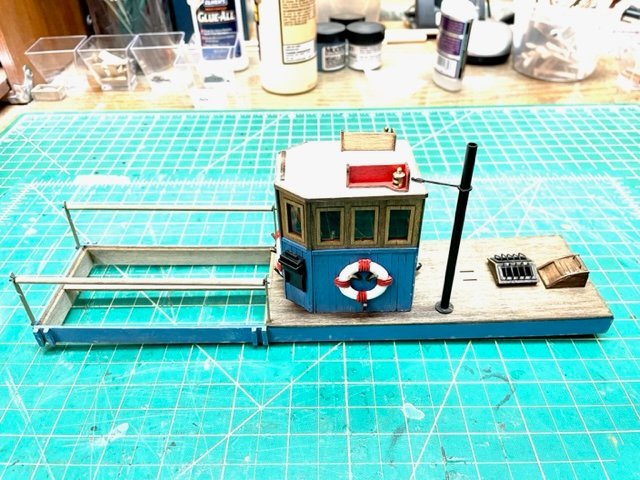
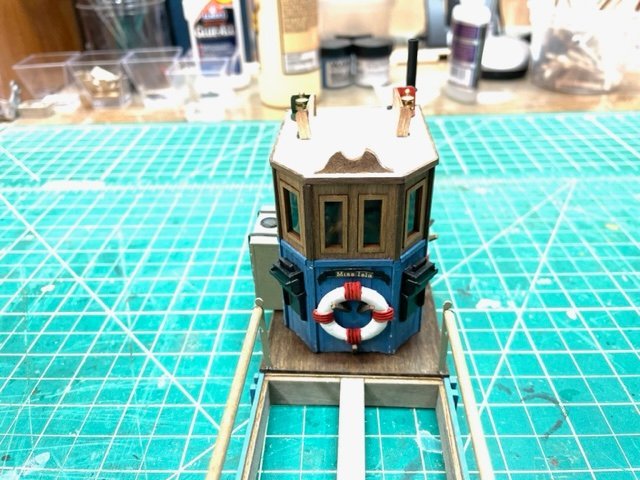
After a vacation to visit daughter in UK got back to work. Finished the pilot house and glued it and the smoke stack in place. I have continued to blacken/paint all of the brass bits - to me looks a lot more like a poor fishing boat.
No real issues, just a lot of small detailed steps.
Next up: mast steps.
- James H, Dsmith20639, Montaigne and 4 others
-
7
-
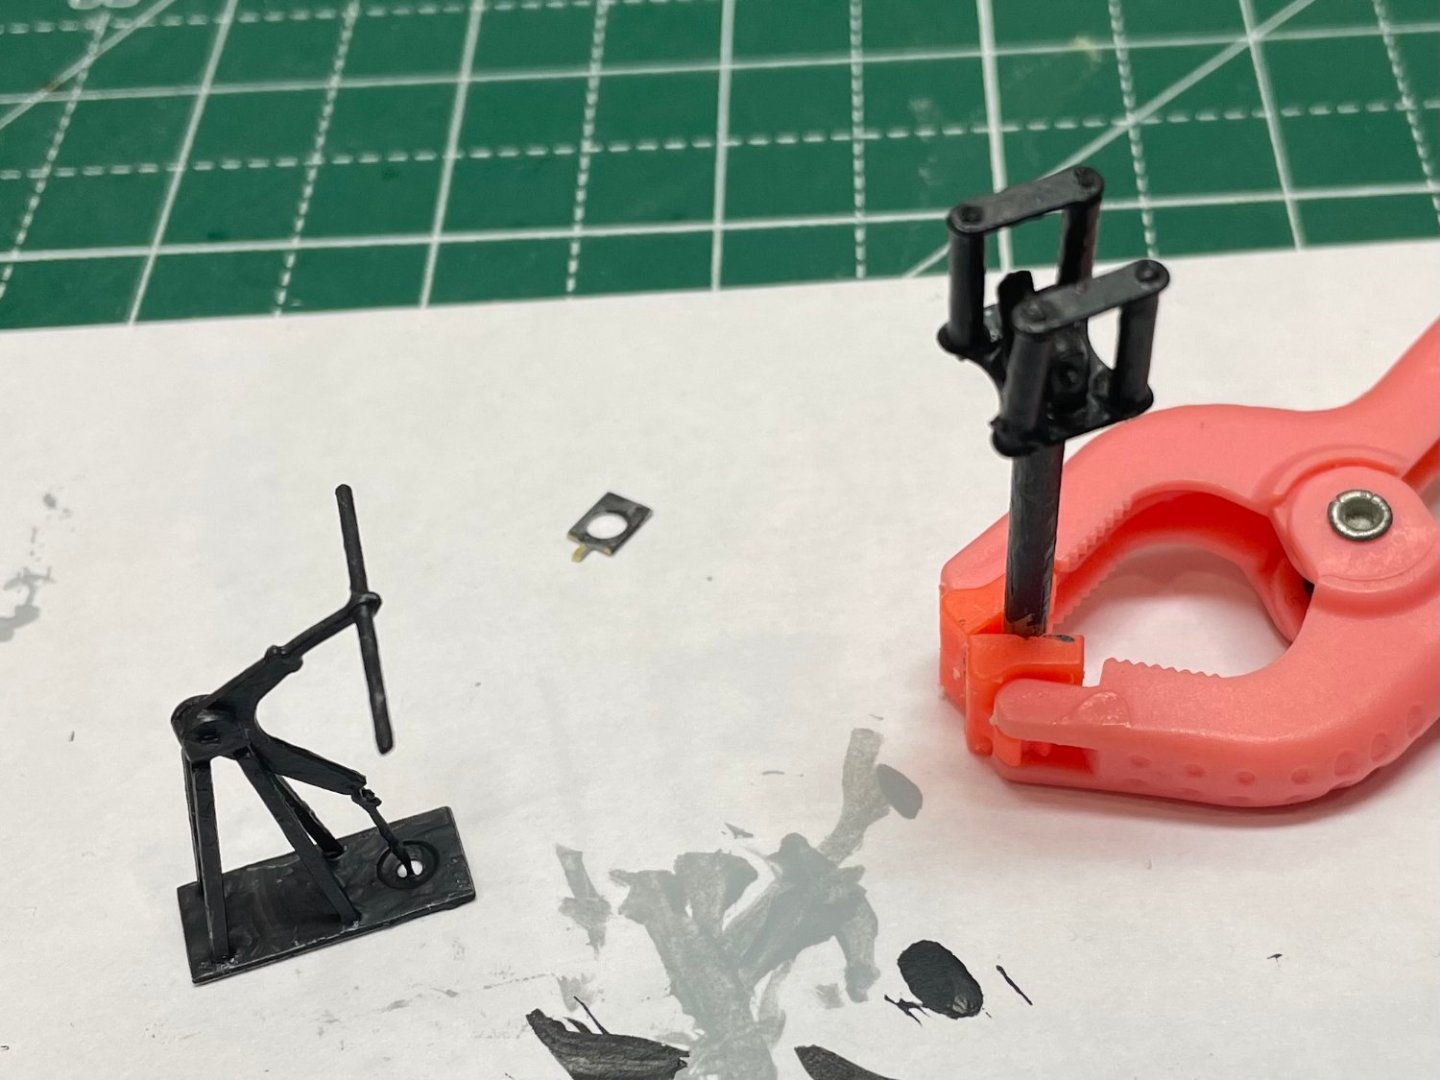
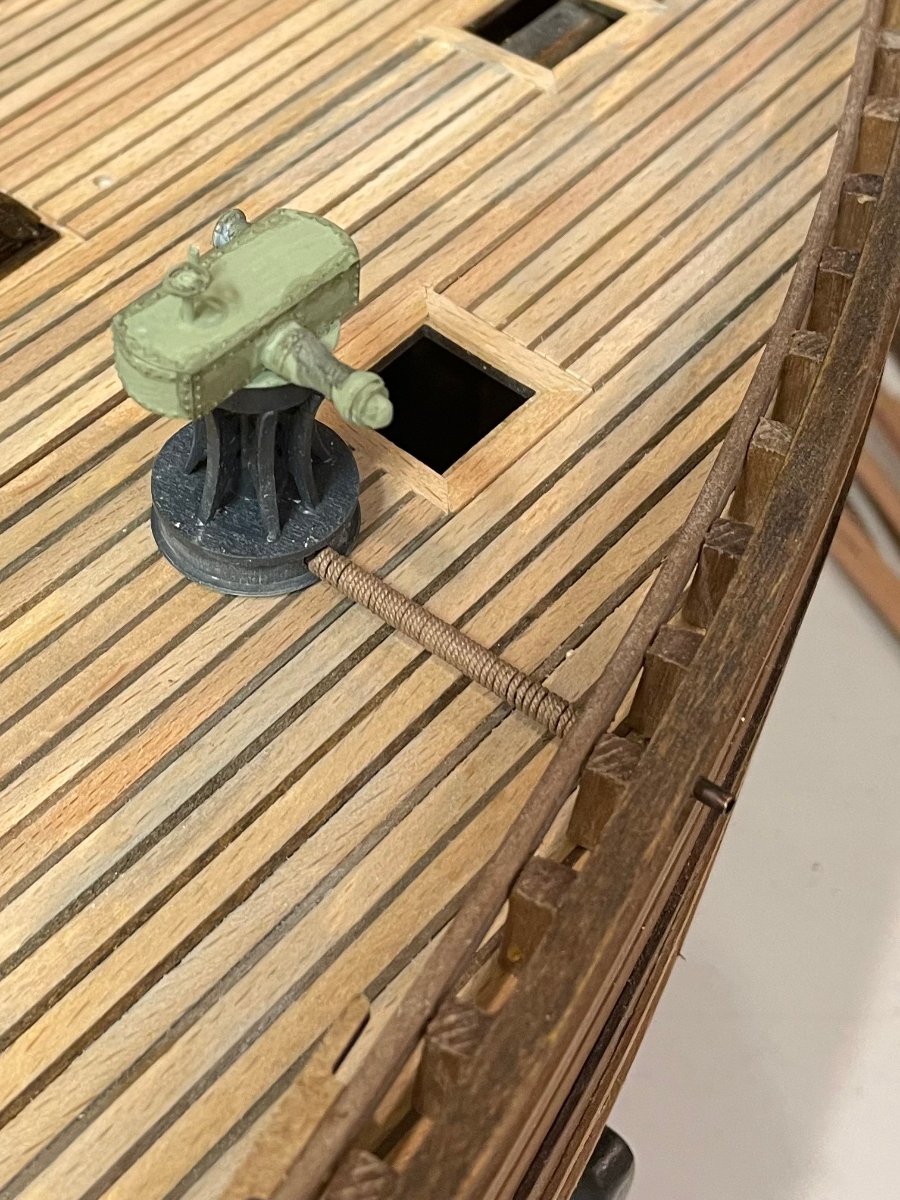
Put the pump and rope roller together from photo-etch.
These are quite fiddly, especially the rope roller. Some of the holes meant to pass the brass rods are too small and need to be filed out with a sharp ended needle file, which can be quite difficult as the pieces are so small. The same for two slots in the base of the roller which are too small to accept the tabs on the two small uprights for the center roller. All in all the rope roller was the most difficult thing so far on this kits. Also, the instructions have you cement the small support piece that fastens to the cap rail and then drill through the hole to the deck to drill the accepting hole for the post. Nope. Place the piece and drill a very small hole in the deck to mark the place, then remove the guide piece so you can work on making the deck hole large enough to accept the post. Verify the post slips easily through the guide piece (after painting if you are) and through the deck hole before cementing the mounting guide piece to the cap rail and the top of the inside deck rail, temporarily putting a piece of the 3mm dowel in to keep things aligned till the CA sets well.
Similarly the hole on the plunger end of the pump rocker arm was too small to accept the 1mm brass rod and too close to the edge to safely enlarge enough to do so. I had to substitute a thinner wire once I enlarge the hole as far as I could without rupturing through the end.
Looks OK in the end
- Montaigne, Prowler901 and Dsmith20639
-
3
-
-
And the steam winch is done, except for a bit of touch up of my somewhat amateurish weathering.

- Ken_2, Dsmith20639 and Prowler901
-
3
-
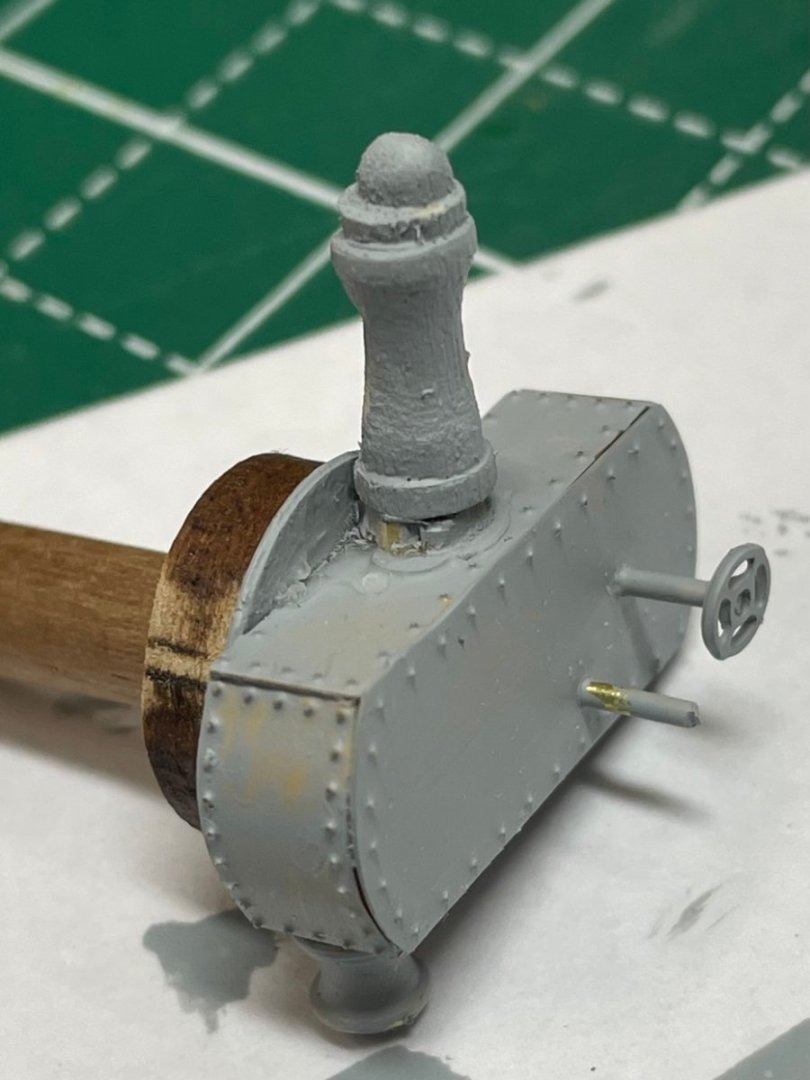
Well, I got impatient to get going (imagine that) so rather than wait around I fabricated the large winch drum from a small dowel.
Don't miss the brass since it is painted - just the primer coat now, will be green.
The closeup is of course somewhat unforgiving but overall looks good so forging ahead to finish the winch today.
- Ken_2, Montaigne and Prowler901
-
3
-
A bit ticked off today. Started working on the steam winch and discovered that the “signature” brass piece - the larger of the two drums - is not present.
Asked for a replacement but as I was going to be blackening them I might try to fabricate something since there’s no telling when or if I might get one. It would be wood as I don’t do metal but painted black that’s ok. Won’t be as pretty a shape though. -
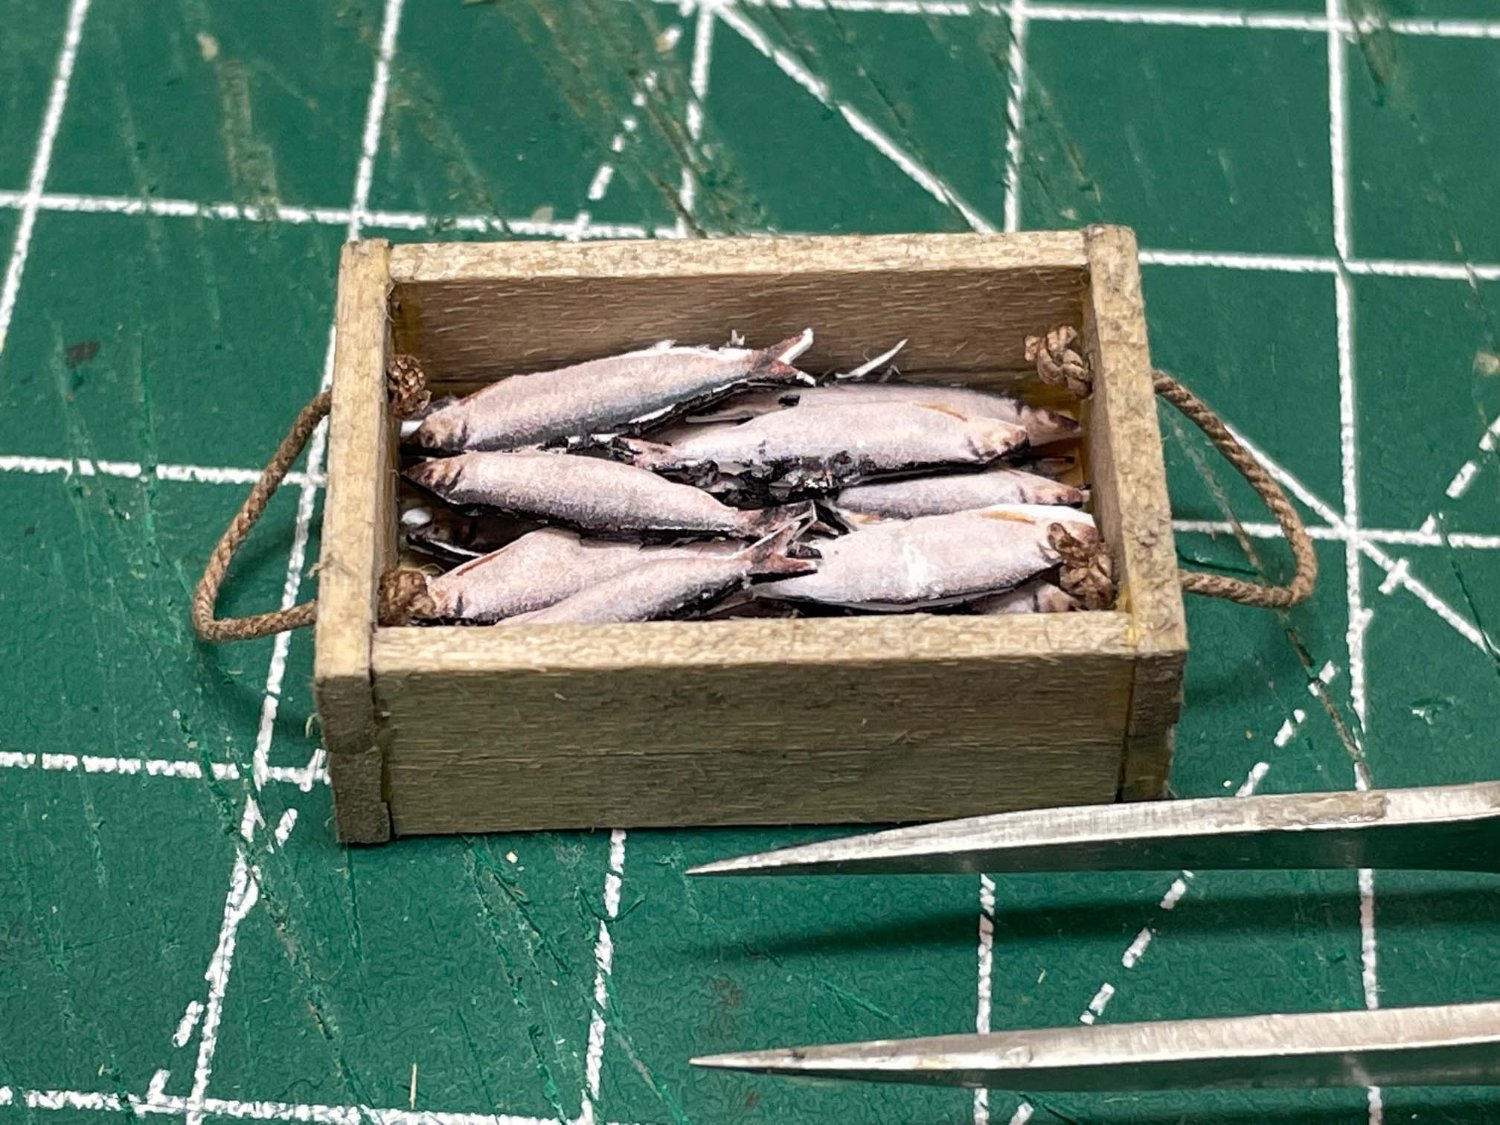
A little fun diversion today. Made up a bunch of little herring and a box to hold them for delivery. The boat will be portrayed as ready to dock with nets and buoys stored/drying.
- JpR62, Dsmith20639, Prowler901 and 1 other
-
3
-
1
-
Thanks Chris for the "like". I'm enjoying the build (once the planking was done).
-
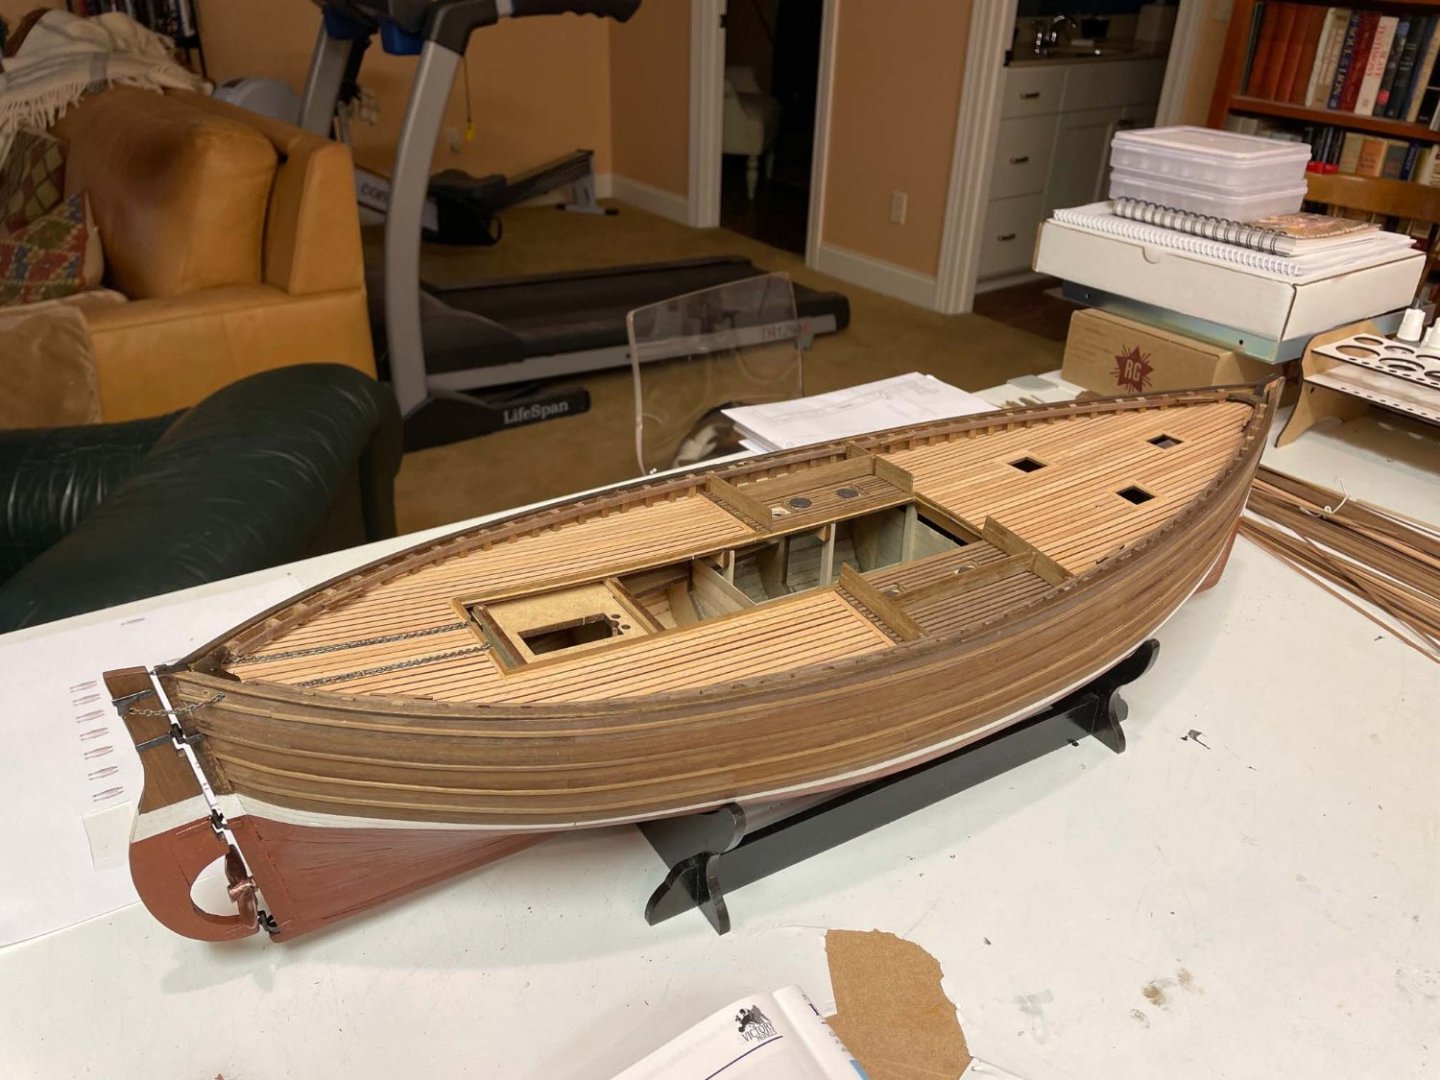
Decided to finish the weathering so I can put the hull aside for the time being to work on the deck structures - cleaned up the shipyard, vacuumed, and straightened up to begin the micro-carpentry.
The vessel no longer looks like it just arrived; she's been working.
- chris watton, James H, Diver and 2 others
-
5
-
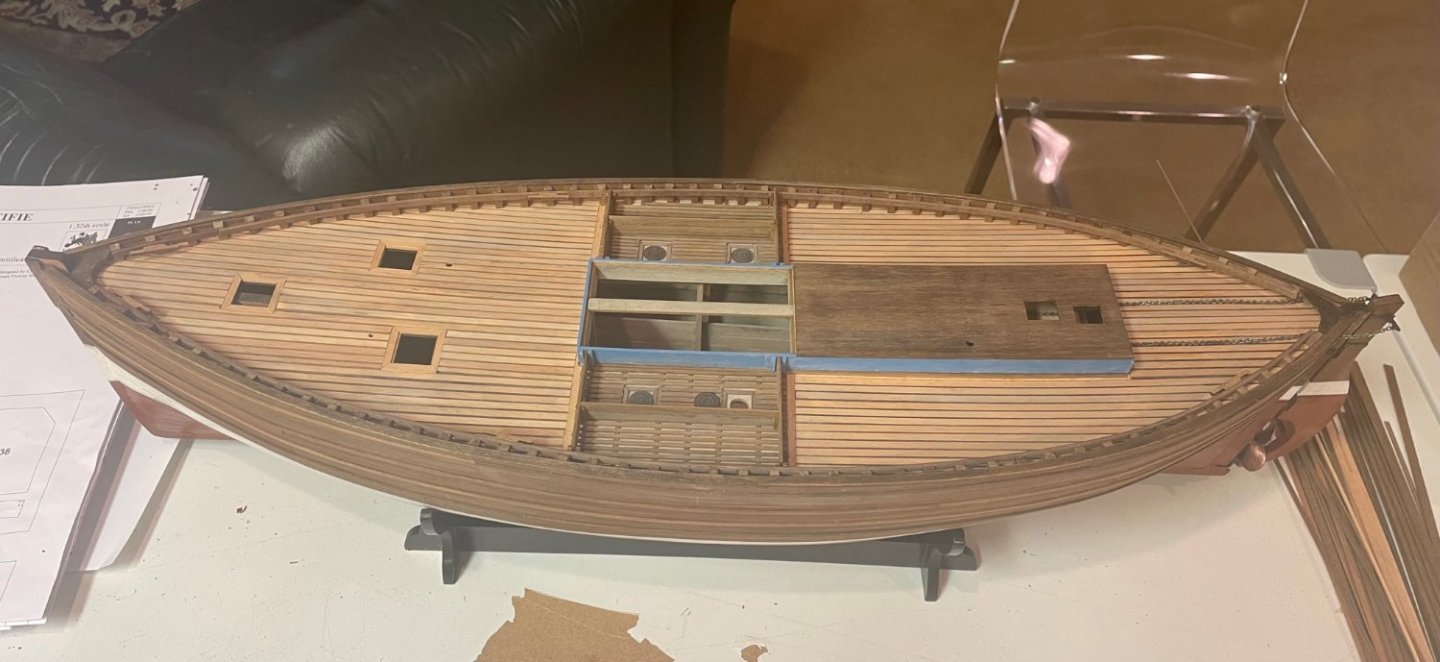
Put together and painted the base for the Superstructure. I thought a bit of color would break up the walnut monotony. Likely will use some blue on the pilot house as well. I strongly suggest making certain the first pieces will fit into the deck opening before gluing them together. I had to adjust the length of them (shorten) and adjust the notches accordingly as well as sand the edges of the opening a bit to get a good fit.
I added (for practice) some gentle weathering and chipping to the painted surface - nothing over the top but I don't want the boat to look like it just arrived from the builders. I will be doing something similar to the fish pond area and the deck. The superstructure base is just dry fitted at the moment so that I can work on its bits off model.
I'll start working on the deck structures next.
- ccoyle, Prowler901, Knocklouder and 1 other
-
4
-
-
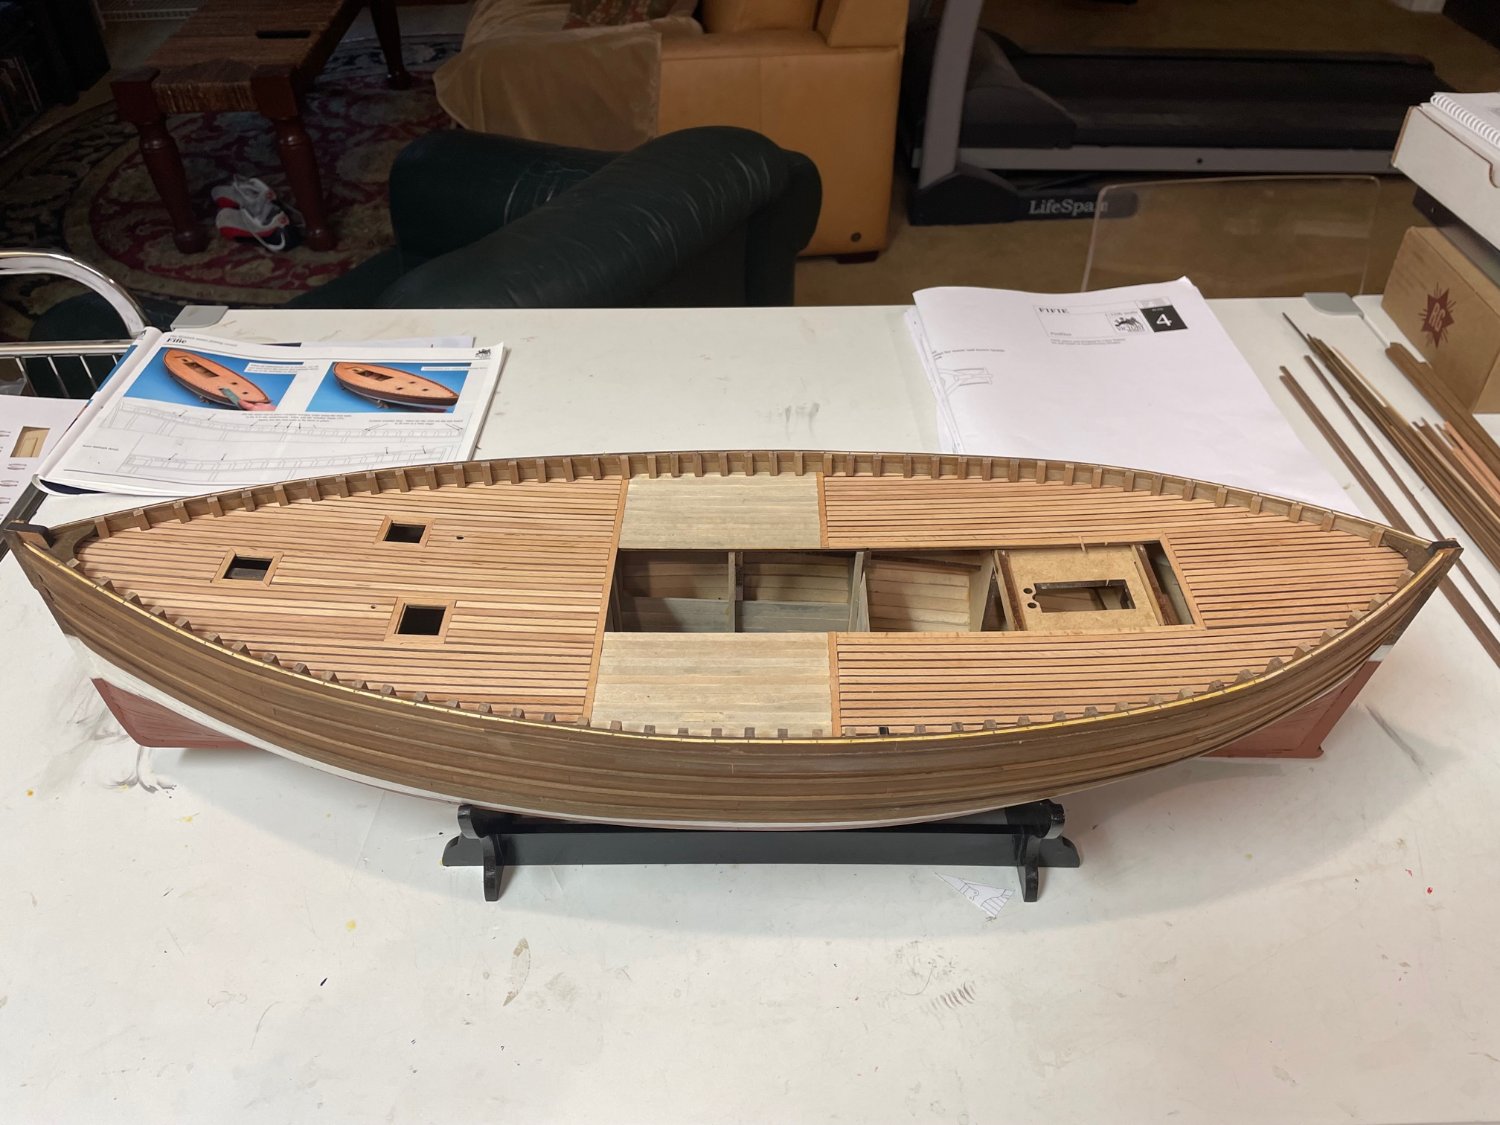
Put on the cap rail, finished and installed the rudder, and dry fitted the pond boards, so the deck is now complete.
I think, looking ahead in the instructions, that I will skip forward to complete at lease the base of the superstructure, so that I can properly trim fit the ends of the pond boards since there will be a slight overlap of that structure beyond the "hole" it fits into.
Then I'll start on all the little project structures.
- JpR62, Diver, Prowler901 and 4 others
-
7
-
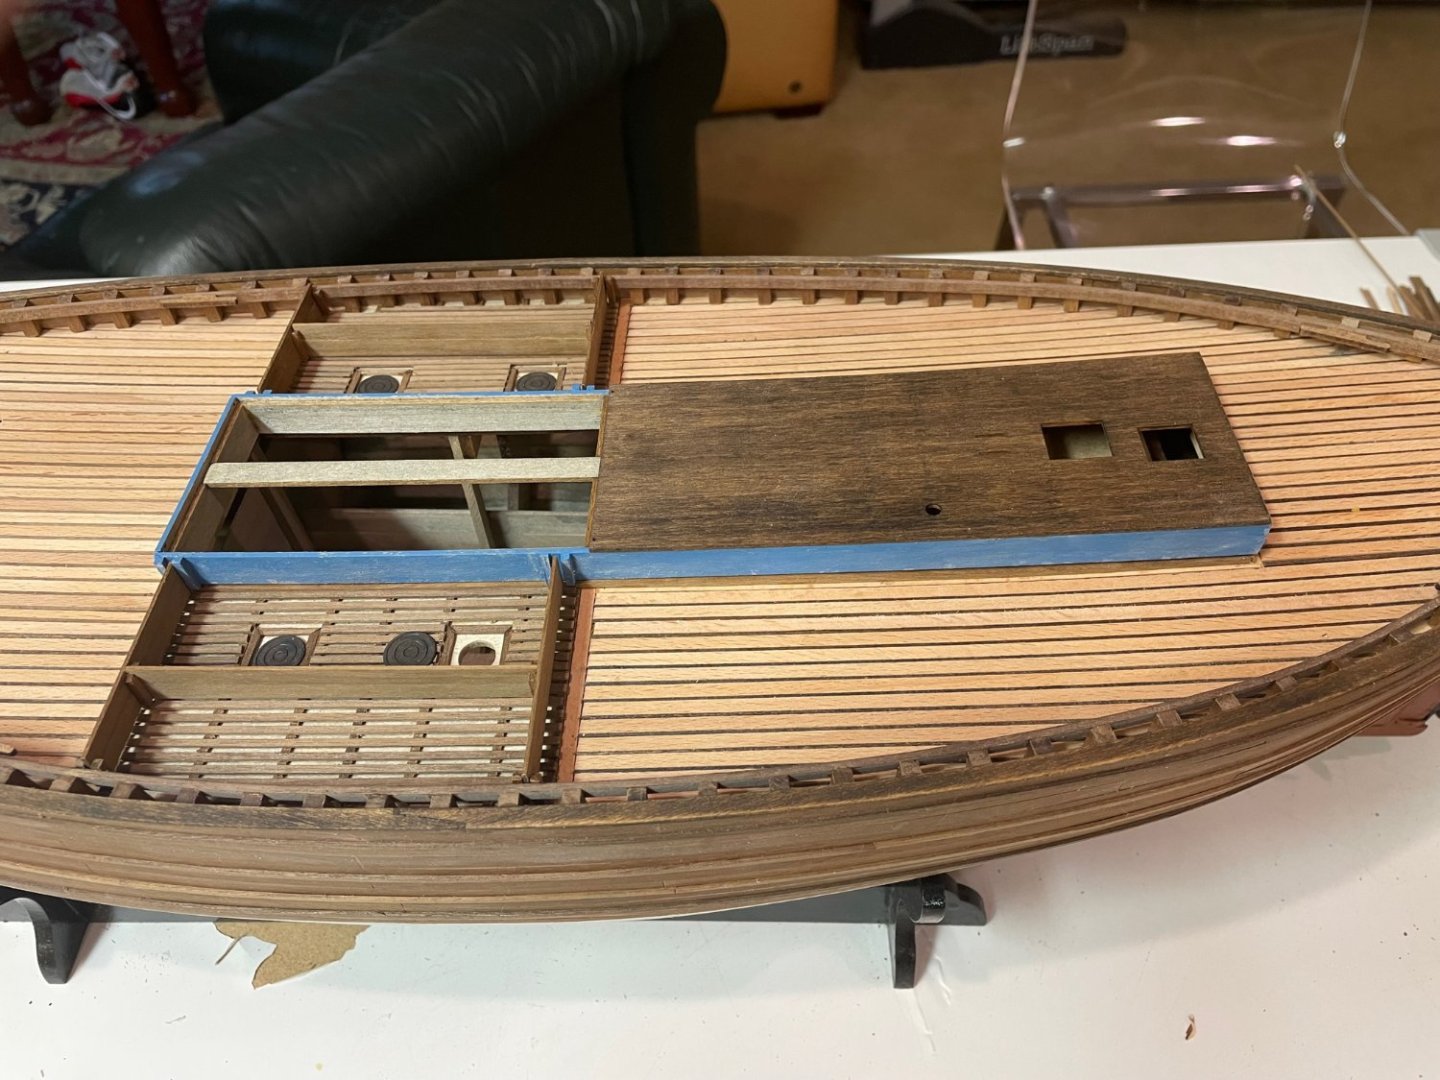
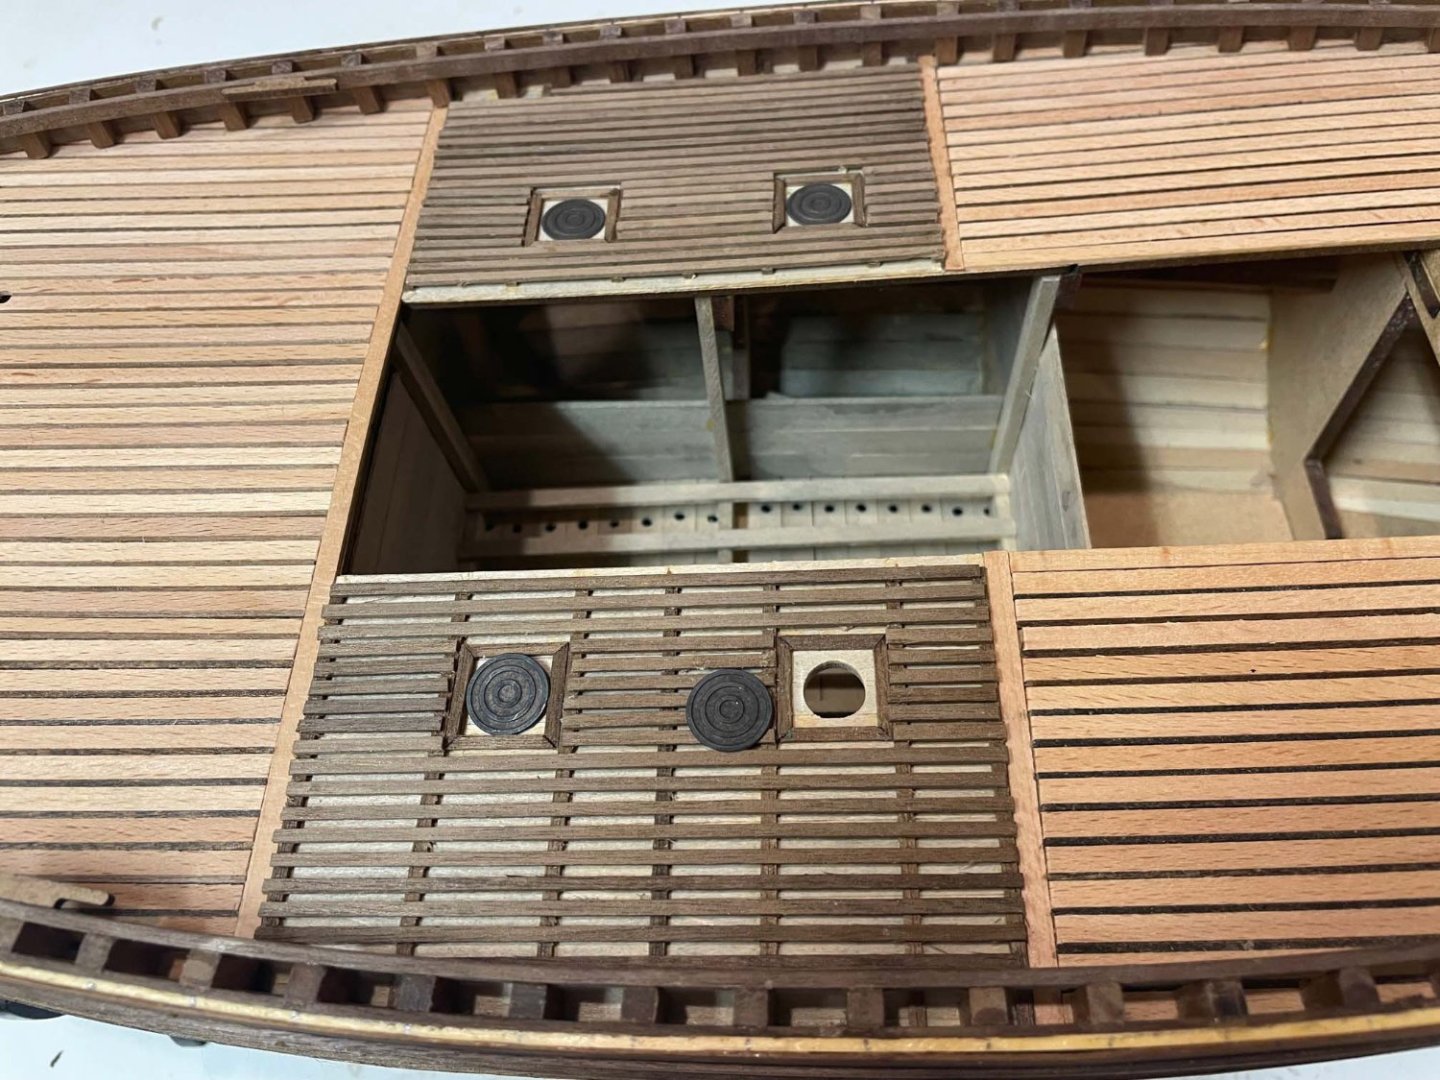
Finished the grating area and the scuttle covers.
Working on the rudder tomorrow.
I have to think about weathering the deck soon.
- Prowler901, Dsmith20639, BobG and 1 other
-
4
-
Thanks for the likes and comments all.
-
I have 2 guys ready to go. They might be slightly too big but there must have been some 6’ 2” fisherfolk.
I have some netting to be drying in the well I made which will be partially uncovered. Gray Tulle (sp?) with mesh perfectly in scale for drift nets.
One scuttle will be open. -
Planked the inner bulwarks and installed the timber heads. I think this may be the last mind-numbing repetitive job for this build.
Except:
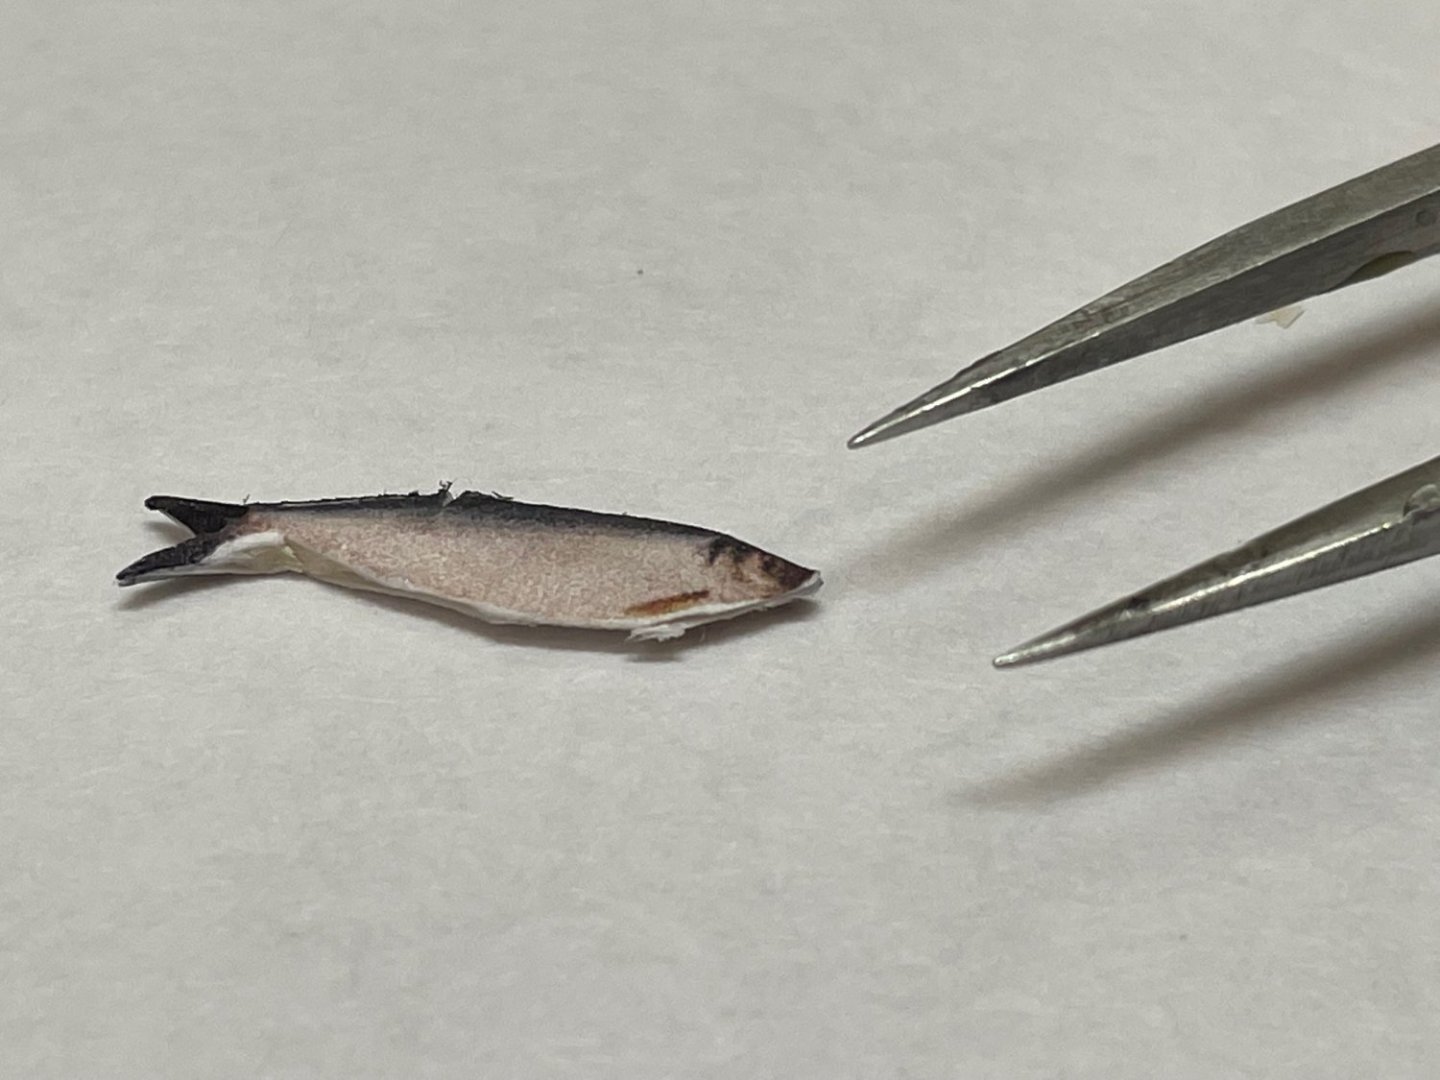
My wife joked about putting tiny herrings on the boat.
A challenge!
Made a prototype. Too labor intensive to make a large number. I think I'll have one tray of herrings on the deck with perhaps 10 or so in it.
Started with an illustration, added a flipped image just touching the top of the fish so that when folded it's 2 sided. Resized image to scale of the boat and printed a bunch of the double images on a sheet. Cut out a rectangle including the image, carefully scored a fold line between the flipped images where they touch, and folded the paper.
Glued a small piece of wood inside to give it depth and painted the inside with Elmer's glue and pressed the folded paper closed, with pressure all around the picture. After it dried I trimmed with fine blade and magnification. Touched up the dark edge (top) with a sharpie. One very small herring!

- Diver, Dsmith20639, Ken_2 and 3 others
-
6
-
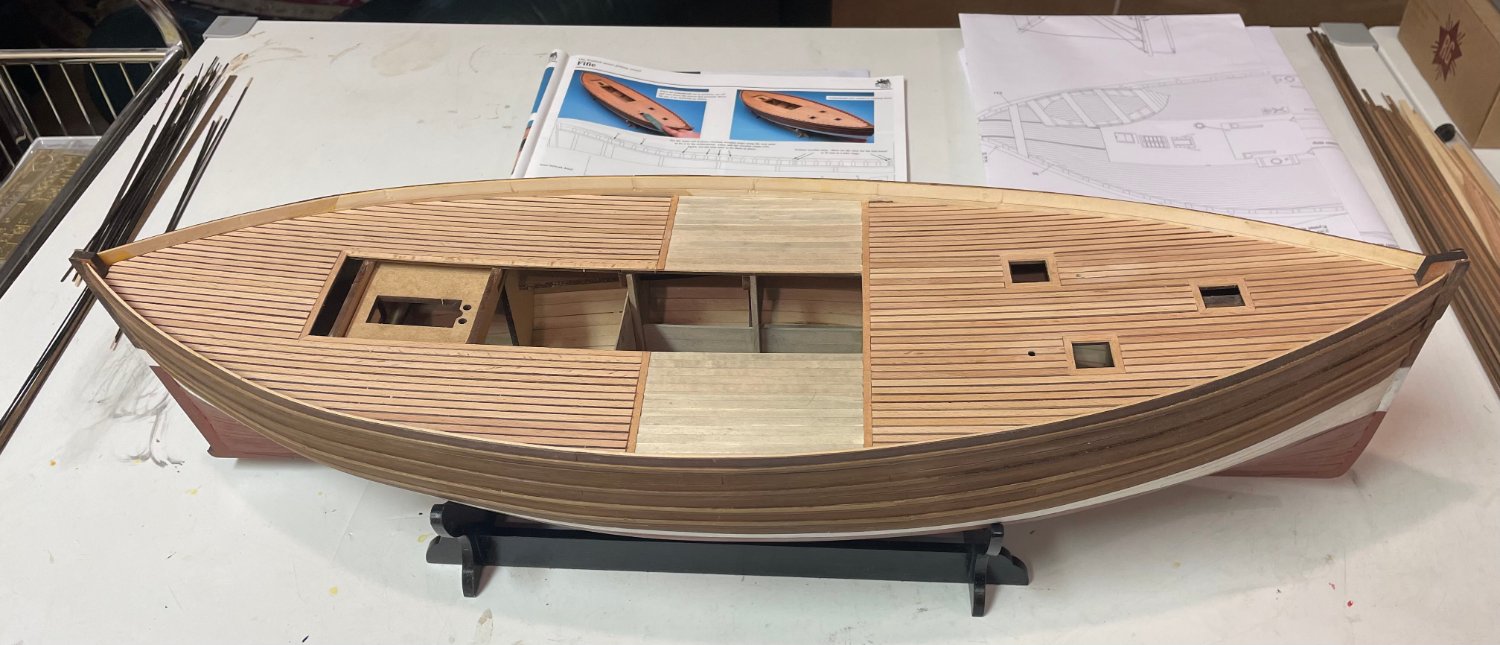
Finished the base planking of the deck.
I decided to use the dark 1x1 mm strips for caulking per the instructions. Interestingly, no where near enough of them were included in the kit to do so - I had to order some 1/32x1/32 strips from somewhere that could get them to me fast and stain them.
I also decided I will place the timberheads on the deck per the instructions rather than planking around them.
The decking in the middle "fish area" has been weathered before the grate goes on over it.
I think this ship will be portrayed as a bit battered rather than all spick and span from the yard. So I'm doing a bit of research on weathering, chipping, etc., none of which I have previously done.

- Dsmith20639, Diver, bruce d and 2 others
-
5
-
-
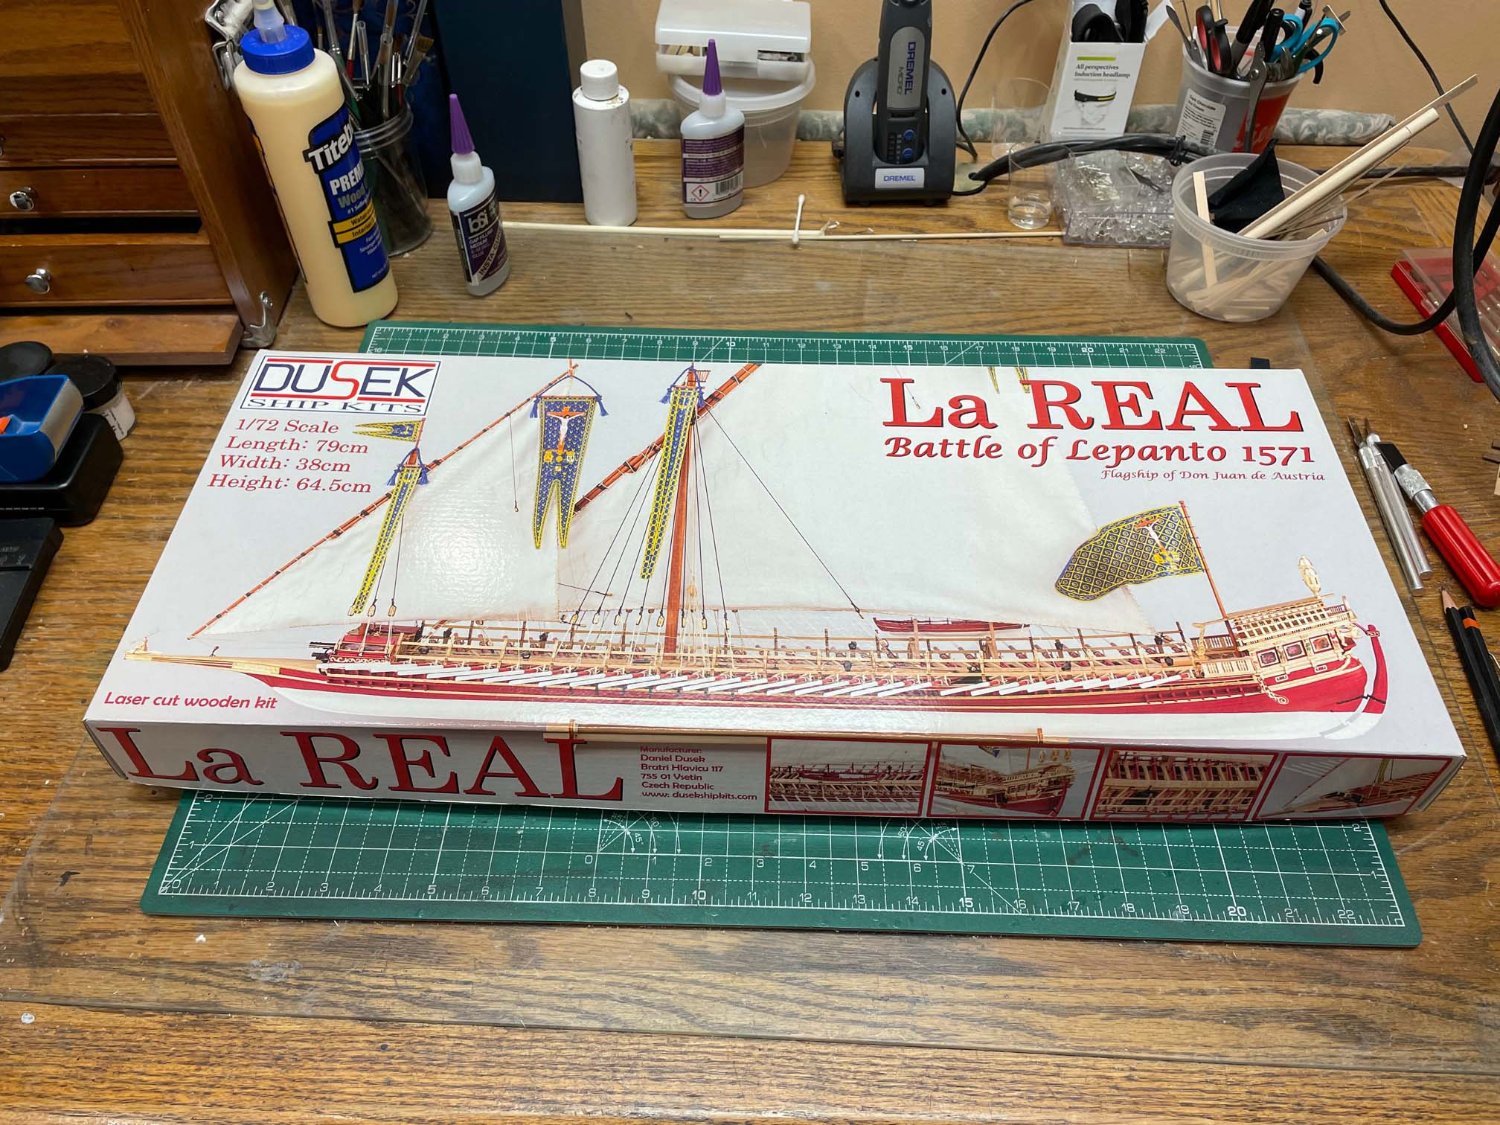
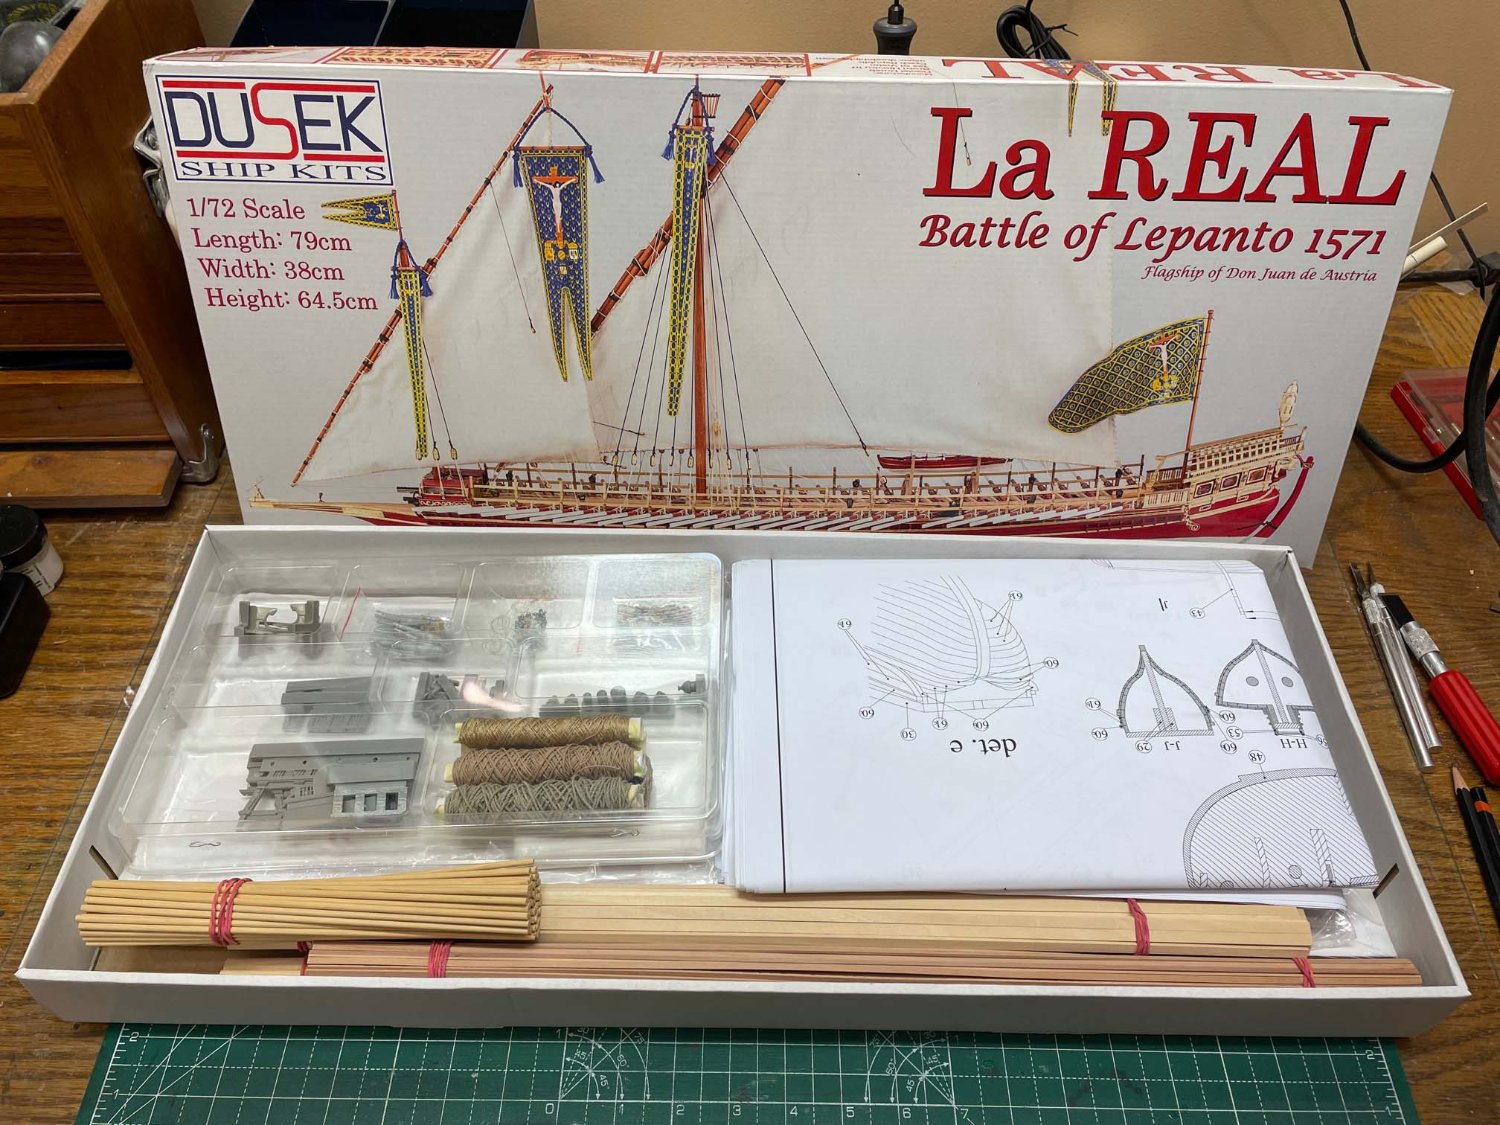
I have a Dusek La Real galley kit (in pear) that’s been living in my stash. I now realize I’m never going to build it. For one thing no more room to display in our houses!
This is an untouched kit that cost over $400 initially. I would like at least $300 plus shipping cost and will accept best offer above that. PayPal accepted and preferred. There is a build log here if anyone has interest in this kit. PM if interested with offer or with questions.
Thanks for viewing.
Bruce Evans
Minnesota USA
-


Fifie by Brucealanevans - FINISHED - Amati - 1:32 - Scottish Motor Fishing Vessel
in - Kit build logs for subjects built from 1901 - Present Day
Posted · Edited by Brucealanevans
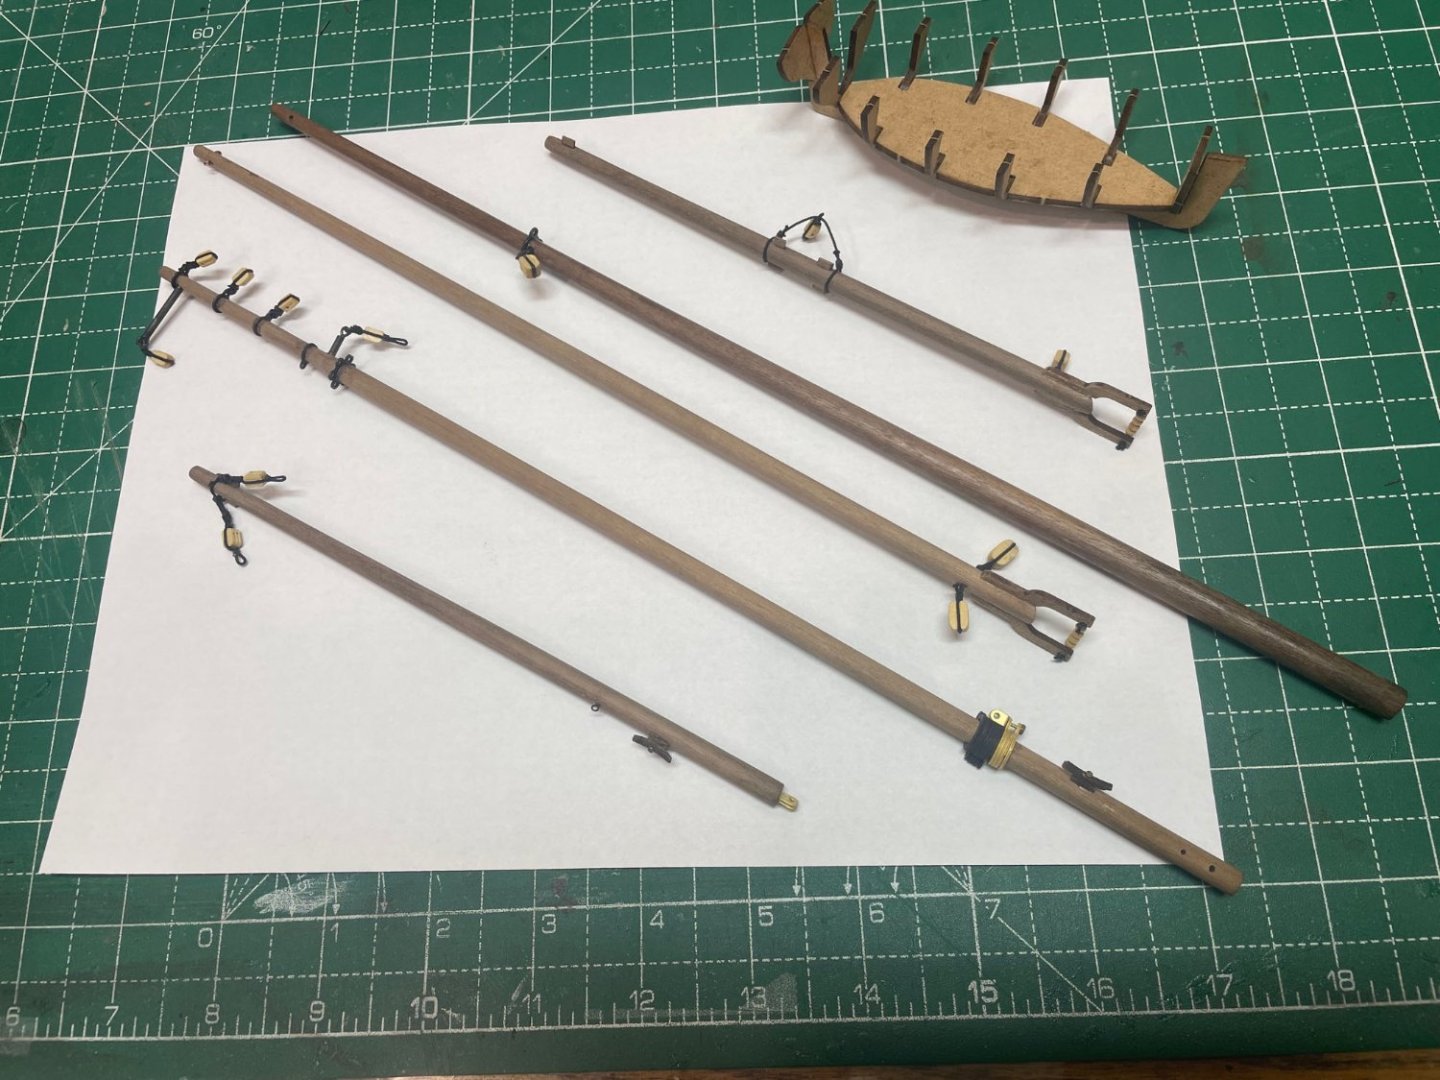
I've finished the masts and booms, save a coat of WOP, and everything attached directly to them. It is necessary to study both relevant plan sheets and double check with the pictures in the instruction book as there are a few things easy to miss. And this time I didn’t forget to carefully ream out the block holes BEFORE mounting them!
I can't put the aft mast and booms together until I get the sail. My sail maker - my wife - is having an extended stay in our Marblehead Massachusetts place, so I sent her the fabric and a sail pattern. Whether she receives it and finishes it it is unclear if she should send it back or I just wait till she returns. Either way I'll attach the sail to the upper boom and mast off ship.
Anyway, as the boat must be transported by car with all our other junk when we drive to Marblehead where it will live from here in Minnesota, it might be best not to install the masts and do the rigging until we go there for the summer in mid-May. I only have a mini-workshop there, so I need to make certain I've taken care of everything requiring my tool shop and equipment here before we go, and take my rigging tools with me.
In the meantime, I'll take a stab at building the ship's boat. With both my Morgan and Confederacy builds I left the little boats to the end which felt like an anti-climax. This little thing is small and fragile, so I suspect more than a bit of a challenge.