


RGL
-
Posts
5,168 -
Joined
-
Last visited
Content Type
Profiles
Forums
Gallery
Events
Posts posted by RGL
-
-
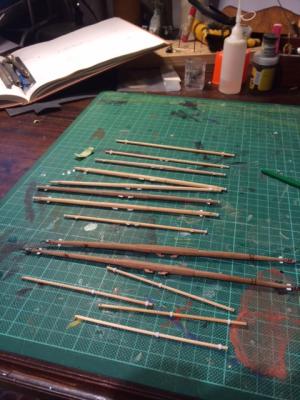
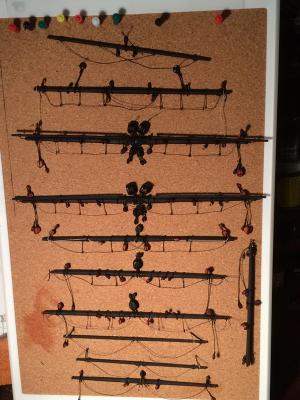
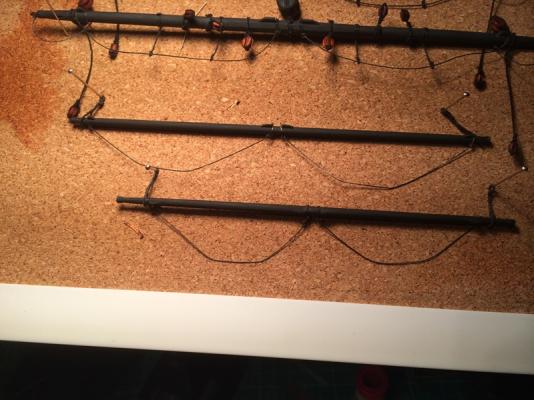
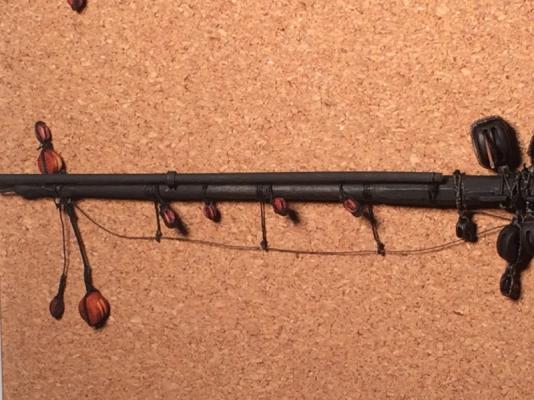
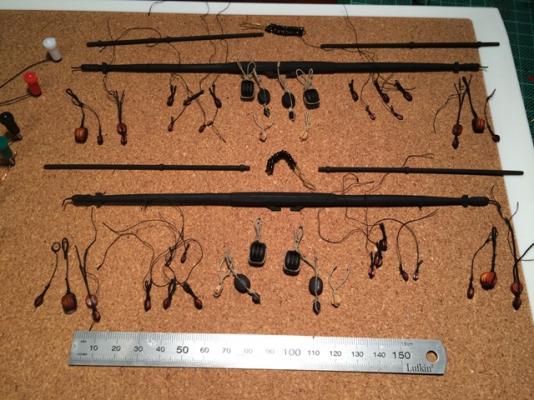
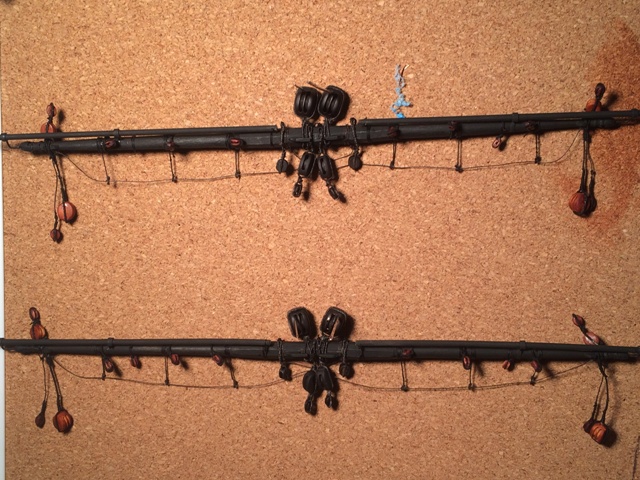
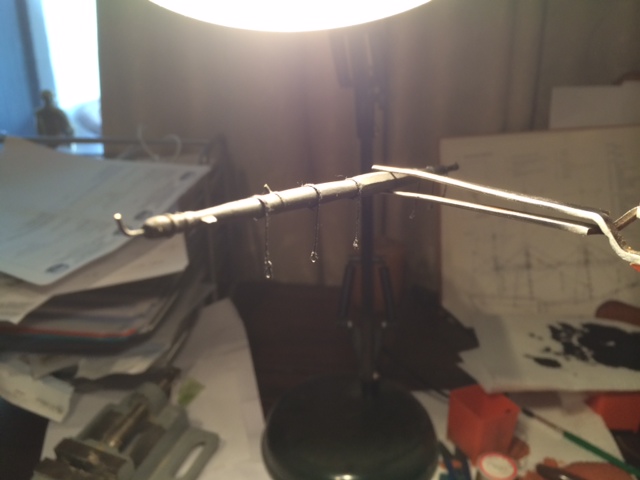
From sticks to very complex sticks. The yards are now complete, with over 107 stropped blocks by back is a little sore.
- Captain Slog, BANYAN and robin b
-
 3
3
-
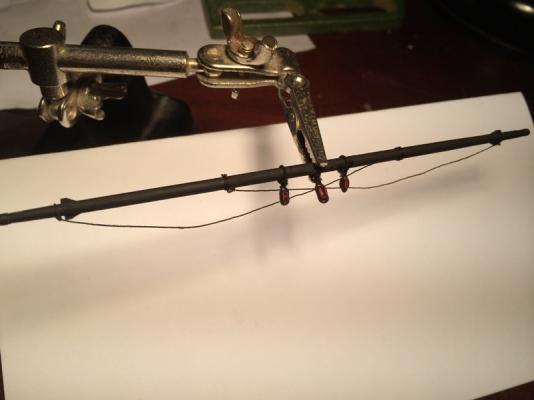
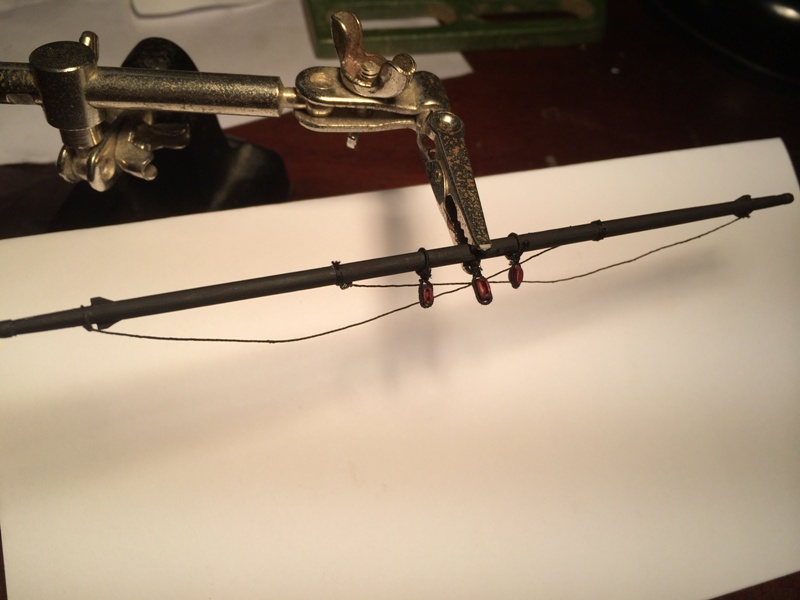
The last one! The cross jack yard. The little ring on the block is for the clew line.

- BANYAN, robin b and Captain Slog
-
3
-
Topgallants, by far the easiest to do. 1 to go.
-
It's not so much the planking that got to me but the thousands of tree nails. Janos used a dark wood filler.
-
-
I don't think we'd ever tolerate intellectual property here!
-
-
The Gaff. I did the entire thing from scratch as you can see the AL Yoke would have never worked. 5 to go.


- UdoK and Captain Slog
-
2
-
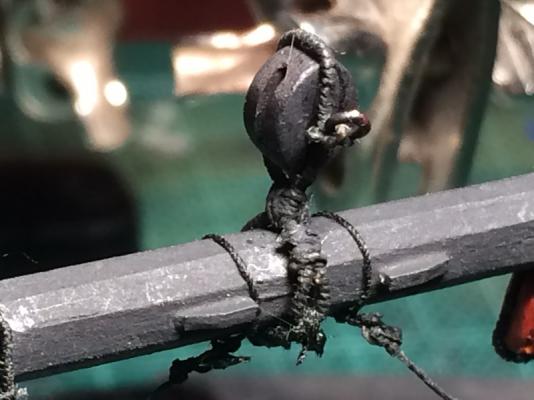
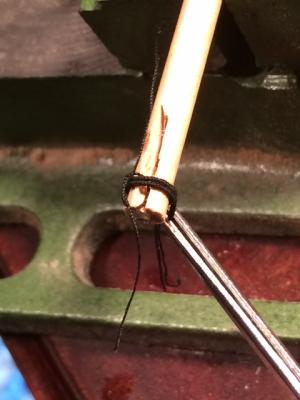
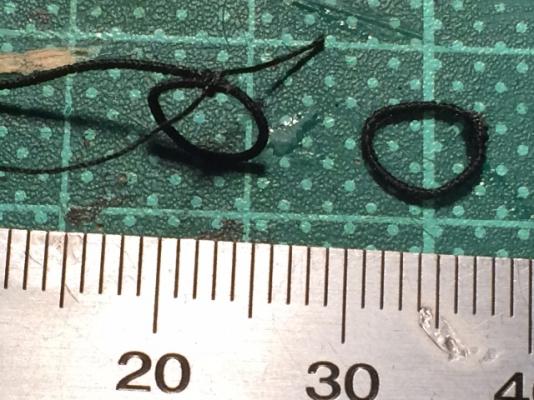
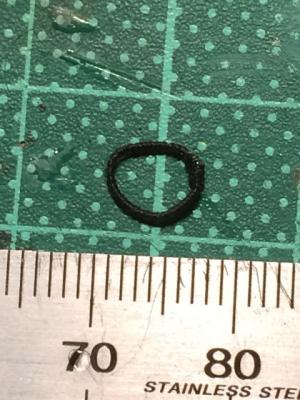
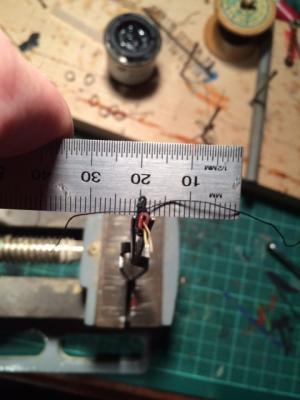
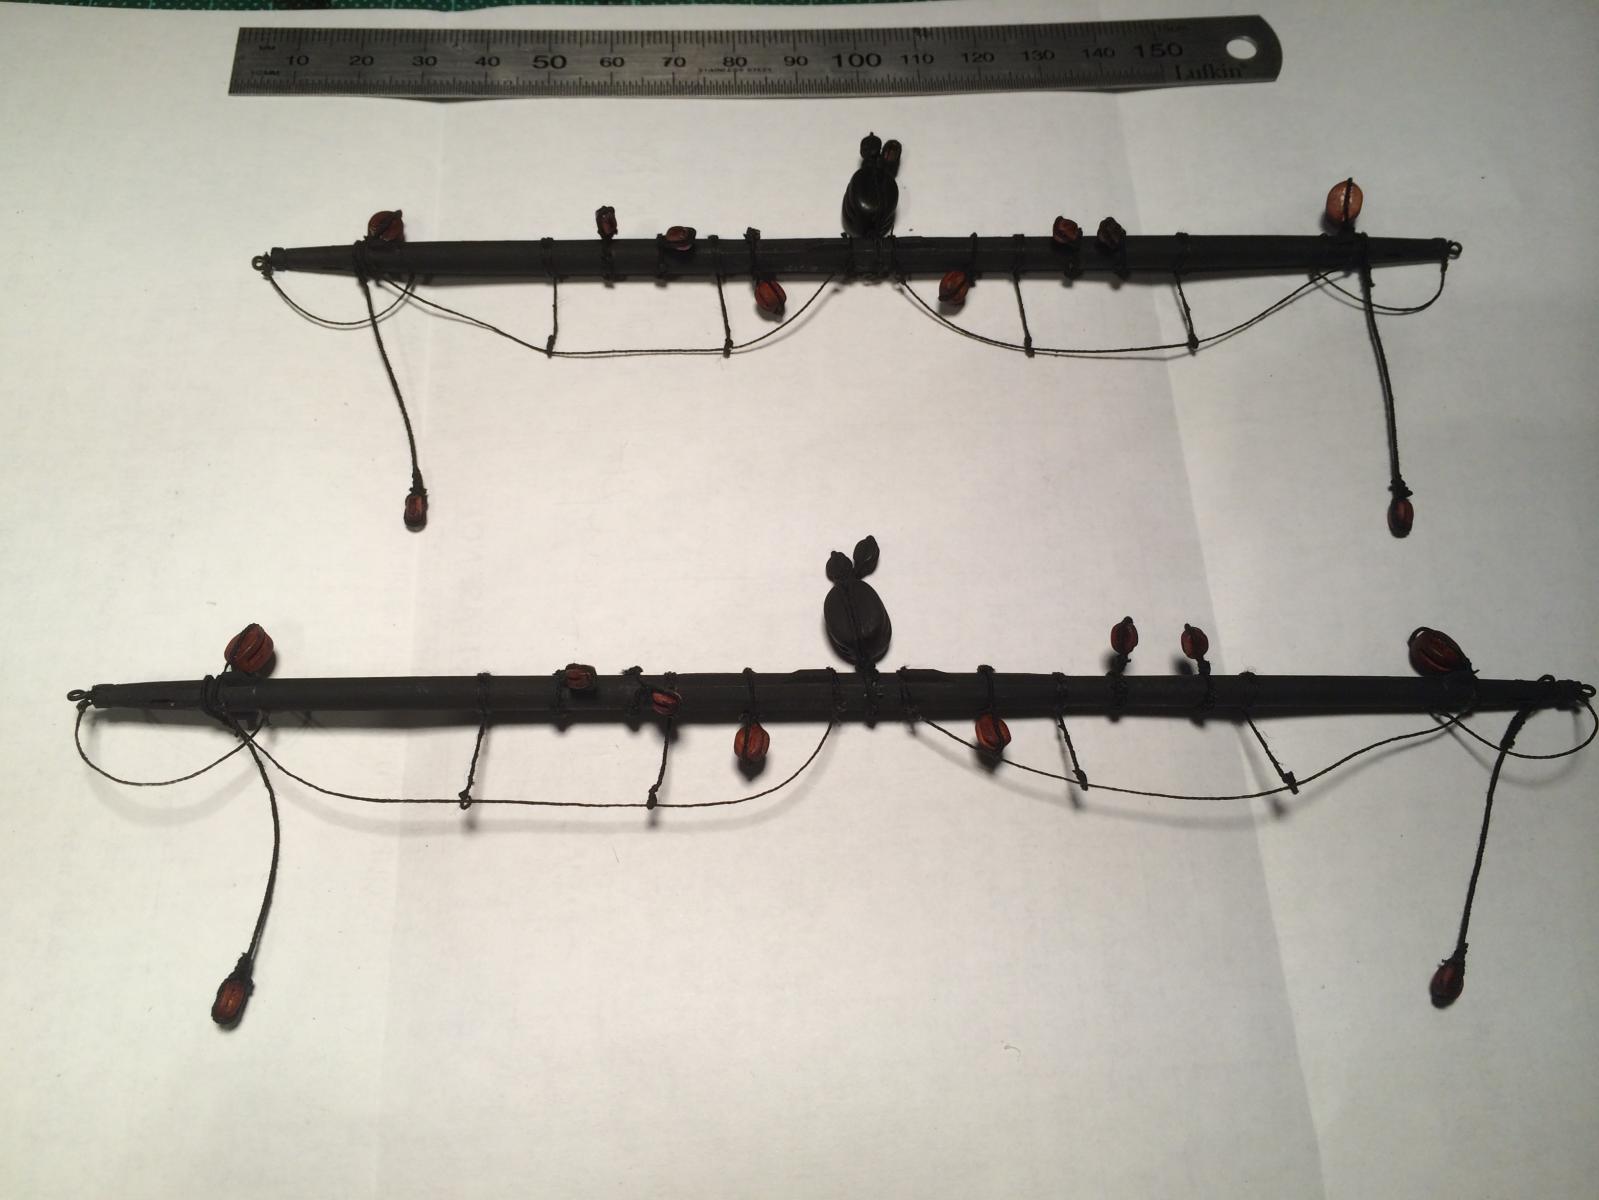
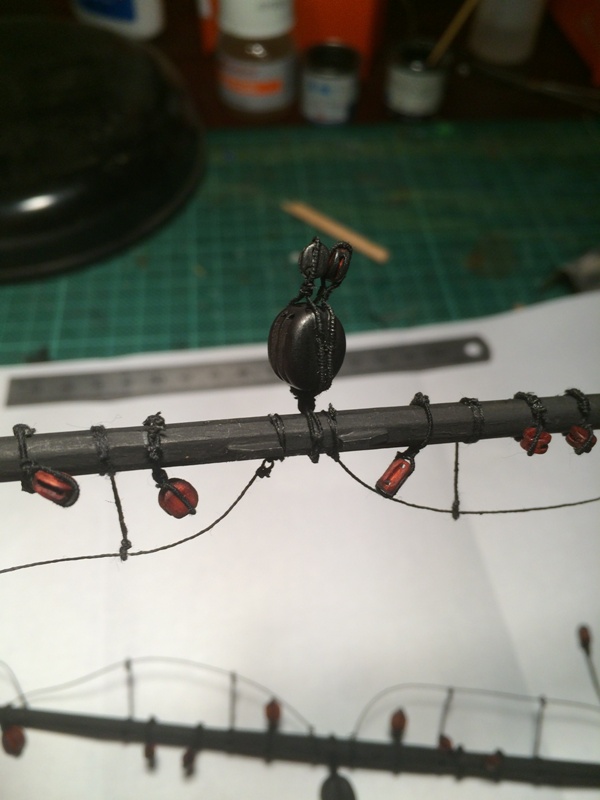
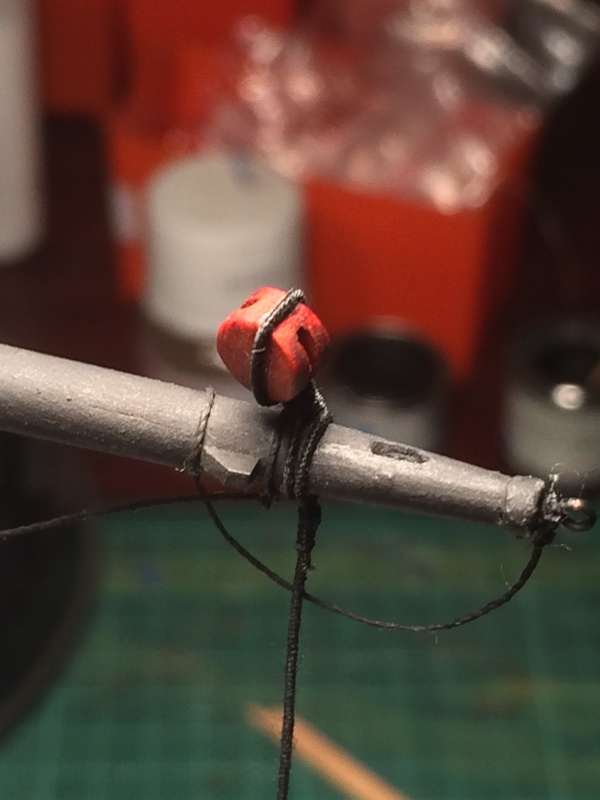
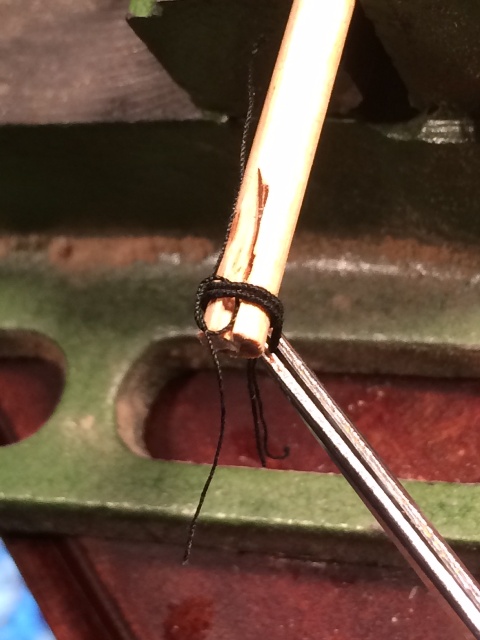
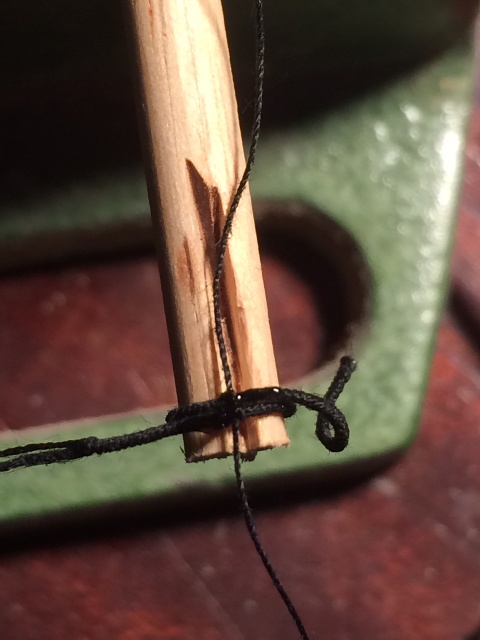
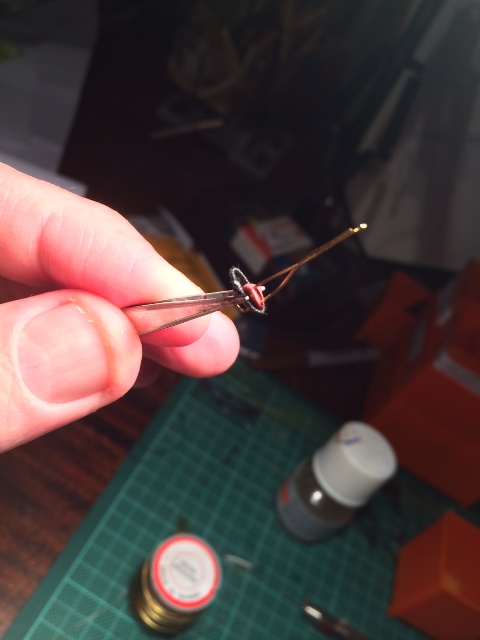
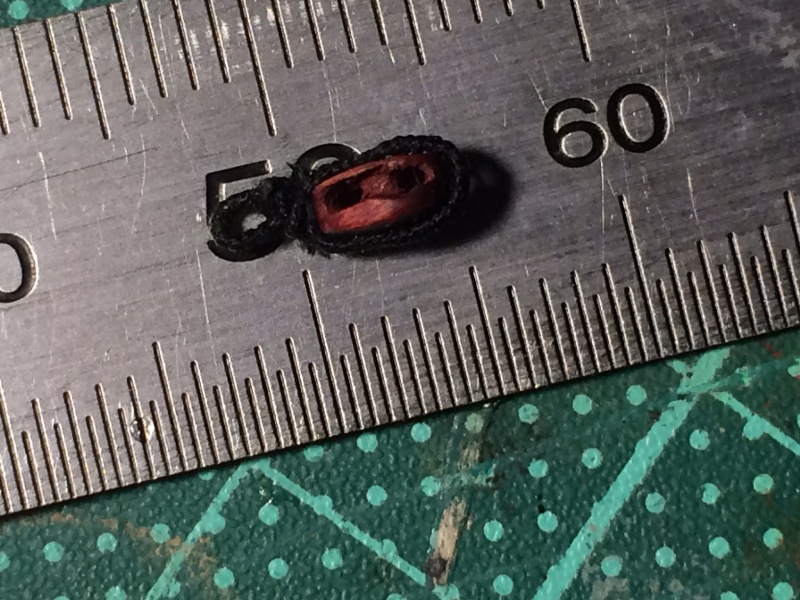
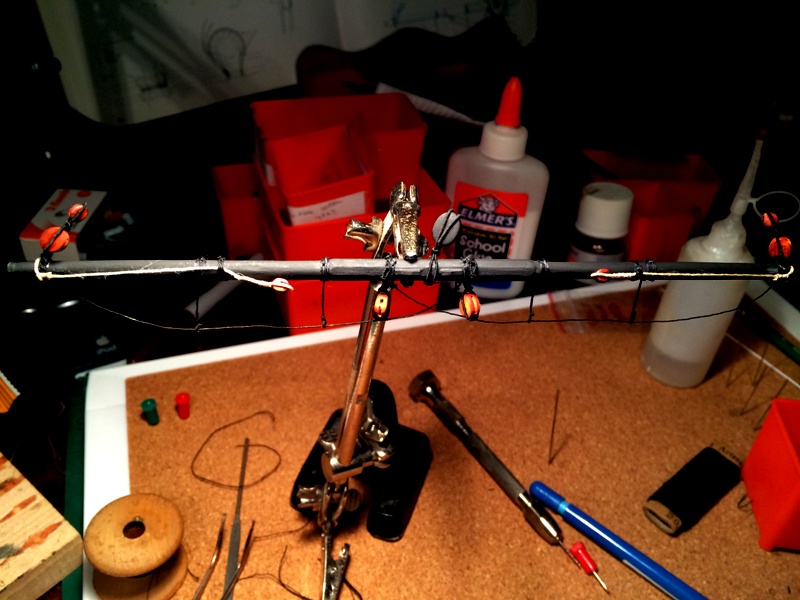
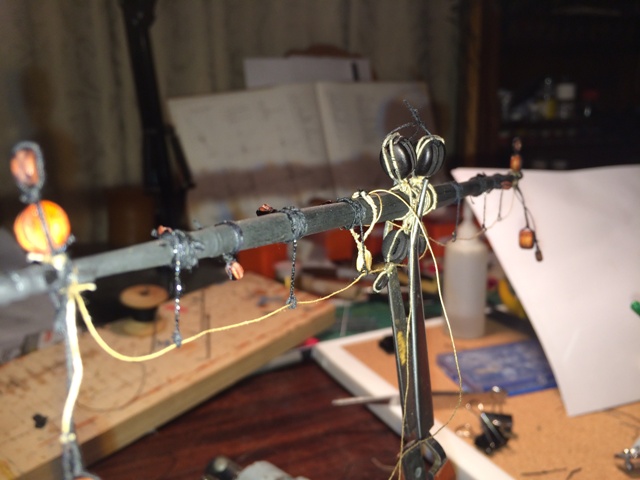
As I move on with the yards, the blocks are getting smaller, and essentially I'm not very good at stropping blocks. I had a bit of an idea how to do it better. I got a bit of offcut dowel that would suit the radius that I needed. I cut a notch in it. I then hand served about a foot of .25mm cord and wrapped it around, held with a small pair of self closing tweezers, tied it off 3 times (the block is 3.5mm so fiddly). Using a bit of brass wire to hold the block I affixed the served ring with some CA, then tied off the block with cord and a small touch of CA. It worked!


- UdoK, BANYAN and Captain Slog
-
3
-
The Cross jack Yard finished. 6 to go!

- robin b and Captain Slog
-
2
-
And the Spiritsail topsail yard.
- robin b, Aussie048, Captain Slog and 1 other
-
4
-
It does not get any faster, the Spiritsail yard.
- Captain Slog, robin b and Aussie048
-
3
-
-
You're going to need a vacuum bag for her and some moisture traps to stop her warping!
-
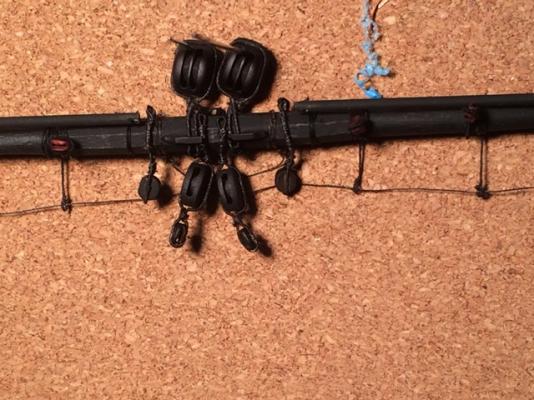
Main and Fore yards complete. I have not yet attched the tackle as I will use two of them to be lowering a ship's boat and the other will be slung with the tricing lines to the stays. These are hopefully the most difficult of the lot with so many blocks to attach. Only 9 to go!
-
Happy to tell you what NOT to do including advice on cats.
-
Mate I tossed every fitting, the only part of the original kit are the frames, first layer of planks, the decking (which I should have tossed) and the windlass. Everything else is scratch apart from the wheel, anchors and the photo fret which is from Caldercraft for their endeavour. The blocks are all from Classicmodel and a few of Chucks. It's probably cost me 5 times what I paid for the kit in 2000ad but I would not be satisfied. Nearly 10 years on and I'm finally getting there!
-
-
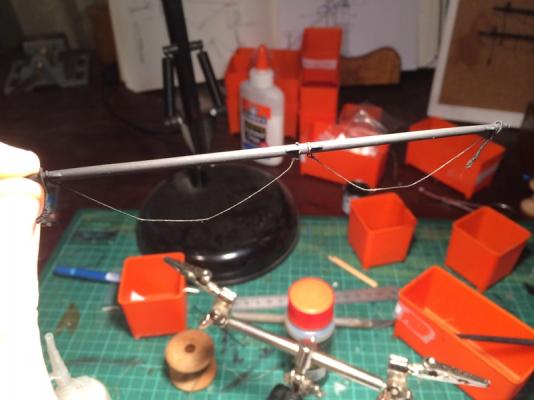
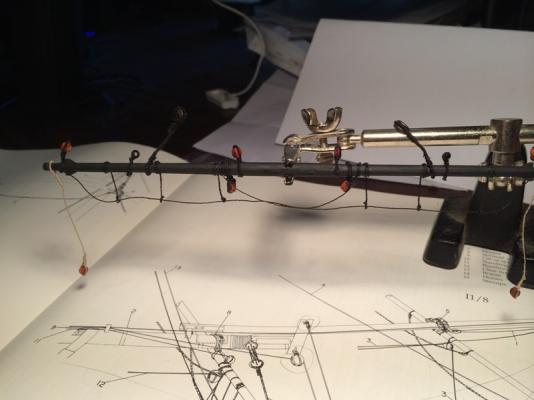
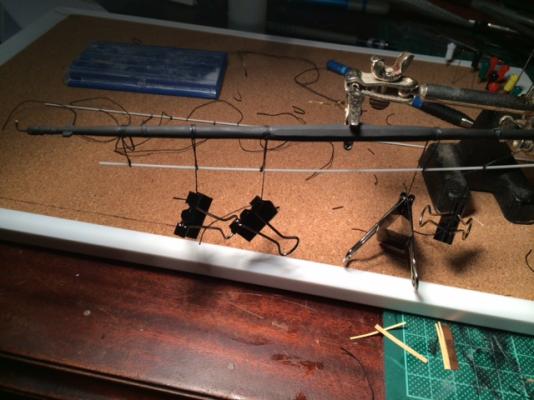
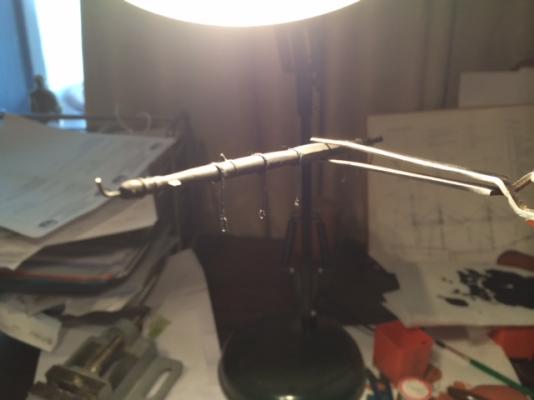
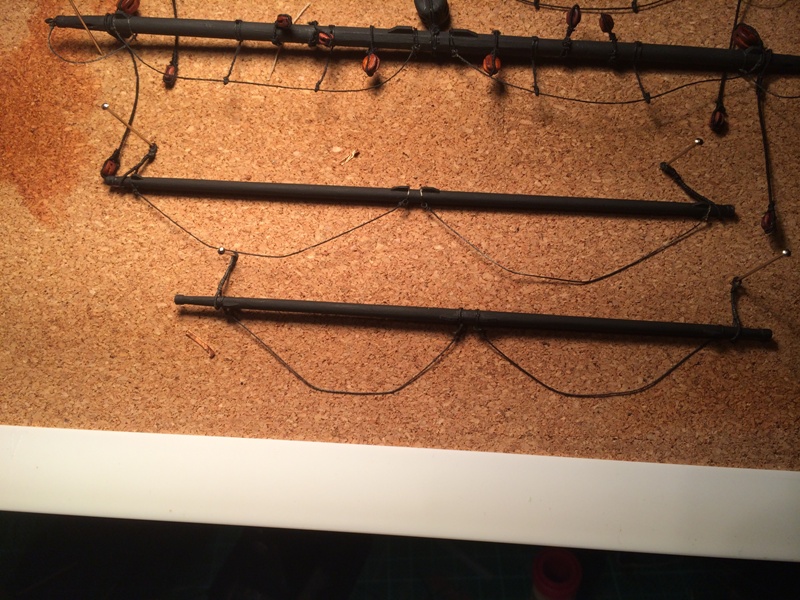
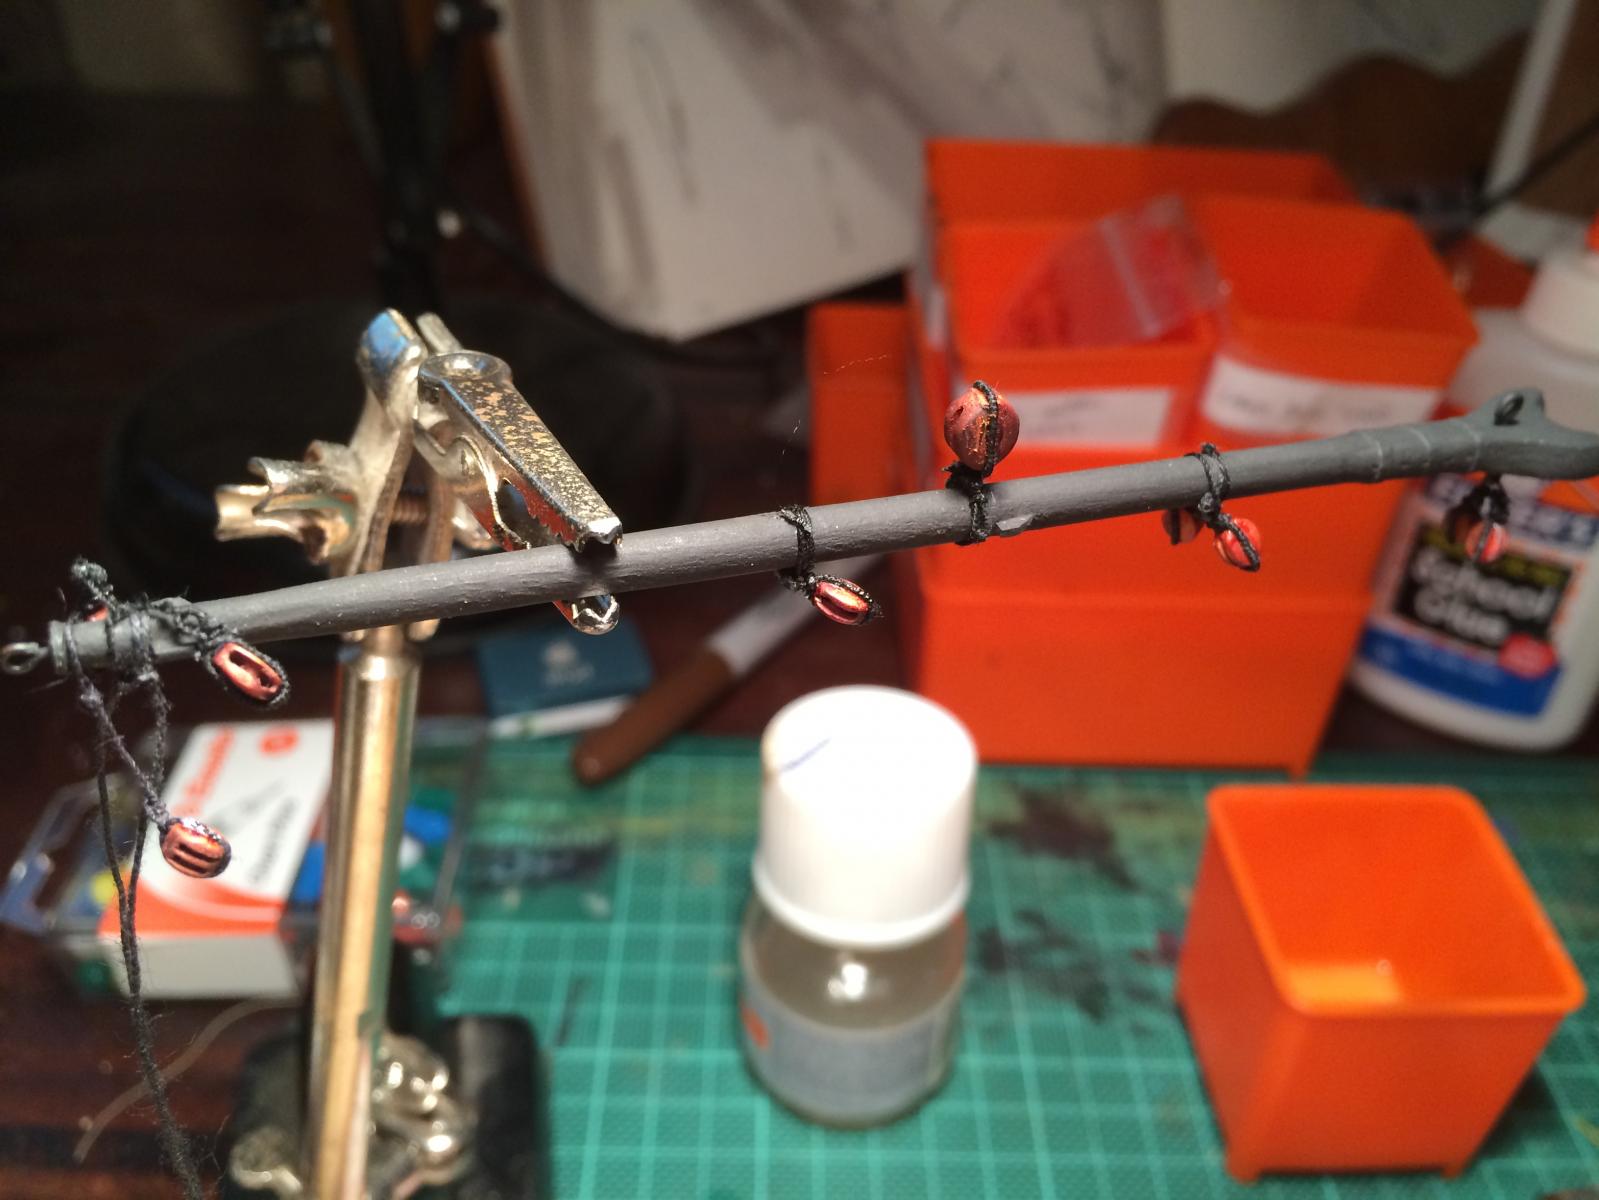
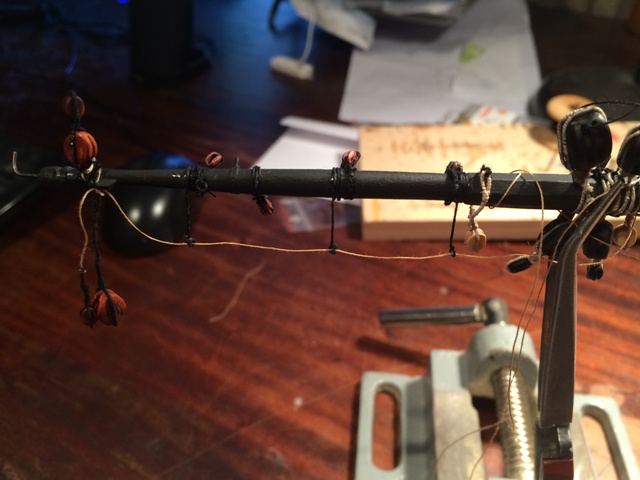
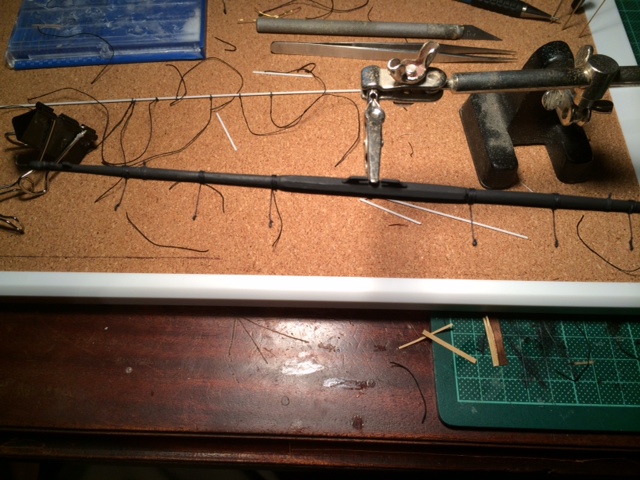
Ok, stirrup time. I used a needle to thread some 1.5mm line around a needle then glued it to form the base of the stirrup, then trimmed it when dry. i then set 15mm of length with CA to set it hard. The using some plastic strip to keep the distances correct at 15mm, slung them underneath the yard and lashed them. i can't actually attach the footropes until I lash the blocks on. A bit of black paint to hide the sins will follow.

-
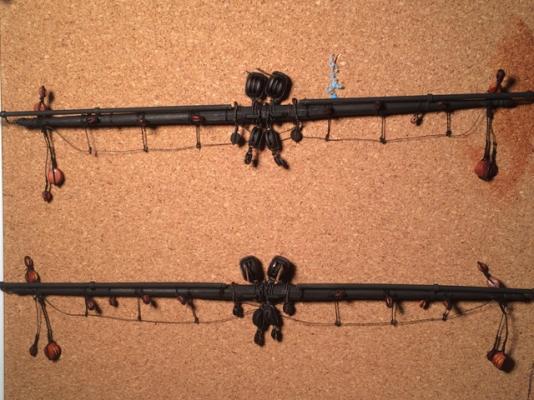
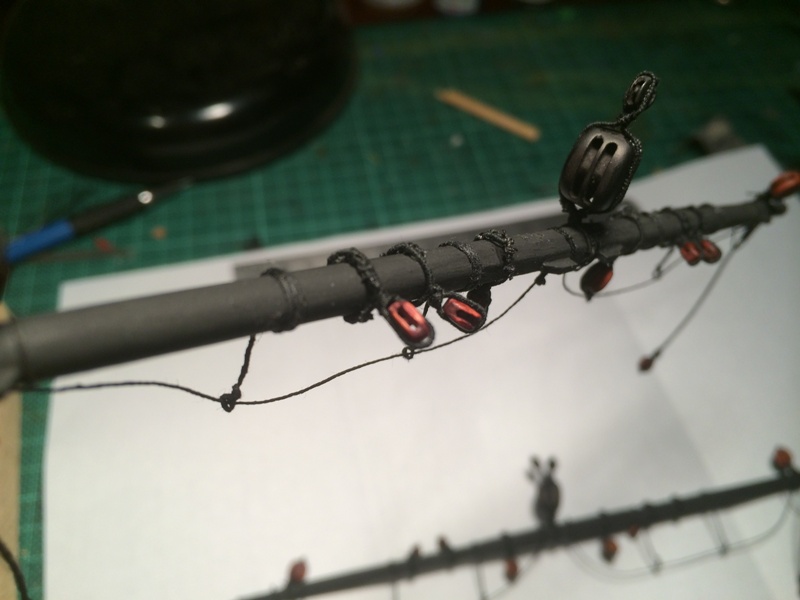
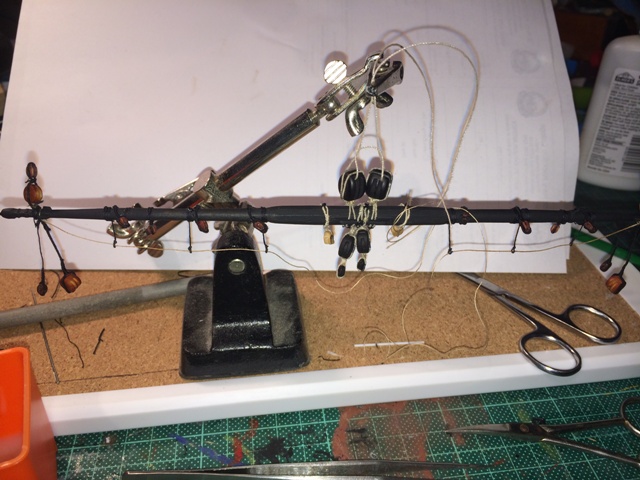
The fore and main yards. Several days to strop all the blocks required. Now I have to get the Stirrups and footropes right before lashing them. I think I intend to finish all the yards (11 of them) first so I can work from Bow to stern, low to high. The only blocks missing here are the lower tackle block.
-
Whilst mine is nowhere near as good, I used a plank bender on square stock, crimped it to shape and sanded it round.
-
The only other reference I've found via my books and Ray Parkin's book is they drop strait into the first companionway forward. As such, pointless PM'ing the photo. The AL instructions just have you drill a couple of holes in the deck. You've done such a fantastic job on yours it will take a rebuild of the cabinet work. Maybe Marquardt made it up?
-
Great job on the bumpkins. I've never seen any reference to a gasket to hold the end of the anchor stock like in the replica's photo! I used black cord for the gammoning on mine but yours looks good, I reckon you should keep it.
-


HMB Endeavour by RGL -FINISHED - Artesania Latina
in - Kit build logs for subjects built from 1751 - 1800
Posted
Thanks folks, just became slog after a while. The final bit of cat damage repairs now. It's not perfect but the hole was really substantial and the crush injury was between bulkheads. The filler looks very bright but will hopefully fade with age and all the other bits will distract from it. the run of the planks and the anchor stock wales was a lot of work at the time, and near impossible to replicate without a complete strip out which would have made more mess than it was worth.