papercut
-
Posts
10 -
Joined
-
Last visited
-
 EricWilliamMarshall reacted to a post in a topic:
USS Constitution by papercut - FINISHED - Revell - 1:192 - PLASTIC - first ever build, comments welcome!
EricWilliamMarshall reacted to a post in a topic:
USS Constitution by papercut - FINISHED - Revell - 1:192 - PLASTIC - first ever build, comments welcome!
-
GrandpaPhil reacted to a post in a topic:
USS Constitution by papercut - FINISHED - Revell - 1:192 - PLASTIC - first ever build, comments welcome!
-
Center ruler! How interesting. Thanks guys. I can probably just use a normal ruler and do the math myself. I'll give the suggestions a try.
-
Hey guys, I'm doing a MS Sultana build and following Chuck's practicum as well as hopeful's very detailed build log. However, neither seem to quite describe the process in which one draws a center line. This is what I have gathered so far: 1. The center line should be determined prior to applying the templates, as you match the templates to the center line 2. I recall a while back in one of the posts that a divider is used to determine the center line, but I can no longer find that post anymore I'm thinking to use a ruler/divider to take center points across the deck and do a best linear fit with a ruler after the points are taken. But what about the underside of the hull, particular at the bow and stern? I'm thinking maybe using a flexible ruler as a straightedge, but it seems that could get pretty messy. Any input is appreciated!
-
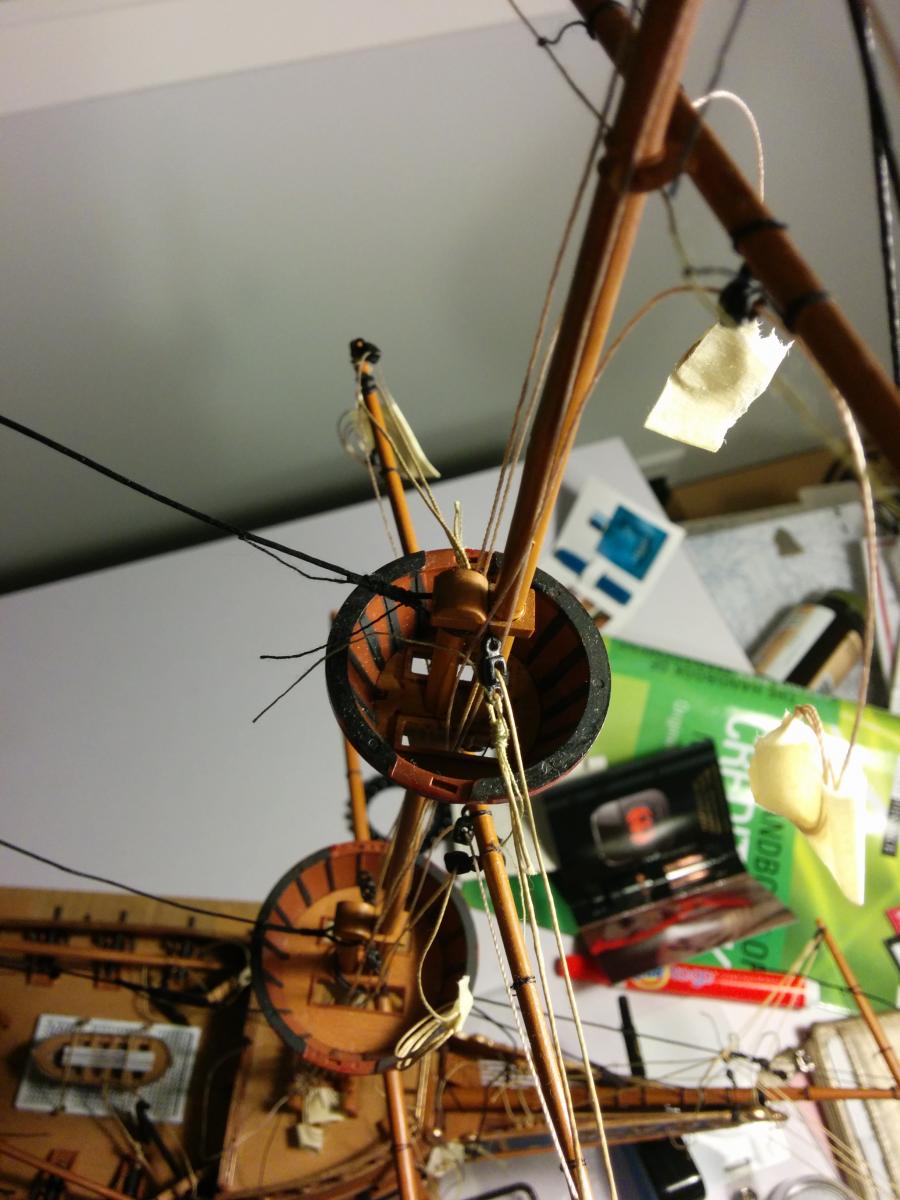
@popeye2sea: Thanks for the suggestion, I'll give it a try. I guess it's just the lack of experience on my part to not angle the yards properly (as with most plastic ships, there's not a lot of precise details in the instructions). I would also have to put a block on the starboard side to make it symmetrical, and I'd imagine the starboard lifts to run at a really weird angle. But such is life, much better than an unfinished model I would think! @JerseyCity Frankie: Thanks for the kind words! I did spend quite some time working on the details of this model and I would hate for it to go unfinished (although my Sultana box is looking ever-so-tempting). It seems on many ships I've seen the lift tackles were fastened onto the mast instead of the mastcap (and much higher) which I suppose gives it a little more room to work with. Actually, maybe I'll try this, since the shrouds run closer to the mast giving me a better angle. How wrong would this be (fastening the lift tackles onto the mast at a higher location than the mast cap) I remember taking a look at the Balclutha (since I'm in SF) and I don't recall seeing pendants on the foremost shrouds, but I could be wrong and will probably go back for a revisit. It's of course nowhere near the same time period as my ship though.
-
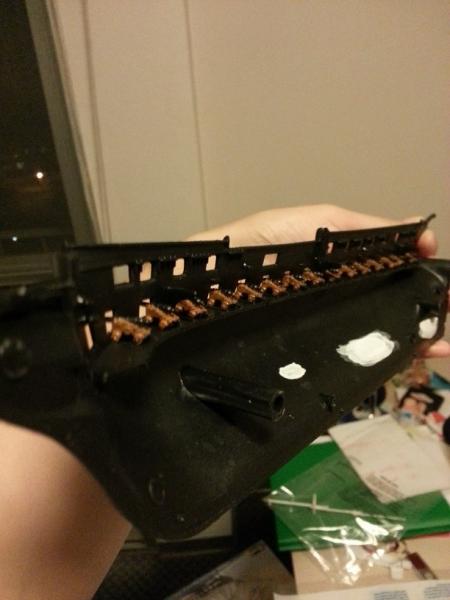
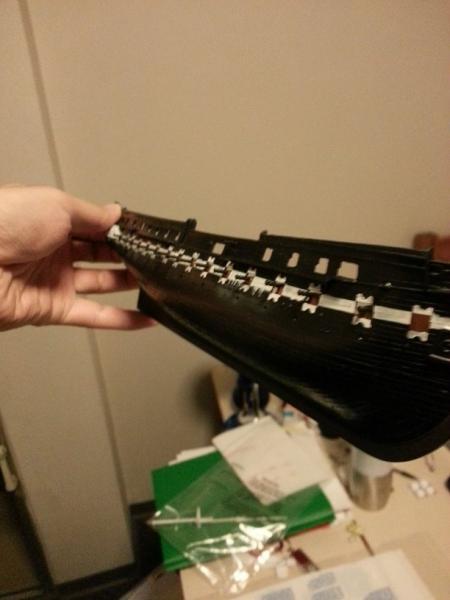
Hey guys, I'm a beginner doing a (plastic) kit build of Revell's Spanish Galleon (which from what I can tell is more of a English Man O War instead of a Galleon), and I'm running into the following problem: The kit calls for a slight angle on the yards (~10deg). I might have overdid this a little at 15deg. I've also decided to do all of my rigging before putting on my preformed shrouds on against the instructions as doing the rigging would be a huge PITA with the shrouds being in the way. However, when I try to put on the shrouds, it seems that because of my yard angles, the yard lift is in the way of the shrouds (see pic). Unfortunately there isn't many resources on ships this age except maybe Sovereign, and nobody seems to be running into this problem. I guess I have a few questions: 1. Is this supposed to happen? My guess is no. 2. Yard lifts are supposed to go in front of shrouds right? Instead of between shroud lines? 3. Did I overdo the angles on my yards? 4. Is there any saving myself at this point, other than surgically removing my yards and glue them on at a different angle? Thanks all, Jeff

-
popeye the sailor reacted to a post in a topic:
USS United States by popeye the sailor - Revell - 1/96 - PLASTIC - bash
-
Kit bashing a plastic kit! I'll be following with great interest. I've had some bad experiences with bad plastic kits before but this will open new doors for me! Jeff
- 165 replies
-
- 1
-
-
- united states
- revell
- (and 1 more)
-
America by Nirvana - Constructo
papercut replied to Nirvana's topic in - Kit build logs for subjects built from 1851 - 1900
The V-cut box idea is ingenious. I shall be using that for my next build as I don't have a whole lot of spare wood lying around. Jeff -
Thanks everyone for the kind words! Sorry I haven't checked back in a while (the forum should email me when I get replies:) ) but I've finished this build. I absolutely destroyed the rigging though, mostly due to very loose lines since I had no idea what knots to use and I was adamant about not using glue (which I've since learned is pretty stupid). Two books later I can say that I'm at least a better rigger now. In hindsight, I do agree that 1:196 is too small of a scale. I wish I had picked up the 1:96 instead, I would have enjoyed it much more. Nevertheless, I'm not giving this hobby up! I'm right now working on the 1:96 Spanish Galleon by Revell and am in the rigging phase. Unfortunately I didn't take logs though, and it's not a kit I'd recommend anyways. I have a MS Sultana kit sitting under my bed and I can't wait to start that one after I'm done with the galleon, especially since Sultana build logs seem to be lacking after the forum upgrade, and it'll be my first wood kit!
-
papercut reacted to a post in a topic:
USS Constitution by papercut - FINISHED - Revell - 1:192 - PLASTIC - first ever build, comments welcome!
-
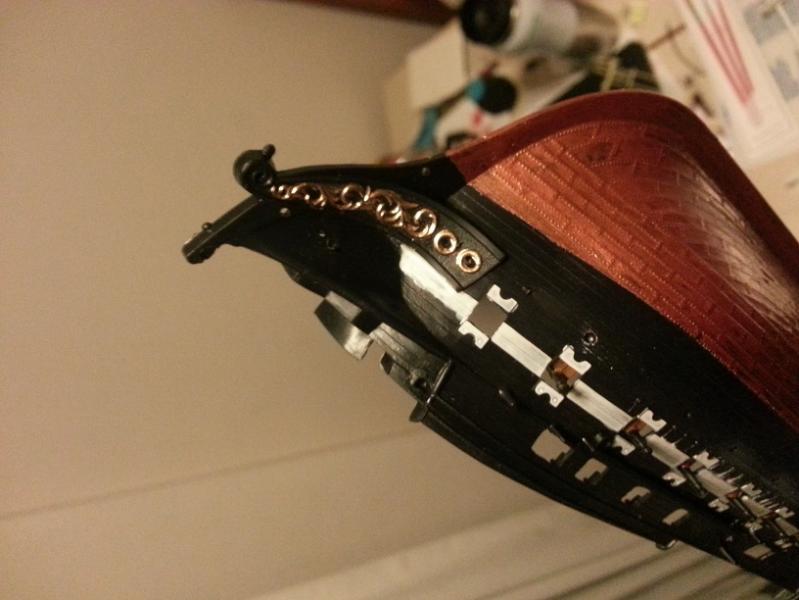
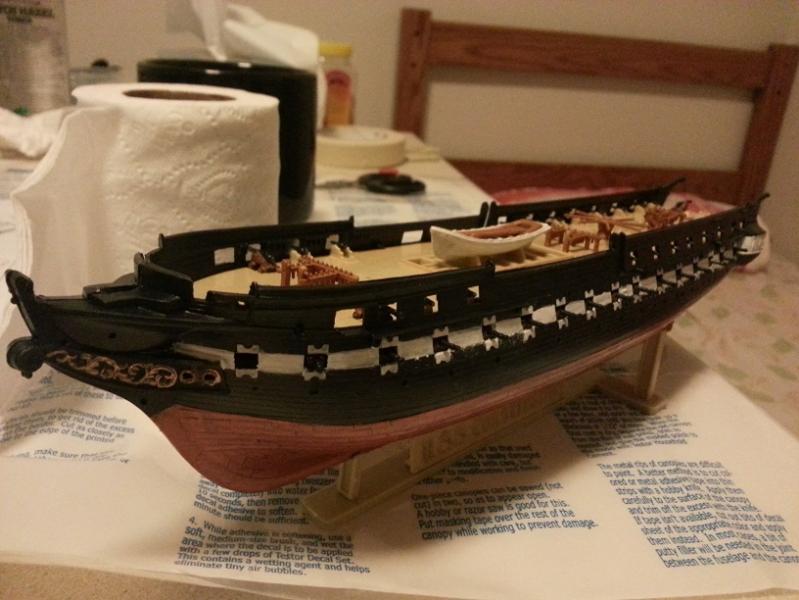
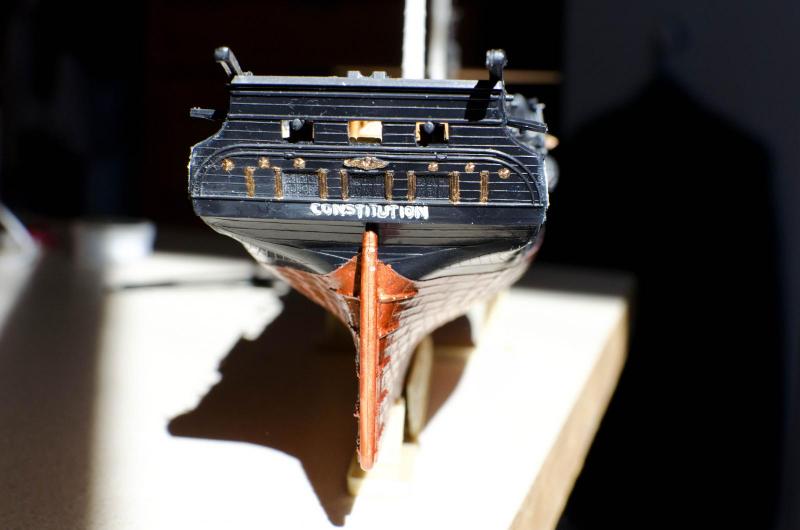
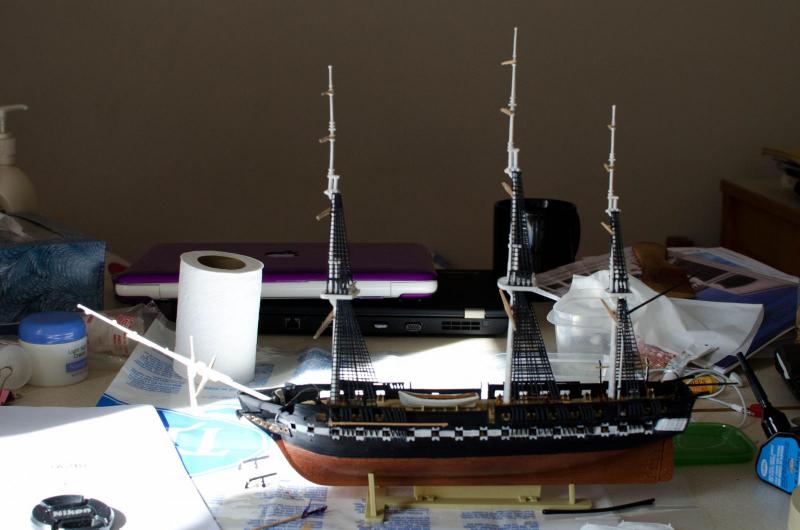
Showing artwork on the bulwark. The white seeping down is very clearly visible here. Two halves of the hull put together....wait...something is missing. I didn't actually thread in the anchor line before gluing these together! Spent a good 15 minutes poking that line in the right way to get it to thread through the hole on either side. Rear artwork. Not as nice as I'd hoped, but the letter were damn very small. Lots of steps missing in between, but here's the ship sans rigging. Not very impressed with the instructions and the precision of the kit here -- the ratlines did not line up with the deadeyes, especially for the fore mast. The instructions even drew it off-aligned. It was impossible to align them, your ratlines would be way off.
- 9 replies
-
- 1
-
-
- revell
- constitution
- (and 3 more)
-
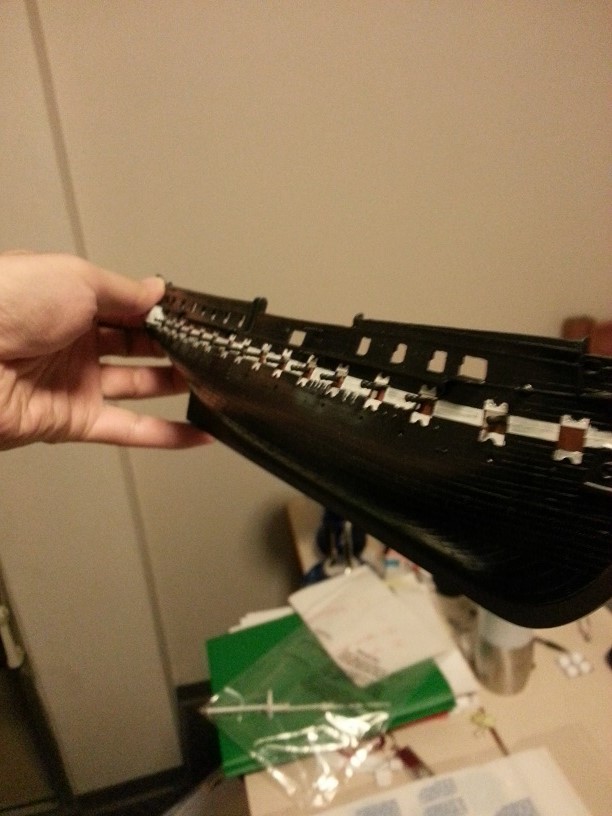
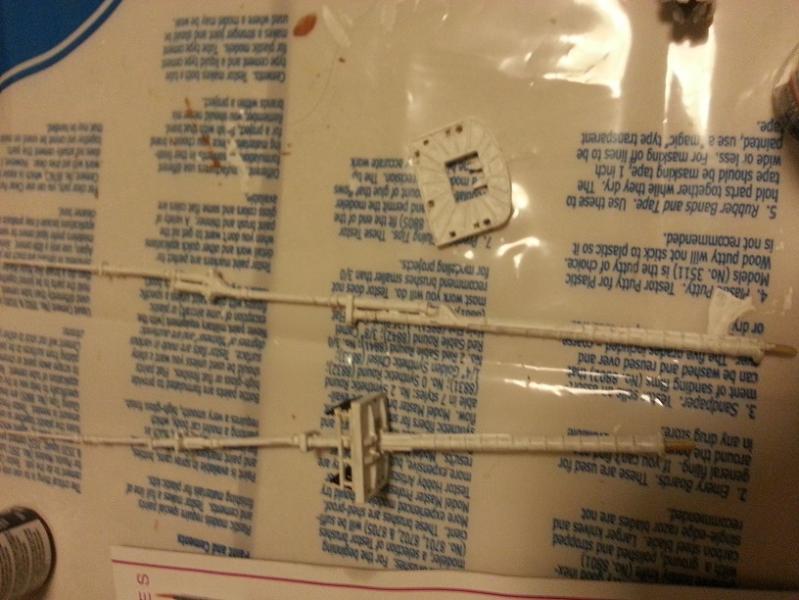
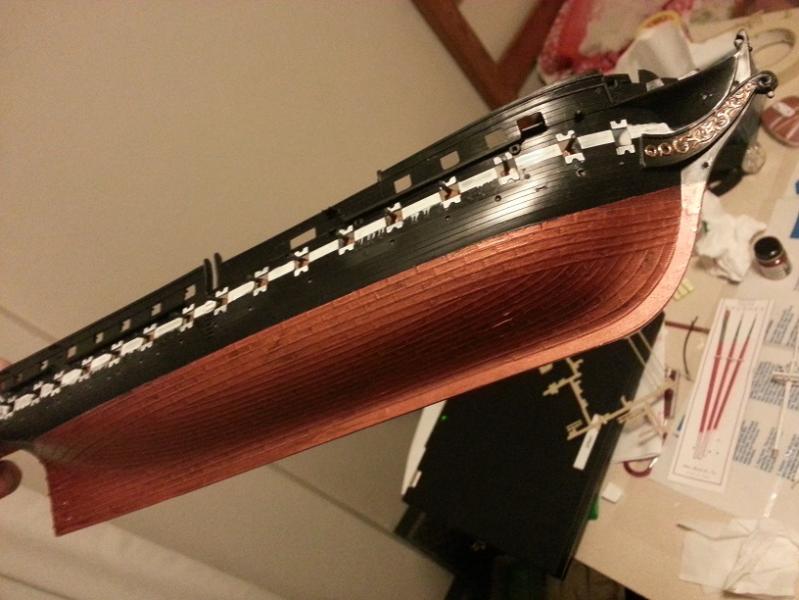
Right side of the hull. I tested painting white on black using a few different ways prior to painting the outside of the hull. Later on I found that it was supposed to be "multiple very thin layers"...any advice on this one? same hull, but the outside. Note the white paint seeping down the windows. I tried my best "erasing" them with a napkin wetted with paint thinner, but some of them won't go and other make the area smudgy-white. Any advice for this? Later I heard something about first applying a layer of mild detergent solution as "primer" and wait for it to dry. Does this actually work? The copper turned out fine -- a little too shiny, but probably the best paint job on this entire ship if it weren't for going a little to high towards the bow of the ship. Not sure why I did that. Fore mast and main mast. Can't really tell from the picture but I probably applied too much white (to cover up the base plastic color) and a lot of detail was lost. Also the holes were a lot hard to fit in (to the point that I cut off the slot), maybe because of a layer of paint? In retrospect a lot of these parts probably should have been painted on the sprue tree so I didn't have to get paint all over my hand
- 9 replies
-
- 1
-
-
- revell
- constitution
- (and 3 more)
-
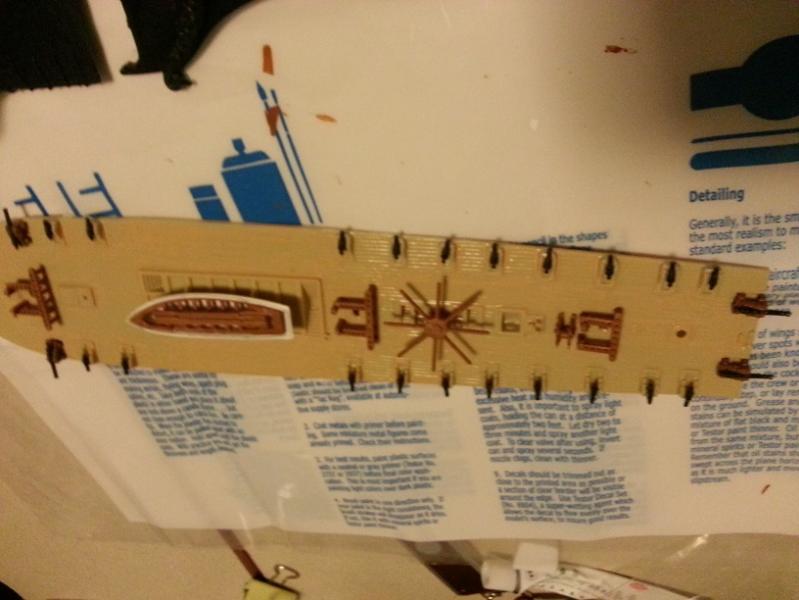
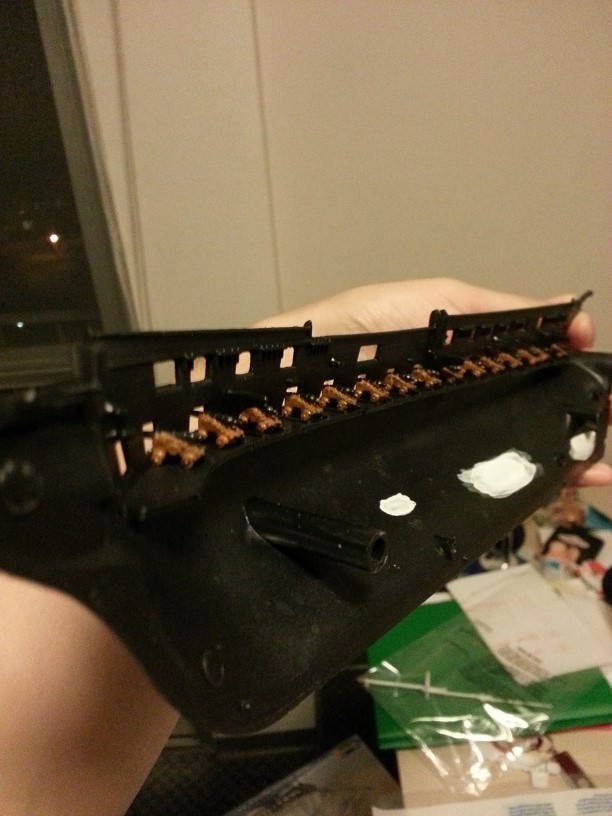
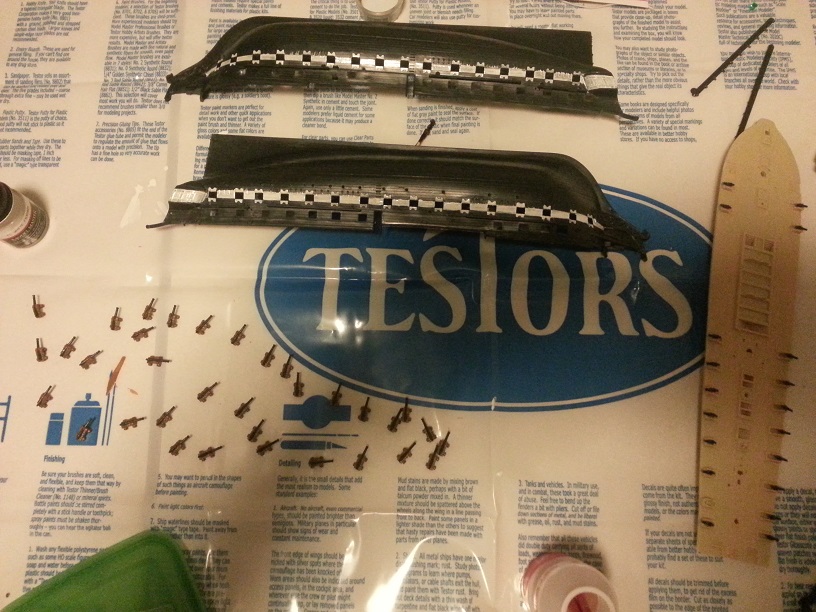
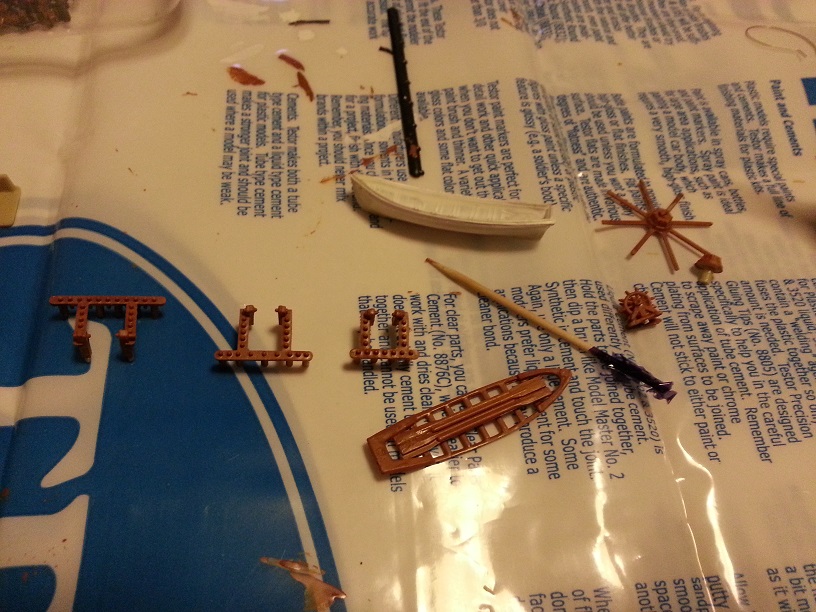
Hi everyone, this is my first ever build of...pretty much anything, so don't expect any creativity / worksmanship that you would expect in probably all the other builds on this website. This ship is near completion -- but I just thought I should get some advice before starting the next ship. I've taken a look at some wooden builds and they seem a lot more realistic/interesting than plastic, but unfortunately sharing a single college dorm with a girlfriend (as you will see the messiness of the table) makes it rather hard to do any work on wood... I did not realize to take detailed photos to track progress until well into the build so many steps were missing Anyhow, onward with the pictures. The directions didn't ask to paint the bottom of the cannons (they were one piece), but I painted them brown anyways, and I'm glad I did. In general, I find the directions for this kit to be very sparse and not very helpful for a first-timer... Painted the white line along the window. "Painted" the deck. It was supposed to be tan, but for some reason the paint didn't mix well (and I didn't realize), so basically it was left in this color until everything was mounted on the deck...at which point it was too late to rescue the paint. Note the cannons. There's a slot that fits into the hole on the deck, but I find many times the hole is way too tight and it was easier to cut off the little slot and just glue the darn thing to the deck. Not very impressed with the quality of the kit, but hey it was $25. One cannon gone missing during the construction -- finding a 3mm long black tube on black carpet is a non-trivial task. The items that will be later added onto the deck -- the paint color worked out well, except for the white which I always struggle with. No matter what I do the olive green plastic always shows a hint of itself. Items mounted onto the deck, pardon the poor quality phone cam. Note the bottom row 2nd from the right cannon -- that's a replacement I made from sprue tree using a sprue tree cutter (didn't have a modeling knife at the time). More to come.... Jeff