RussR
-
Posts
231 -
Joined
-
Last visited
Content Type
Profiles
Forums
Gallery
Events
Everything posted by RussR
-
 I think most people are honest, unfortunately there are some that aren't so.
 -
Of course one has to read all the description and look at all of the pictures and ask questions plus check the sellers feedback score. If I can see the bulkheads and the keel plus unopened accessories I am good to go. Like I said, if I didn't have something else going I would have bought it for 25% retail. I have bought and sold model kits on Ebay and never had a problem.
-
I hope that one of our members made a score.
-
I just had an offer from a Ebay seller for a new Corel SM21 Misticque 1750 1:50 for $150. https://www.ebay.com/itm/294164707845?ul_noapp=true If I didn't have so much on my plate I would buy it. I am reasonably sure that the sell would take that from any buyer. The current price on Modelexpo is $600. I have no connection to this sale at all. Russ
-
The seller gave it all away for only $500. Model Expo Kit - Syren US Brig is worth over $300 alone. What a shame.
-
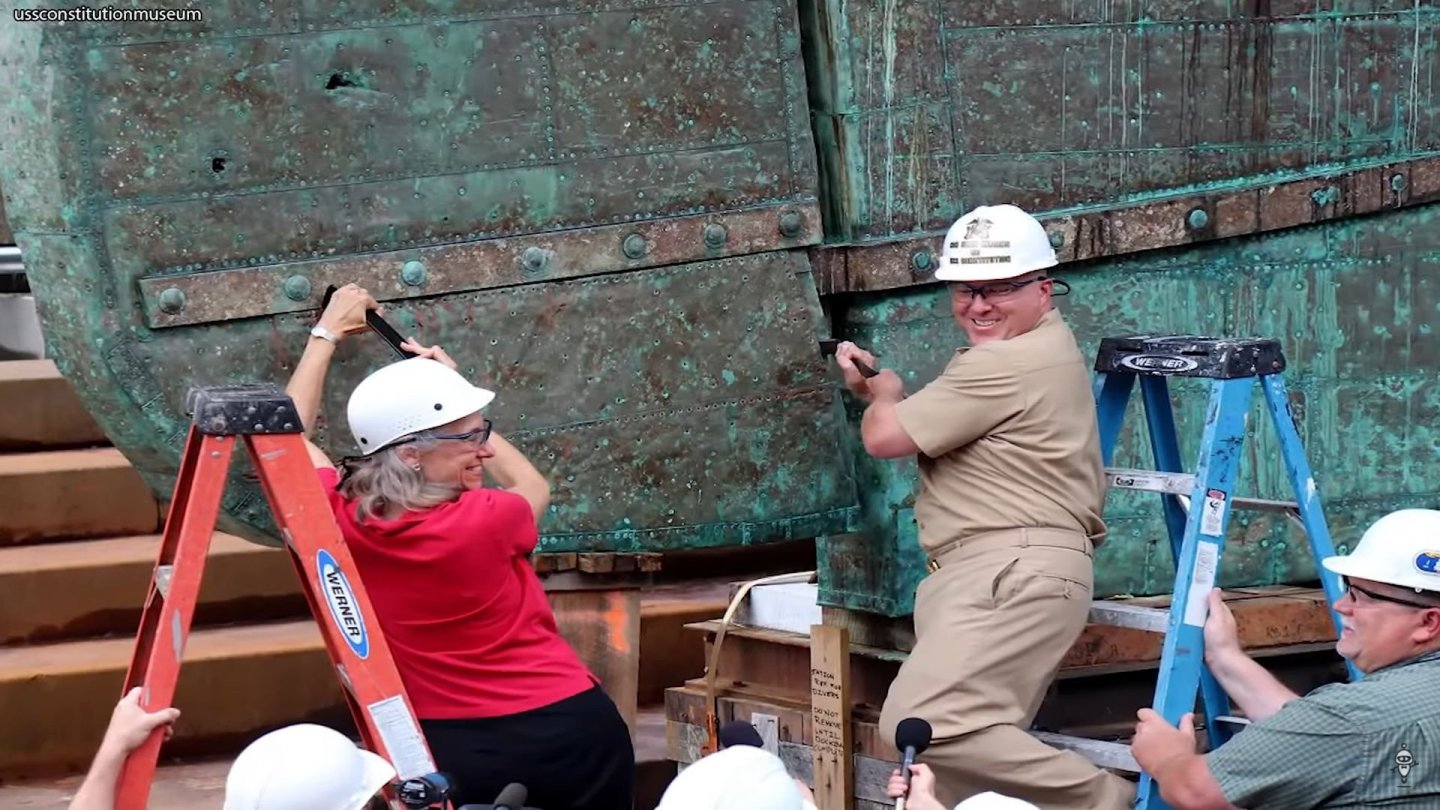
This is a photo of the Constitution during one of her restorations. If you were to try to duplicate the nails at 1/78, they wouldn't even be seen anyway.
-
When I did my Hermione, I ended up cutting the cap off with a razor saw and adjusted the stem to fit. Now that I look at the completed model I can't tell I did anything. Most of the flaws that I use to fret over, I can't even remember. Most viewers myself included won't be able to pick your flaws out. Because the rest of the model will over shadows the nit picky flaws. Of course we all want to build the best we can. As far as time consuming. I do this for the fun of it and not for a source of aggravation. And this gives my pea brain something to do. You are doing a great job and I look forward to more. RussR
-
Thank You, Richard. It was an enjoyable but challenging build. The only negative was, the instructions was more of a guide than instructions. But, that seem to be typical of kit manufactures. RussR
-
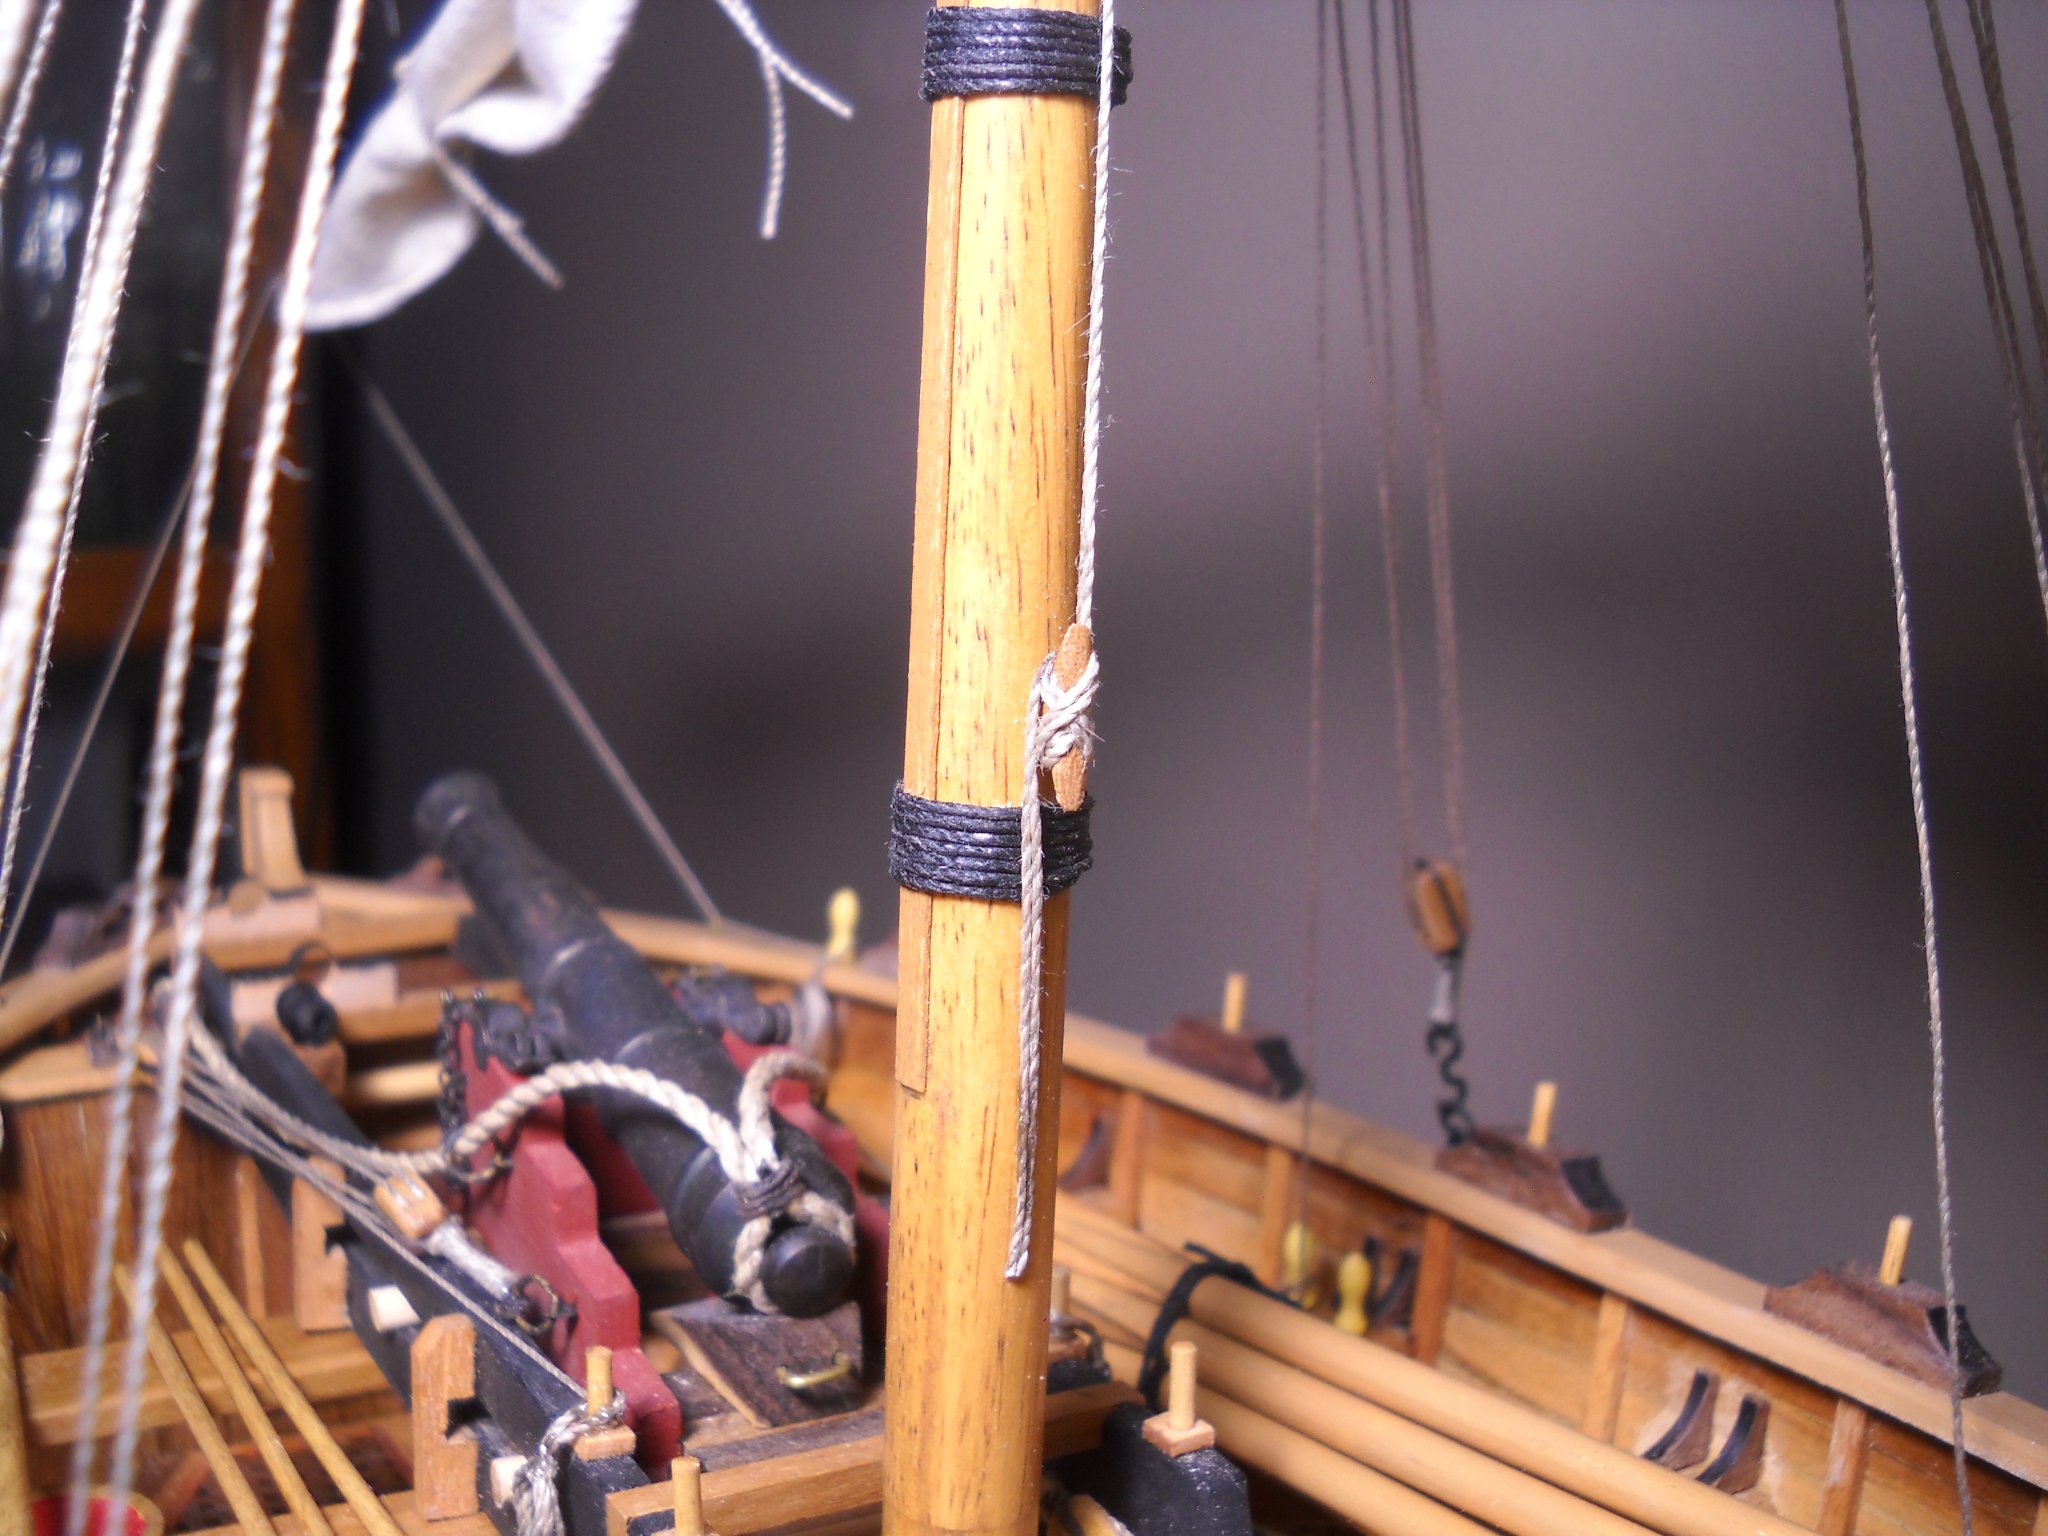
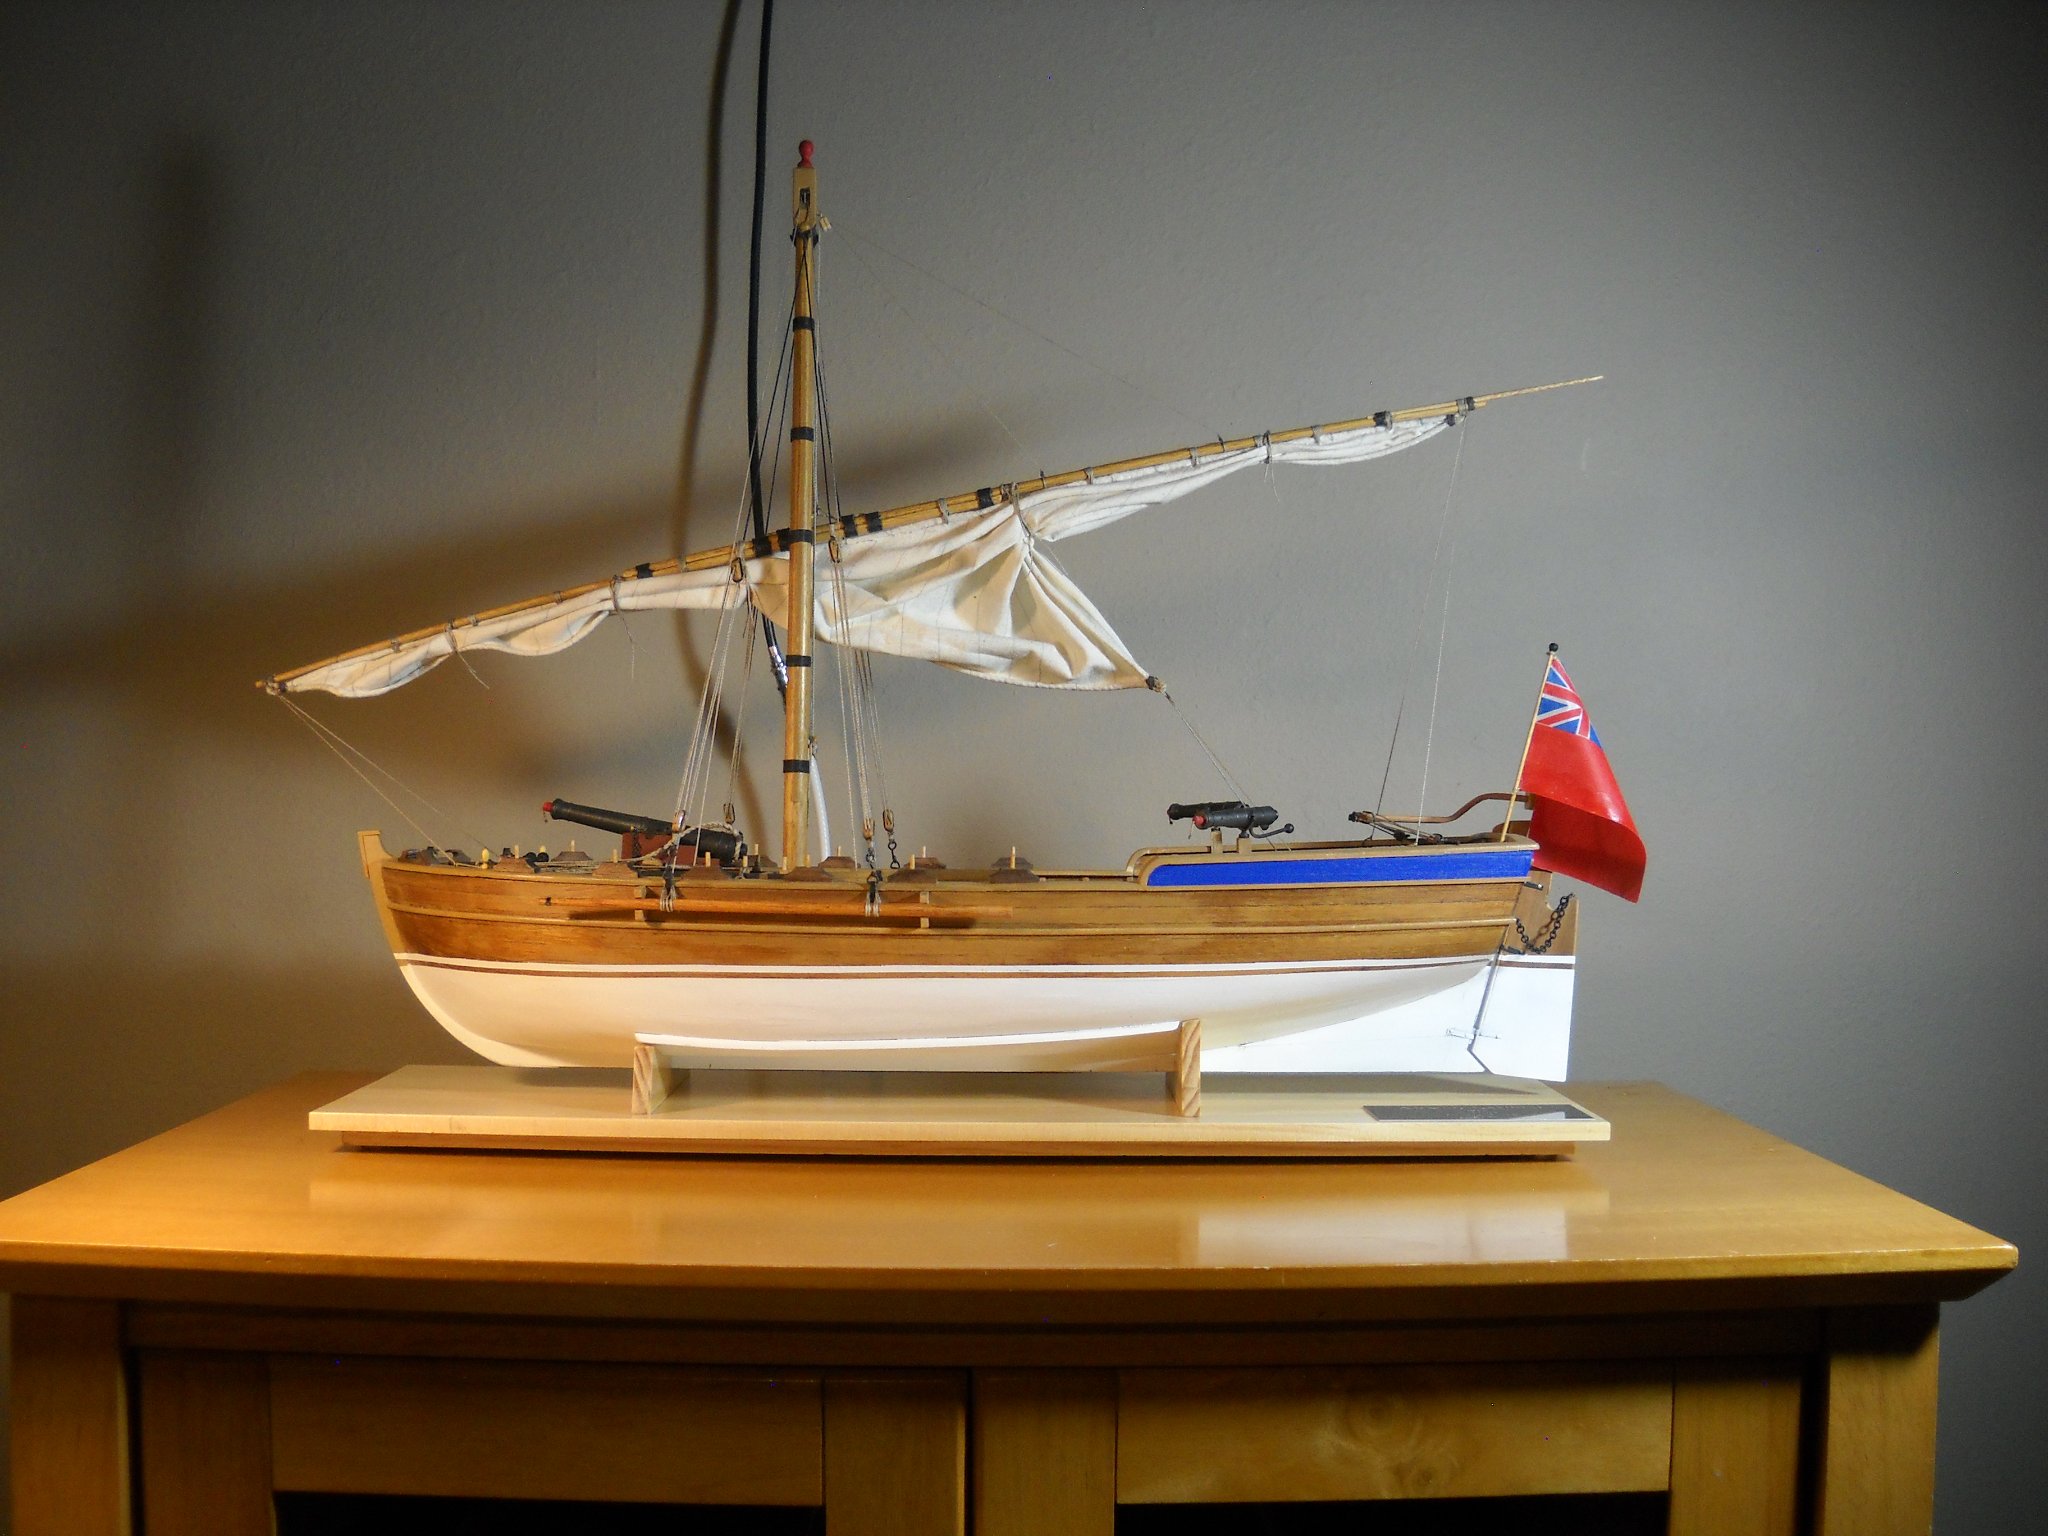
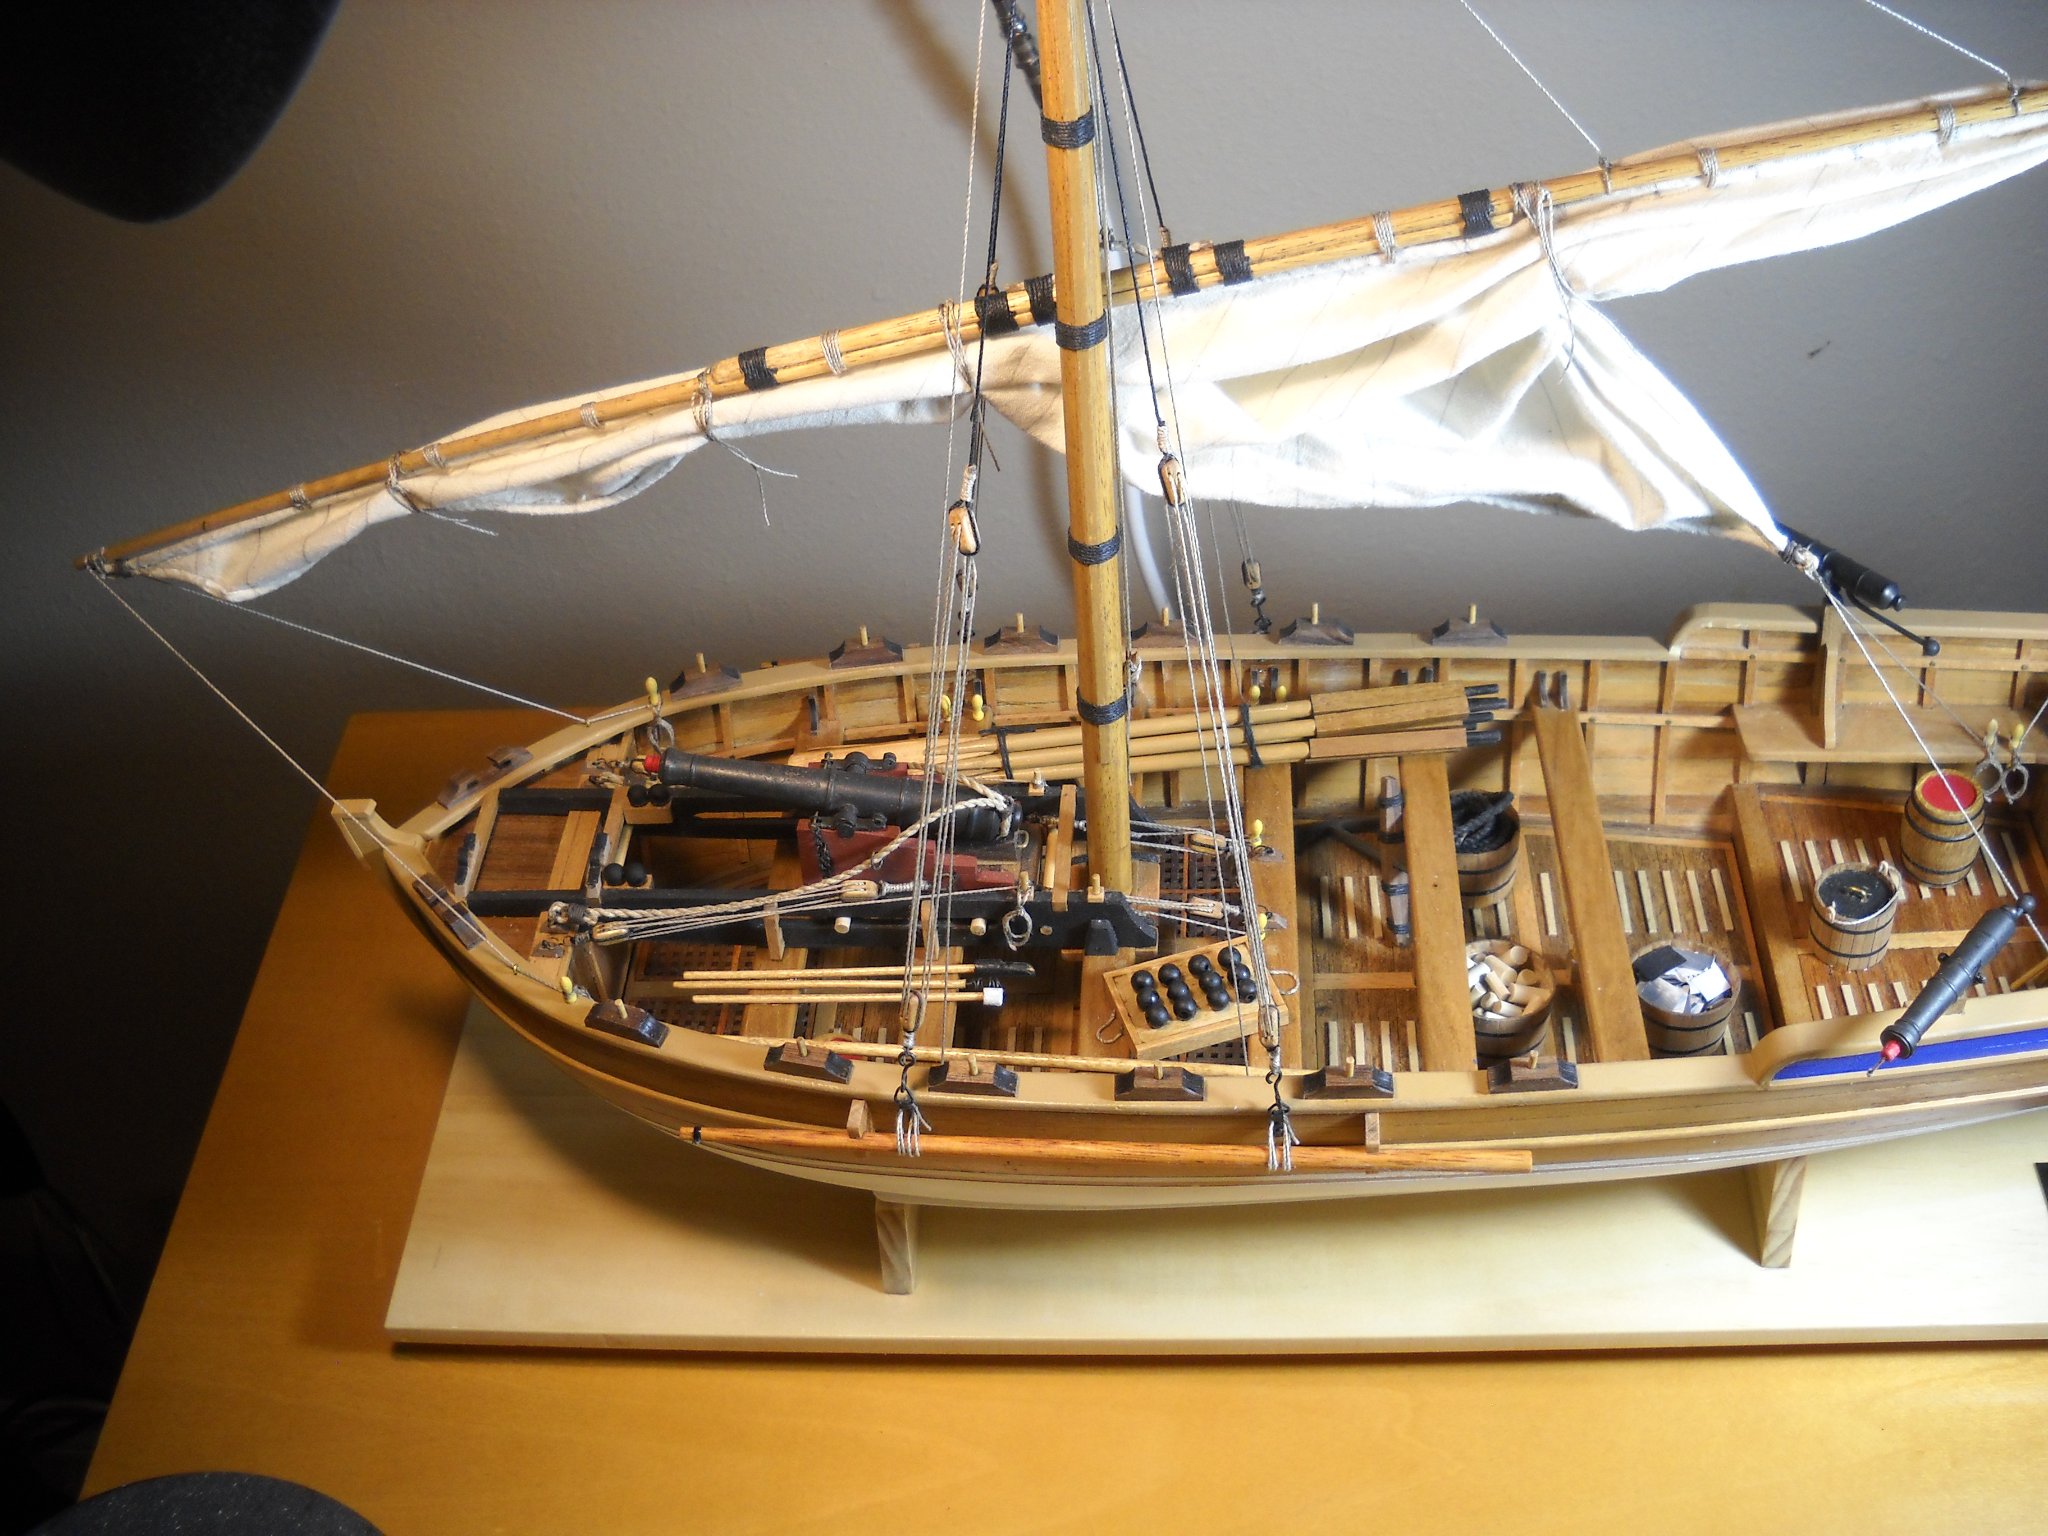
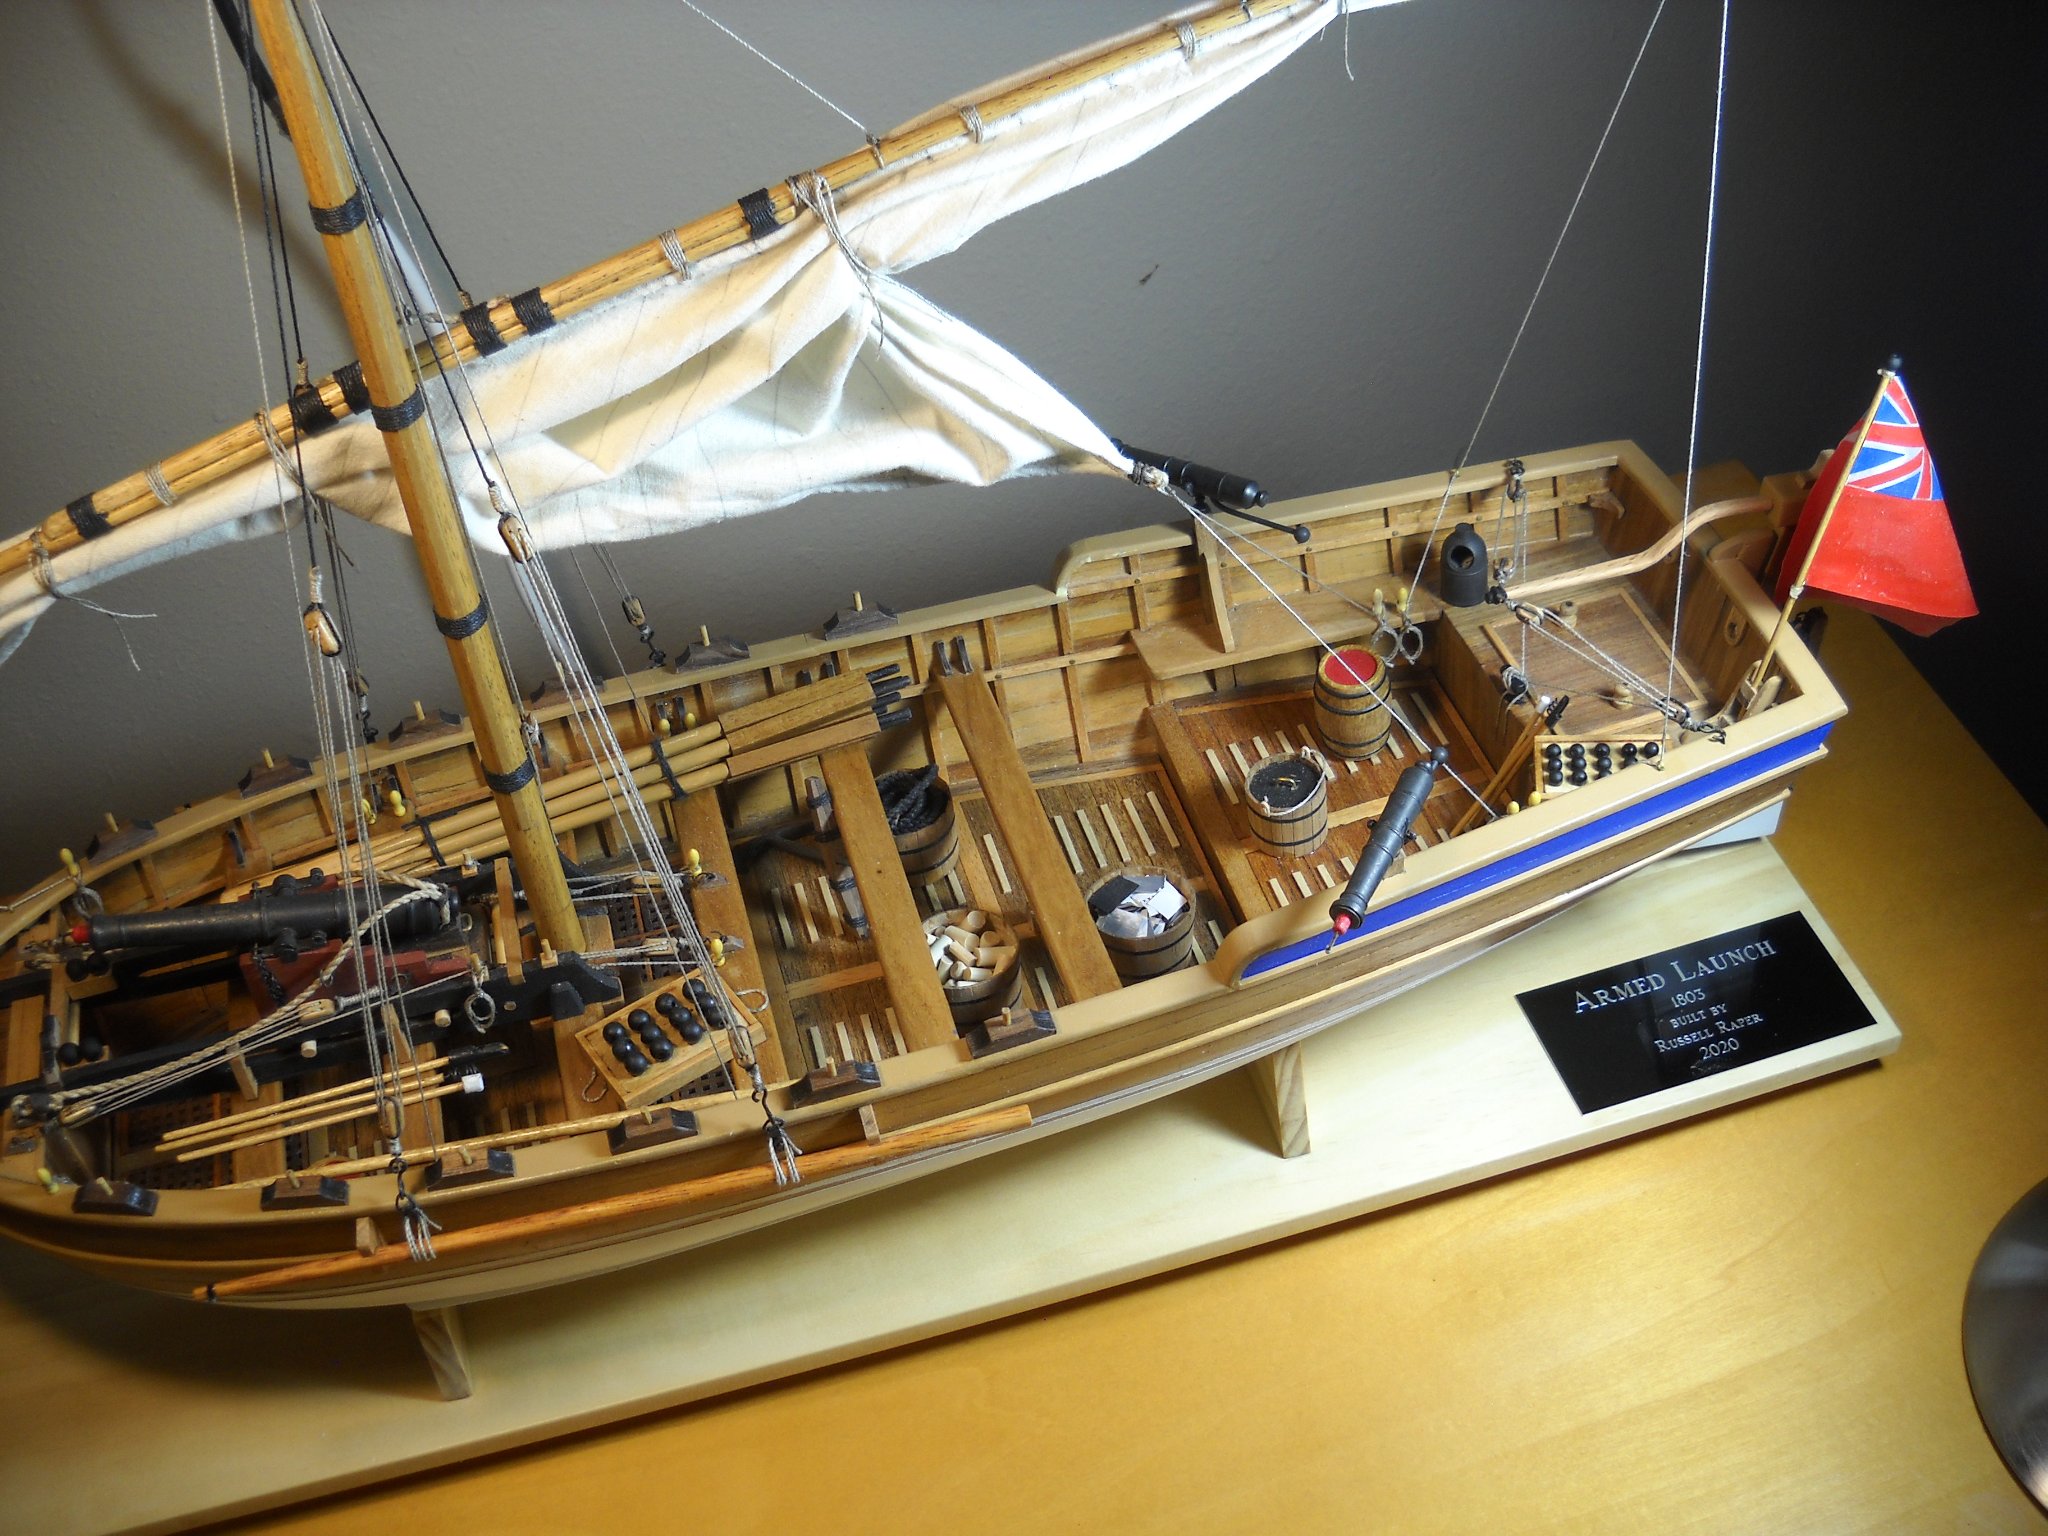
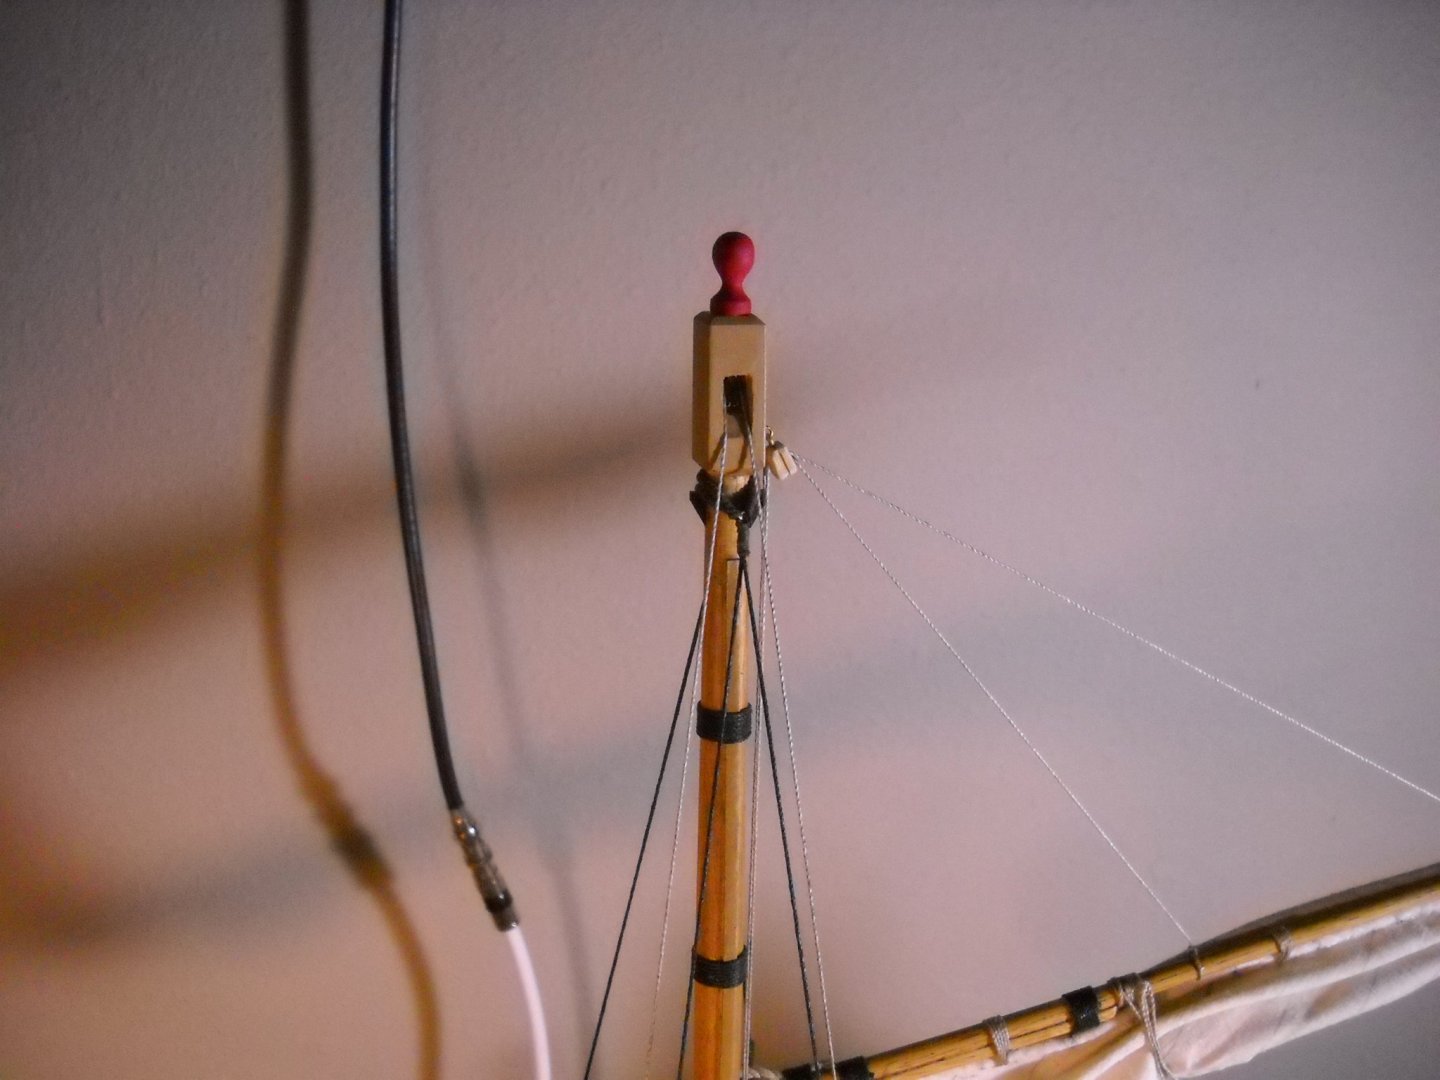
I thought that the mast need a block instead of an eye bolt. And I didn't like where the two lines terminated. So, I added the block and made a cleat for the mast to tie the lines off. Some random shots of the finished model And finally an overall shot of the finished model. I think I'll take a brake before I start my next project. It will be either the 1/350 plastic Titanic or the BB 1/75 Vasa.

- 14 replies
-
- 7
-

-
- panart
- armed launch
- (and 2 more)
-
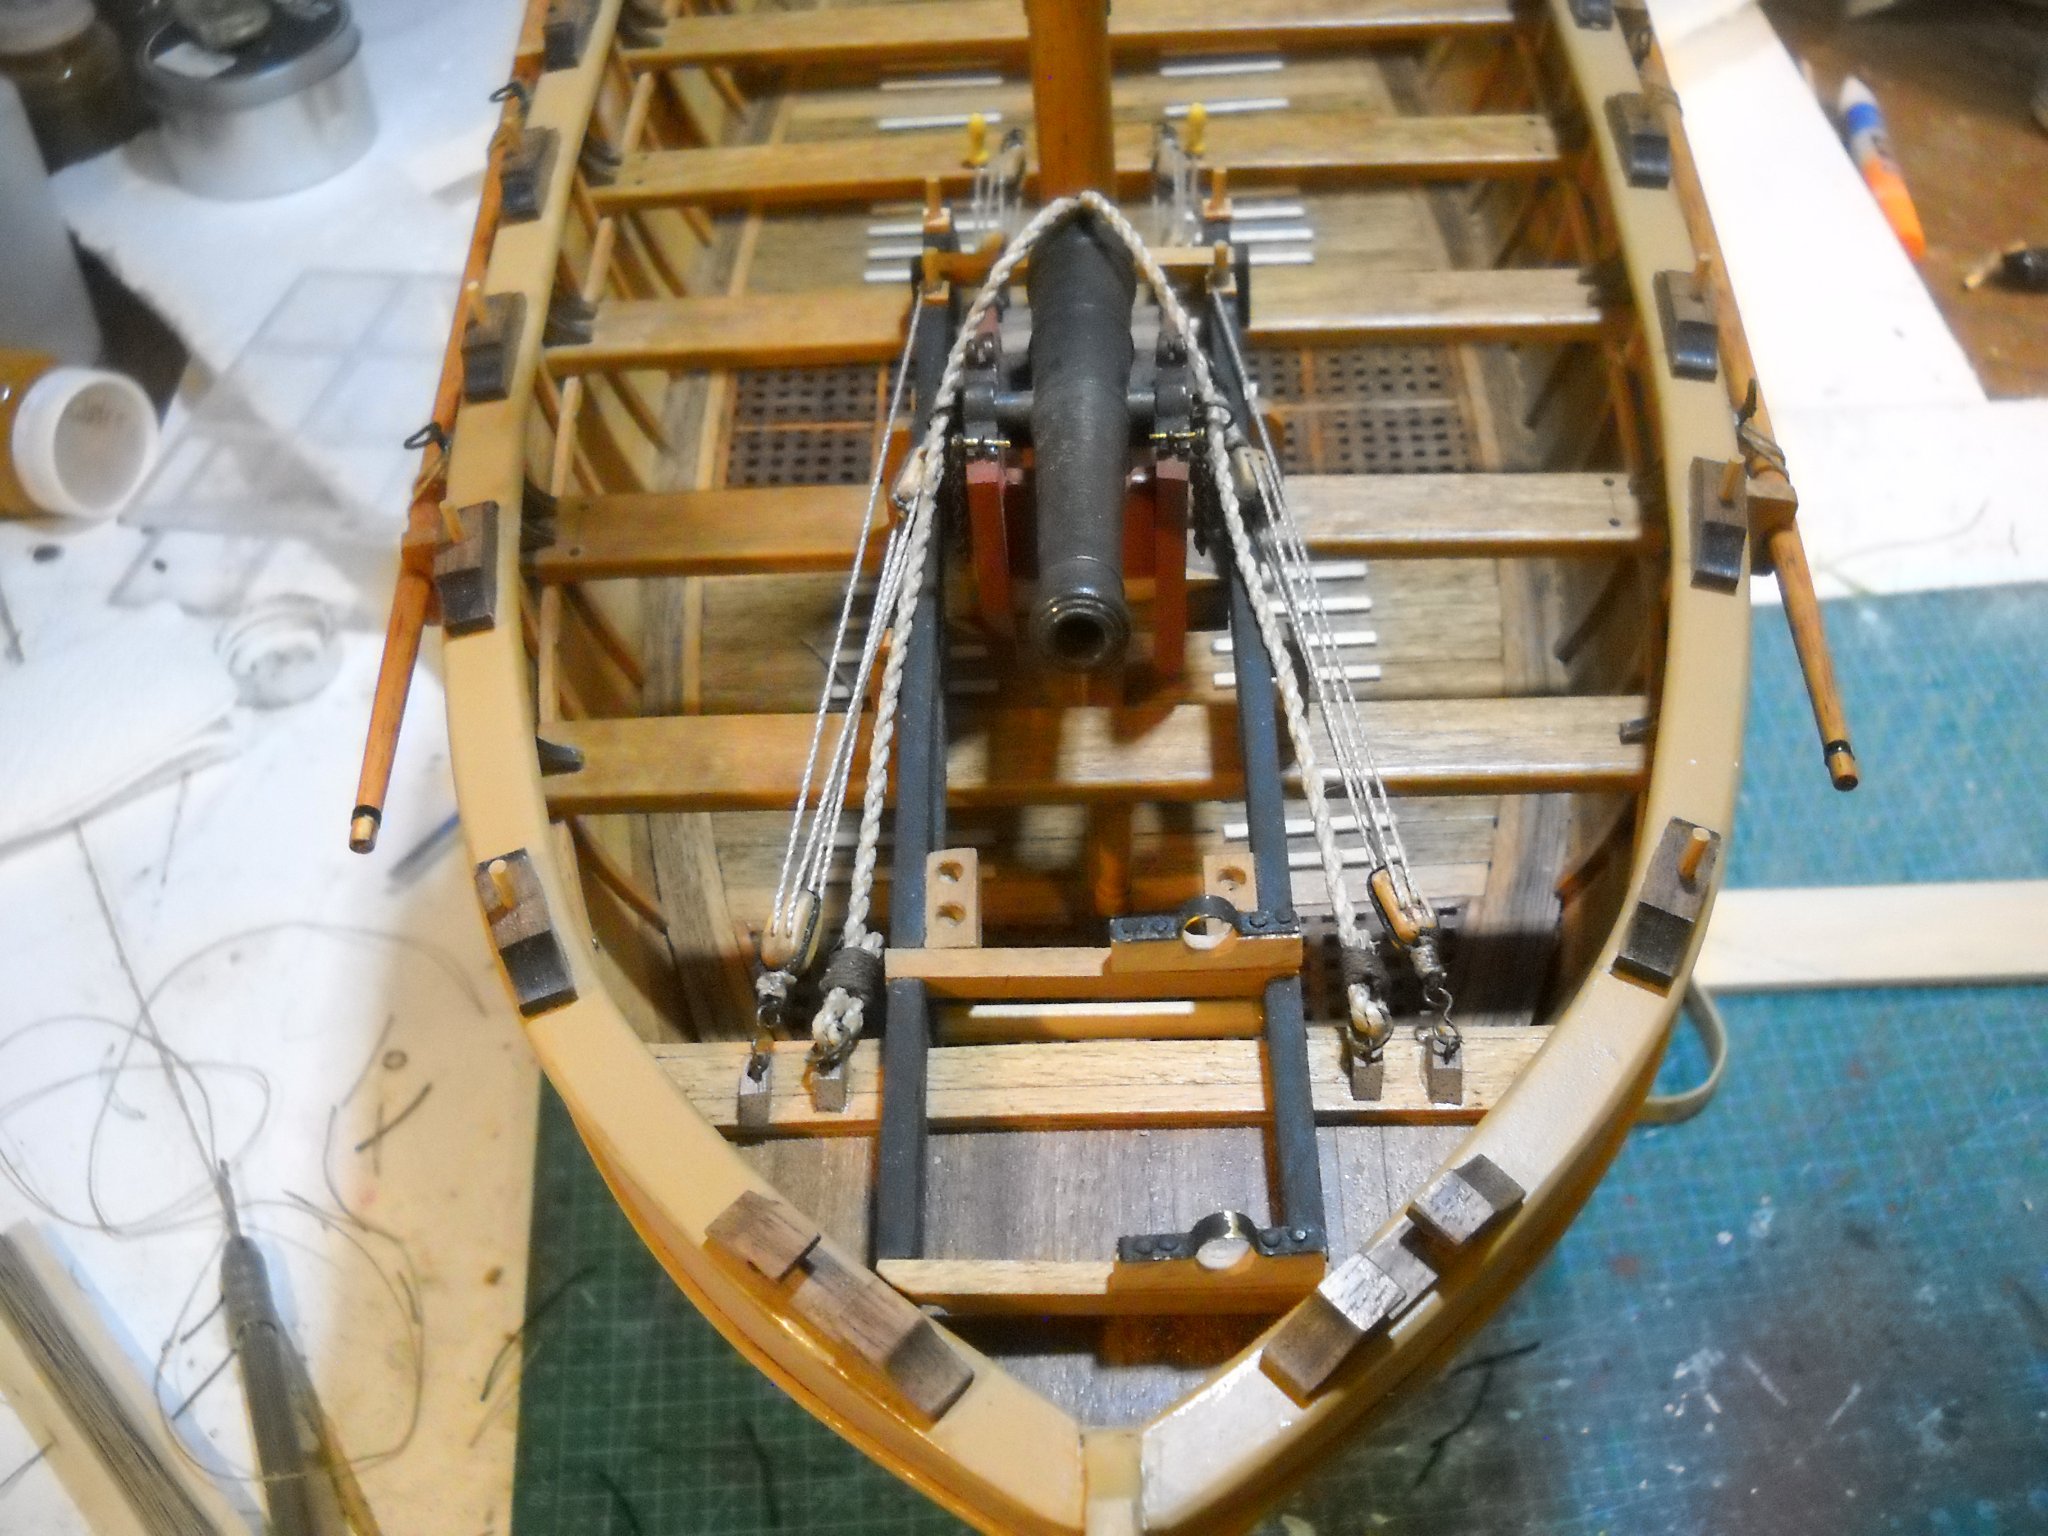
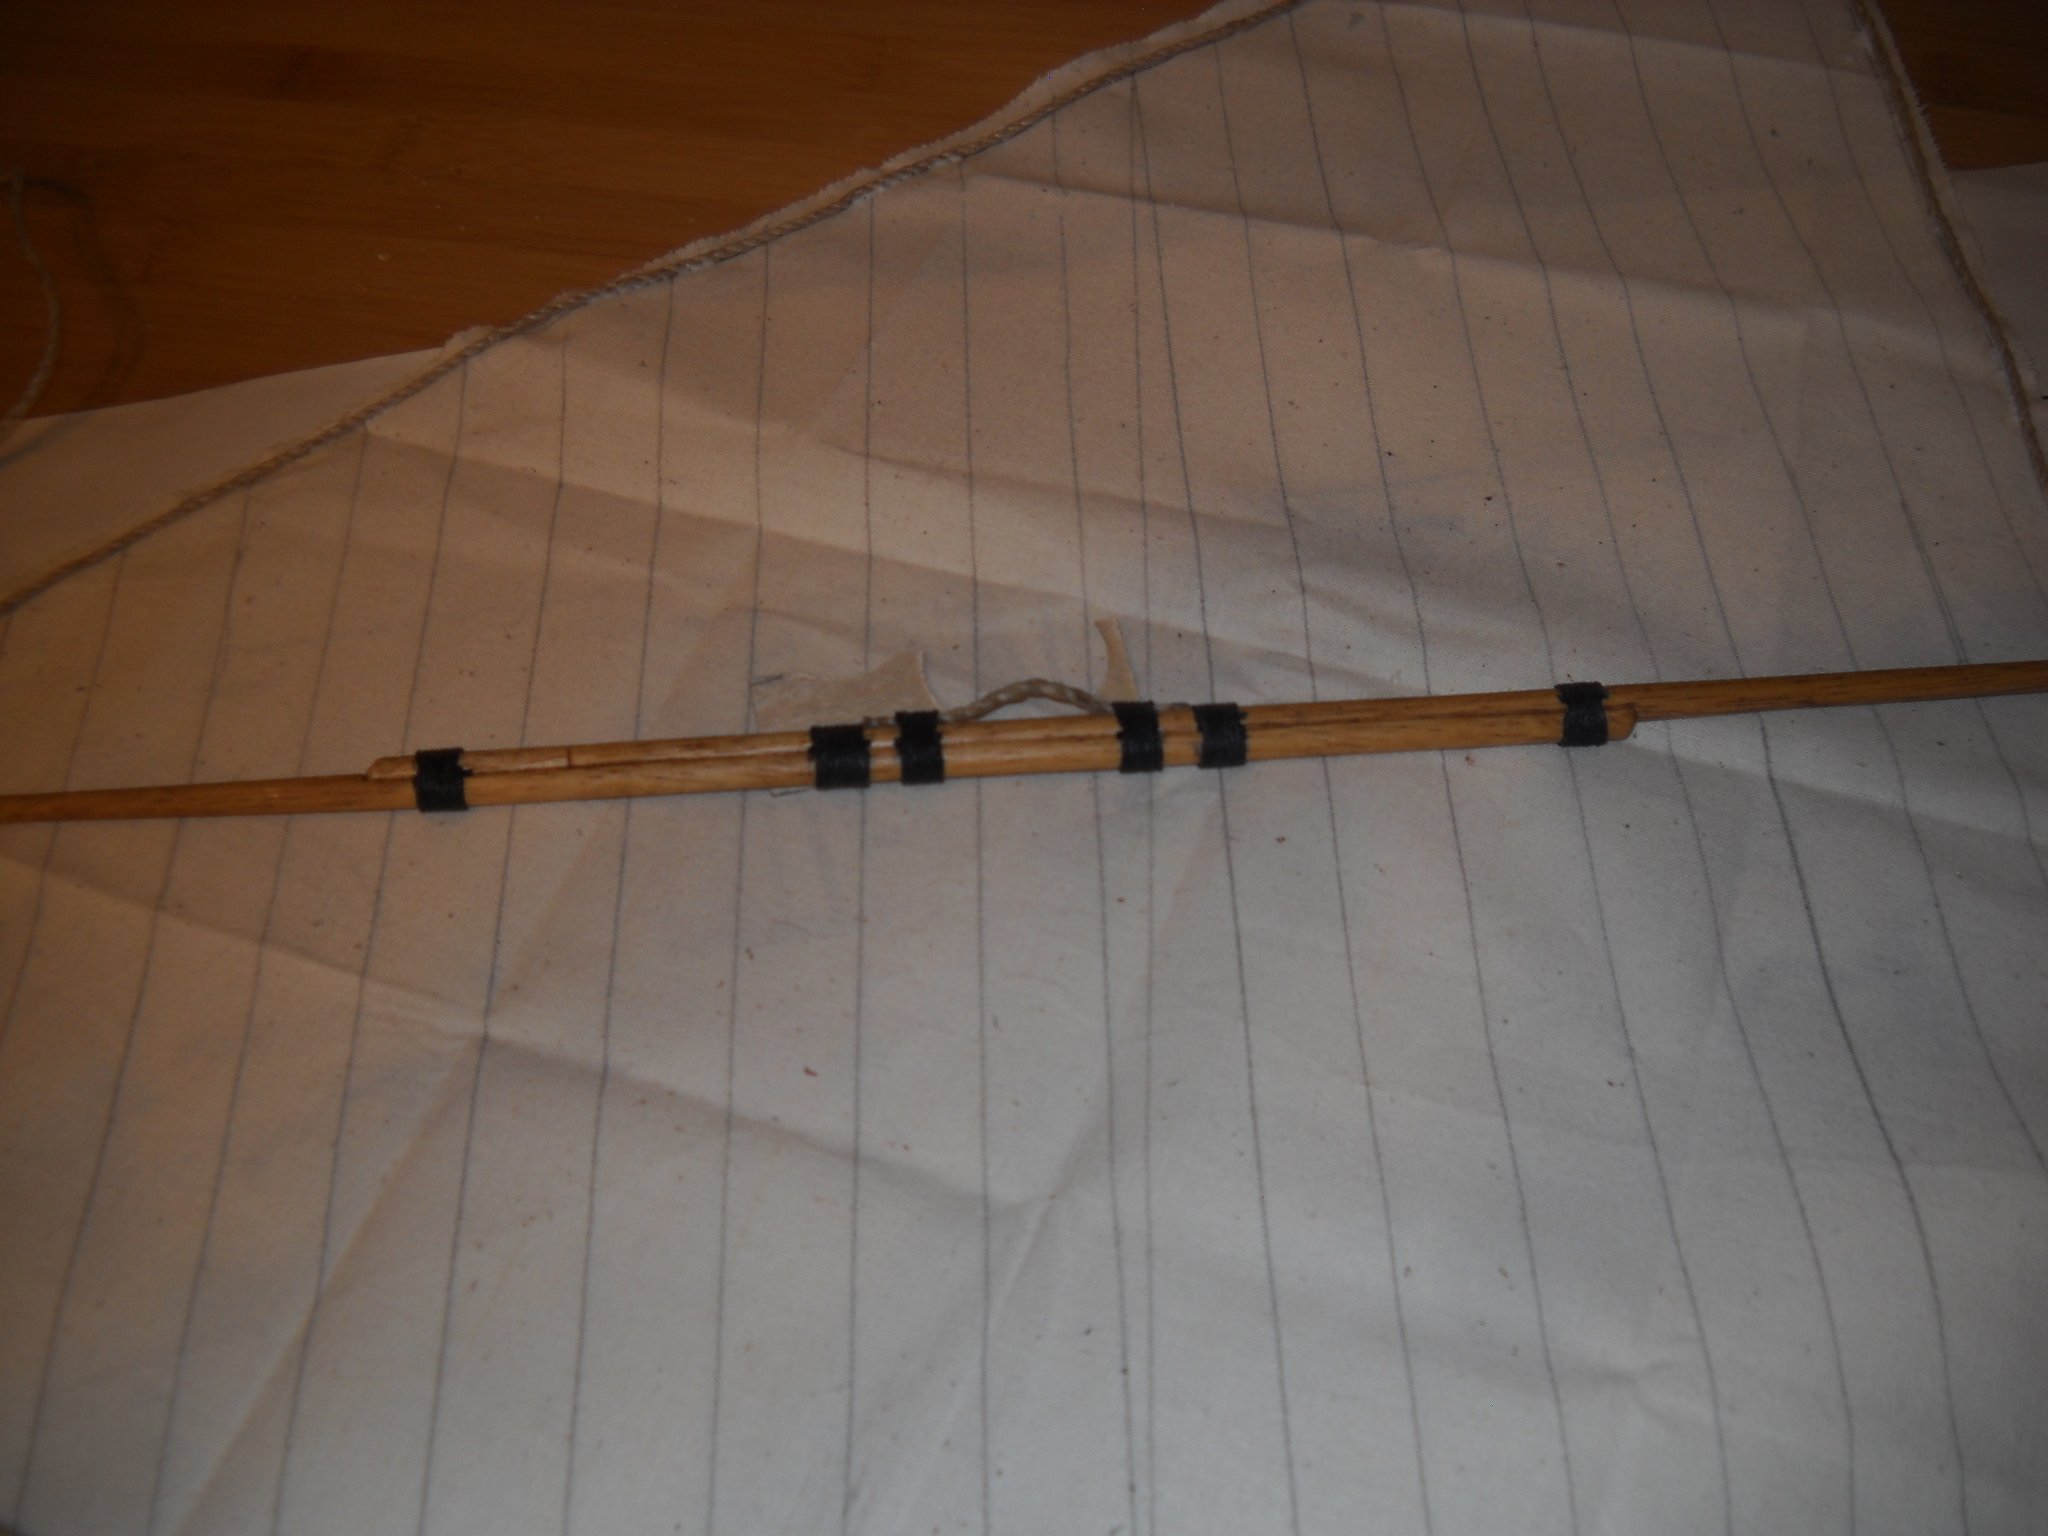
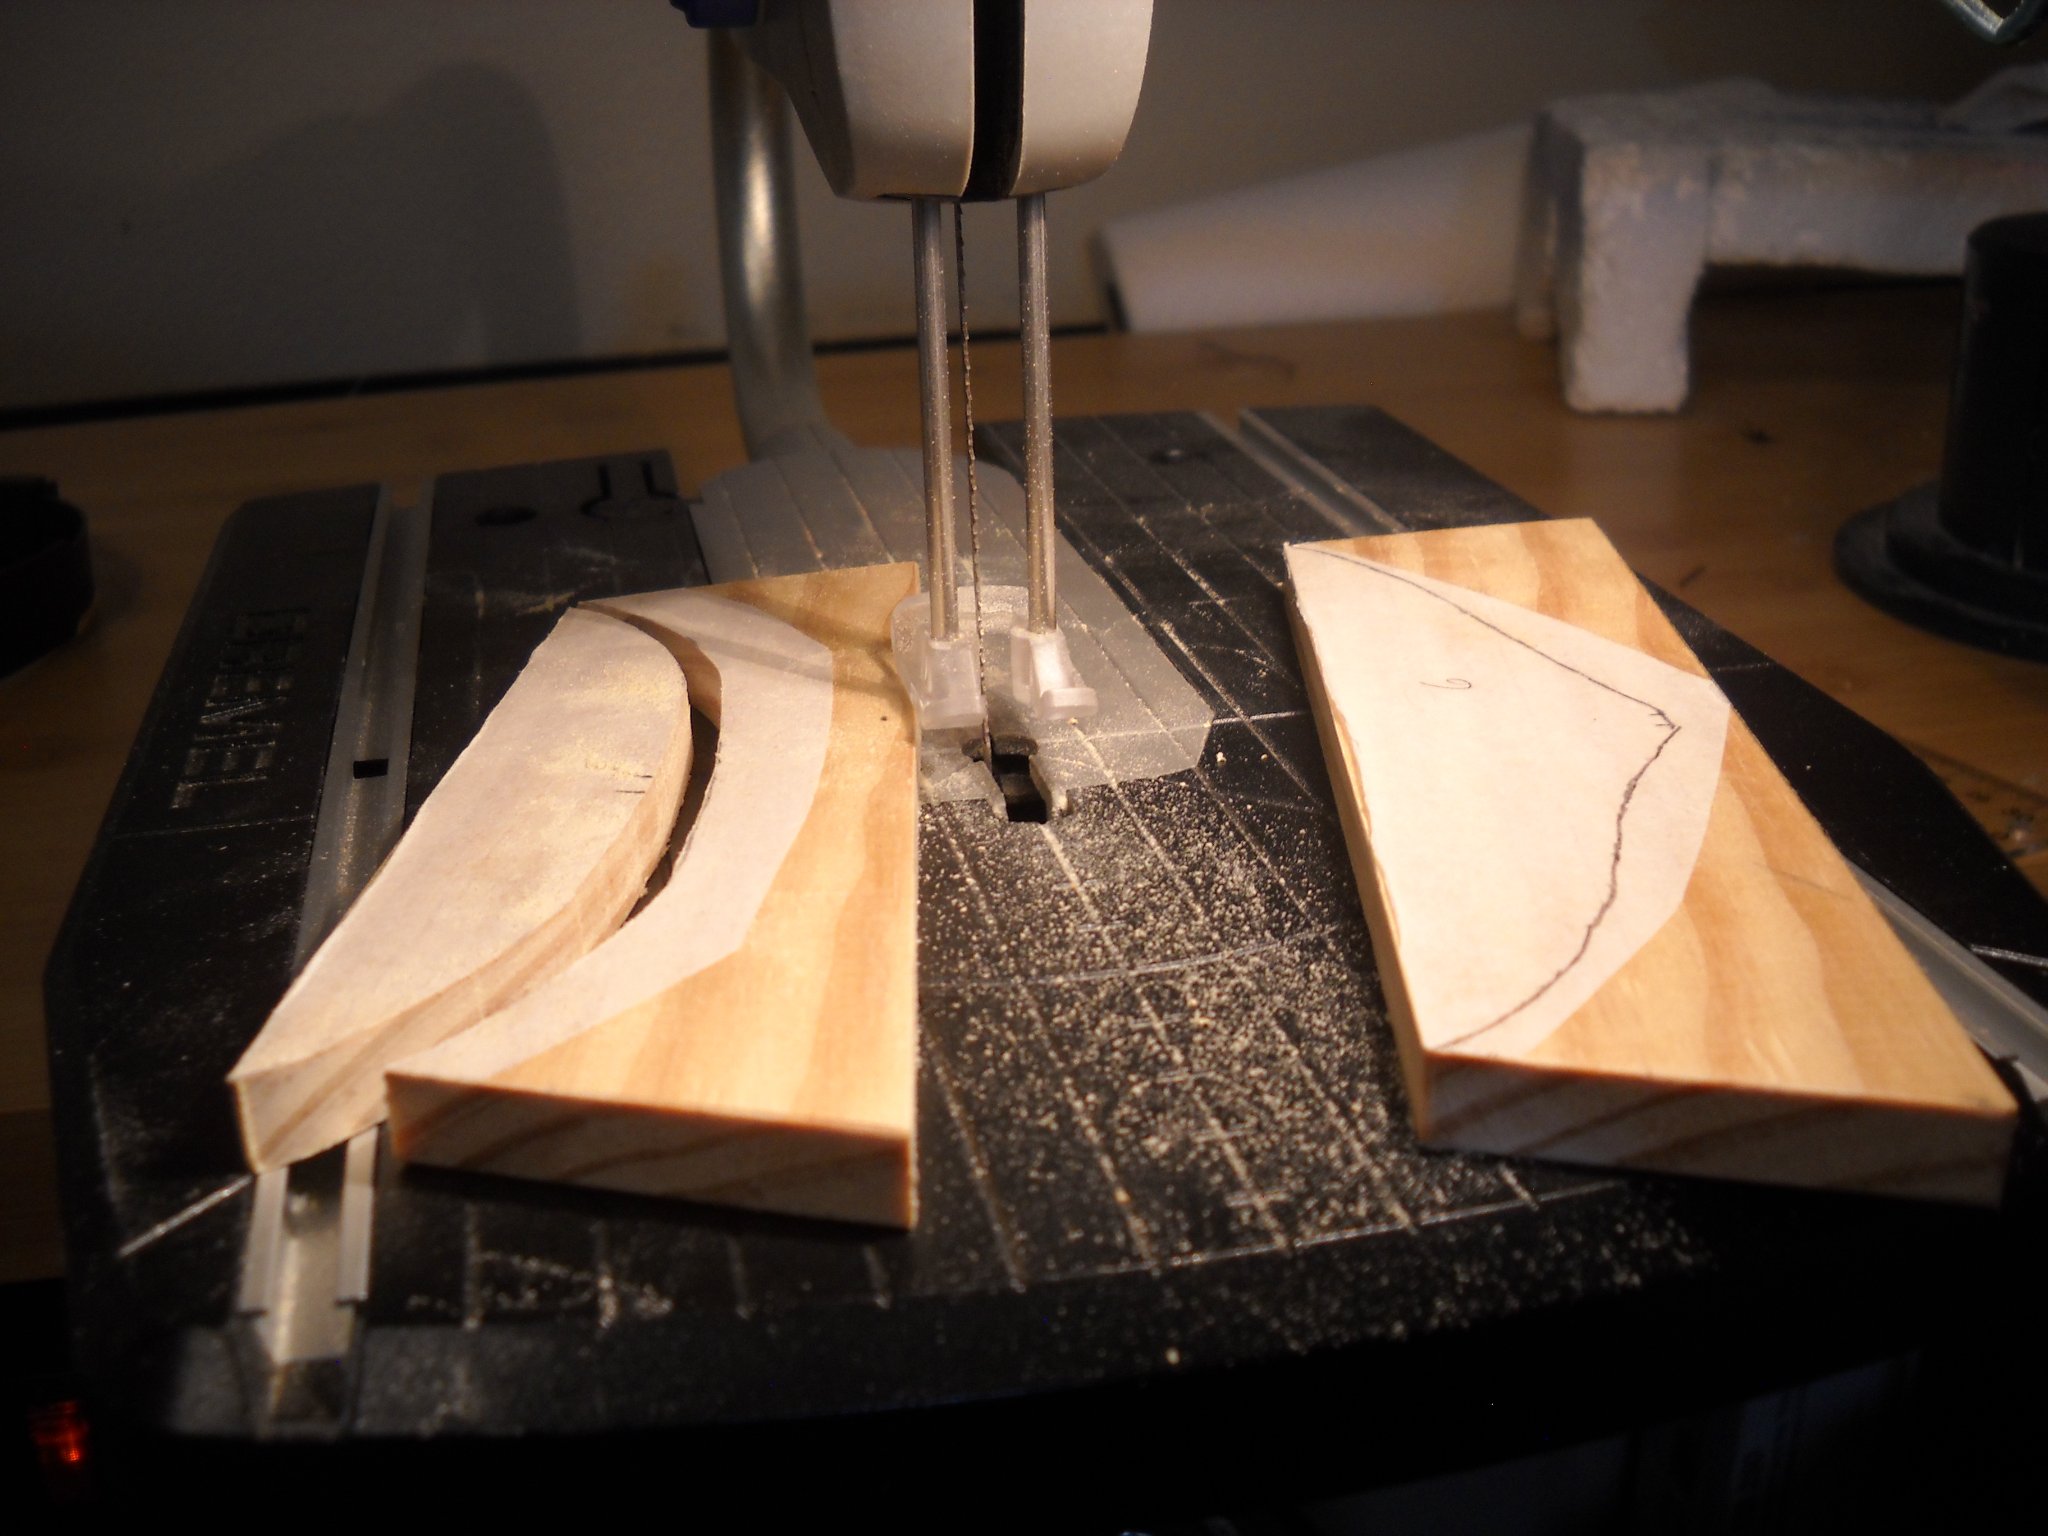
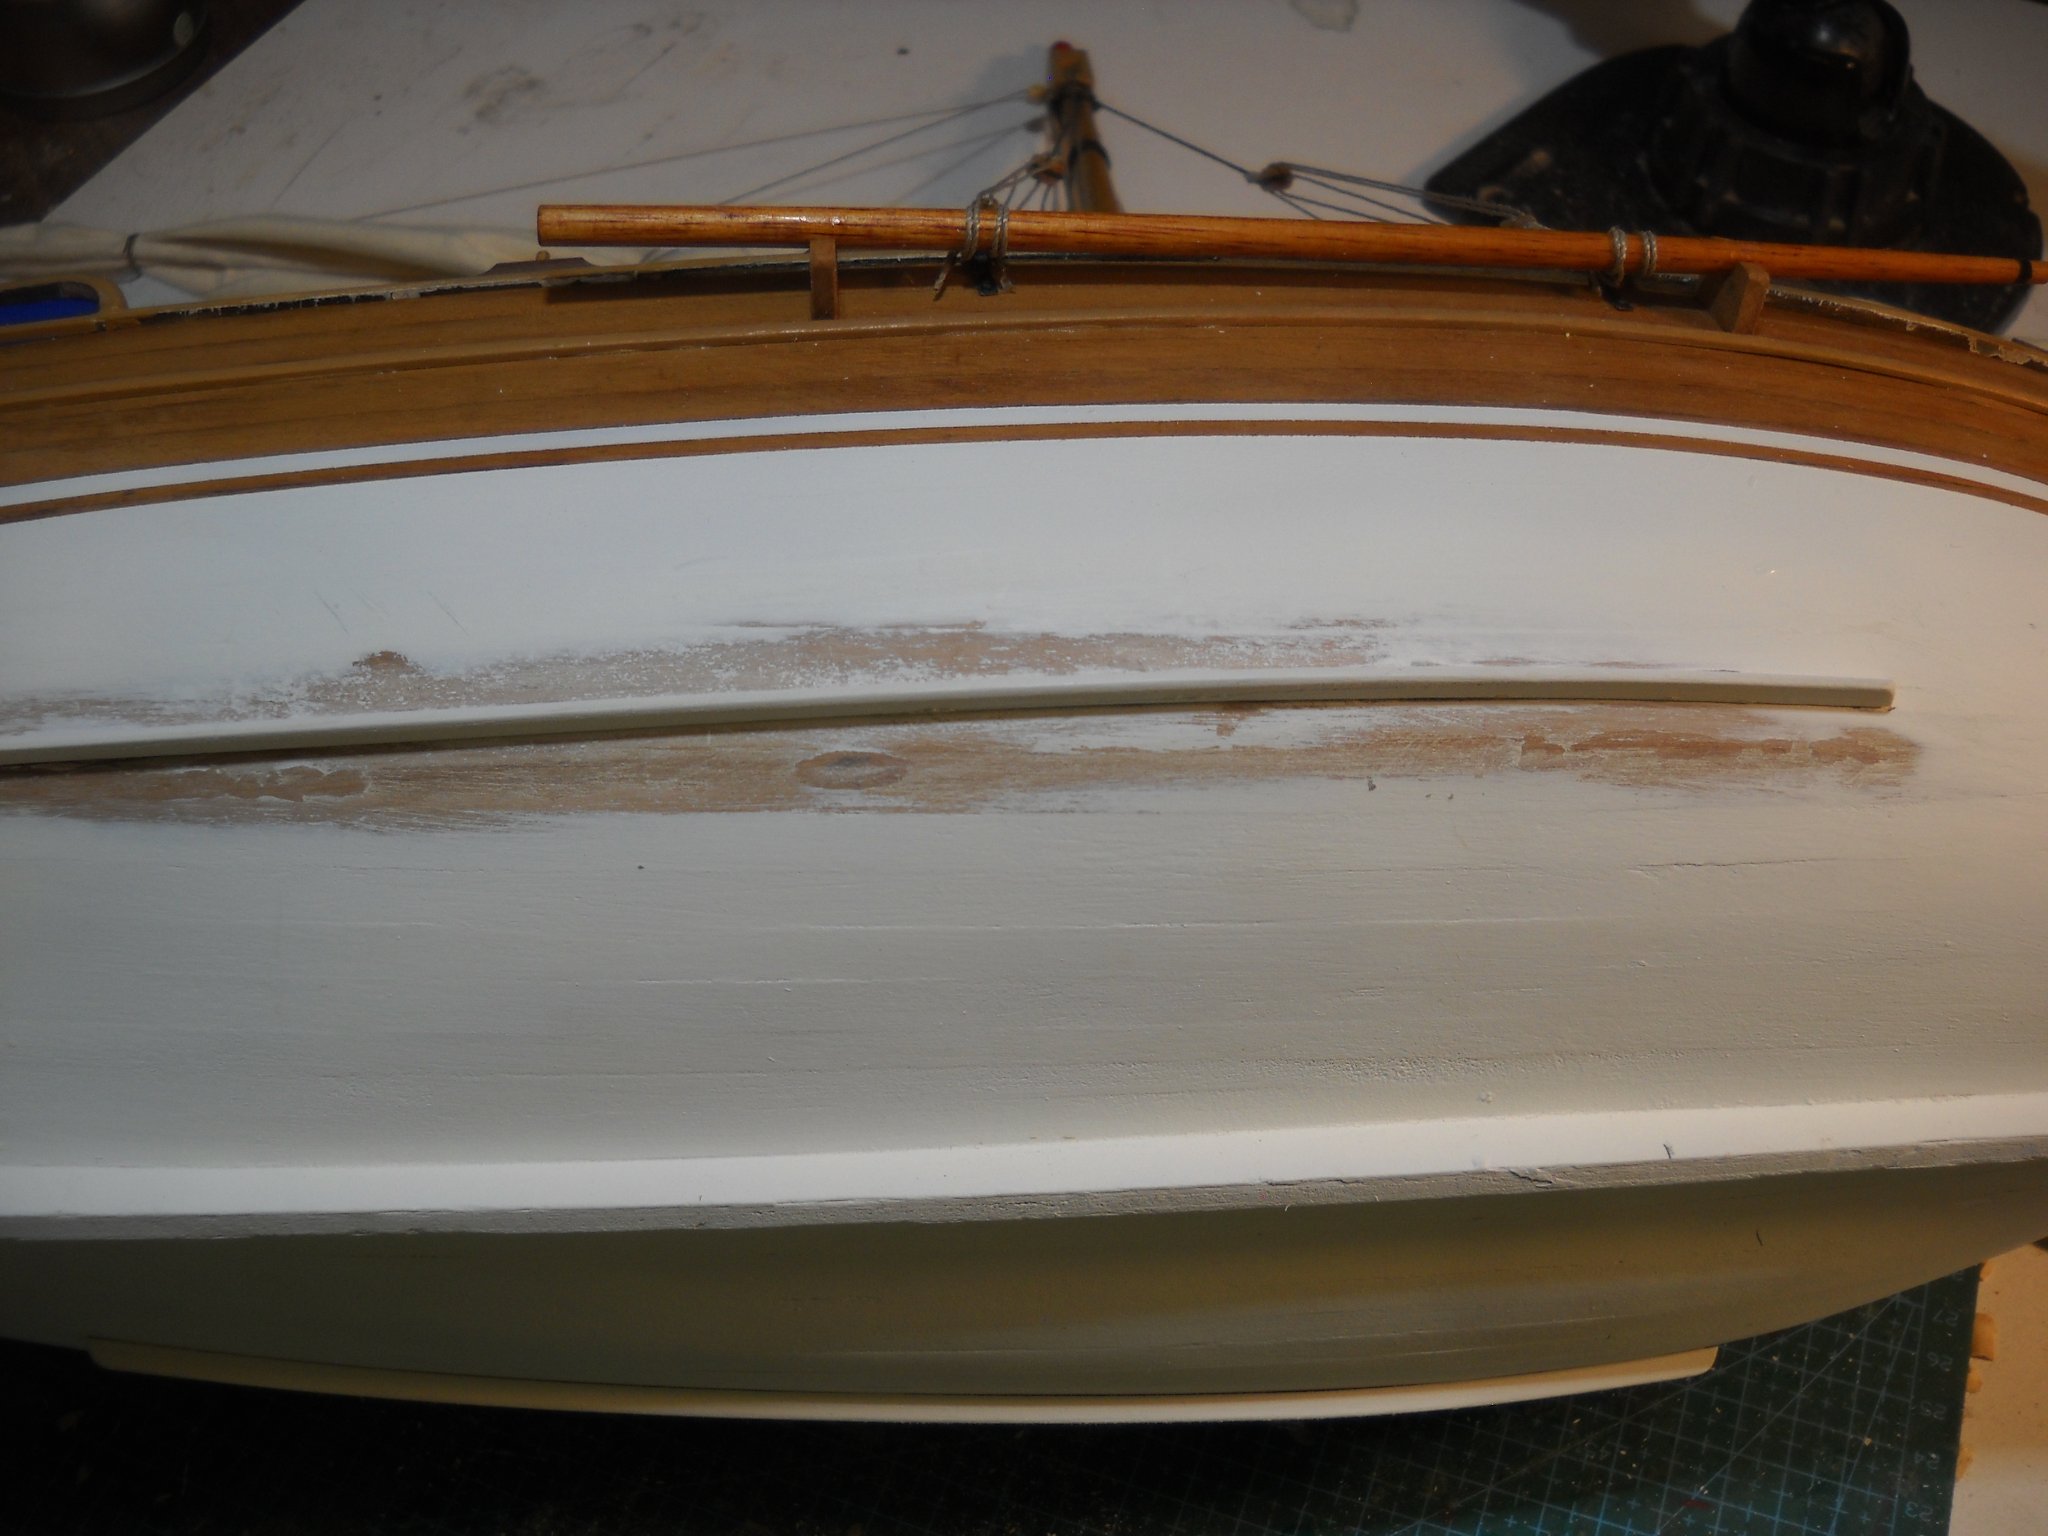
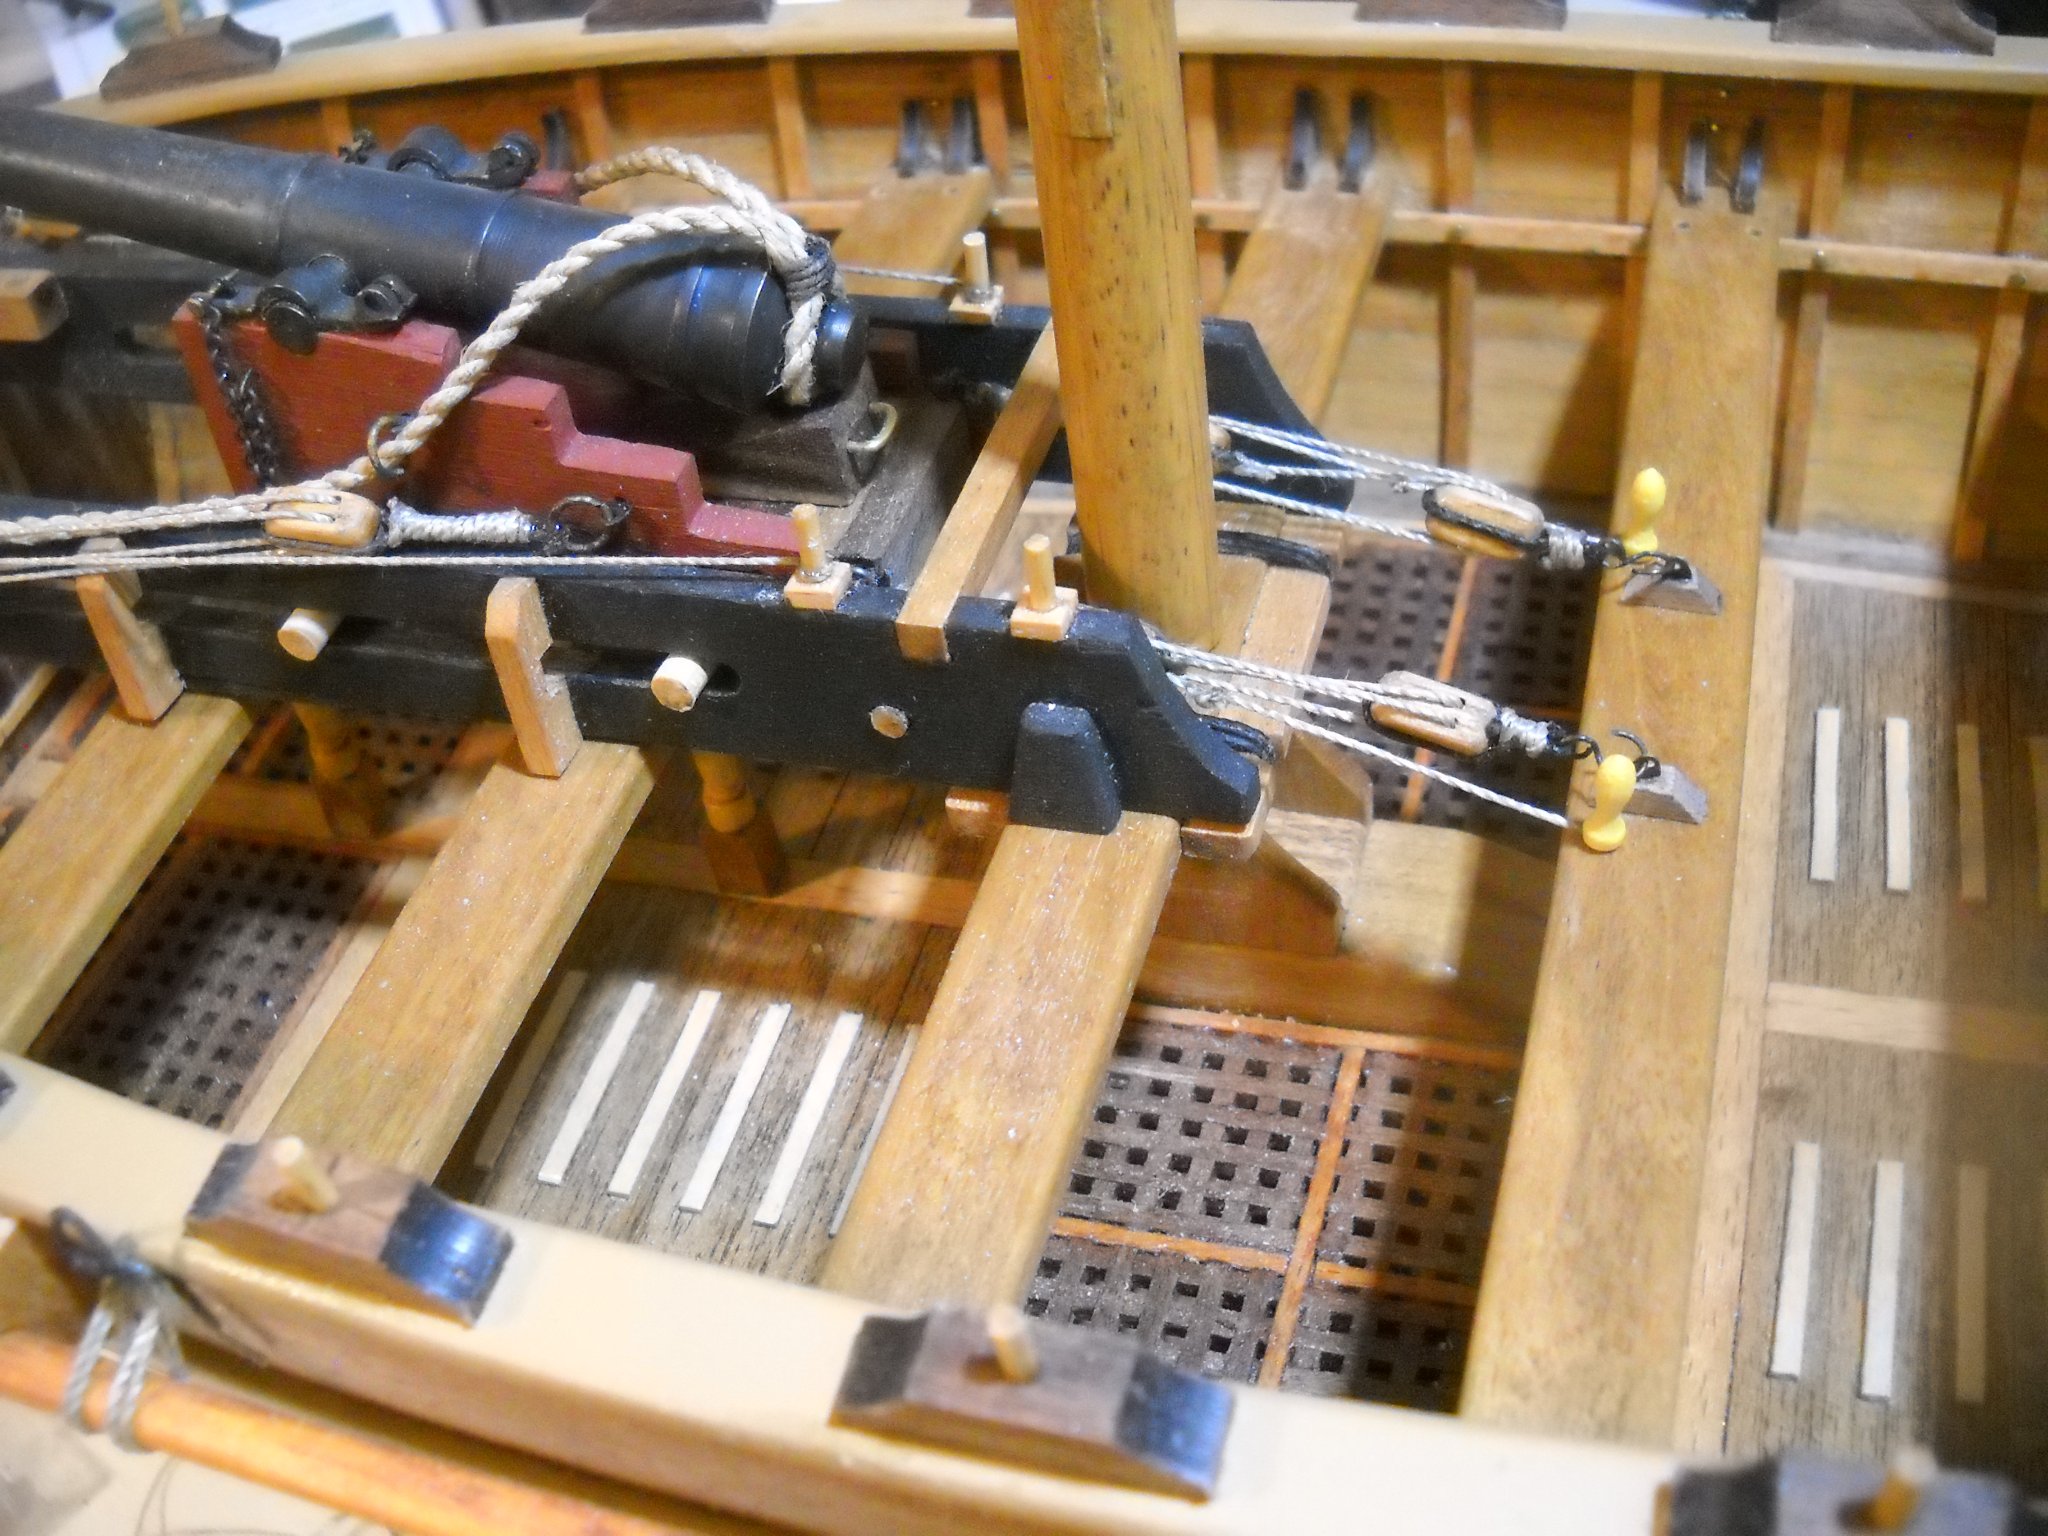
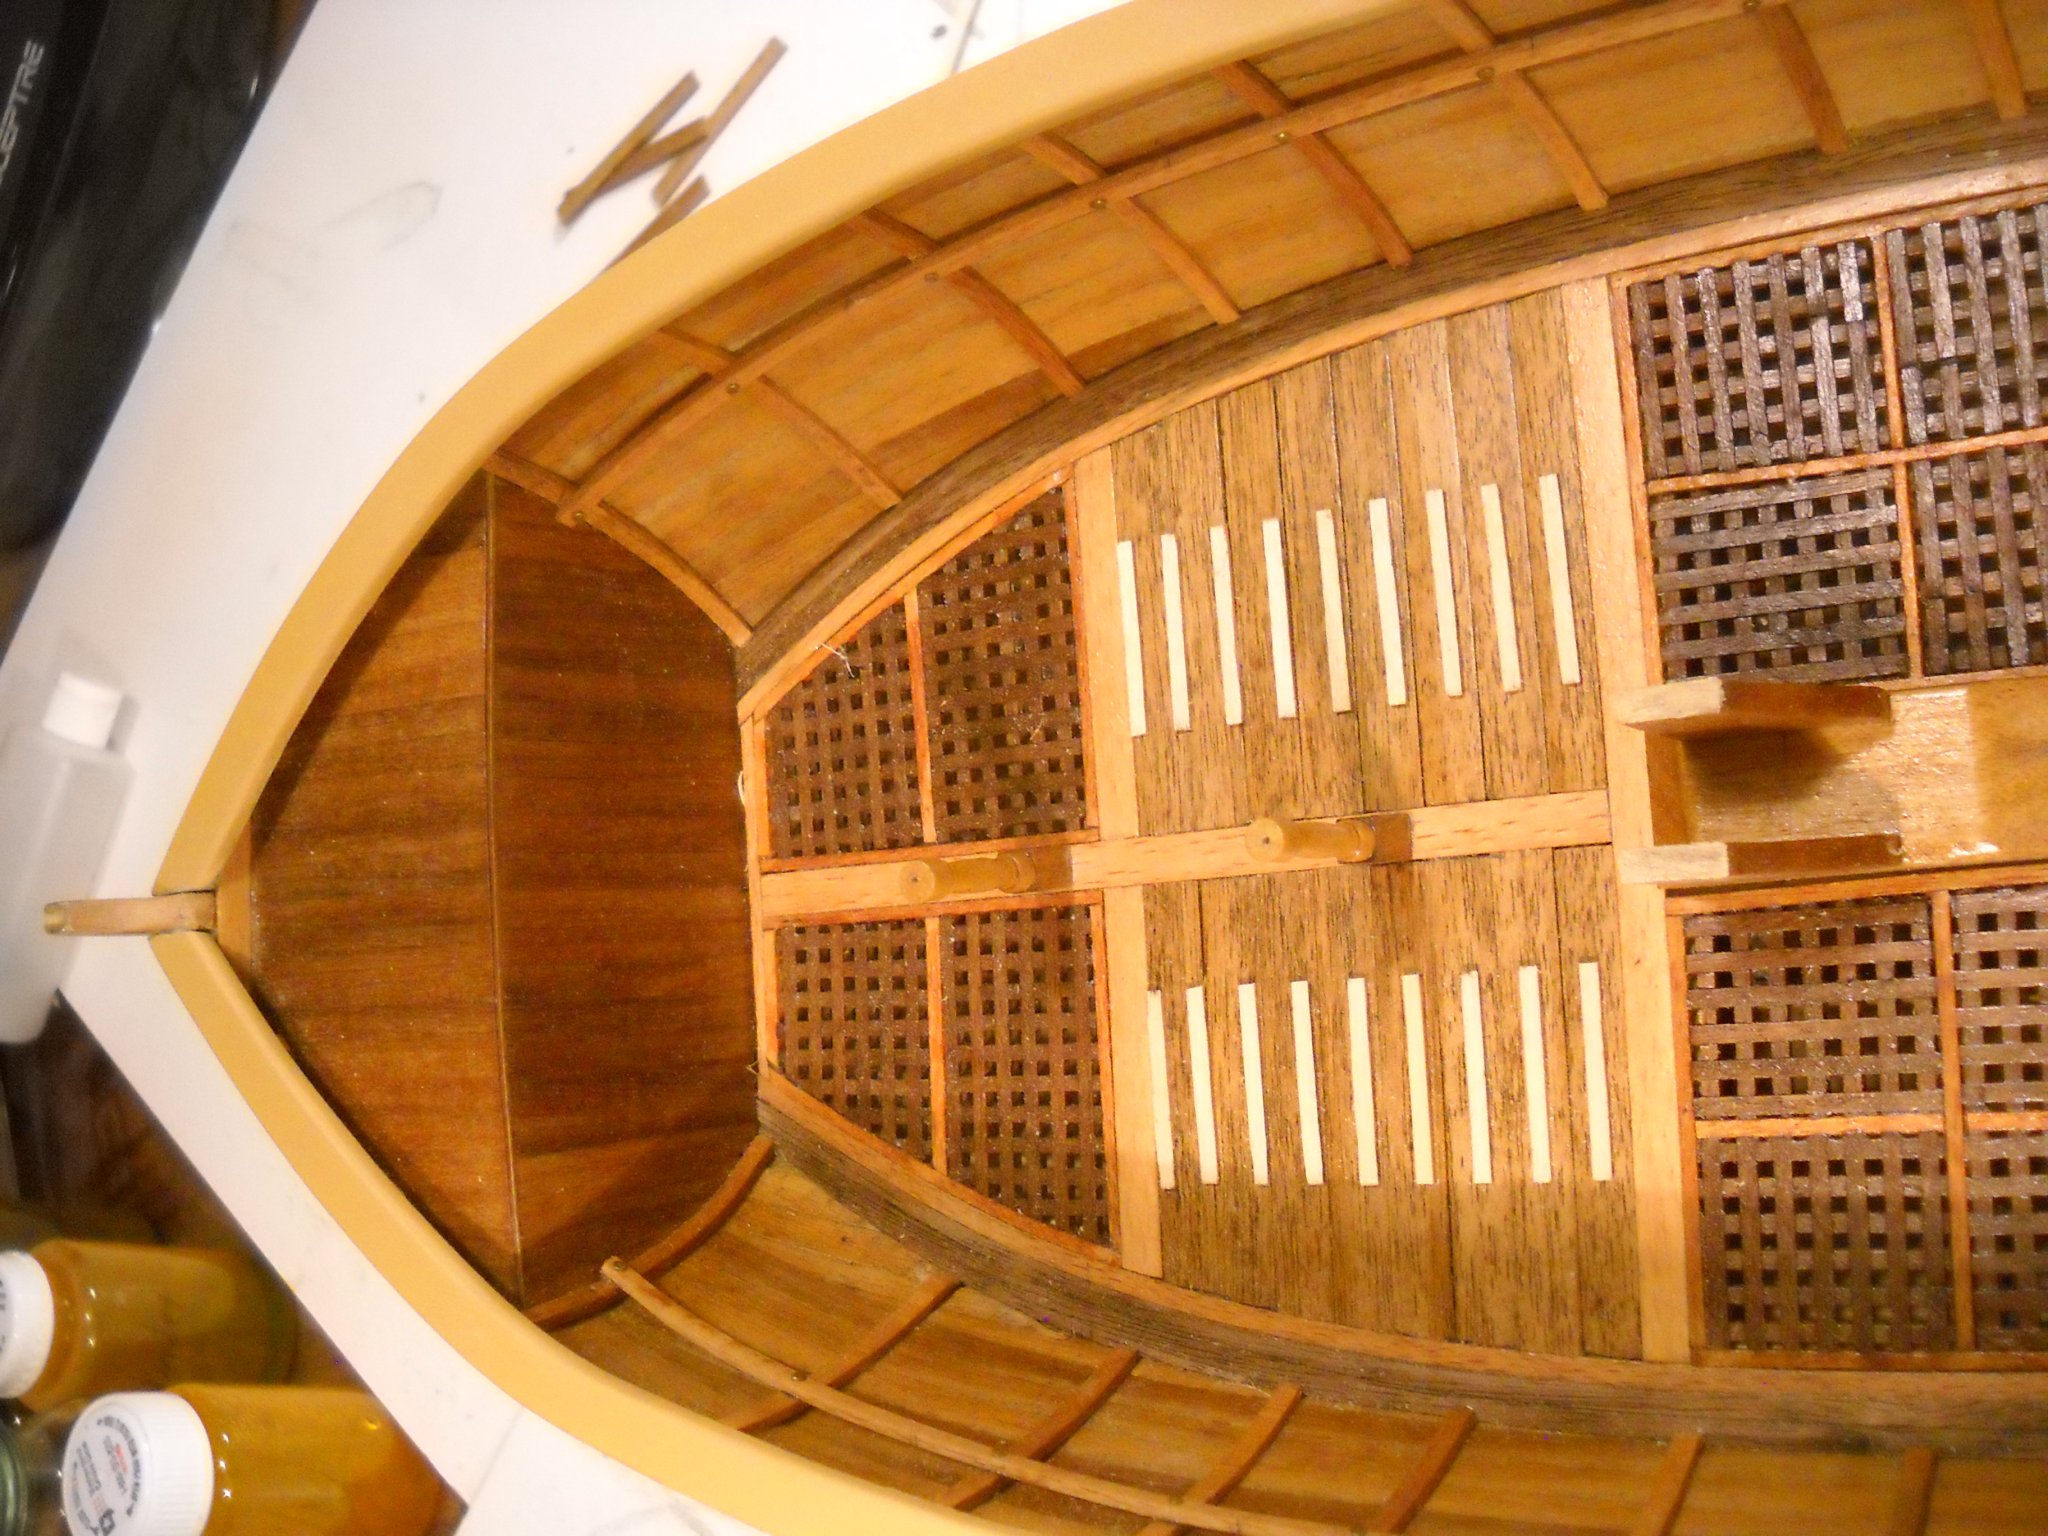
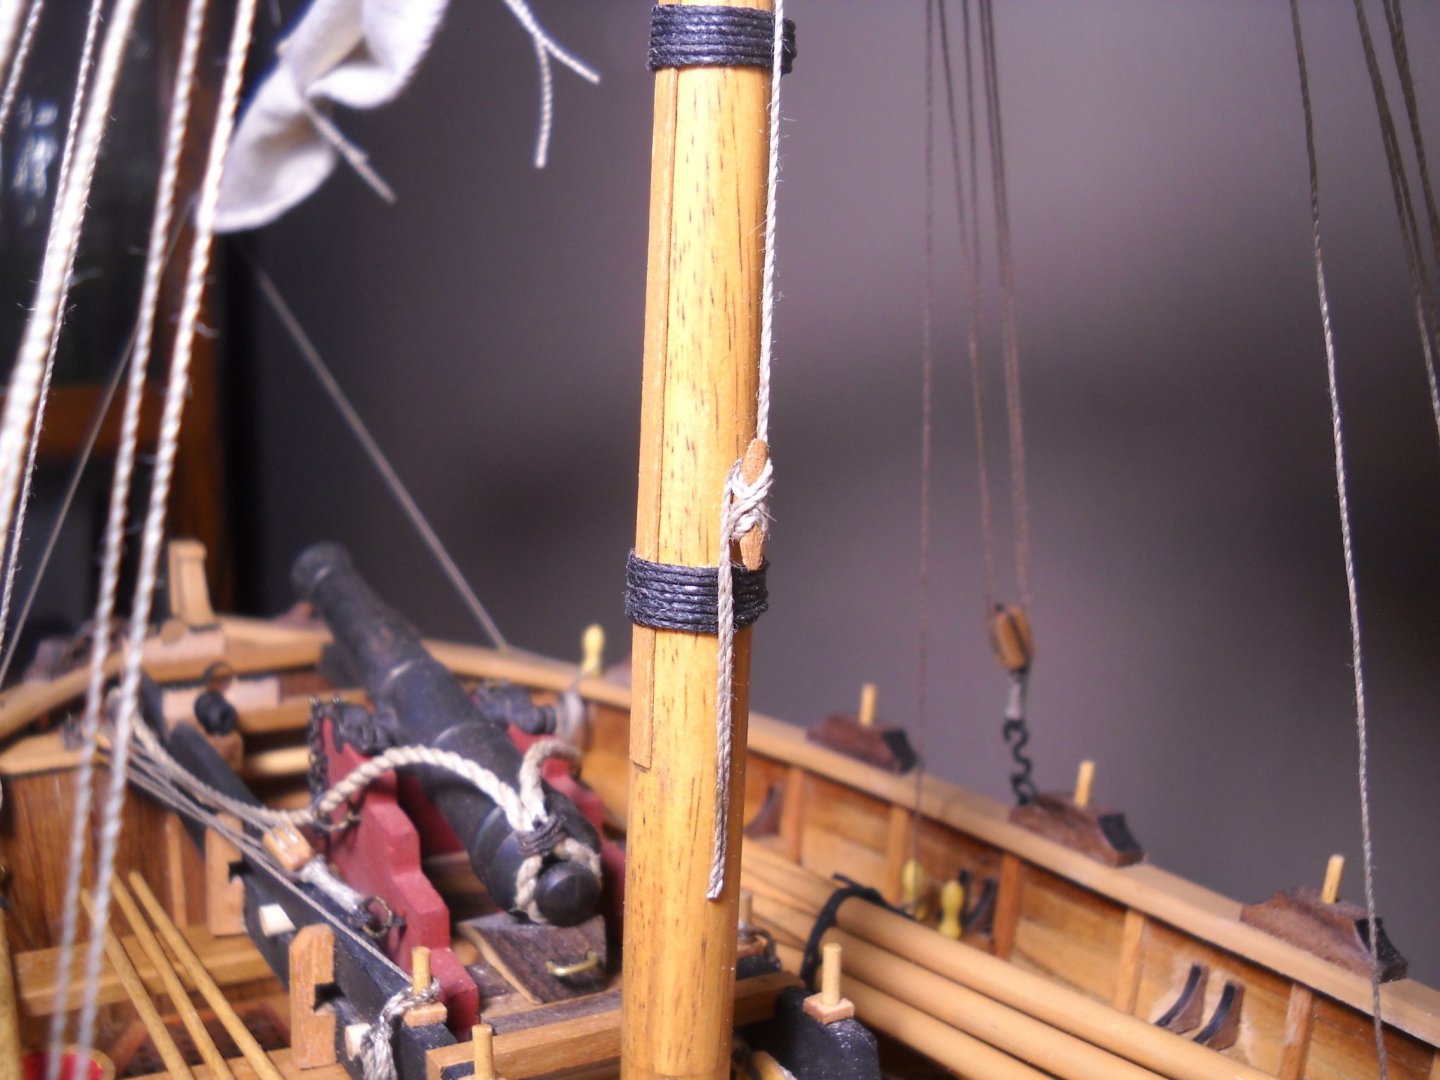
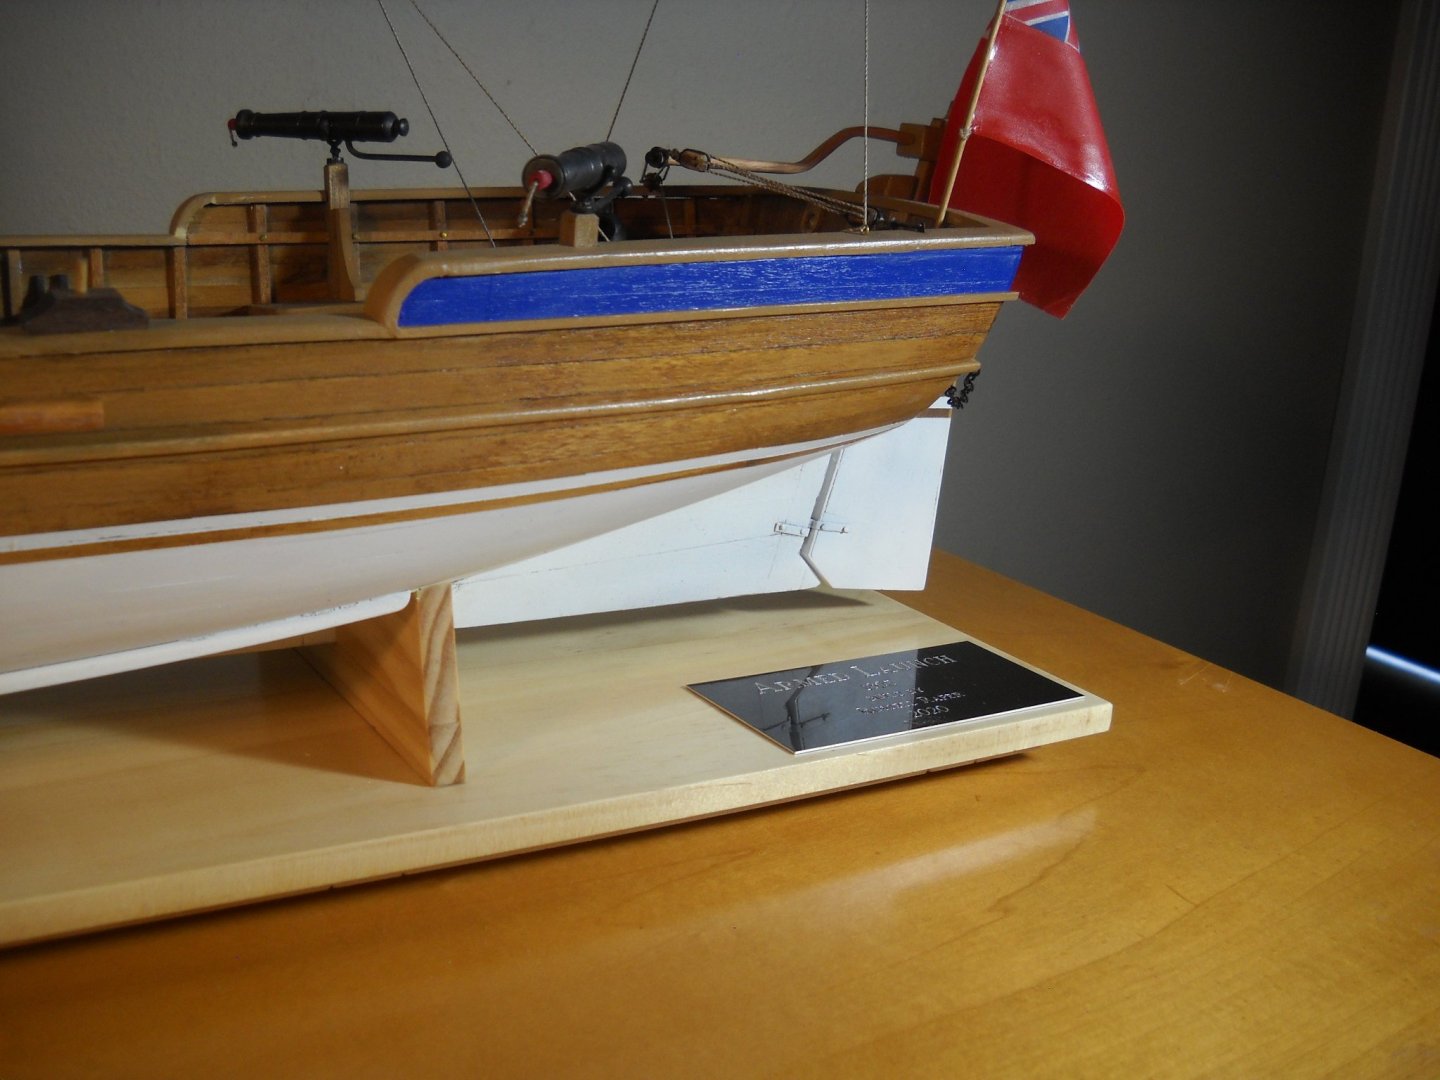
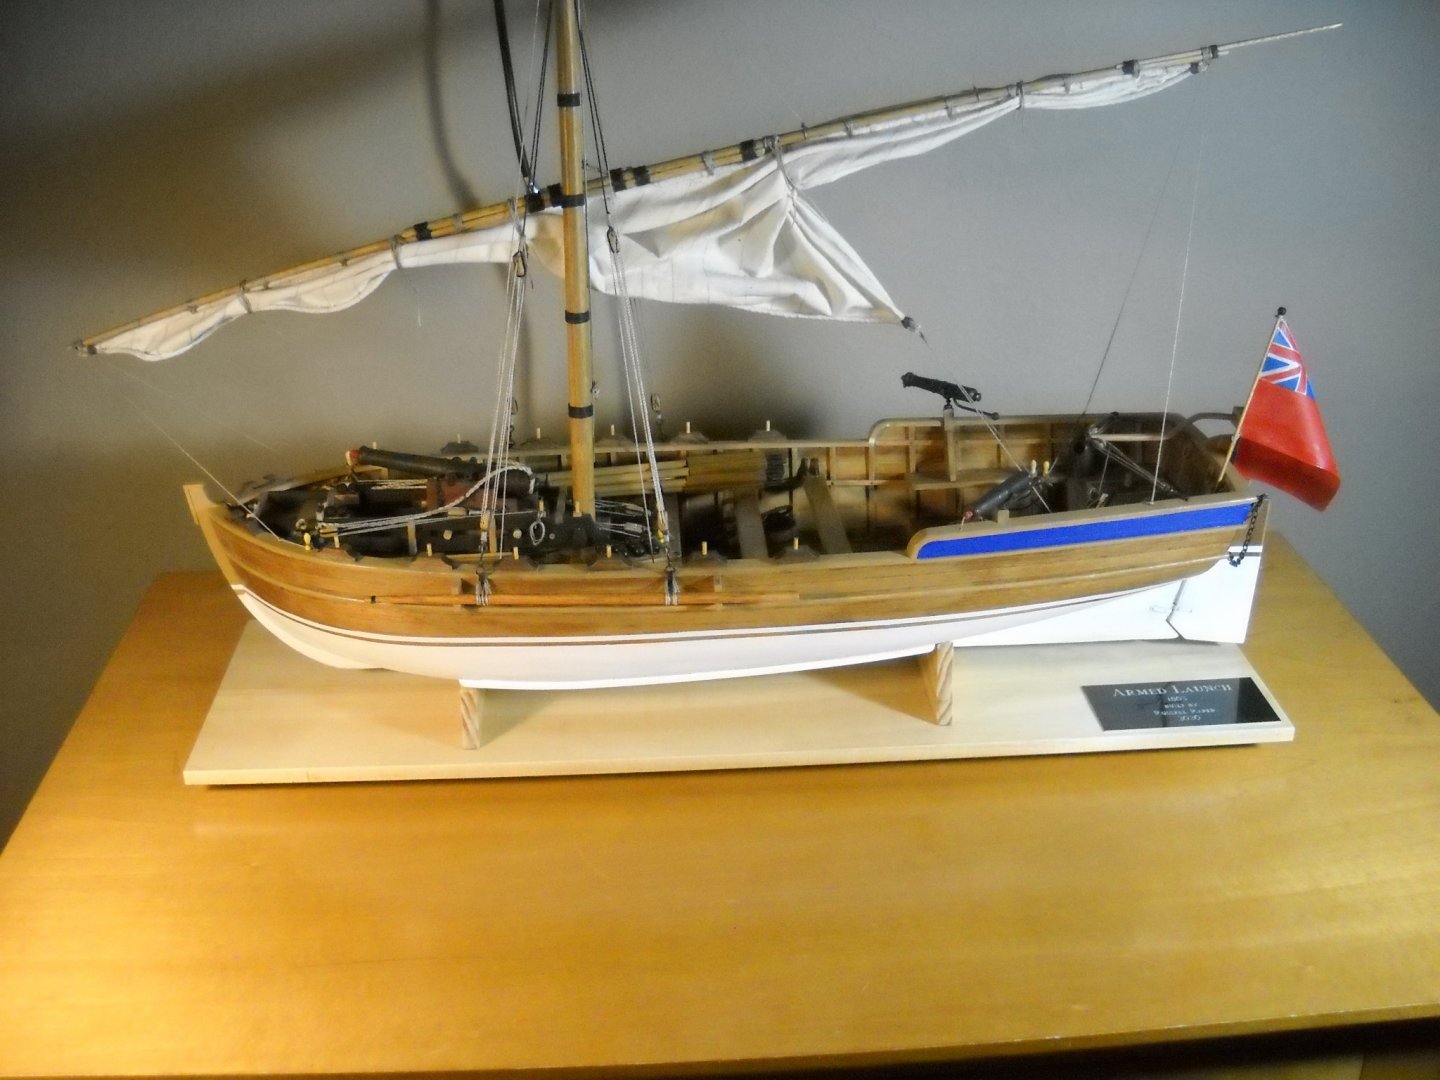
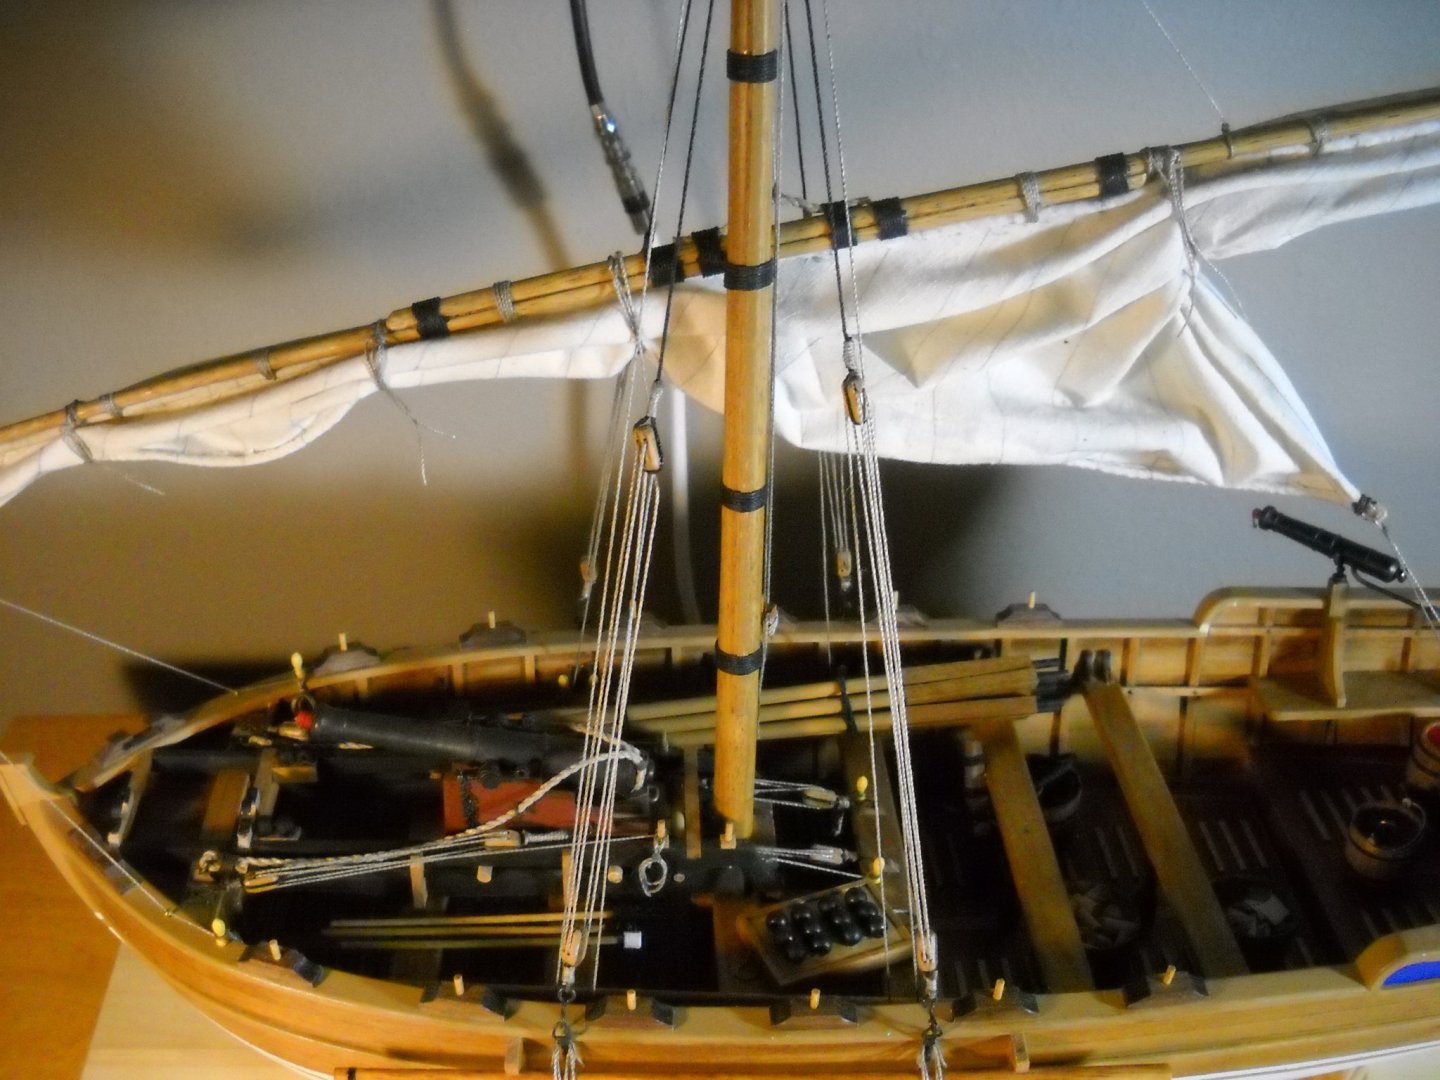
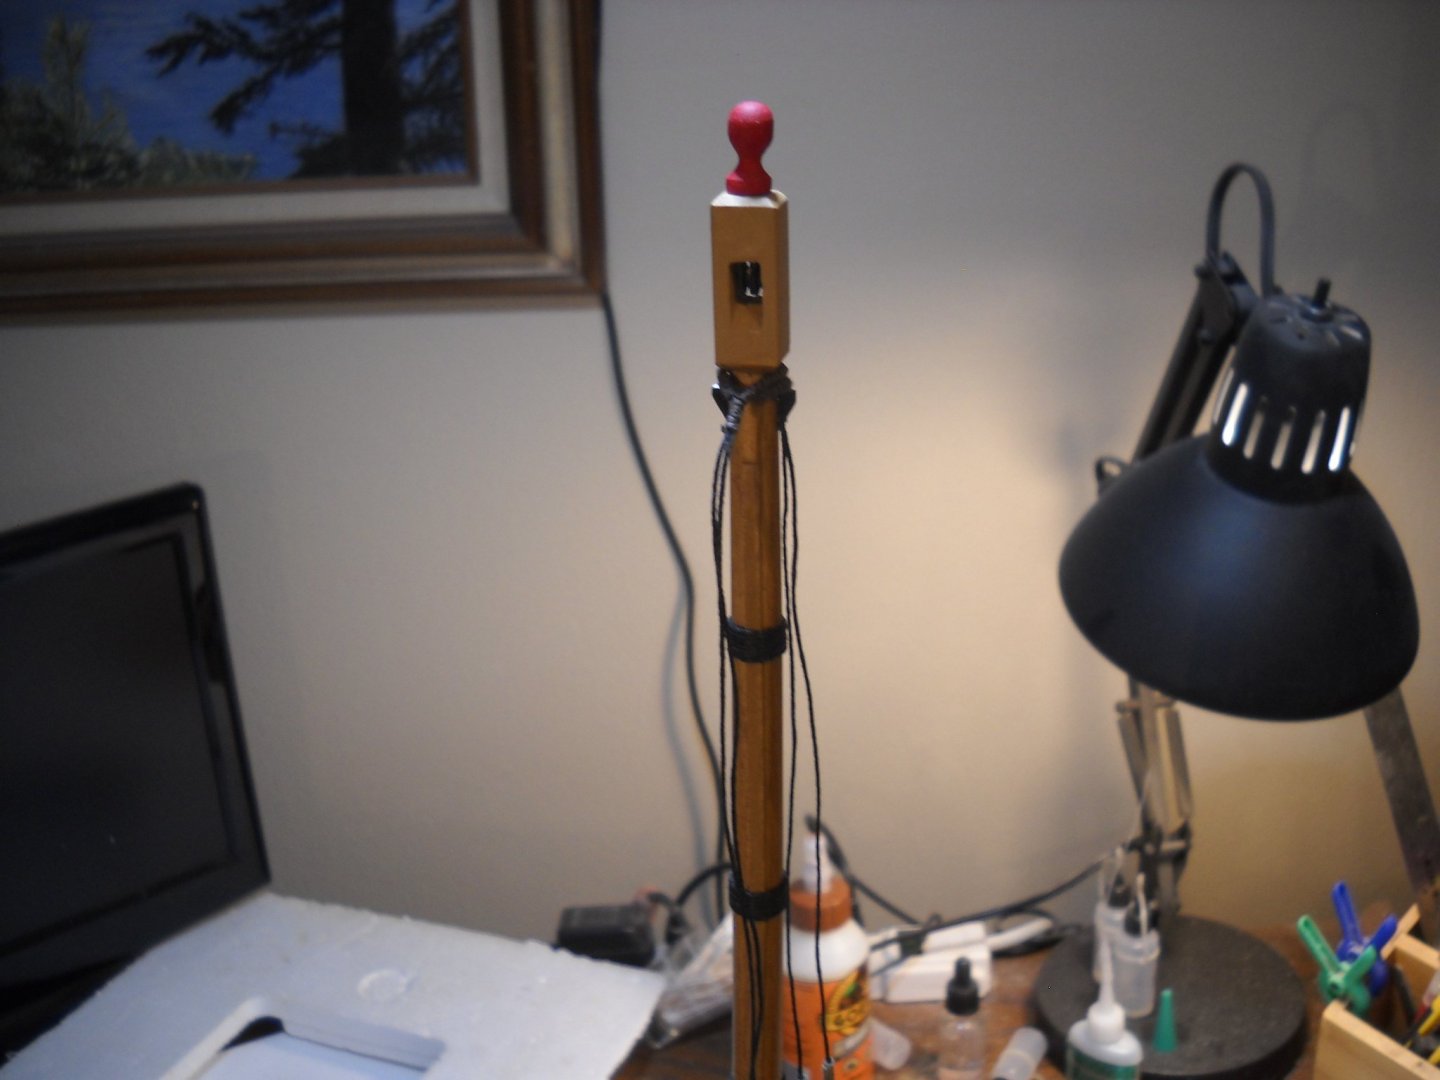
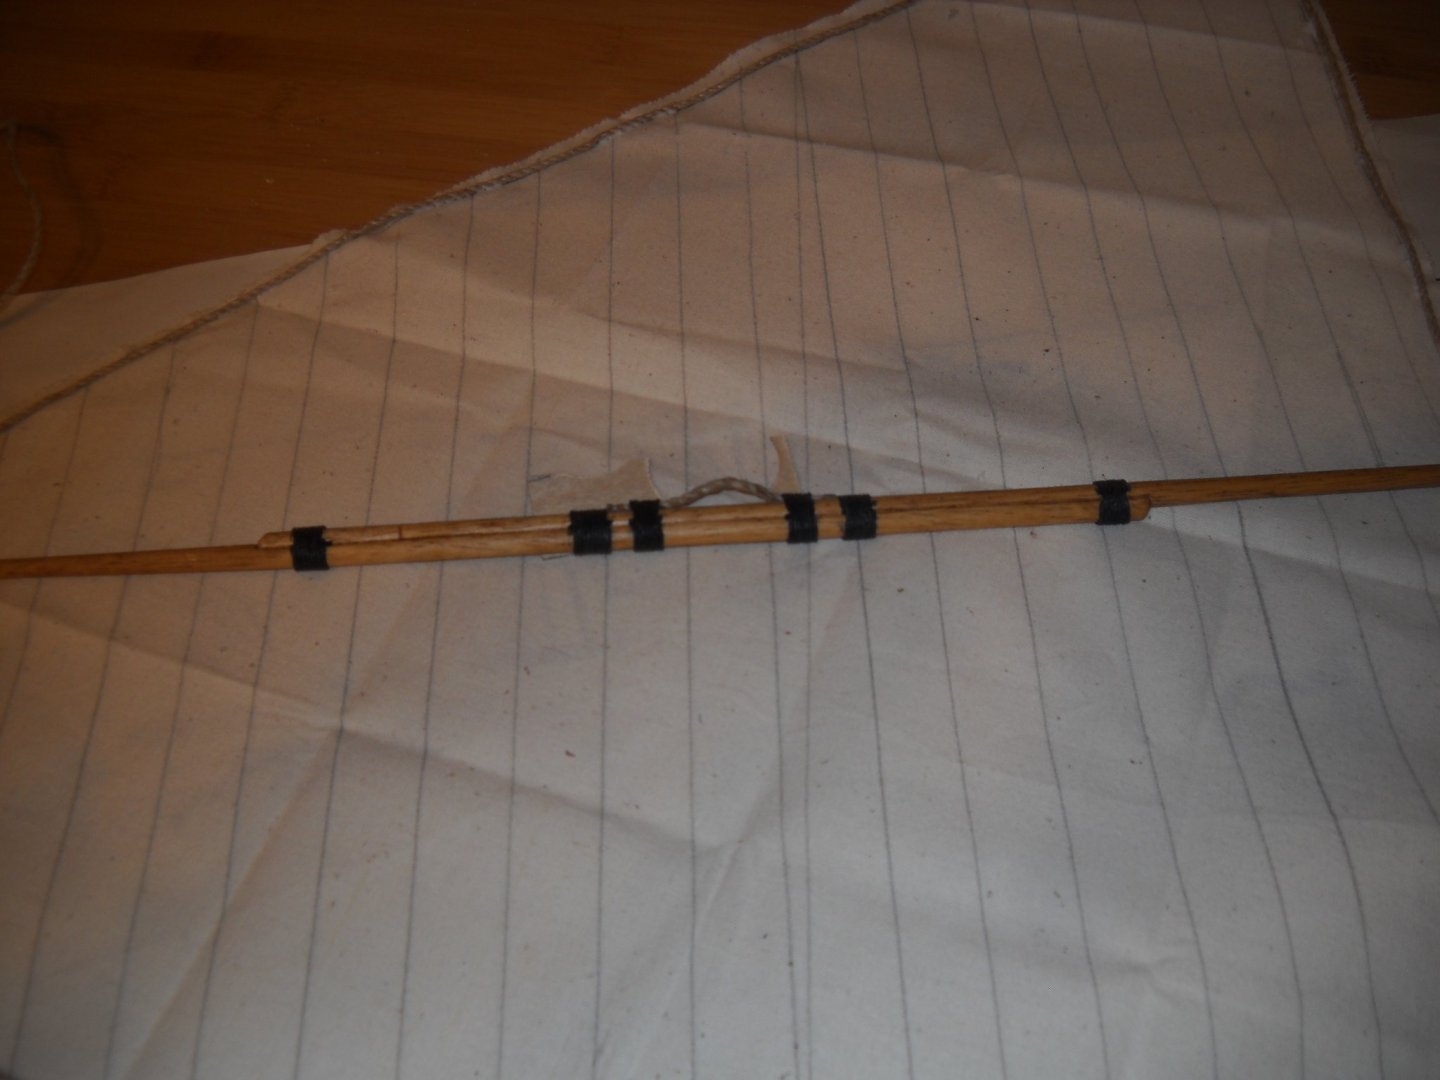
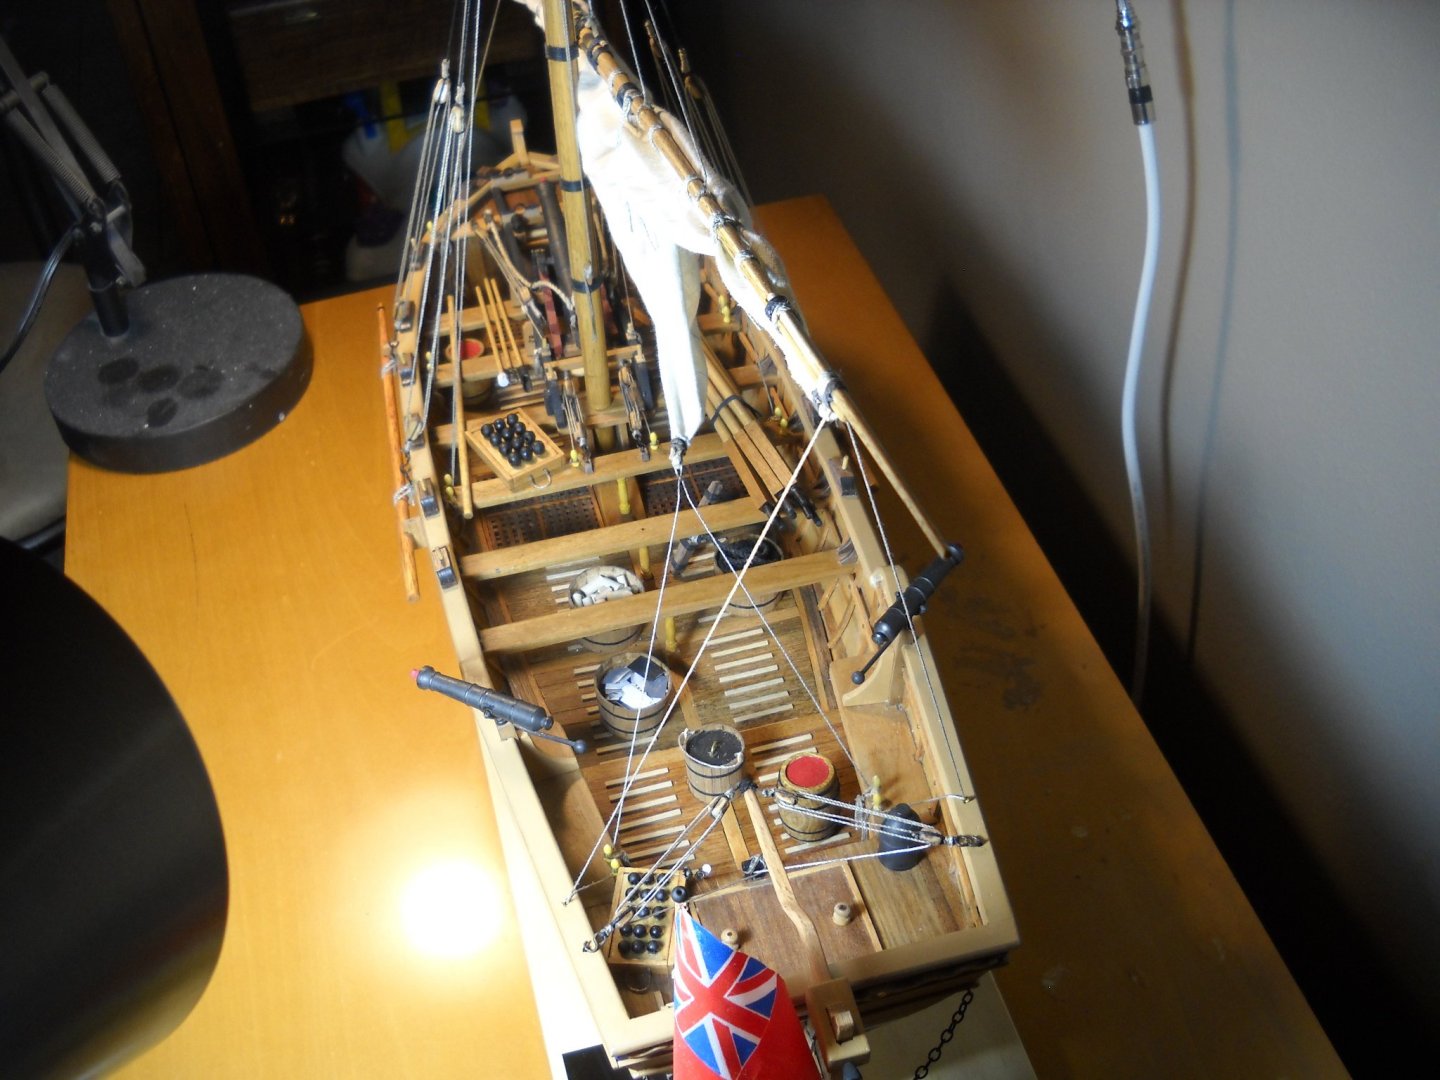
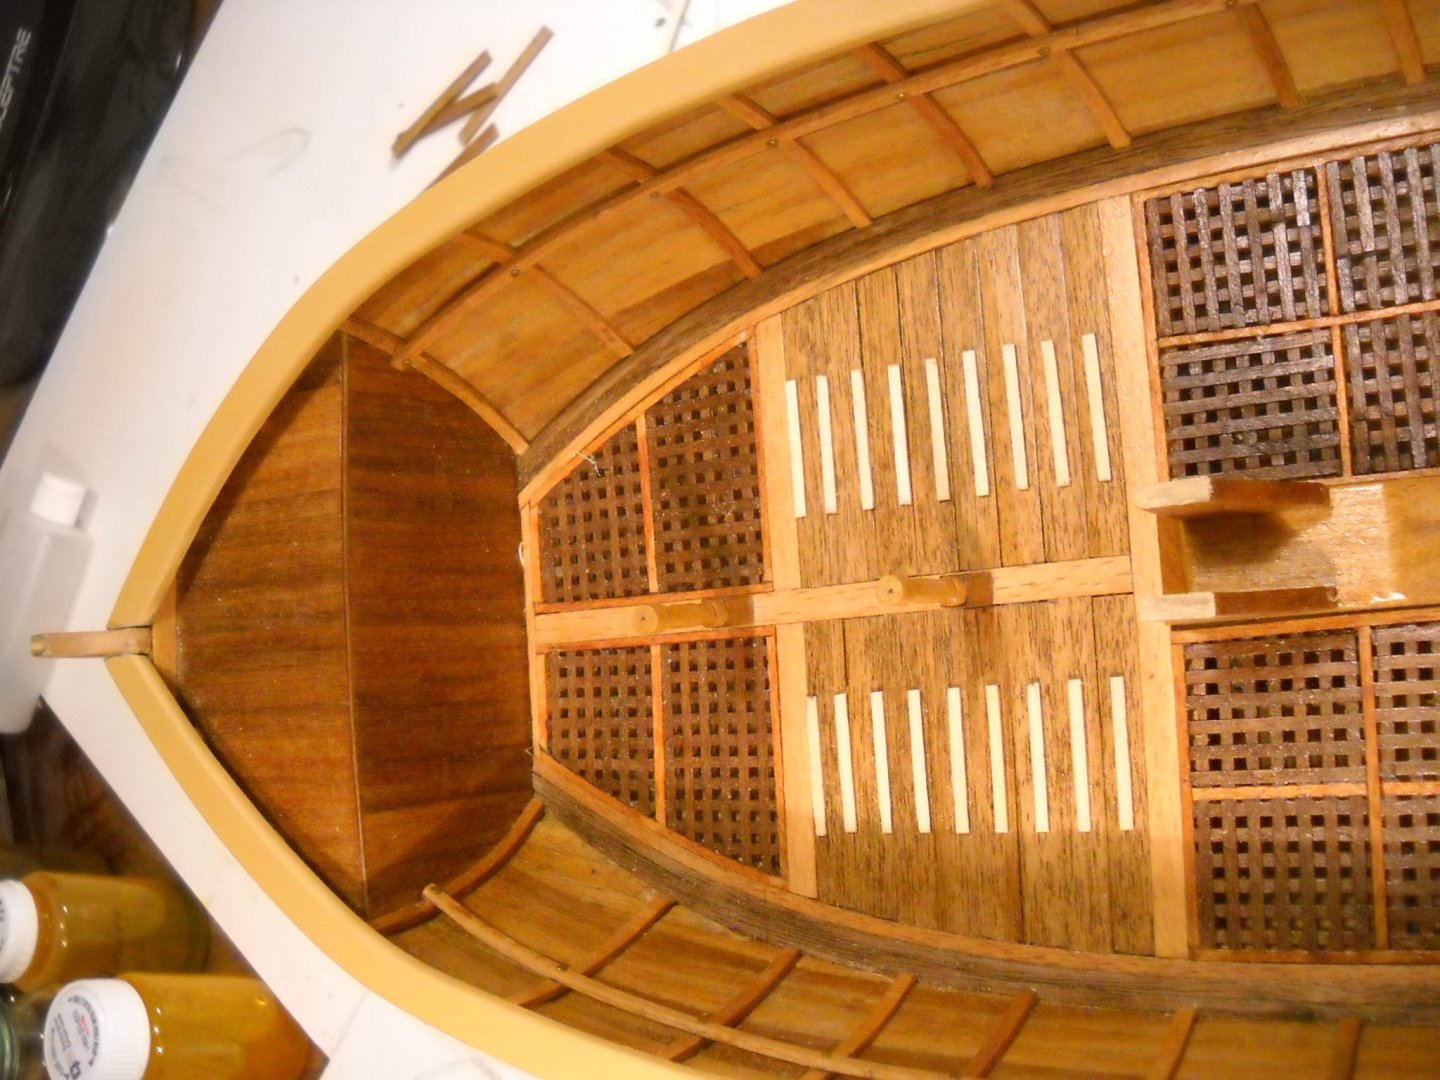
continued from the previous post. This a forward shot of the canon installed. Top of the fabricated mast. I had to drill and cut the slot for the pulleys. The red piece at the top was turned on a used Proxxon Lathe that I recently bought. This is the completed Yard Arm (the center part anyway). Rope coil jig that I made. Couple of the rope coils installed. Here I am cutting out hull cradle out of some #1 pine. I had one of the stablizers(?) in the wrong place and had to move and repaint. Interior shots of the finished model. I made the base out of plain old #1 pine with four coats of Minwax Wipe On Polly with a light sanding between coats. I ordered the name plate on Ebay. I think he did a good job. To be continued in the next post.


- 14 replies
-
- 3
-
-
- panart
- armed launch
- (and 2 more)
-
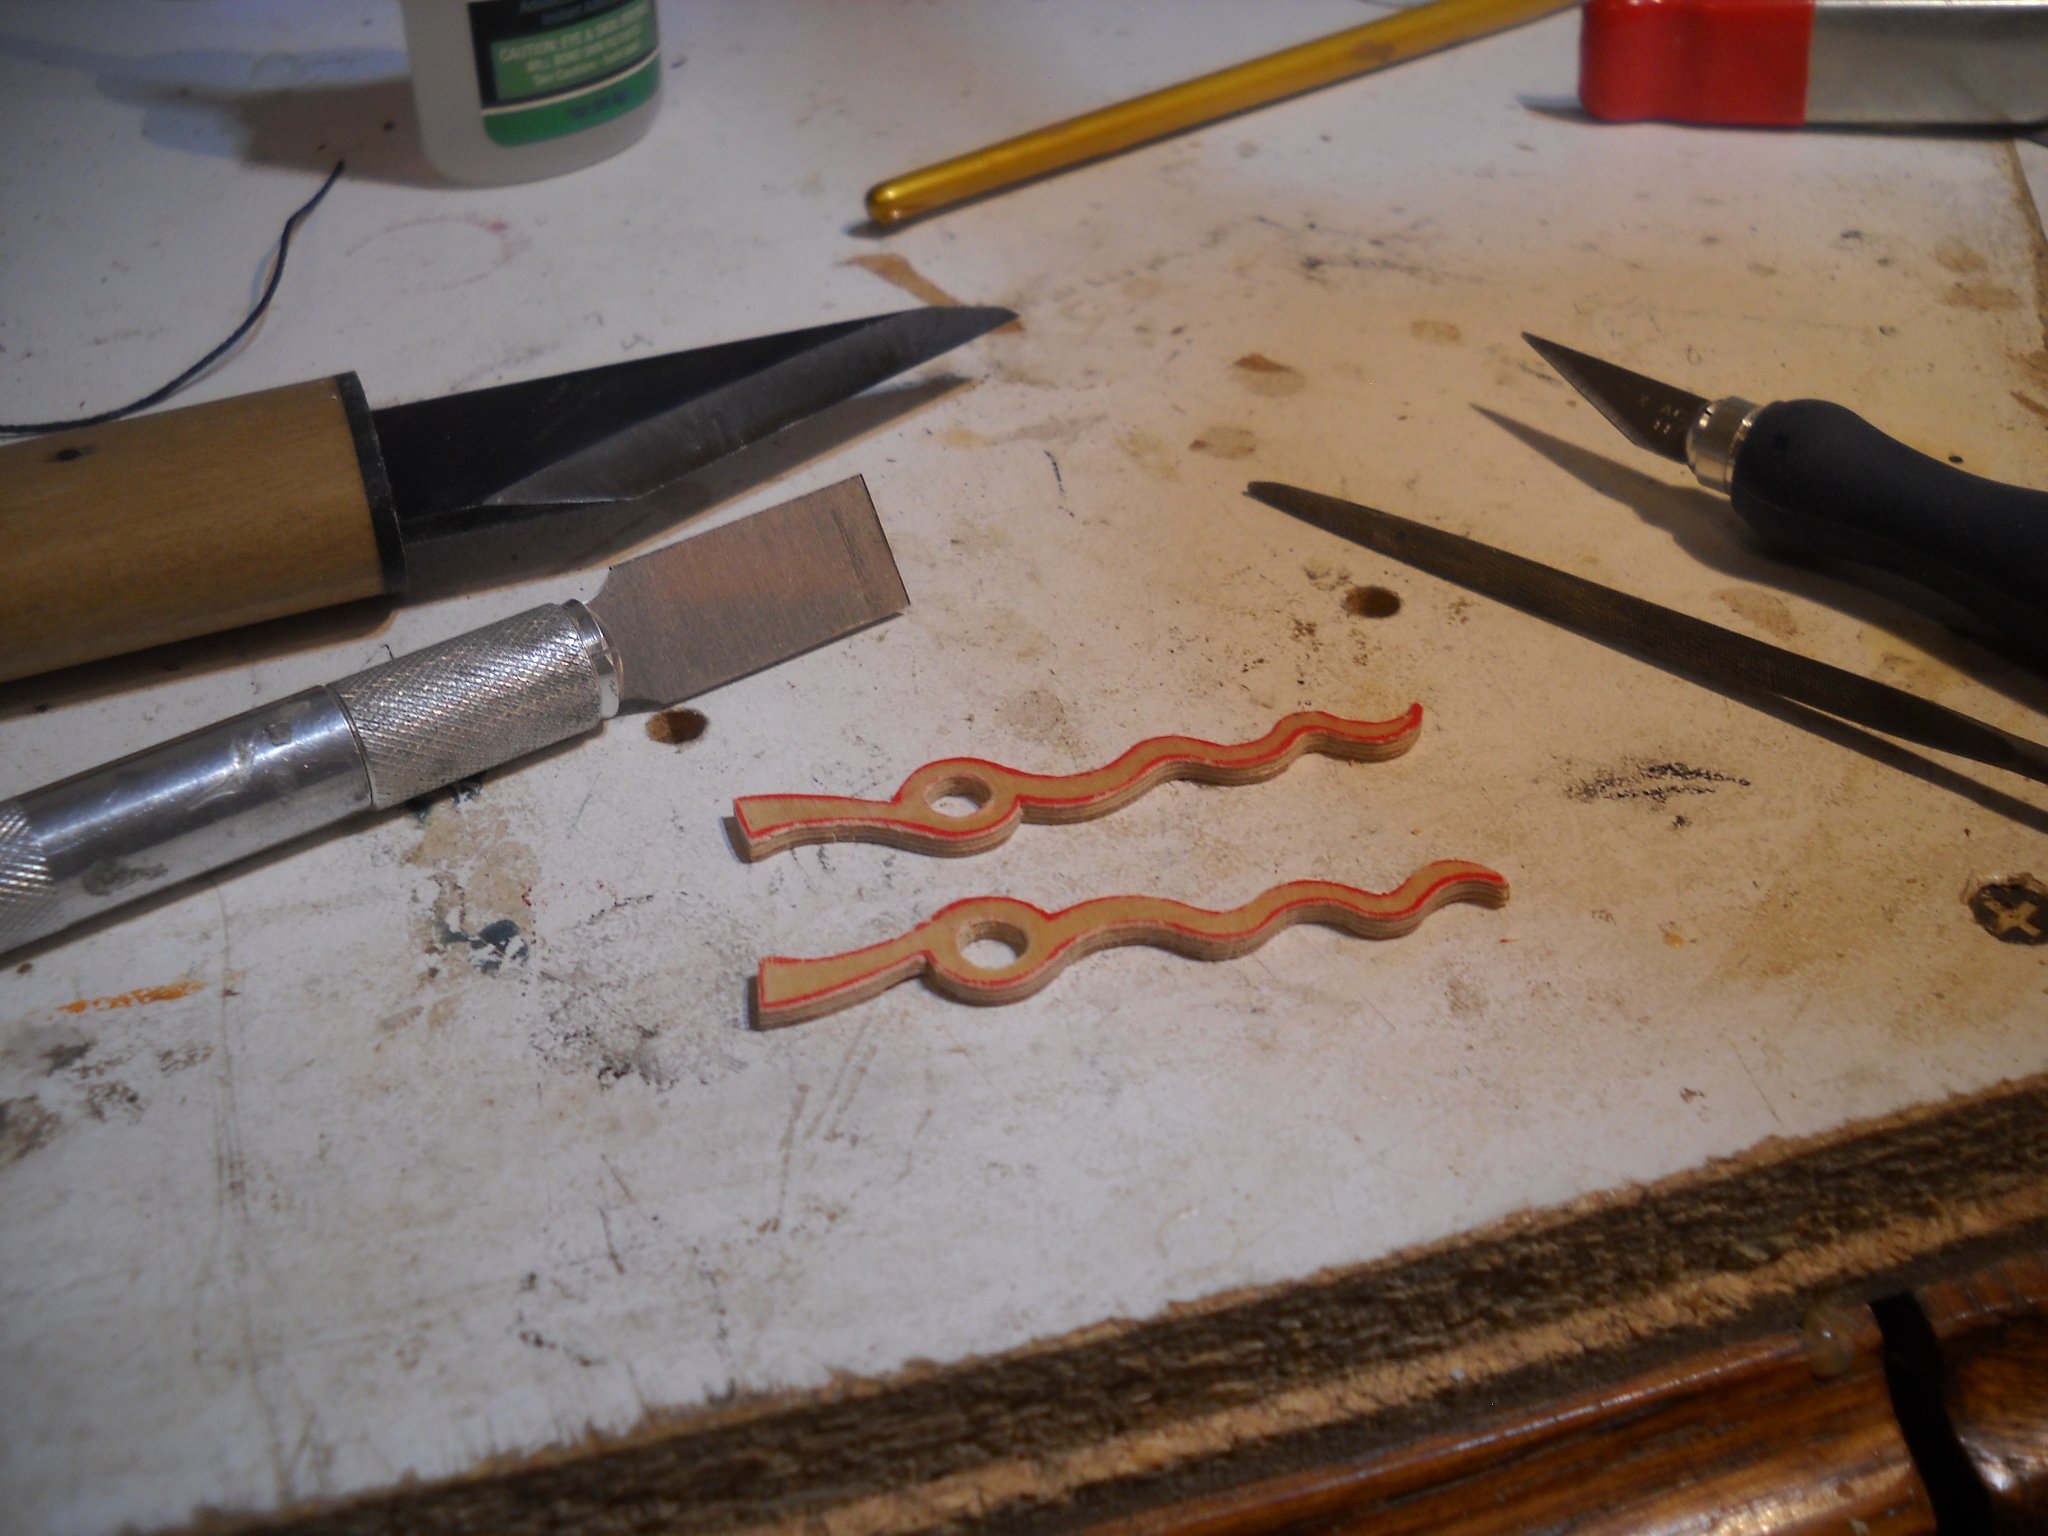
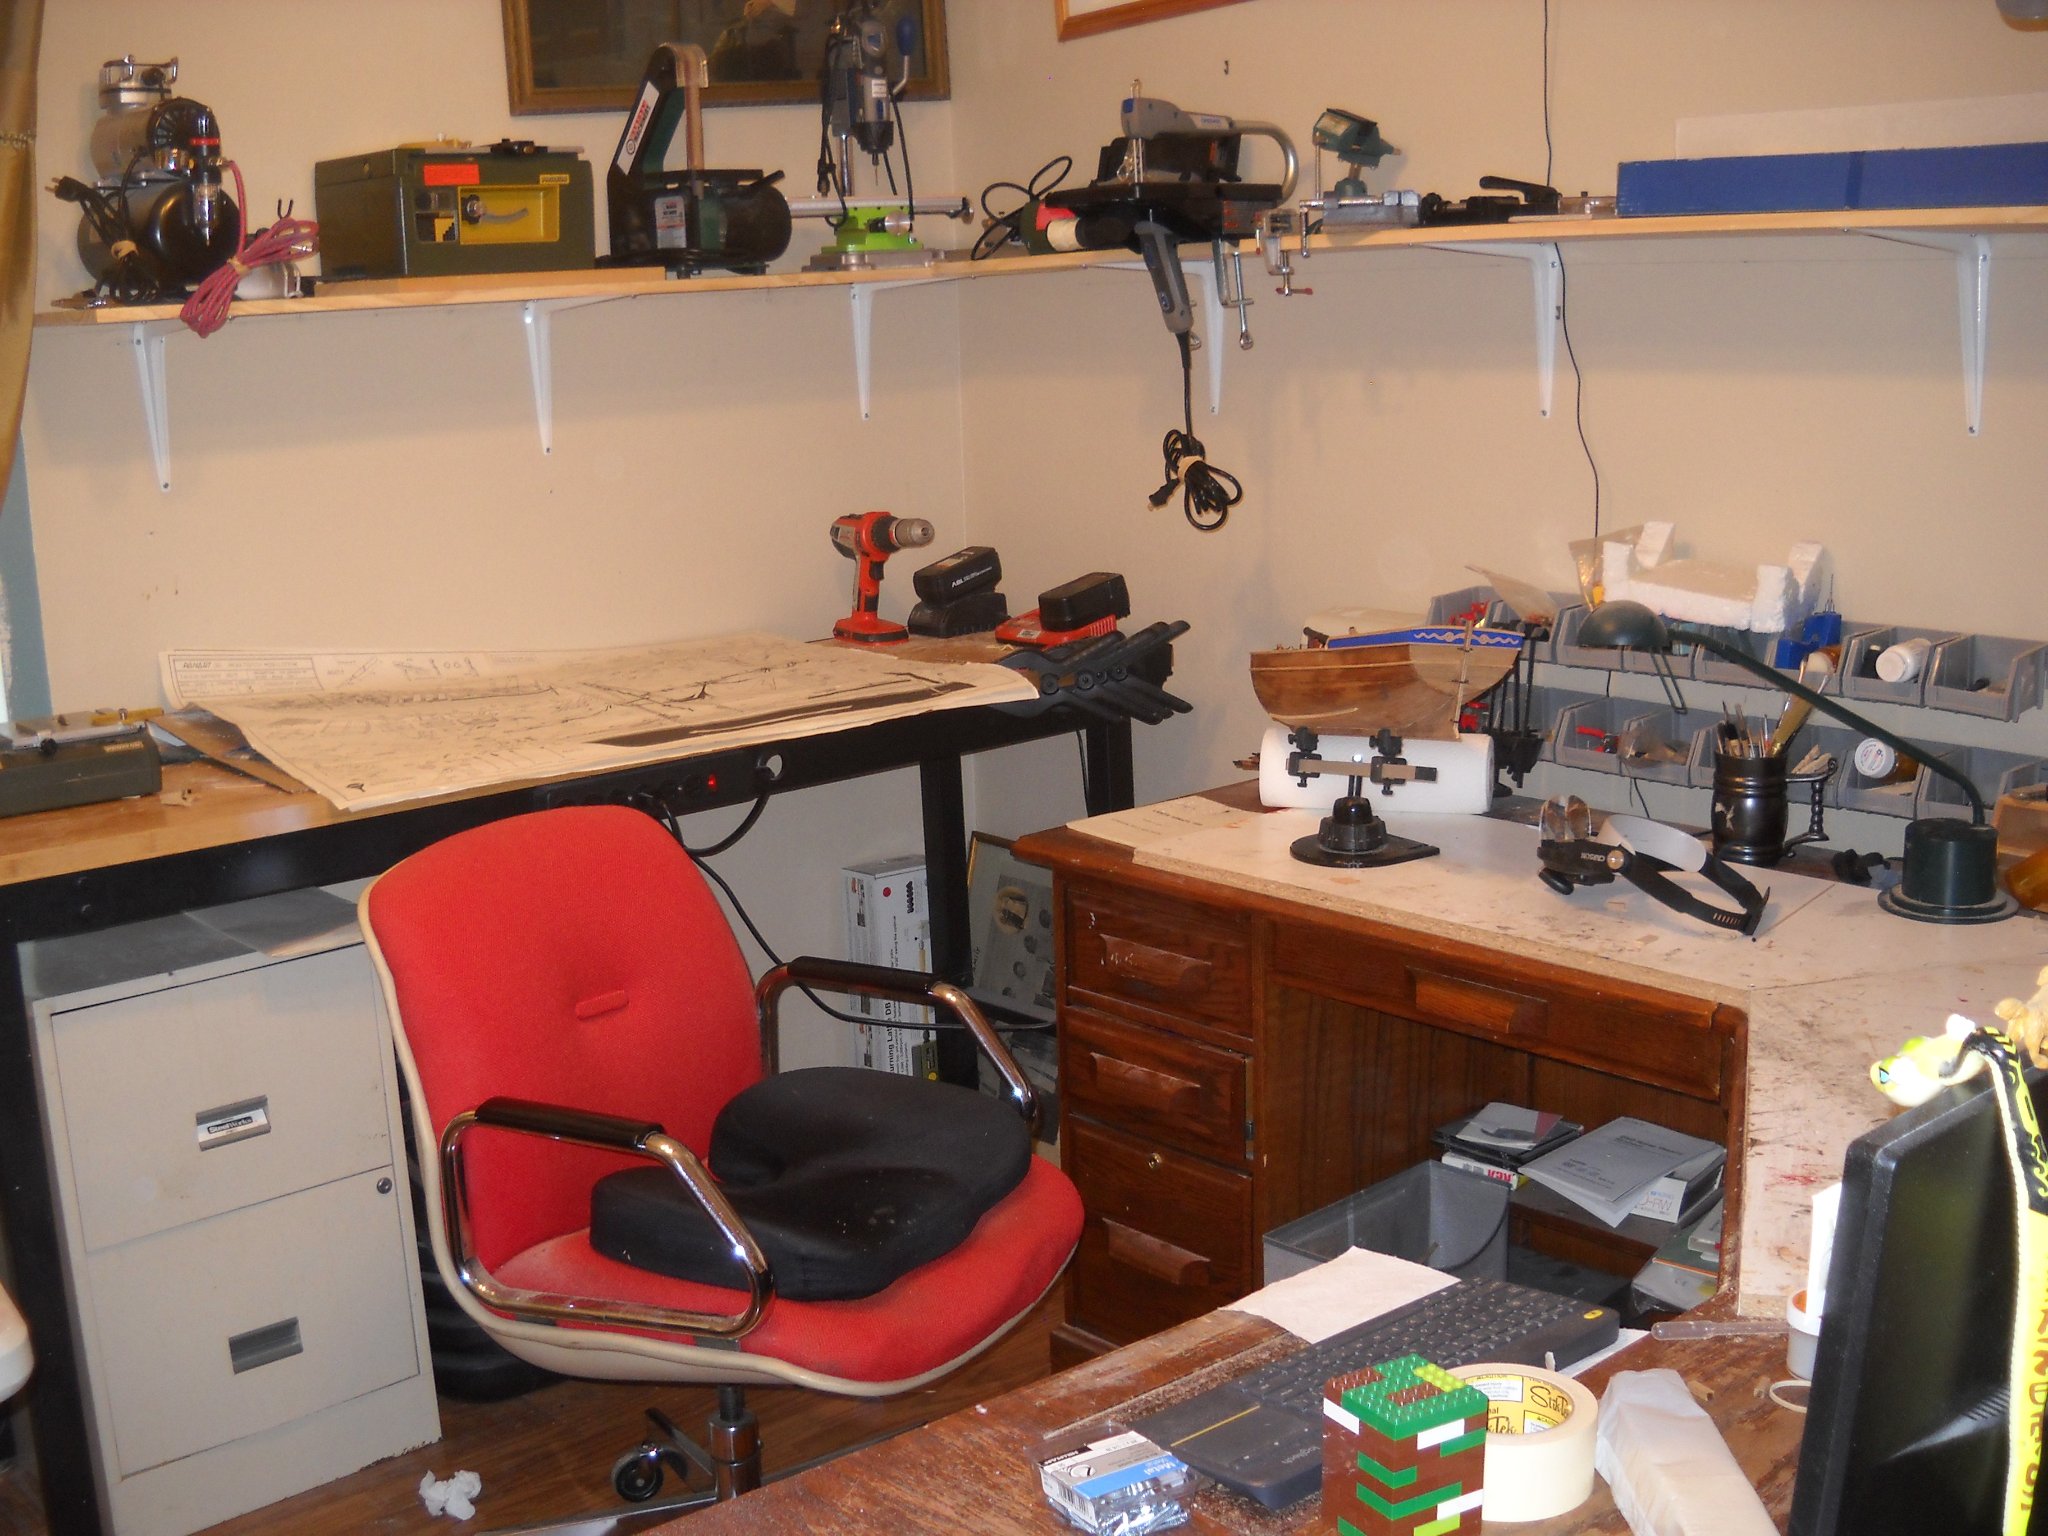
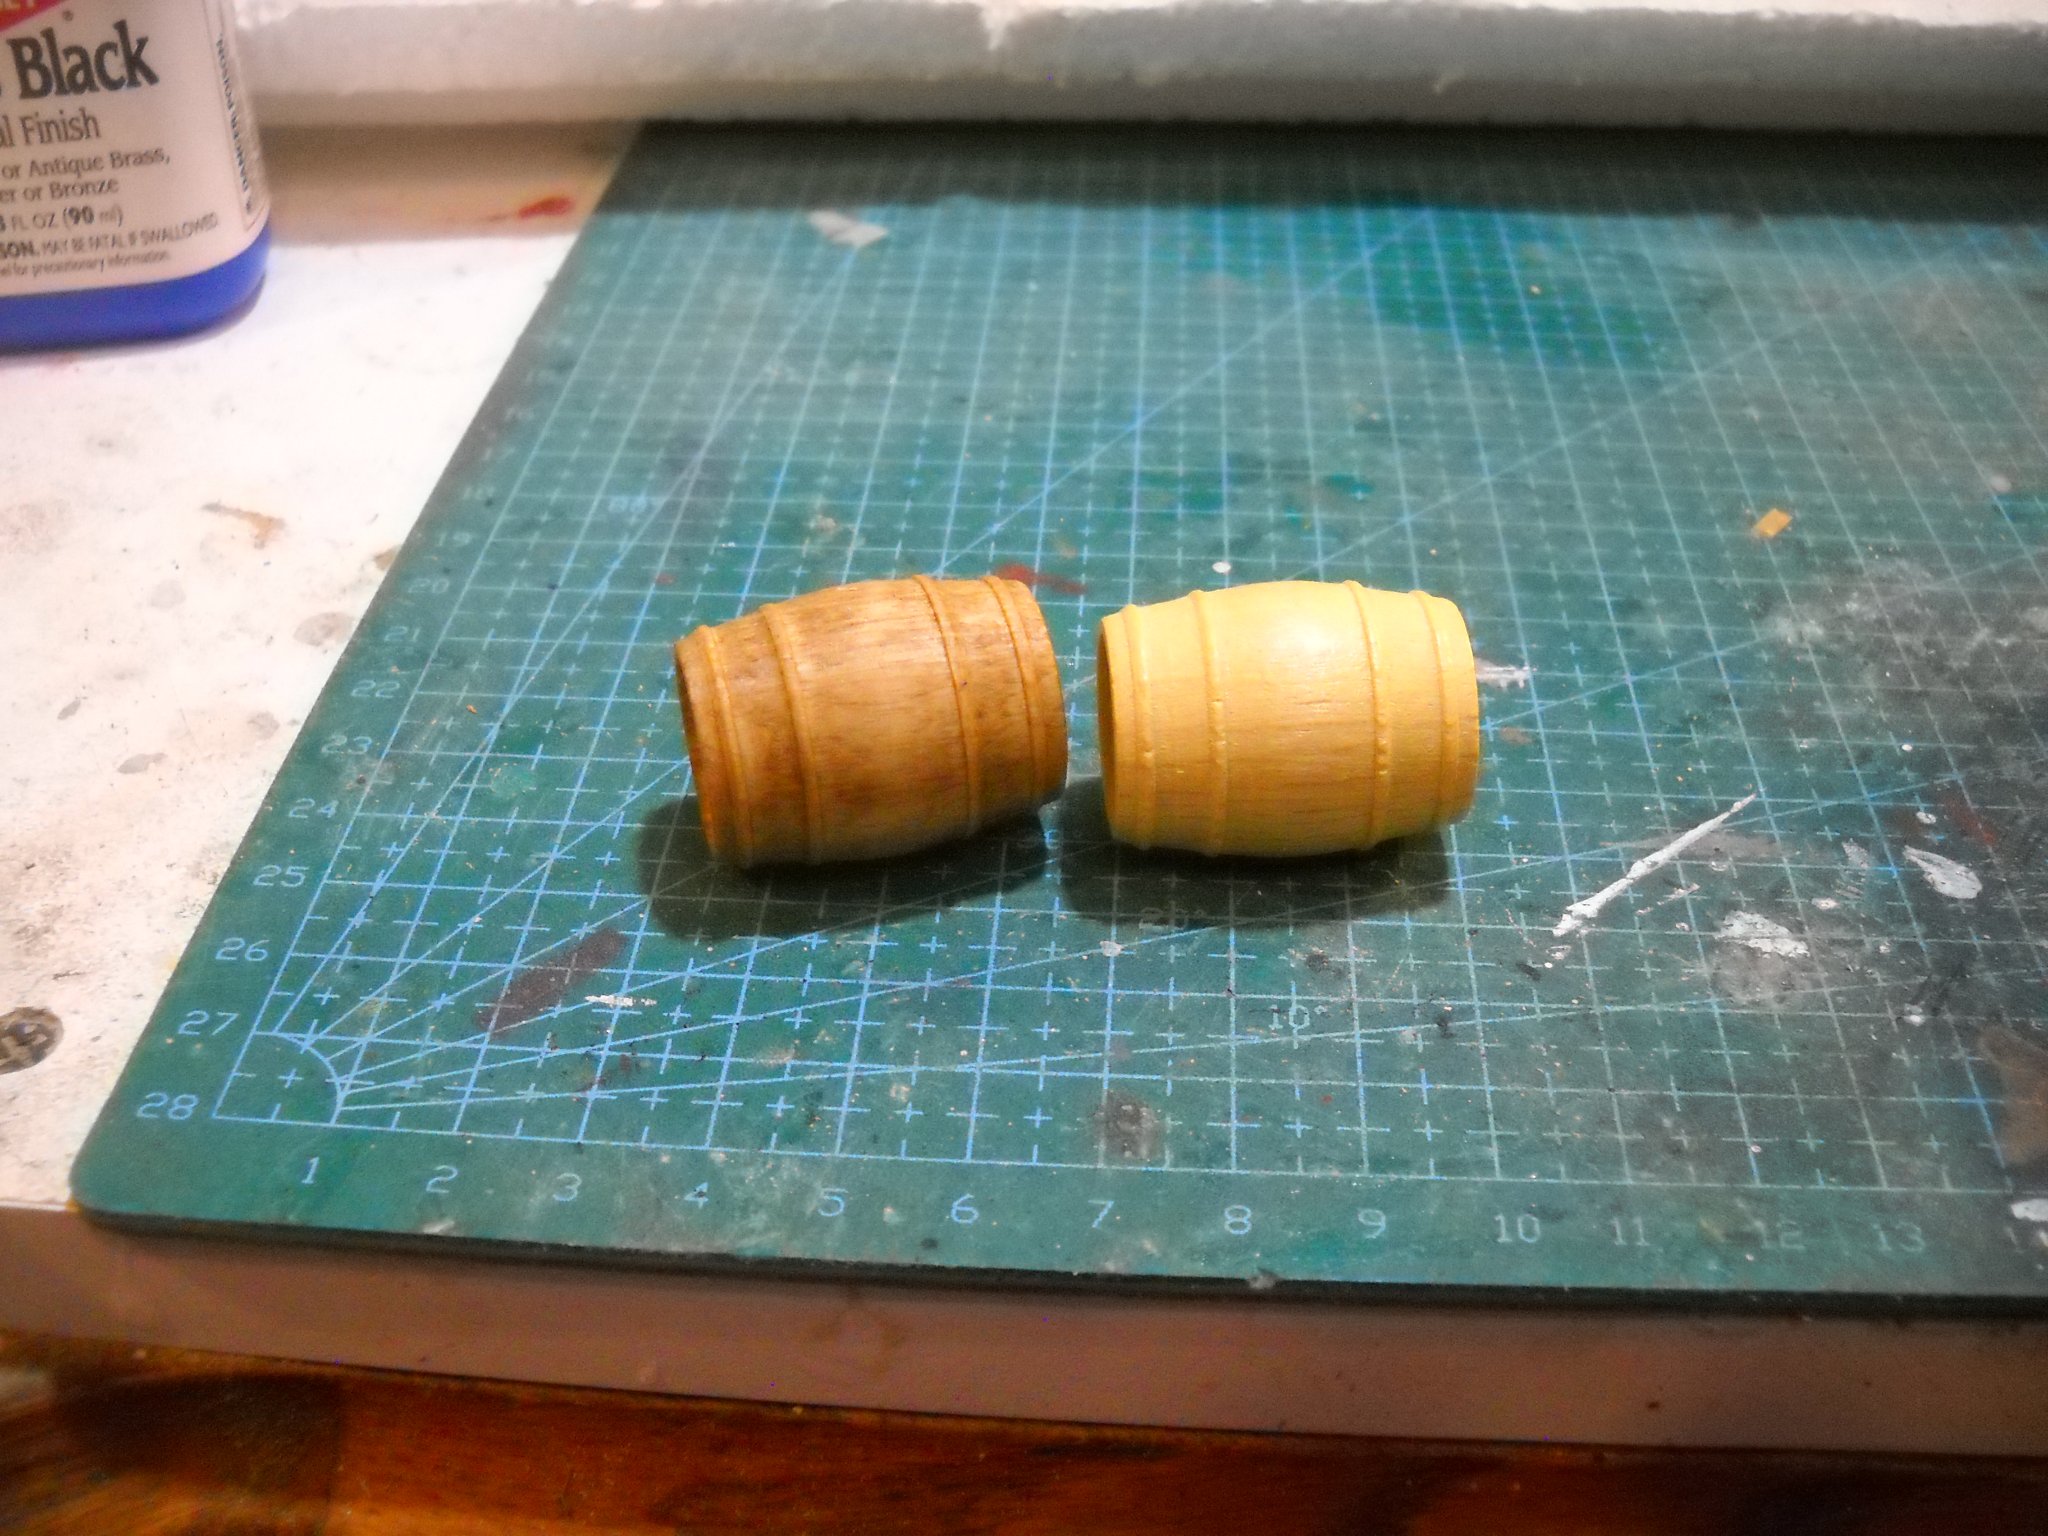
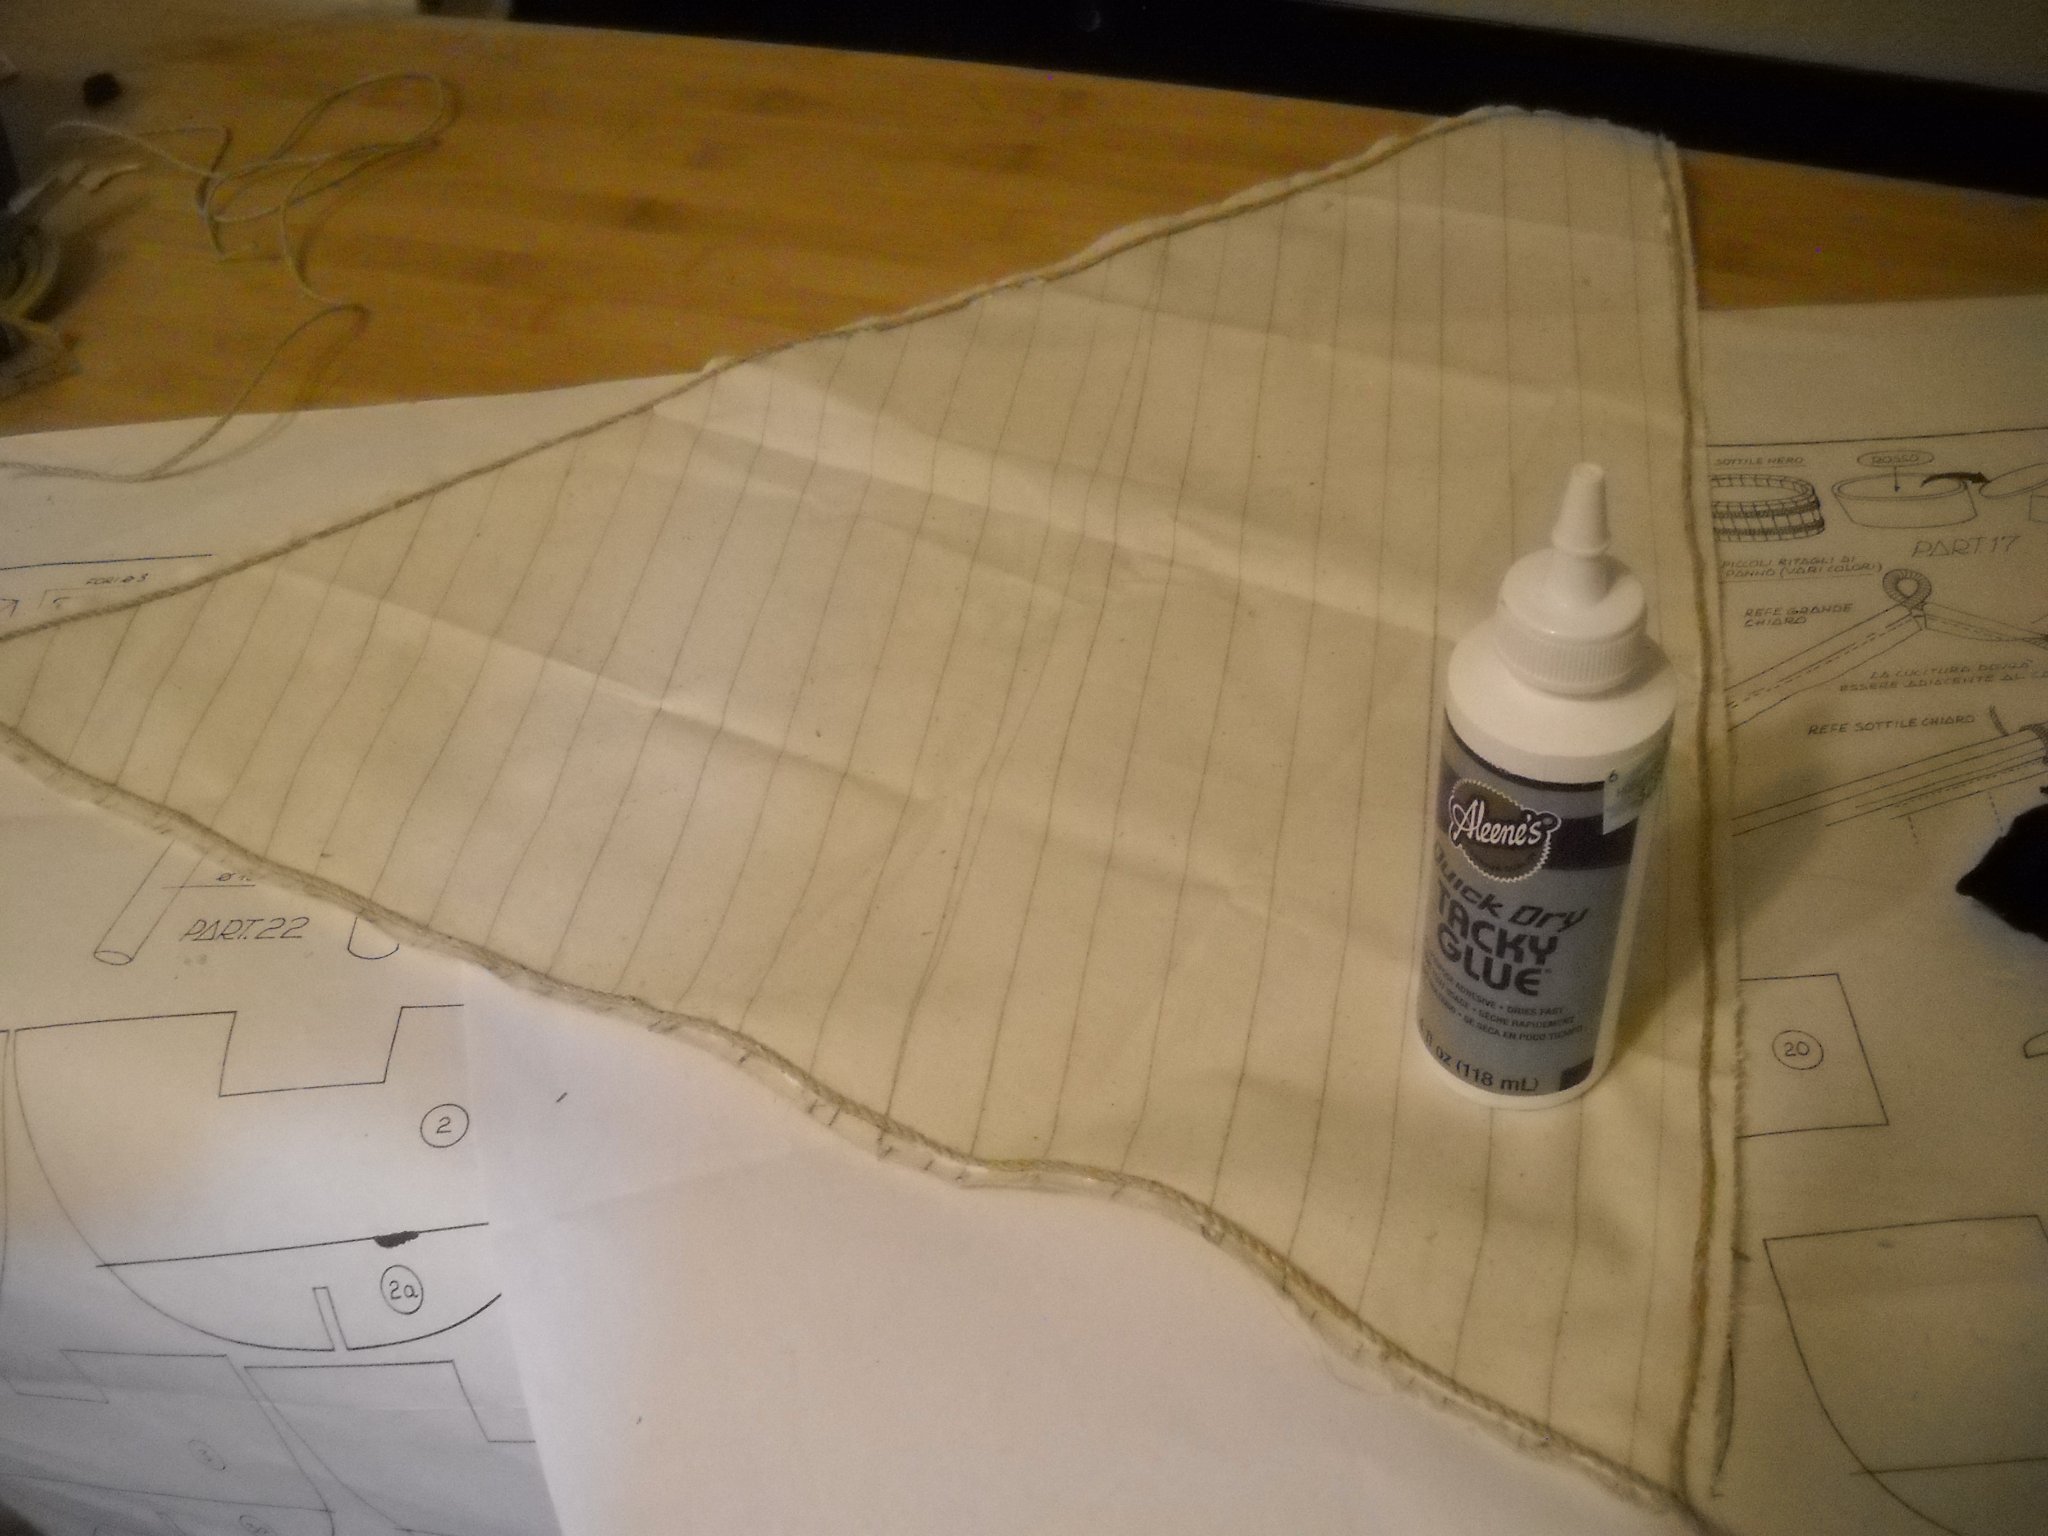
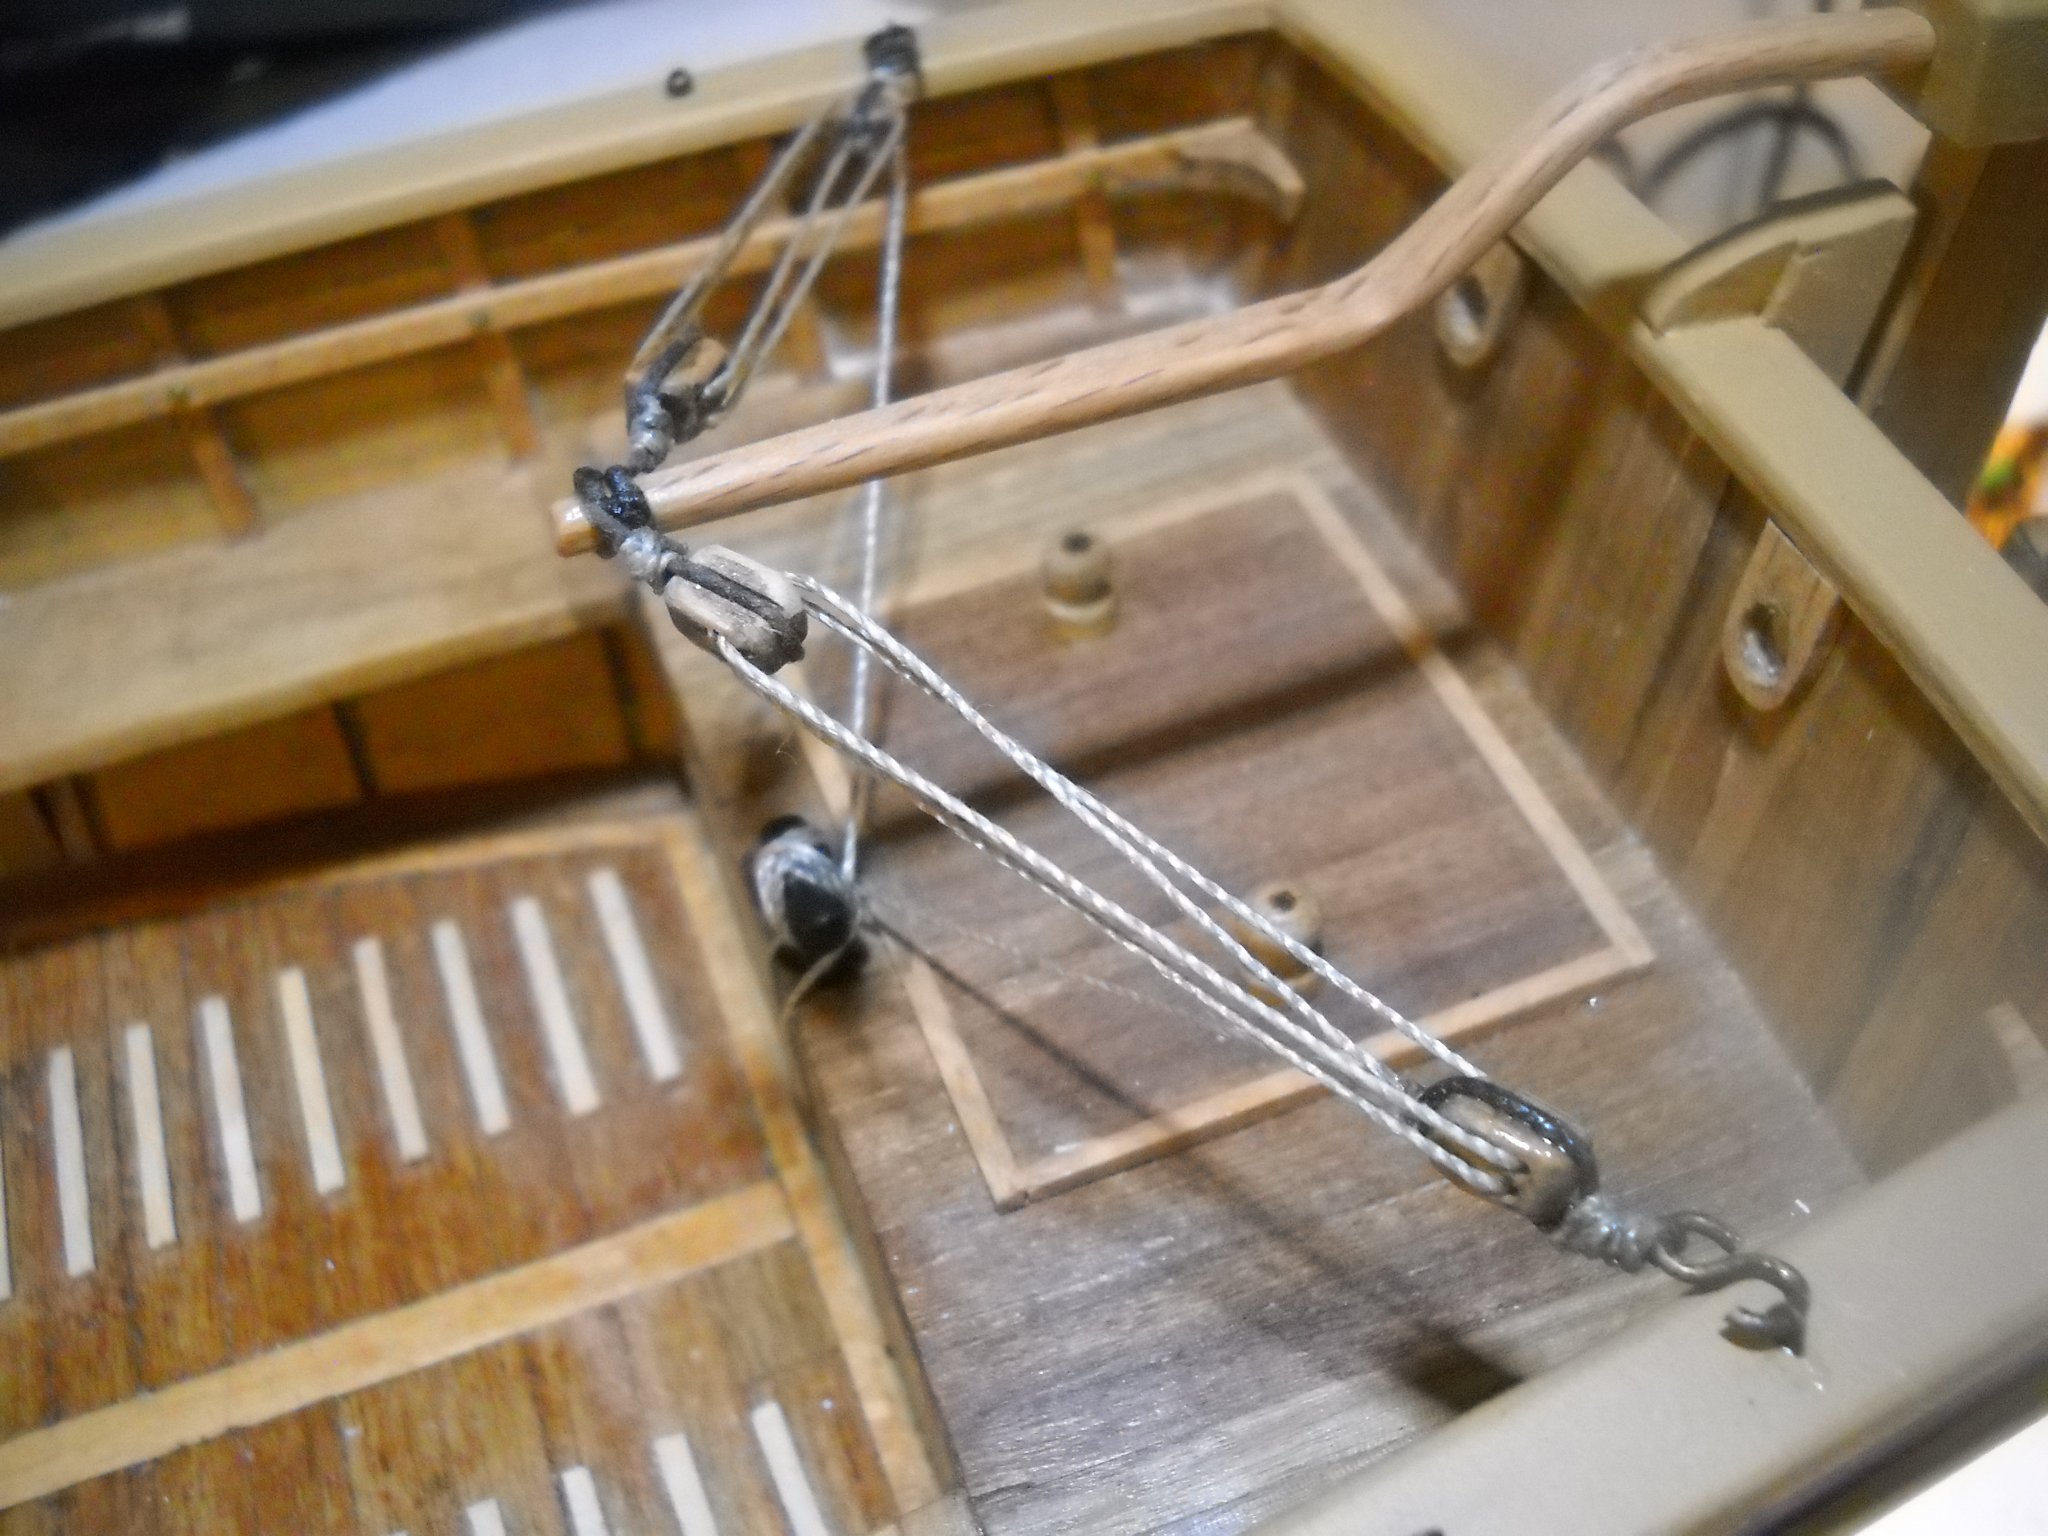
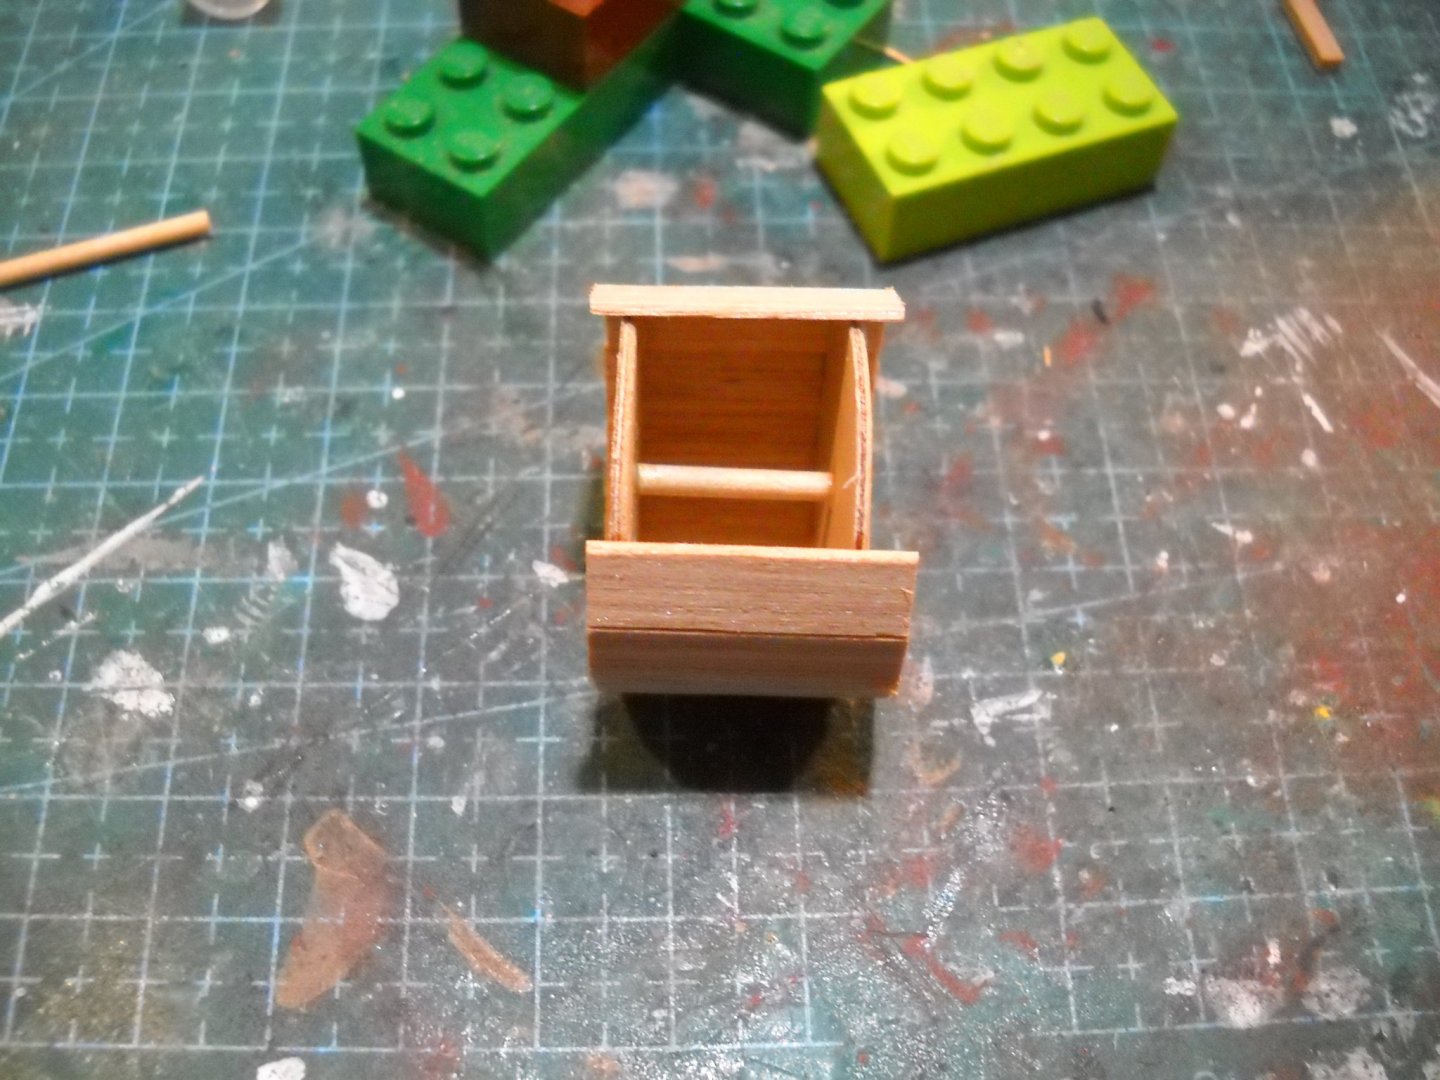
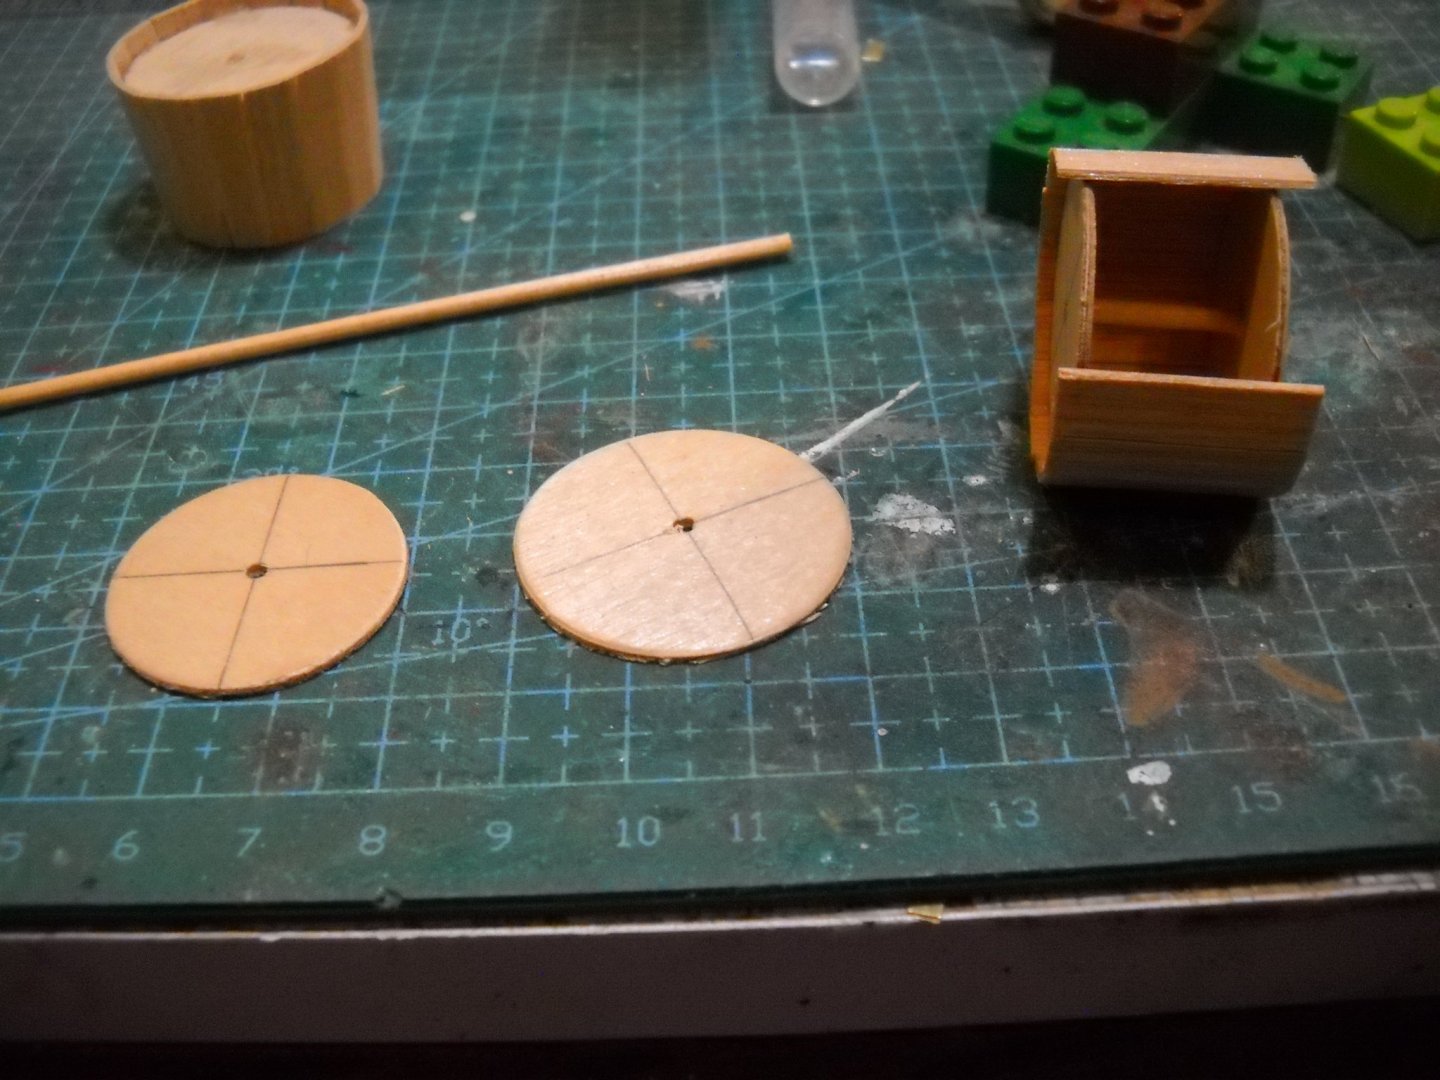
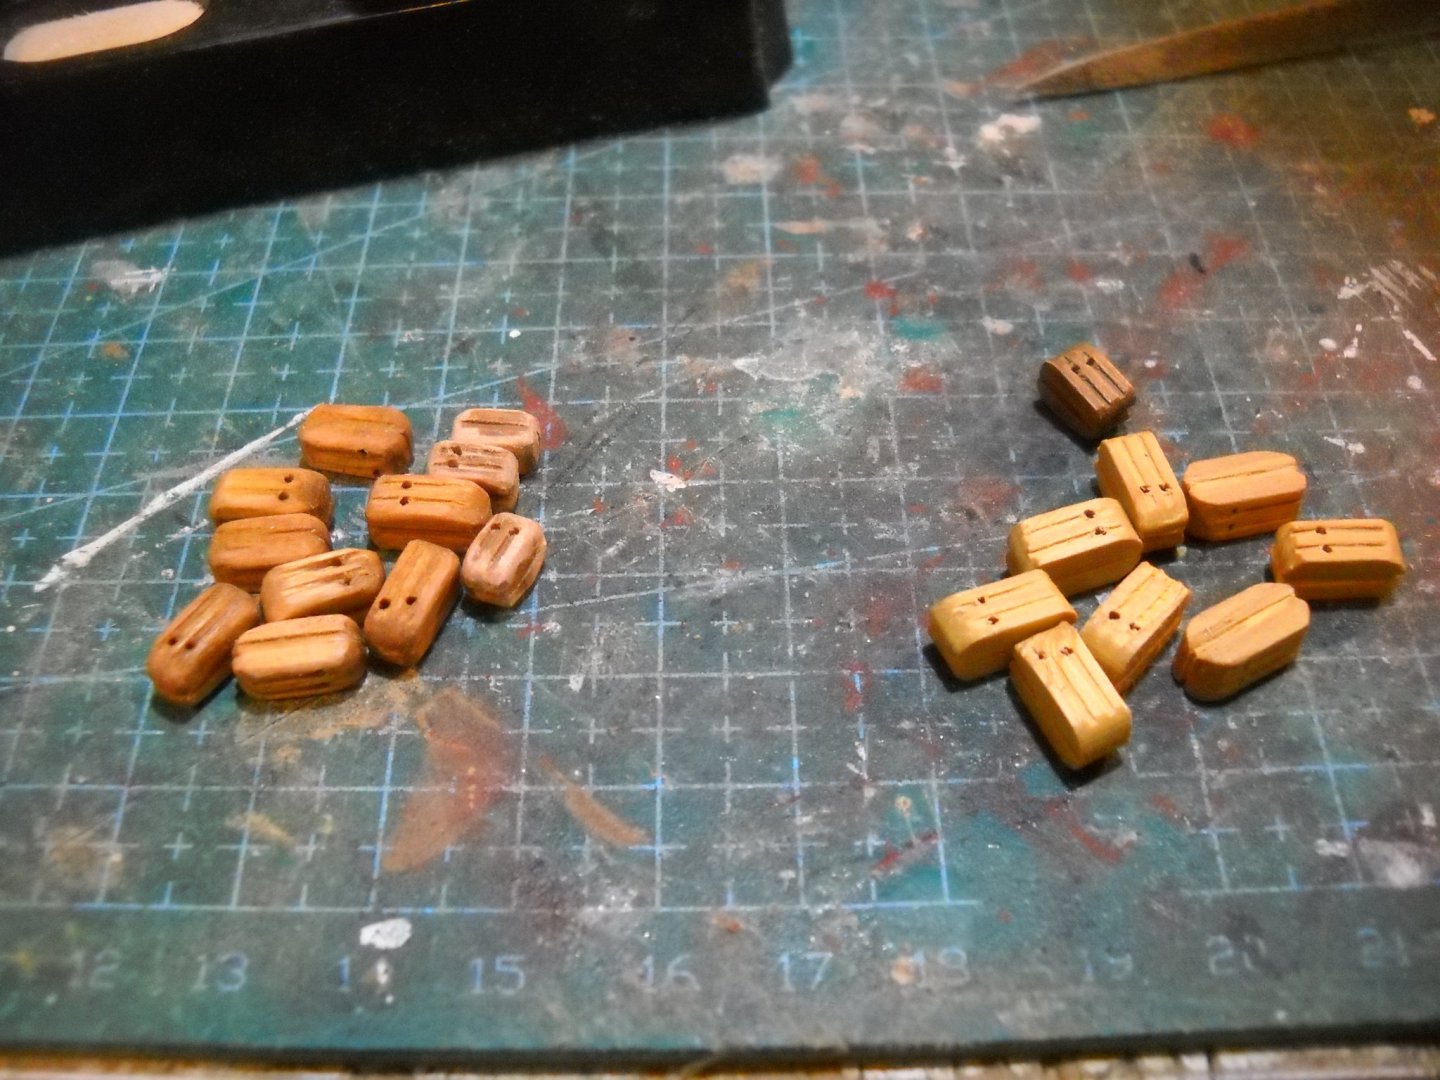
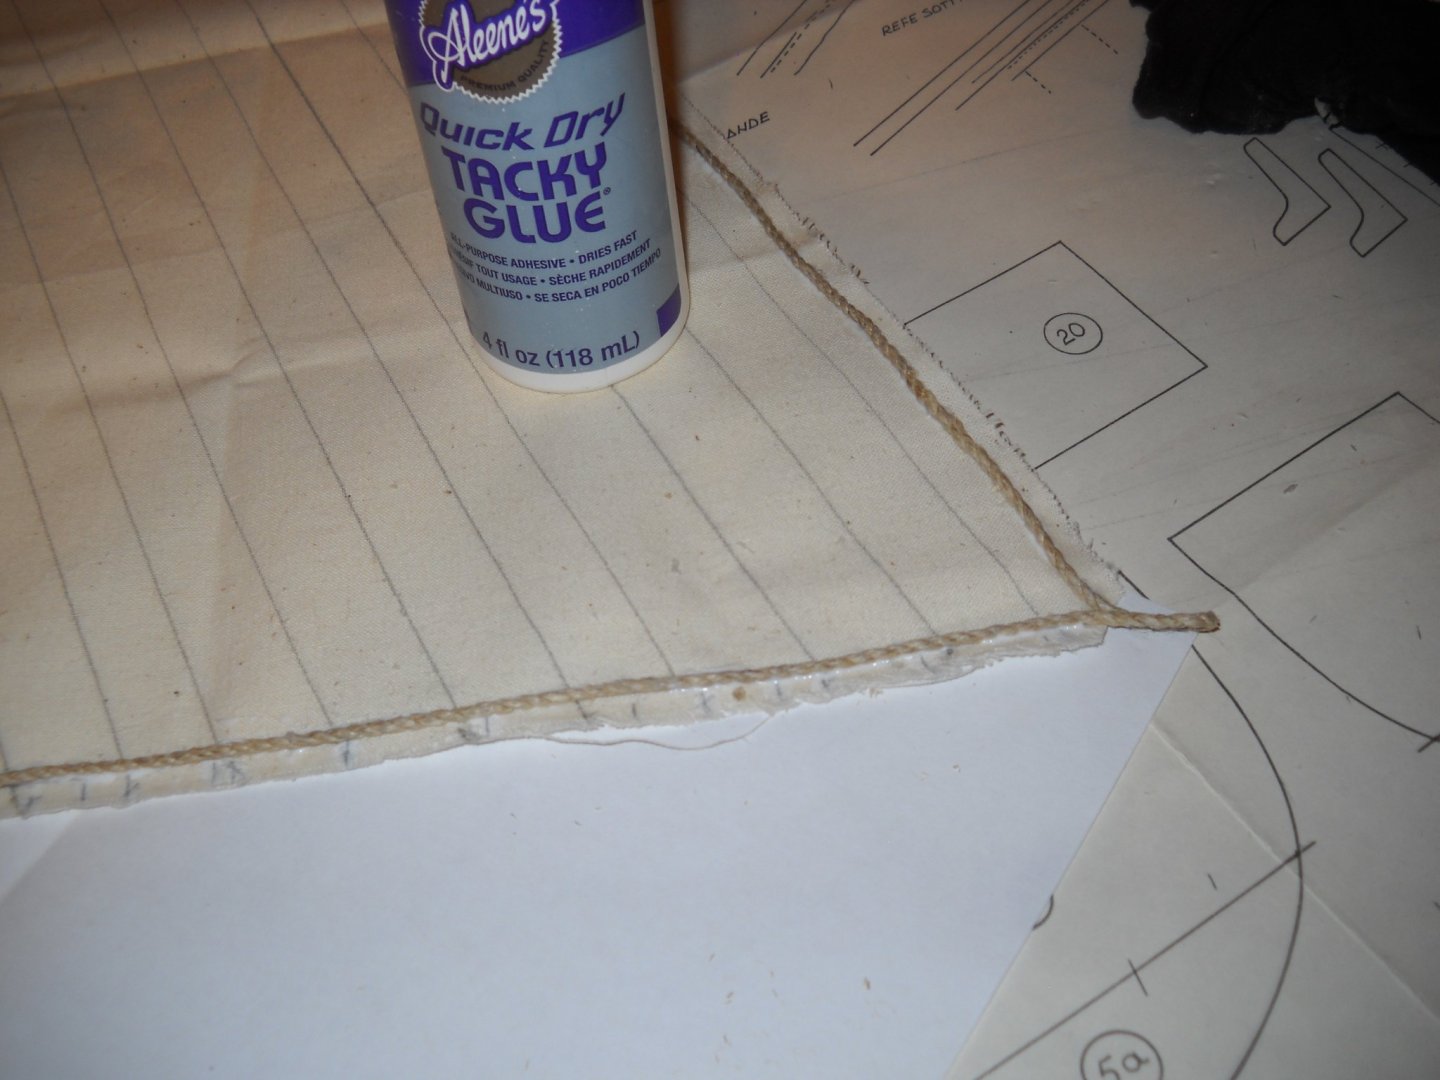
I have completed the Armed Launch and will post the few photo that I took along the way. This was an older kit. There wasn't any laser cut parts and had to be cut with a scroll saw. This is the transom decoration pieces that had to be cutout and shaped. I took a brake and put up some shelves to put some of my tools on. I got tired of having to dig in a closet or floor for a tool. I eventually add another shelf under this one. Couple of the barrels that came with the kit. The one on the left I sanded the prefinish off so it could take the stain. Panart probably buys them like this. I also painted the bands black not shown. This is a shot of one of the tubes that had to be fabricated. The construction was straight forward. A pedestal like thing was made and you had to glue cut planks around it. Another shot of the same The blocks on the right is what the blocks looked like out of the kit. The ones on the left is what they looked like after I reworked them. I don't have a block sanding drum. So I had to do them by hand. Then I stained them in Minwax Golden Oak. Here I am making the sail. I just glue the rope on to the sail with Tacky Glue and rolled it on. I also had to cut the sail down because it looked to bulky on the Yard Arm. Here I am installing the canon and the associated rigging. This is the tiller with the rigging installed. This is ten photos, so I will continue with the next post.


- 14 replies
-
- 1
-
-
- panart
- armed launch
- (and 2 more)
-
Yes, I have and have bookmarked most of them for future reference. They will be a great help as well as the links provide by Backer. Before I start I need to put up some more shelves in my work shop (spare bedroom). And I am recovering from "lazyitis". 🙂 Some days I have to kick myself in the a$$ to do something. RussR
-
Thanks look like great resources for my built. I am sure I will utilize them a great deal. I don't want this to be another model without regard to the real ship. RussR
-
I received the Billing Boats Vasa sometime ago. And I have completed my Panart Armed Launch. The only thing now is waiting on an engraved nameplate. I will update my log after it arrives. The decision now is, do I build the 1/350 Titanic (plastic) or the Vasa. My 20-year-old son wants me to start the Vasa. My lining is to the Vasa. The quality of the Billing Boats material isn't up to some of the other five kits I have built. But I knew that going into it. Up until now, I have been an out of the box builder. So I have some research ahead of me. If anyone has a resource that would help, I would like to know.
-
I just sold two new Model Shipways kits that I lost interest in on eBay and was able to recoup what I paid plus enough to buy lunch (no big deal). https://www.ebay.com/itm/114430221299?ssPageName=STRK:MESOX:IT&_trksid=p3984.m1561.l2649 https://www.ebay.com/itm/114430215984?ssPageName=STRK:MESOX:IT&_trksid=p3984.m1561.l2649 I have found that if you open the bidding low enough (about 25% of retail) you can generate a lot of interest. And if you package it up weight and measure it then use the Ebay shipping calculator (and not try to screw the buyer). You have a real good chance of selling what ever you are selling for a good price. This goes for anything you might want to get rid of. The perfect scenario is you get two or more bidders in a bidding war. Of course if the bidders don't show up you are obligated to sell at what ever it goes for but at least I got rid of some of my junk. And believe me I have a lot of junk.
-
I would think the shipping will cost at least $20.00. Its a fat chance that it will go for $50.00 shipped. The buyer would be taking over a $150.00 hit. But I don't know the sellers situation.
-
Peter, I completed the AL Hermione and can say the rigging was a challenge (for me). I think your larger belay pins will make tying the rigging even more of a challenge. You did a good job on the your hull. RussR
-
Well, now I have done it. Yesterday I checked, the sale had ended, the price went back up. This morning I checked my cart, the price went back to the sale price. So I bought it. I got what I wanted for almost half of what another well known US supplier offers the same thing. Thank you, Modelexpo. However, I won't be starting this project for some time. I need to finish the Armed Launch and the Titanic. My thinking was I didn't want to fill up the house with a lot smaller/simpler models. That is enough to last for at least a few years. Thanks to all for your input and interest. RussR
-
The sale ended last night. The price went from $300 back up to $470. That was a close call saved $300. 😊 It wasn't like I didn't have anything to do. I have my Armed Launch to finish. And after a few months, I picked up a new 1/350 plastic Titanic for $45. Until I get a clean slate, I won't be buying anything for a while. RussR
-
These are my thoughts too. I have some cherry and some walnut that I could ripe if the planking didn't turn out to suit me. But I need to get more practice cutting my planking. RussR
-
That is a good reason for the price difference. I do appreciate your view. I would think that the plastic parts could be an advantage if they didn't fit well. I could change the shape of miss shaped plastic parts a little easier than cast metal. An as far as less wood in the Billing kit, I think I can buy a lot of wood if needed for the price difference. I haven't bought anything yet. So if I wait, this will pass, I won't have to do anything.🙂 Thanks again for your input. RussR
-
I have checked Cornwall. Their price for the Billing kit is US$359.99 plus shipping and taxes. ModelExpo has an end of summer sale. https://modelexpo-online.com/End-of-Summer-Sale--Deals-and-Steals_c_311.html?viewall=1 20% off everything on the website (including the sale items) and 25% off orders over $600.00 plus free shipping on orders over $100 The Billings Kit works out to a few dollars less than $300.00 with free shipping. ModelExpo has PDF instruction for download. But they are in Dutch (I guess). So I ran them through a translator. They are typical kit instructions. I don't work for ModelExpo. My question remains: Why the difference in the price of the Billing Boats Kit and the Corel Kit? Thanks, RussR
-
Is there a good reason for the price variance between these two models? Both are 1/75 scale. Could it be the material quality or documentation? https://www.agesofsail.com/ecommerce/corel-ship-kits/corel-wasa-wood-ship-kit-model-sm-13.html https://modelexpo-online.com/Billing-Boats-175-WASA-Wooden-hull_p_4205.html The Corel is 3X the price of the Billing Boats. RussR
-
Congratulations Most modelers don't see there projects through to completion. You did a great job. I look forward to your next build. RussR
-
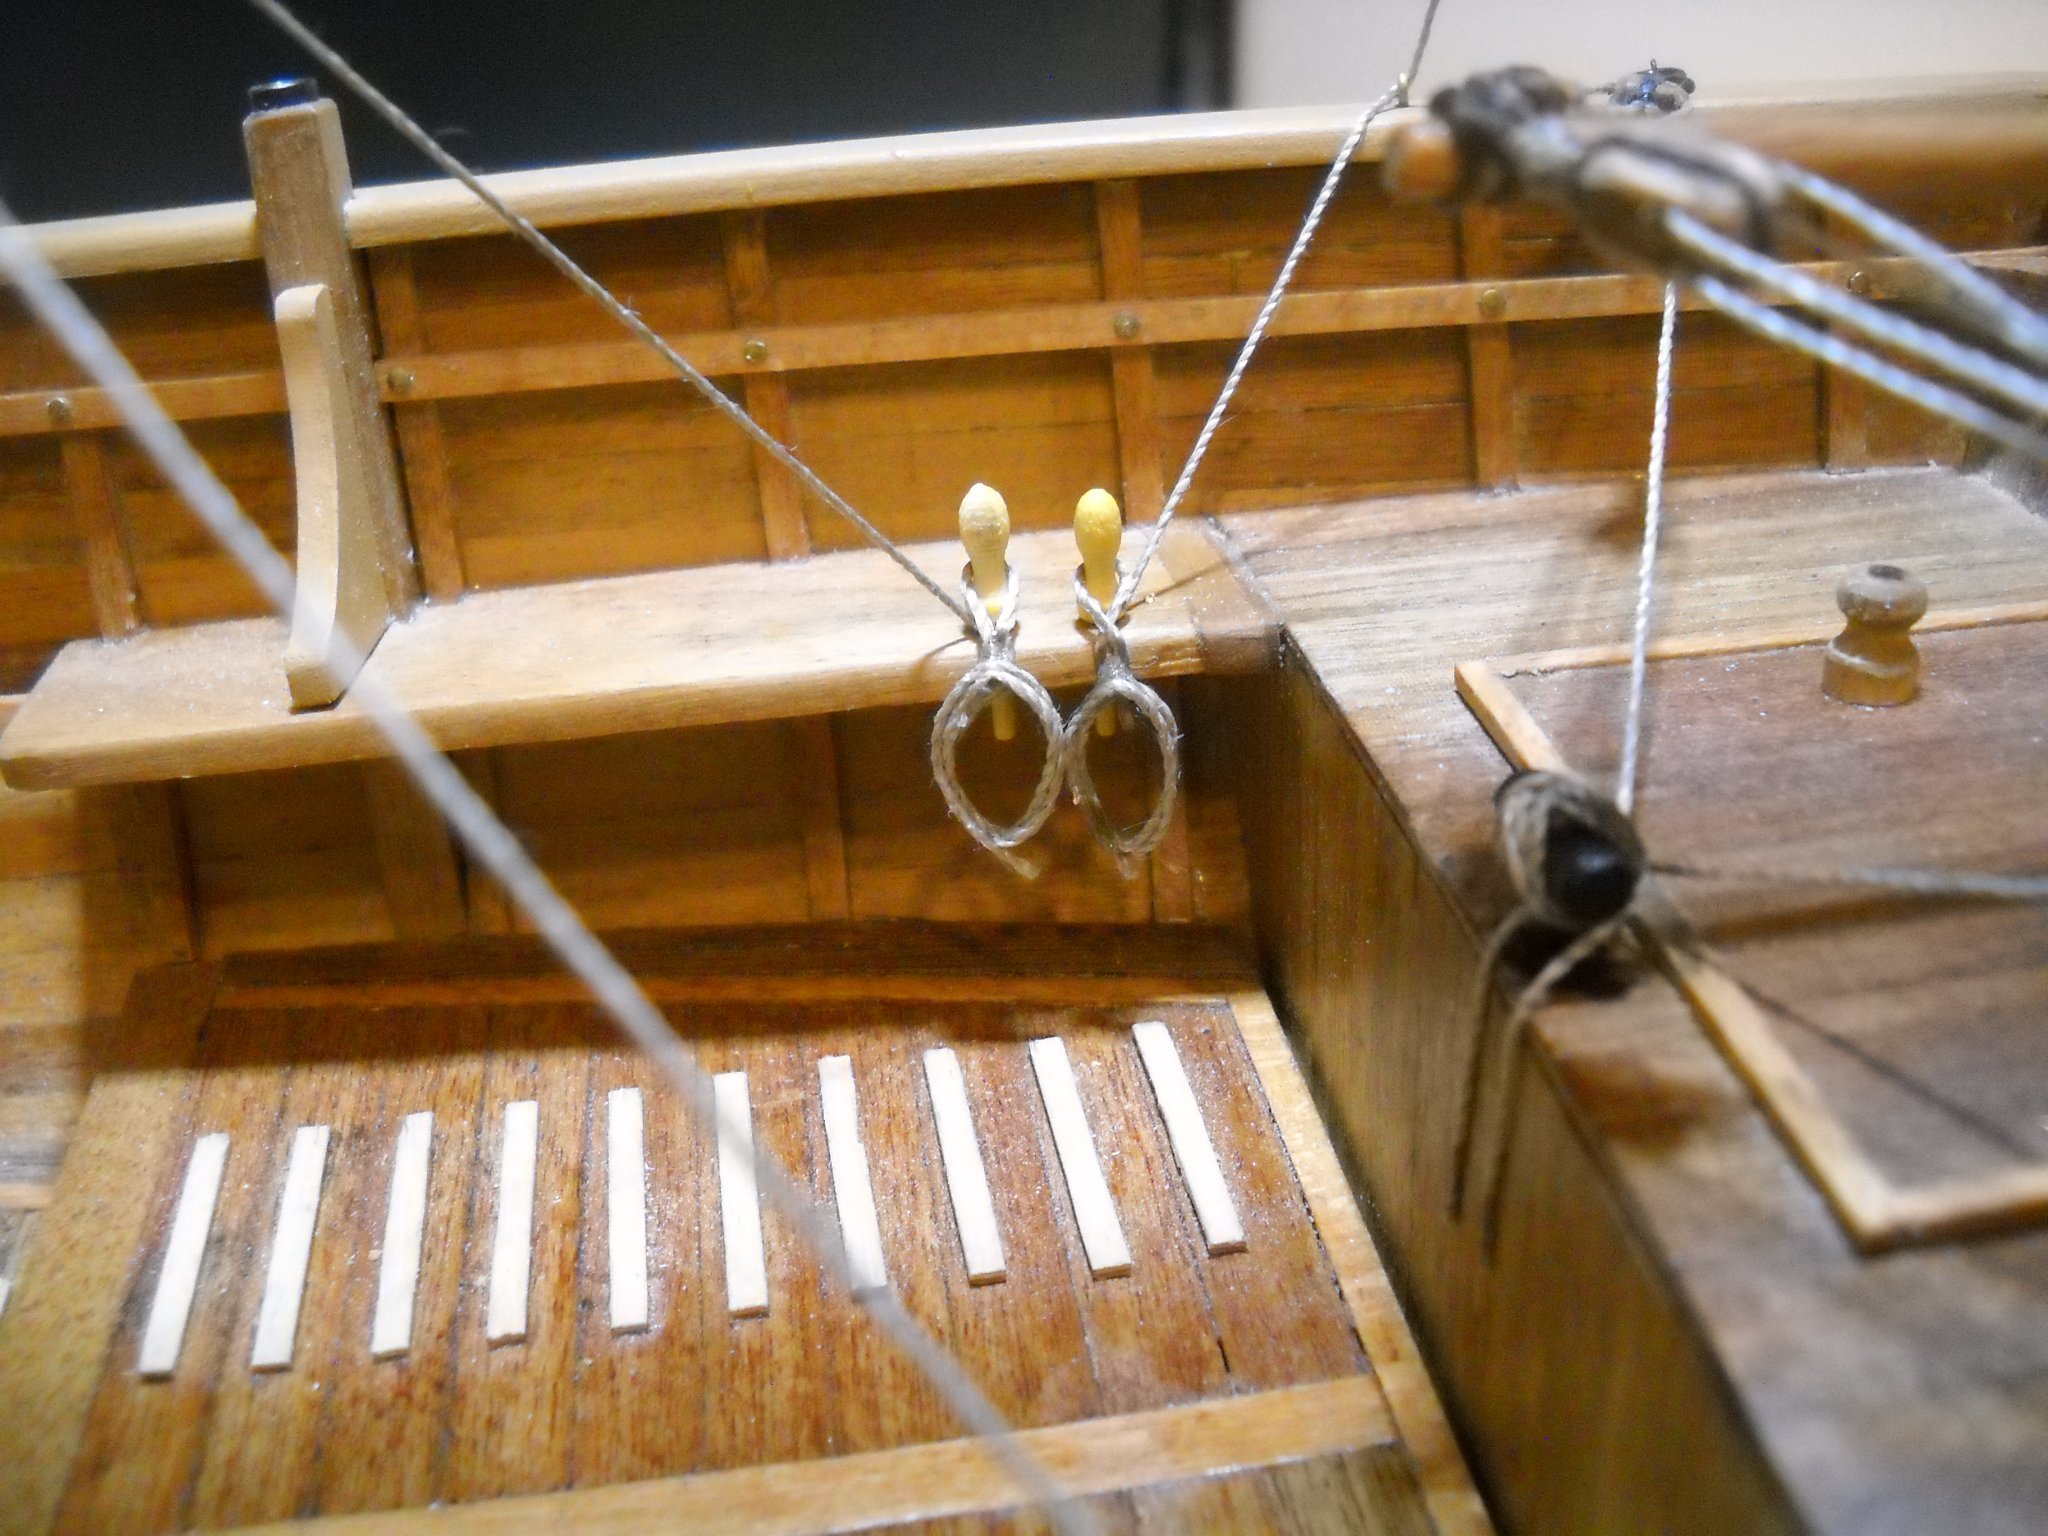
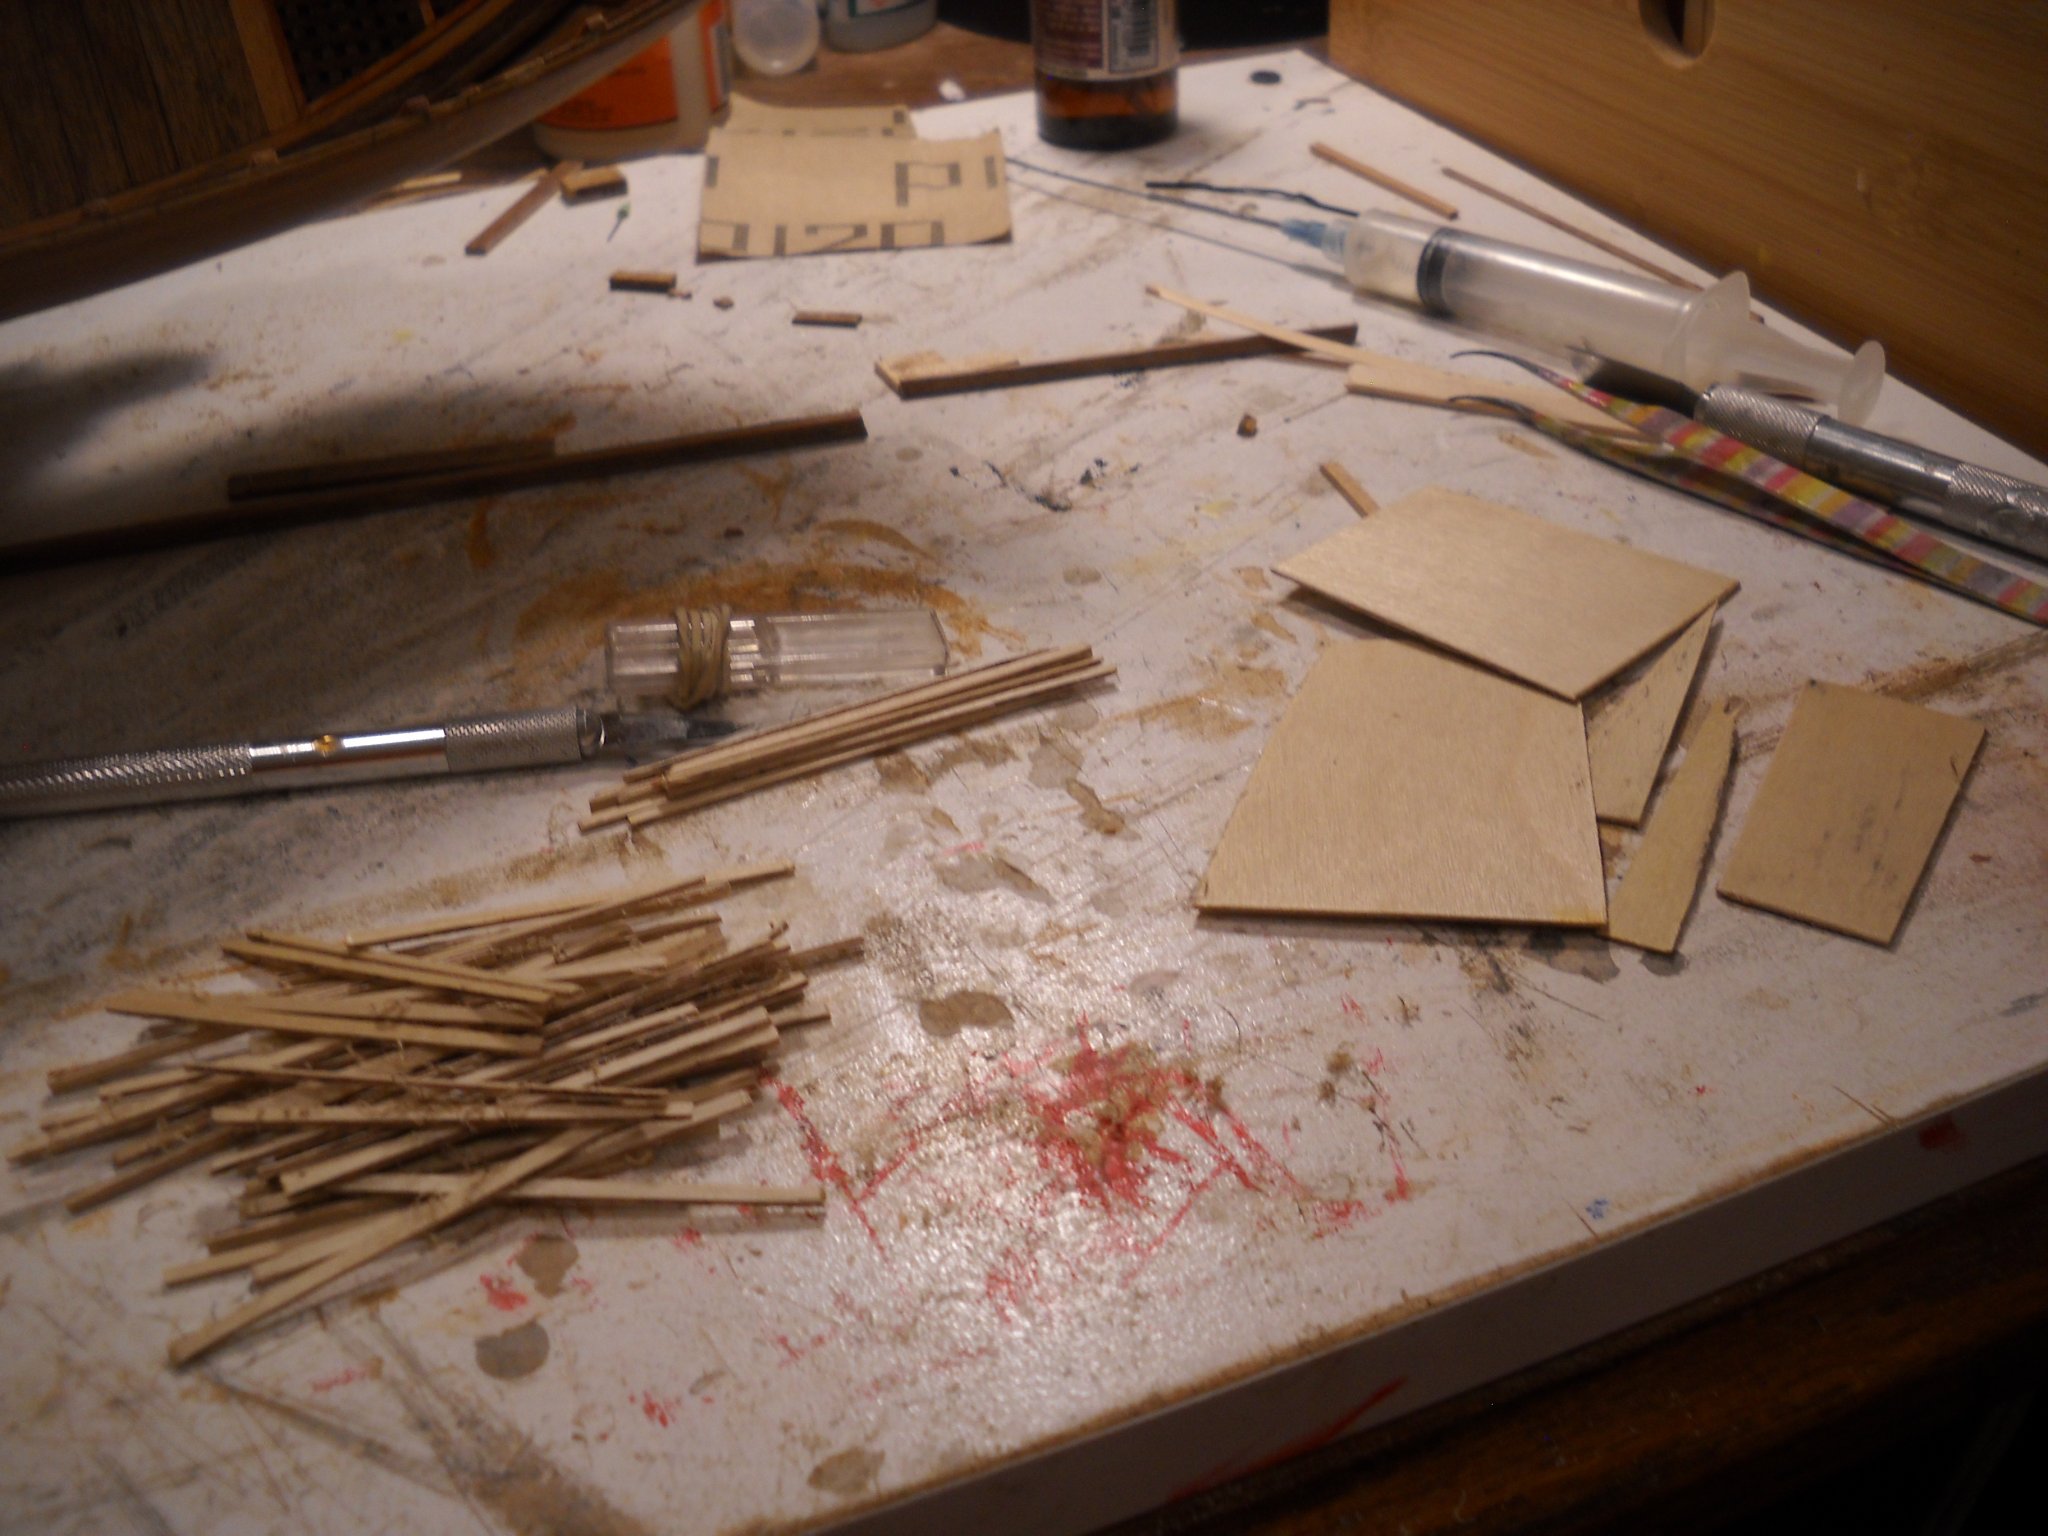
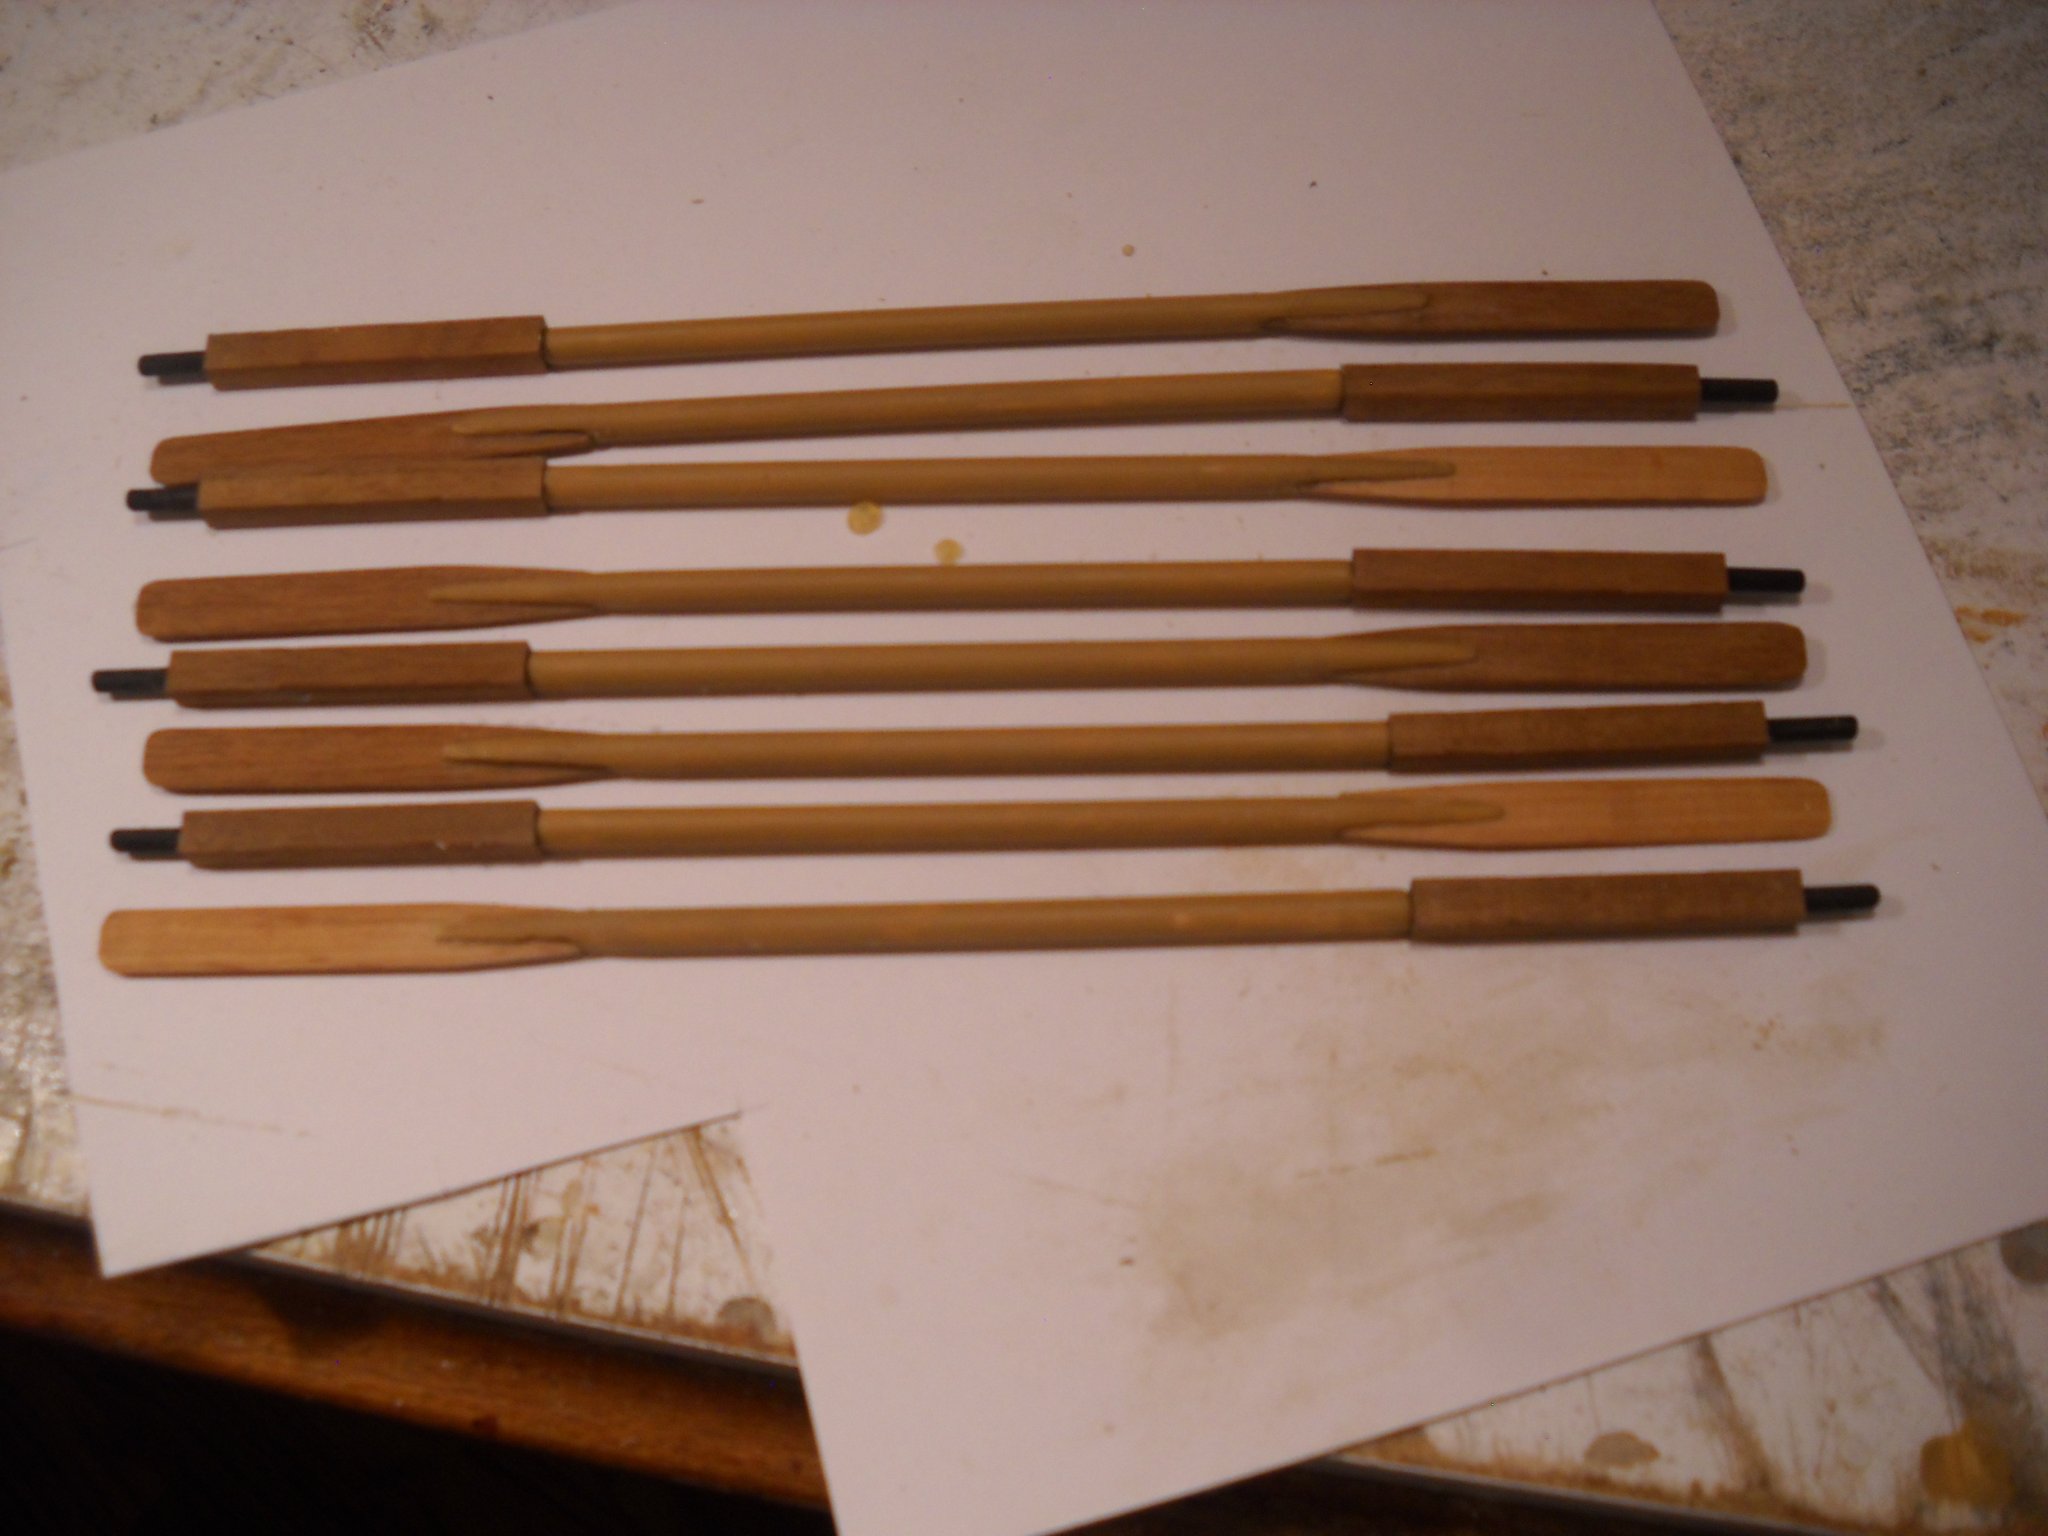
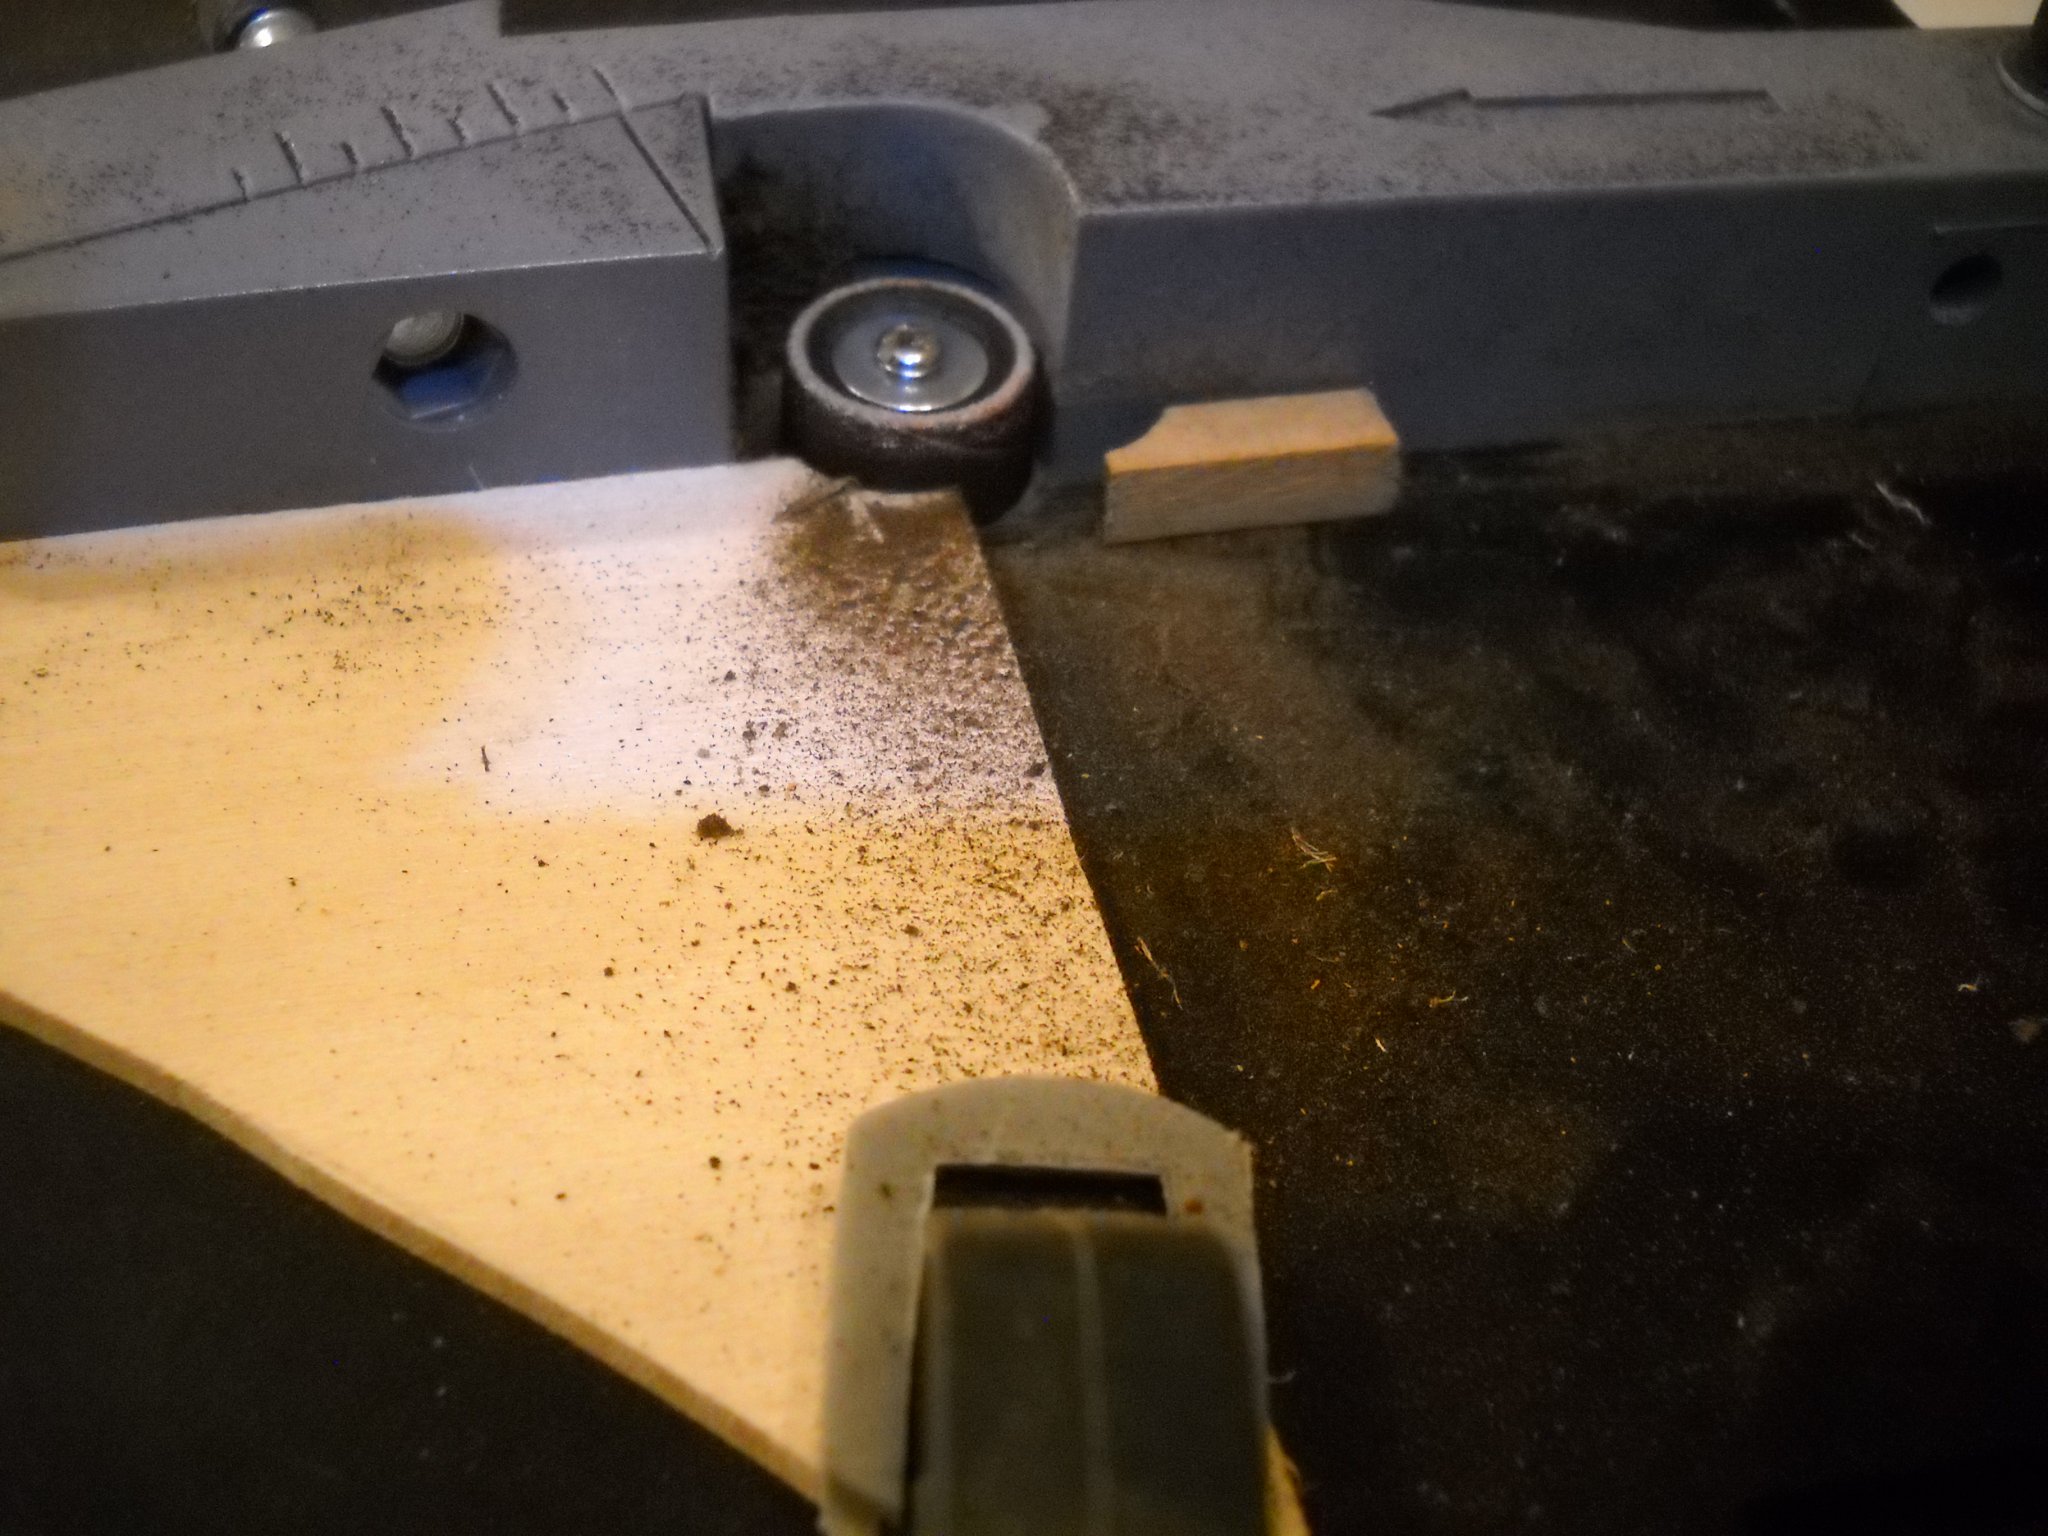
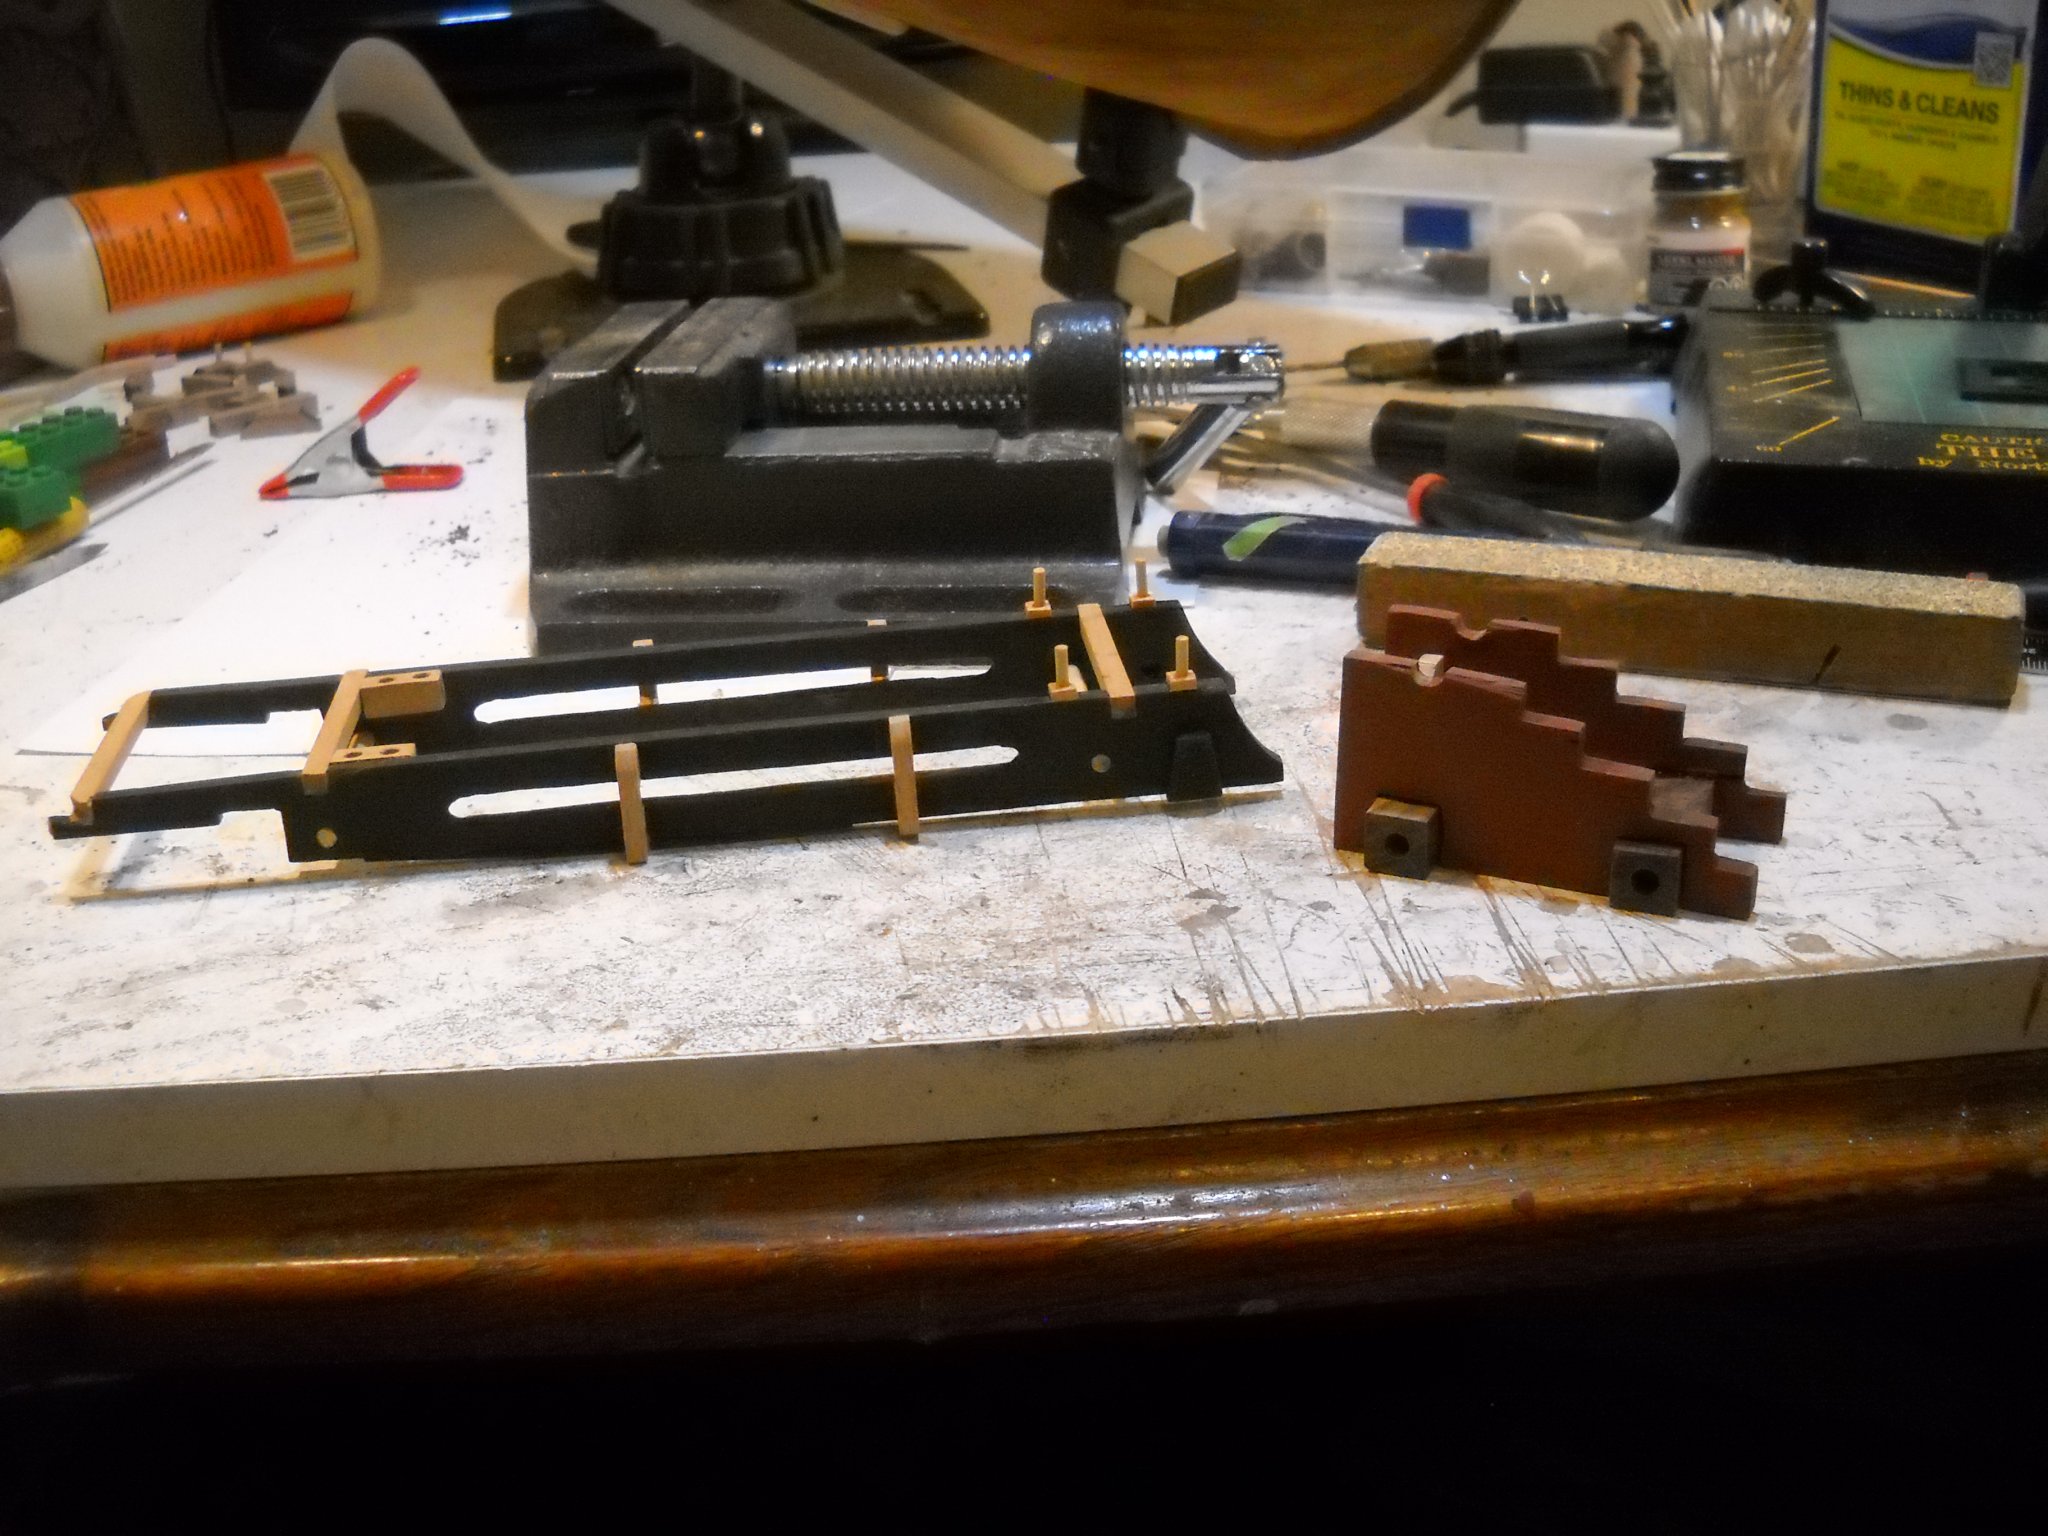
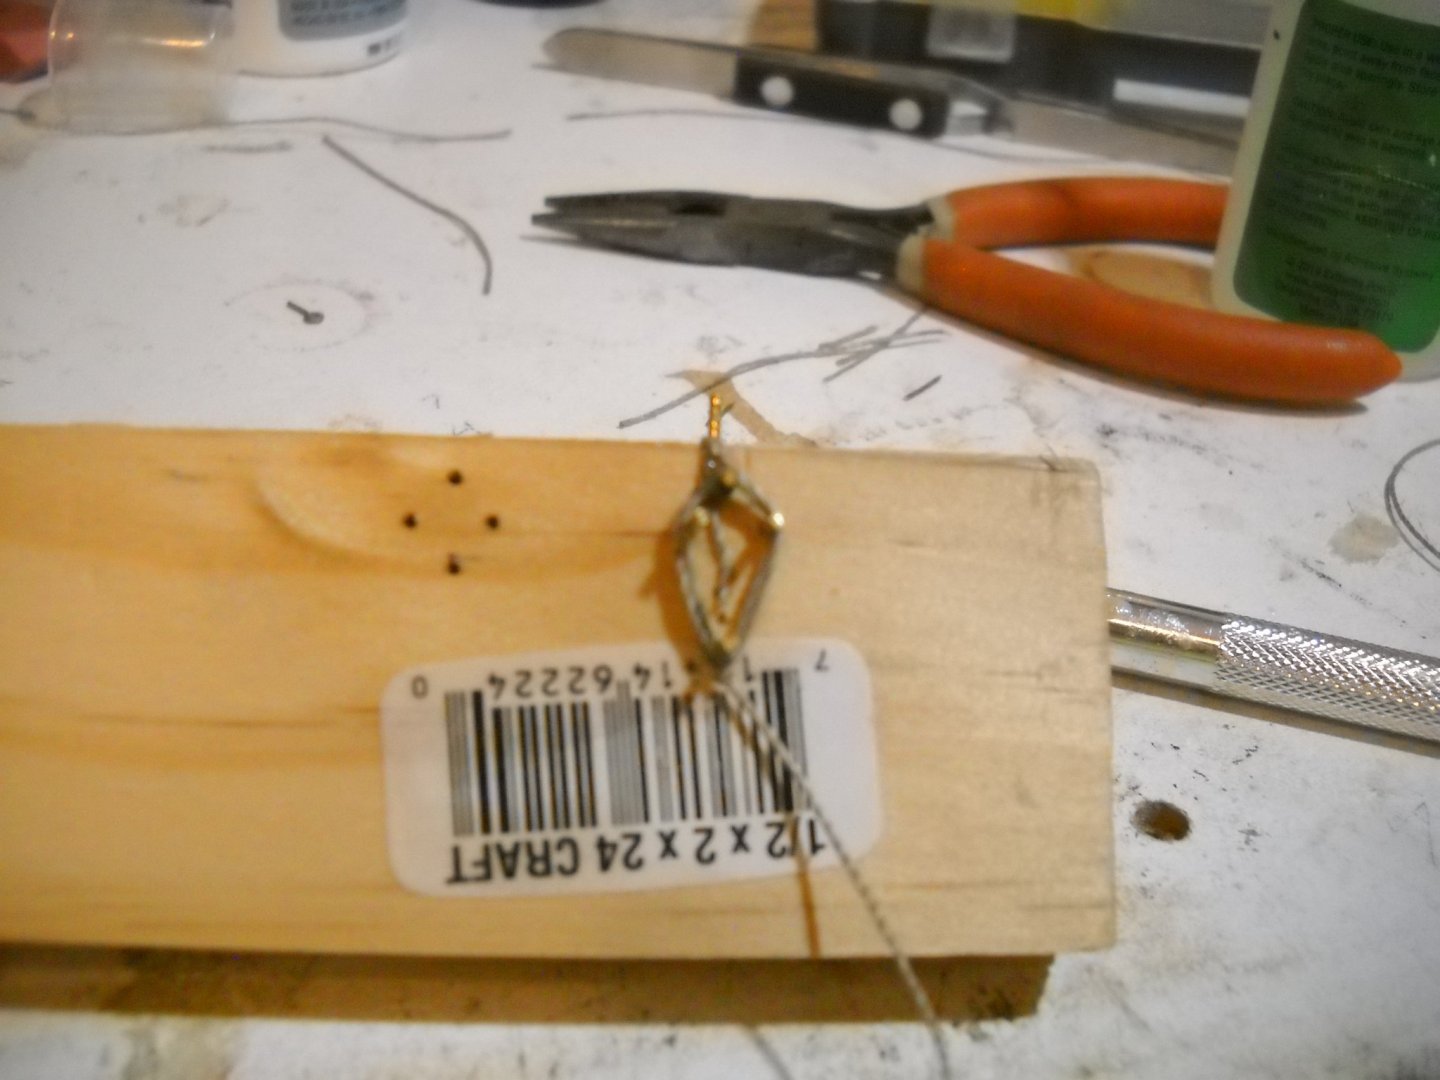
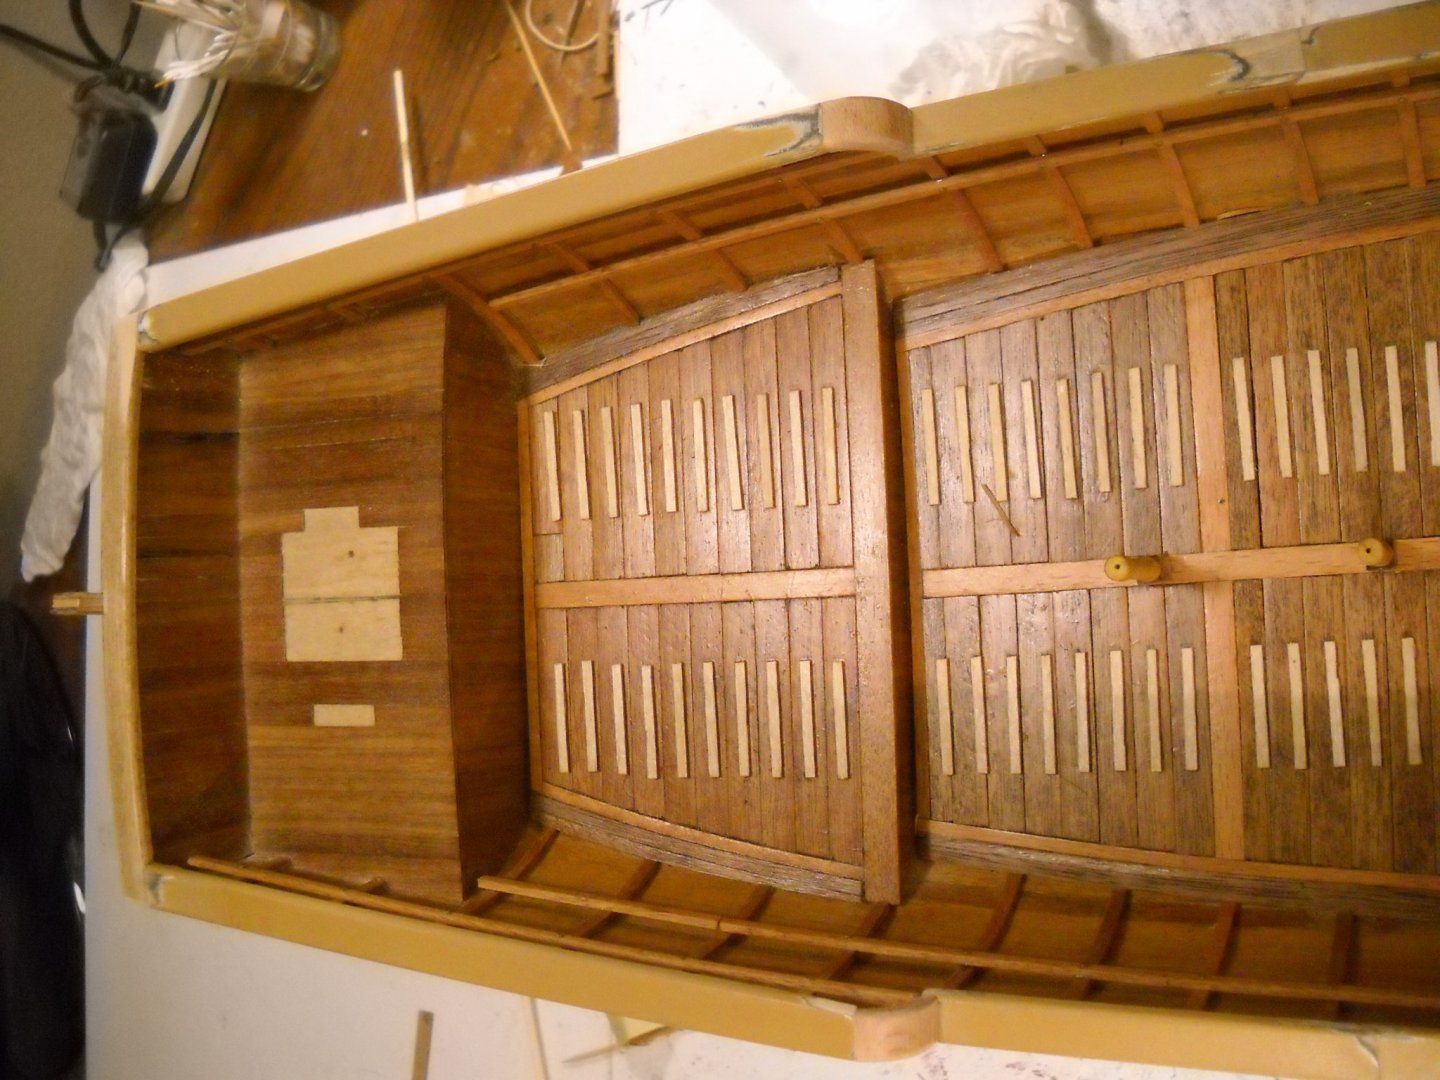
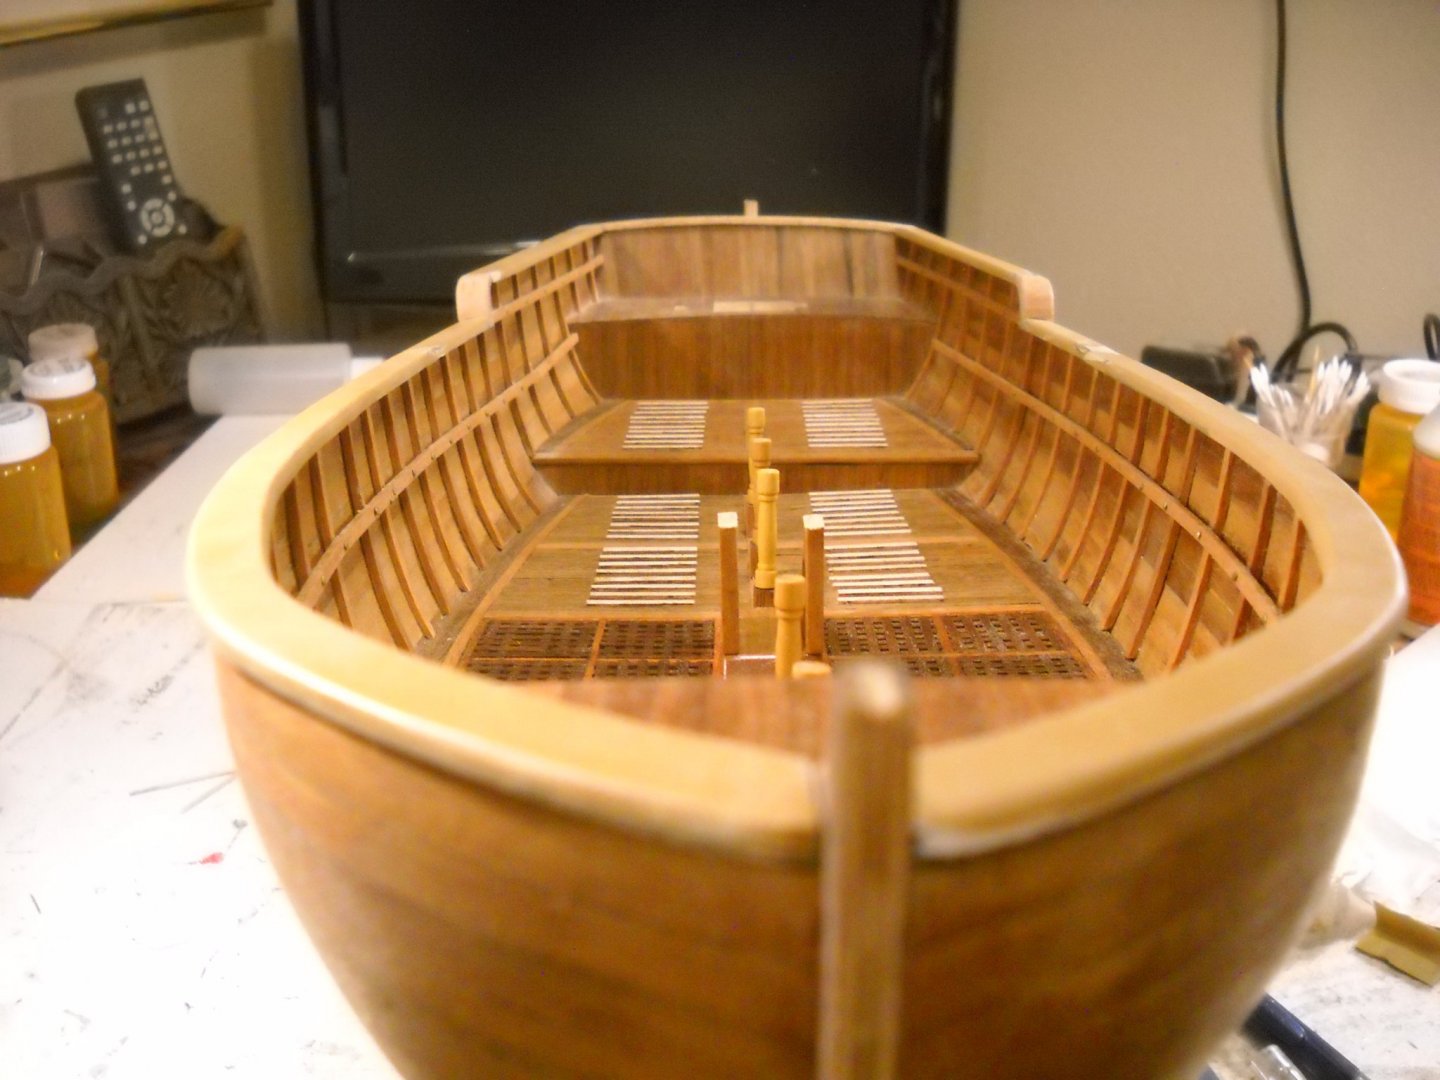
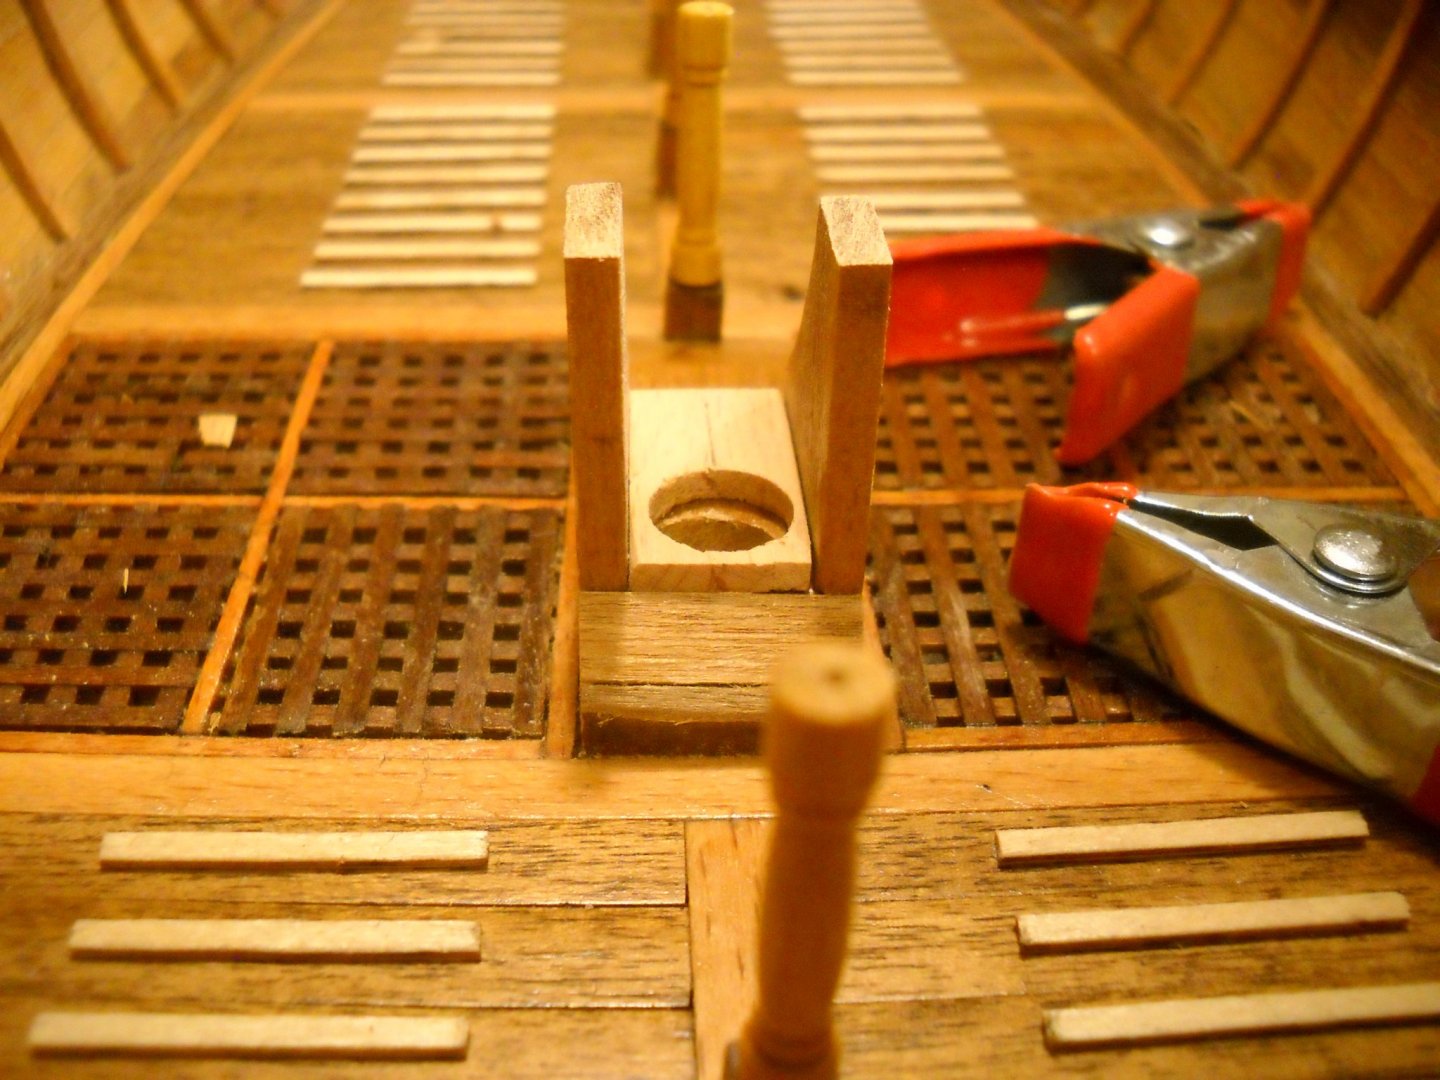
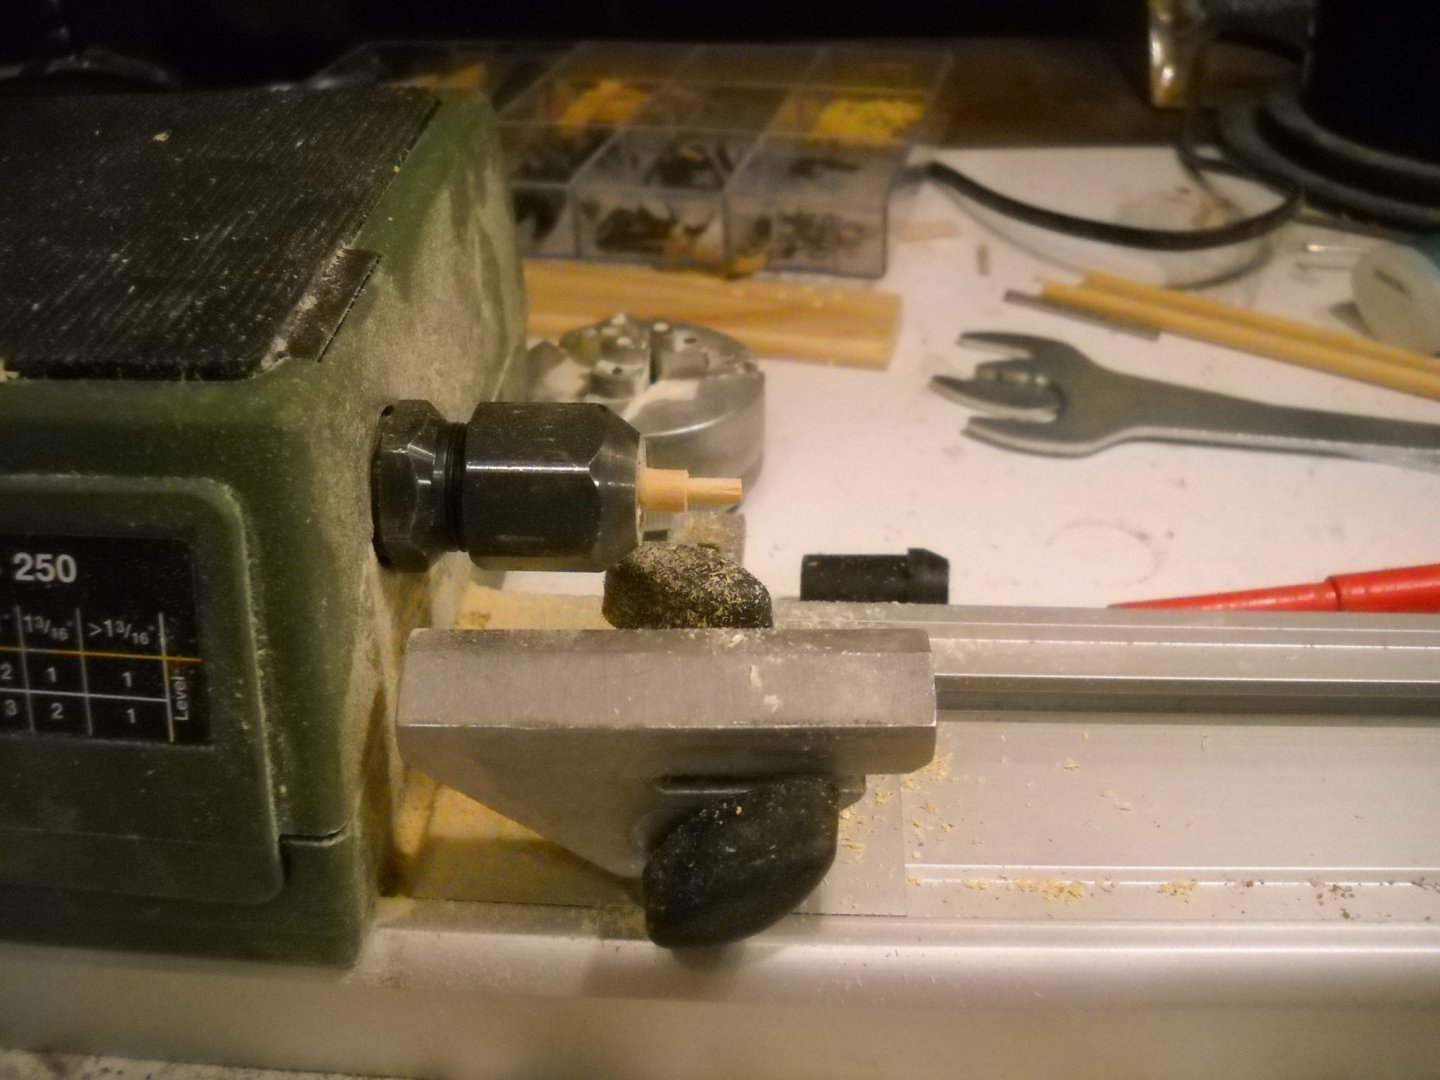
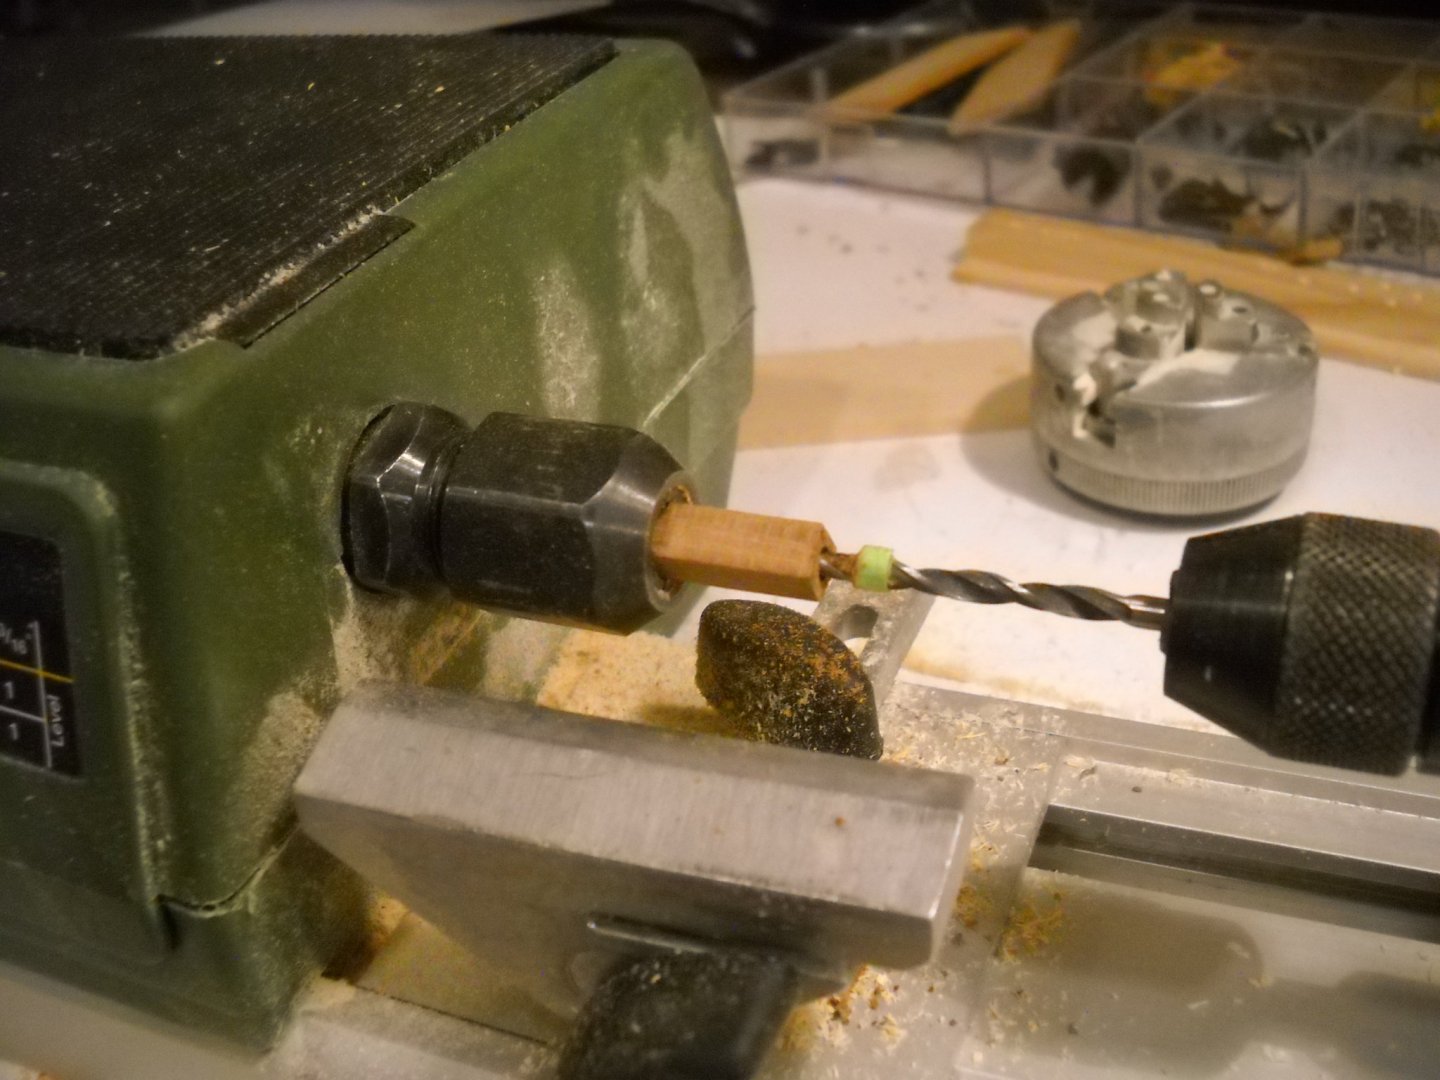
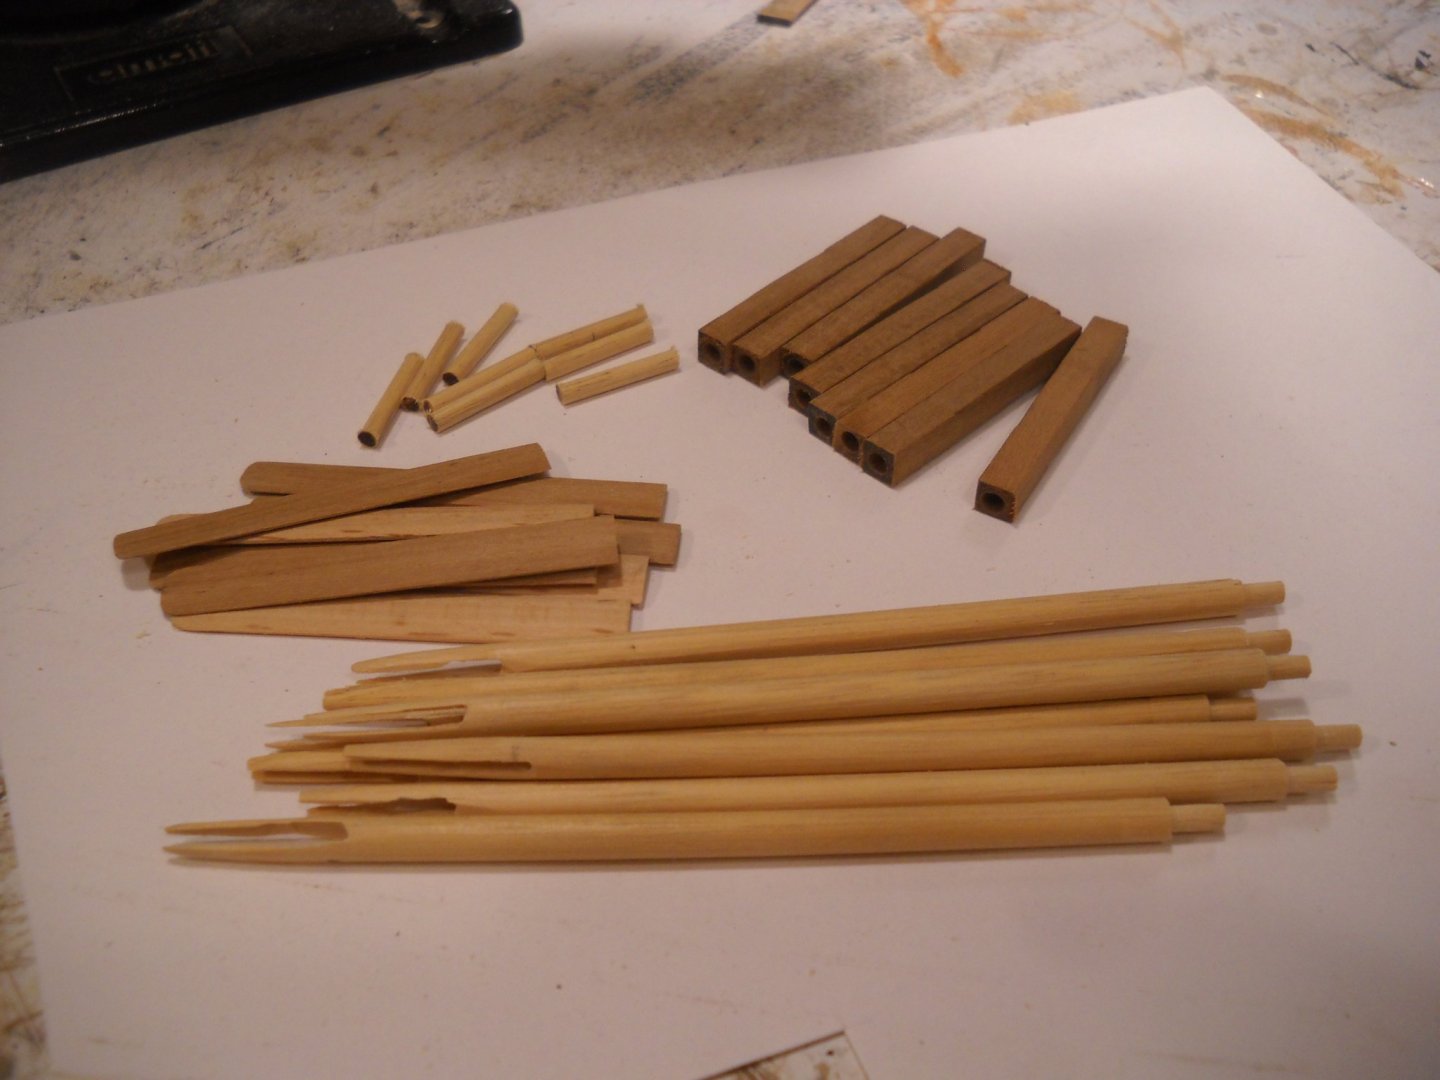
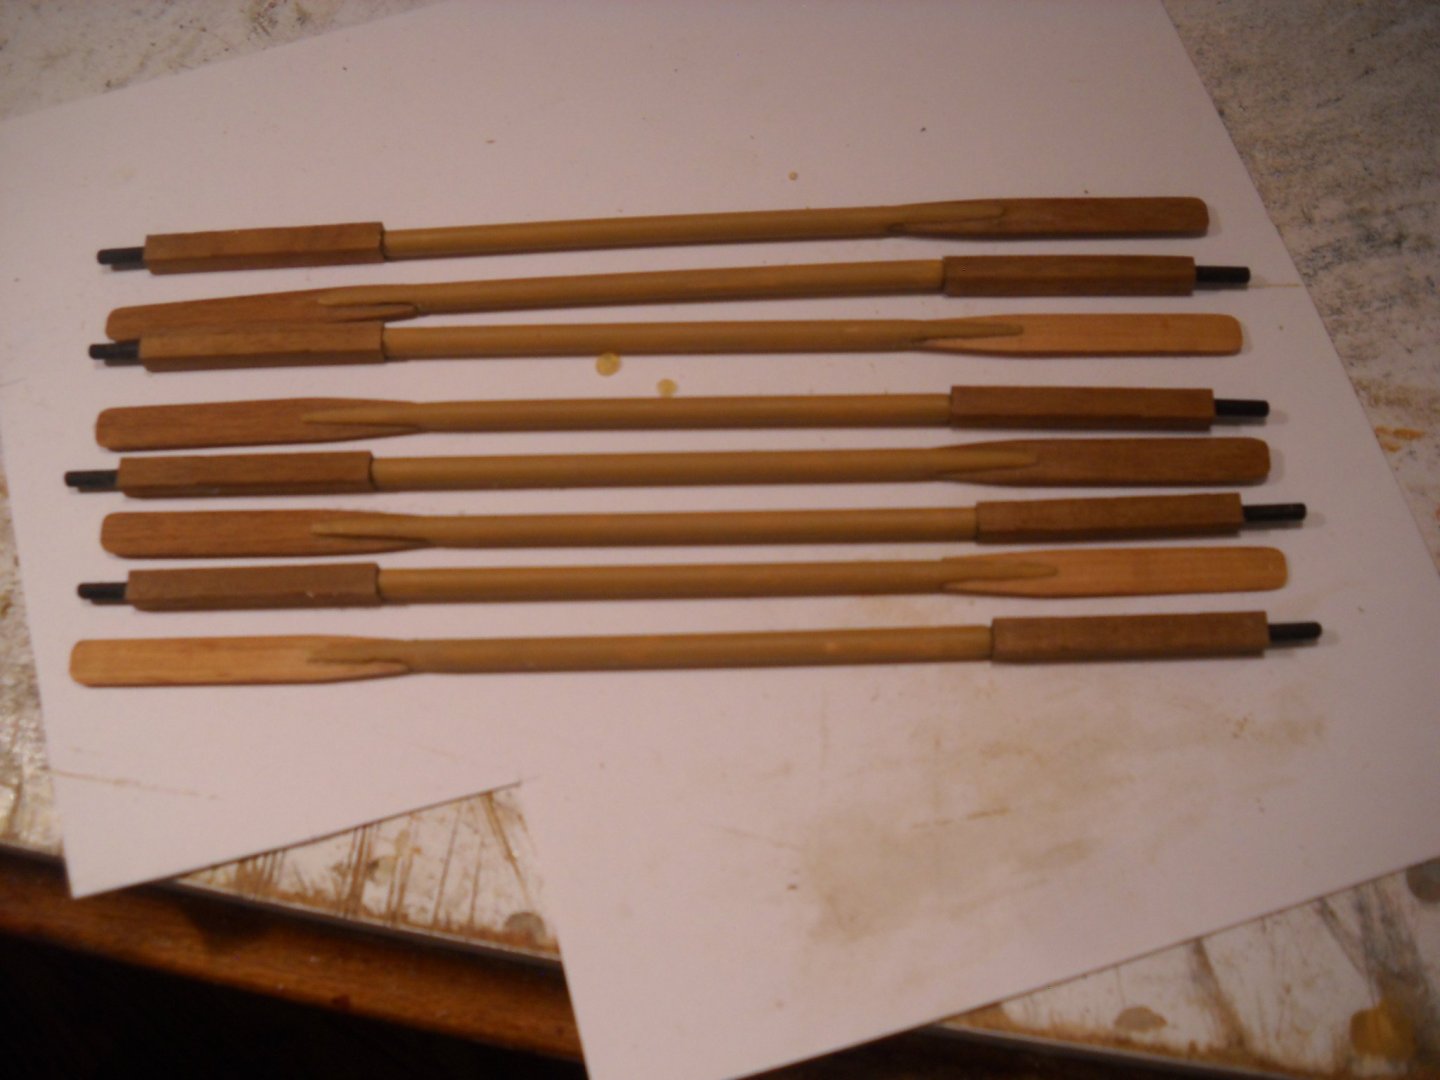
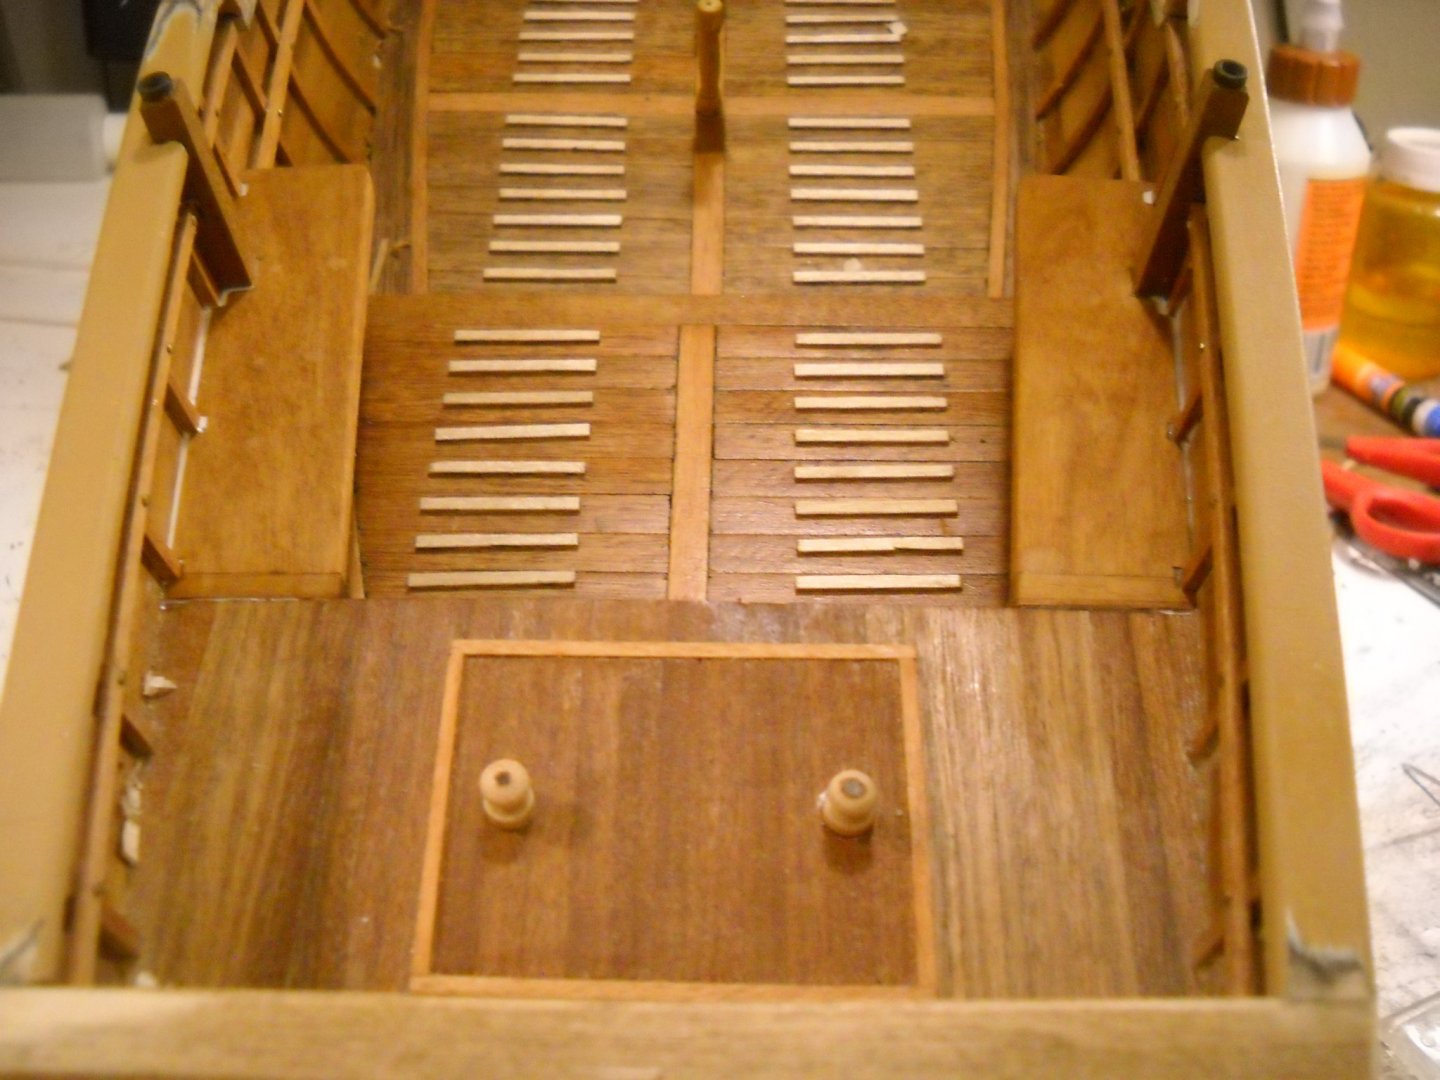
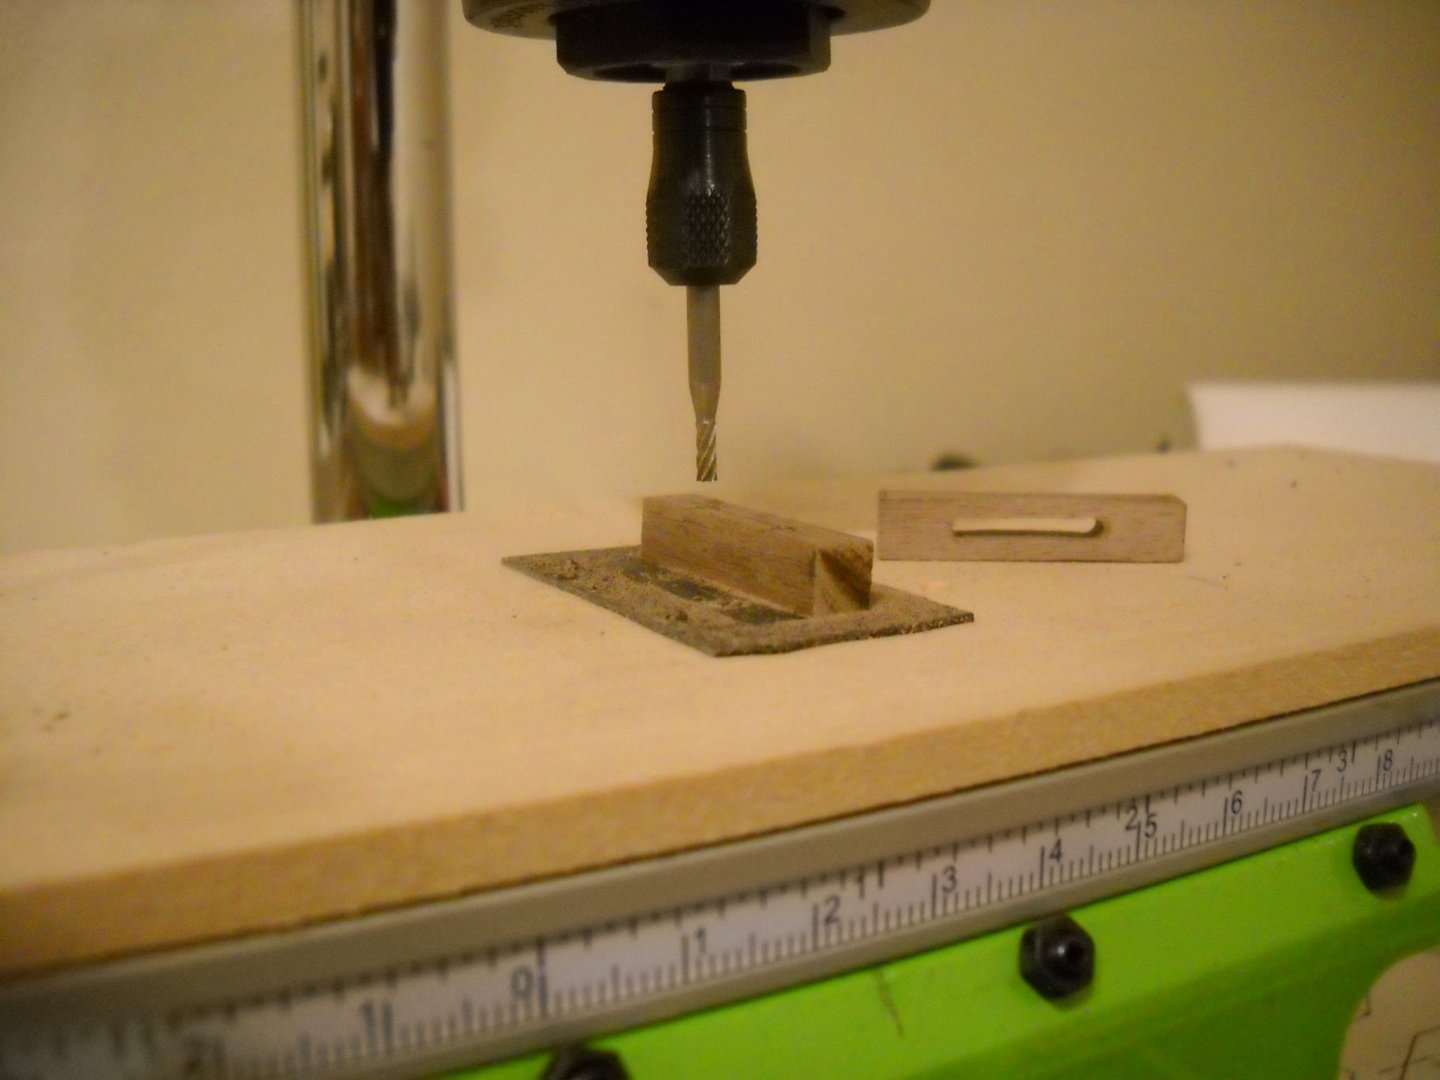
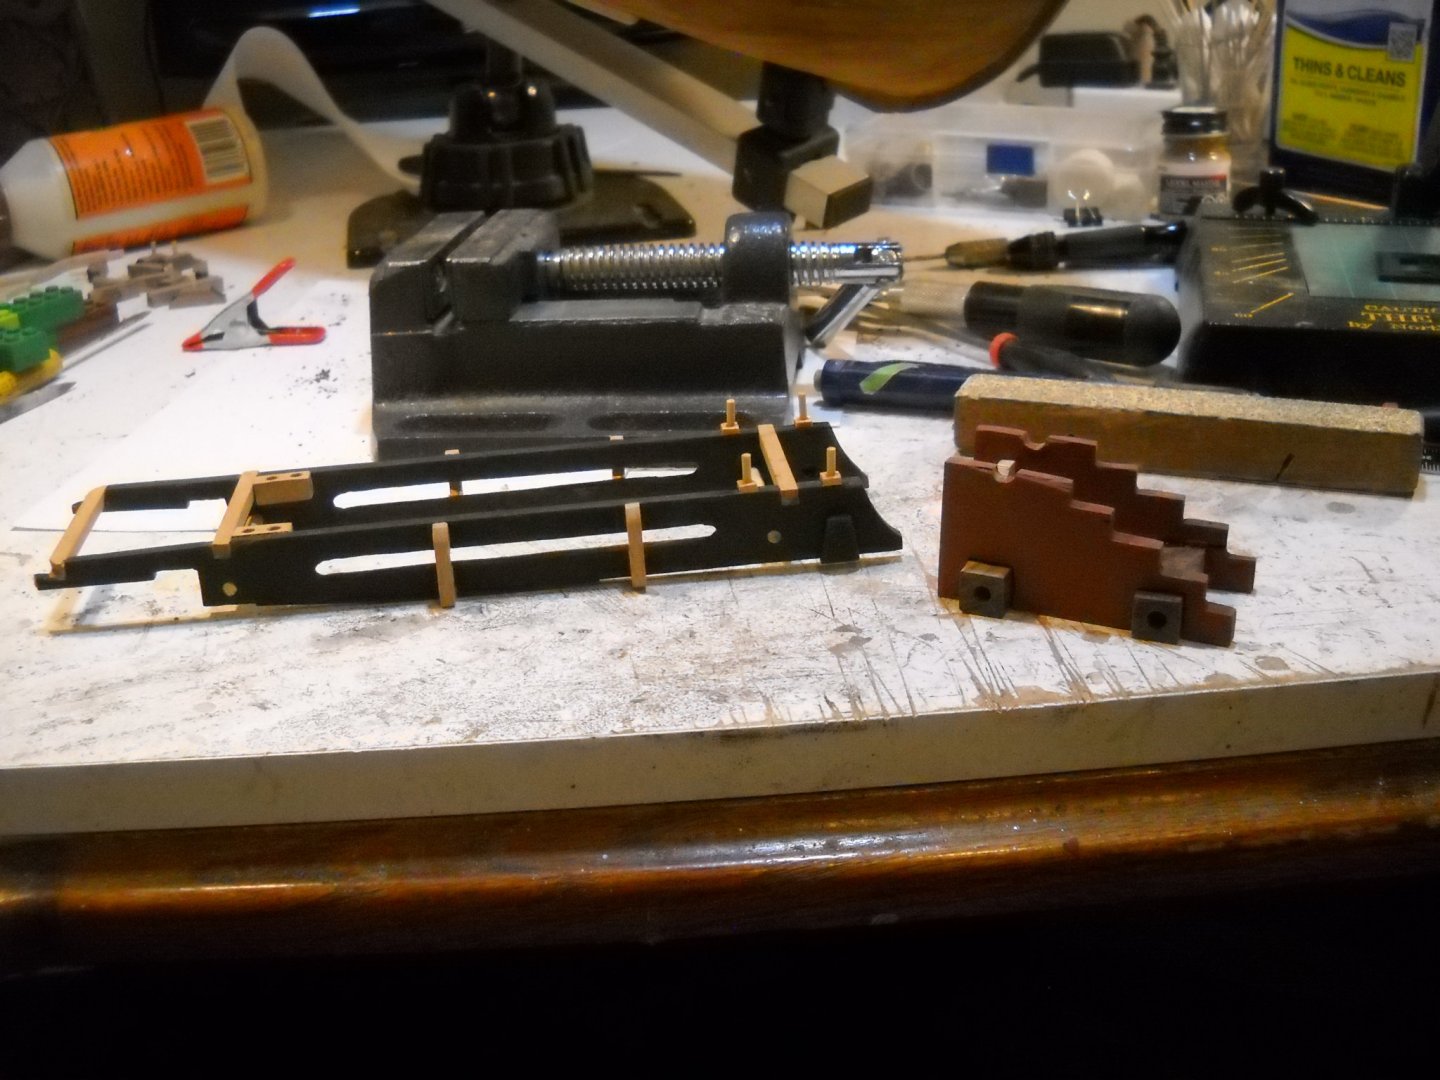
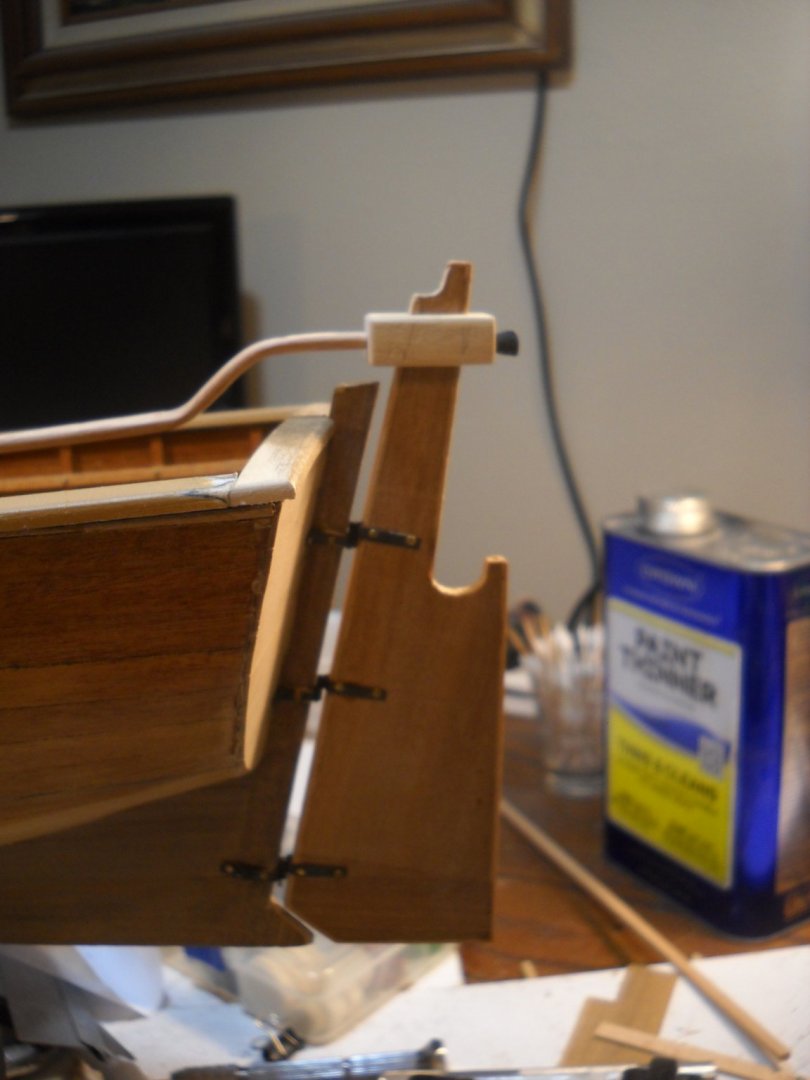
I am sorry I didn't make last weeks update. But I have made up for it this week. The plans called for 2X2 strips for the tread but I though it look to tall for tread. So I cut some 1X2 strips from some scrap and used that instead. This is some shots of the results. When I tried to drill out for the mast, it chipped out. This is a shot of my feeble attempt to mitigate the damage. This is shots of fabricating the oars. They are not perfect but they will do. You would think you could drill dead center on a lathe. Not so with this Proxxon DB 250. There is so much slop in the tail stock. One couldn't expect to make watch parts with it but it will work for model building once I understand the limitations. The lathe was used and also came with a brand new three jaw chuck (still in the package). It was packing some kind of grease that had hardened so it was lock up and wouldn't move. I managed to force it free and clean the the old grease out. Then when I tried to thread it onto the spindle, I couldn't get but about 2 or three threads. Once I knew that I wasn't damaging the threads I literally had to force it on. Now it spins like the button on an outhouse door. 😀 This is a shot the component parts for the oars. And the assembled oars. This is a photo the a couple of knobs that I turned no my lathe. It sure a lot easier than doing it with a drill and a file and sand paper. This is a shot shaping some oar locks, also used it to shape a lot of the knees on a Dremel router attachment. It sure made a lot of smoke. Smelled like I was grilling steaks. Here I am milling the fair leads with a Dremel Work Station and an X-Y table. It isn't an ideal method but got the job done. Check out the fancy hold down method (double stick tape). But neither is a high dollar milling machine that would collect dust over 95% of the time ideal. This is what I worked on all day today. The gun carriage is almost finished. I also finished the rudder and tiller assembly. Bending 3X5 stock wasn't easy but I think I did okay. The part that the tiller goes into (don't know what it is called) is made out of basswood so I just drilled it out and finished it with an exacto knife and files. My small end mill couldn't go deep enough to do the job. That's it for now. I have got to clean this place up. My plan for next week is to complete every thing below the cap rails and paint. Depending on how far I get along I'll start the mast, yards, sail and rigging. Will just have to wait and see how it goes. RussR


- 14 replies
-
- 2
-
-
- panart
- armed launch
- (and 2 more)