


CaptCraig
-
Posts
88 -
Joined
-
Last visited
Content Type
Profiles
Forums
Gallery
Events
Posts posted by CaptCraig
-
-
Congrats on the new purchase Jay! I am sure you will be whizzing out barrels and banisters in no time! I'll be watching for the videos!...lol
-
Ok...time for a small update. I trimmed the bow to shape and added the other side of the hull. The bow actually came together pretty nicely!
I would like to do some more this weekend. I think I will be able to get the first deck done hopefully. I still have to put the ribs inside of the hull. I have been busy tending to my wife's vehicle. Many repairs done this week so she can stay safe.
-
David...Thank you for the heads up. I will look into this. I am already aware of a few issues from reading the other logs, but every bit of help is appreciated!
-
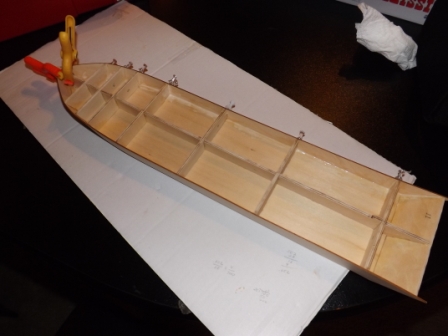
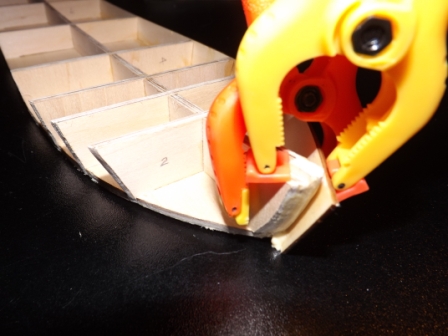
This part of the hull construction is a little challenging for the first time ship builder. But I think I am doing OK. I have used push pins and clamps to get the sides to twist properly. I cannot think of any other way to do this except one side at a time.
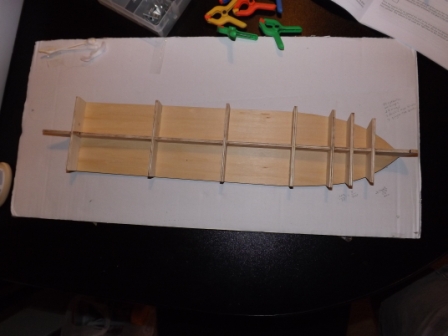
Here is a side view of the hull:
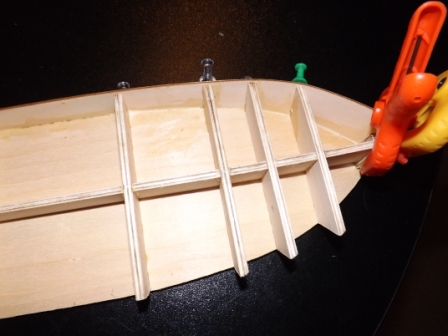
Here is the bow-end of the inner hull:
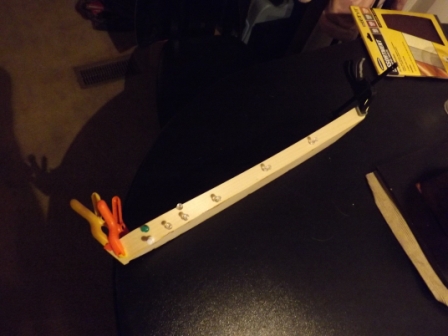
Here is the stern end of the inner hull. I found it very annoying that they cut the stern so long. I had to remove a good 3/4 of an inch of material to get it to match the frame level as required by the instructions. I found this angle hard to match, but it looks pretty good for an amateur:
Here is the bow. I may have to fill this a little after it dries, before I move forward with the other side.
I think it is going fine. Everything seems to be lining up pretty well.
Thanks to those of you who have taken the time to comment on my build. I really like the input!
-
-
Thank you for the encouragement! I got the last frame put in today. The frame will be dry and complete tomorrow and I will start to put the hull together. I'll take some more pics then.
-
Thanks Grant! I am going to get another frame piece on tonight and the last tomorrow. I will start the hull this weekend as well. There should be a fairly steady flow of pictures from this point on, though some may just be small updates.
-
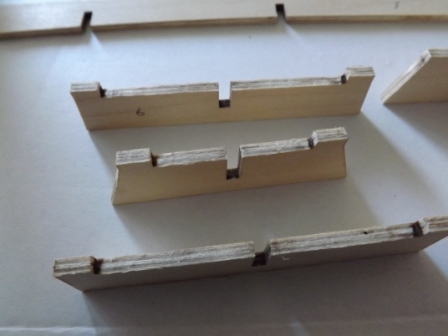
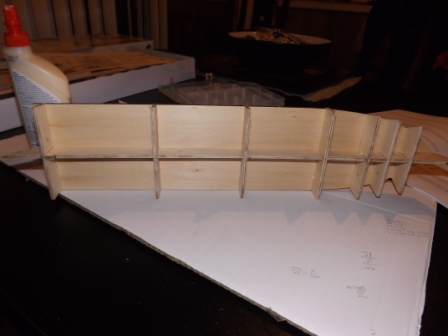
Good day friends... I have started some work on the KoM build even though the shipyard is not quite complete. Today I cleaned the frame pieces and keel. I used a Dremel drum sanding attachment to just run quickly over the edges to remove the laser char:
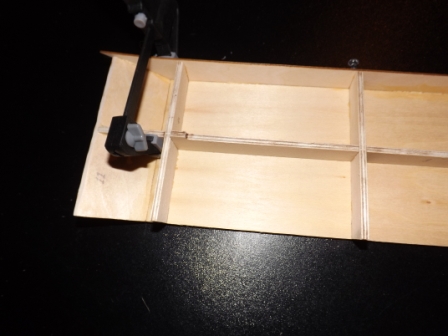
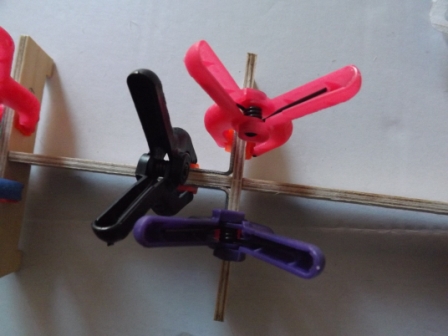
I was careful not to take too much material off of the edges. I then dry fitted the pieces into the keel and they all seemed to fit nice. Not too loose and not too tight. I used some 90 degree angle brackets to hold the frames into the keel so I can be fairly square when it dries:
I was able to get all but two frames glued onto the keel. I started from the center and worked my way out. The two that I did not glue in will need to be done one at a time due to the lack of room in between them. This is what I have done so far:
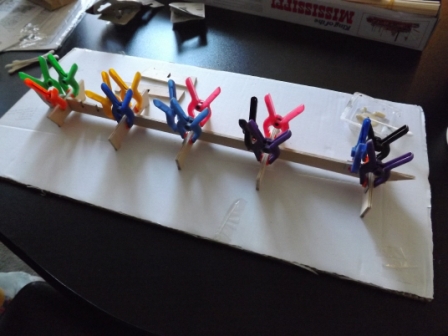
This is where I am at for now. I will finish putting the other two frame pieces in this week and I will start working the hull. I will update with more photos as I progress. Thanks for looking! Any remarks are welcome!
-
I am just starting this build. I hope mine comes along as well as yours has. I also hope your back injury heals in short time so you can stay ahead of me...I will need as many tips as I can get! Very nice work!
-
Impressive as always! My first build does not have a lot of rigging, but I know my next build will be more rigging intensive. You have great tips and I am sure everyone appreciates your work as much I do!
-
-
I now have electricity in the shipyard! Thanks for your patience. I have been working on the shipyard most of the weekend and have not touched the ship. But I can turn on the lights in there now, so it is worth it. Off to the Super Bowl party!
-
Well that decking looks great. It almost looks like natural wear. I think this is the effect you were trying to display. Excellent work Sjors!
-
Thanks Dragzz. I should be able to start some this weekend. I have to work on putting the lights up in the shipyard and I have a few papers to write for school as well. I have to figure out what I am going to use to square the frames in the hull while the glue dries. I do not want a whacked out hull when it is dry.
-
Another great video Jay! Thanks again for your lessons! I think these look good close up, so they must look good when viewing the ship overall.
-
Finally done with the inventory. Aside from what I have to cut from the lumber, all of the pieces are there, and there are some extras too, which makes me happy. Tomorrow, I will start cleaning the laser char off of the frames.
-
Well I am now home from work. I will no longer be traveling all week long, so I can get some things done. Tonight I took some more inventory. I am a little over half of the way through checking the items list. I have 2 1/3 pages out of 4 inventoried. It takes a while to go through the parts. I can't resist looking at the picture manual to see what I am taking inventory of. Some of it is a bit hard to picture by the description. I think I may need The Chopper for this build. there are many cuts to make and many of the same length. The Chopper would help to speed up this process.
-
Thanks for sharing this Jay. I enjoy all of your videos, so no need to for apologies!
-
Dfellingham...You are correct Sir! Please provide us with another challenge!
-
Those coils actually look pretty realistic. Looking good!
-
Some american fishing boat, or something

First Clue...This was not a fishing boat...
-
LOL...moving on...The rigging is looking great Jay! It is always a please to see your work.
-
Ok...I have One...

Good luck!!!
-
This is the USS Fairplay...Built in 1859 and served in the U.S. Navy until August 9, 1865.

USF Confederacy by Augie & Moonbug - FINISHED - Model Shipways - 1:64
in - Kit build logs for subjects built from 1751 - 1800
Posted
Very nice! I like the work you have been doing. It is very clean and precise!