Jackson7
-
Posts
56 -
Joined
-
Last visited
Content Type
Profiles
Forums
Gallery
Events
Everything posted by Jackson7
-
Hello all, It's been several months. I've been very busy, and the prospect of what I might have to do to the Greyhound was depressing enough that I wasn't very much in the mood to start even when I had time. At this point, I have slowly come to the conclusion that the only way to really fix the hull is by stripping the whole bottom portion. If I do that, I risk stripping the likely too-thin layer underneath. That's the worst possible option. But that best possible option has the most risk. After all this time off, I'm also more willing to endure the difficulty of re-doing what I've done already too. So despite my concerns, that option looks more and more attractive. I've decided on a compromise. I'll try to remove the highest plank on the bottom. If it goes wrong, I've only messed up a single place, and can work to fix it, then try to use the less perfect method. If it goes right, it's potential proof of concept for doing the whole thing again. I only have to get this ship done once, so a little more time taken isn't that bad of a prospect.
-
Hey all, thanks for the advice. I'll think through it. It's always helpful to take time on these things.
-
Hey @allanyed, it's no problem. I appreciate all the help I can get. As the Bible says, "wounds from a friend are worth more than kisses from an enemy." I haven't responded yet because it's a busy week, and I have made little progress on the ship. I'm open to fixing the ship in the way you describe, but I doubt at this point whether it's even physically possible. The planks I'd have to cut through are a ton thinner than the earlier drastic repair I made, and they seem to be at least modestly well-aligned as it is. You've see that on the beginning of this hull, I didn't build very well and compensated for several errors by doing a lot of sanding. There are places where the bottom layer is not even half a millimeter thick. I use a strong glue for all my stuff, and I'm not sure if I can take back what I've done already without causing more damage than I would have averted. Do you think it would fix the bad alignment if I sanded the outer layer of planks down until they formed a straighter line? Also, the longboat in this link seemed to work with the planking structure Dirk used: https://modelshipworld.com/topic/1465-18th-century-longboat-by-bobf-finished-model-shipways-148-tri-club/page/2/ Does that mean it'll work on my ship if I'm careful, or is there some element at play that I failed to grasp?
-
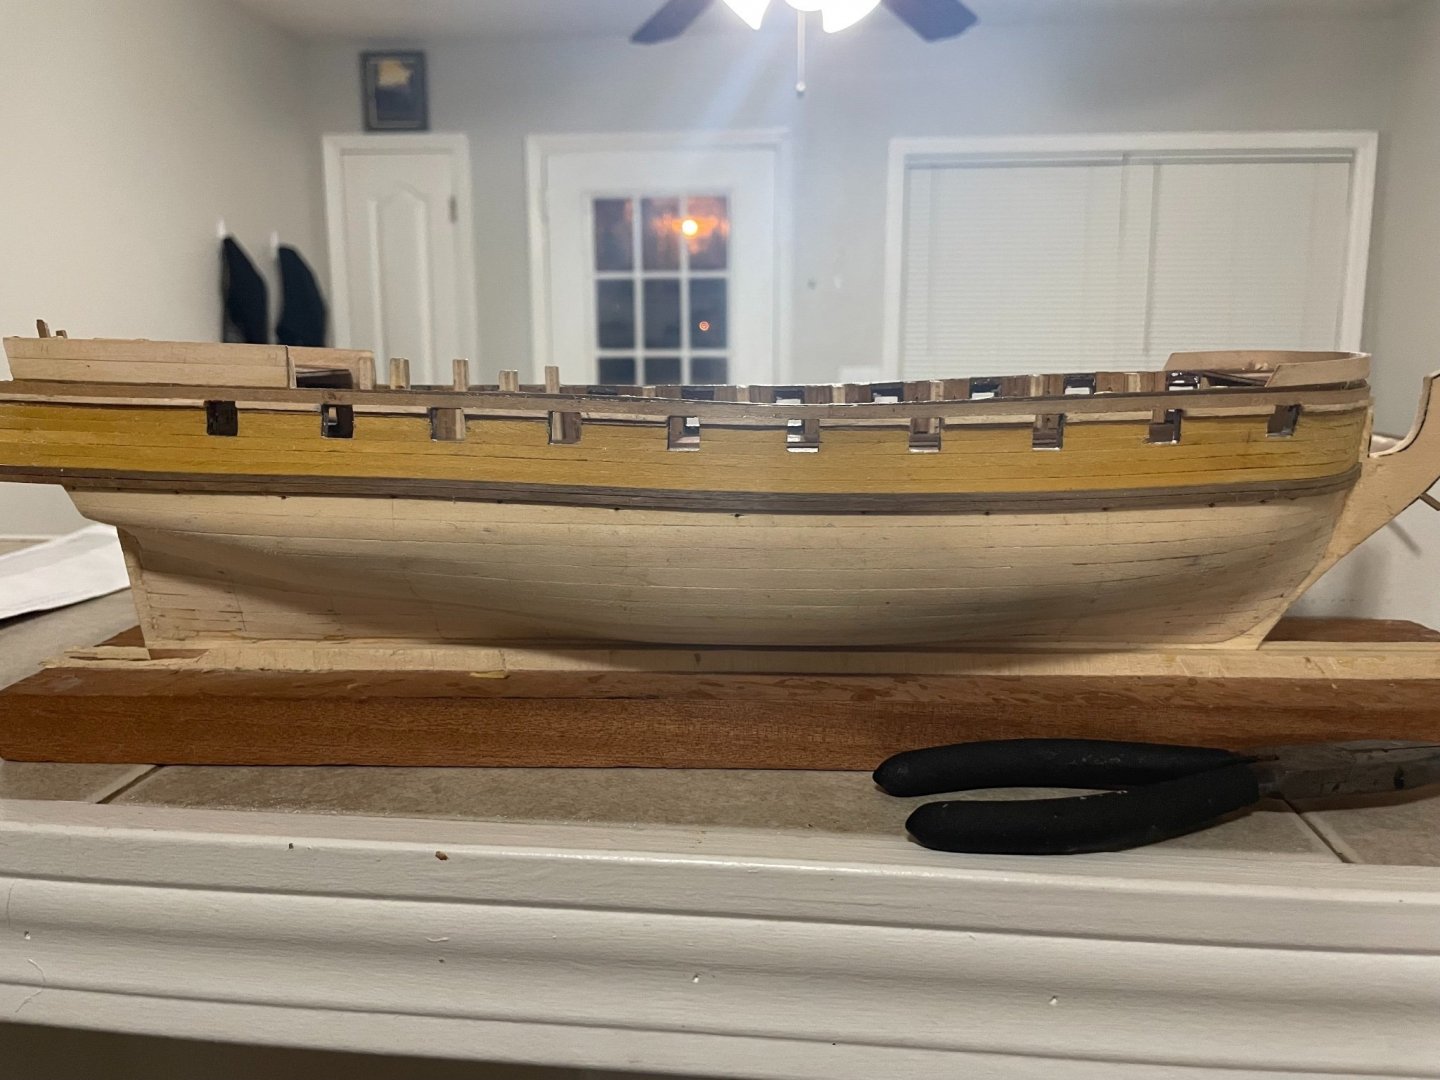
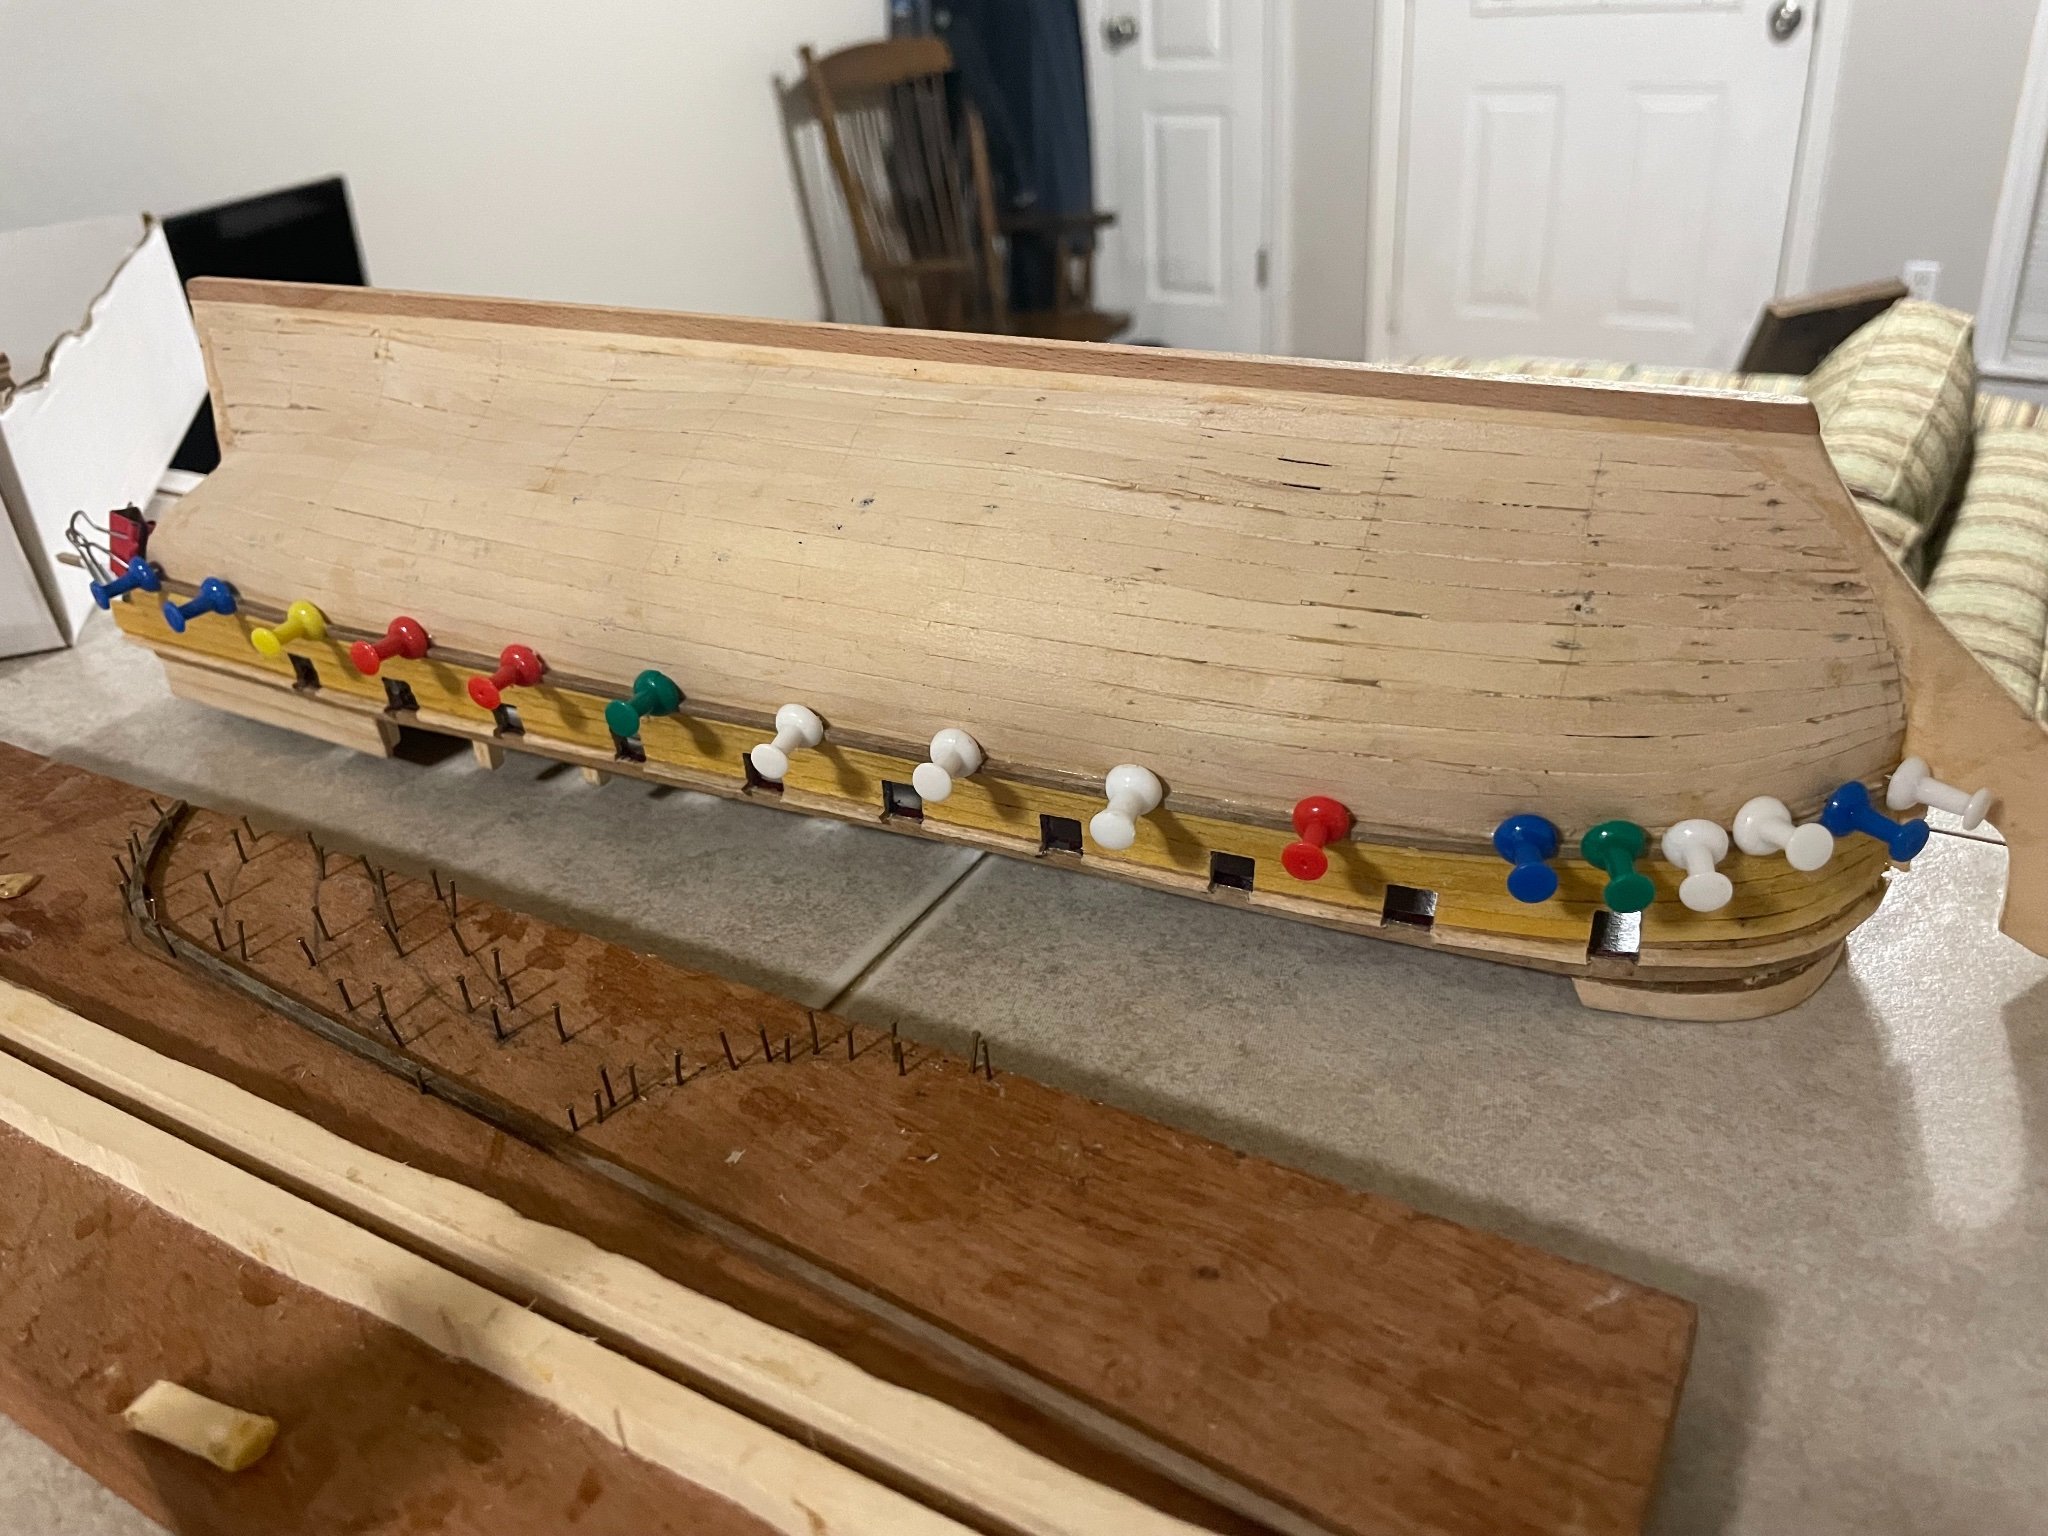
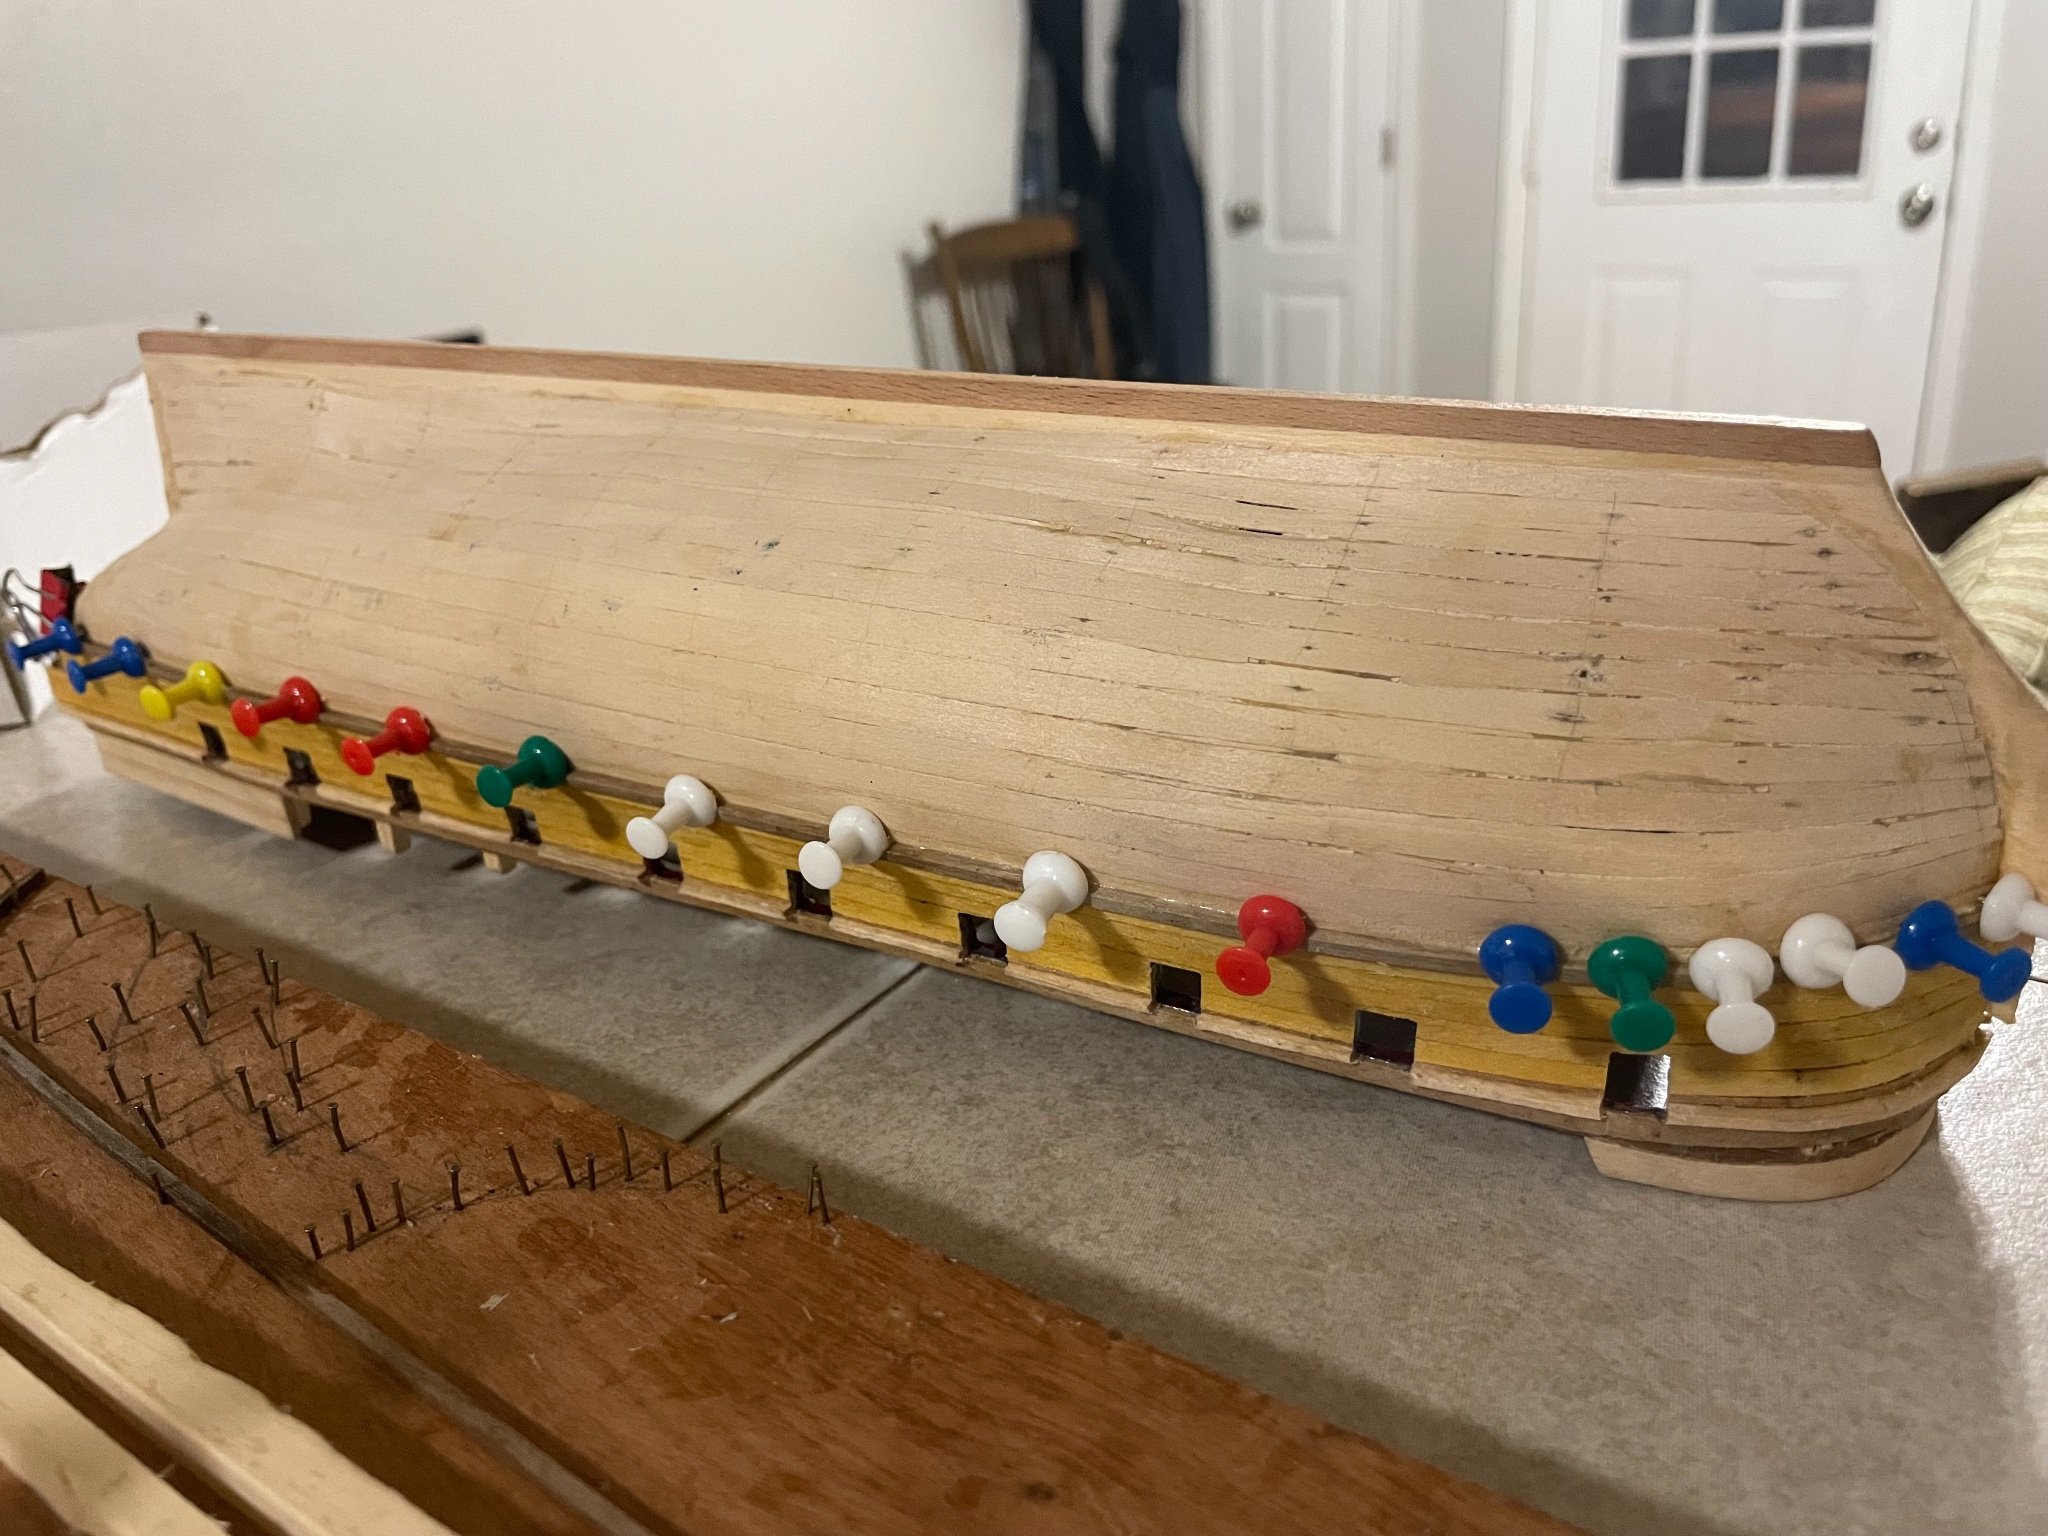
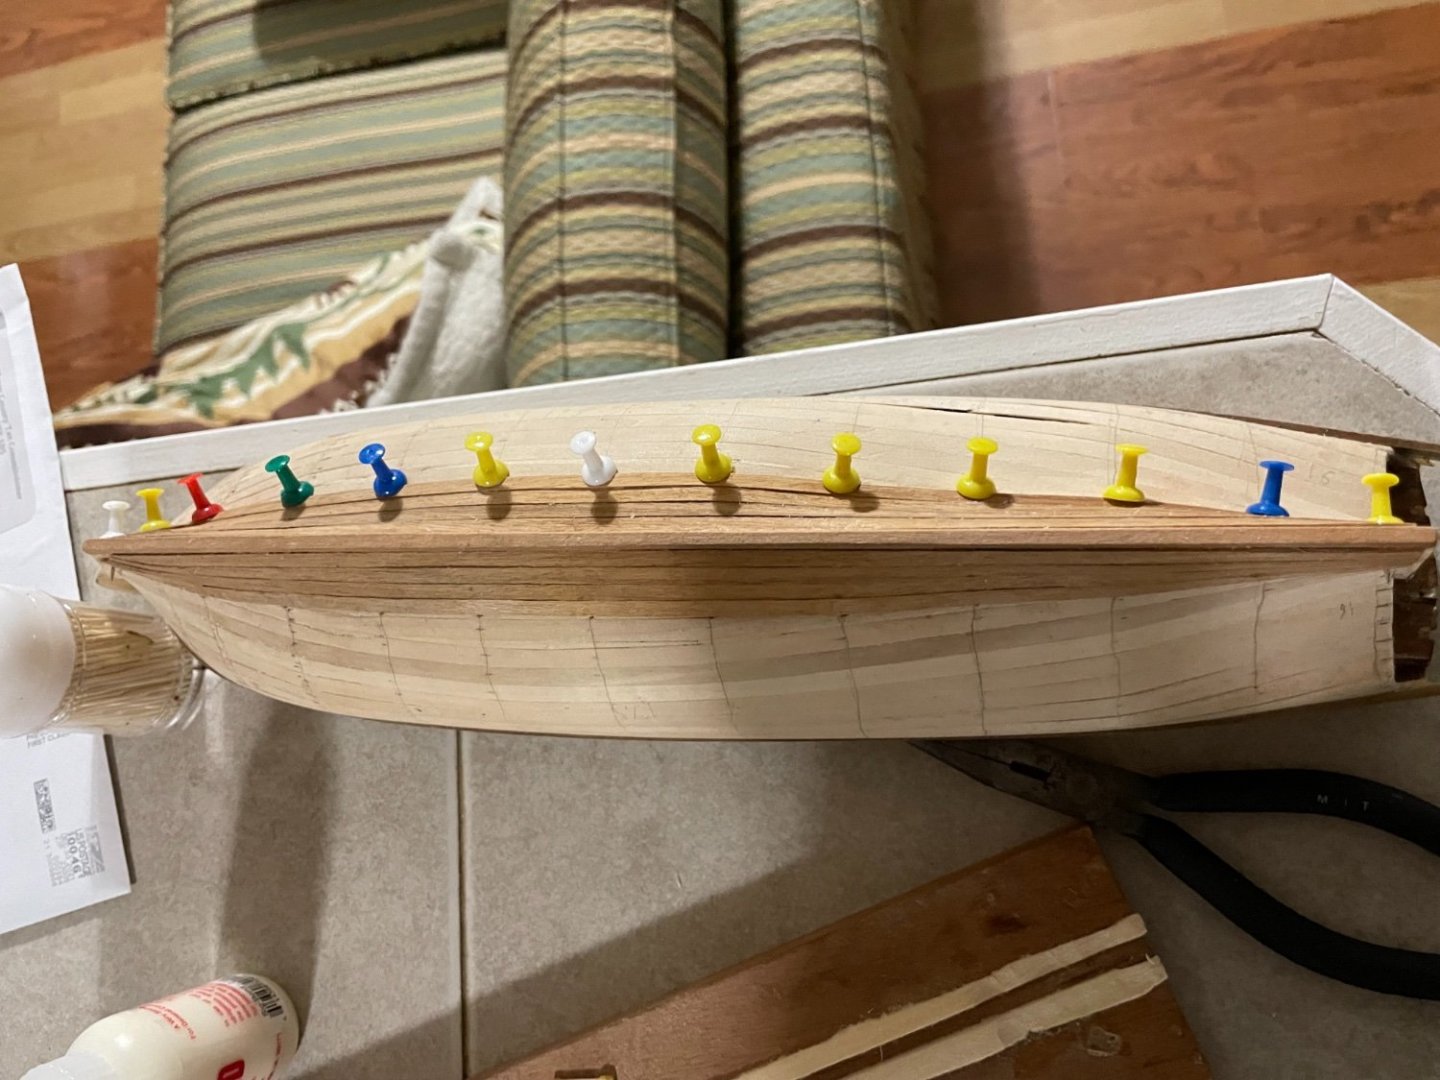
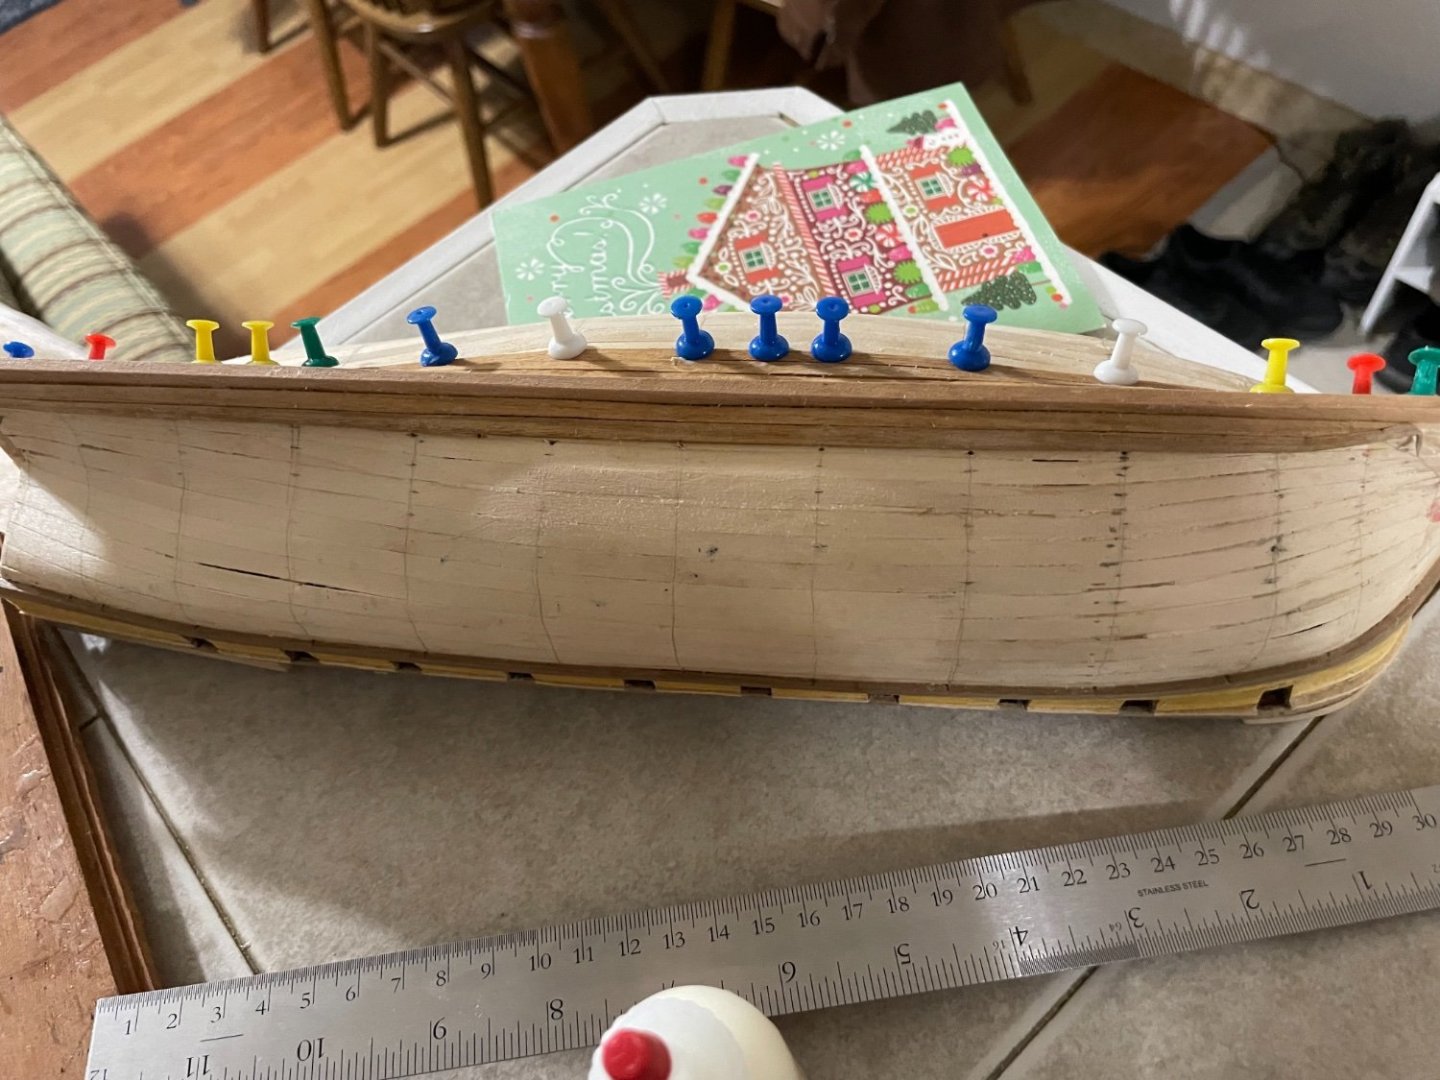
This step marks the halfway point on the hull! Finished applying the third plank from the top on both sides. It's pretty much identical, so one side does the photo fairly well. After a few careful measurements, I've discovered that I have about eight and a half planks left in the middle. In the bow, the ship is about seven planks wide, so I need to file away one millimeter per plank on four planks. On the stern, I need to lose about two millimeters. If I can do that, everything should fit in well. The real magic trick will be finding a way to put the last plank on without nail marks, but I do have a cunning plan... I'll explain later.

-
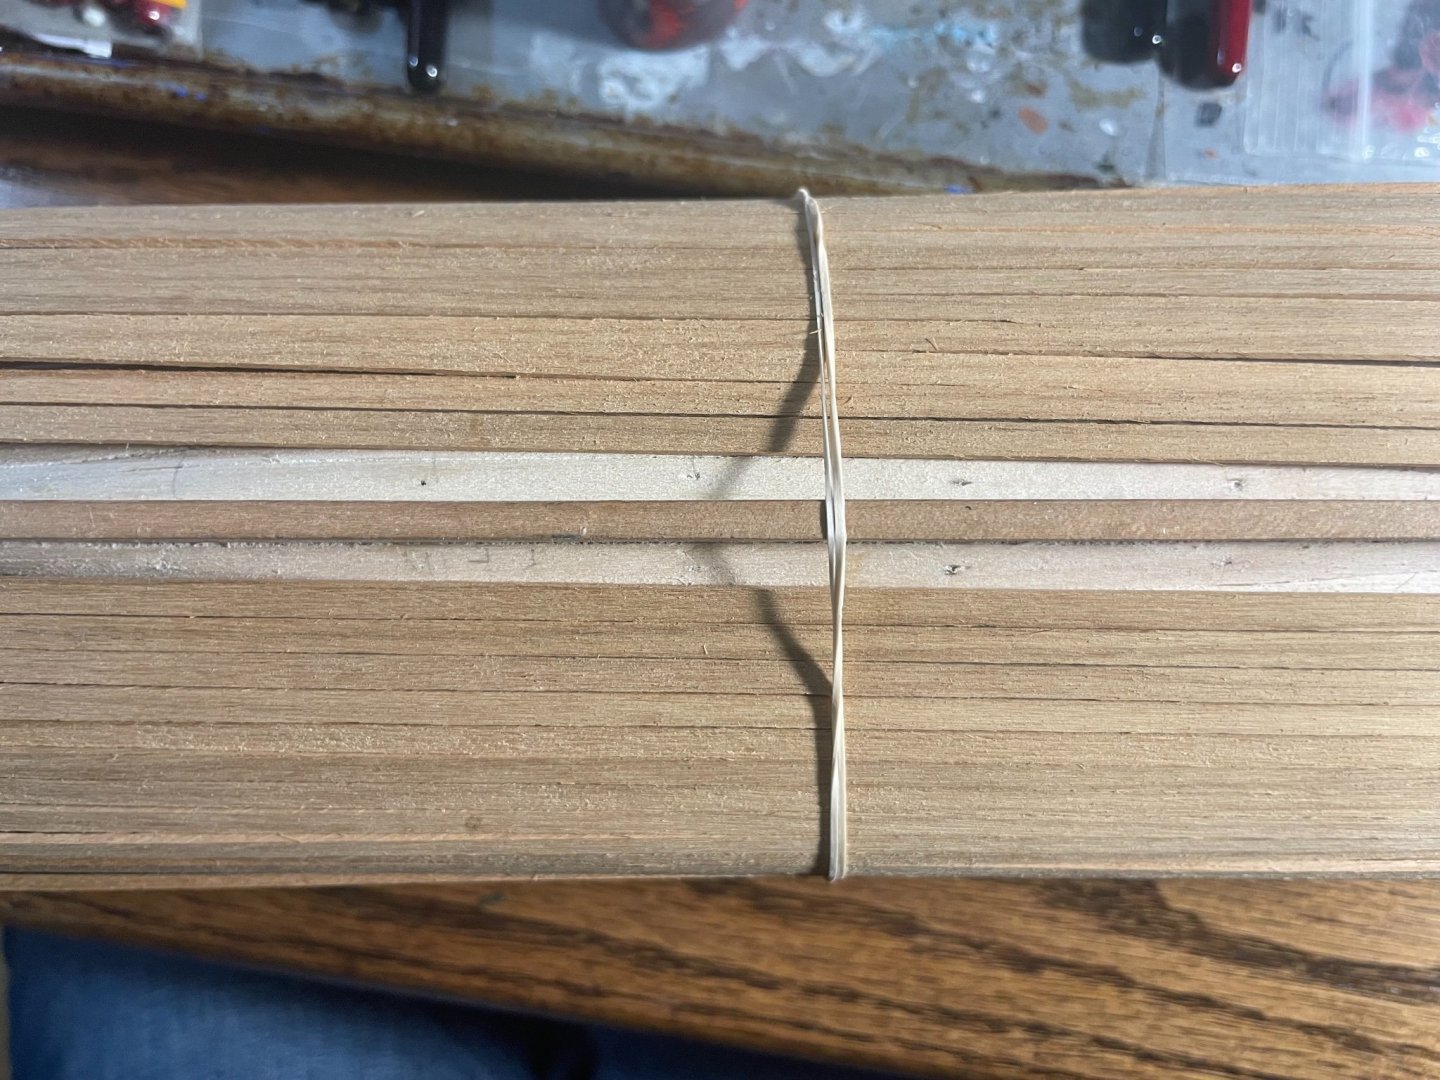
After long consideration, I've decided to continue with the current planking of the hull without changing my plans. I appreciate the advice, but I've elected not to follow it. Here are my reasons: 1: The first layer of the hull went on relatively badly, and I sanded it to an extreme thinness in some places to remedy those errors. I don't trust that these planks will survive if I attempt to separate what I've already glued in place. I also don't want to drive tacks through the hull into the supporting wood a third time. There has to be a limit somewhere on how much it can bear, and I'd prefer not to discover it by snapping something irreplaceable. 2: I've just ordered another shipment of appropriately-sized walnut planks. They look right online. If they don't work, I might consider using a gentle stain to fix the color. 3: If anything proves truly unfixable with the present challenges, I can measure and sand problem planks until they fit together well. At any rate, 'a doomed voyage' has a certain appeal all its own. At this point, I have four more planks done, with about twenty to go.


-
http://modelshipworldforum.com/resources/Framing_and_Planking/plankingprojectbeginners.pdf Your answer leaves me wondering about several things I've previously evaluated. You're probably right that if I truly had the will, I could actually remove what I've done so far. My current planking technique comes from these two posts. The first one says that curving the planks onto the hull in my current way keeps the hull from becoming 'clinker built,' and the longboat is a build where this technique seems to have worked out decently. Is there something different about building a large ship that I missed? What exactly is wrong with the technique I'm using?
-
Hello @allanyed, thanks for your comment. I'm glad to get your advice. Unfortunately, it probably got to me about three months too late. As matters stand, I'm afraid I'll have to work with the planking strategy I have. "I am in blood wood/ Stepped in so far that should I wade no more, / Returning were as tedious as go o’er.”—Macbeth
-
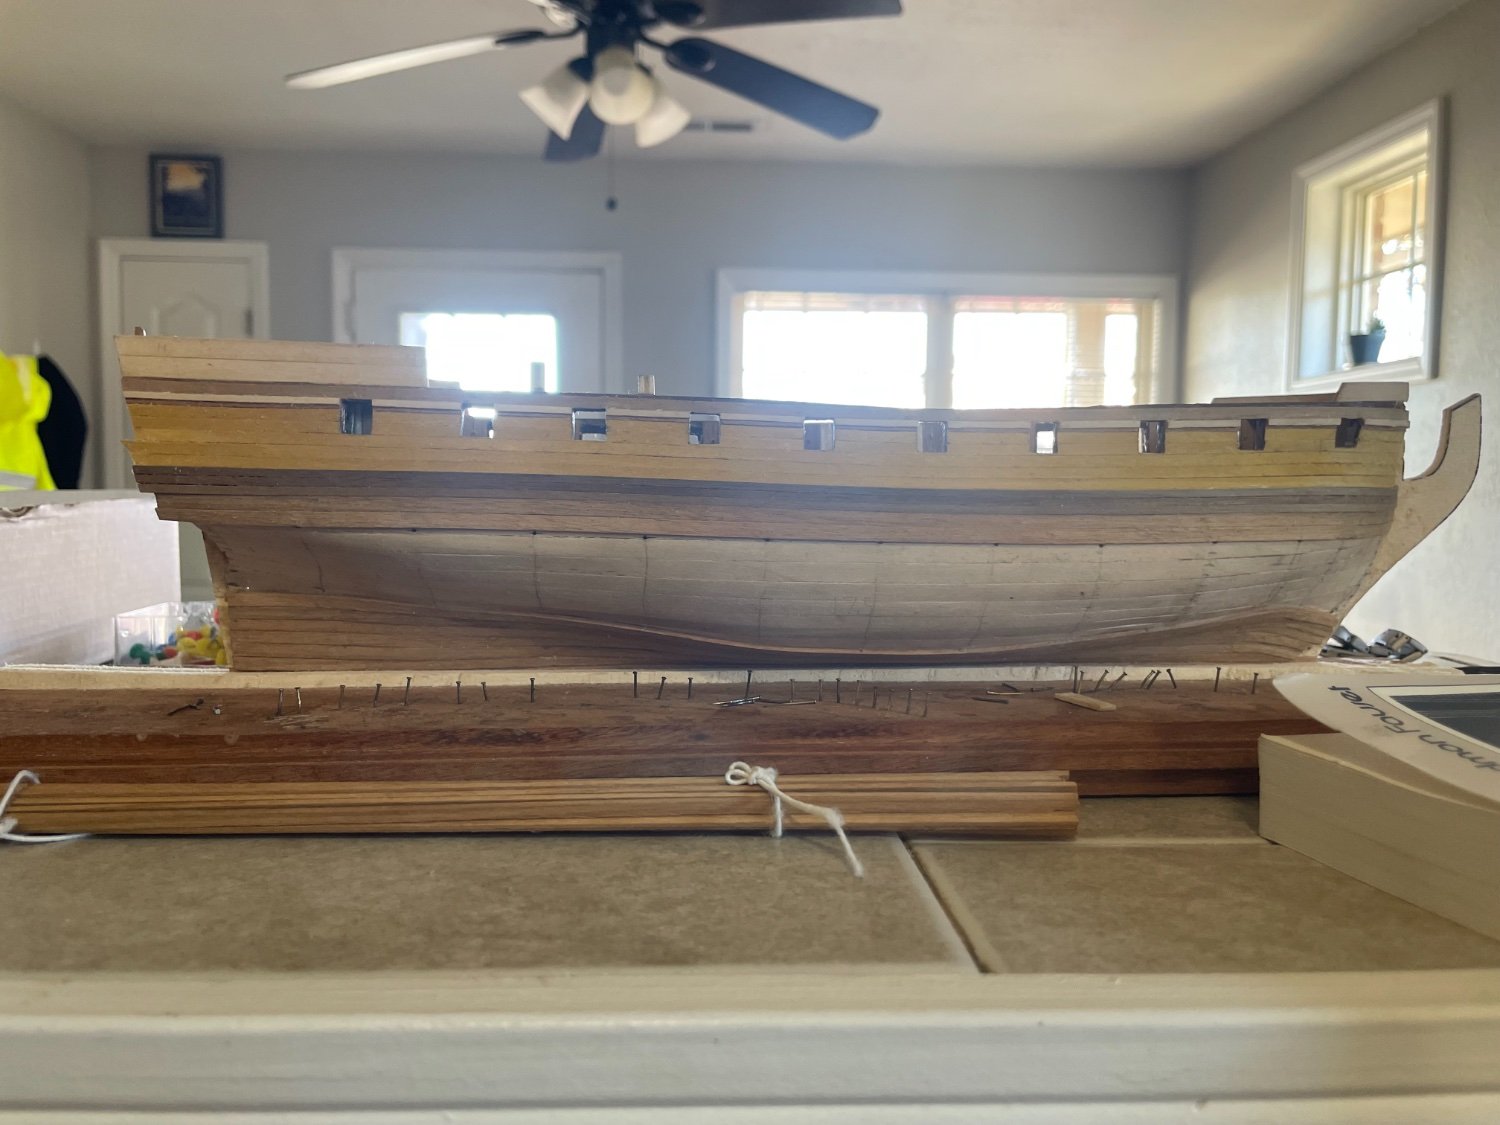
I'm at the 1/3 done mark. Six planks on each side. Sanding one side of each plank to an angle along the whole length has worked like a charm. These ones are a far cleaner fit than the other planks. Looking from the inside of the ship, I can't see a single mote of light through the lowest part of the ship. After I sand 1mm off the current two planks, I'll have dropped one plank width off the stern and two plank widths from the side. This change leaves me with about 17.5 planks in the center, and about 17 at either end. I can sand out that difference by eye once I have only a few planks left. With my current tools--and the difficulty of measuring a curved surface--I trust that method more than I trust my ability to get that clean of a measurement. There's only one piece of bad news. I'm now sure I'm seven planks short of actually completing the ship. Five are missing, and two in the kit are somewhat deformed. What's the best store to order 1x4mm walnut strips in the USA?


-
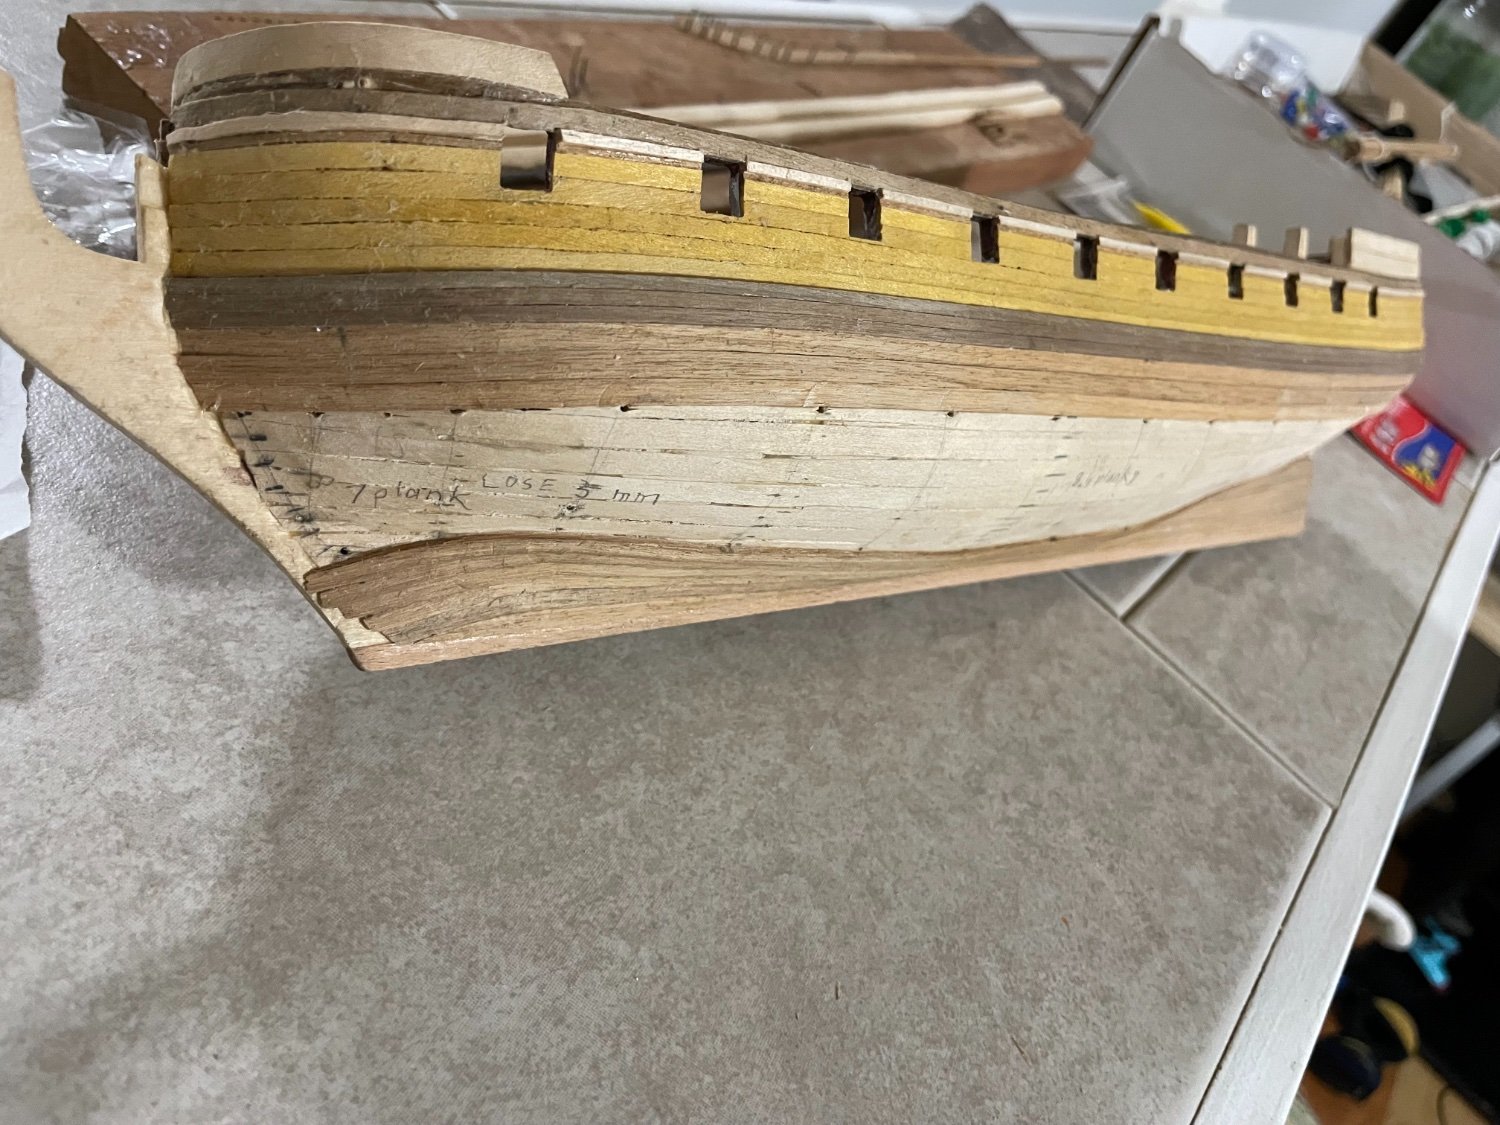
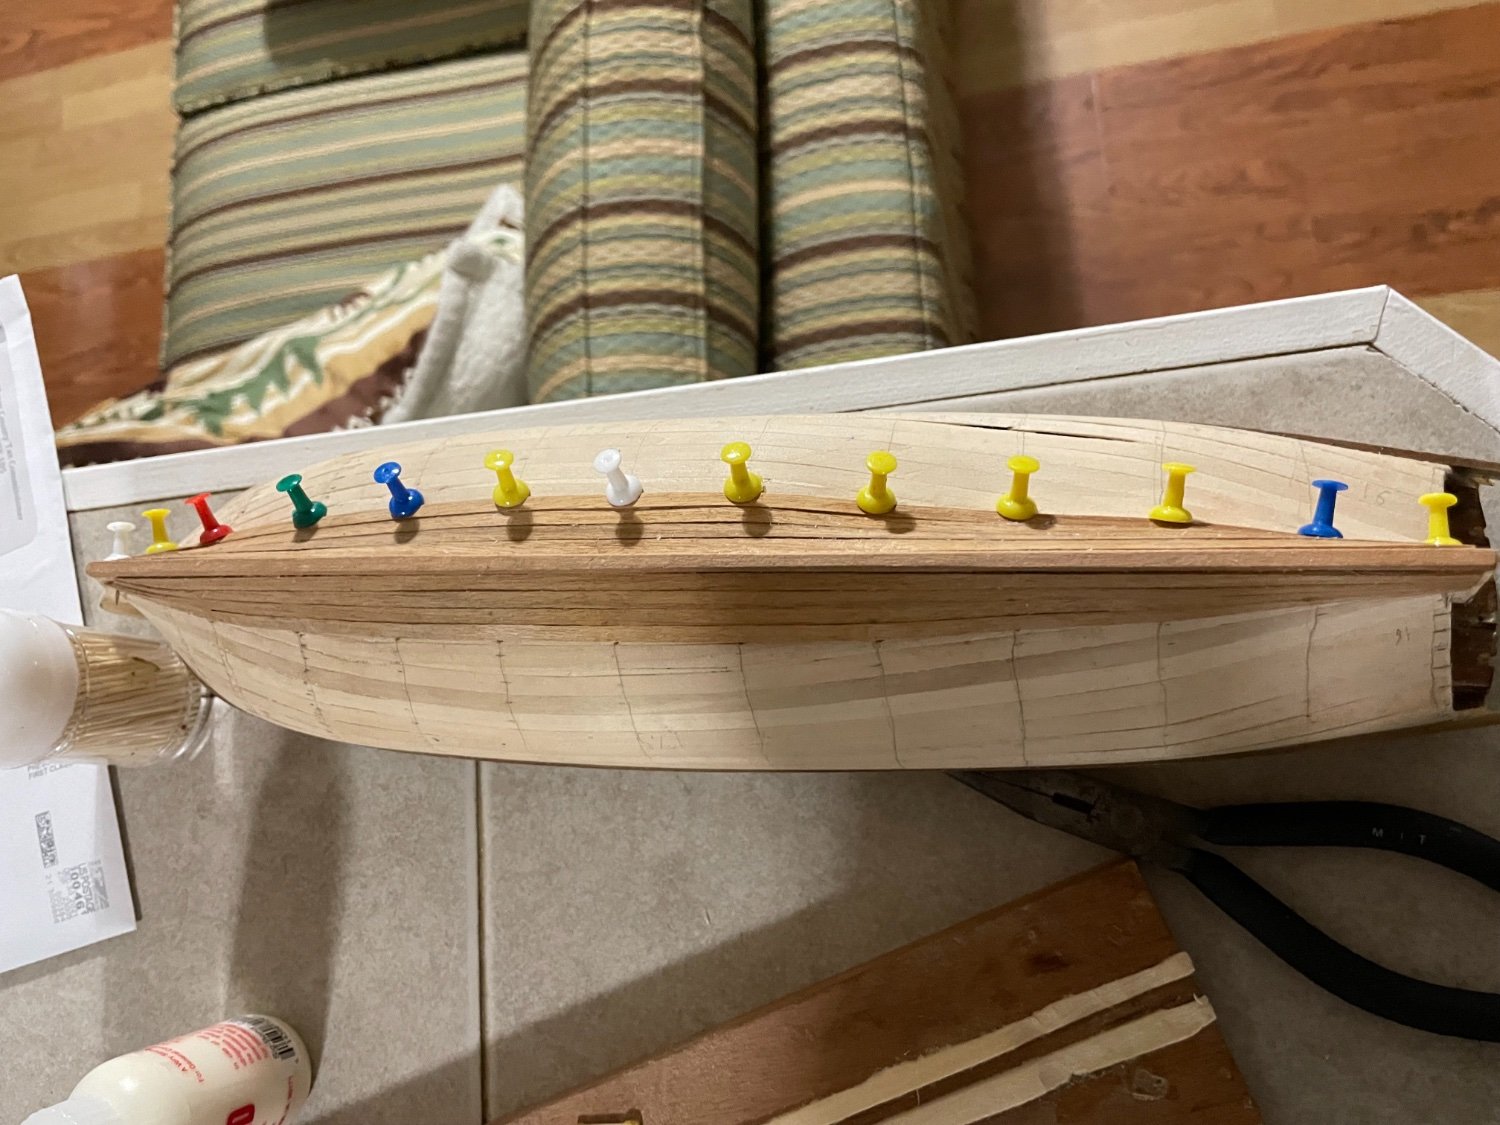
I haven't given many updates because most of these pieces have been pretty similar, but i'm now up to eight planks. Only one real disaster happened. I broke one of the planks while putting it on, and it's now too short to go onto any part of the lower hull. The experience only confirmed my intuition that I need to buy more 1x4mm walnut wood. But for now, I'll just take it one step at a time. It's probably a good time here to talk about my long-term plan for the whole hull. According to measurements I made early in the process, the center of the ship is about 17.5 planks from keel to gunwale. The stern is 16 planks, and the bow is 15. At the bow, I effectively make it 16 planks too by trimming the garboard plank to a point. That leaves me about 1 plank to lose plus whatever measuring inaccuracies I inevitably perpetrate. That still leaves me one plank and change short of the center. To solve that problem, I plan to take one millimeter off the end of four planks on each side. So far, I've given two planks this treatment, and they look good. I'll compensate the remaining two millimeters with the last couple planks where it'll be less difficult to measure an irregular curved surface. I'm very dependent on eyeballing. Of course, the fun part of the last two will be discovering how to fit planks to the hull without leaving nail marks. My working theory is to use boiling and bending to get planks to the most perfect shape I can manage, then use weights, fingers, tape, or a combination of all of the above. If there's a better technique, I'll hope to discover it before then.

-
Merry Christmas and happy New Year to you all. I visited with family and left the ship at home. Since I last posted, I've added three more planks. Everything is coming together smoothly. The nice think is that I've learned from the first layer of hull on how to fit the rest together well. The only setback was accidentally stabbing my finger while putting in one of the tacks. Blood, sweat and tears is the name of the game on these things.

-
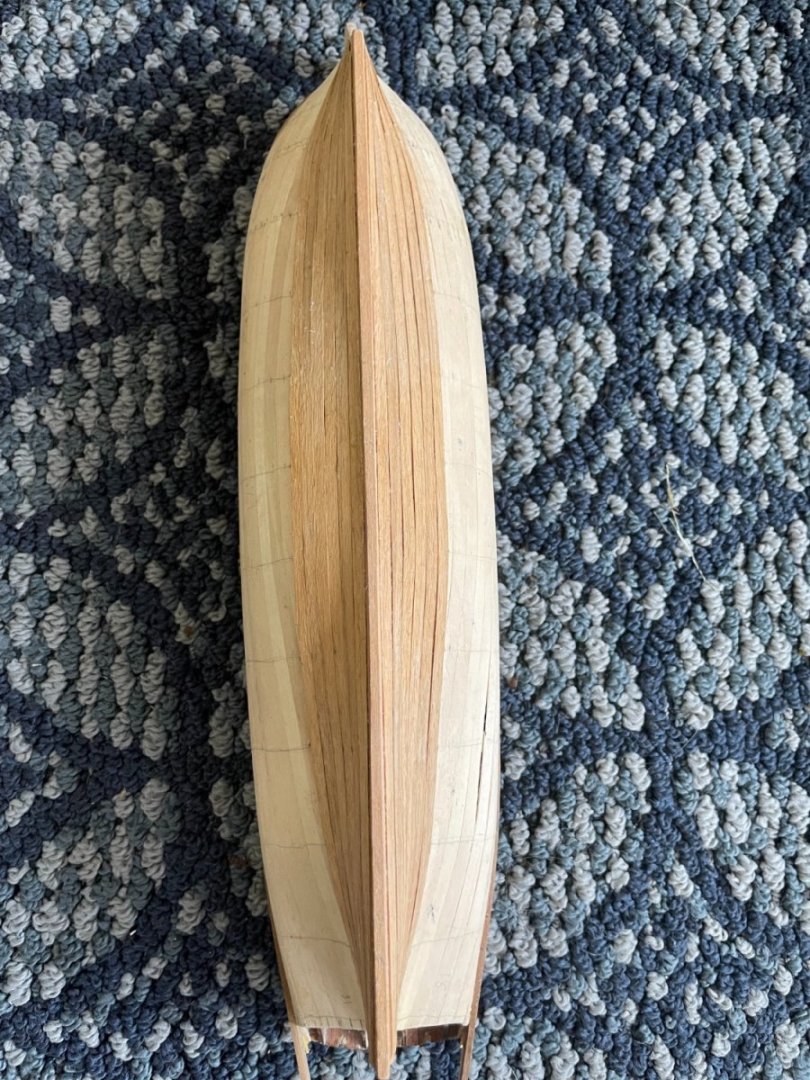
Since last update, I put the two garboard planks on. They glued on well, and there's now no bare space between the hull and the keel. I've just glued on the second hull plank, and am shaping the third. So far, everything is going beautifully.
-
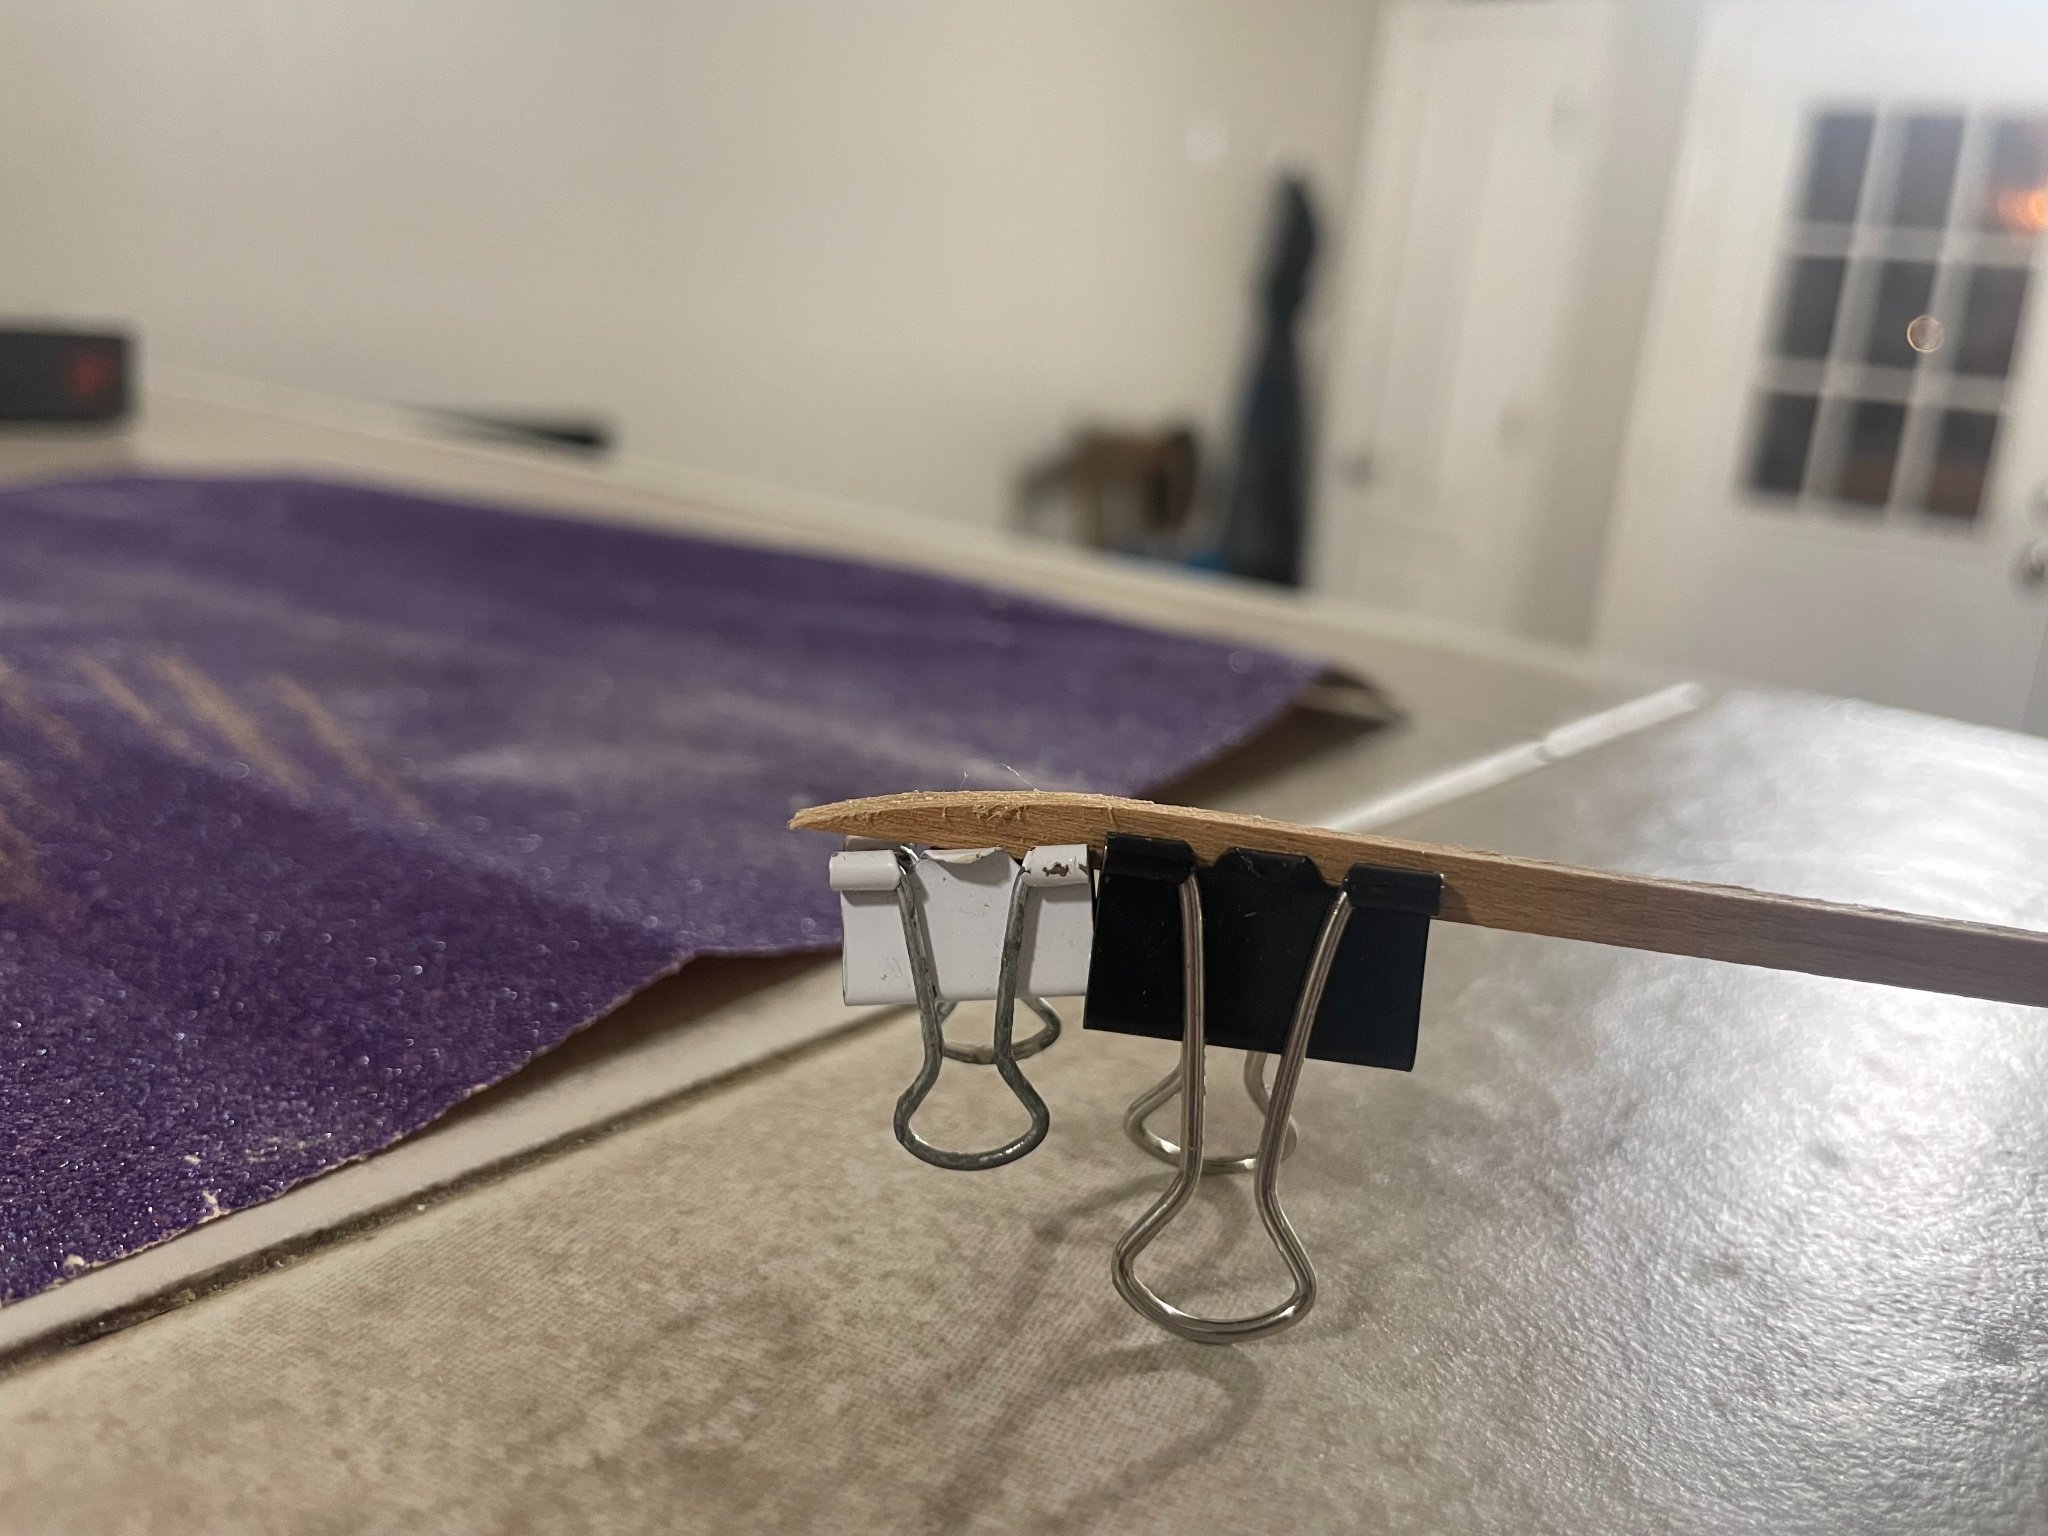
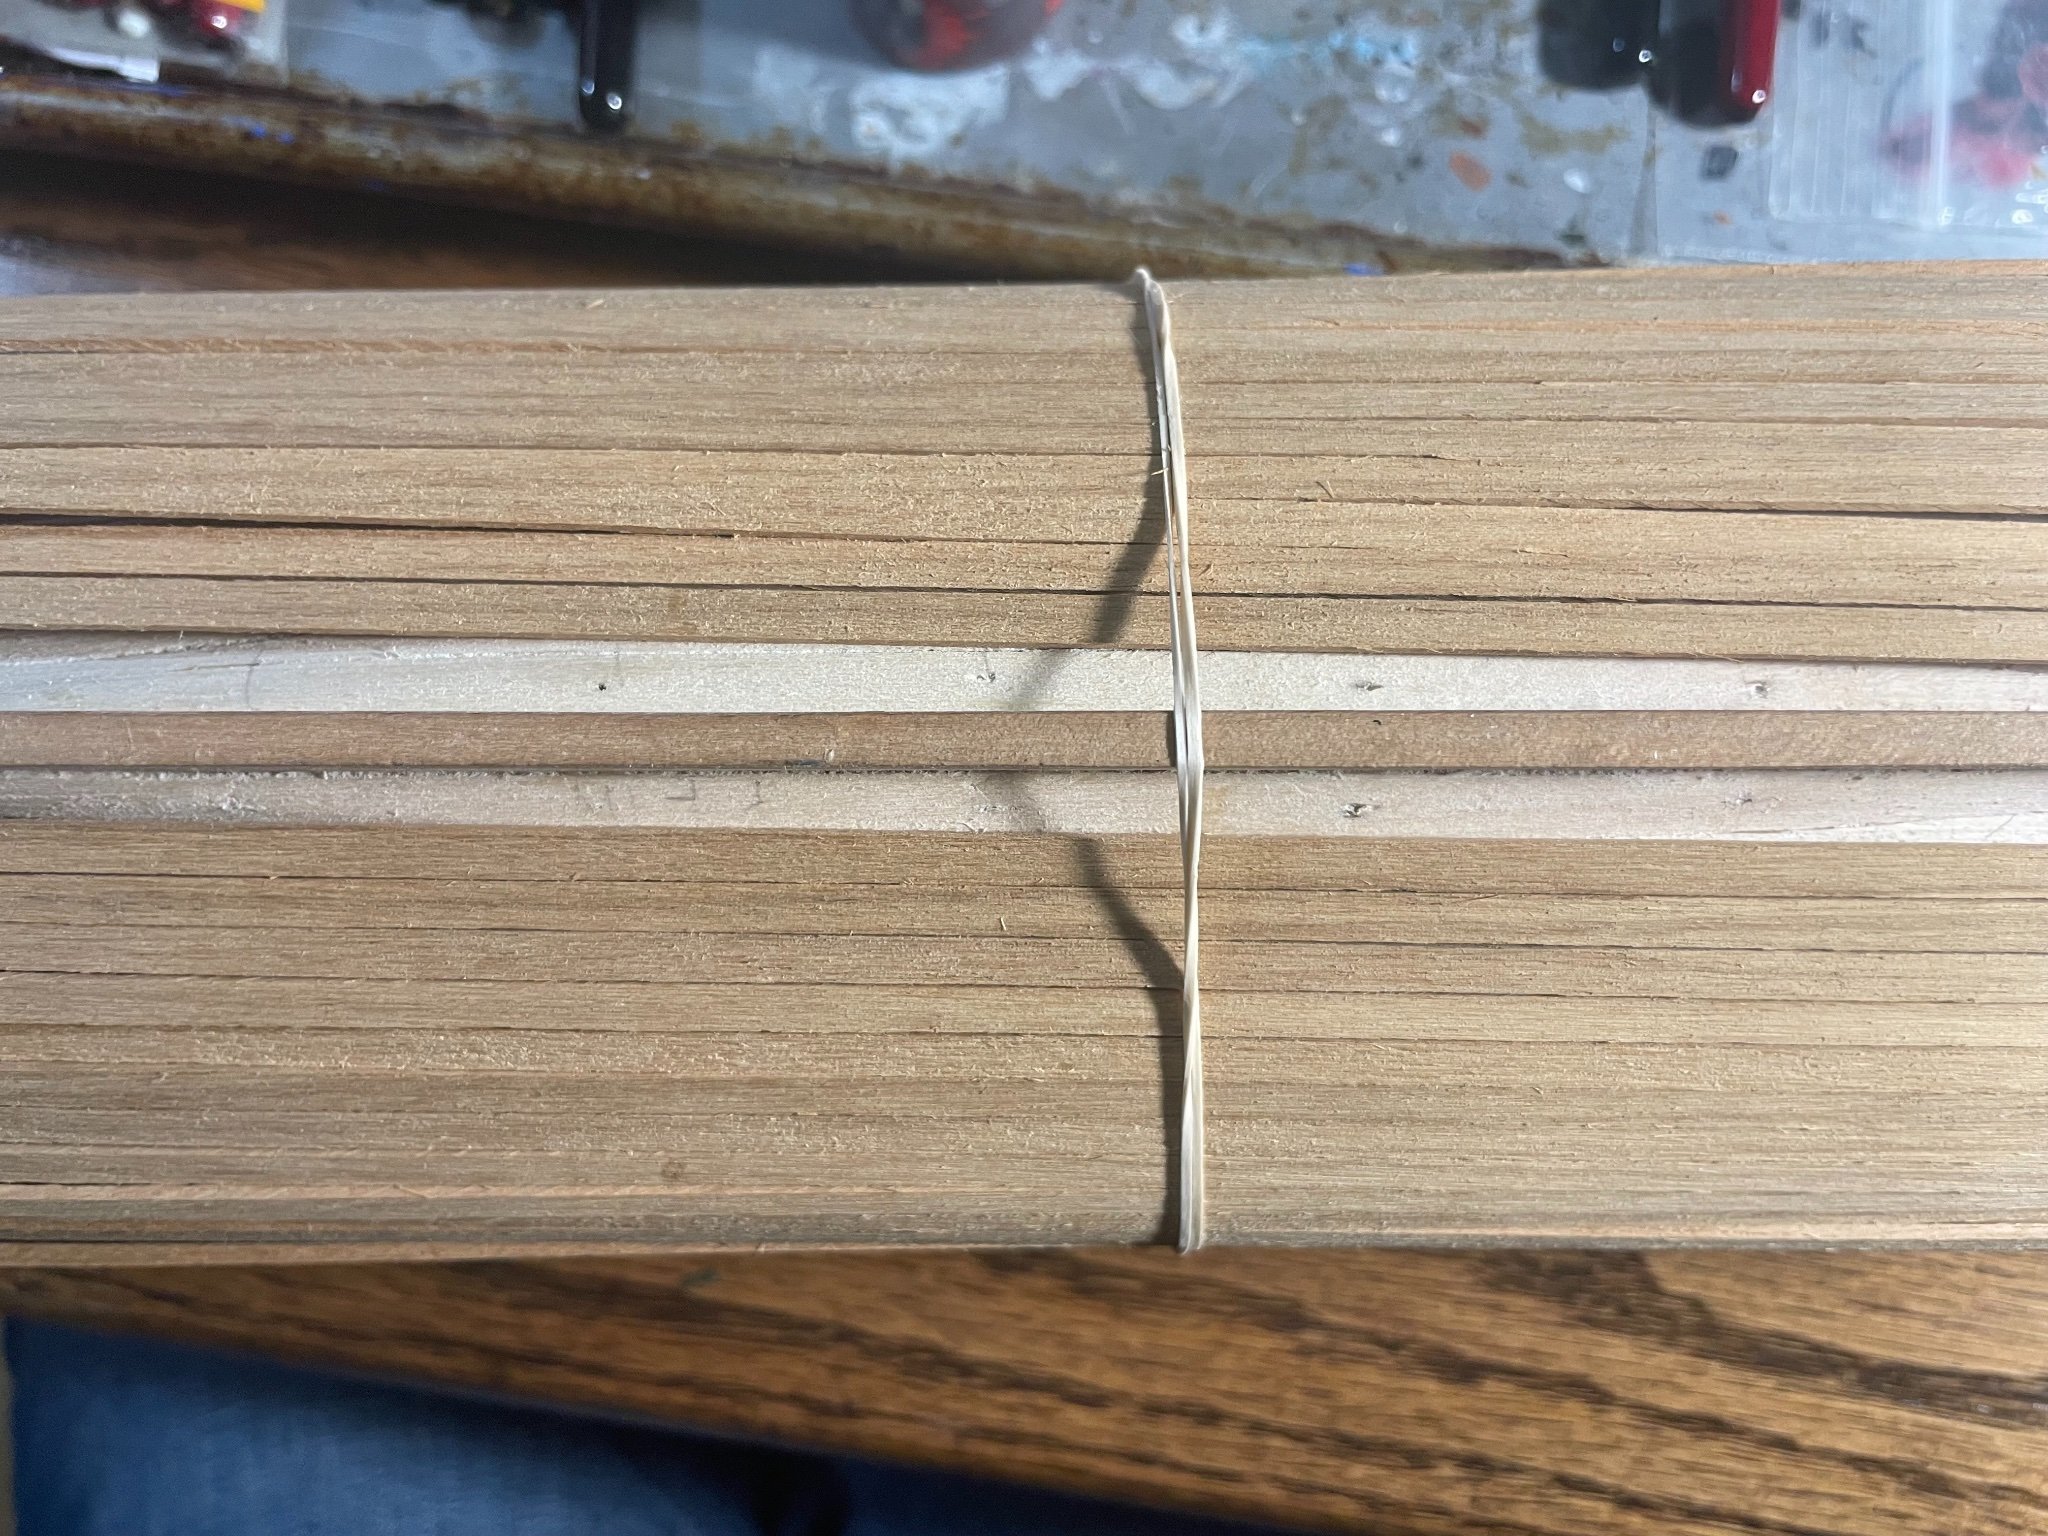
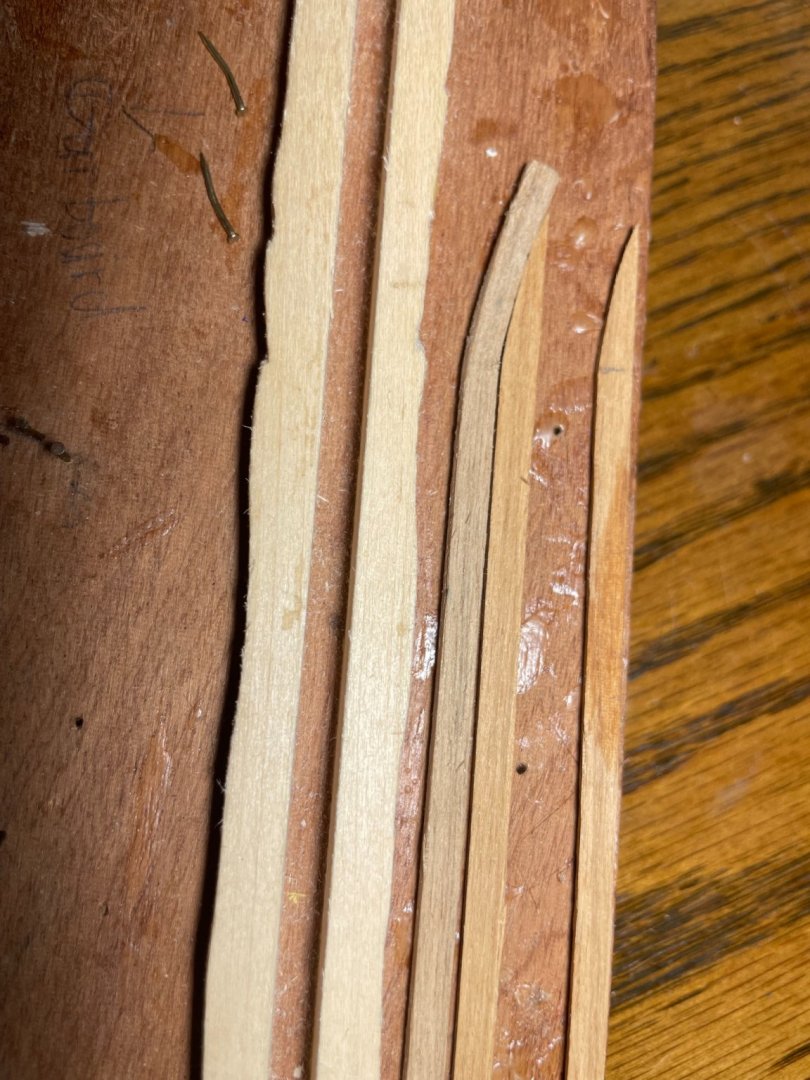
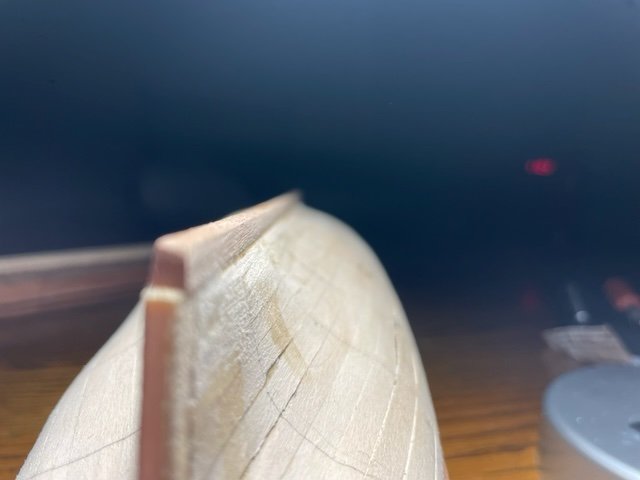
Christmas is near! The angels sing, the bells ring, and the planks once more resume the march along the hull of my frigate. To make the garboard plank, I used office clamps to hold two plans together, then sanded them until they made a good curve. Because I sanded them together, they are now exactly alike. and will be perfectly symmetrical on both sides Then, I began to bend the next plank, using their curve as a model. I traced the curve of the garboard planks onto my wooden anvil, then boiled the plank I needed bent for twenty minutes. When the curve wasn't enough, I boiled it again, then added more bend. When it was as perfect as I could get it, I did a little sanding on the inside of the curve. By the end, the two pieces fit together perfectly. When this step was done, I sanded the top edge of the first garboard plank to an angle so it would fit cleanly onto the ship. It feels good to be making progress again.


-
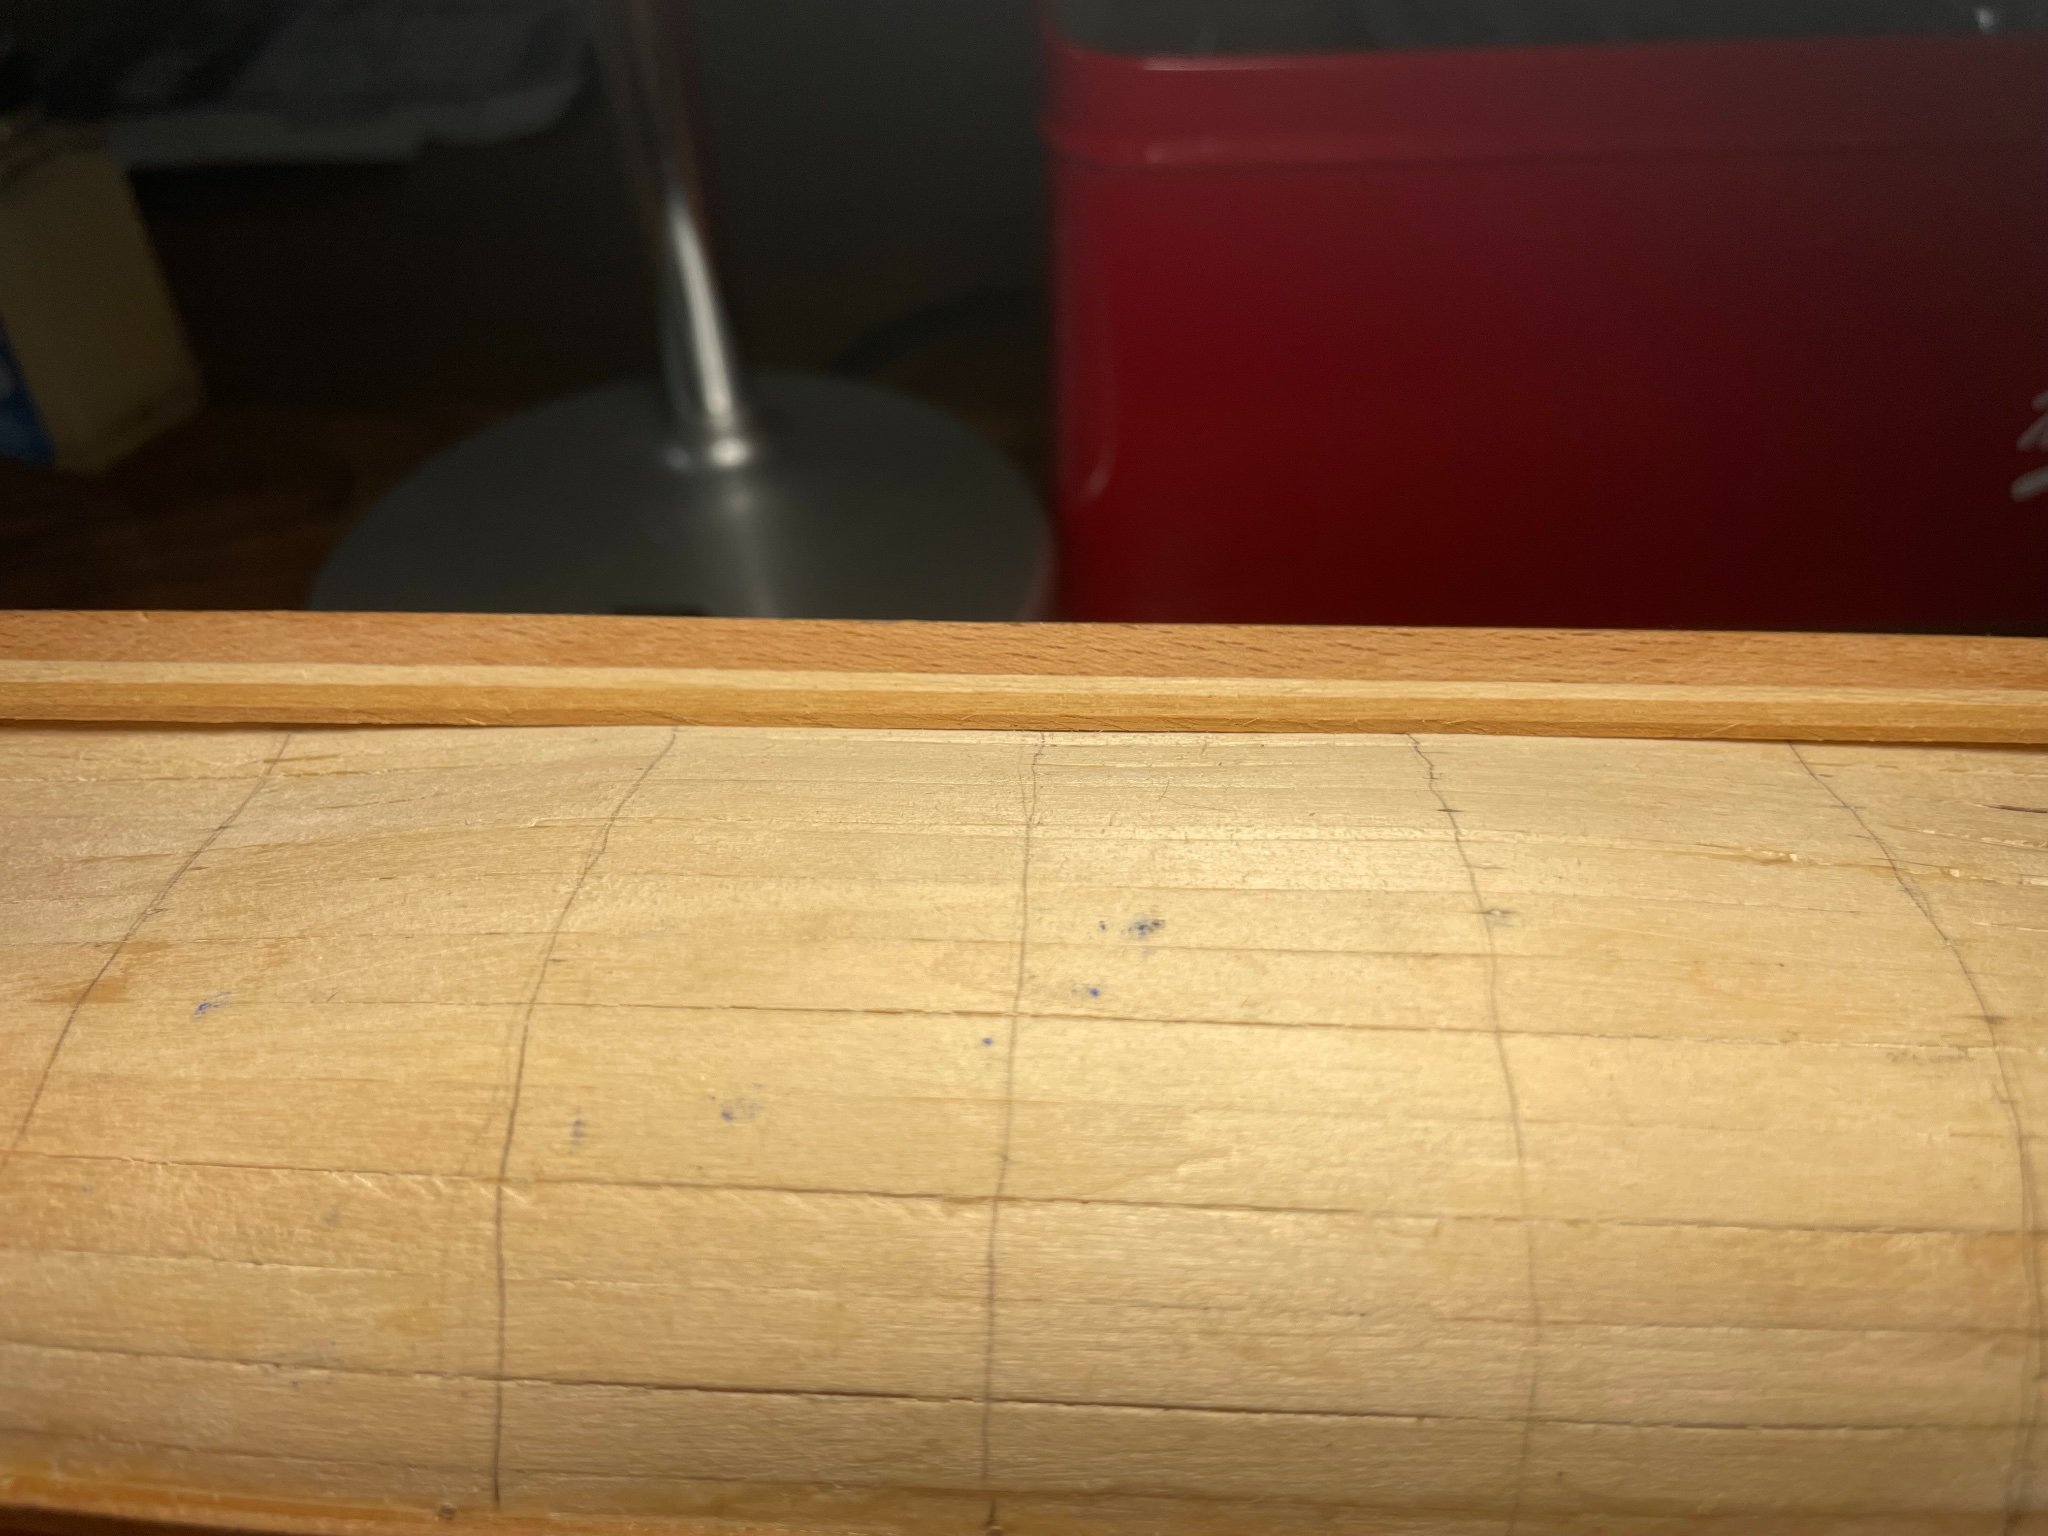
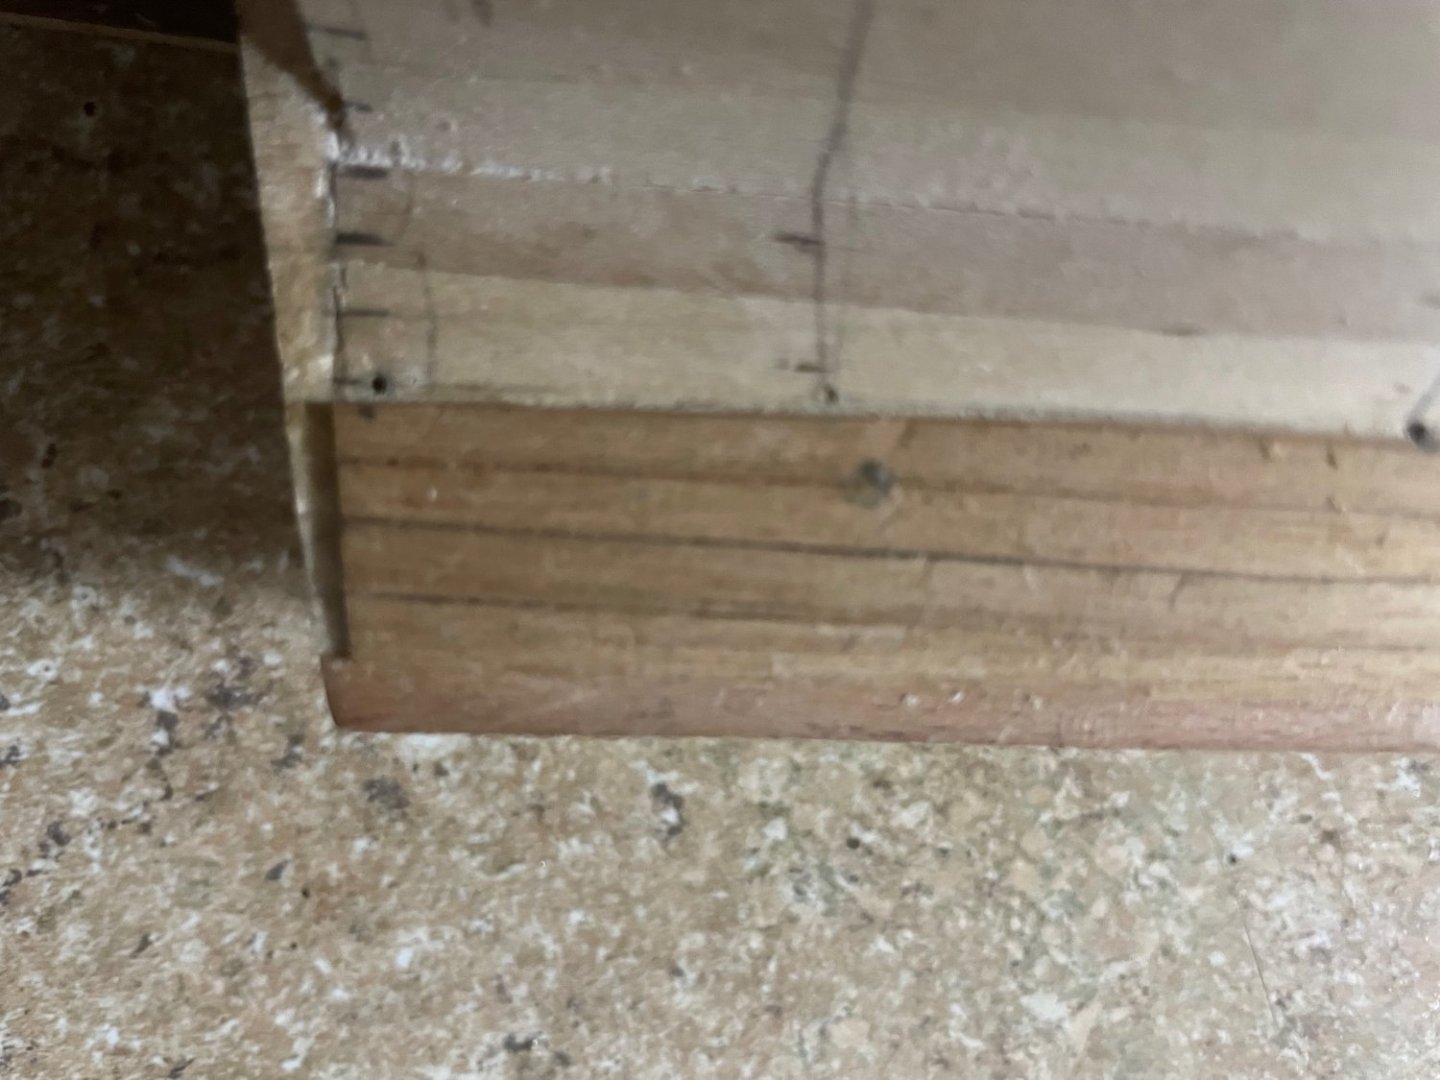
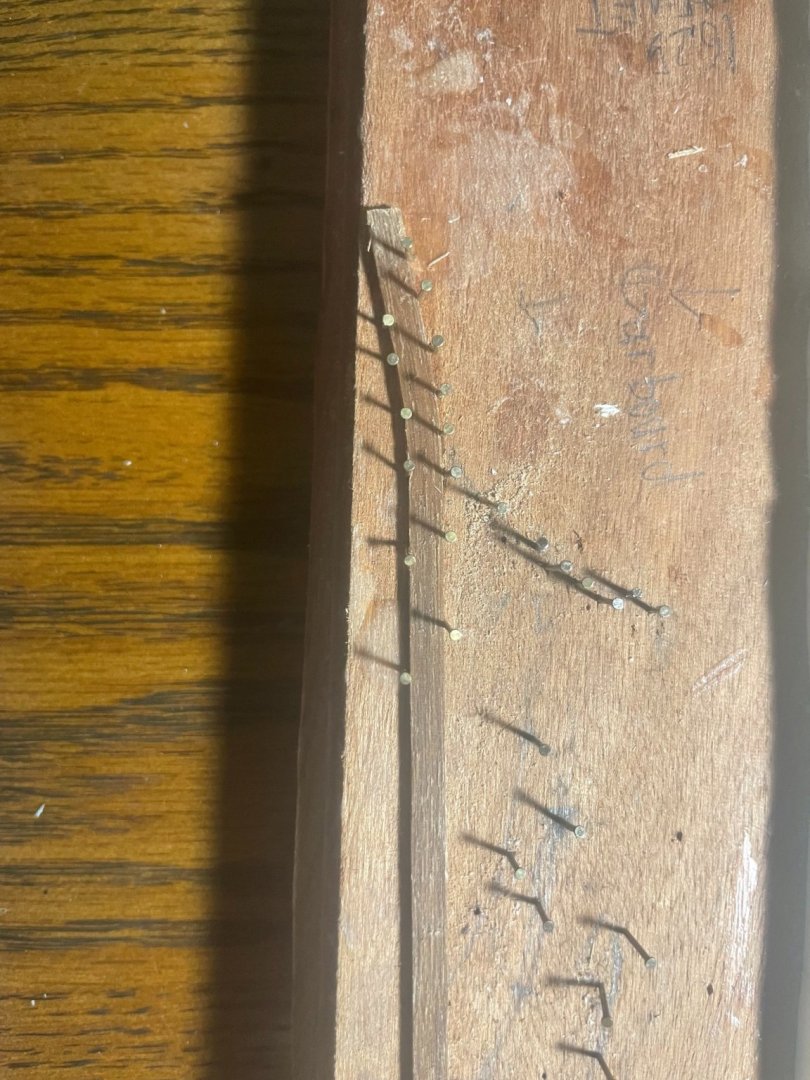
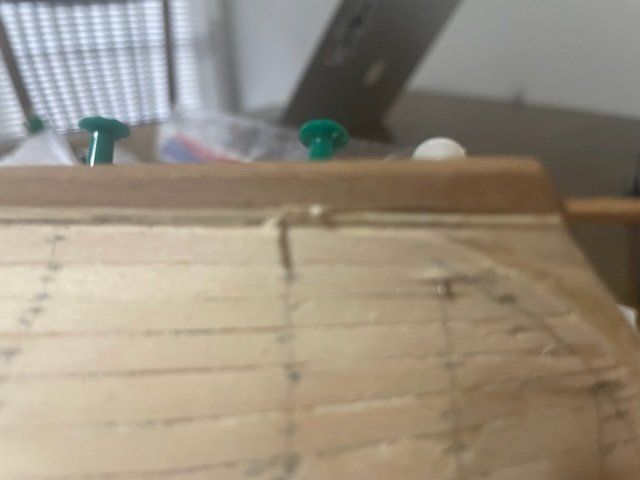
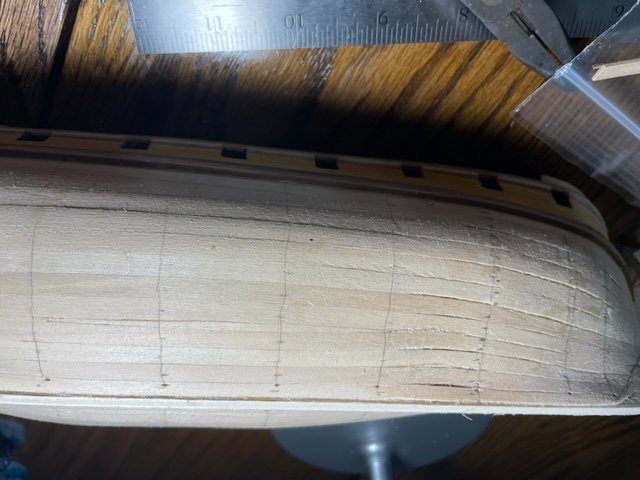
I'm sure you're all in a terrible amount of suspense. Did I wreck the ship at some point in the last forty-eight hours? I was thinking the same thing. But my internet went down last night and I couldn't get the result back until now. Here's what happened. First, I drew a line in pencil on both sides about where I wanted the keel, and I used tacks to secure a plank to the side for reference. Next, I cut using an x-Acto knife, trying to keep away from both the keel and the pencil line. The process was long and nerve-wracking, but easier than expected. Plywood is weak, and at some points the walnut wood keel naturally separated from it without much trouble. I could easily scrape off the remaining flakes of plywood on it without any trouble. I used sandpaper wrapped around a straight board to grind down the rough edge of the keel. To my surprise and joy, it came out so straight and smooth that it looked like I had never cut it at all. After extensive measurements to make sure I wouldn't have to repeat the whole miserable procedure, I wiped off the sawdust and got to gluing. I used the time-honored "Gulliver's Travels Technique" to provide pressure over the whole structure. It worked, although the wood was a tiny bit curved and was also now slightly shorter than the hull. It appears the keel got narrower as it went down. To correct the curve, I sanded away the worst bits. By the end, the warping was hardly noticeable. The stern of the ship was too long anyway according to the diagrams, so I felt no concern whatsoever about taking the sandpaper to that too. At present, everything lines up wonderfully, and looks straight and flat. Thanks for the advice, @harlequin and @Snug Harbor Johnny! I couldn't have done it without y'all.
-
Thanks for the advice on how to do it. I don't have a plane, so I'll use the Xacto method. I look forward to telling you how it goes.
-
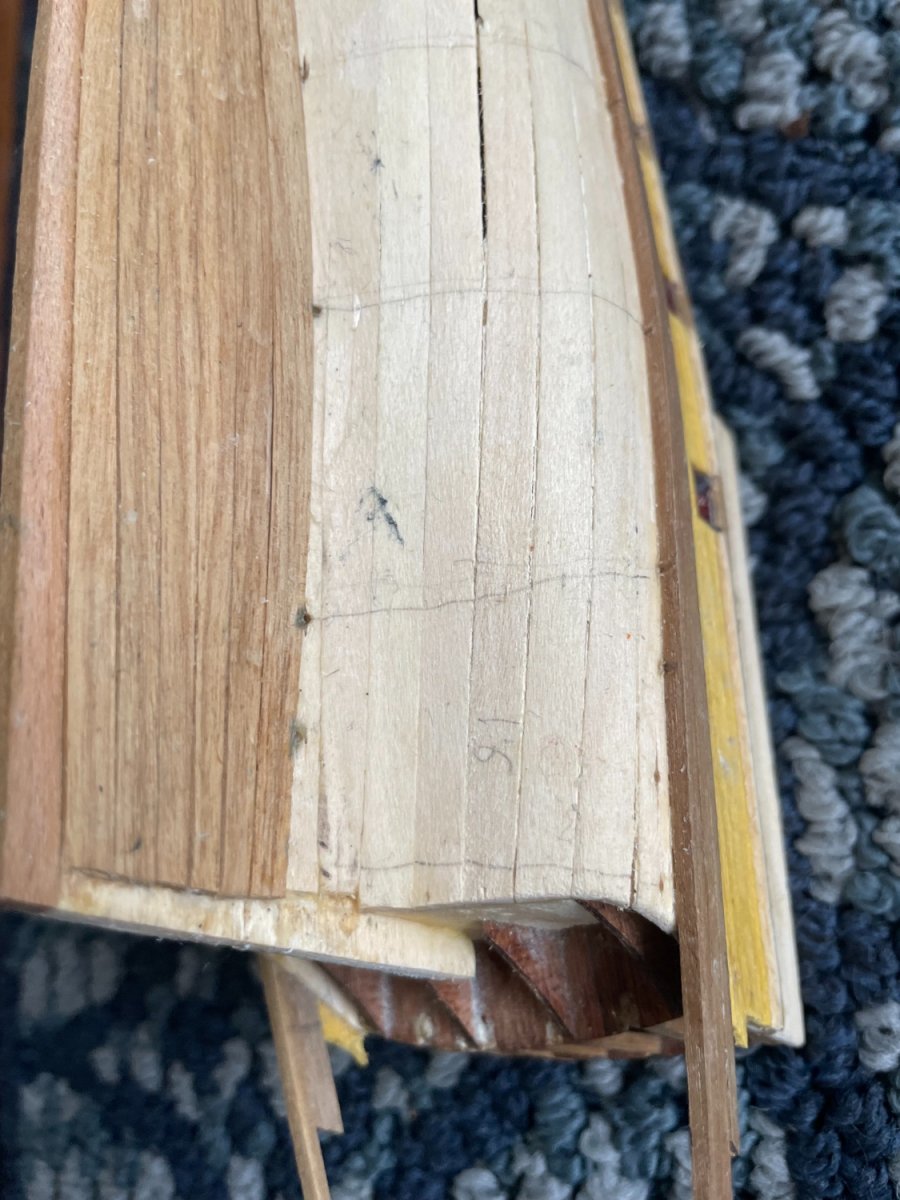
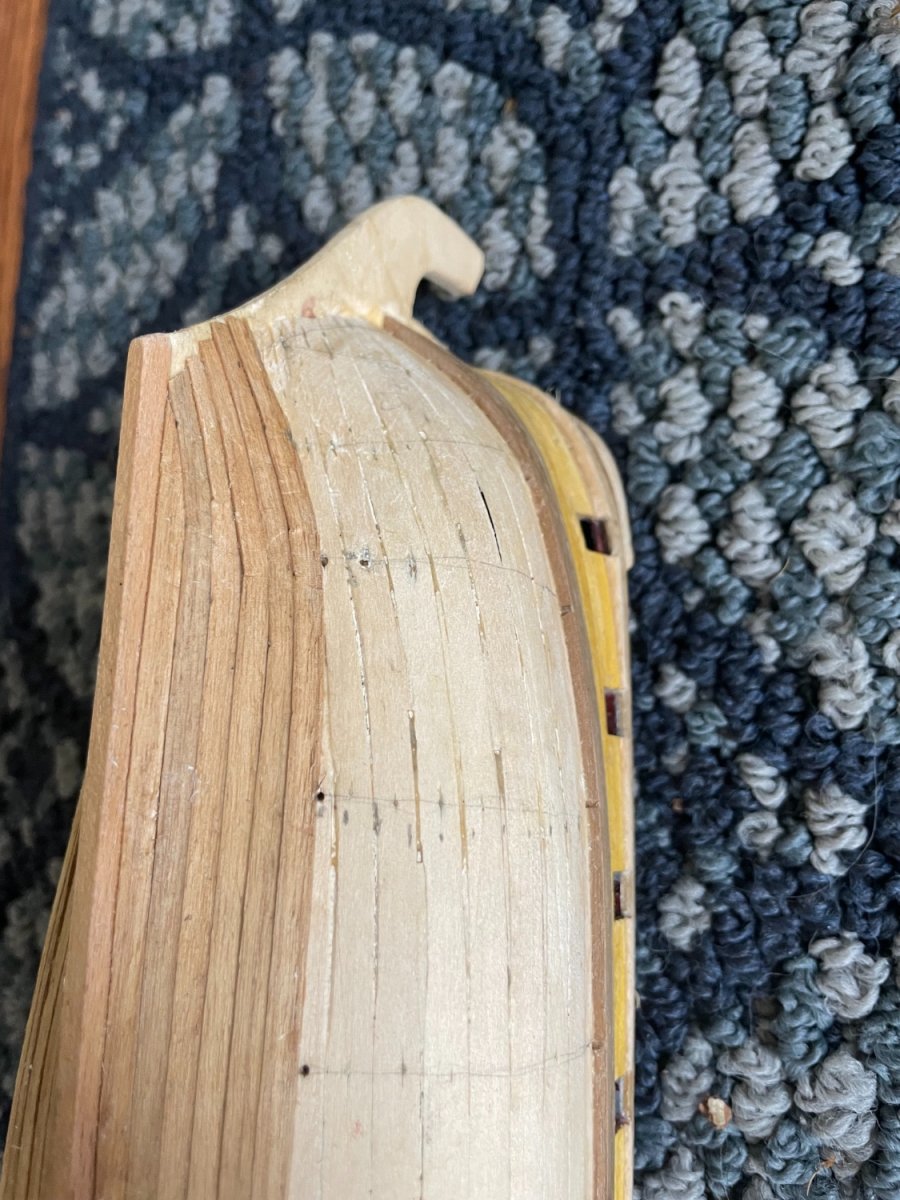
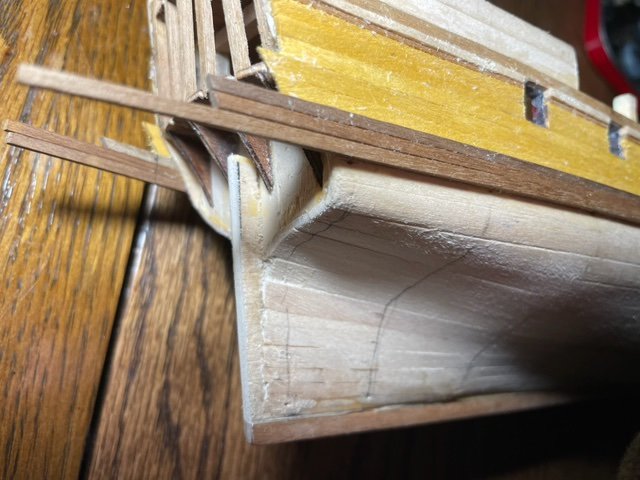
I hope you all had a happy Thanksgiving and a joyful Christmas to look forward to! At long last, I have my glue! Another bottle will get me through the rest of the hull. But in my measurements for the next step, I discovered I have a fairly severe problem that will require some kind of drastic solution. The keel of my hull is about 2.5 millimeters lower than it should be. As a result, when I place the first 1mm-wide plank directly on the hull, there's a 1.5mm gap of exposed plywood. The best time to fix this was about fifty planks ago. If I place the first plank at an angle to cover this gap, it's unsupported. Even worse, if I put it on this way, it won't fit smoothly with the rest of the hull. And all future planks I put on will have to align with it. So far, I can think of three or four solutions, but all of them seem fairly high-risk. I could either: 1: Angle the first plank so it will cover the plywood, then hope to find some way to fit together all the following planks in a good-looking way. But I'm not sure I can build the remainder of the hull from that foundation. 2: I can leave the gap and try to cover it over with something else later. This likely won't look graceful, and will probably be clunky at best. 3: I can use some kind of glue solvent or a knife to remove the keel plank, then slice and sand the plywood until I reach the desired depth. This plan will fix the problem flawlessly if it works. But it will require a lot of skill. 4: I can pad the area near the keel with about 1.5mm of wood until it rises to the right level, then sand this area until it meshes smoothly into the rest of the hull. But that will require a lot of wood, might throw off the curve of the hull, and will be challenging to make symmetrical on both sides. @hamilton, @harlequin, @GrandpaPhil, I'd be glad to get your advice on what to do next.

-
It looks like I don't have a store near me that sells planks. Even worse, it looks like Hobby Lobby no longer carries the strong, quick-drying glue I've been using so far, and I have so little left I don't want to risk half-gluing a plank. For now, I'll just have to wait on the mail. In the meantime, I trimmed the pieces of lime wood that stick out too far. Now they look far smoother.

-
Thanks, far better to be at the mercies of Chattanooga than at the mercies of Amazon!
-
It's as I feared. I'm at least two planks short, and a couple of the planks I do have have some deformities. It looks like it's time to ship more ship for my ship.
-
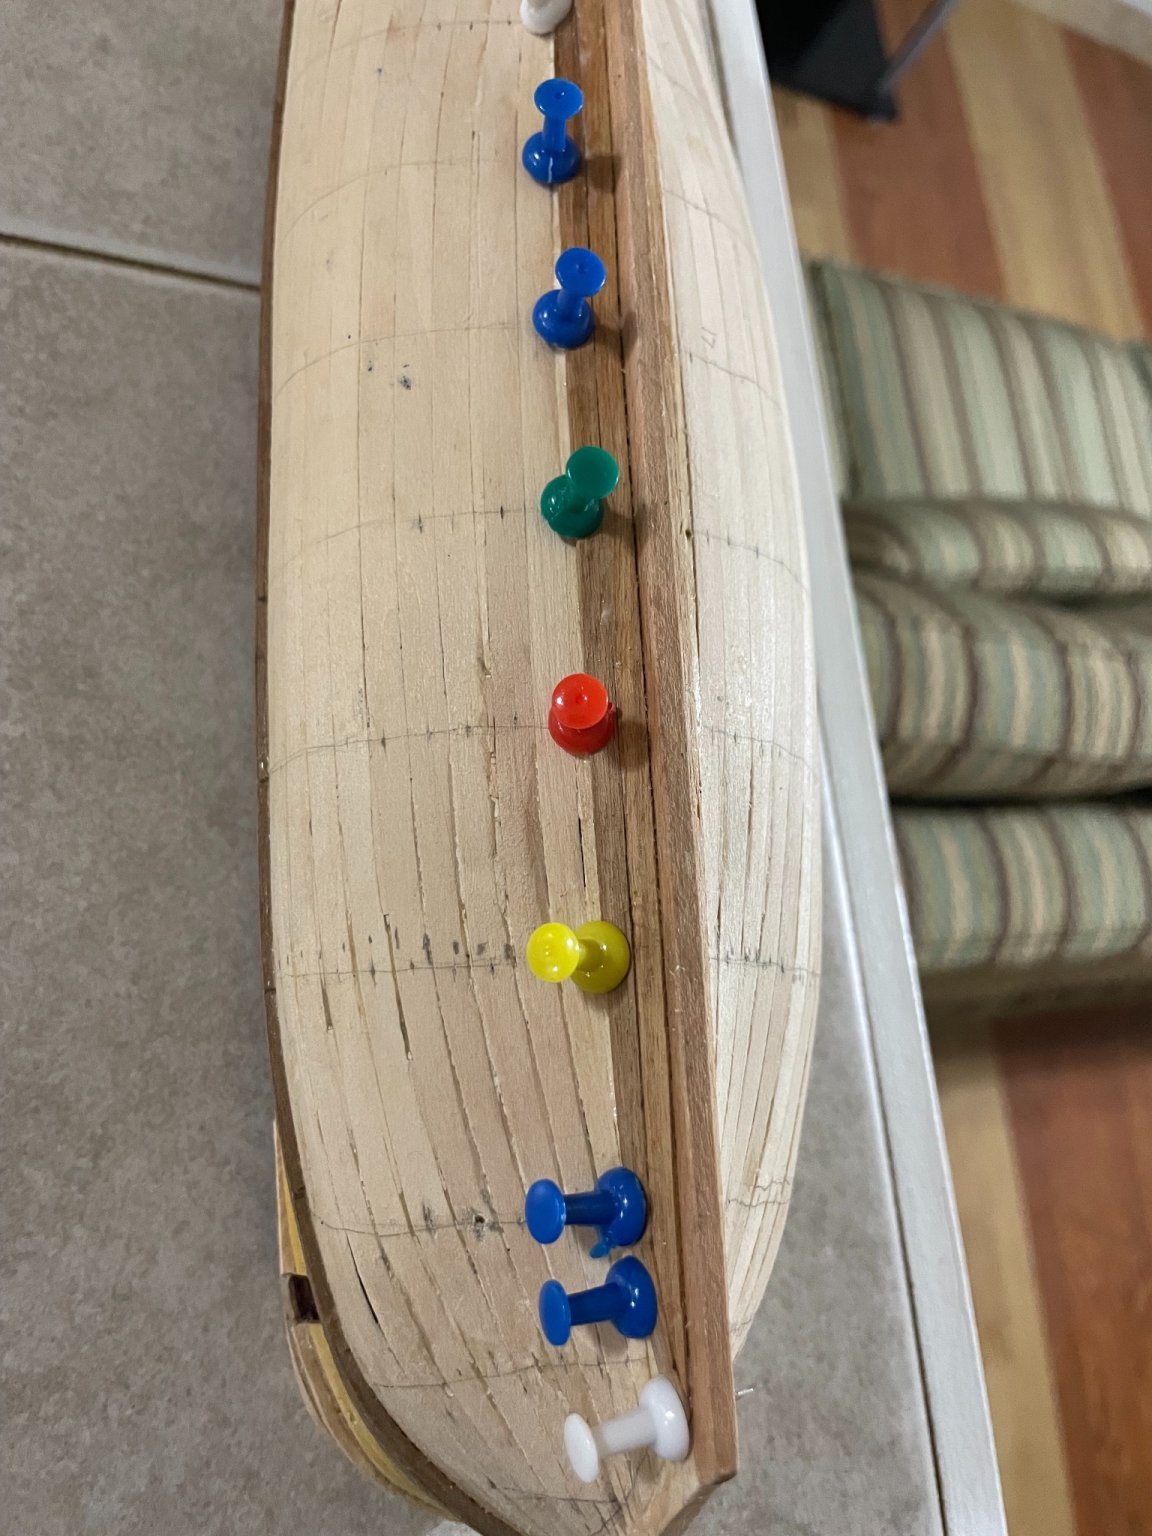
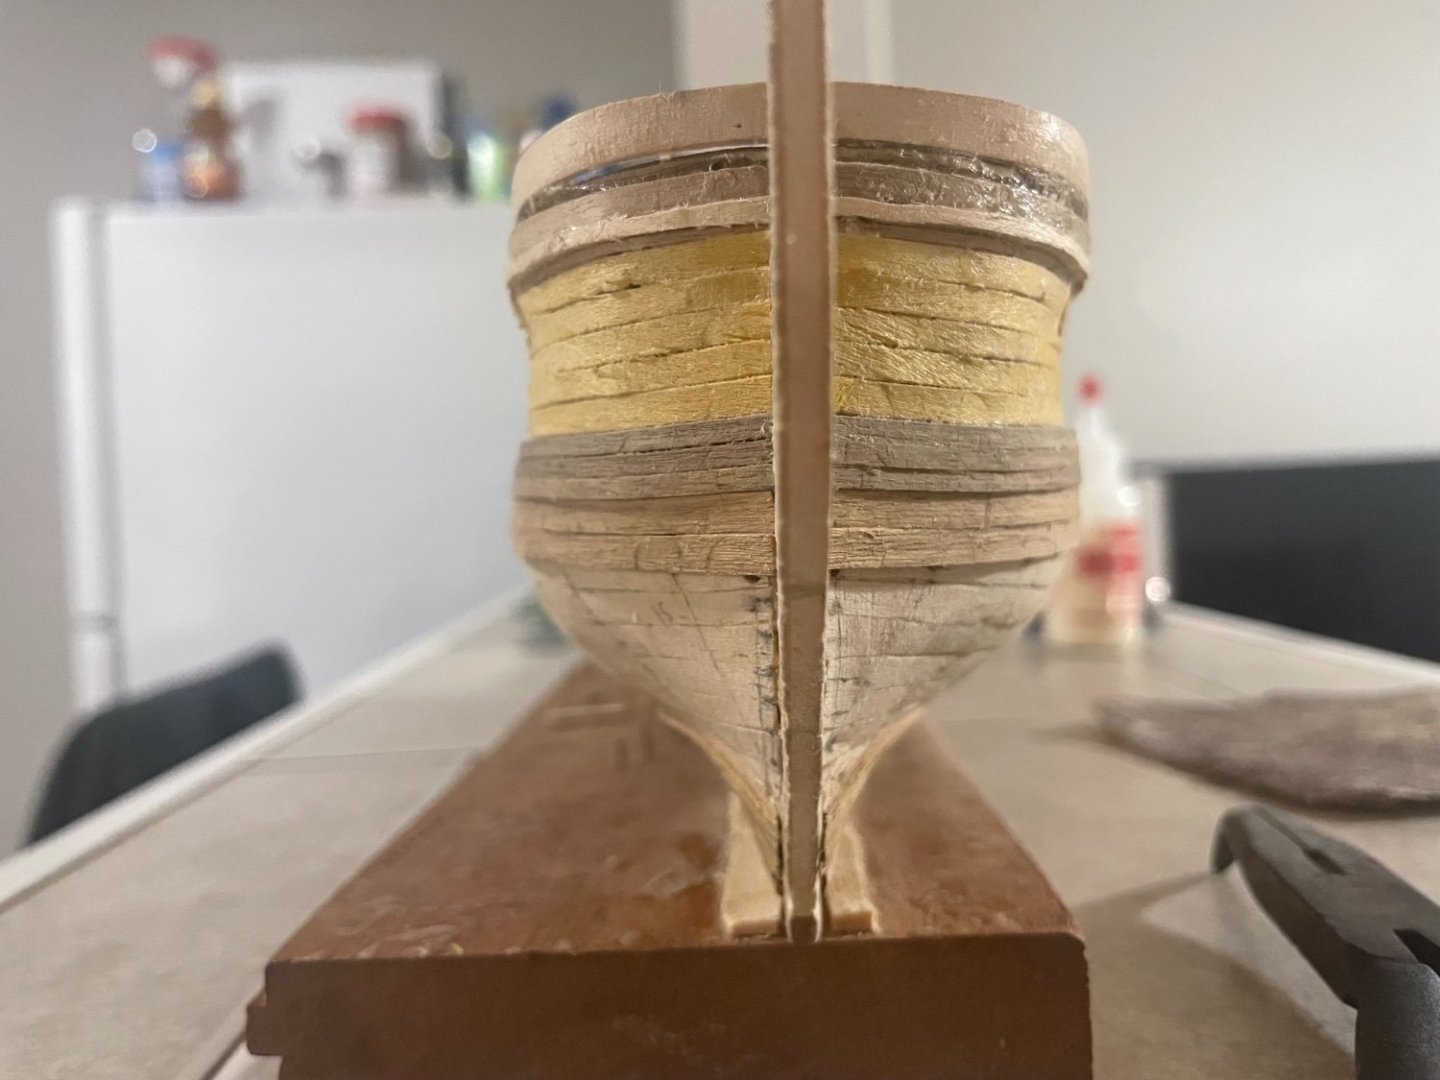
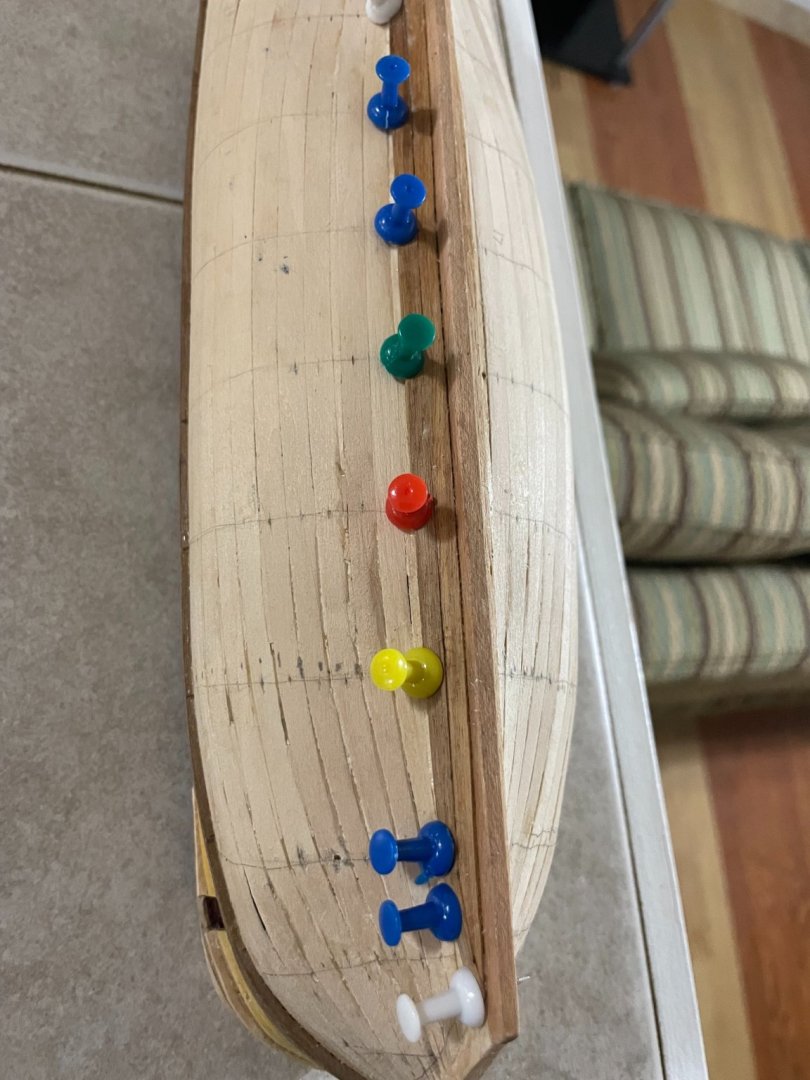
Thanks, much appreciated. Could I get a shot of the bow and stern too?
-
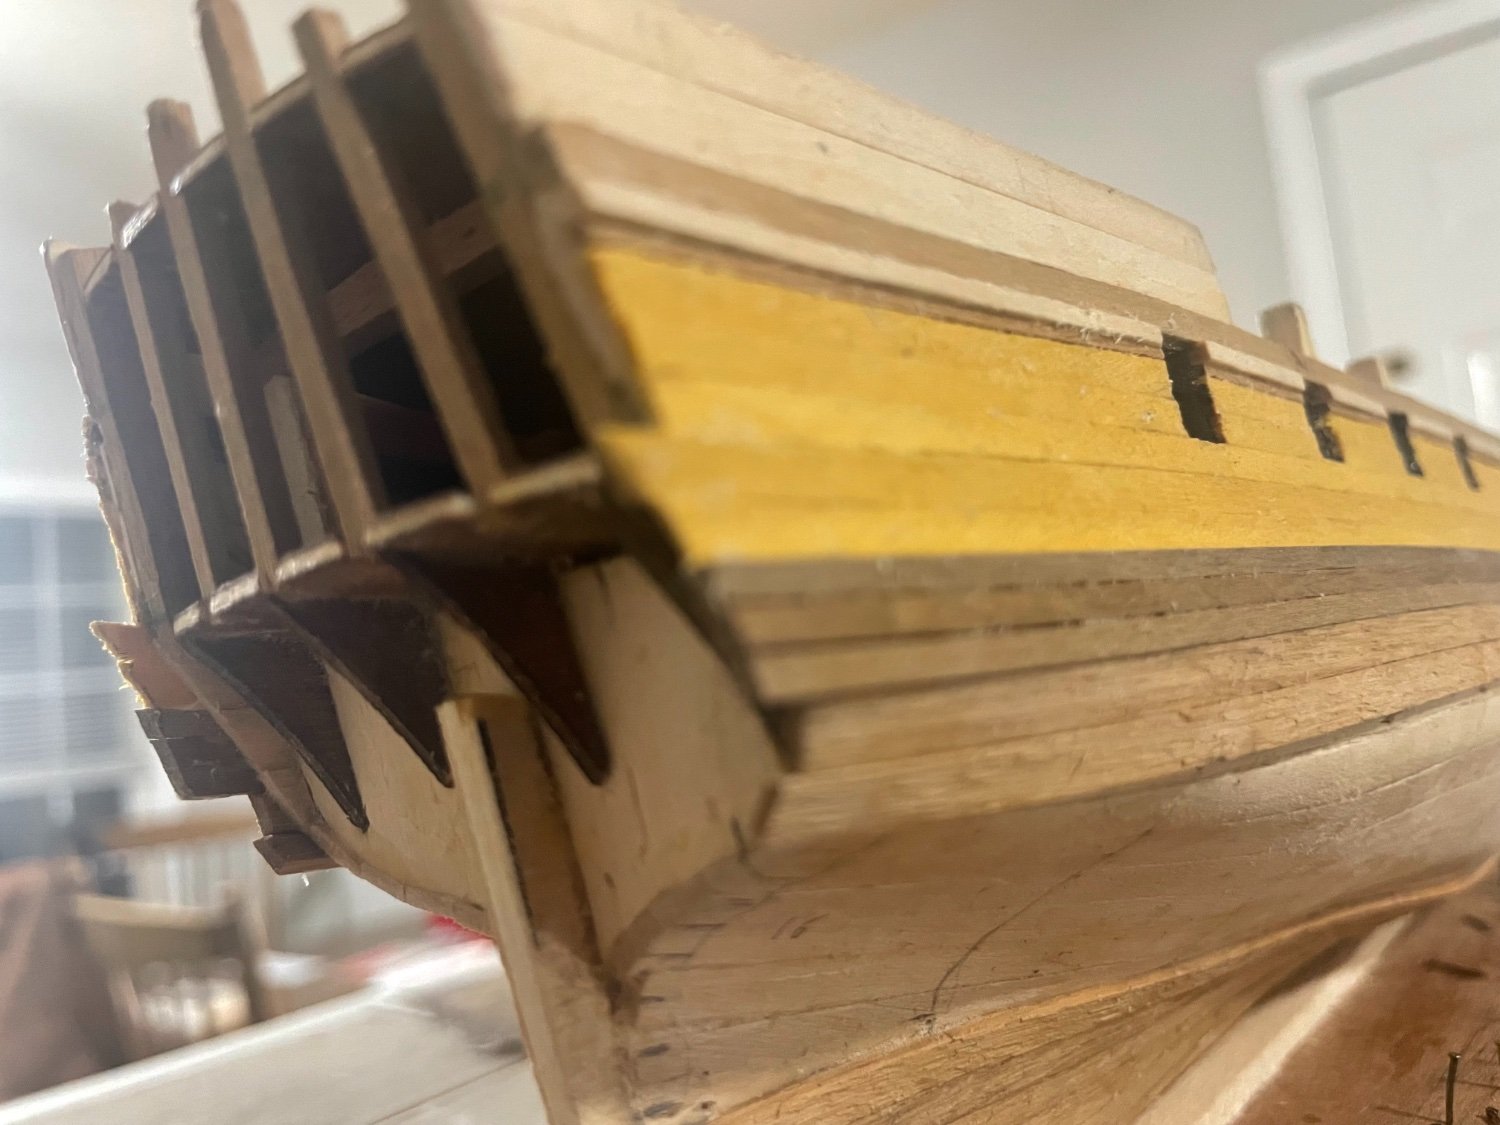
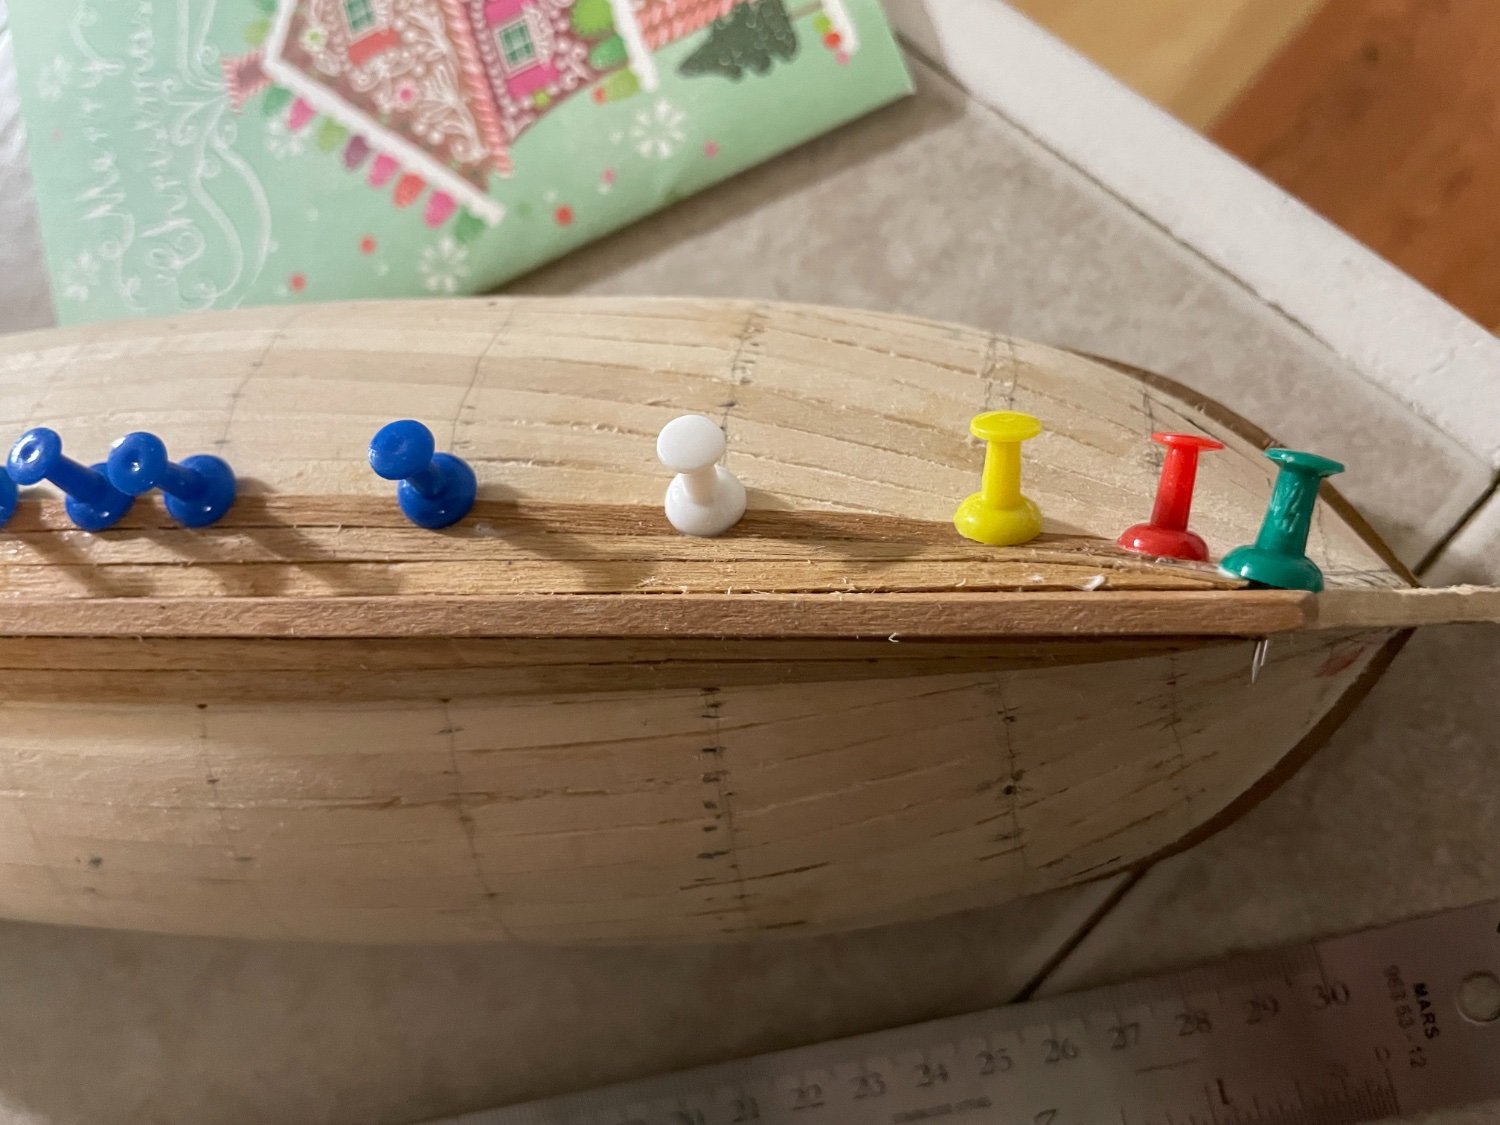
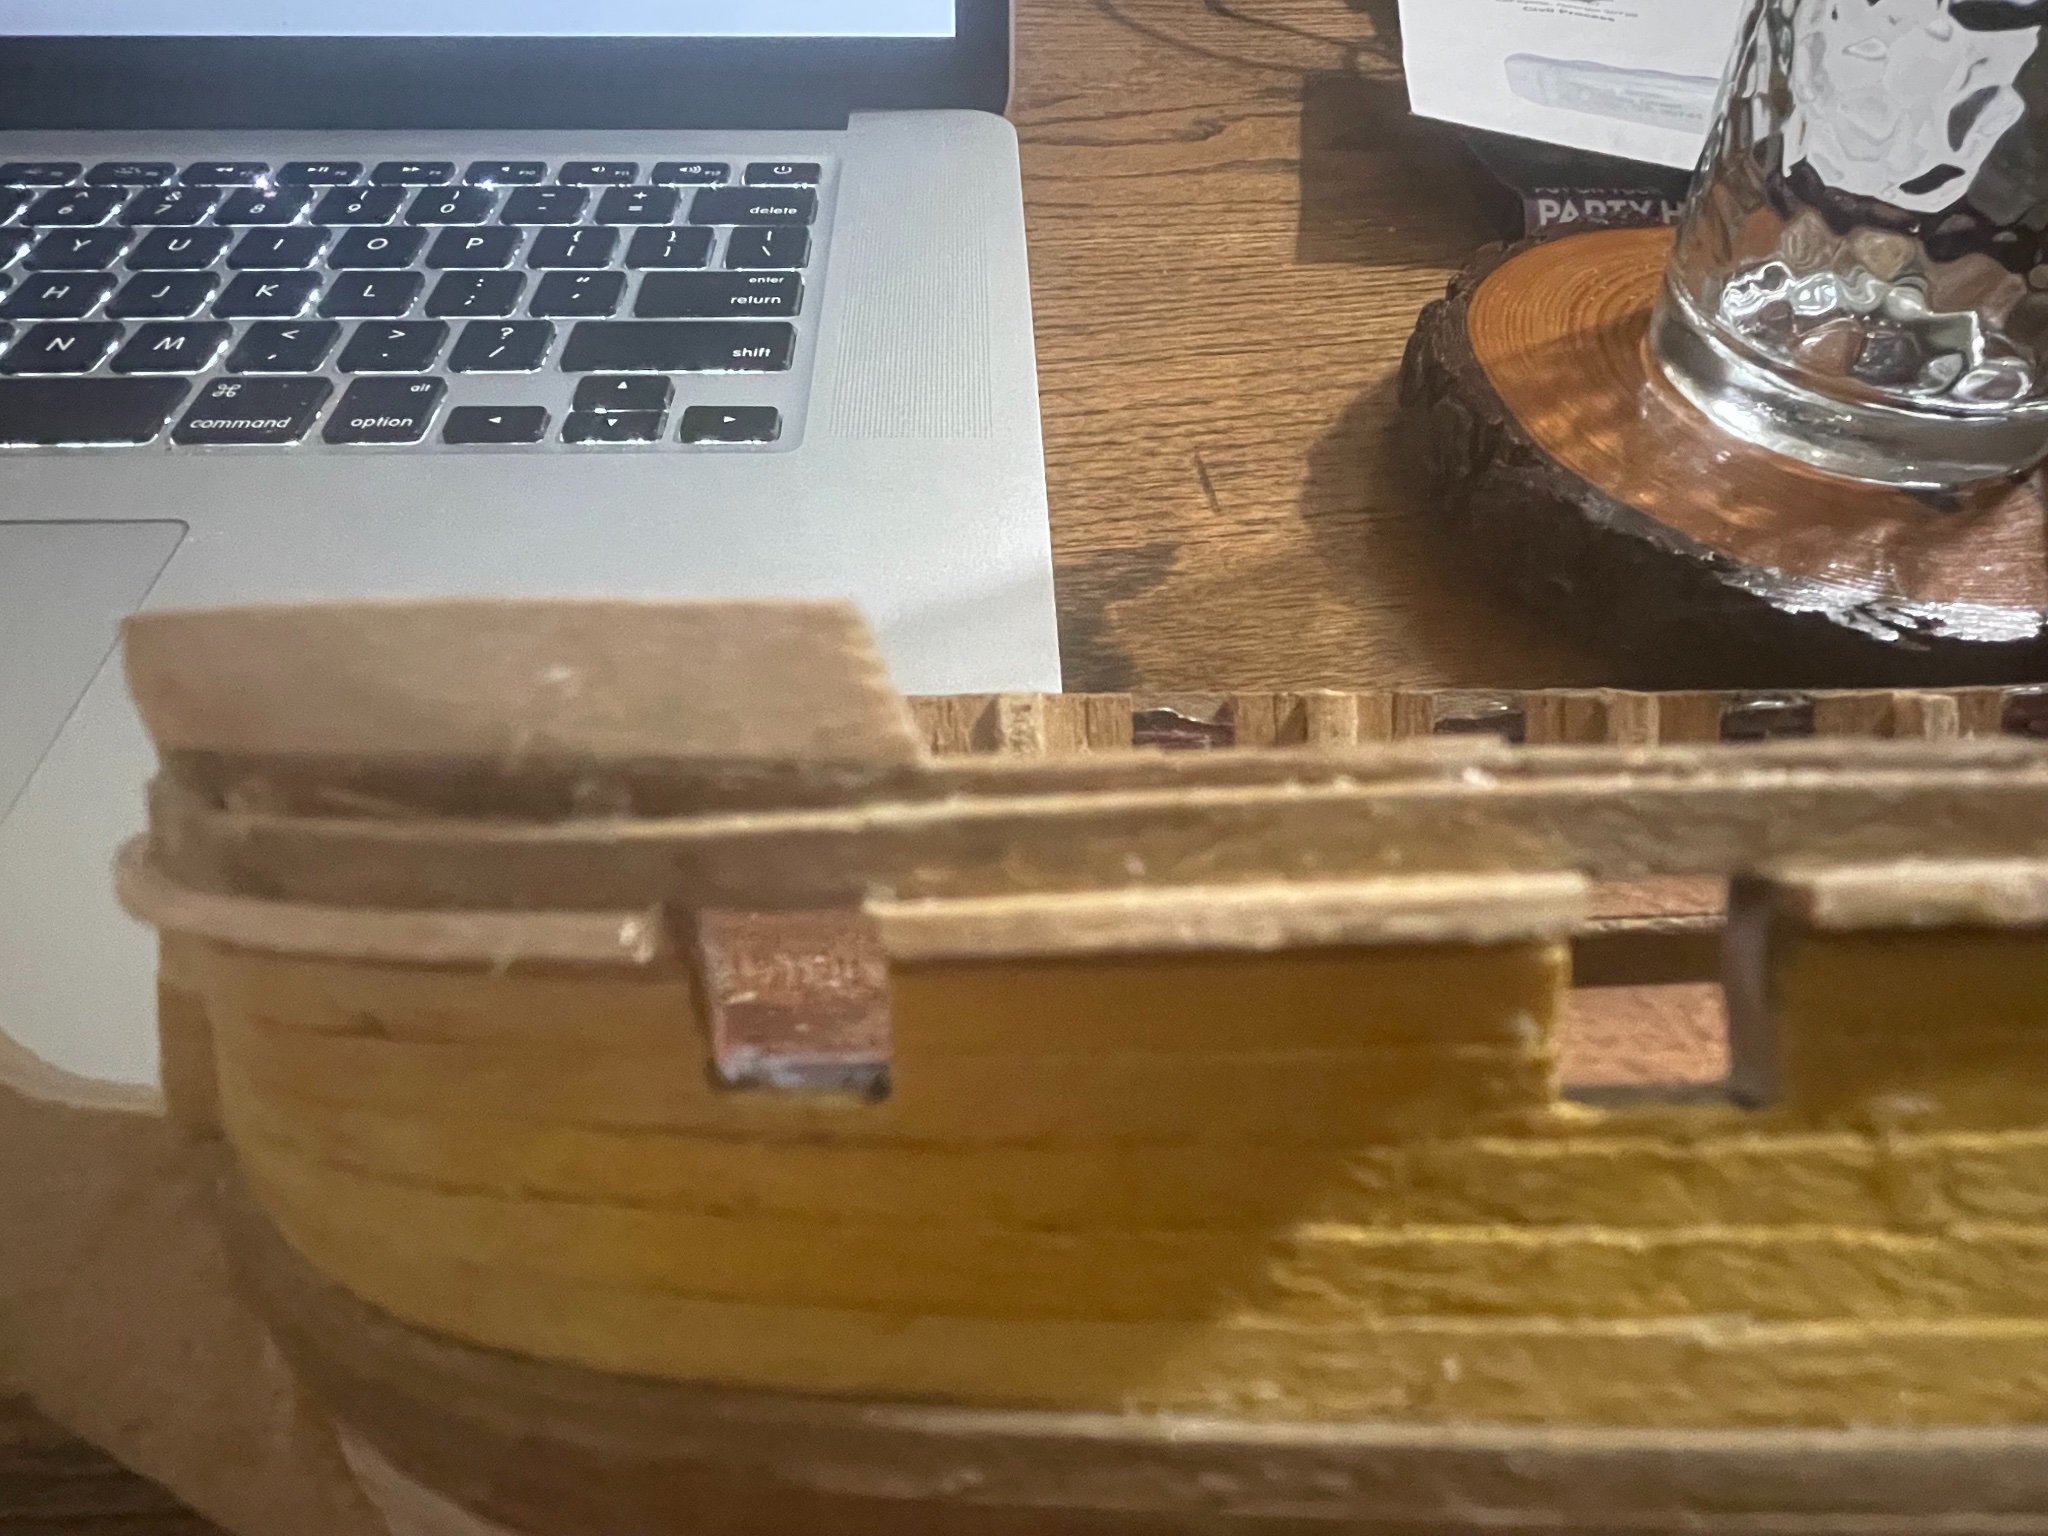
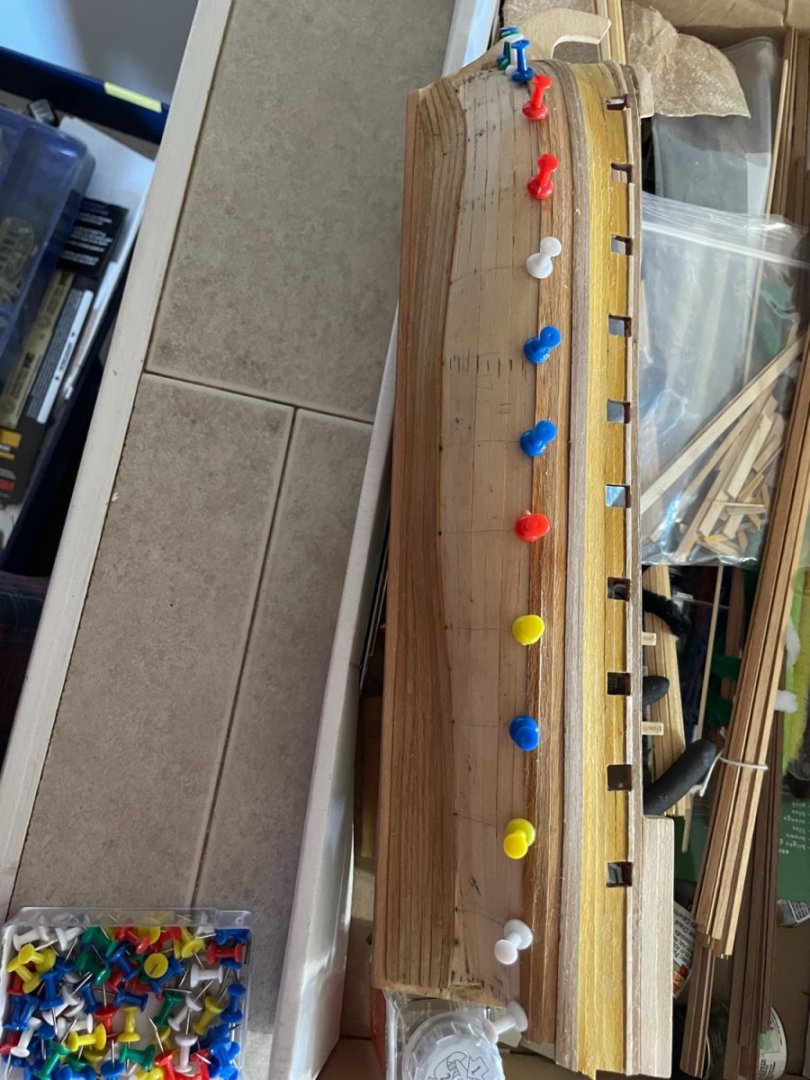
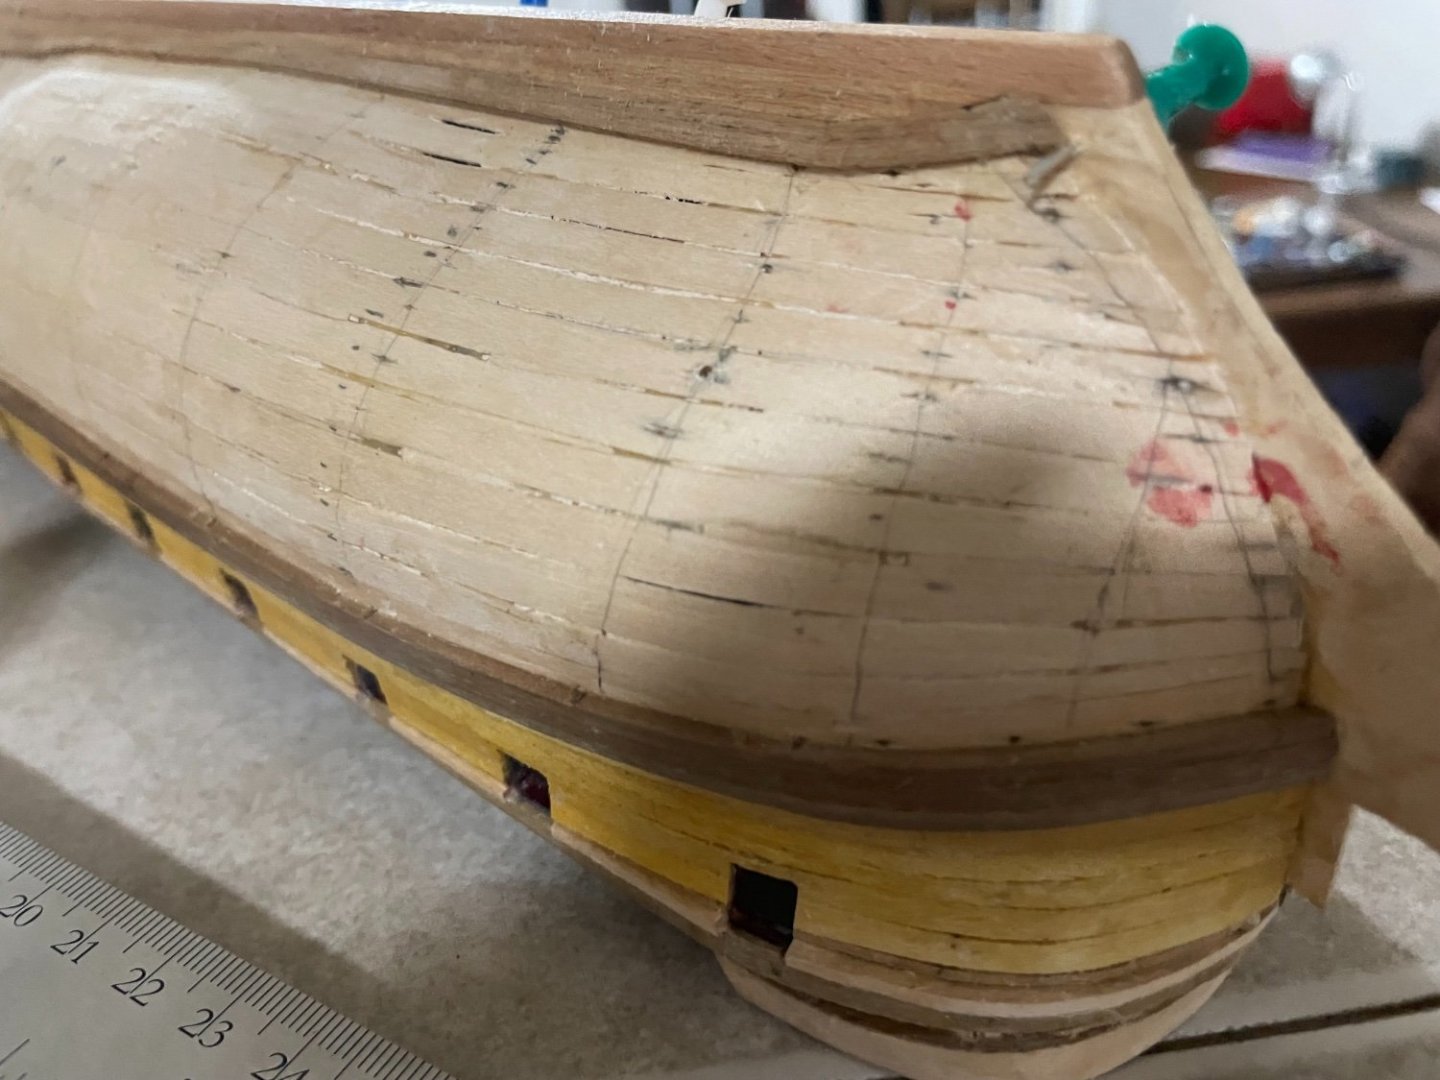
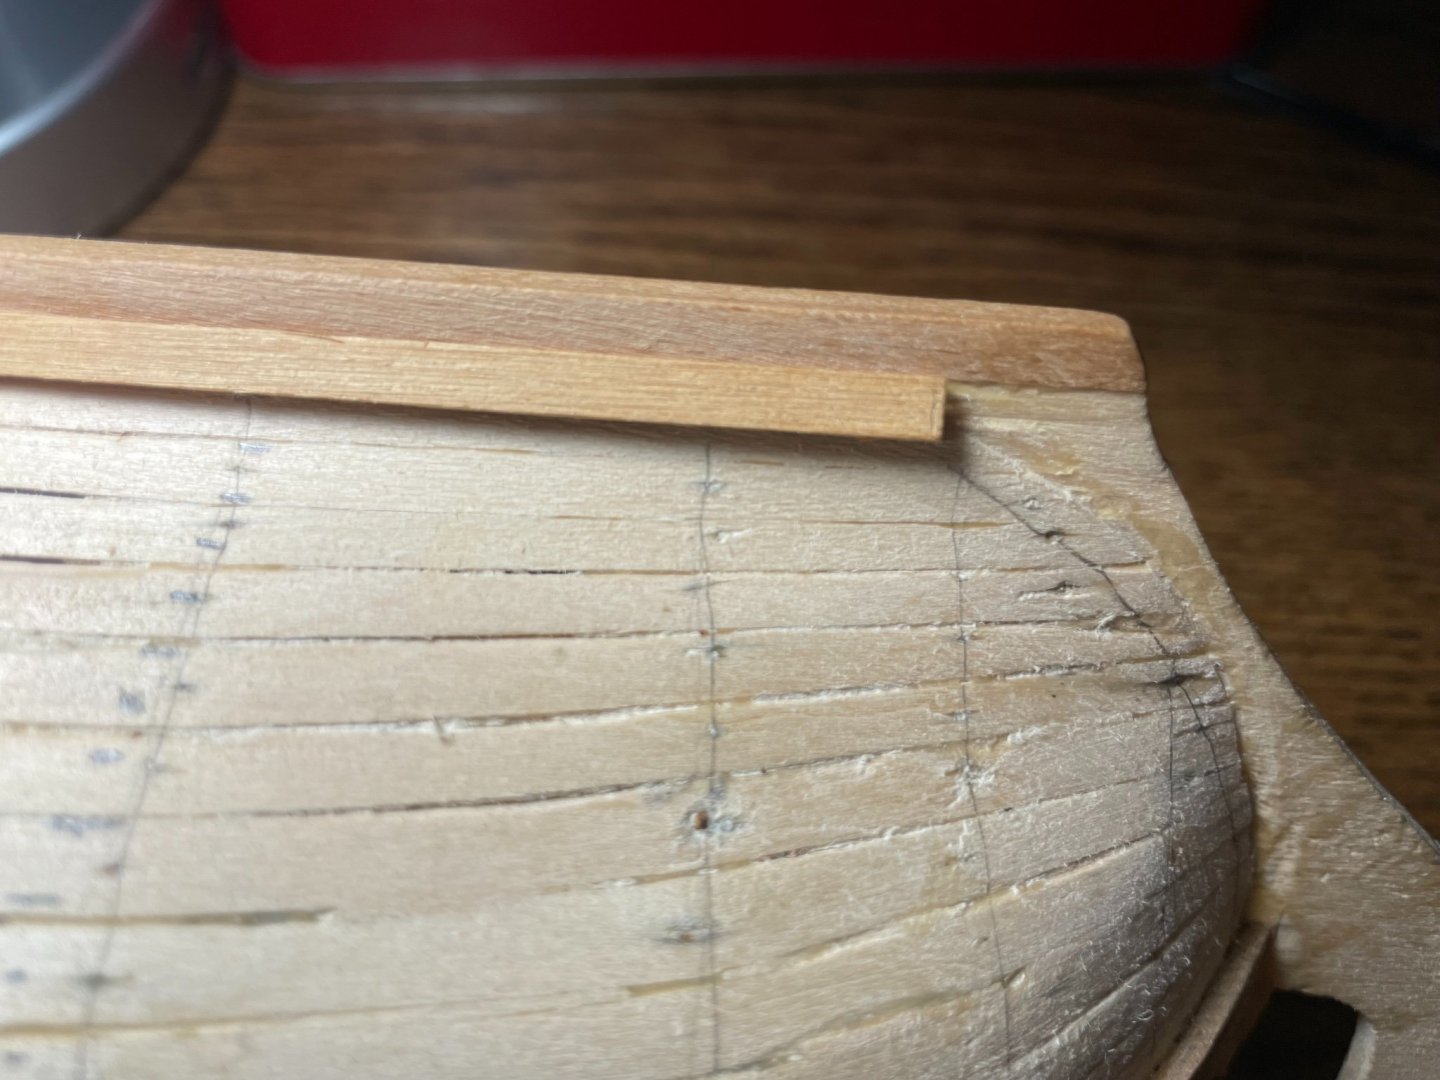
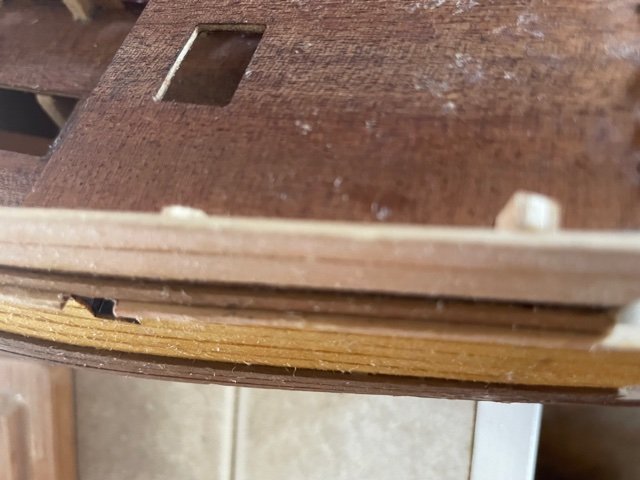
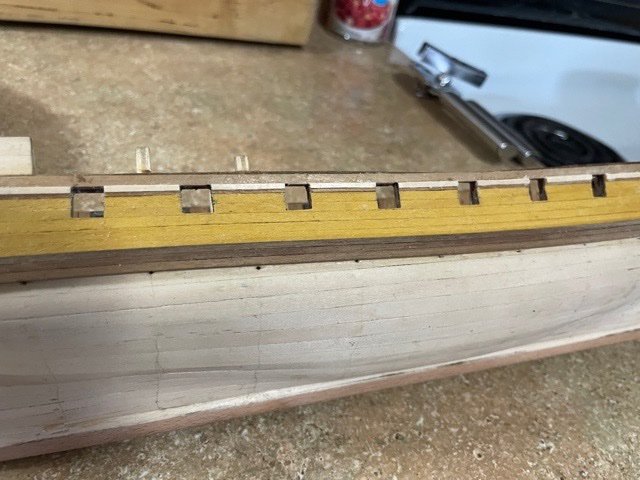
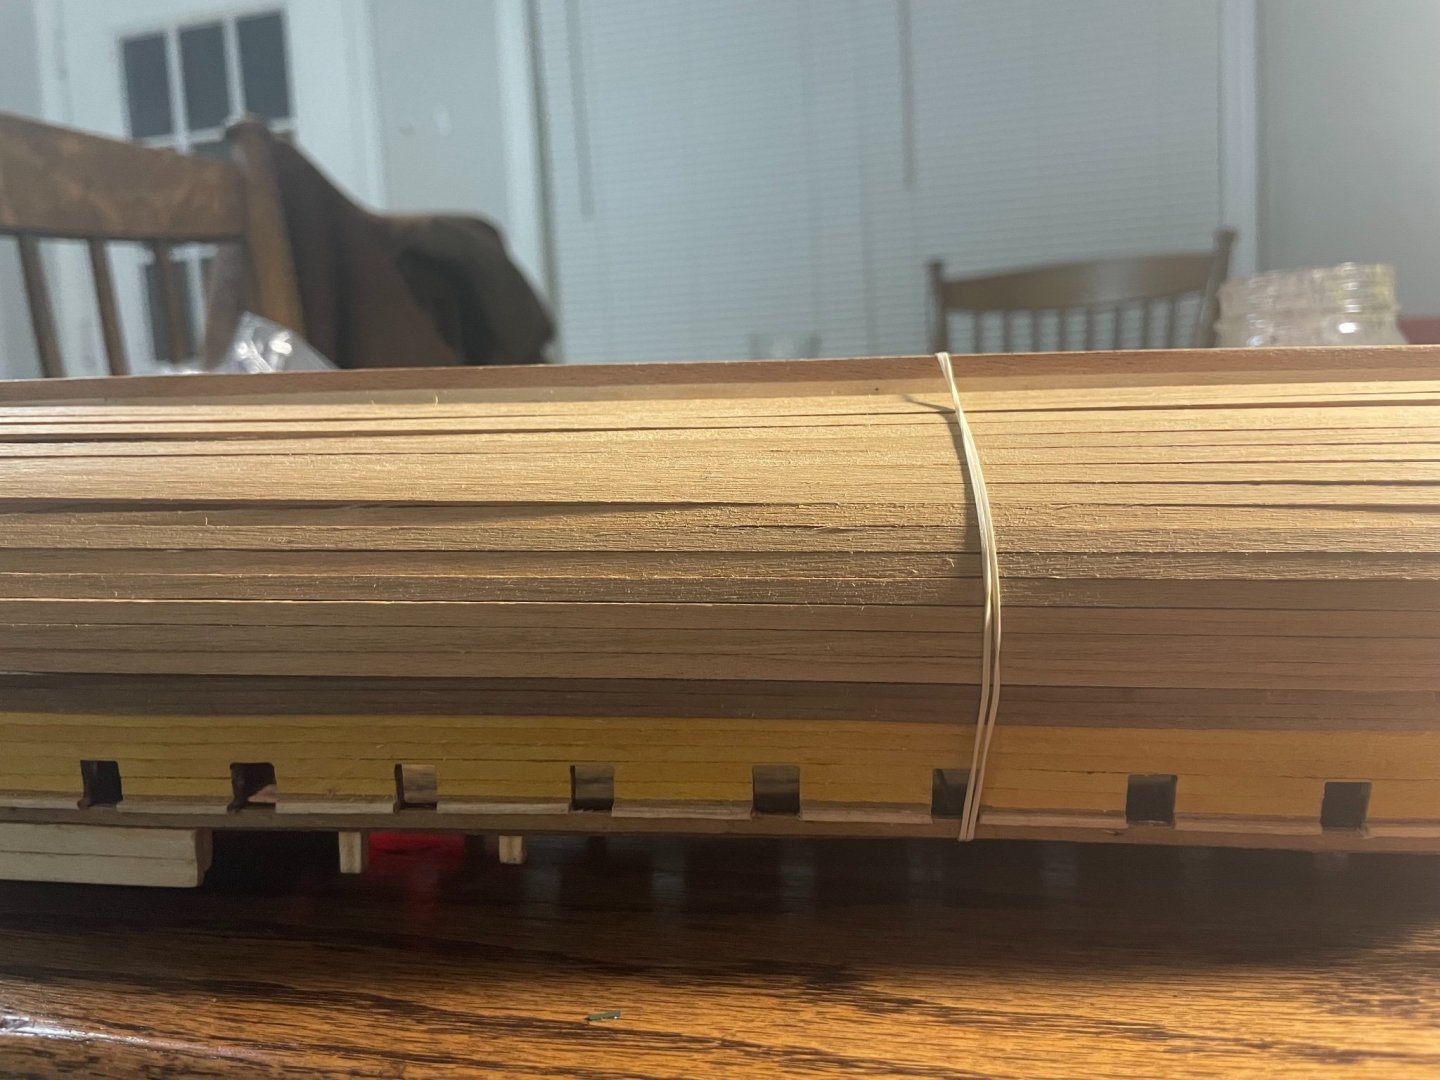
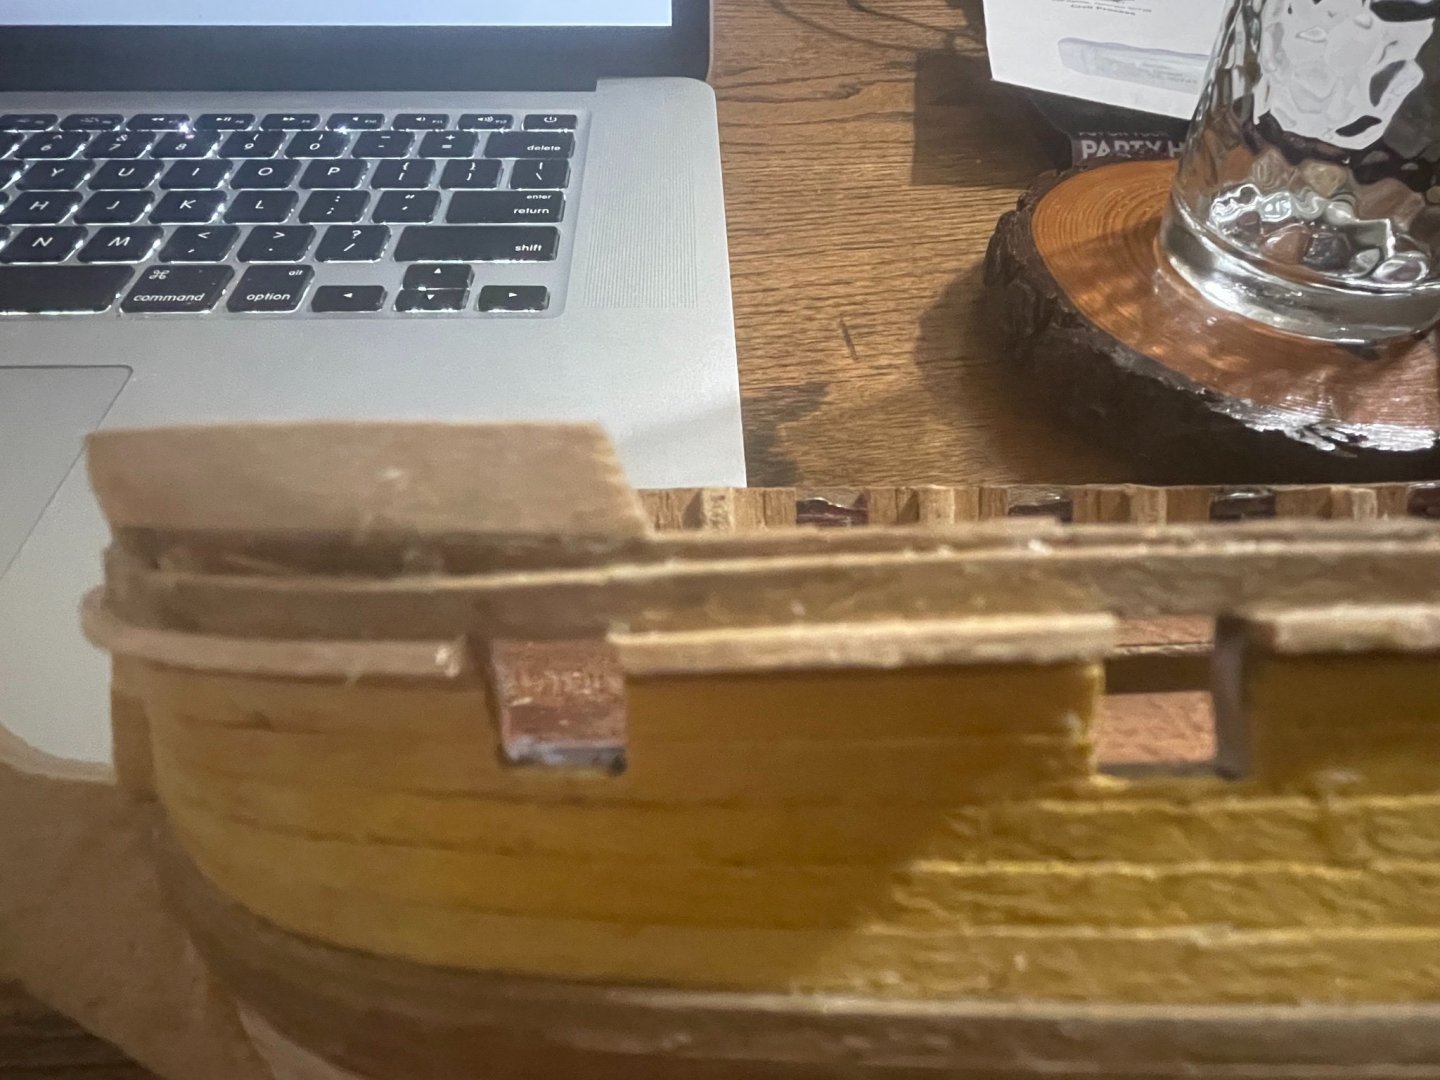
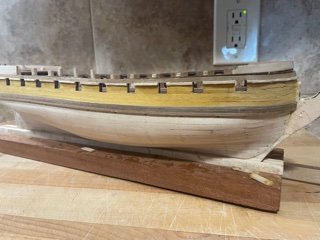
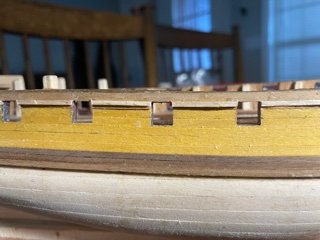
In the mean time, if I can't plank down, I'll see about planking up. But as usual, the instructions aren't even worth looking at. @harlequin, @ccoyle, if you can tell by the pictures, I have maybe less than one milimeter of exposed walnut planking from the first layer between the second hull layer and the rail. Do I plank over all of that, cut it away, leave it exposed, or something else? Could you send me some pictures of your completed Greyhounds to make it clear?
-
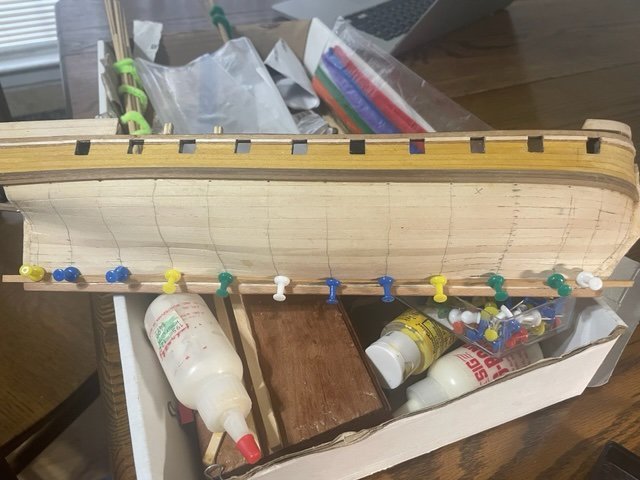
I have now finished the gunwales. Everything went great. Of course, I'm now almost out of wood glue and will soon have to take a pilgrimage to Hobby Lobby for more supplies. Even worse, eyeballing it suggests I'm short on the walnut planks needed for the next step. I haven't made a very careful measurement of what I need yet, but the chances are it'll take forever to get more stuff. At least what I have done so far looks beautiful. Despite a fairly rough first planking, the second one has fit together beautifully so far.

-
Yep. Now it's just the execution.
-
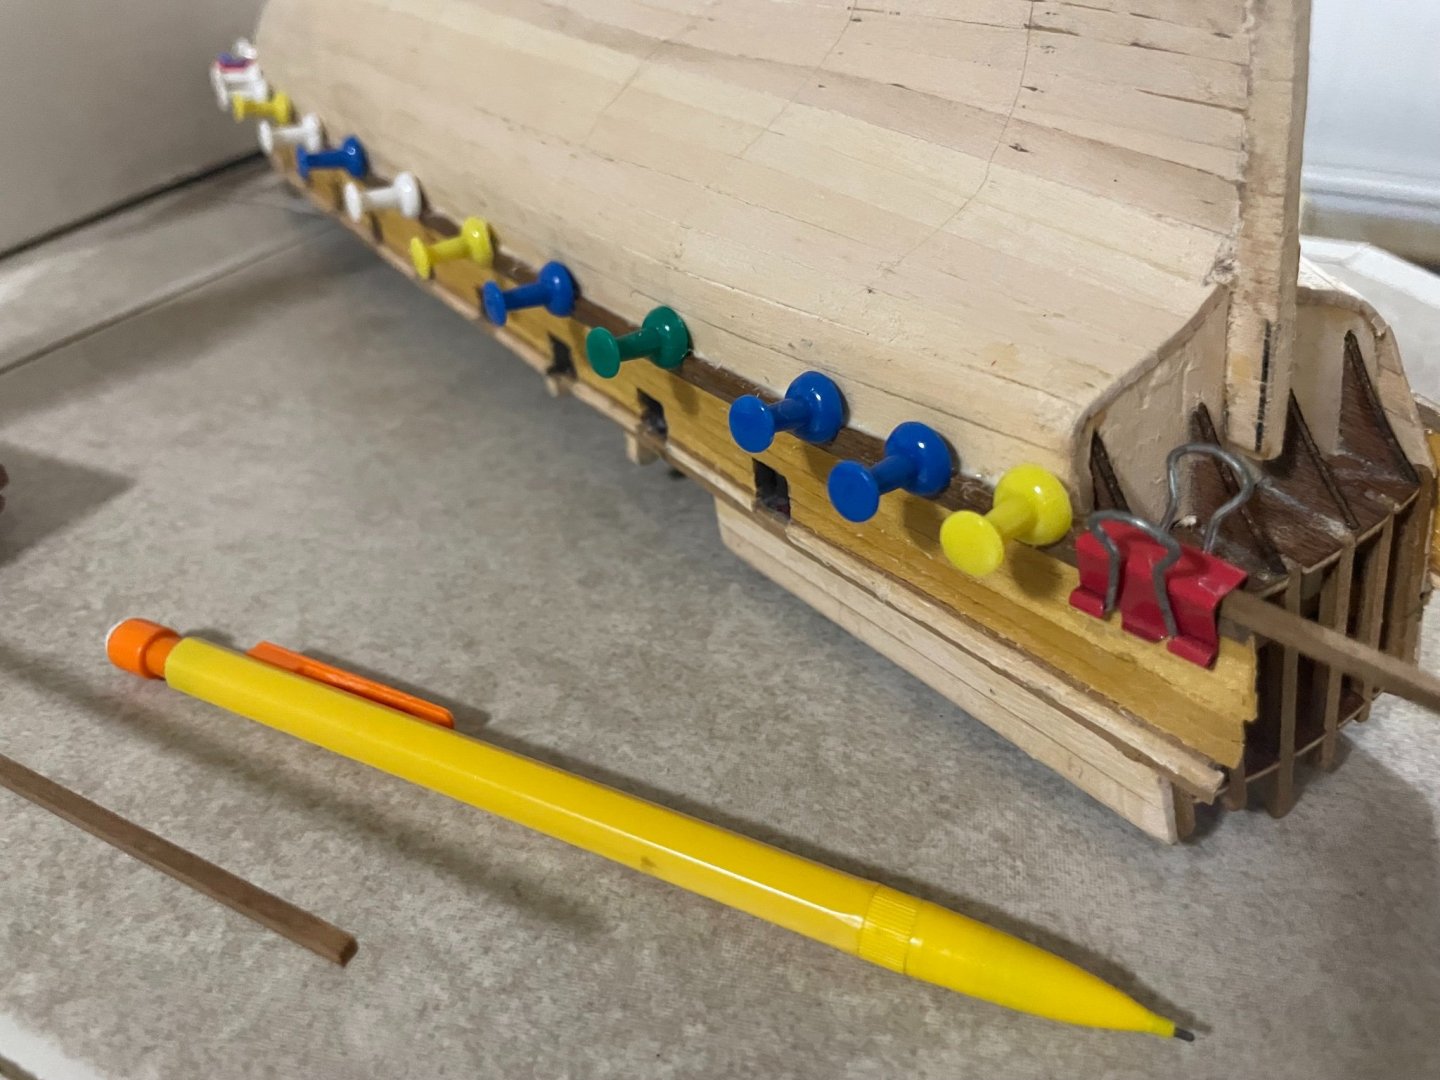
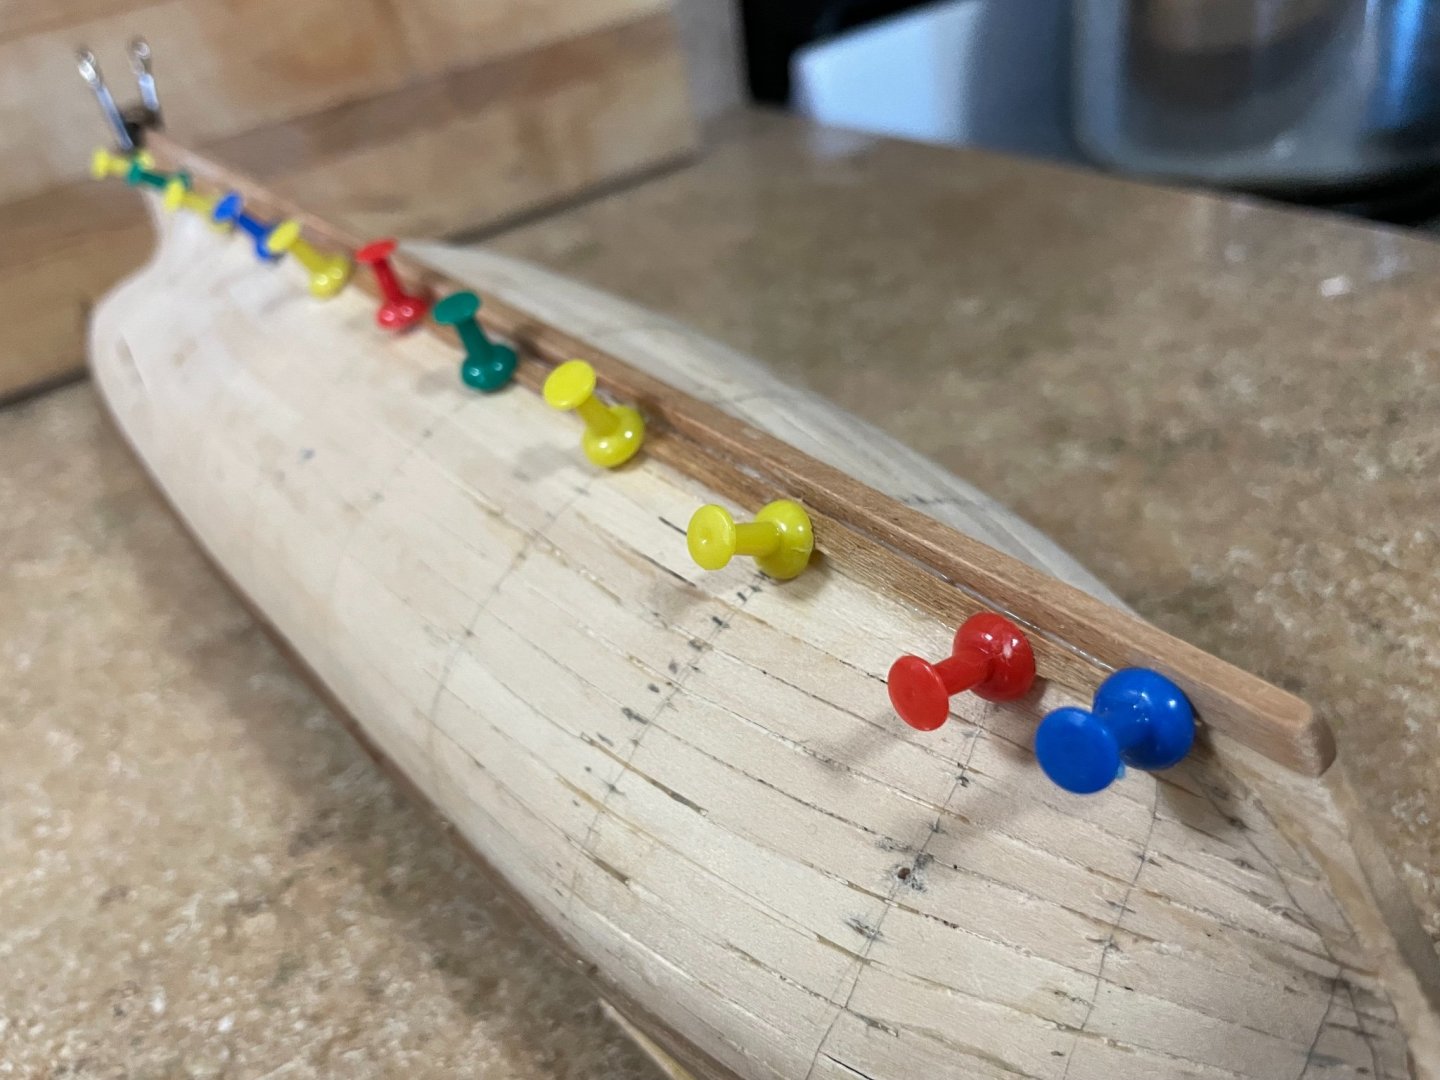
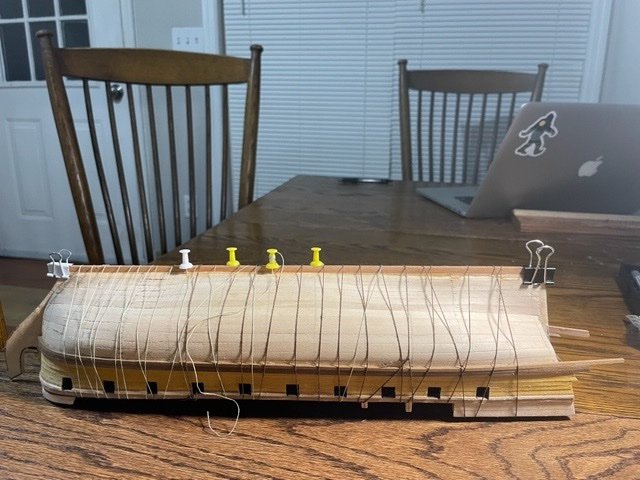
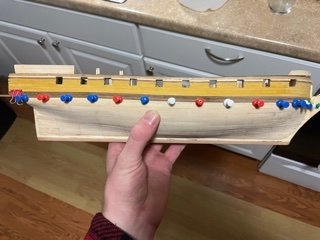
The answer to the gunwale issue was spaghetti! After thinking about it for a few days, I remembered an experience I had cooking spaghetti recently. The narrow spaghetti noodles became flexible quickly when boiled, but thicker linguini noodles took some time before becoming flexible. I applied the same principle to the 2mm by 2mm gunwale. Instead of soaking it in hot water for 20 minutes as in previous steps, I soaked it for about an hour, changing into new hot water every 20 minutes. It worked like a charm. So well, in fact, that I forgot to post until now. The one difficult part was bending the unsoaked parts of the wood on to the hull. However, by putting thumb tacks into the ribs of the ship, I could get a strong enough hold to secure the gunwale. At this point, I have only two gunwale pieces currently left to glue on, and one left to bend.