


Heronguy
-
Posts
863 -
Joined
-
Last visited
Content Type
Profiles
Forums
Gallery
Events
Posts posted by Heronguy
-
-
2 hours ago, robdurant said:
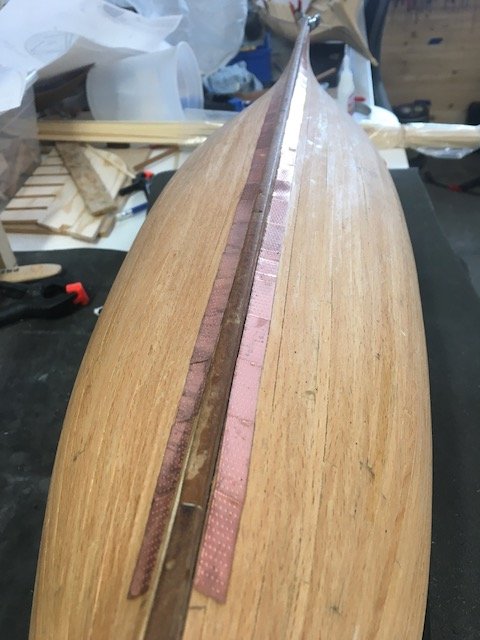
how did you go about cutting all the copper plates out? Did you use side-cutters? And did you have any troubles with the plates bending as you removed them from the sheet? I've coppered a hull before, but the plates were already separated, so this will be a new thing for me.
Hi Rob,
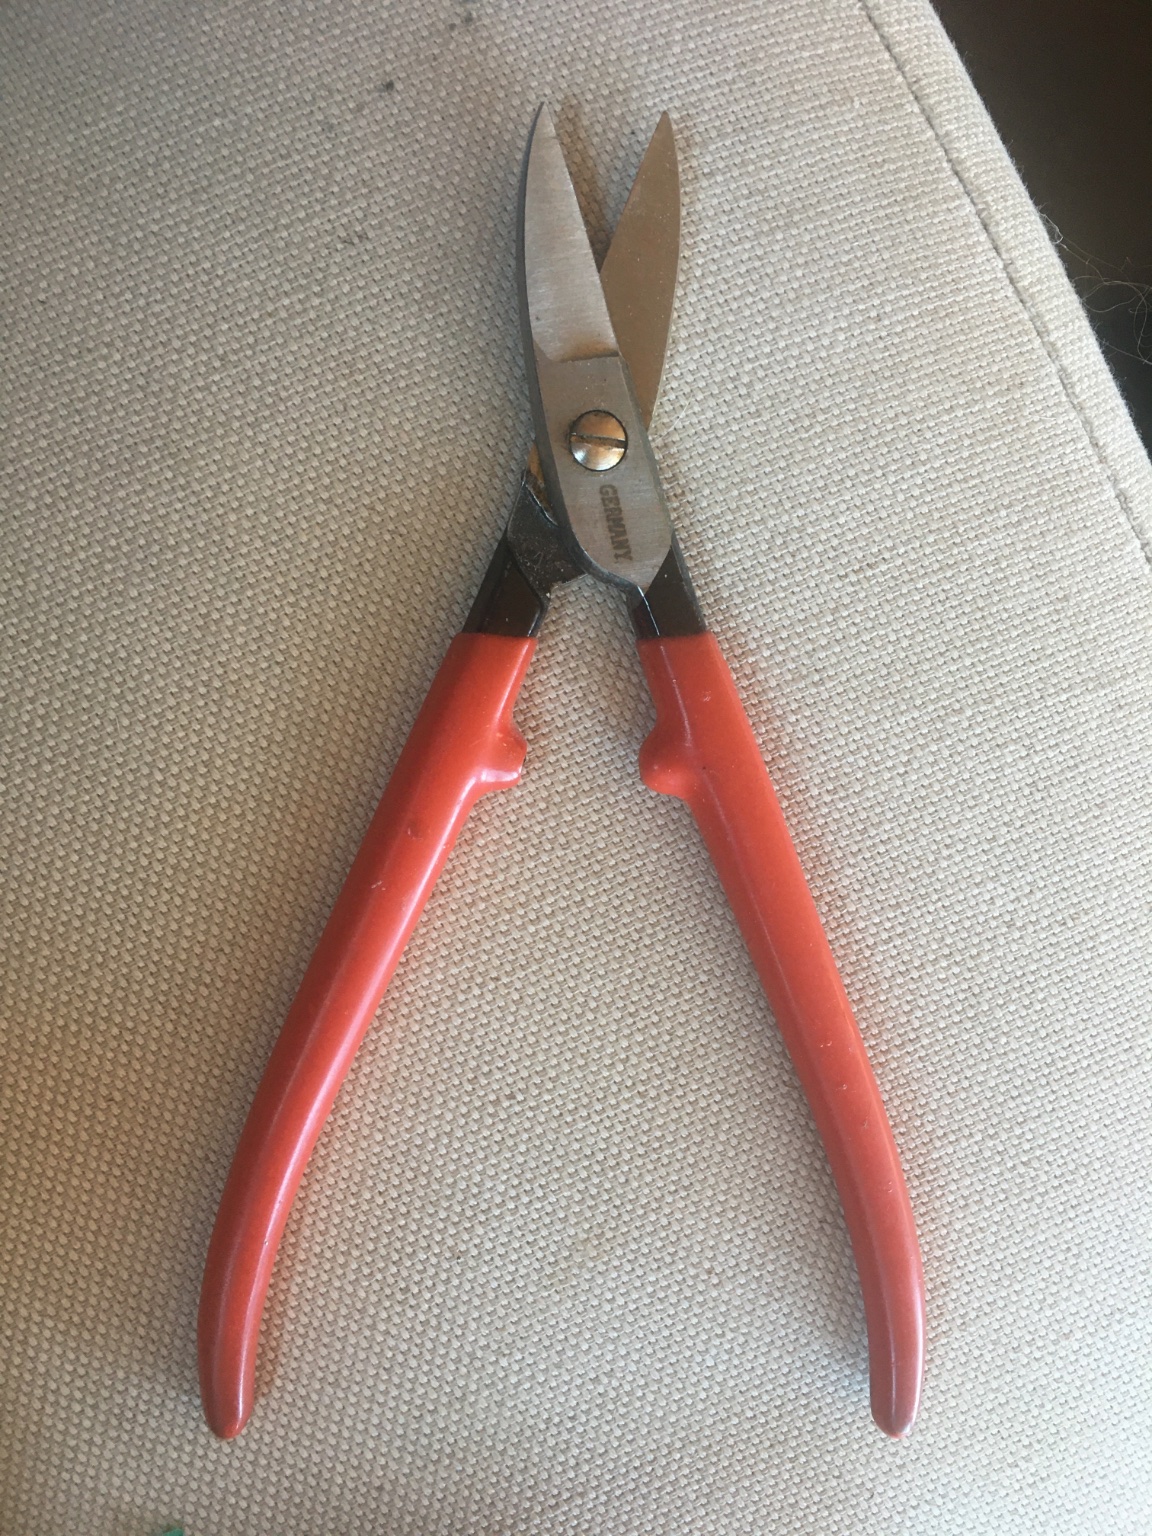
I didn't use side cutters. I used a scalpel or x-acto blade to free up the 1st row from the panel. Subsequent rows just need the end tags cut then bend the whole row back and forth a couple of time and its free. I did bend a few individual plates. They straighten out just fine as long and the bend is not too sharp. When it came to trimming plates (near the end of the coppering process) I cut them with snips that I bought for the purpose. I'd get a slight curl but it was easy to flatten.
Biggest challenge I had (other than tedium) was getting the plates to adhere to the hull. Ended up using thin CA glue.

Weather is getting better here so may get back to the shipyard soon.
-
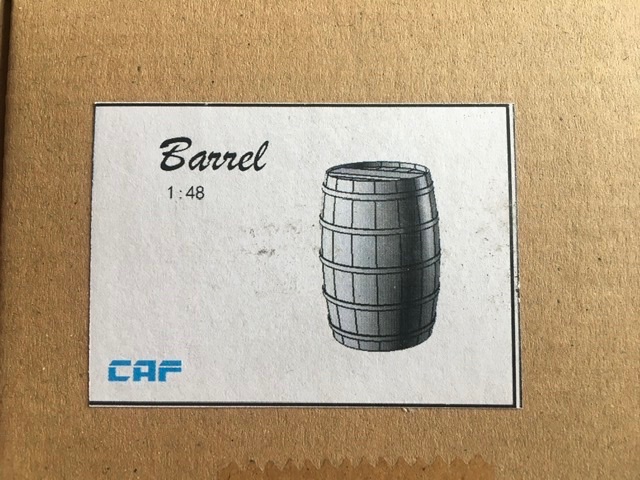
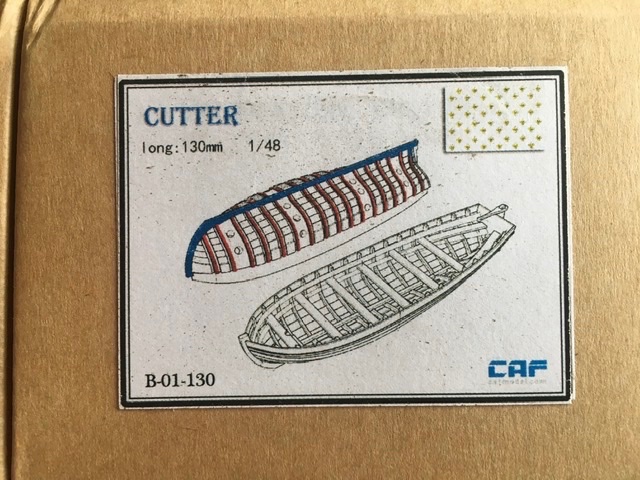
Hi Lou. The ship’s boat (cutter part no L130) was the only extra (other than a rotary cutter that I’m concerned will never float!). No little people. I had ordered a set barrels and a cutter (different version that used a moulded hull to form the ribs on).
It will be interesting to me to find out which cutter (excluding the rotary 🤪) turns out to be easiest to assemble. I’ve had ship’s boats from Model Expo, Dusek and Master Korabel so far. Two of them were fun to build.


-
great project and you’ve got a good start! It will be fun to watch. I’ve got the kit now and am keen to see you approach to construction steps.
Given how delicate the frames are at this stage it seems like it will be a challenge to clamp them while you fair the tops of the frames. Have you done any bevelling on the frames near the bow or stern yet?
-
-
-
-
5 minutes ago, BobG said:
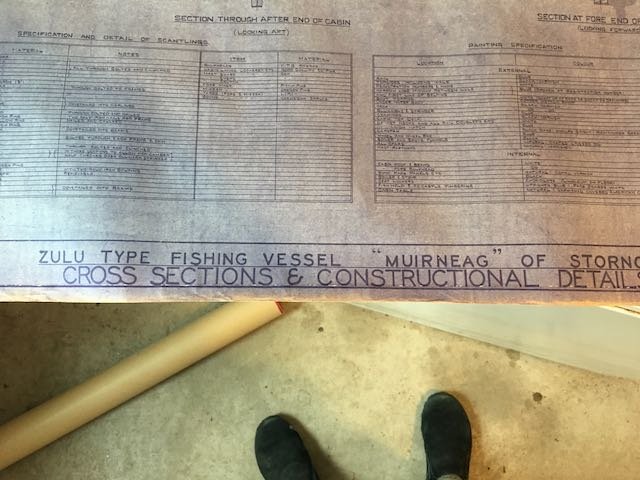
I have the Lady Isabella and would like to find out more about these Zulu fishing vessels. Do you have any good resources that you could recommend?
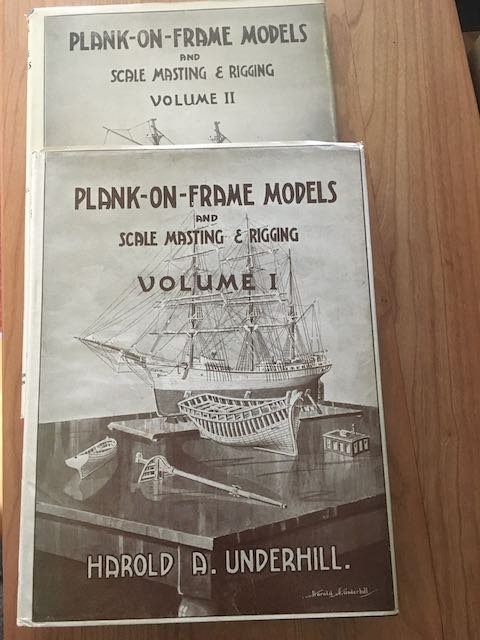
I was just gifted with a set of blueprints for the Zulu Muirneag. Plans were drawn by Harold Underhill in the 1950's. His book "Plan-on-Frame Models" has reduced version of three of the plans. I can't use the blueprint set so they're listed in Traders... One source of detail.
-
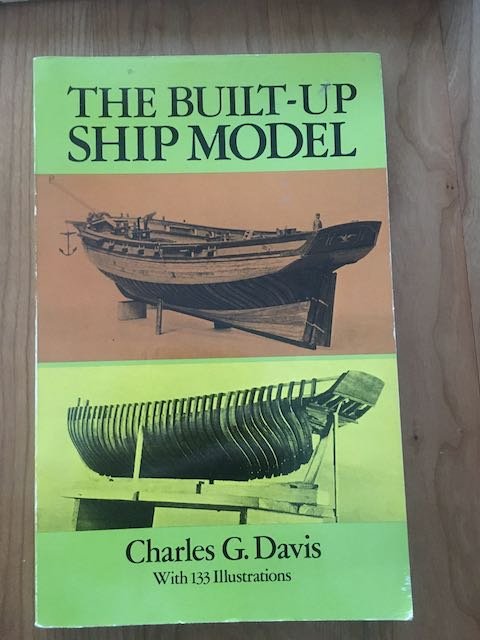
An unblemished, and perhaps unopened copy of this classic. I have it already so I'm offering this one to whomever wants it. I'll just ask for the postage cost.
-
-
-
2 hours ago, Edwardkenway said:
I had the exact same issues here and tweaked the frames to fit the plan then remade the top fillers, I just need to sand the pieces to fit.
Encouraging - thank you!
- FrankWouts and Chuck
-
 2
2
-
8 hours ago, Chuck said:
Use a thin wood sheets so they wont flex when you use them as spacers.
with those spacers in position and no sills at all, try tour template again and see how the stern frames look. If you need to adjust them, Then you can donso at that time.
Thanks for the advice. I had cut the frame guides from some 3/64" sheet but couldn't get them to stay in place even with rubber band pressure. Clearly then 'll have to unglue the ST-CD upright and adjust the slots until things more closely match the framing guide.
- Edwardkenway and FrankWouts
-
2
-
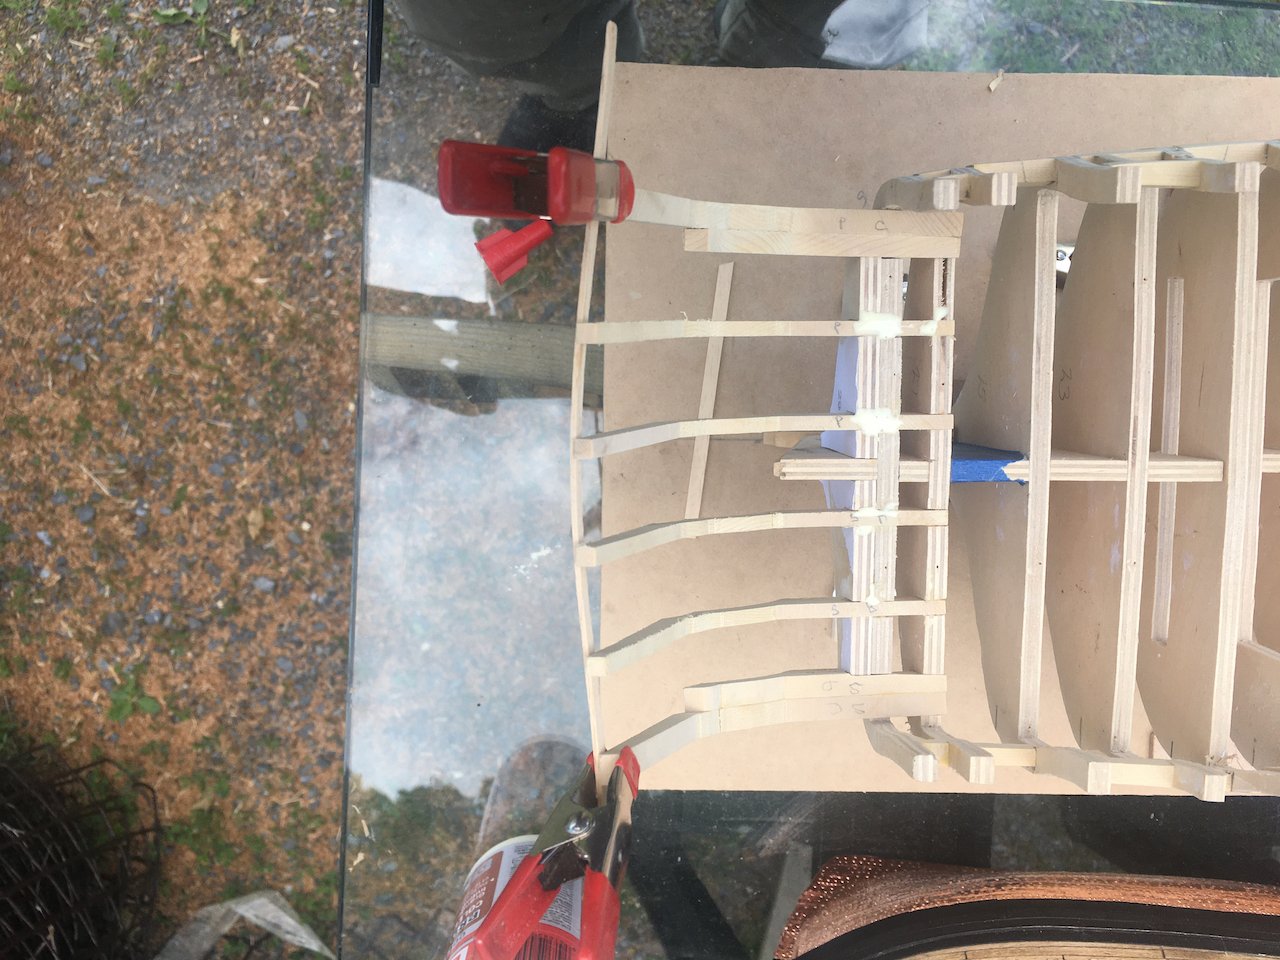
Now I have run into some difficulty and would benefit from advice!
I'll preface my problem with a reminder that I had decided to try to scratch build. To me that meant milling my own wood and using Chuck's plans to cut out all the pieces rather that using the lasercut components. I did purchase the chapter 1 laser cut material as a reference. So far I have used it only to compare my scratch bits with the precision ones. (aside : as I look at quarter gallery description in Chuck's build log and the more advanced builds in this group I'm questioning my hubris at attempting this - oh well)
To the stern.
I slapped it together with the hope that things would lie just right. A quick visual inspection showed that ST-A on the port side was a little low but maybe that didn't matter (I've subsequently fixed that).
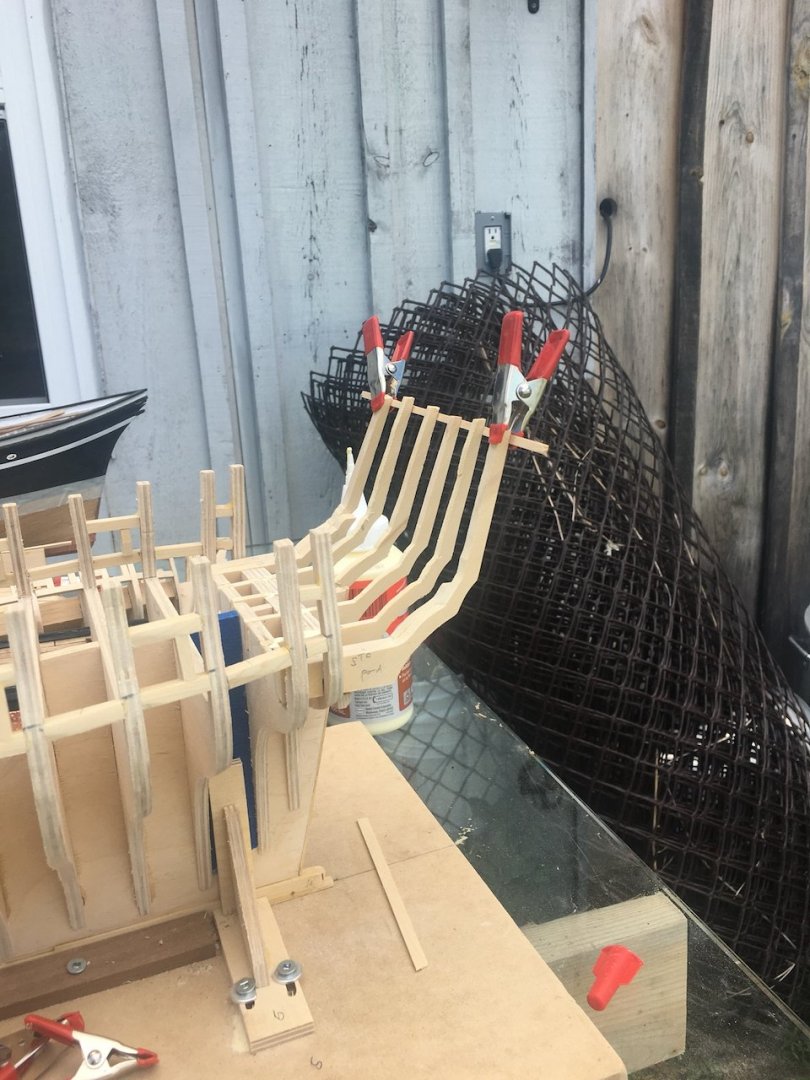
I printed the stern frame guide to use as a visual check on the stern uprights - printed on clear acetate so I could put it on the outer surface.
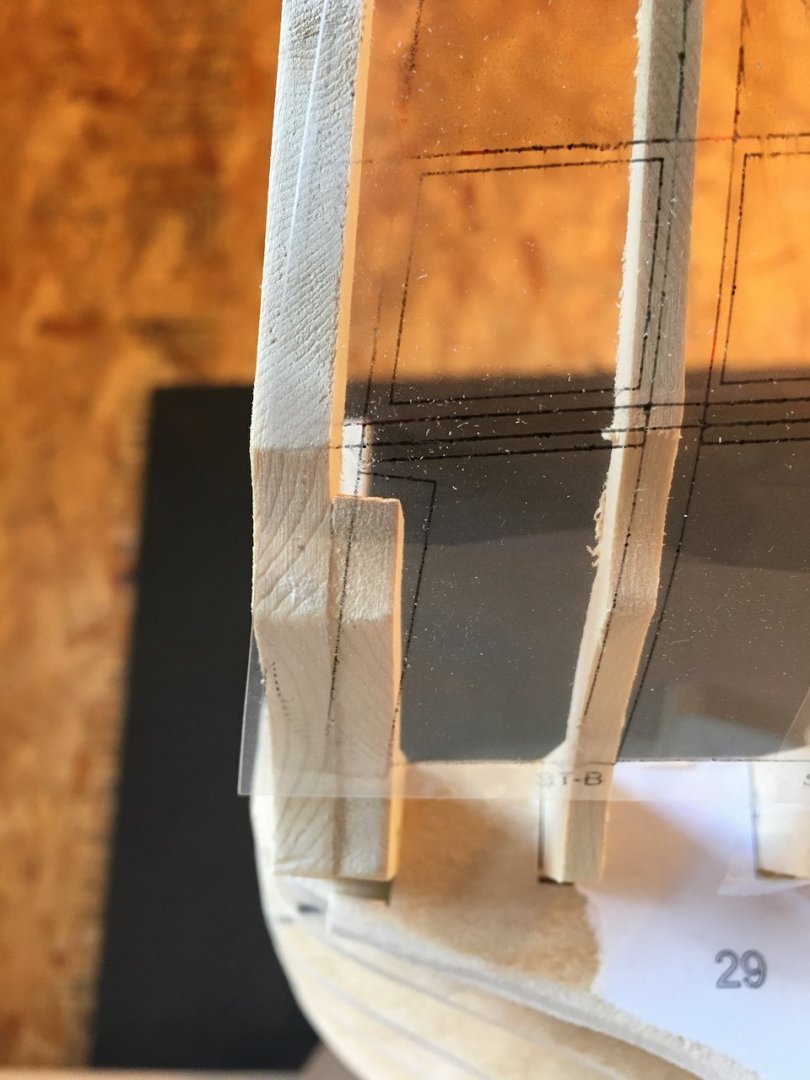
Things didn't look too good!
Printed again on paper so I could glue it to be inside surface for an easier view.
The middle three uprights I could coax into alignment with the draft quite easily but the outer one are very rigid and not able to be coaxed with pressure. (BTW this image is before I fixed ST-A(port))
I figured I was going to have to remove ST-CandD from both port and starboard, change the angles of the slots in bulkheads 28&29 and iterate until I got a better visual.
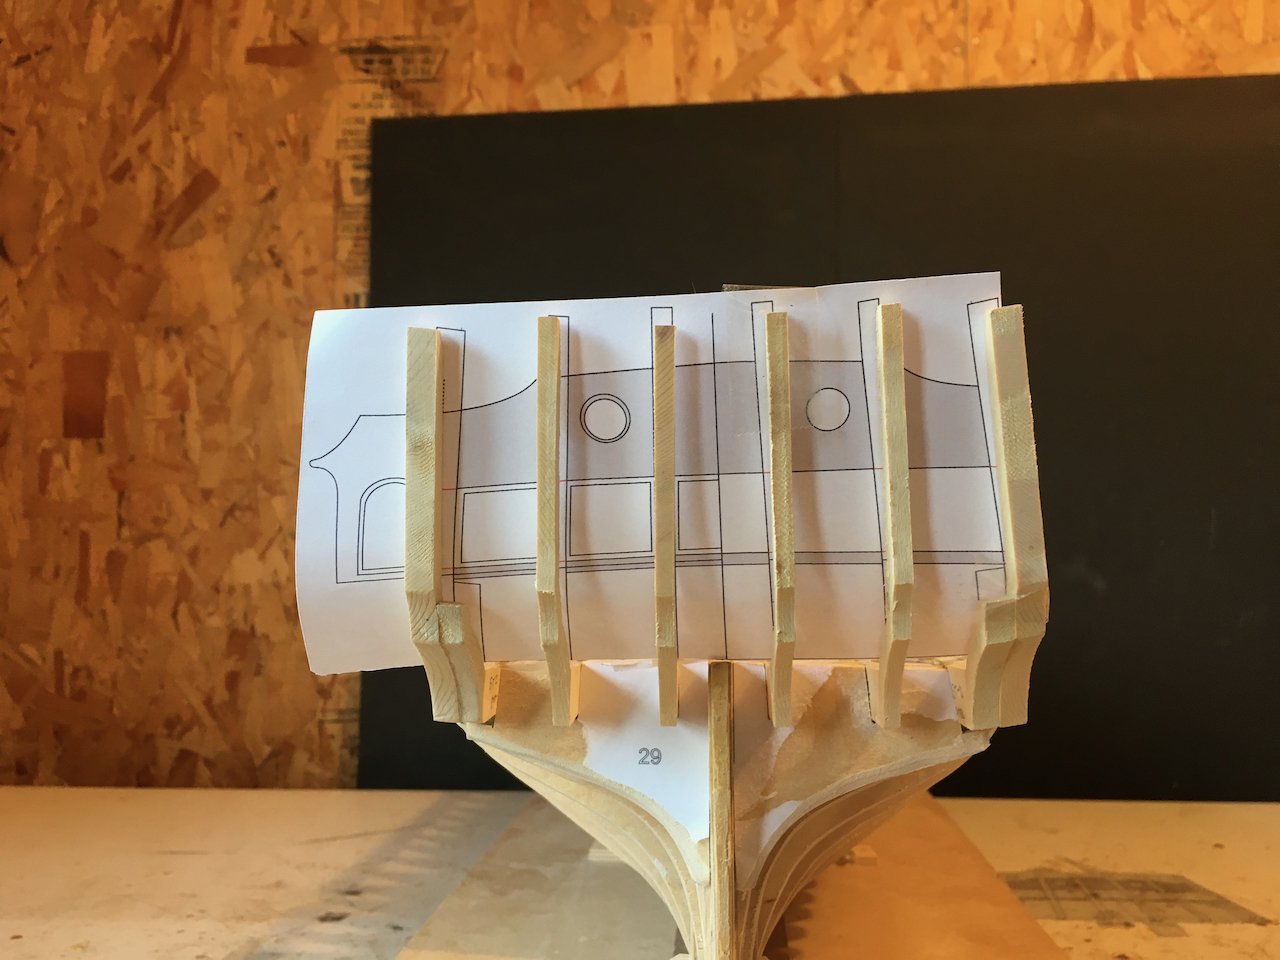
However before starting that I thought to try the stern window guides to see how well they fit. They weren't bad so I I tried the upper sills. Here I had another disappointment.
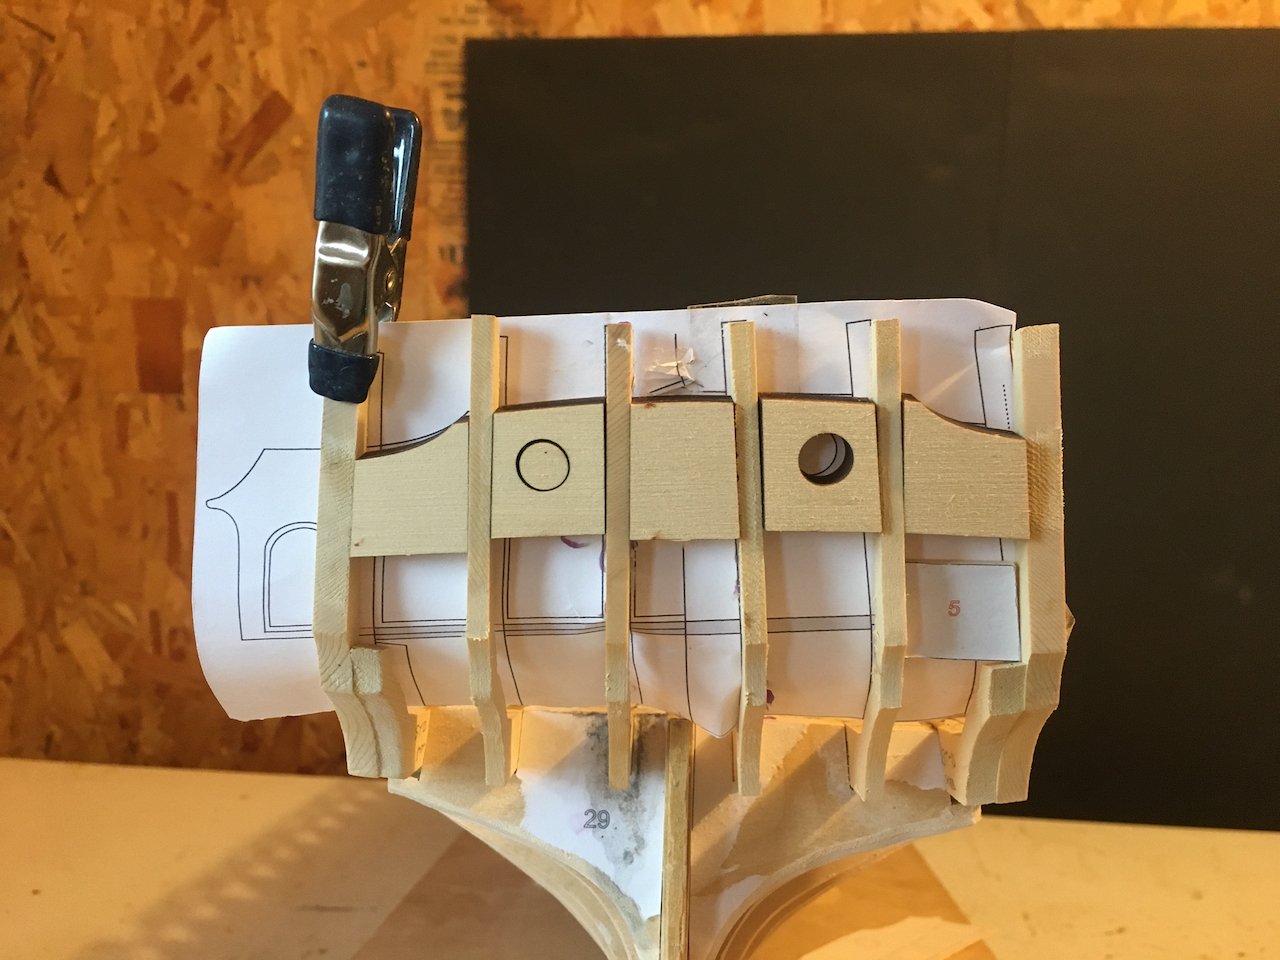
Using the laser cut sills to check it appears the the port side fit nicely but the outer two on the starboard side don't. As Chuck describes in the chapter 1 notes the guides will fall out if the sills need a bit of tweaking. When I see how far out the starboard ST-C&D upright is I'm a a loss for what I should do to try to salvage what's here.
Advice gratefully accepted!
- Matt D, FrankWouts and JpR62
-
3
-
You're motoring' along I can see I'll have to catch up to you!!
-
-
28 minutes ago, popeye the sailor said:
..best thing to do is contact them.......
Hi Popeye,
i had scans of the instructions that I sent off to sandcastle. All is well
-
2 hours ago, Louie da fly said:
Sorry you haven't been able to the instructions so far - I see masa might be able to provide them. You might also care to look at
which though it's of the earlier version of Bluenose II might be of help to you building the later version.
Steven
I have scans of instructions for my version of Bluenose II ans well as the later version from Artesania Latina. That I can send.
- Louie da fly and mtaylor
-
2
-
-
- Nemo, don’t despair, there are good options and some of them are listed on the site - sponsors like Model Expo and Syren Ship both carry supplies you’ll need. Crafty Sailor , which is local to you has a range of fittings. I get things like acrylic paints or Tamiya masking tape through Great Hobbies which probably has a store near you.
your best bet might be to start a build log and/or ask some specific questions on the appropriate Shop Notes topic.
-
-
-
13 hours ago, popeye the sailor said:
what did you use to anchor the dead eyes?
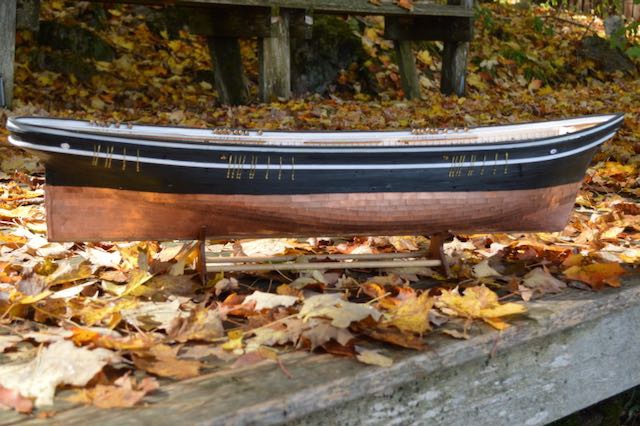
The kit instructions simply suggest attaching a small eye pin with the twisted wire holding the deadeye. The stem of the eye pin is inserted into a drilled hole in the rail and affixed with glue. Once again I had to use CA to bond the wire to the wood. (The chainplates mounted on the hull are not connected to the deadeye - just simulating the practice on the actual ship) I’ve “tested” each one with a good tug to see if they may hold when under tension from shrouds and don’t expect too many challenges there! A long time from now at the current rate!!!
-
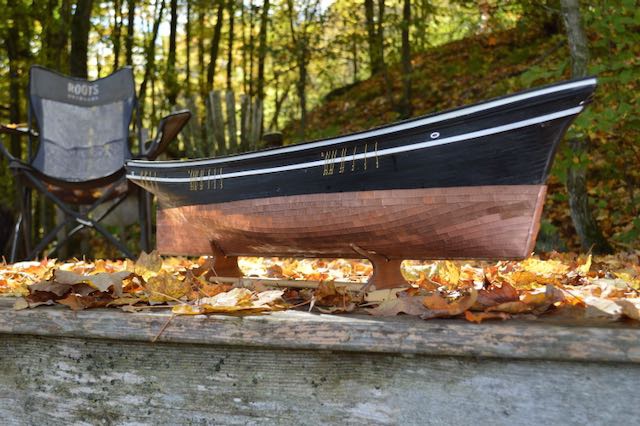
The coppering is going to be a long term project. I expect to get perhaps 10-20 plates per hour. I am using CA glue despite my general dislike of the substance.
This is a pretty big hull. Makes me glad the Winchelsea won't be coppered!!
-
Whilst plodding on on coppering the hull of the Stefano (also from MarisStella) I have started the Batelina as side project. Very nice kit with very nice wood. I’m enjoying the build.
The 2 or 3 Batelina’s I‘ve seen on MSW all look terrific. Yours is very handsome. Well Done!


Prince de Neufchatel by rafine - FINISHED - Model Shipways - 1:64
in - Kit build logs for subjects built from 1801 - 1850
Posted
I'm still working on my PdN but tell me what you need - written instructions or plans?