jaybees
-
Posts
7 -
Joined
-
Last visited
Content Type
Profiles
Forums
Gallery
Events
Everything posted by jaybees
-
Hi Did you get your rigging and masts done on the Vespucci.
Really bad and confusing instructions.
I am really stuck on some clarity on the yards.
Cheers
-

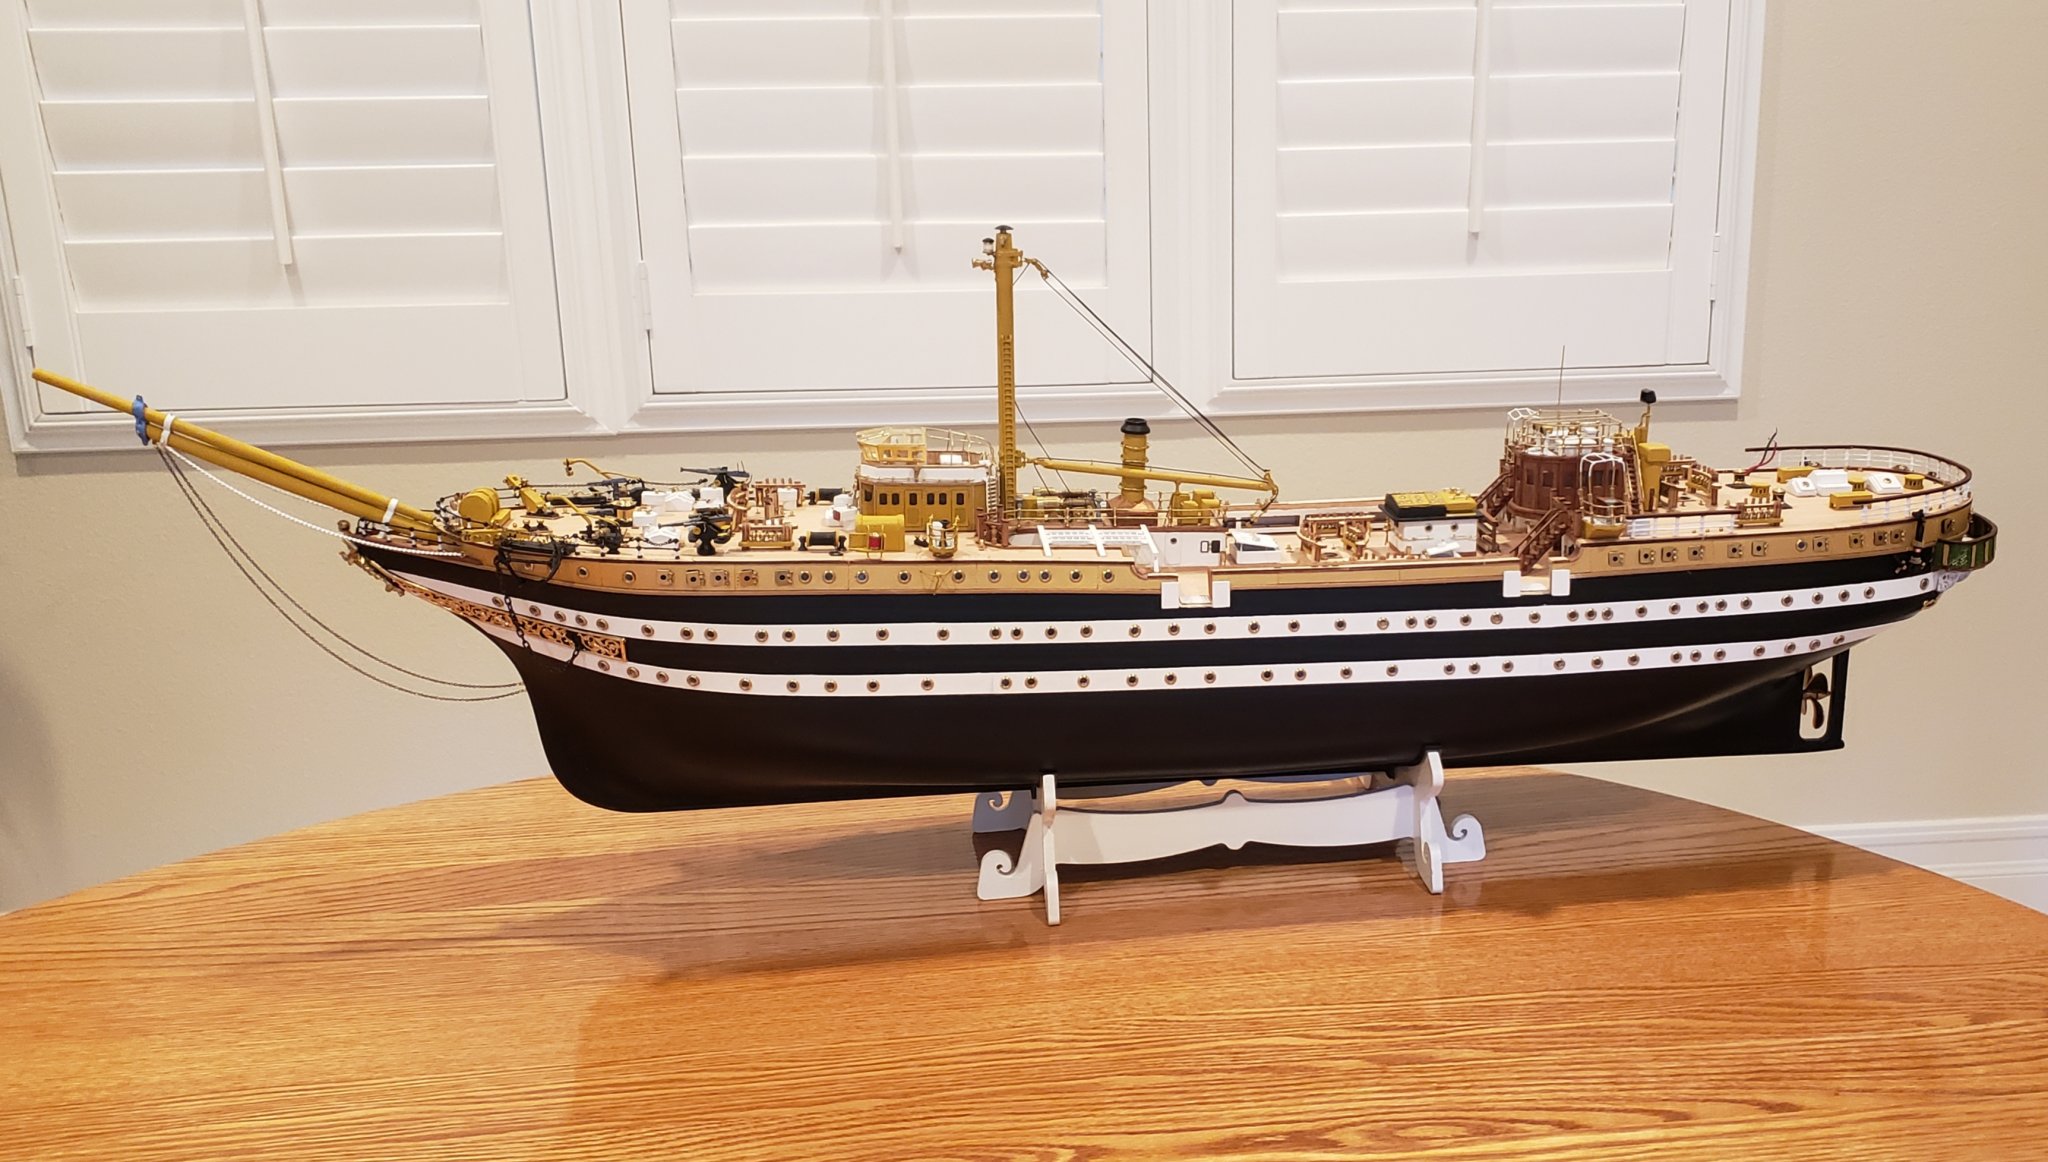
Unfortunately, the rigging instructions for this kit are full of errors. For instance there are no block and tackles employed on any line: there are no halyards listed: there are no sheets and tacks for the lower sails. Most of the other lines are run incorrectly. There are no belaying pins and not enough belaying points for the rigging. And the plan seems to imply that most of the rigging leads to the base of the main mast.
Personally, I scrapped the entire plan and rigged the ship per the description in Harold Underhills book Masting and Rigging the Clipper Ship and Ocean Carrier, covers ships of that time frame.
Rigging the ship to this plan necessitated adding additional pin rails, eyebolts and cleats to appropriate points about the ship. I also had to change the whiskers and martingale on the bowsprit to accommodate the additional rigging..
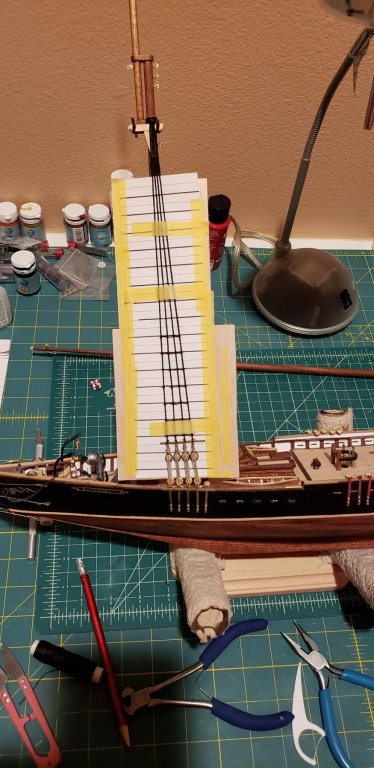
If you are going to use the plastic sail they will have to be trimmed down quite a bit in their vertical dimension in order to fit and you should glue in a bolt rope around each one in order to prevent the rigging from ripping out of the sail.
I purchase probably 100 or so 2mm single blocks and about 40-50 2mm double blocks to complete the rig. I also layed up several sizes of three strand stainless steel wire rope to use for the standing rigging.
I bought some very fine chain to use for the bowsprit stays and shrouds and anchor chains. I also used chain for the fore and main lower topsail sheets. The upper topsail sheets and some of the other rigging should be chain also, but at this scale I could not get any chain that would work.
Overall, I would have to say that making this model was fun due to the research and challenge of reworking the entire rig. But I am only somewhat satisfied with the quality of the result. The very small scale prevents an accurate depiction of the ship.
If you have any specific questions about the rig feel free to ask.
Regards,
Henry
-
-
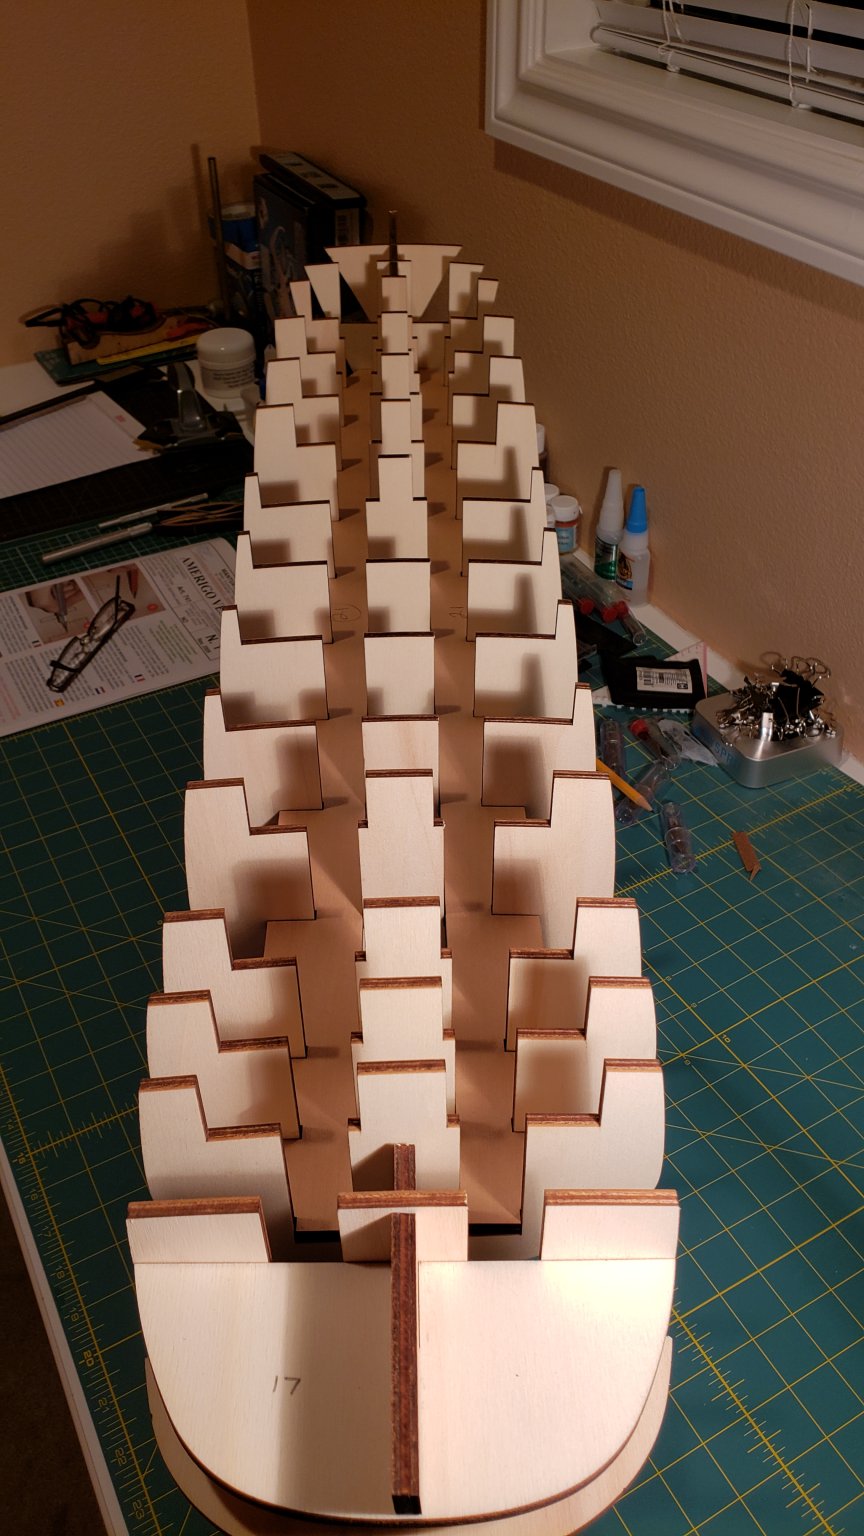
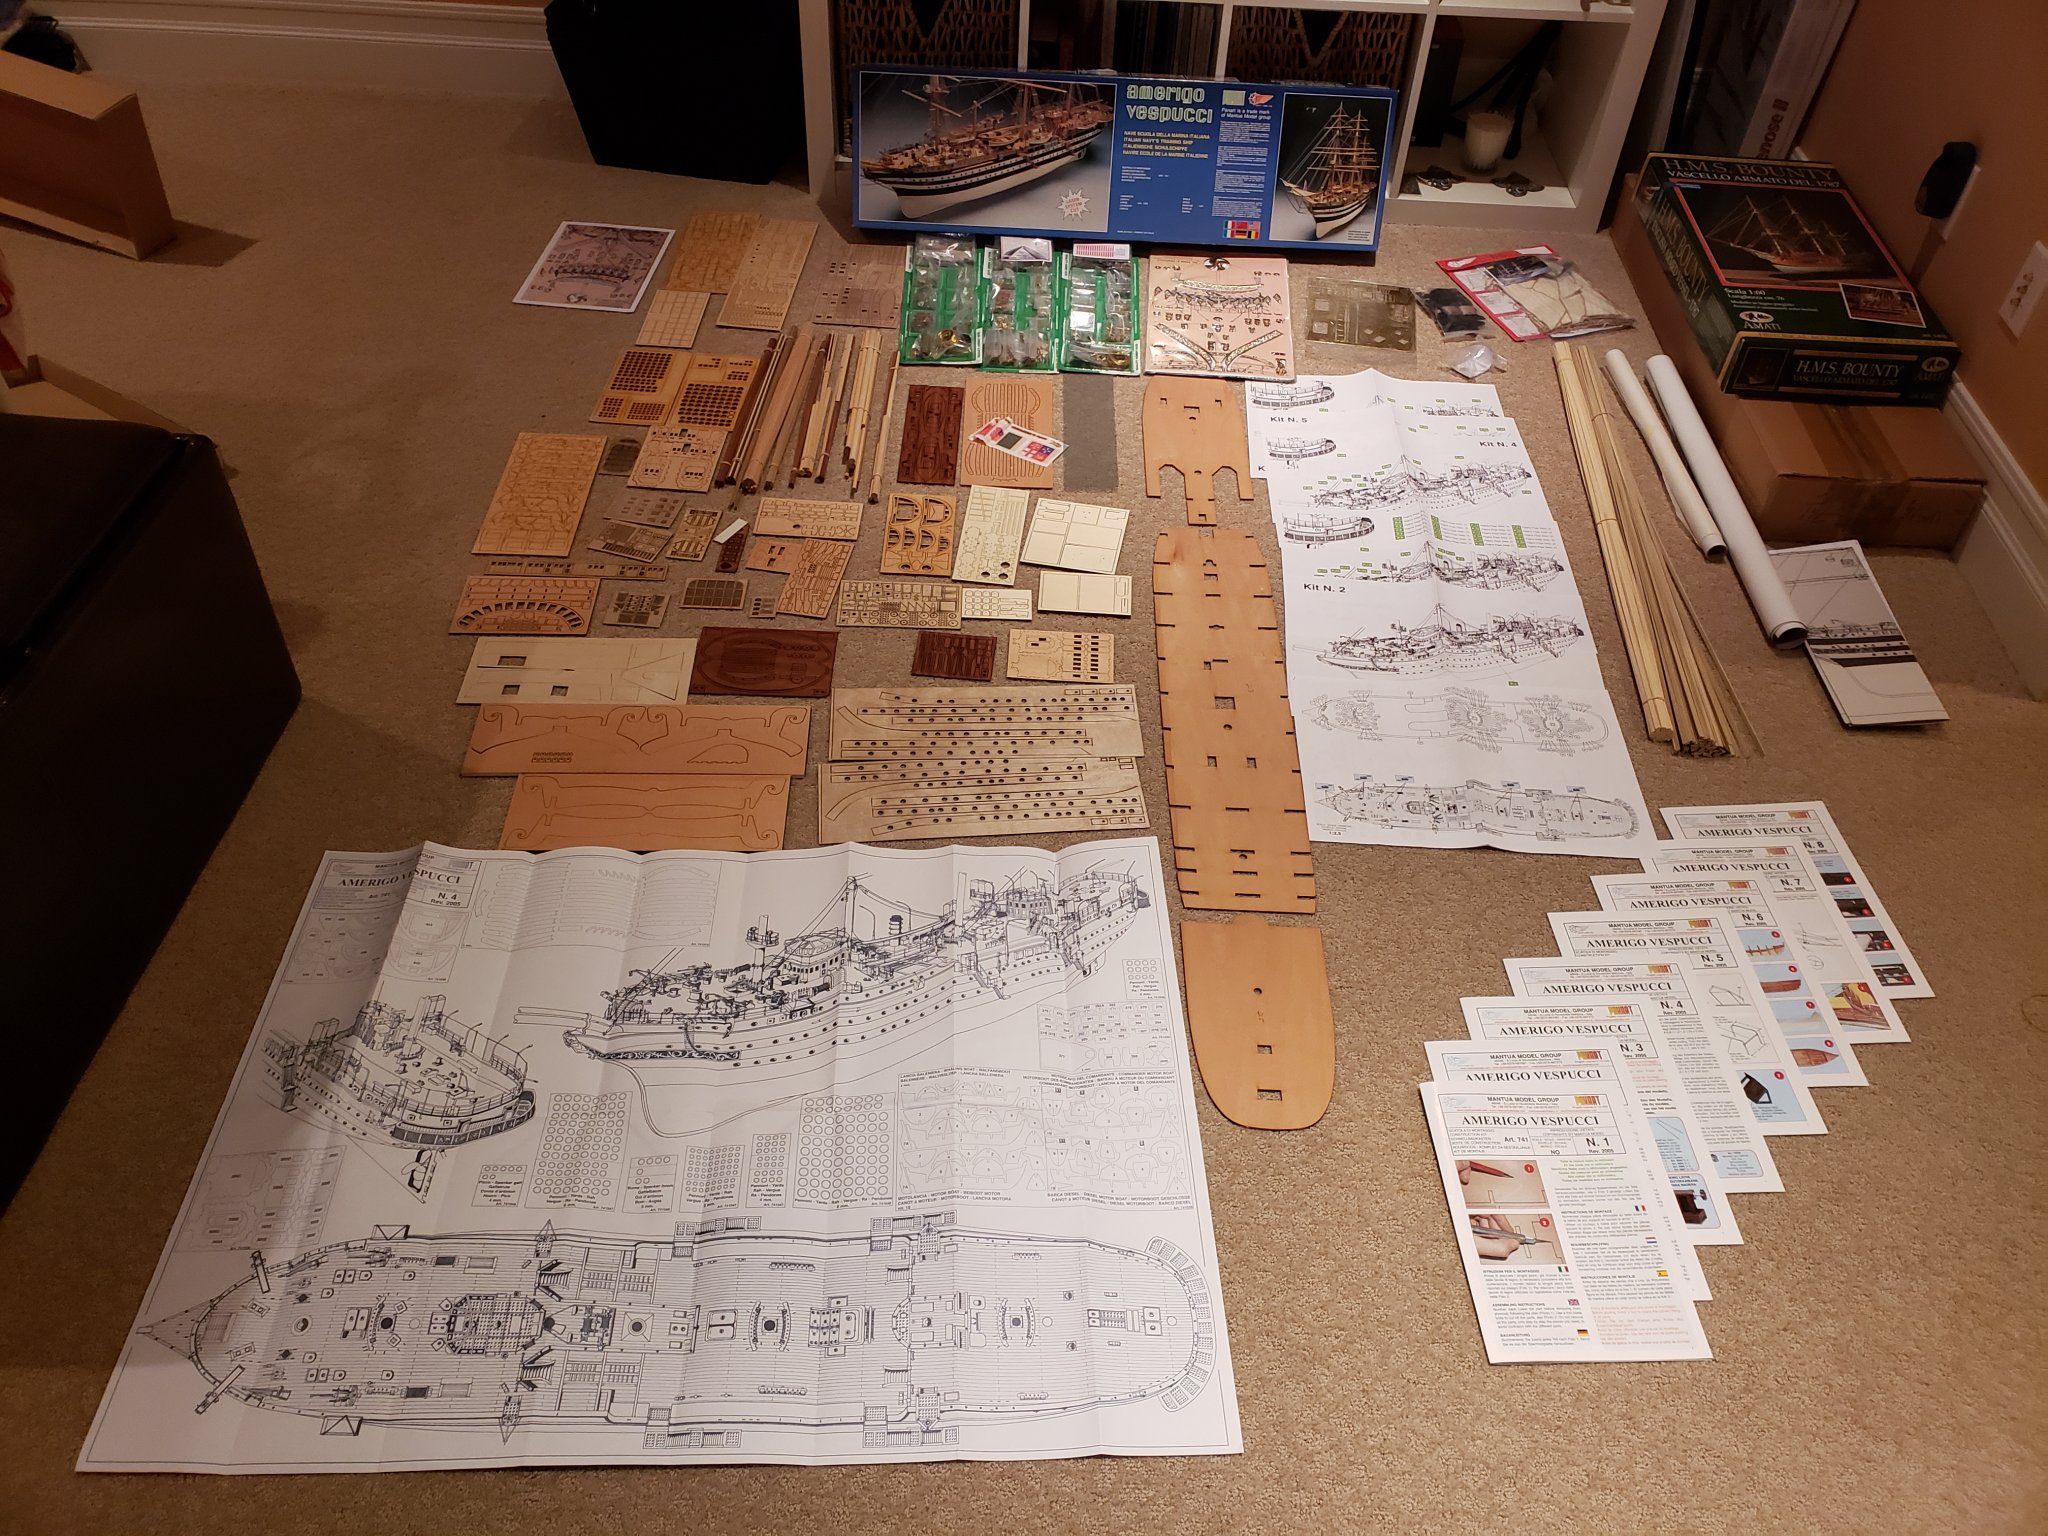
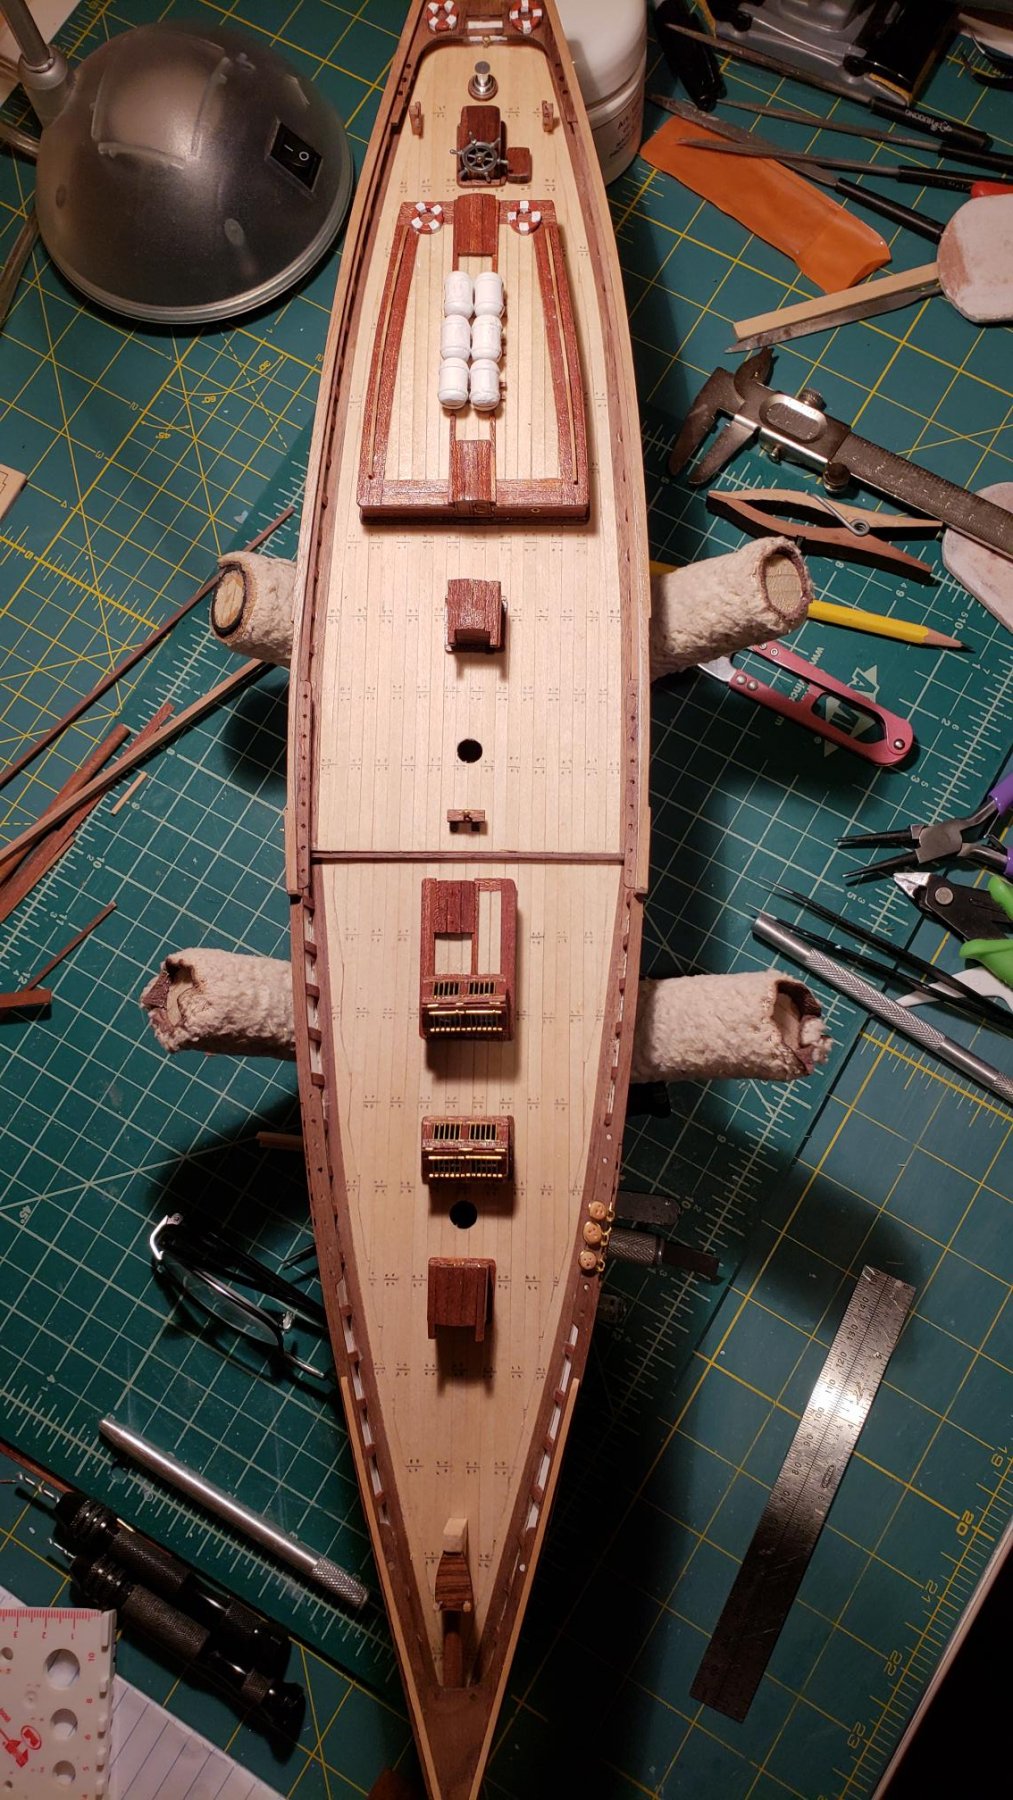
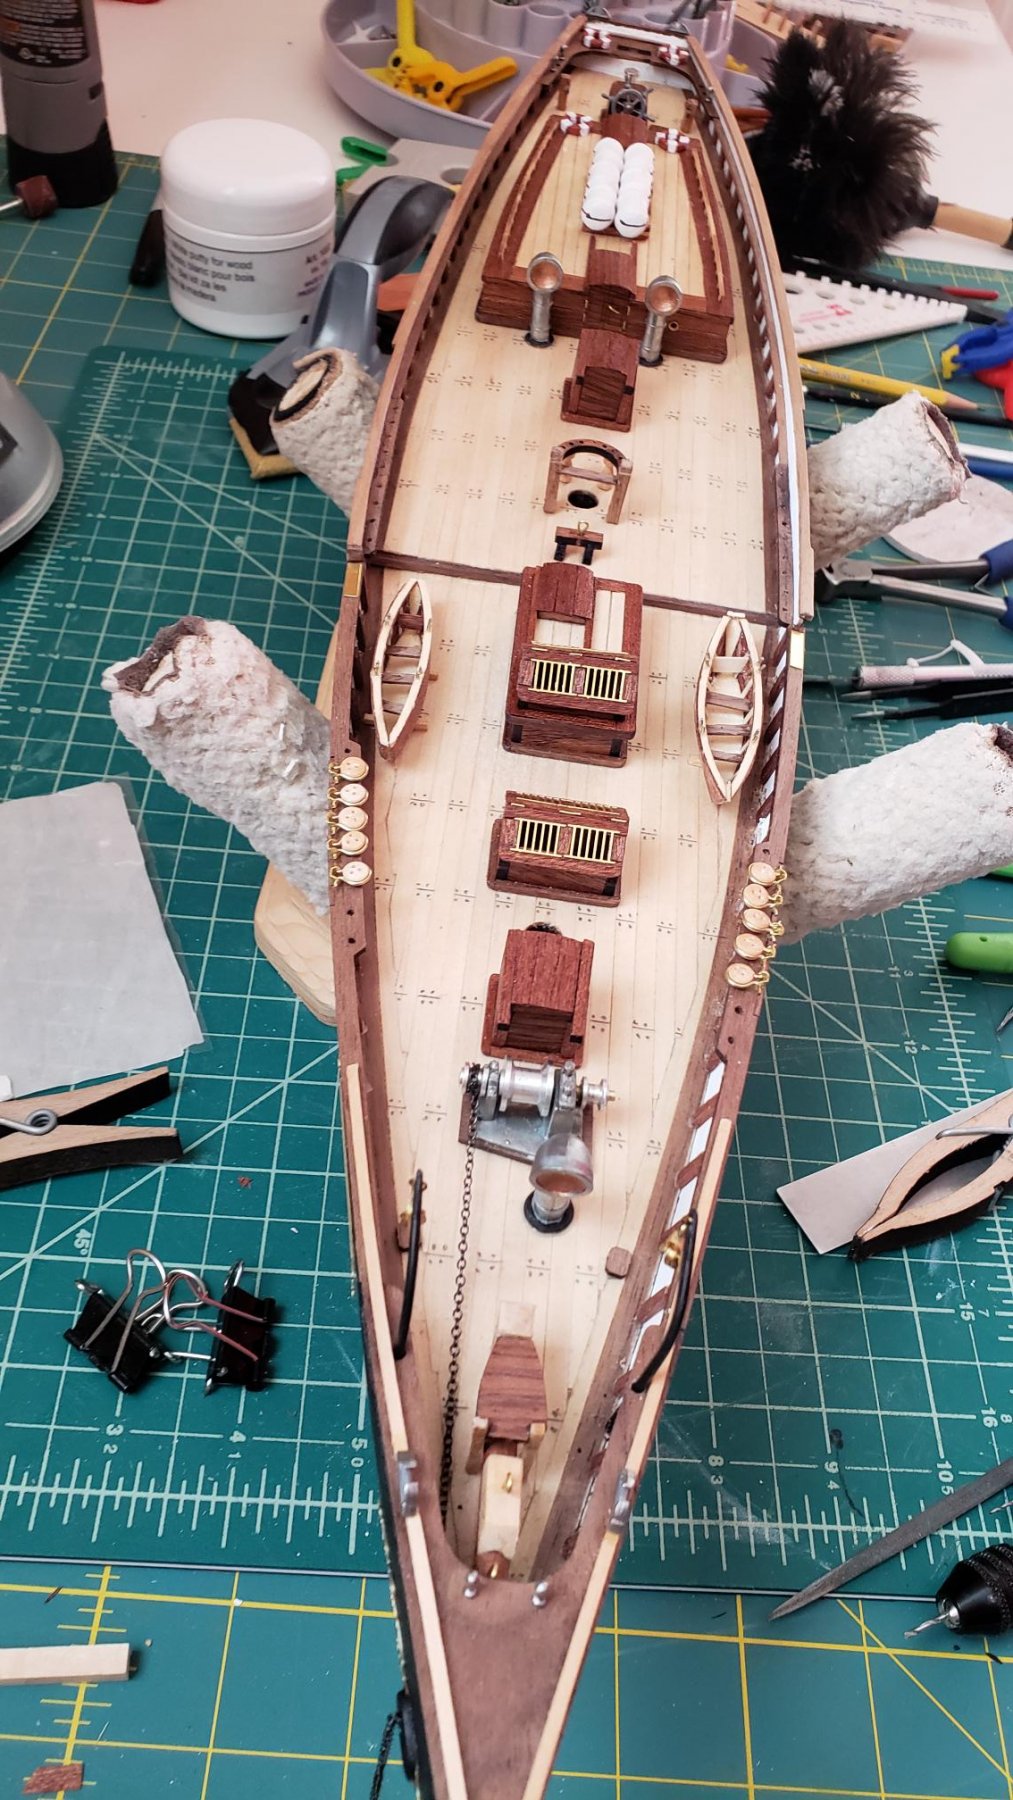
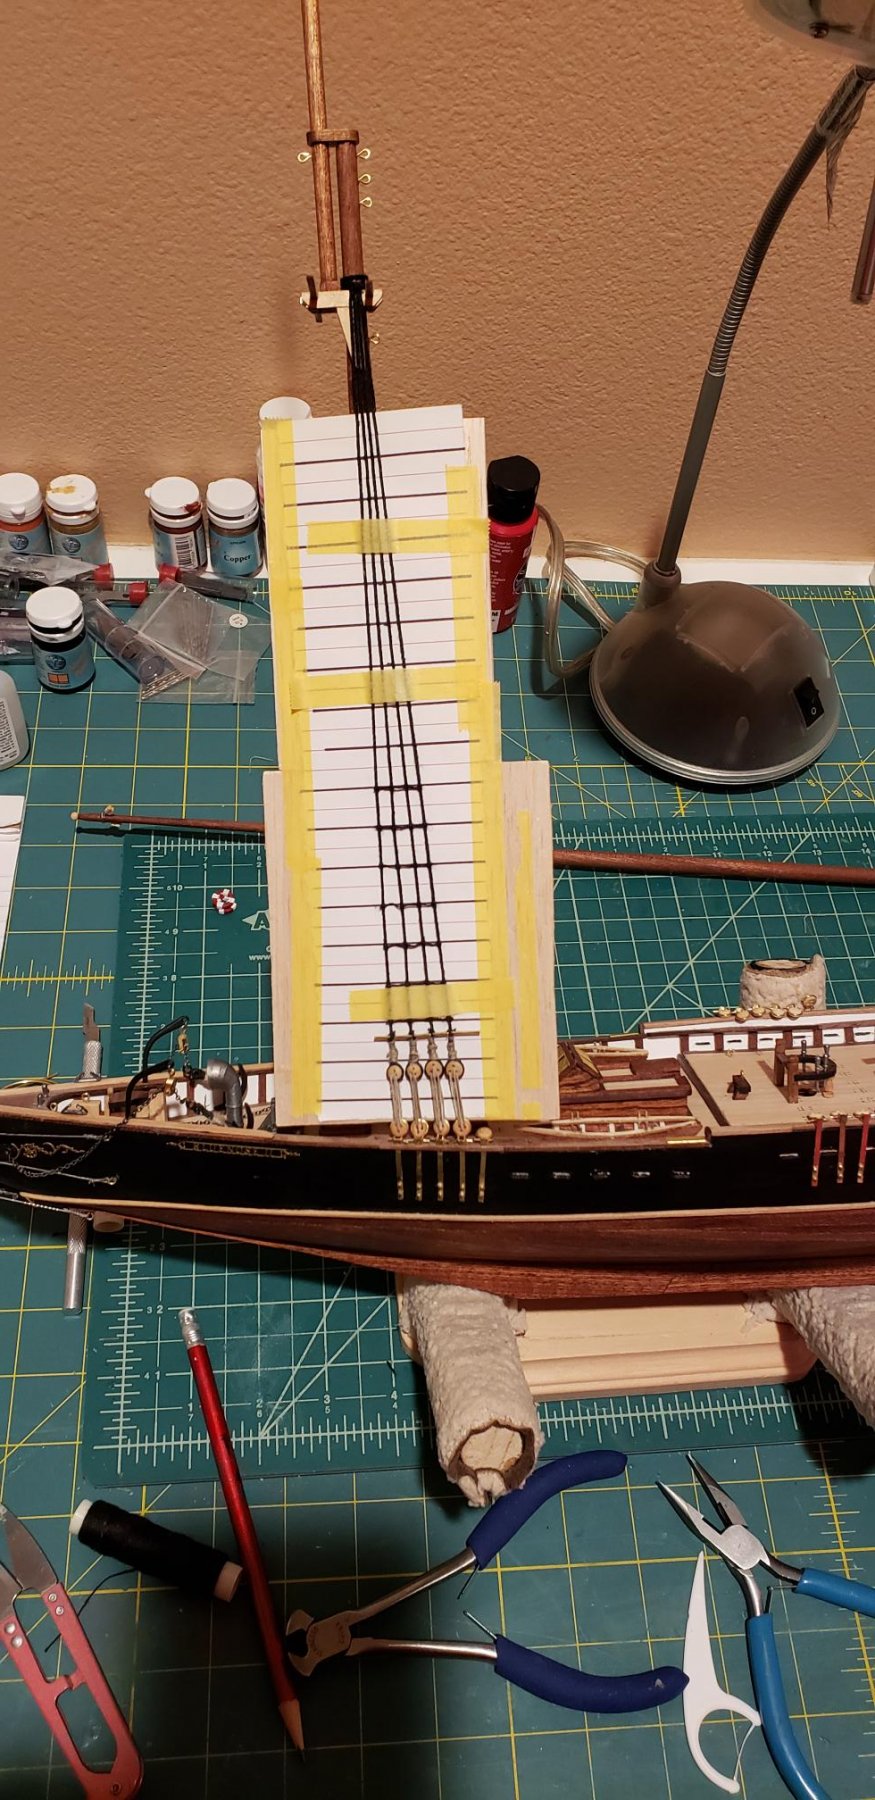
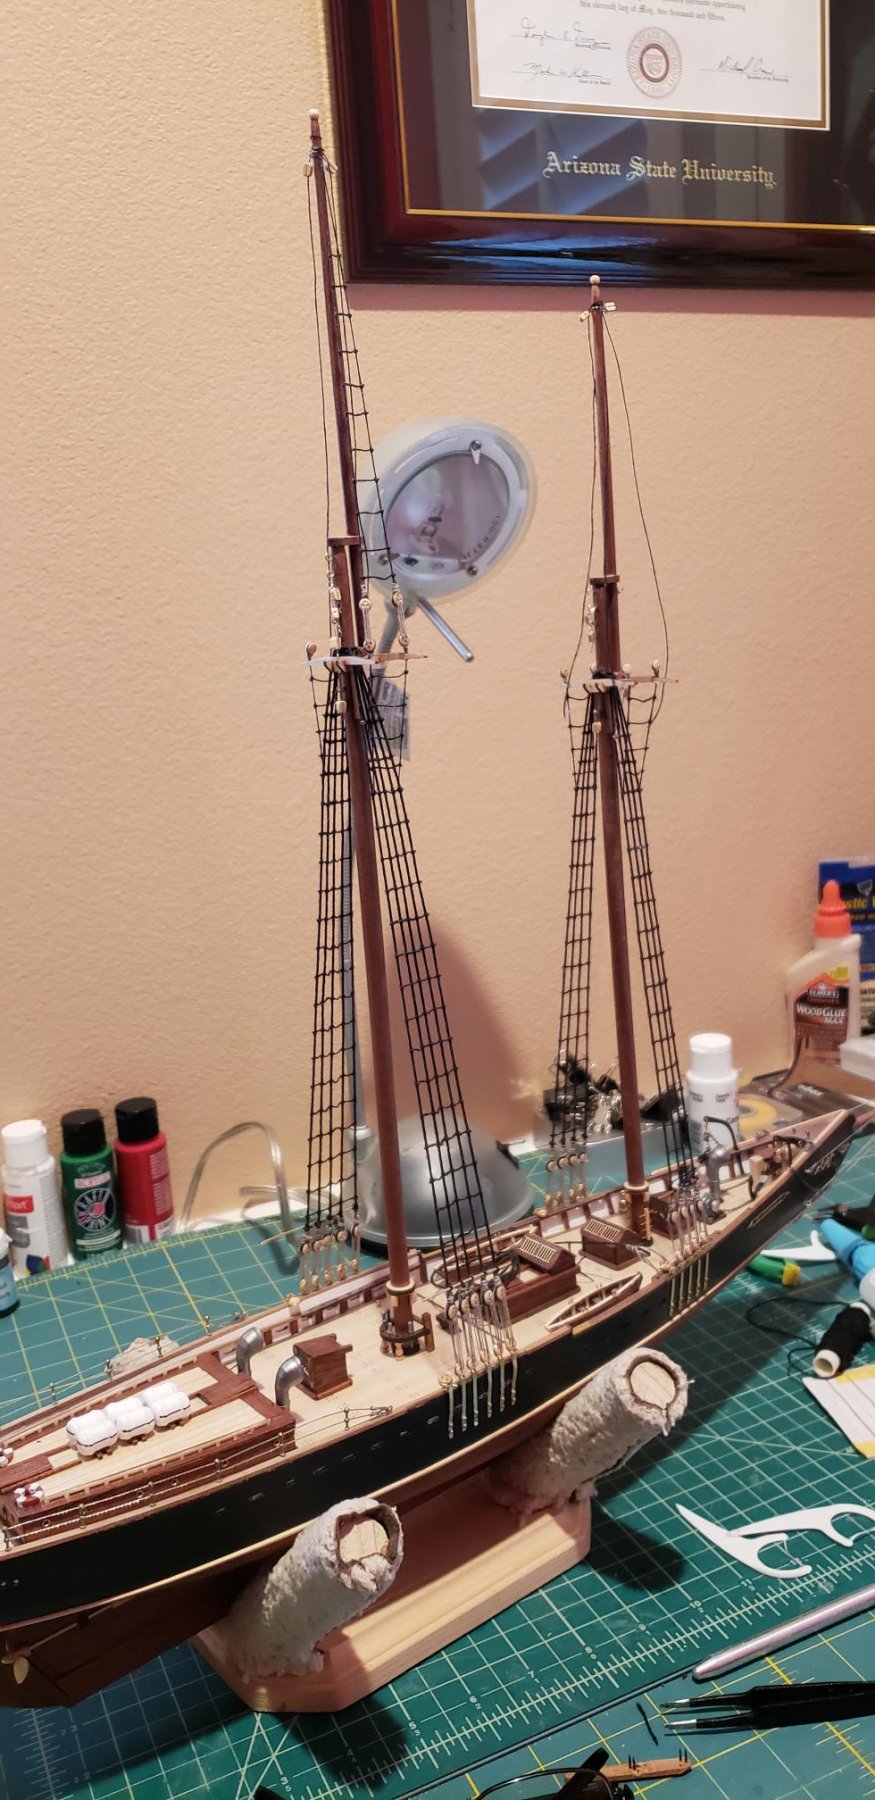
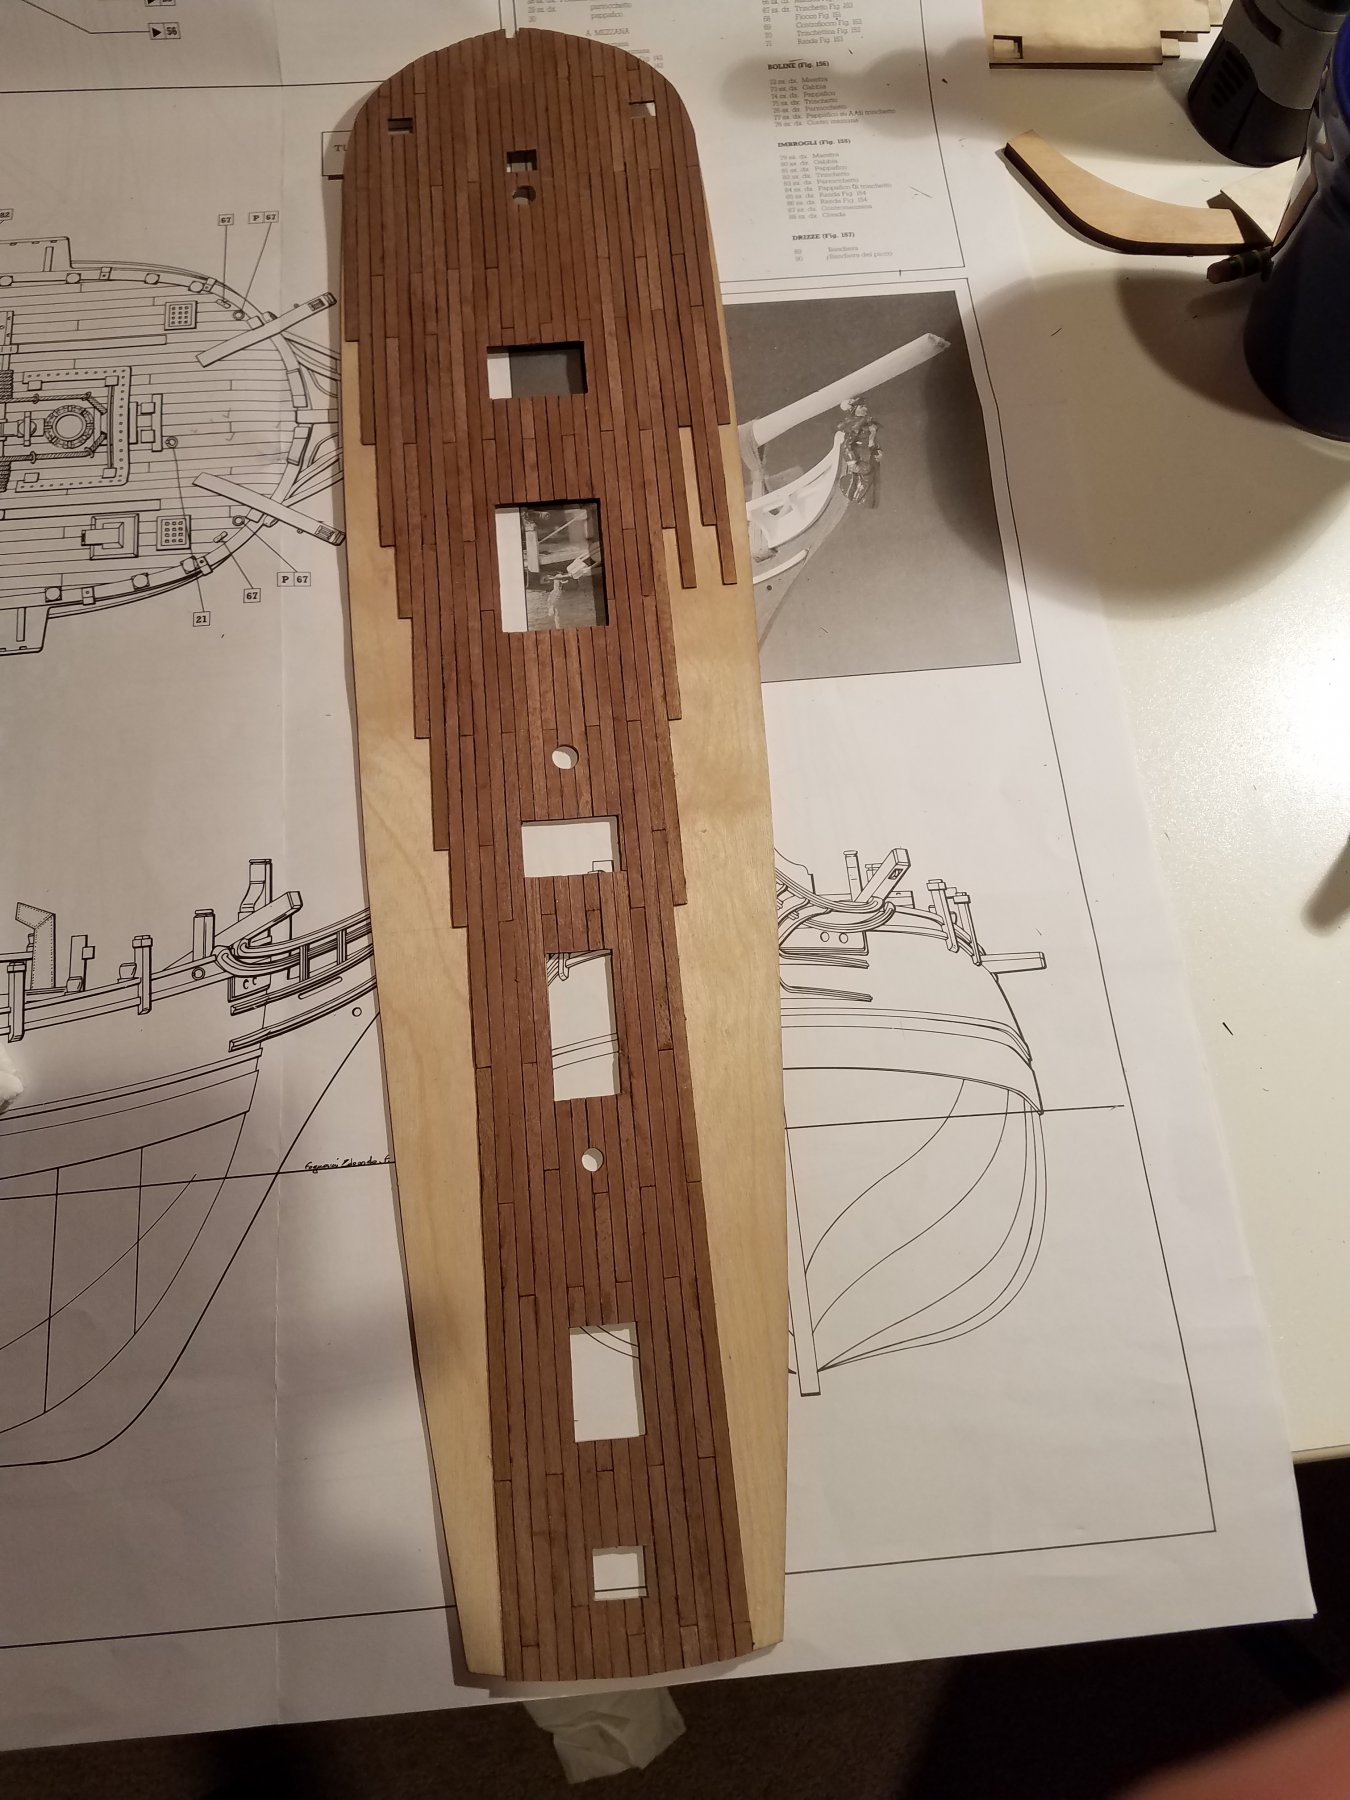
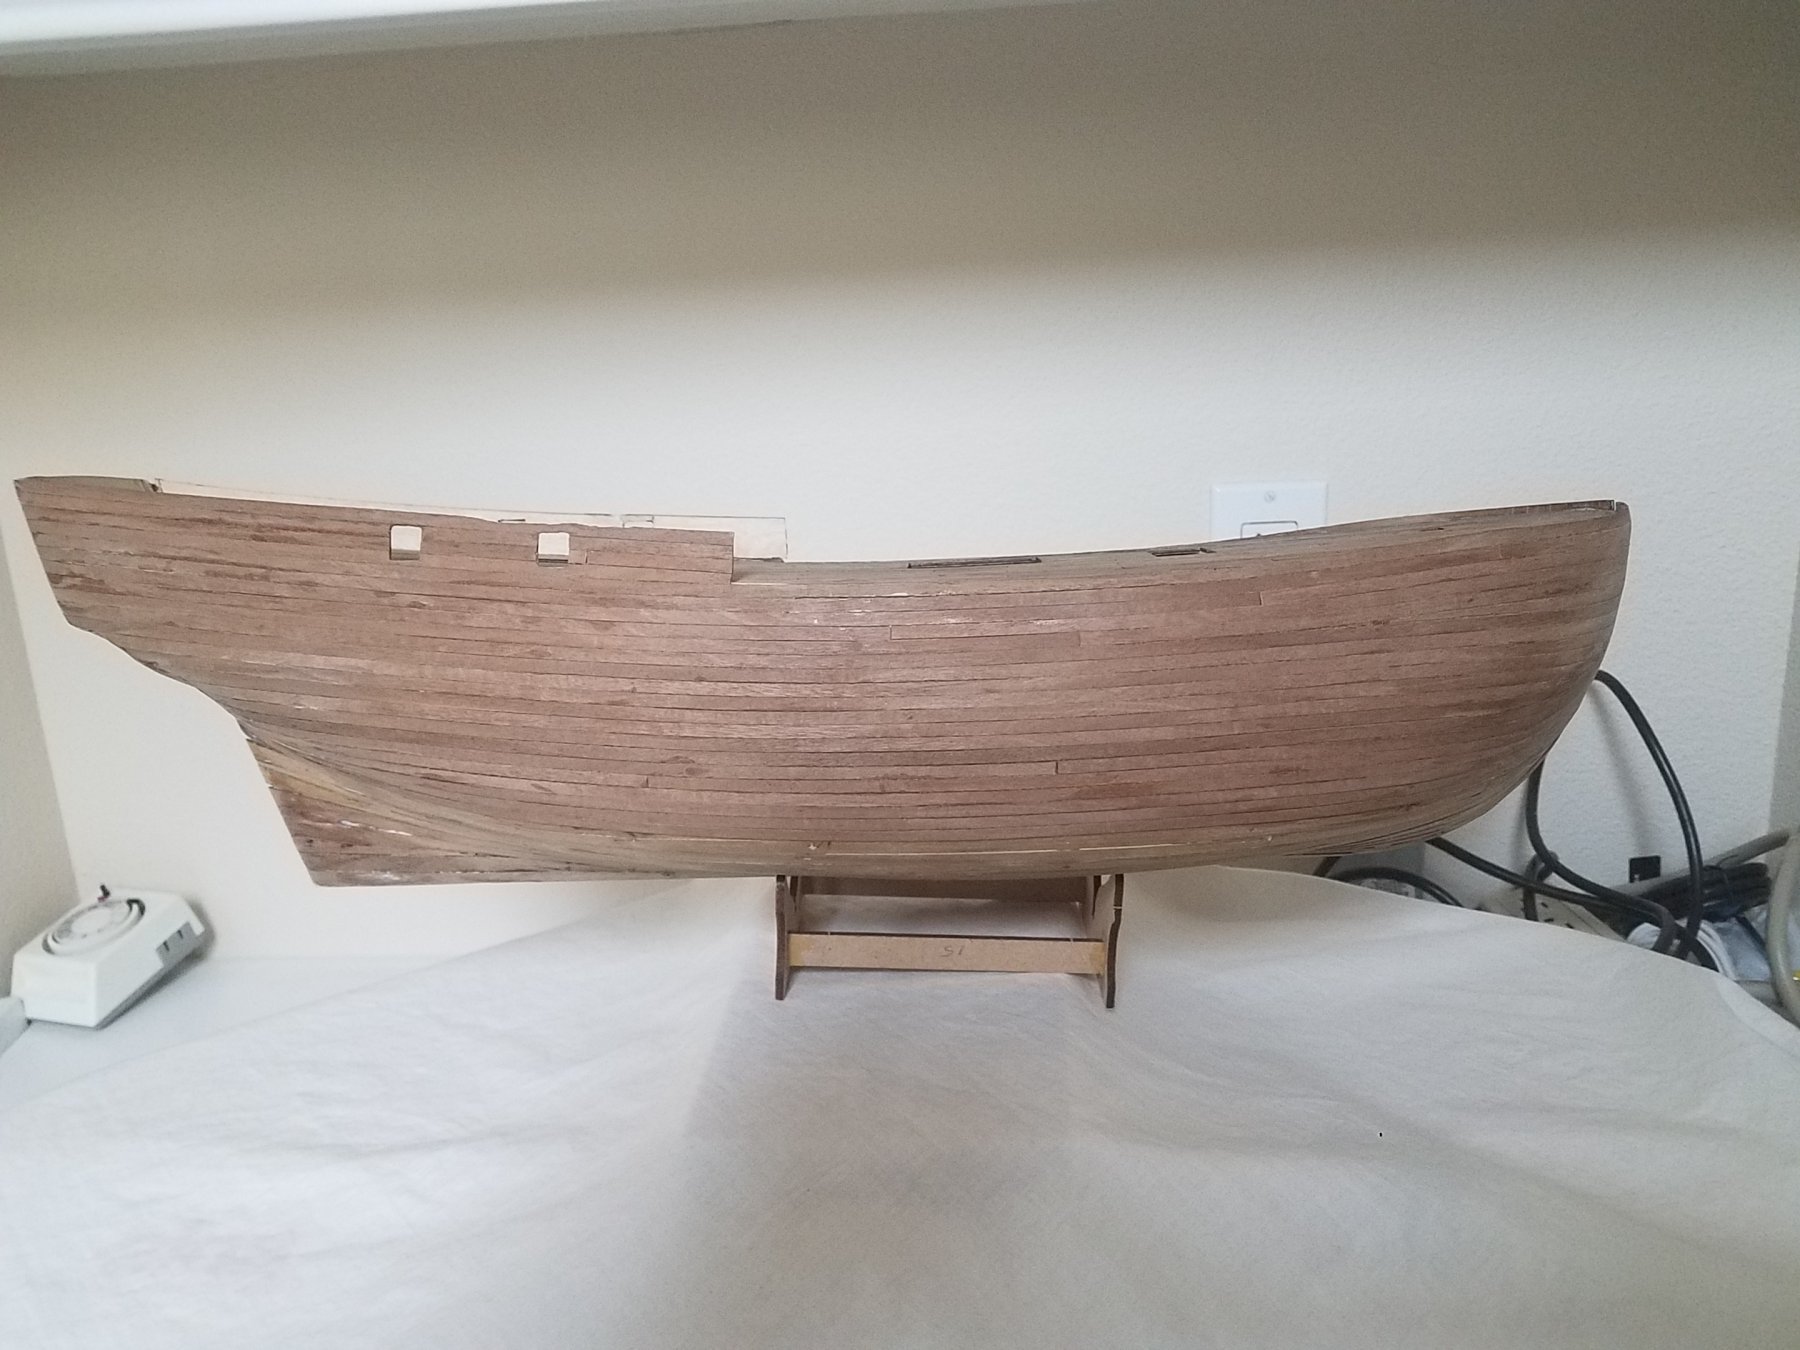
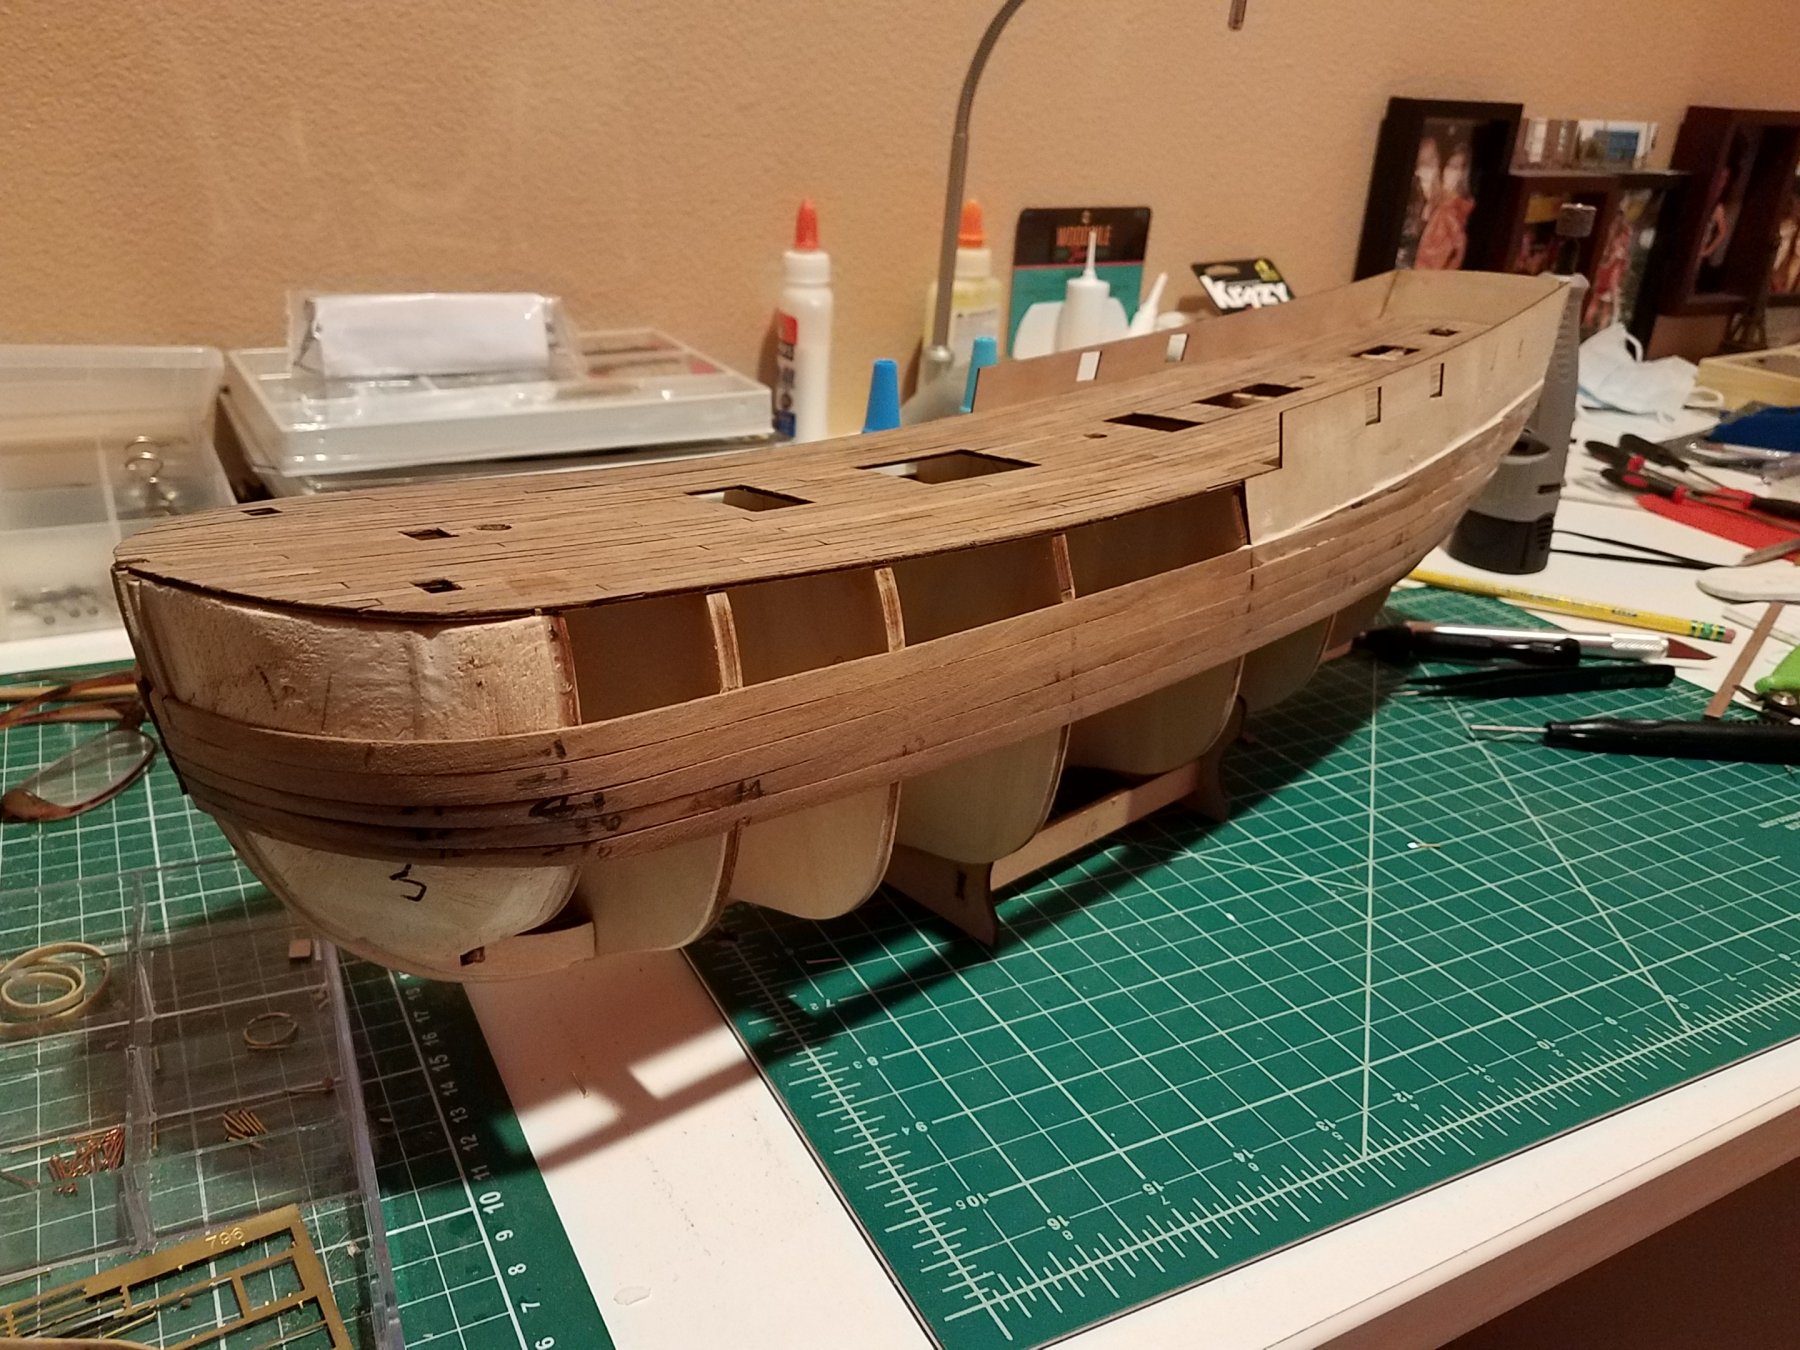
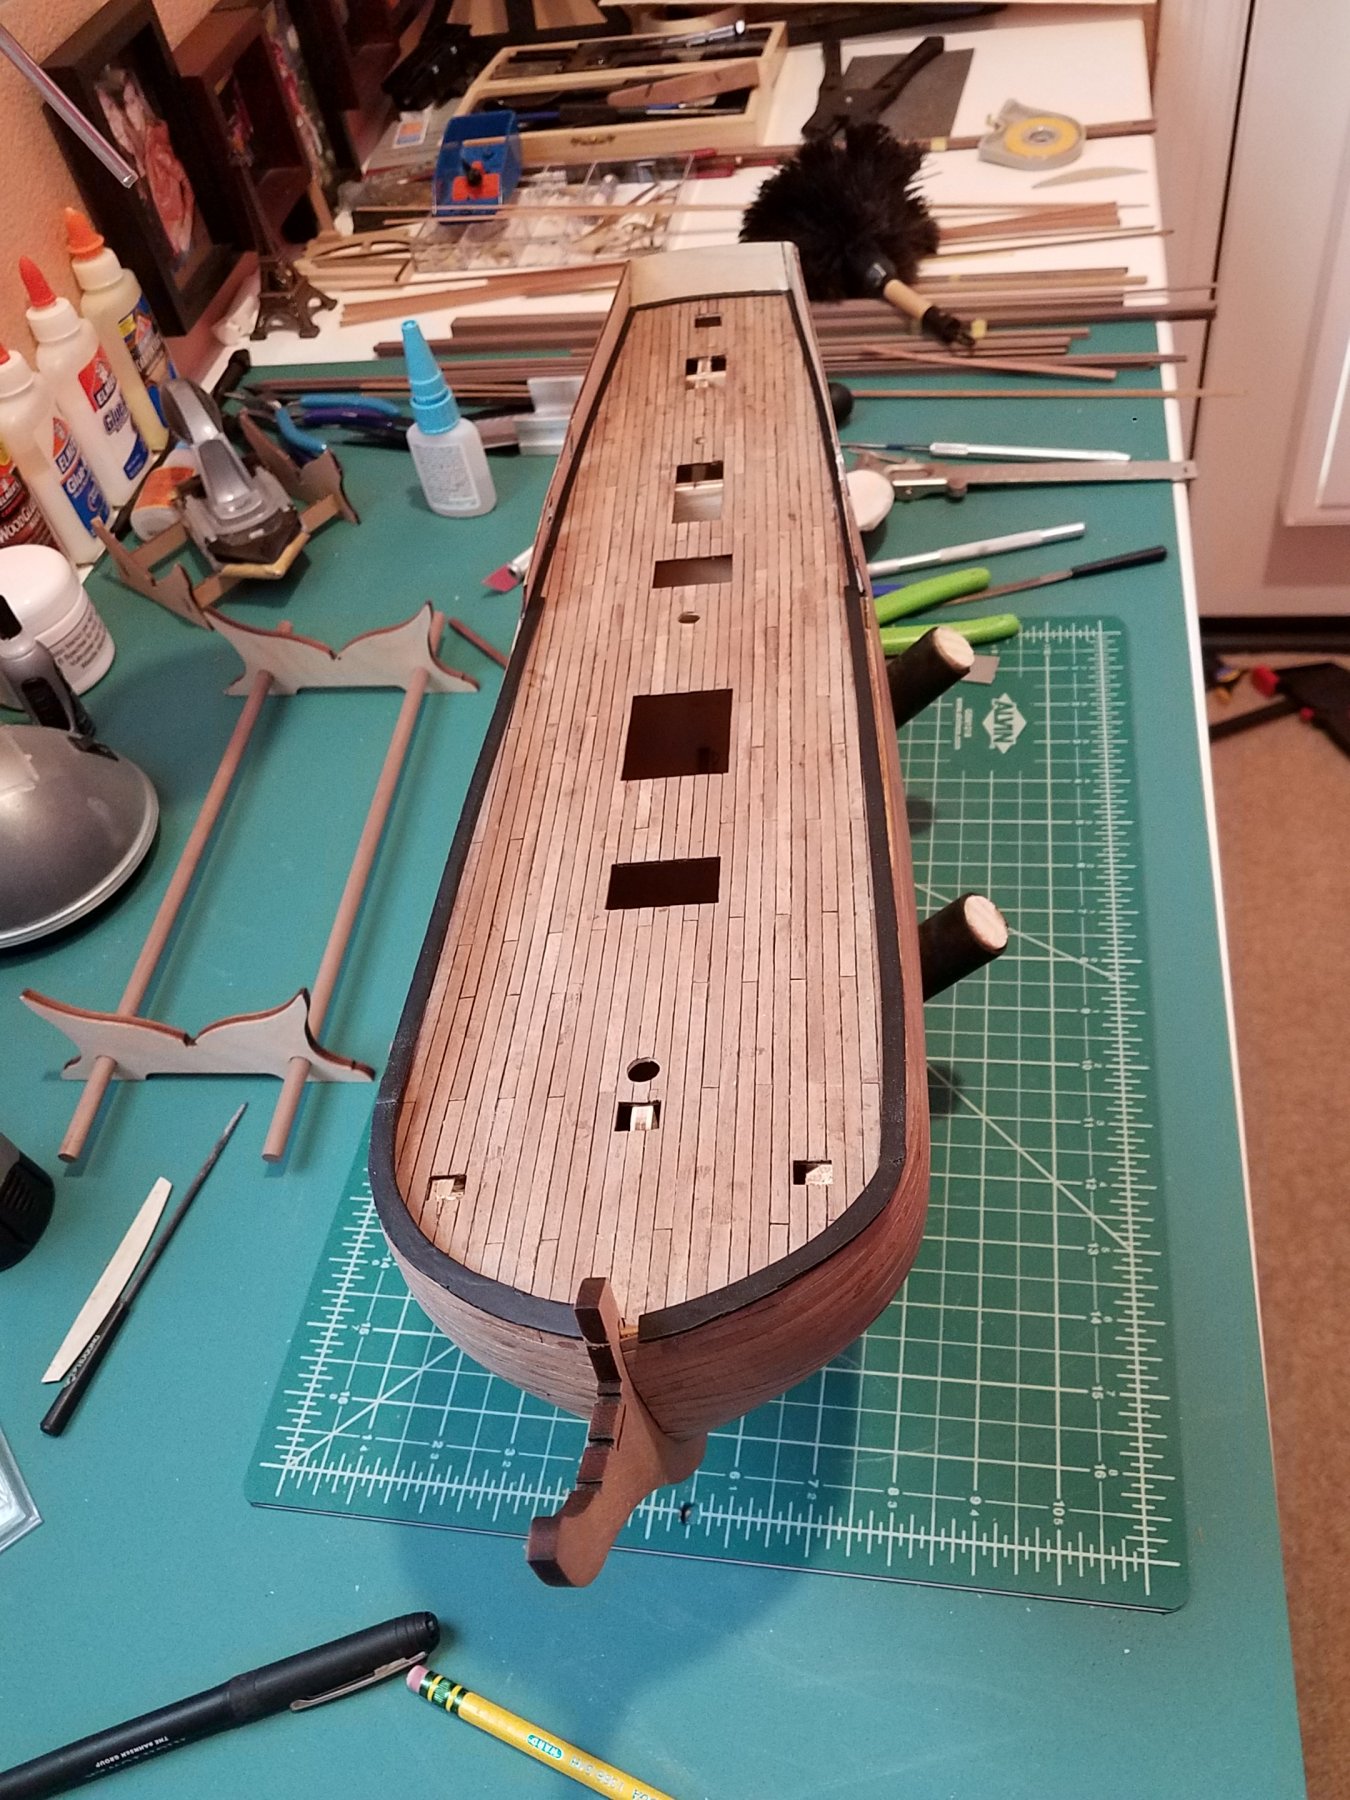
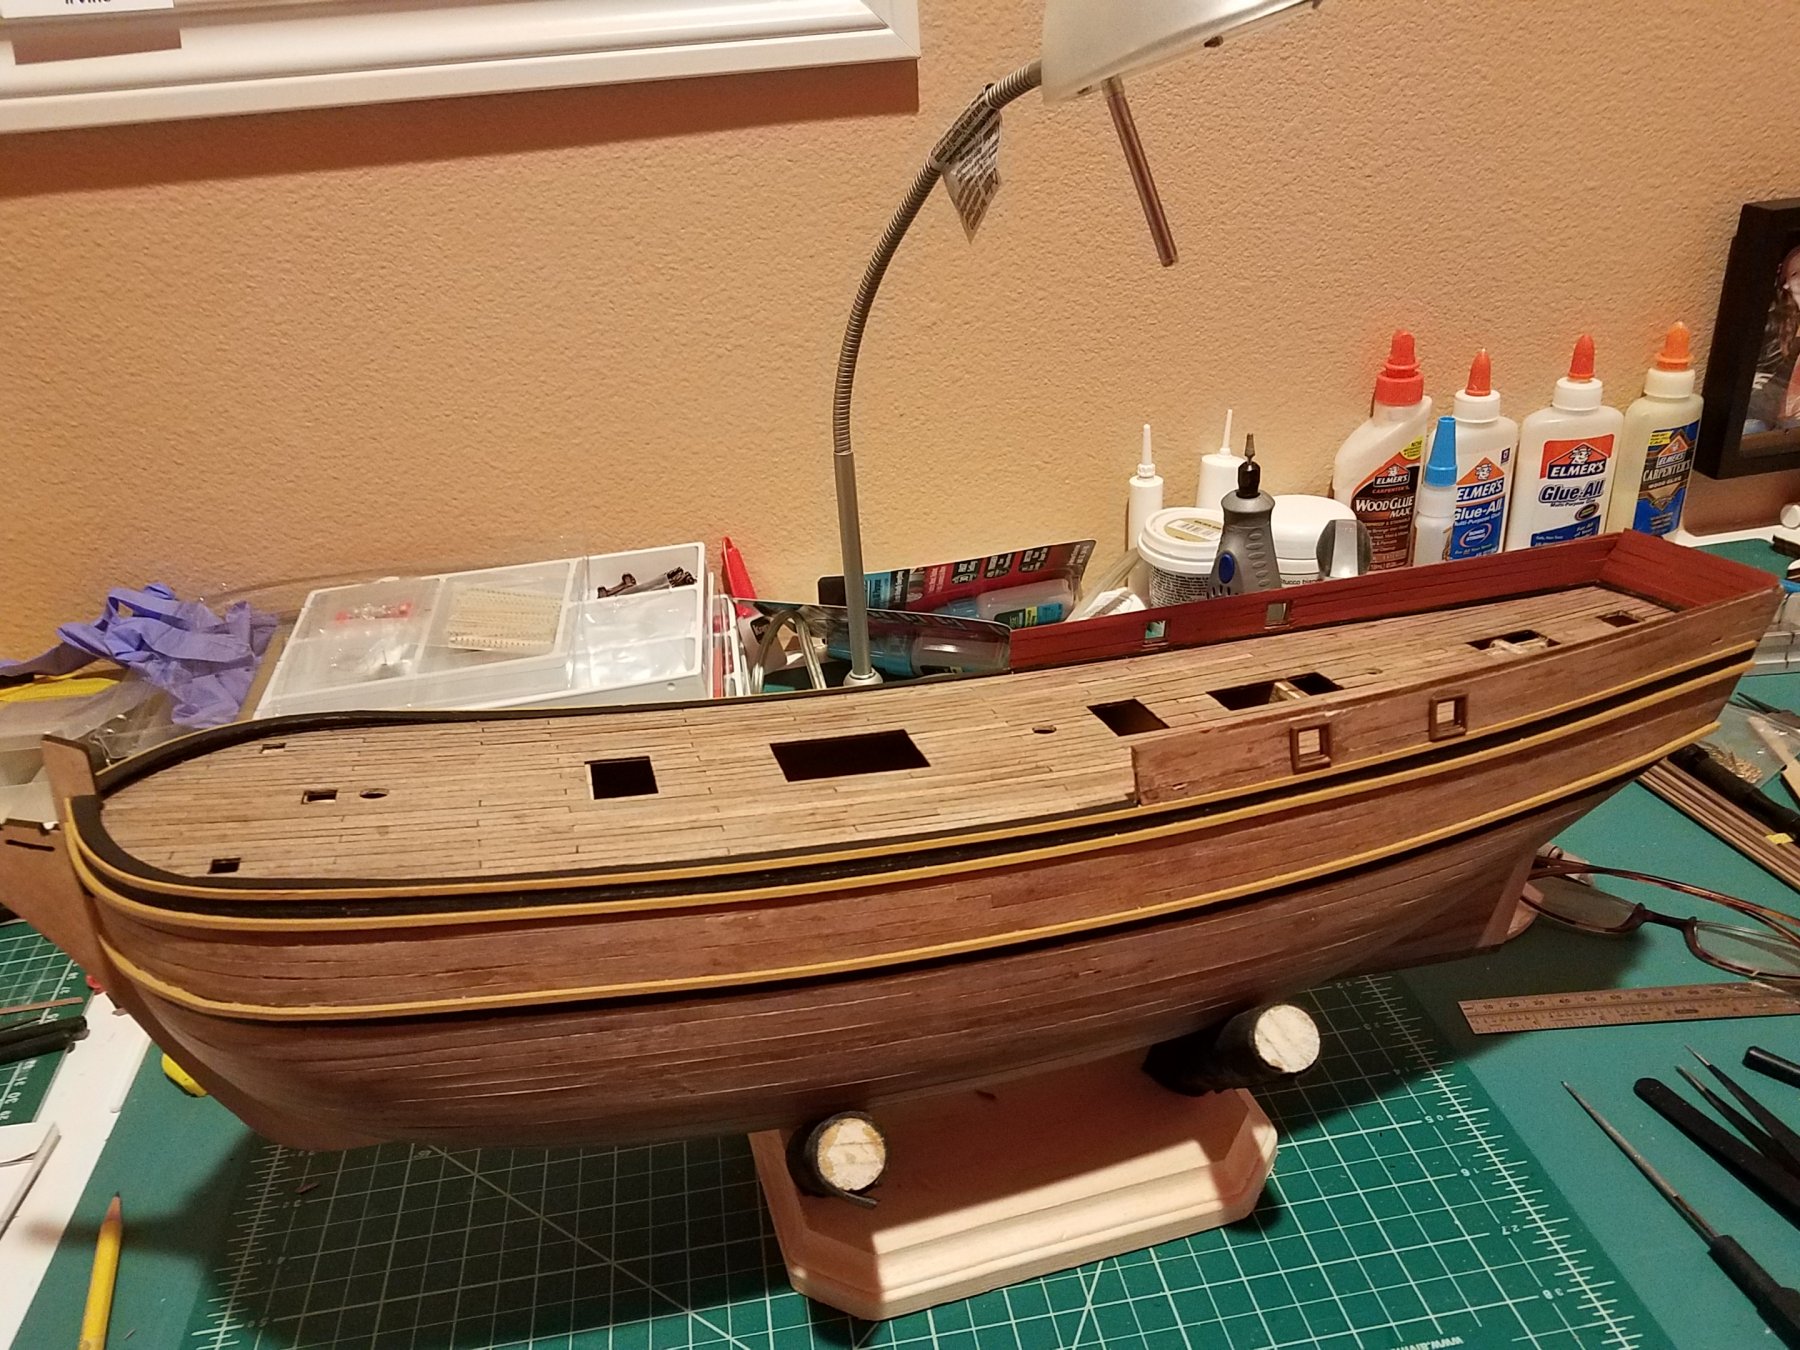
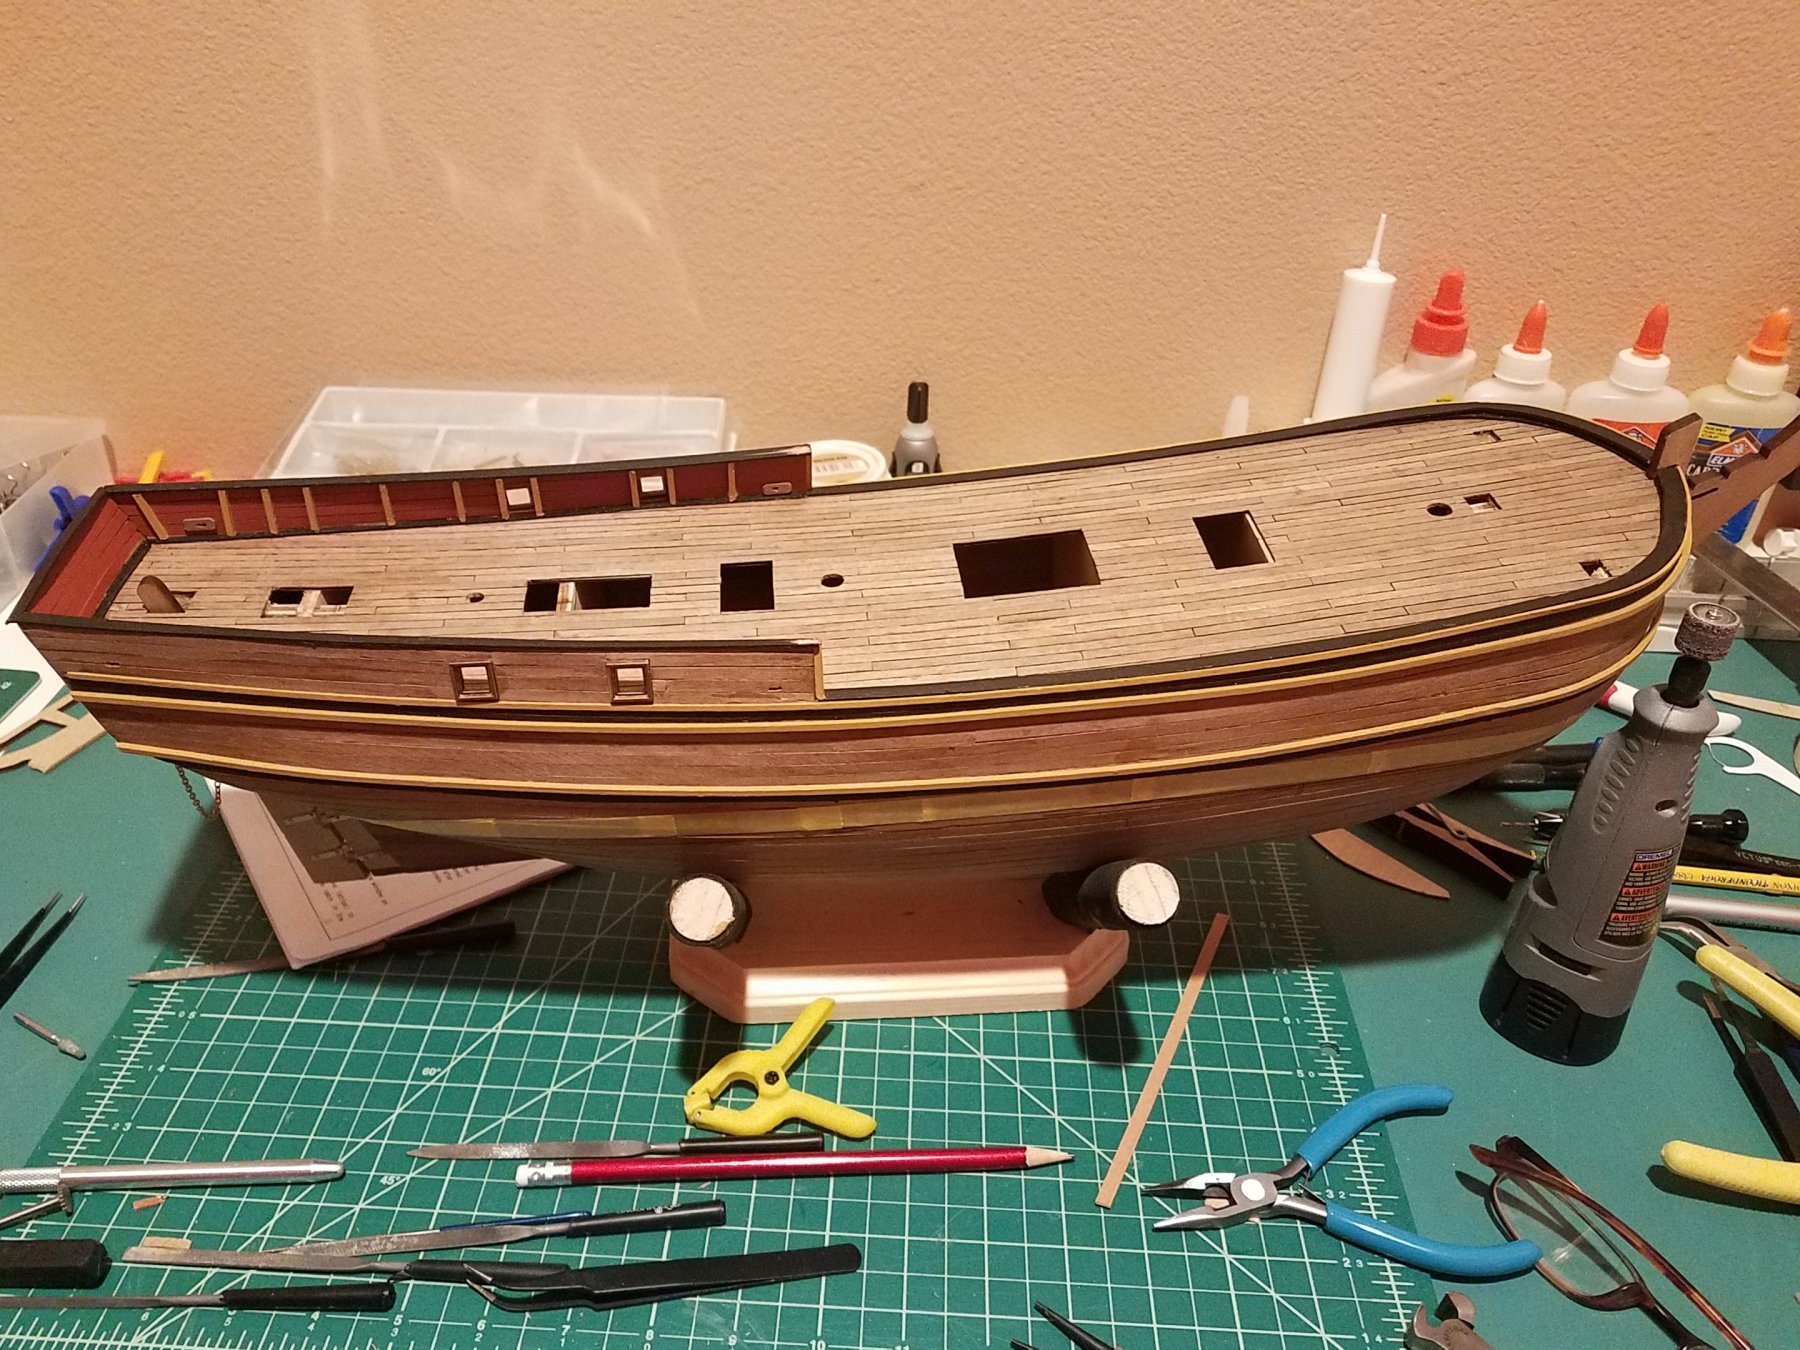
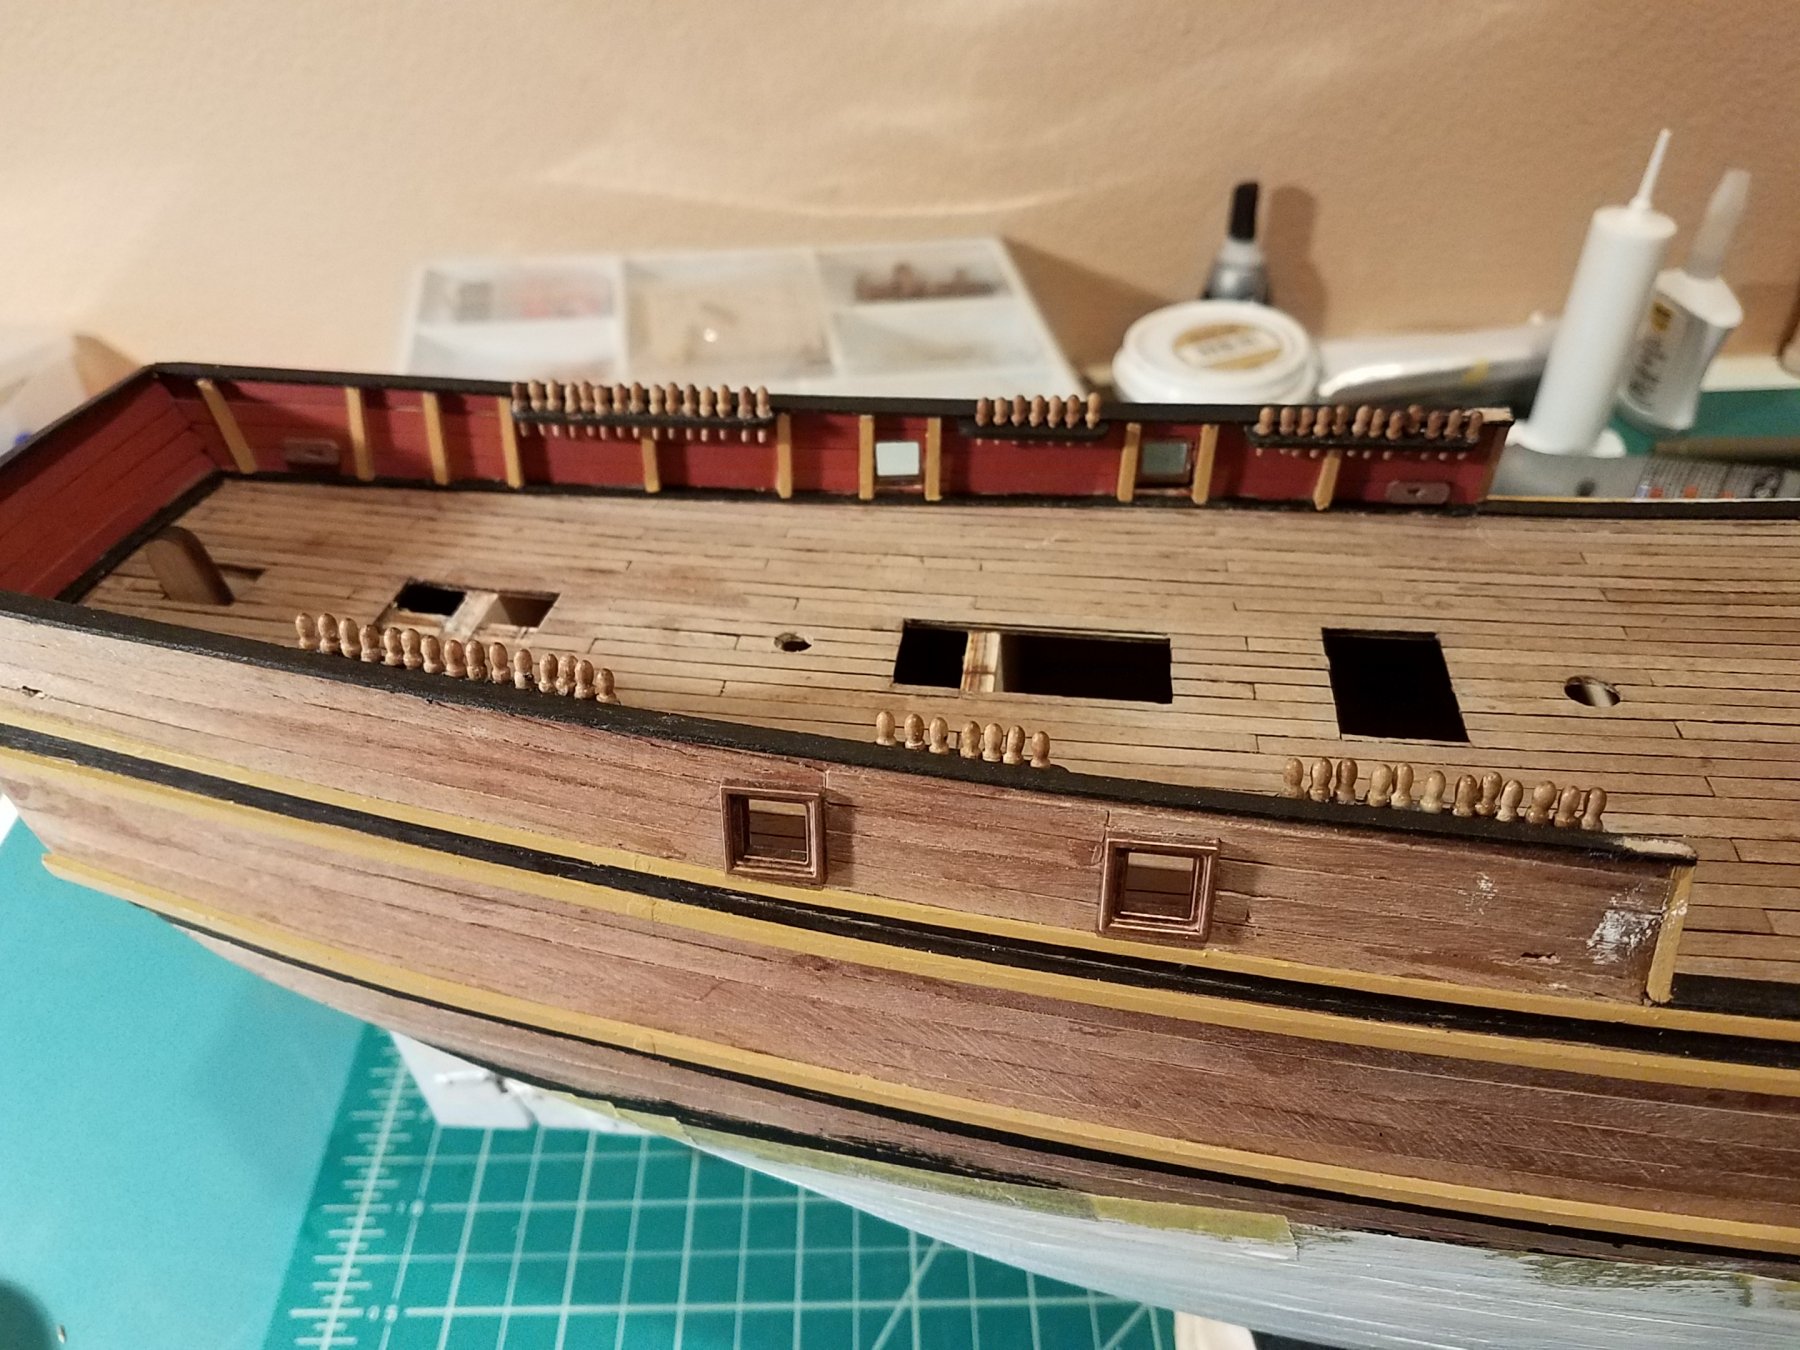
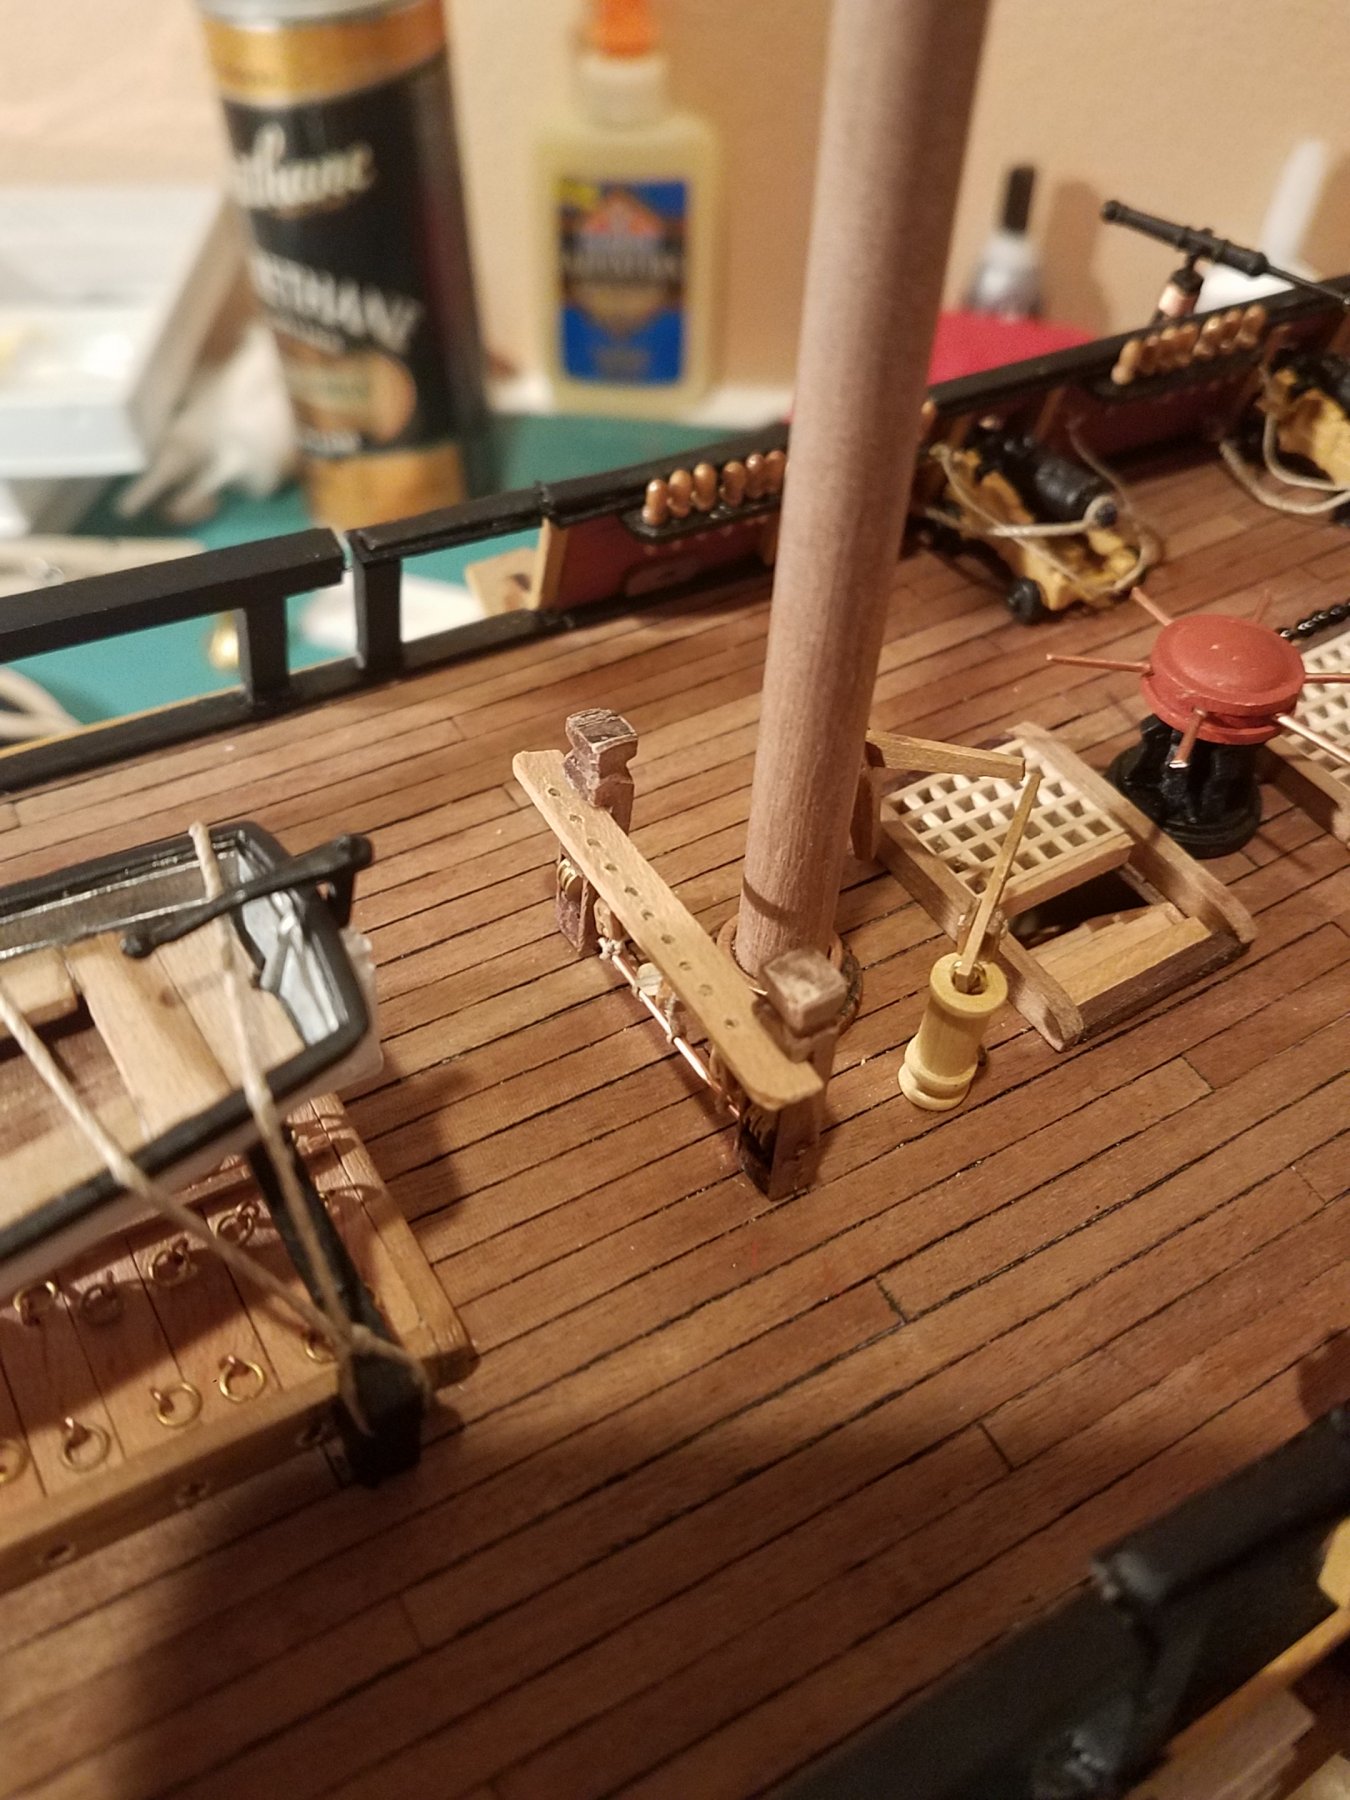
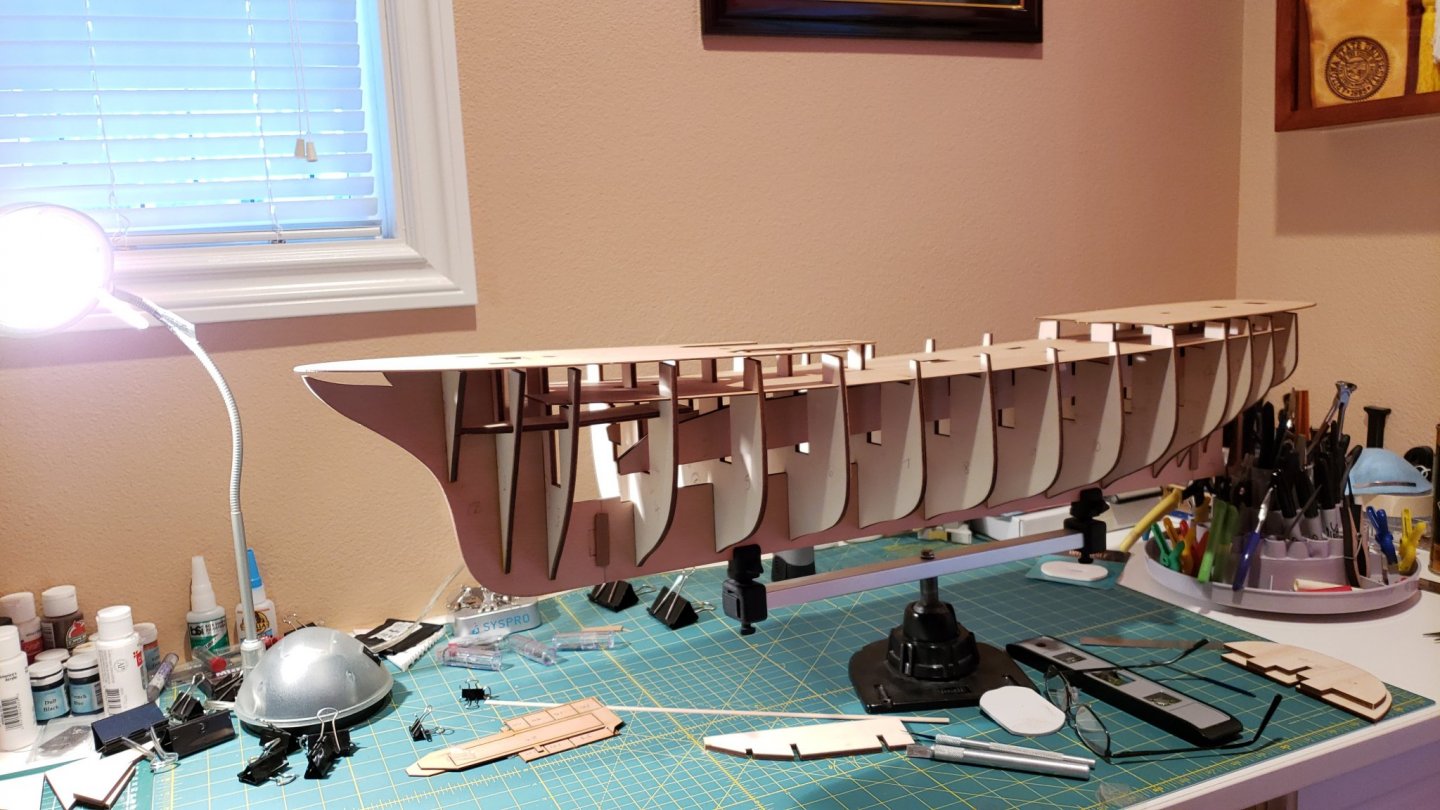
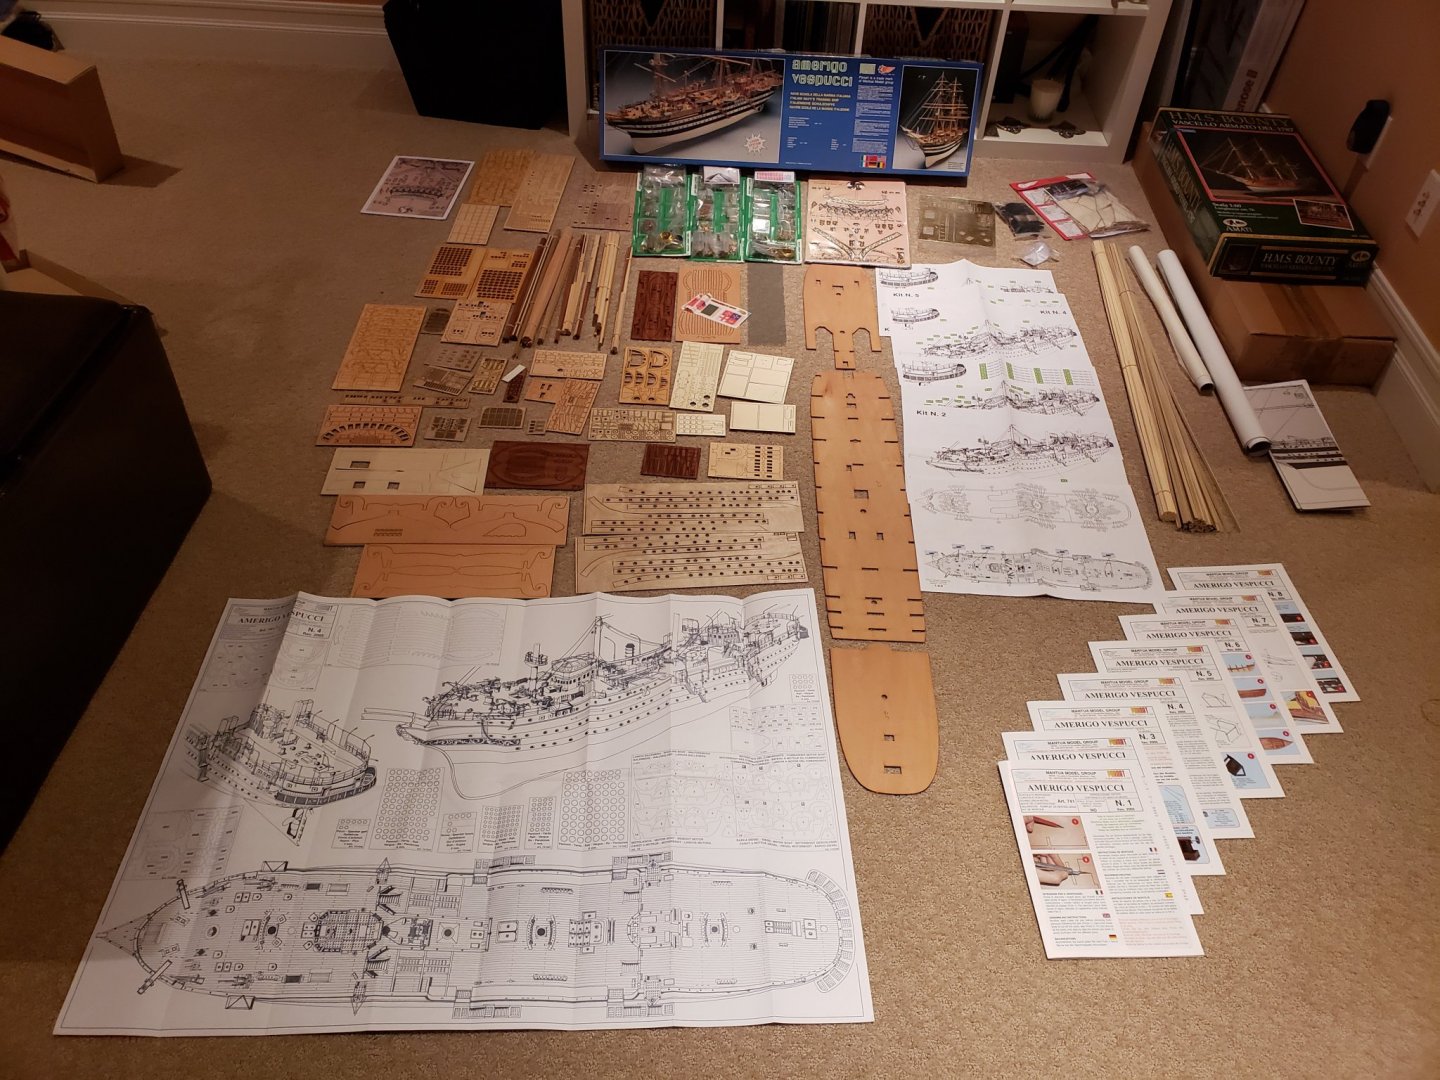
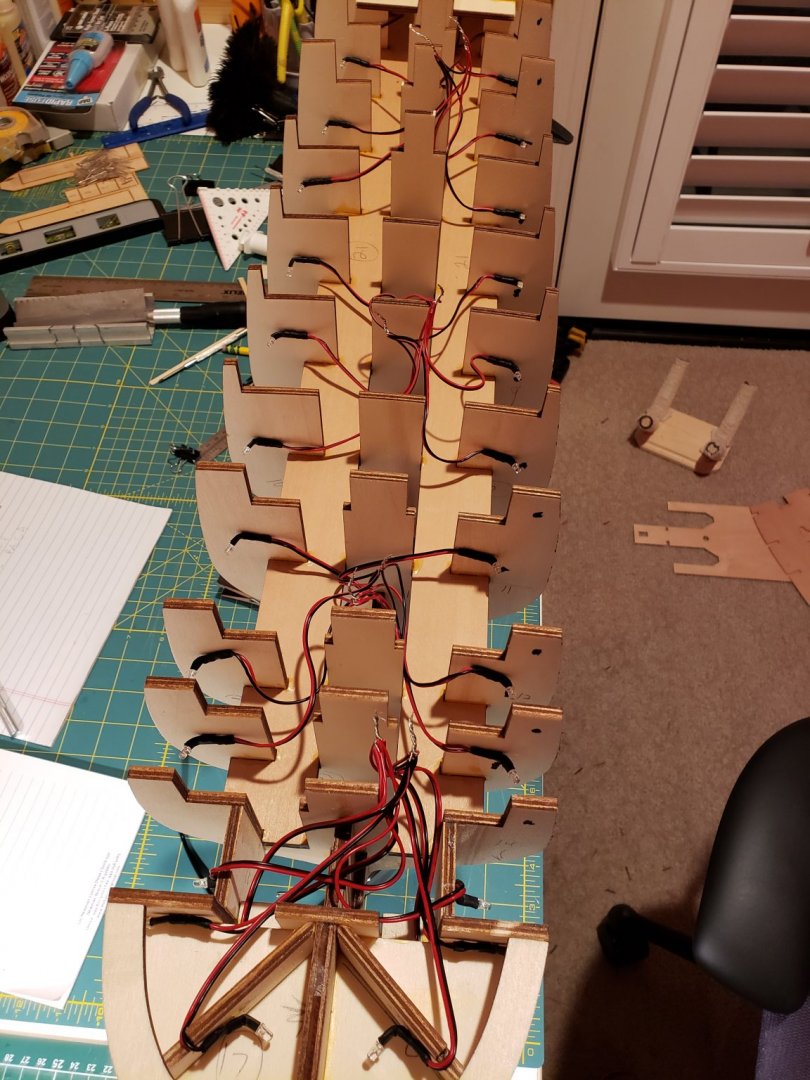
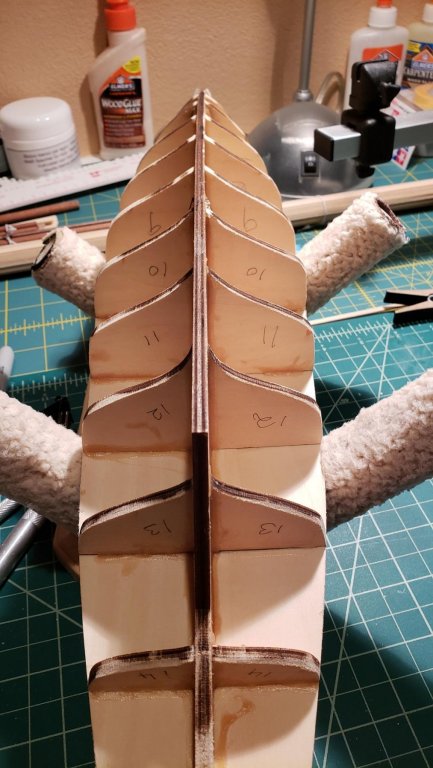
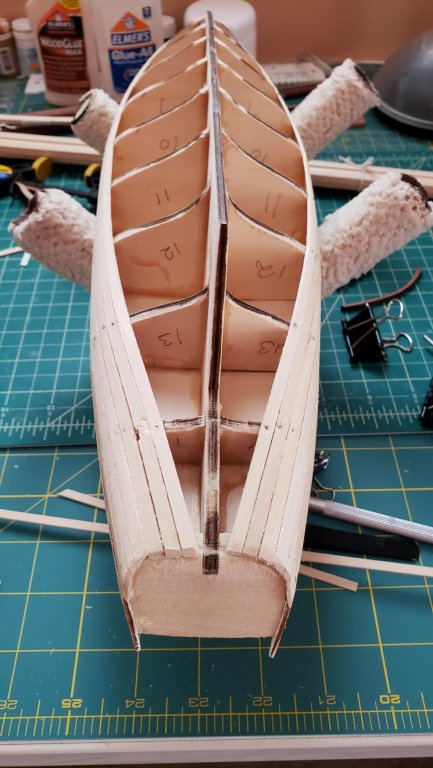
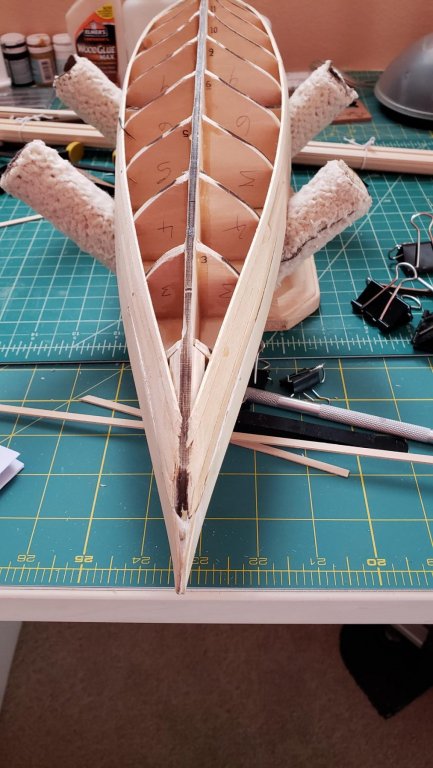
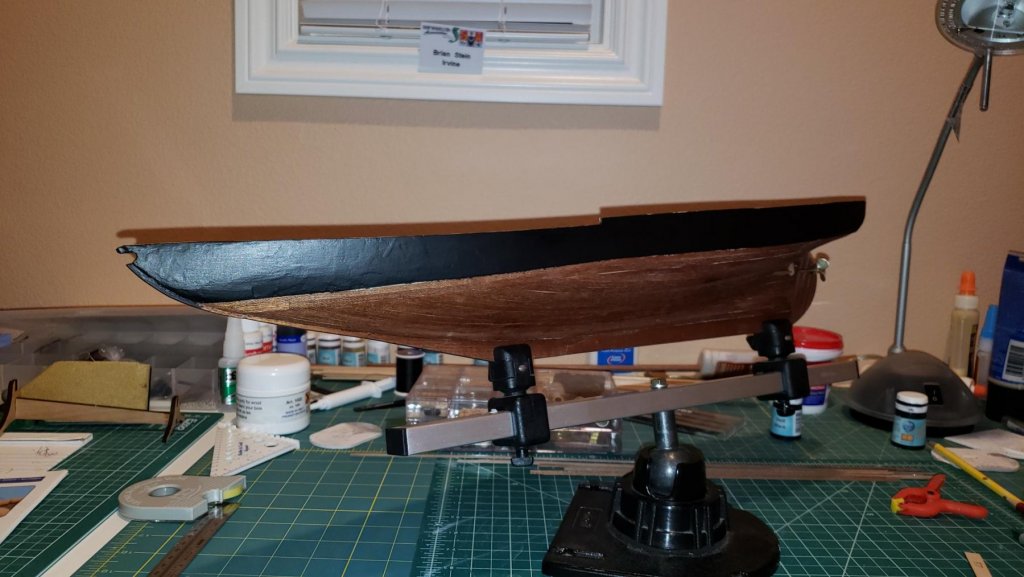
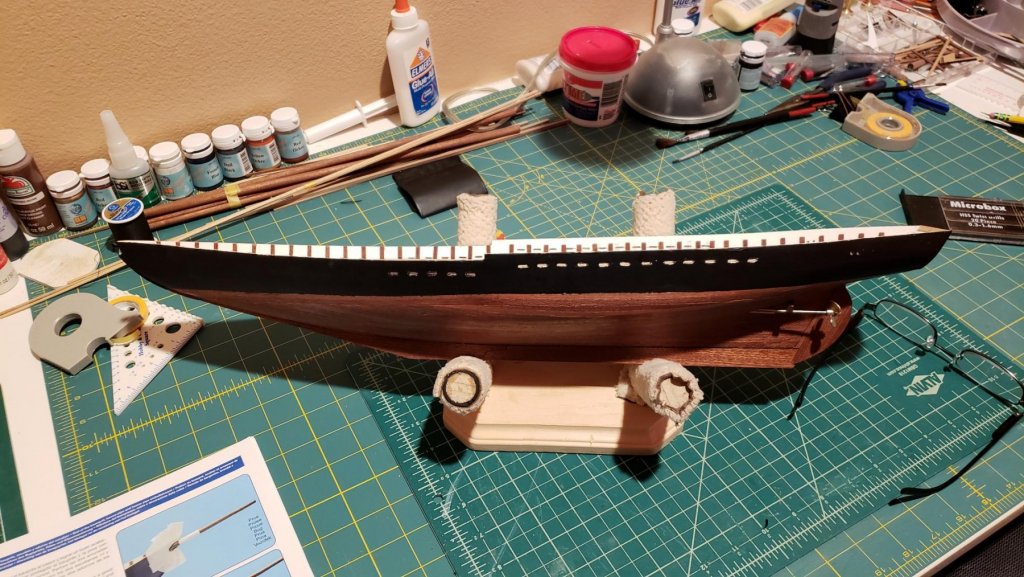
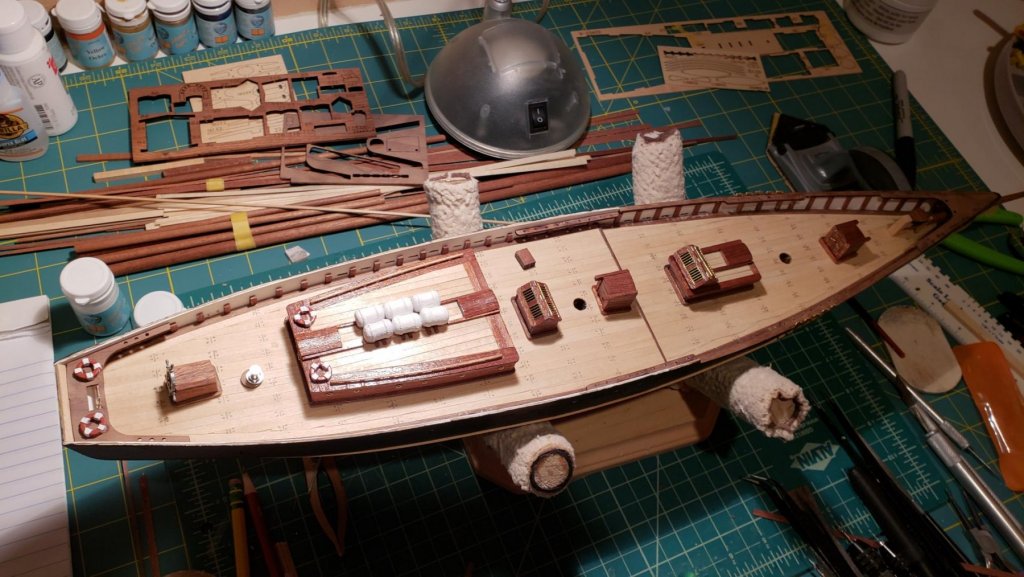
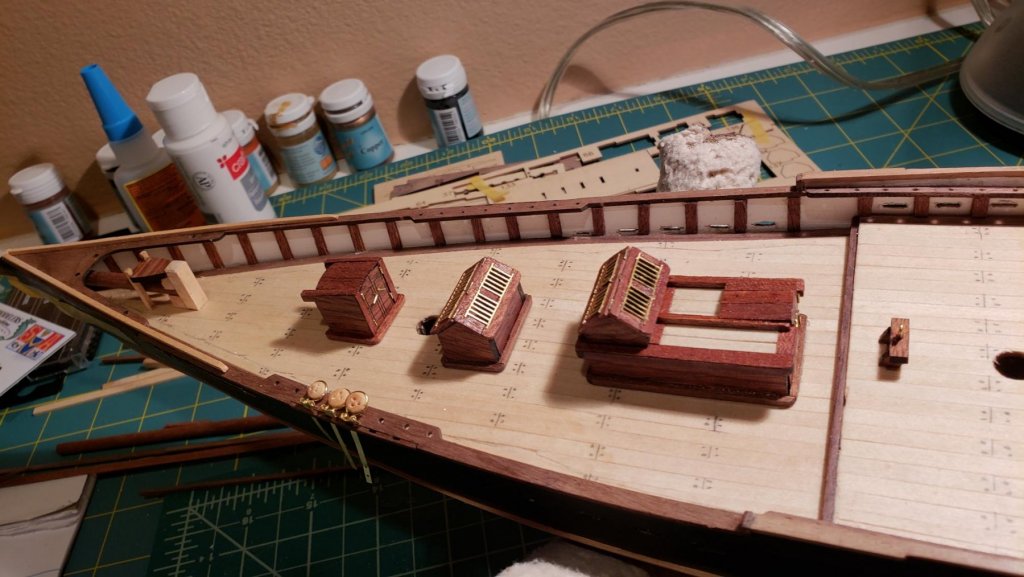
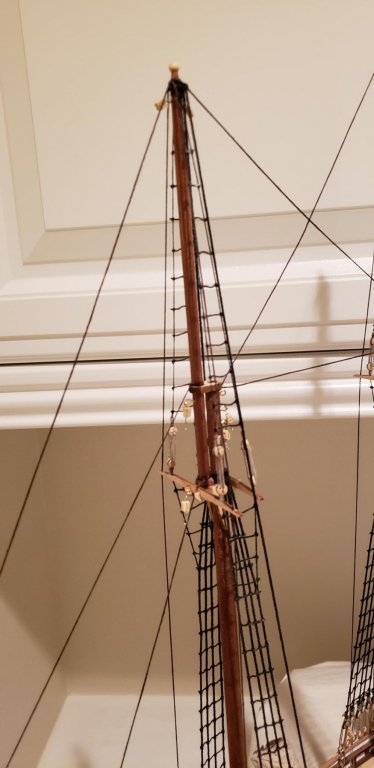
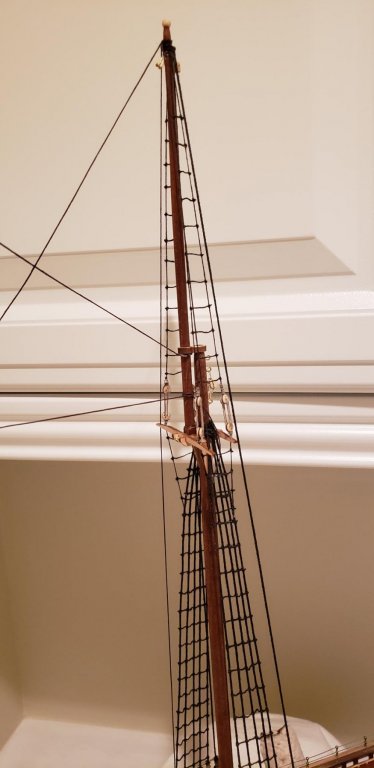
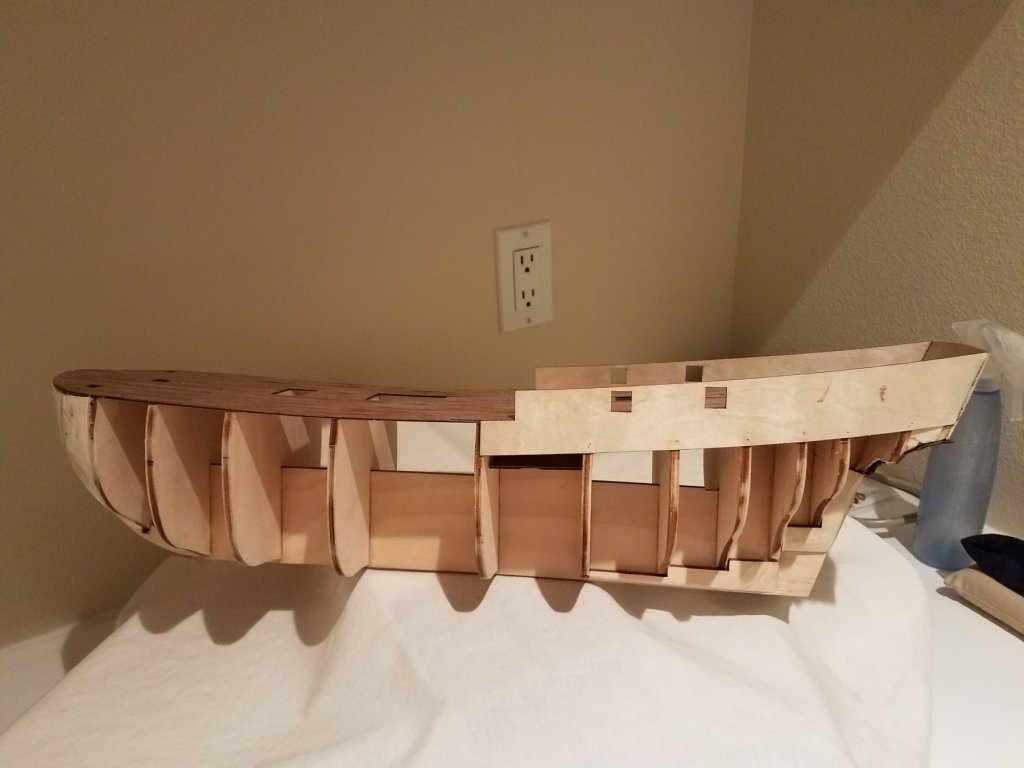
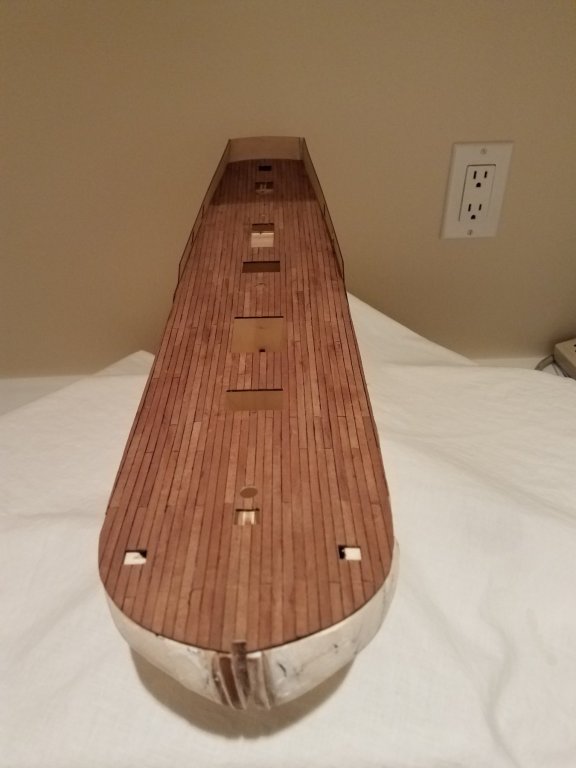
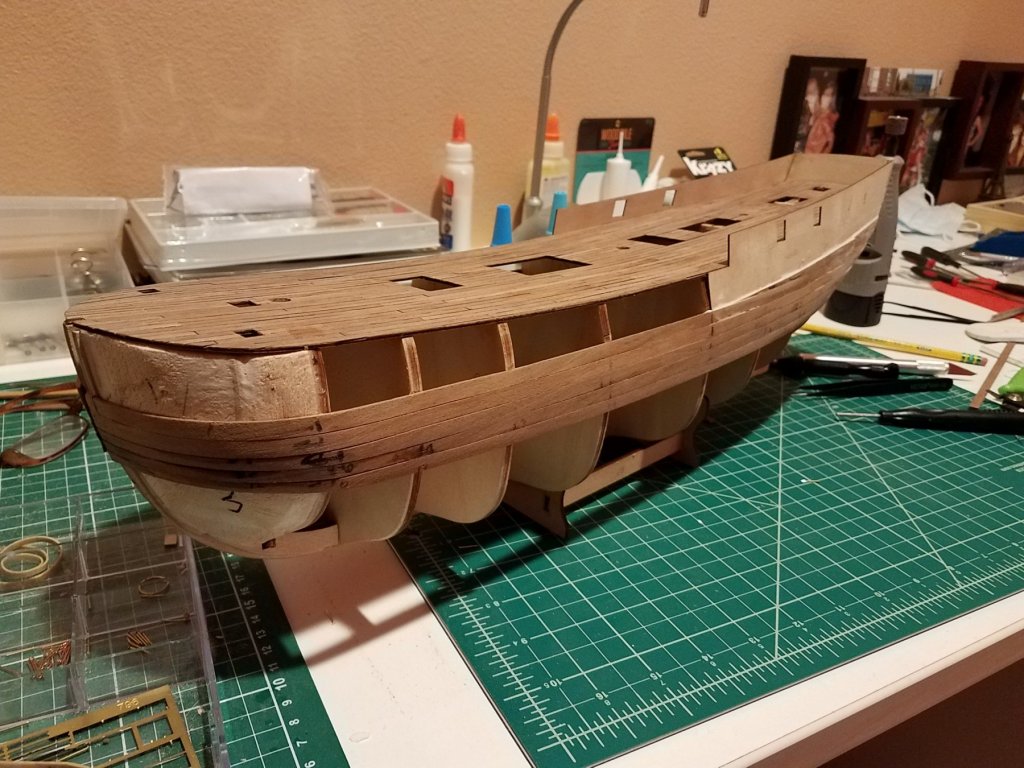
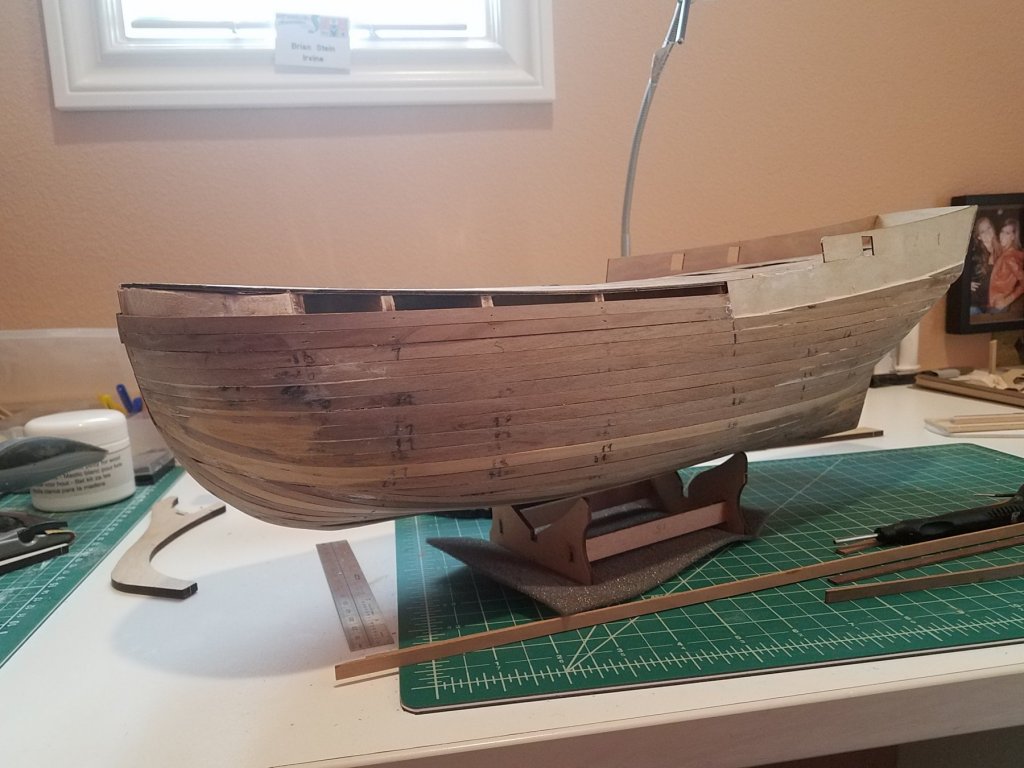
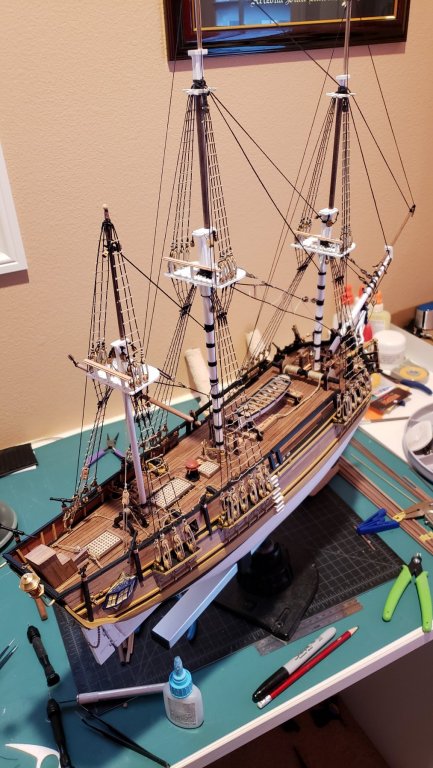
I started my build on the Amerigo Vespucci in March 2019. Here are photos as I progressed thru the build. Still a way to go. Progress up to the end of Manual # 5 I decided to add LED's to the build and here I have wired it up with 70 LED's.

- 2 replies
-
- 2
-

-
- mantua
- amerigo vespucci
- (and 1 more)
-
Thanks. Go slow and read ahead. If you are stuck reach out.
-
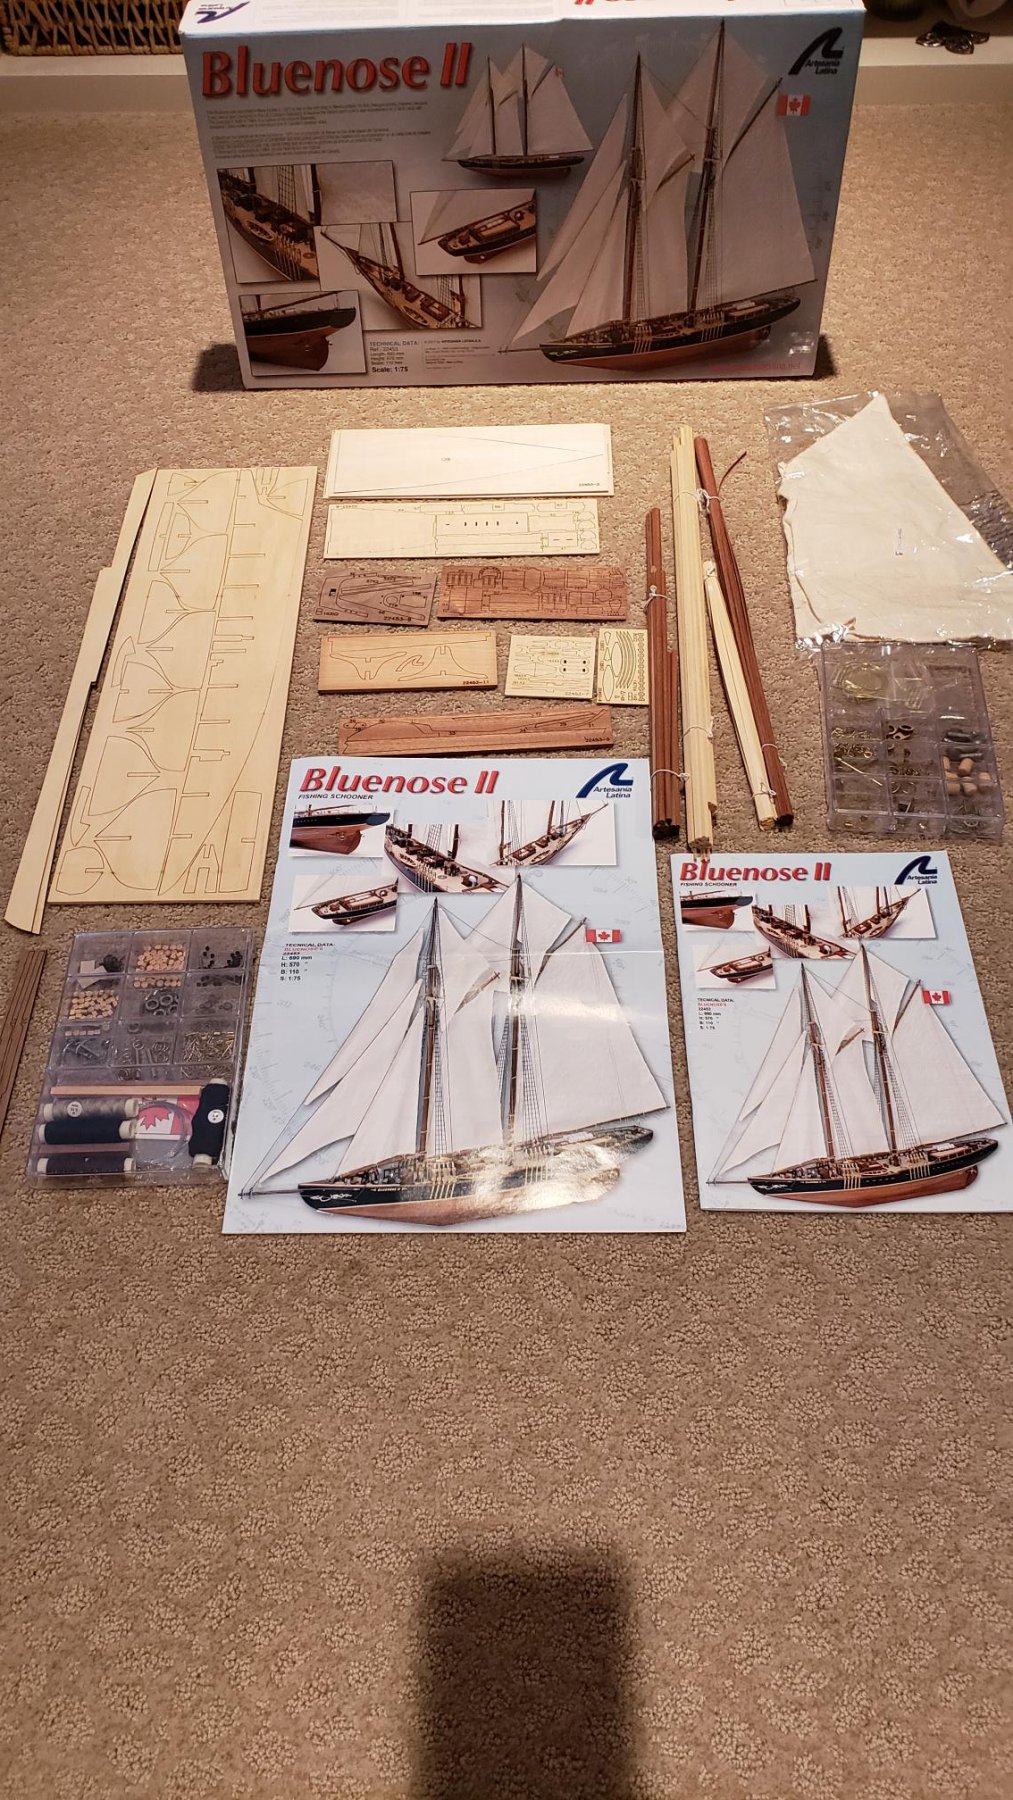
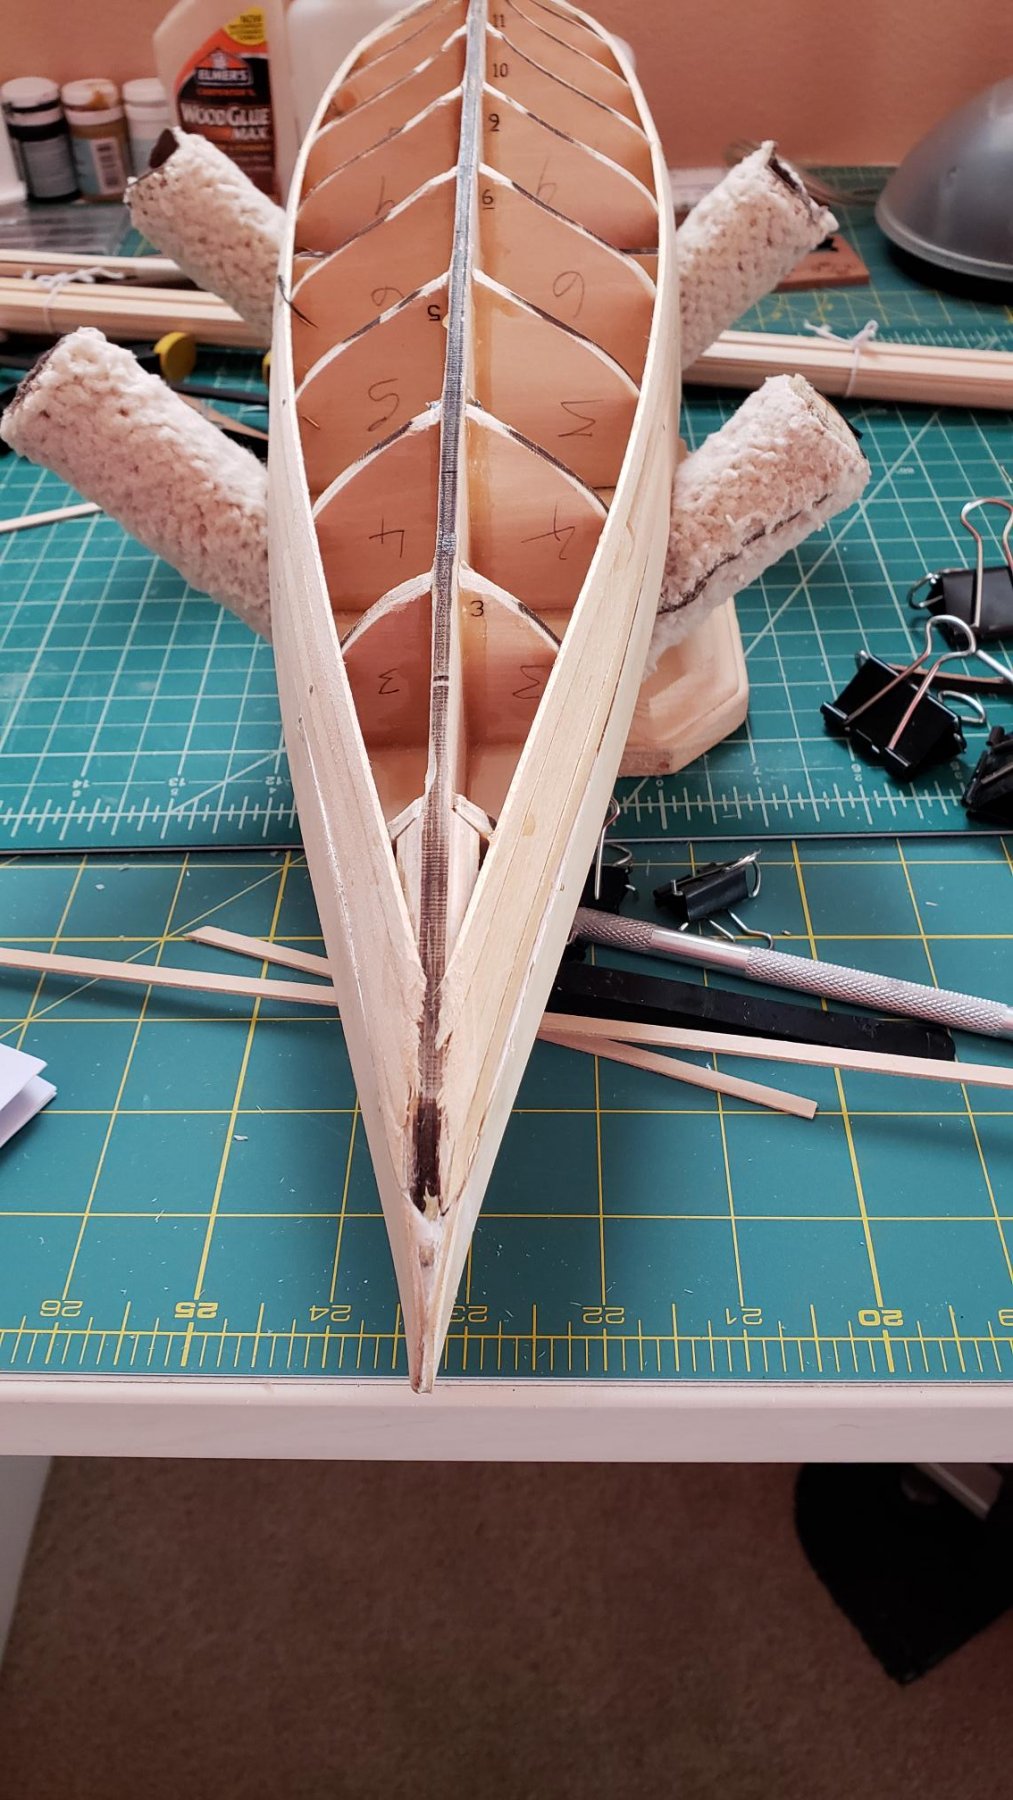
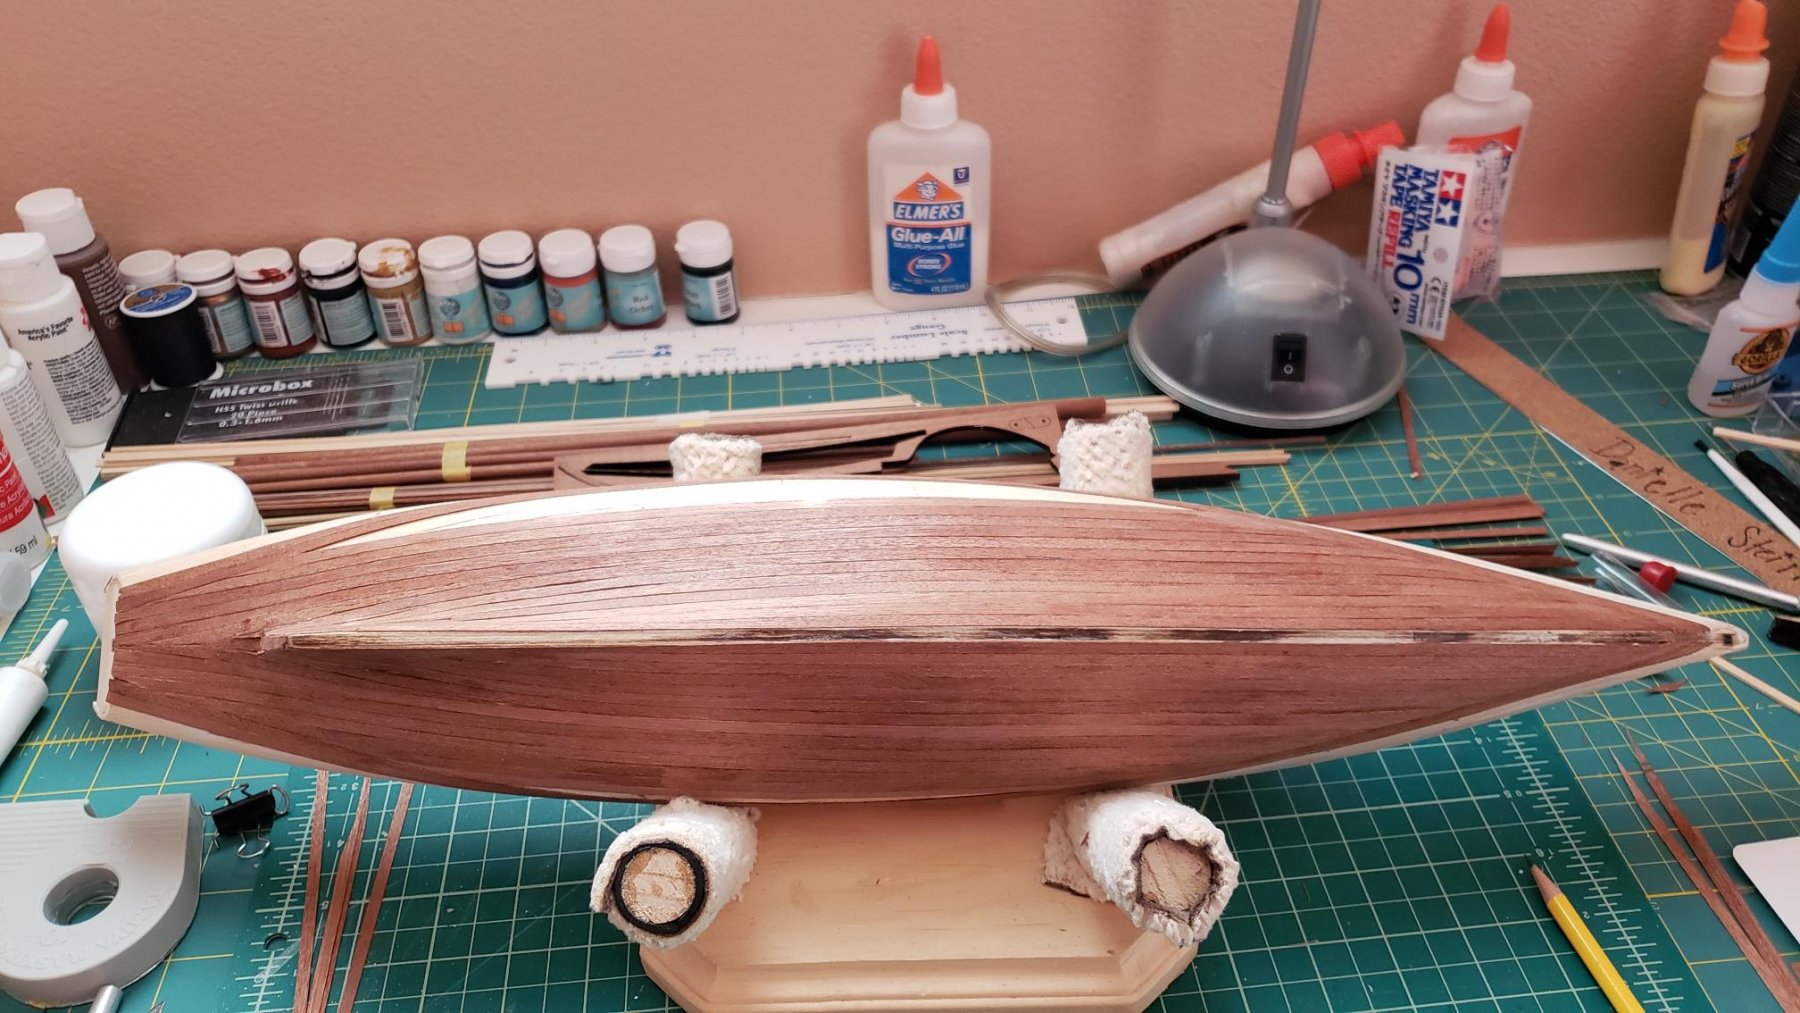
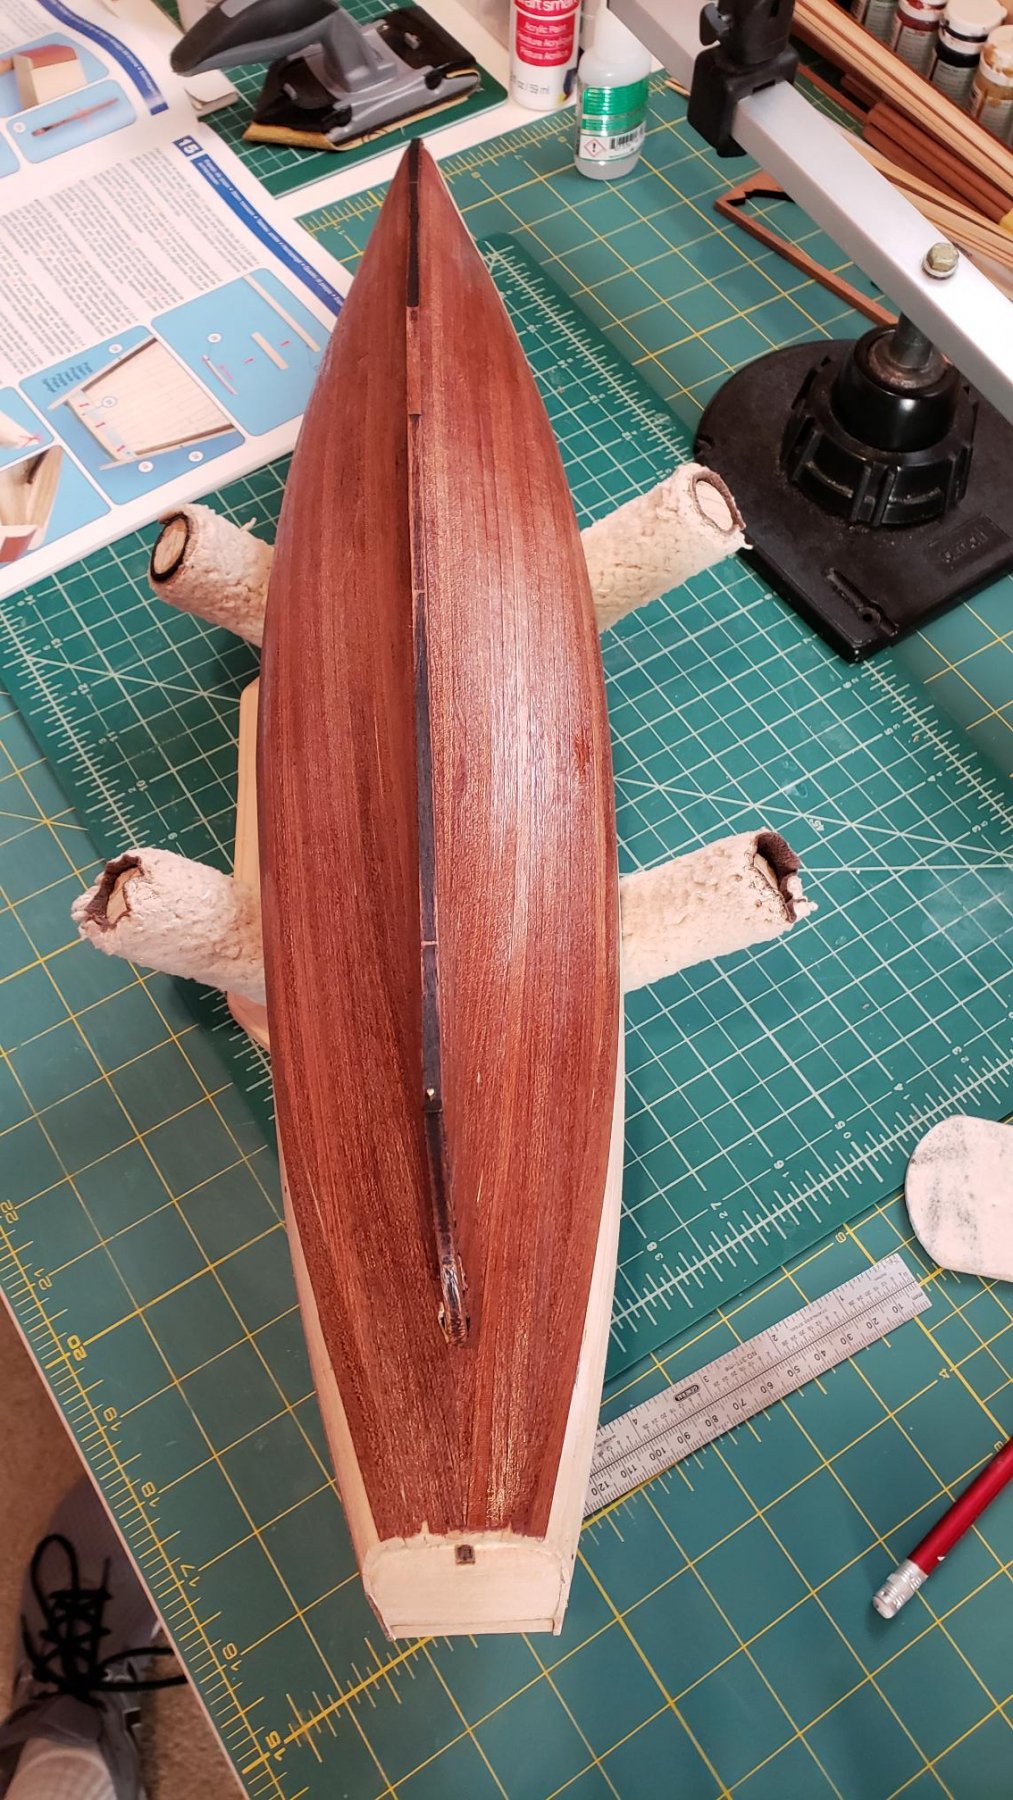
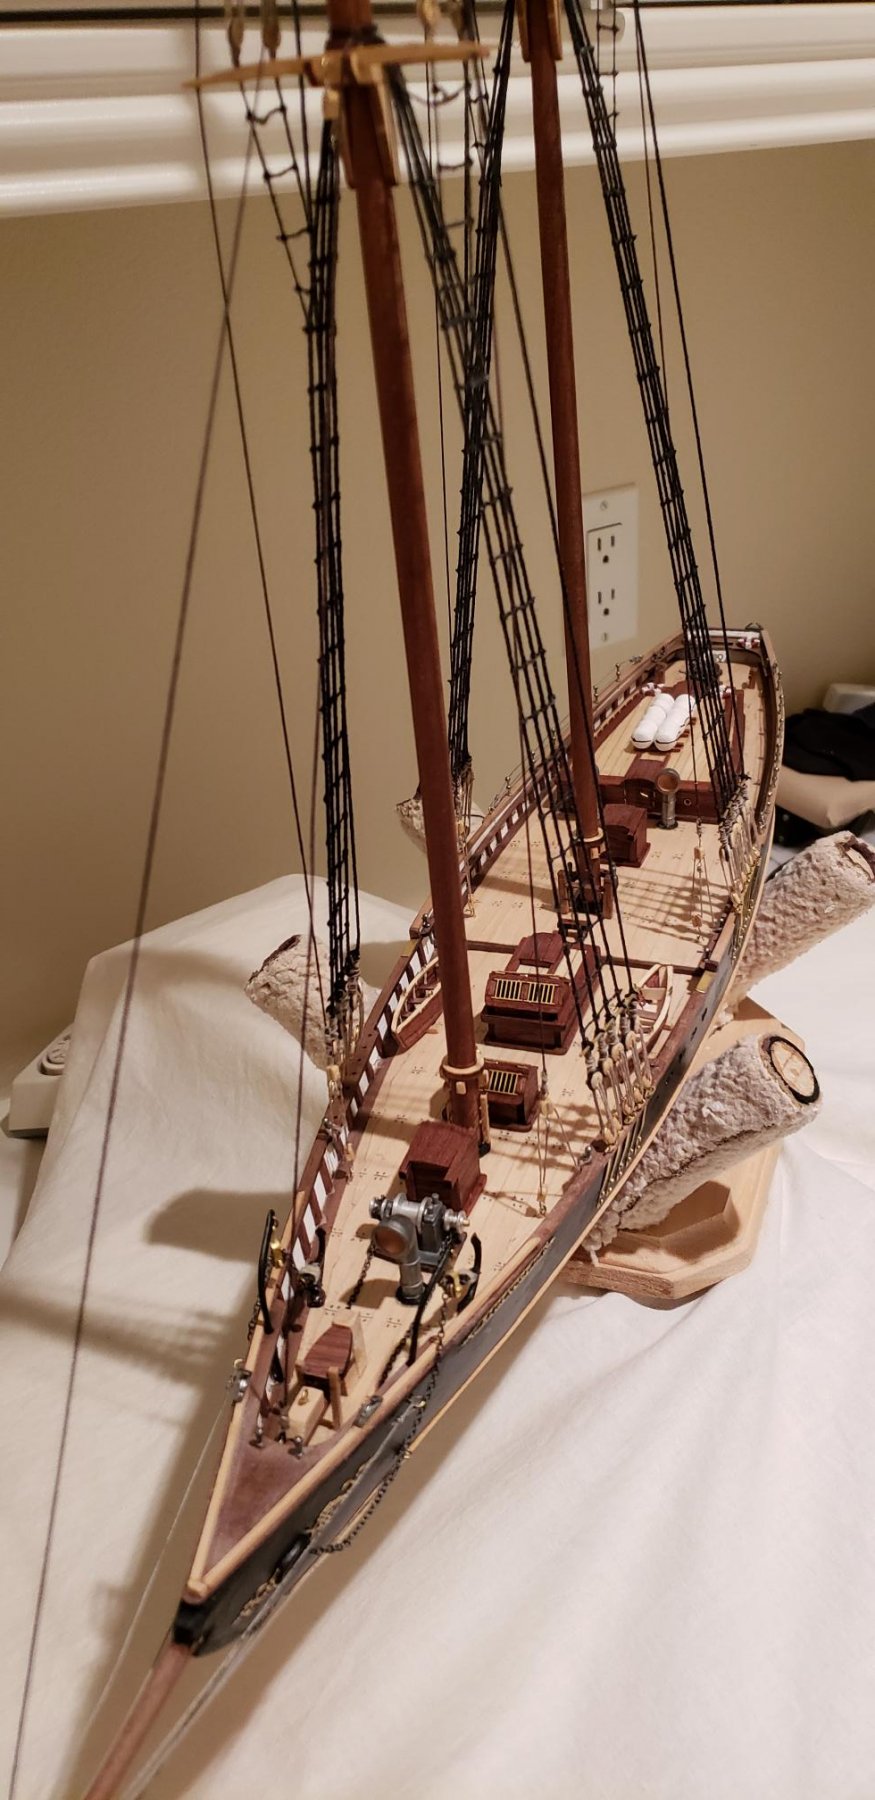
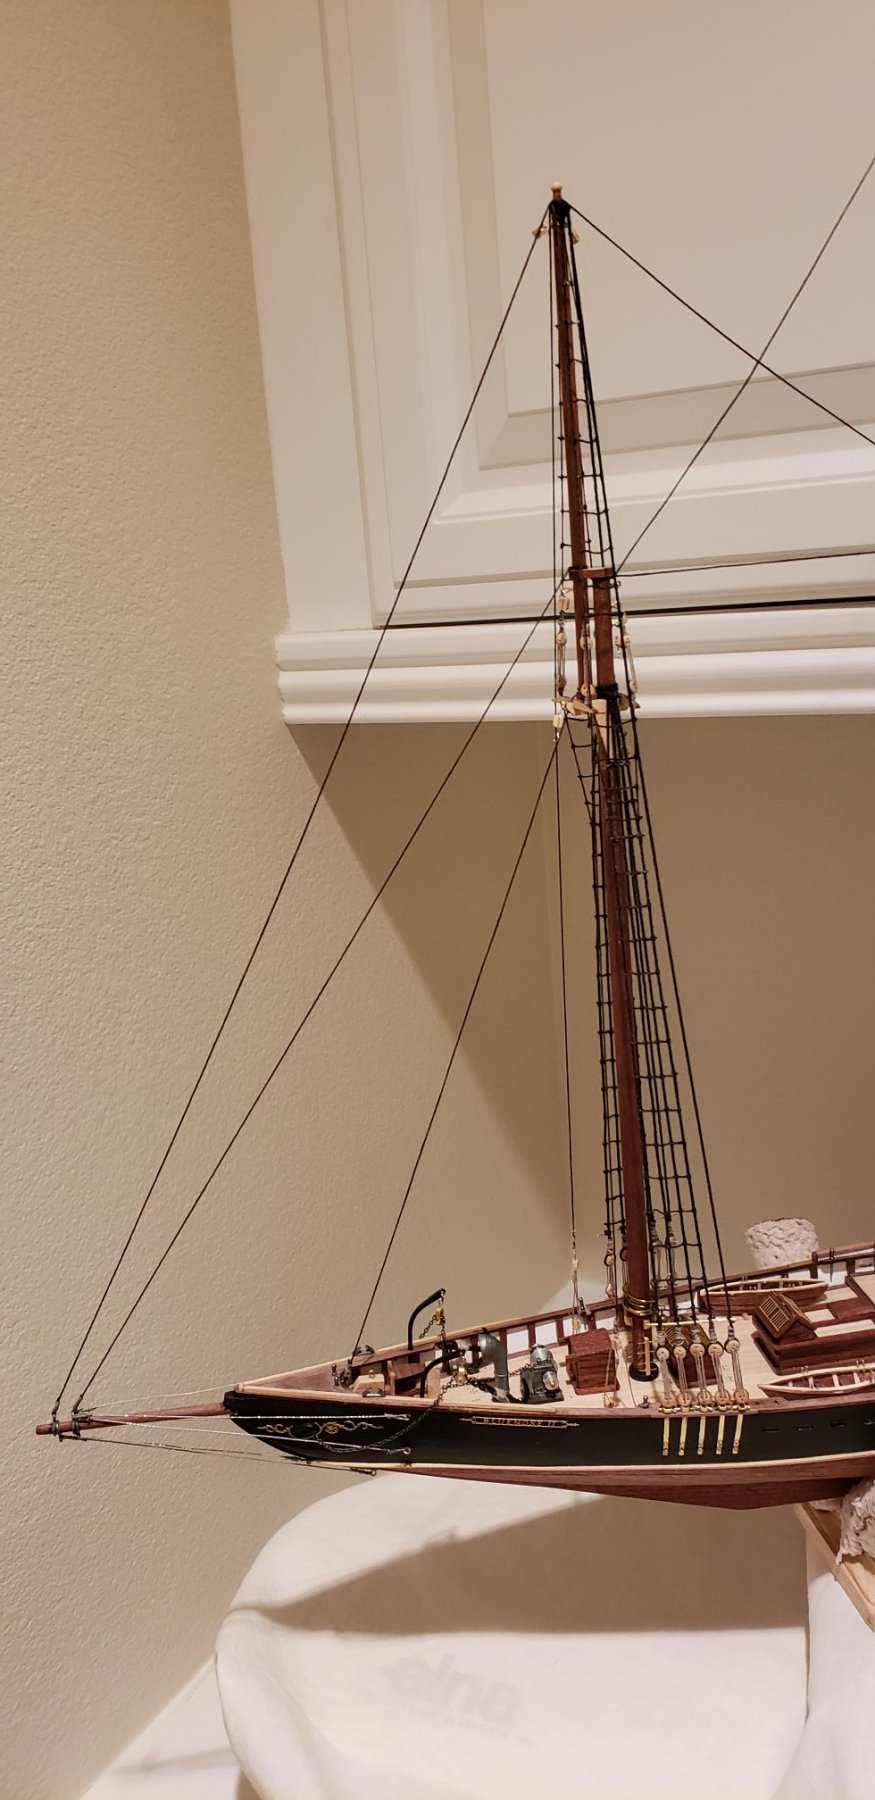
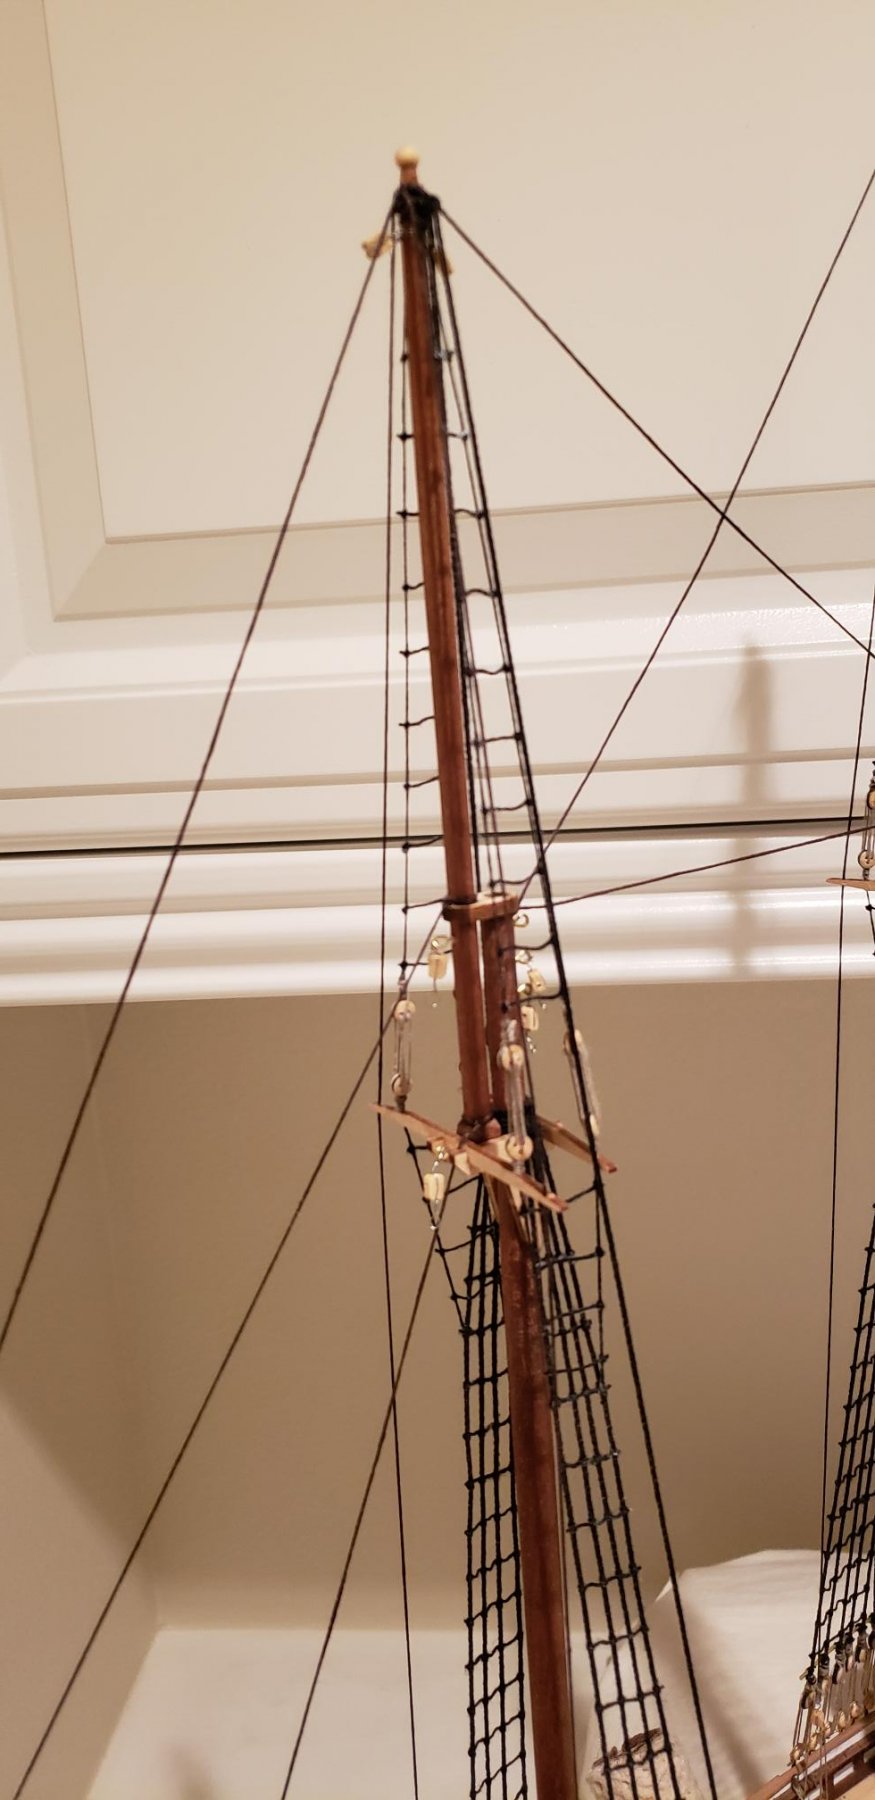
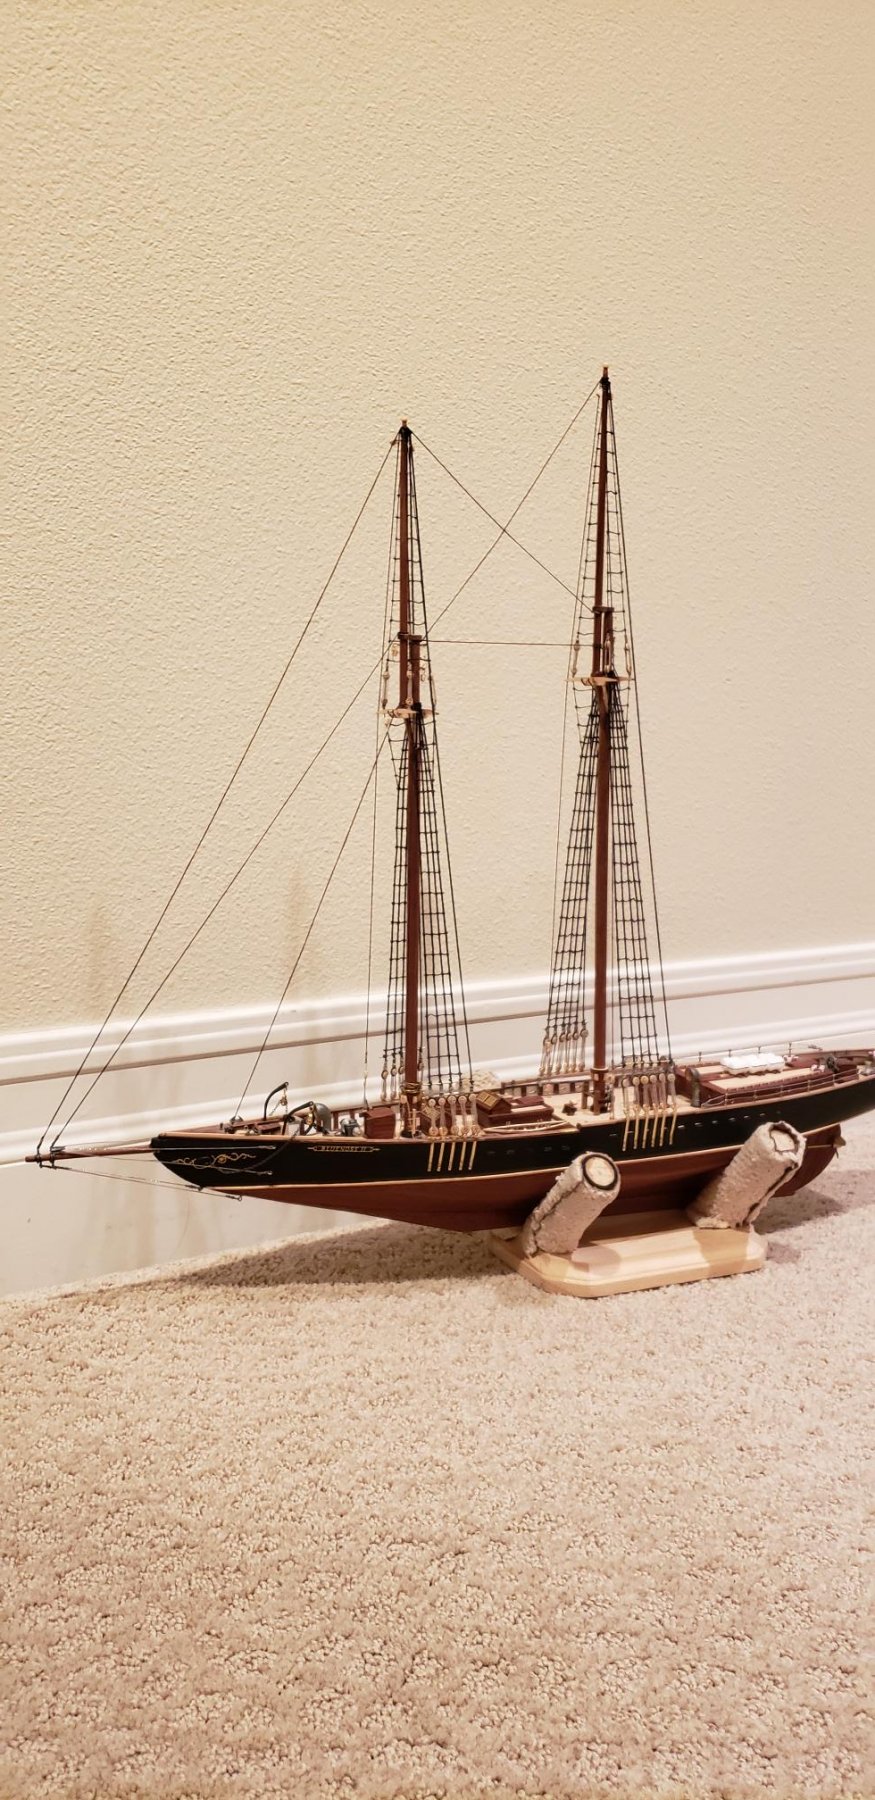
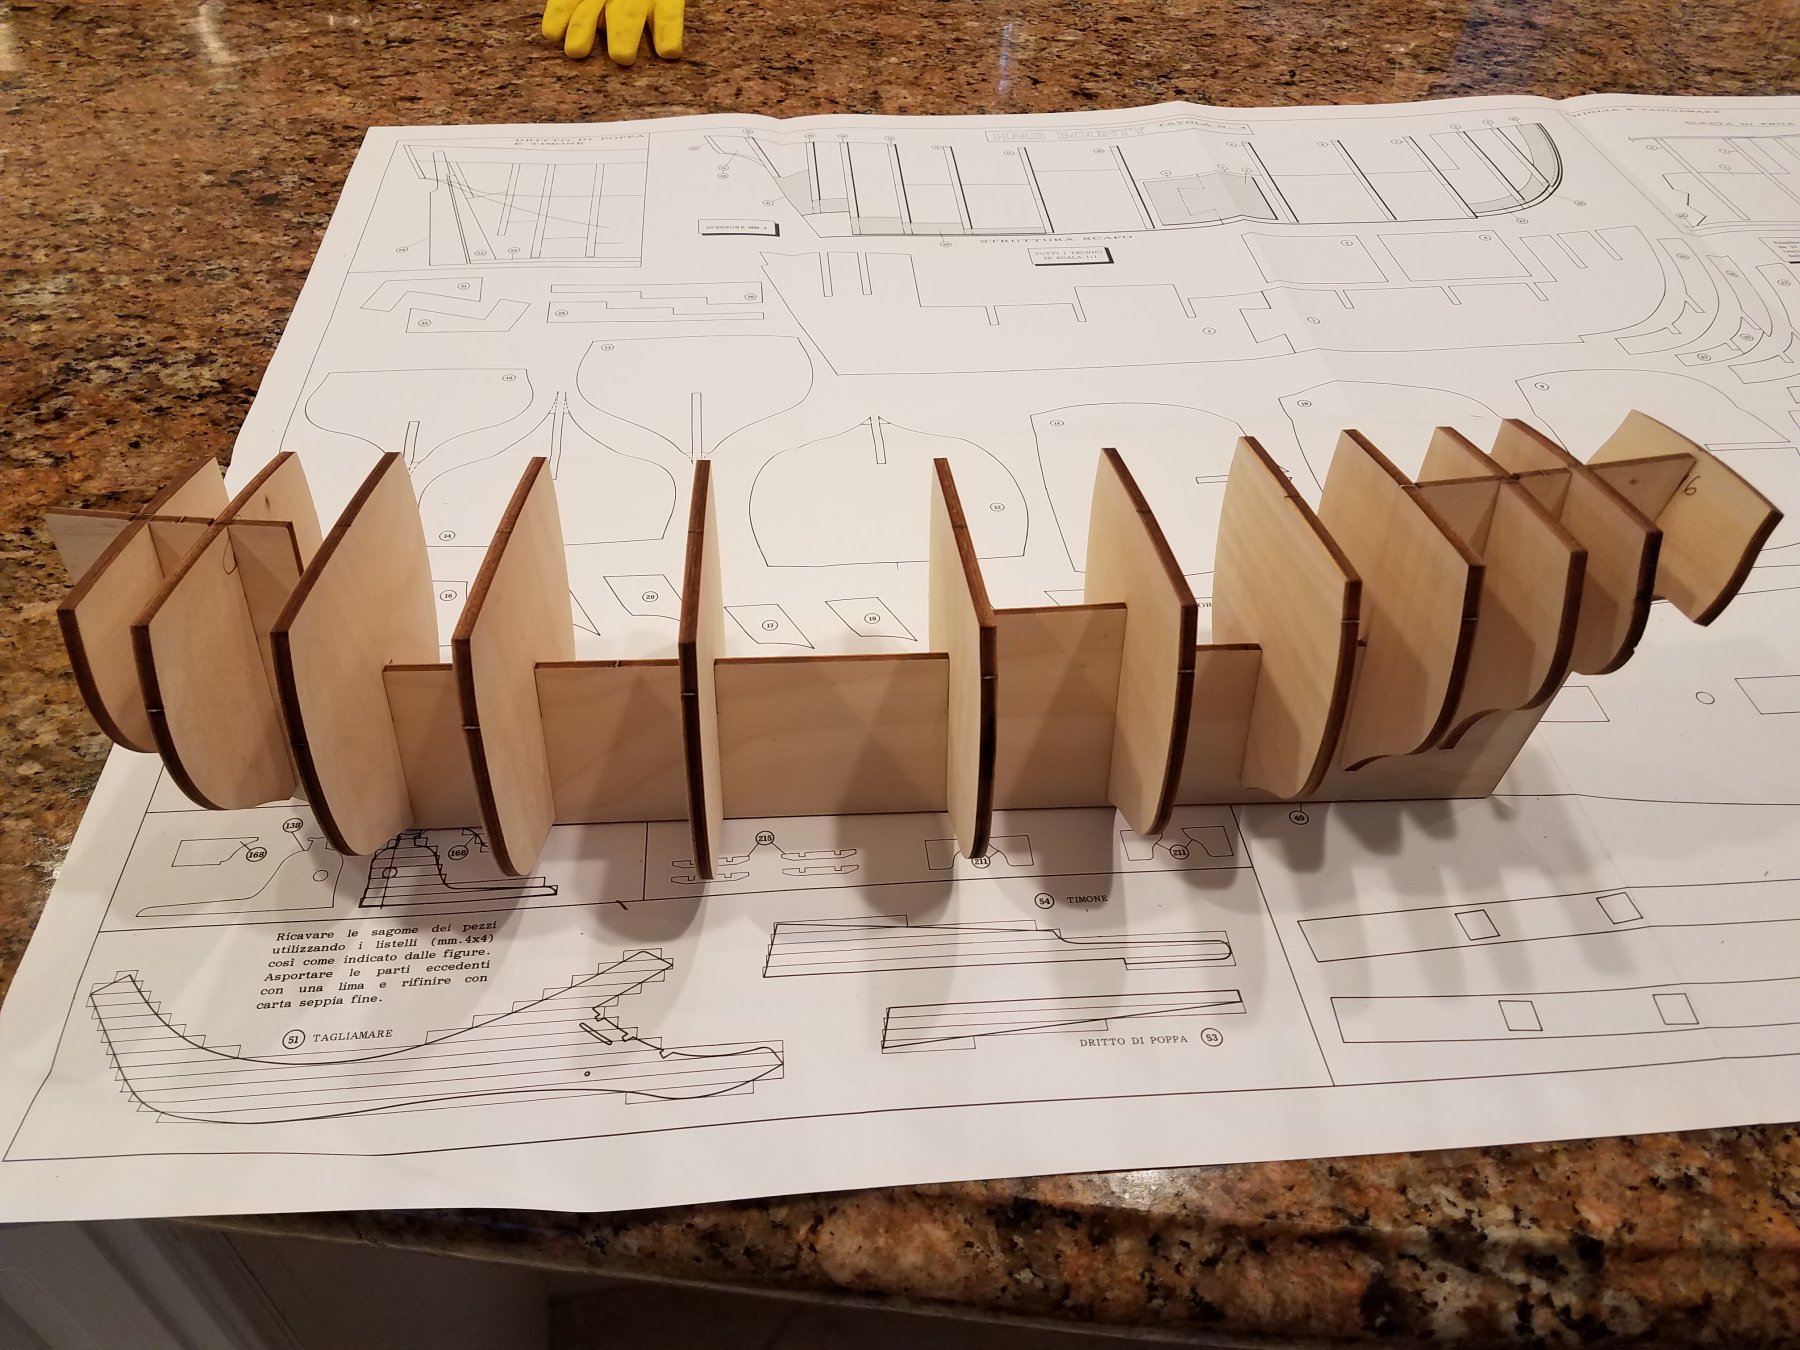
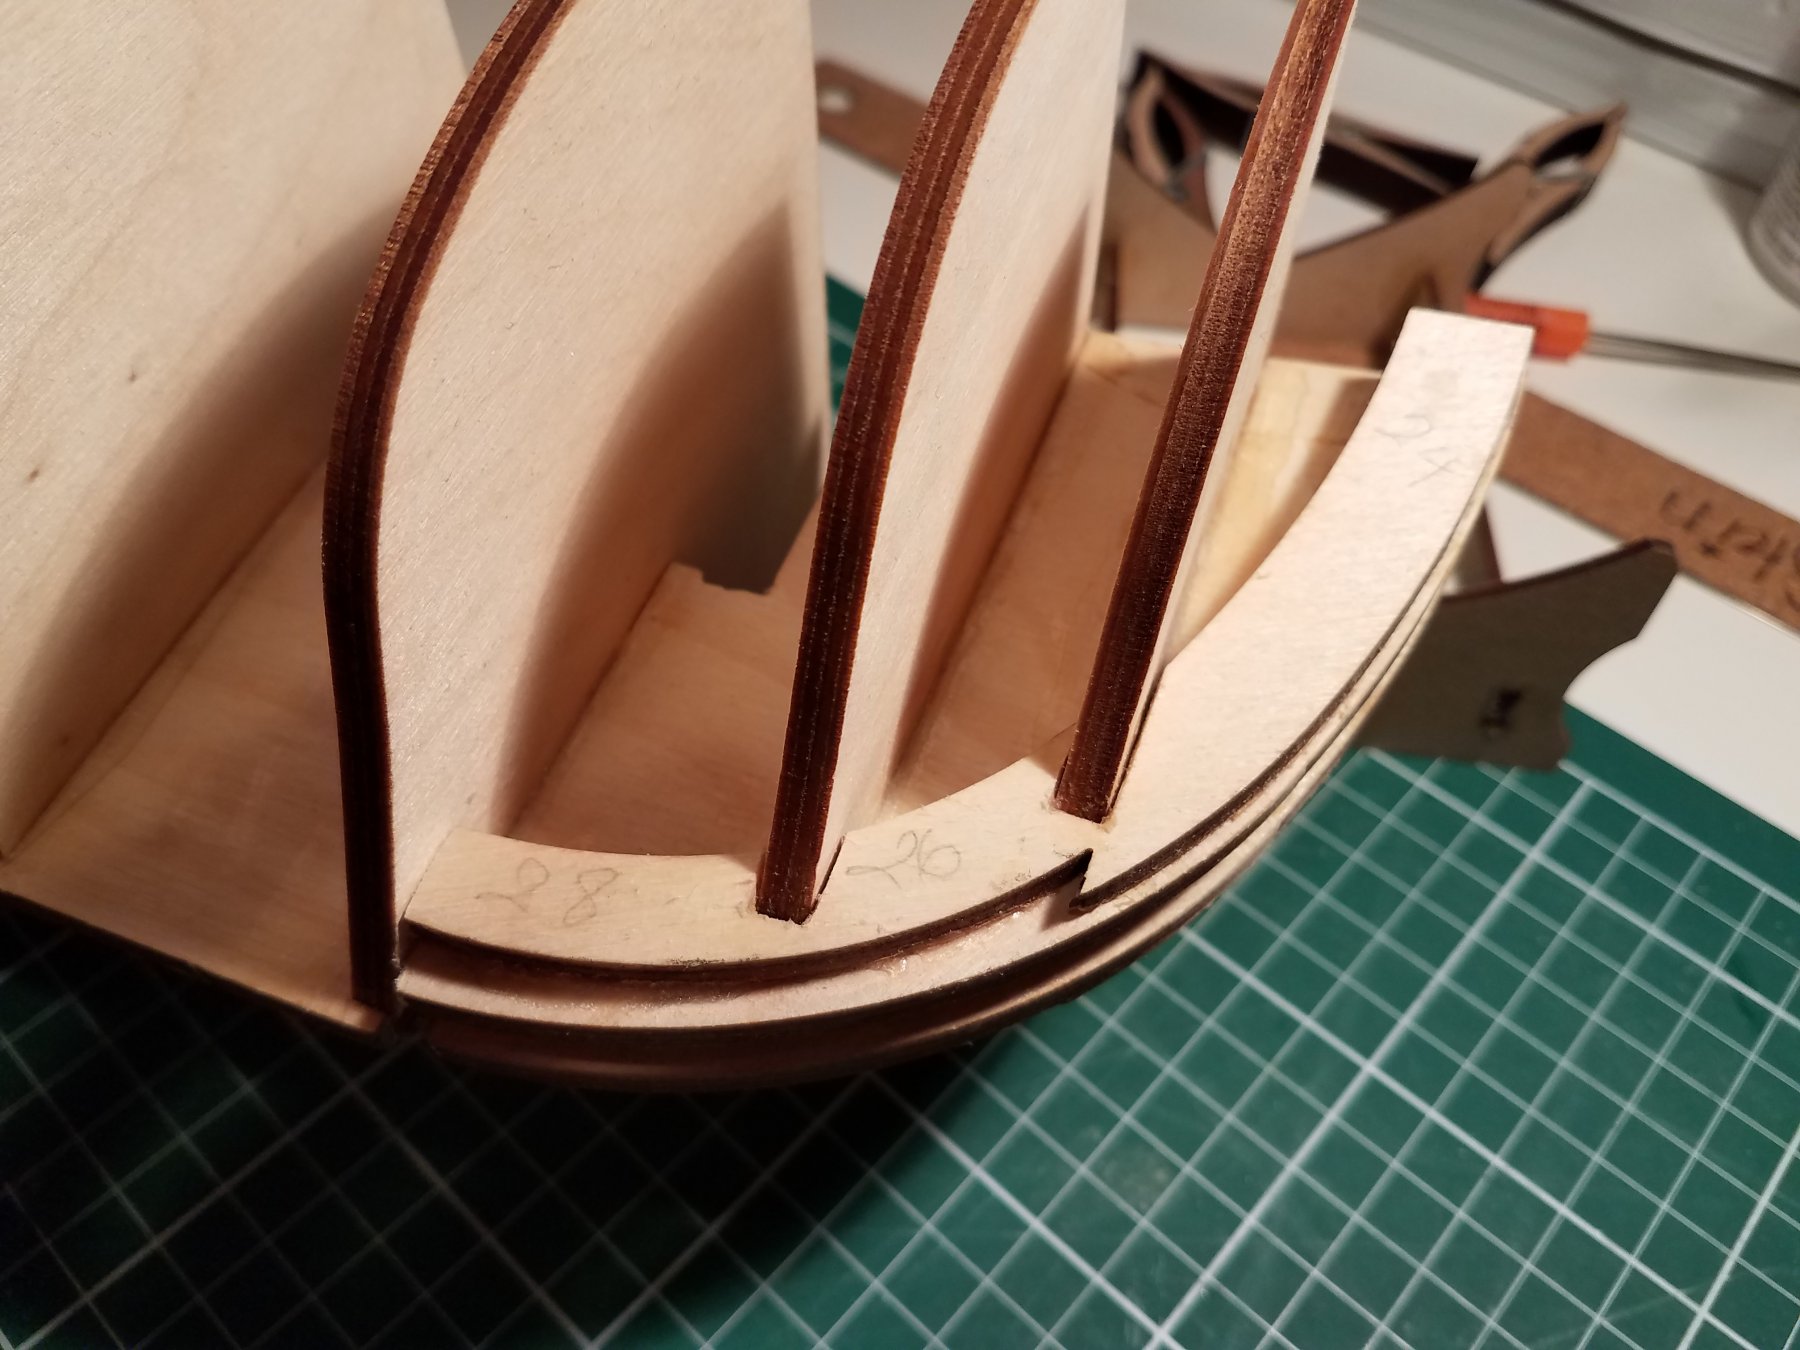
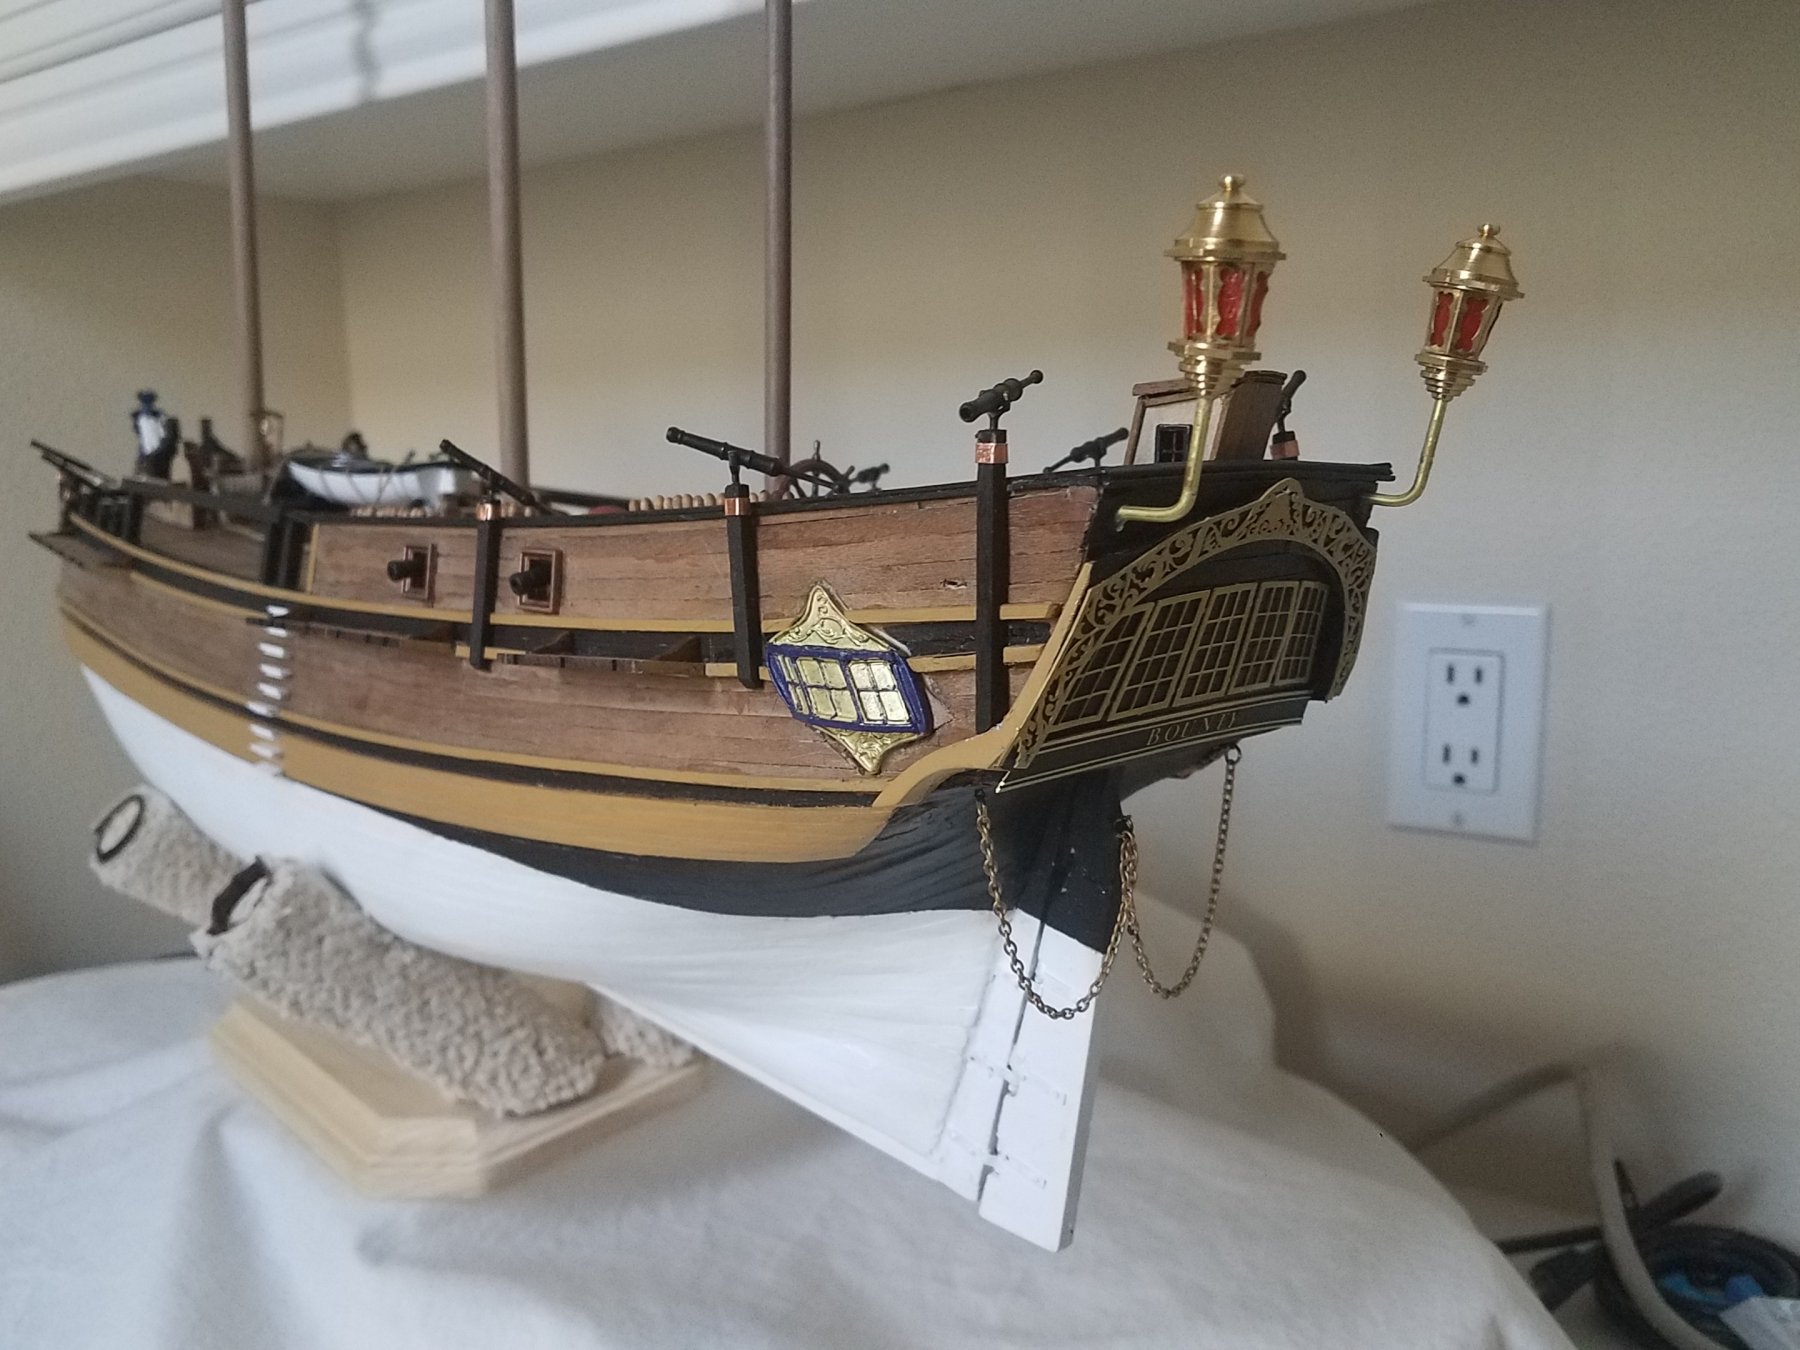
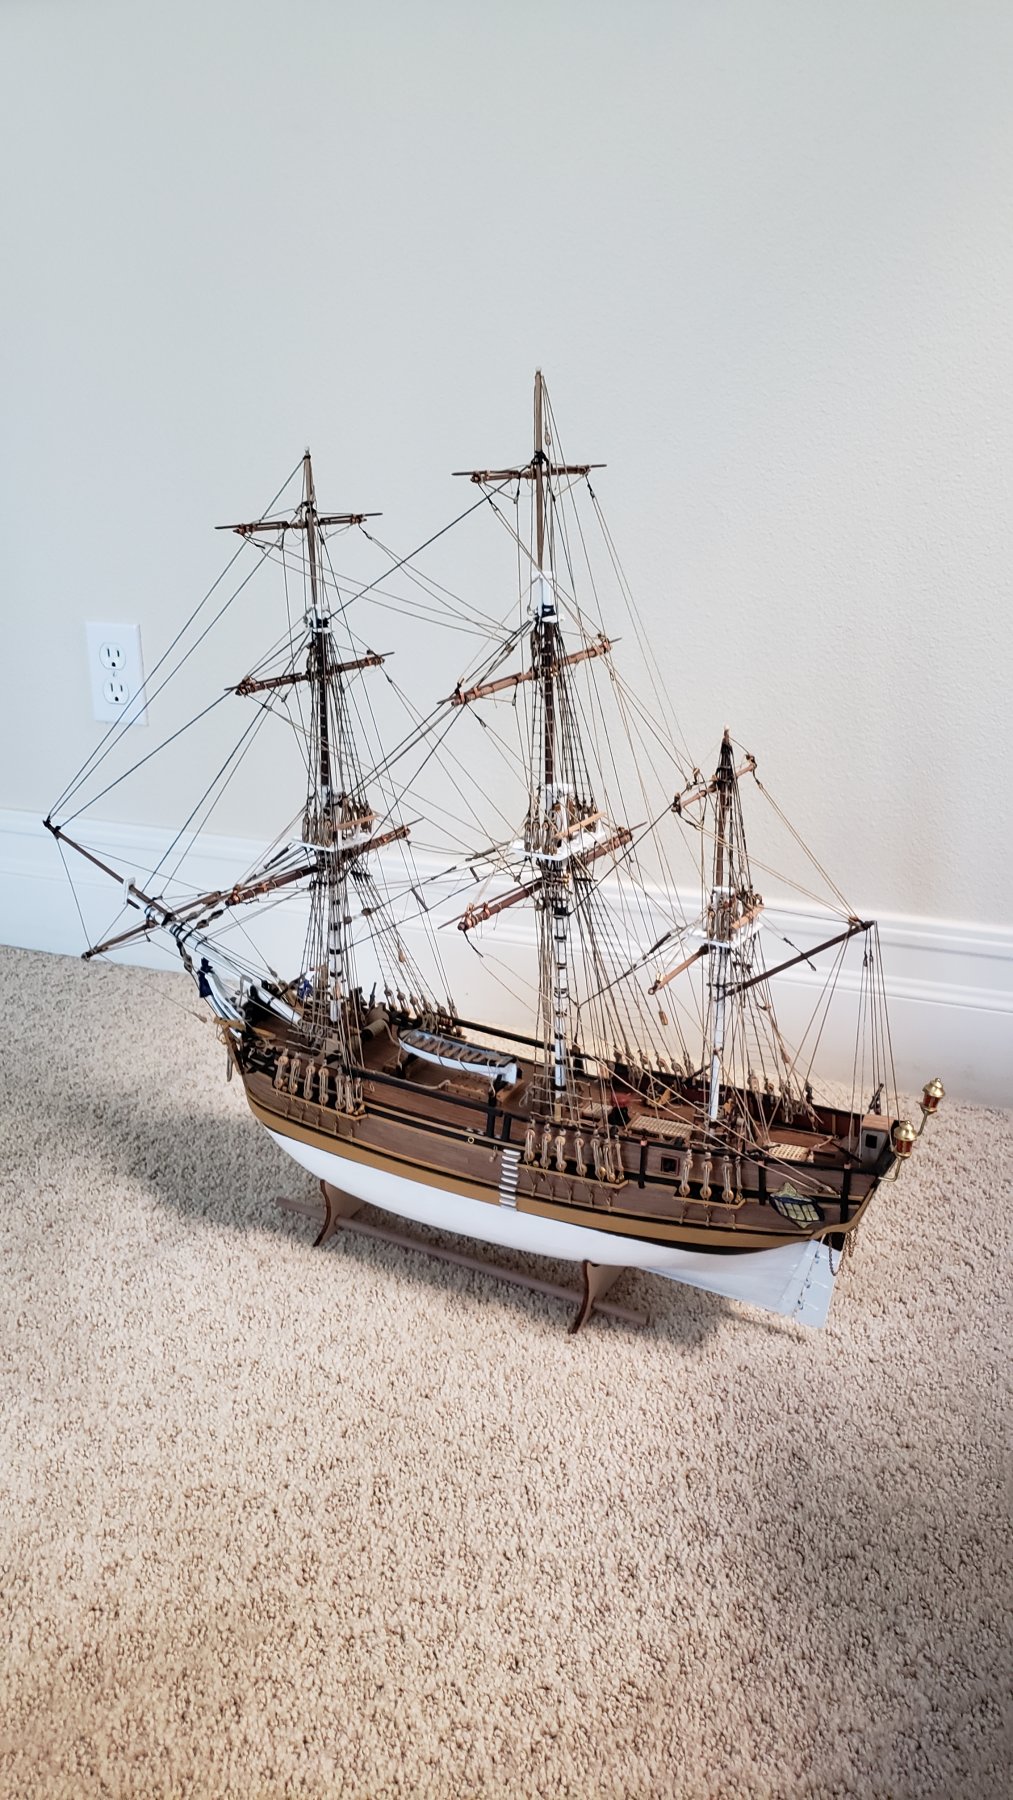
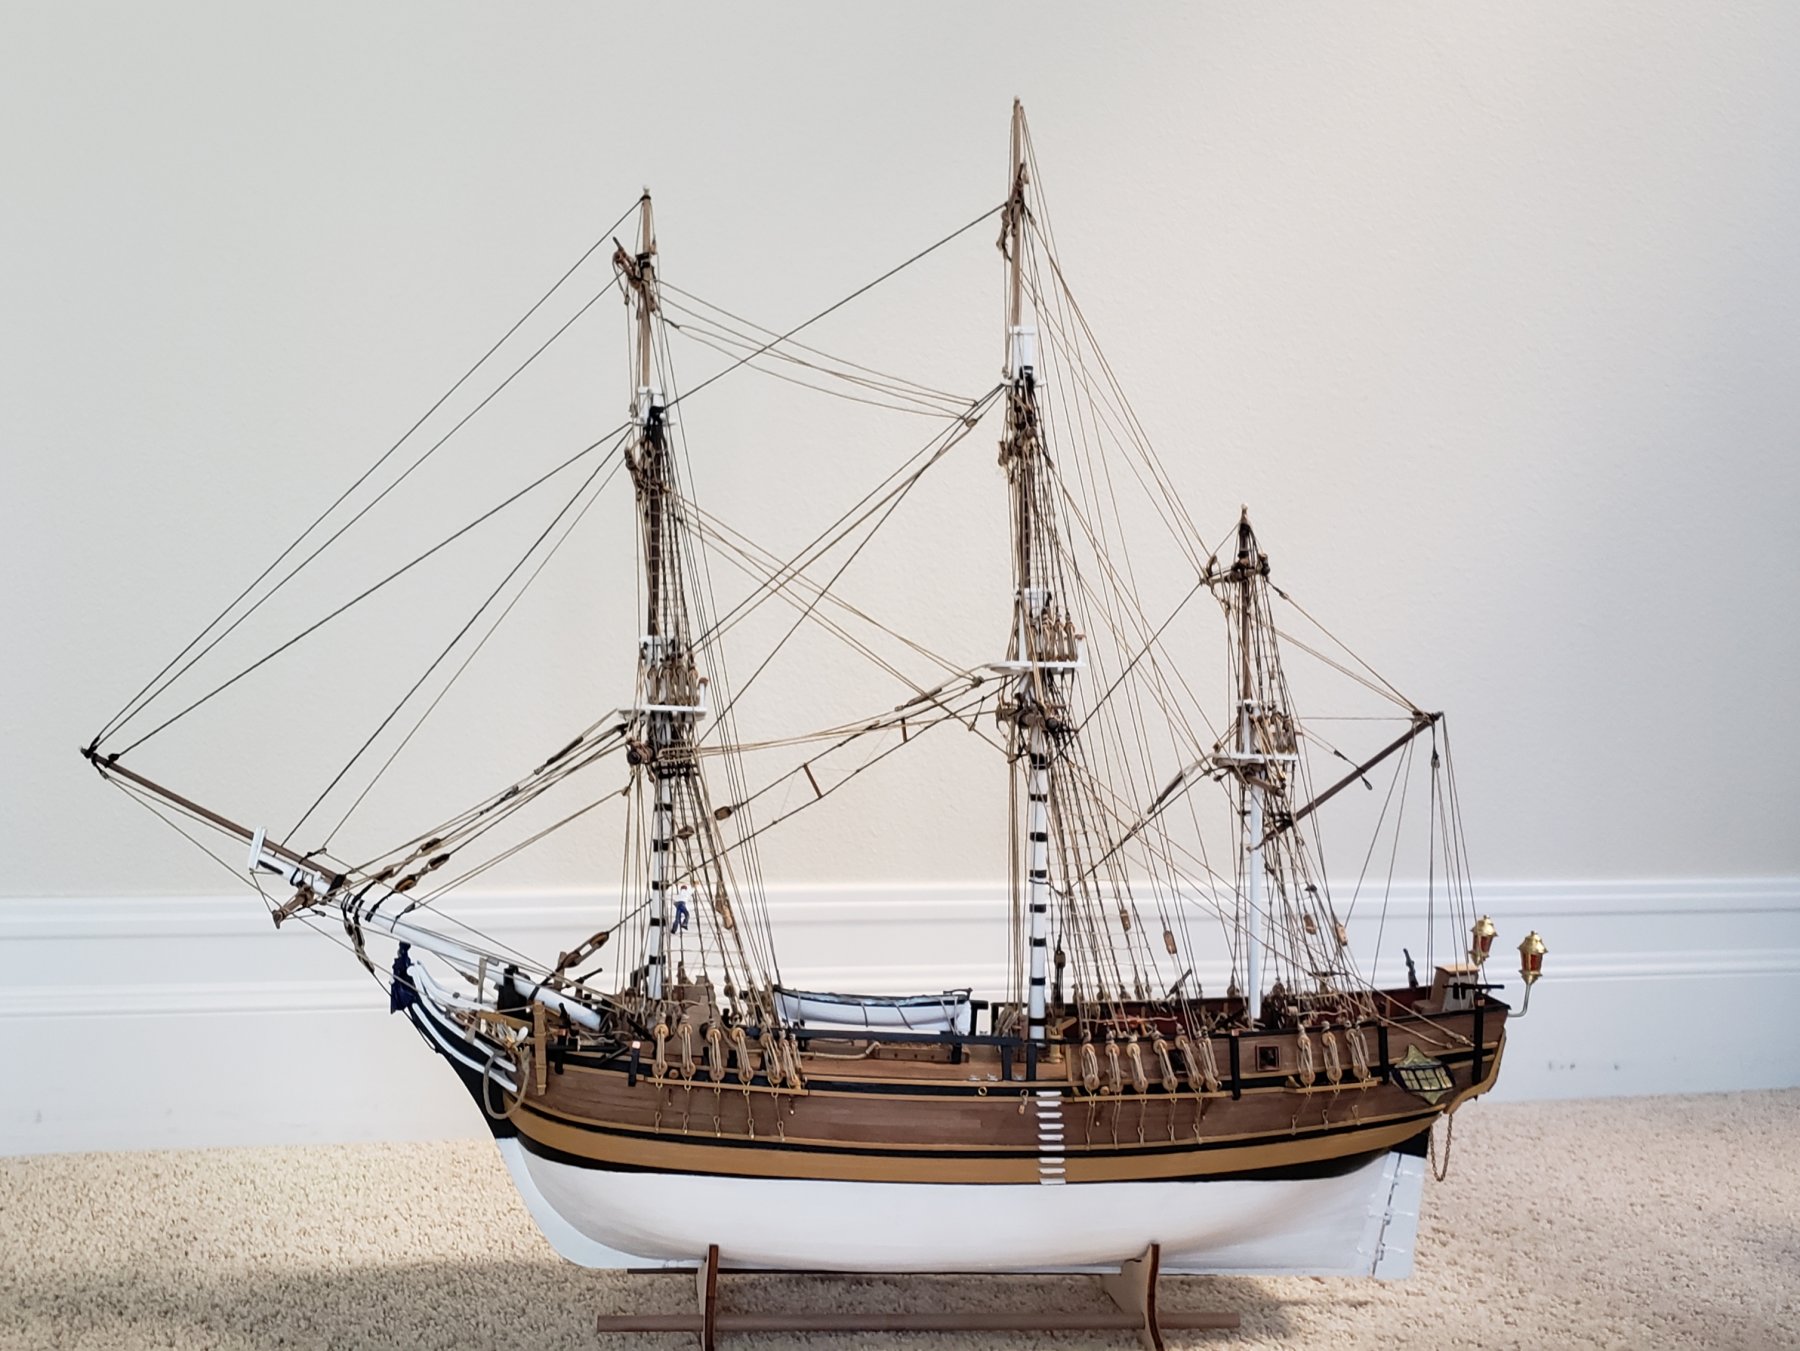
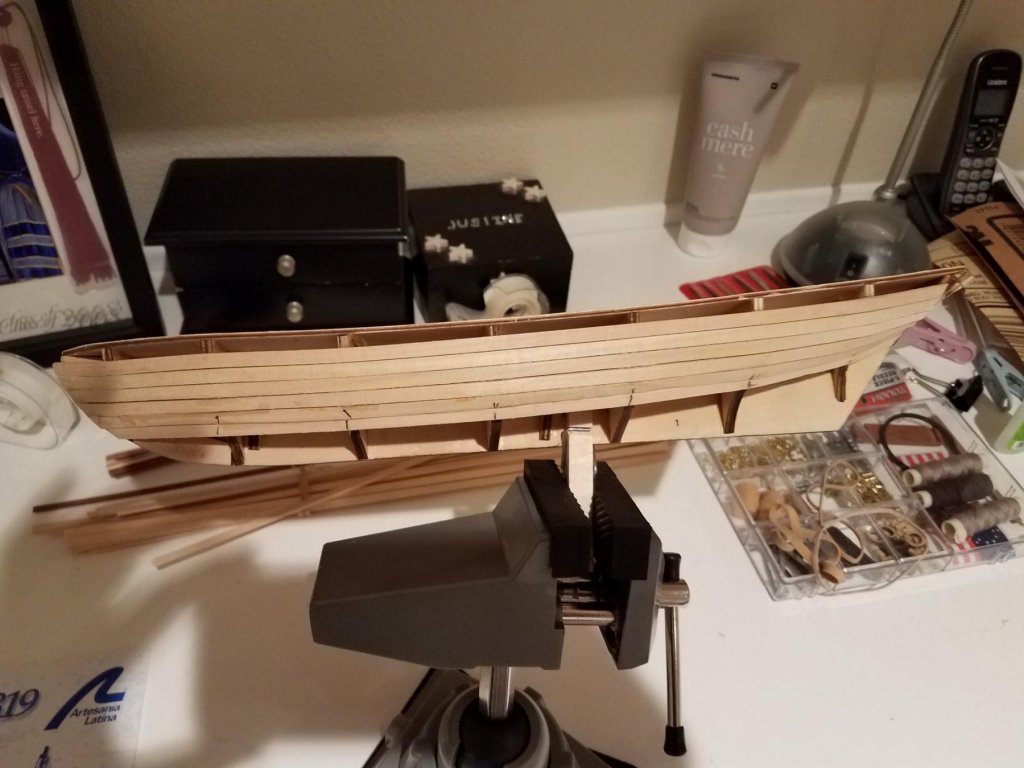
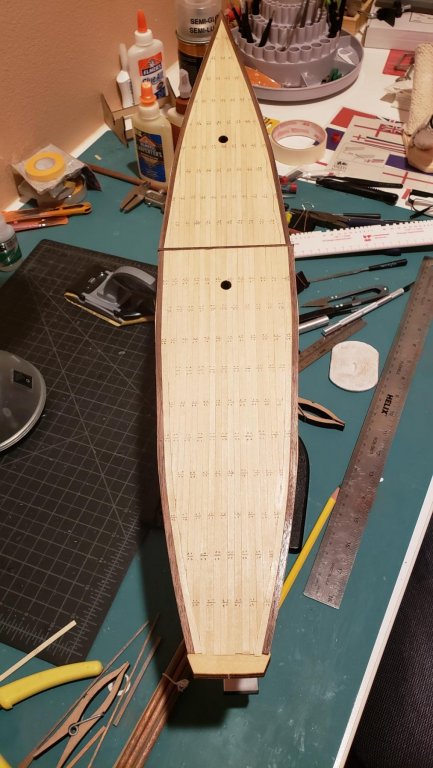
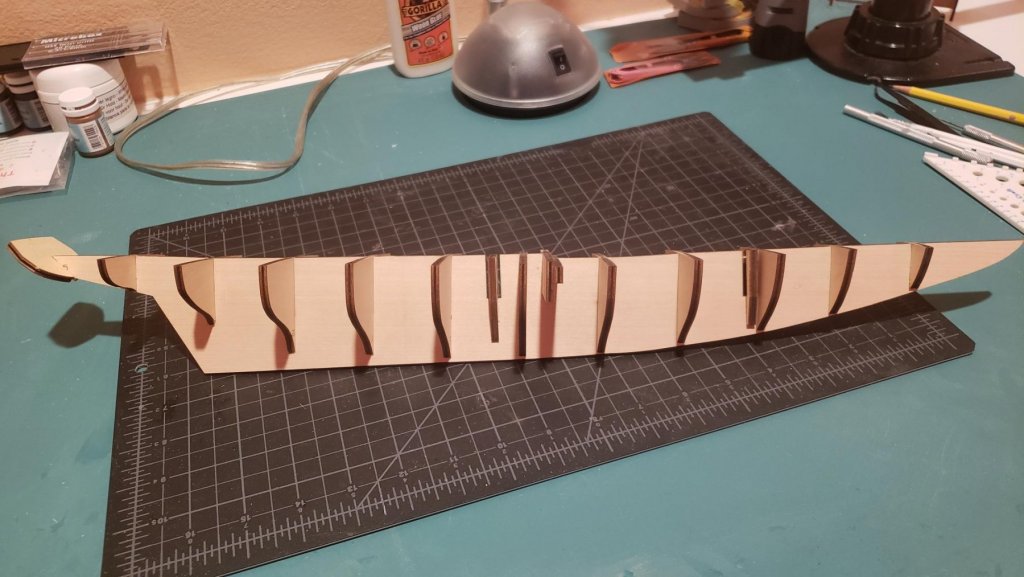
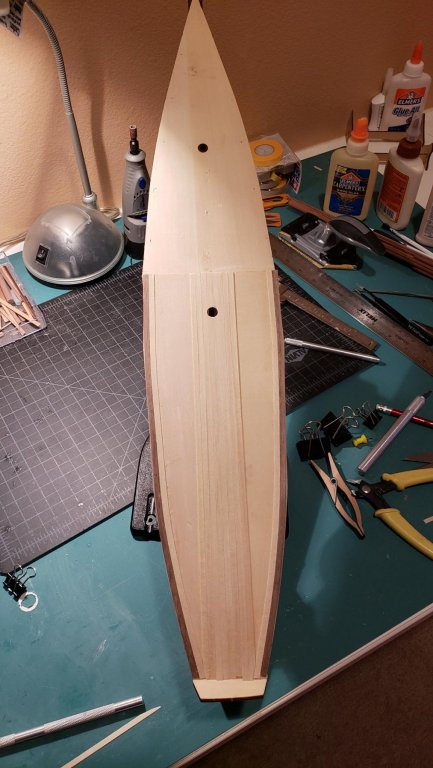
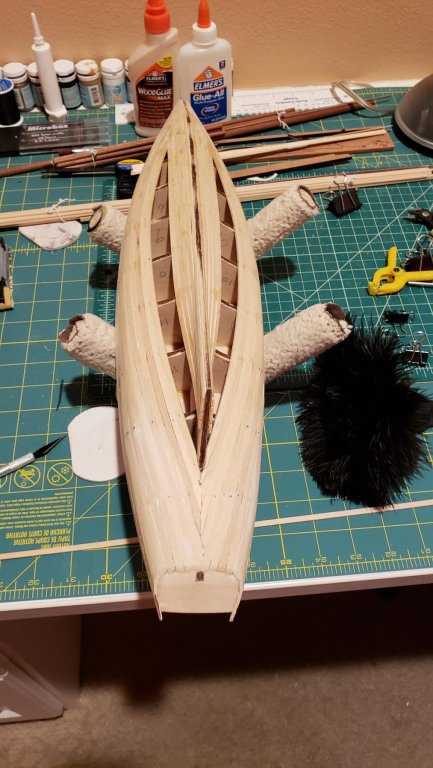
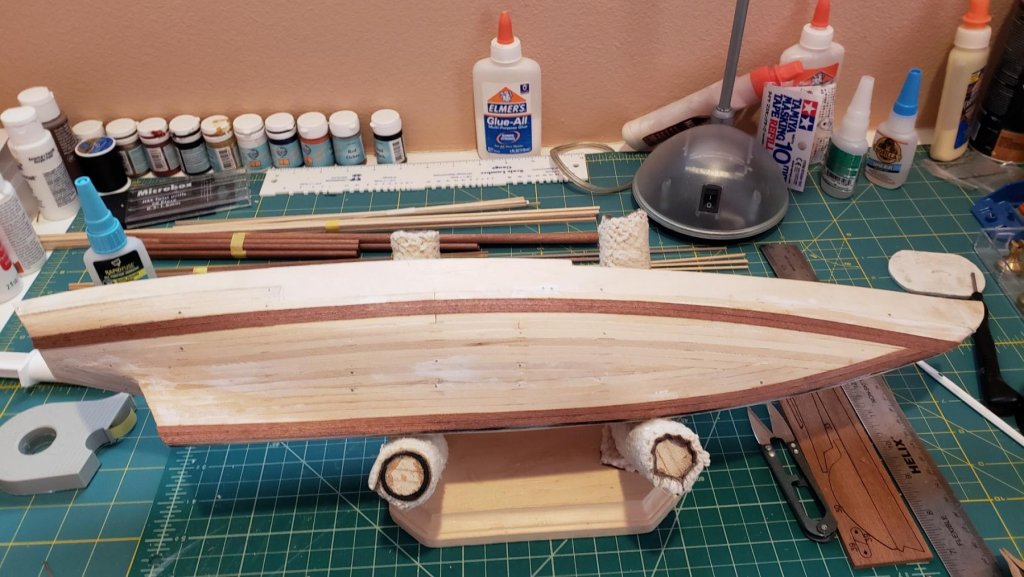
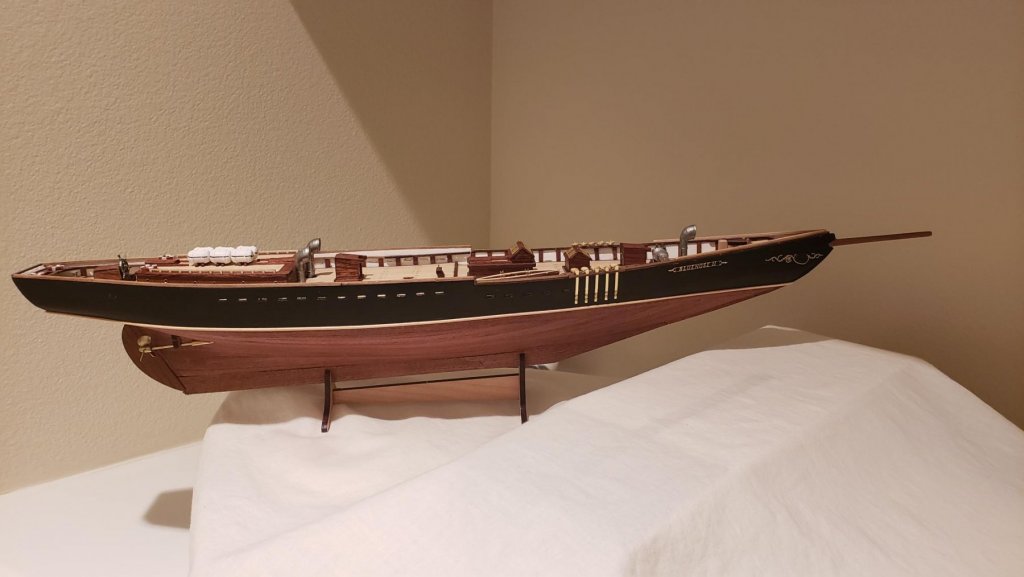
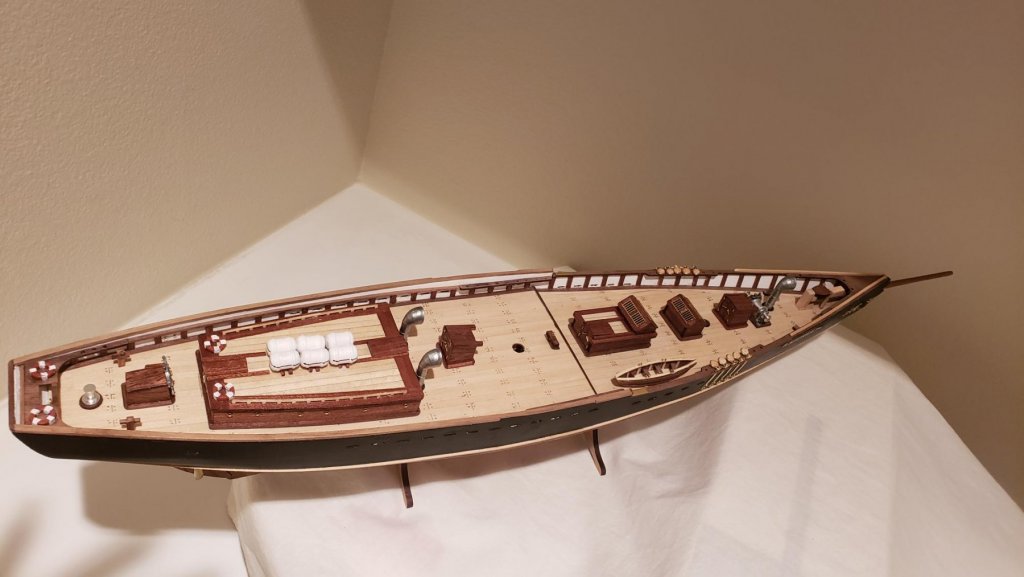
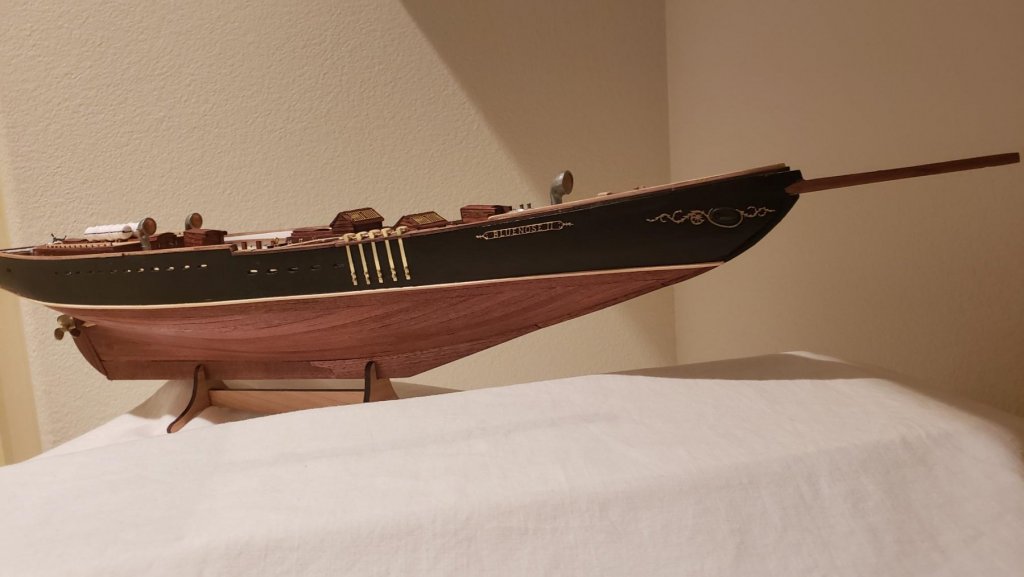
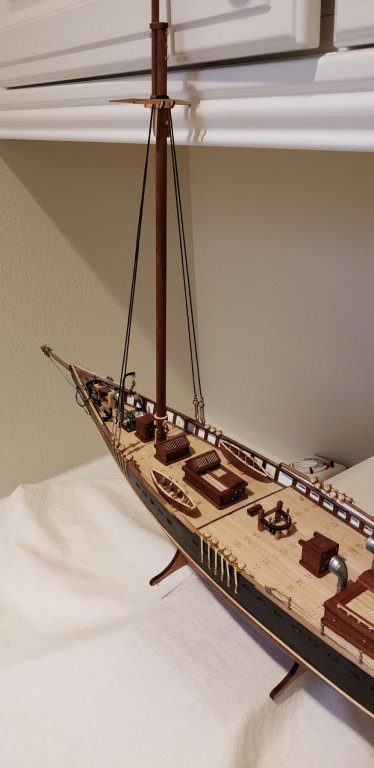
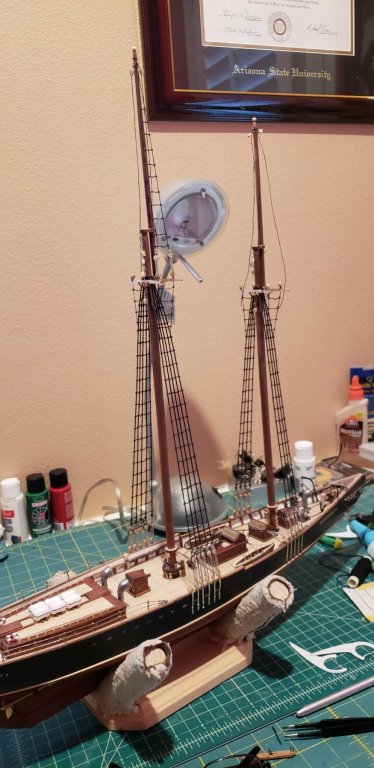
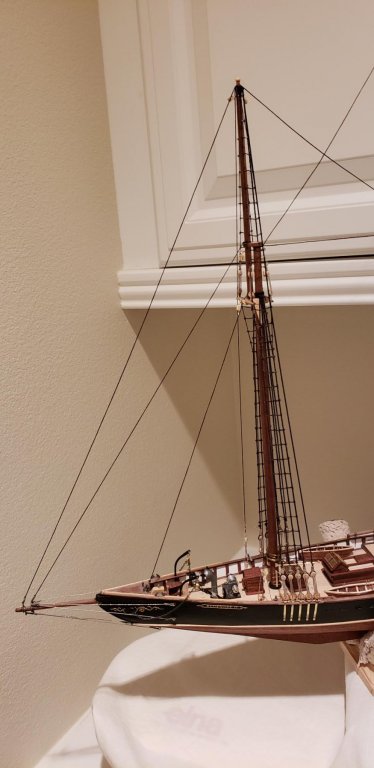
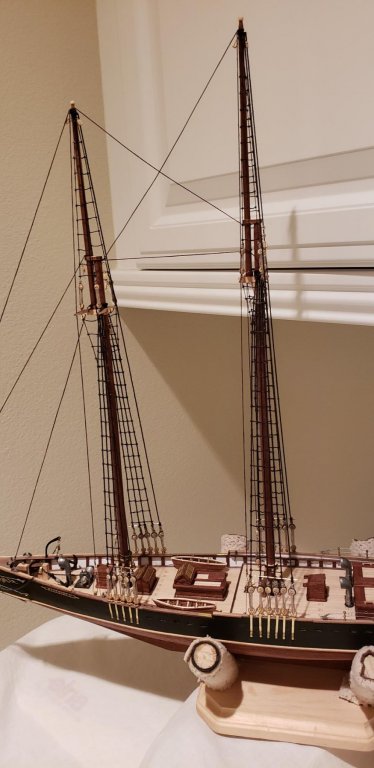
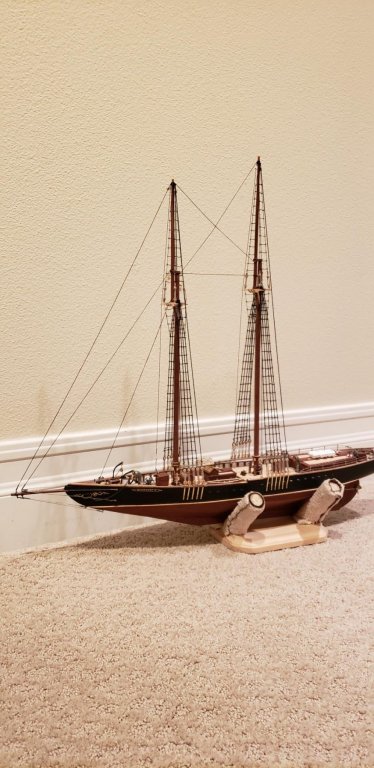
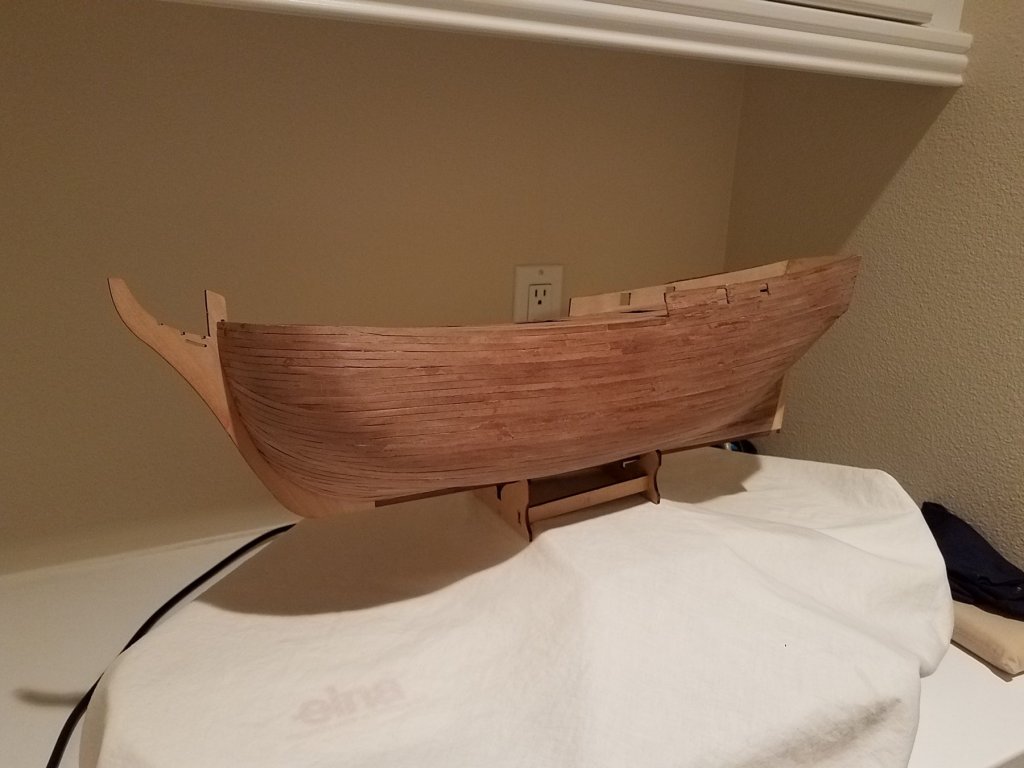
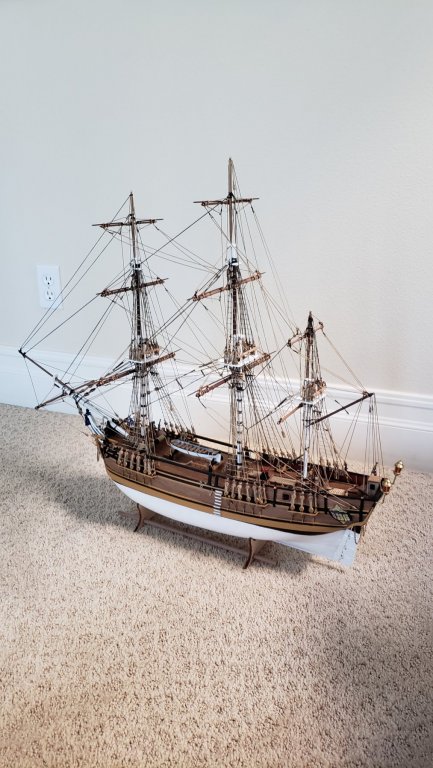
This was my first experience with model boat building . I randomly choose this model and got addicted !!. It took my 4 months and the did the Lady Nelson. So here is my journey along the way. Current Build: BlueNose II - Artesenia Latina Previous Builds: HMAV Bounty 1787 - Amati; Lady Nelson - Victory Models. Next build : Amerigo Vespucci 1:84 - Panart


-
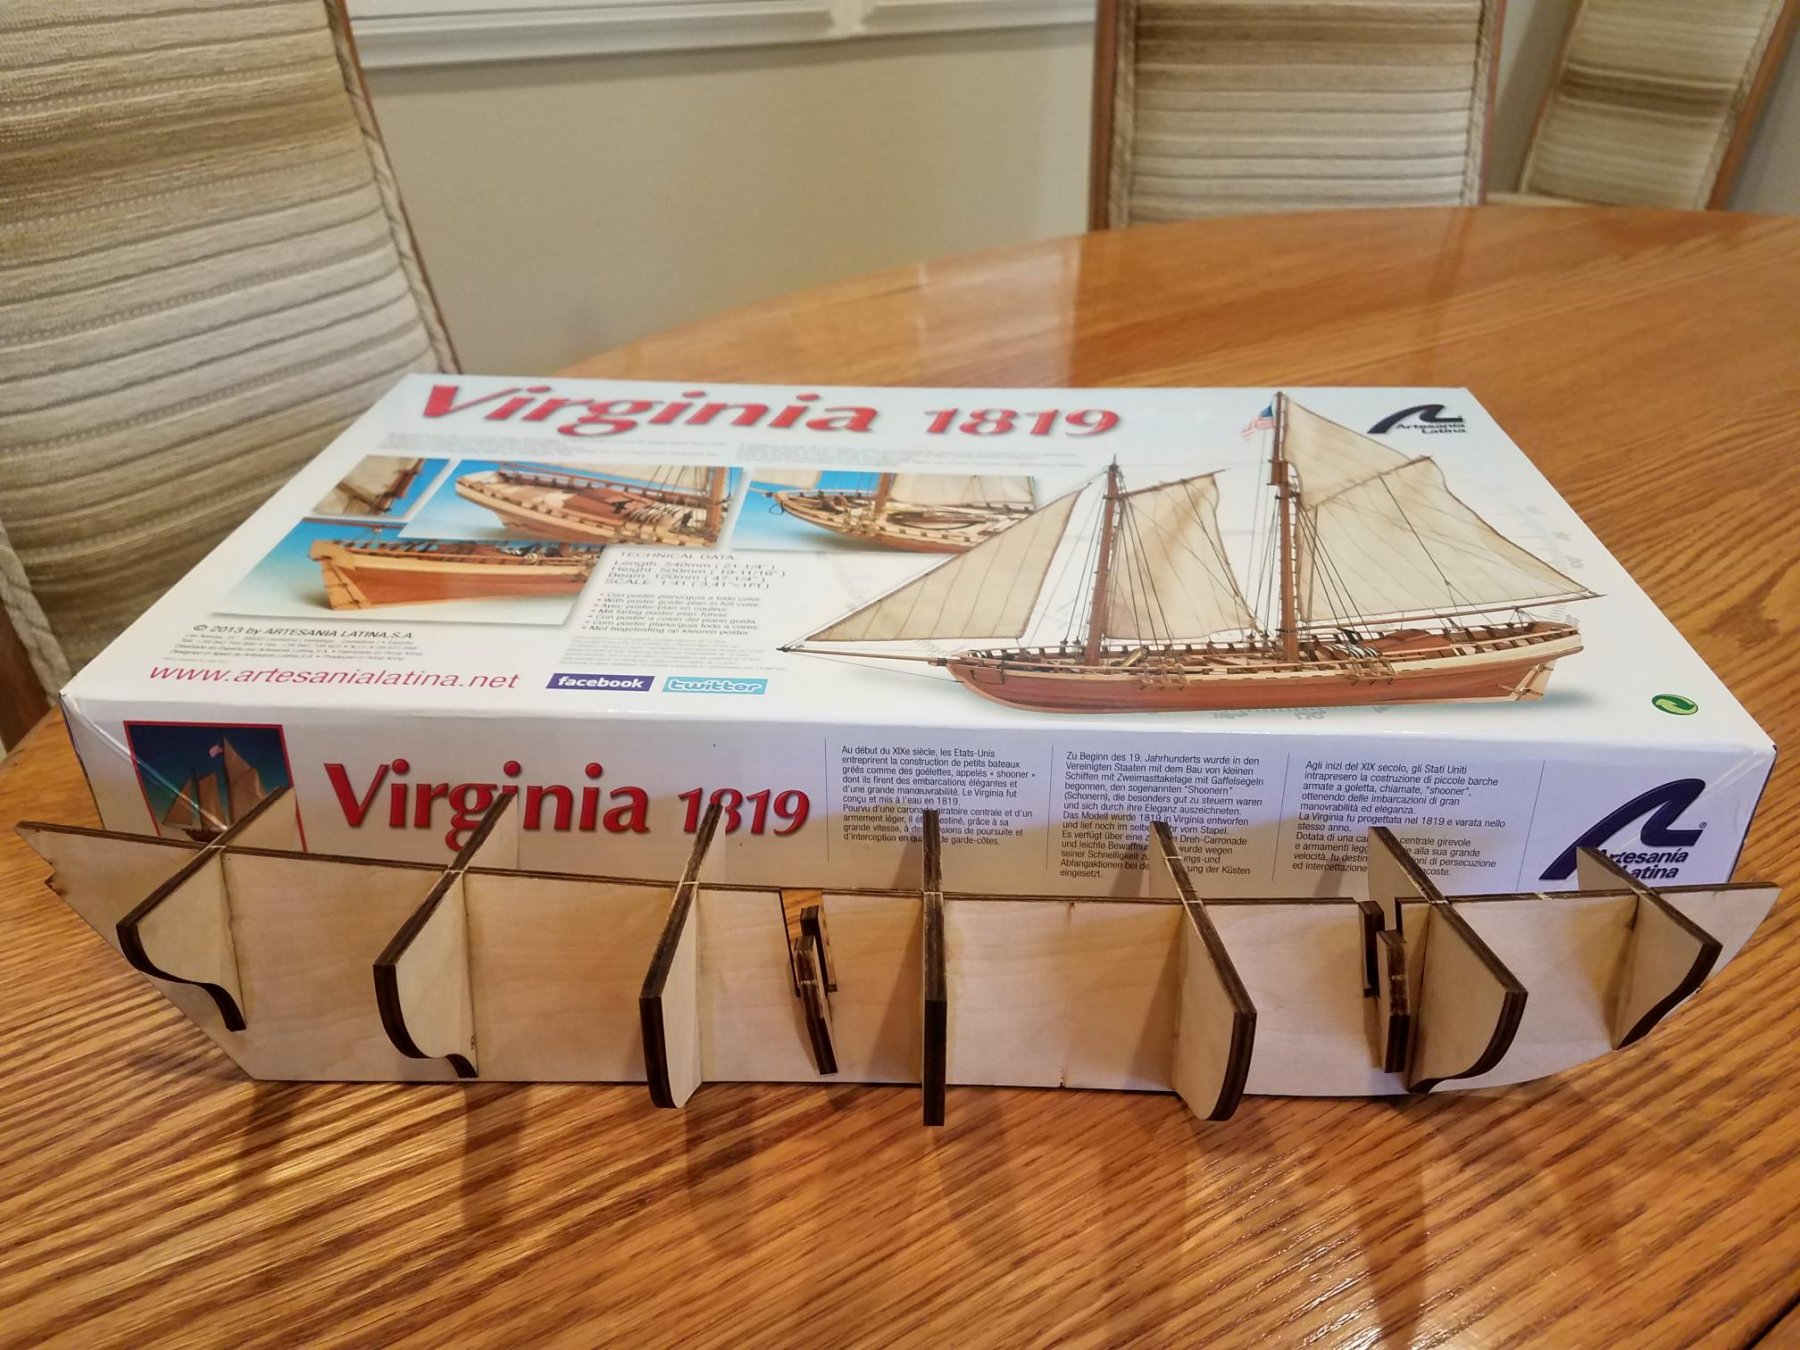
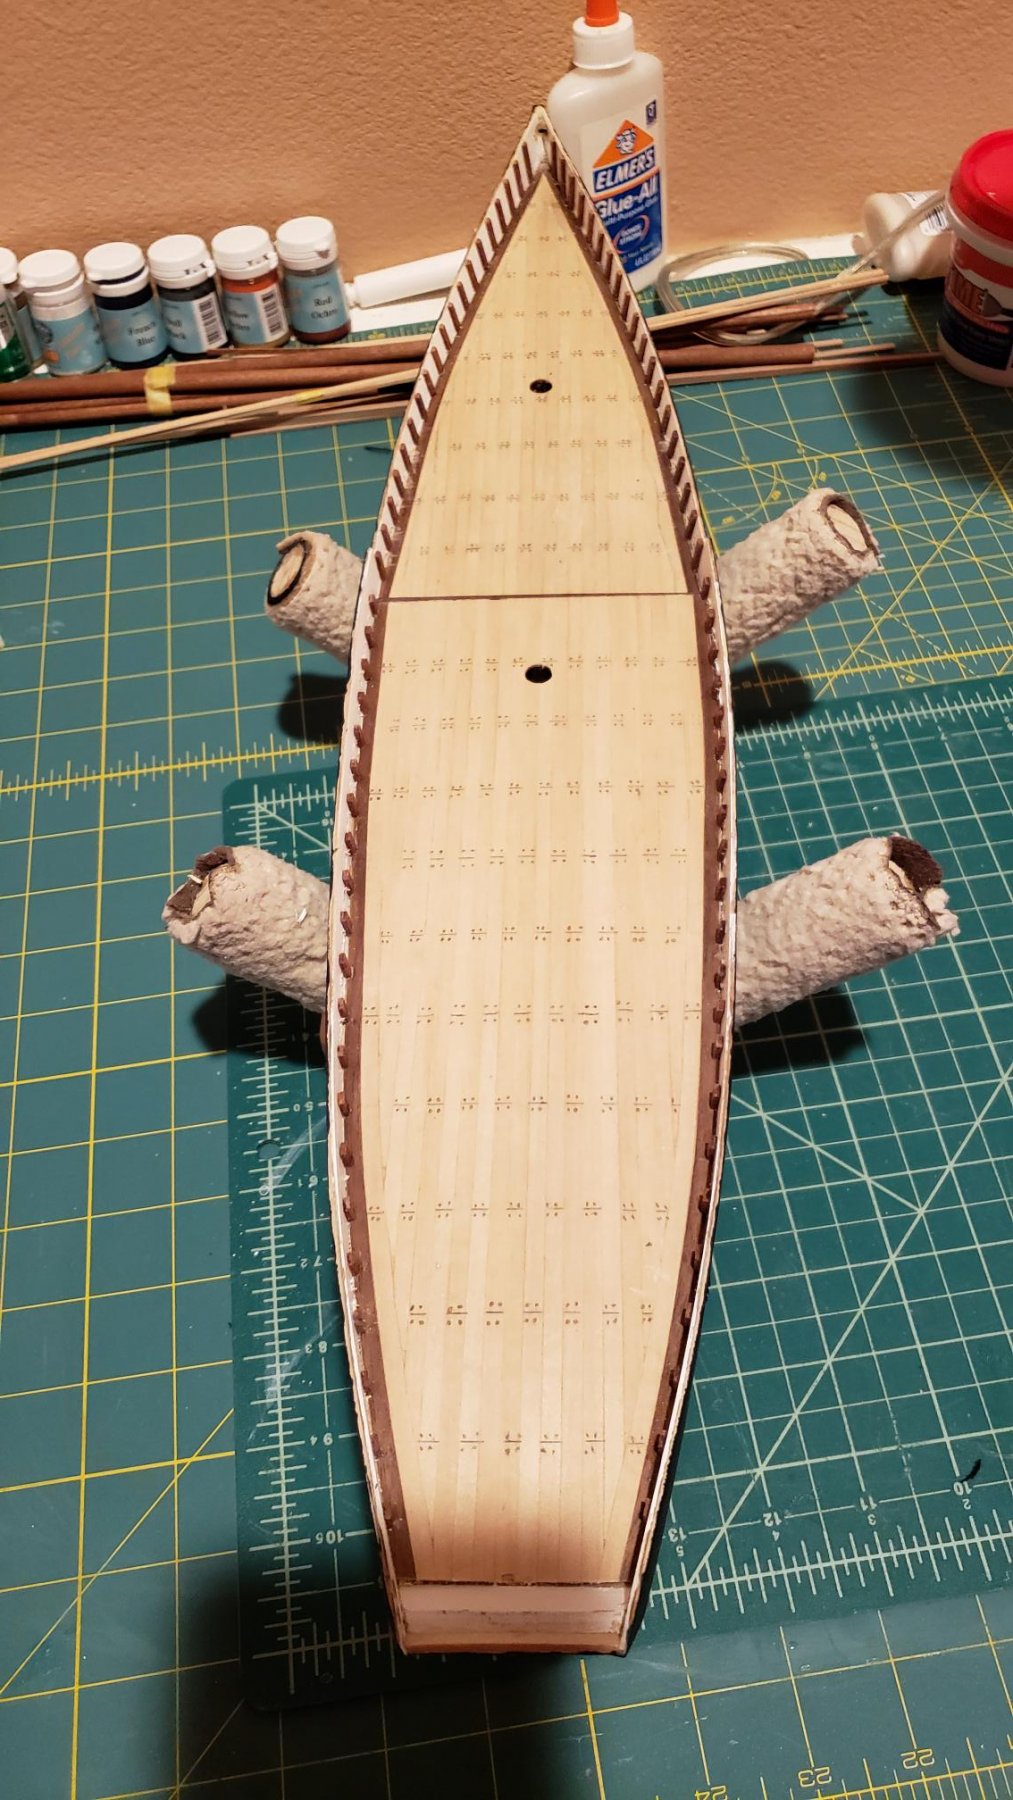
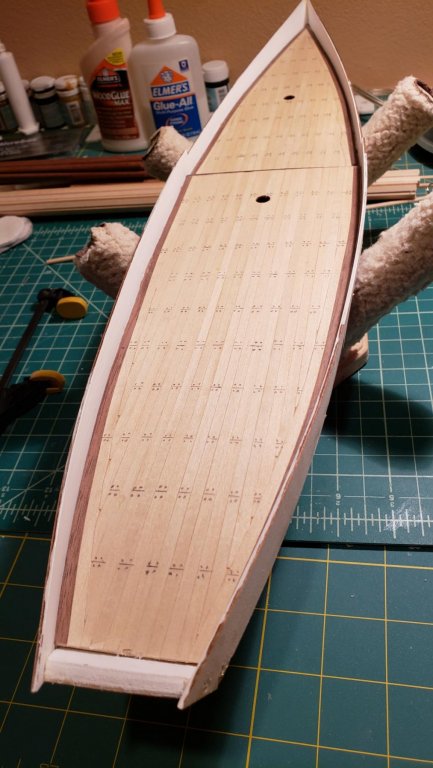
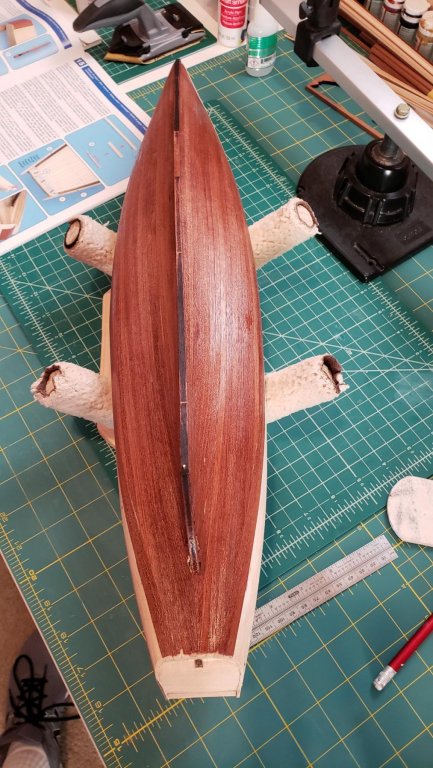
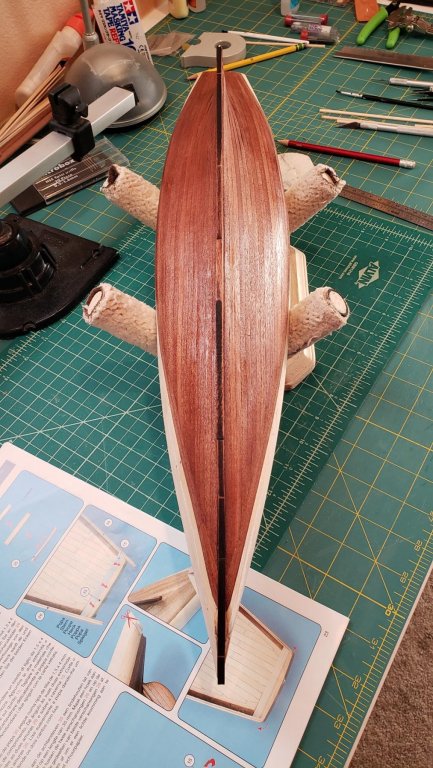
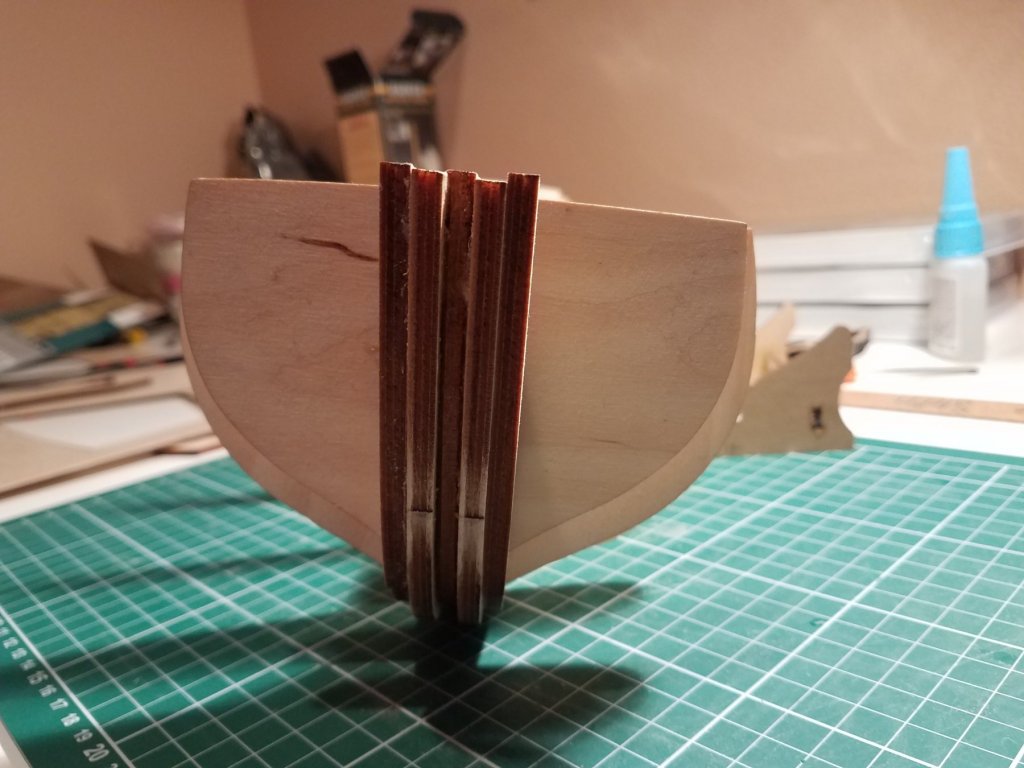
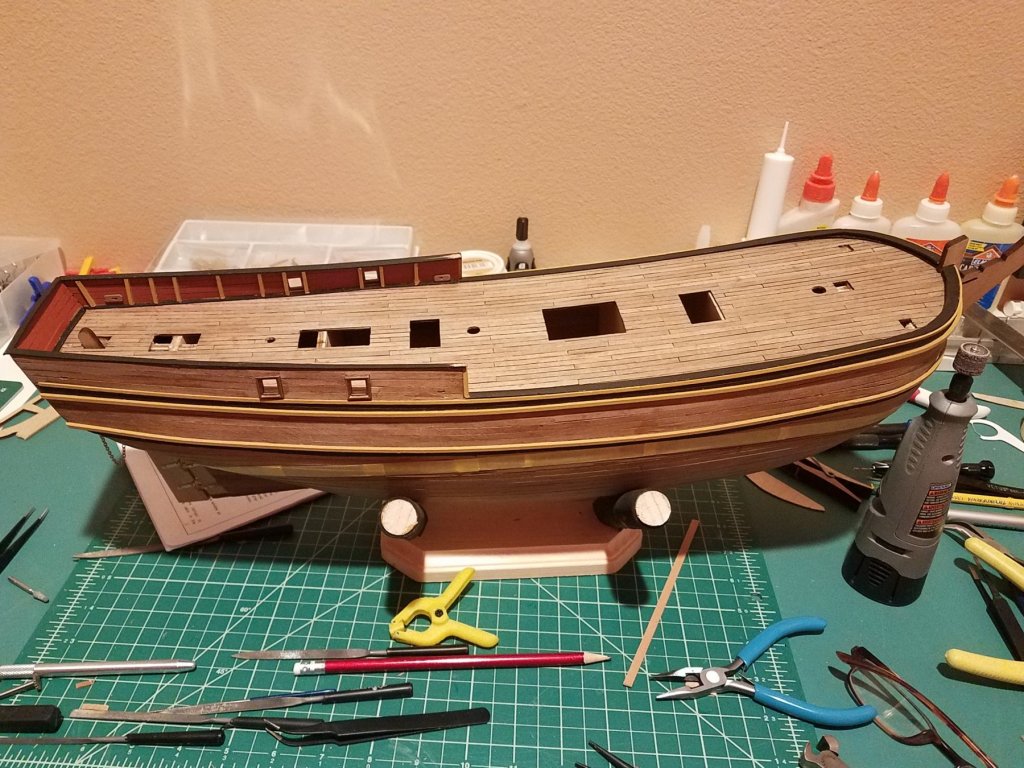
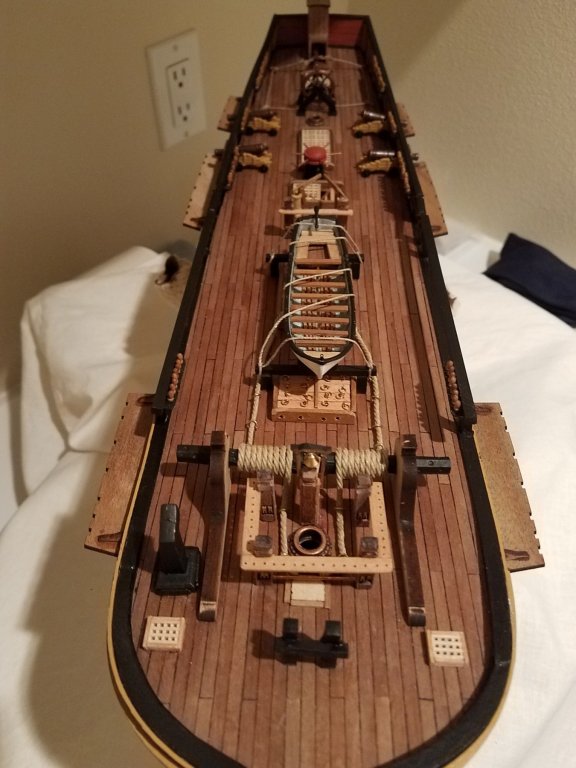
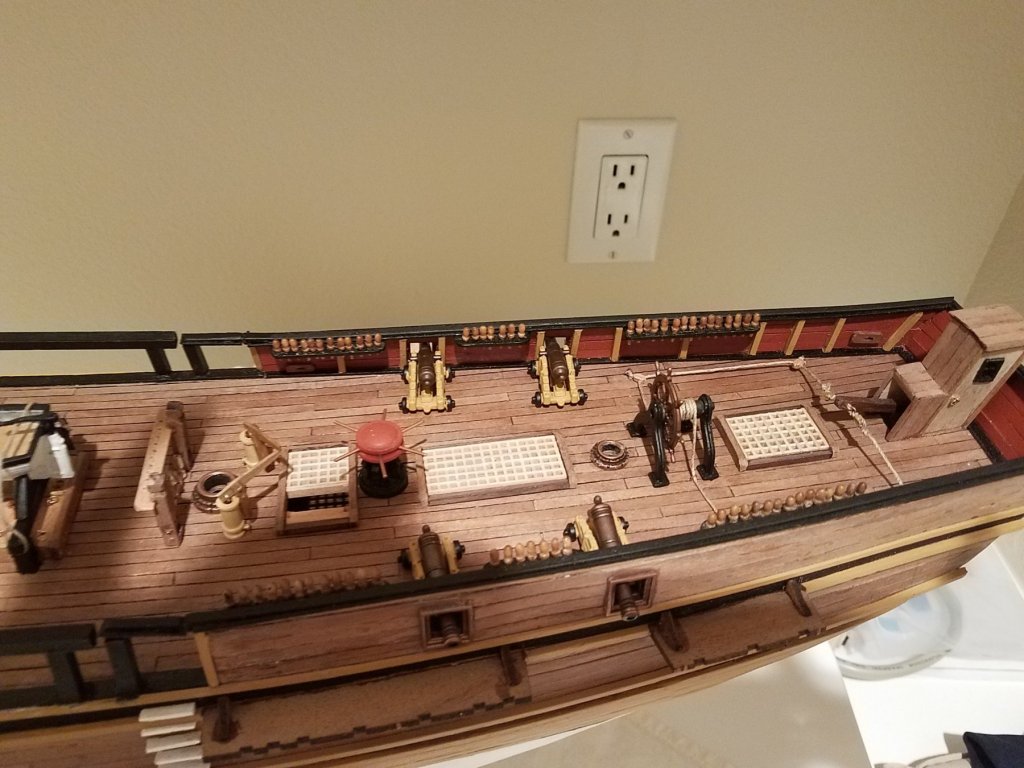
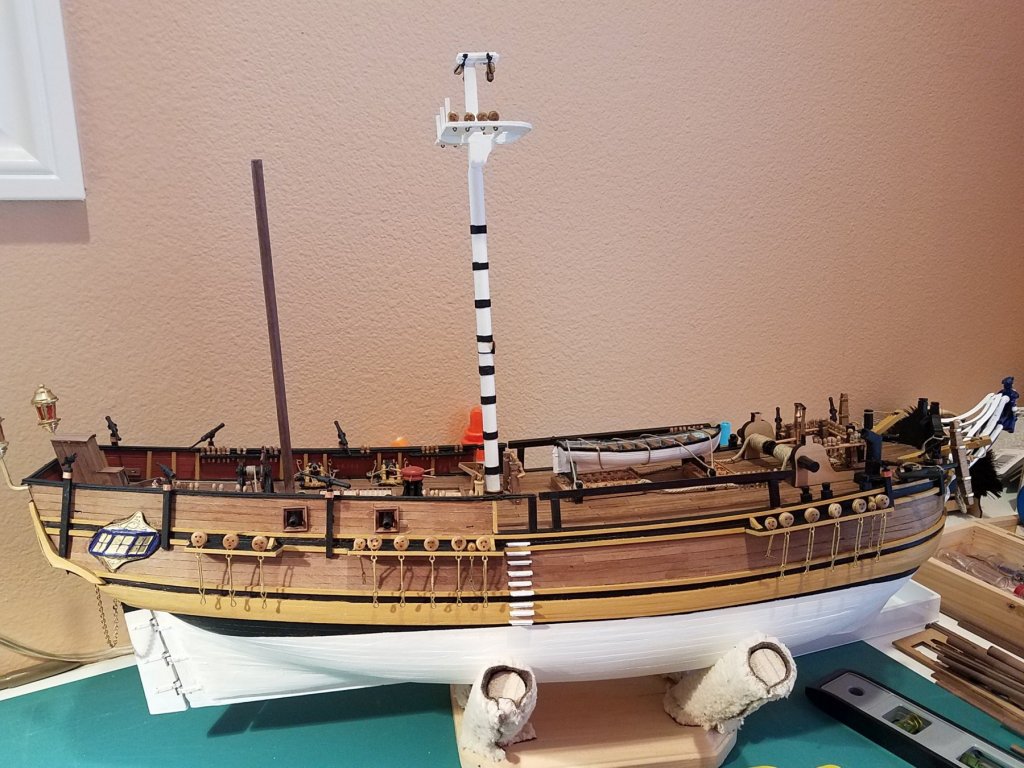
My current build in progress after having done the Amati Bounty. I thought I would try something different and perhaps easier before my next biggy... the Amerigo Vespucci. Deck Planking Completed Some good progress made : Now Ready for the sails: Previous Build: Amati Bounty 1787. Victory Models - Lady Nelson; Artesenia Latina - Virginia 1819


-
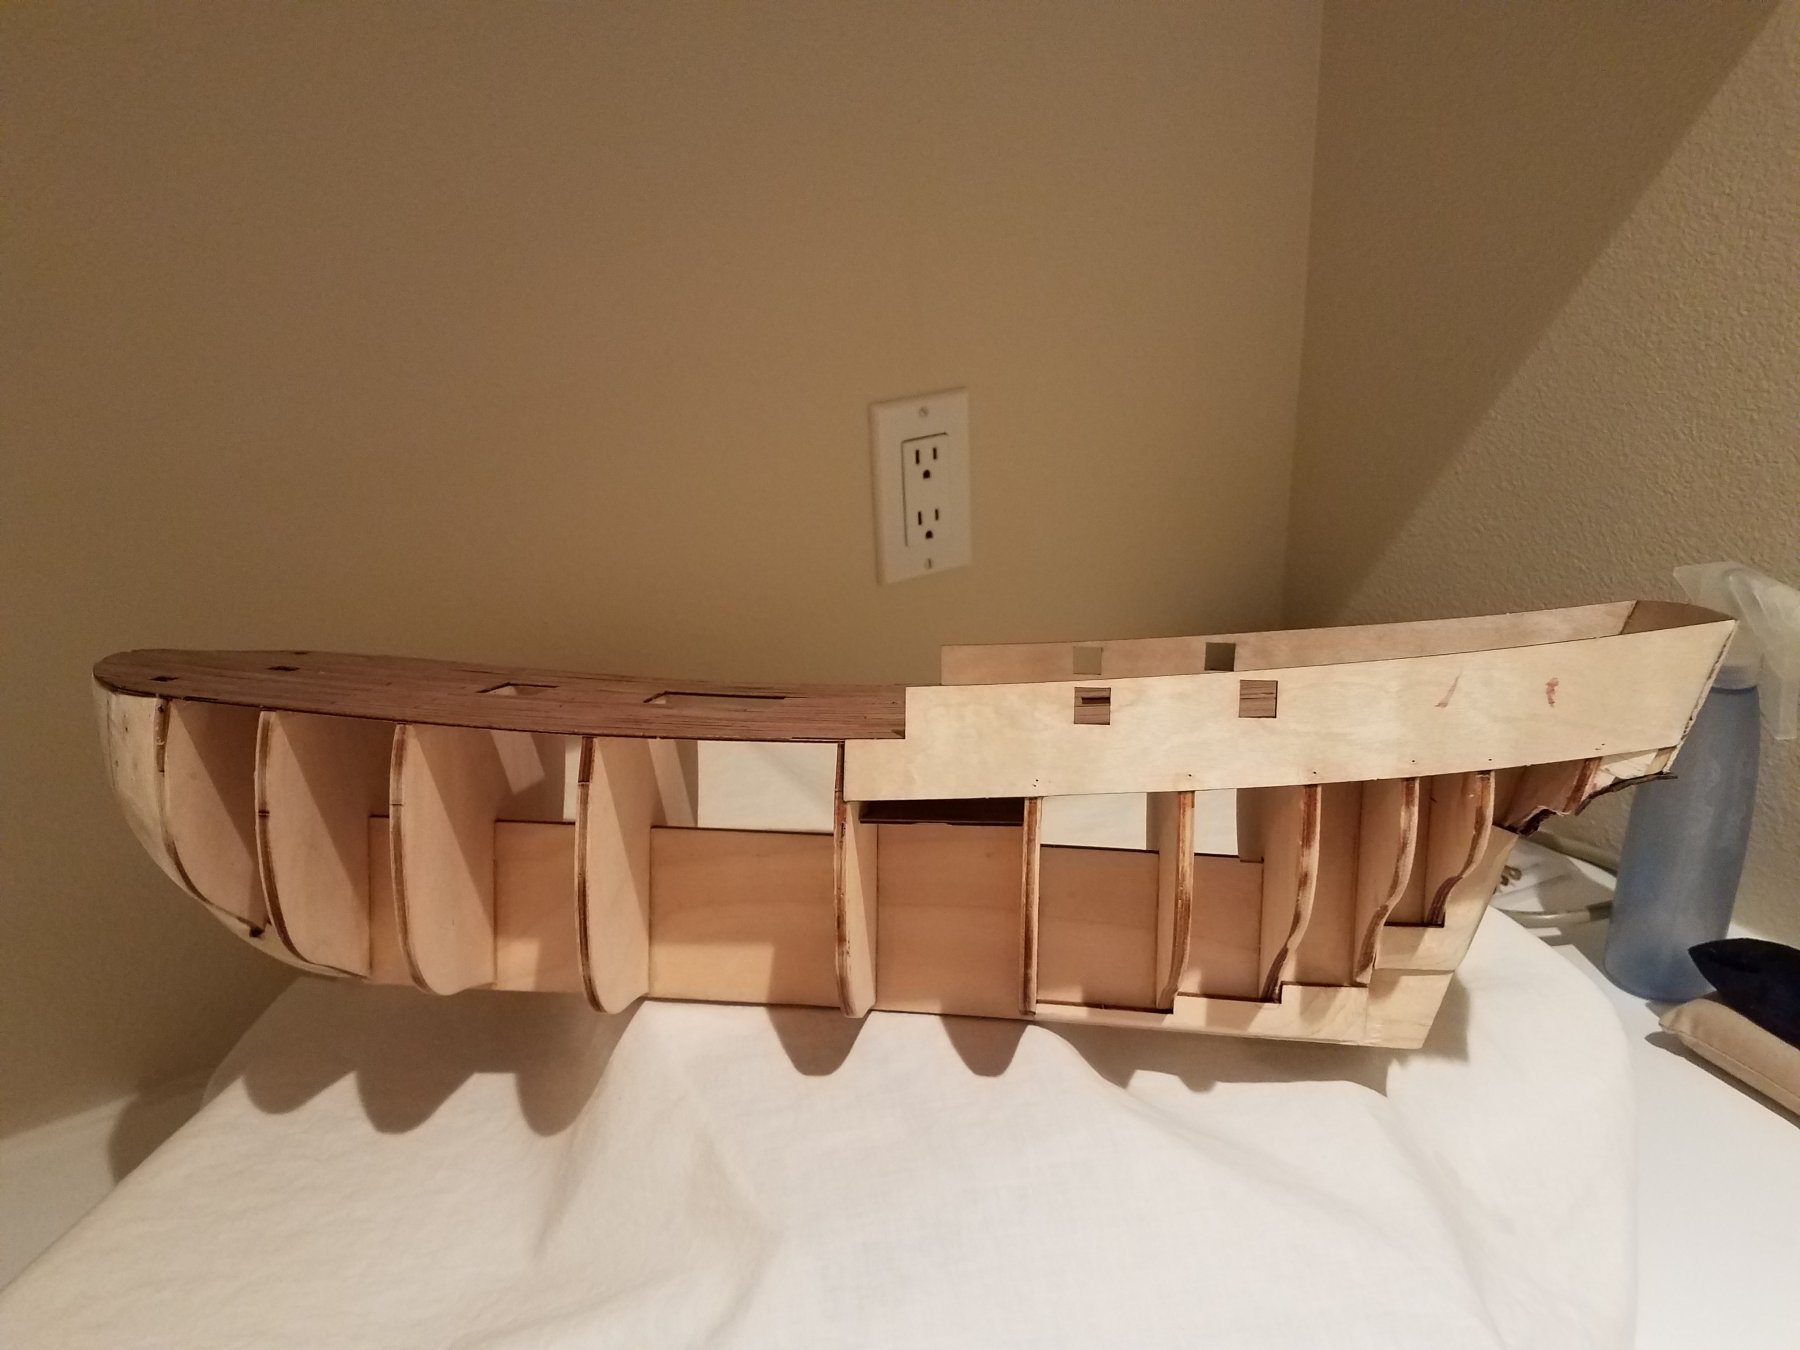
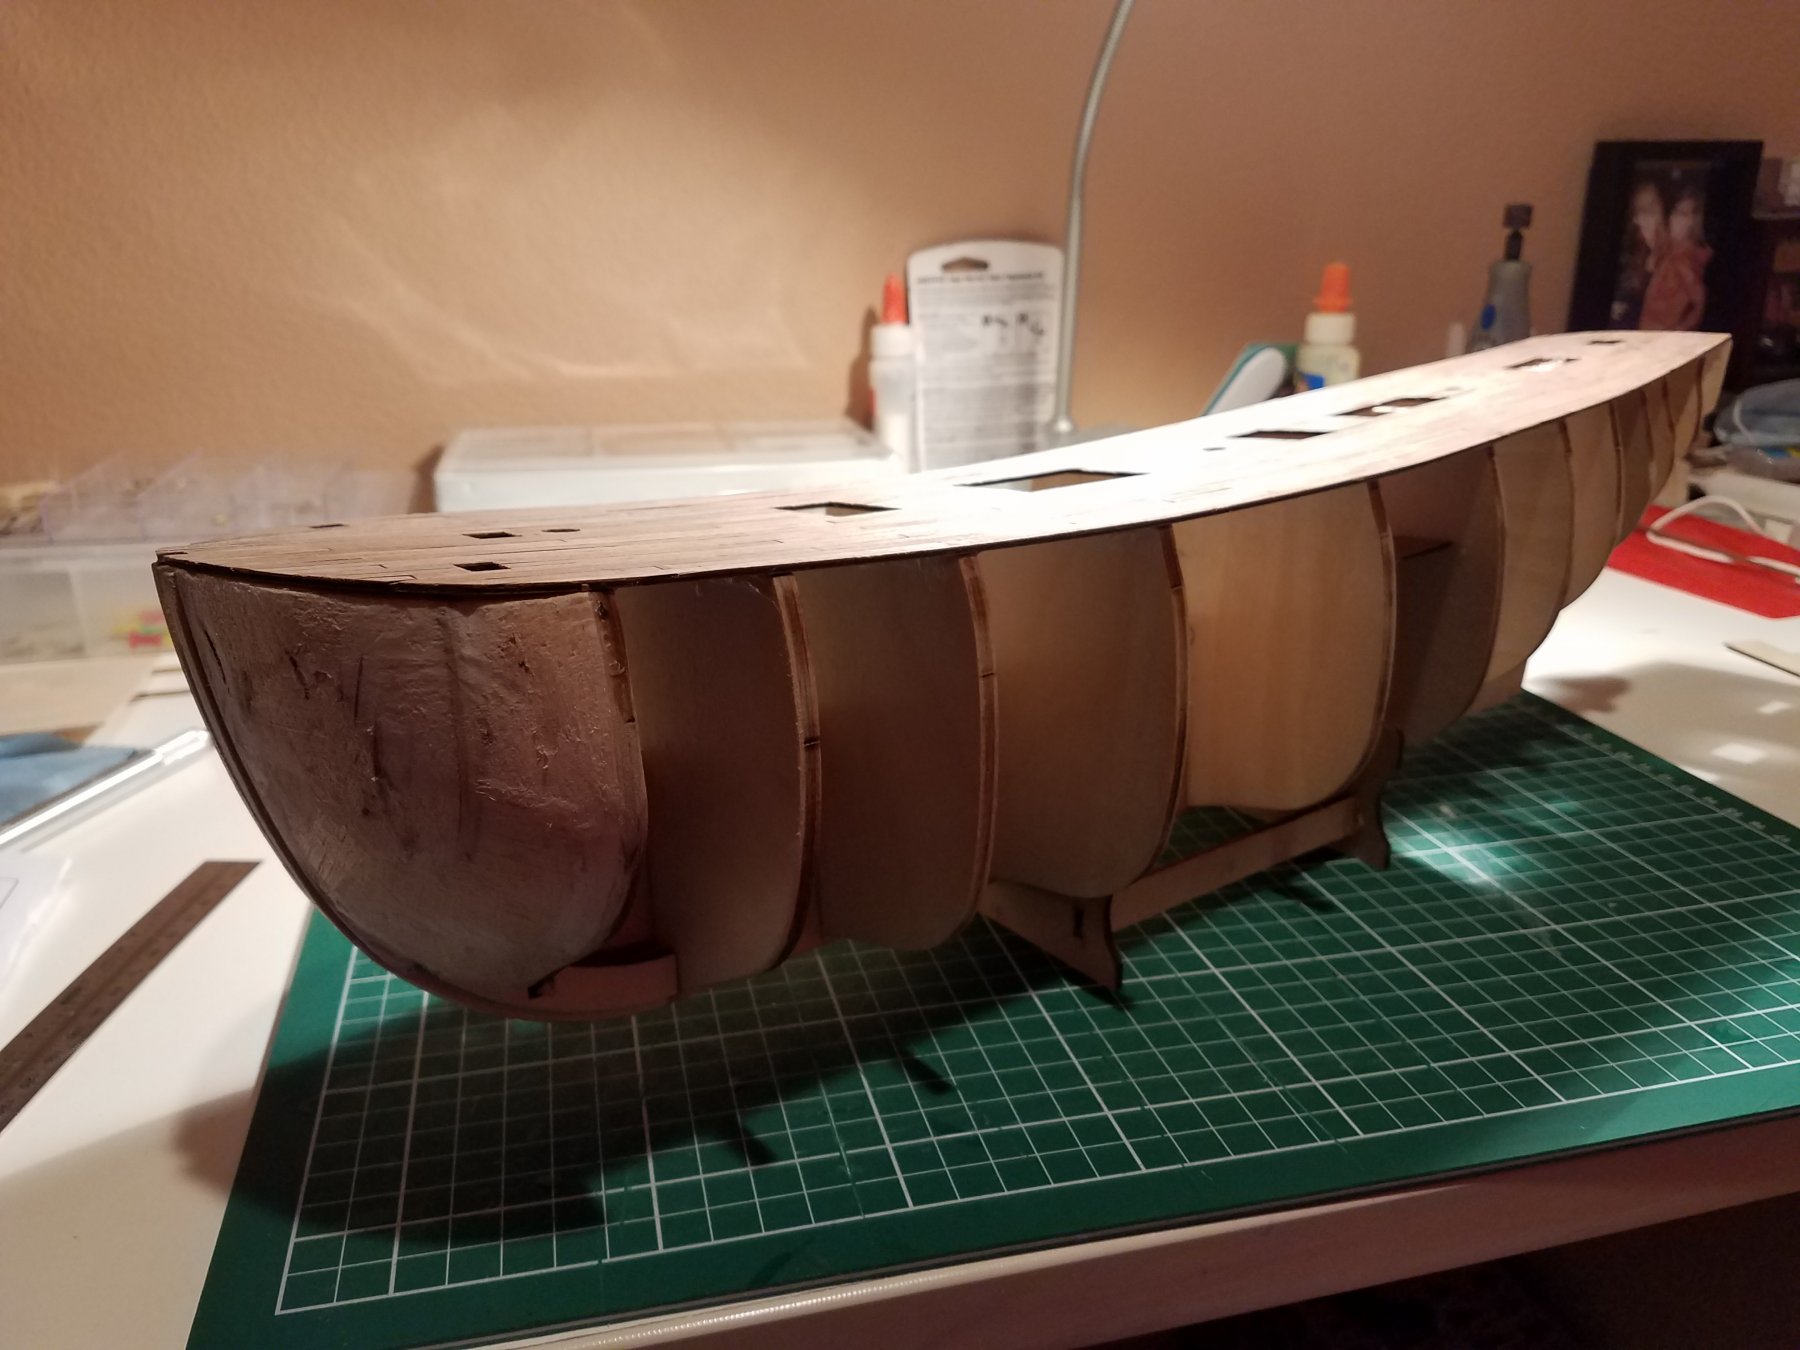
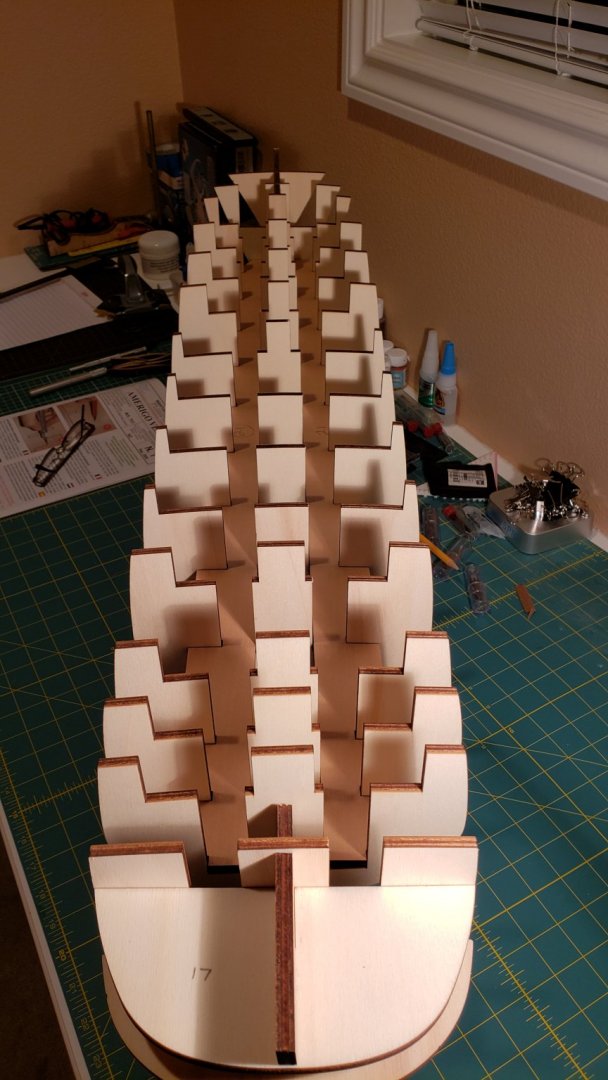
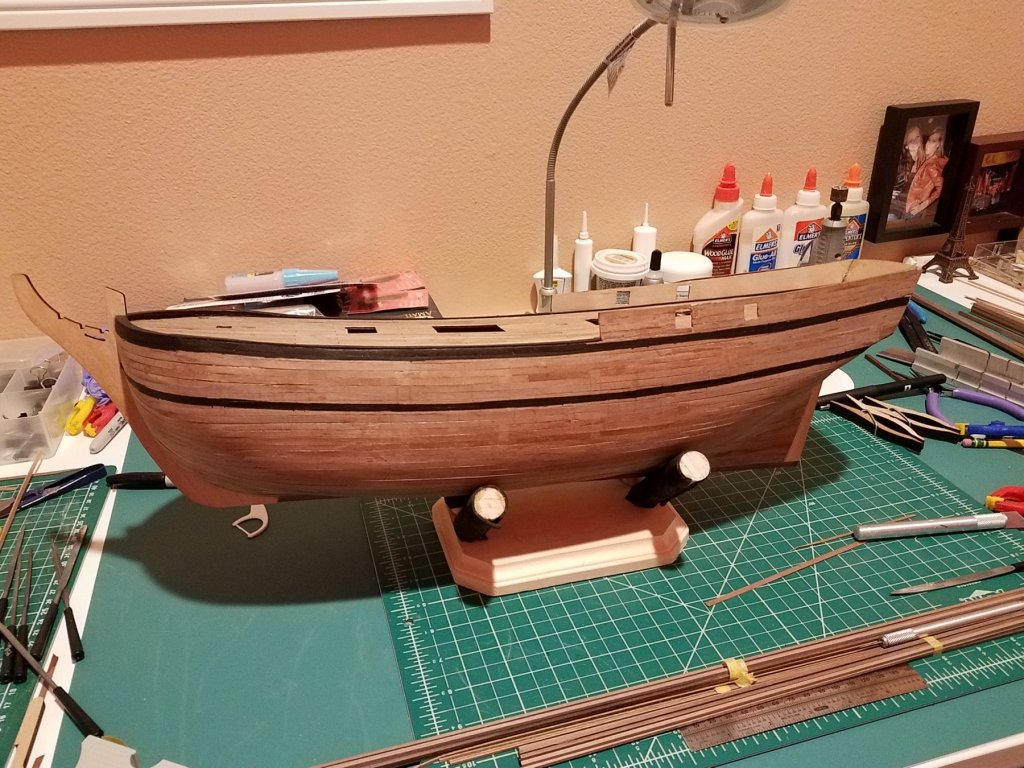
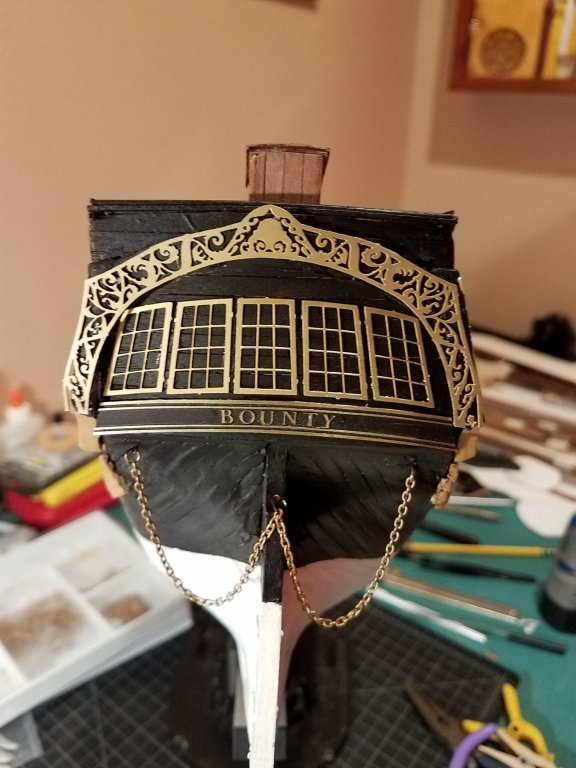
I decided to add my build log of the AMATI - Bounty 1787 which was my 3rd Build. I jumped from the Lady Nelson to the Bounty and it was tough at times due to lack of instructions that I assumed would be there. I suppose going from a level 2 type kit to a level 4 means that you don't always need the instructions as detailed and that you would already know what to do. Anyway with help from the build logs on NRG and Donny at Ships of Scale, I persevered thru it and about year later happy to have it completed and shown proudly in my entrance hall. Current Build: BlueNose II by Artesenia Latina Previous Builds: Lady Nelson 1:64 - Victory Model Previous Builds: Virginia 1819 1:41 -Artesenia Latina Next Build : Amerigo Vespucci 1:84 - Panart Dry fitting the keel. This re-enforcing needs lots of sanding. Start of Deck Planking Using Balsa wood to round out the bow. Planking starting to take shape Completed First Planking Added Deck and Trim. Completed 2nd Planking and start of waterline and . Lo Deck Filling out. Looking good at this point. Stern Naming Finally Completed. I did not add sails or furled sails which I was considering.


-
How did you furl the signs?
-
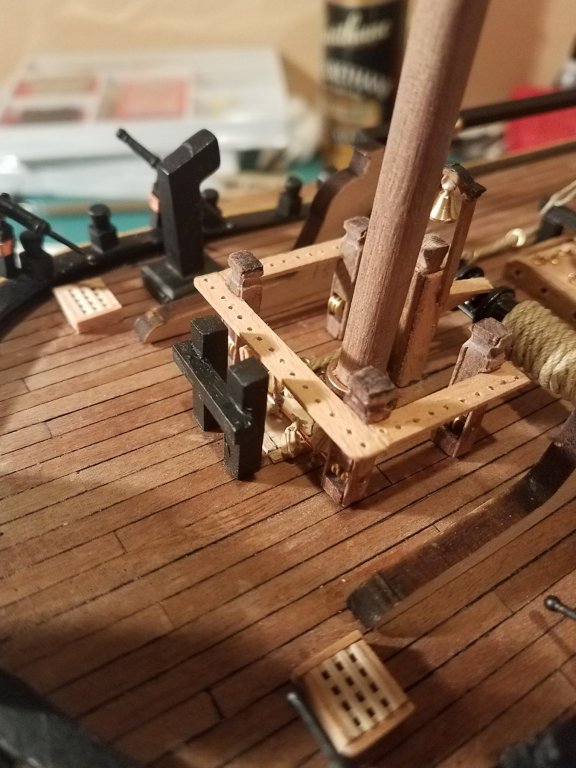
I have just completed the hull and the deck on the Amati Bounty. I am now ready to start the masts and rigging.. Does anyone have better instructions on this as the Amati one is really bad. I assume the one big plan with the rigging diagrams is to scale Can I use that for measurements and tapering of the Masts. There is no area that show actual lengths or dimensions. So I assume I use that. Any help would be great to get the shrouds going and their placement. Thanks
-
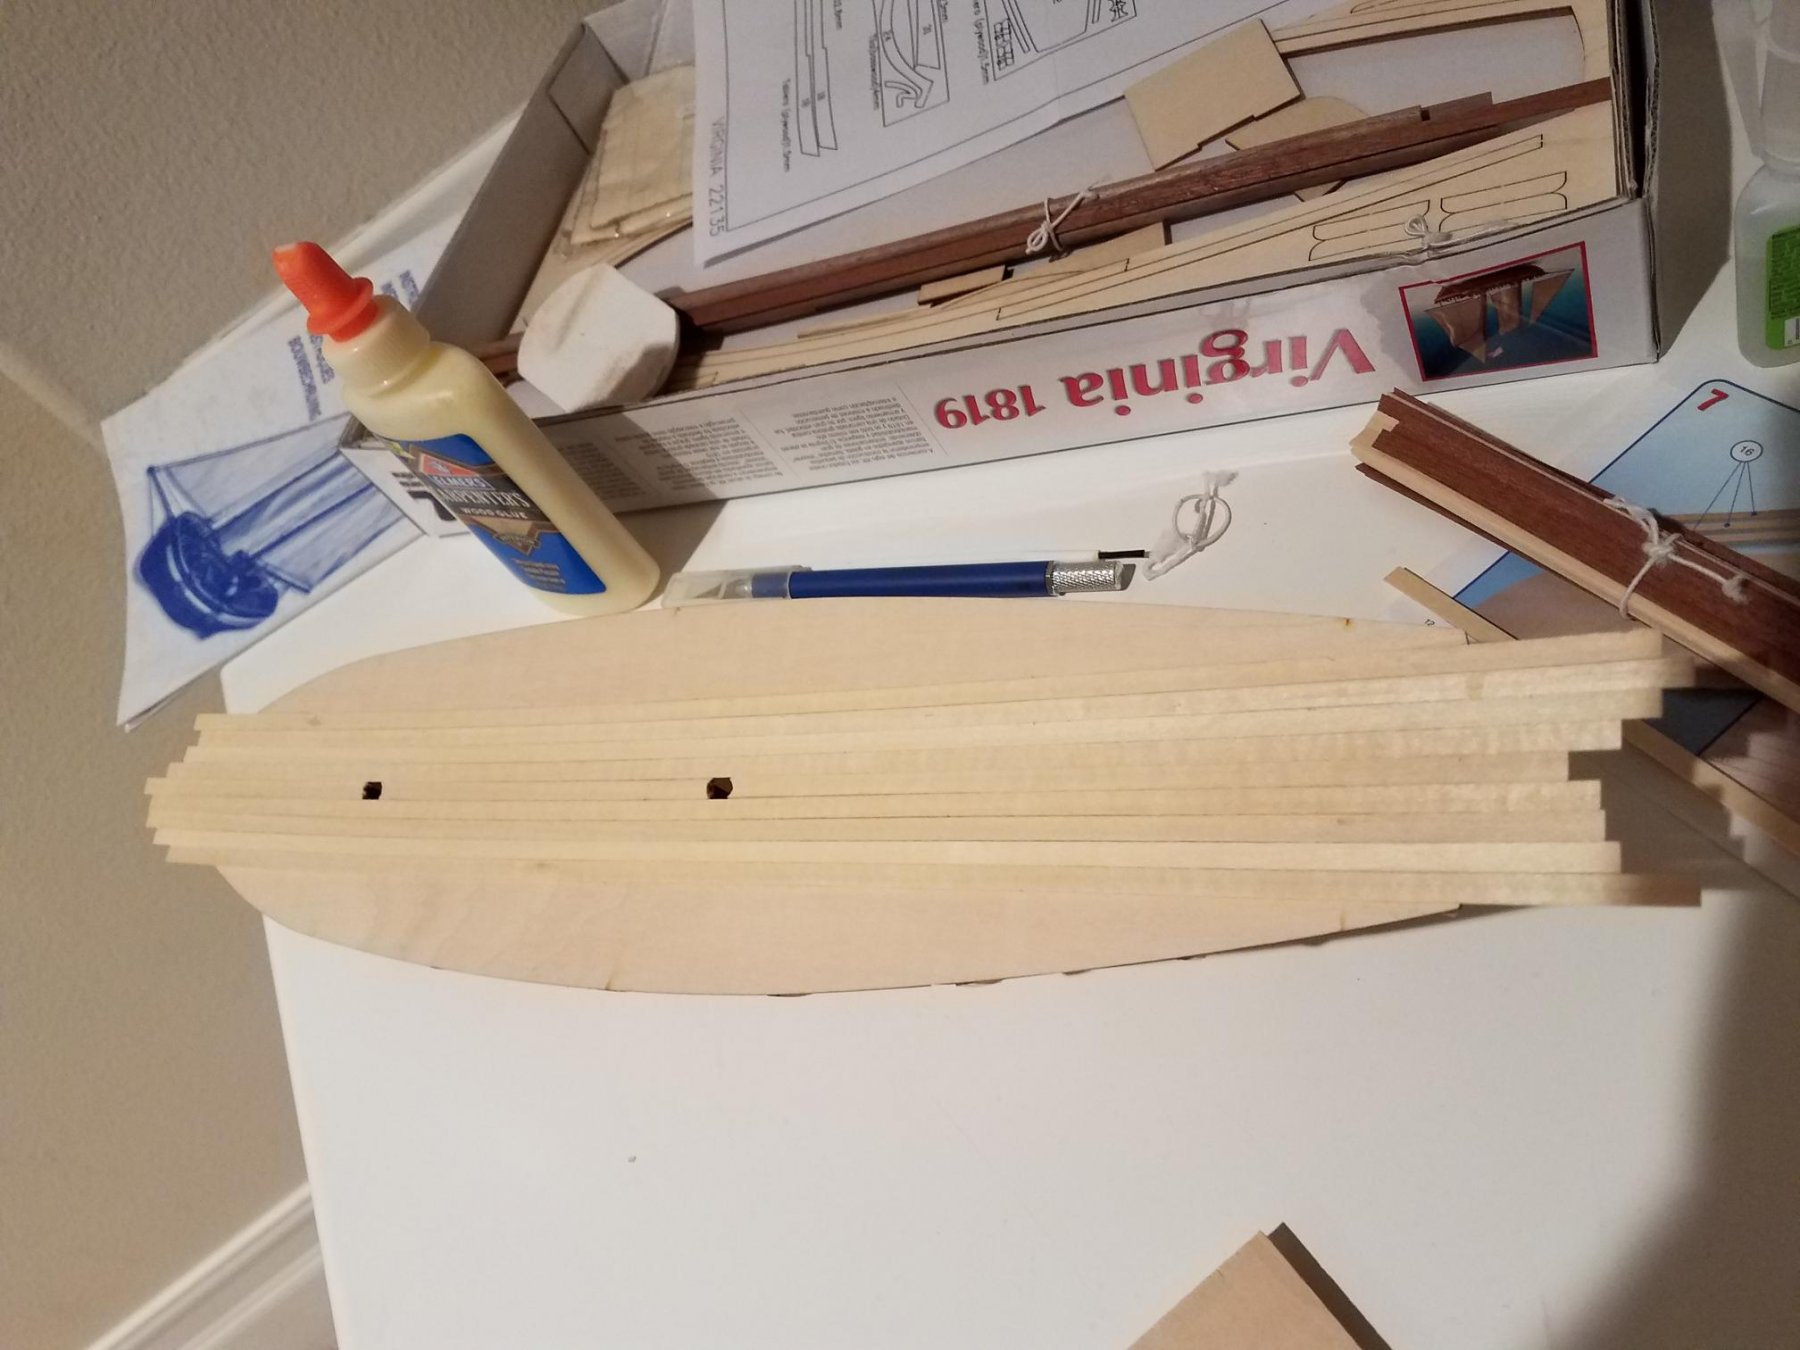
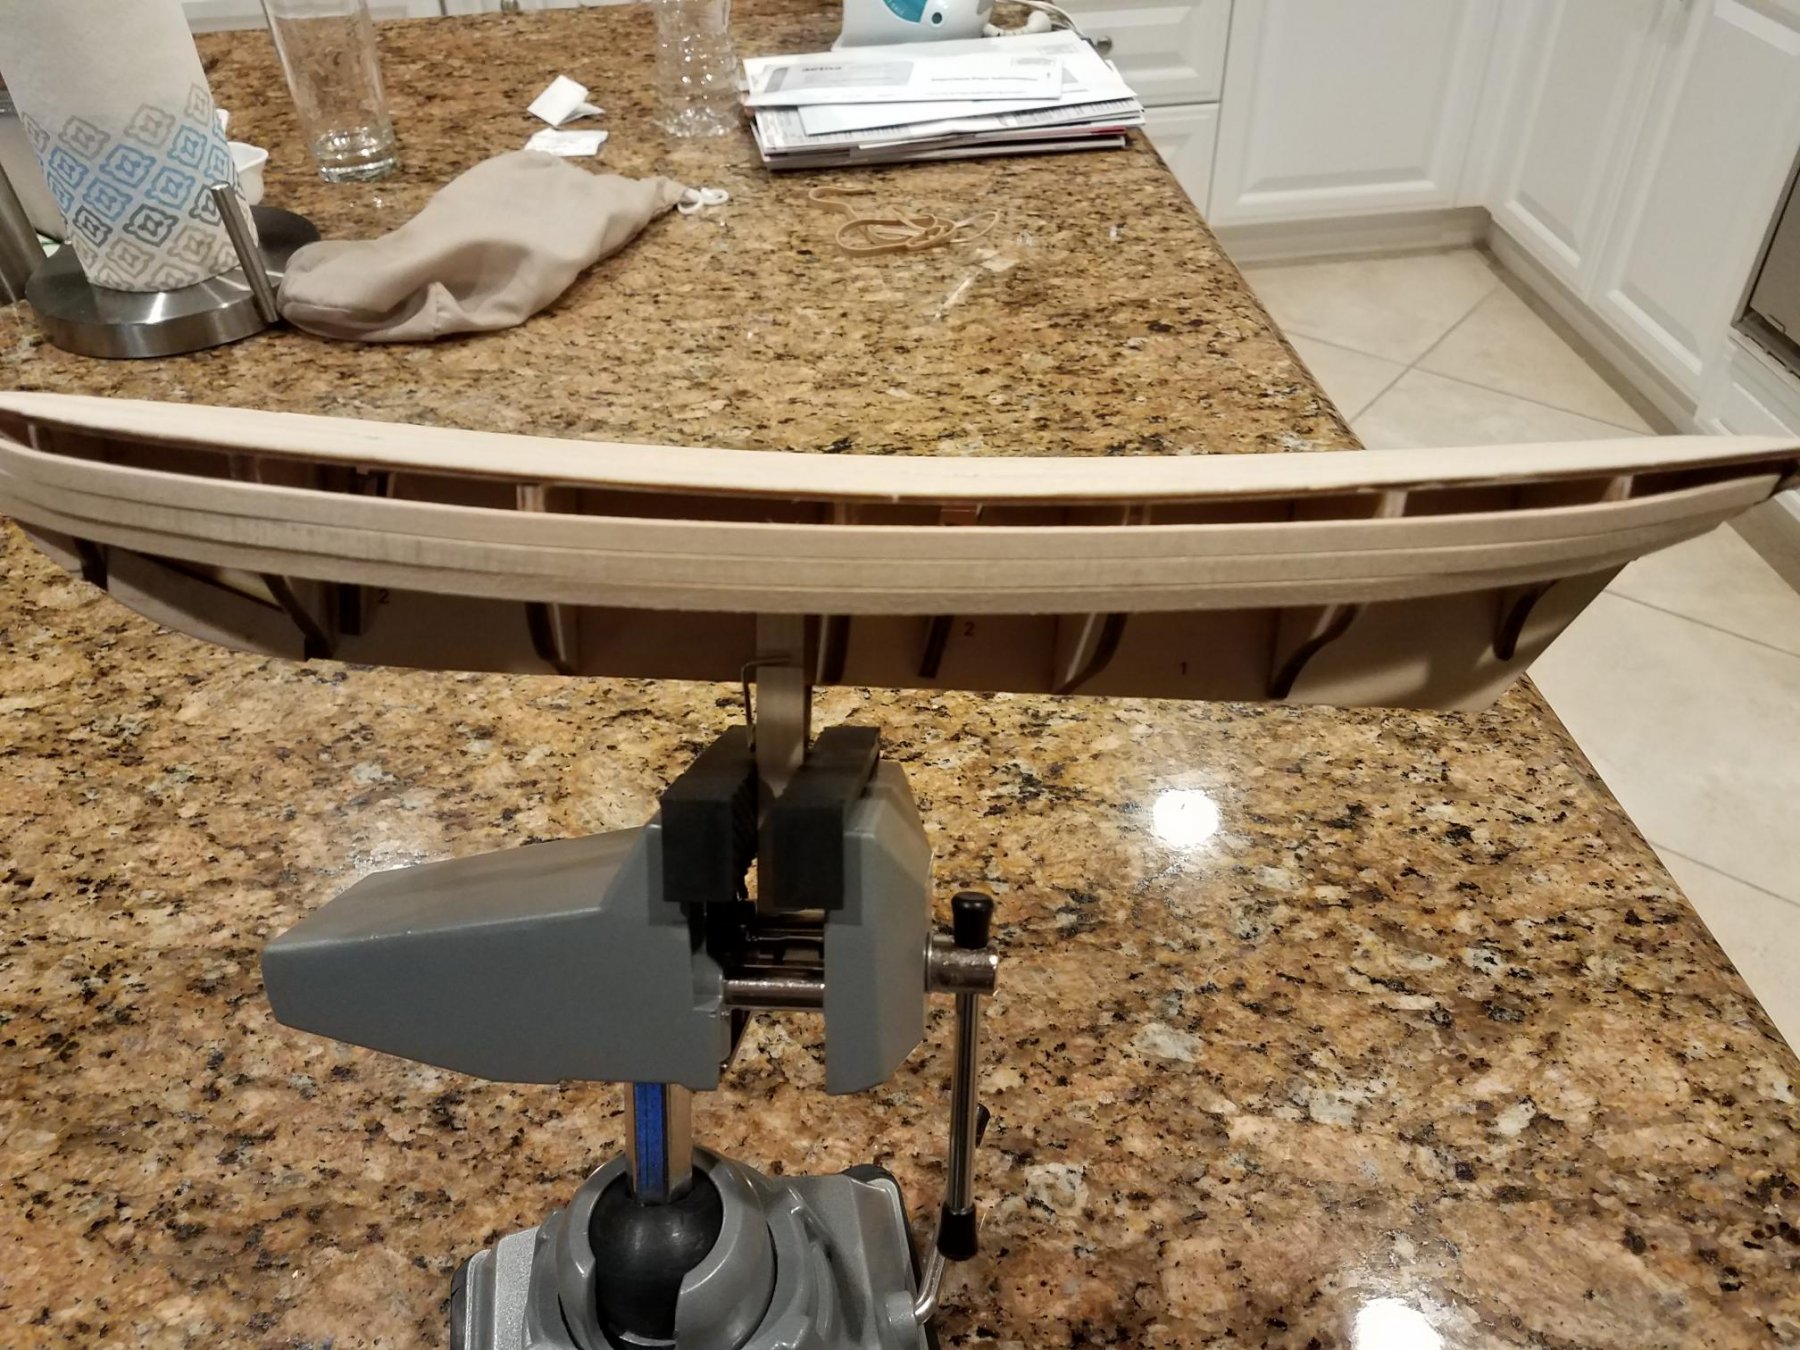
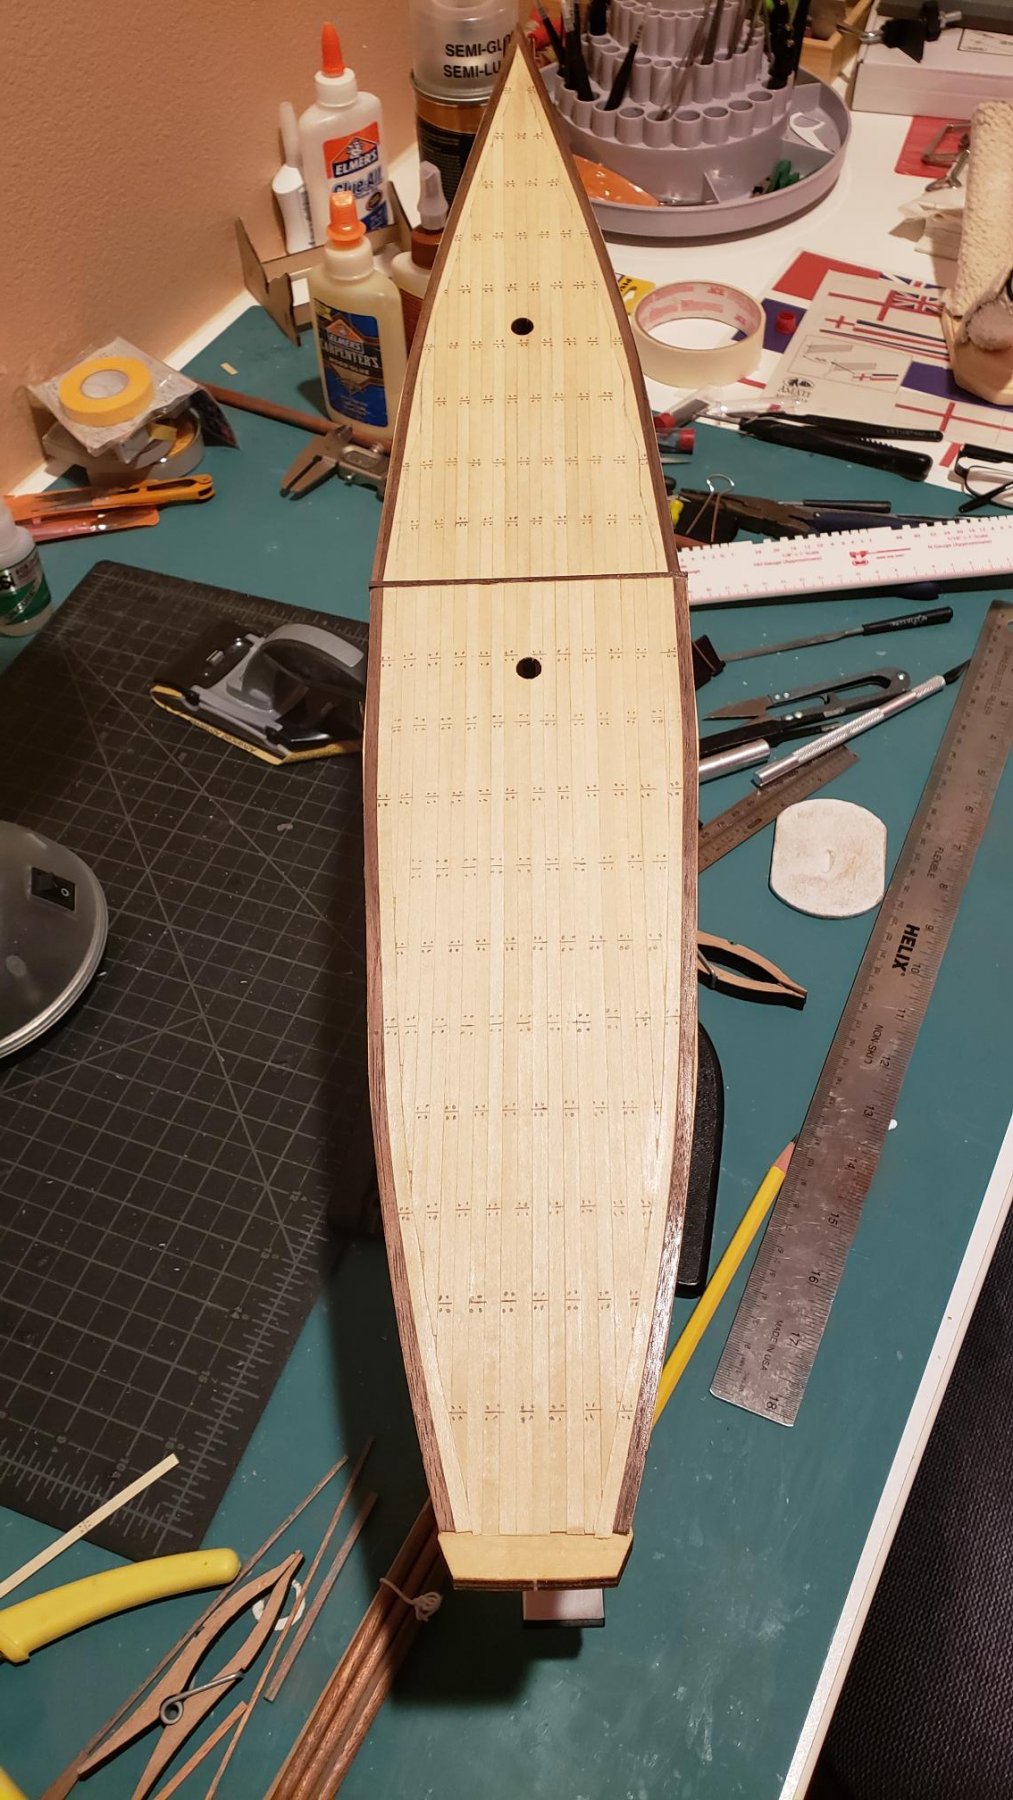
I started building and chose the Artesenia Virgina 1819 as my first model. I think i did a good job being first time. The Rigging and Deck are decent. The hull could have been better. Being a double plank with applewood and then Mahogany. I have attached the final product. I am now looking for suggestions as to what I should build next, so increase my skill level and experience. A friend suggested the Lady Nelson. It looks okay but looking for something that doesn't look so spidery. Thanks Virginia 1819