Hugh R K
-
Posts
6 -
Joined
-
Last visited
Content Type
Profiles
Forums
Gallery
Events
Everything posted by Hugh R K
-
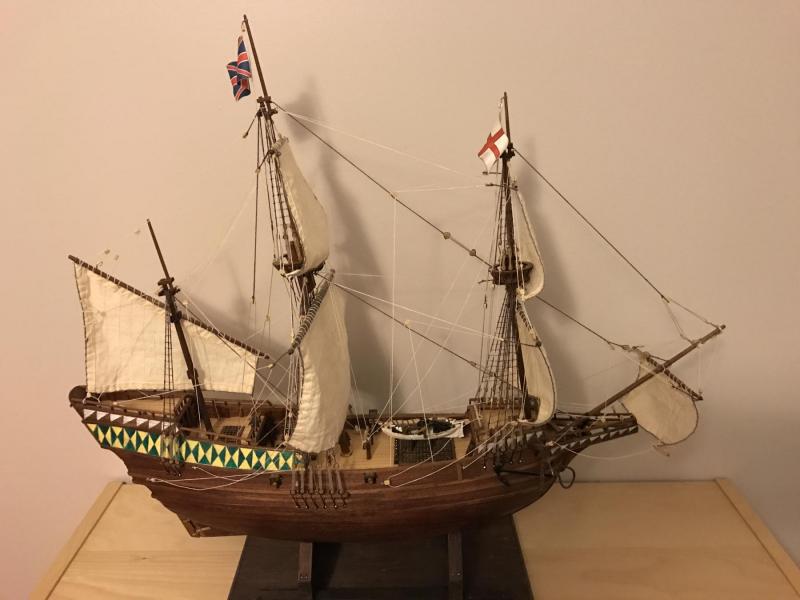
it is the Model Shipways pile of wood I am thinking more toward as much scratch build as I can. Fortunately up to now i have wangled my way through my mistakes. I took the Mayflower to Paris where we lived for 6 months. I didn't pack it well enough and smashed the entire bow section. It sat on a shelf as a wreck until I got it home and was able reconstruct all of the damaged areas. I'll show you when i get some photos.
- 13 replies
-
- 2
-

-
- flying fish
- model shipways
- (and 1 more)
-
Thanks for the feed back. This should be fun!!! I'll post some pics of the boats I've built.
- 13 replies
-
- 2
-
-
- flying fish
- model shipways
- (and 1 more)
-
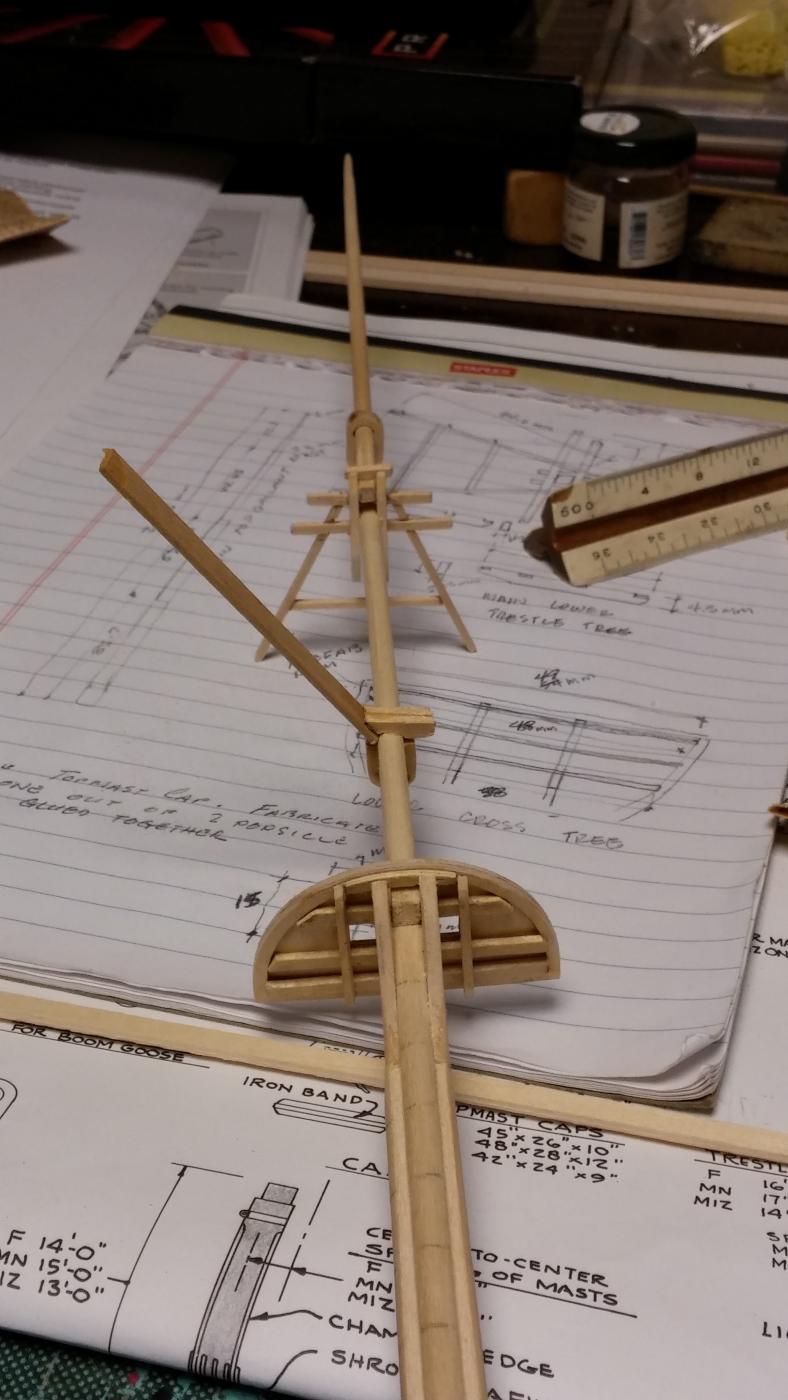
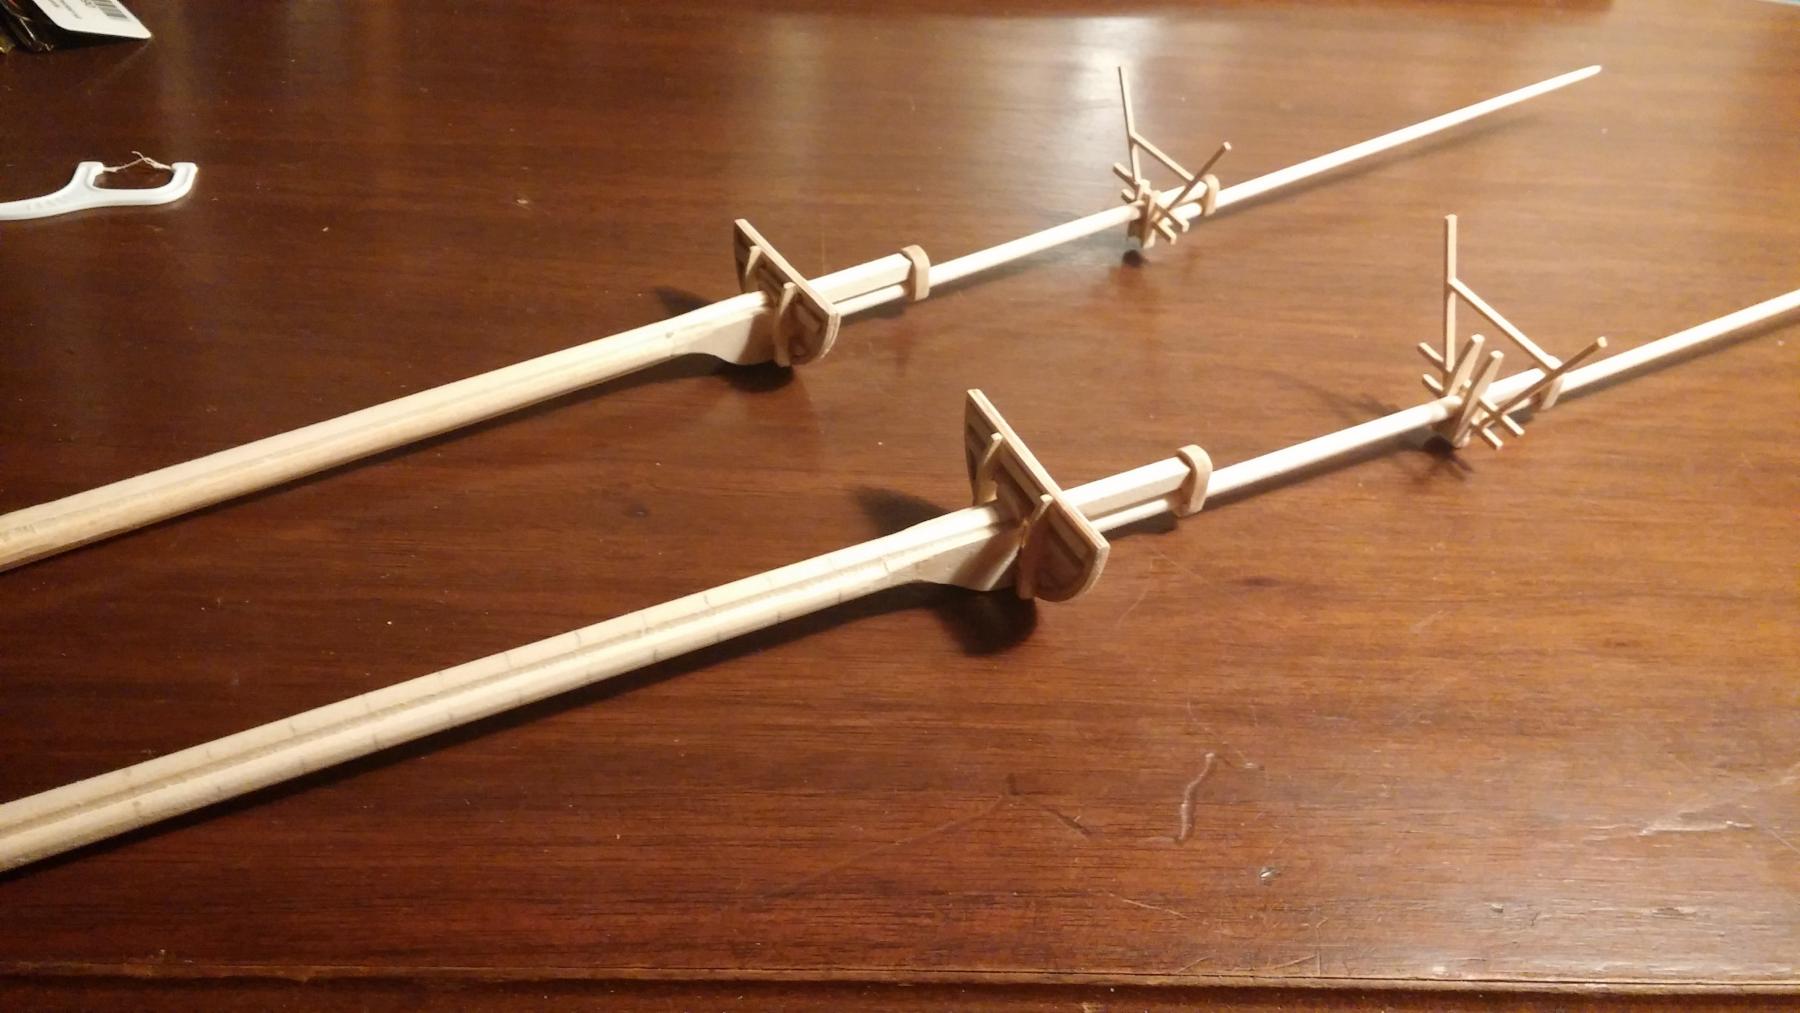
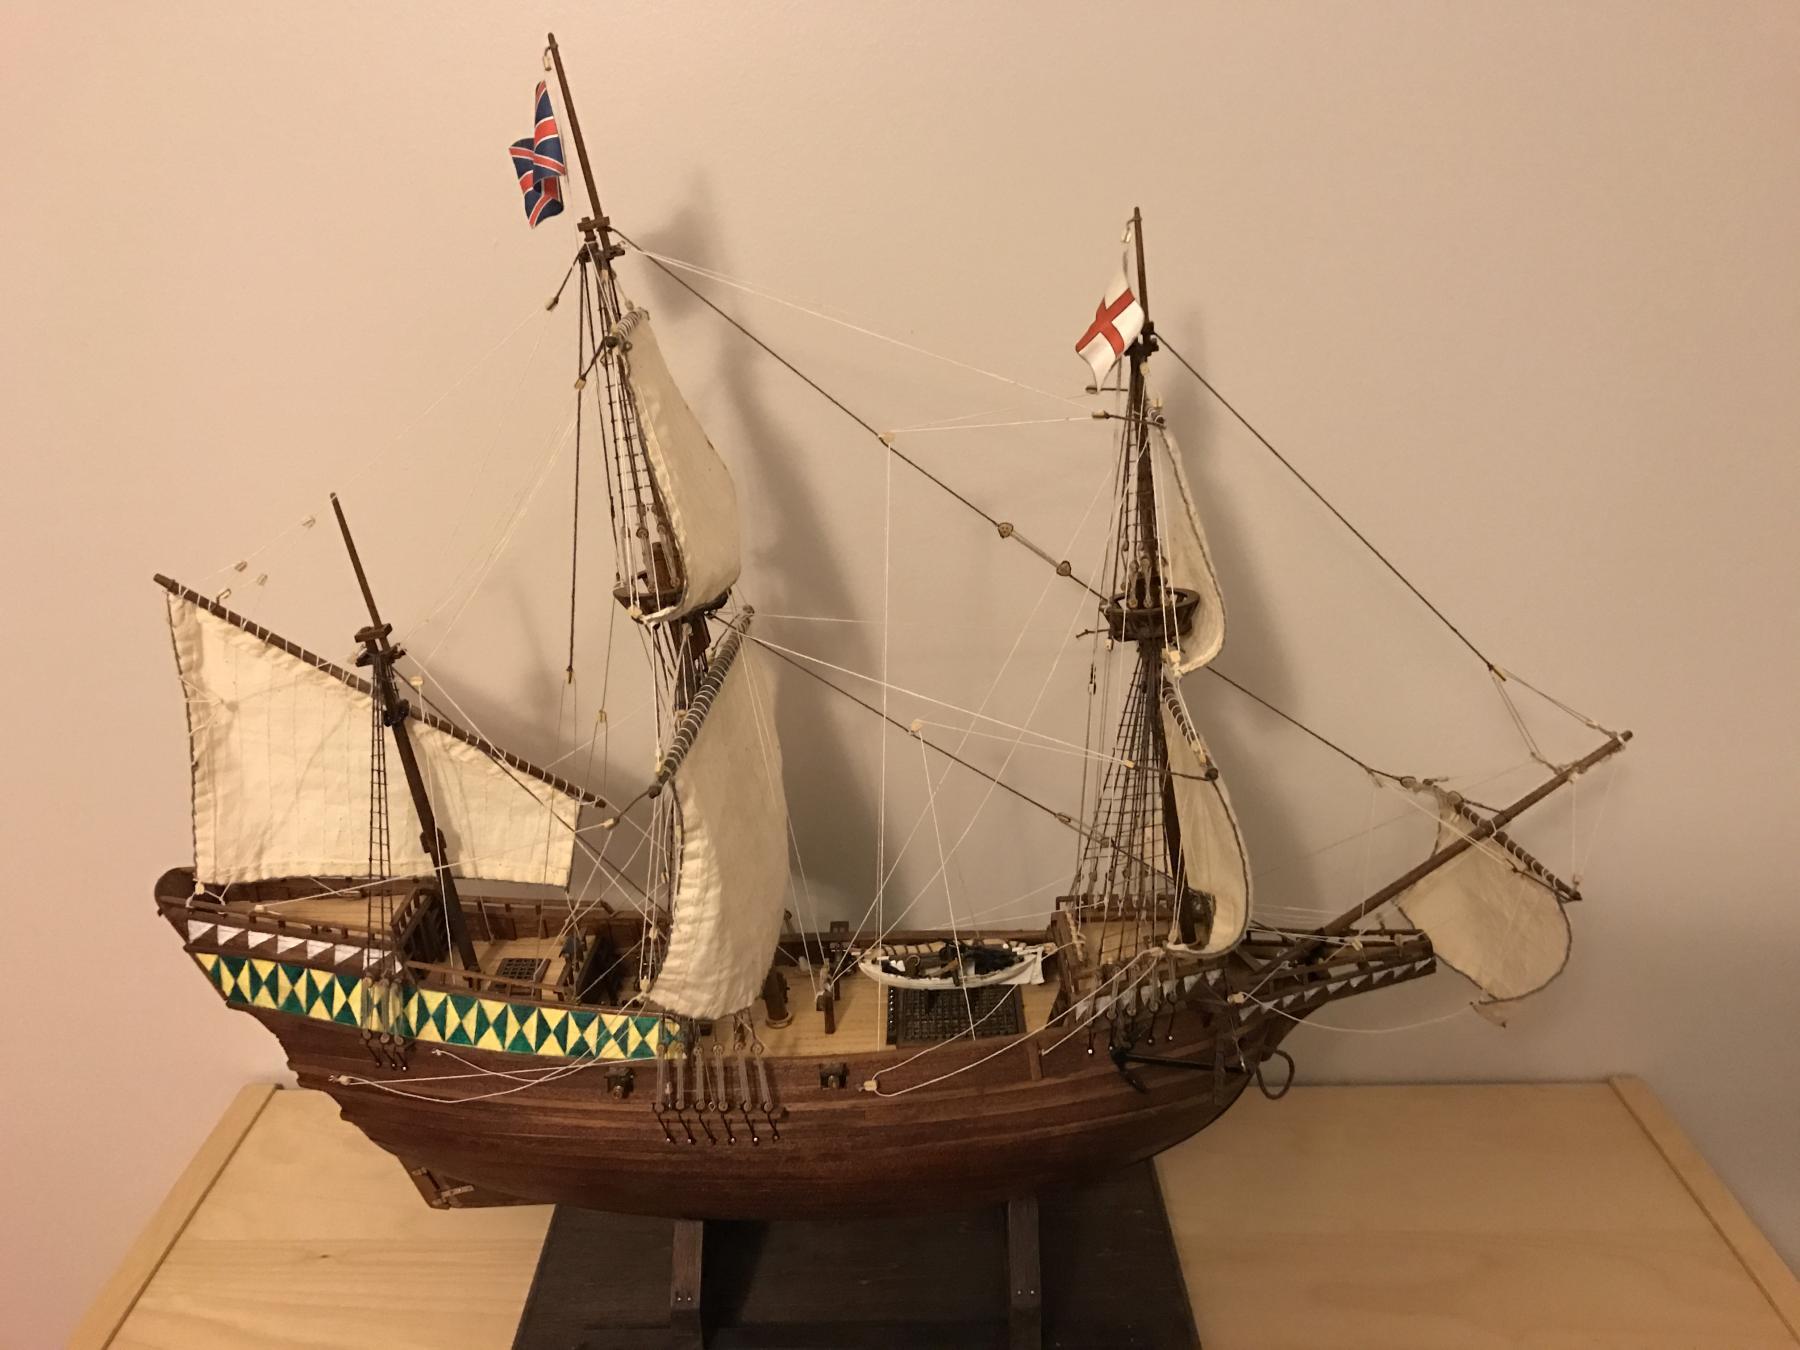
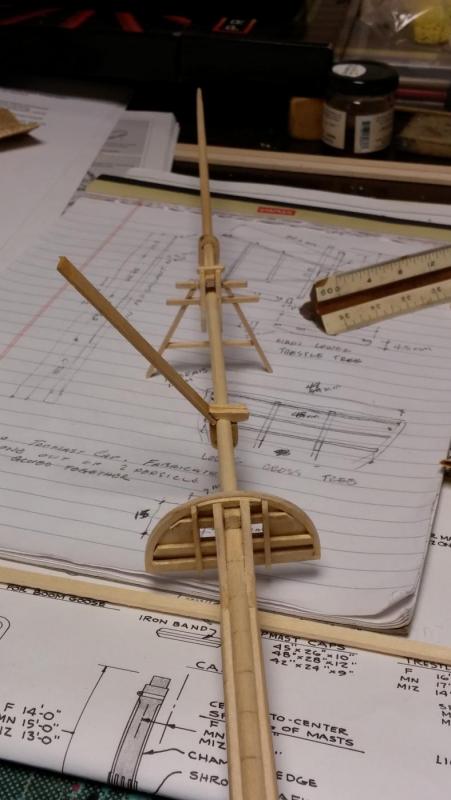
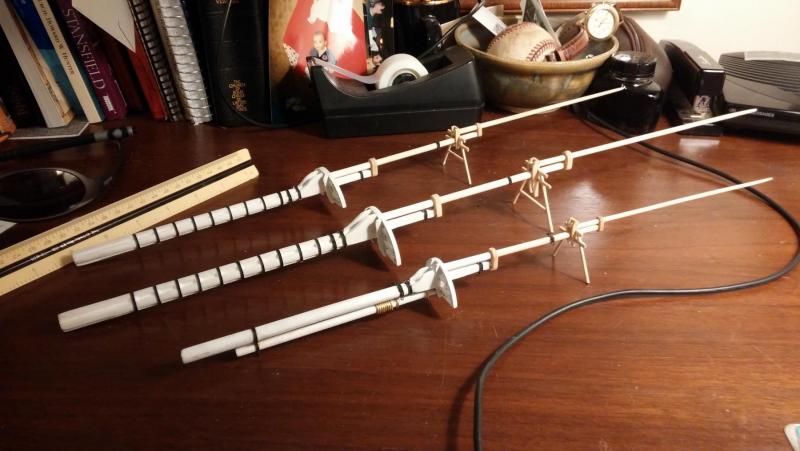
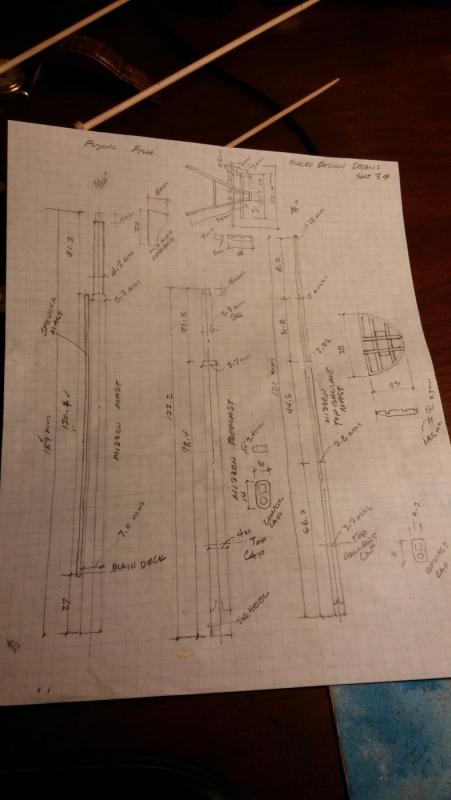
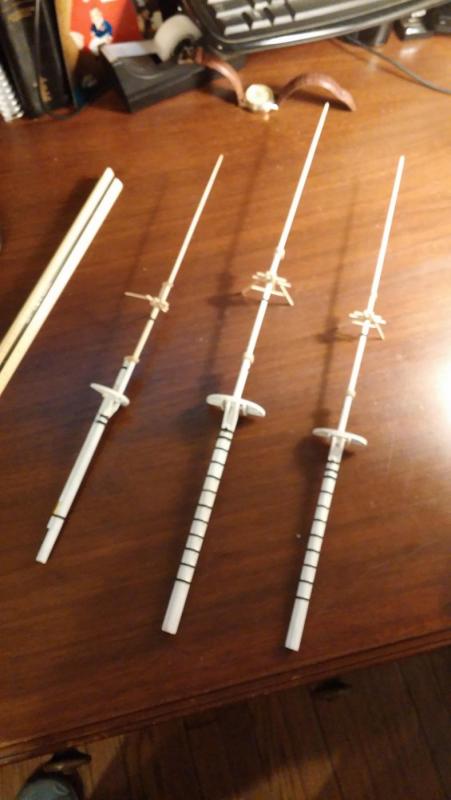
Background I am a retired Professional Civil Engineer. I live with my beautiful wife in Ypsilanti Michigan. I am so glad to have access to this site. I wanted to create a log of this particular build because it should be the culmination of the last 10 years of ship building. I am 71 and this might be my last ship and I would like to pass on the few things I've learned in the process. I built all of my other ships as "legacy presents" for any of my children that wanted one. So far I've built the 1805 Swift (I kept that one, I'll give it away after I finish the clipper), the Albatross (I gave that one to my 3rd oldest daughter and husband), the Mayflower for my oldest son. I converted the Mayflower into the Golden Hind and then re-engineered it into Captain Hook's pirate ship the Jolly Roger for my 4th oldest son. I included hand painted sails and flags, hand painted exterior, and cabin and stern lighting with a battery pack in the display mount. The one I am finishing up now is re-"back storied" version of the first Americas Cup Racer. That Billings Boat kit was given to me by a friend who found it in the trash. I'm including a complete set of working navigational lights. I am giving this to my fifth oldest son. I am going to keep the Clipper and my heirs can work out who gets it after I am dead. Captains Log Flying Fish build-Preliminary Notes I am super stoked about this set of plans. I have to say though that this is the first set of instructions, unlike the 5 that I've previously done, that actually scared me when I first looked at them. I really love the fact that everything is in nautical terms. I had to acquire a nautical dictionary to interpret them.They are completely dimensioned for the full size ship as researched and contain a lot of details I've never seen before except on board real square riggers. I plan on rigging it with sails which is a level up in terms of the challenge, because I have to create the patterns to scale for each of those I plan to install. I am probably going to have some partially furled and some fully furled. I have to do a little more research to learn what would have been a realistic sail arrangement so as to retain some semblance of what would have been done in a particular weather condition. I also think I am going to construct the fished fore and main lower masts. That detail should look really cool. The other thing is that the full cross section provides lower deck position and structural details which I am going to include with open companion ways and hatches to provide visual access to these lower areas of the ship. I've already laid out the cutouts of the various bulkheads where I plan to create those lower deck portions. I also think i am going to add ballast so it has a more realistic heft. I haven't decided if I am going to build the ships boats from scratch yet. I've done it before (hand carved oars, etc.) and completely outfitted them on the other models where appropriate. Done correctly they should be awesome. I'll wait and see. They are a long way off. I've already started accumulating jewelry making tools to make the 1:96 scale iron work pieces. Because I am so slow, I figure that will add at least 3 months to the build time. I plan on doing all of the spars, masts, cross trees and mastheads, iron work, etc. installing all of the foot ropes and jack stays etc. first and set it all aside until they are ready for installation. This will give me a good way to check the dimensions of the sails I will be making. I plan to do the same with all of the other deck houses, and "on deck" equipment. I should learn a lot through that process.The figurehead that comes with the kit is pretty wonky. I have already redesigned one that I like better. 3 Feb 2017 After 3 days I have the bones of the fore and main masts completed. Details and dimensions are sparse in the plans that are provided. I’ve decided to go metric for ease and precision of measuring. Since many dimensions given are in actual feet, they have to be brought down to scale and then converted into millimeters. I sketched and dimensioned these details prior to making and setting each part. I think I will include my design detail sheets here since they may help someone else later. This sounds tiresome but it provides a period of pondering and planning that is helpful in making sure I understand all that I am about to do. When I built my first ship, the Swift, I looked at a video that someone had done the best advice I got from that sure applied to today. That advice was to enjoy the process. The mistakes and breakage etc. are all part of this. I love the challenge of working through the design when the plans and instructions fall short or are in error. I also enjoy engineering fixes when I mess up. In the last 2 days I broke three provided parts out of the 40 some parts, and had to replace or repair them. I had to redo 3 masts, and it took at least 8 iterations to make the Trestle trees for the fore lower and top cross trees. That was because I lapped all the joints and at that size they break easily. I can’t wait to see how the mizzen mast is going to go. I am going to try using wood filler for the wedges on the masts and then carve it out to the shape shown on the plans.

- 13 replies
-
- 9
-
-
- flying fish
- model shipways
- (and 1 more)
-
Thanks Anja; I am super stoked about this set of plans. They are completely dimensioned for the full size ship as researched and contain a lot of details I've never seen before except on board real square riggers. I plan on rigging it with sails which is a level up in terms of the challenge, because I have to create the patterns to scale for each of those I plan to install. I am probably have some partially furled and some fully furled. i have to do a little more research to learn what would have been a realistic sail arrangement so as to retain some semblance of what would have been done in a particular weather condition. The other thing is that the full cross section provides lower deck position and structural details which I am going to include with open companion ways and hatches to provide visual access to these lower areas of the ship. I've already laid out the cutouts of the various bulkheads where I plan to create those lower deck portions. I haven't decided if i am going to build the ships boats from scratch yet. I've done it before and completely outfitted them on the other models where appropriate. I'll wait and see. They are a long way off. I've already started accumulating jewelery making tools to make the 1:96 scale iron work pieces. because I am so slow, I figure that will add at least 3 months to the build time. i plan on doing all of the spars, masts iron work etc. first and set it all aside until they are ready for installation. I plan to do the same with all of the other deck houses, and on deck equipment. I should learn a lot through that process.
-
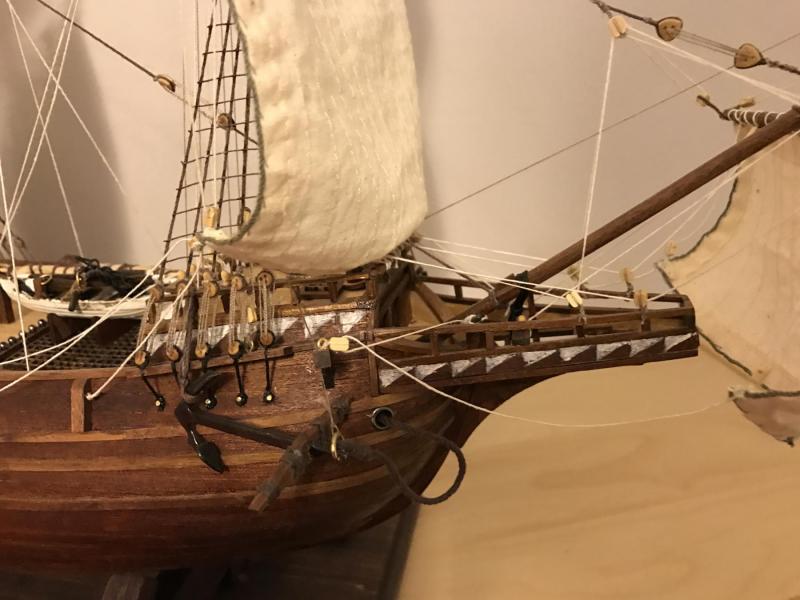
Hi I'm new to MSW. I have built 5 ships previously. I have been in the study phase for my next project (Flying Fish Clipper ship) and have found a couple of unanswerable questions in the plans. I am looking for photos of completed deck details on the forecastle deck.
-
Hi Im new to NRG and have been building ship models for too many years. So far i have built 5 plank on bulkhead models 2 were customized. I am in the study process preparing to sart in the next month or so a 1:96 model of the Flying Fish clipper ship. Are there any photos of built models I could reference. for some of the deck details