Bulwark
-
Posts
101 -
Joined
-
Last visited
Content Type
Profiles
Forums
Gallery
Events
Everything posted by Bulwark
-
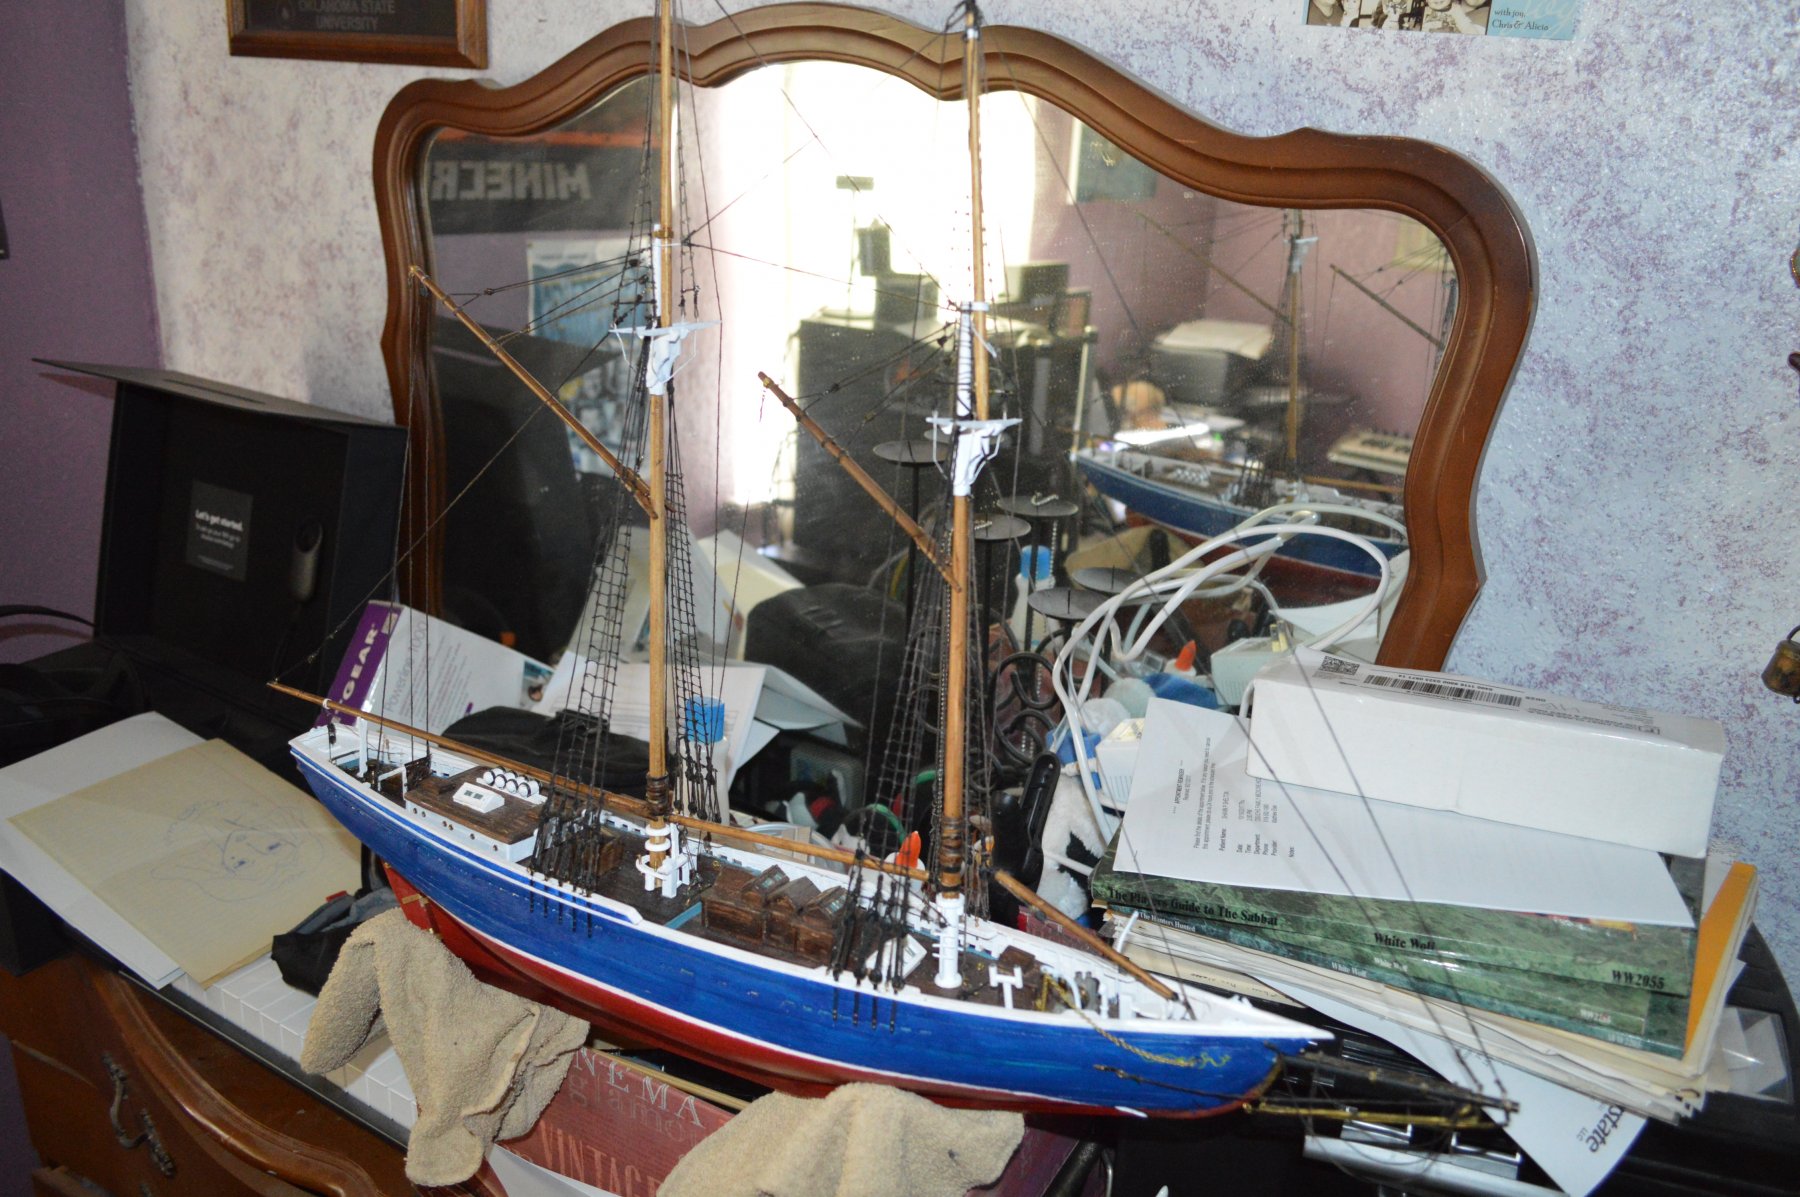
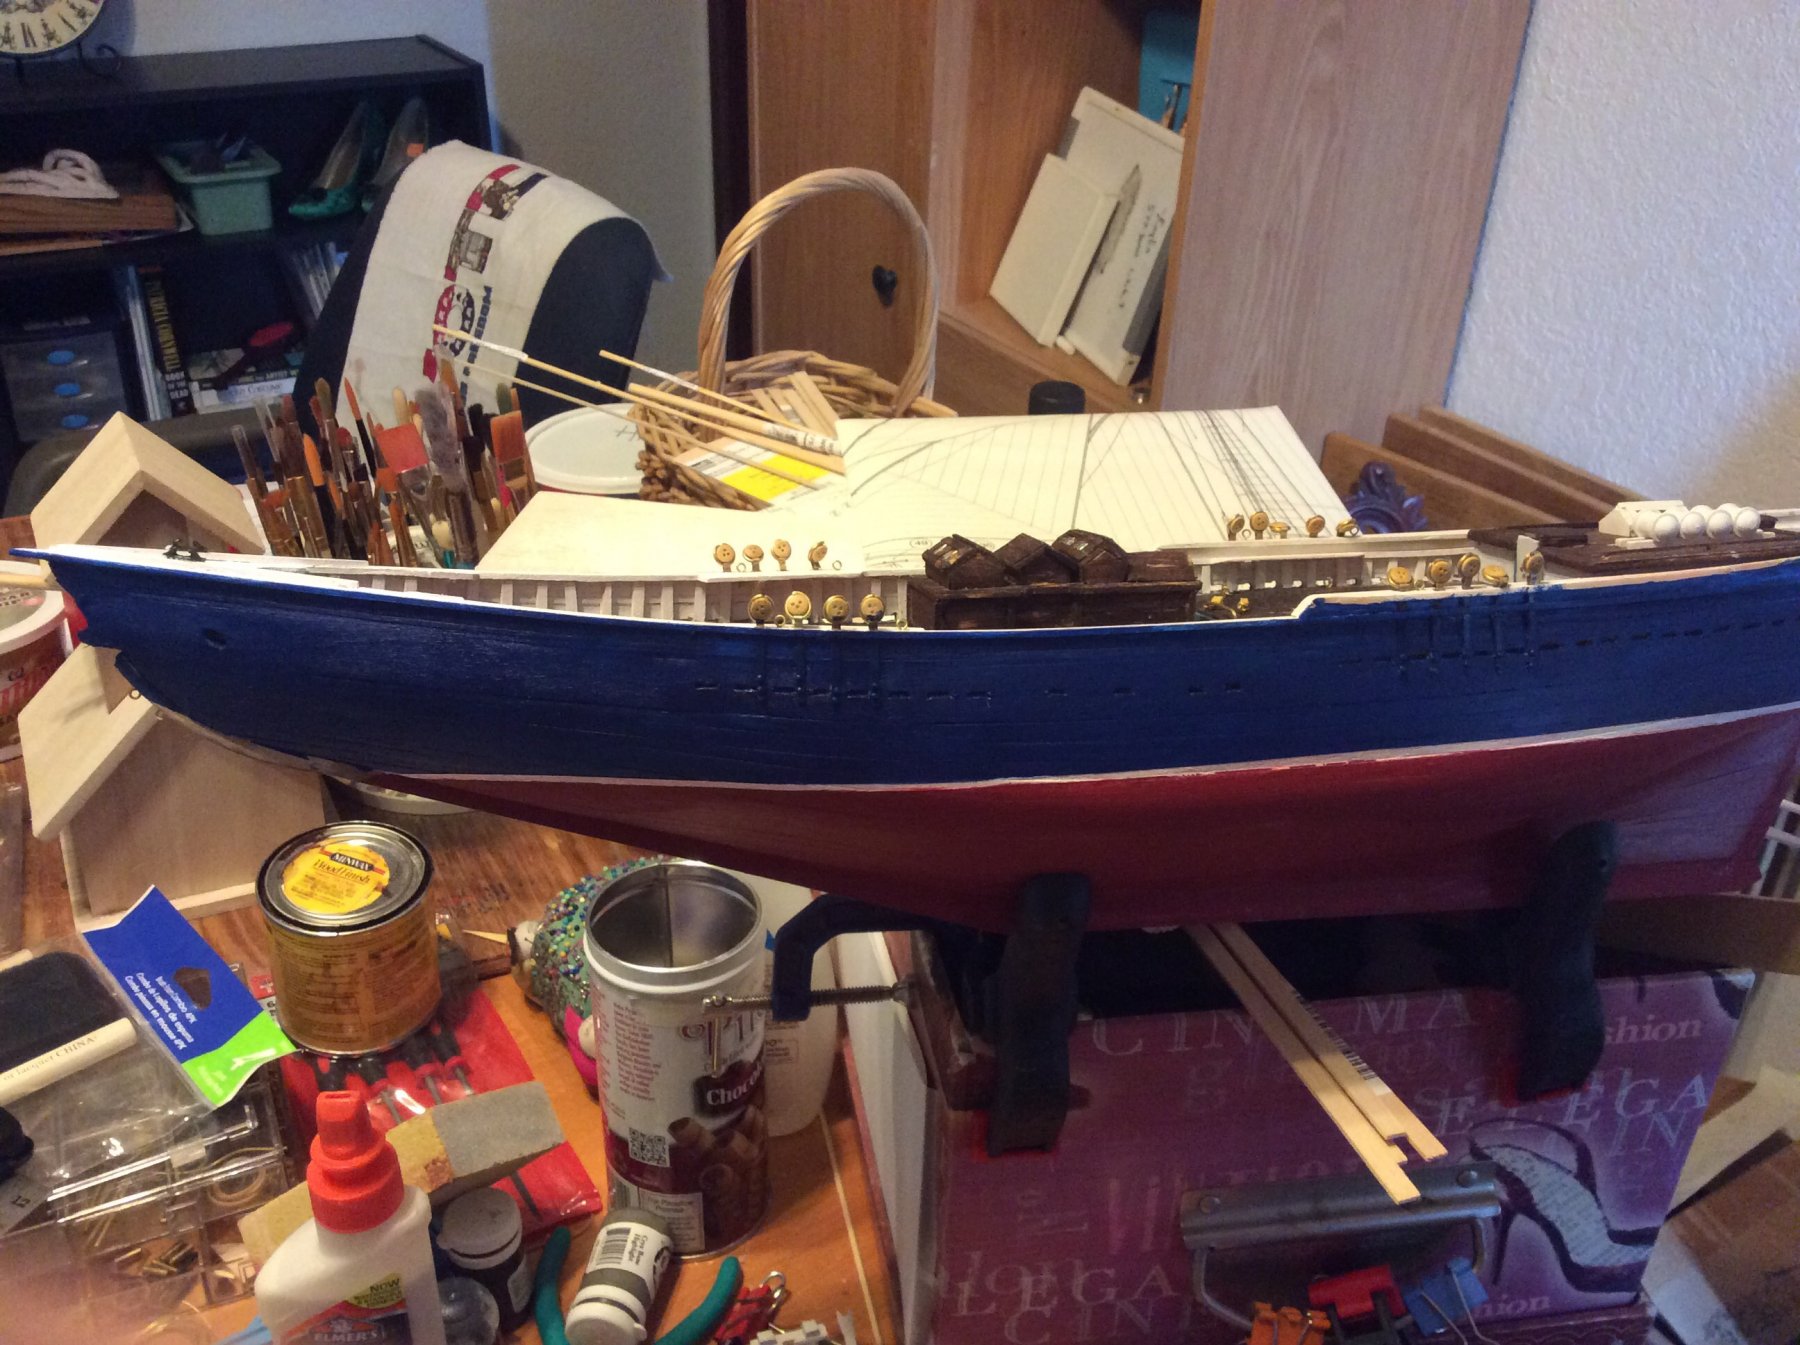
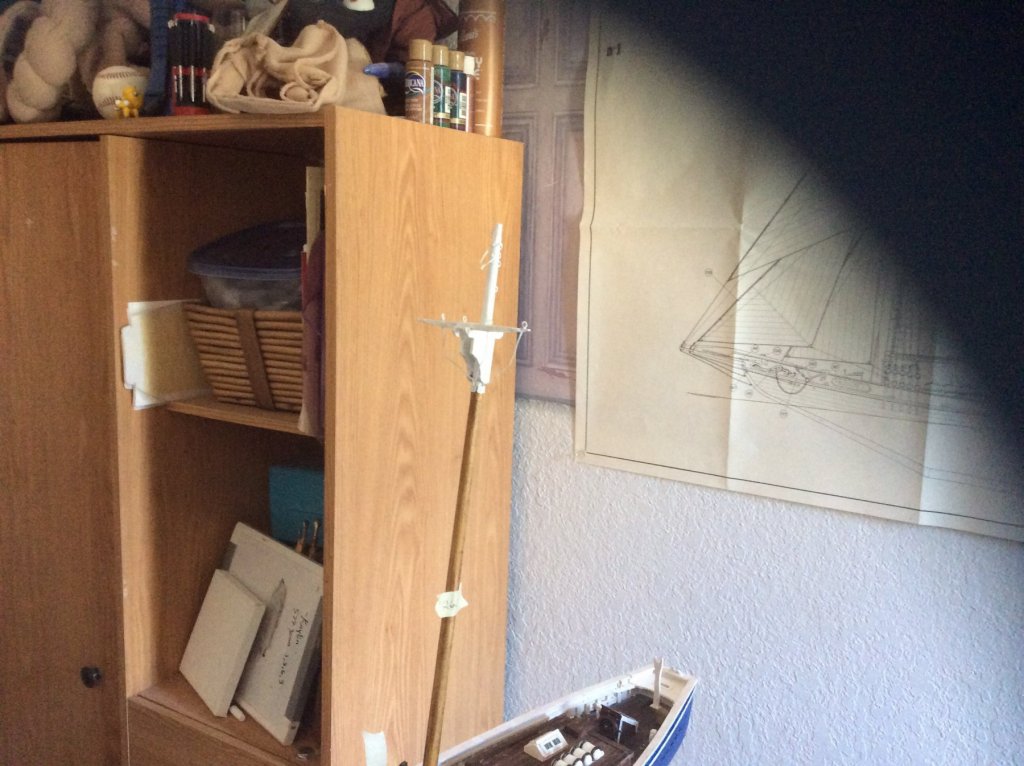
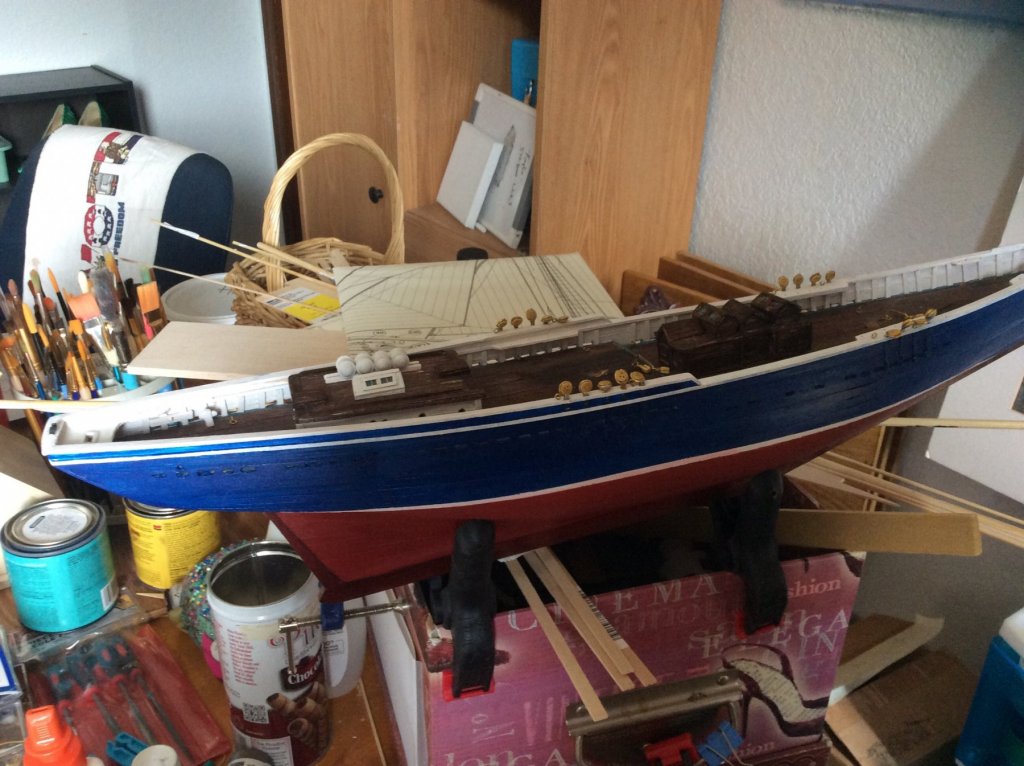
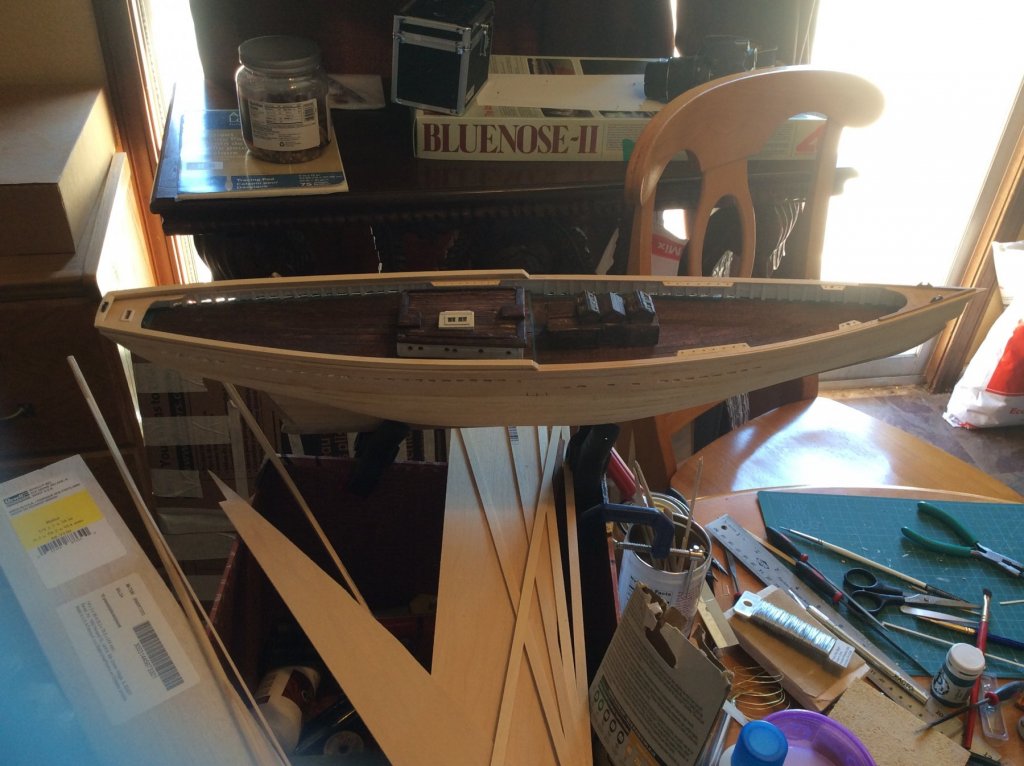
 Okay, bit of a hiatus, but I got kinda stuck and life happened as well. I lack the anchor and the nameplate on the ship, but here she is right now! I need to find a saw so I can cut these little boards to make the display stand.
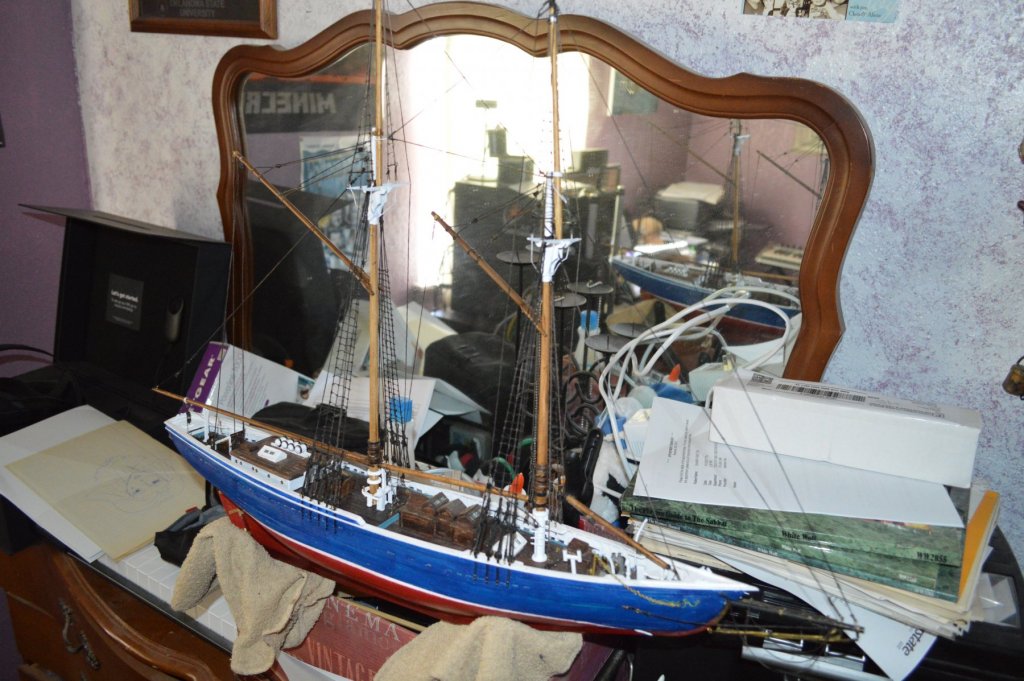
-
Oh, and I can tie a clove hitch like a pro now.
-
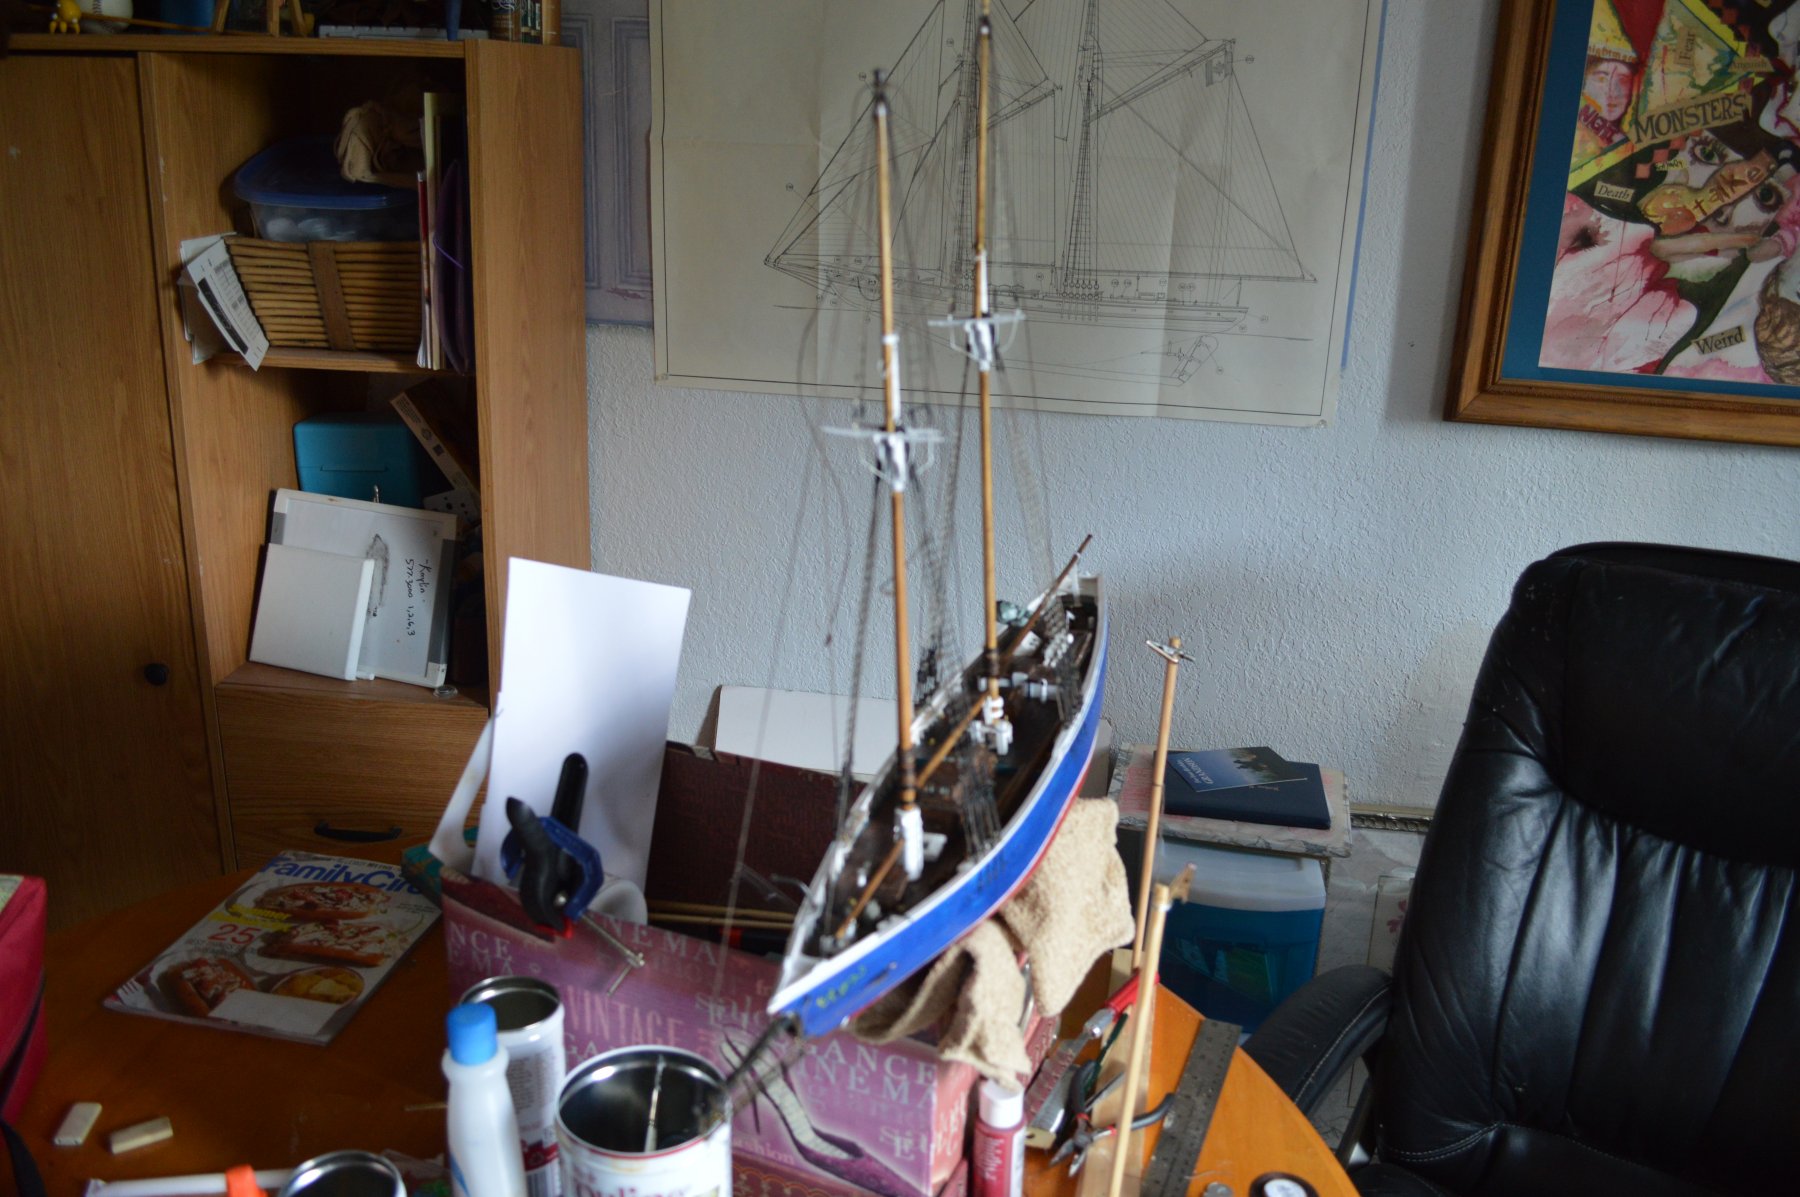
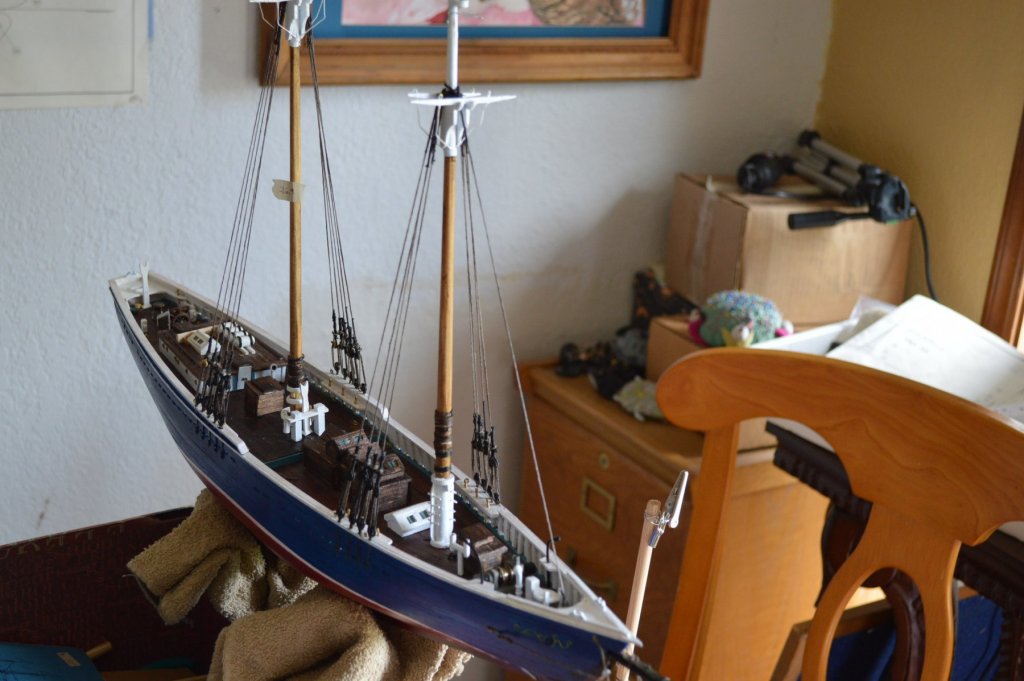
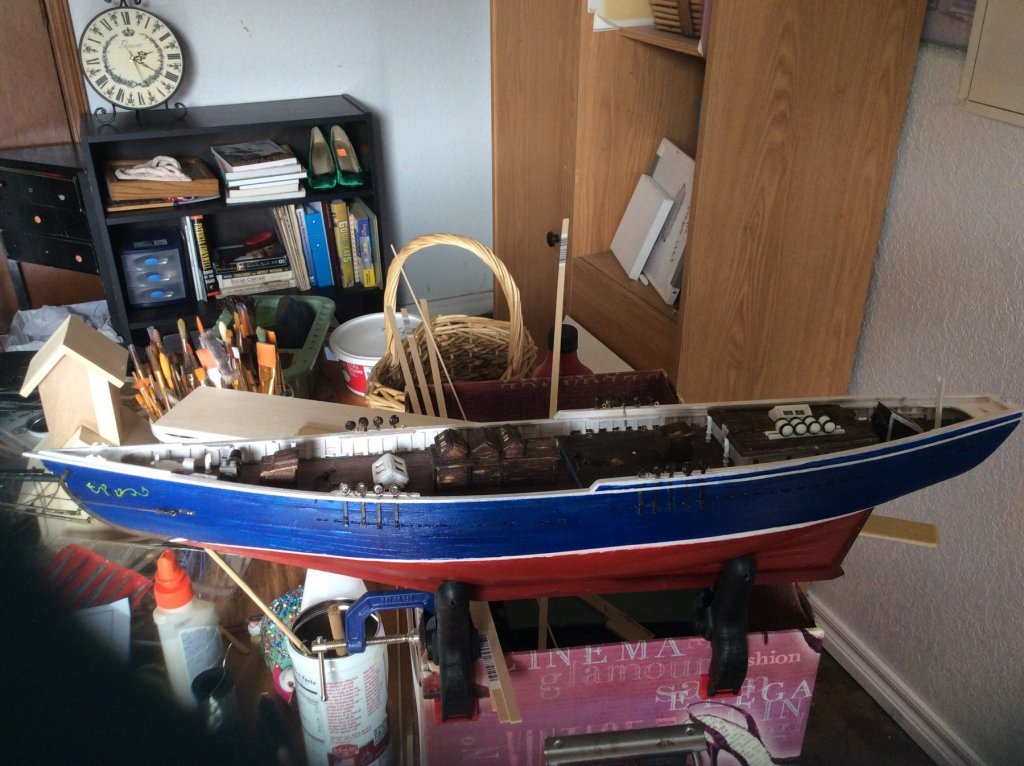
Alright, been a bit busy but managed to get more rigging done. Standing rigging done but for the fore and main backstays. Did the foreboom running rigging and man oh man... going to have to figure out a good way to run thread through those blocks. Thinking of doing the blocks with the thread THEN attaching the blocks to the mast/boom/whathaveyou. Made the foreboom too short for some reason. Had to remake it. Felt good getting back to that sort of thing. I like rigging in a way. Tying ratlines and siezing eyelets is a pain, but the final product makes it worth the effort. The boat is coming around okay. It's definitely not 'good' or 'clean' but it's mine and I'll display it happily for people to look at. A friend of mine in Florida came to visit and the details on the ship blew her away. It's worth the time just for the reaction of people who have never really seen a 1/75th scale ship model up close!

-
Nice work, Doug. I was happy to see some more progress! Keep up the great work!
-
Finally getting some momentum back. About to start the ratlines. Tying off the lanyards was tricky. I never really figured out that simple knot. lol. I'll never be a sailor.
-
Okay, I haven't abandoned this log. Just been busy! Started the shrouds. And it looks like I messed up and put them on the wrong deadeyes!! easy enough to fix since I didn't tie them off.

-
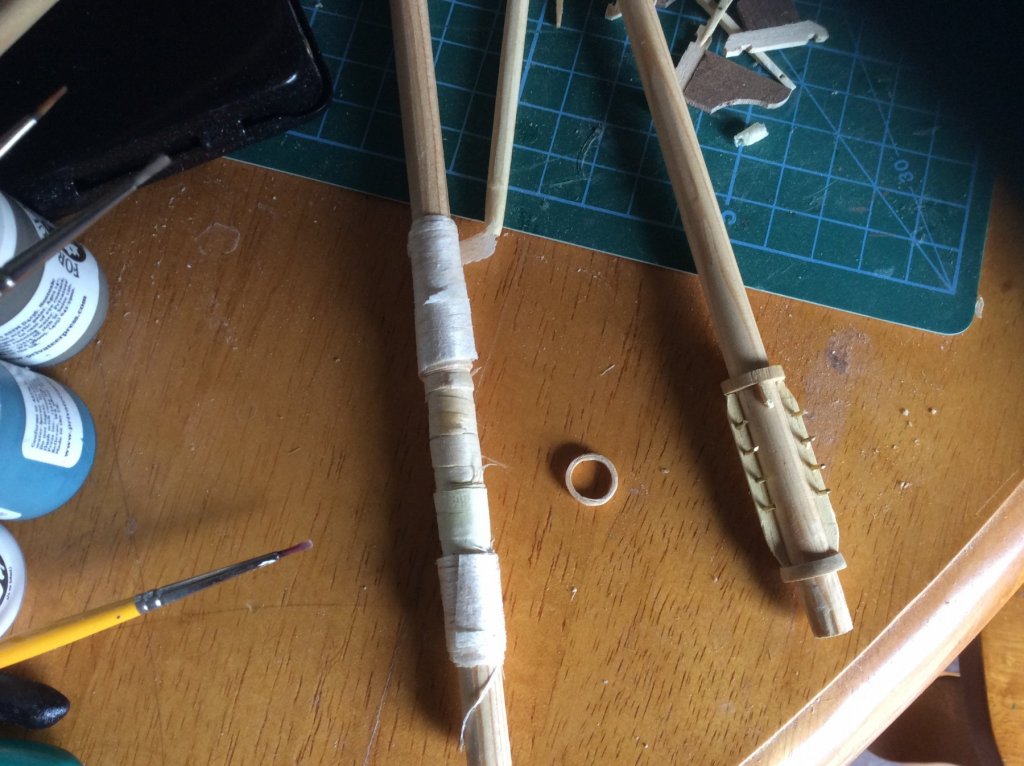
Here is some mast detail before i begin rigging. I've just started the shrouds. Messed up the seving; it was loose instead of tight. Oops.

-
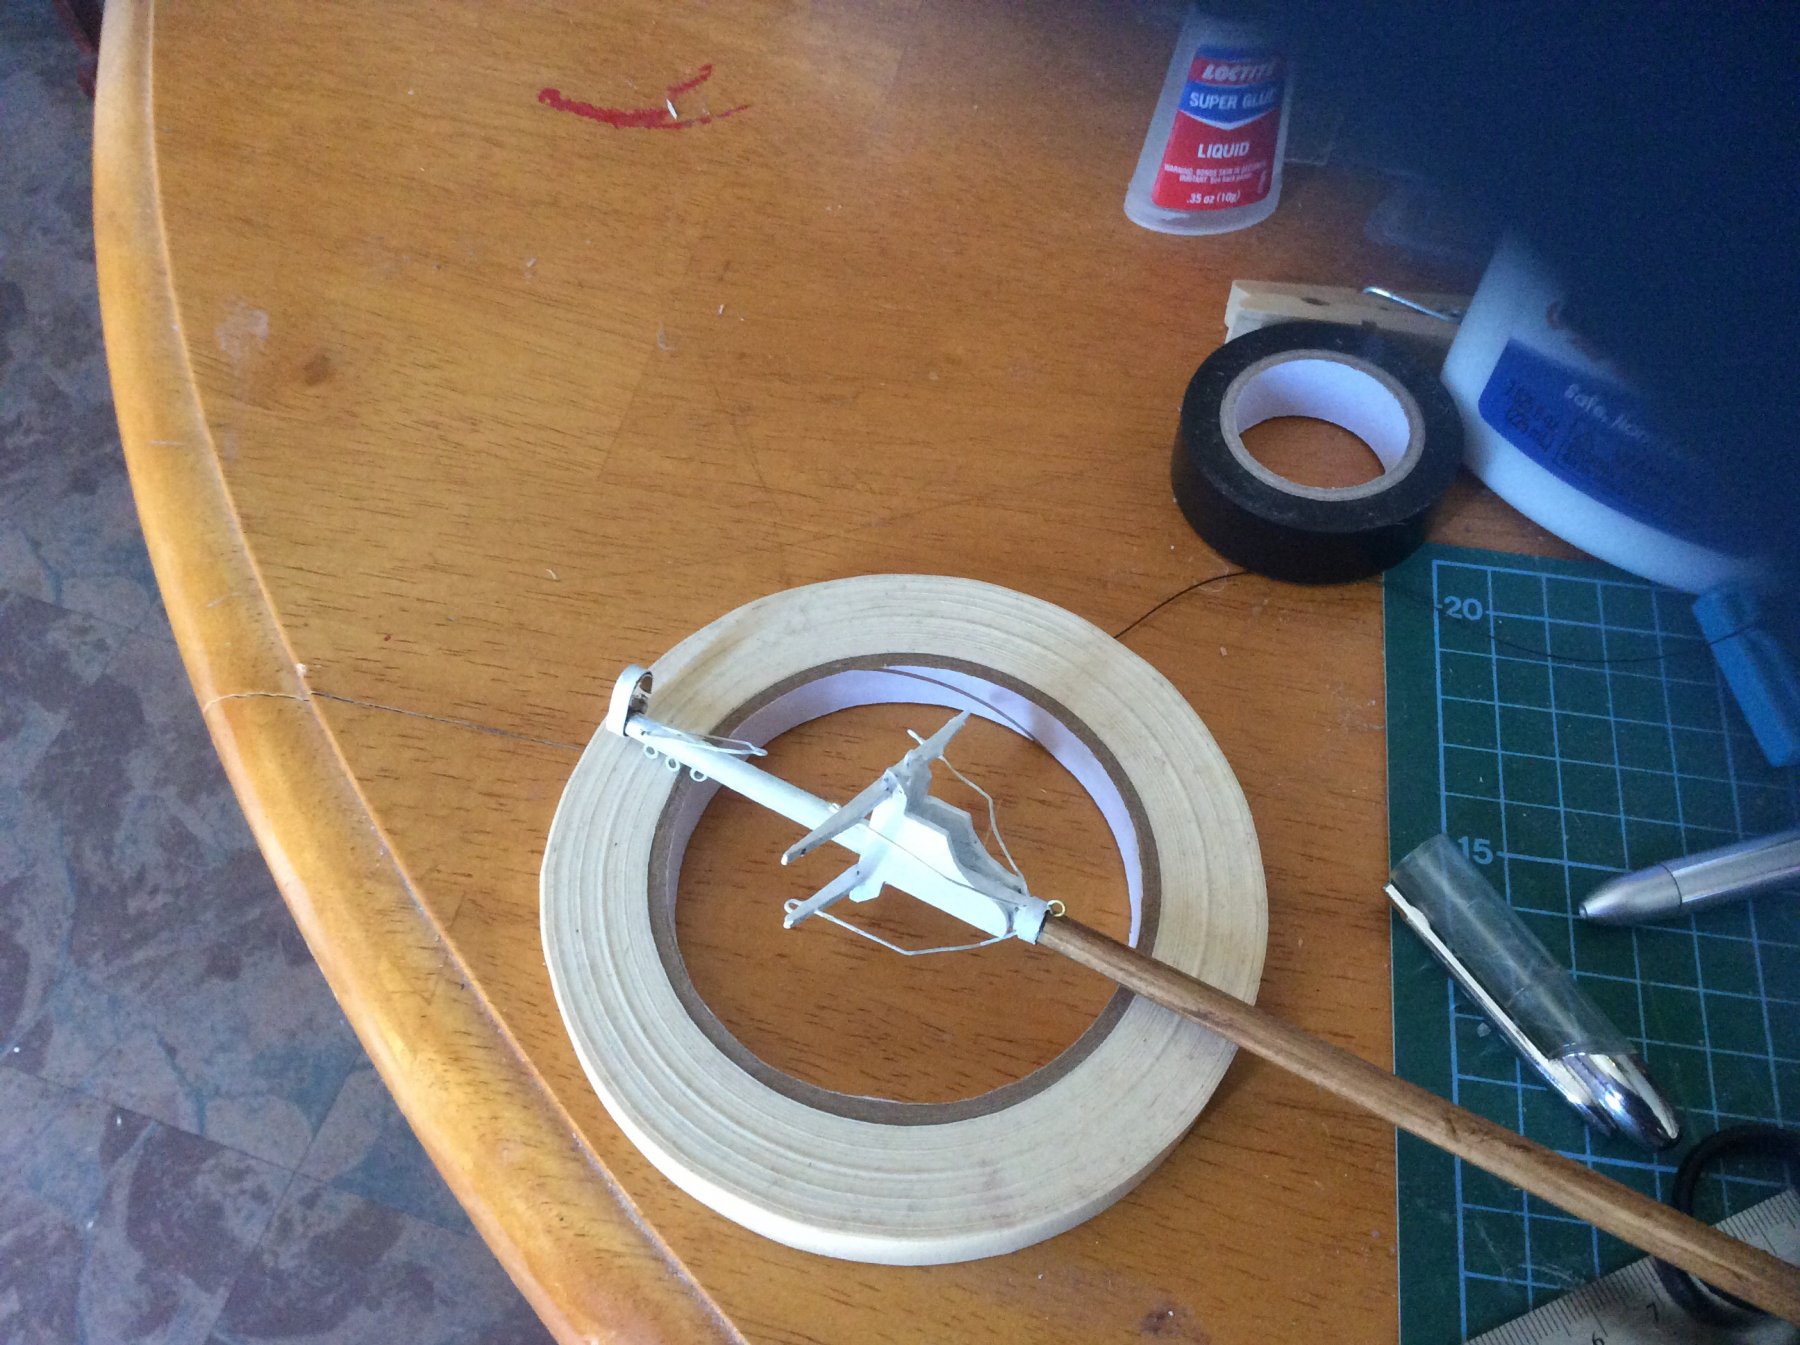
This task is easier said than done. Very hard to get the right thickness of shaving from the boxwood. But, I'm close to getting the hoops I need.
-
Making mast hoops. Shaving different wood than pine becuase my microplaner is nearly impossible to get wide shavings with. Too much force needed even with very small thicknesses. Trying boxwood and balsa. Boxwood seems to work well.
-
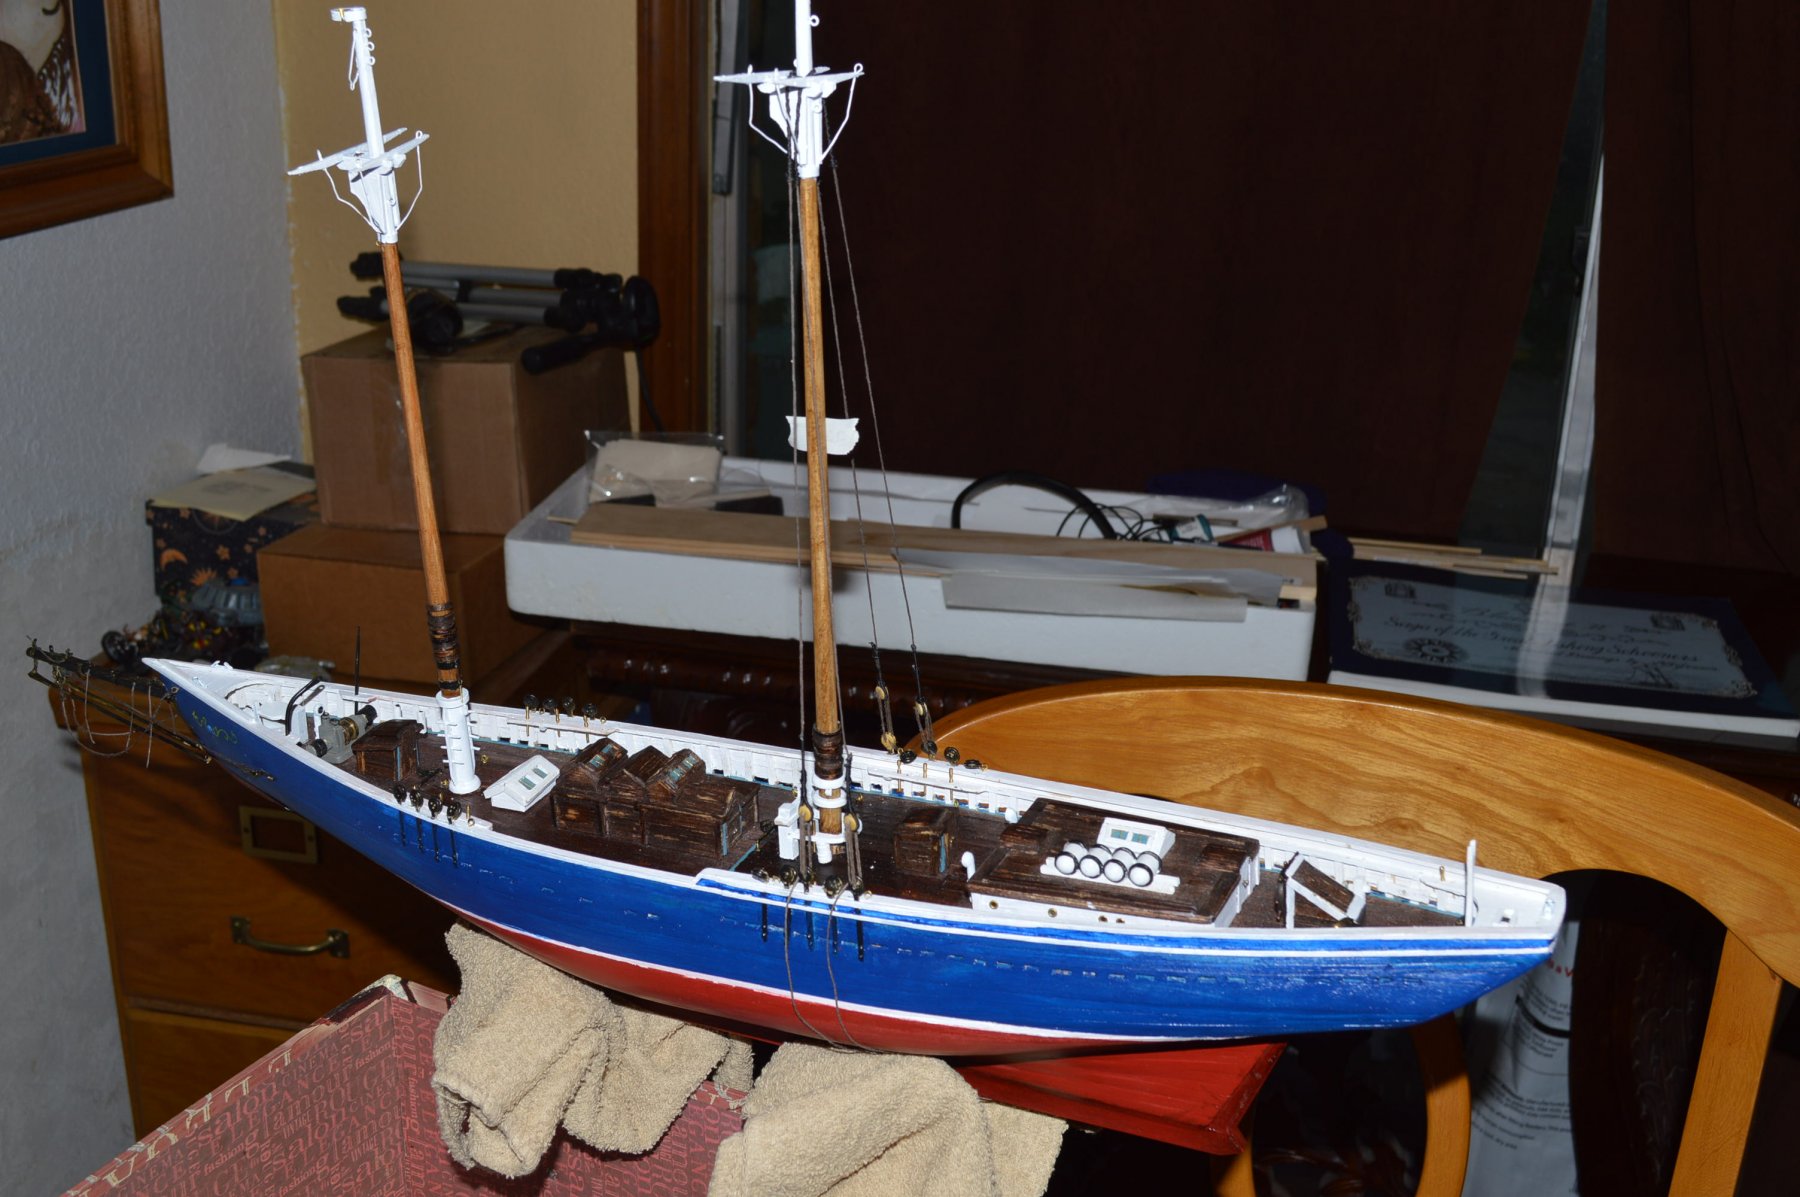
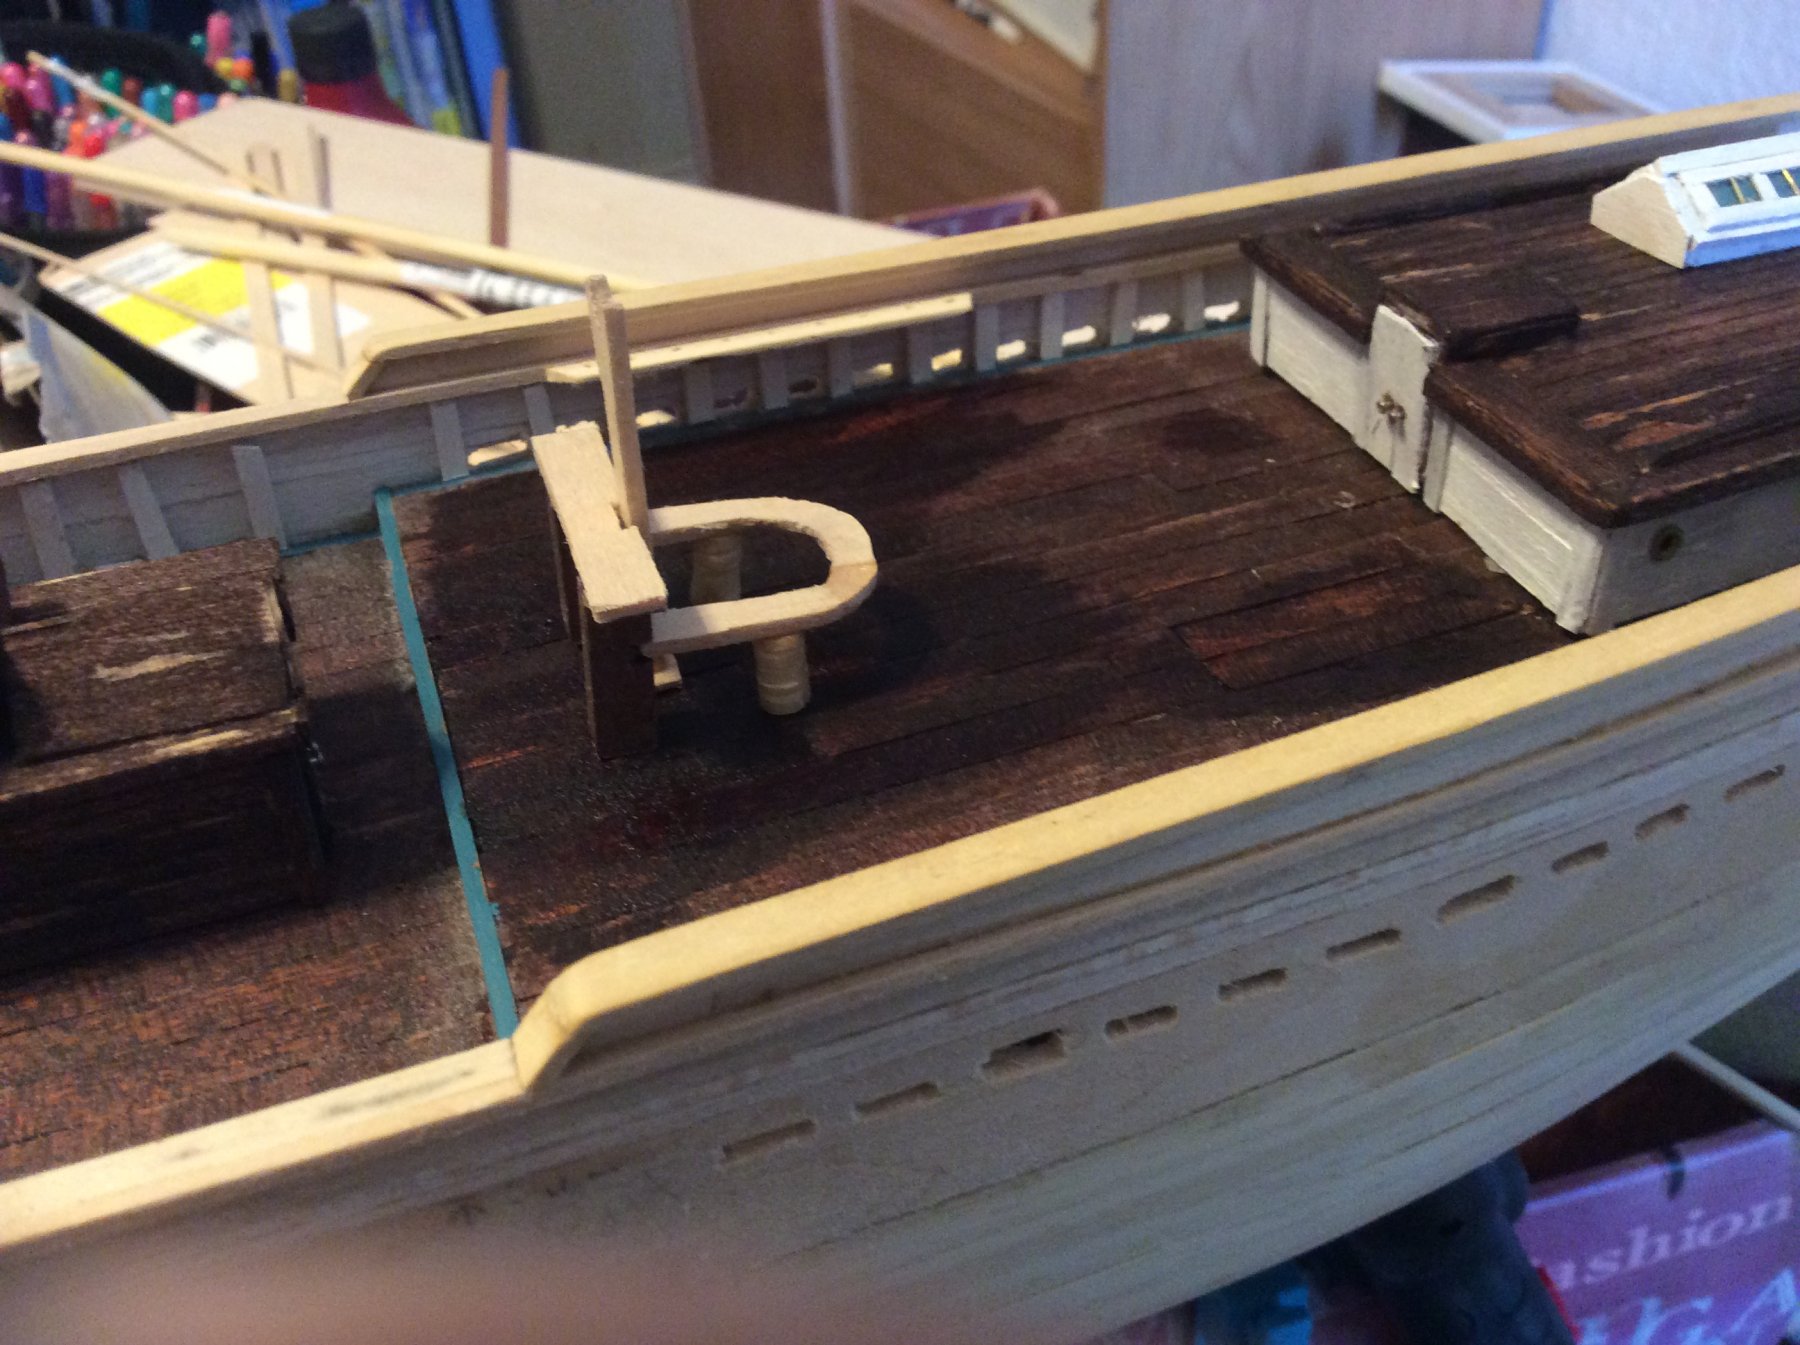
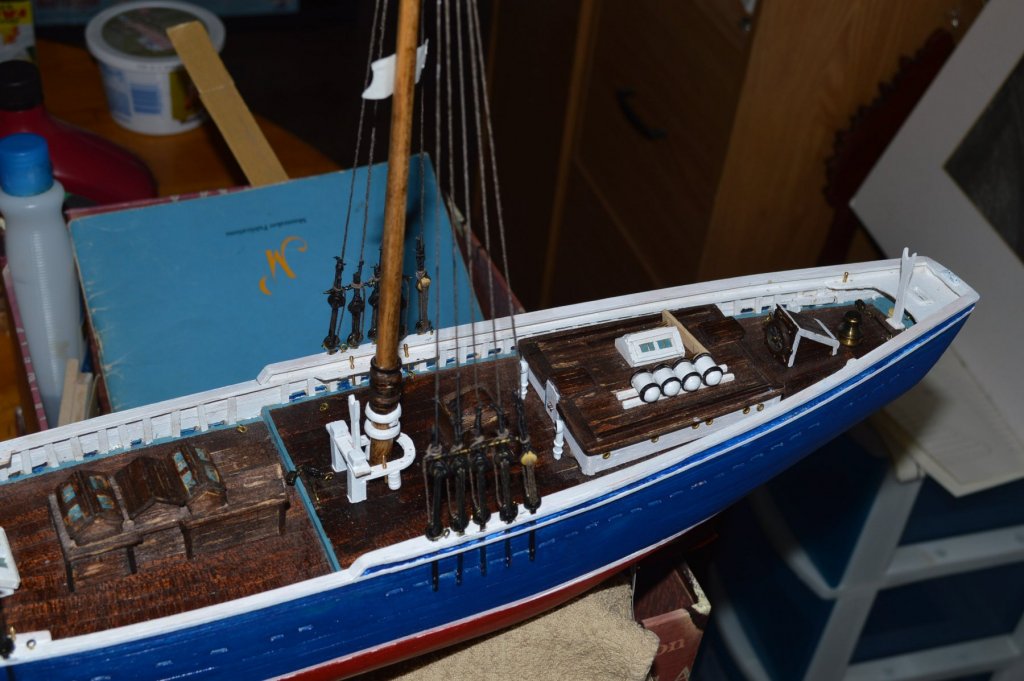
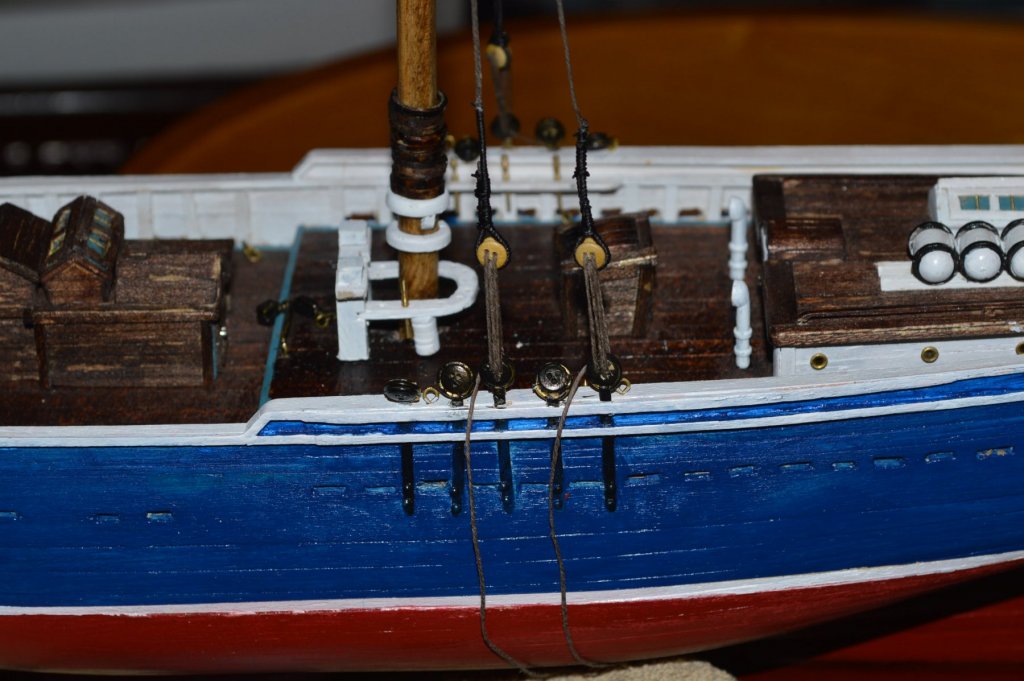
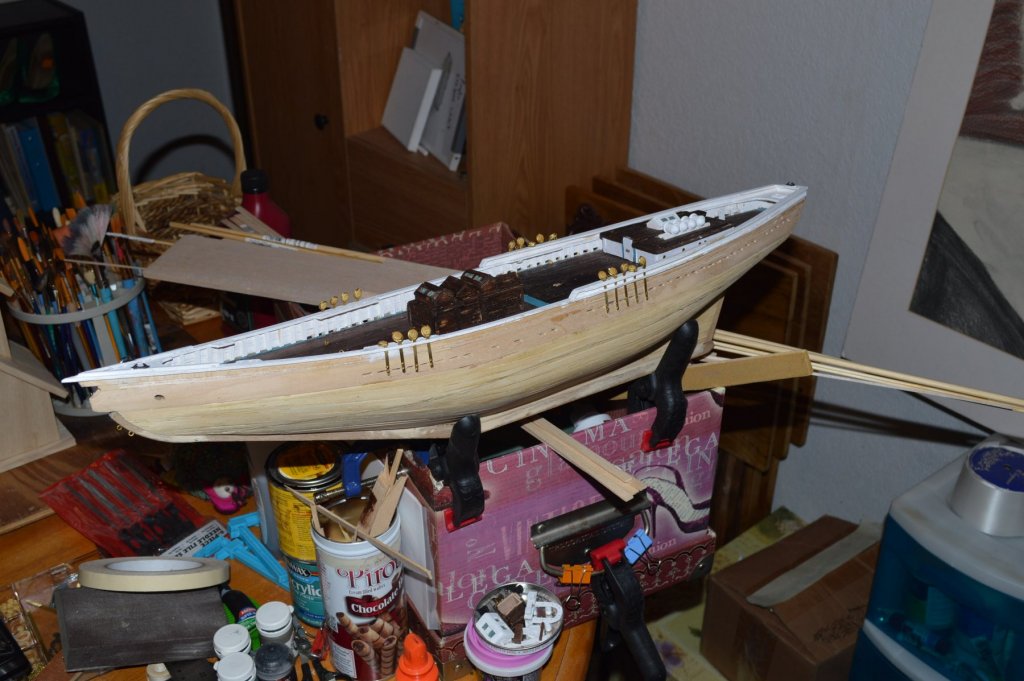
Deck furniture in place. Minus fife rail.
-
Well I broke a wire bit #75 while using a pin vise to put a hole into a brass strip... and the broken end drove into my fingernail. Ow. Rule #832 in building ship models: never put your sensitive digits in harm's way if you have pliers to do the job. #832a: never put your digits in harm's way even if you don't have pliers. I have a perfectly round 1/32" hole in the nail of my index finger. I'd put up a pic, but it's too painful too look at. Anyway, getting the bowsprit going. The rigging part is beginning! But still need to do the masts. I got the Jenson Bluenose II book in. It is worth buying even if you aren't doing the model. Very nice art book, and great information on the fishing schooner trade. Which might sound dull, but it's really not. Of course I'm an infophile. Onward with le bateau! Ow, hurts to type...lol.
-
I think this is as good as i can do right now. If i keep trying to fix every line and edge and bleed i might just make things worse.
-
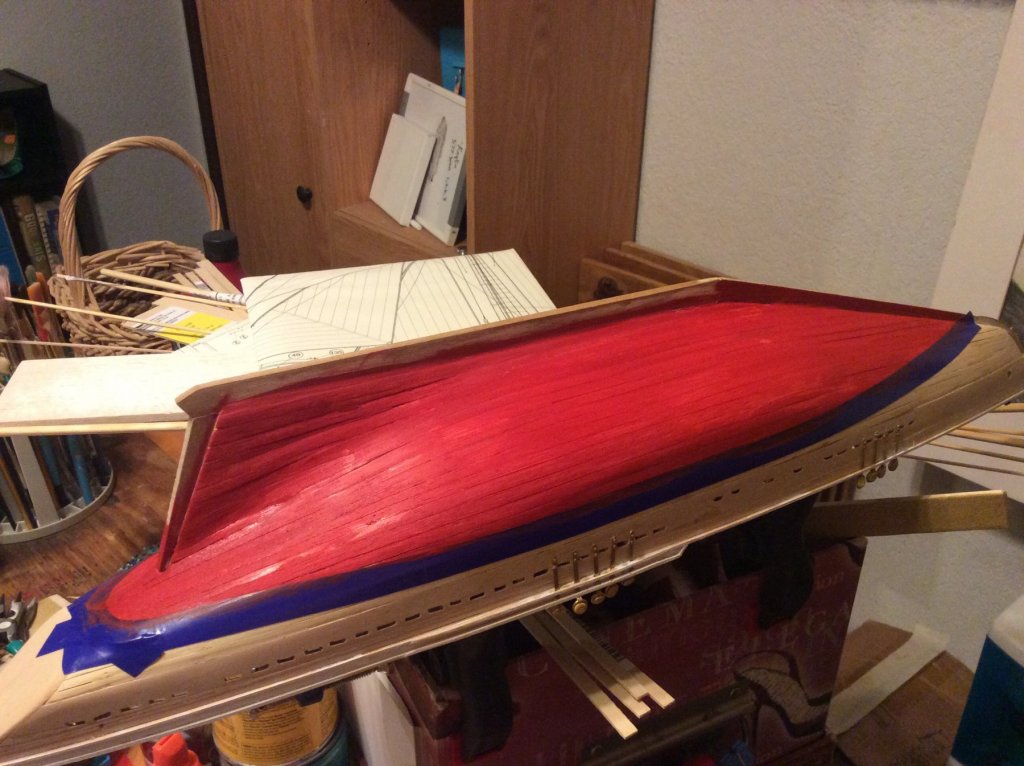
Thanks, Derek. I'm getting super perfectionist on this and I likely need to ease up a bit. I'll try not burnishing the tape as much... i tried regular masking tape but even tight it bledca bit. But i did manage to pick decent colors. the blue is pretty good. Called Ink Spot by Folk Art. Went cheapish on paint. But liked the colors. Sealed with polyacrylic finish, clear matte, by Minwax. All at Wally World. The fine sh helped the red look a lot nicer, too. Here is another in progress shot. The rails are, of course, being hit with lots of spill over... but will be painted white and blue. The chainplates will be done last but prior to the finsh.

-
The vinyl tape took off some paint. Not sure if it's the paint or the tape. So i am going to seal any paint that will require tape before i use it. I have this polycrylic finish that might keep the paint from coming off. Here's hoping. Or do you guys and gals think i ought to use a different type of paint like latex interior? Instead of acrylic paint. It wasn't the brand either. I used a decent brand of paint as a test and the vinyl tape took it up. Here is the boat with the white and red (which is patched up by a small brush and ruins the white line a bit):

-
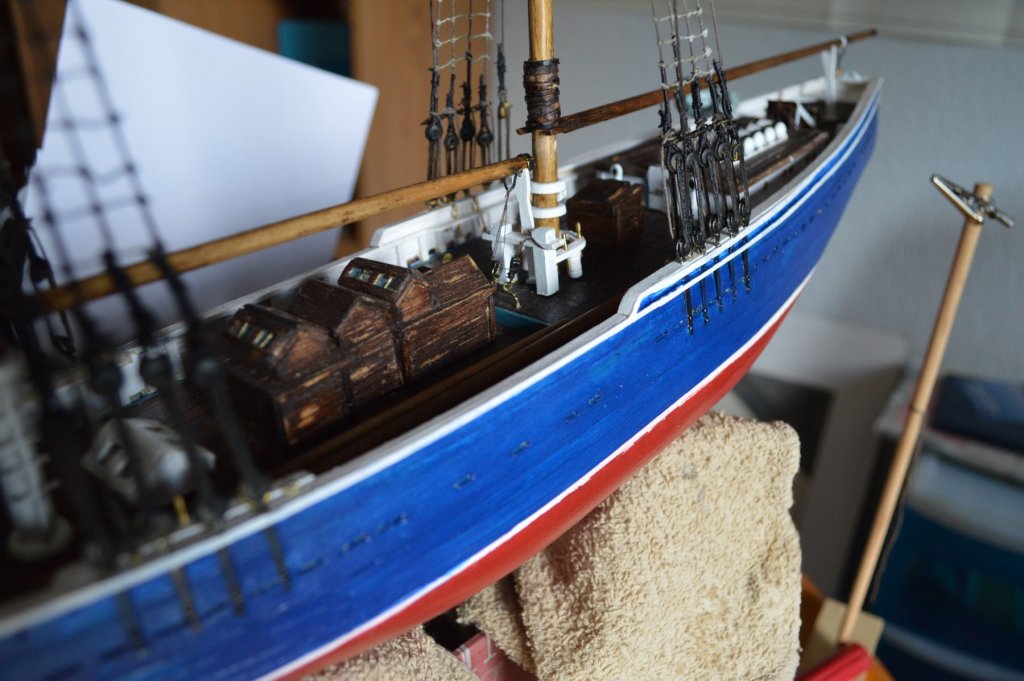
Addition: the bulwarks should be even, not dropped down. The taffrail adds that level change impression.
-
First coat of paint!
-
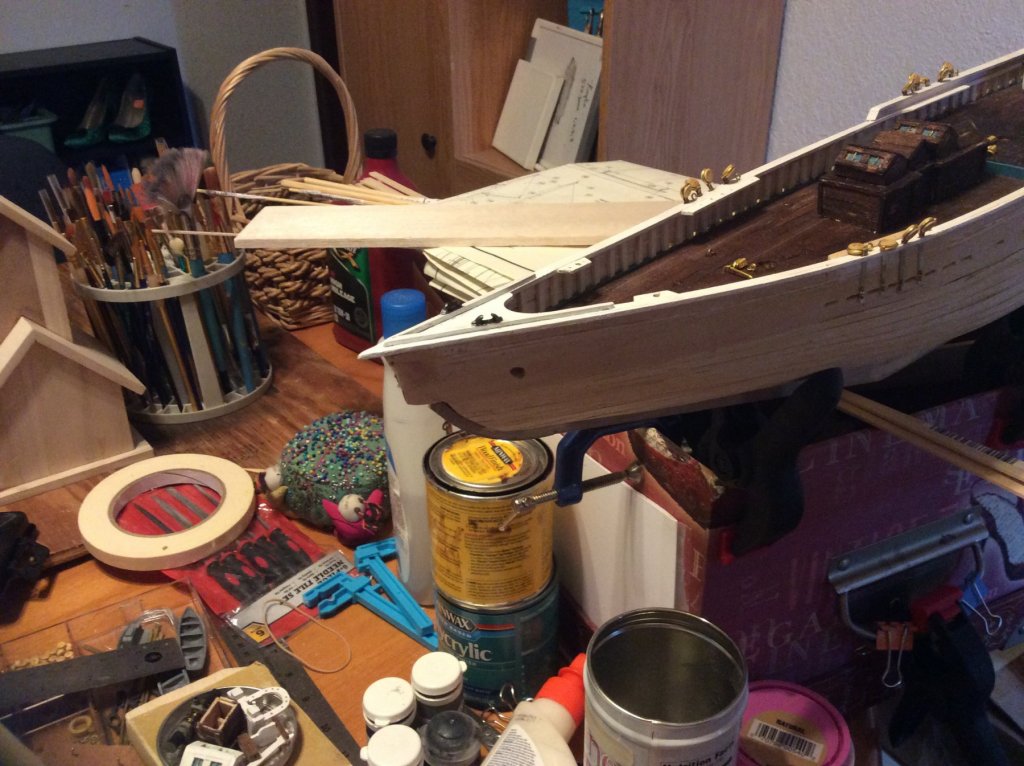
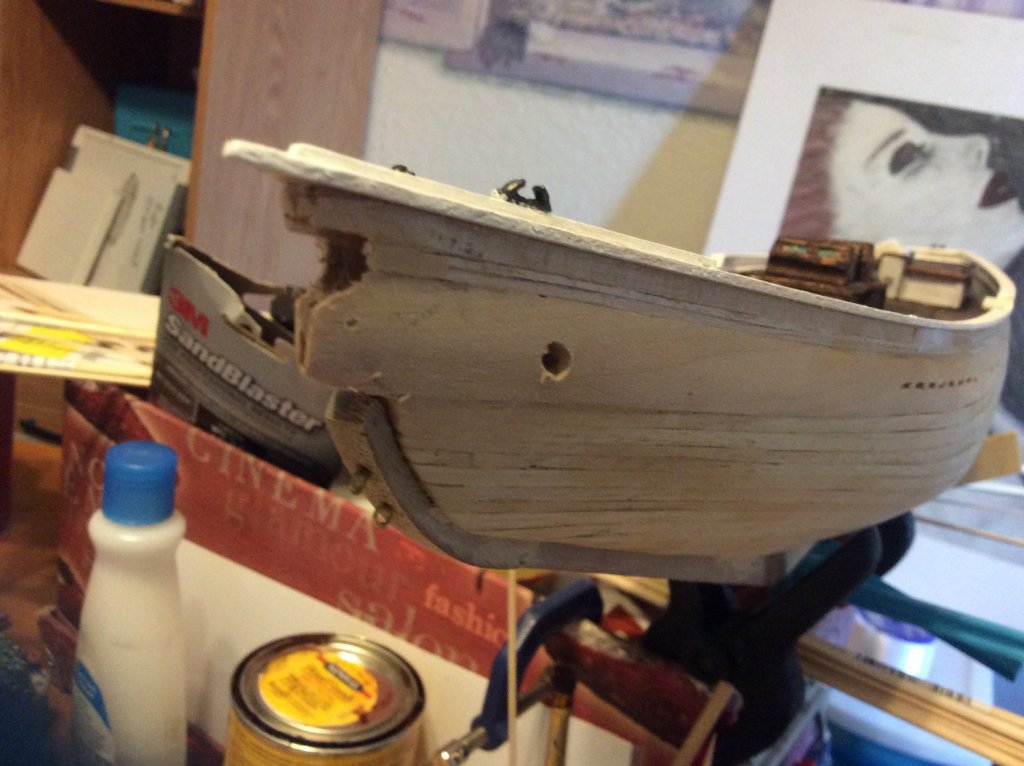
Fixed the prow. Placed a small block of wood in the hole then sanded it (superglue was used to fix the block in place). looks way better.
-
Thank you thank thank you! Yes, I thought that might be the issue. Luckily at this point patching up the damage will be interesting and doable. It's funny how after you do something a few times you wish you could go back and redo things. Alas for the first time, but clumsy as I've been I'm picking up lots of little techniques. Such as getting the hang of drilling holes in small bits of brass. My chain plates are also too high, but fixing them would be dispiriting at this point. I've also drawn the water line. I think it's right. I'm about to start painting... *sweats!!* This can make or break a model. I have an art background so you'd think I might be ready, but no. Going to fuss over the waterline until I am confident. Pic... one pic.
-
NOTE: Solved
-
Need some advice. Is this bow looking okay? If not, any recommendations to fix it? That was the hardest thing i had to do... drill through the prow.
-
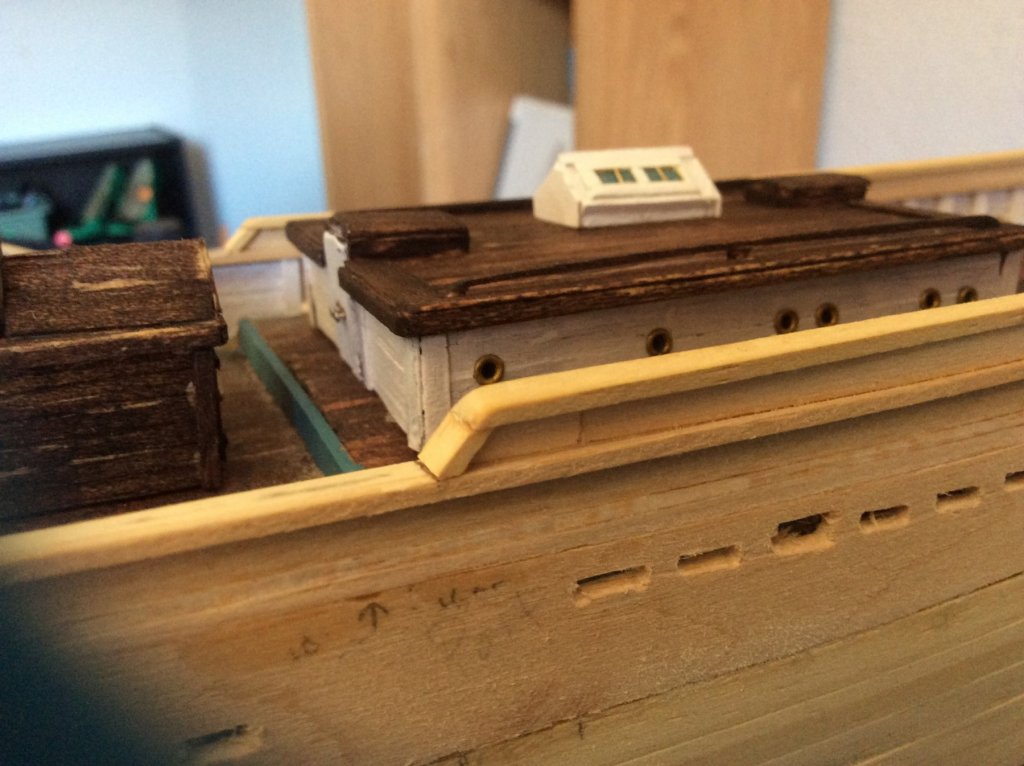
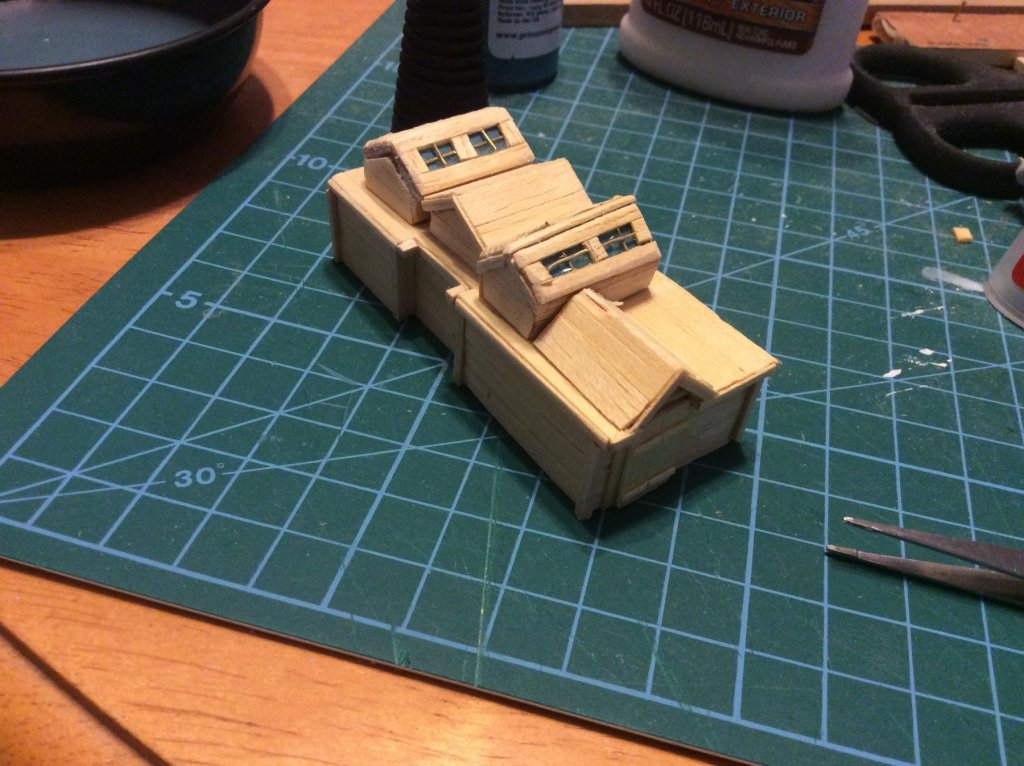
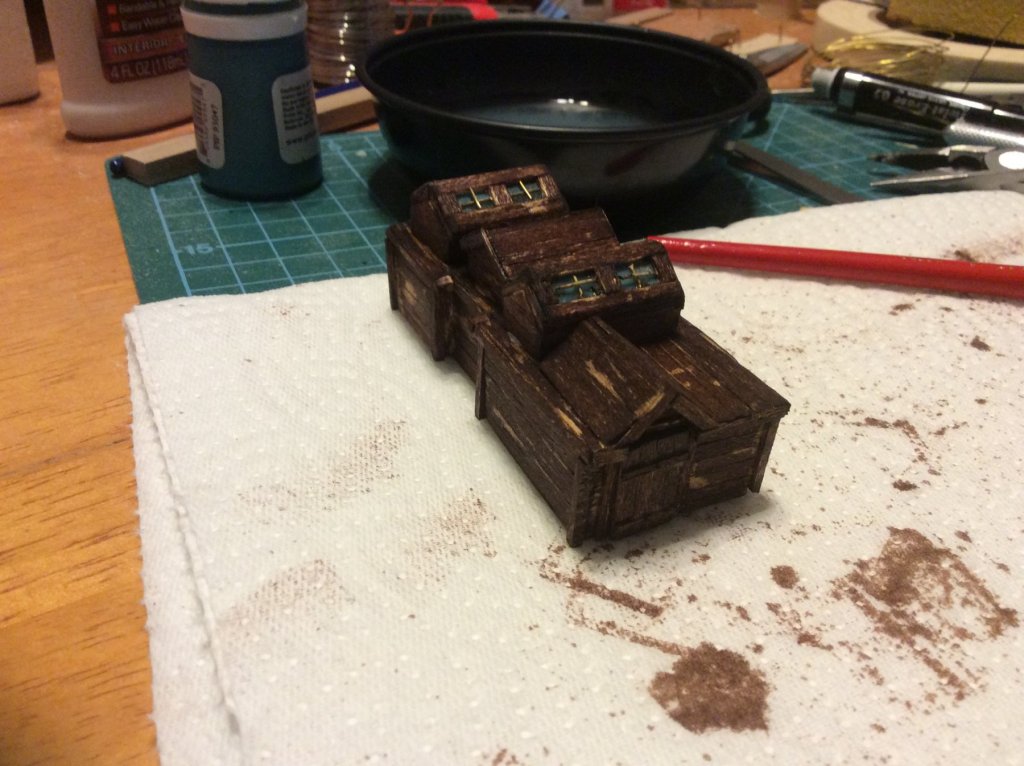
Oooh, placed the cabin wrong and tore up planks getting it off! Had to replank a patch and restain. here is its correct placement. Fife rail dry fitted, but not ready... just posing. Had fun lathing the posts with a drill for a lathe machine. Works well.

-
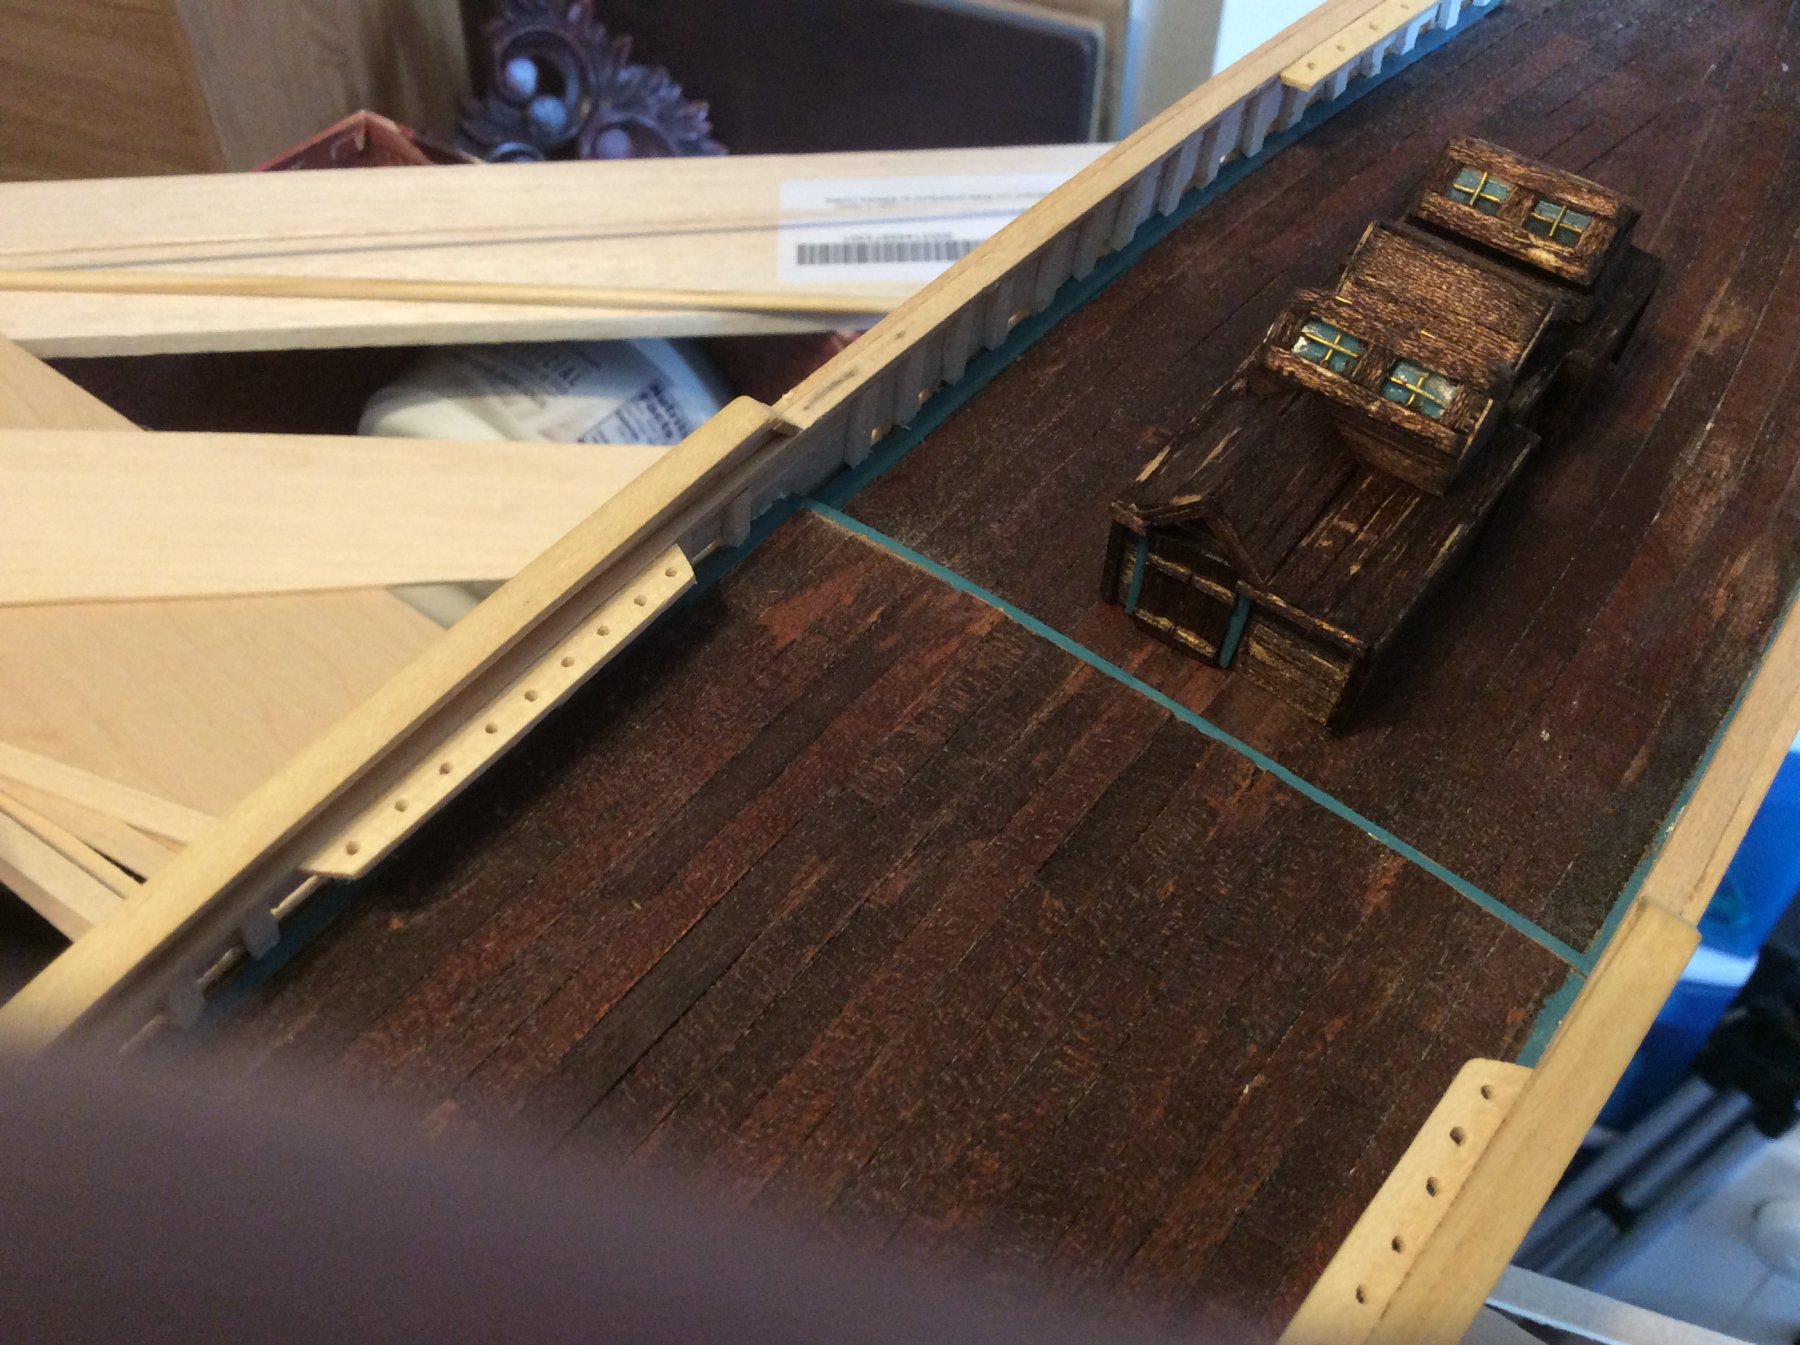
And now the main cabin...
-
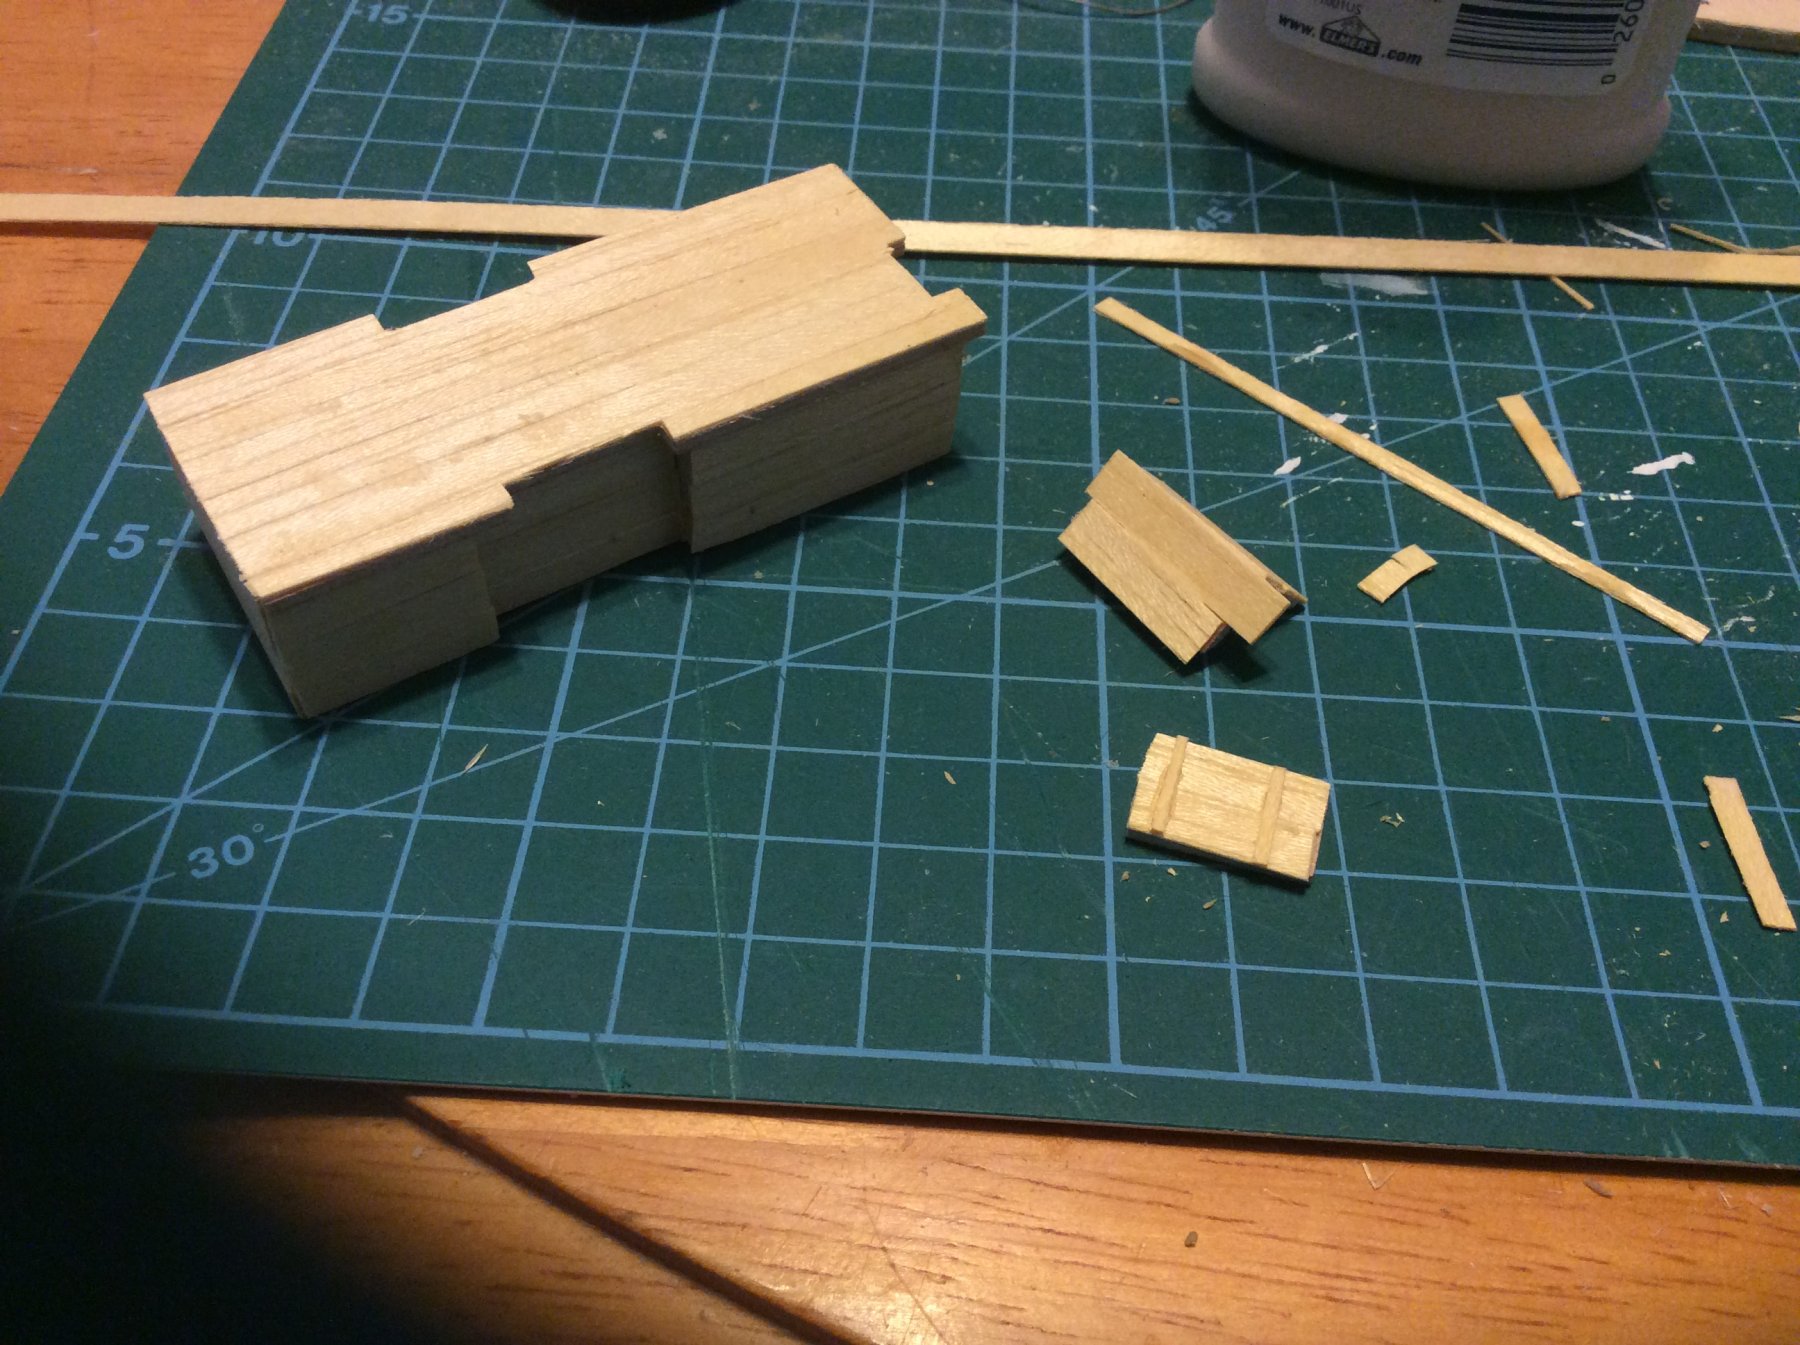
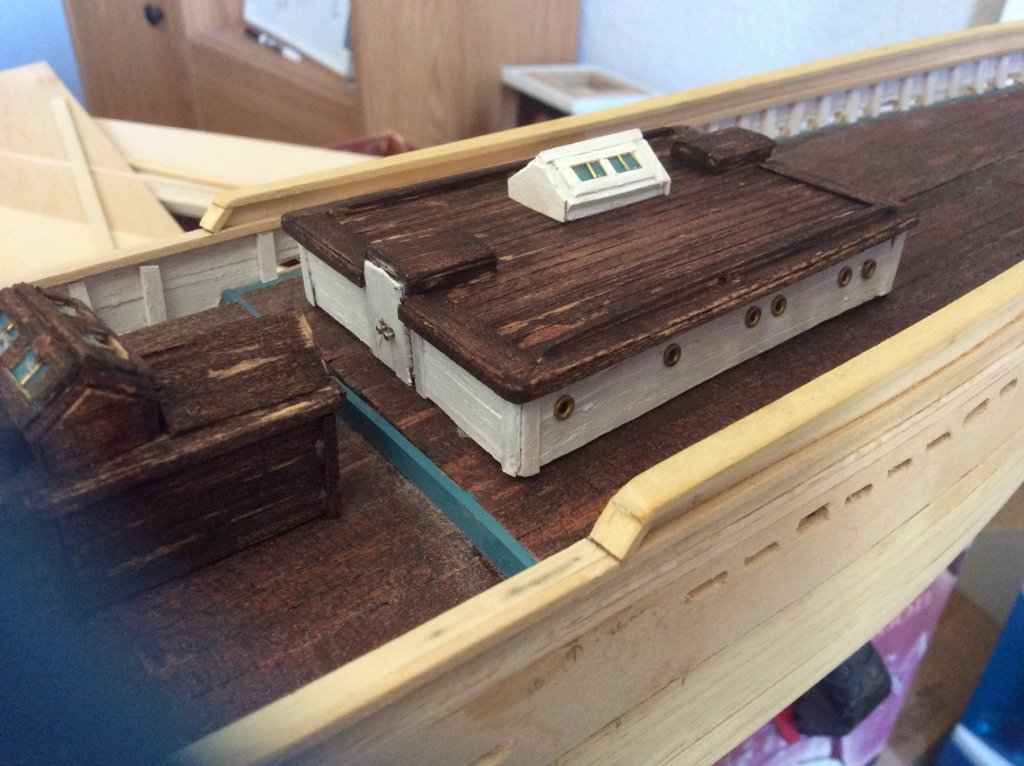
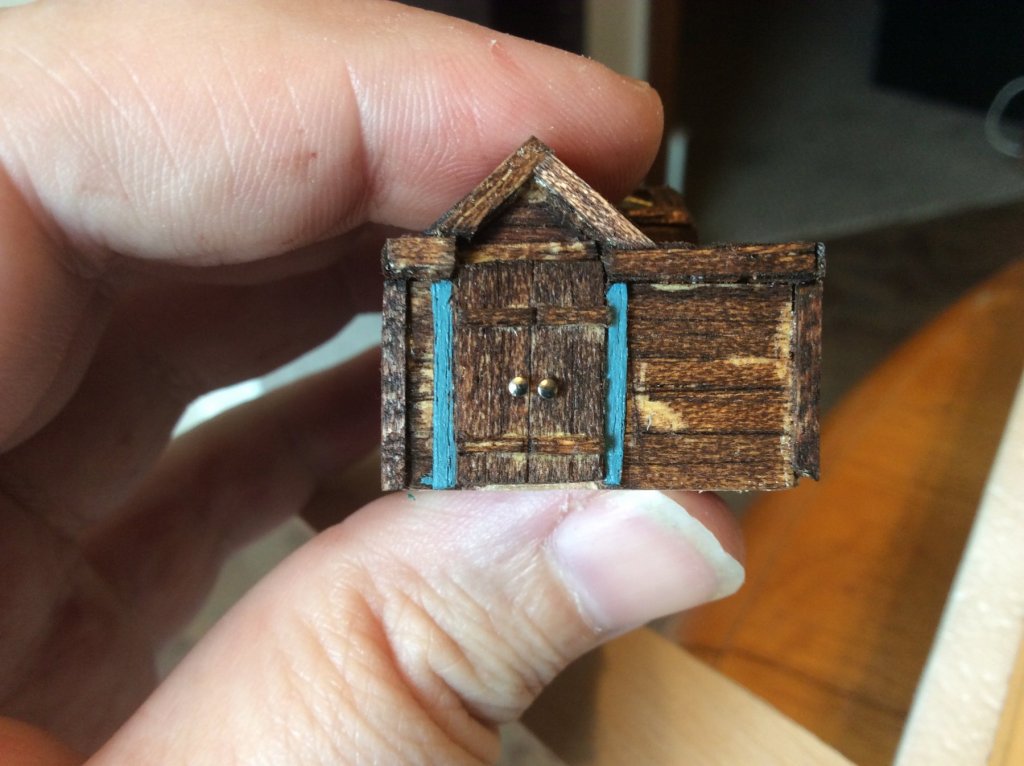
Deckhouse done. Here it is in various stages. used pin heads for door knobs. Though about a latch setup with bent wire but had a burst of inspiration. glue stains, this time from carpenters glue, plague me. I guess this'll be the Bluenose 2 thirty years from now... Here it is at a couple stages.

-
Won't post too many of these in betweeners. But thought some might like to see the process.

-
Derek, thanks for the observation, i did actually miss one scupper!