mainstay
-
Posts
111 -
Joined
-
Last visited
Content Type
Profiles
Forums
Gallery
Events
Everything posted by mainstay
-
 Hey Rich, Glad to see you back. I've been involved with musical projects for months and put my Niagara aside. Now I'm wanting to get mine out again to. Had a big concert this weekend or I would have gotten to the boat show. We went last year. It was amazing. Joseph Osborne
 -
I'm not sure of the exact ratios. What I did was to put perhaps 1/4" of ME paint in an airbrush jar, then add 3 squirts or so of airbrush medium, then probably the same amount of water. That makes the ratio perhaps 40:60, paint to other stuff. I used the largest orifice and needle, taped up a piece of newspaper and experimented until I could spray evenly without runs. I know I started much thicker before I learned how to do it and spent a lot of time cleaning out the airbrush. Cranky little thing. Just a tiny bit too thick and it chokes and says 'hey, cut it out'. The key is to experiment until you find a ratio that works on newspaper and then, unlike me, write it down. I just try to mix all the paint I need at once because I never do record how I got there. A bit like cooking. Joseph Osborne Carlisle, PA USA
-
Hi Patrick, Scott, Pythagoras, Thank you for those nice posts. I am much too critical of myself and I know it. There are many people in this hobby who are incredible craftsmen and I have to accept that I will not be one of them any time soon. I have to remember that a model is a simulation of the real thing, not the thing itself. Joseph Osborne Carlisle, PA USA
-
Finally I understand why I have stopped working on Niagara. I have been looking at it under a microscope. Literally. I take such good photographs (as we all do) that I can see tiny, tiny imperfections, ones 99% of people won't notice. I have very high standards for my own work (as we all do). In my day job I restore antique keyboard instruments and I take real pride in how they look when I am done. A hand-rubbed finish puts me briefly into an altered state when I see it and touch it. I don't have the tools or the technique to work to that level at 1:64. So I am reconsidering how to approach this and enjoy it. Perhaps I shall post pictures taken from across the room . Showing my work to other craftsmen, who also have high standards causes me to work much harder, at a higher stress level than I want for a hobby.. Wasn't this supposed to be fun? . I think I may just let some of the hyper detailled things slide and not post close-ups for a while. Has anyone else experienced this? Are there any threads in the forums? Joseph Osborne Carlisle, PA USA
-
A guy from Mystic Seaport just transported over 100 beautiful scratch built models from Texas to CT in a small truck. There is a picture in their most recent publication. He taped and stapled cloth or foam over the bases to attach them to sheets of plywood which were arranged in the truck like shelves. They were not in display cases. I can't imagine the pressures he felt on the drive and the relief to get them all there safely.
-
Hi GG, Really, really nice. Both quality and speed of construction are quite amazing. Really enjoying your log & getting excited about getting back to mine now that most of the holidays are over. Joseph Osborne Carlisle, PA USA
-
HI GG (not sure how to address you. GreatGallions is a big handle) Thank you for the suggestions. I will go back to work on them. It is becoming clear to me that woodworking on this tiny scale is a craft distinct from macro woodworking. I must learn new methods and make or acquire new tools. I am enjoying your log. Hope you weren't too badly affected by the storm. Joseph Osborne Carlisle, PA
-
I too am building the MSW Niagara. I am very impressed with the speed and especially the quality and neatness of your work. This is my first POB model. I have run into trouble on the coamings and gratings. Glue joints fall apart when I try to sand my assemblies. Gratings won't stay together, come flying apart when I try to trim them to size. I can't seem to get the holes in the gratings all lined up so they are square. Can't seem to build the coamings square either. My tools: making cuts with a scalpel and a jigsaw and using CA glue (after I sand off the burnt areas). How do you do this so nicely and so quickly? Do you have a set of tiny tools for cutting and clamping? A set of jigs?
-
It was 14 degrees here yesterday. Sounds like your radiator might have slushed up. What is the ratio of coolant to water in the system? I assume you don't need anti-freeze in Texas...
-
Hi Larry, I agree with Alstair about adding the garboard plank now and with Chuck about making it narrower. The main issue is how thin do the individual planks become by the time they reach the bow. You may still have to do some stealers (or joggers) at the stearn. Joe
-
Great milestone. Congratulations! It really does take a long time, doesn't it? At least the planks get wider as you go down. I had the hardest time with the reverse curve at the stern. And it's looking really nice. Your careful planning up front and your skill with the plank bender are both showing in the pictures. Joe
-
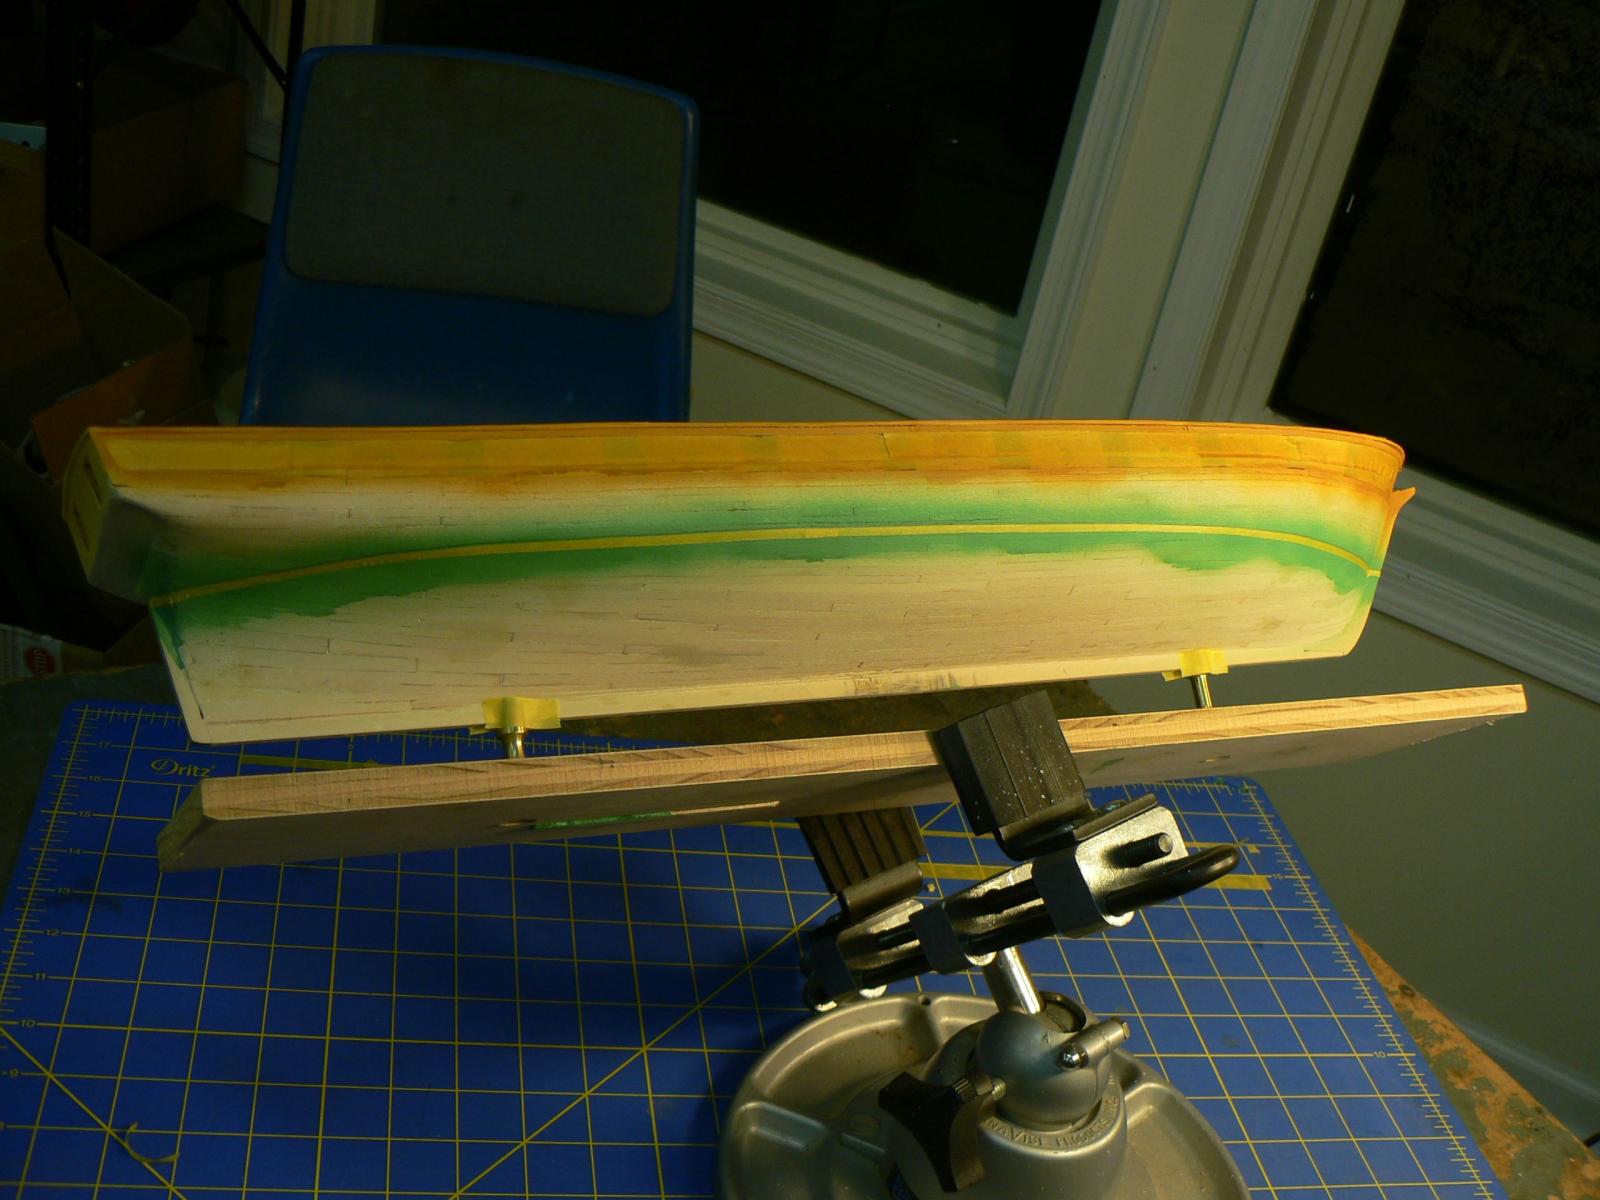
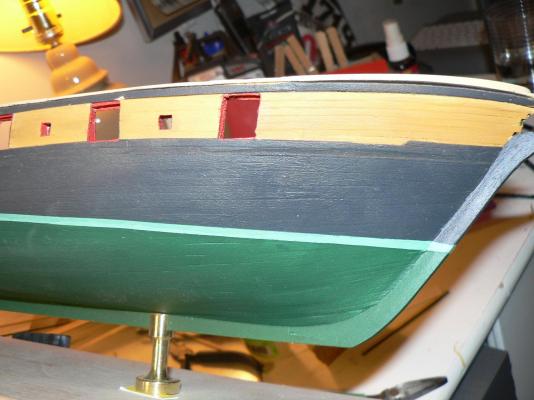
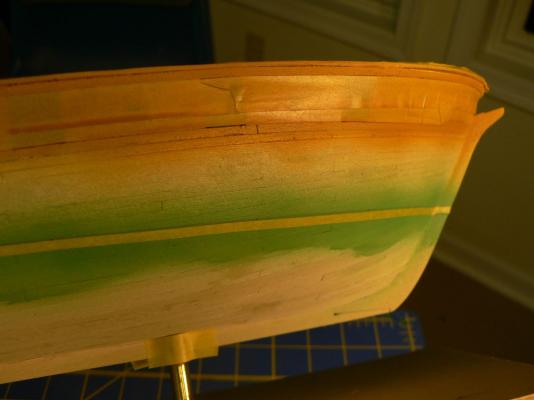
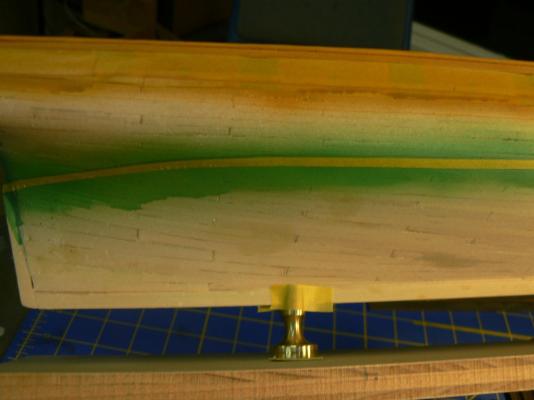
HI Larry, You may not mind the appearance of a few low planks after they are painted. Some of the pictures I just posted show my hull below the waterline. There are low planks visible and you can see how they look painted. Light has to be at the right angle to make them stand out. I just decided to accept some imperfections and keep moving. (My life in a nutshell!) Joe
-
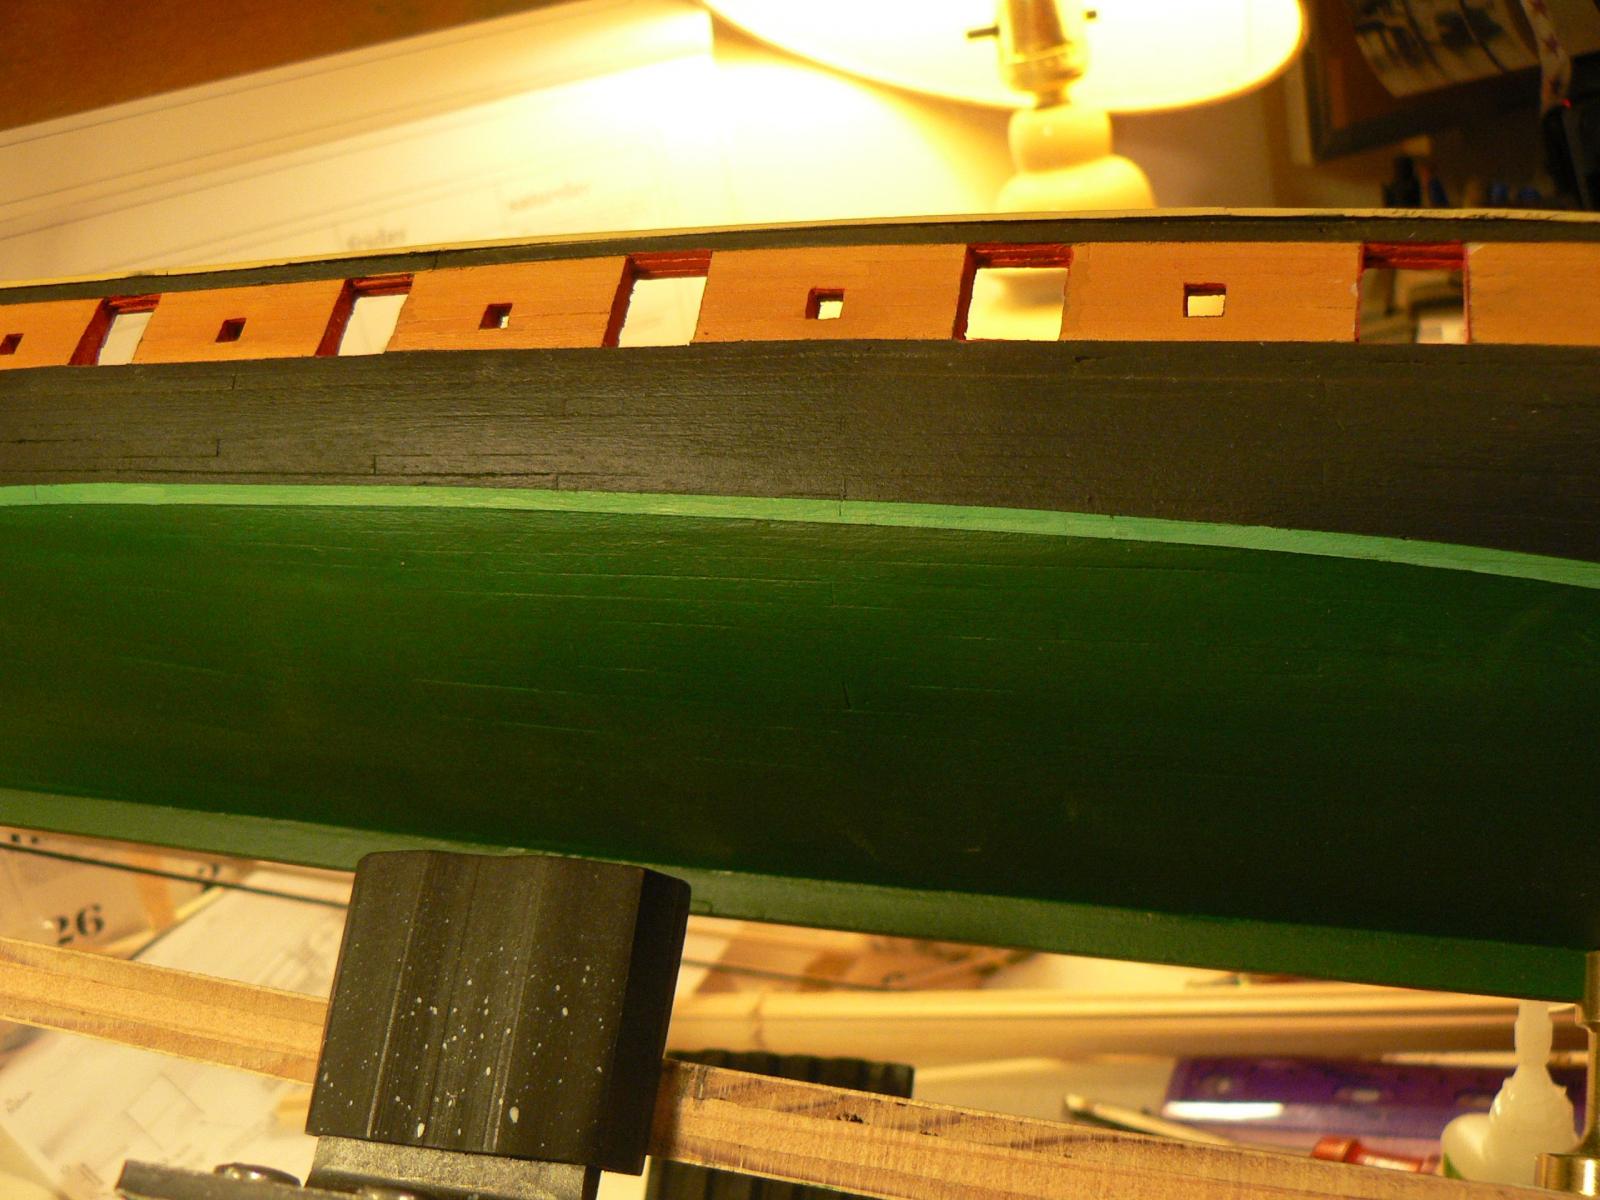
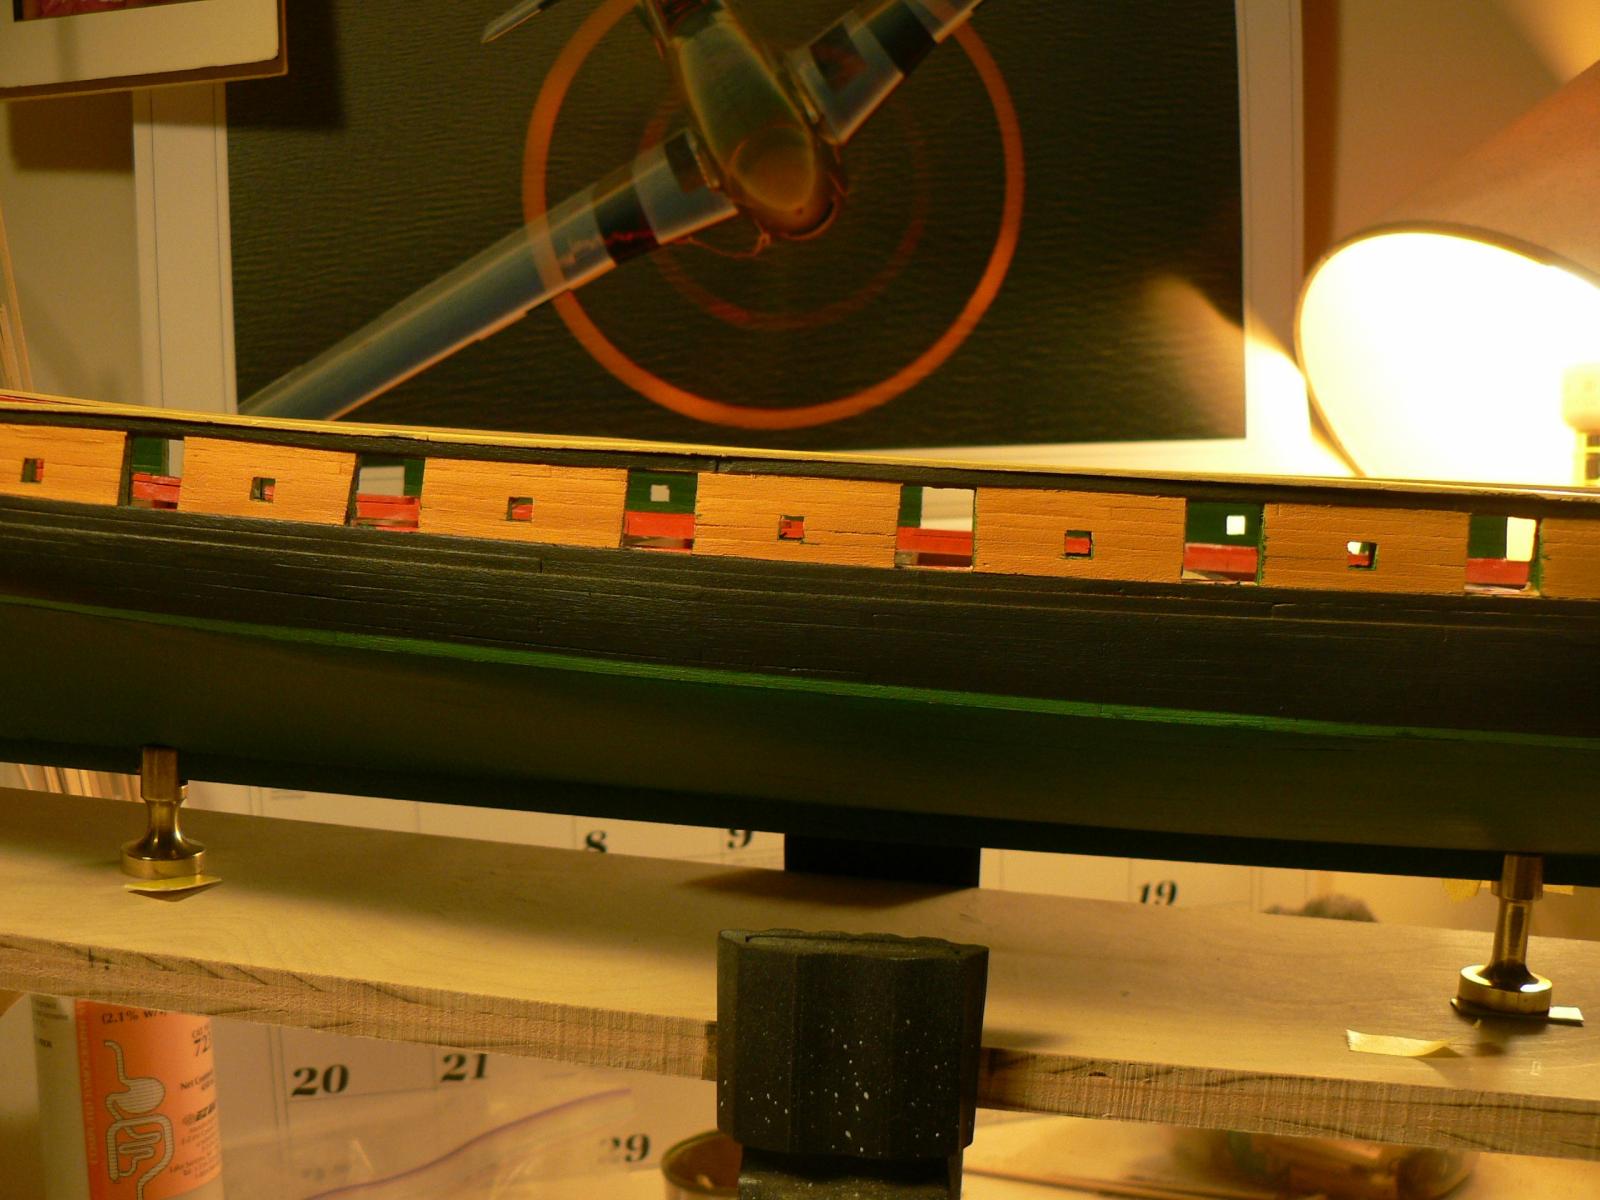
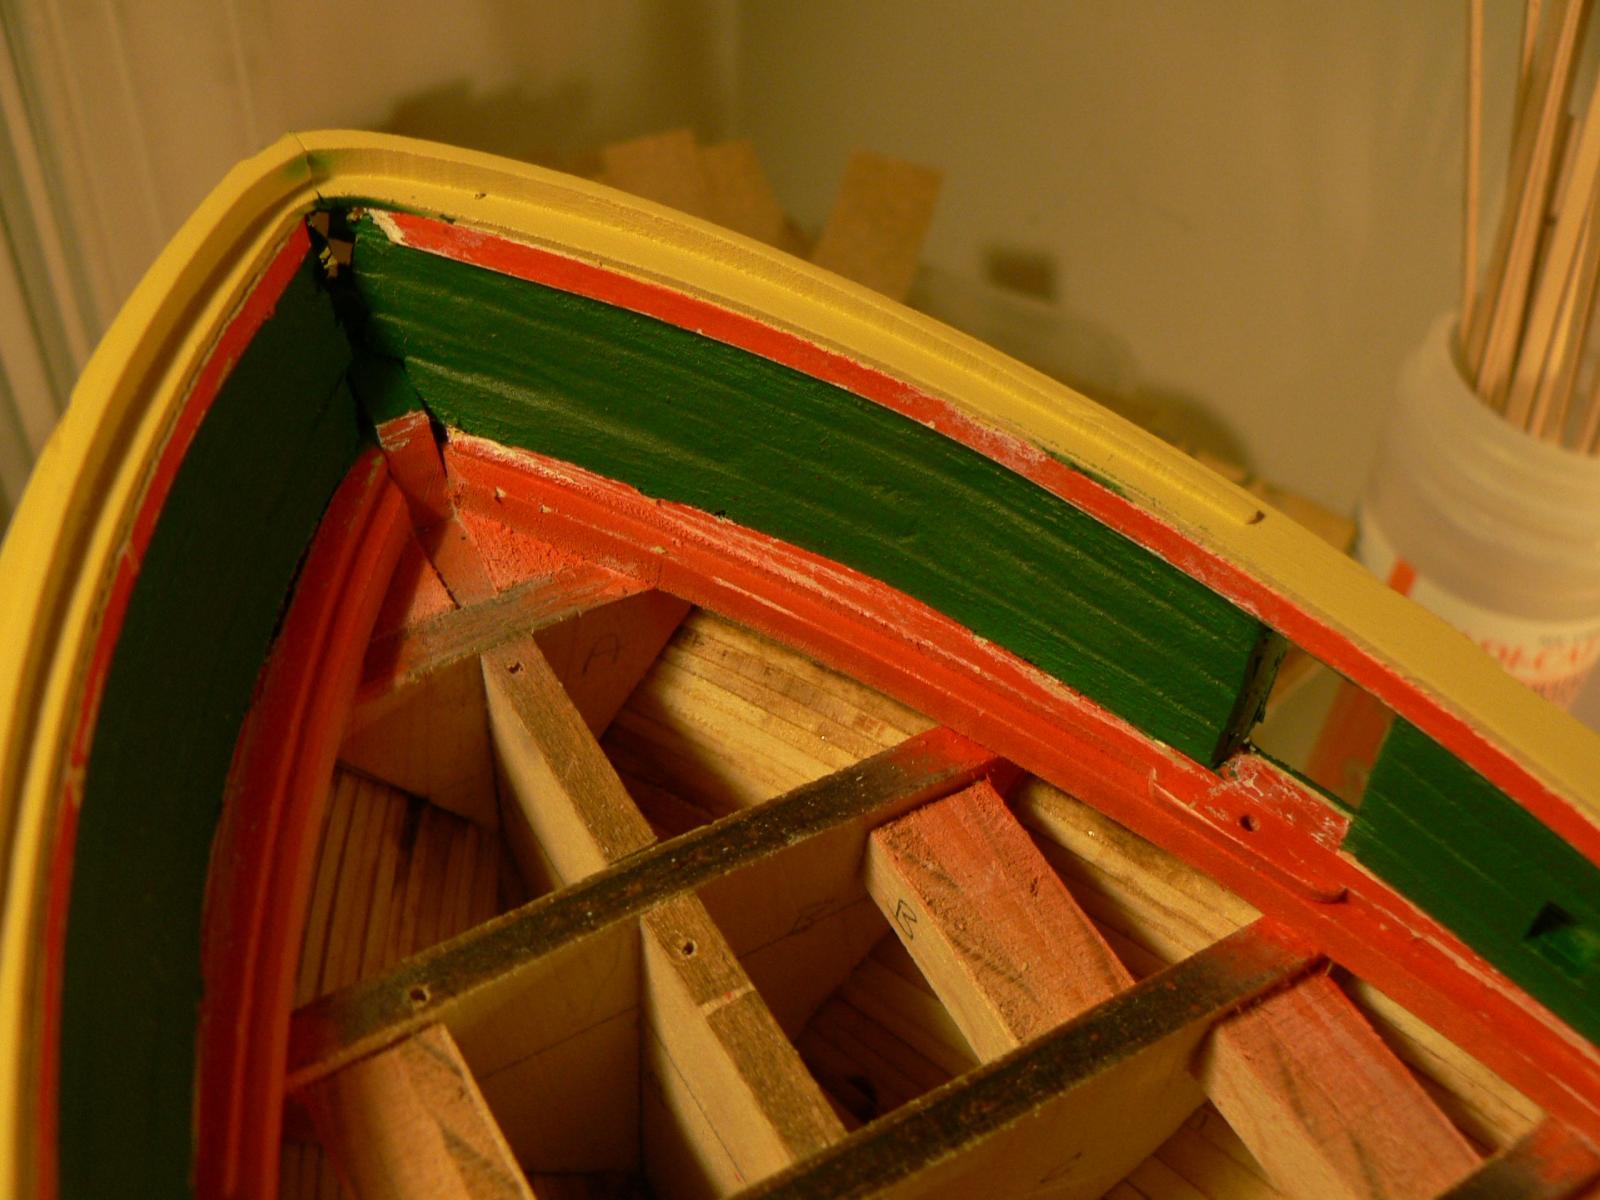
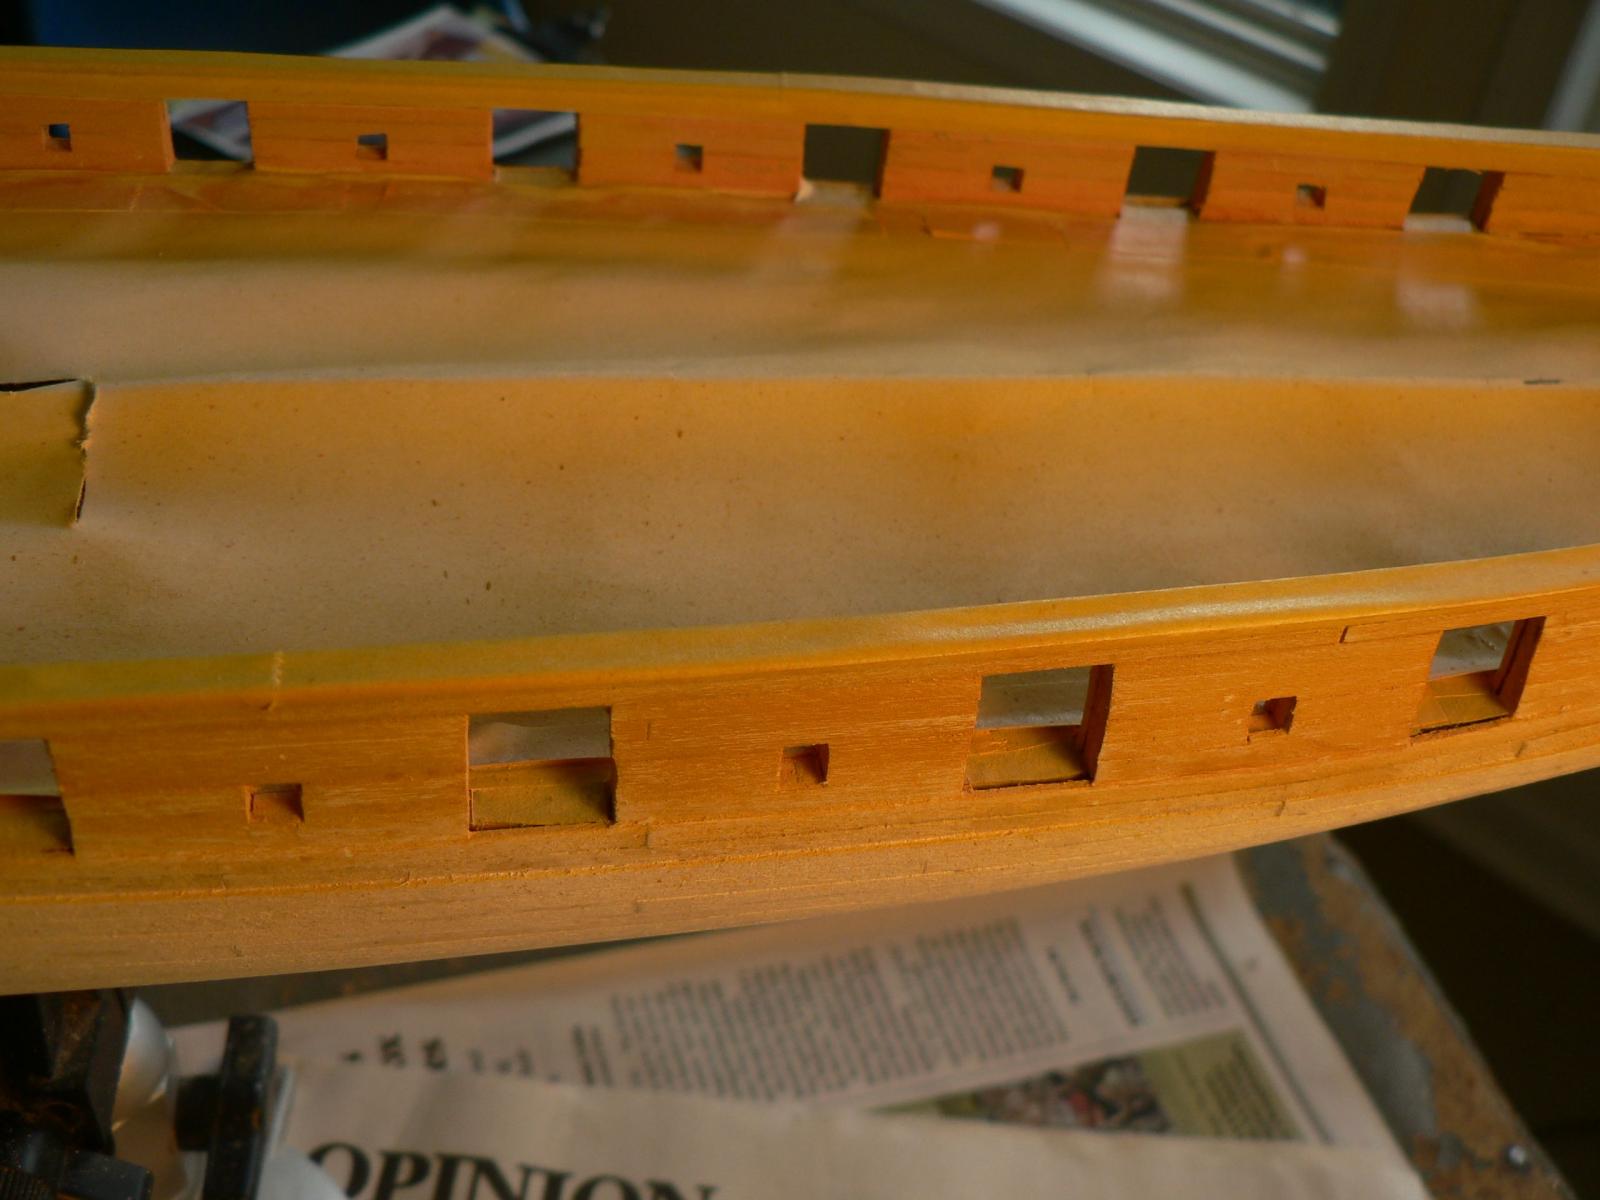
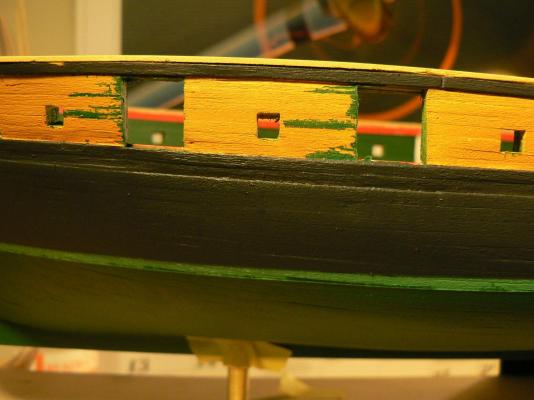
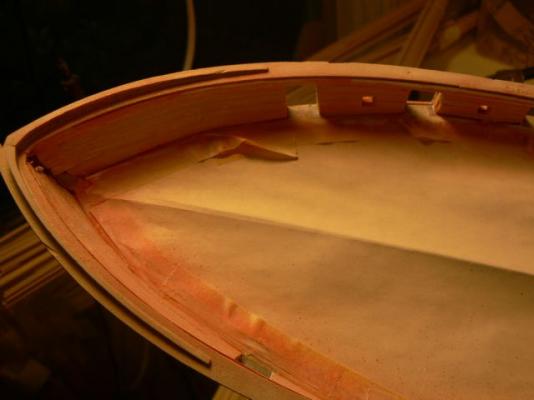
Hi John, Overspray can be handled with masking, although the thought process can get quite involved. Spraying over the tape with the color under it is supposed to solve the leakage problem. As you can see in my yellow areas, the green made it in. However, green was coming from inside the gunports, blowing the tape away from the wood. And I had not thought that far ahead when I masked. So that problem may be solvable. I ended up repainting nearly all the airbrushed red with a brush. I did not glue 1/32" wood inside the gunports to cover endgrain. I just decided to accept my chewed up (really rough!) surfaces as they were. I did experiment with painting a piece of file folder red and cutting that to fit the edges of one port, but decided that was too much work. Joe
-
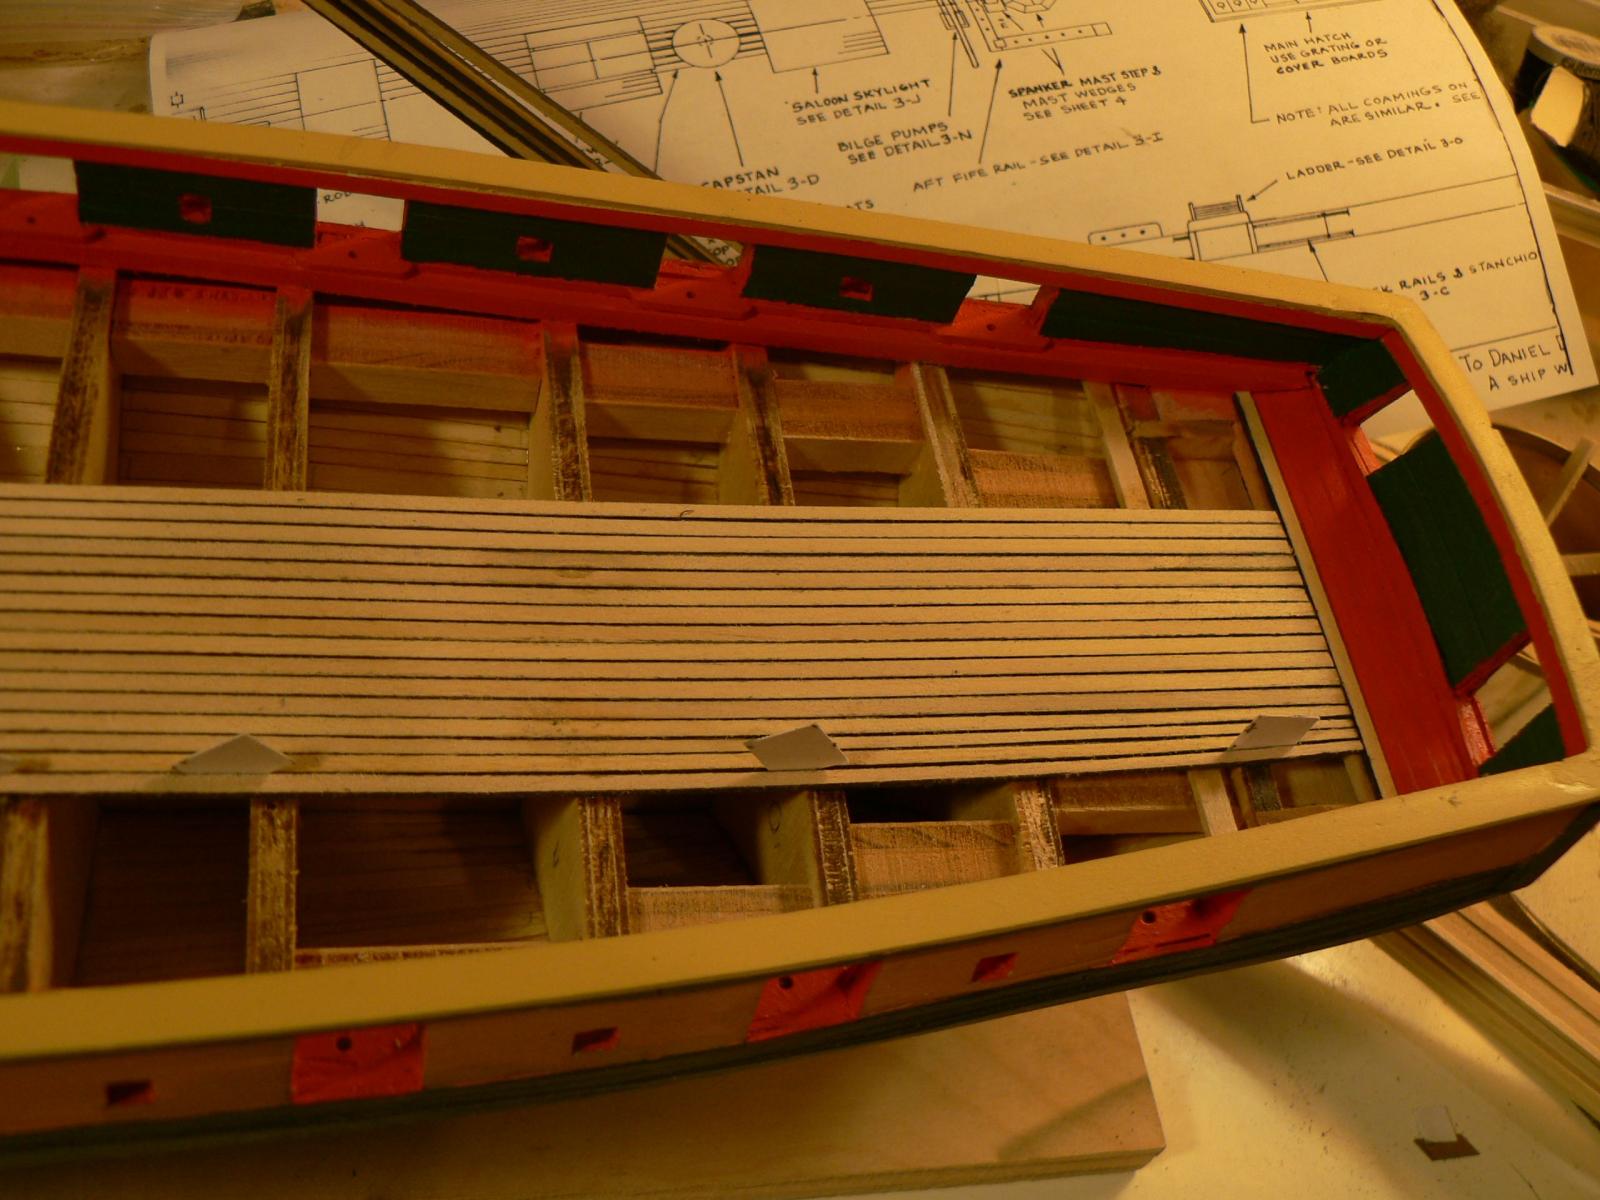
Yes I am. I may be making my simulated caulking too wide, probably because the Brilliant's deck had such beautiful, thick caulking runs and I liked that. Nice thing is that I will have to glue in fewer planks...
-
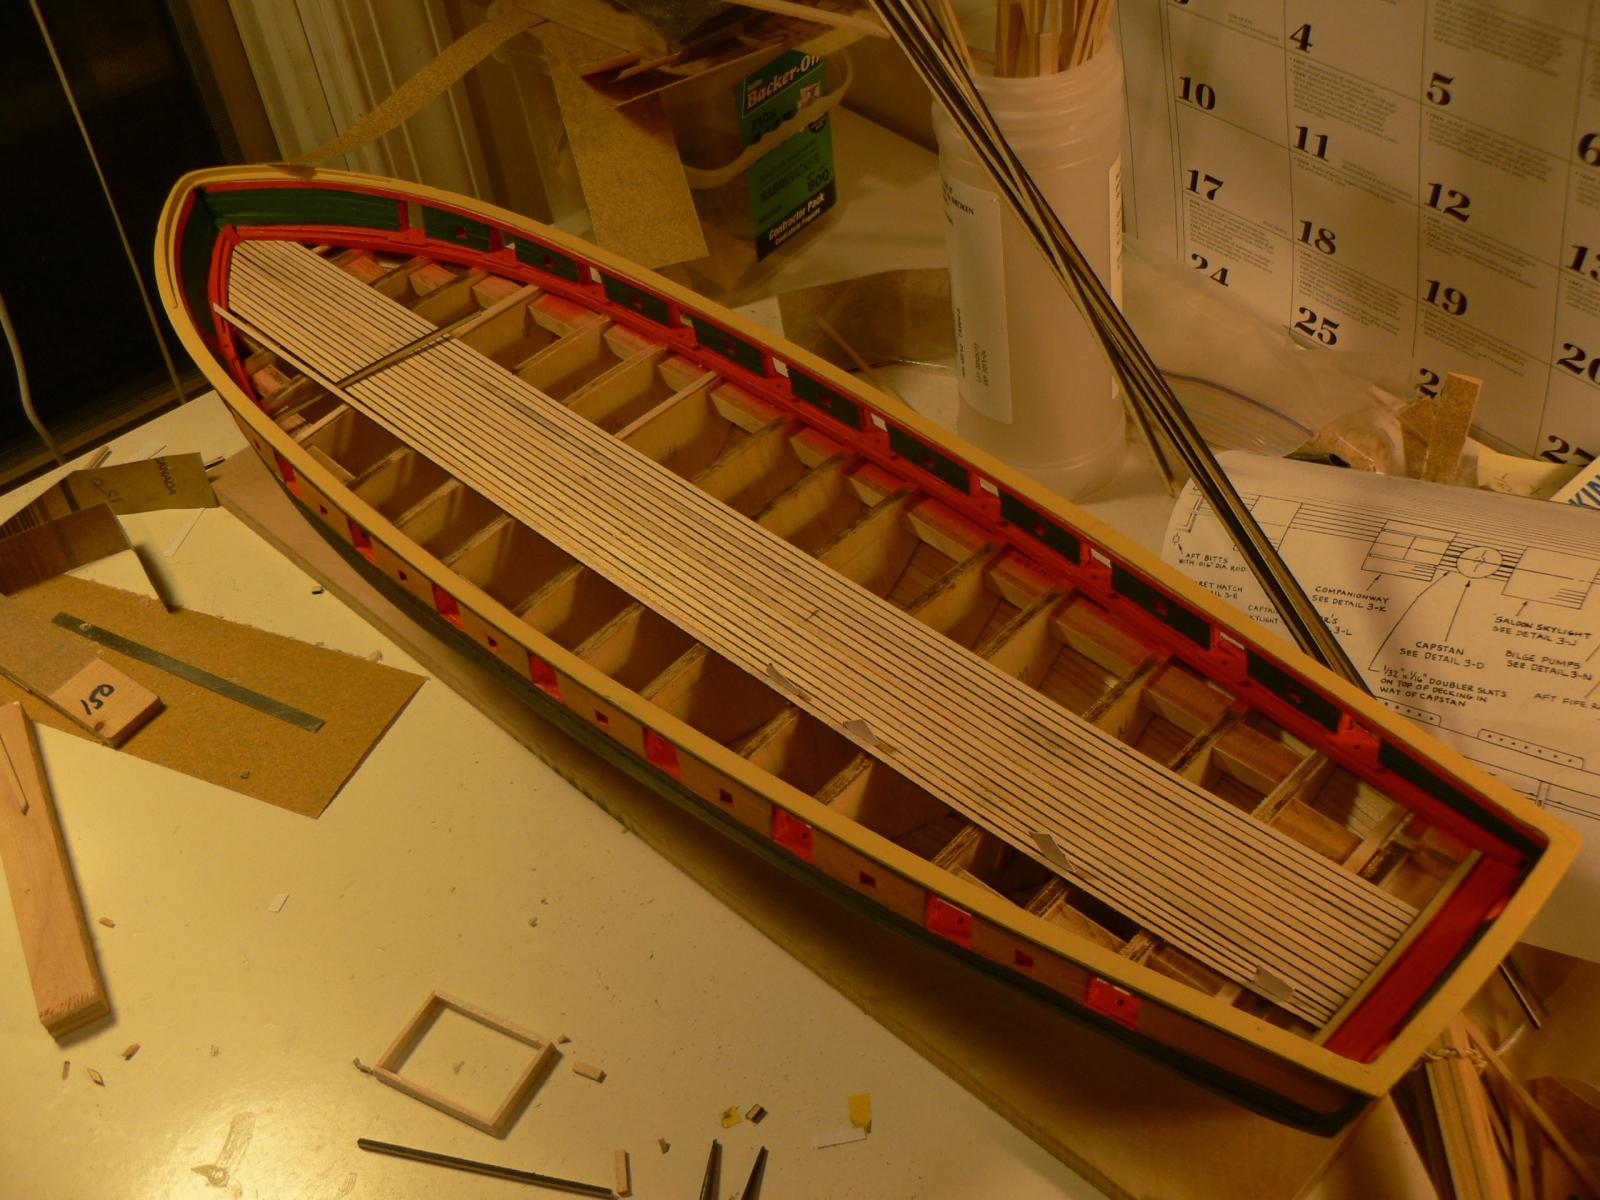
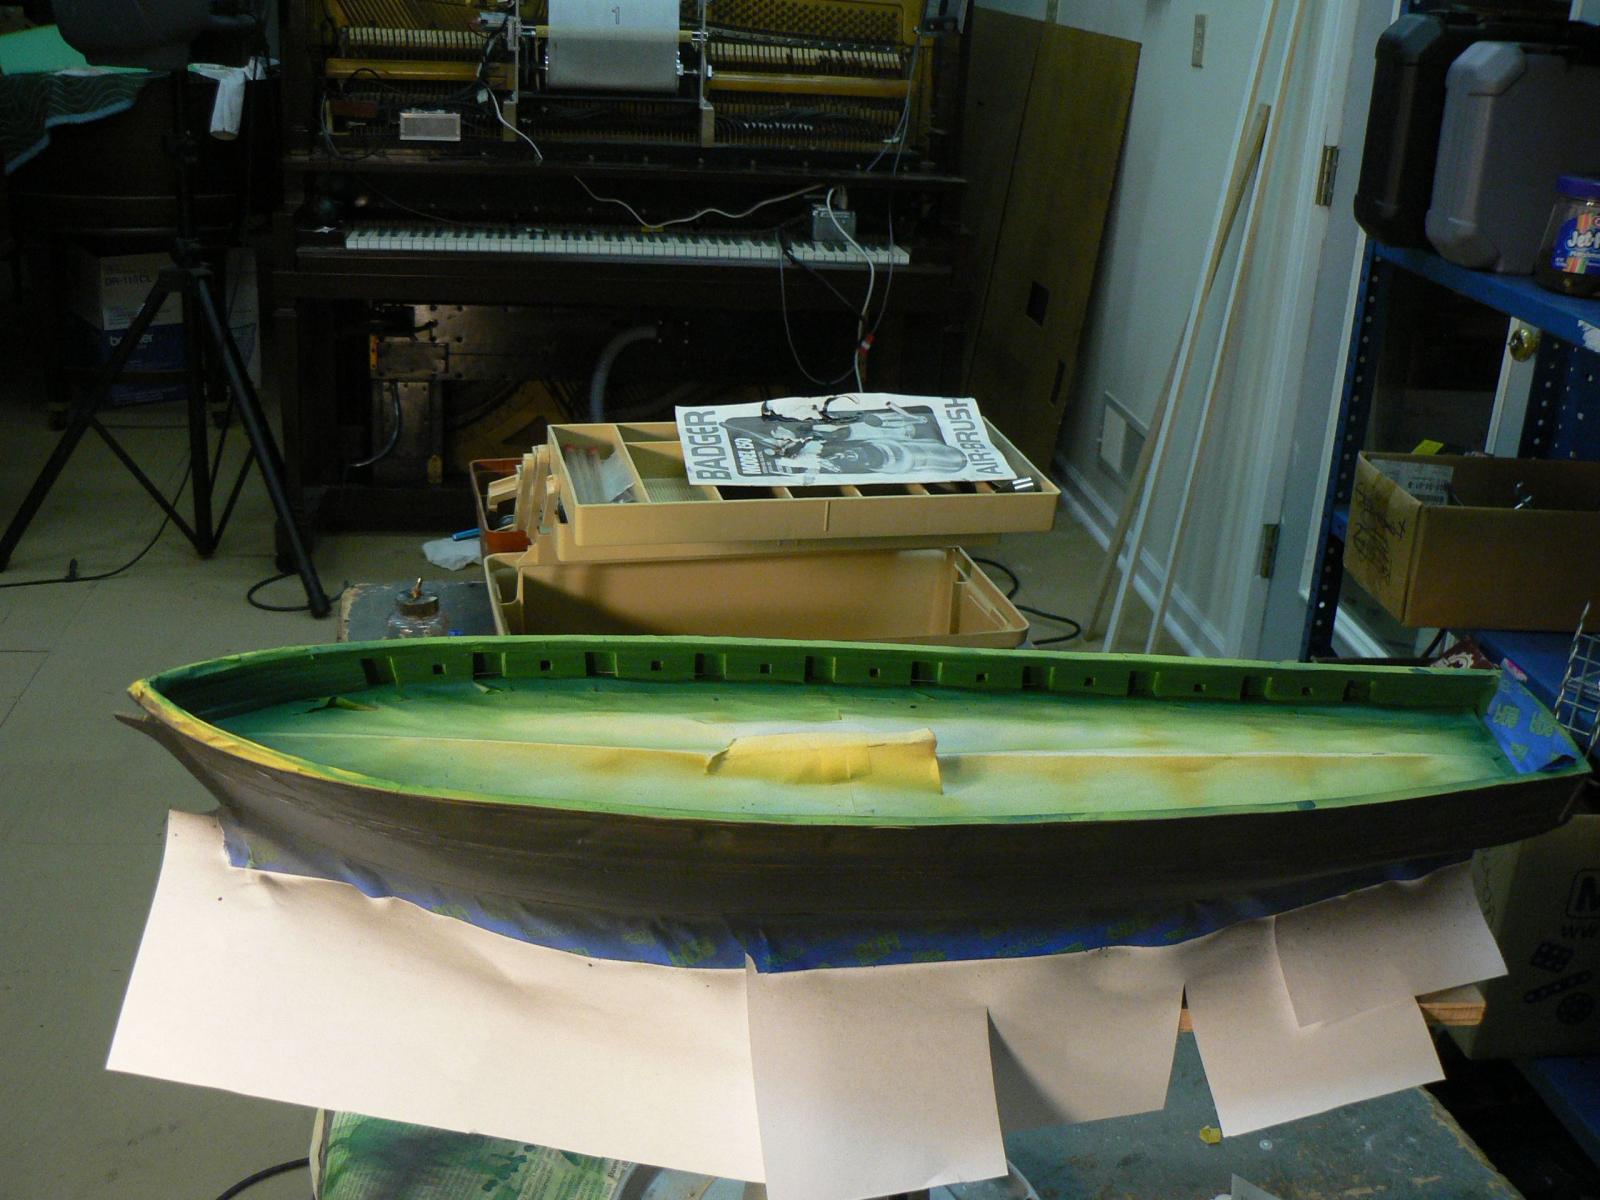
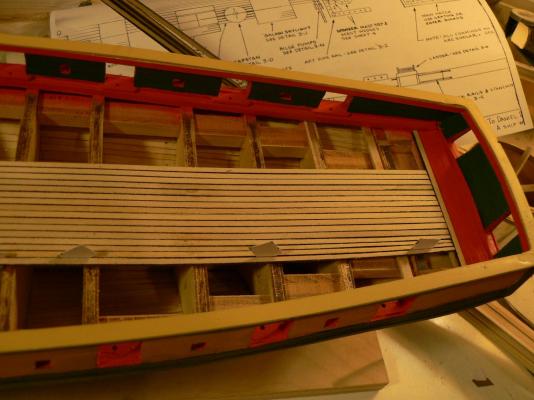
I did use ME paints. It took a while to get them thinned correctly, and as I said, the airbrush medium made the colors lighter so the yellow especially that I brushed on to touch up did not match. Also, Model Expo sent me two regular green and no light green so I mixed the waterline color myself. The first six decking runs on either side of the centerline are full width from bow to stern. The rest taper to the stern. I will not use a nibbing strake, but may simulate it with a thin strip glued over the bow ends.
-
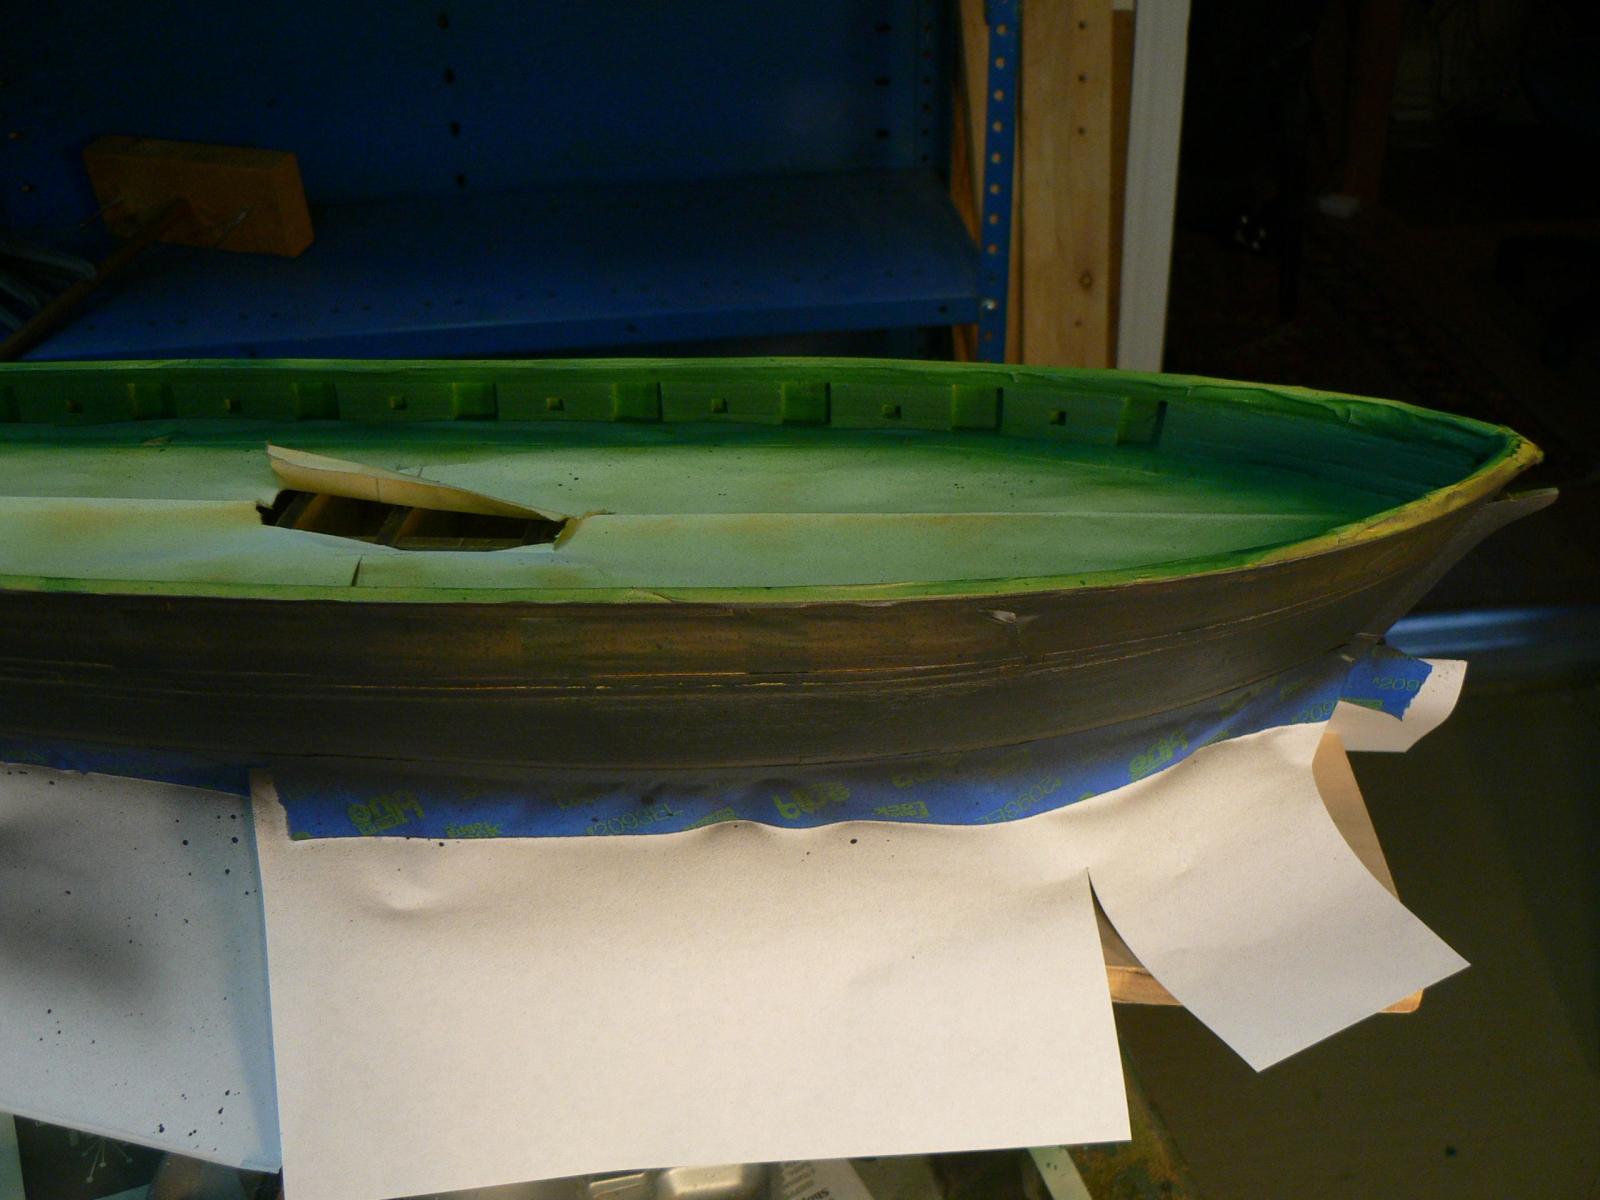
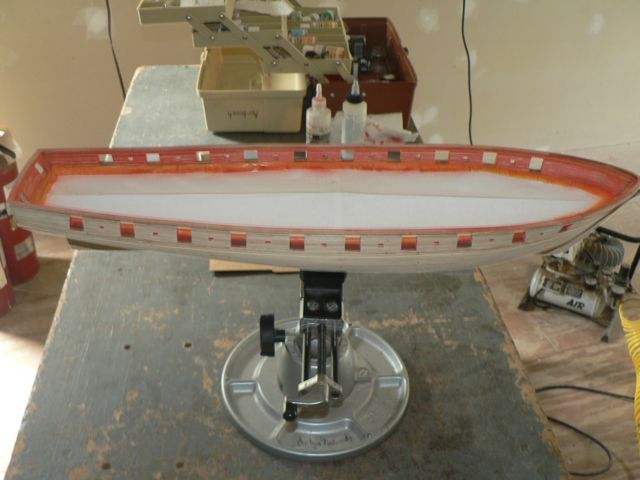
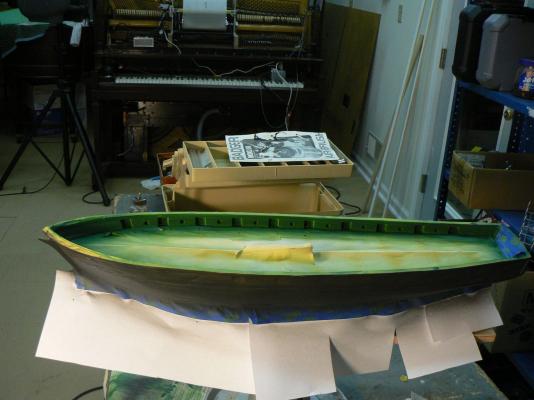
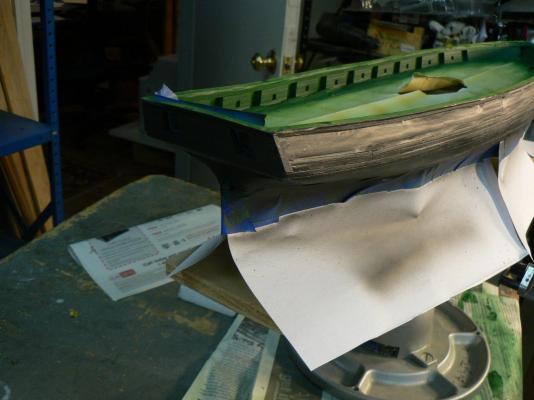
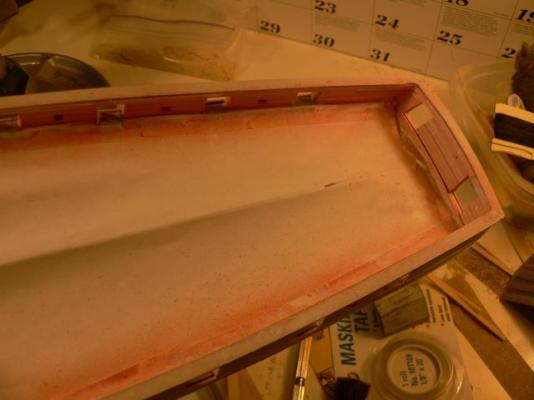
After removing the masking. There was a lot of bleed-through in some places. After extensive touching up with a brush. Brushed did not match Airbrushed, probably because I had added Airbrush Medium which is white. Starting to add the decking. I am using black paint to simulate Oakum. Clamp 10 pieces of decking together on their sides, paint, flip, paint. Still have to sand off a little, but it's working. I am spacing the boards with card stock.


-
More Green, also Black.

-
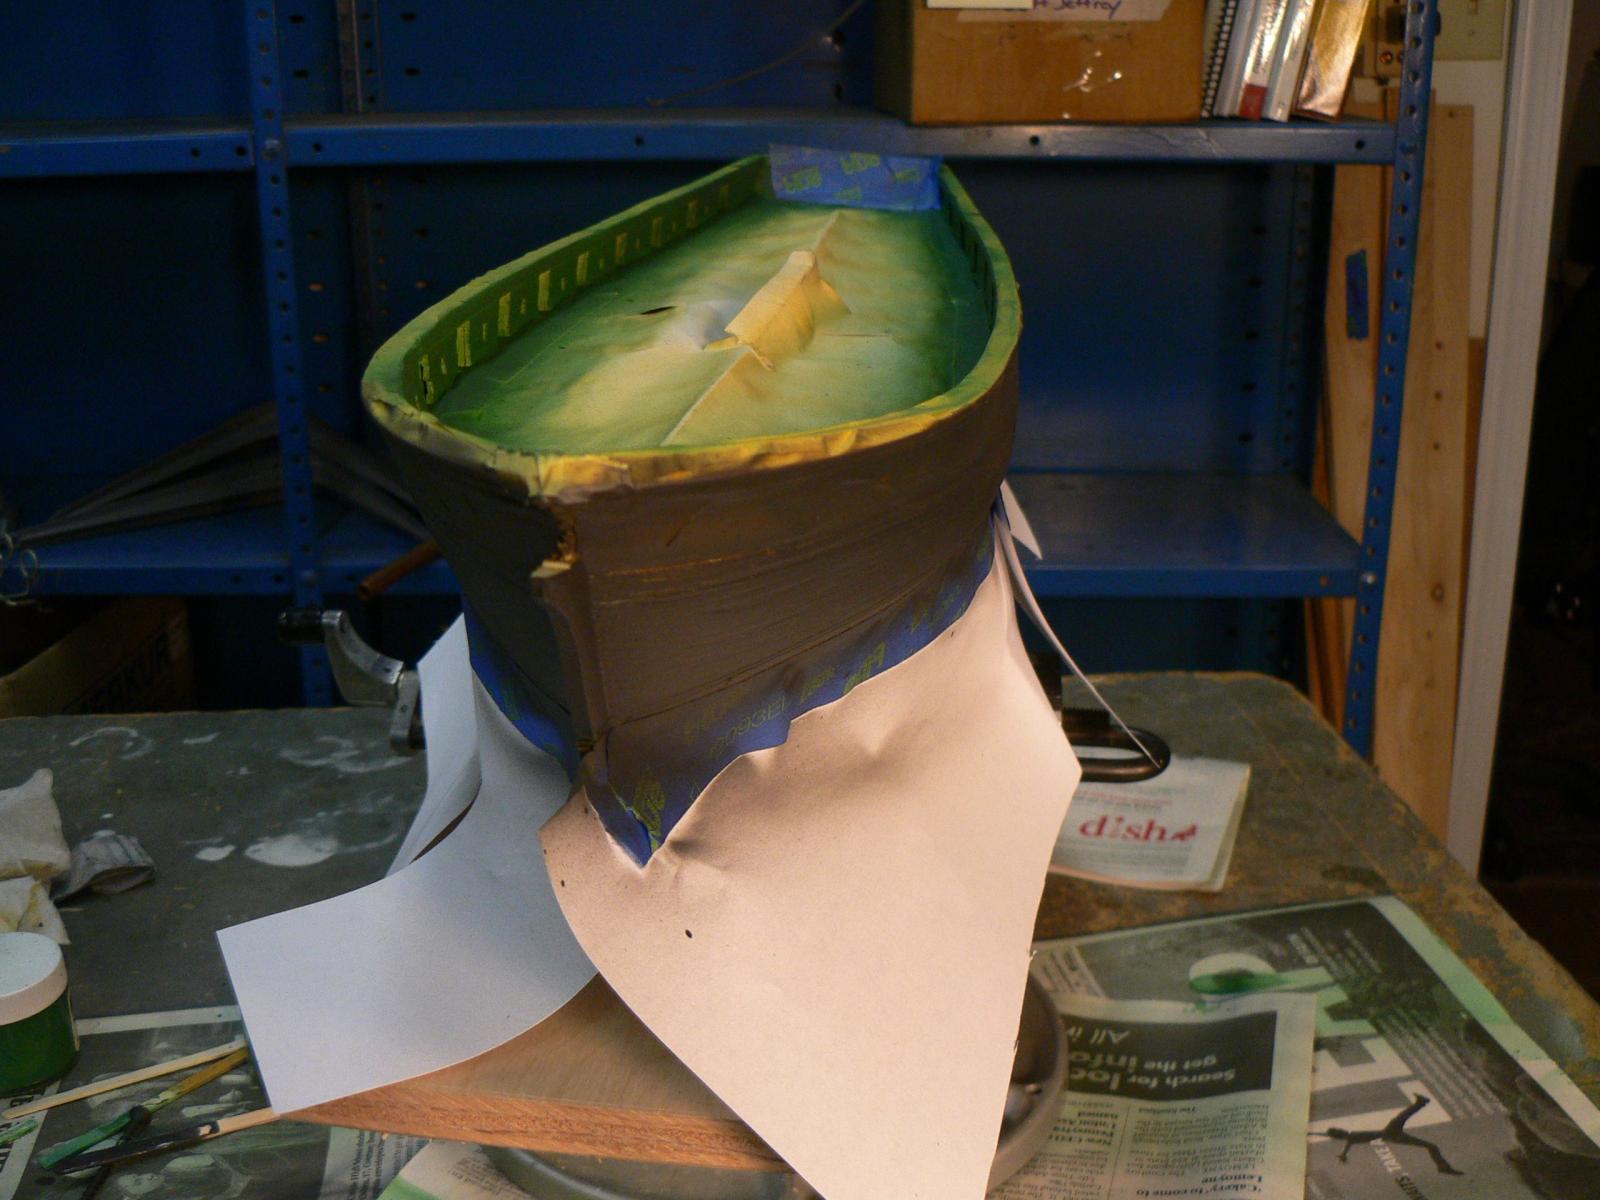
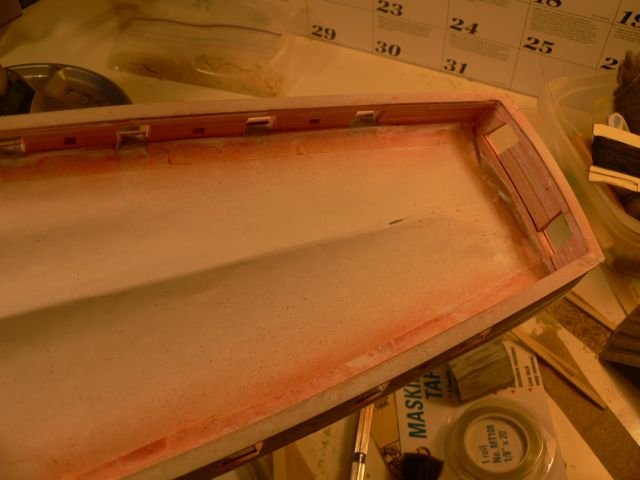
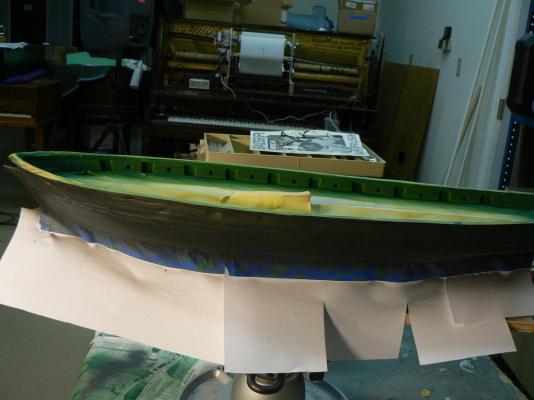
The Painting Process The model gets really UGLY! During Masking and painting, it really doesn't look like much. Painting the top rail Painting over the Waterline mask with the same color. This was supposed to keep later colors from bleeeding through. It didn't work (or at least didn't work completely). I think I needed to be spraying thicker paint Painting Green. Inside top and outside bottom.


-
HI Larry, Yes, the planking is looking good, and yes, I would wait until you can see the hull as a unit before doing much sanding or filing. One thing I would keep an eye on, however, is the planks that are a little low compared to the others. I had a bunch like that and most sanded flush. I finally elected to settle for a few low planks on the final hull. I could probably have sanded them all flush but didn't know how thin the final hull would have been. I will be posting pictures of my painted hull soon and you can see. Joseph Osborne Carlisle, PA USA
-
Hi Larry, Yes, I wouldn't mind trading a Pennsylvania autumn for the Panama Canal just now. Have a great trip! Joe
-
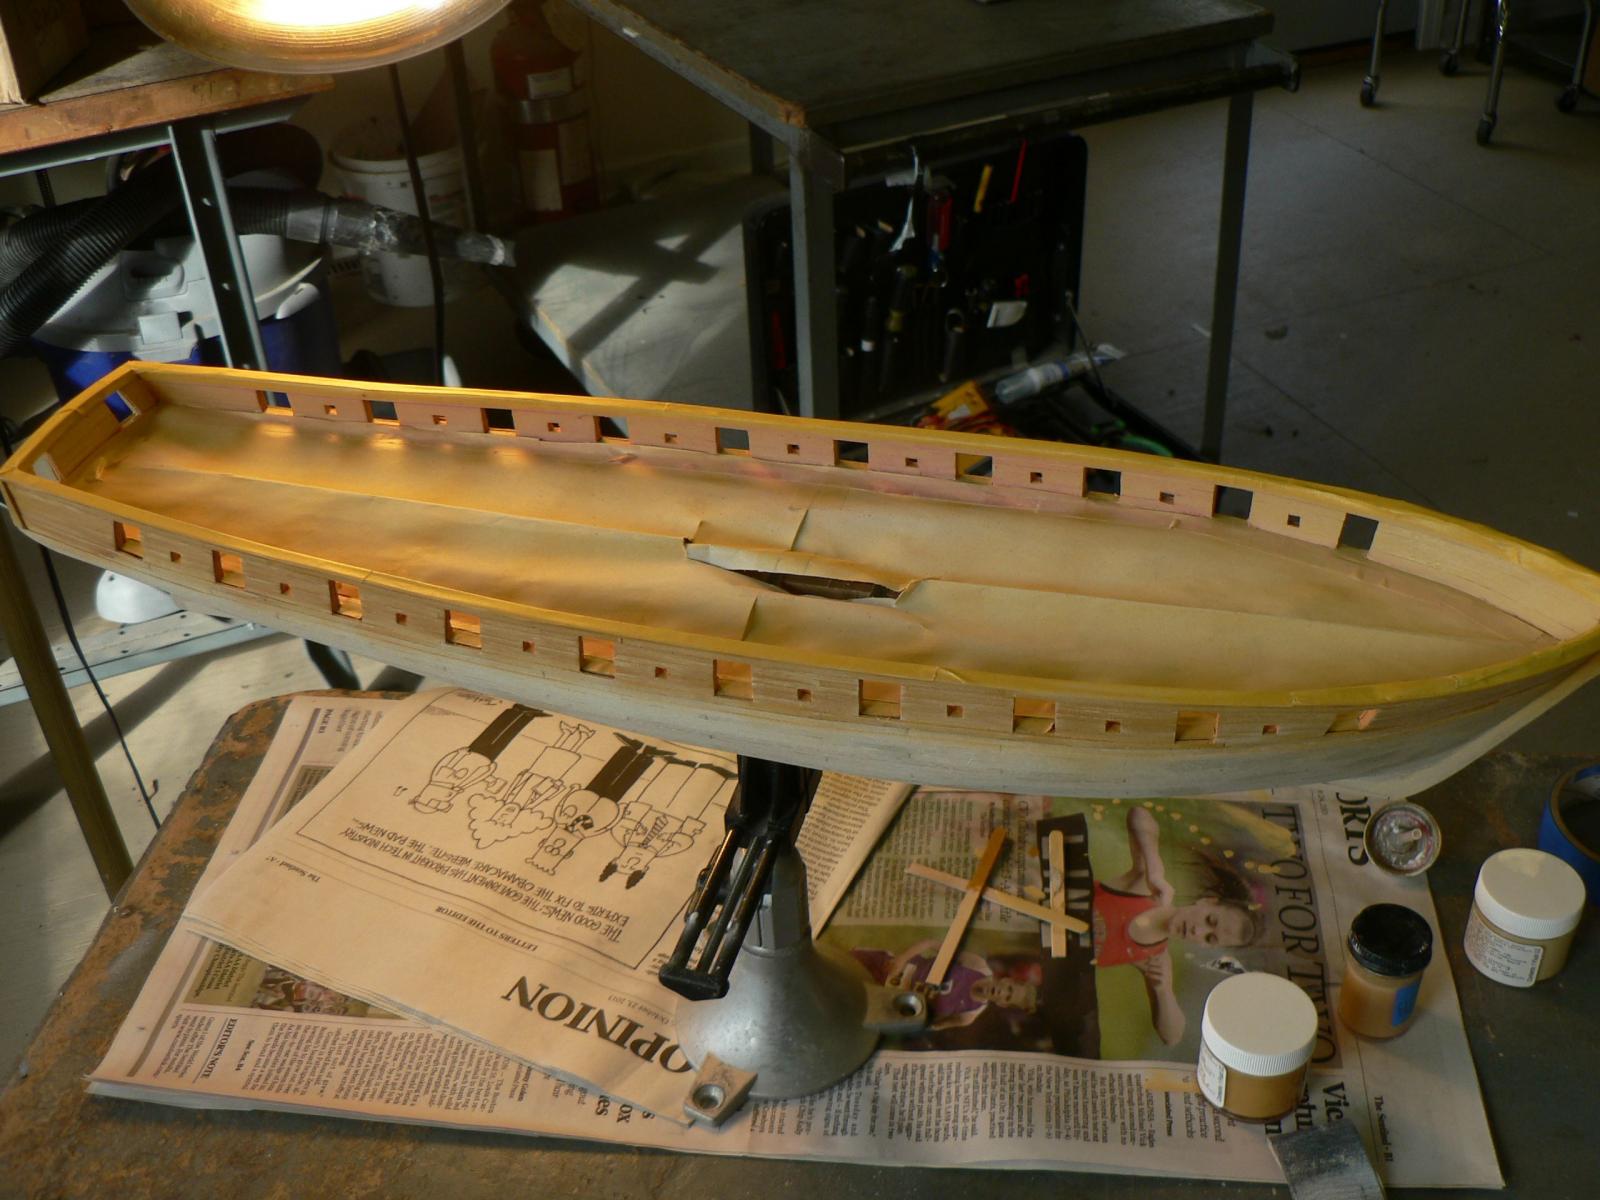
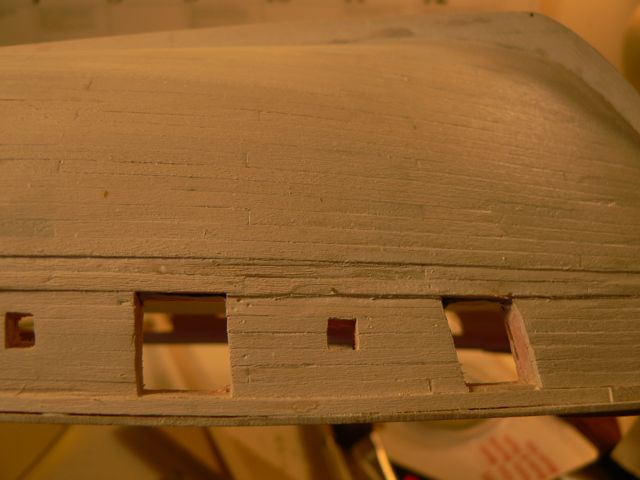
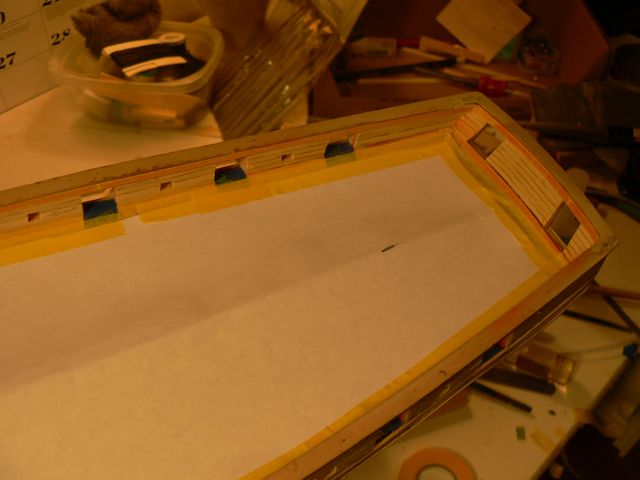
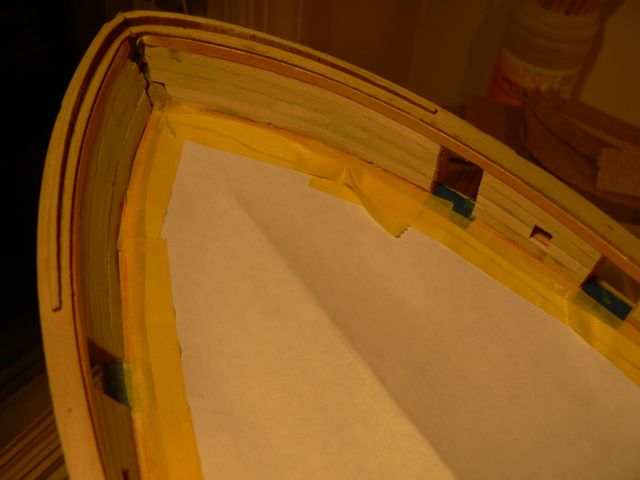
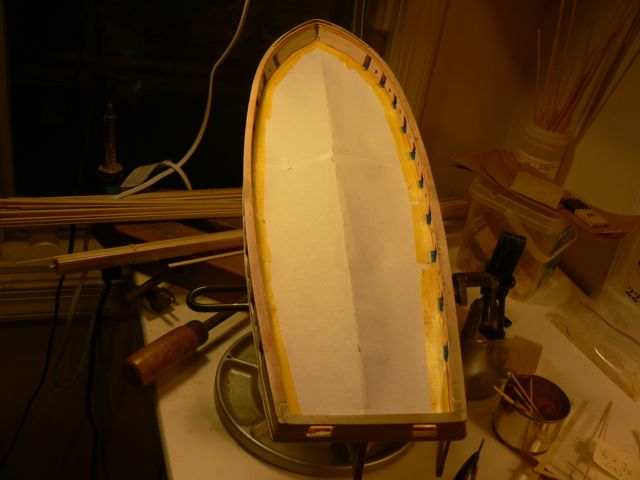
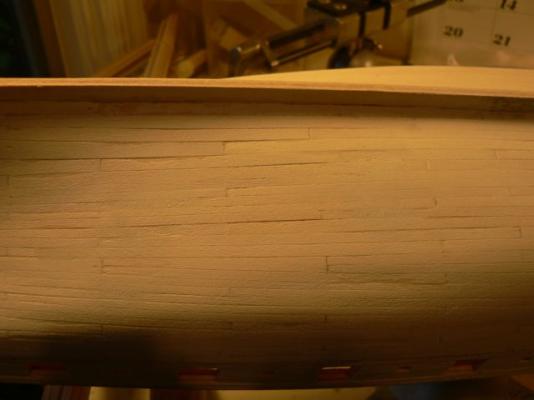
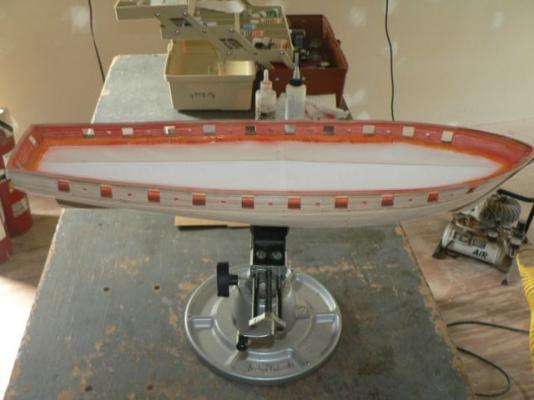
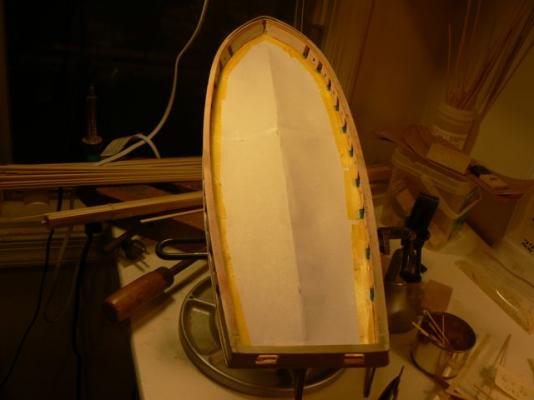
Time to Post a Little Progress I have been busy with my keyboard restoration shop. We finally got the drywall taped and joint compound on it after 15 years of cracks and cold air and stink bugs. It was a good time because the educational robot business was just sold and moving out, also there were energy rebates available from the power company. Still, it has cost me three weeks of lost work already. Had a contractor do it, then Nat (my assistant) and I painted walls and floor and added moldings. It took a long time because we had to move workbenches, shelves and pianos into one end so the drywall guy could do the other, then move it all to the other end so he could do the first end. Yesterday the final painting was done and on Monday we will start setting up a working shop again. But with all this going on I often did not have a place to work when I wasn't too tired anyway. I have gotten the hull masked and gotten three sprayed coats of primer on it. Finally! Hull with initial masking. After adding a coat of red on top of the masking tape to prevent the primer from bleeding under. I dno 't know how well this will work because I have never tried it, but it sounds like a good idea. Primed surfaces. I really like the way the basswood grain looks. A very accurate scale appearance.


-
HOORAY!!!
-
Hey Rich, I am very glad to hear the positive job news. Temp gig could a good thing too. Difficult to maintain one's attitude with no money coming in. Joe
-
Larry, Thanks for the tip about the emory boards. I will buy some of those. I made my own out of 1/4" wood strips 1" wide, using 3M 77 spray adhesive to attach sandpaper. I made a set from 80 grit through 240, but mainly used 80 and 150. Still looking for a good way to sand narrow bands of planking: the top to bottom of the gunports for instance with fine paper. Am just folding a loose piece of 240 right now. Your band looks really good, btw. Your systematic approach worked very well. Joe
-
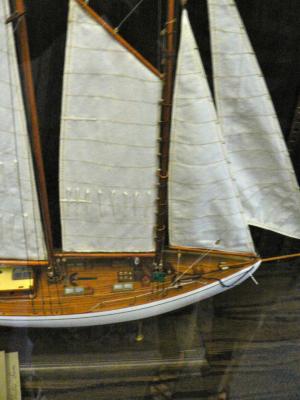
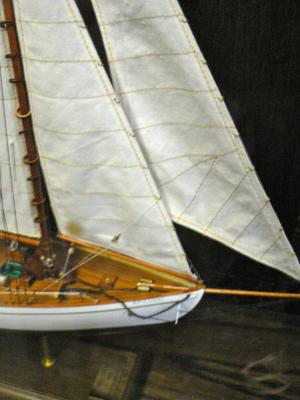
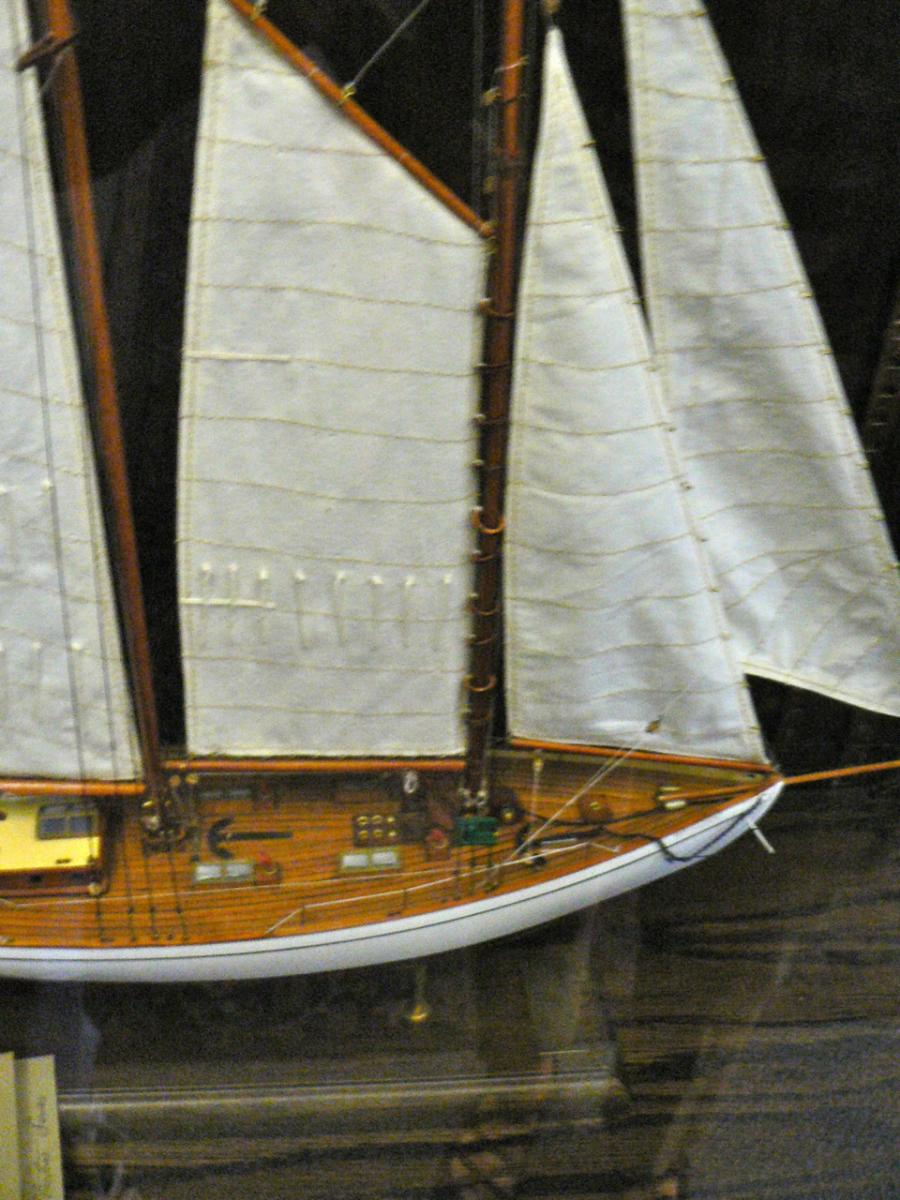
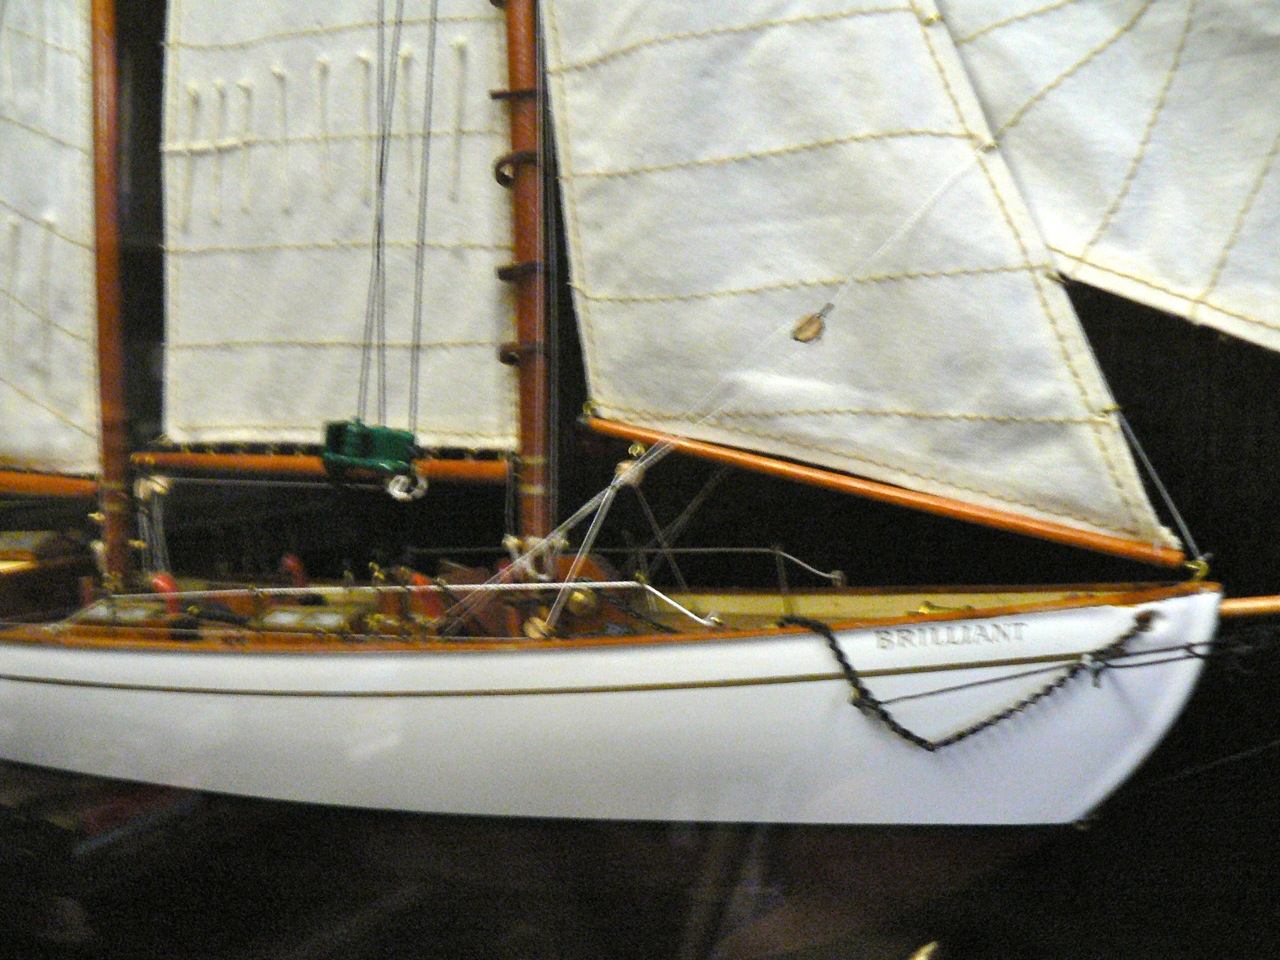
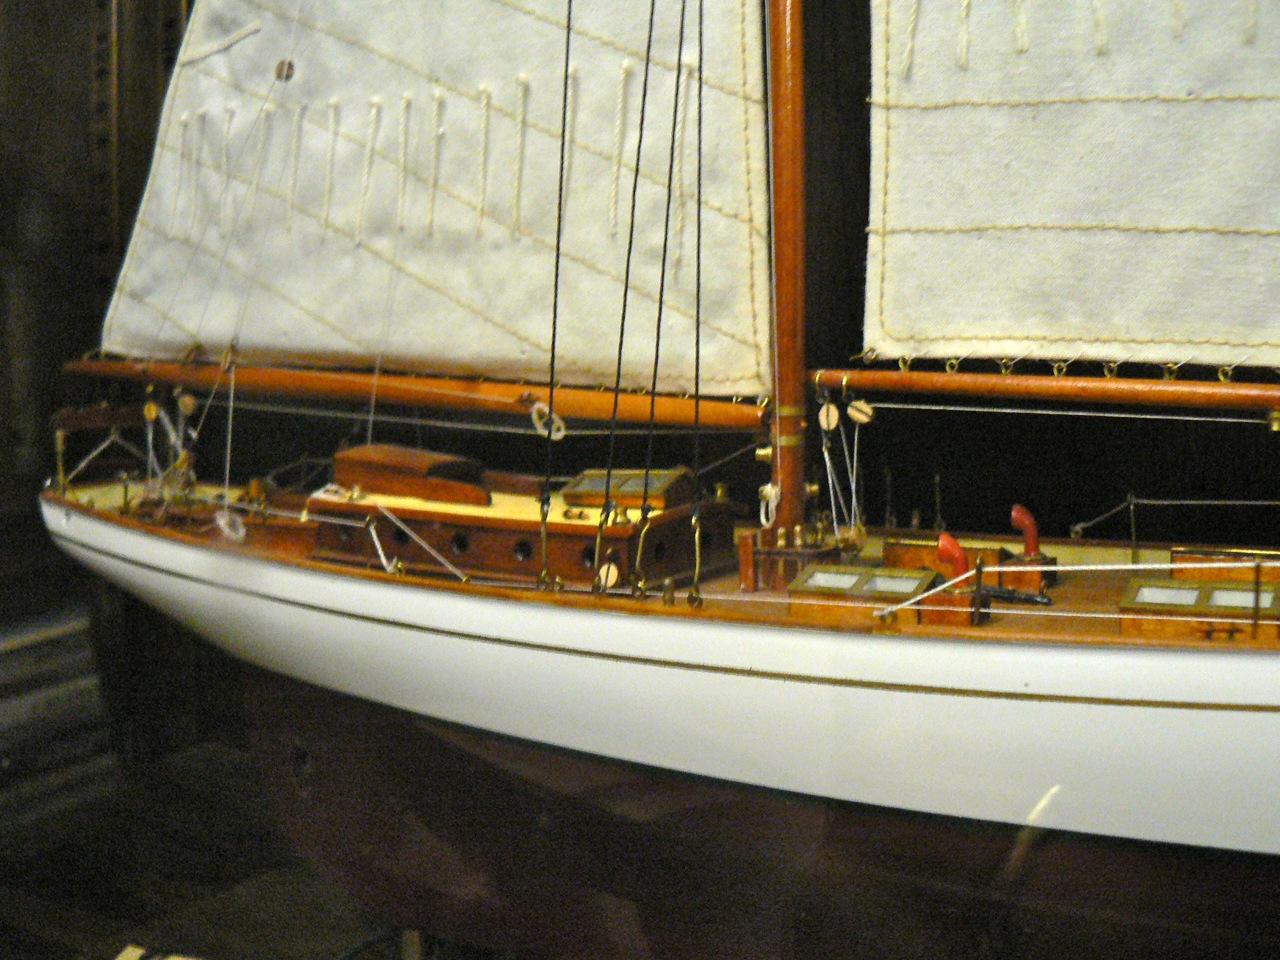
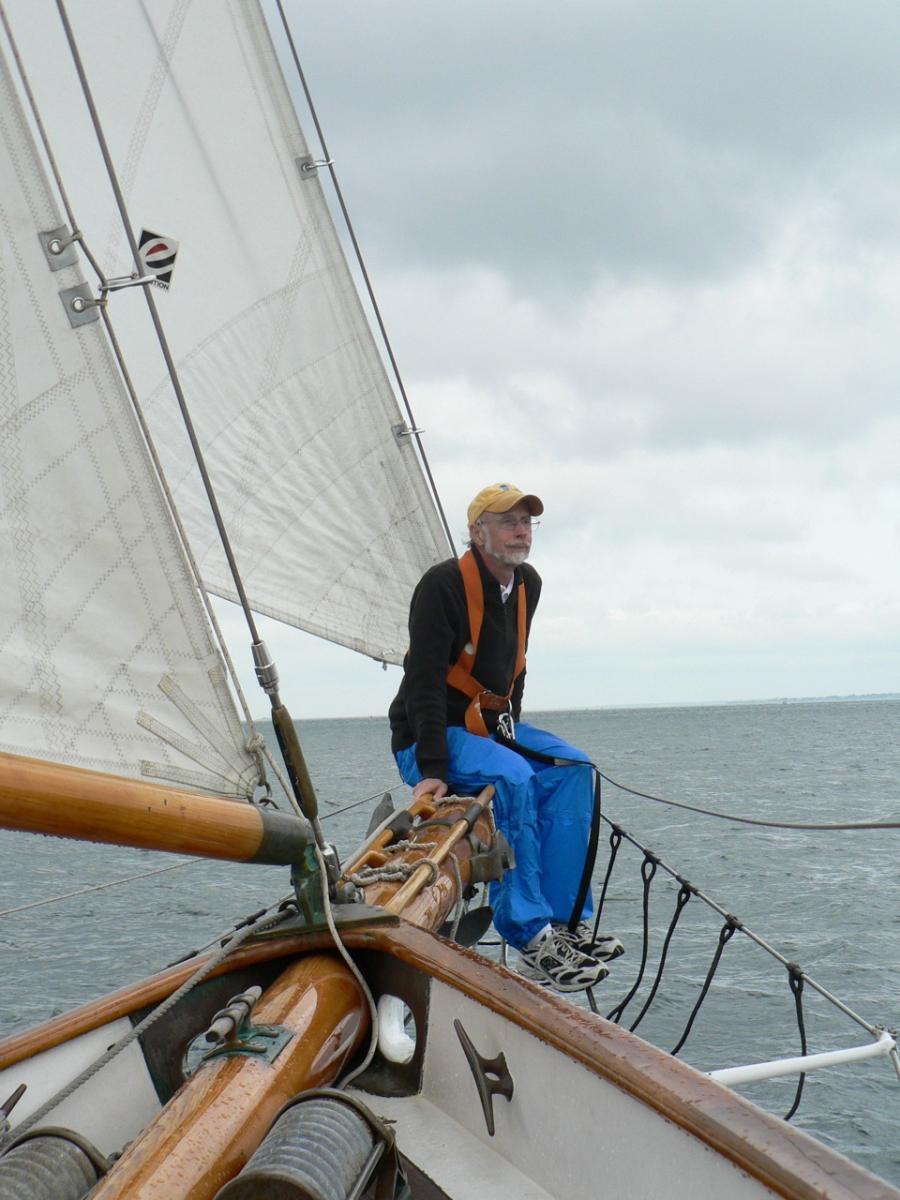
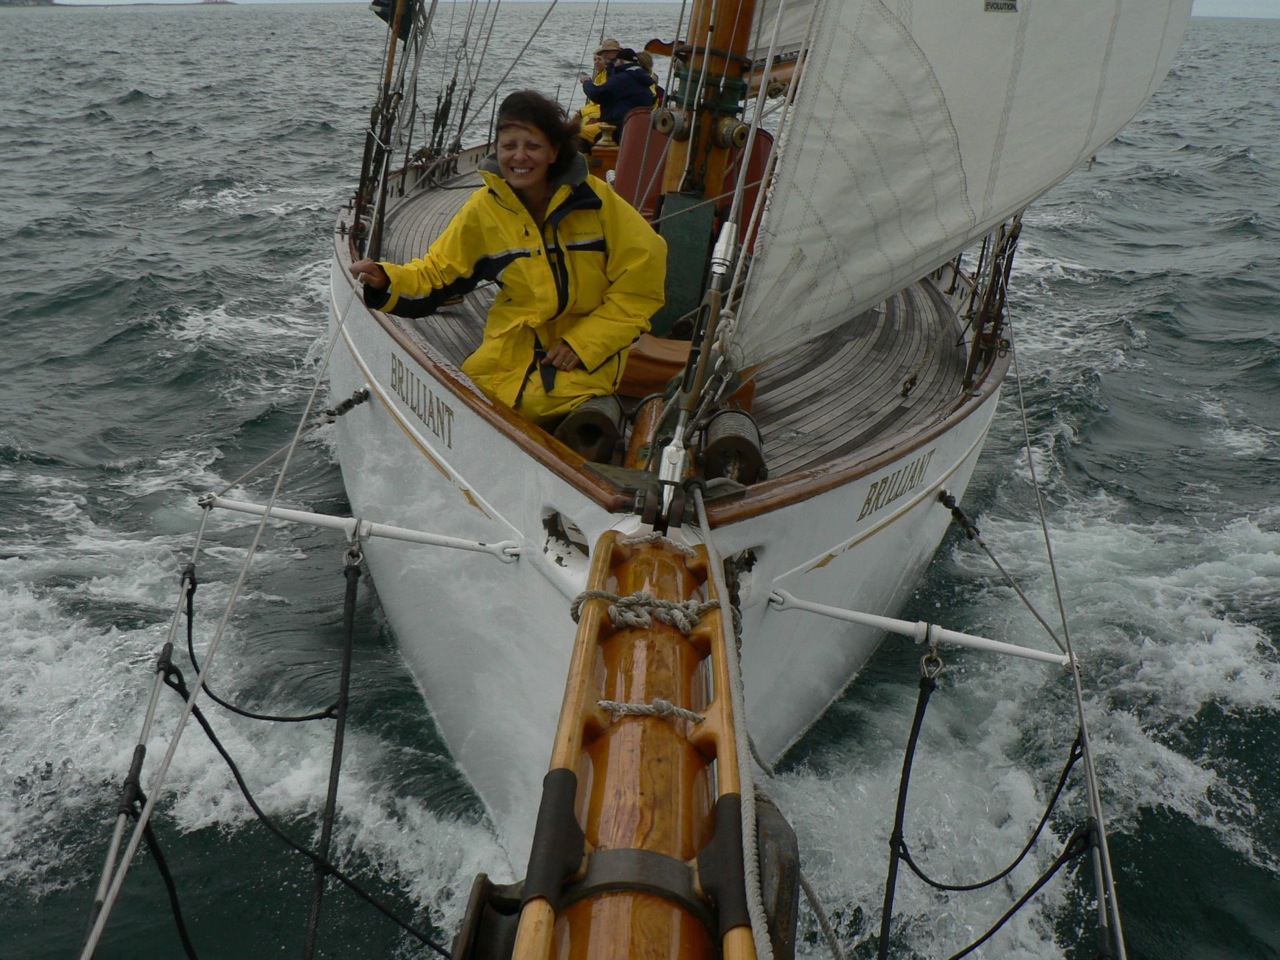
I decided to put one model in my Niagara log. This is what else we did at Mystic when we weren't looking at ship models. This is the Sloop Brilliant. Built in 1932 for Walter Barnum, cousin of PT. Very seaworthy, very fast and very well maintained. Beautiful mahogany woodwork in the cabin. They pull her out of the water every year and rework everything that needs it. We sailed on the Brilliant for two days, to Block Island for a Schooner Festival and return. Great fun. the first picture is of the actual boat (of course). The model is the smaller of two which were sold by the giftshop. Solid hull, all details already complete, a 10 step assembly, more or less. Neither is commercially available now apparently. I almost bought the larger of the two, the last in stock. But I didn't like the way they did the rig. Too many incorrect details. Midge at the bow. We were doing 10 knots. Me on the bowsprit. What a great place to sit!.