-
Posts
25 -
Joined
-
Last visited
Content Type
Profiles
Forums
Gallery
Events
Everything posted by Impulsius
-
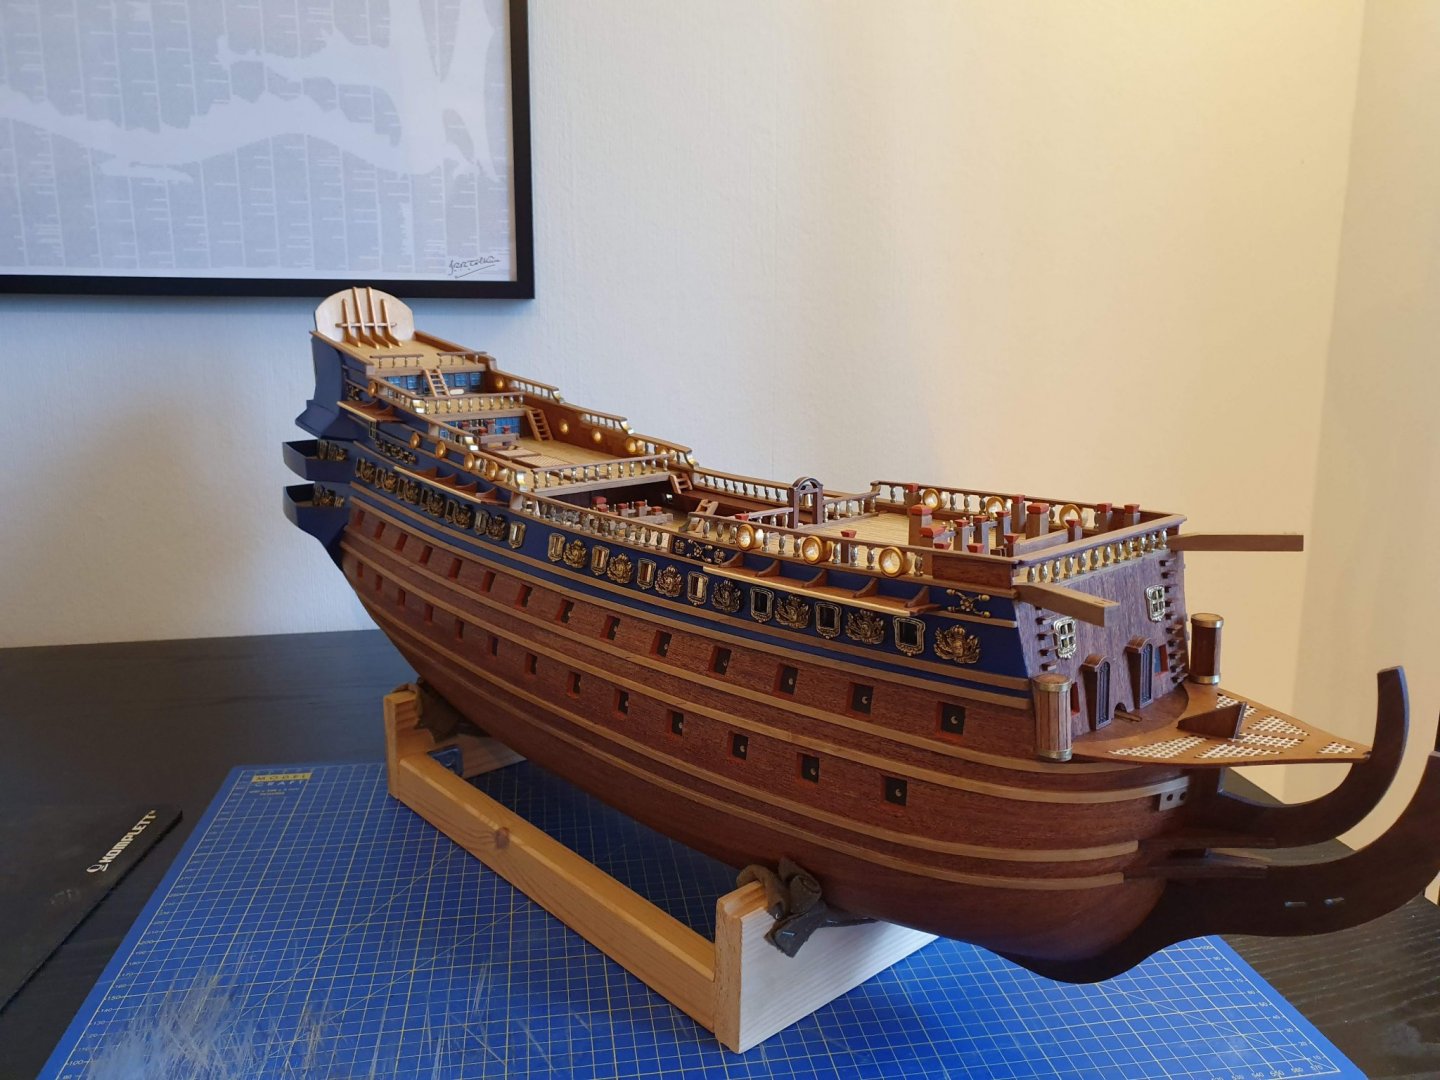
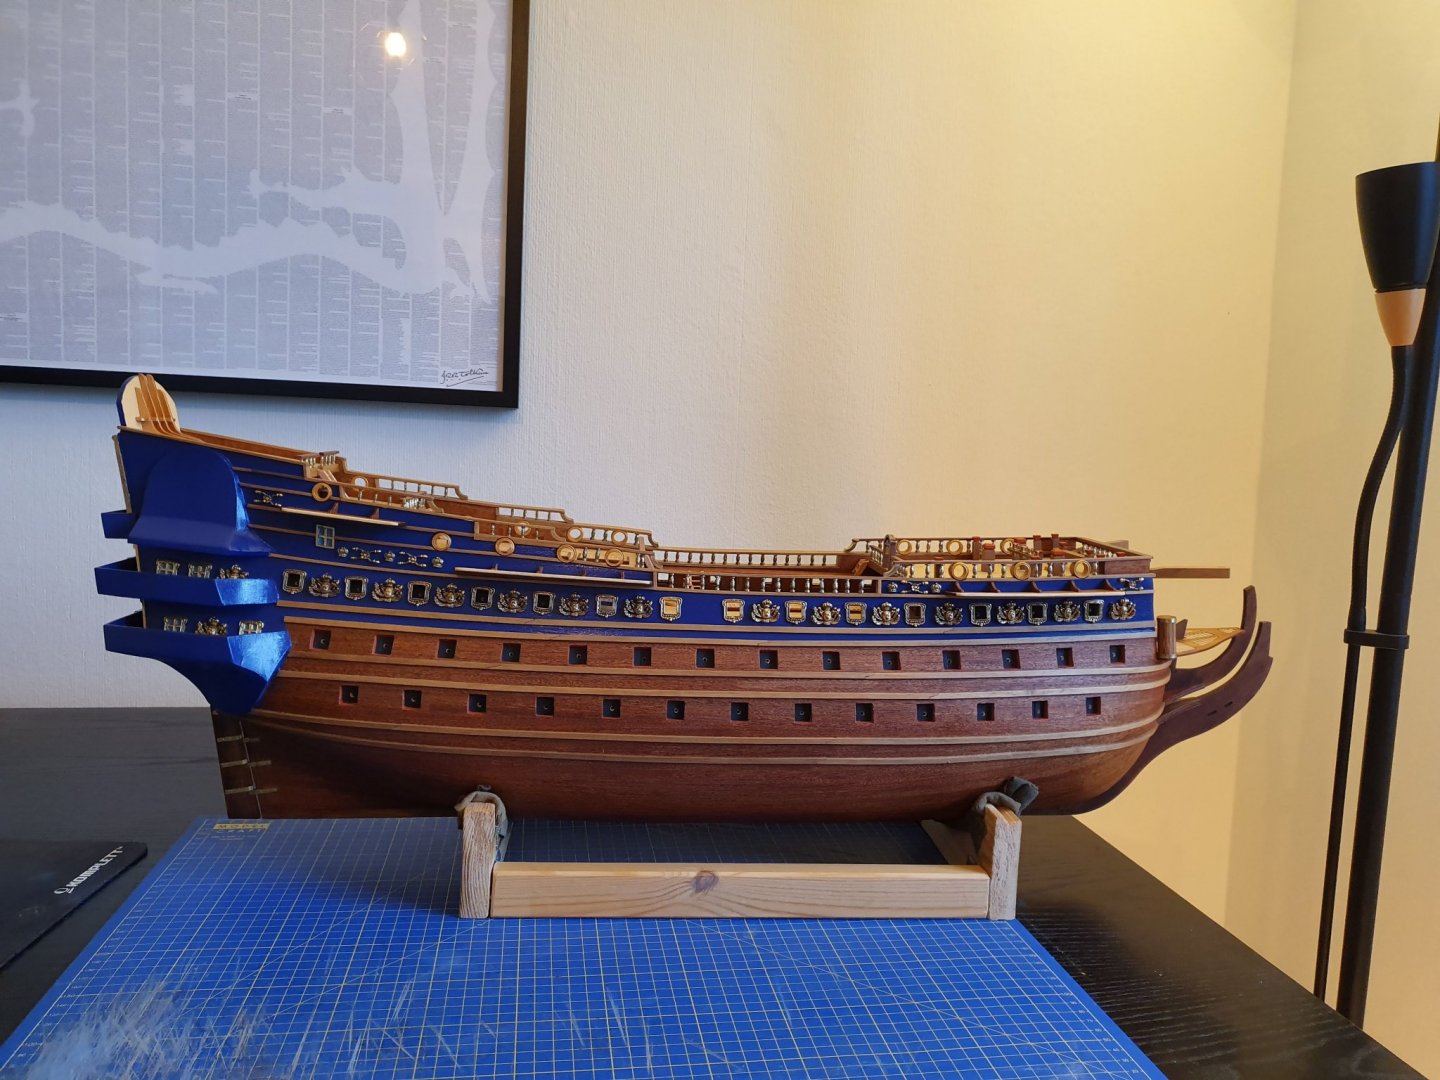
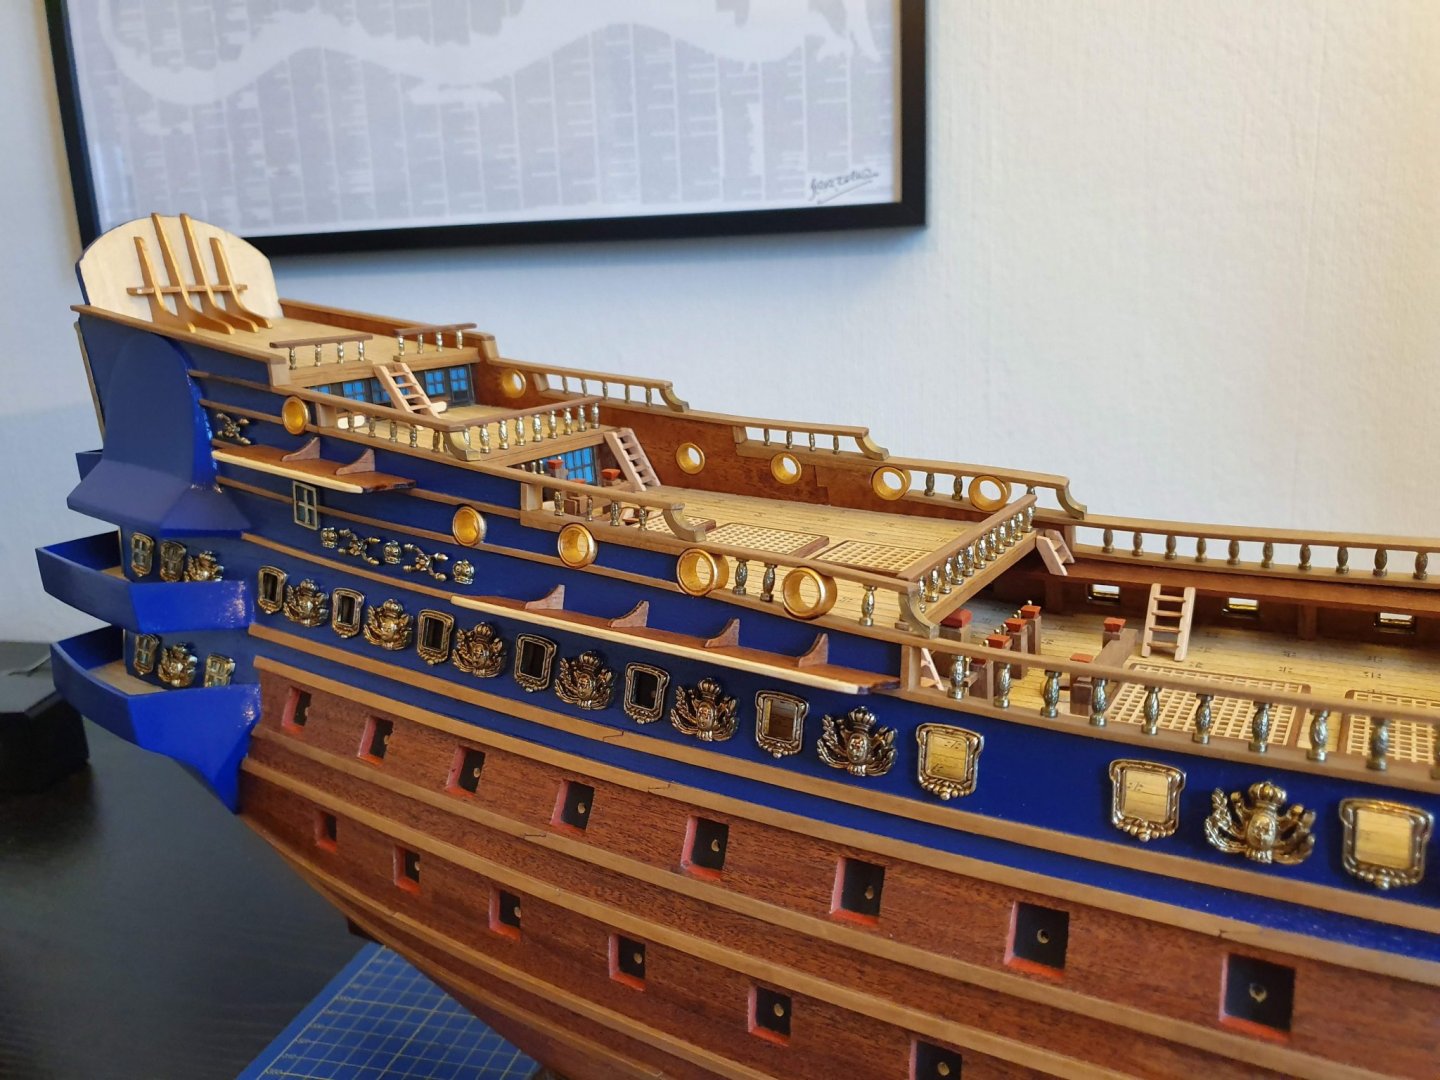
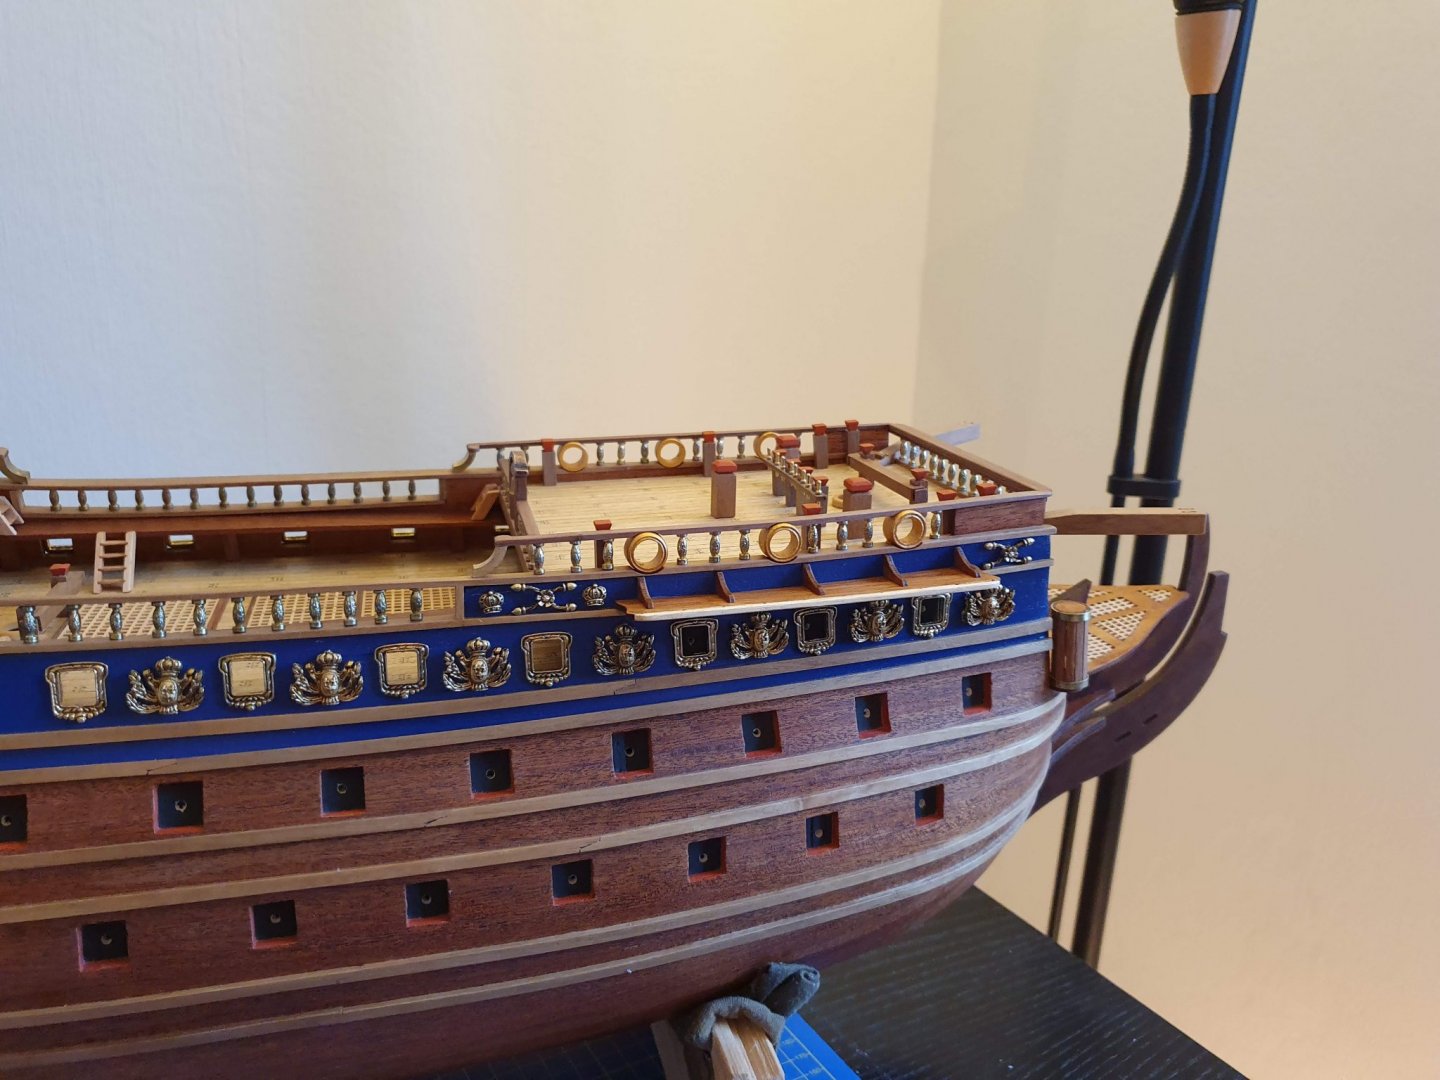
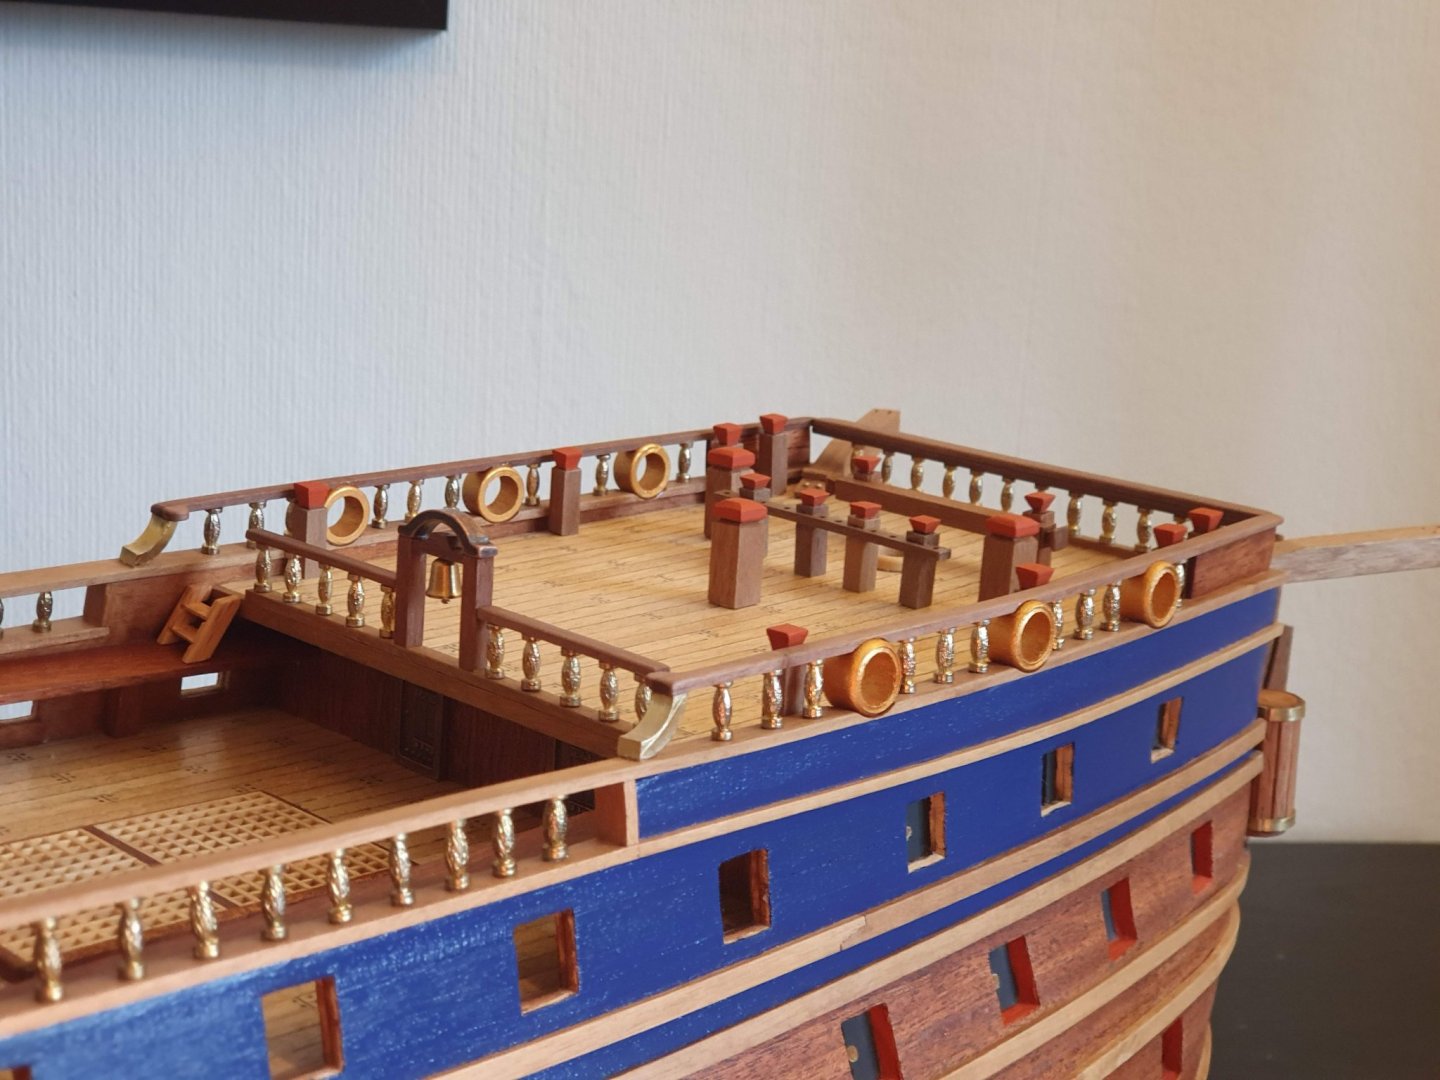
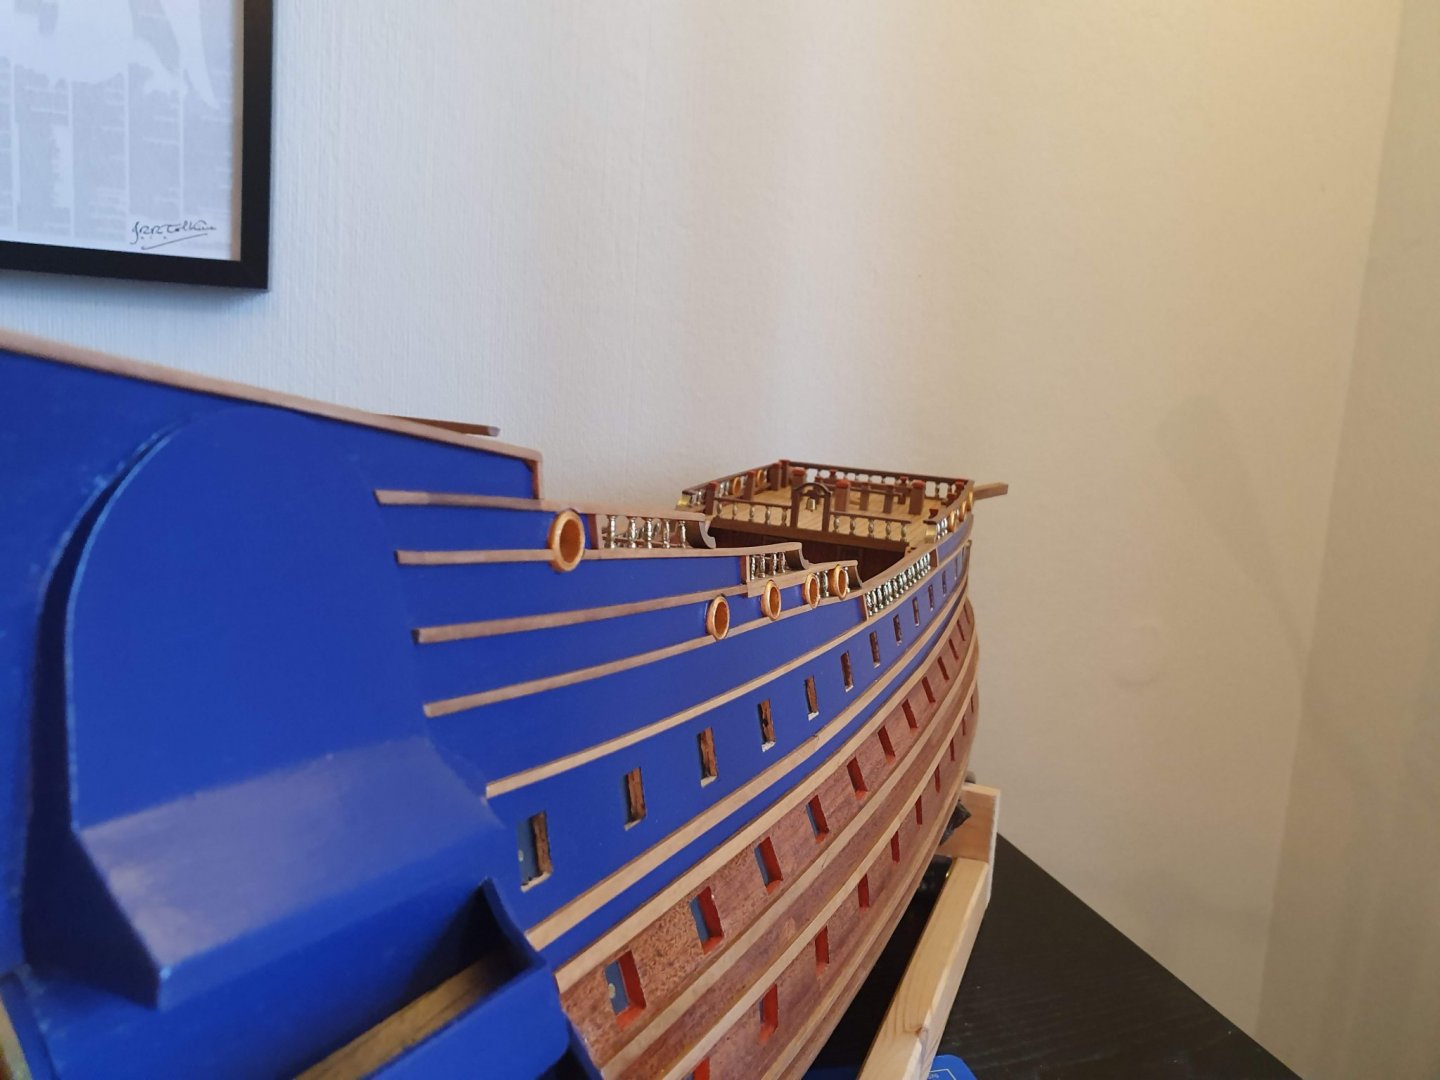
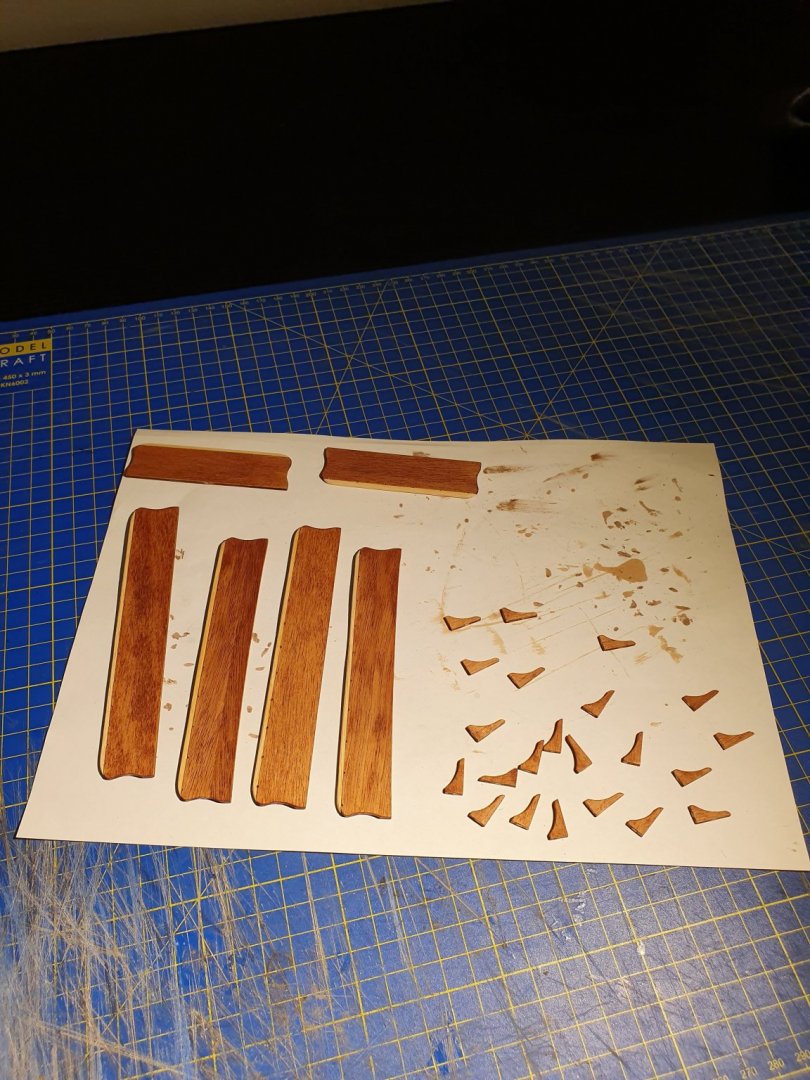
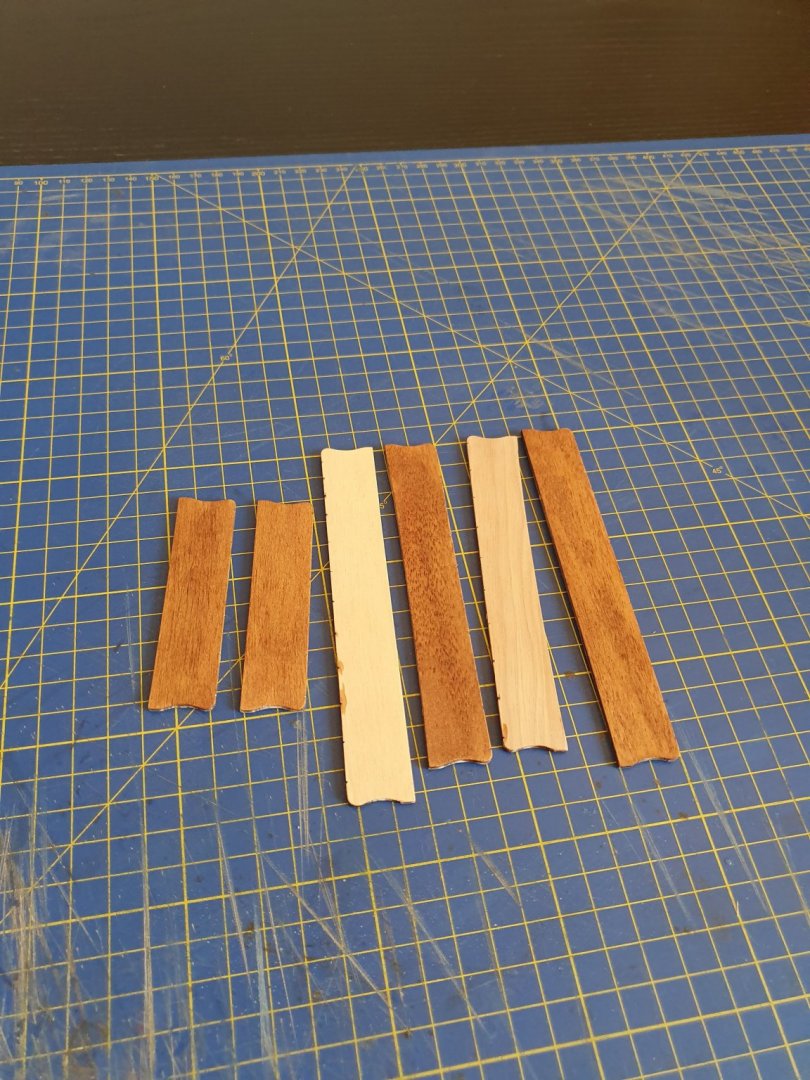
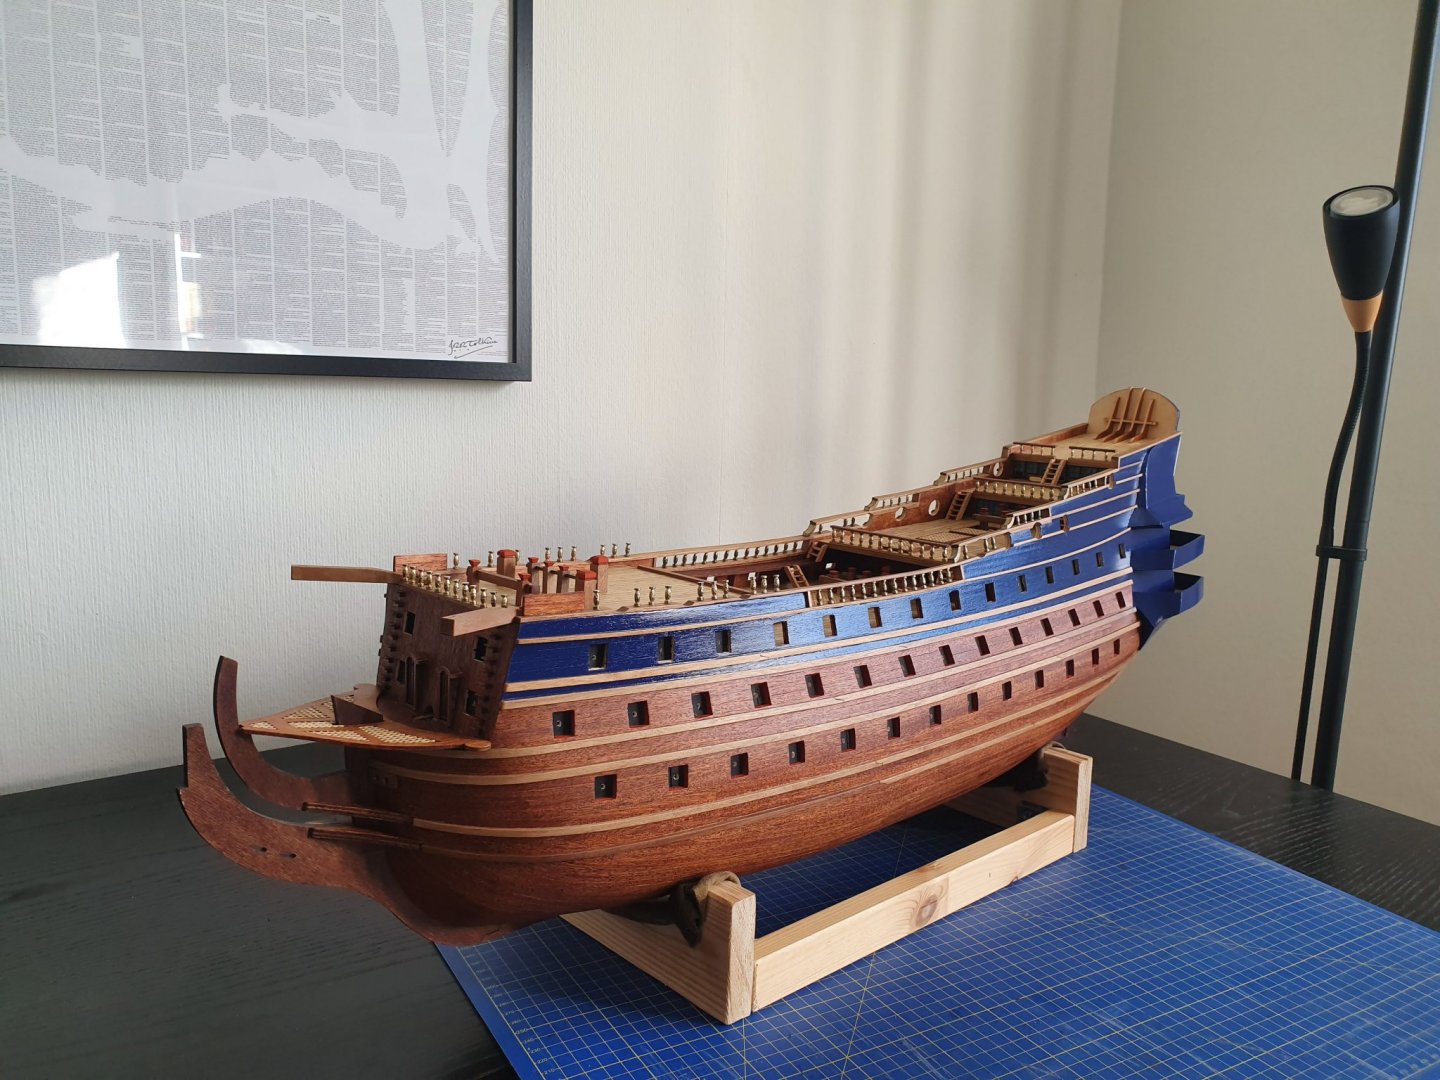
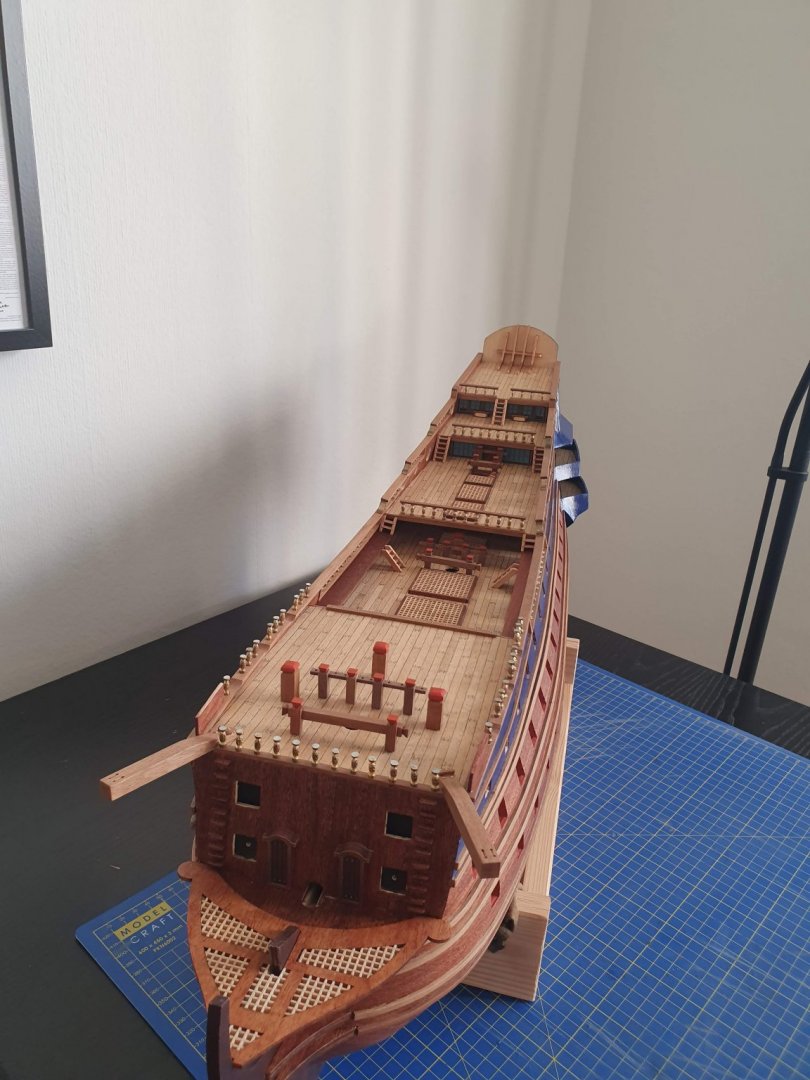
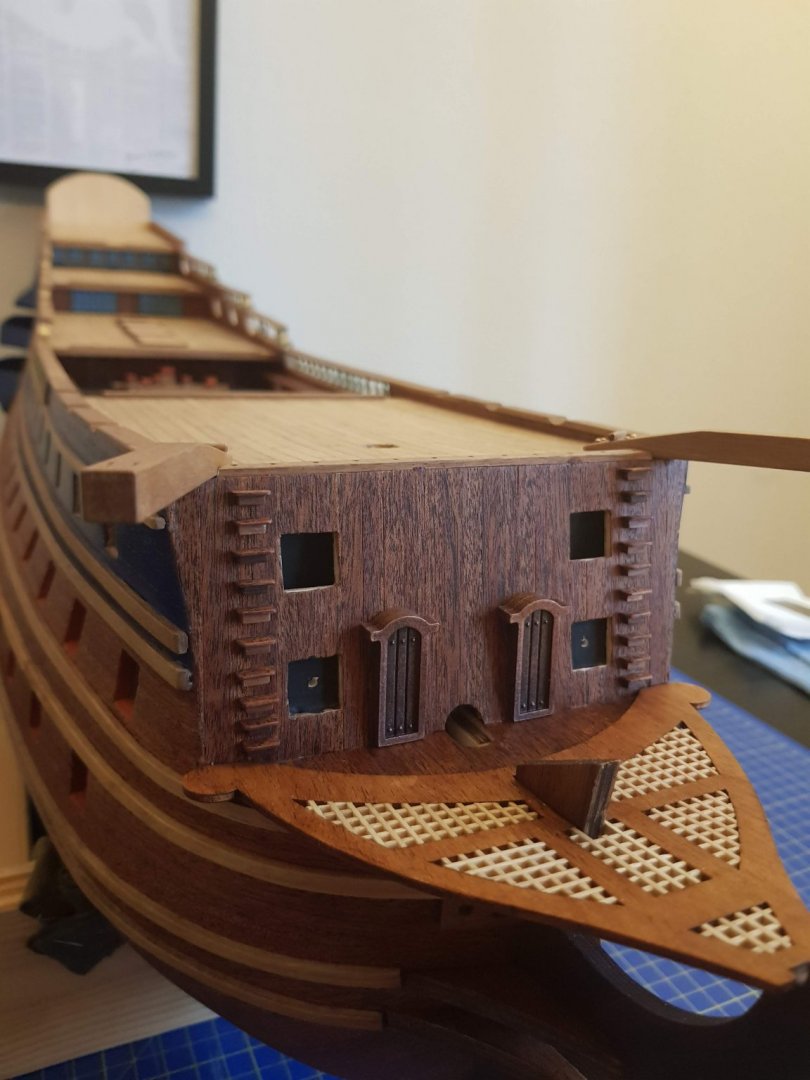
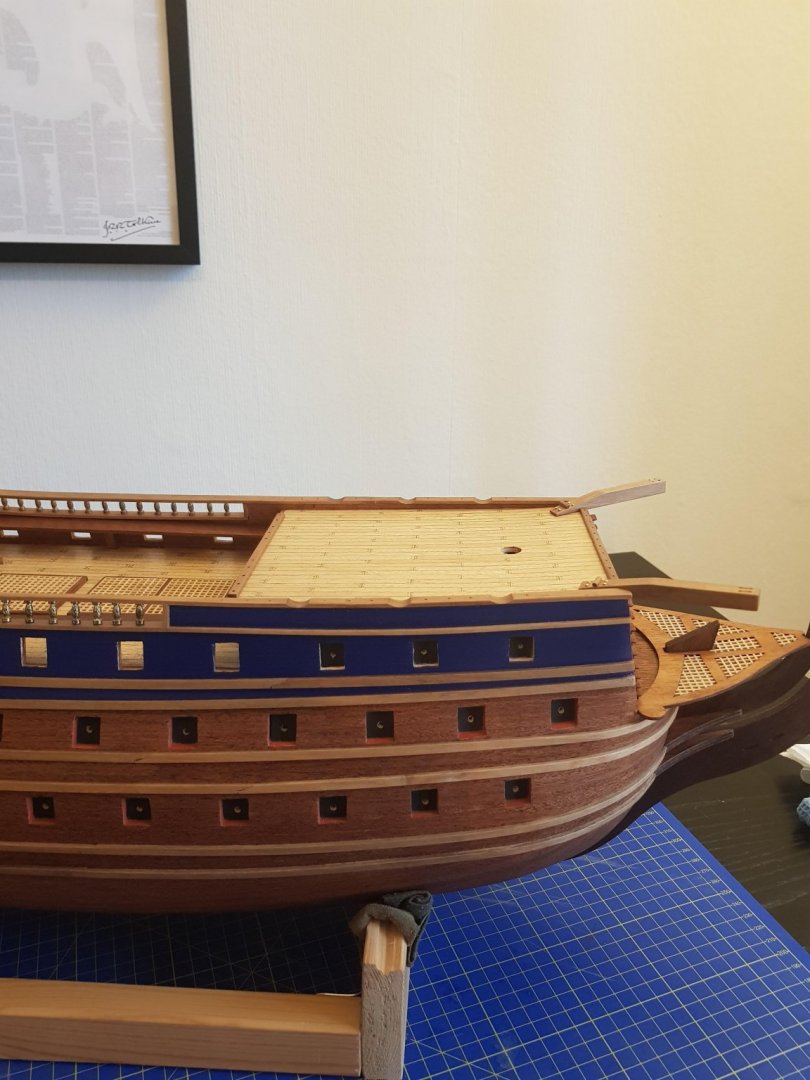
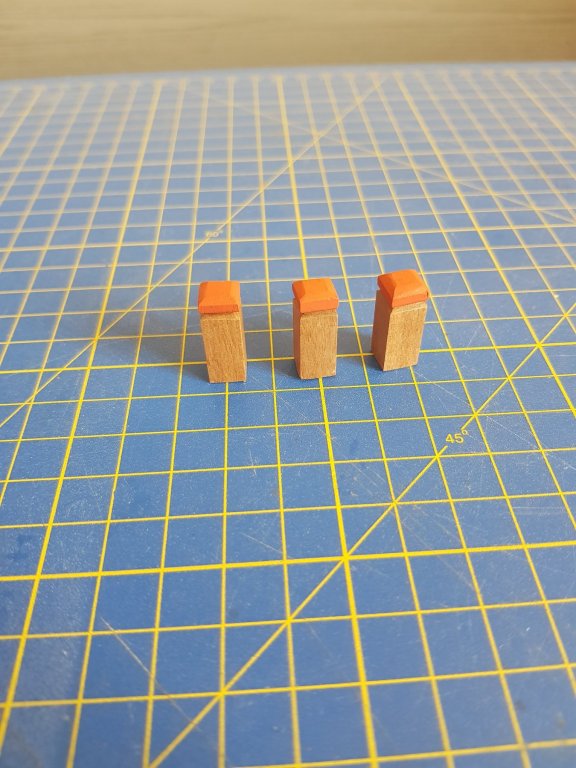
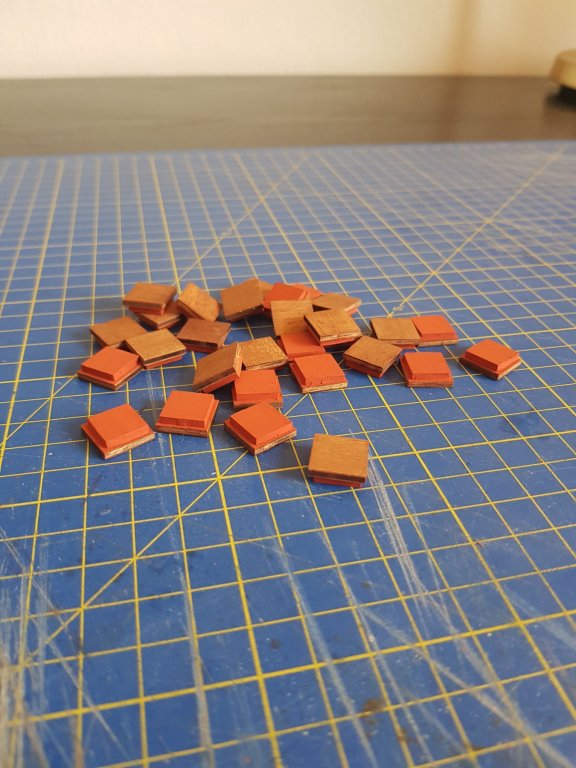
Hi everyone! Since my last update, I have been adding some of the decorative parts to the model. A lot of gold, and lots more to come. I had some problems making the decorations stick to the hull. At first, I used “normal” super glue, but it didn’t work. The decorations easily fell off when touched and the glue discoloured the blue surface of the hull. I therefor decided to try epoxy glue instead. This worked much better but sadly a lot of glue go to waste since I can’t mix small enough patches. That would be all for now. Until next time, take care. /Morgan
- 50 replies
-
- soleil royal
- first build
-
(and 1 more)
Tagged with:
-
Hi everyone! I’m just going to give you a small progress update. Since last time I have finished all the railing except the railing for the poop deck. According to the instructions, I should wait with adding them, so for once I’m actually going to follow them 😀 I have also started preparing the chainwales. Some sanding, staining and drilling later I’m quite happy with the result. This was all for now. Next stage in my build is to start adding the bling-bling worthily of Louis XIV. Take care. /Morgan
- 50 replies
-
- soleil royal
- first build
-
(and 1 more)
Tagged with:
-
Yours also looks good John. I see that you’re following the instructions to a higher degree than me :). Take your time with the upcoming galleries. I had to do some modifications to the parts to make them fit properly but it’s worth the extra time. Since my last update I have mainly been working on the railings at the different parts of the ship. I have also added railings to the decks and most of the stairs between the different decks and between the decks and the side of the ship. When I start to add the different details, the ship is really starting to “come to life”. It no longer just large surfaces, but there is starting to “happen” things as well. I’m going to continue working on the railing and adding details. Until next time, take care. /Morgan
- 50 replies
-
- soleil royal
- first build
-
(and 1 more)
Tagged with:
-
Hi everybody! I’m just going to give you a small update. I have been busy at work for the last week but managed to spare a couple of hours. I been trying four different varnishes oven the blue paint, but they were either too mate or too shiny. After consulting with the admiral, I decided to skip the varnish. I have also been doing some work on the front (I wrote stern in my last update, but I meant front, for some reason I have troubles the with the names in English). I have also prepared for mounting the railing. Until next time, take care. /Morgan
- 50 replies
-
- soleil royal
- first build
-
(and 1 more)
Tagged with:
-
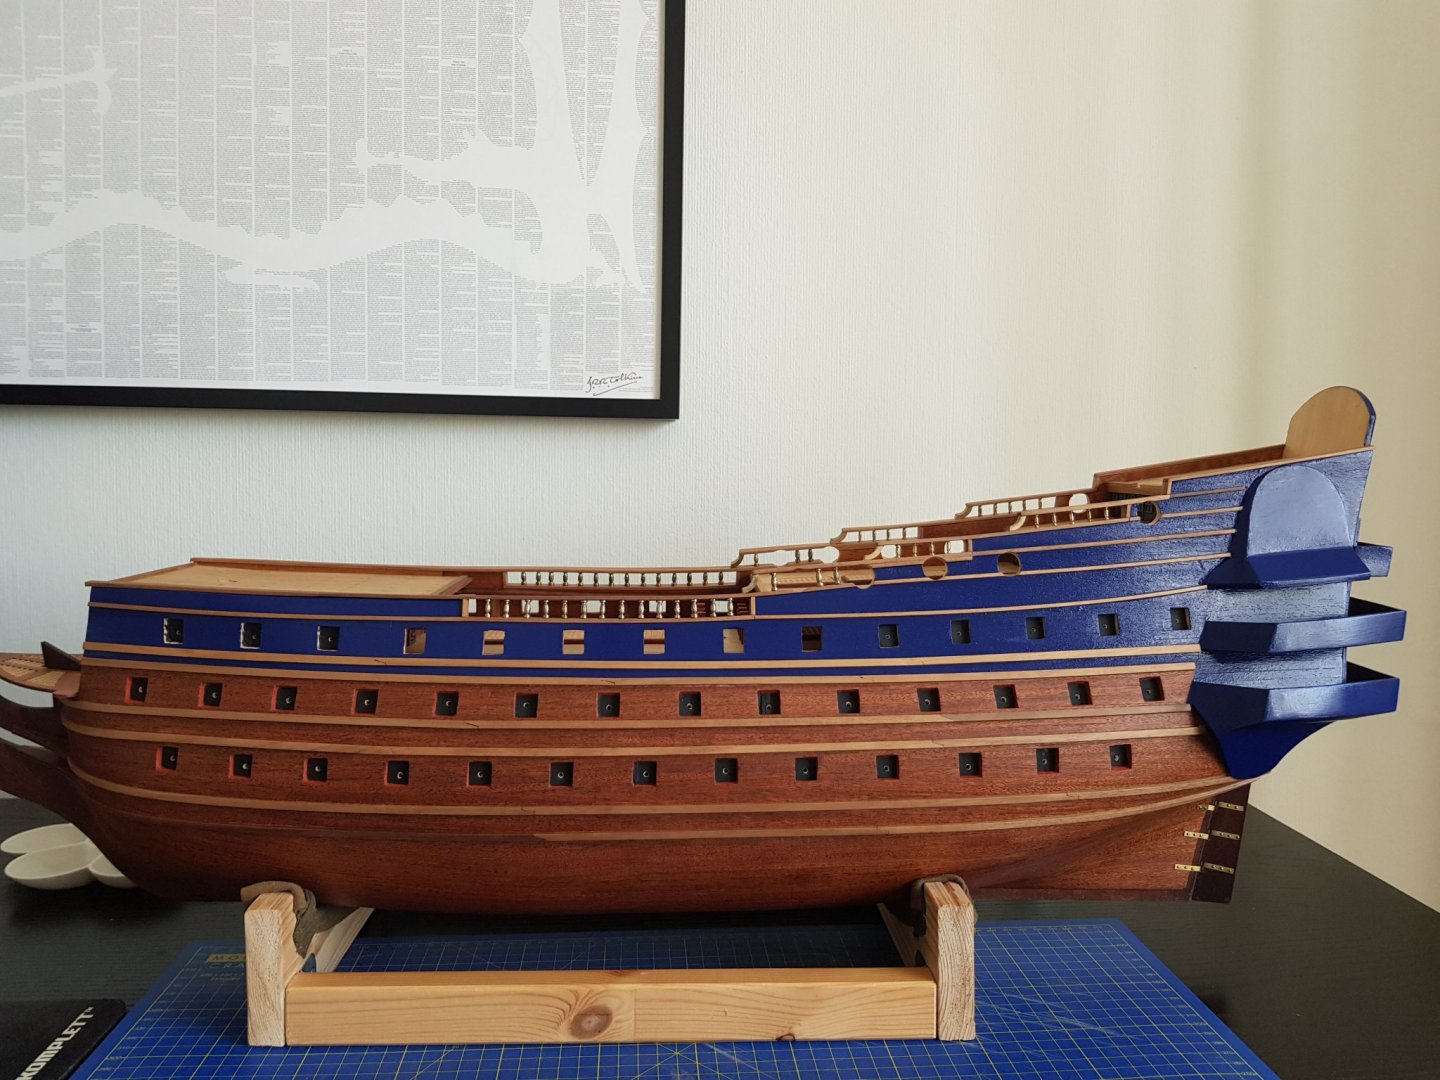
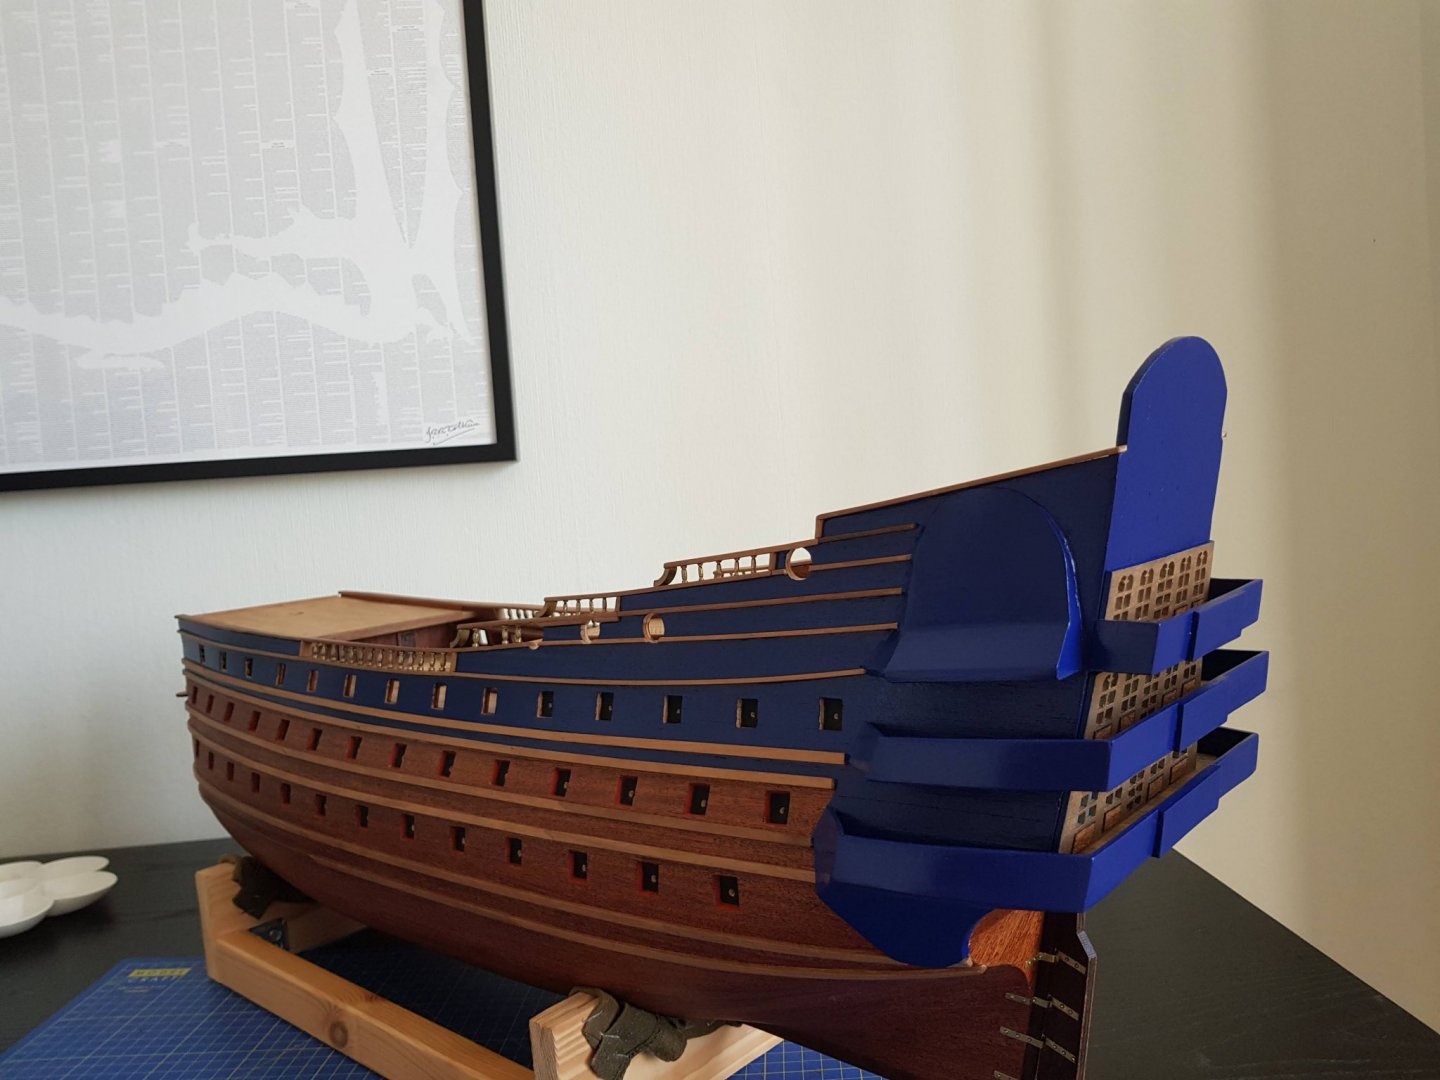
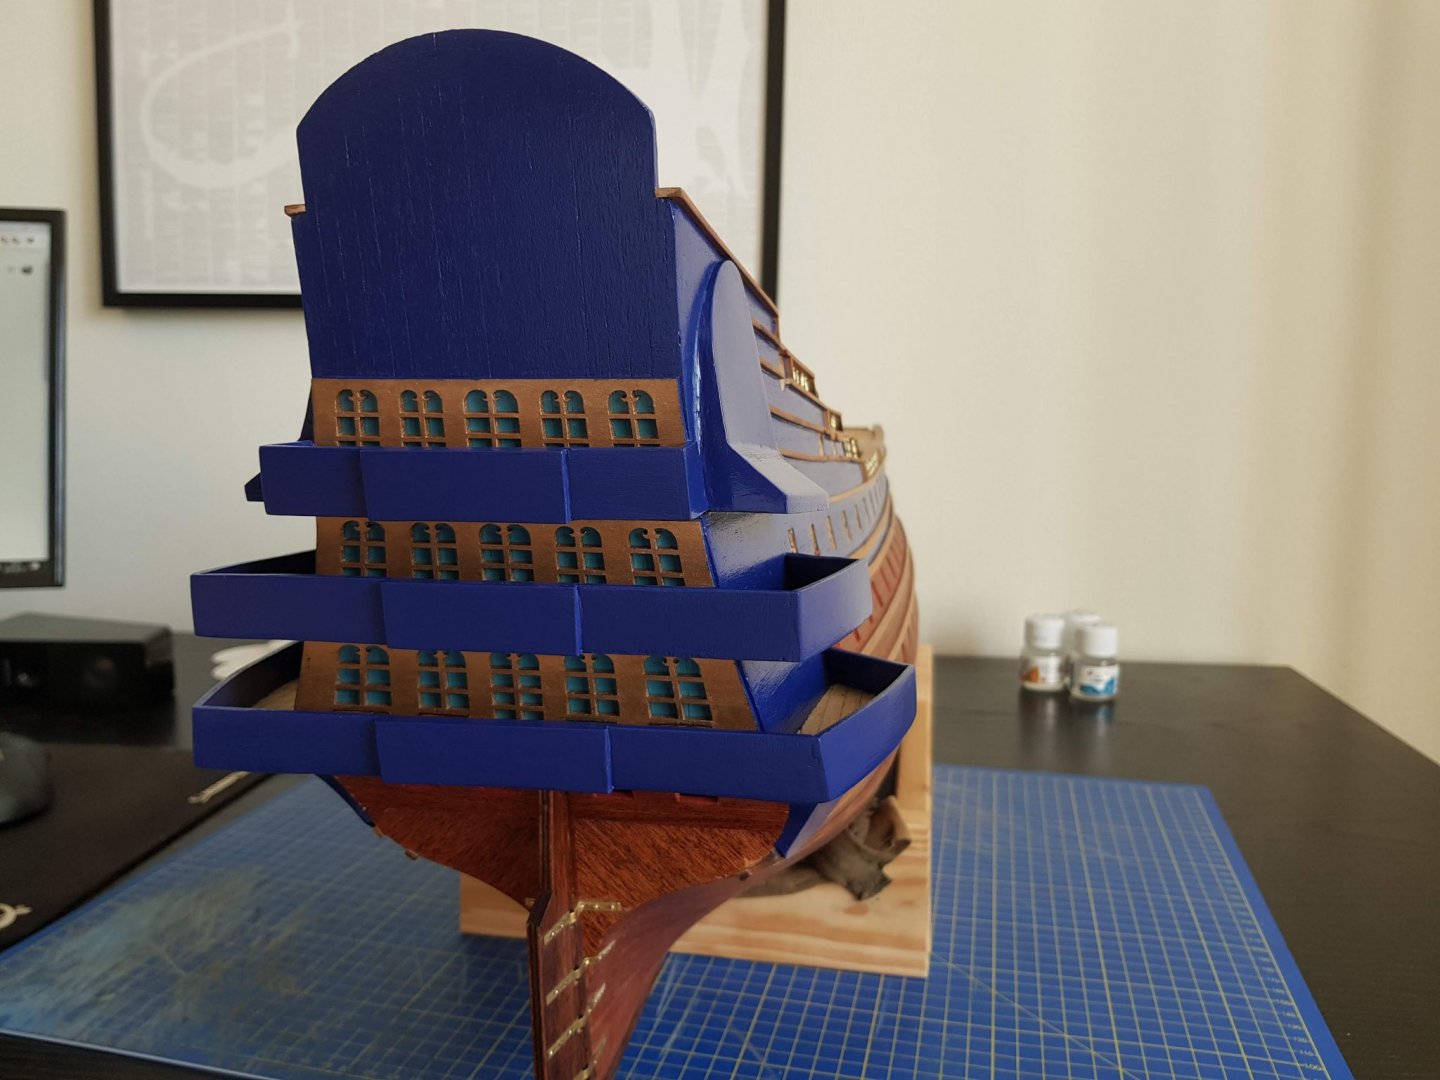
I have finished painting the upper half of the hull and I’m happy with the results. I just think the paint turn out to be a bit too shiny. I tried to add a coat of mat varnish but it turn out to be too mat. Now I’m finish about getting some satin varnish and try that. Aside from dulling the shin I’m thinking that the varnish will add some protection. That do you guys think? Do you put varnish over your paints? While I’m thinking about the varnish I’m going to do some work on the stern. /Morgan
- 50 replies
-
- soleil royal
- first build
-
(and 1 more)
Tagged with:
-
Thanks for your nice words E.J. Yeah, the model is huge. It’s going to be 102 cm (around 40 inches) when finish. It doesn’t sound like much when you just read about it but in real life, on a table it’s something else. I promise that I have made a lot of mental notes for future builds. On of them, don’t mix too much Captain Morgan and model building It looks good until you see the result the next day. I have been using Humbrol mat cote for most of the stuff this far. I really like the end results but sadly it’s a bit hard to find in Sweden. I had to order from abroad since all the Swedish web shops where out. I’m busy painting and I really like the result this far. I will share pictures when I’m finished. /Morgan
- 50 replies
-
- soleil royal
- first build
-
(and 1 more)
Tagged with:
-
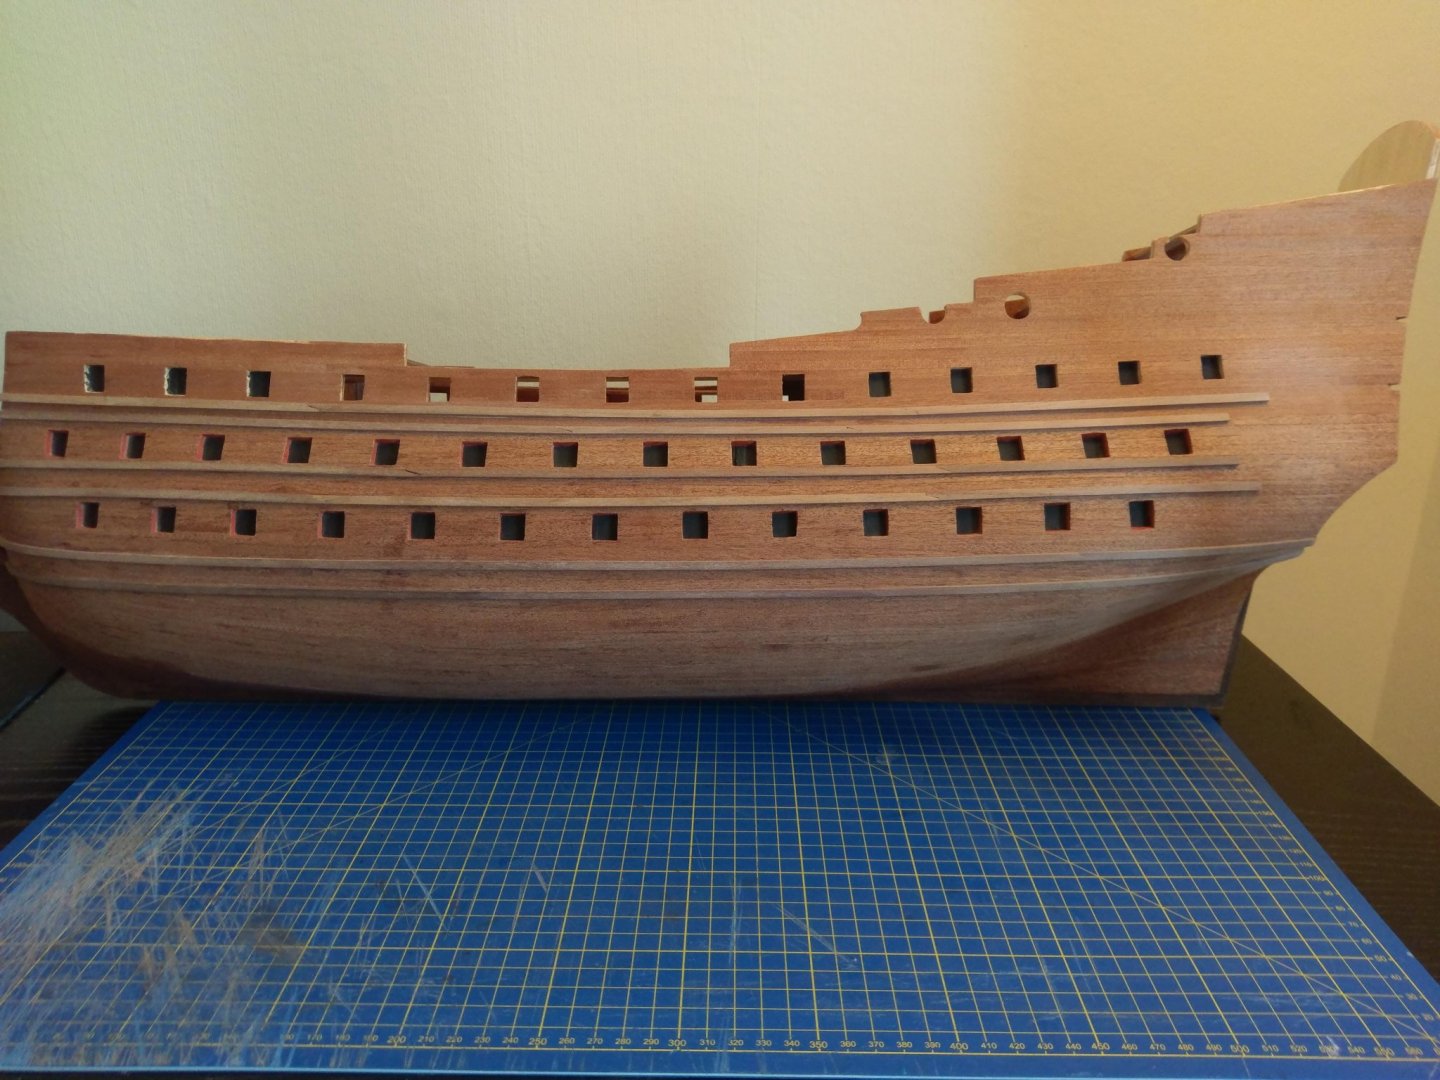
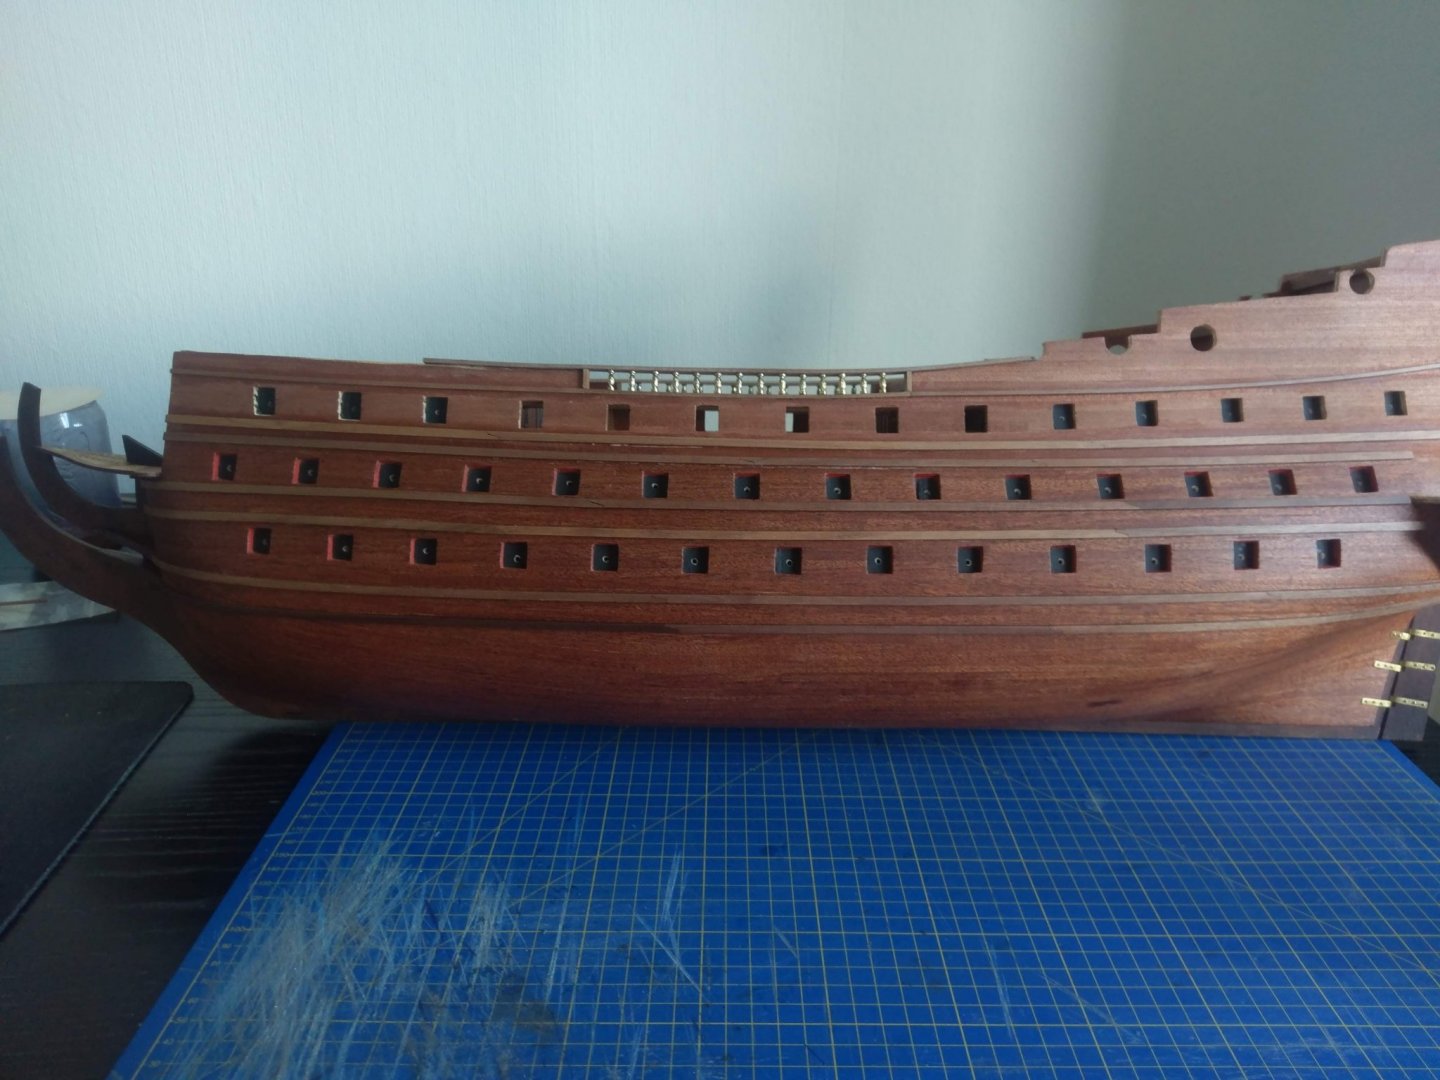
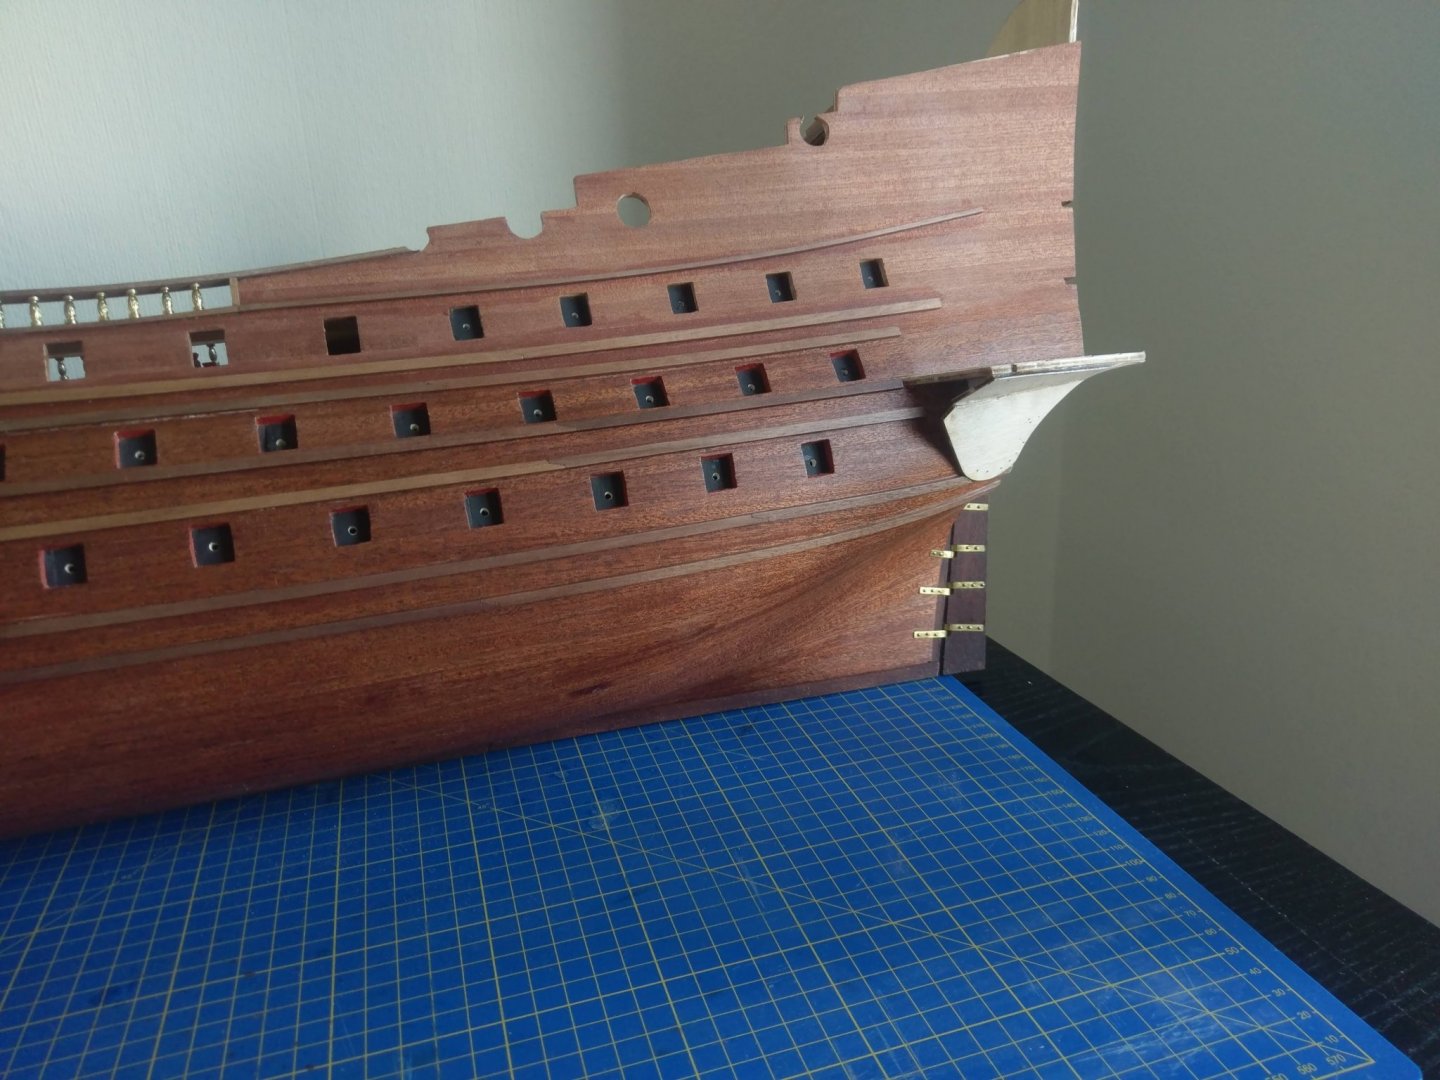
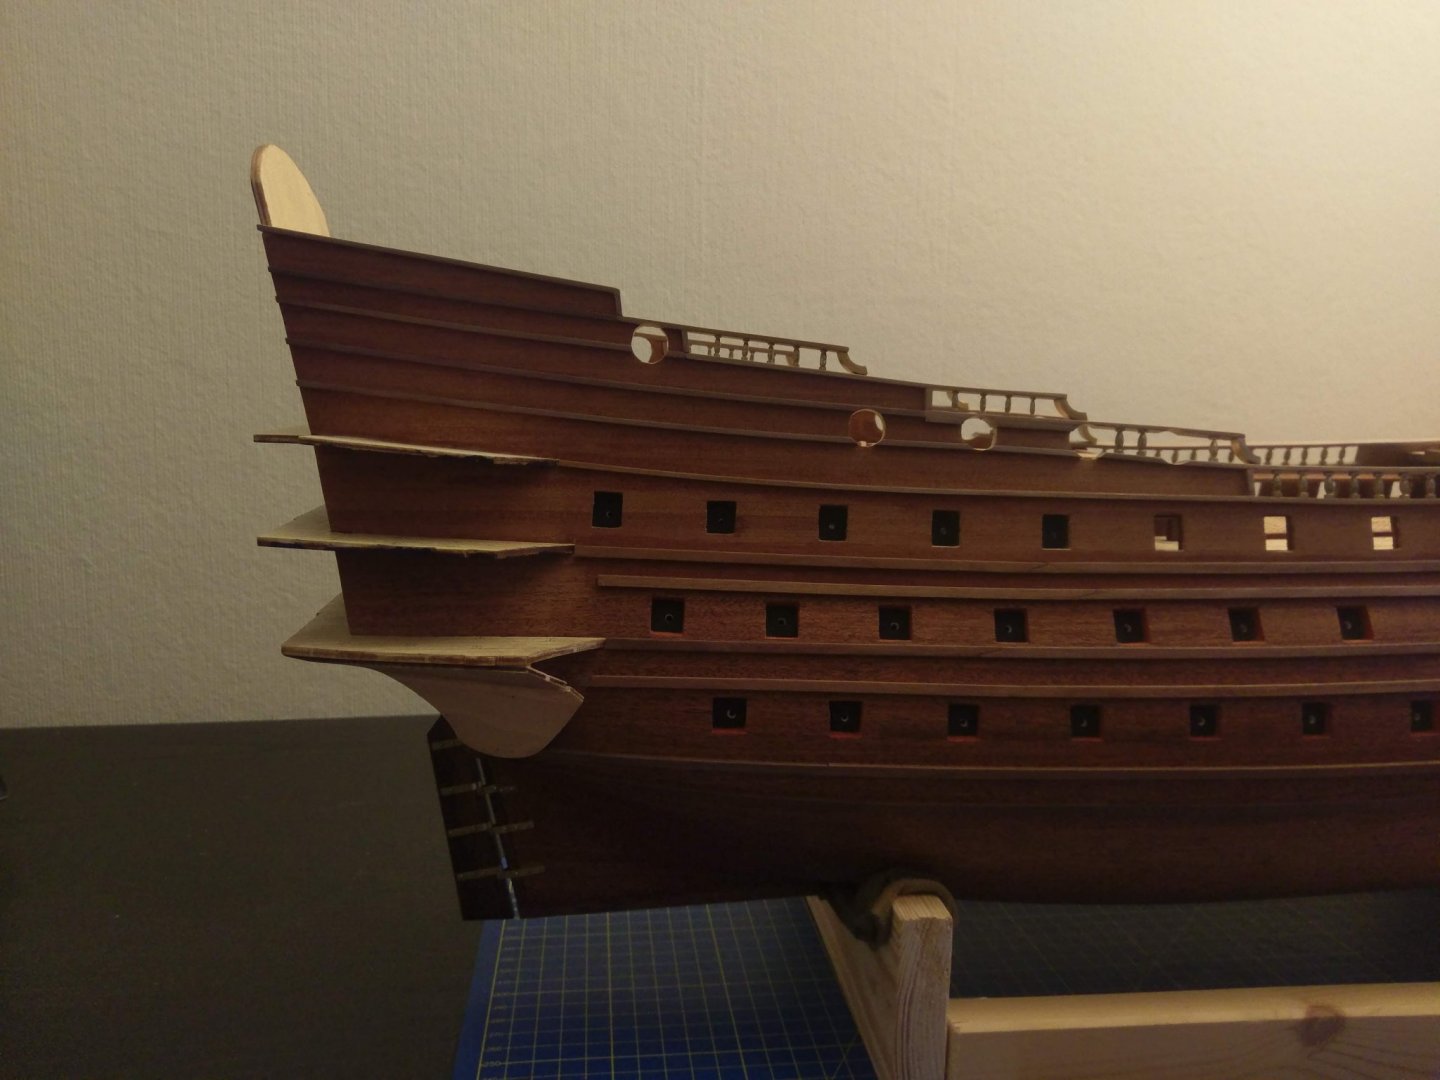
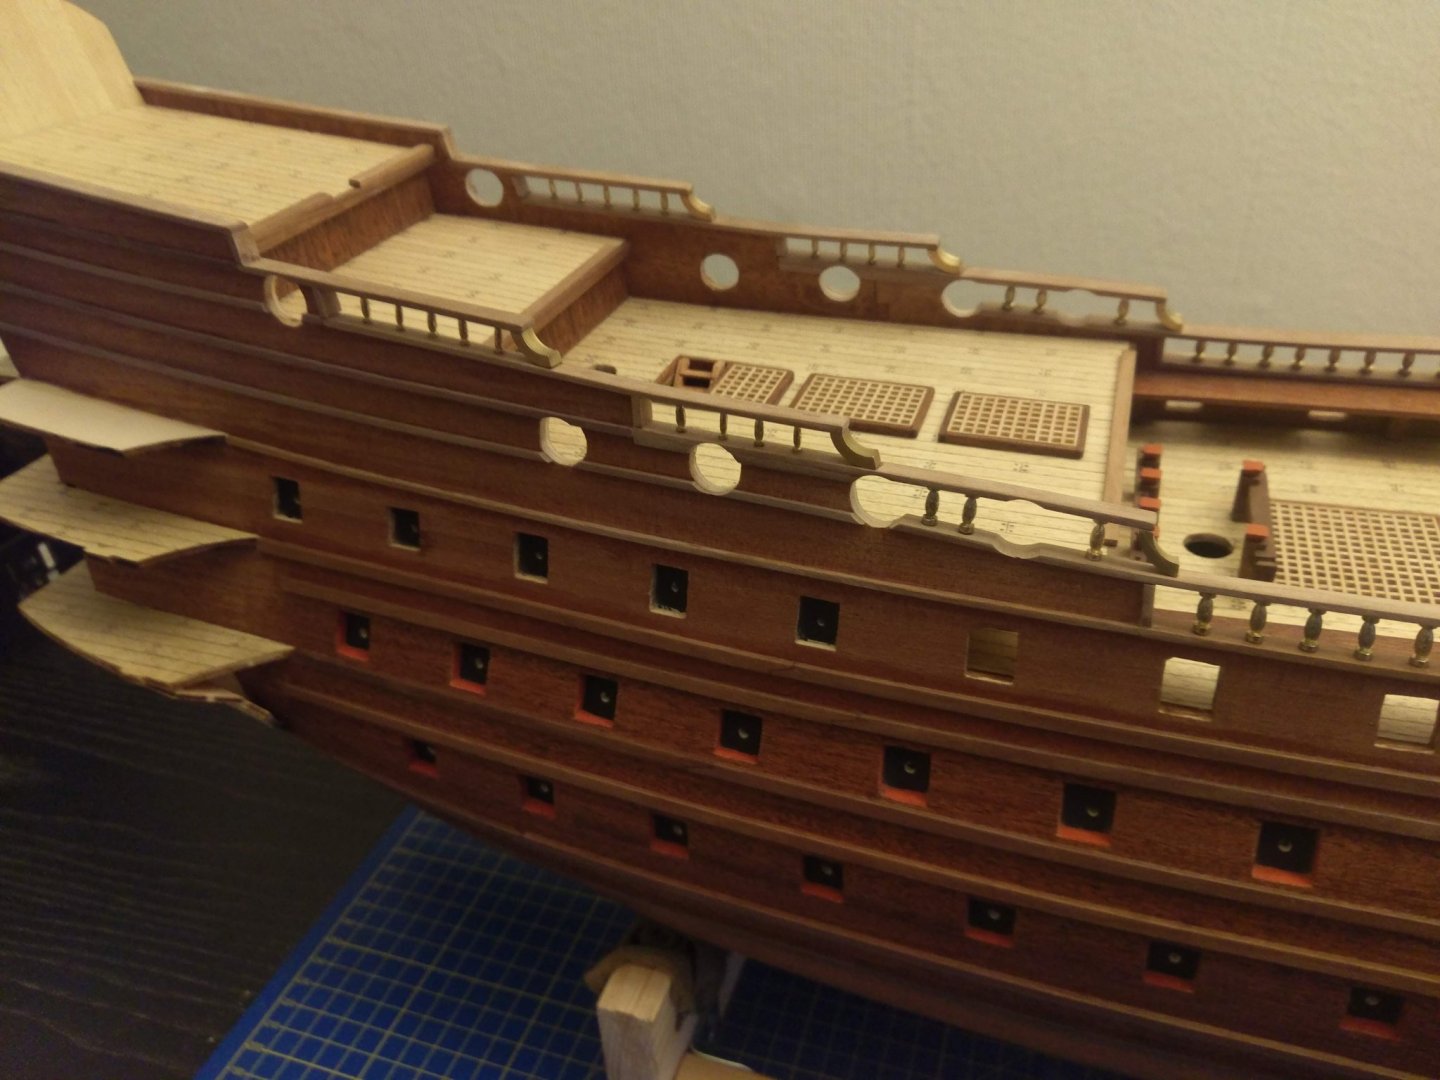
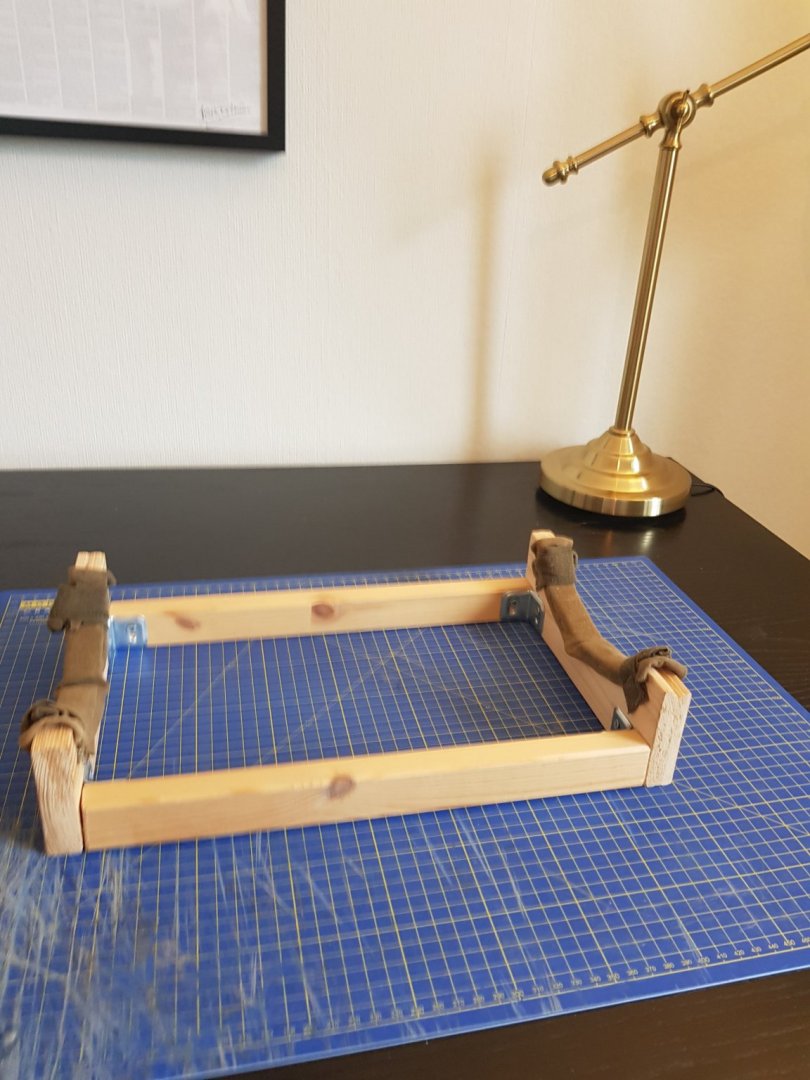
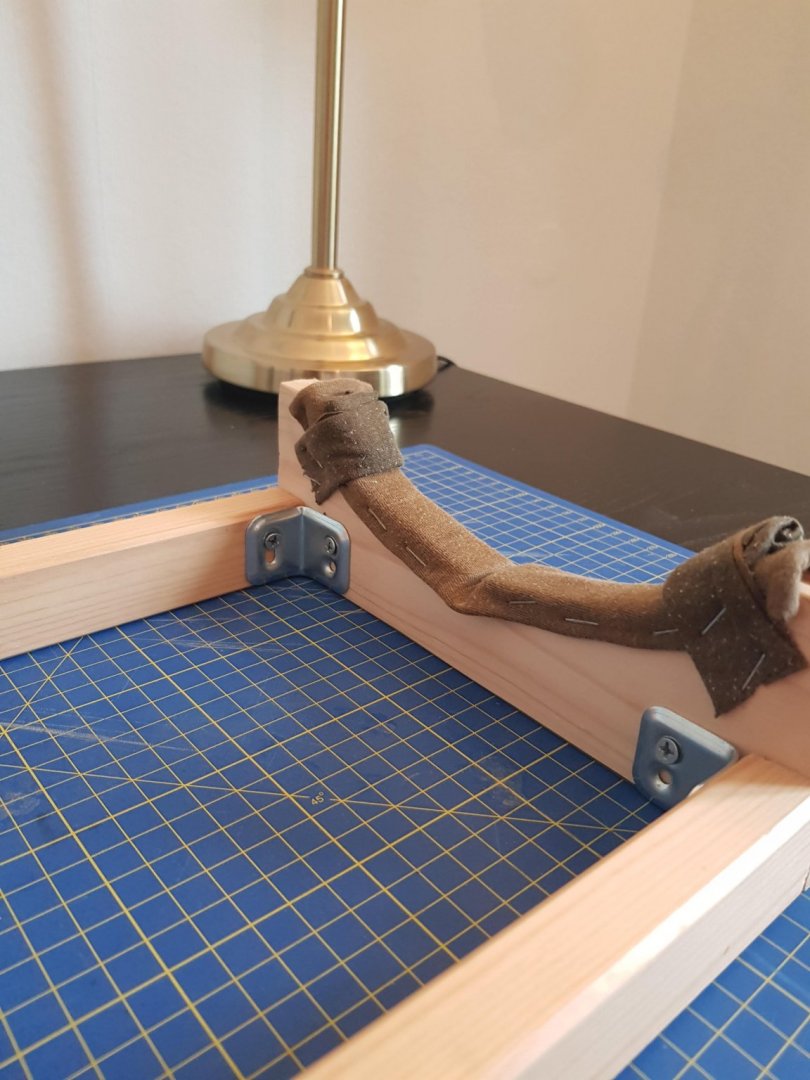
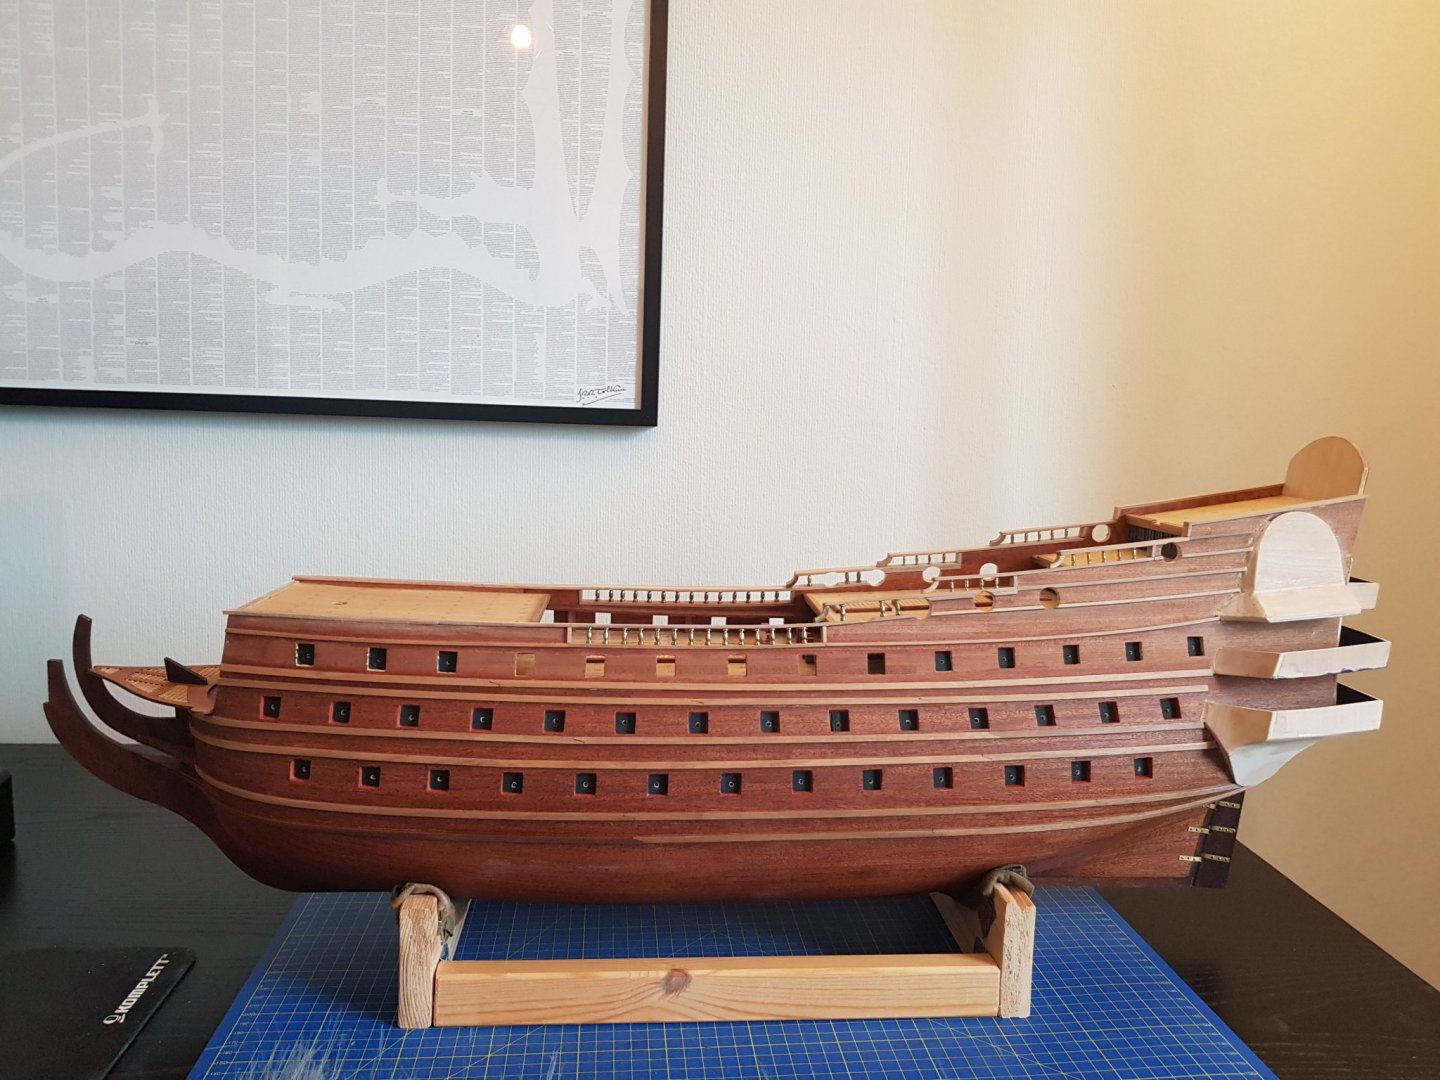
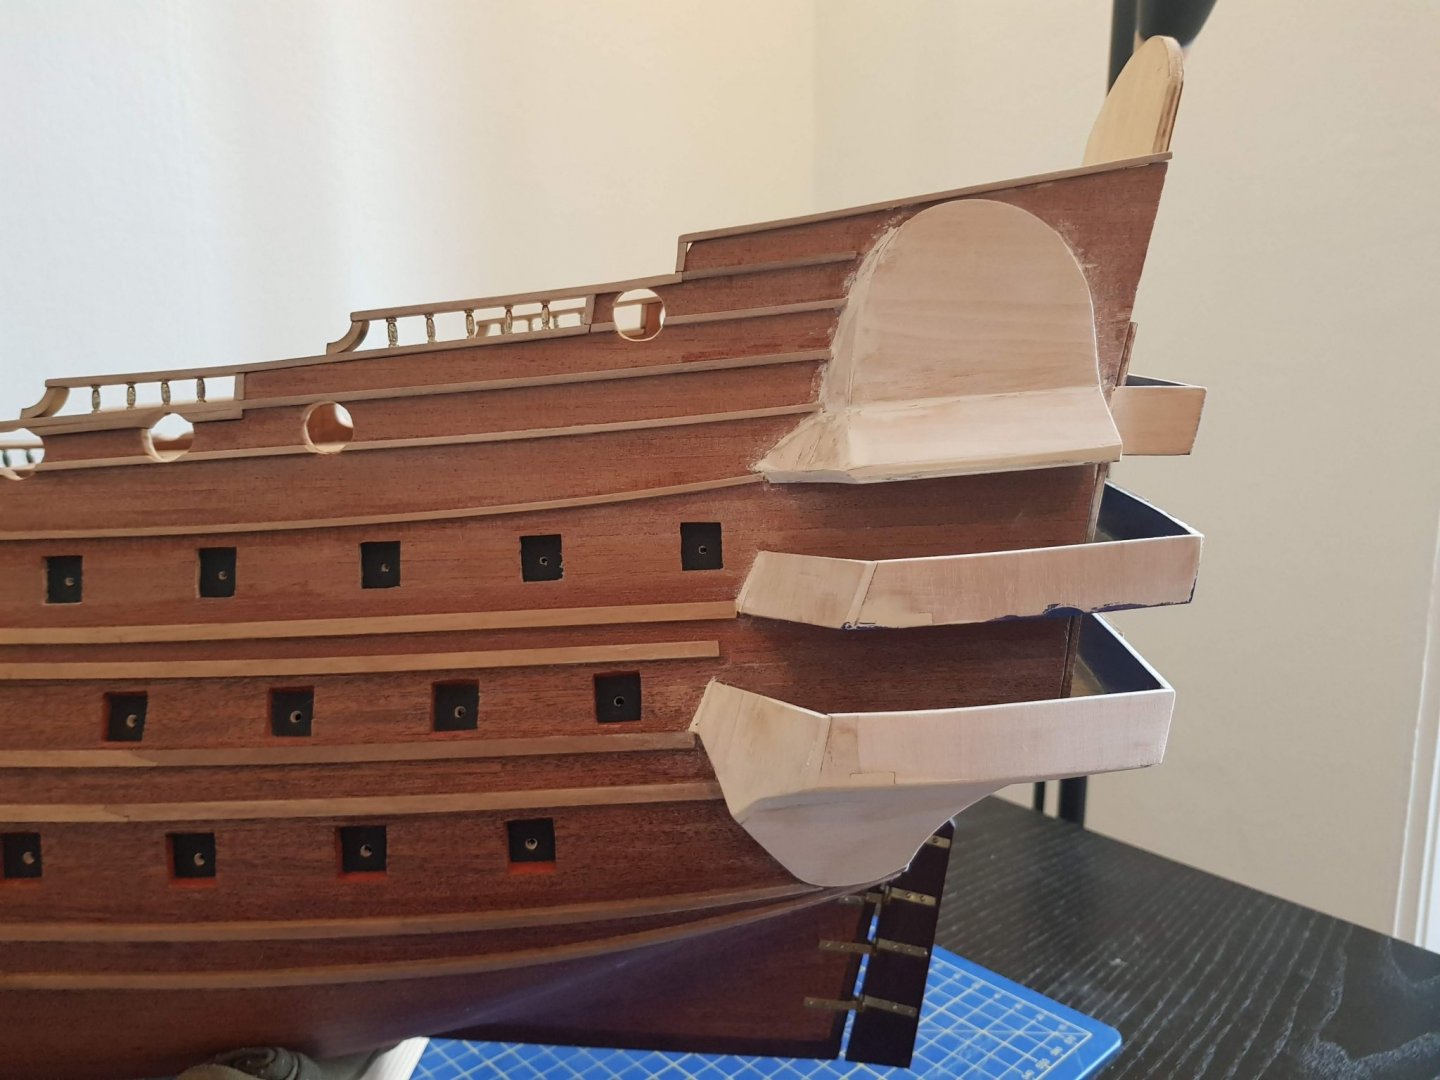
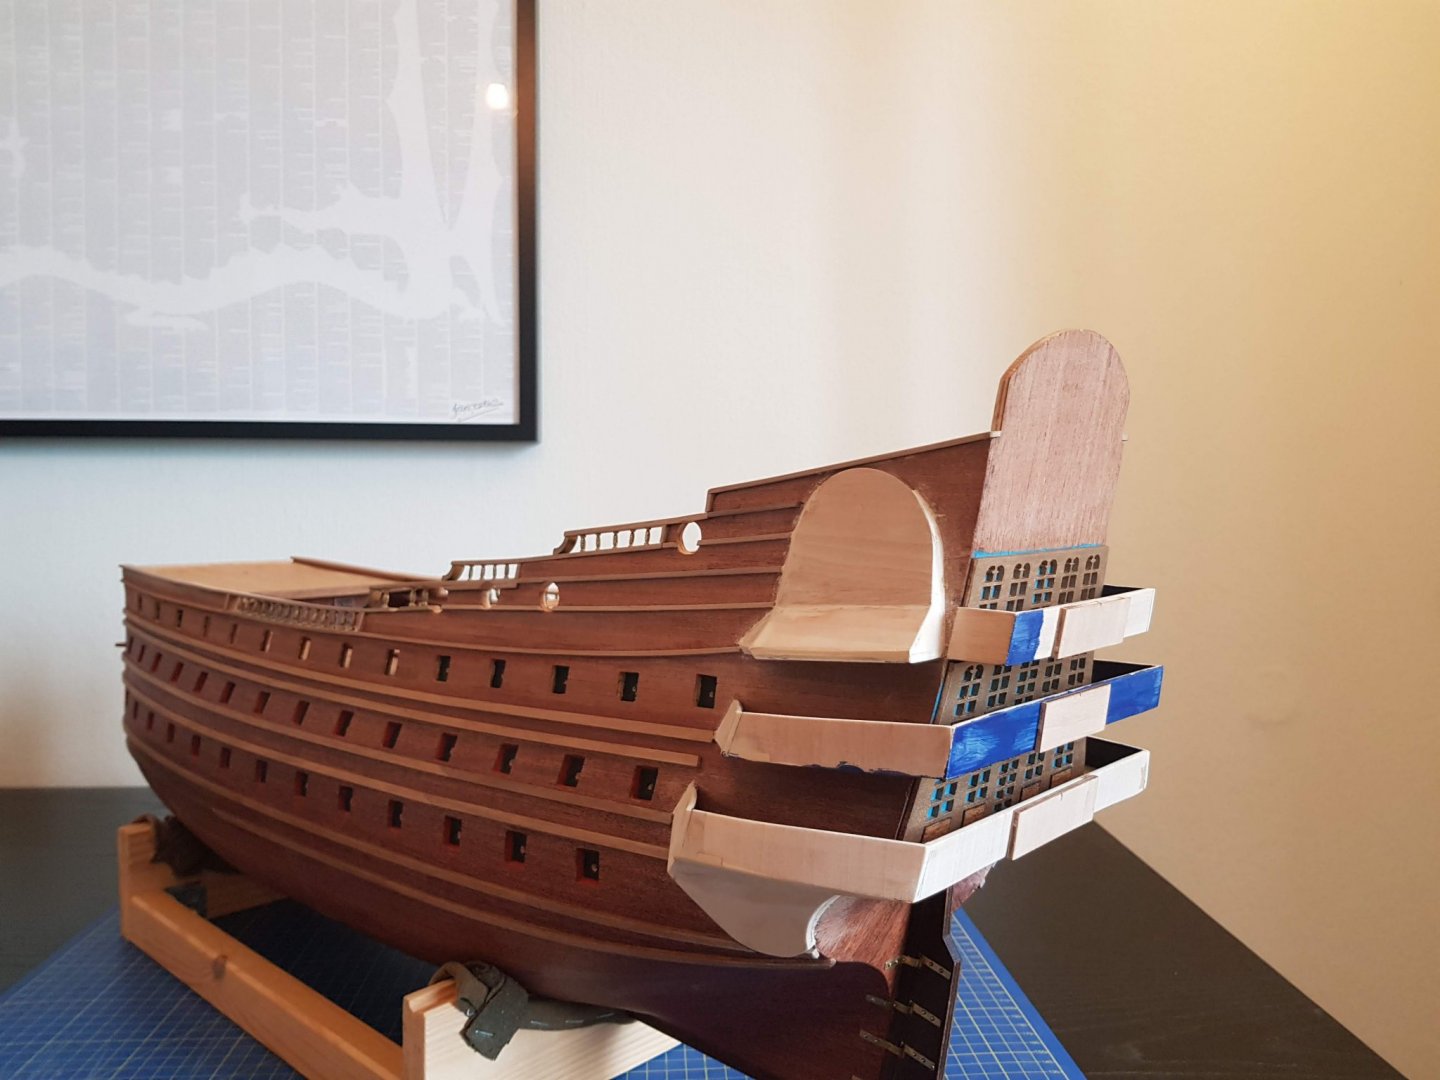
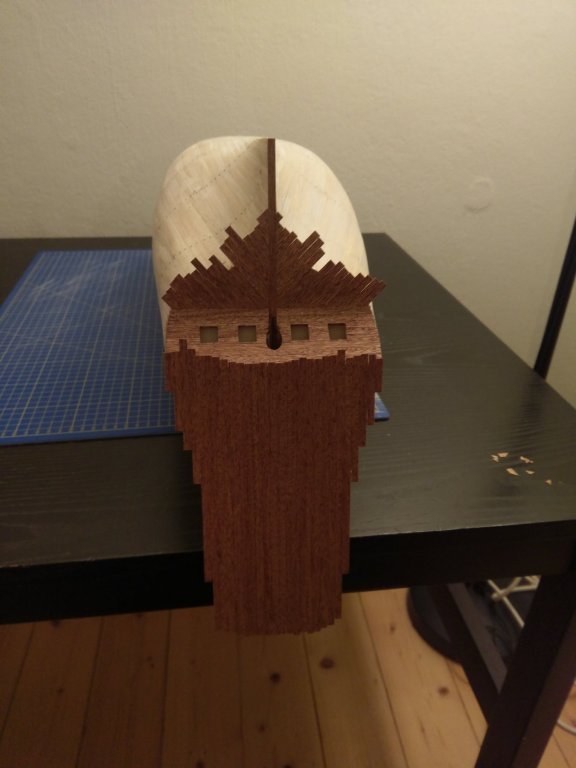
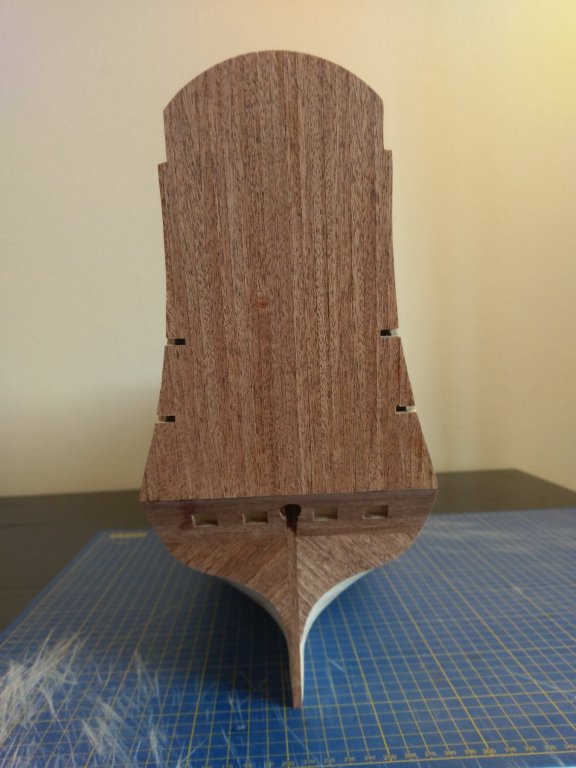
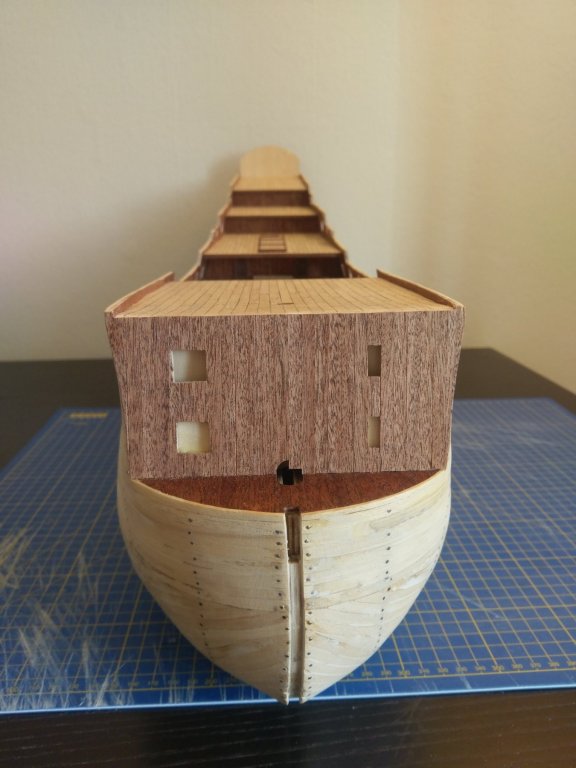
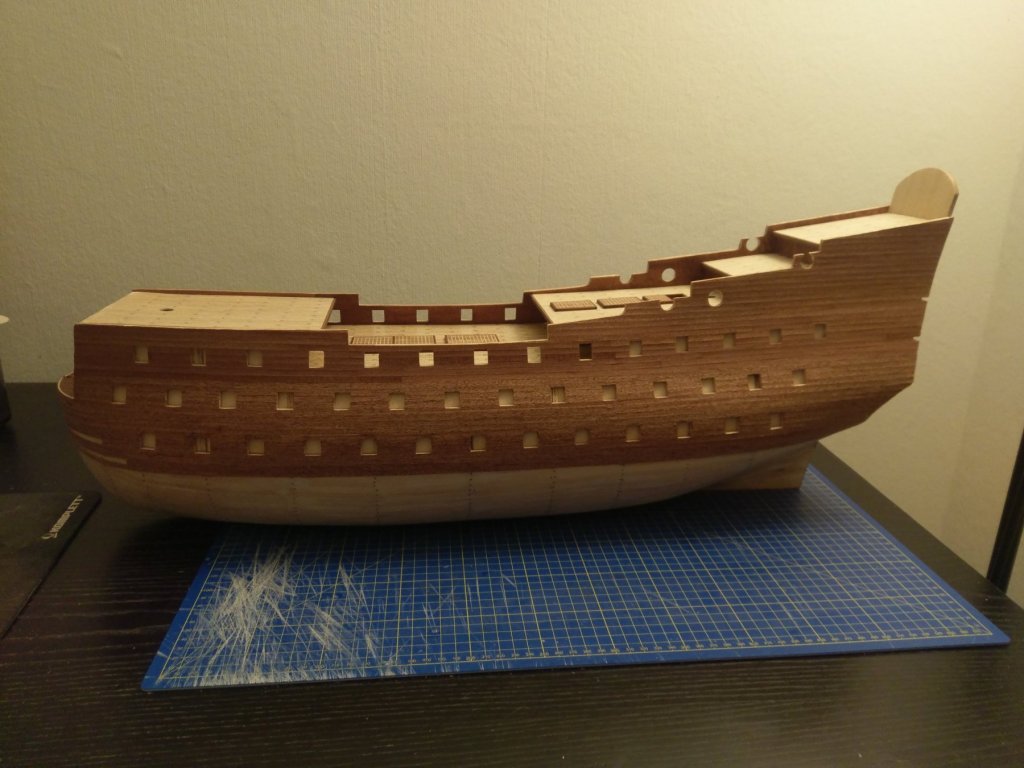
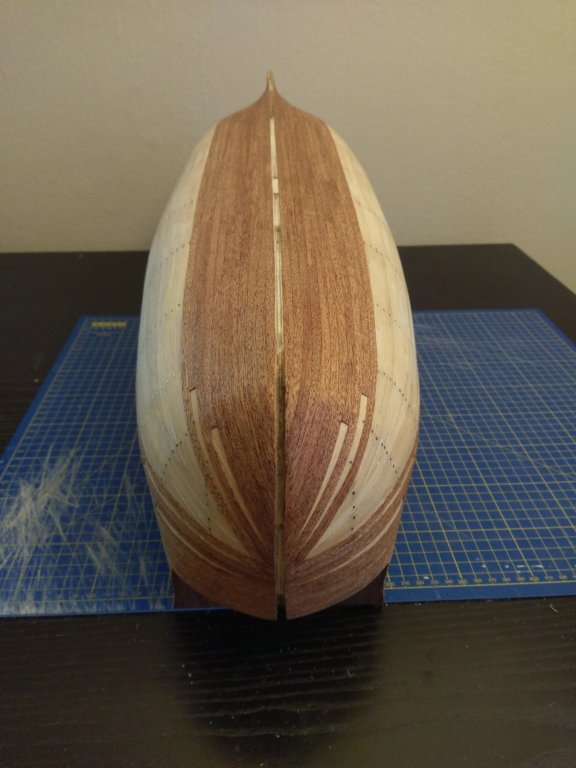
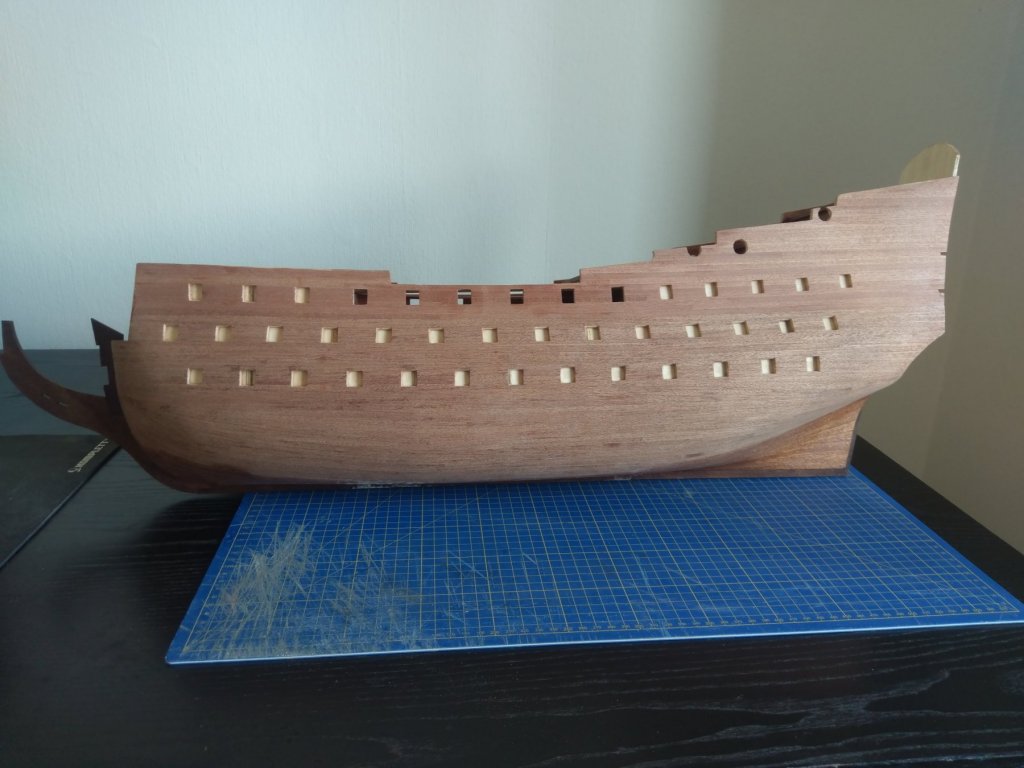
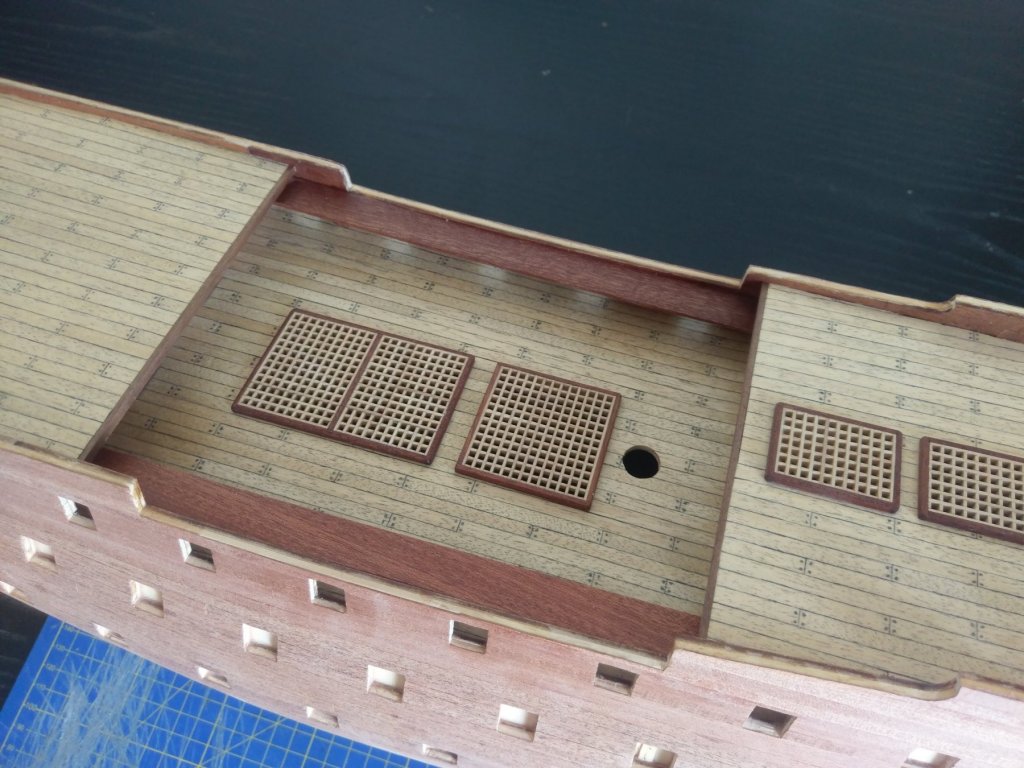
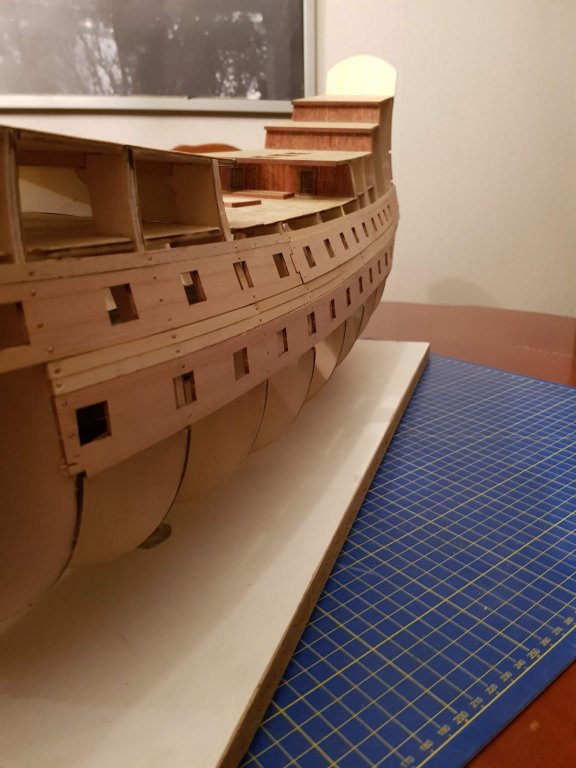
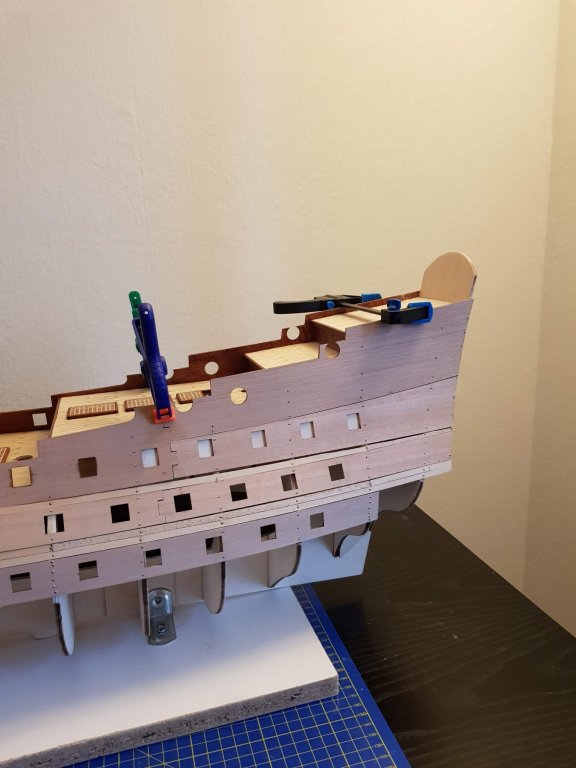
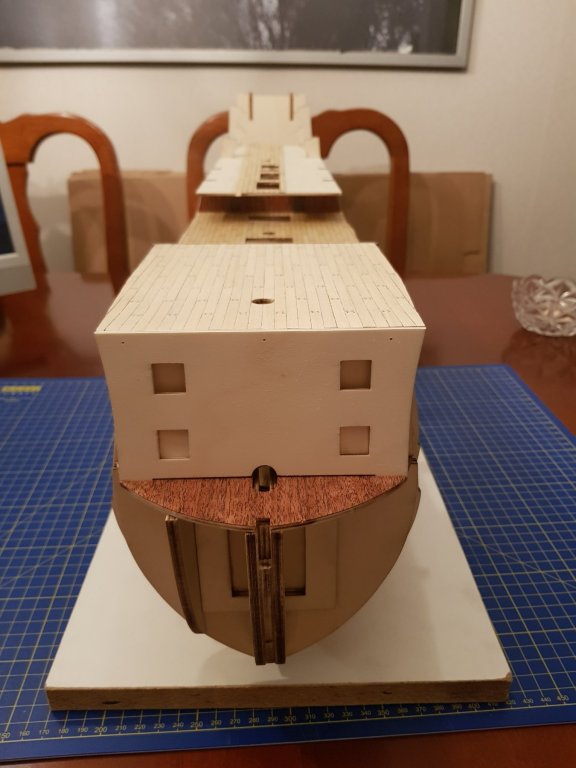
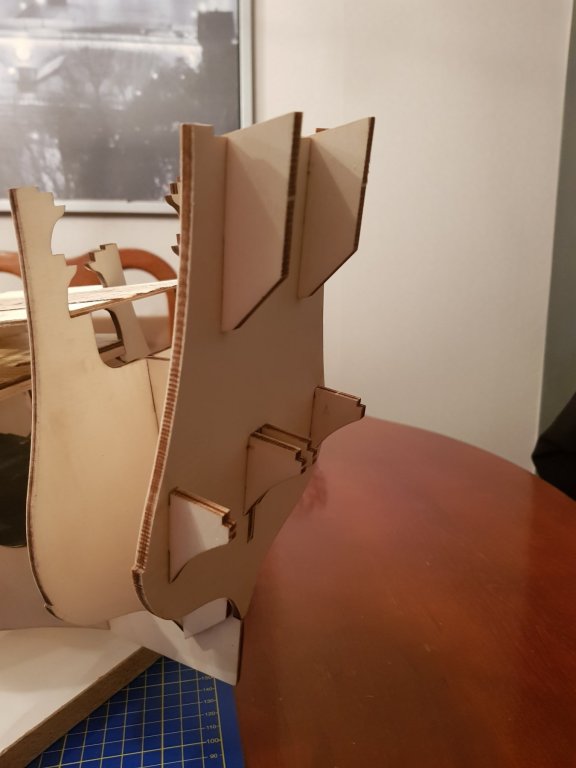
Hi everybody! With this update I finally get to the stage where I am today. The more I study up on modelbuilding and read about different topics on this forum the more I realise all the minor flaws this model has. Even if I still think it’s great, I’m starting to see different areas where I could have had modifications to further improve the end result. For example, I could have replaced visible plywood with “real” wood. This being said, I have decided to just keep building this model according to the instructions. This is my first model and even though it is not going to give me any bragging rights on this site, it’s hopefully going to result in a model I can be proud of. In my last update I left of after I had sanded the second planking. After this I added some of the boards on the side of the hull. I have been trying to find what they are called but without any luck. Do you guys have any suggestions? I kept on adding boards to the hull and the then painted the lower half with varnish. The upper half is going to be painted blue, so no varnish needed here except on the boards who is going to remain unpainted. I also built and added the rudder as well as added the grating in the front. After this point I decided to deviate a bit from the instructions. They wanted me to install the cathead and other deck fittings but knowing that I had to build the stern galleries and paint them and the upper half of the hull I decided to wait. I figured I would have to turn the model around a lot during these stages (it turned out to be true) and that I would break the fittings in the process. Even though I didn’t want to add too much details before the galleries where finished I decided to finish the railing at the stern of ship. I also added the last boards to the side of the hull and kept on adding the foundations for the stern galleries. I sorry for the bad pictures. Perhaps you noticed to on the last pictures, but I made myself a new building support. In the beginning I had a simple building jigg consisting of a board and a couple of L irons. But then I started planking the lower half of the hull I couldn’t longer us it. I had the ship laying just flat on my worksurface for some time but after I had varnished the hull, I notice that the part resting on the surface quickly got scratches. I therefore decided to build a new support. I took some old planks, some L irons, an old T-shirt, a staple gun and here’s the result. I don’t have any pictures of the next step, the building of the galleries. This was by far the hardest and most annoying part of the build this far. The parts didn’t fully fit, they where hard to keep in places when gluing them and all the time I had to make sure I didn’t damage the rest of the ship. When I finally had “built” the galleries I had so cover up all the flaws and fill some holes in between the joints. I decided to use Plastic Padding for this. Plastic Padding hardens to a really hard surface ones dry and that’s what I was looking for. The bad thing with Plastic Padding is that it hardens really fast (just a couple of minutes) and that it’s not the easiest thing to work with once dry. After much effort and a lot of precision sanding (remember I don’t want to damage the rest of the ship), I was finally satisfied with the result. It has taking a couple of posts but now I have finally caught up to where I am. The next stage is to paint the galleries and the upper half of the hull blue. I’m really curious on how that’s going to look. See you later. /Morgan
- 50 replies
-
- soleil royal
- first build
-
(and 1 more)
Tagged with:
-
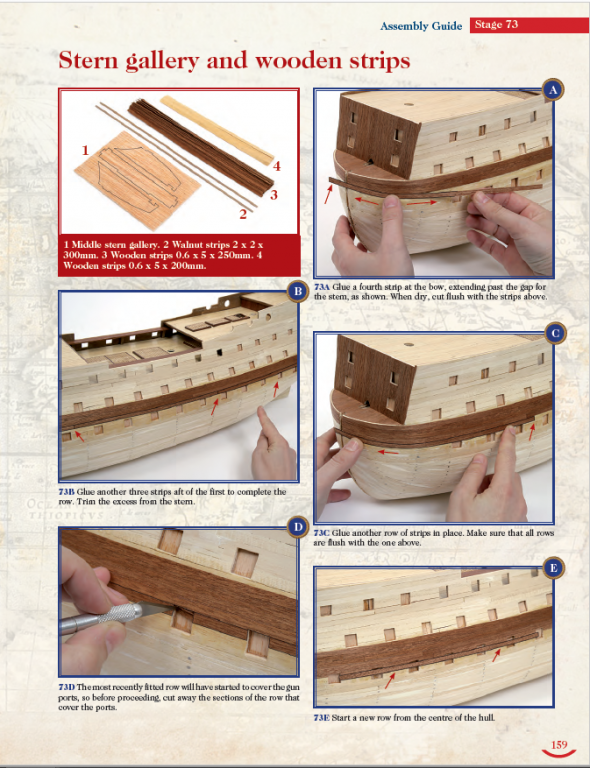
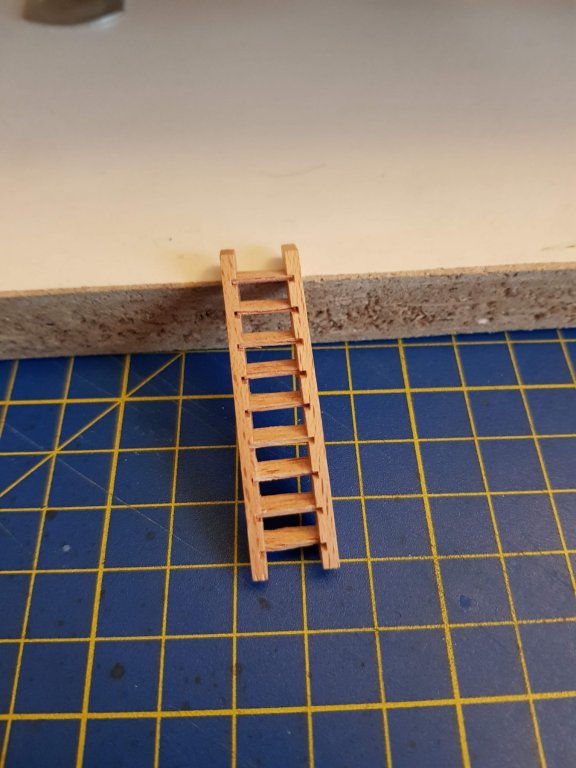
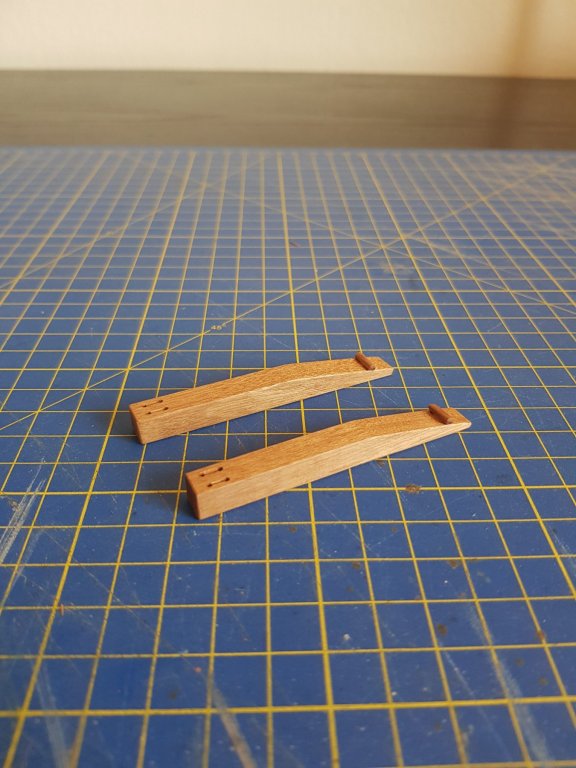
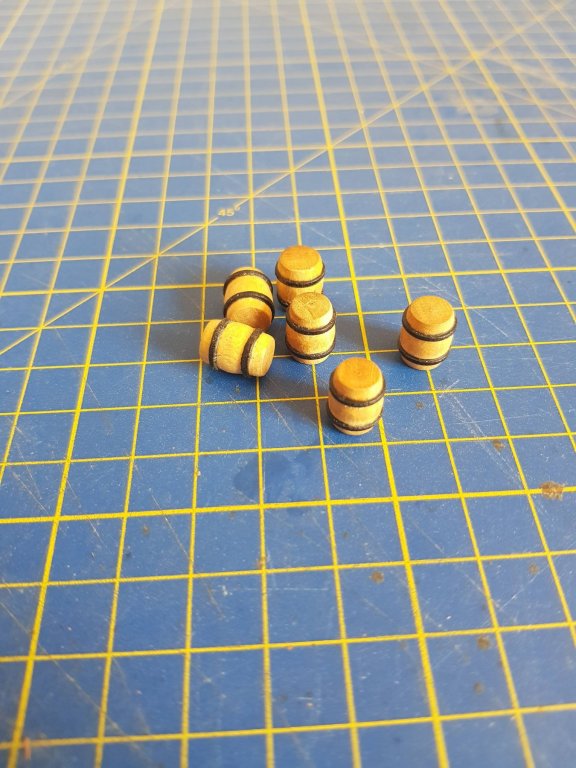
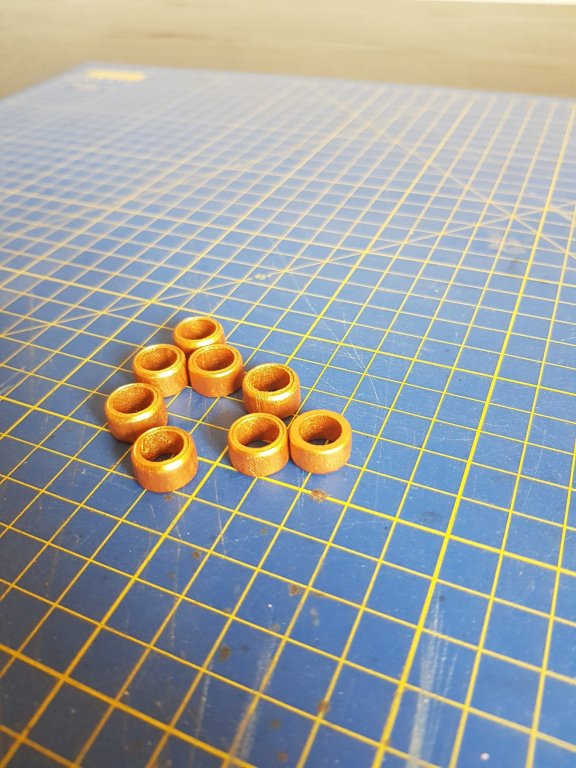
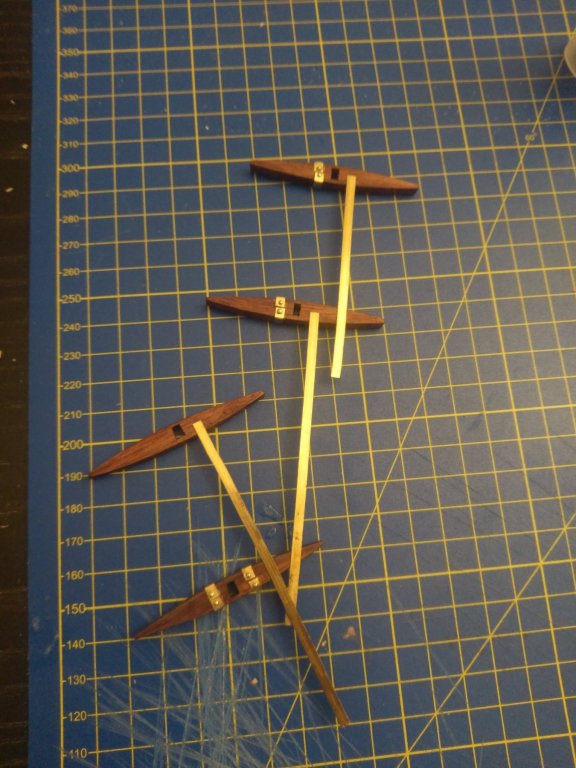
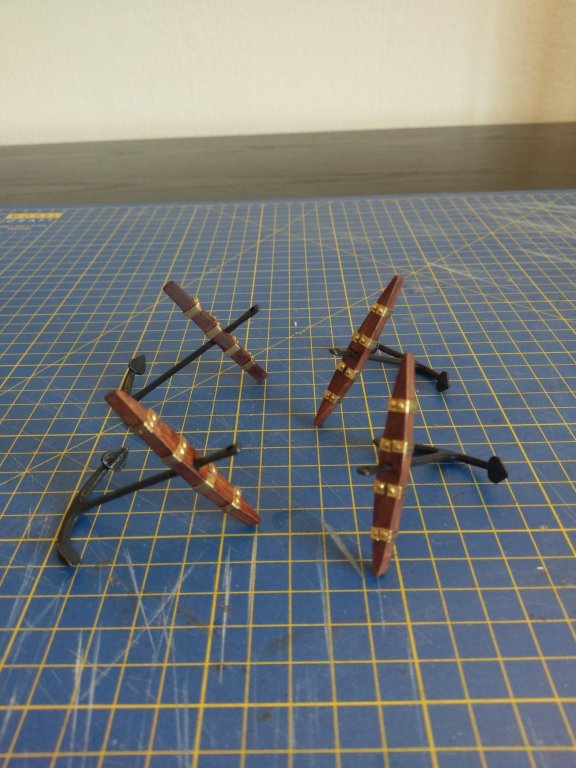
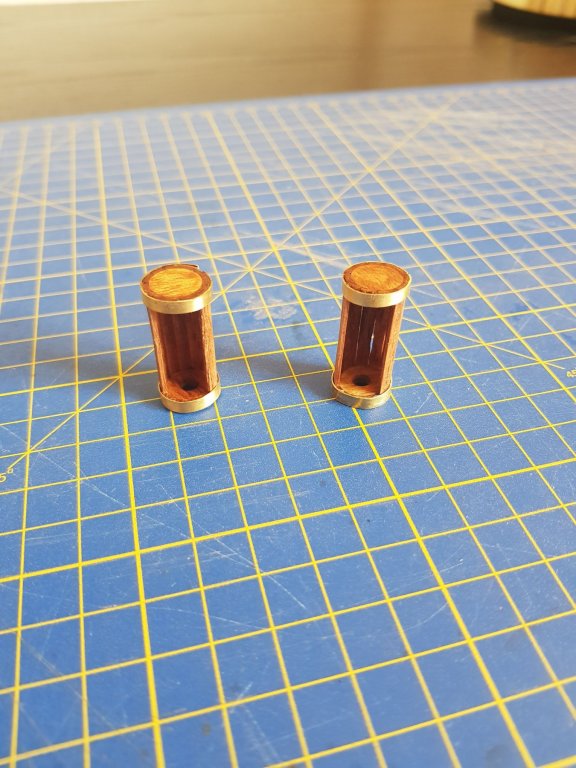
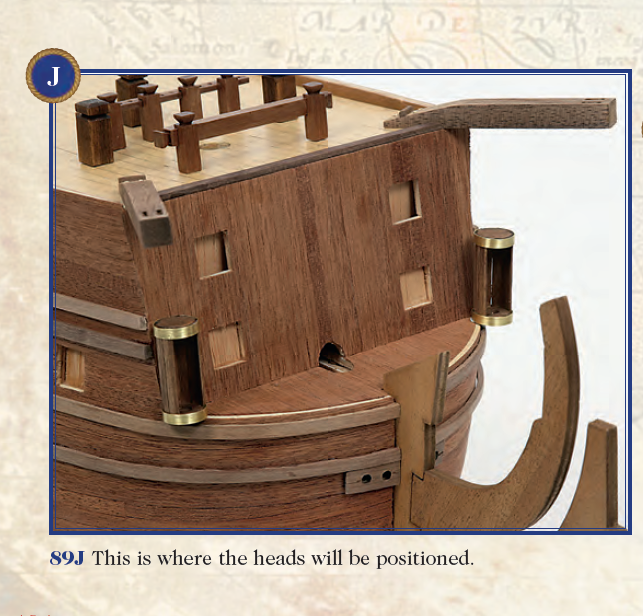
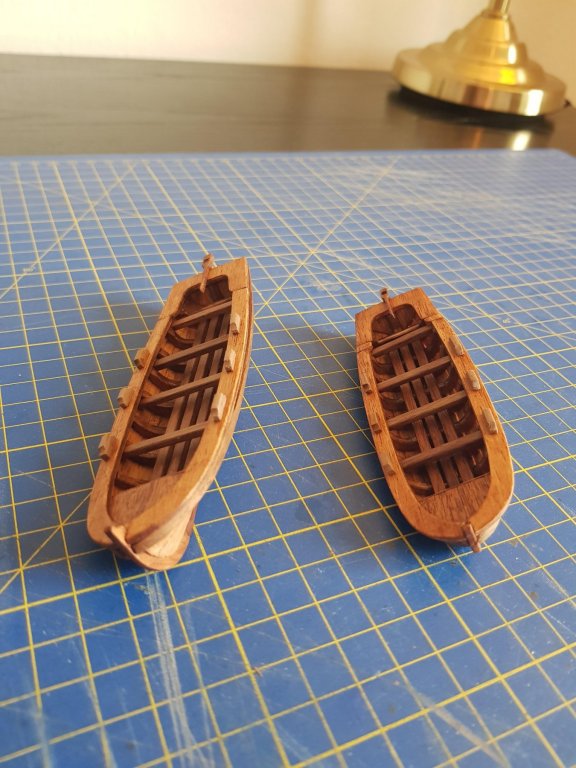
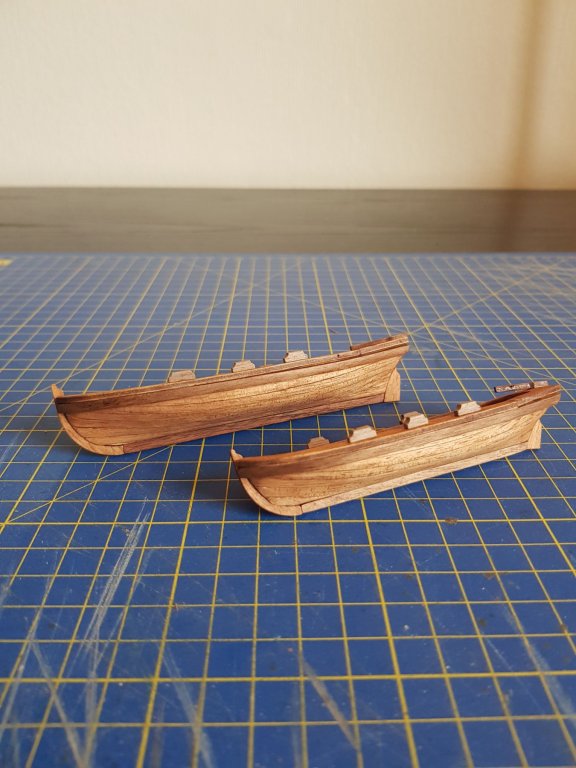
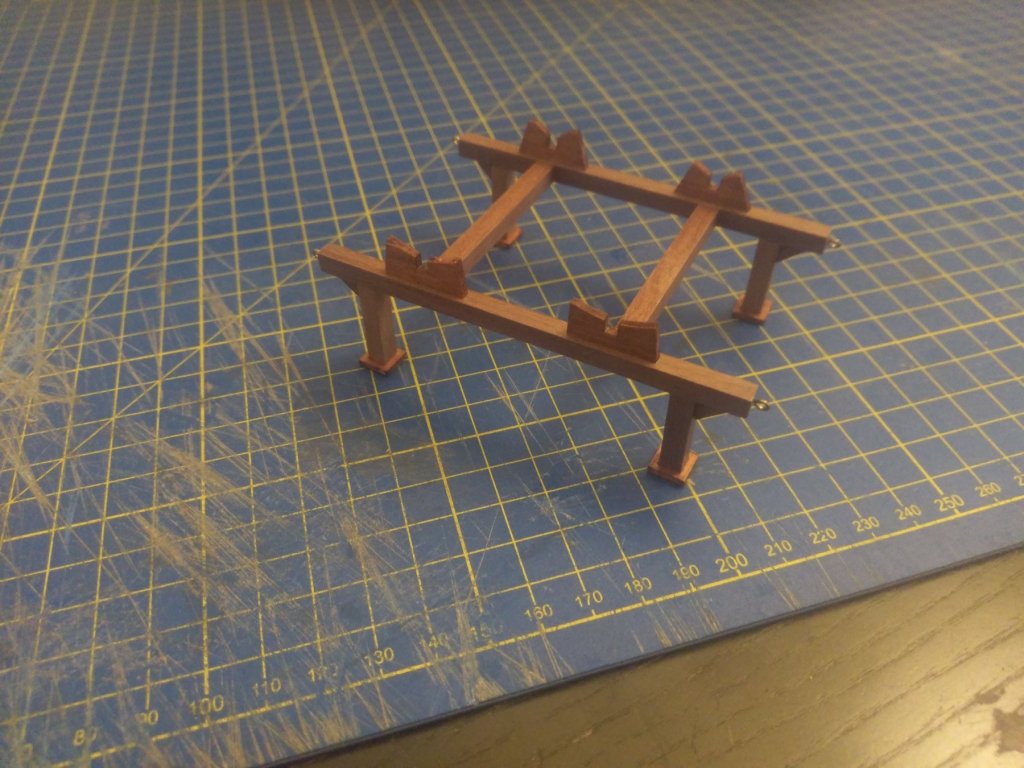
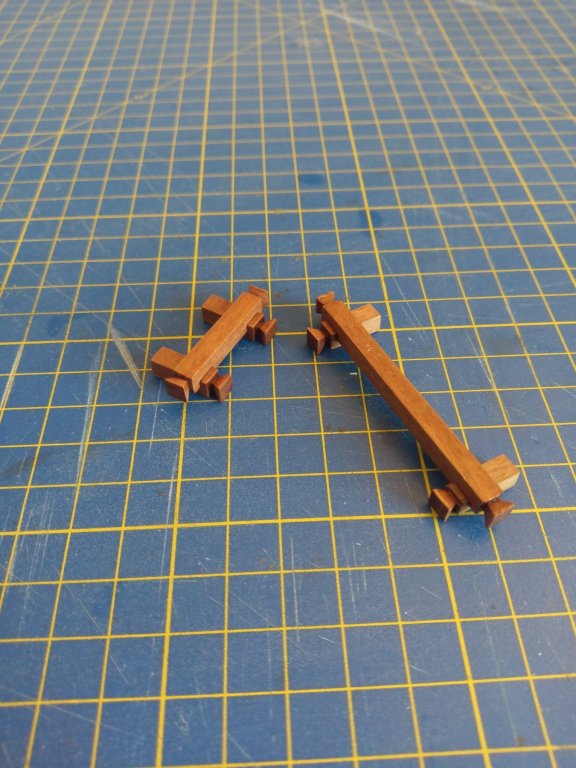
Hi again! I have been talking about following the instructions and for those of you who don’t all really know it DeAgostini has divided the build into packs (12 in total, one per month for me) and stages (140 in total). Each stage has its own instructions: As you can see, the instructions are very clear. Since I like to keep track of things and to work in Excel, I decided to create an Excel document where I track my progress. This way, I don’t have to look thought the instructions constantly to find the one I’m looking for. In their instructions, DeAgostini make the builder jump between working on the ship itself to smaller “side projects”. I guess it’s to keep the build interesting and of course you are sooner or later going to need the stuff you’re building. Of course, it feels much better to completely finish a stage than to leave it at perhaps 50% so I have been completing some smaller builds along side the ship itself. I think it’s a great way to make the time pass while glue, paint or stain is drying. A mix of different parts: A stair, the first of many but I have only built one so far. Some barrels (possibly loaded with some Captain Morgan). Didn’t really do much with the barrels. Some varnish and then I painted the black bands. The two catheads, not much to say about them. Finally, some gun ports. These are going to go just below the gunwale. They where more or less finished when I got them, so I just added some finishing touches and some gold paint. The four anchors. I must say that I found it really hard to work with the metal for the bands. It just wouldn’t bend the way I wanted it and I had to reglue it a couple of times before I got it right. I also finished the “heads”. Same thing here. The metal bands where a pain in the a**. I actually don’t know that these “heads” where for. I have been doing some research but found nothing. Do you have any ideas? I have also built the two ship’s boats. Some of the pieces provide in the kit didn’t fit so I had to make some adjustments. Hopefully it won’t be too noticeable when I’ve added all the other details to the ship. In the future I think I should just make my own pieces if the ones I got wont fit. You learn your lessons along the way Finally, I built some of the deck fittings as well as the hatches for the gun ports. I feel like, at this point this post has been long enough. I have built some other things as well but I can’t show everything if I’m ever going to catch up. /Morgan
- 50 replies
-
- soleil royal
- first build
-
(and 1 more)
Tagged with:
-
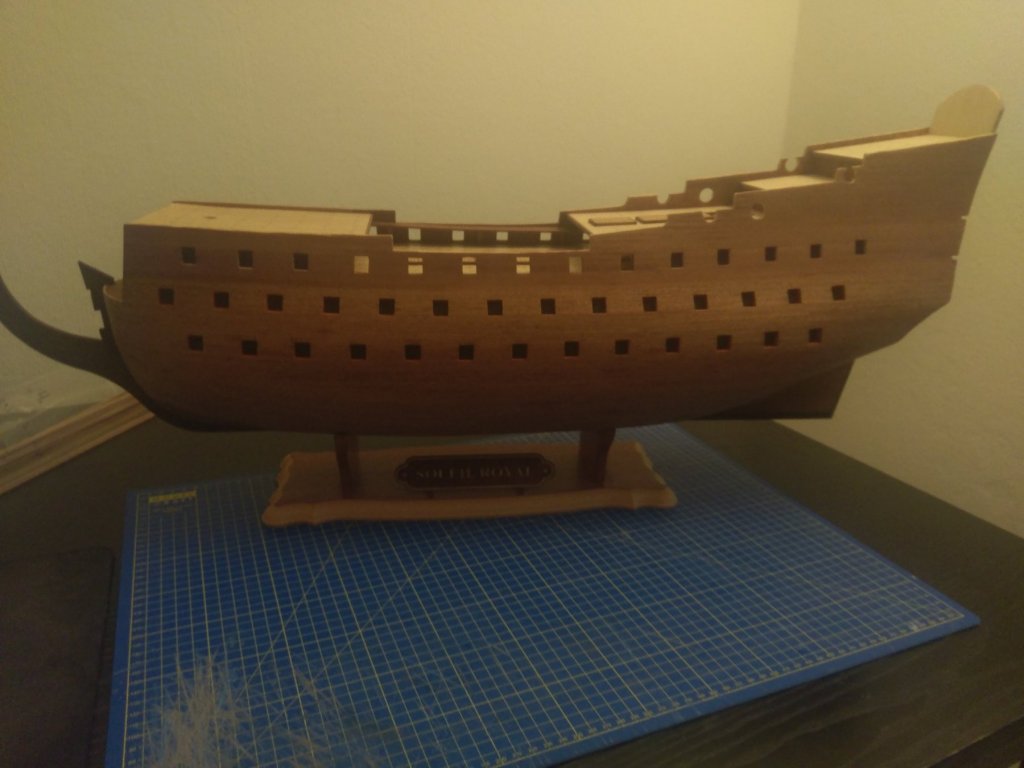
Hi everybody! Here comes my next progress update. I'm getting closer and closer to the point where I’m today. I started the second planking at the stern and at the bow. I then continued with the rest of the ship. I didn’t focus on making sure the joints where in the “correct” place. Perhaps some of you think this is or some importance but for me the result was good enough. When I had finished planking it was once again time for ..... drumroll .... sanding I decided to try on some varnish to see the finished result. That’s why the bottom of the ship is a bit darker than the rest. I also added the keel. The keel was made of a darker wood but I still choose to give it a coat of dark brown stain to make it better match the area I tried varnish on. I was now time to do some work on the decks. I had before added the grating but now I also added the “walkways” besides the gunwales. Both “walkways didn’t turn out the same. The end of one of them is a bit lower than the other side but hopefully it won’t be too noticeable. I decided to buy the model stand suppled by Model Space. After some adjustments to fit the shape of the keel. As well as some strain and gold paint on the sign. I really happy with the result (sorry for the bad picture). This will have to do for this time. Take care. /Morgan
- 50 replies
-
- soleil royal
- first build
-
(and 1 more)
Tagged with:
-
It’s nice to see that some people still follow my log. Thanks for the advice Martyn. I’m going to try that on my next model double planked model. Welcome to the log Rick! It sound like you got yourself a great offer on the SotS. It looks like a fun build and the ship itself is amazing. I don’t think you need to worry about its complexity. The instructions DeAgostini provides are great and as long as you follow them and take your time I’m sure you’re going to end up with an amazing model. Just one advice, by the whole I pleased with DeAgostini but I had parts missing from a couple of shipments. Modelspace sent me the stages with the missing parts when I contacted them but I advise you to make sure that each stage contains all its parts before you start your build. This way you don’t have to look for missing parts (that you never received). I think, I had 4 packs when I began my build and I never came close to catching up. So I think 6 packs are more than enough. Take care. /Morgan
- 50 replies
-
- soleil royal
- first build
-
(and 1 more)
Tagged with:
-
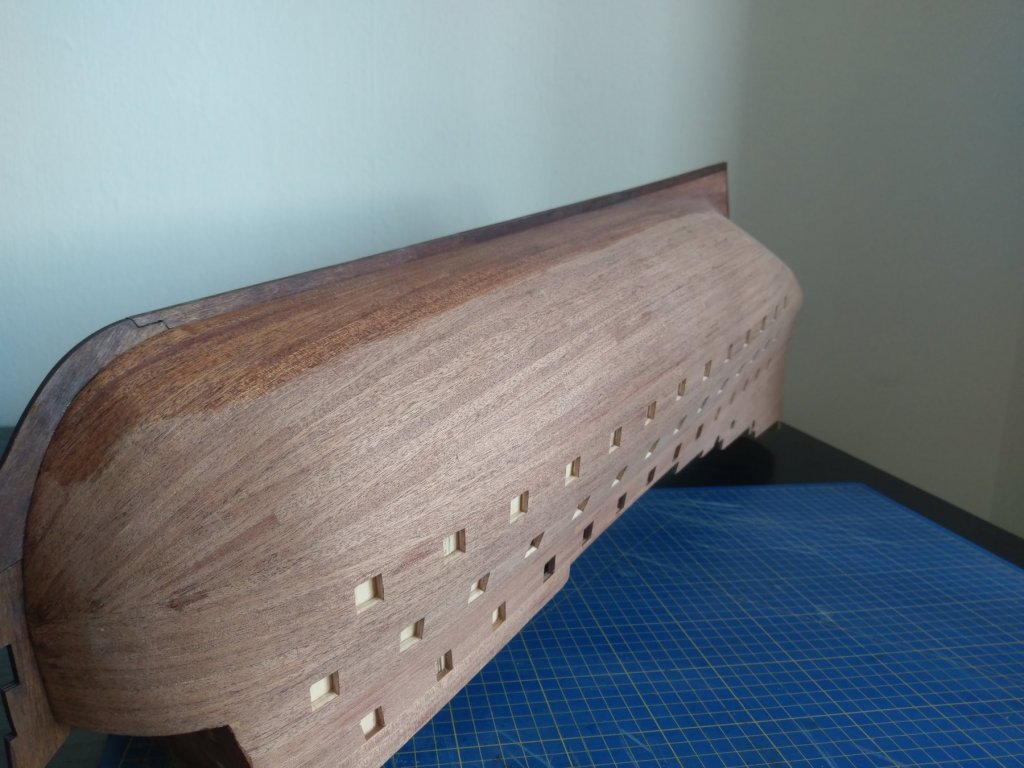
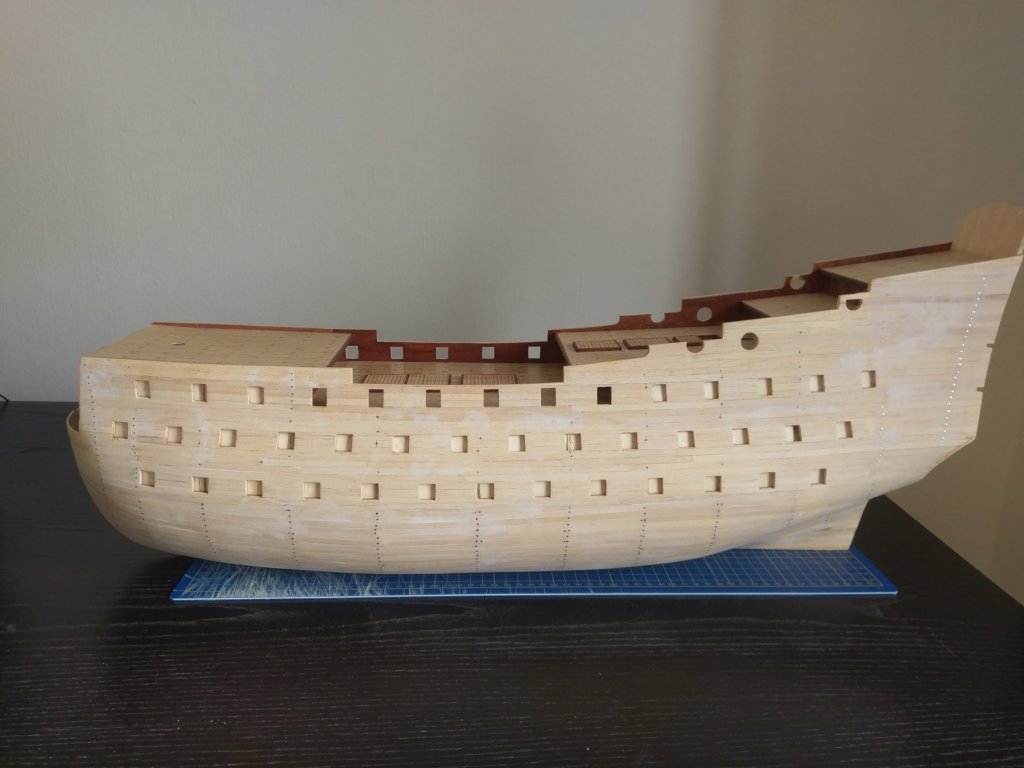
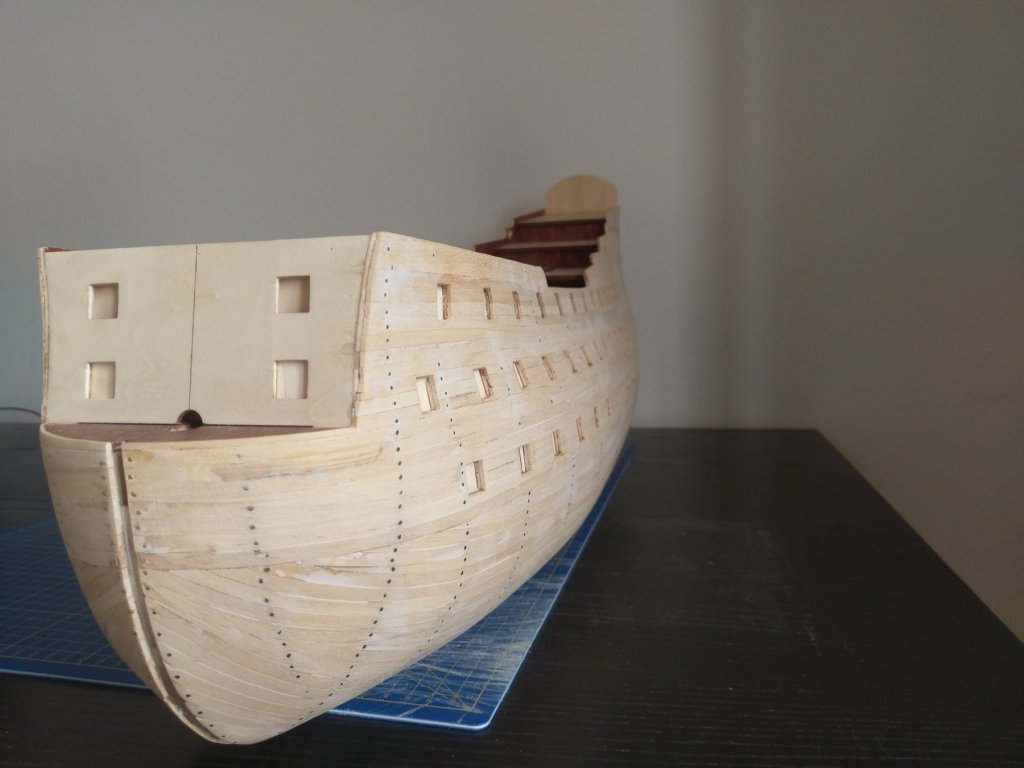
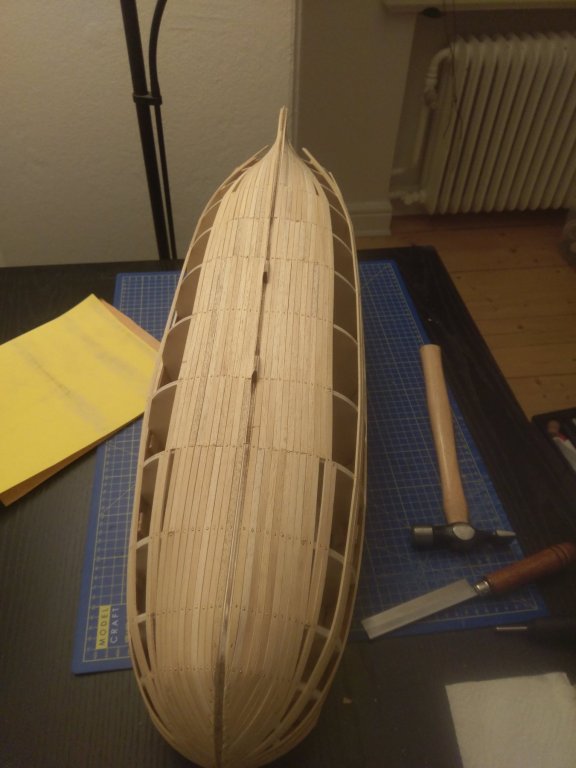
Hi everybody! First, sorry for the long absents. I haven’t given up on the build, far from it but a lot has happened in my life and frankly, I have been too lazy to update the log. Thanks a lot for all the feedback regarding the nails. It’s a bit too late for this build but I’m going to keep it in mind in future builds When you’re a newbie you mostly follow the instructions and don’t think much about the finer details. I have done a lot of progress since last time. I have tried to take pictures along the way but sadly, I sometimes got too caught up in the building and forgot about it. Anyhow, here comes what I been up to since my last update: I finish planking the different decks and since I already marked the nails on the other deck, I did the same on the last ones. Better keep it consistent. After this it was time to prepare the bulkheads for the planking. I must say that this stage isn’t the funniest thing to do. But I understand its importance for the finished model, so I tried to do it as carefully as possible. Sadly I didn’t take any pictures of it, I was too excited to start with the hull The kit has pre-cut sides, so I don’t have to worry about marking the gun ports. I “just” must make sure the sides are positioned correctly. As you can see, I had some gaps between the side panels but thankfully there is two more layer of planks that’s going to cover them up nicely. I don’t know that you think about pre-cut sides verses marking and cutting the gun ports yourselves but for me as a beginner it felt really nice to not have to worry about it. In the instructions they tell you to nail every board to the bulkheads and even provide you with the nails as well as a nail pusher. Since this is a double planked model, I decided to follow the instructions and found that it made the planking much easier. No need to mess with any needles or claps (for the most part). The only con that I experienced was that the sanding became a little harder. I had to use a file to remove some to the nailhead to make sure the surface was flush. Sadly, I didn’t take may pictures of the planking. I just followed the provided instructions who stated, step by step how I should do it. I found this really helpful since this was my first time. I have read about the process but it’s something else to do it yourself. After I finished planking I did a lot of sanding. And then some sanding and after that, some putty and then some more sanding. You can see the finished result below: I think this is going to have to do for this update. I promise to return soon with the rest of my progress. Until then, take care. /Morgan
- 50 replies
-
- soleil royal
- first build
-
(and 1 more)
Tagged with:
-
Hi E.J and Cédric! Welcome to the log. It’s always fun to get more feedback and advice. I have seen your build E.J and you’re doing a supreme work on your model. It’s interesting to see how different manufactures create different models of the same ship. I have been reading up on treenails and I guess you mean that I should do something like this Cédric? When I think about it, it makes total sense to mark the rest of the nails. I saw that some people make their treenails in actual wood (toothpicks or similar) but if I decided to mark them I’m just going to use a pencil. Too create them from wood is going to take too much of an effort Thanks for the feedback. I have been on the road for most of this week but hopefully I will have time to do some building during the weekend. Until then, take care. /Morgan
- 50 replies
-
- soleil royal
- first build
-
(and 1 more)
Tagged with:
-
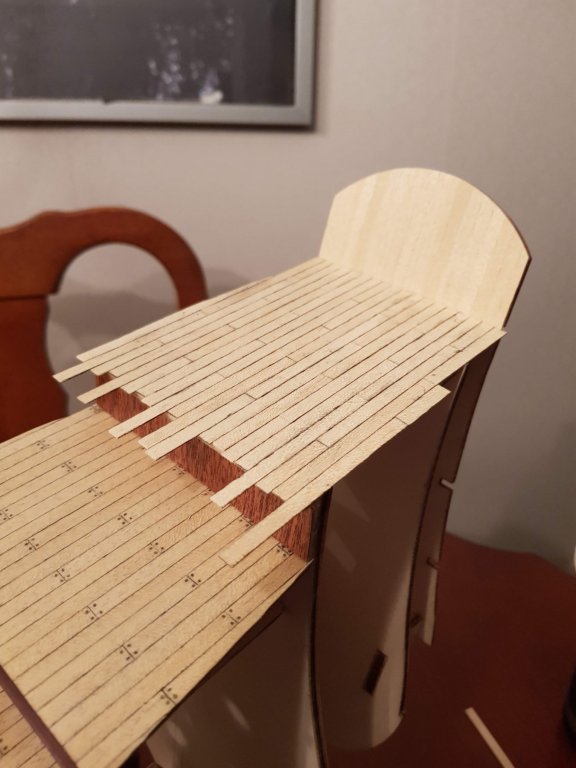
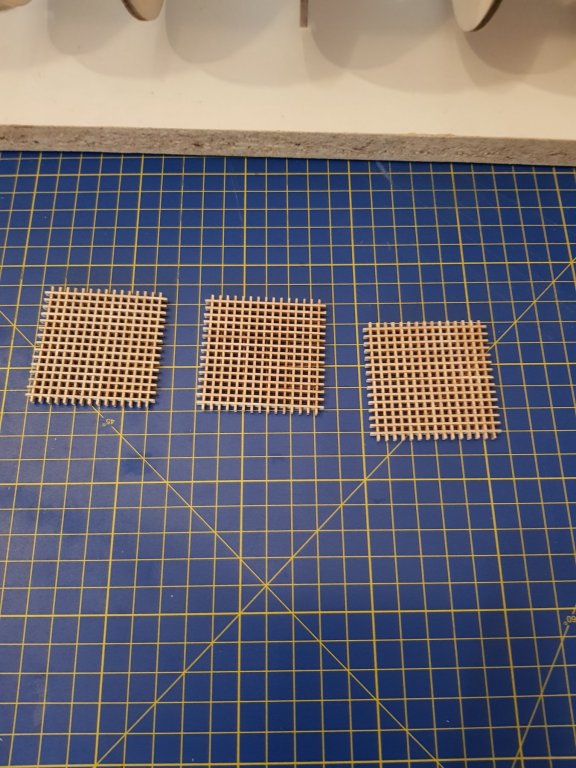
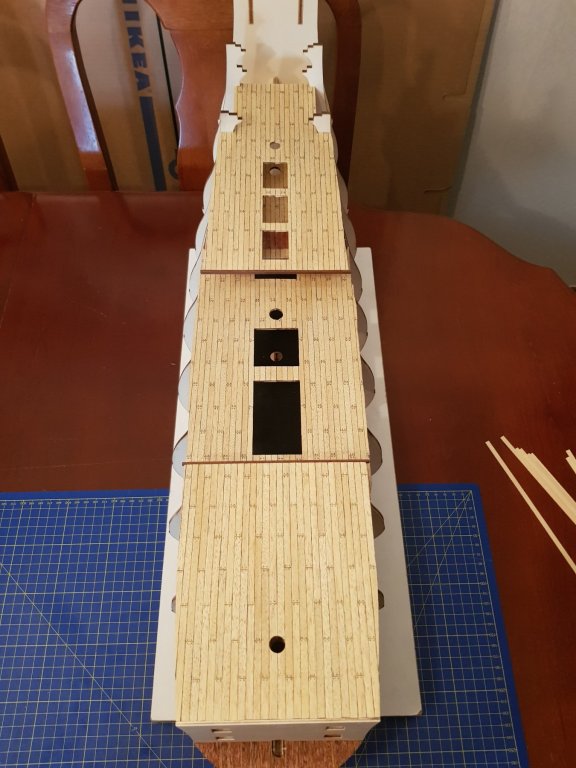
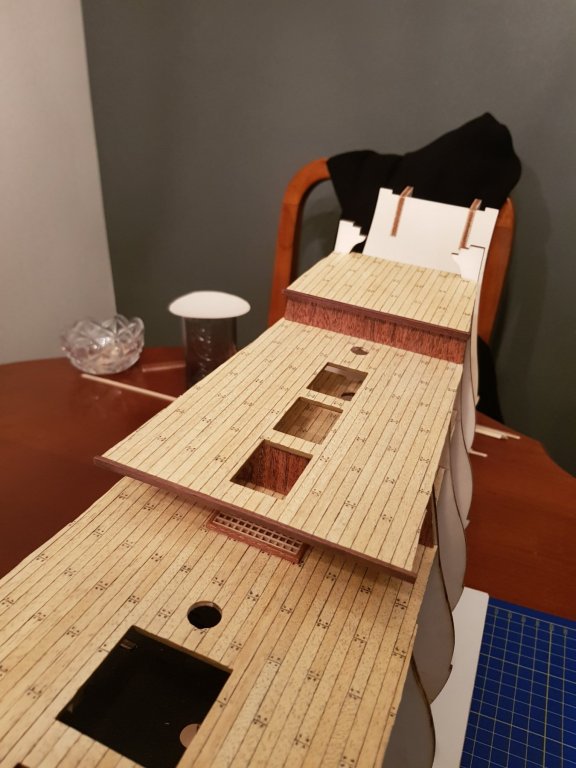
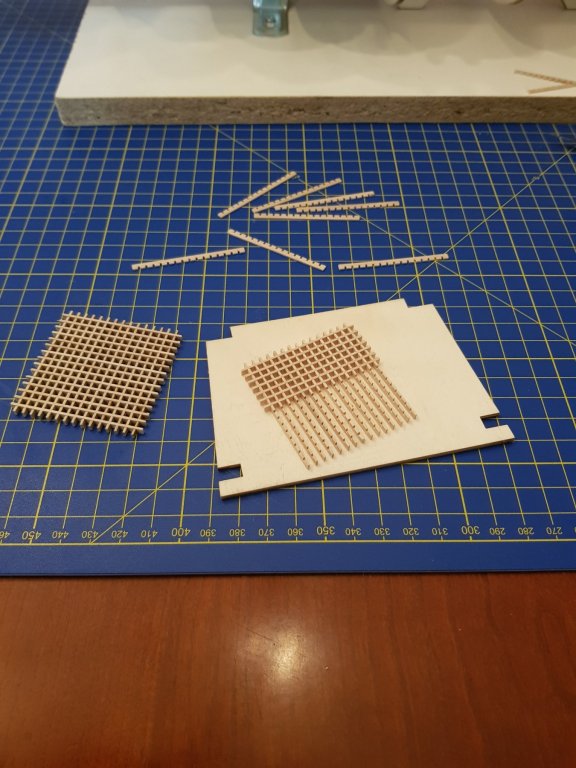
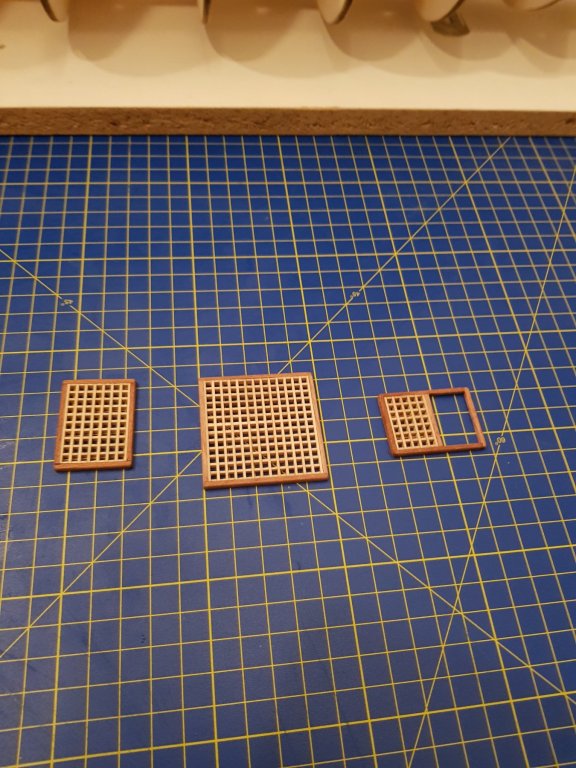
Hello everybody! I made some progress during the weekend and soon all the decks are finished. I’m starting to get a little tired of deck planking at this moment but guess I’m going to miss it when I’m planking the hull. I finished the bow for now (except for one piece who I added soon after taking the pict ure) and also finished planning the deck behind the bow. ' Added some pieces who is going to hold the stern piece. Finished planking the first “stern deck”, not really good at ship terms yet and also added and finished the deck above the first. While I was planking the decks I also started to make some of the deck grating. That’s all for now take care and see you soon. /Morgan
- 50 replies
-
- soleil royal
- first build
-
(and 1 more)
Tagged with:
-
Hi Antony! Yes, she really is large. Don’t really have a plan for what to do with her when she is finished /Morgan
- 50 replies
-
- soleil royal
- first build
-
(and 1 more)
Tagged with:
-
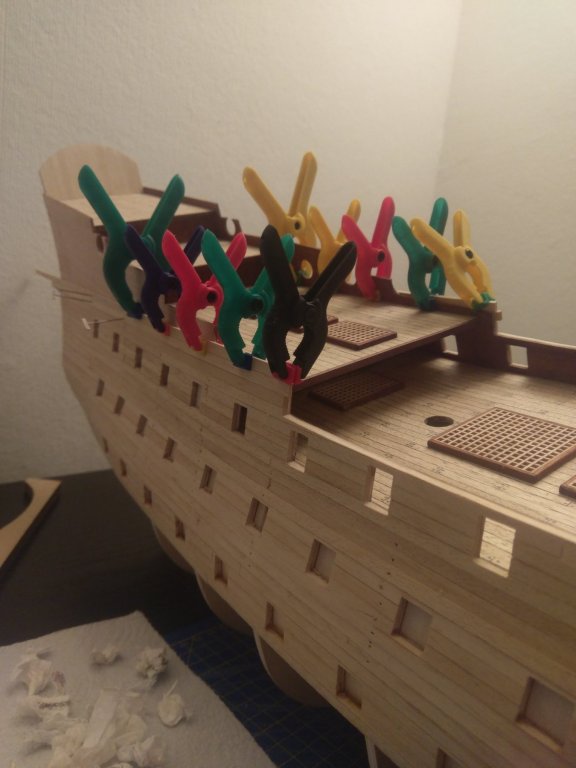
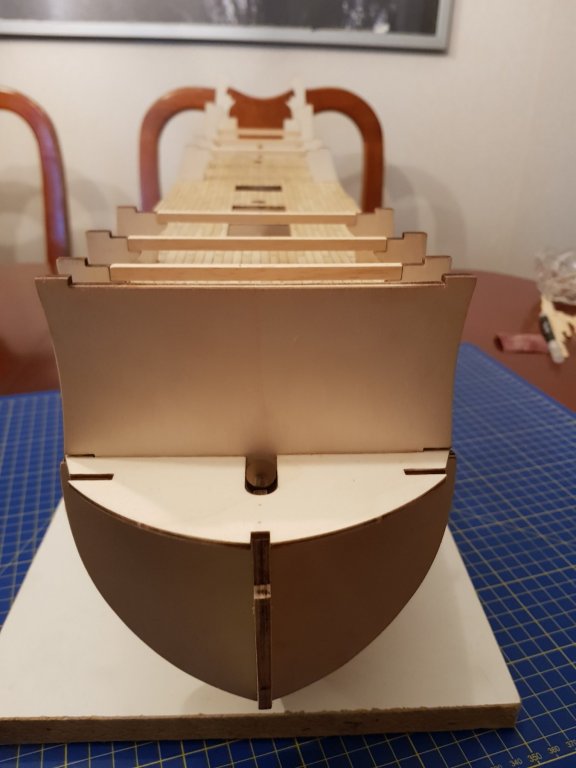
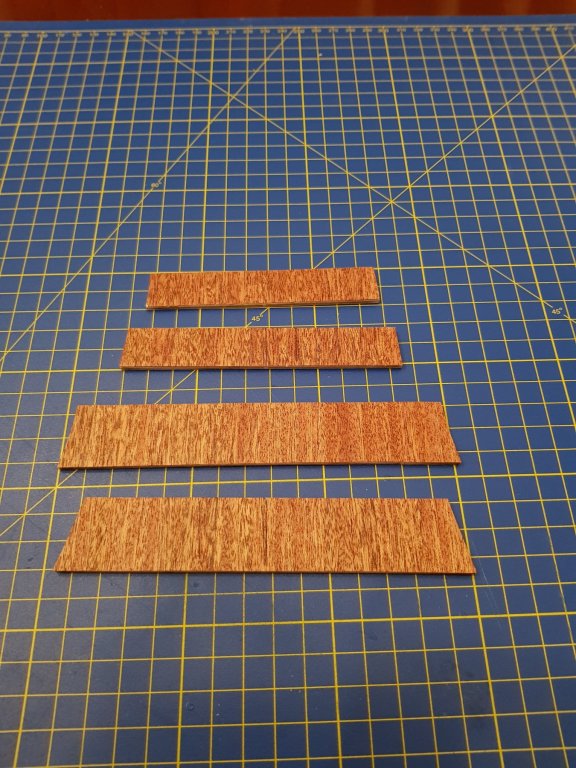
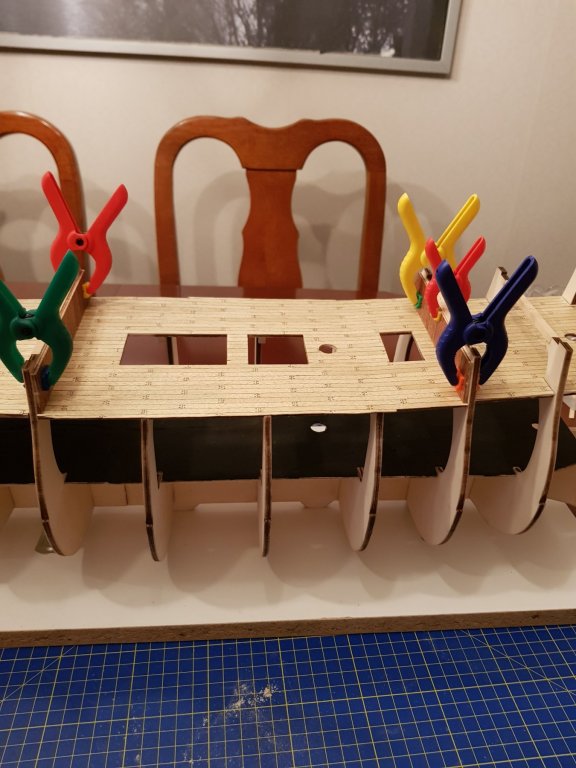
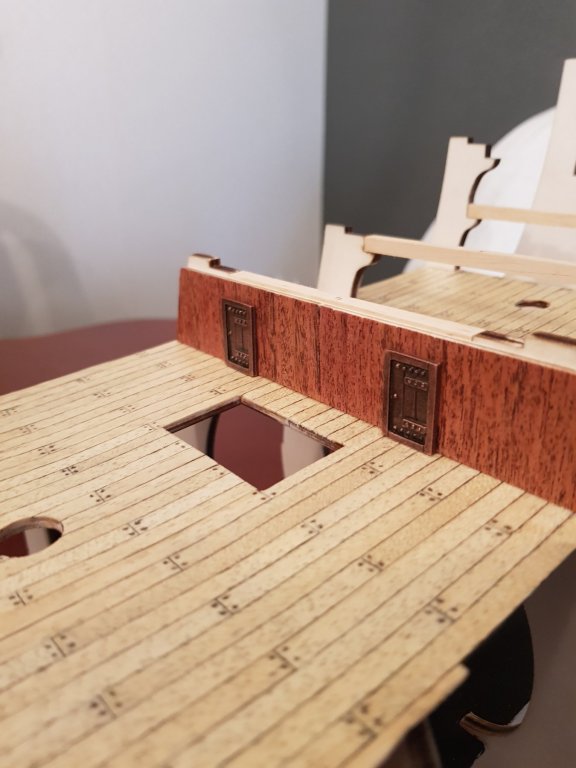
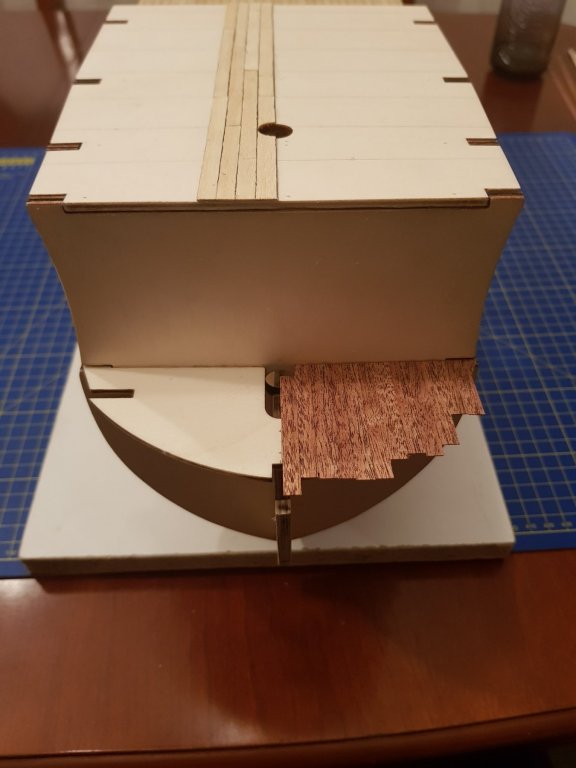
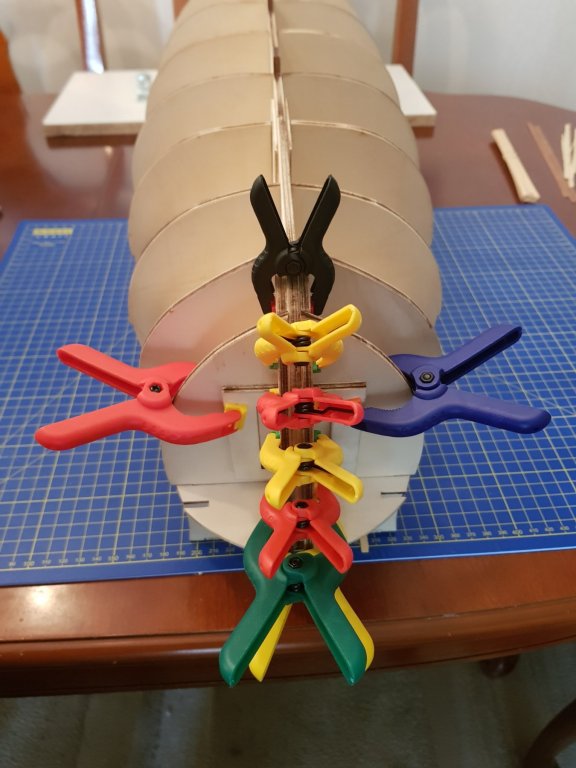
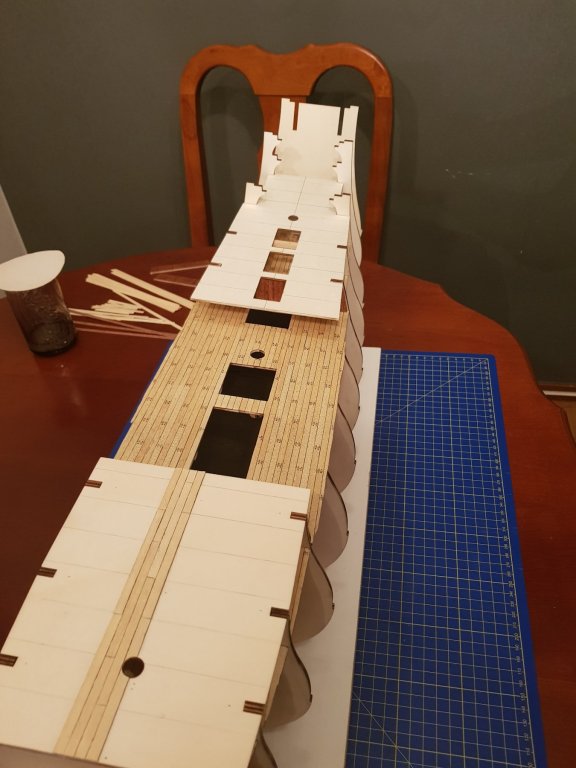
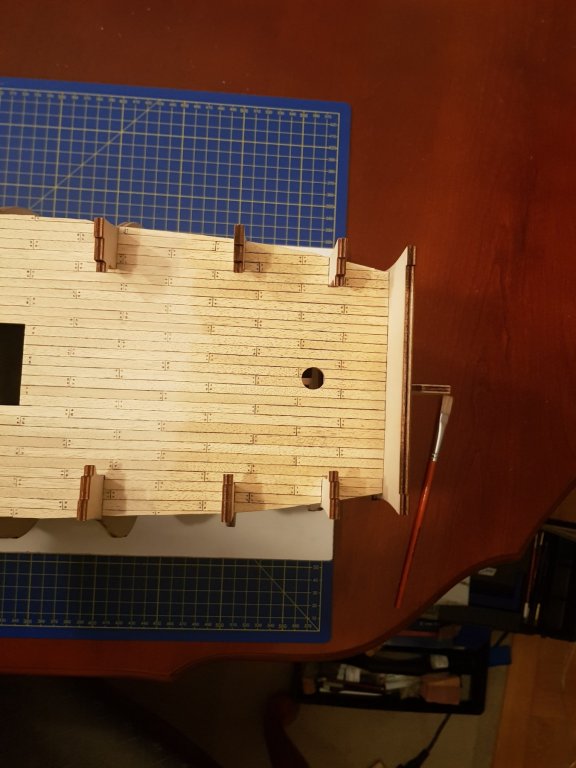
Hi! Sorry for the long absence, it has been a lot at work these last couple of weeks and when I have had some time left I have been building I have been working on a lot of different areas of the ship so it has been a bit difficult to take pictures. Glued the beams supporting the next level of decks as well as the first piece of the bow Planked the "walls" for each of the decks. Glued the first two "walls" in place. I also decided to glue the doors to the walls since I think it's going to be hard to do it later when I have added the next level of decks. Next I added the next level of deck and started the planking process. I also applied some planks to the piece in the bow. And glued some other pieces into place at the bow. You can never use to many clamps right ? That’s all for now. Cheers Morgan
- 50 replies
-
- soleil royal
- first build
-
(and 1 more)
Tagged with:
-
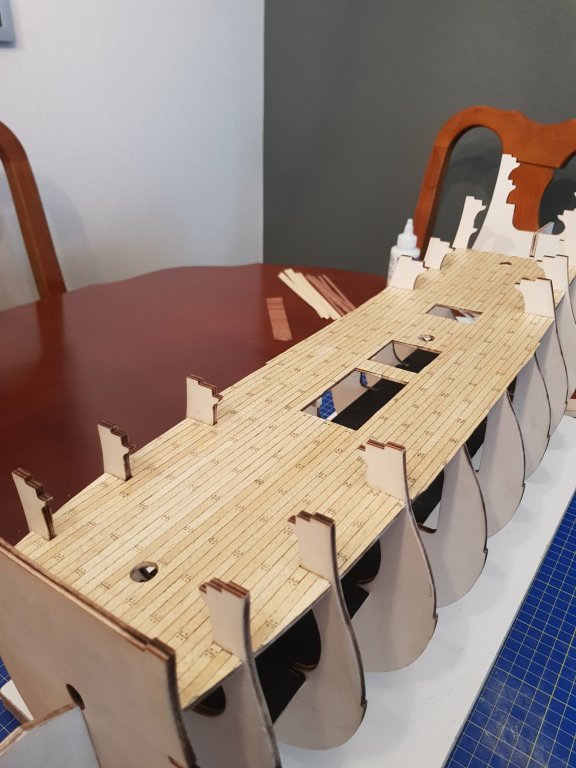
It has been a busy week at work and I haven’t had too much time left for building but at least I have finished the planking of the main deck and to apply varnish to the surface. I think it all turned out pretty good. Perhaps I made the nail heads a bit to big but it’s a bit too late to change it now. Deck with and without varnish. I ended up doing three layers of varnish just to get the right finish. Until next time. Morgan
- 50 replies
-
- soleil royal
- first build
-
(and 1 more)
Tagged with:
-
Thanks for the feedback Antony and Martyn. Didn’t really think about contacting them, thought that a little damaged material was to be expected but now I understand that this is not the case. I’m going to send them a mail. Morgan
- 50 replies
-
- soleil royal
- first build
-
(and 1 more)
Tagged with:
-
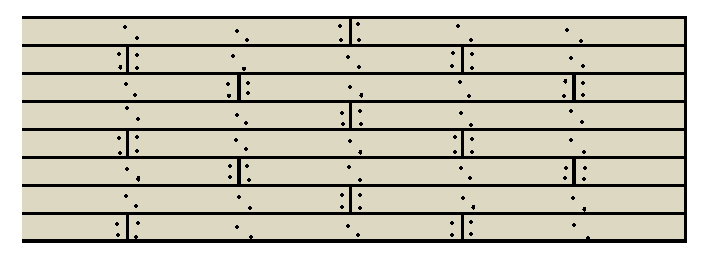
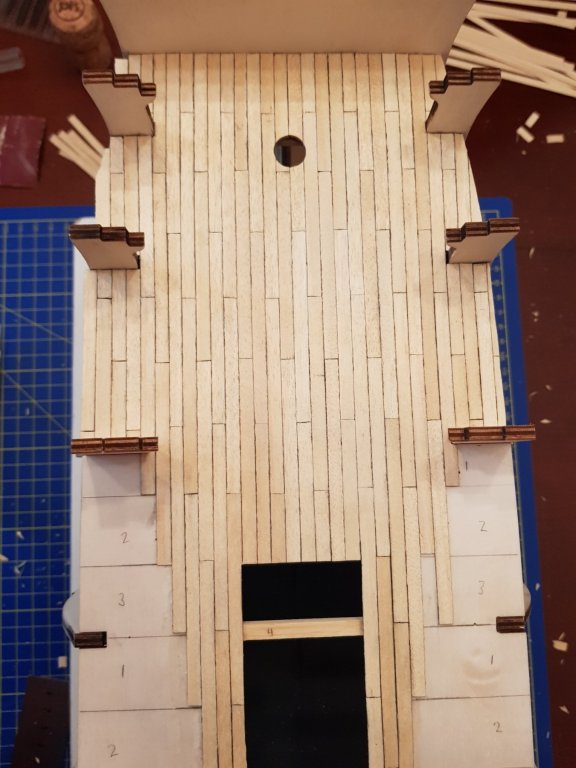
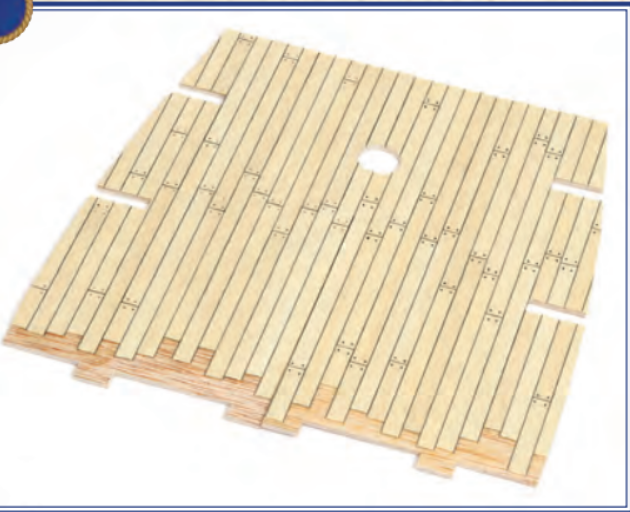
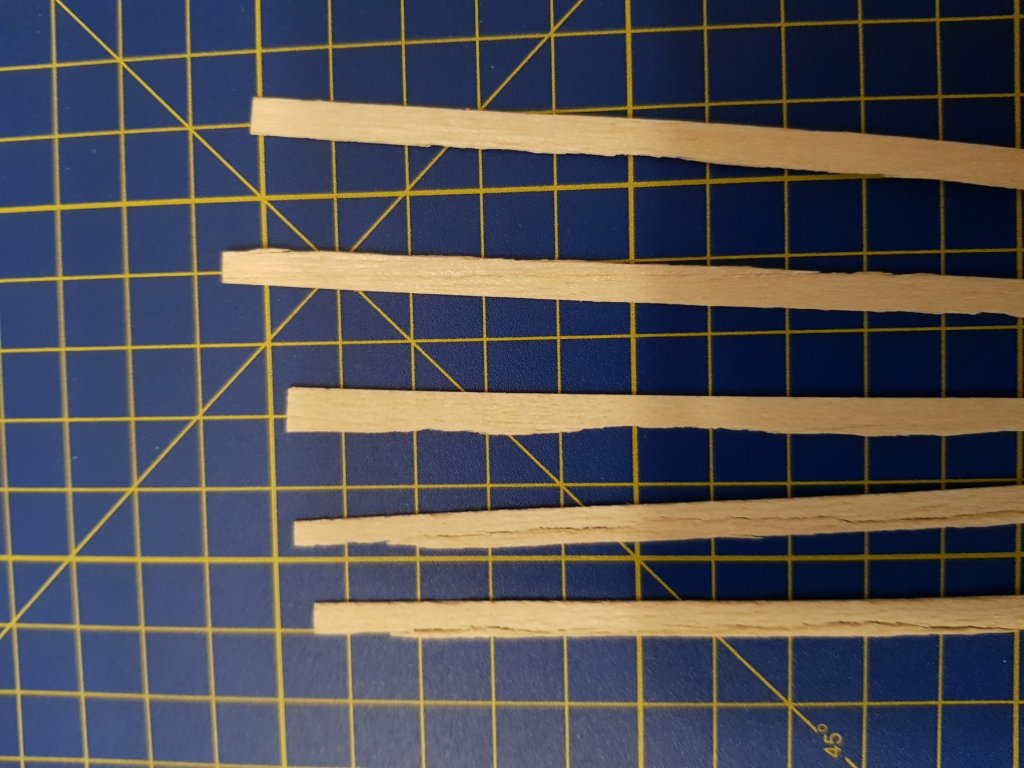
Some progress since last week. I’ve spent all my time working on the main deck. I decided to stray a bit from the instructions and glue all the deck pieces to the frames before I begun with the deck planking. This way I could use needles to make sure the deck stayed in place while the glue was setting. I have begun with planking the deck and as I mentioned before in this log, I’m going to use three shift pattern instead of the “pattern” suggested in the instructions. See the picture below. I have come some way towards finishing the main deck but I’m a little worried that the planking material provided is not going to be enough since some of the strips I received where of bad quality but hopefully the none damaged will be enough to finish the model. Until next time. /Morgan
- 50 replies
-
- soleil royal
- first build
-
(and 1 more)
Tagged with:
-
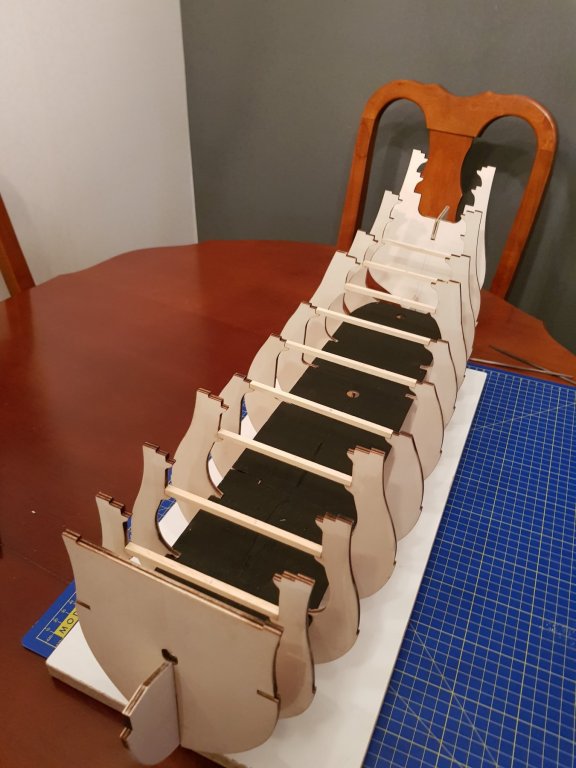
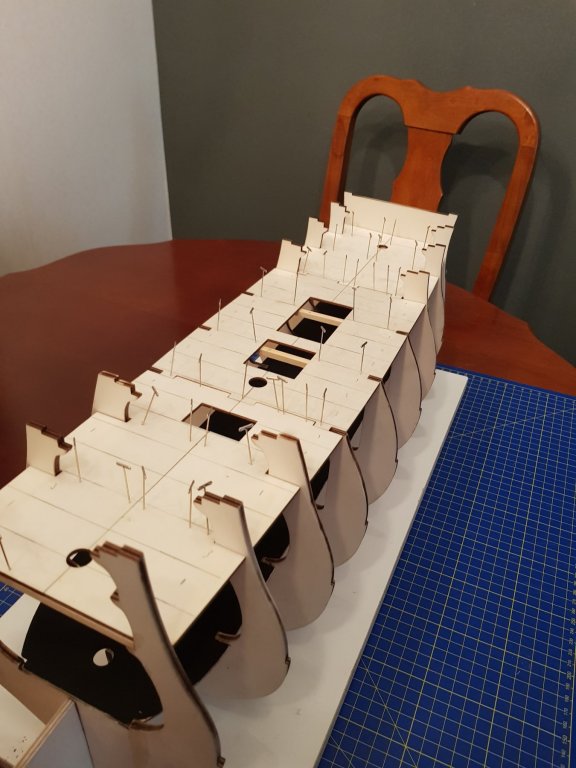
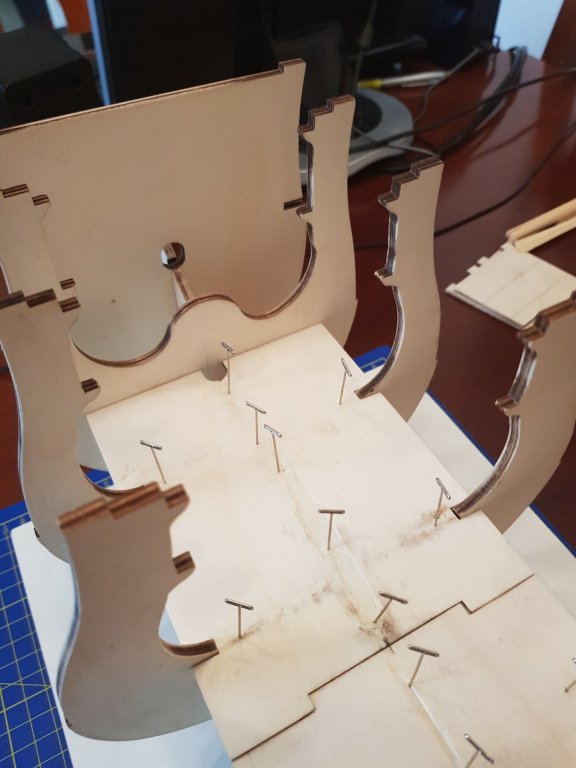
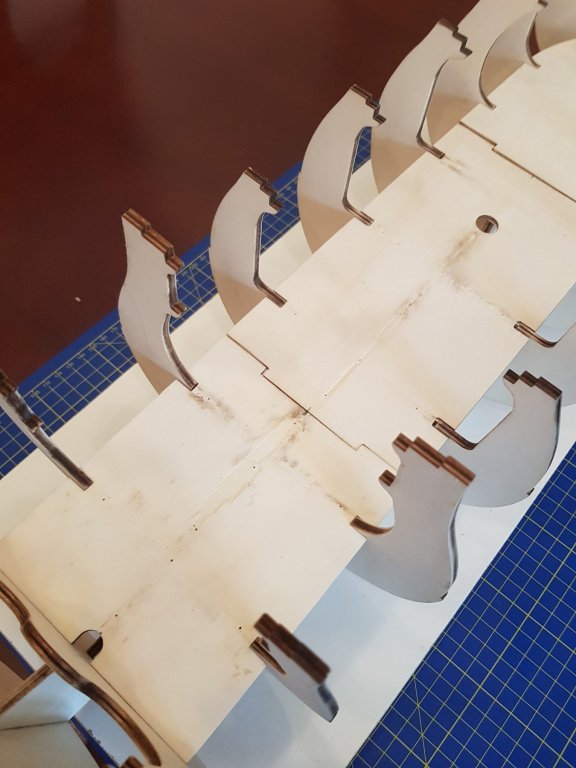
The weekend has been spent gluing all the bulkheads to the false kneel, at least those that I have at this stage. There is going to be two more arriving with the next shipment (number 3) but those are just going to support the topmost deck so I can do at lot of building before I really need them. Sadly I forgot to take pictures while I was gluing the bulkheads and the support deck. But here are some after I was done. The first time I glued the support deck I didn’t pay enough attention and the fit were a bit bad so I decided to redo it. To loosen the glue a bit I used white vinegar at the joints and it worked surprisingly good. Sadly, as you can see on the images, I did some damage to the deck. You’re barely going to be able to see the deck on the finished model but despise that I decided to paint the deck black to hide the damage. Until next time. /Morgan
- 50 replies
-
- soleil royal
- first build
-
(and 1 more)
Tagged with:
-
Hi Anthony! Thanks for the welcome The possibility to ask more experienced builders and to get feedback on my own build is the main reasons for me to post this log. /Morgan
- 50 replies
-
- soleil royal
- first build
-
(and 1 more)
Tagged with:
-
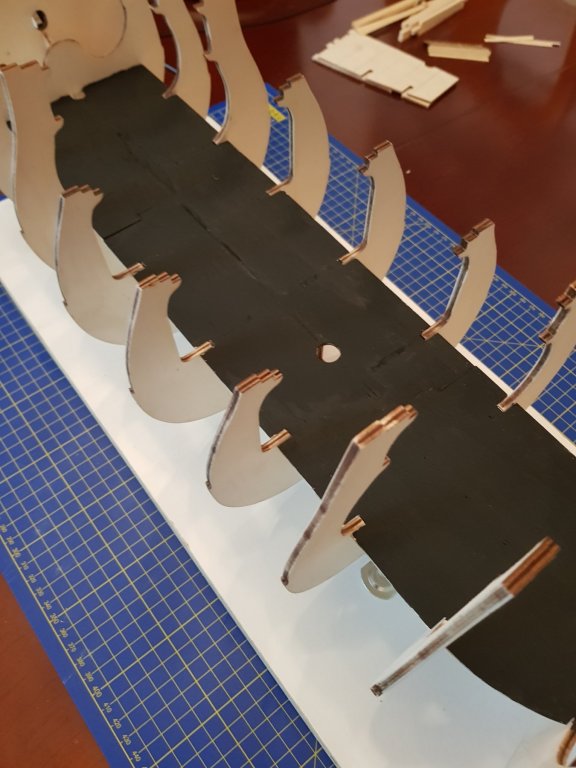
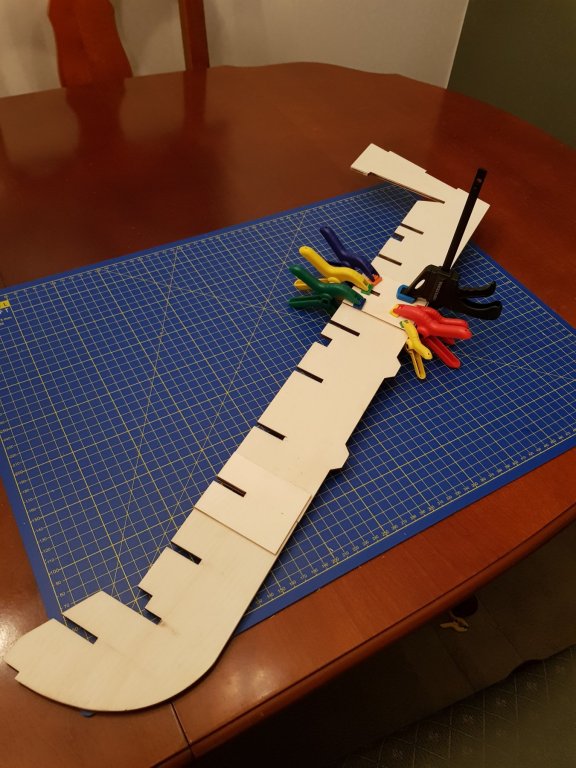
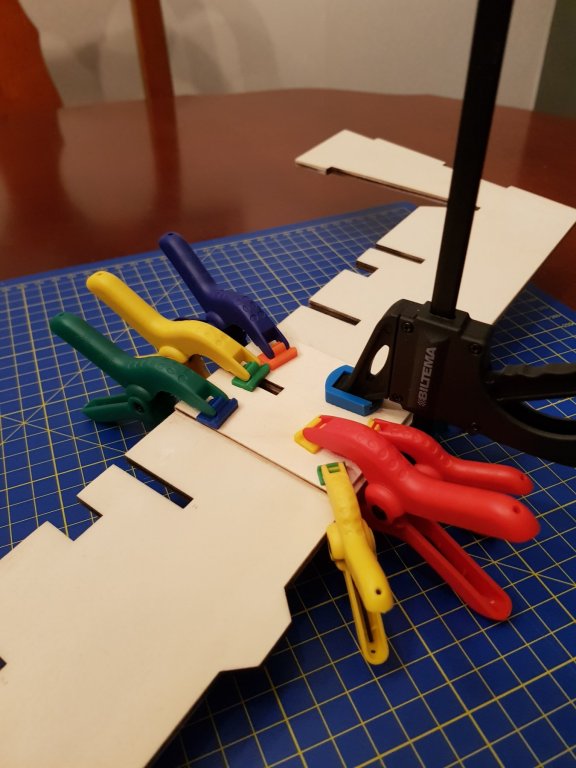
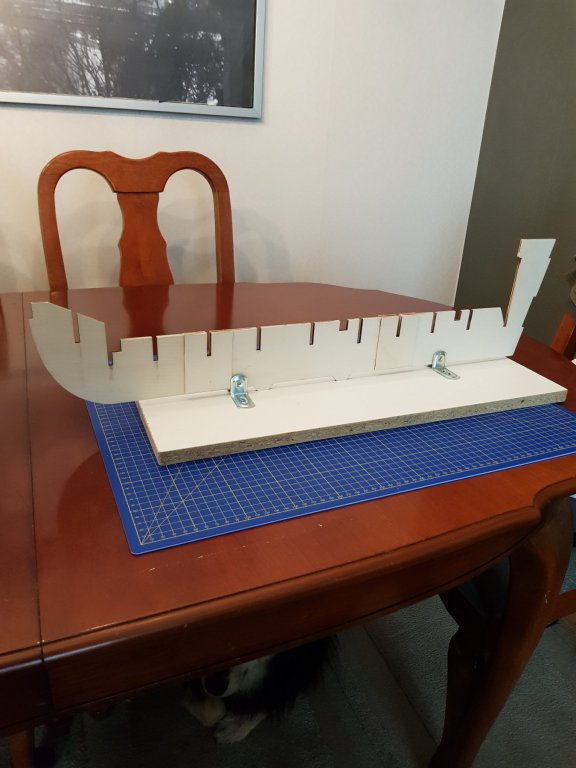
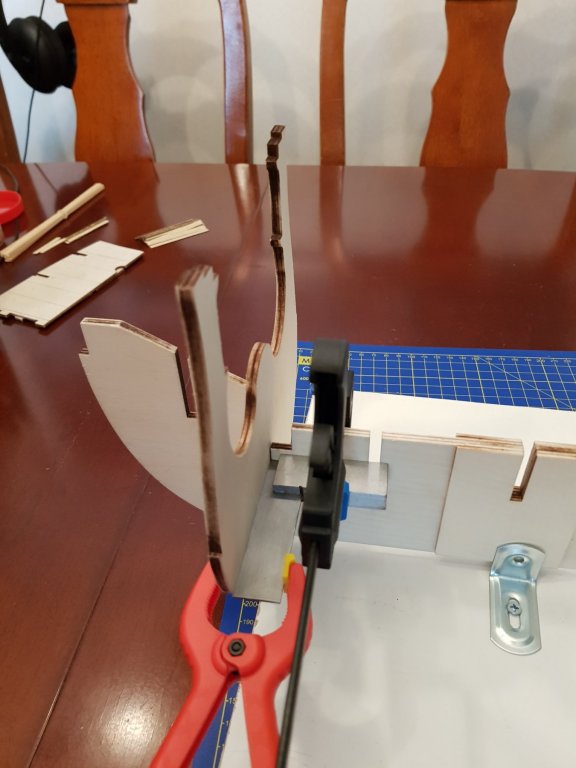
Some building has taken place and the ship is slowly starting to form. I decided to not follow the instructions regarding the assemble order, but to build the ship from the ground up. If anyone is interested in looking at the instructions you can find them all as pdf:s at: http://www.model-space.com/gb/build-the-soleil-royal.html and then choose the “Build” tab. I begun to gluing the three pieces of the false kneel together, and to leave them to completely dry over night. While then glue was setting I built my own homemade building slip. Nothing fancy, just a board with some L-irons??. I actually have no idea what they are called in English . I have started to glue to bulkheads to the false kneel. Until next time. /Morgan
- 50 replies
-
- soleil royal
- first build
-
(and 1 more)
Tagged with:
-
Great to hear from you Martyn! I’ve been watching your blog and must say that you’re doing an exceptional build. Since I’m a beginner I don’t plan to make many modifications to the build but I guess I’m going to add some details. A question regarding the deck planking. I don’t really like the pattern in the instructions and been thinking about doing a pattern of three instead. I believe you did the same. Have you done any research regarding the planking beforehand? I have been trying to find information regarding, but I haven’t found any. Morgan
- 50 replies
-
- soleil royal
- first build
-
(and 1 more)
Tagged with:
-
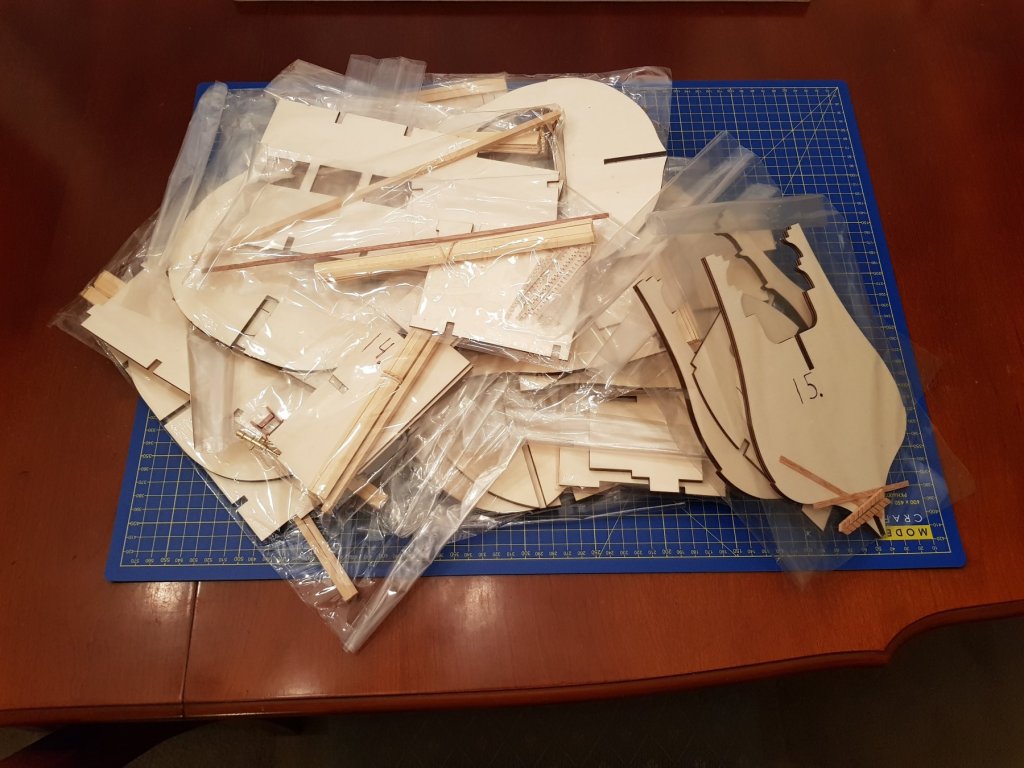
I have since I was a child been interested in models. The interest first emerge when I at 12 years of age visited the Wasa museum in Stockholm and laid eyes on their 1/10 model of the ship. Since then I have but some plastic models under my belt but I have a very limited experience with wooden models. I tried to build the Gothenburg from Billing Boats but quickly realized that the instructions provided was not enough for someone with my limited experience and the build was soon abandoned. A couple of month ago I stumble across DeAgostini and their monthly subscription models. Their models come with very detailed instructions and some of the models even with videos. I decided to give wooden models a new chance and subscribed to the flagship of Louis XIV (the sun king and builder of Versailles), the Soleil Royal. I decided to wait until I had received two monthly packs before I begun building and now they are both finally here. Let’s get on building. Since I’m a beginner all advice and feedback is appreciated. I apologize if my English is not the best, it’s not my first language. Morgan
- 50 replies
-
- soleil royal
- first build
-
(and 1 more)
Tagged with:
-
Thanks for the advise Pucko. I’m going to try and wait for shipment 7 before I begin building the hull. Guess I have some decorations to paint while I wait . I also found a old Billing boats model of Gothenburg (ostindienfararen) that bought maybe 10 years ago but since I didn’t gather any information about how to build a wooden model beforehand I mistreated it quite badly. I have now removed the planking I did (not that much) and started to sand the frames (no didn’t do that the first time ) to hopefully get a better result this time. Regards Morgan
- 305 replies
-
- deagostini
- vasa
-
(and 1 more)
Tagged with:
-
First of, great build and great log I have been tempted to build the Vasa since I was about teen years old and visited the museum and saw the 1:10 model. However I have more or less no experience building wooden ships so I have never dared to try any Vasa kit. But about a month ago I found out about the deagostini kit and the instructions seems very clear. Even if I hate to wait for stuff the subscription model allows me to cancel the subscription if I feel like the model is too hard. So I have now subscribed and I’m waiting for my first delivery (according to Edition Atlas it should have arrived yesterday but still no luck). After following your log I understand that it’s a good idea to wait to start the build until you have received a couple of shipments. How long do you recomend me to wait? Keep in mind that I’m really eager to start the build /Morgan
- 305 replies
-
- deagostini
- vasa
-
(and 1 more)
Tagged with:
About us
Modelshipworld - Advancing Ship Modeling through Research
SSL Secured
Your security is important for us so this Website is SSL-Secured
NRG Mailing Address
Nautical Research Guild
237 South Lincoln Street
Westmont IL, 60559-1917
Model Ship World ® and the MSW logo are Registered Trademarks, and belong to the Nautical Research Guild (United States Patent and Trademark Office: No. 6,929,264 & No. 6,929,274, registered Dec. 20, 2022)
Helpful Links
About the NRG
If you enjoy building ship models that are historically accurate as well as beautiful, then The Nautical Research Guild (NRG) is just right for you.
The Guild is a non-profit educational organization whose mission is to “Advance Ship Modeling Through Research”. We provide support to our members in their efforts to raise the quality of their model ships.
The Nautical Research Guild has published our world-renowned quarterly magazine, The Nautical Research Journal, since 1955. The pages of the Journal are full of articles by accomplished ship modelers who show you how they create those exquisite details on their models, and by maritime historians who show you the correct details to build. The Journal is available in both print and digital editions. Go to the NRG web site (www.thenrg.org) to download a complimentary digital copy of the Journal. The NRG also publishes plan sets, books and compilations of back issues of the Journal and the former Ships in Scale and Model Ship Builder magazines.


