


glennb17
-
Posts
11 -
Joined
-
Last visited
About glennb17

Recent Profile Visitors
160 profile views


-
 Mirabell61 reacted to a post in a topic:
How metal hooks are stropped onto block
Mirabell61 reacted to a post in a topic:
How metal hooks are stropped onto block
-
 Savo, I realize this post was a while ago, but you are a master. Any interest in providing us some insights on your process for carving? A little tutorial could be a game changer for some of us. Thanks, Glenn
 -
thibaultron reacted to a post in a topic:
Mainsheet blocks and rigging for 1930s Chesapeake Bay skipjack
-
mtaylor reacted to a post in a topic:
Mainsheet blocks and rigging for 1930s Chesapeake Bay skipjack
-
 glennb17 reacted to a post in a topic:
Mainsheet blocks and rigging for 1930s Chesapeake Bay skipjack
glennb17 reacted to a post in a topic:
Mainsheet blocks and rigging for 1930s Chesapeake Bay skipjack
-
Thanks for the great pictures! There's enough to get it right I think. The boom iron should be pretty interesting to fabricate as well. Thanks everyone for the help, glad I posted Glenn
-
mtaylor reacted to a post in a topic:
Mainsheet blocks and rigging for 1930s Chesapeake Bay skipjack
-
thibaultron reacted to a post in a topic:
Mainsheet blocks and rigging for 1930s Chesapeake Bay skipjack
-
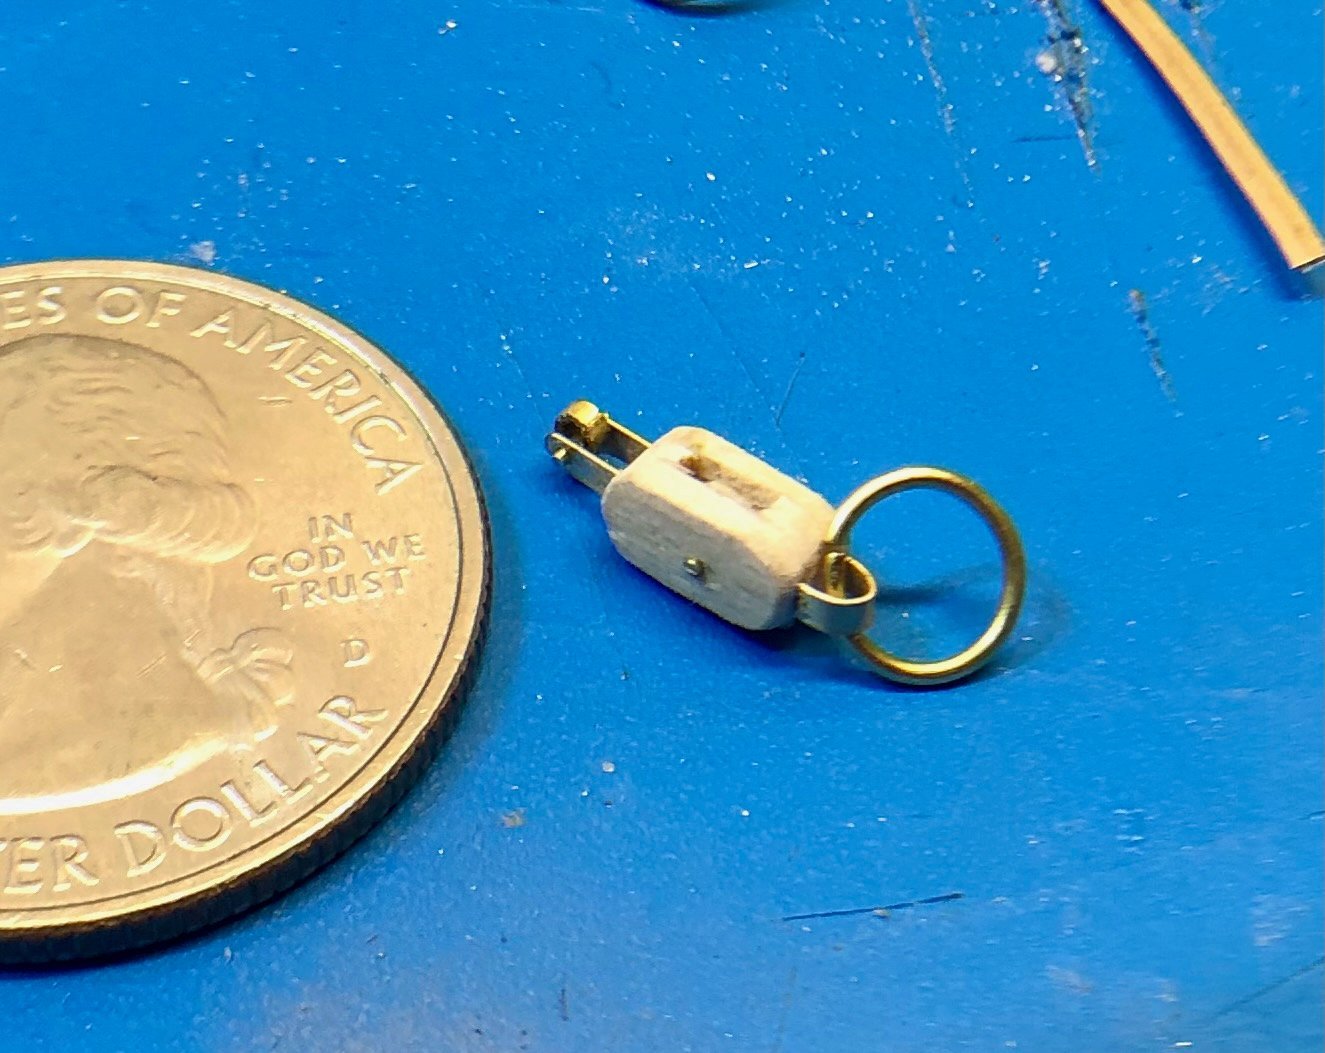
That's very helpful, thanks! I have also been monkeying with Midwest's old Flattie kit. Since they came from the same area and there was a lot of overlap between service for the two, I took the cue for the Skipjack and am transferring over. I prototyped a block for the traveler in basswood and brass. The final blocks will be in cherry, for no other reason than looks better at scale and I happen to have the stock. Here's what I came up with for a block of that style with a becket. No eye splice yet though. Will add more detail when I think the wood can take it and blacken the brass in advance. I like the paint a little better though, maybe i will pick up a little grey enamel instead. Thanks again!
-
thibaultron reacted to a post in a topic:
Mainsheet blocks and rigging for 1930s Chesapeake Bay skipjack
-
thibaultron reacted to a post in a topic:
Mainsheet blocks and rigging for 1930s Chesapeake Bay skipjack
-
mtaylor reacted to a post in a topic:
Mainsheet blocks and rigging for 1930s Chesapeake Bay skipjack
-
glennb17 reacted to a post in a topic:
Mainsheet blocks and rigging for 1930s Chesapeake Bay skipjack
-
glennb17 reacted to a post in a topic:
Mainsheet blocks and rigging for 1930s Chesapeake Bay skipjack
-
Wow! Those pictures couldn't be more on point if I had gone to the museum myself looking for just that. One remaining question. On the becket opposite the ring on the block, there's a line with an eyesplice to attach it. Did you catch where that was going? I definitely know what it's supposed to look like, thanks so much! Glenn
-
mtaylor reacted to a post in a topic:
Mainsheet blocks and rigging for 1930s Chesapeake Bay skipjack
-
glennb17 changed their profile photo
-
I'm endeavoring to build Model Shipway's kit of Willie Bennet, a skipjack that I believe was modeled for the 1930s. My question is, and this has come up for other smaller craft from 1900-1940; how is the mainsheet really rigged? Specifically, what did the block look like on the traveler. Most models show a simple eye from a single block permanently looped onto a brass bar, but I'm sure it was a bit more than that. Anyone have a description? Diagrams or even pictures are especially helpful. It would be nice to know how to authentically rig the traveler for working boats from that era, I've enjoyed building some but I would like to get this detail right. Thanks, Glenn
-
GrandpaPhil reacted to a post in a topic:
Painting to retain laser cut detail
-
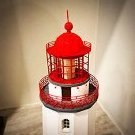
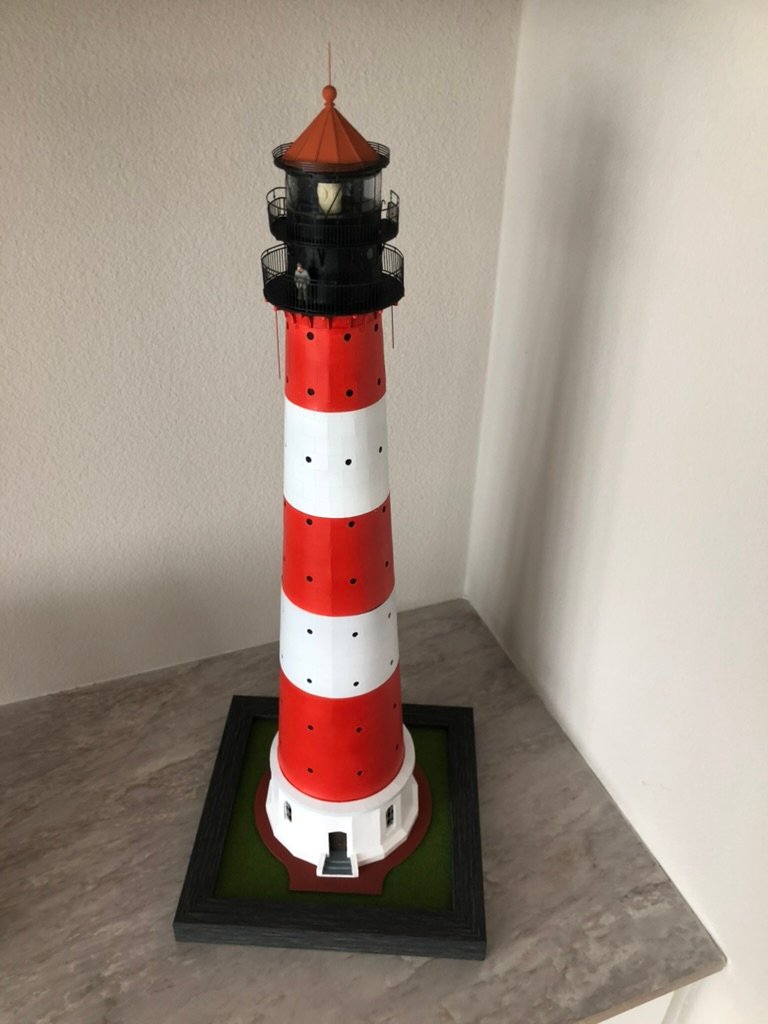
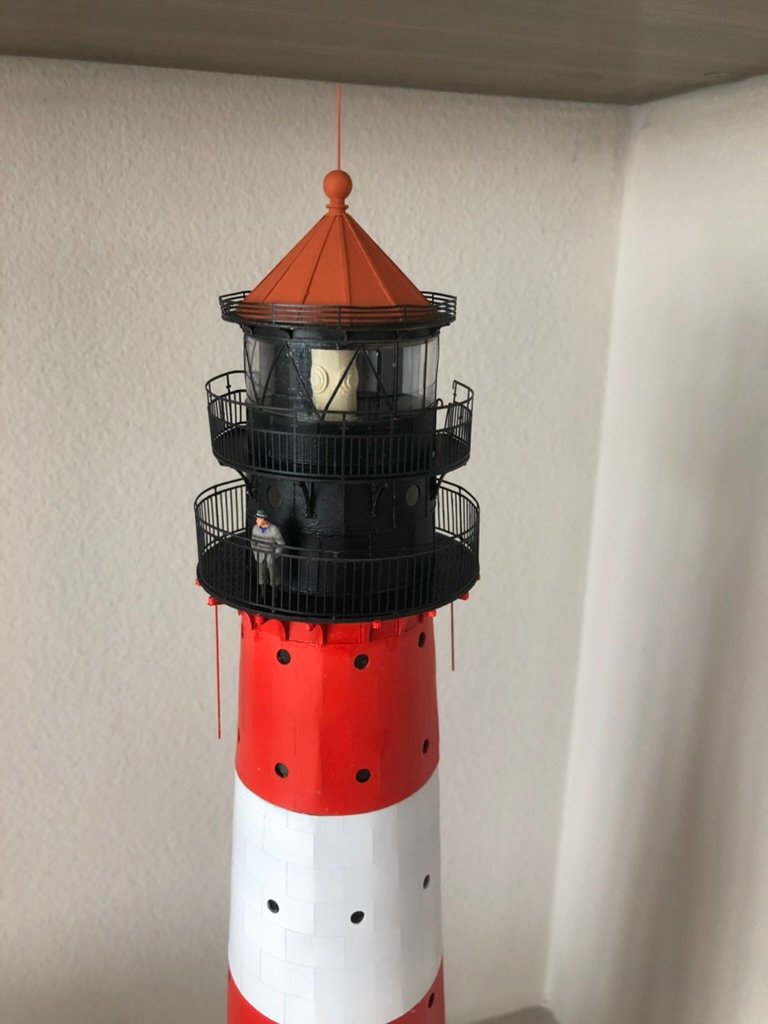
Thanks guys! I did airbrush after thinning some titanium white and Grumbacher red. The detail was retained. I am still going to get some markers to play with, but I figured for this one I should leave well enough alone. I wanted to do something like panel lining, but I think the lighthouse keepers pride themselves on keeping a clean coat of paint. I'm attaching a few pictures. This is 1:72 scale. The actual lighthouse was built in 1906, so I found a to-scale period figure who is meant to be German. We've named him Carl. This model made it to the living room so a big hit at home. Thanks for the helpful comments! 6844150B-591E-4865-9333-28E8613B22A9_1_201_a.heic 6844150B-591E-4865-9333-28E8613B22A9_1_201_a.heic
-
I'm building a paper lighthouse model, a compromise with my wifew on nautical displays to balance all my little work boats. I got a 1:72 model of the Westerheversand Lighthouse from Shipyard. There are some nice details of bricks and blocks cut part of the way through the pieces with the laser. How do i paint those pieces but retain the detail? My last model didn't have much of it and I am using the paints from that kit, full bodied acrylics in a little pot. I tried to thin my paint with a little water but, predictably, I got a lot of warping of the pieces still uncut from the page. Any ideas? The pictures of the model still show the detail and the details under white, red, and black paint subtly, and the lines on the black portions look slightly brassy (but maybe just their photography). If you have an idea and a picture, I would be very grateful. Glenn 79C3B3C4-0981-4394-868B-37542631C535.heic 92E4DEE9-A93D-4720-AEA3-FAC45CB4DAAE.heic
-
How metal hooks are stropped onto block
glennb17 replied to glennb17's topic in Metal Work, Soldering and Metal Fittings
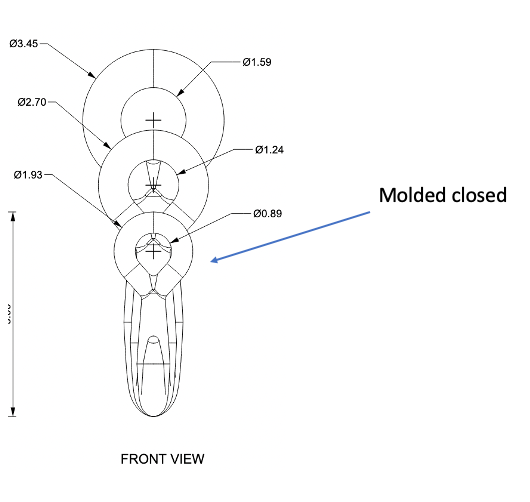
Thanks a lot guys, great discussion. It certainly gives me something to think about. I think the fullly closed hooks have drawbacks. I'll have to see how far I can push the molding process. Alternatively, I'm thinking I could fabricate the thimble with a cut and work that way. Either path, I need to figure out how to make things look clean after crimping one of them. Very helpful! -
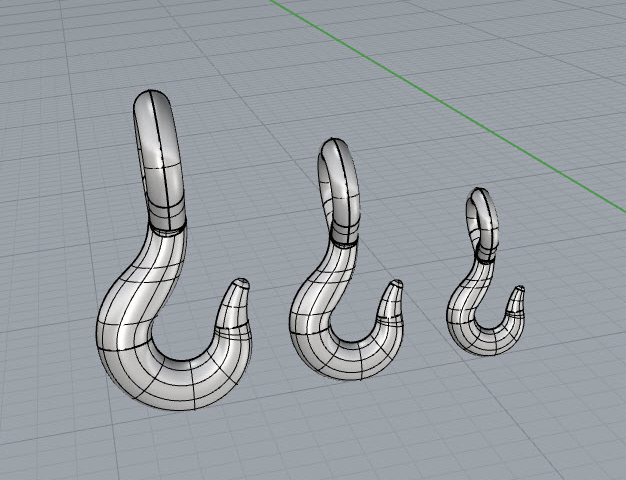
How are the metal hooks, in real practice, stropped onto a block? Is an open grommet run through the eye of the hook and then closed with a short splice or can the eye be open and then wrought closed? Can you braid a hook into a grommet using a single piece of line? Here's a rendering of my hooks (have to CAD something these days, right). They are very close to the real thing except the way the ring closes. Any tips on getting hooks onto grommets? Actual traditional methods would be very enlightening here. Glenn
-
glennb17 reacted to a post in a topic:
What is the best glue for cast metal parts?
-
Correct cordage sizes for stropping blocks
glennb17 replied to glennb17's topic in Masting, rigging and sails
Hi Allan, I’m just seeing your post now, thank you! I’m working on Philadelphia from Model Shipways. I think at that scale, getting proportions wrong would really stick out. I got a good recommendation to build MS Syren next because of the extensive practicum, but with it being fully rigged, I want to make sure I get proportions right going into it. Thanks Allan! -
I'd like to figure out what cordage size I need for stropping blocks on my current build. It's my second and a half kit and I'd like to take a step up in accuracy. I may even serve it if it doesn't cause brain damage for a newb like me. What block dimensions do I need to consider? Dimensions at any scale would be cool, I can convert. I'm working at 1:24 scale and with 11/32", 9/32", and 3/16" (9mm, 7mm, and 5mm) blocks. Thanks, Glenn