JamesR
-
Posts
4 -
Joined
-
Last visited
-
 IgorSky reacted to a post in a topic:
18th Century Longboat by JamesR - Model Shipways - First log on site
IgorSky reacted to a post in a topic:
18th Century Longboat by JamesR - Model Shipways - First log on site
-
Tigersteve reacted to a post in a topic:
18th Century Longboat by JamesR - Model Shipways - First log on site
-
Tigersteve reacted to a post in a topic:
18th Century Longboat by JamesR - Model Shipways - First log on site
-
Tigersteve reacted to a post in a topic:
18th Century Longboat by JamesR - Model Shipways - First log on site
-
GrantGoodale reacted to a post in a topic:
18th Century Longboat by JamesR - Model Shipways - First log on site
-
Mike Shea reacted to a post in a topic:
18th Century Longboat by JamesR - Model Shipways - First log on site
-
Tom E reacted to a post in a topic:
18th Century Longboat by JamesR - Model Shipways - First log on site
-
Cathead reacted to a post in a topic:
18th Century Longboat by JamesR - Model Shipways - First log on site
-
Ryland Craze reacted to a post in a topic:
18th Century Longboat by JamesR - Model Shipways - First log on site
-
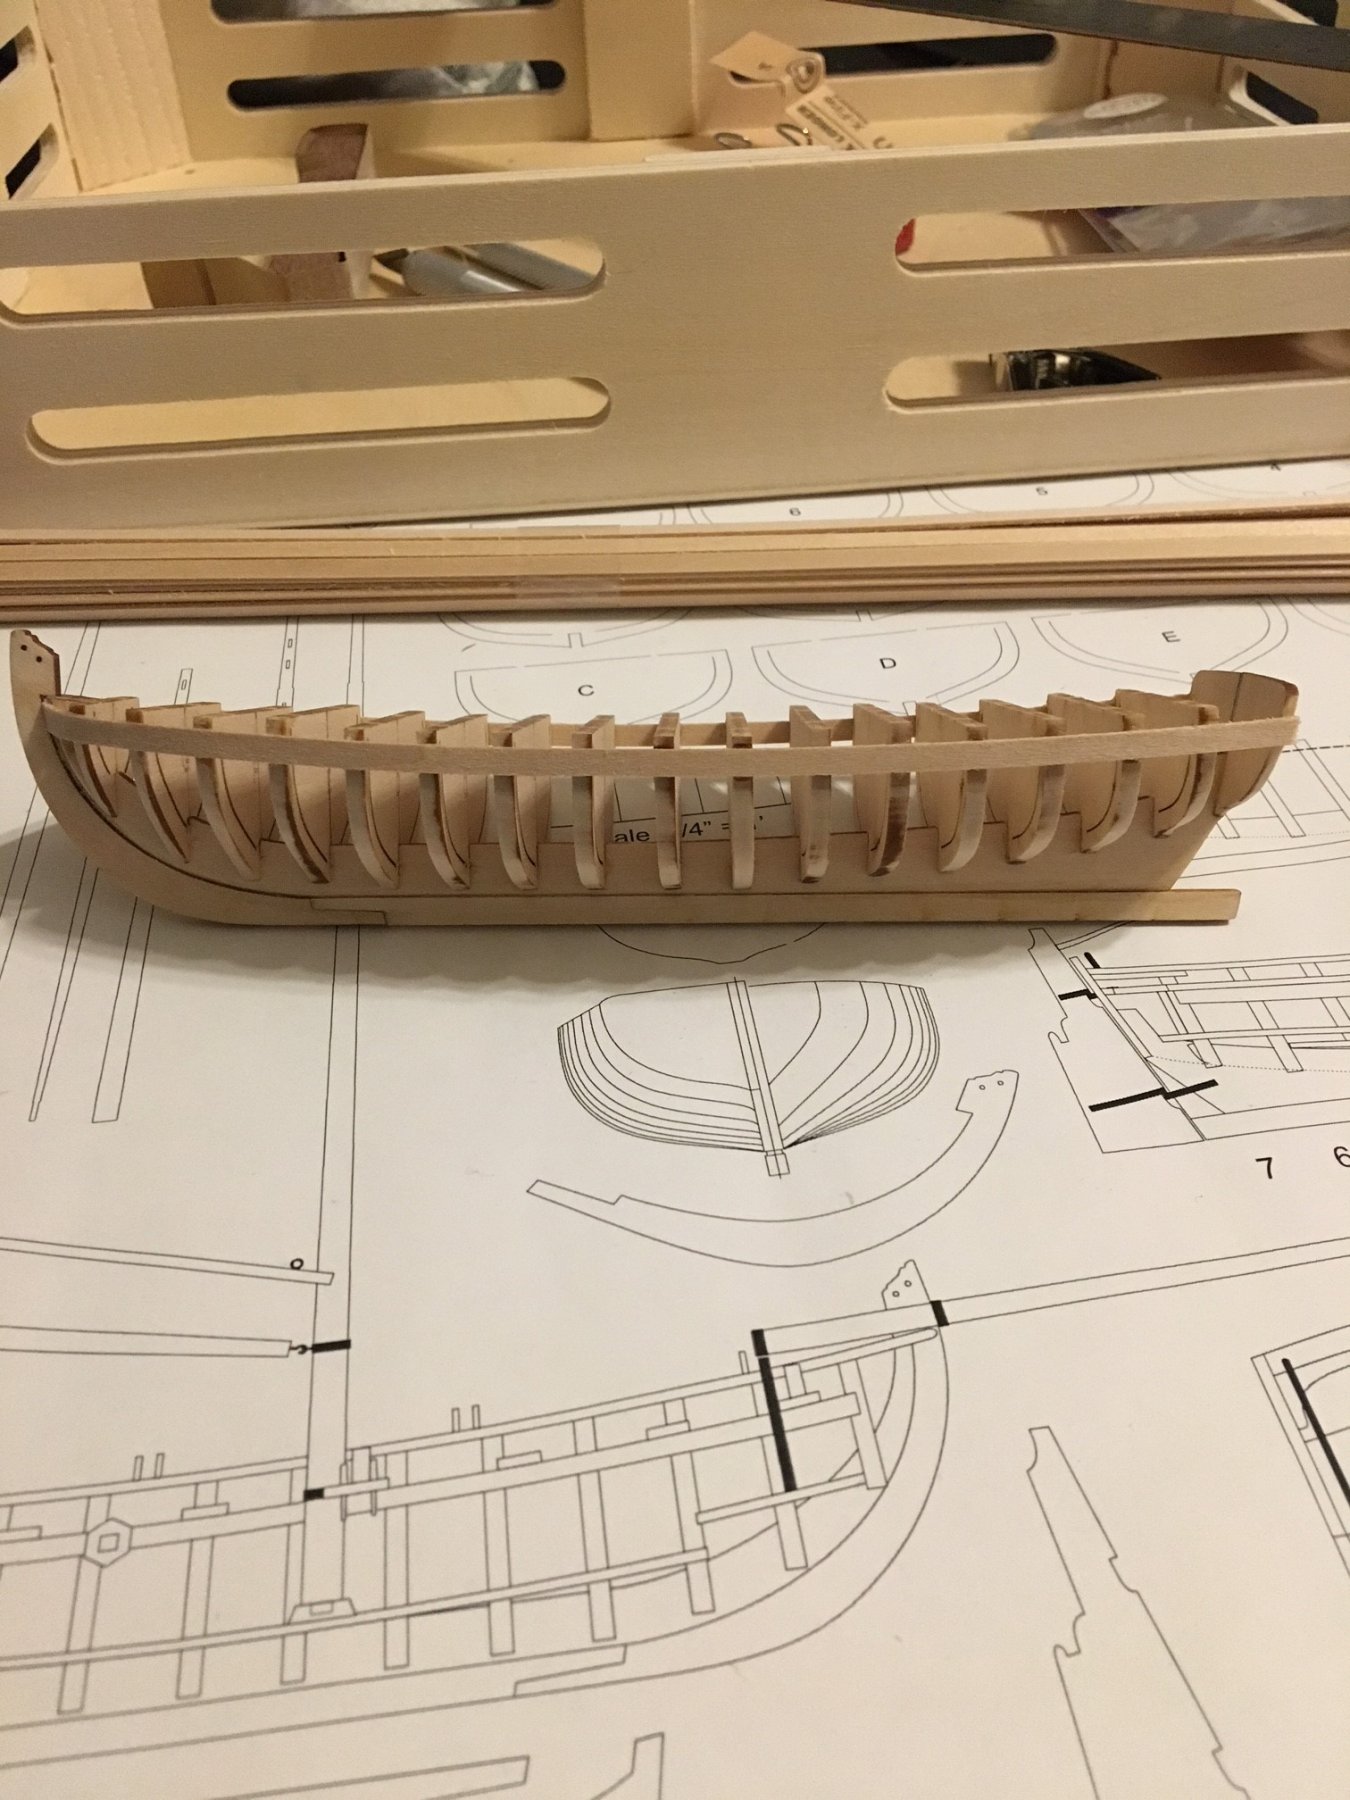
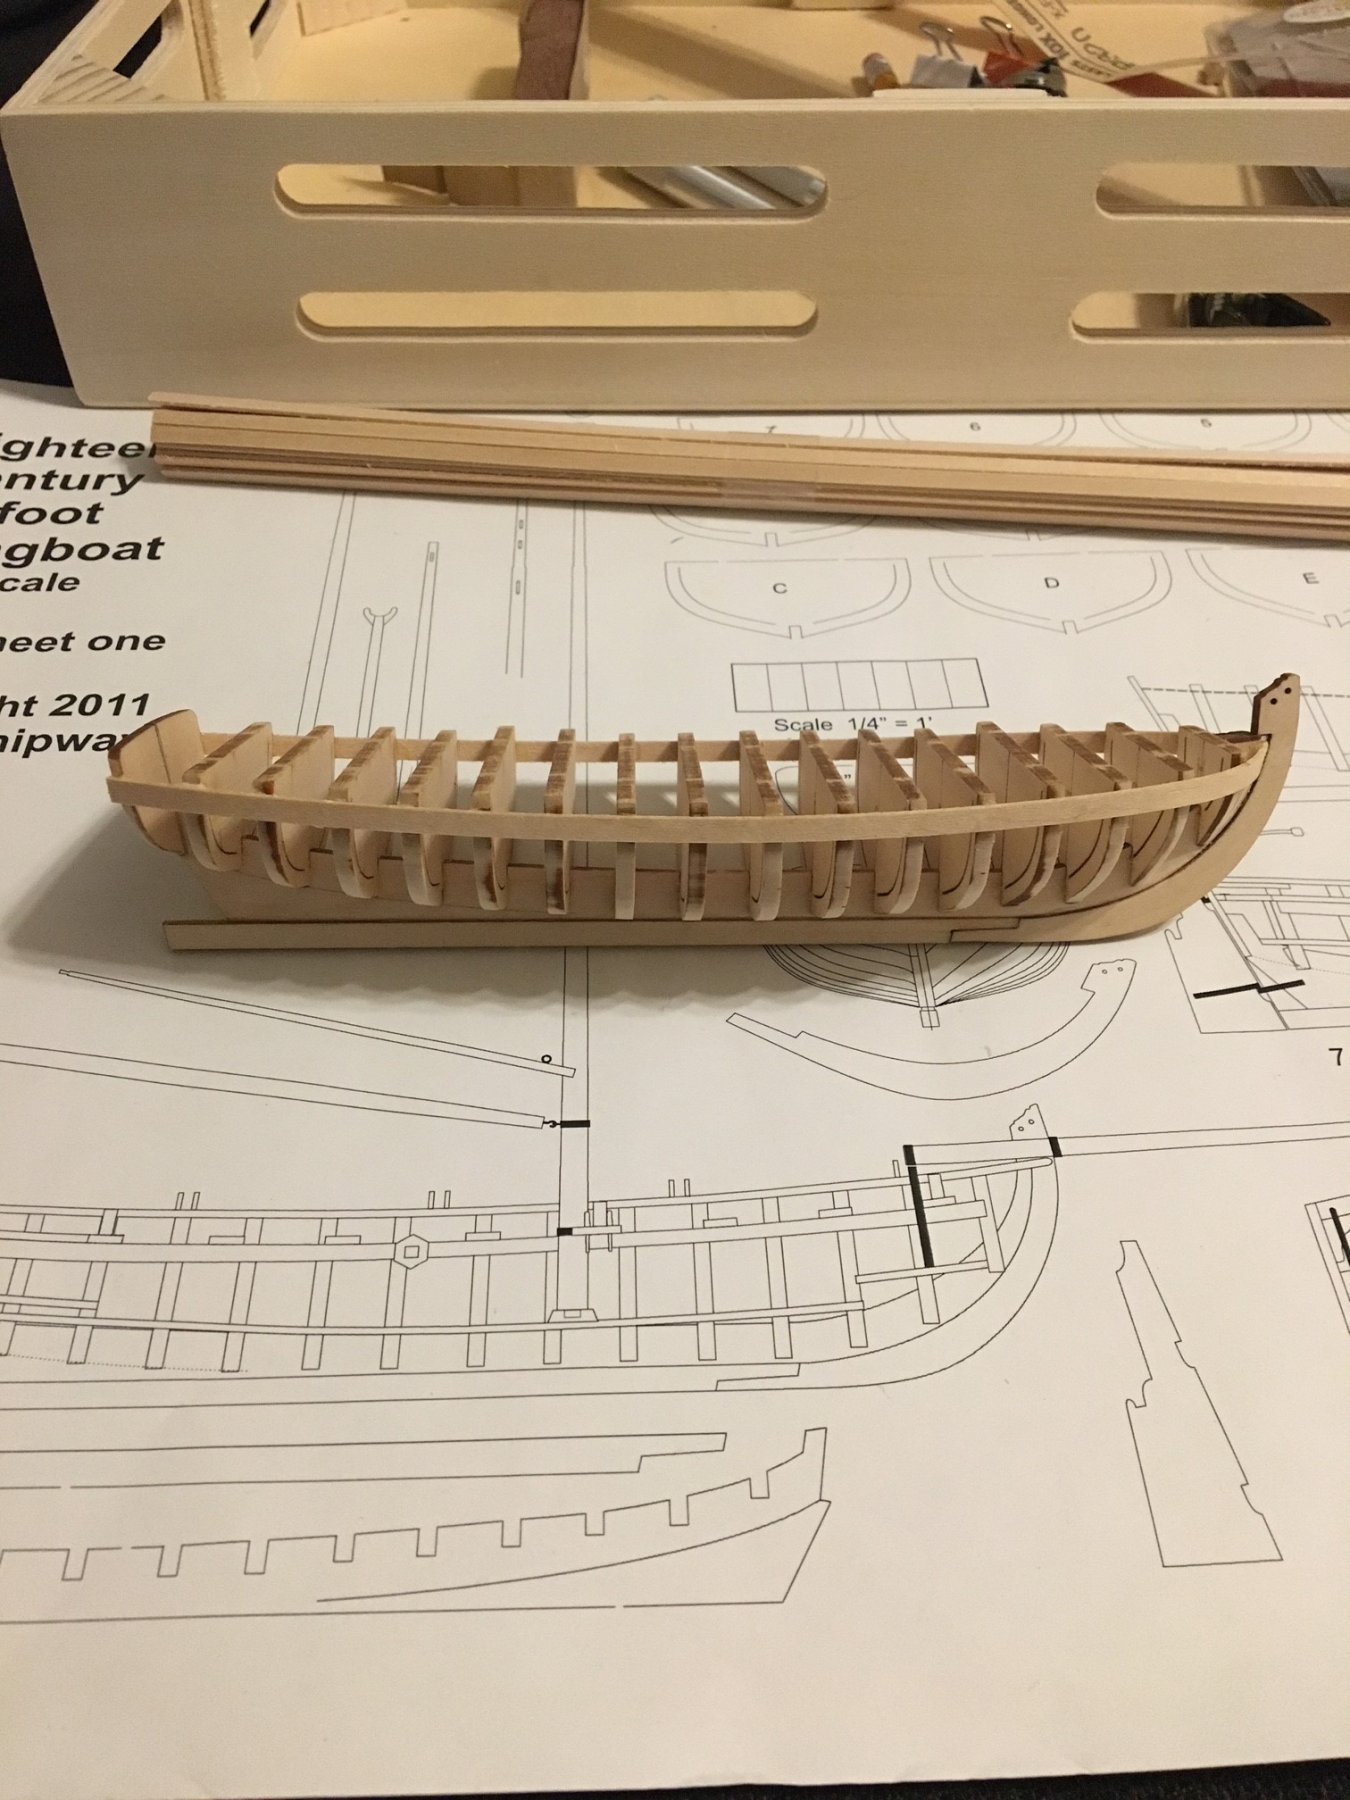
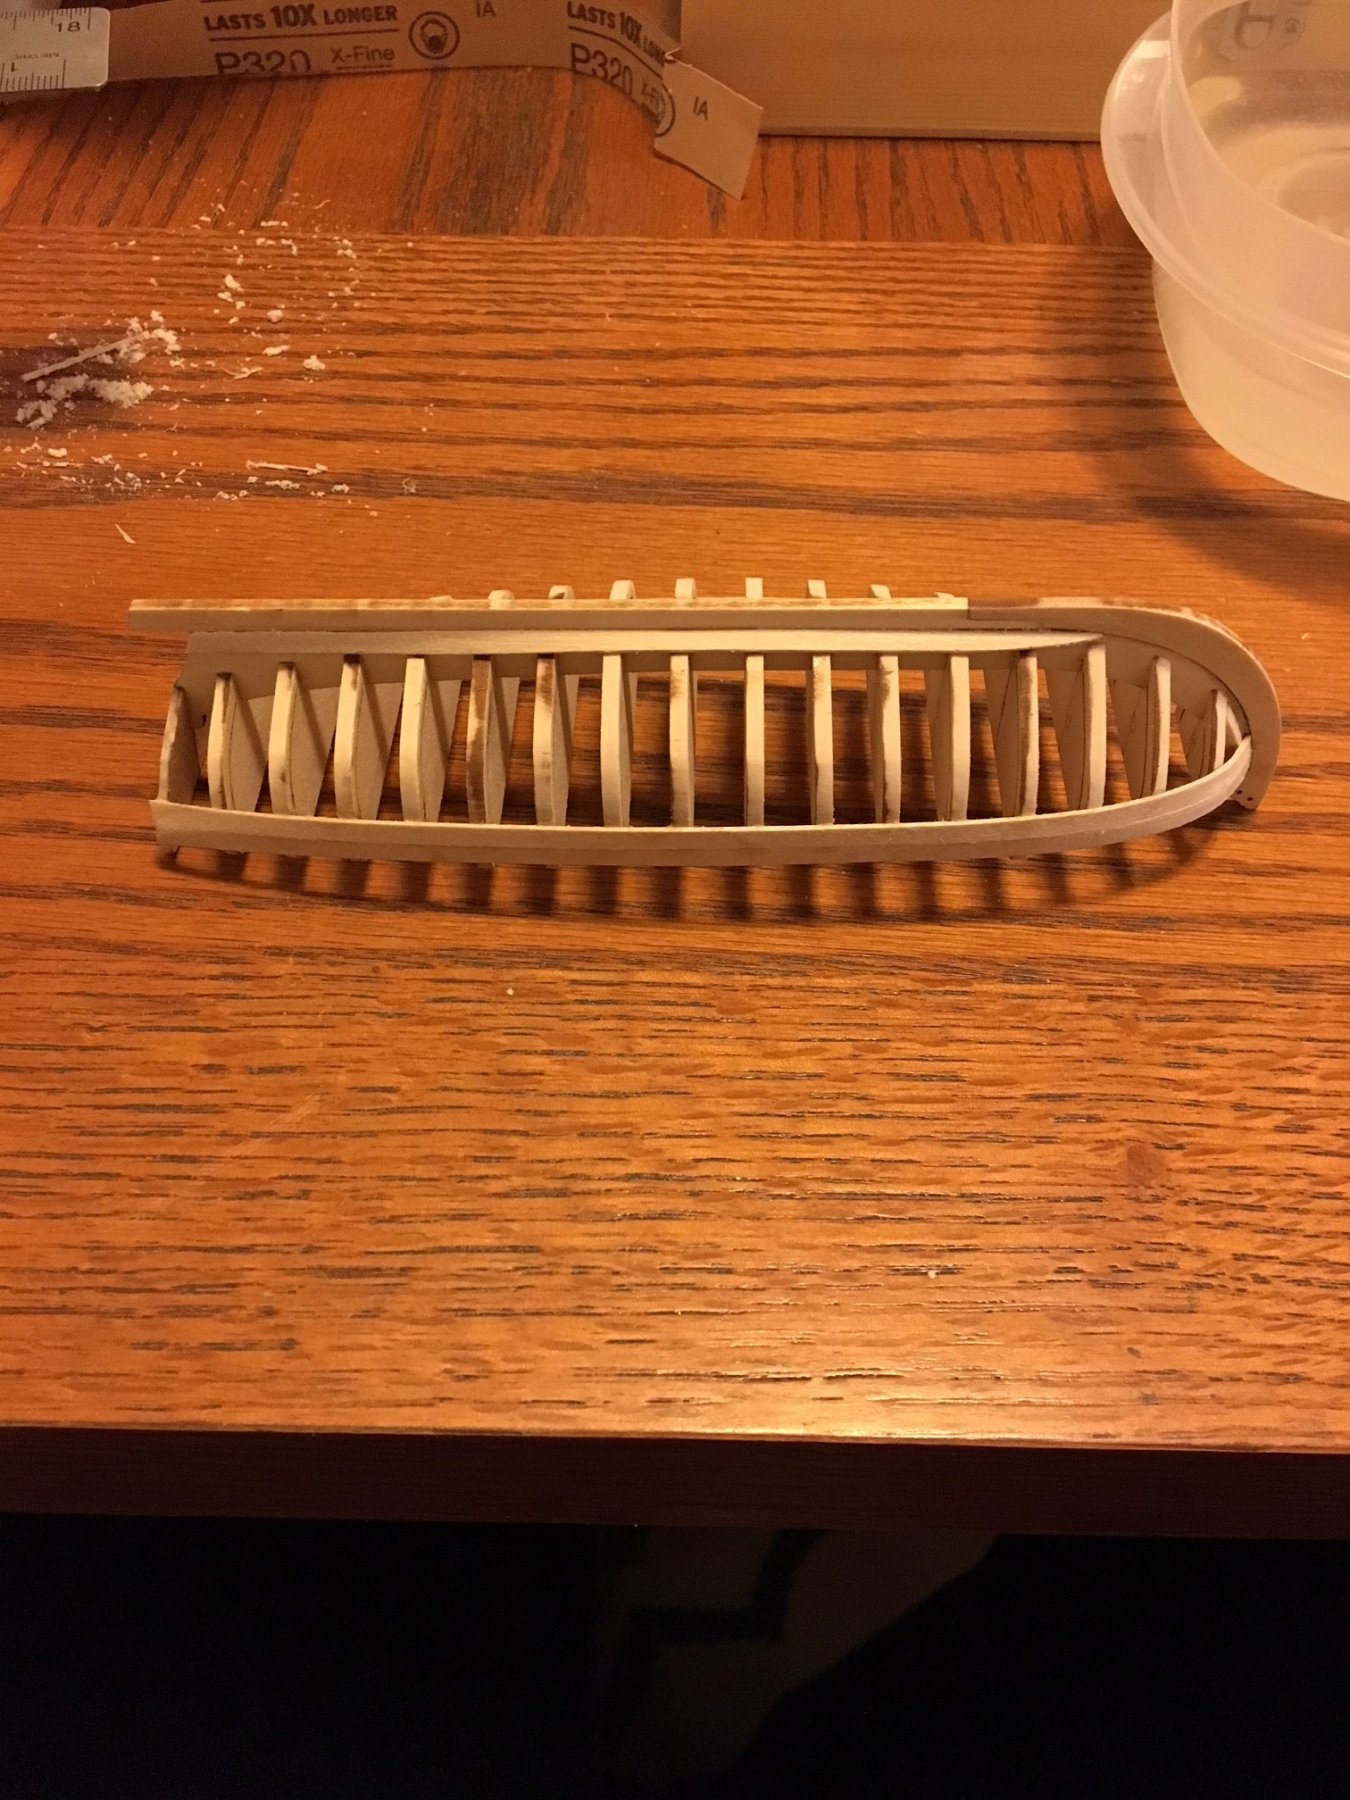
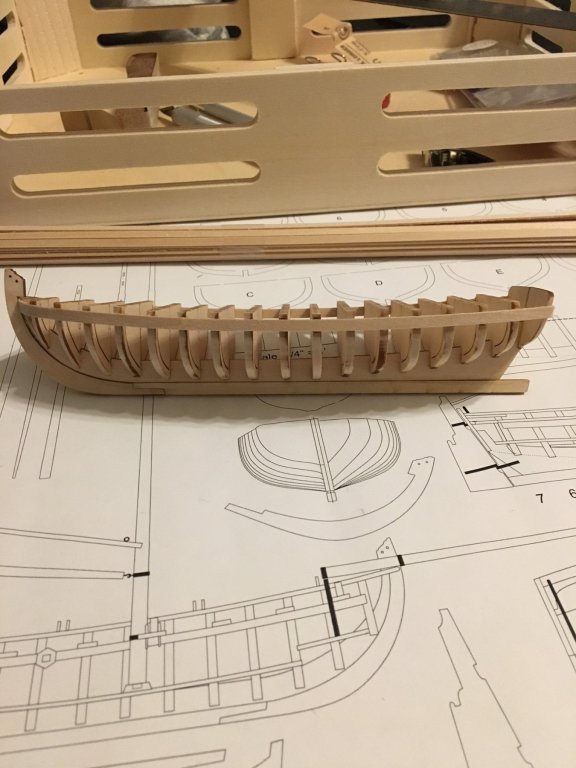
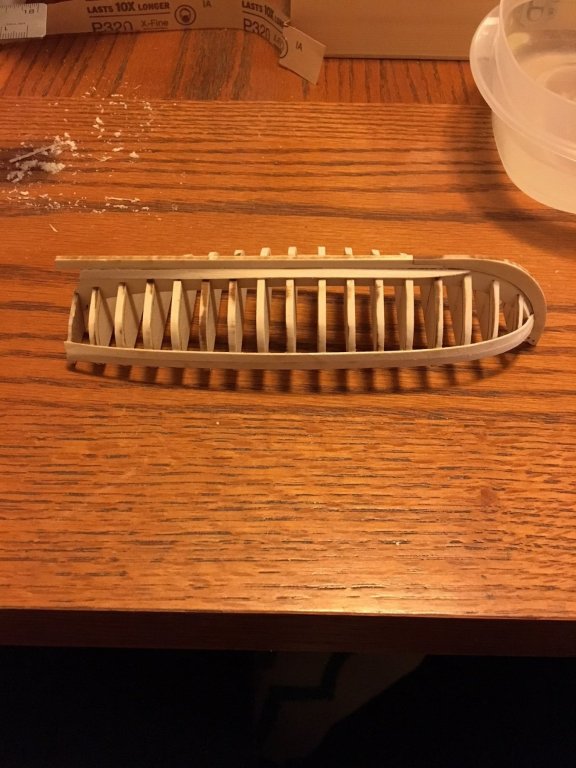
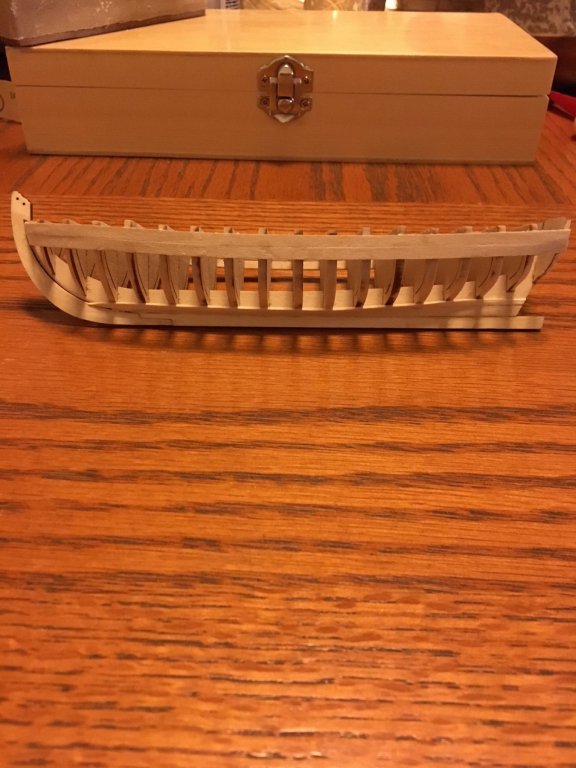
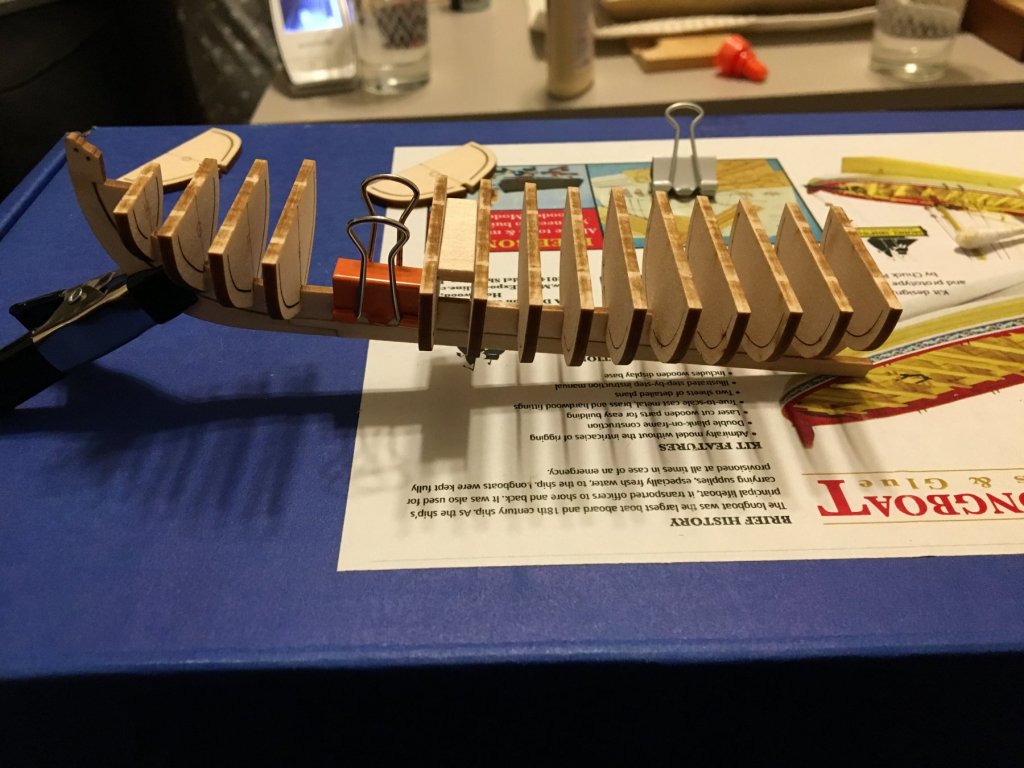
The two sheer planks came next. They did not require too much bending but the gluing proved slightly cumbersome. I tried doing a few bulkheads at once and while that was fine it was a tight squeeze once the prior bulkhead was glued. My biggest error here was doing one side at a time. I should have done a few on each side so that the starboard and port sides were even. The bulkheads seemed to have warped slightly as the glue dried on one side, though not at all extreme enough to cause any overall issues. After this I added a second plank on each side, below the sheer plank. No issues with either of these, just did some sanding and light shaping. Only challenge with this was the sharp curve at the bow. I then moved on to the garboard strakes. Wetting and drying them as needed to fit along the keel was fairly easy, it just took some patience on my part. It's not perfect, but I'm happy with the way it's coming together. Currently I have some planks that I'm bending set aside, and as they're dry - and I have the time - I'll finish planking the piece soon.


-
Tom E reacted to a post in a topic:
18th Century Longboat by JamesR - Model Shipways - First log on site
-
JamesR reacted to a post in a topic:
18th Century Longboat by JamesR - Model Shipways - First log on site
-
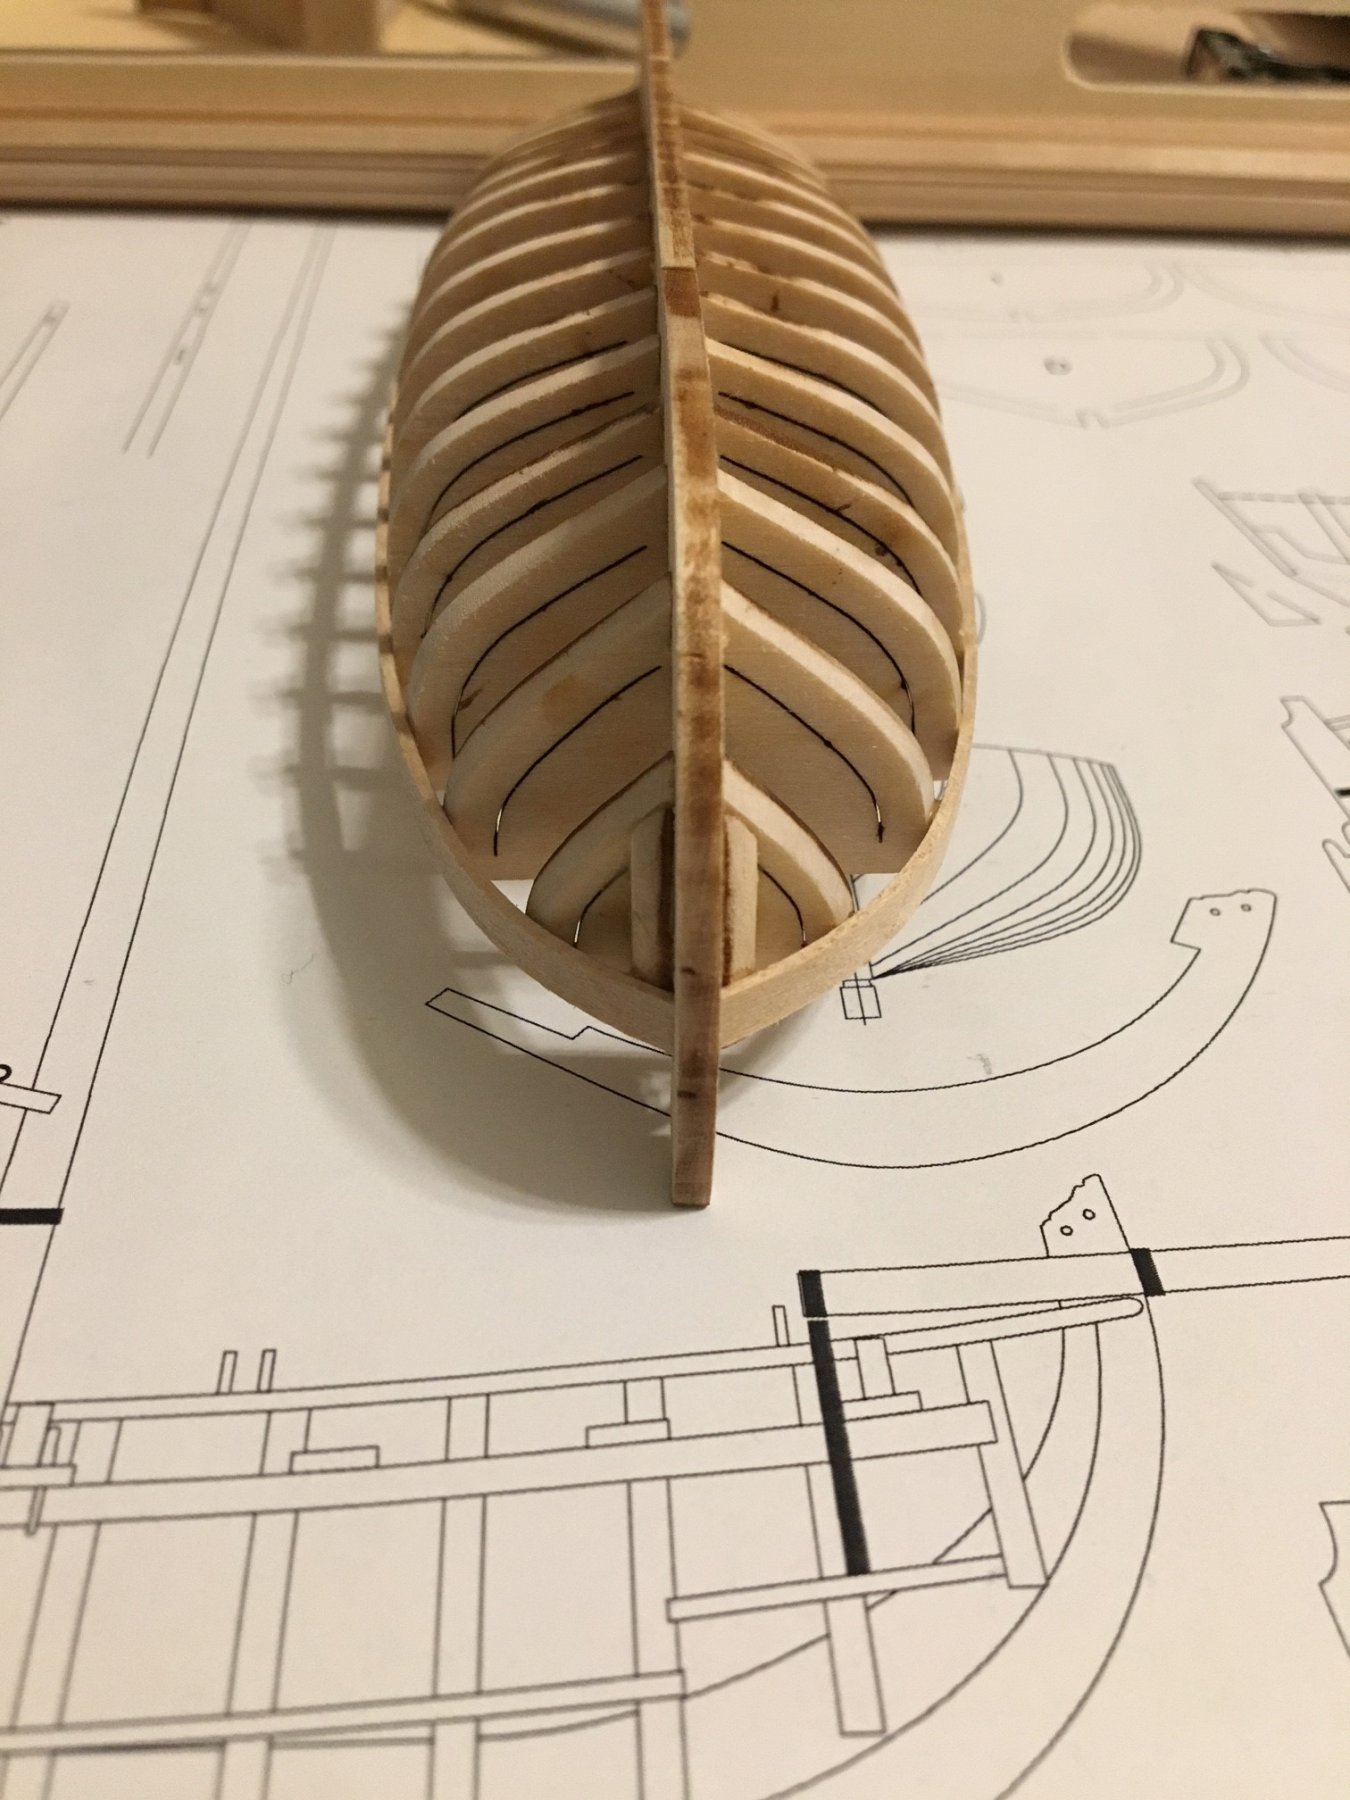
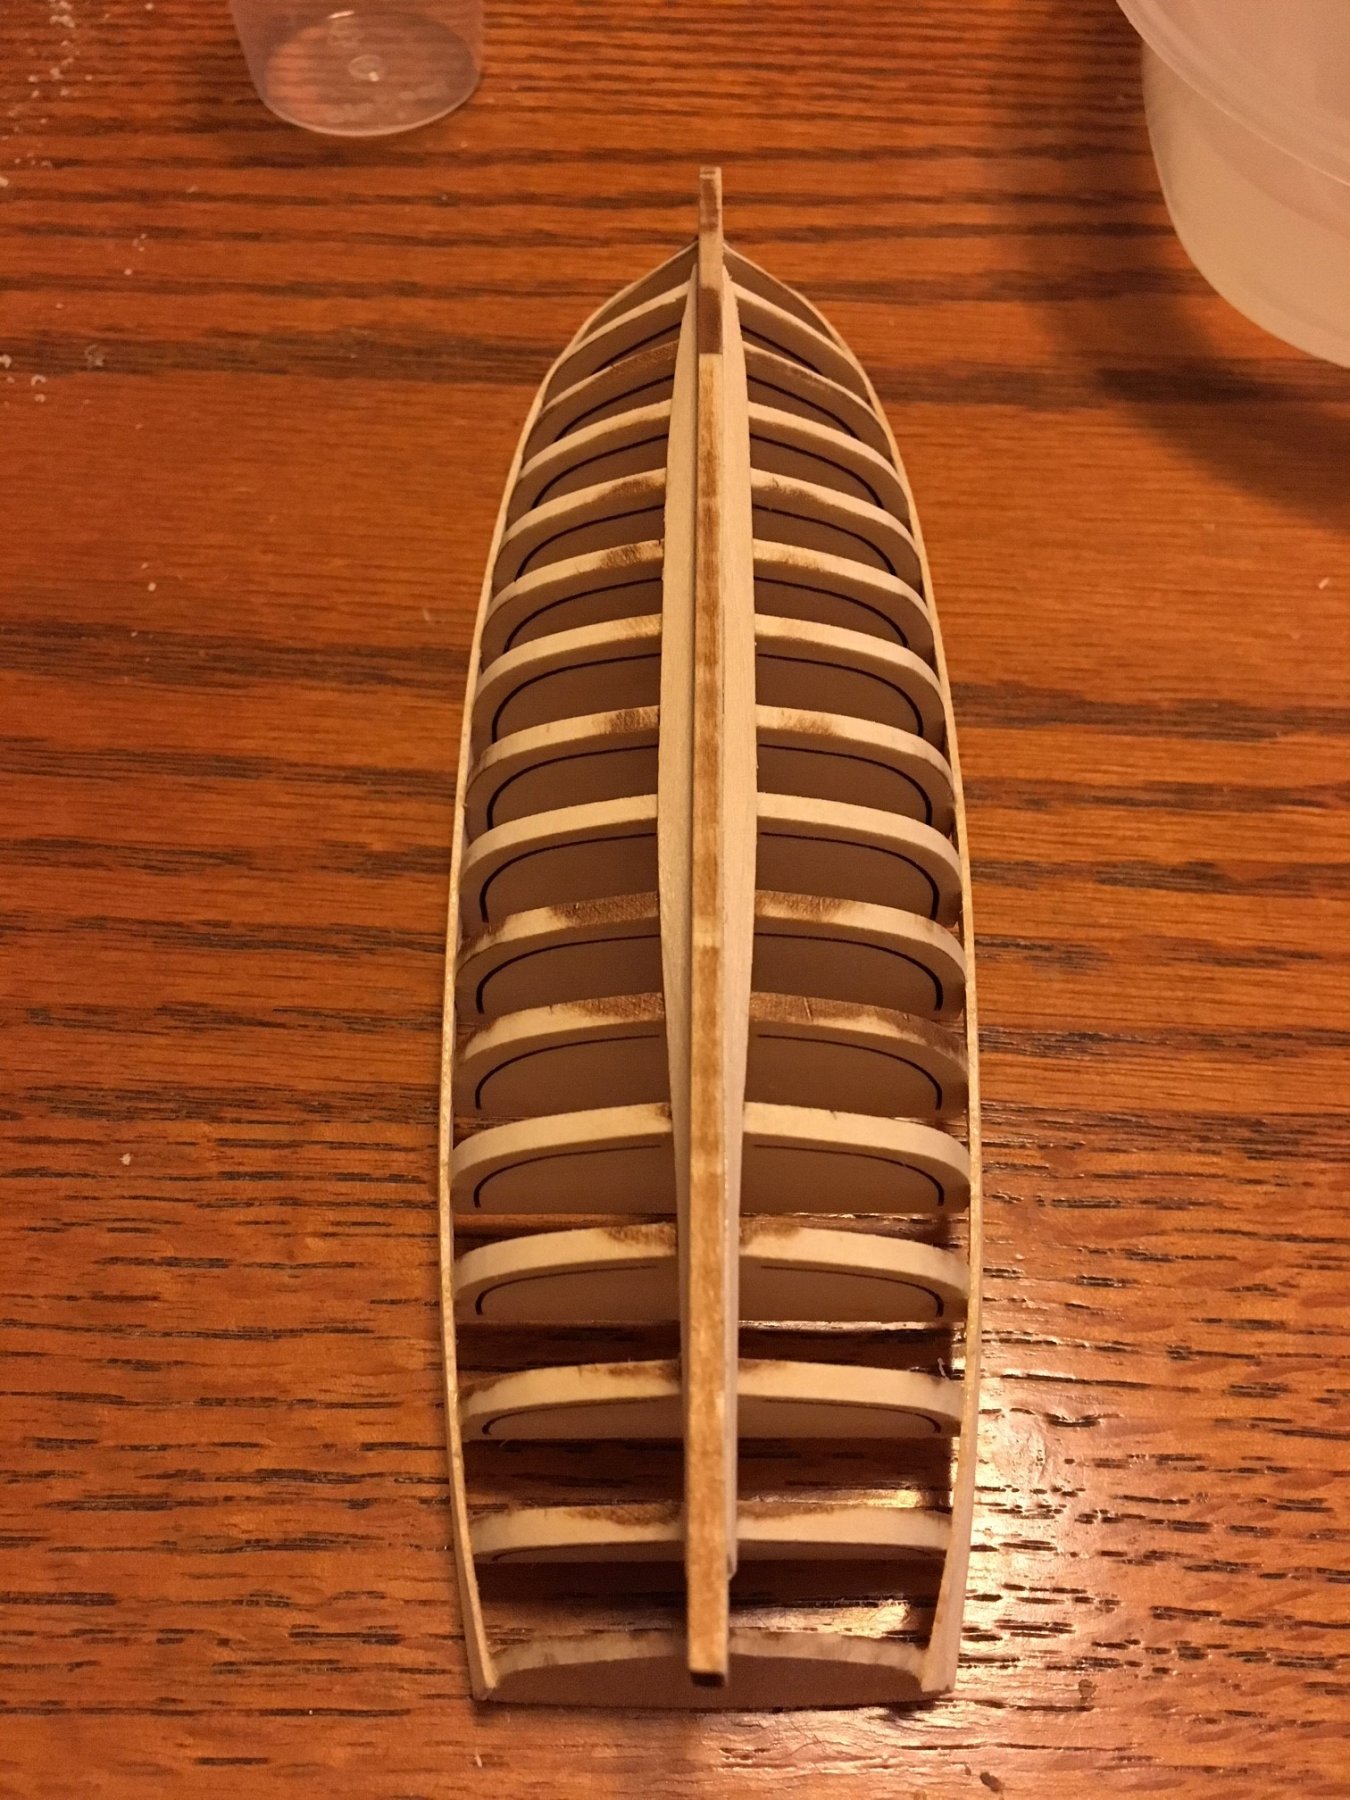
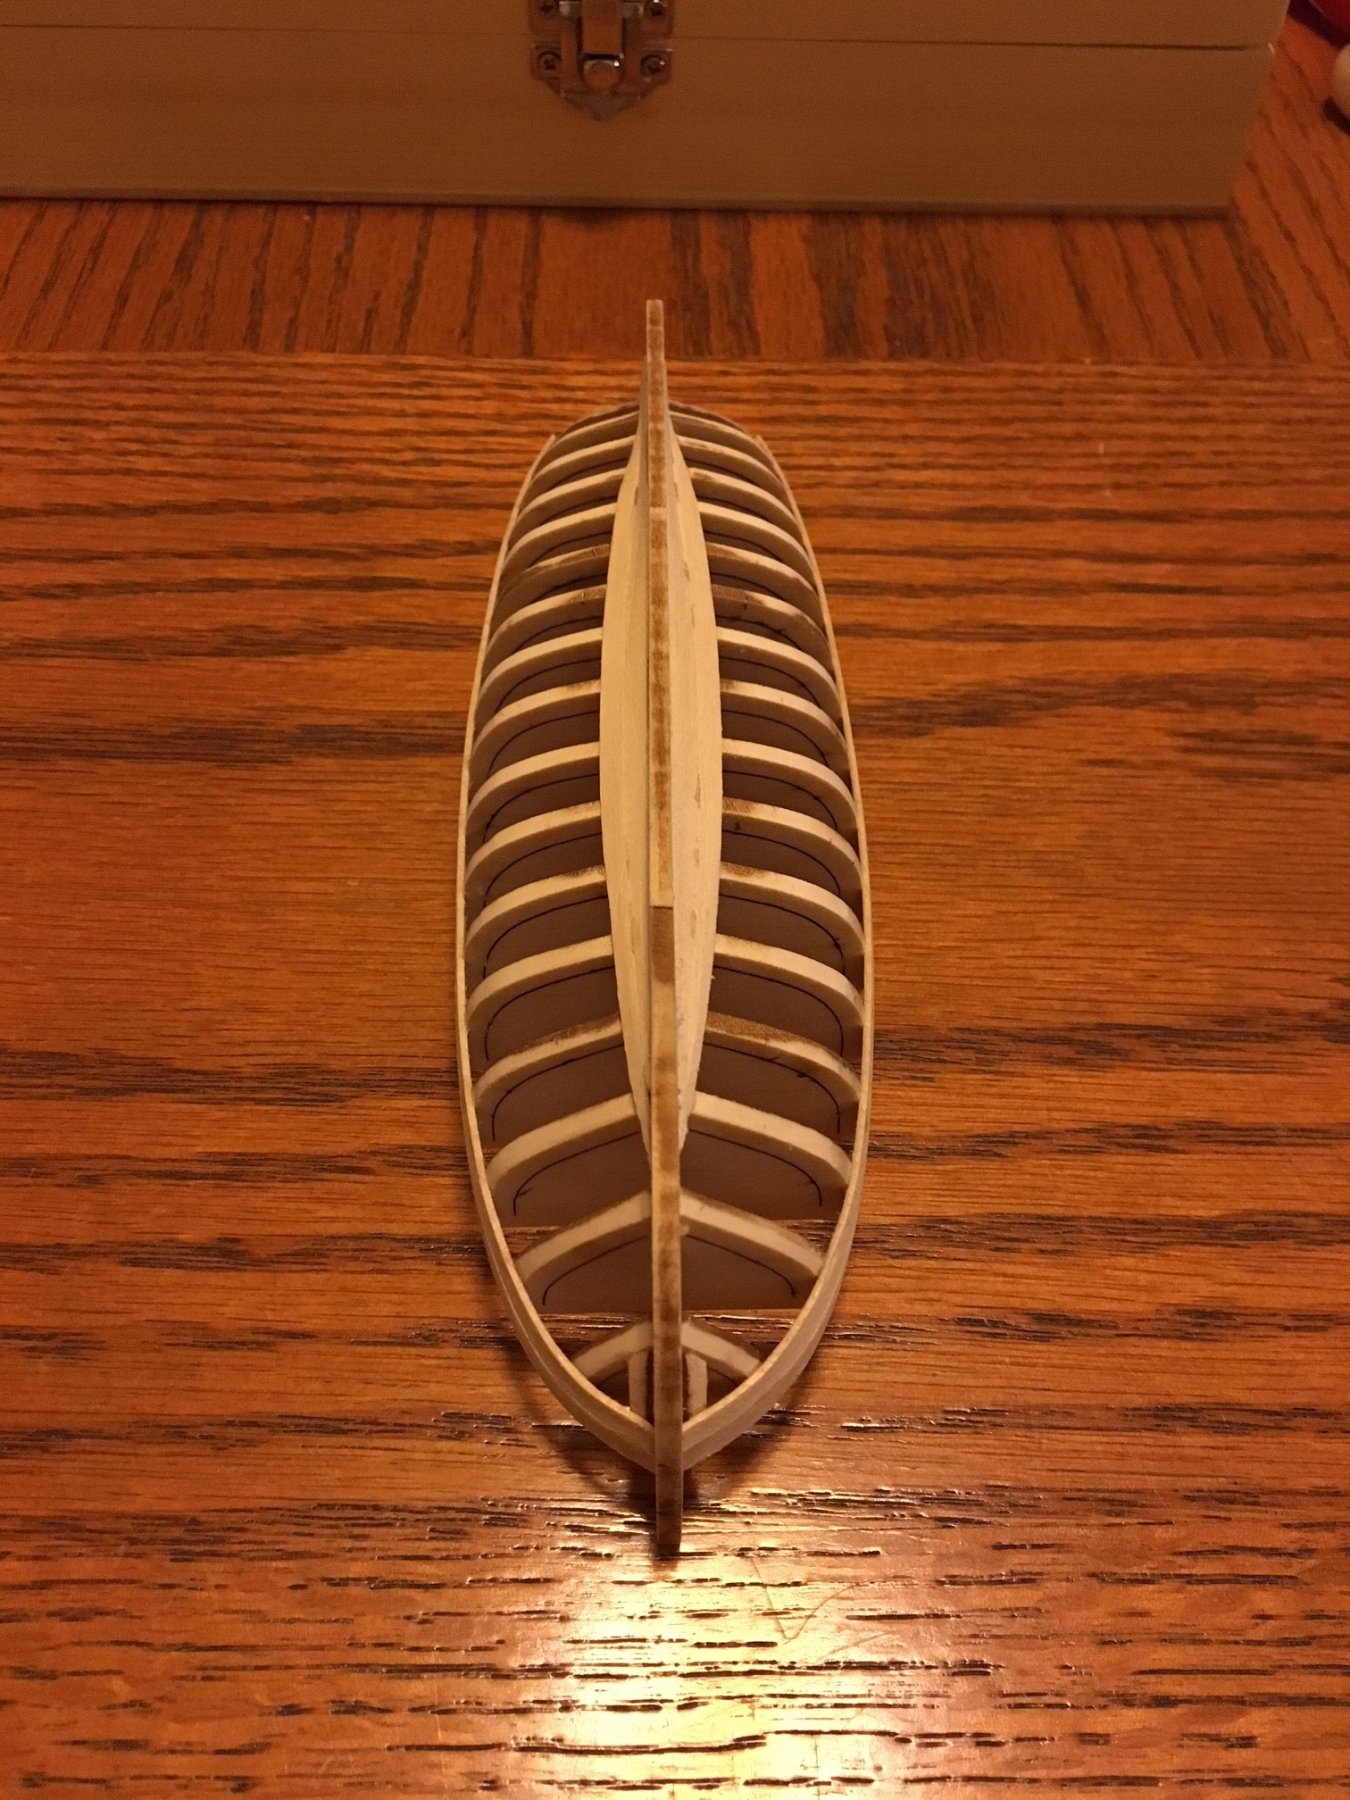
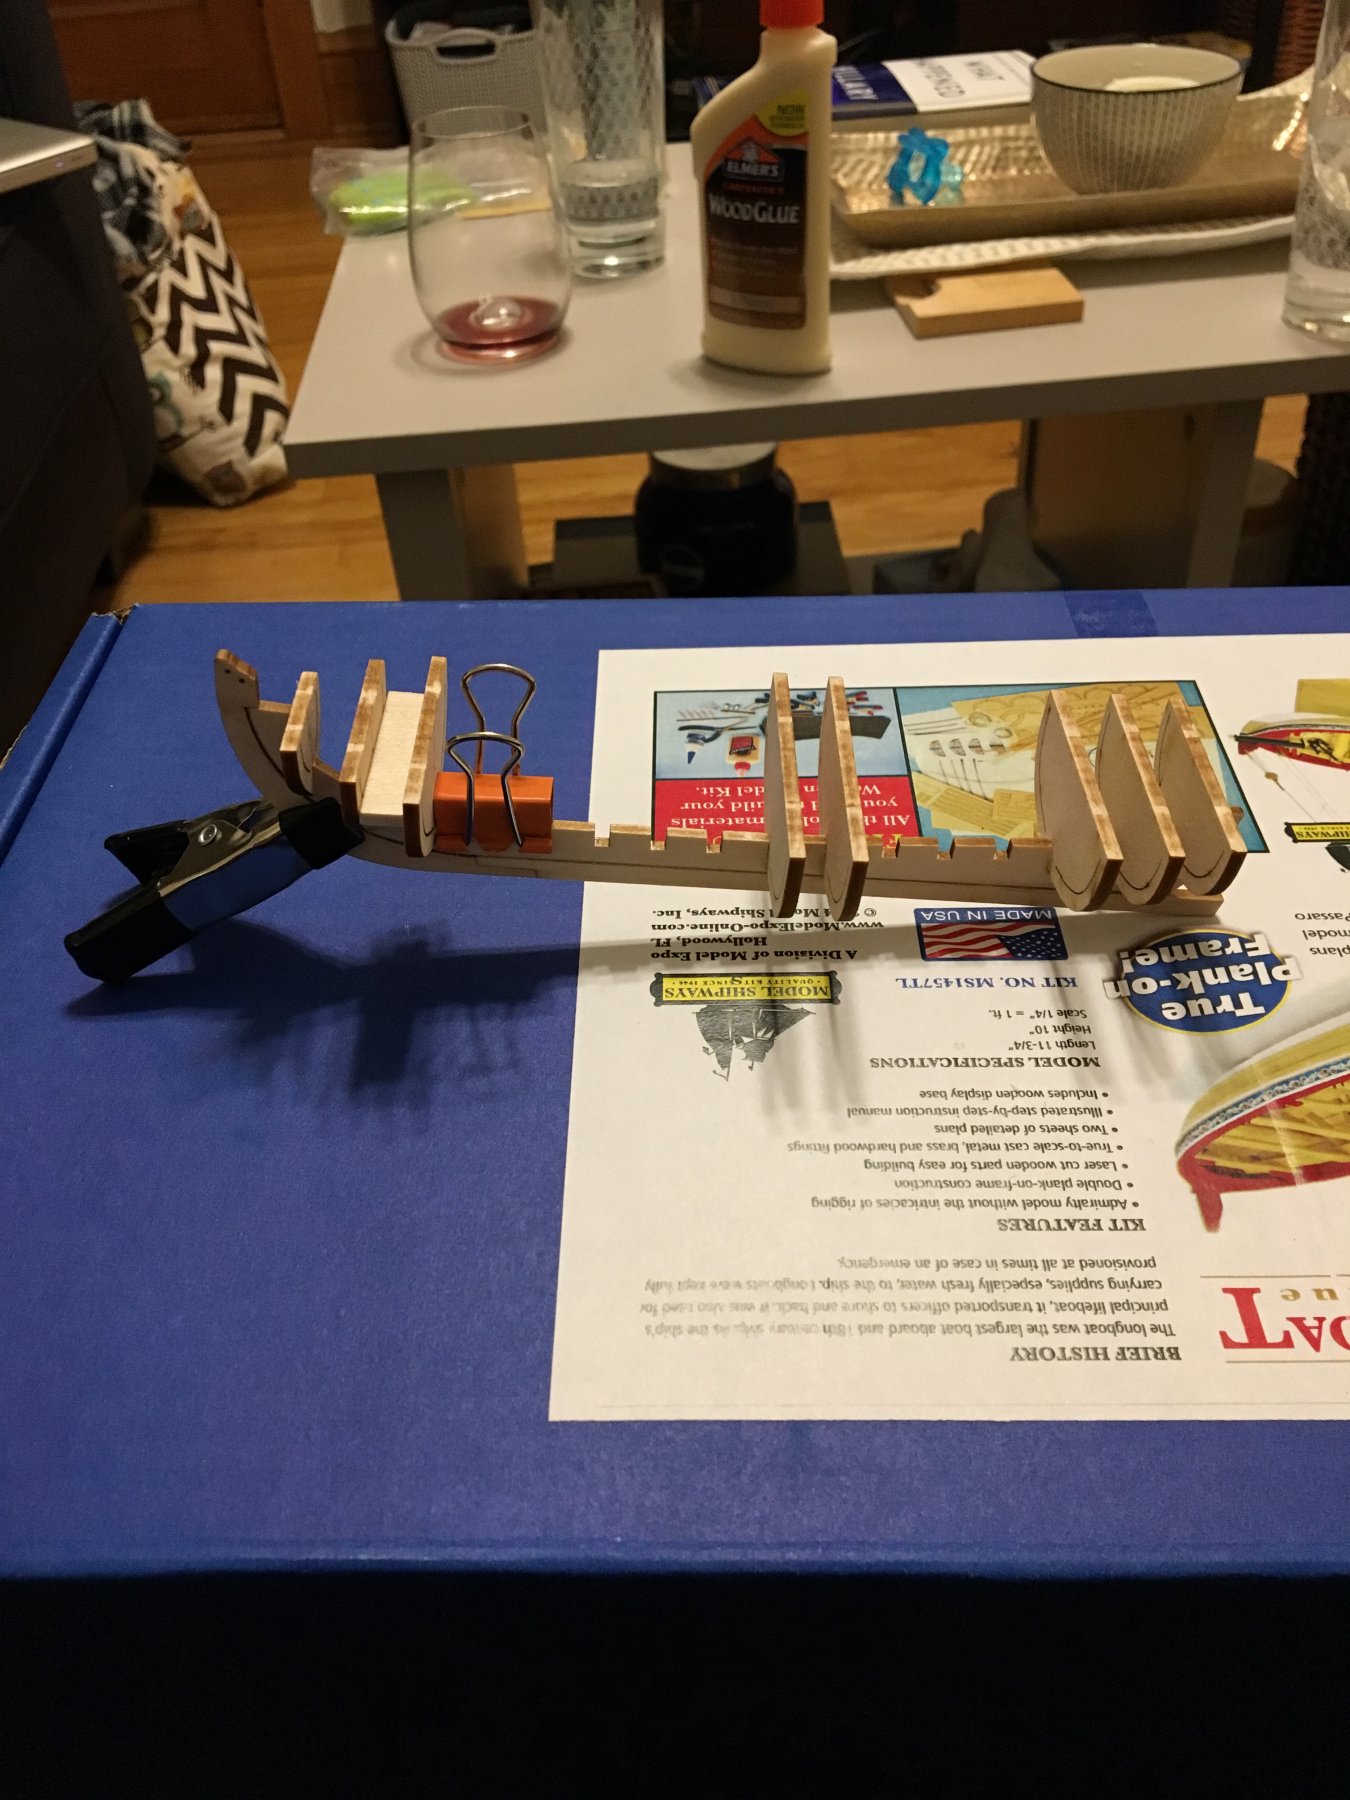
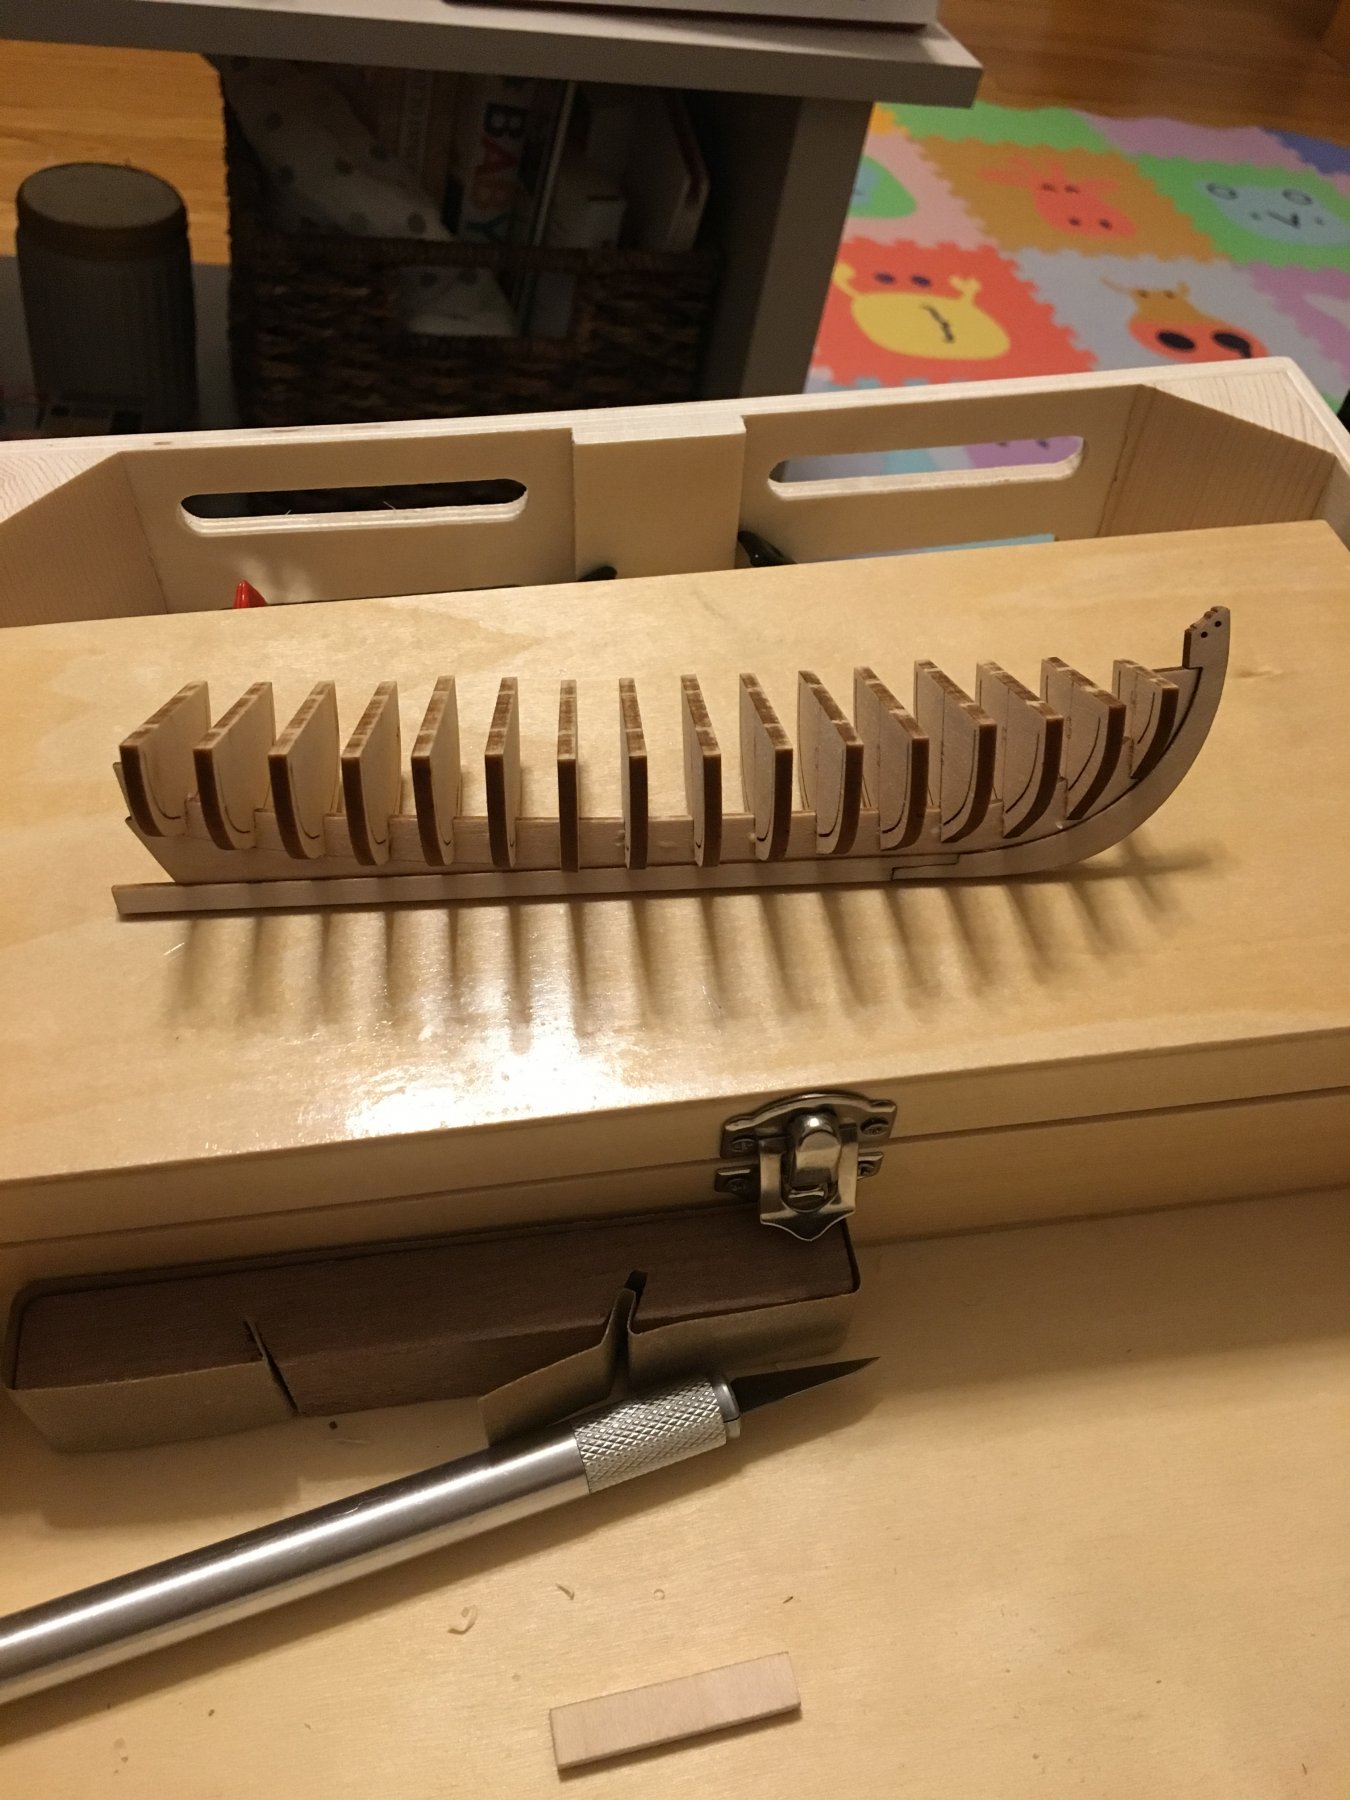
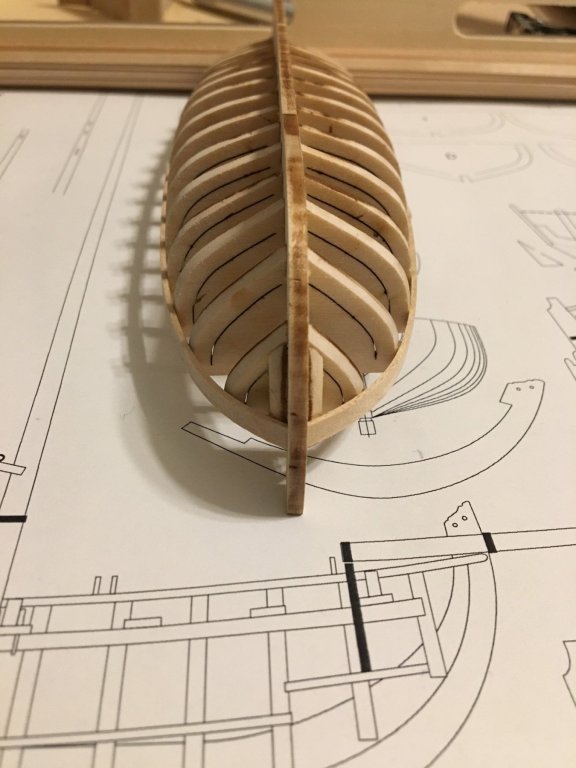
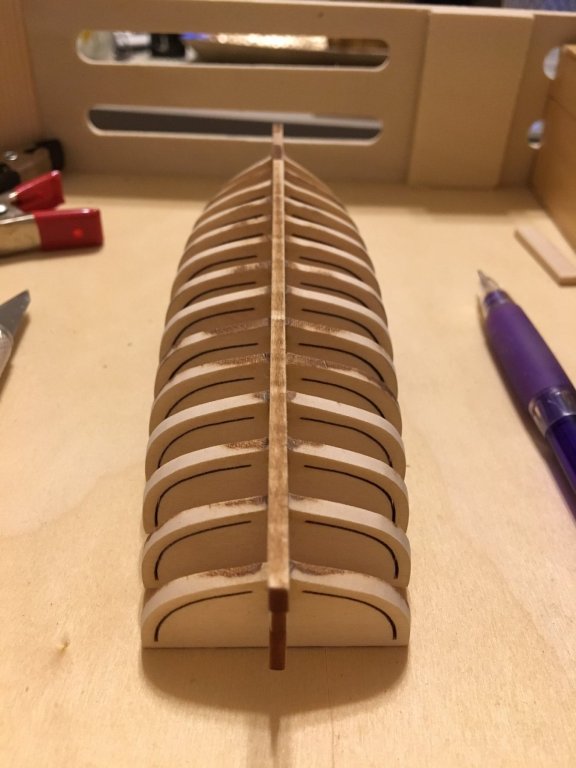
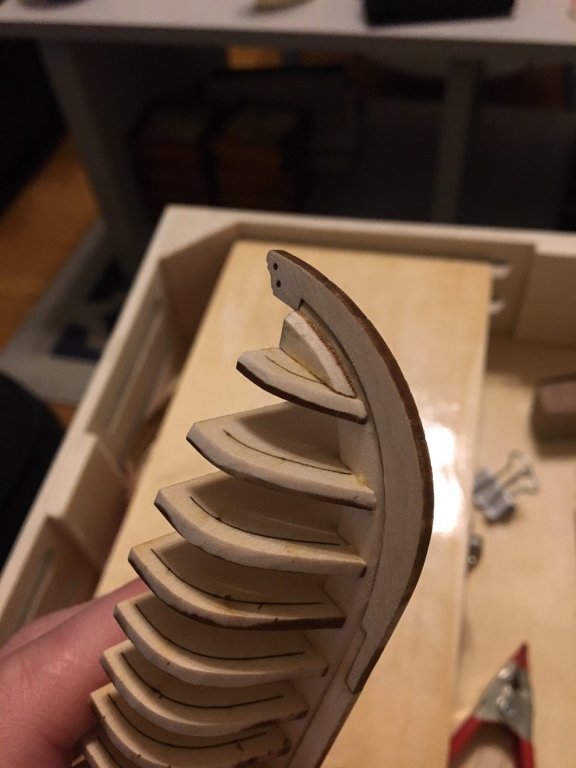
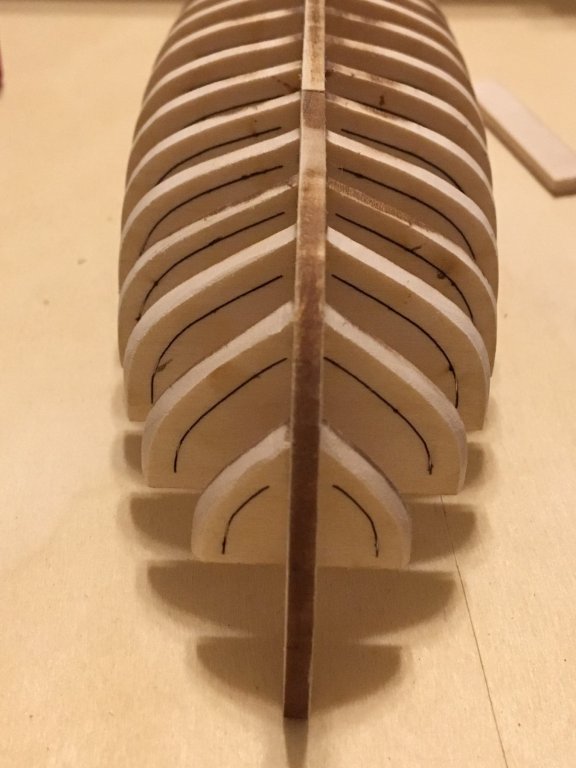
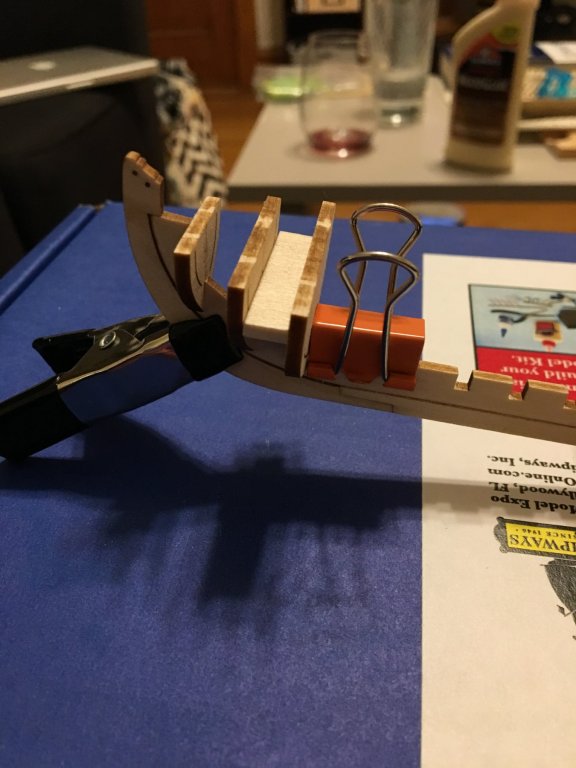
I wanted to add a little bit to my last post that I didn't mention, as I was in the process of gluing the bulkhead/frames to the false keel. Prior to gluing them in place I drew a line down the center of each of the bulkheads. Once I began the process of gluing, as I mentioned above, I decided to go with regular Elmers wood glue so that I would have a longer time to set each piece. I'm glad I switched as I did need a bit of time to manipulate each bulkhead as I was setting them. I also created a spacer from some of the scrap wood, and used binder clips to keep the bulkheads straight once I had them all in place (see photos from previous post). I worked front to back, and back to front simultaneously, with the center bulkhead going in as the third one. Once they were all in I set the piece aside to dry overnight. The next step was fairing the bulkheads. I took my time on this and started with a 220 grit and finished it all off with 320. I think I did a pretty good job with this, though I suppose I could have sanded them down a bit further. The only reason I didn't was that there a few bulkheads that didn't quite go to the rabbet at the keel, so I didn't want to sand those down any farther than necessary. When finished fairing the hull, I glued the transom to the false keel and added the bow fillers to the bow. Once dry I completed some addition fairing, and now I'm ready for some planking! [this section took about 2.5 hr to complete. The first post's work took approx. 2 hours; between the cutting of the rabbet, gluing of the keel to false keel, and adding the bulkheads.]

-
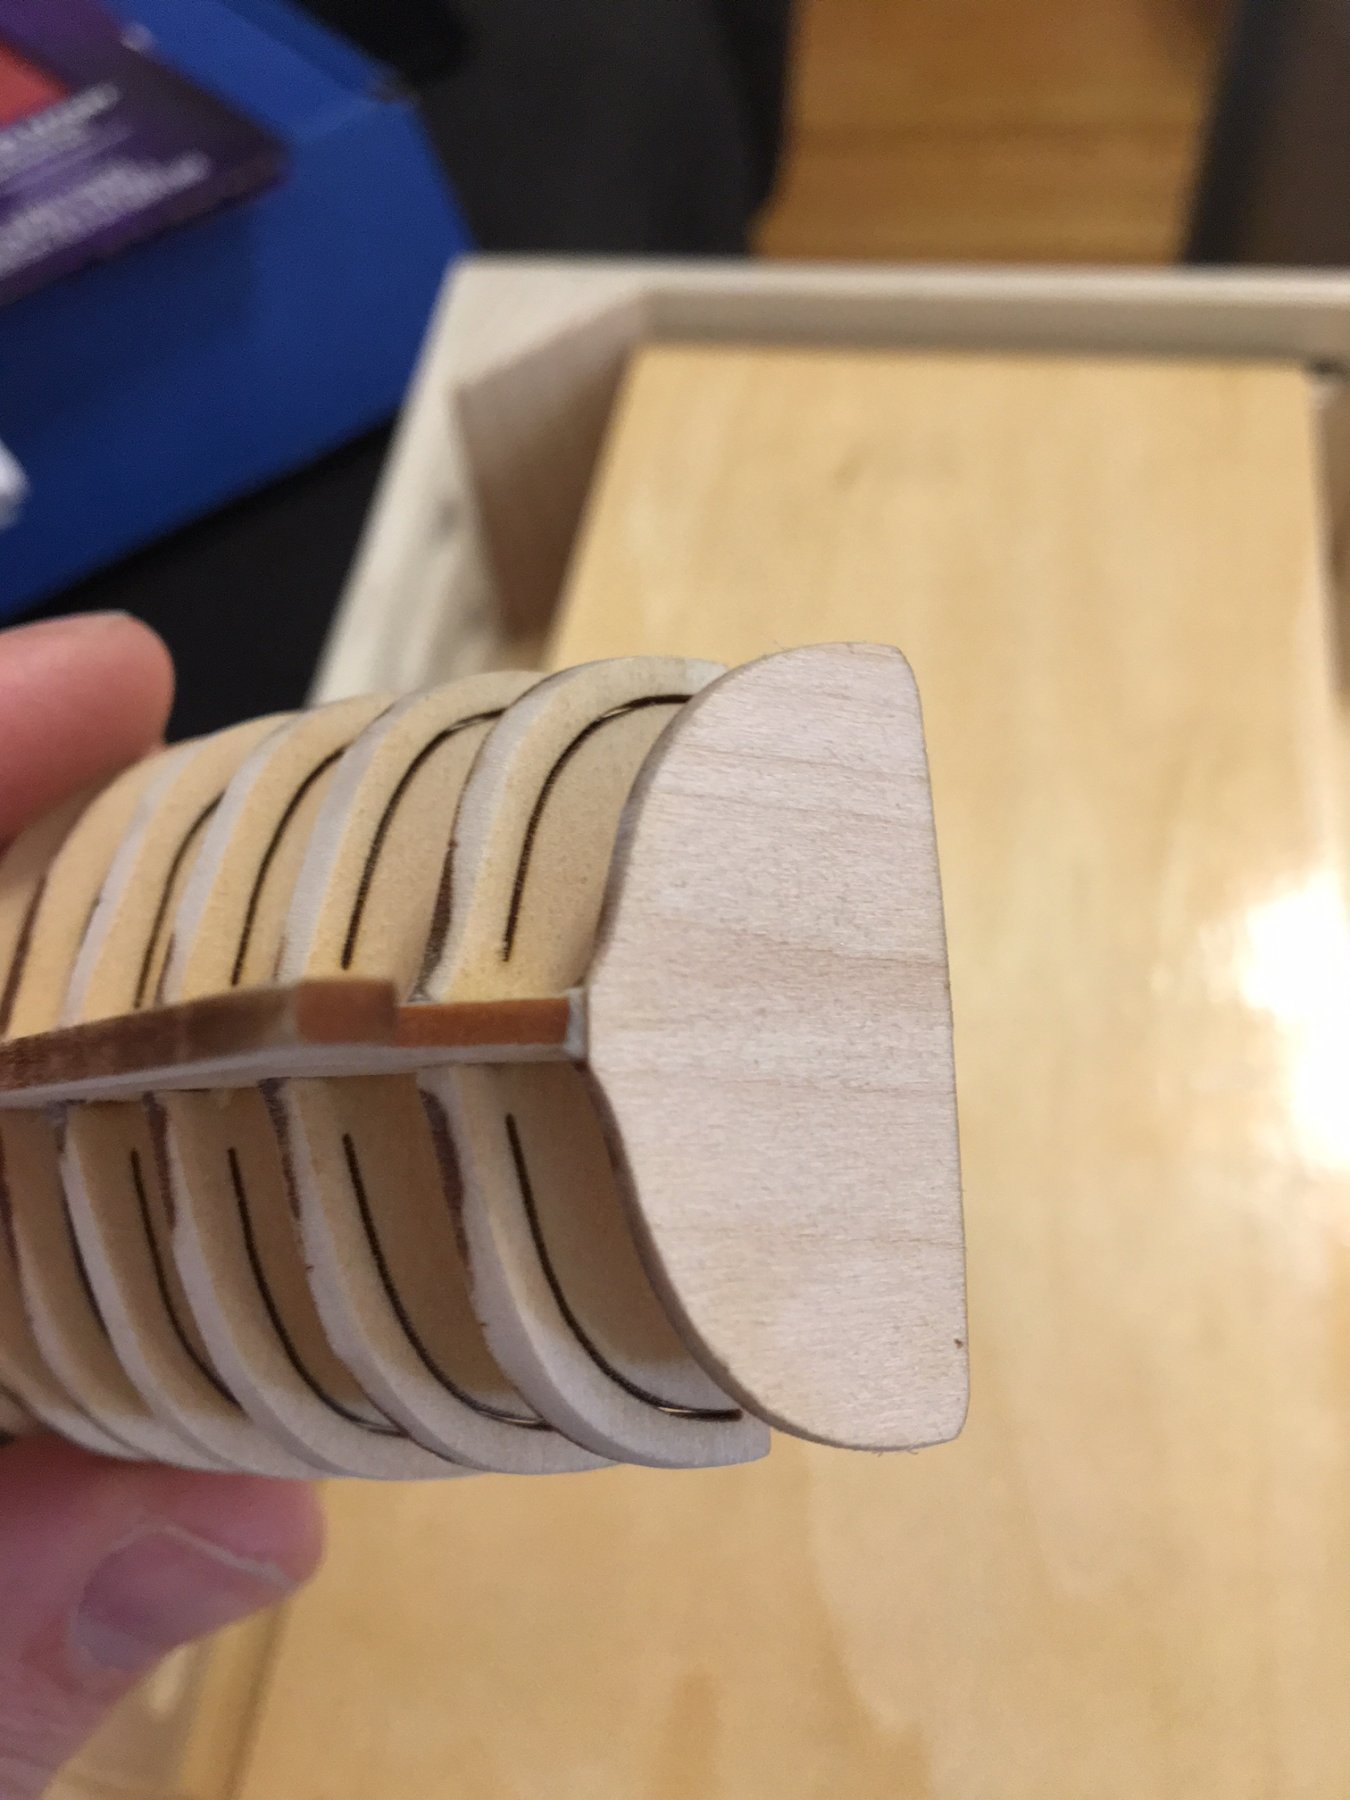
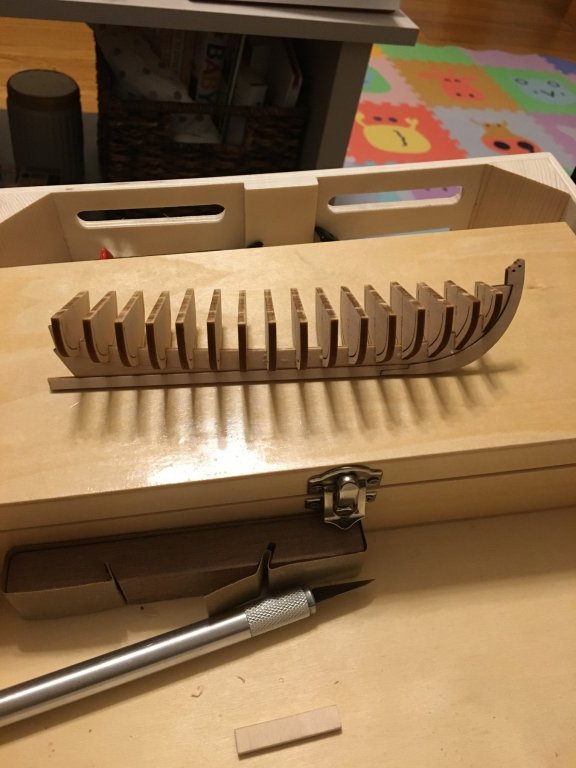
I started by cutting the rabbet. Careful cutting and sanding gave an easy finish. I then sanded and moisturized the wood on the false keel and on the keel and stem. From there I glued in place the stem, followed by the keel. There was additional sanding of the keel that needed to be completed prior to gluing it to the stem and false keel as it was slightly too large. The glue provided dried rather quickly, so I picked up some regular Elmer's wood glue to give myself a longer drying period in case of errors. I moved on to removing the bulkheads from the sheets. When I went to fit them into their respective slots the pre-cut notches on the bulkheads were too narrow to fit the notches of the false keel. This required some careful sanding of the false keel, as well as removing a little of the wood on the inside of the notch of the bulkheads. All in all it came together nicely, and the instructions made it a simple process.

-
I completed a couple simple kits from Midwest a few years ago and have recently decided to devote more time to building. This is the first time I’ve created a log, and hopefully it will be a good learning tool for me as I progress with this kit and others in the future. I’ve already begun the model and will post some updates shortly!