-
Posts
64 -
Joined
-
Last visited
Content Type
Profiles
Forums
Gallery
Events
Posts posted by longshanks
-
-
- AJohnson, DB789, chris watton and 1 other
-
 4
4
-
-
-
-
It's been a while due to health issues.
Before I go further with a tweak to the kit I'd like to state at no point do I think Chis Wattons kit is sub standard. It's a brilliant starter kit made to a price.
I've already got further than I ever have with a wood boat. Having been a scratch builder for many years, health issues were causing problems with dexterity and Nisha gave me a way forward knowing I could always fall back to kit mode.
Whilst browsing Edgar J March book I noticed that the blocks of the time were were internal strapped, So could I.....
The sides/sheaves built up in layers
and the ropes run
Hook and eye formed
I had to anneal the hook to form it and wondered how to harden it. Gentle tapping work hardened it. Seems to work
Seems to work
So this may be the way forward for the large throat halyard and main sheet but can I manage the smaller blocks...
Thanks for looking in
Kev
- DB789, Bowline, chris watton and 6 others
-
 9
9
-
-
Capping rail added
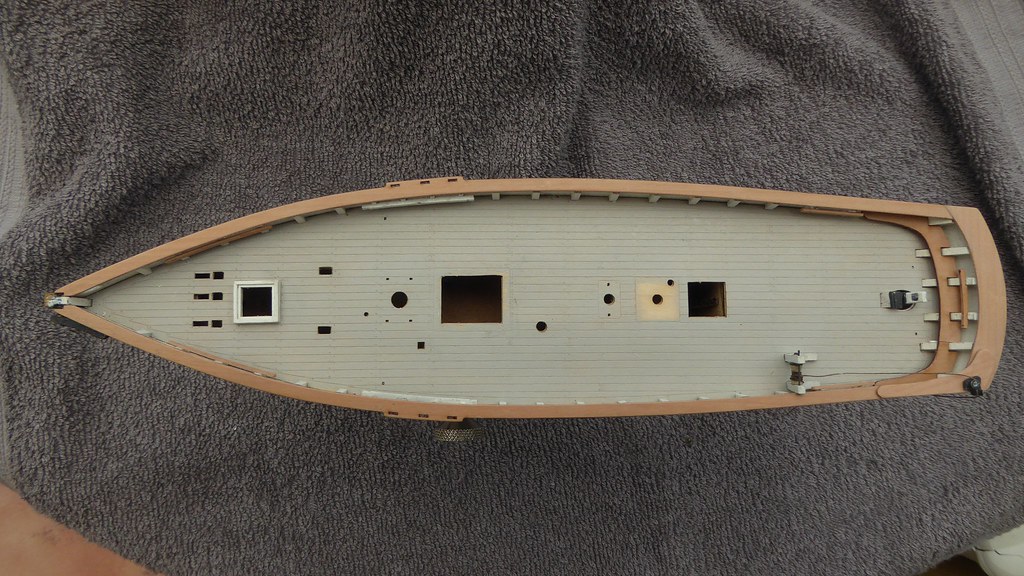
Along with Taff rail and transit rail. I cut a new deeper taff rail to cover timber heads and transom trim.

Rudder gets additional pintle & gudgeon above deck

Dandy wink gets a Dandy Score (Scratch built). Roller fairlead for aft end of trawl beam


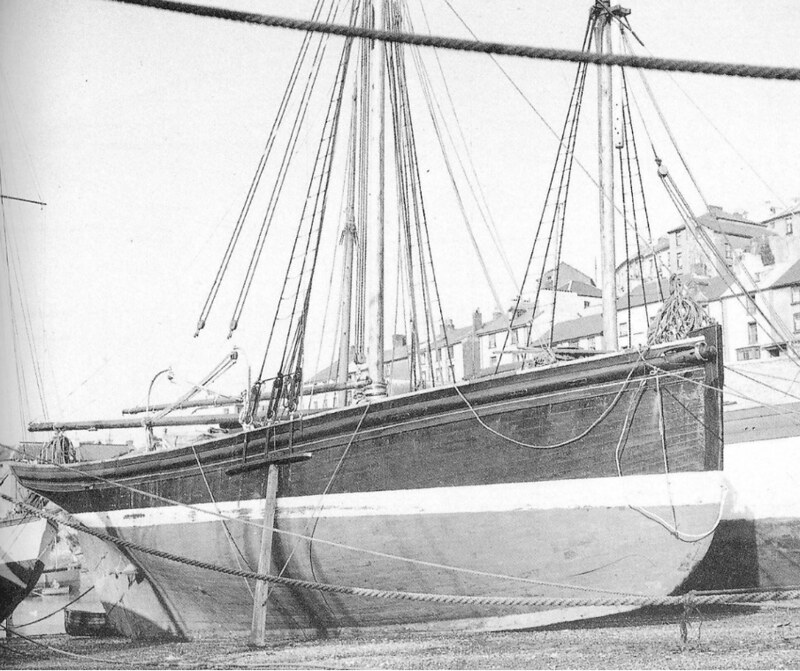
Current thoughts are having the Nisha dried out with beach legs and the Trawl beam resting on the the sand
Transom finished off with trim

Thanks for stopping by
Kev
-
-
On 7/19/2022 at 7:14 PM, AJohnson said:
Hey this colour scheme is getting better and better.
Glad you like it
On 7/20/2022 at 9:47 AM, Craigie65 said:looks like a really hard working boat!
That's the way I'm hopefully going
Thanks for likes, it's good to have the support
Kev
-
Moving onto deck furniture....
Dandy wink. Used to hoist rear of towing beam


I chose to have the hatch boards open

Drilled holes, punched disc to fit. Stretched sprue for handle

Tissue/dilute Pva to make tarpaulin


Tarp, boards and metal bands to lock down the hatch boards


I hope you like the progress
Thanks for looking in
Kev
- AJohnson, ccoyle, chris watton and 4 others
-
 7
7
-
-
-
Only a few pics but big steps forward.................
Deck fitted. This has had numerous washes of lifecolour 'Wooden Grey Umber'
You can see the original maple colour where the boiler plate is missing

Rubbing strake painted Vallejo Emerald knocked back with pale grey. The hair grips have been shortened on the inboard side


Thanks for stopping by and for the likes
Kev
- DB789, chris watton, AJohnson and 4 others
-
 7
7
-
I've recently had this curling problem whilst applying washes to the deck..
The answer I found was to lightly apply water to the curled side . Plastic over deck and lay on a flat surface with weights on top.
Part of the problem seems to be a sealing layer on the reverse side, this stops the veneer taking on moisture evenly.
During the washes I've even had to apply moisture to the back.
I've just this morning glued my flat deck down
HTH
Kev
- thibaultron, mtaylor and Canute
-
 3
3
-
-
Painting the bottom ....
Hull prepped.a few irregularities in the planking showing a working boat. Hull colour Vallejo Black-grey
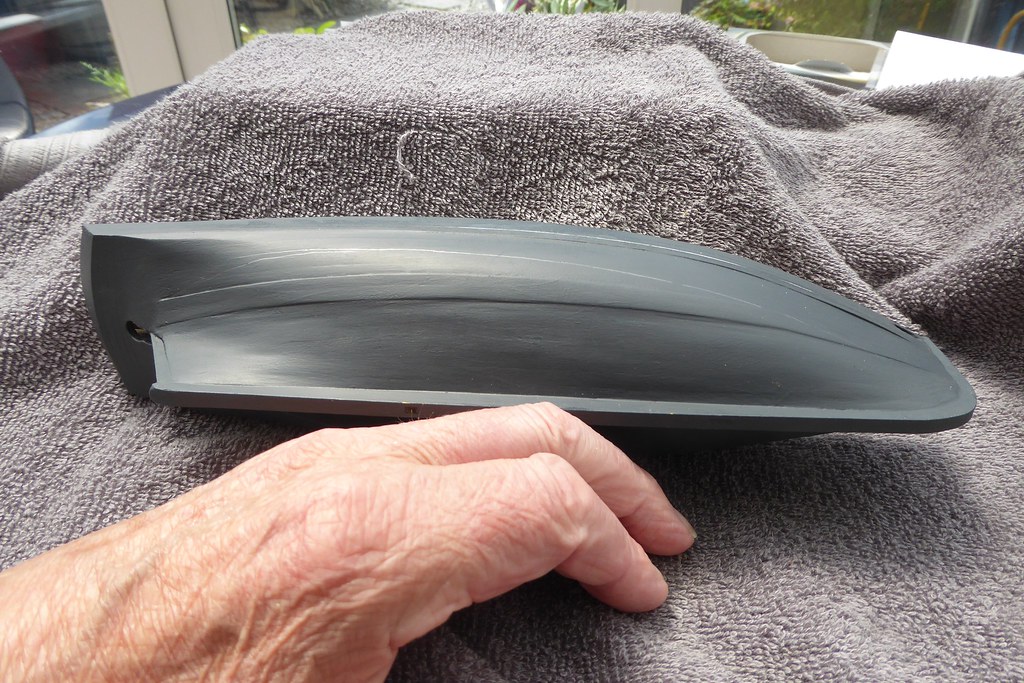

I'm hoping to show her as a working boat so I used a Chocolate brown to represent the tar anti fouling.

To take away the monochrome colour I used Oil dots. Grey, white, yellow ochre and raw umber. Blended and washed out with white spirit.
(I did use smaller dots the next time)


I feel I achieved the look I was after

A nice contrast

I hope you like it. Thanks for stopping by
Kev
-
Thanks Folks for the kind comments and likes....
Hull a step closer with the rabbet strips fixed


A touch more blending but good enough for government work.
The bows of these trawlers were fitted with a roller for the trawl hawser. This is not represented in the kit so of course I had to add one

This is not a reflection on the kit which is building into a fine model. The kit is designed as a starter and given my physical limitations I wanted something I could
tweak where I was able but still finish up with a fine model trawler.
Bow roller a combination of plastic and brass tube

Horn made from an off cut of the wood sprue

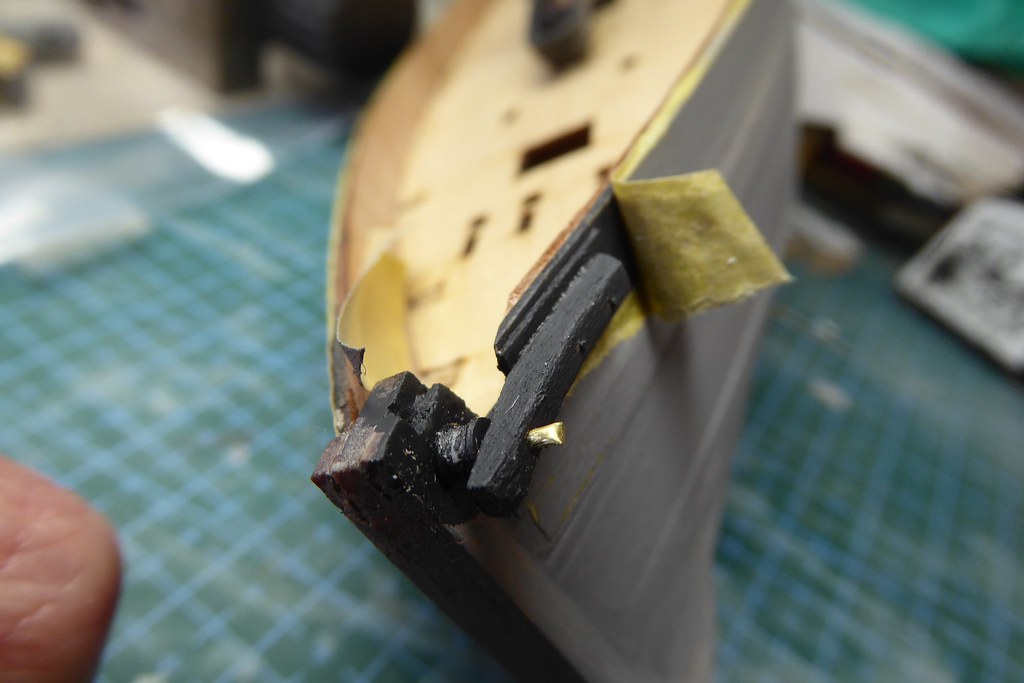

Room for a good clean up I feel
Thanks for looking in
Kev
- chris watton, AJohnson, Andyrew and 1 other
-
 4
4
-
A change of pace and closer to my comfort zone (I normally try and scratch build using plastic).
On 6/9/2022 at 1:36 PM, longshanks said:I confess to having Edgar J March excellent book and hope to tweak a few bits as I go
Case in point.
The steam capstan is very detailed but the vanes are photoetch but only 0.4mm so..
I packed each side with 0.35 plastic card, giving an overall width of 70mm more in keeping I feel
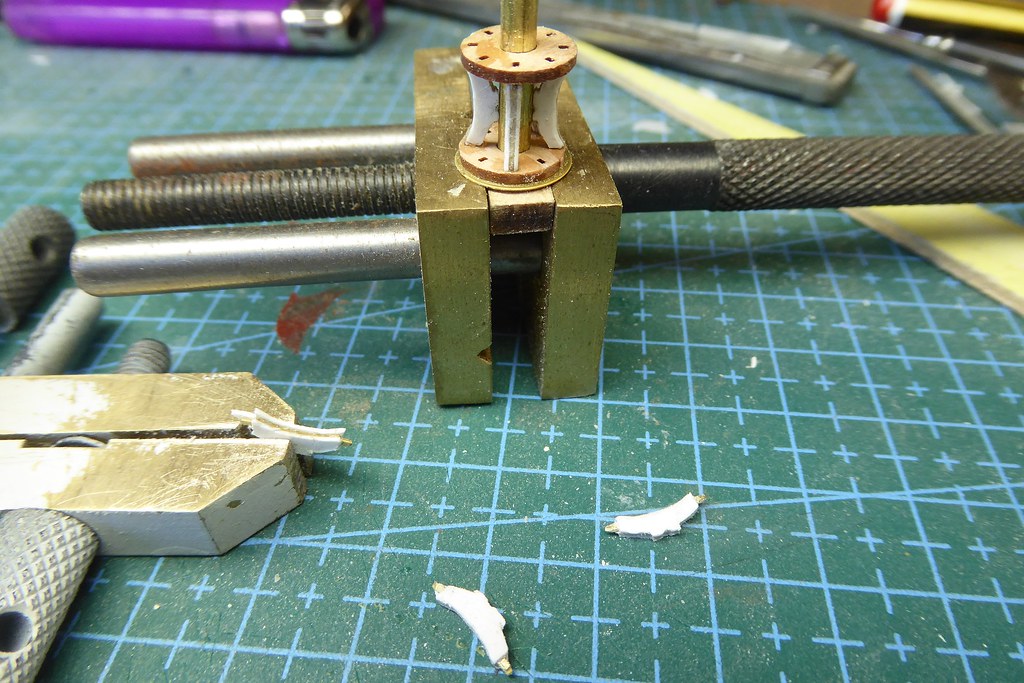


Then on to the tow post which centered around the pump. So I thought it would be good to represent the pump handles


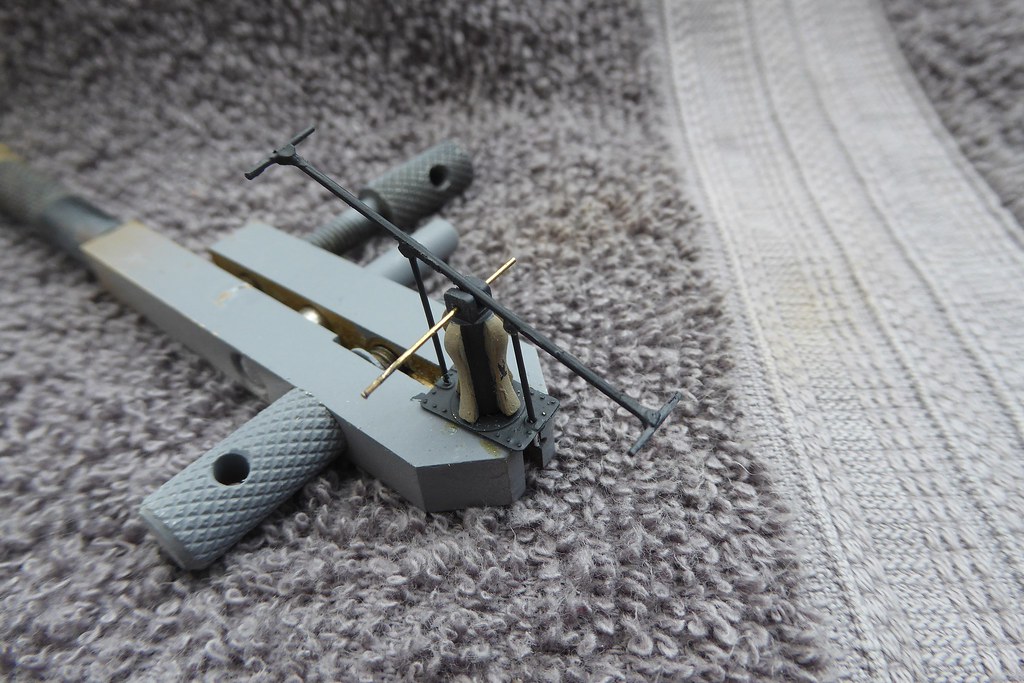
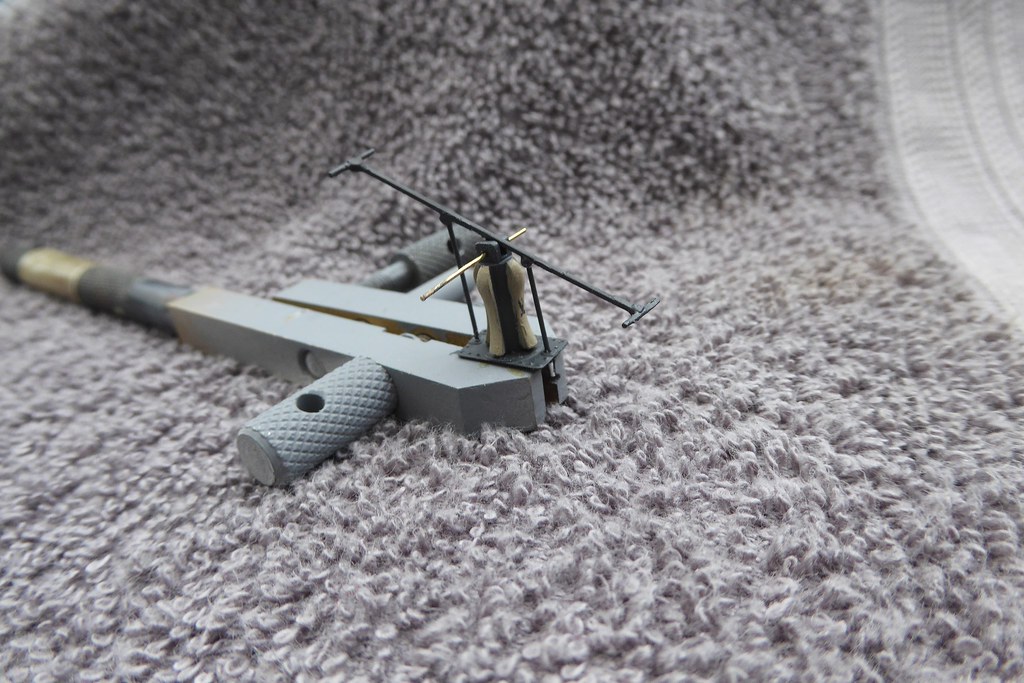
Thanks for stopping by
Kev
-
-
Time for the second layer starting with the bulwark strip

Painted with Vallejo Black grey with a thin off white strip to hopefully indicate the scupper line. I don’t like to use black or indeed any Full colour at this scale. Compare the black grey with the black of the clip, I feel the black is to harsh.
You will also note that I have added 0.5mm ply where the first full strake will lay. This being to infer the thicker deck wale.
I struggled a bit with the tick strip/fan due to the involuntary tremor mainly in my left hand.
So I marked frame spacing of 40mm with 20mm at the ends. Using paper I found the length of the hull arc and divided by the number of strakes giving the width of the stake. This was transferred using digital vernier.
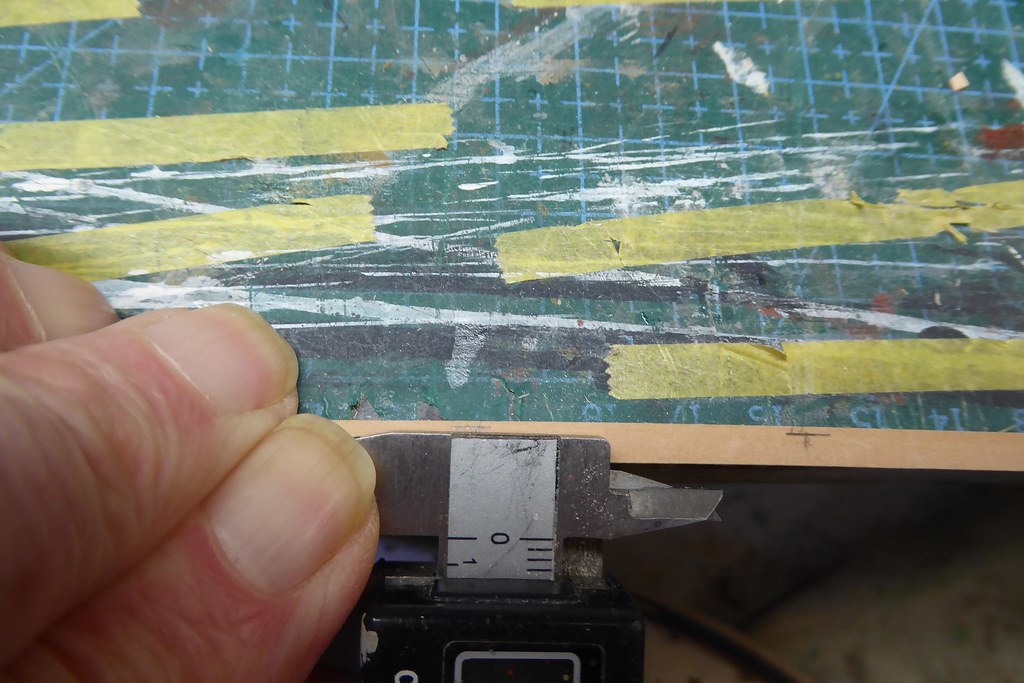
Note I have the rabbet pieces still held by clamps to simplify sanding


Note at the bilge line amidships I have again packed out the strakes (2) to form the bilge wale.

A question for the wise folks on here. I’m not sure if the wale should follow the strake line, sheer line or water line. Do you have any thoughts?
Thanks for looking in
Kev
-
Thank you guys for your kind comments
On 5/28/2022 at 5:42 PM, Craigie65 said:Is this your first build?
Second planked hull. First ended looking like fish gills. I must say I am so impressed with the quality and ease of building Chris Watton has achieved. Aided by the huge amount of information and tutorials on this site. I think I have achieved a reasonable standard.
20 hours ago, DocRob said:Your Nisha sports some nice contours, always looking like a dynamic raceboat.
I agree, the sailing trawlers were known for their turn of speed.
Kev
-
-
Hi Folks
Having lurked on here for a while I’ve been inspired by Chris Watton and James H to build a wooden fishing boat. I have a keen interest in the early SW sailing fishing boats. Nisha seemed the perfect opportunity of a well thought out kit with character boat for my first build.
Just the basics until the completion of the first layer of planking.
When first fitting the false deck, I was a little nervous of how much to fair in. The consequence was the inner bulwark would not sit flush to bulkheads on the bottom edge. Taking the deck edge back to bulkheads et voila they fitted like a dream, no pins used.


I have deviated from the instructions in the following ways.
Part 62 the stern board. I fitted this ahead of schedule after fitting the bulwarks parts 45 & 46. Due to the exposed the nature of the stern timbers. This may come back and bite, time will tell.
First layer of Planks / strakes was marked using tick paper and fan as per this forum. Perhaps unnecessary for the first layer but good practice. Edge bending required from the 5th strake down.
Fitting Garboard strake


I also temporarily clamped the various rabbet patterns and drew along the inside to give me a better idea of the planking finish line.
Simple clamp for holding strakes whilst shaping

Edge bending. I found it required only a damp finger run along the wood

First layer completed


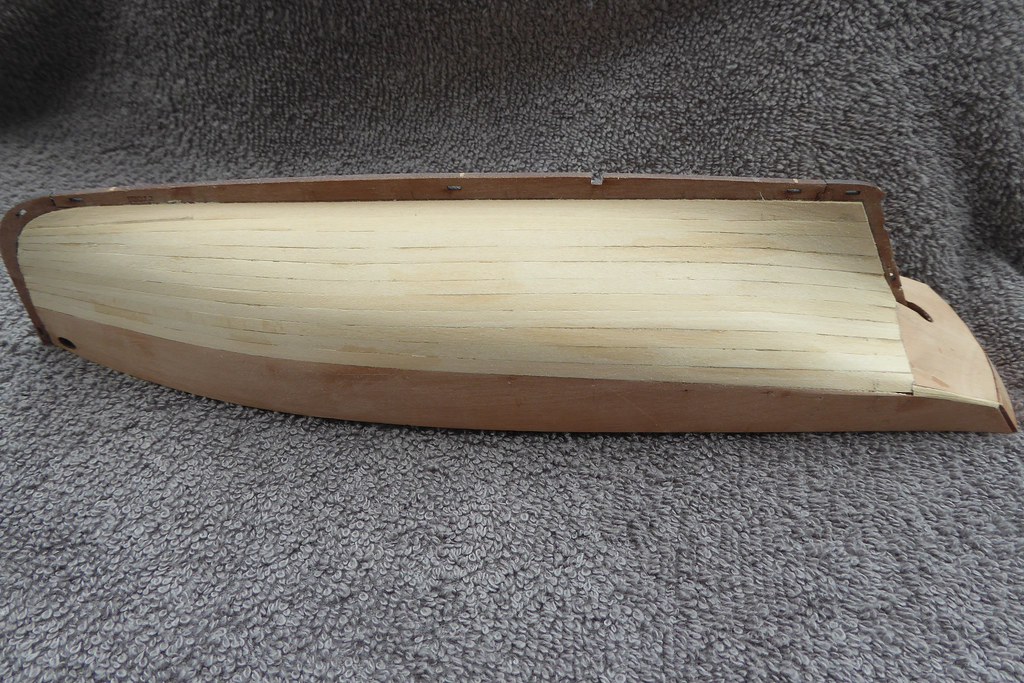
Thanks for stopping by
Kev
- DelF, chris watton, AJohnson and 9 others
-
 12
12
-

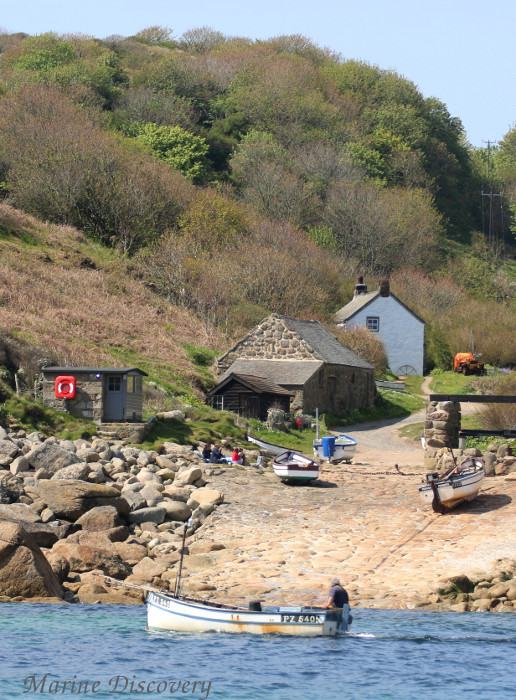


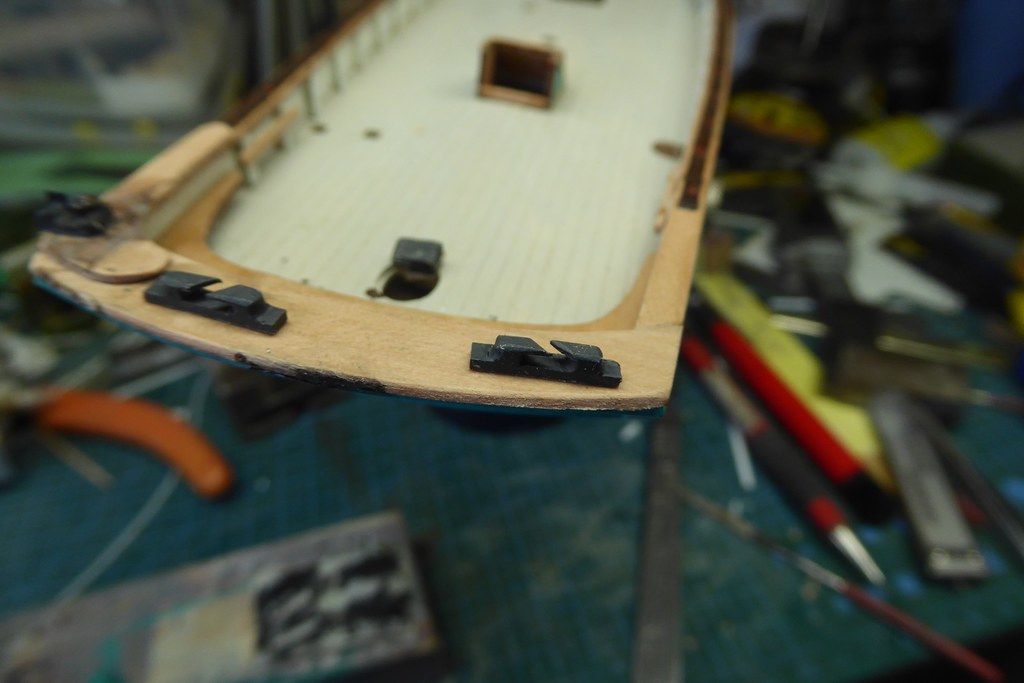
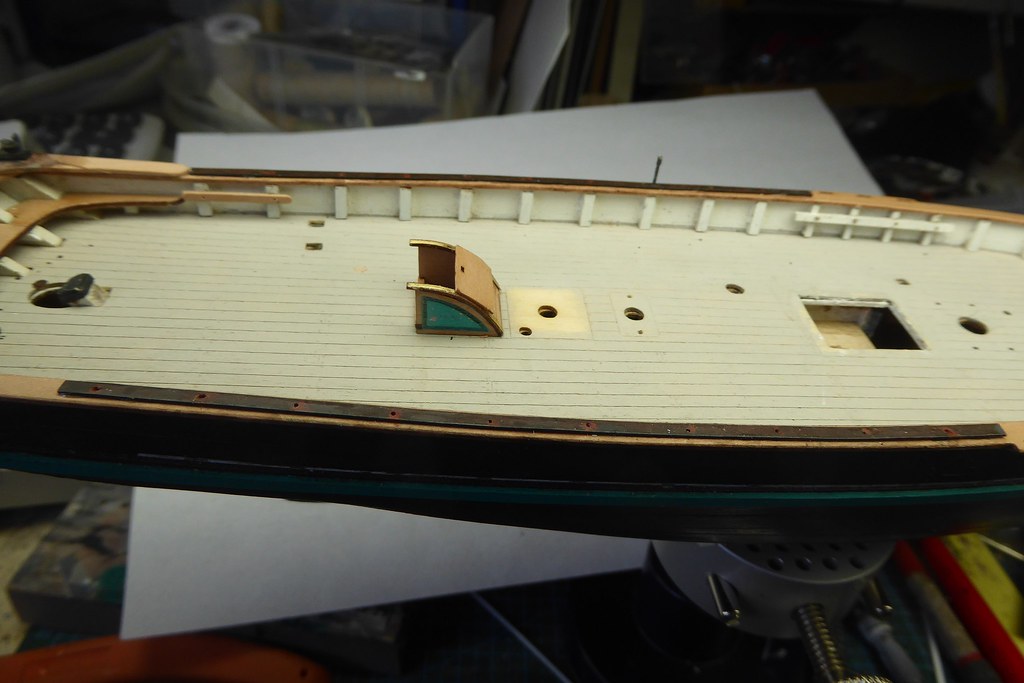
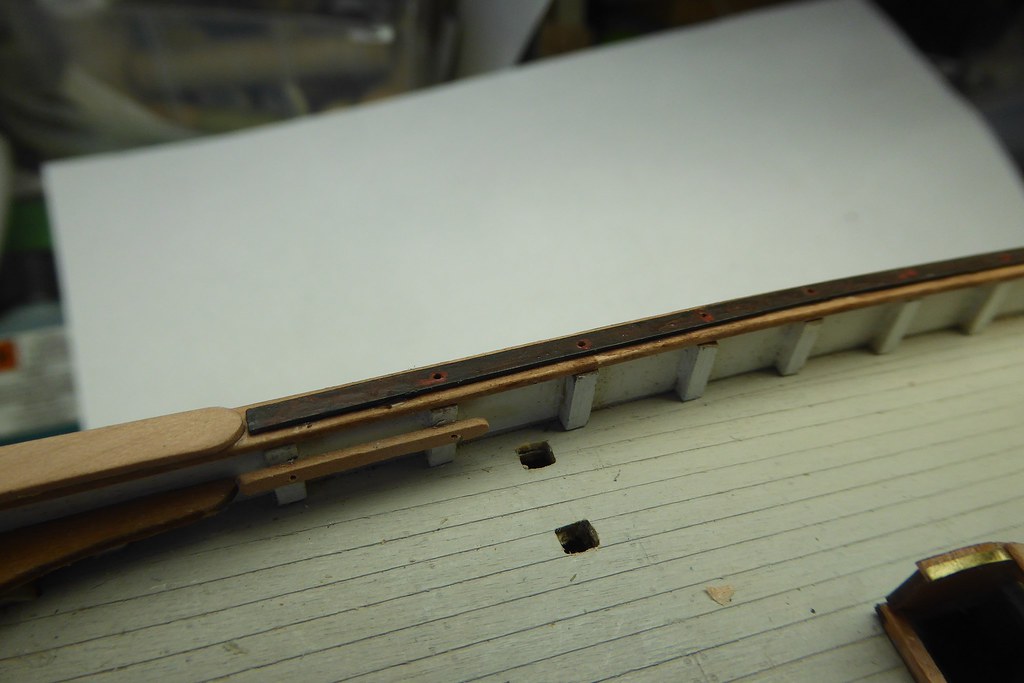
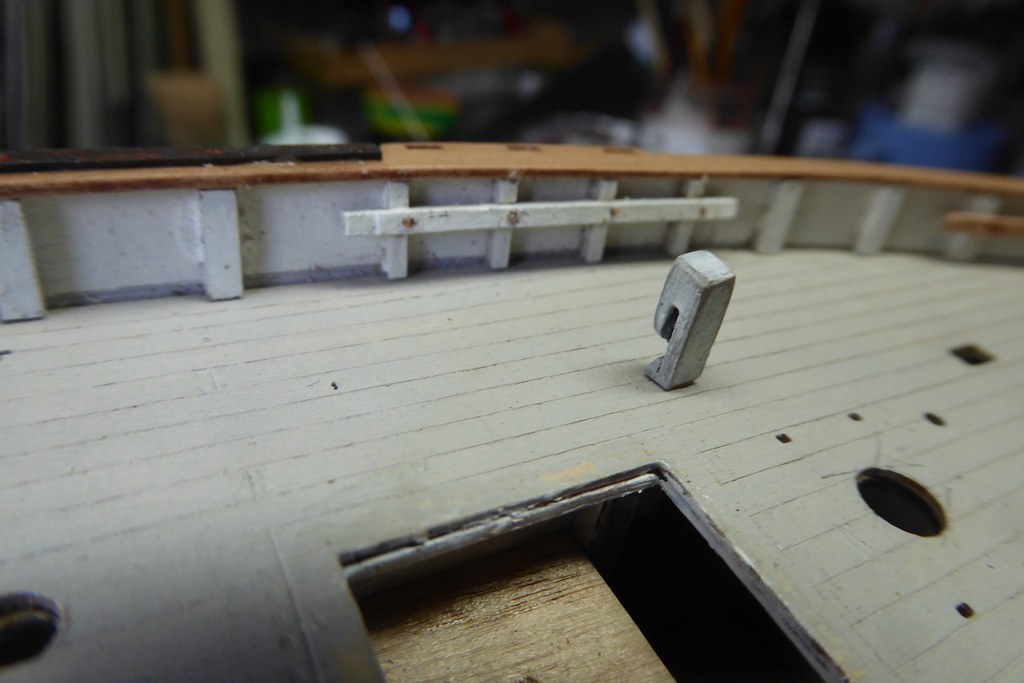


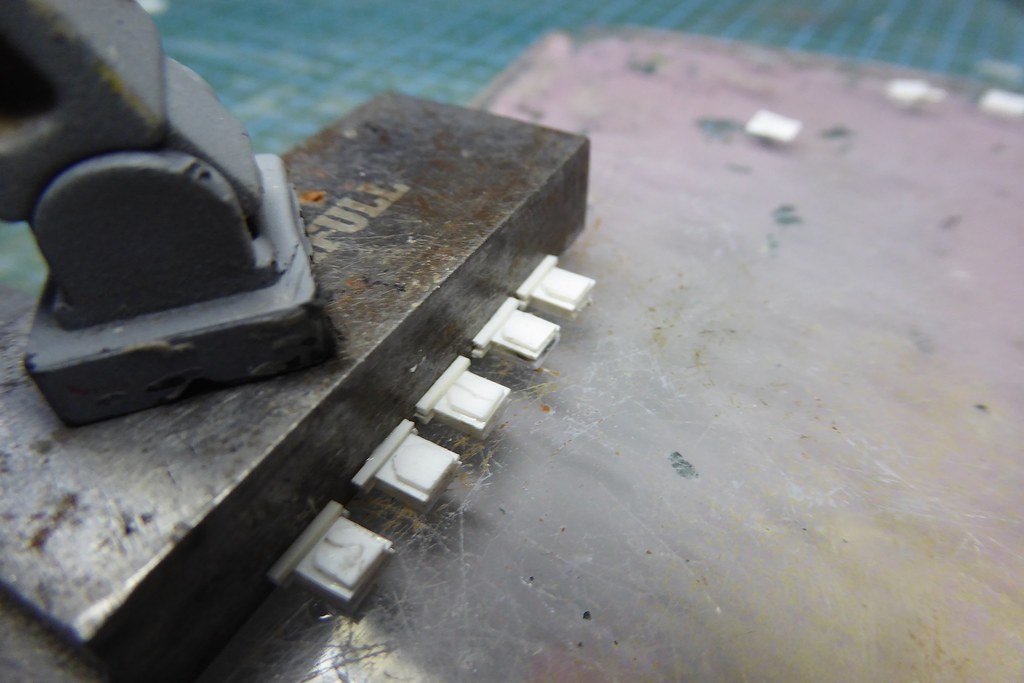


Erycina by Bowline - Vanguard Models - 1:64 - Plymouth Ketch-Rigged Trawler
in - Kit build logs for subjects built from 1851 - 1900
Posted
Nice paint job
Kev