


GrandpaPhil
-
Posts
4,854 -
Joined
-
Last visited
Content Type
Profiles
Forums
Gallery
Events
Posts posted by GrandpaPhil
-
-
-
I like to use beeswax.
It makes the rigging line less frizzy and less prone to tangling.
- mtaylor, paul ron and Keith Black
-
 3
3
-
Welcome!
- Scott Crouse, Keith Black and mtaylor
-
3
-
Work slowly.
Use wide jaw tweezers.
Only use enough pressure to grip the rigging fittings to prevent them from flying into oblivion.Give yourself plenty of slack on rigging.
Run your rigging through beeswax before using it.
Remember, you will not know your full capabilities unless you try. If you fail, try again implementing lessons learned from the first try.Most importantly: have fun!
-
The initial base painting is complete, to include trim, minus touchups and sealing a second time:


Esther has her full complement of decorations.
This includes caryatids which will be left a wood color:

And, a transom painting of Esther holding a platter of fresh bread with her home in the background:
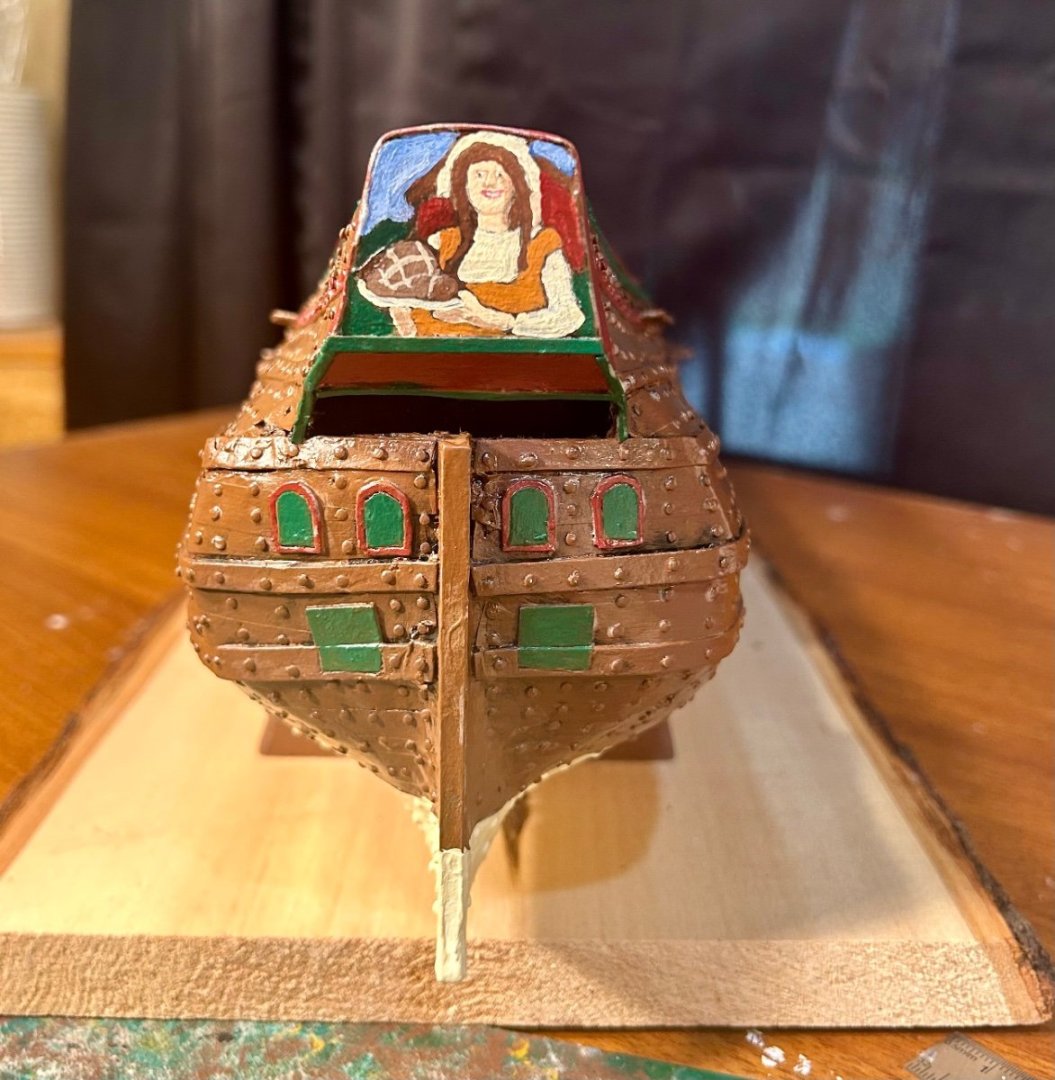
I do not usually do 2-dimensional painting, and certainly not portraits, much less in miniature.
However, I think that came out well enough.
I did the painting, but the layout of the picture is the work of an AI image generator.
-
-
Thank you very much!
The plans in Search for Speed Under Sail were pretty straightforward.
I ended up researching what most of the lines did to figure out routing and some of the installation.
It is important to note that one must make allowances for some rigging routing if you want to install studding sails.
-
-
Welcome!
- mtaylor and Keith Black
-
2
-
Welcome!
- Keith Black and mtaylor
-
2
-
-
Welcome!
- Keith Black and mtaylor
-
2
-
-
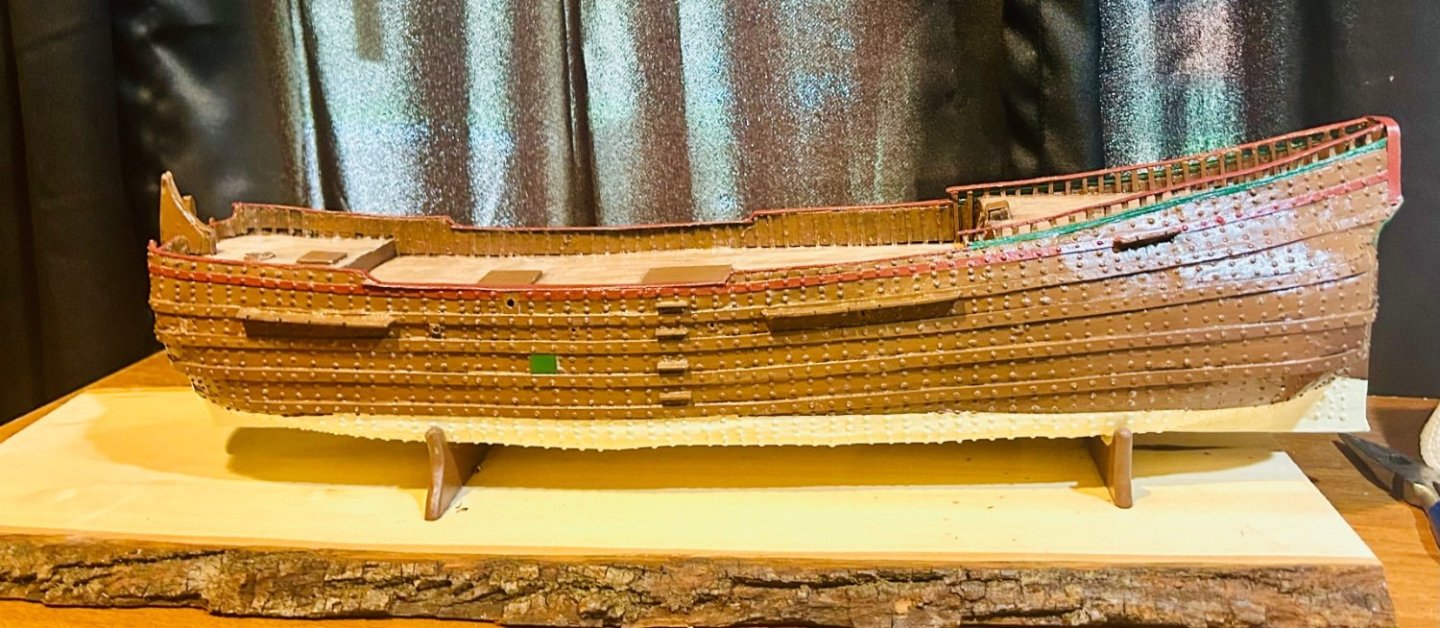
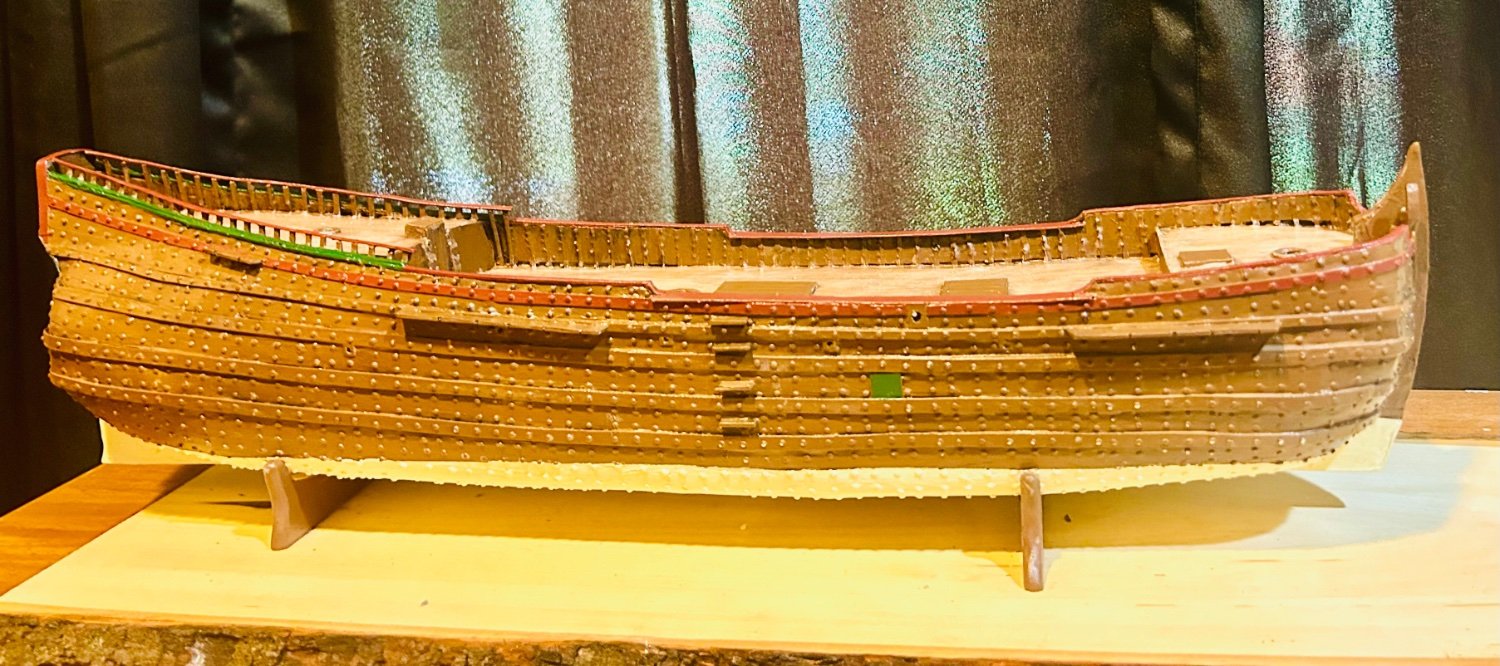
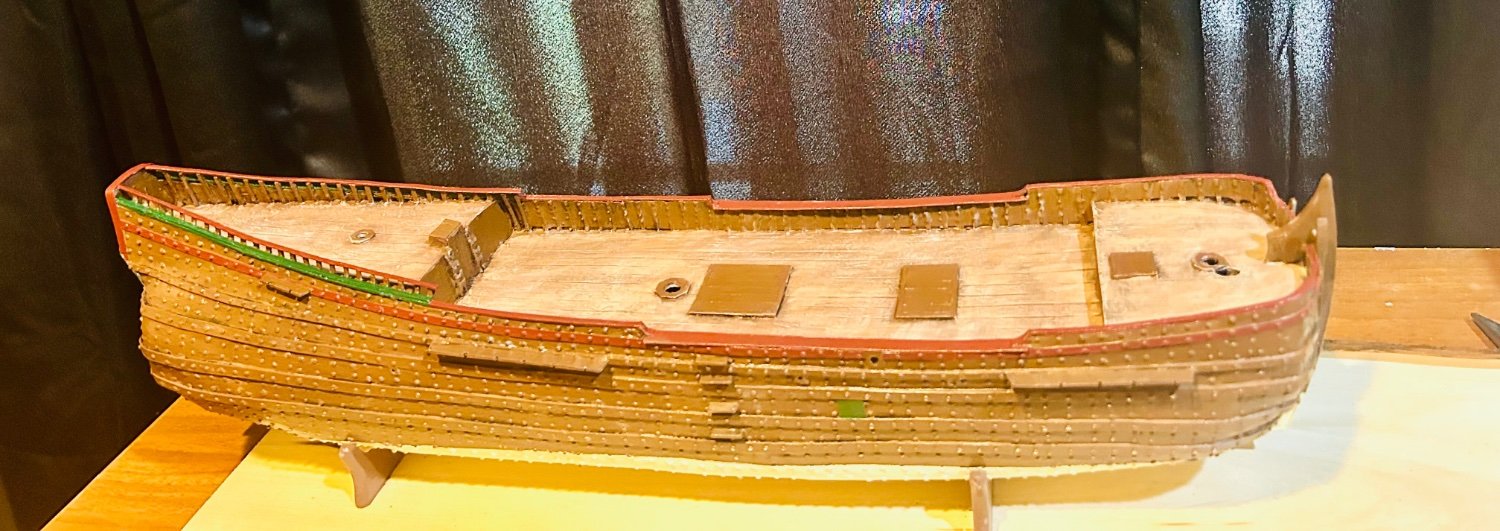
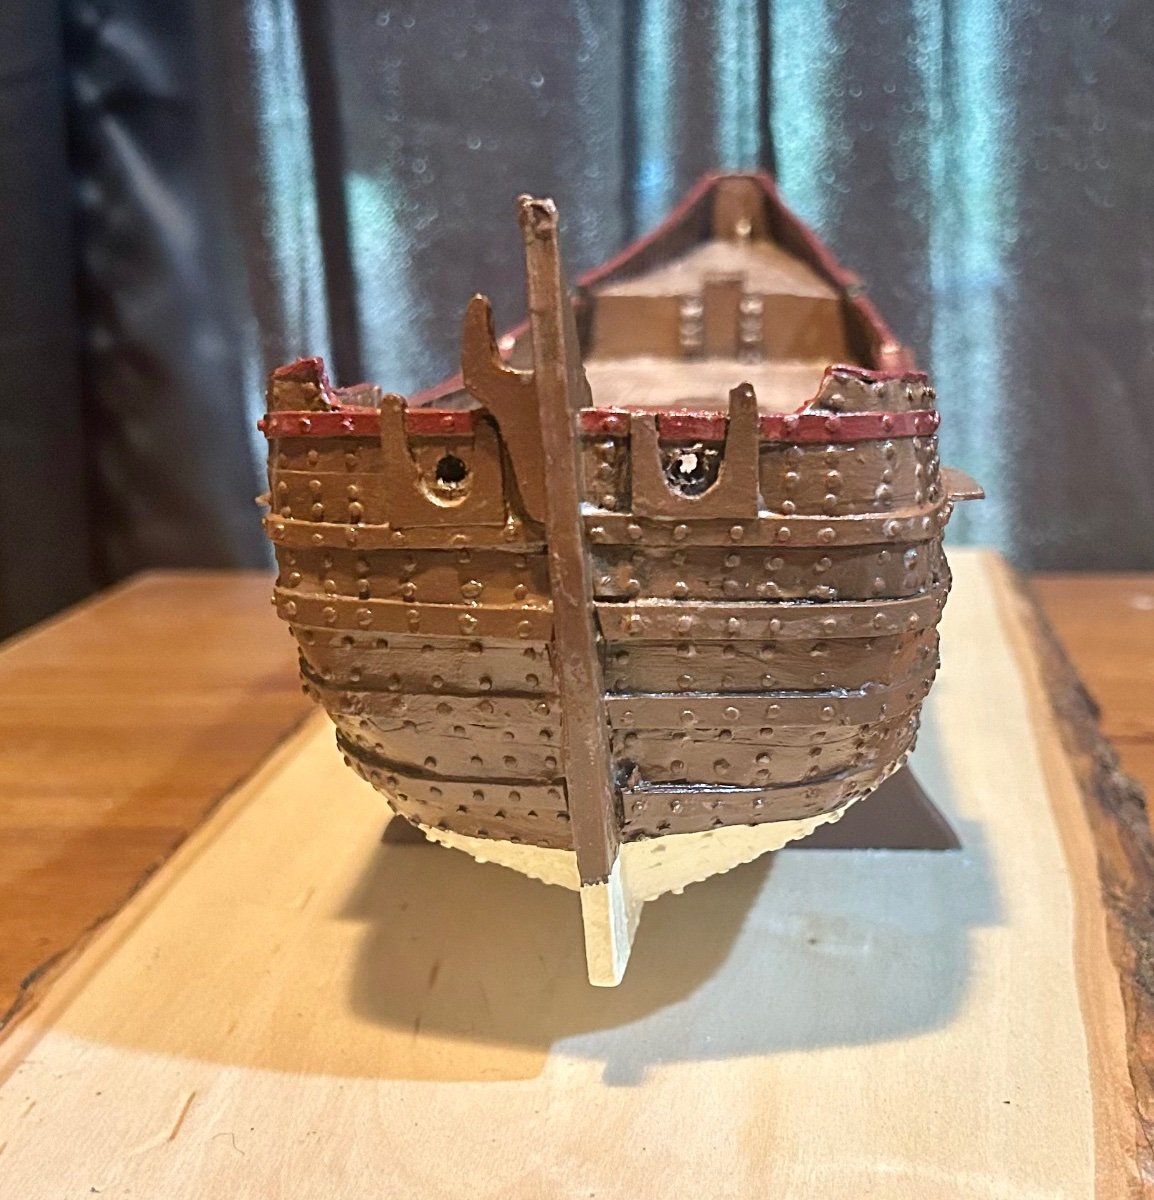
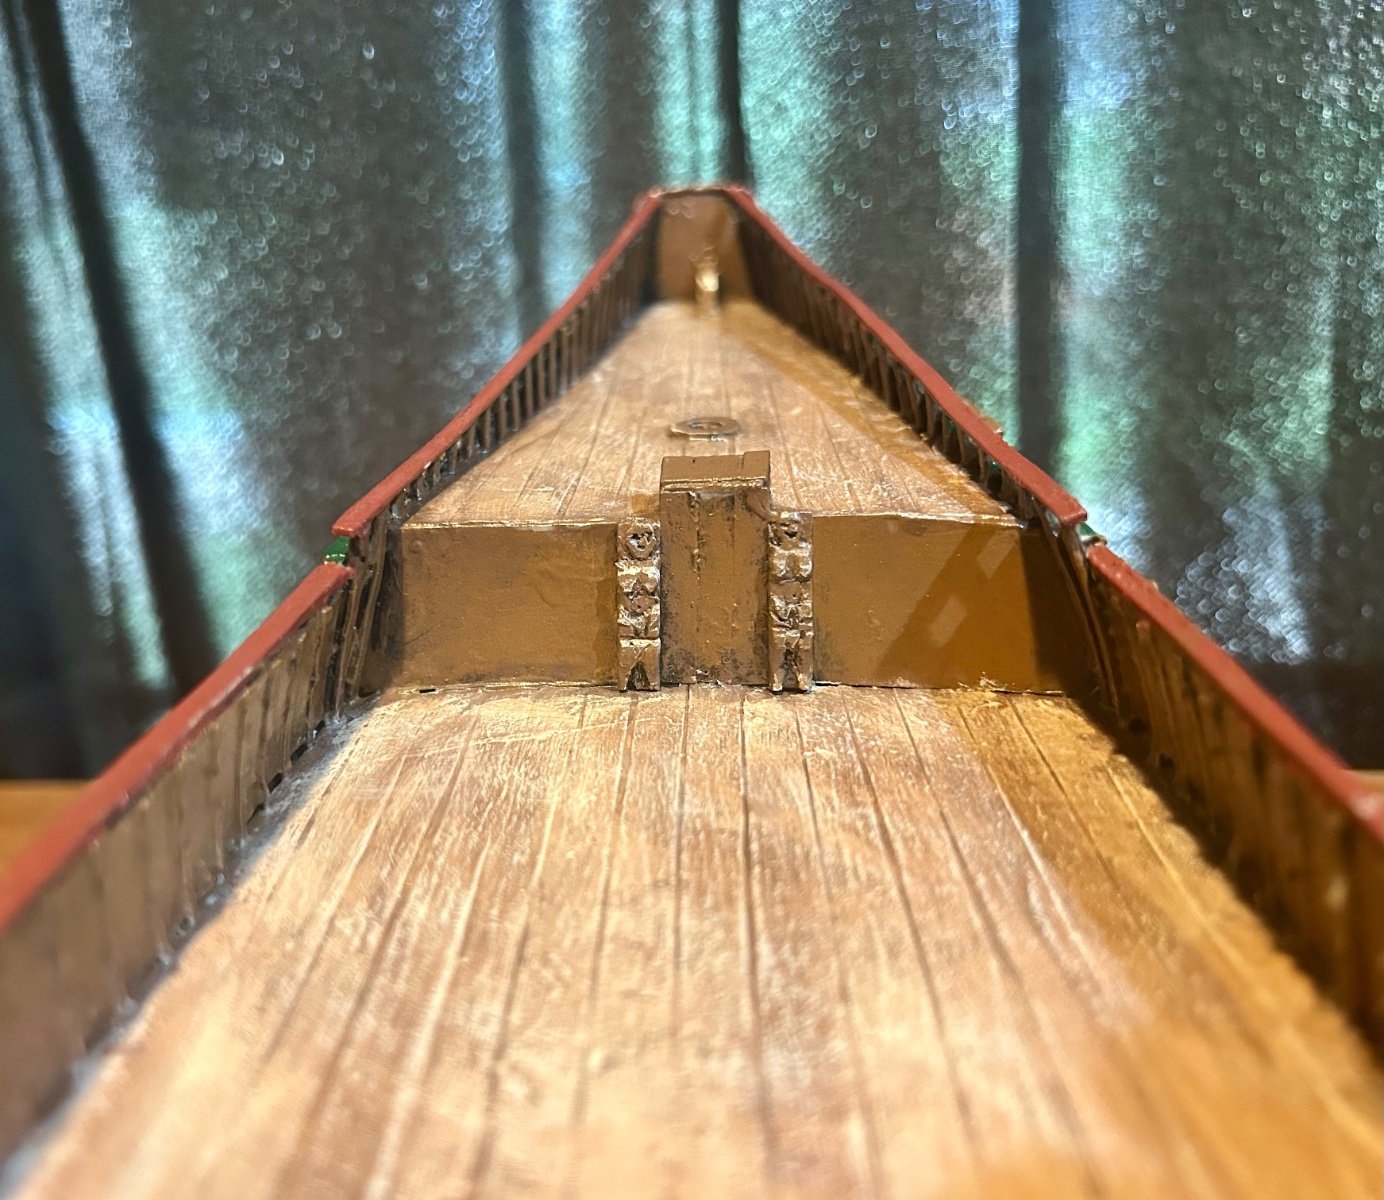
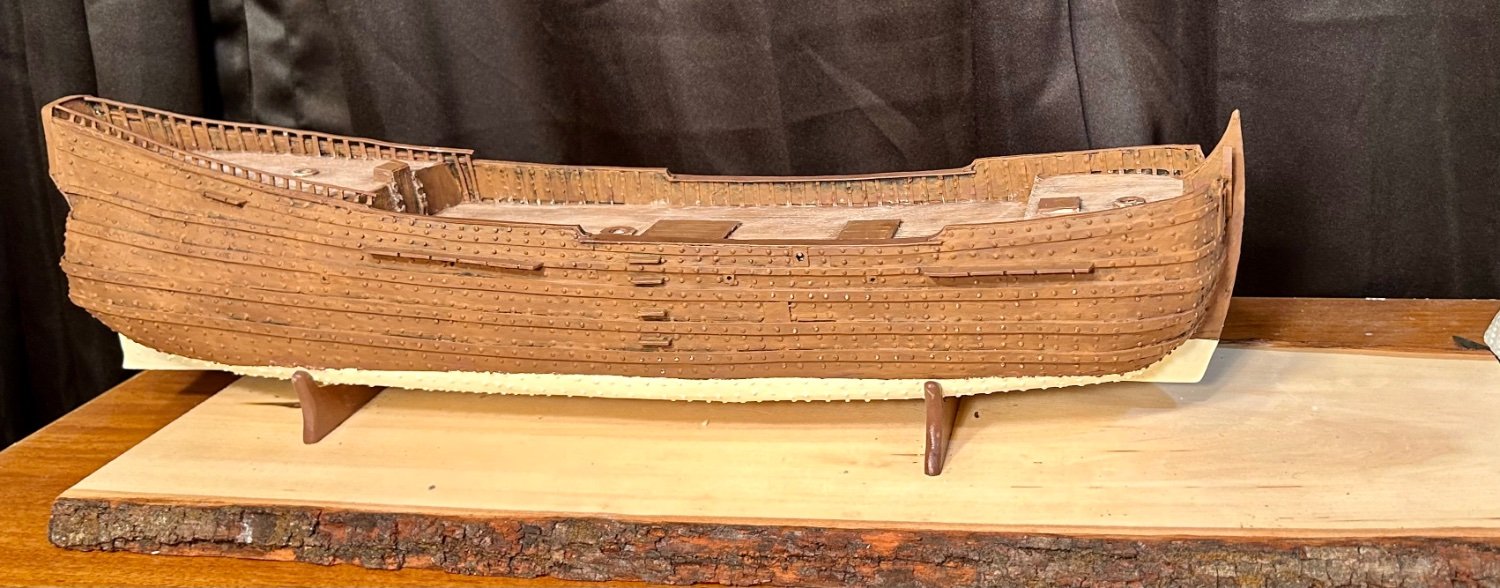
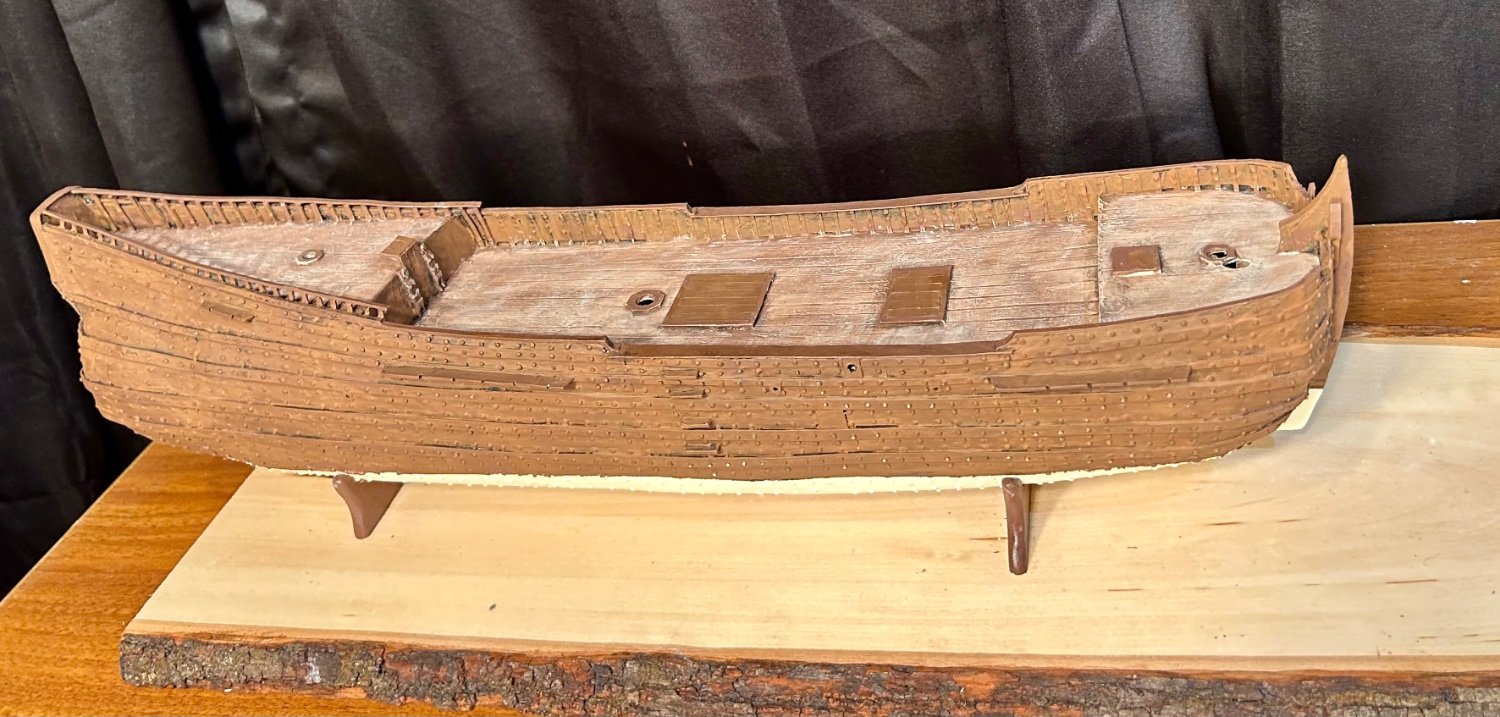
Making progress:

The deck looks like old wood. The outside looks like old wood and the area below the waterline is painted.
Next up: the wales and railings need painted and then on to most of the carriage bolt heads!
- woodrat, Scottish Guy, Coyote_6 and 5 others
-
8
-
-
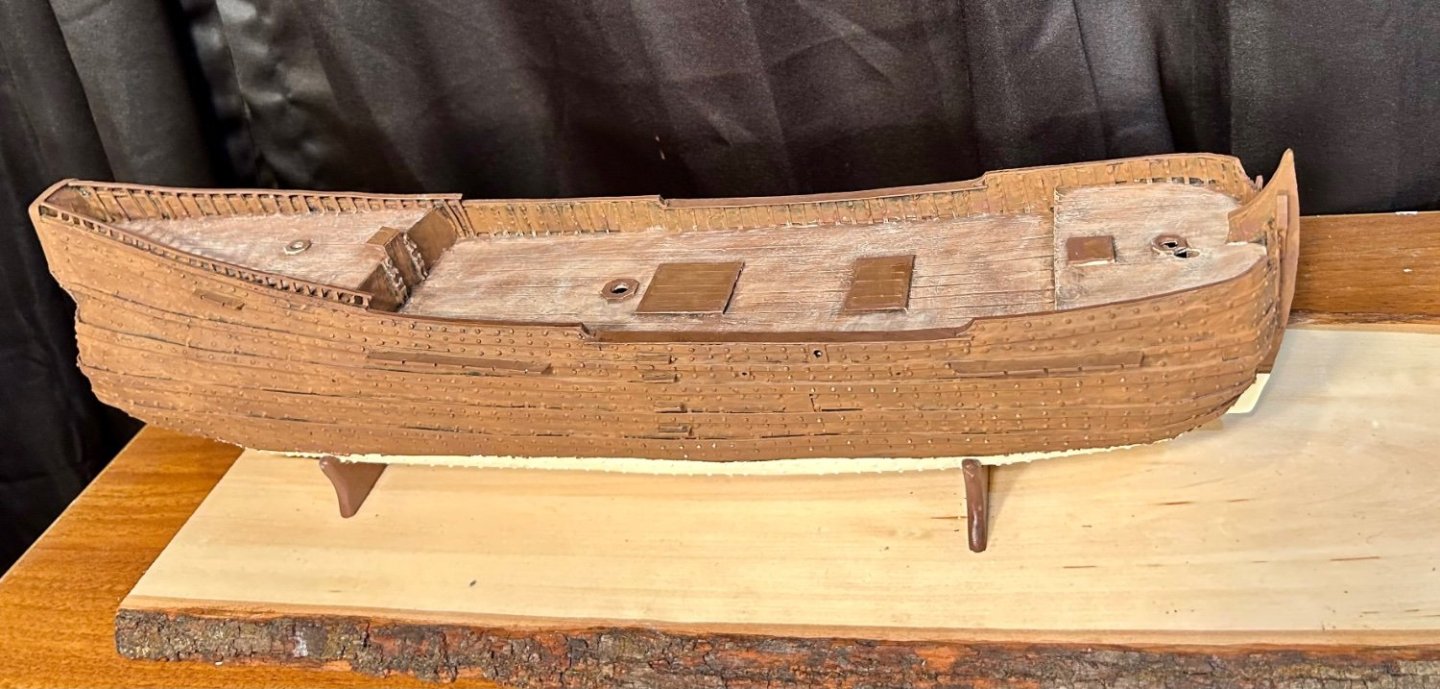
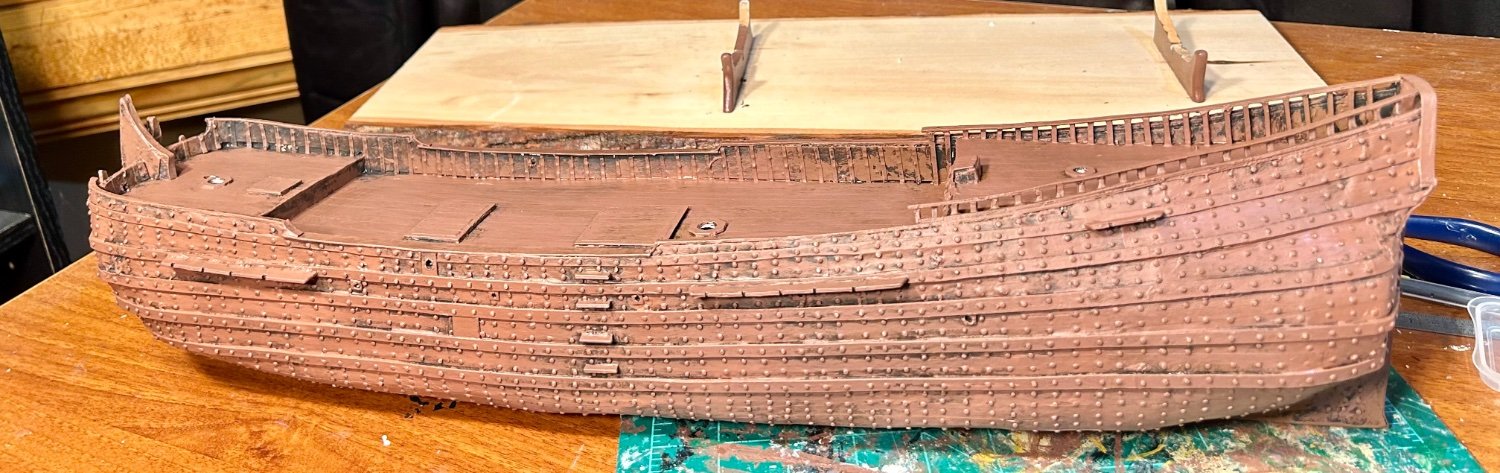
Working on layering up shades of brown:

- Canute, mtaylor, Harvey Golden and 2 others
-
5
-
-
I would personally fill in the gaps with putty, sand everything smooth, feathering in the ridges and gaps, and paint.
Use this one as a learning experience to build the next one better, but the most important thing is to finish the model and learn from what you could have done better.
I started building model ships in the 1990s and I learn from the mistakes I have made in every model that I build, some mistakes worse than others.
- Keith Black and robert952
-
2
-
The first rigged model is the most difficult.
Once you get your methods down, it all gets a lot easier.
Then you keep refining your methods and trying new techniques with each model.
Be careful handling blocks and deadeyes, use a wider jaw pair of tweezers with only the force necessary to hold the part to keep them from flying out of your hand.
- Keith Black and mtaylor
-
2
-
-
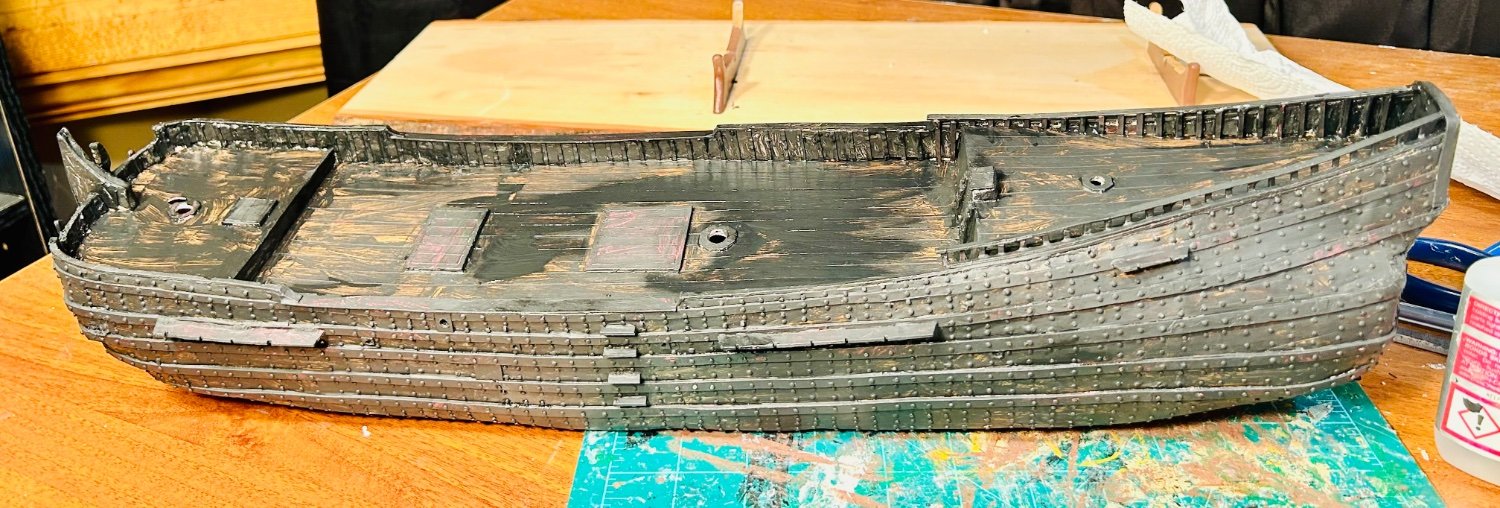
The first coat of black is on:

I need to let this first coat dry overnight and then I’ll add another coat tomorrow.
For the non-wargamer painter, I am using mostly the same techniques that one would use to paint a Warhammer army.
I begin by making the model all one color.
I am using the black as a primer coat over a coat of acrylic sealant, which is what is making the black stick to the model.
Using black as a primer assists me in doing several things.Firstly, it helps to give the model depth.
Secondly, it helps makes the model look a little grungy, since this is a workboat.
Lastly, it makes the colors that will be layered on stand out a little more.Once I get two to three layers of black on the model, I will begin drybrushing shades of brown on the model utilizing a makeup brush like I did my Sampang.
I will begin with a dark shade of brown heavily applied and work my way through successively lighter shades of brown, successively lightly applied, finishing with a reddish brown on the hull, bulwarks and bulkhead.
The deck will be finished with a lighter brown or dark tan, very lightly applied.
Several of the wales, and trim, will be painted a dark burgundy.
The waterline will then be marked off and the bottom painted a dingy white.
Then all bolt heads above the waterline will be finished a medium gray, representing a faux metal iron.
At this point I will paint the transom painting depicting a Dutch woman holding a platter of fresh baked bread, representing the wife of the guy who owned this ship (wife, guy and ship are completely fictional, but ship is supposed to be representative of the type in the middle to latter half of the 17th Century).
Then the entire model will get sealed and construction will commence again.
Later, after I finish the hull and paint the added details I will highlight the hull to give the impression of light hitting the ship.
- Scottish Guy, Canute, firdajan and 4 others
-
7
-
Welcome!
- Long John Silver, Keith Black, Vlax and 1 other
-
4
-
-


The African Queen. My First Listing and First build here.
in New member Introductions
Posted
Welcome!