mikesnail
-
Posts
11 -
Joined
-
Last visited
Content Type
Profiles
Forums
Gallery
Events
Everything posted by mikesnail
-
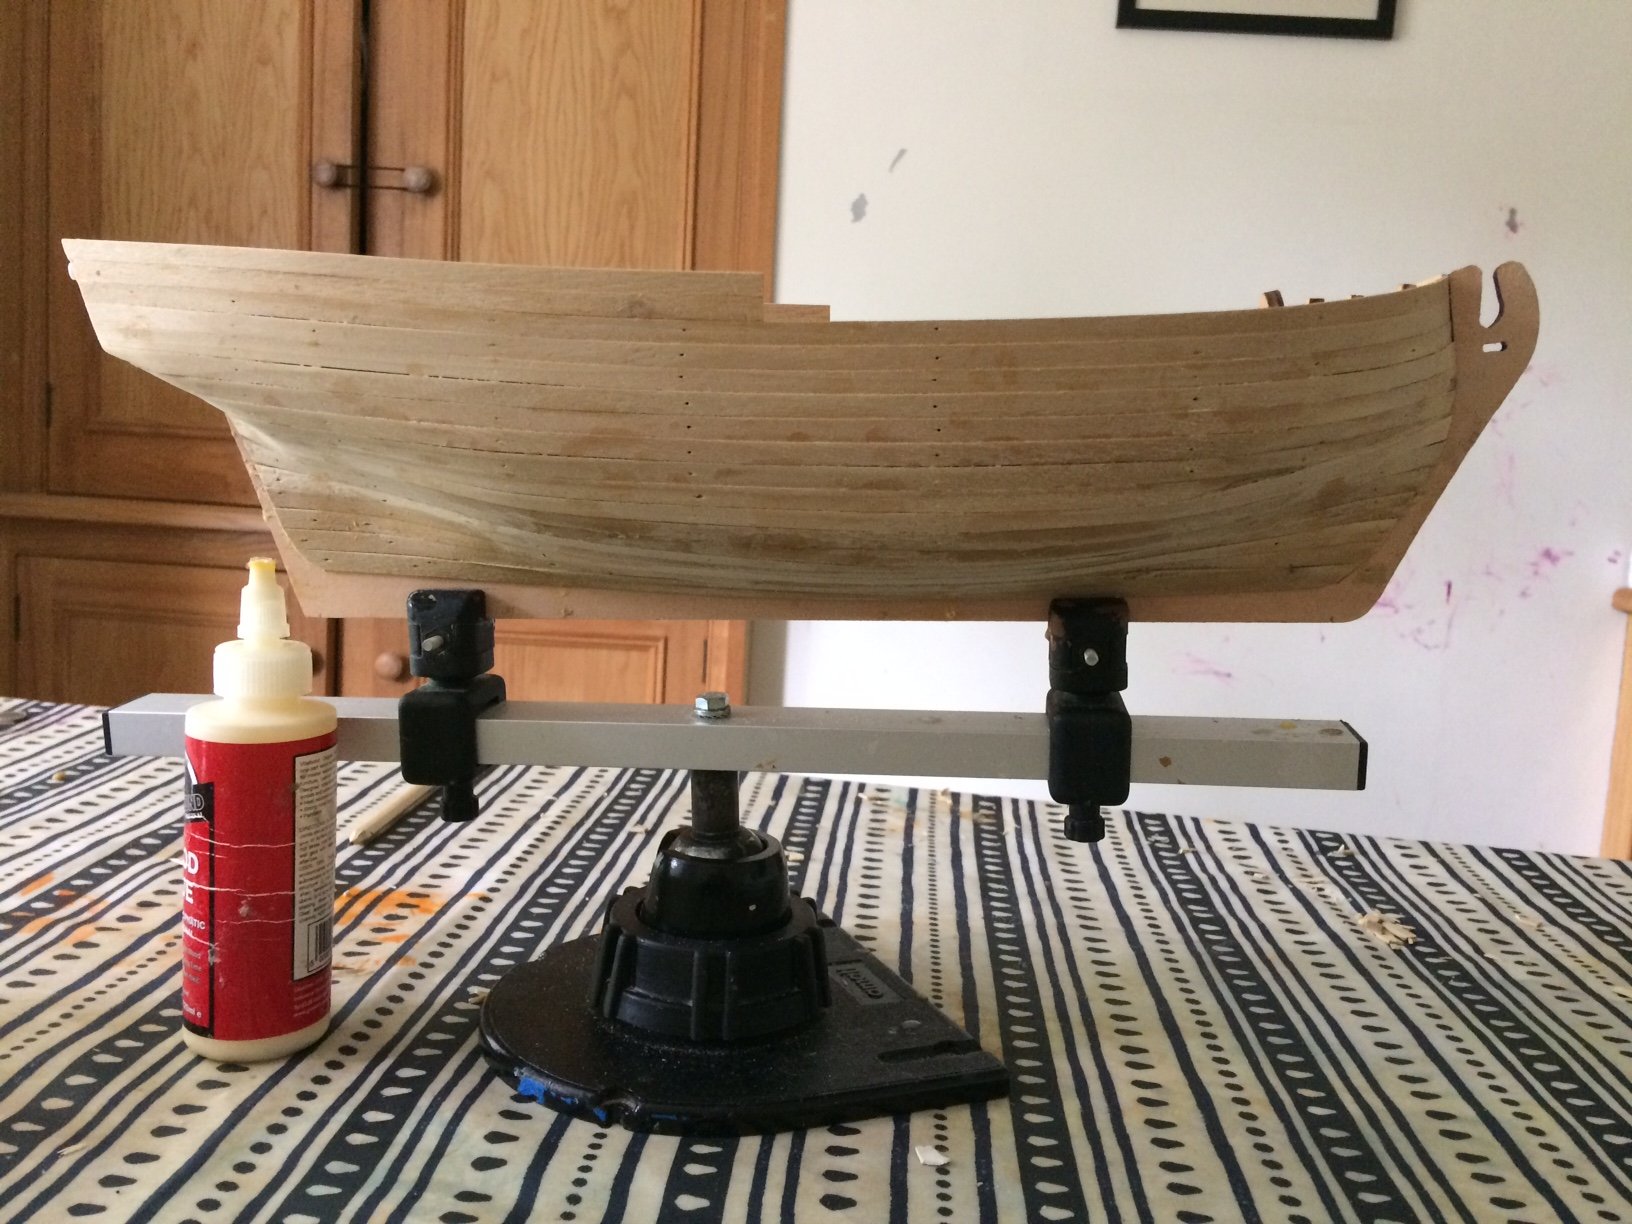
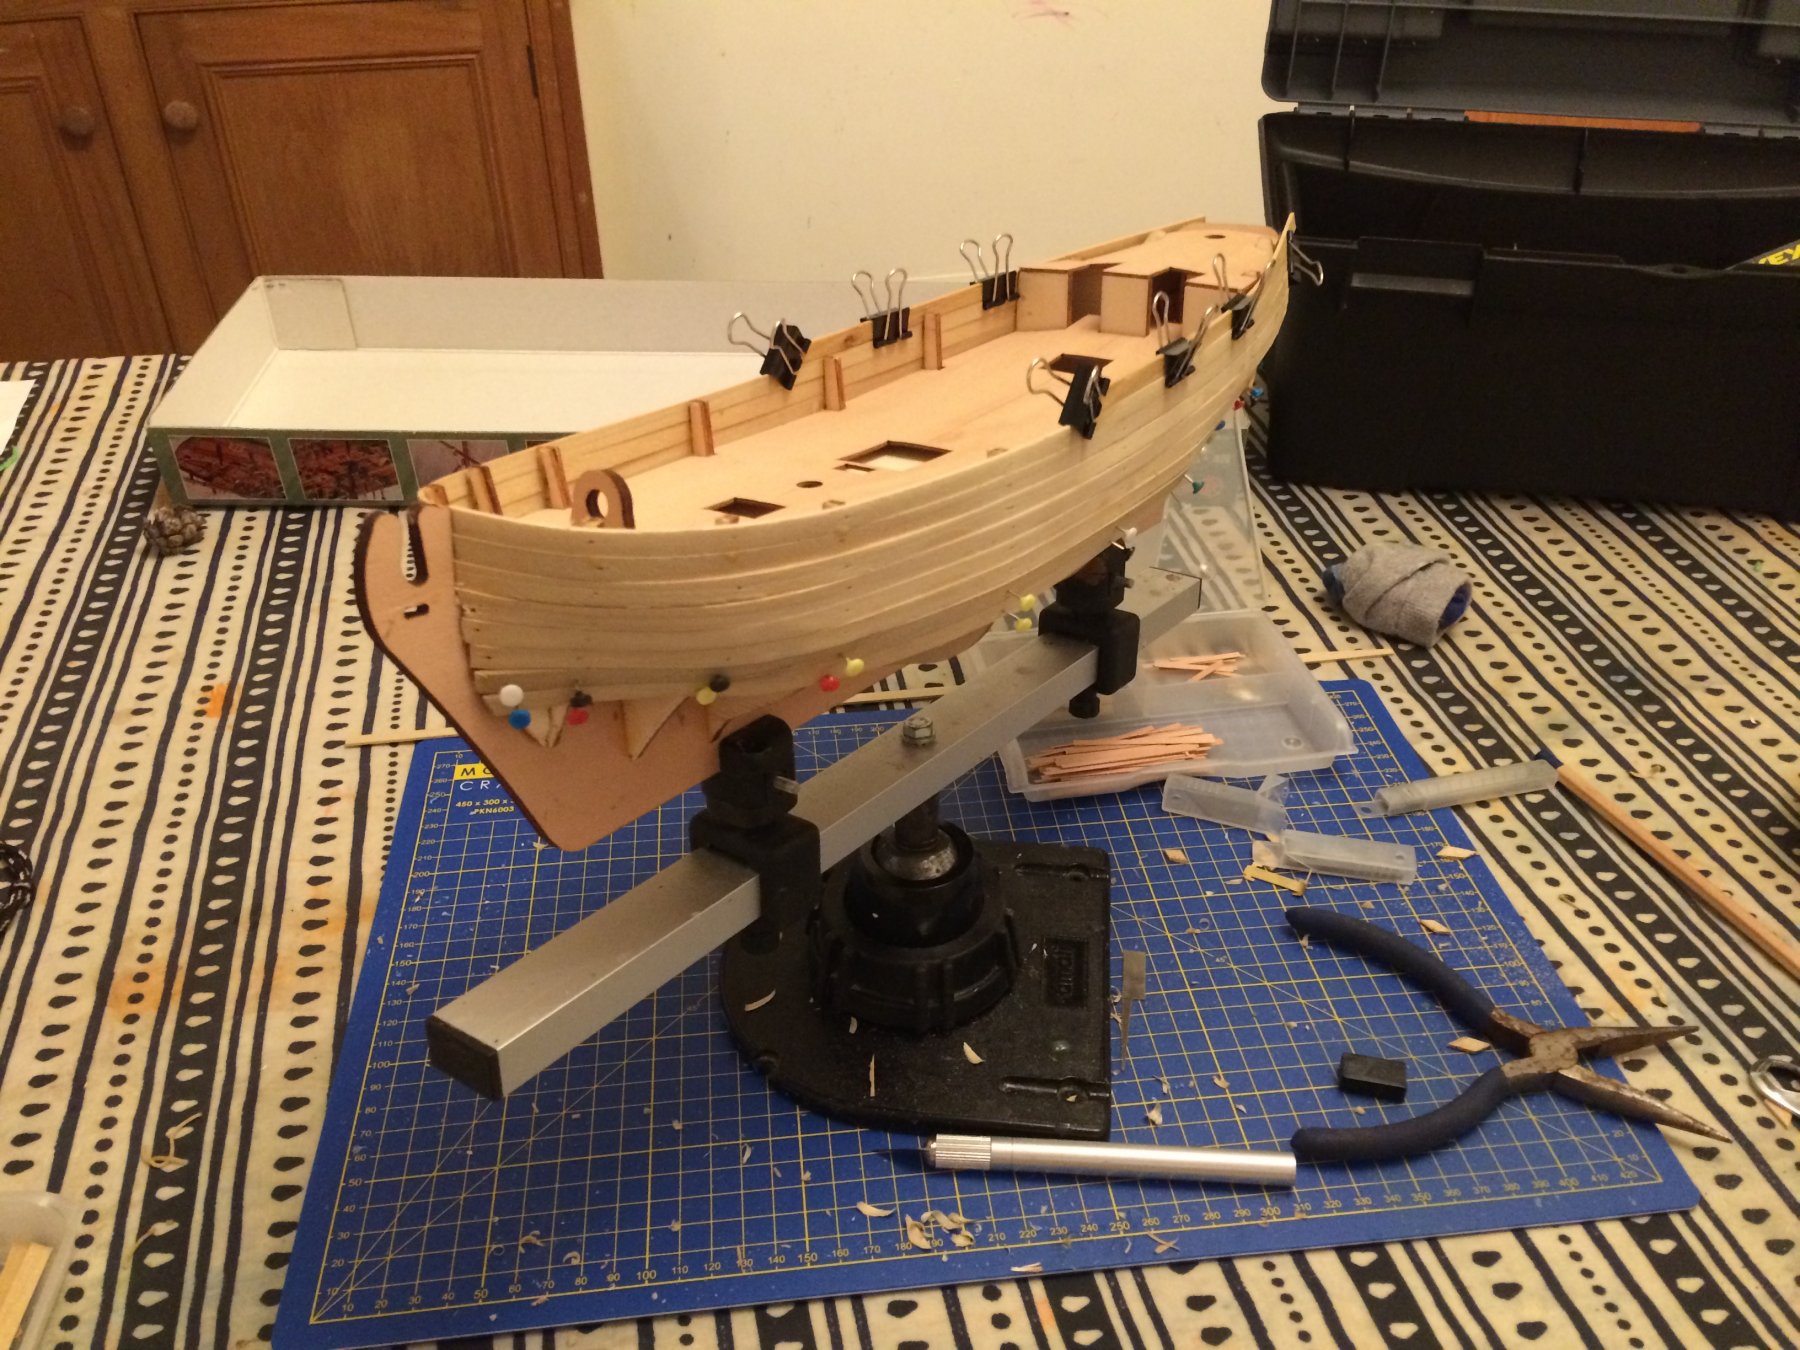
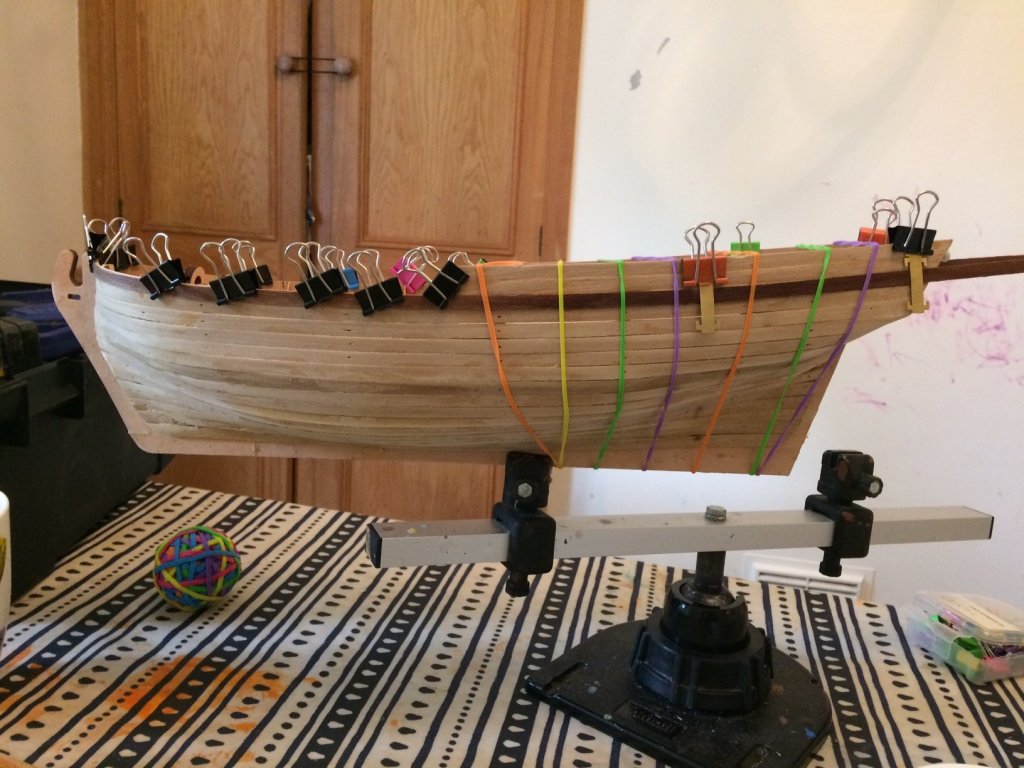
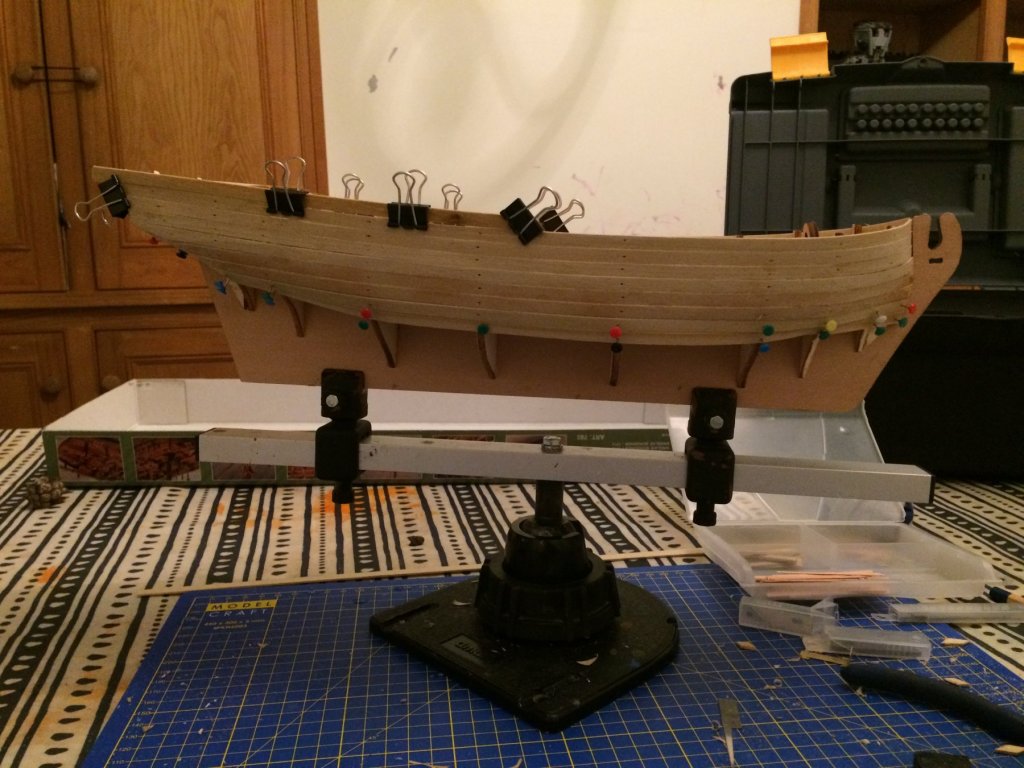
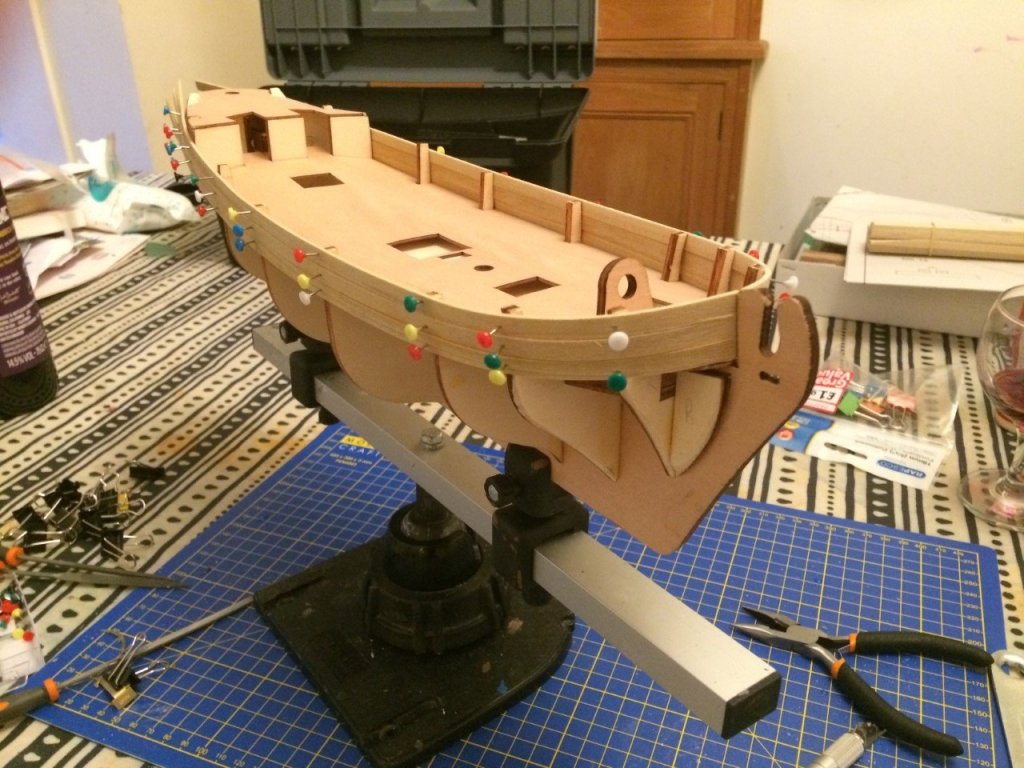
Some more progress - i still need to clean up the stern, and I am starting to play with the second planking layer - though i need to finish reading that document suggested by Glen. Having said that, as a first timer I am quite happy with the results so far. I have learned a lot, and i have to admit to doing a fair bit of sanding to get a reasonably smooth result. Still enjoying it! For the second planking layer do you still use pins, or is there a different technique to stop from creating little holes?


-
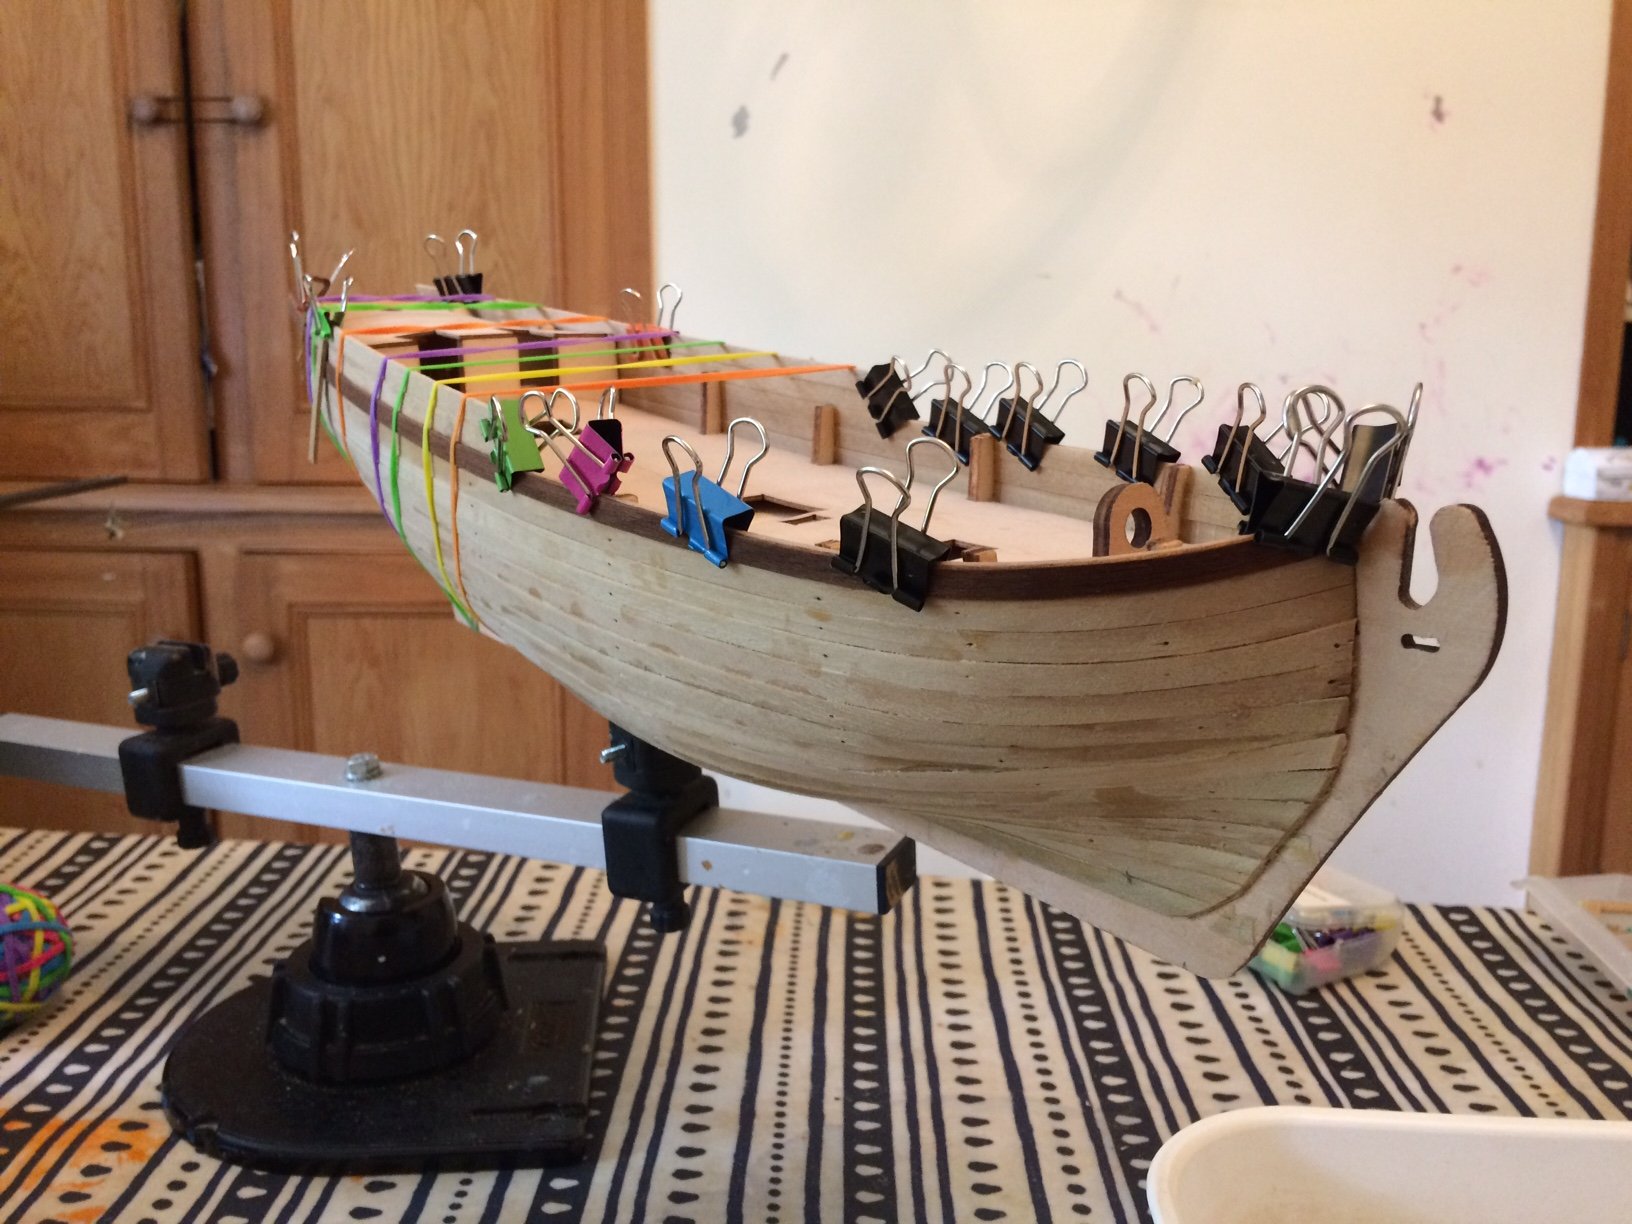
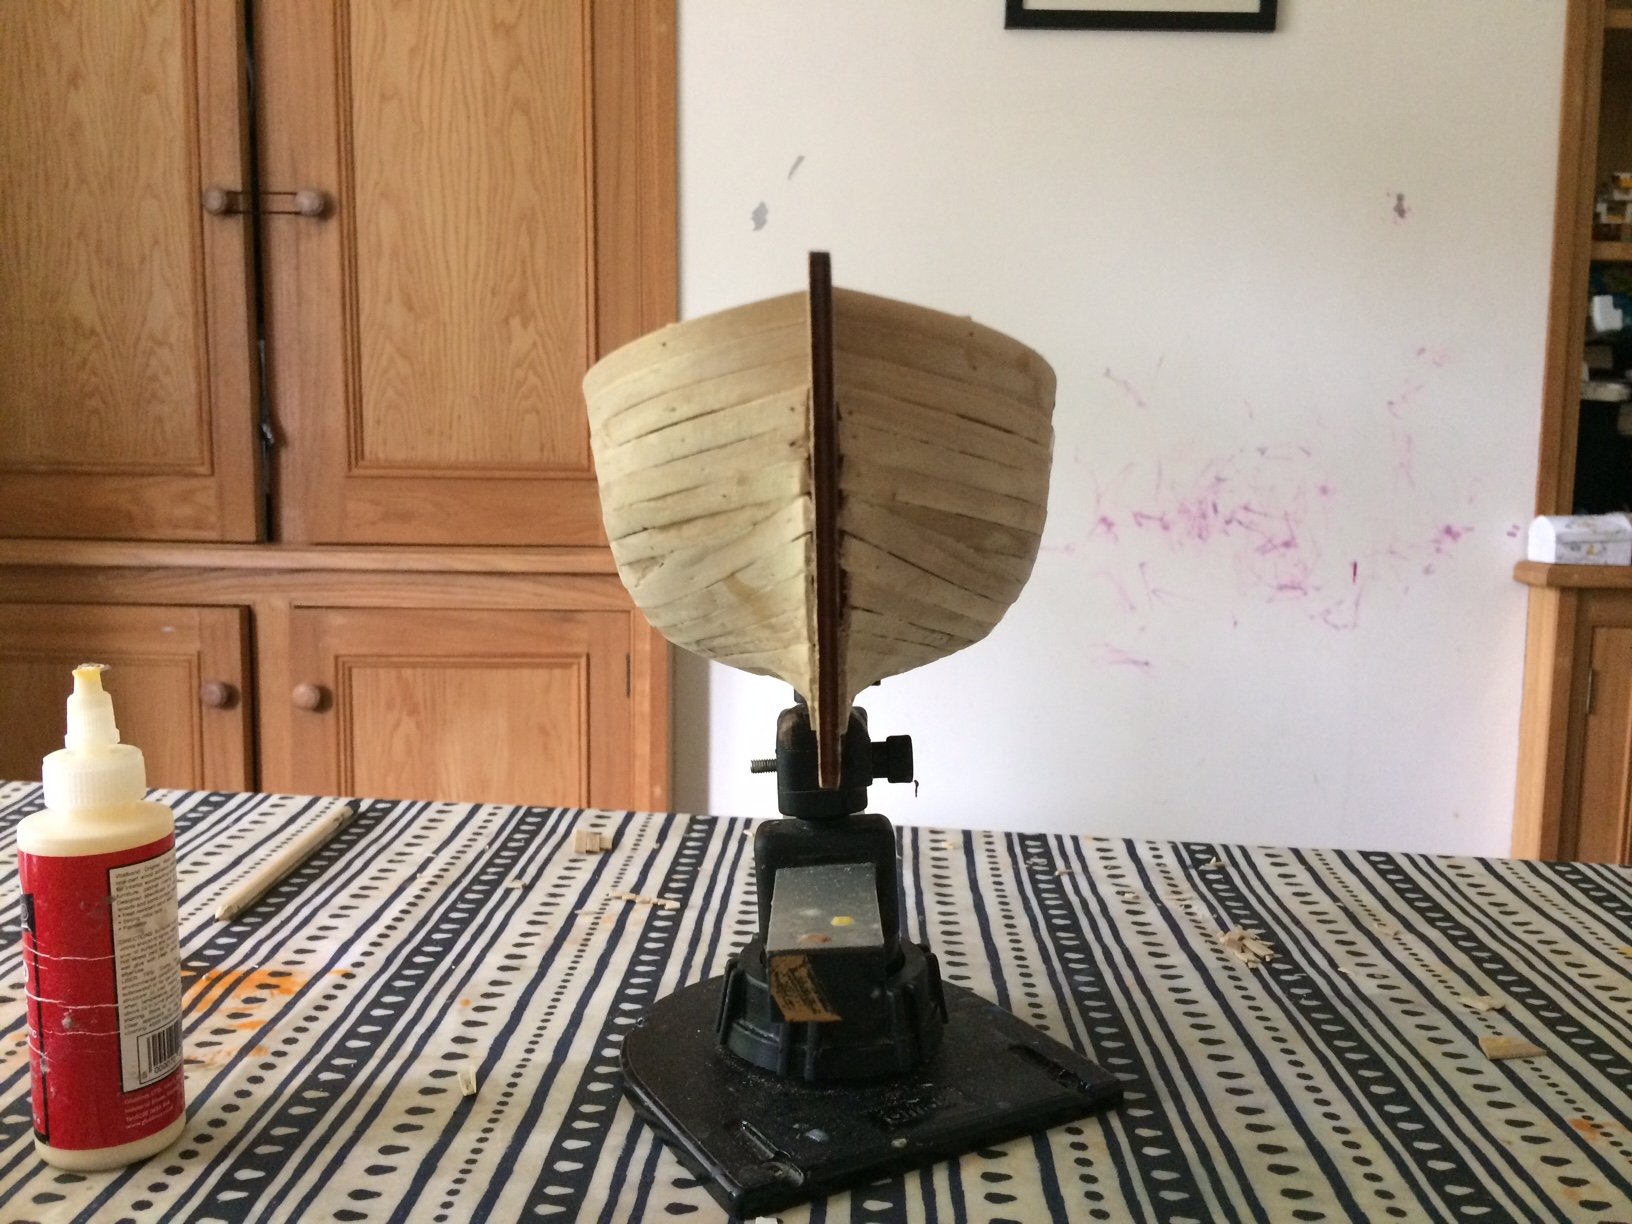
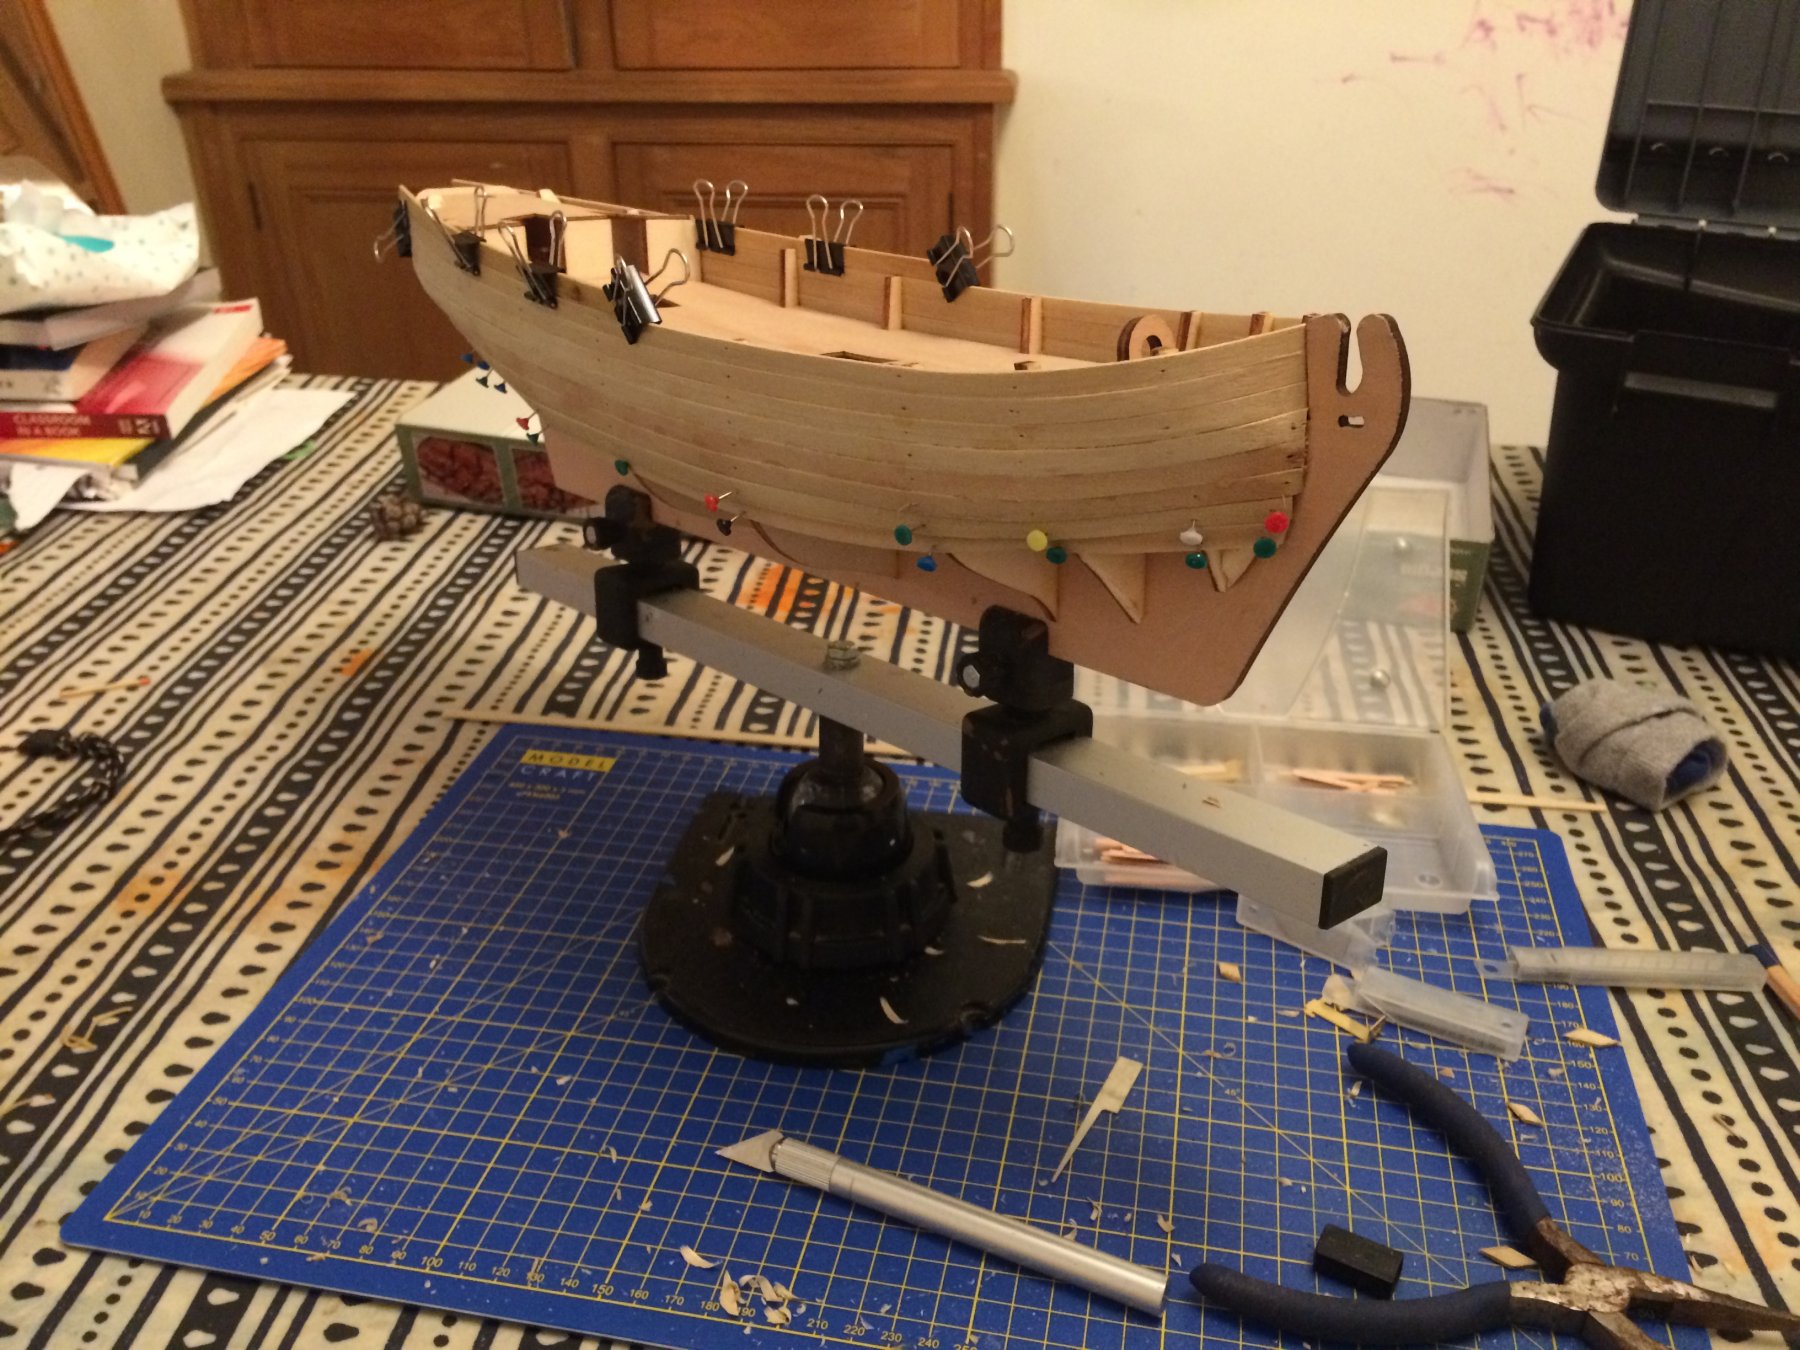
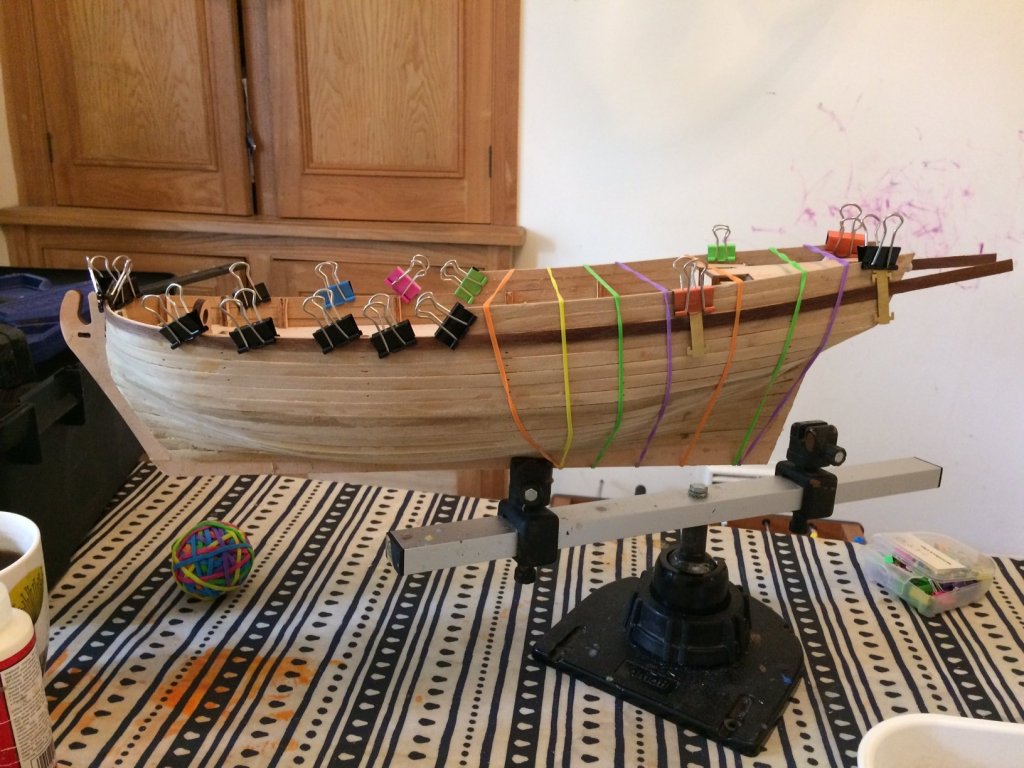
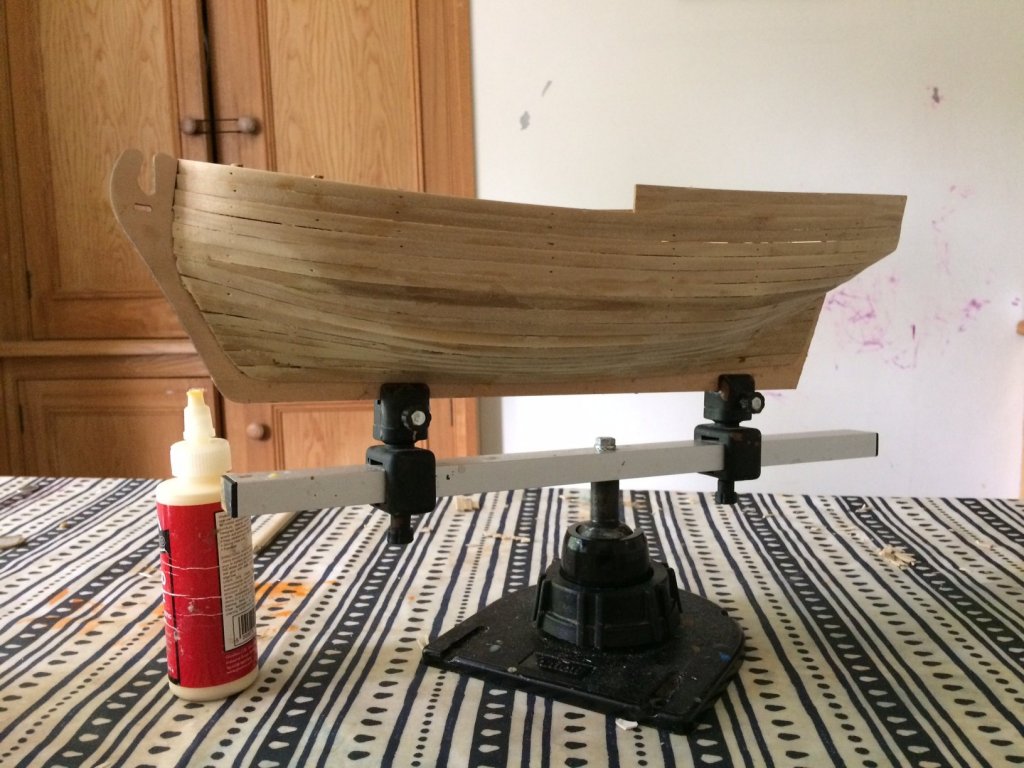
Hey all, thanks for the feedback guys - its very much appreciated. Glenn - i had not seen that article, so i will take a read (and probably cringe at all my mistakes I have already made!). Taking everyone's advice, I am focusing on the side planking for now. Its coming together *ok*, I am struggling with the bow where the curve goes from being concave to convex - my planks in that area feel a bit too stepped. I have started carving them and given a little sanding which has helped, so I am hoping with a bit more carving it should come through ok. As you'll notice in one of the images, I have a plank which had a horrible indent toward the stern. I have no clue how I missed that, but its going to be awkward to remove, so I am attempting to add a second plank to fill in the area which is indented. Once that is dried and glued I am hoping i can just carve it back down to fit the curves of the neighboring planks... at least that's the plan...


-
Looking at the model, I am wondering if I should do the deck planking before gluing the side planking? That would make it easier to cut the deck planking to the curvature of the deck but might make it harder to hide any gaps in the side planking... does anyone have any thoughts or opinions on which should be done first?
-
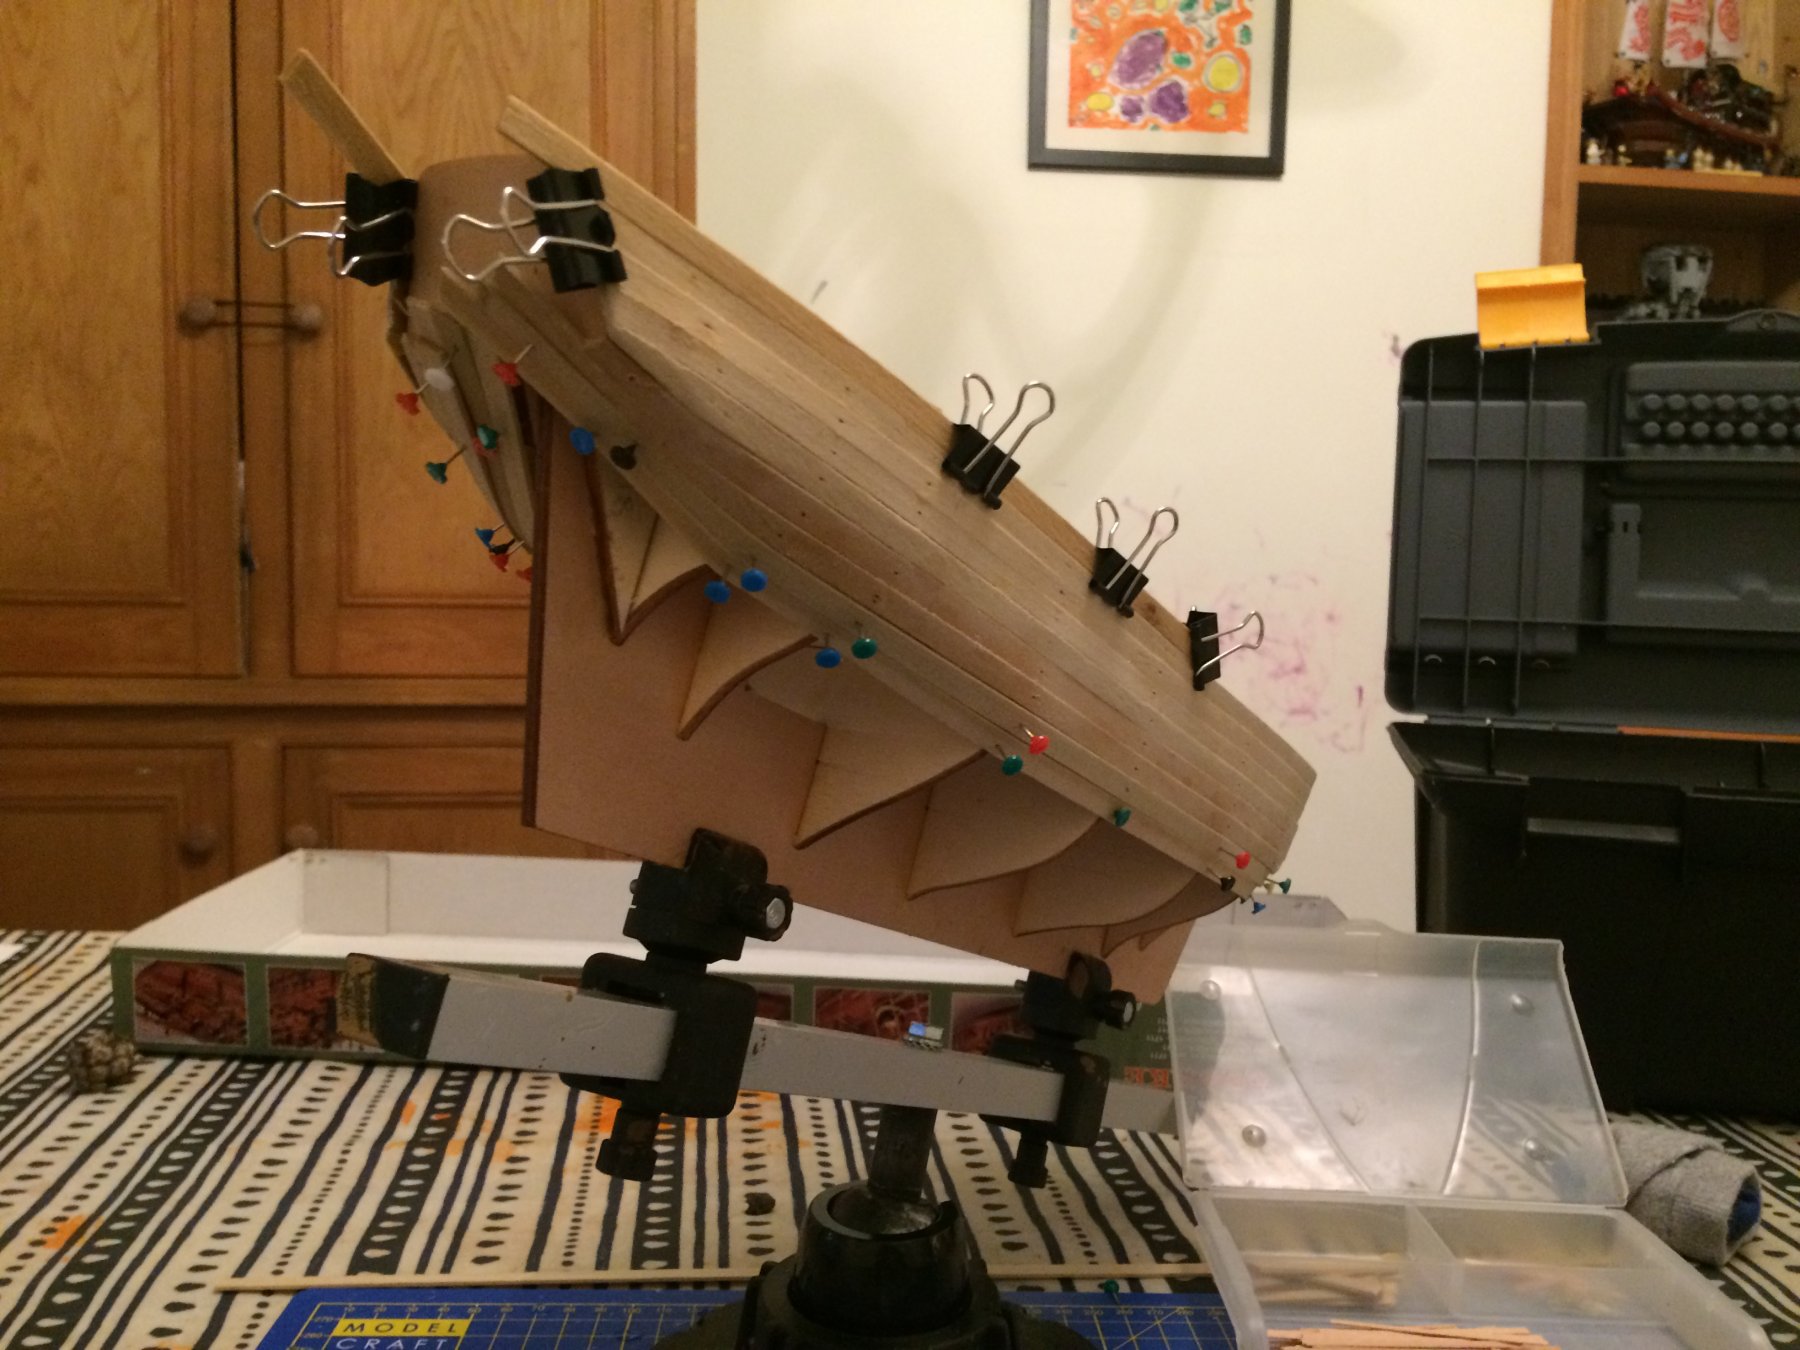
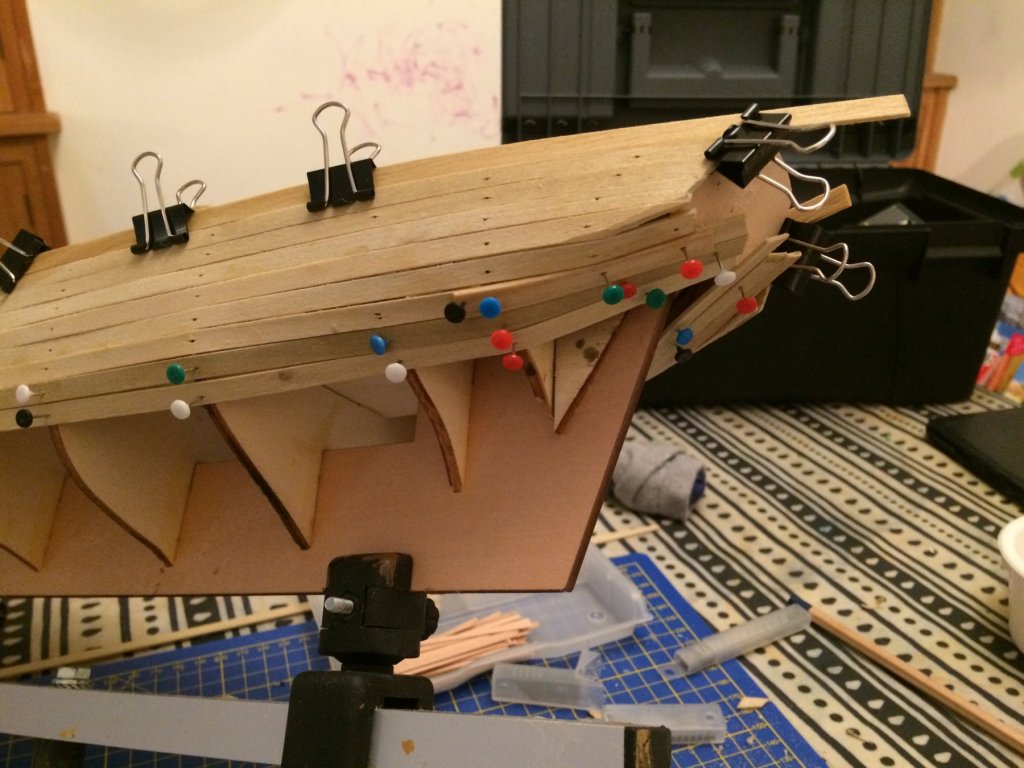
Thanks Phil! I have started planking. I figured i'd try and do it in blocks of three planks at a time (either side) - so I hot-soaked six planks to make them a little more bendable, and have just pinned them in place. Hopefully tomorrow i'll unpin them, apply glue and re-pin them. The day after that i'll hot-soak the next three planks etc. It would be great to get others approaches to this, and please shout if you see a pitfall I am about to fall into! The first three were reasonably straight forward, though I am thankful I bought an A-Strip tool to help the initial bend from the ships bow. My thumbs are clearly not used to hard labour, as the pushing of pins has took its toll!
-
That is looking really nice - what technique did you use to cut the gun ports? Do you drill small holds to allow for cutting?
-
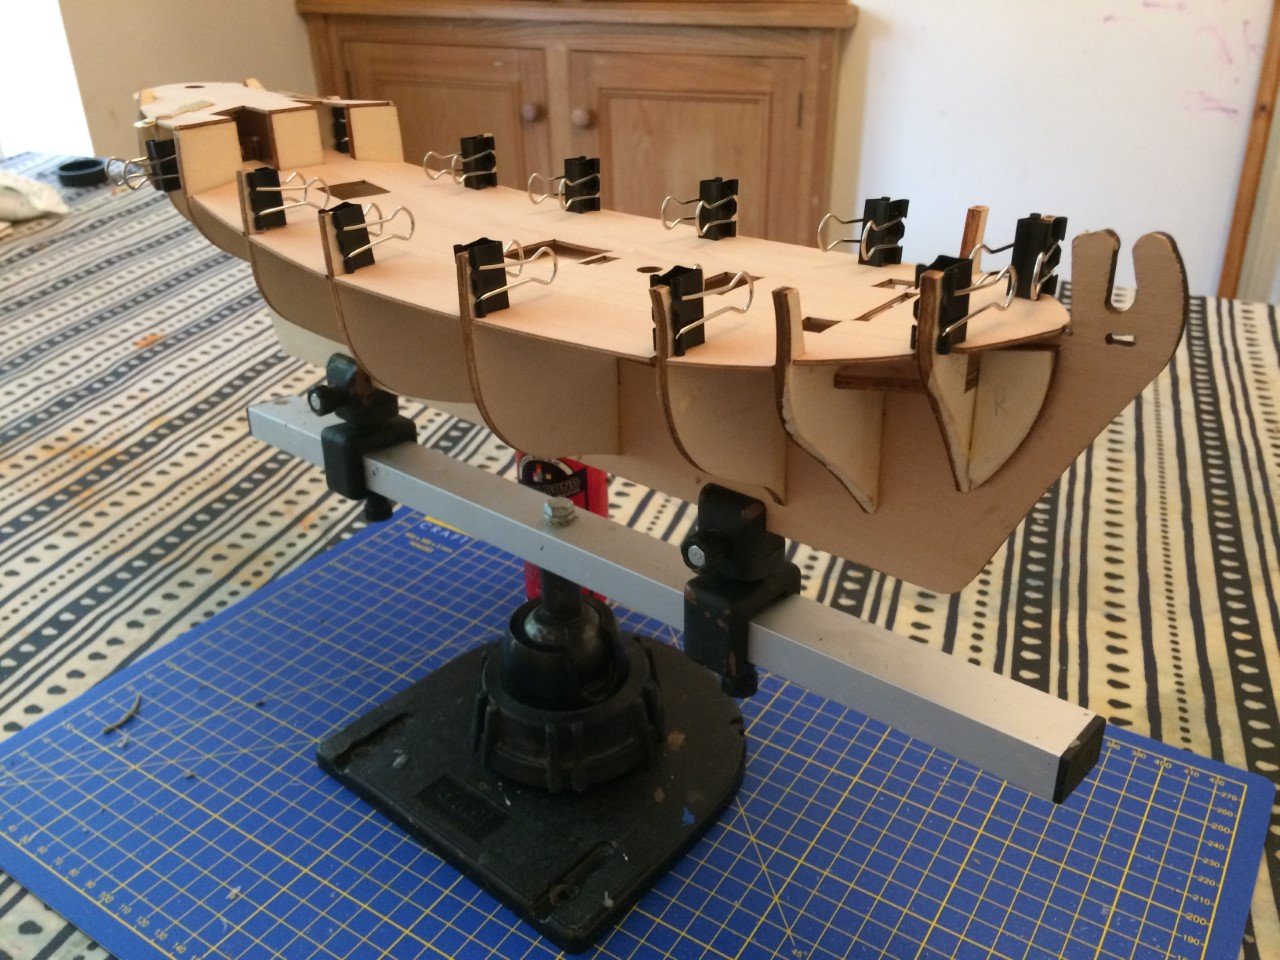
after a bit of experimentation I came to the conclusion that i just needed to hot-soak the deck panel and bend it to match all the curvature of the supporting frame. Having done that I think that was the right call. I then did the same for the deck toward the stern, and glued them down this morning after they had dried holding their shape. So its now all clamped down as the glue dries. I have to say, I am thoroughly enjoying the experience so far - it feels like the right amount of guided construction whilst still feeling like I am mentally contributing to it!

-
I dont suppose you have any close-up images of your build? If you do - that would help immensely in knowing if I am going in the right or wrong direction!
-
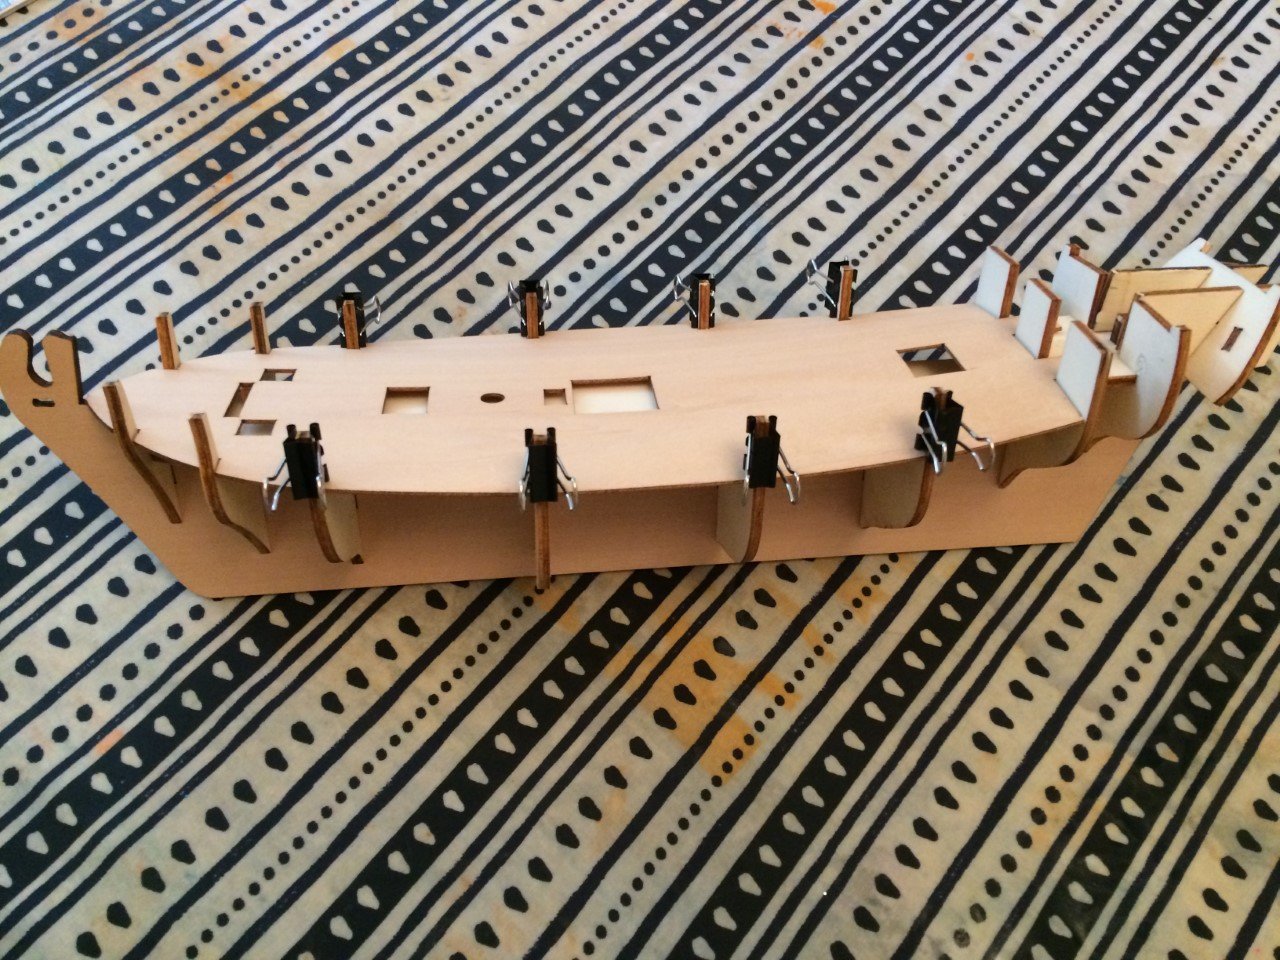
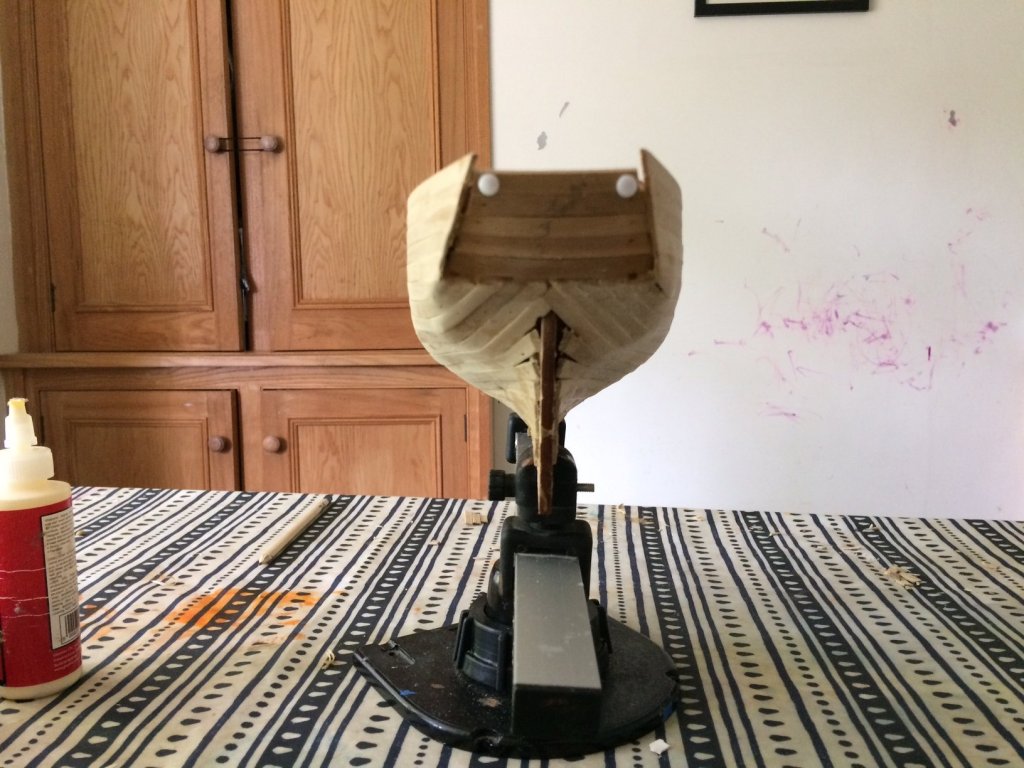
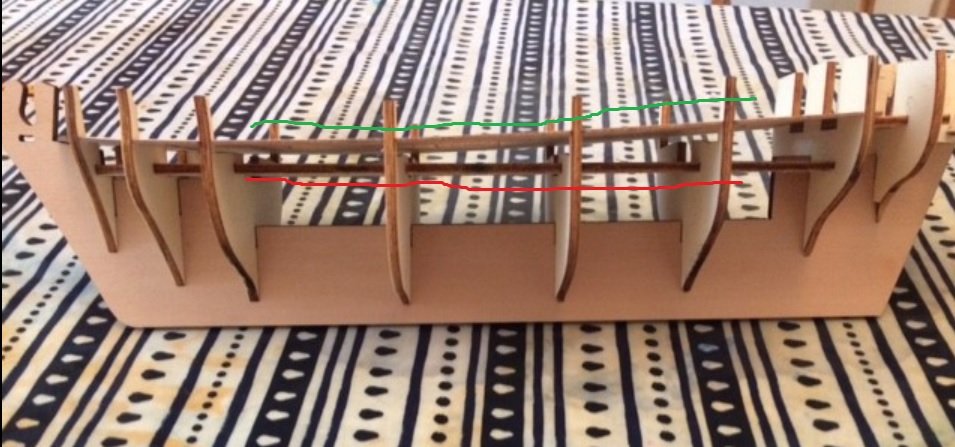
After clamping the deck down to close the gaps its starting to feel a bit better to my untrained eye. Let me know if the curvature is completely wrong though! The deck on the instruction sheet *appear* to show it flat, but as Glen pointed out, there should be a curve - the question is whether the curve I have is the 'right curve'. I will have a play a bit longer, then play with the deck panel for the stern. If that goes well then i will start gluing the frame structure And apologies for all the uncertainty - its likely to be a theme throughout the thread!


-
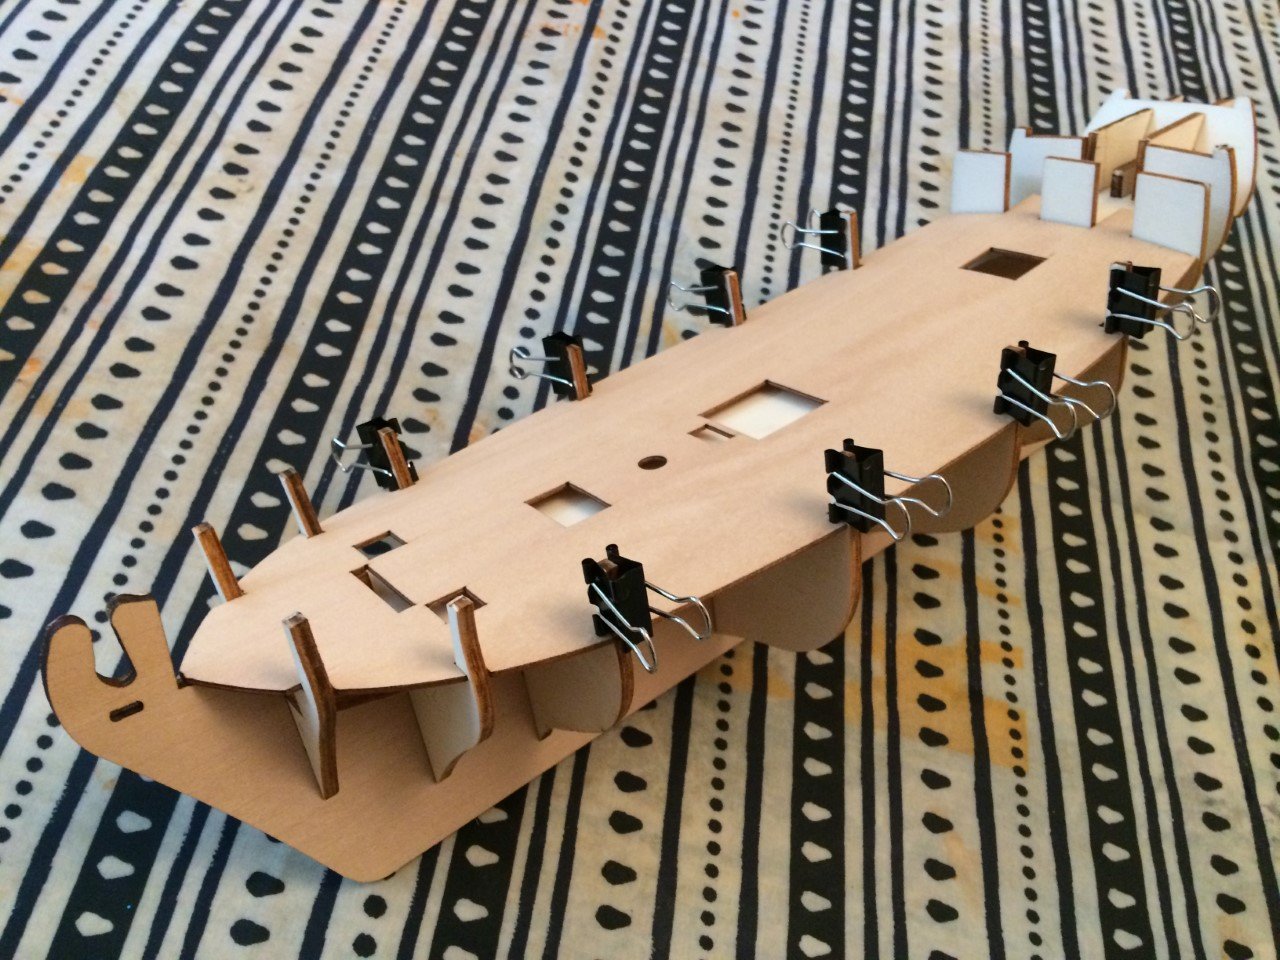
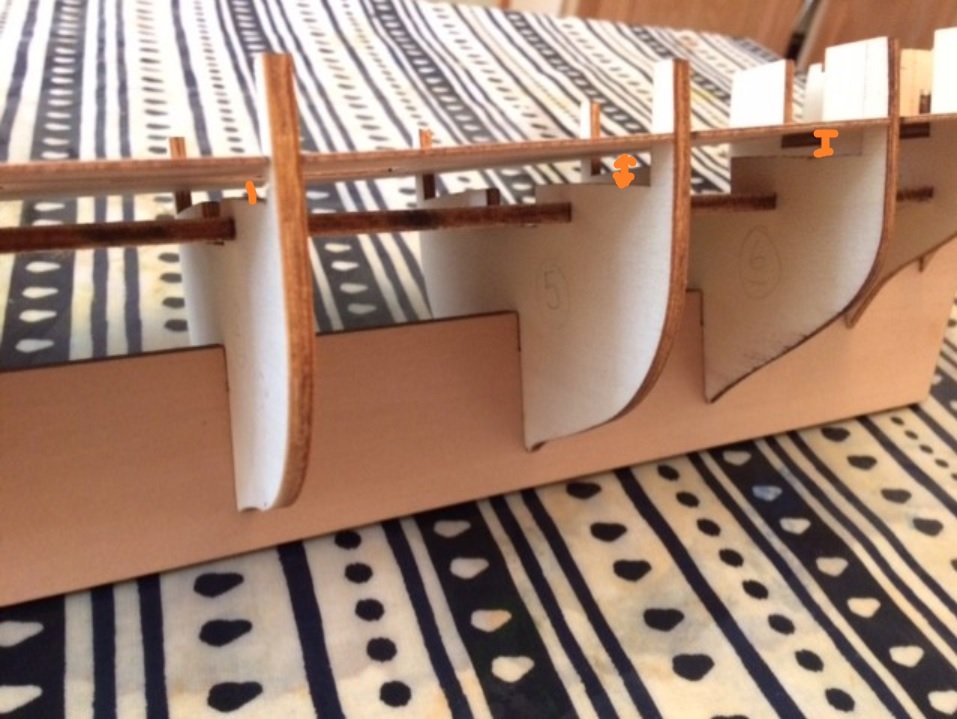
Does this look correct? The deck does not sit flush against the frame because of where it sits on the rear end of the ship. I am wondering if that is intended, or whether I need to force it down to touch the frame (using glue and clamps - meaning a steeper curve toward the rear of the ship) or whether I have done something wrong with the frame itself. Any pointers would be great, and very much appreciated!

-
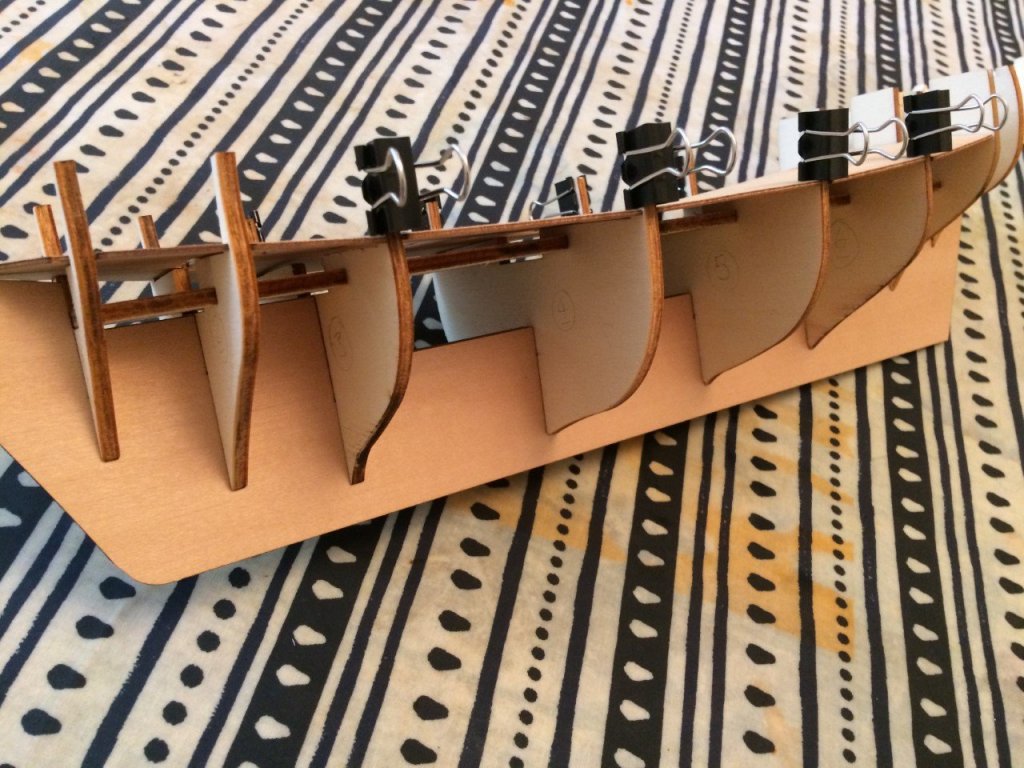
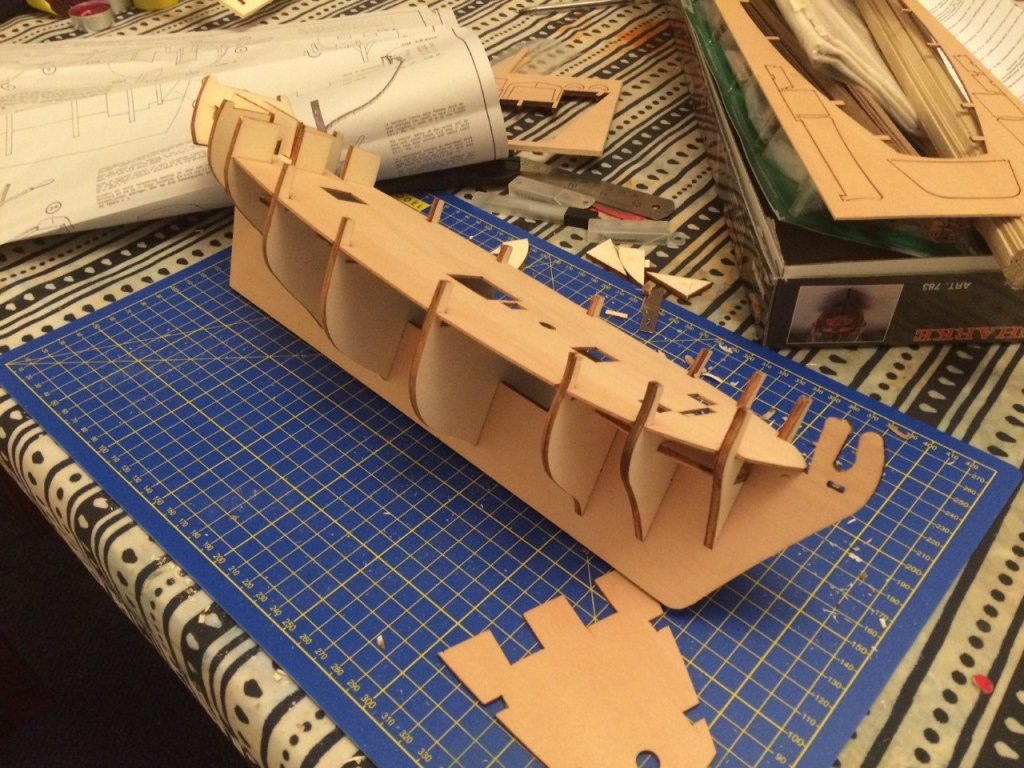
Started doing a dry-run - and glad I didn't dive straight in with glue! Most of it is fine but the stern appears to be problematic and needed quite a bit of additional cutting to get the parts to line up as per the instructions. The deck is also not flat, so i will have to work out the problem there. Very much enjoying it though!
-
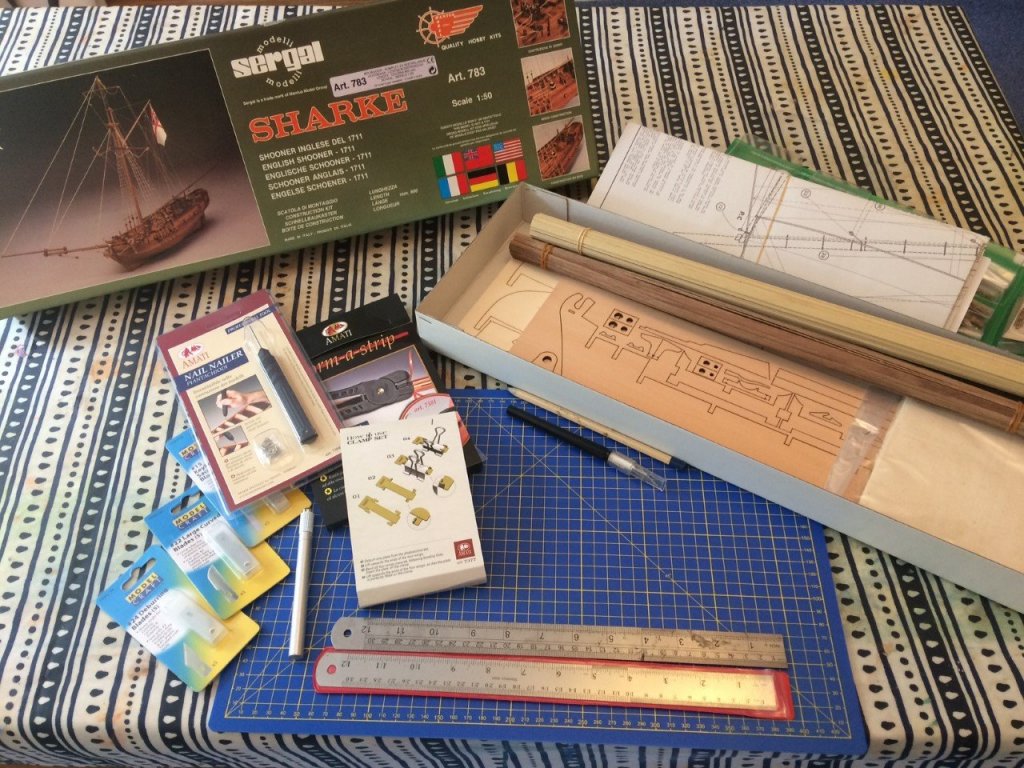
So this is to be my first attempt at building a ship. I have not done anything like this before so the whole thing will be quite a learning experience i think! I have not started building yet (hopefully that will come this evening when the children are in bed) - but have spent some time staring at the instructions and *think* i get the general idea (time will tell). Anyway, this is what I have - so if you see some critical piece of equipment missing from the image please shout! (note - i do have glue - vitalbond aliphatic wood glue) but that did not make it into the photo!