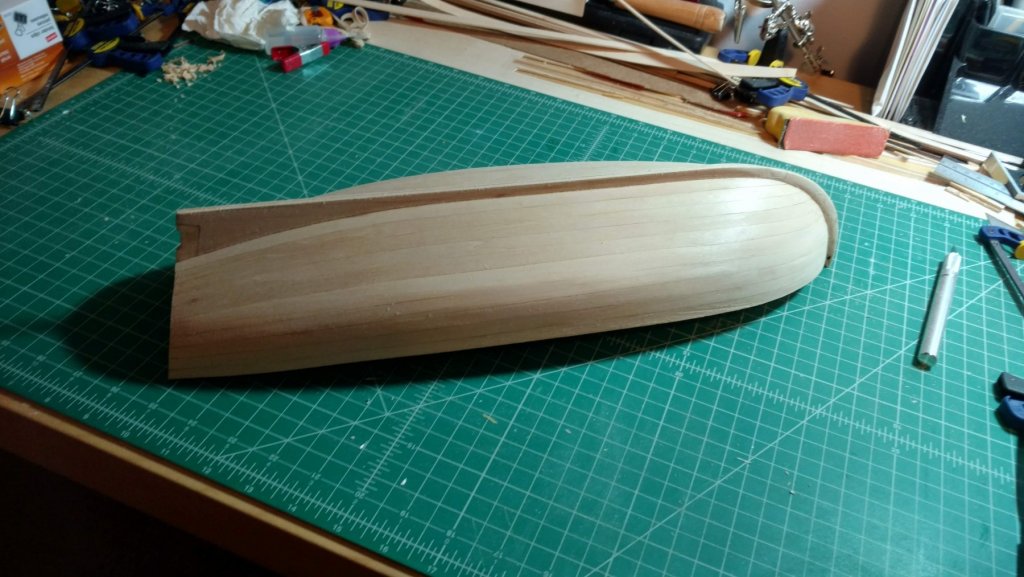
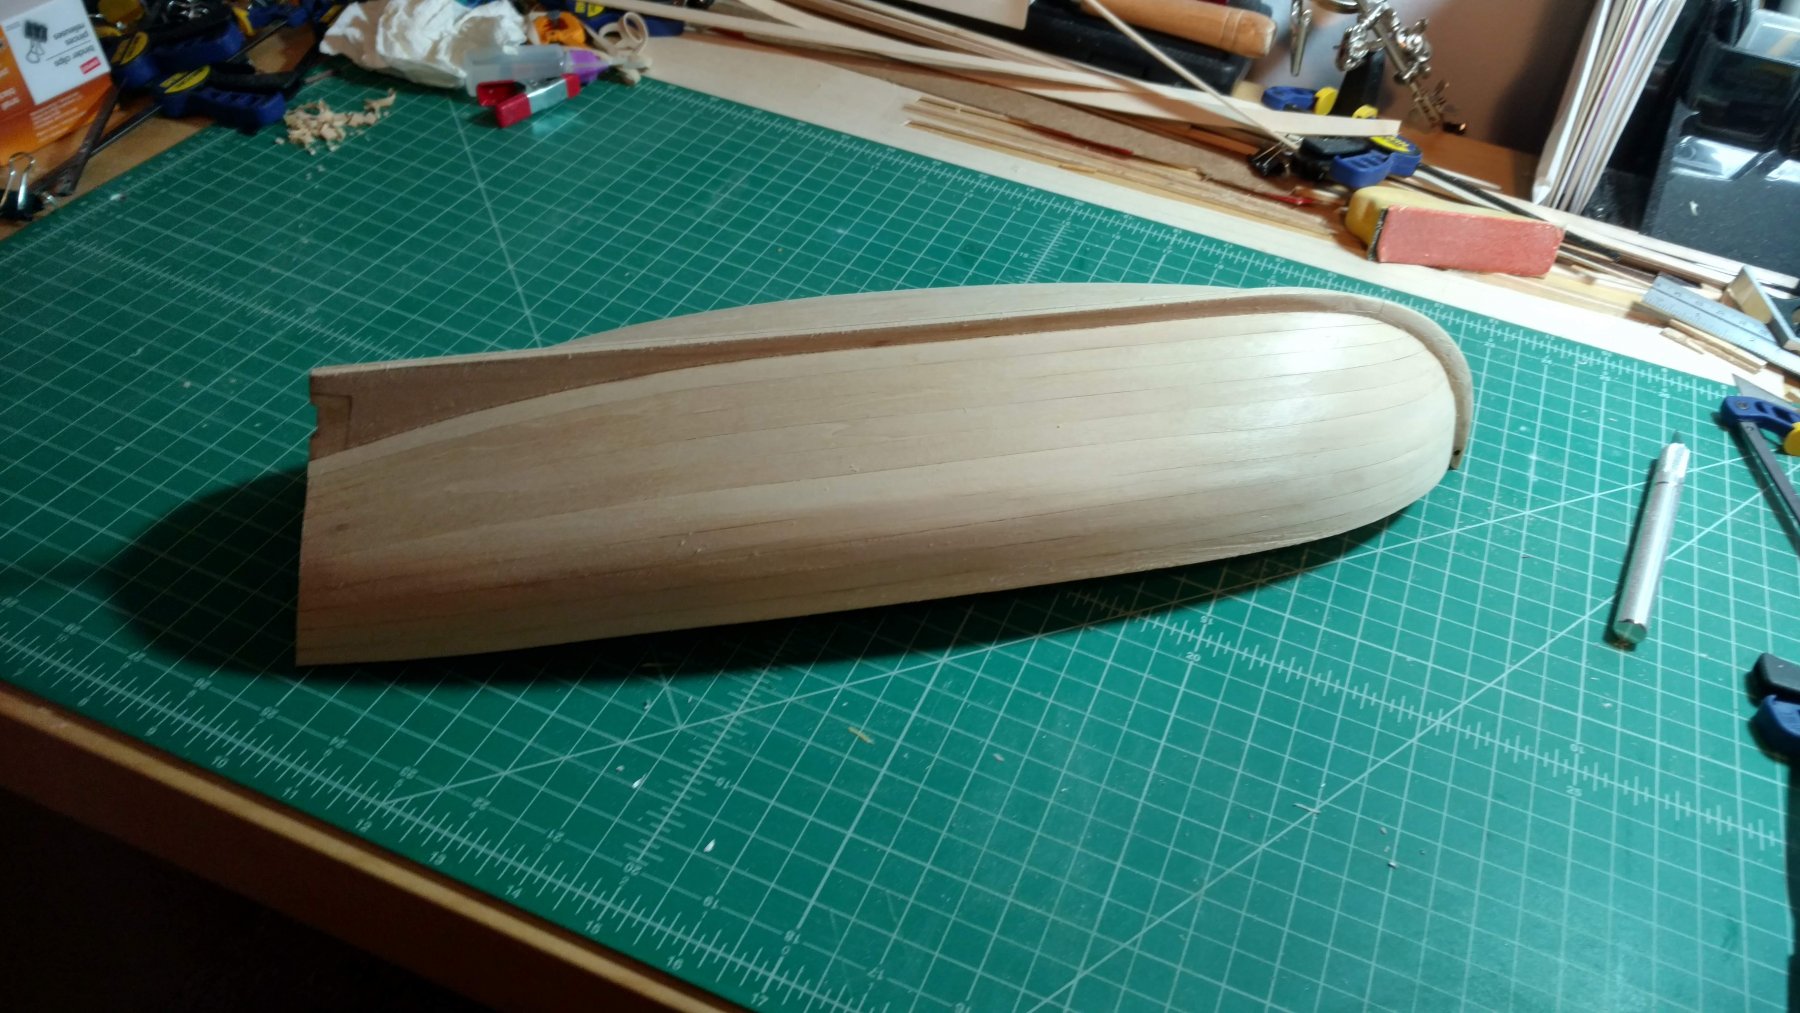
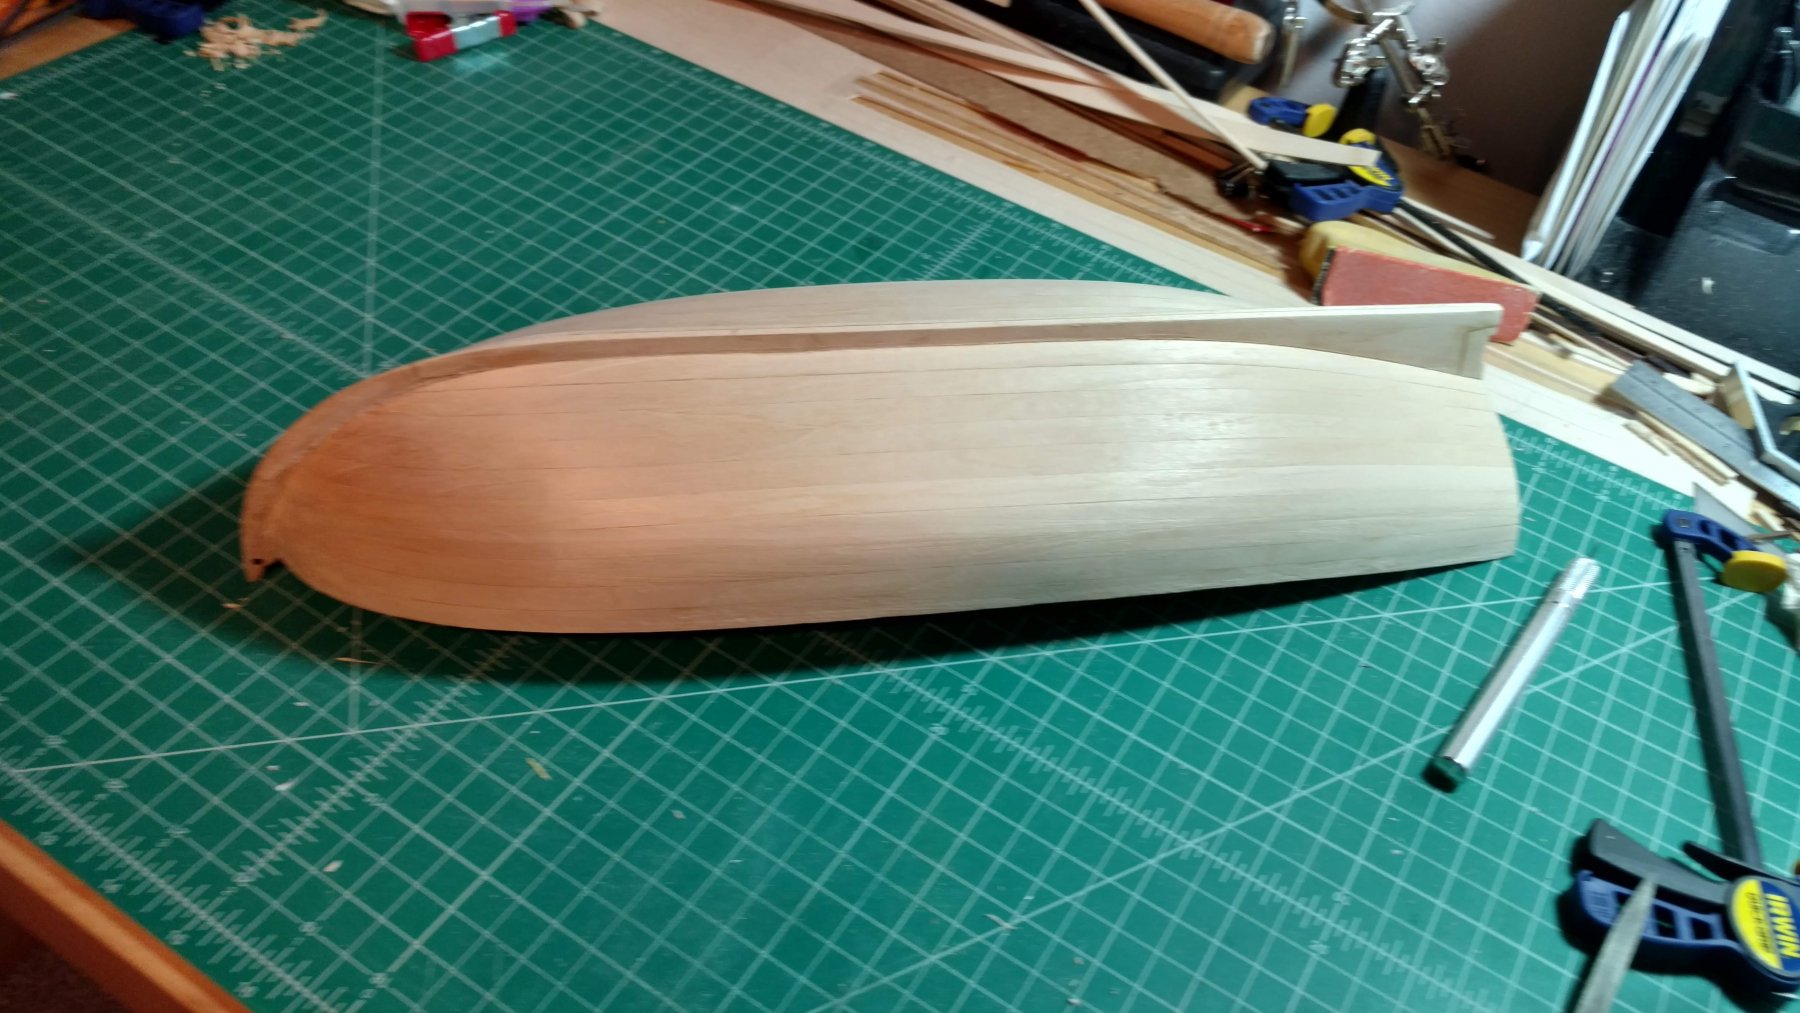
I am also building this model, and just finished planking a couple days ago, next step is the tweens and cants. The bulkheads do have a laser inscribed fairing line on them, but if you followed the instructions, it ends up on the wrong side of the bulkheads because it is inscribed on the same side as the sheer line, so they aren't very helpful unless you didn't follow the instructions and installed the sheer tabs on the opposite side of the bulkhead. That being said, err on the side of removing too much material while fairing. The laser cut planks are done from the cad model of the boat and do not match the prototype planks in the plans (check your shutter plank against the prototype plank plans, mine was narrower than the prototype). This means if you don't take enough material off, you will end up short when you get to the shutter plank, I and a number of other builders in the logs had this problem. I chose to cut a new plank, others chose a stealer. 1/16 basswood sheet is only a couple bucks at the hobby store, there is not enough scrap in the kit to cut more than one replacement shutter plank.


 JpR62 reacted to a post in a topic:
Model Shipways Bounty Launch
JpR62 reacted to a post in a topic:
Model Shipways Bounty Launch