Mioriticul
-
Posts
24 -
Joined
-
Last visited
Content Type
Profiles
Forums
Gallery
Events
Everything posted by Mioriticul
-
Is there a trick to making deadeyes?
Mioriticul replied to Schooners's topic in Masting, rigging and sails
I recently saw a video on Youtube on this issue, made by a Russian. I do not understand the language, but, as always, an image values more than 1,000 words. The proposed method is very ingenious. I present below the link - if considered inappropriate, violating the forum's rules, I ask an administrator to delete it. If not, please enjoy and use the method. -
Hi there... just discovered your topic. Go on, you really do well what you do, even as a beginner. And do not worry - we learn a lot from mistakes. I don't know if I'm entitled to give any advice (I'm still a newbie/greenhorn, I only made one ship model), but I preferred to glue the yardarm to the mast, even reinforced it with a wire. If you do not want to glue them, you can at least use the wire, as it offers at least a stronger support, which will allow you to have a better tension in the ropes when you'll start rigging. However, in the end it is your decision, pretty sure will be the correct one. Keep working - I will follow your journey.
-
😀😀 I hope I will not repeat the 'performance' 😀😀
-
Thank you for the kind words and for the encouragement. To be honest I am proud of my achievement, even if it is not at the same high level of many other ship models presented to this forum. For now I just received a ruined kit from a friend of mine (started badly by him). I will try to fix it and revitalize it, I hope to be successful. If so, I will return with a new topic. Cheers!
-
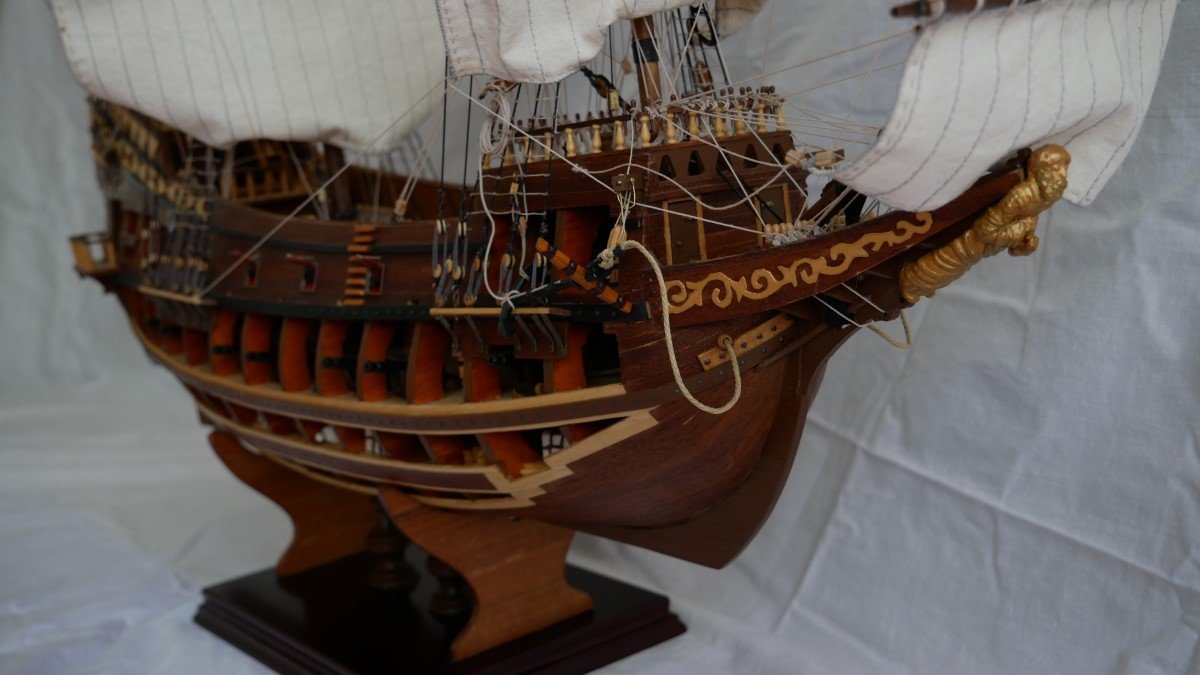
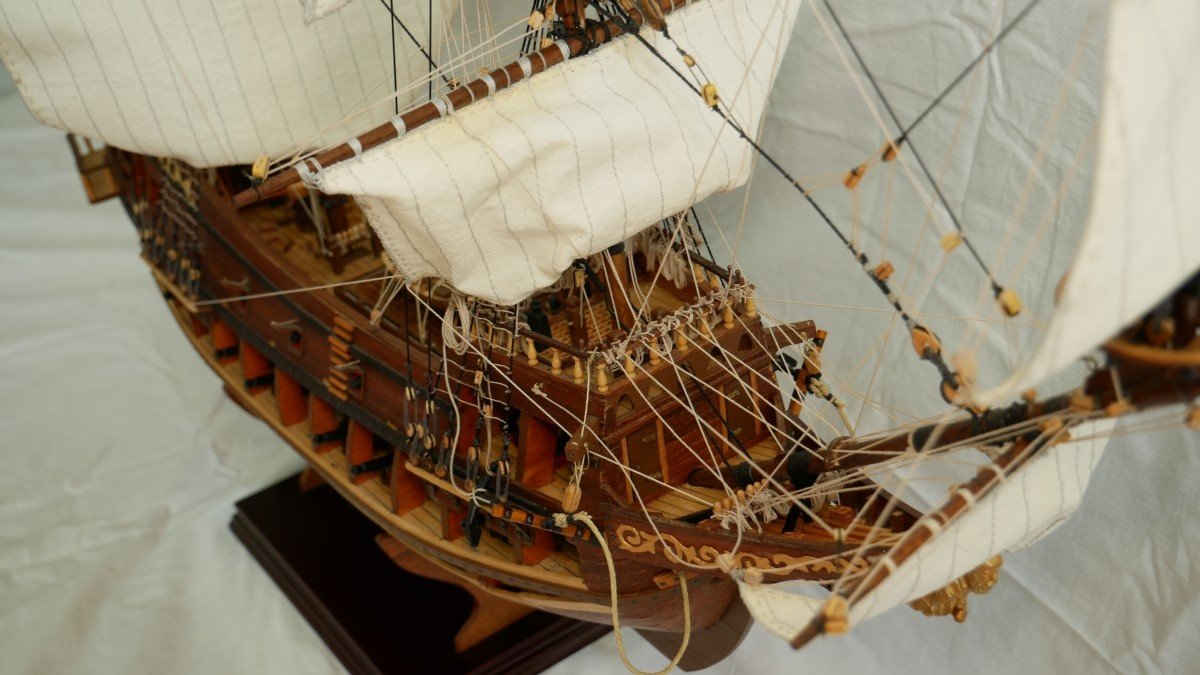
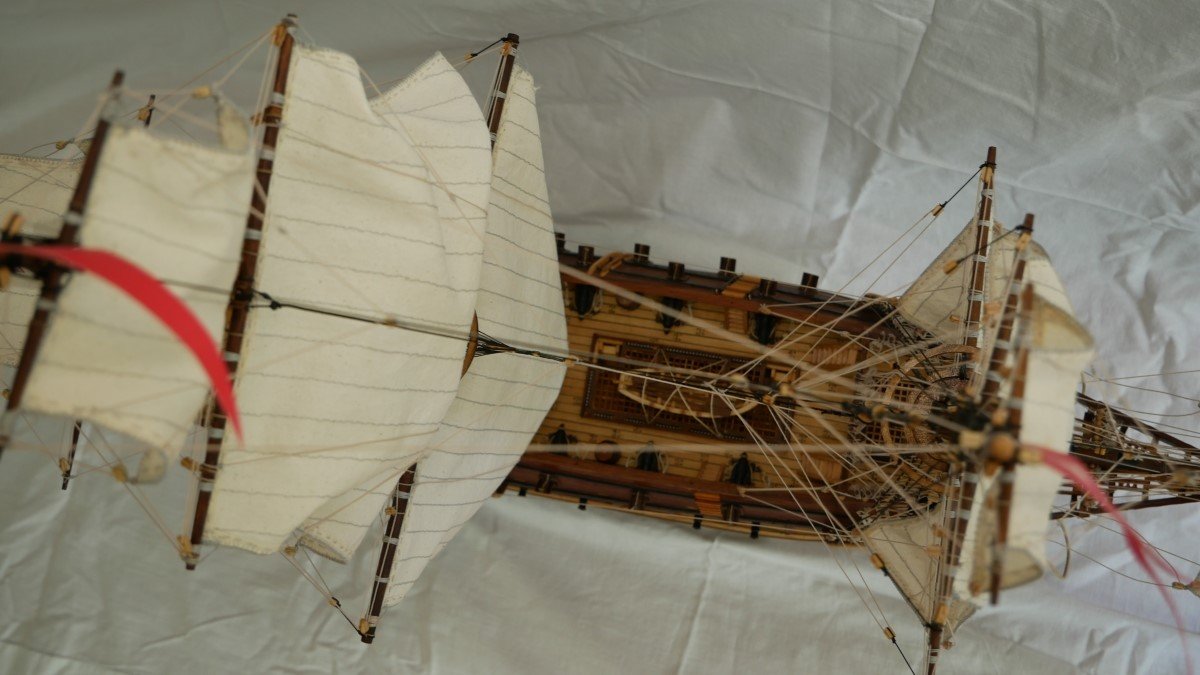
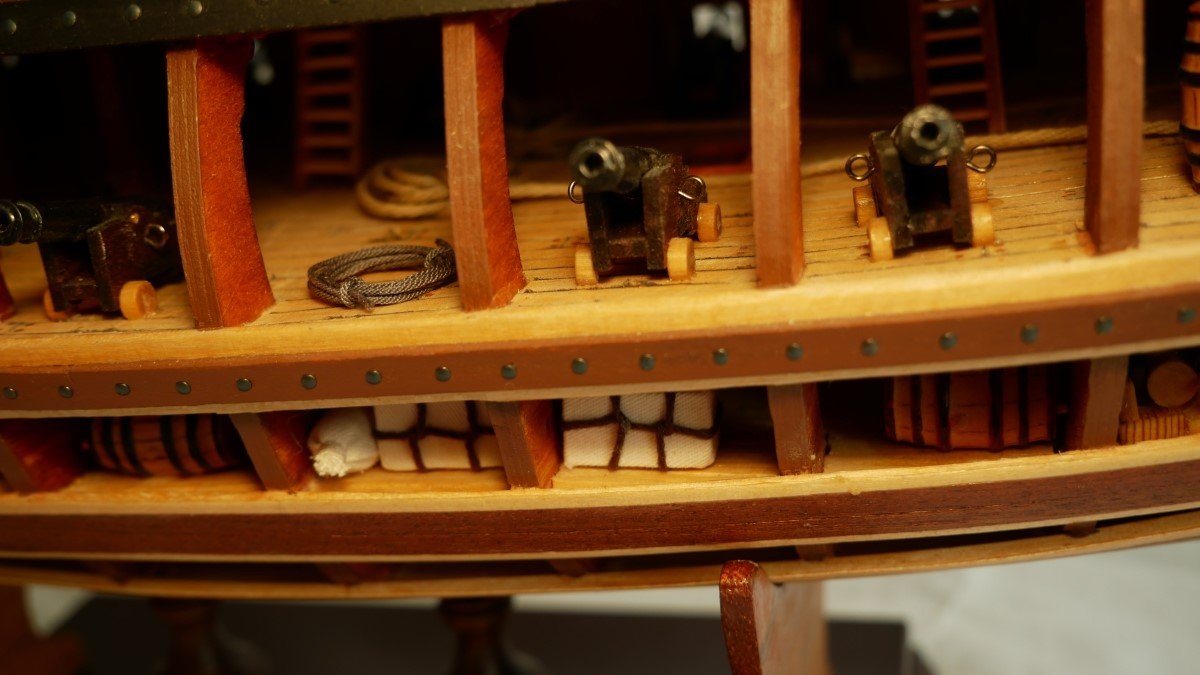
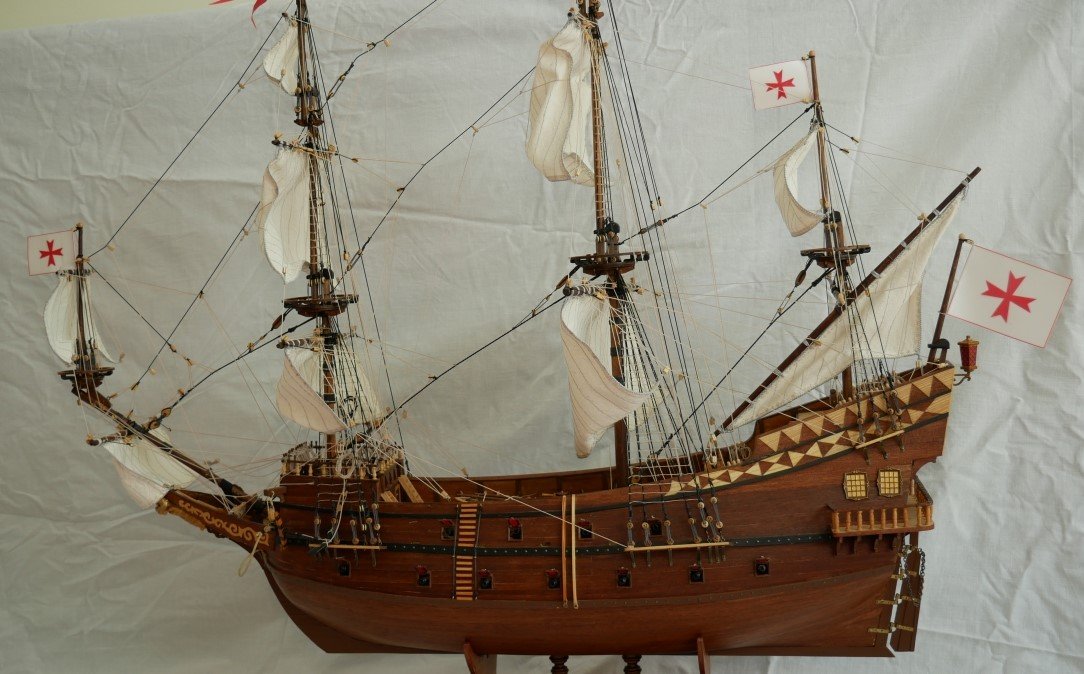
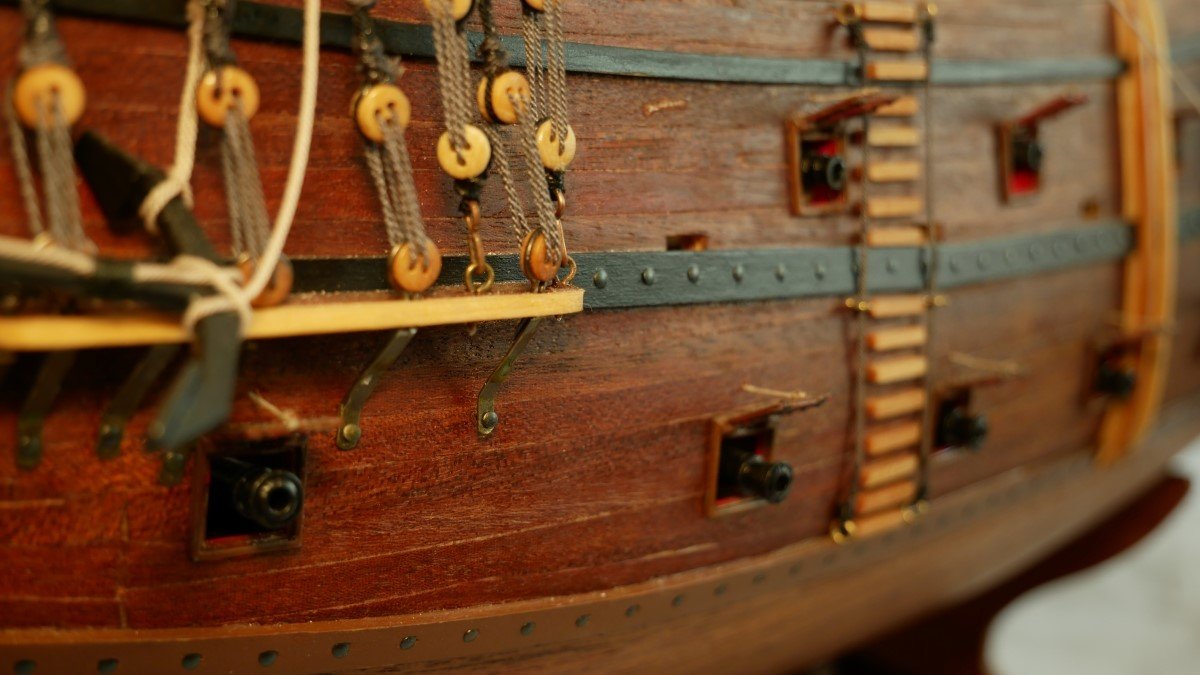
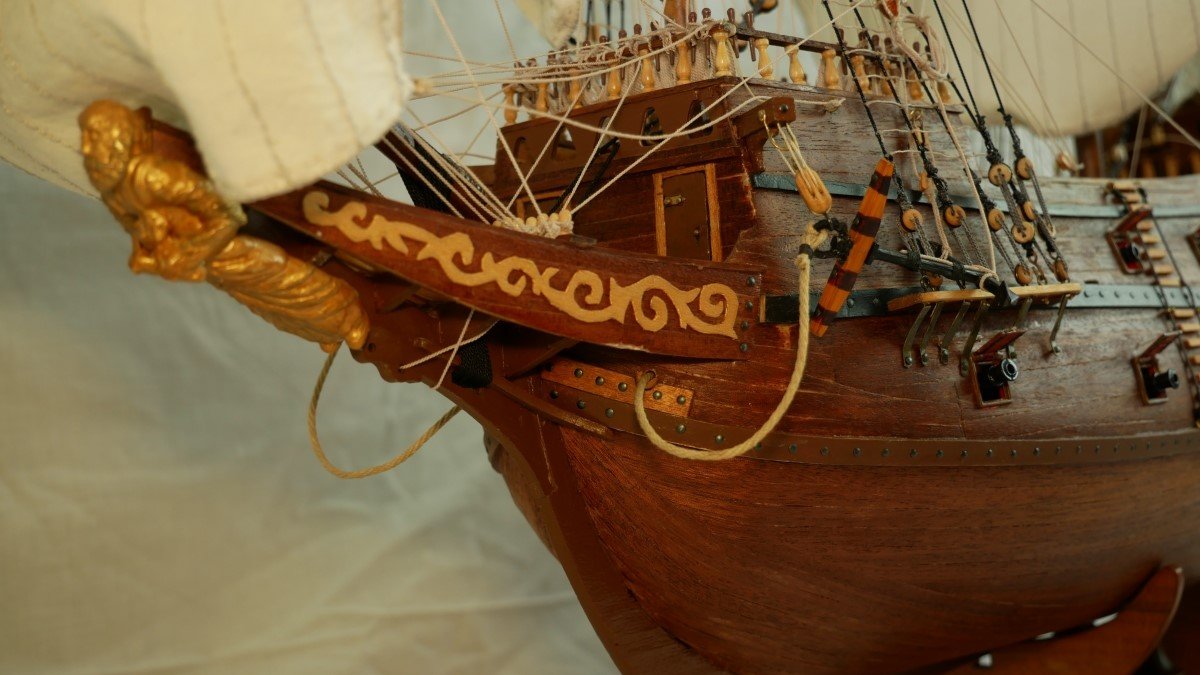
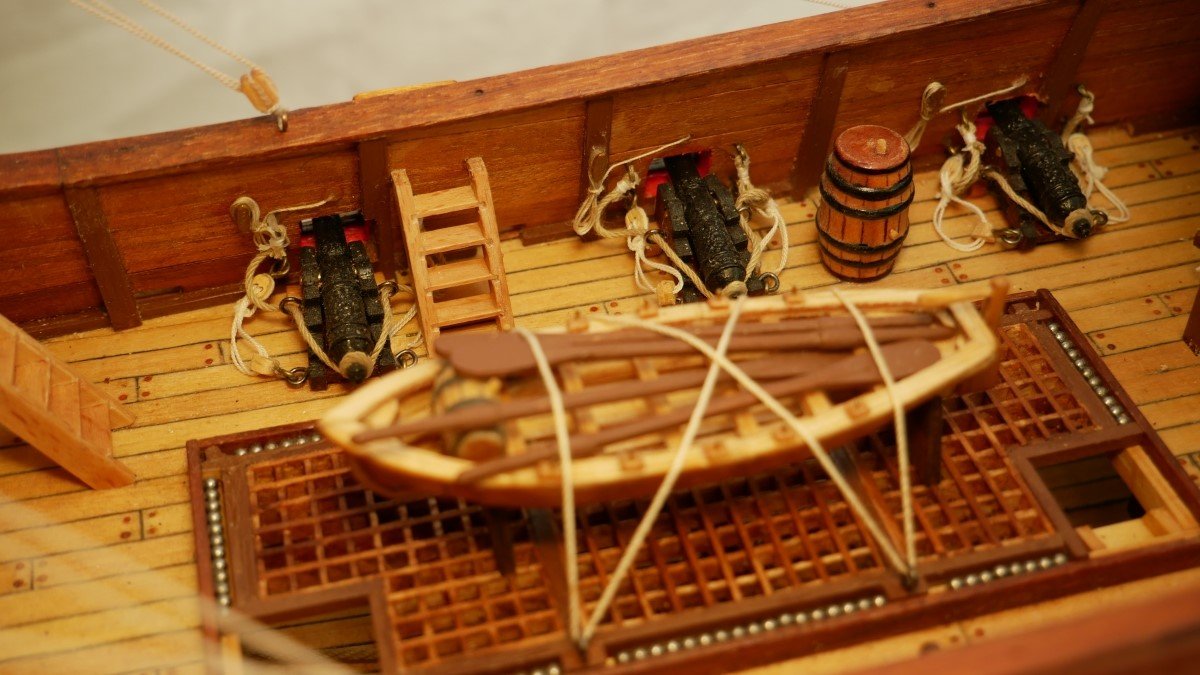
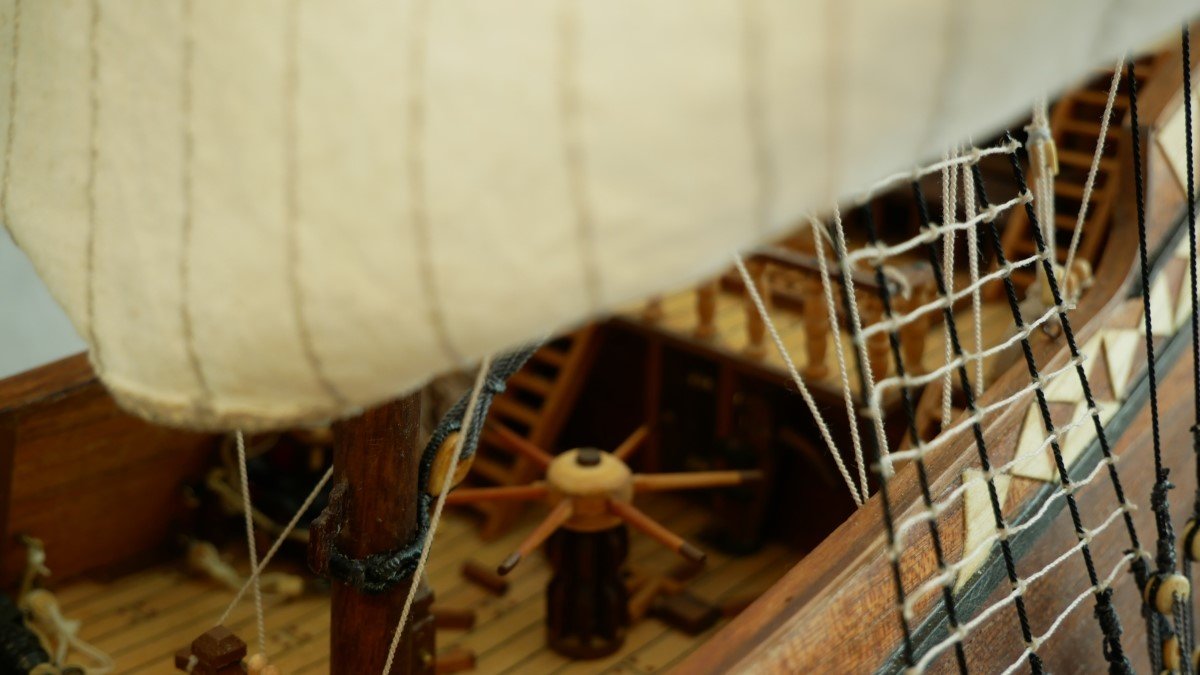
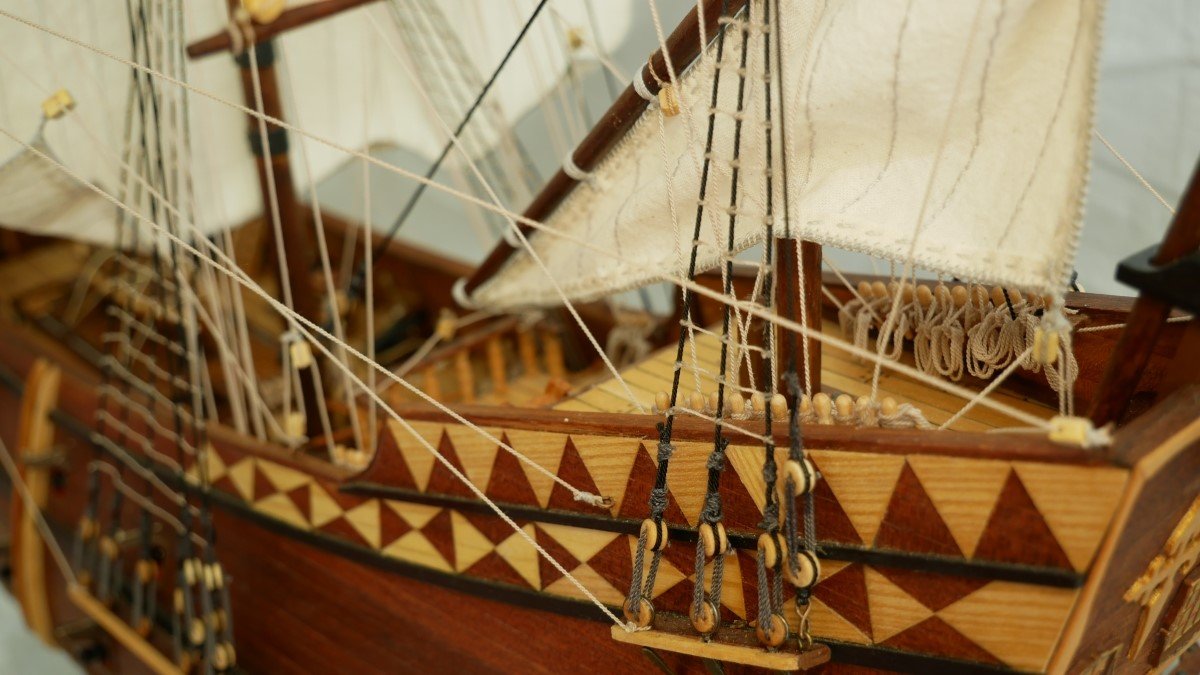
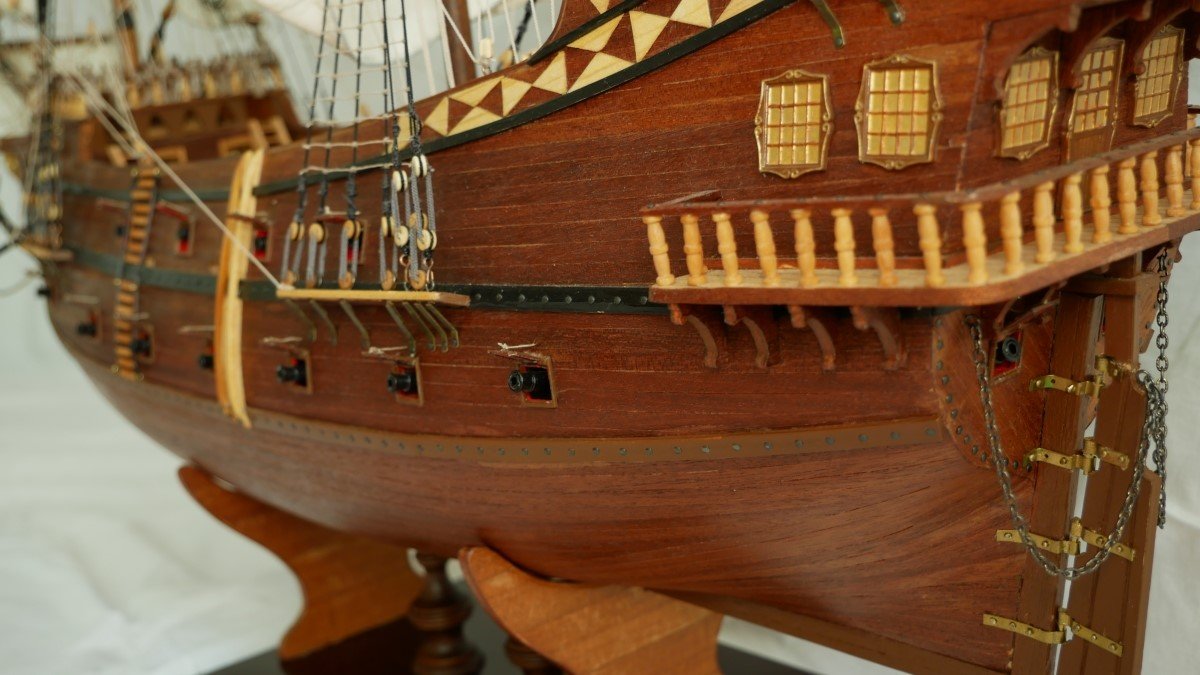
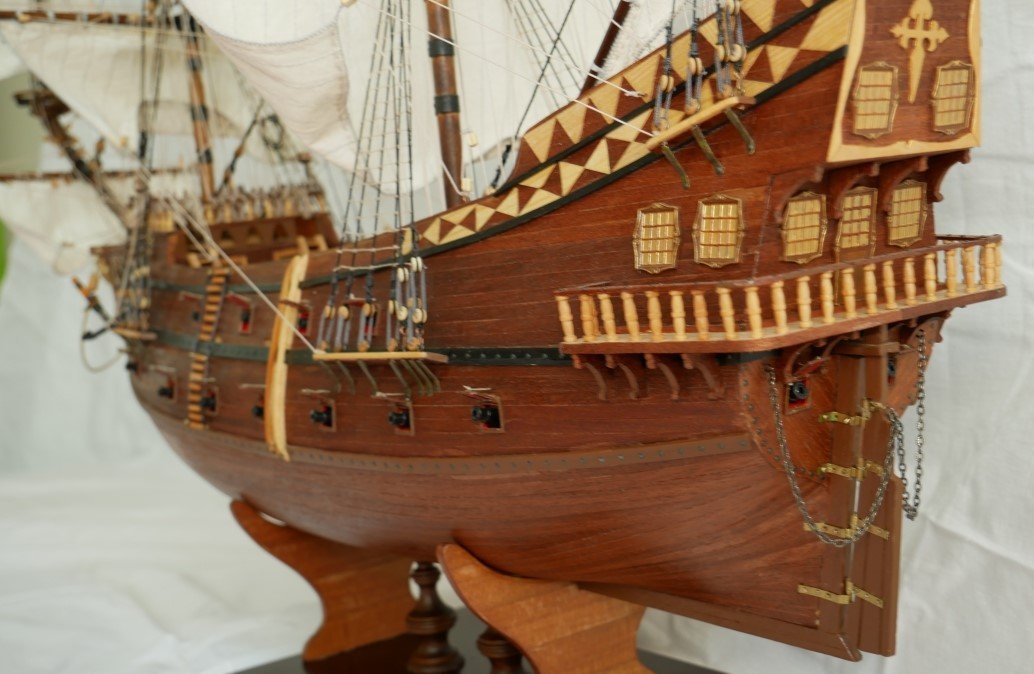
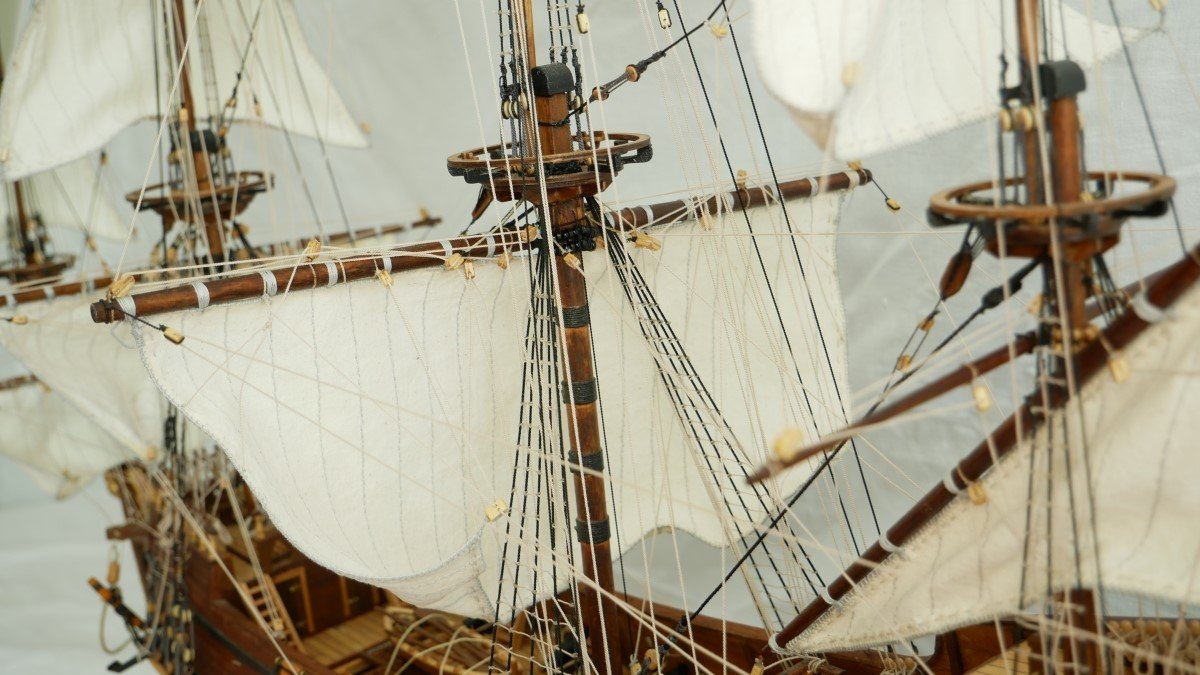
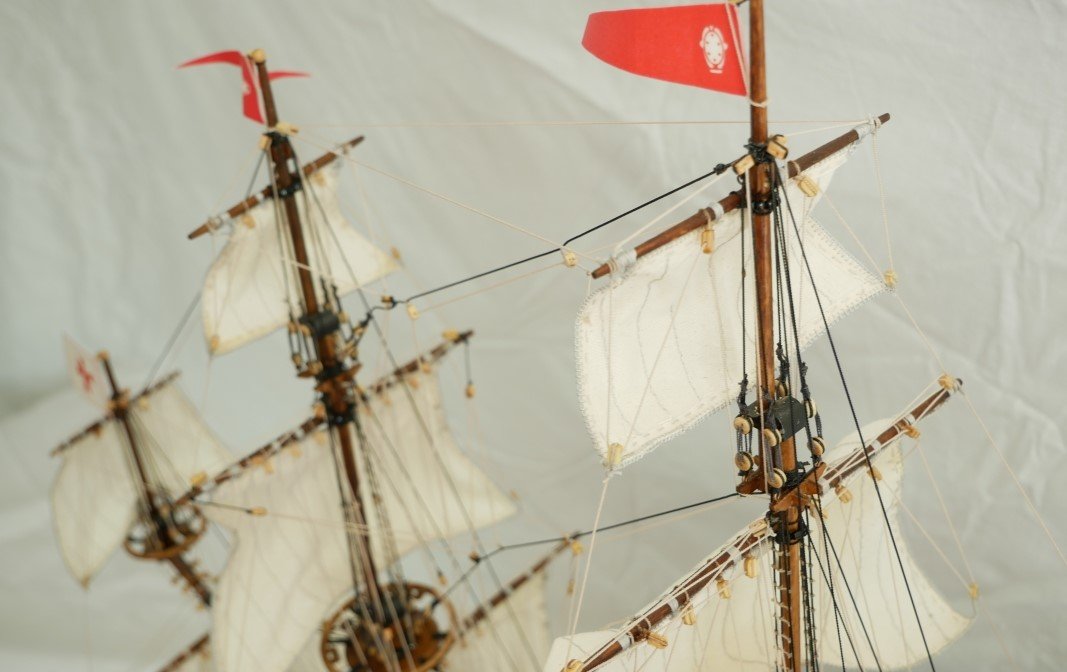
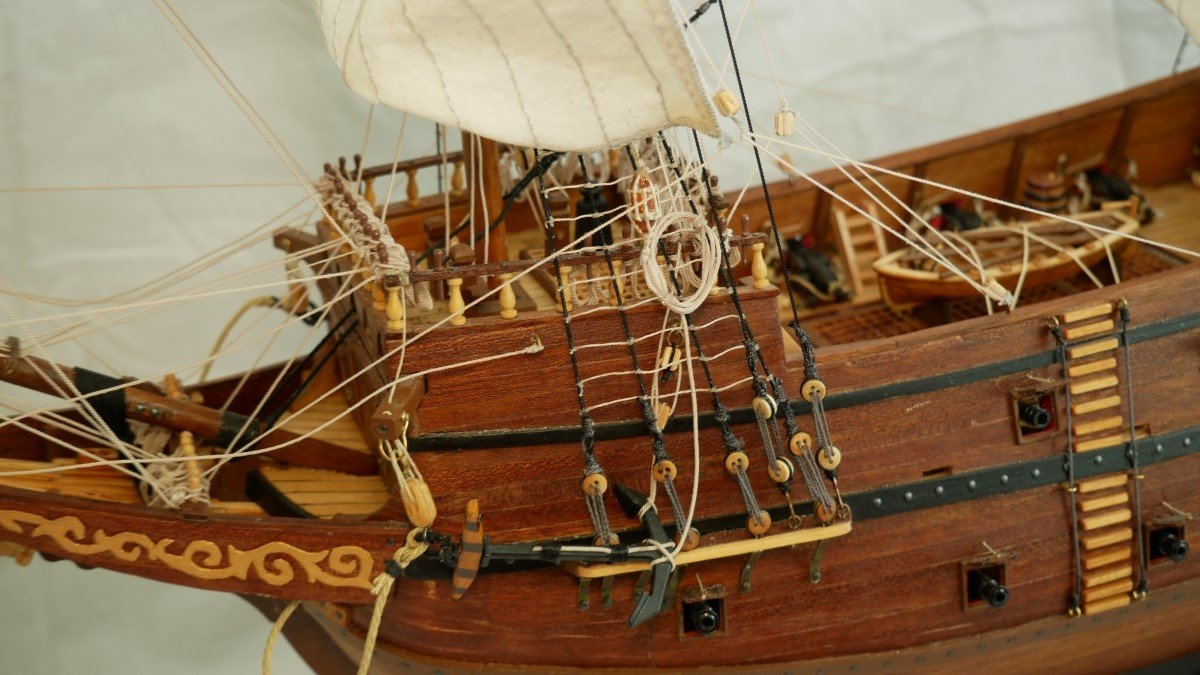
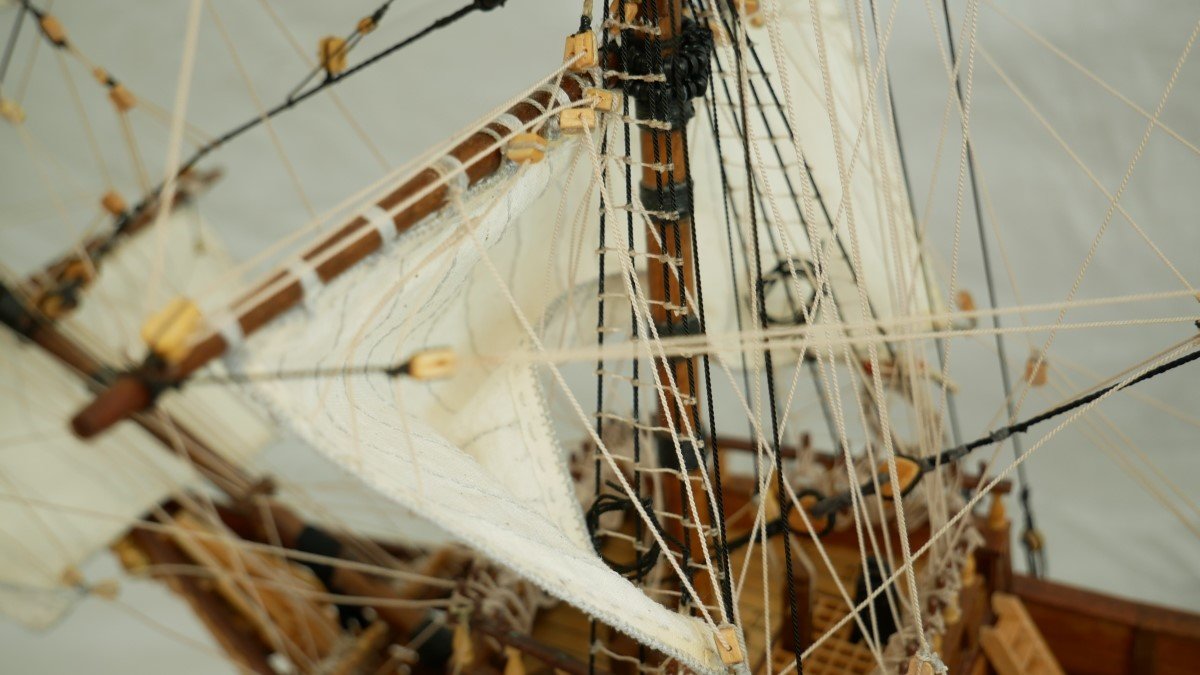
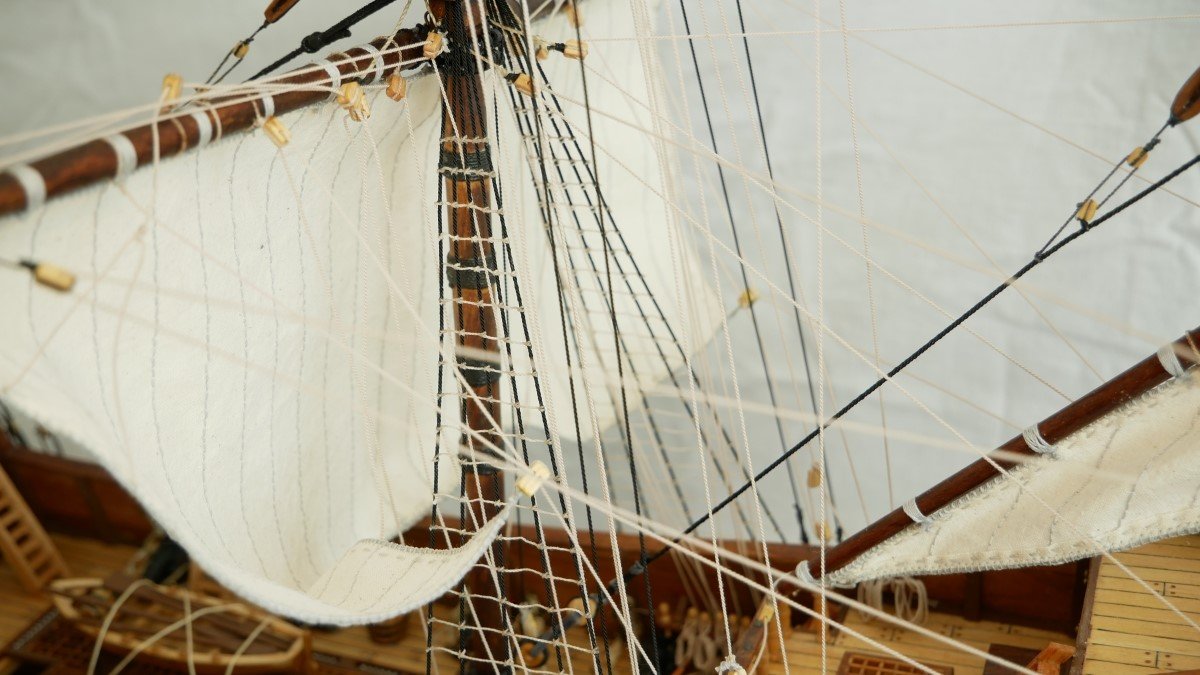
And now the completed galleon. See you on the next one! PS. The figurehead was a real challenge - I am not quite a sculptor. Was made using FIMO.


- 14 replies
-
- 8
-

-
- saint john the baptist
- deagostini
- (and 1 more)
-
Ufff... more than 7 years since the last post. A rather hectic period on personal level, with job changes, health issues here and there, hiking through beautiful corners of this world. But still, I tried to continue this project, for the simple reason that it is a relaxing activity. In the meantime I was also able to finish the ship model, with more or less obvious mistakes, which undoubtedly will help me to better tackle such projects in the future. I will add a few intermediate shots, followed by other photos of the completed boat. Thank you to all those who are posting on this forum, giving us, greenhorns, the chance to steal from the secrets of this beautiful hobby. Cheers!


- 14 replies
-
- 2
-
-
- saint john the baptist
- deagostini
- (and 1 more)
-
Hi there MK It is really a pleasure to follow your build log. Your patience and craftmanship are drawing respect. Keep up the good work... the final result will be a beauty. Mio
-
I am simply petrified with astonishment and admiration. I can not believe that you can sculpt in this scale and level of detail. On top of that I understand that this is in fact your first attempt in sculpture (at least the first stages). Wow... I have heard that boxwood is the best wood suitable for carving. May I ask you from which source do you buy it? Thank you. I will follow with the greatest pleasure your build log as it is rewritten.
-
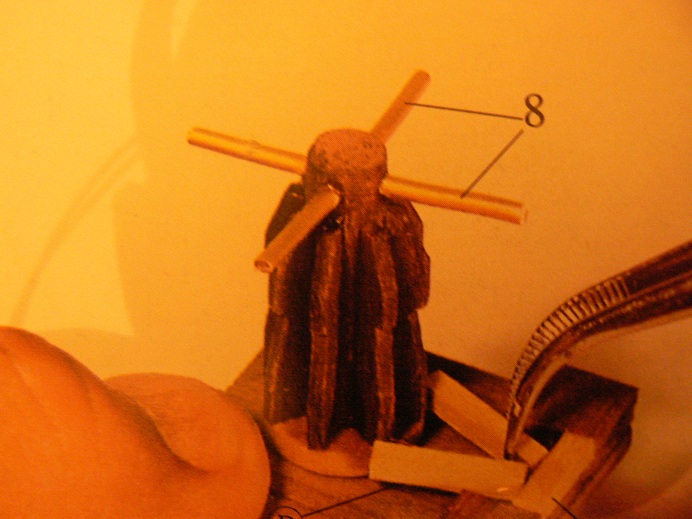
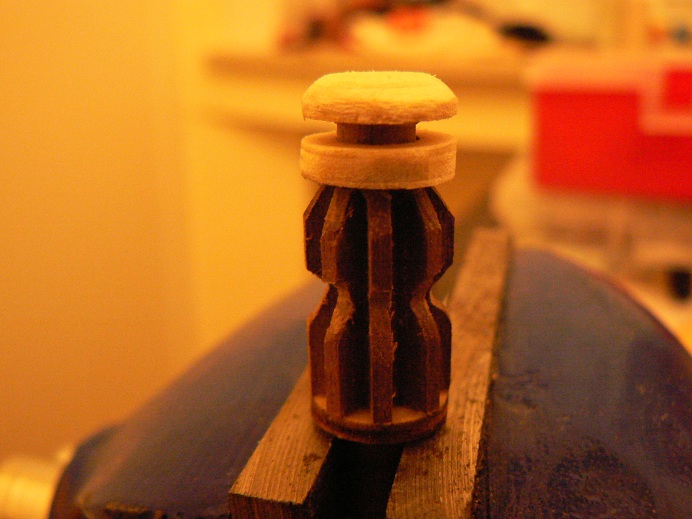
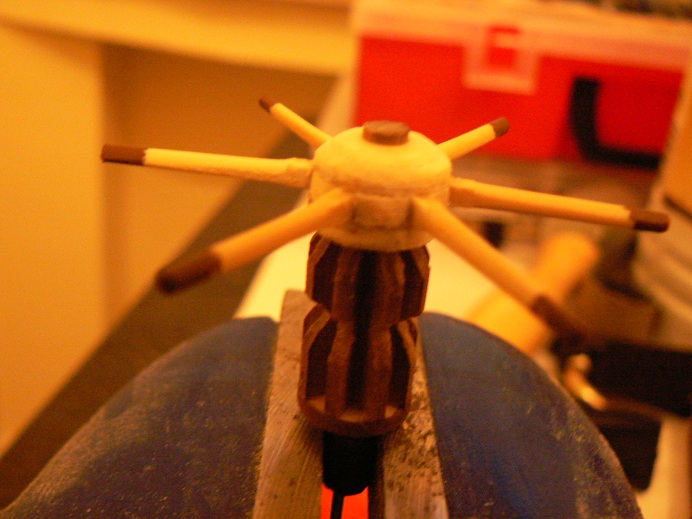
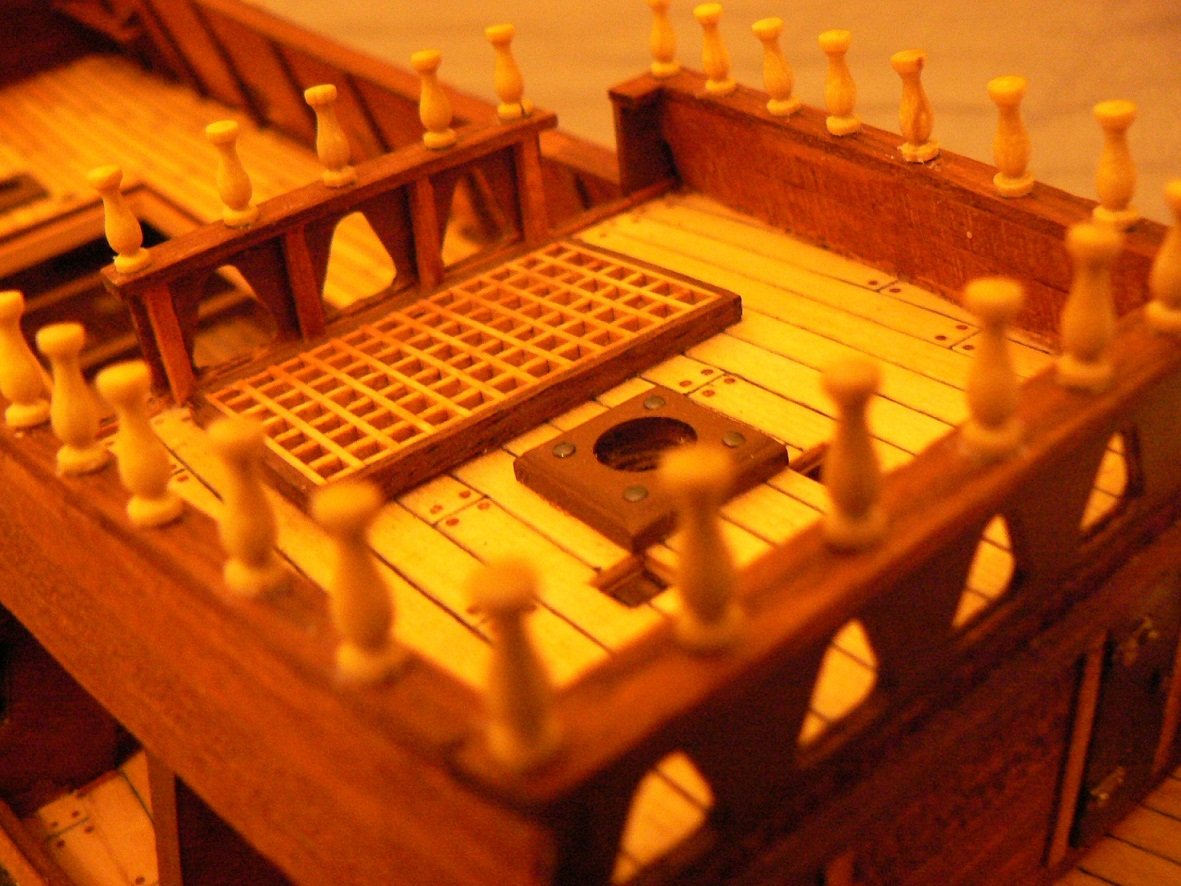
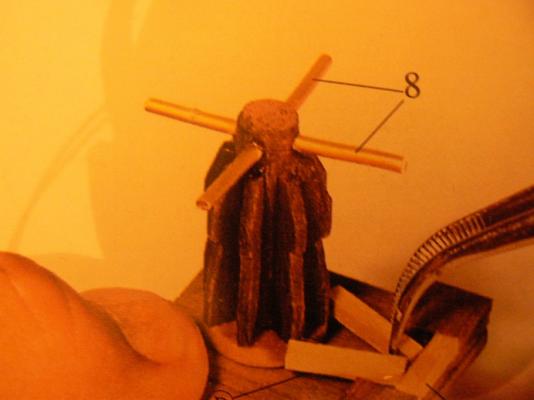
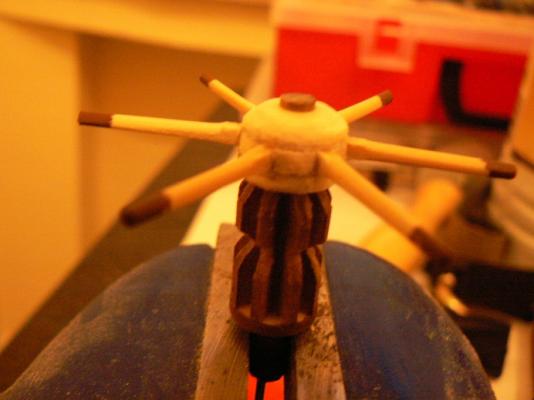
Finally I have reached the capstan stage. The solution proposed by the manufacturer is terrible, as you can see from the below picture. Even with my two left hands I was able to produce a better version. Not a masterpiece, but for now I am happy with it. It will be dry fitted, therefore I can create a new one later and replace it.

-
Well done Jack. I really like your build. On the first moment I was wondering why you did not plank the lower deck, but I realised afterwards that it will be barely visible (why they added it to the model then?). Keep up the good work... I will follow it for sure.
-
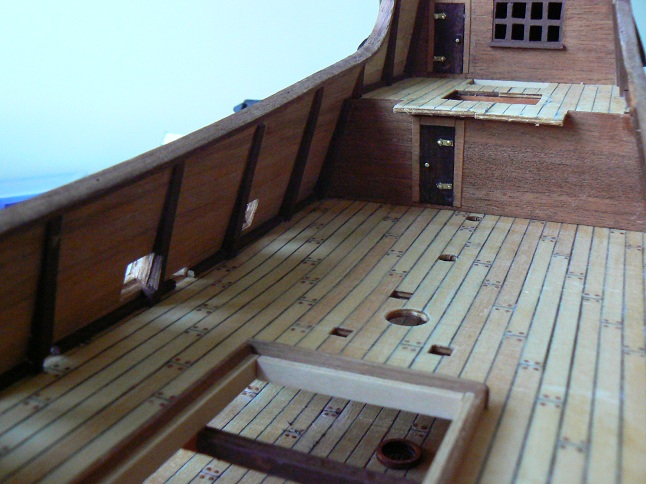
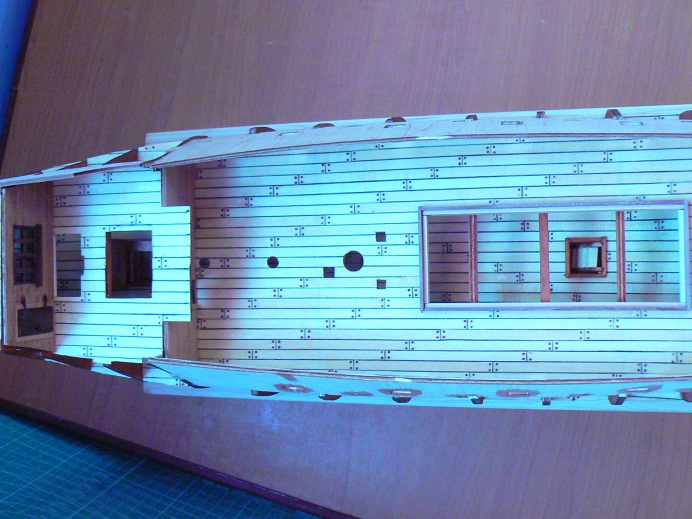
Thank you Mihai. I have found out that patience is a must for this activity I also tried to build some sort of false extension of the bulkheads on the inside of the bulwark (hope I made myself understood – I do not master yet the naval terminology).
- 14 replies
-
- 1
-
-
- saint john the baptist
- deagostini
- (and 1 more)
-
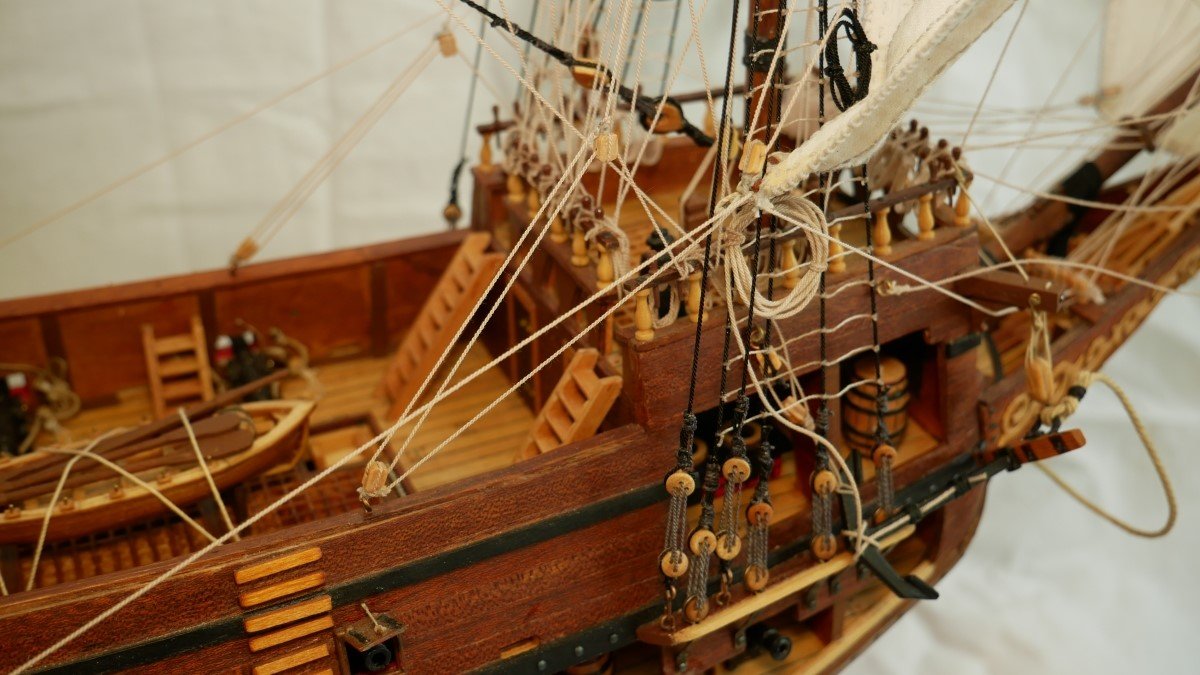
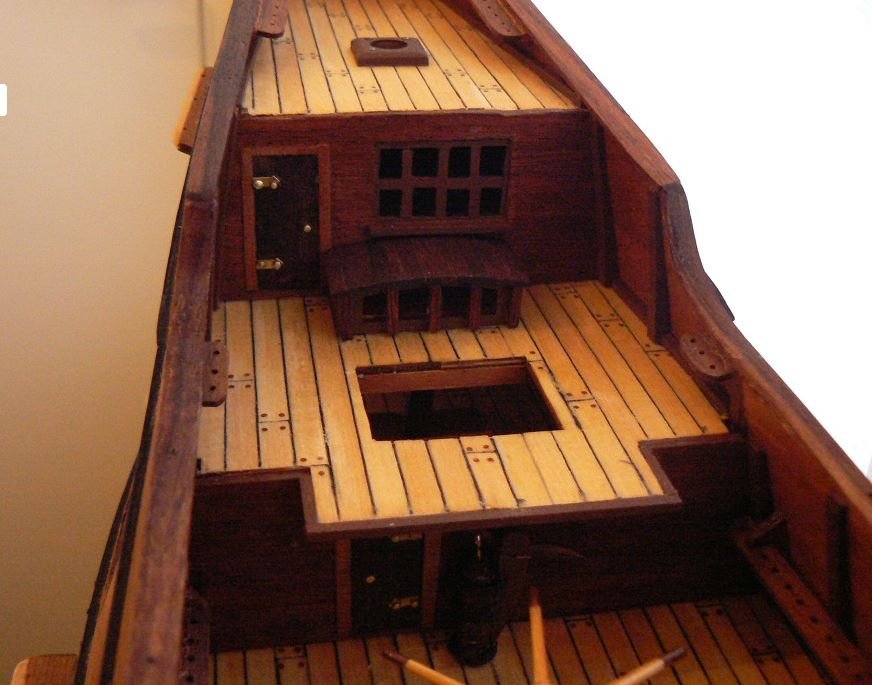
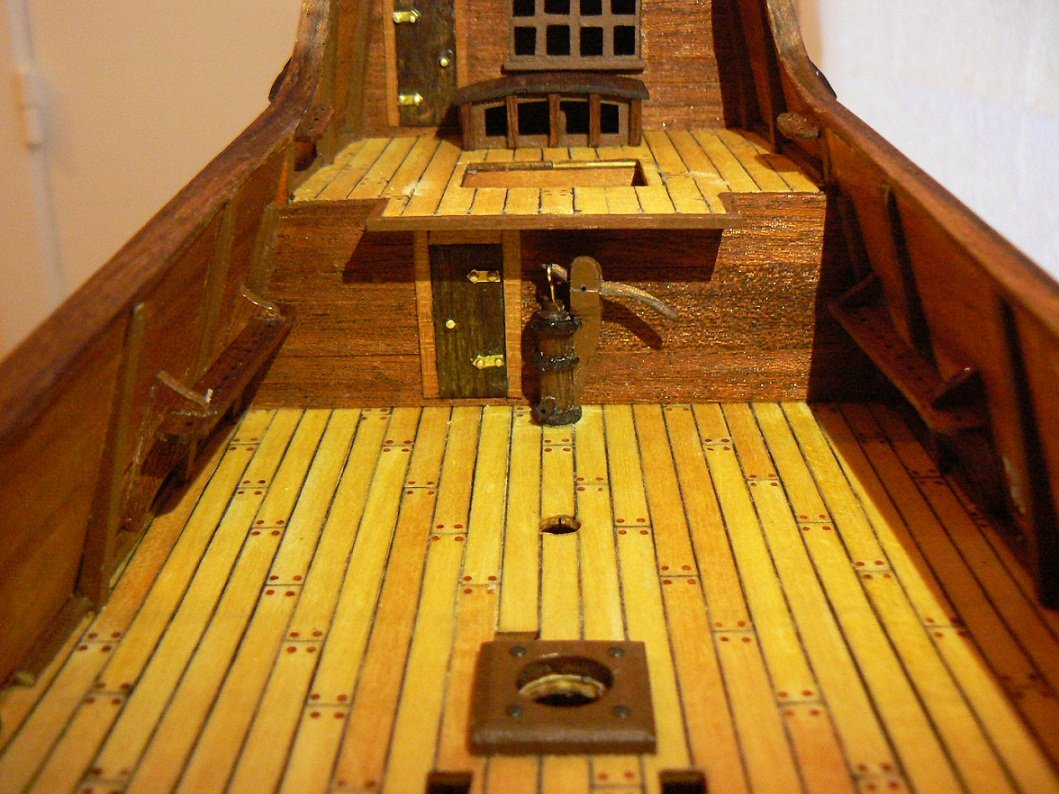
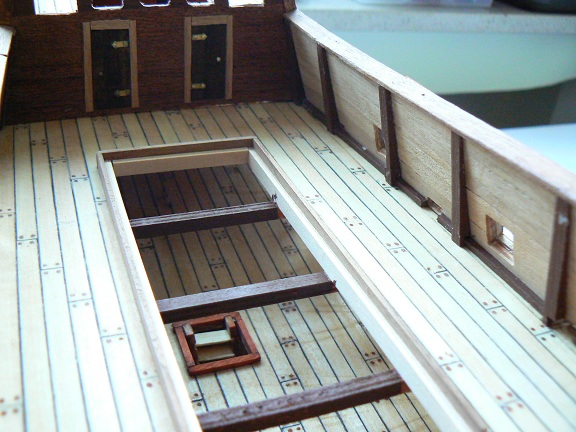
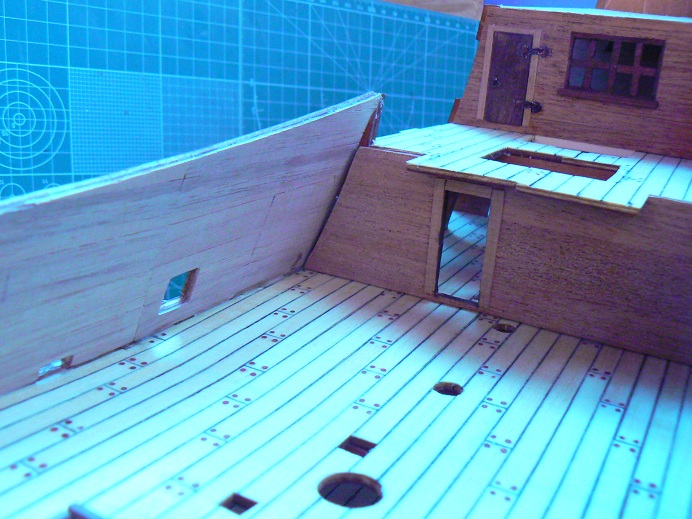
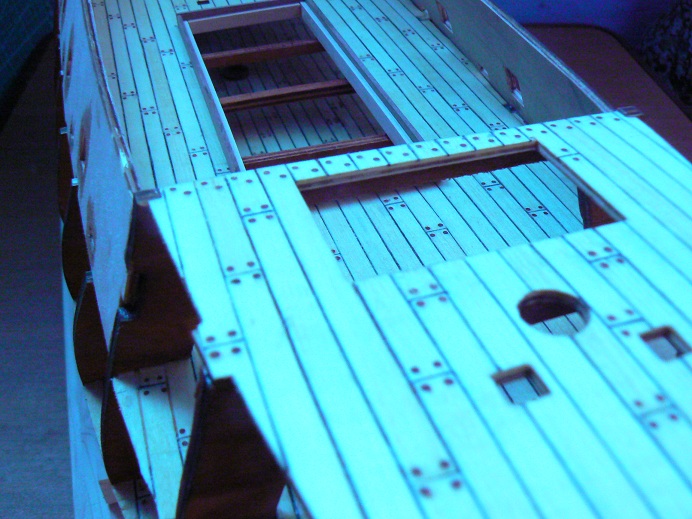
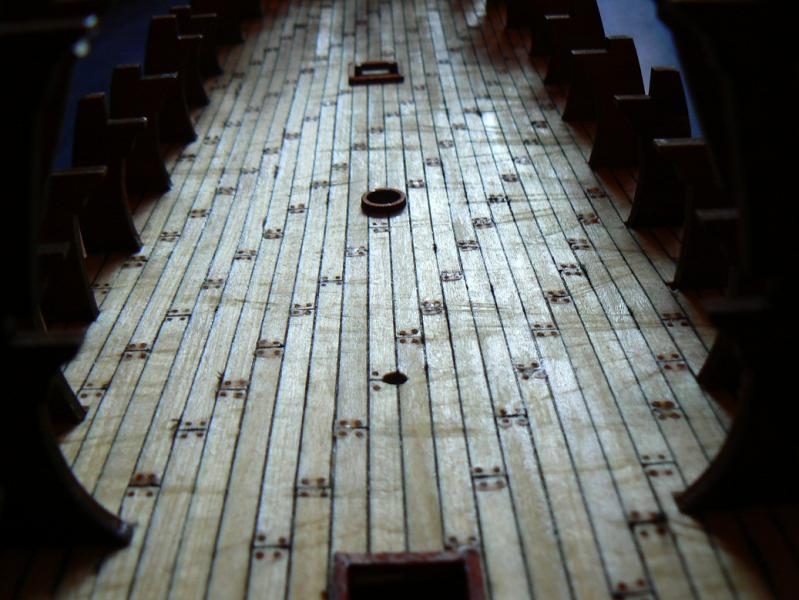
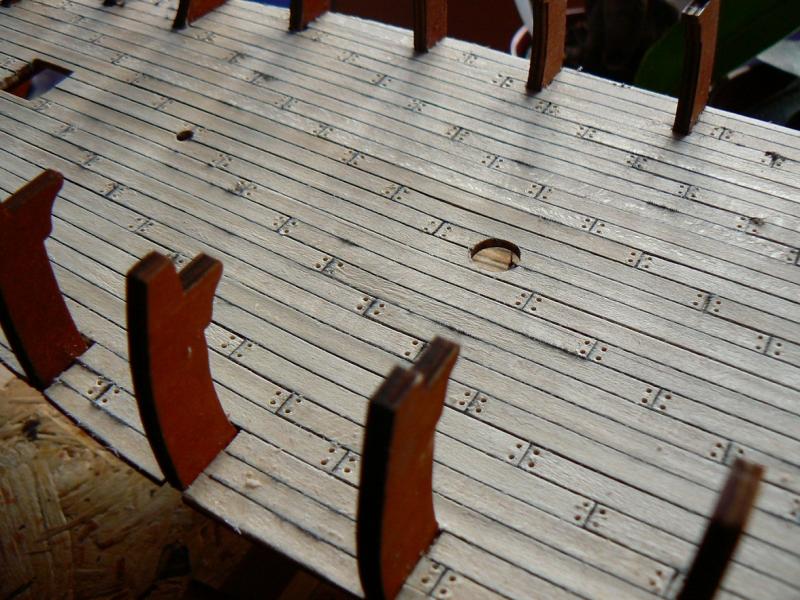
For the upper decks I have paid a little more attention and the result was satisfactory.
-
Congrats Mihai. A very nice built. Do you have a buildlog for Halifax too? I'm not able to find it and I'm quite interested to see it. Keep up the good work
-
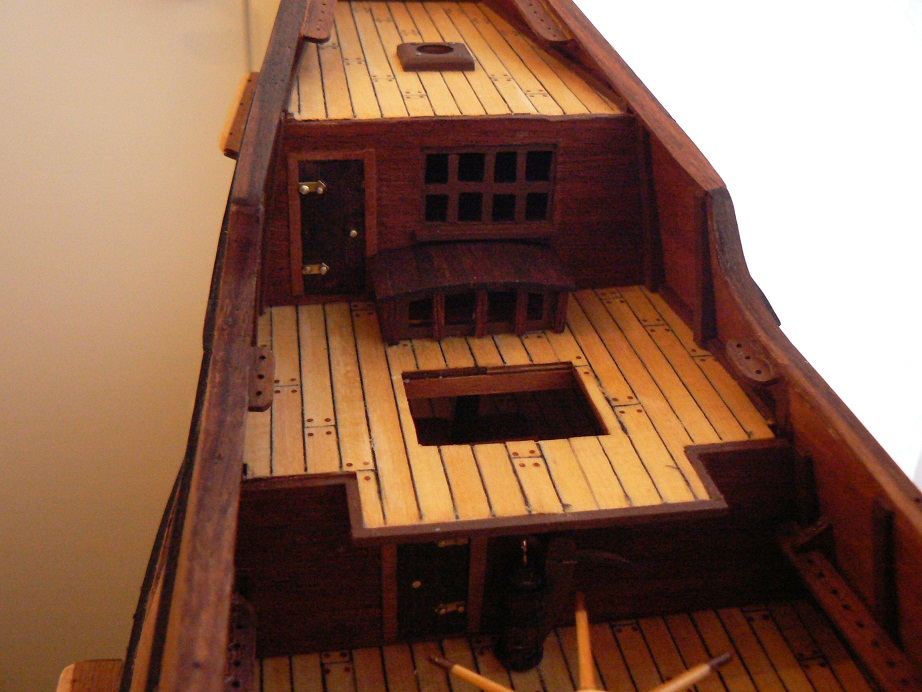
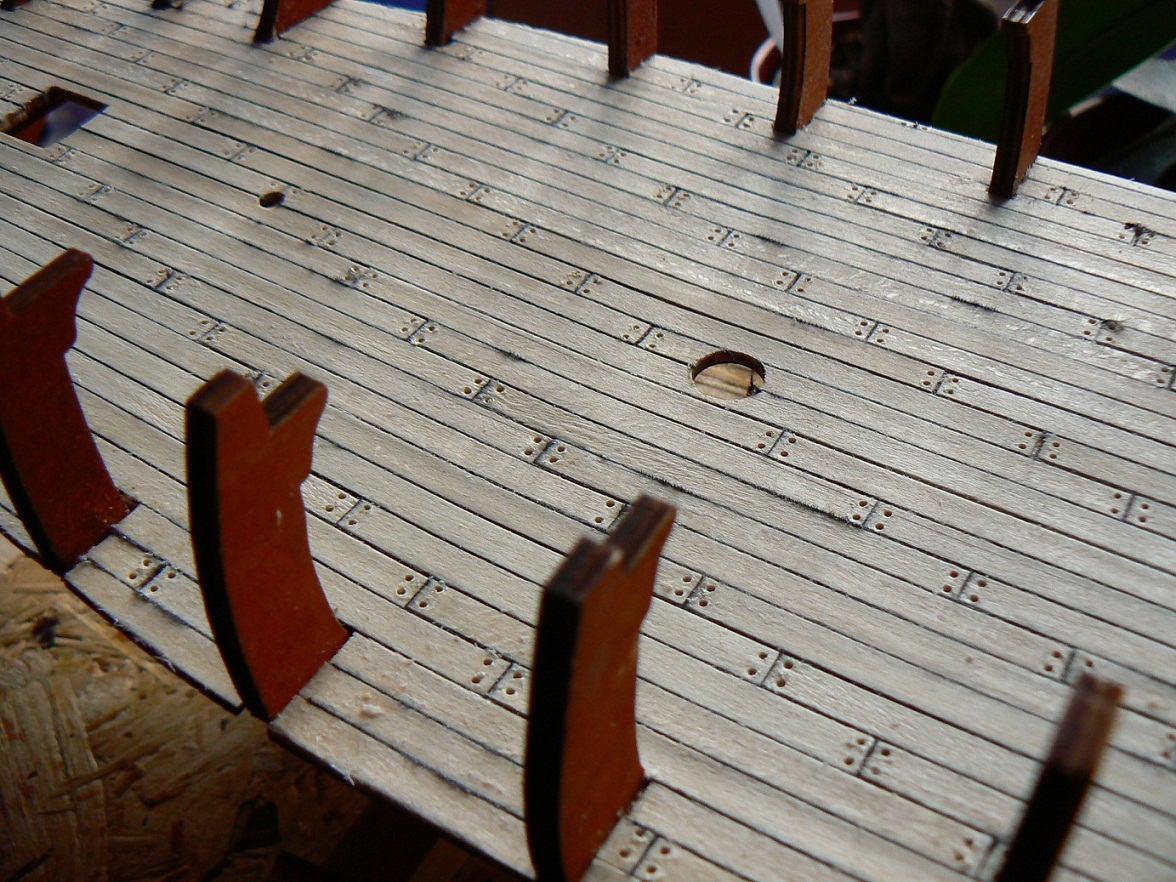
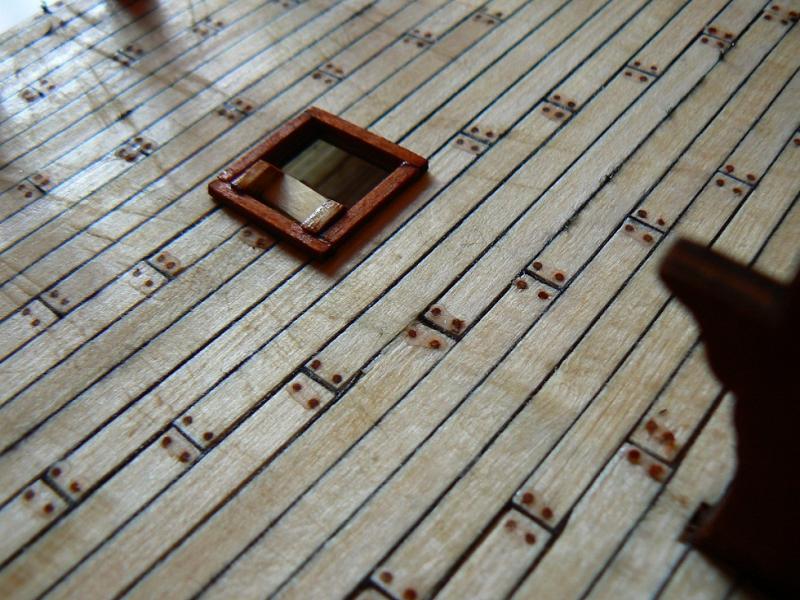
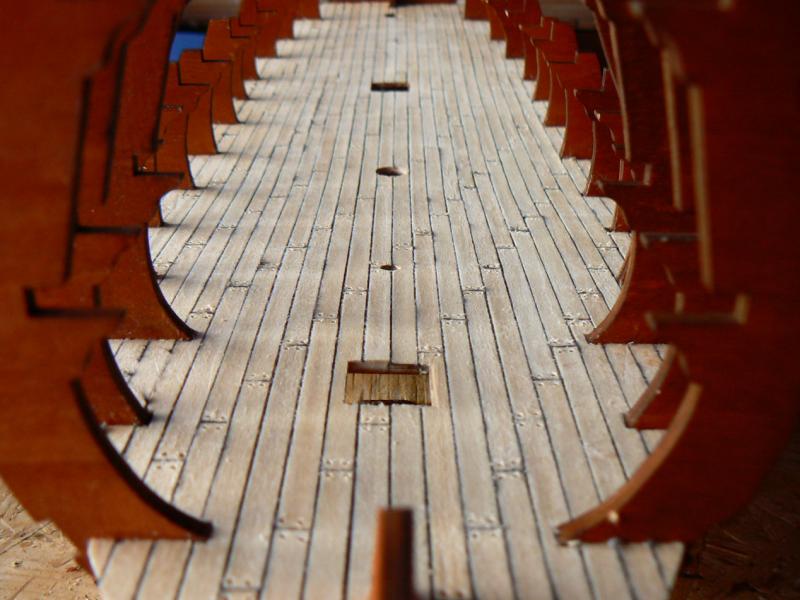
All these stages were taken before discovering MSW. For this reason I did not know that the treenails could have been imitated by using bamboo. Instead I used toothpicks soaked in water-based paint. Somehow the result is too intense. On top of that I made another mistake. I have used a saw to cut the toothpicks as lower as possible. As result I have scratch the deck. Fortunately this deck will not be too visible. Another lesson learned.
-
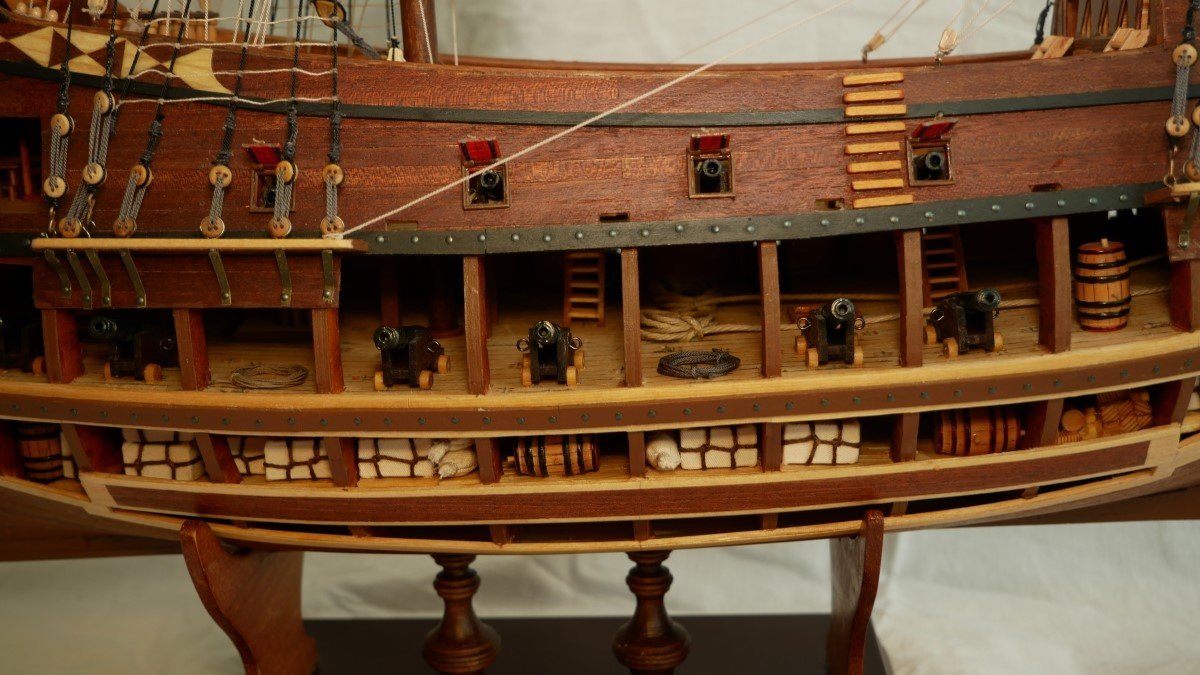
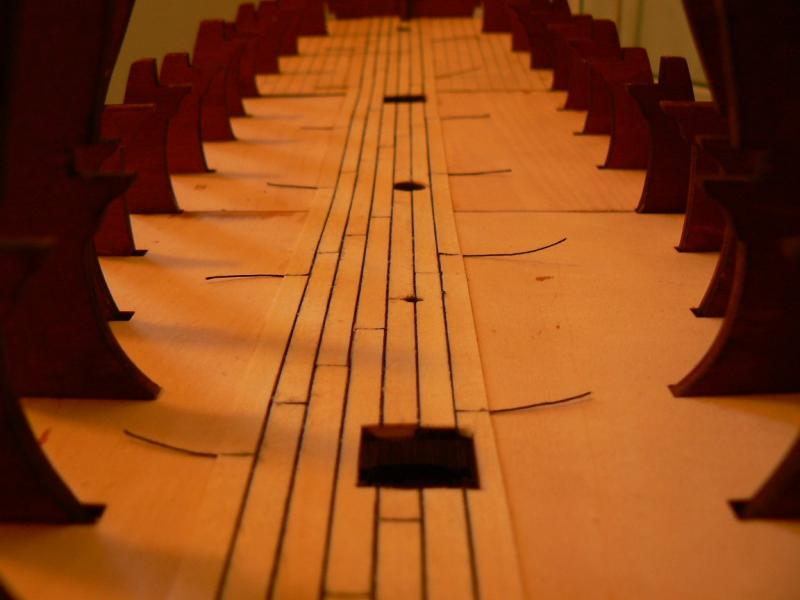
Planking lower deck… I have used fishing gout in order to imitate the caulking. Not necessary the best solution. When I started to final sand the deck sometimes the material was pulled off, with little chances to be properly put back. As I already said I use this model to learn from mistakes For next models I will use another method.
-
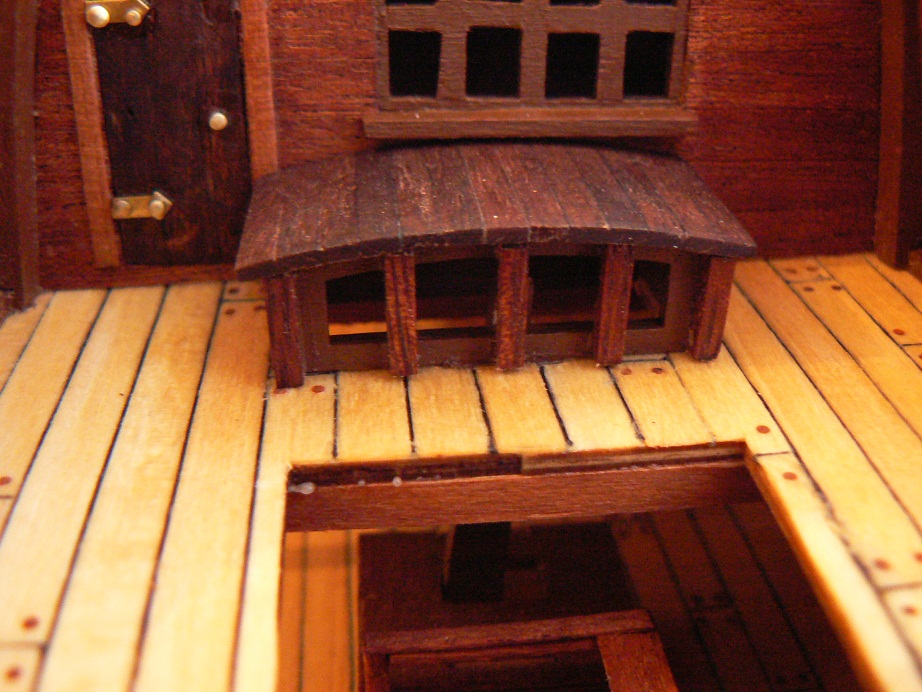
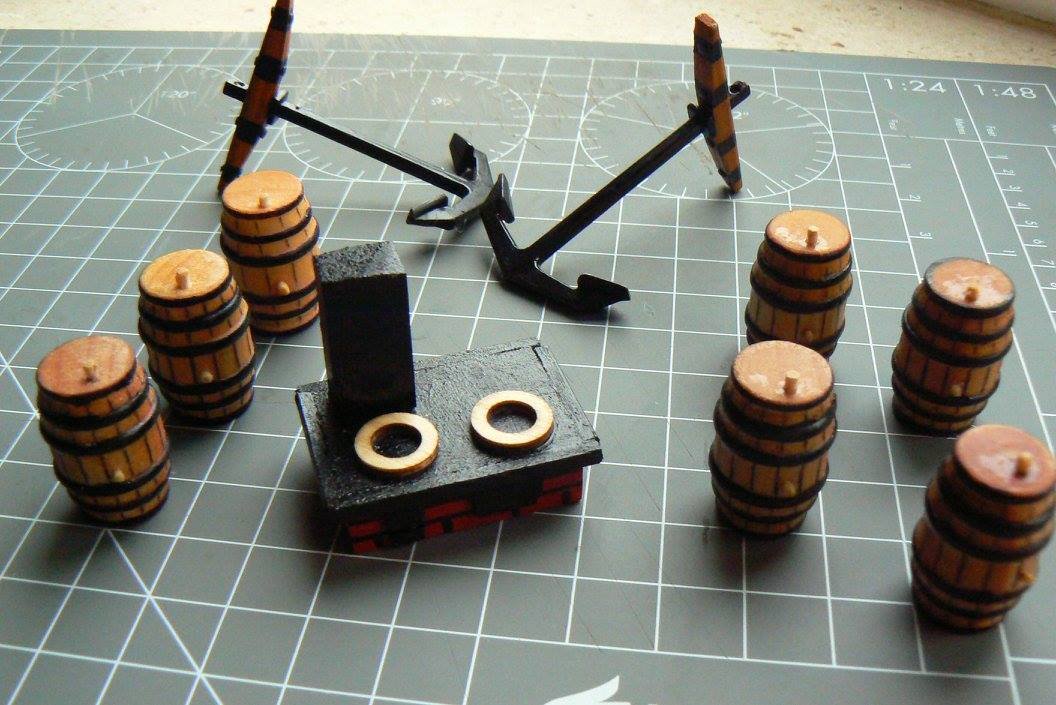
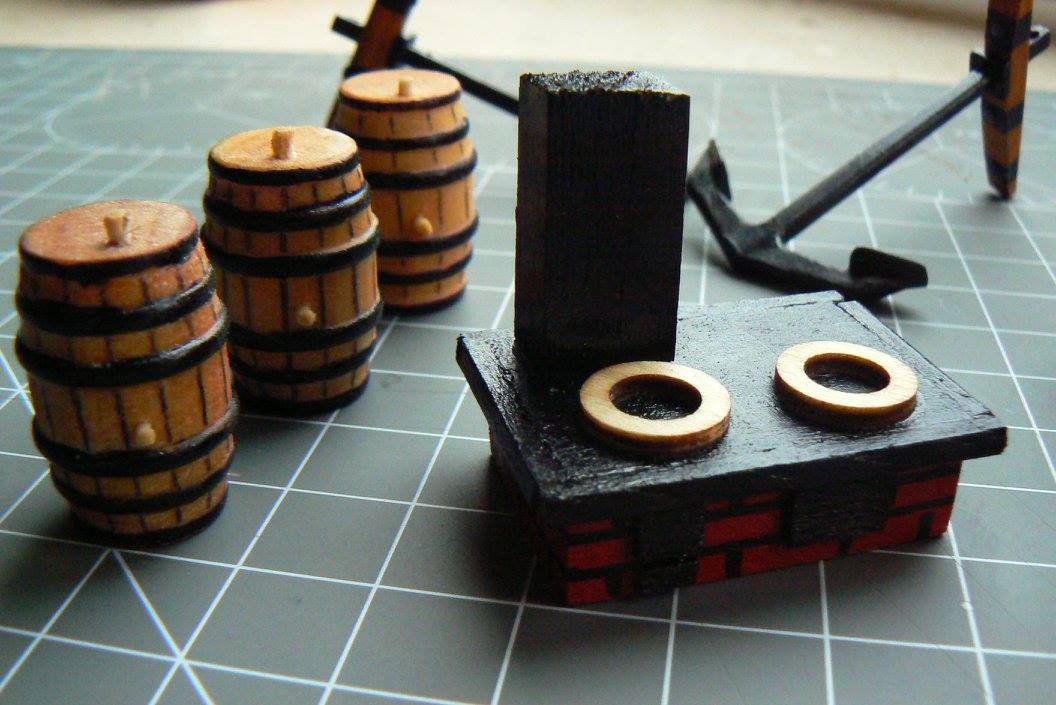
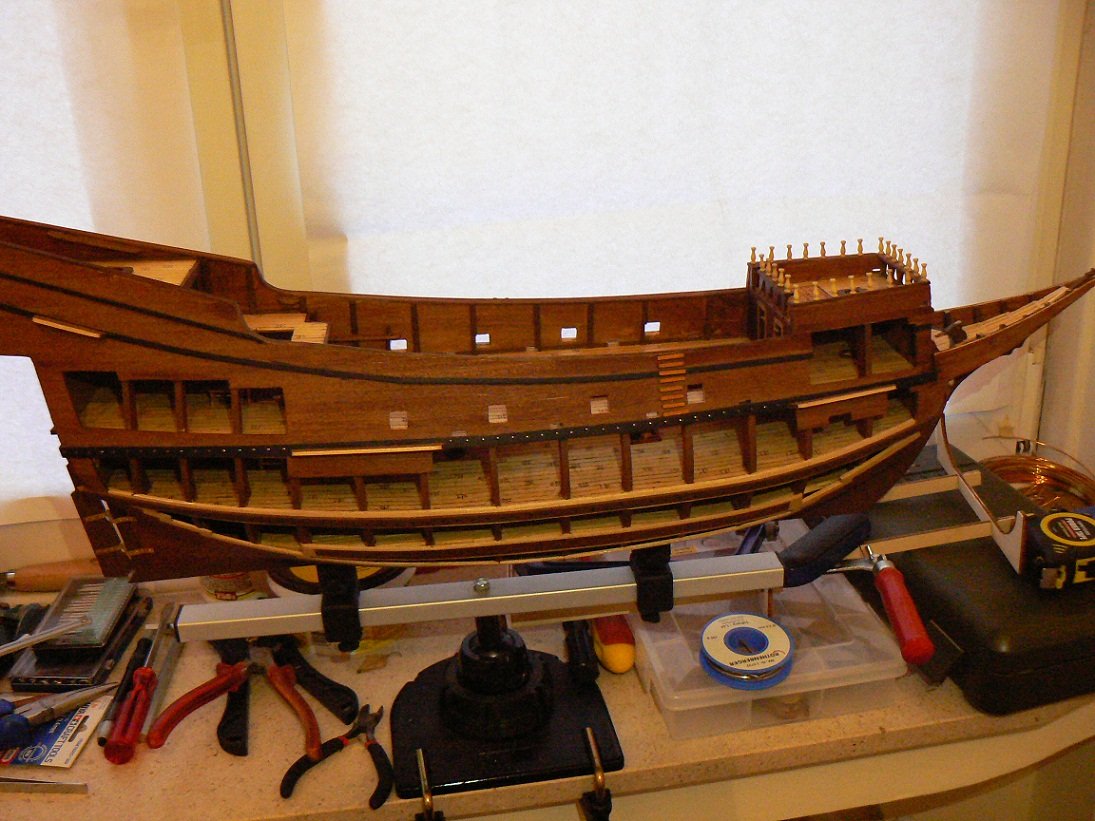
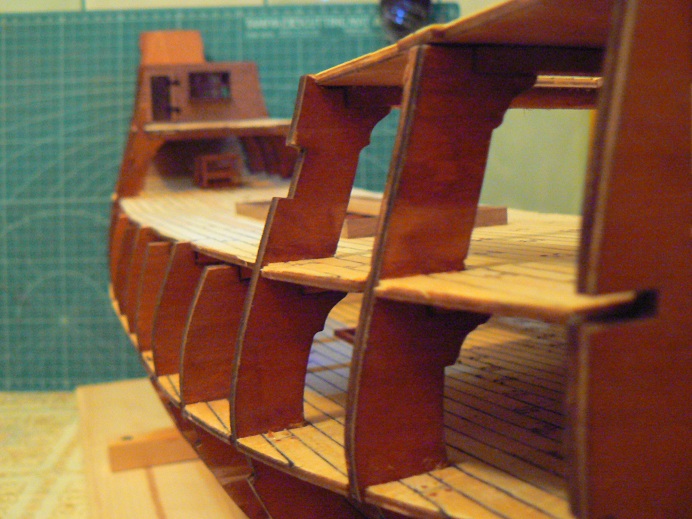
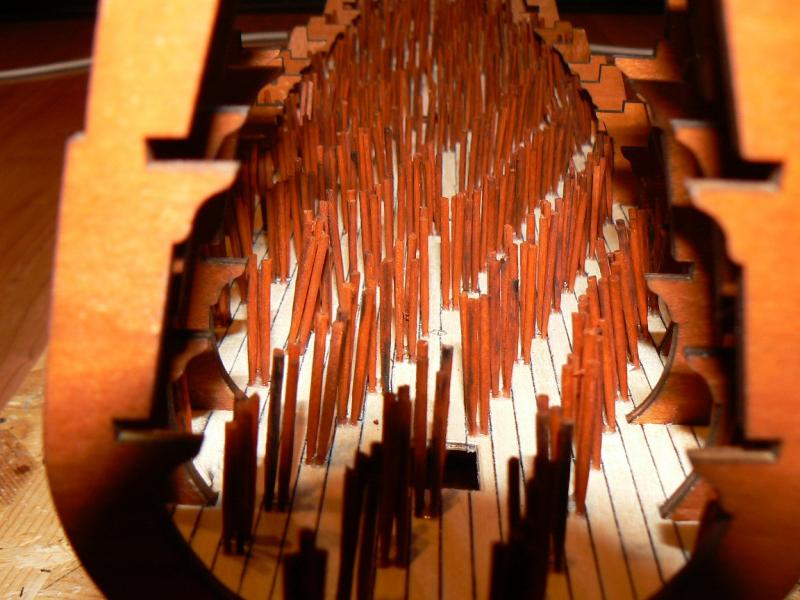
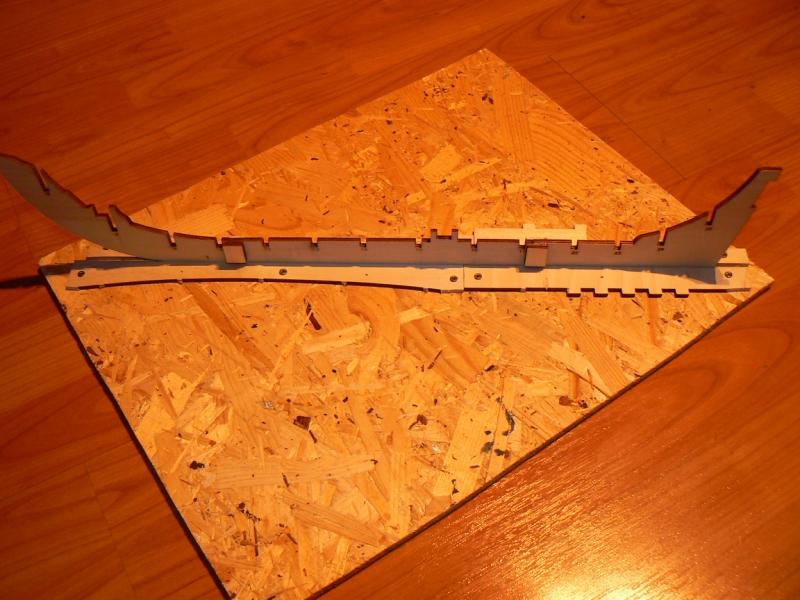
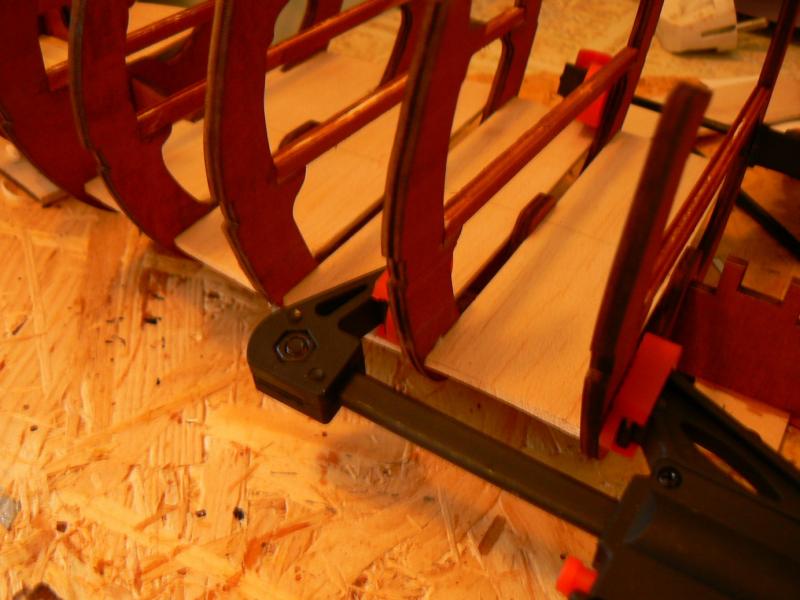
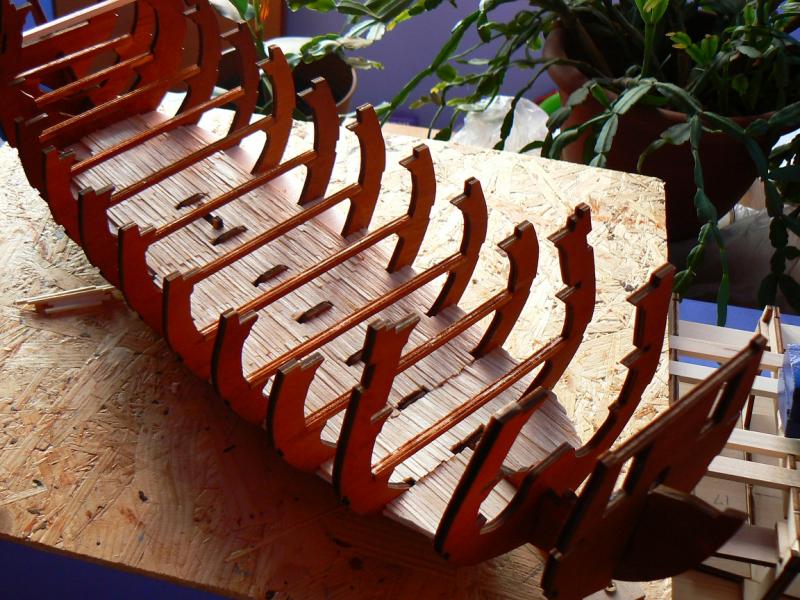
Just for fun – I still have a picture of the improvised building board. Happened to have that board in the house so I just thought it might be as good as anything else to be used, together with a few pieces of 90 degrees angle, in order to glue all the bulkheads. The model is open to starboard, but the proposed solution is not quite appealing. In order to try to hide the keel and also to help me preserving the parallelism between the bulkheads I created a lower deck – is it called bilge? I have used a fake deck over which I glued matchsticks. The result is not perfect, but however that space will be filled with ballast, barrels and small parcels.
-
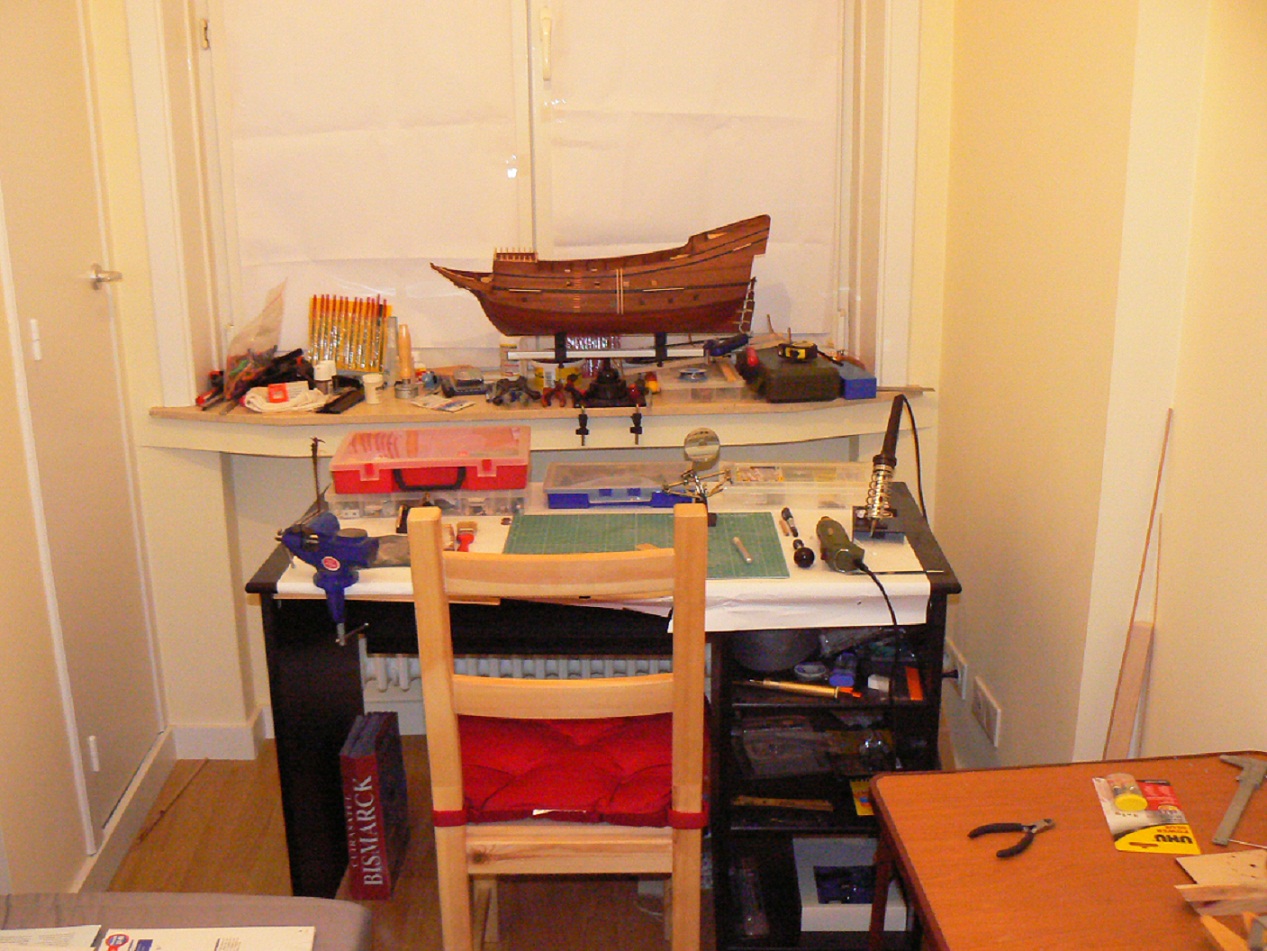
Hello everybody. I finally took the plunge to start a building log for my first wooden shipmodel. In the past, to be more specific during teenage period, I started to build many plastic models – airplanes, helicopters, locomotives, aircraft carriers, and finally, two shipmodels – ‘Bounty’ and ‘La Belle Poule’. I was long flirted with the idea of building a wooden shipmodel, but I have never found the necessary impetus. What the heck - life is full of twists. Two years ago I had the pleasant surprise to note that DeAgostini launched a series of magazines, under the name ‘Big Historic Ships’, giving the opportunity to enthusiasts like me to discover and develop their inner-hidden hobby. Their first offer was ‘Saint John the Baptist’ (San Juan Bautista) – one Spanish vessel, whose real existence is somehow uncertain. Or hard to be located – there are several ships bearing this name in the same period – 17th century. On top of that there are no blueprints available, the proposed shipmodel being somehow a hybrid, with common features of vessels from that historic period. Seems that the model is created by Artesania Latina, the parts being made available along 100 consecutive issues. Scale is 1:50. There will be some metal castings – I will try to avoid them and to re-create them from scratch. I will use this built as school for future shipmodels. Knowing that my wife bought me one Mamoli kit – Halifax – a British colonial schooner. Even if I’m eager to start working on it I have promised myself not doing it before I will have a good hand for this hobby. As I can see there is already one topic on the same ship started by Majstor. There will be no contest, I hope we can learn from each other, and all the other members will help us by giving constructive advices. And I know you’ll do. I have learned a lot following many topics around. I do speak English quite acceptable but I must recognize that specific nautical terms are not my forte. I do apologize for this. The actual construction started more than one year ago. Therefore I should start posting pictures – one picture is worth a thousand words. Unfortunatelly I do not have enough pictures to cover all the initial steps. Here you have some magazine issues to give you an idea, plus a photo of my workspace (a very small bedroom - the reason why I have rented this appartment ), where you can see the current state of the construction.


-
I really like the way you work... for a beginner you have made quite some lovely doors. I have bought the same publication - hope I will be able to start as soon as possible a build log. I am a little bit more advanced, but I have lost the initial pictures. I will follow you with attention. Congrats and good luck !
-
Definitively not an easy boat to build... is it really your first shipmodel? I liked the way you have plank it... and hey, Lego is always helpful, no matter the age or purpose. Well done... looking forward to see it finished
-
Thank you for re-posting. All the tips and ideas are welcome. I intent to build a section, also from DeAgostini, but a fictional one - St John the Baptist. However, they are not known to give attention to accuracy, therefore your tips are great. Keep up the good work - you just got yourself a new follower
-
MONTANES by Garward - OcCre
Mioriticul replied to Garward's topic in - Kit build logs for subjects built from 1751 - 1800
Always a pleasure to follow your build log, Garward. I wonder if I would ever be able to work with metal, especially with such tiny pieces. Thank you - spasiba -
This is the wisest thing ever - to keep your buildlog saved somewhere. Everyone should do this type of back-up. Sometimes it proves to be beneficial Keep the good work and try to insert also the tips for specific build stages.
-
MONTANES by Garward - OcCre
Mioriticul replied to Garward's topic in - Kit build logs for subjects built from 1751 - 1800
Ufff... waiting to see once again that marvellous model. But I would really appreciate if all the tips and tricks could also be restored. This is the real treasure.