Warnerade
-
Posts
175 -
Joined
-
Last visited
Content Type
Profiles
Forums
Gallery
Events
Everything posted by Warnerade
-
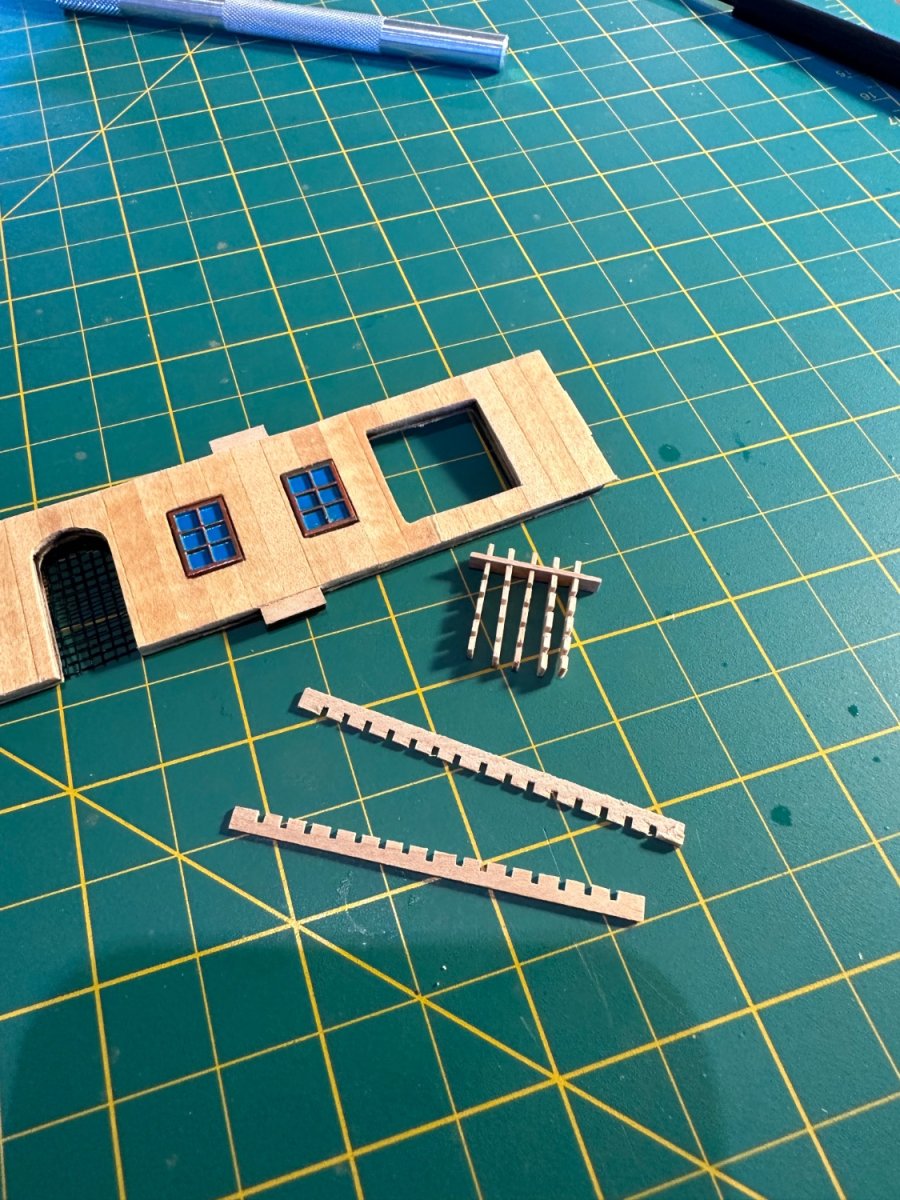
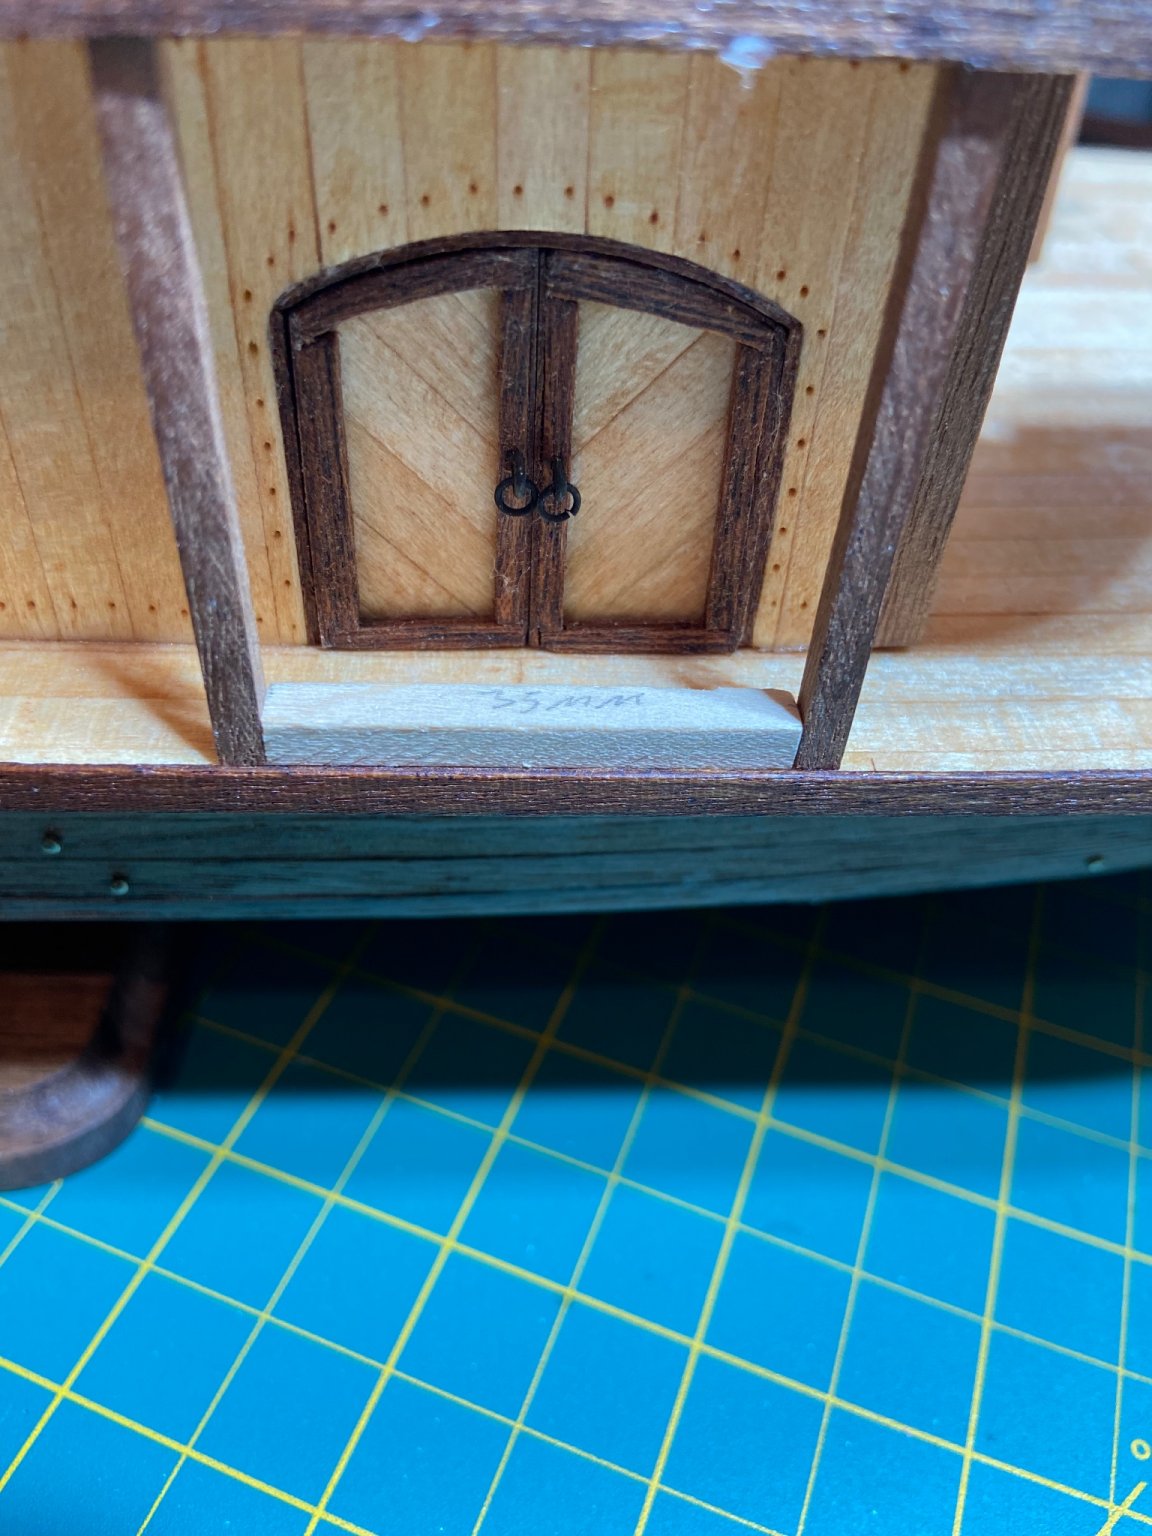
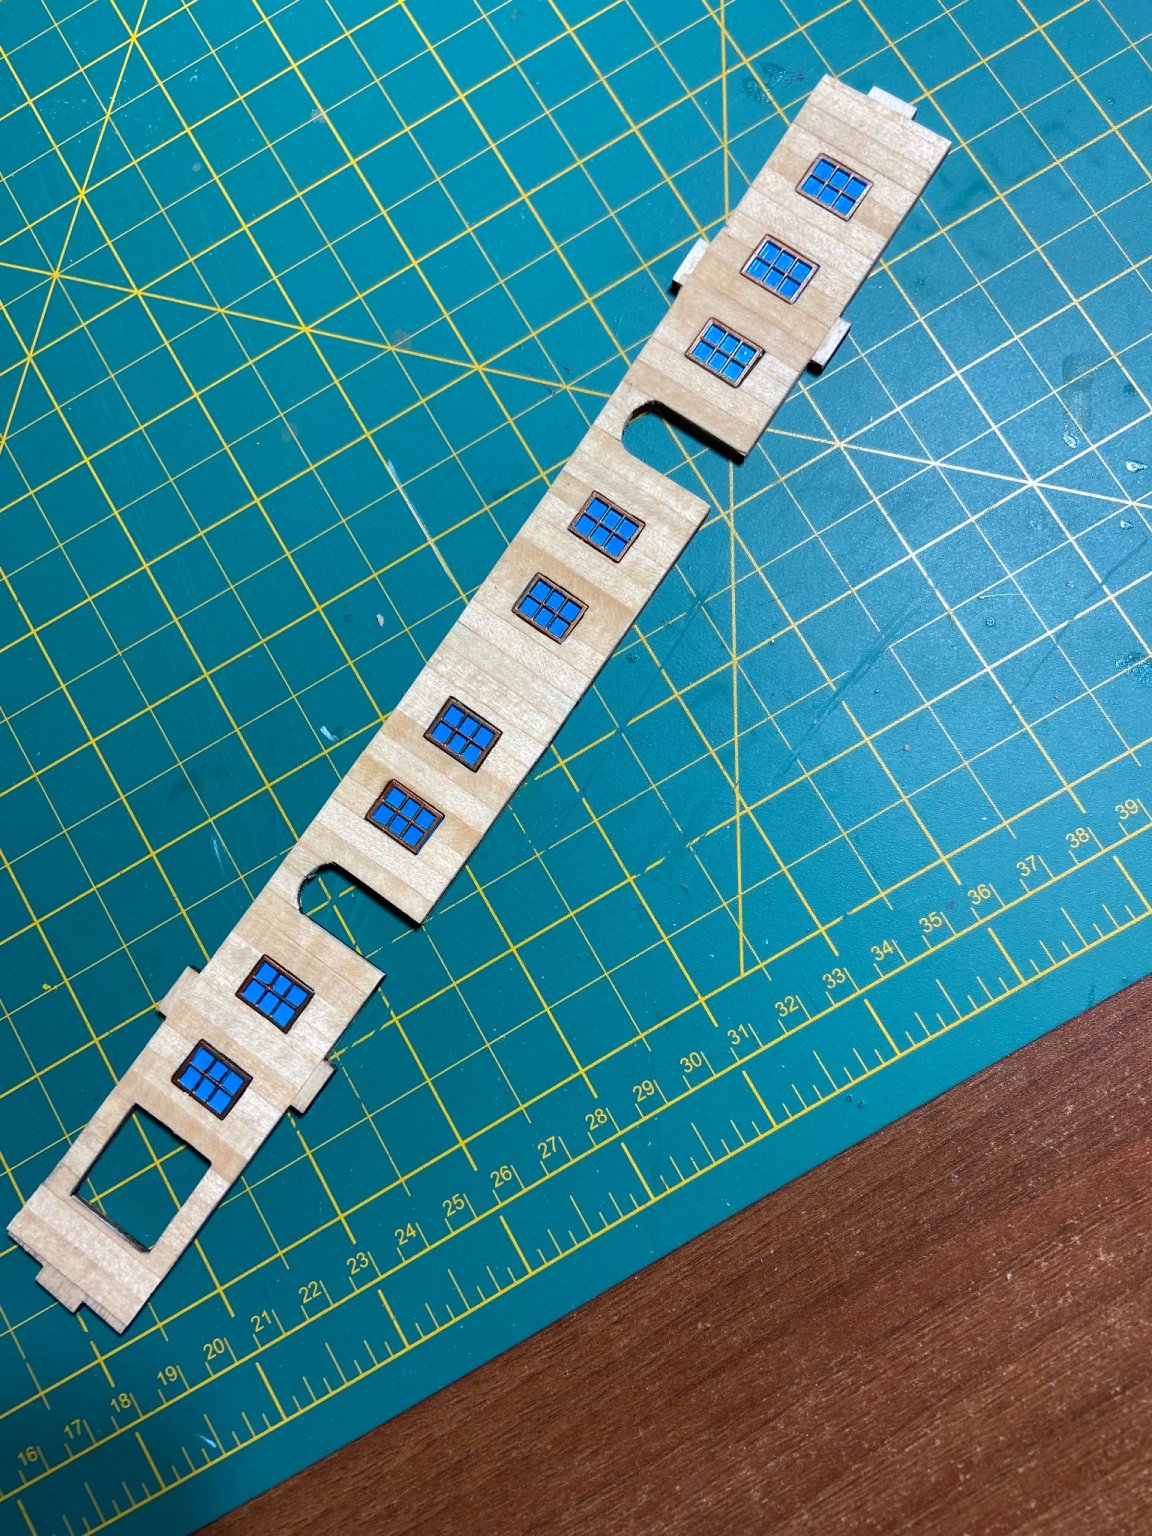
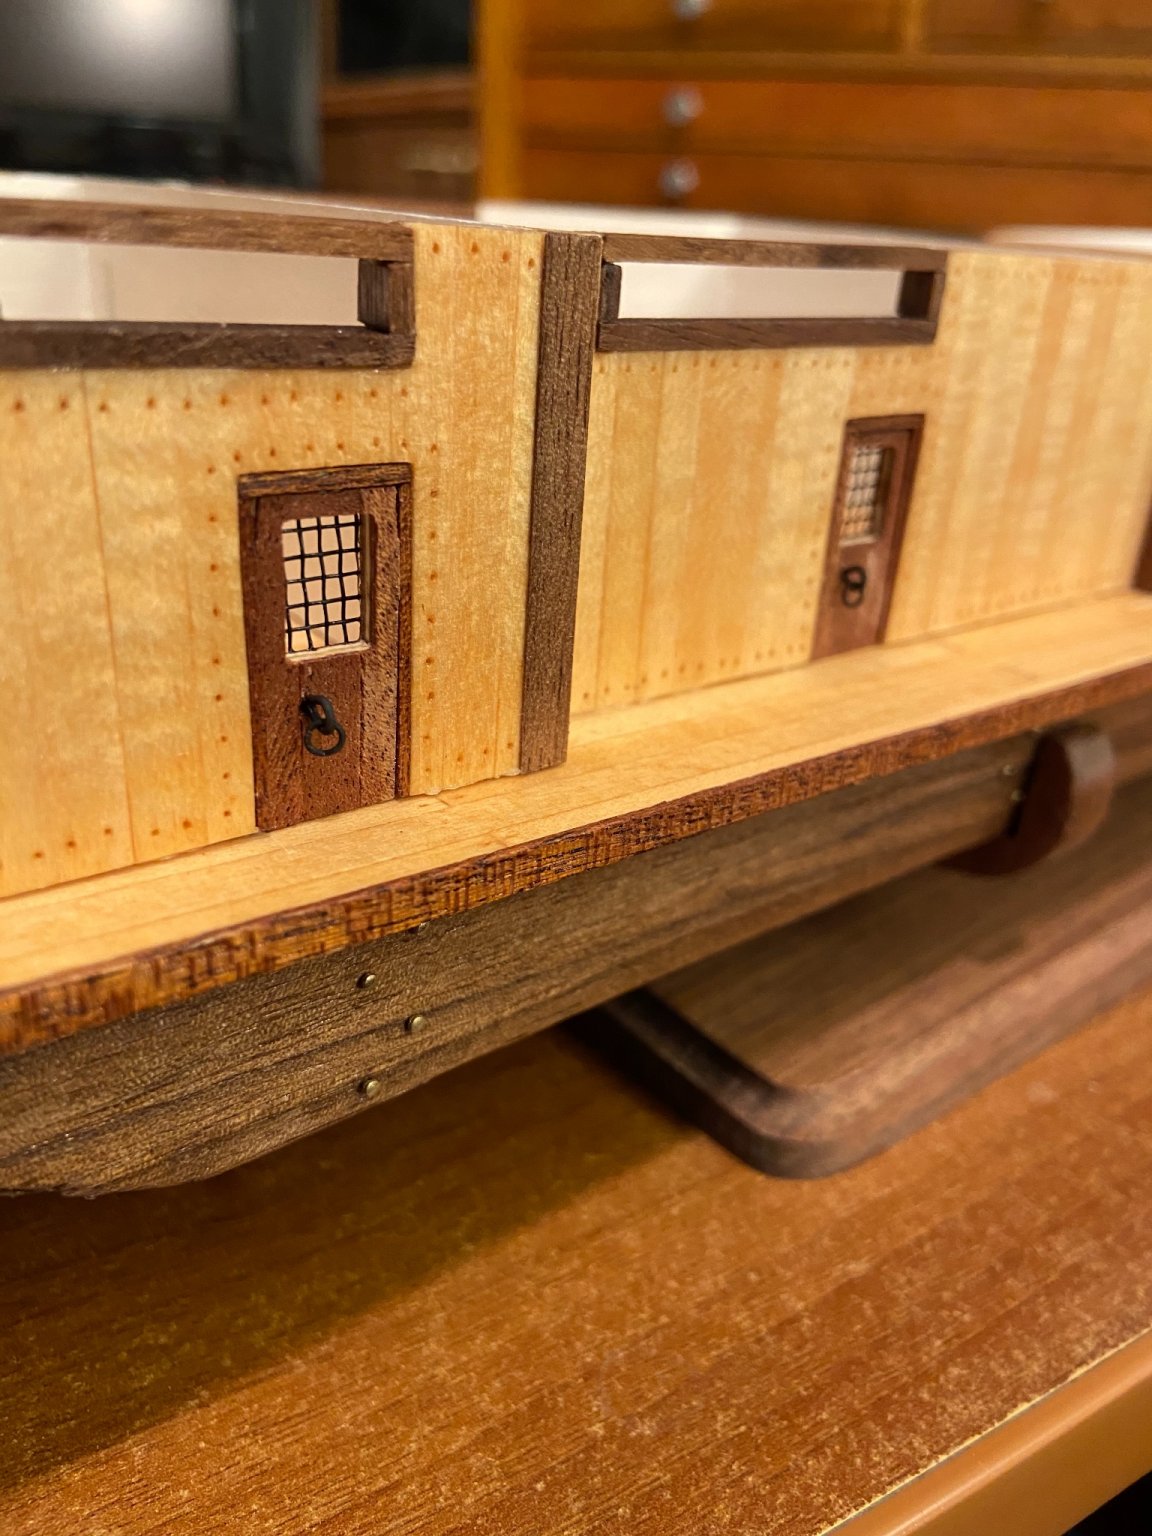
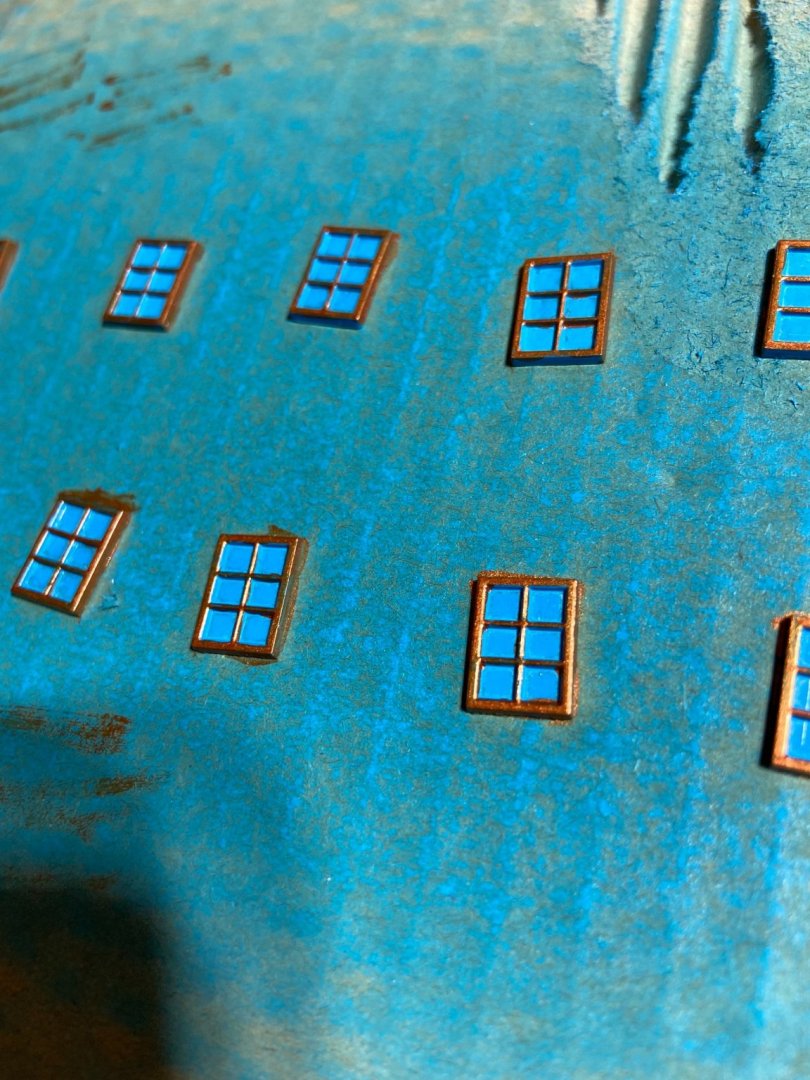
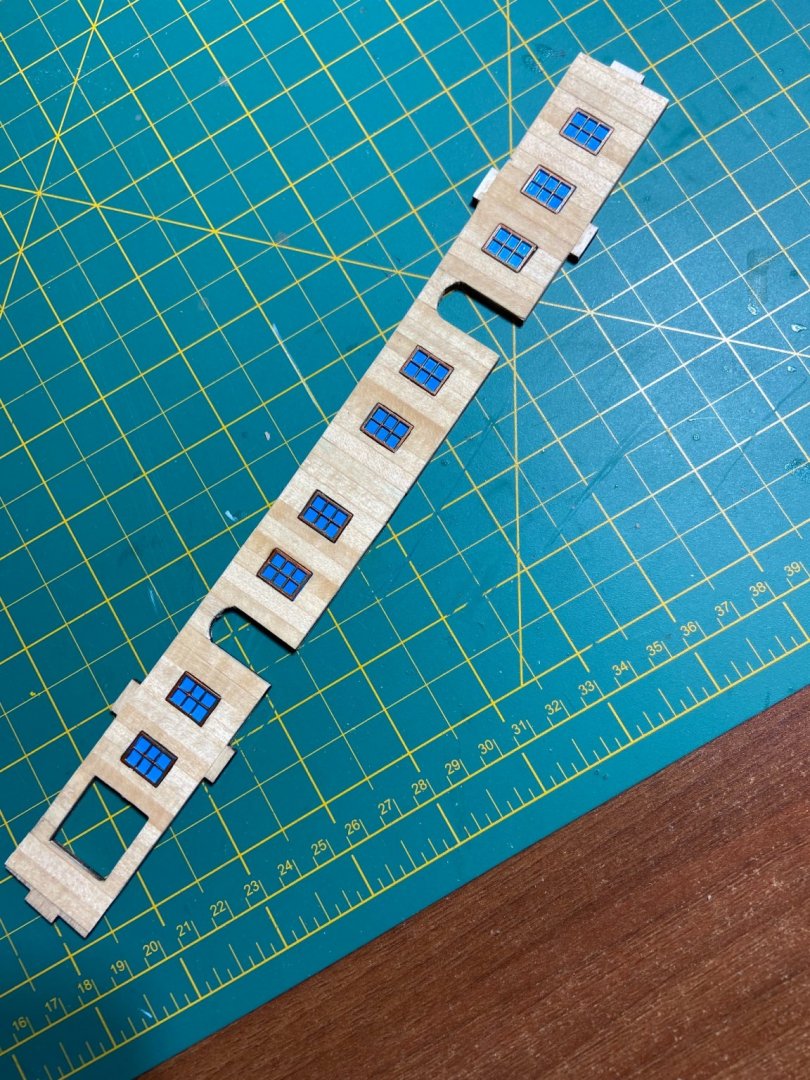
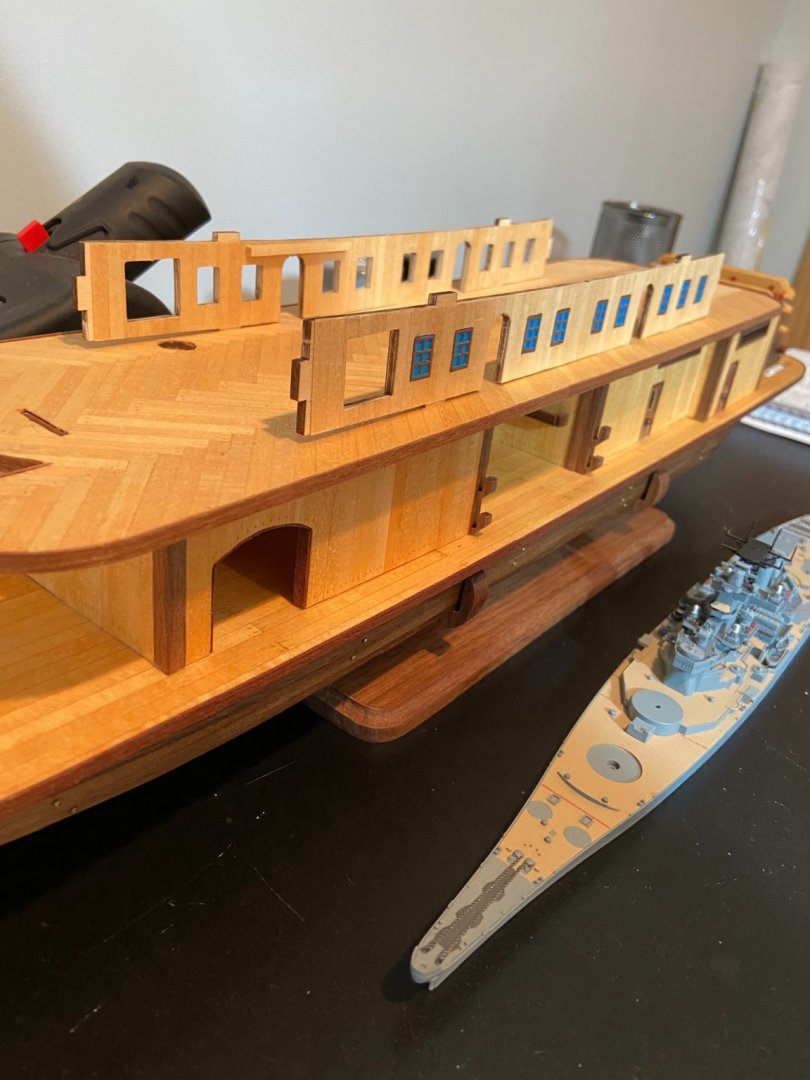
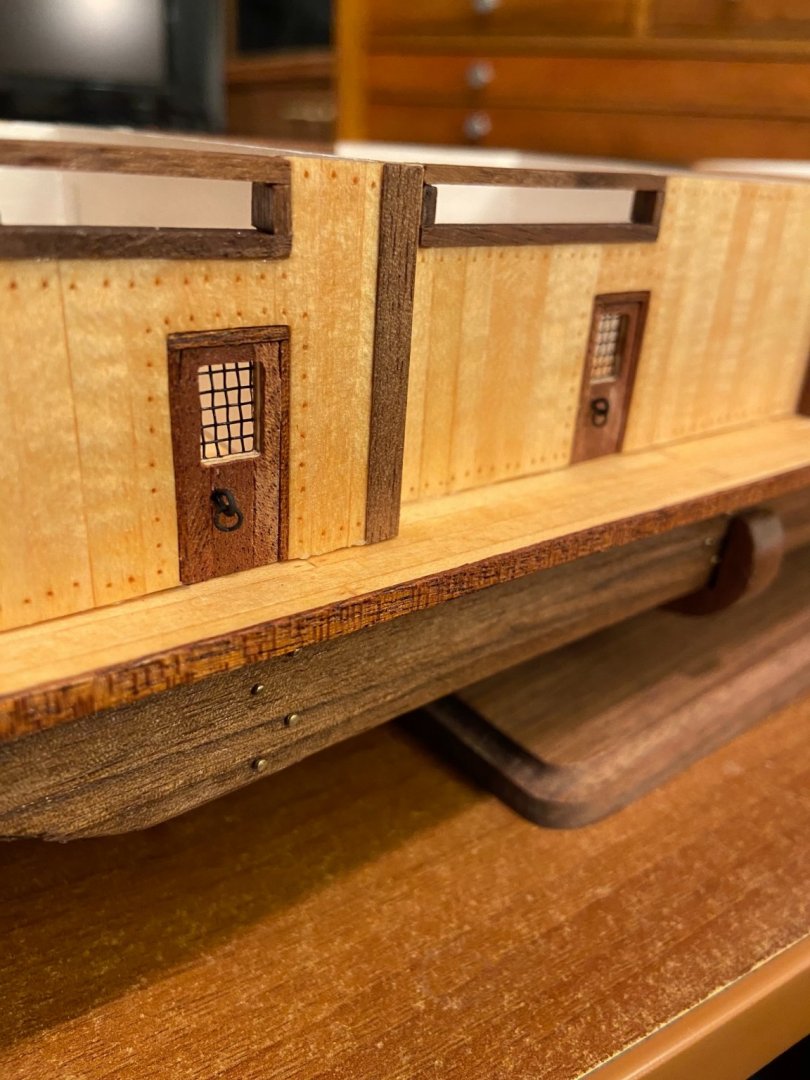
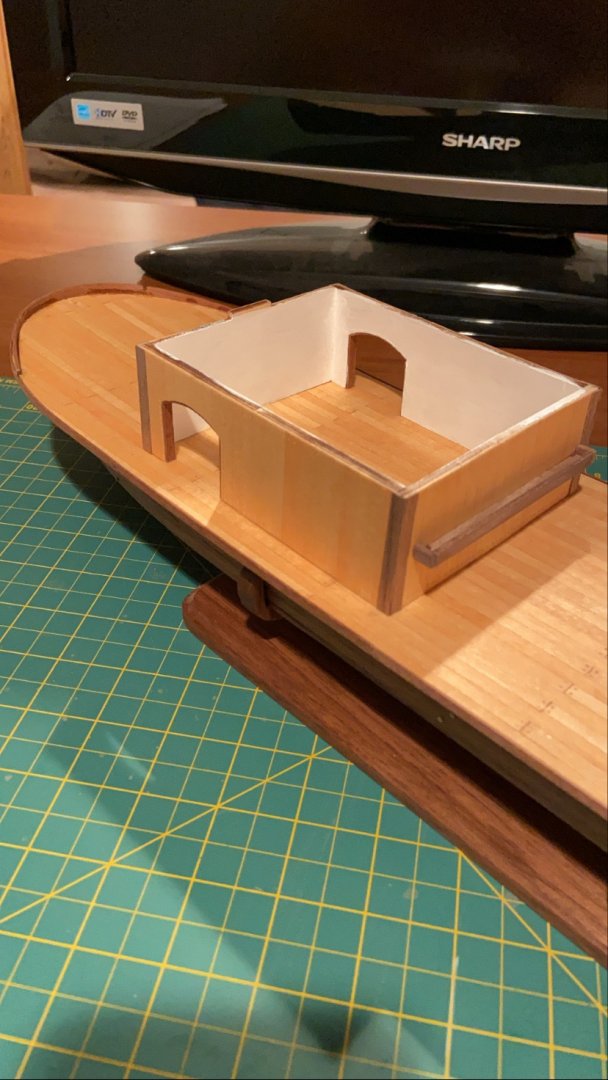
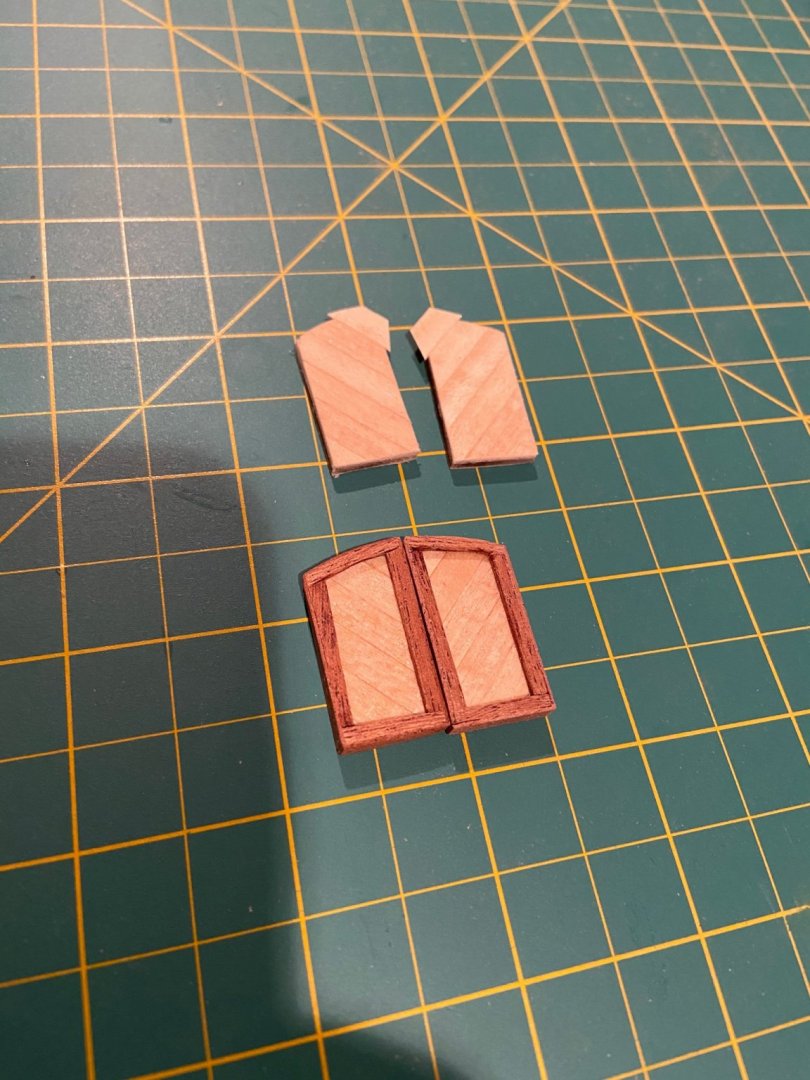
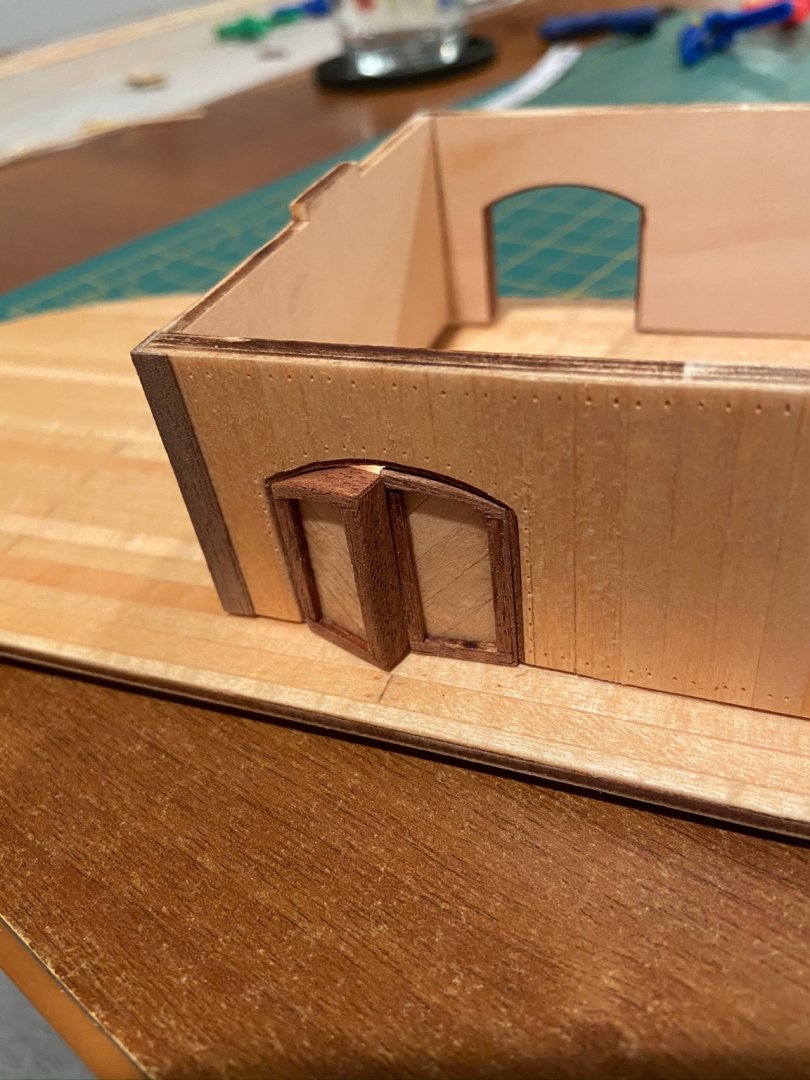
Putting the finishing touches on the walls for the second level. The cutouts for the doors were actually a little too large for the door provided (maybe 1/32” or so) so I ended up cutting some screen from a window to place behind the doors for a little more structural support with the glue and also to fill in the small gap on both sides of the door.

-
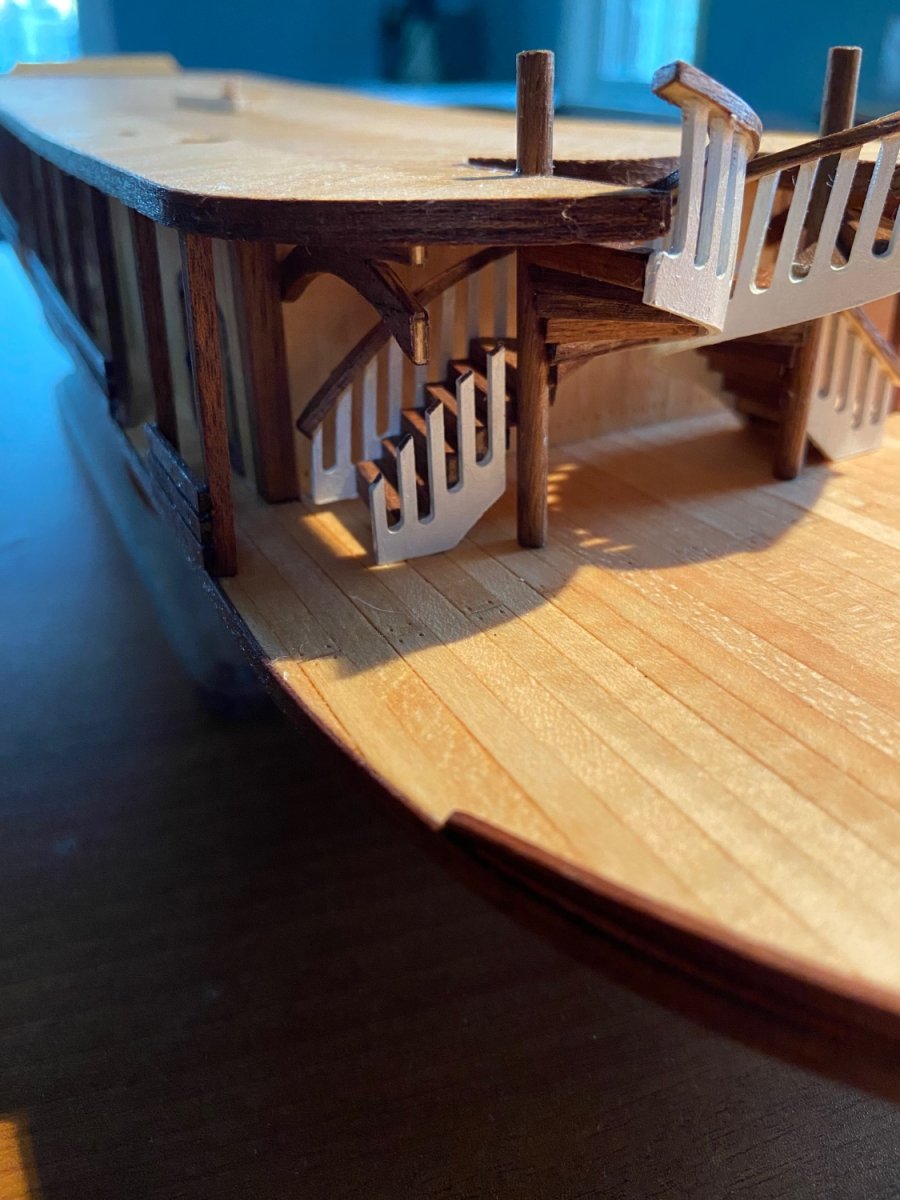
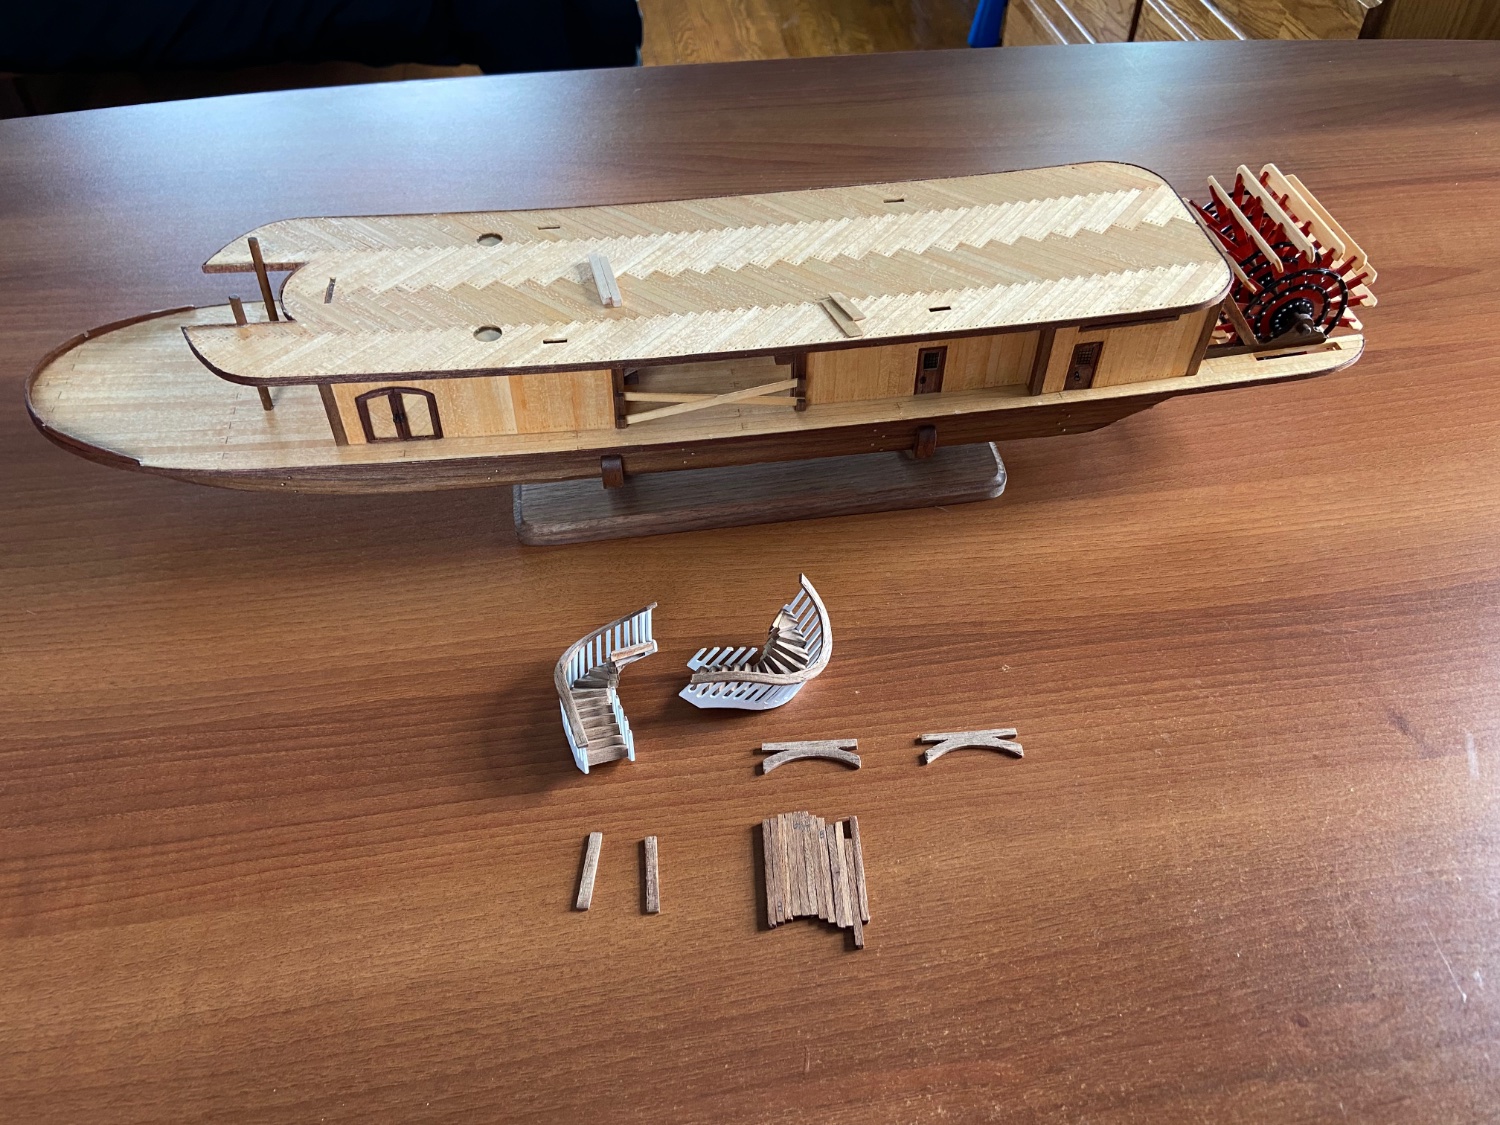
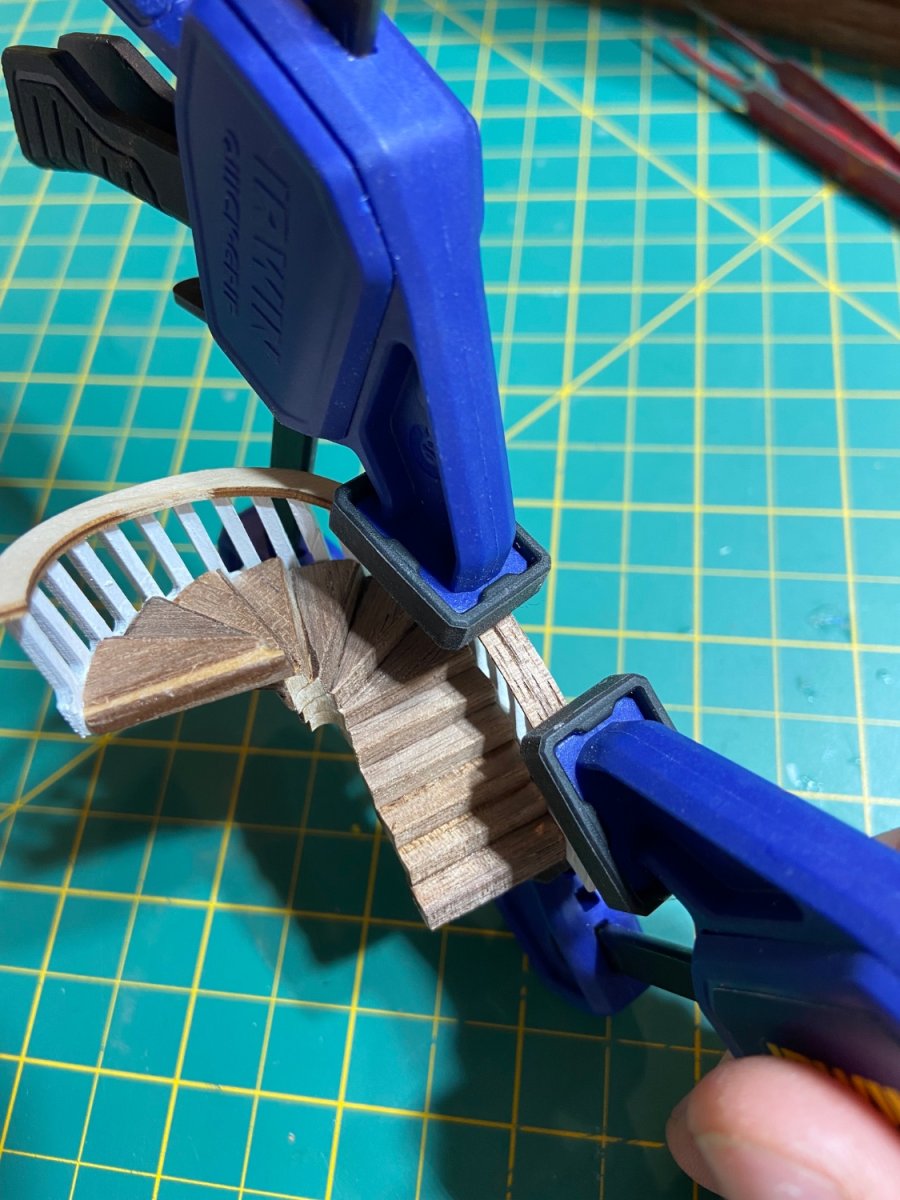
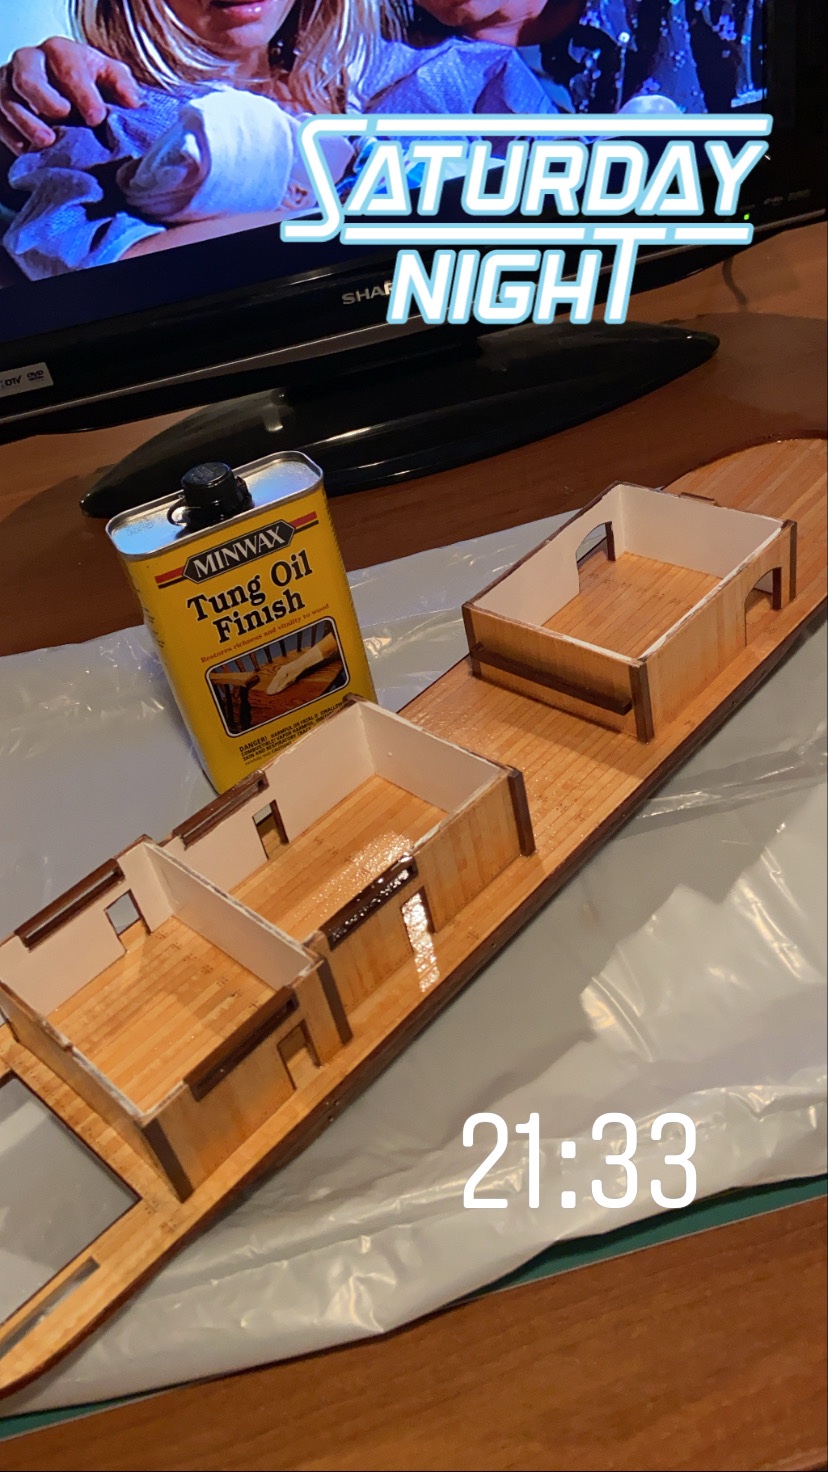
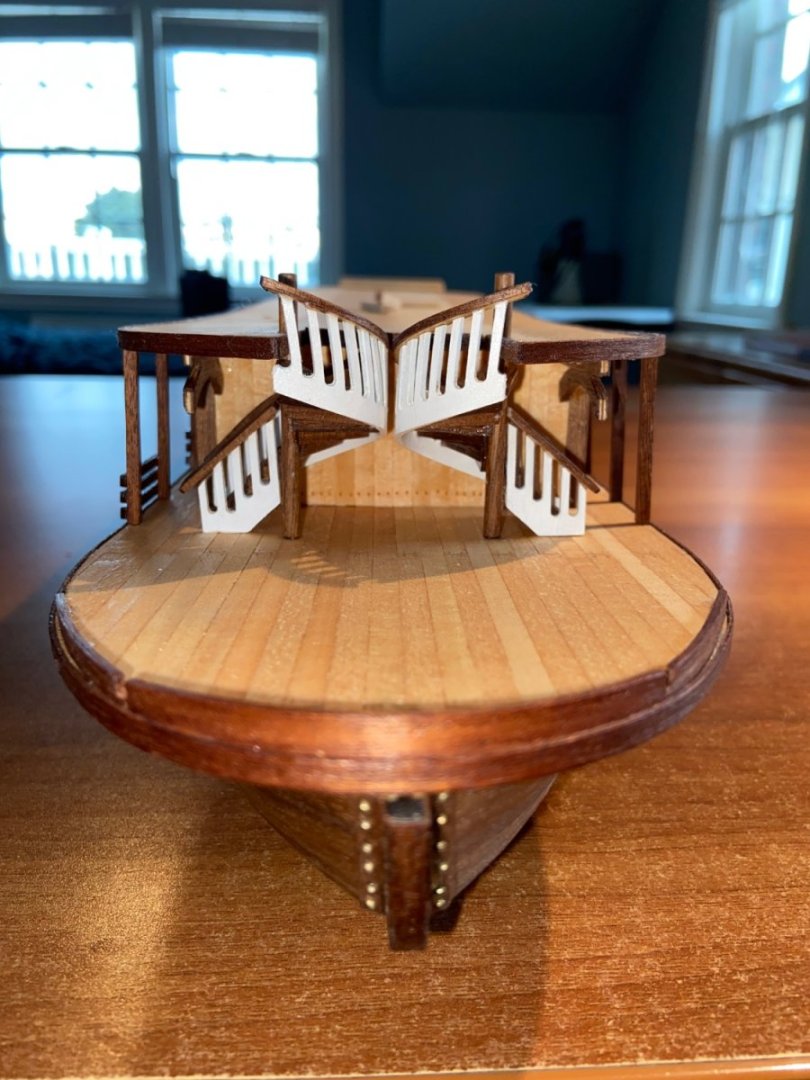
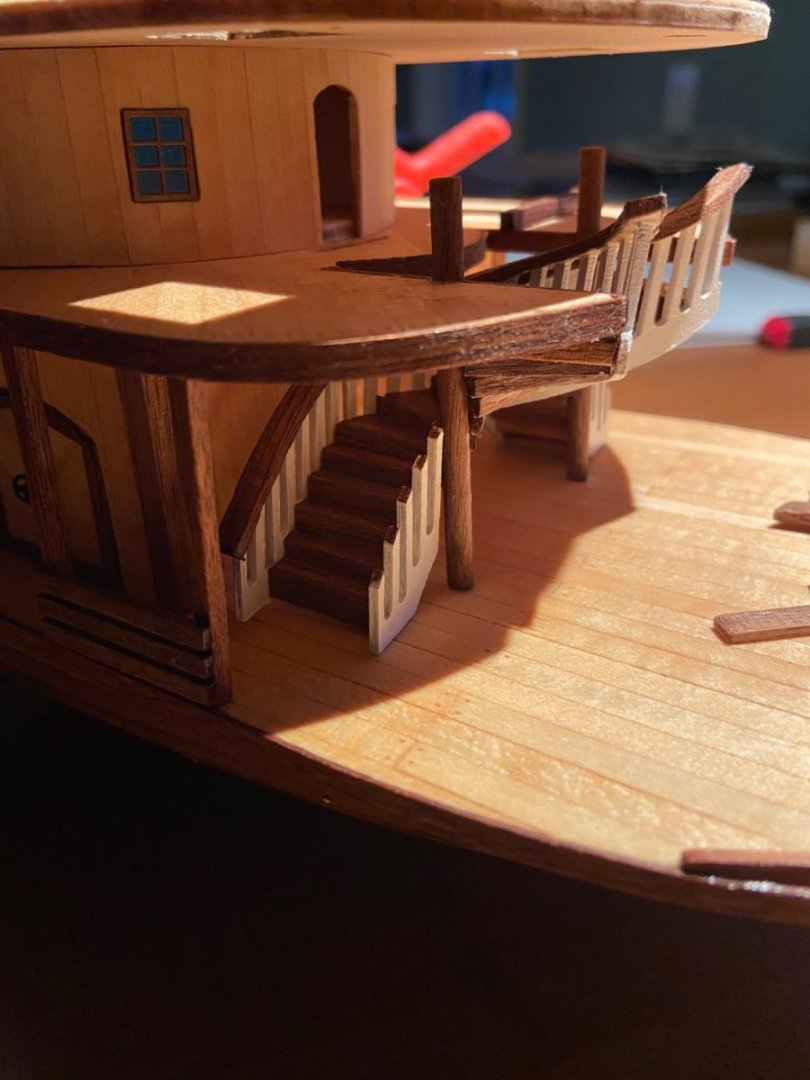
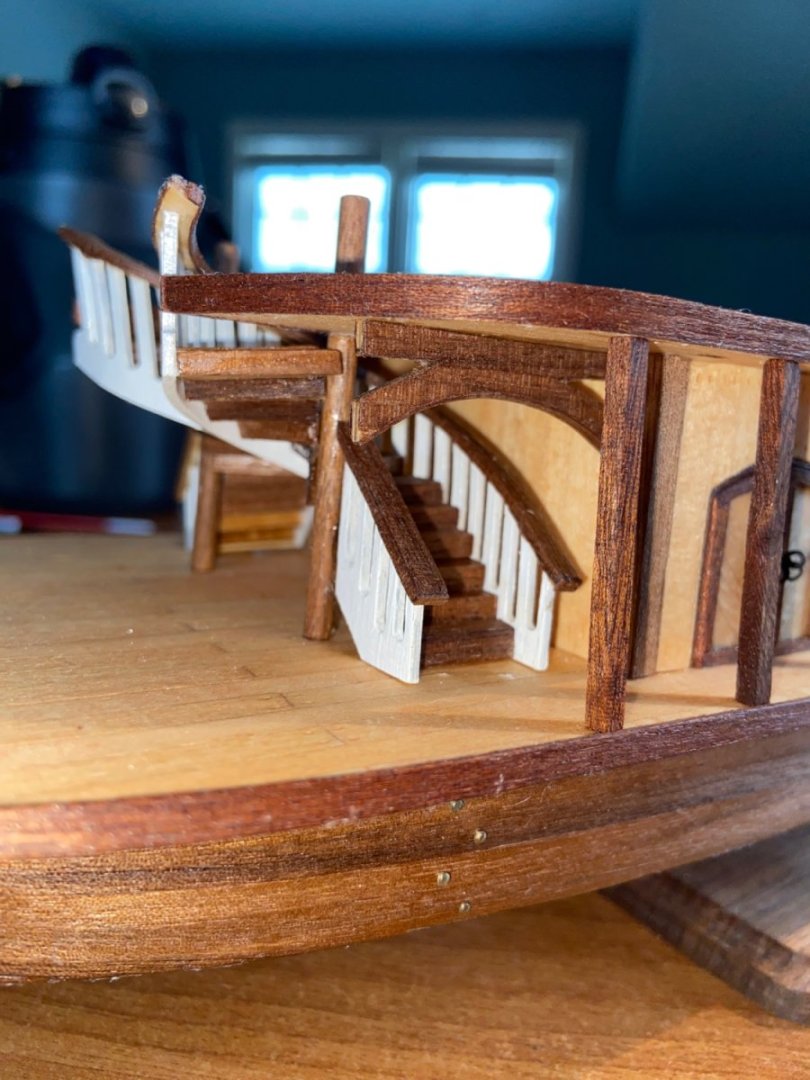
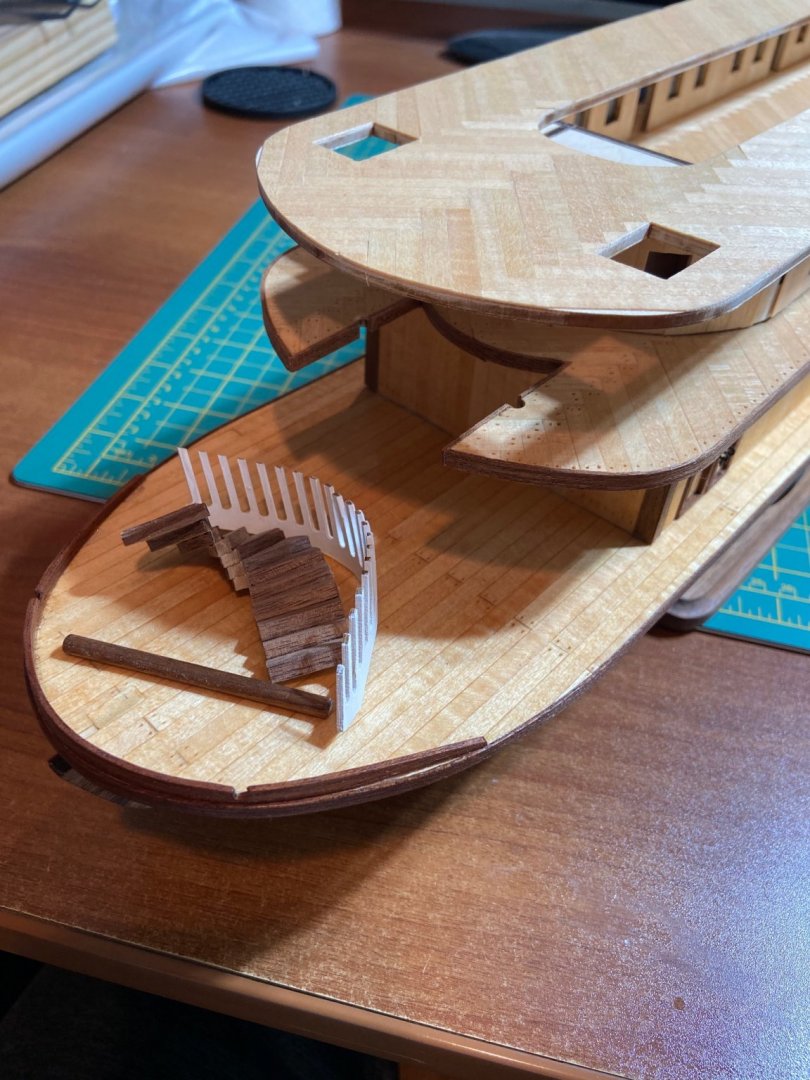
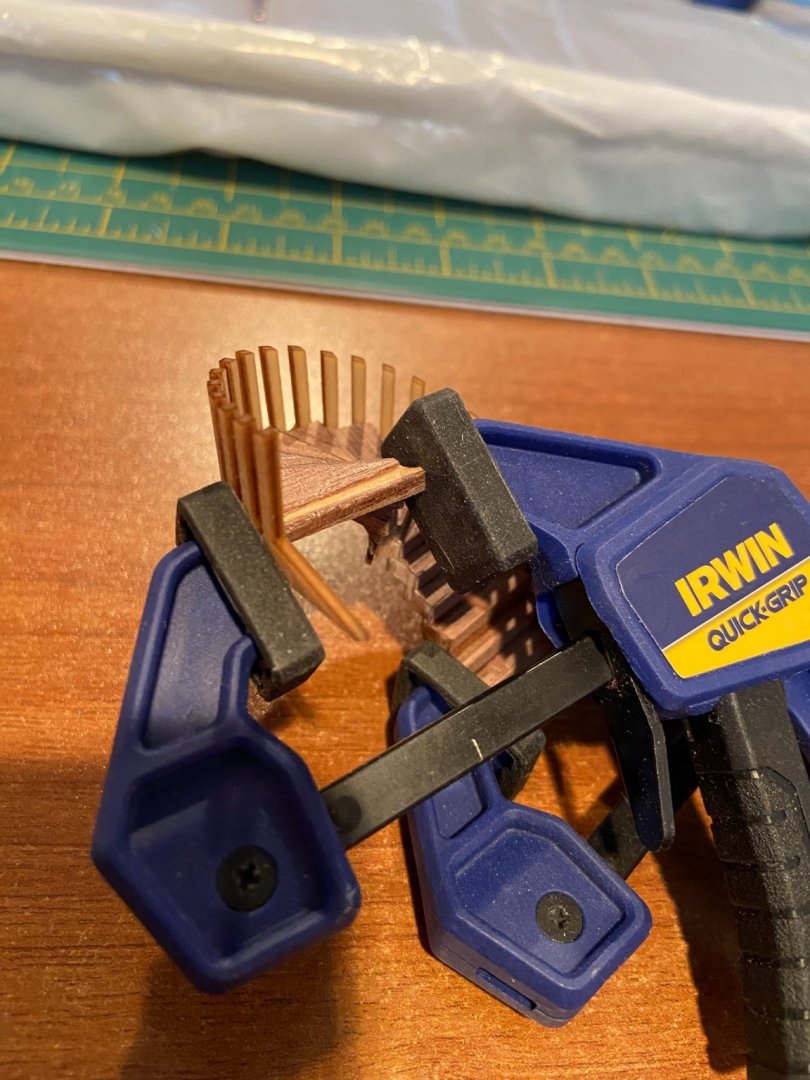
Finally got the stairs coated in Tung oil and glued in. They did not fit perfect (as expected) as to have the first step flat on the deck the last step didn’t like up exactly with the 2nd level deck. There’s an air gap, worst on the starboard side. To fix it I am going to use some extra walnut planks and glue to the top step / underside of the deck. I’m pretty happy with the outcome of them, thankfully was able to make it pretty symmetrical from the front view.


-
After having it for a few years, I still love it. My box is the Oh, conversion made with veneers, it was not solid oak. It is held up well. Although it’s used only indoors and doesn’t get too dirty, or Dusty, I use wood polish on it occasionally, and it still looks brand new. Some people have this box in the garage, and my level of OCD just could never allowed to get that dirty. 10/10 recommend
-
Thank you, yes those stairs were QUITE a PITA, they’re still not done. I have basically taken a long break unfortunately. I recently finished residency, and moved back to Ohio and had a second child while we already have a 16 month old, my hands have been pretty tied these last two years. I’m just now getting settled after being in my house for about seven months and plan on starting to work on it slowly again. Hopefully. my next step is to put tongue oil on all of the walnut Veneers on the stairs, and then finally glue the darn things into place and move on. I have also started The port side support beams, they are all dry fitted, and once I get them covered tongue oil, I will do them in place and get the railings on as well.


-
I hope I never have to make another set of spurs stairs again. I wrapped the railing in some extra walnut so it matches the stairs. It doesn’t fit perfectly in place, but overall I’m happy with how they turned out. Now I just have to finish the other side and hope they fit at least just as good. Blah.


-
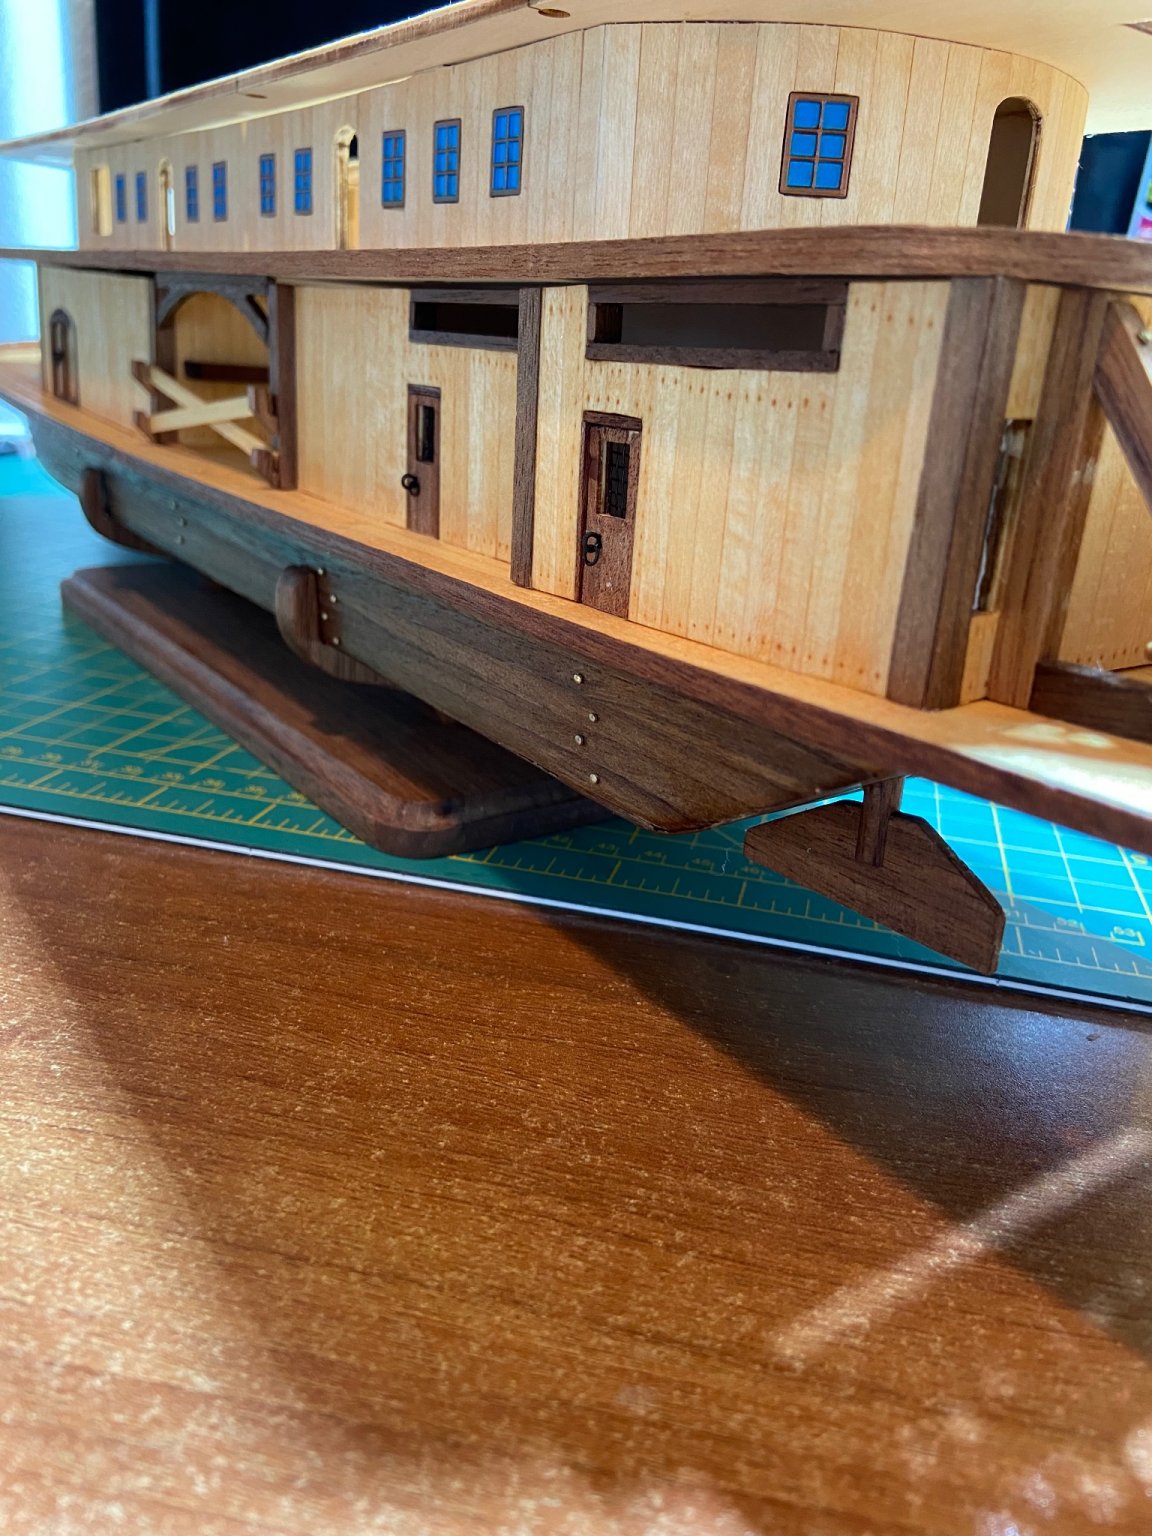
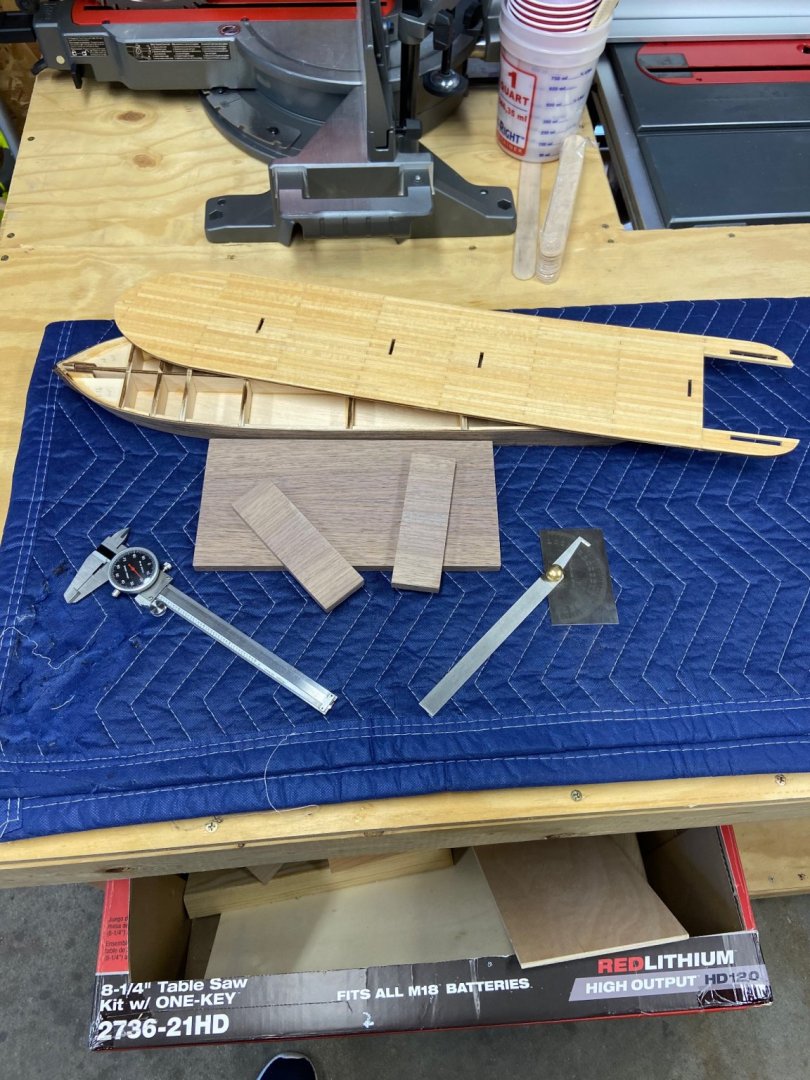
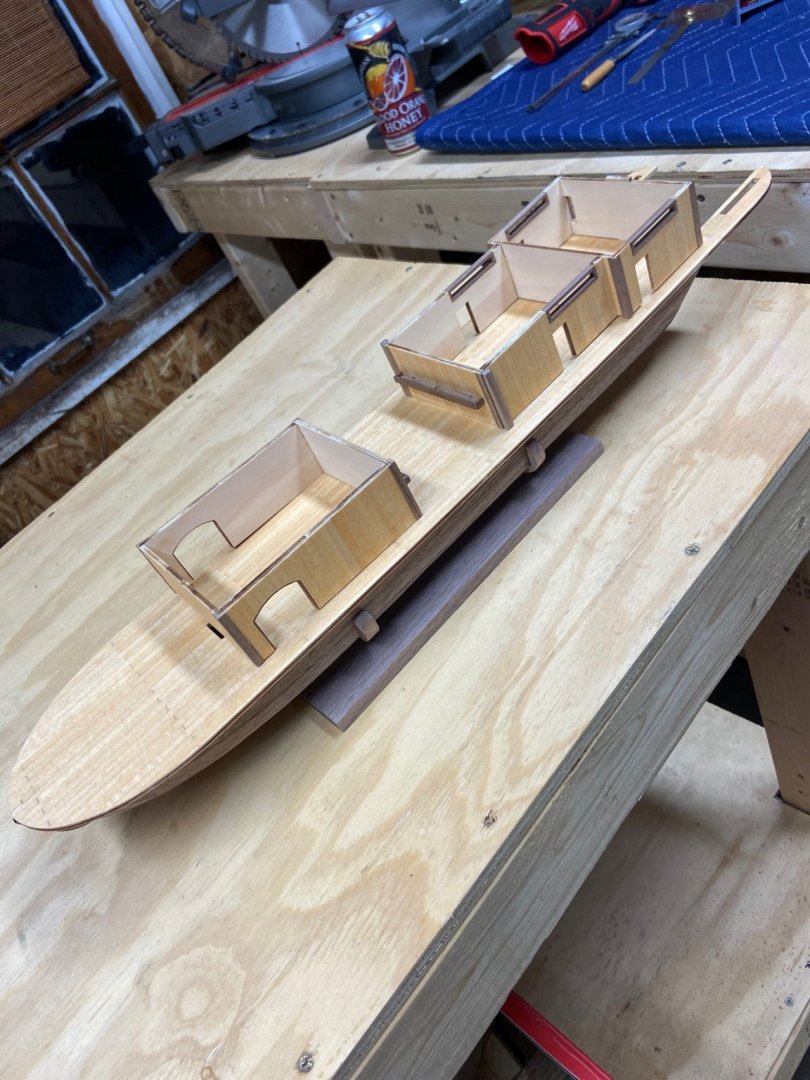
Finally glued the second level deck on and started working on the support beams. The instructions say 42mm height but mine varies from 42 to ~44mm. The directions were not clear on how to start for placement, so I looked at the blueprints supplied. They are all spaced 35mm apart and this is also the width of the double doors located on the first level. The prints show there are no posts blocking these doors, so that’s where I started. Making 2 35mm space blocks to use as I place each one. they are currently just sitting with a tiny dab of glue. Once I dry fit them all I will remove them, cost with tung oil, and glue permanently.

-
Not much has been done since my last post, just checking in to wish everyone a merry Christmas. Been having way too much fun playing with my sun lately, the projects are on hold. For now. (The decks are just sat on, nothing beyond the first floor rooms are glued yet)


-
Slow and steady i am sticking with the curved stairs, I have to finish the doors and a few miscellaneous things for the forst deck before I glue the second deck on but I’ve come too far to give up haha witg the supporting arches between the first deck rooms, I decided to cover them with walnut planking as well. I’m not a fan of the look of wood without grain
-
You're not alone, I too have been working on other things, taking a break from the wooden ships temporarily. I love that aged buzz model haha
-
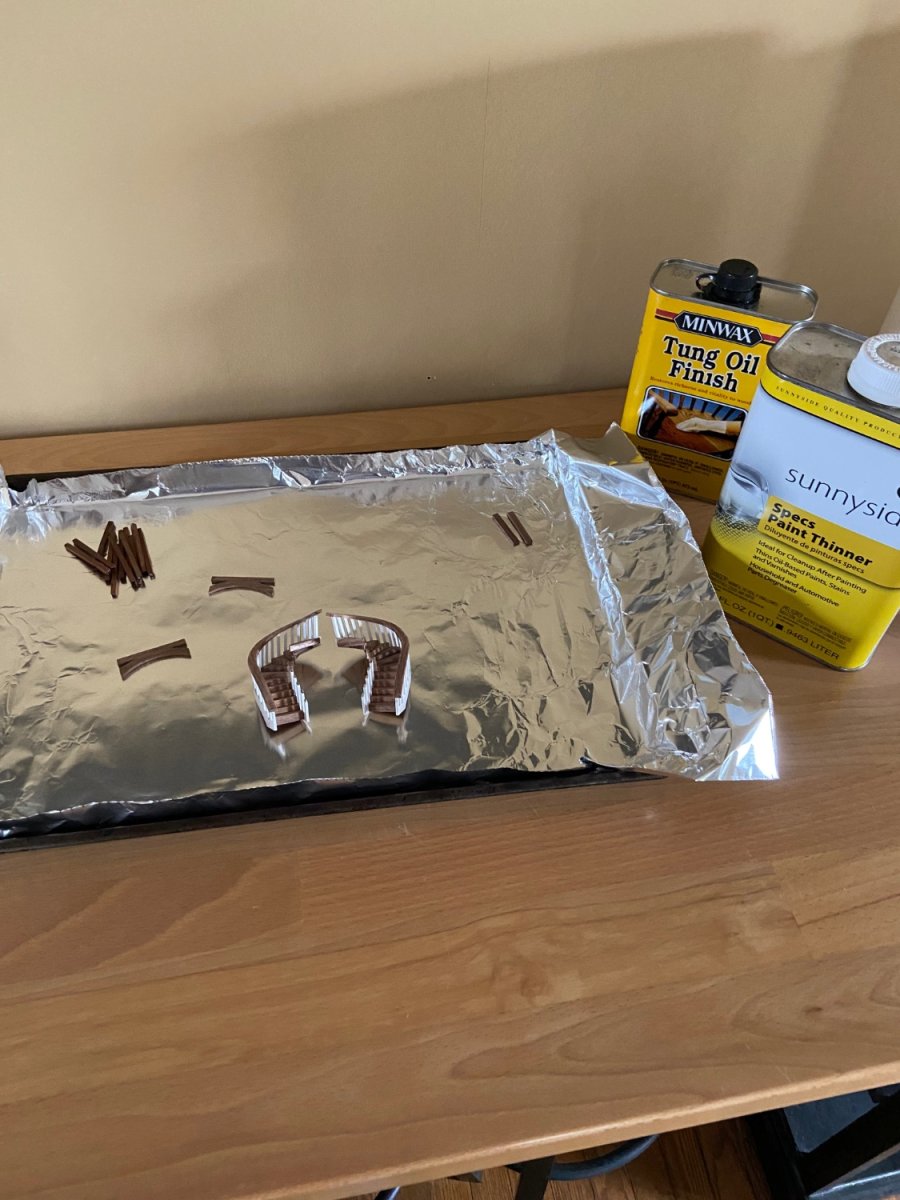
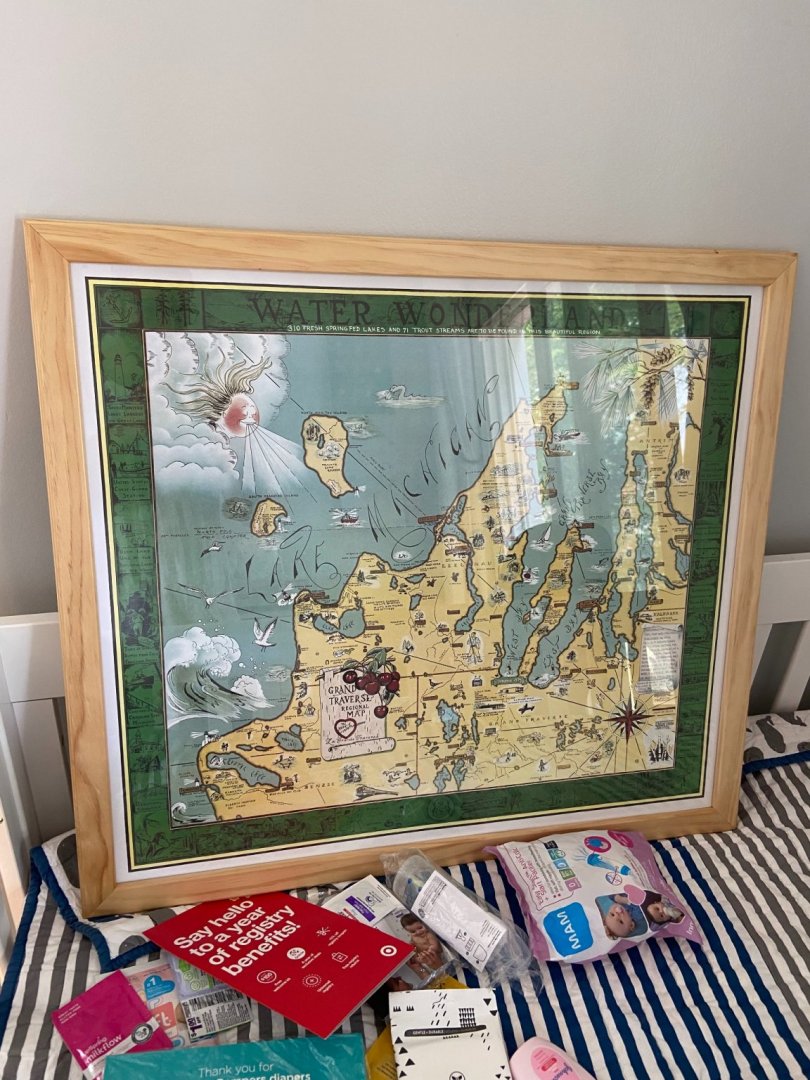
Well, I’m really glad to see this thread wasnt deleted for inactivity haha. Life has been nuts, great, but nuts. Not much time at all has been spent on the ship. I recently got married and my wife is pregnant, so my wife and I have been focusing a lot of our time on preparing for the baby. I do have some updates from the last post. However, I have to put a layer of Tung oil on everything before I glue things together. For now. I’ll just post a picture of the stairs (which I loathed) and a few recent projects I made for the house.


-
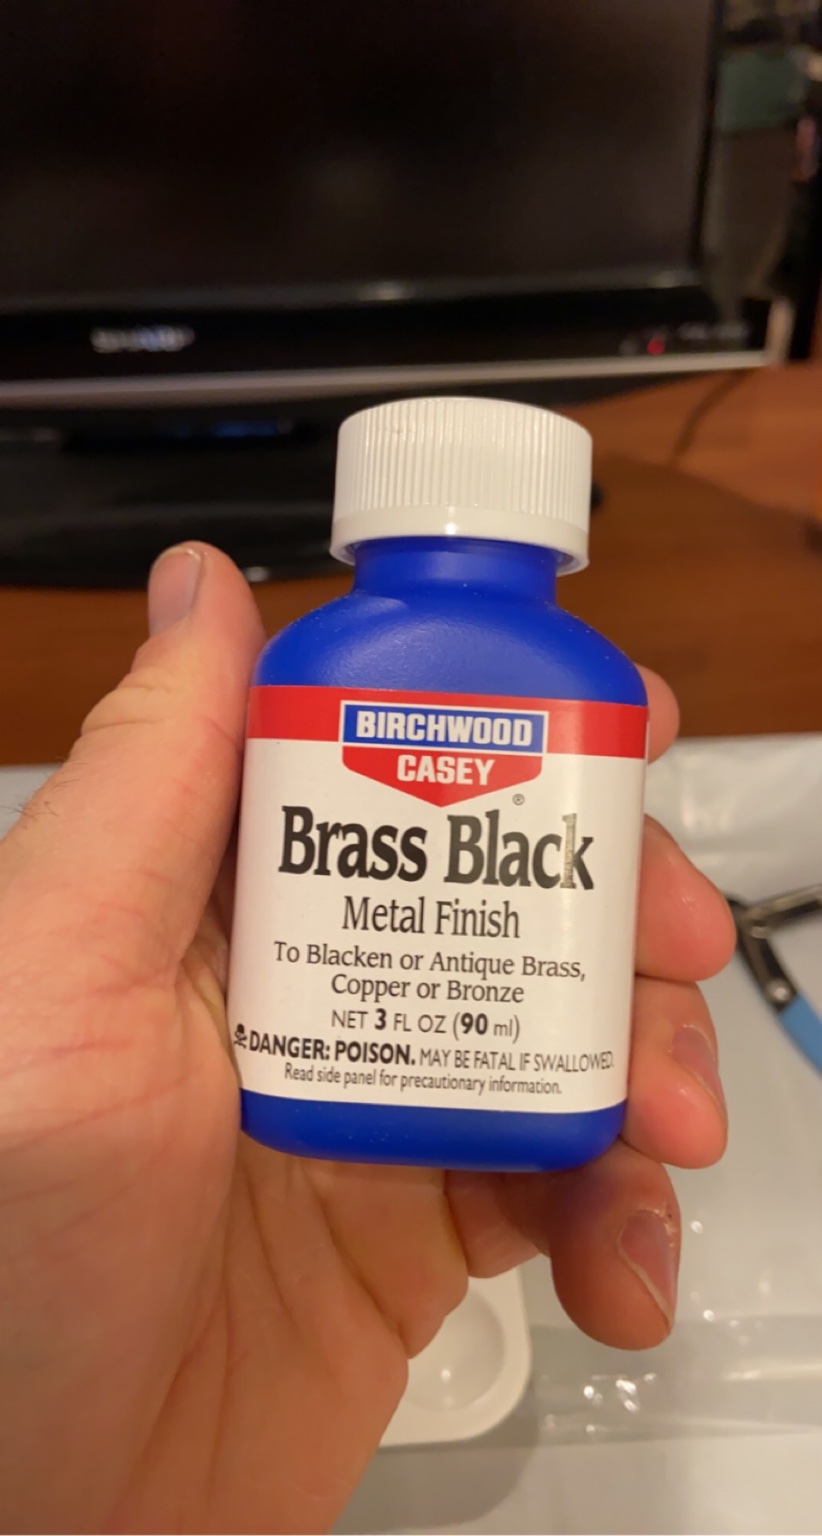
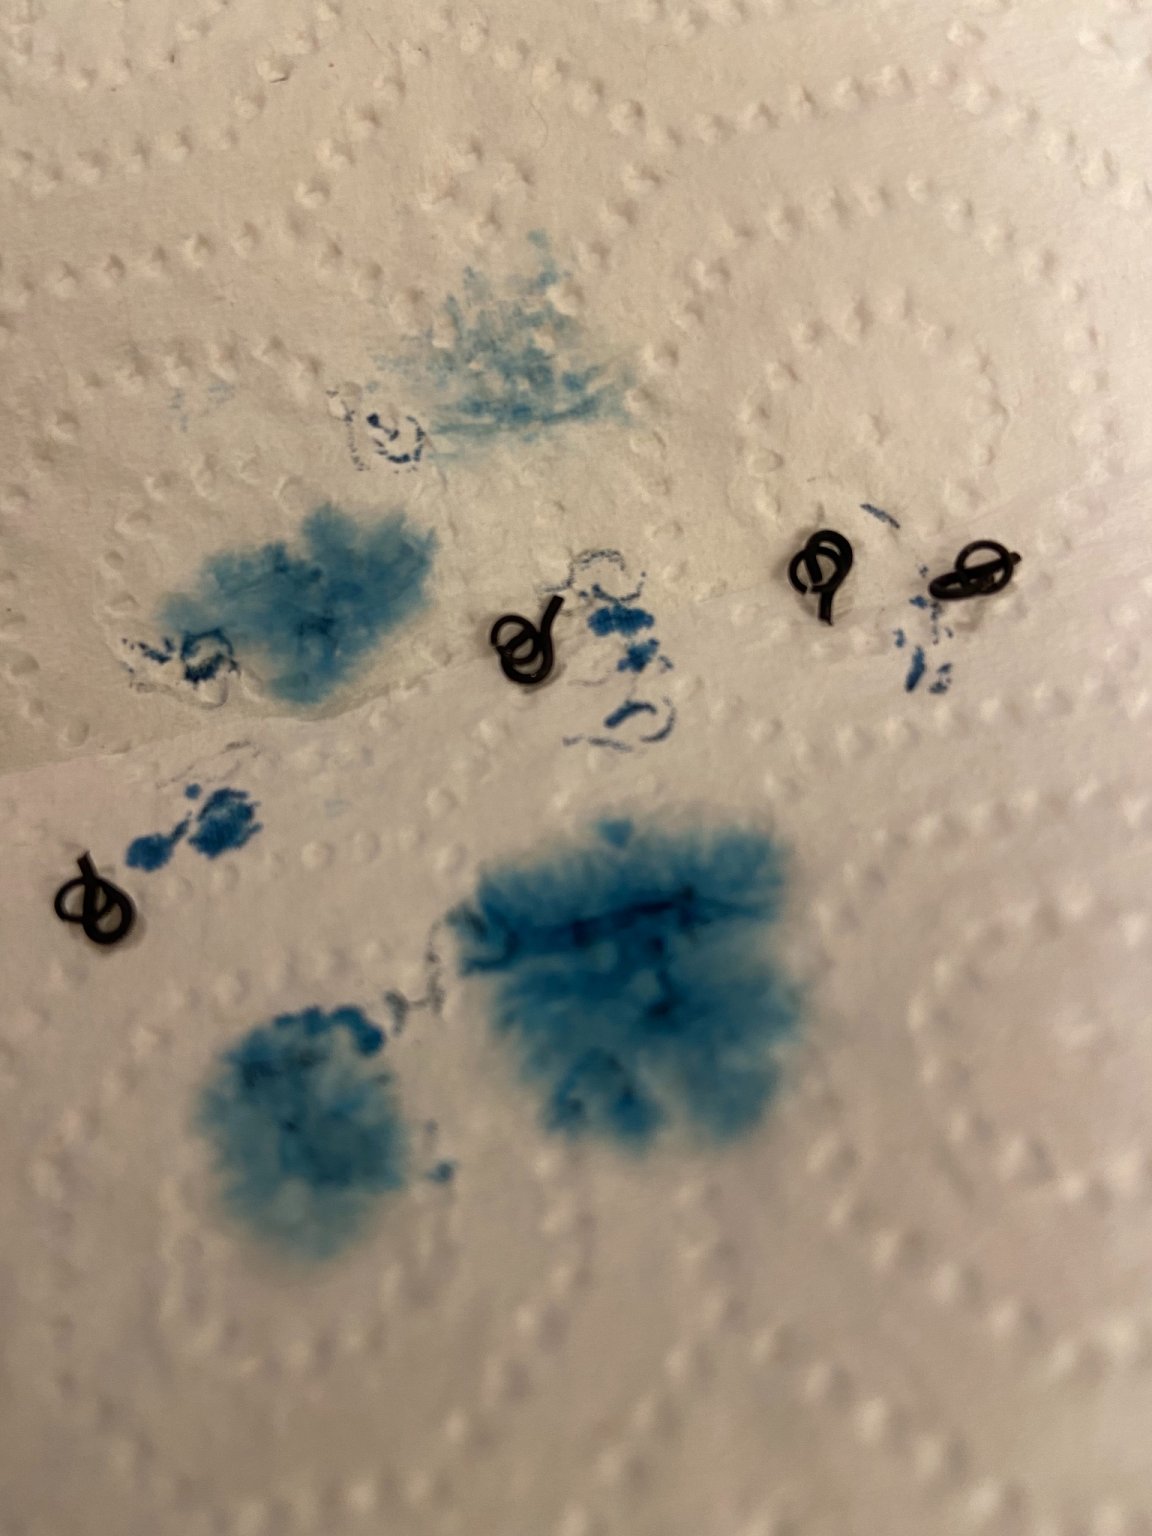
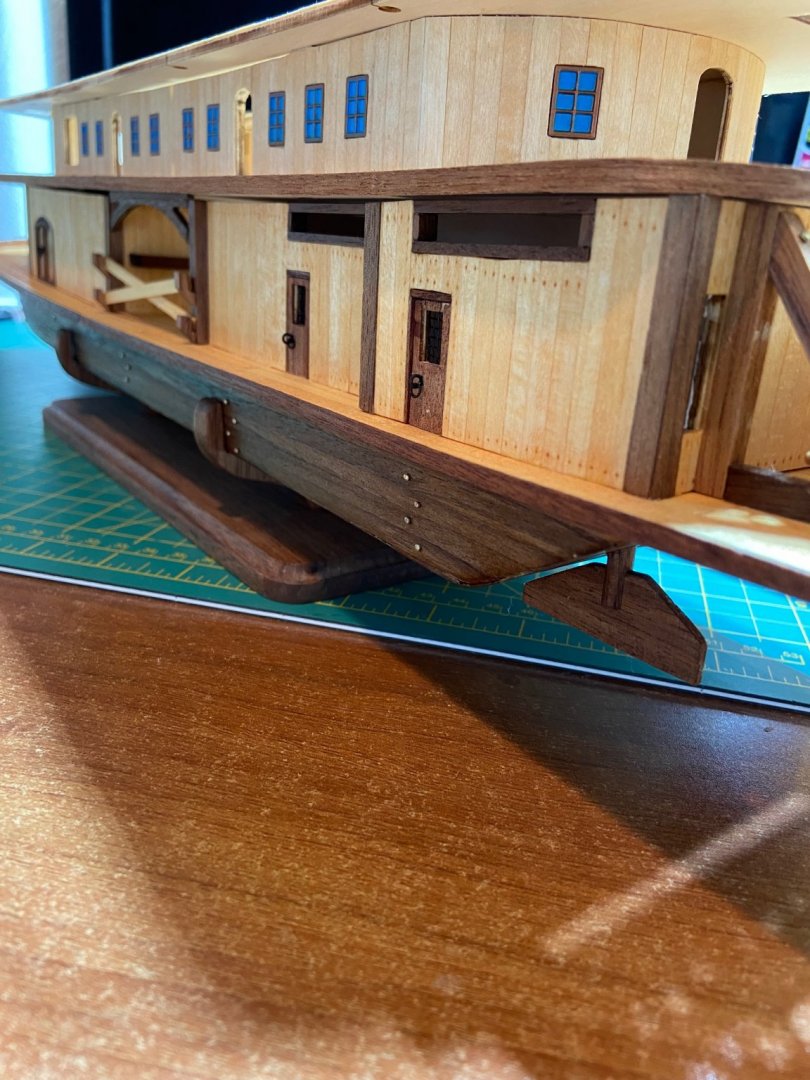
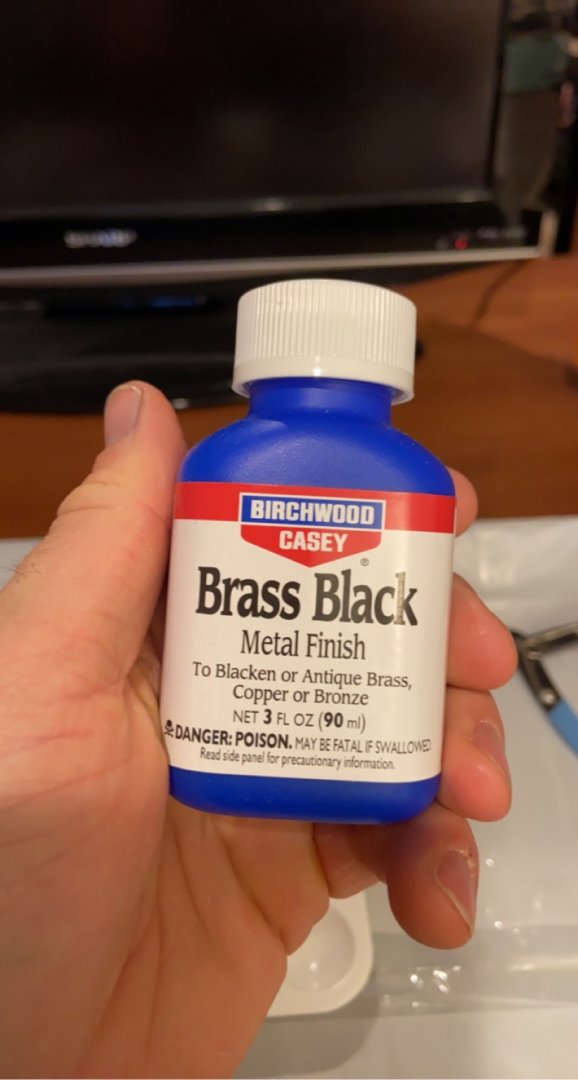
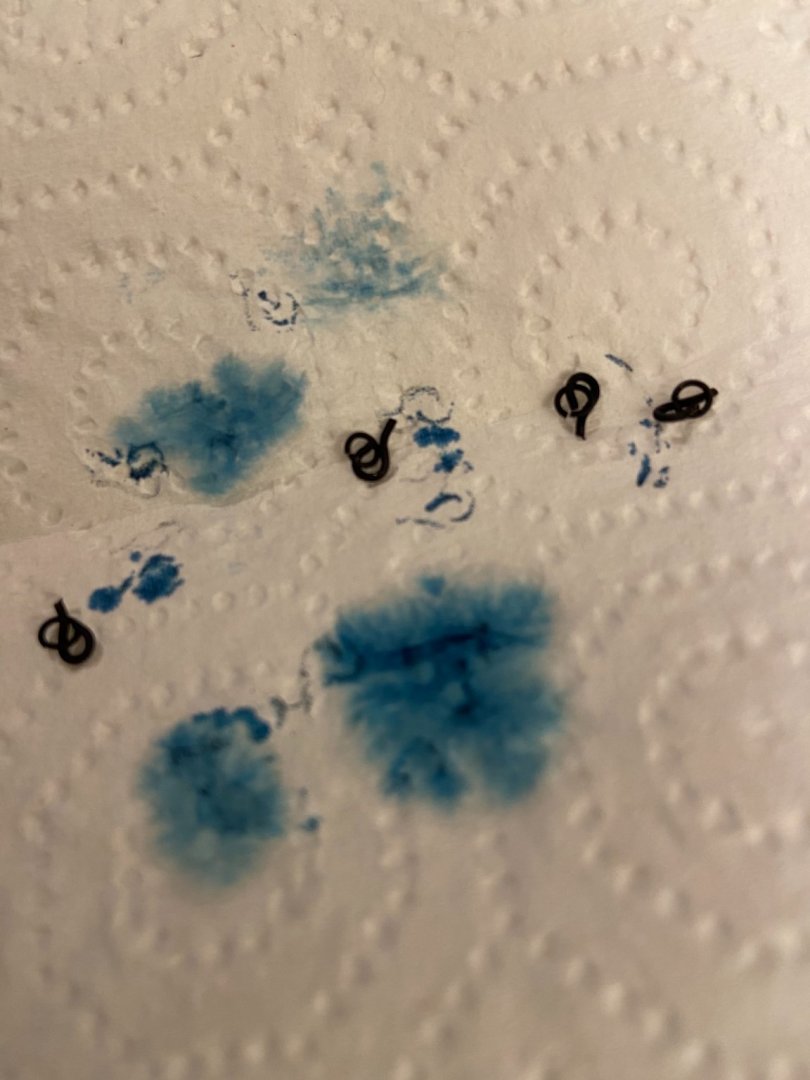
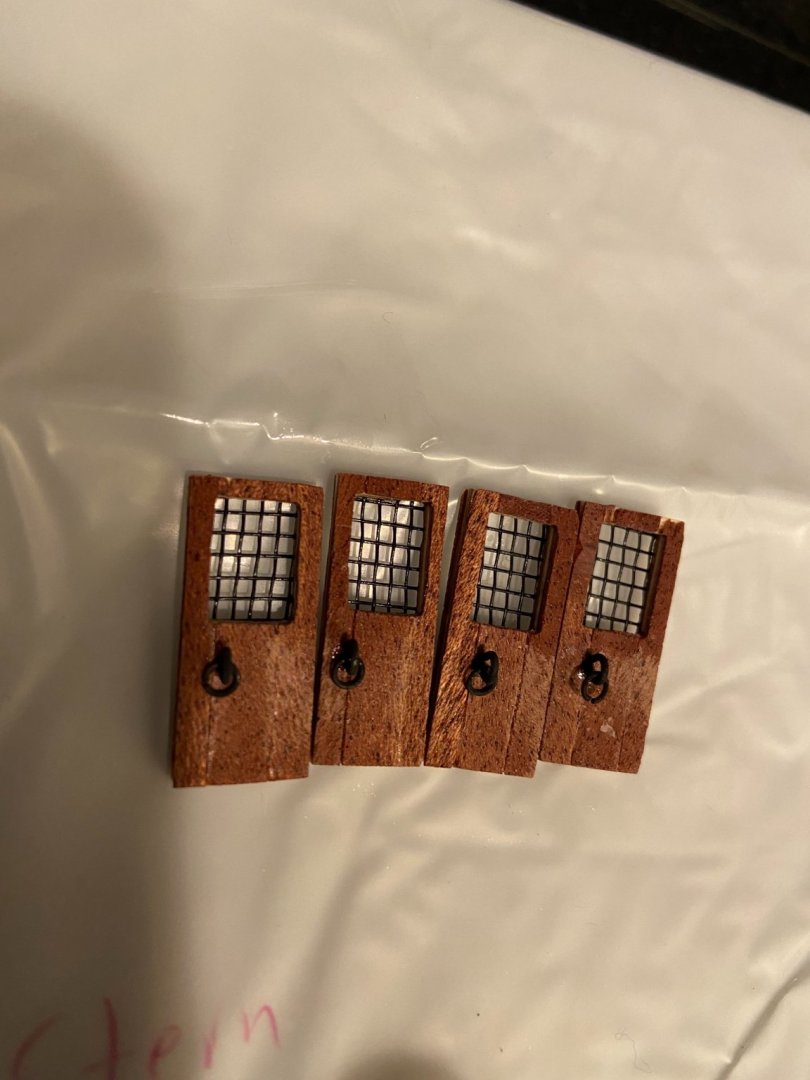
Glued the remaining rooms on and got the entire deck / walls coated in tung oil. For the small doors in the back rooms, i used window screen and superglued it on the back to allow to see inside, the inside walls are all painted white and I am debating one what else to put inside the rooms. for the doors themselves, I got the brass rings ready for the door handles and rather than keep them brass finished I let them sit in an oxidizing agent called brass black to give it a more rustic blackened look. I used the same method on a previous ship, huge fan.


-
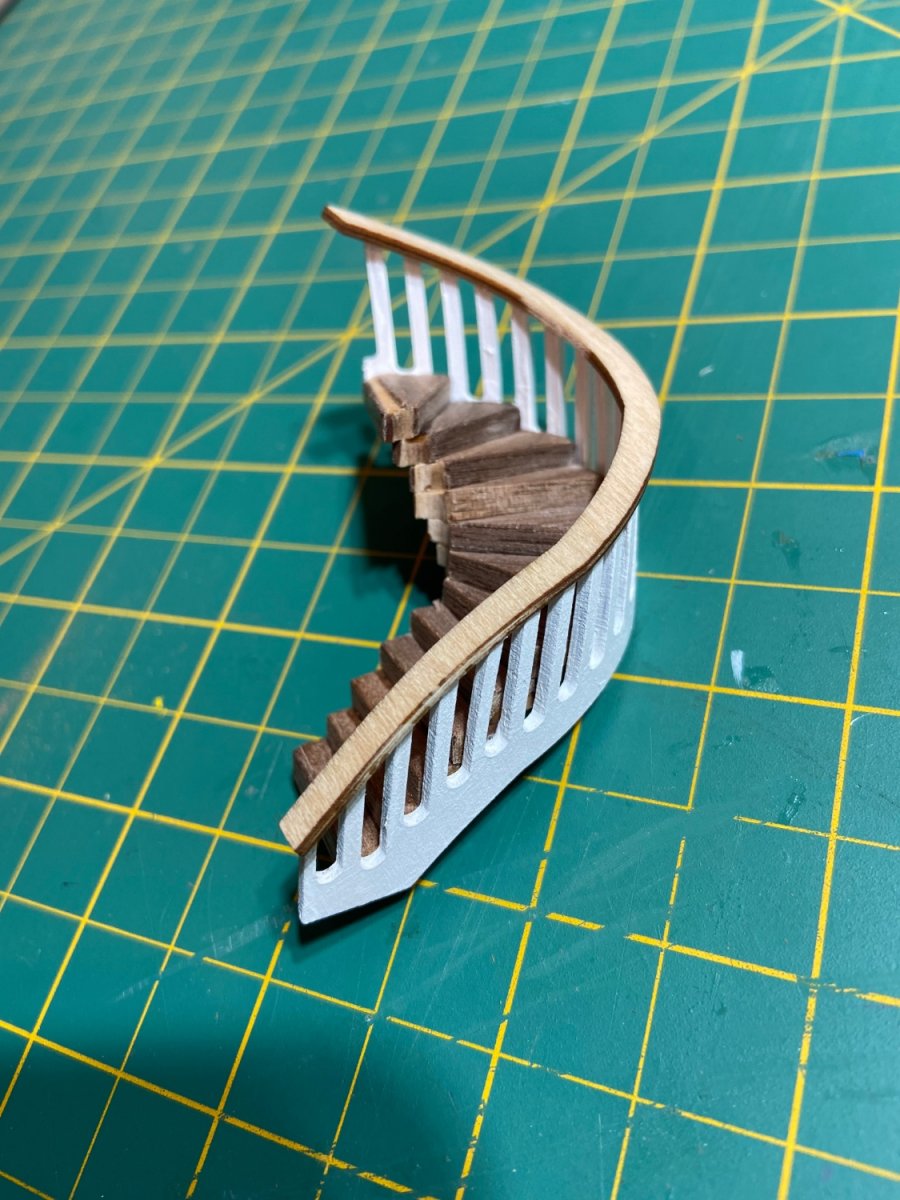
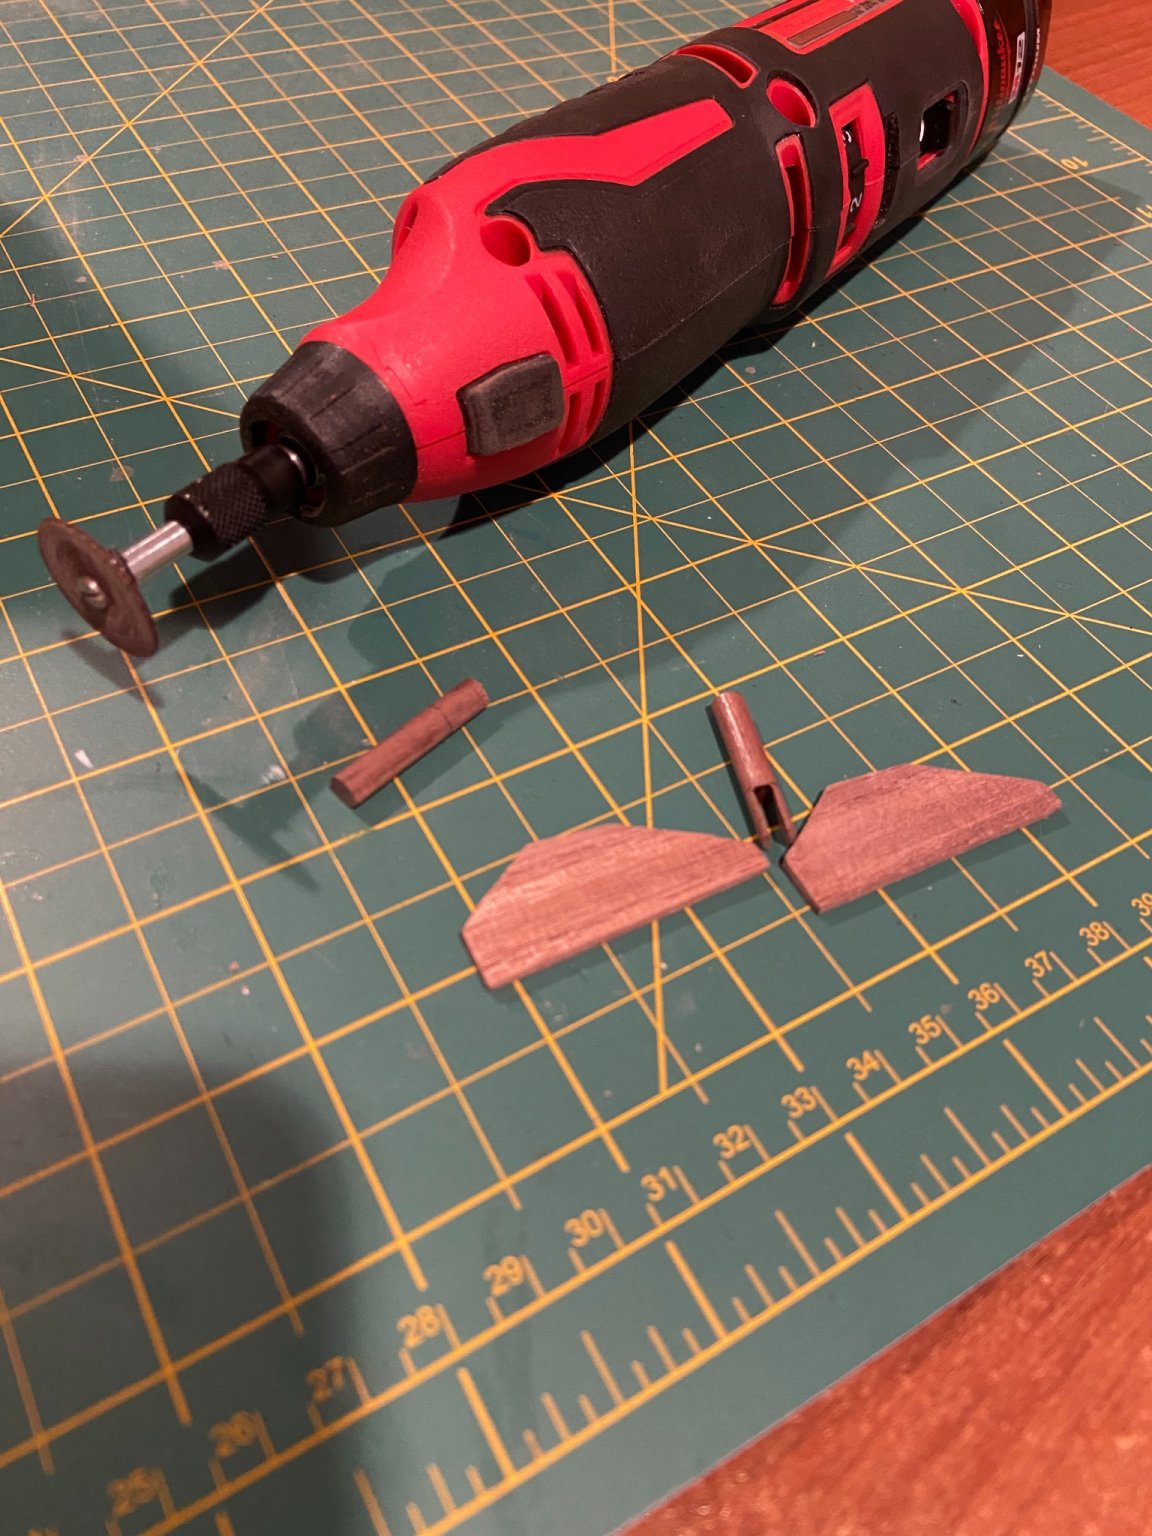
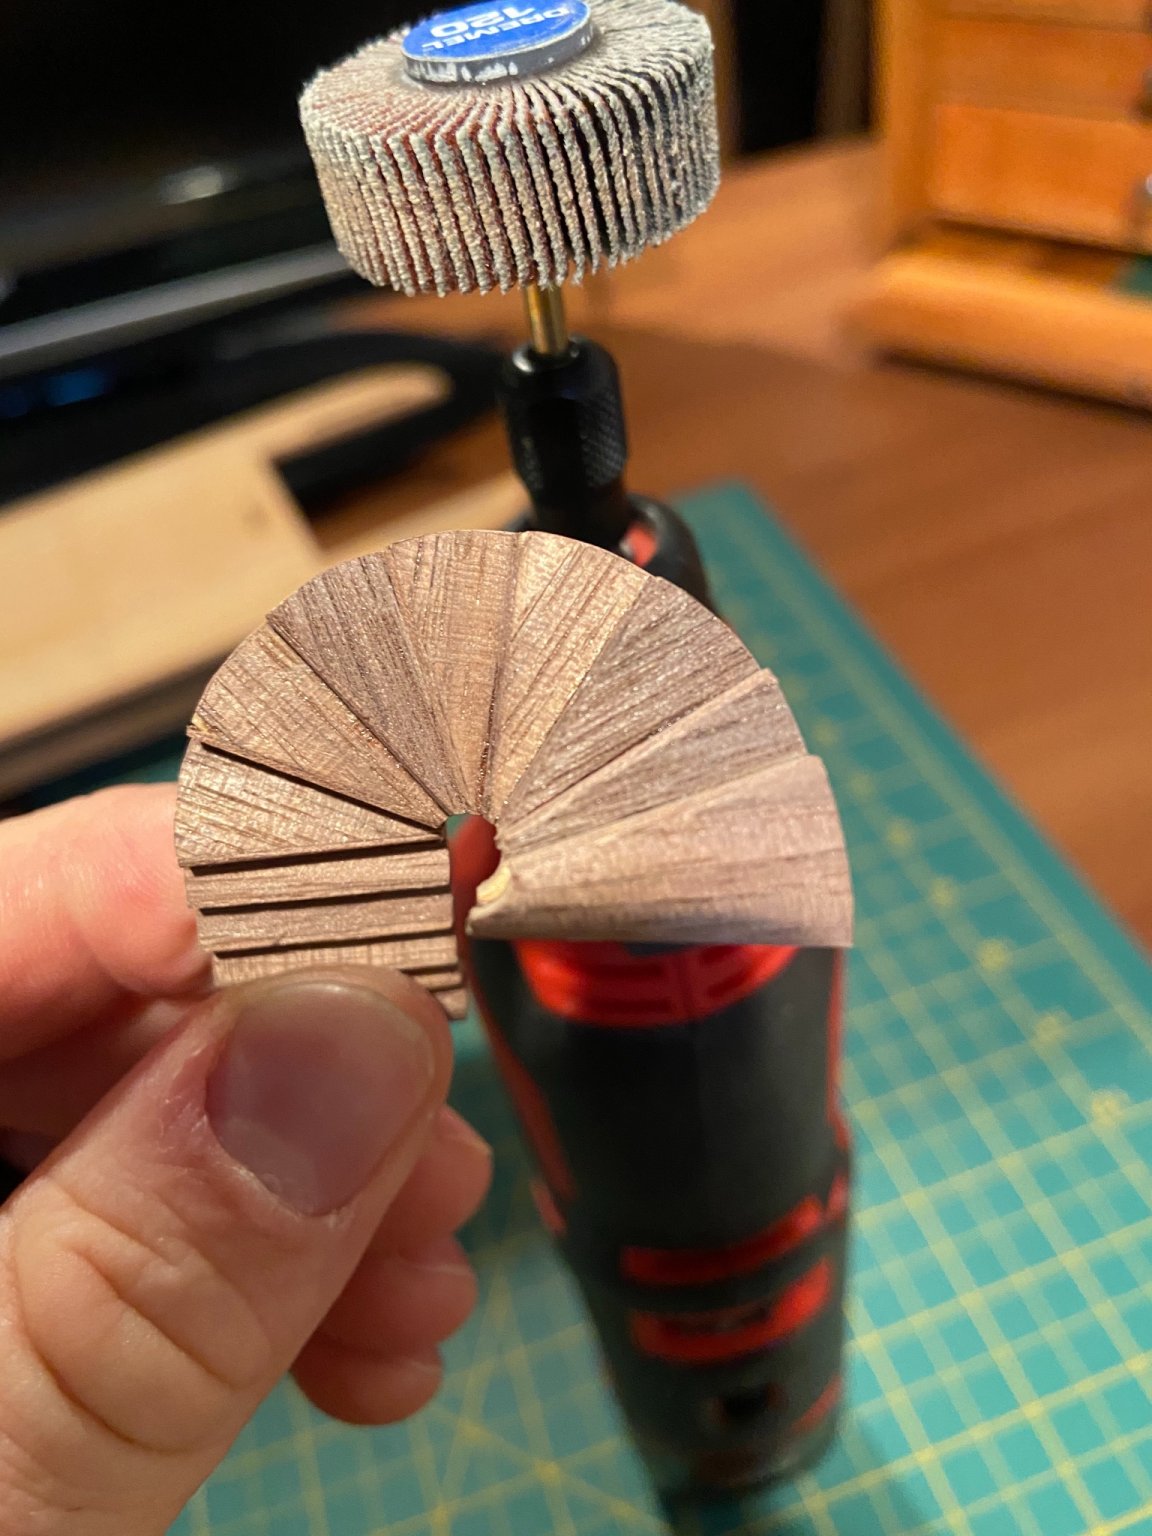
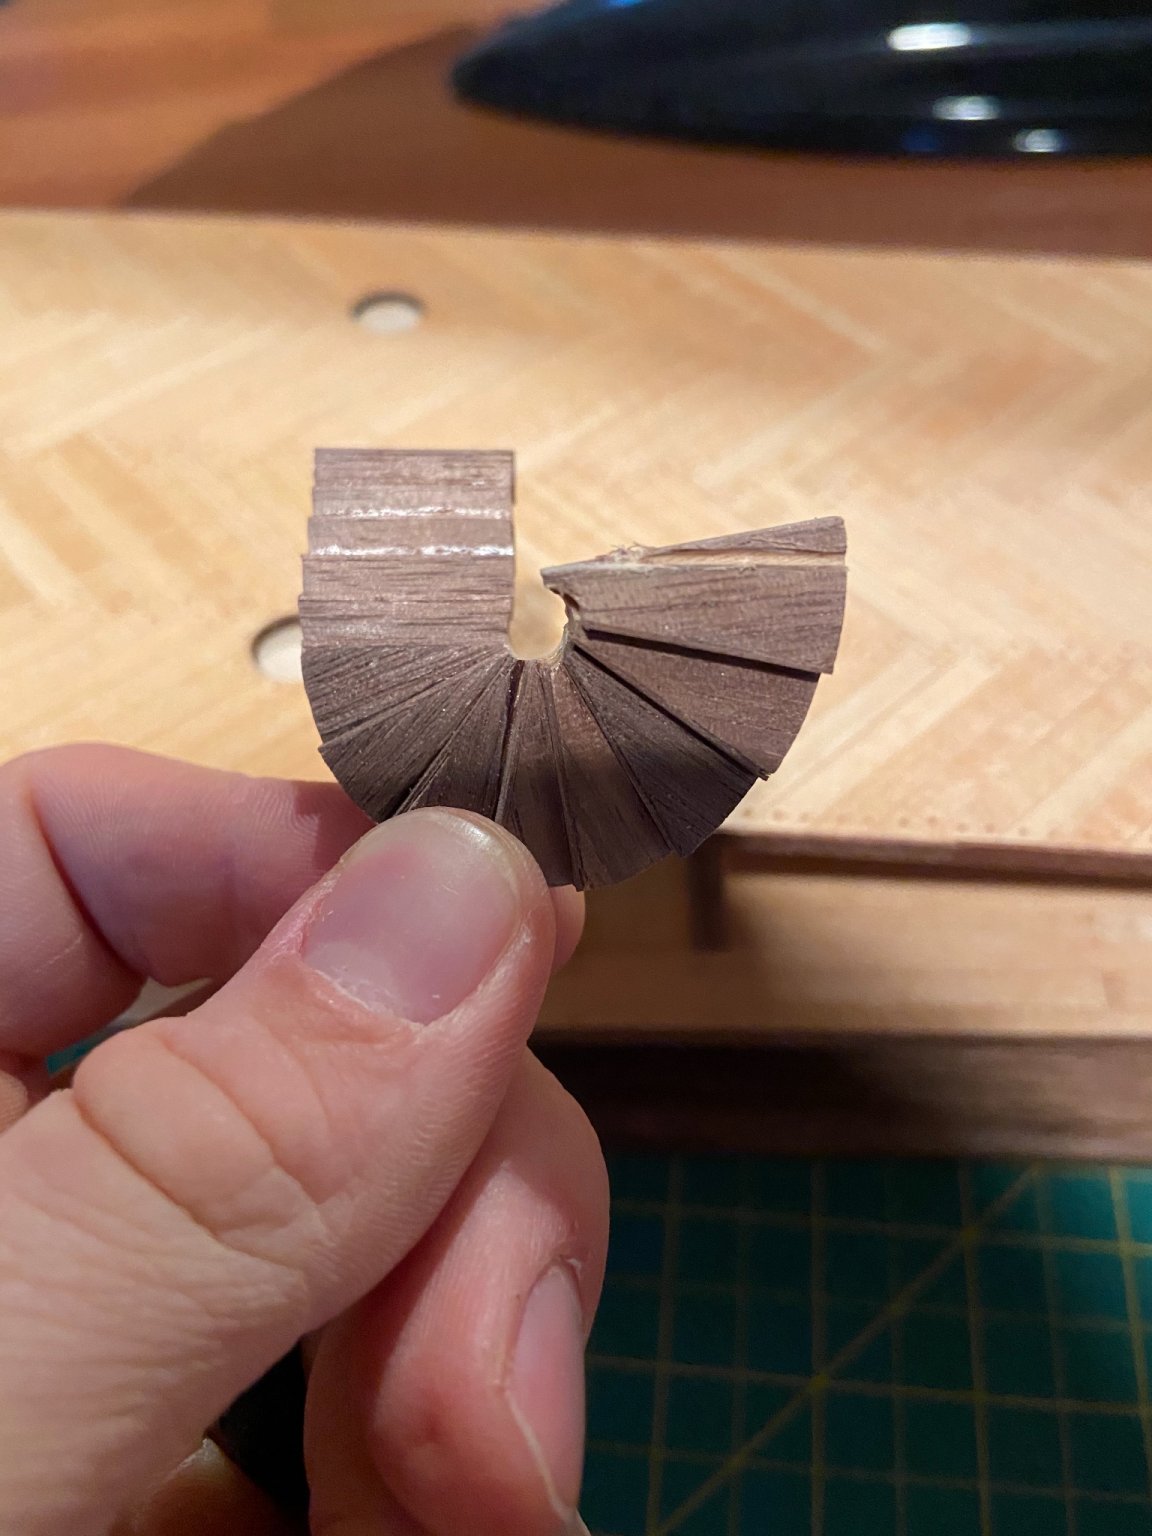
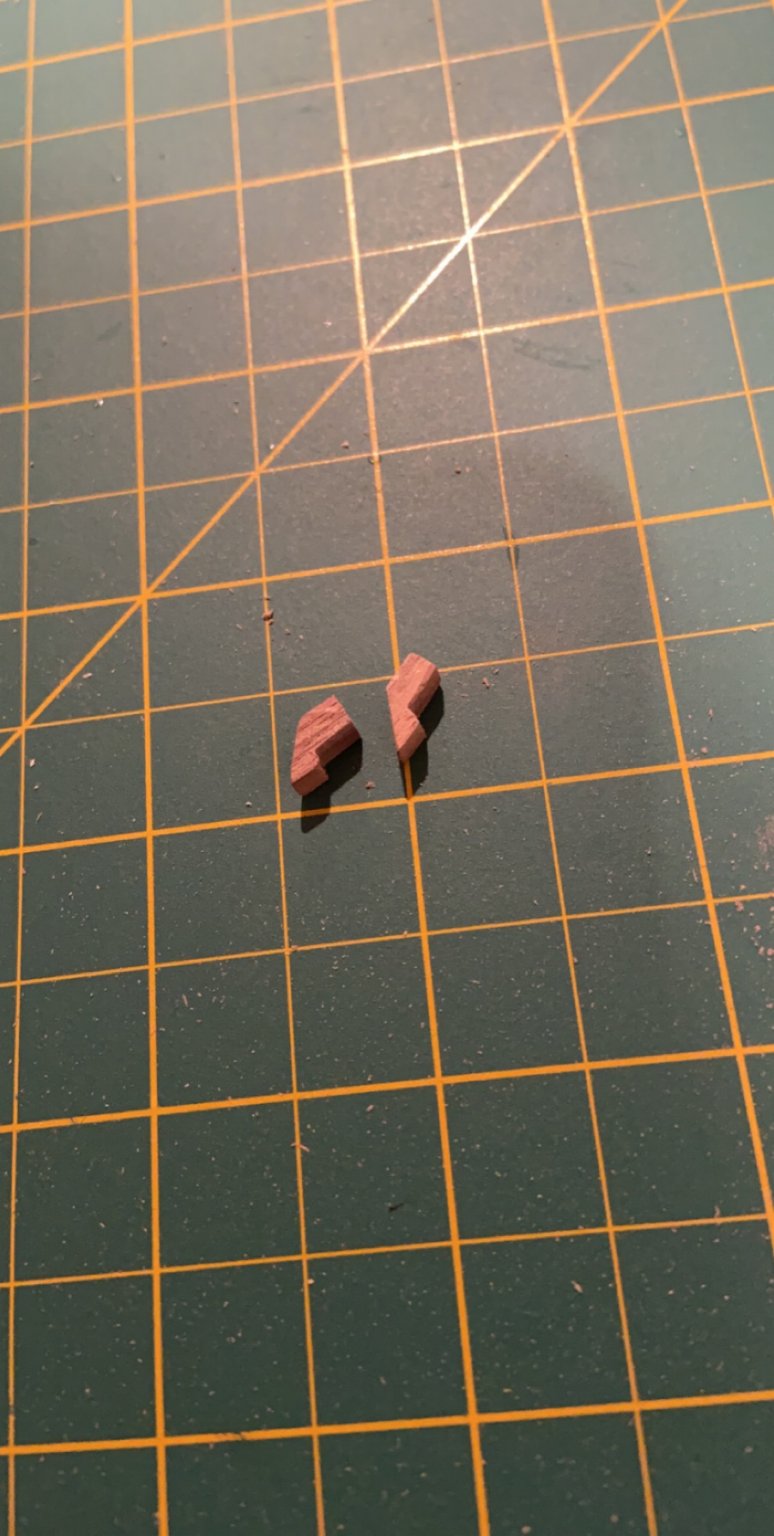
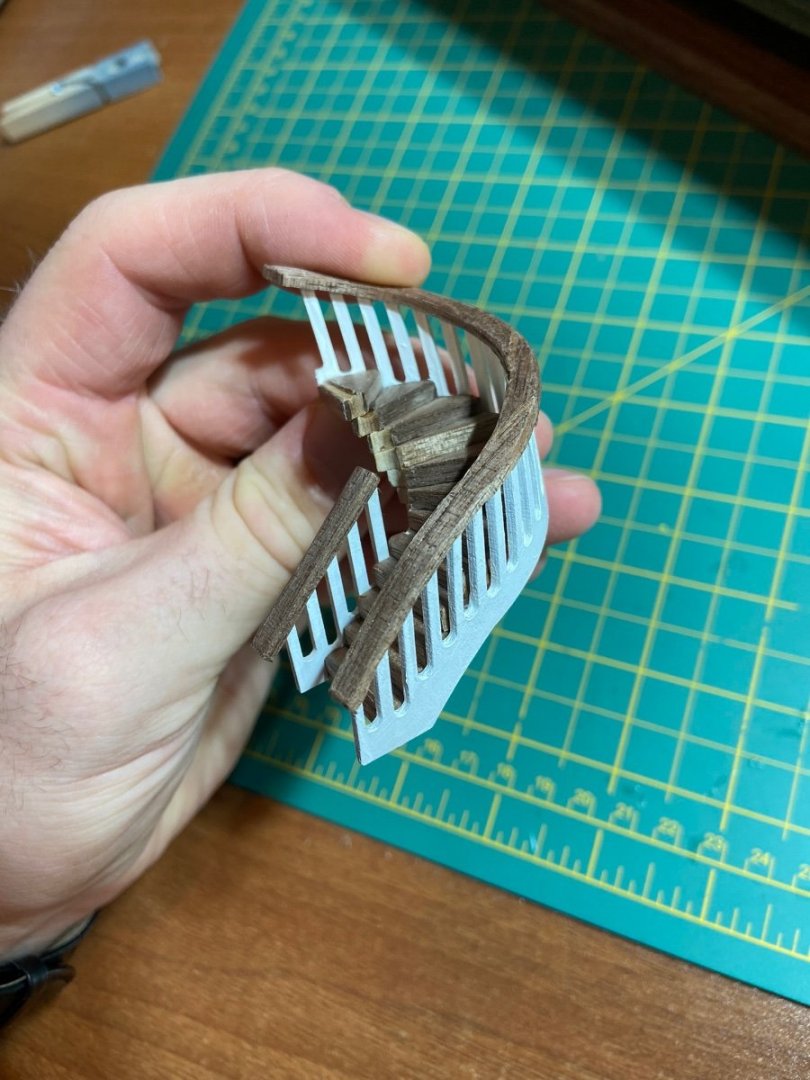
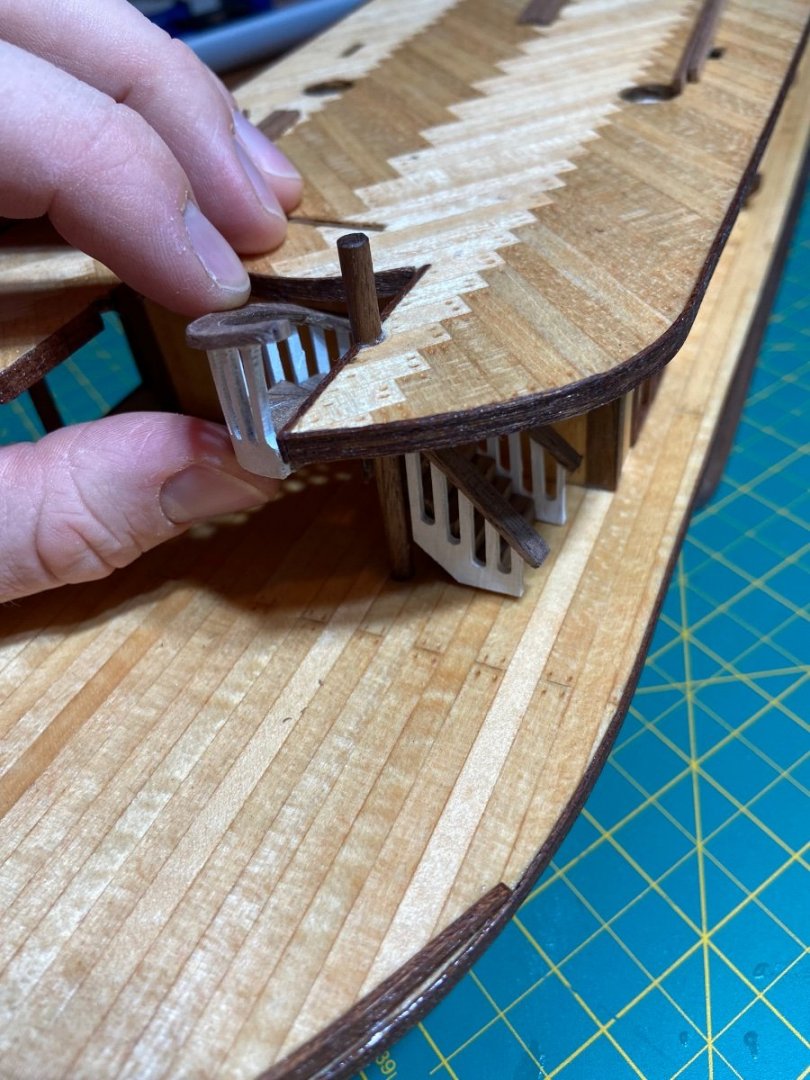
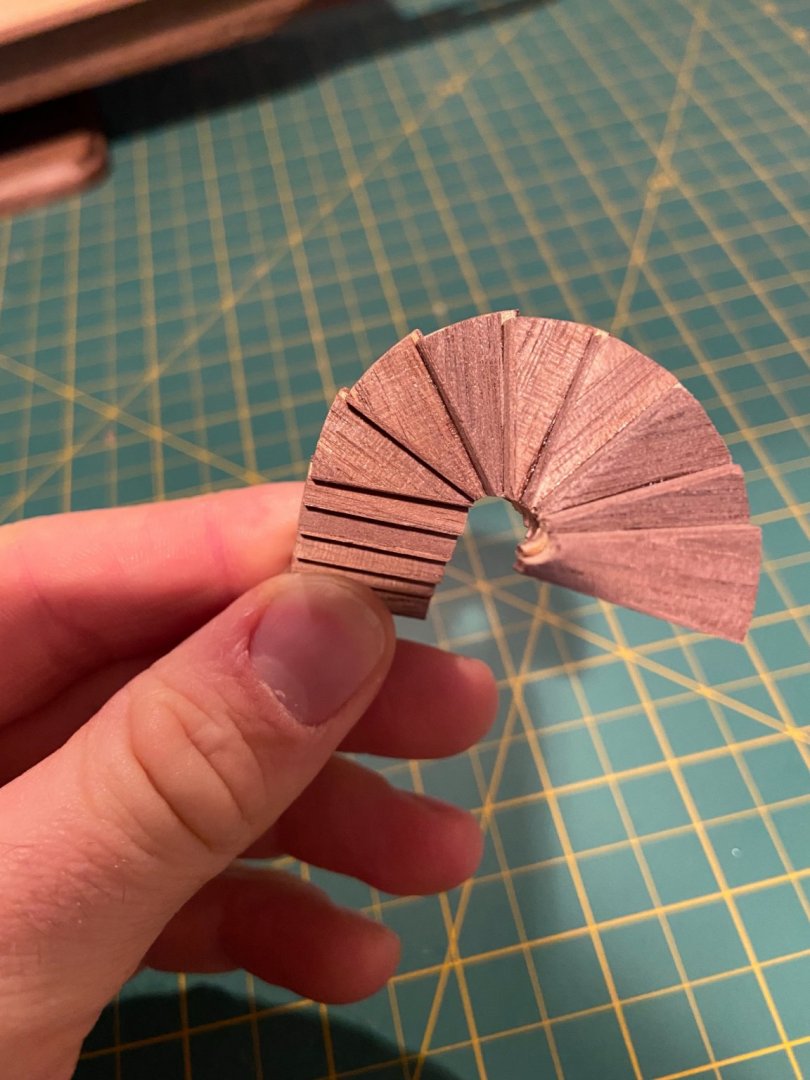
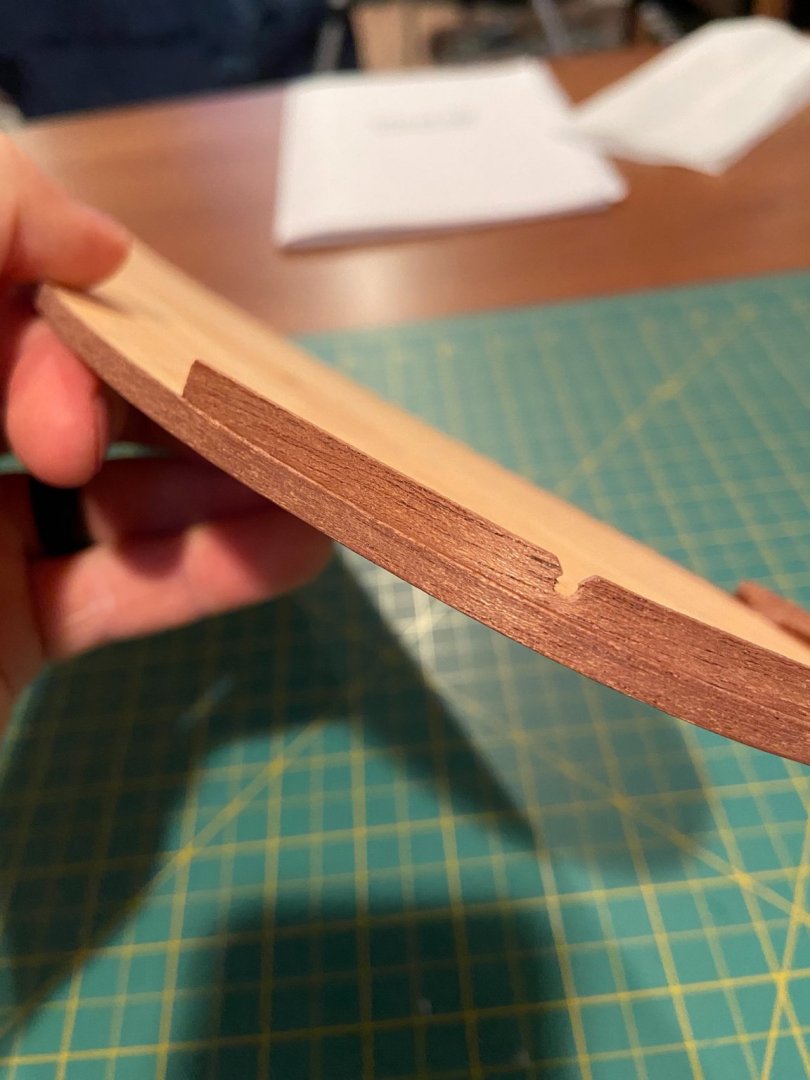
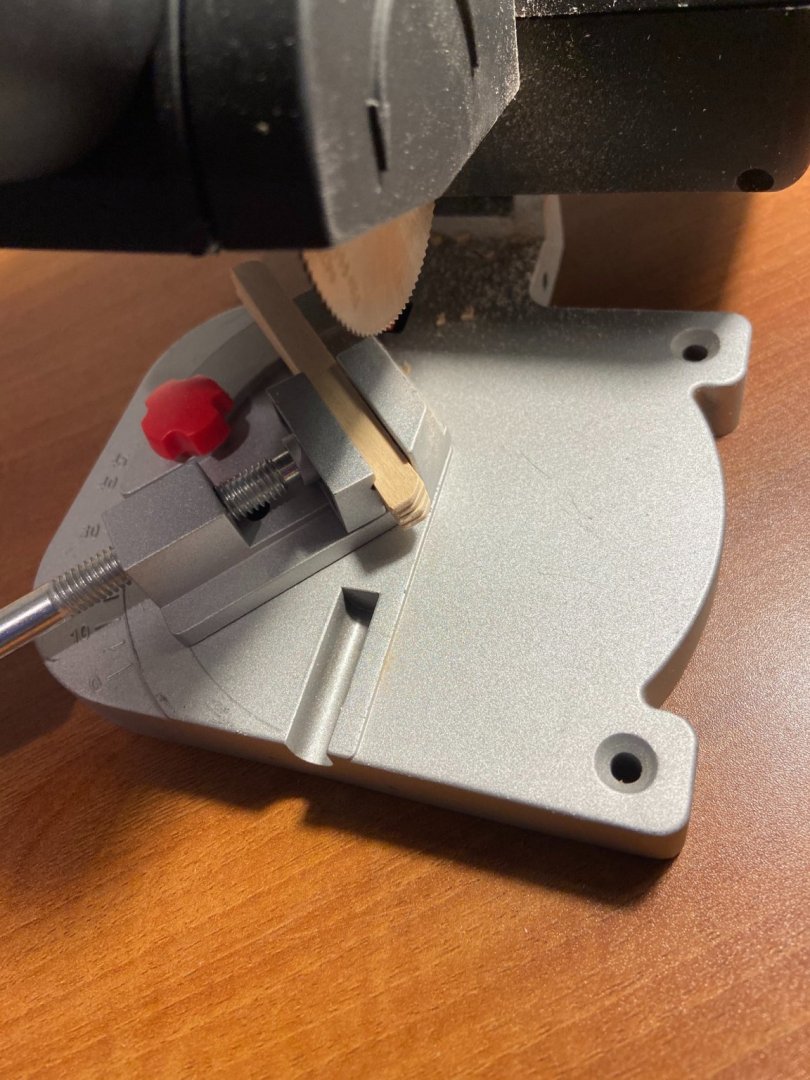
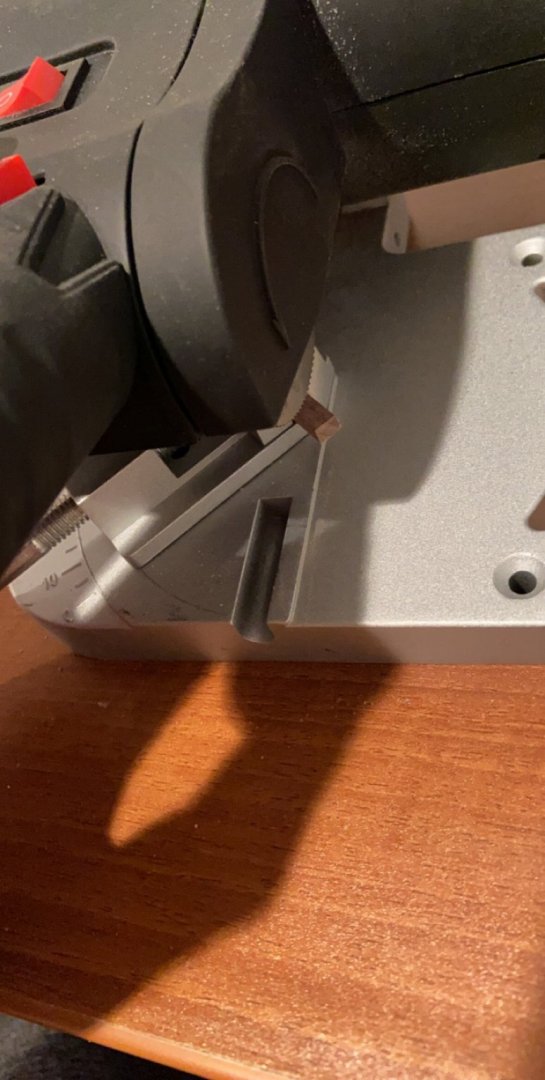
Got the steps finished up, when I put the last piece on it ended up being a little more then 180 degree turn (see picture) so I took my cut off wheel and free handed a small section off so it lines up. Nice and straight meow. Then the outer edge of the steps had sections of overhang so I put a flap wheel attachment on the dremel and rounded them out nicely. the first deck and one of the rooms is now glued on, next I will be adding the remaining engine room, putting in whatever decorations I can think of to add to the rooms and then going through the painful process of adding lights to the model.


-
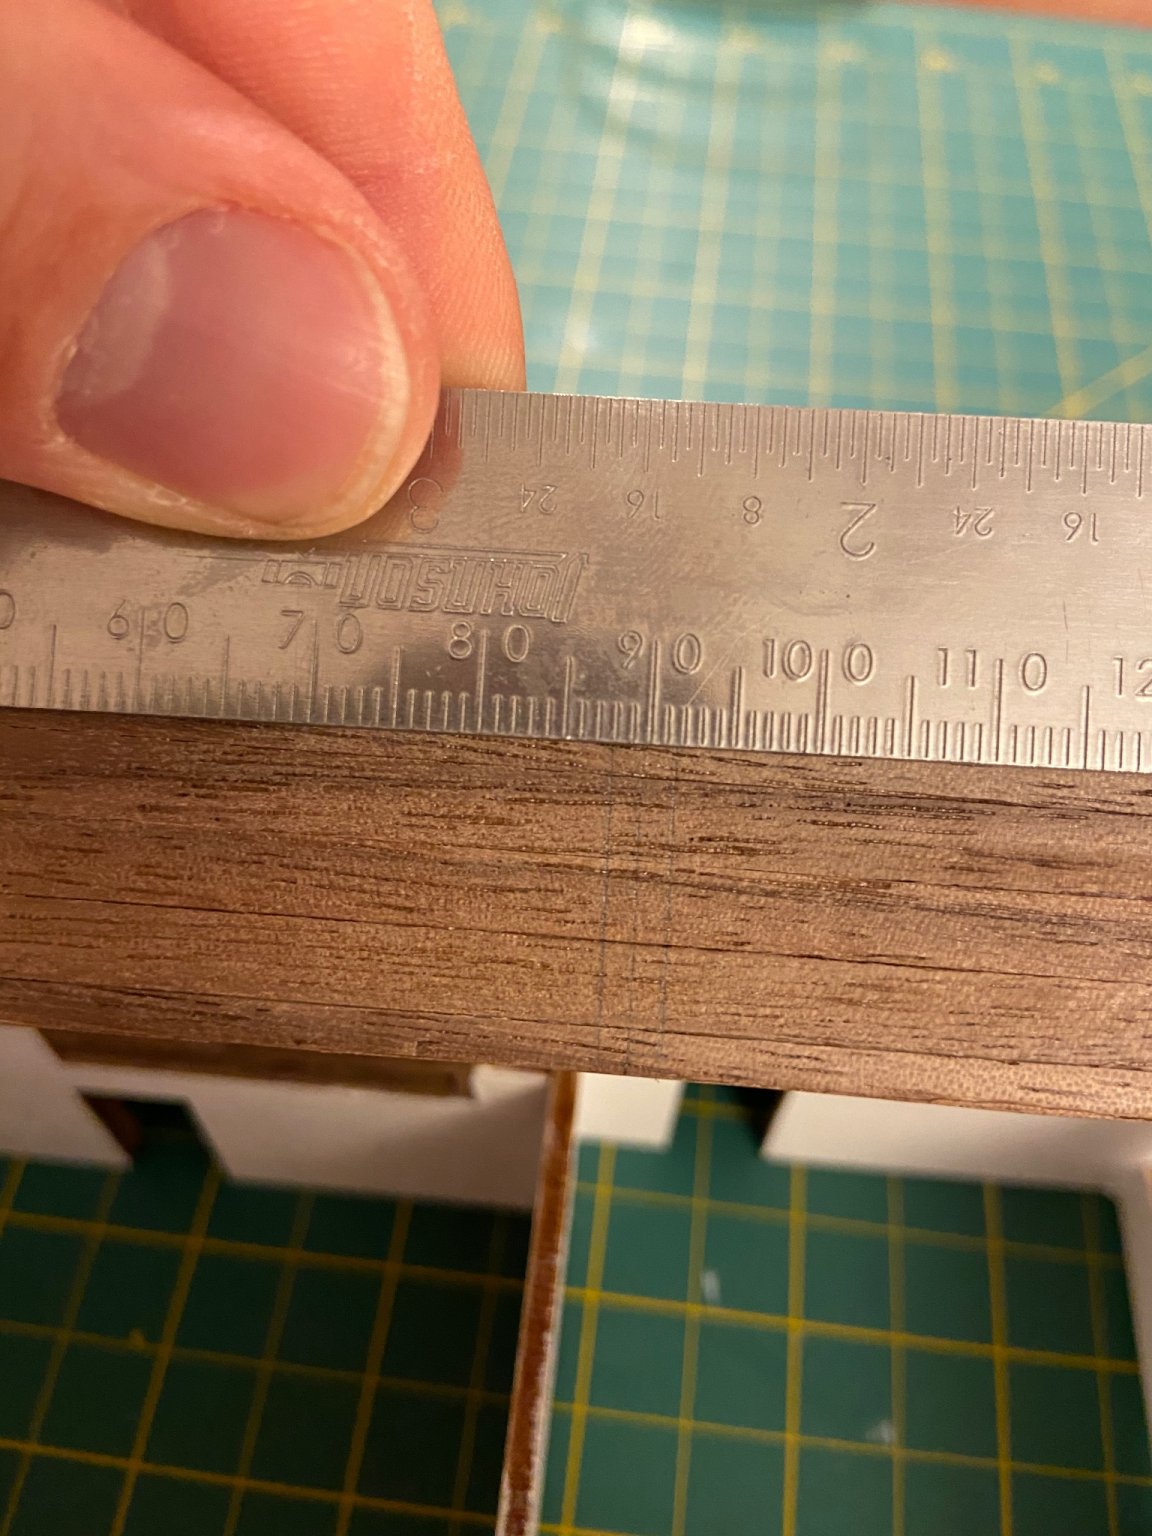
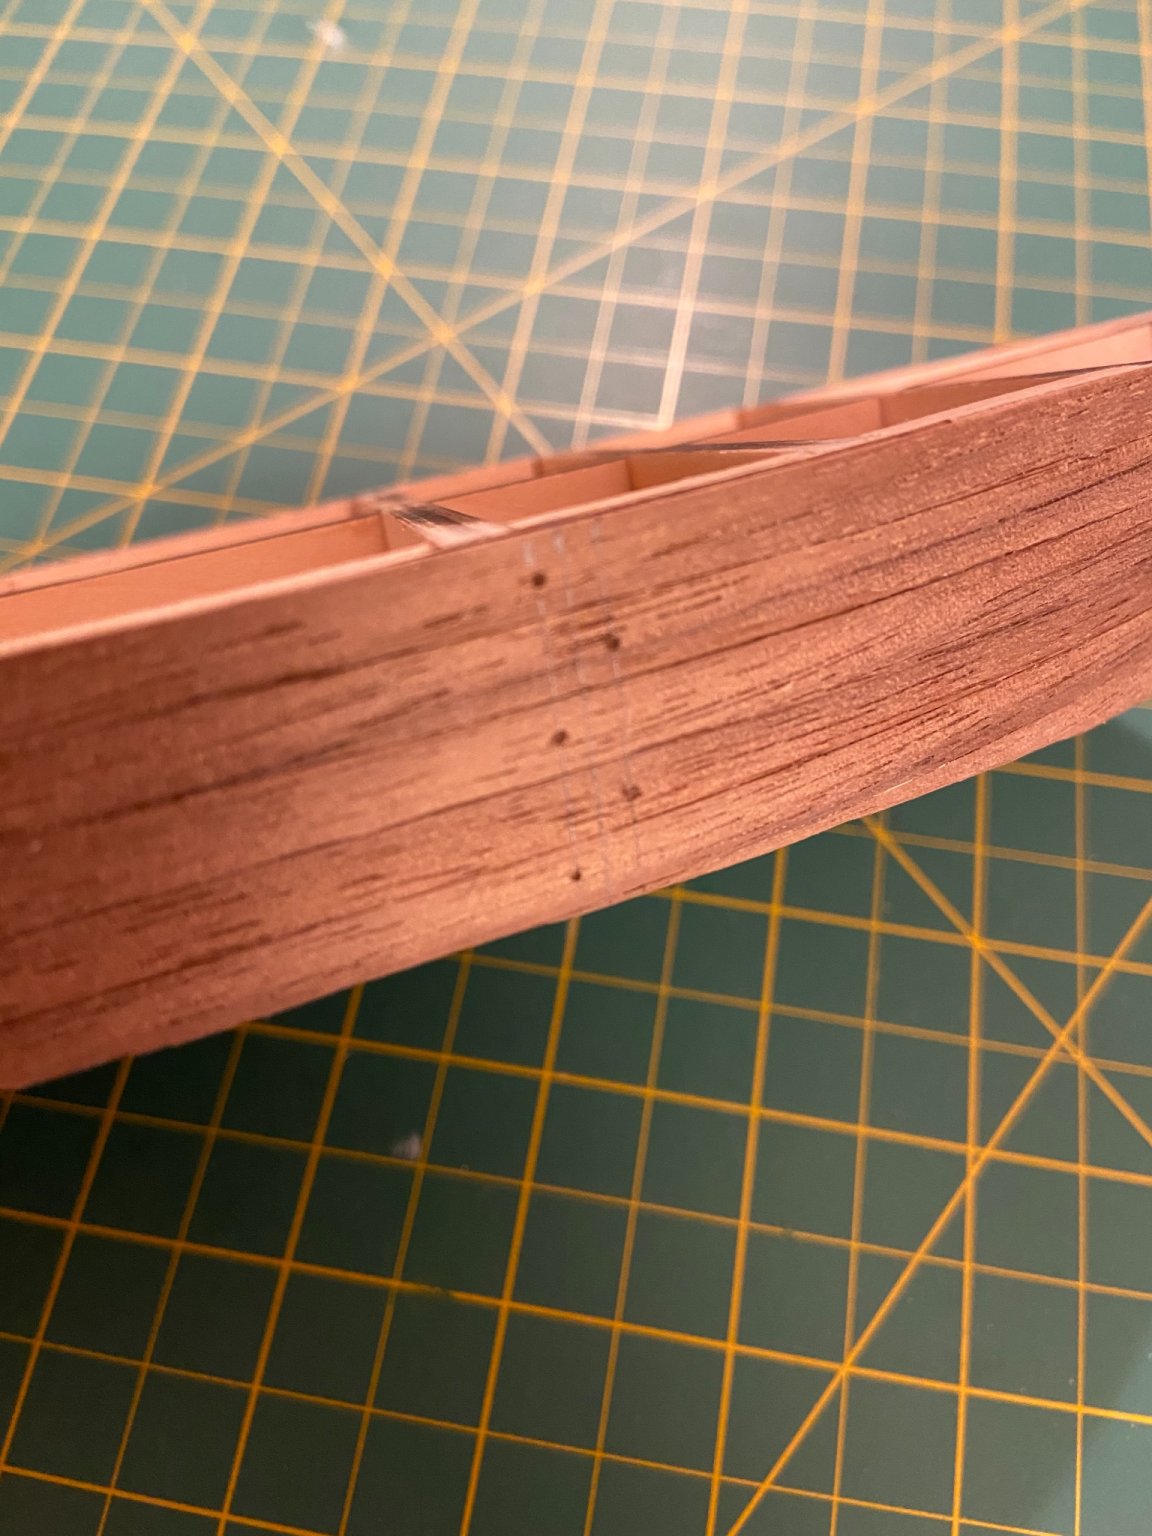
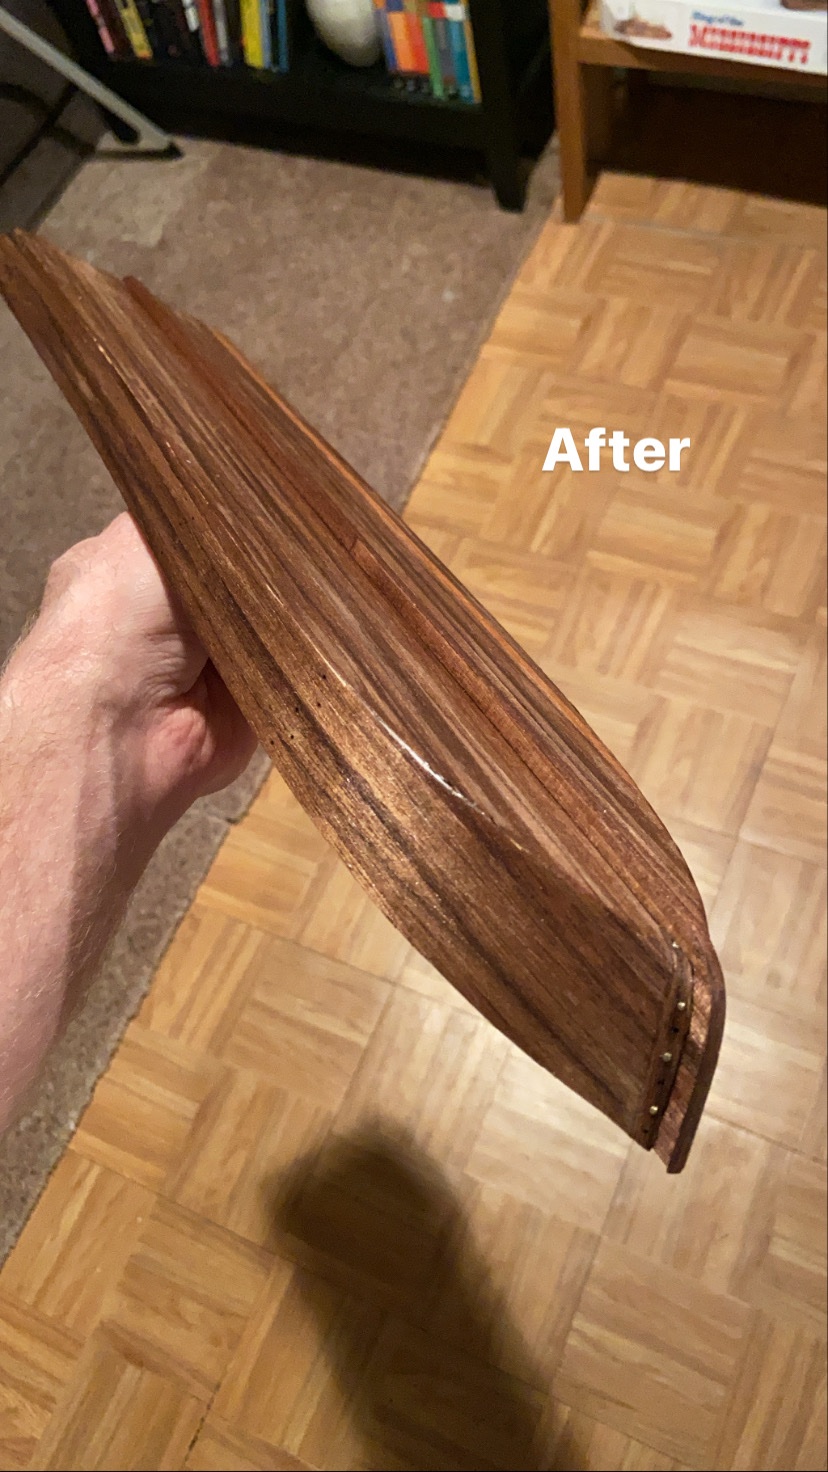
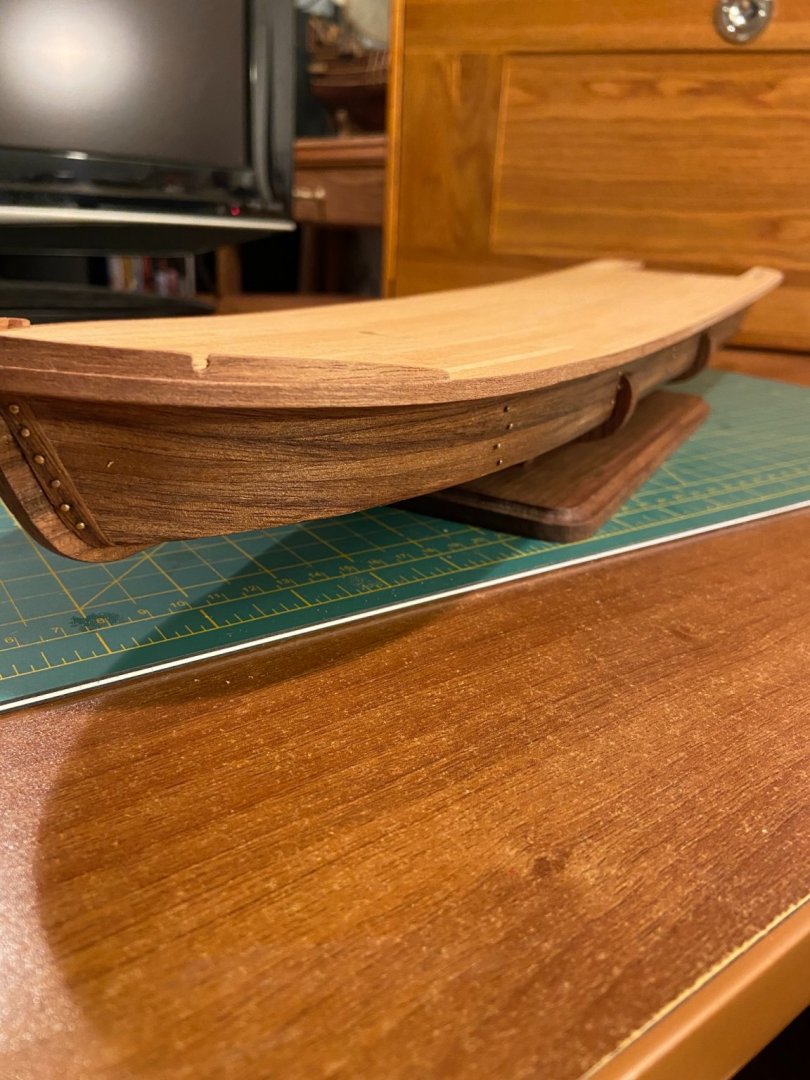
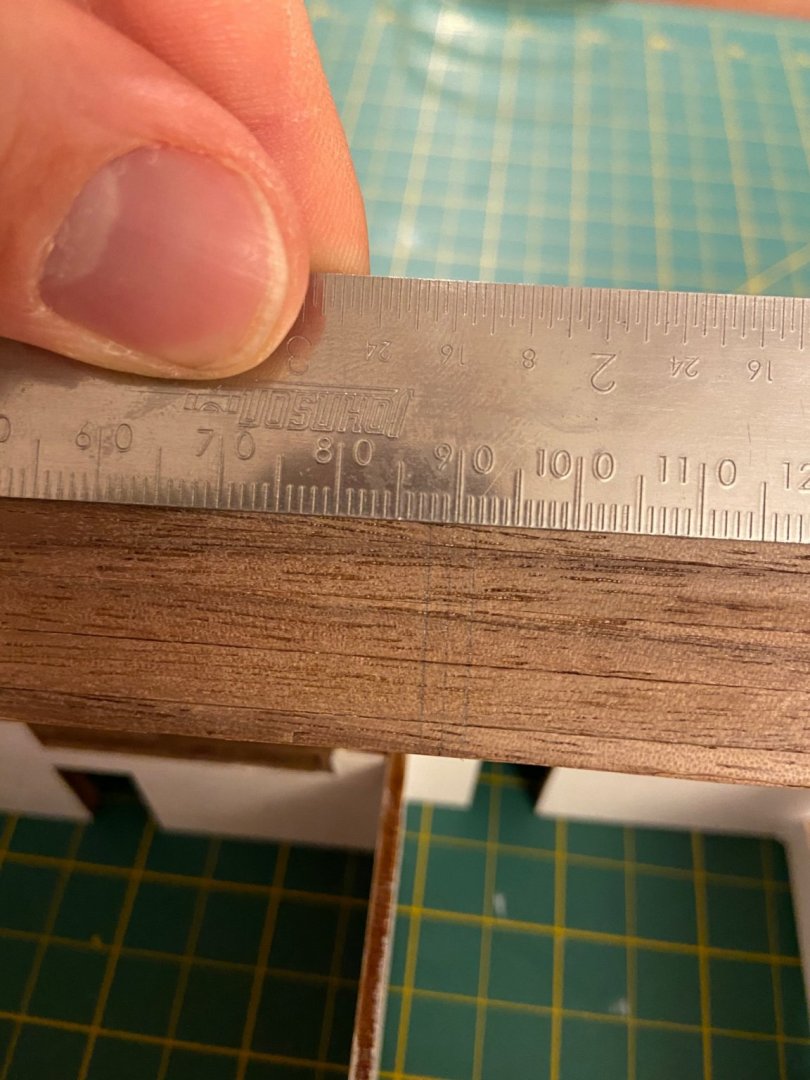
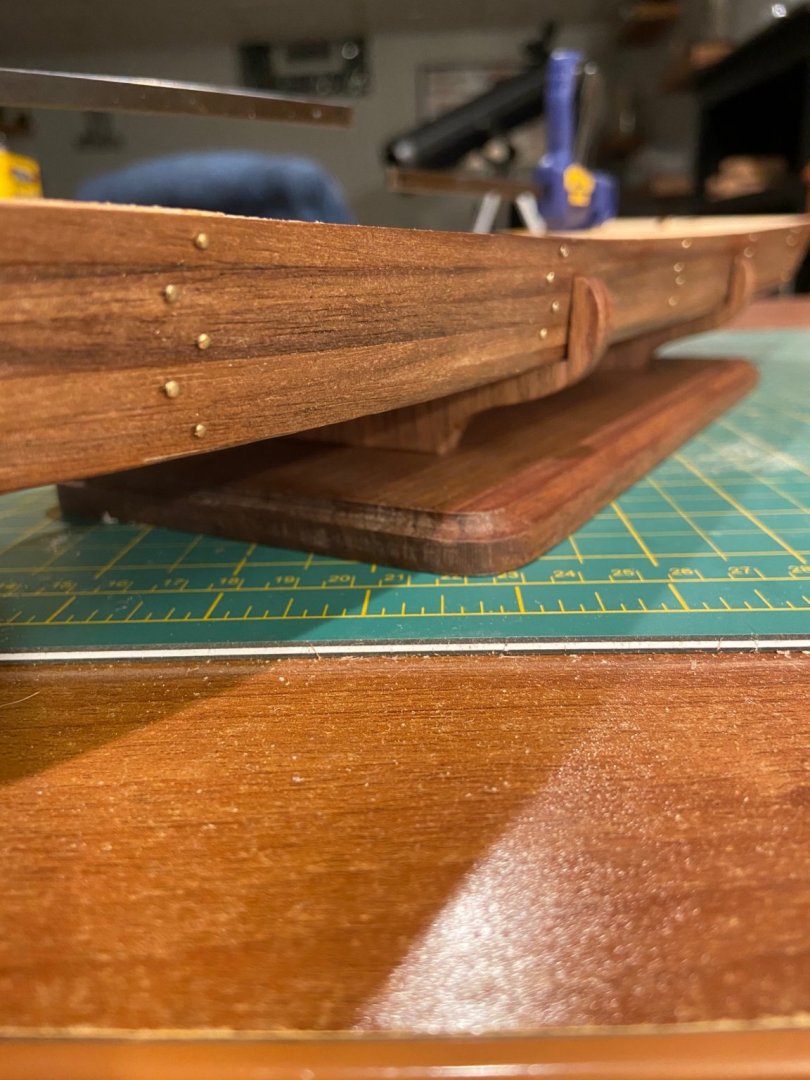
I finally decided to finish the Hull and the stand. once the sanding was complete with a 220 and then 320 sanding block, I used a little compressed air to blow the dust off and then coated the stand and the hull with Tung oil. First application was 3/4 tung and 1/4 paint thinner to really allow the tung a chance to soak in and absorb, letting it sit for 15 minutes and constantly reapply to any area the starts to dry up. After 15 min I wiped it clean and the second coat was tung with just a hint of thinner and I used the same technique. The third coat was pure tung oil and it turned out fabulous. (I used this same technique for more things that I coat in tung, there are YouTube tutorials on it, I think it works wonders) I forget what length i measured as far as where I was putting the nails, but once I got my measurements I drew a parallel line 2.5mm on each side, alternating back and forth.


-
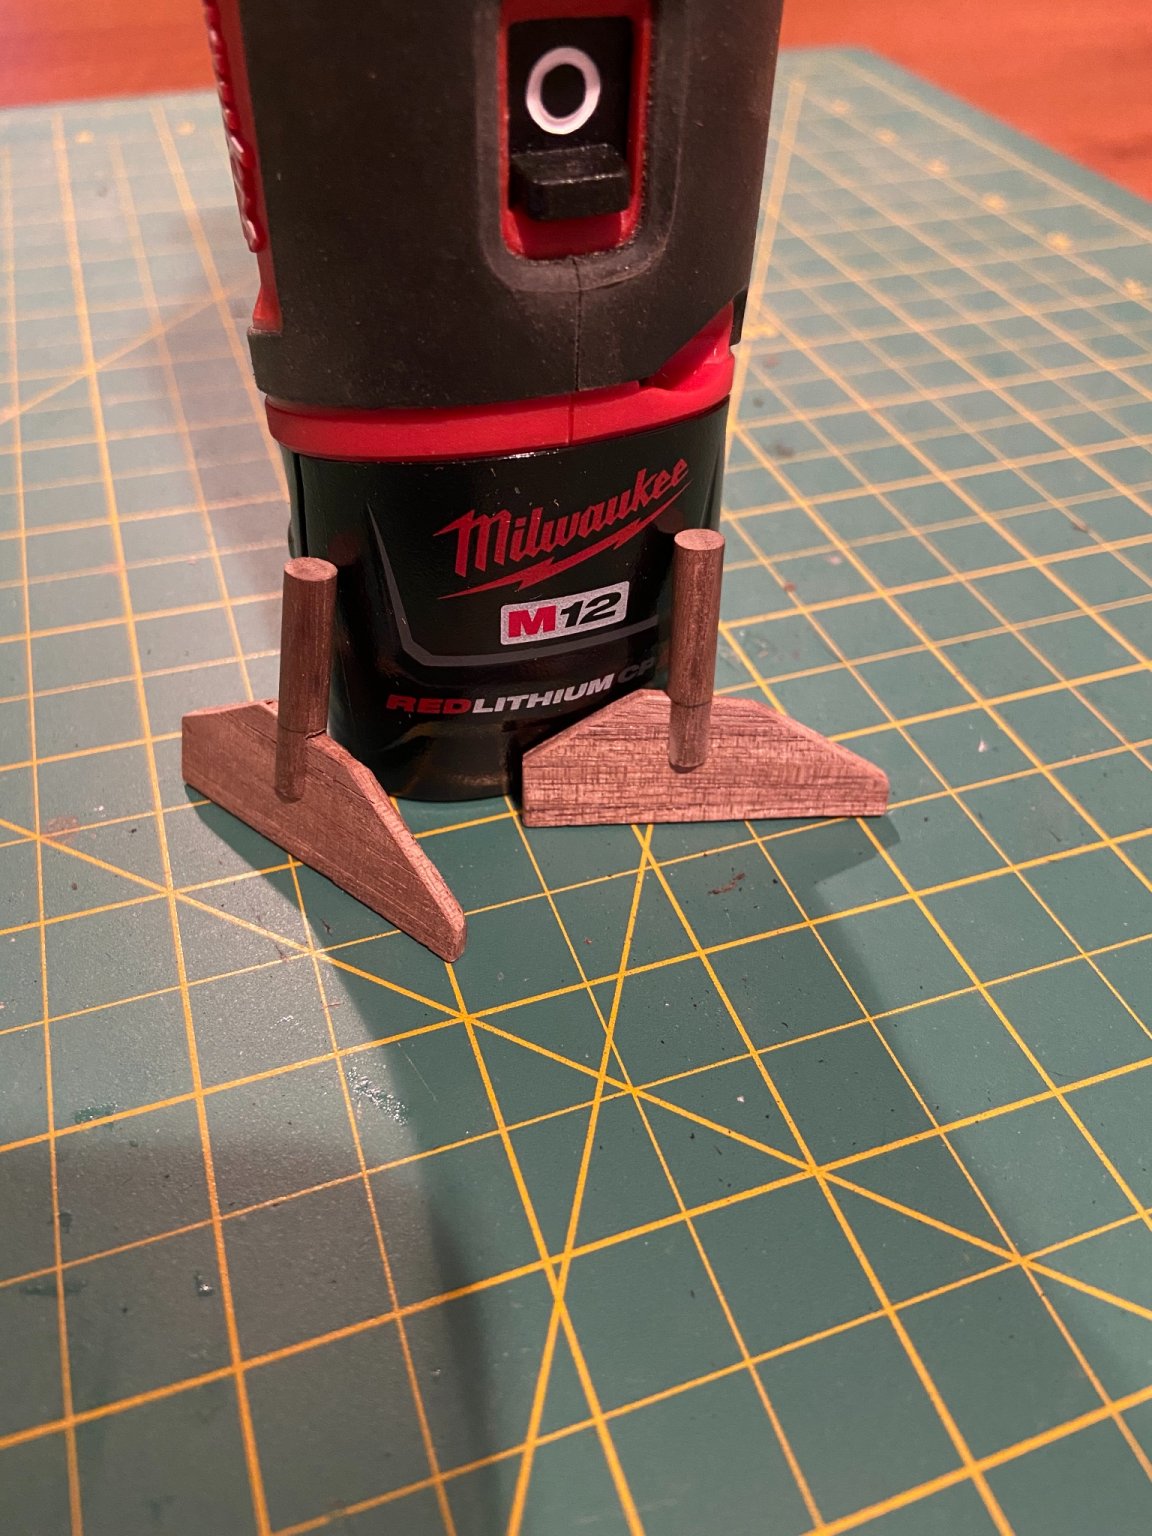
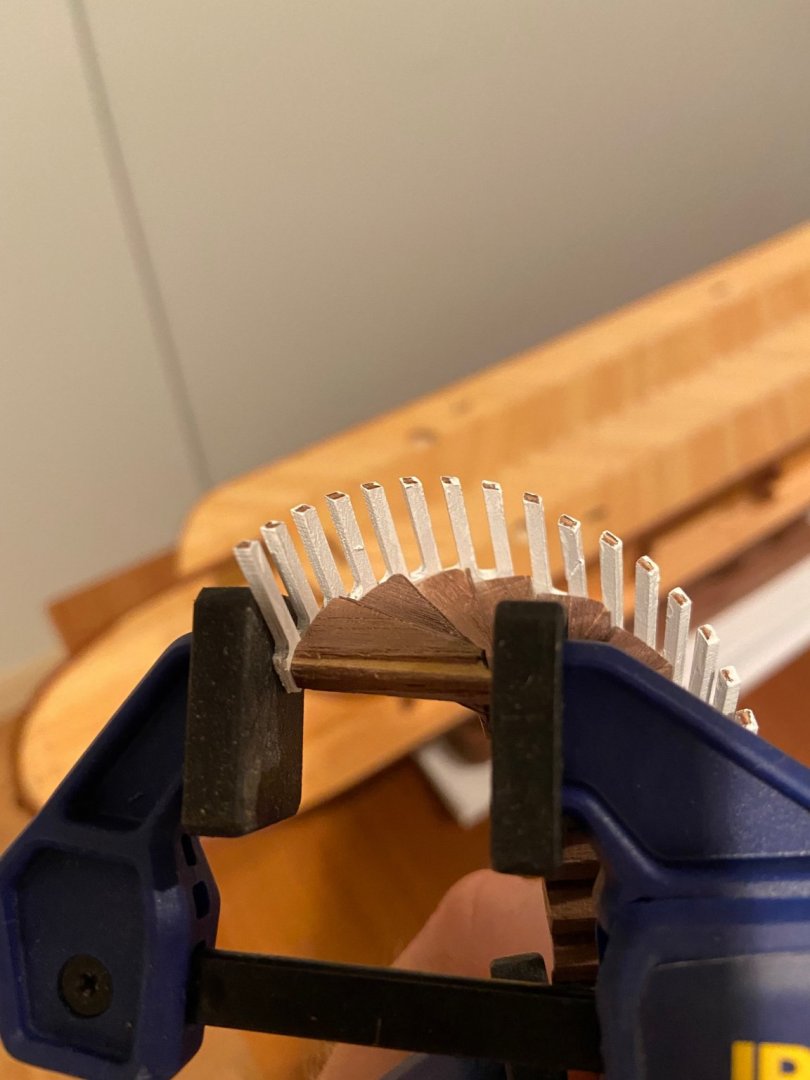
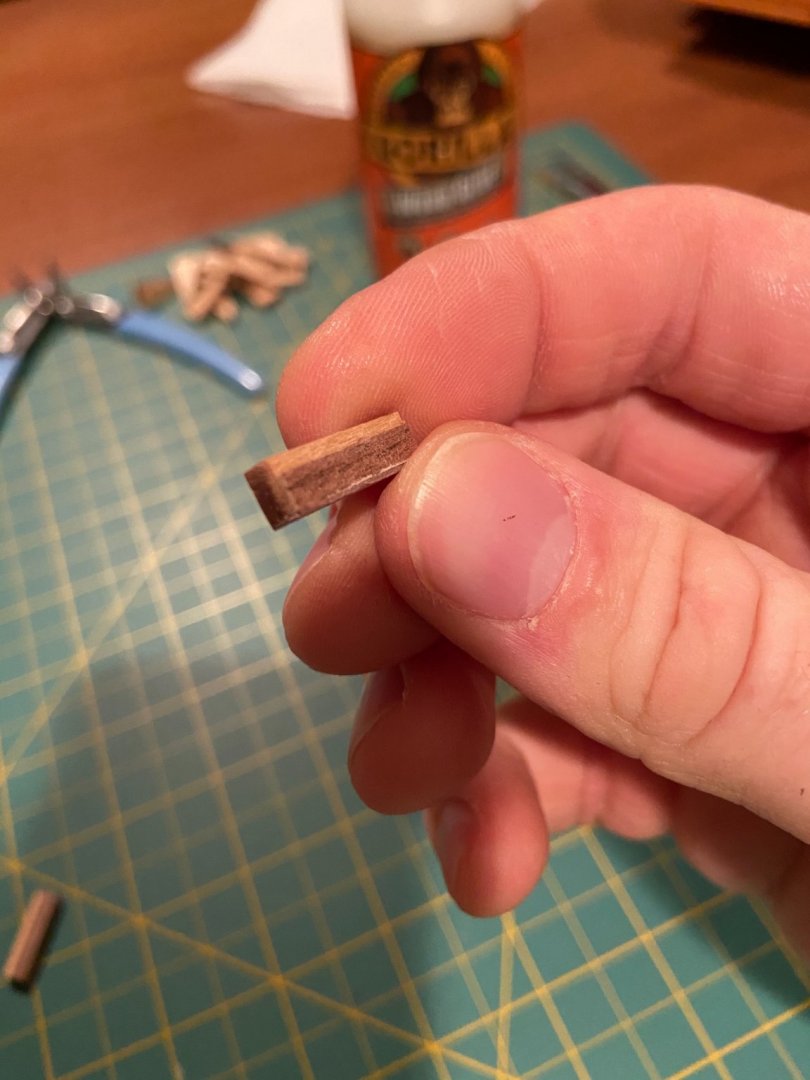
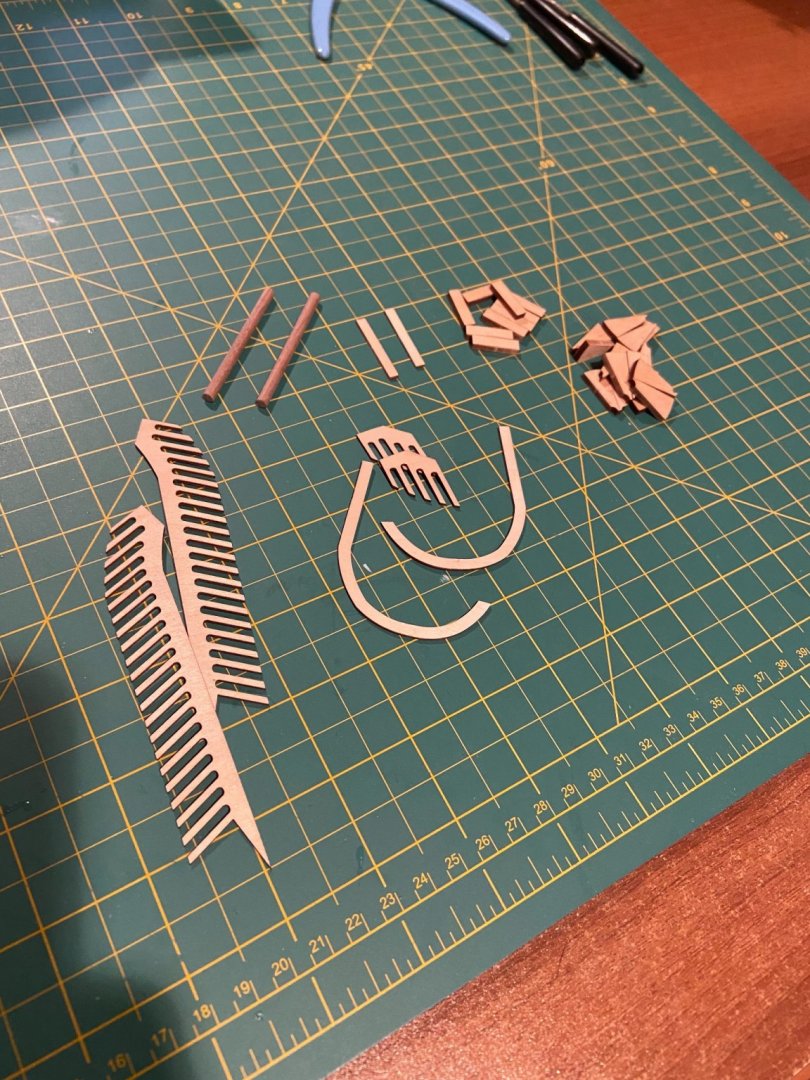
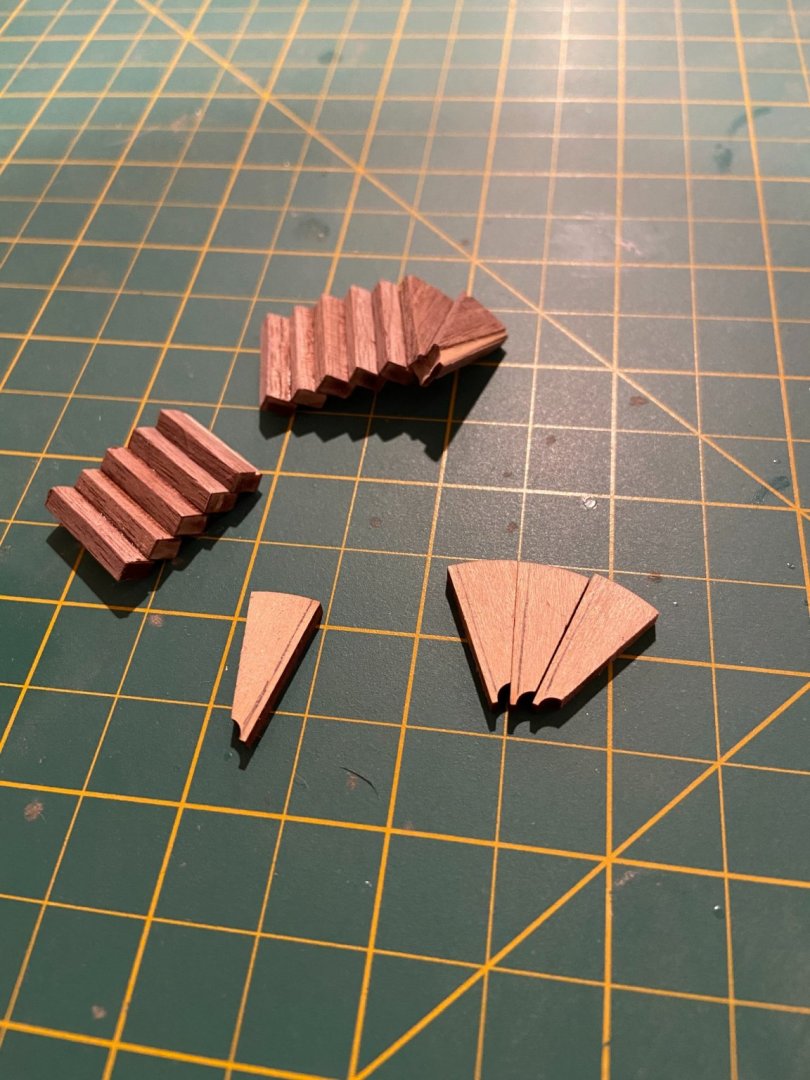
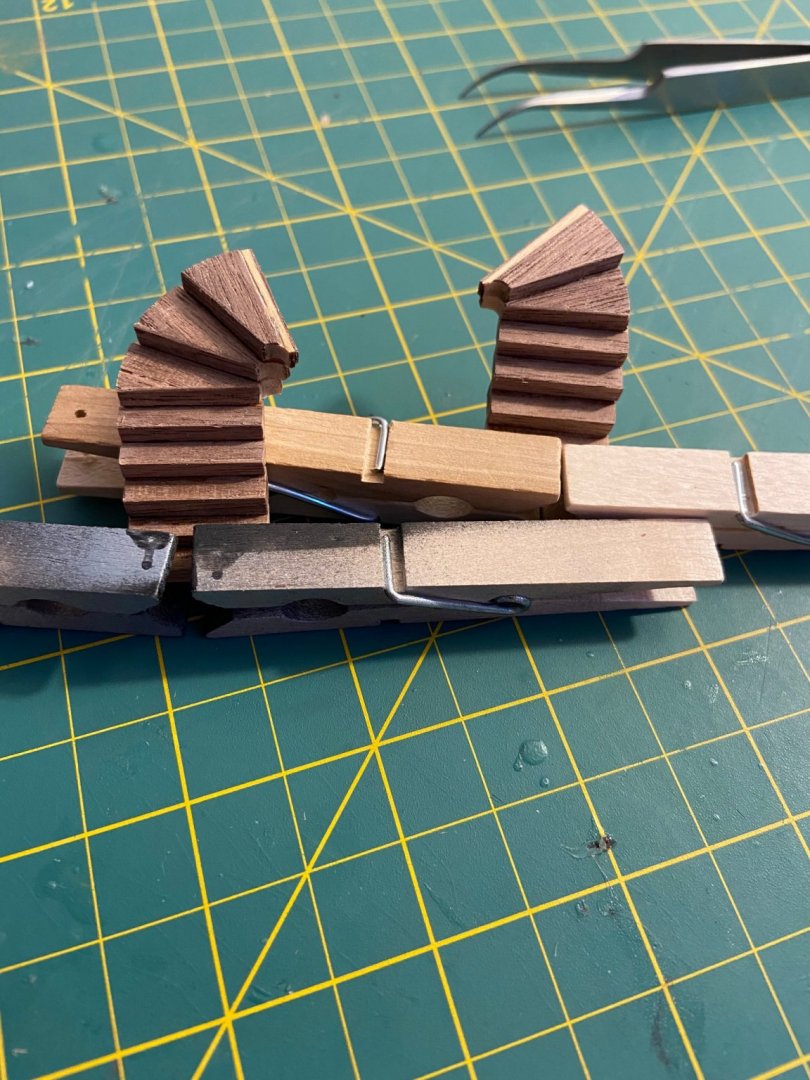
Working on the spiral staircases at the stern end of the ship. My kit was actually short a few walnut planks for the hull (or I just royally messed up) so I emailed AL, they were more than willing to send another batch of planks. so for these spiral steps, I actually covered all of the visible portions in black walnut plank, leaving a 2mm gap on top where the next step would be glued to. It made gluing fairly simple and I think looks quite nice. for the spots section, it was hard to line up the center around the wooden shaft so I ended gluing the planks at an angle and it made it much easier to line up and allowed for kore surface contact for gluing.


-
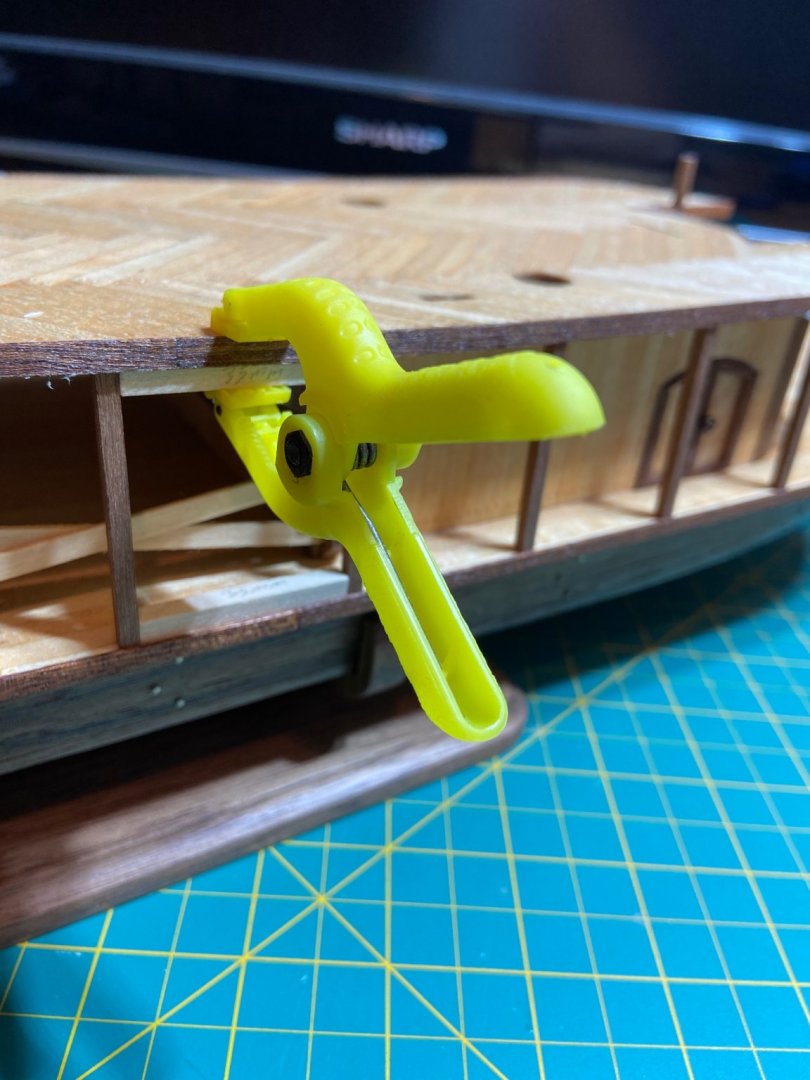
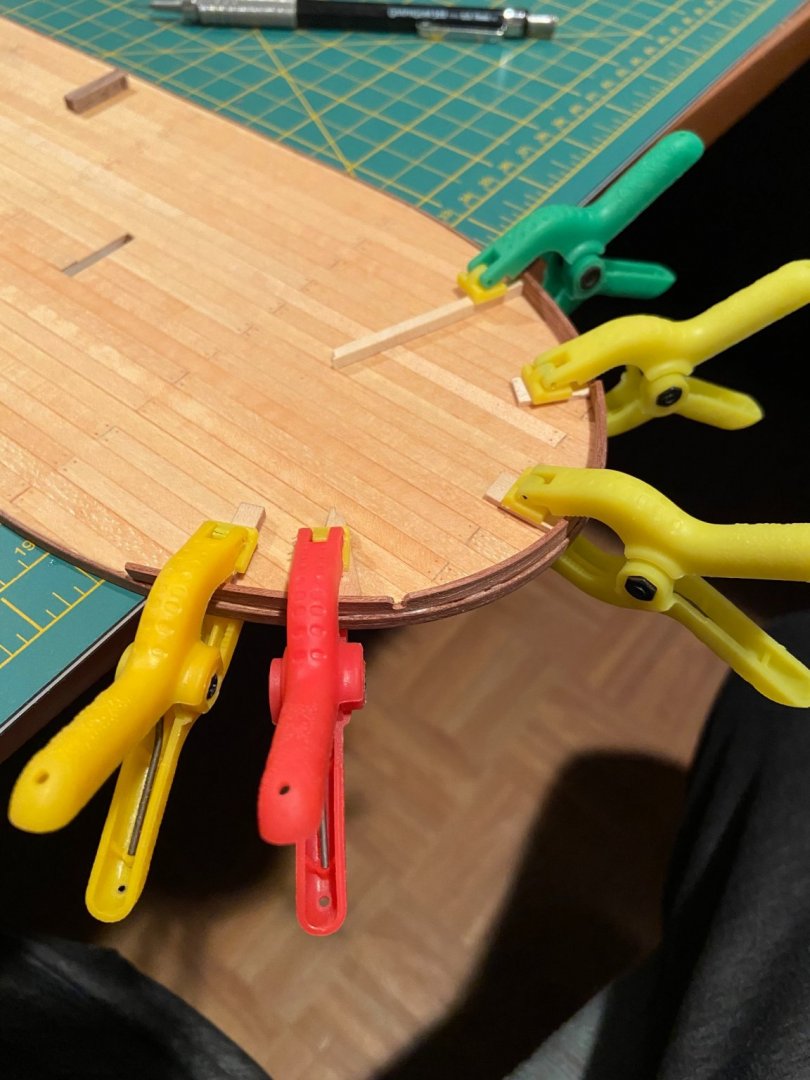
Sorry for how much I am bouncing around with this. I am just now finishing up the main deck. Lining the outside of the deck with the finished trim was pretty easy, just soaked, bent, clamped / taped, and then glued it on after it dried. But on the front with the wave catcher was a little harder. Even after it was bent, the wood naturally wanted to spring to a larger size. the directions have it sitting directly on top of the outside trim but I have no idea how I was going to pull that off. Thankfully I left a small lip on the trim as it was maybe 1/2 a mm above the deck. This allowed me to put the wave catcher on the inside of the trim and clamp it it up against the outside trim. once I got it in place and finished (using wood glue and super glue), I realized I forgot to taper the edges. I know a lot of people try to avoid power tools with their ships, but the dremel and the sanding wheel made this an easy correction.


-
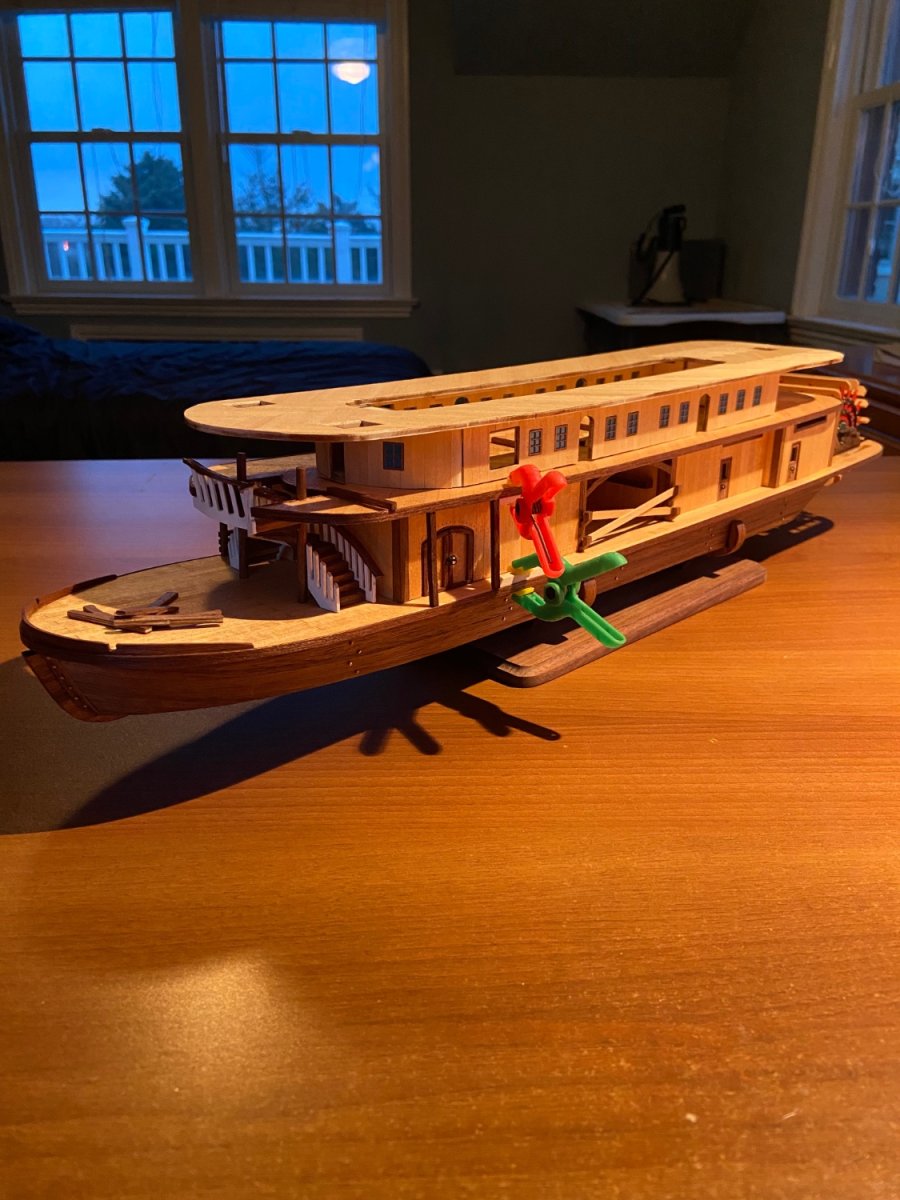
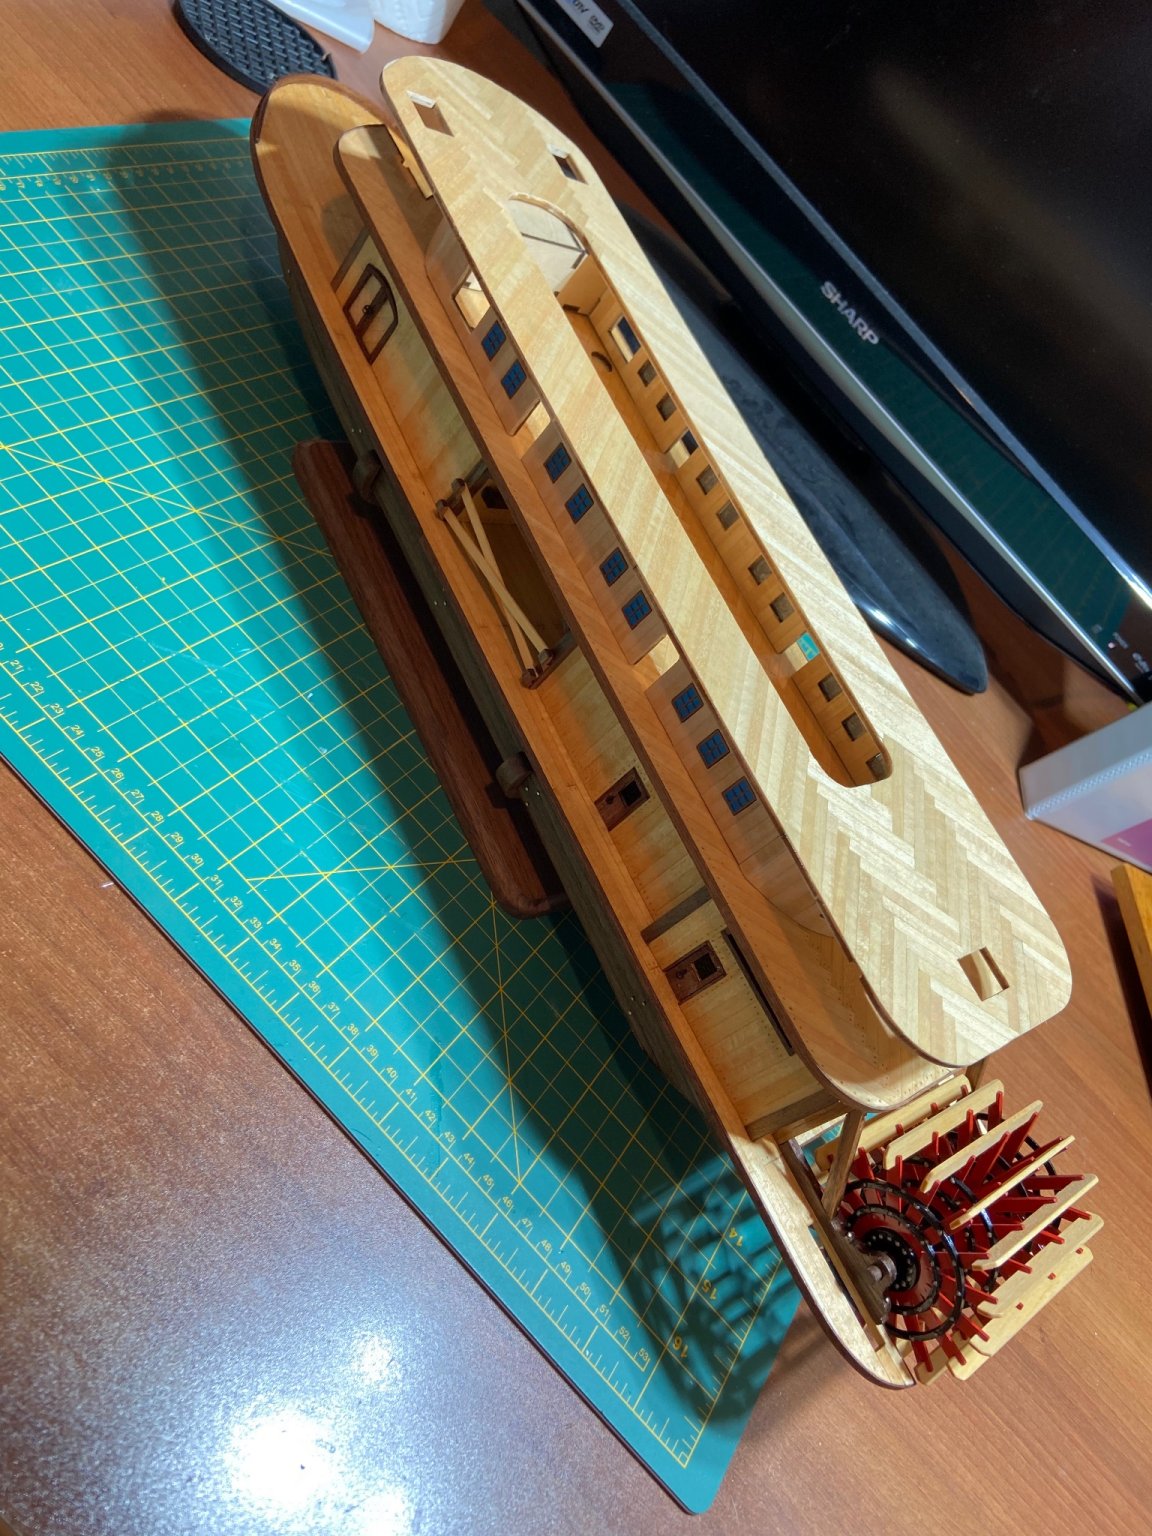
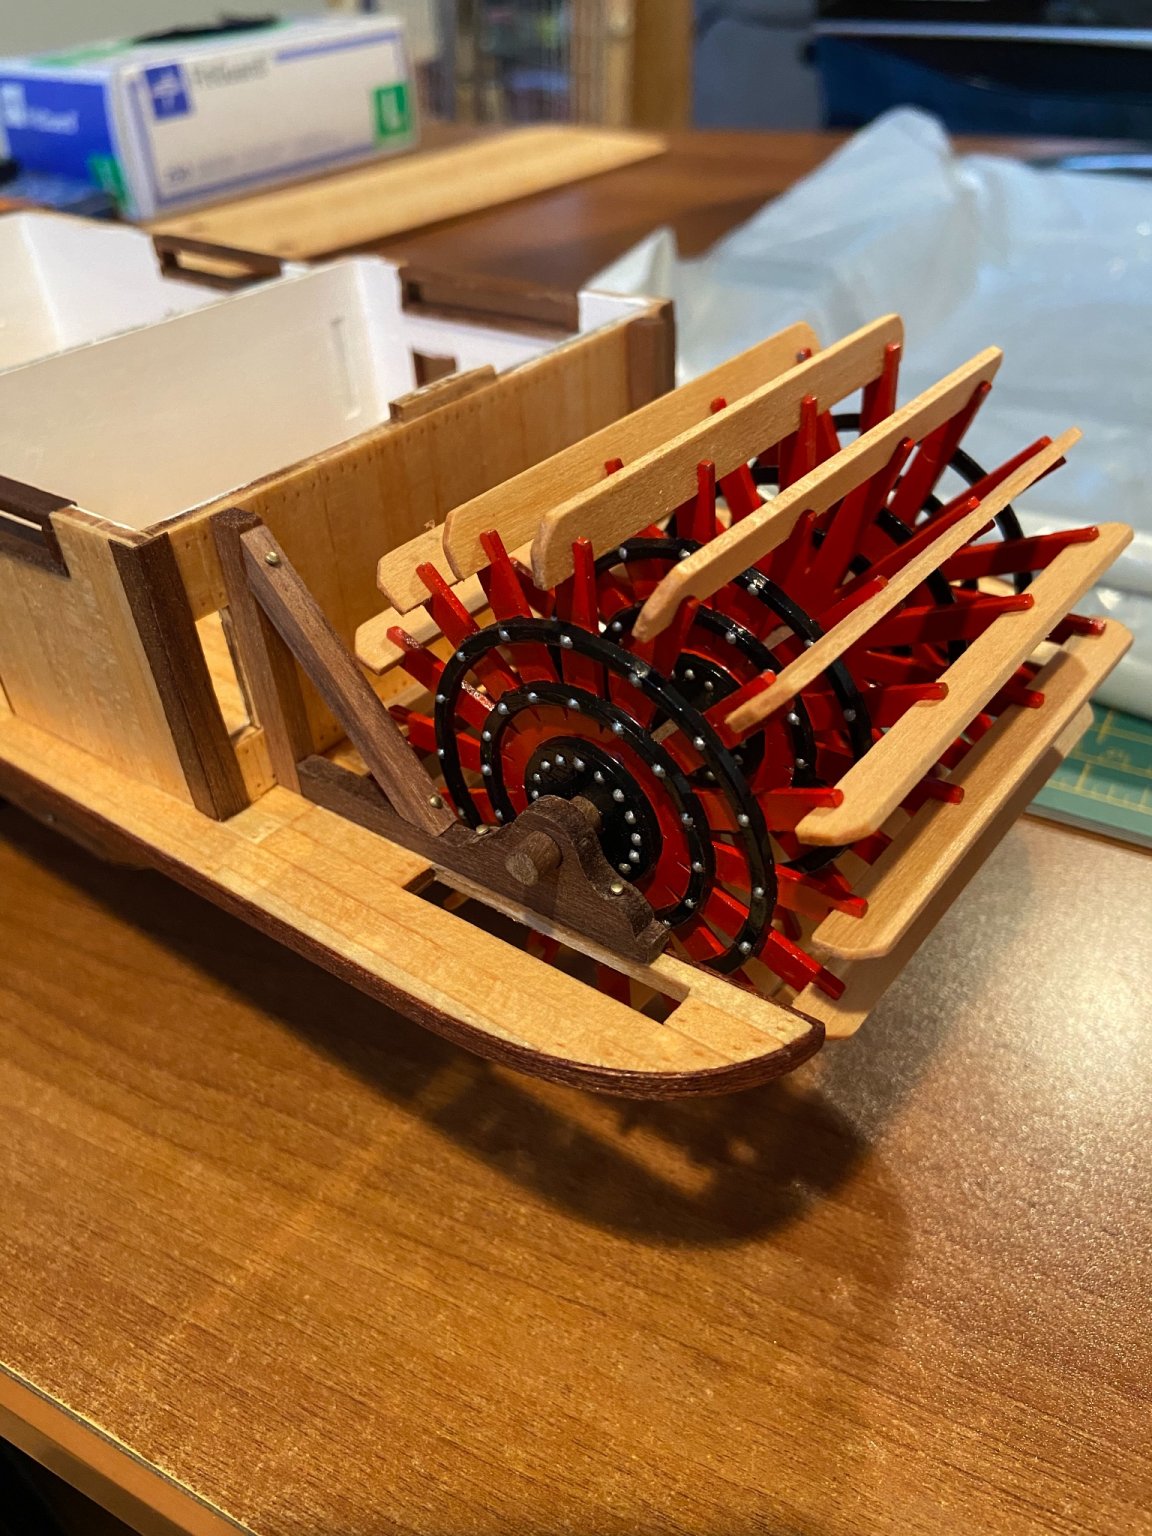
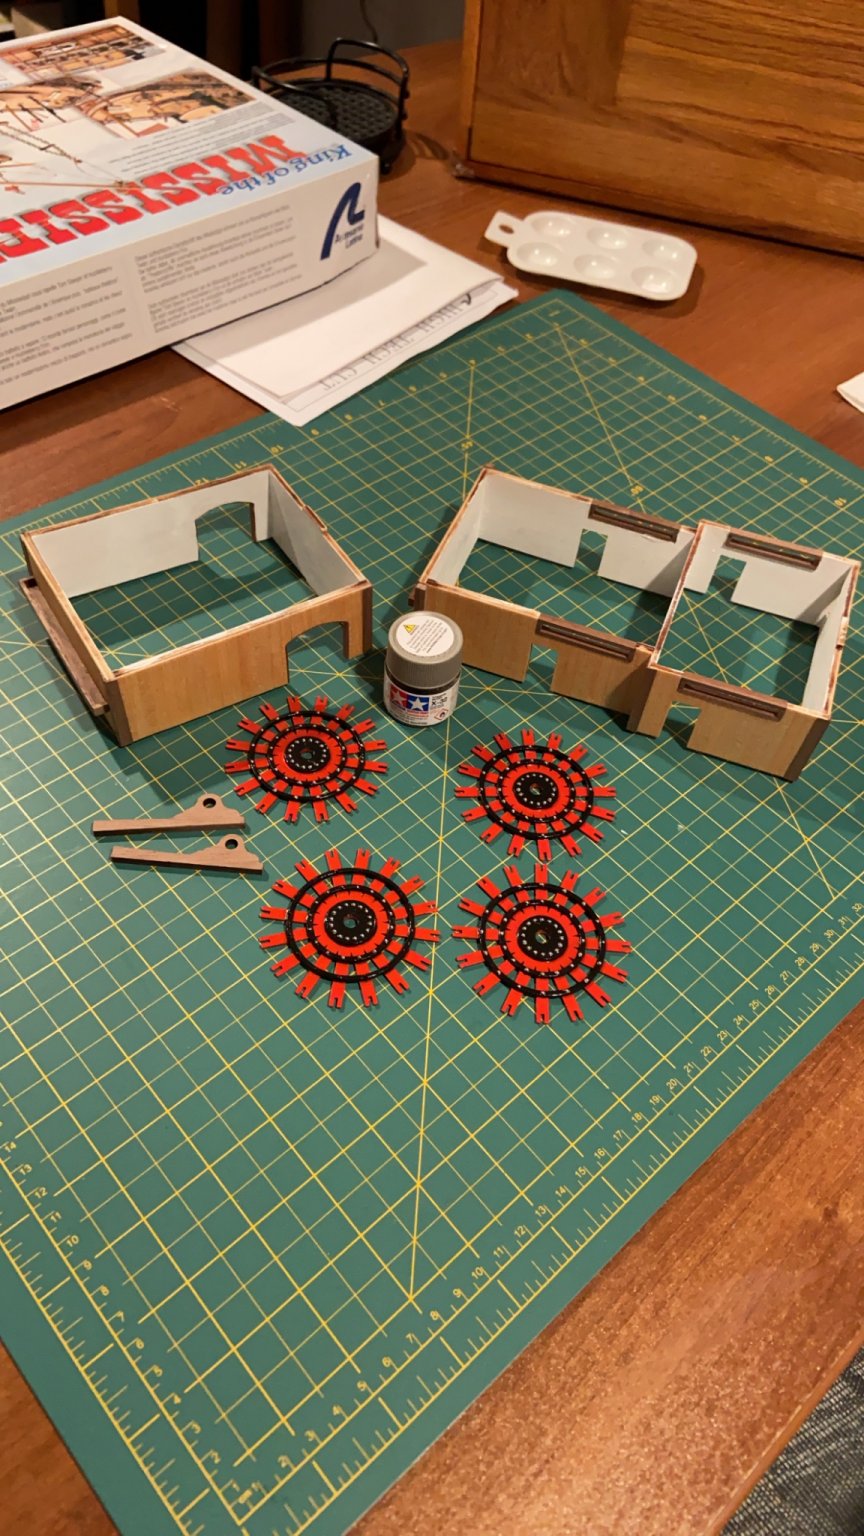
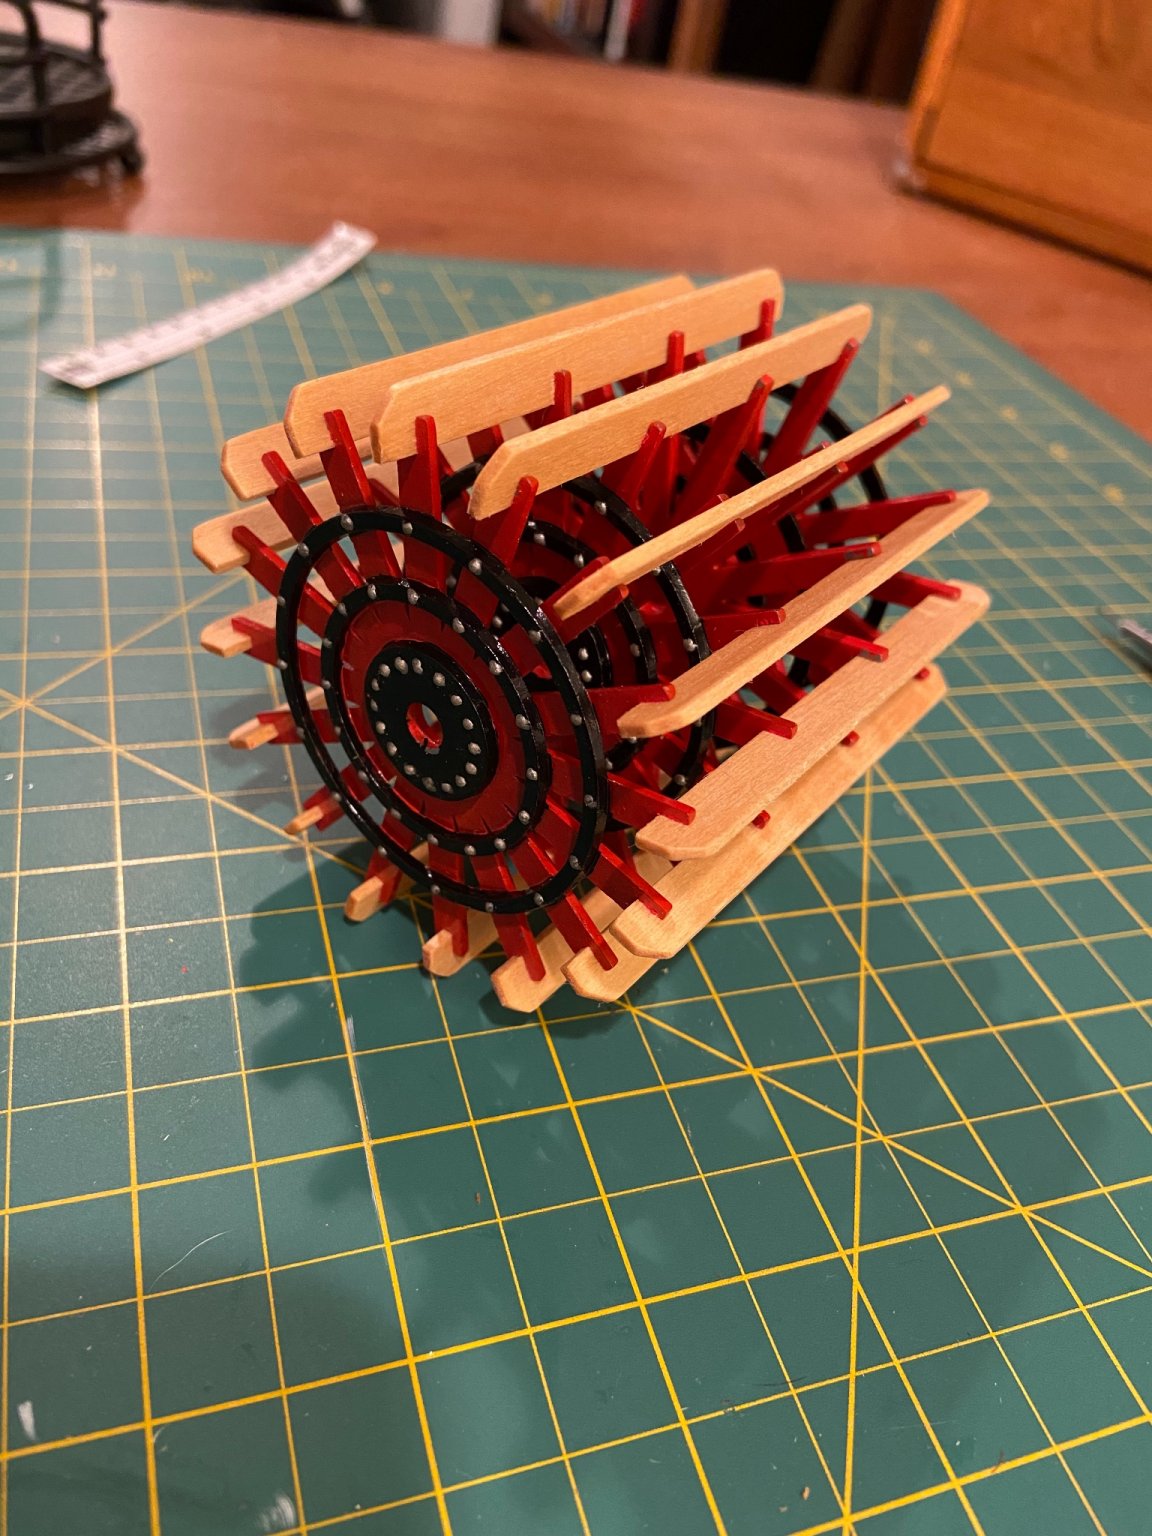
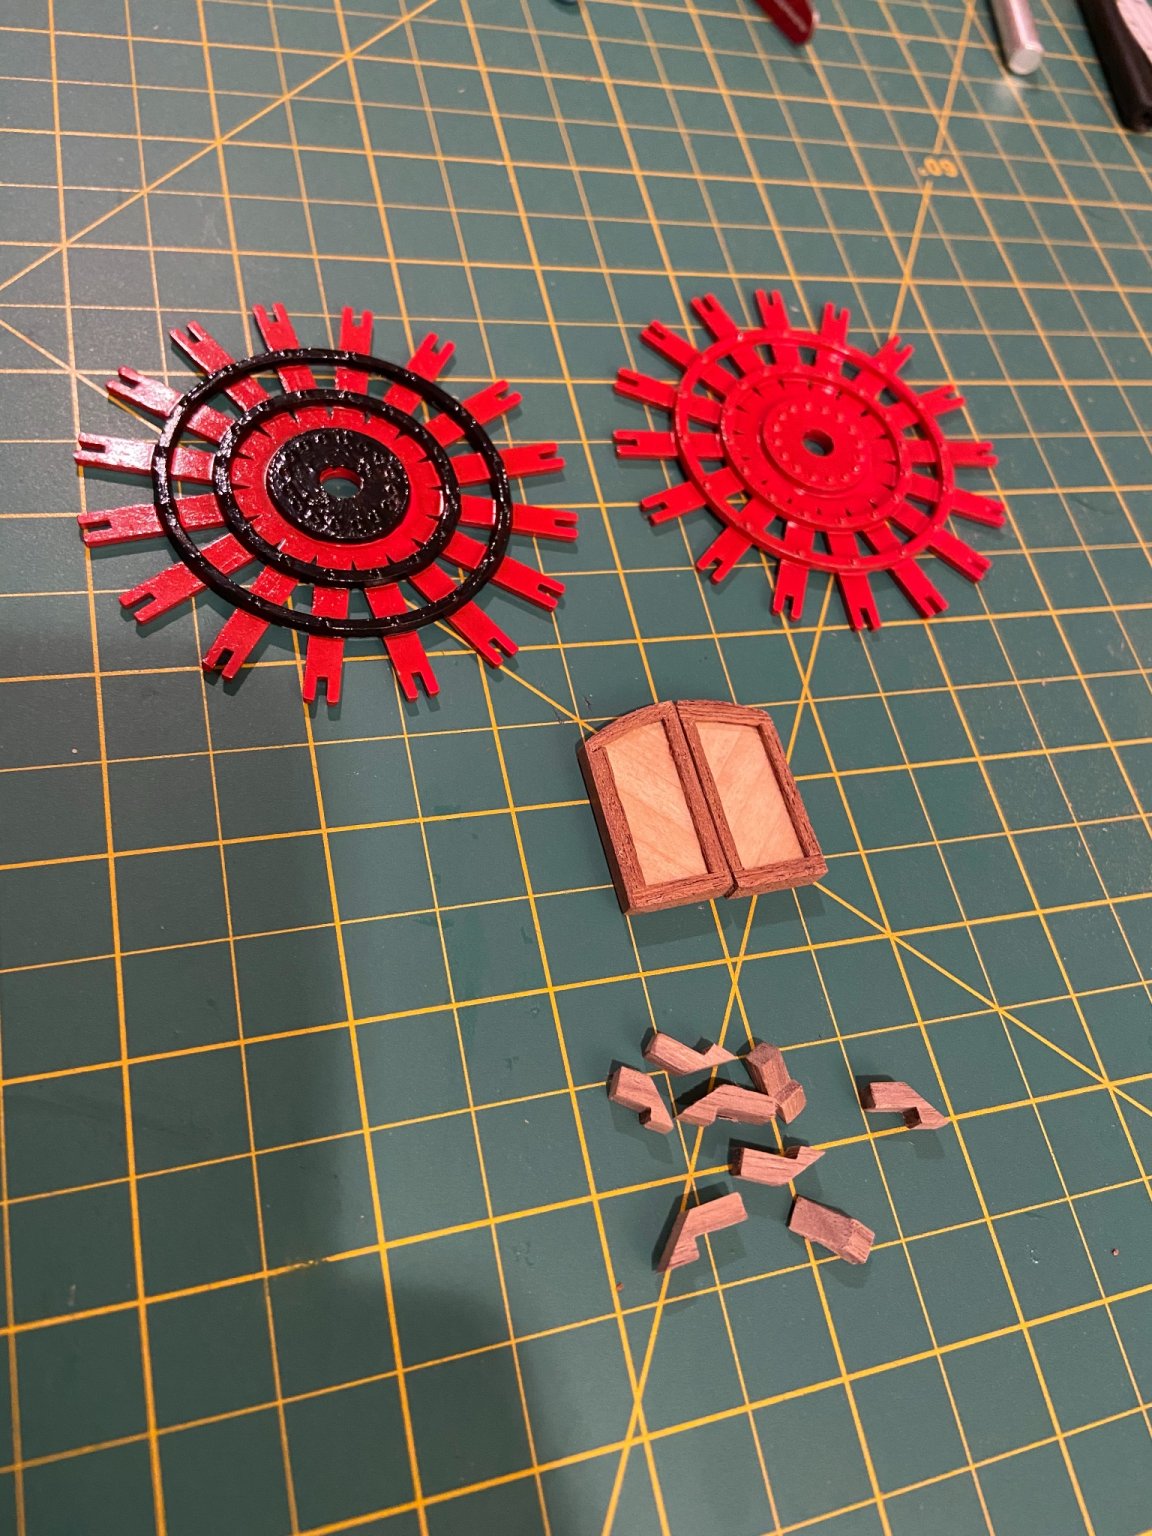
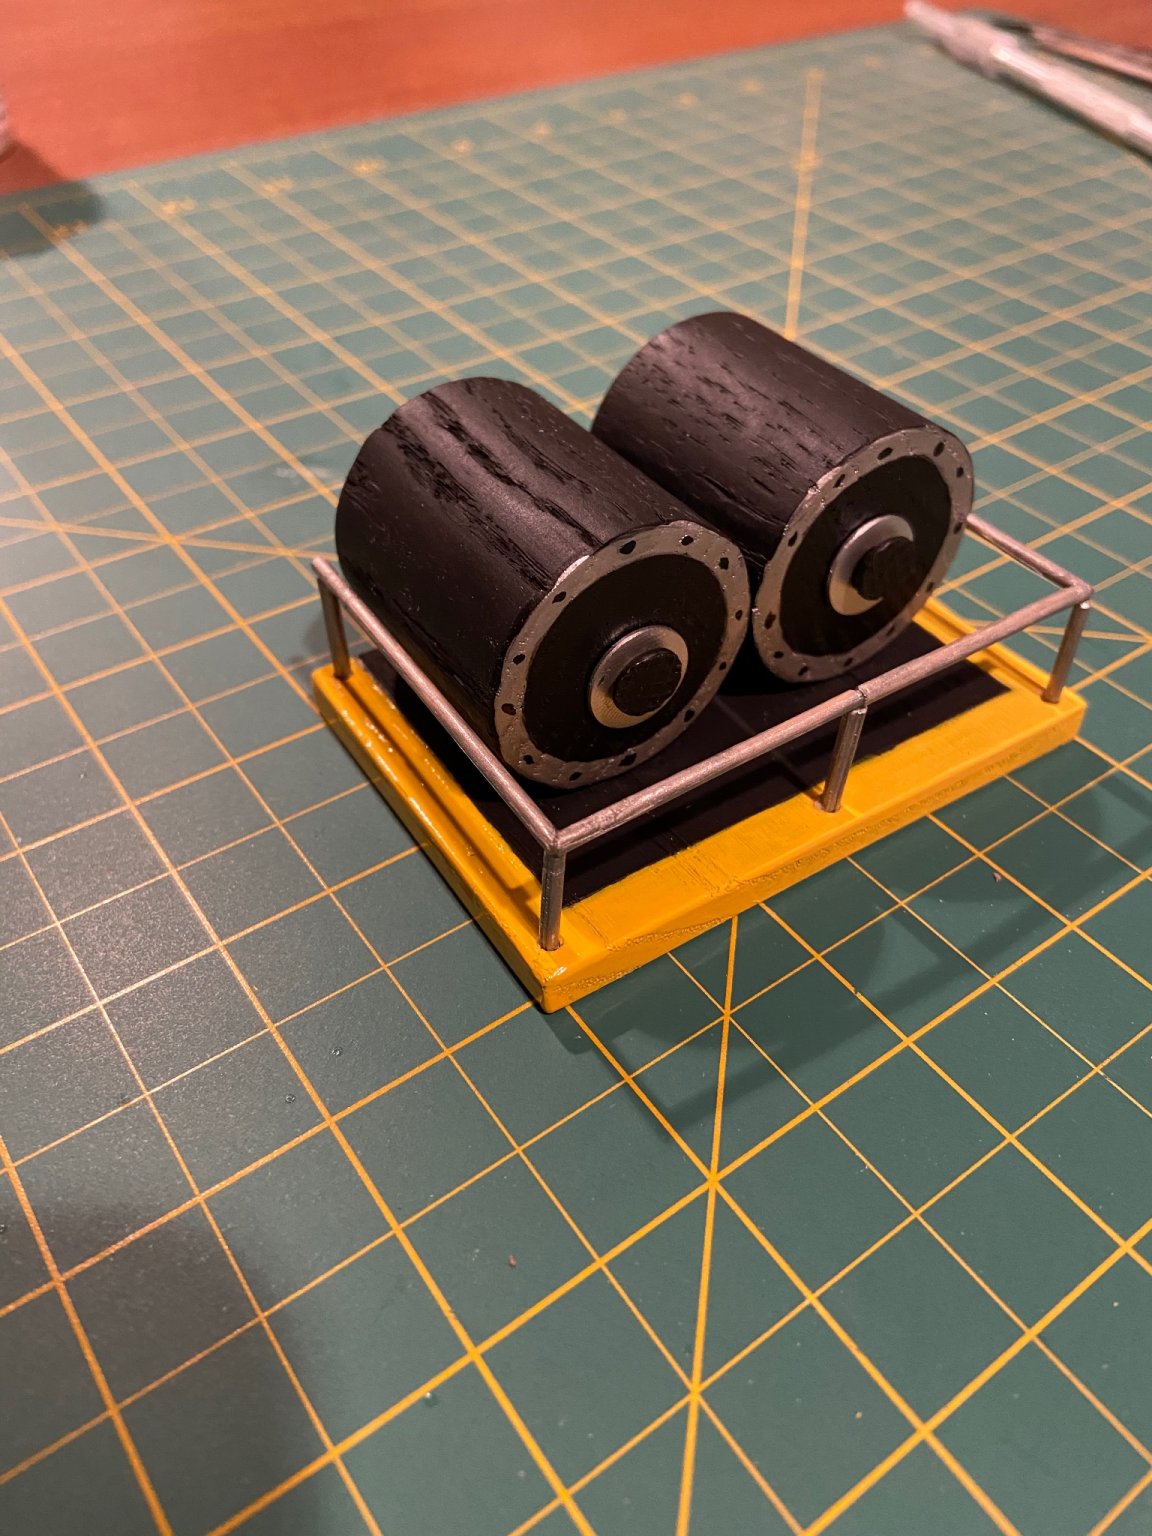
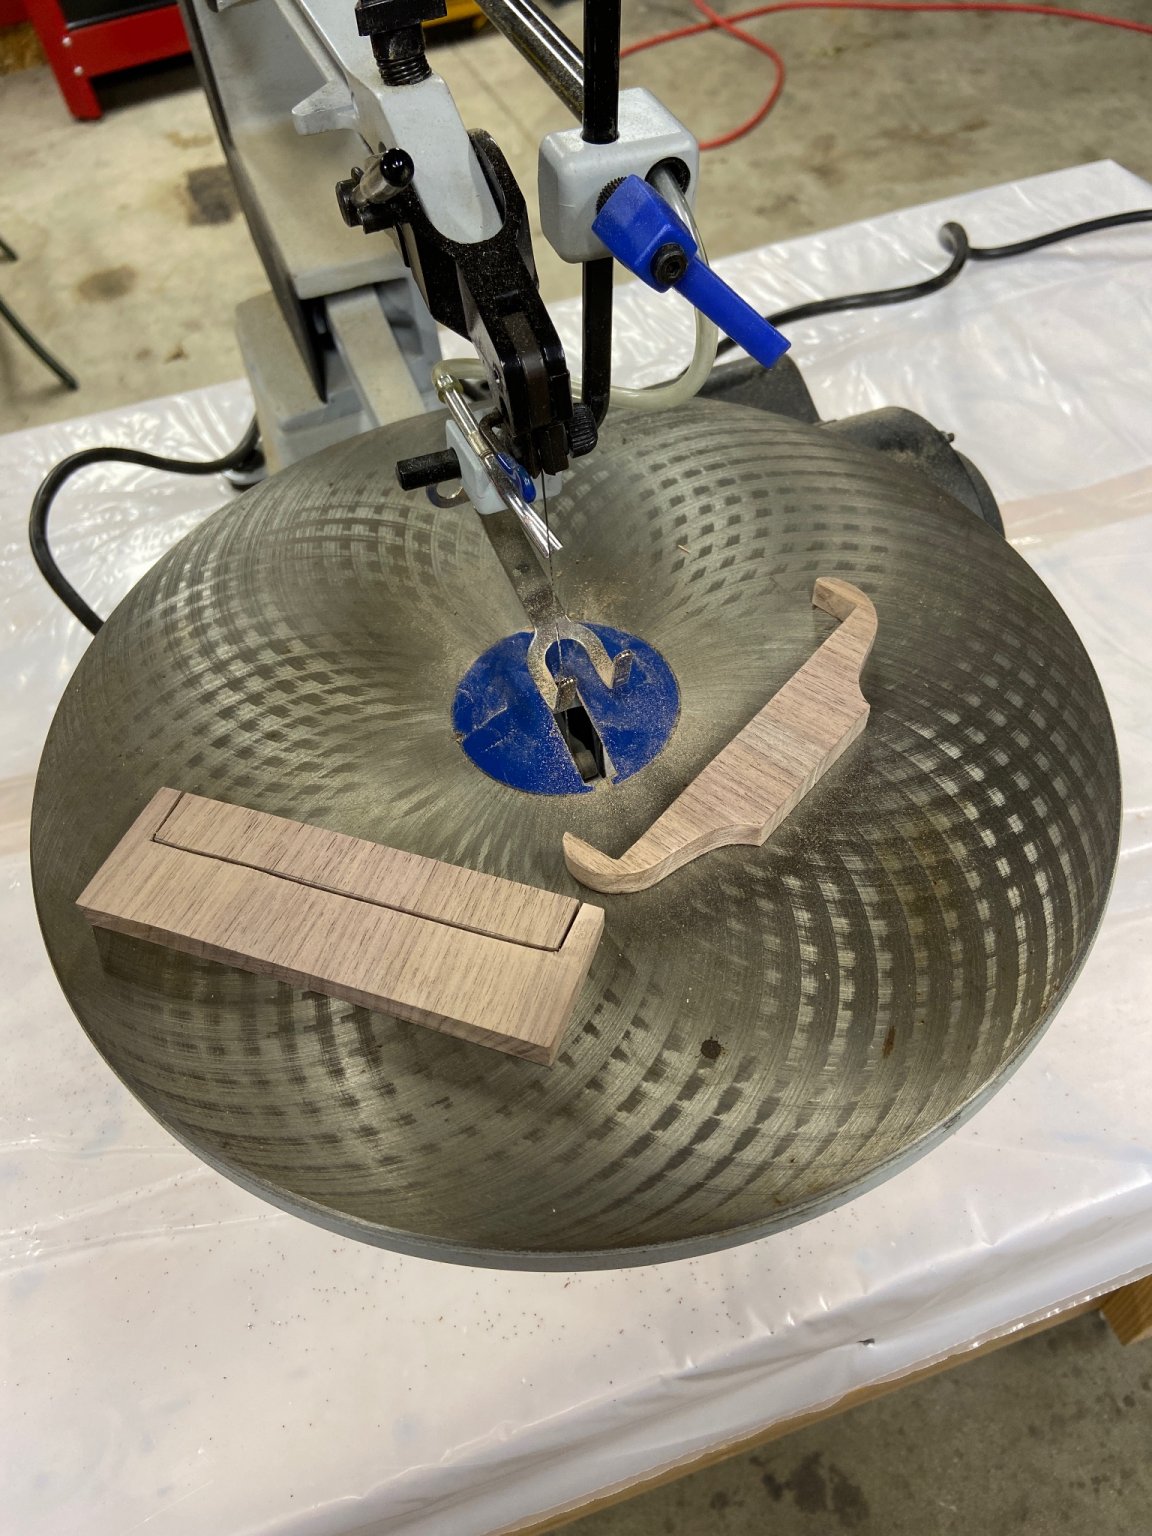
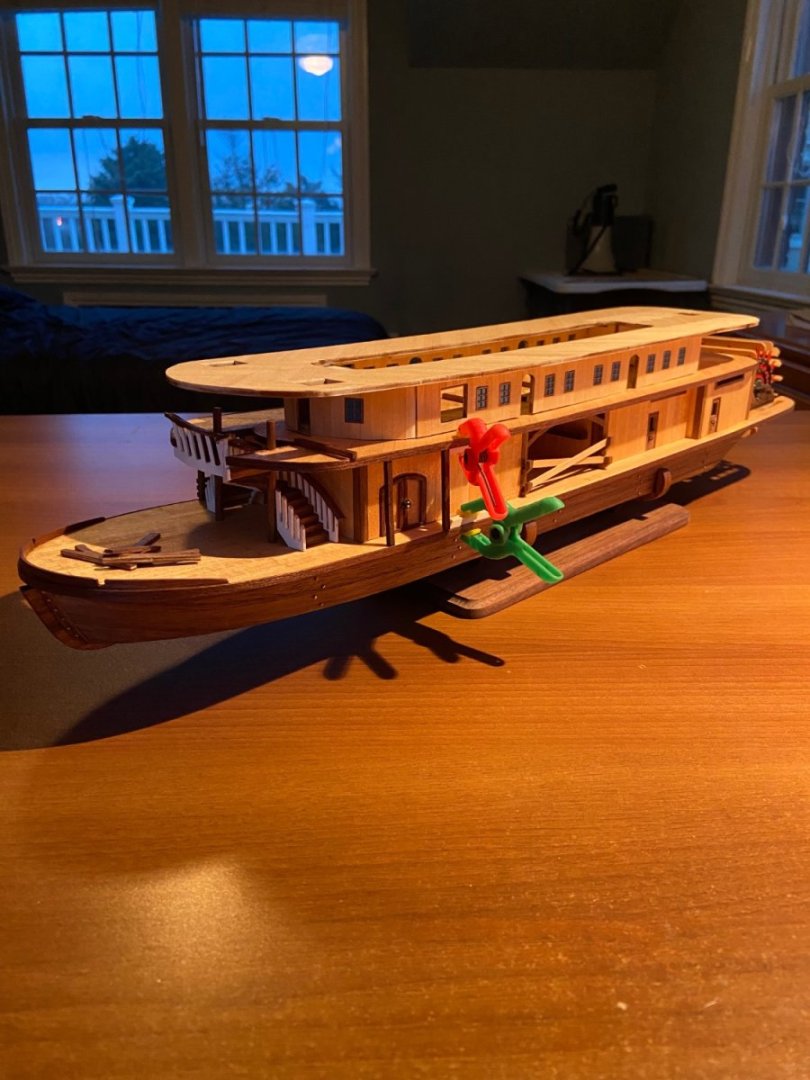
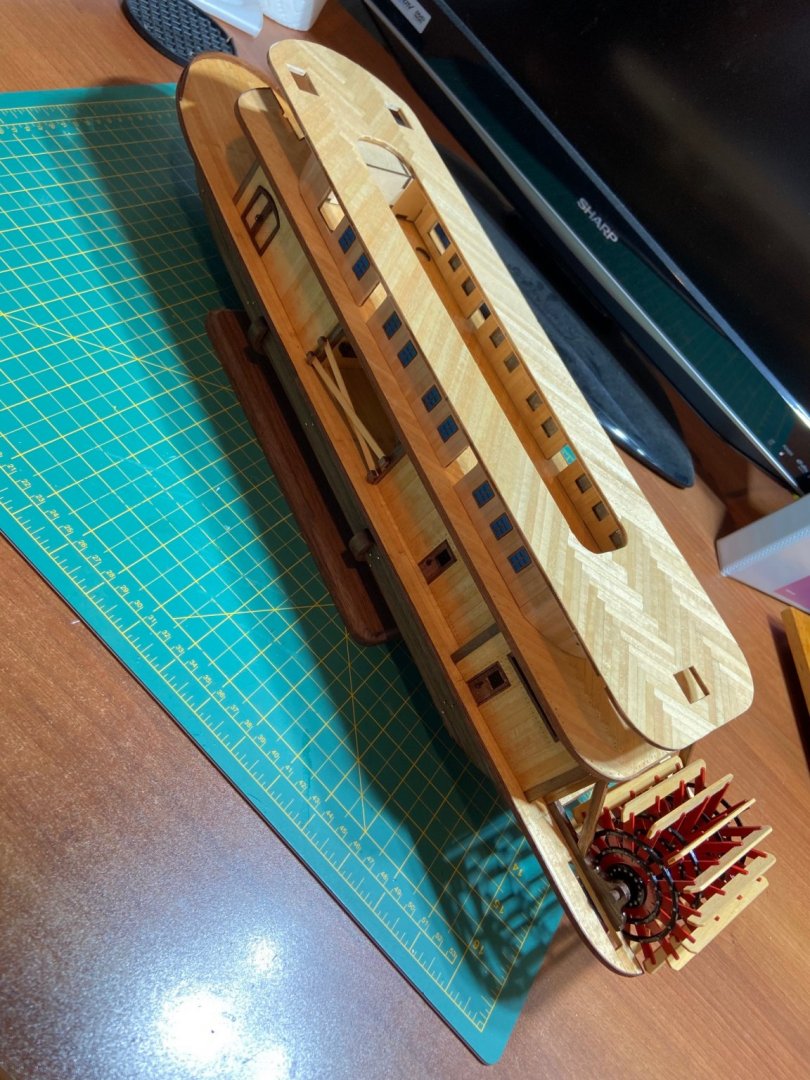
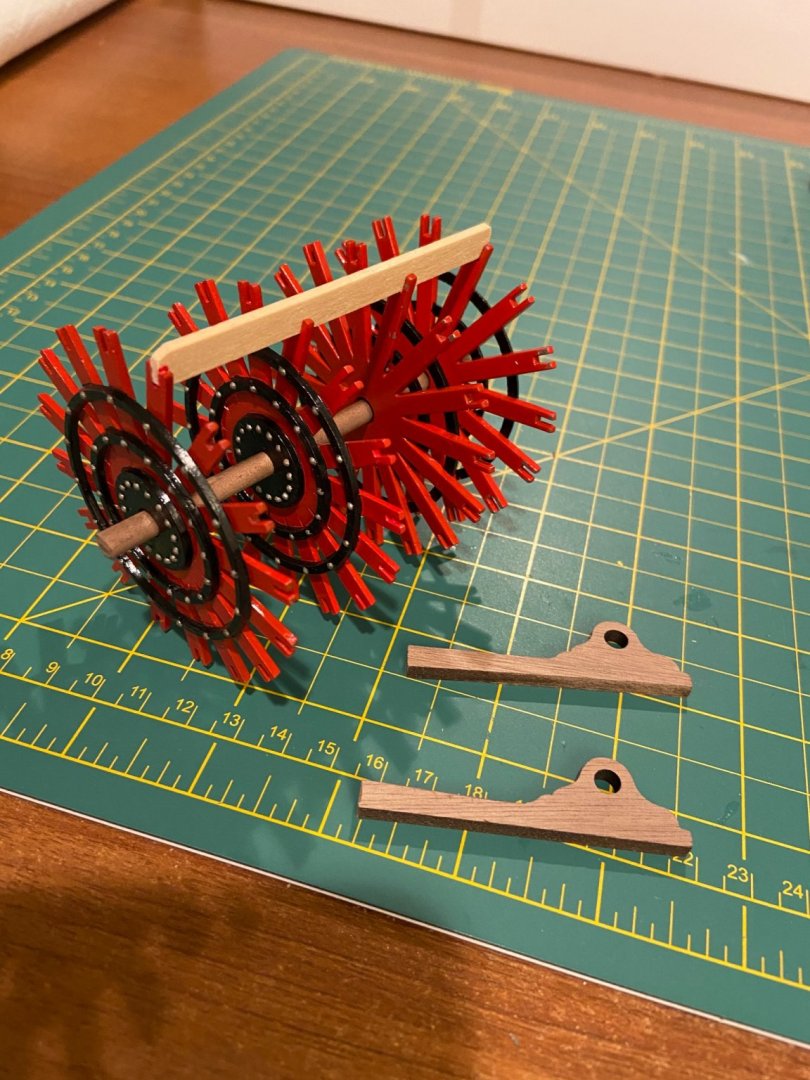
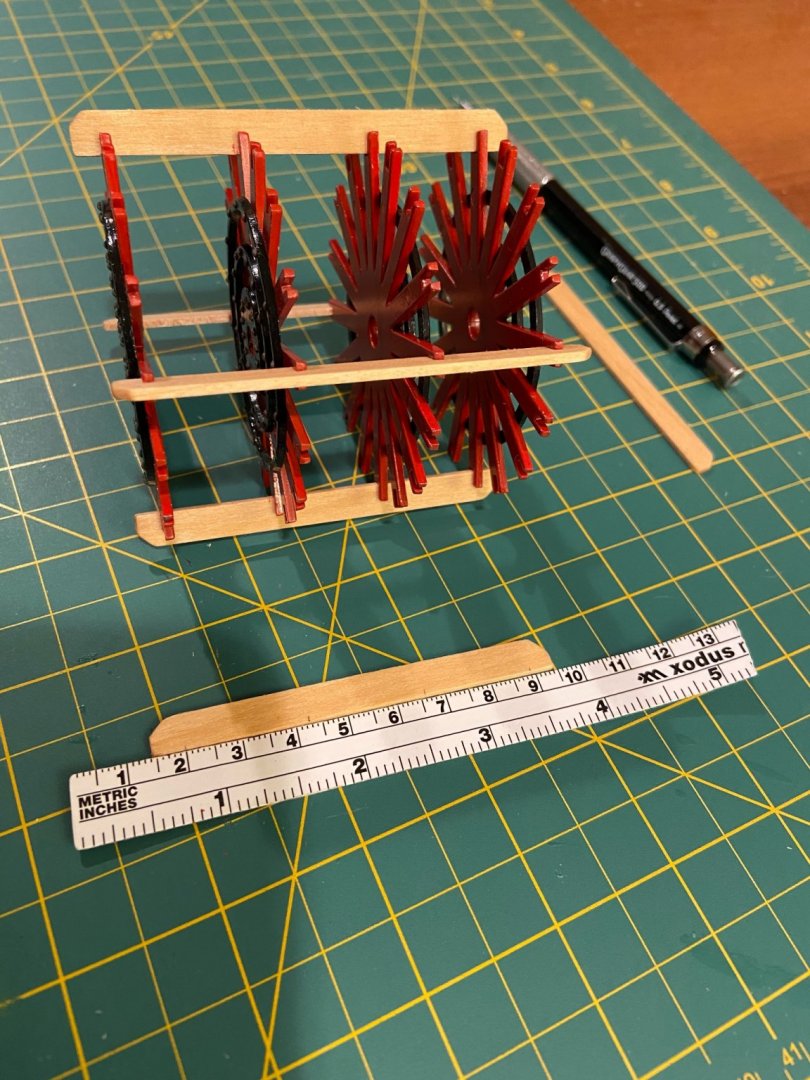
Finished the paddler earlier tonight. The wooden paddles are each 80mm long with a 2mm 45 degree chamfer on the “water” edge. The metal frames are measured at 23mm apart which lefts just over 5mm per side of overlap. I measured one of the wooden paddles and marked 5, 23, 23, and 5 and then just traced across each to make sure they all lined up. when I was inserting them into the metal slots I would place one, go to the opposite side and place the other. Measuring in between, then turn 90 degrees and do the same thing. The first 4 were the hardest to get lined up evenly so the metal frames were straight and true. Hit once the first four were on and measured good, the rest was a piece of cake.


-
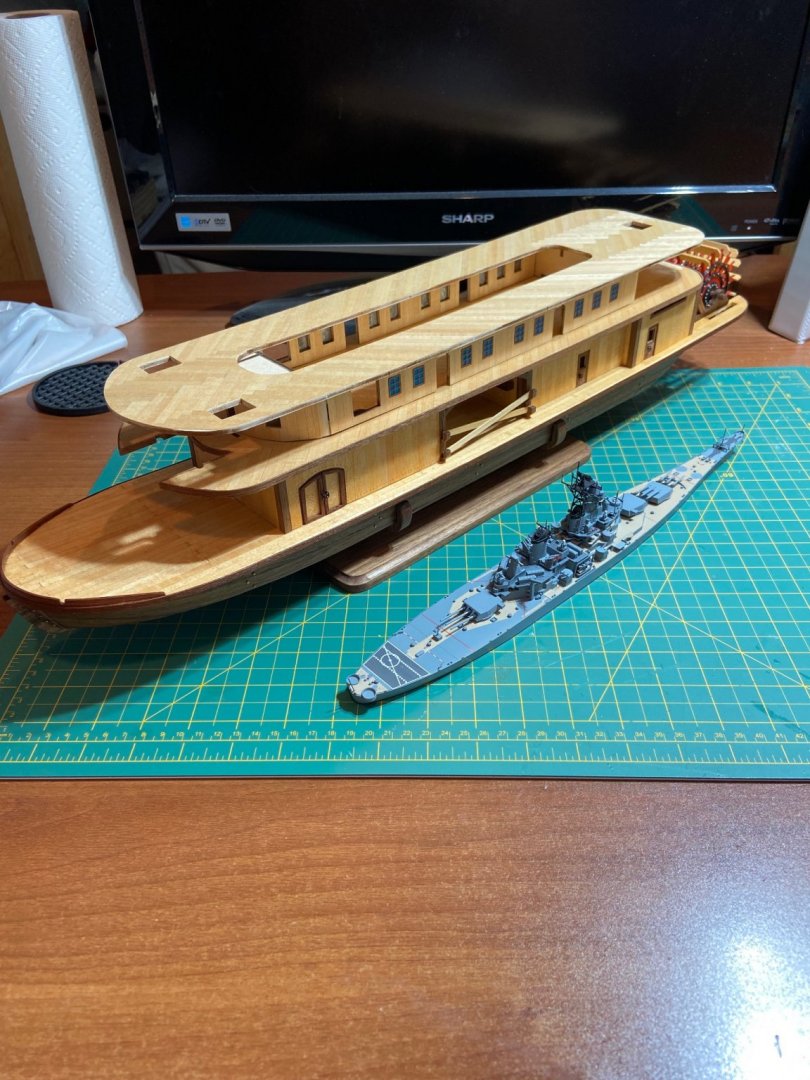
Wow, it’s hard to believe it has been over a year since I have opened this and I’m really not amy farther along than the last picture. I got tied up in a larger River boat project and once covid hit ive hardly had time to even work on that (I’m a medical resident, just been way too busy) yes, I will gladly send you whatever I can to help out
- 4 replies
-
- 1
-

-
- princess royal
- authentic models
- (and 1 more)
-
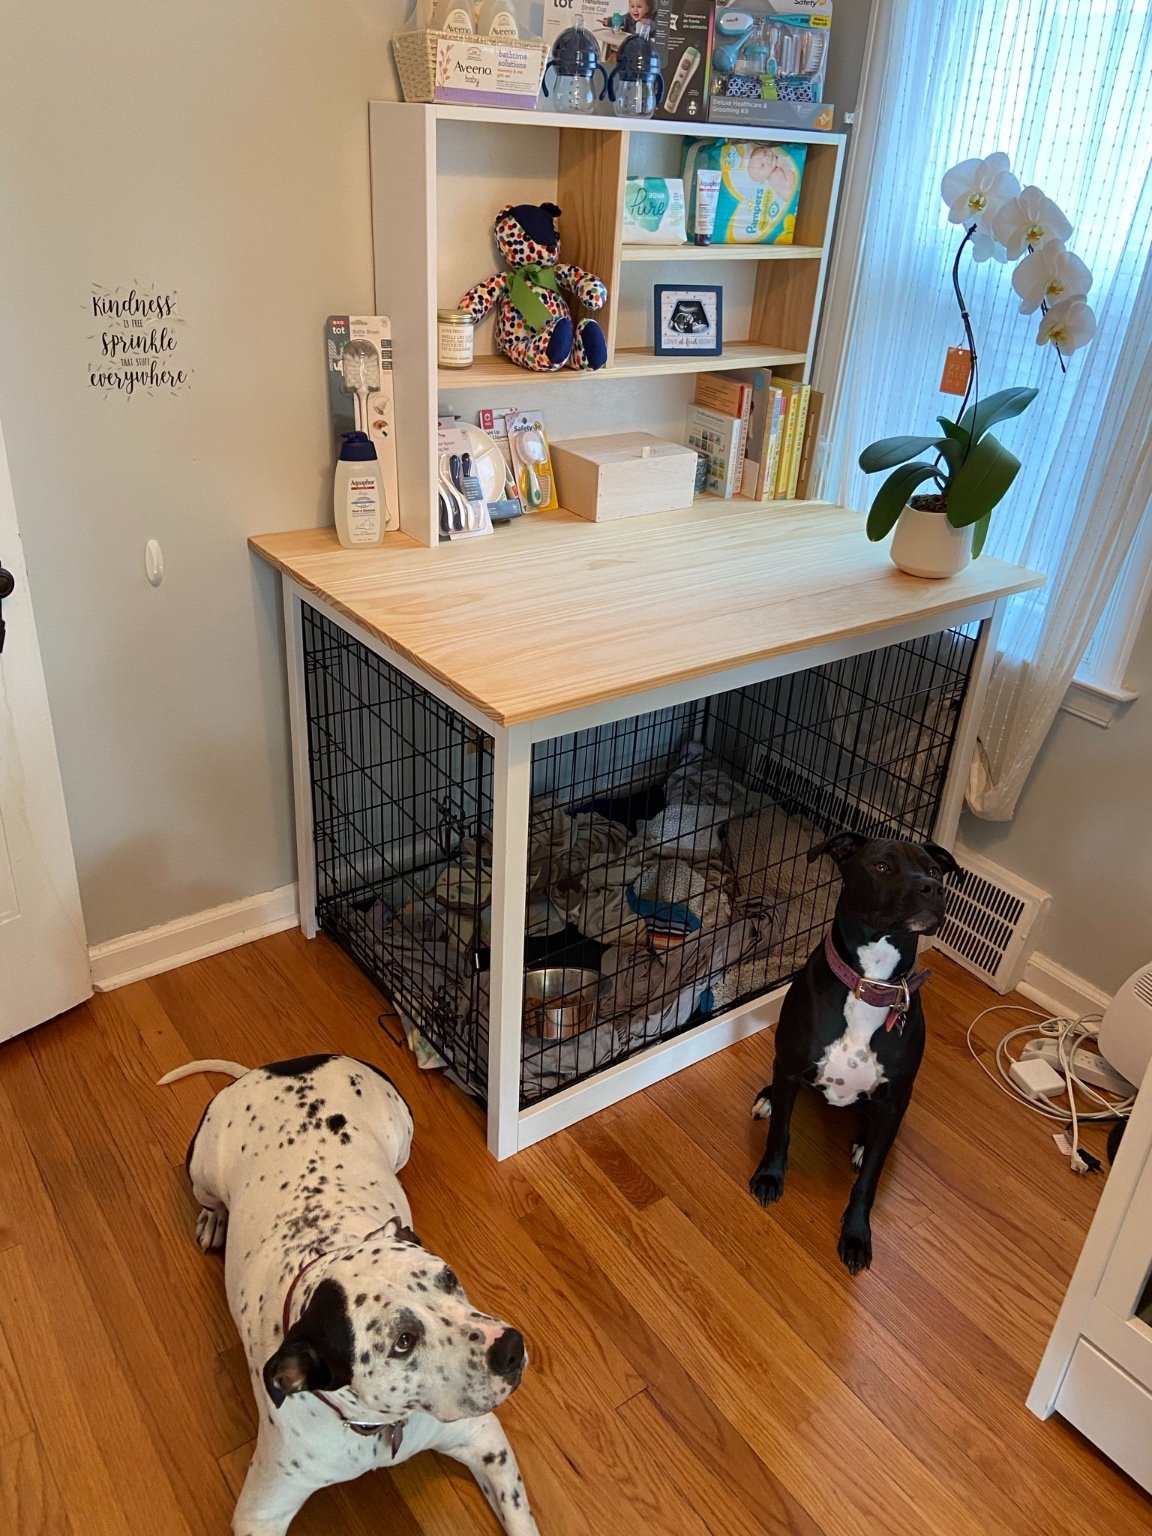
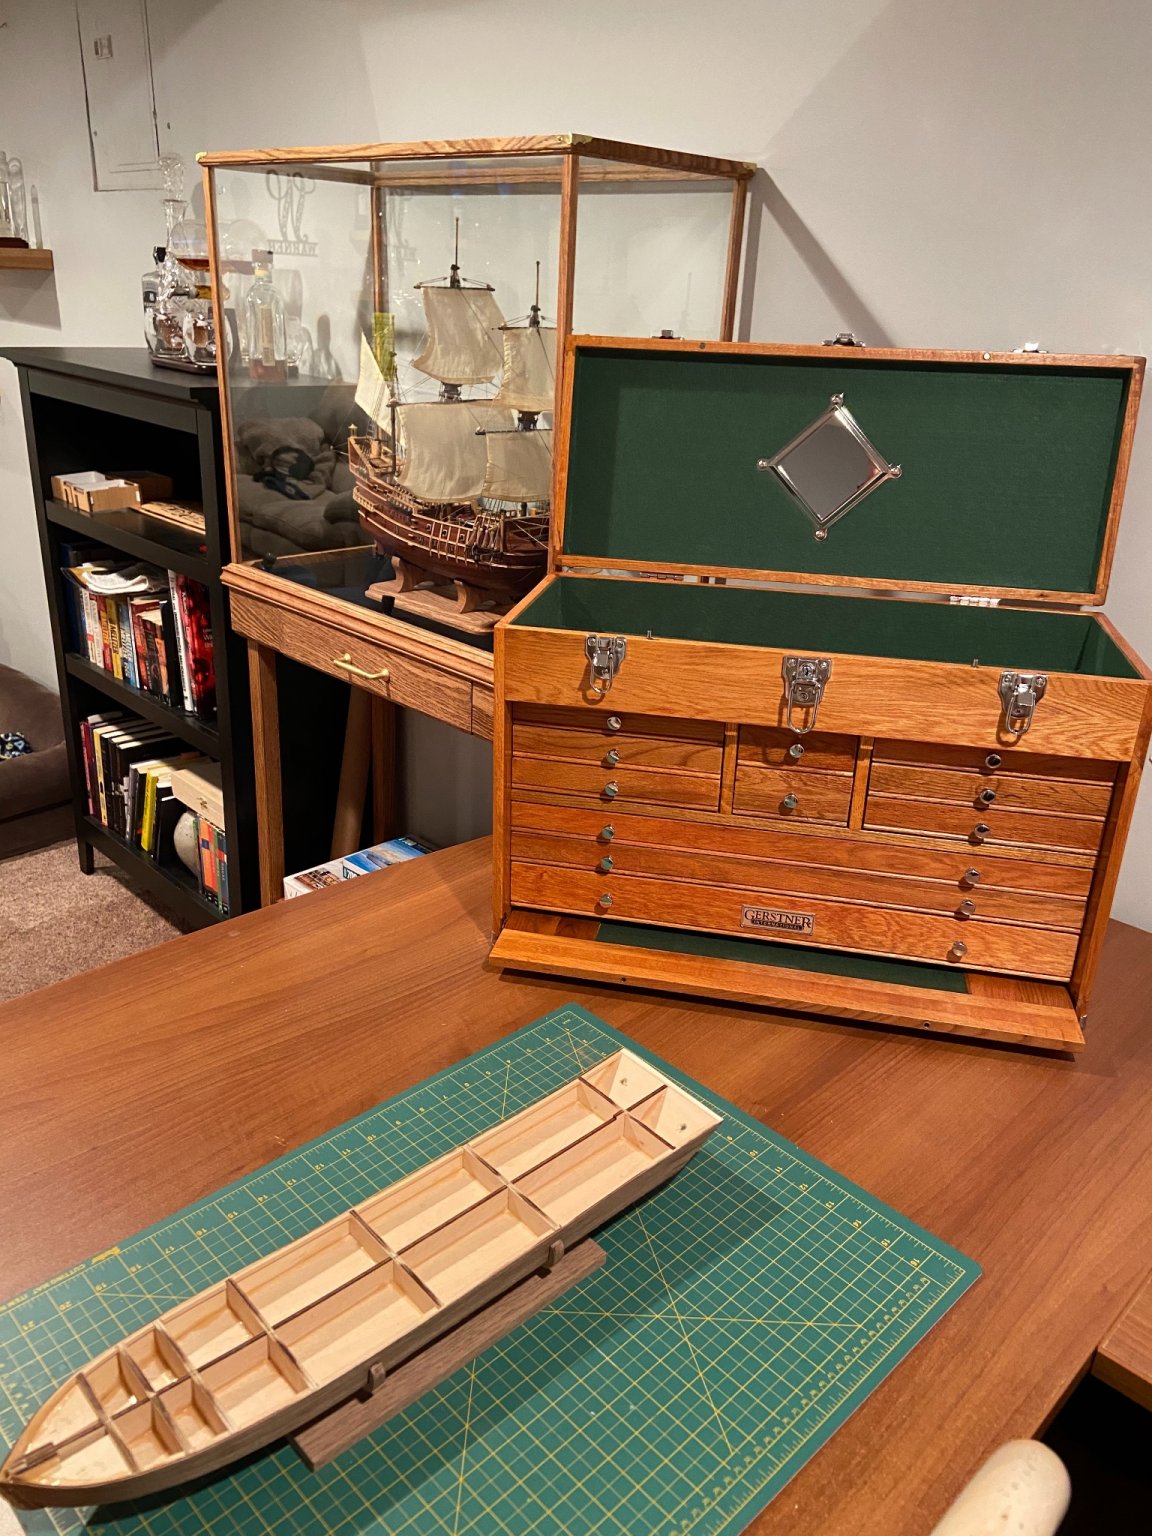
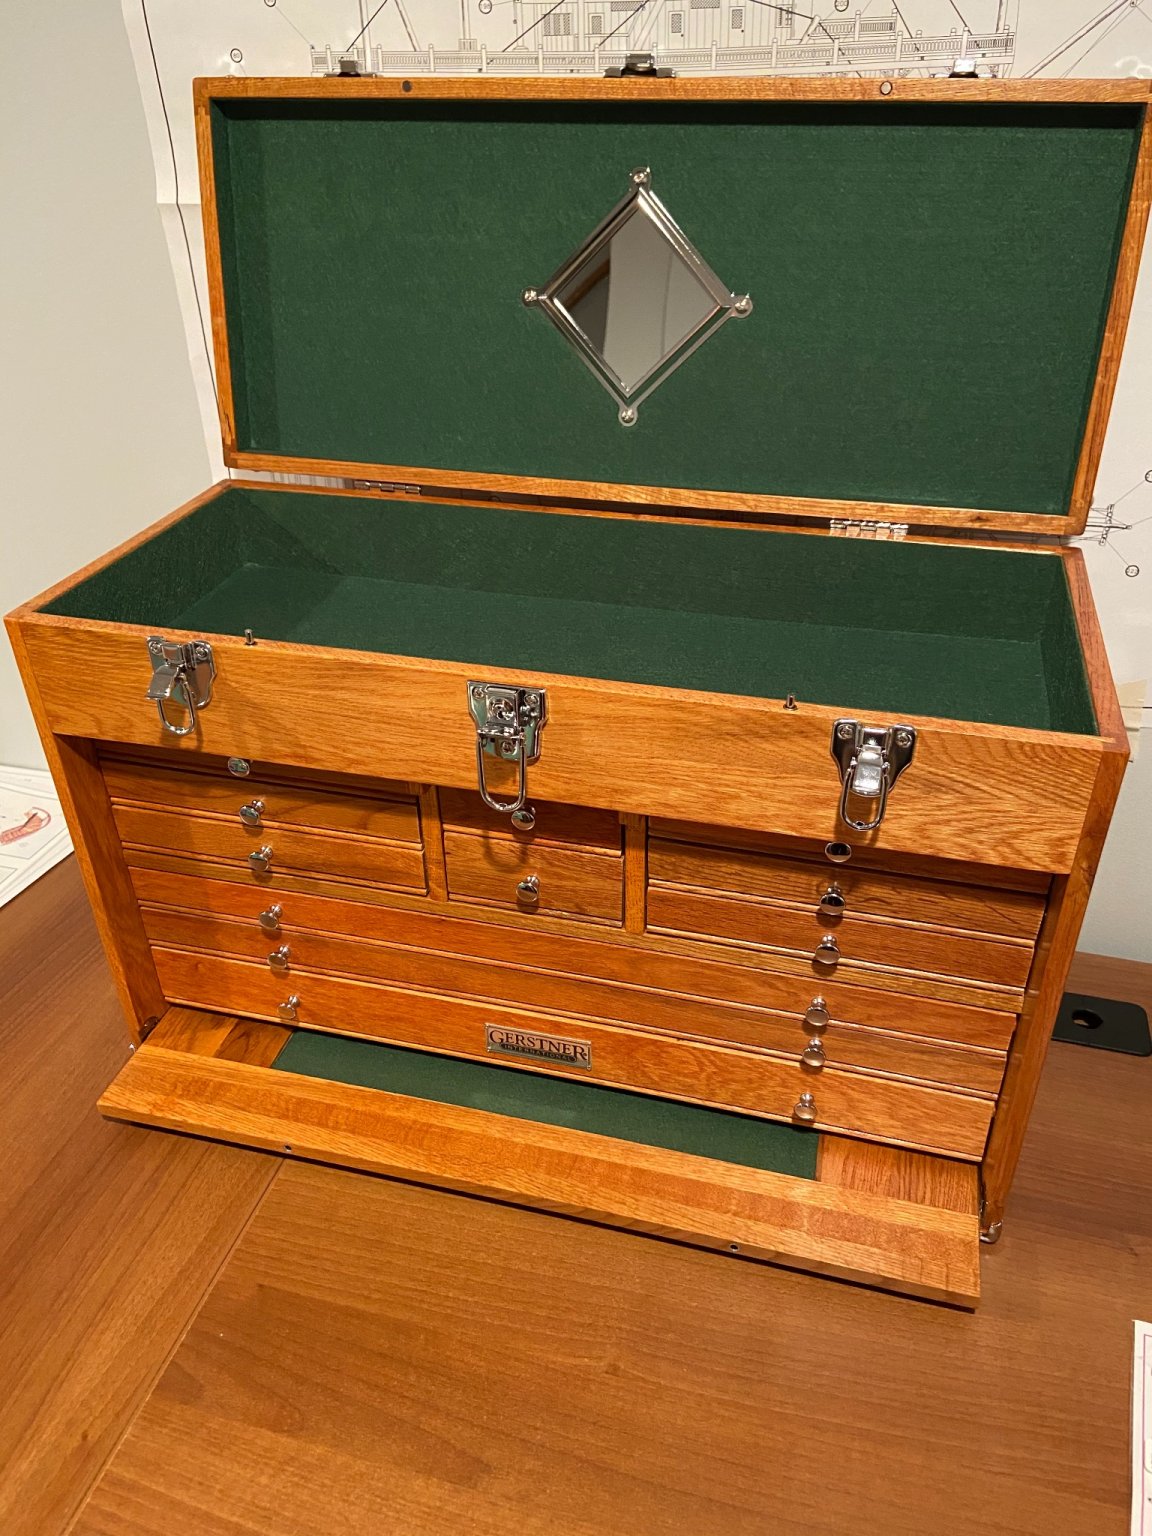
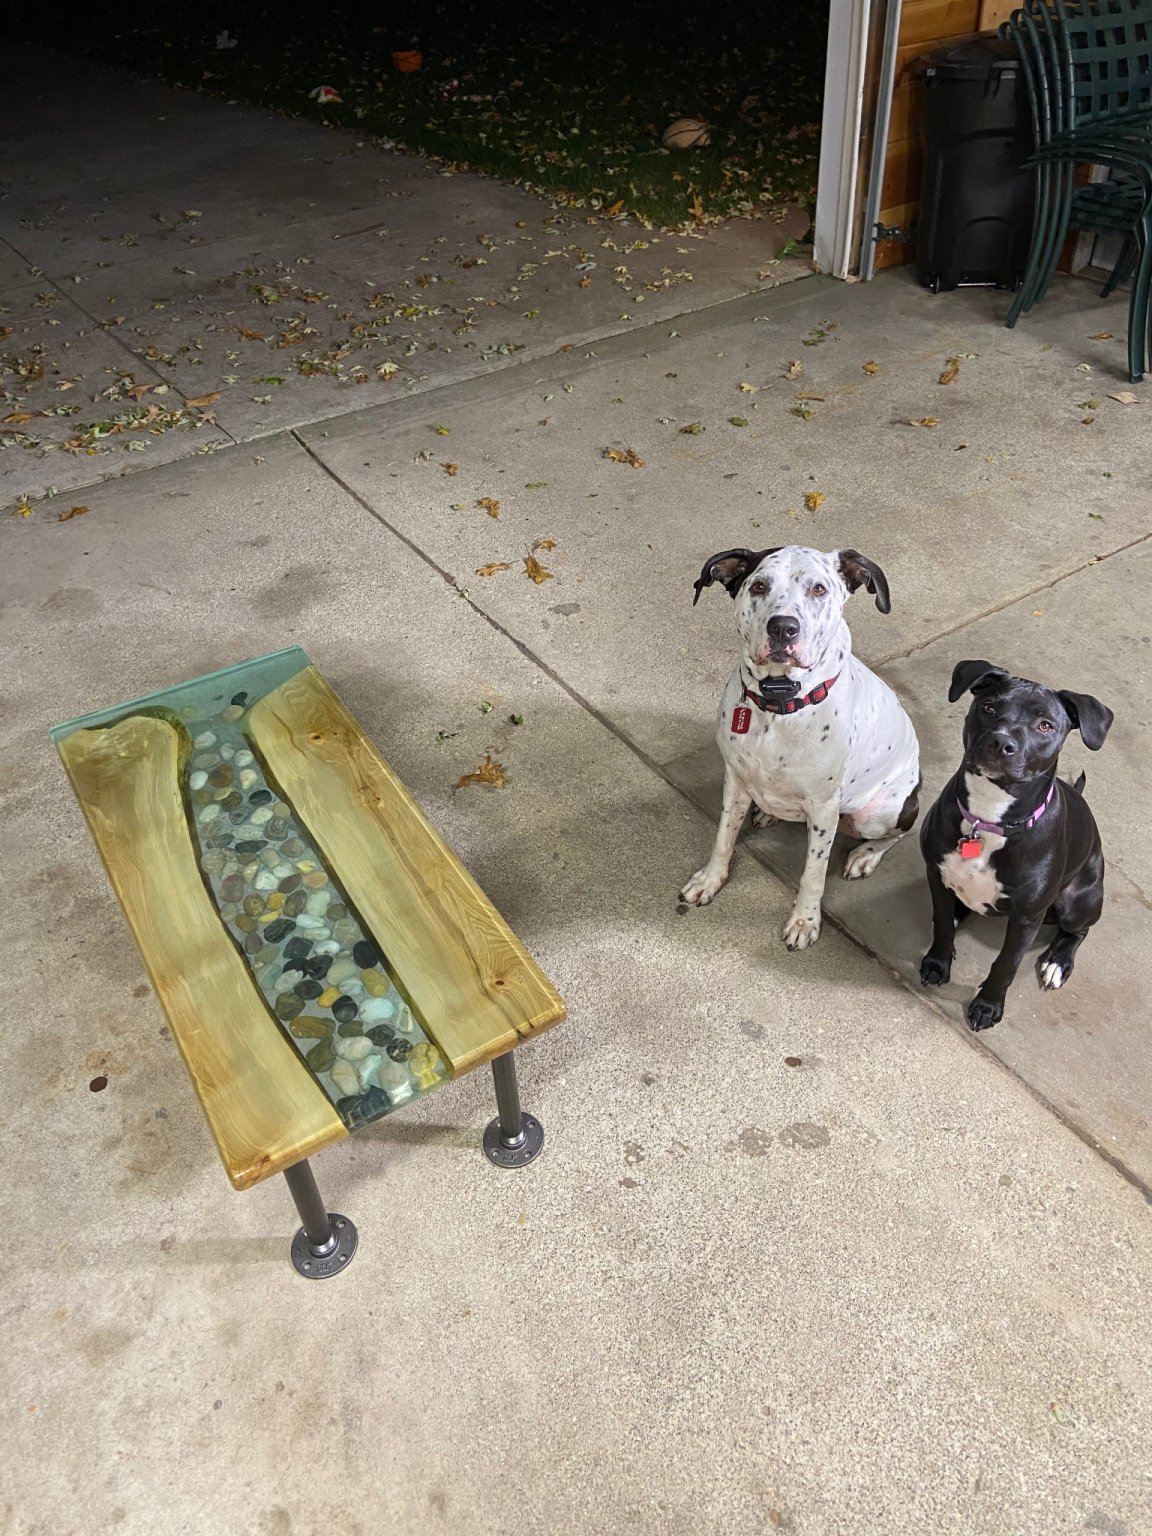
i Am not sure if I will be connecting the arms, just going to play it by ear. I have not had a chance to touch the boat since that post BUT Santa did bring me a tool box for the ship yard. I have wanted a gerstner for years, I was like a little kid opening a PlayStation haha. Andddd My pup on Xmas day just for fun.


-
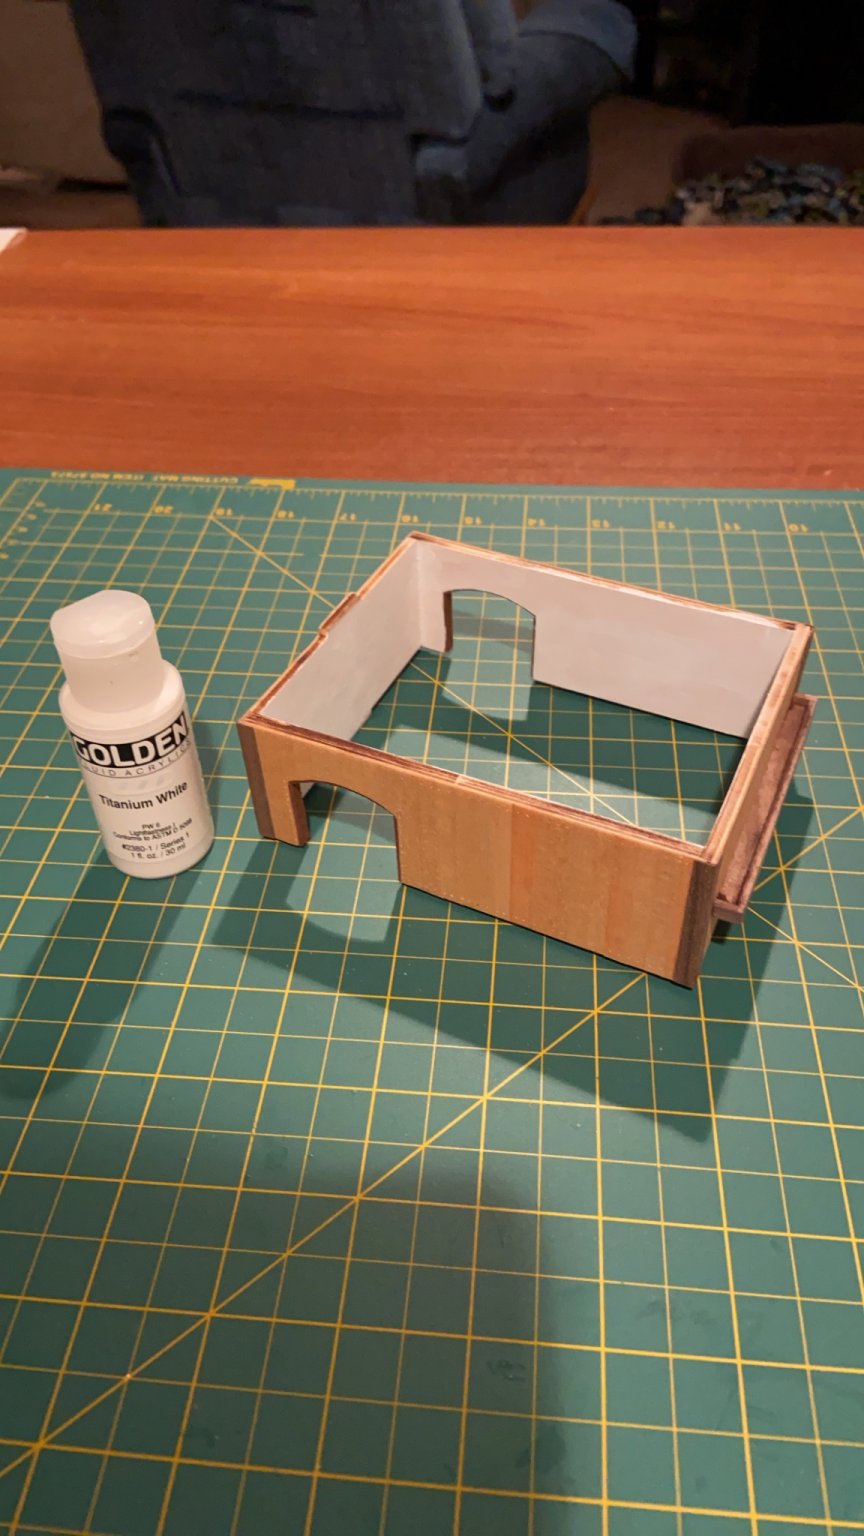
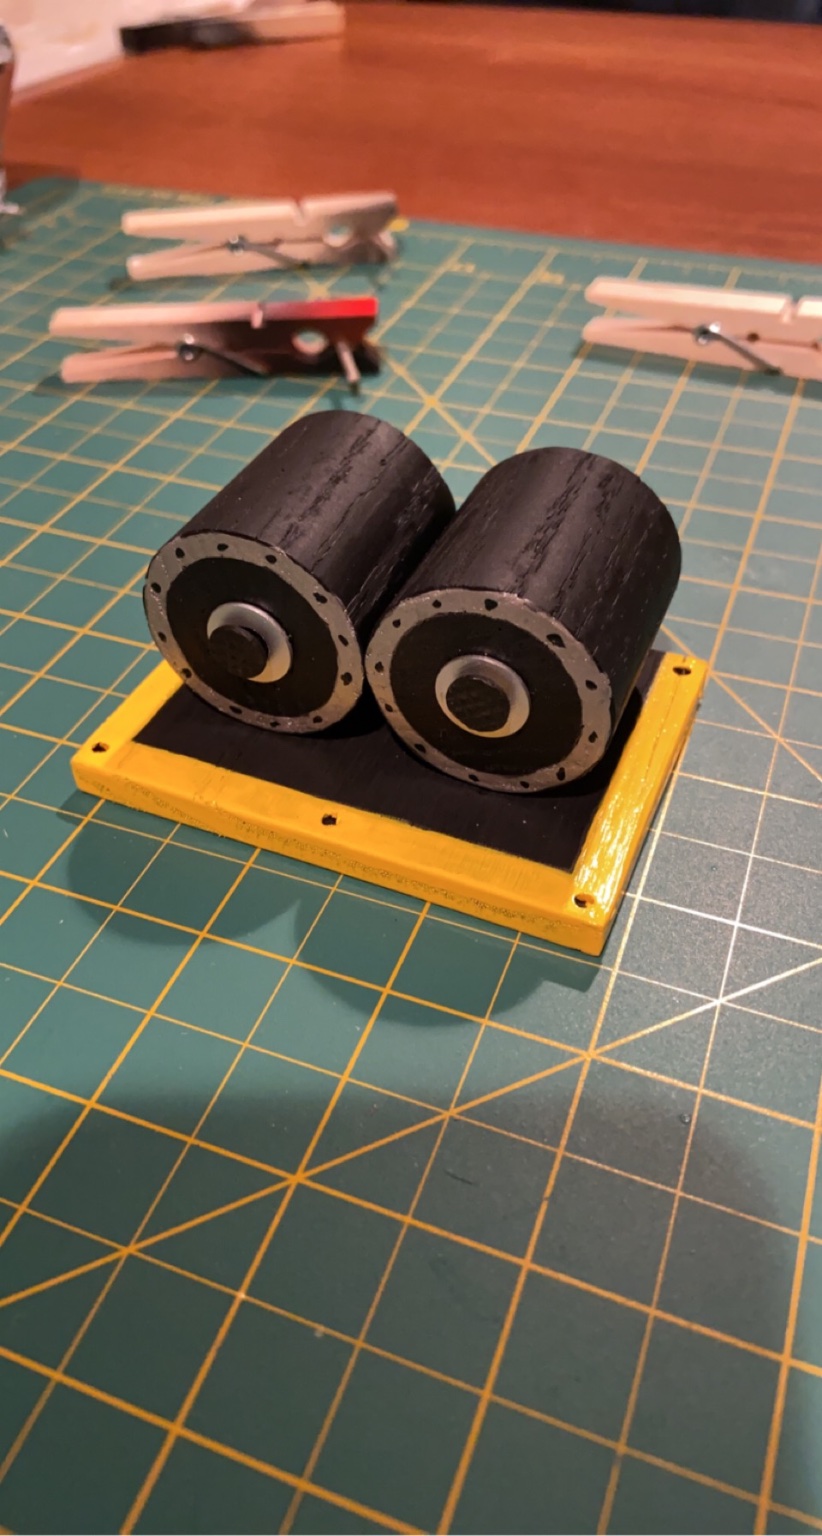
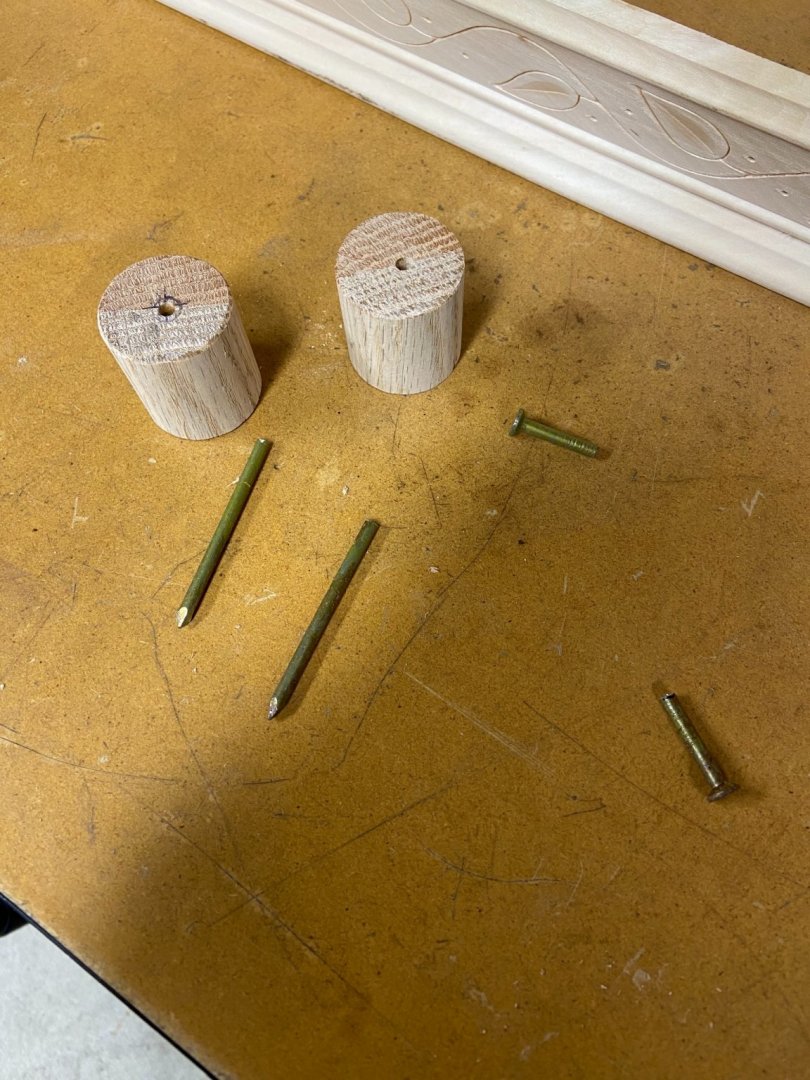
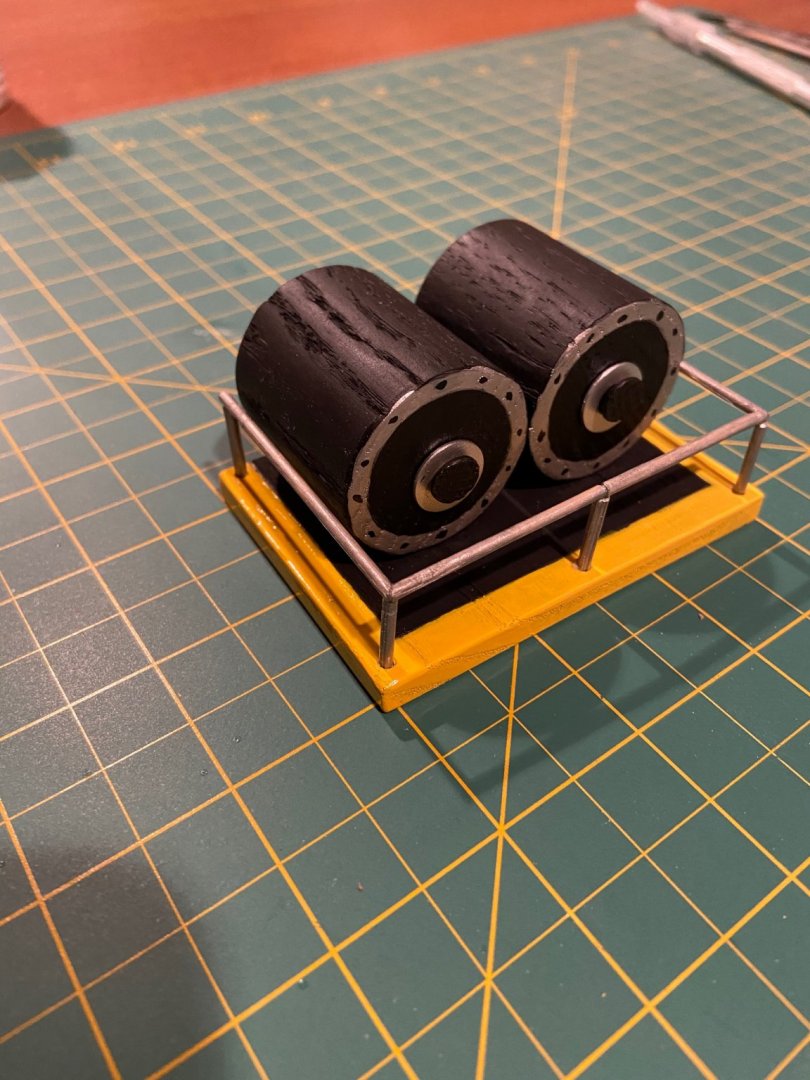
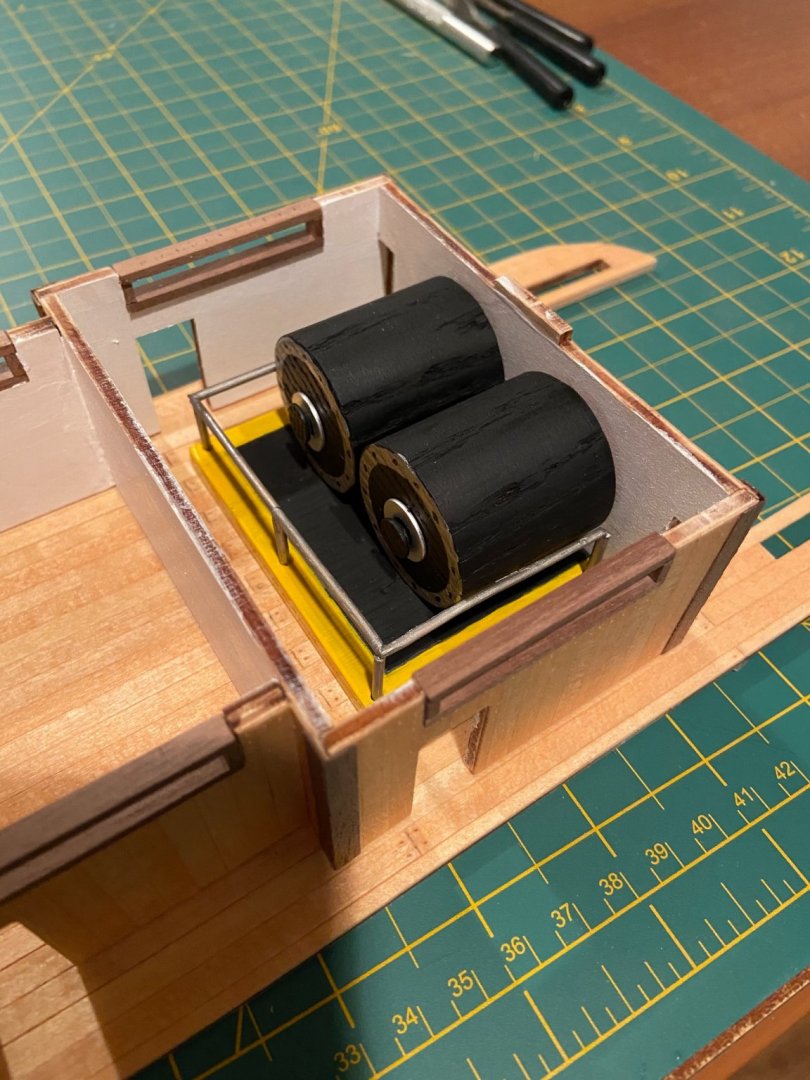
Still here and trucking away slowly. Since I am putting lights on it I decided to leave a few rooms open, granted the doors are small so looking inside is limited. I started painting the first level room walls white, and putting a rudimentary steam engine in the room closest to the stern. Hours at work have been long and I just purchased a nee truck so rather than shop and try to buy stuff to make the engine, I decided to use old stuff I had sitting around. I used a piece of 1 1/2 oak dowel for the engines itself and painted them black, painted a nail black and a washer silver and used that for the cap on the end. It’s not very accurate, but it was quick and took my mind off things. I haven’t decided what the room next to it will be, so if anyone has any suggestions I’m open to them haha


-
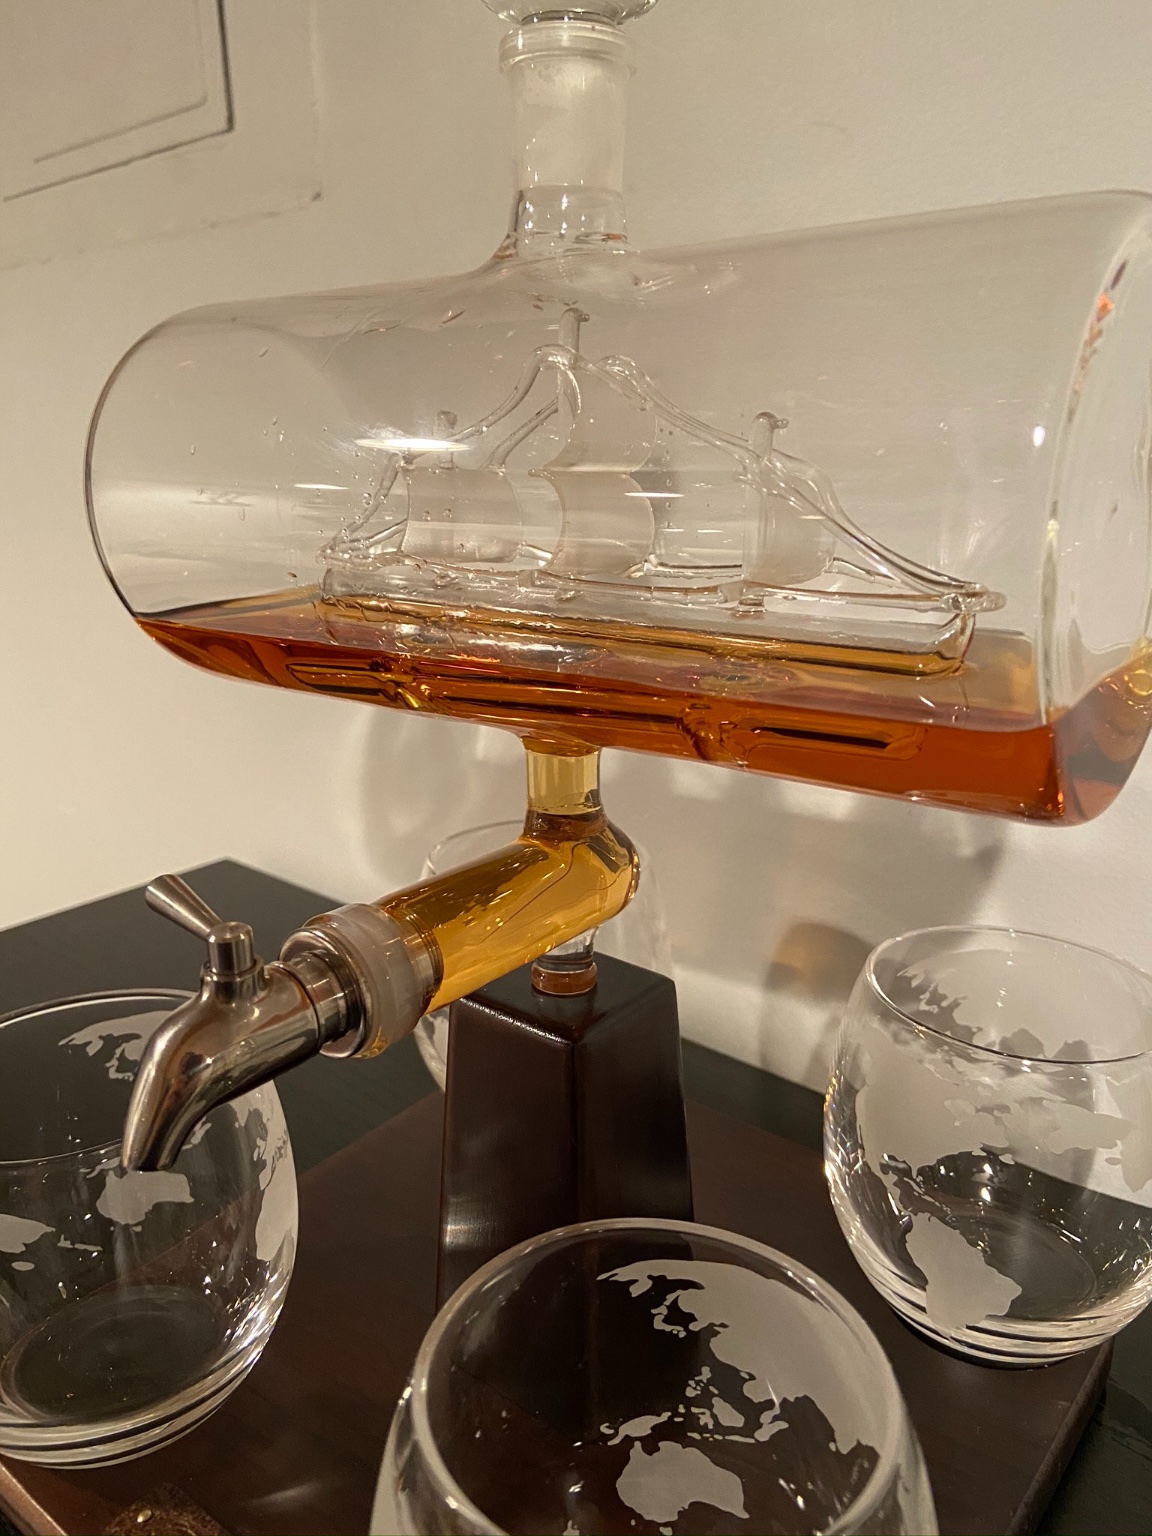
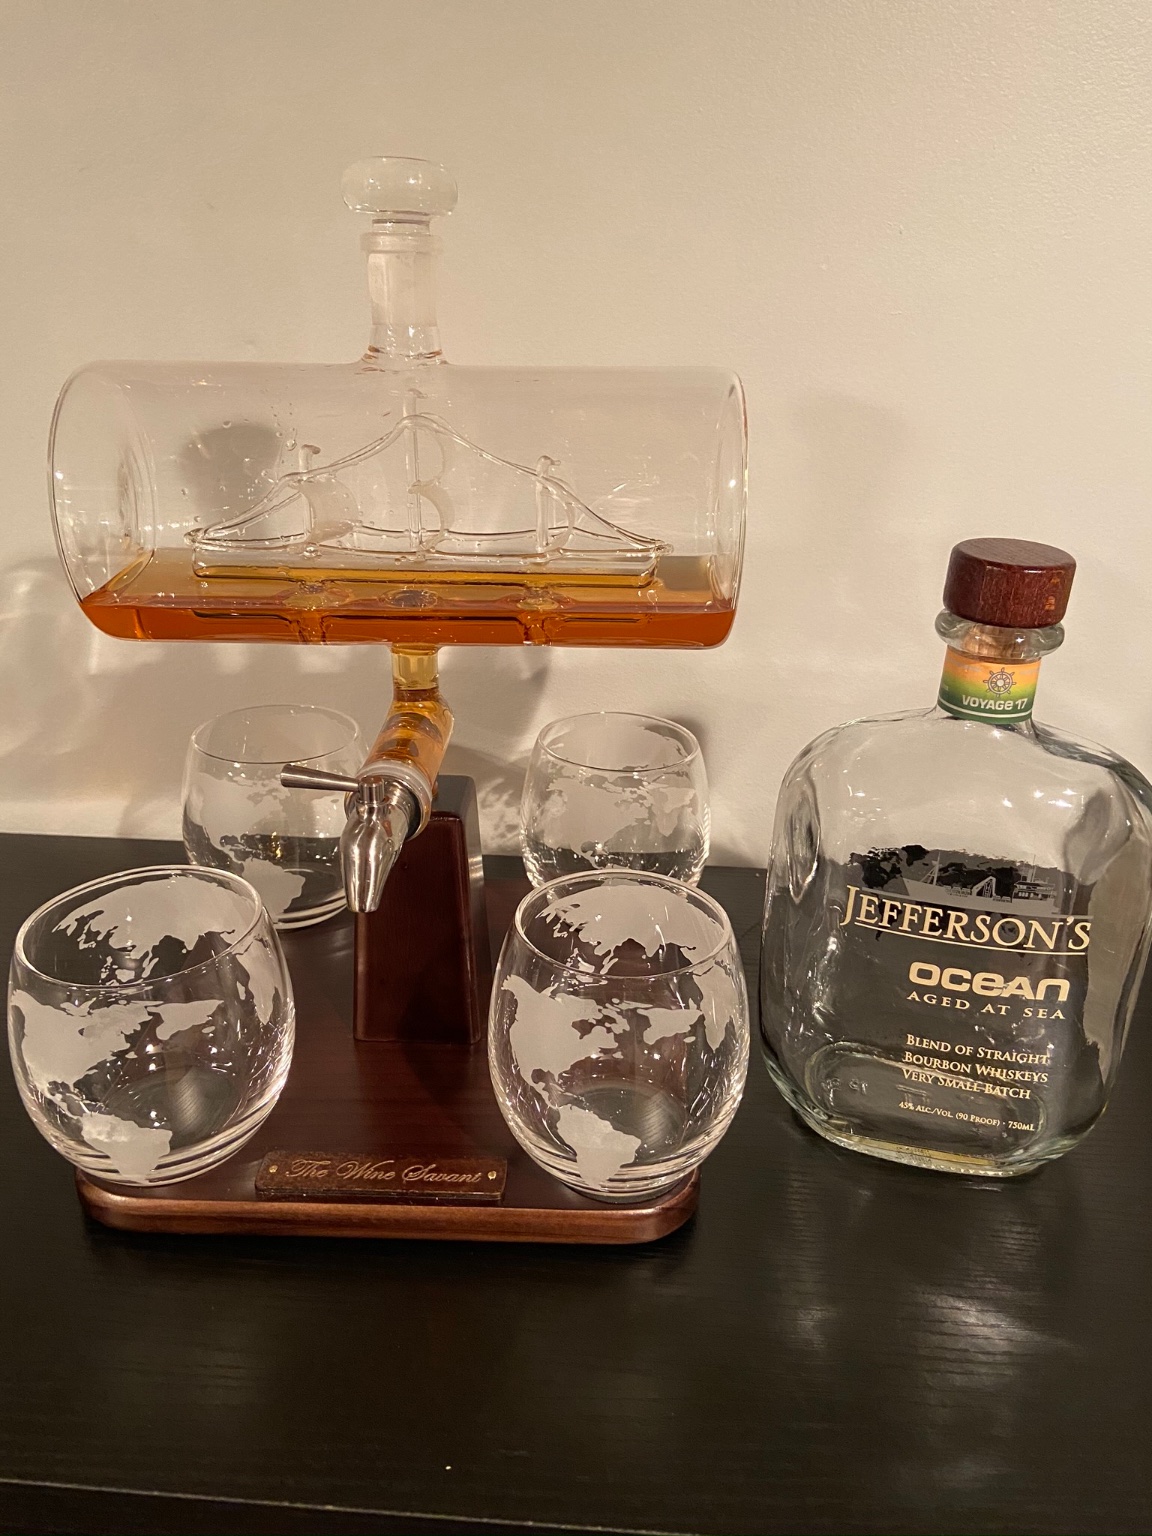
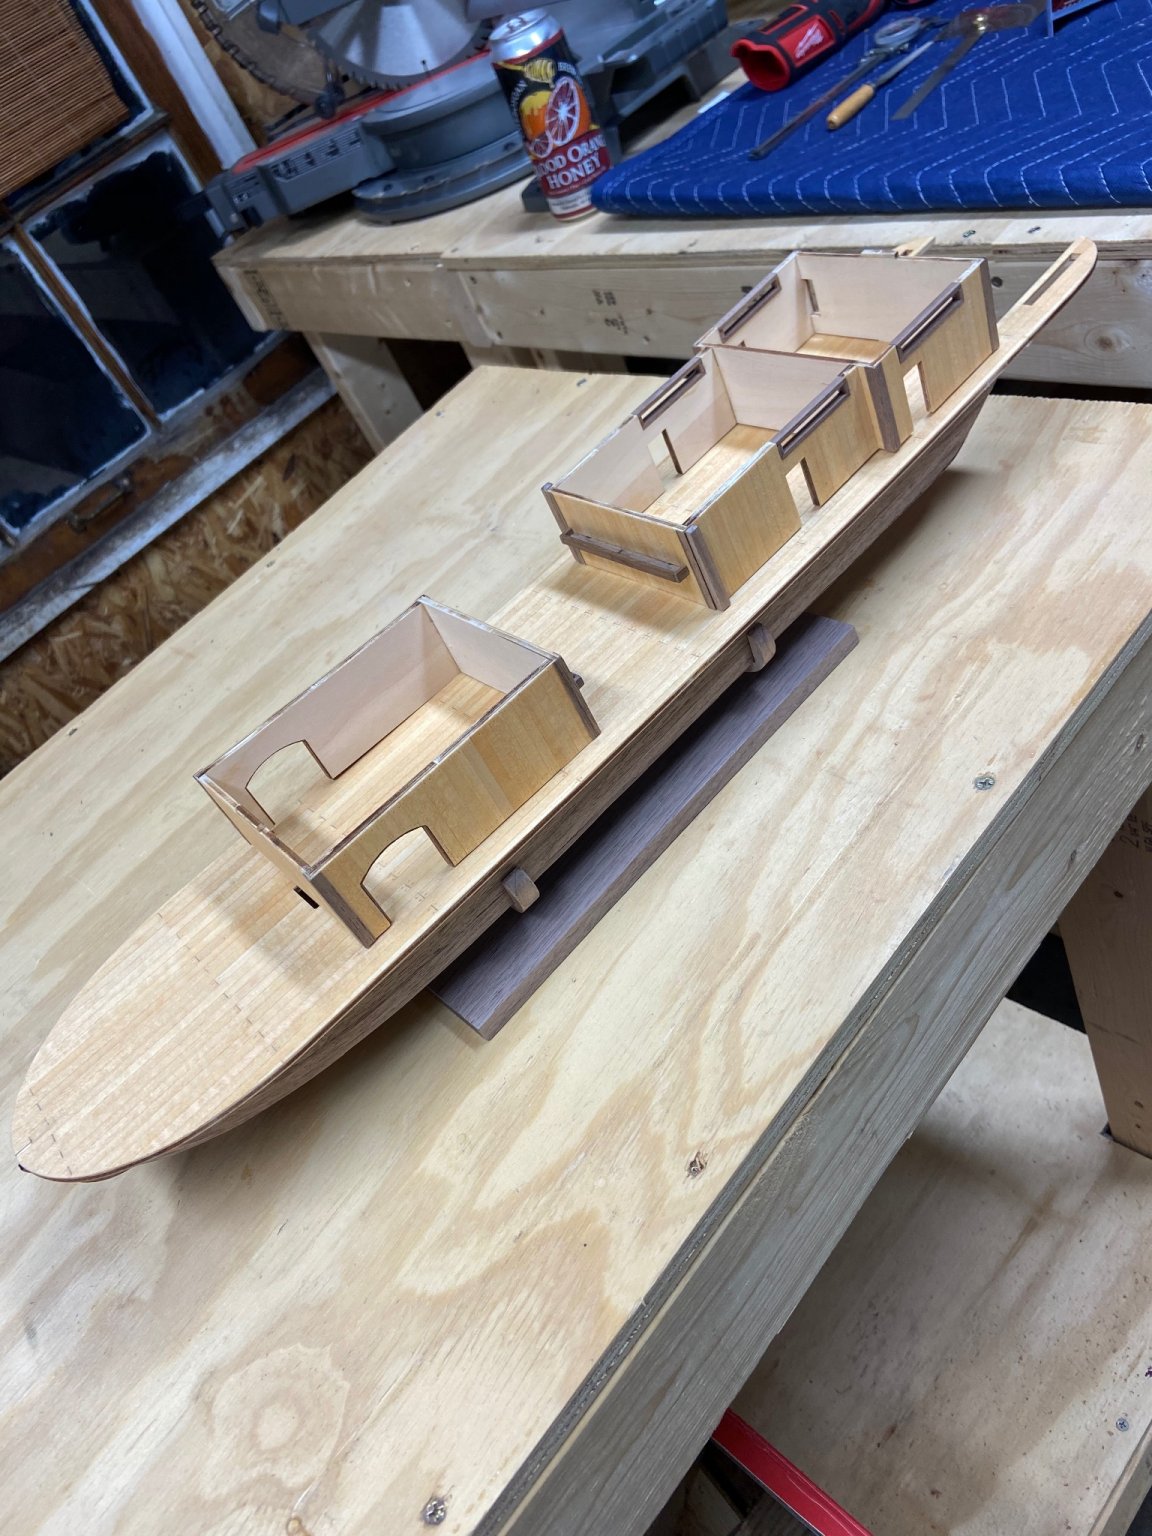
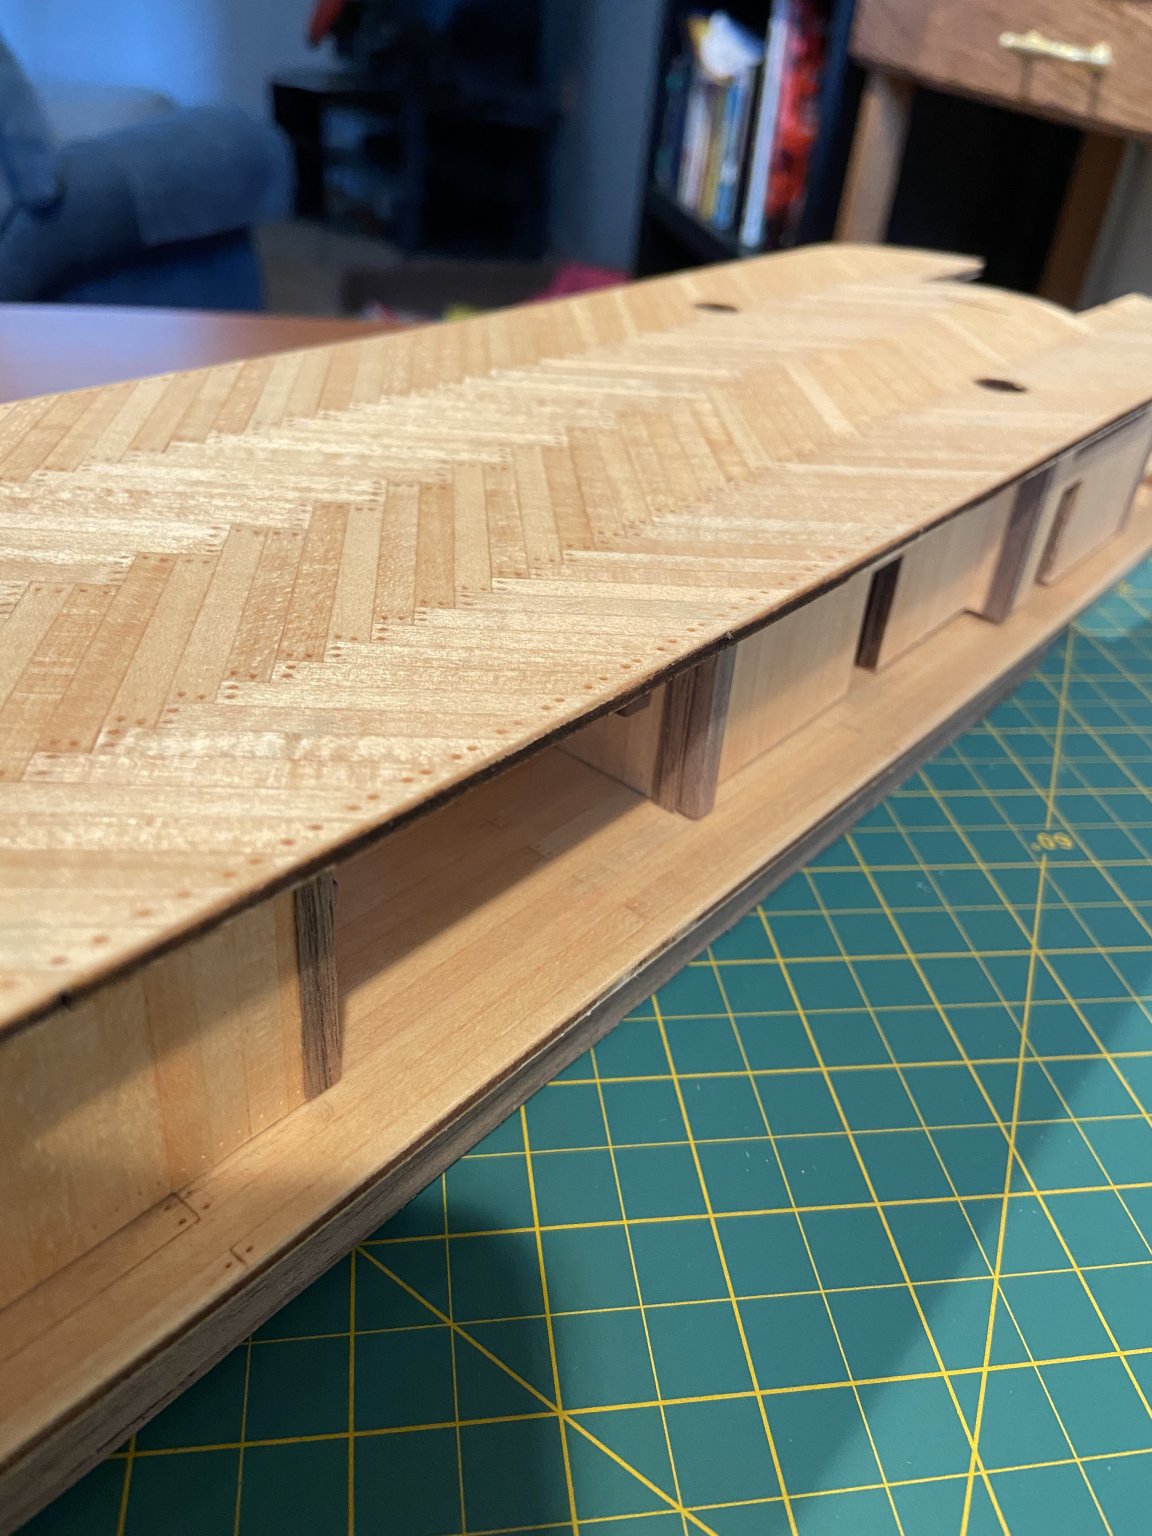
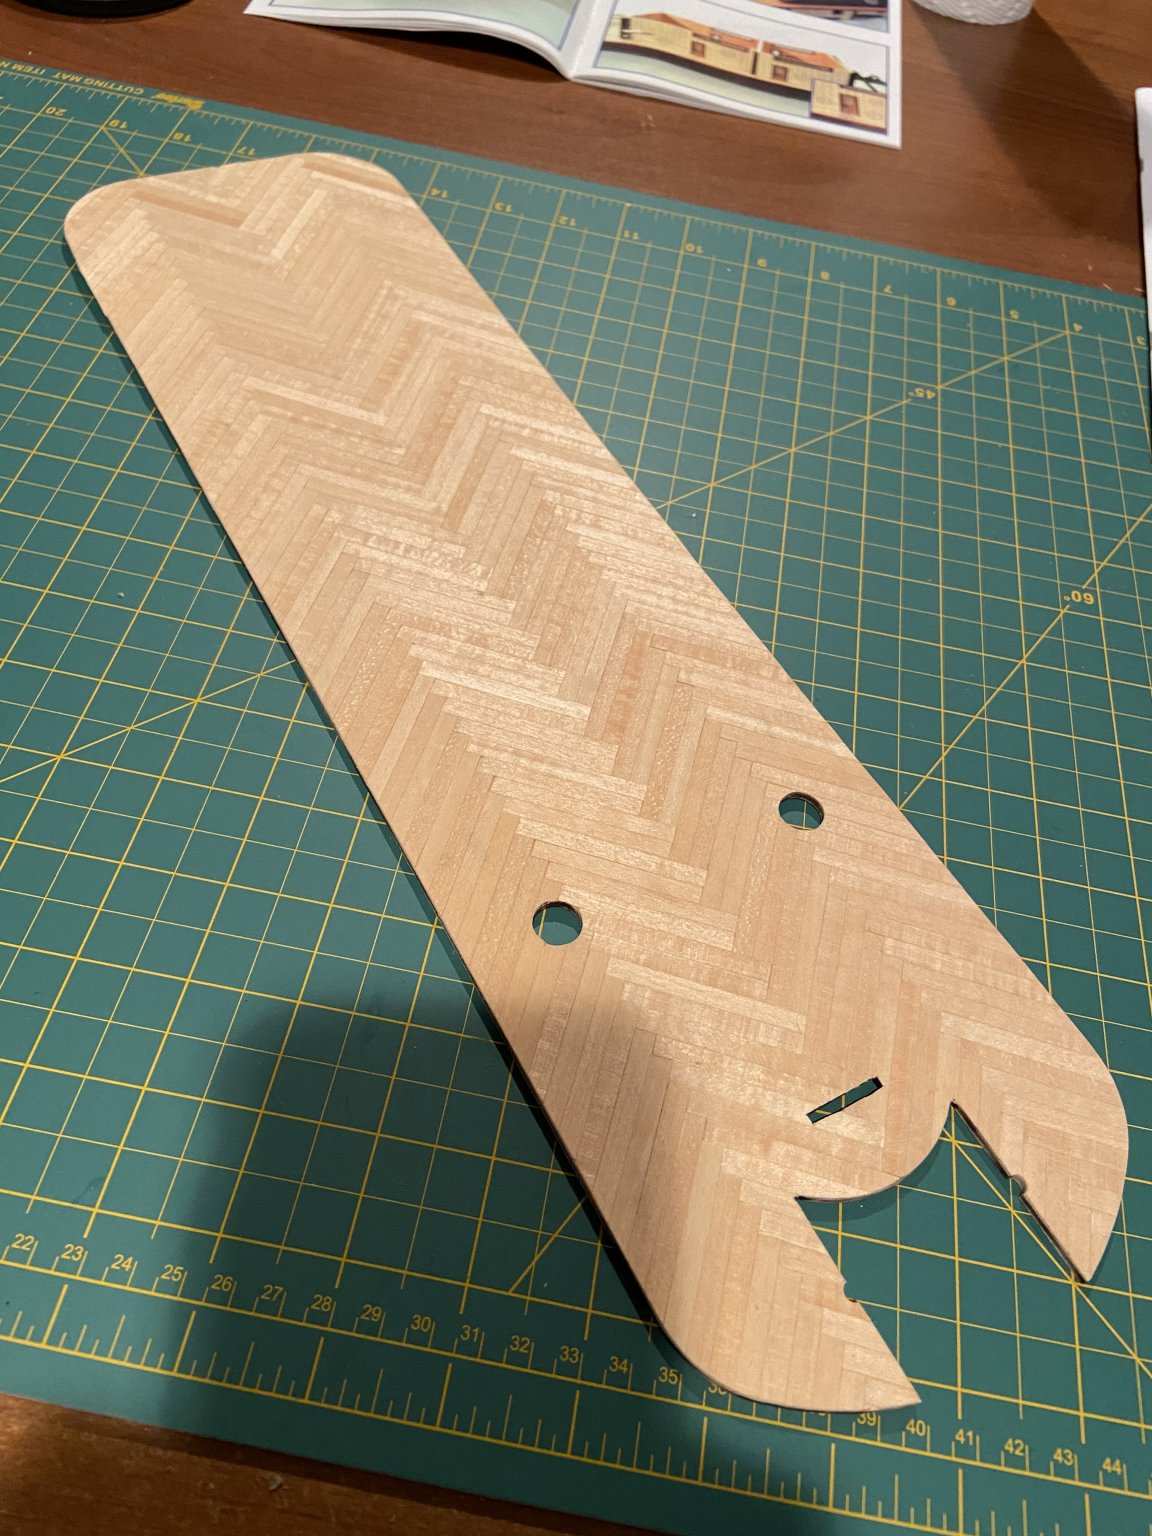
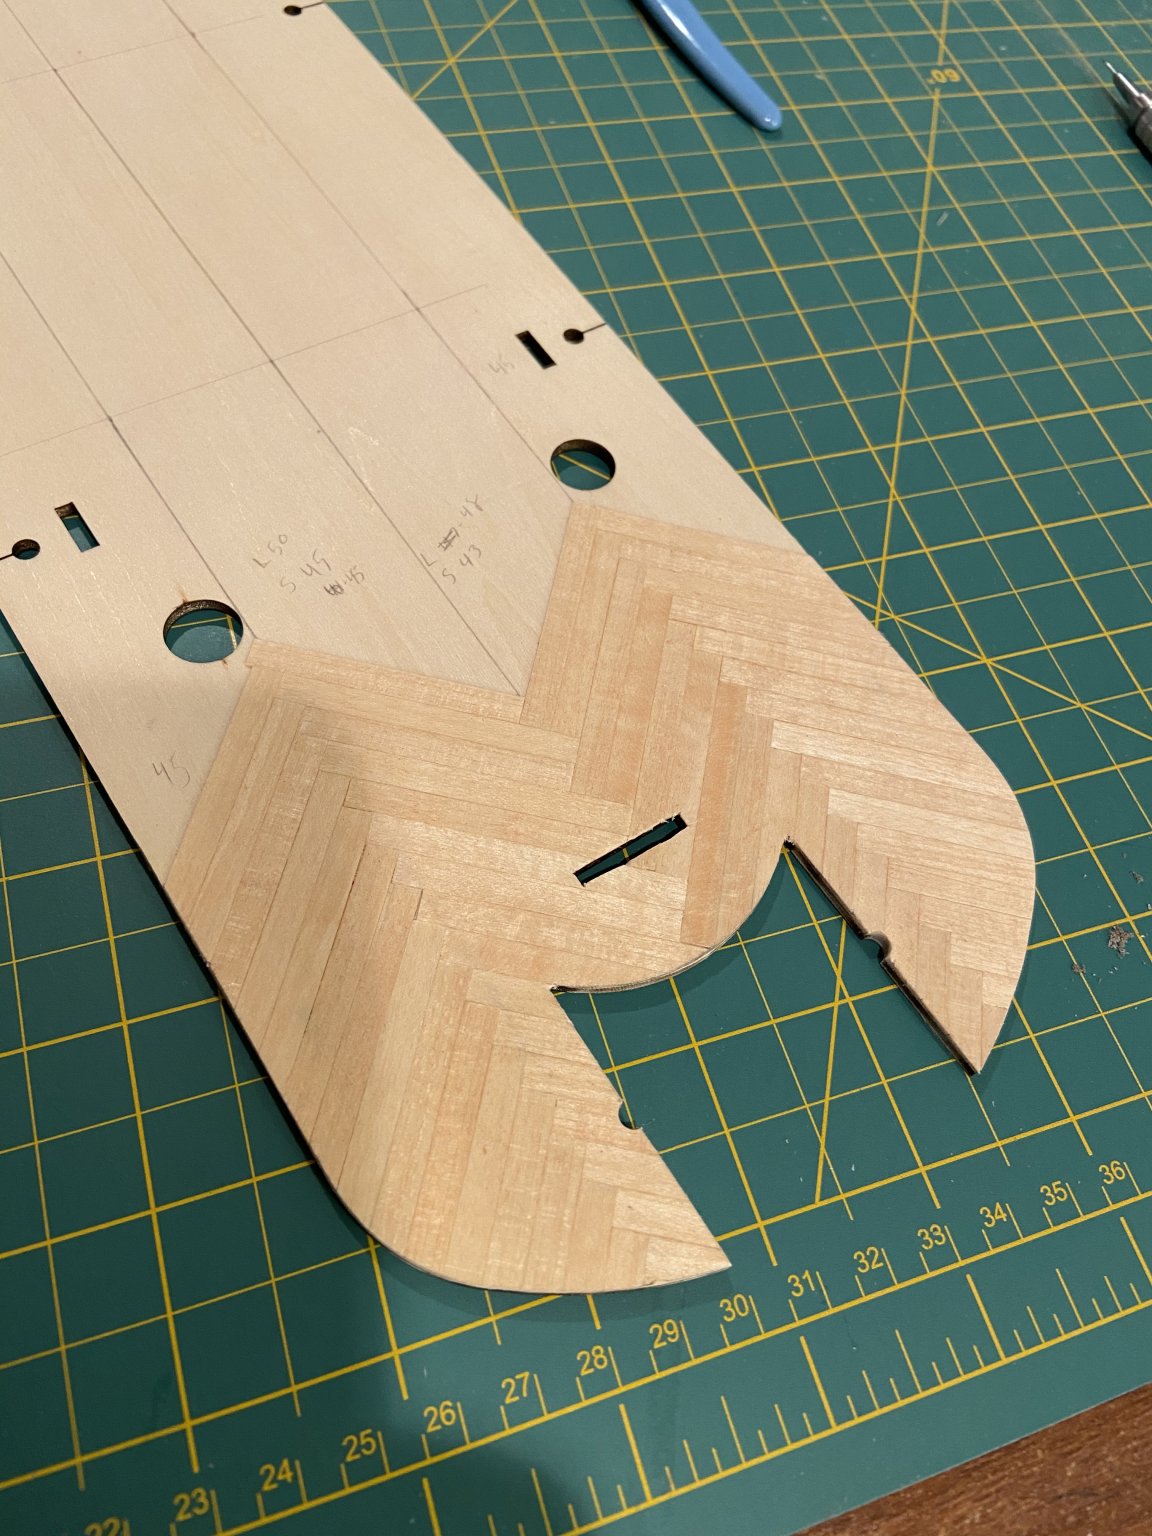
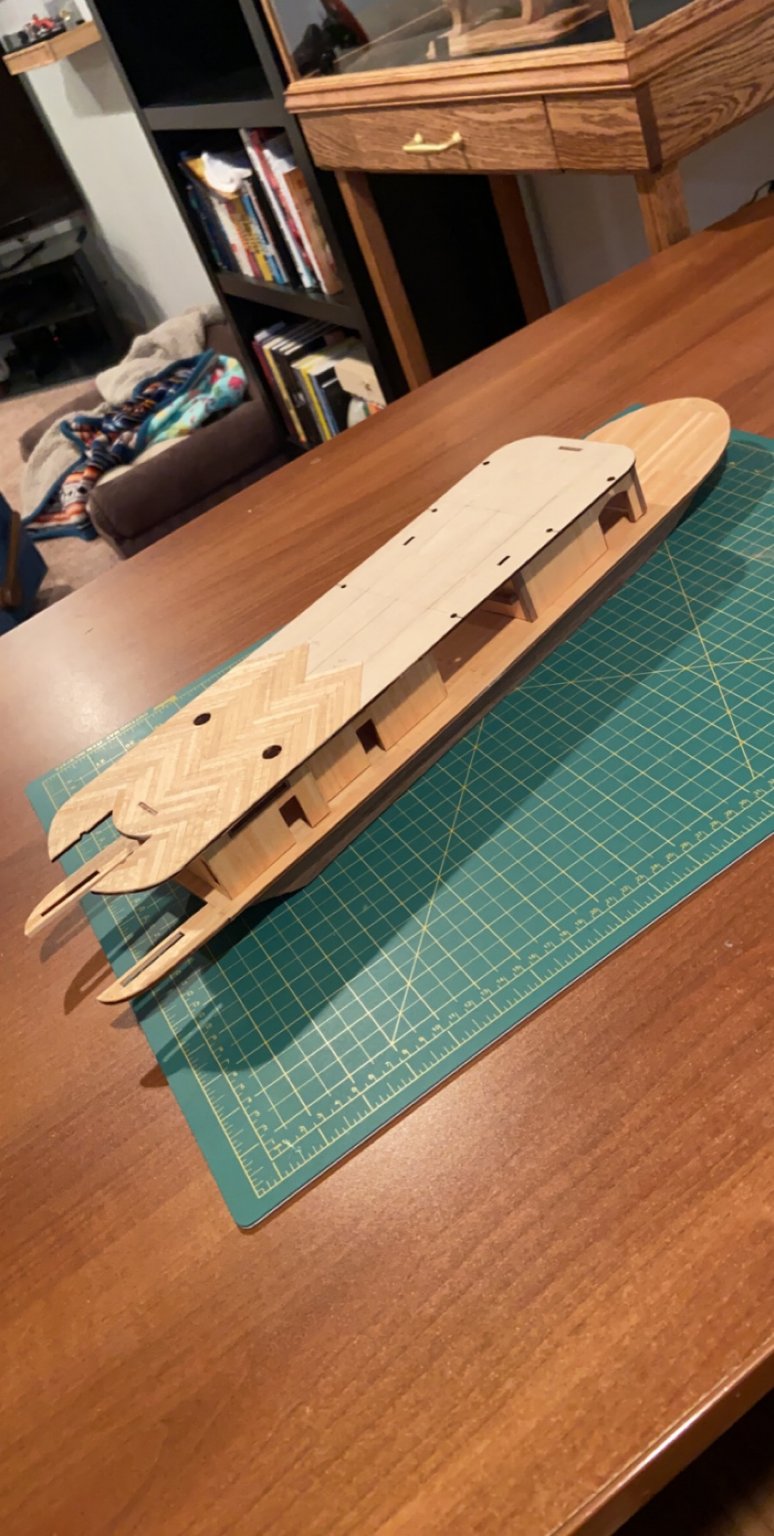
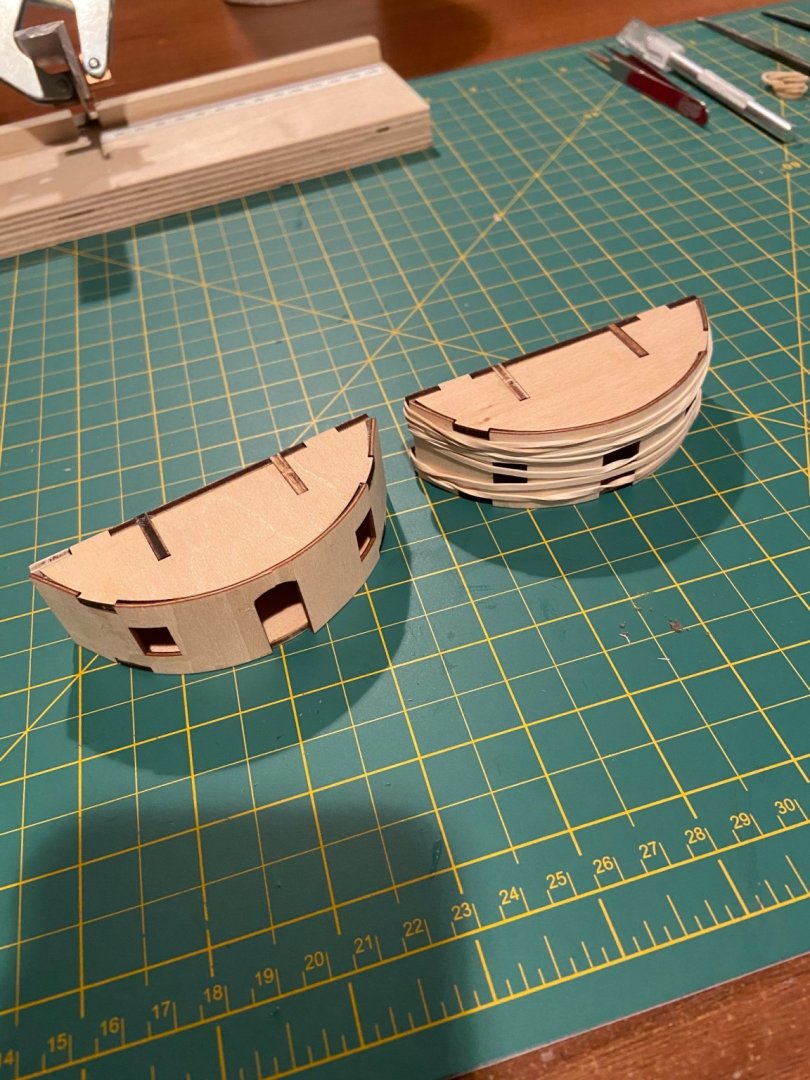
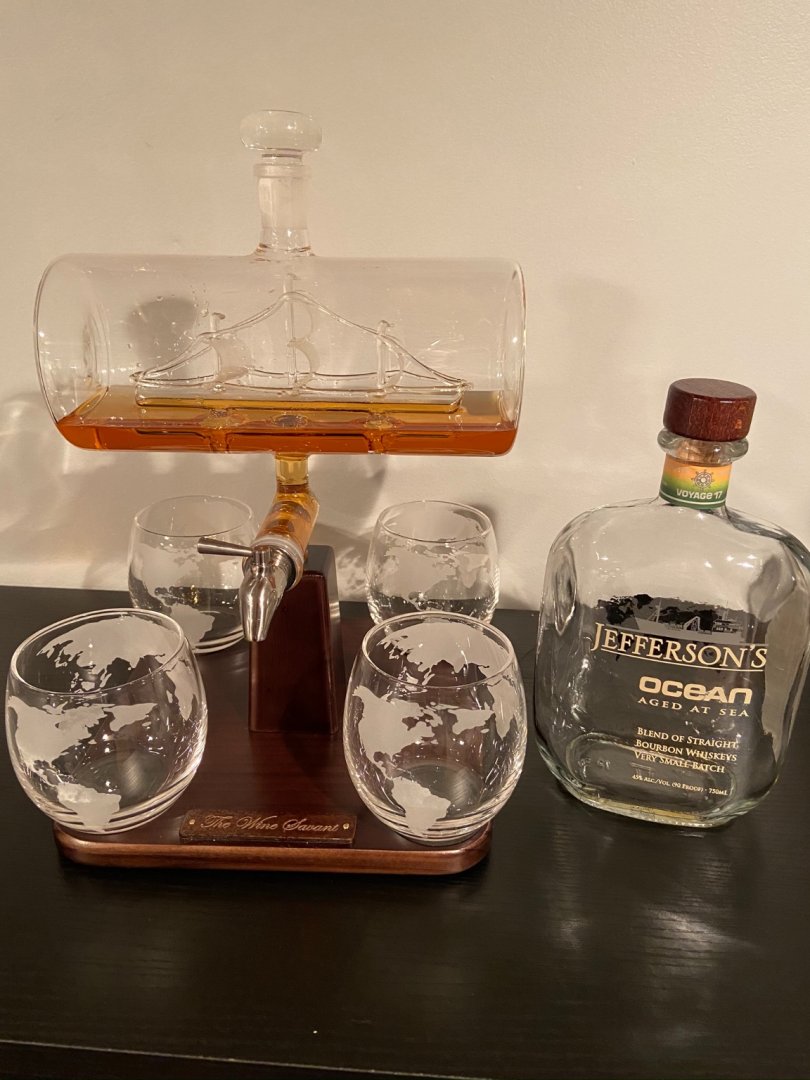
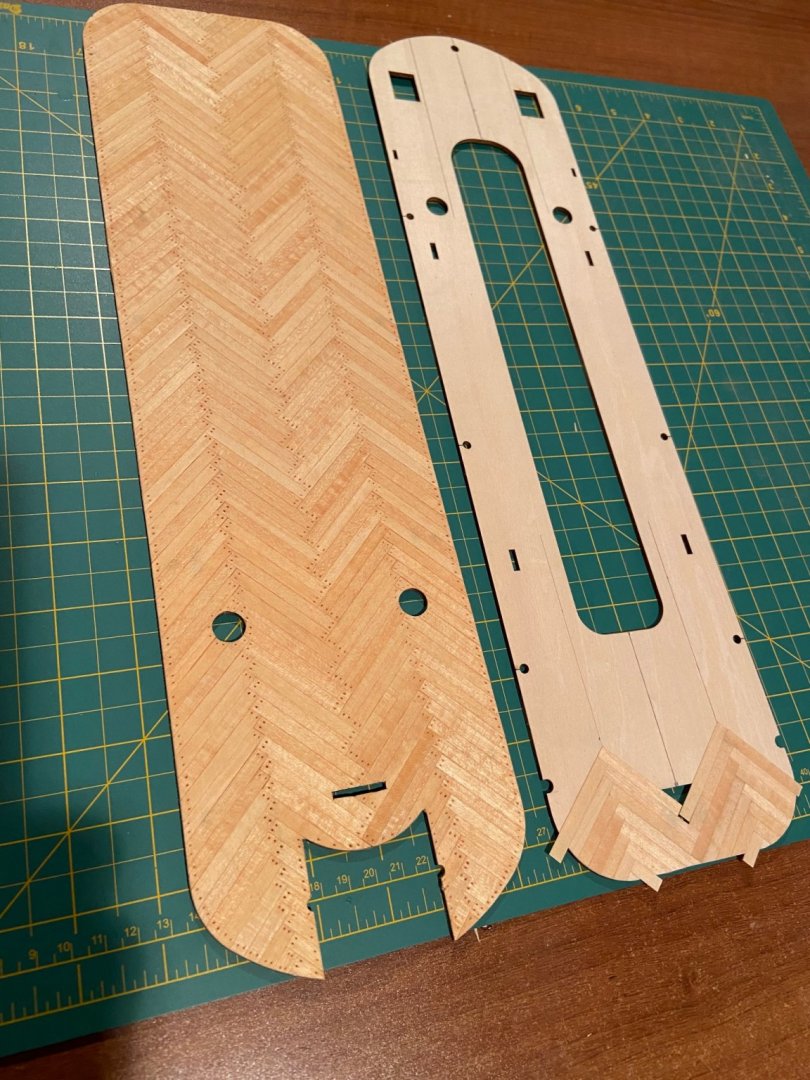
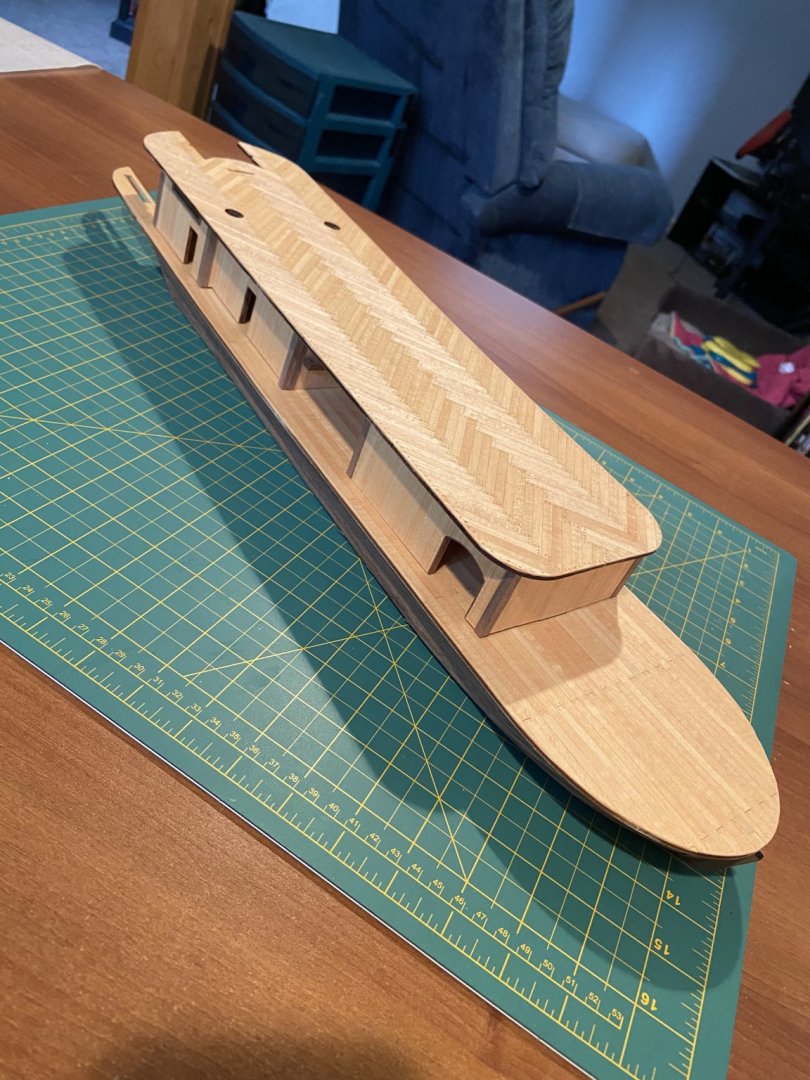
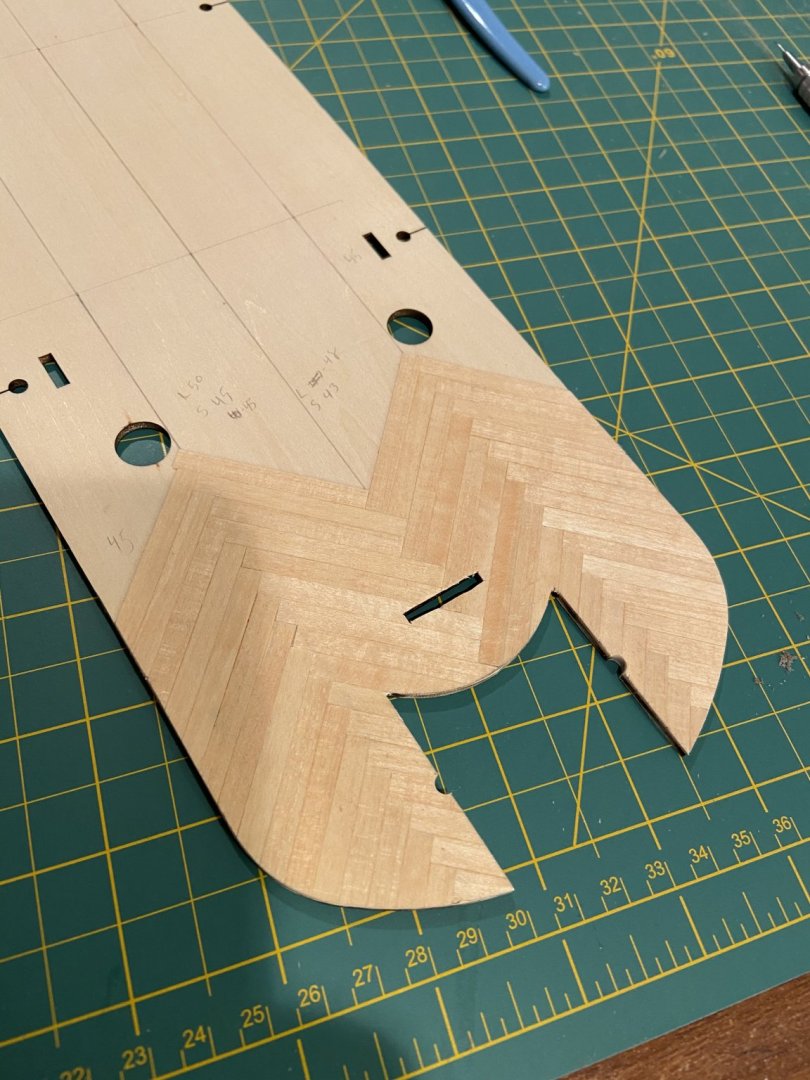
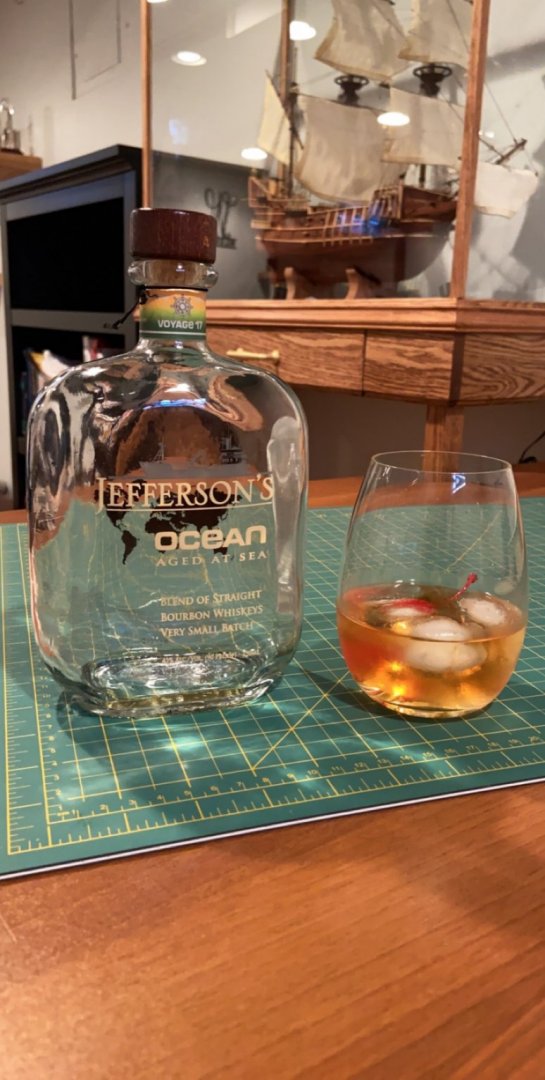
Still working on the deck planking, I forget what the name of this style is, it sure is painstaking to do, it sure does look great when it’s finished. for the second level, I have started the rooms for it and had quite a hard time bending the walls around the frame. On both pieces the walls broke at the top of the door frame. Easy fix, just needed some extra glue and a clamp, so overall no big deal. I also had to contact Artesania Latina for more walnut planks, after finishing the hull I tossed the rest out. Bad idea my good buddy also got me this awesome bourbon decanter, figured I’d share if witg you guys


-
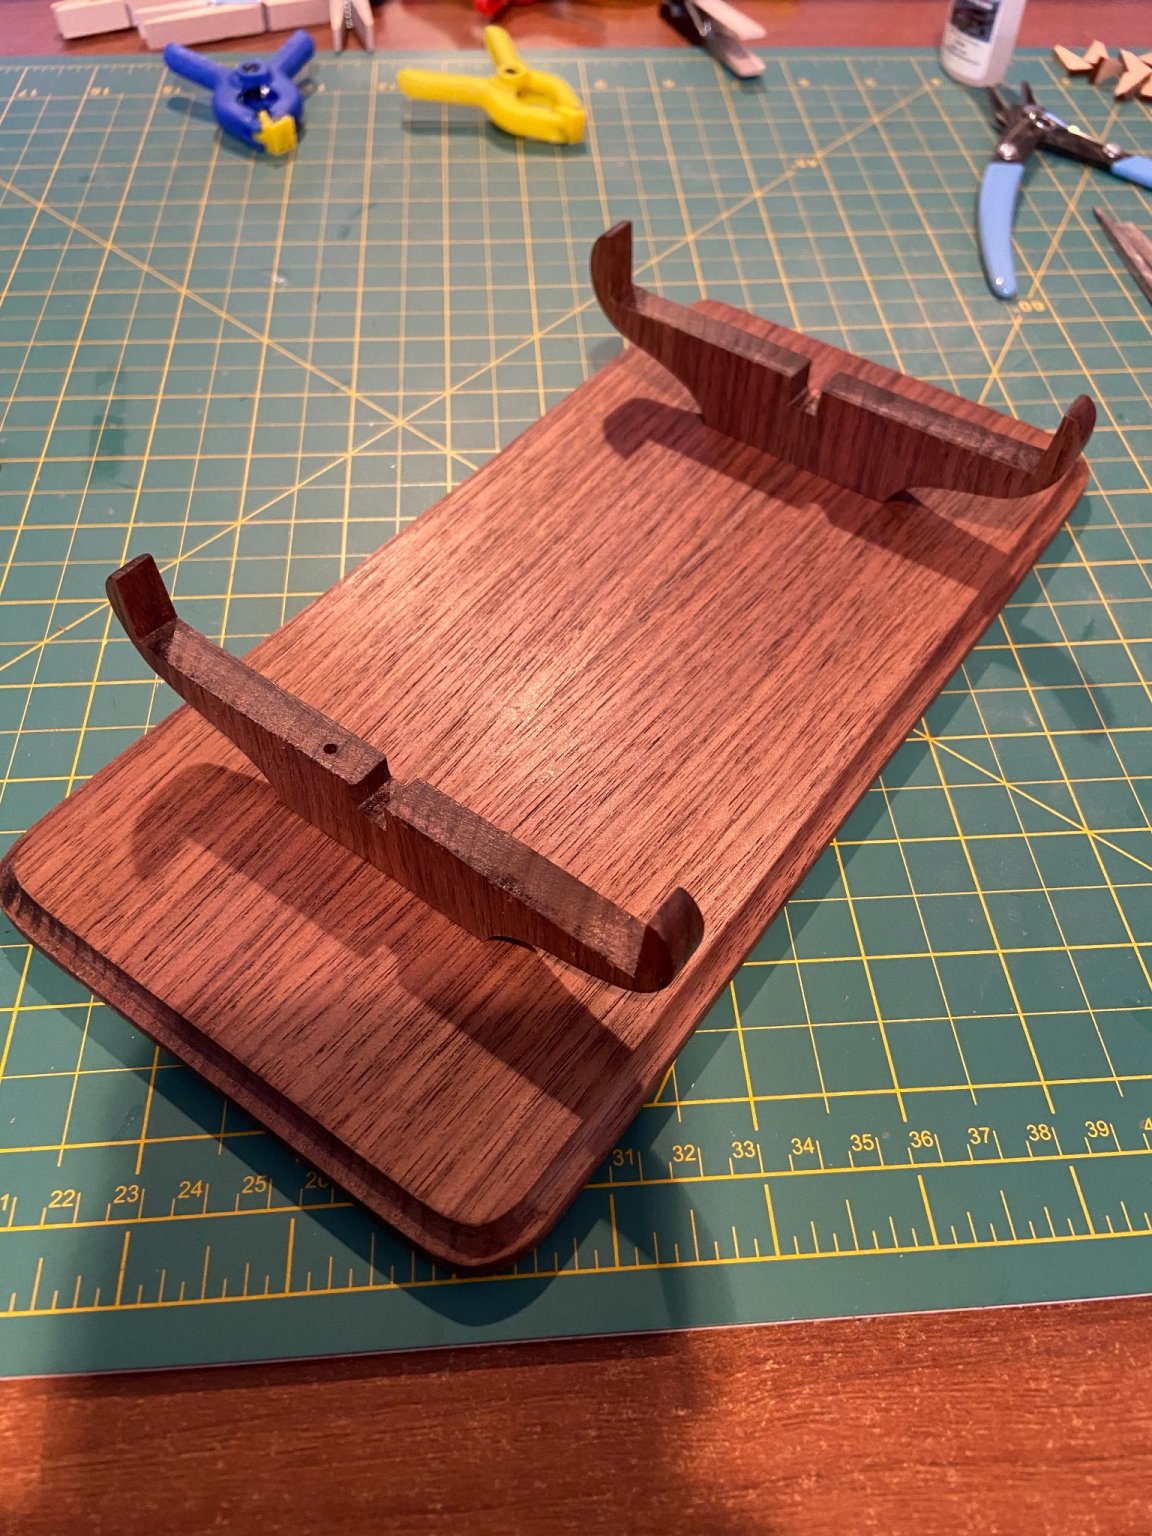
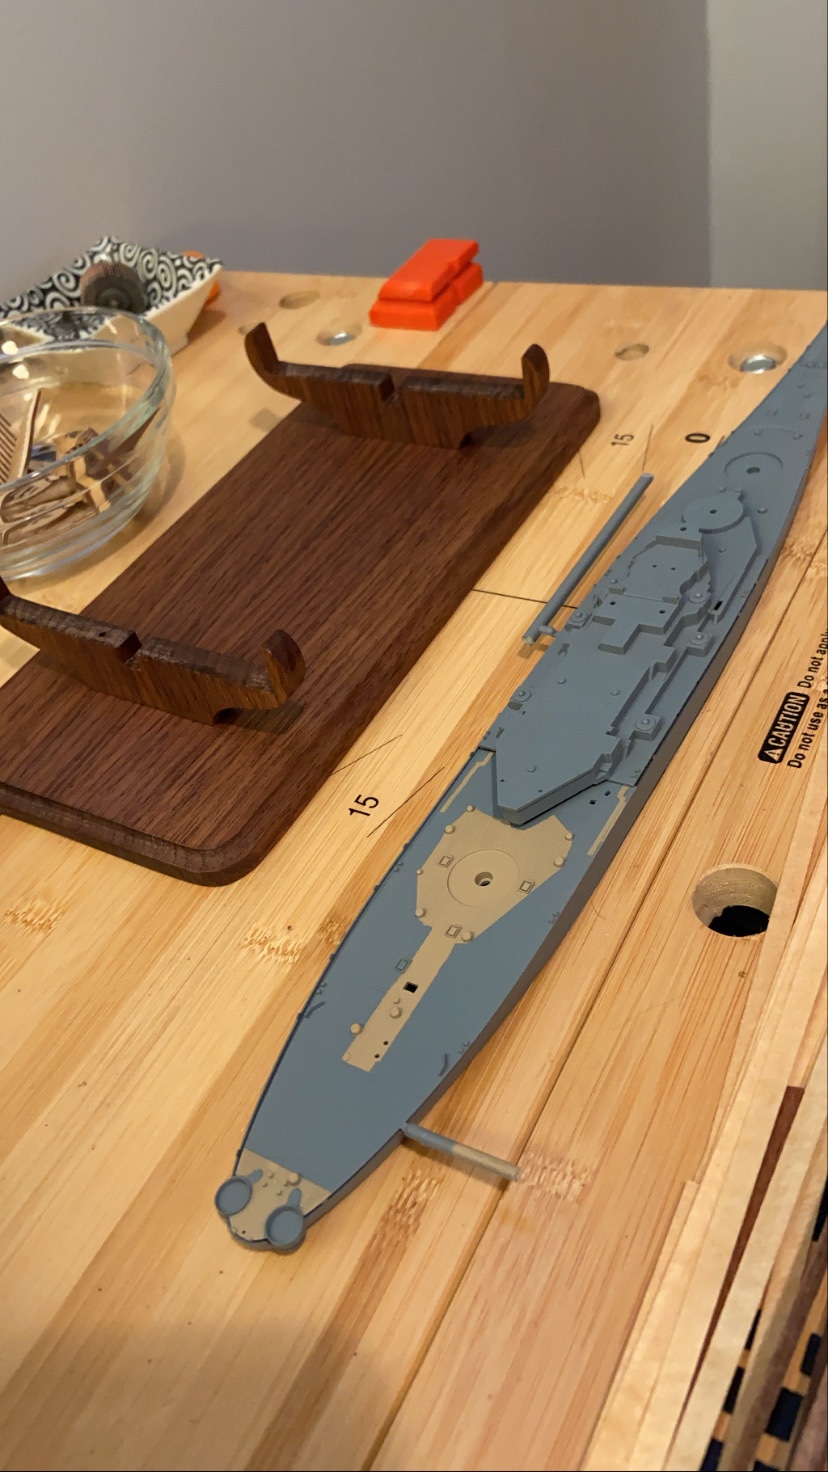
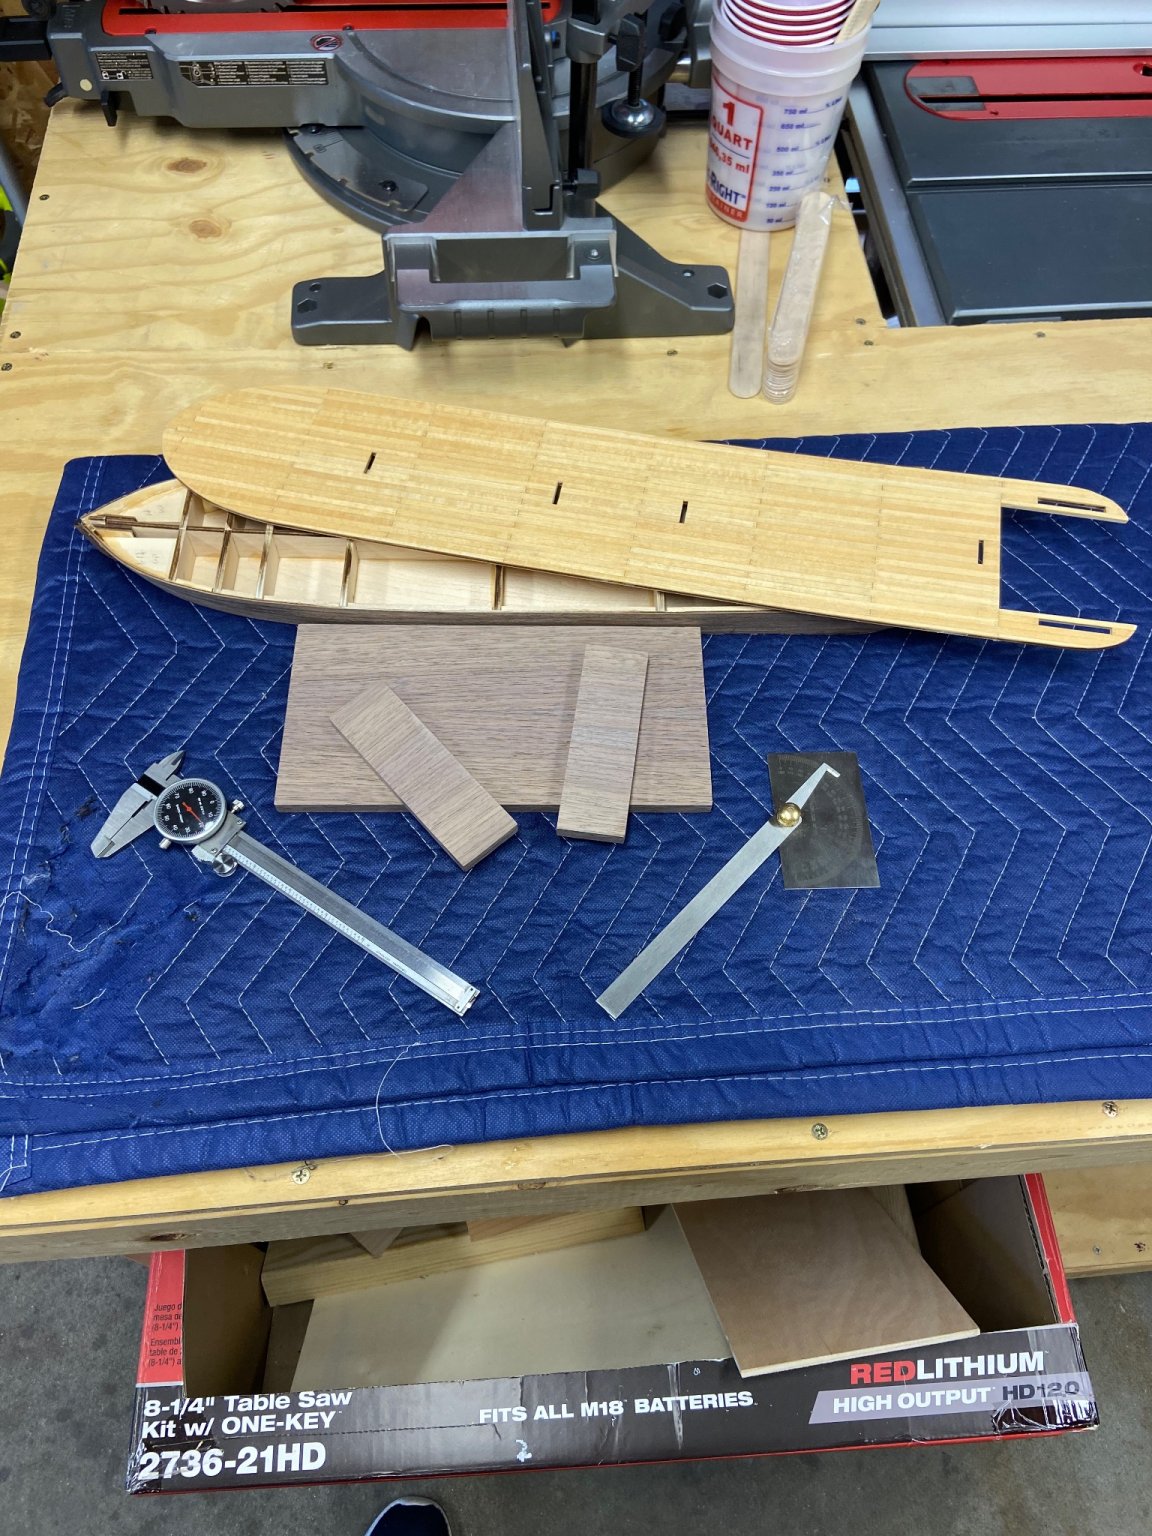
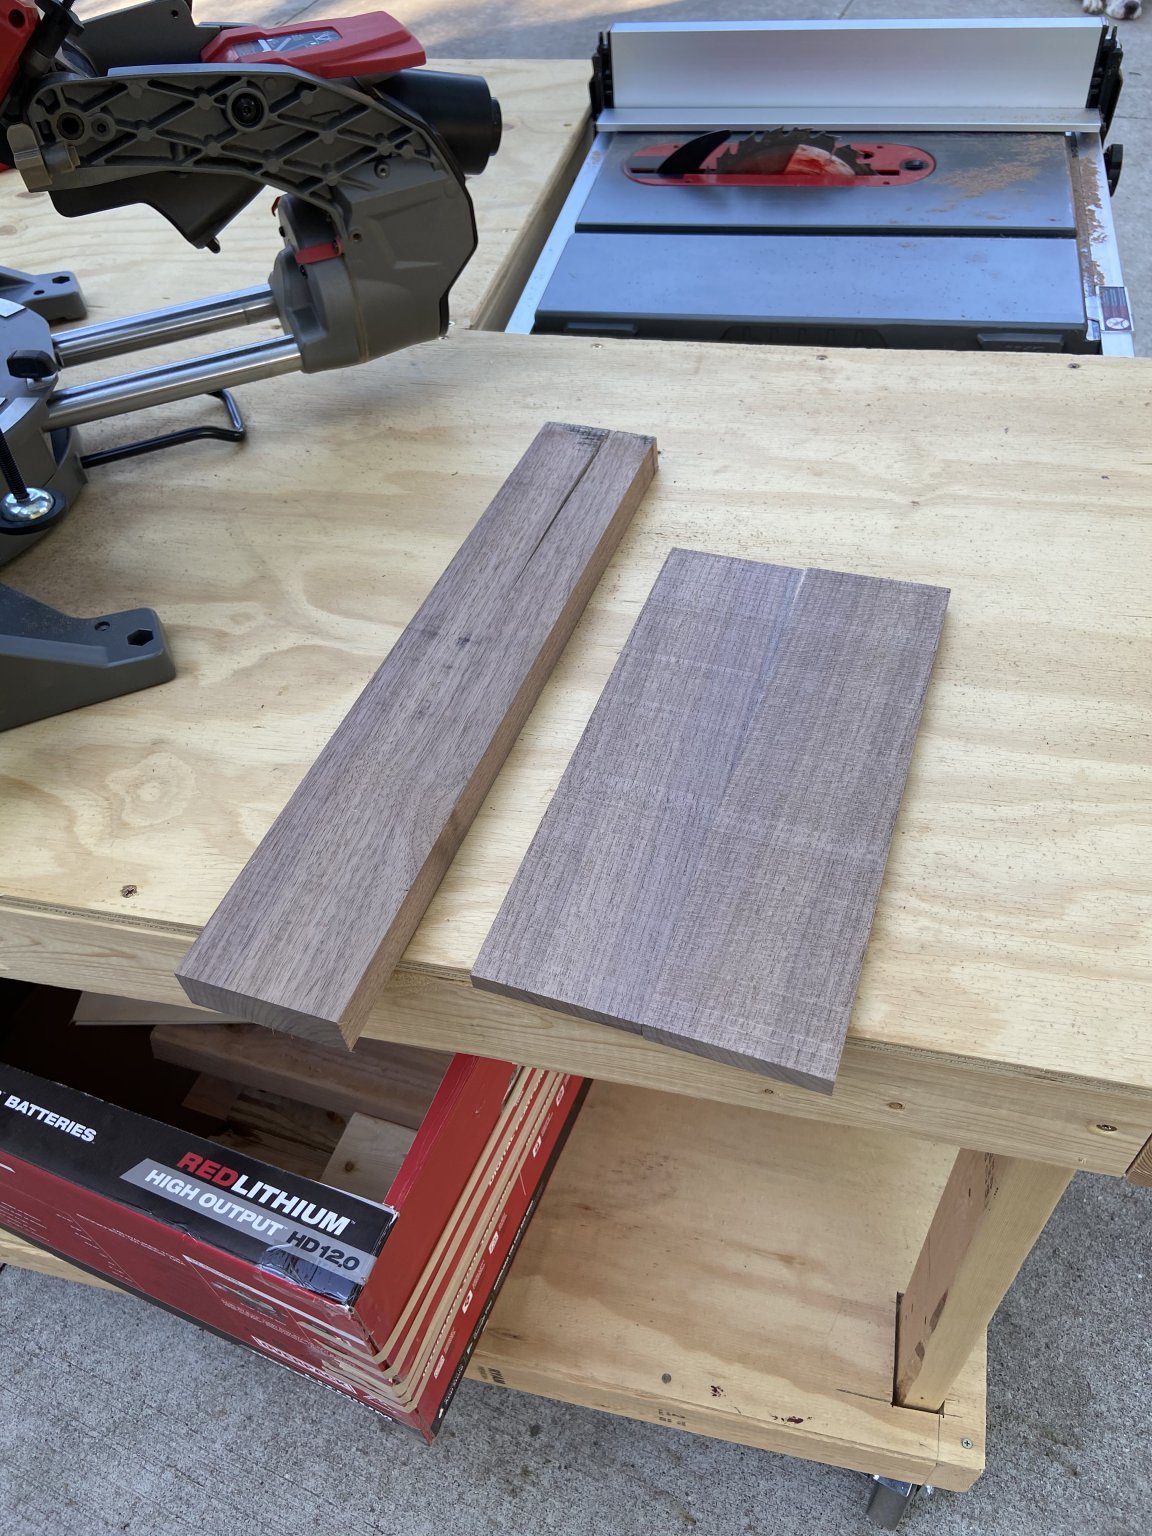
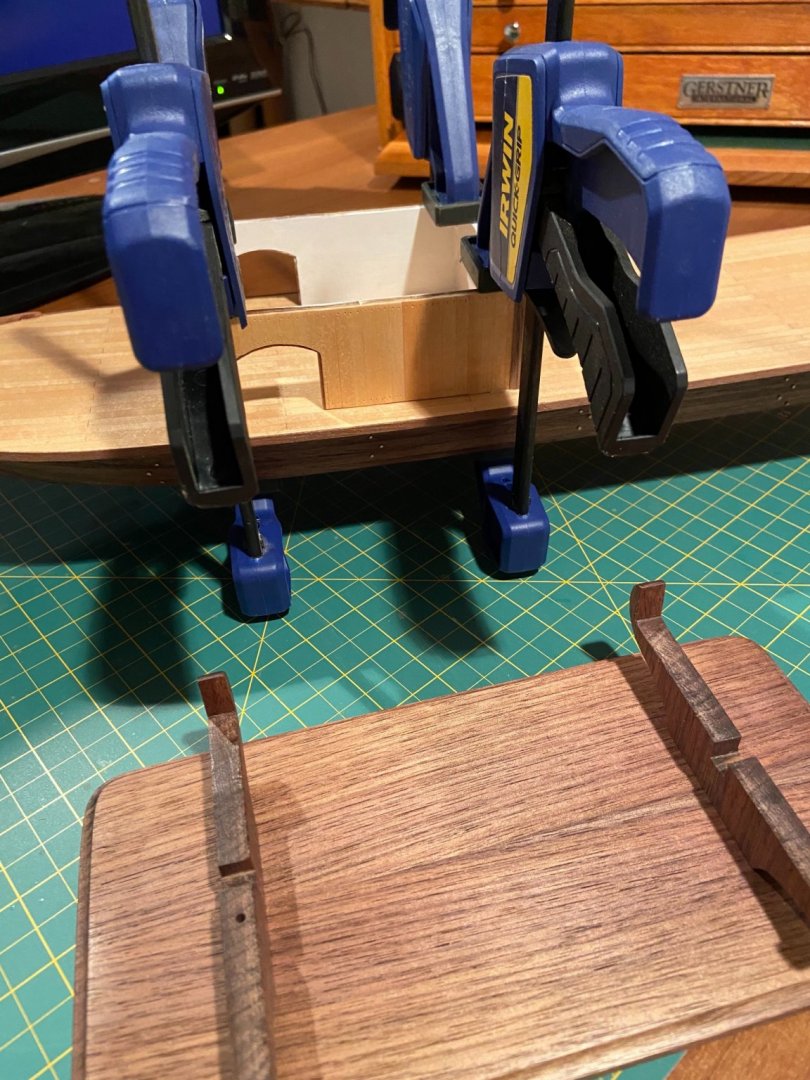
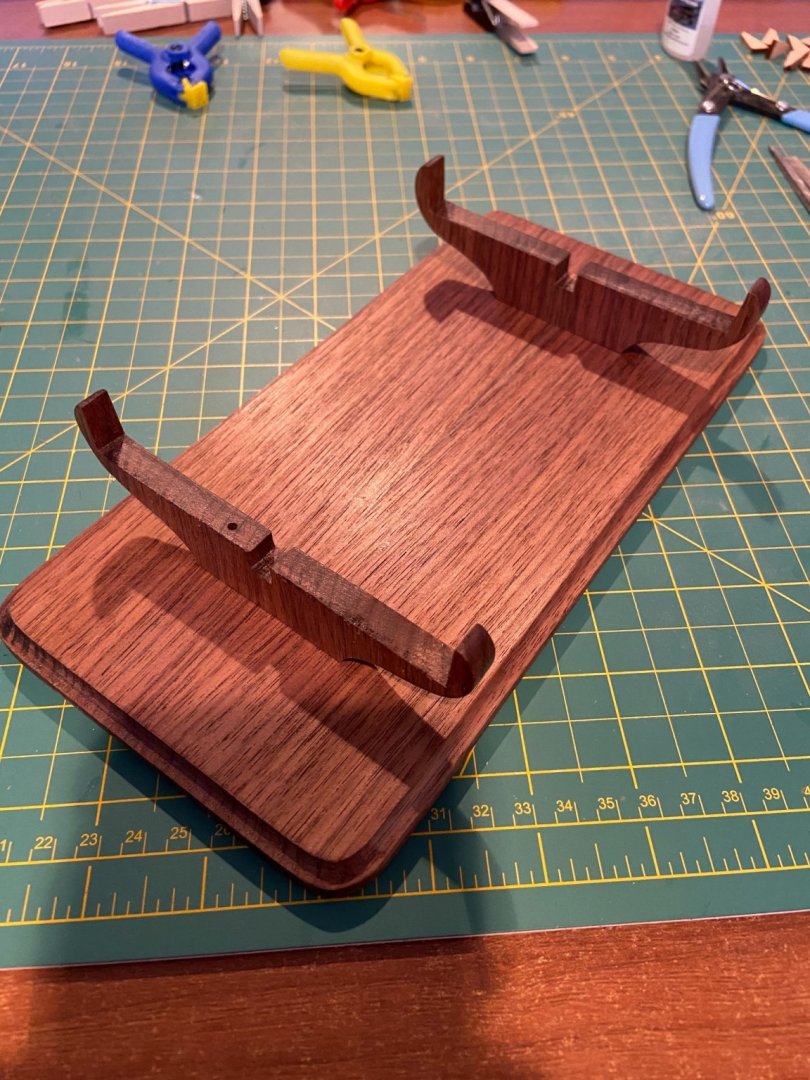
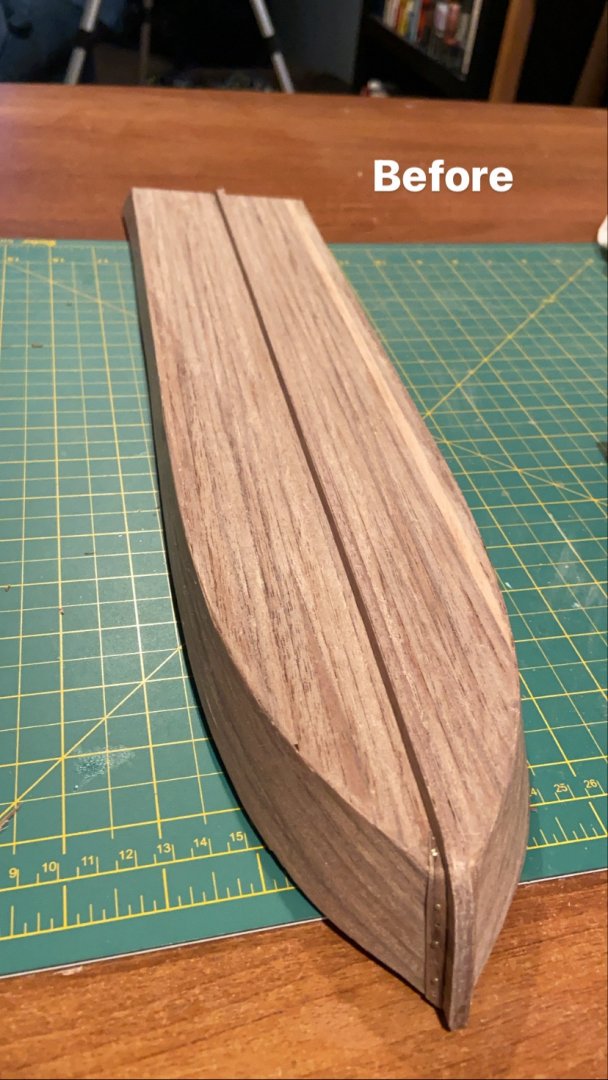
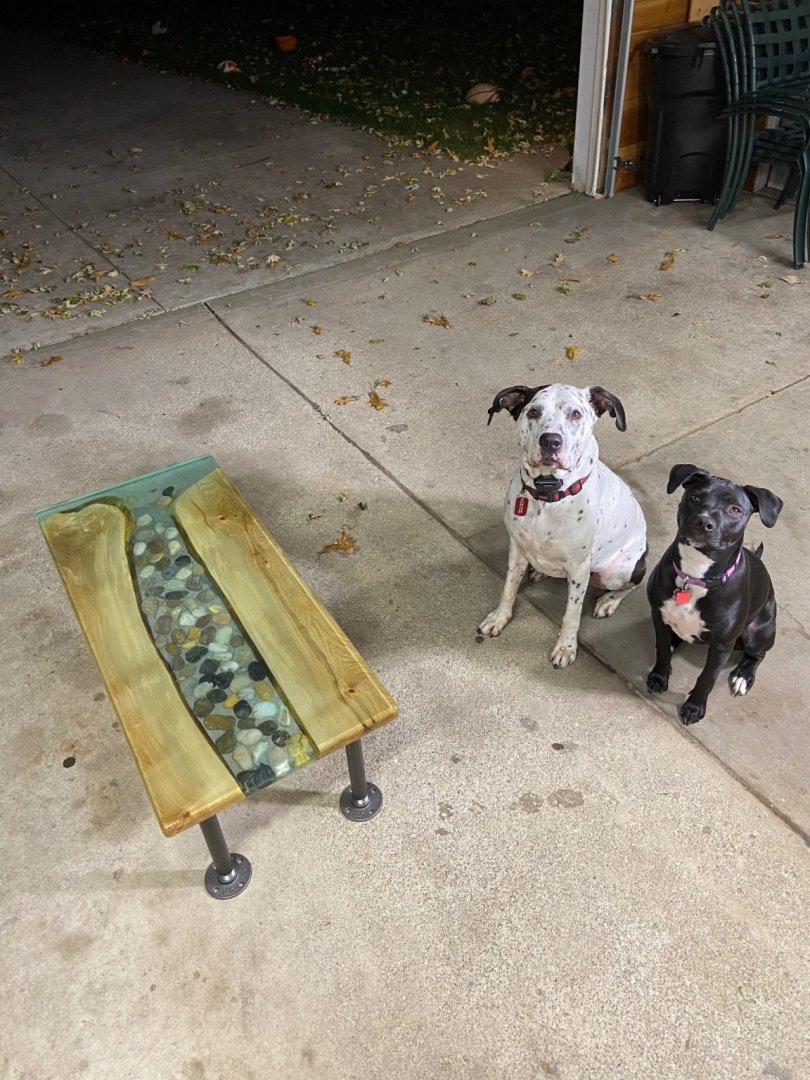
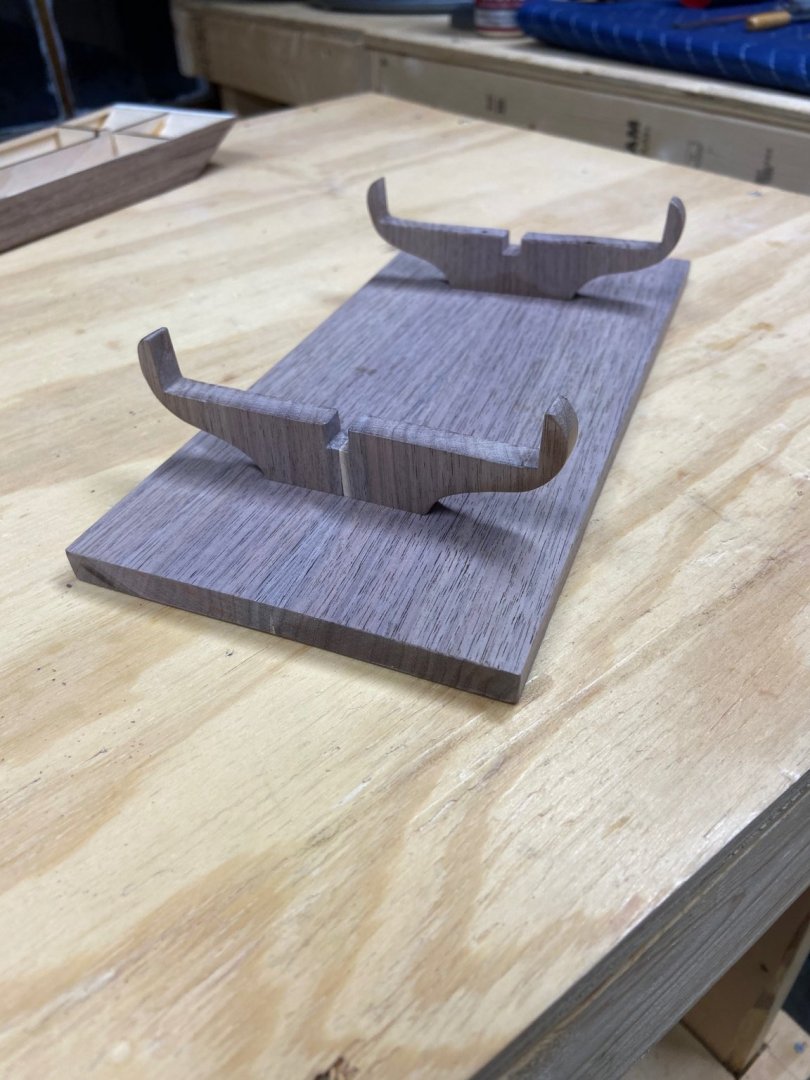
I am still here! Sorry for the delay, I have been fiddling with this occasionally but life has been crazy lately. My wedding was originally postponed until next year due to covid but last minute we decided to take a trip and get married by ourselves on an island, and I had to make an epoxy table for someone else for a wedding gift. This kit surprisingly did not come with a stand, so this last week I spent some time and planes down a piece of solid walnut, cut it in half and then glued it together so the stand will have a mirror image in the wood grain. I have also been taking my time on planking the upper decks, I am attempting to finish all of the structural components first along with the stand as I am planning on adding working deck lights and a few lights inside of the room so planning for the wires has added a level of difficulty, that’s for sure.


-
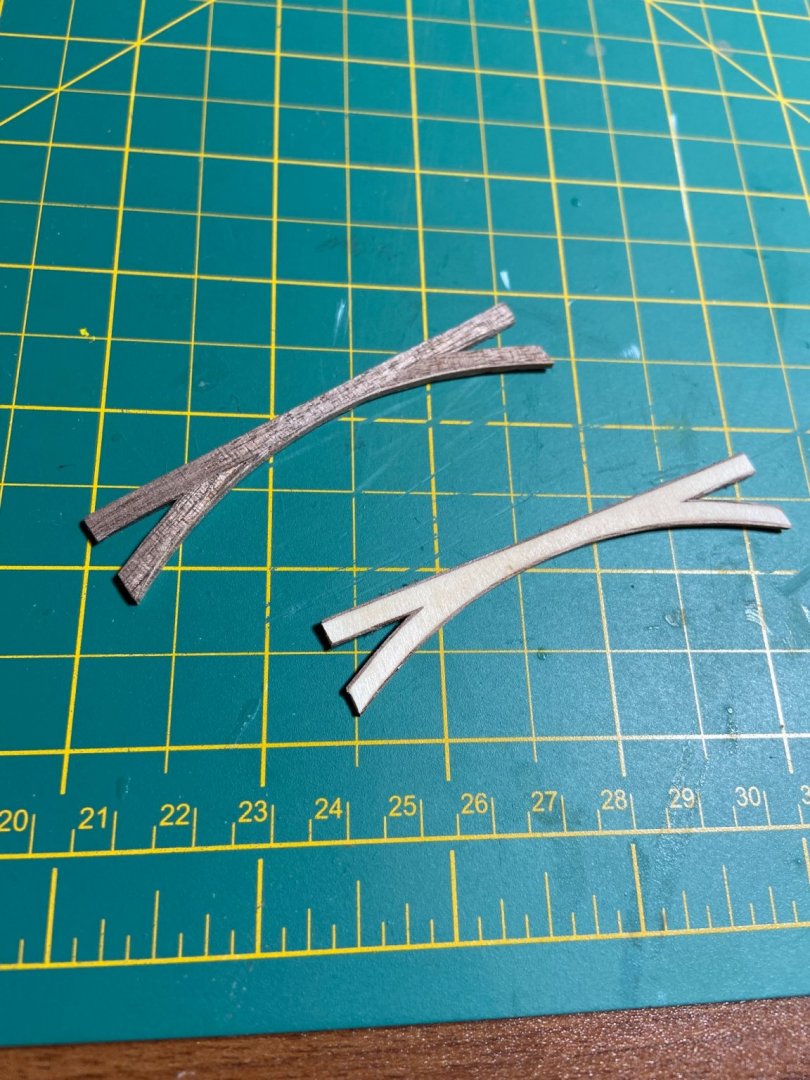
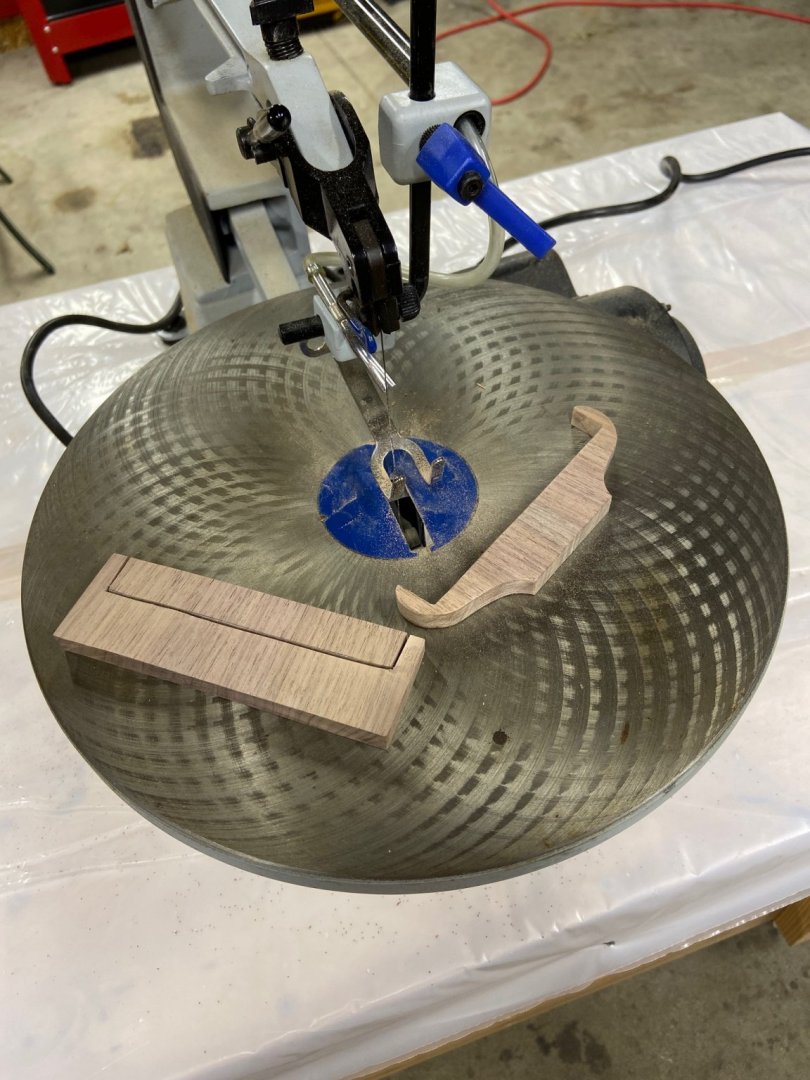
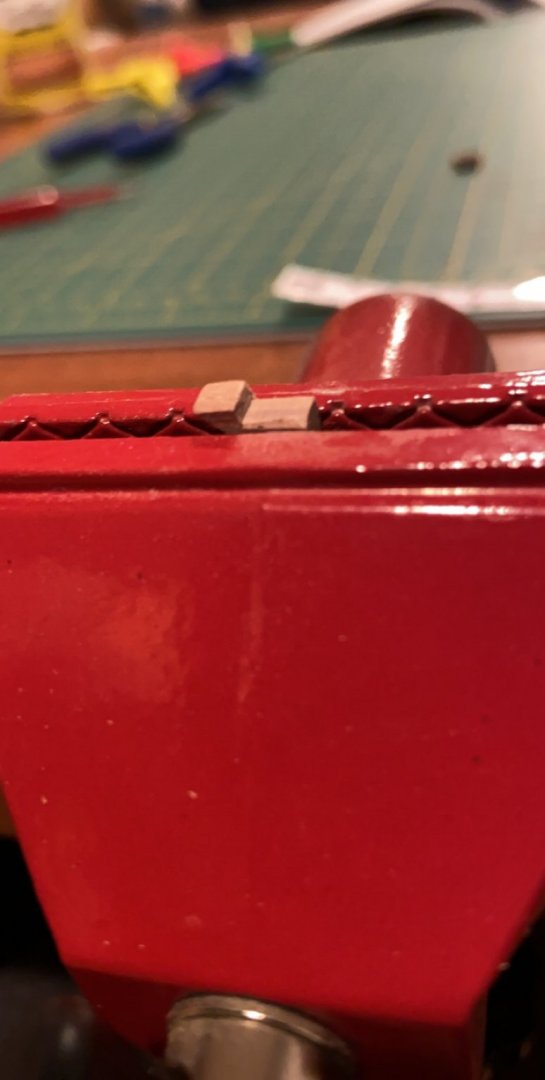
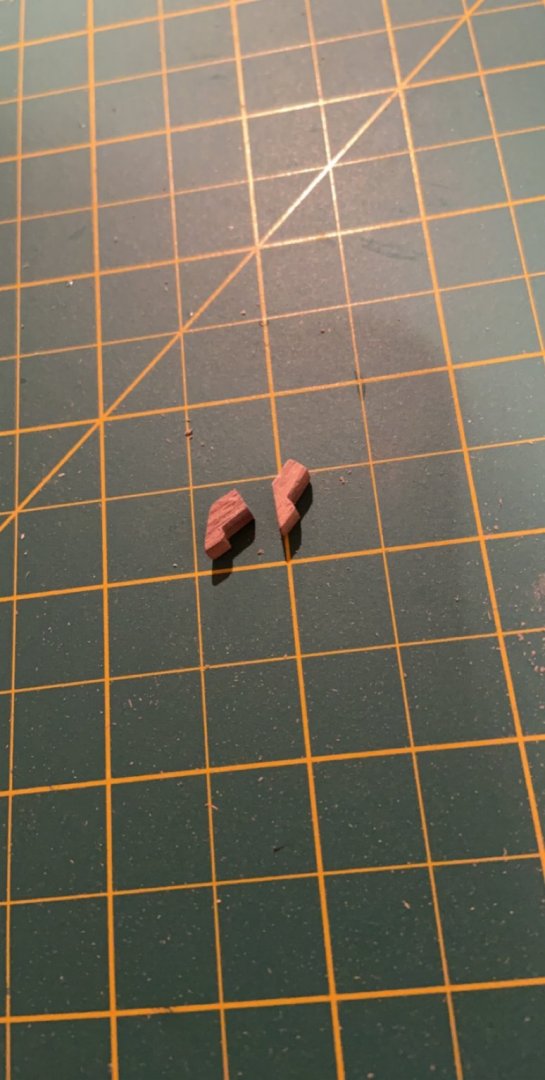
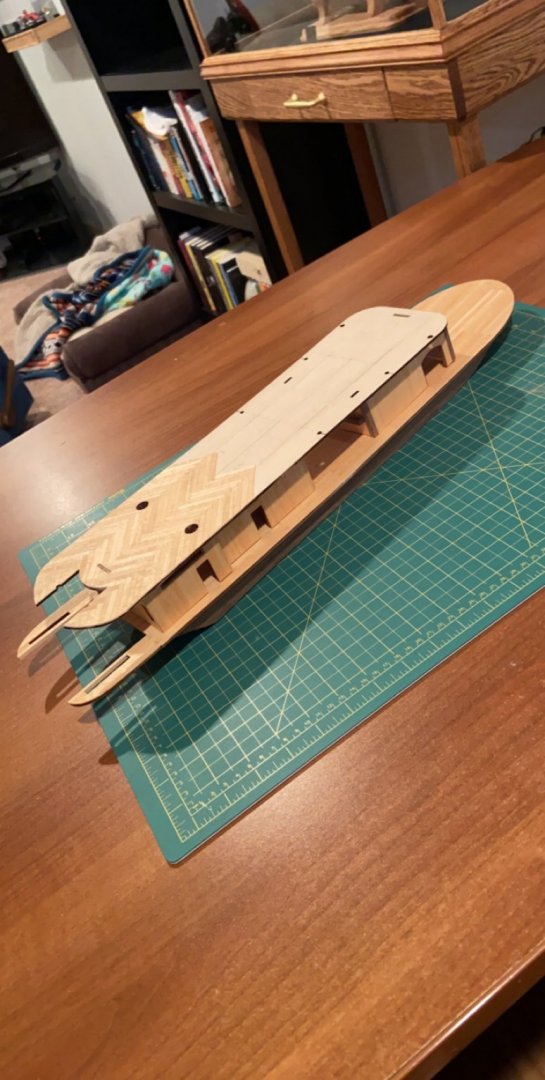
Got the second level deck finished and did a little dry fitting. I am skipping around in a few steps in an attempt to finish all of the decks since it’s such a slow painstaking process. I also started on the box closing bars, using my small cutoff wheel to cut the 45 degree angle and then clamping it in my vice to file down the recess for the plank to fit in.

-
Progress at a snails pace, but I finally finished planking the second level deck. Putting the deck nails in and the second layer or varnish next using the same method as I did in the first level deck

-
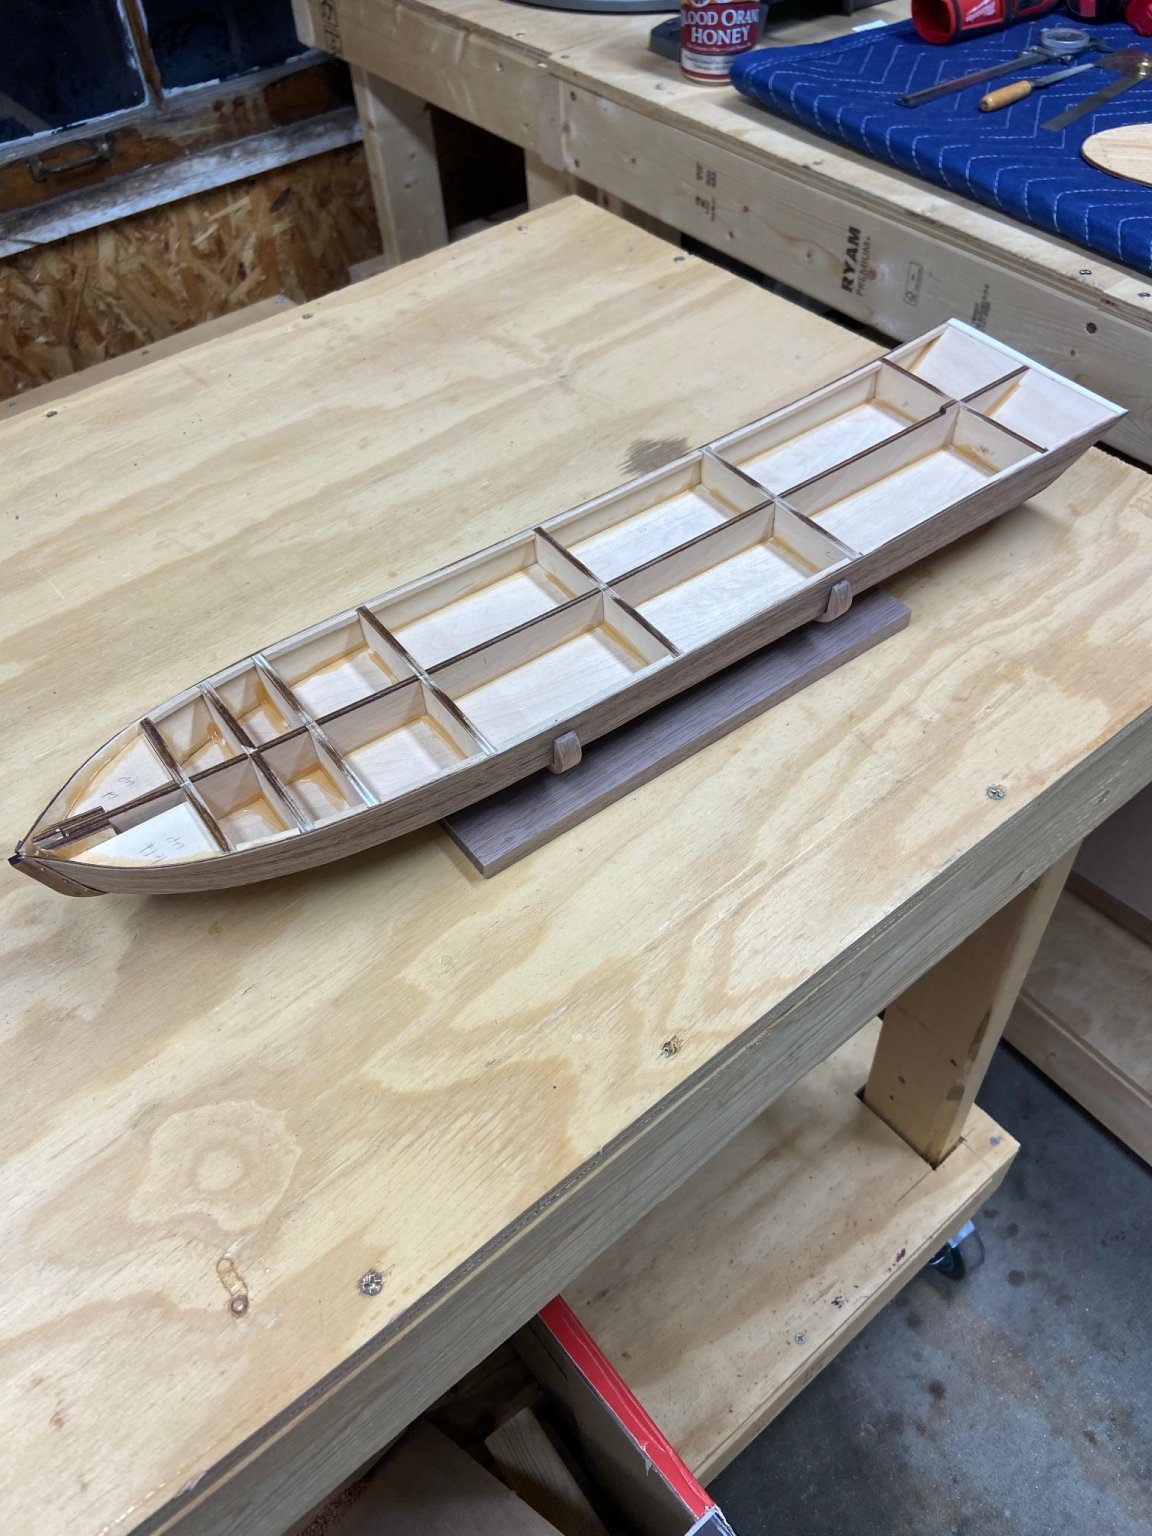
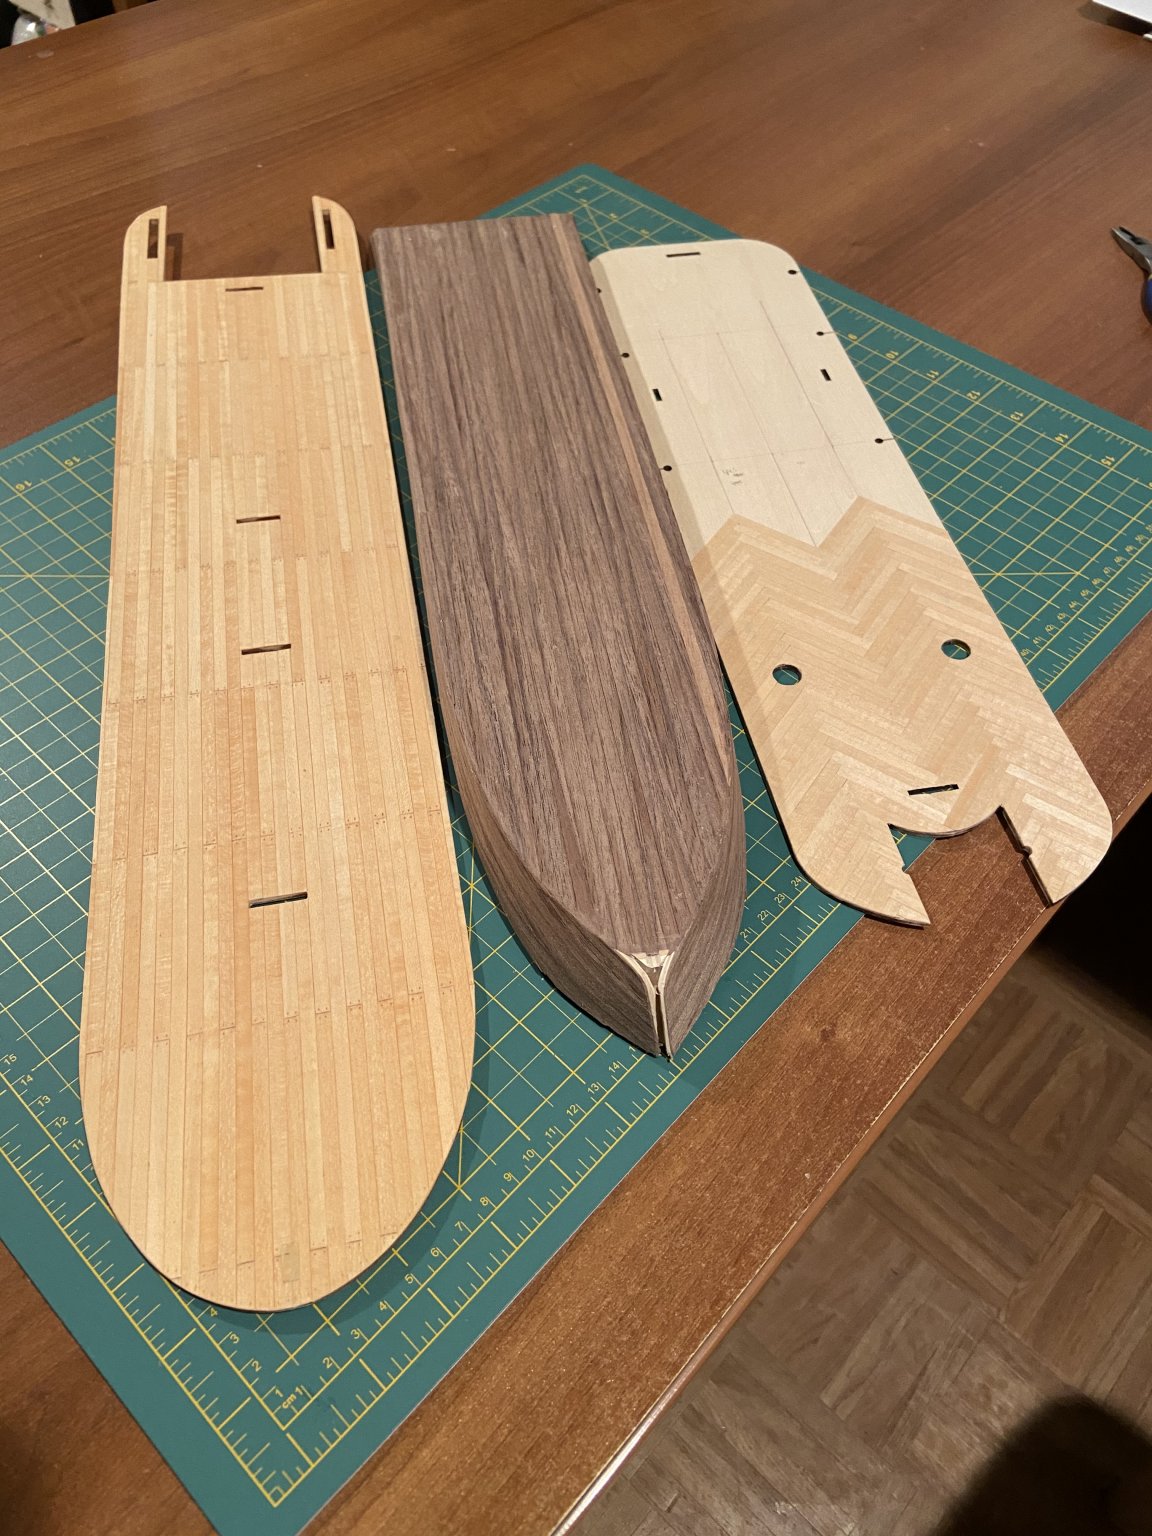
It’s been a slow month or two, the weather has just been so nice it’s hard to justify staying in my basement (although the temperature is spot on down there) but this past weekend I made a little more progress. the hull is completely planked (pictures will come), I am still working on the second level deck, that fancy angled planking really takes forever to do properly. on my previous build I made the mistake of waiting until the build was complete before I made the stand, this time I am making the stand early on. Since the hull is planked with walnut and it has various walnut pieces, I decided to make the stand out of walnut as well. I cut up a slab and essentially made a 2x4, cut it in half and then “unfolded” the two pieces so the grain will make a mirror image on the base. the overall length of the base will be ~13.5 inches, 2/3 of the overall length of the hull


-
And to top it off, finishing my bottle of aged at sea Jefferson’s bourbon just seemed fitting.
- 88 replies
-
- 1
-
-
- finished
- artesania latina
- (and 1 more)