
Glenns_TX
-
Posts
84 -
Joined
-
Last visited
-
 rudybob reacted to a post in a topic:
HMS Bounty by GlennS_TX - Corel - 1:130 Scale
rudybob reacted to a post in a topic:
HMS Bounty by GlennS_TX - Corel - 1:130 Scale
-
knightyo reacted to a post in a topic:
Nina by knightyo (Alan) - Mini-Mamoli - 1:106
-
Canute reacted to a post in a topic:
Nina by knightyo (Alan) - Mini-Mamoli - 1:106
-
Canute reacted to a post in a topic:
Nina by knightyo (Alan) - Mini-Mamoli - 1:106
-
Cathead reacted to a post in a topic:
HMS Bounty by GlennS_TX - Corel - 1:130 Scale
-
Cathead reacted to a post in a topic:
HMS Bounty by GlennS_TX - Corel - 1:130 Scale
-
Cathead reacted to a post in a topic:
HMS Bounty by GlennS_TX - Corel - 1:130 Scale
-
Cathead reacted to a post in a topic:
HMS Bounty by GlennS_TX - Corel - 1:130 Scale
-
 If you wanted to expose under this kits quaterdeck, could you saw it off. Route out the underside and reattach it?
 -
Glenns_TX reacted to a post in a topic:
Armed Virginia Sloop By captain_hook - FINISHED - Model Shipways - Scale 1:48
-
Glenns_TX reacted to a post in a topic:
HMS Victory by GrandpaPhil - Mantua - Scale 1:98 - Kit-Bash
-
This weekend, I began the masts. The plan is pretty simple. So I followed the plan. But the more I thought about it, the more I thought I could do it better. So I thought about using deadeyes. But the dead eyes at this scale are 2mm and 1.5mm. I cannot make them with the tools I have. I can buy 2 and 2.5mm deadeyes. But I’m undecided. That’s still small. So I tabled that for now. I looked back at Mastini’s book on masts and compared its drawing with the masts in this plan. And thought about how to make the masts similar to his using what I have. First I confirmed this mast technique was in use in the late 18th century. So I carefully broke the glue bonds on the fore mast. Filed the tops of the lower and upper fore. Then used 2x2mm for the lower fore’s Trestletrees. And 2x1mm for its cheeks. I’ll use 2x1’s for its Crosstrees. For the upper fore, I used 2x1mm for the Trestletrees and 1x1 for the Cross trees. And I’ll deck them with 3x0.6mm Tangynika strips. I’ll need to buy some ply to make the mast tops.
-
Not much to report. Busy day doing other things. But tonight I did manage to cut the dowels which make up her masts and bow sprit. Tapered as needed. Then glued them together. Cut and tapered 3 yards. this is a small kit. Her rigging isn’t very detailed. She did not come with any dead eyes or blocks. Should I bother trying to simulate them by glueing wood scrap in position on the rigging? As for foot ropes, I imagine they would only hand at most 2mm from her yards if I wanted that level of detail.
-
Let the rigging begin.
-
Glenns_TX reacted to a post in a topic:
Armed Virginia Sloop By captain_hook - FINISHED - Model Shipways - Scale 1:48
-
Glenns_TX reacted to a post in a topic:
The Tumblin' Dice by popeye the sailor - Artesania Latina - 1:80 - Mississippi riverboat
-
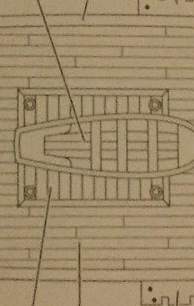
Progress has been a little slow. Despite soaking the 2x1mm strips for the main and Mizzen masts’ port and starboard pin racks, they split when drilling. So I used scrap walnut from laser cut pieces. Wish I shaped them better. But I was afraid of breaking them or trimming too much. I glued the on. The. Set all the pins. As well as the eye bolts to lash the launch. I had been debating leaving off her hand rails for fear of breaking them while rigging. But decided it would be more difficult to install them later. I was thinking of painting them yellow. But I’m going to try the oil first. If it looks good, I’ll go with that. The Admiralty were very cheap on the Bounty. They mocked it and its mission. They did not want to deal with it. So maybe the hand rails were unpainted.
-
I've been progressing on the my Corel HMS Bounty in 1:30 scale. I'm almost ready to assemble her masts and yards and rigging. This has me wondering what I should build next? I have an early 90's kit Constructo's 1799 Enterprise which I started back then. But stopped because I didn't know how to plank. That kit today is $390. So I was hesitant to have it be my first POB build. After much searching for a POB build, I settled on Corel's US Revenue Cutter Ranger because she is the closest approximation of the US Revenue Cutter Louisiana. But now I wonder if I'm ready for a POB kit. Should I do another larger more complex solid hull build first?
-
Glenns_TX reacted to a post in a topic:
The Tumblin' Dice by popeye the sailor - Artesania Latina - 1:80 - Mississippi riverboat
-
Glenns_TX reacted to a post in a topic:
The Tumblin' Dice by popeye the sailor - Artesania Latina - 1:80 - Mississippi riverboat
-
Glenns_TX reacted to a post in a topic:
Scottish Maid by mispeltyoof - FINISHED - Artesania Latina - scale 1:50 - Rod Buckle
-
Glenns_TX reacted to a post in a topic:
Scottish Maid by mispeltyoof - FINISHED - Artesania Latina - scale 1:50 - Rod Buckle
-
Glenns_TX reacted to a post in a topic:
Scottish Maid by mispeltyoof - FINISHED - Artesania Latina - scale 1:50 - Rod Buckle
-
Glenns_TX reacted to a post in a topic:
Charles W. Morgan by David Lester - Model Shipways - 1/64th scale - FINISHED
-
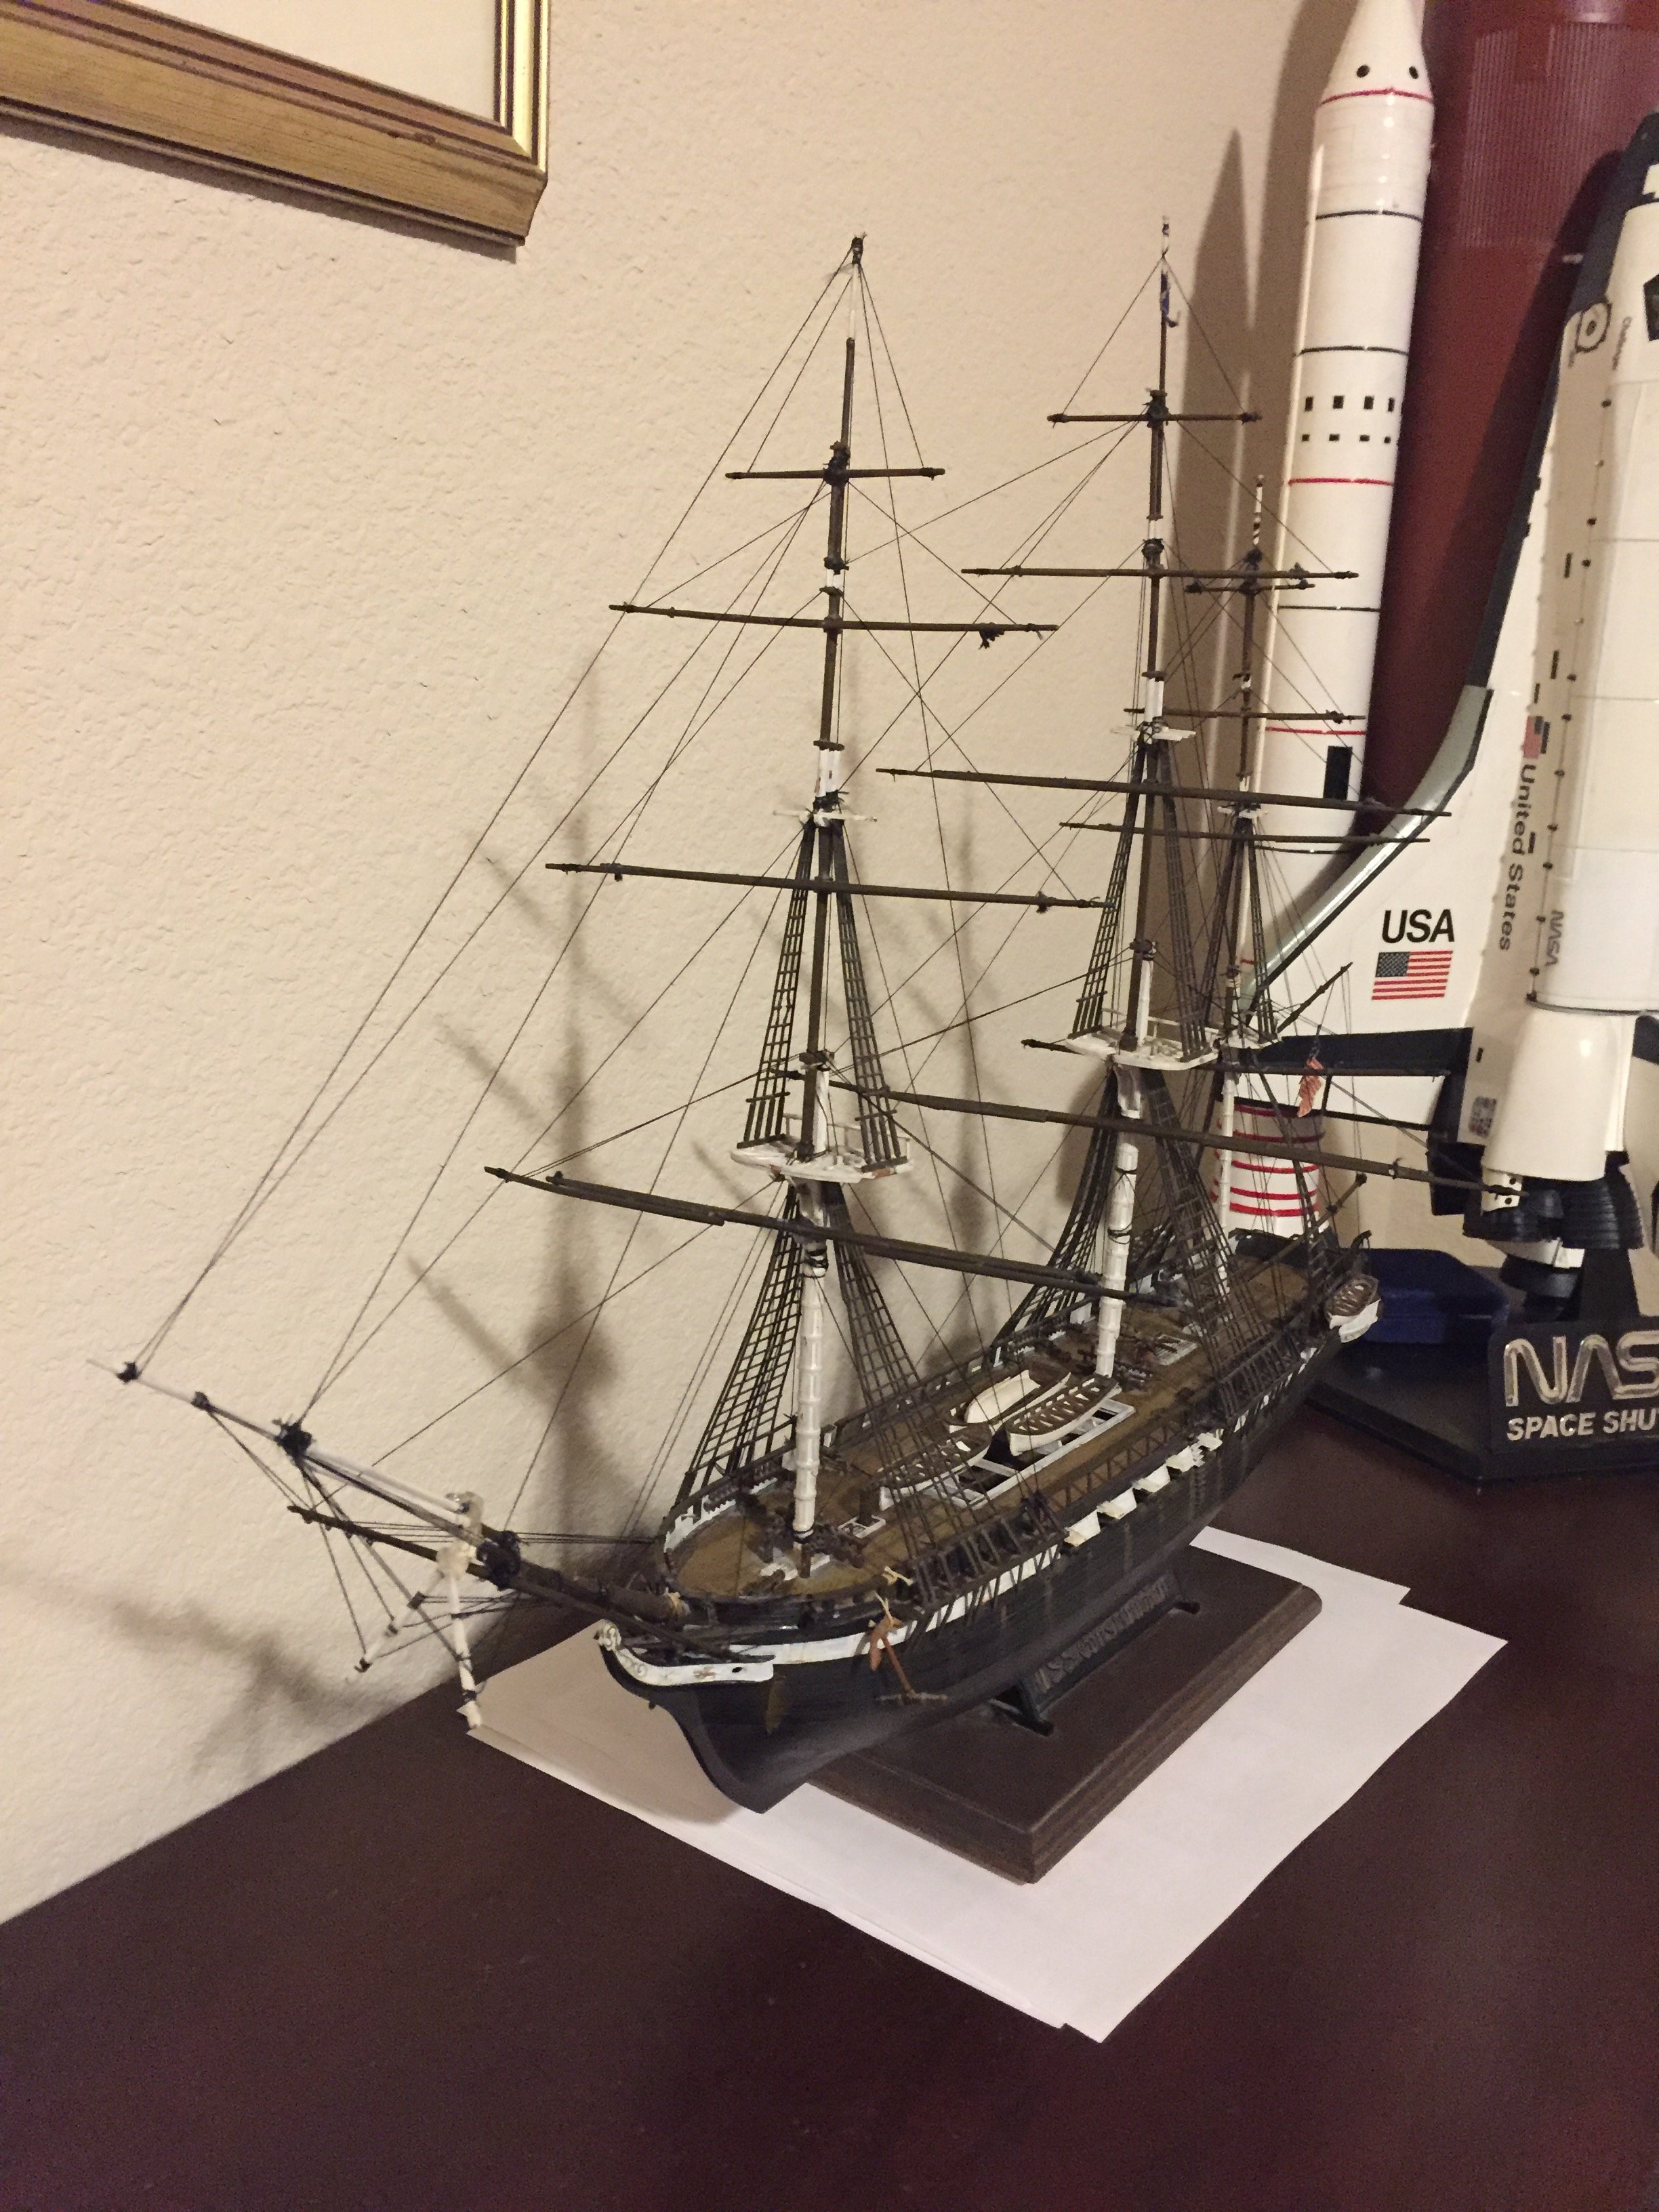
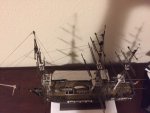
Nearing completion of her deck. I’ll post some picks of her completed deck in a few days. That means I’ll be starting on her masts, yards and rigging. I plan to review Mr. Mastini’s take on this part. As well as any of the PDFs here. But his book and many of the other construction pdf’s tend to focus on lower scale larger builds. My little ship may require special considerations. During the re-rigging of my 1/159 USS Constitution, I recall thinking it would be easier if I installed one mast and it’s standing rigging at a time. Working from bow to stern. What do you guys suggest?
-
The kit has a bunch of .6 x 3 mm Tangynika strips left over from the decking. And the plans only call for its use for decking and crows nests. So I will probably use that for the hatchway.
-
Your Nina is coming along very nice. Although Corel’s 1:130 scale HMS Bounty has been at times frustrating, I am considering Mamoli’s Little Girl in the future. As well as perhaps their 1:100 Flying fish. Not sure I would want to plank something so small.
-
Last night, I built her pumps. What were the pumps for? And rubbed natural finish danish oil on her decks. Tonight, I installed the pumps and her ladders. As well as brushed them with the oil. Built and installed the vertical capstan. Forgot to drill the holes in the top before installing. I’ll do that tomorrow. Also cut the four 2 x 1 mm belaying racks for Main and Mizzen masts which go on the port and starboard bulwarks. But they need to soak overnight. The first 2 cracked when I tried to drill or puncture them. Built her cradle to. But she rocks a little. I need to make the keel openings deeper.
-
There is a little 2x1. But they show to be used for 6 more belaying racks, hand rails and crows nests. Guess I'm going shopping. When I kit says use walnut stips, are they walnut wood? Or just stained basswood?
-
So, to build the main hatchway, the instructions and plans say to use 3mm x 1mm for the planks. But the kit only came with two strips of them for the wales. And that did not leave enough left over for 12 planks. Where do you guys get Walnut strips?

-
I revisited the belaying racks. They needed more detail than I could achieve with my exacto knife. For some reason I got the idea to use needle files. So I found some tonight. And gently filed the rack posts. This is better than last night’s version. Wish I hadn’t hacked too much off the fore mizzen belaying racks.
-
Worked on belaying racks. Not sure how anyone can carve the caps they say to make. Tomorrow the pumps and main deck hatchway.
-
I need some help with capstans. The vertical capstan, which is between Main and Mizzen masts are built from wood. The horizontal capstan(Or is it a windlasss) behind the foremast, is diecast metal. Would the Bounty's capstan barrels been wood or iron? I'm unsure how to paint the one behind her foremast.
