Kyak
Members-
Posts
32 -
Joined
-
Last visited
Recent Profile Visitors
The recent visitors block is disabled and is not being shown to other users.
-
Diana by Kyak - OcCre - 1/85
Kyak replied to Kyak's topic in - Kit build logs for subjects built from 1751 - 1800
-
 RossR reacted to a post in a topic:
Diana by Kyak - OcCre - 1/85
-
Diana by Kyak - OcCre - 1/85
Kyak replied to Kyak's topic in - Kit build logs for subjects built from 1751 - 1800
-
 CaptnBirdseye reacted to a post in a topic:
Frigate Diana by RossR - OcCre - 1:85
-
 allanyed reacted to a post in a topic:
Frigate Diana by RossR - OcCre - 1:85
-
 Esap reacted to a post in a topic:
Frigate Diana by RossR - OcCre - 1:85
-
Frigate Diana by RossR - OcCre - 1:85
Kyak replied to RossR's topic in - Kit build logs for subjects built from 1751 - 1800
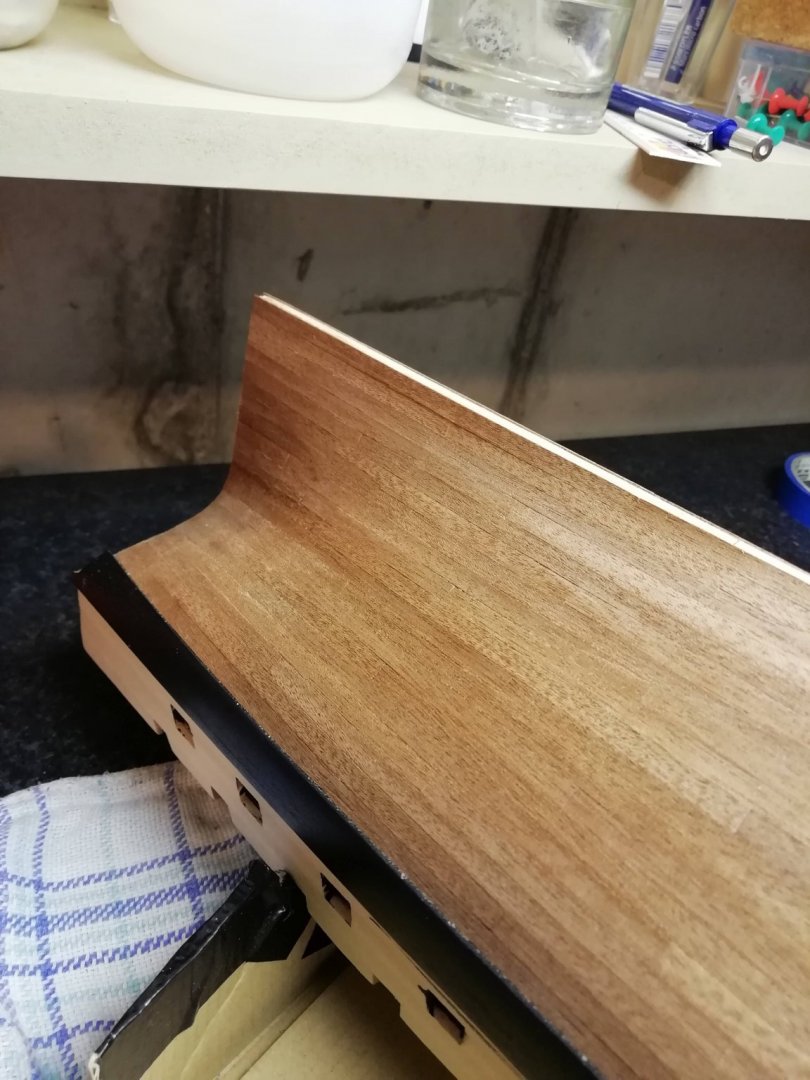
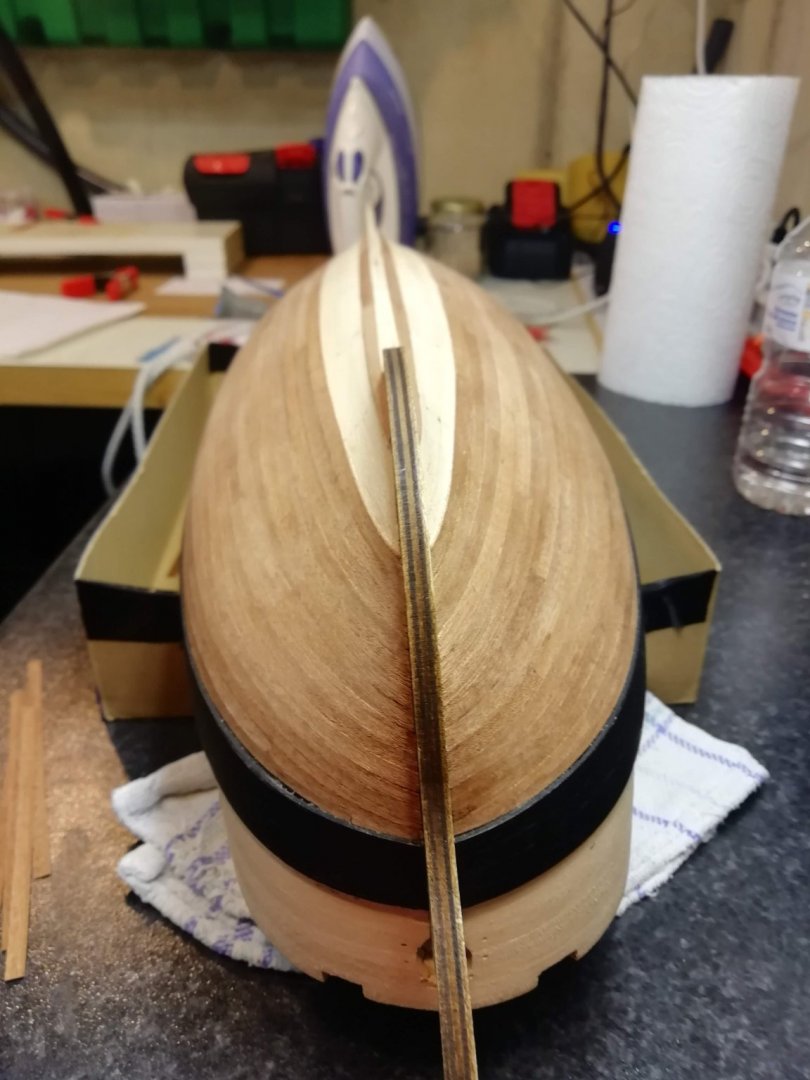
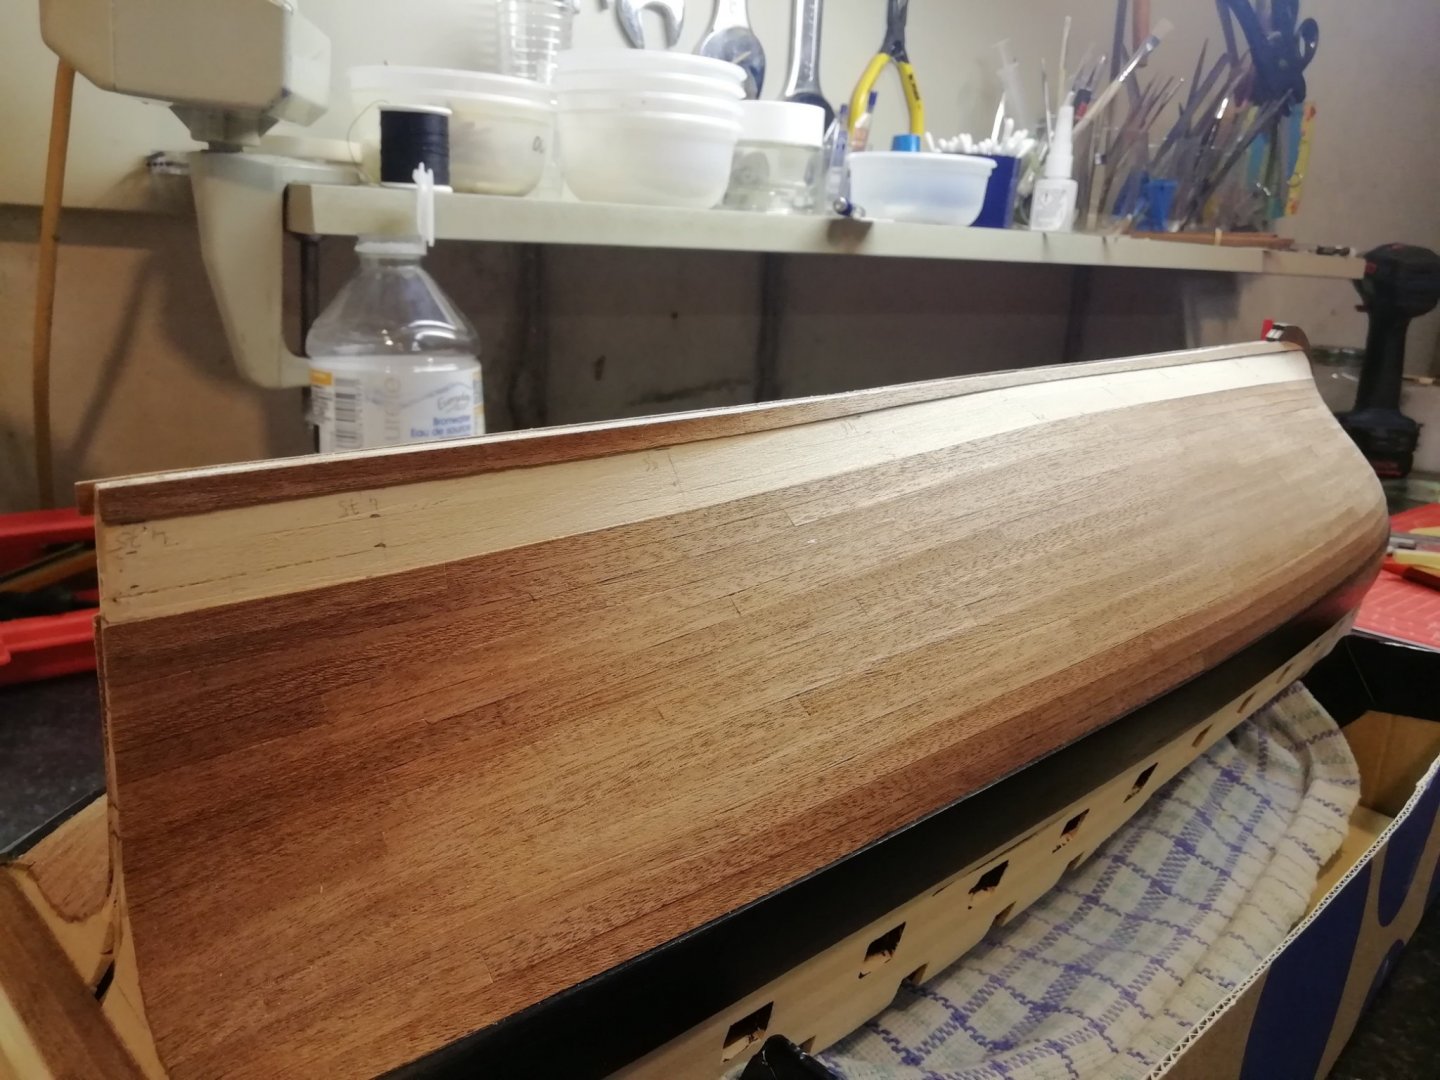
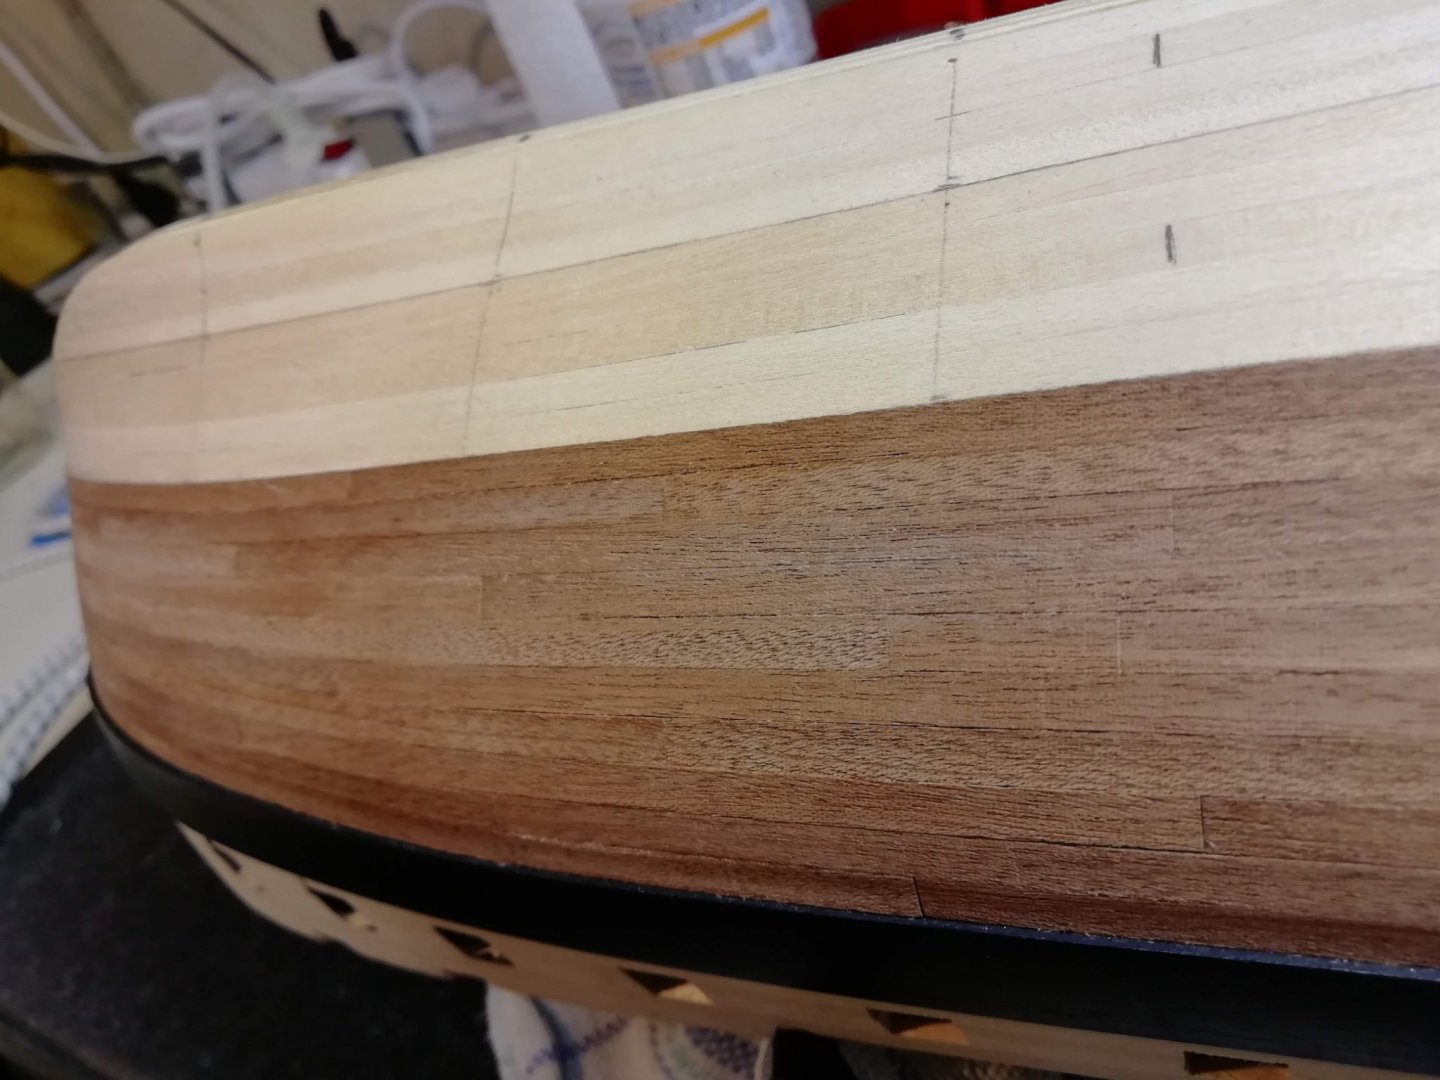
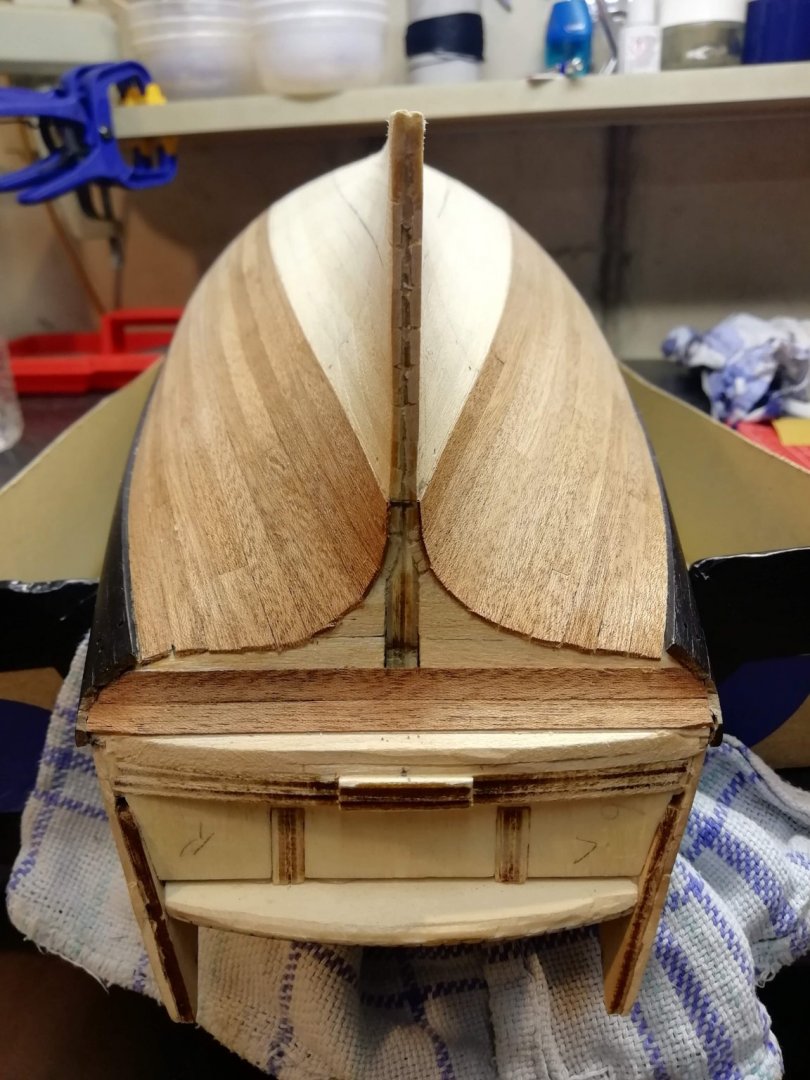
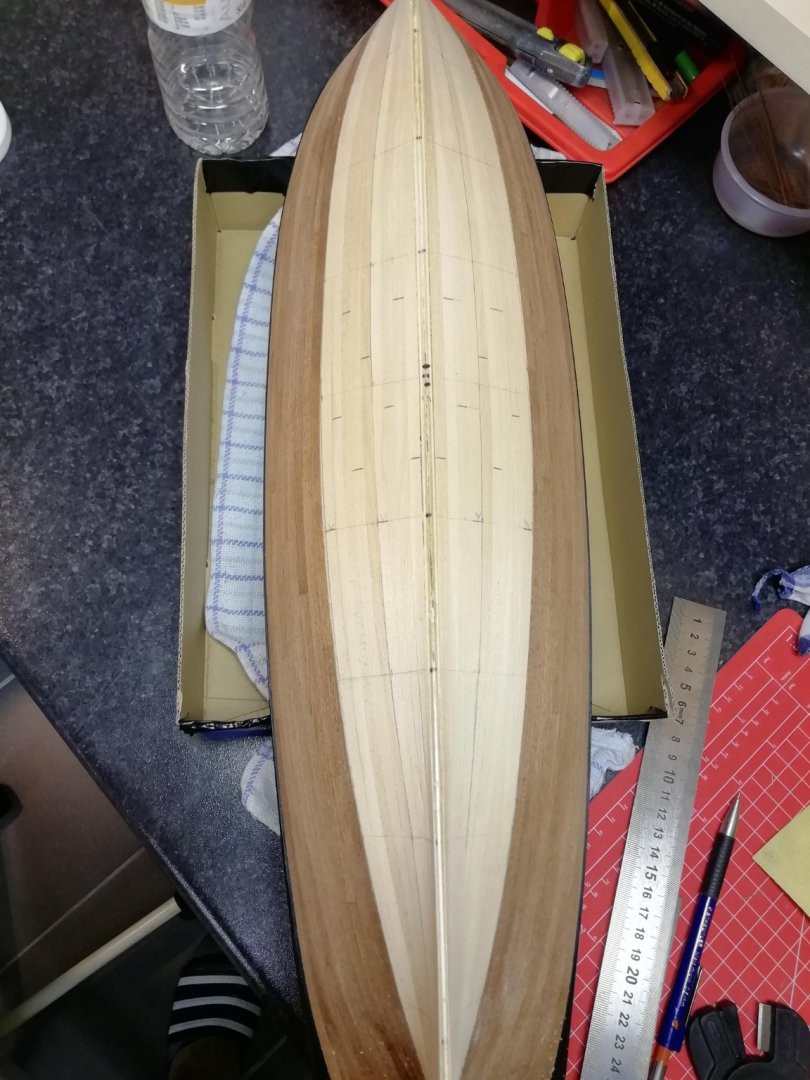
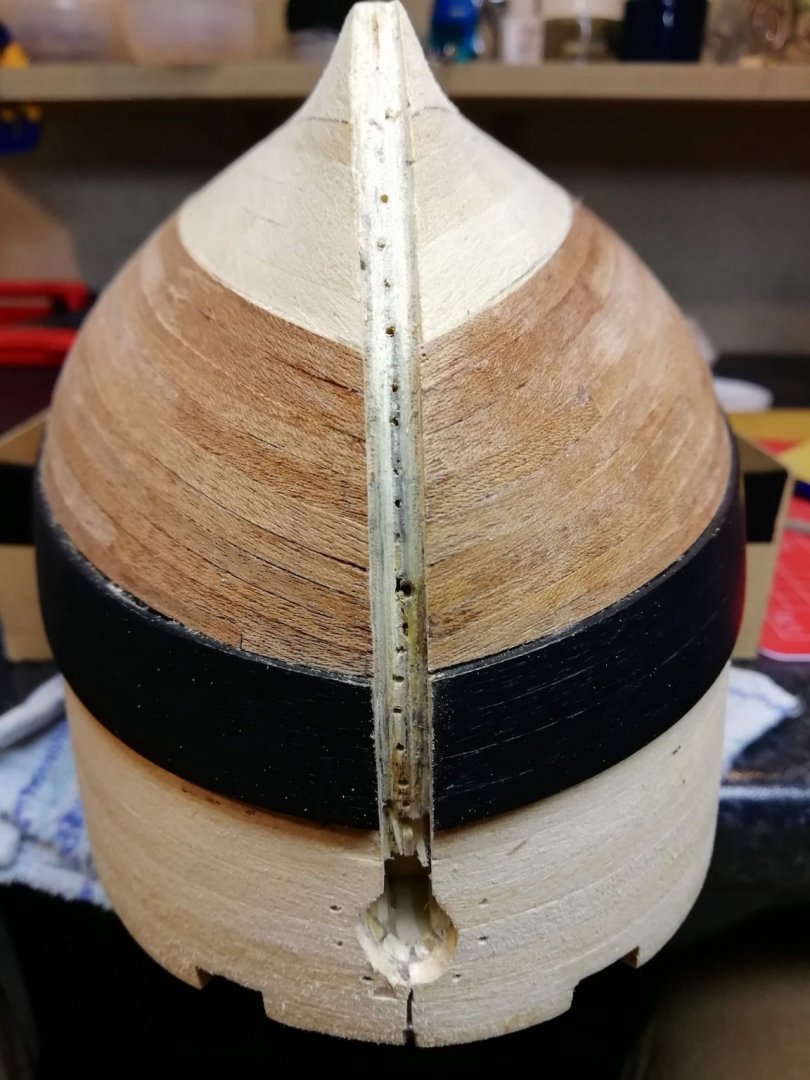
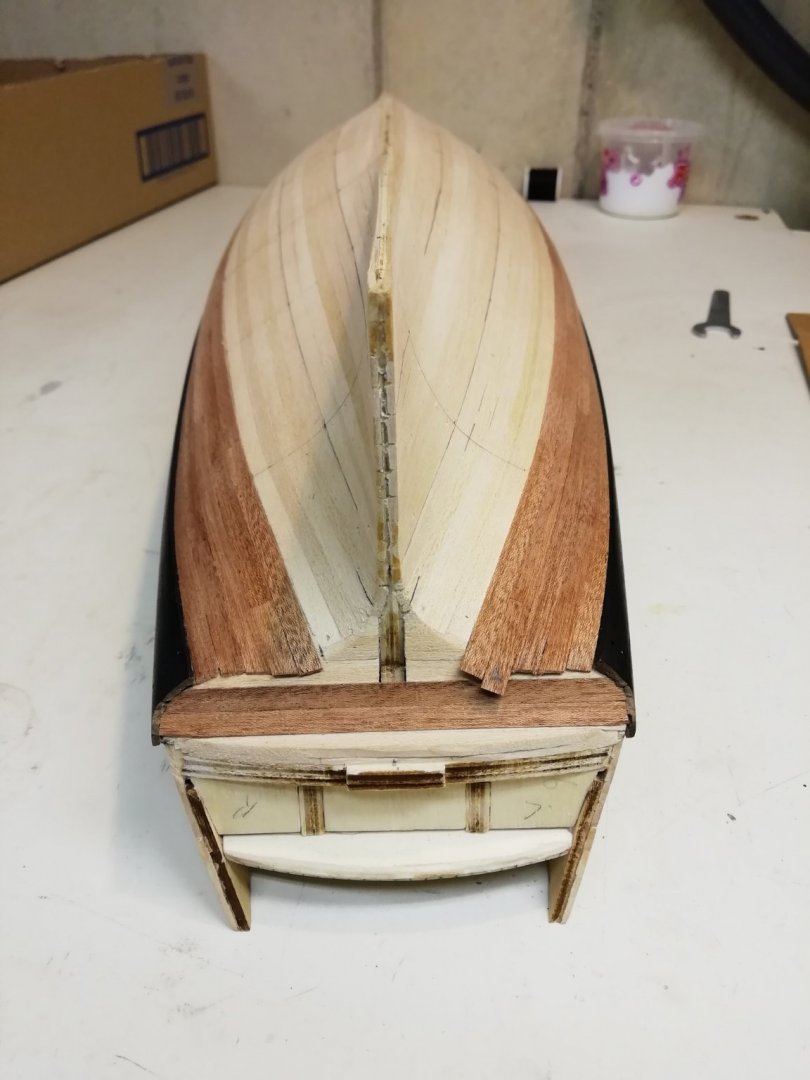
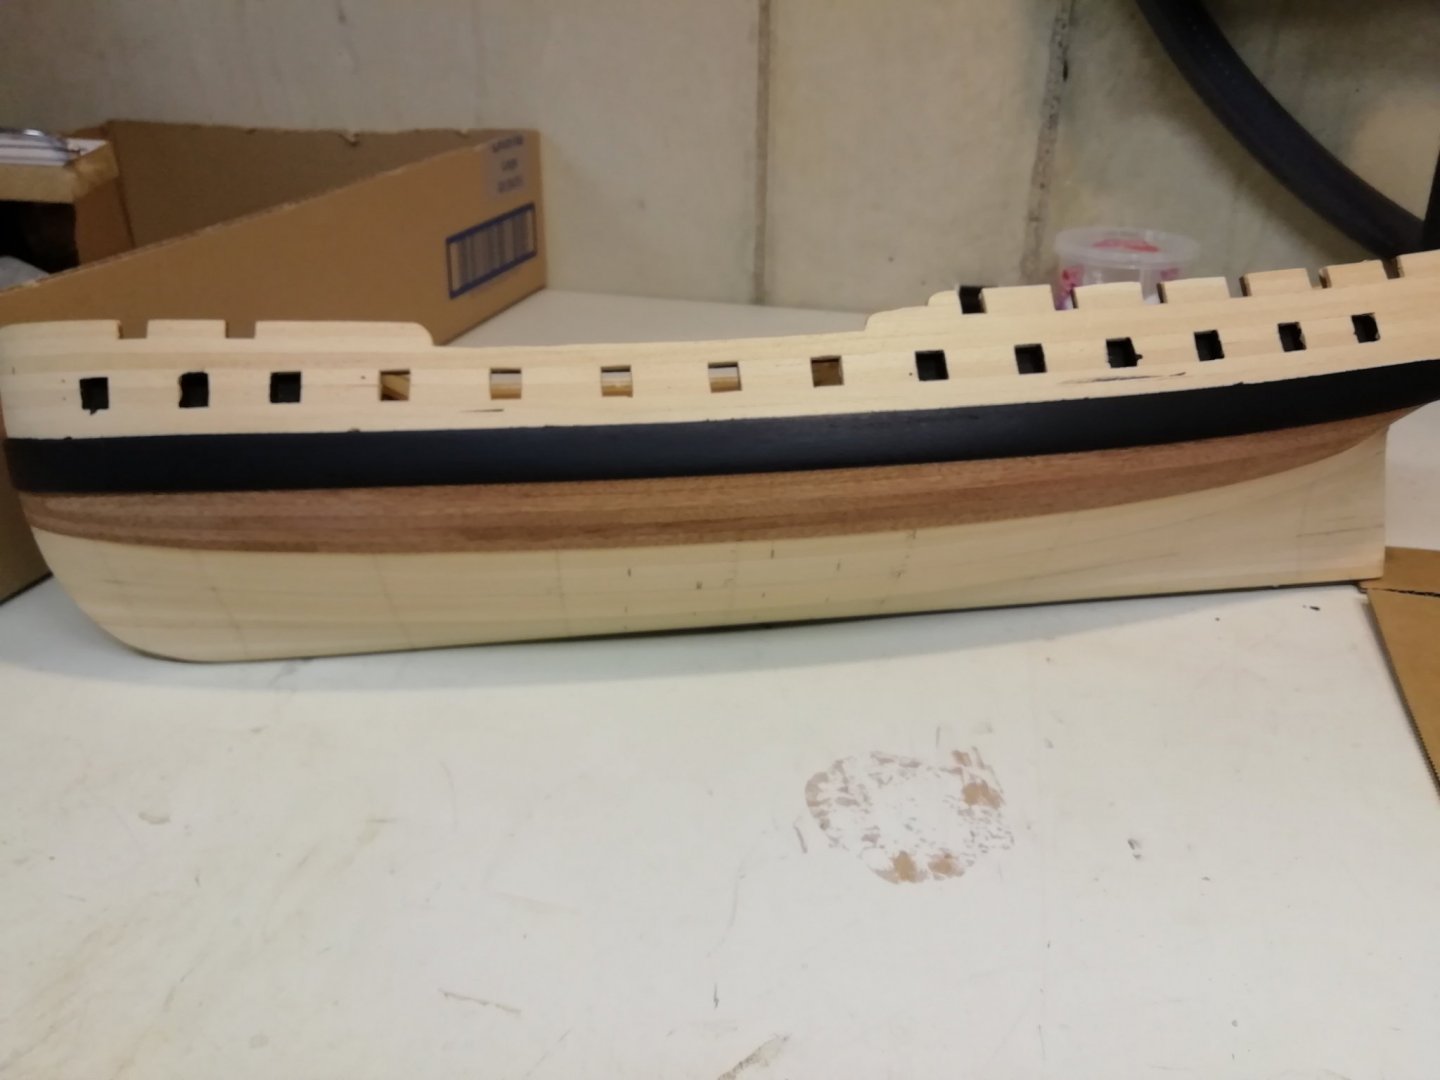
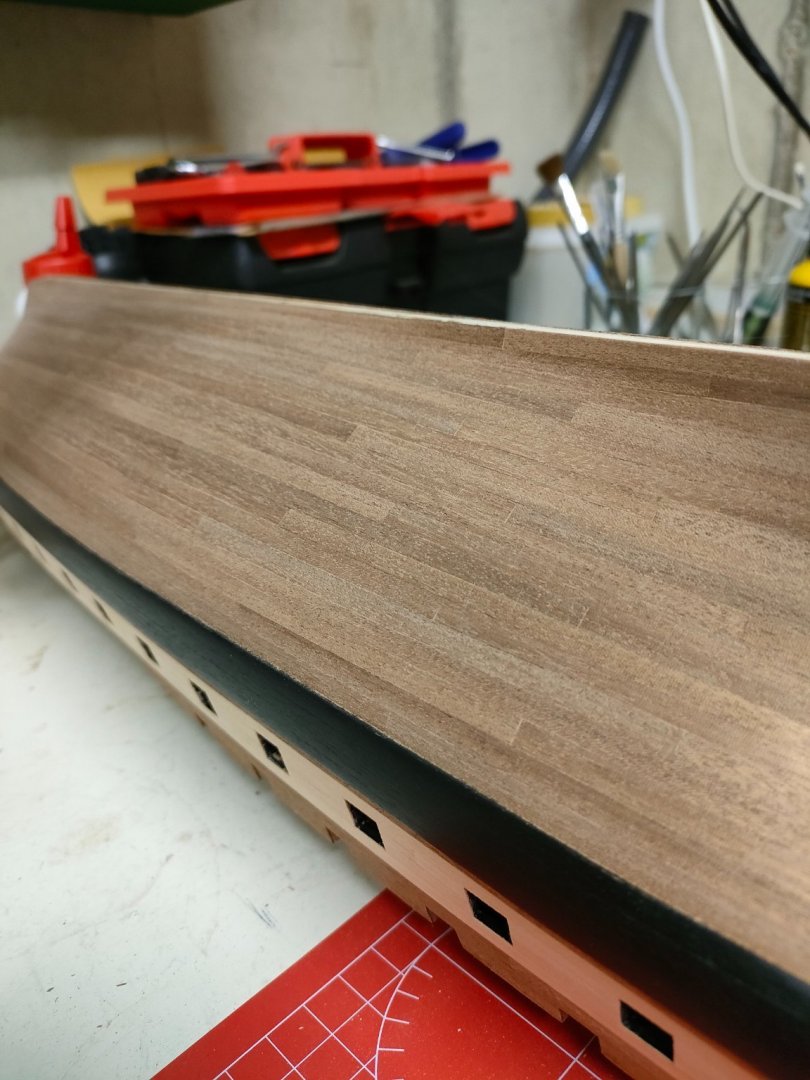
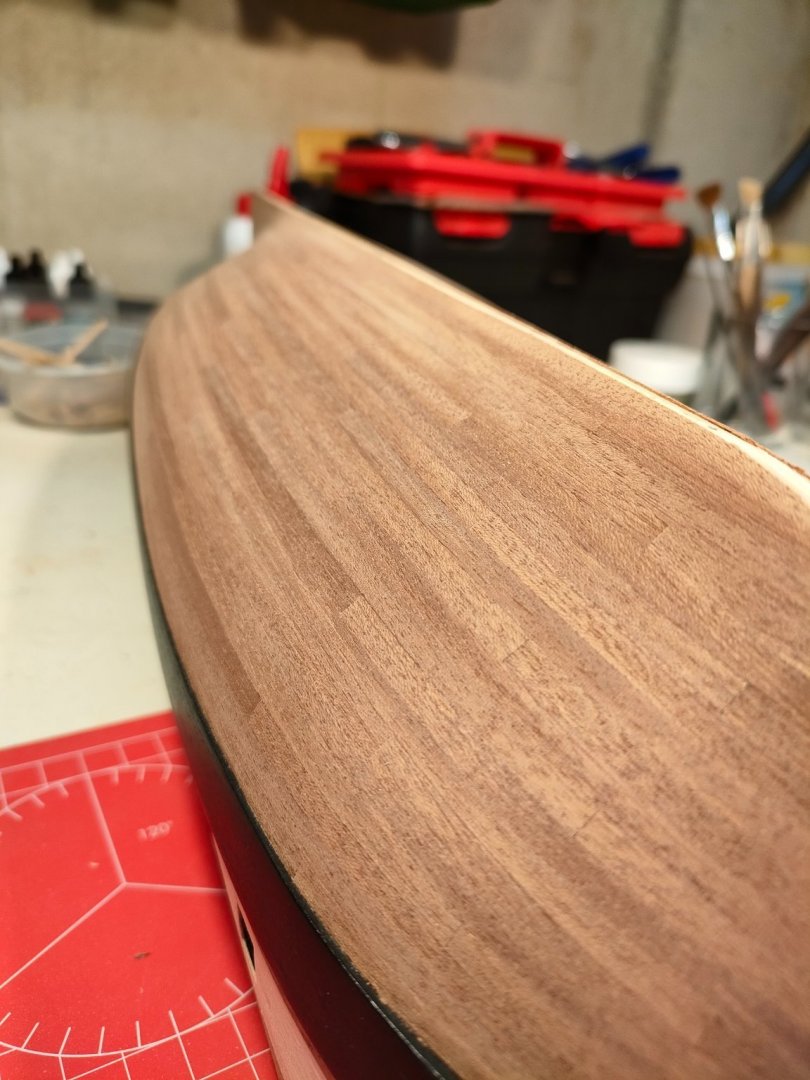
Hi RossR, Youre going fast! I 'm buiding the Diana too but at a much lower pace... I' far from an expert, but it turned out pretty good for my Diana's hull. I used Chuk's method too. For the first layer, i soaked the planks in hot water for 10 minutes. fix them on the hull and let it dry out. For me it worked fine. The second layer wasn't that easy. The planks are very thin and therefore the planks tend to buckle up during the bending proces. I used an old iron to make the curve. Some planks needed the proces up to ten times to make the curve. Check my buildlog. There are some pictures about how i planked the hull. Keep up the good work! Gr. Kyak -
 ObviousNewbie reacted to a post in a topic:
Diana by Kyak - OcCre - 1/85
-
 maddog33 reacted to a post in a topic:
Diana by Kyak - OcCre - 1/85
-
 maddog33 reacted to a post in a topic:
Diana by Kyak - OcCre - 1/85
-
 maddog33 reacted to a post in a topic:
Diana by Kyak - OcCre - 1/85
-
 maddog33 reacted to a post in a topic:
Diana by Kyak - OcCre - 1/85
-
 maddog33 reacted to a post in a topic:
Diana by Kyak - OcCre - 1/85
-
Diana by Kyak - OcCre - 1/85
Kyak replied to Kyak's topic in - Kit build logs for subjects built from 1751 - 1800
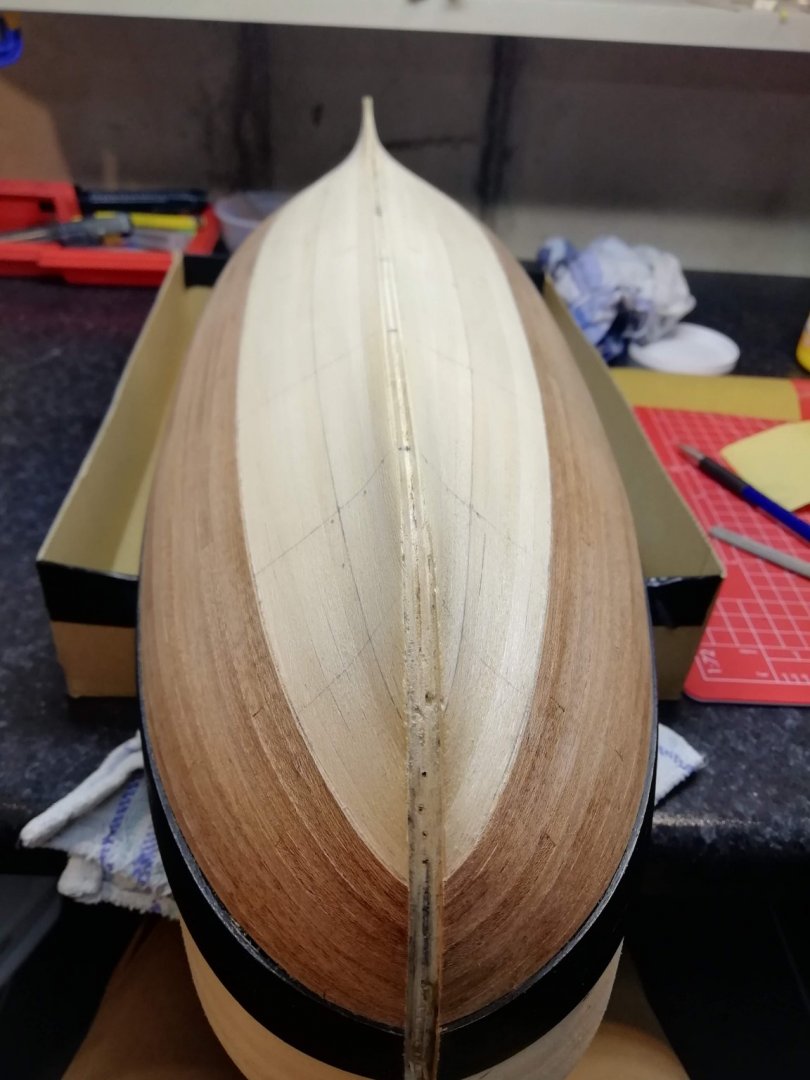
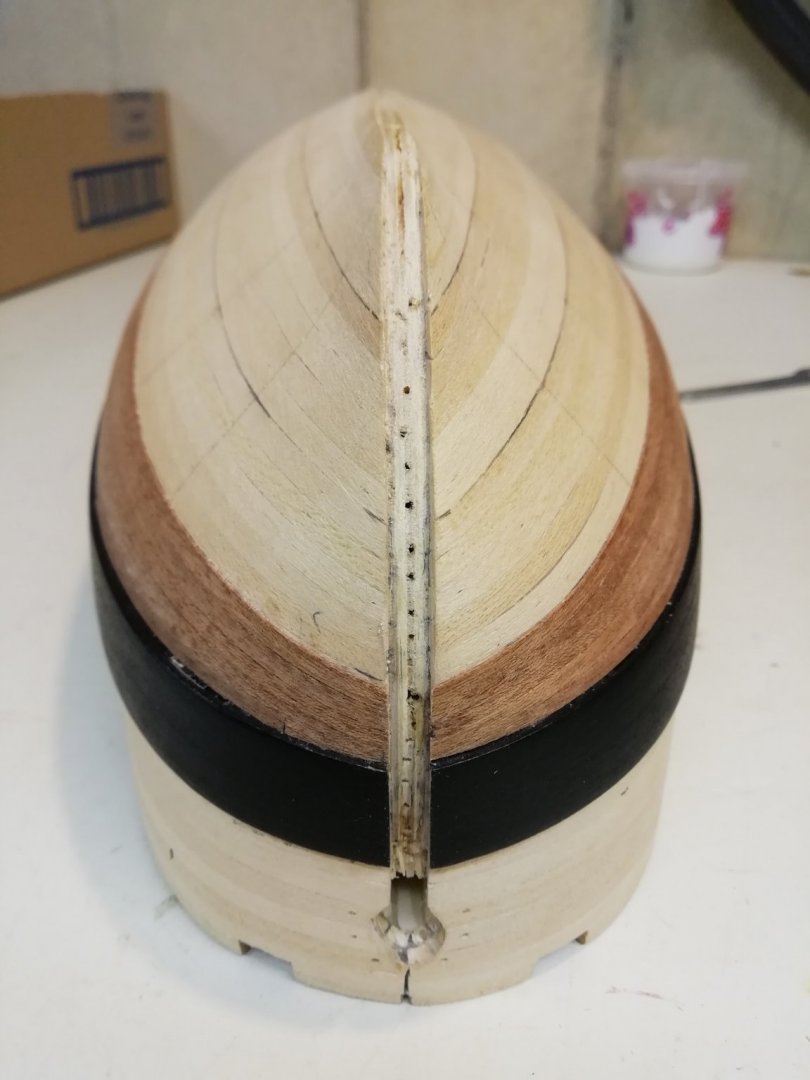
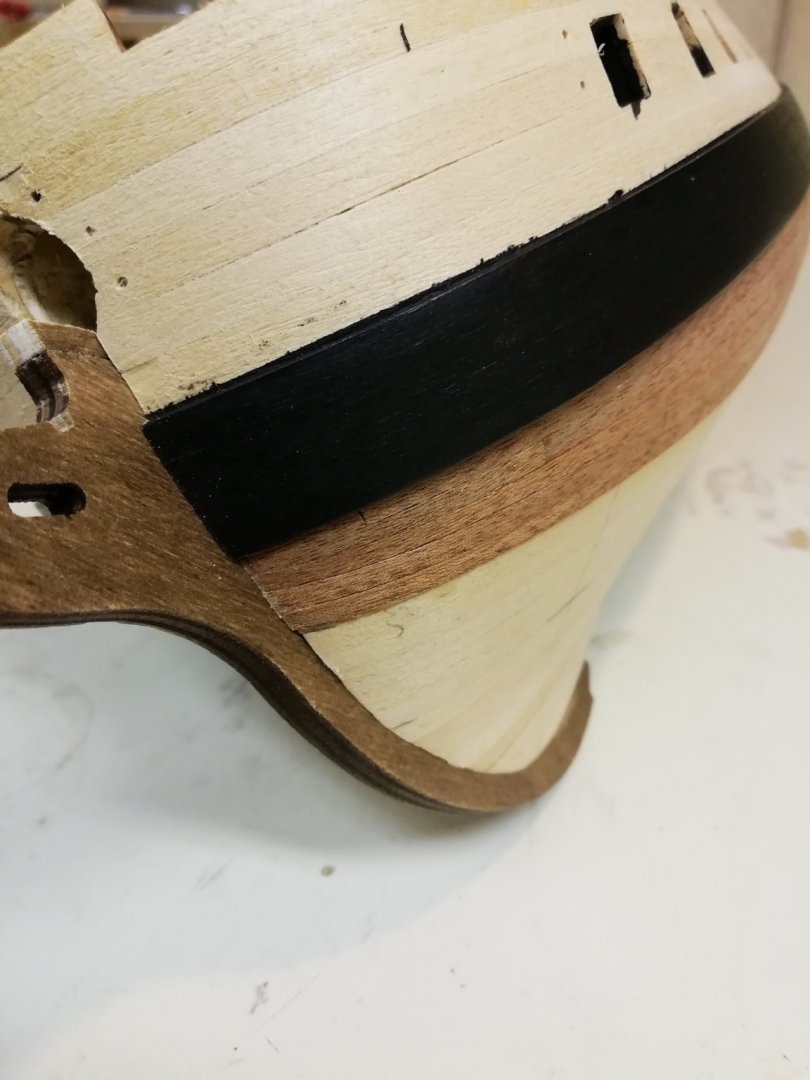
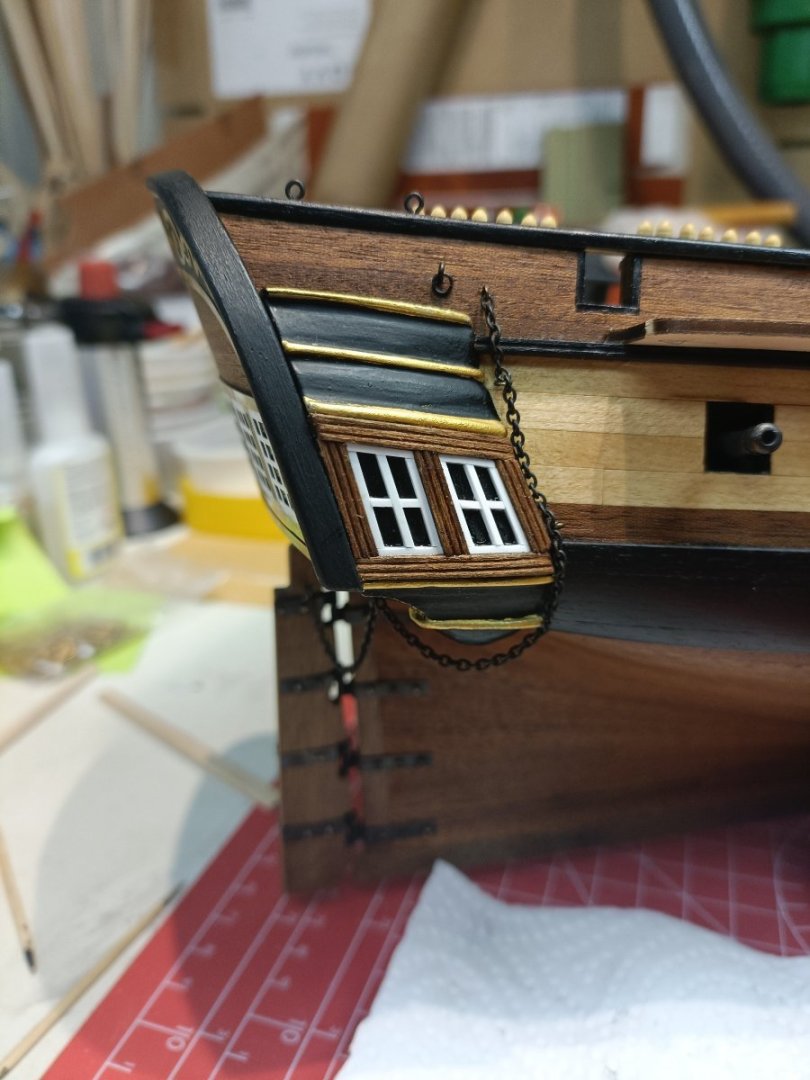
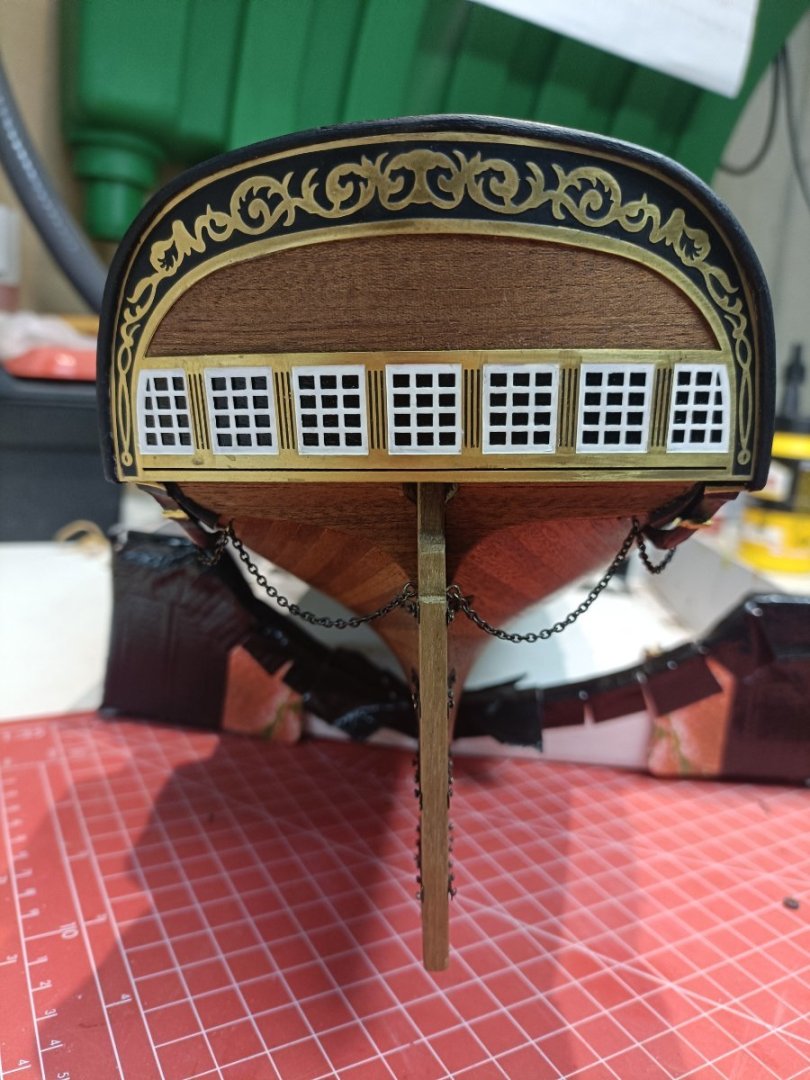
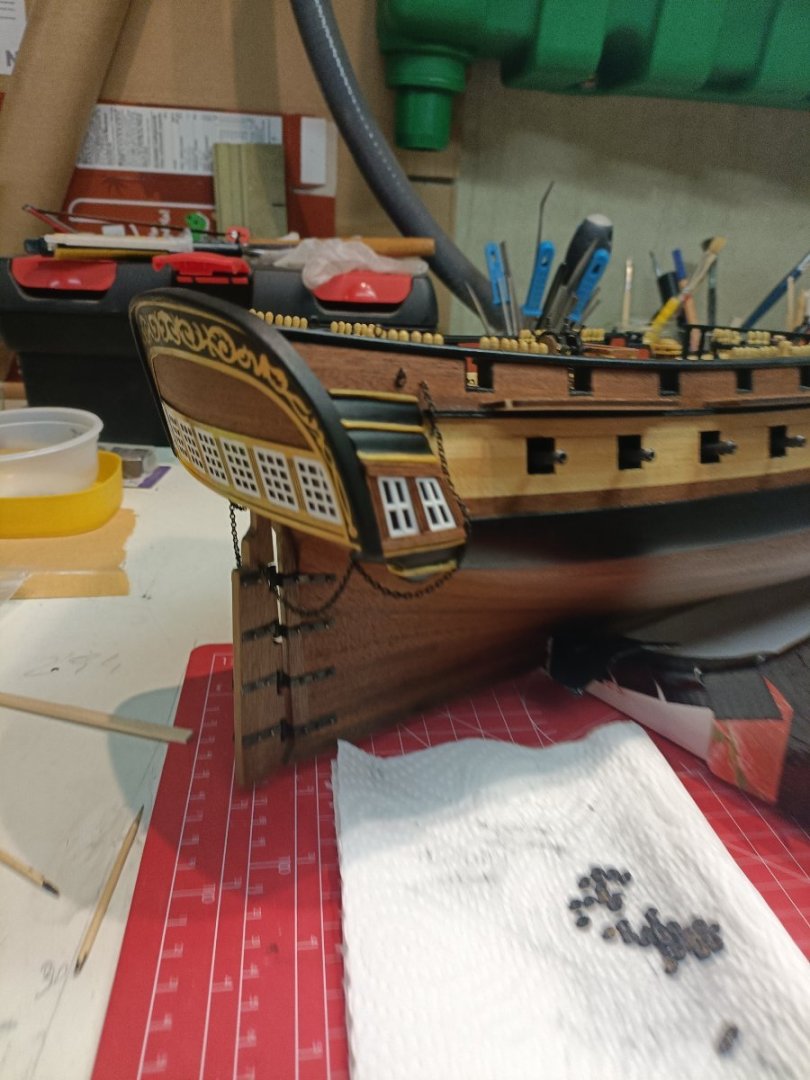
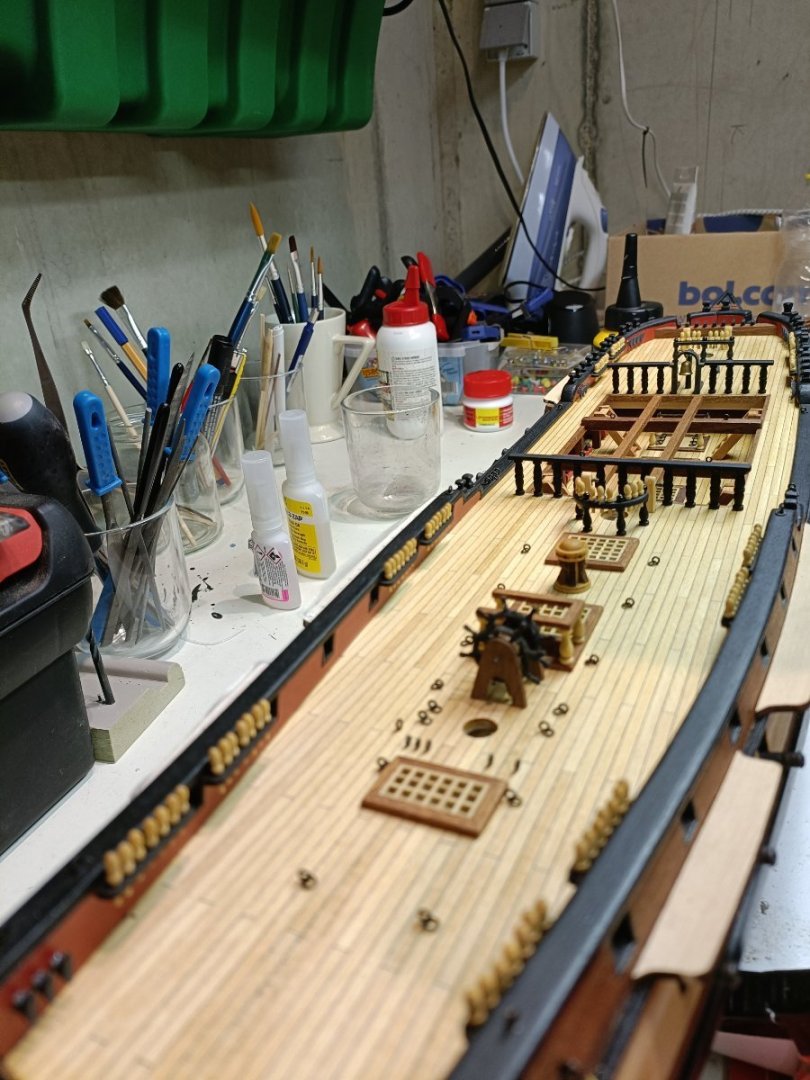
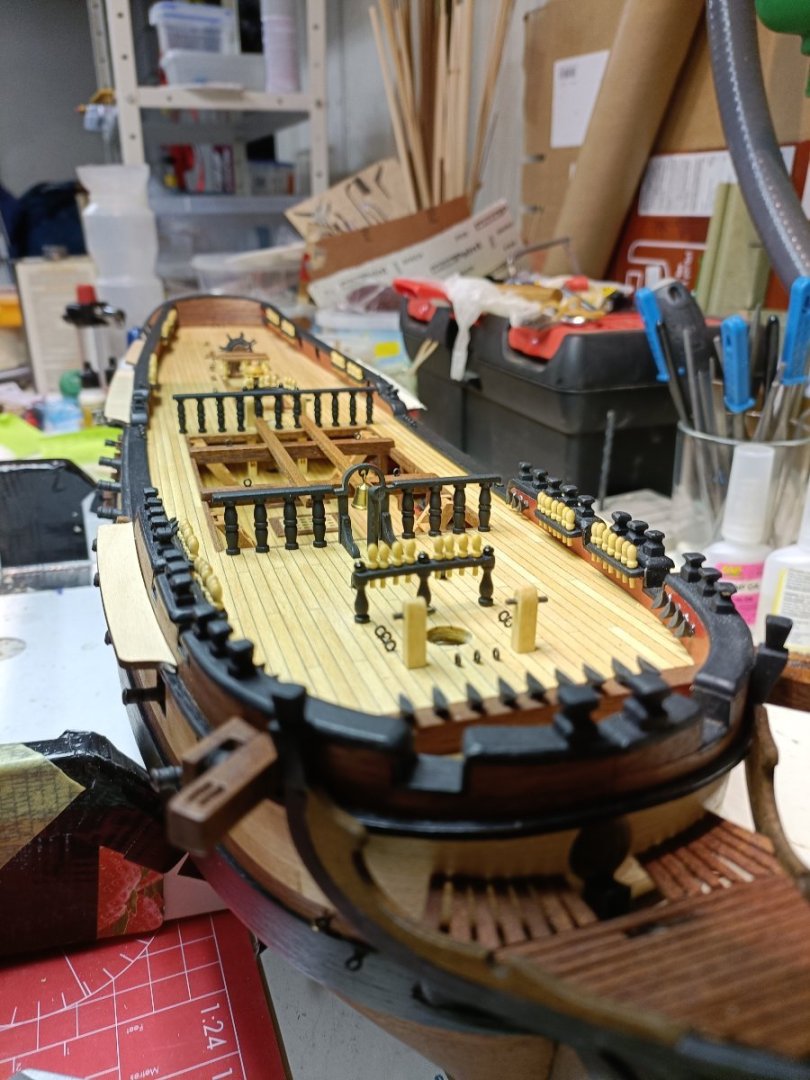
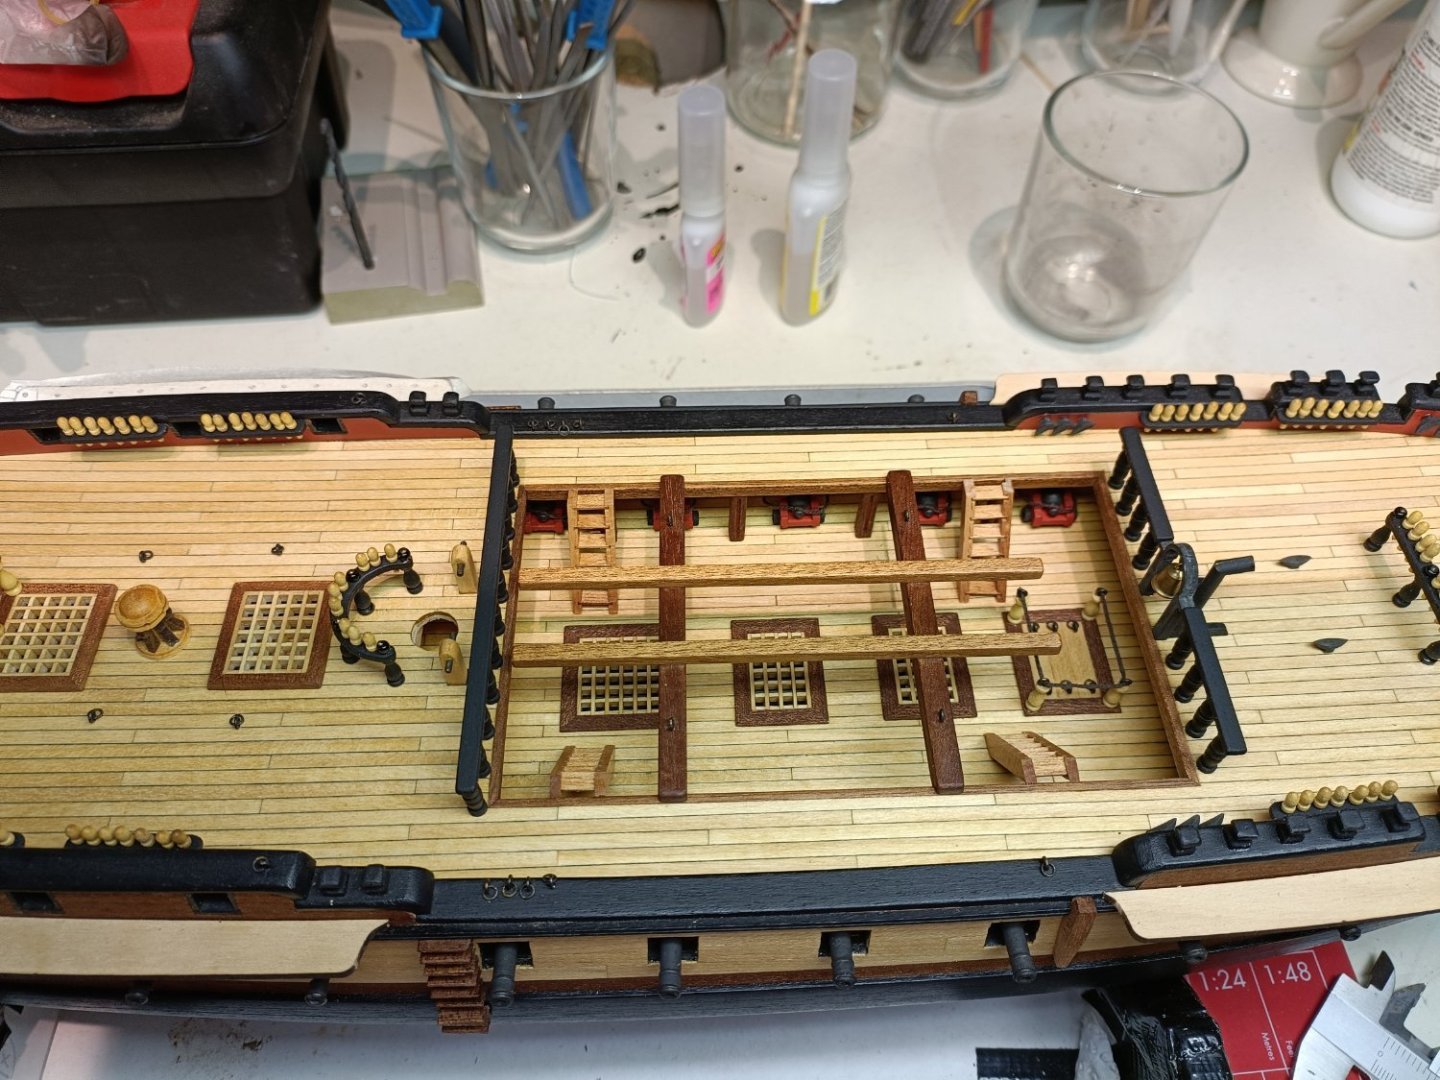
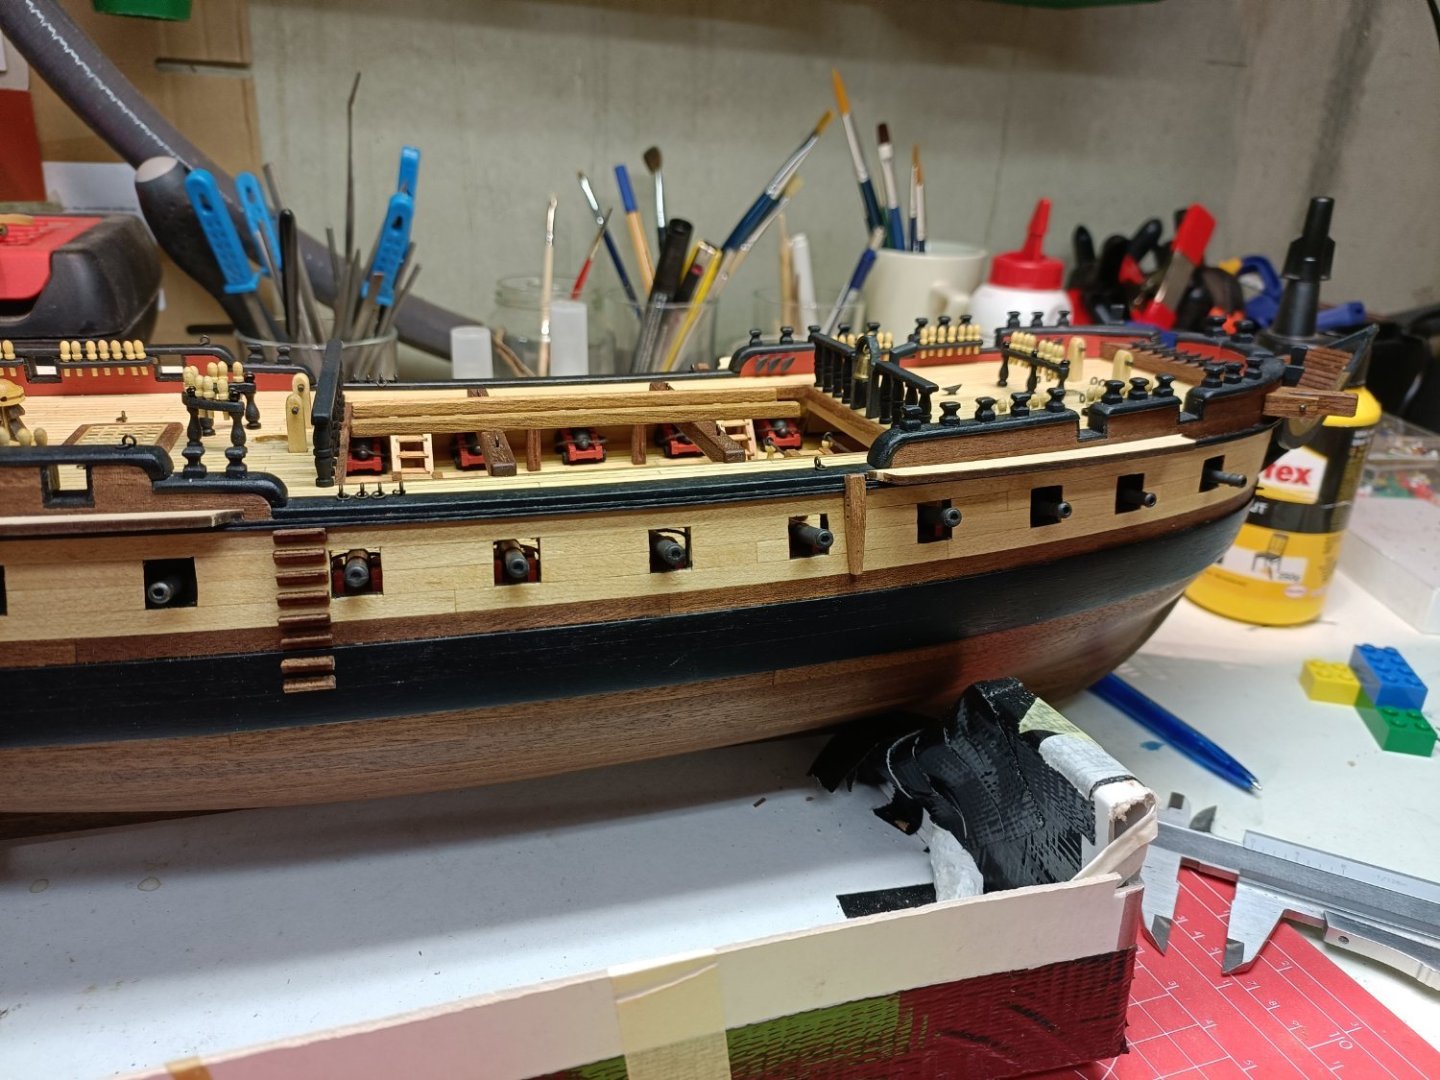
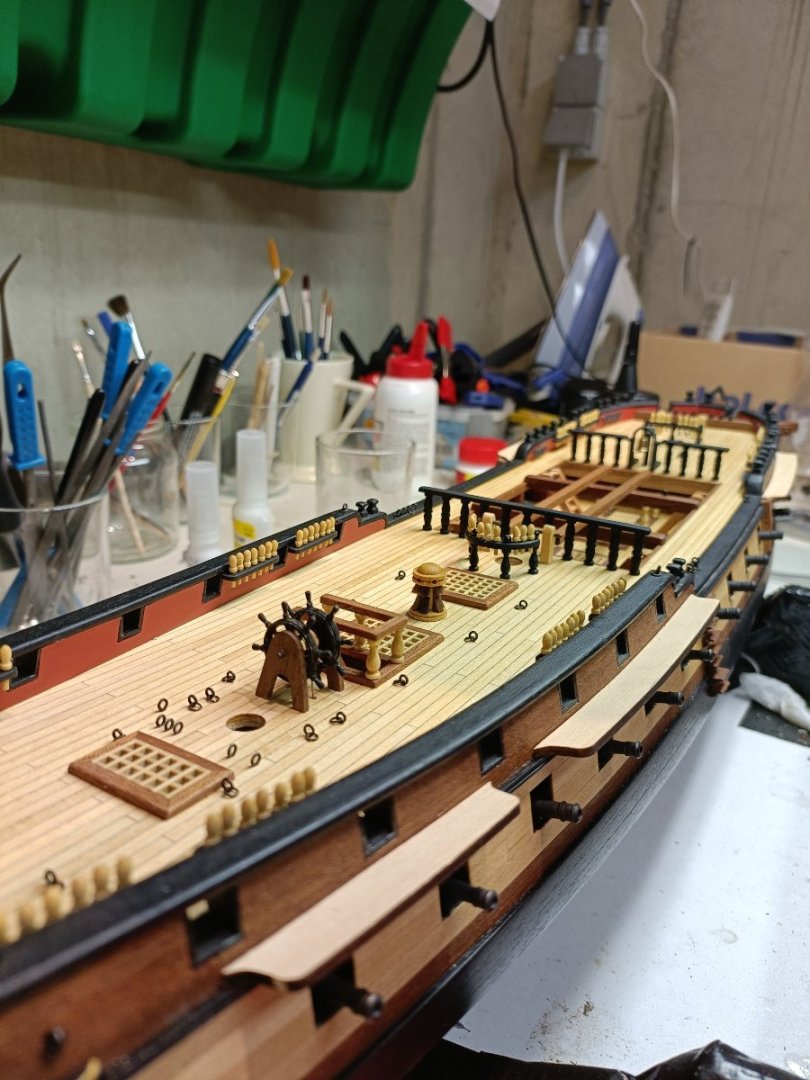
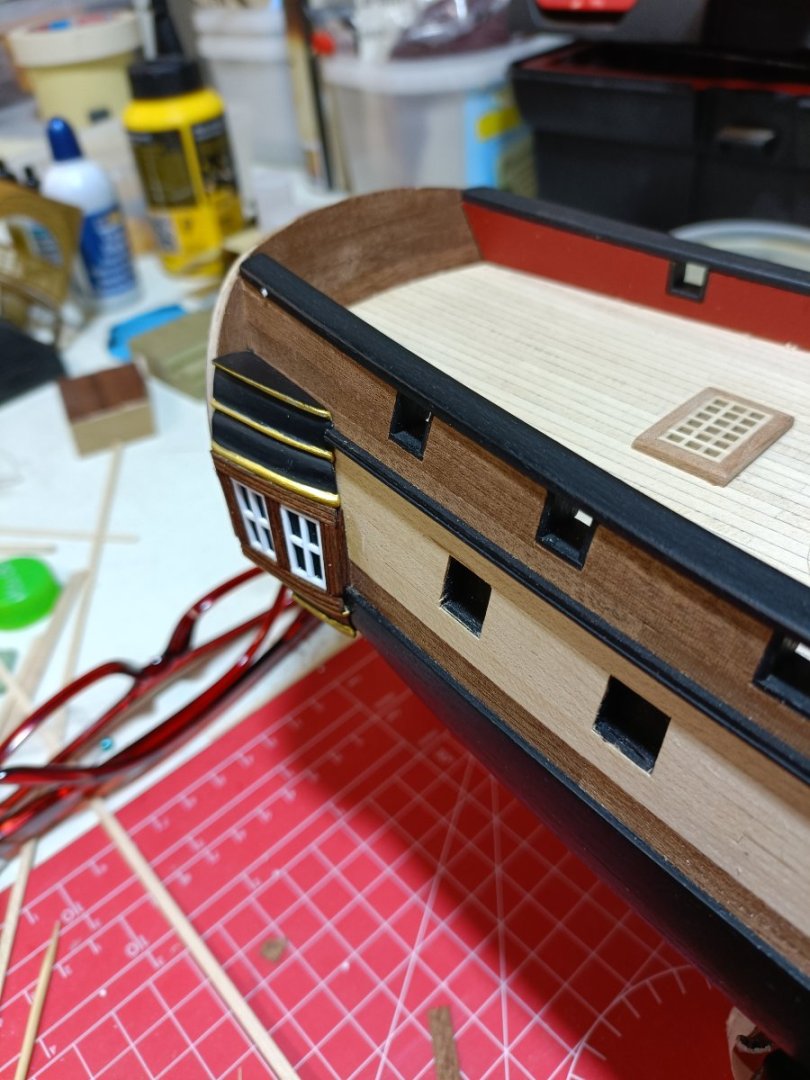
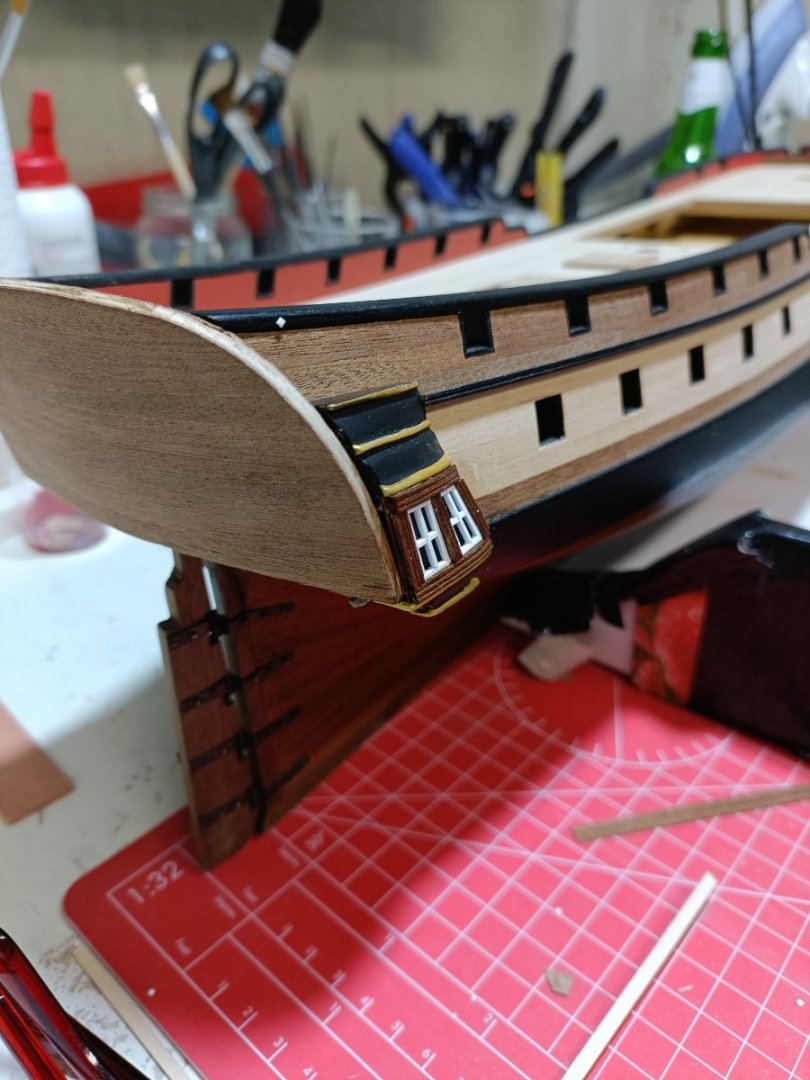
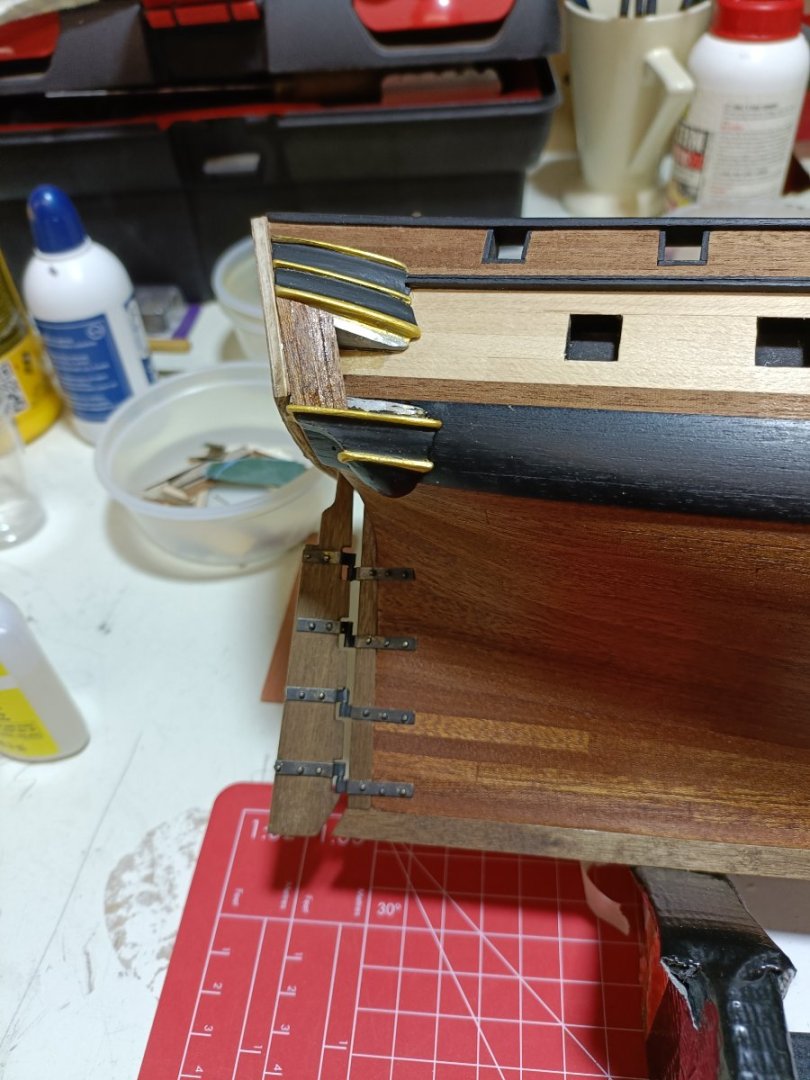
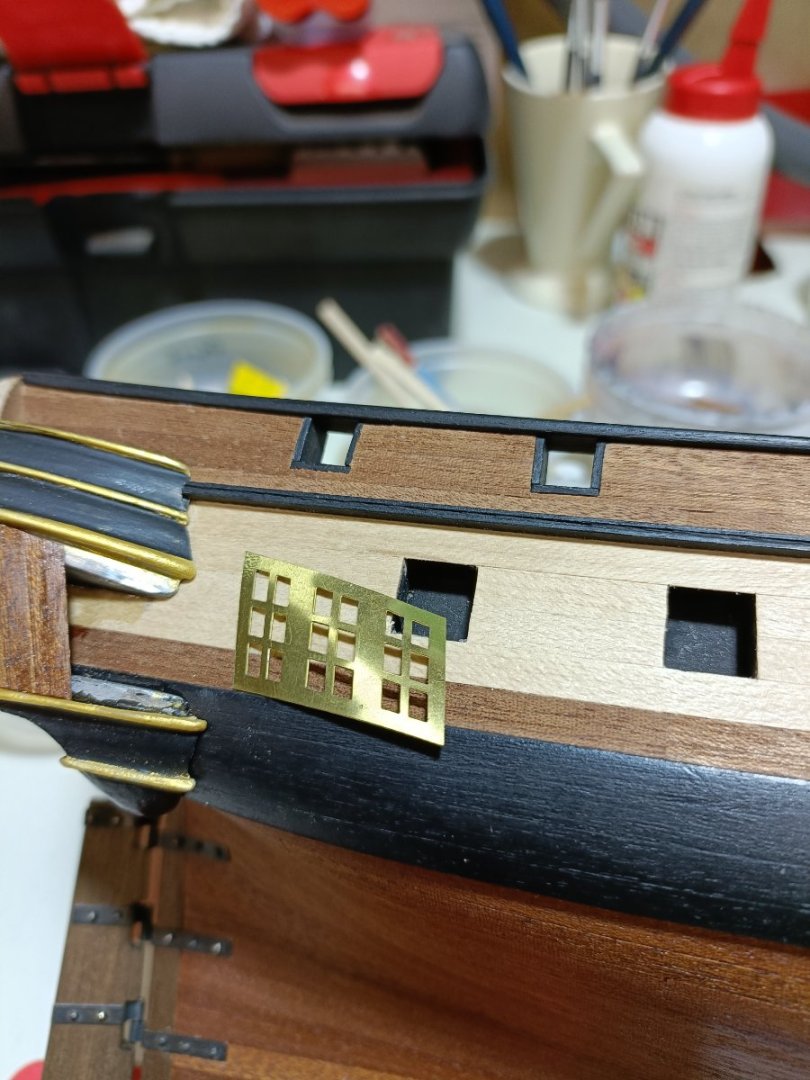
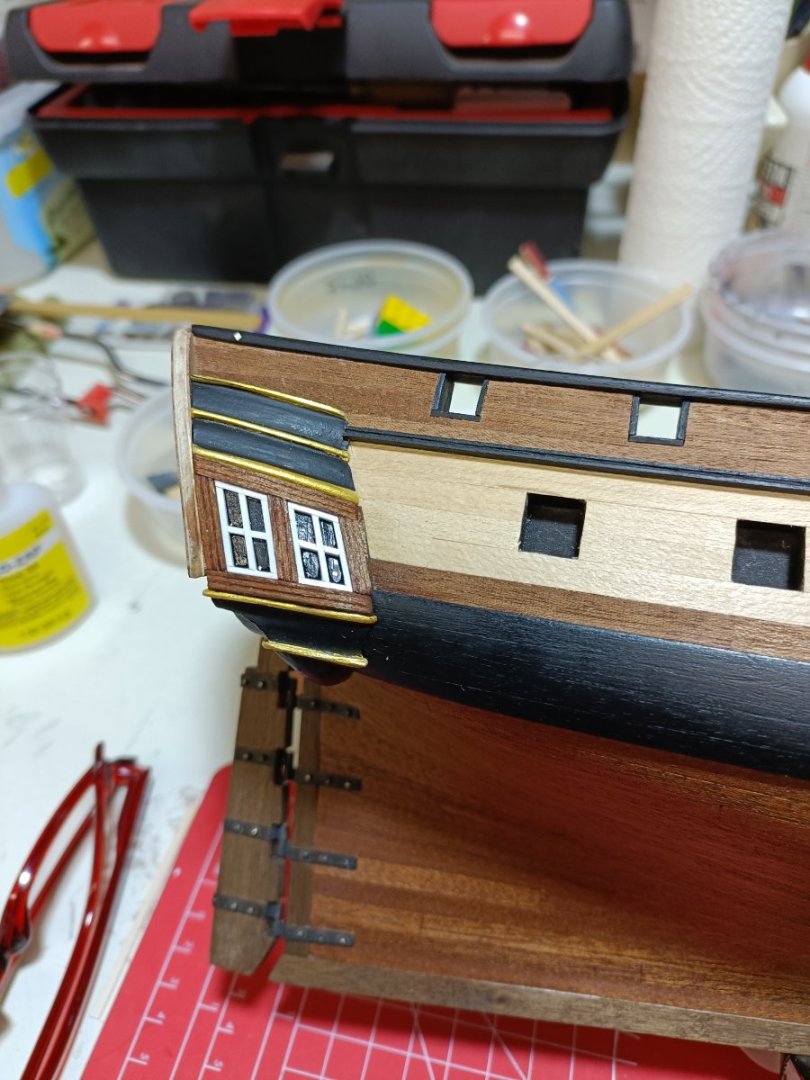
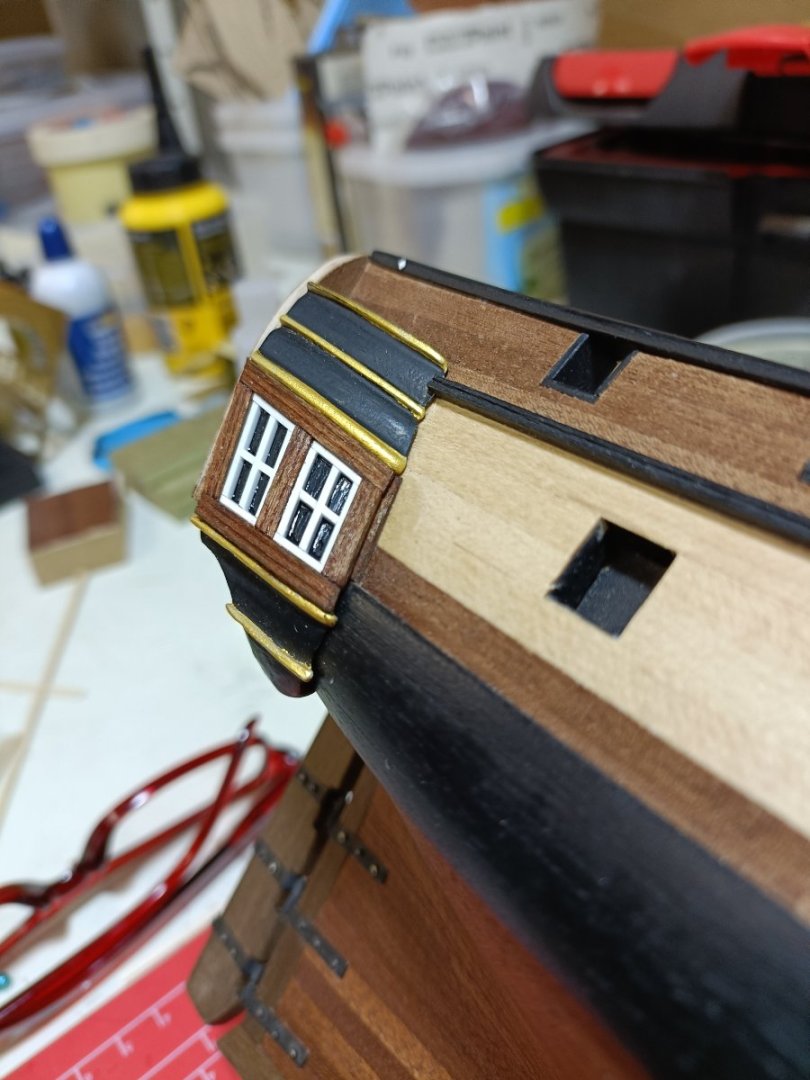
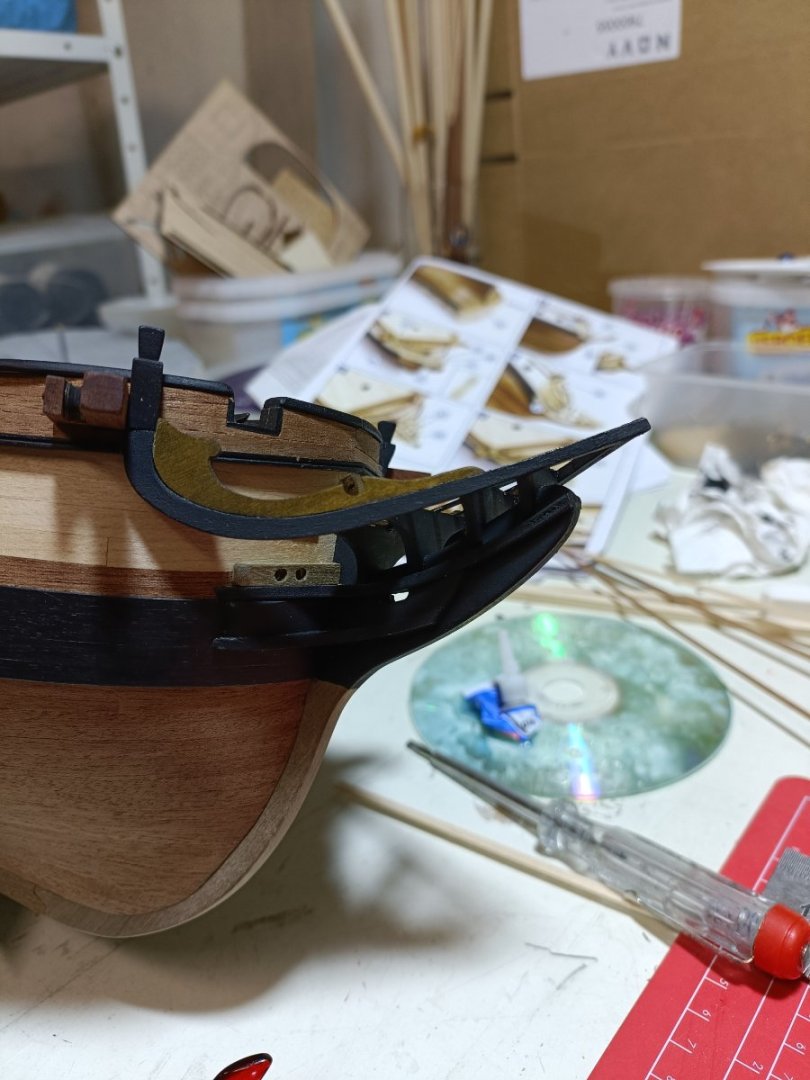
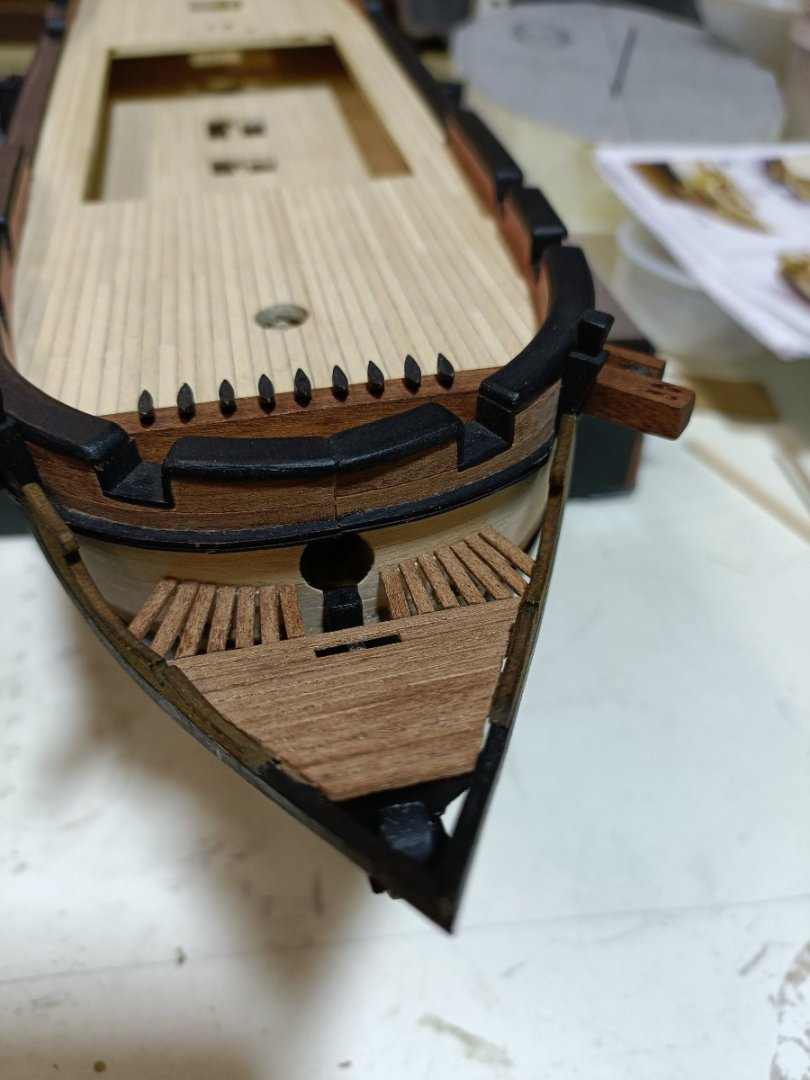
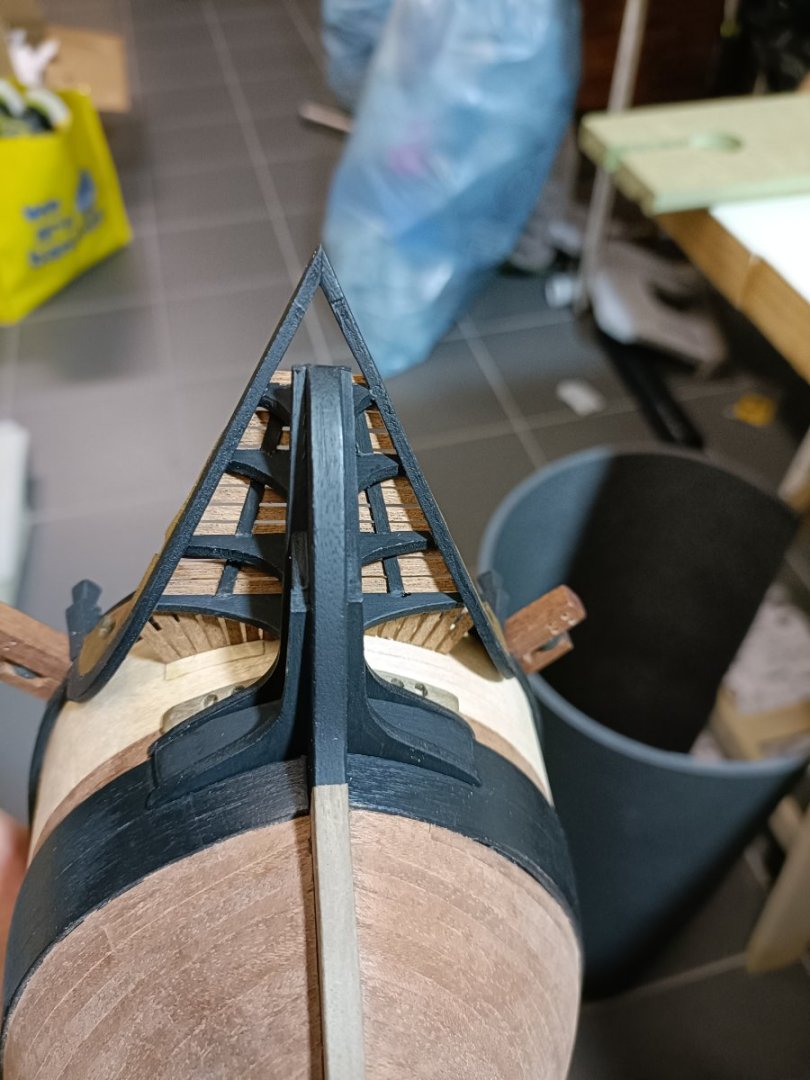
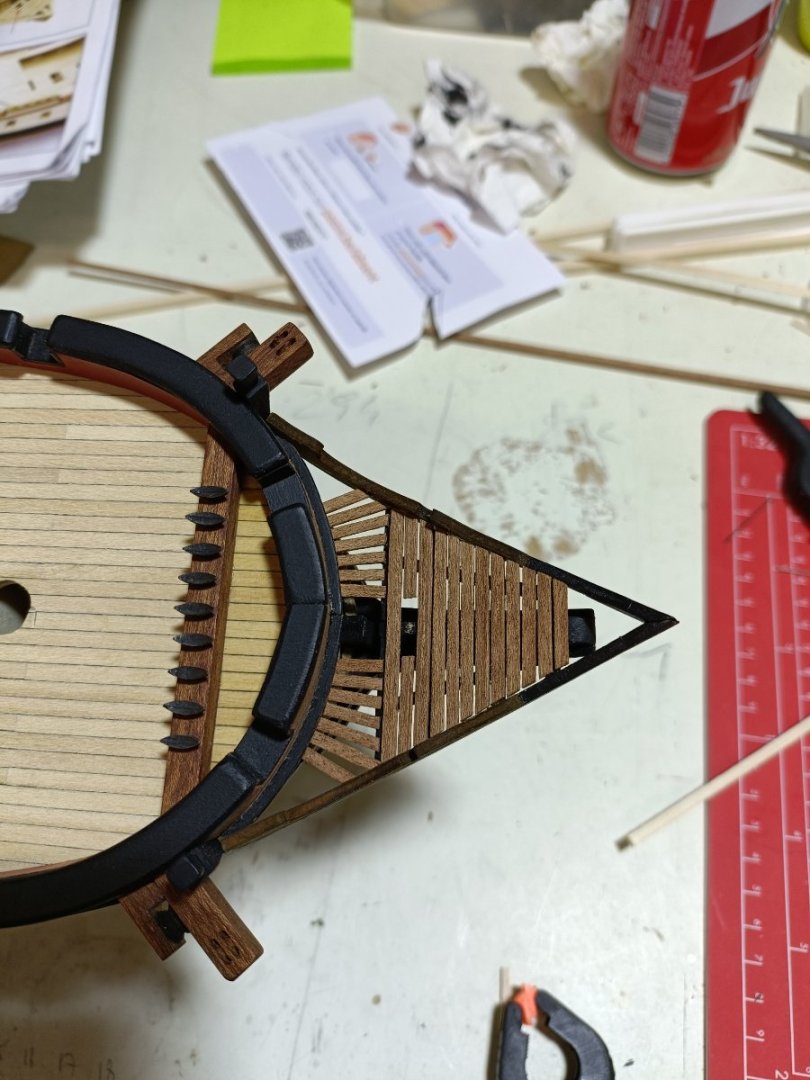
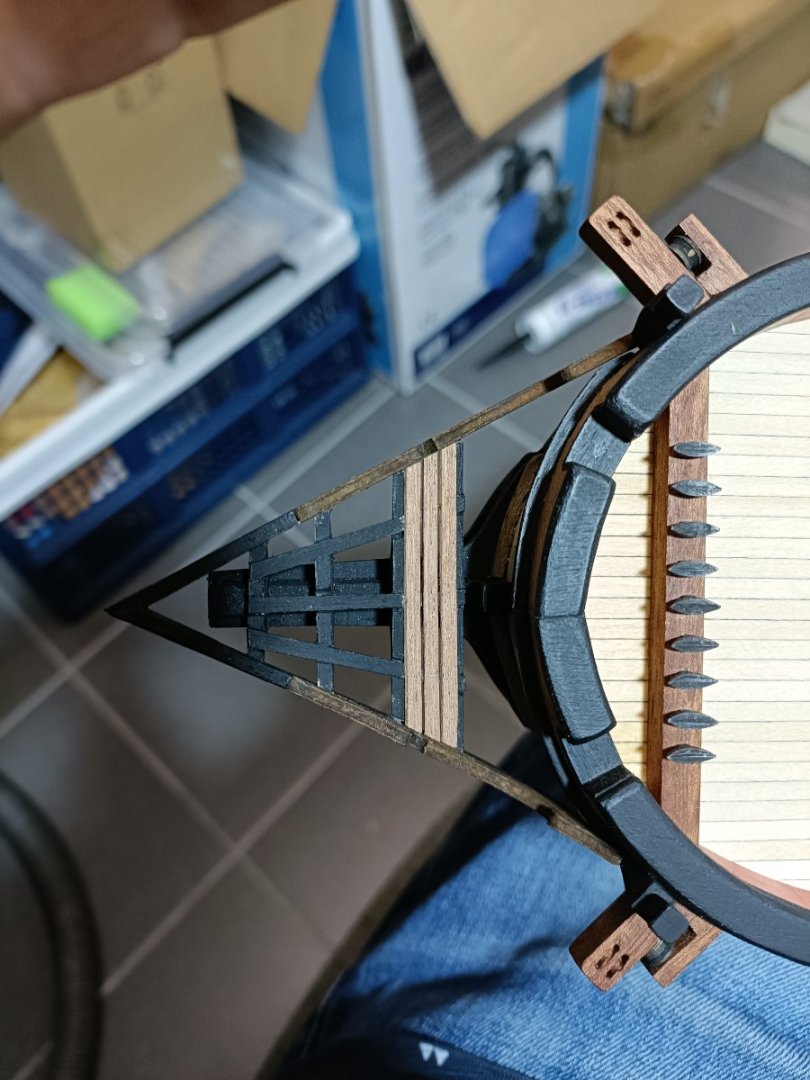
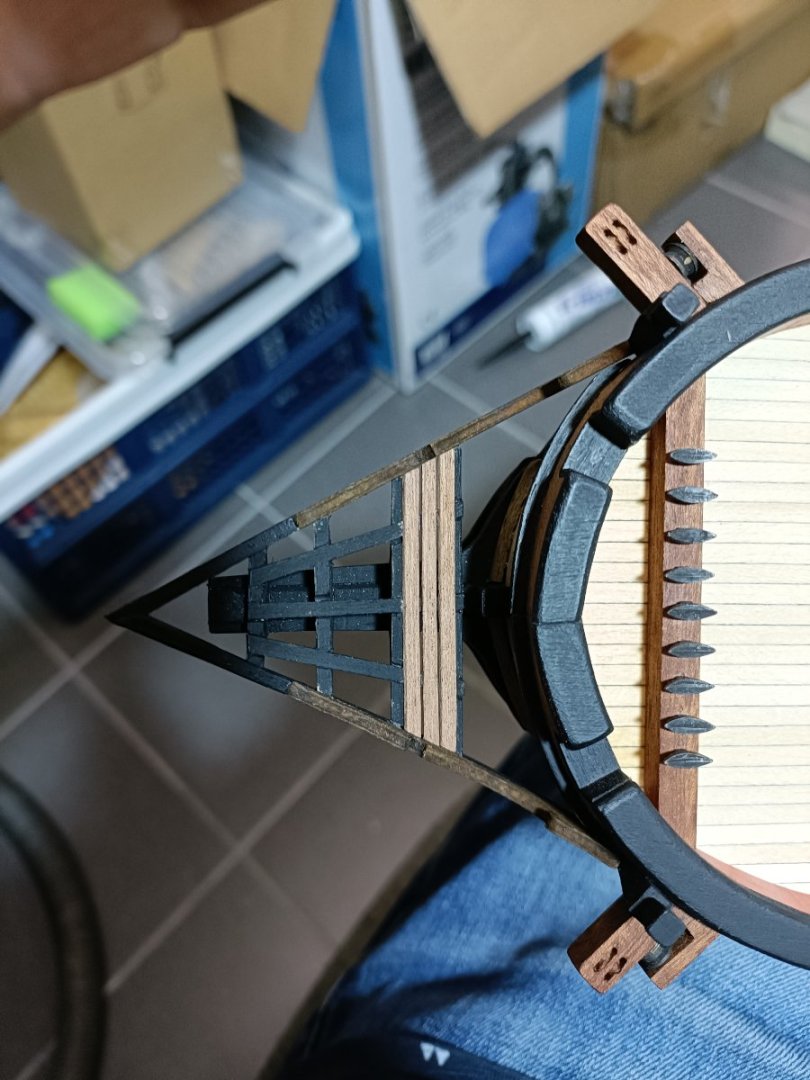
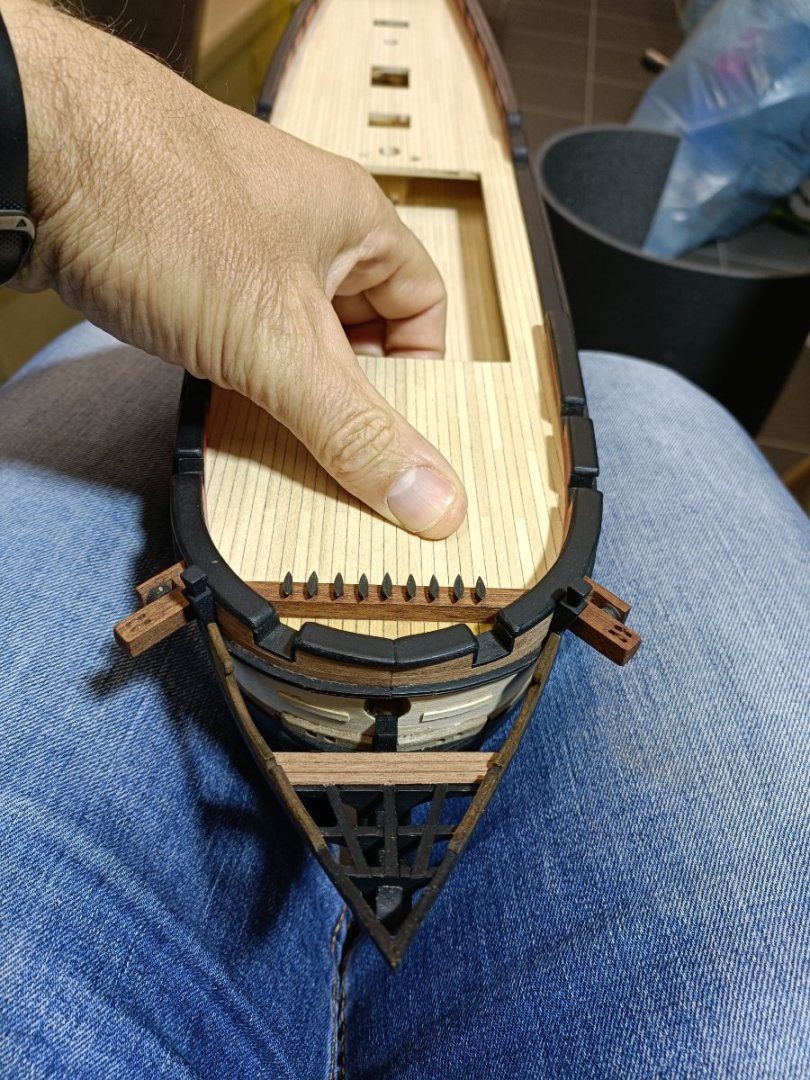
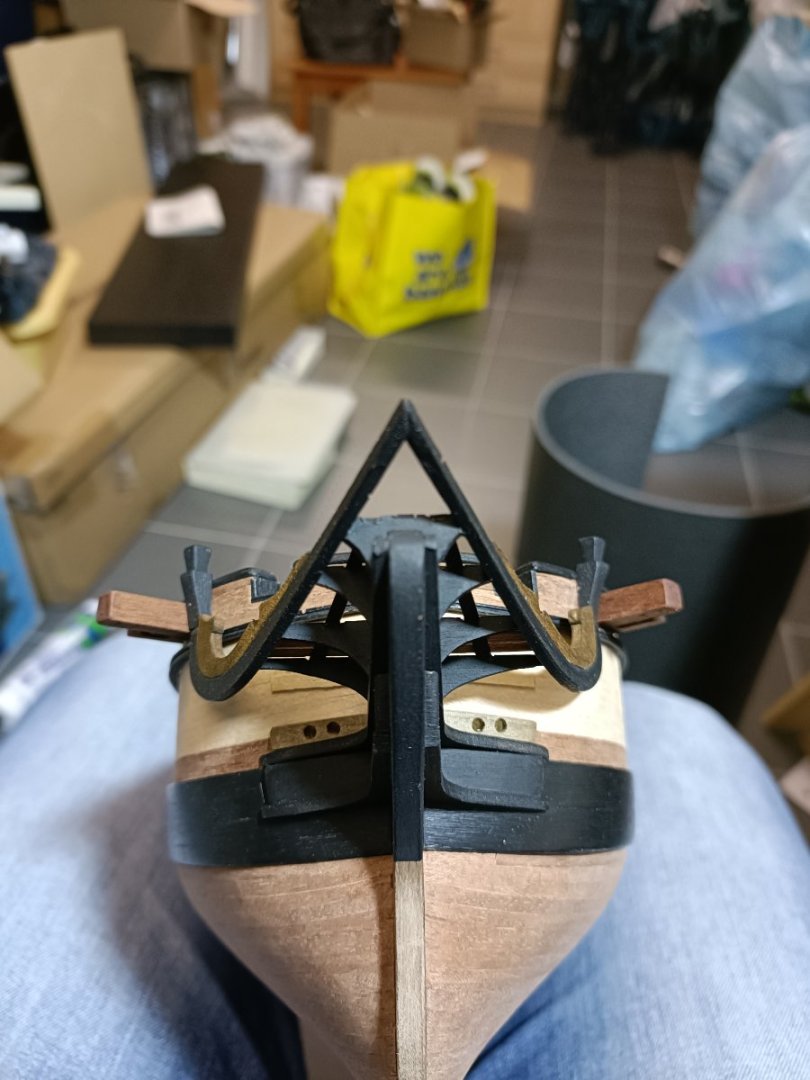
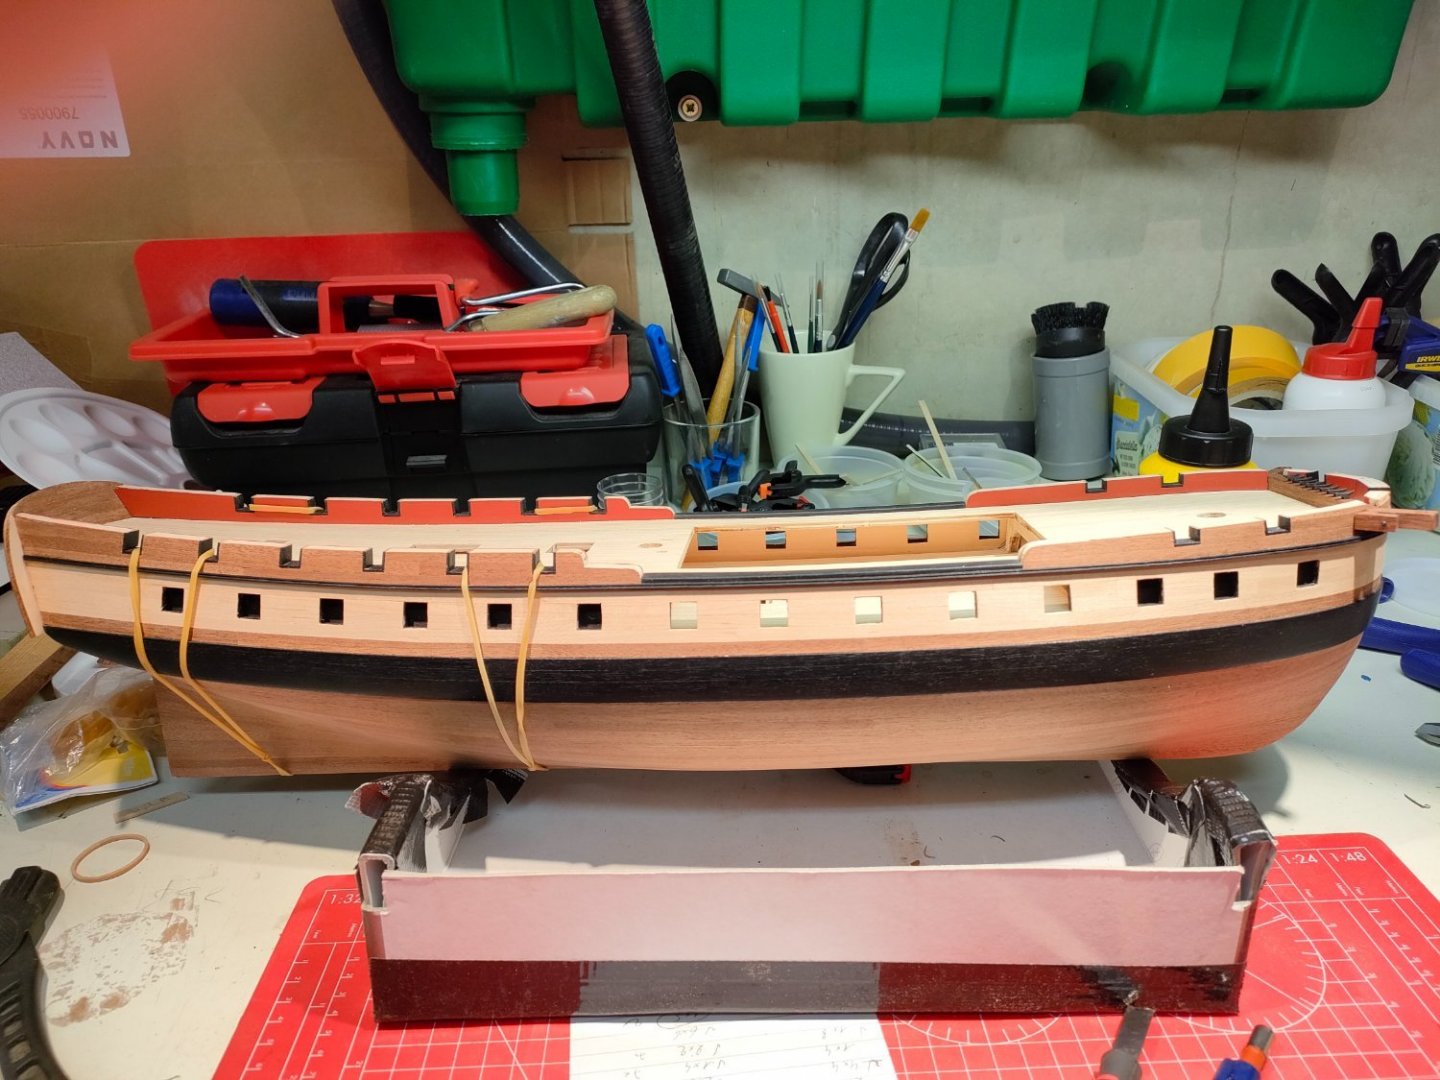
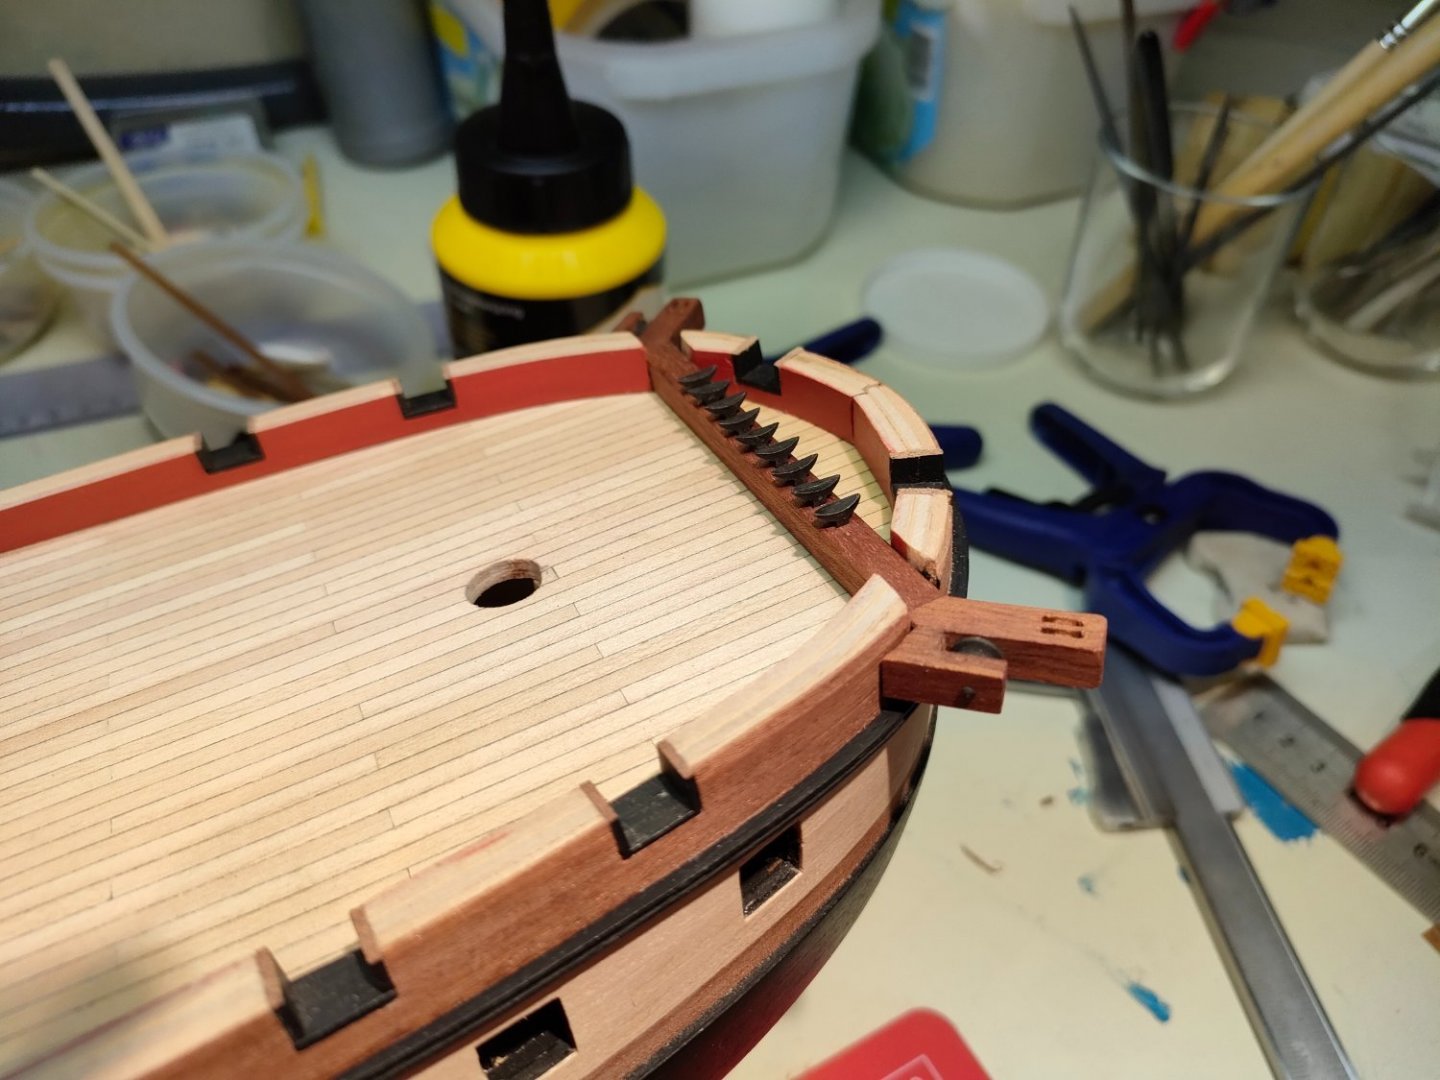
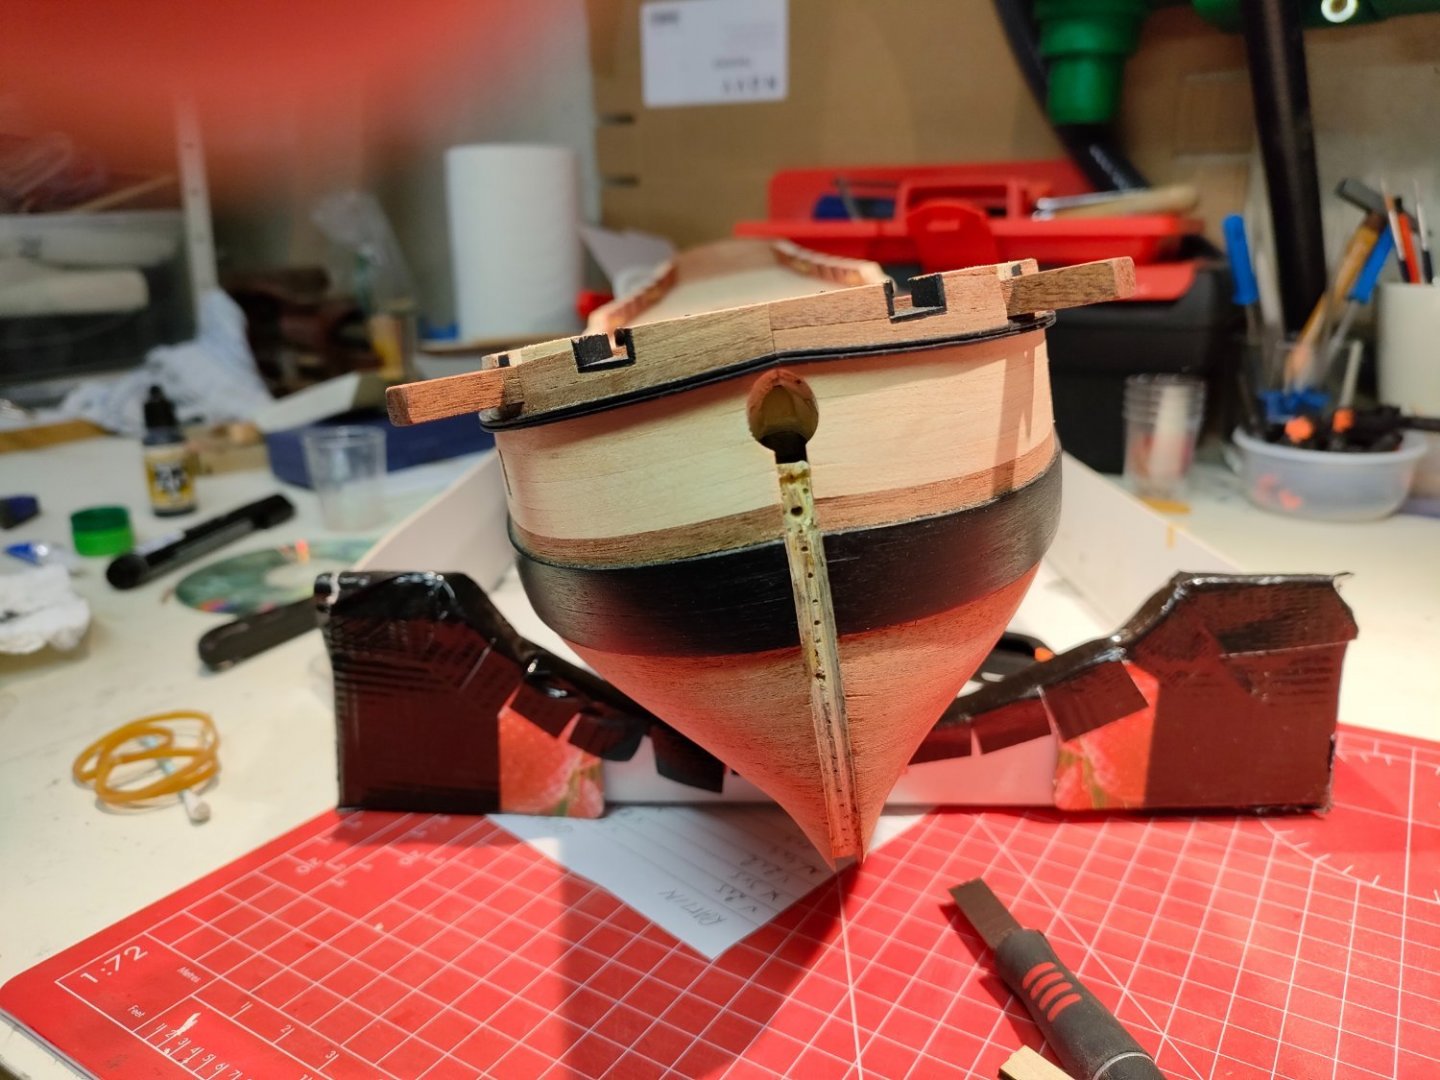
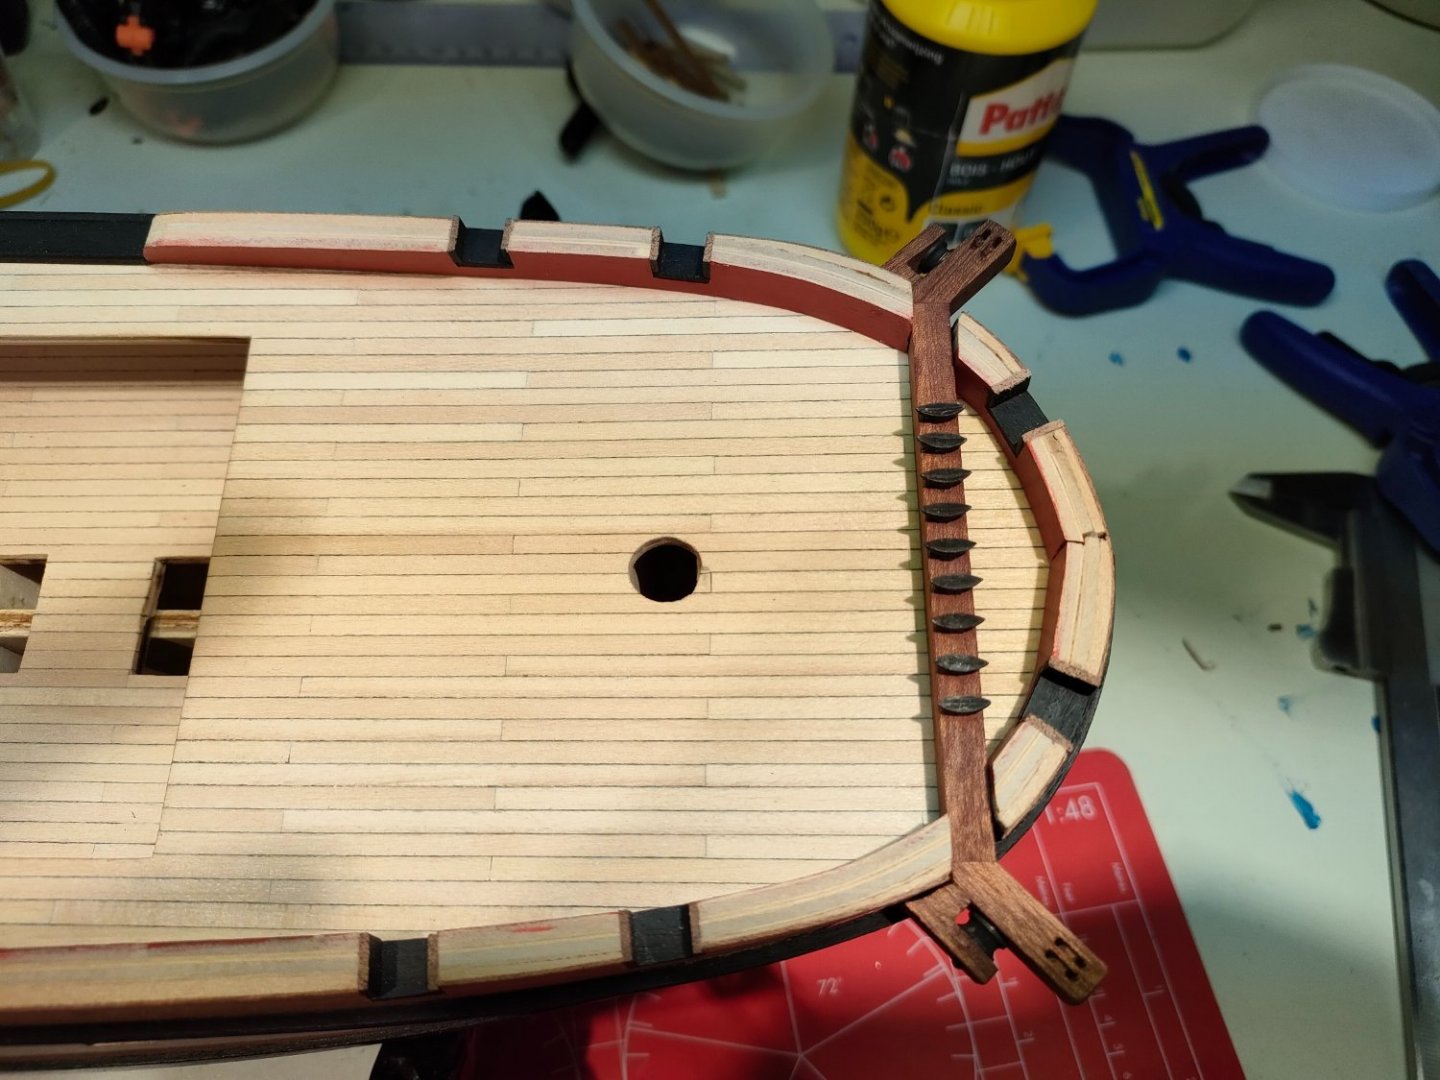
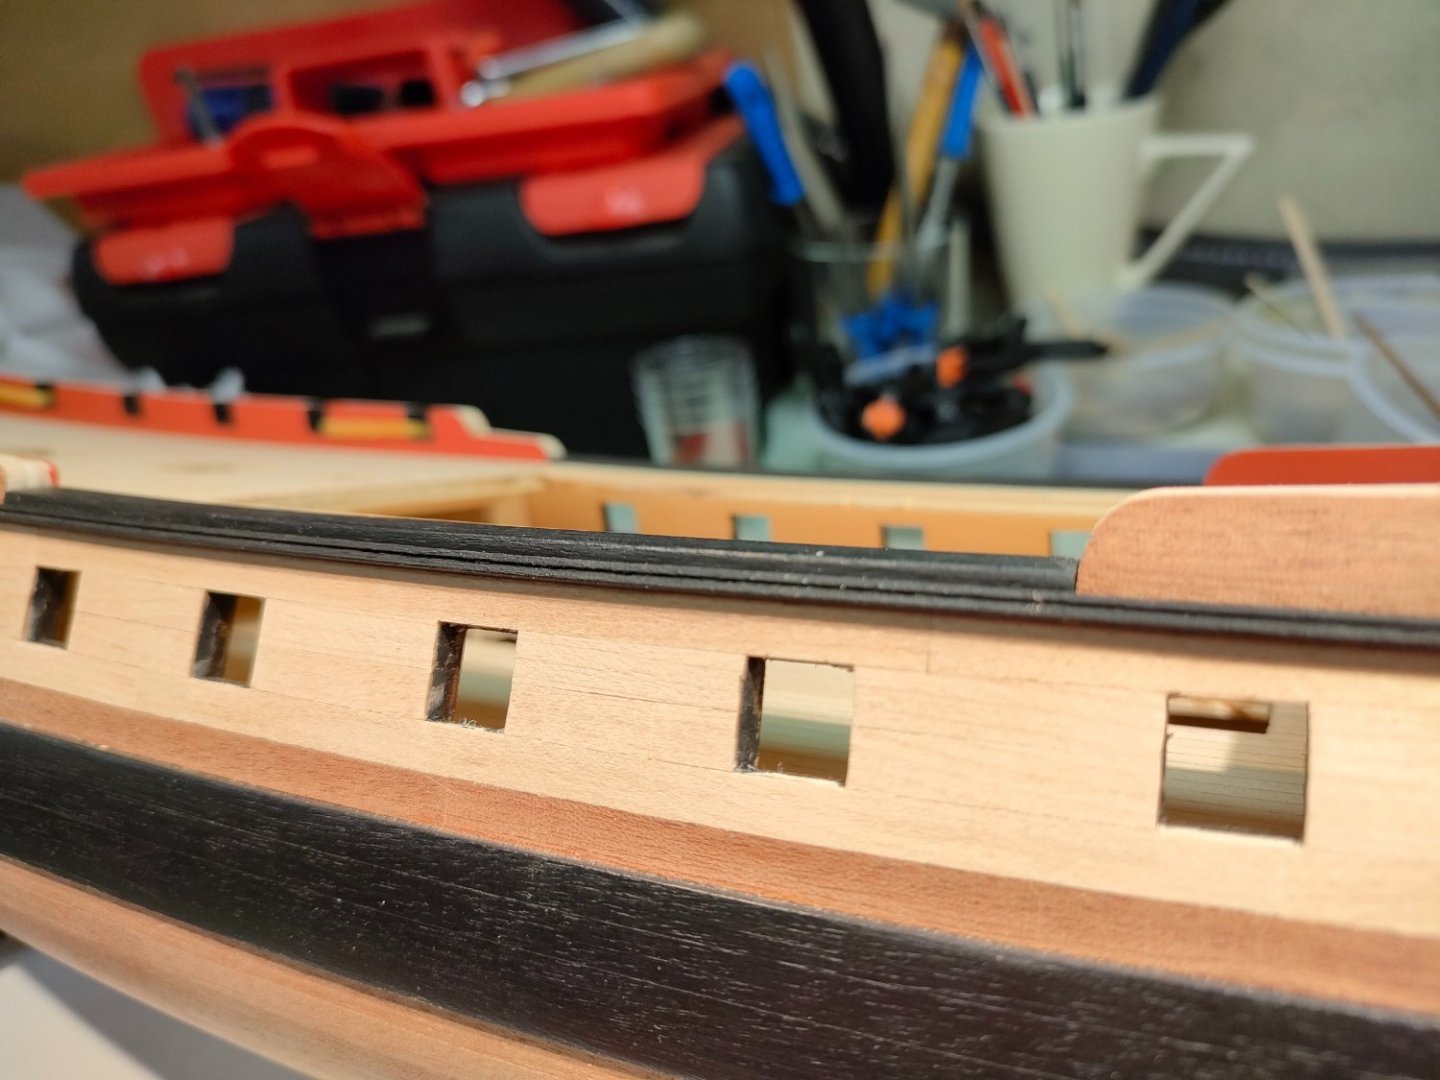
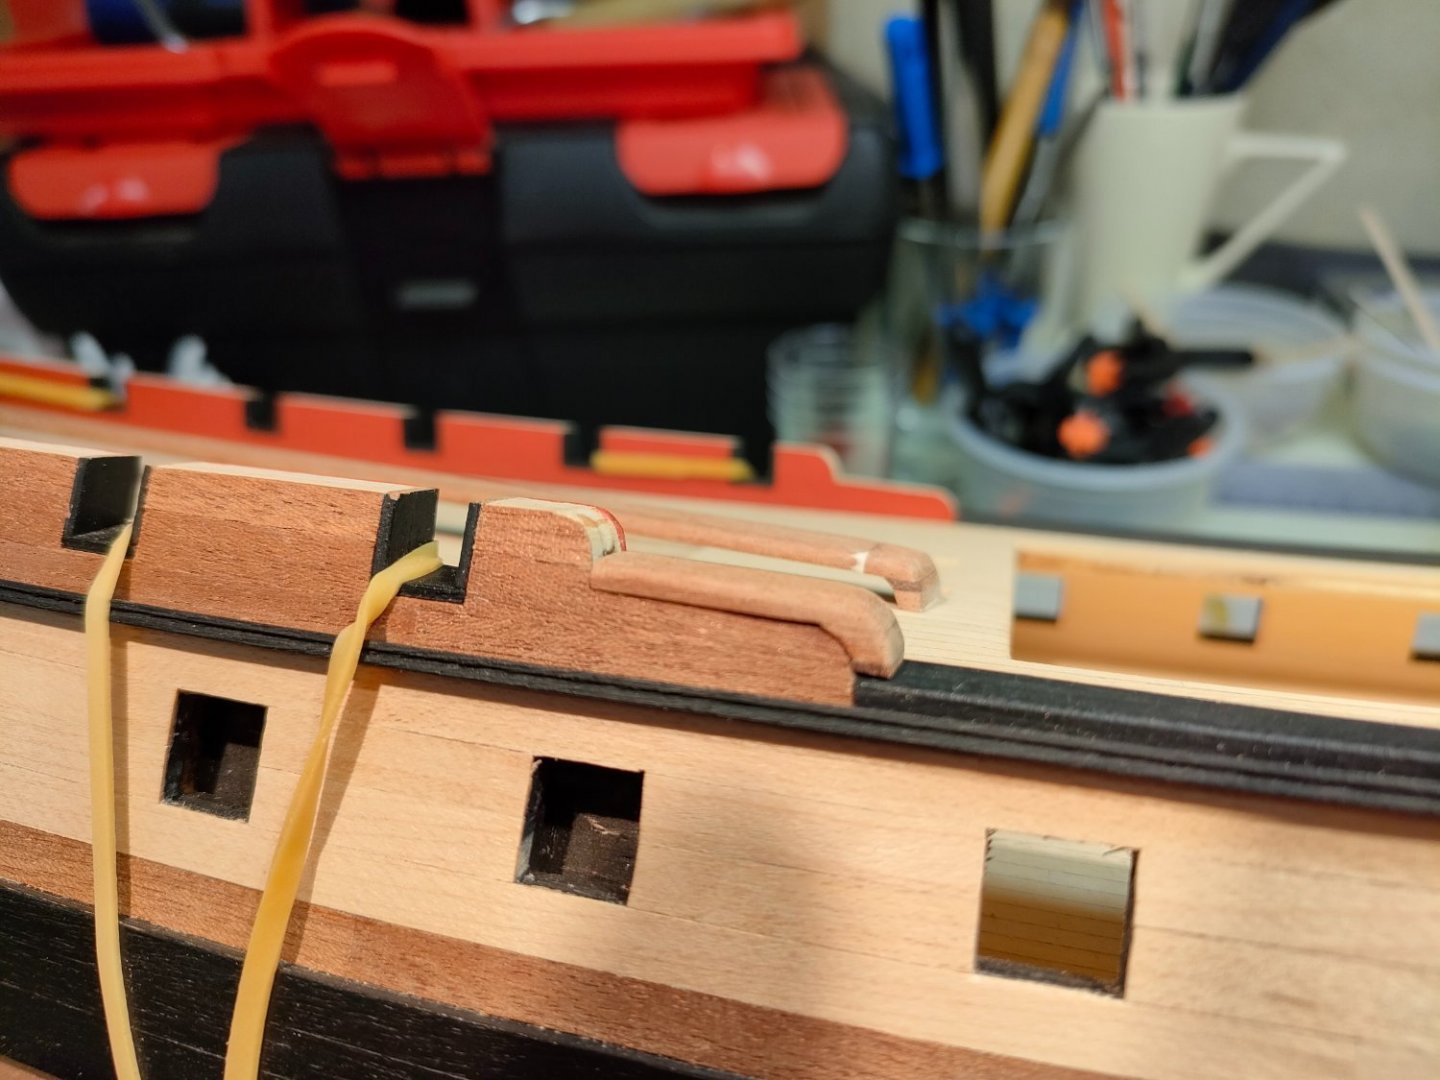
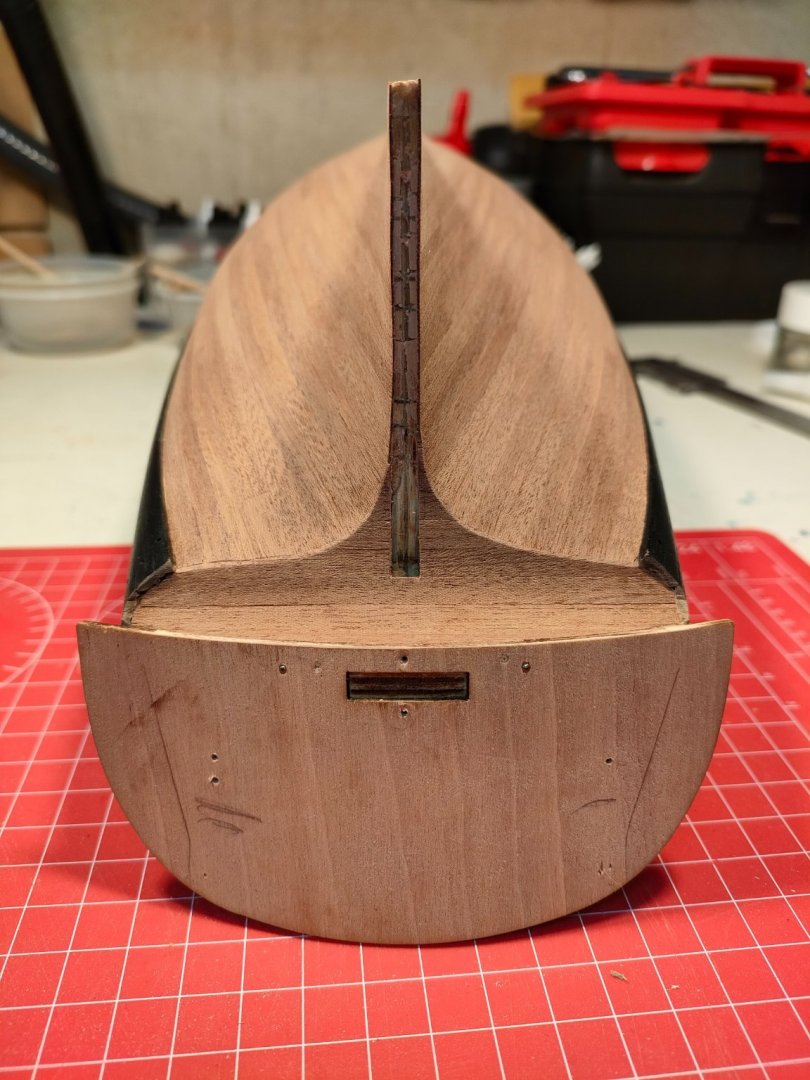
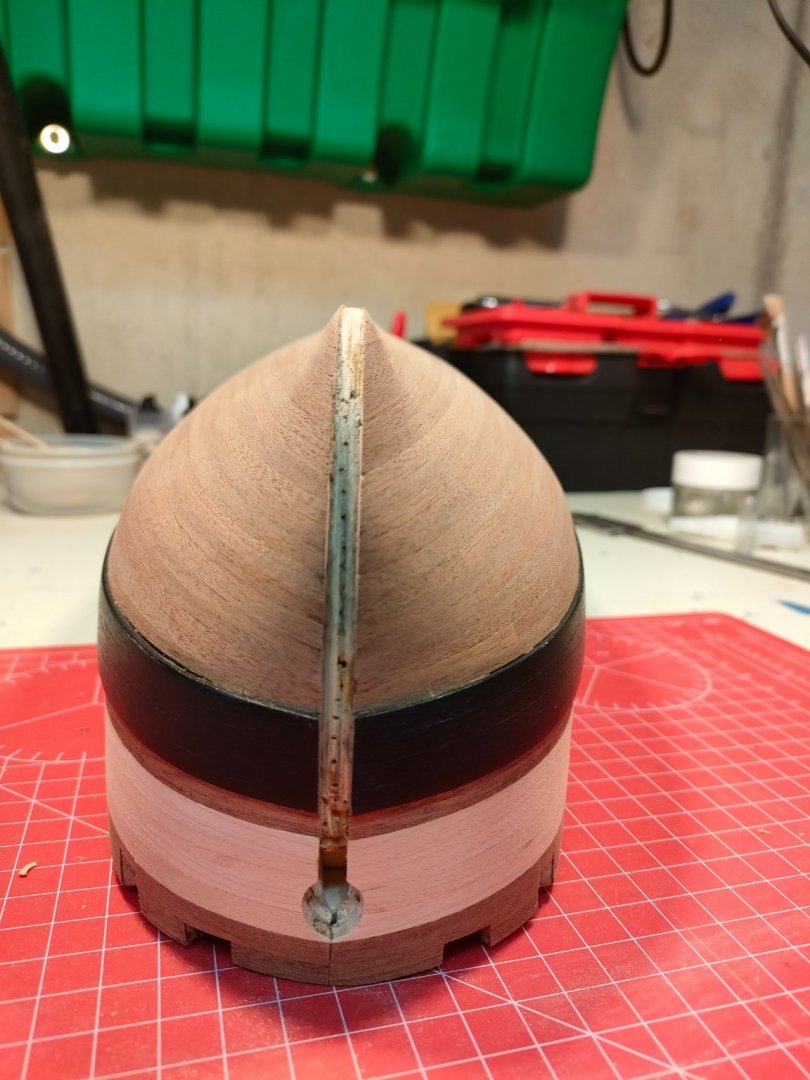
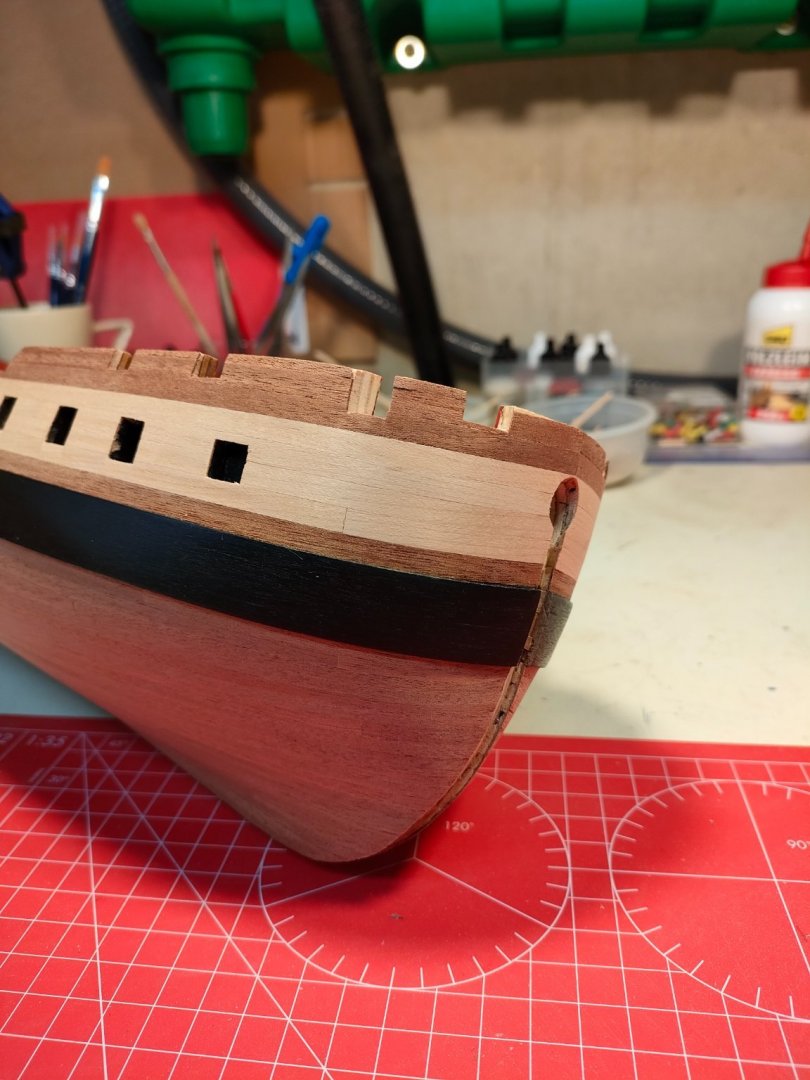
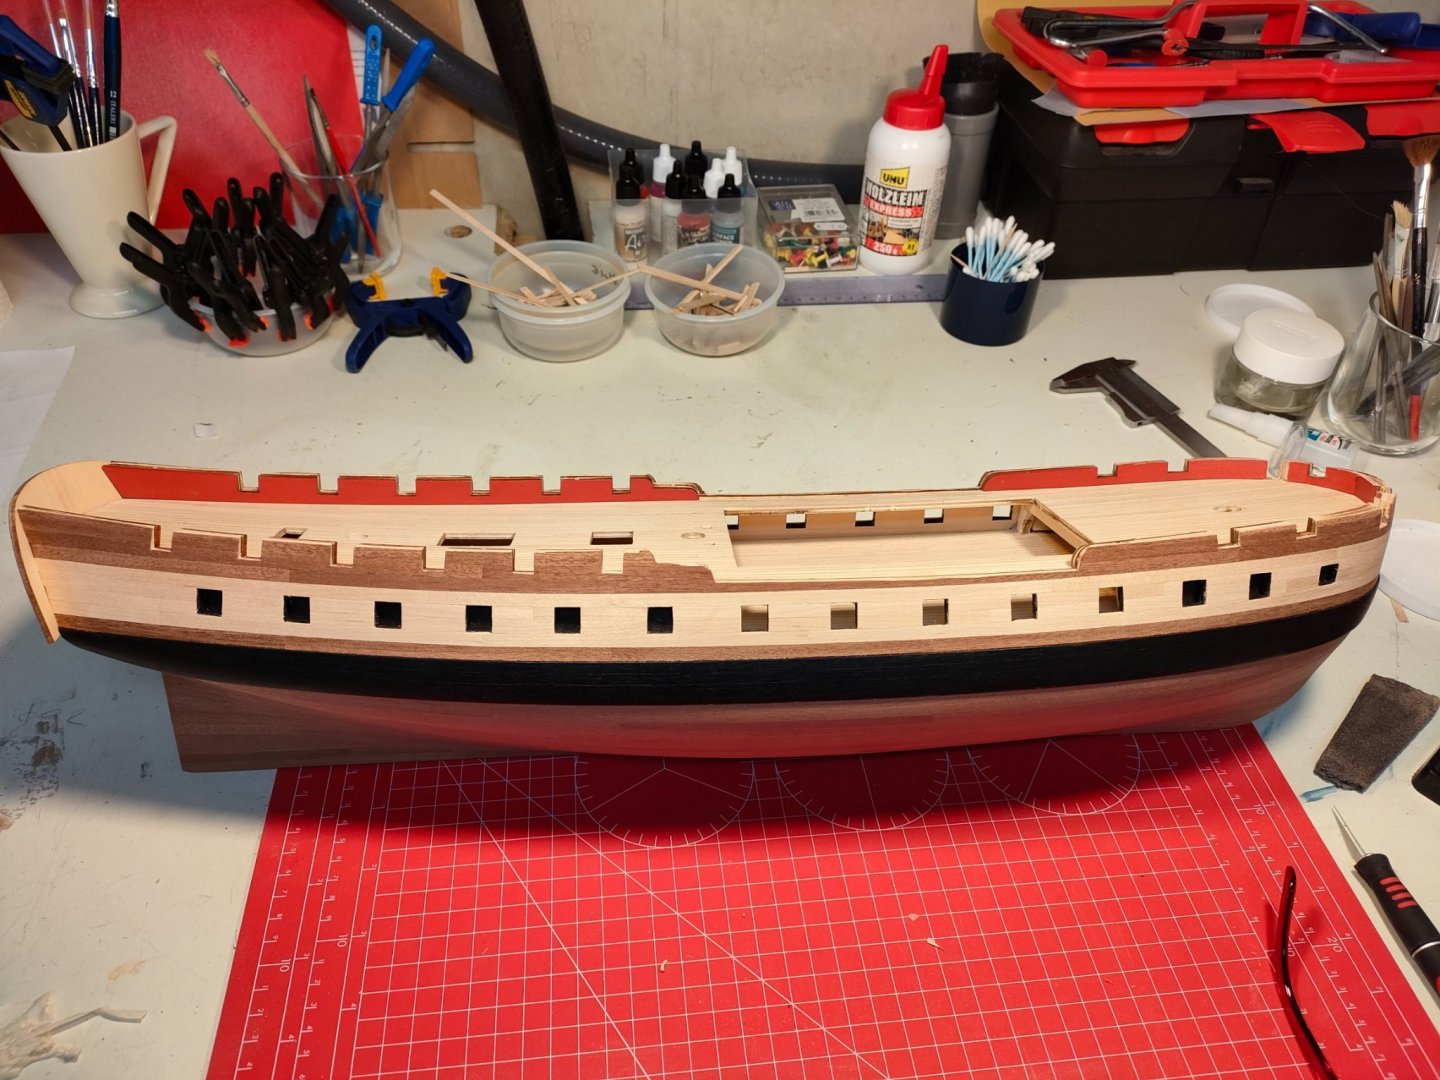
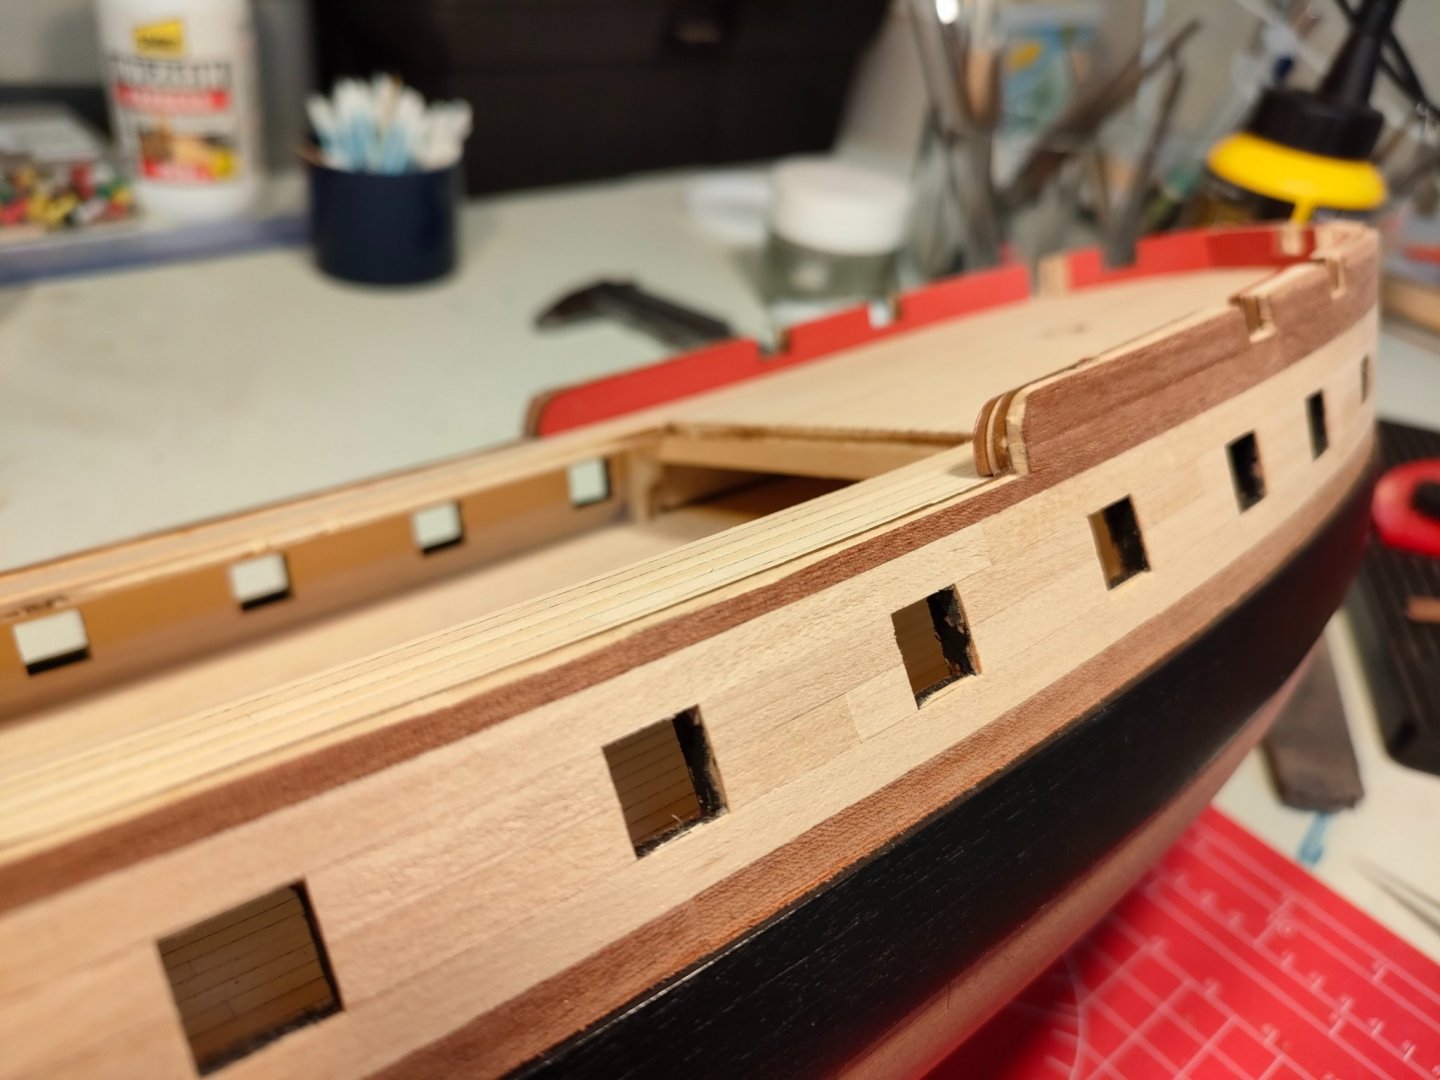
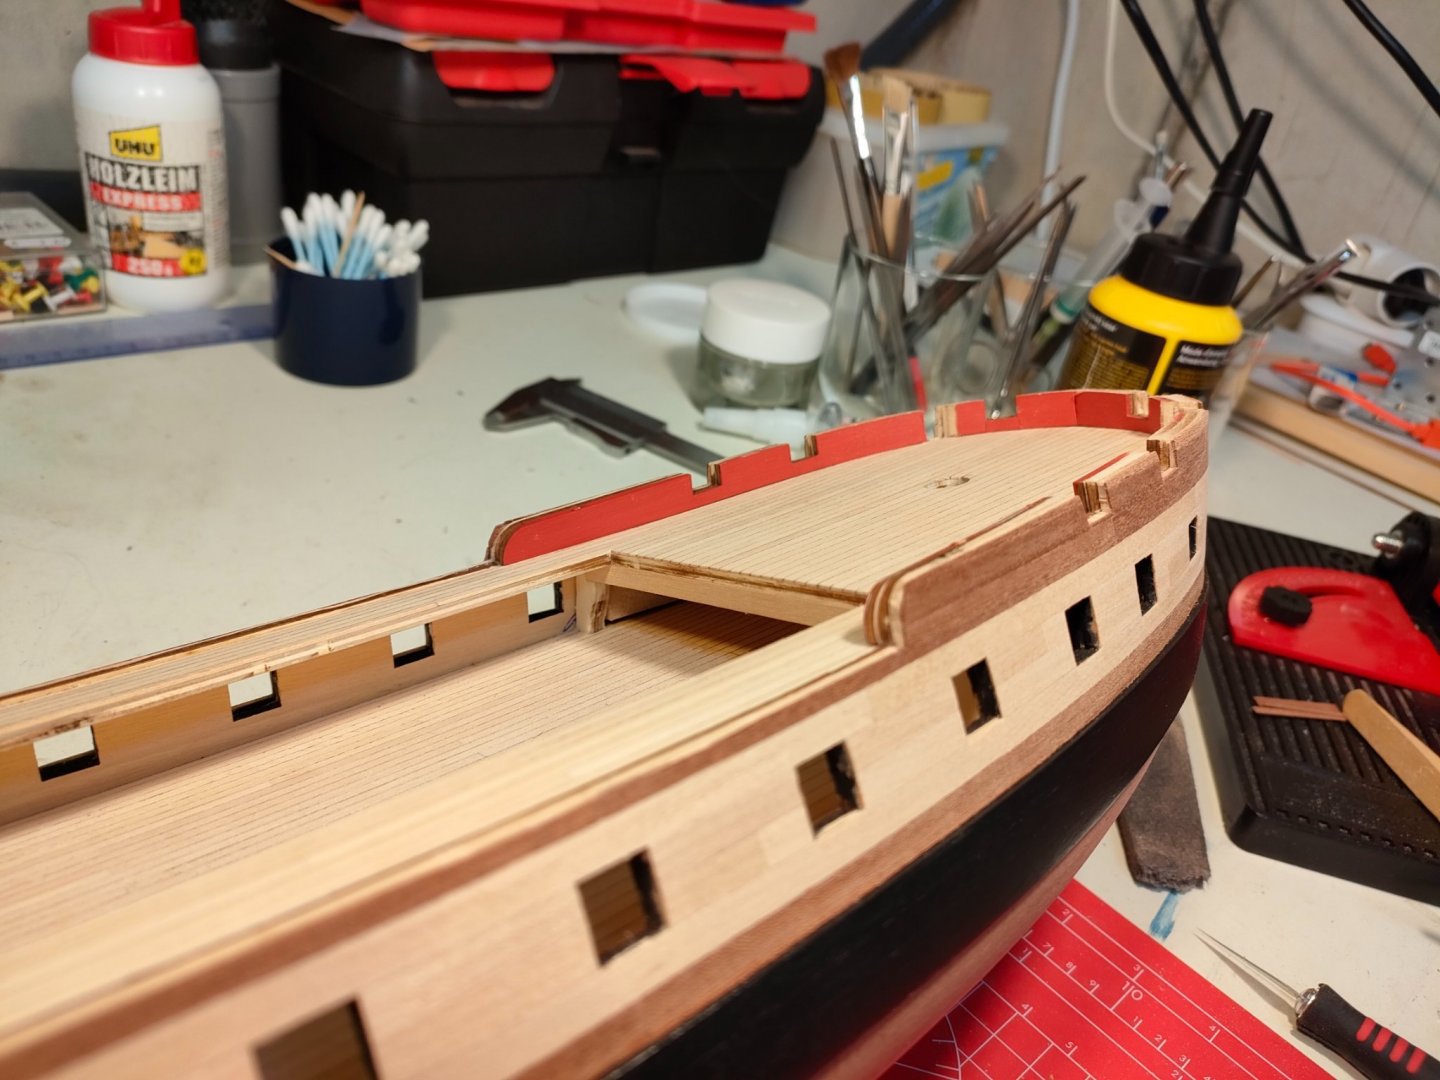
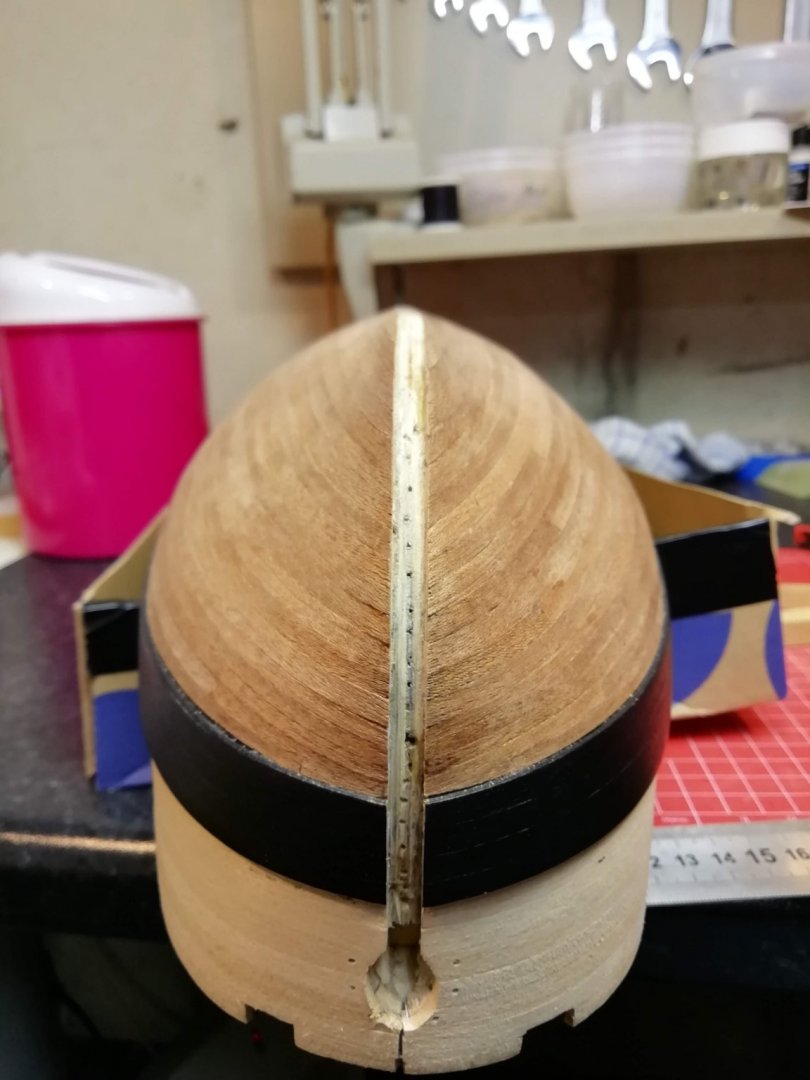
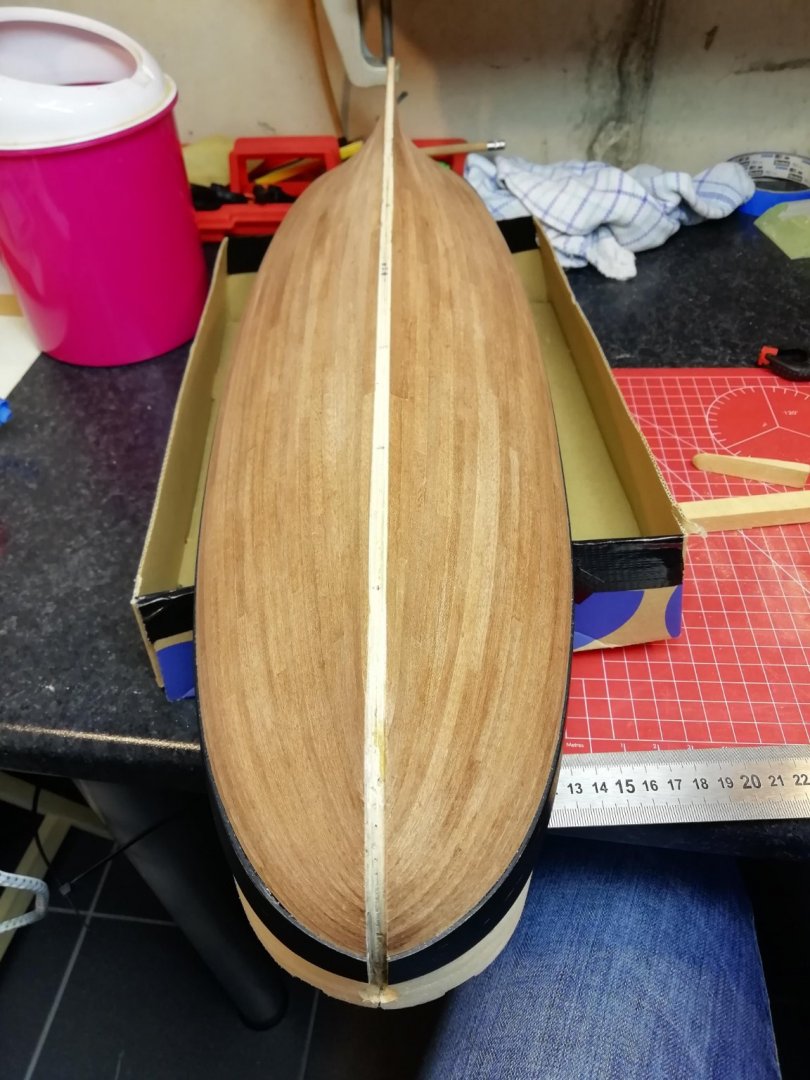
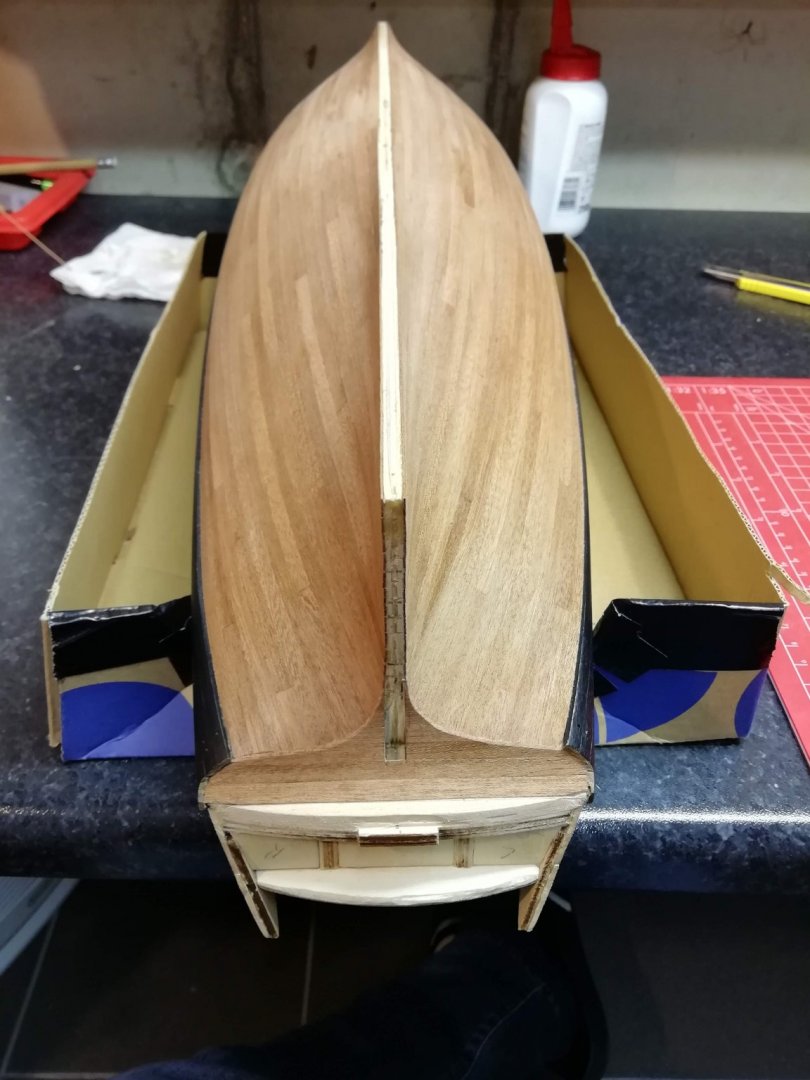
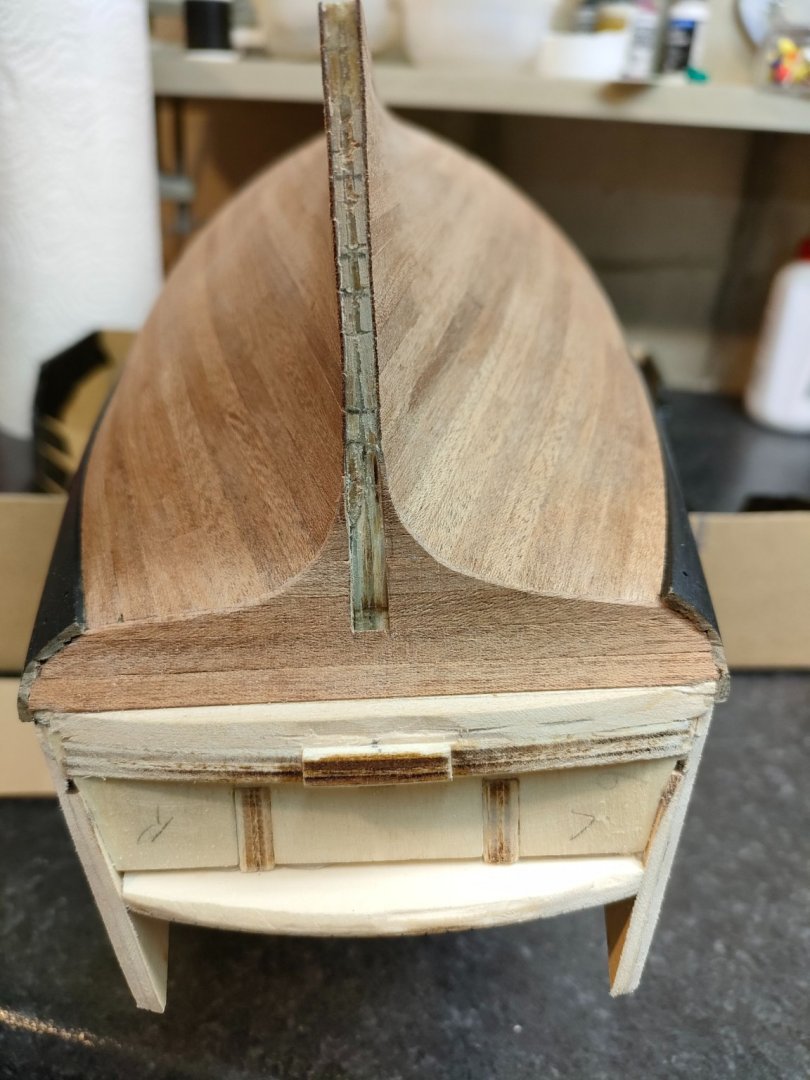
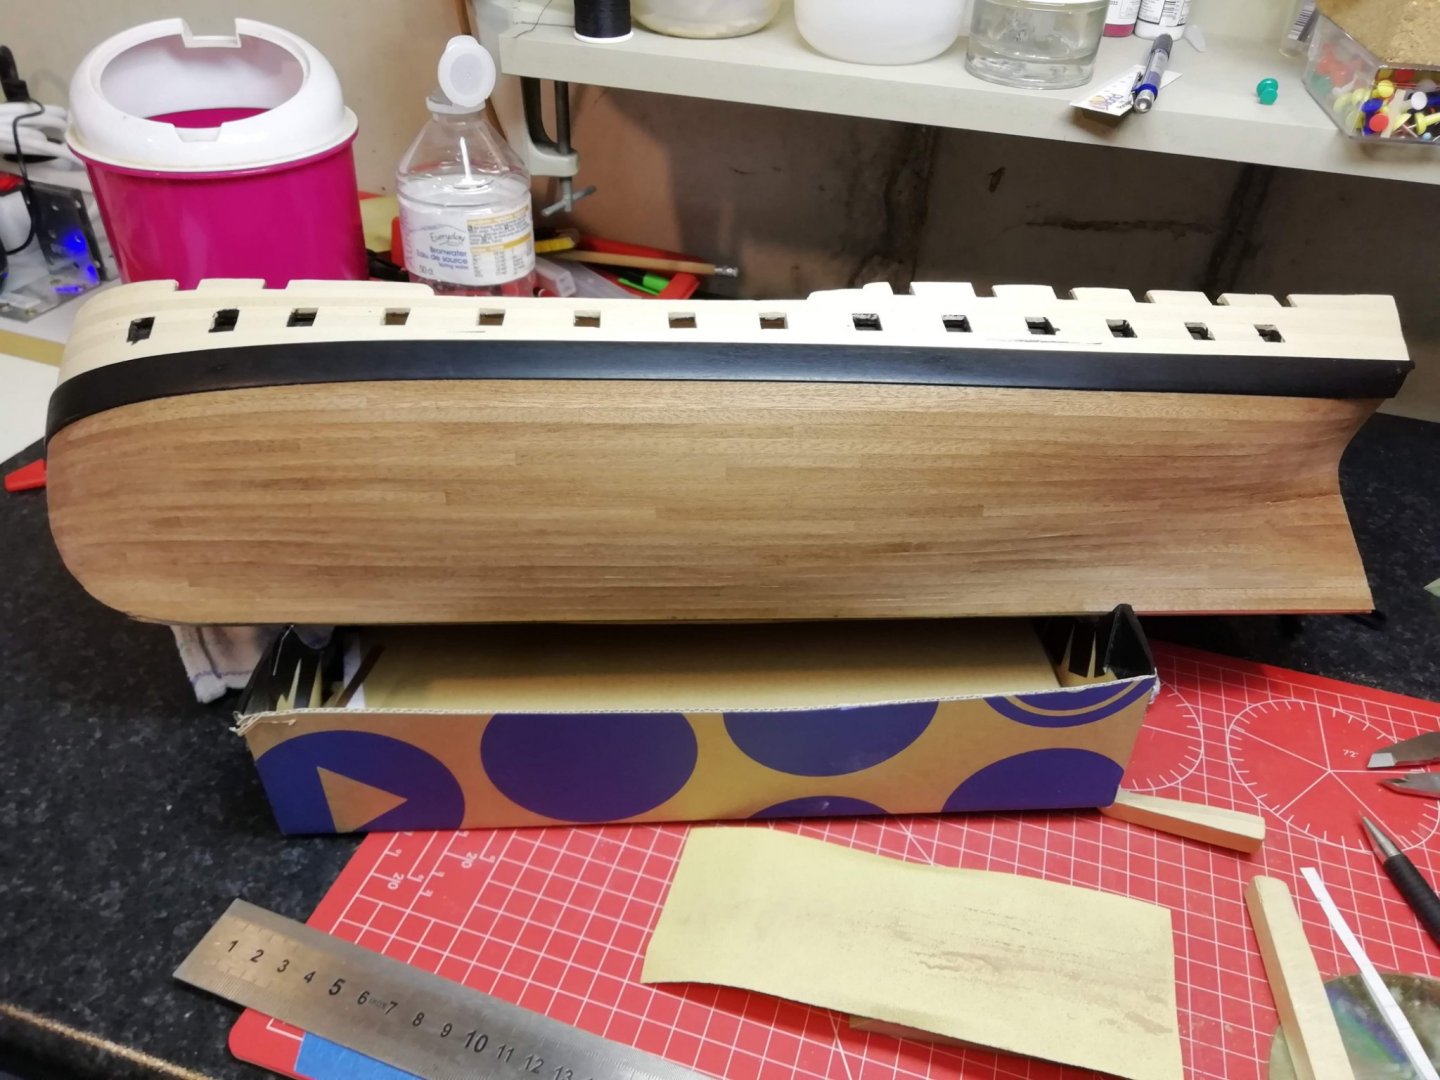
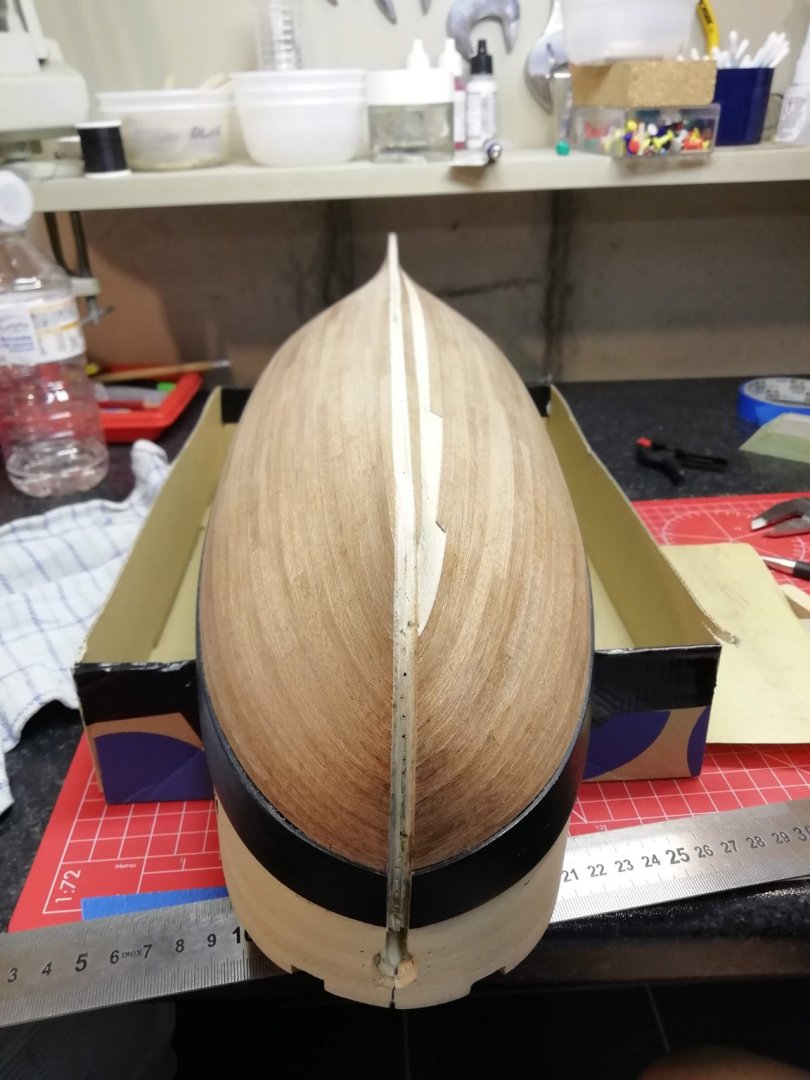
Litlle update, The lower part of the hull is oiled. The keel and rudder parts are replaced by walnut parts. The windows of the gallery are a pain in the a**. I couldn't get the curve right and decide to use the solution that DavidG used on his Diana. Replacing the PE brass part by styreen strips. It took a lot of hours to do this job... But happy with the re. µ -
Diana by Kyak - OcCre - 1/85
Kyak replied to Kyak's topic in - Kit build logs for subjects built from 1751 - 1800
-
Diana by Kyak - OcCre - 1/85
Kyak replied to Kyak's topic in - Kit build logs for subjects built from 1751 - 1800
-
Diana by Kyak - OcCre - 1/85
Kyak replied to Kyak's topic in - Kit build logs for subjects built from 1751 - 1800
Thanks! I will replace the keel with walnutwood. -
Diana by Kyak - OcCre - 1/85
Kyak replied to Kyak's topic in - Kit build logs for subjects built from 1751 - 1800
-
Diana by Kyak - OcCre - 1/85
Kyak replied to Kyak's topic in - Kit build logs for subjects built from 1751 - 1800
-
Hi Richard, Very nice job so far. What colour of blue are you using? I like it very much... Gr. Tom
- 104 replies
-
- pegasus
- victory models
-
(and 2 more)
Tagged with:
-
Diana by Kyak - OcCre - 1/85
Kyak replied to Kyak's topic in - Kit build logs for subjects built from 1751 - 1800
-
Hi, Really nice progress on your model. A question, what did you use to color the masts? I really like it. Gr.
-
Diana by Kyak - OcCre - 1/85
Kyak replied to Kyak's topic in - Kit build logs for subjects built from 1751 - 1800
-
Diana by Kyak - OcCre - 1/85
Kyak replied to Kyak's topic in - Kit build logs for subjects built from 1751 - 1800
Hi Rob, Thanks for the kind words. Take your time and don't rush things and don't be afraid to do things over. Second plankings is much harder than the first layer because the wood strips are extremely thin (0.5mm). When you bend thin strips sideways, they start to pop up on certain places. You can bend them sideways, in multiple stages. In the extreme curves, you have to do this proces up to 10 times, to get the curve right. -
 Kyak reacted to a post in a topic:
Frigate Diana by ObviousNewbie - FINISHED - OcCre - Scale 1:82 - Second wooden ship build
-
 Kyak reacted to a post in a topic:
HMS Snake 1797 by Sjors - FINISHED - Caldercraft - Scale 1:64
-
Diana by Kyak - OcCre - 1/85
Kyak replied to Kyak's topic in - Kit build logs for subjects built from 1751 - 1800
About us
Modelshipworld - Advancing Ship Modeling through Research
SSL Secured
Your security is important for us so this Website is SSL-Secured
NRG Mailing Address
Nautical Research Guild
237 South Lincoln Street
Westmont IL, 60559-1917
Model Ship World ® and the MSW logo are Registered Trademarks, and belong to the Nautical Research Guild (United States Patent and Trademark Office: No. 6,929,264 & No. 6,929,274, registered Dec. 20, 2022)
Helpful Links
About the NRG
If you enjoy building ship models that are historically accurate as well as beautiful, then The Nautical Research Guild (NRG) is just right for you.
The Guild is a non-profit educational organization whose mission is to “Advance Ship Modeling Through Research”. We provide support to our members in their efforts to raise the quality of their model ships.
The Nautical Research Guild has published our world-renowned quarterly magazine, The Nautical Research Journal, since 1955. The pages of the Journal are full of articles by accomplished ship modelers who show you how they create those exquisite details on their models, and by maritime historians who show you the correct details to build. The Journal is available in both print and digital editions. Go to the NRG web site (www.thenrg.org) to download a complimentary digital copy of the Journal. The NRG also publishes plan sets, books and compilations of back issues of the Journal and the former Ships in Scale and Model Ship Builder magazines.

.thumb.jpg.a04b5904db1b04d61a39c5a40a711a10.jpg)
.thumb.jpg.86af8fa5c92b5a250442c816fcea78ec.jpg)
