Mars
-
Posts
6 -
Joined
-
Last visited
-
 BobG reacted to a post in a topic:
Marie Jeanne by Mars - Artesania Latina - 1:50
BobG reacted to a post in a topic:
Marie Jeanne by Mars - Artesania Latina - 1:50
-
BobG reacted to a post in a topic:
Marie Jeanne by Mars - Artesania Latina - 1:50
-
BobG reacted to a post in a topic:
Marie Jeanne by Mars - Artesania Latina - 1:50
-
BobG reacted to a post in a topic:
Marie Jeanne by Mars - Artesania Latina - 1:50
-
BobG reacted to a post in a topic:
Marie Jeanne by Mars - Artesania Latina - 1:50
-
BobG reacted to a post in a topic:
Marie Jeanne by Mars - Artesania Latina - 1:50
-
captgino reacted to a post in a topic:
Marie Jeanne by Mars - Artesania Latina - 1:50
-
captgino reacted to a post in a topic:
Marie Jeanne by Mars - Artesania Latina - 1:50
-
captgino reacted to a post in a topic:
Marie Jeanne by Mars - Artesania Latina - 1:50
-
captgino reacted to a post in a topic:
Marie Jeanne by Mars - Artesania Latina - 1:50
-
Hi Sticker , thanks for the tip I will definitely have a look at the video's you mentioned. I have the transom in. it's a bit rough at the moment but i will put up some pics when all is smoothed over Cheers Marcel
- 9 replies
-
- 1
-
-
- artesania latina
- marie jeanne
- (and 1 more)
-
Mars reacted to a post in a topic:
US Brig Syren by Peter Bloemendaal - FINISHED - Model Shipways - 1:64
-
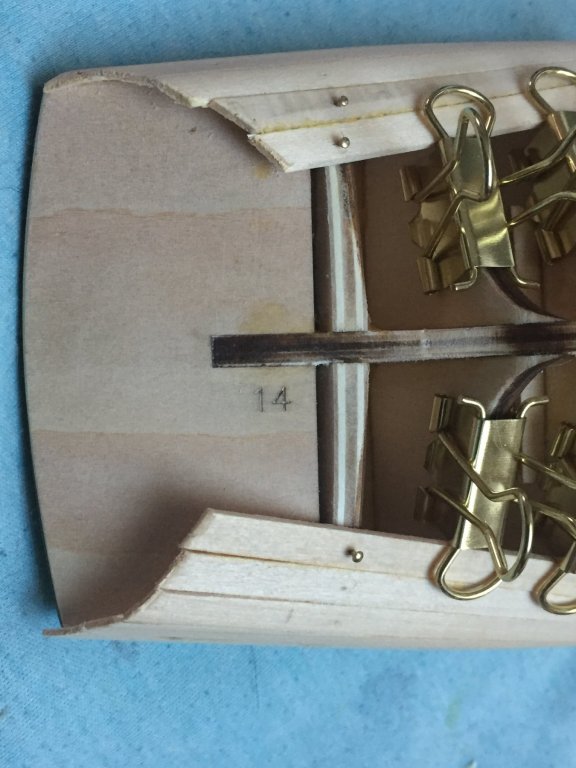
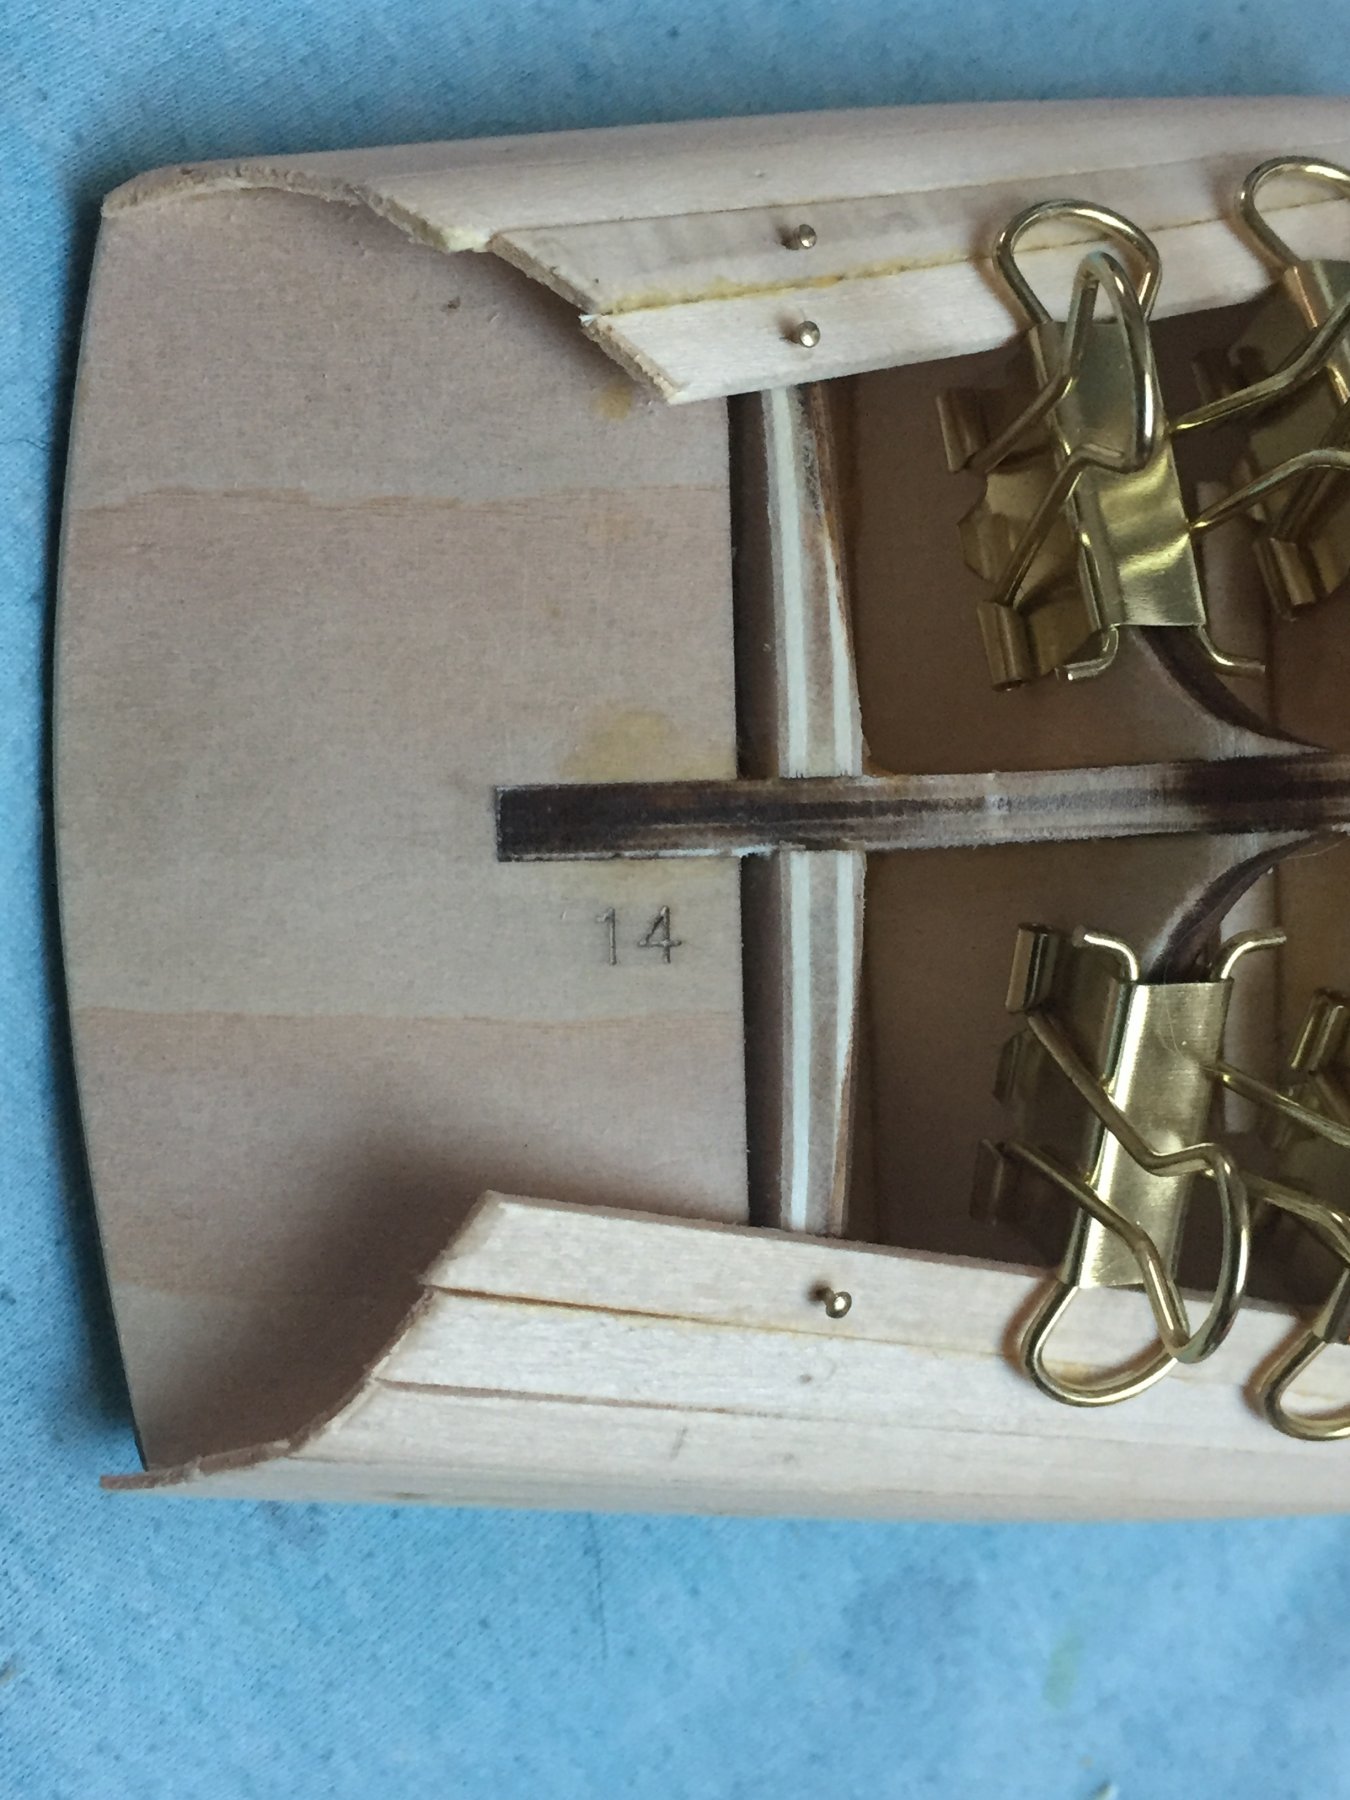
Hi guys , Just a couple of photo's more. here its the back end of the ship. I later on cut the overhang of planks flush with the last bulkhead (14) and that was probably a mistake. Around this stage i found out that if you push a nail through the plank to close to the edge the plank will split. Common sense but not for me So some more repair work was needed. By this time my iphone gave up the ghost and i was unable to take any pictures. So some progress on the model has not been photographed. cheers Marcel
- 9 replies
-
- 5
-
-
- artesania latina
- marie jeanne
- (and 1 more)
-
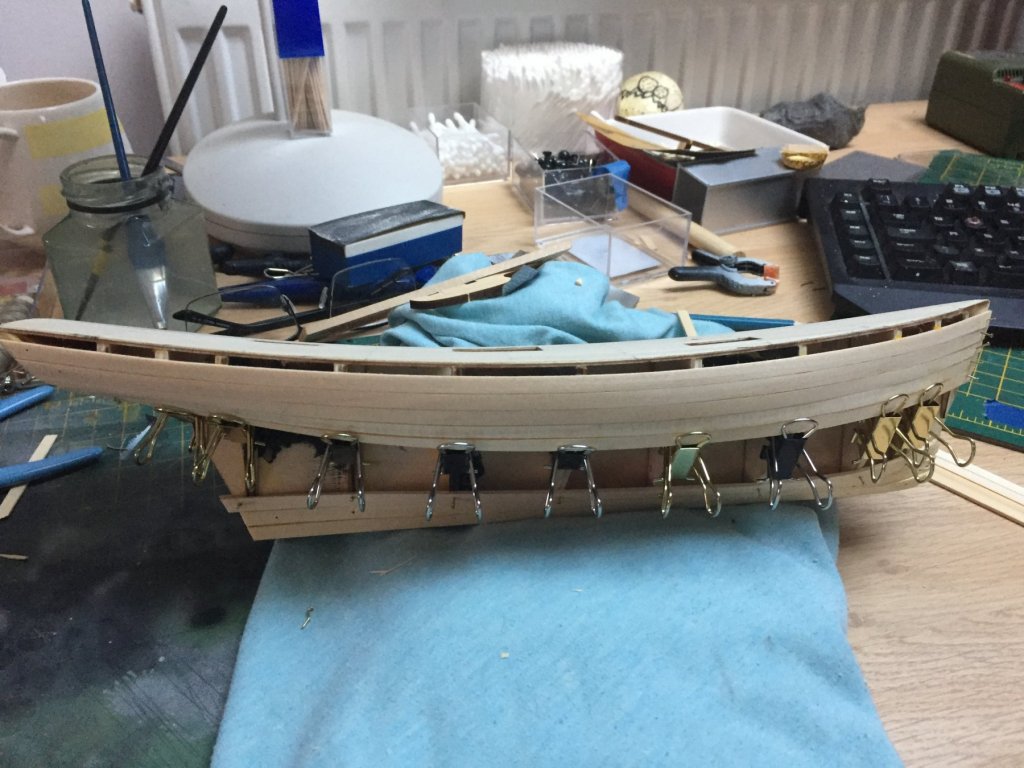
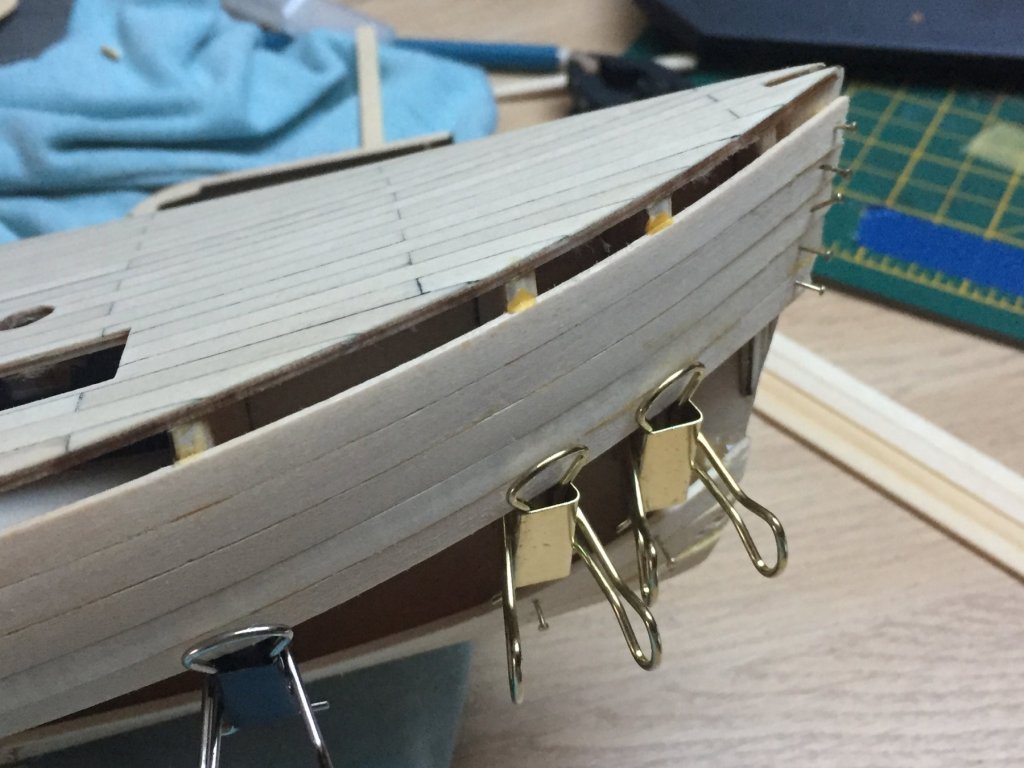
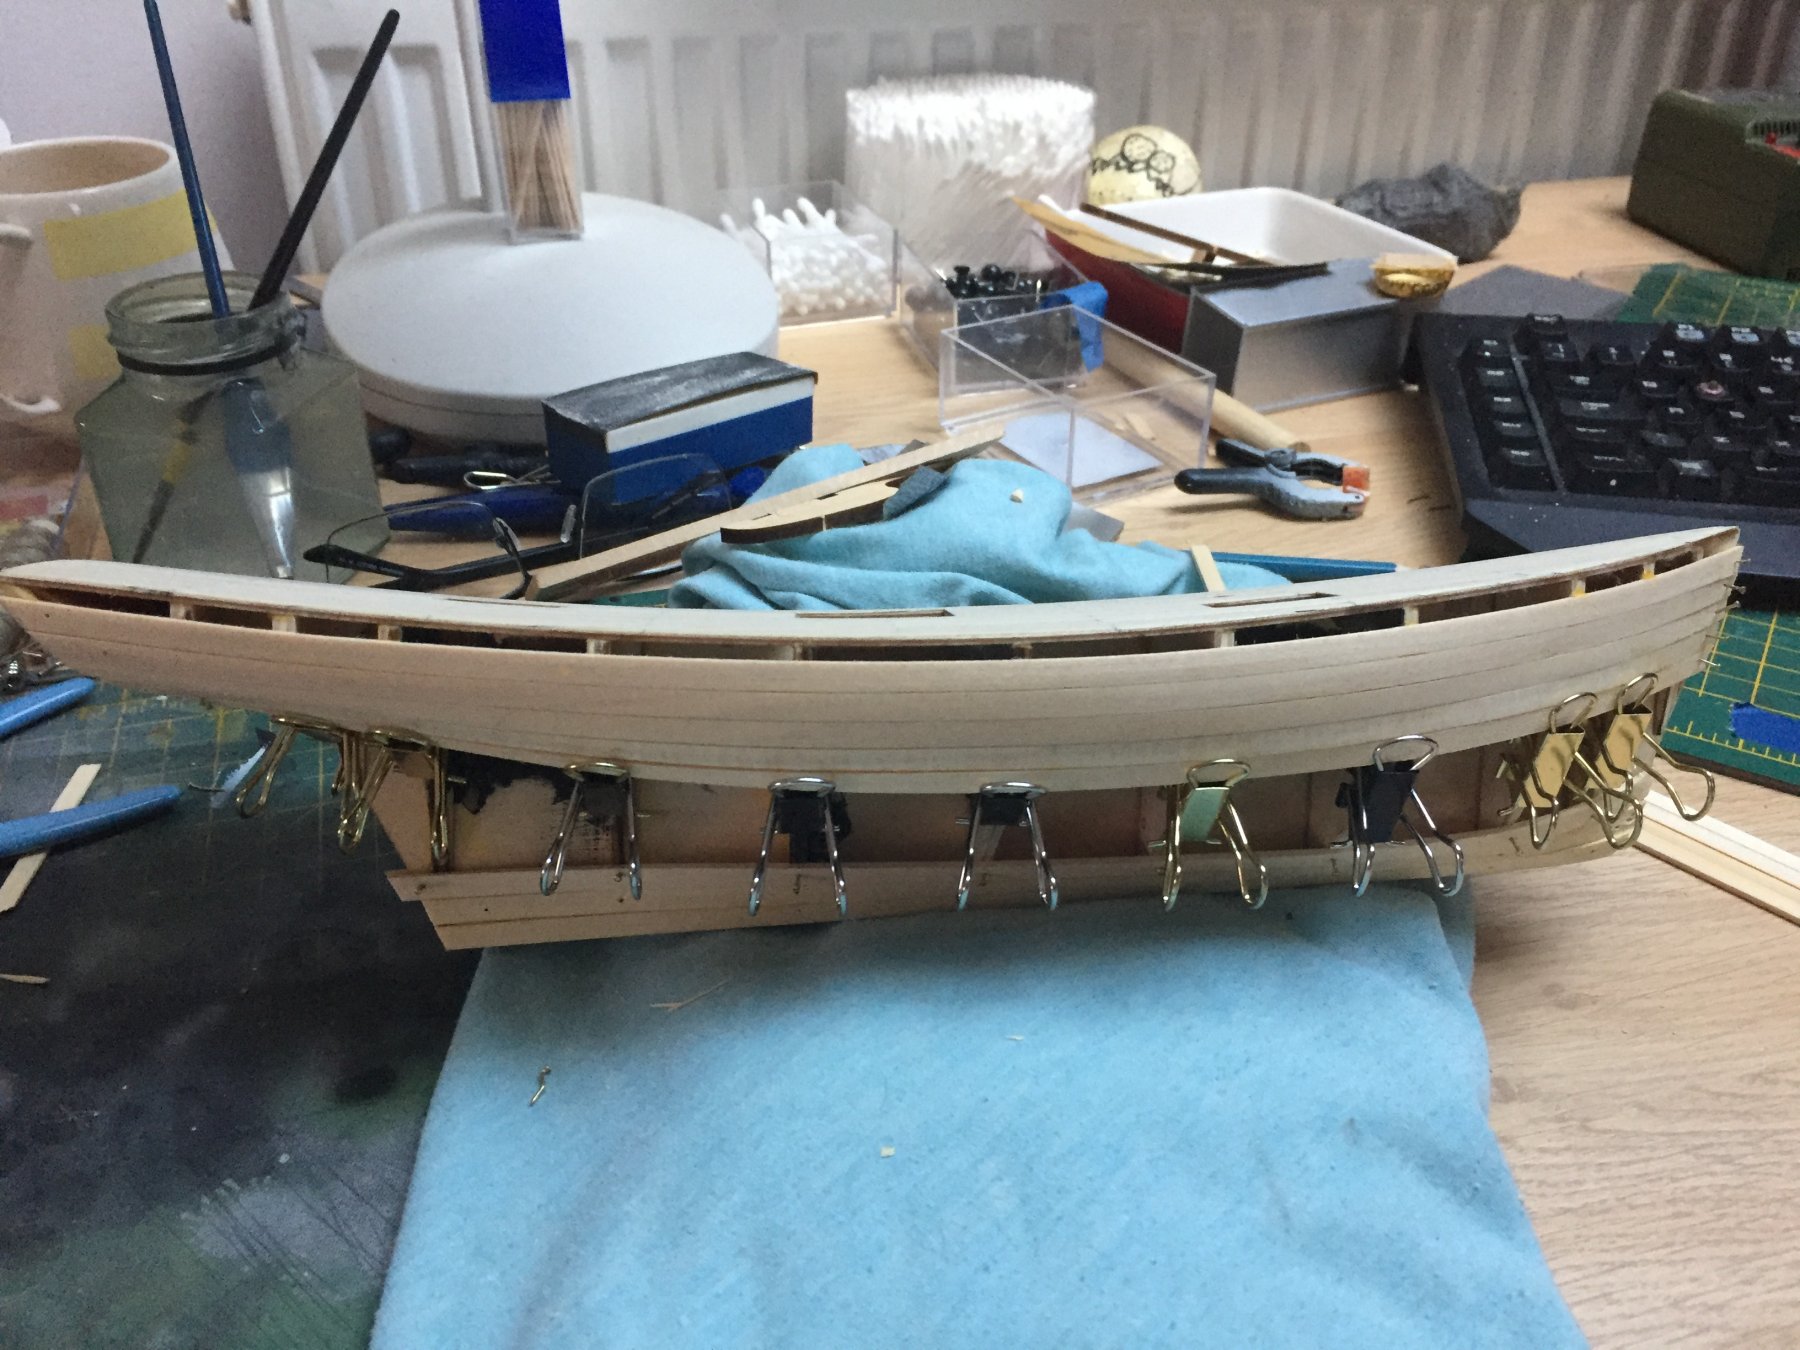
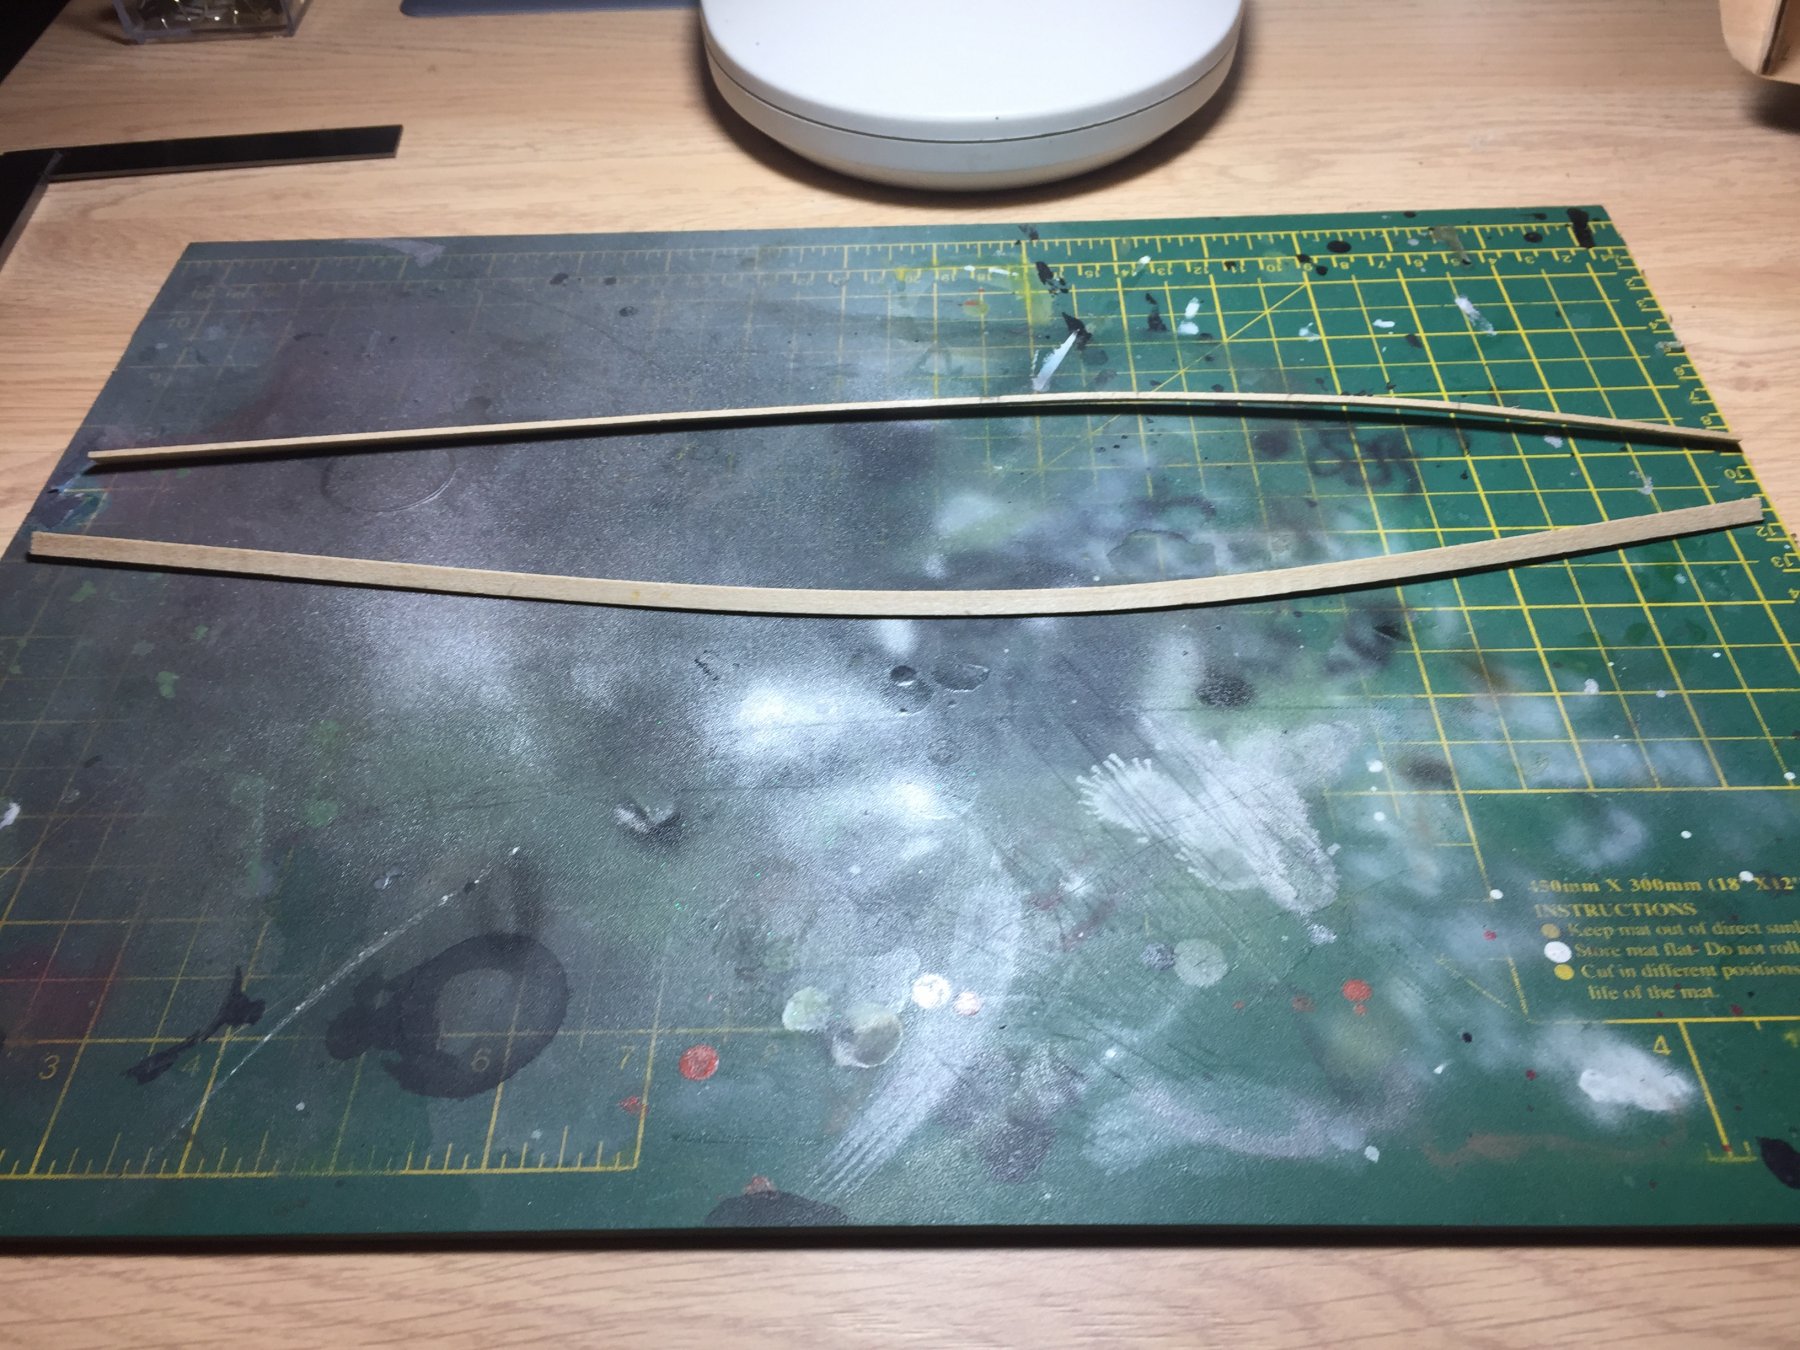
Hi Guys, After this I started planking. I have seen the video on this forum by Chuck how he bends the planks sideways. I decided to do this as well. I dropped 2 planks into the sink and filled it with hot water. After 5 mins or so I slowly bend the planks and let them dry overnight. I did 2 planks the same time so that both side of the hull are identical. Next morning I had this And this fitted really nice along the hull. From here it did go fairly fast until I read that you need to go both ways. From the top down and from the bottom up and meet somewhere in the middle. I had no idea how to model and fit the garboard. And after a couple of days stalling decided to just glue it on fit it from there and fingers crossed it works out correct. I think it did but more luck than skill was involved So now we are committed and stubbornly planking on until we are done. Cheers Marcel

.thumb.JPG.f37e9946ee1a3f2137e49aaa56e78711.JPG)
.thumb.JPG.eae396773bb5aa5d9371288023b5c02e.JPG)
.thumb.JPG.00ea04e43ab3f6c9e8790eab6dba6668.JPG)
- 9 replies
-
- 4
-
-
- artesania latina
- marie jeanne
- (and 1 more)
-
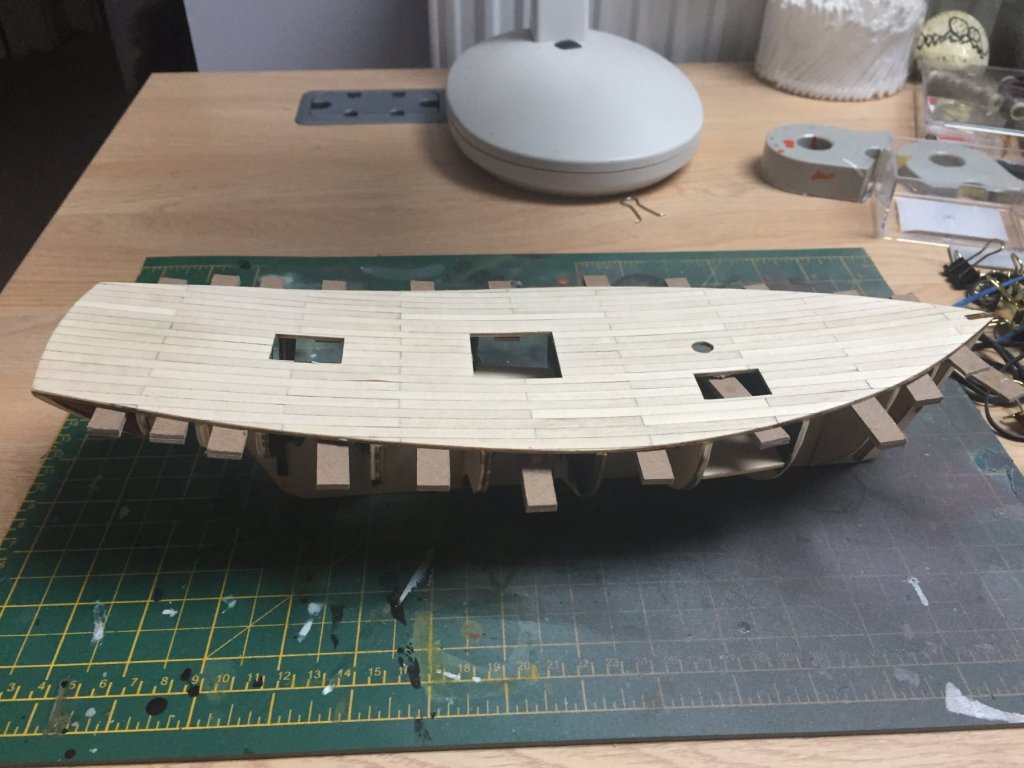
Hi Guys , The next step was to fair the bulkheads so that the planks are running nicely over them. This is something that I need to practice a lot. Some parts are way overdone and the planks did not even touch them anymore and some places it is not done enough. You can see that i also used those modified bulldog clips. They do work a treat I also fared the tops of the bulkheads so that the deck run smoothly over them as well. This is the first thing i would do differently i was was doing this kit again. I would fix the deck to the bulkheads probably with glue and the nails provided and then plank the deck after that . It took some doing getting the deck glued down. I also cut the 3 mm spacers and glued them underneath the deck. This picture also shows very well that the forward bulkheads are fared but I never did the back bulkheads properly and that would give issues later on. Here you can see that some planks on the deck popped loose. i removed them as well and glued them down properly. cheers Marcel
.thumb.JPG.2cbcddbe3459f521da0fdf0c230bf231.JPG)

.thumb.JPG.36356e3868ab593d3b943d6d6bd19d75.JPG)
- 9 replies
-
- 3
-
-
- artesania latina
- marie jeanne
- (and 1 more)
-
Hi Guys, I also did the planking on the false deck. I made the mistake of planking from left to right instead of starting with a plank from back to front and then working to the sides. It resulted in misalignment and gaps doing it the way I did. So I had to remove planks that were already glued on. I did go fairly easy after I soaked the planks in alcohol.So in the end all came out quite nicely. I also made the mistake and diluted the woodglue. This resulted in bad bonds. later on when i glued the deck on the frame the sheer caused some planks to bulge up. I had to remove them and glue them in properly. The next step for me was glueing on the last bulkhead and sand it to shape. I also planked and fitted the bottom of the holds and painted the walls black. I'm not sure if this is required as I think these will be covered by the wooden structures on deck. Cheers Marcel
.thumb.JPG.160880ac6f4024dddb747c7be570d54a.JPG)
.thumb.JPG.9101a63e0245b5c410fedacbc2ea53e5.JPG)


- 9 replies
-
- 3
-
-
- artesania latina
- marie jeanne
- (and 1 more)
-
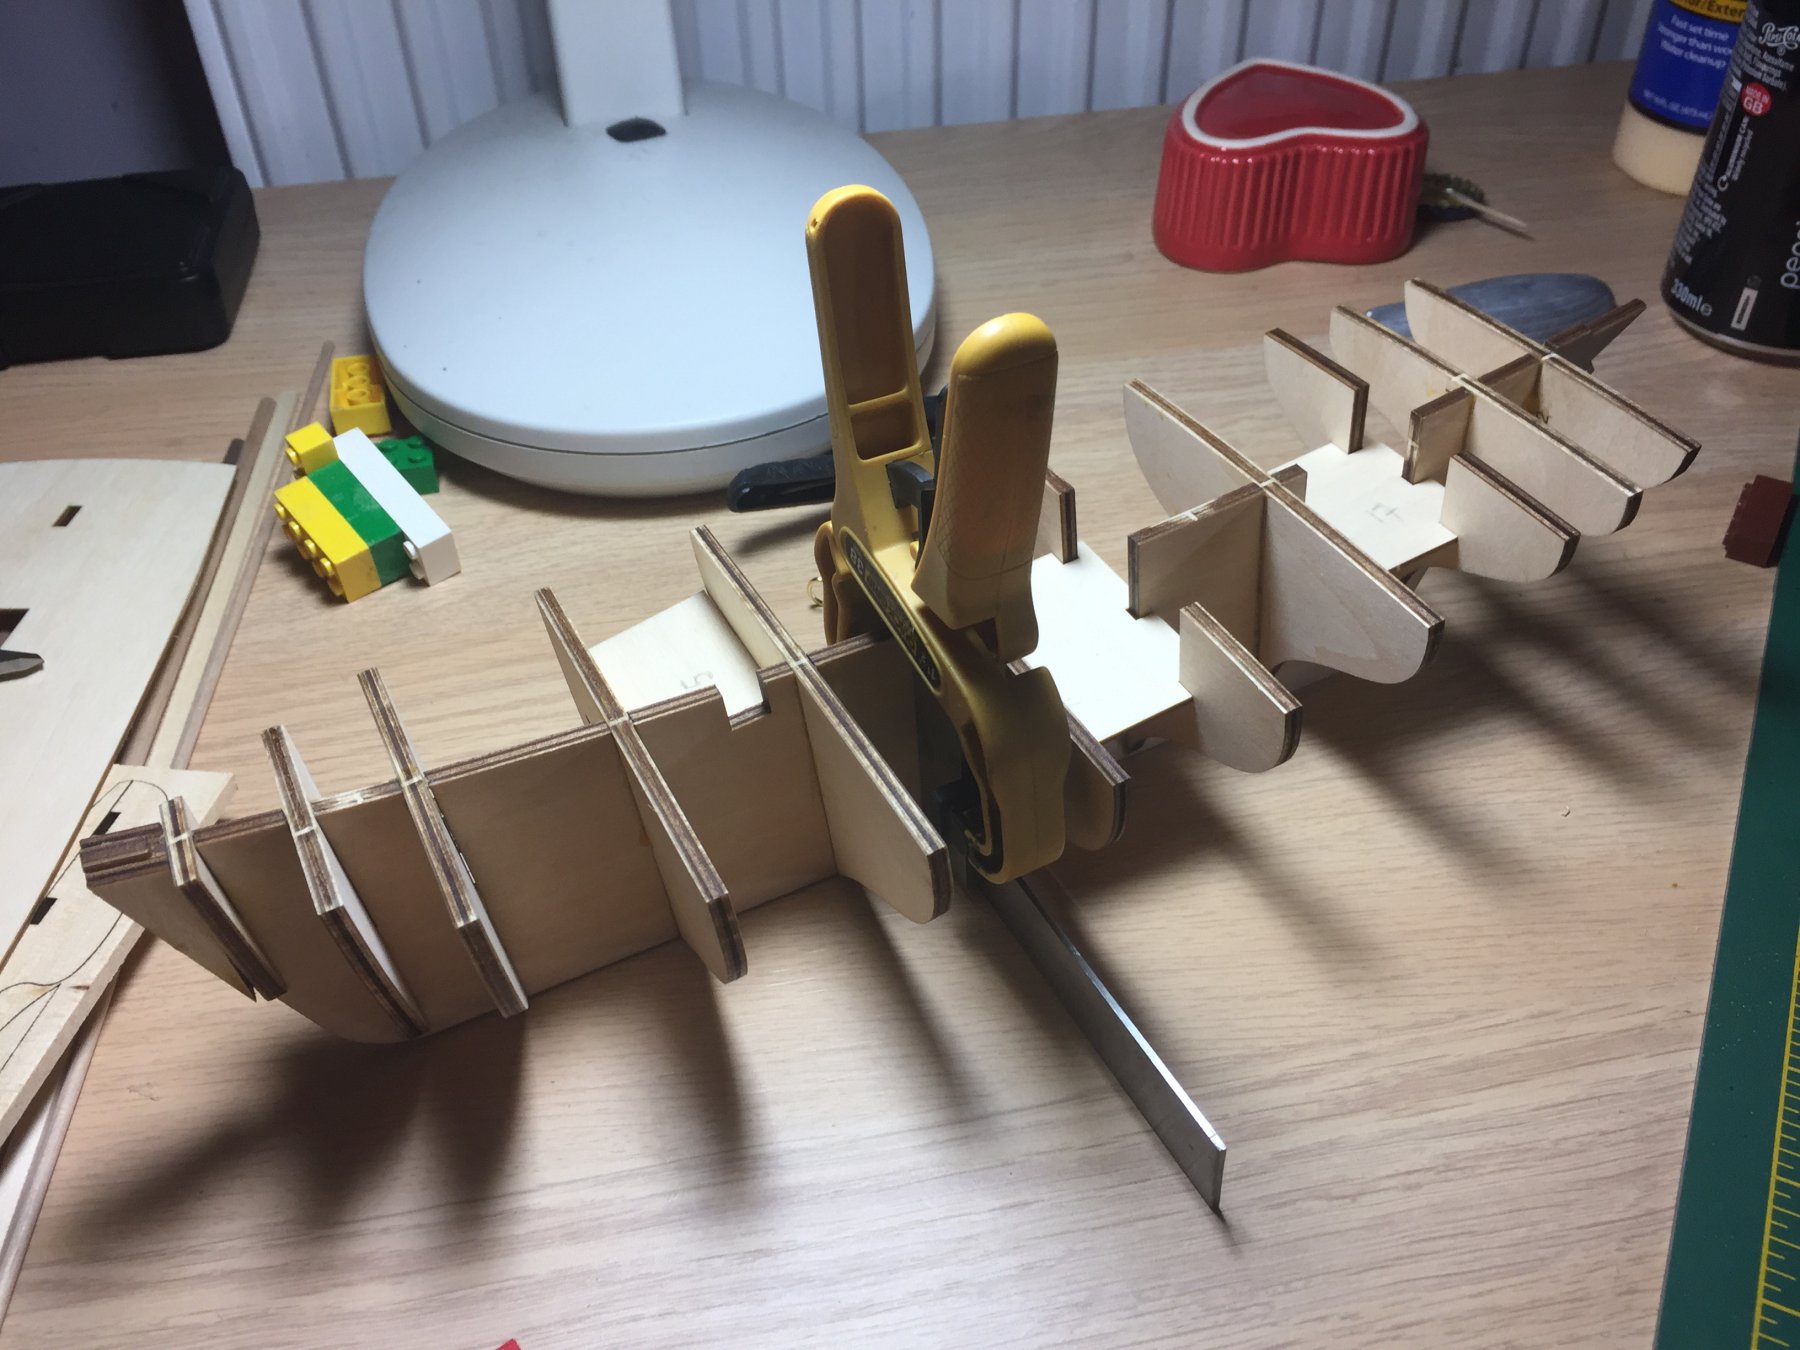
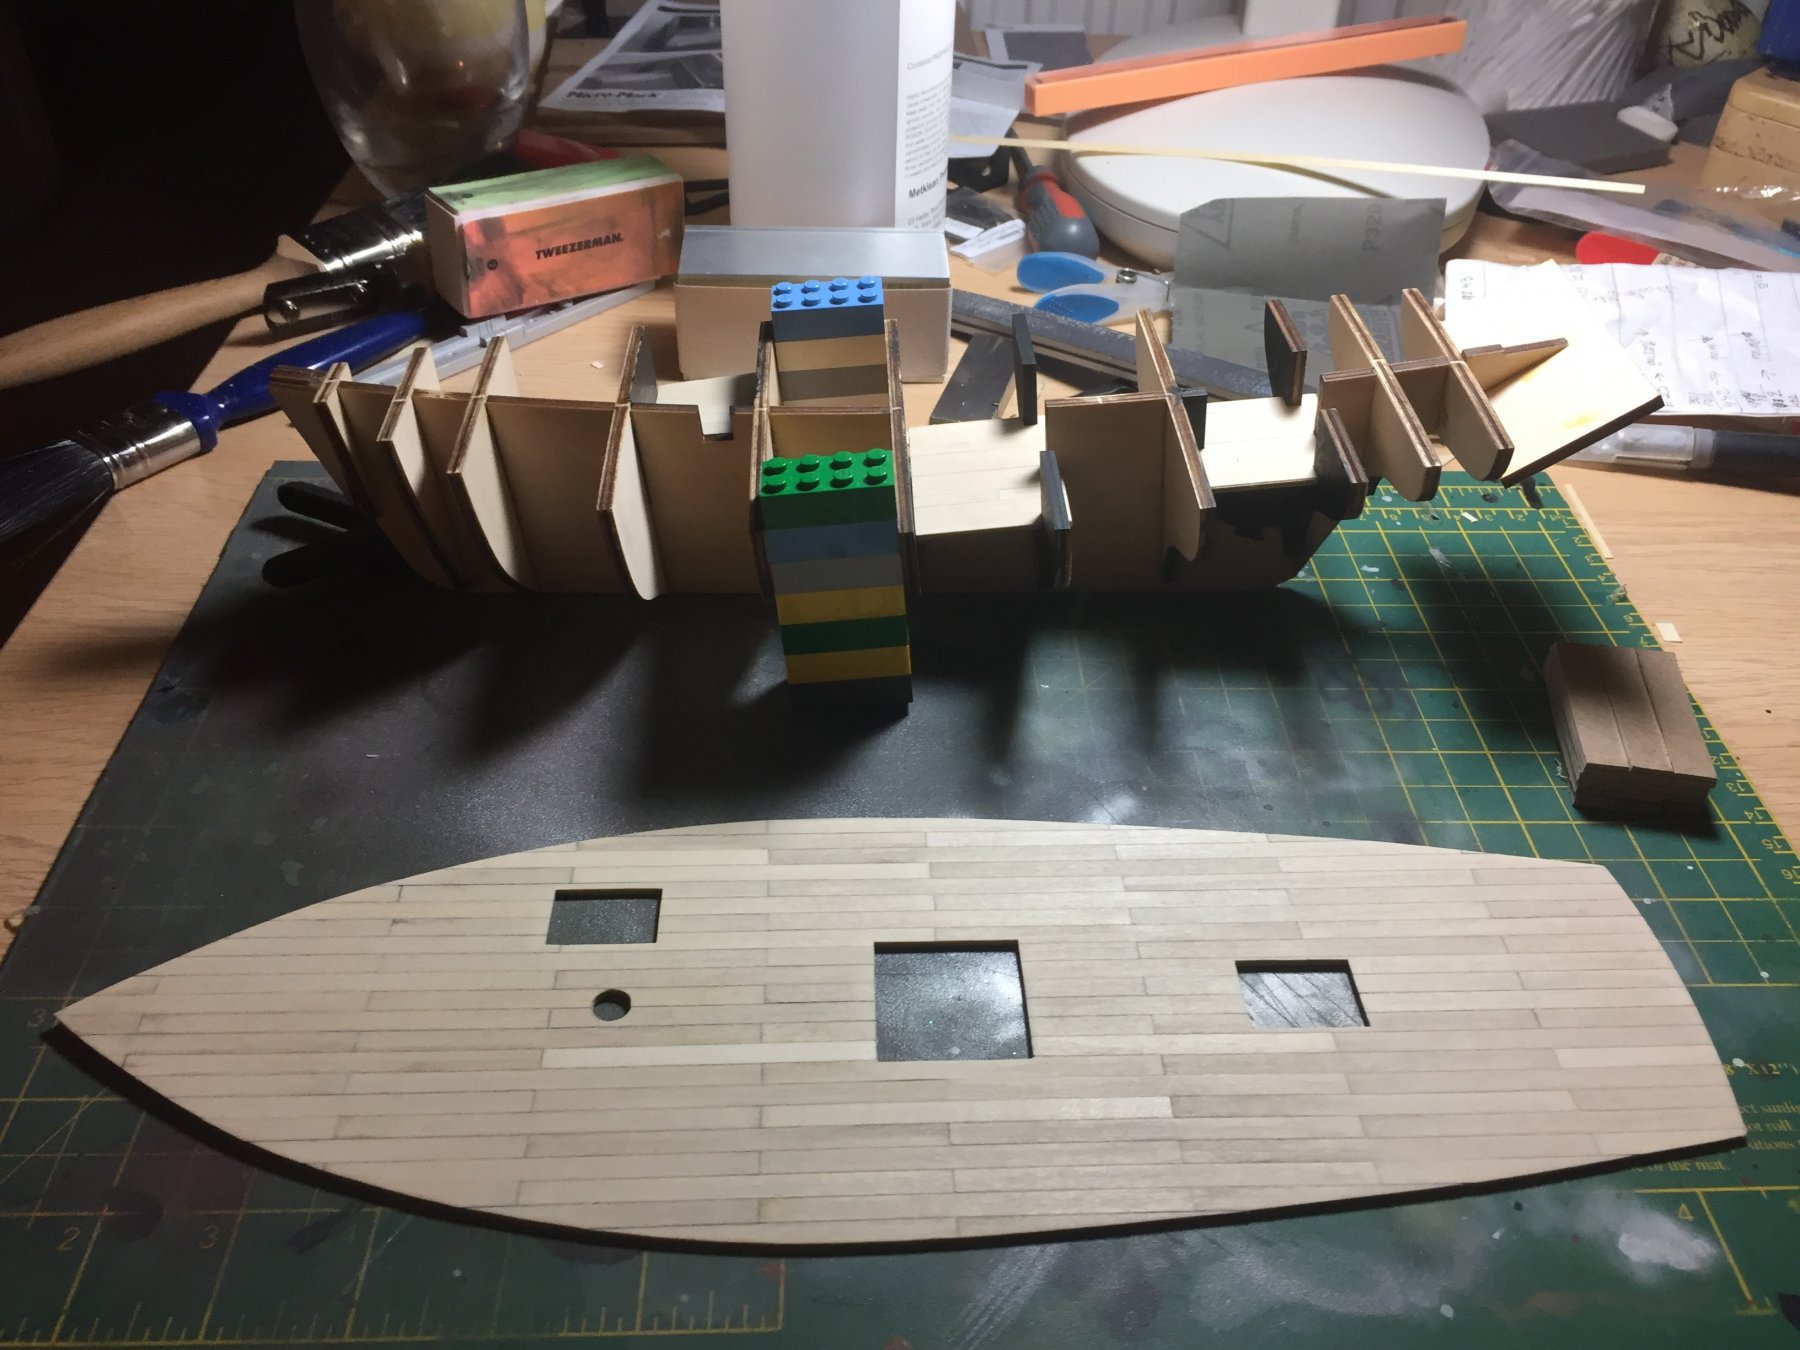
Hi Guys, My name is Marcel and I got this kit as a present. This is my first wooden ship and when researching came across this forum. Must say thanks to Jack12477 and captgino. Without your logs i would have been clueless. Better show pictures and show you all what I have been upto so far. I never took a picture of the box content but there are pictures aplenty showing that. I used some old lego's and a metal square to keep the bulkheads square to the keel part. I'm quite a bit further than this and will upload more pictures in follow up posts . Cheers Marcel
.thumb.JPG.6711713304b7a7a10f77a3e8be484150.JPG)
.thumb.JPG.ed8c52a91095524a9cabbcdf2532fe48.JPG)

- 9 replies
-
- 5
-
-
- artesania latina
- marie jeanne
- (and 1 more)
.JPG.d160721643aa962838cb308009173cee.JPG)
.JPG.47a27b53900f8b5d6019d6446040ea16.JPG)
.JPG.02c4695fc5b27e7e7a5ba1c05cc28f8b.JPG)

.JPG.cf9acc3bf3ce67f5f292dccf8033c837.JPG)

.JPG.342a2671a86b1a3175c7f01c6d00e3d9.JPG)

.JPG.7478524c8466747adc94f4dea8c686b2.JPG)
.JPG.f40388fe6ba30654e0482db0c14d881b.JPG)

.JPG.638e7872a54658d86dcdbeb48ecb435e.JPG)
.JPG.22ac061a70a16226fa70b3855b34864f.JPG)