


Dr PS - Paul Schulze
-
Posts
304 -
Joined
-
Last visited
Content Type
Profiles
Forums
Gallery
Events
Posts posted by Dr PS - Paul Schulze
-
-
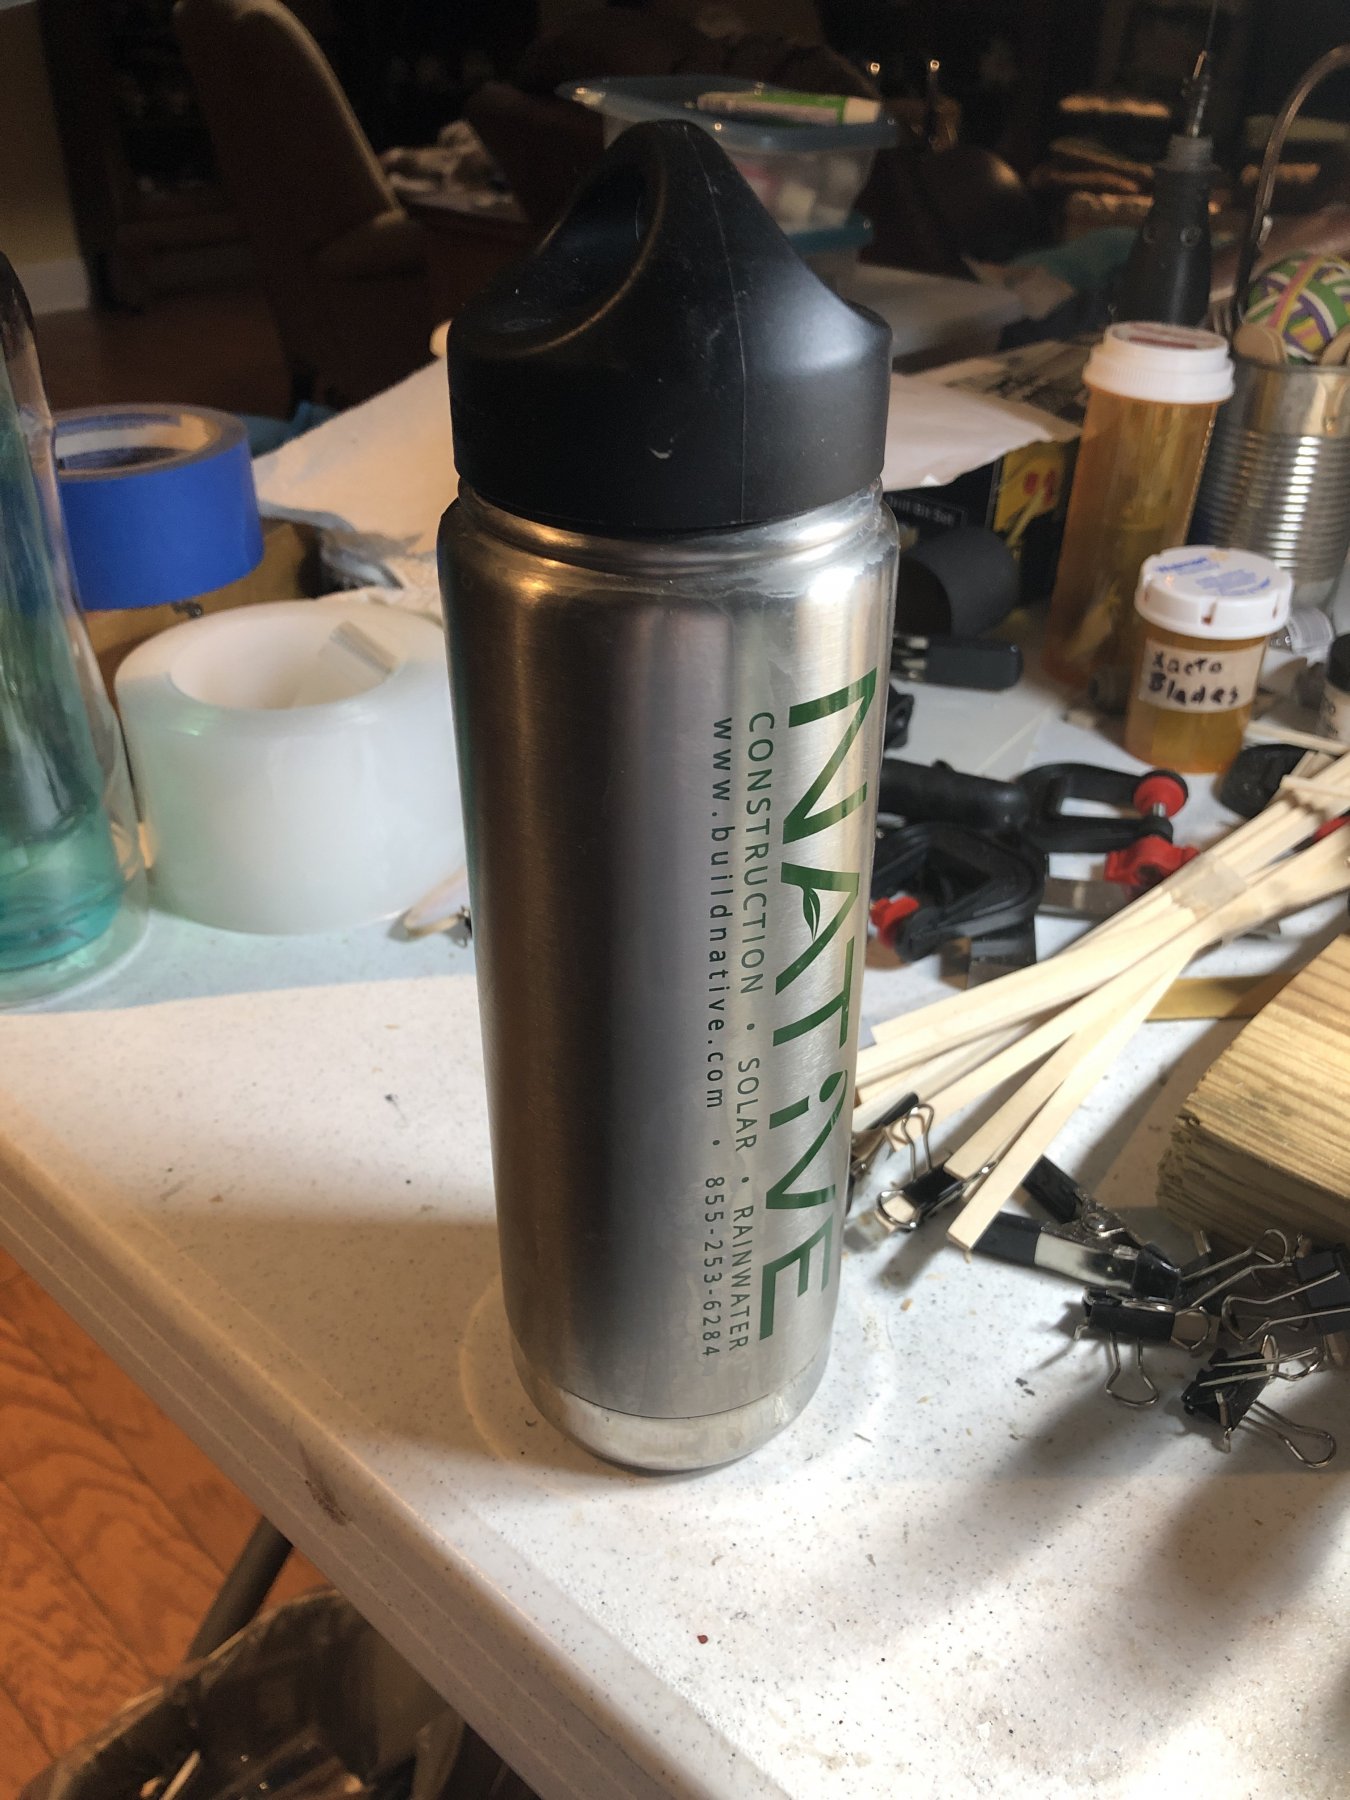
The water alcohol mixture allows heating the water to boiling, penetrates the wood well, and more importantly, evaporates quickly with the heat gun. I keep the hot solution in a stainless vacuum thermos type drink container. I also found that small dents can be fairly easily removed by dabbing hot solution on the dents and allowing them to swell out.

Klean Kanteen
-
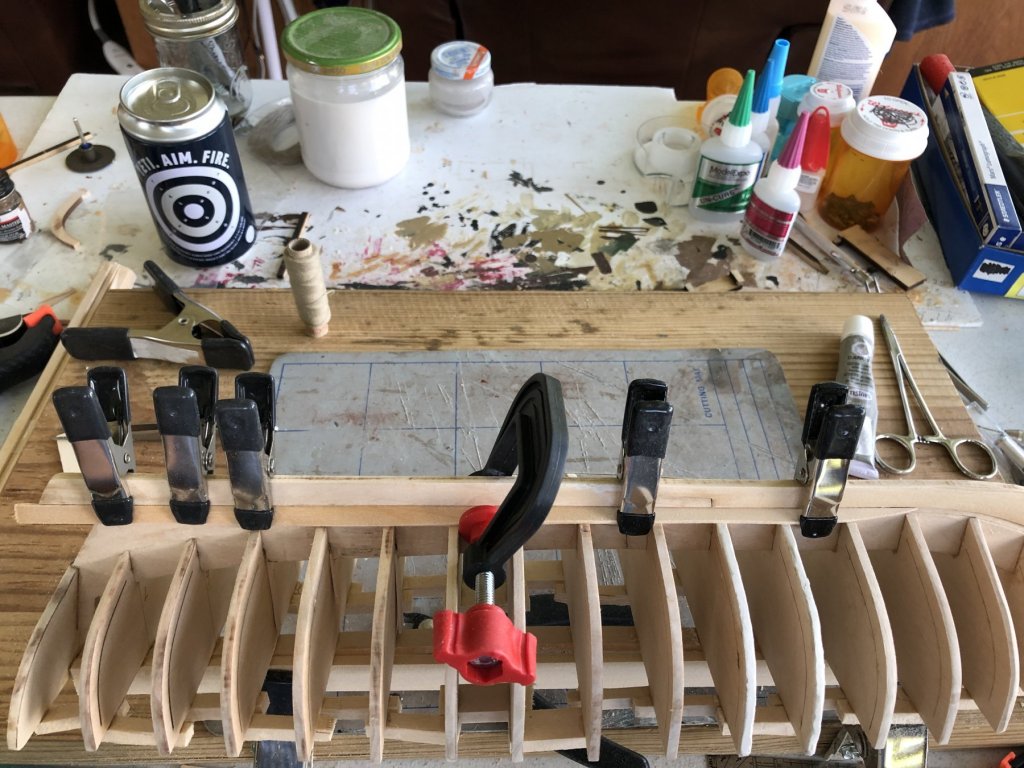
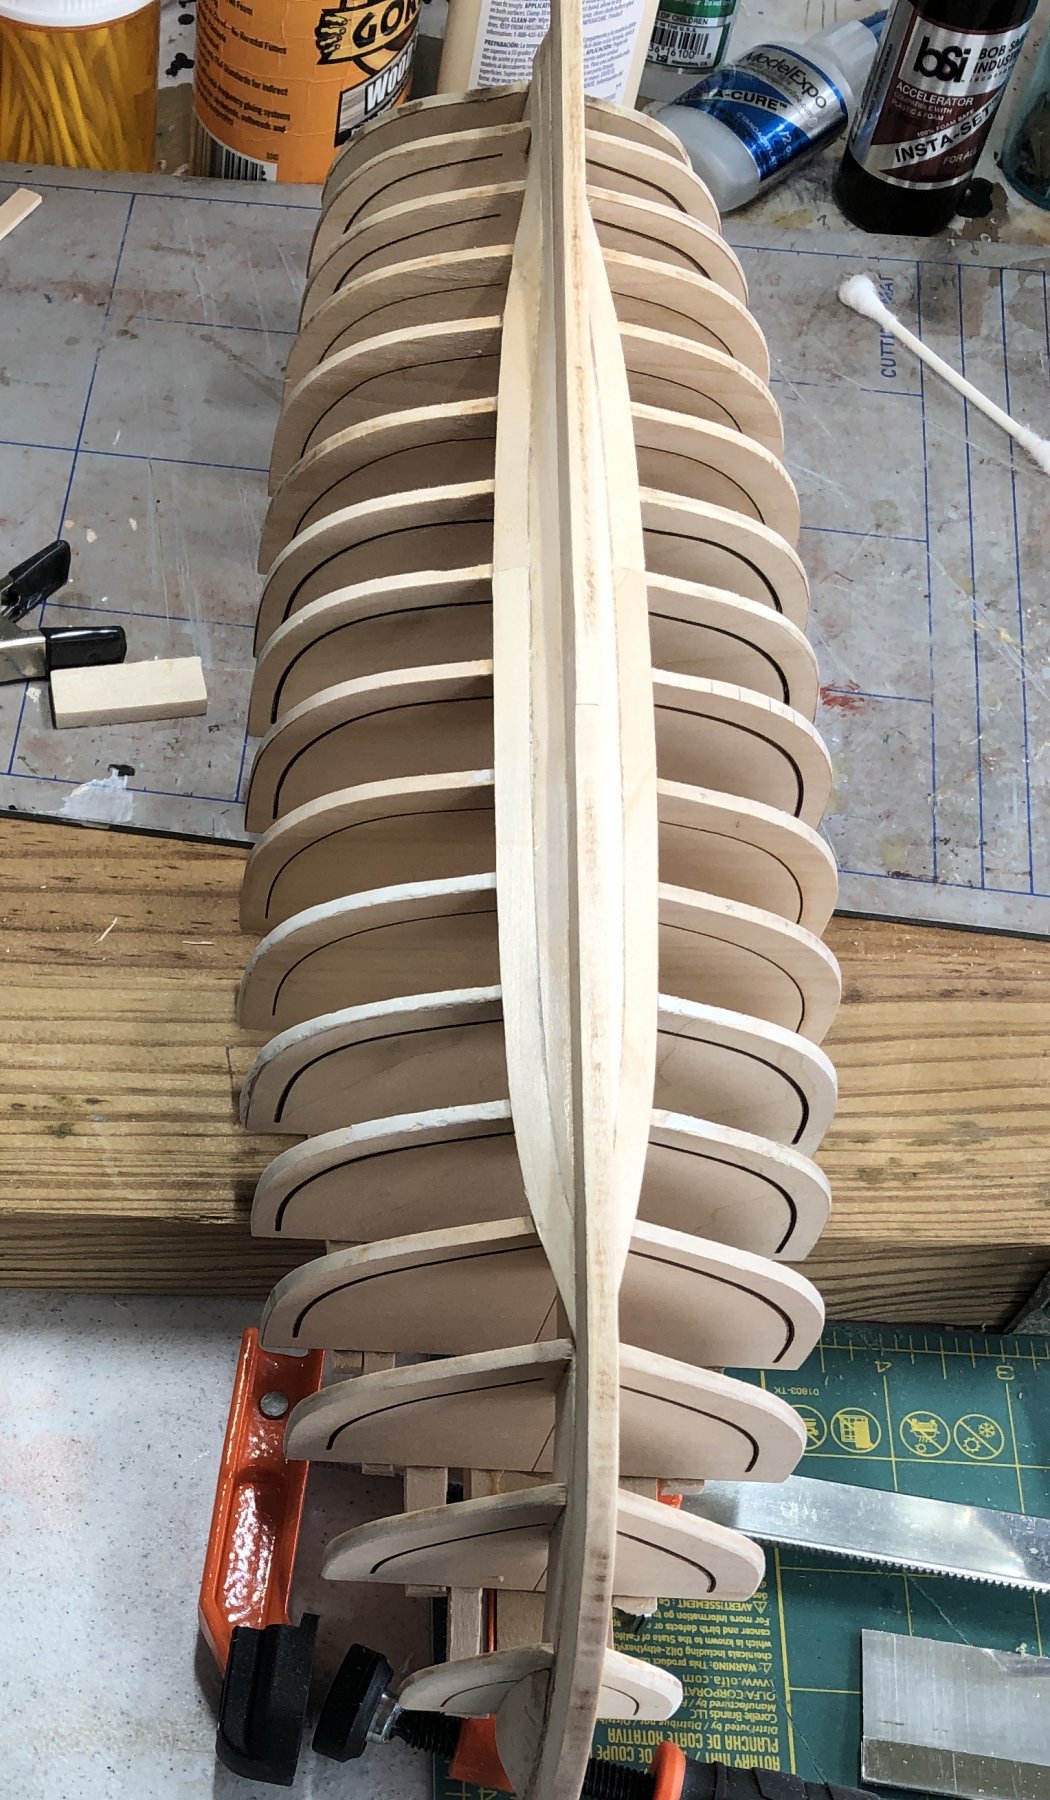
Well I got the next two strakes on. I first sanded a gentler curve on the stem end of the garboards. See the comments by Arthur Wayne in his log on the same boat where he discusses the length of the curve. I concur with his analysis that the cord of the curve on the garboard should be nearer 2 1/4” rather than the suggested 1 1/4” in the instructions. This allows the planks to be edge bent more easily.
 To edge bend the stem end and twist the stern end of the second strakes, I soaked the stem and stern planks in very hot 50-50 water isopropyl alcohol mixture for several minutes. Then the planks were clamped in place and a heat gun set on low dried them. The planks were then attached using CA applied only on the bulkheads
-
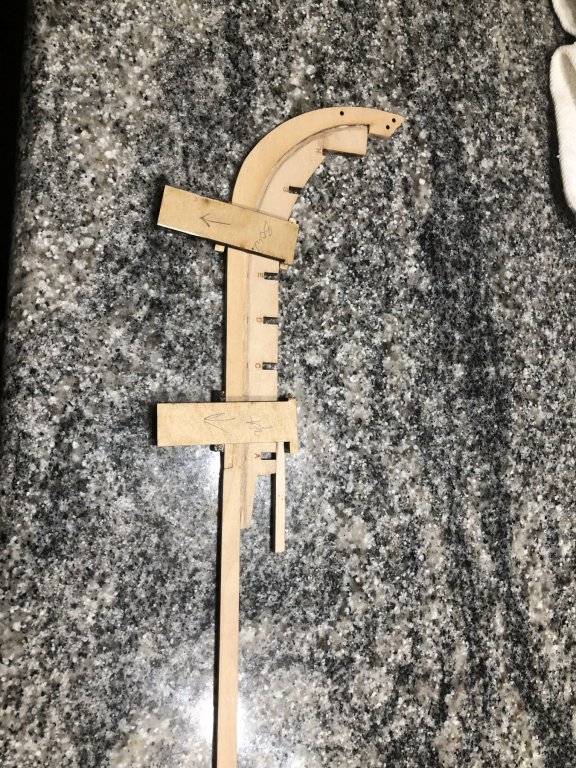
Thanks Arthur - No bad weather here -never know in the springtime. I think you’re right about the curve of the garboard. Looking at the top right picture on p 15 it would seem that the curve goes from bulkhead E to bulkhead C rather than a bit past bulkhead D. I have the garboards cut to the suggested 1 3/4” and I am also experiencing some wood collapsing. Before putting on the second strake, I may try filing or sanding the garboard into a gentler curve as removing the garboard may cause some bulkhead and/or keel damage.
-
-
Hello Arthur,
I am building this boat for my first plank on bulkhead build. I am very impressed by your good work. I only hope I can live with mine after I get through as I am really struggling along. I have almost taken the position that makers of the original prototypes probably make mistakes and lived with the workarounds and so will I.
I will be following your work with anticipation as I move along and I may have some questions for you from time to time if you don't mind.
Paul Schulze
-
11 hours ago, SandyBay said:
Today is the day I tackle my first ever garboards on my longboat. From what I can see yours looks exactly the shape all the ones I’ve studied on other longboat builds so, as the resident “non-expert”, I’d say you’ve nailed it.
Glad to see your on it. Are you doing the armed long boat? It’l be good to have build company.
-
2 hours ago, vossiewulf said:
I do it bit by bit, glue down a section an inch or two long and repeat. I don't edge glue, only putting glue on the bottom of the planks. Also the best method is to add glue in dots, don't try to smear it around, and the dots should be small enough that you never get squeezeout- if you do, you used too much.
I really like the idea of not edge gluing. How well does this work? Do you get any edge separation early or later on?
-
Hello Vossiewulf, when attaching a long strake with CA, do you attach it little by little or all at once? Since it seems to bond so fast, I have not tried it except on small pieces.
-
One problem I have not solved is the “denting” of the planks by clamps. I have tried everything I can think of too avoid this. I may be clamping way too hard but I don’t think so. Some marks can be removed by wetting the affected areas slightly with water after the glue has dried. I hope those with experience can throw out some suggestions.
-
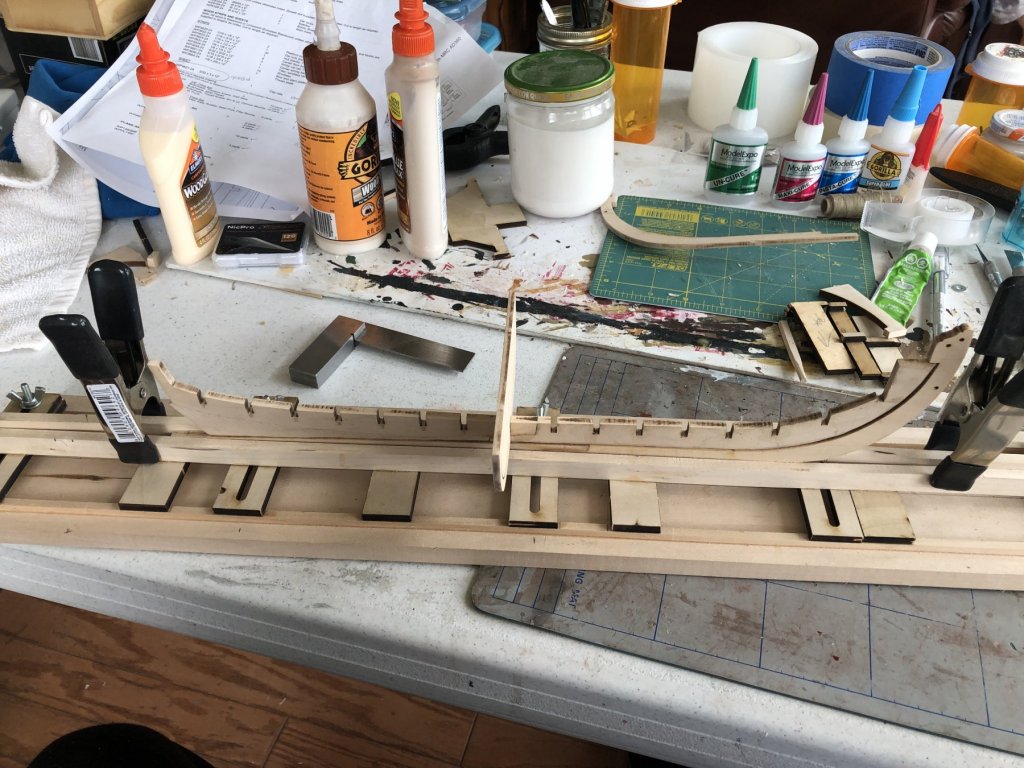
At first I was confused about the garboard. The manual gave instructions which left me somewhat clueless so I asked for help elsewhere on the planking, etc., forum section. After several discussions, all became clear as the lightbulbs came on. My drawing there was essentially correct. Shown below the garboards are being glued into place. The twists were accomplished by soaking in nearly boiling water for a few minutes, clamped in place and then fanned with a heat gun set on low for several minutes. I used yellow glue to attach them to the keel. I did one side at a time.
-
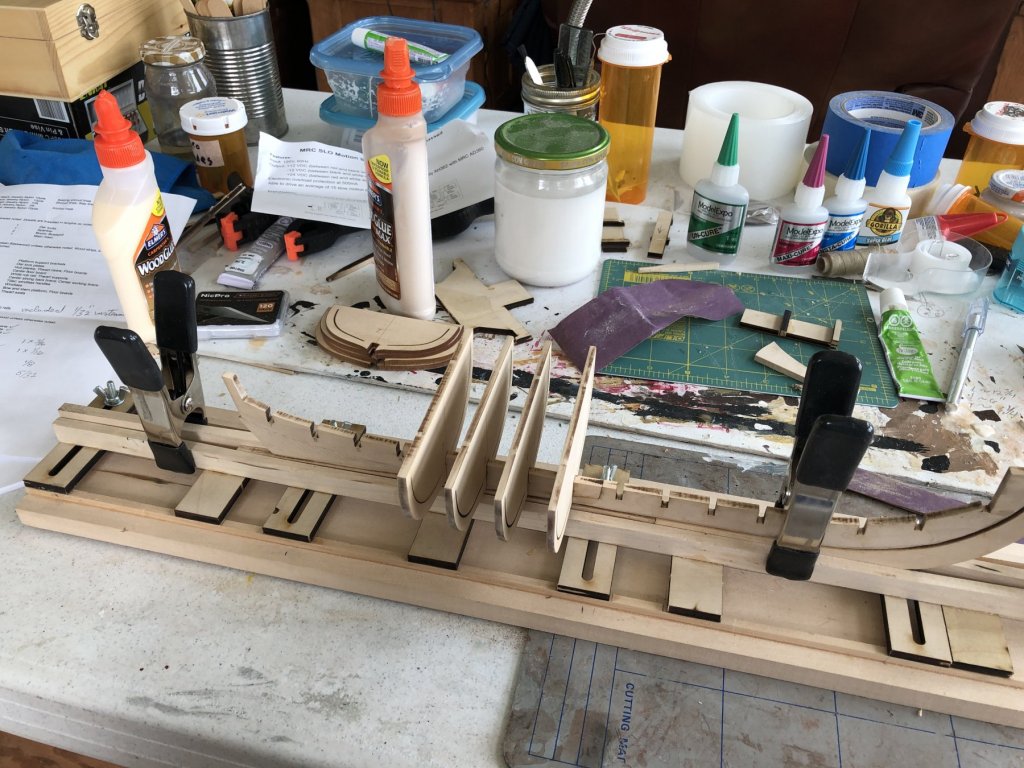
A couple of additional notes to my above post I didn't want to redo the keels when I replaced bulkheads, which I should have measured,
2, 3 and 4, so I made shims to fill the gaps left by replacing the wider bulkheads. This issue could have been avoided if I had been more careful and observant. I feel some work arounds are Ok as real boat builders will surely have had to face them.
Secondly, I accidentally found that wood glue on wood from pieces pulled apart will reactivate when a wet piece of wood with no glue is pressed or clamped against it. This can be useful or not depending on the situation. This last fact may be old hat to most but I found it quite interesting.
-
The placing of the bulkheads showed up another kit problem which I caught only after gluing. Three bulkheads were slightly thicker than the rest. I measured the laser cut sheets and, yep, the entire sheet was 1/32” thicker than specified in the parts list. I got a replacement and all is well.

-
I used a granite countertop as a flat gluing surface. The first attempt was nearly disastrous as the keel and false keel snapped apart when I tried to clamp them. I decided to glue them in steps. I made little wedge “clamps “ using scraps of wood just for this. Next will be to add bulkheads.
-
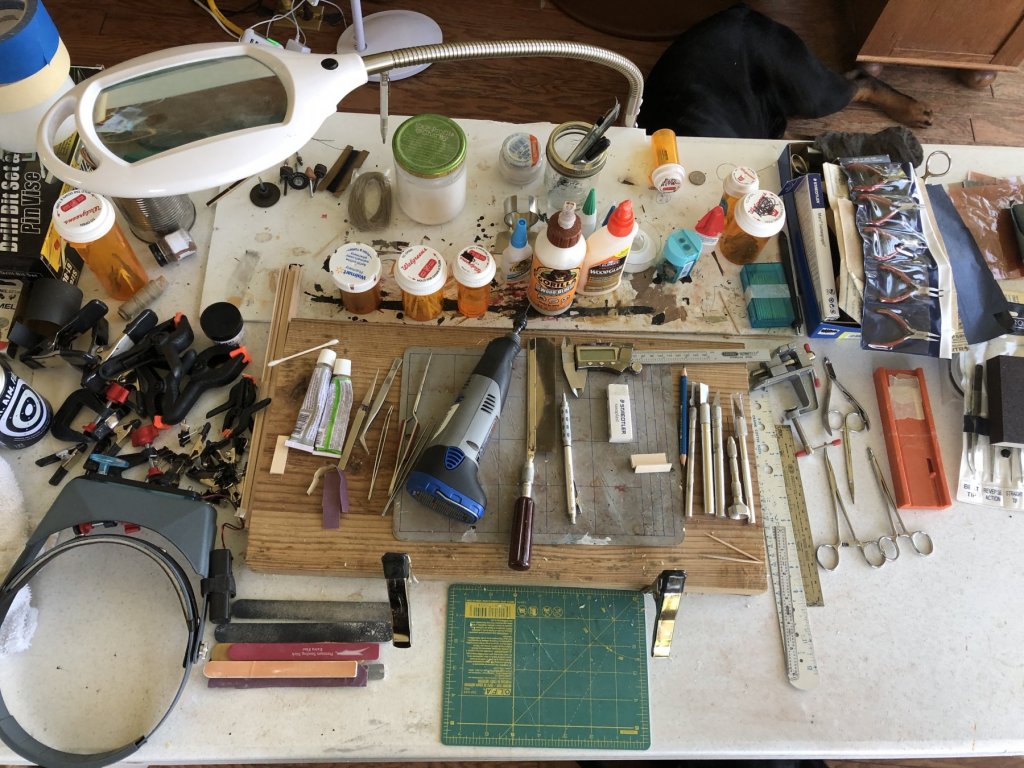
The tools I really like are the Dremmel, an X-acto #17 chisel blade for trimming, a tabletop belt sander for shaping, assorted hemostats, tweezers and sanding sticks, side cutters, and assorted clamps. For glue, my go to is yellow glue. Toothpicks are indispensable.
Notice the 2” solid oak board with two clamps attached. This works great for clamping ship/boat by strong back or keel.
-
1 hour ago, SandyBay said:
I shall sit in and watch this build if I may. It’s a model I’ve tried to buy here in the U.K. but can’t seem to find any for sale.
You are most welcome to watch me putter alongside my build. By the way, there is a kit on sale on eBay UK if you are interested.
-
24 minutes ago, SandyBay said:
I shall sit in and watch this build if I may. It’s a model I’ve tried to buy here in the U.K. but can’t seem to find any for sale.
You are most welcome to watch me putter alongside my build. By the way, there is a kit on sale on eBay UK if you are interested.
-
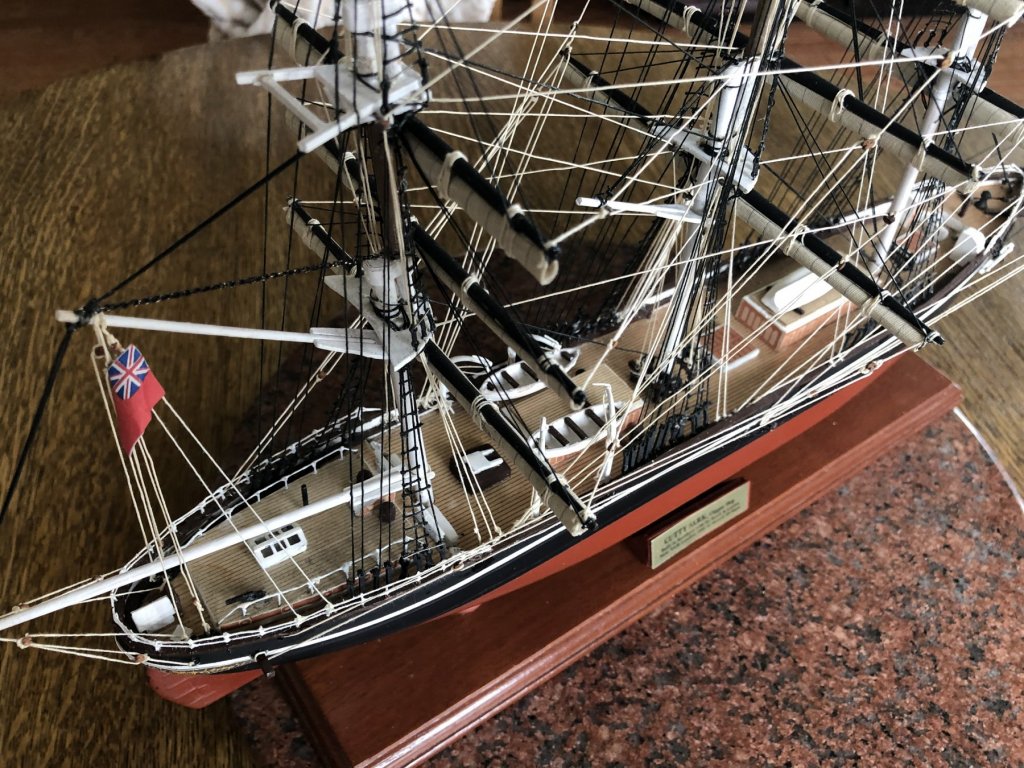
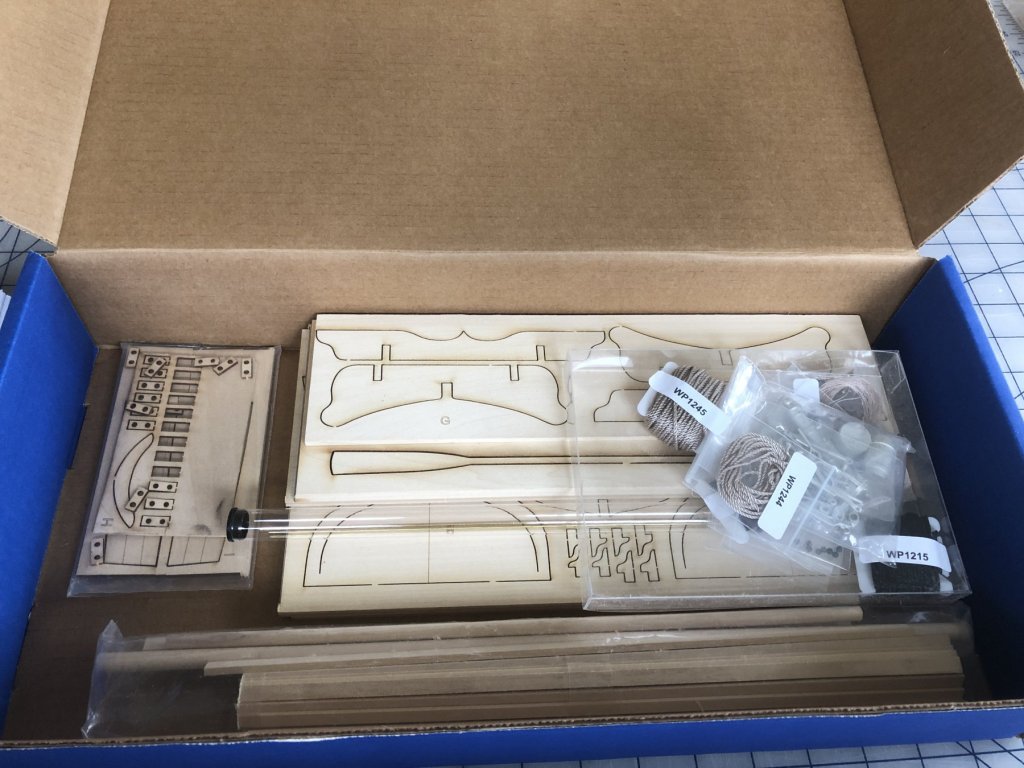
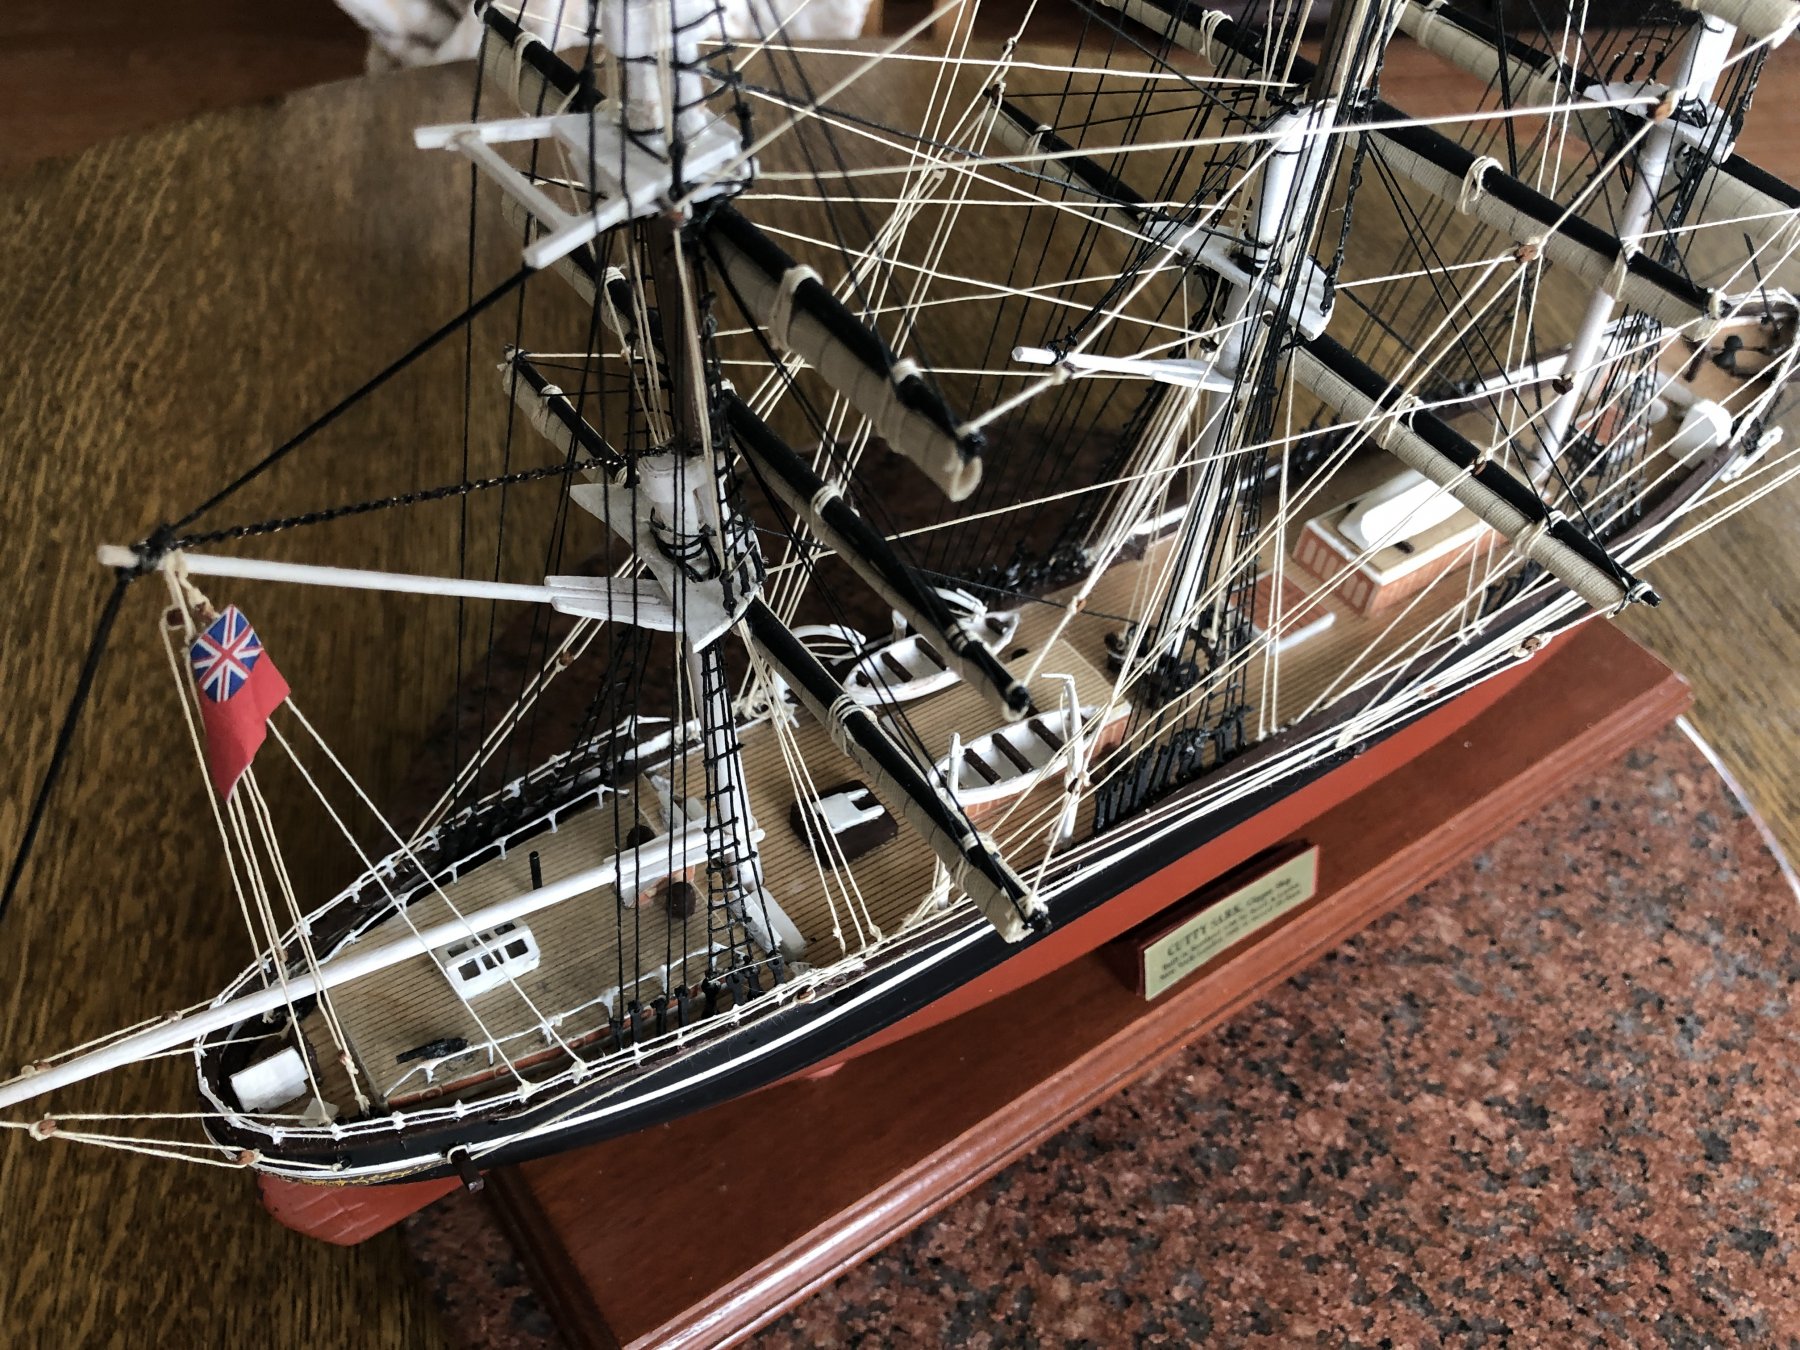
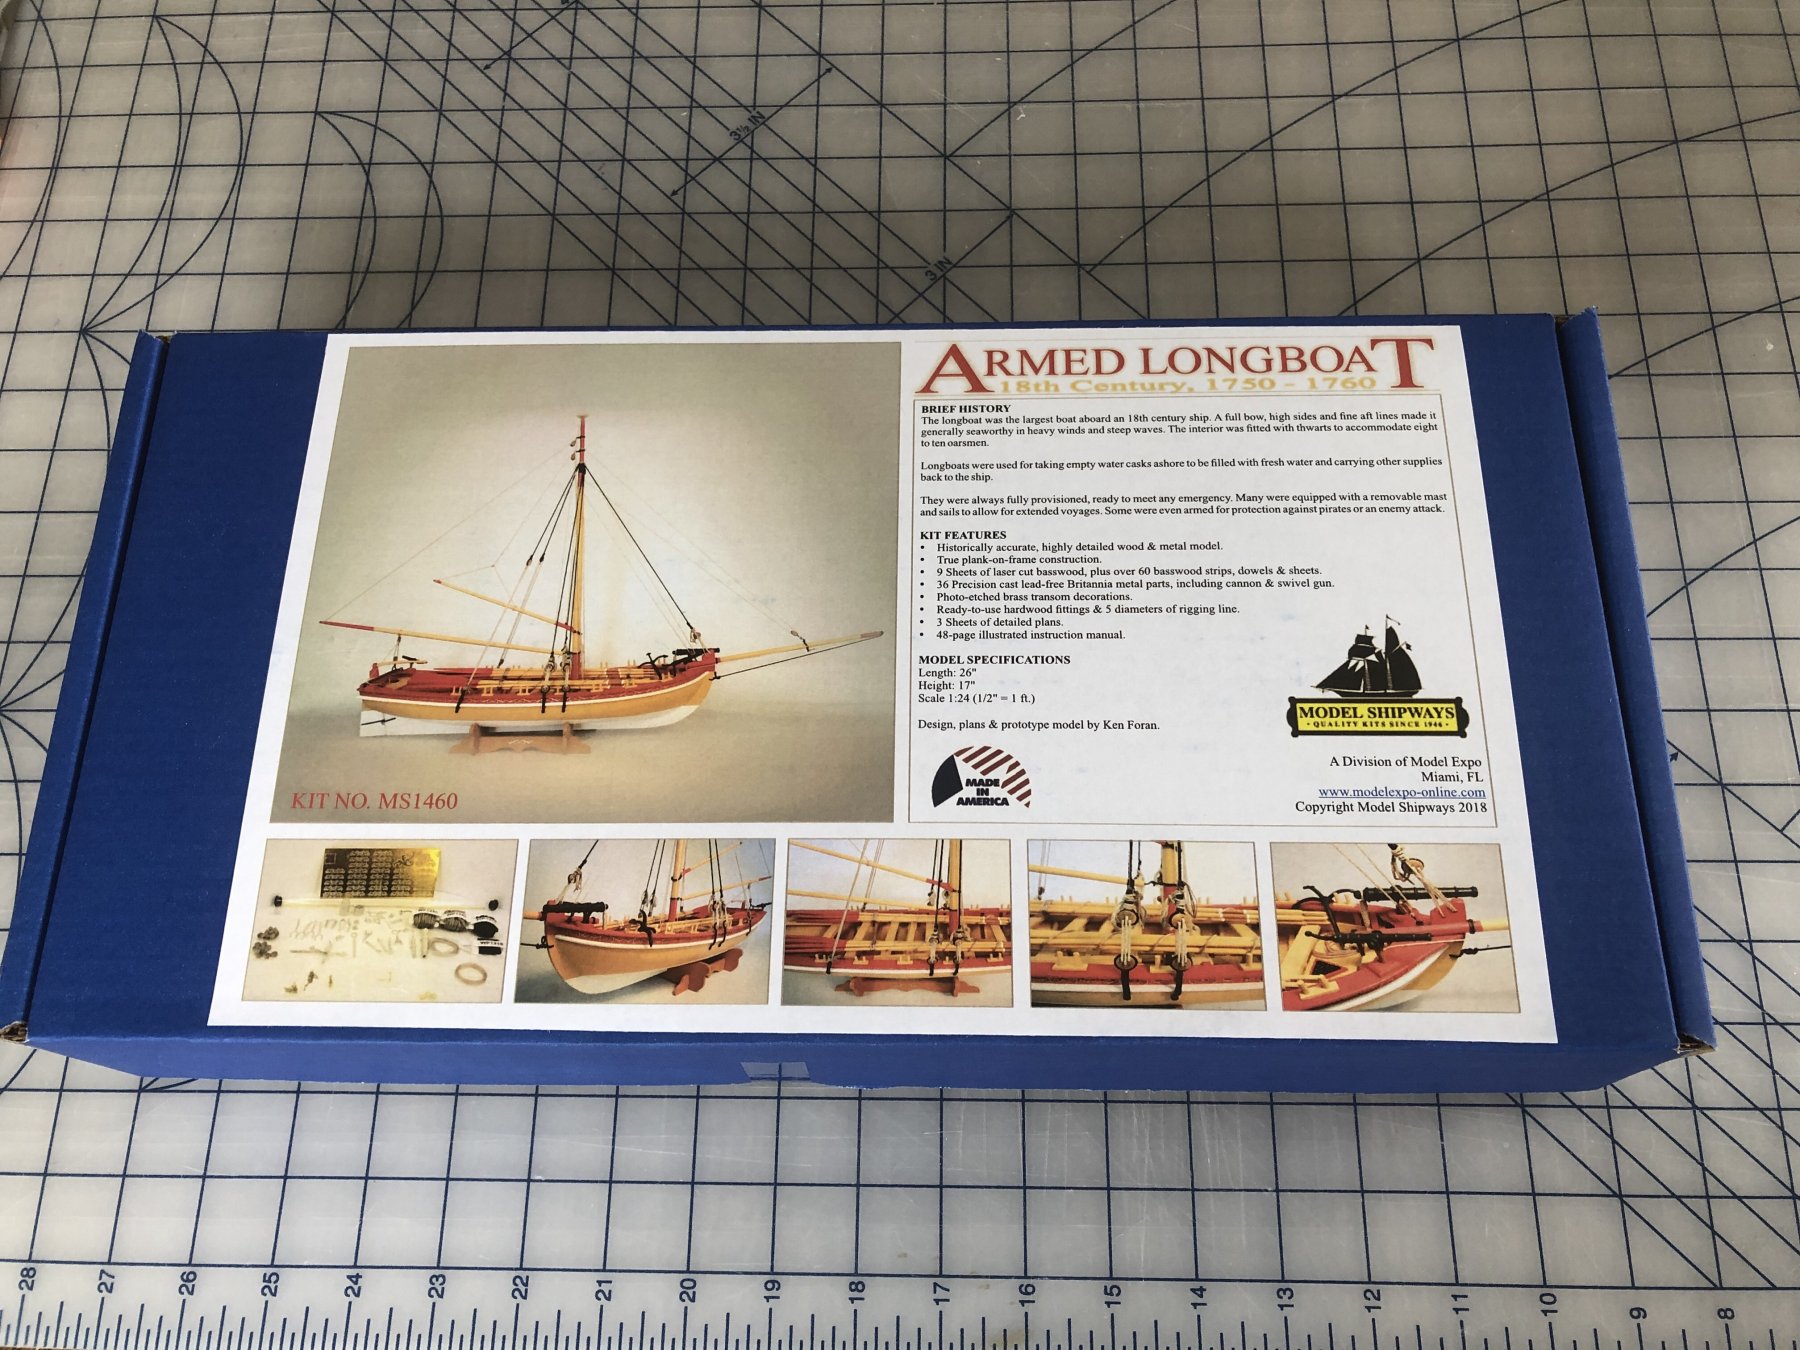
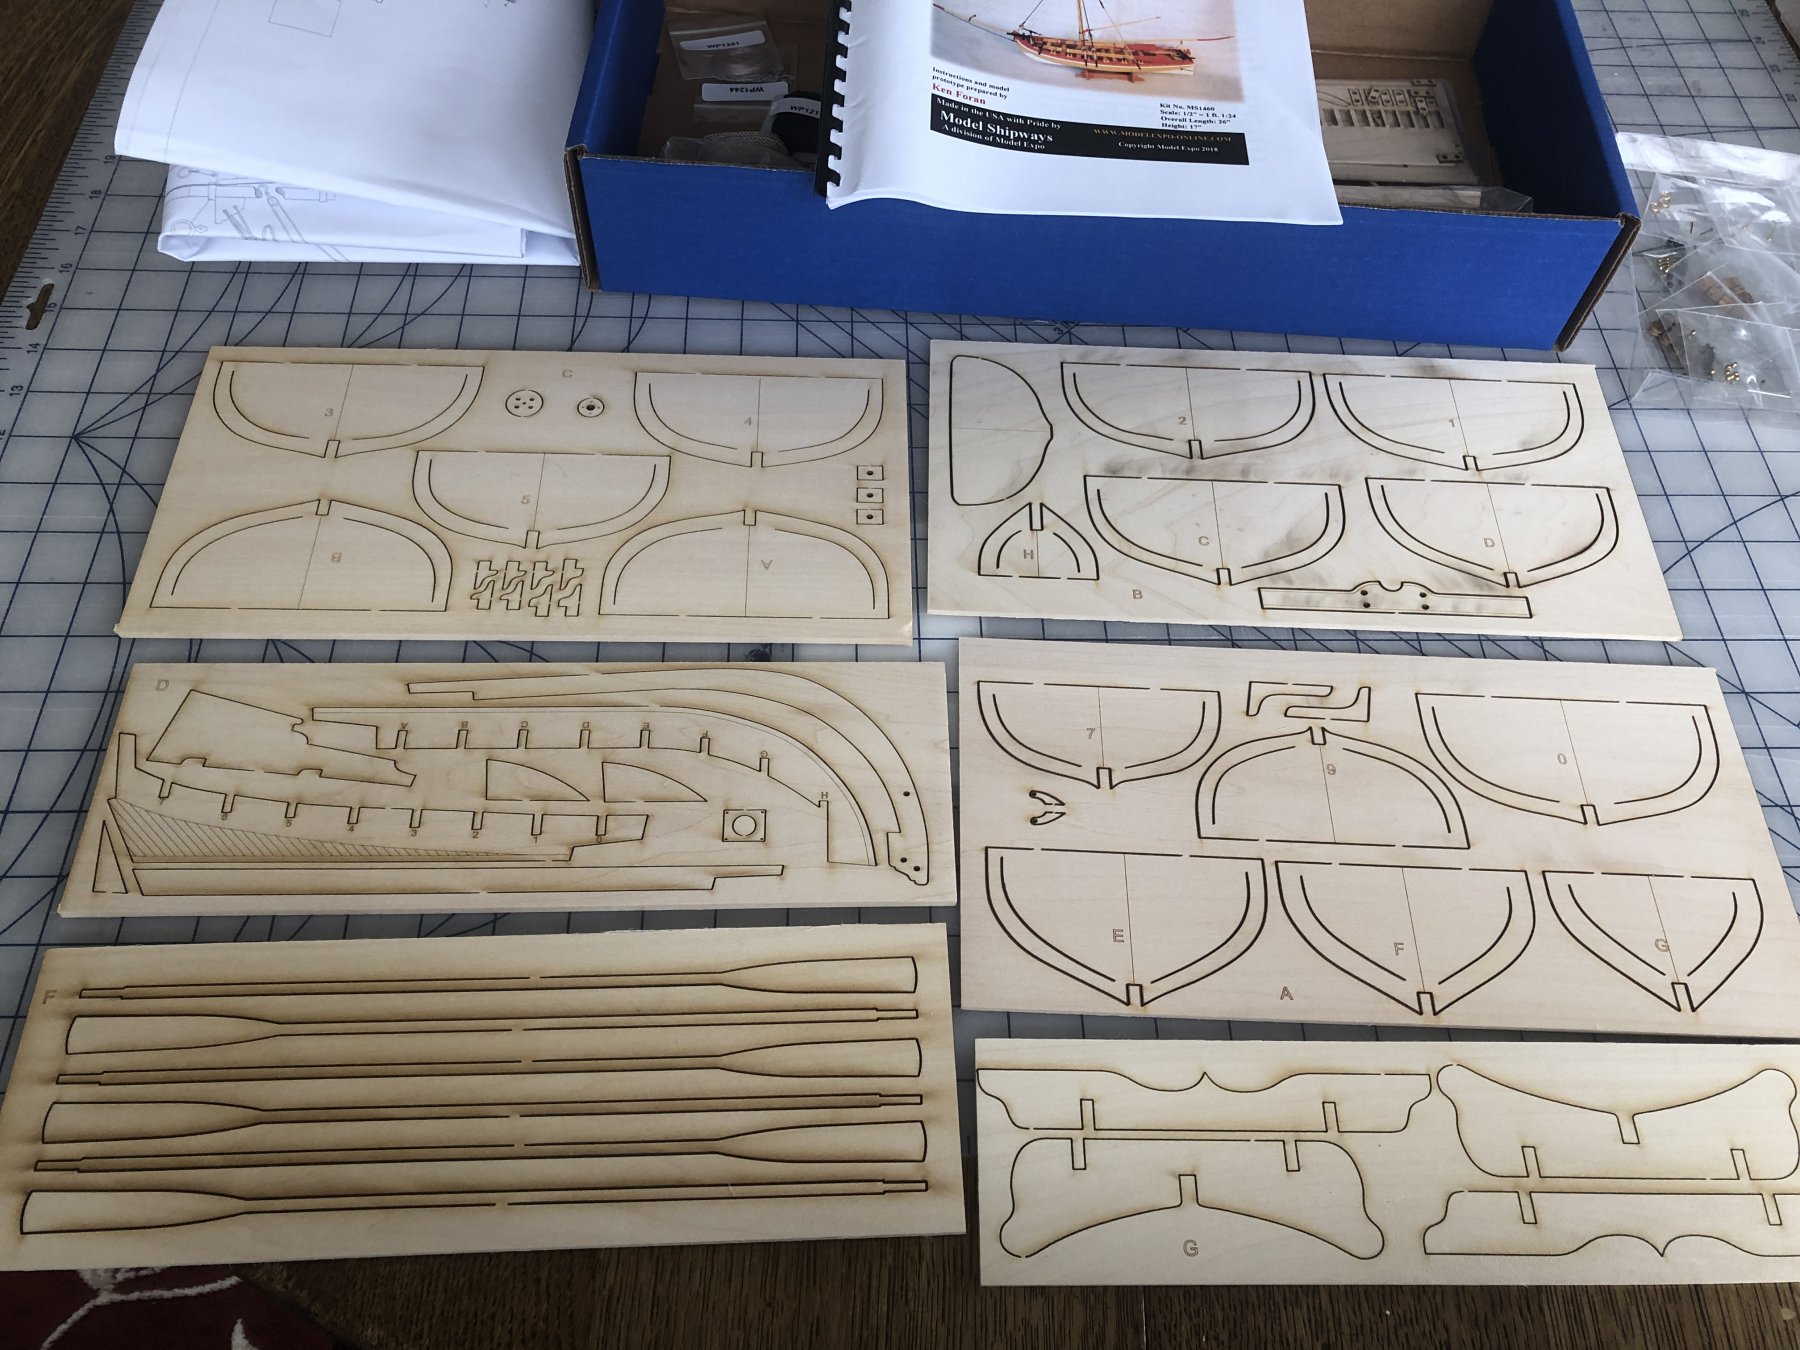
Hello All, this is both my first plank-on-bulkhead build and first build log. I am very slow but hopefully not as slow as my first ship, Scientific Models solid hull Cutty Sark (above) which I started many years ago. My hobby time is divided between astrophotography, model N-Gauge trains and ship modeling. I will start by posting some kit pictures.


-
-
-
-
-
I assume that by the lack of response, what I do is up to me and really is up to me. Except for scale, this boat is very much like the smaller Model Shipways 18th Century Long Boat. If builders of that boat have any comments on this I would appreciate them.
My present plan is to start jointing according to the suggested plans. That way only one strake joint will be out of plan.
-
Suppose wood glue dries in a somewhat smeared fashion, let’s say, on strakes. If scraped and sanded, will stain not cover uniformly?
-
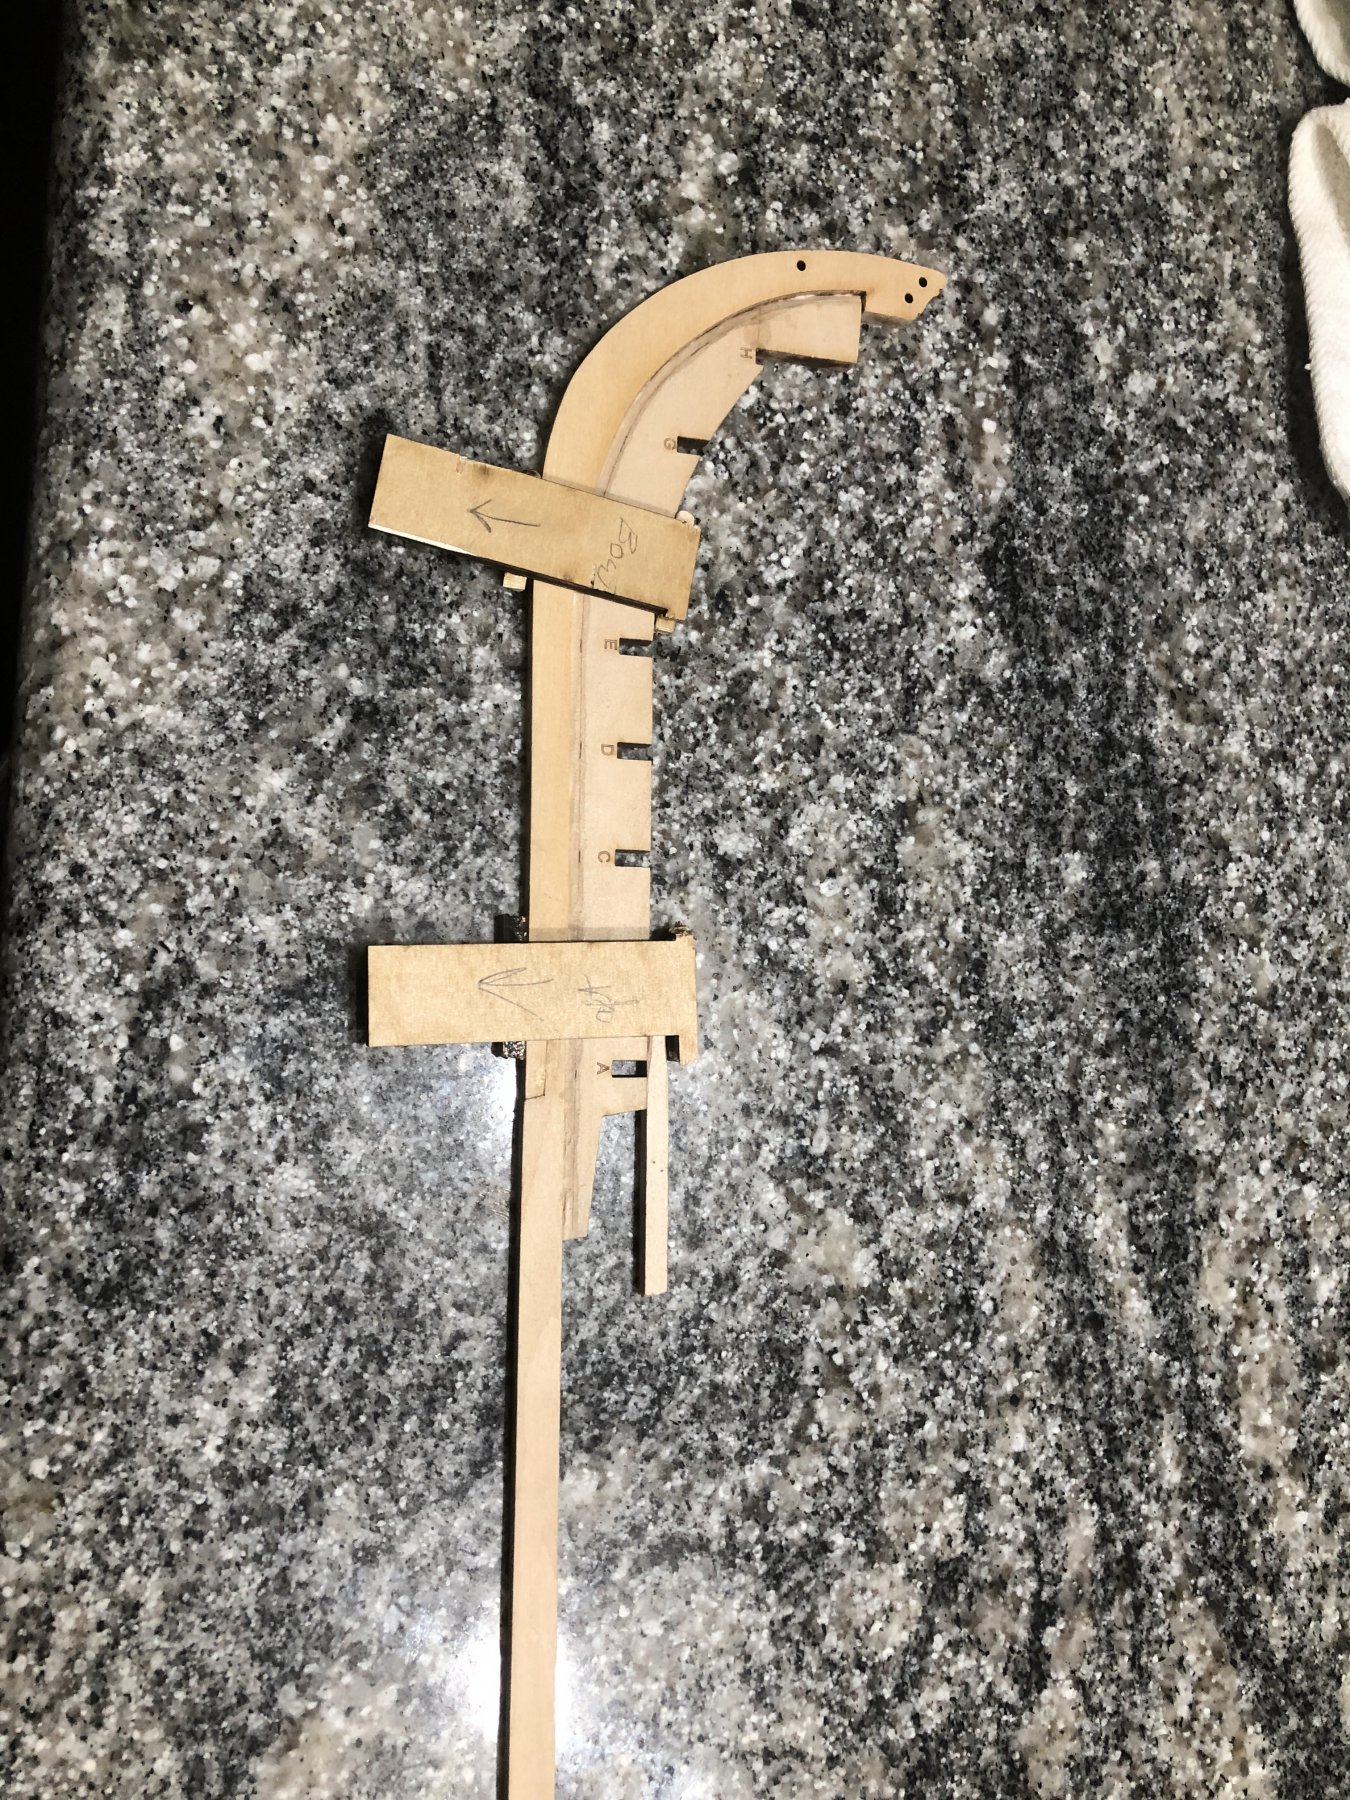
This is probably a somewhat silly inquiry. I am working on the Model Shipways 18th Century Armed Long Boat. When I first looked at the instructions, I got the stem and stern reversed as only the center or 0 bulkhead was marked for placement of the strake joints. Therefore my placements of the joints are now on the way to being 180 degrees out of phase from aft to bow. Since I am only two strakes beyond the garboard, I could continue, or I could start correcting or I could start over. I would prefer to not start over as the completed strakes were very difficult. Which of (1), continuing on, or (2), start correcting, would the forum suggest? I am thinking that it probably does not really matter but I would appreciate experienced feedback.


18th Century Armed LongBoat by Dr PS - FINISHED - Model Shipways - Scale 1:24
in - Kit build logs for subjects built from 1751 - 1800
Posted
Well, I have completed the third strake. The stem end falls a bit short of what I think it should as seen in the instructions where it seems to end slightly past bulkhead G. In order to extend the third strake farther resulted in a slight concave or reverse edge bend somewhere in the section from the tip at bulkhead G to bulkhead D and this was not acceptable. I was just unable to get it to work. A wider strake would have worked, but I am proceeding as is with the stock planks extended as far as possible while at the same time hoping everything will work out well later.