.jpg.f14fd0b82ddc4970171089371a368a63.jpg)
Seamanpeter
-
Posts
68 -
Joined
-
Last visited
2 Followers


Recent Profile Visitors
1,590 profile views


-
 brentt reacted to a post in a topic:
Fairmount Alpine by Seamanpeter - Billing Boats - RADIO
brentt reacted to a post in a topic:
Fairmount Alpine by Seamanpeter - Billing Boats - RADIO
-
brentt reacted to a post in a topic:
Fairmount Alpine by Seamanpeter - Billing Boats - RADIO
-
brentt reacted to a post in a topic:
Fairmount Alpine by Seamanpeter - Billing Boats - RADIO
-
brentt reacted to a post in a topic:
Fairmount Alpine by Seamanpeter - Billing Boats - RADIO
-
brentt reacted to a post in a topic:
Fairmount Alpine by Seamanpeter - Billing Boats - RADIO
-
brentt reacted to a post in a topic:
Fairmount Alpine by Seamanpeter - Billing Boats - RADIO
-
brentt reacted to a post in a topic:
Fairmount Alpine by Seamanpeter - Billing Boats - RADIO
-
brentt reacted to a post in a topic:
Fairmount Alpine by Seamanpeter - Billing Boats - RADIO
-
brentt reacted to a post in a topic:
Fairmount Alpine by Seamanpeter - Billing Boats - RADIO
-
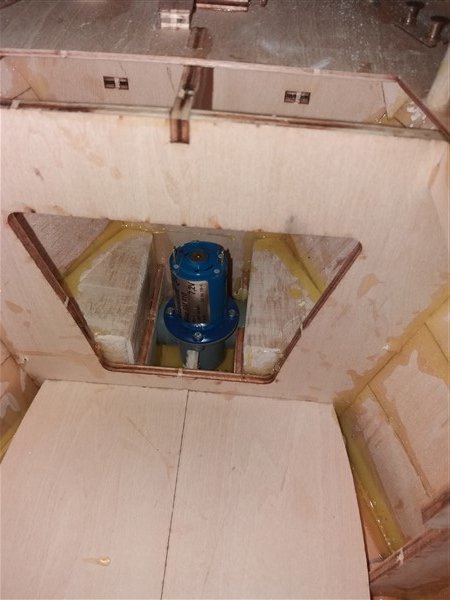
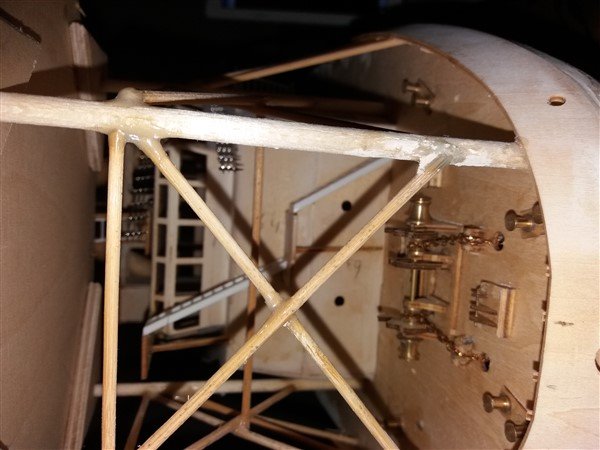
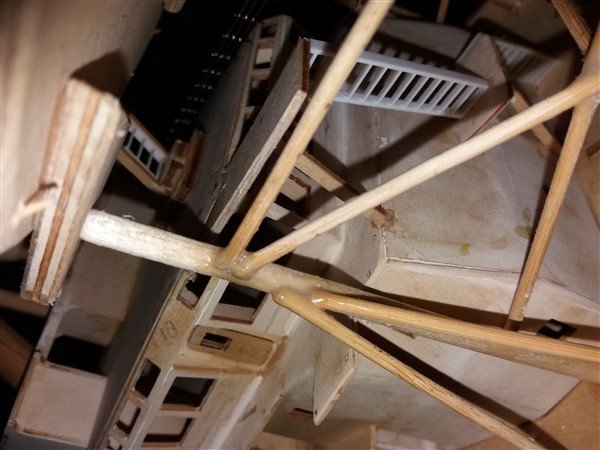
.thumb.jpg.01eb78ddd26fe9e56368b6bc83844e8c.jpg) yeah George, seeing your electronic parts there is indeed not much space left. I did some measurements and on the back of the built in mine and must say if you divided the front part (under the superstructure) in 2 decks you have above the batteries space for other equipment such as speed controllers / voltage regulators and others. Waterpomp for FIFI will come below the "deck" you have the el motor stb side for the propulsion. Otherside / opposite side on ps I will make there the foundation for the "buckler crane connected to the bottom to have it secured and then penetration through the deck but all on the side so NOT using the aft deck space. In the front as where you have the batteries but as far to the front possible or even split them as I will have space not having the traditional propulsion as my electro motors are vertical placed and can be as far to the back possible. Sofar I did this calculation with all components I will need and will look later with ref to the "balans" of the ship (forw. or backwards) and most likely need ballast in the vessel. You say that until now you are on a weight of ca 6-7 kg and I'm afraid that will not be enough to have the ship "stable" in the water, guess ca 10 kg as you calculated previously is more realistic. But that only can be noticed when it is in the water. Anyway, weather is here not good so all works to that postponed till next year and doing now other small things in between work and school and also family life. Anyway, wish you luck to have it all done and until that time, Have a great time best regards, Peter
yeah George, seeing your electronic parts there is indeed not much space left. I did some measurements and on the back of the built in mine and must say if you divided the front part (under the superstructure) in 2 decks you have above the batteries space for other equipment such as speed controllers / voltage regulators and others. Waterpomp for FIFI will come below the "deck" you have the el motor stb side for the propulsion. Otherside / opposite side on ps I will make there the foundation for the "buckler crane connected to the bottom to have it secured and then penetration through the deck but all on the side so NOT using the aft deck space. In the front as where you have the batteries but as far to the front possible or even split them as I will have space not having the traditional propulsion as my electro motors are vertical placed and can be as far to the back possible. Sofar I did this calculation with all components I will need and will look later with ref to the "balans" of the ship (forw. or backwards) and most likely need ballast in the vessel. You say that until now you are on a weight of ca 6-7 kg and I'm afraid that will not be enough to have the ship "stable" in the water, guess ca 10 kg as you calculated previously is more realistic. But that only can be noticed when it is in the water. Anyway, weather is here not good so all works to that postponed till next year and doing now other small things in between work and school and also family life. Anyway, wish you luck to have it all done and until that time, Have a great time best regards, Peter- 90 replies
-
- 2
-
-
- fairmount alpine
- billing boats
- (and 1 more)
-
Seamanpeter reacted to a post in a topic:
Fairmount Alpine by George-JK - Billing Boats - 1:75 - RADIO
-
Seamanpeter reacted to a post in a topic:
IL Leudo by SHIPSCAT (Jolene) - Mamoli - scale 1:34
-
Dear Jo, sorry to read you went for X-ray too. Hope for you it is not something serious as could be anything from infection to kidney stones that are walking around as that also feels like pain in your back. Anyway, wish you a quick recovery and take care about yourself there, Peter xxxxxxxxxxx
-
Seamanpeter reacted to a post in a topic:
IL Leudo by SHIPSCAT (Jolene) - Mamoli - scale 1:34
-
Seamanpeter reacted to a post in a topic:
Fairmount Alpine by George-JK - Billing Boats - 1:75 - RADIO
-
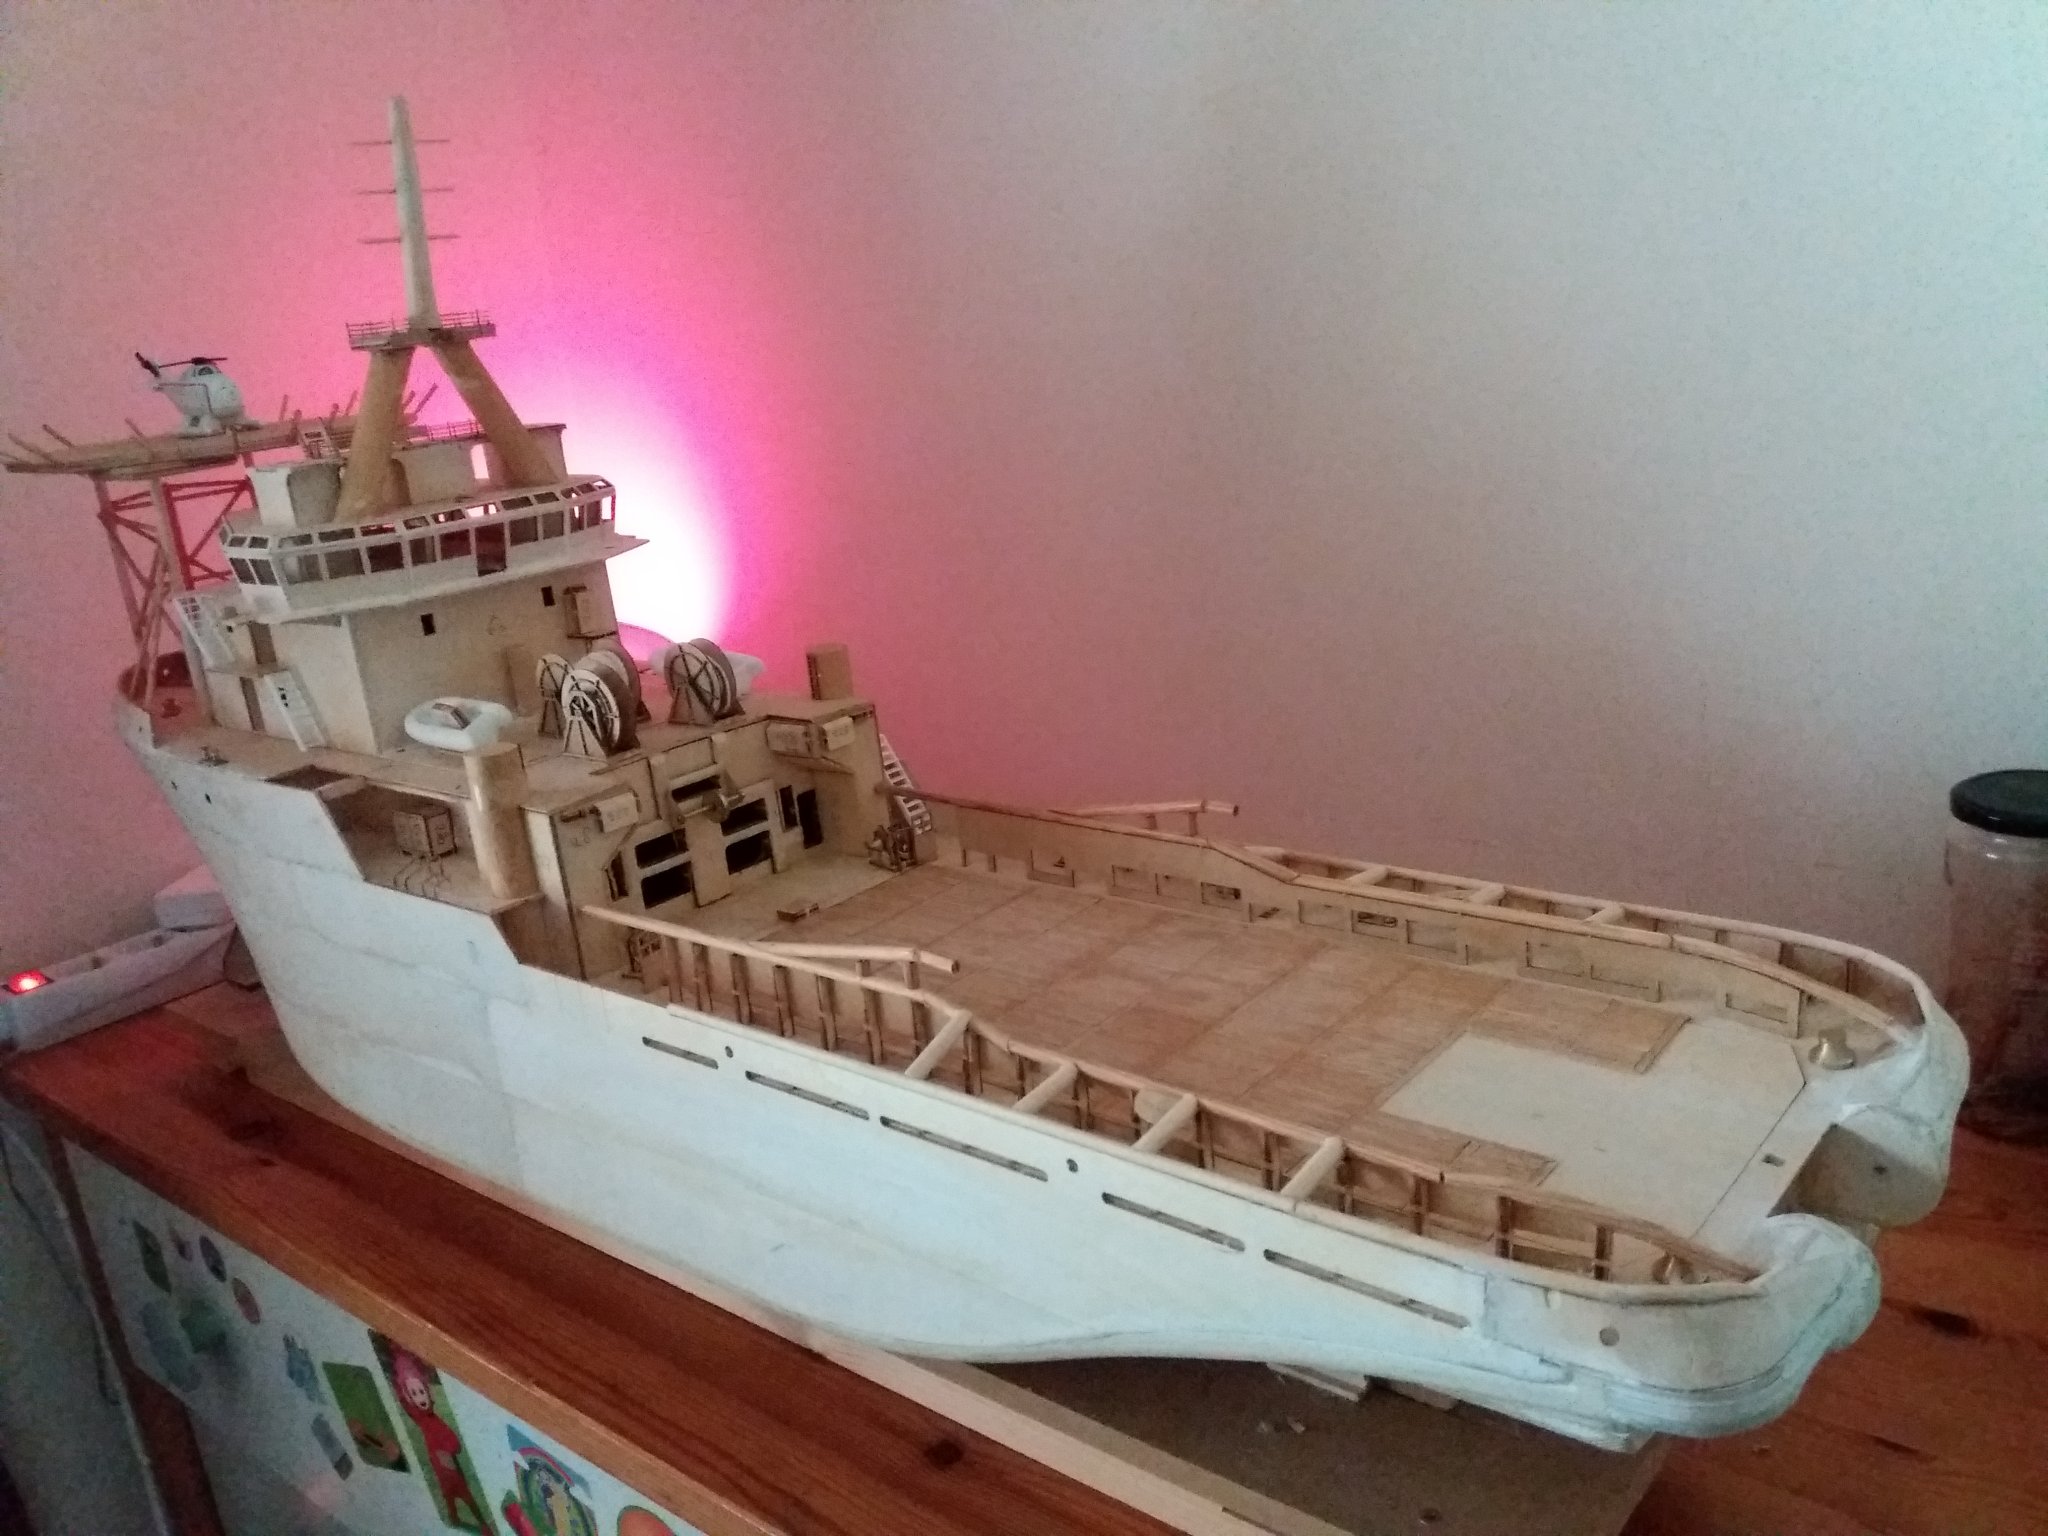
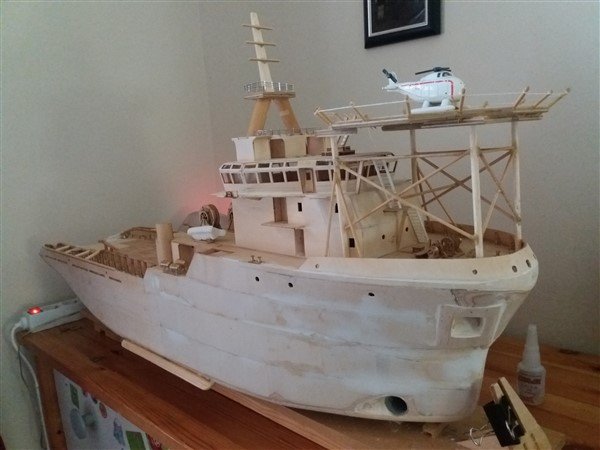
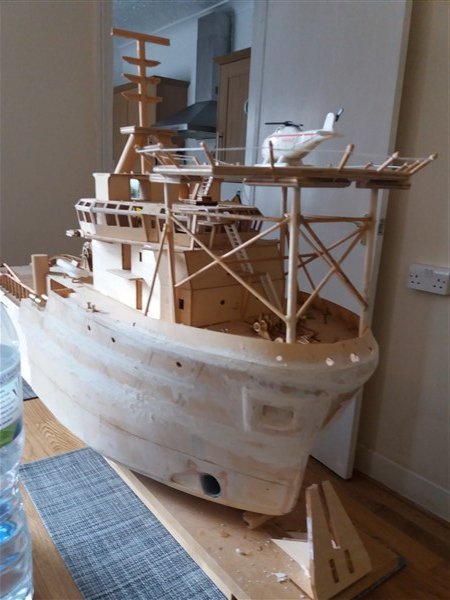
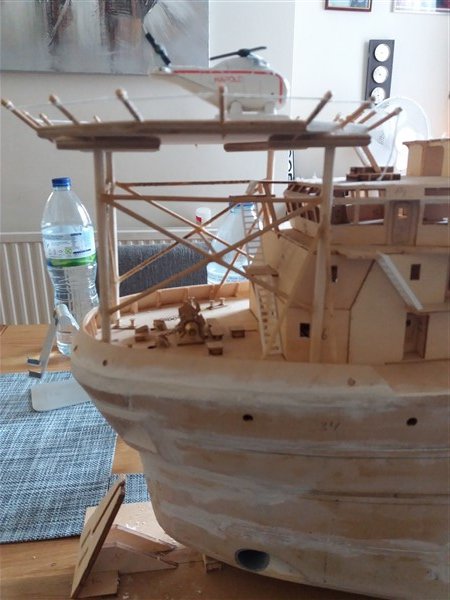
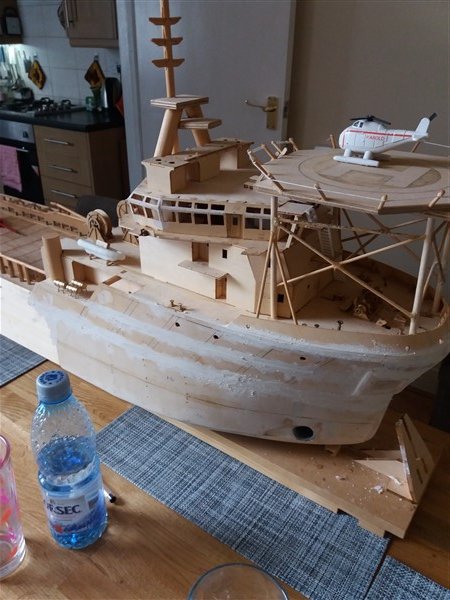
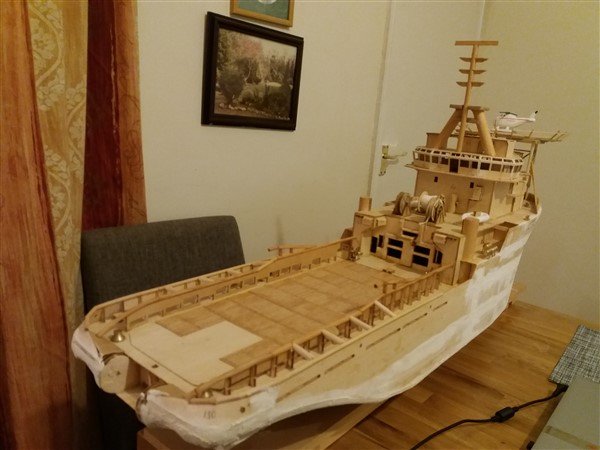
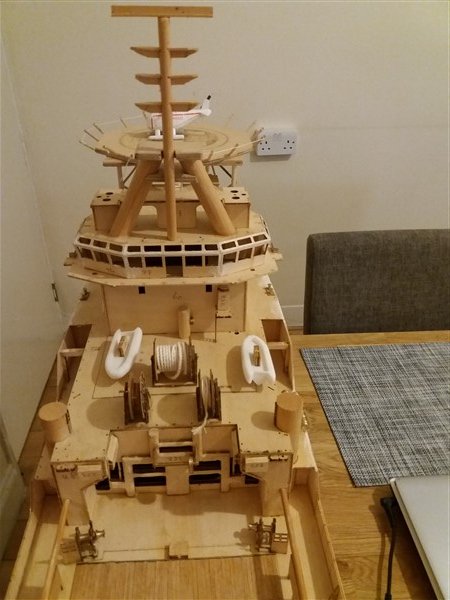
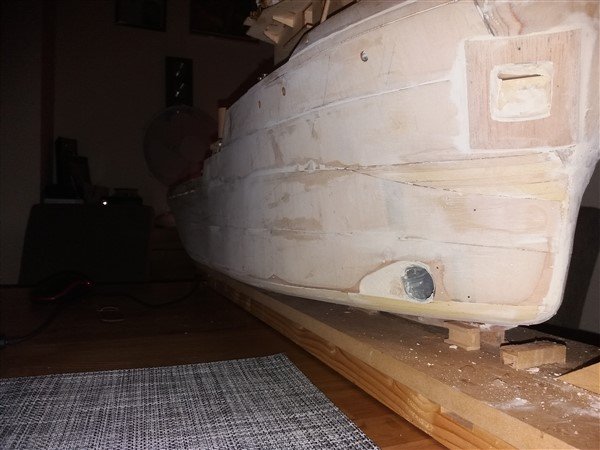
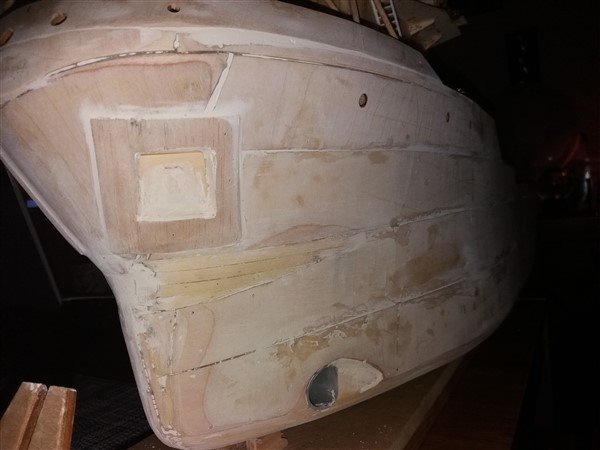
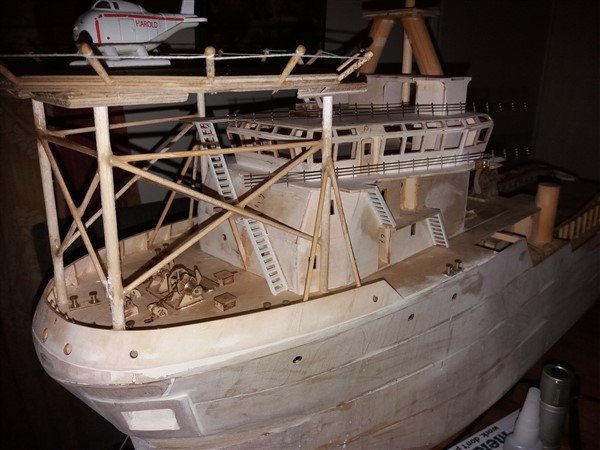
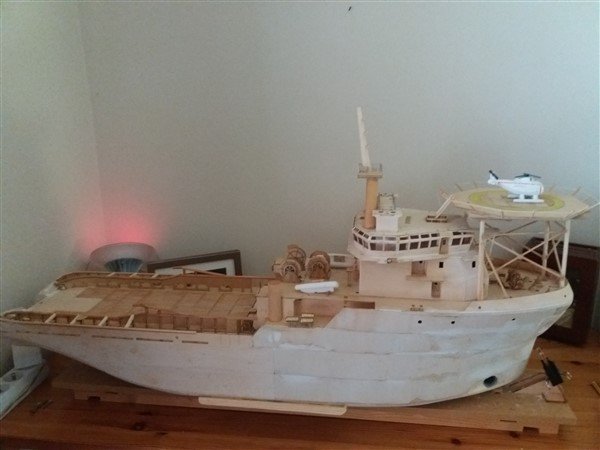
George, hi there. Looking into your built (and also mine) I start making in the superstructure port side near the lower entrance door the Emergency Generator parts such as ventilator openings, doors, exhaust etc. Looking at yours I cannot find that detail so I presume you did not come to it? Also the kim keel, are you not making that? I can tell you seeing other same builds that don't have it mounted she is quickly rolling on her side when little bit of waves are coming and I know in practises those are a must special on ships this kind that should not roll that much having sometimes crew on deck not to take to much water on aft deck. Anyway, I will drop a pic here so you know what I'm talking about. Hope your paint is all ok, this side of the globe I postponed all paint works till next year. Take care there now, Peter

- 90 replies
-
- 4
-
-
- fairmount alpine
- billing boats
- (and 1 more)
-
Seamanpeter reacted to a post in a topic:
IL Leudo by SHIPSCAT (Jolene) - Mamoli - scale 1:34
-
Seamanpeter reacted to a post in a topic:
IL Leudo by SHIPSCAT (Jolene) - Mamoli - scale 1:34
-
Seamanpeter reacted to a post in a topic:
IL Leudo by SHIPSCAT (Jolene) - Mamoli - scale 1:34
-
Seamanpeter reacted to a post in a topic:
Fairmount Alpine by George-JK - Billing Boats - 1:75 - RADIO
-
Thanks Danny and appreciate your help in here. Good job we are not all animals but sometimes specially if you don't know your way around here like me, mistakes can easily be made. Anyway thanks for your help. Have a last question, how to be member of this Society and having a number too? If that has to do with paying a contribution fine with me but have no idea where to go. Waiting yours and have a great day Peter
-
Seamanpeter reacted to a post in a topic:
QUICK-FIND INDEXES to BUILD LOGS FOR KITS
-
Dan, if my built has moved in your index pls advice where I can find it. thanks Peter
-
Dan, sorry to come with a question but if I'm looking into the index of RC buildings / boats I can see 2 x Fairmount Alpine from George and another who most likely is deleted by the system as cannot find him anymore if you click on it. Now I'm building this Fairmount Alpine since March this year but can't find my built in your list! Do I have to go somewhere else to find it or is it not updated your list? Also I made previous a mistake to open another page here what was wrong my side but to delete it I cannot. Maybe you could have a look into that as I have 1 since start and moved all relevant info from the second page to the first one but cannot delete it. /profile/32387-seamanpeter/?status=1004&type=status Sorry for the inconvenience given but we are all humans and as I'm not a computer expert the mistake was made by me. Hopefully I can find my built in your list next time I pass there too. Thanks on the forehand Peter den Breejen.
-
Seamanpeter reacted to a post in a topic:
Fairmount Alpine by Seamanpeter - Billing Boats - RADIO
-
dear Jo, yes moved all here as it is more convenient anyway to have all in 1 page so to speak. Looking t your new project the old Danish fishing boat looks great to me and must say for an (even) tiny el motor connected to the prop there is no space unless you want to change the stern. Theoretical it can be done but is an not easy job. Anyway, looking forward your progress in this one and wish you the patient to make it! Good luck with your new project and will follow your works Peter xxxxxxxxxxxxxx
-
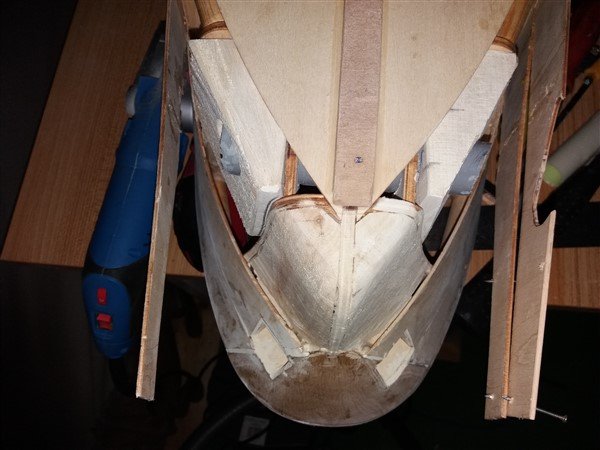
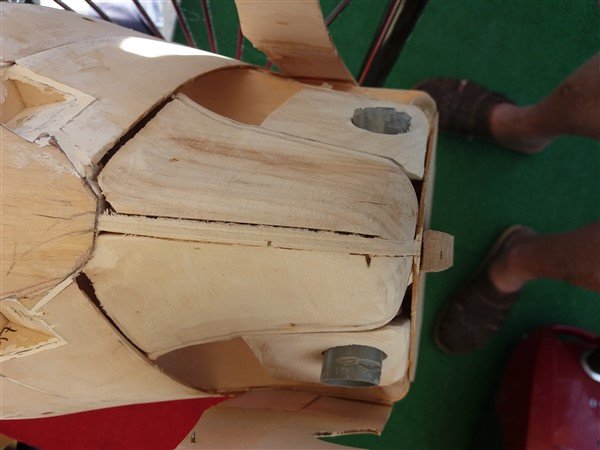
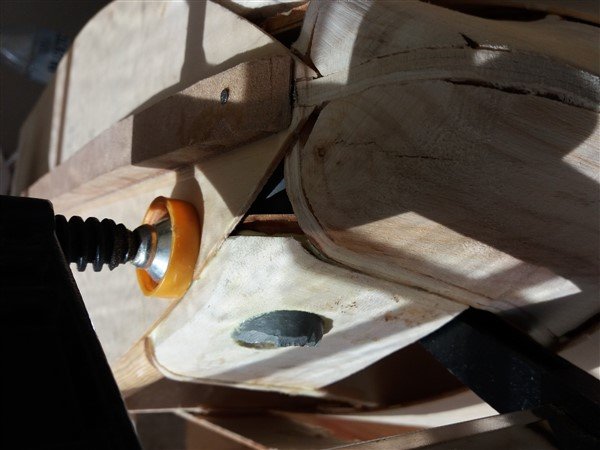
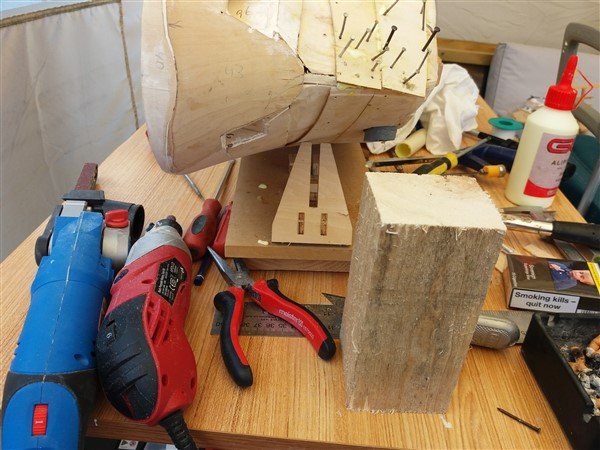
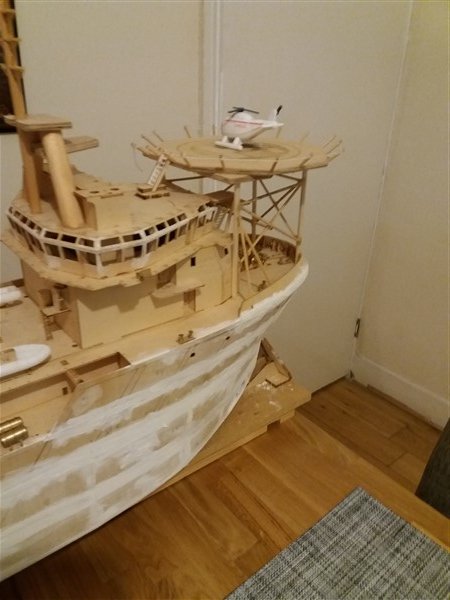
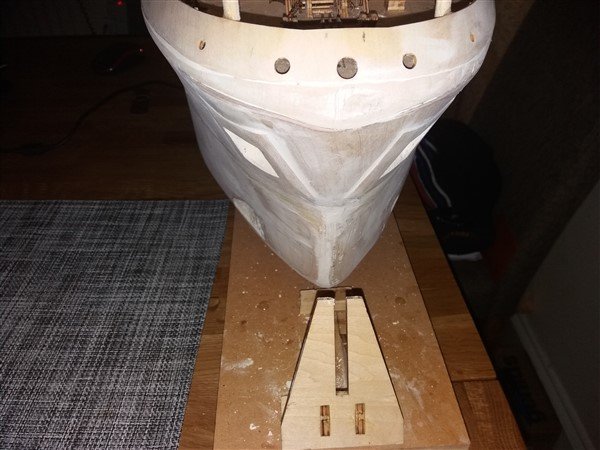
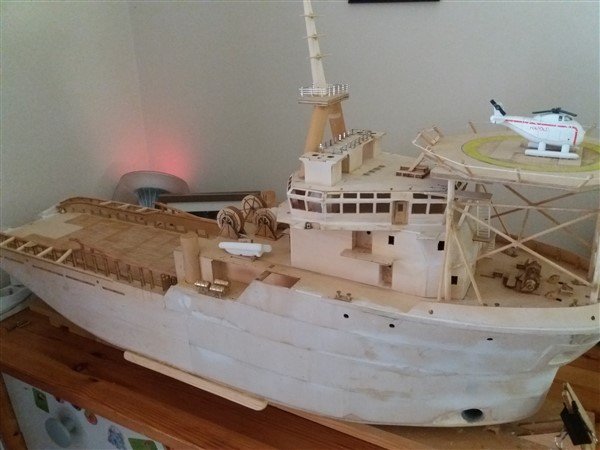
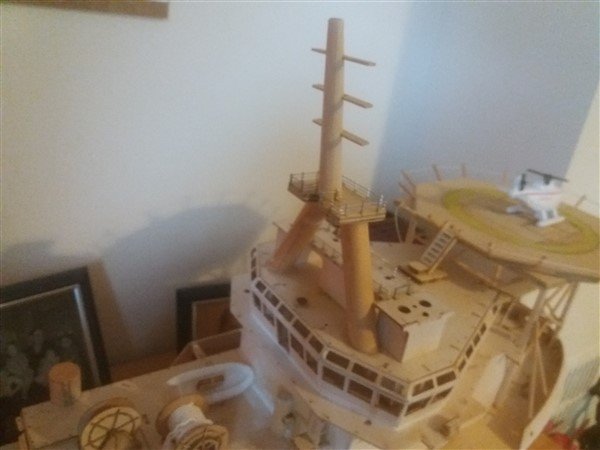
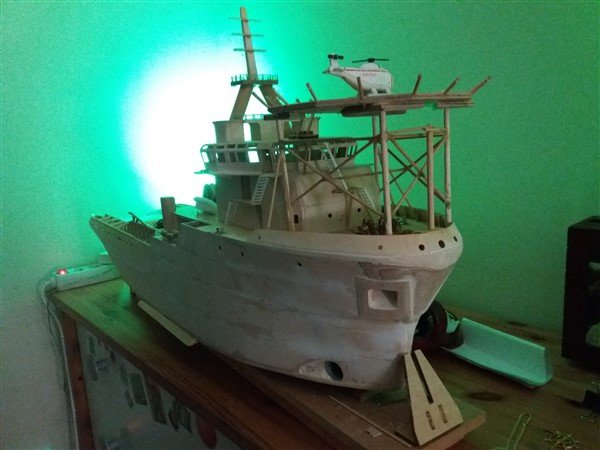
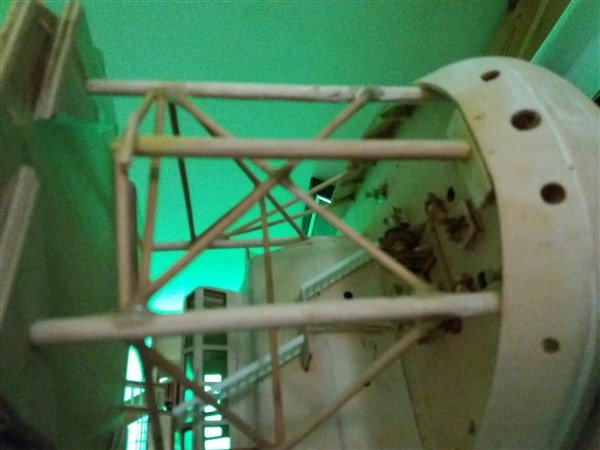
Right, found out what is missing here as was in the other blog I made. So to come to the point now waiting for the weather to be more nice guess this will not happen before next year. Therefore waiting for the orders I made and what I can do from inside the house I will make it. Not going that fast either as have to find time between other arrangements having here such as school (UNI) and work. Will do my best but if not regularly don't be afraid I'm doing nothing and stopped but just did not have time for it. I did make some enquiries with ref to the Schottels and got some measurements I can work with. Waiting for the measurement of the towing pins unit as that has to be fitted in between the Schottels on the deck. Anyway, made platforms for the towing winch when it arrives so that will be the first step to do and see if my calculations where correct to place it where I want it to be. Have a great time you all, will revert, Petermeasurements for the Schottels on both sides stern. made the bow out of massive wood just for more protection on a "weak" bow Bow trust did protection massive wood glue parts bow massive wood I used raw bow, needs finalising most raw works done closed up bow trust and bow itself secured bow trust closed all forward part made anchor pocket protection and first filler by hand same this side, closed up and filler first time coming there, looks good already now the "labour" works like sanding and filling also here, sanding and filling until final before painting view status before sanding other side view before sanding like the shape of the bow, looks great to me did also some to the stern but needs more clearly to see the works to be done to the stern will start modify mast and sanding bridge pretty much works to be done as I can see it looks good after sanding nice shape still need more sanding and filler bow even not in center line looks good! bow trust in place waiting to connect altering up-take to helideck changed the uptake to helideck new platform to helideck / monkey island altered mast and looks much better yep, I like it status presently with kim keel hand made mast and looks good yeah foremast also done afterwards the "lower" top nav. light Here missing the kim keel what will be done shortly.


- 35 replies
-
- 6
-
-
- fairmount alpine
- billing boats
- (and 1 more)
-
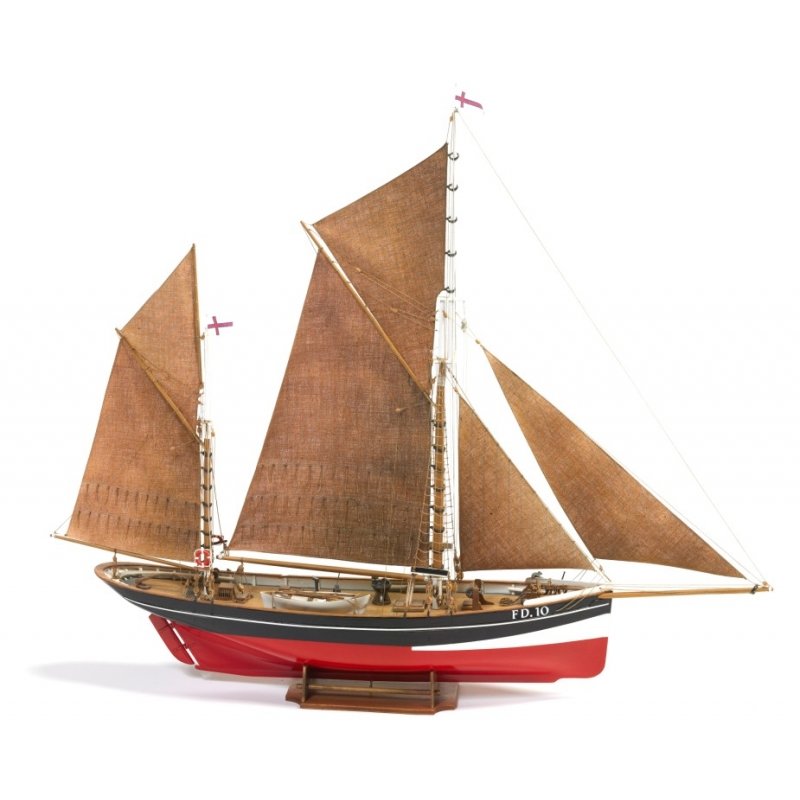
No idea for the name but can see you did a proper job! Respect my lady and I mean it! I cannot tell you the names for them as actually never sailed on a SAIL boat and those matters never interested me to know this name. Could be that somebody here will tell you, sorry about that. Peter xxxxxxxxxxxxxx
-
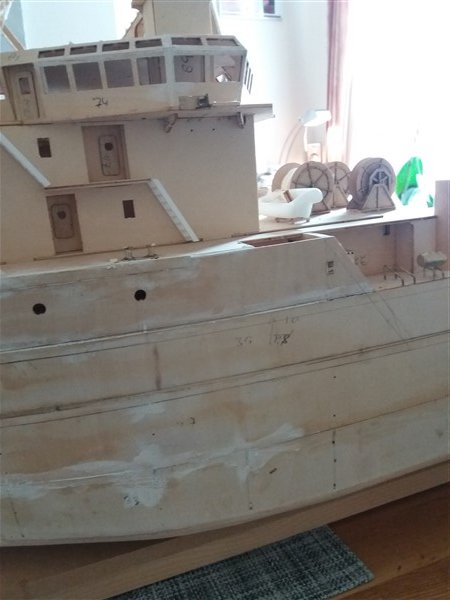
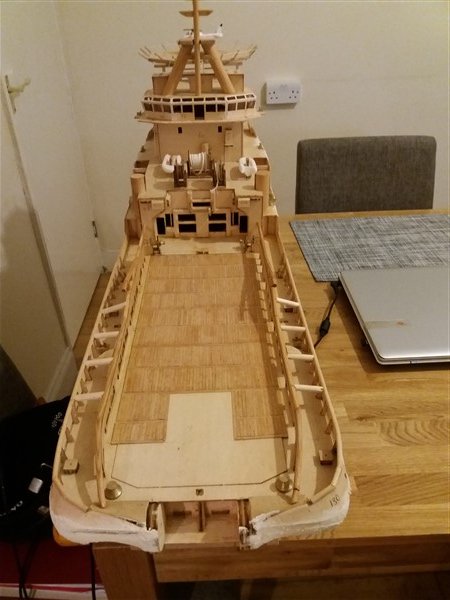
George, in my previous built the last one I made many, many years ago was the Smit Rotterdam with the first wooden hull (others where plastic) and that time we could not buy the automatic bilge pumps as I mention to you in my mail. As I did observe water was coming inside the prop shafts due to NOT having the so called black pot (grease pot) on those shafts I built inside just a water pump (did not have the proper ones as now available) with a suction laying/glued to the bottom of this compartment as in the frames there are NO MOUSE HOLES as we call them for the water to pass to the lowest point. But it worked that time and according my son it still works. I left all my ships to them when I divorced their mum and they still have them. At that time I promised myself that this will never happen again so that is why I got away with all the prop shafts and rudders this time and having Schottels it will never happen. Although as you say when touching under water sharp objects it still can be a possibility to have a leak I want to built this pump. Just to be on the safe side with suction from the lowest part what is in between frames bottom. I made mouse holes but cannot be seen anymore as covered by the wood on top the frames. Nevertheless as I did not made the "MATT" with epoxy as you have I will only use Winsor & Newton Artists Acrylic Clear Gesso Primer and afterwards Acrylic paint for wood ship in the colours I want. That makes the outside watertight enough and gives also the flexibility to the wood and it is a nice product to work with. For the bridge interieur with ref to the "coffee shop" I will send you later an idea how to make it. On the bridge in those tugs mostly you have "sofa's" just under the windows as chairs have to make tight to the floor and are not that good to use on the bridge. Even in the cabins they always have a sofa and a chair that is connected to the floor as those ships in reality making moves and you can then image what will happen! Let's see how it will work out with both having ideas and looking forward to the end product. best regards Peter
- 90 replies
-
- 2
-
-
- fairmount alpine
- billing boats
- (and 1 more)
-
To all, for the latest developments pls go to: https://modelshipworld.com/profile/32387-seamanpeter/?status=1004&type=status. As it looks like my other page for this built is partly closed as after the works done to the server some mails cannot be found anymore. Tomorrow or in the weekend will sort this out and bring all here so have it in one space / blog what ever you call it. Best regards, Peter.
-
Great job George, must take my head off for you with all the troubles you did have. Hope the water pump inlet will not give you future problems otherwise you have to built in a "bilge alarm" that connect to your pump take out the water. https://www.jonesboatchandlery.co.uk/bilge-pumps/ Here you can find several bilge pumps that switch automatically on when water comes into the built. Depends on how much money you want to invest for it as several prices in this range. The only disadvantage here is that those pumps CANNOT RUN DRY and therefore it is a must to have a "automatic "switch" in between like the one I will show you. https://www.jonesboatchandlery.co.uk/johnson-automatic-bilge-pump-switch in combination with https://www.jonesboatchandlery.co.uk/johnson-bilge-pump. I will put those 2 inside as don't want to sunk my built, to costly. To see if it works you can the "overboard" line make in a position you can see it above the water line. Your bridge looks great to be honest, lots of work done there with all the "painting " of the resp. consoles! Missing the "coffee shop" what exist on every AHT / Tug on the bridge and is easy to make with your skills having. Will you glue the top (monkey island) to the bridge structure or leave it as it is so you can take it off afterwards to repair lights e.a.? Try to run the both trust in the bath so you are absolute sure that they both work without any further trouble, it can save you a lot of hassle later. But George, you did come further then I am as still waiting for the parts to arrive. Looking forward to see yours running and ready to sail, forget about the ladders as even with green / white it is a good contrast! best regards Peter
- 90 replies
-
- 1
-
-
- fairmount alpine
- billing boats
- (and 1 more)
-
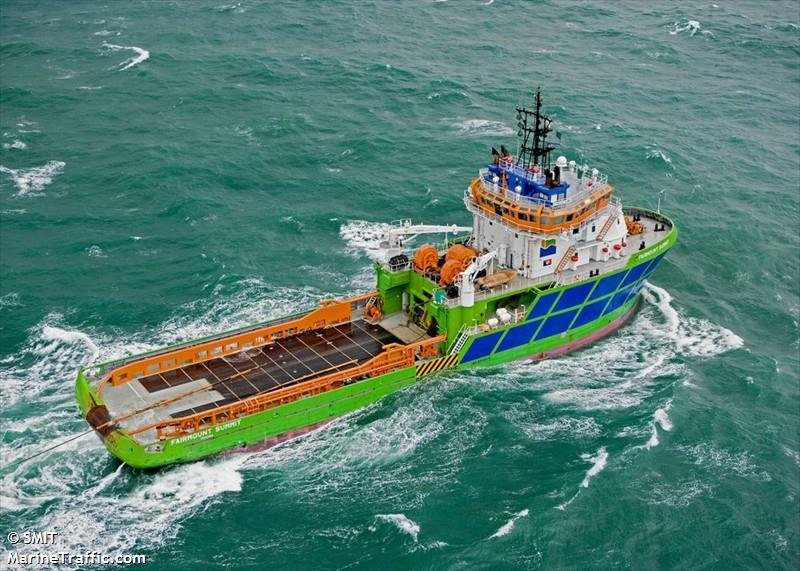
Having worked on several company sister vessels they had a colour scheme from that company and TSI when coming on board was looking after it. But George, here also white stairs all the way up the superstructure, some have next to the superstructure orange so also here "who cares"? Now they will be painted next dd in the colours of BosKalis so all will be changed and I can tell you that B&K will take care that the colour scheme is as it suppose to be knowing them! That's why I send you those 4 pics of the ex fleet of Fairmount so you can make up your mind (or mix it up). As you say multi colour! Let's hope the water tight test will be ok so that job is done! best regards Peter
- 90 replies
-
- 2
-
-
- fairmount alpine
- billing boats
- (and 1 more)
-
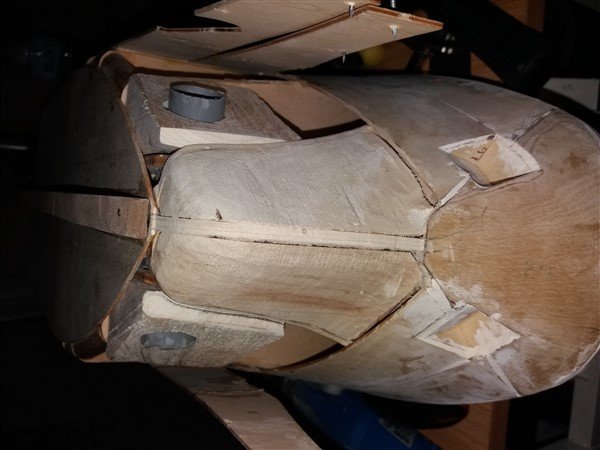
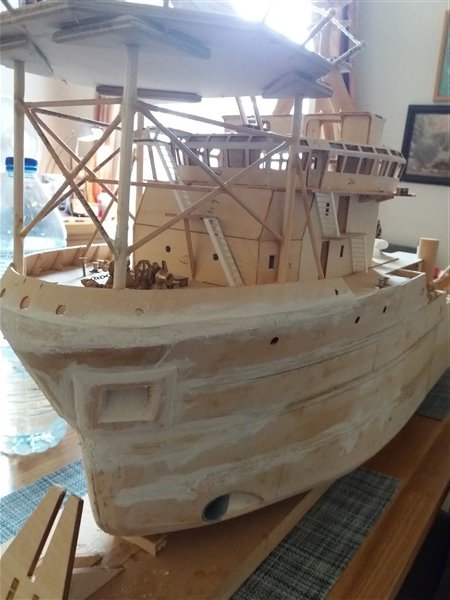
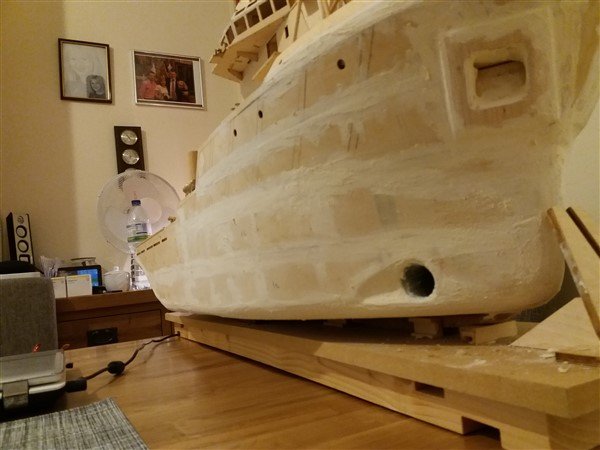
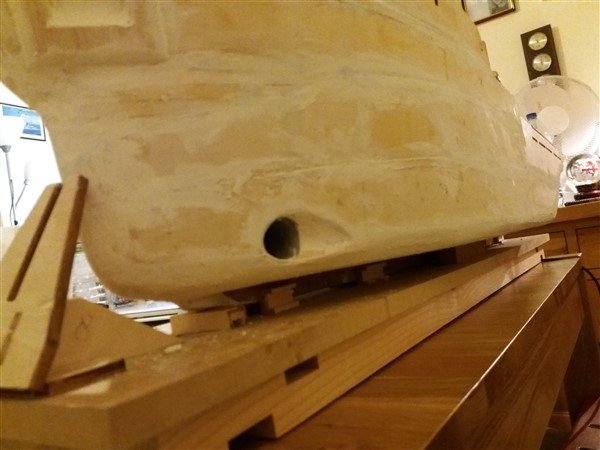
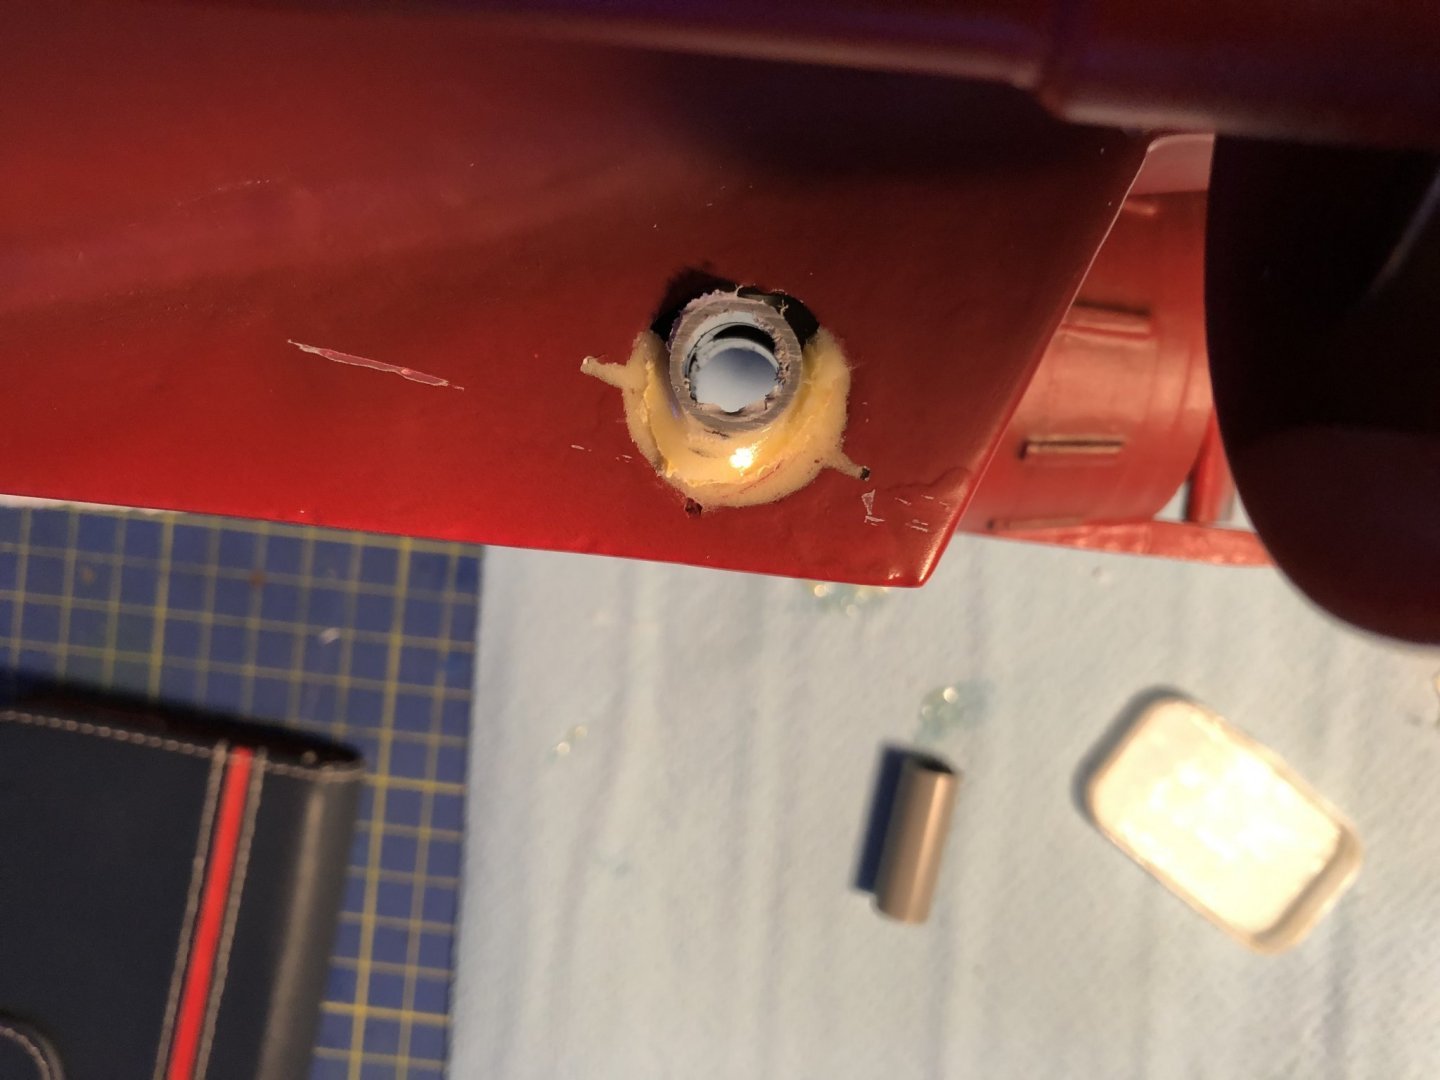
Wow, looks good George. The bow trust you could have filled up the whole surroundings from the old channels having the new channels (grey plastic) in place. Just to make sure that all is watertight as for sure you never take out again those channels. But a water test in the bath will do before you launch your built into the lake. The ladders on the Fairmount tugs are Orange or White, haven't seen them green on the side not even the ones below the accommodation. But as I said before it is your built and you make it the way you want. My mobile also is still working and use the left part to keep my credit cards and driving licence in.

.jpg.746a49cd8416bee6ae655eed15af0a7c.jpg)

- 90 replies
-
- 2
-
-
- fairmount alpine
- billing boats
- (and 1 more)
-
Looking through your blog again found an interesting detail. Not only we are building the same tug but apparently we also have the same protector for our mobile phone. I was just smiling in myself if that was true. Talk to you later Peter
- 90 replies
-
- 4
-
-
- fairmount alpine
- billing boats
- (and 1 more)