kondzik
-
Posts
121 -
Joined
-
Last visited
Content Type
Profiles
Forums
Gallery
Events
Everything posted by kondzik
-
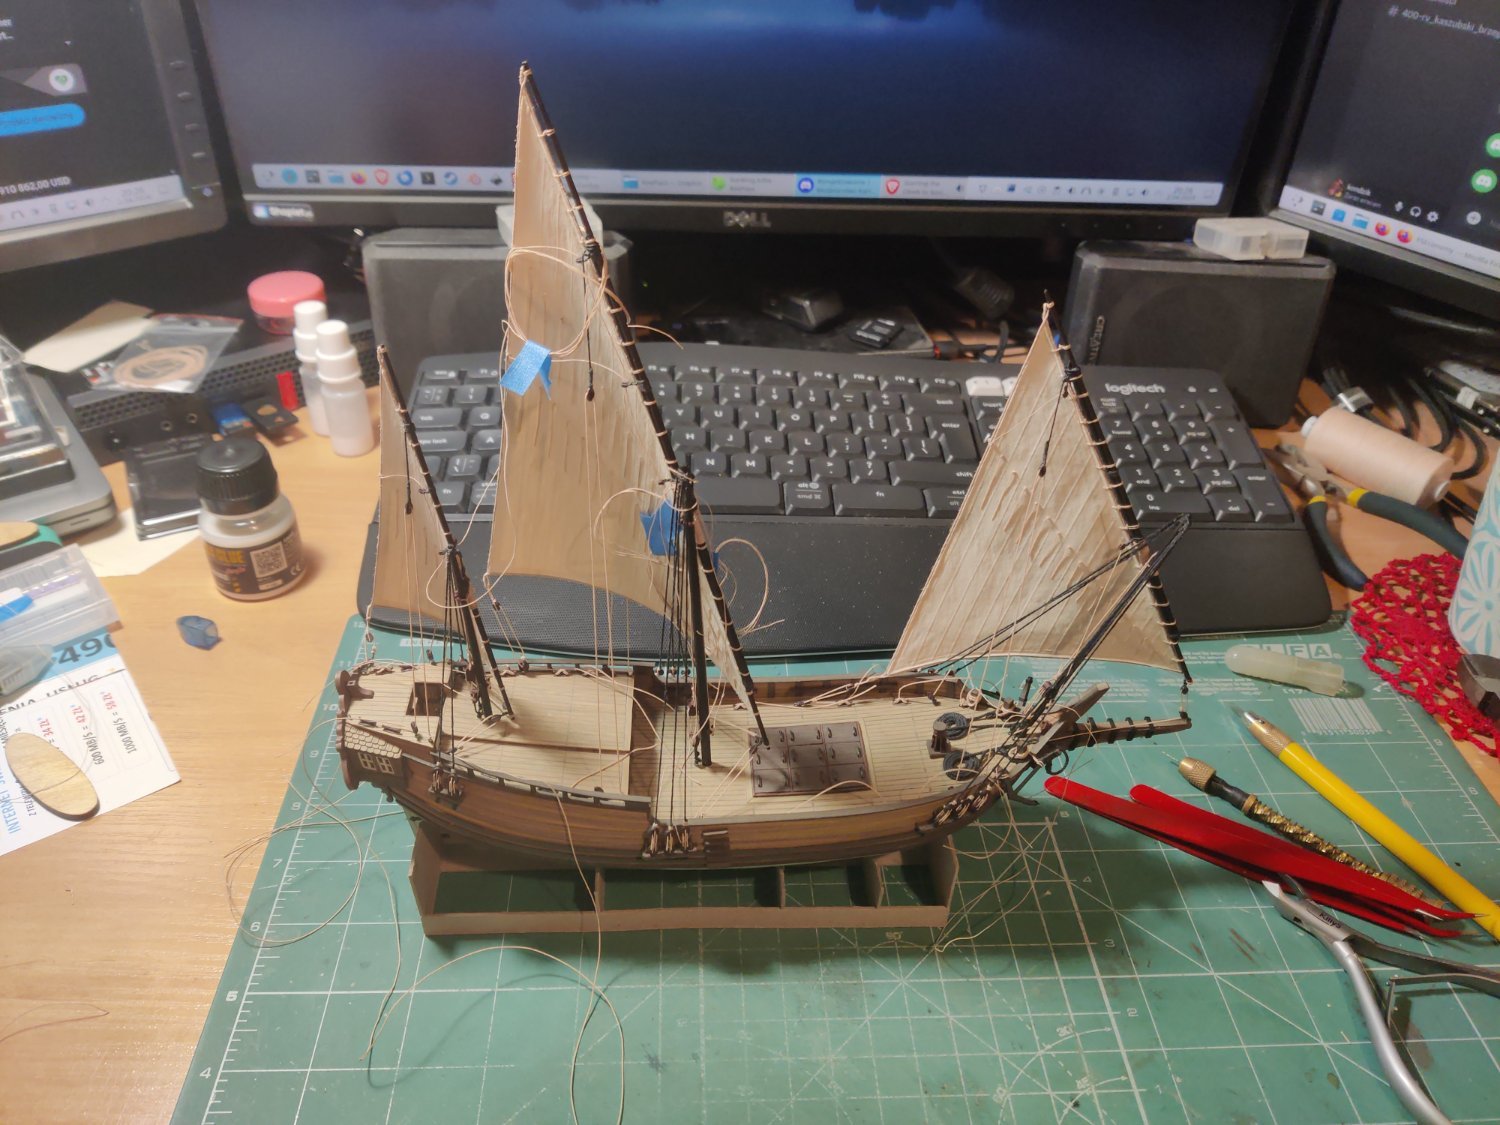
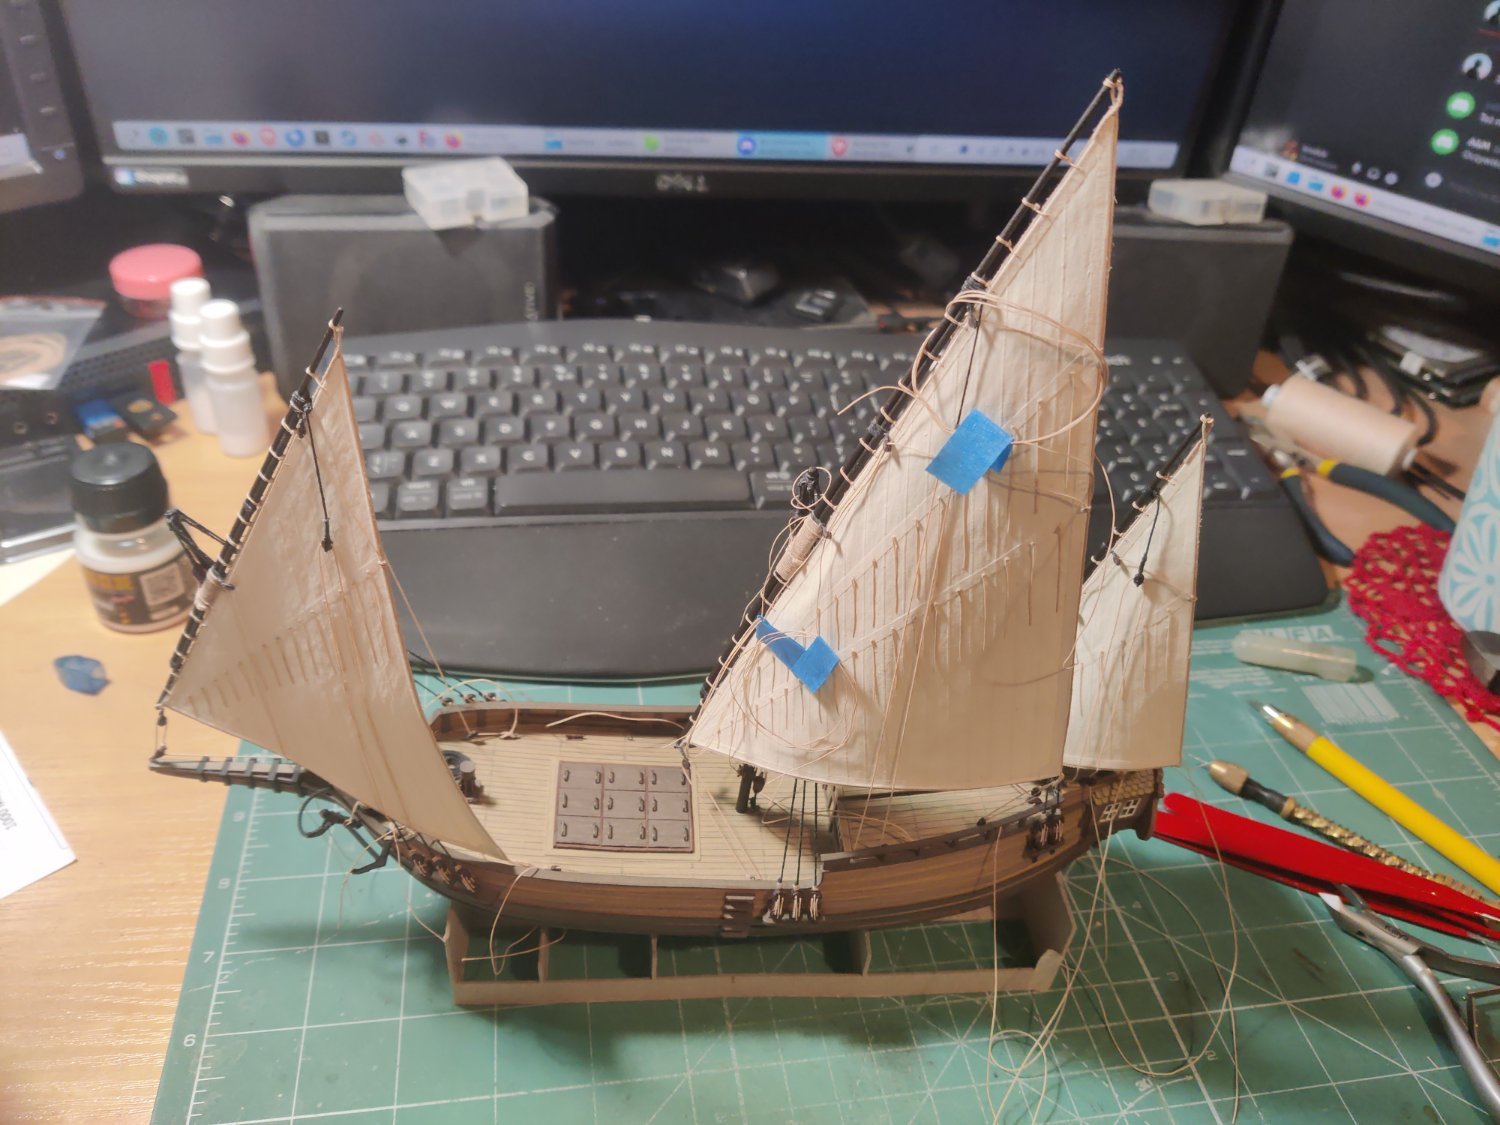
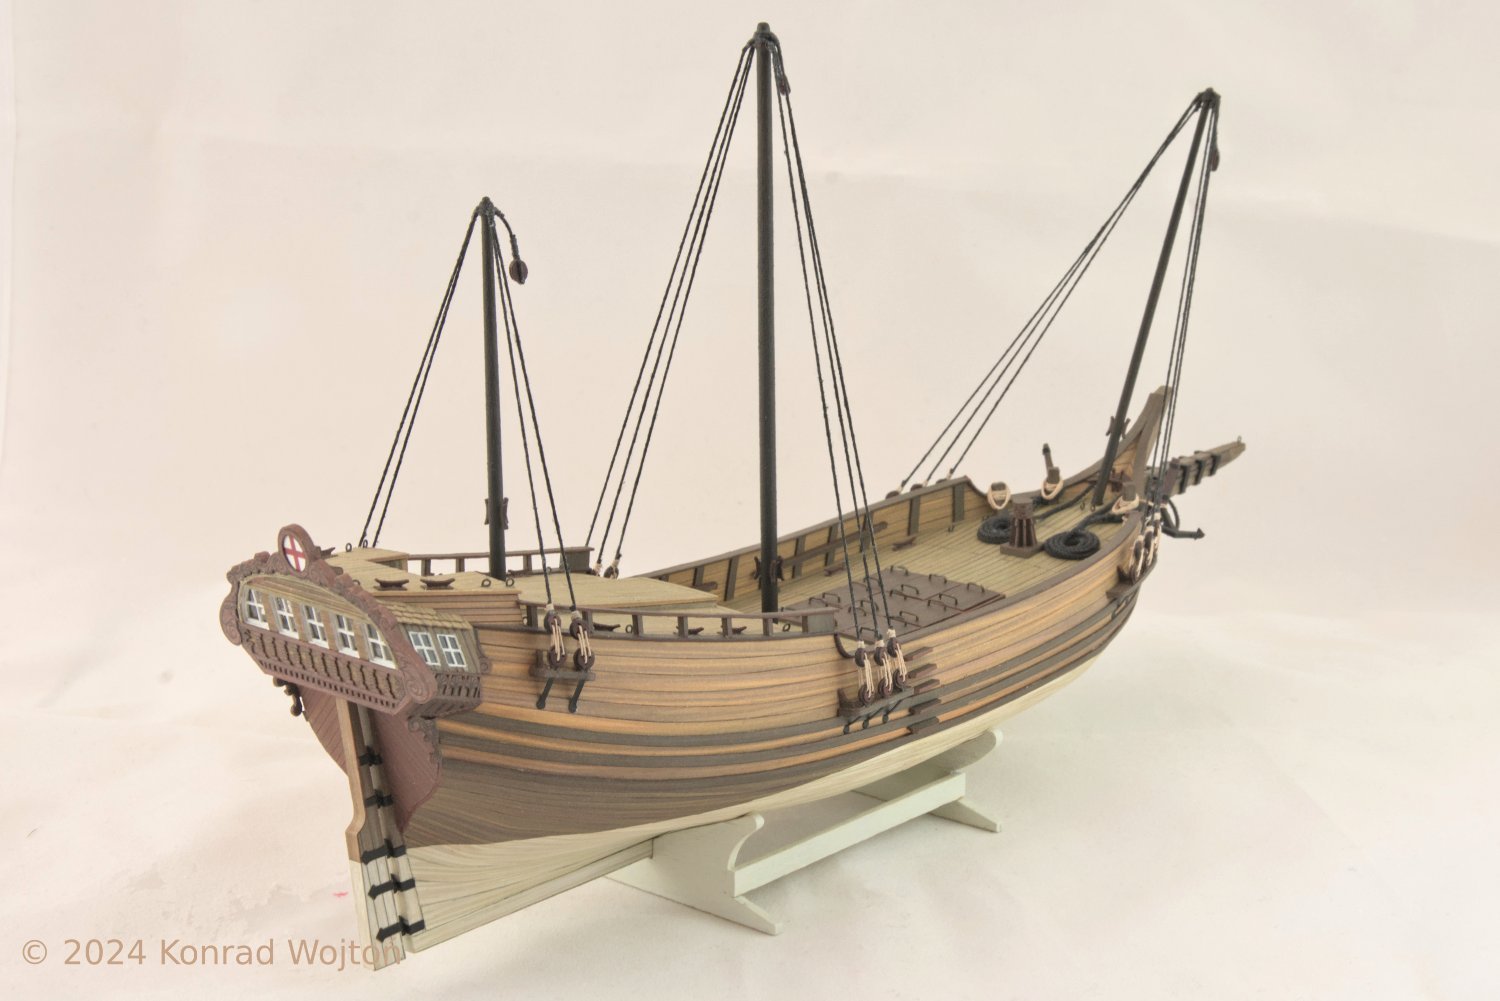
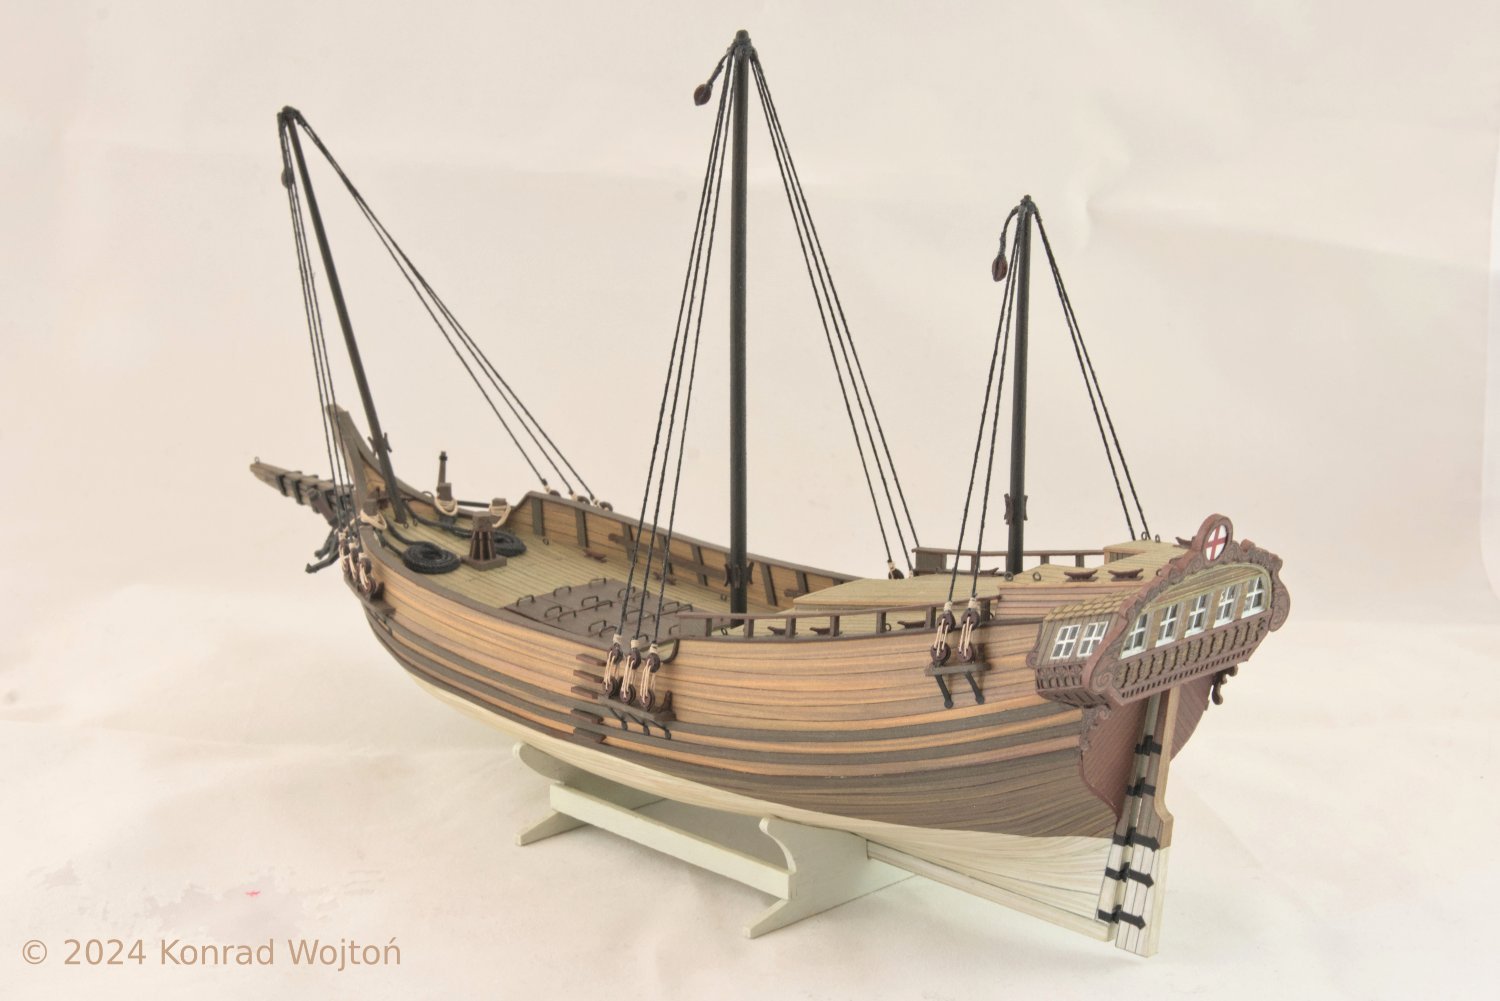
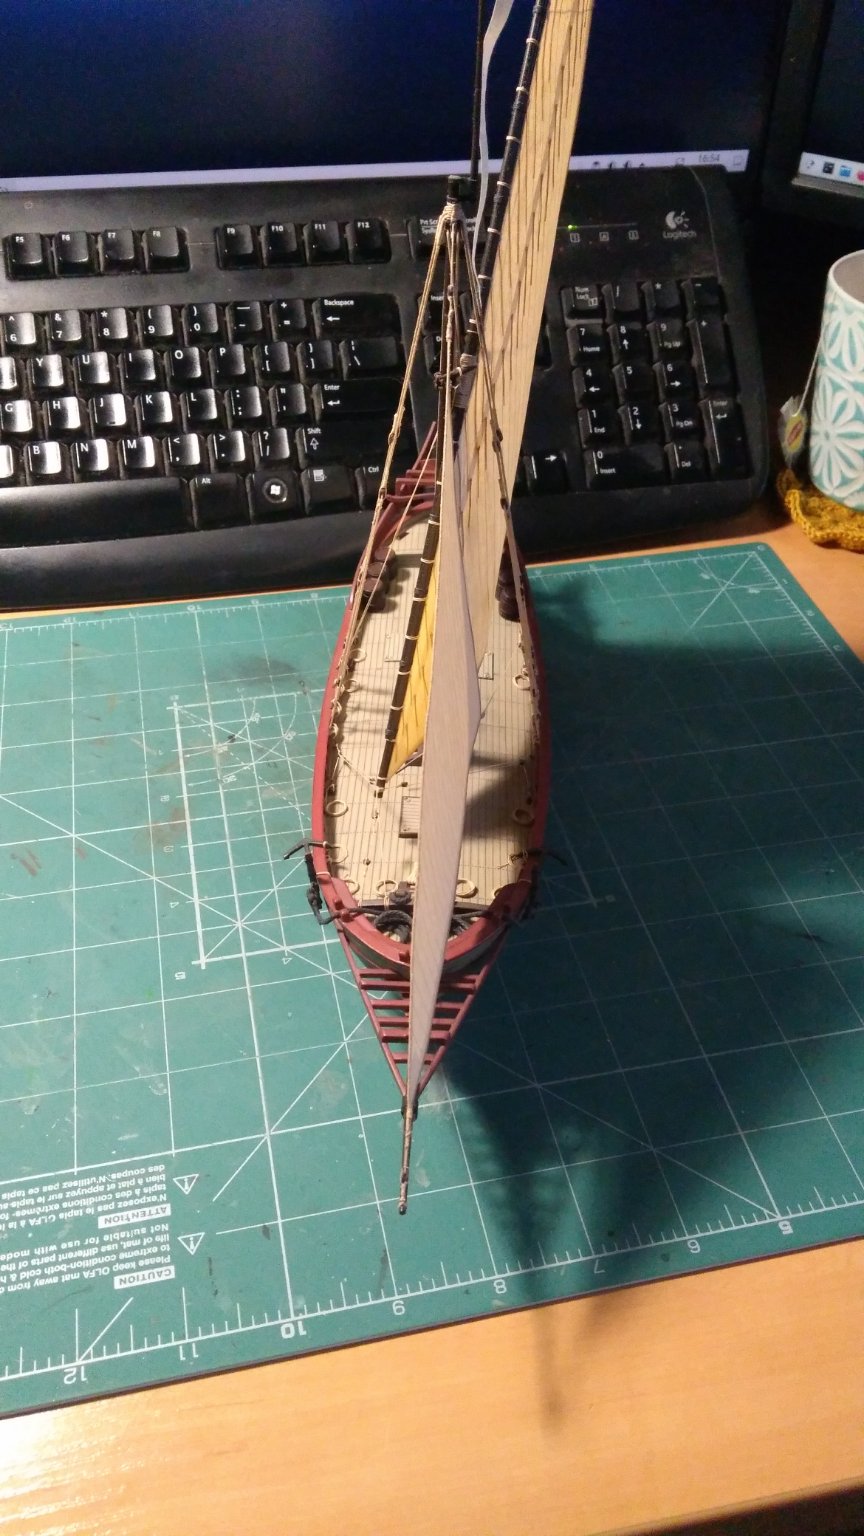
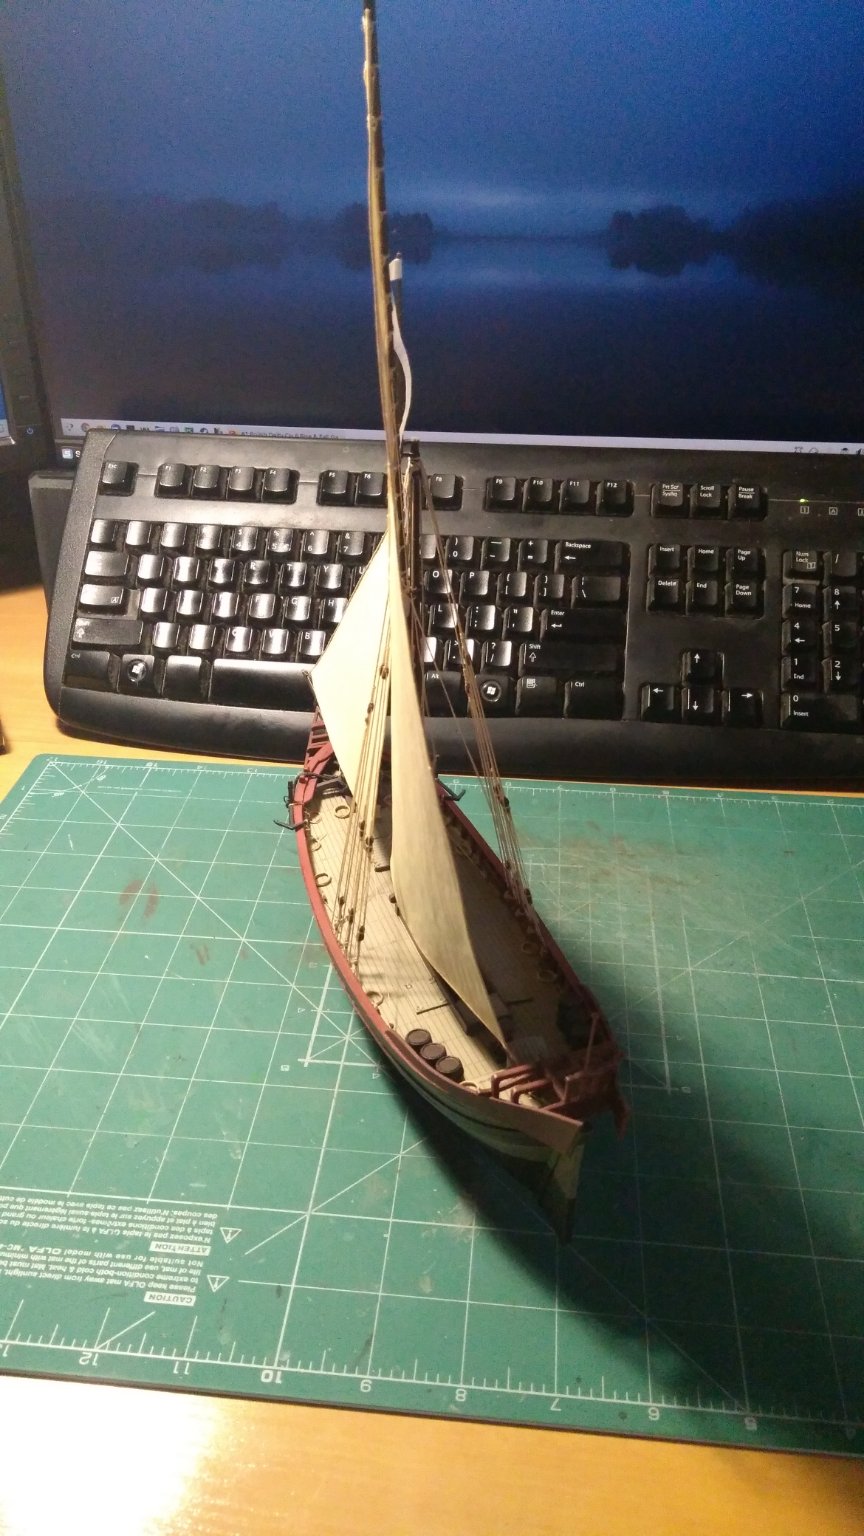
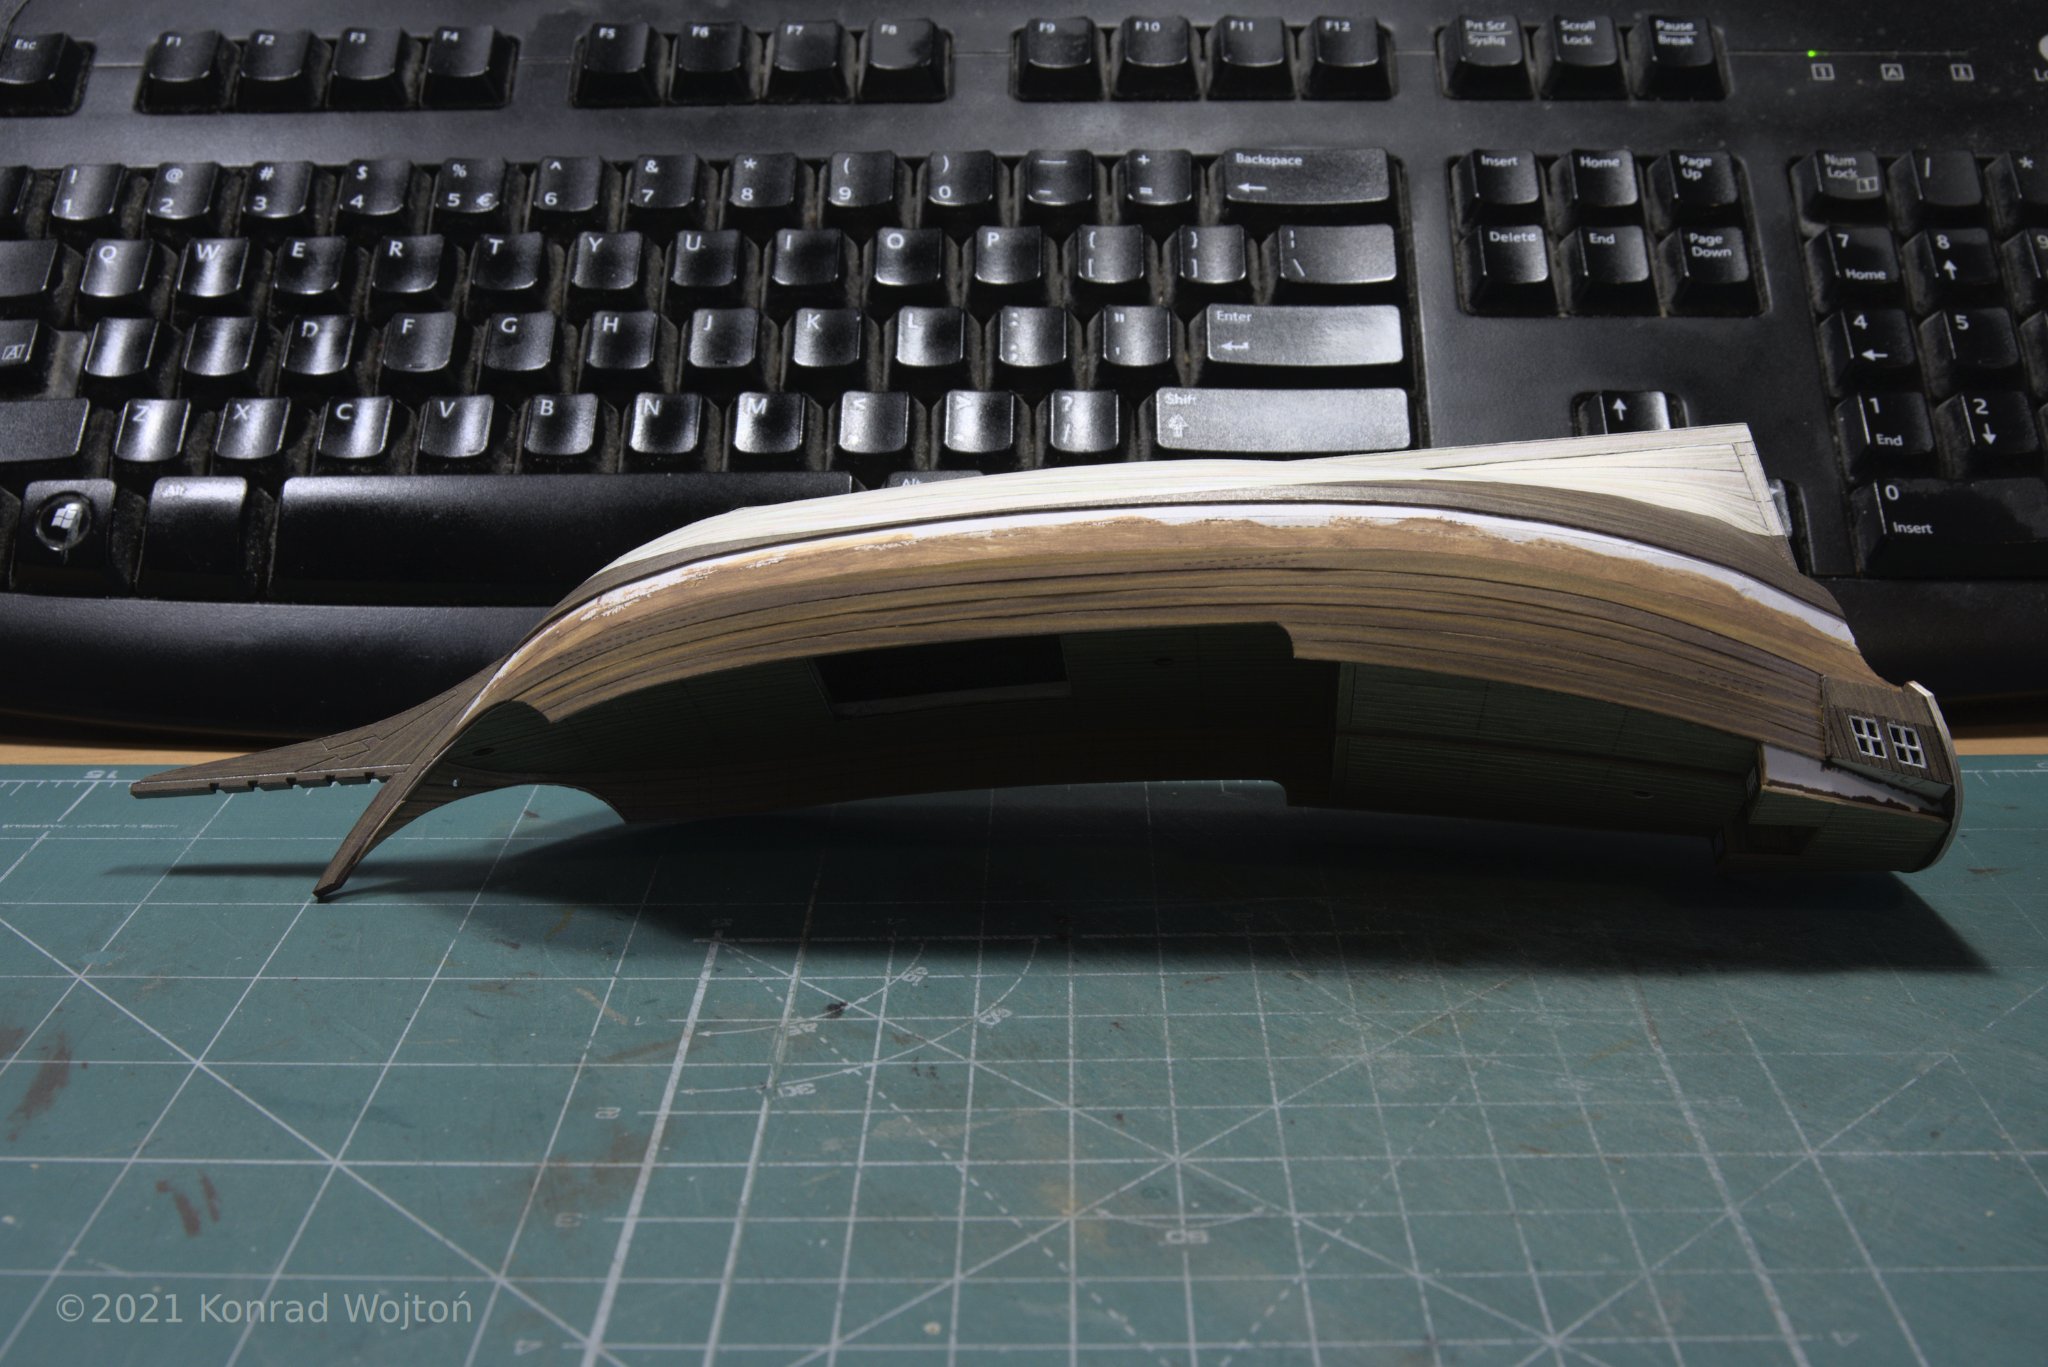
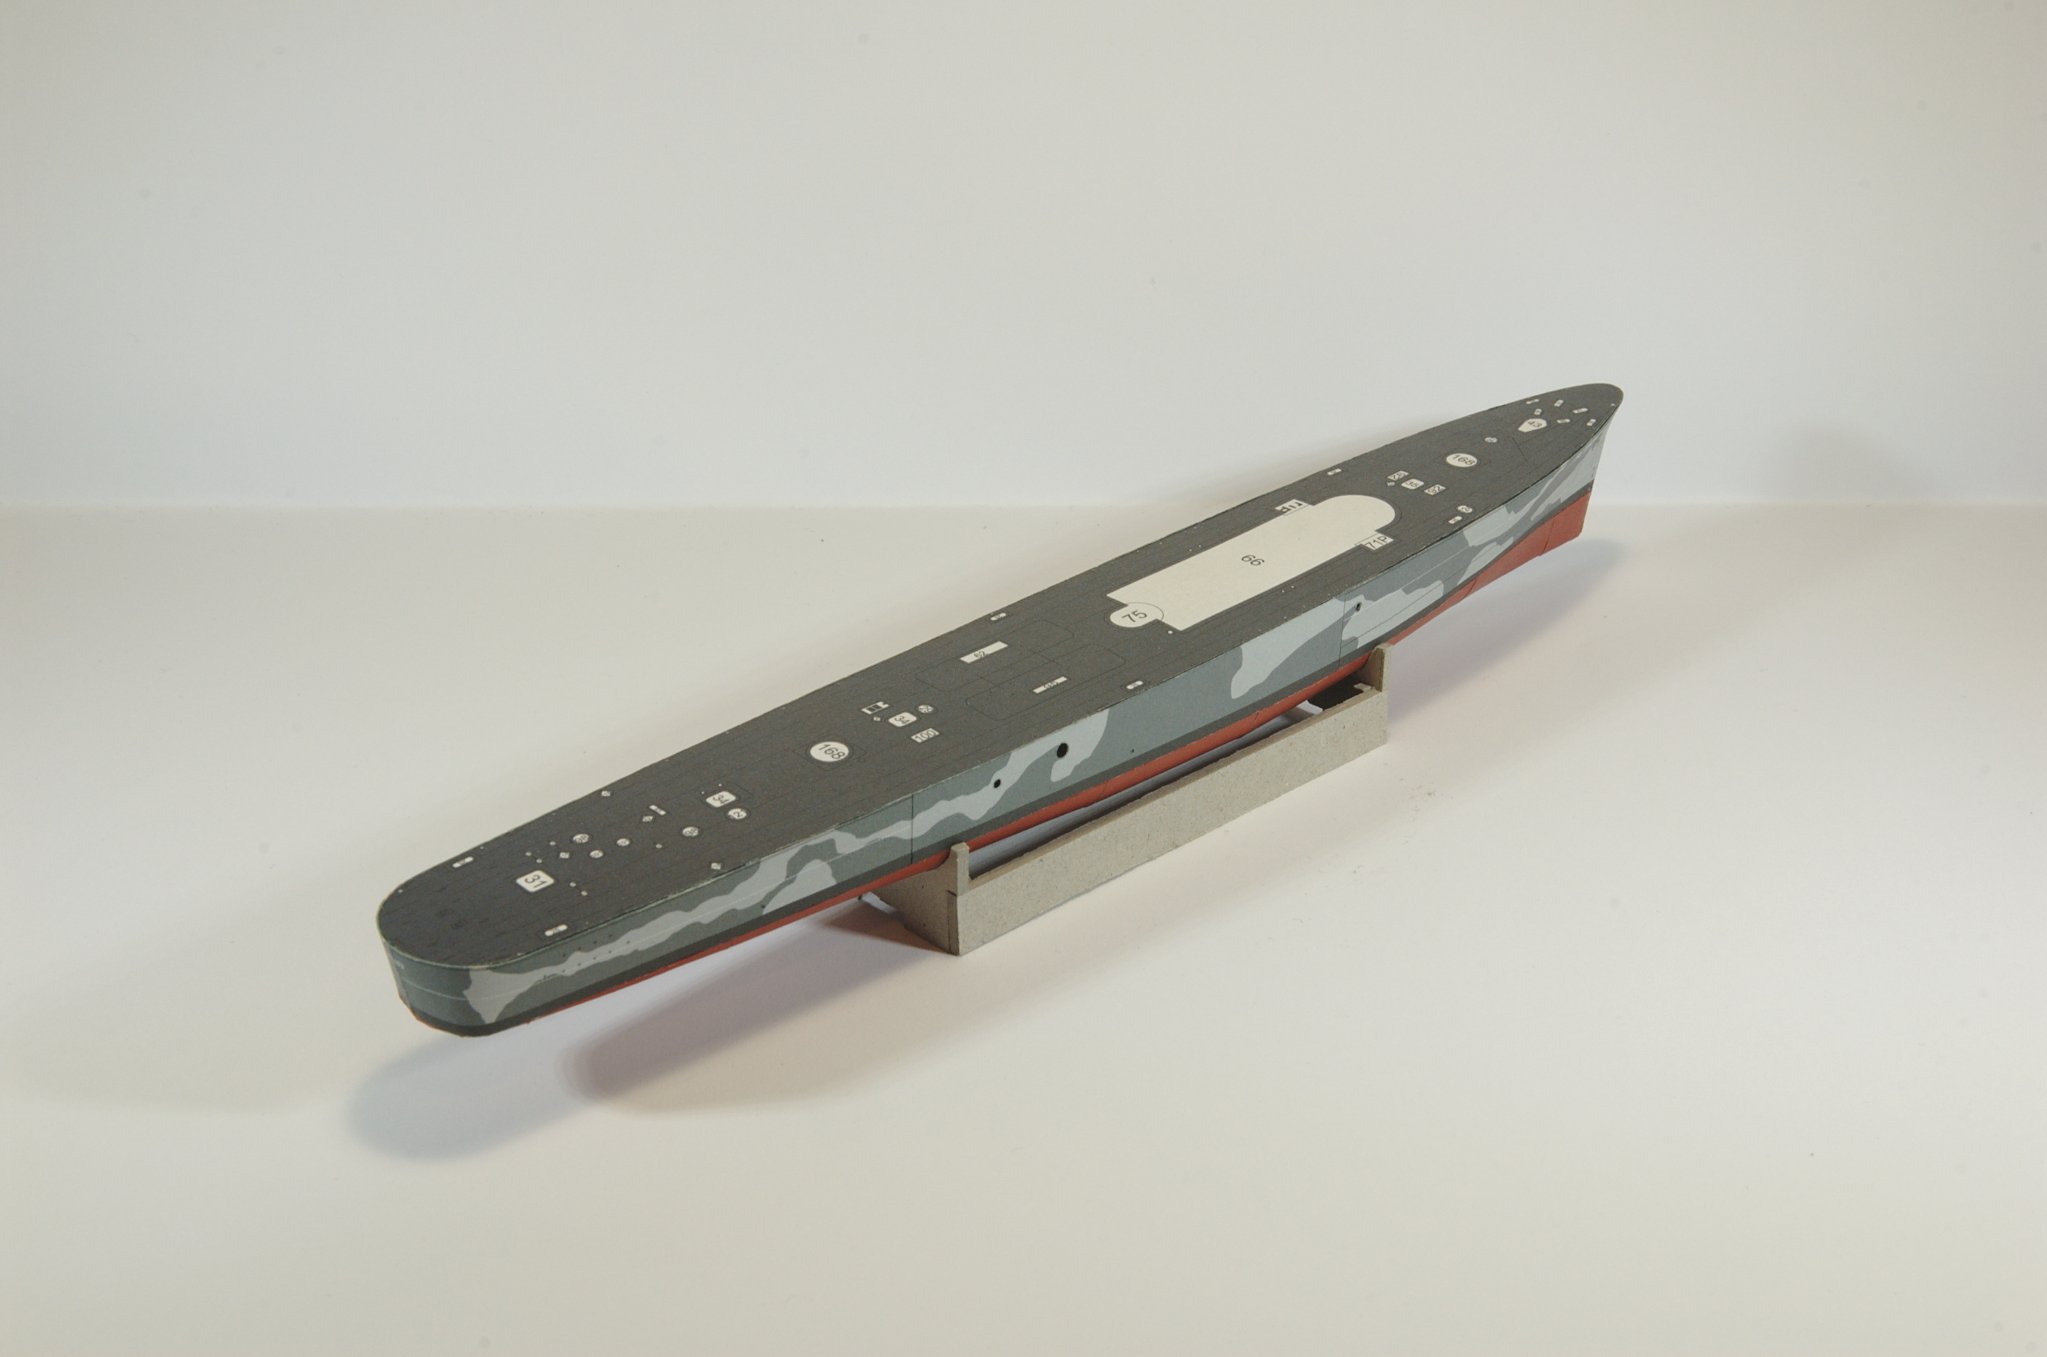
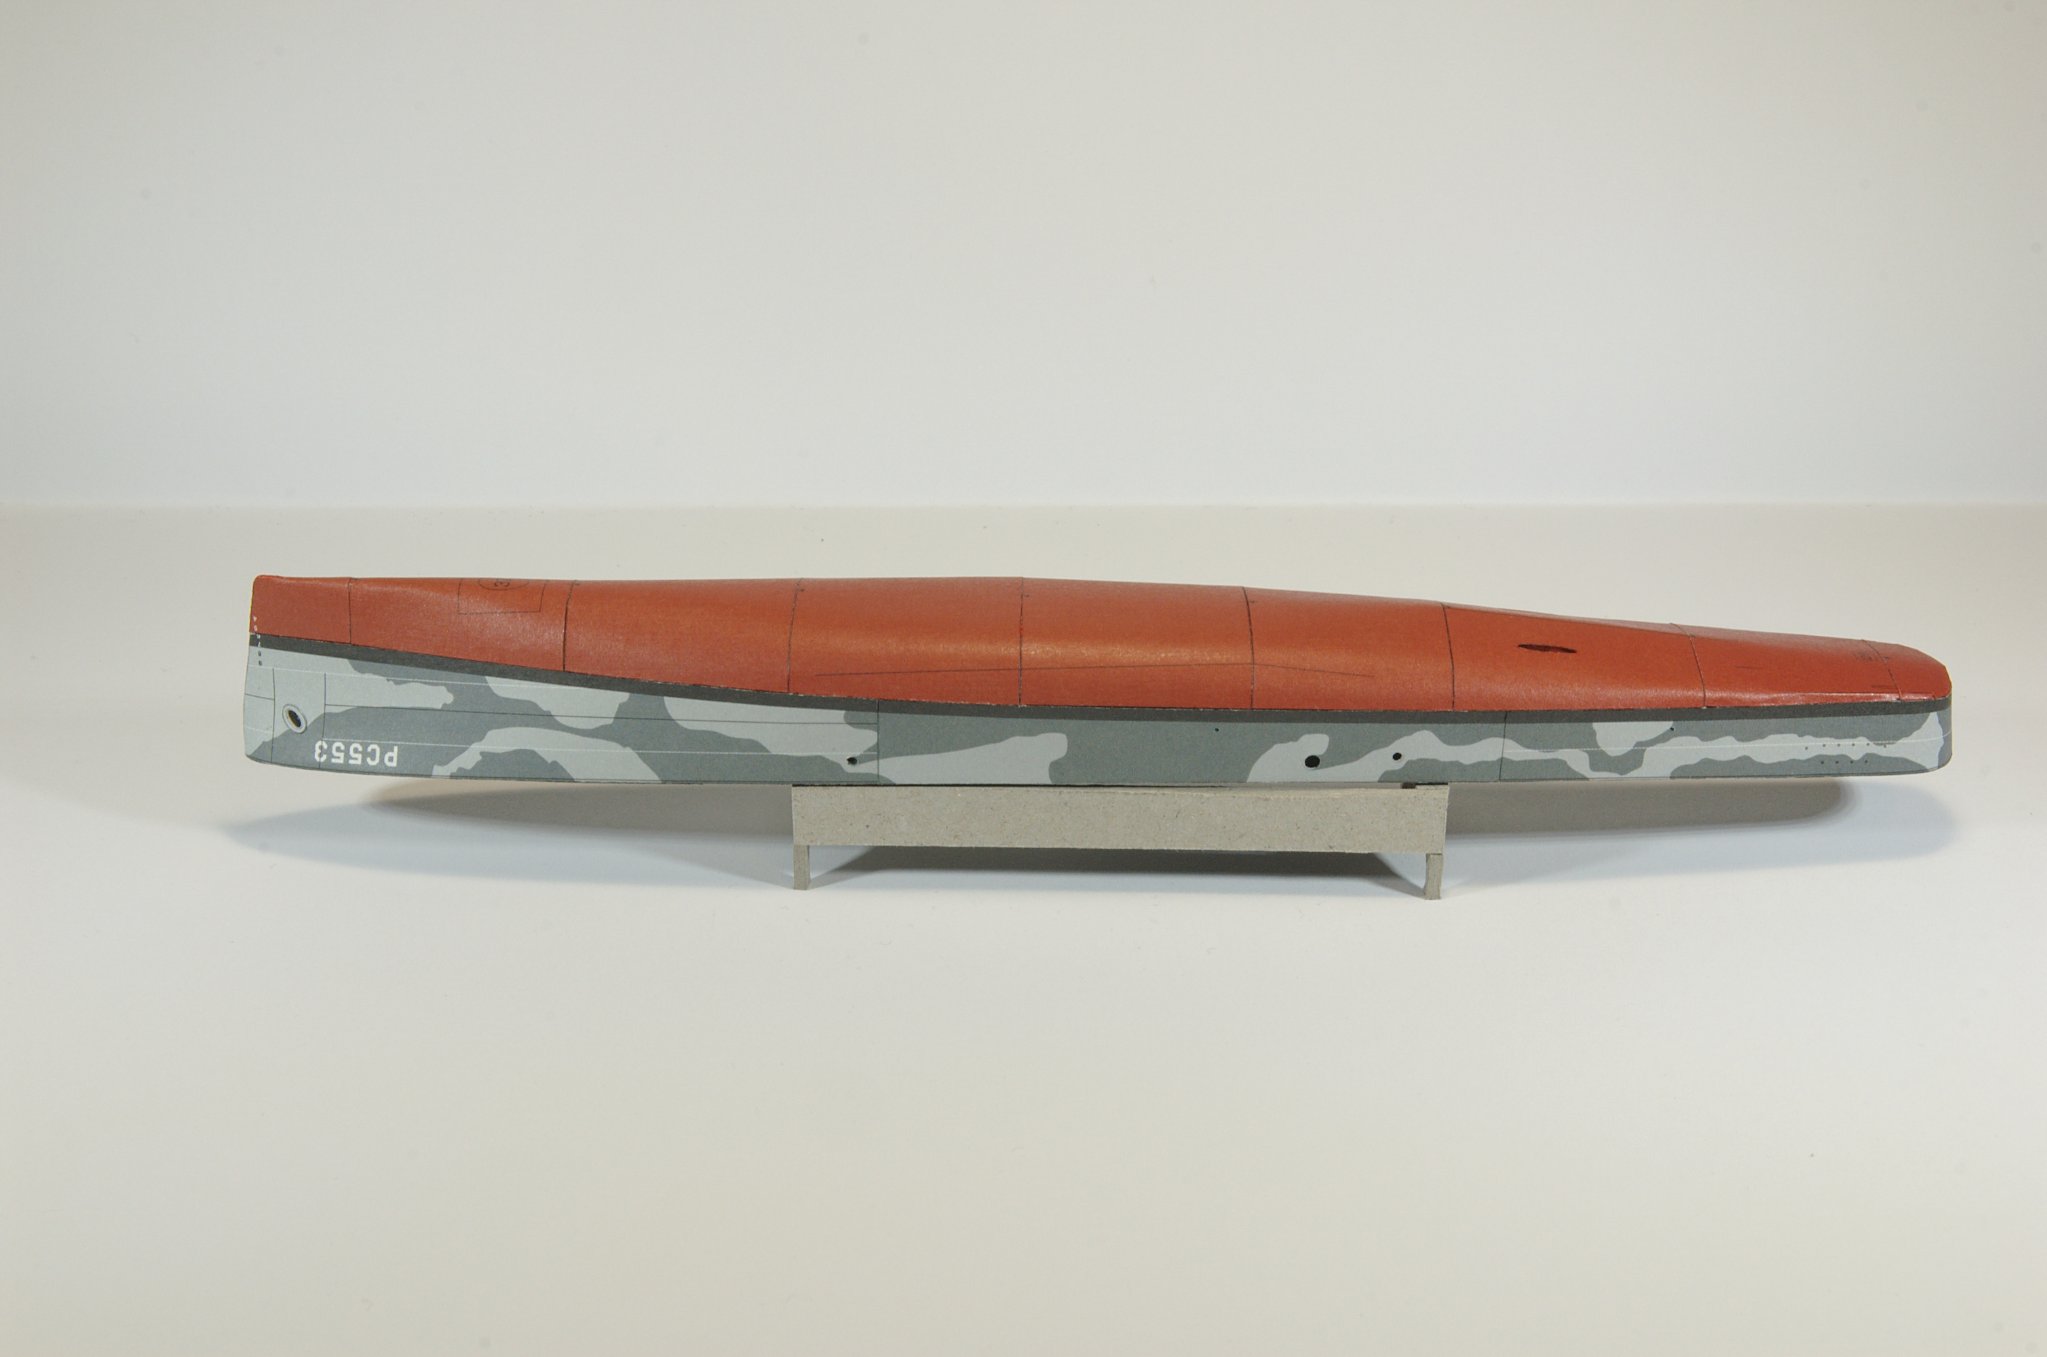
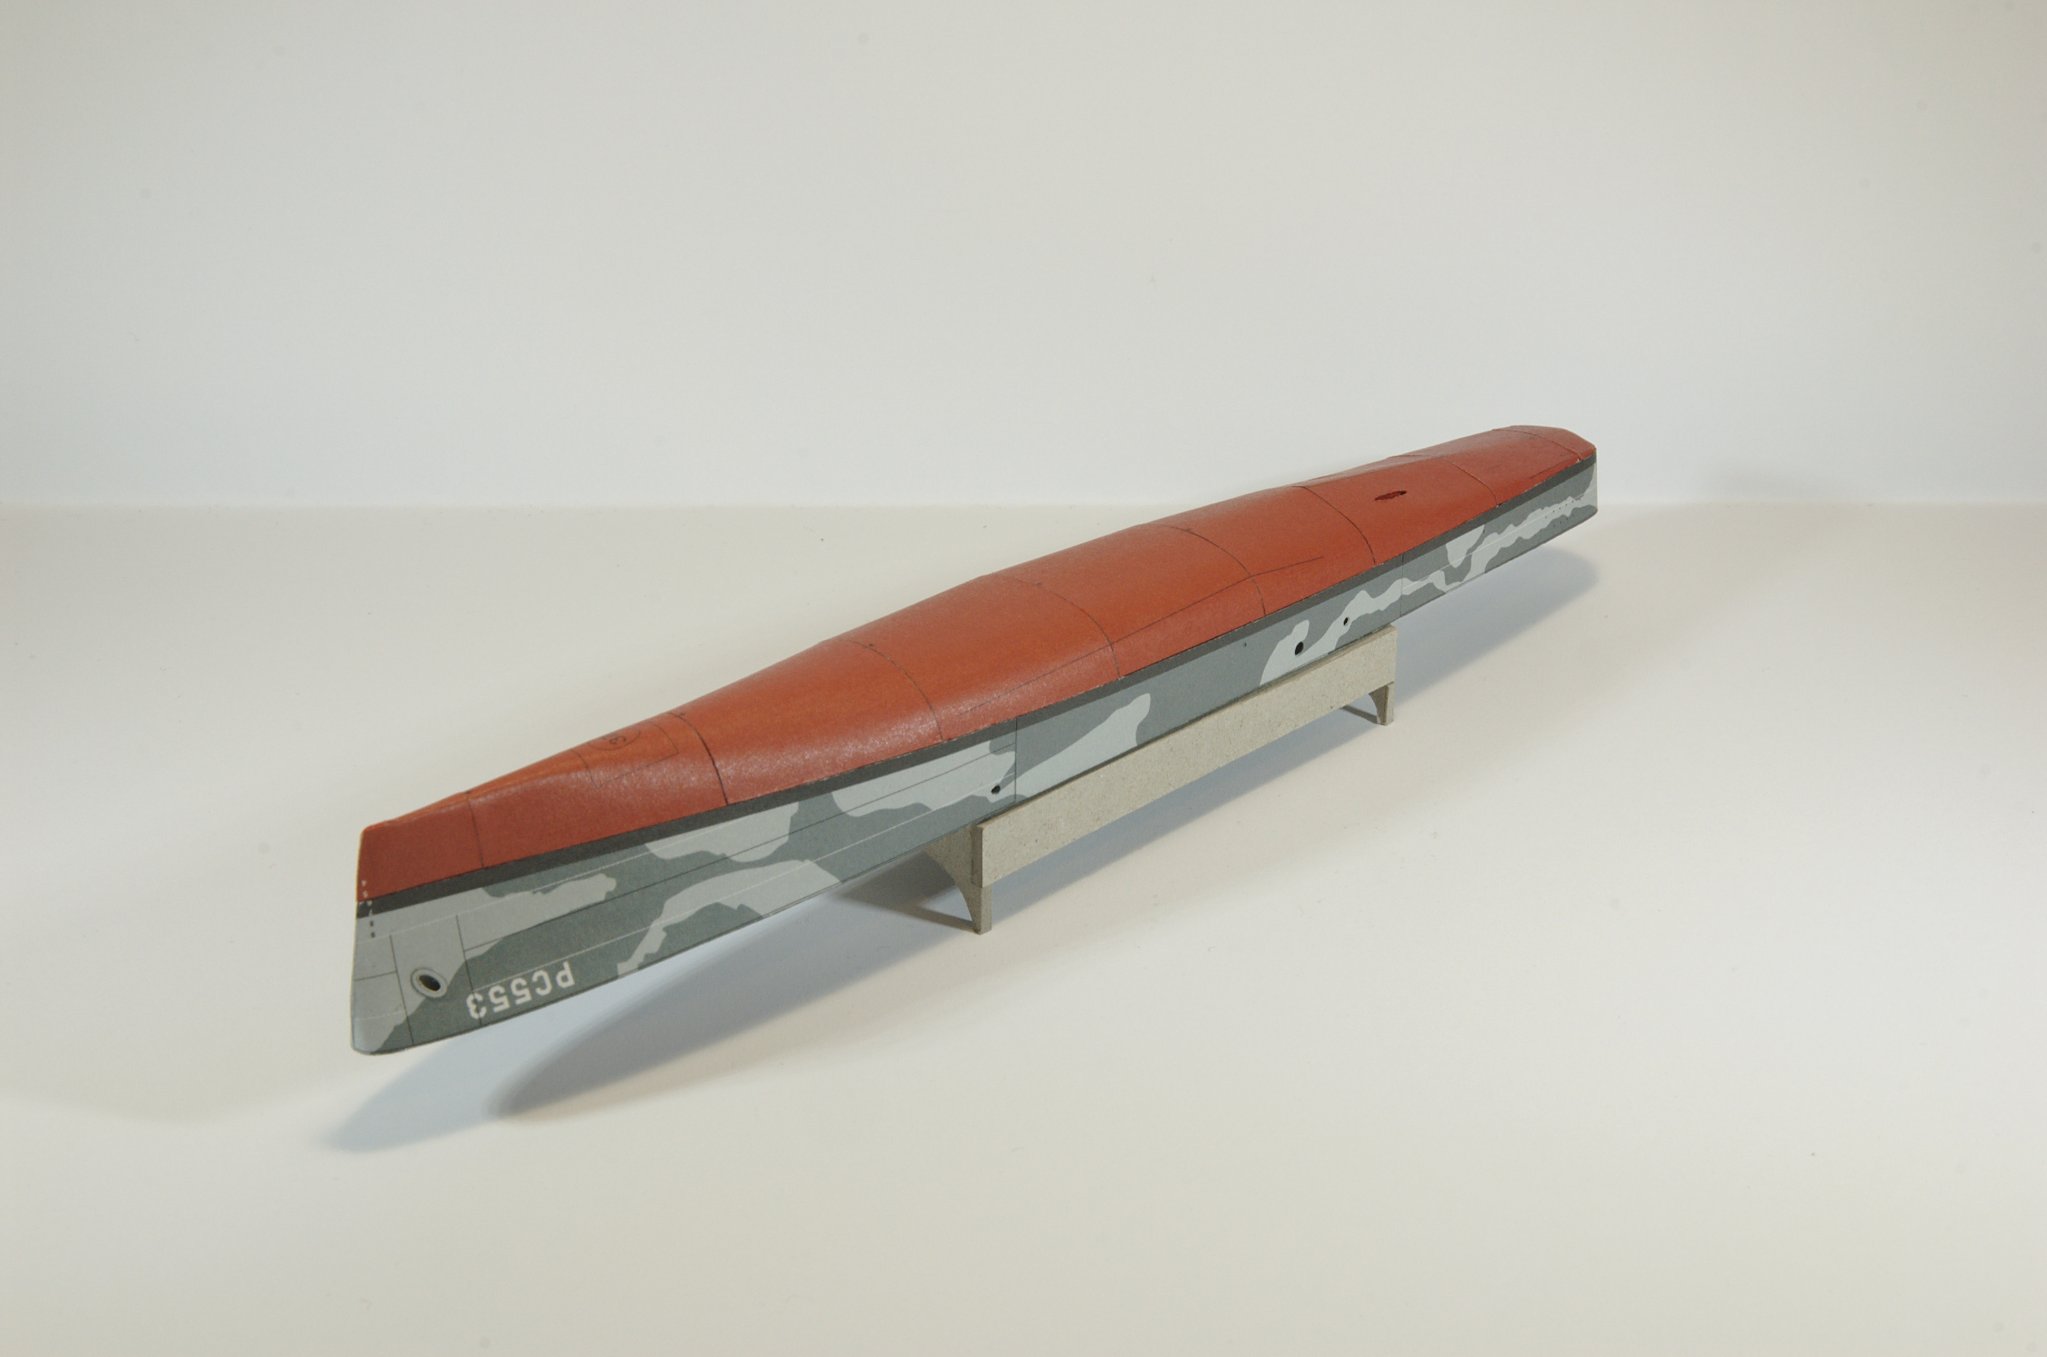
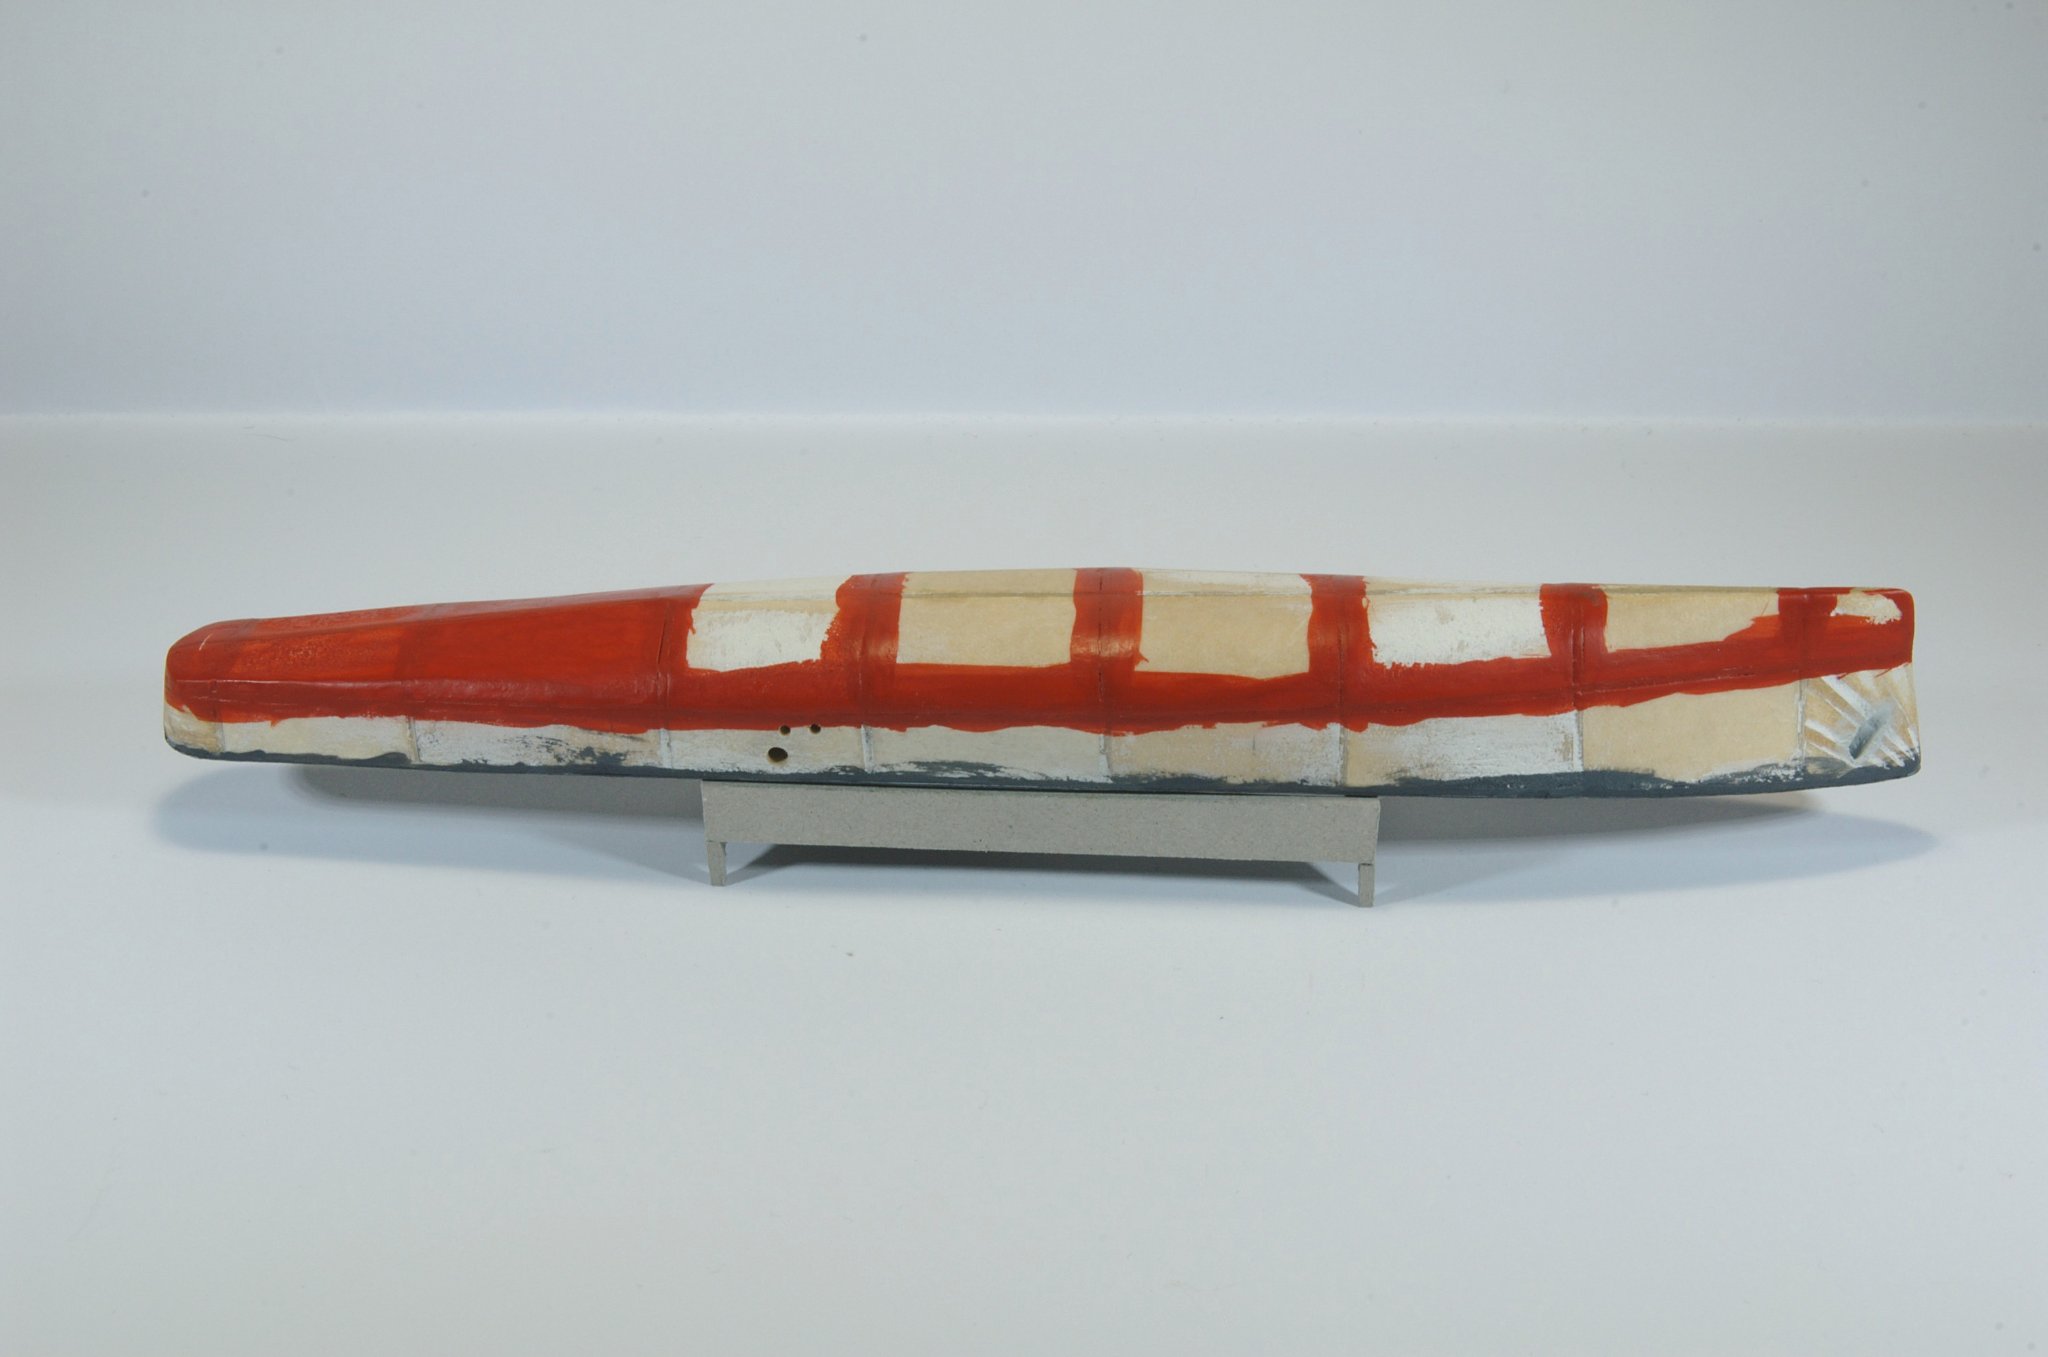
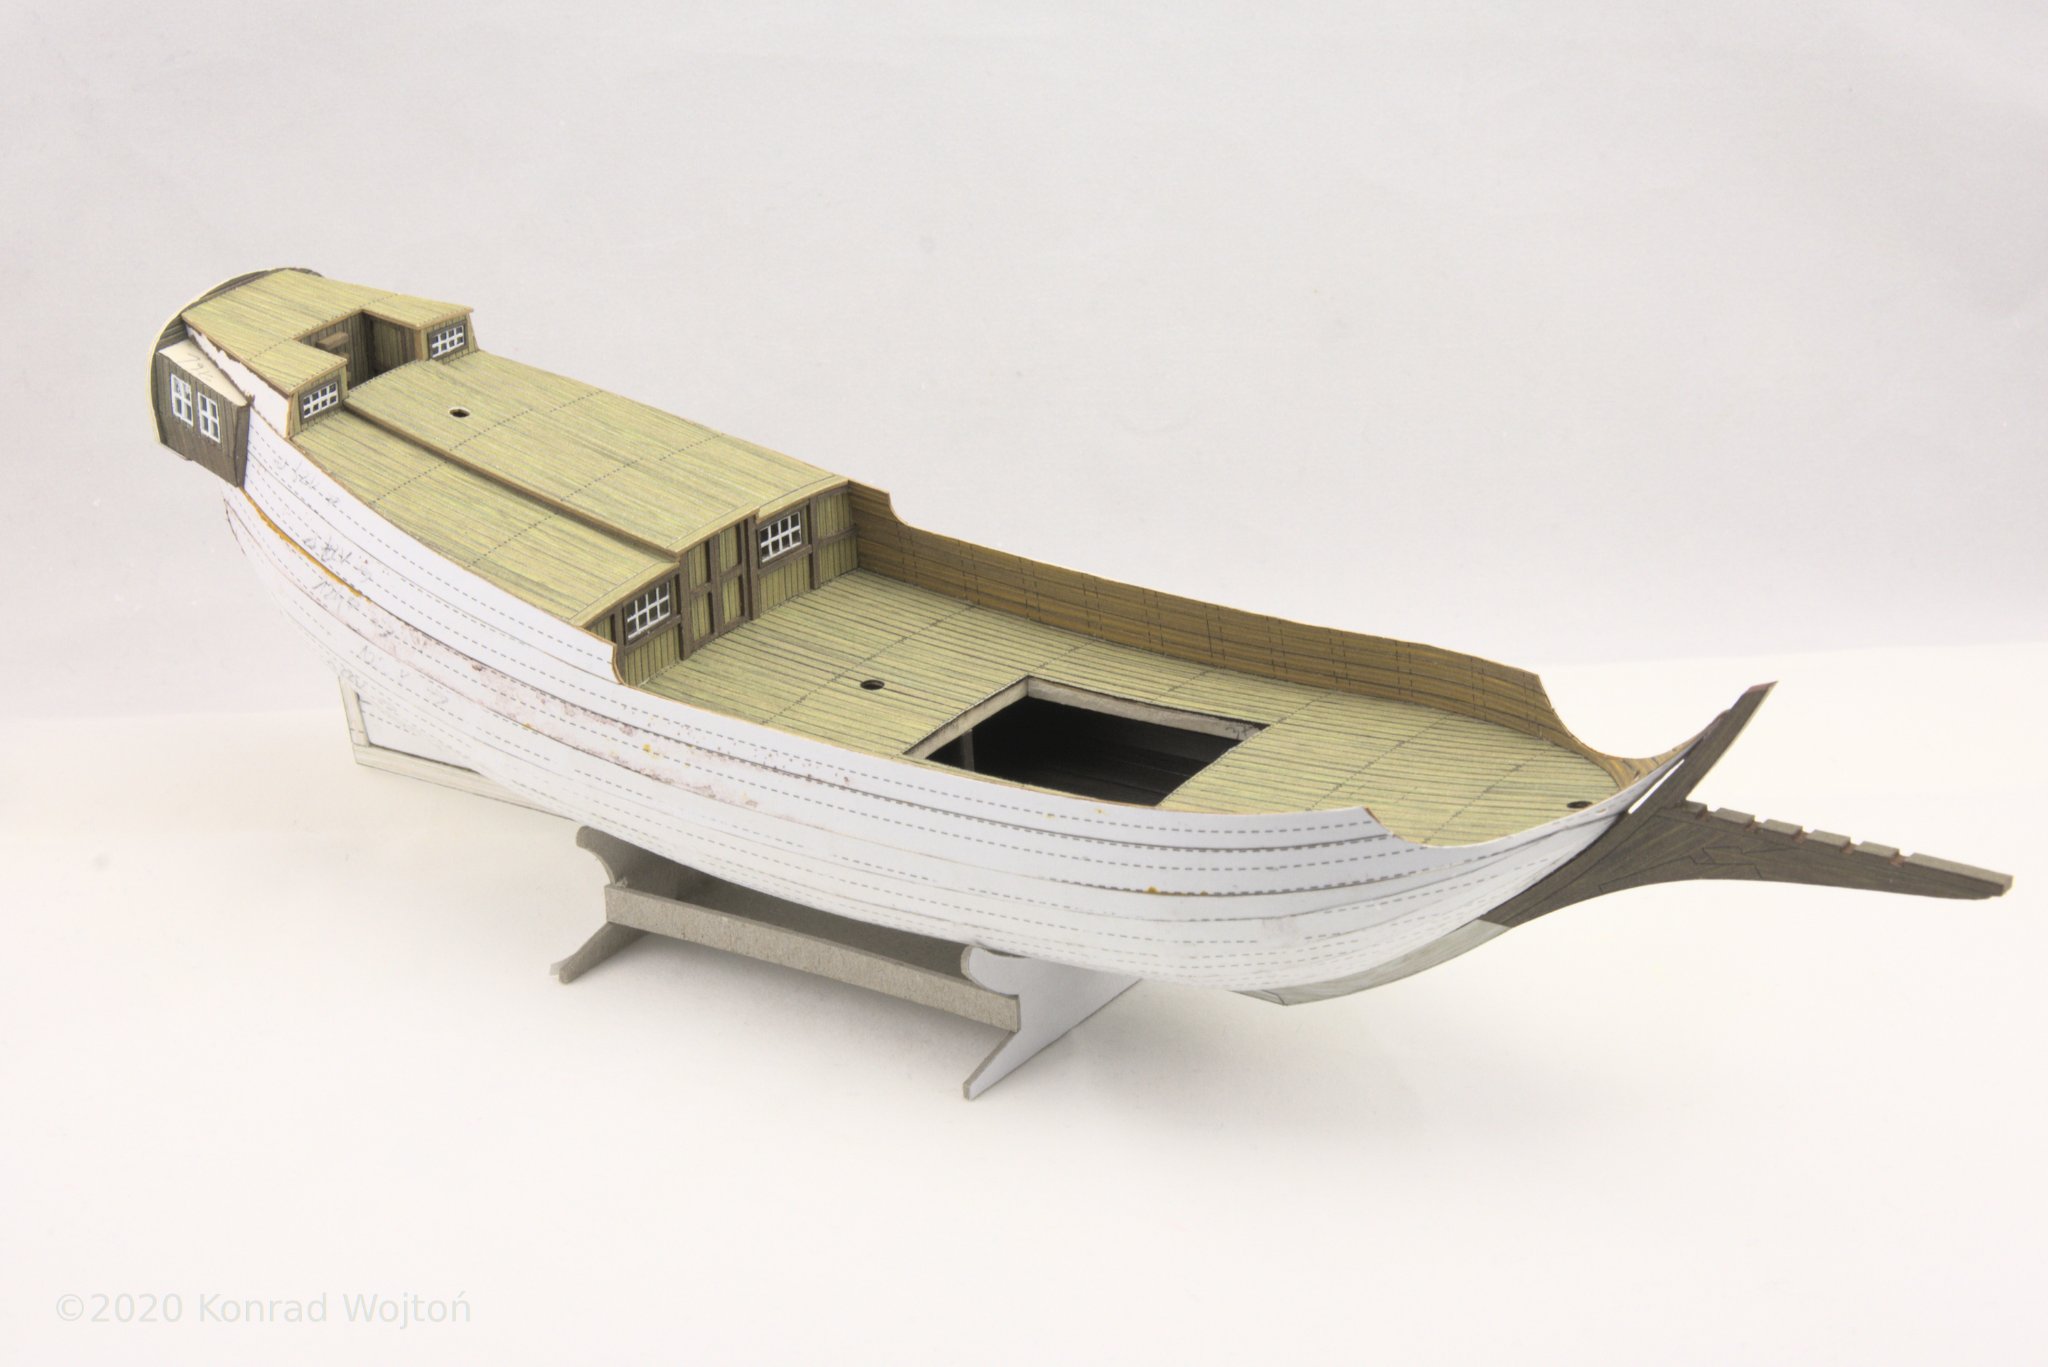
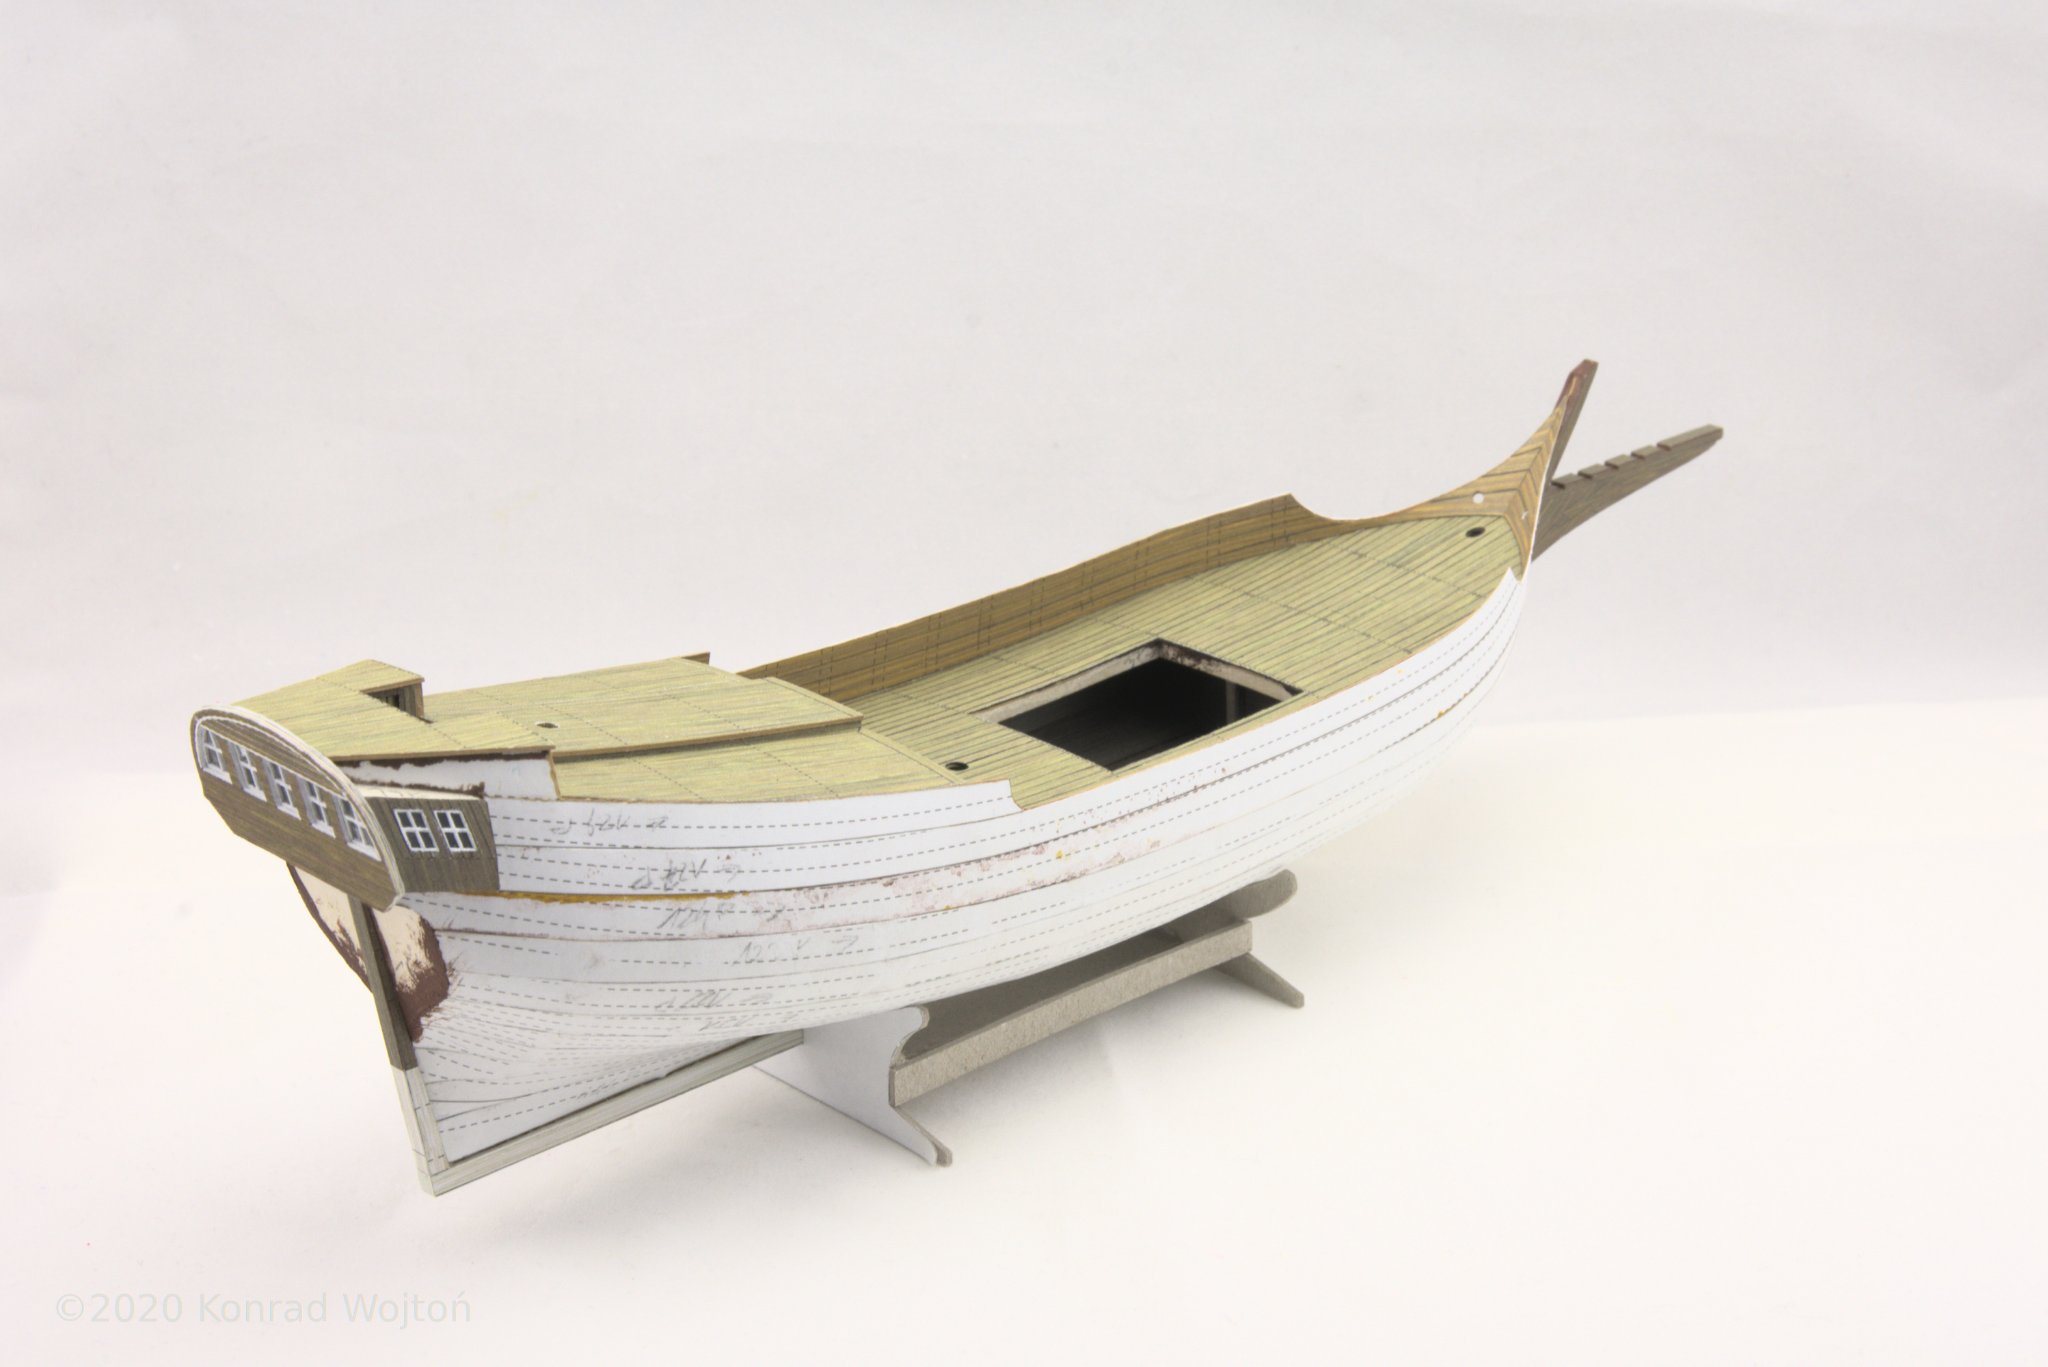
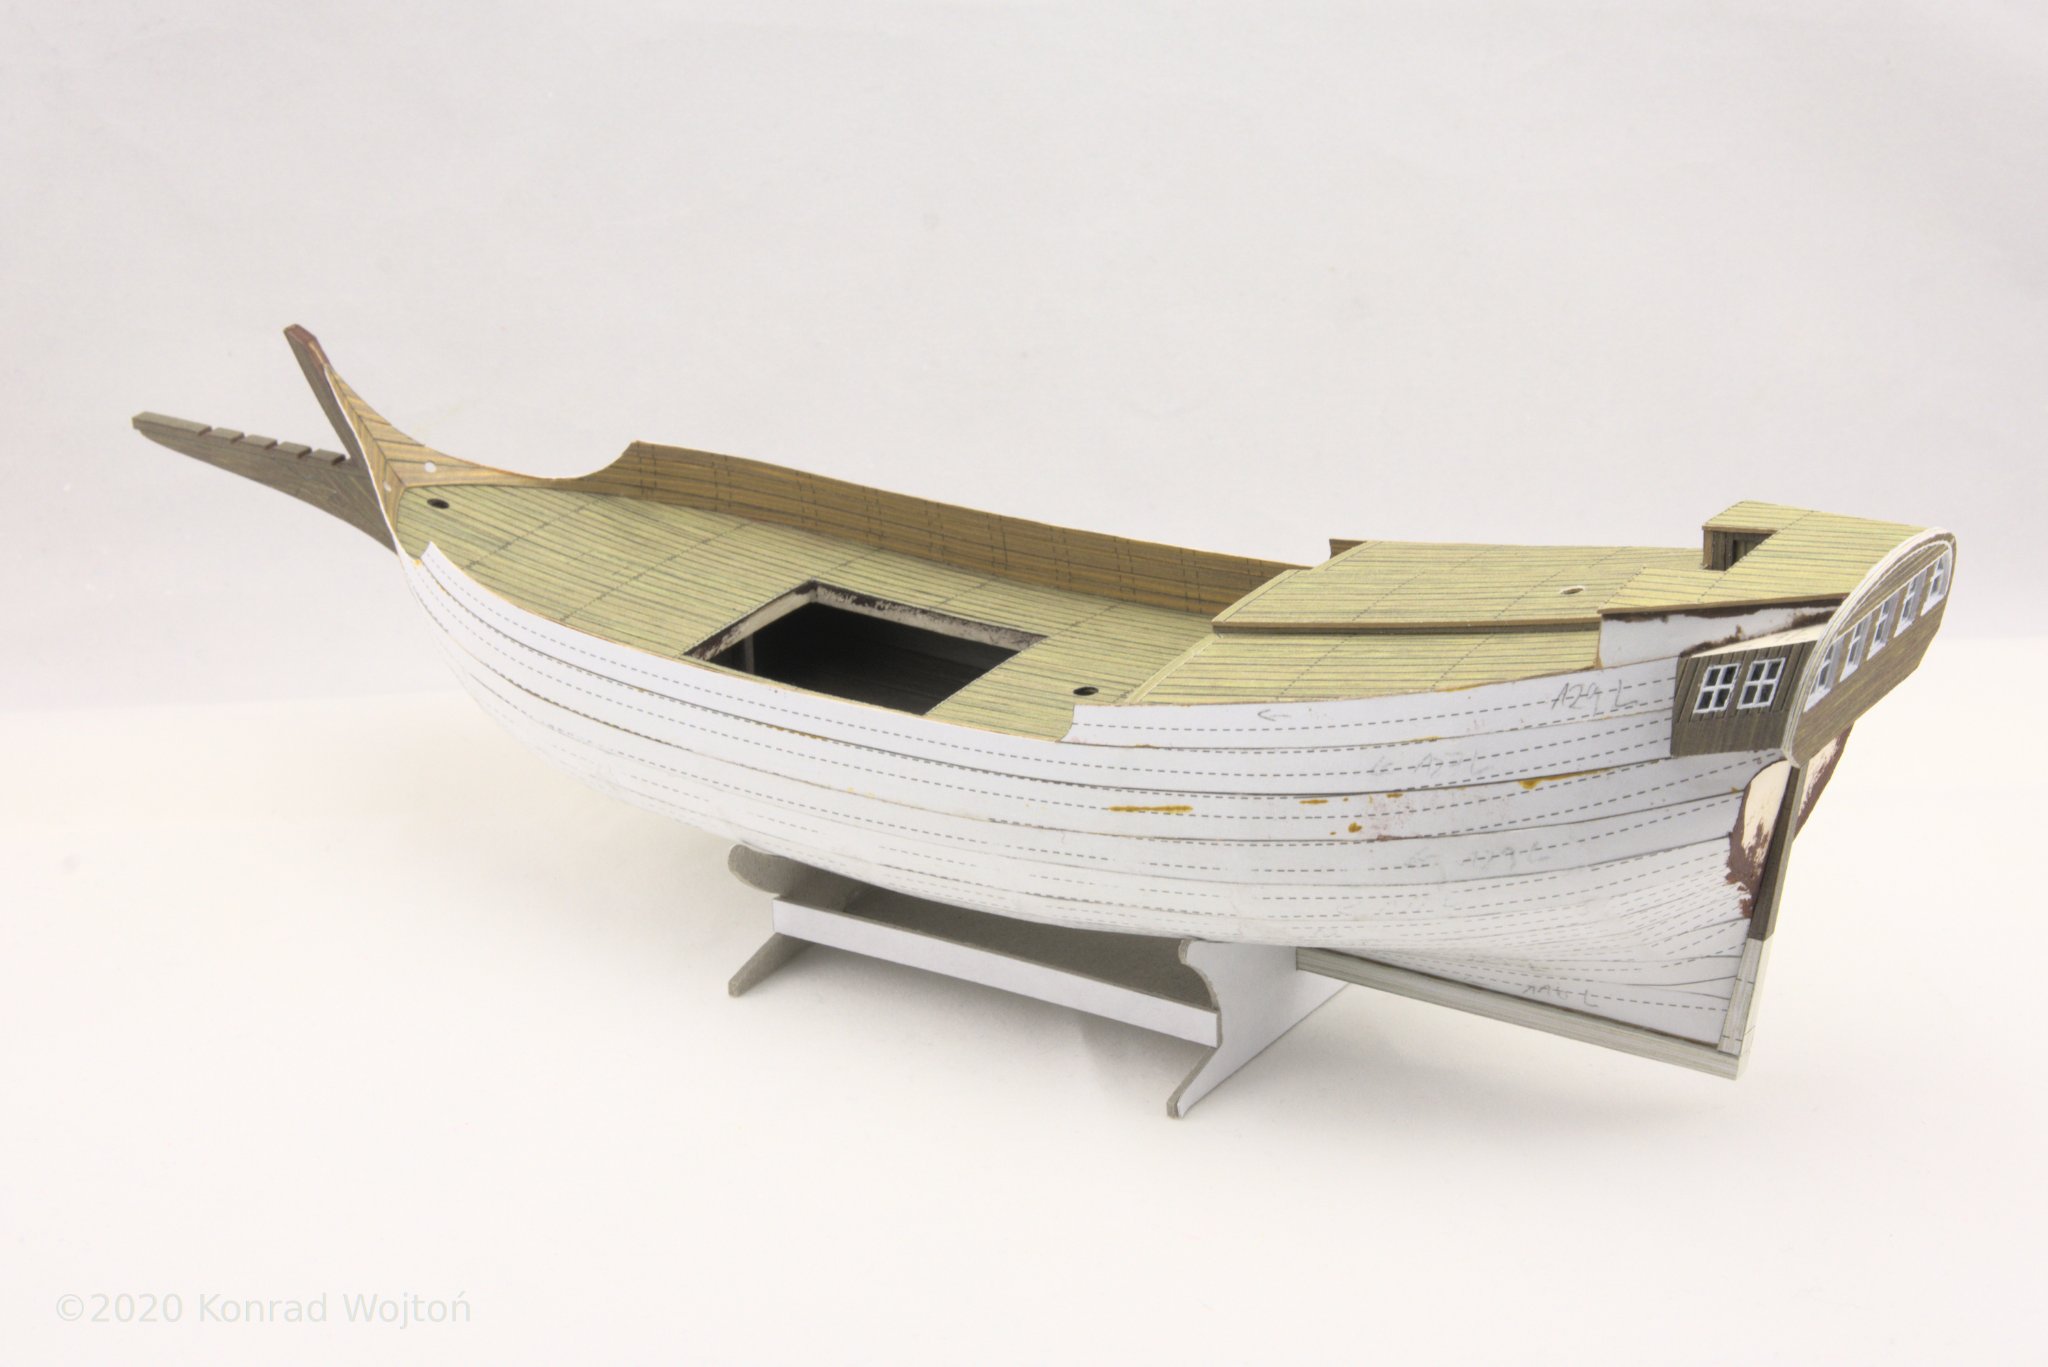
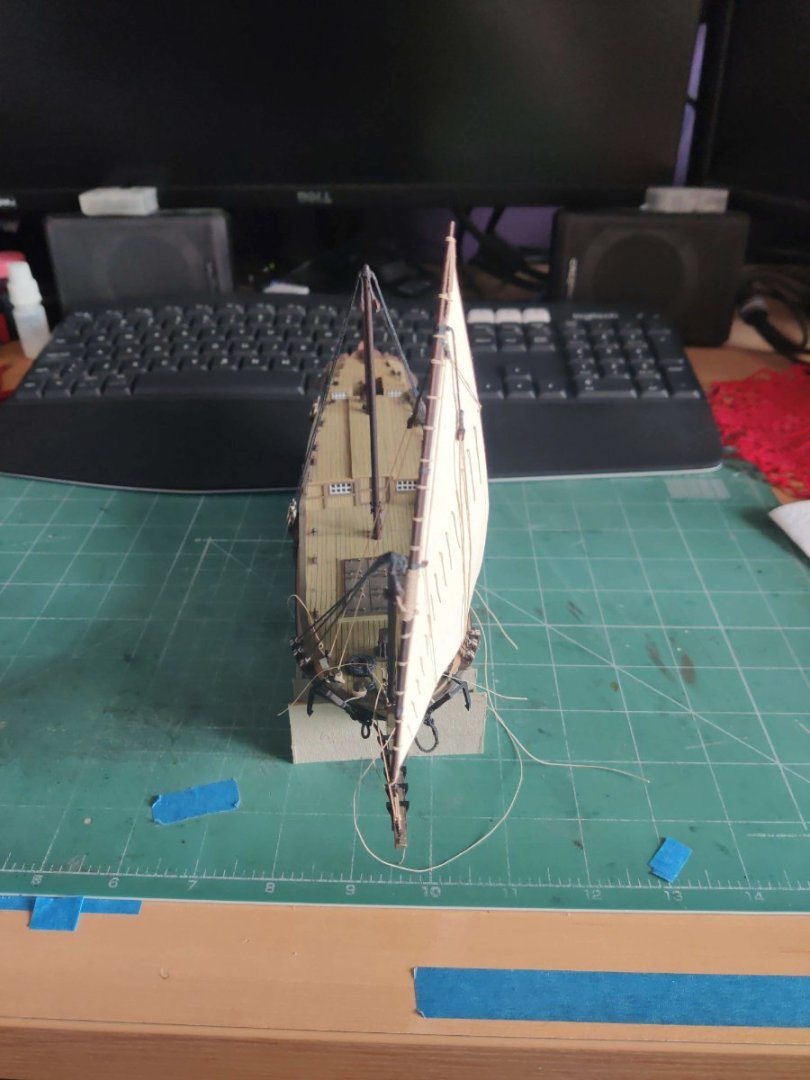
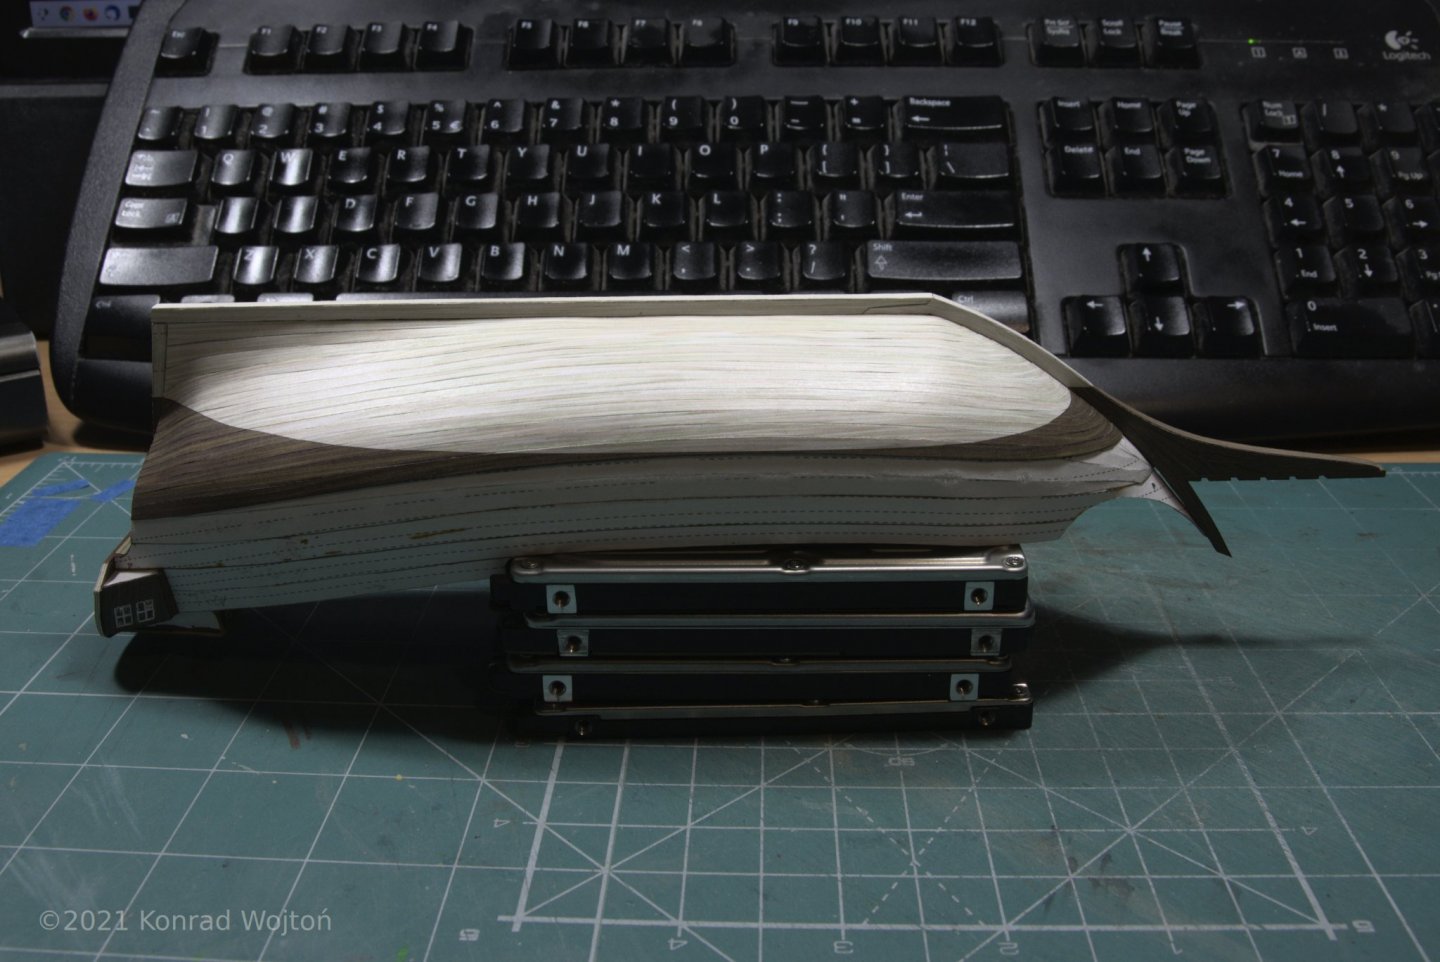
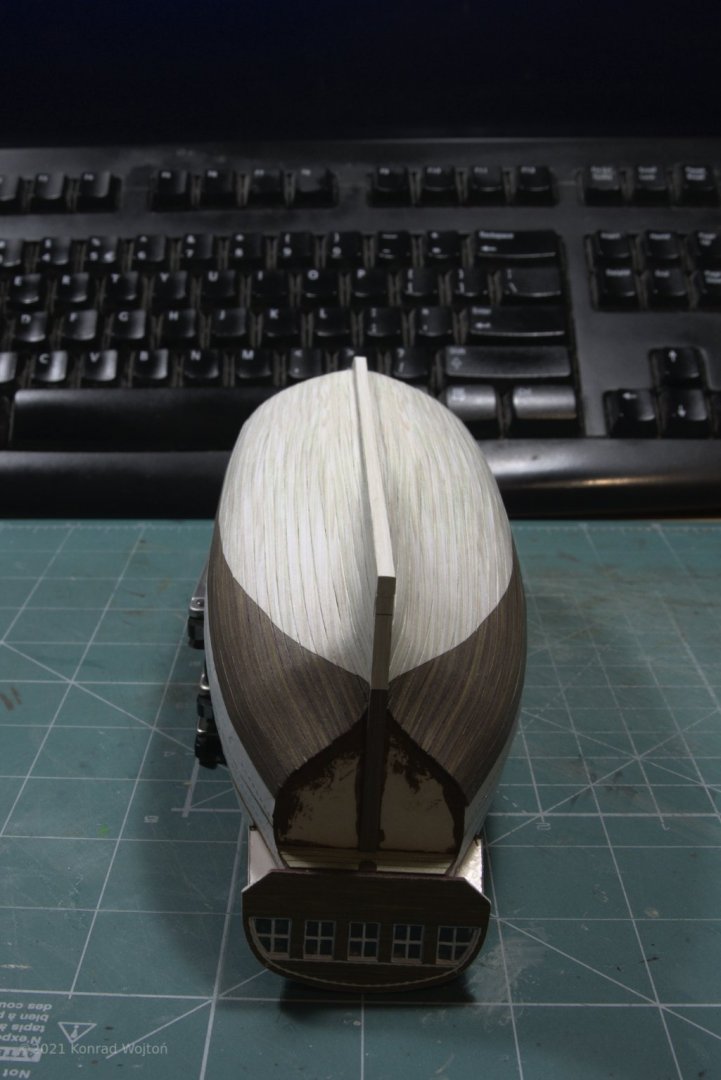
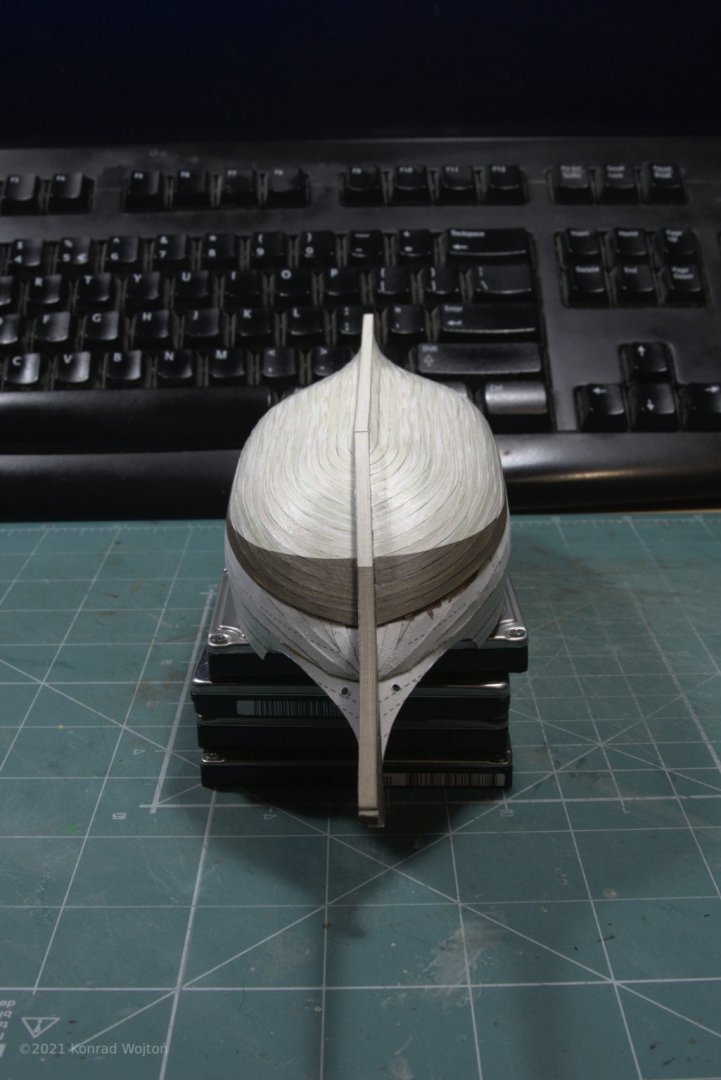
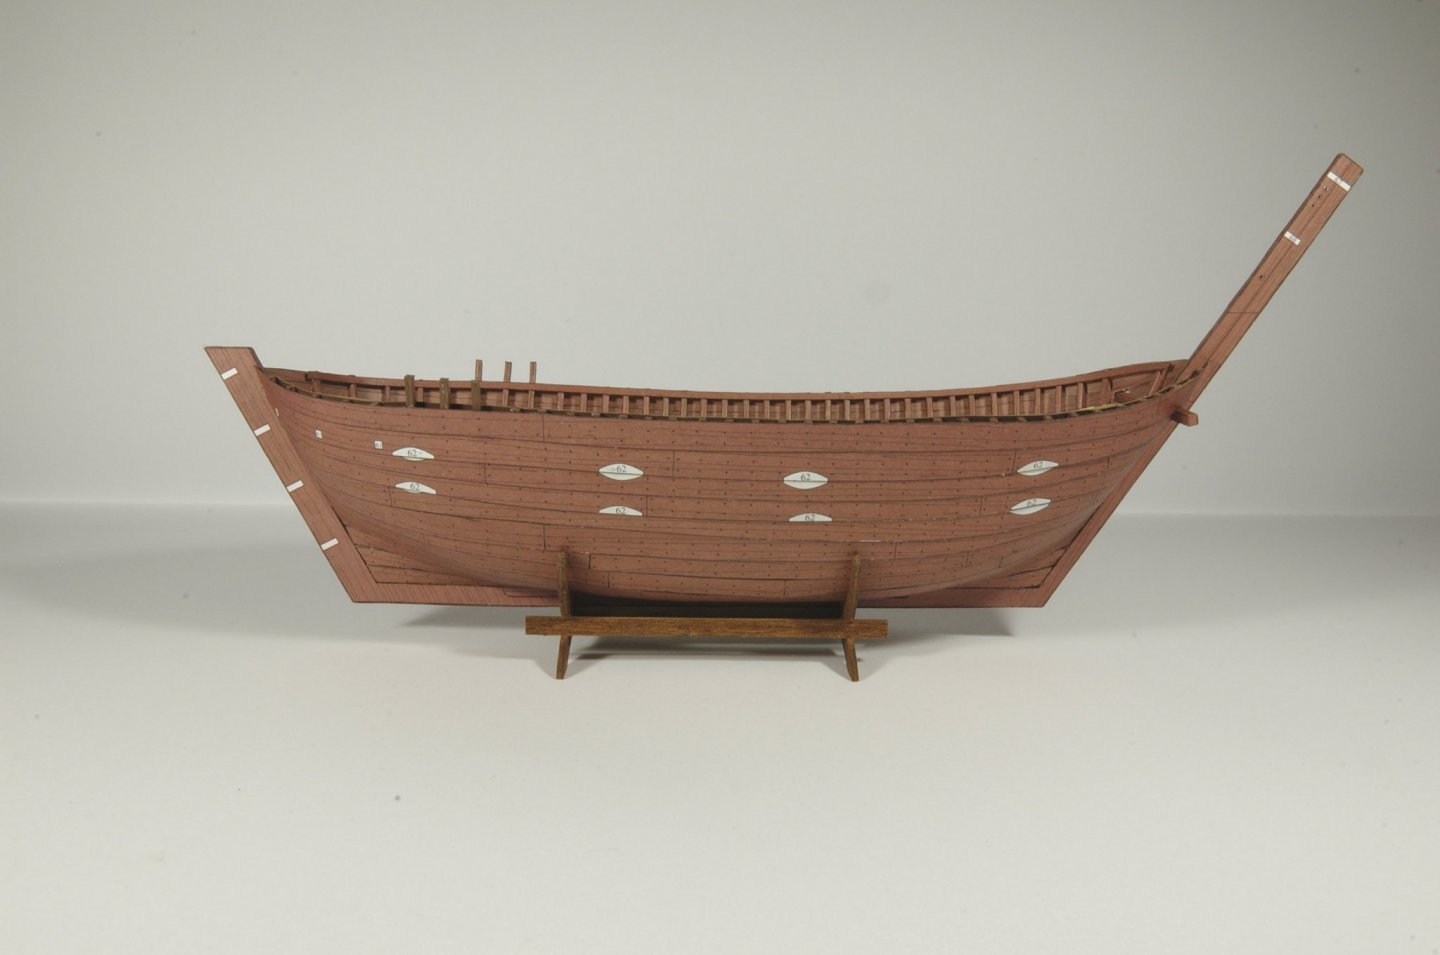
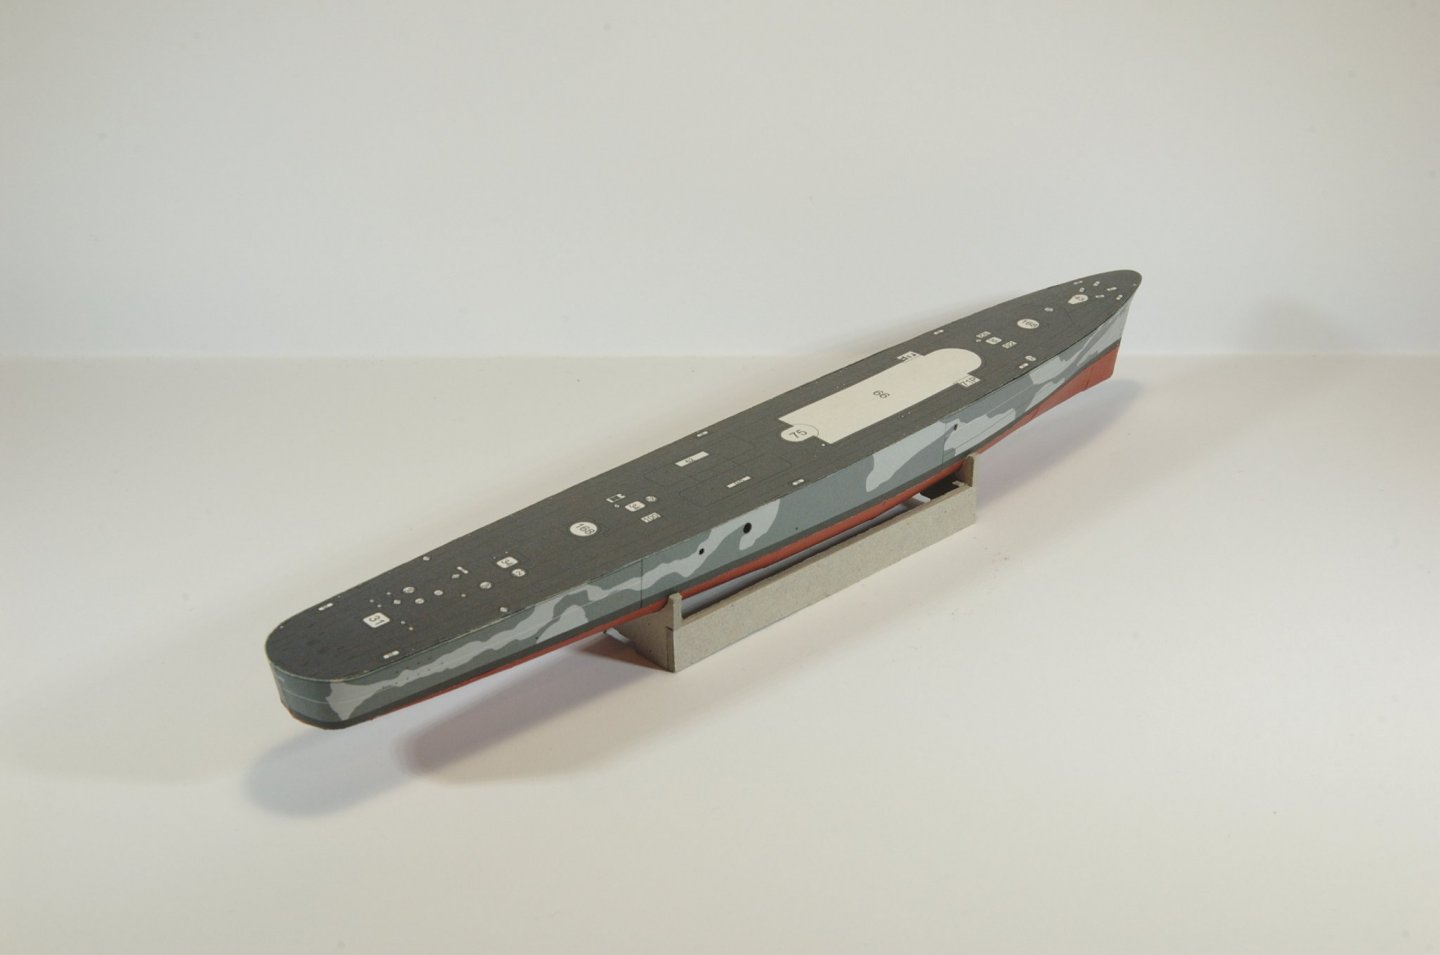
 Three years from last update, the model is properly "seasoned" by now :D. Last week it looked like this: And this is how it look currently: Cheers


-
You might find photos from this build log useful - http://www.konradus.com/forum/read.php?f=1&i=380584&t=380584&filtr=0&page=1 If you need something translated ask, I can translate it for you.
-
Check this great post about making sails.
-
Funny how similar it is to polish "Papier Japoński" (eng. japanese paper) which I use for sails making .
-
Thanks guys. When it comes to soaking and reinforcing card parts I've recently found out about substance called Paraloid B72 (https://en.wikipedia.org/wiki/Paraloid_B-72). In pure form it is sold as transparent, hard crystals (should be available in stores for artists). It dissolves in acetone, ethanol, toluene and xylenes and solutions up to 15% are used in conservation of old prints or rotten wood. I'm definitely not going to use toluene and xylenes but when I get my hands on it I'm going to try and test solutions in acetone and ethanol. I've also read that dissolved in IPA it can be used as glue for photoetch. I've learned about if from other modellers who are also allergic to CA glue.
-
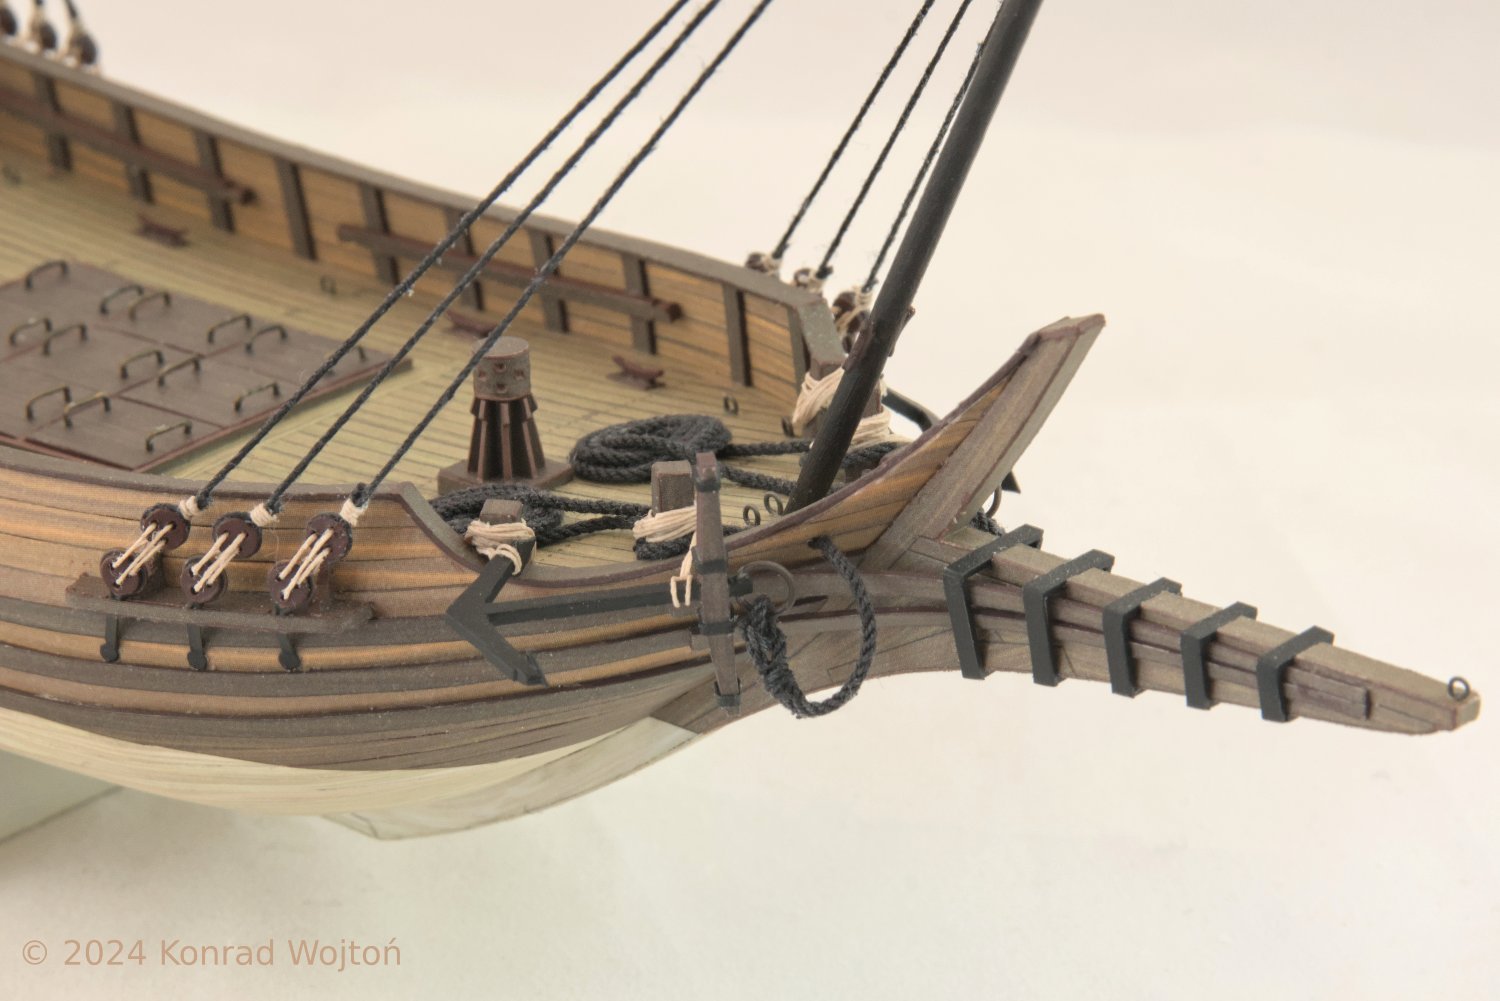
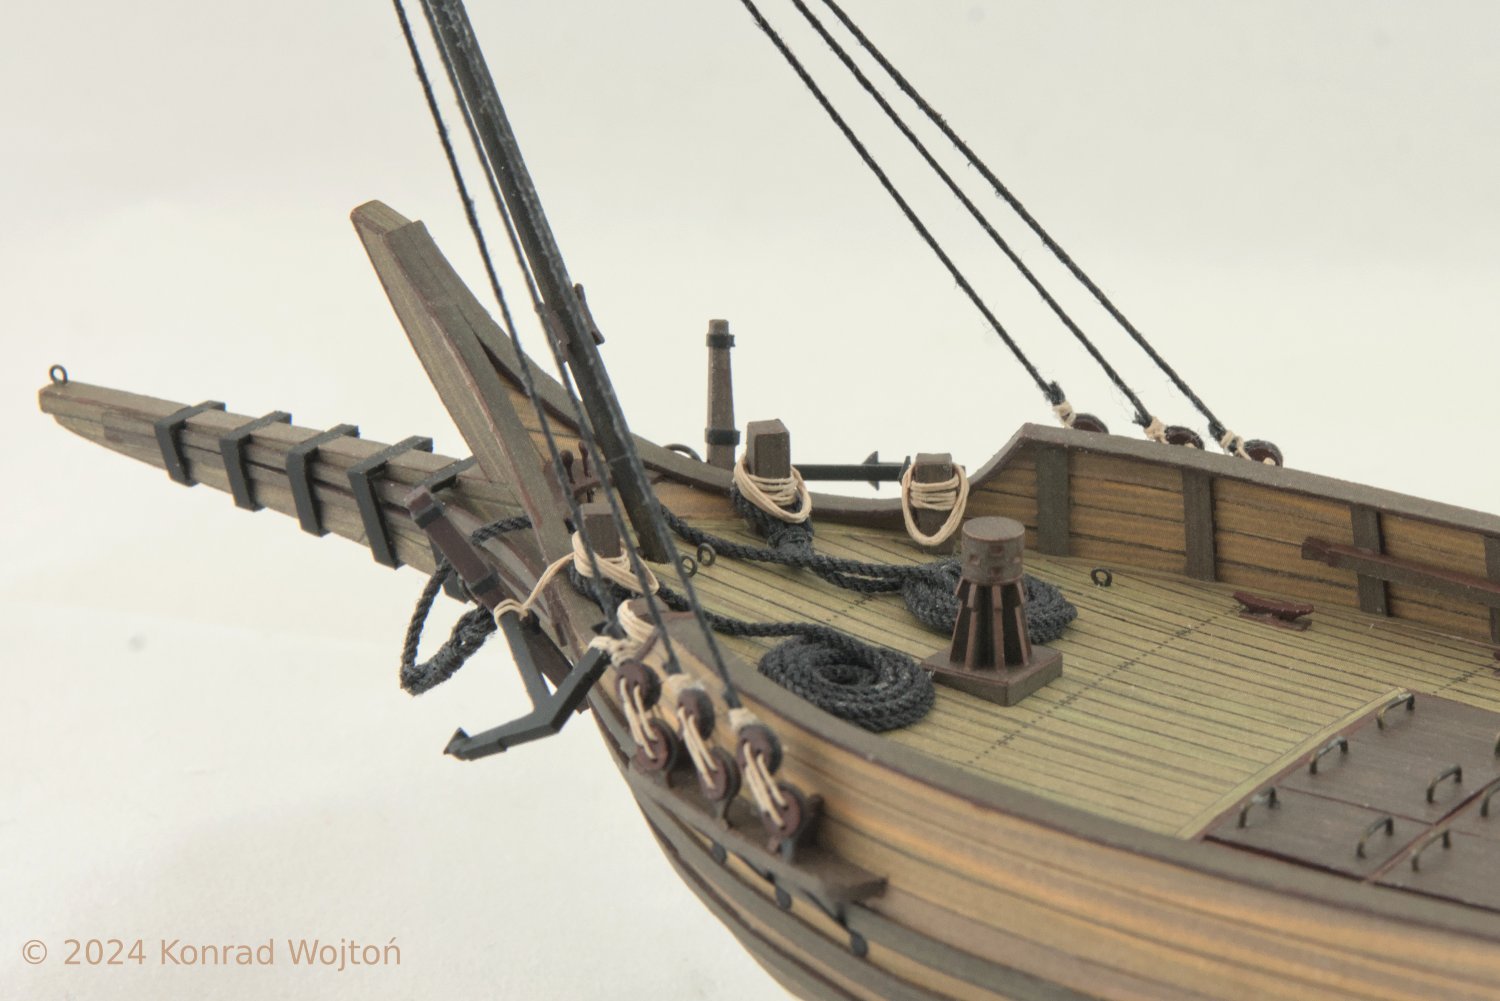
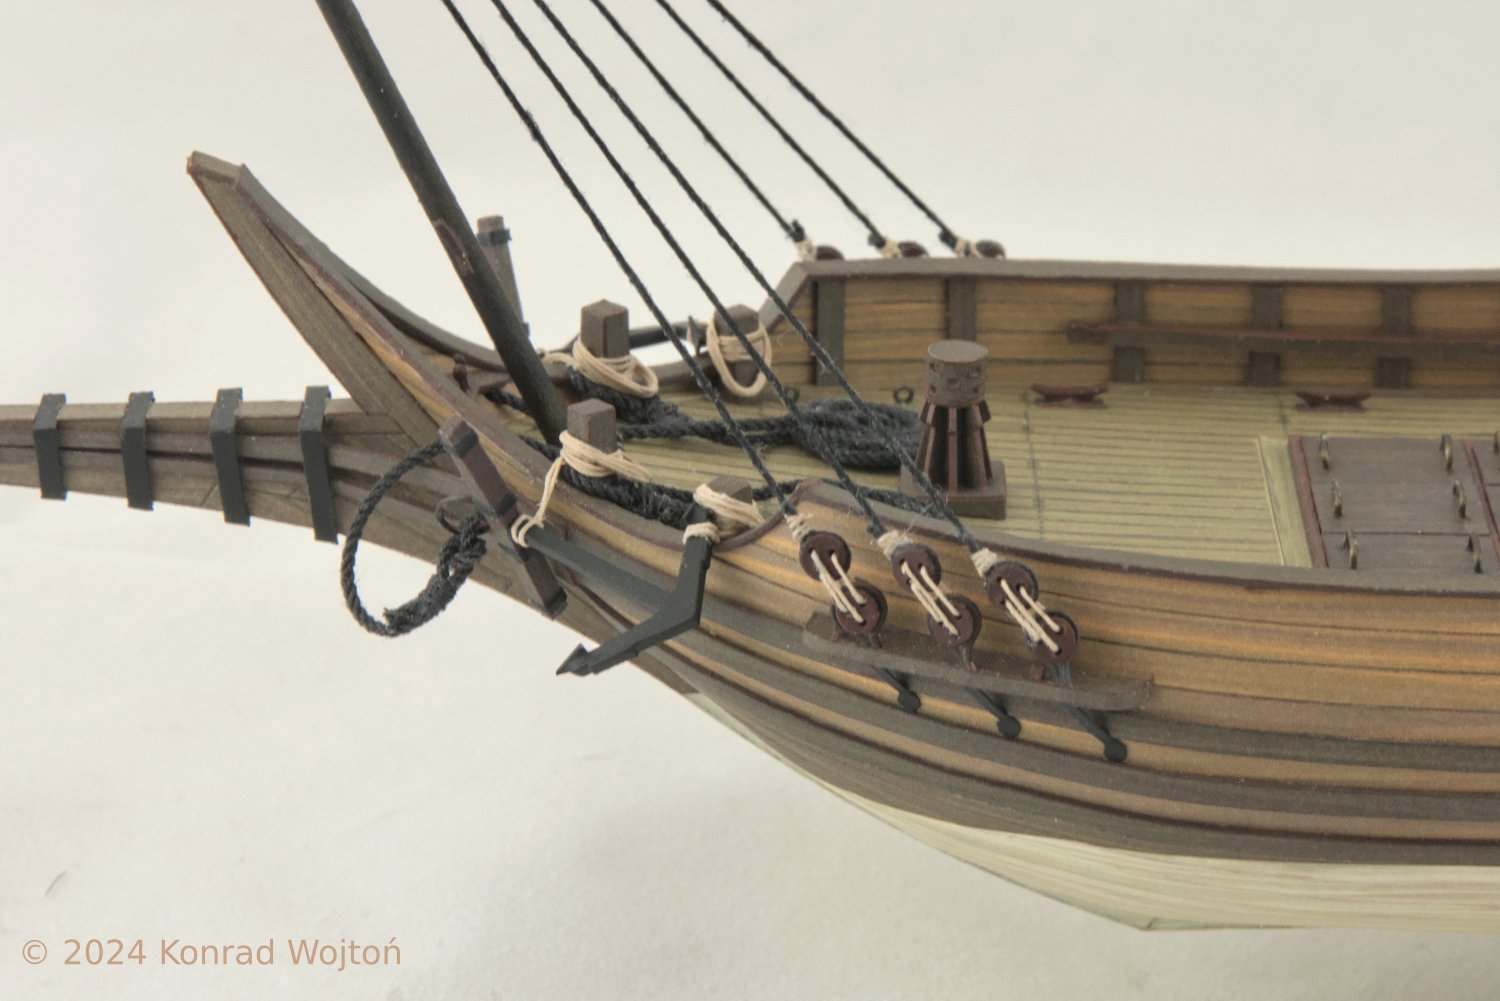
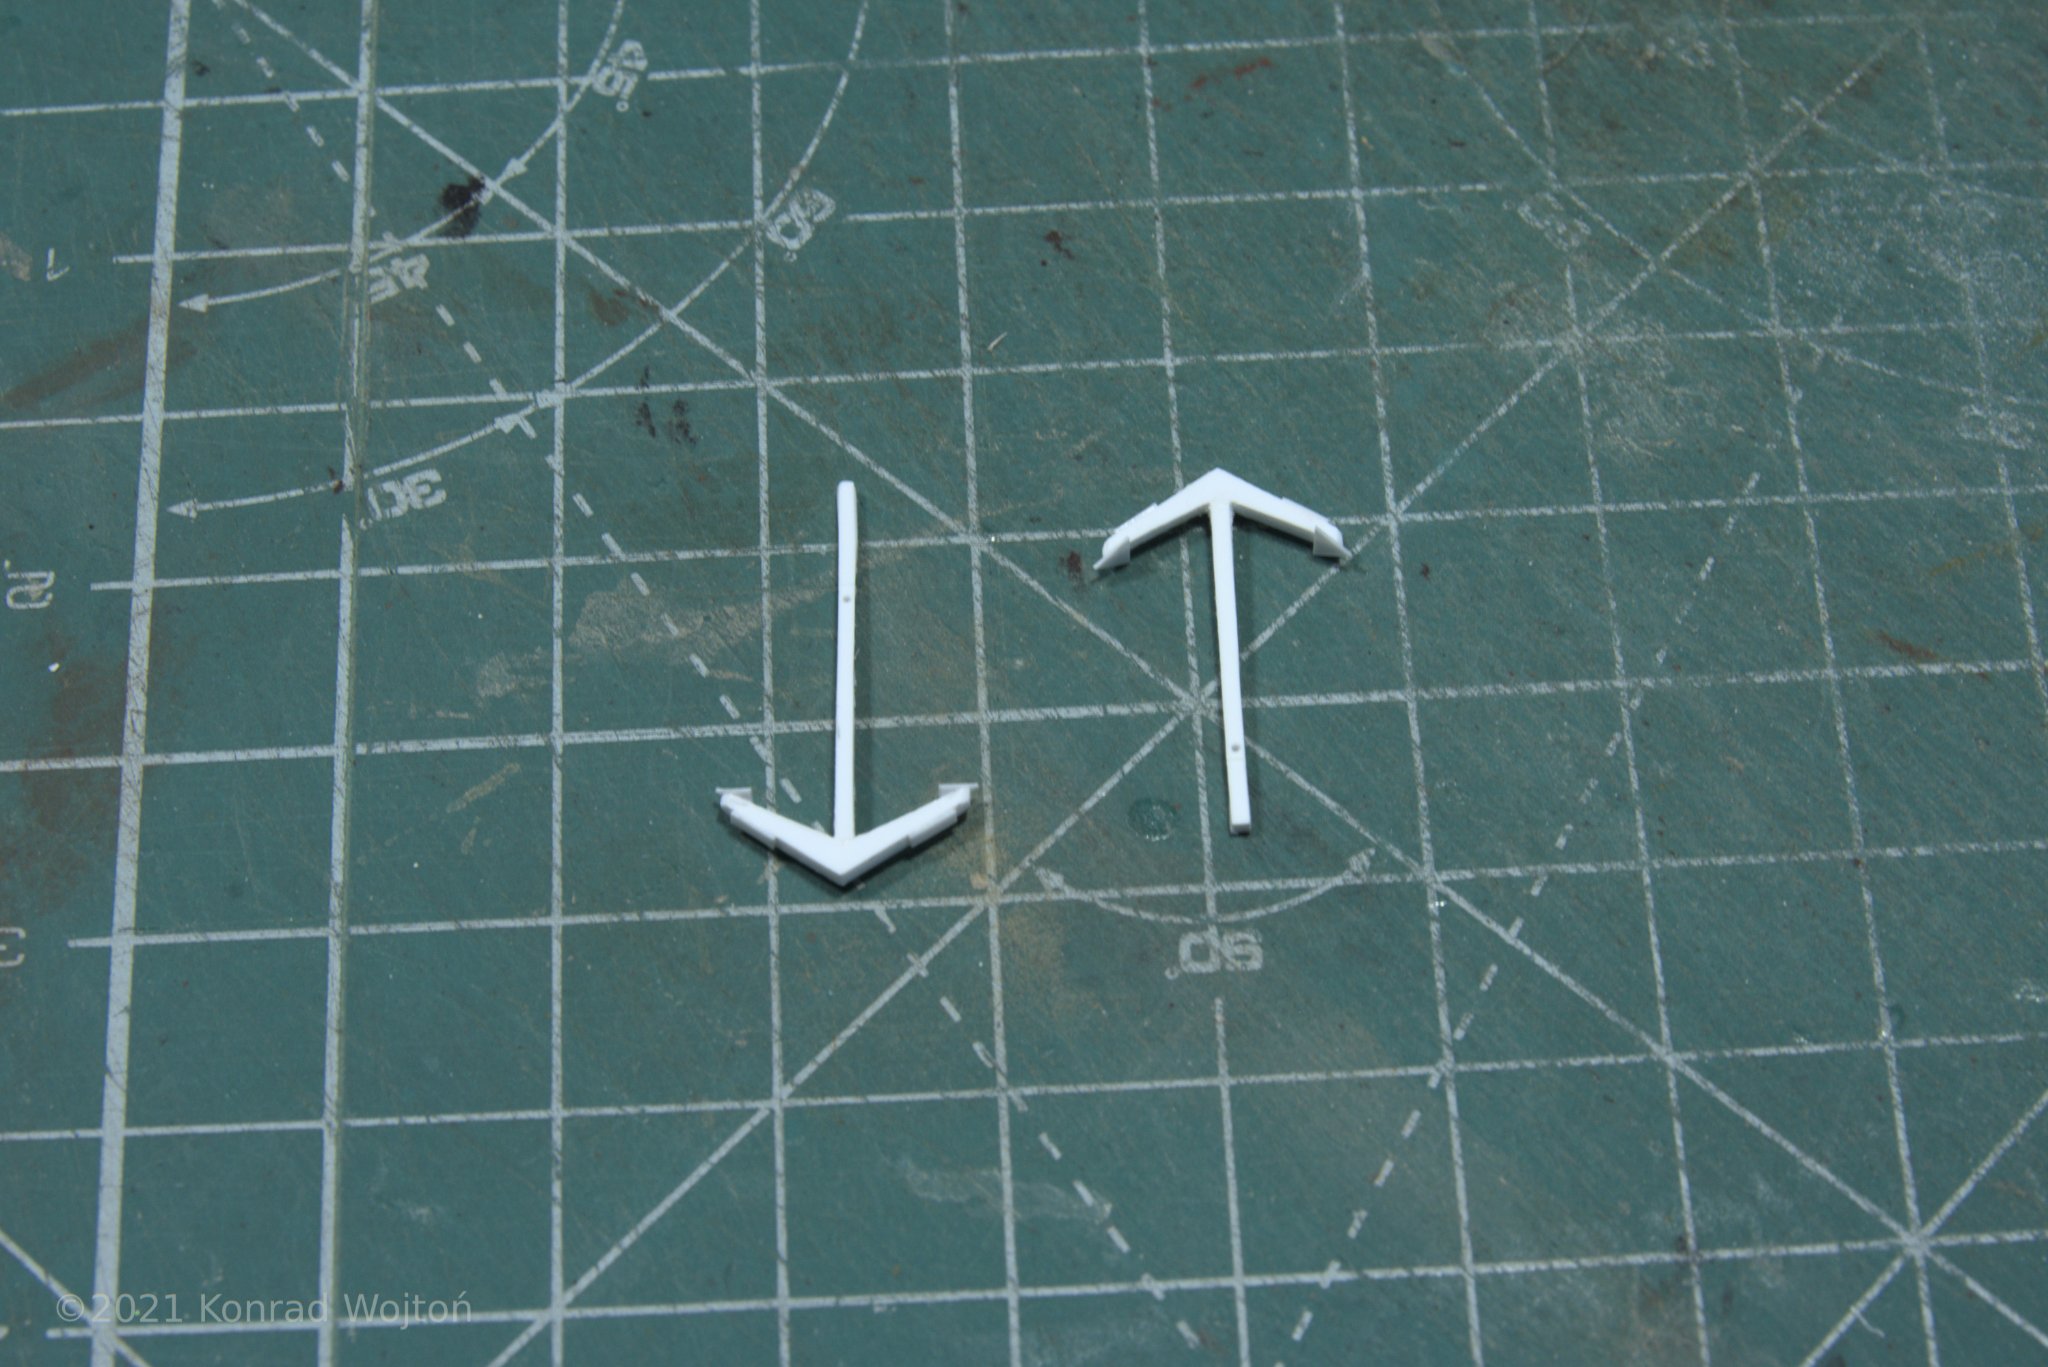
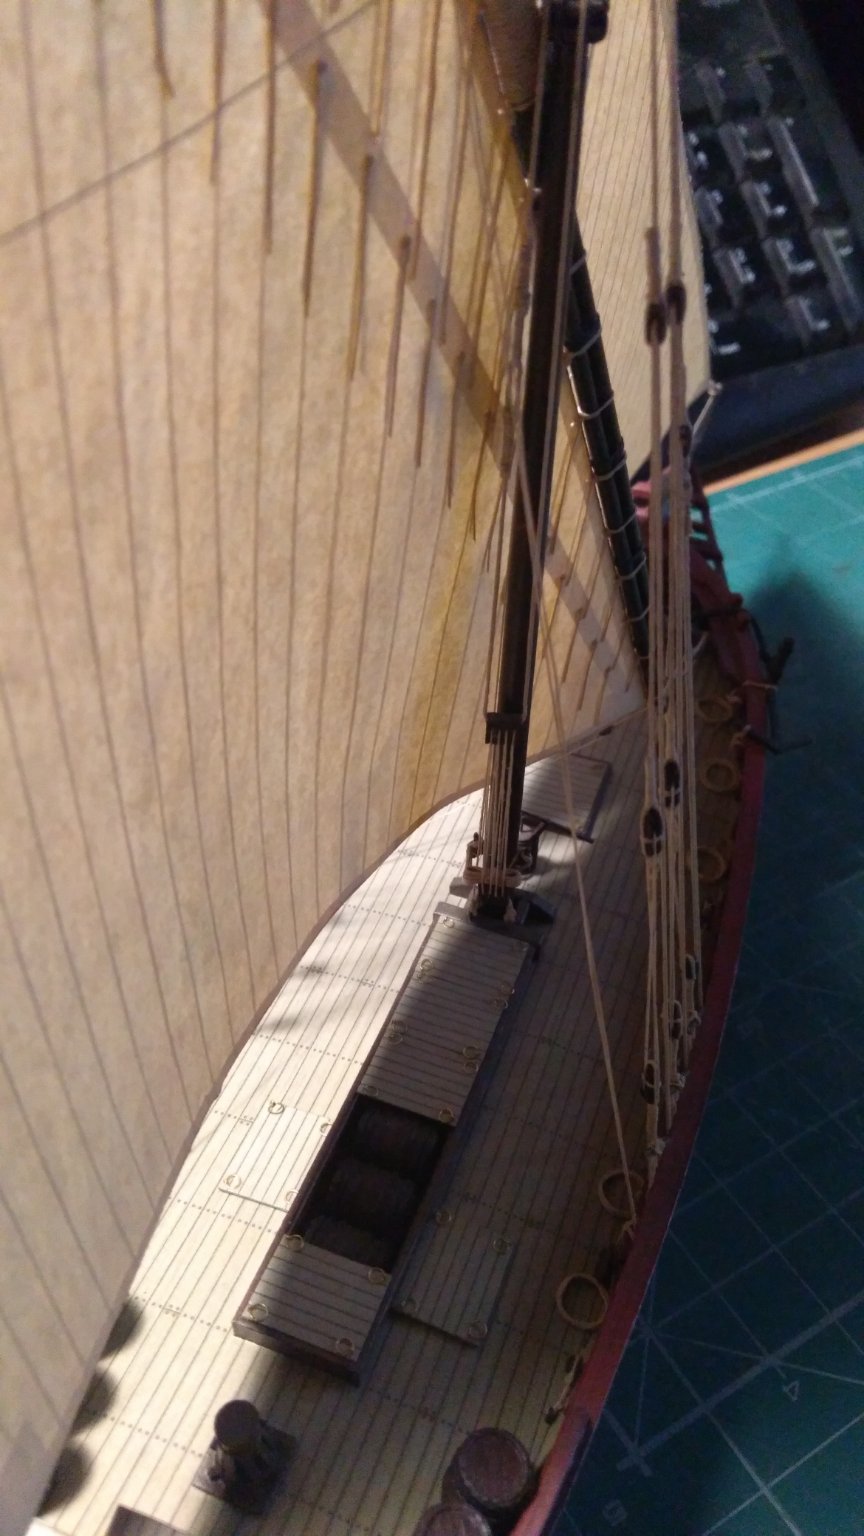
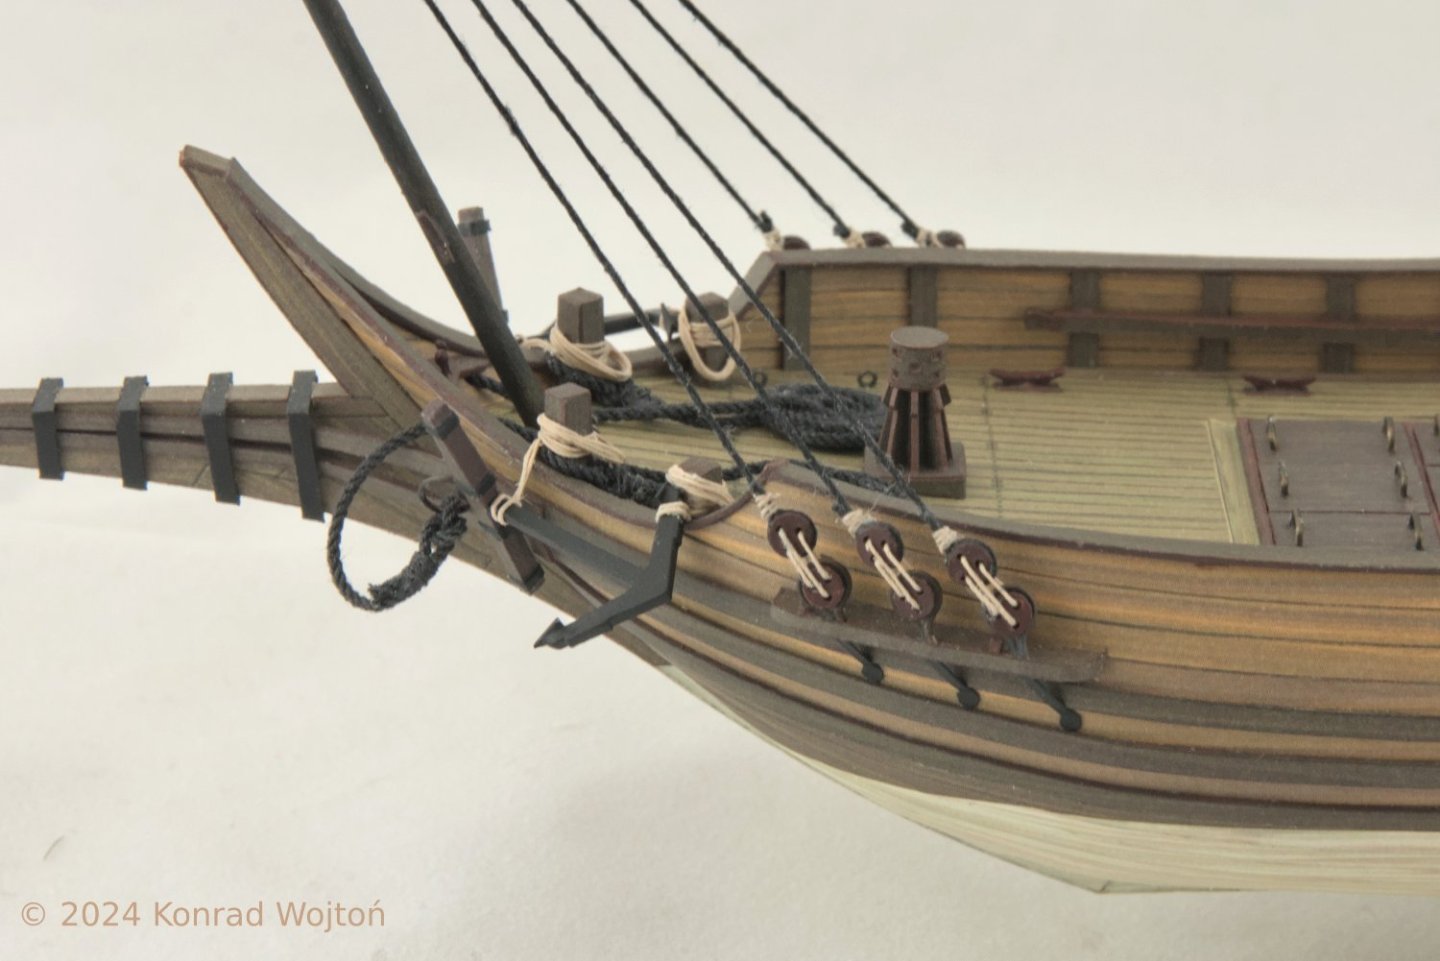
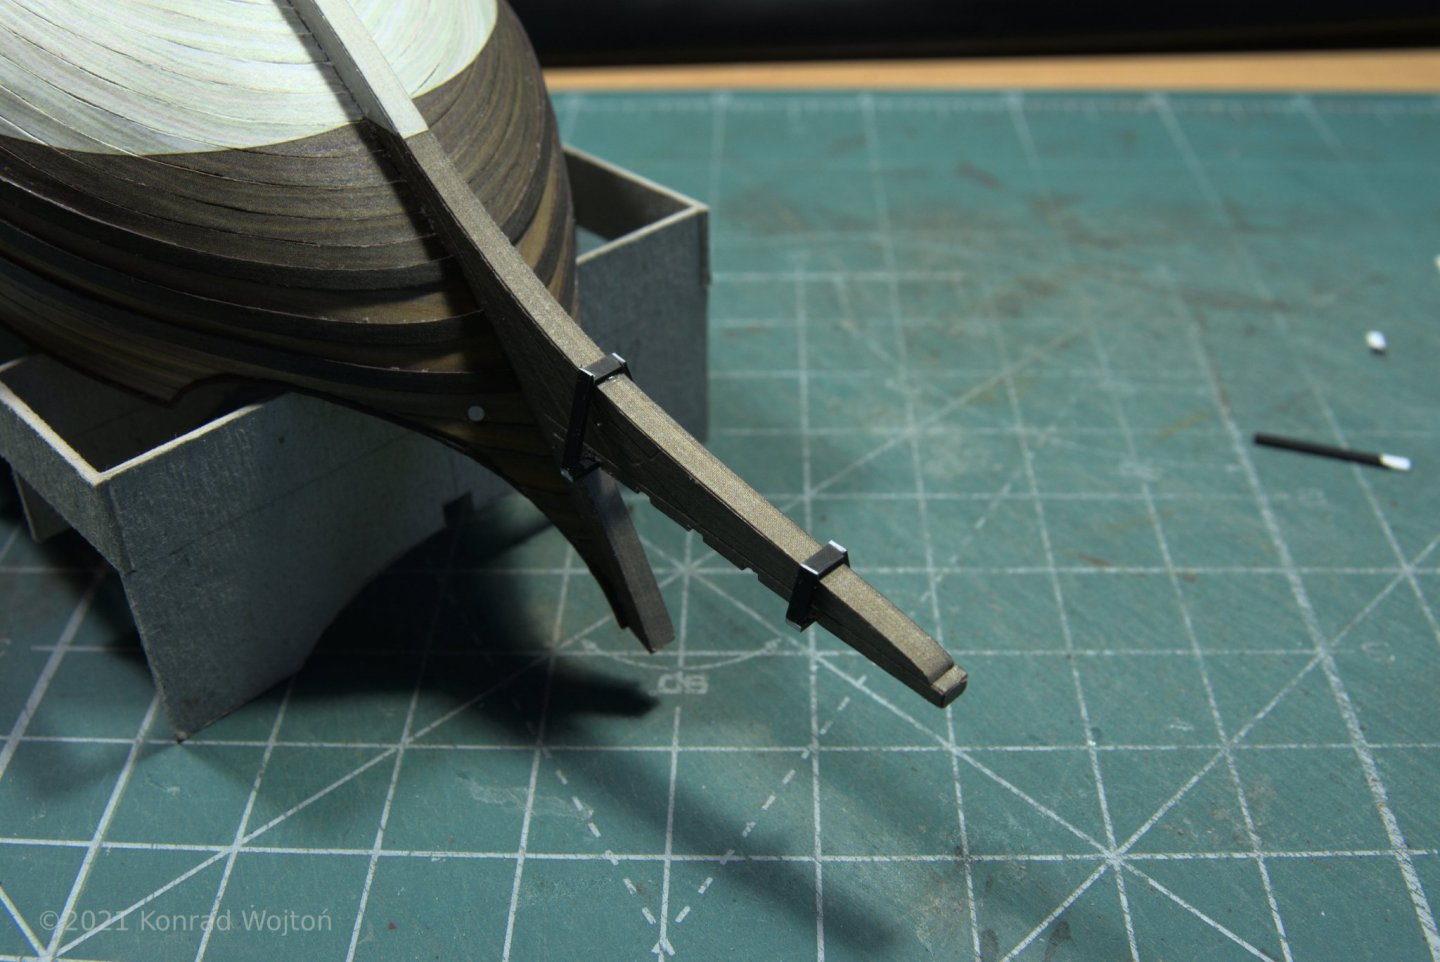
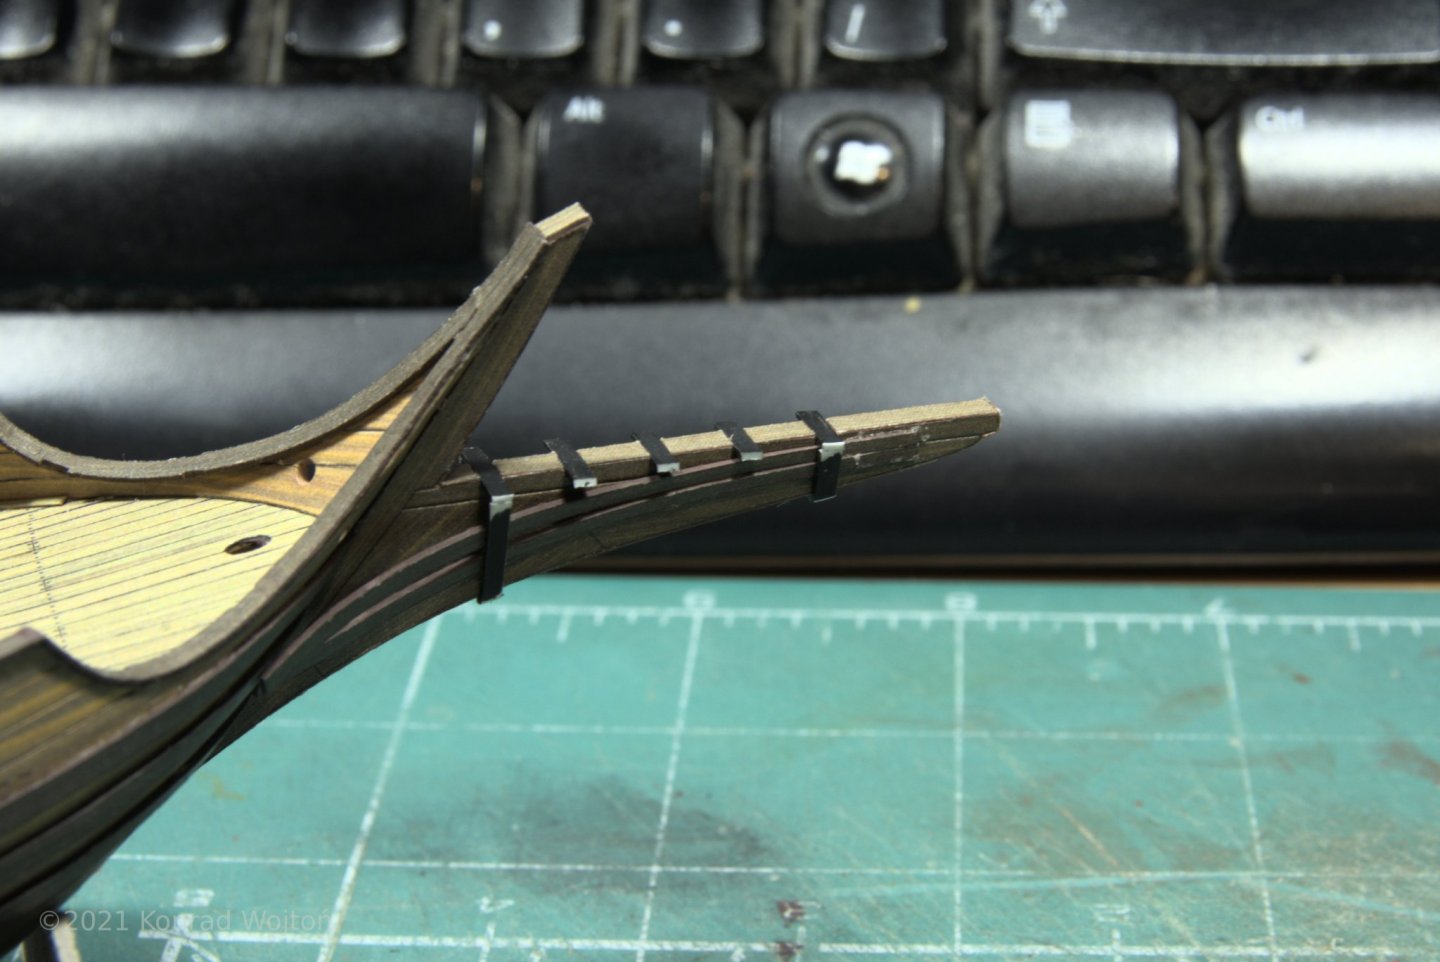
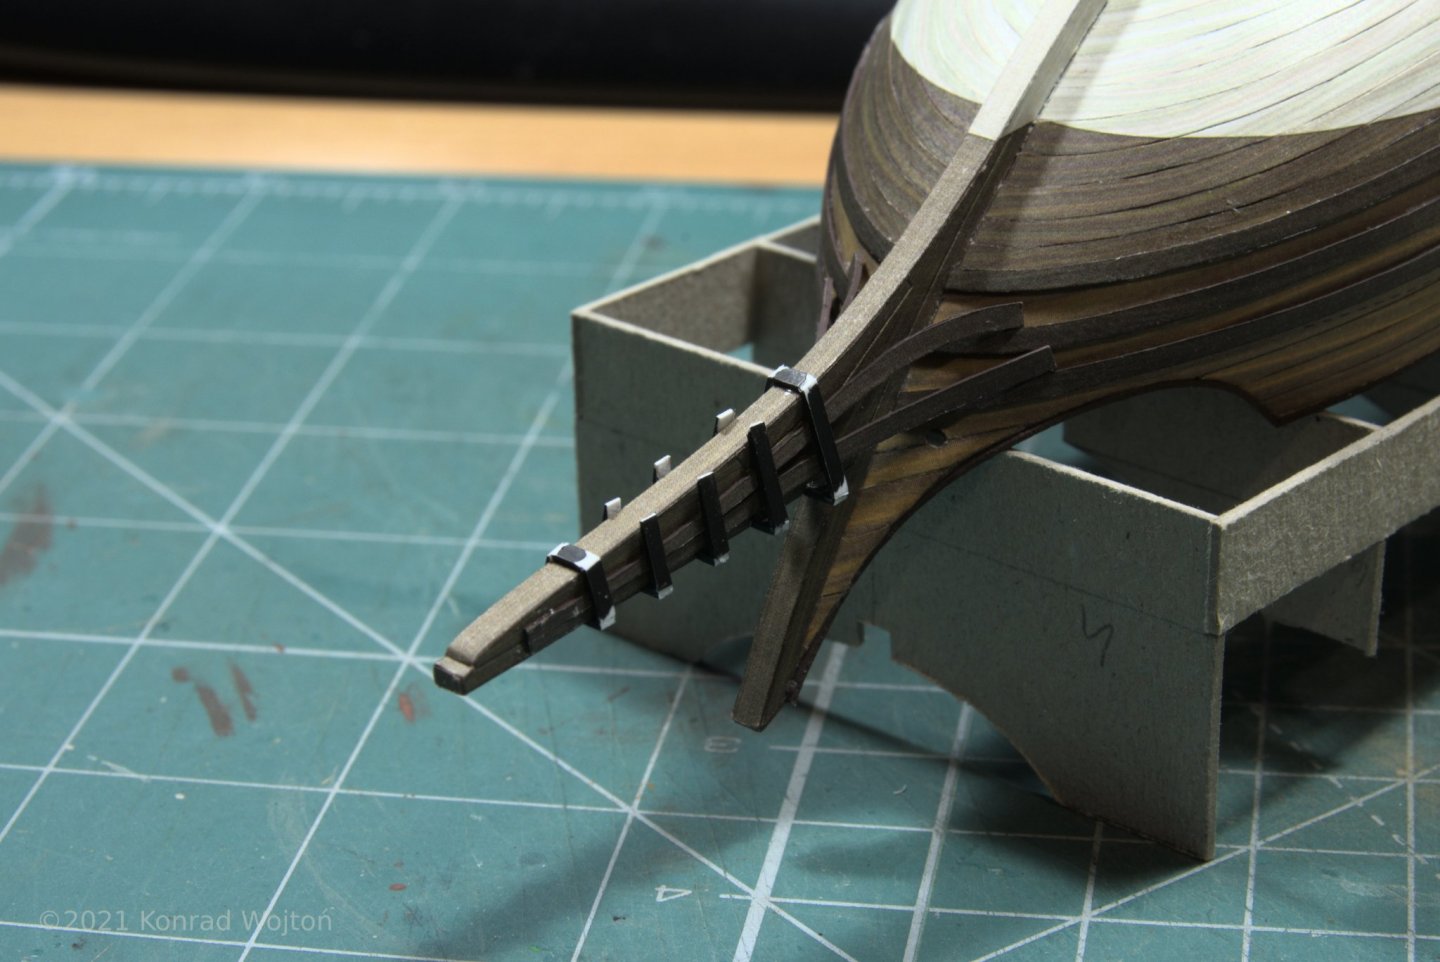
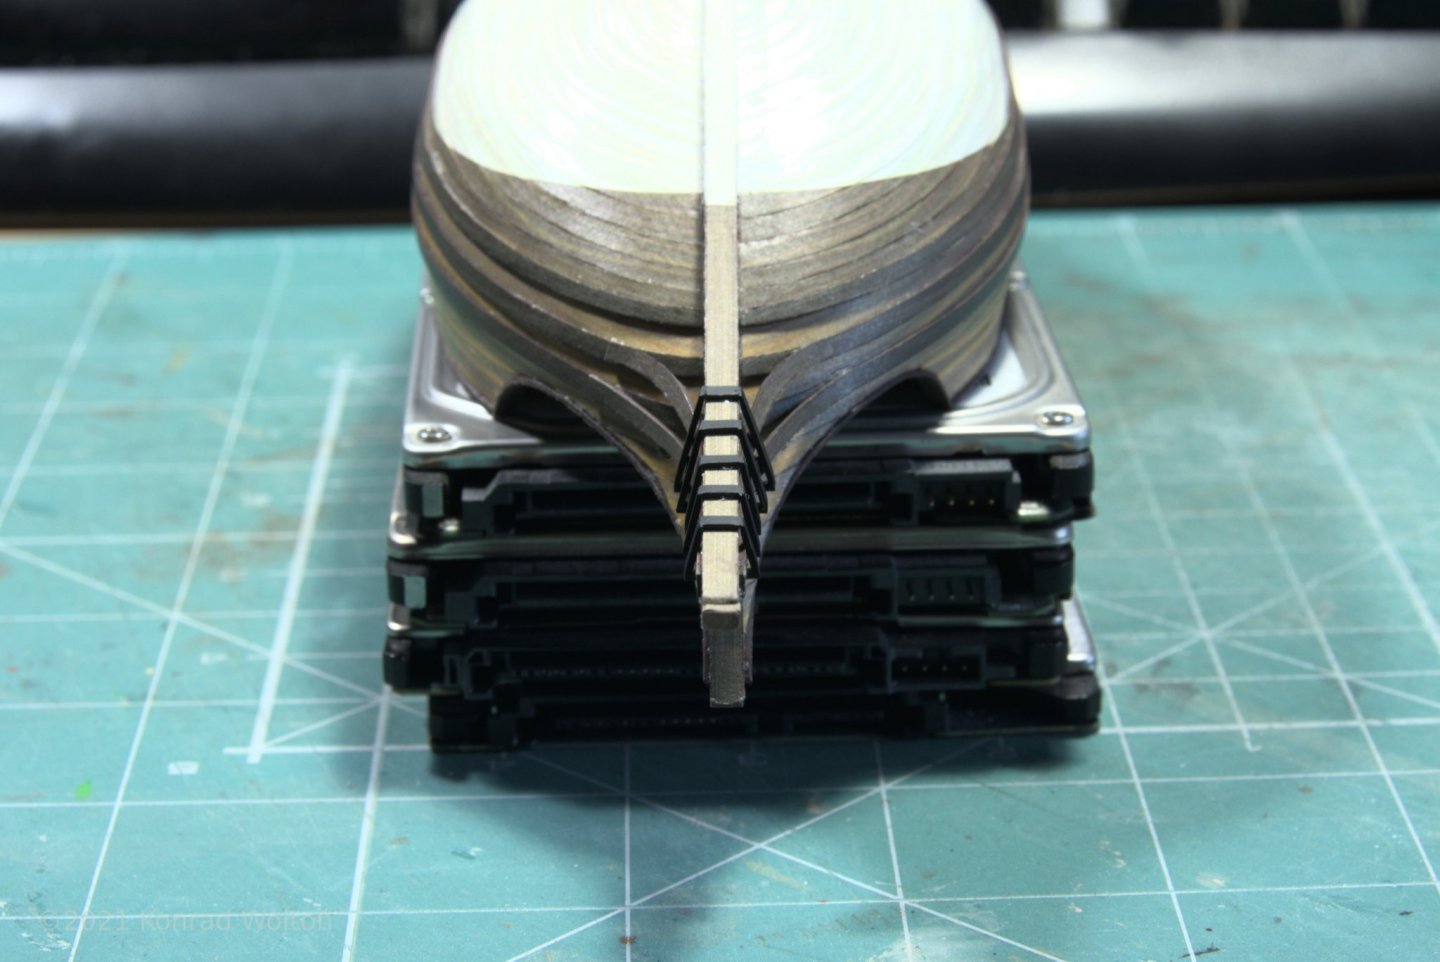
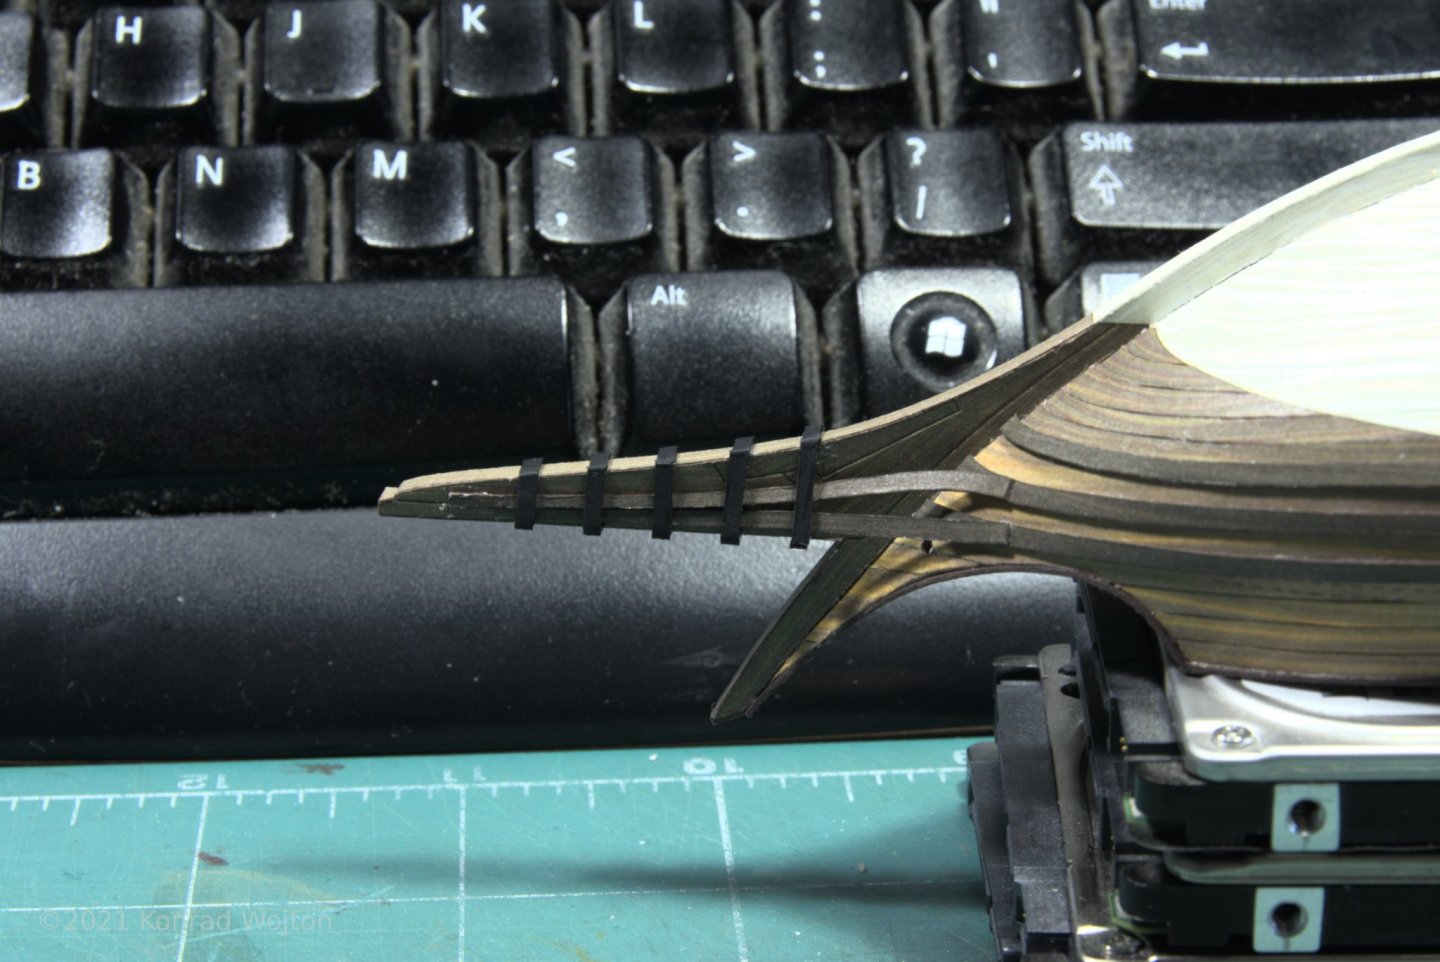
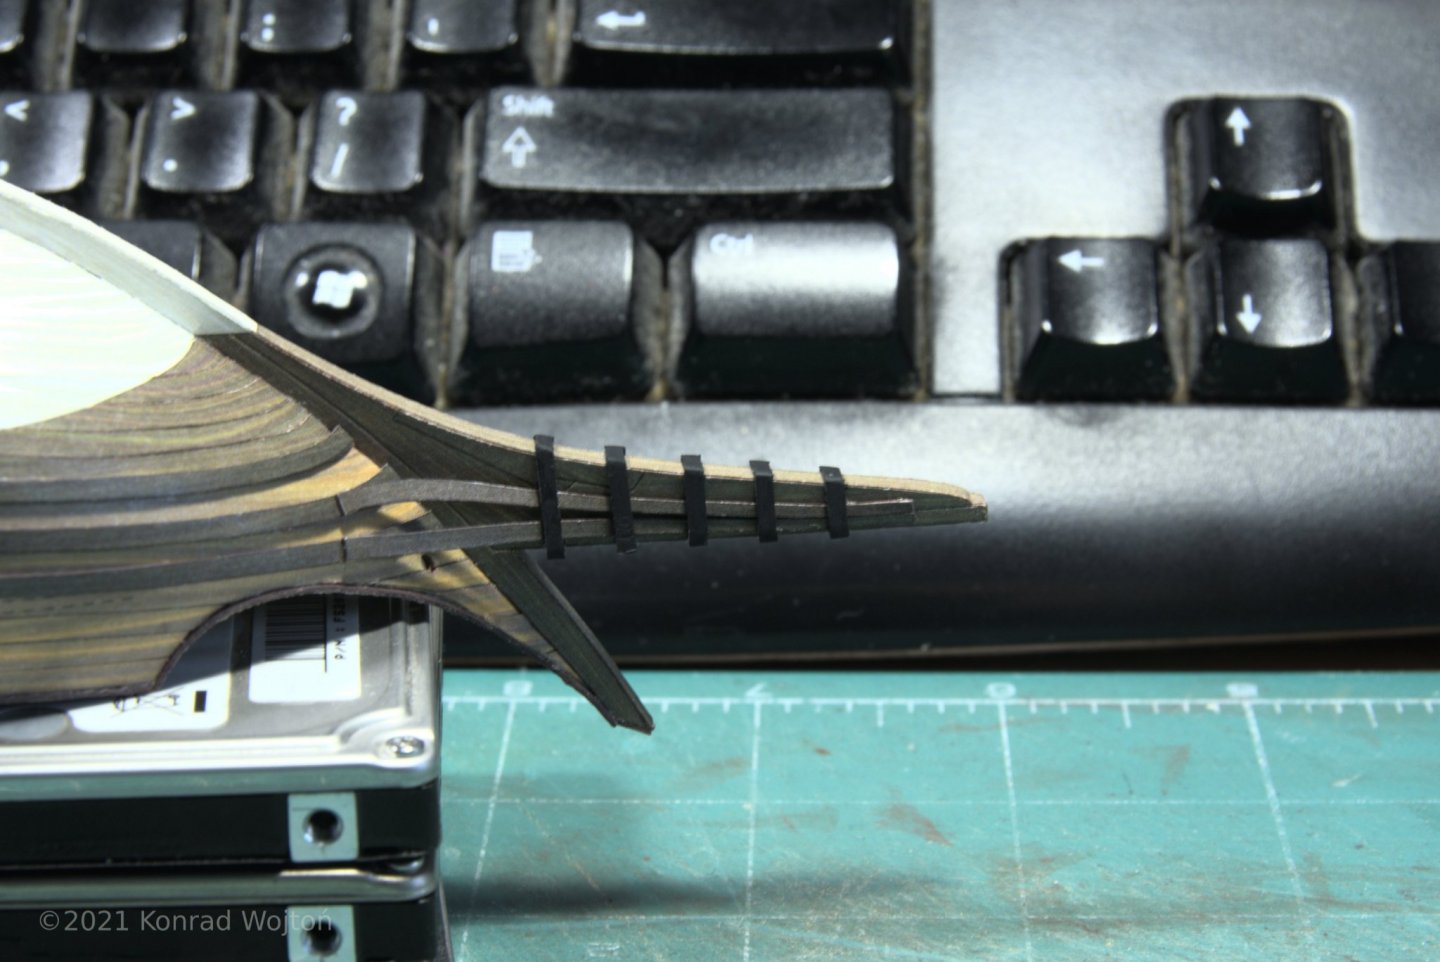
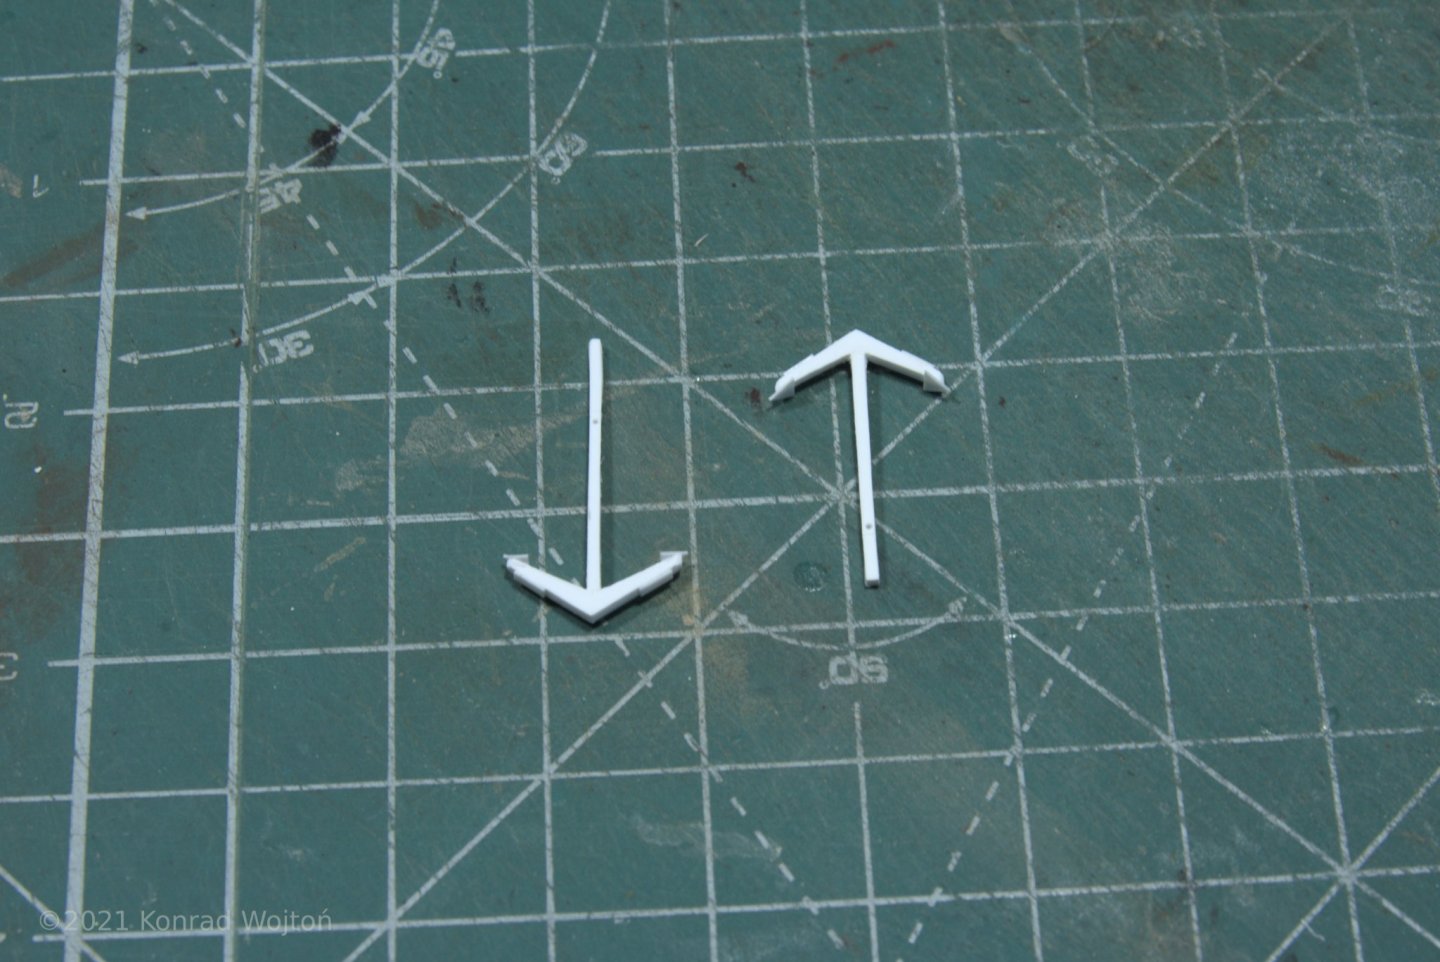
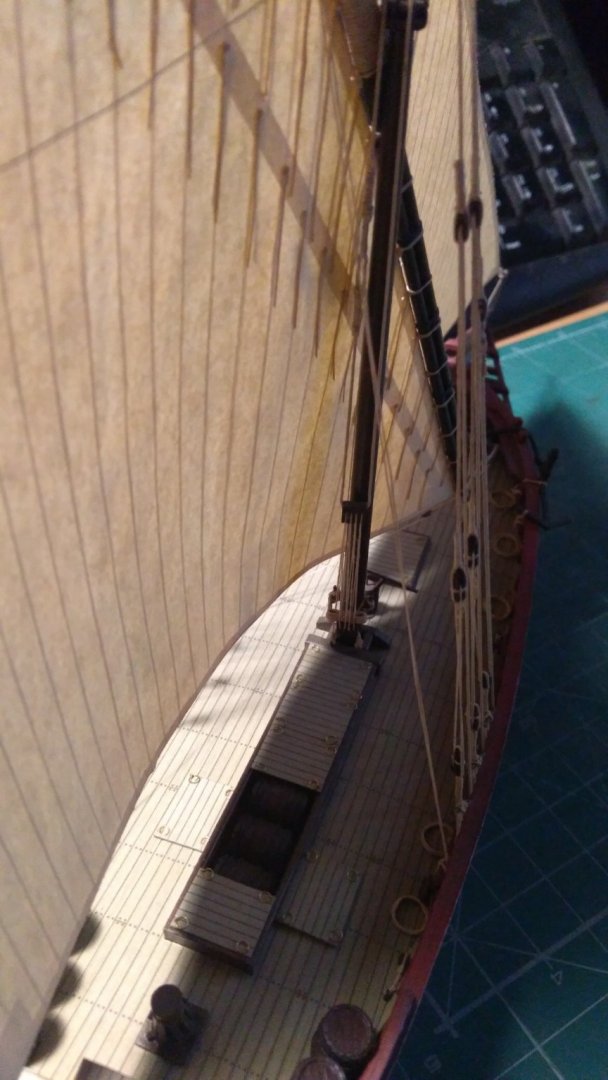
Not really much progress with build, I've only managed to finish bowsprit details. Black parts are made from styrene strips. I've also started work on anchors - styrene again. Not much card in this update.

-
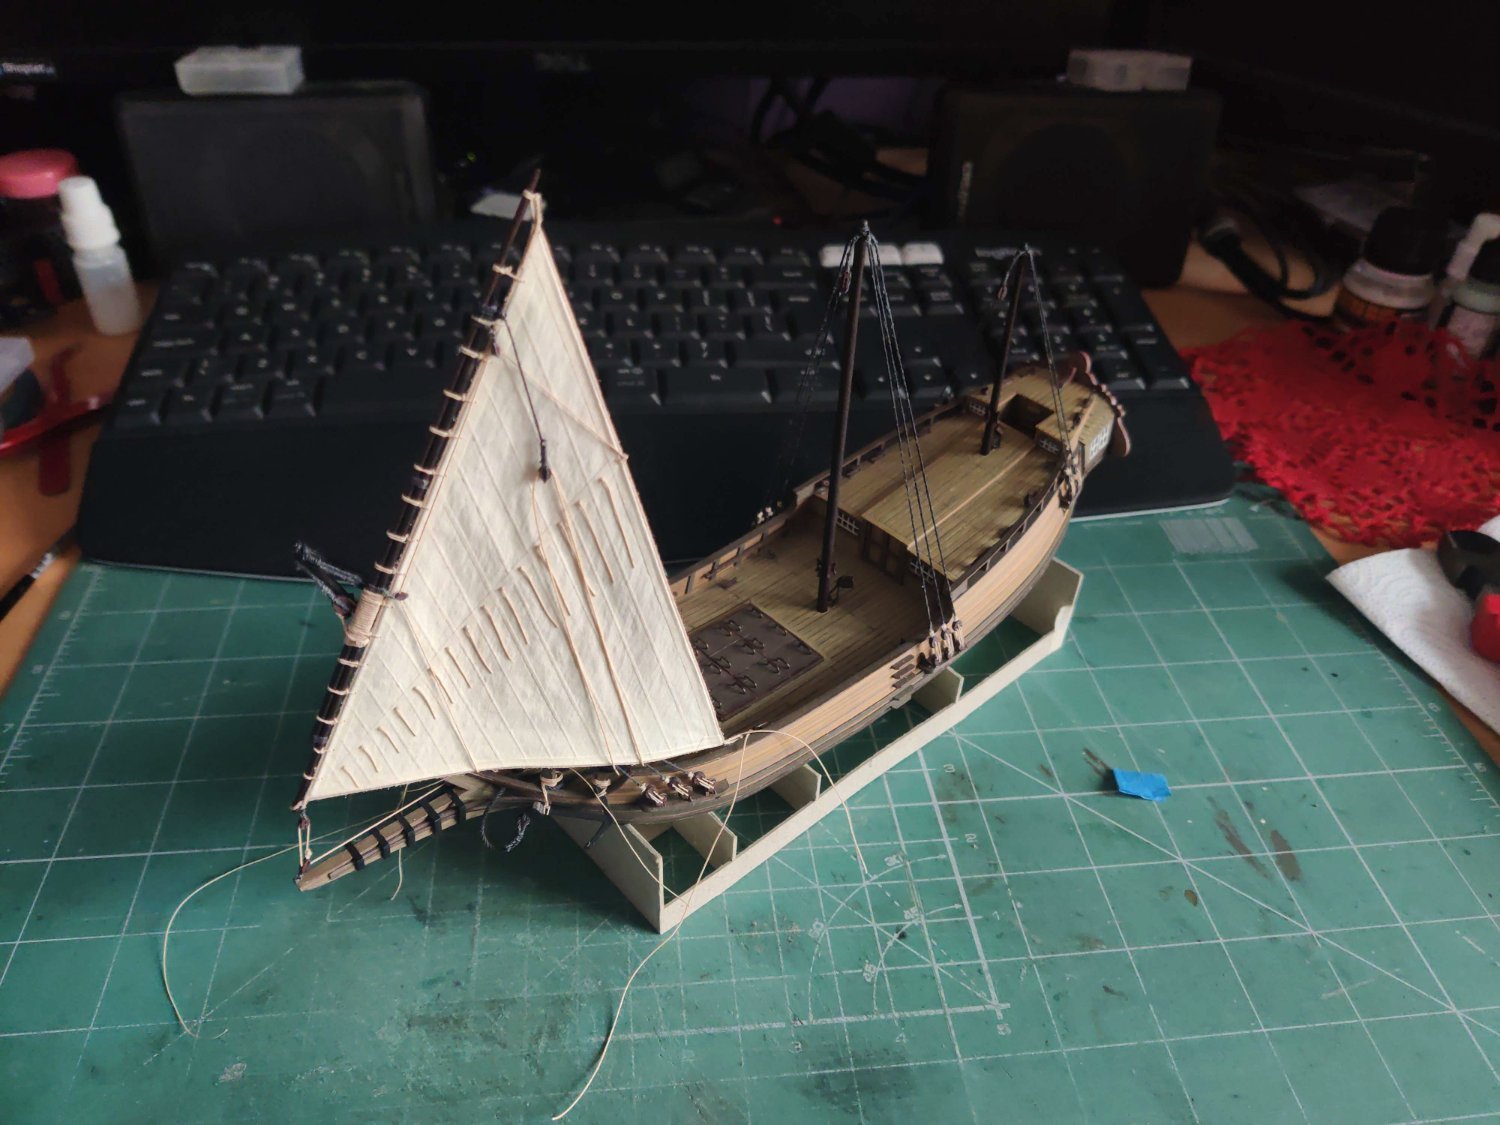
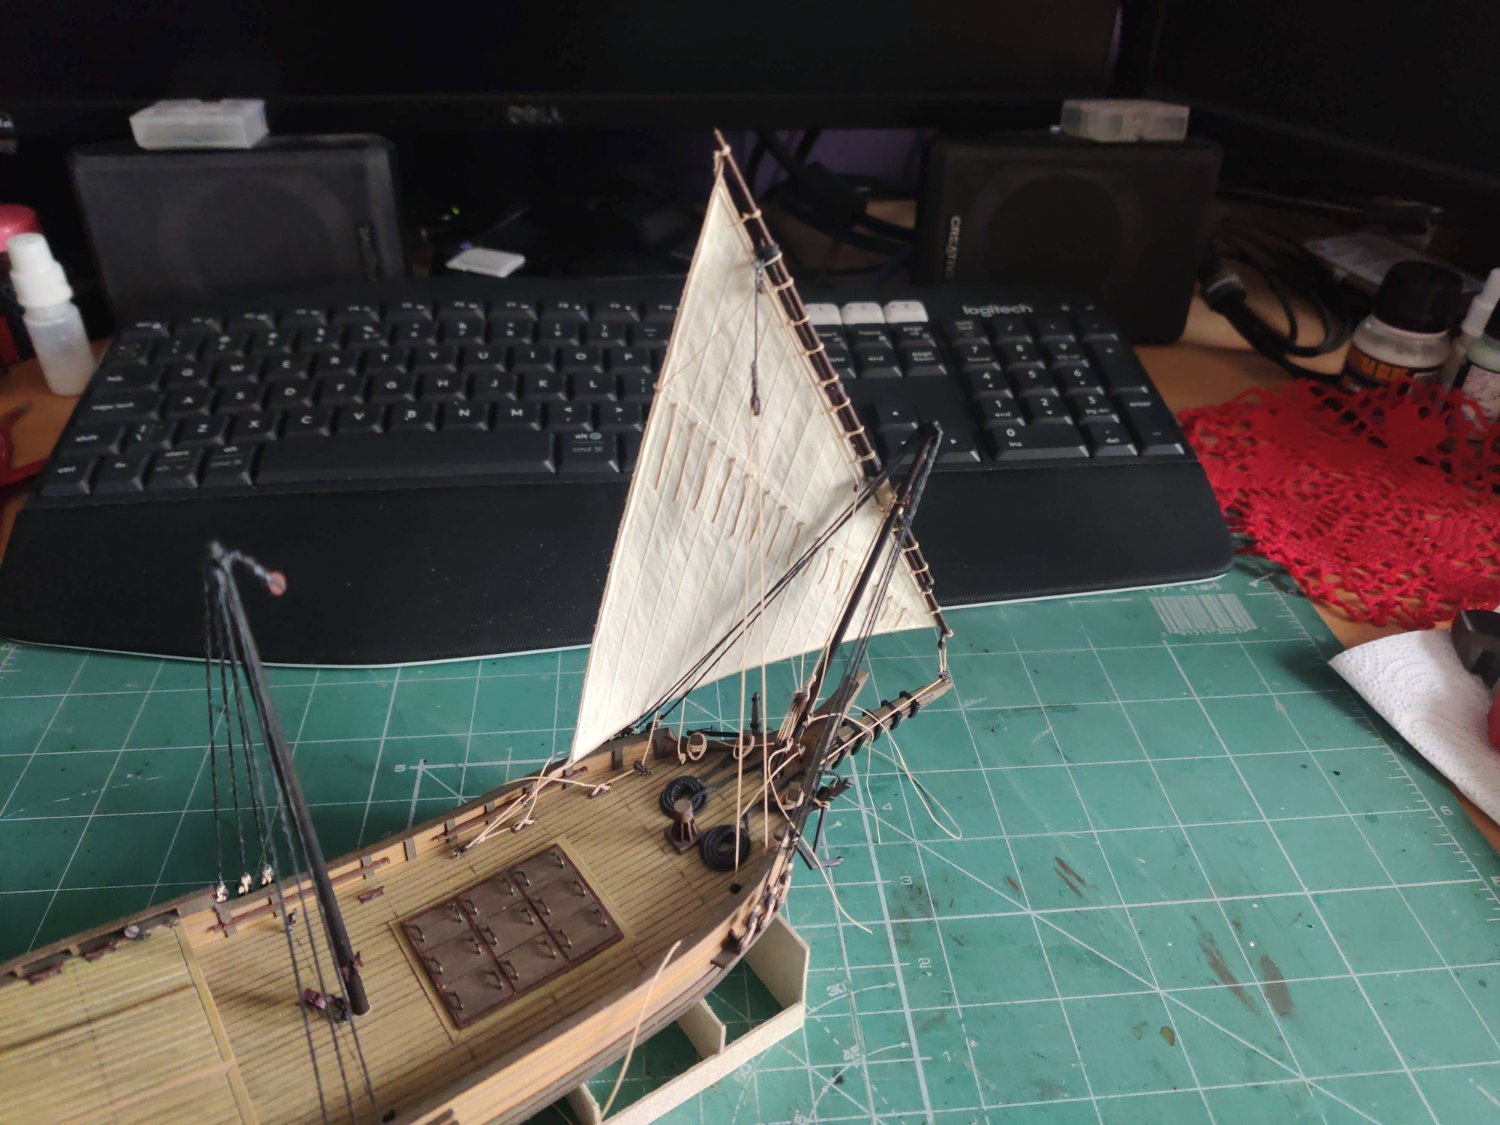
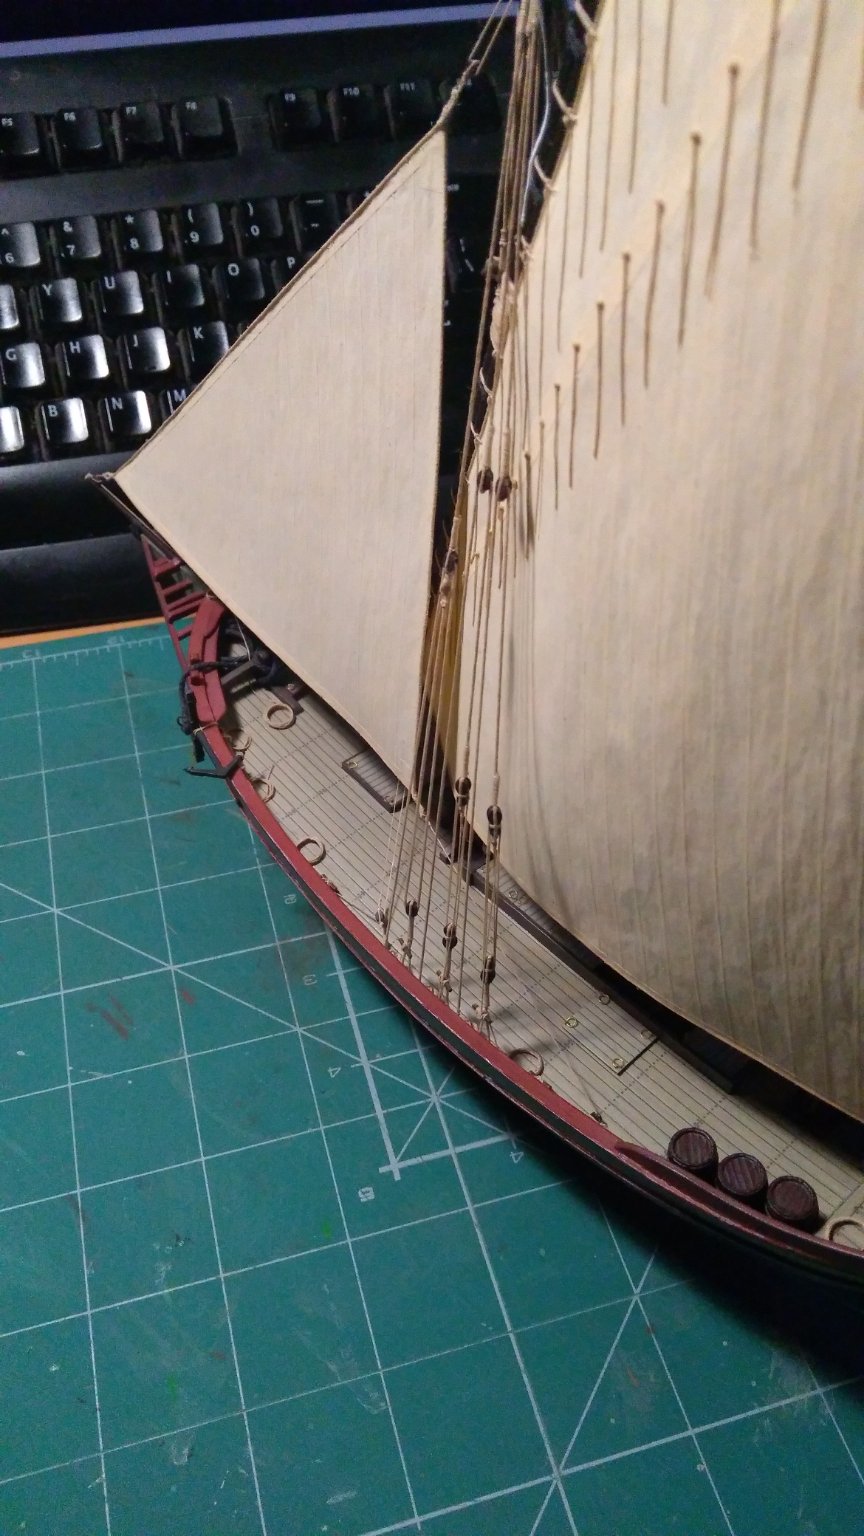
No, I did not reinforce bolt rope with wire and in hindsight I should have. Right now, after a year since completion sails and bolt ropes soaked a bit of moisture from air and deformed a bit. I've used cotton thread, around 0,5mm in diameter, straight from the spool and did not wax it with bees wax to let pva glue grab easier to it, but it made it more prone to moisture unfortunately. I'm definitely going to try to use some wire in my current Saettia build but I haven't figured out yet if should embed it into sail or make my own bolt rope with wire core. Check out how Bruma made his sails in this log https://modelshipworld.com/topic/25323-cutty-sark-by-bruma-revell-196/page/7/#comments , you might find it inspiring to experiment a bit. Sails on my Allege currently look like this:


- 35 replies
-
- 3
-

-
- allege darles
- wak
- (and 2 more)
-
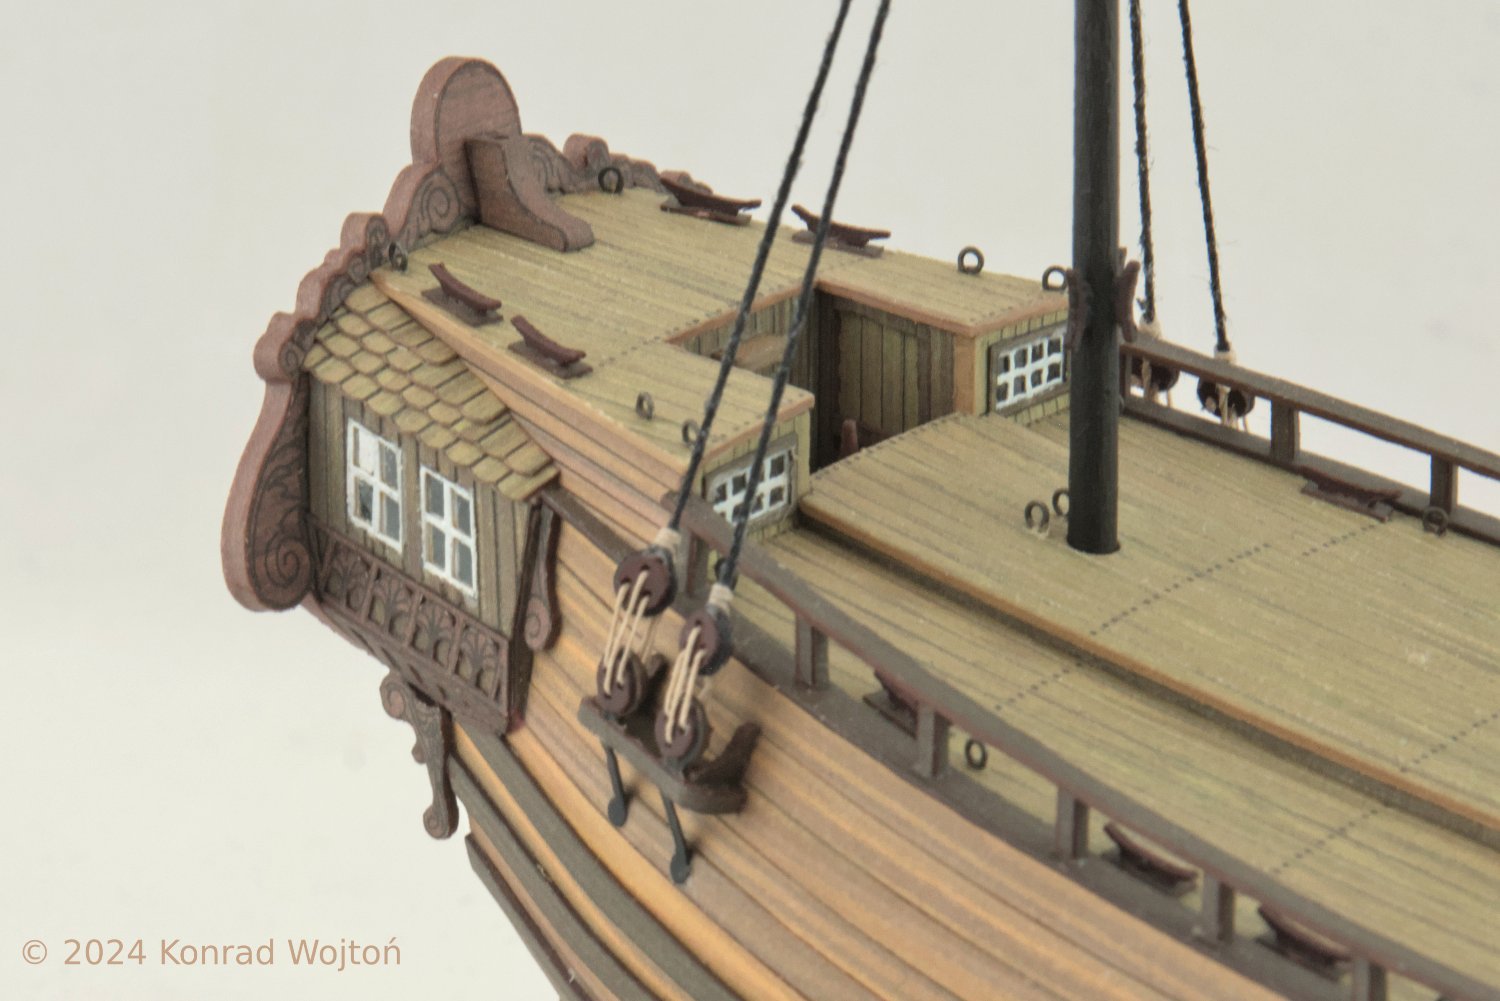
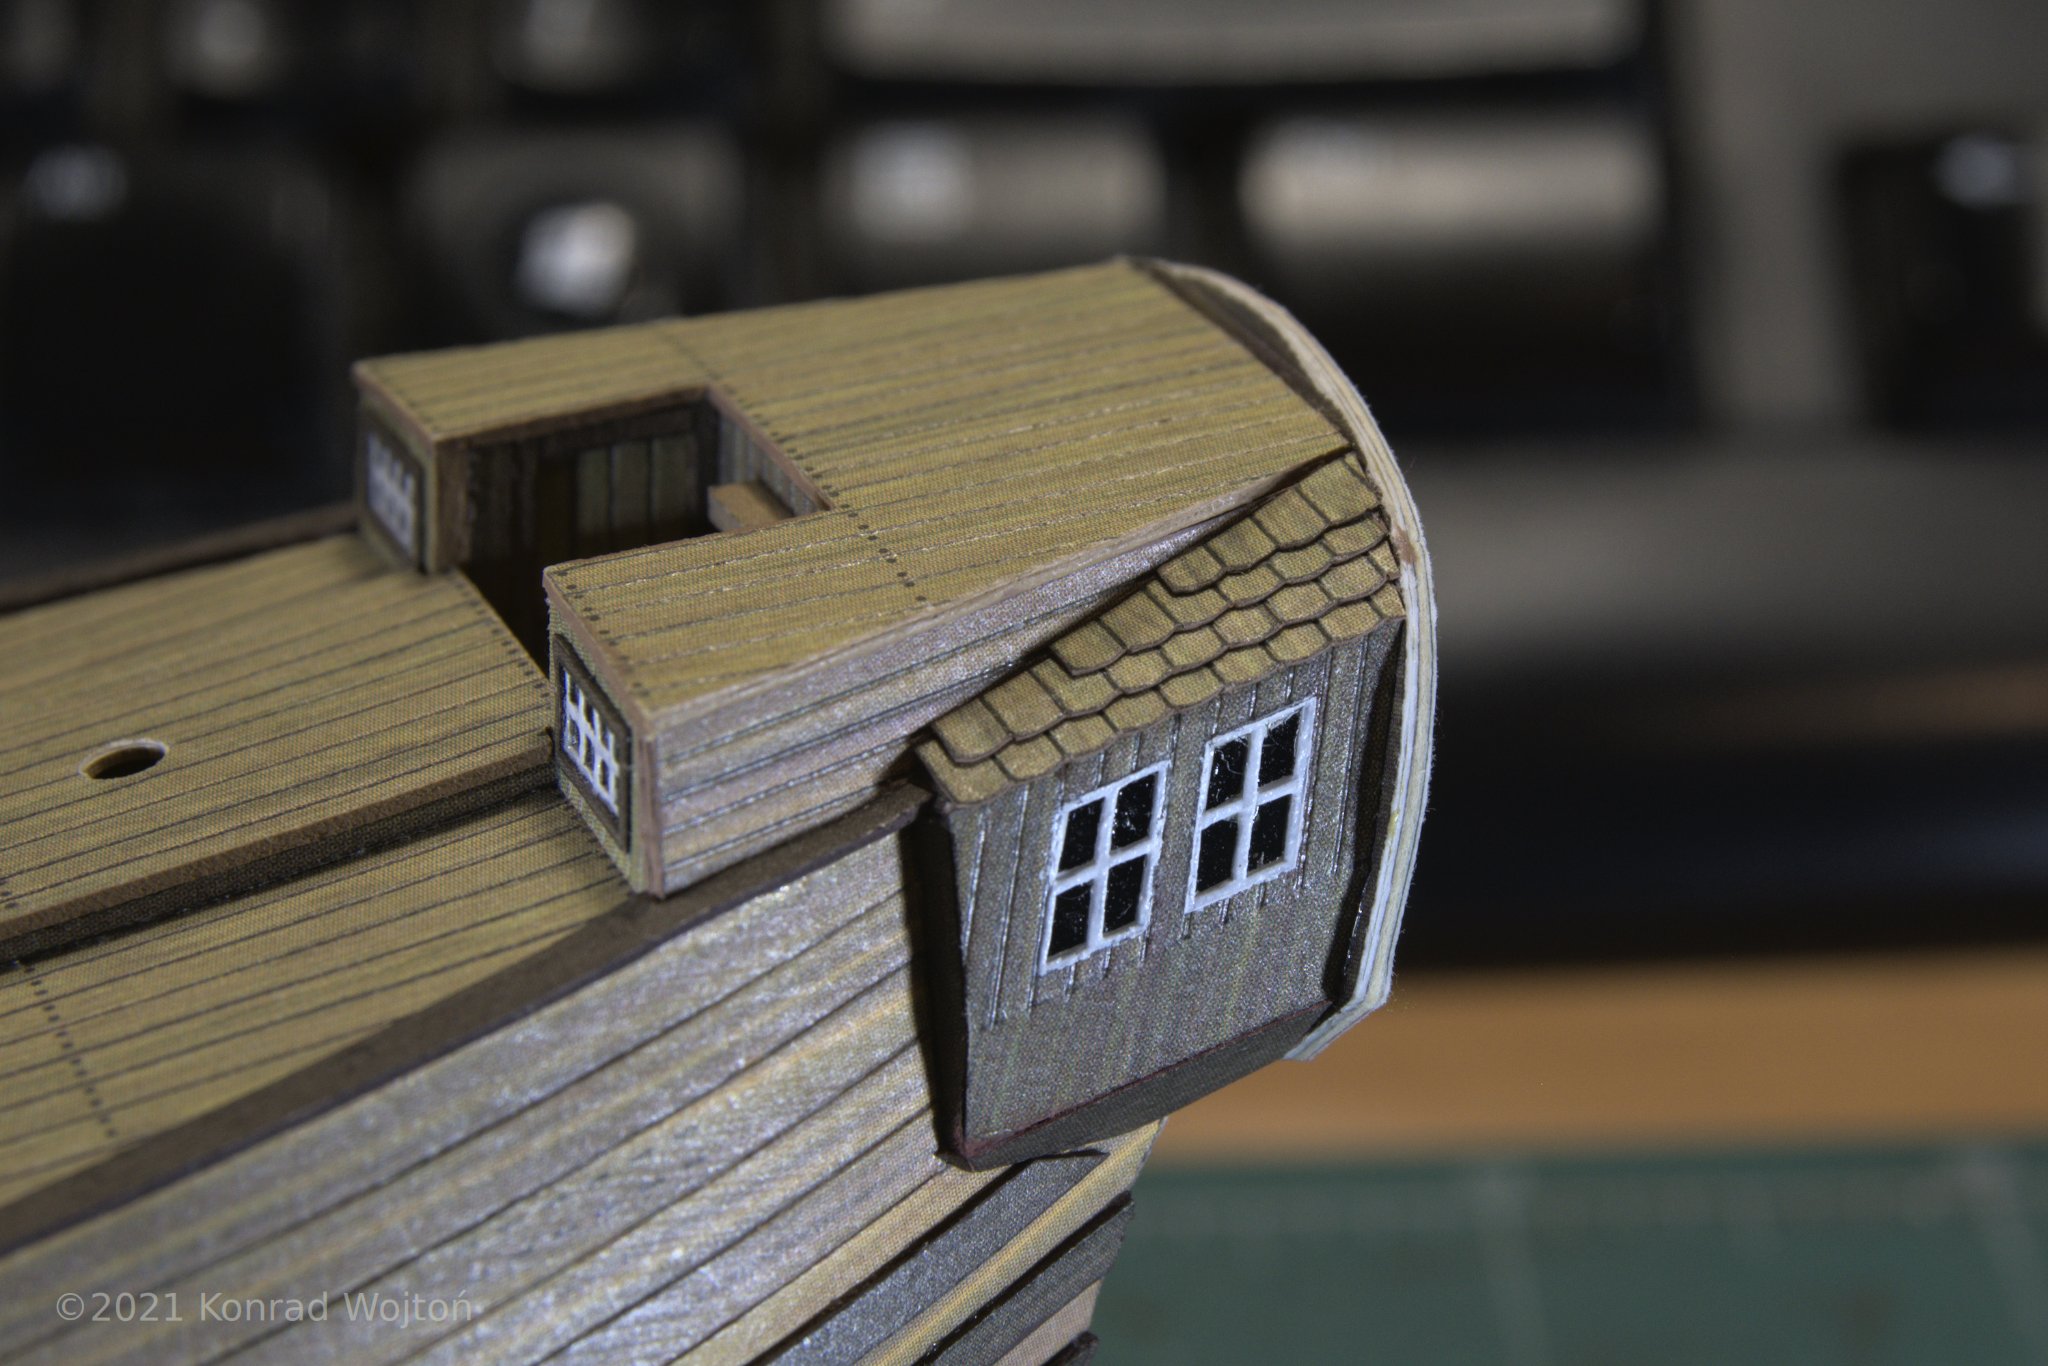
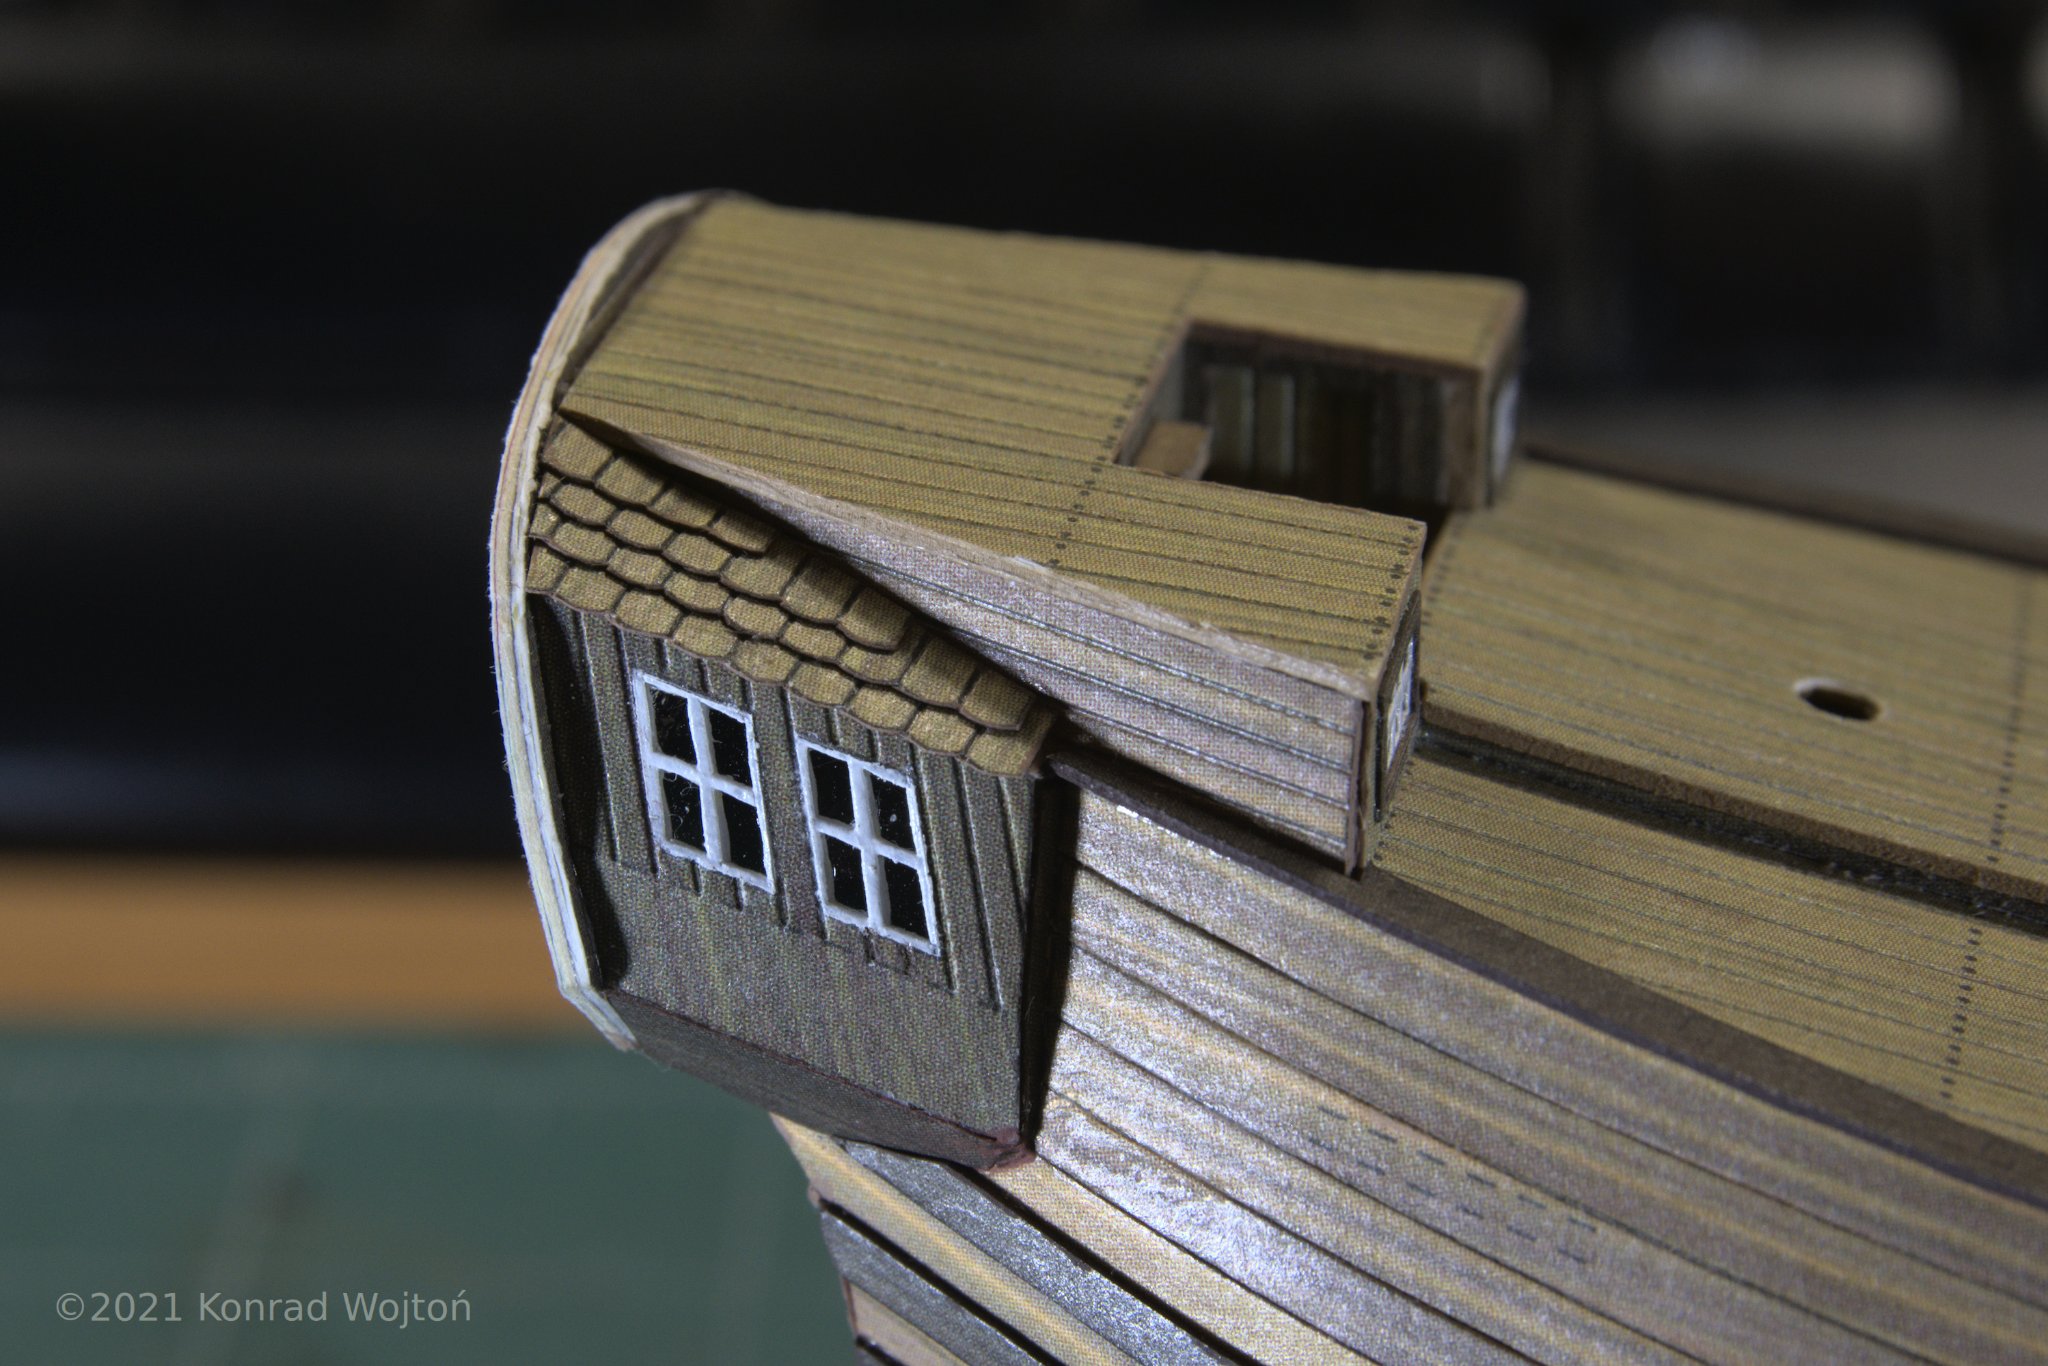
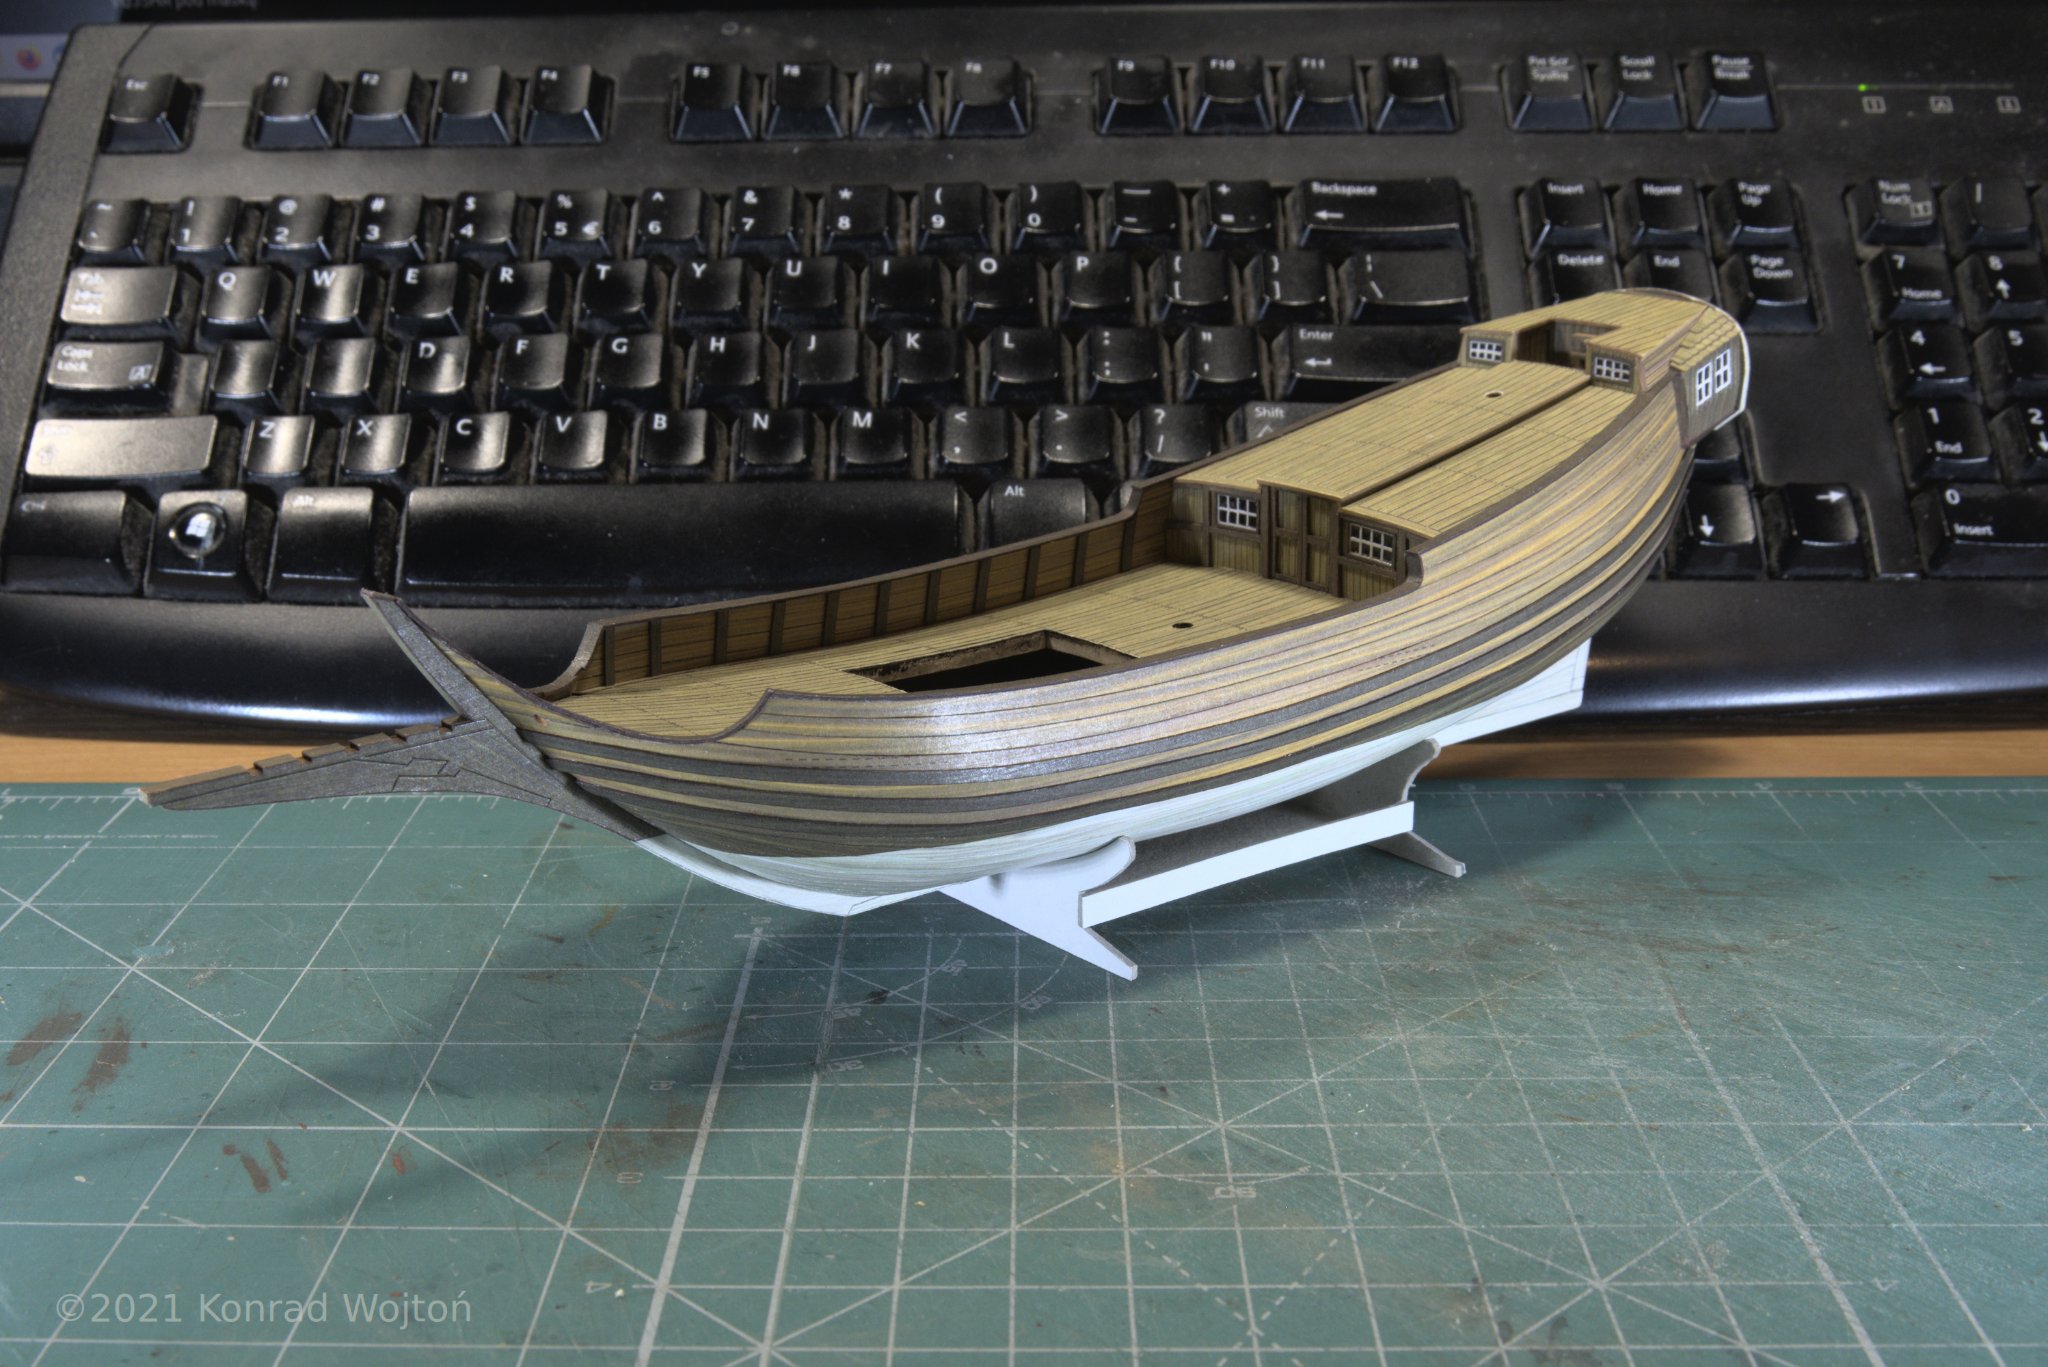
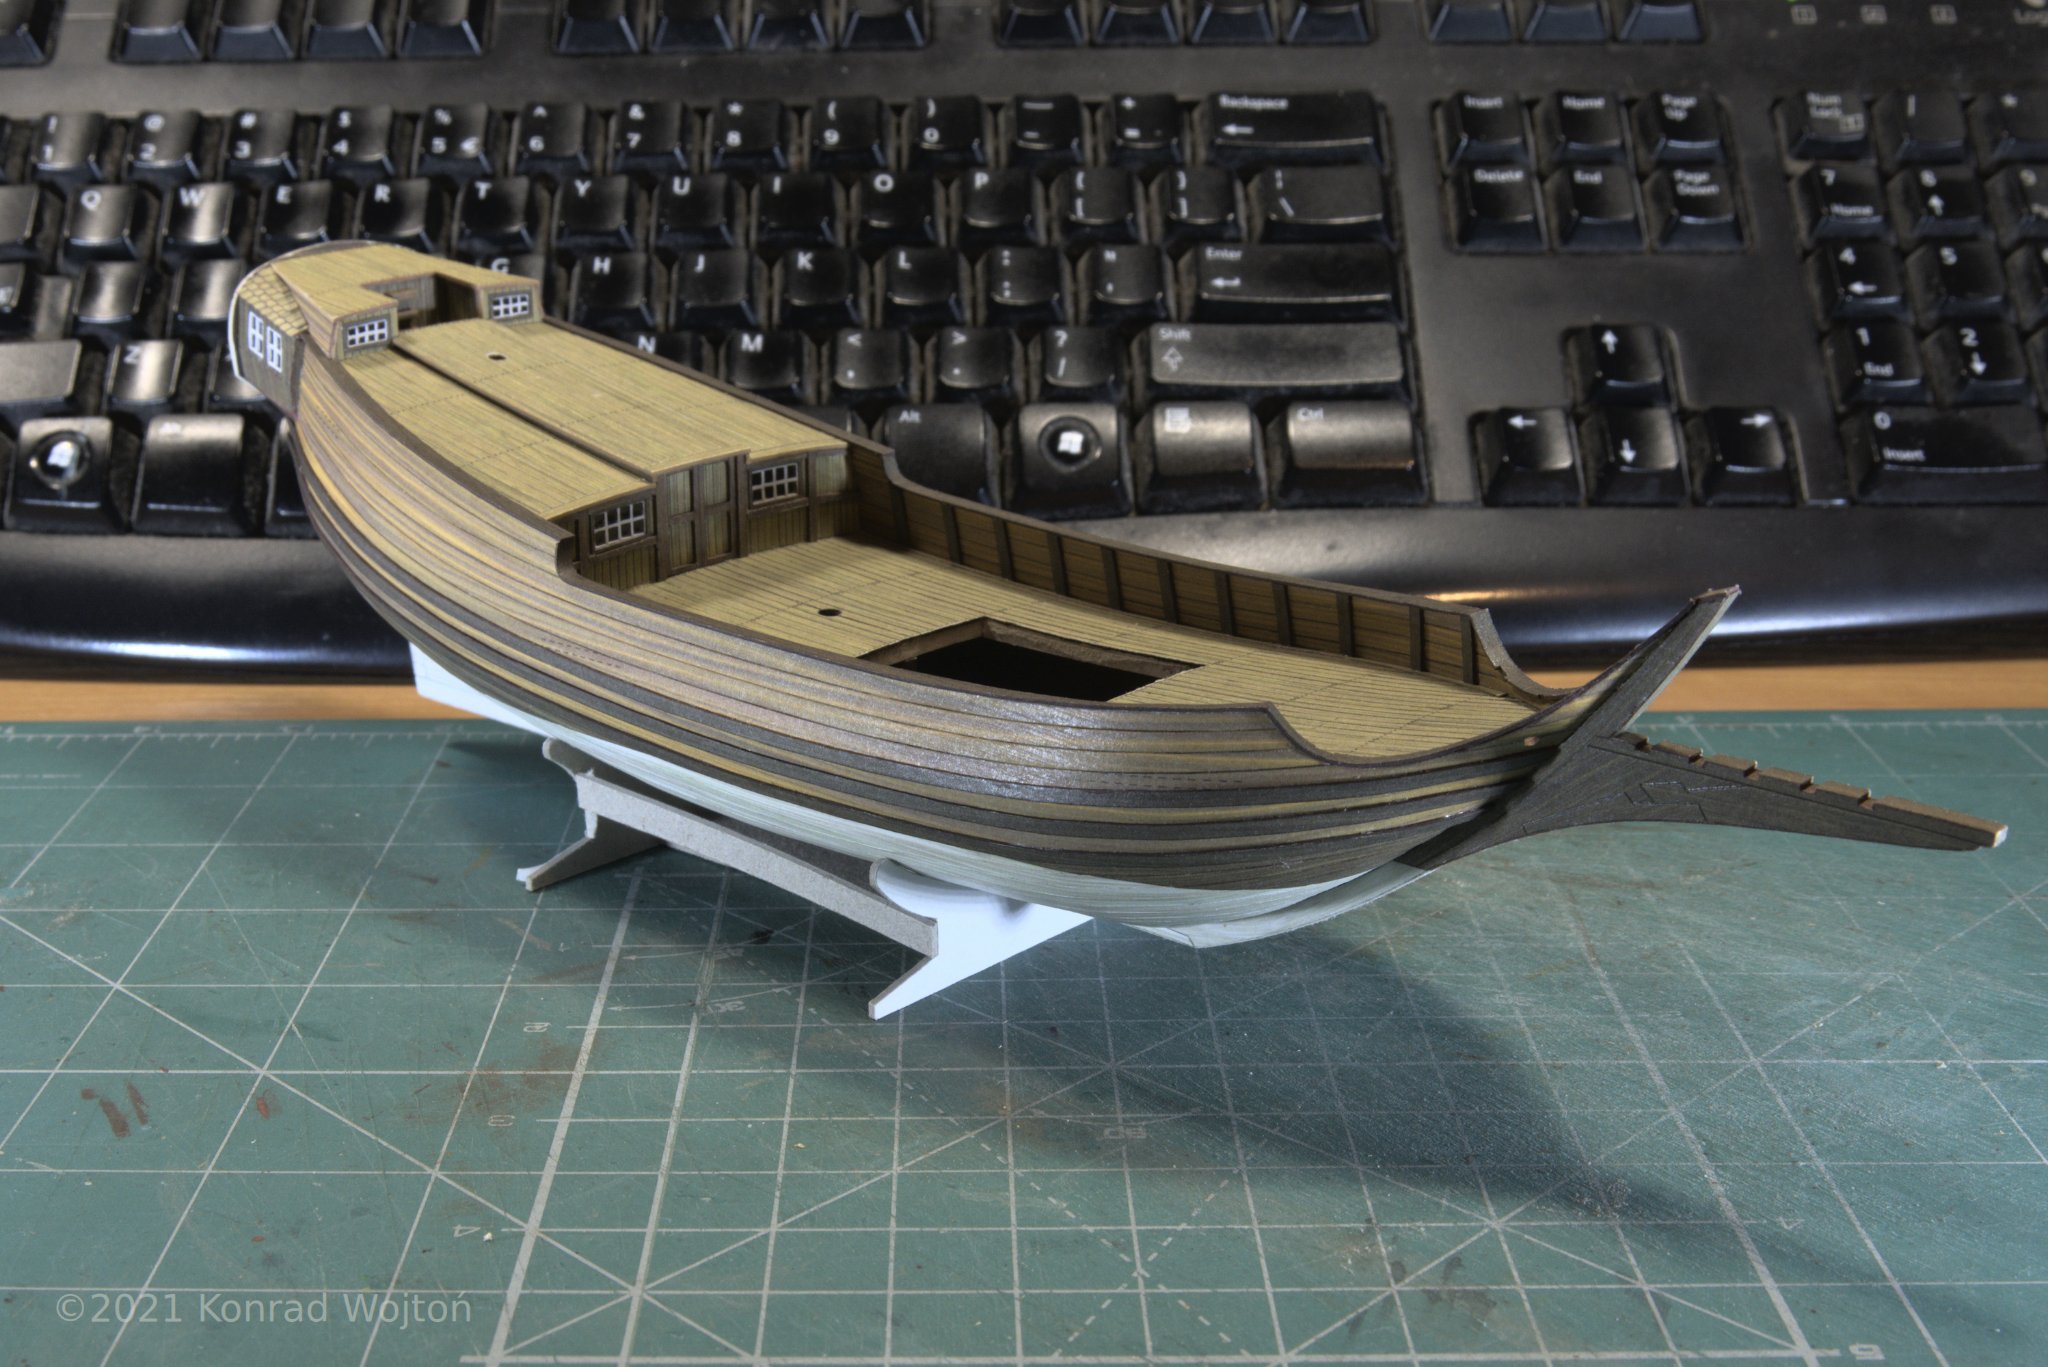
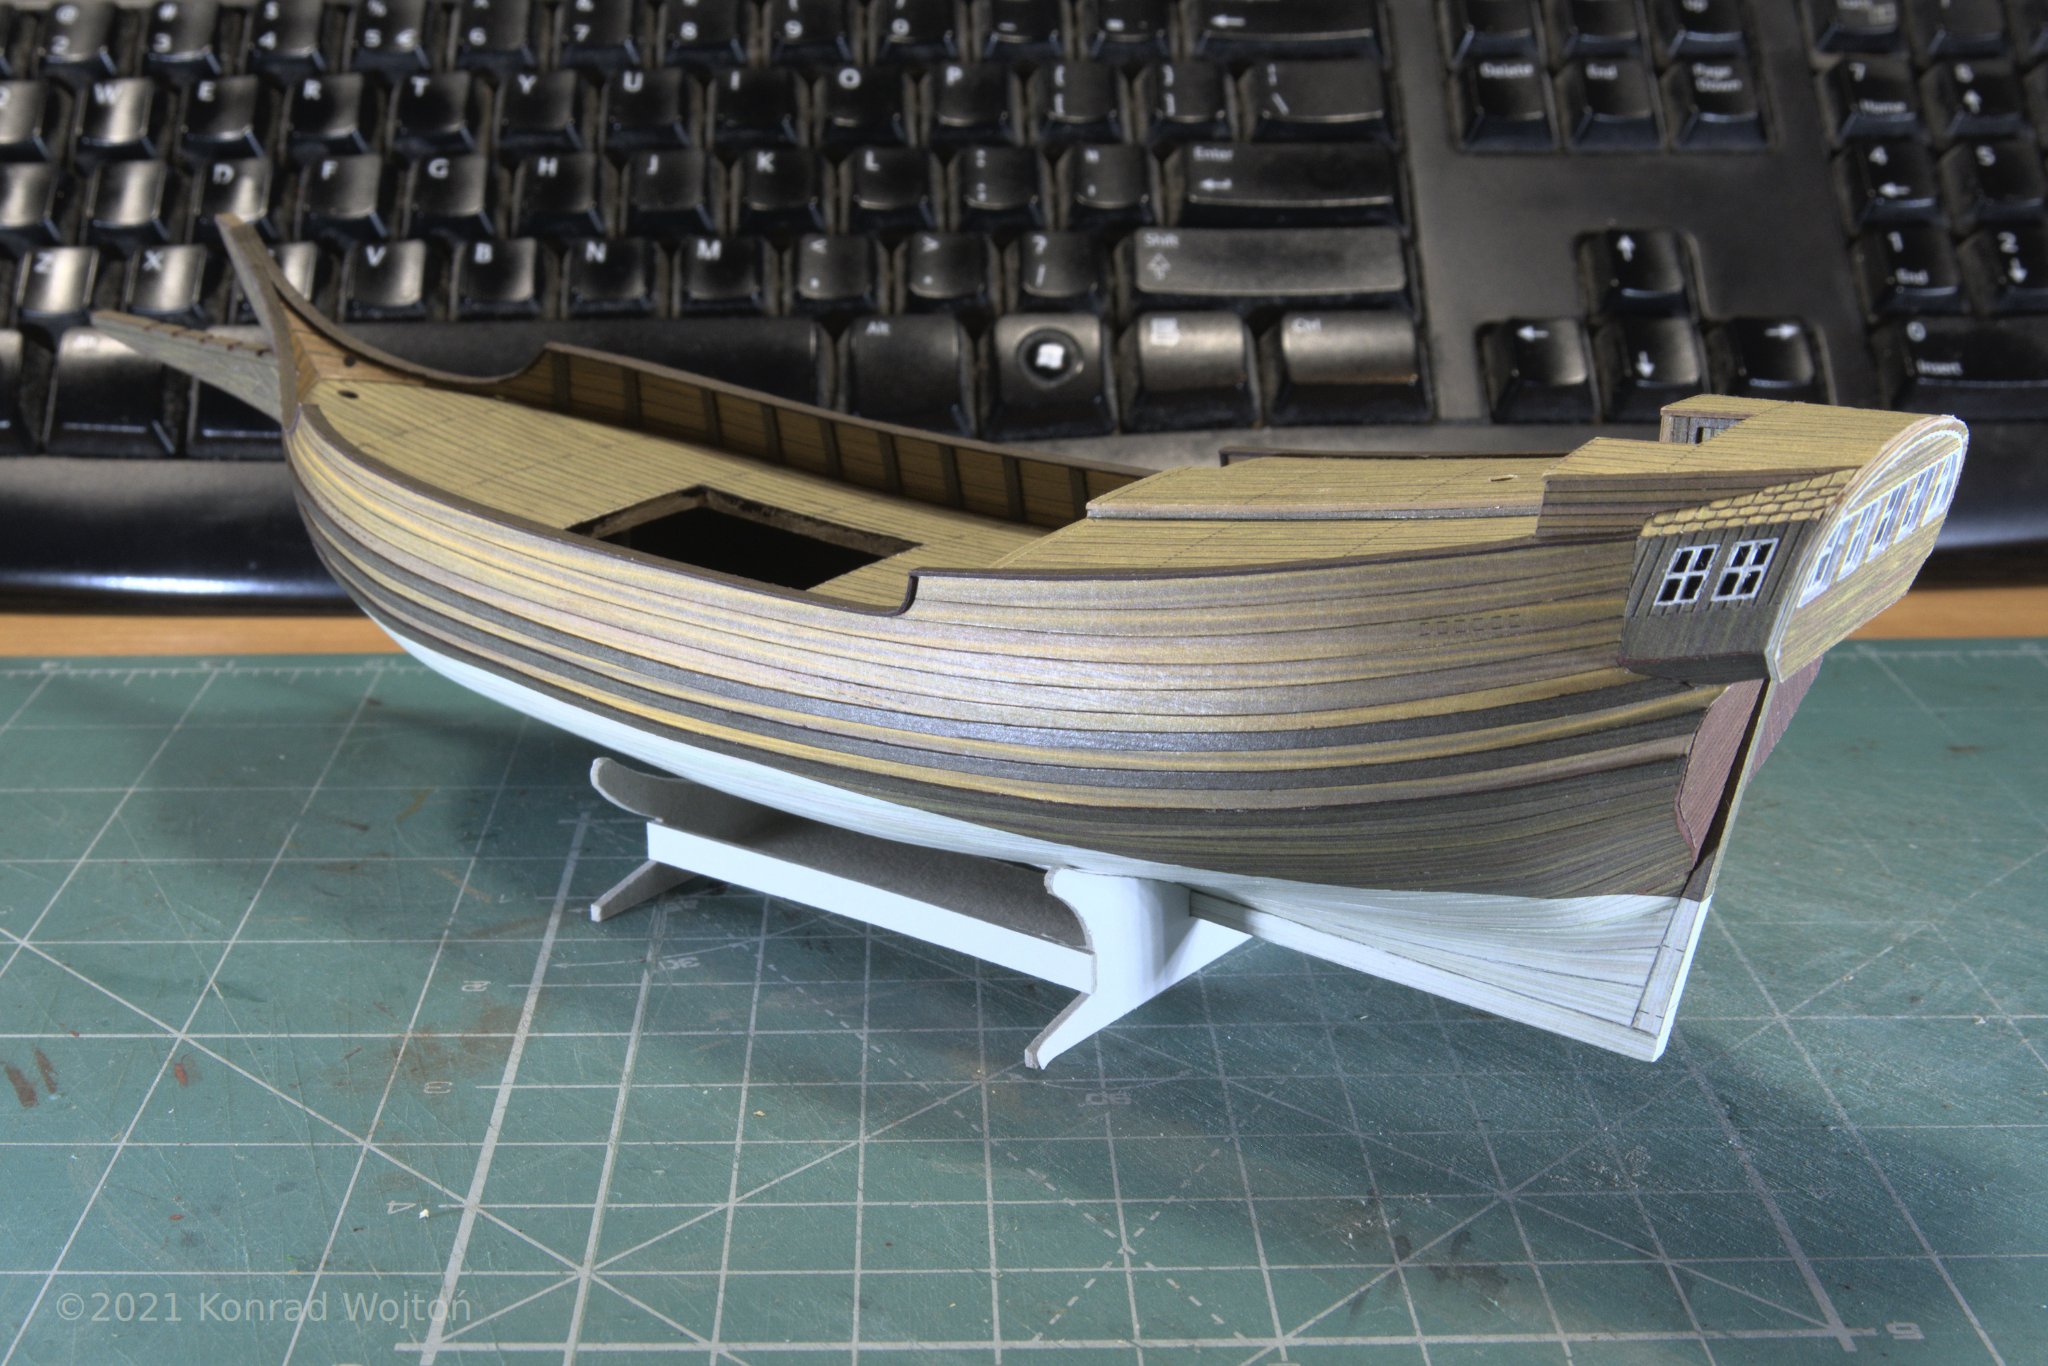
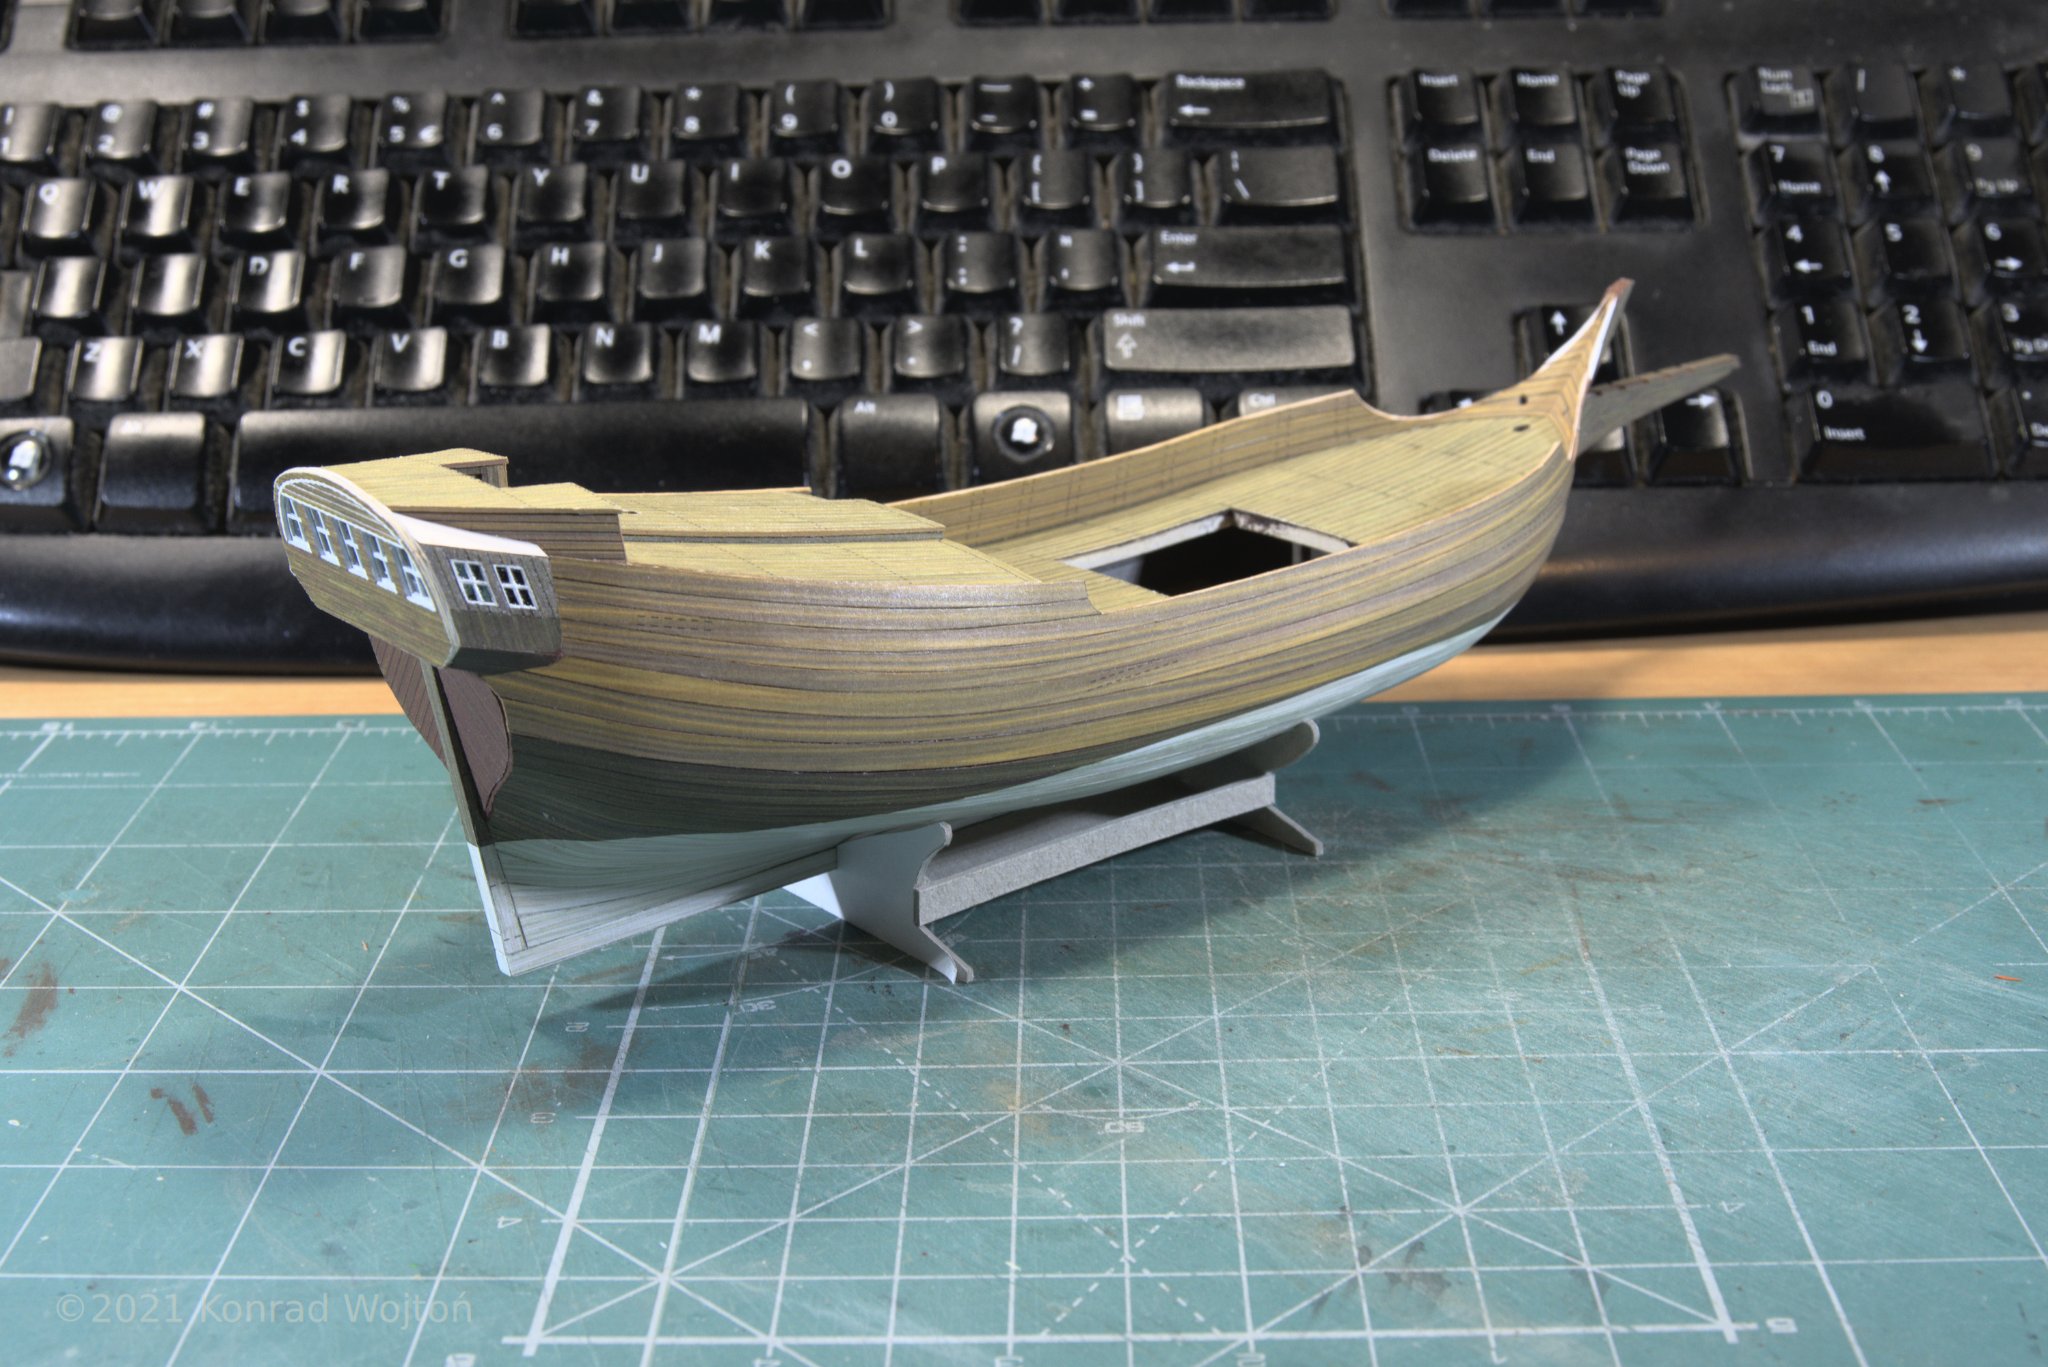
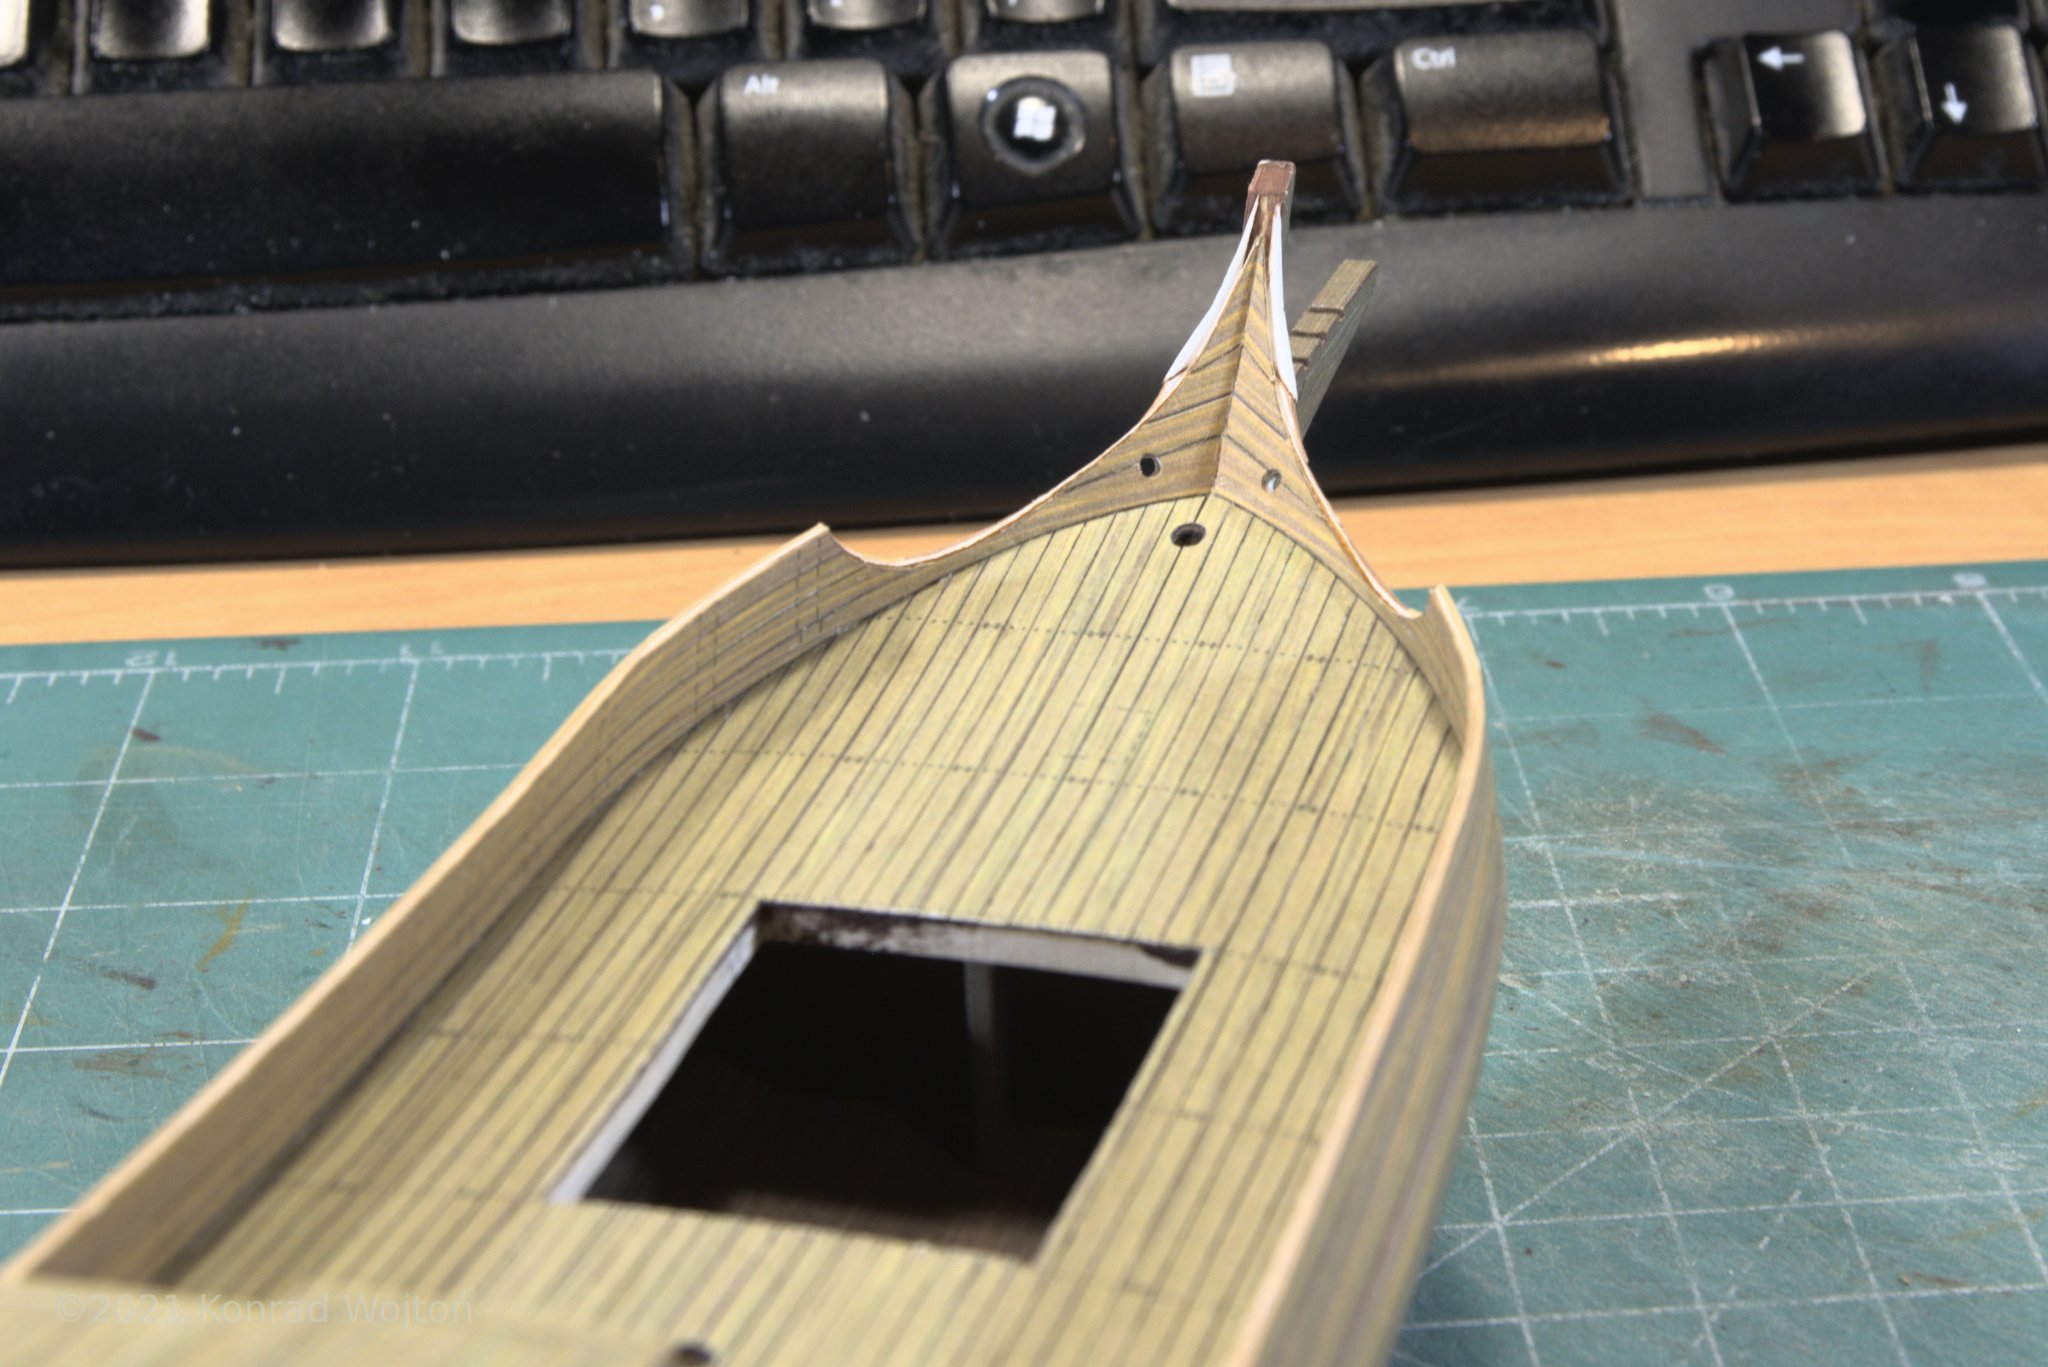
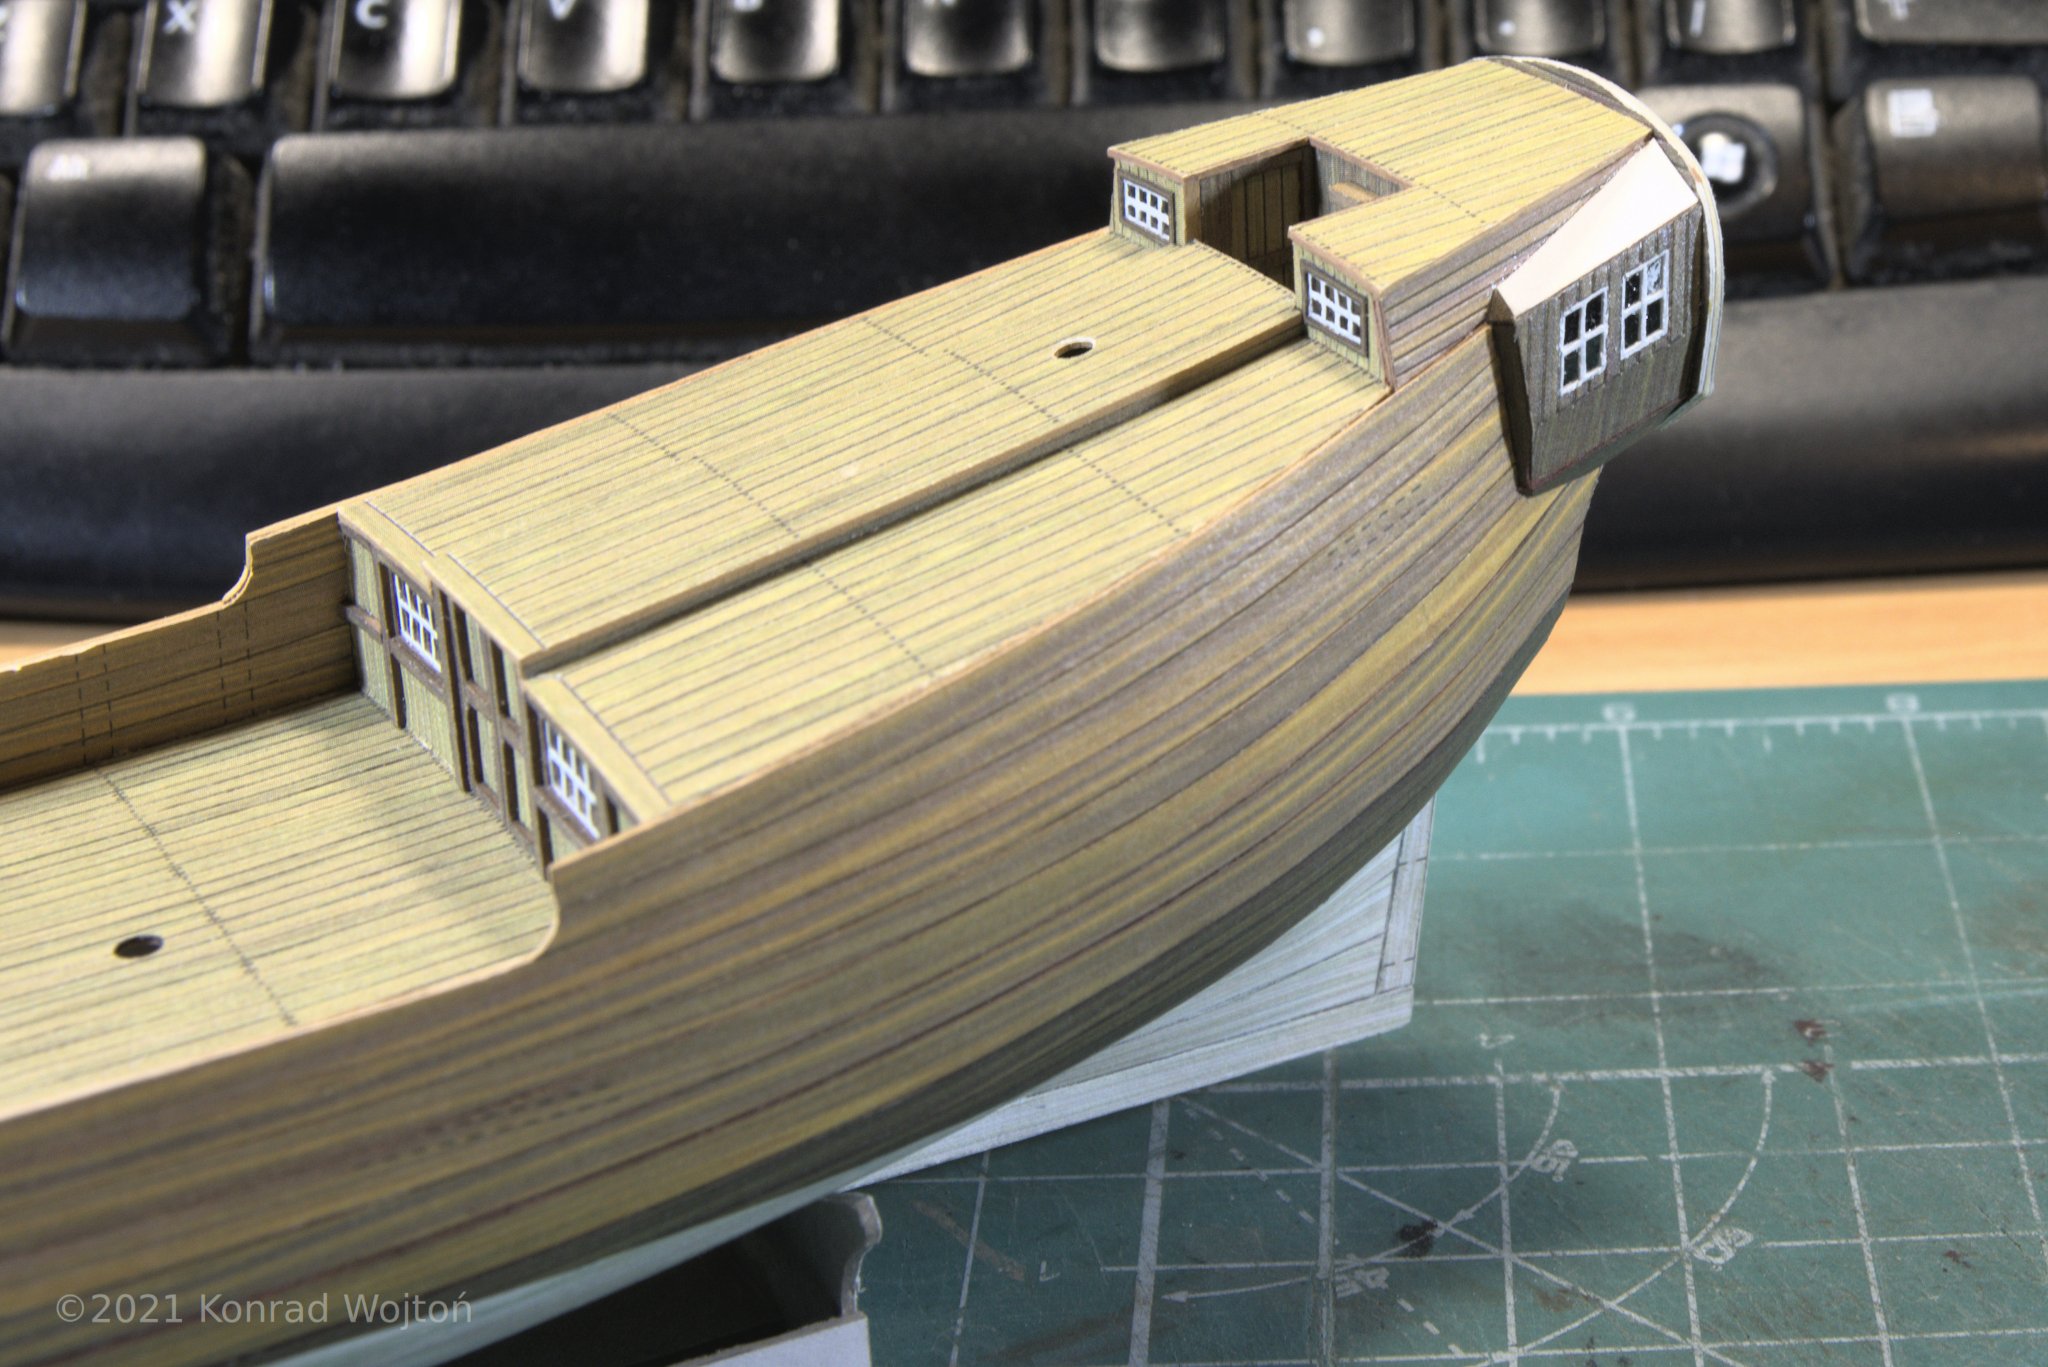
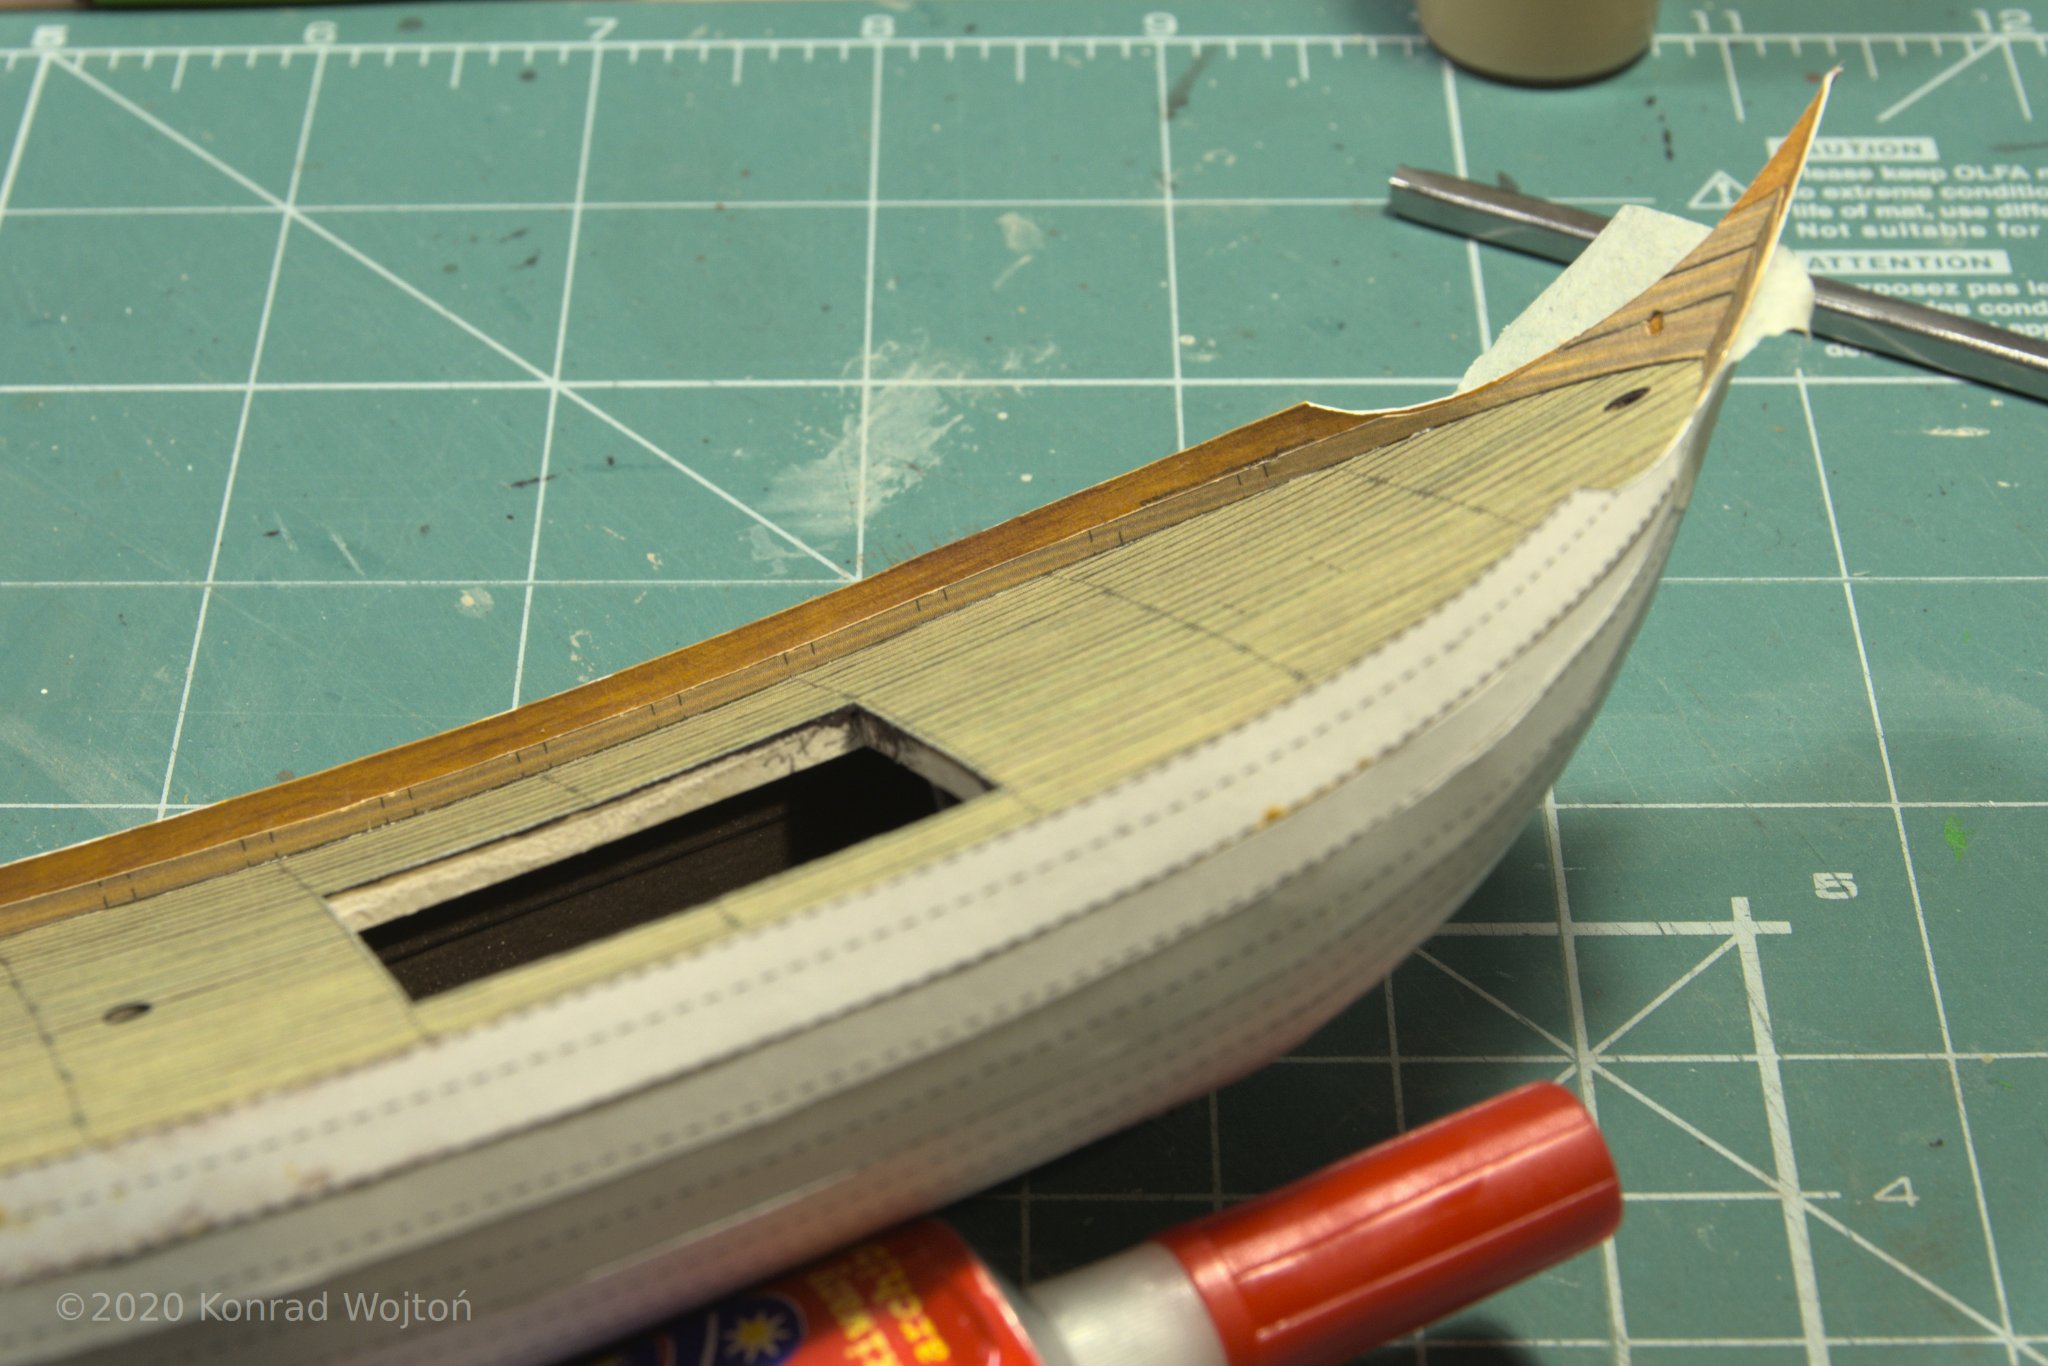
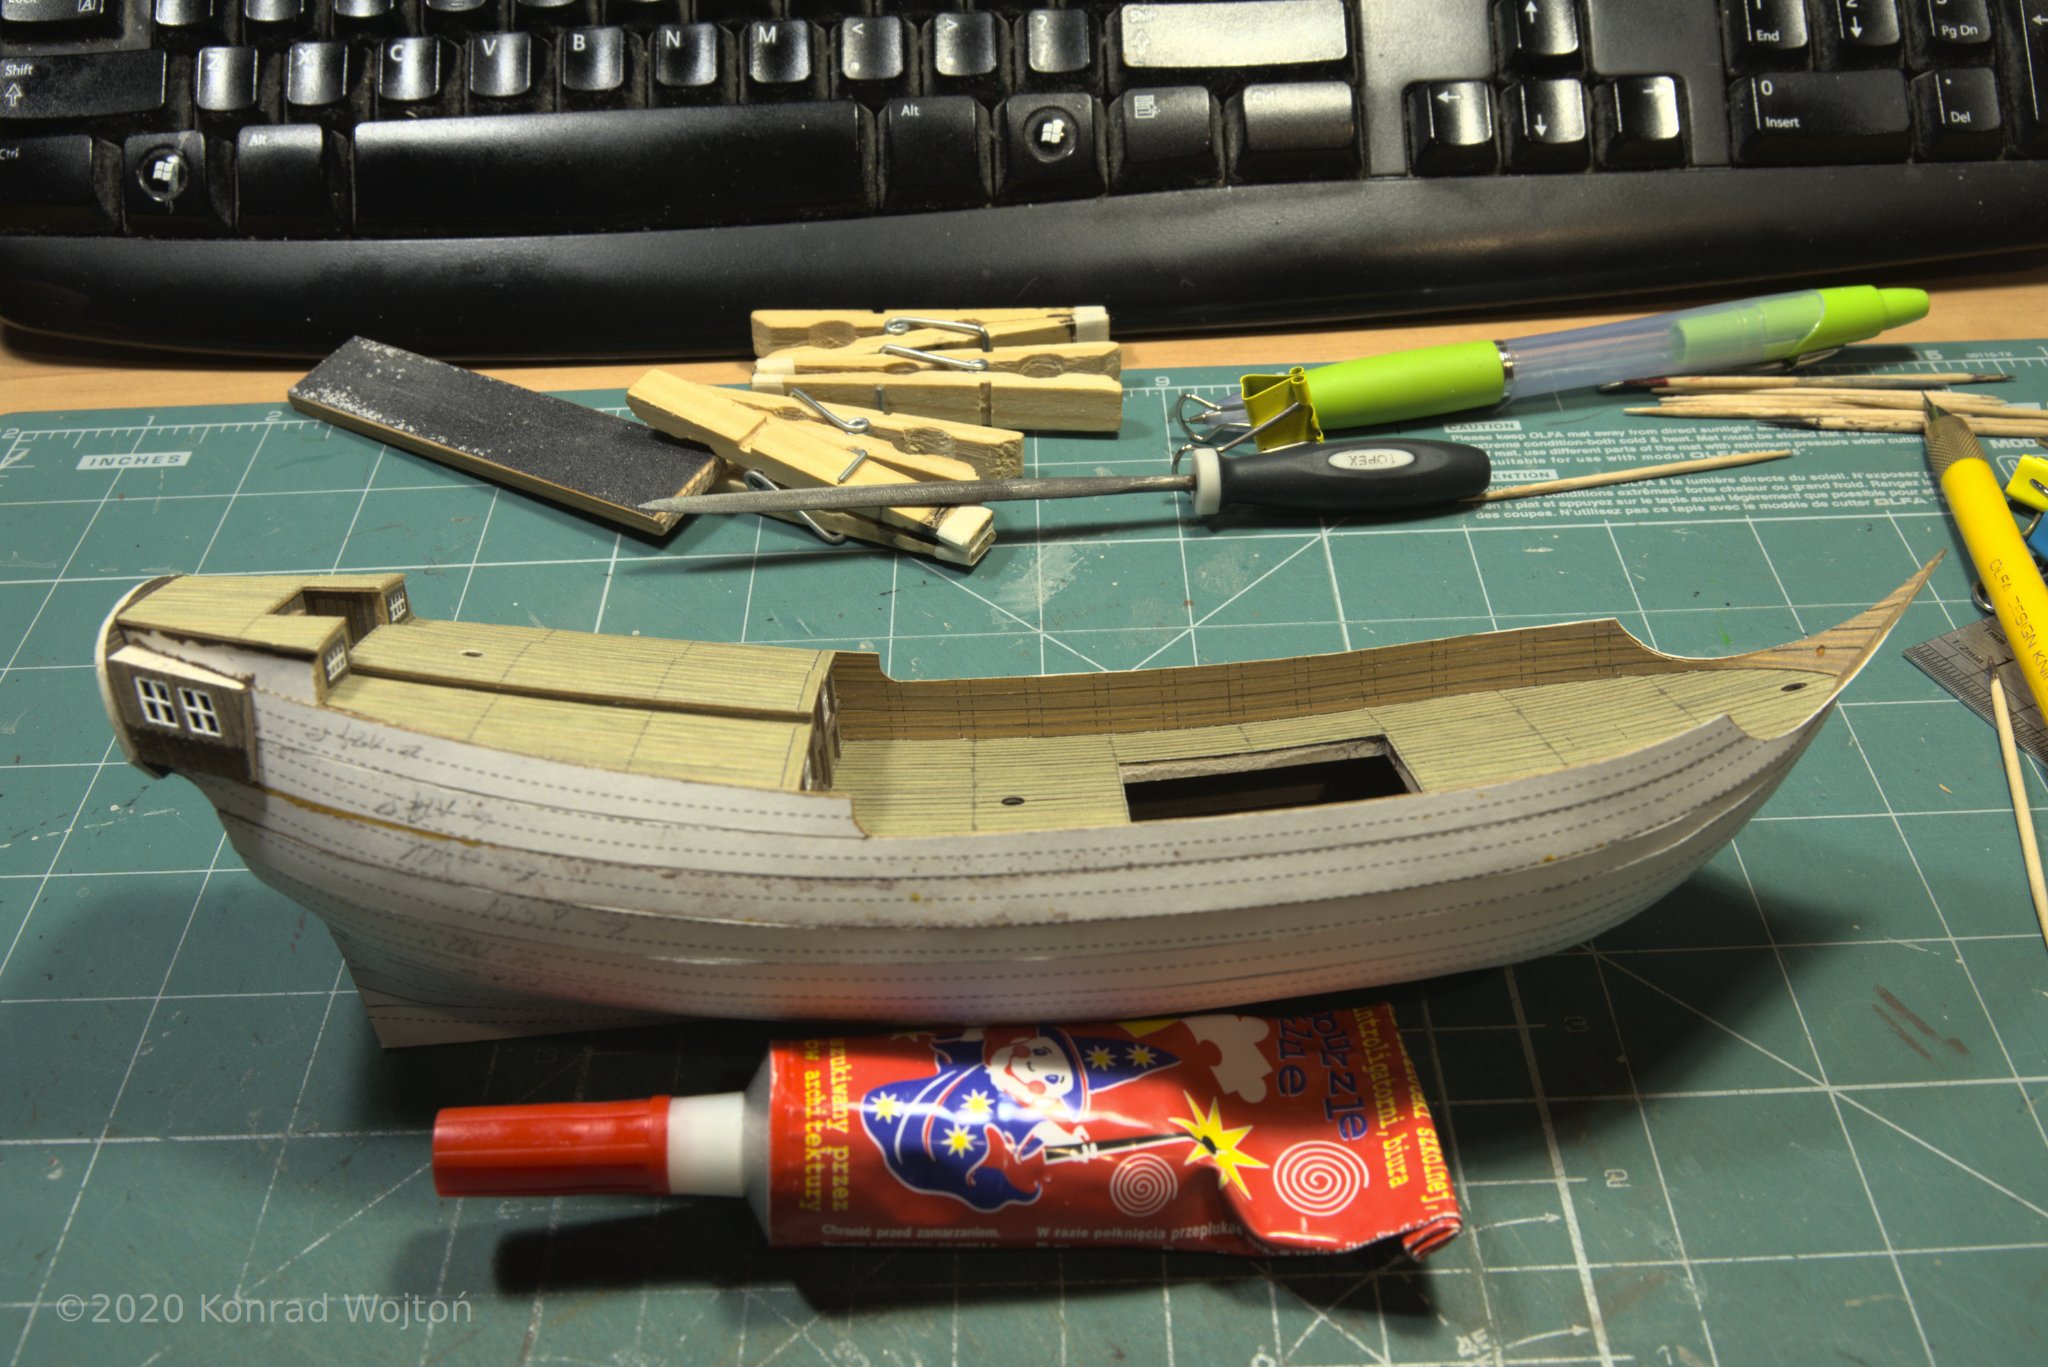
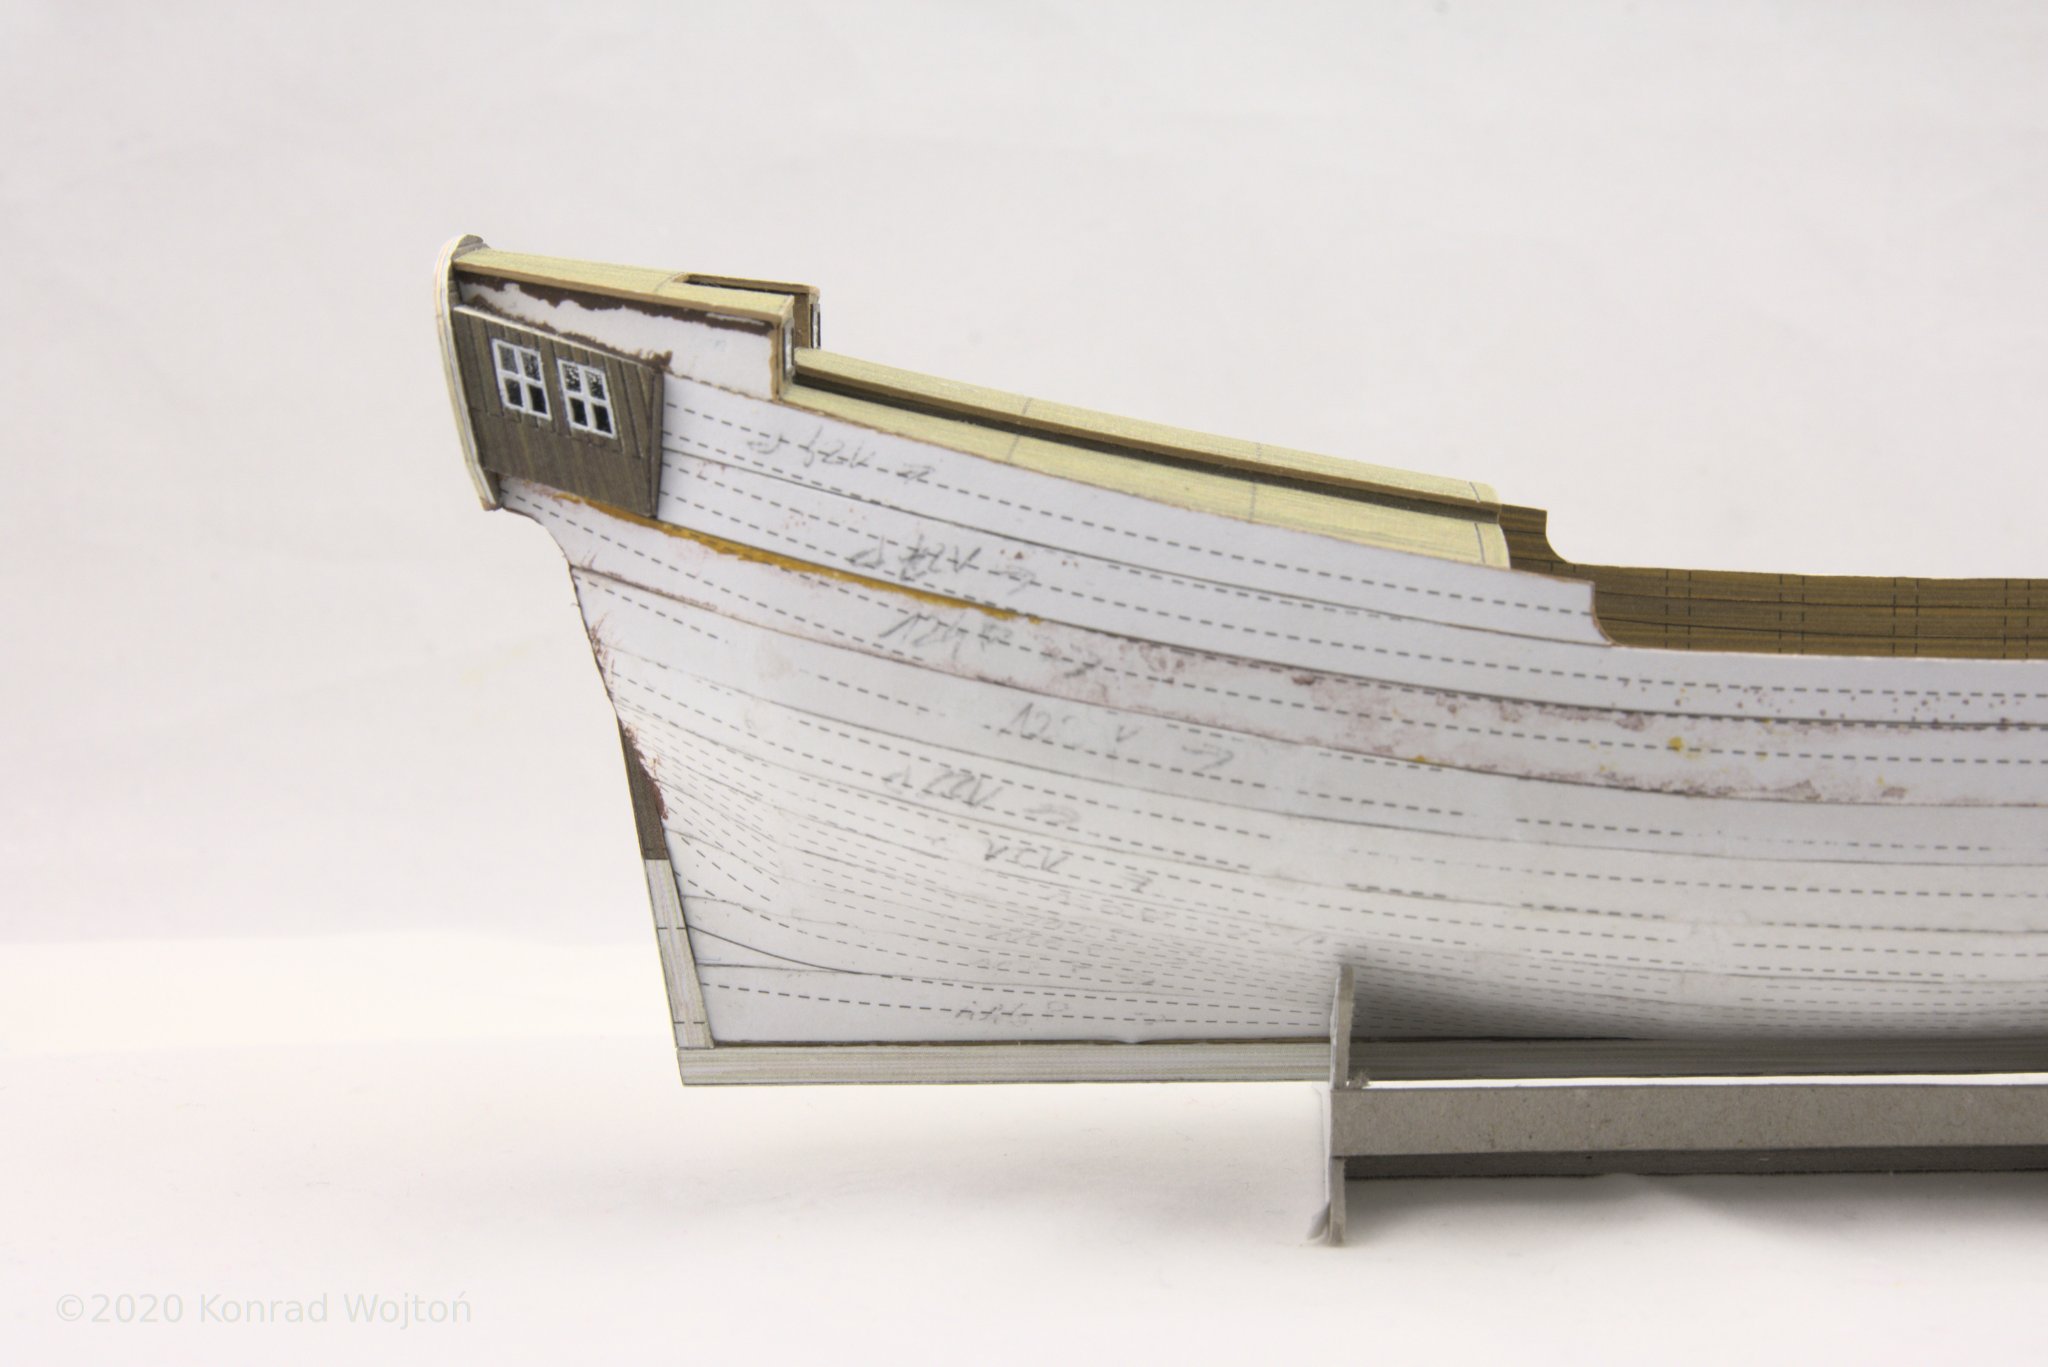
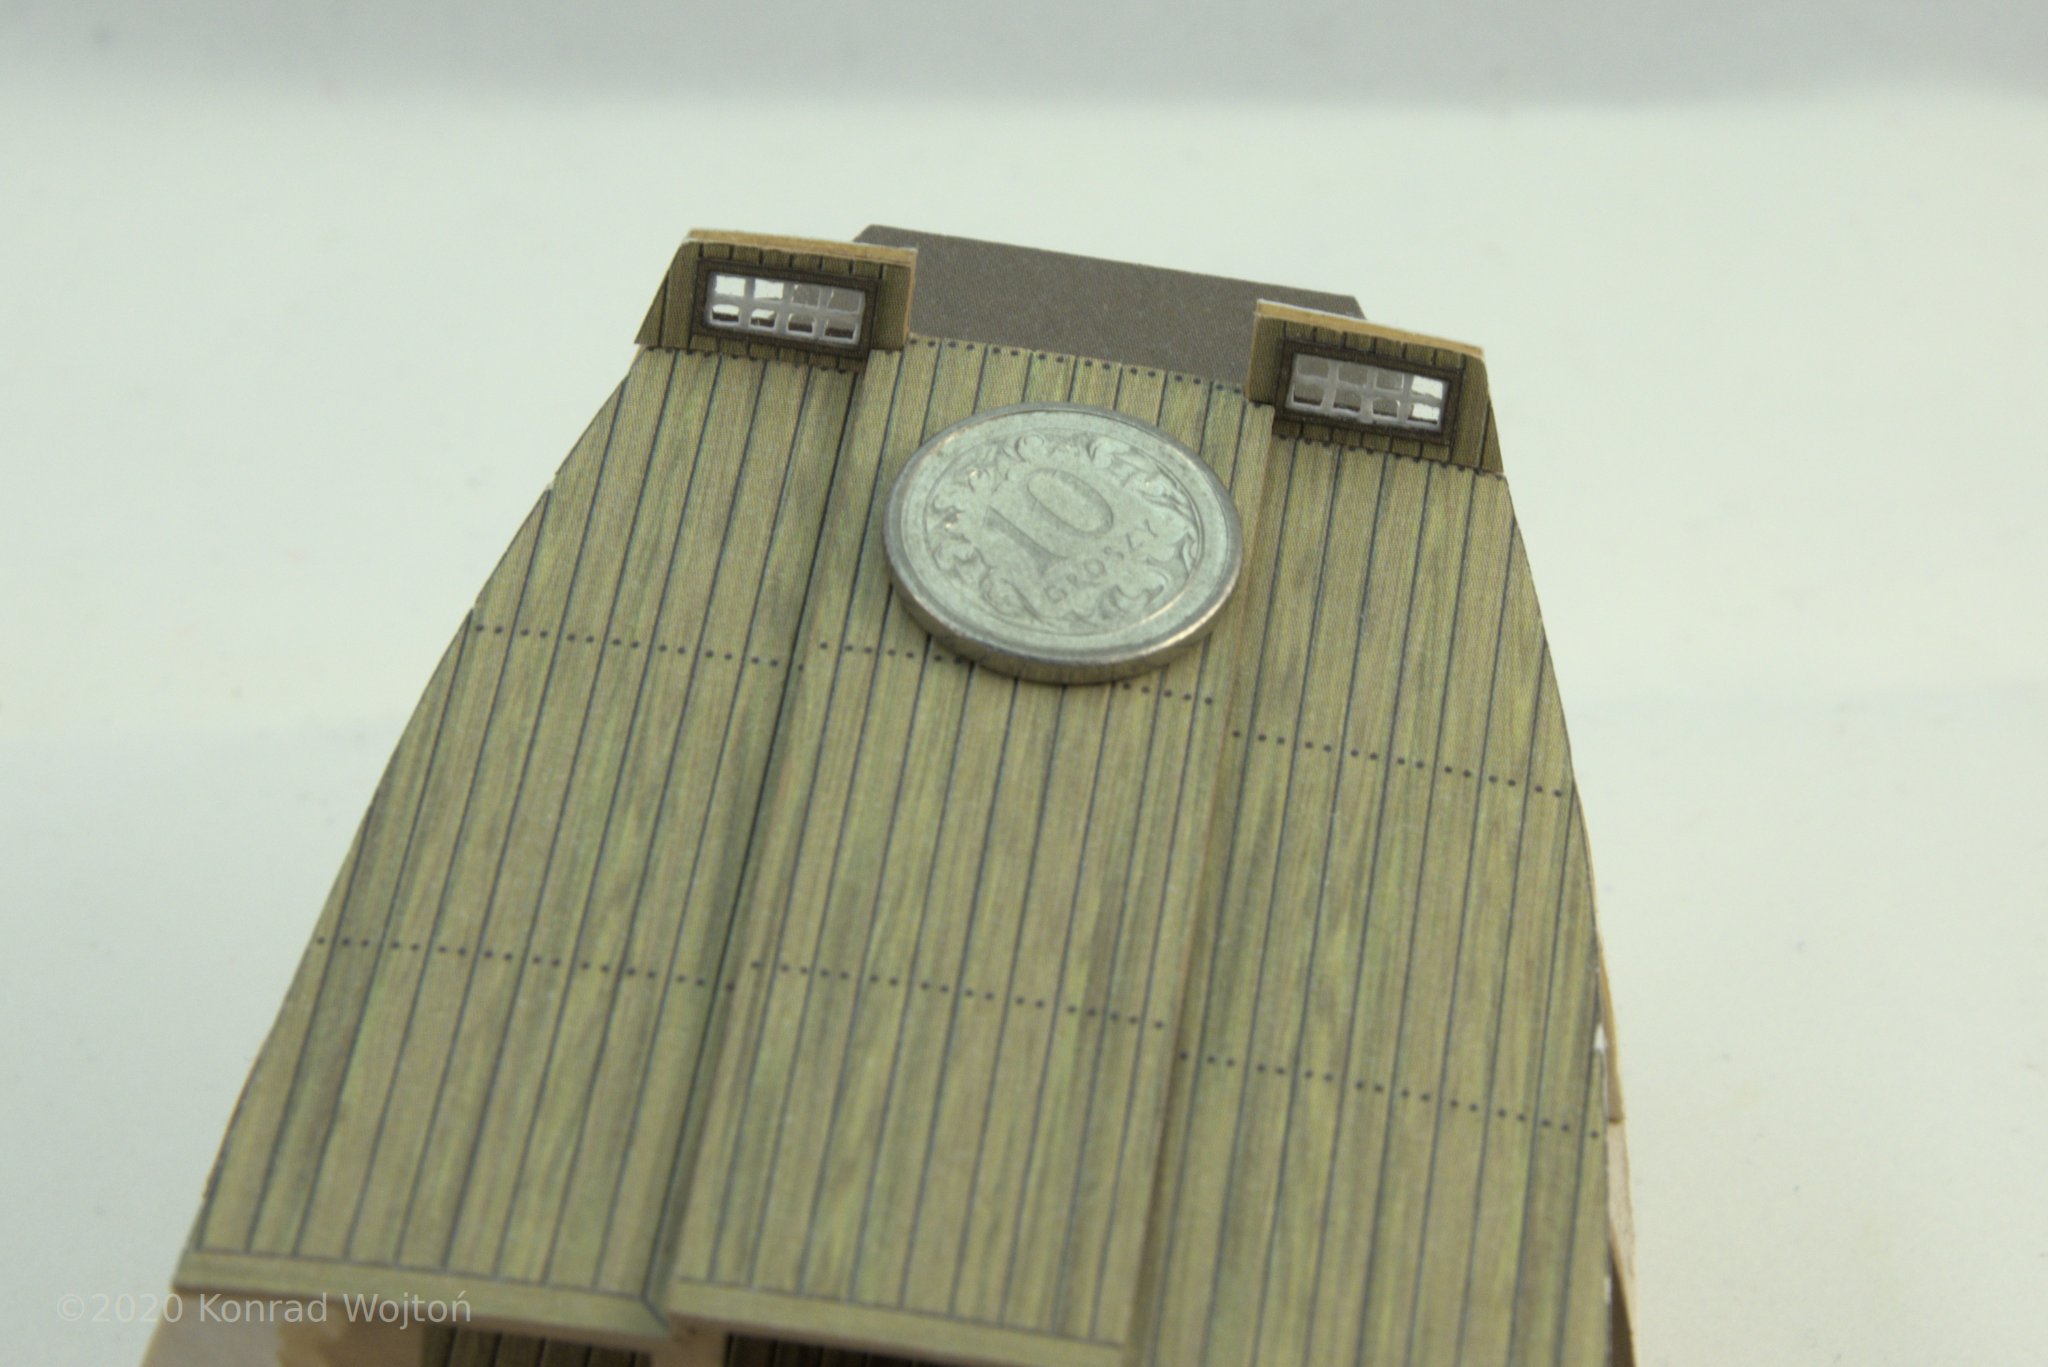
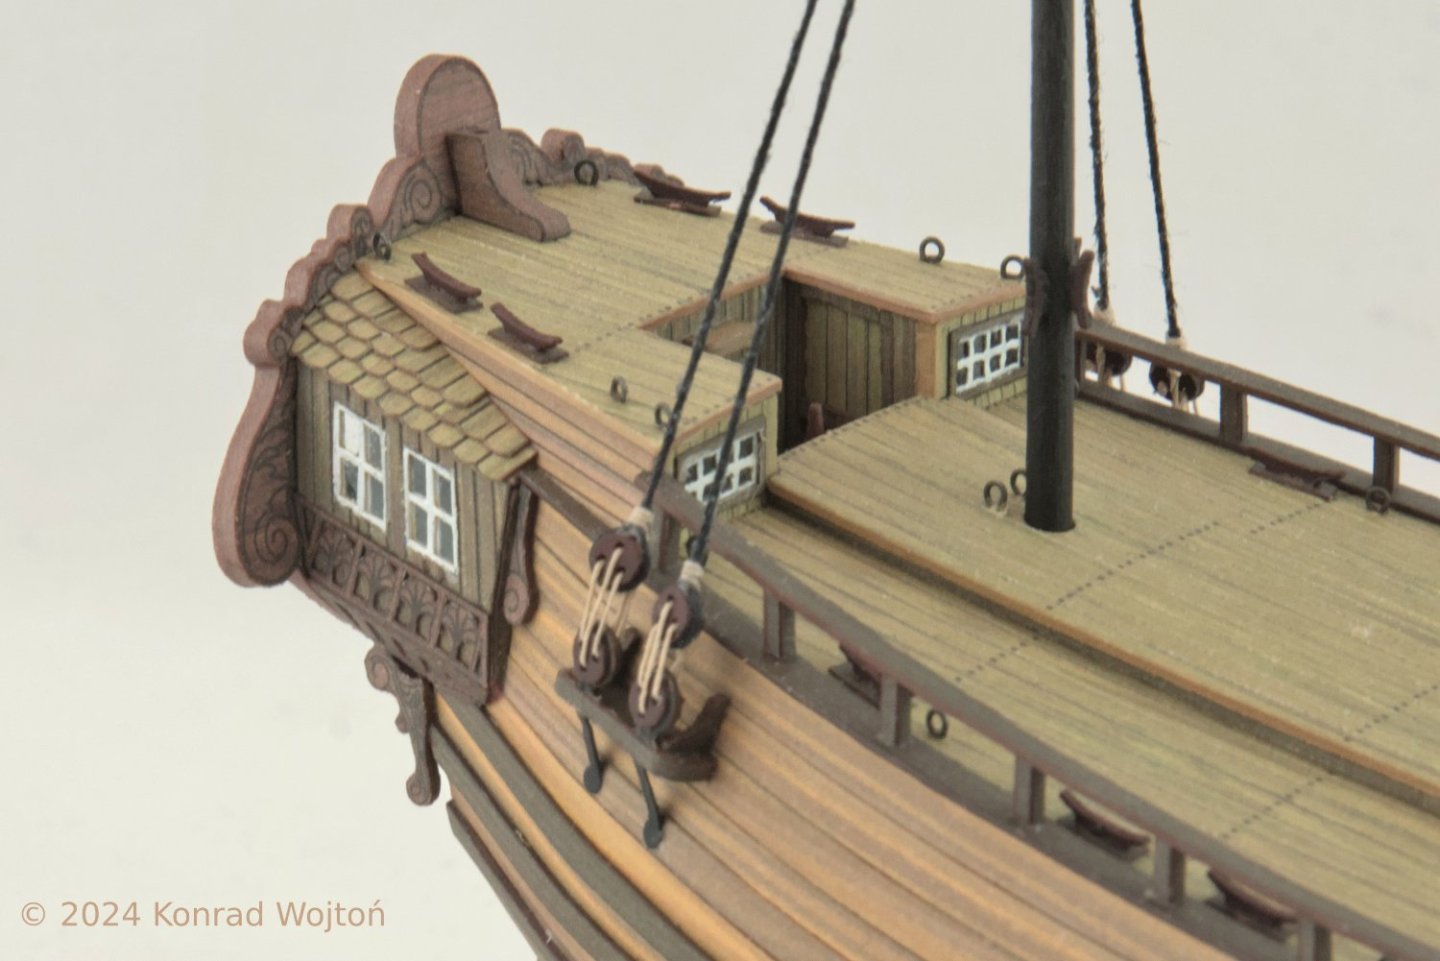
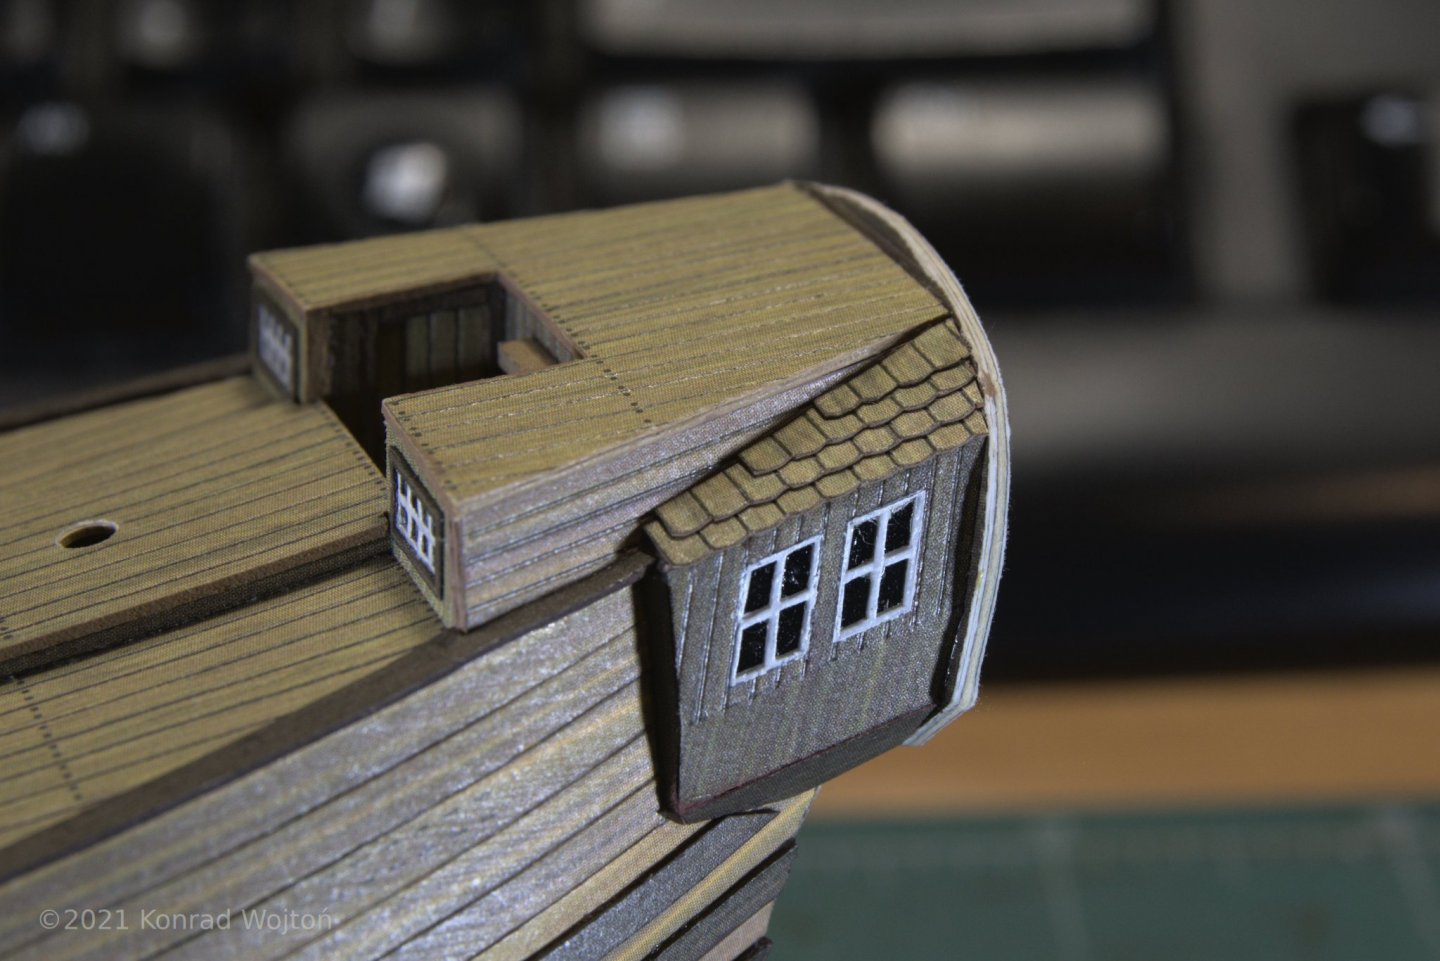
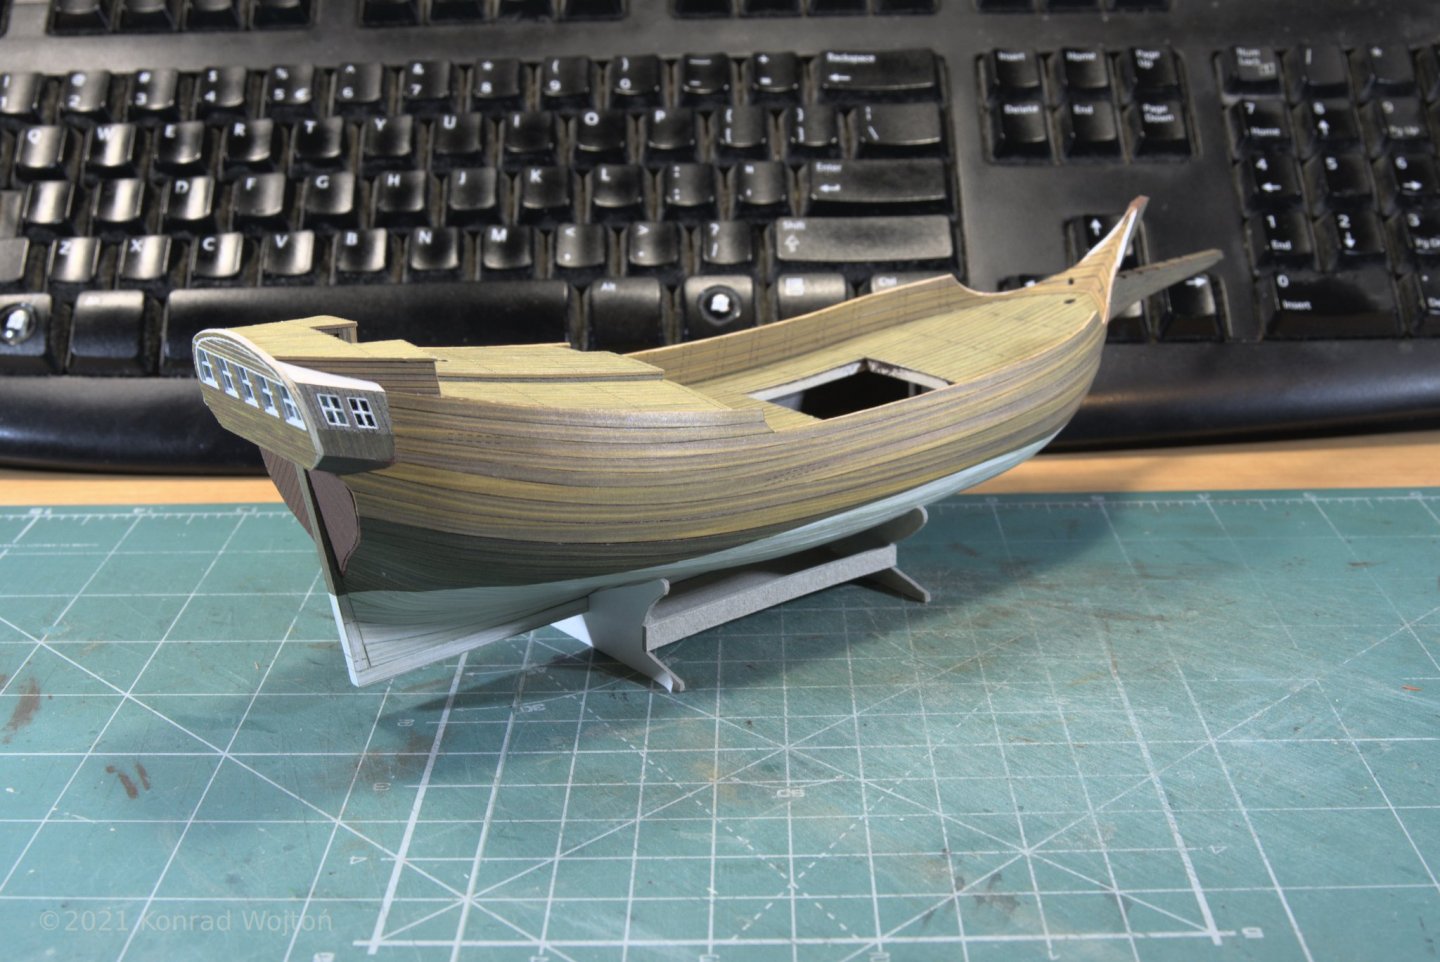
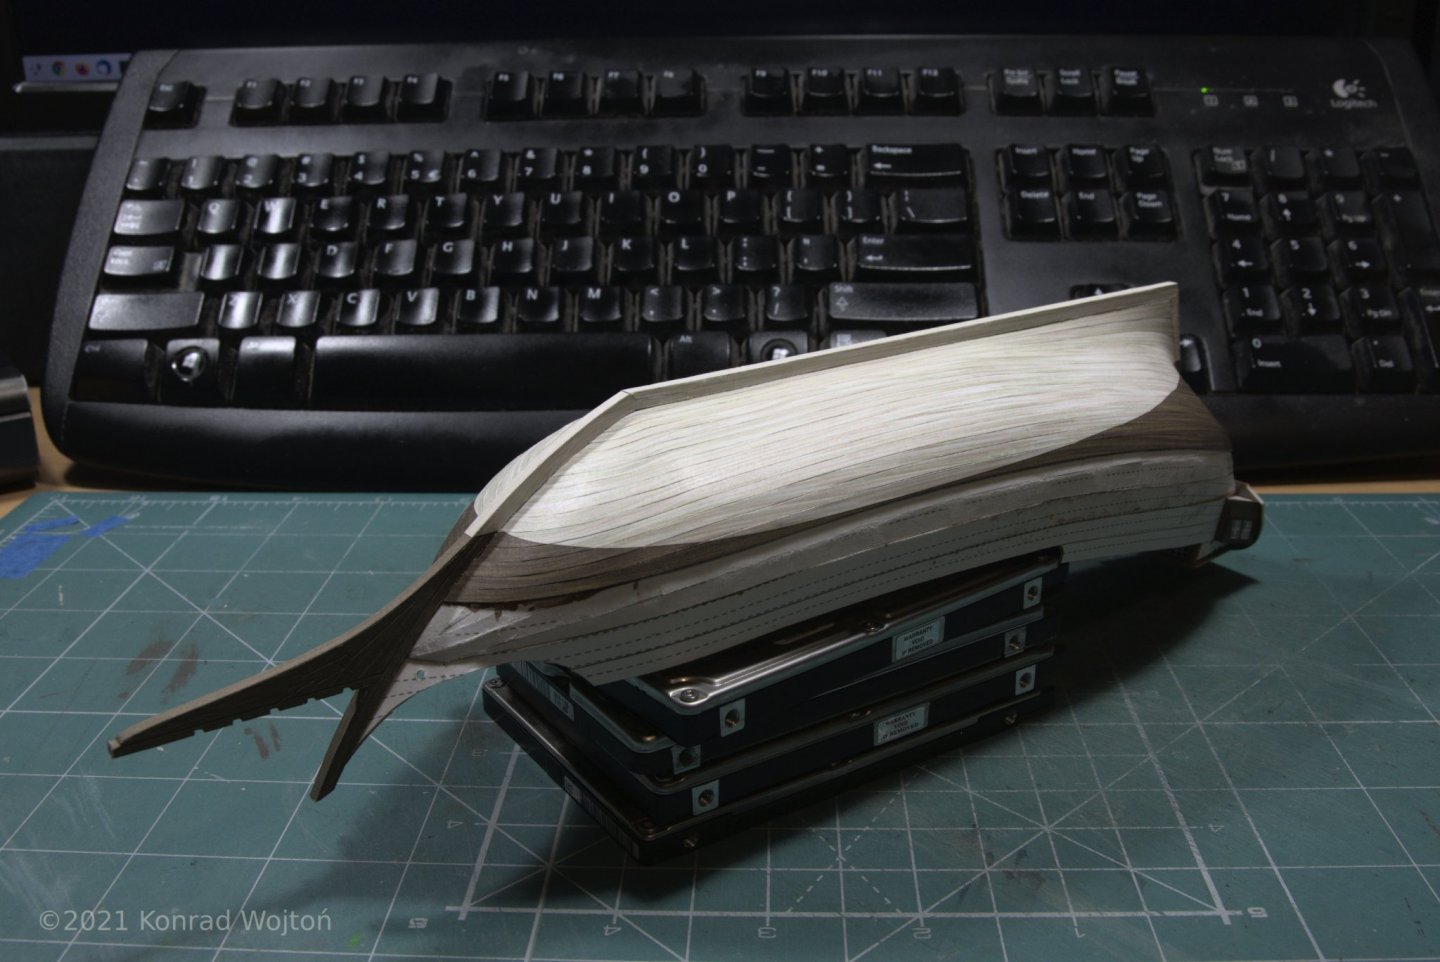
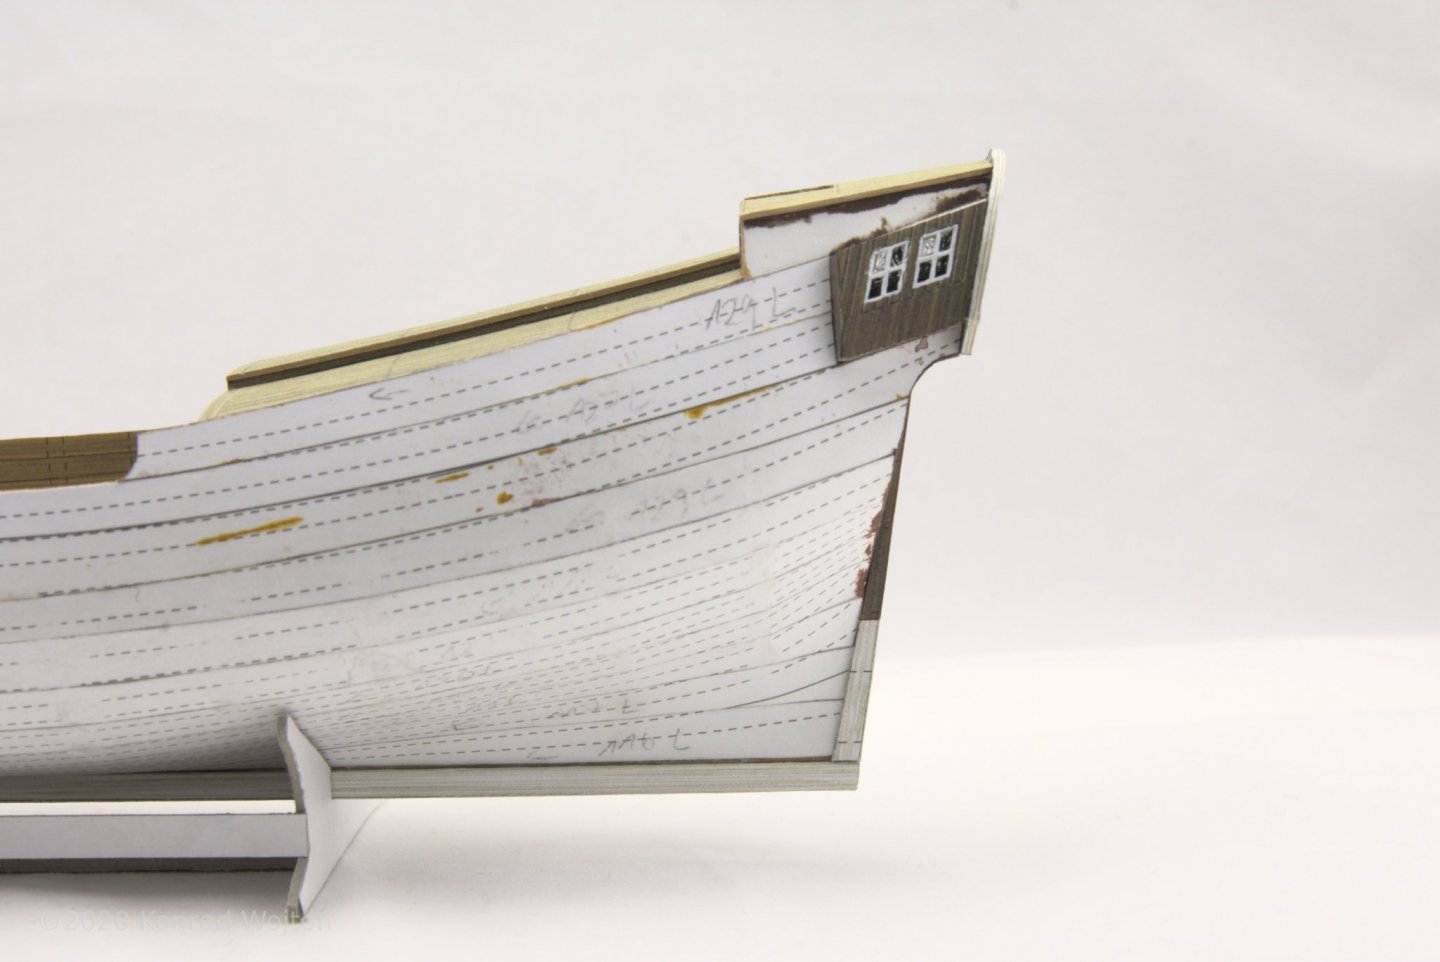
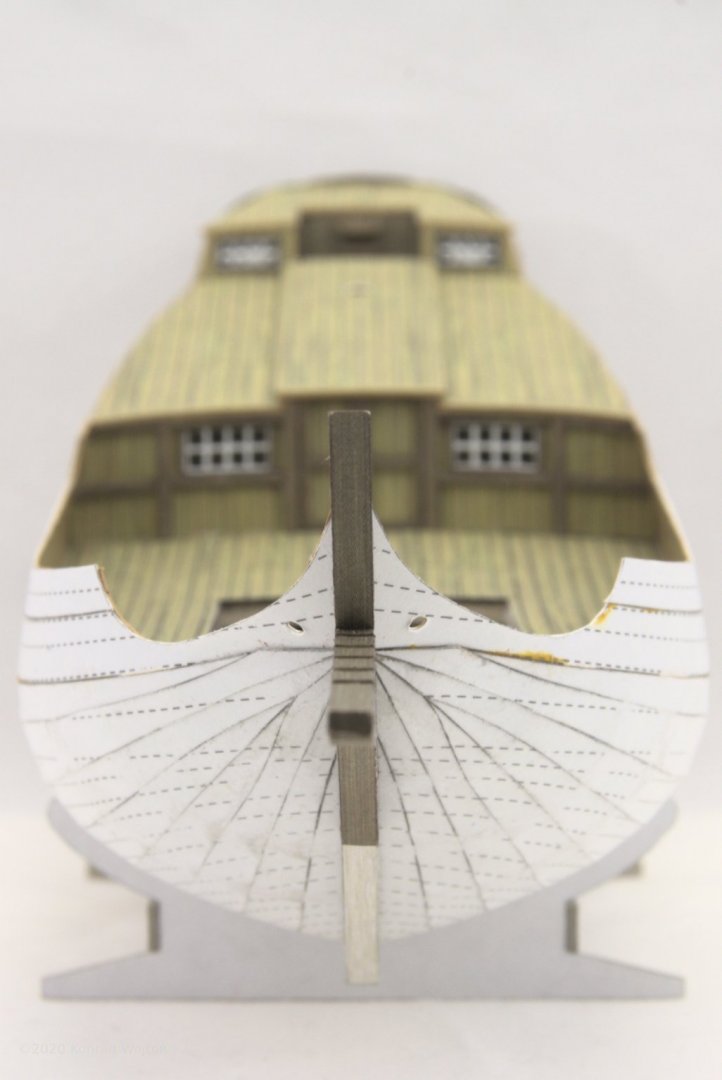
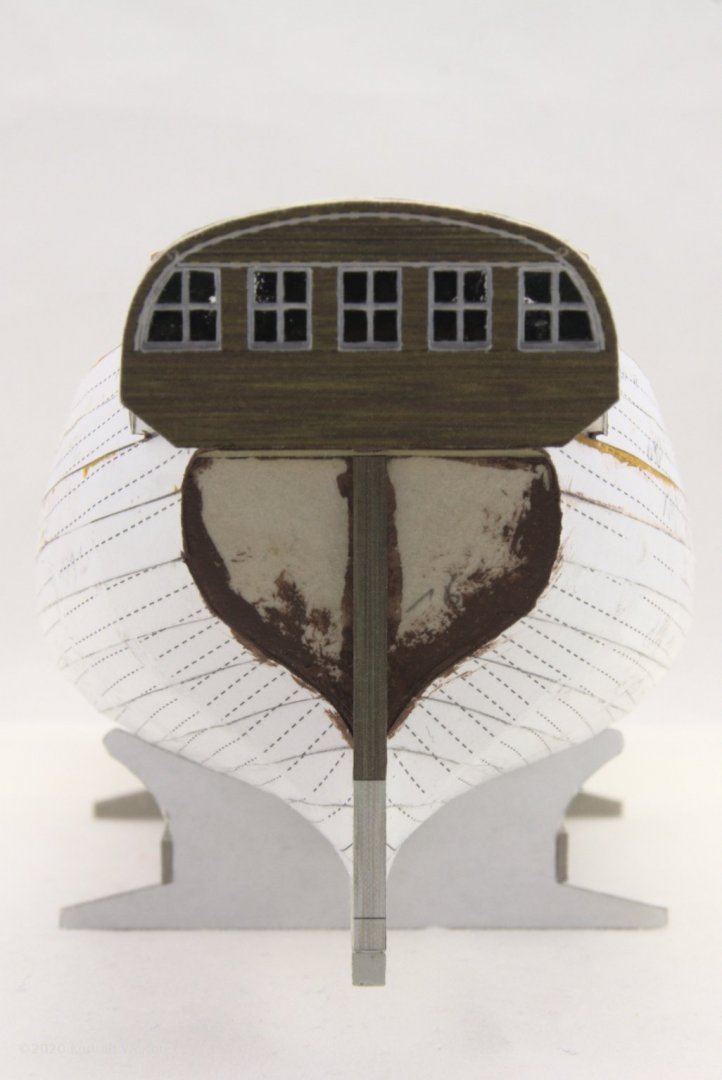
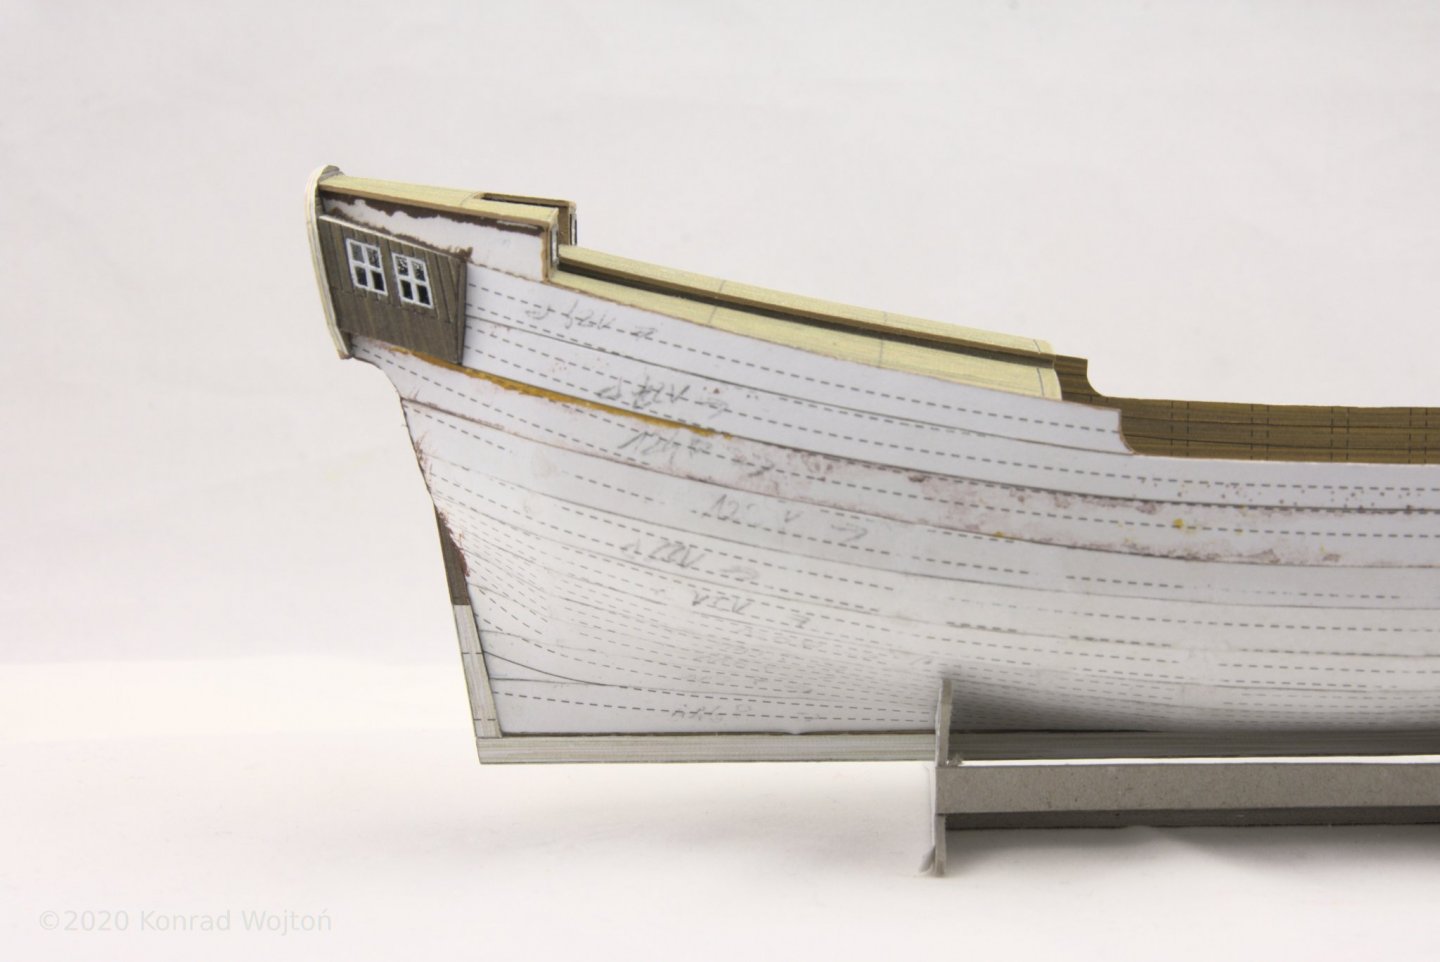
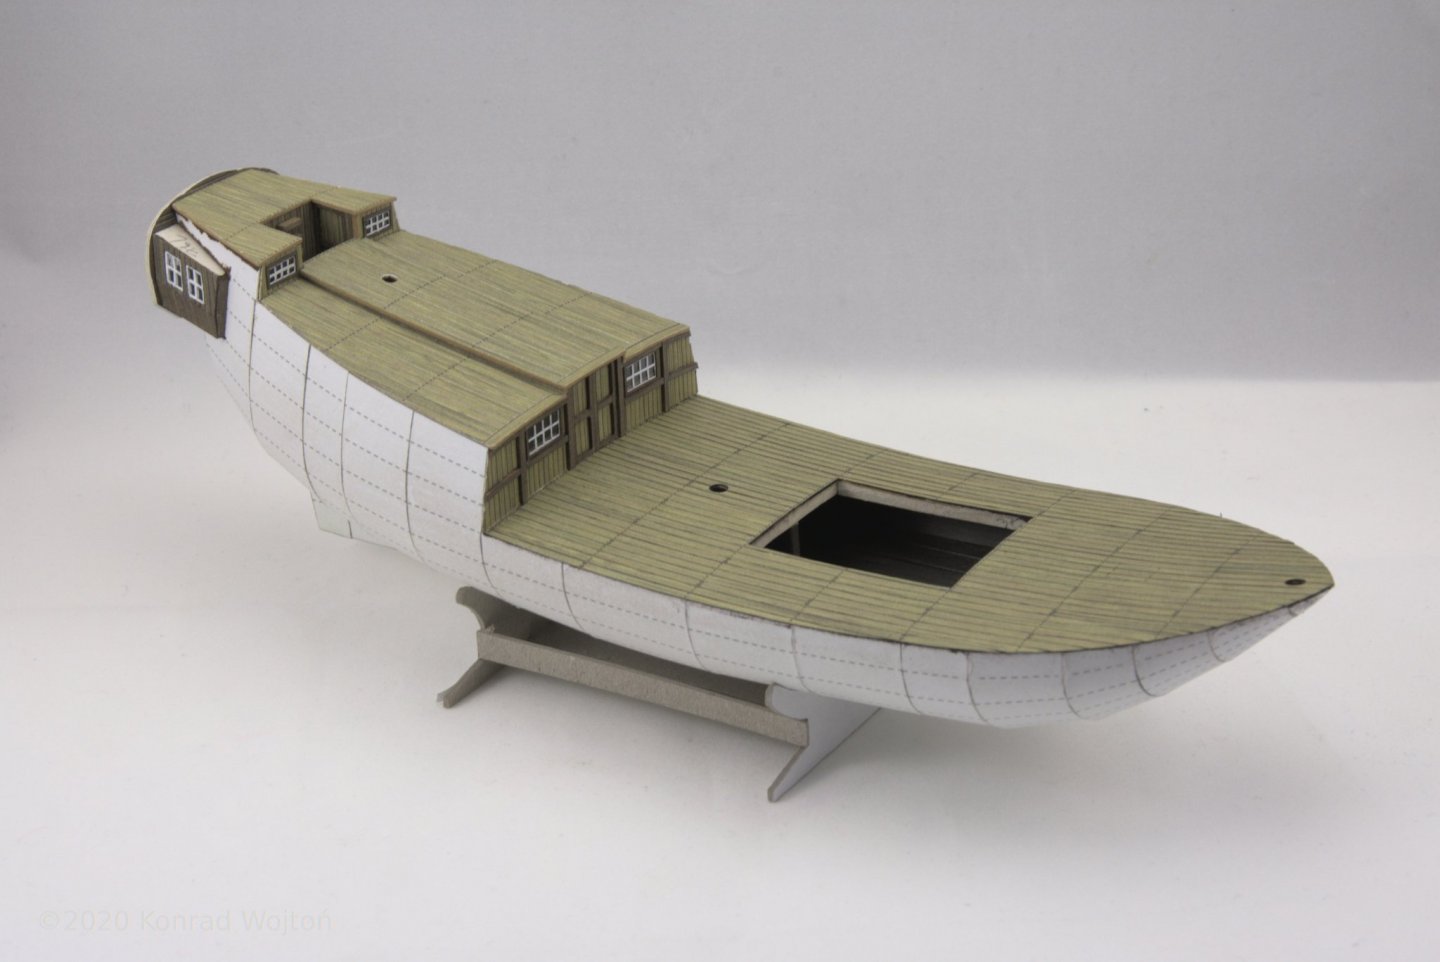
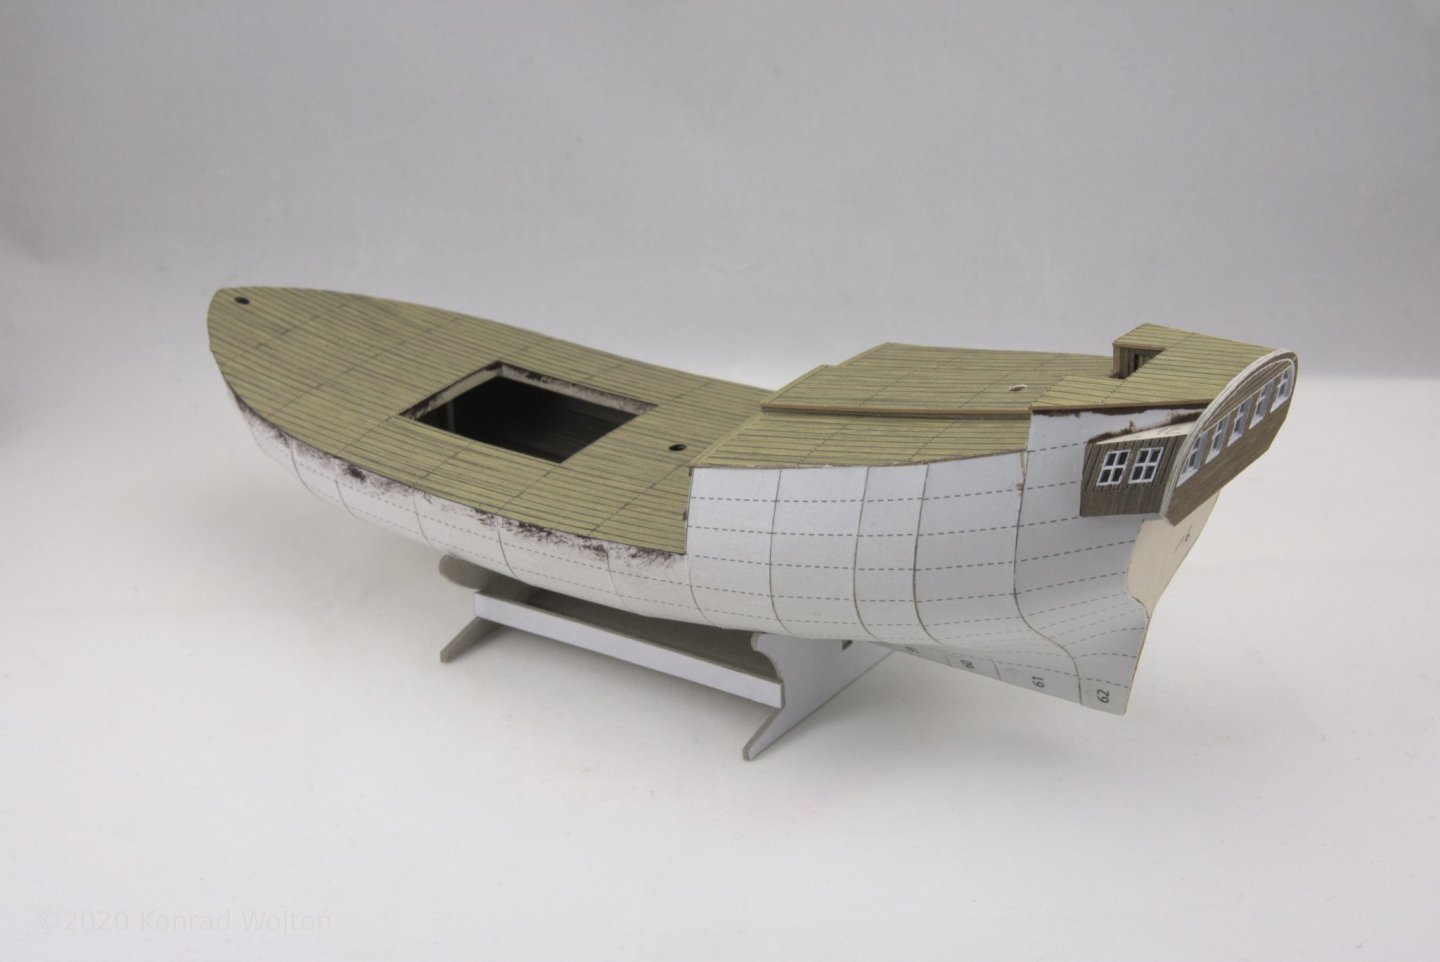
Small progress update. I've made false frames and cap rails. Fitting on bow proved to be tricky and I've damaged the part. I've fitted some roof tiles on stern. And finally bumper strips.


-
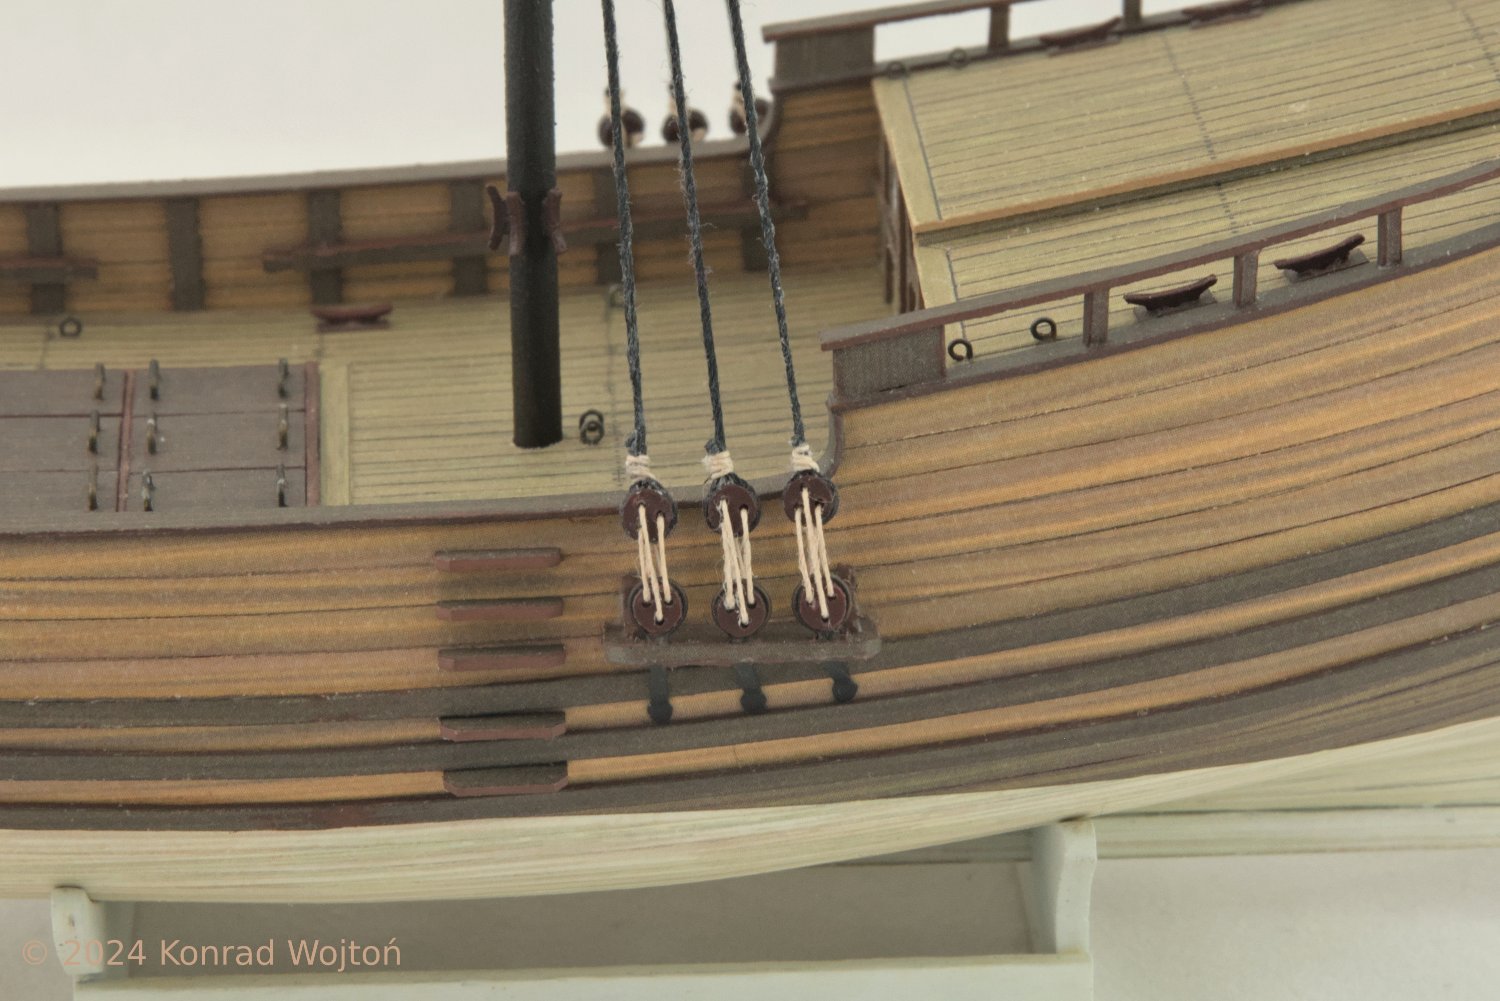
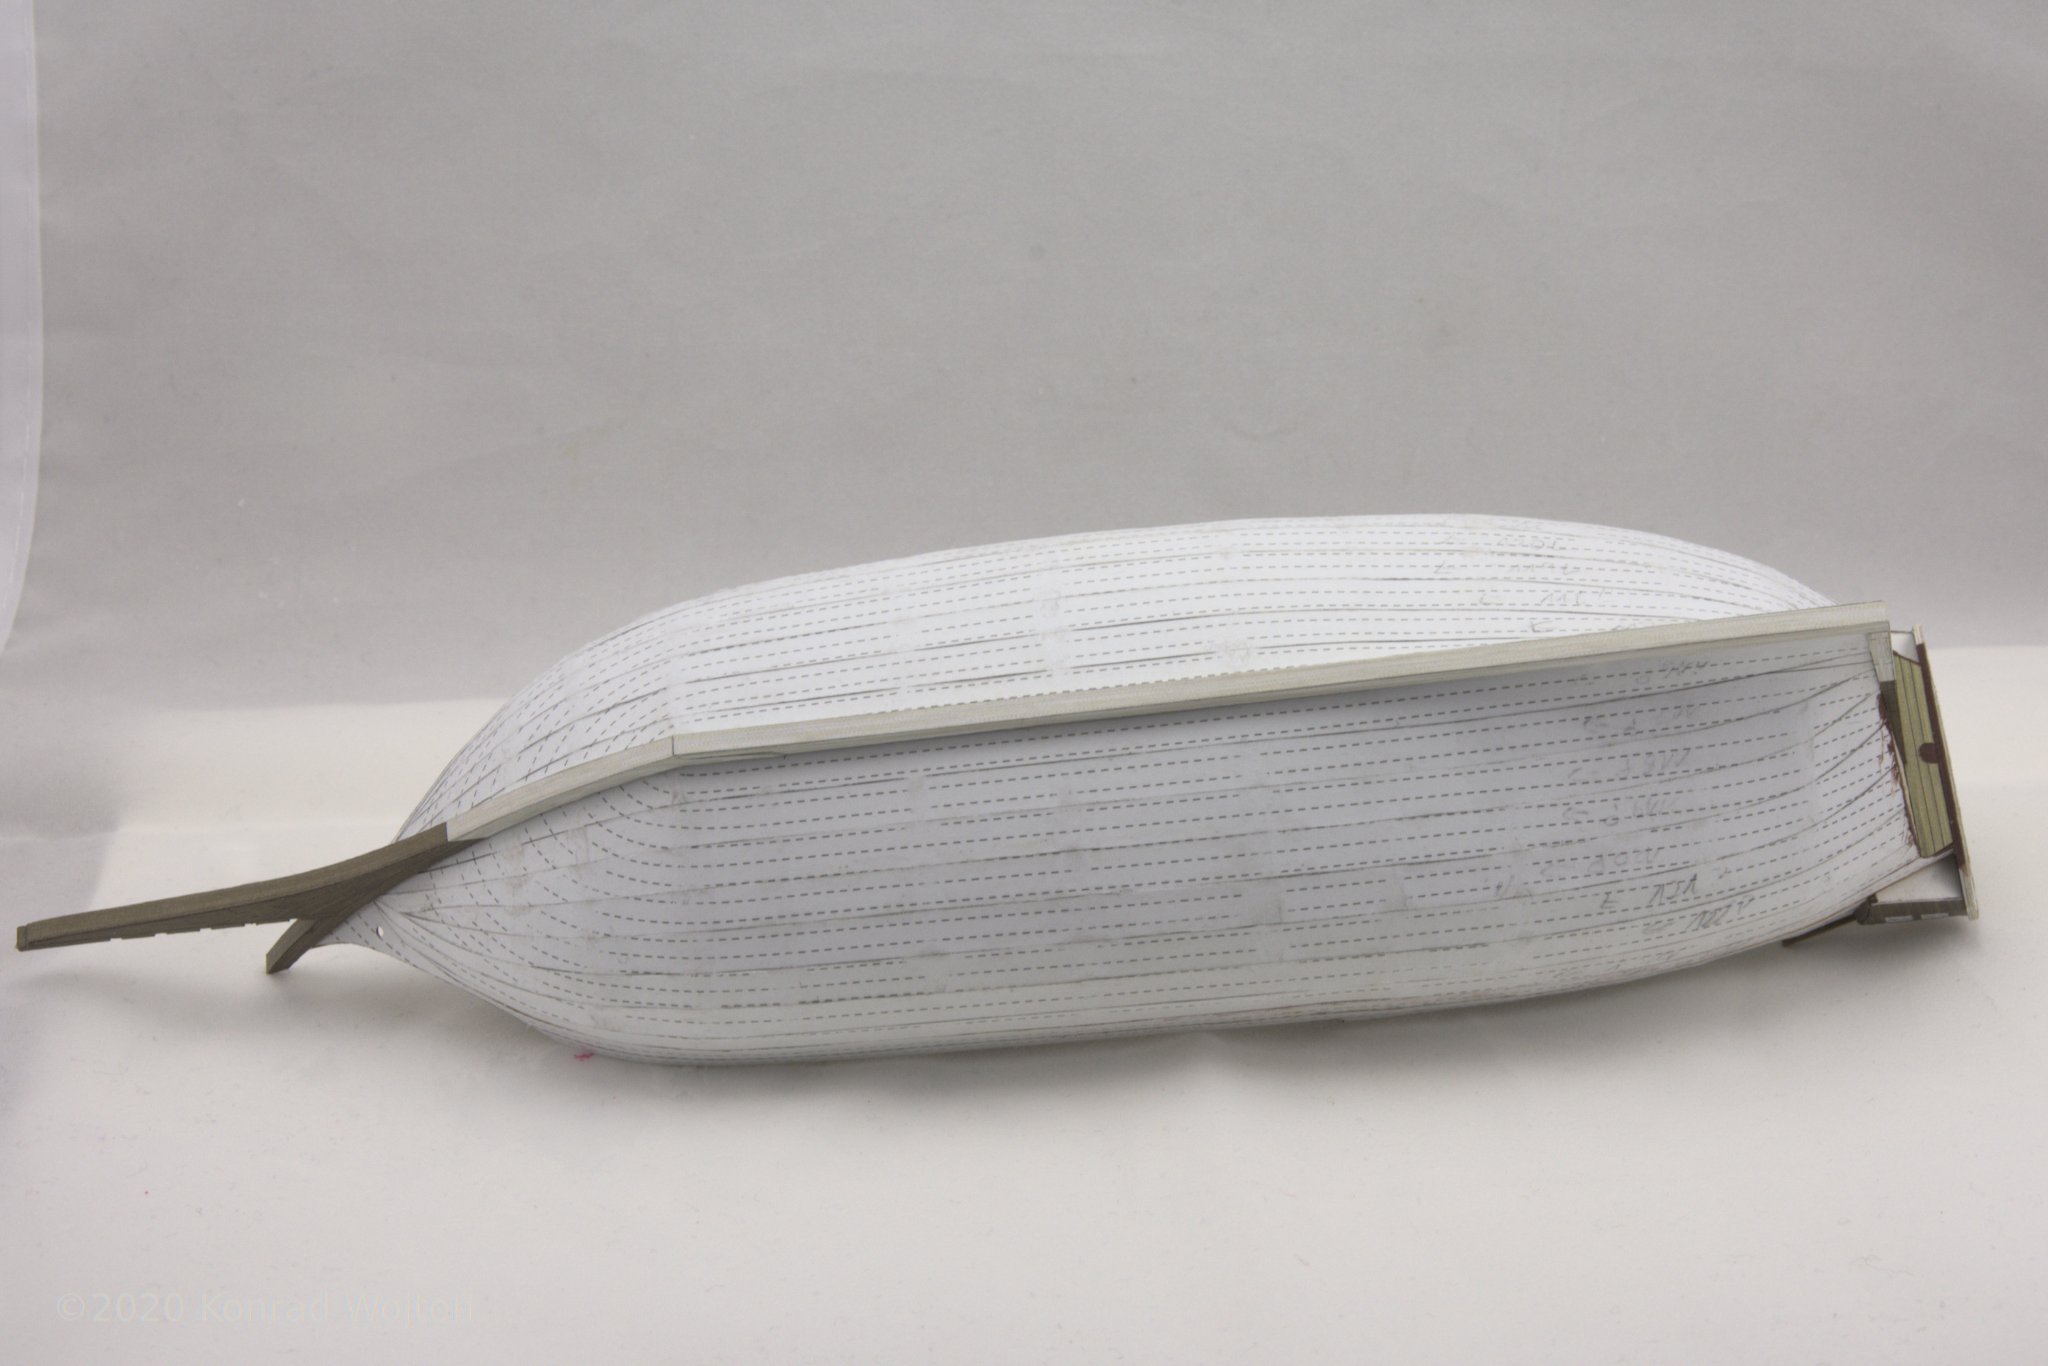
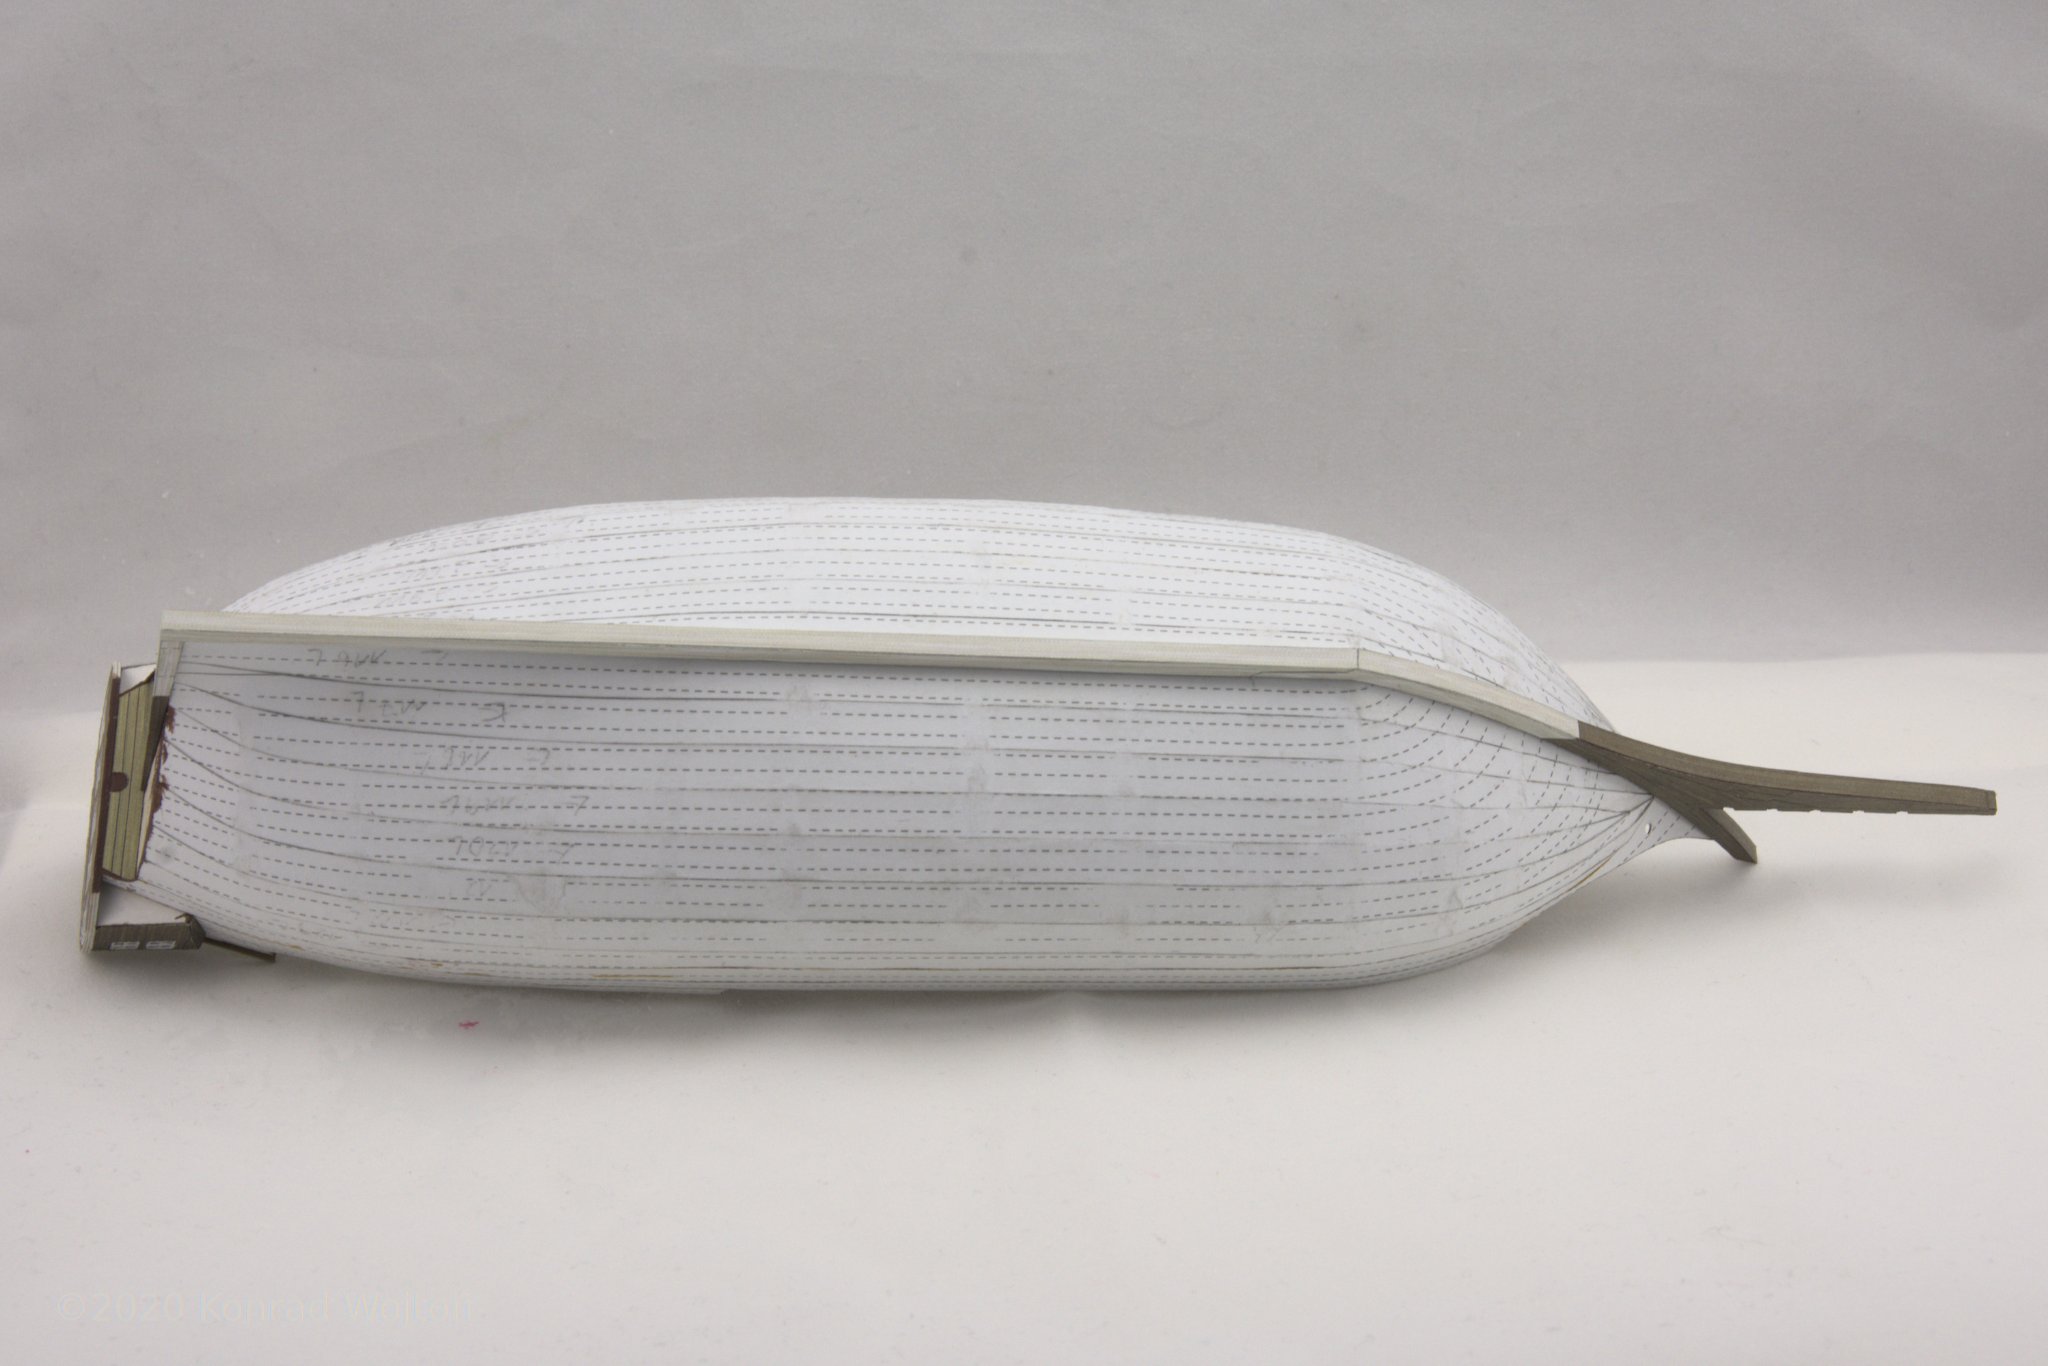
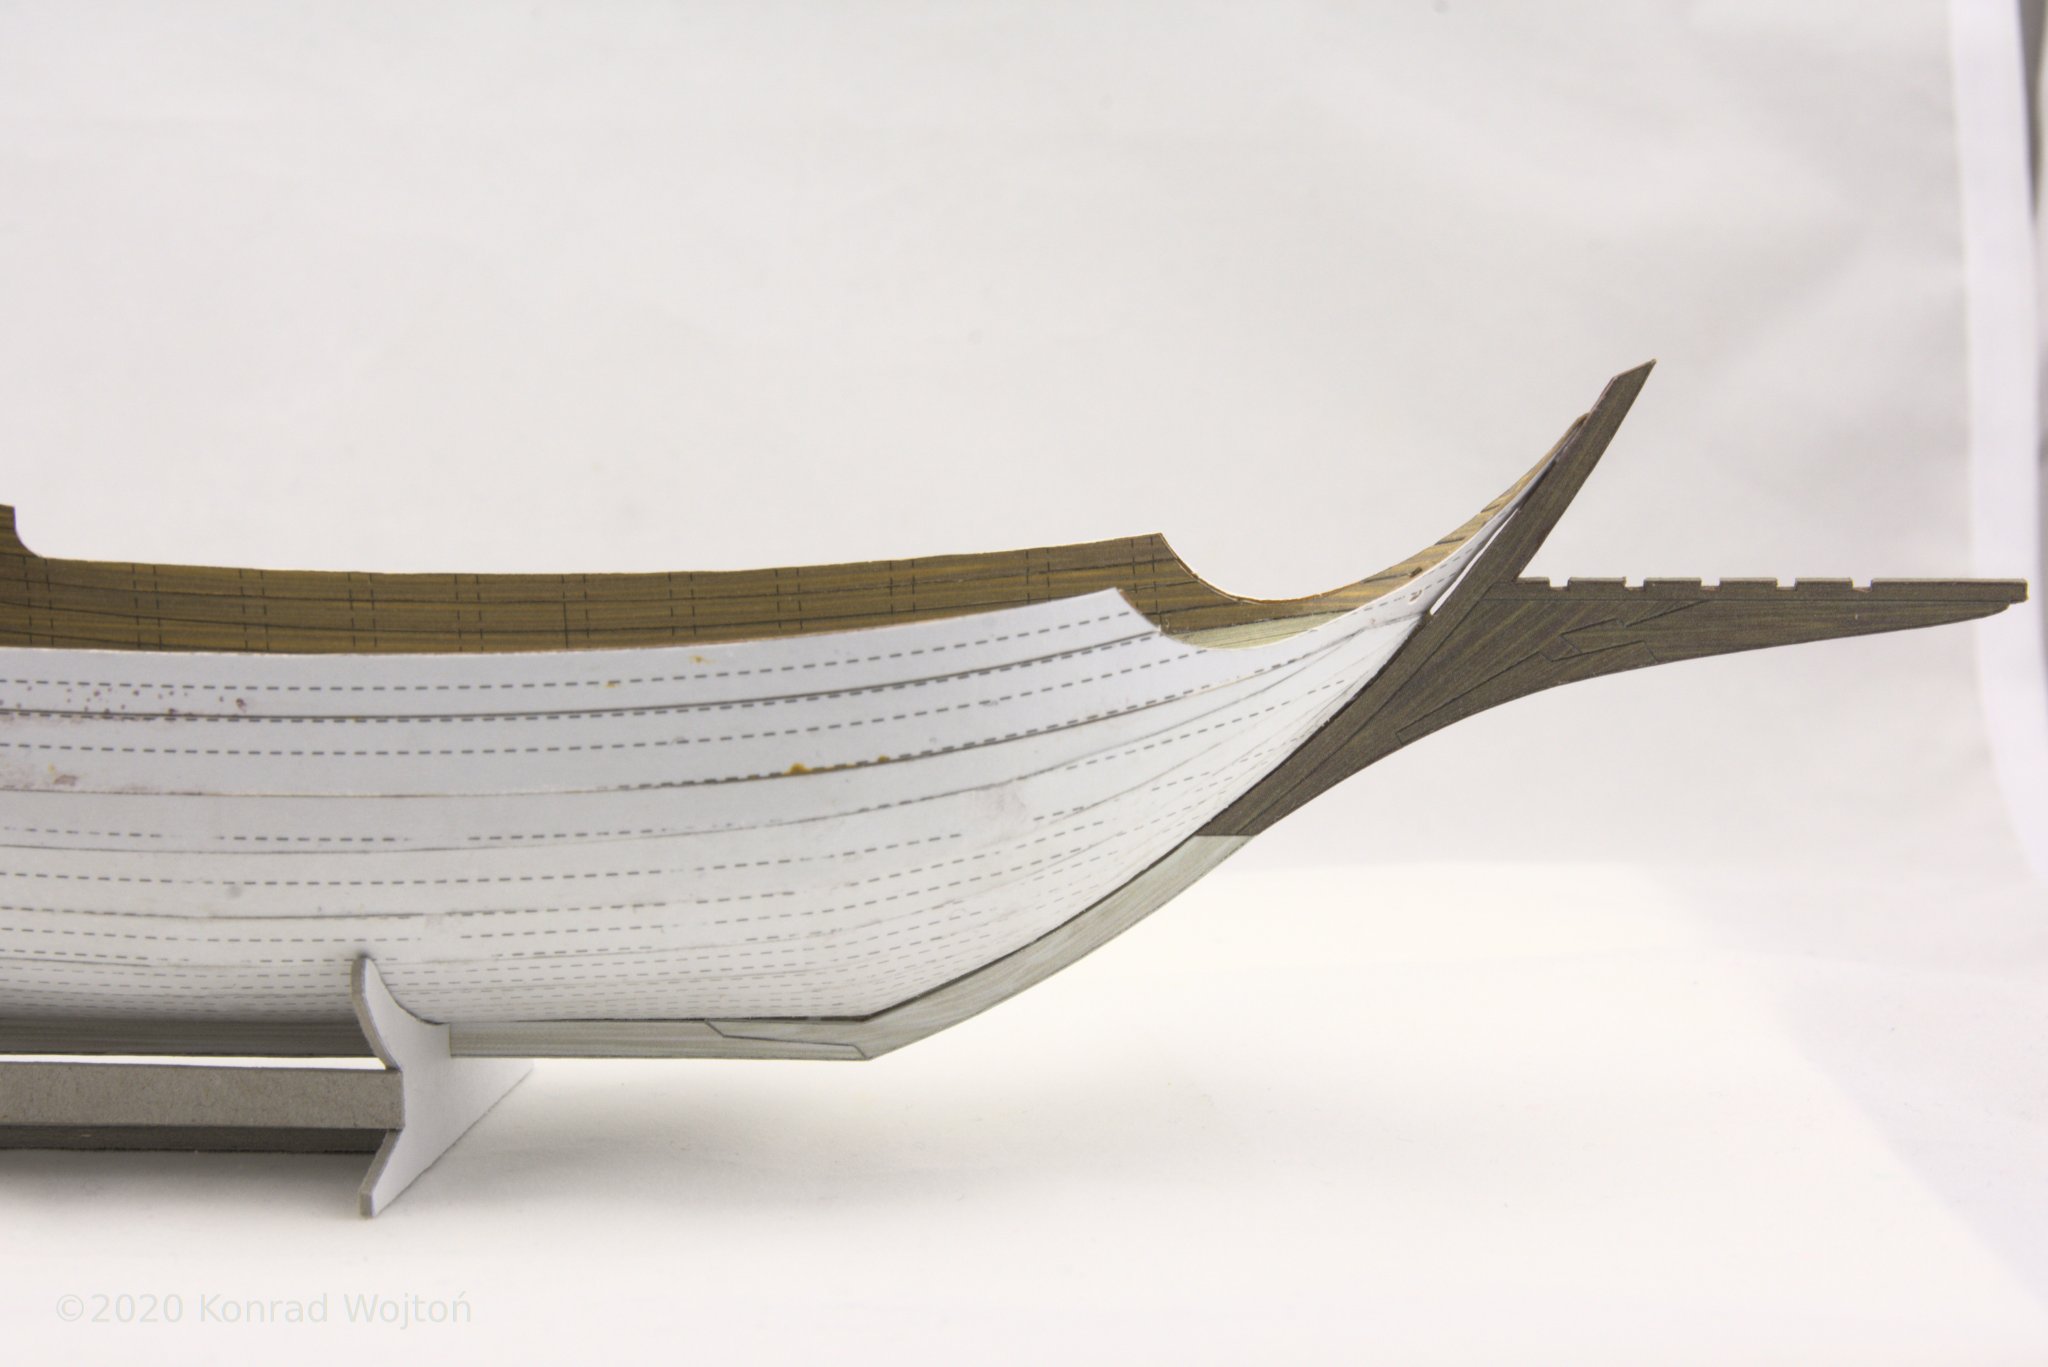
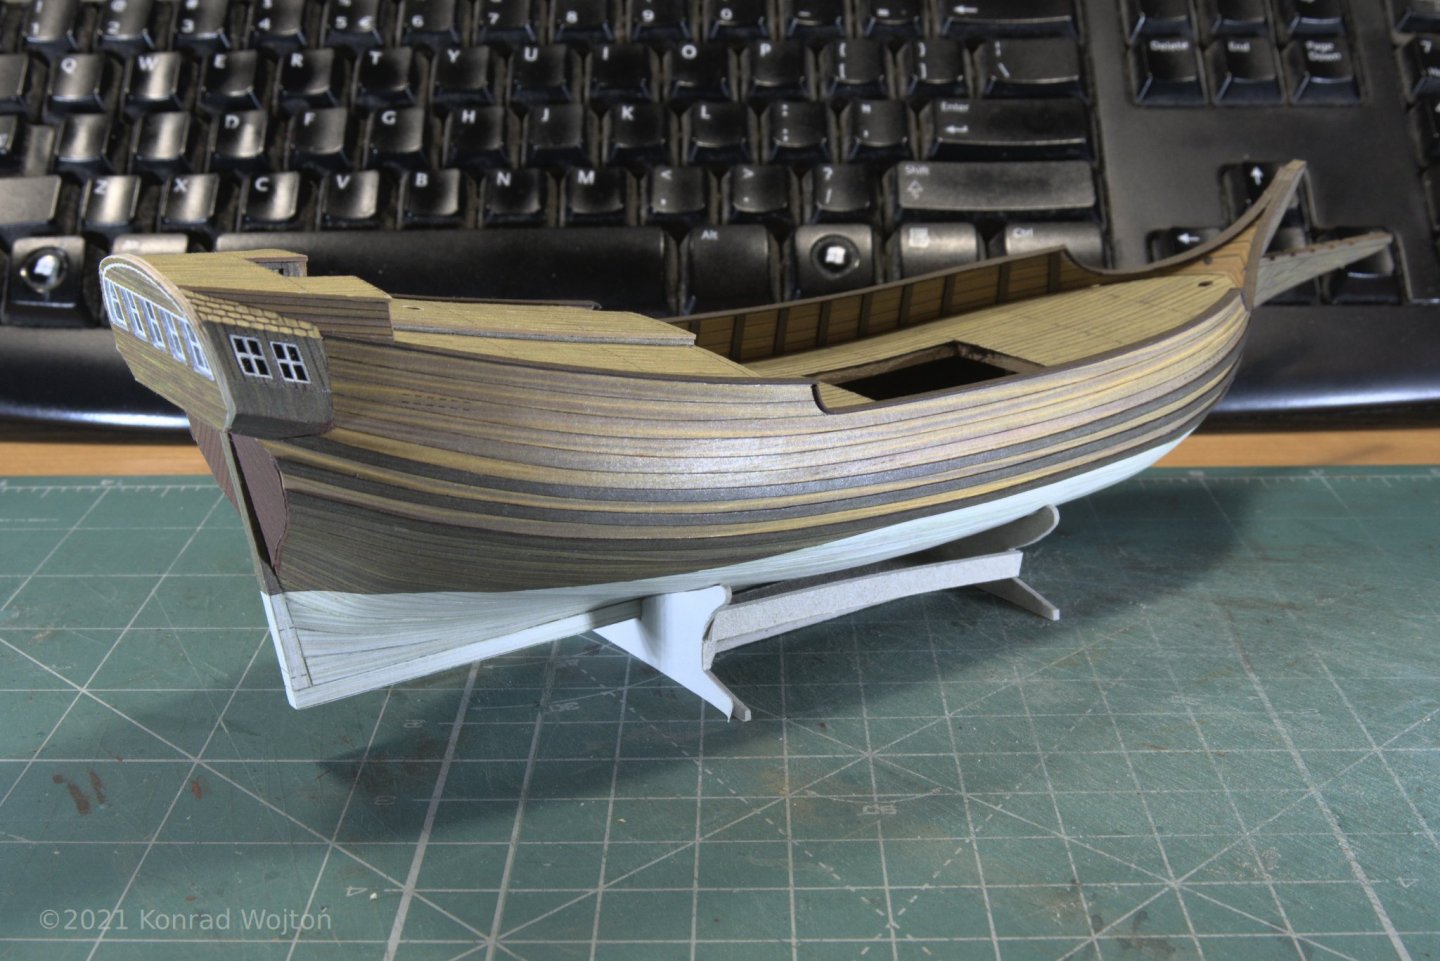
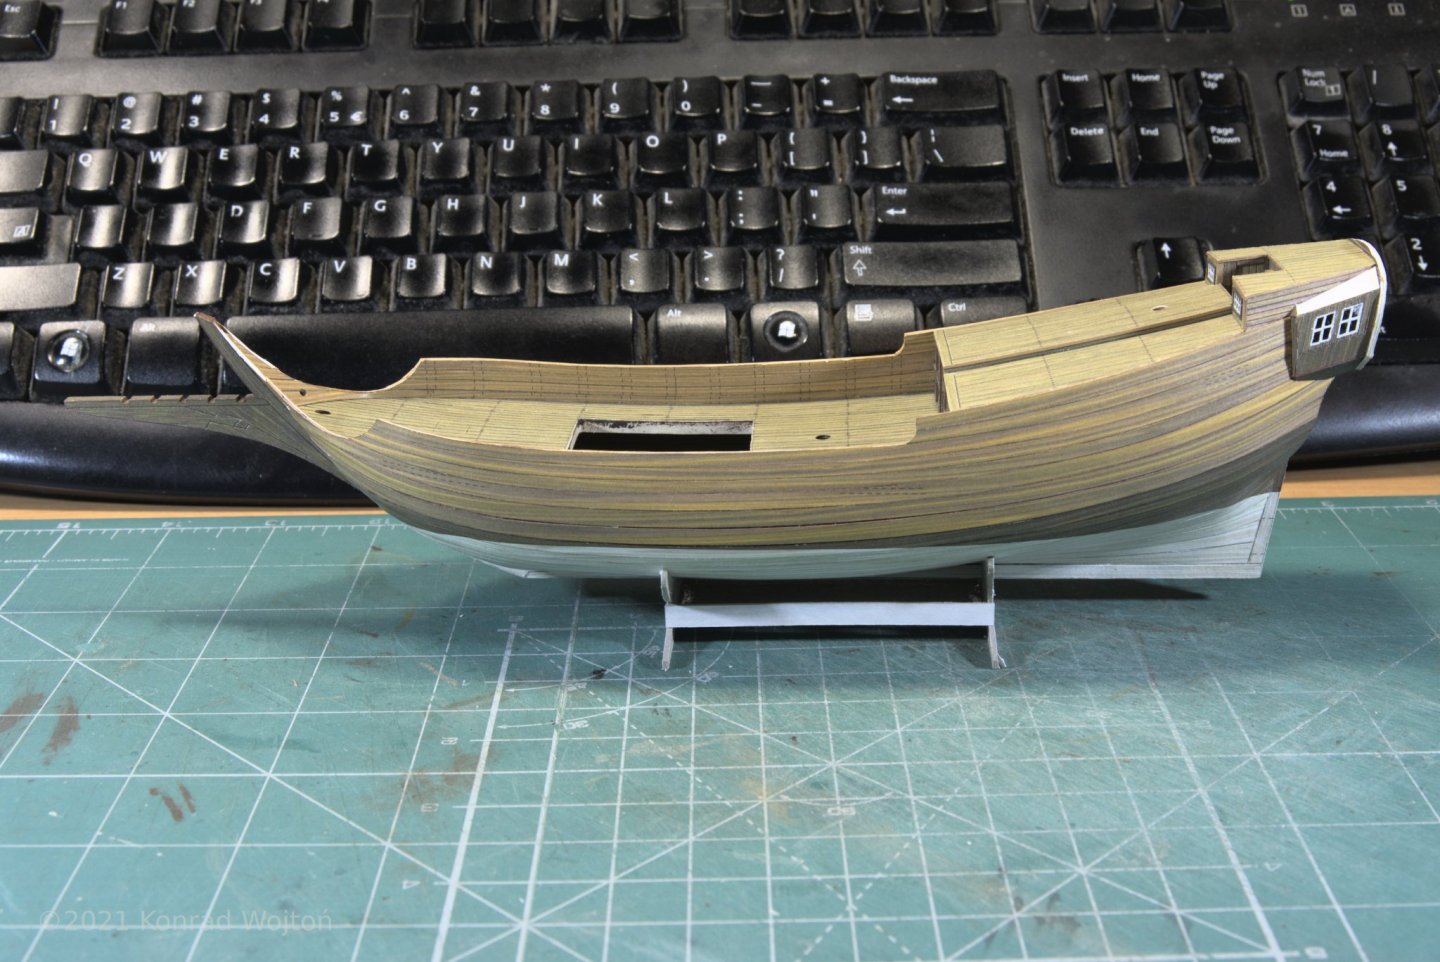
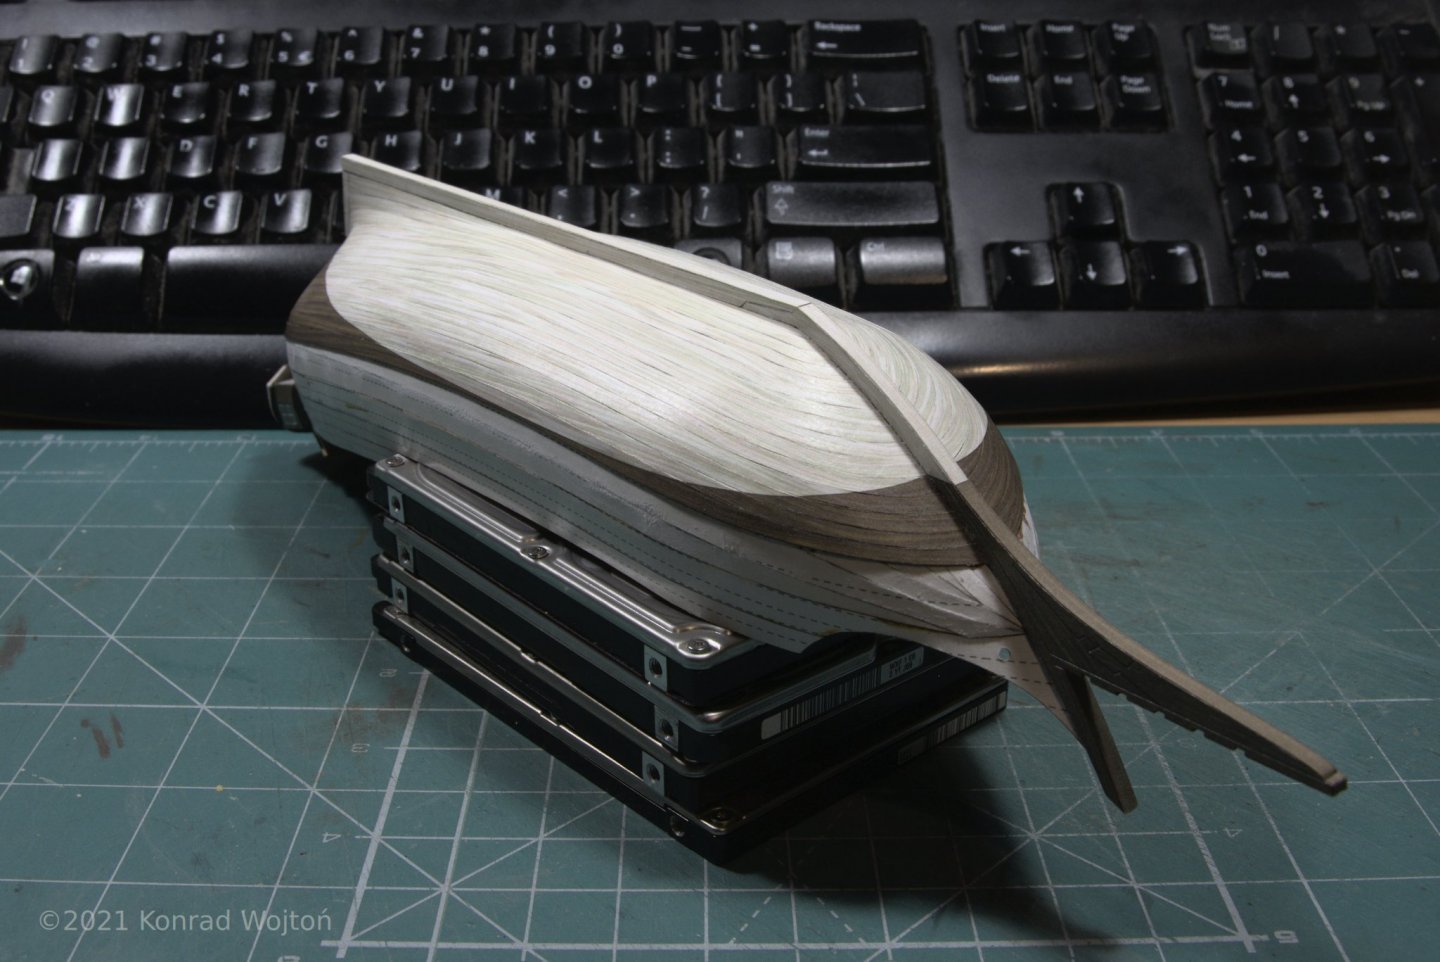
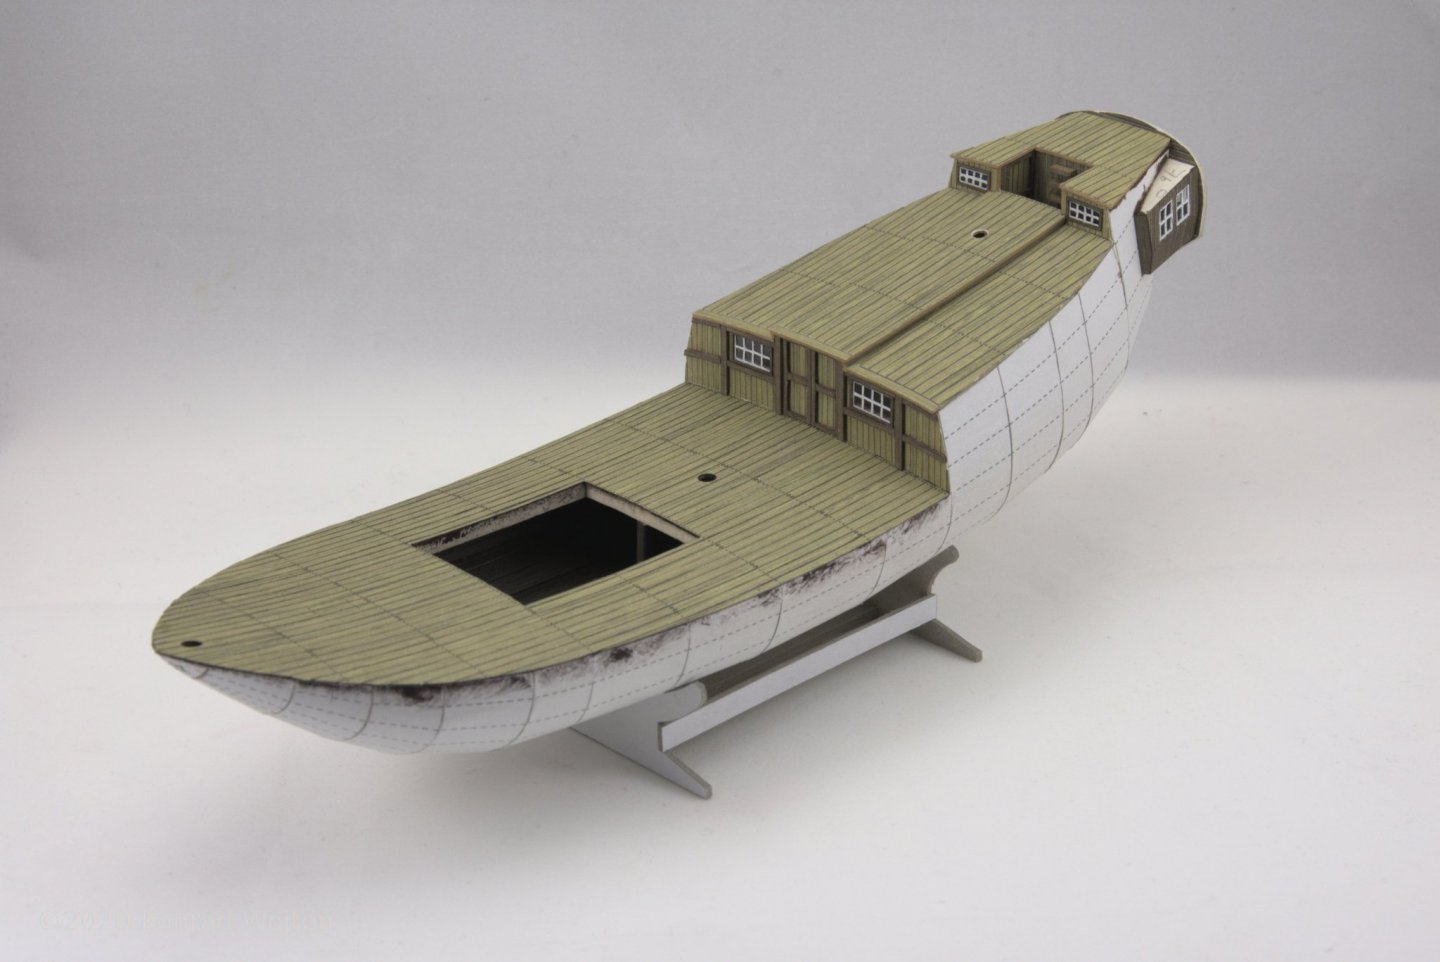
I've managed to finish the planking. I've used last two planks on each side to correct any accumulated errors. It worked out quite well on bow and stern but in the middle there are small gaps left. Fortunately they will be covered with bumper strips (or maybe I should call it wales). Almost all planks where a bit longer than needed (around 0,5 - 1mm) which is nice and allows for some leeway. Only one on left side initially was shorter by about 0,5mm (first light brown counting from bottom and it was last one glued) but after some more sanding of previous layers I've managed to get it right. I might have made some errors in previous stages, not enough sanding maybe. On bow there is there is some trimming required but I am going to do it during cap rail fitting.


-
Your sails are wonderful. I've also used modelspan before but never tried to embed thin wire into them so they lost a bit of shape after some time. I'm definitely going to try it in my current build.
- 397 replies
-
- 3
-
-

-
- cutty sark
- revell
- (and 2 more)
-
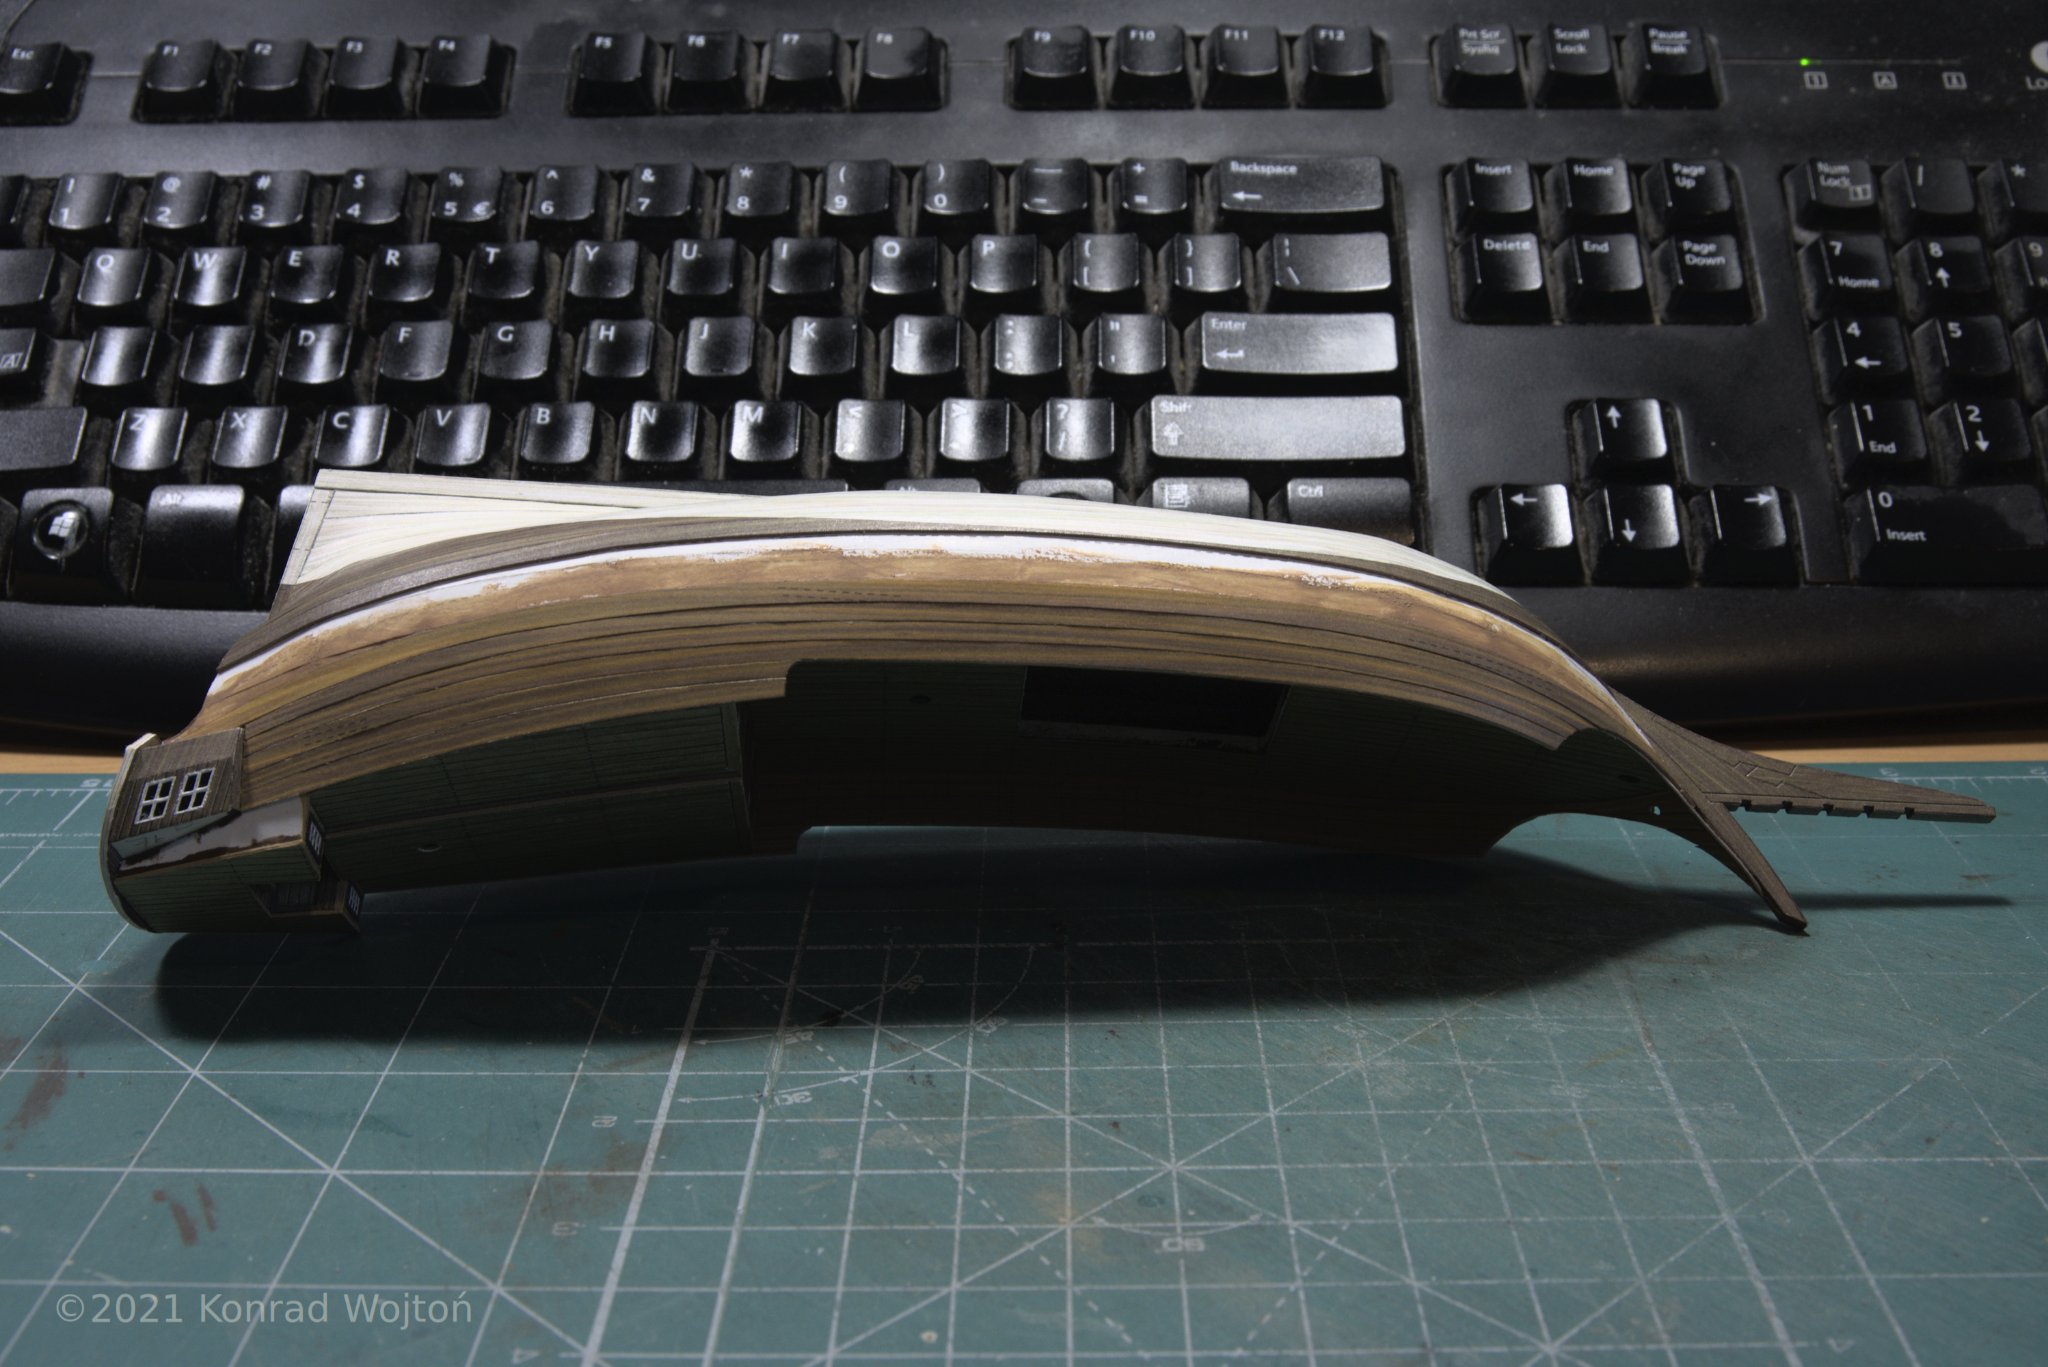
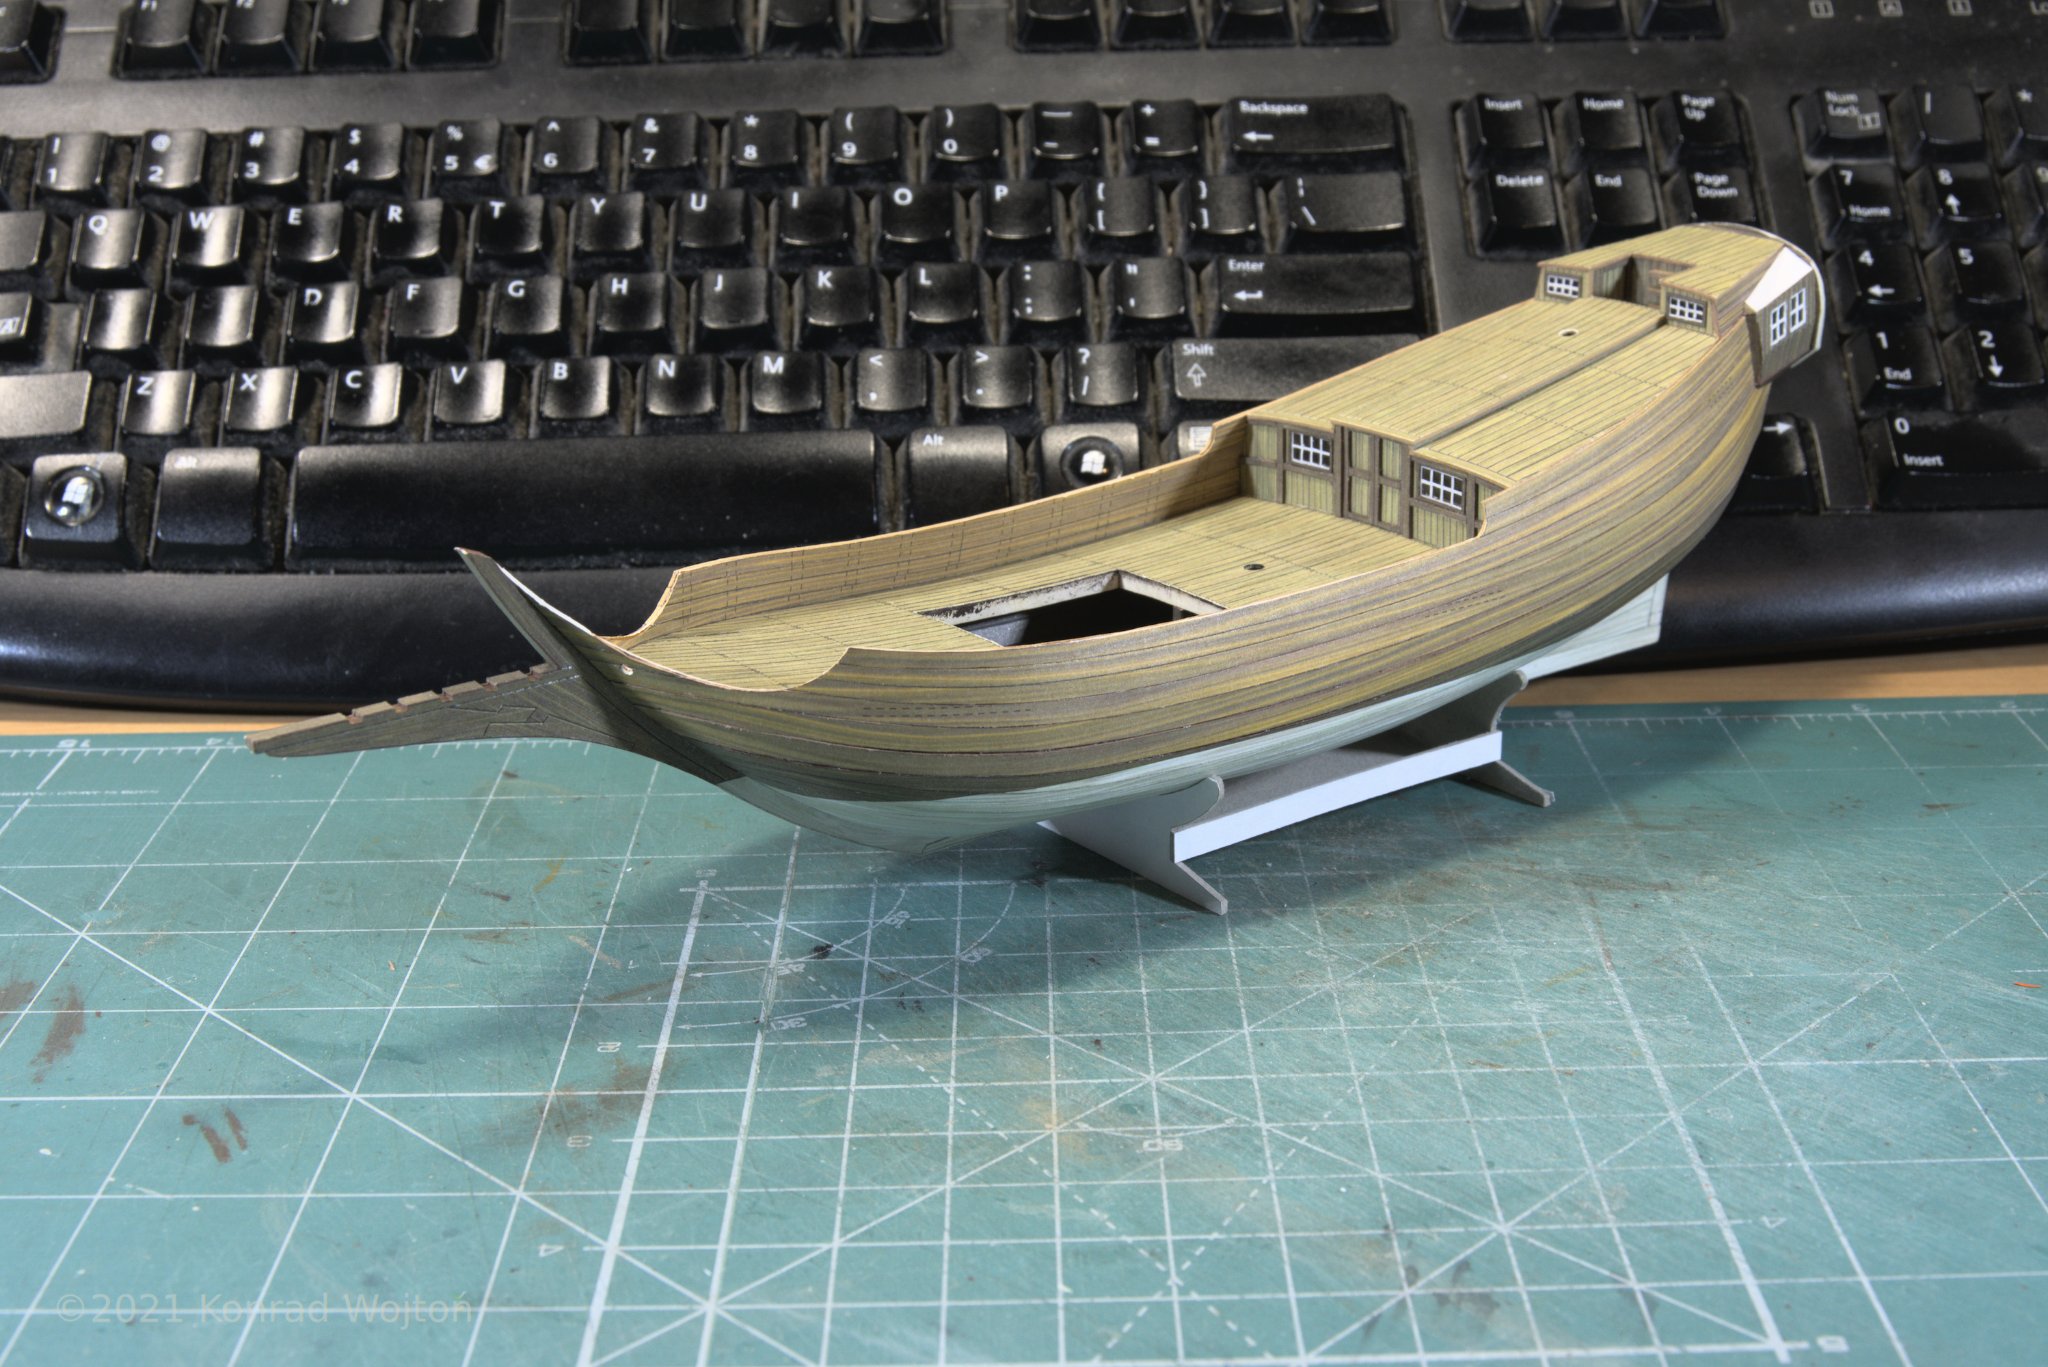
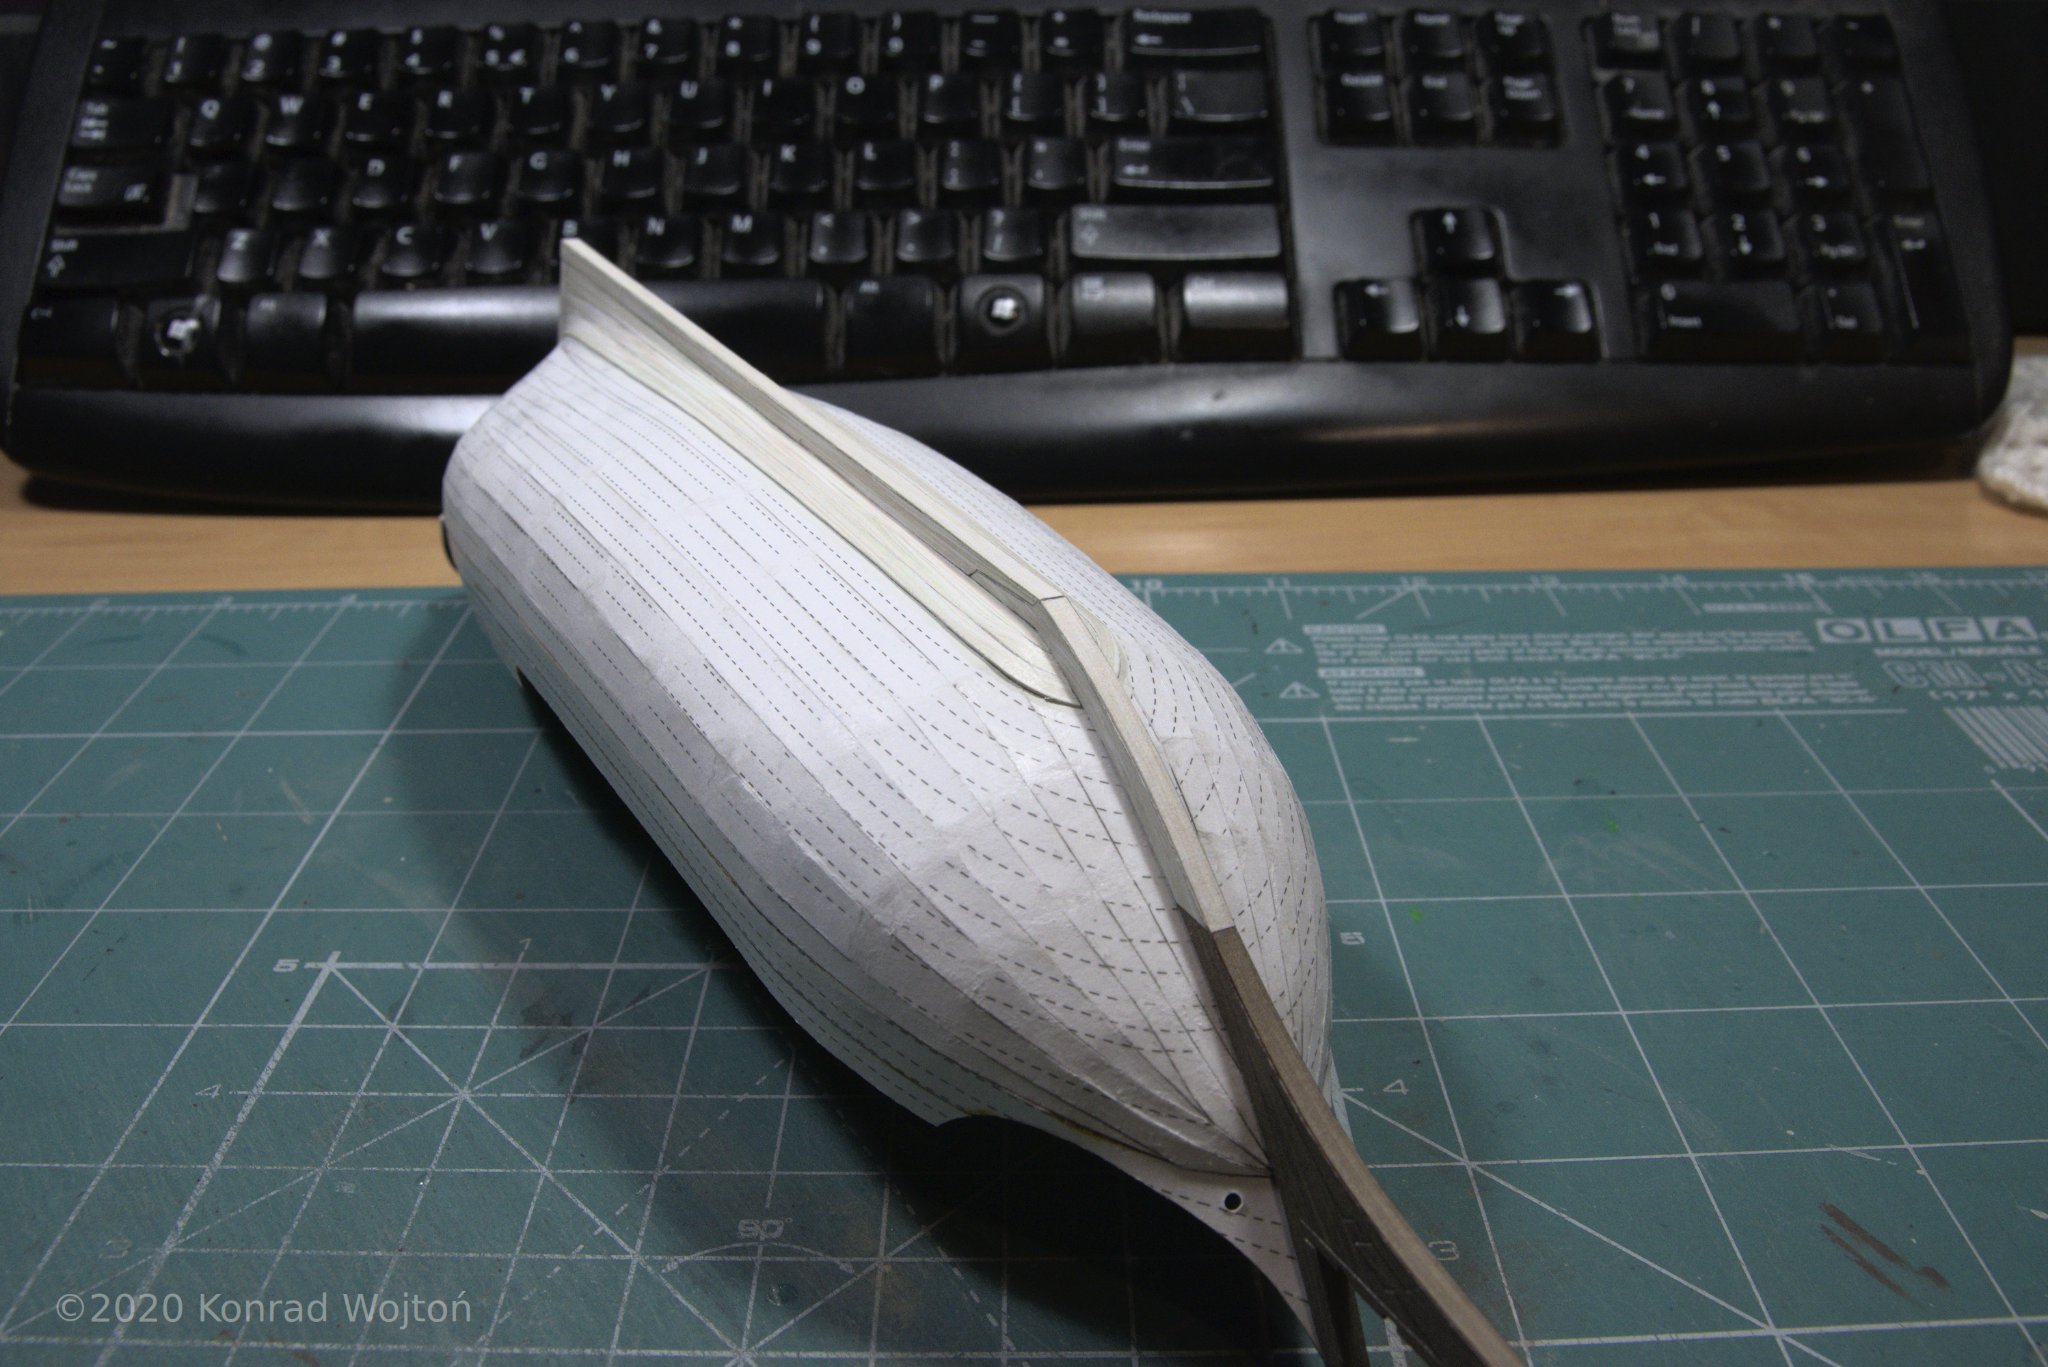
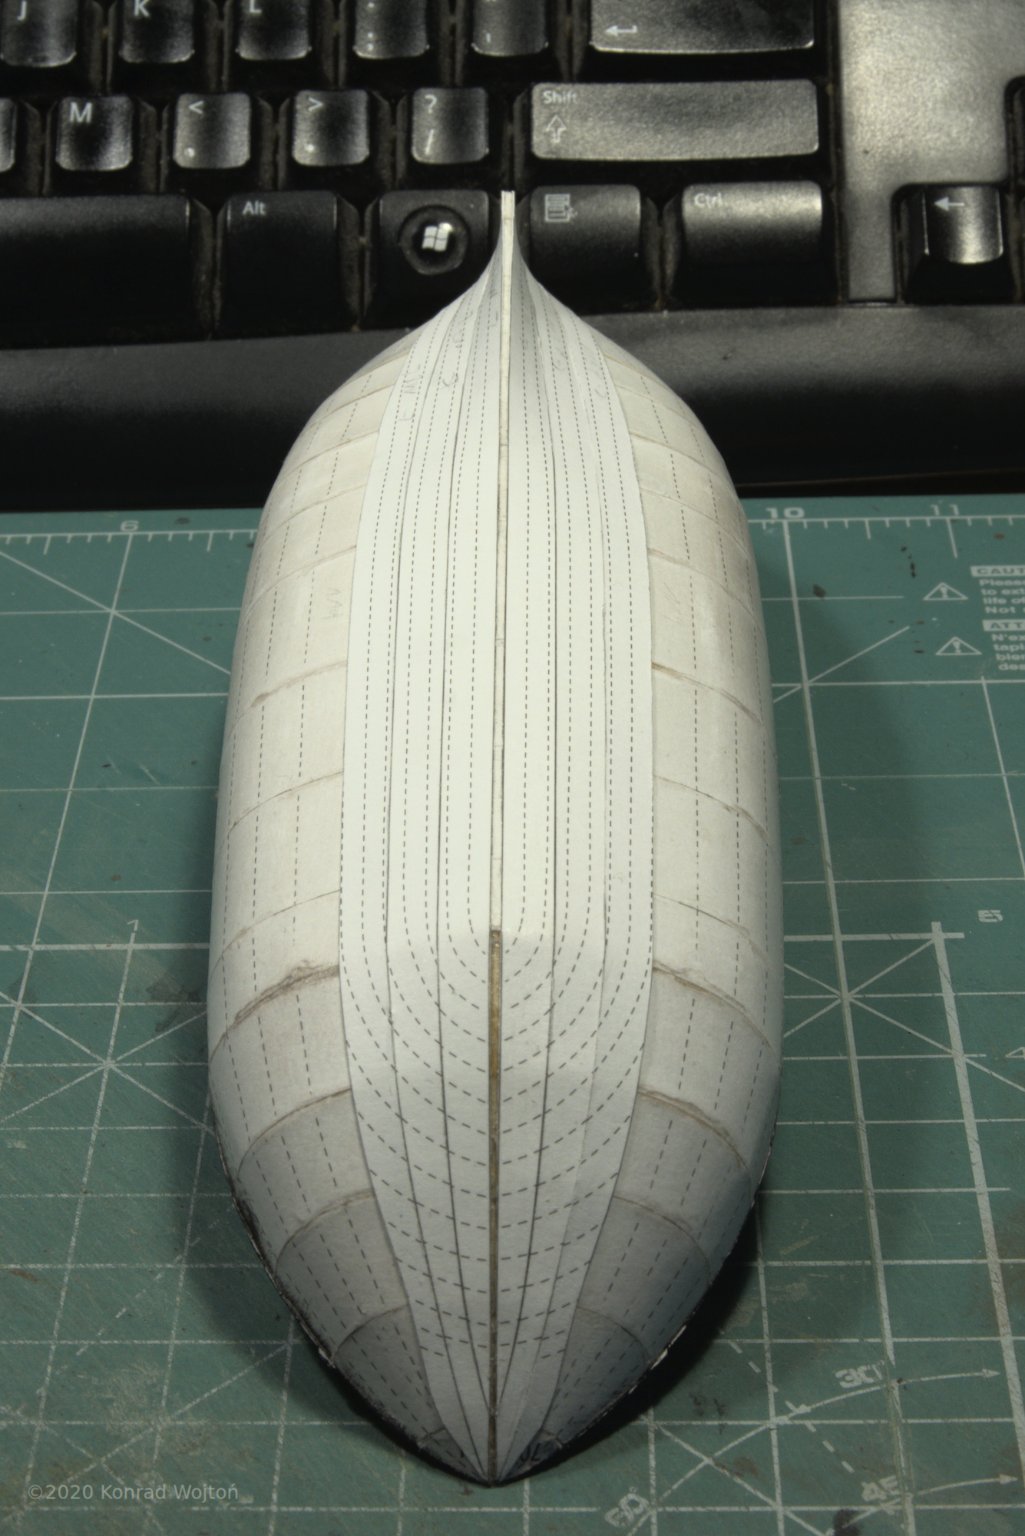
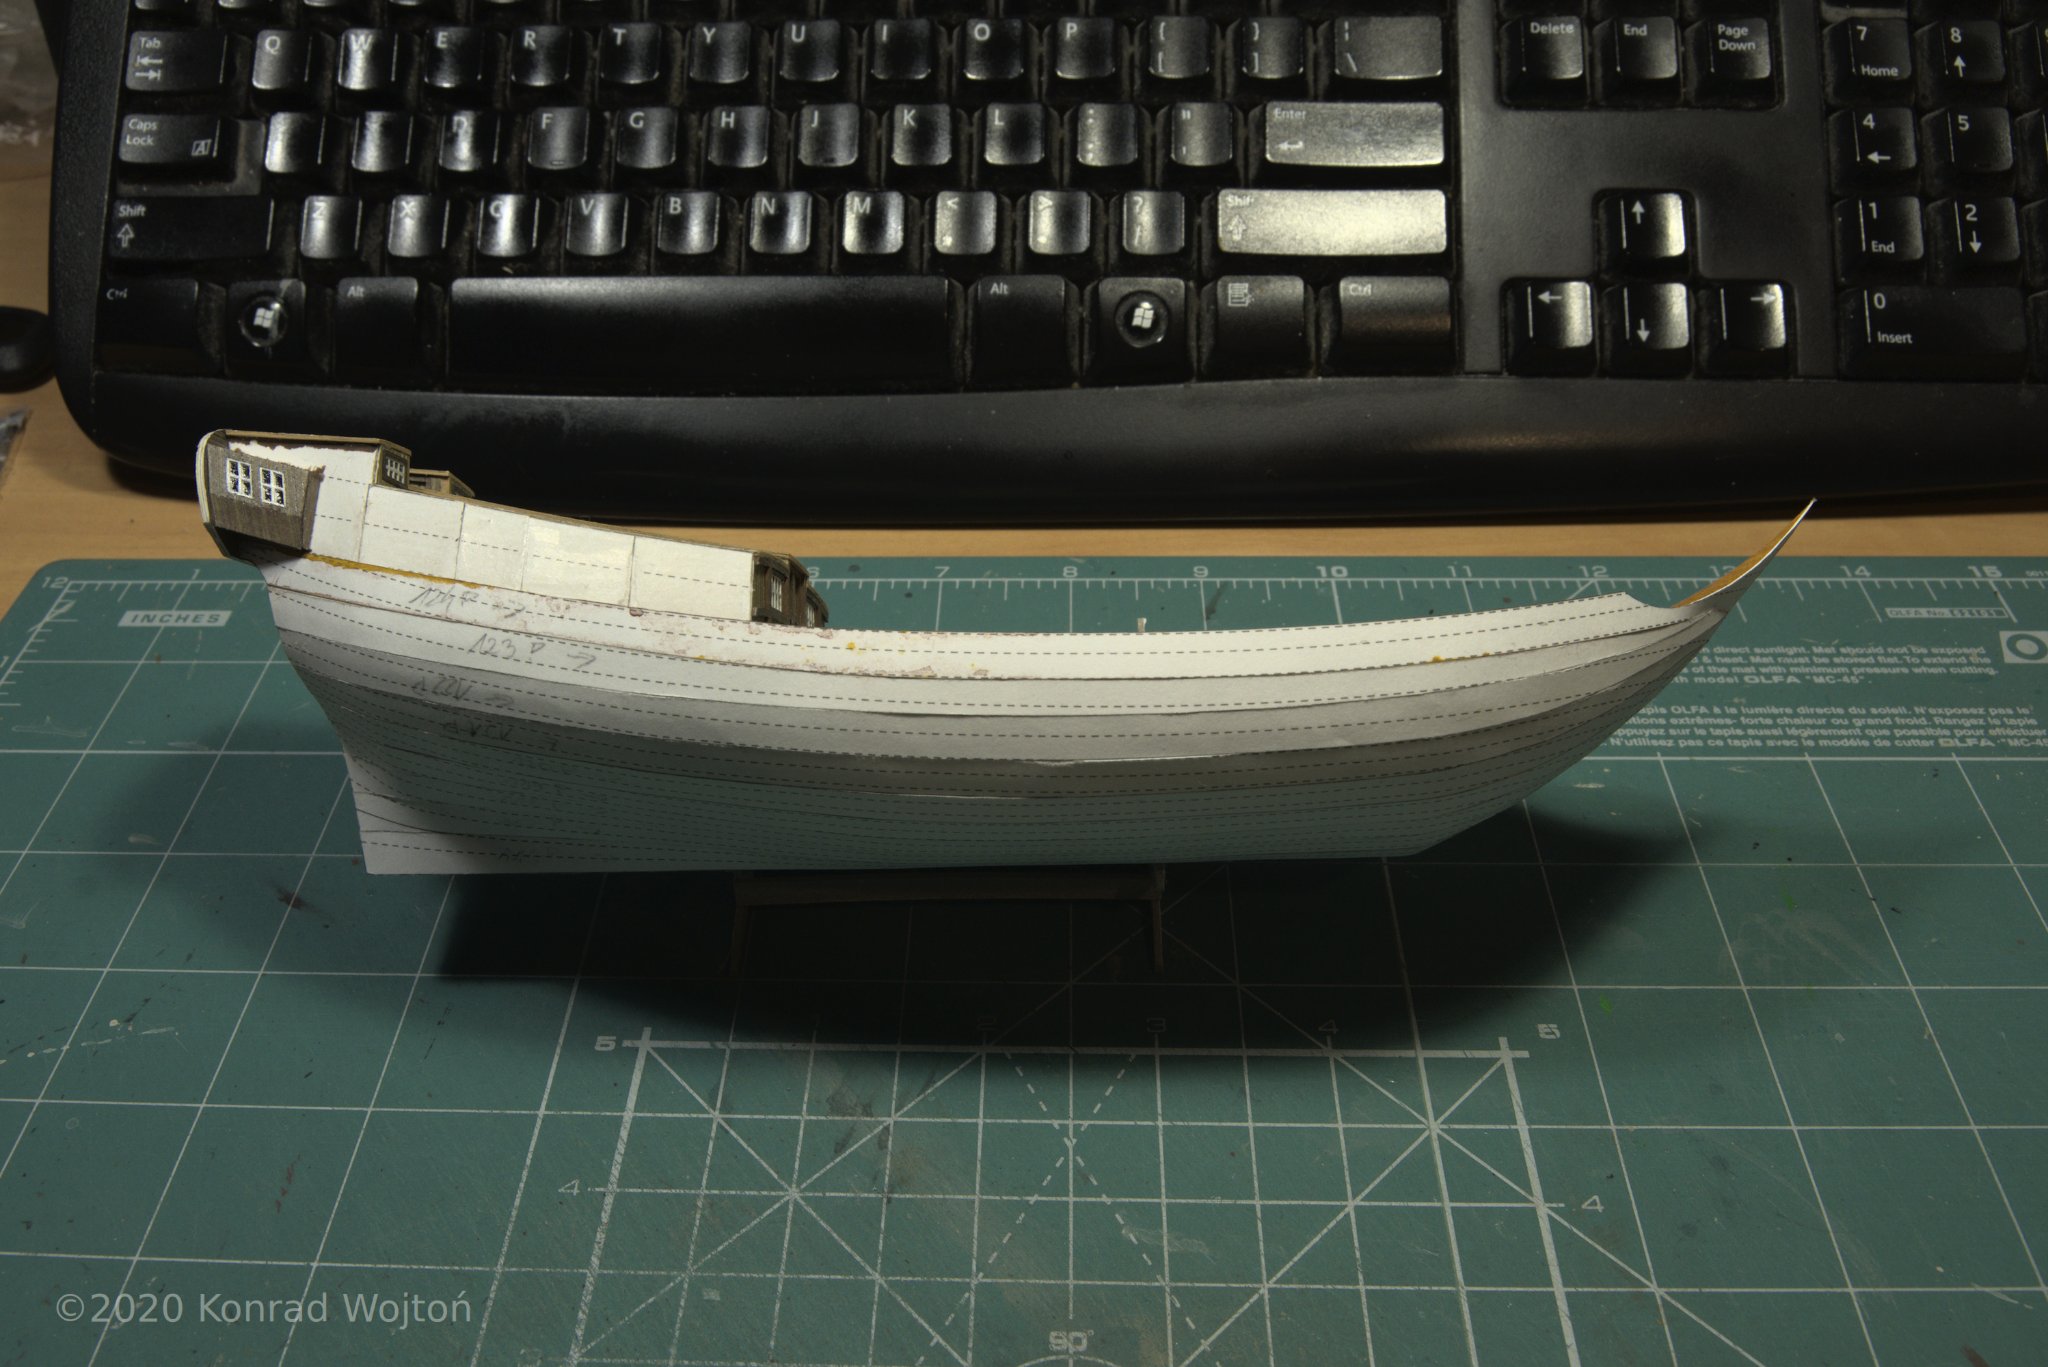
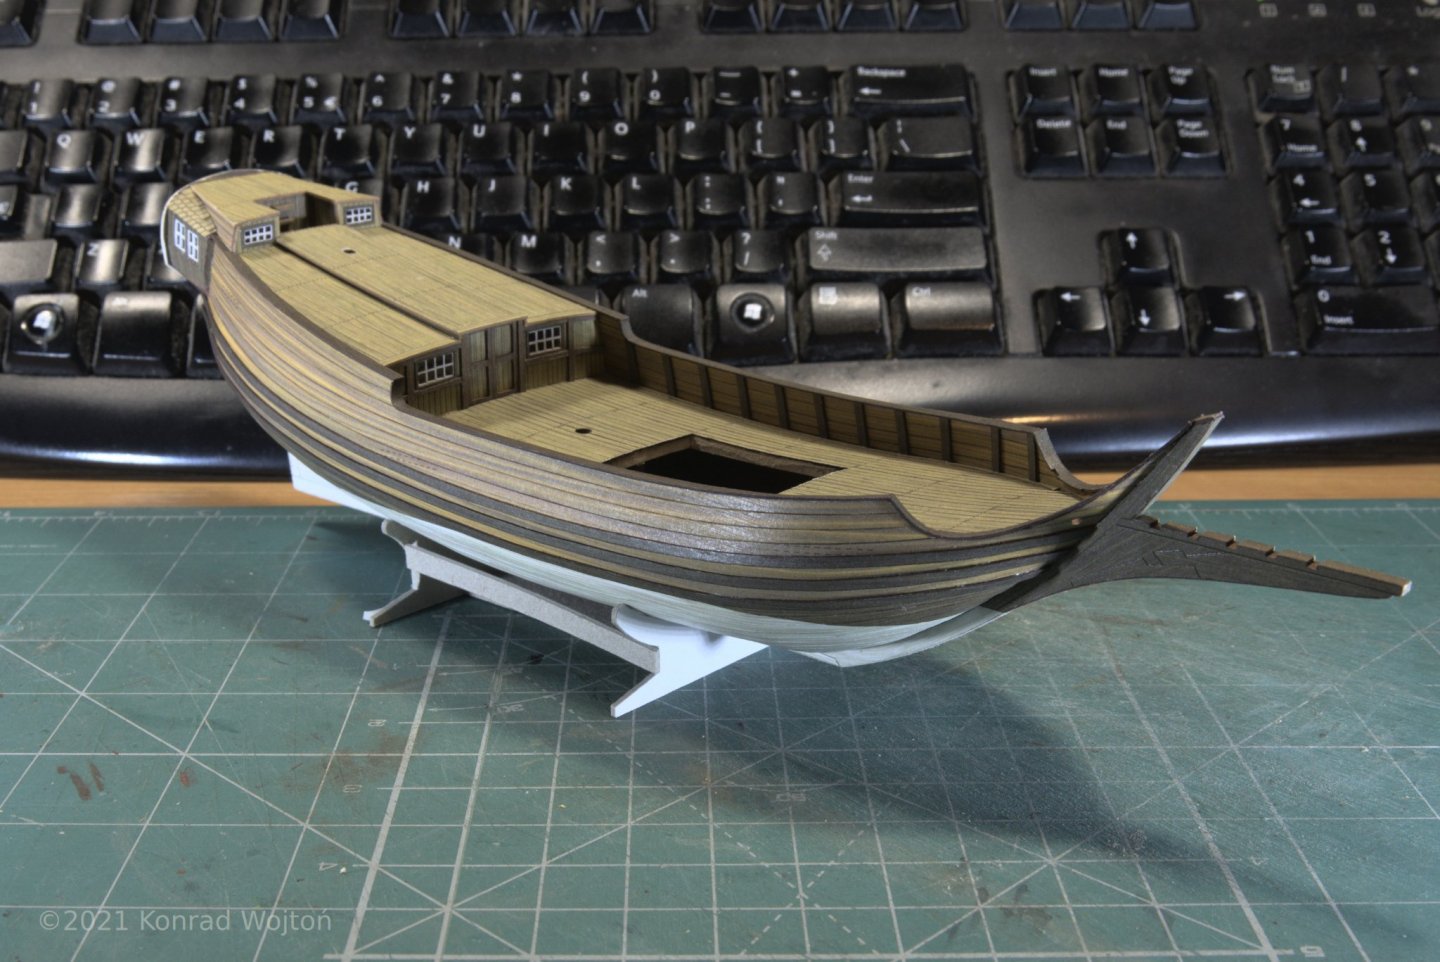
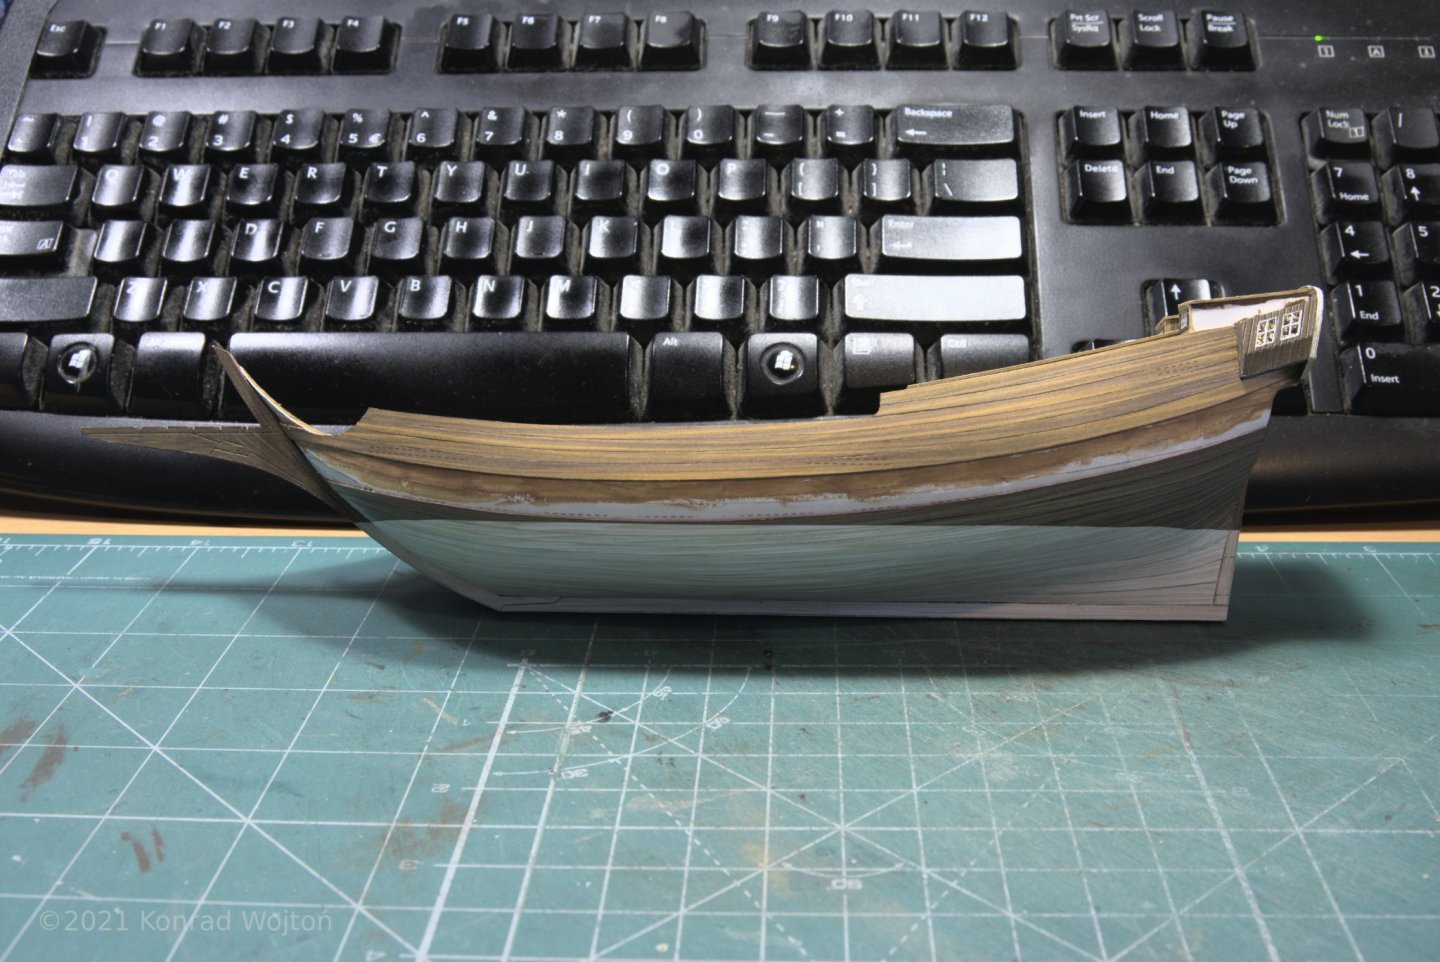
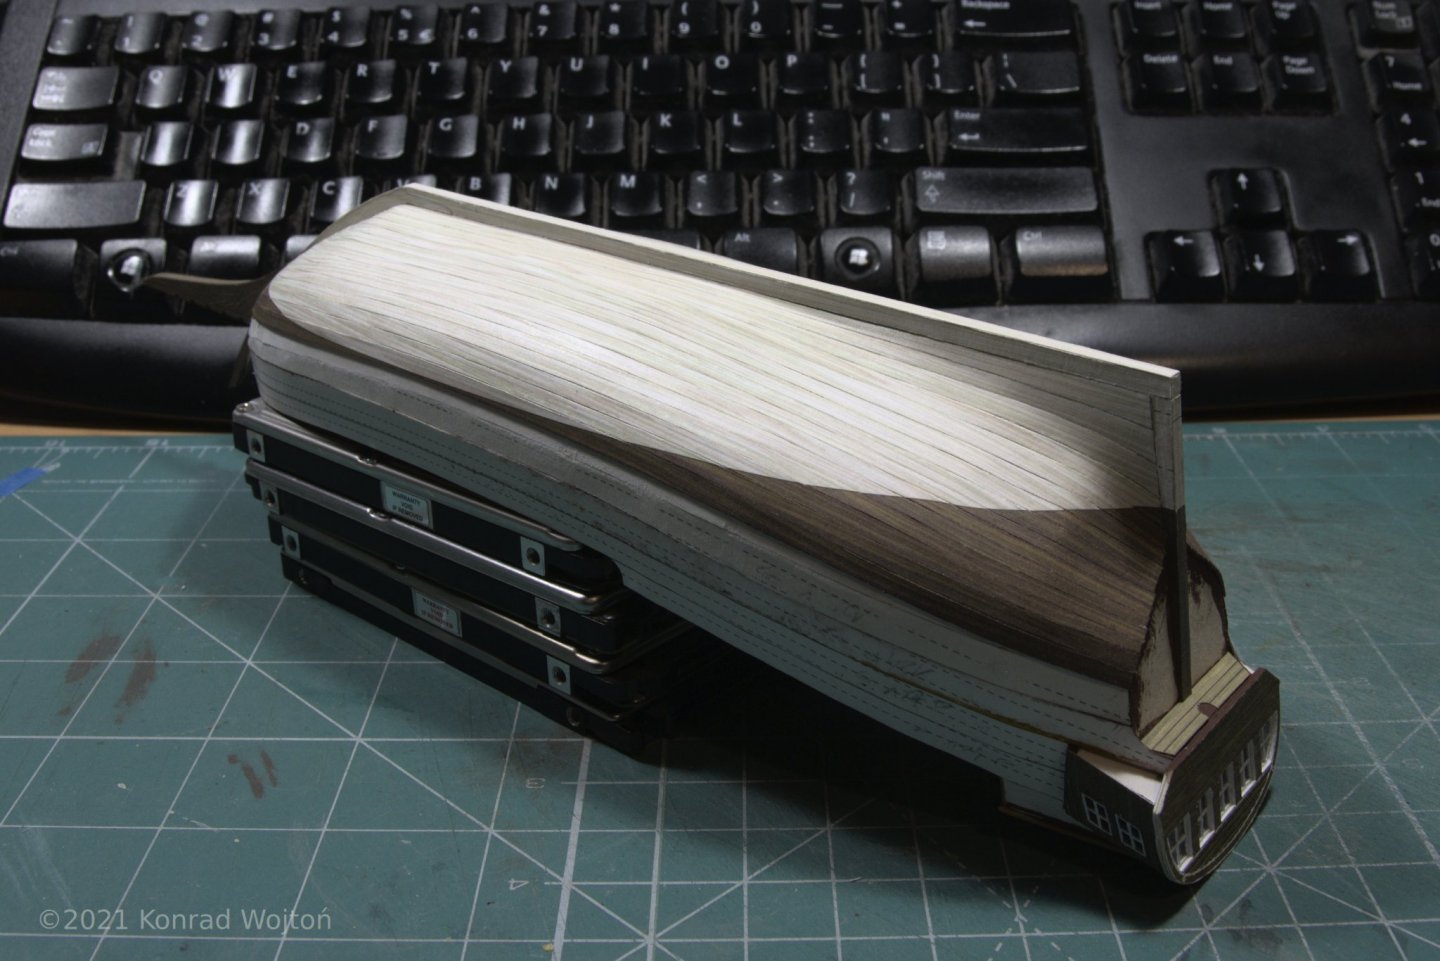
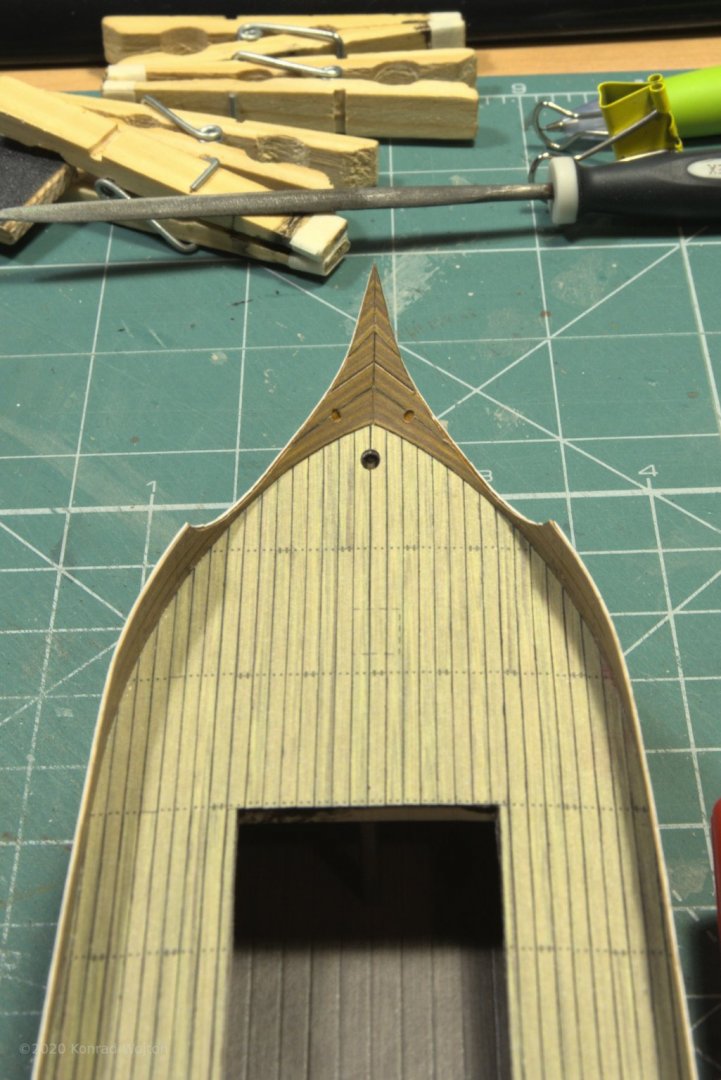
Quite some time has passed since last update, time to dust off this build log, end period of winter laziness and show some progress. Final layer of planking is progressing nicely, I'm around 2/3rd into it.
-
On my Cog from second point I used some putty used in carpentery and it was water based, but I've never put layer more than 1mm thick so it can dry fast. I've heard that some people use fillers used in car bodywork but I've never tried one. When you have very small gaps and use thin layers water in fillers should not be a problem, at least it never was in my builds. On HMS Rodney example he used some acrylic filler so I presume water based.
- 41 replies
-
- 2
-
-
- Finished
- Allège d’Arles
- (and 5 more)
-
Here you can see first technique with construction foam, frame was reinforced with aluminum rods as this modeller had problems with bending in his previous builds: https://www.koga.net.pl/forum/524/46474.html?p=74982#p74982 He then used filler, sanded it and painted the bottom. But you don't have to paint and you can plank it in more traditional way like here: https://www.koga.net.pl/forum/524/47280.html?p=85676#p85676
- 41 replies
-
- 3
-
-
- Finished
- Allège d’Arles
- (and 5 more)
-
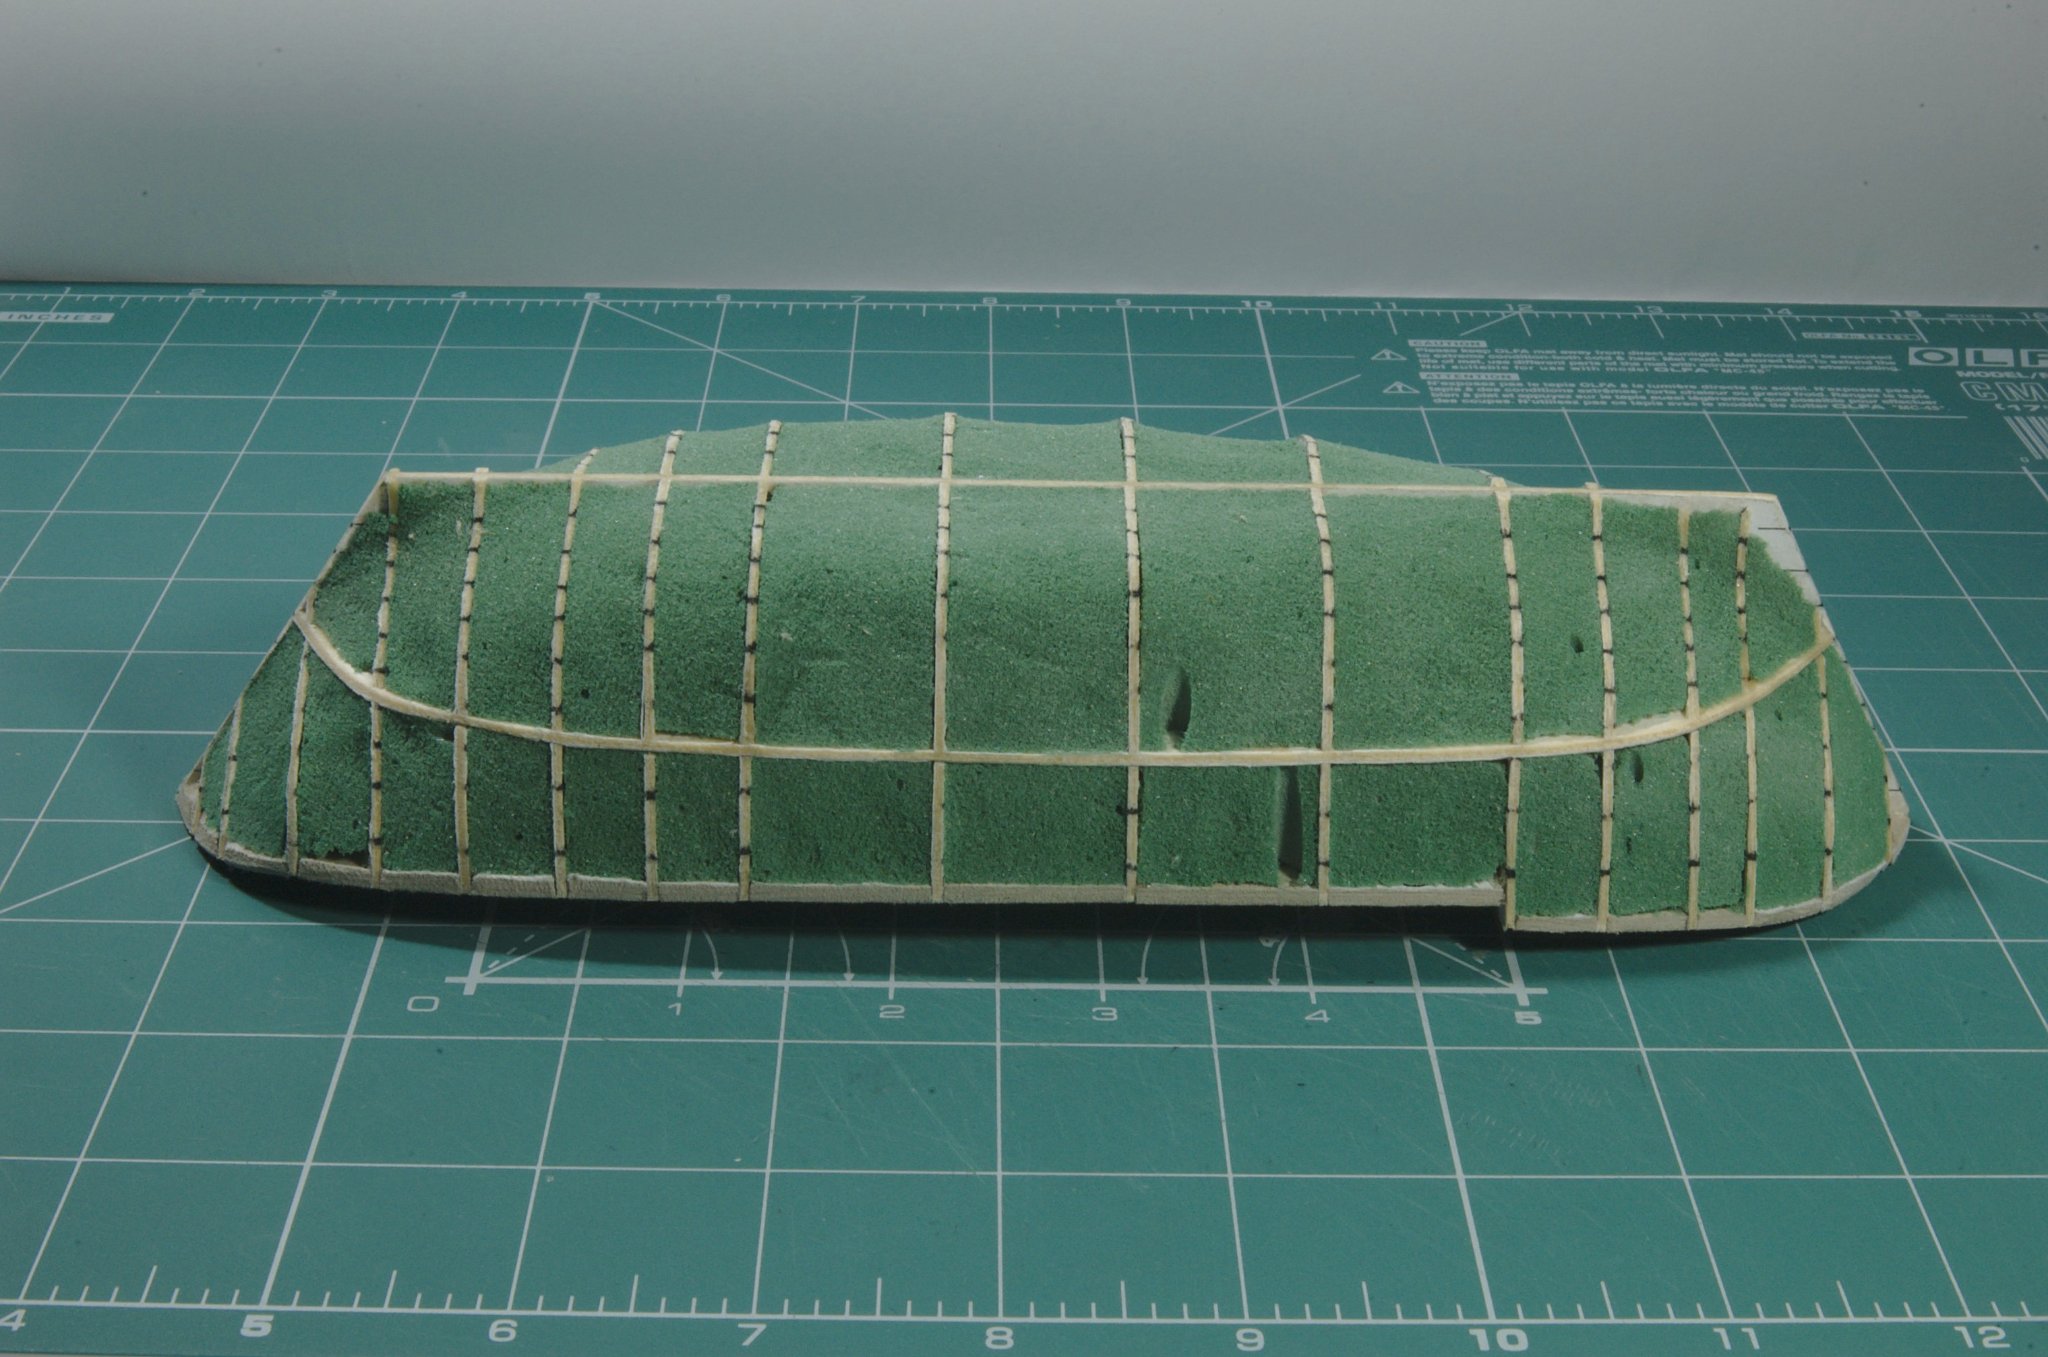
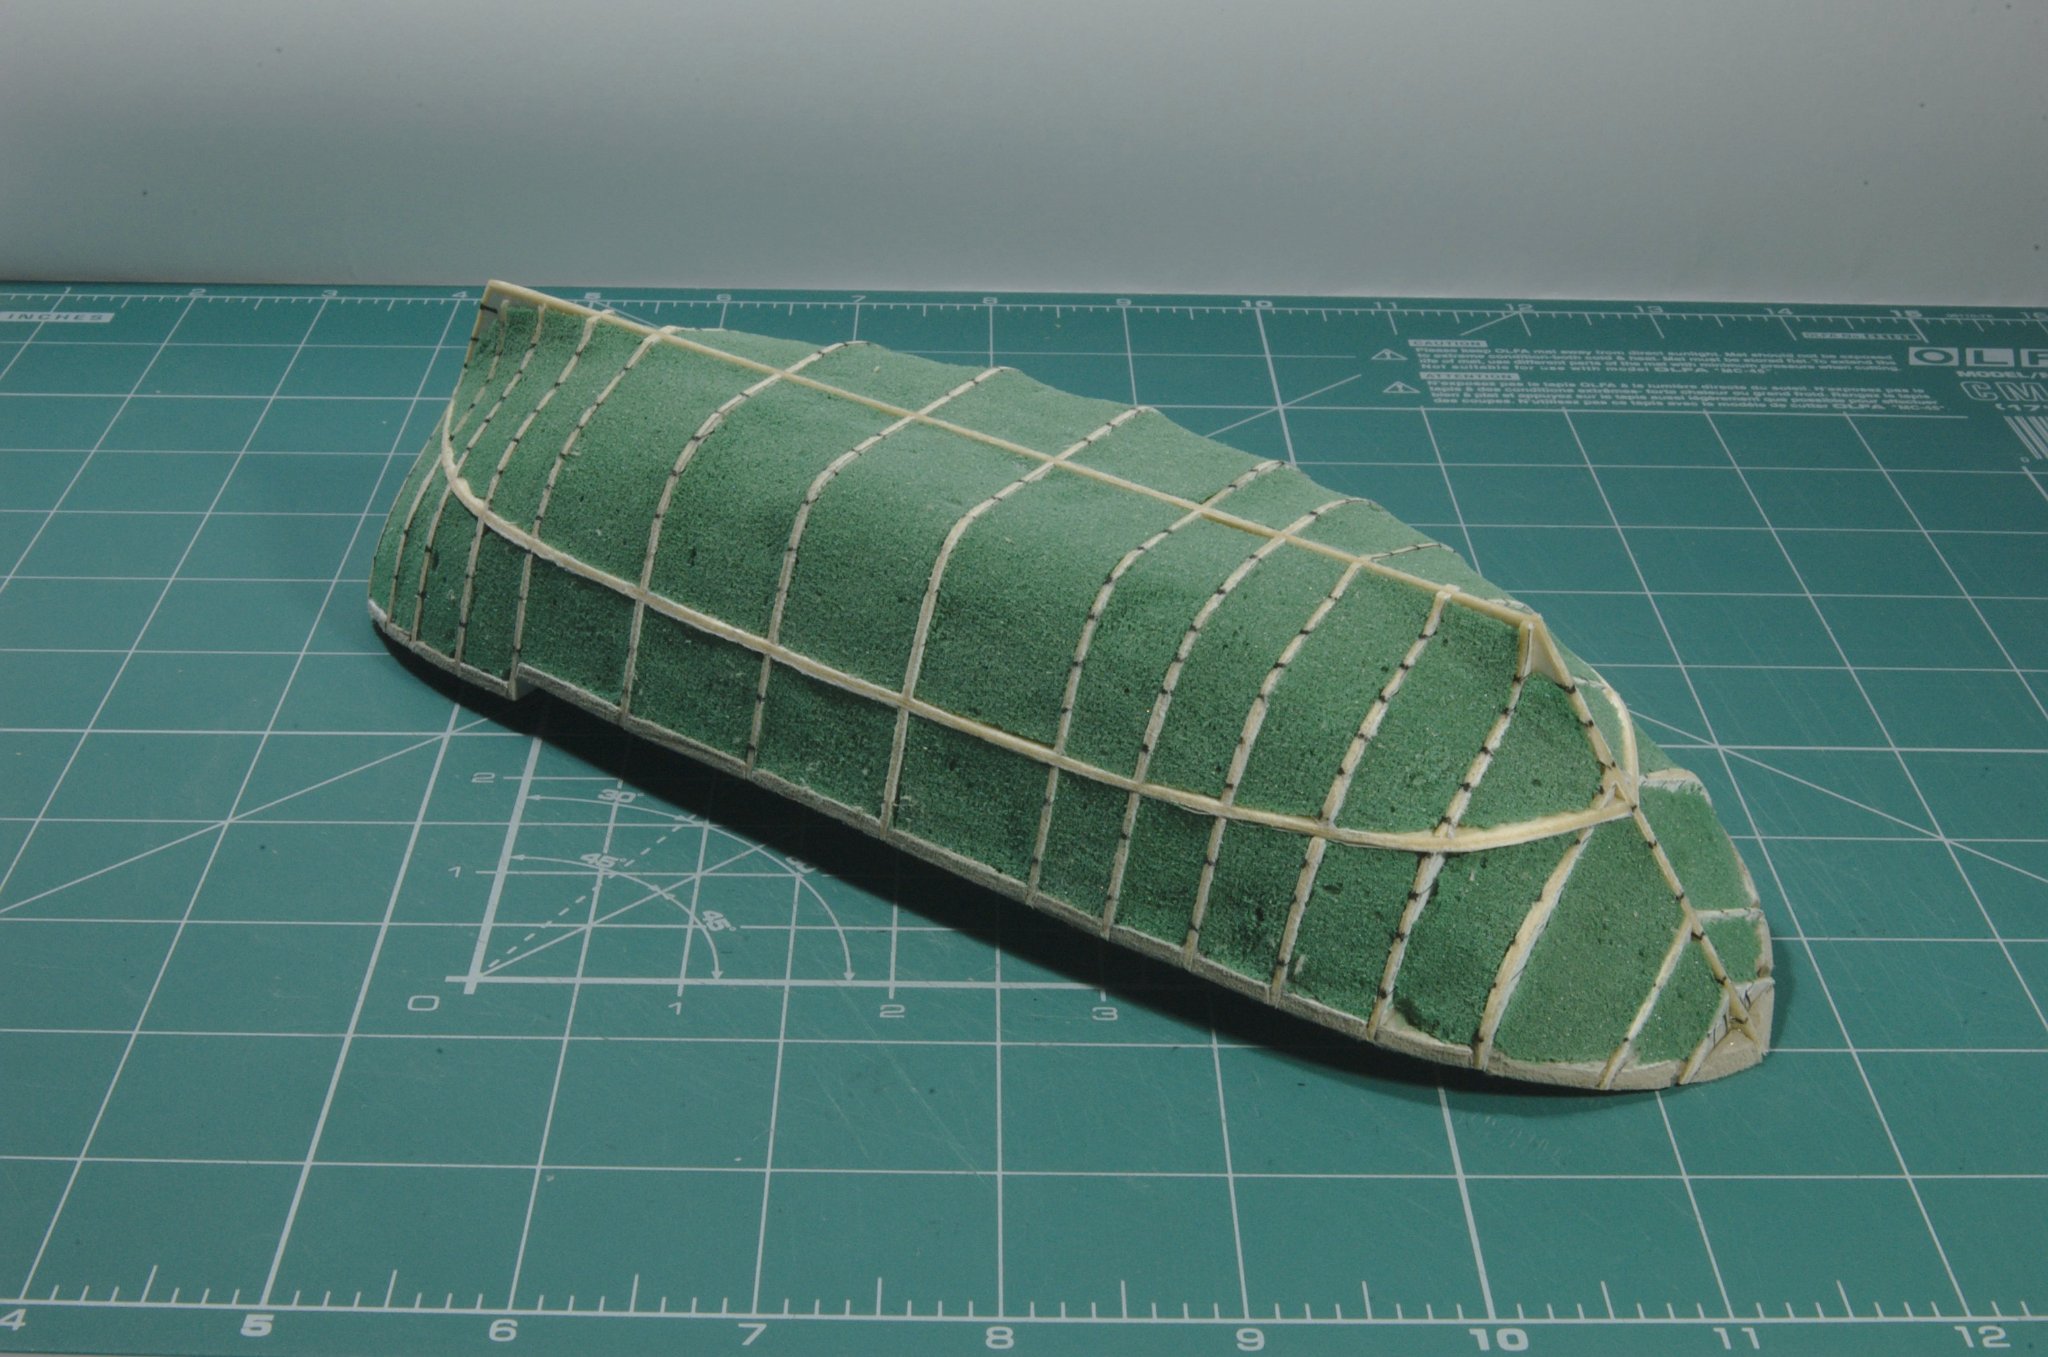
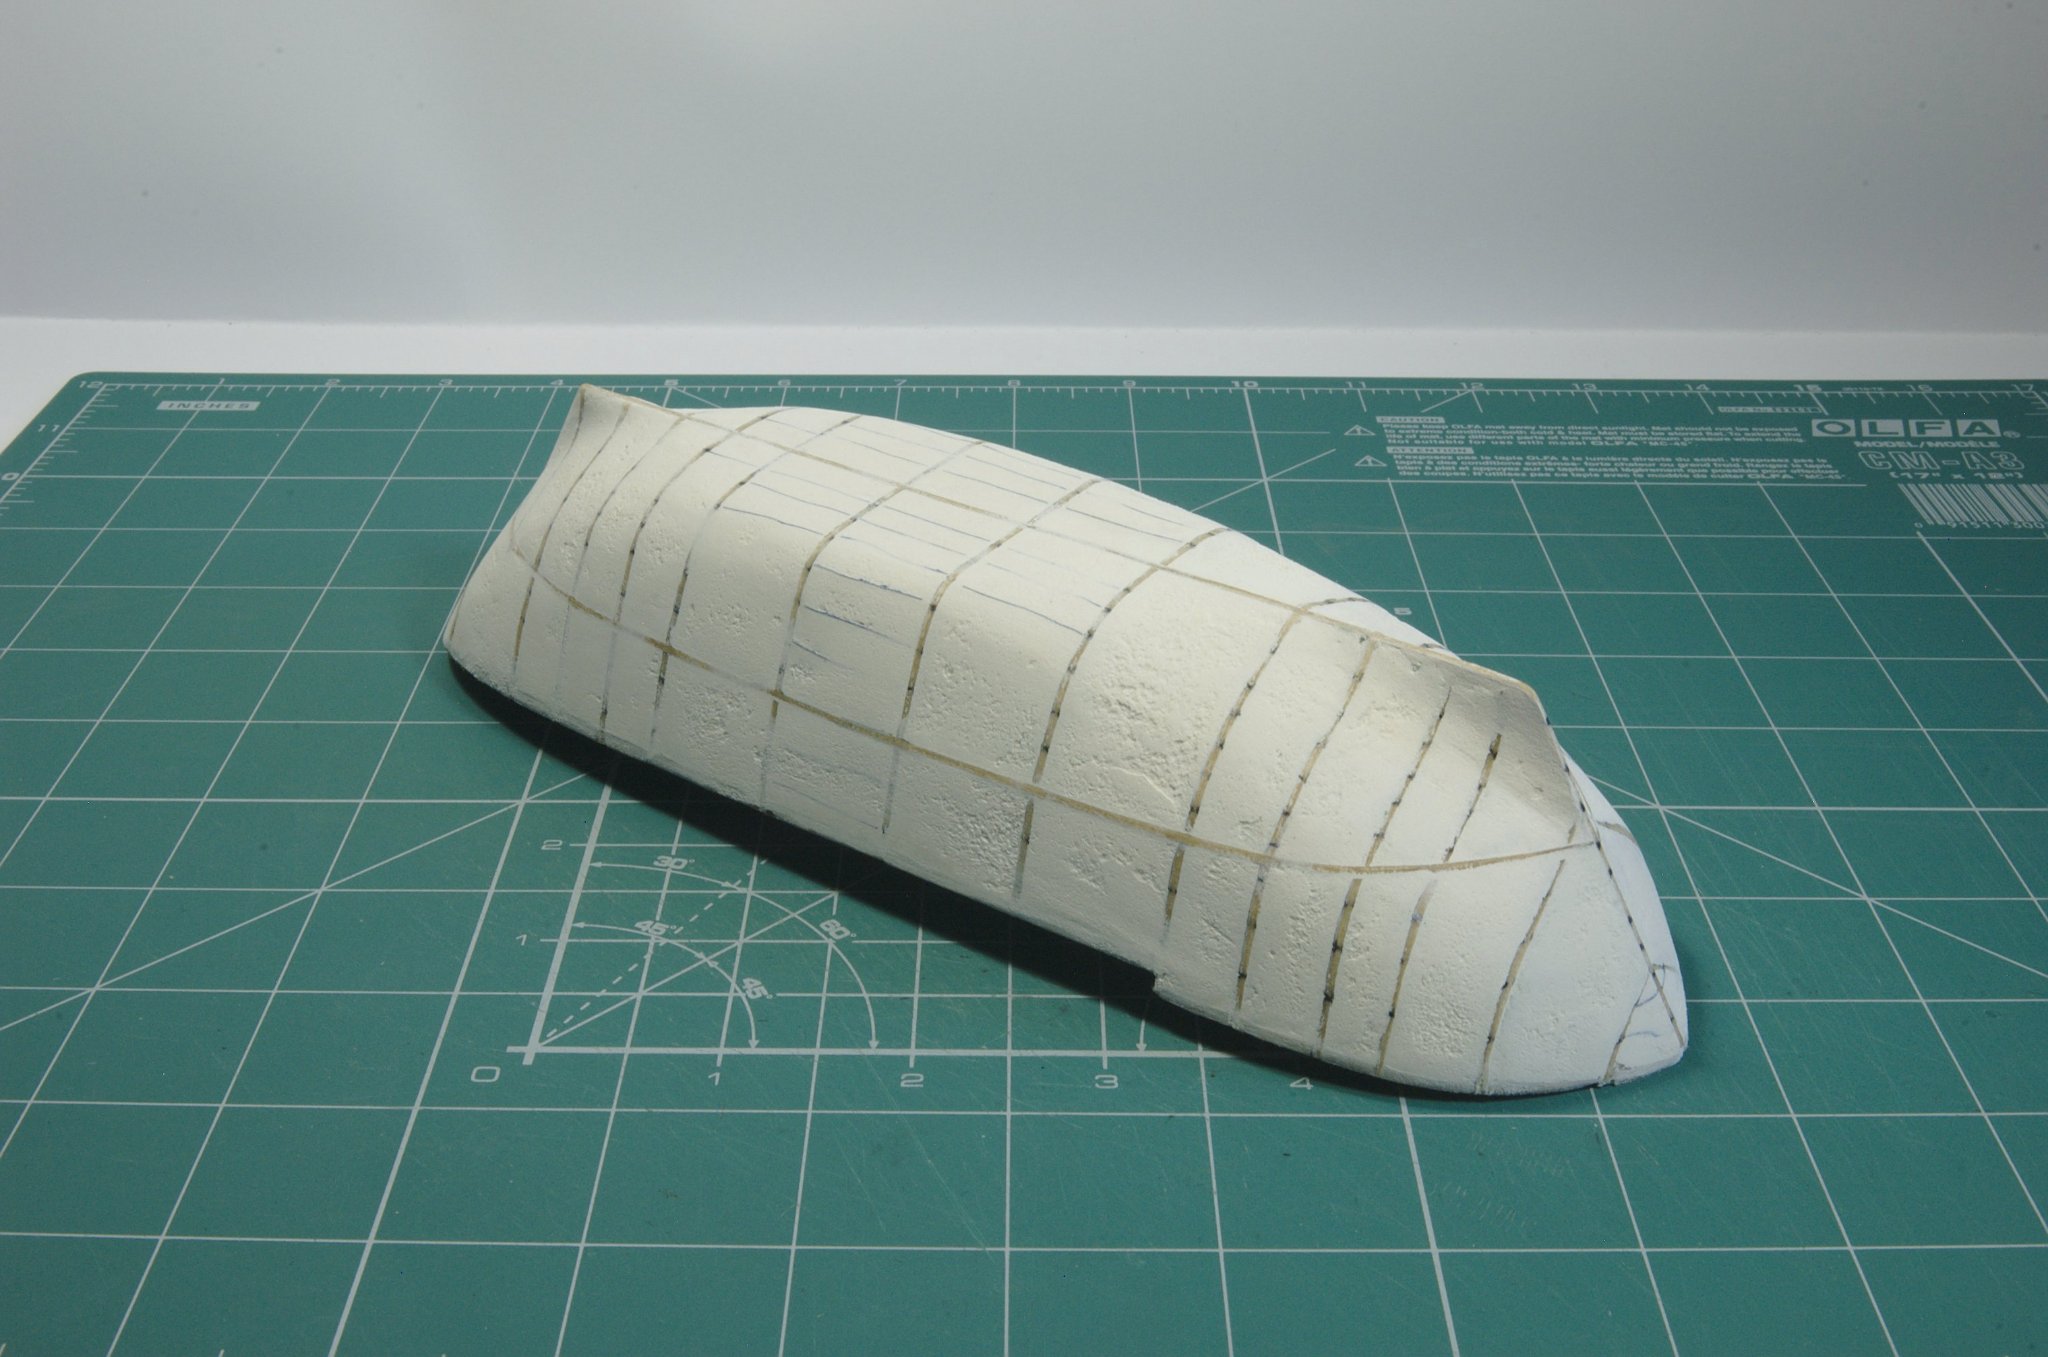
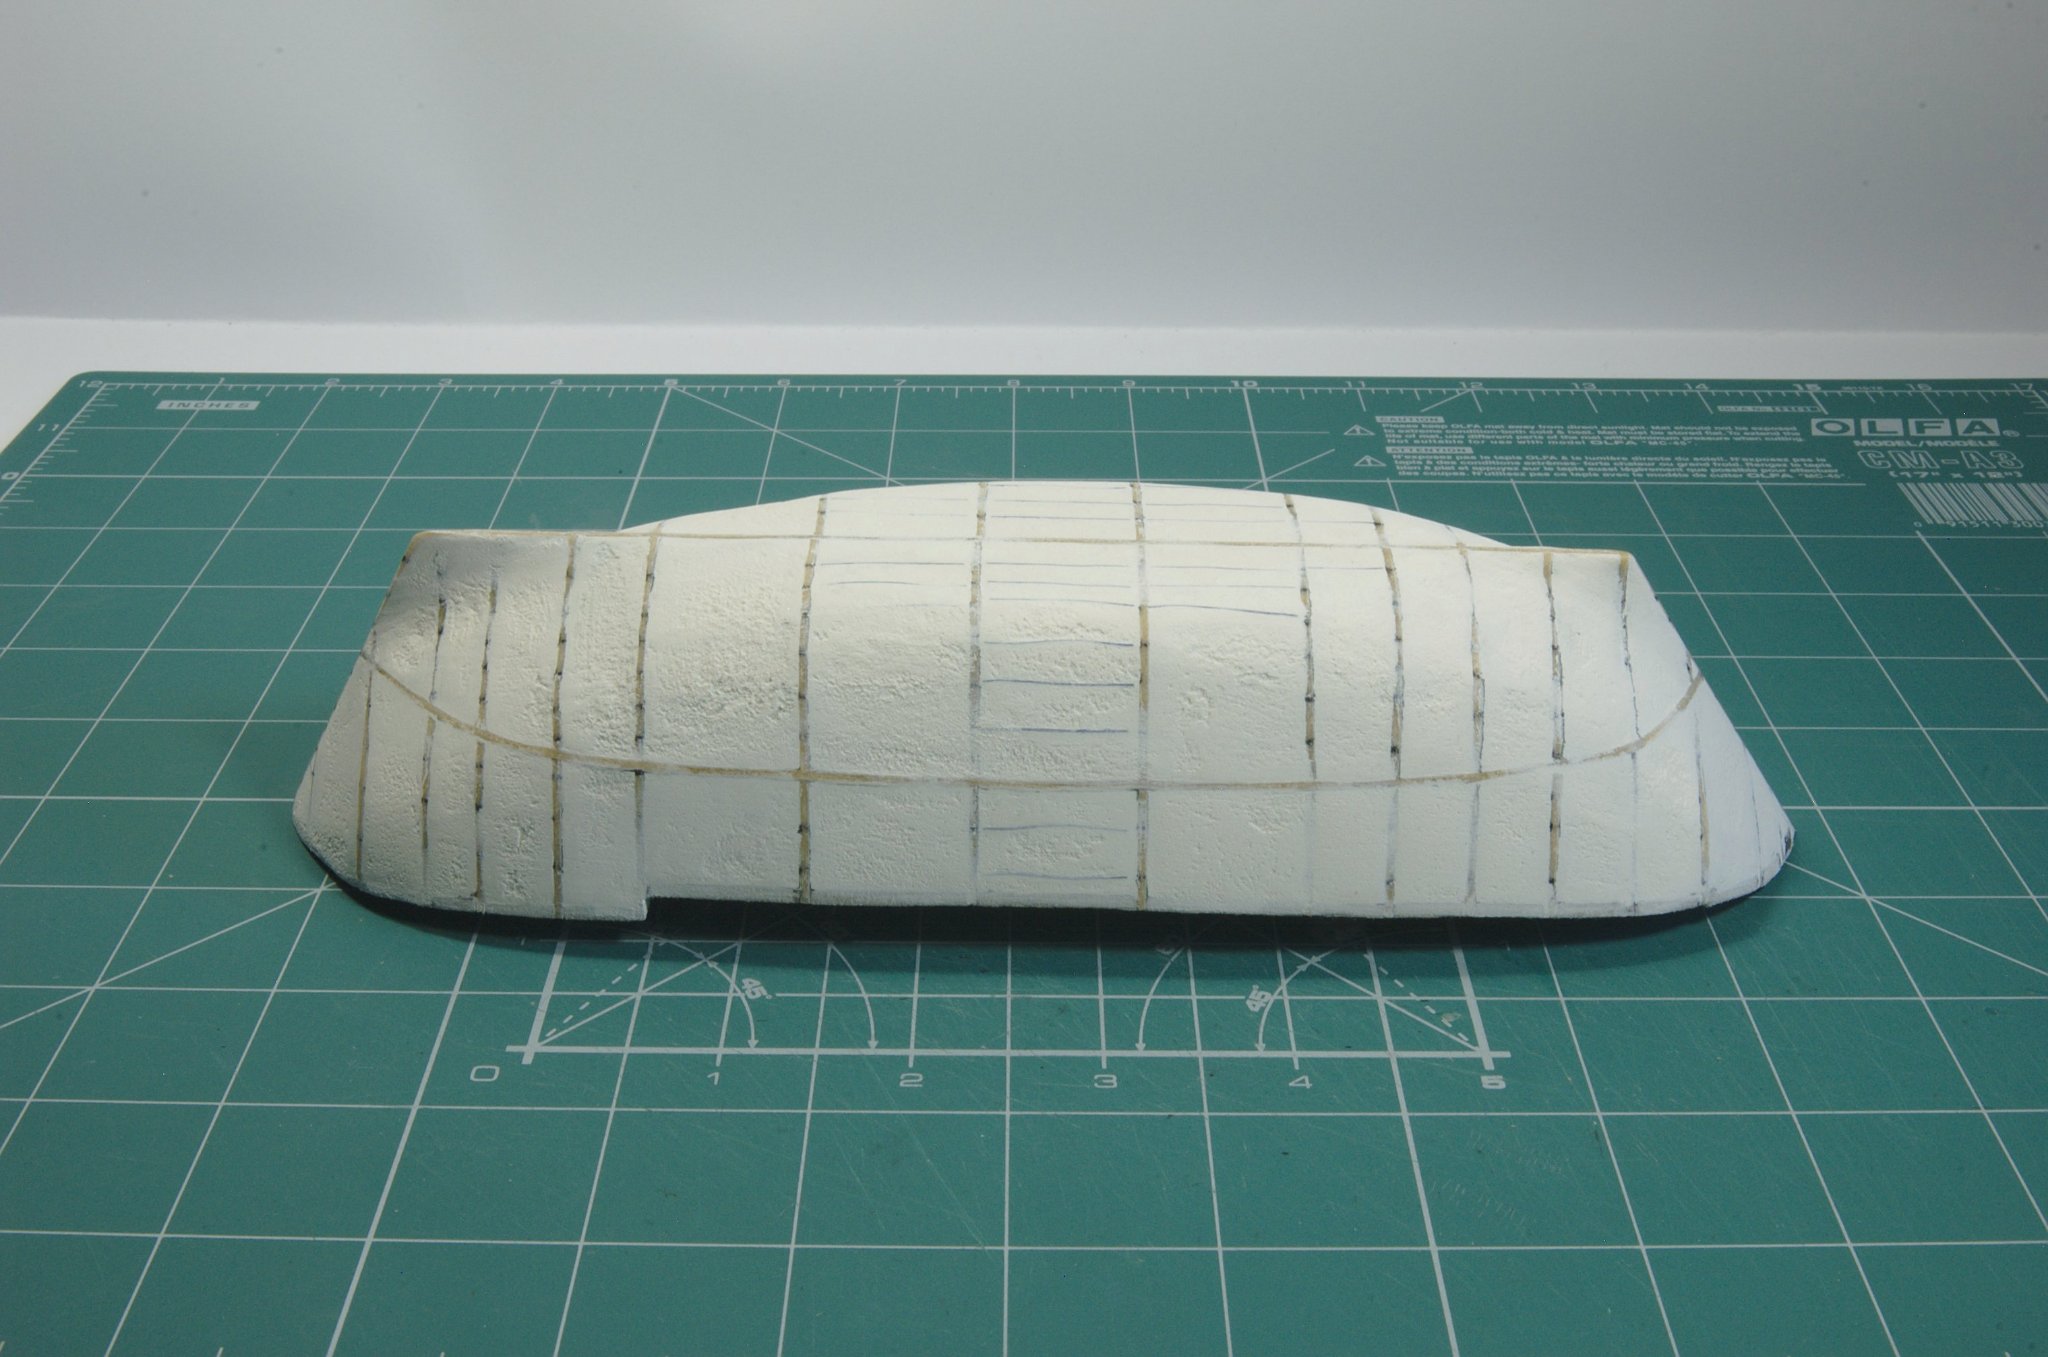
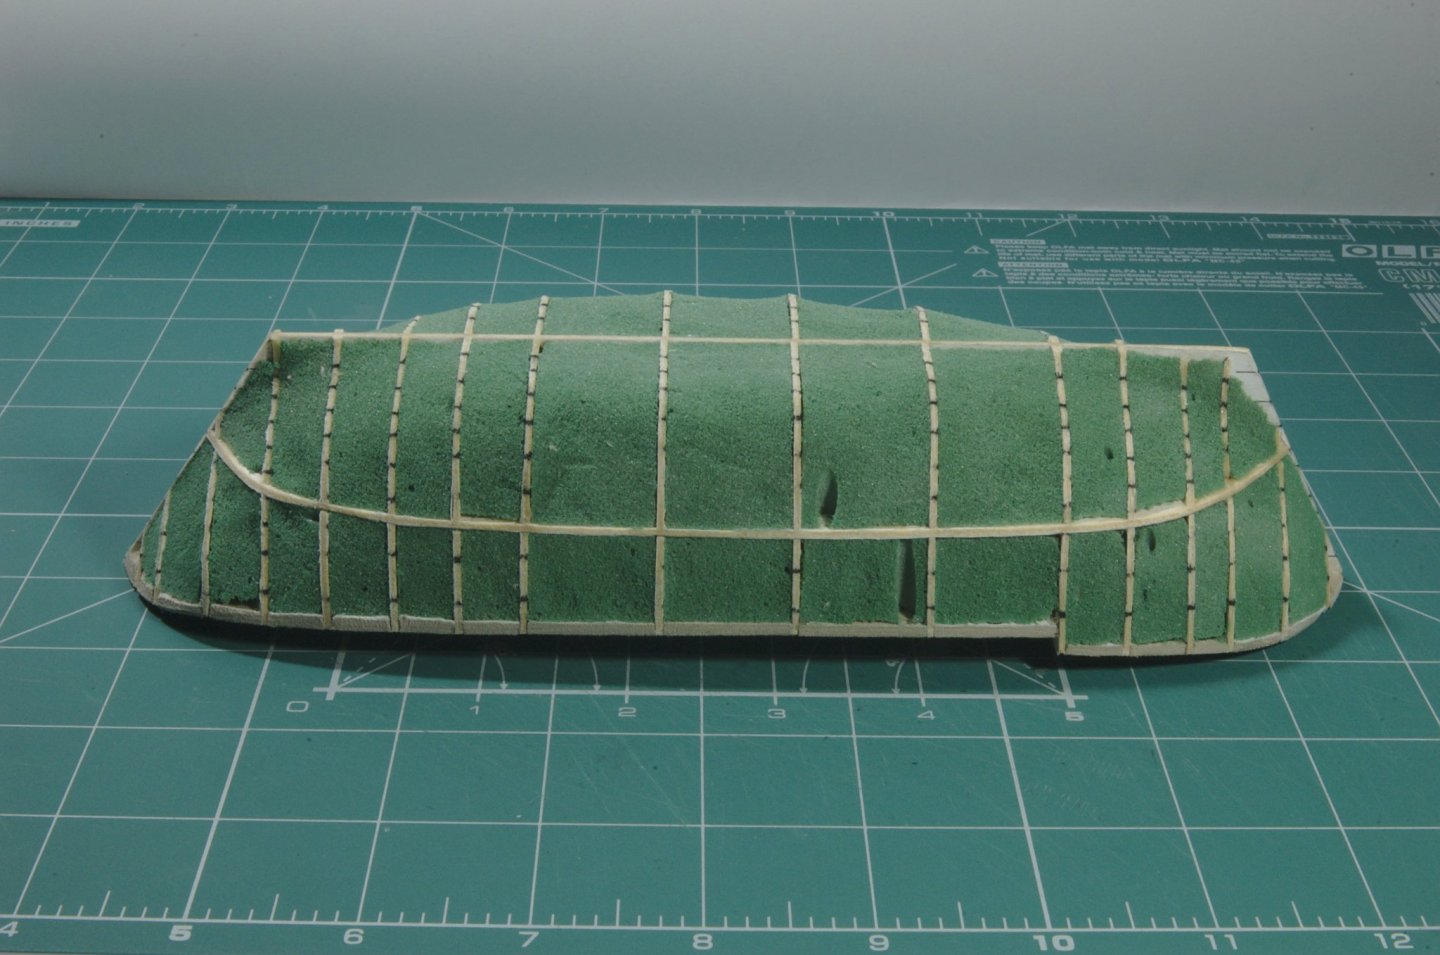
I've just found your build. It is too late for this build but maybe for your future endeavours you will find this helpful. When it comes to filling spaces between hull frames I've never used water based fillers for whole volume. The trick is to fill it with something else and then use some small amounts of filler to fill gaps and unevenness. There are a couple of techniques used on polish modellers forums. 1. Foam used in construction for setting up window frames. When it hardens it grows and fill the gaps between frames. After it hardens enough you remove excess first with blade, then with sandpaper. After that you use filler and sand again. This technique I think is getting out of favor a it has one slight negative side, while foam grows and hardens it might bend the construction so care is needed. I can't find good photos of this technique right away, maybe later I'll find something good. 2. Instead of foam used in first point you might use florist foam or styrofoam (sytrodur xps). You buy in form of a box or "brick". It is easy to cut into. You prepare pieces which fit between frames and then remove excess. The you use some acrylic or wood filler and sand it. Florist foam is easy to work with but it might be too soft and buckle under finger pressure, styrofoam is better in my opinion. Example here https://papermodels.pl/thread-11205.html?highlight=wypełnienie+kadłuba Also some of my tries with florist foam: 3. Technique known as "podposzycie" on polish forums, something that could be translated as undersheathing (sheathing as "poszycie") or underskin. It is hard for me to describe the process in english so I'll link to post on polish forum, as I think pictures show it quite clearly. http://www.kartonwork.pl/forum/viewtopic.php?t=9866&highlight=saratoga After you fill spaces between frames you should soak card (most popular is beermat style card stock) with ca or nitro varnish to help a bit with sanding. You might also use filler to fill some small gaps or unevenness. My experiments: 4. You don't fill it with anything but use multiple layers, like with my Allege or Saettia.


- 41 replies
-
- 7
-
-
- Finished
- Allège d’Arles
- (and 5 more)
-
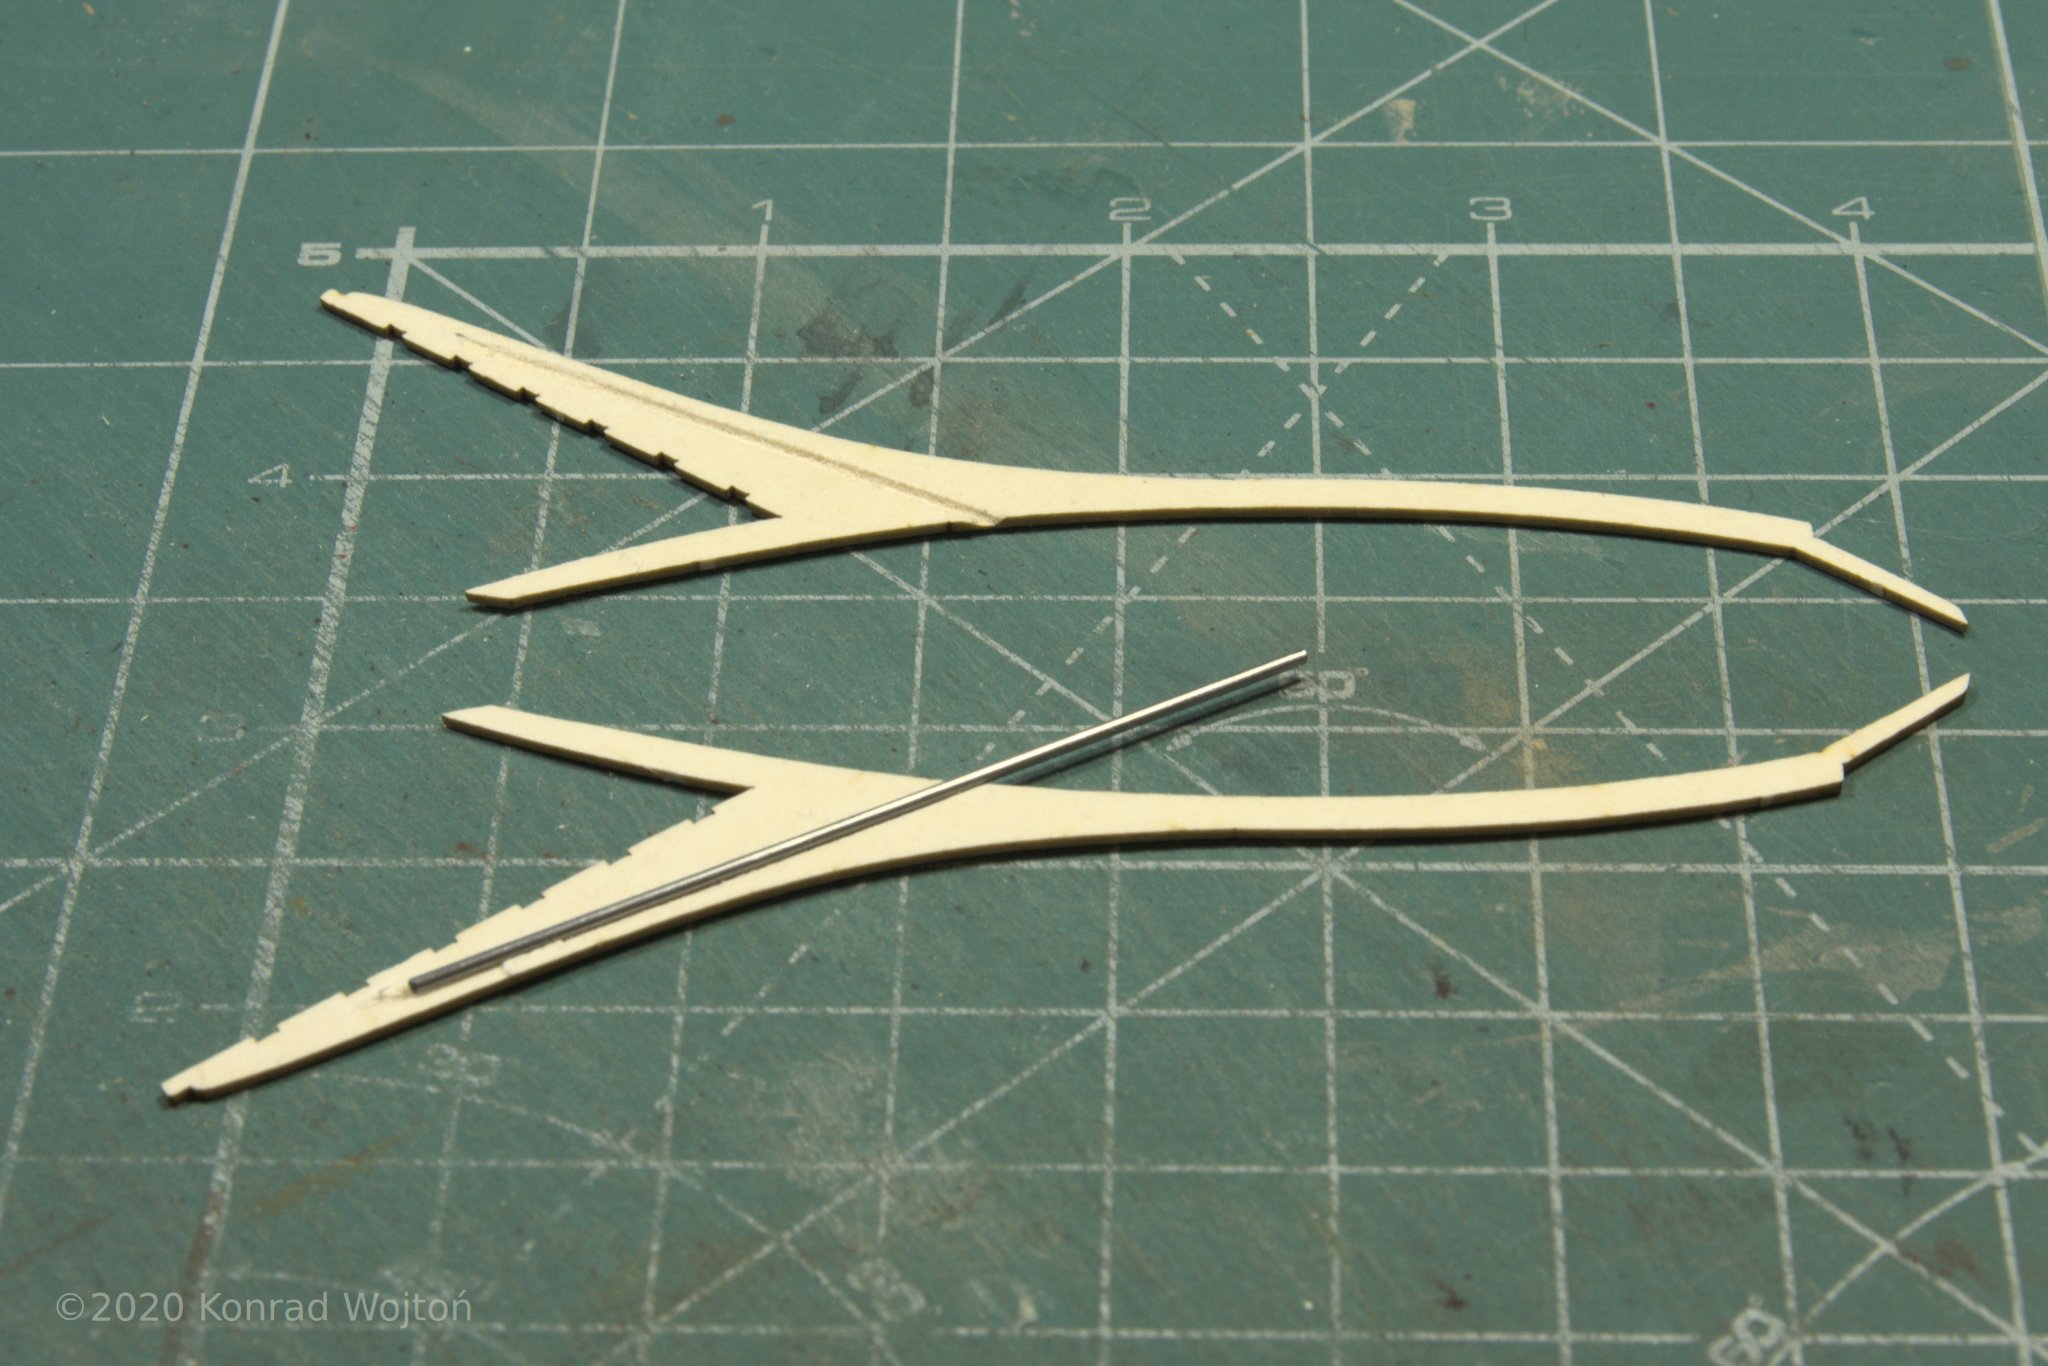
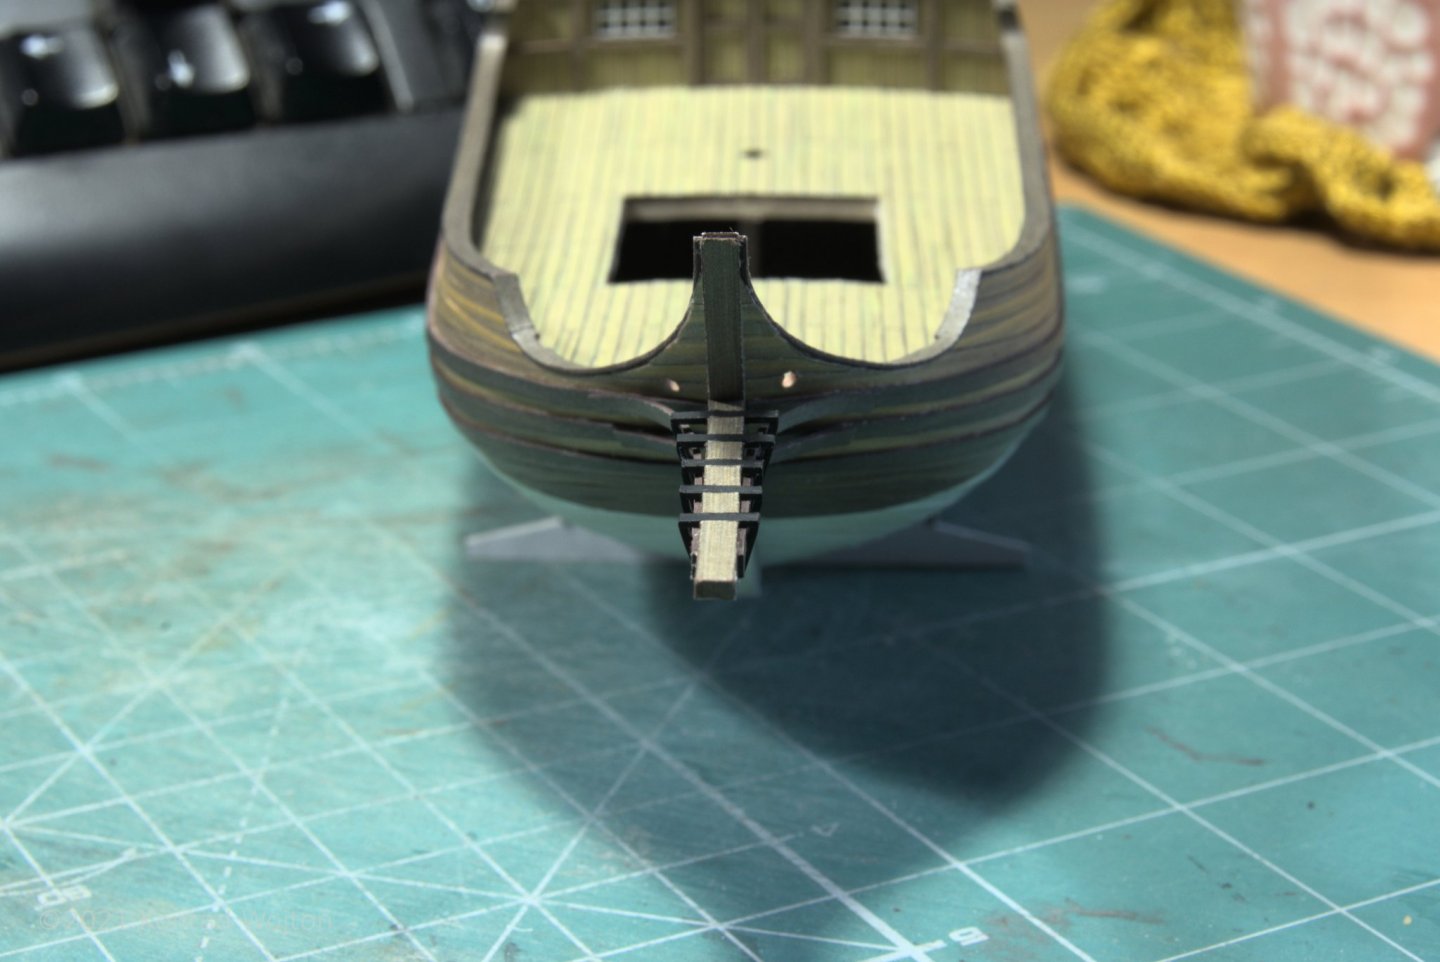
I always try to reinforce in some way parts which are sticking out and I feel like glue might not be enough. Sometimes it might not possible so I have to be careful. Funny thing is that with my previous build - Allege d'Arles I've managed to break away rudder four times. Now I'm thinking how to prevent it in current build, perhaps some cut to proper length and carefully hidden/embedded paper pins will do the job.
-
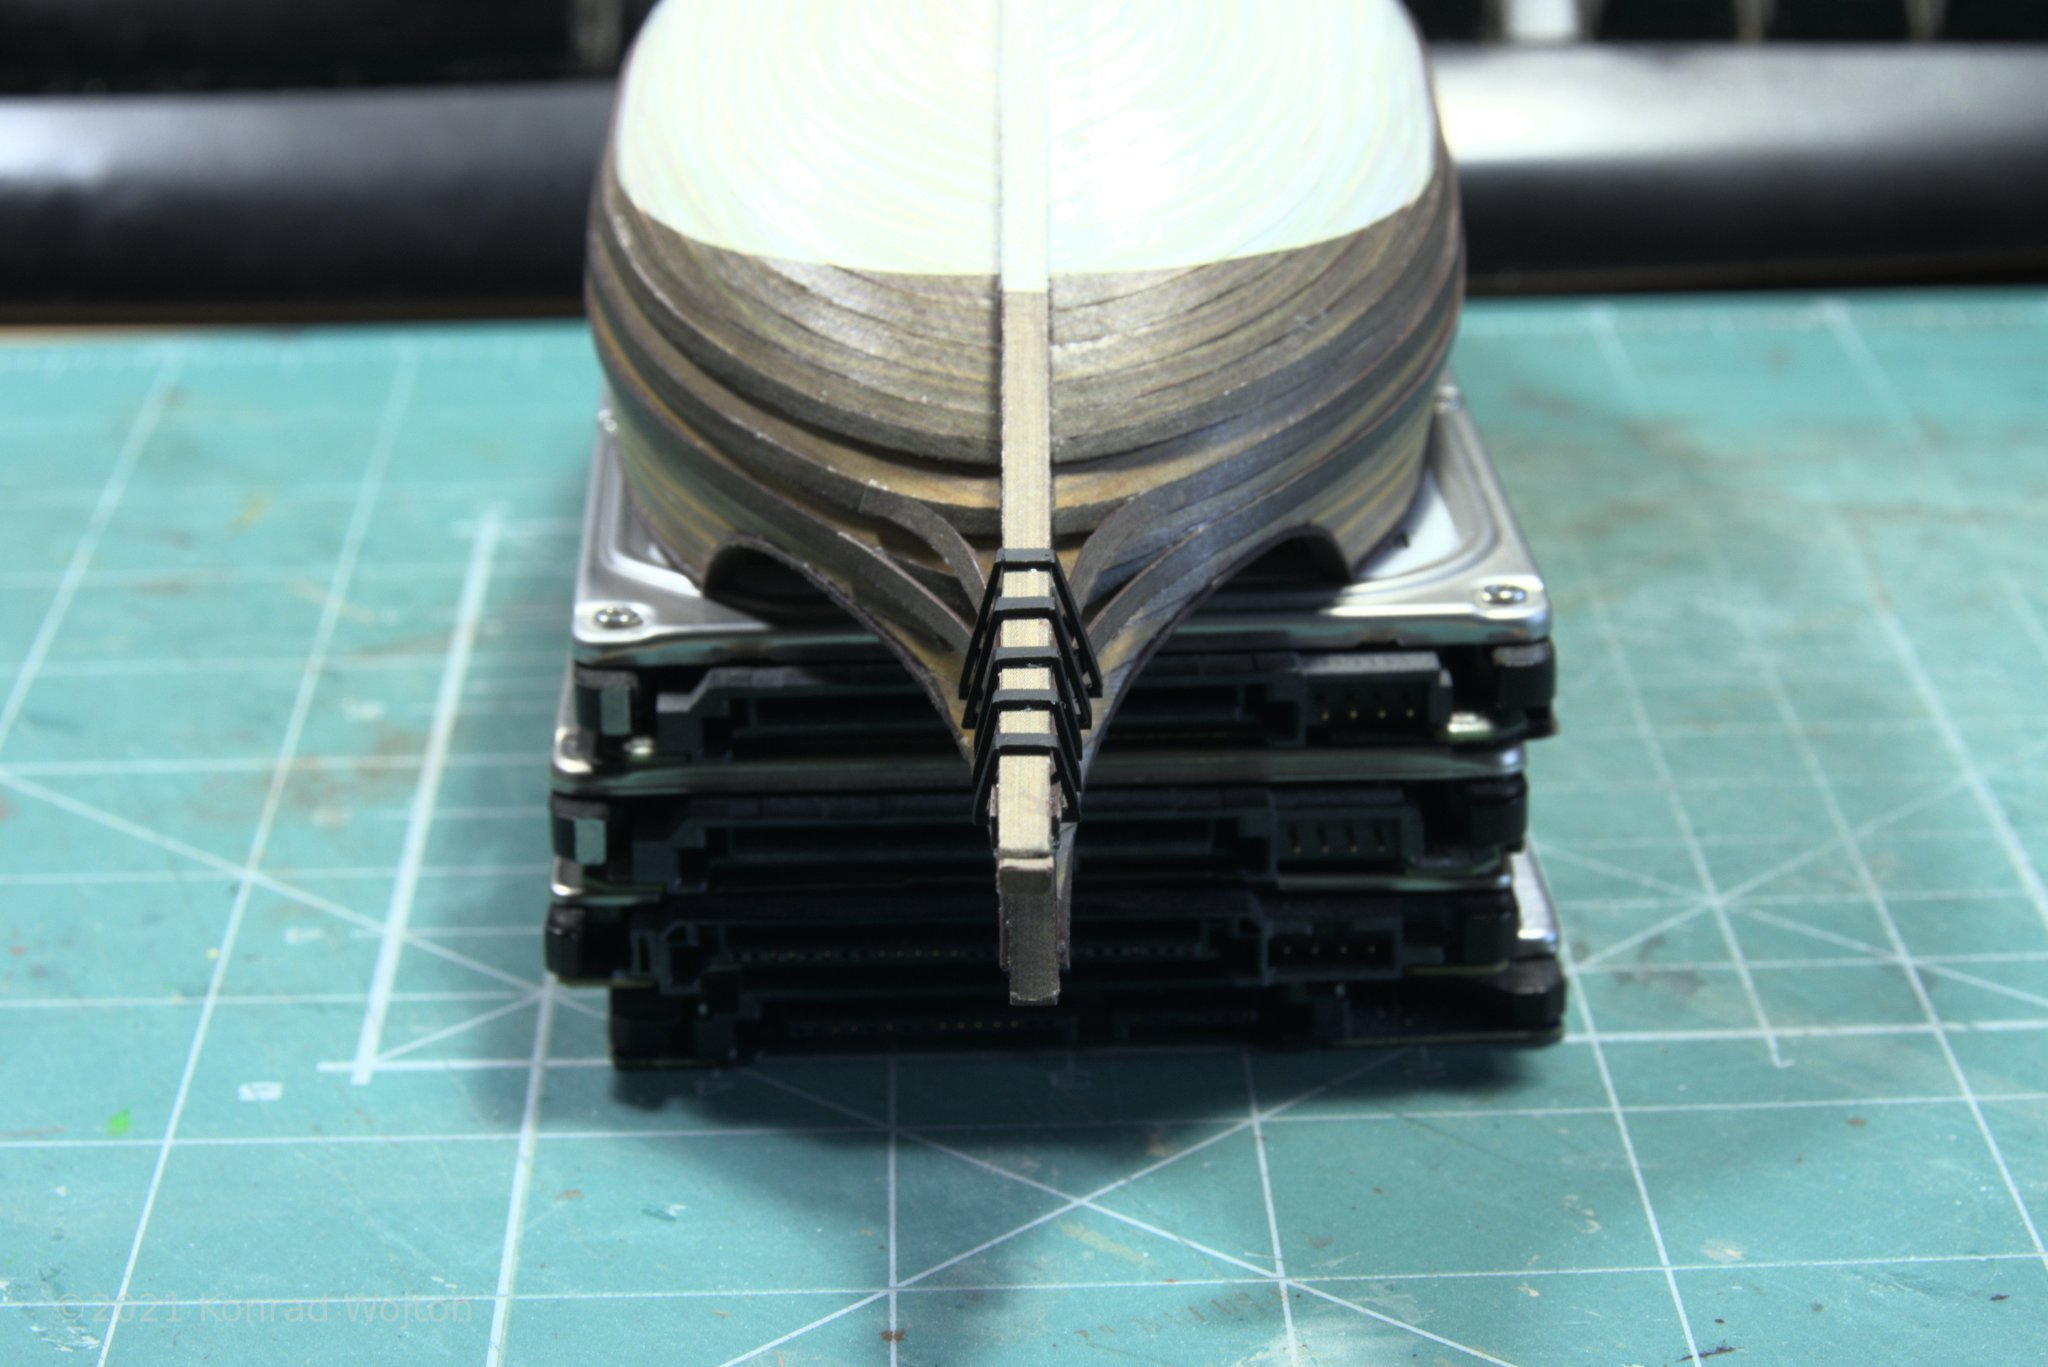
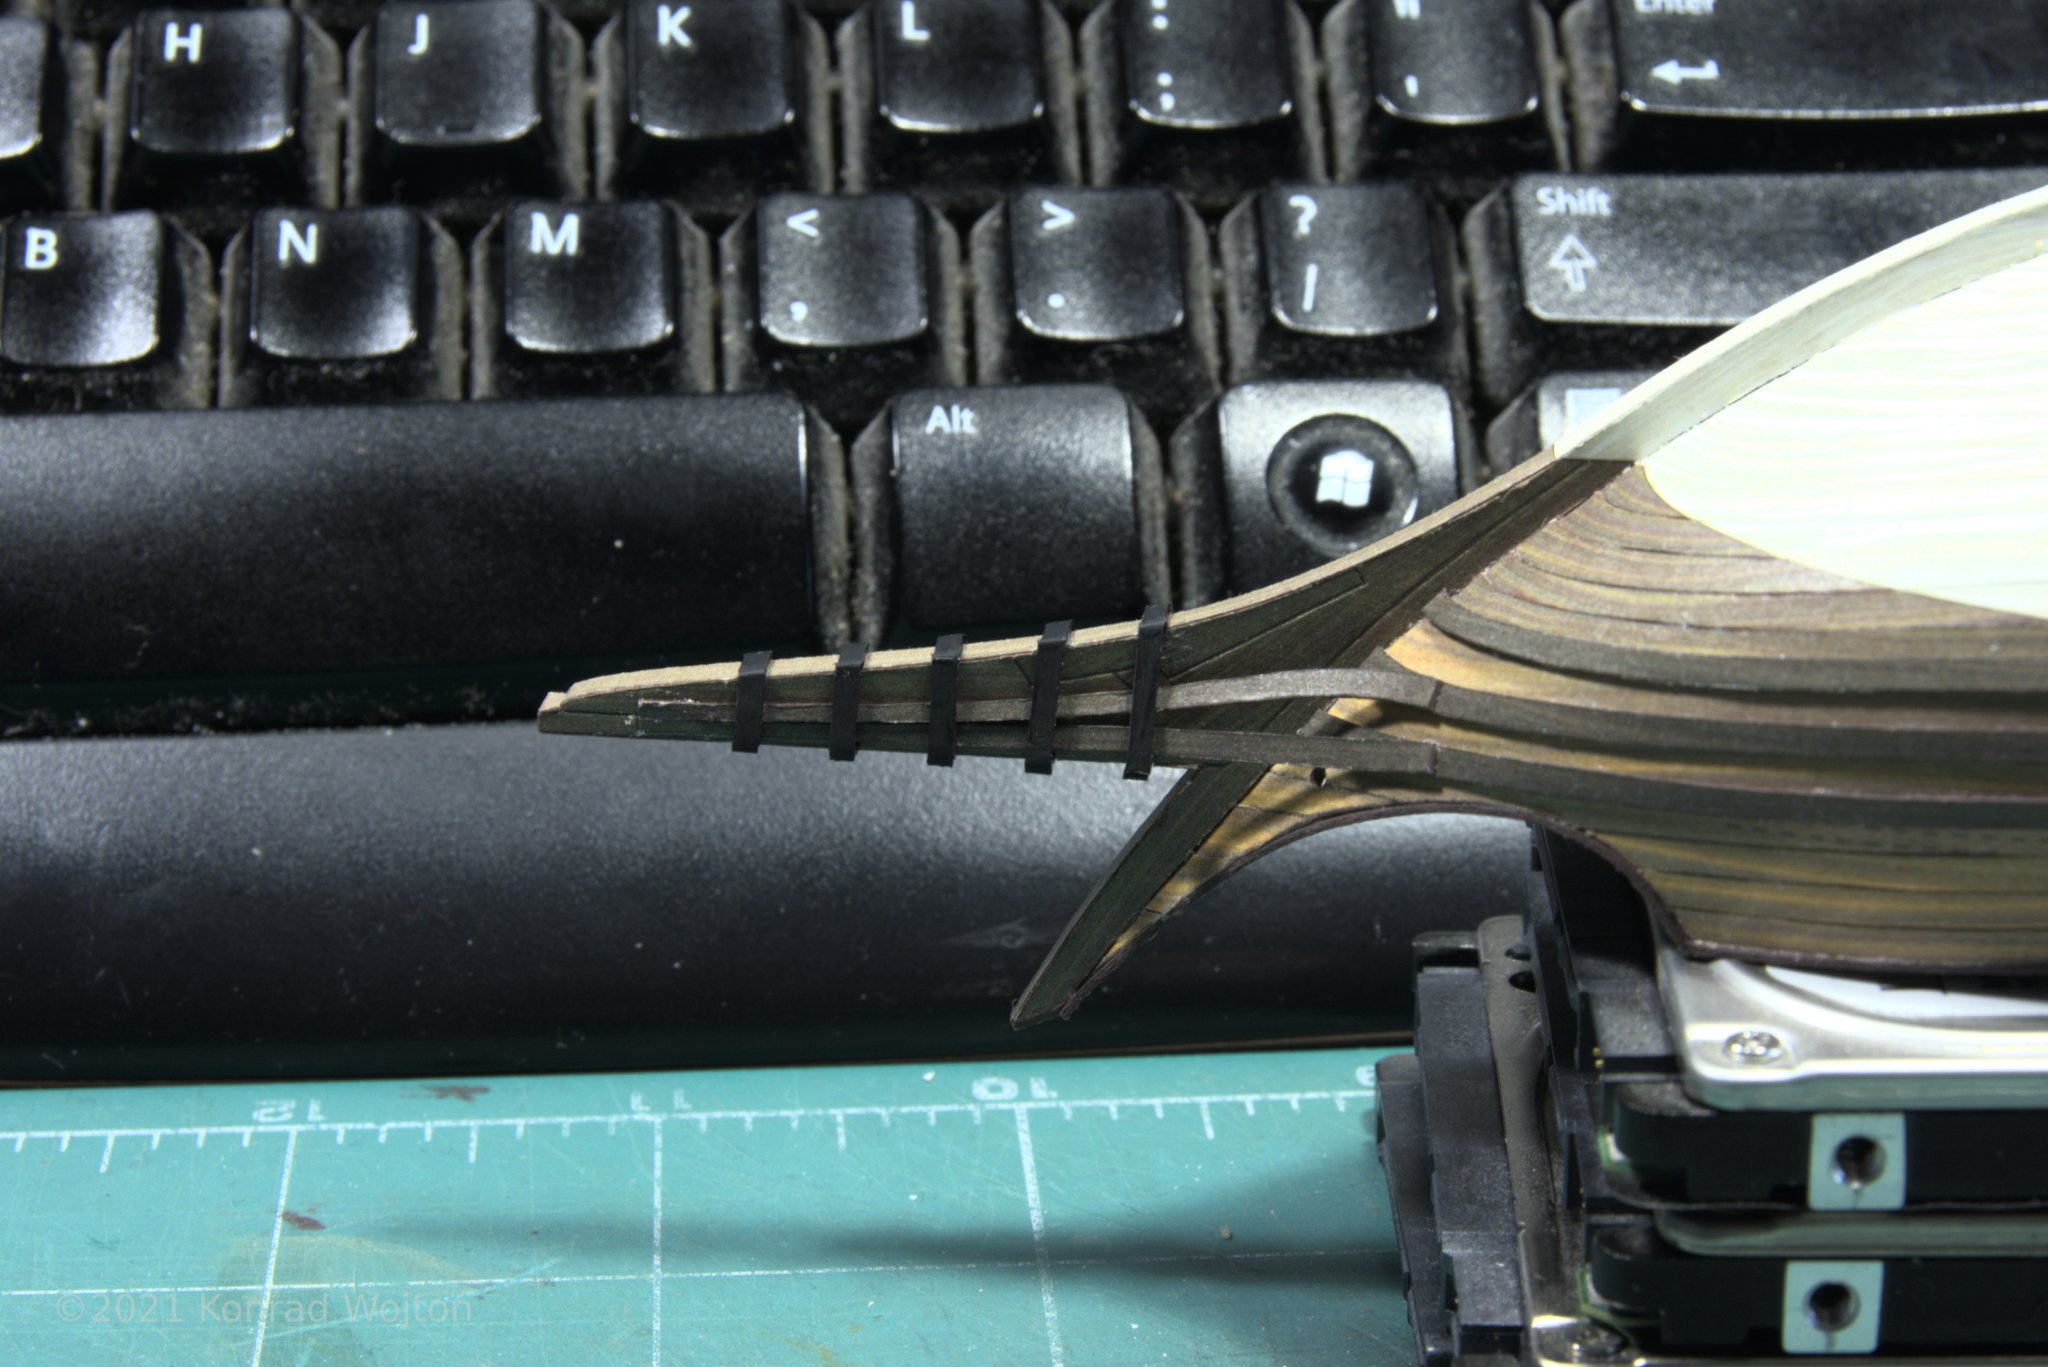
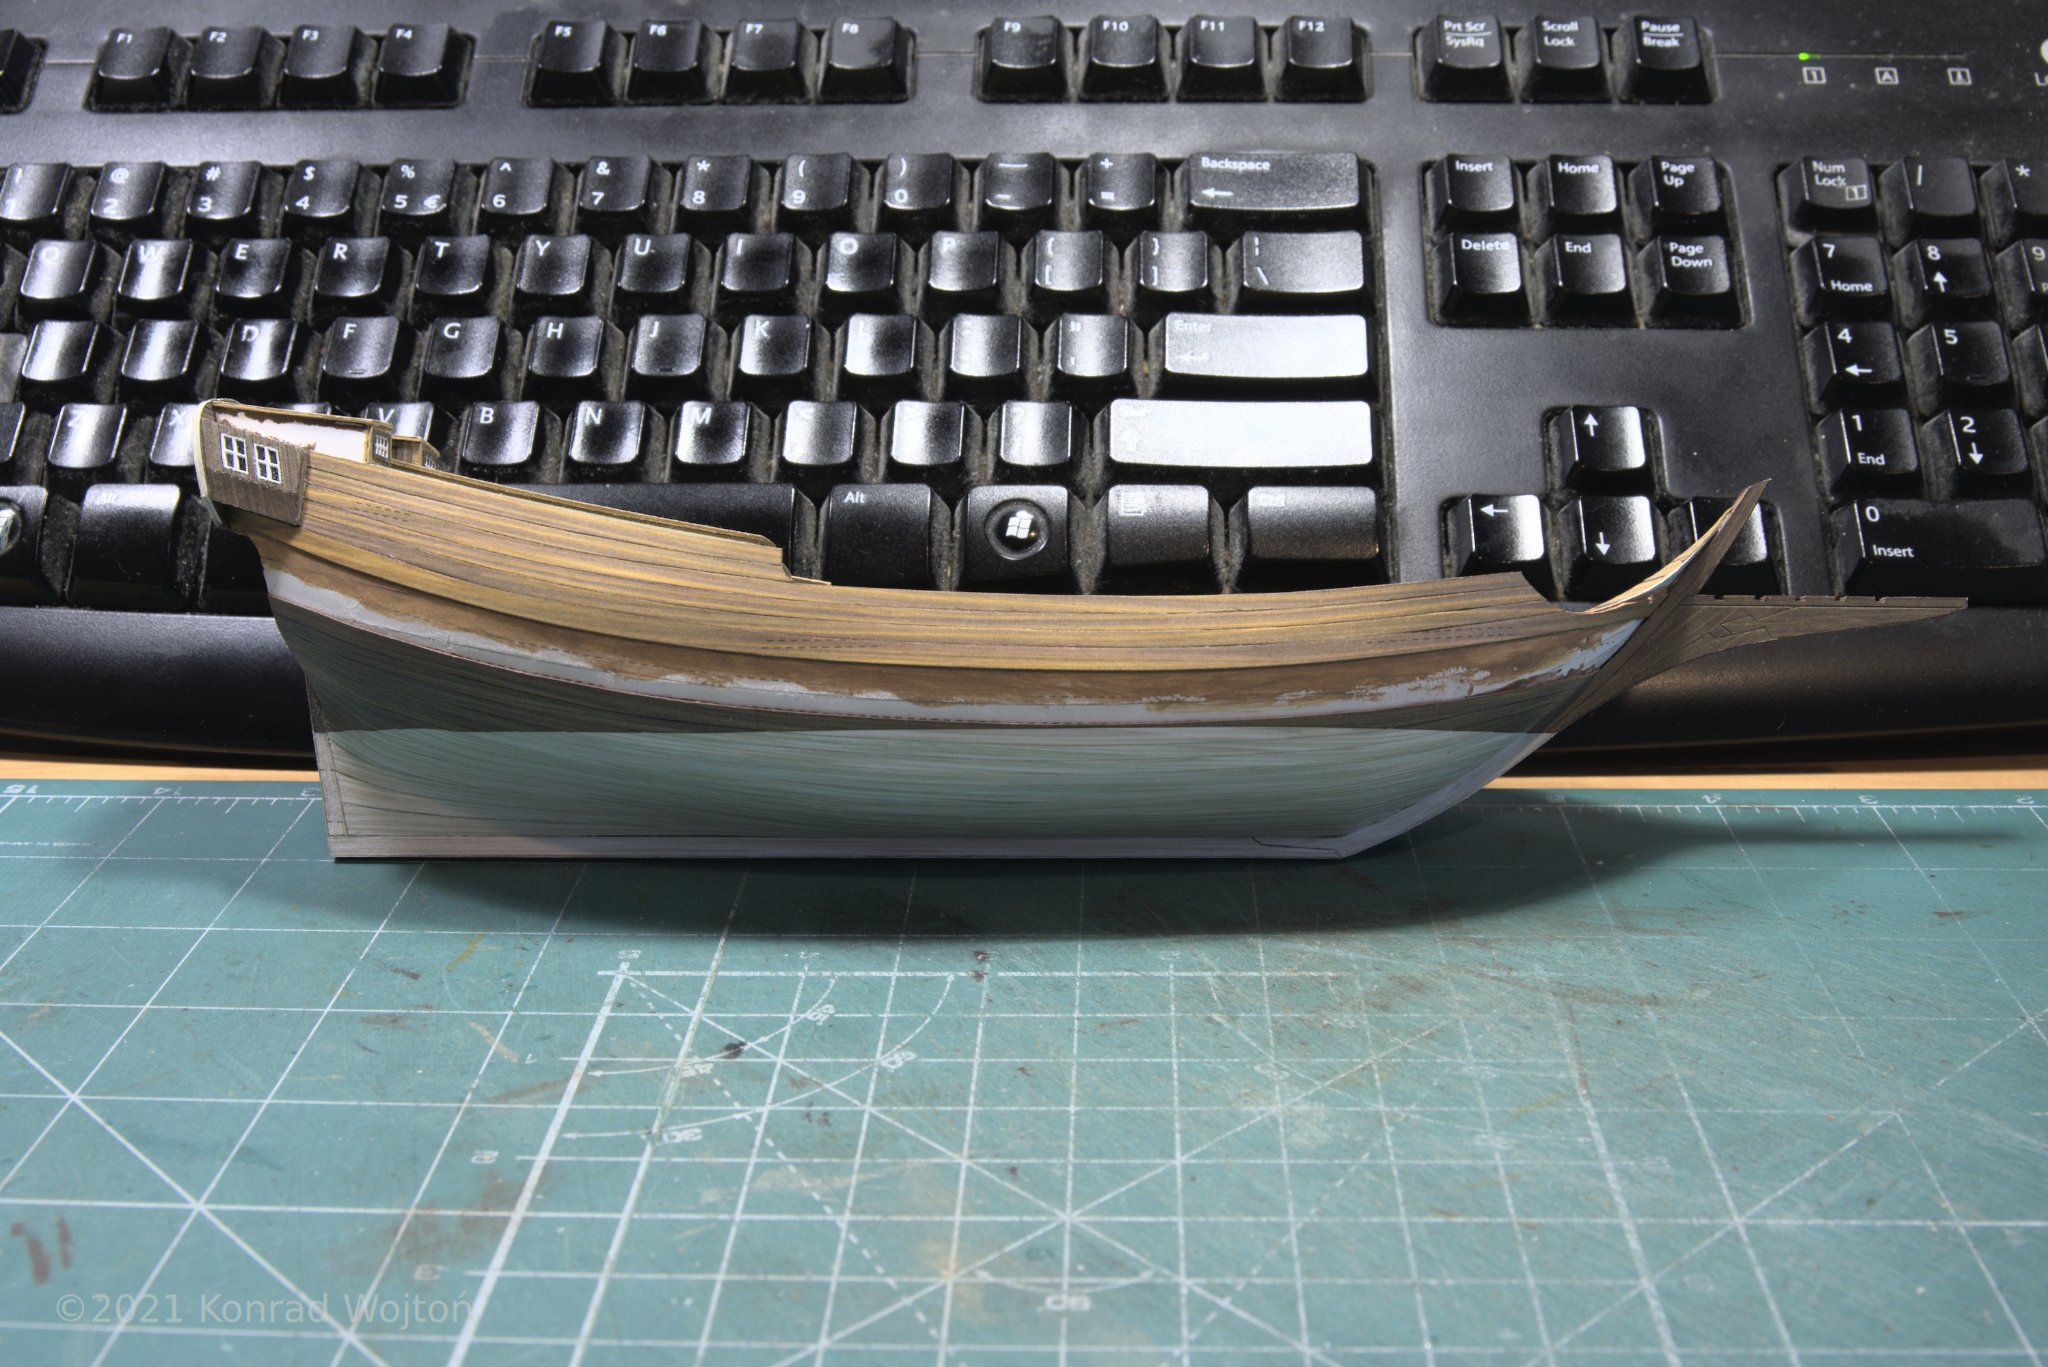
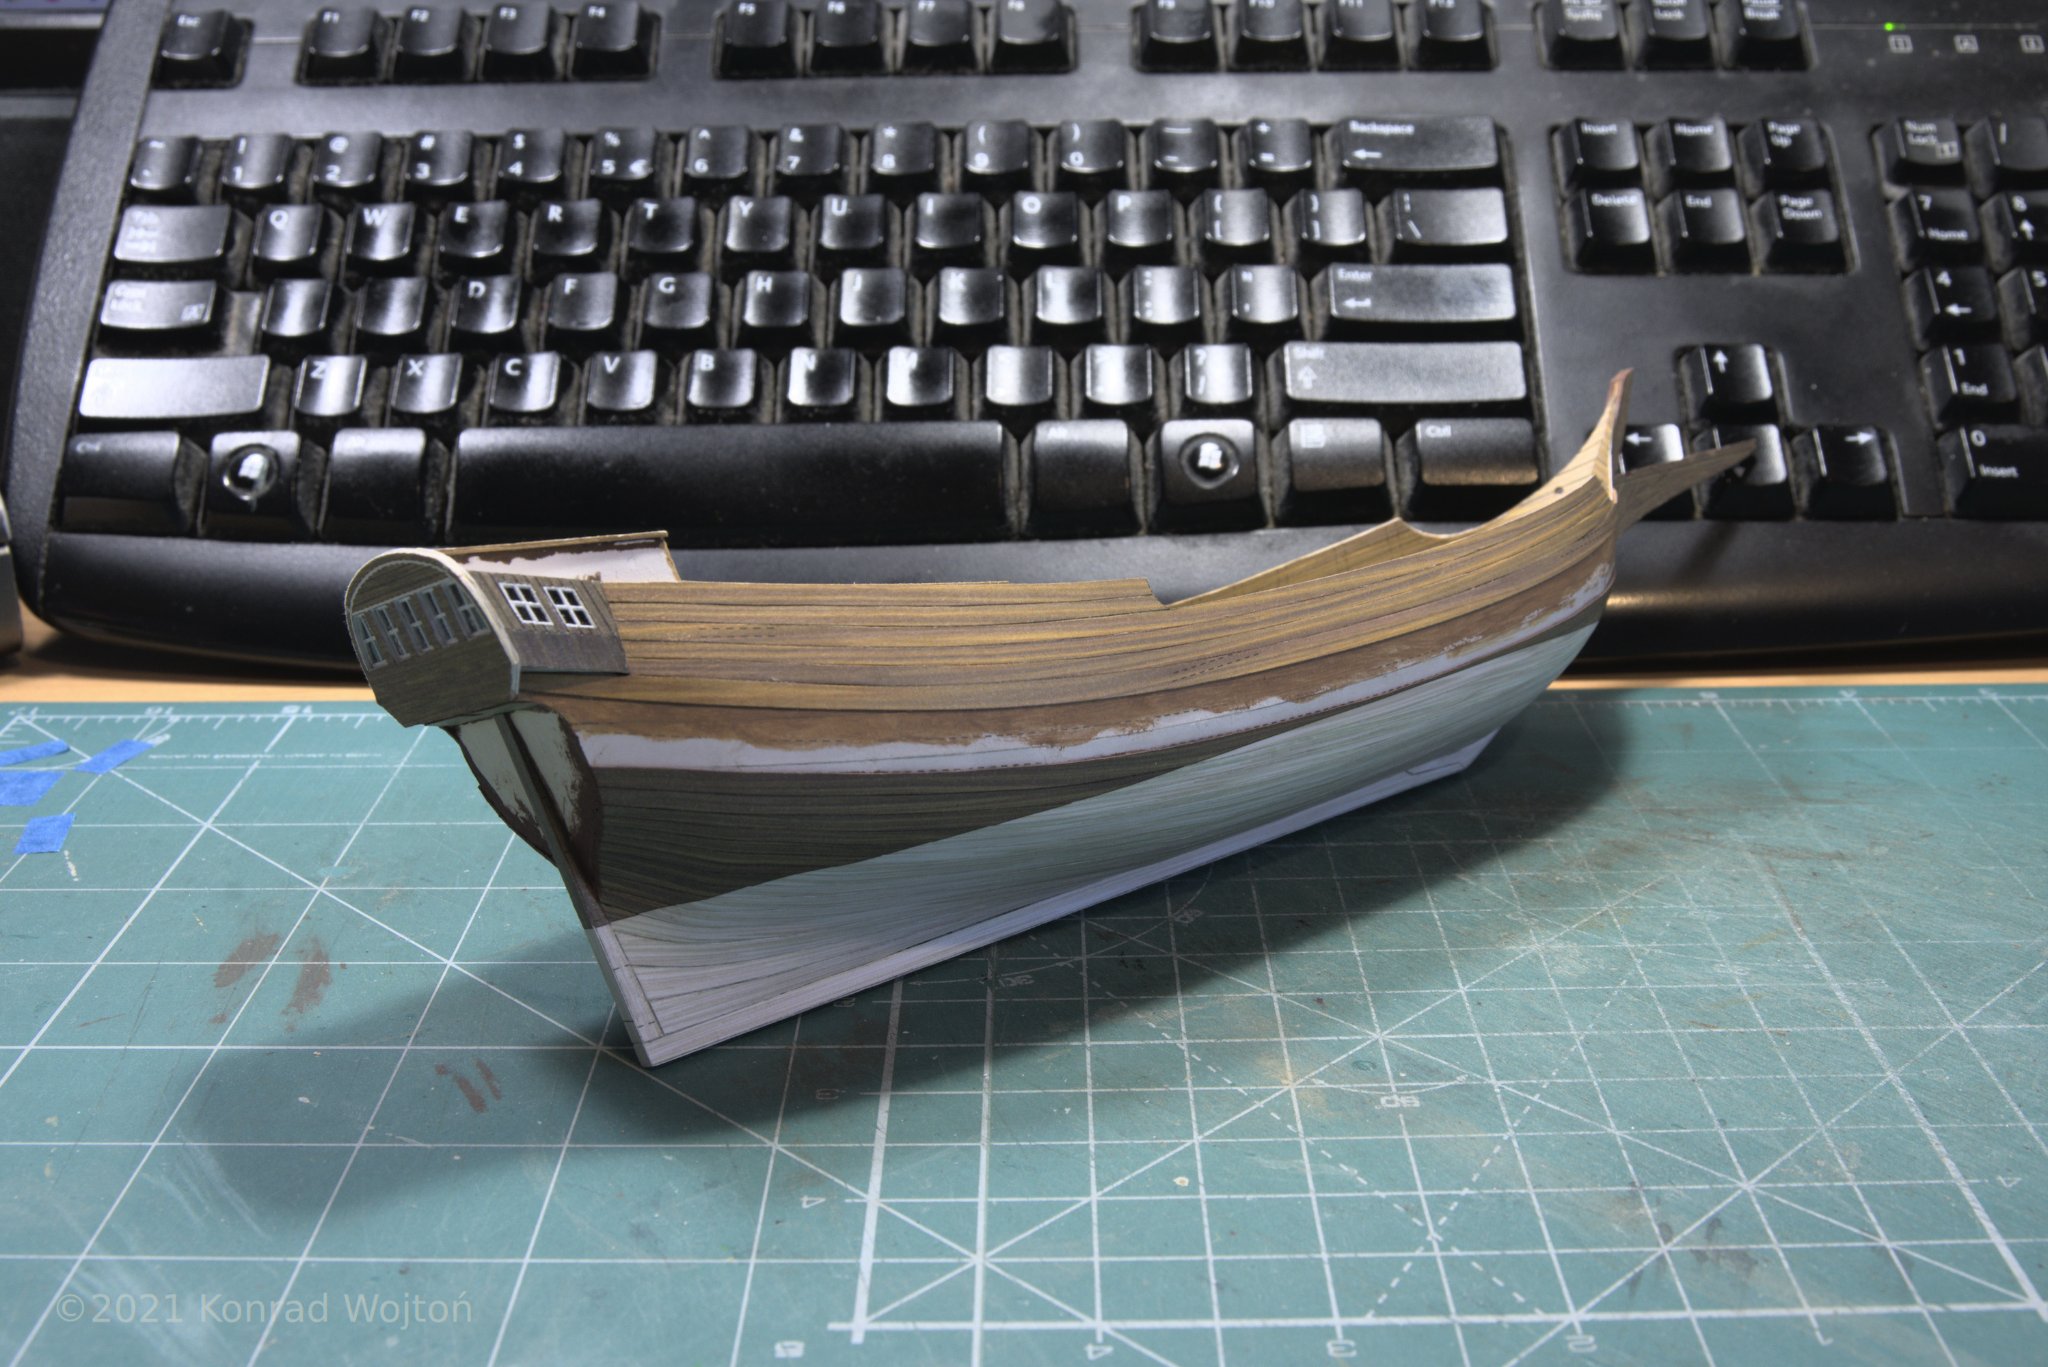
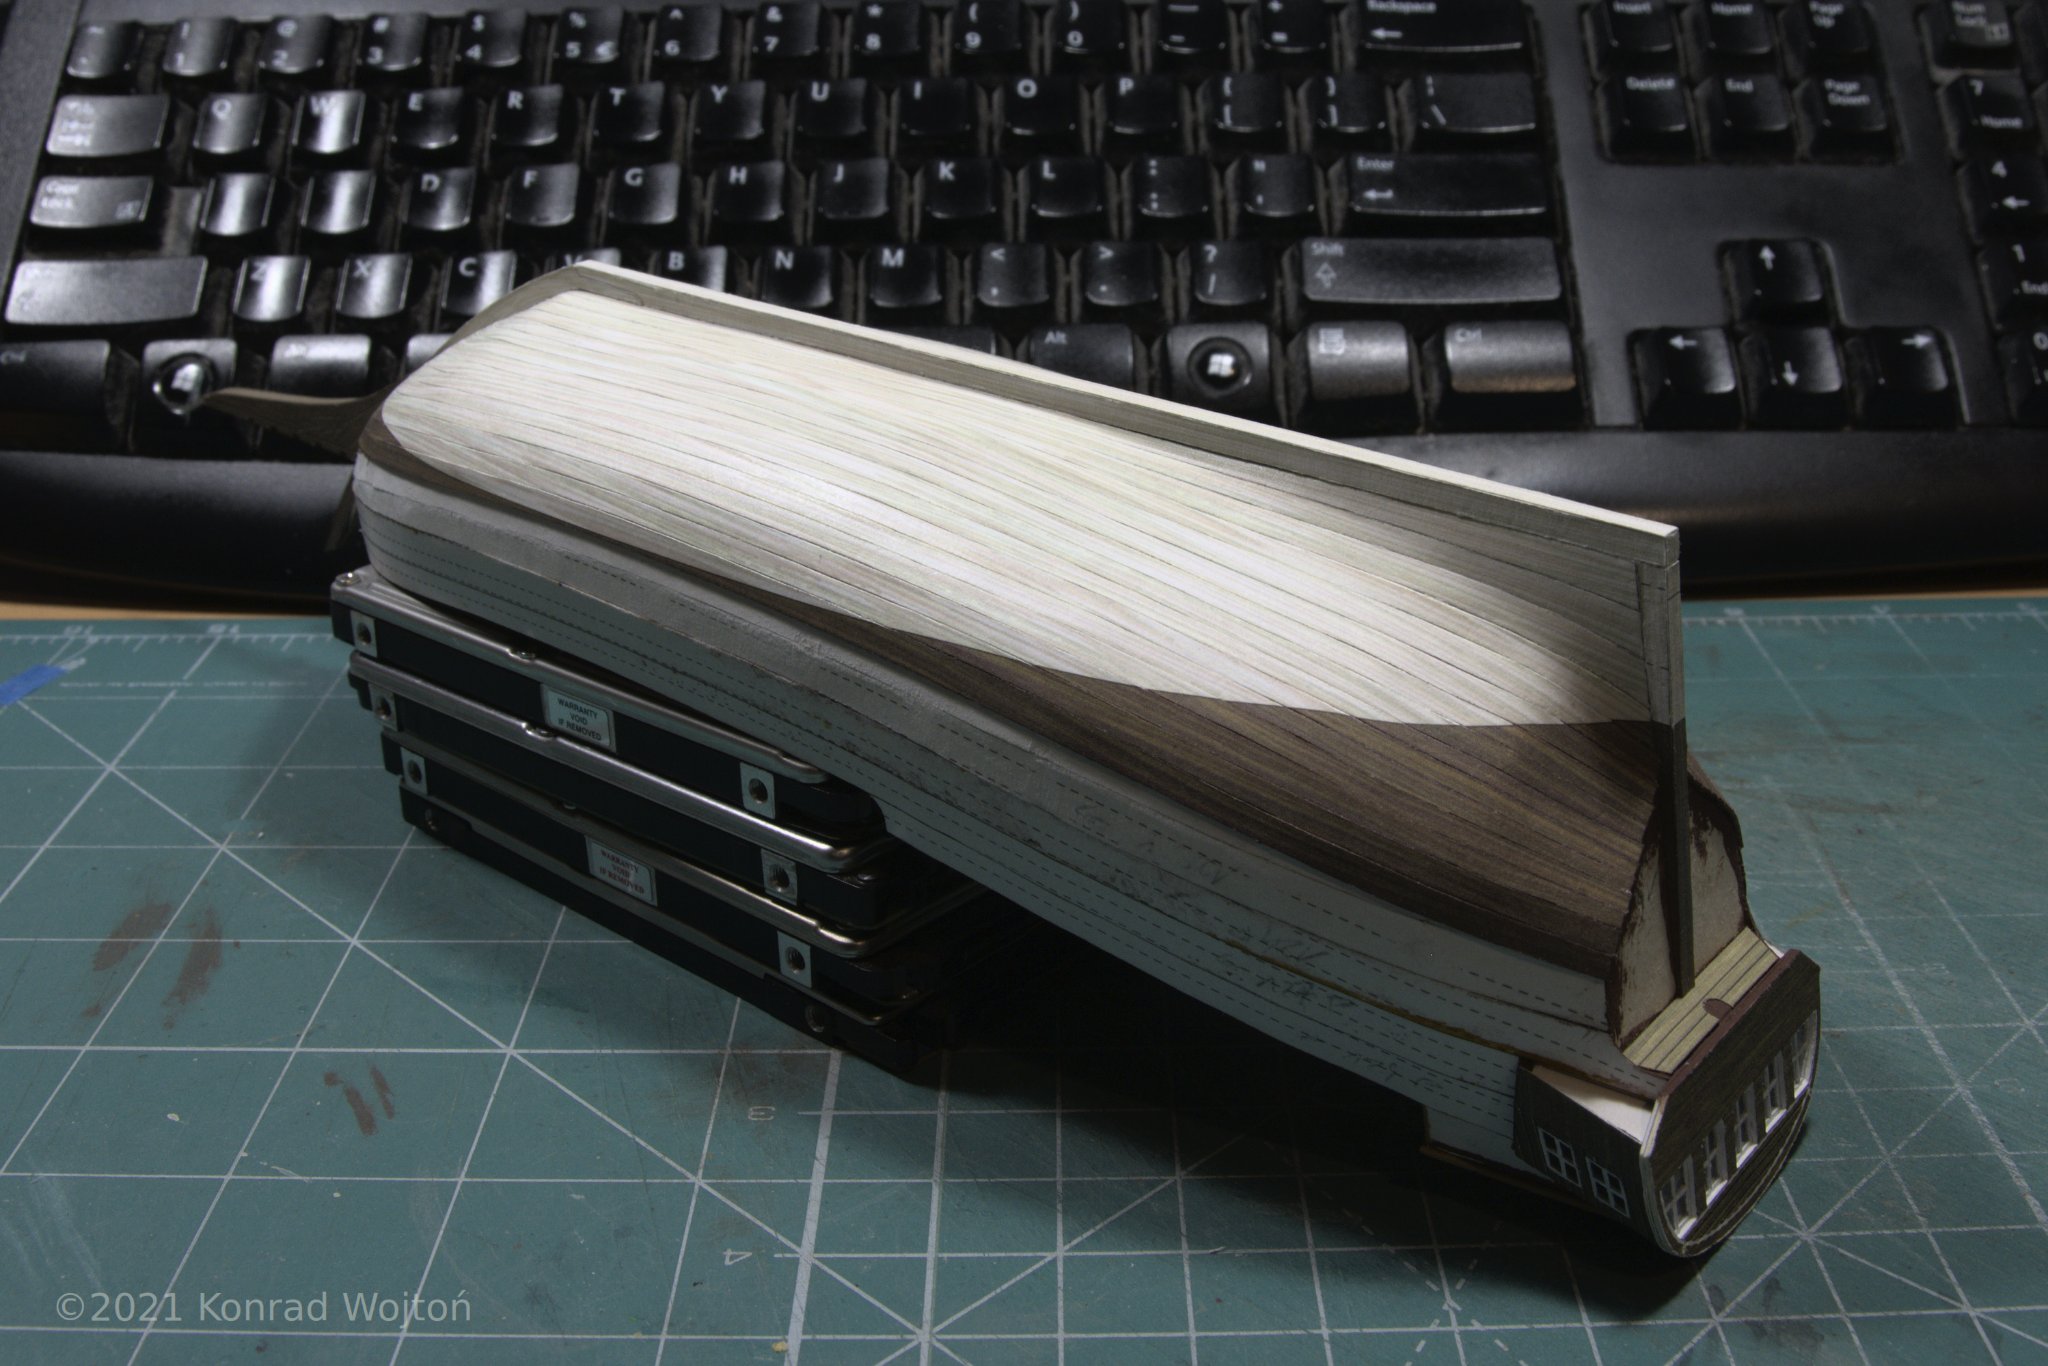
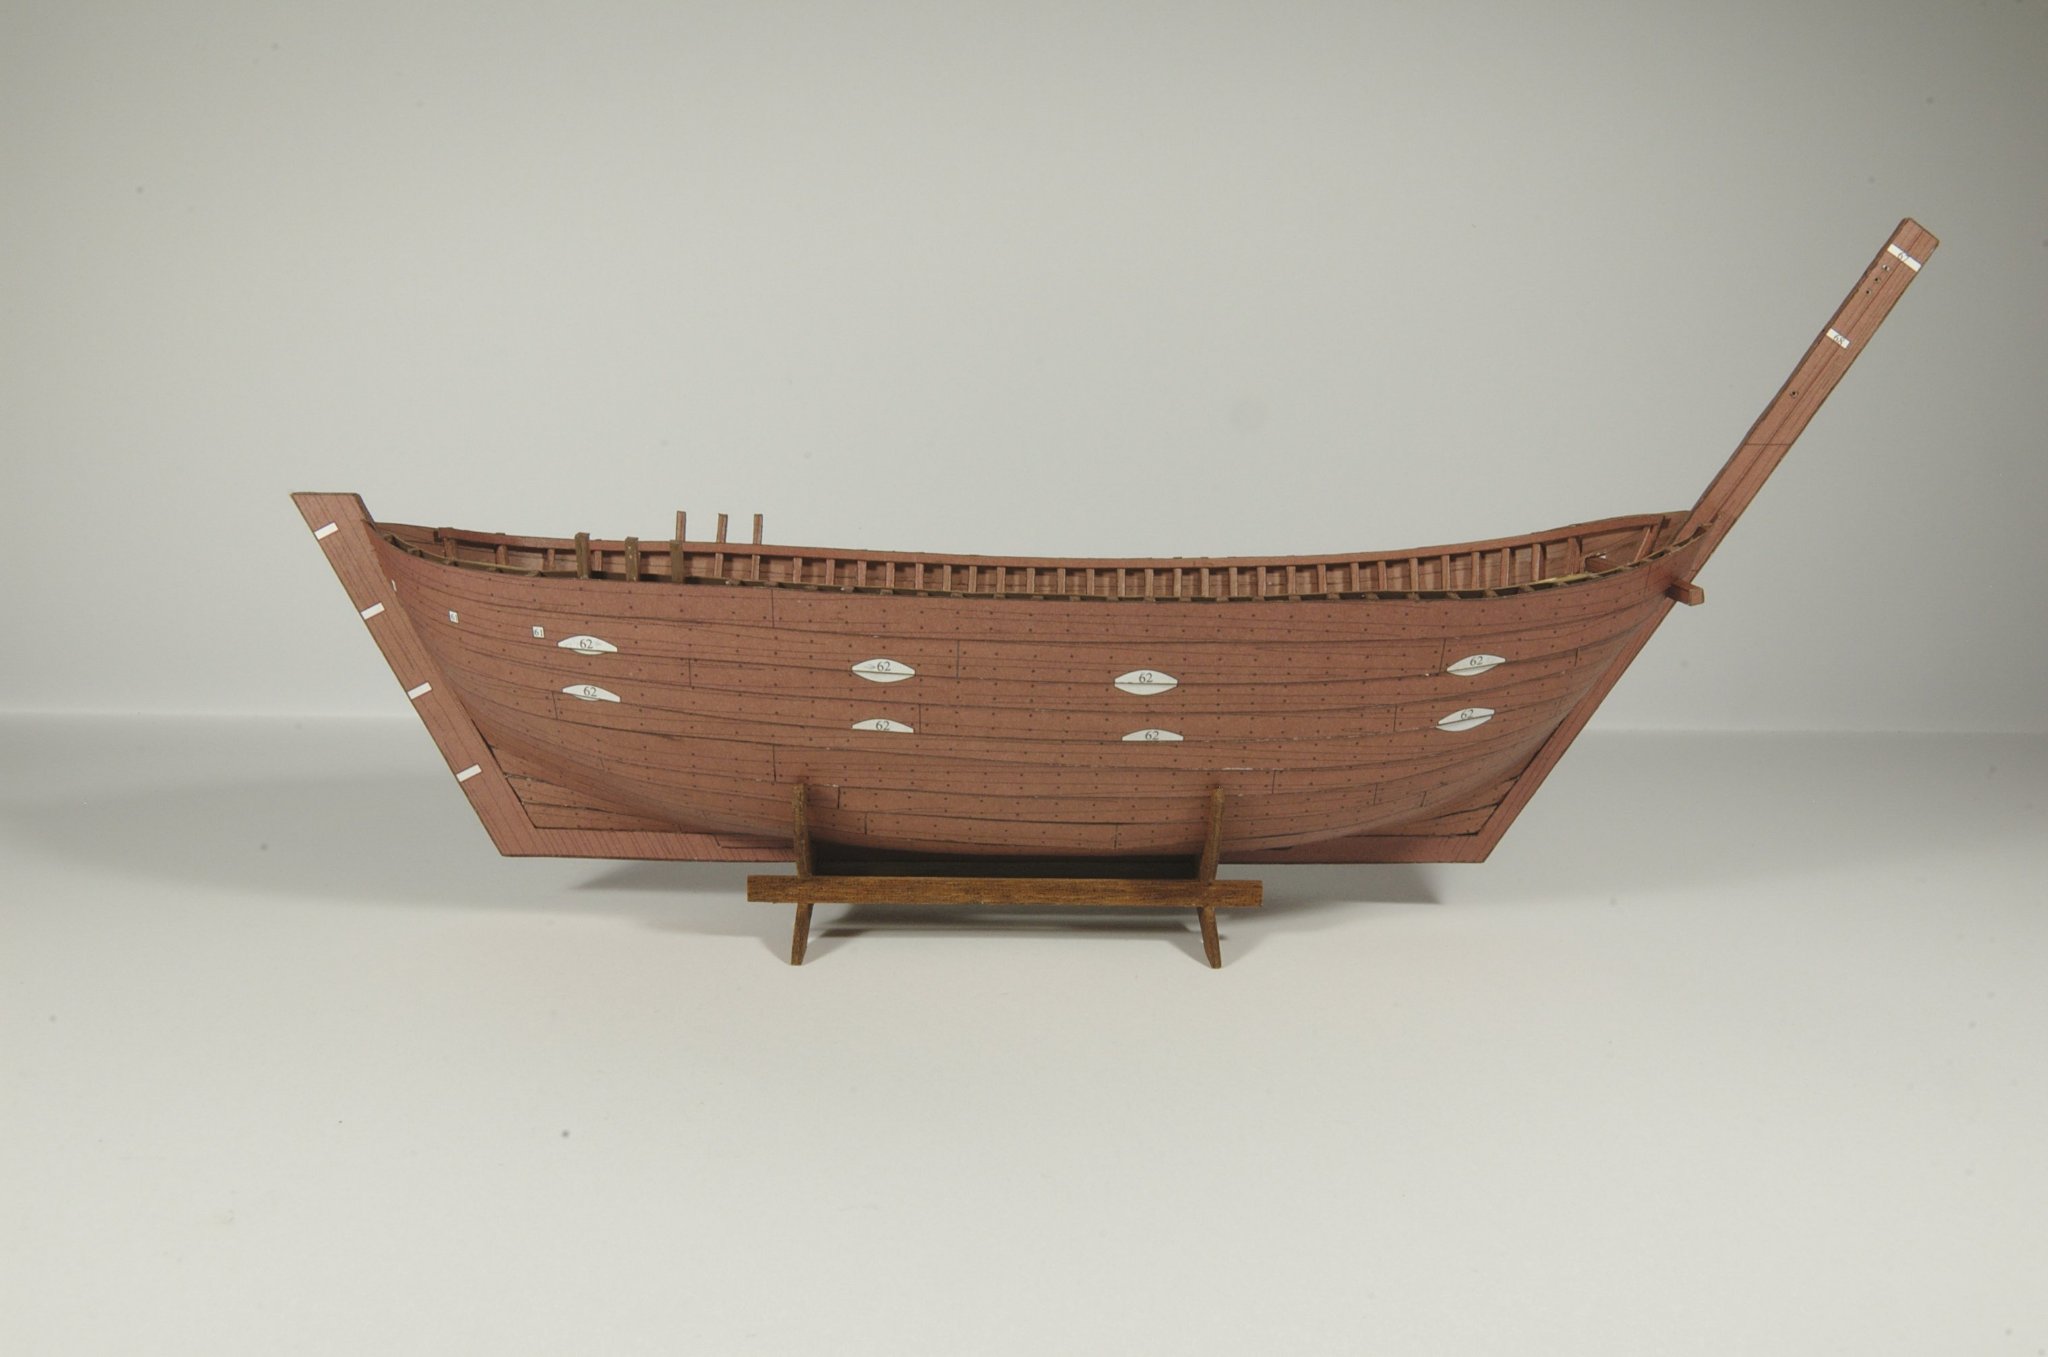
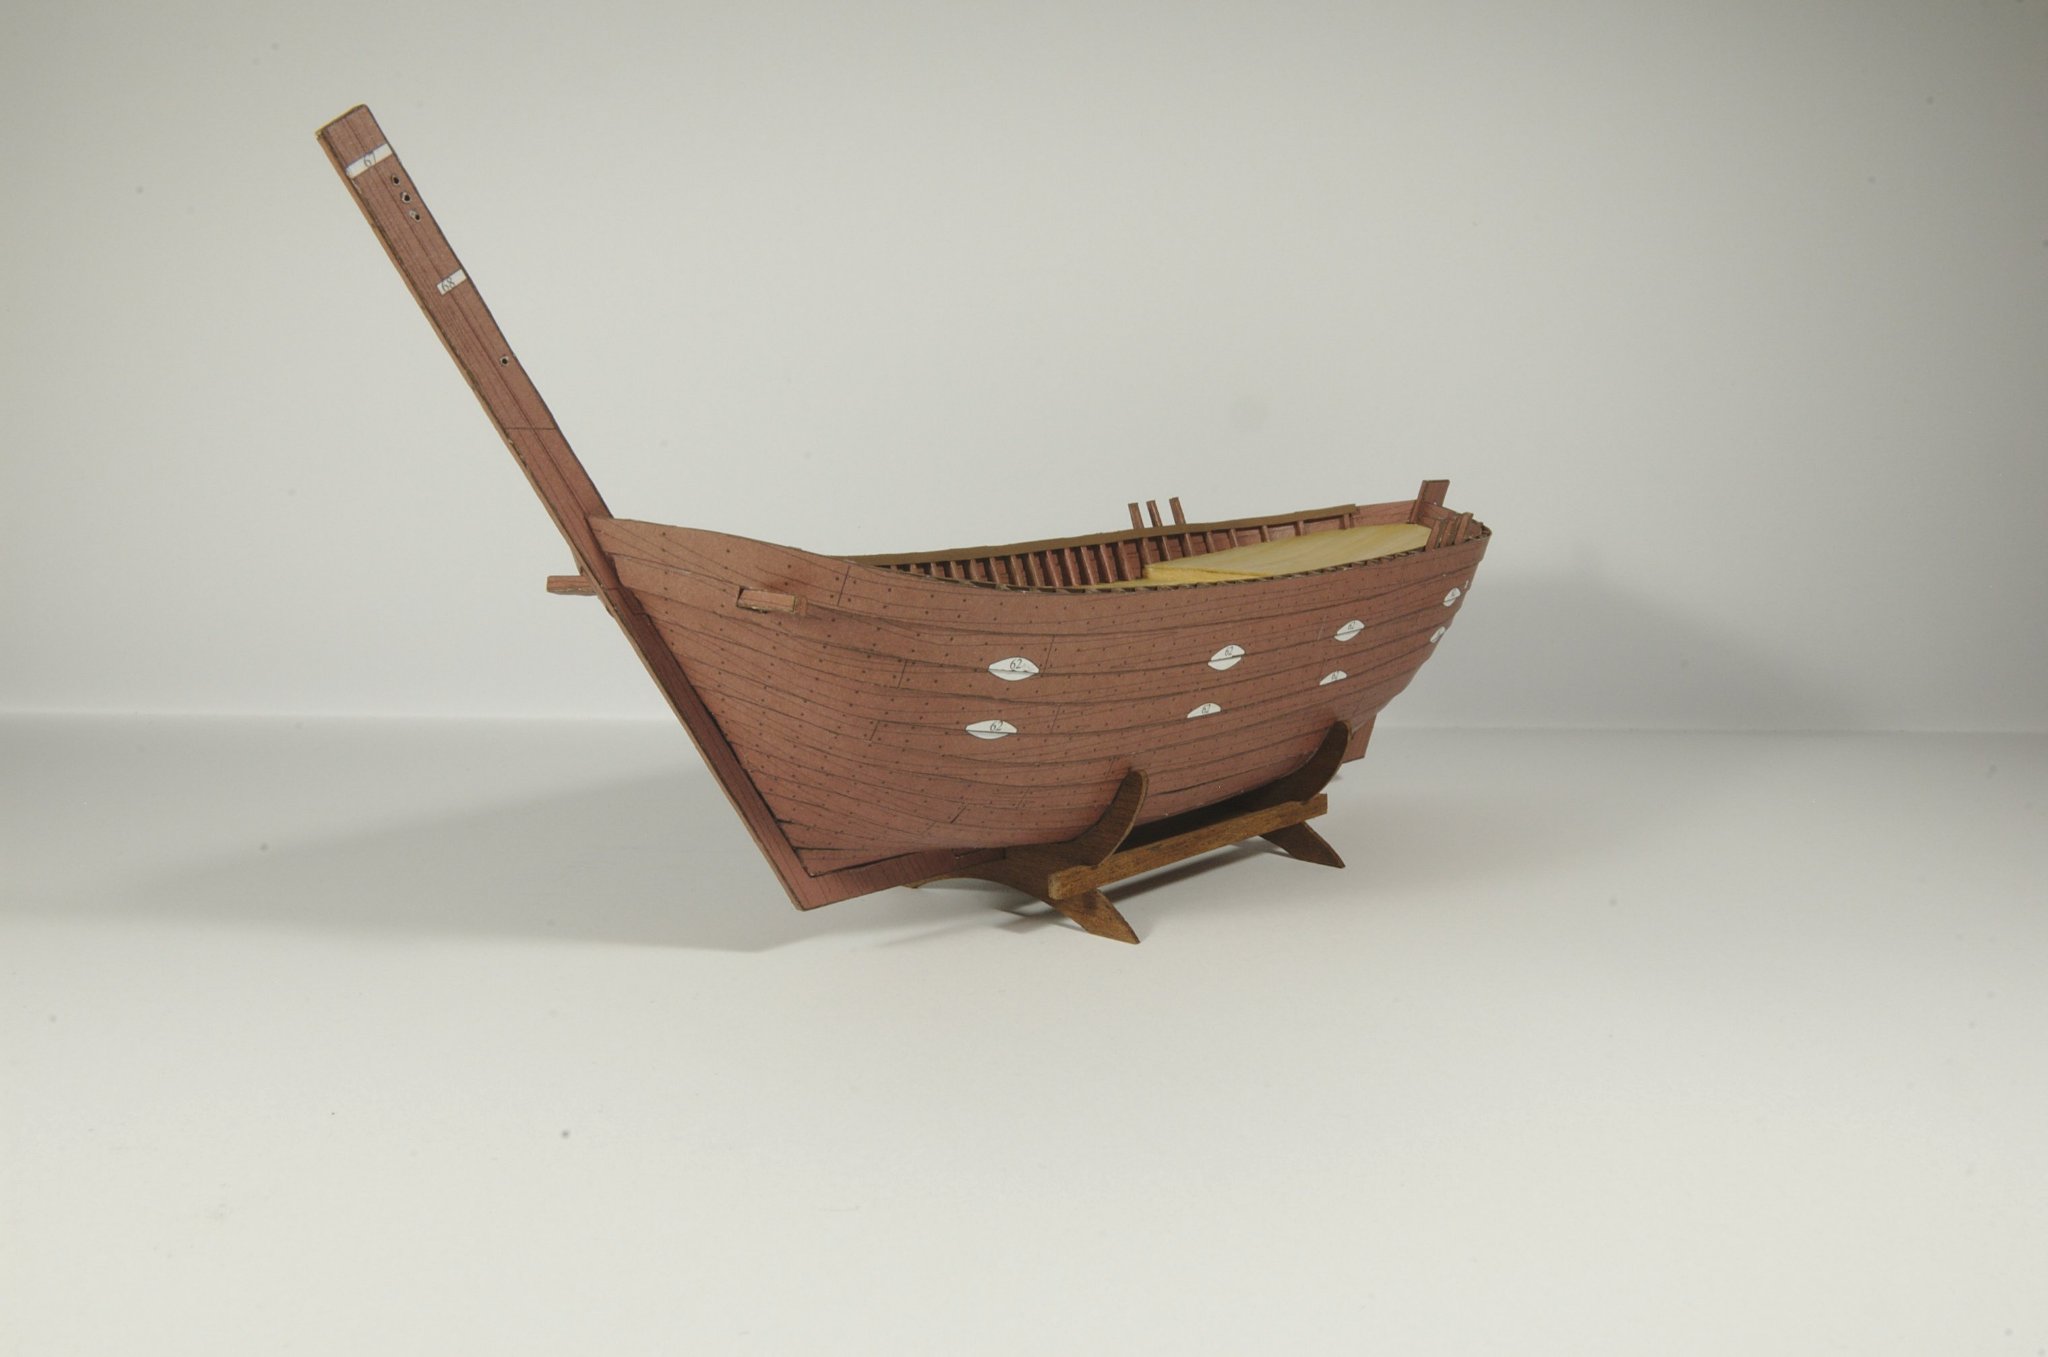
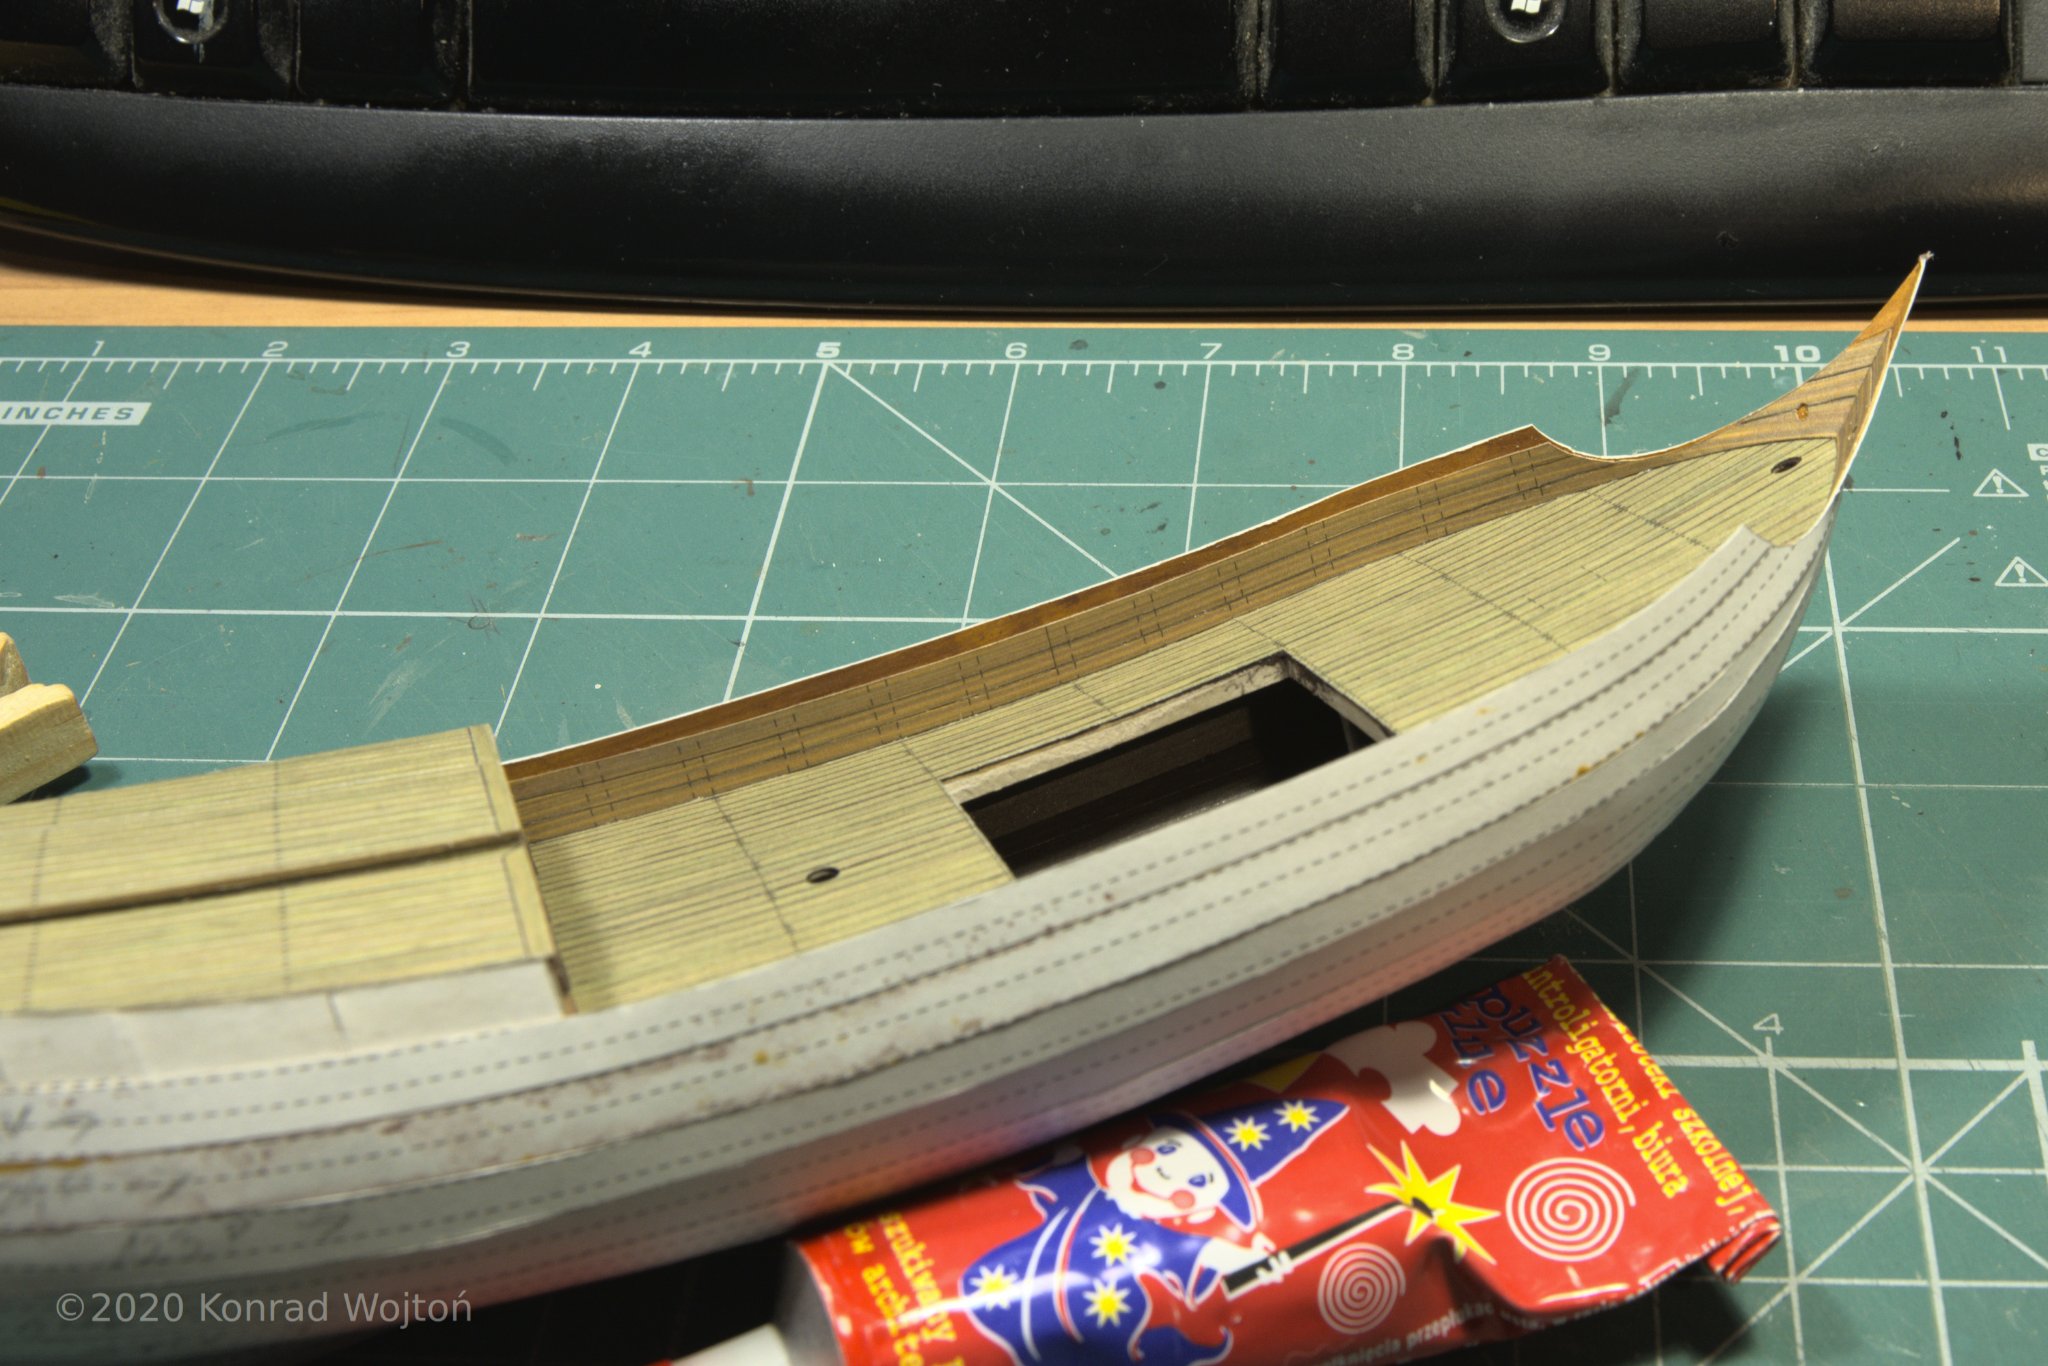
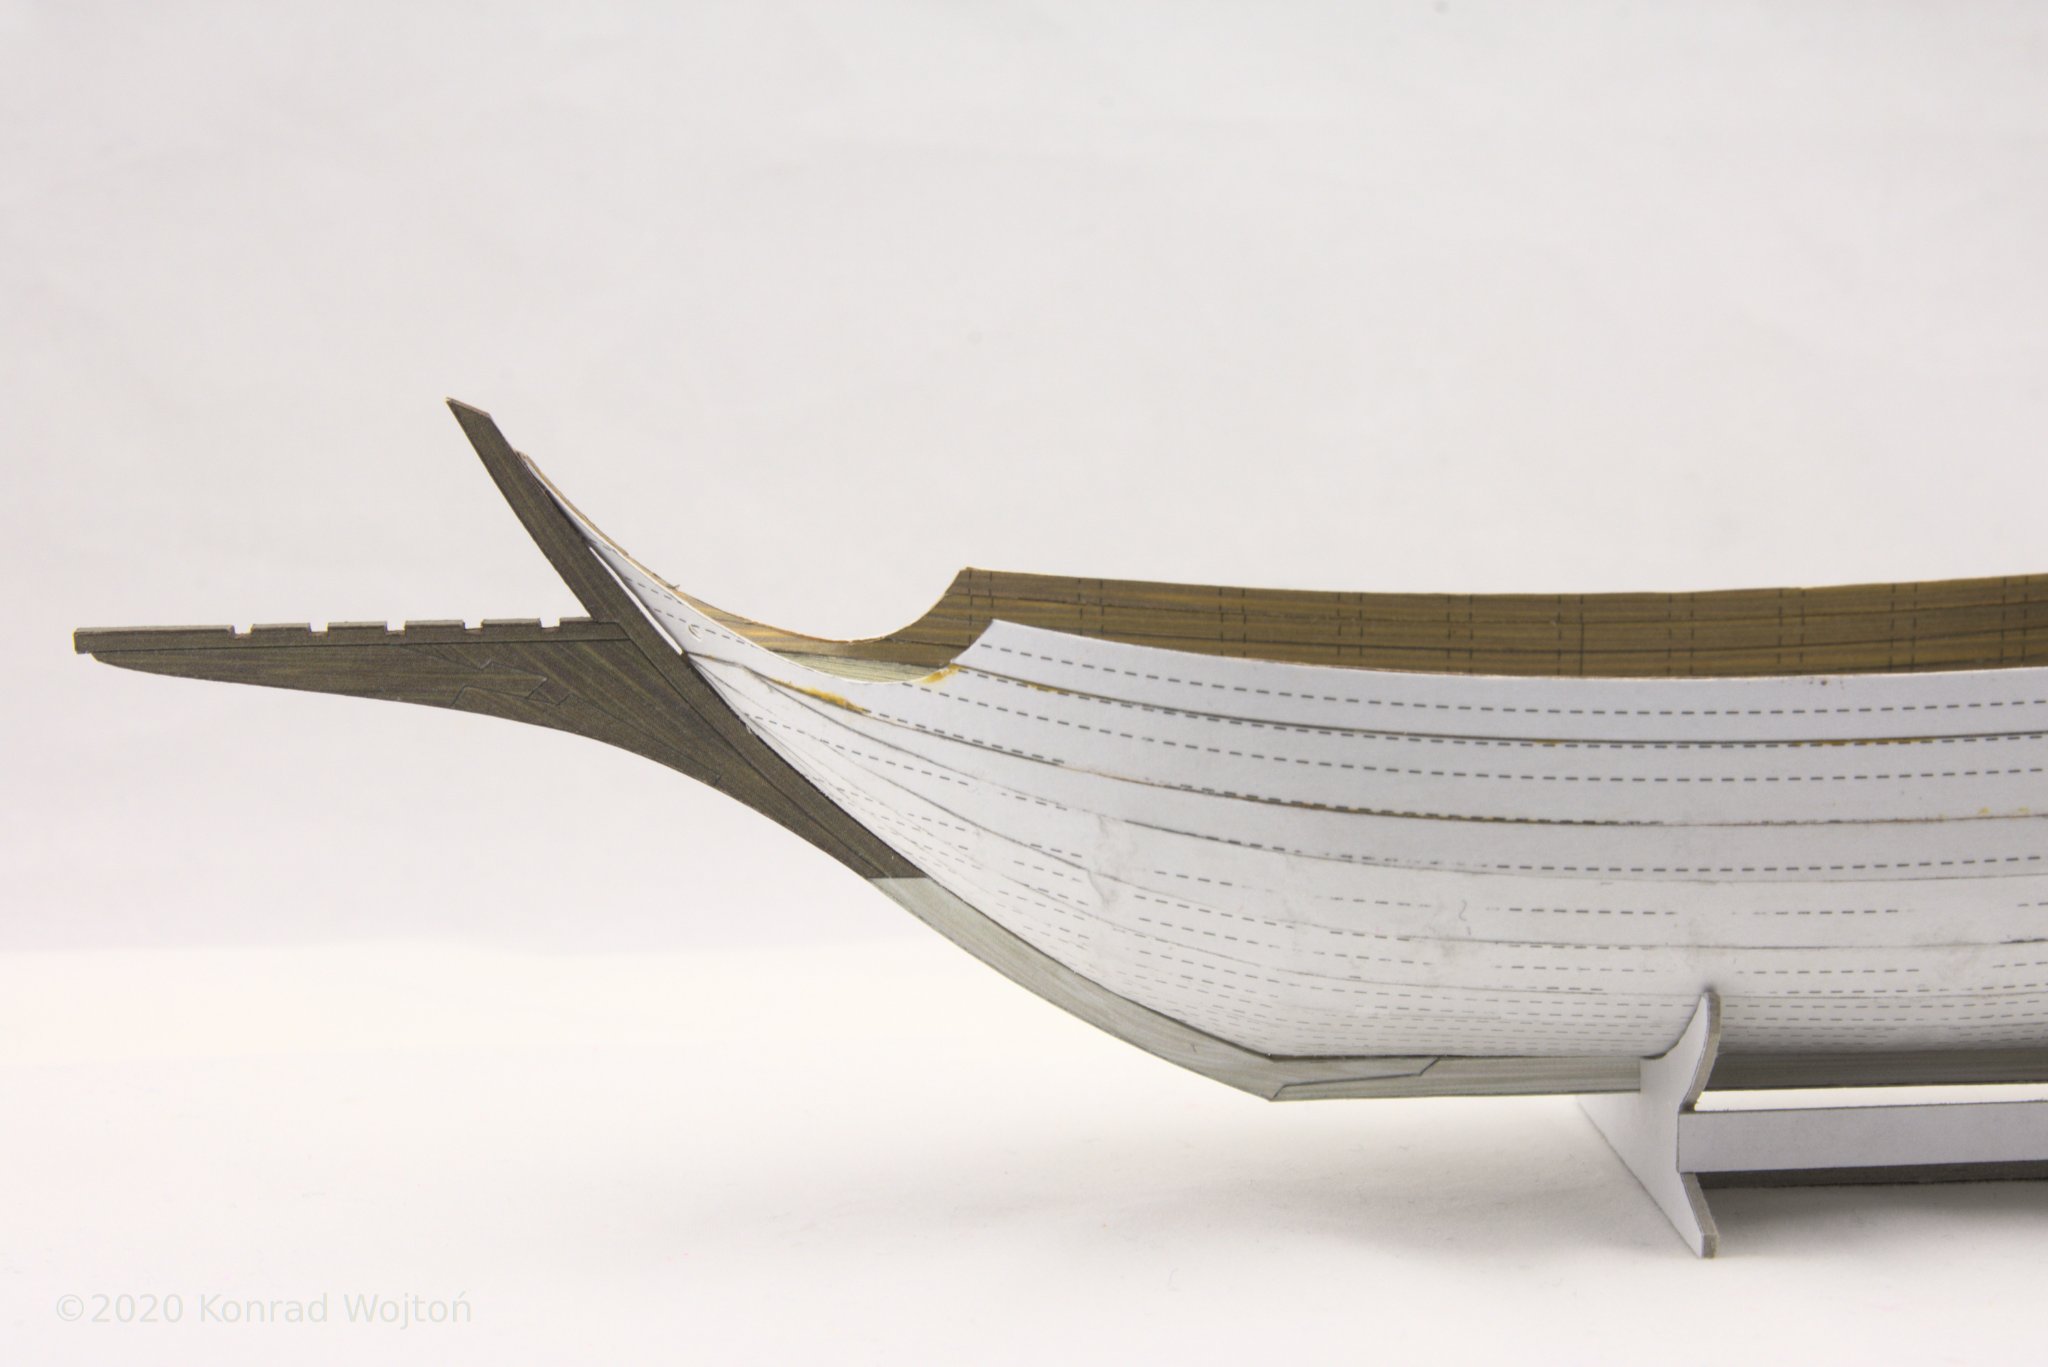
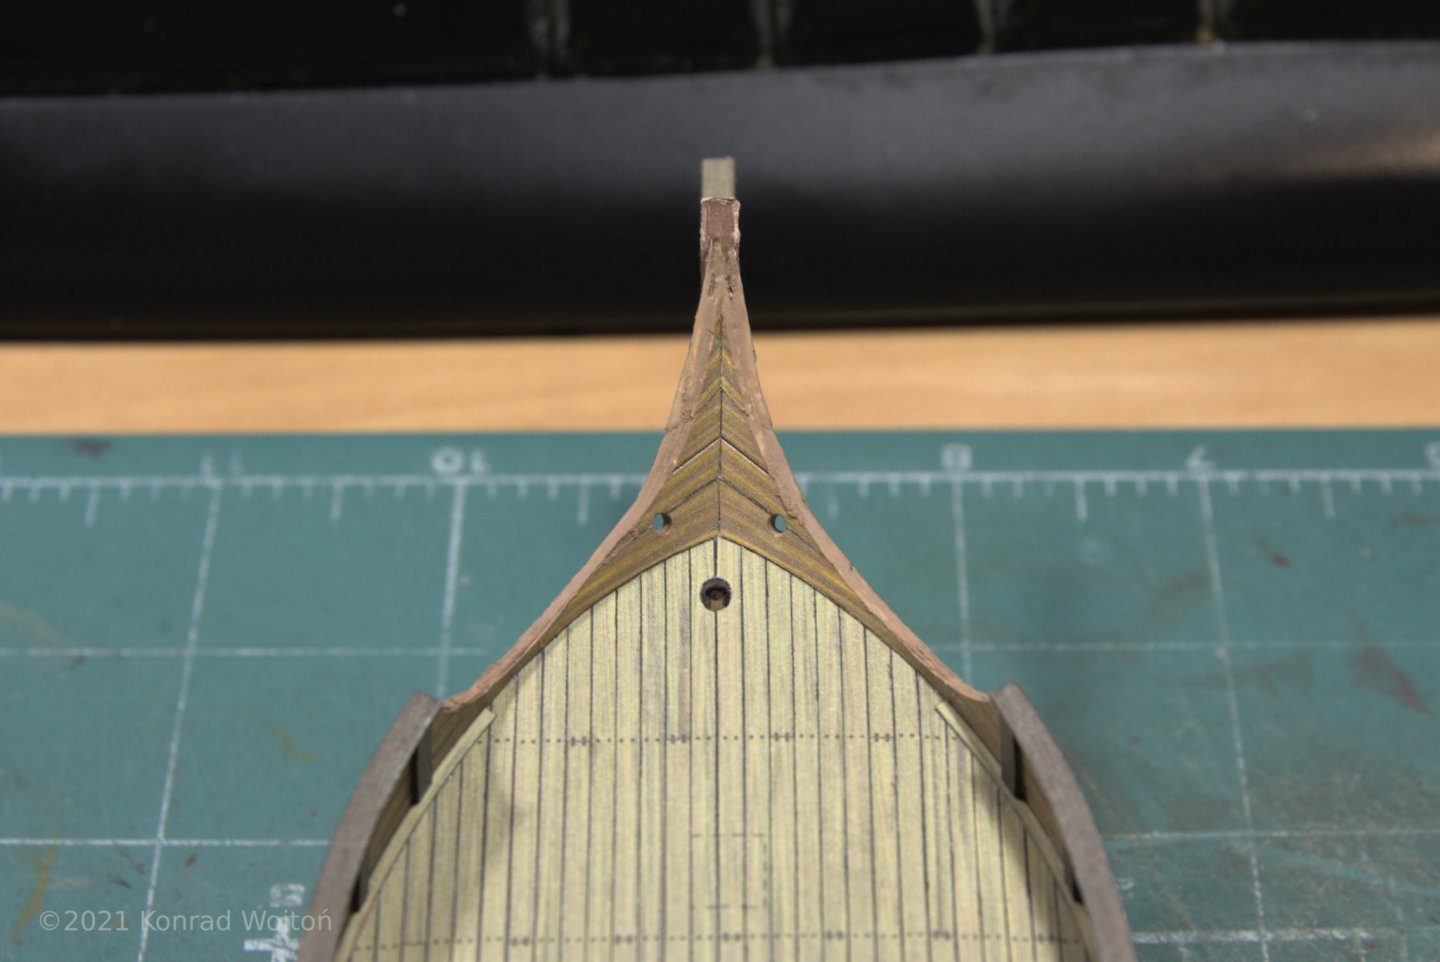
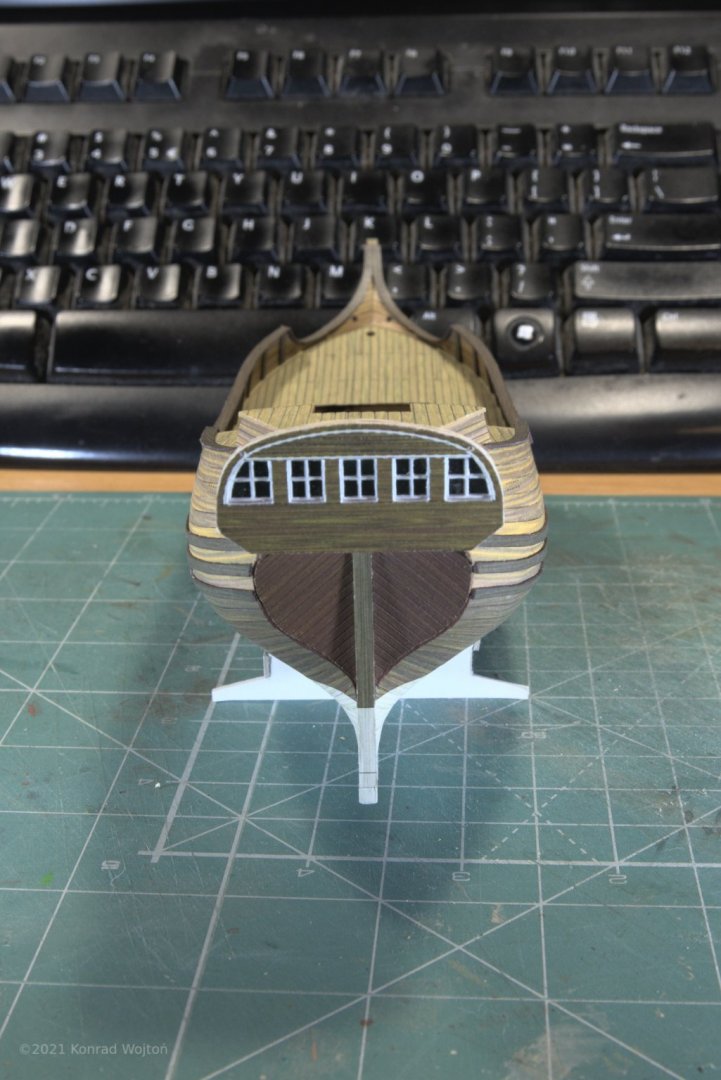
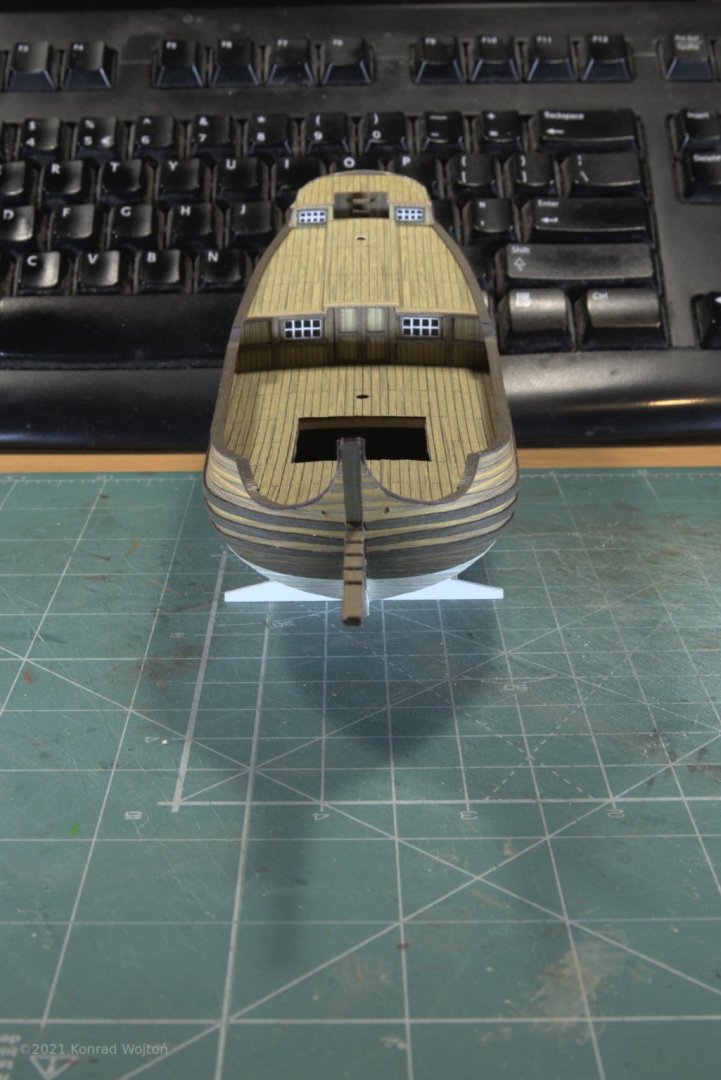
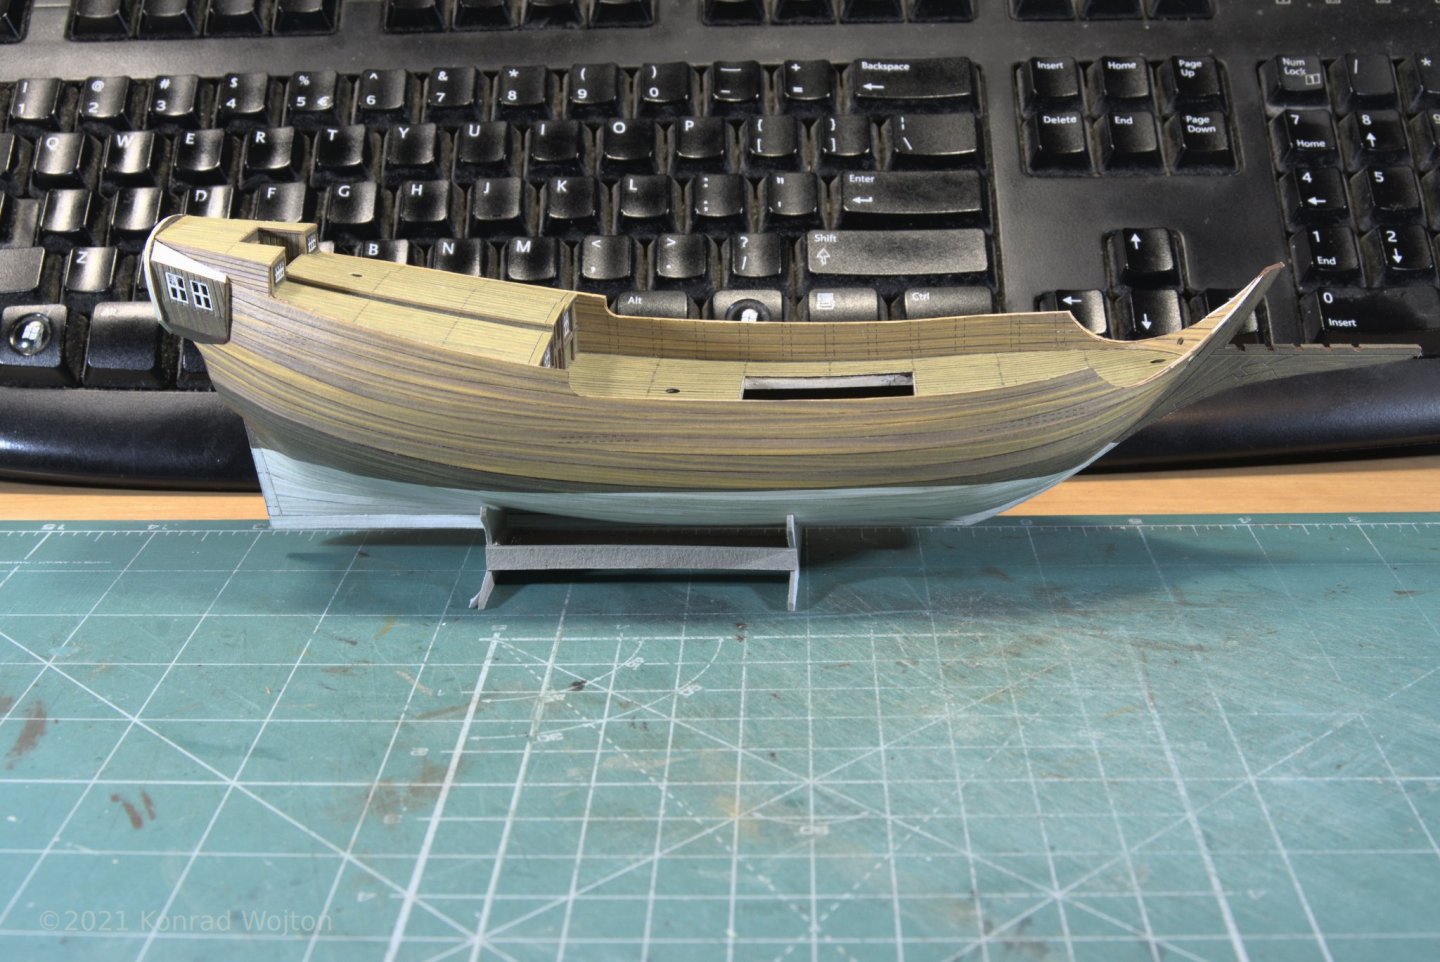
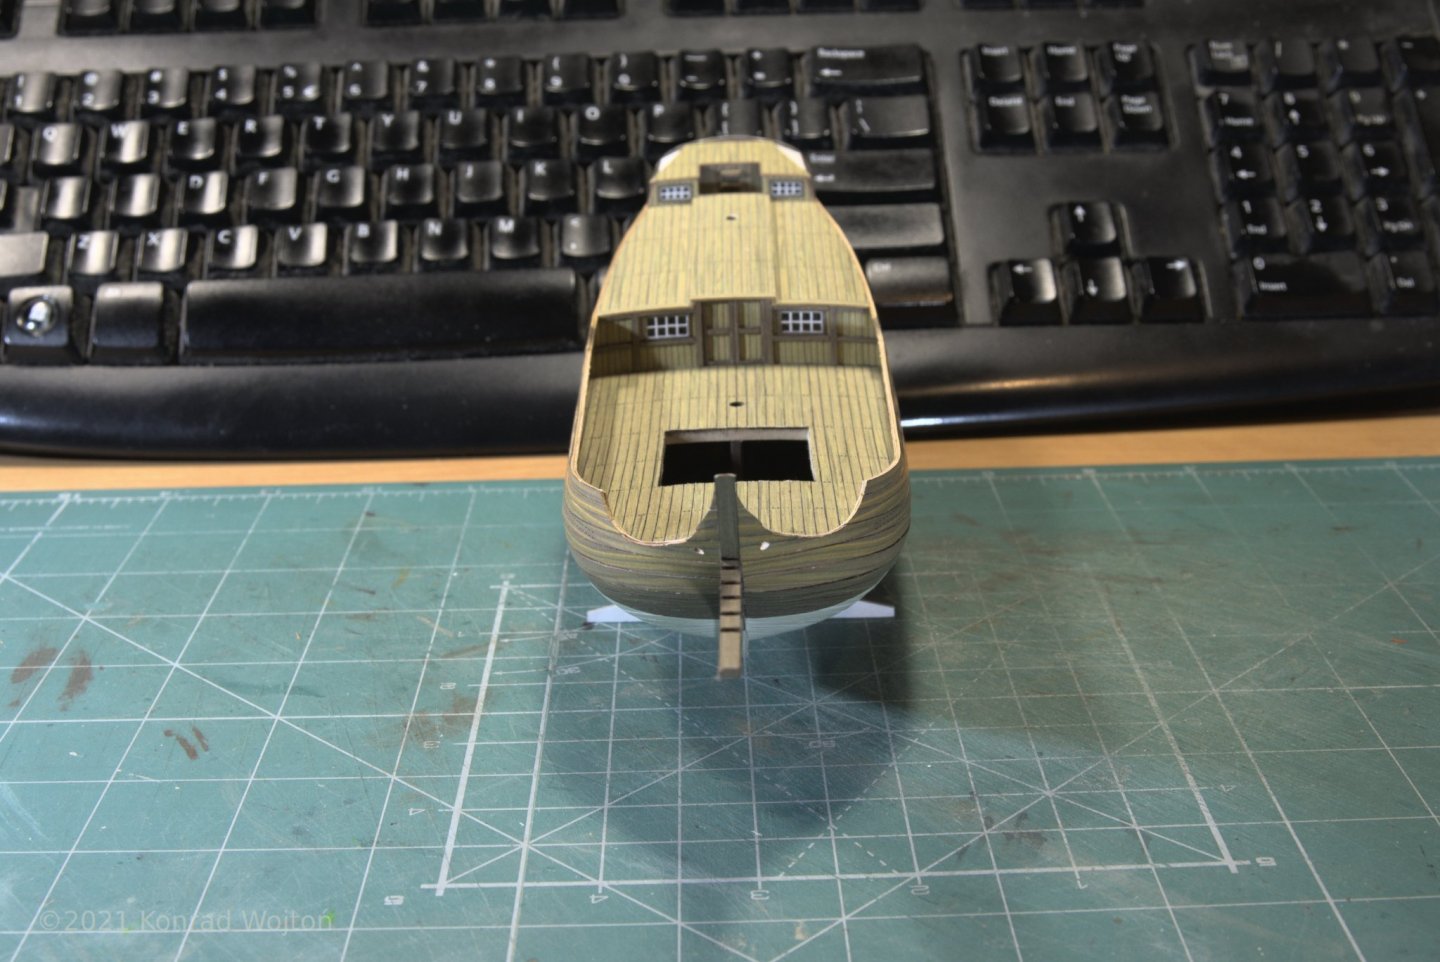
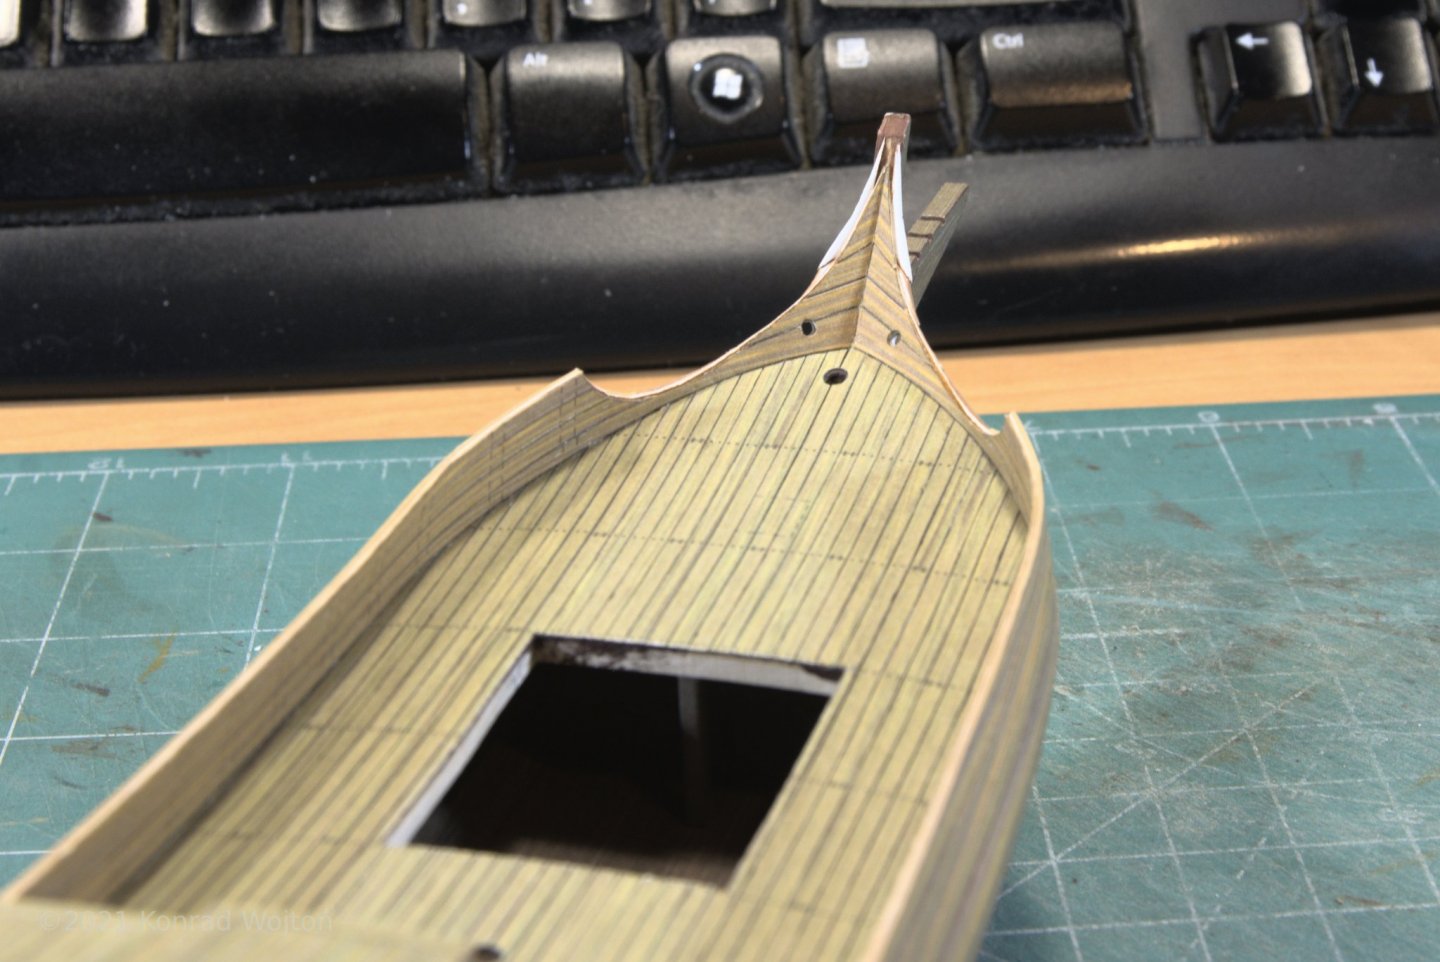
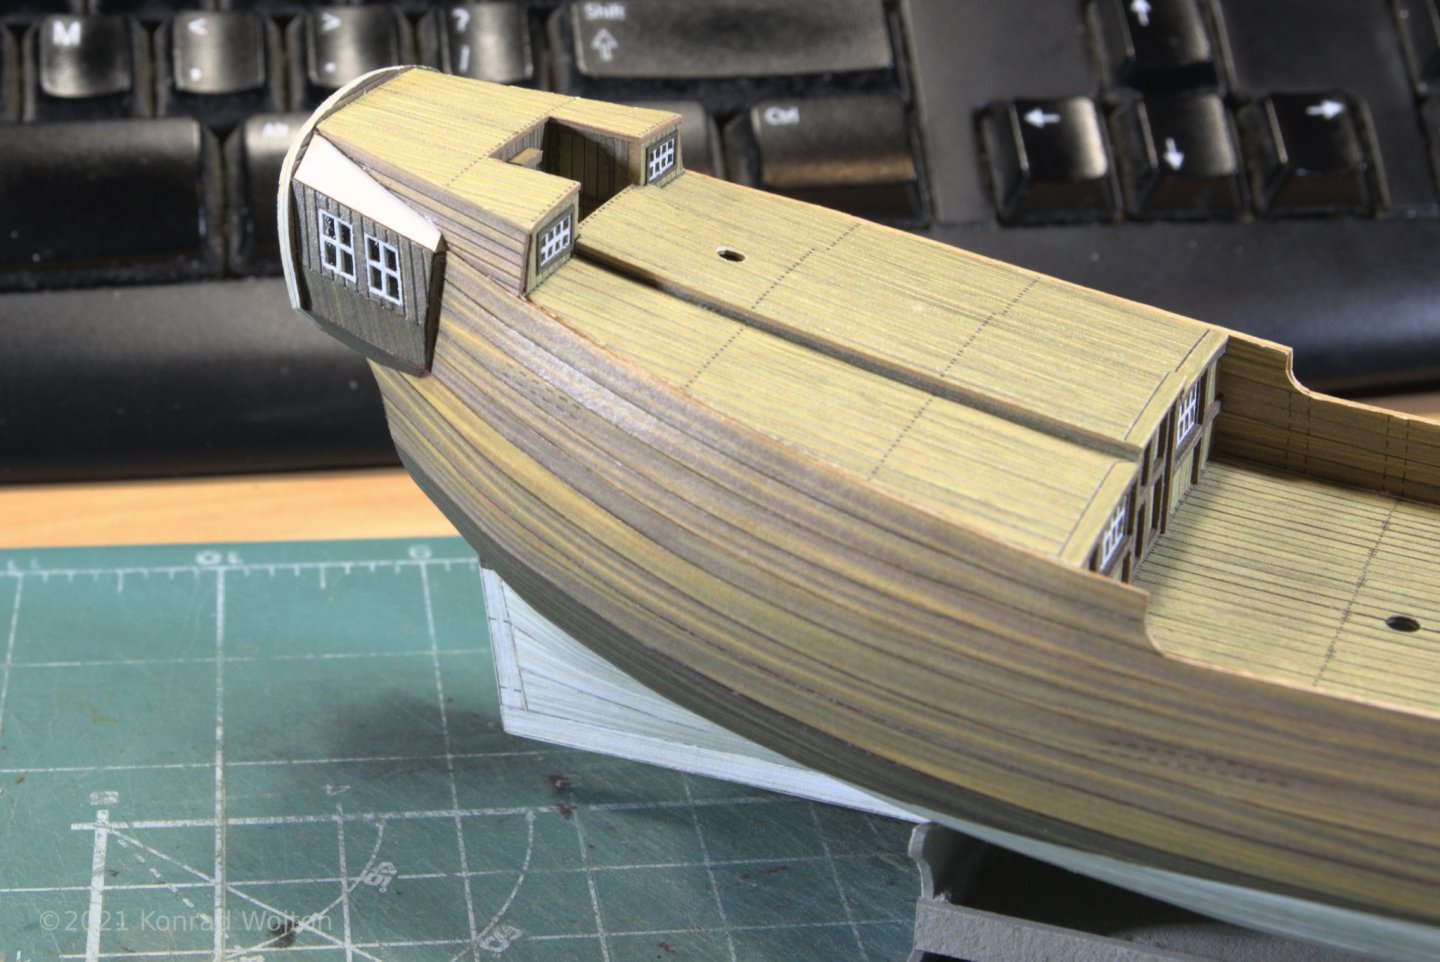
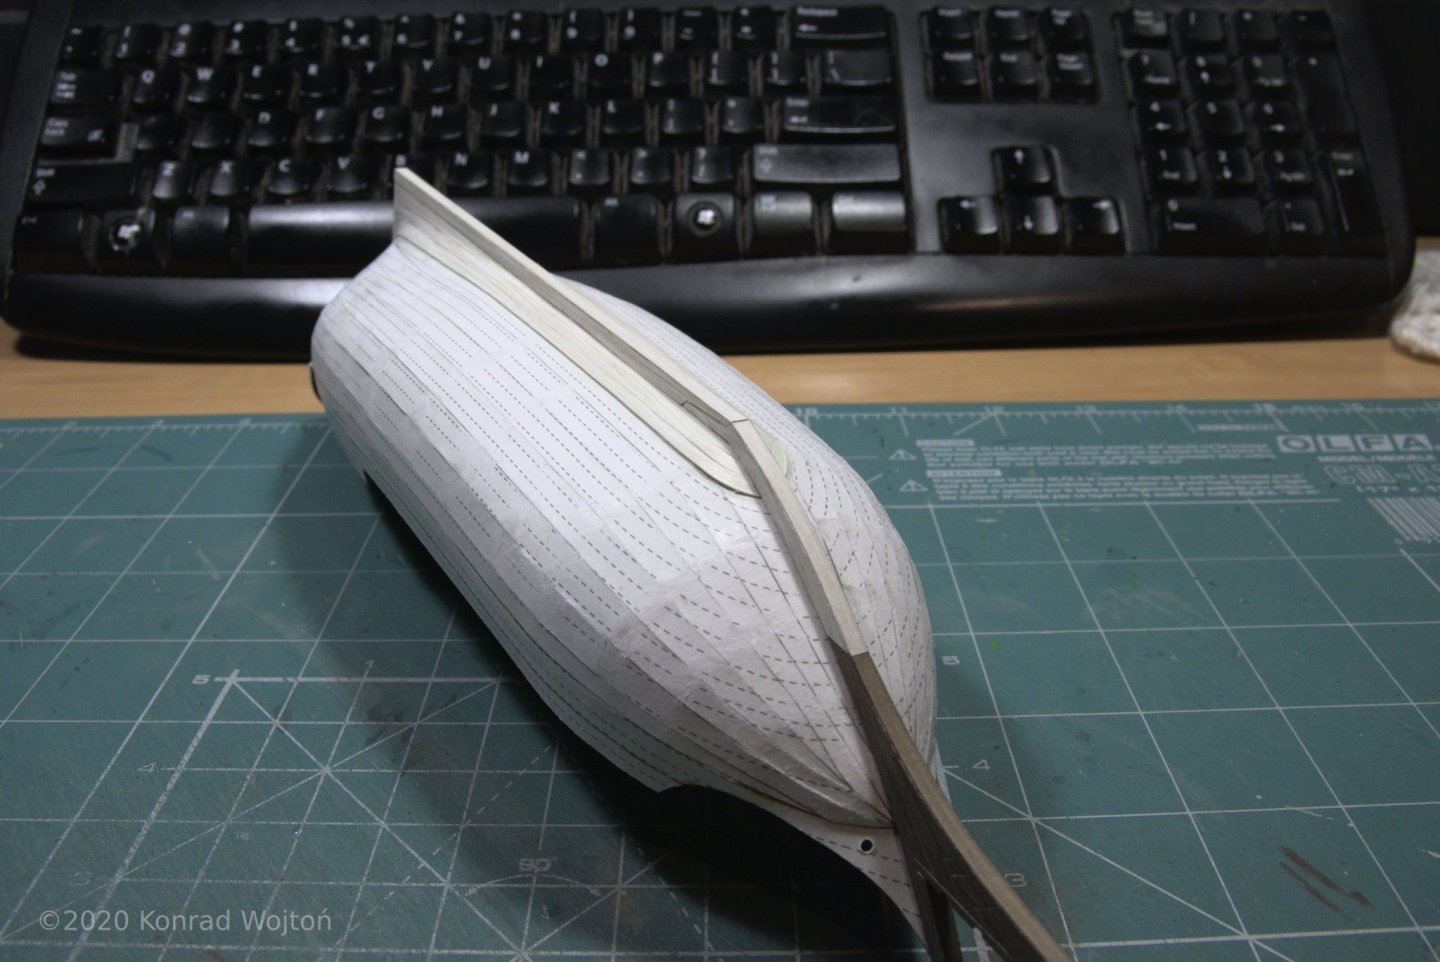
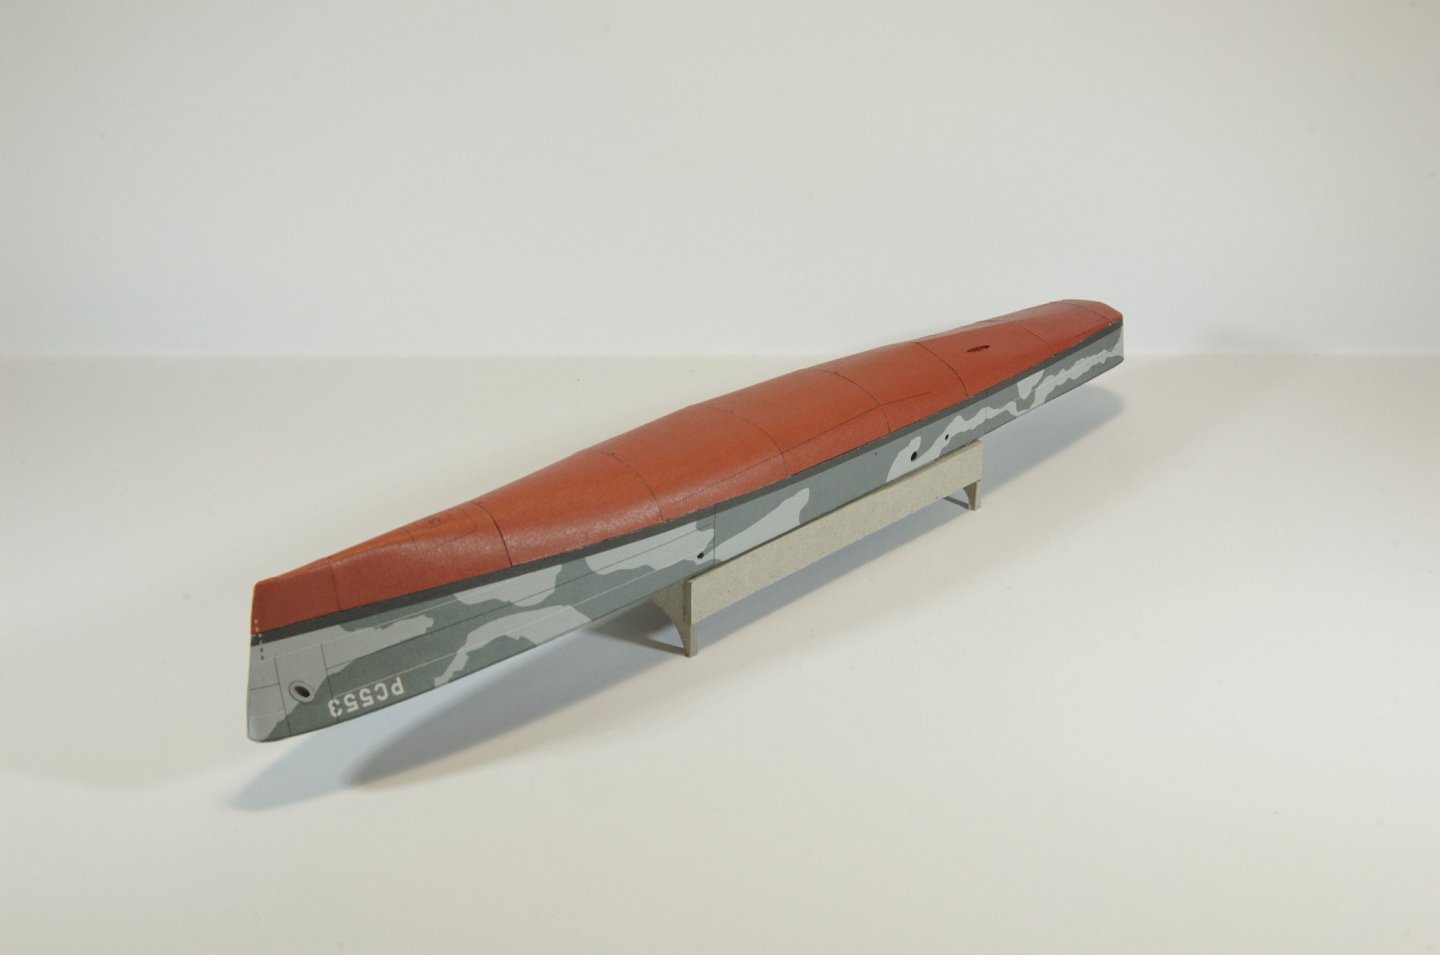
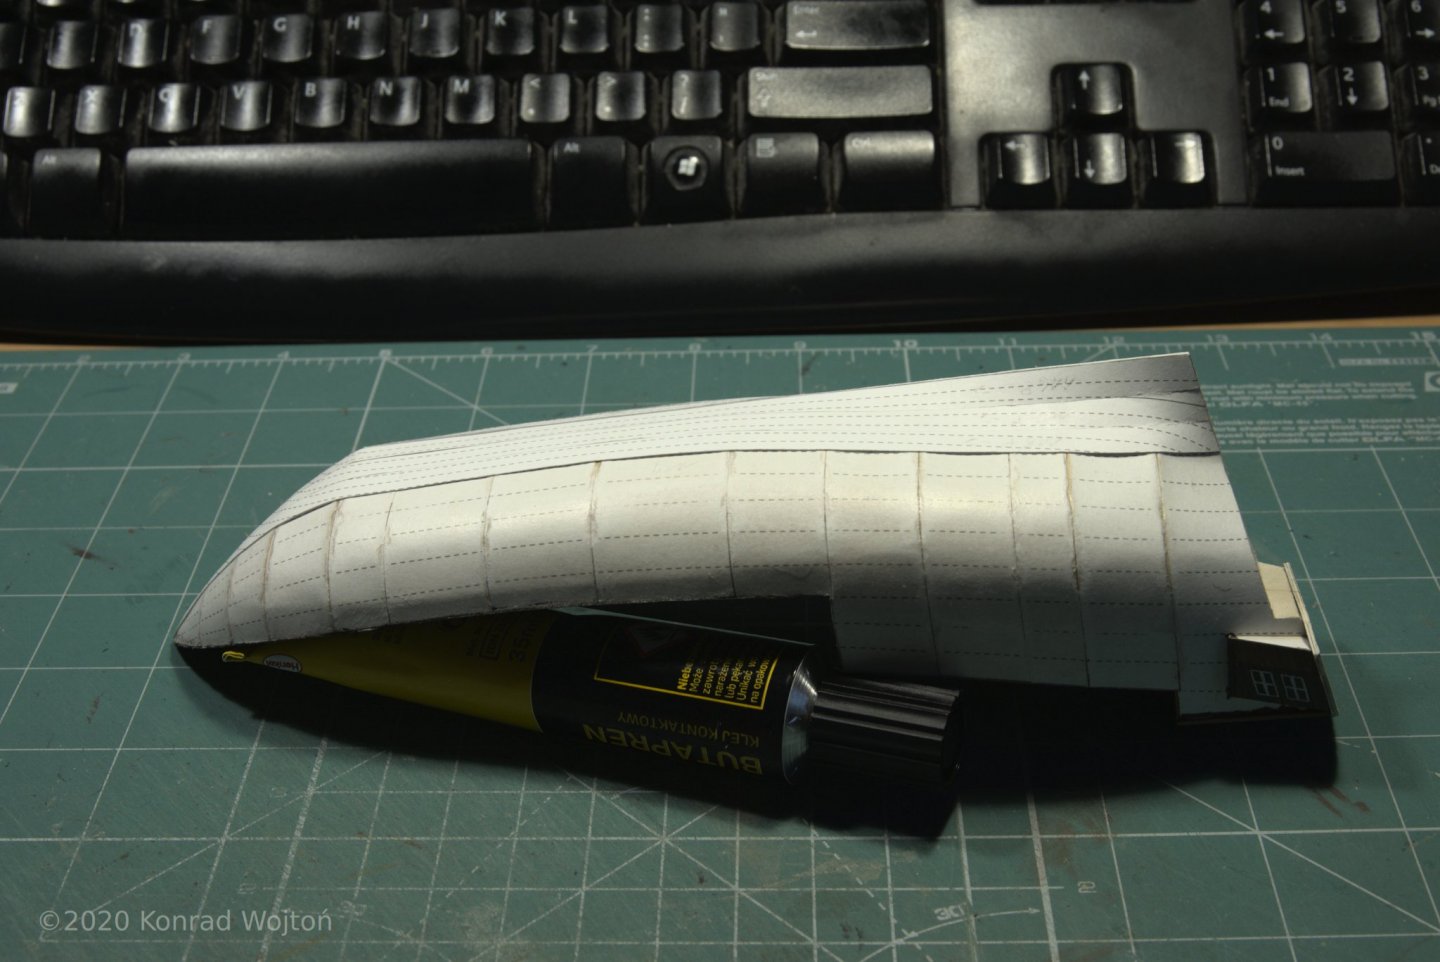
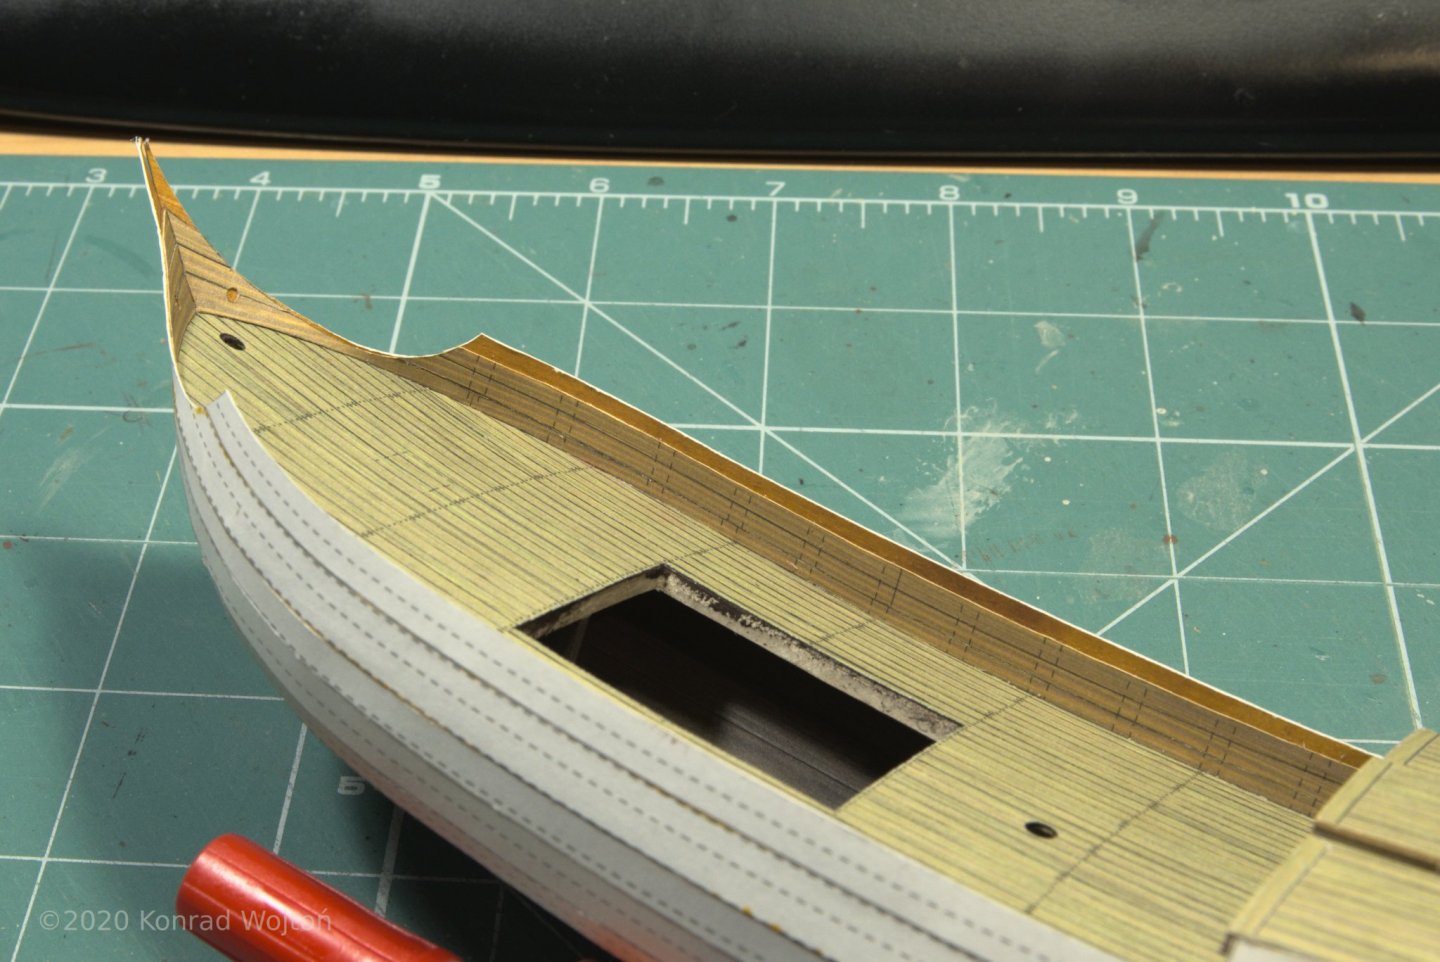
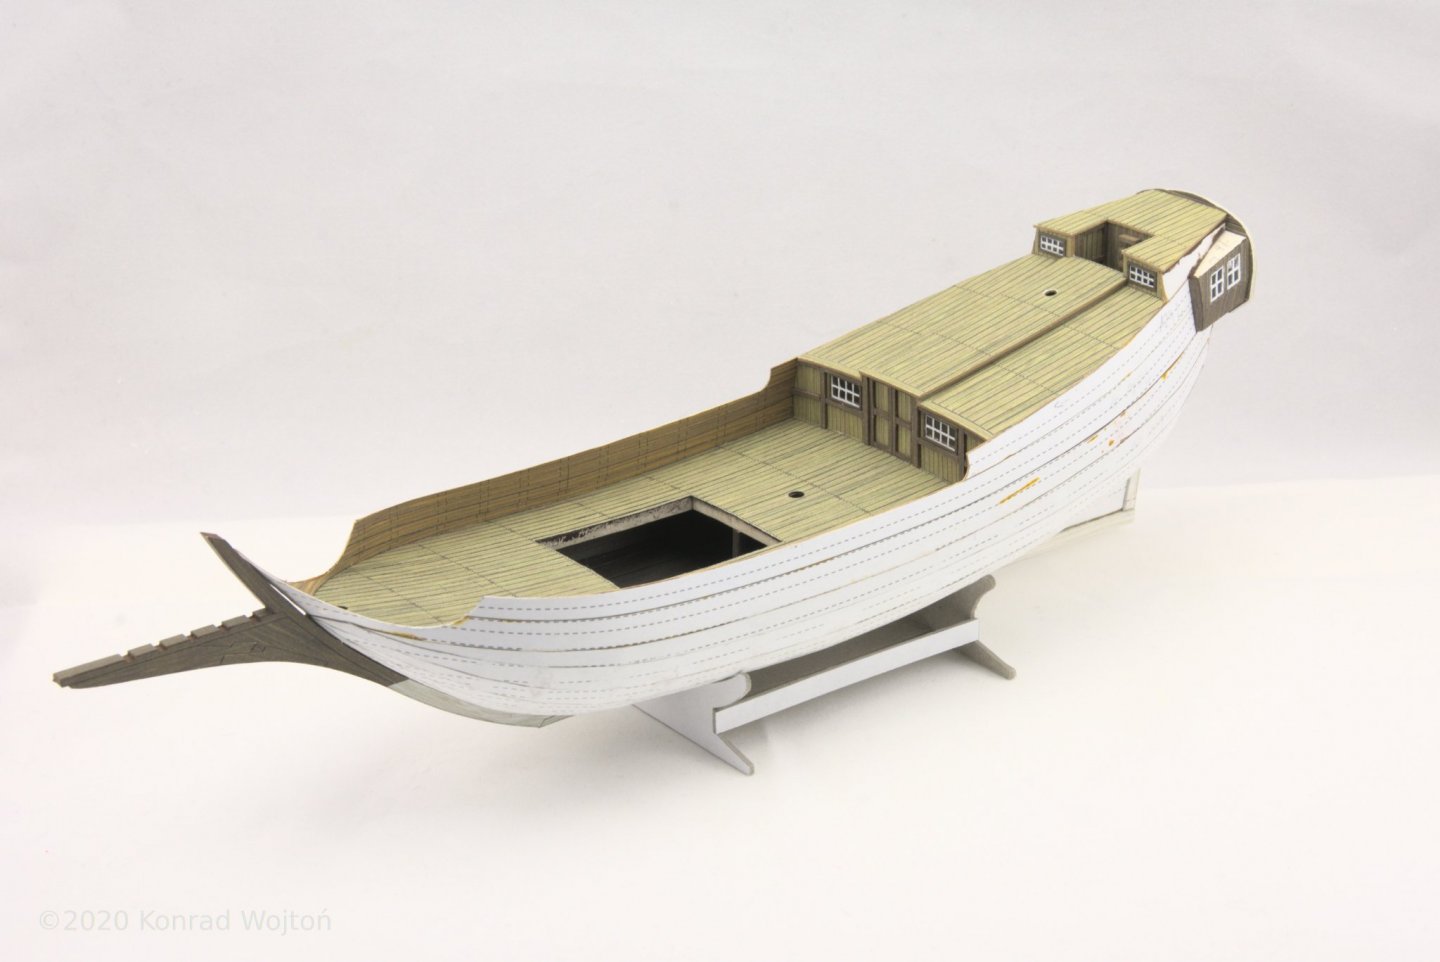
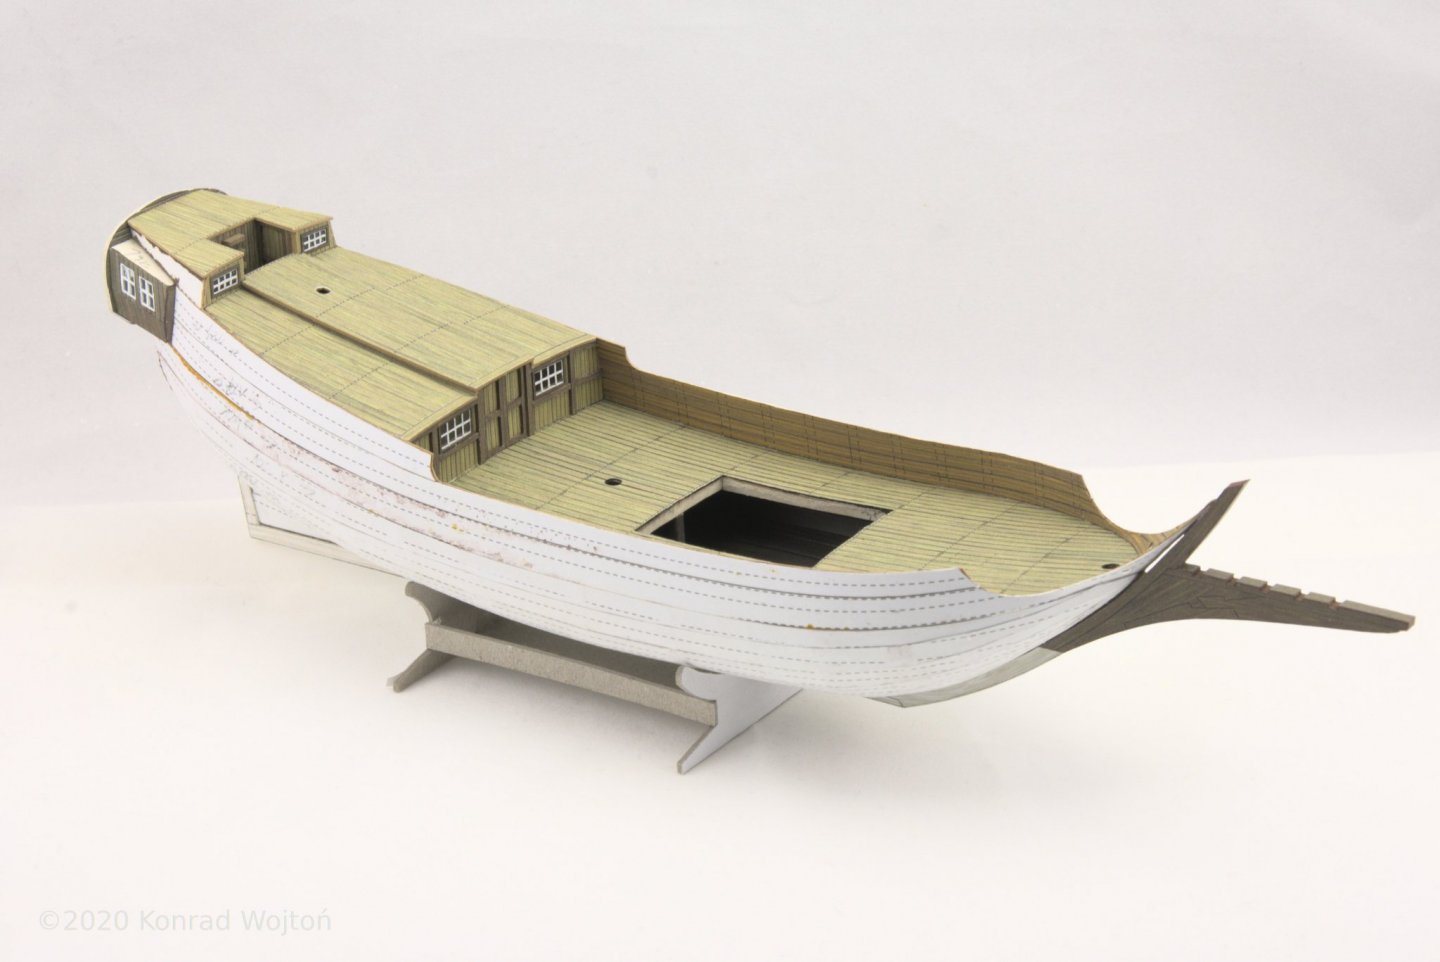
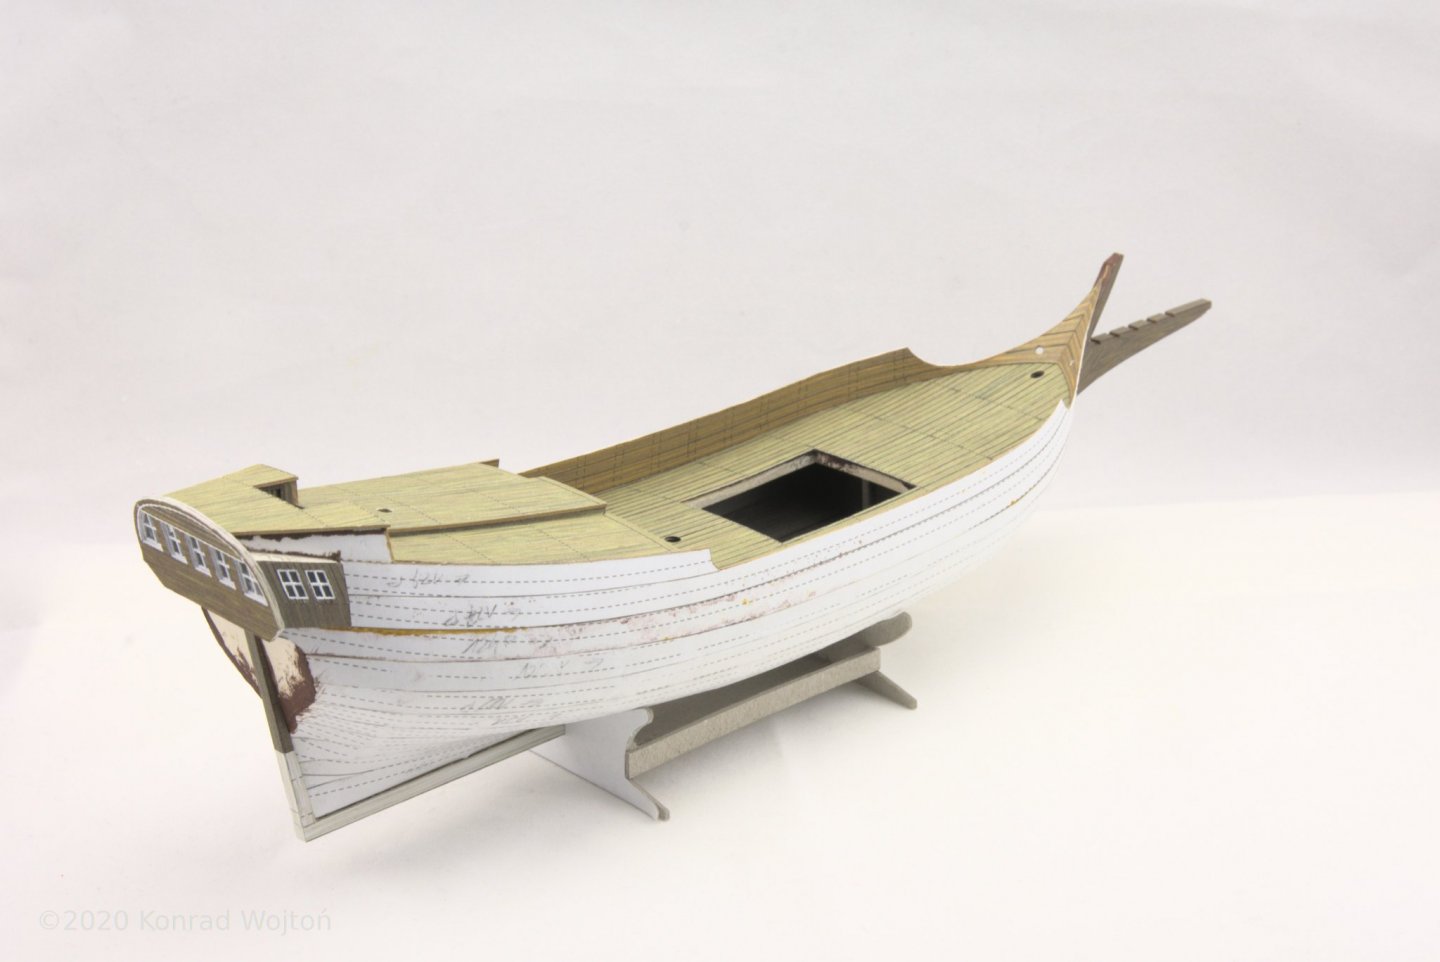
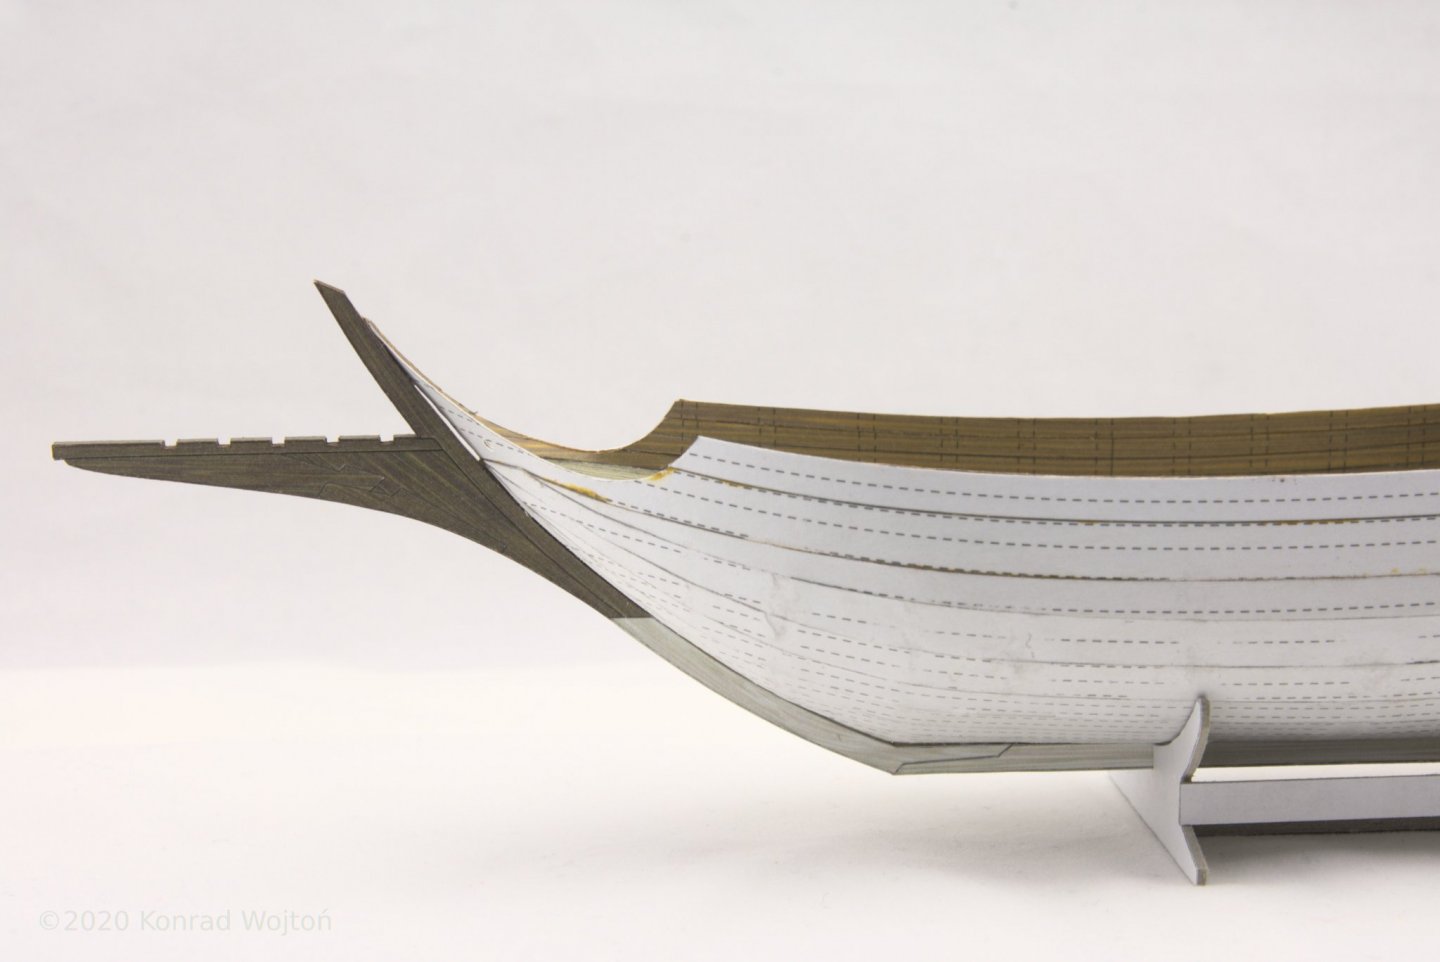
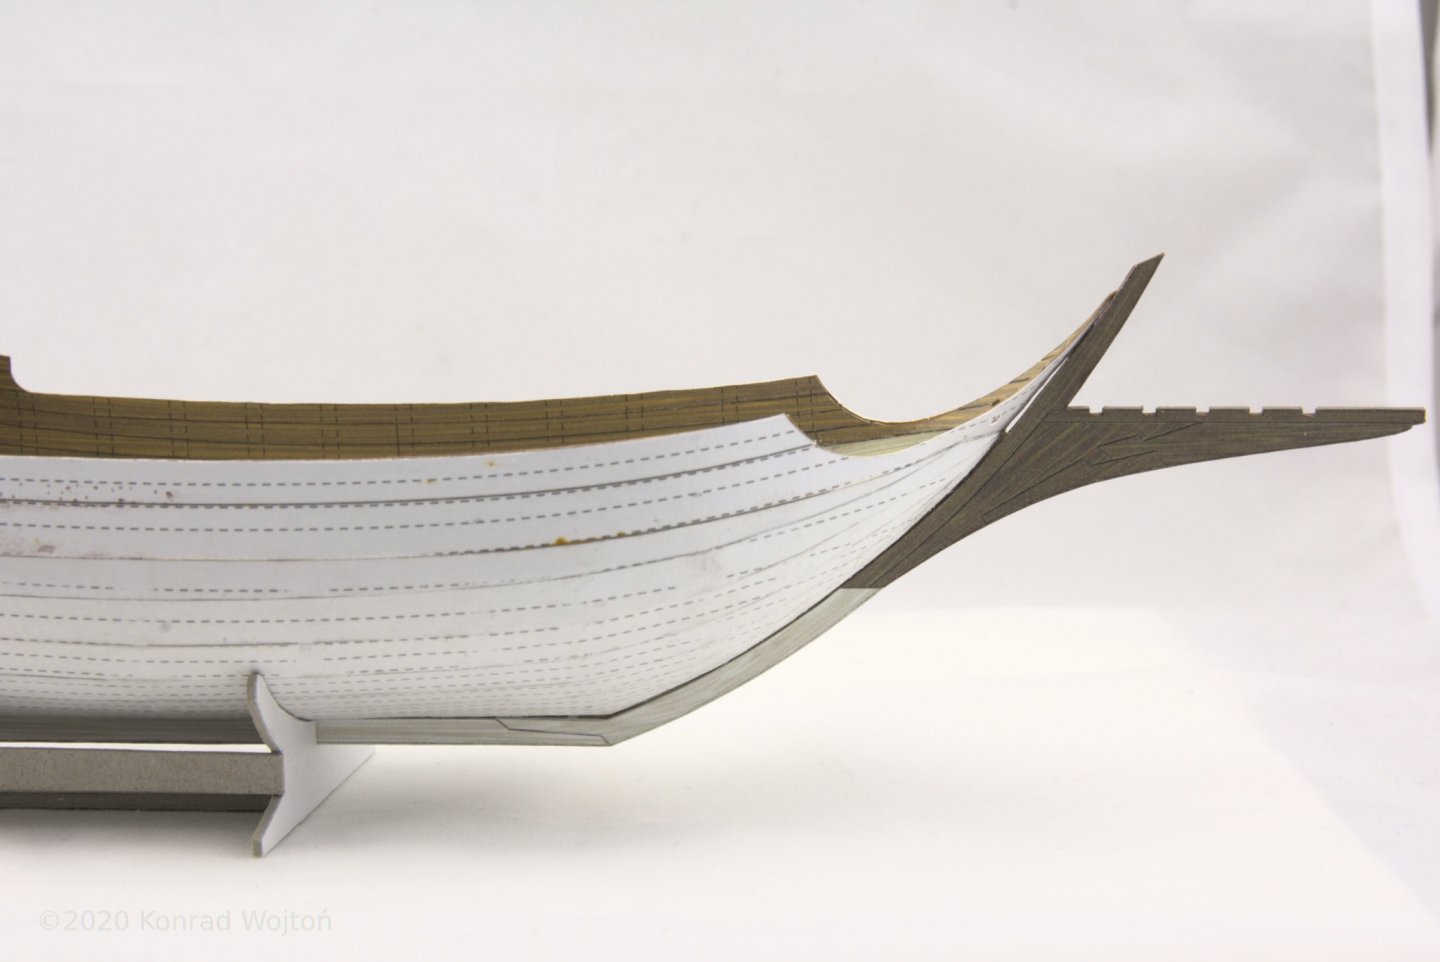
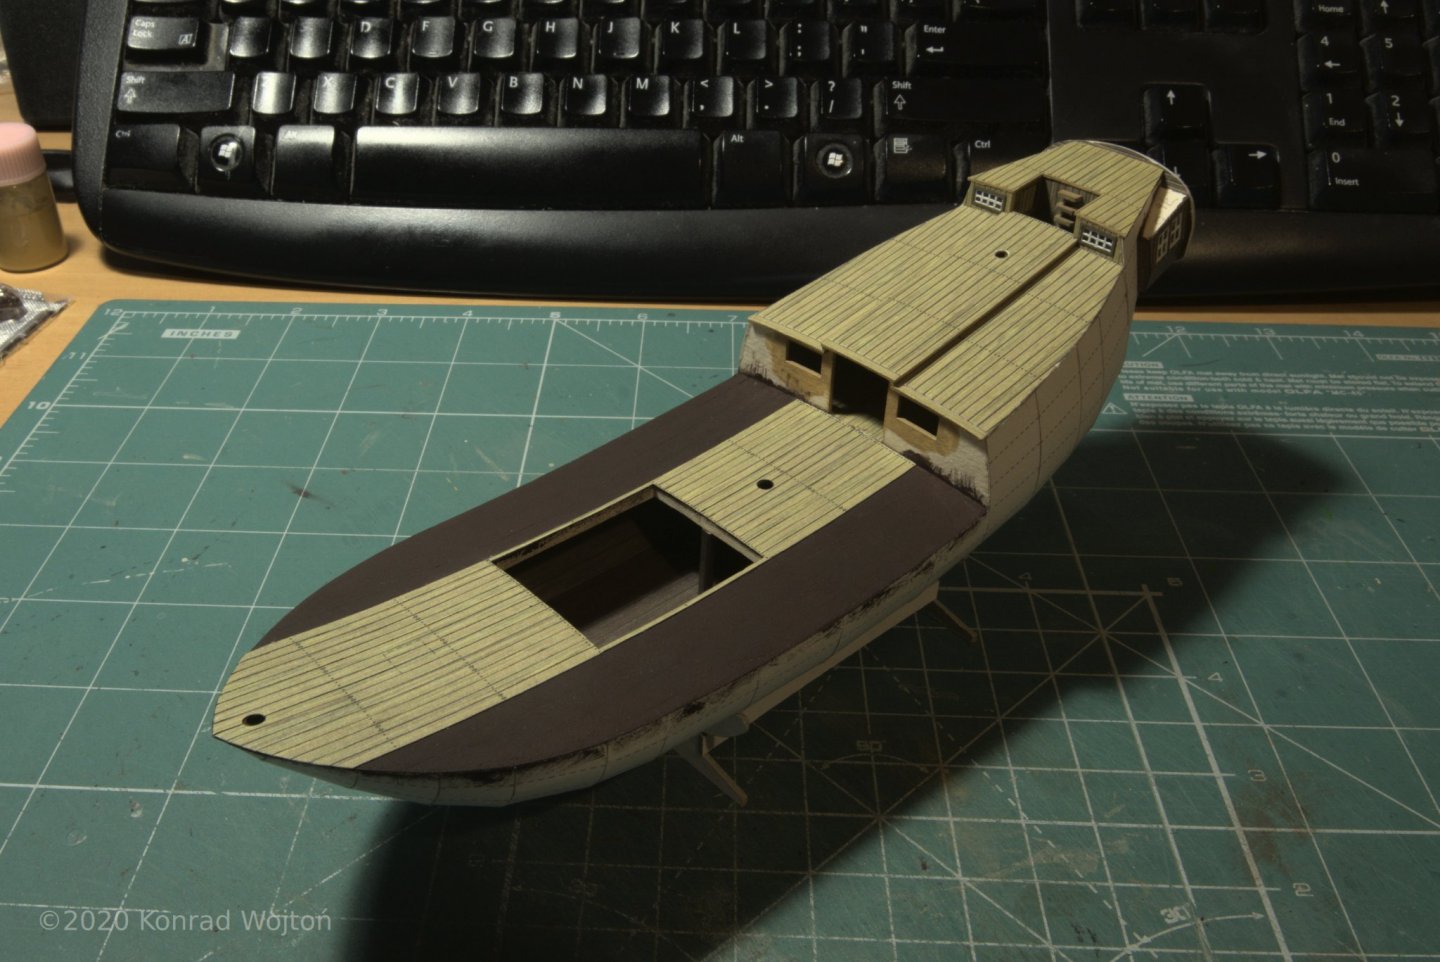
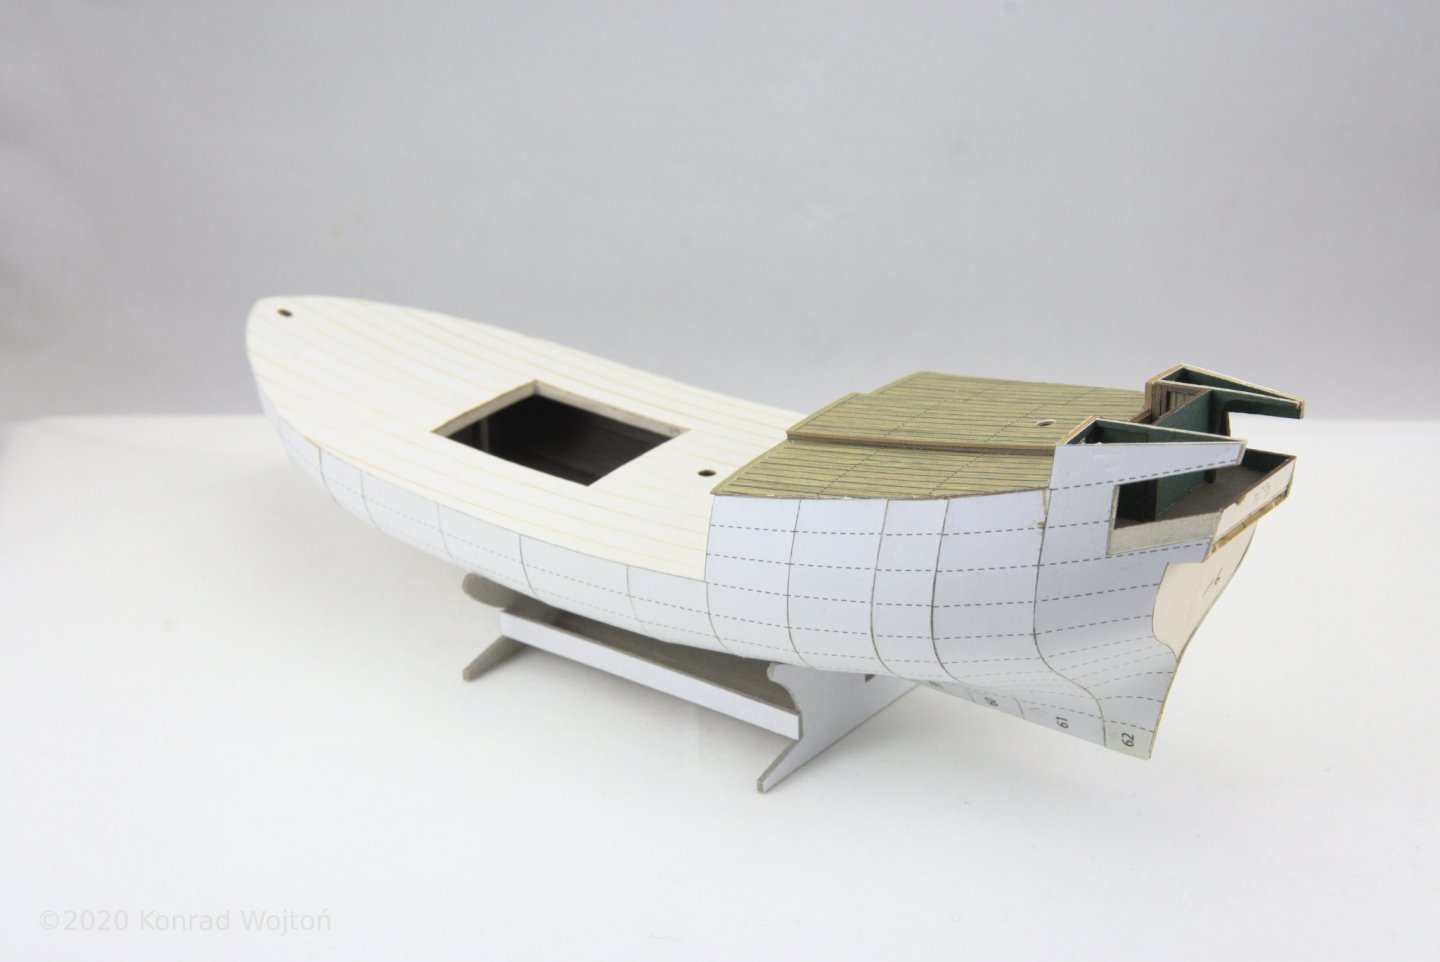
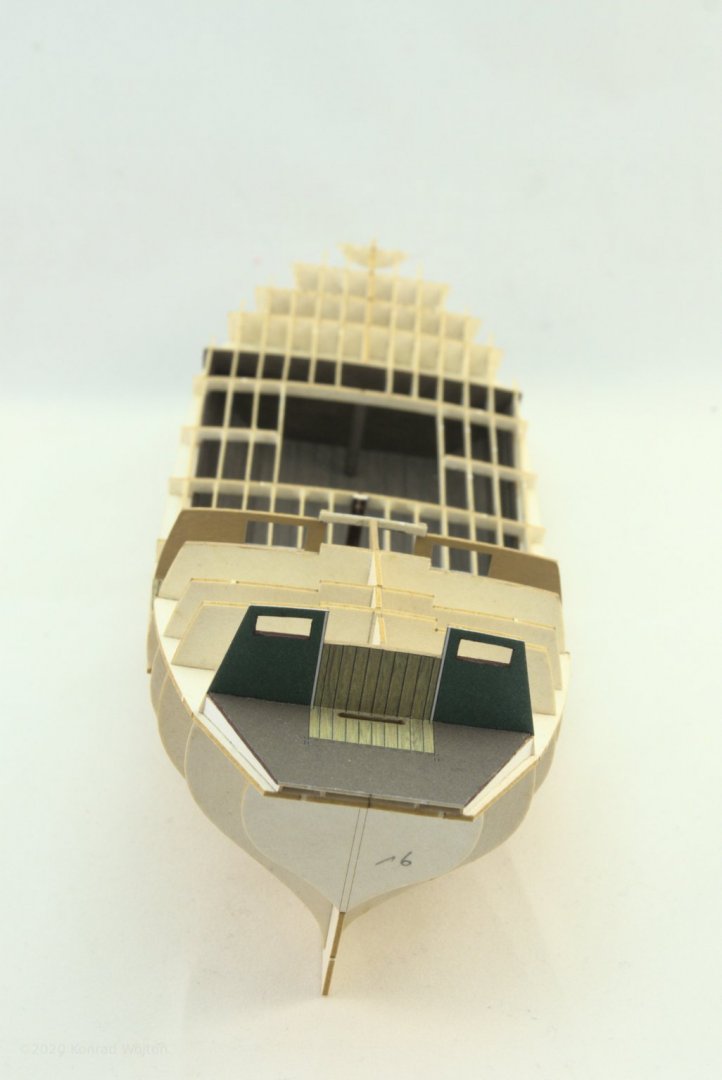
Progress update. This post is a bit picture heavy, I hope you don't mind. Second layer of skin, or if you want, first planking is done. Below pictures showing couple of stages: Next were bulwarks I've reinforced stem with steel rod 1mm in diameter, since I wasn't able to drill proper hole in the hull it only prevents bowsprit from bending during maneuvering with model. Currently it looks like this Next up is final planking which will make or break this build.


-
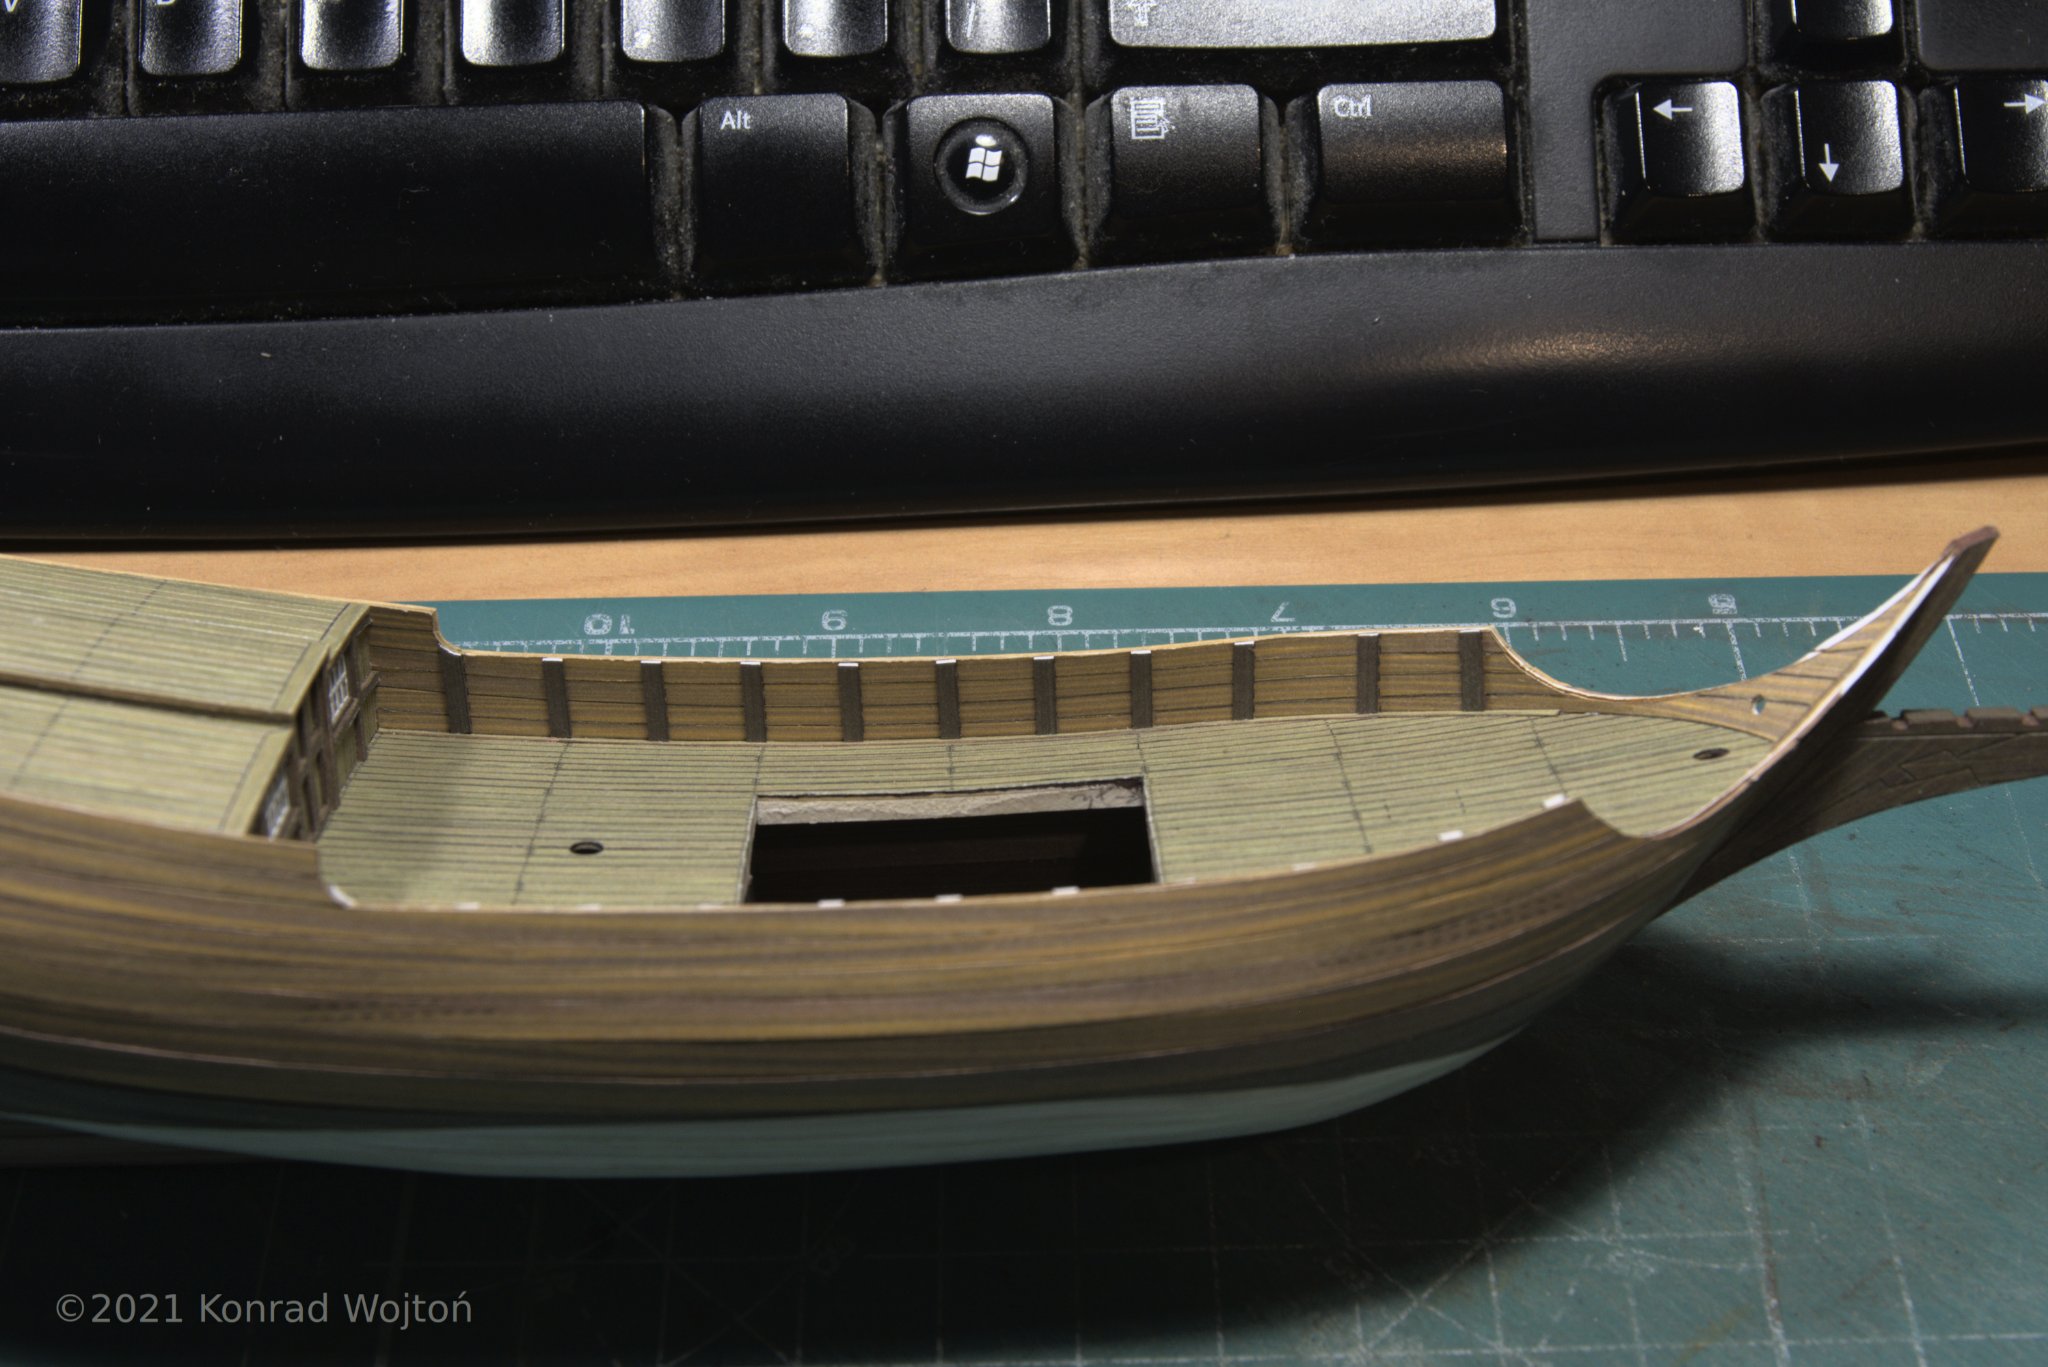
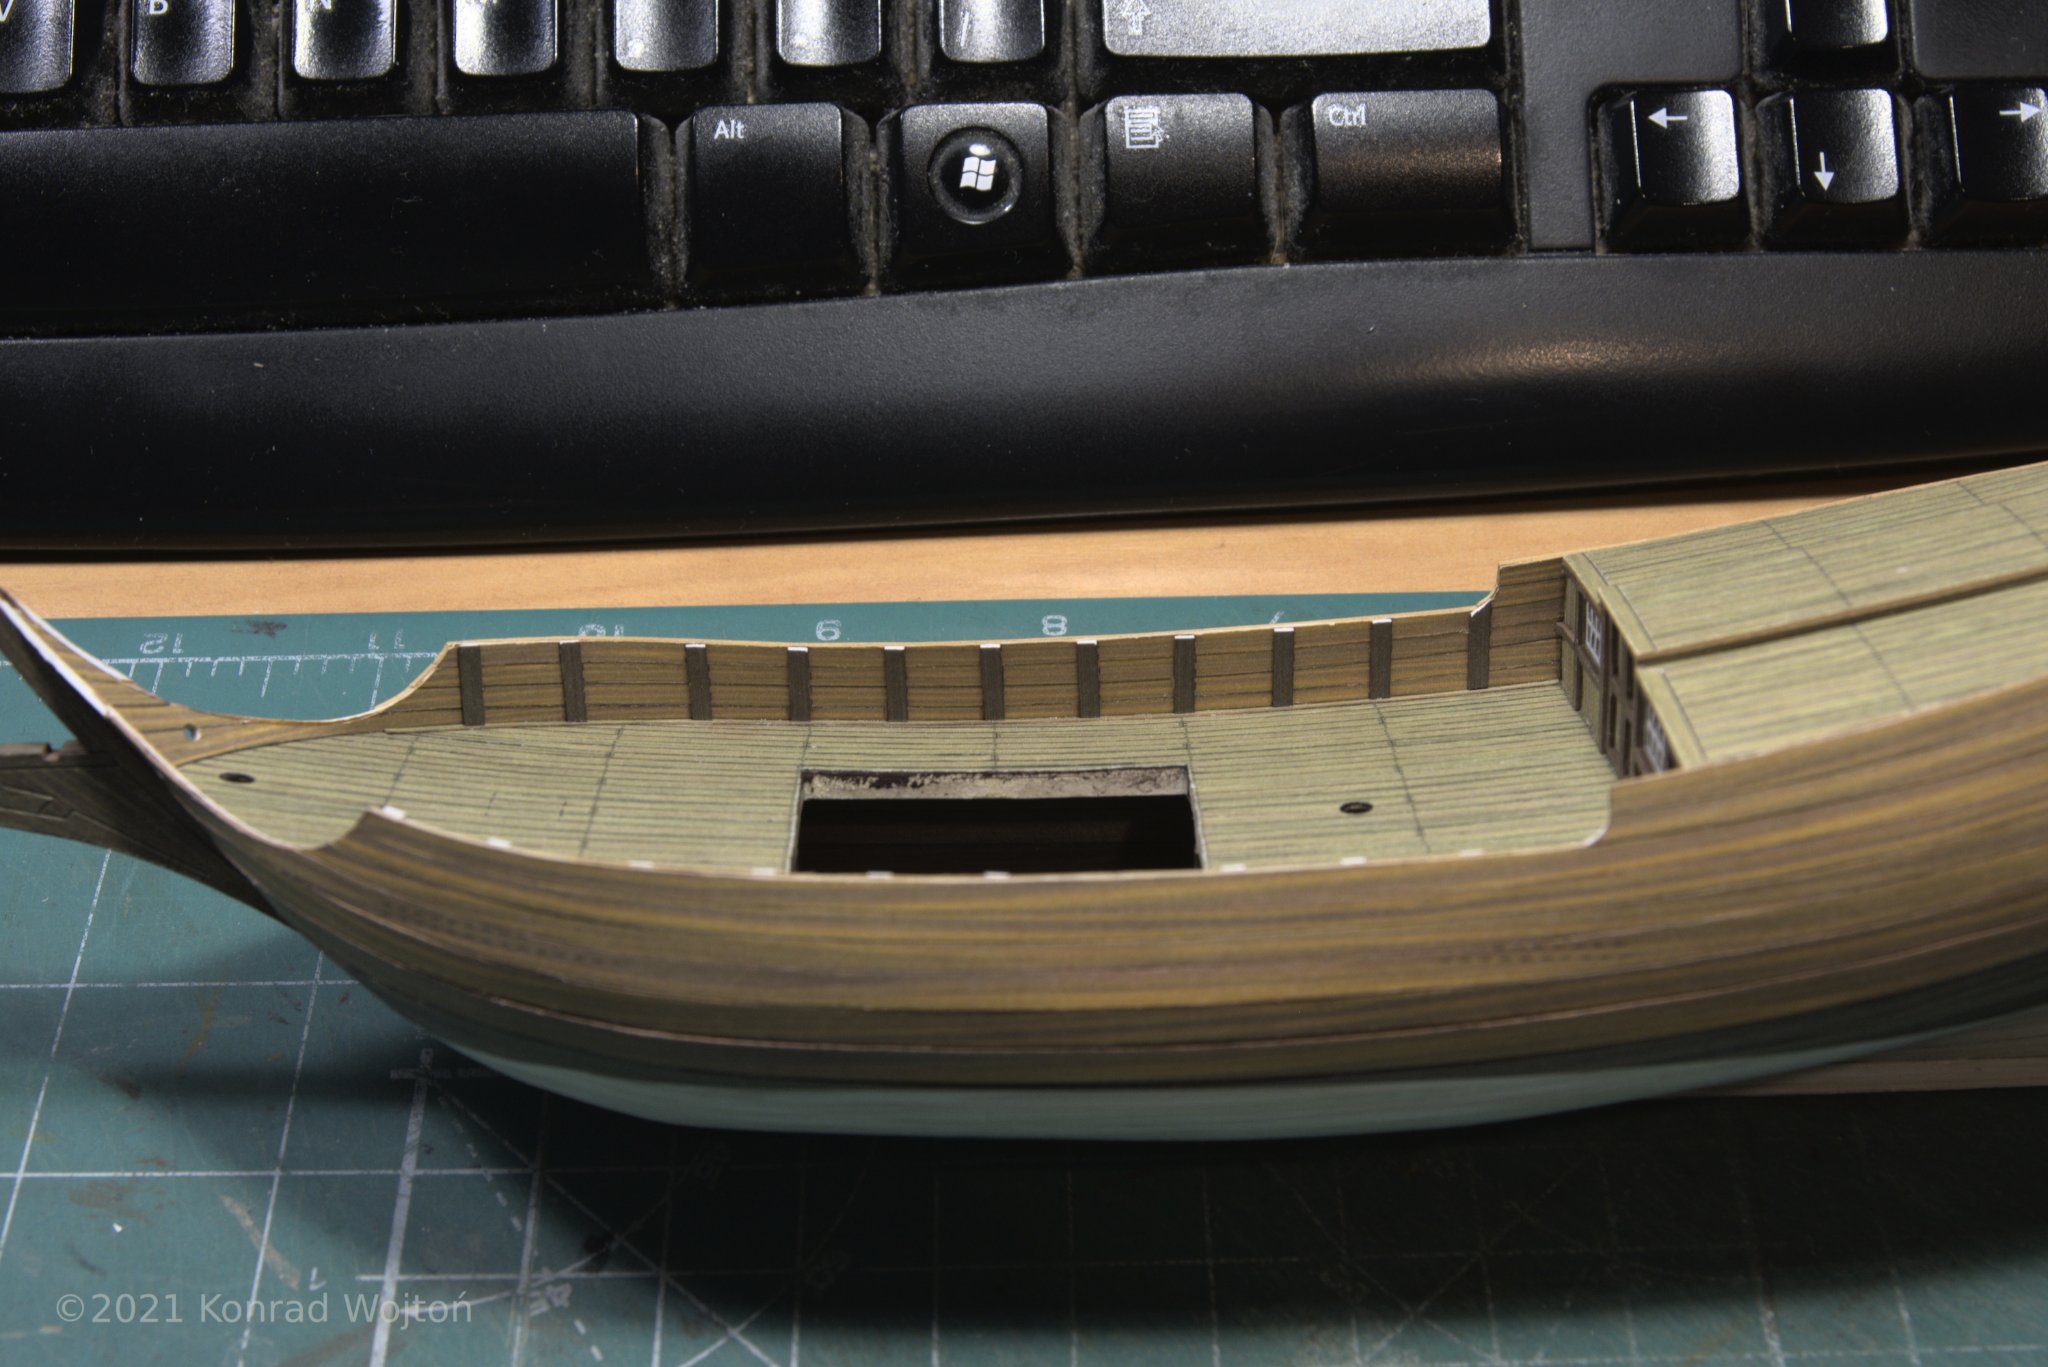
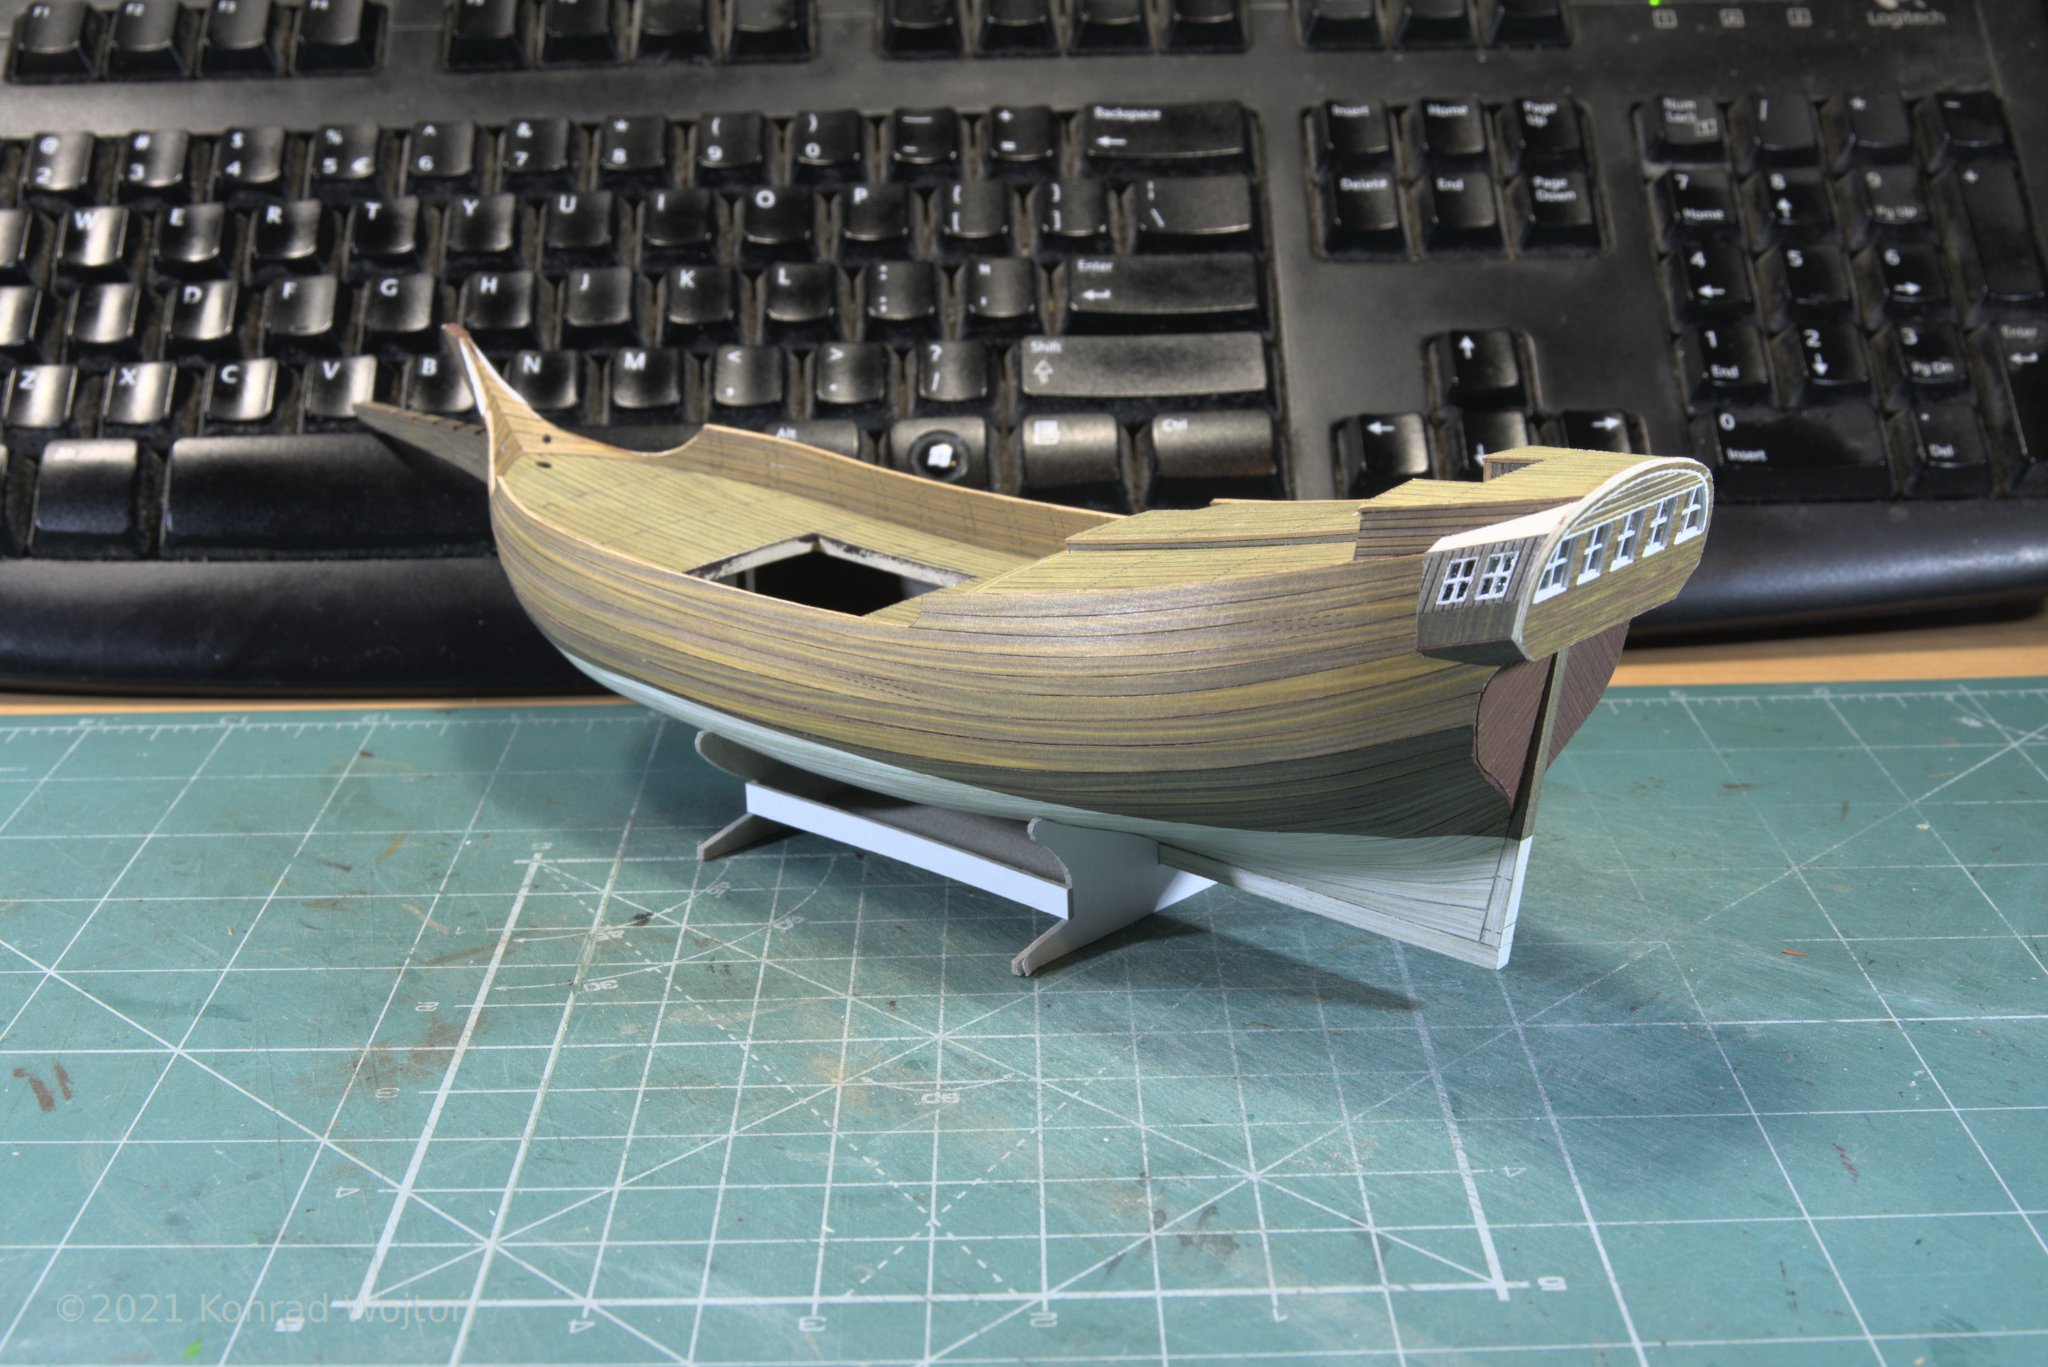
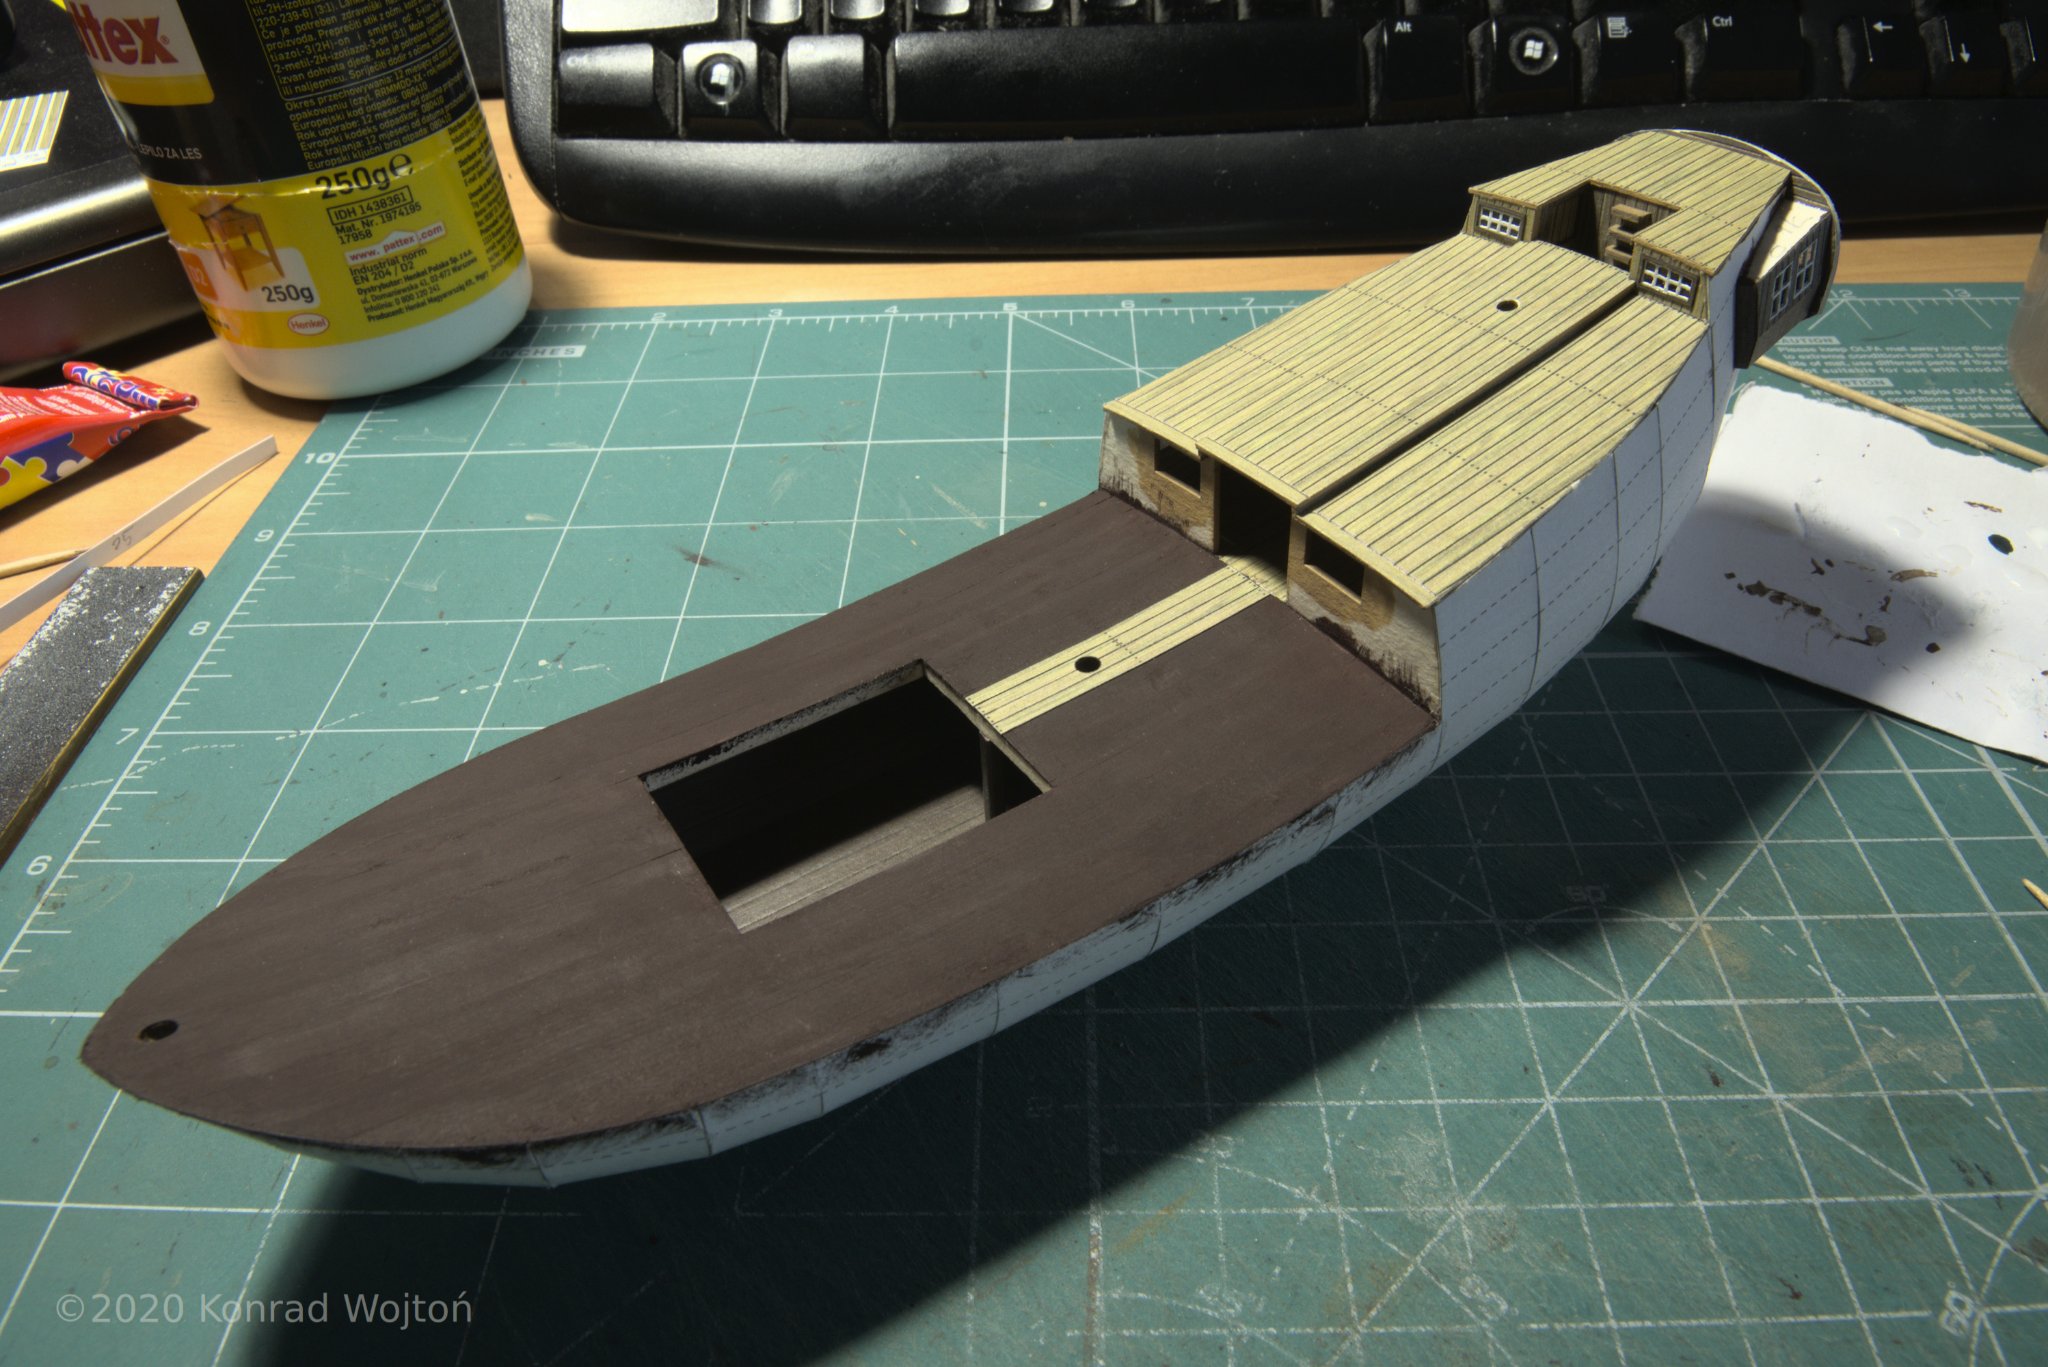
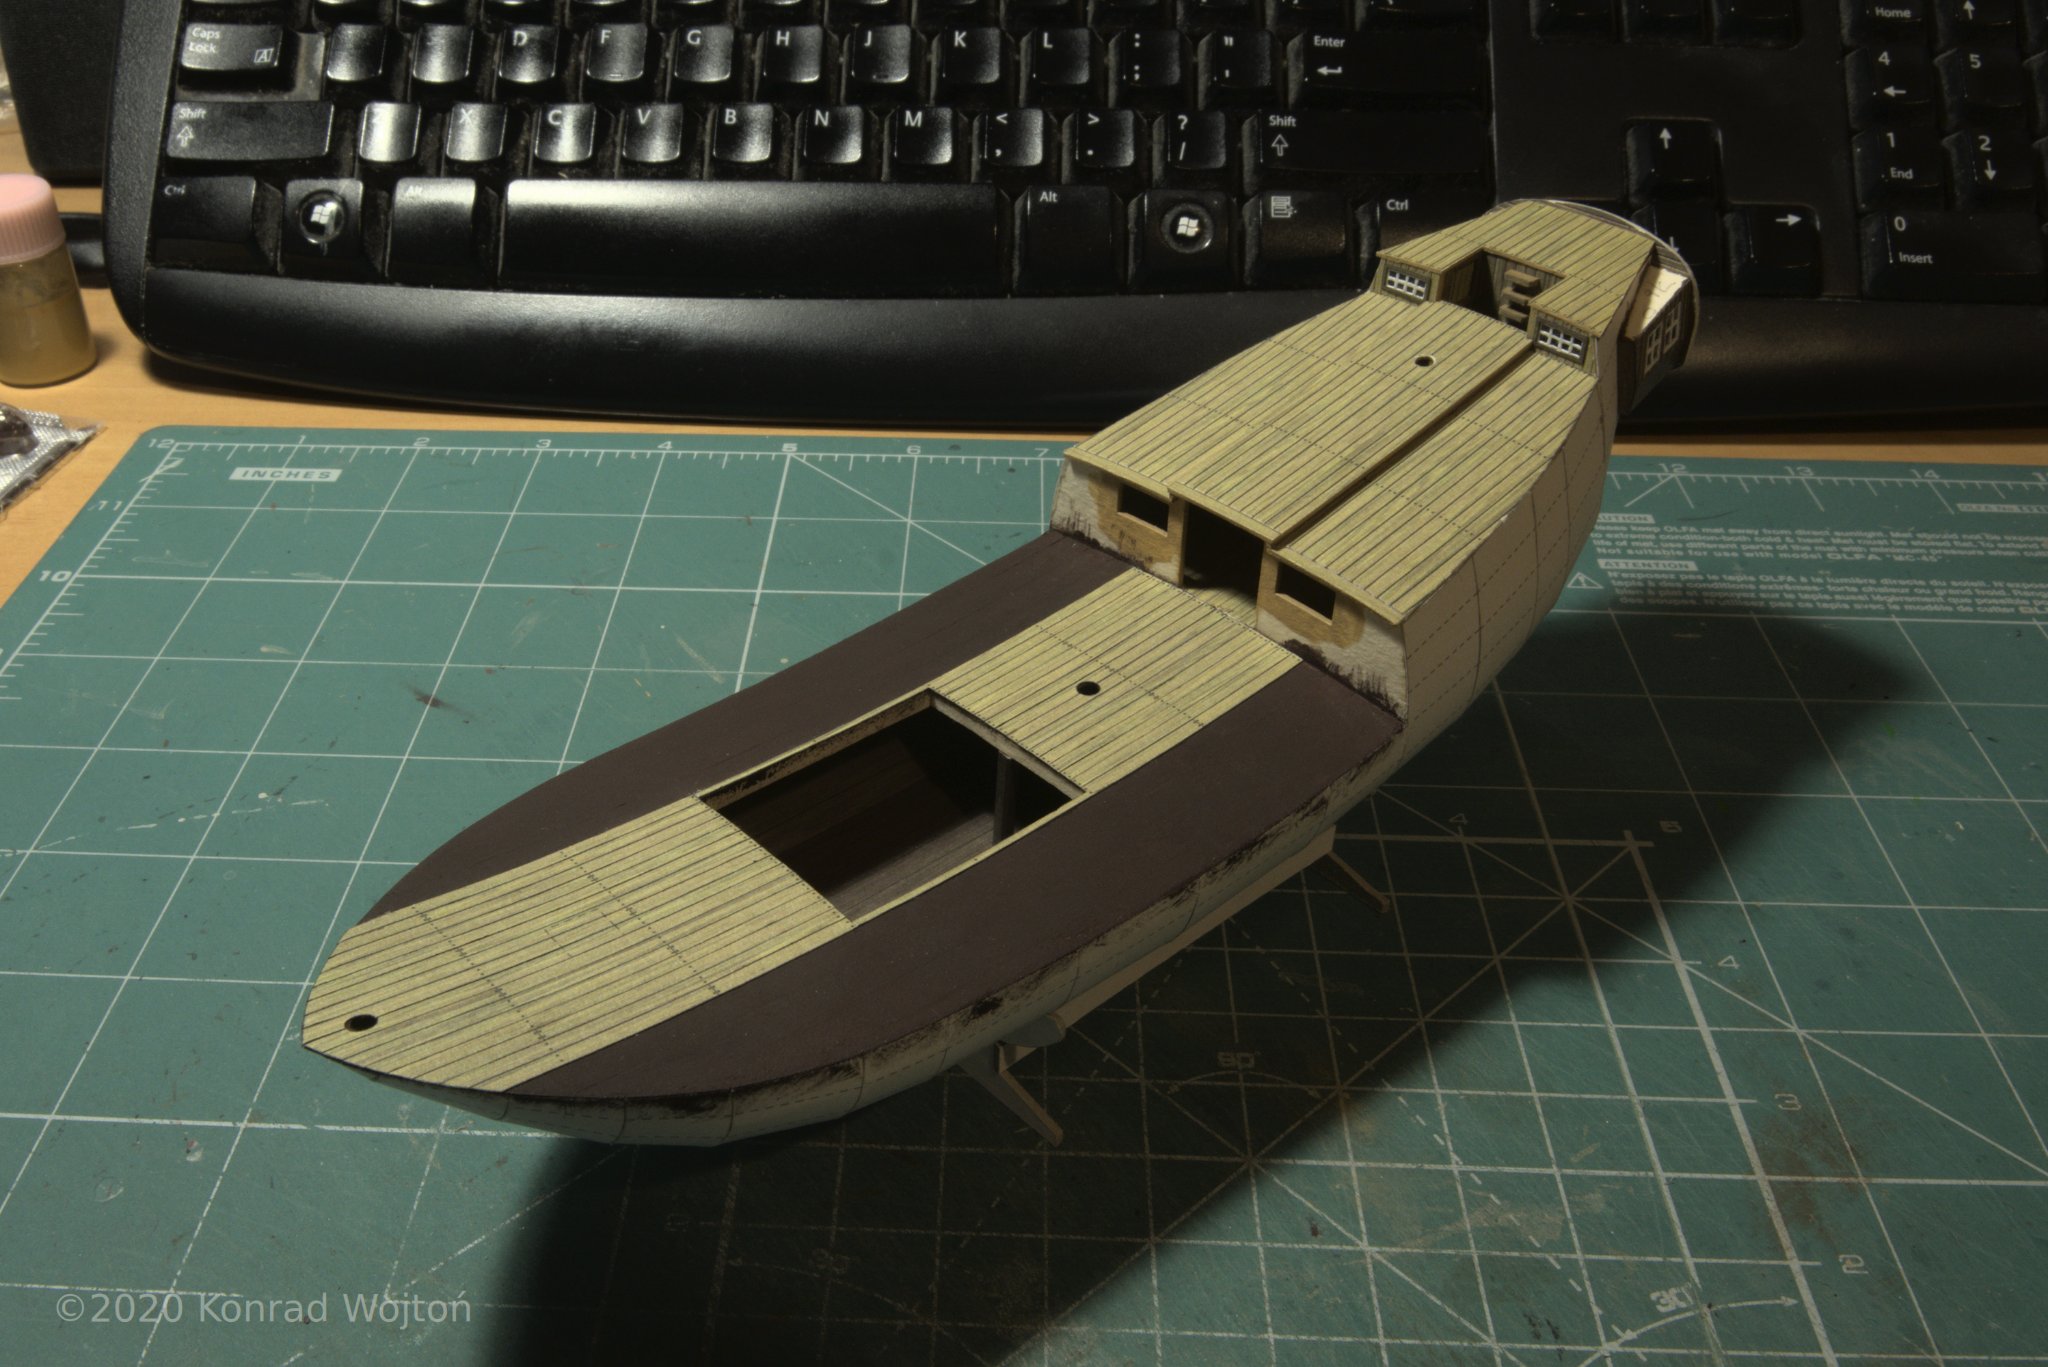
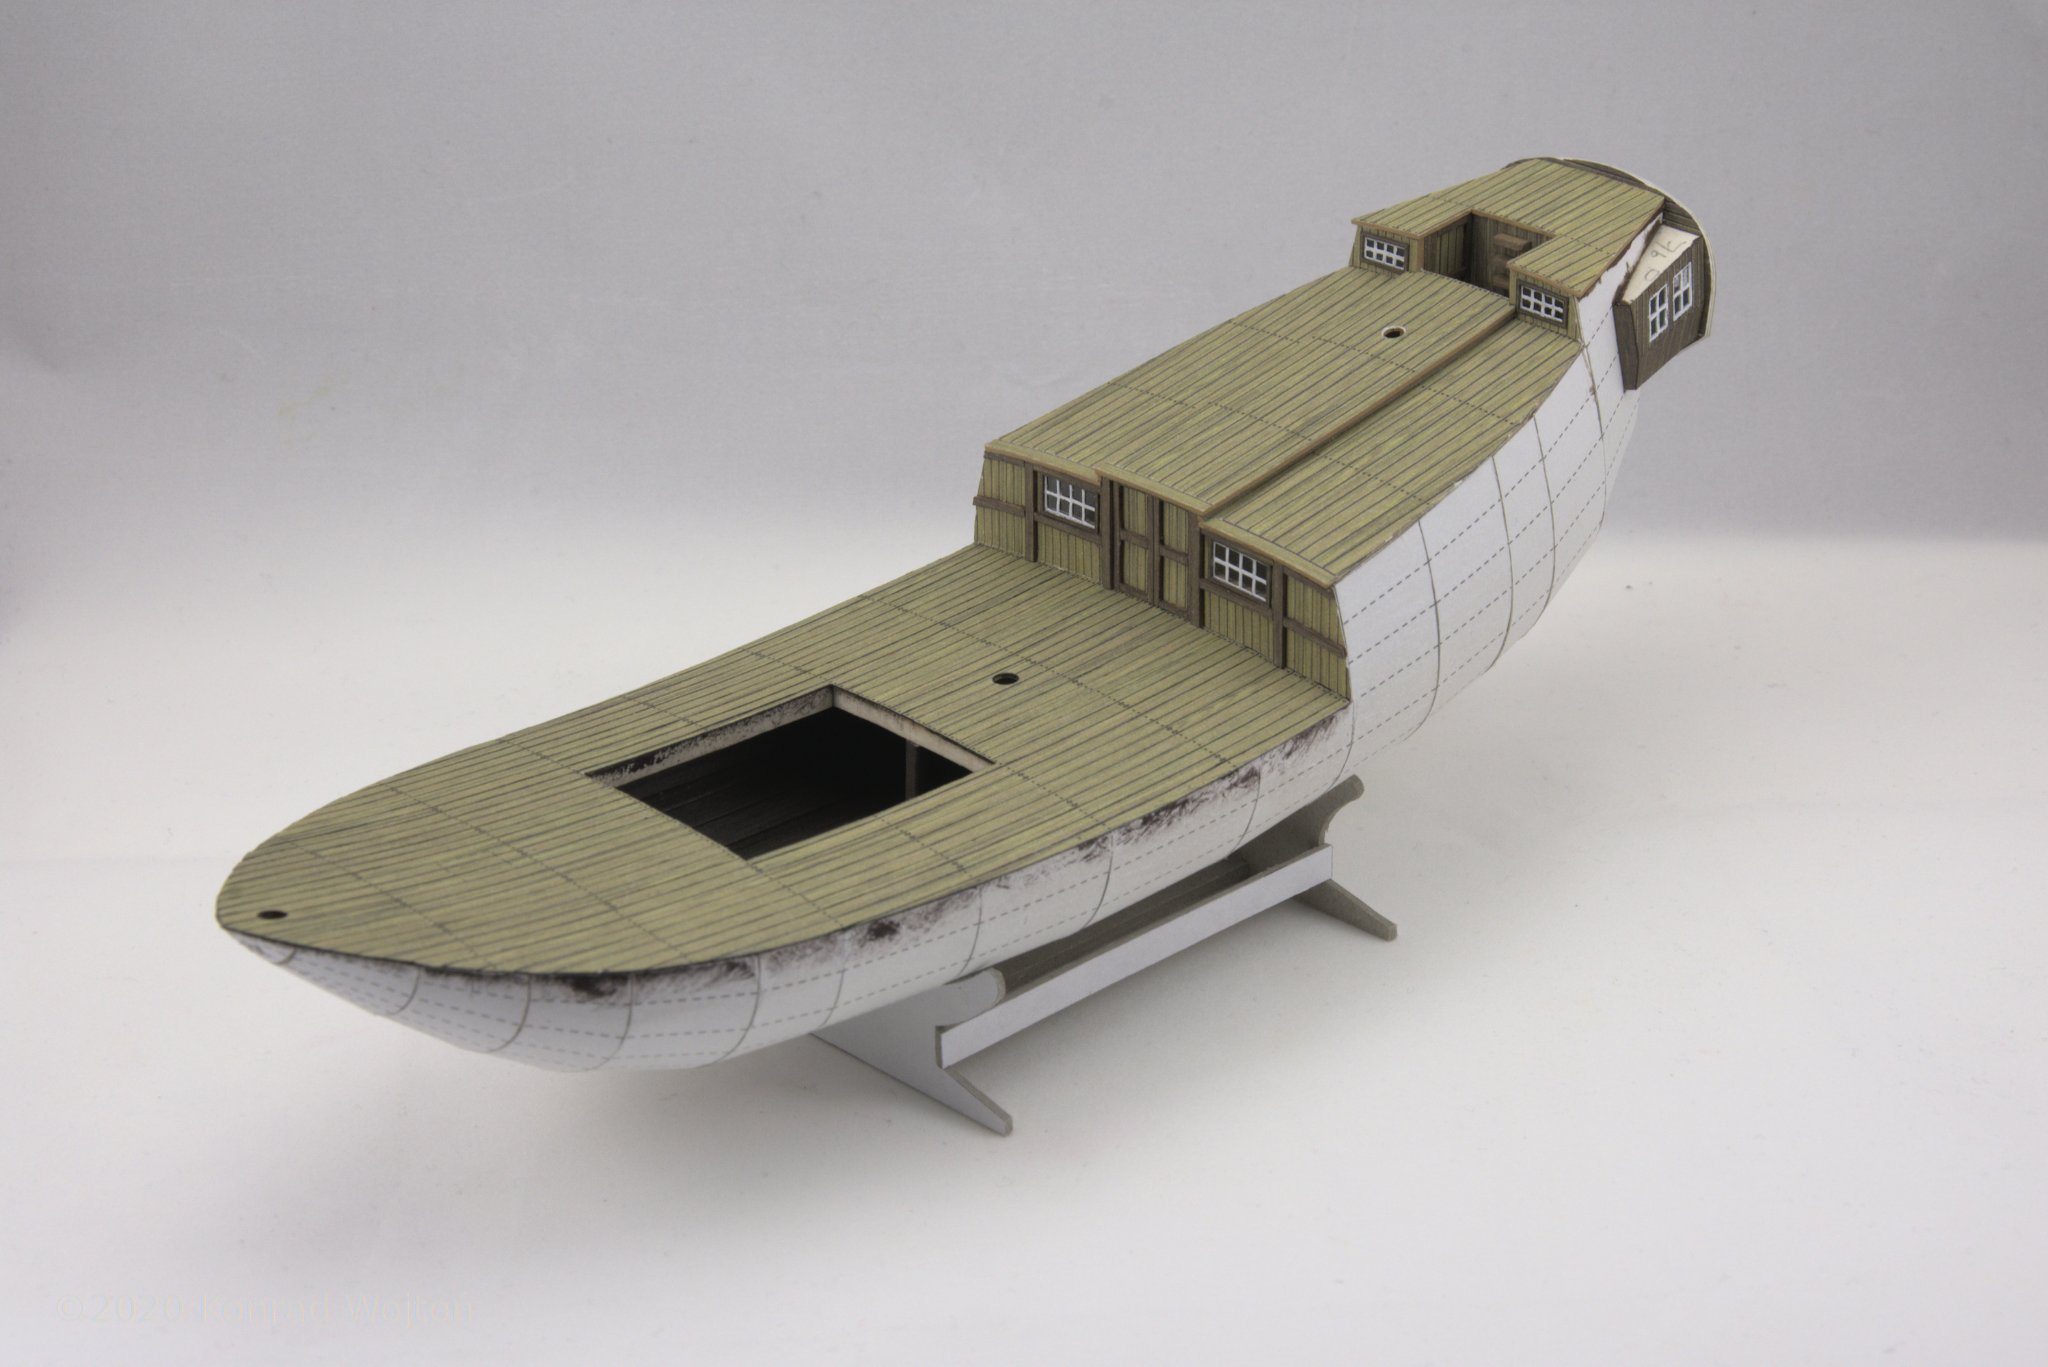
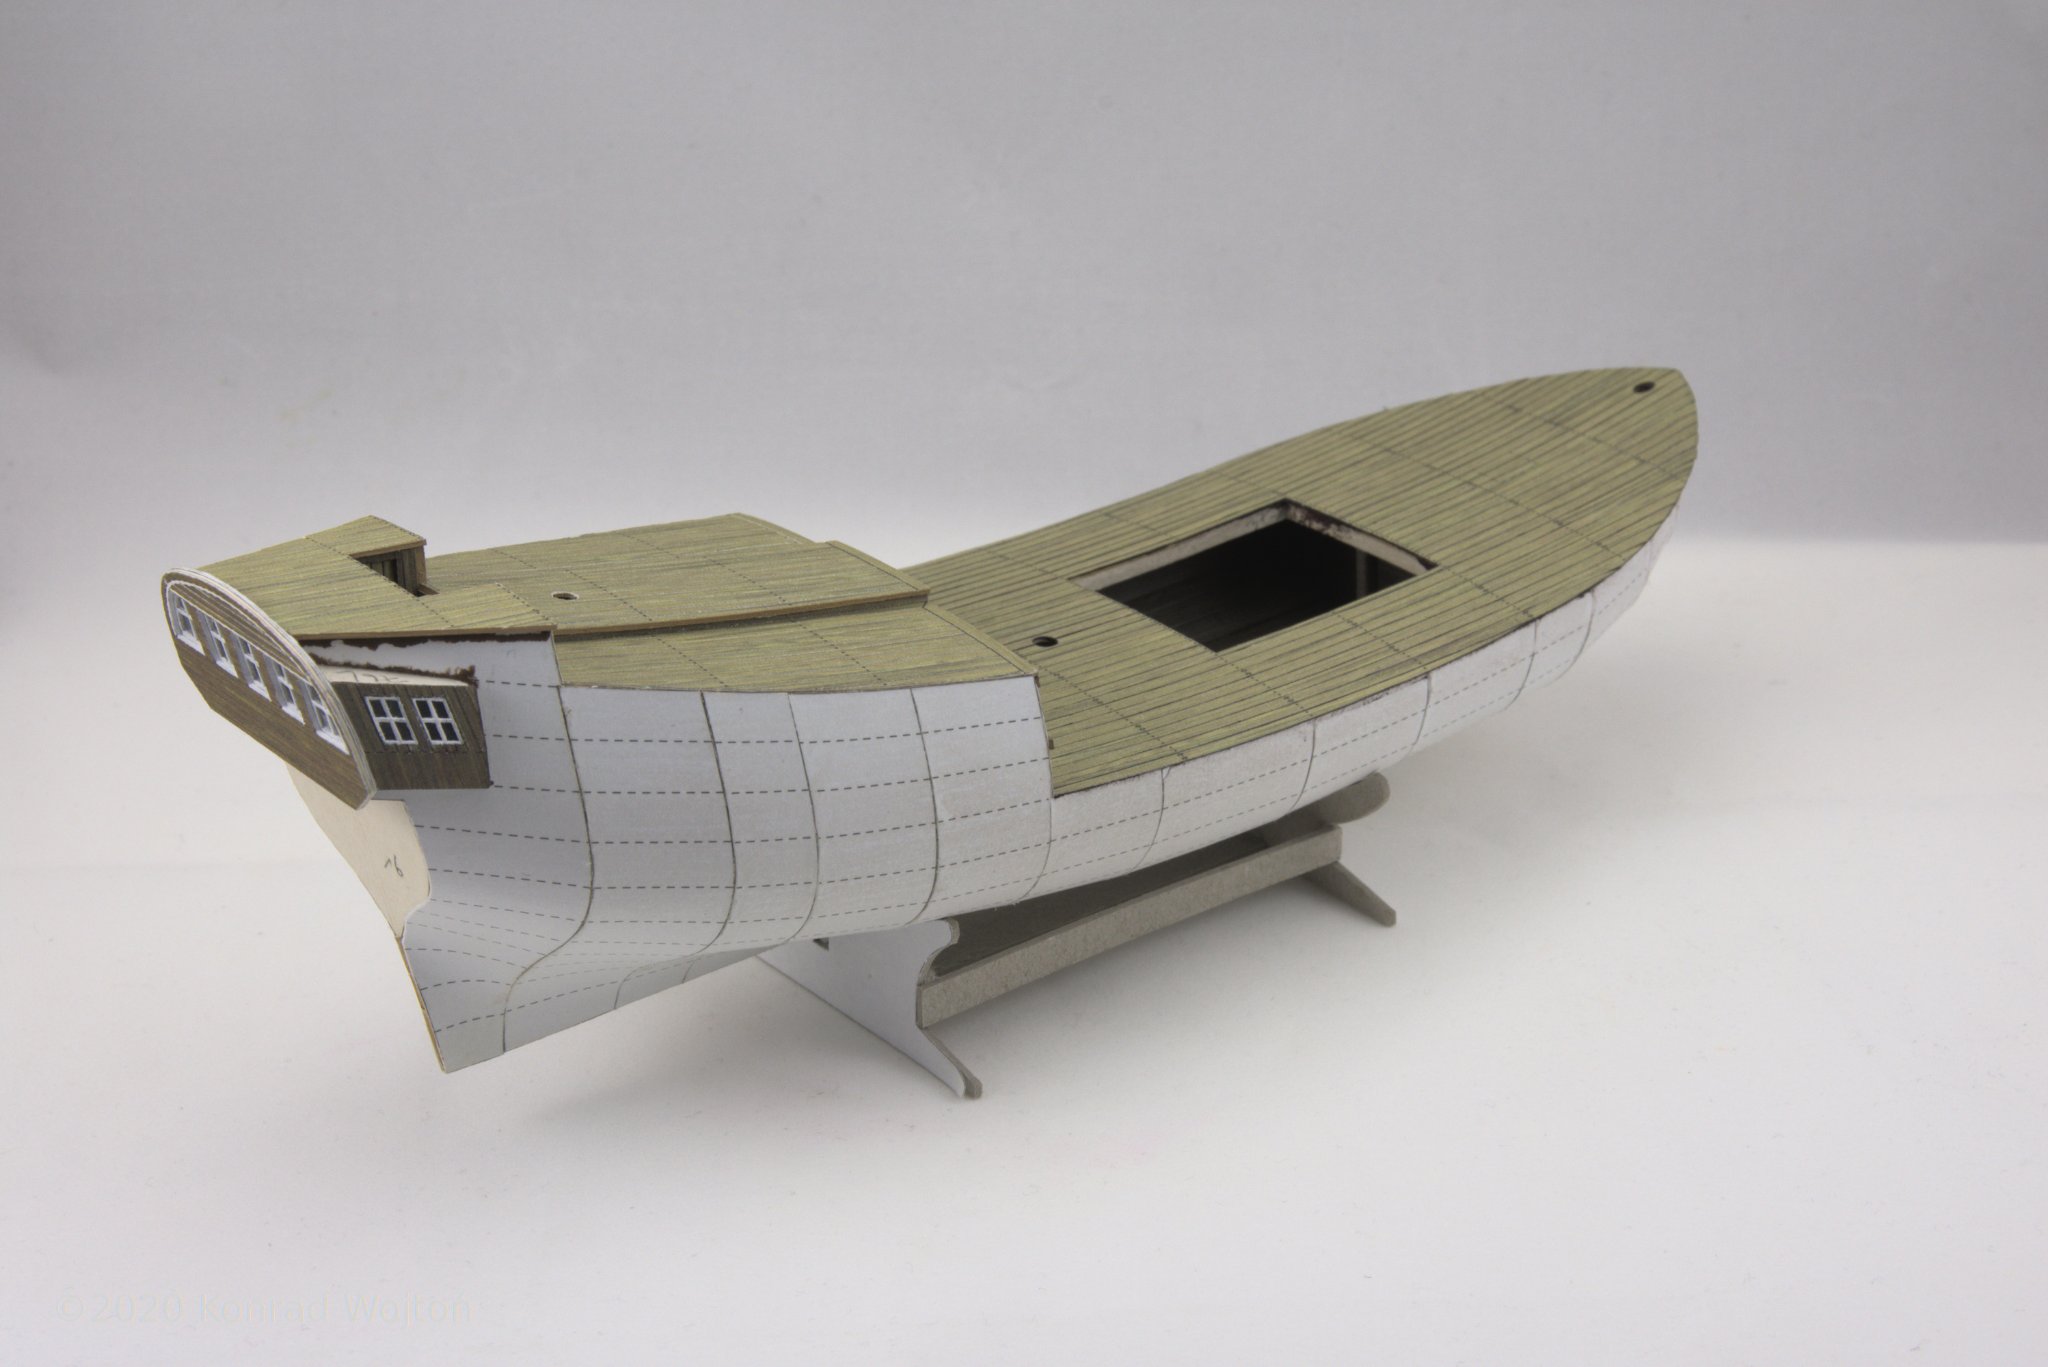
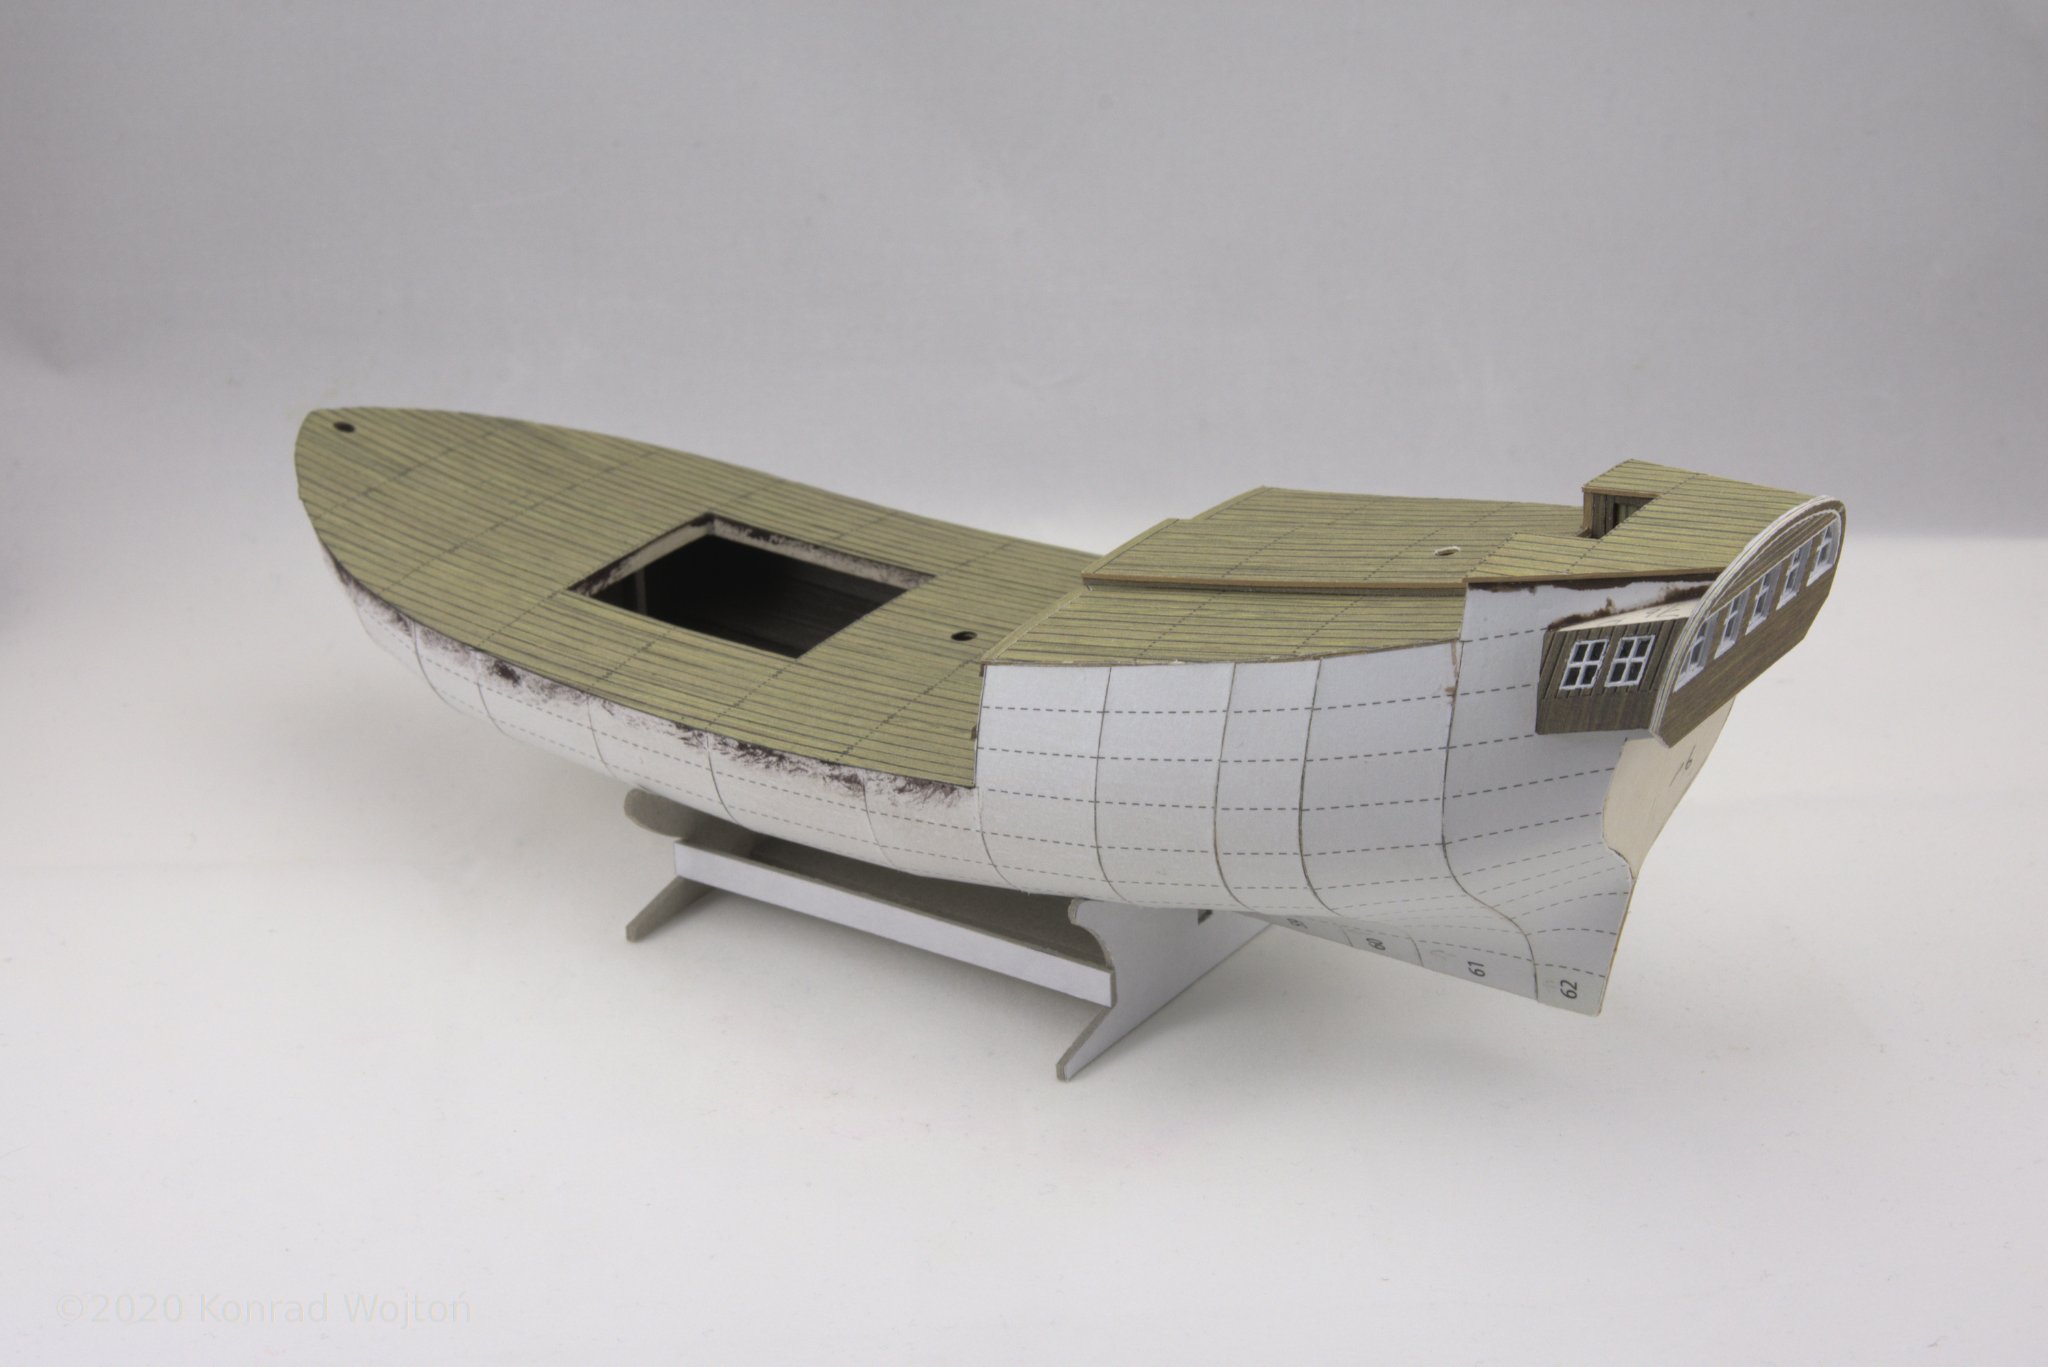
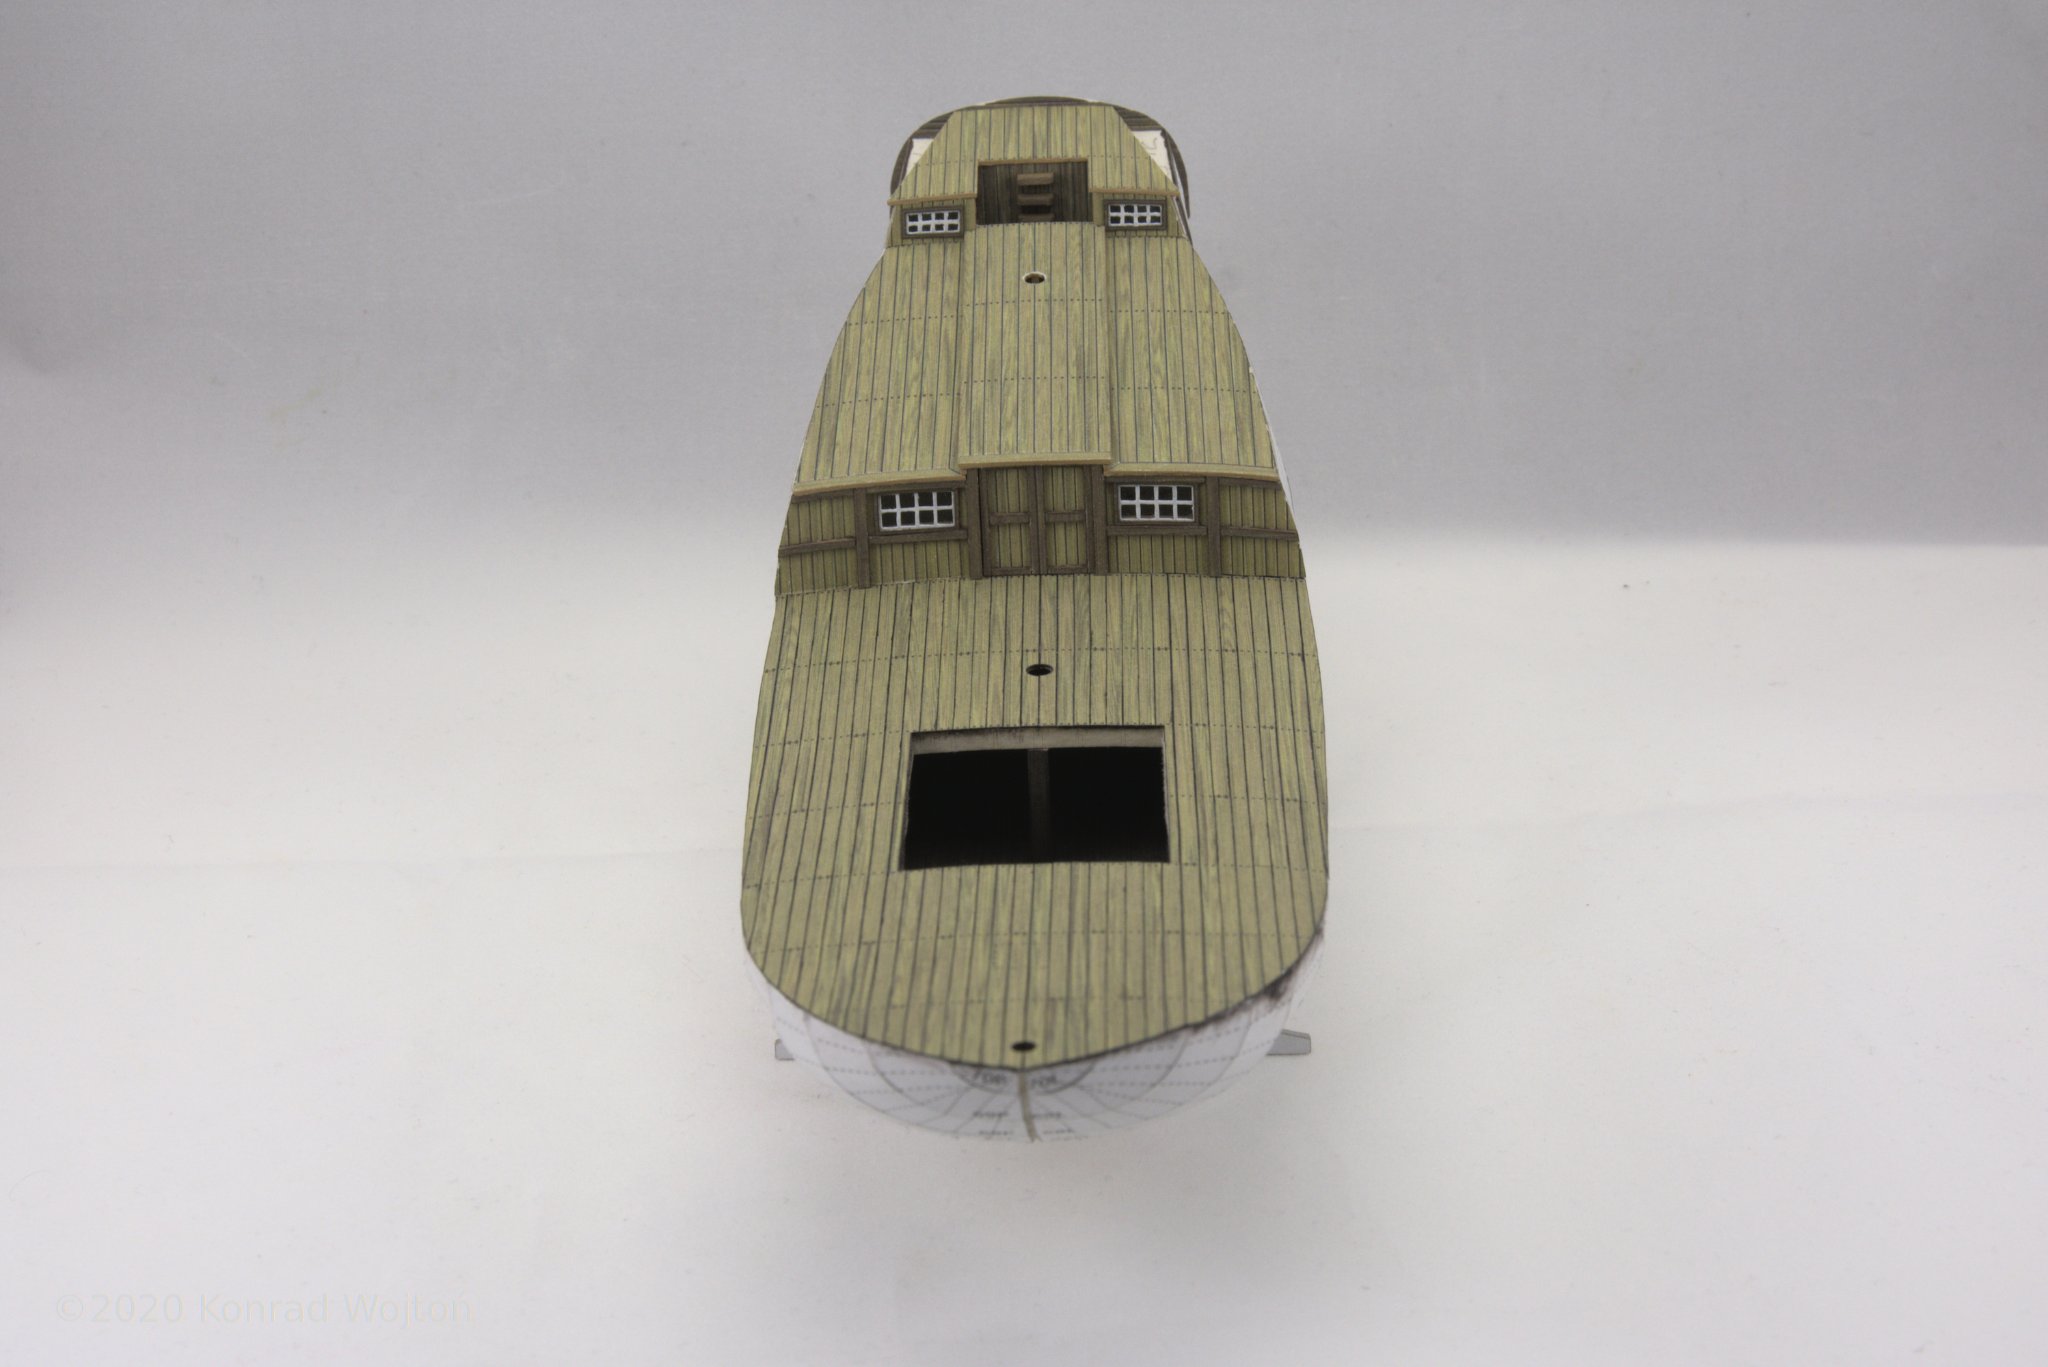
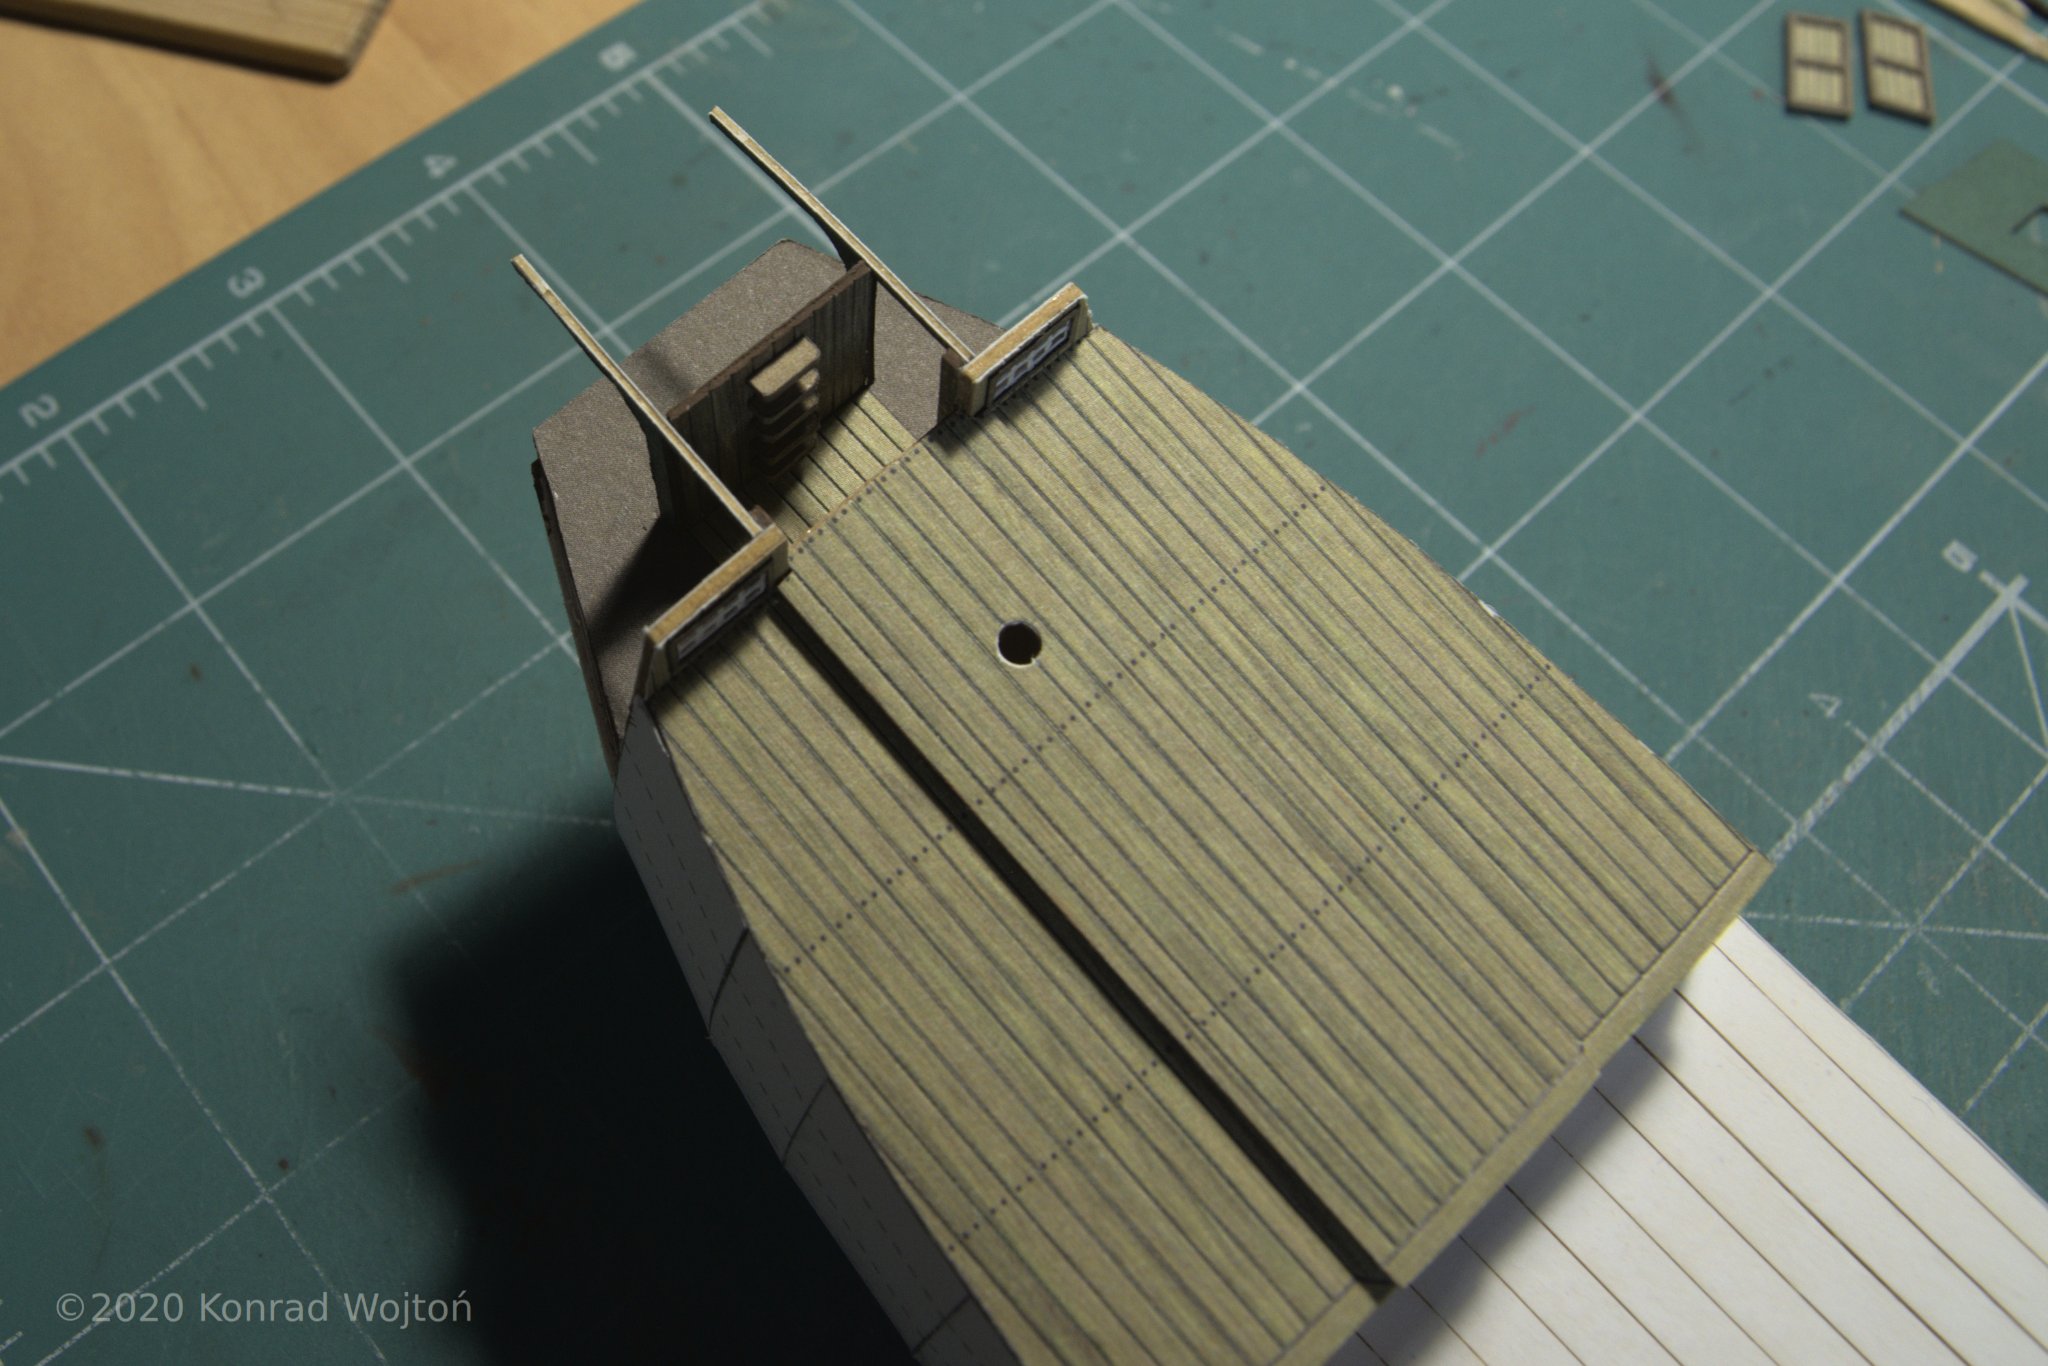
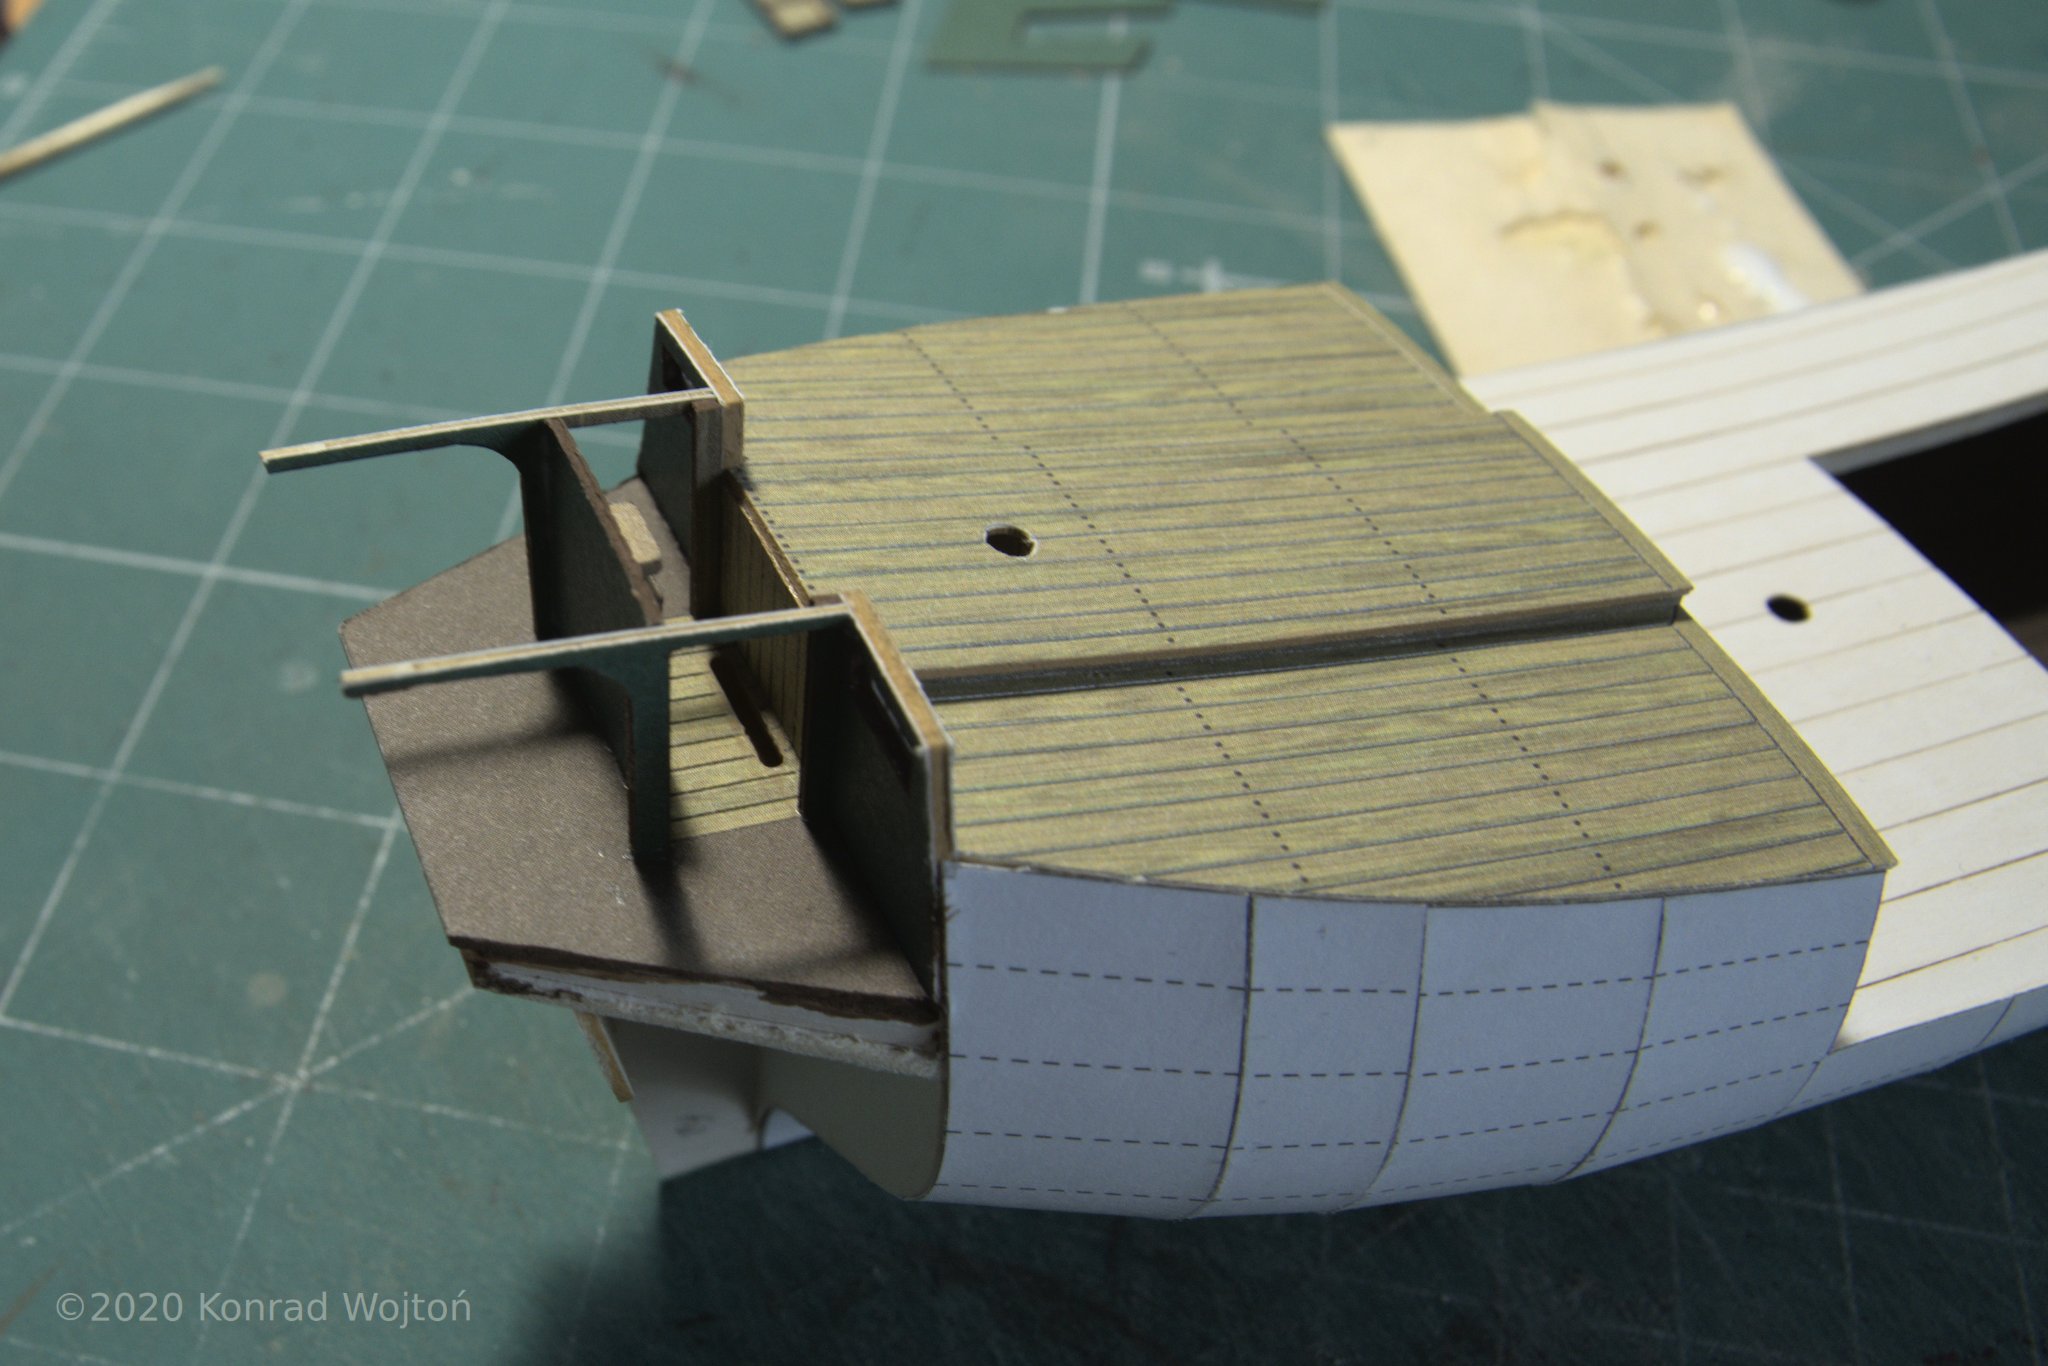
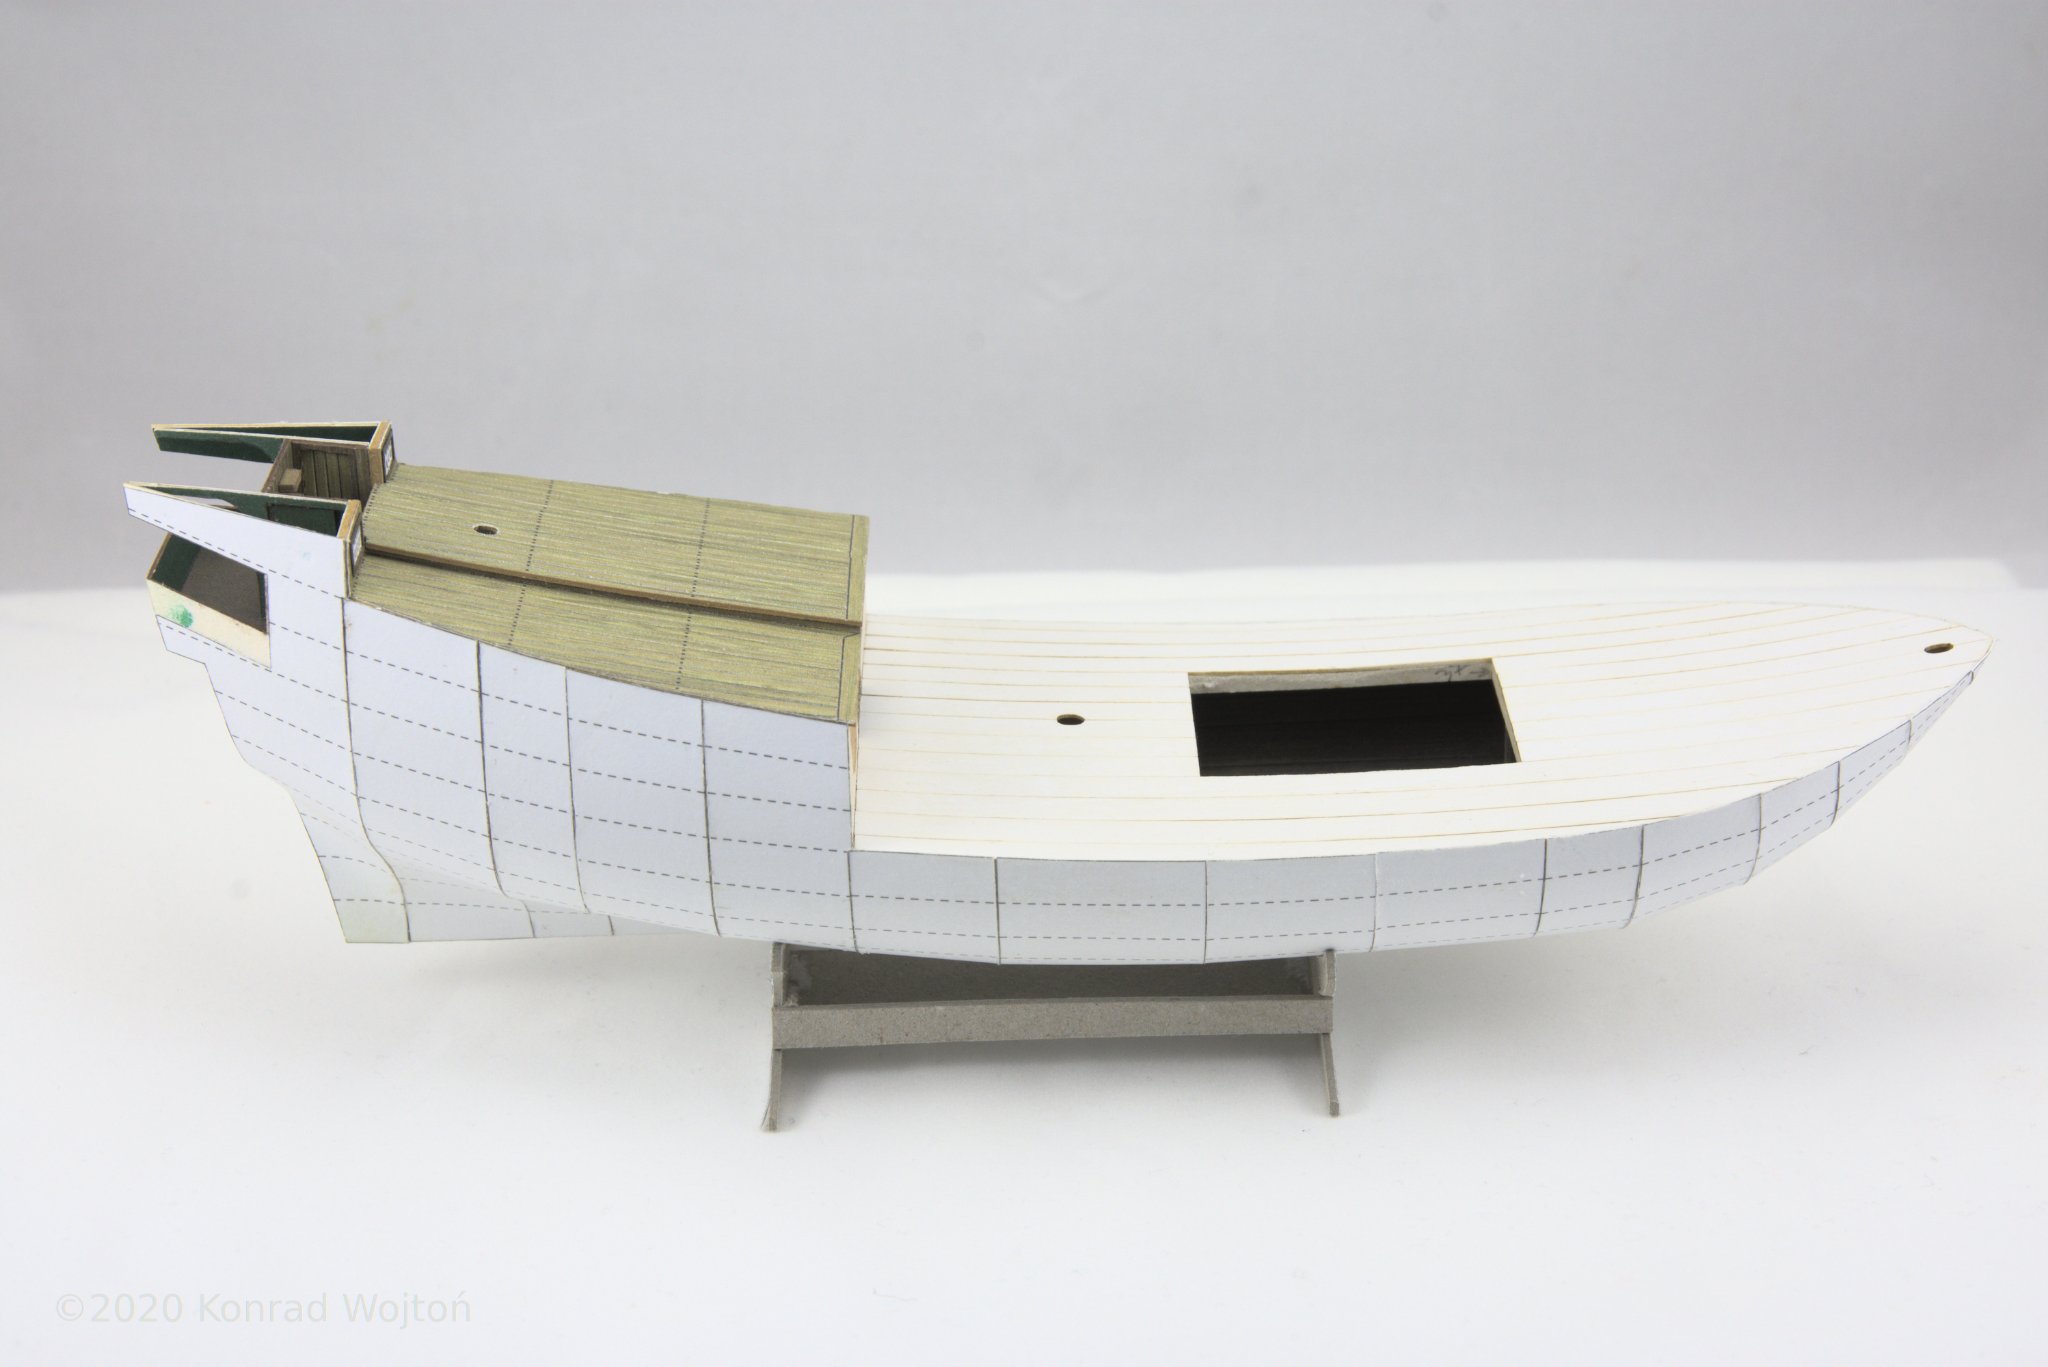
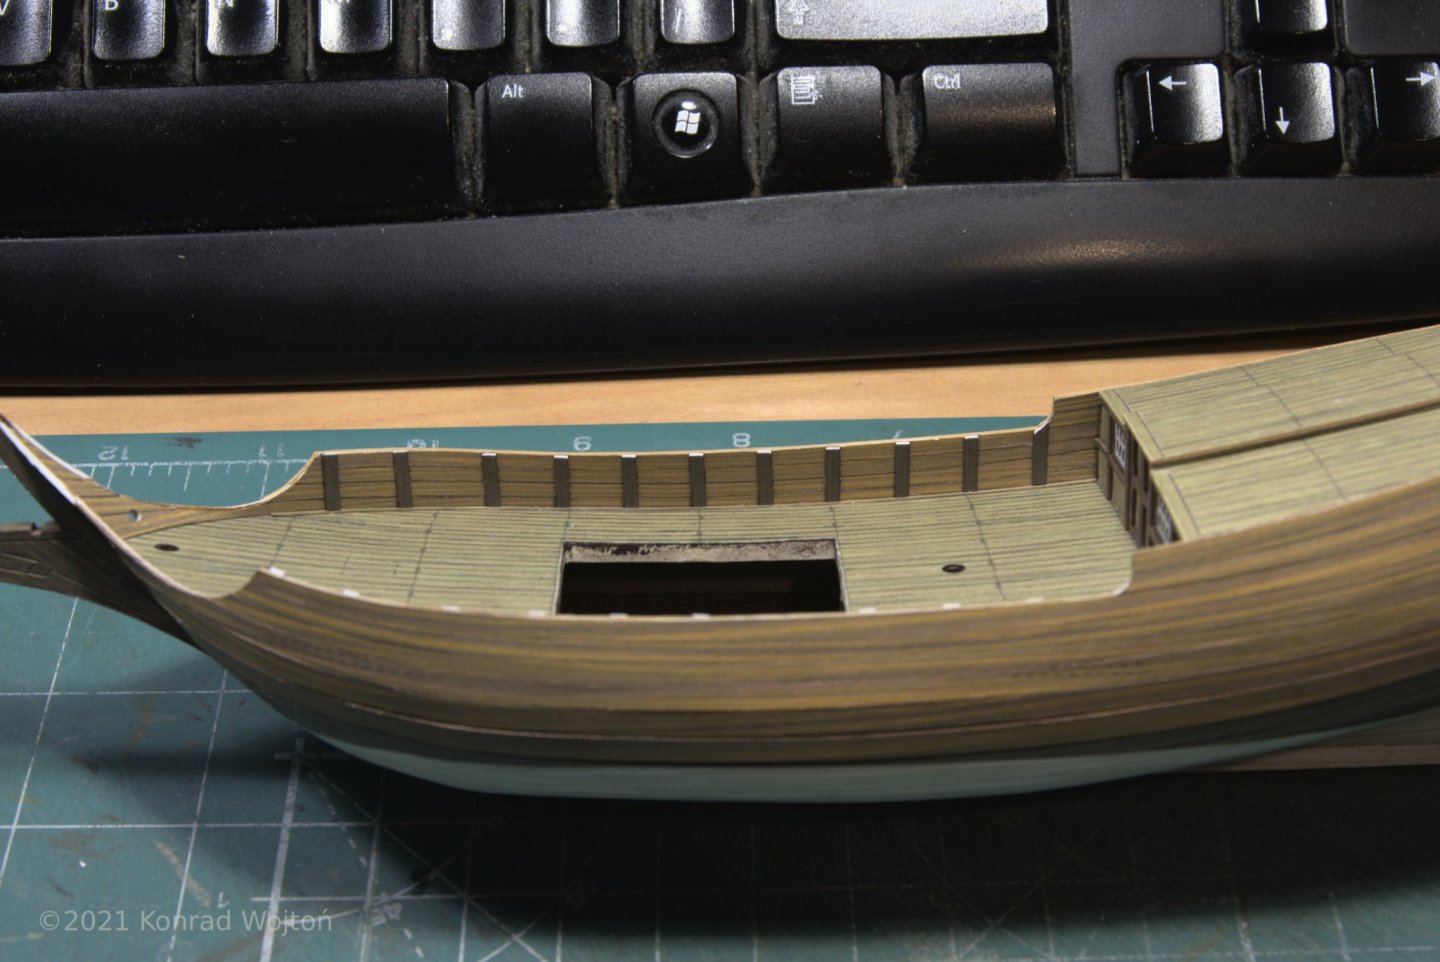
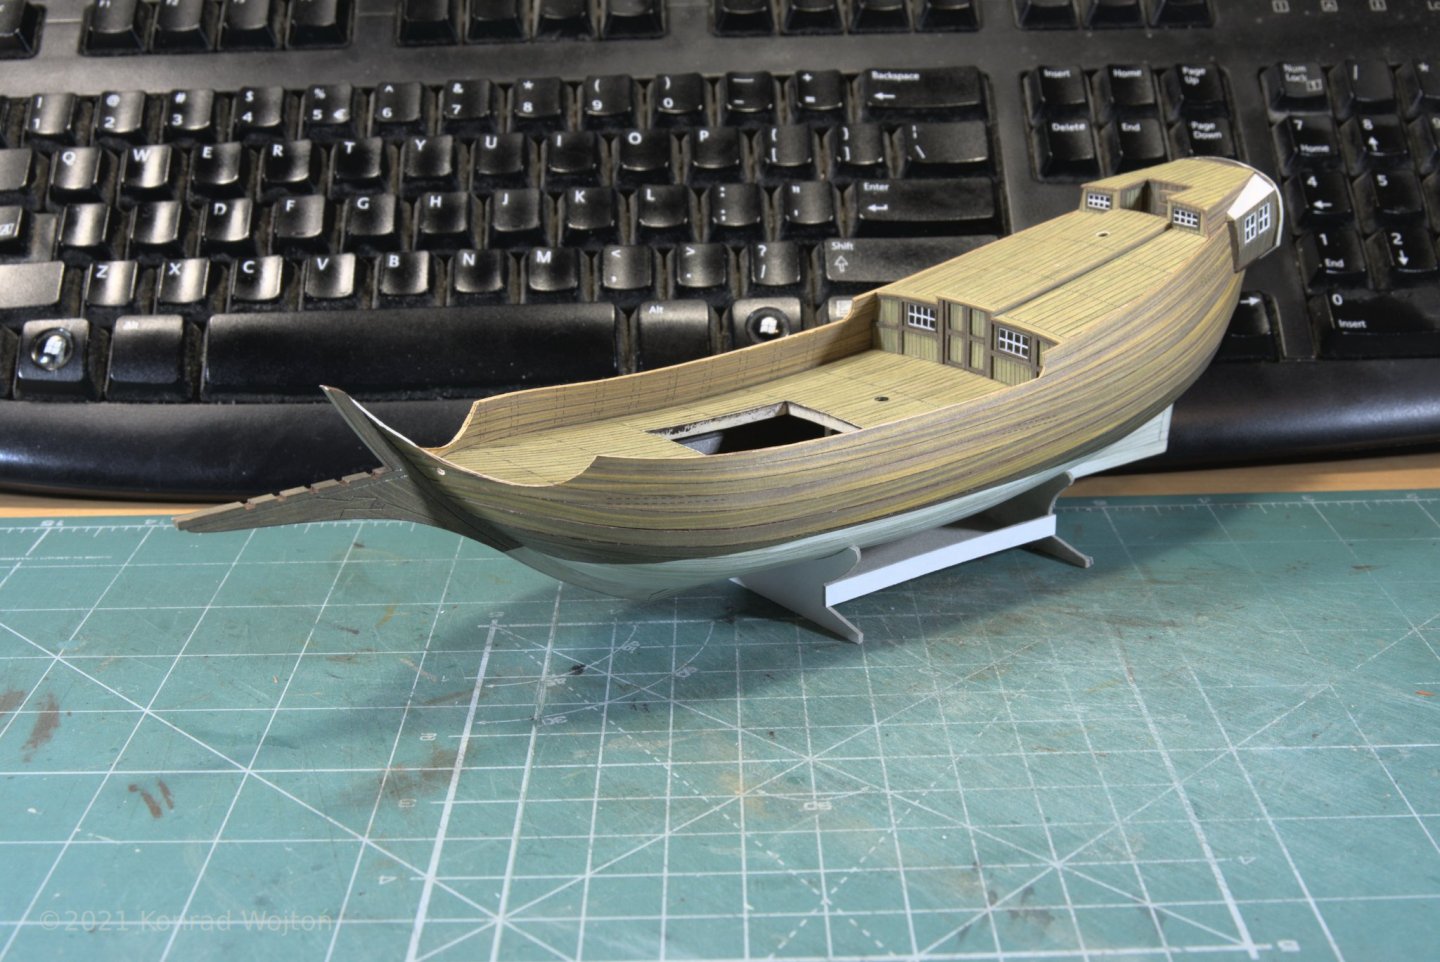
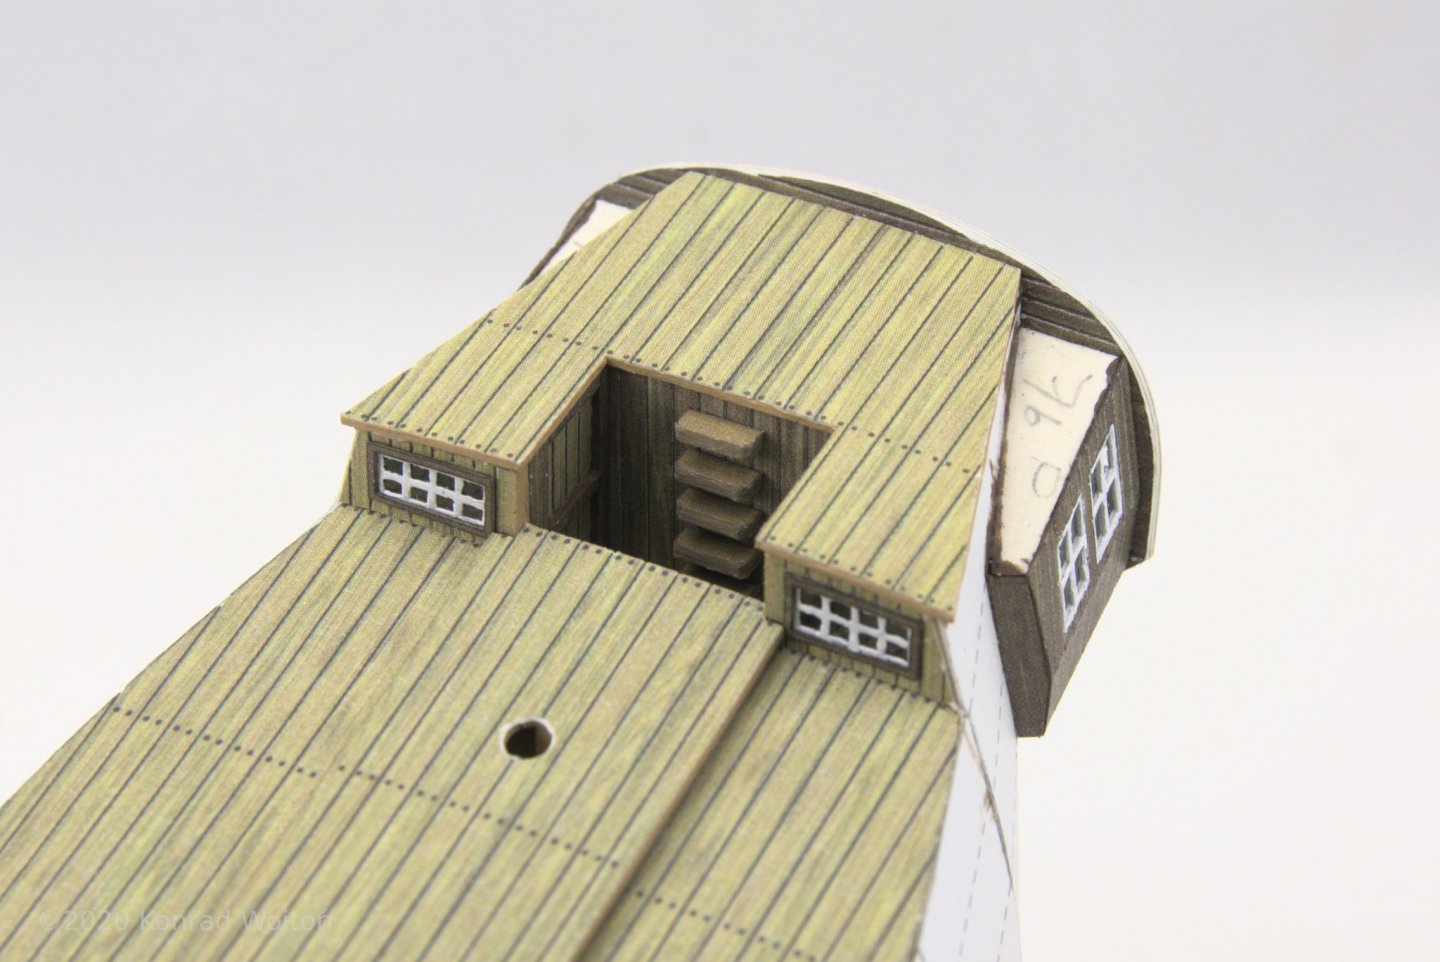
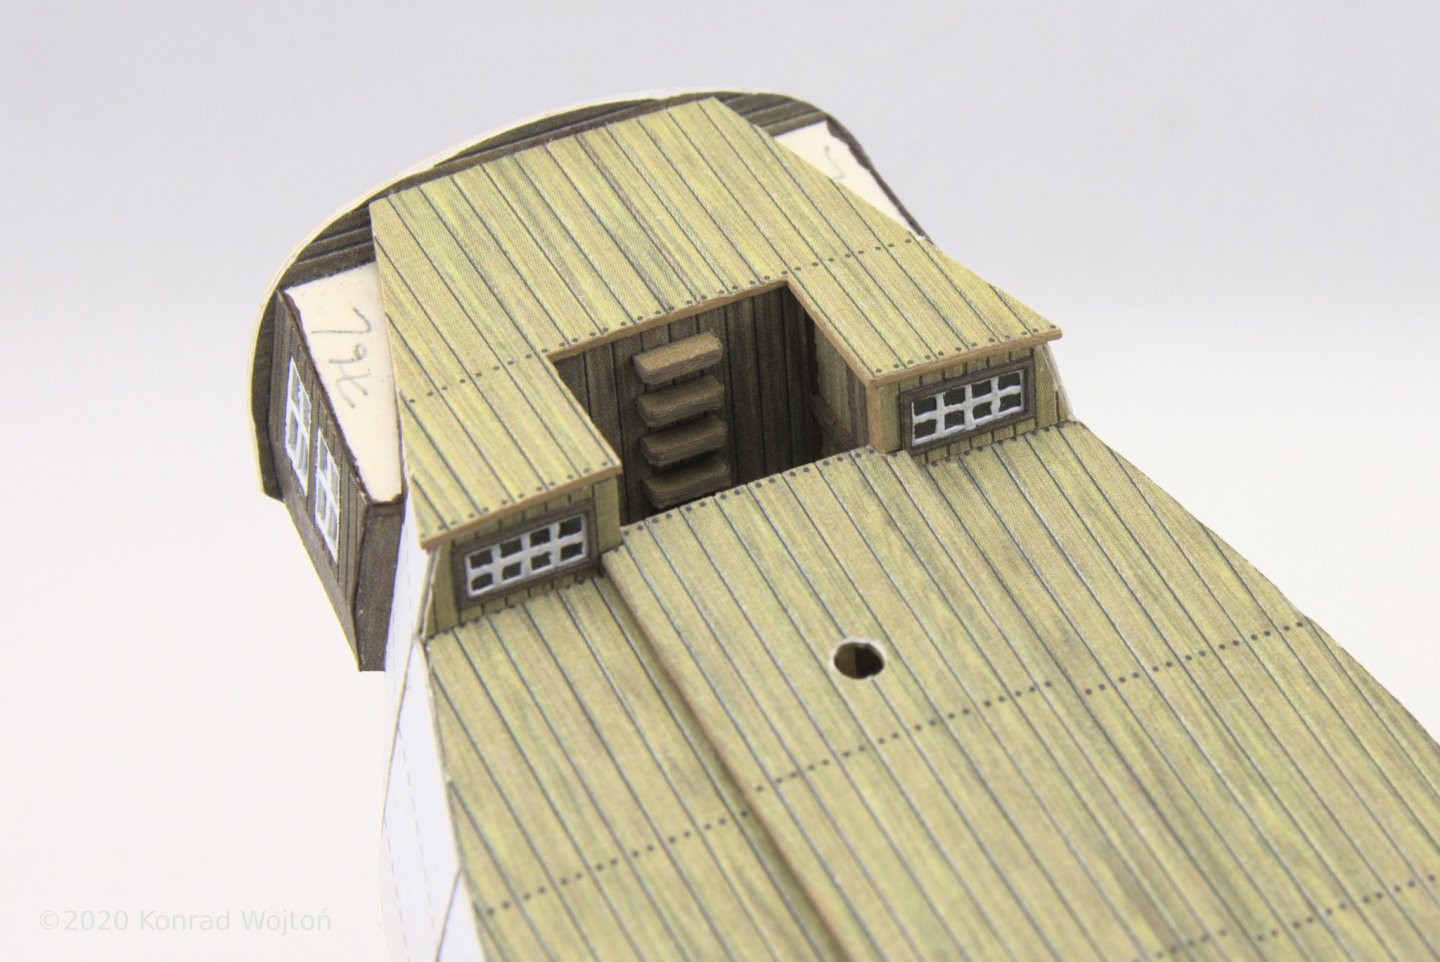
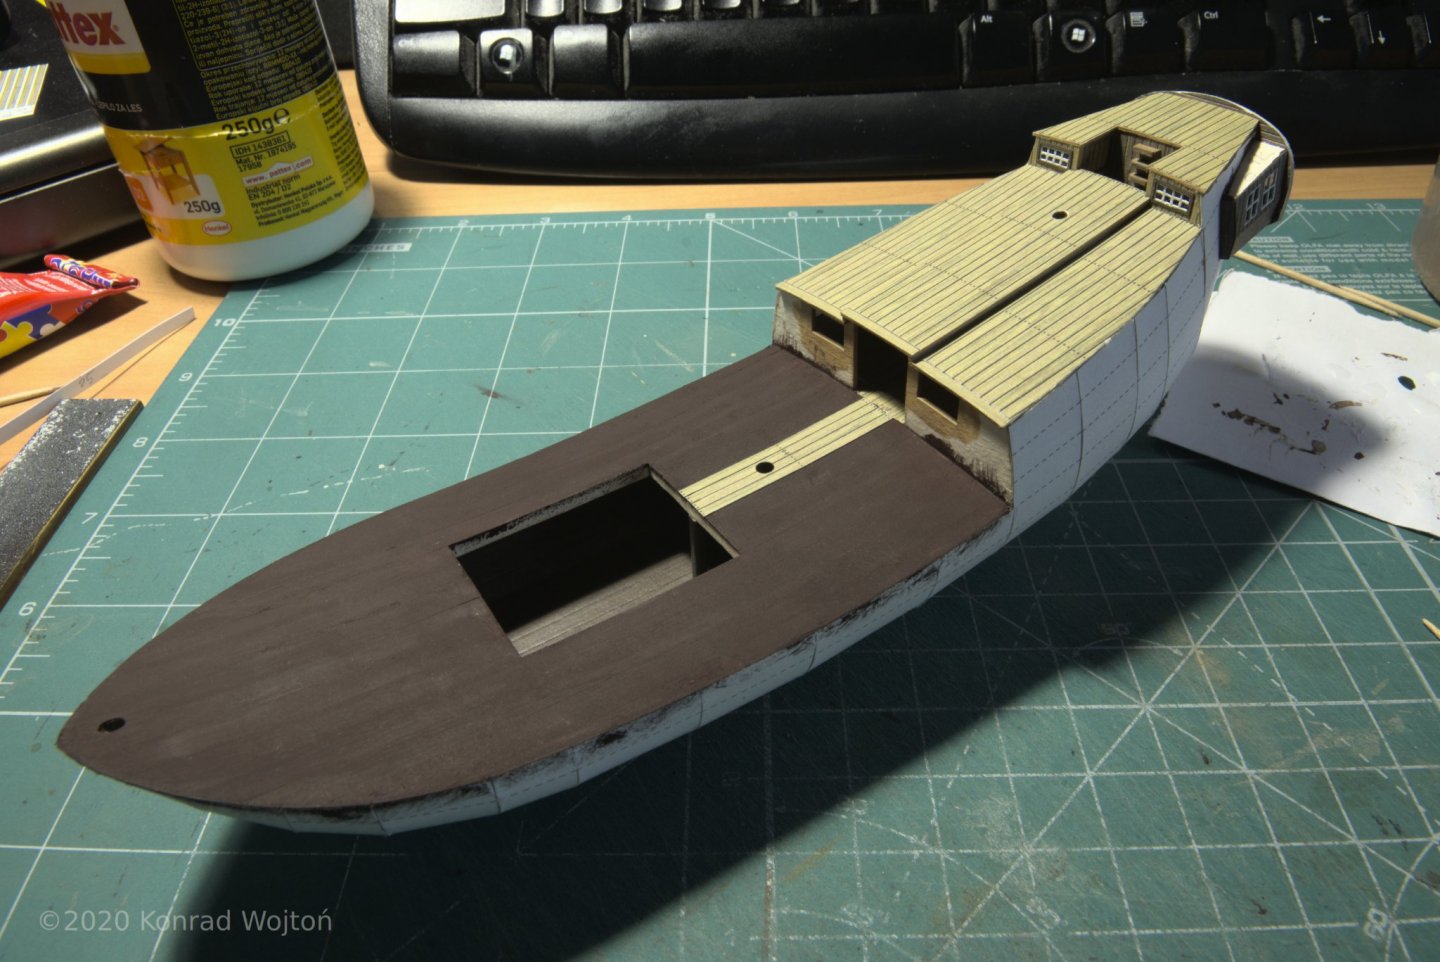
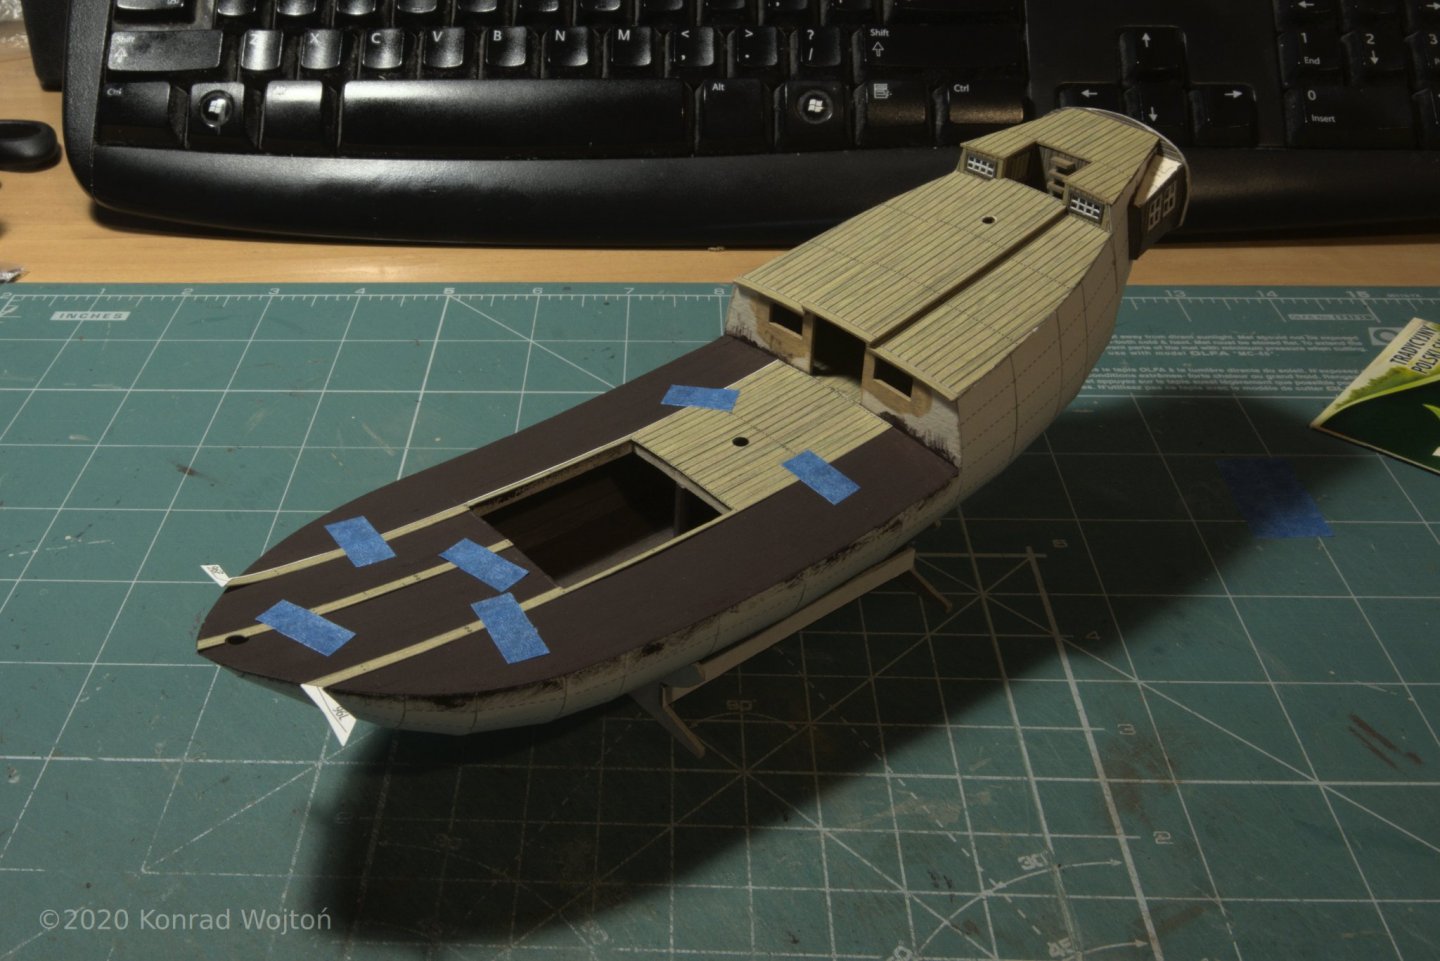
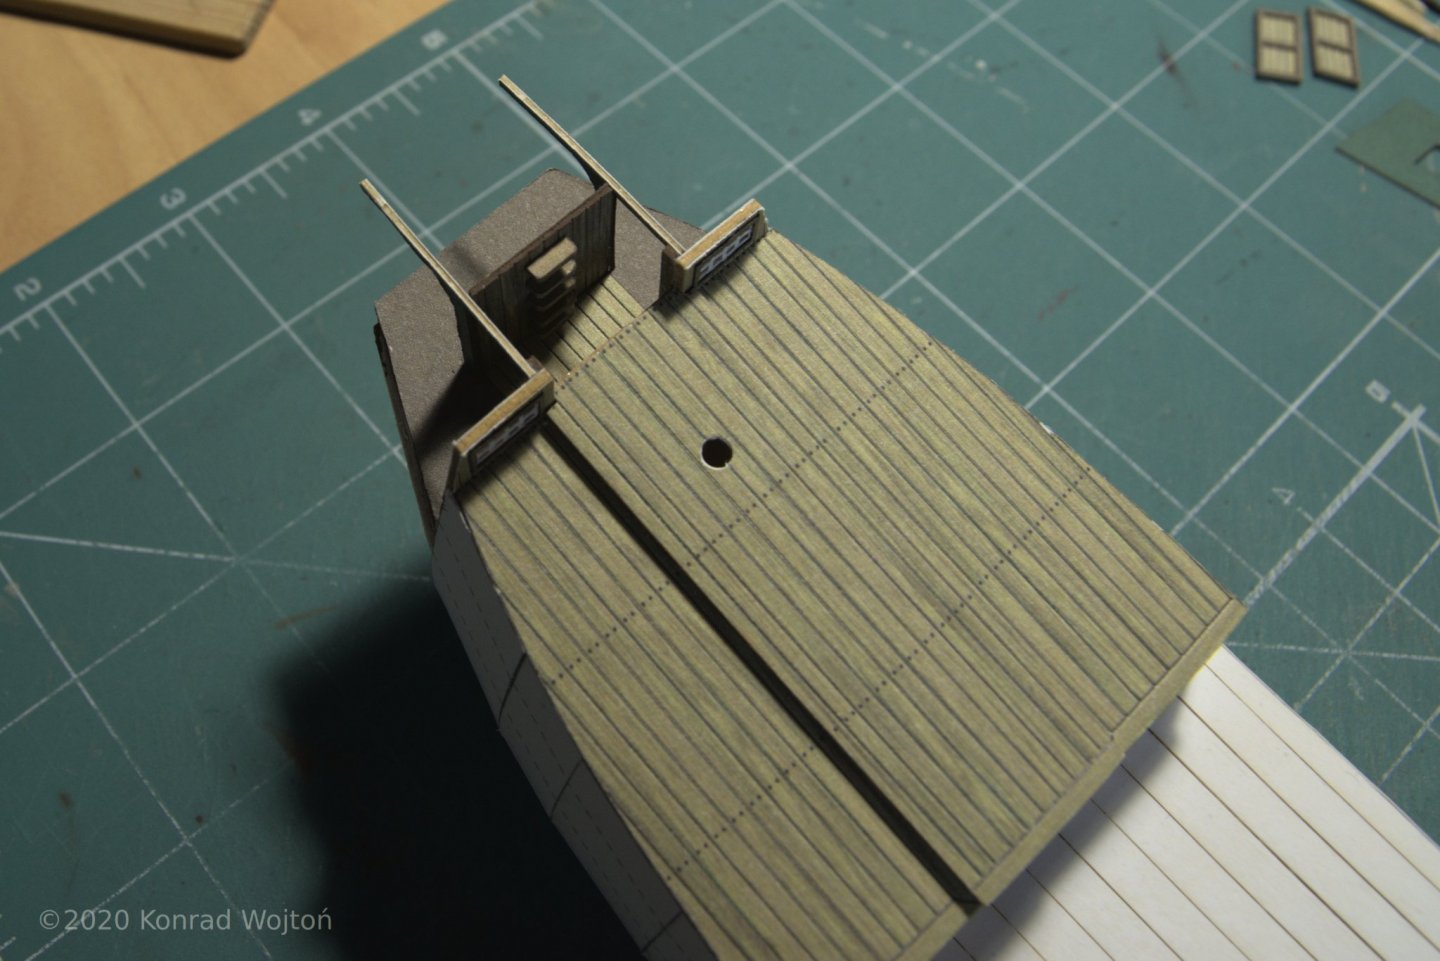
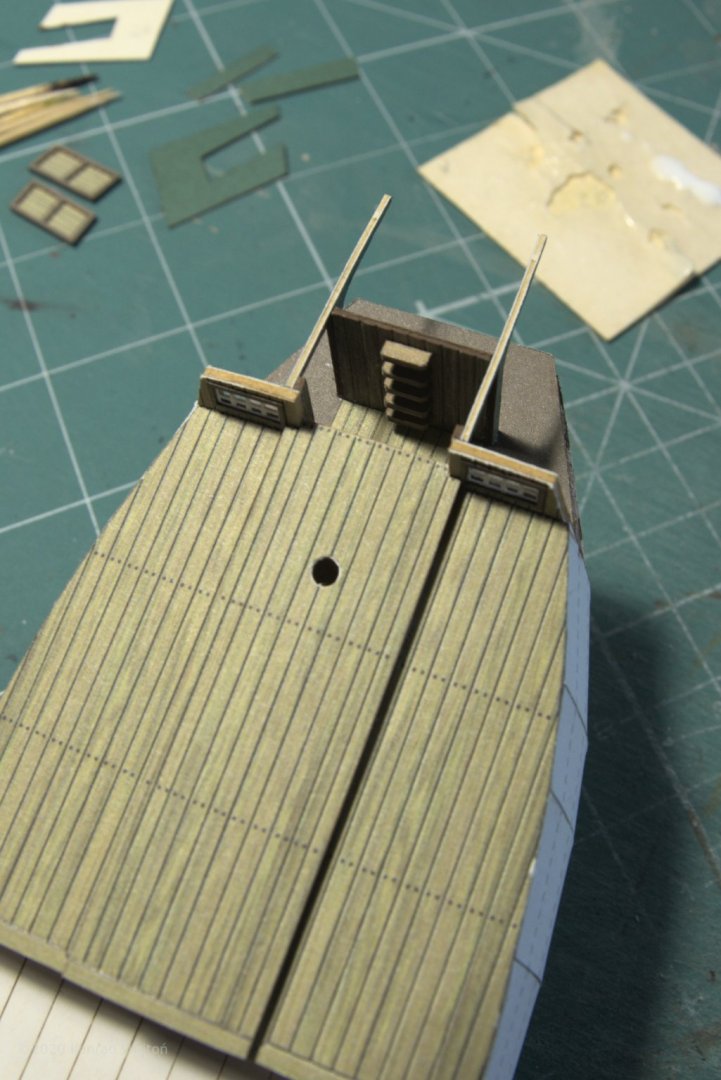
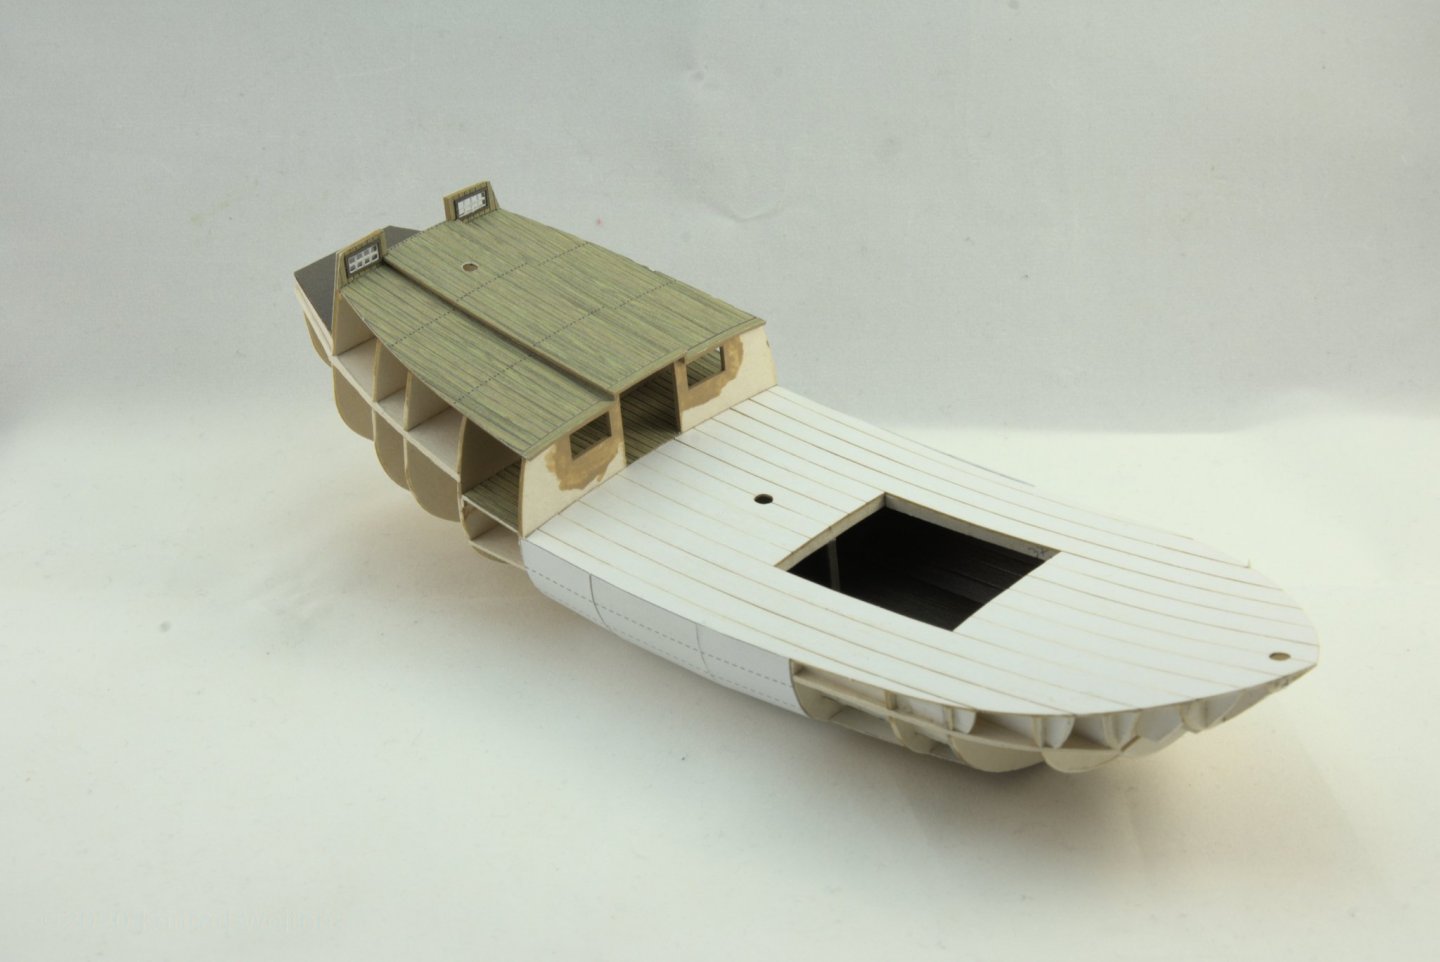
Not that much progress since last update. I've closed stern quarters. Then it was time to cover main deck with planks. The only difficulty was to keep planks straight. I've helped myself with a bit of painters tape and light pencil marks. And currently vessel looks like this. Next in line is second layer of skin.


-
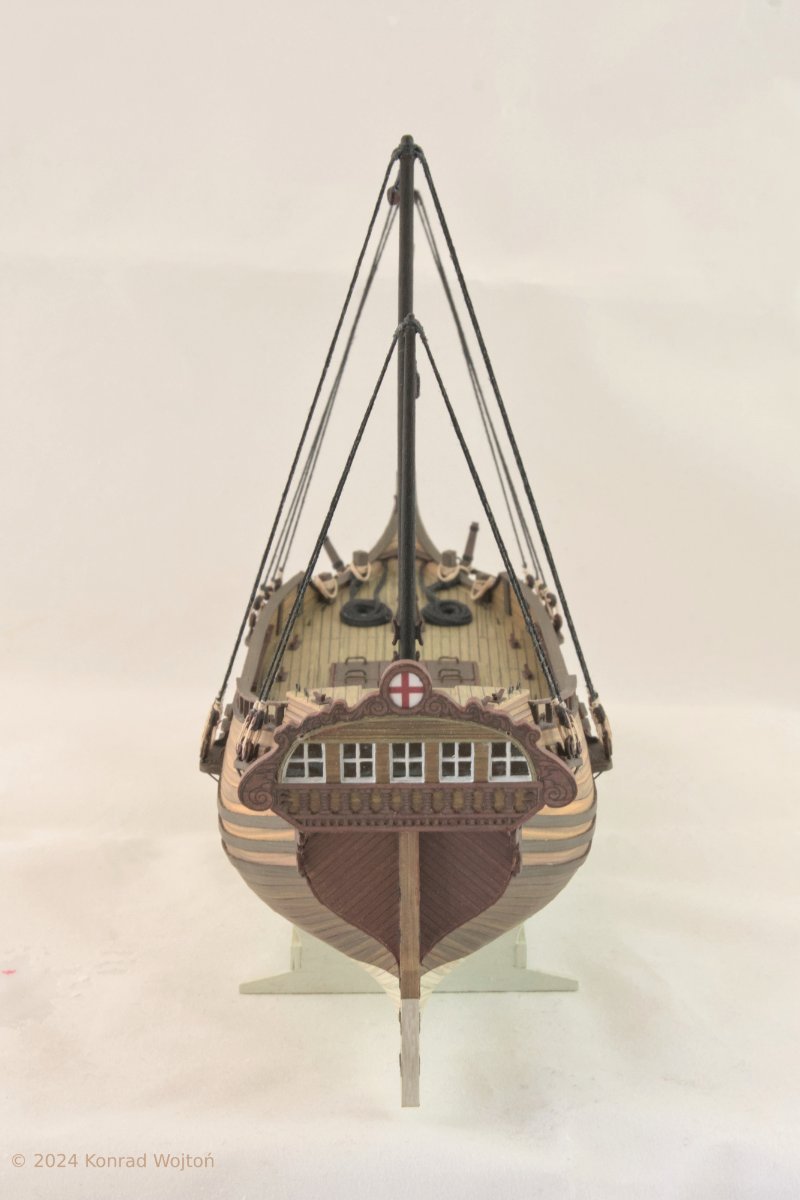
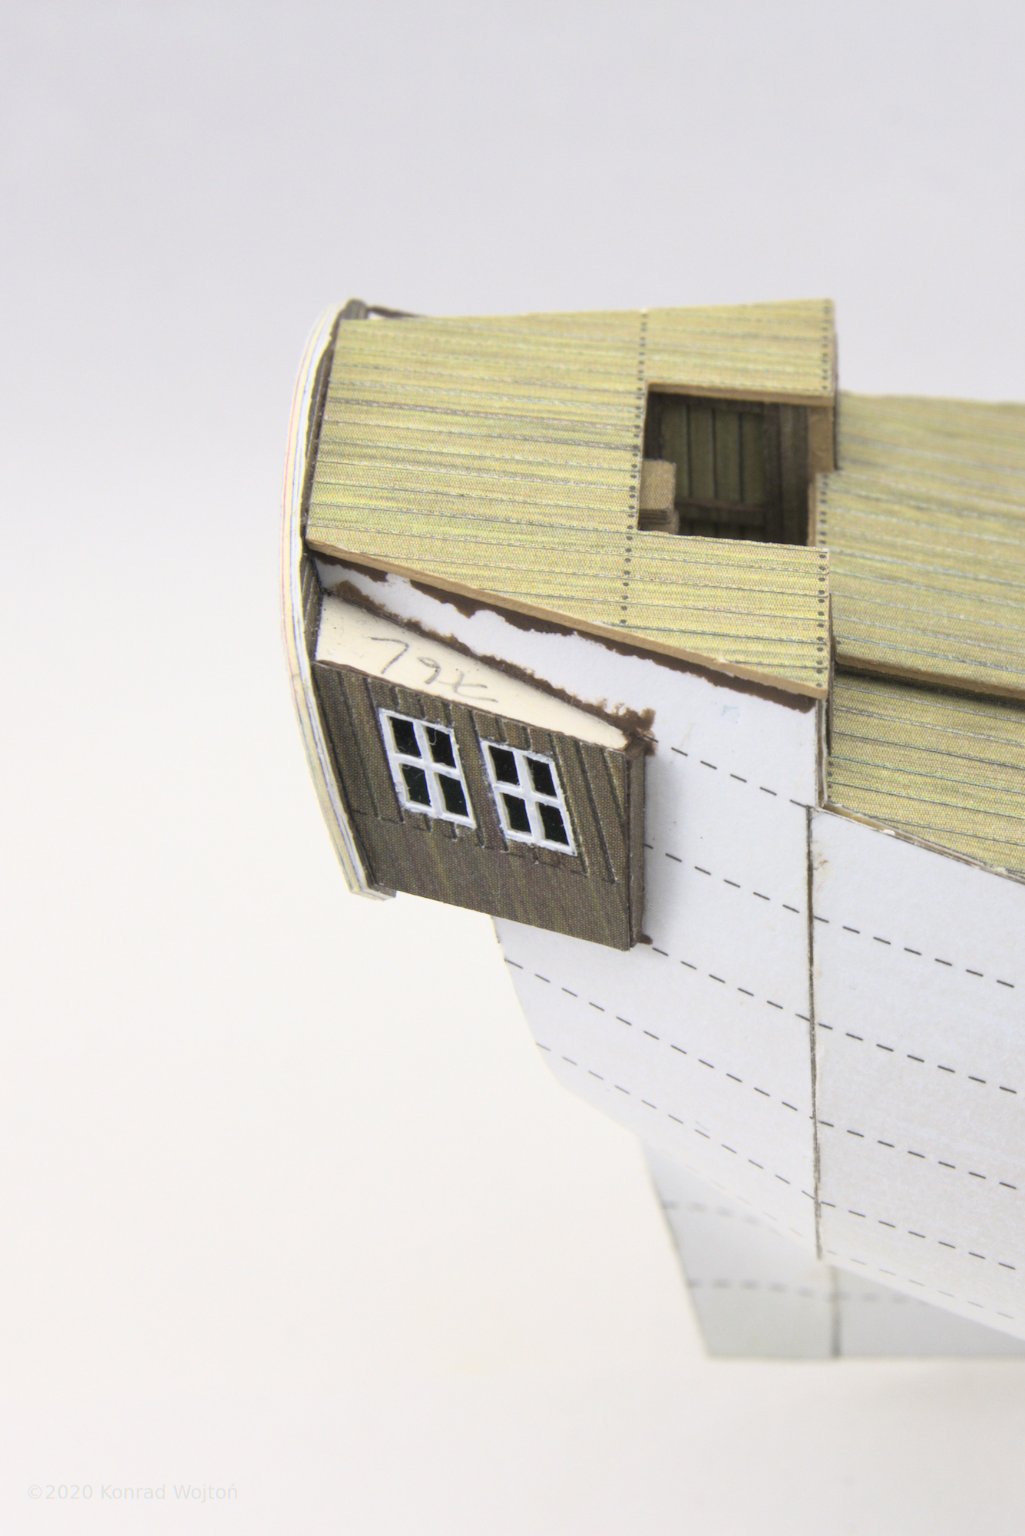
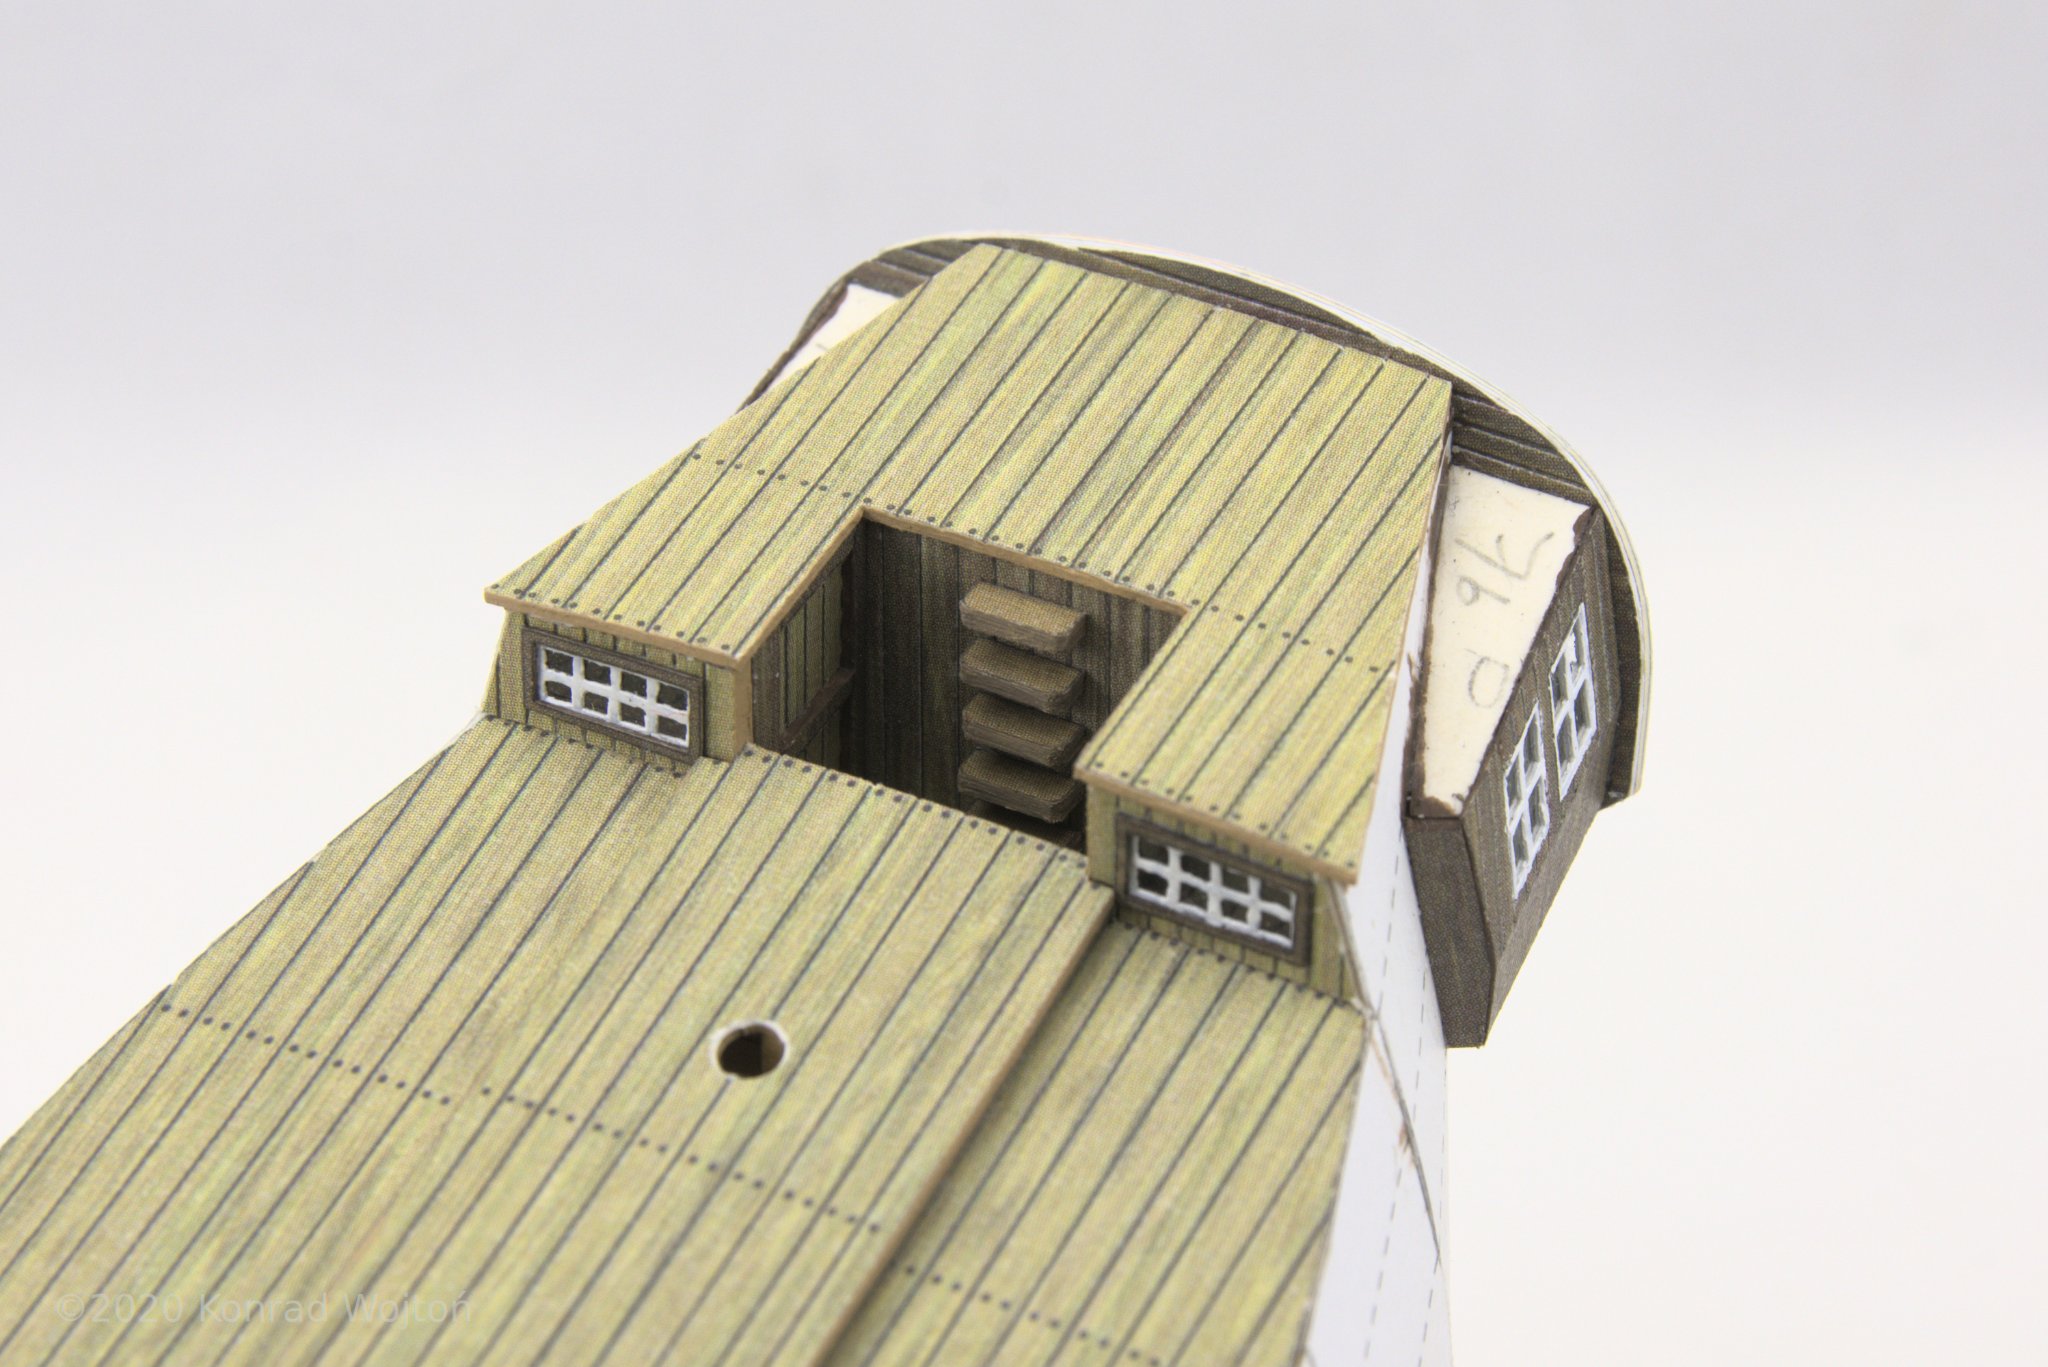
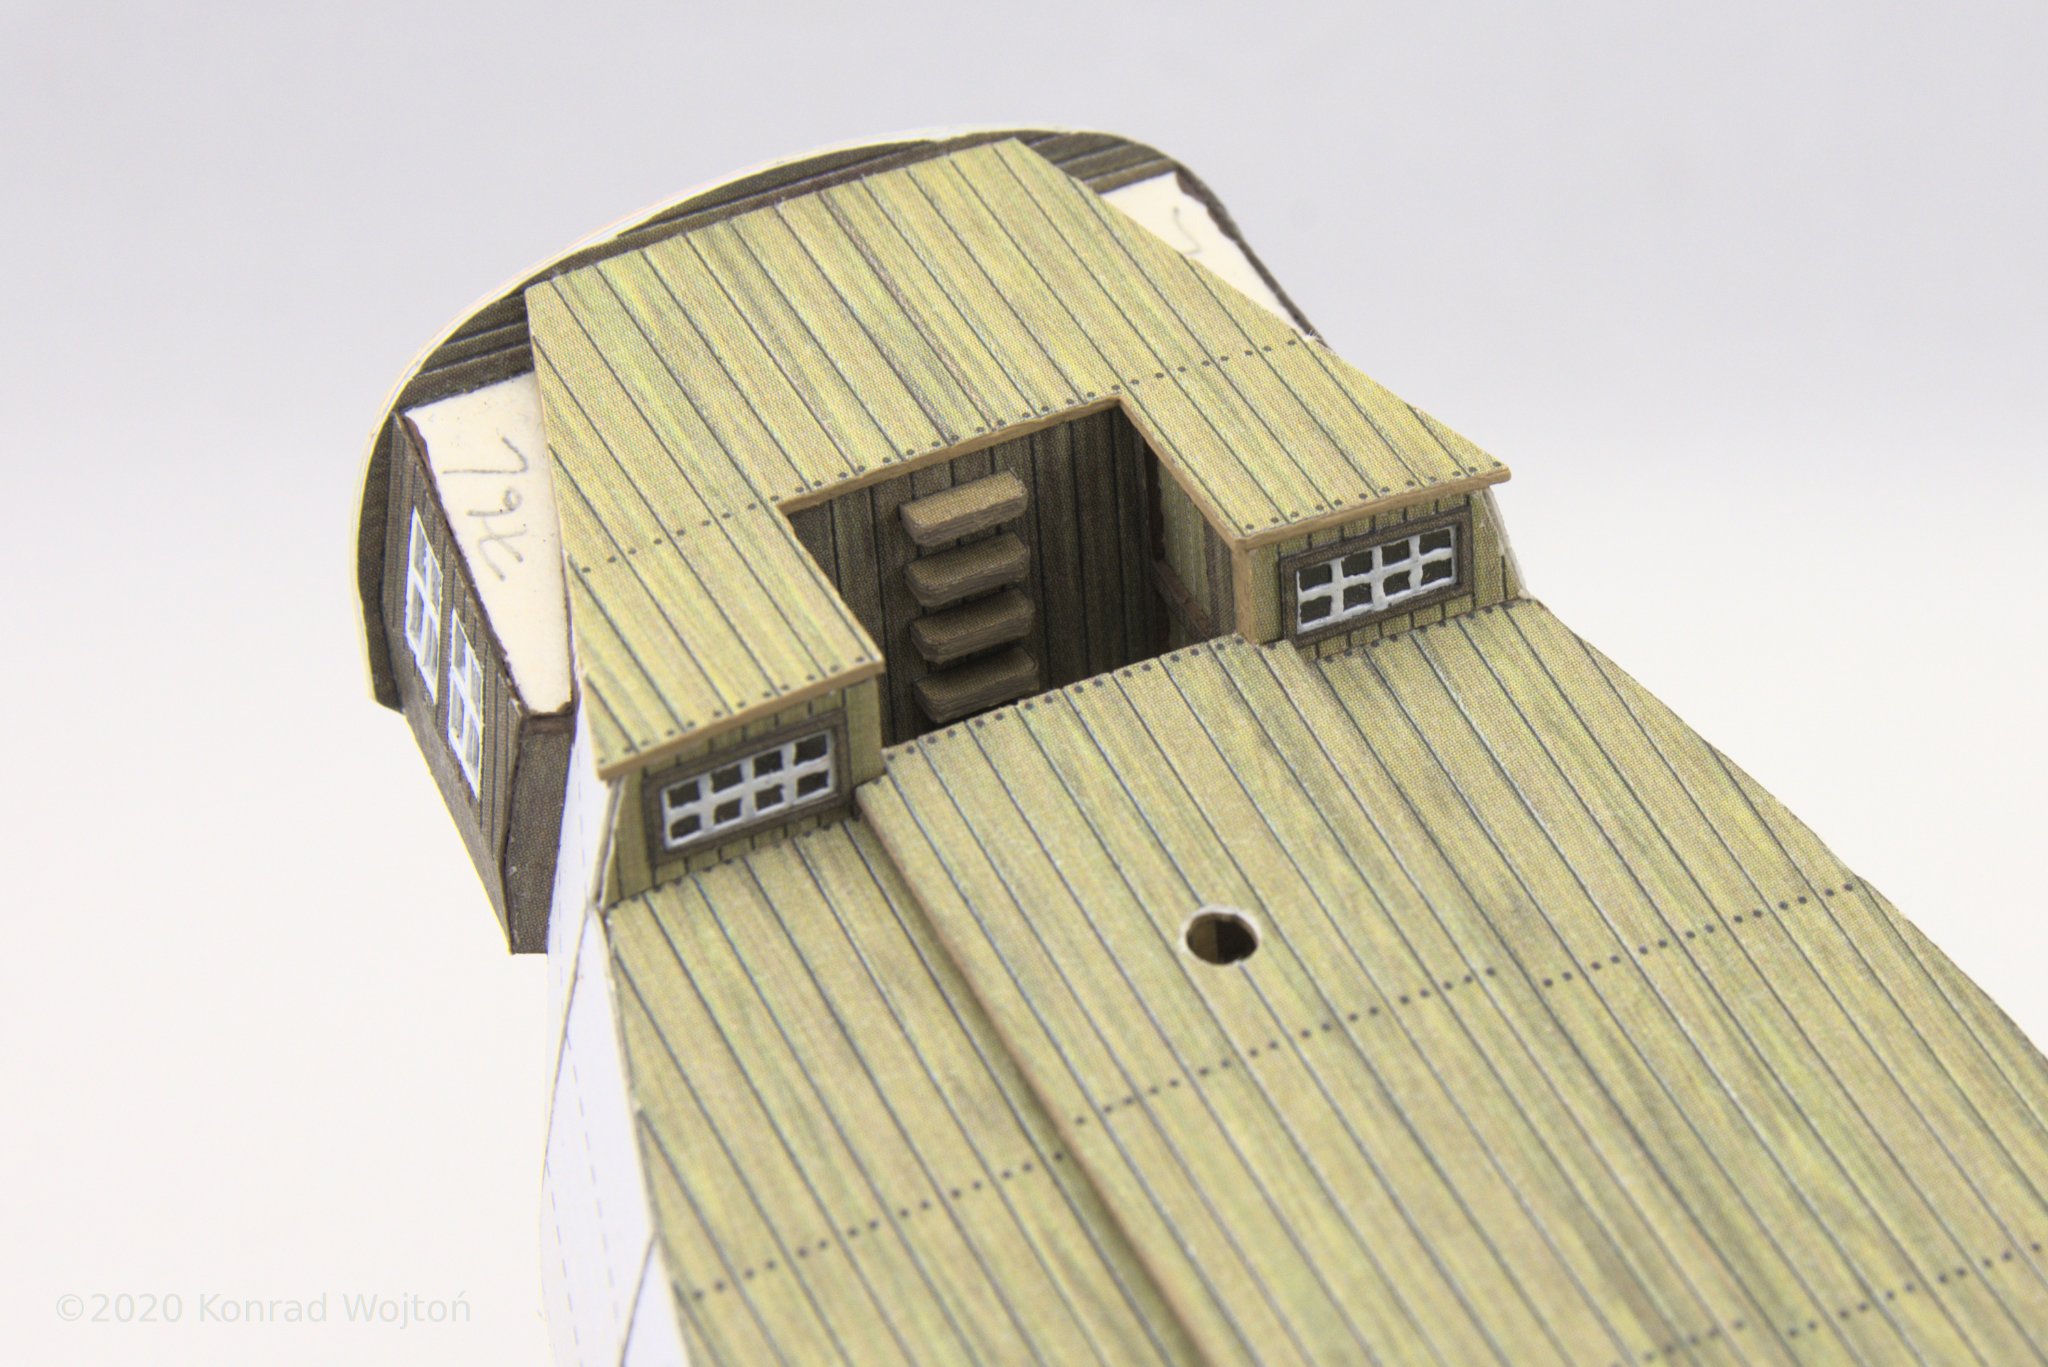
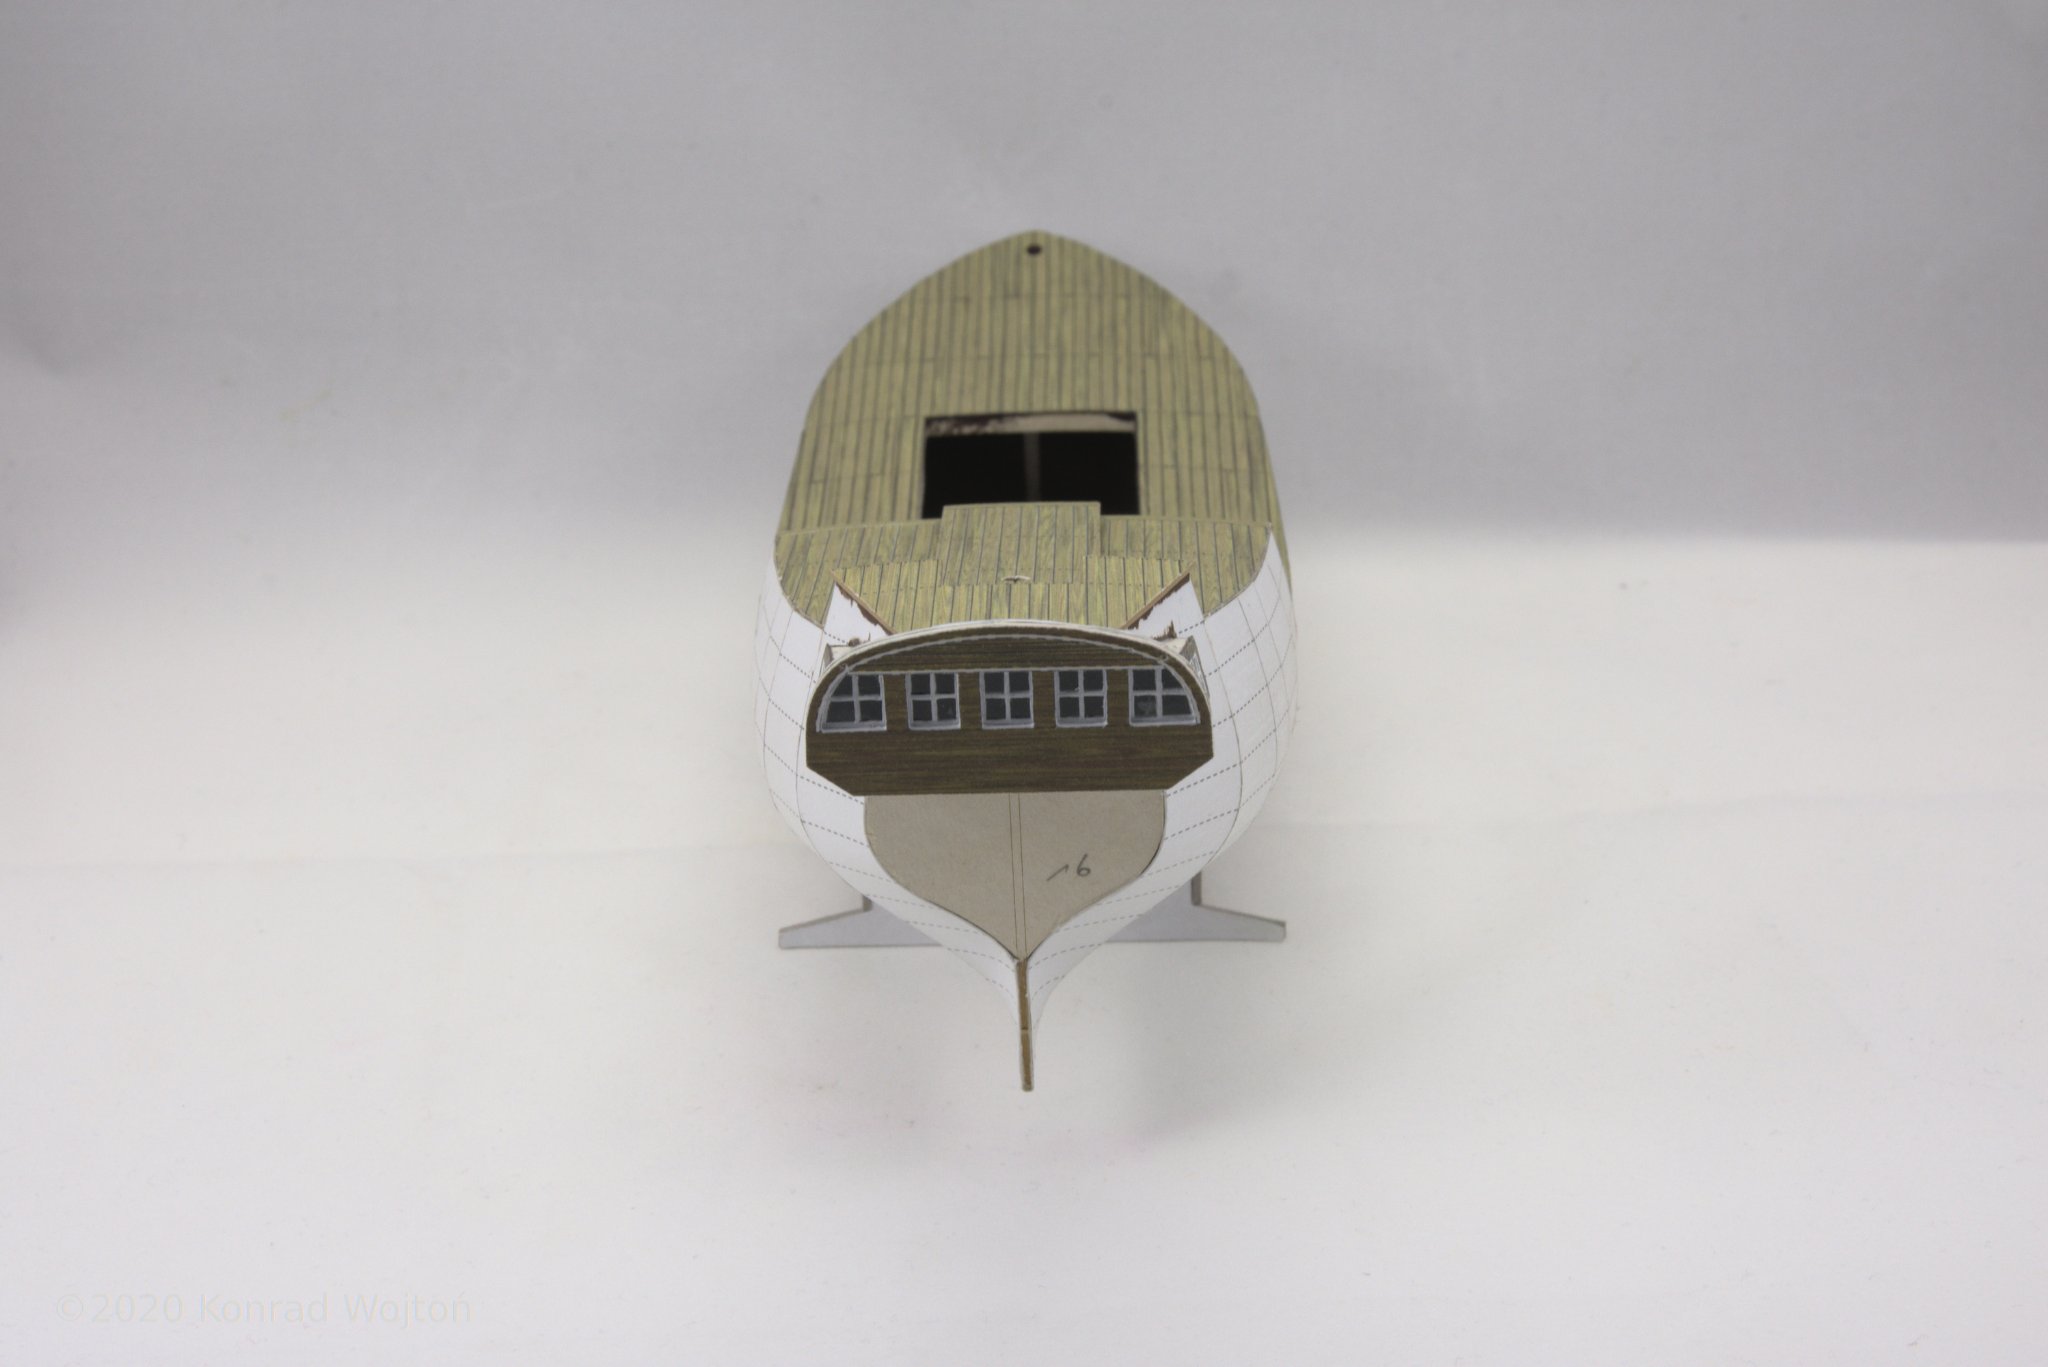
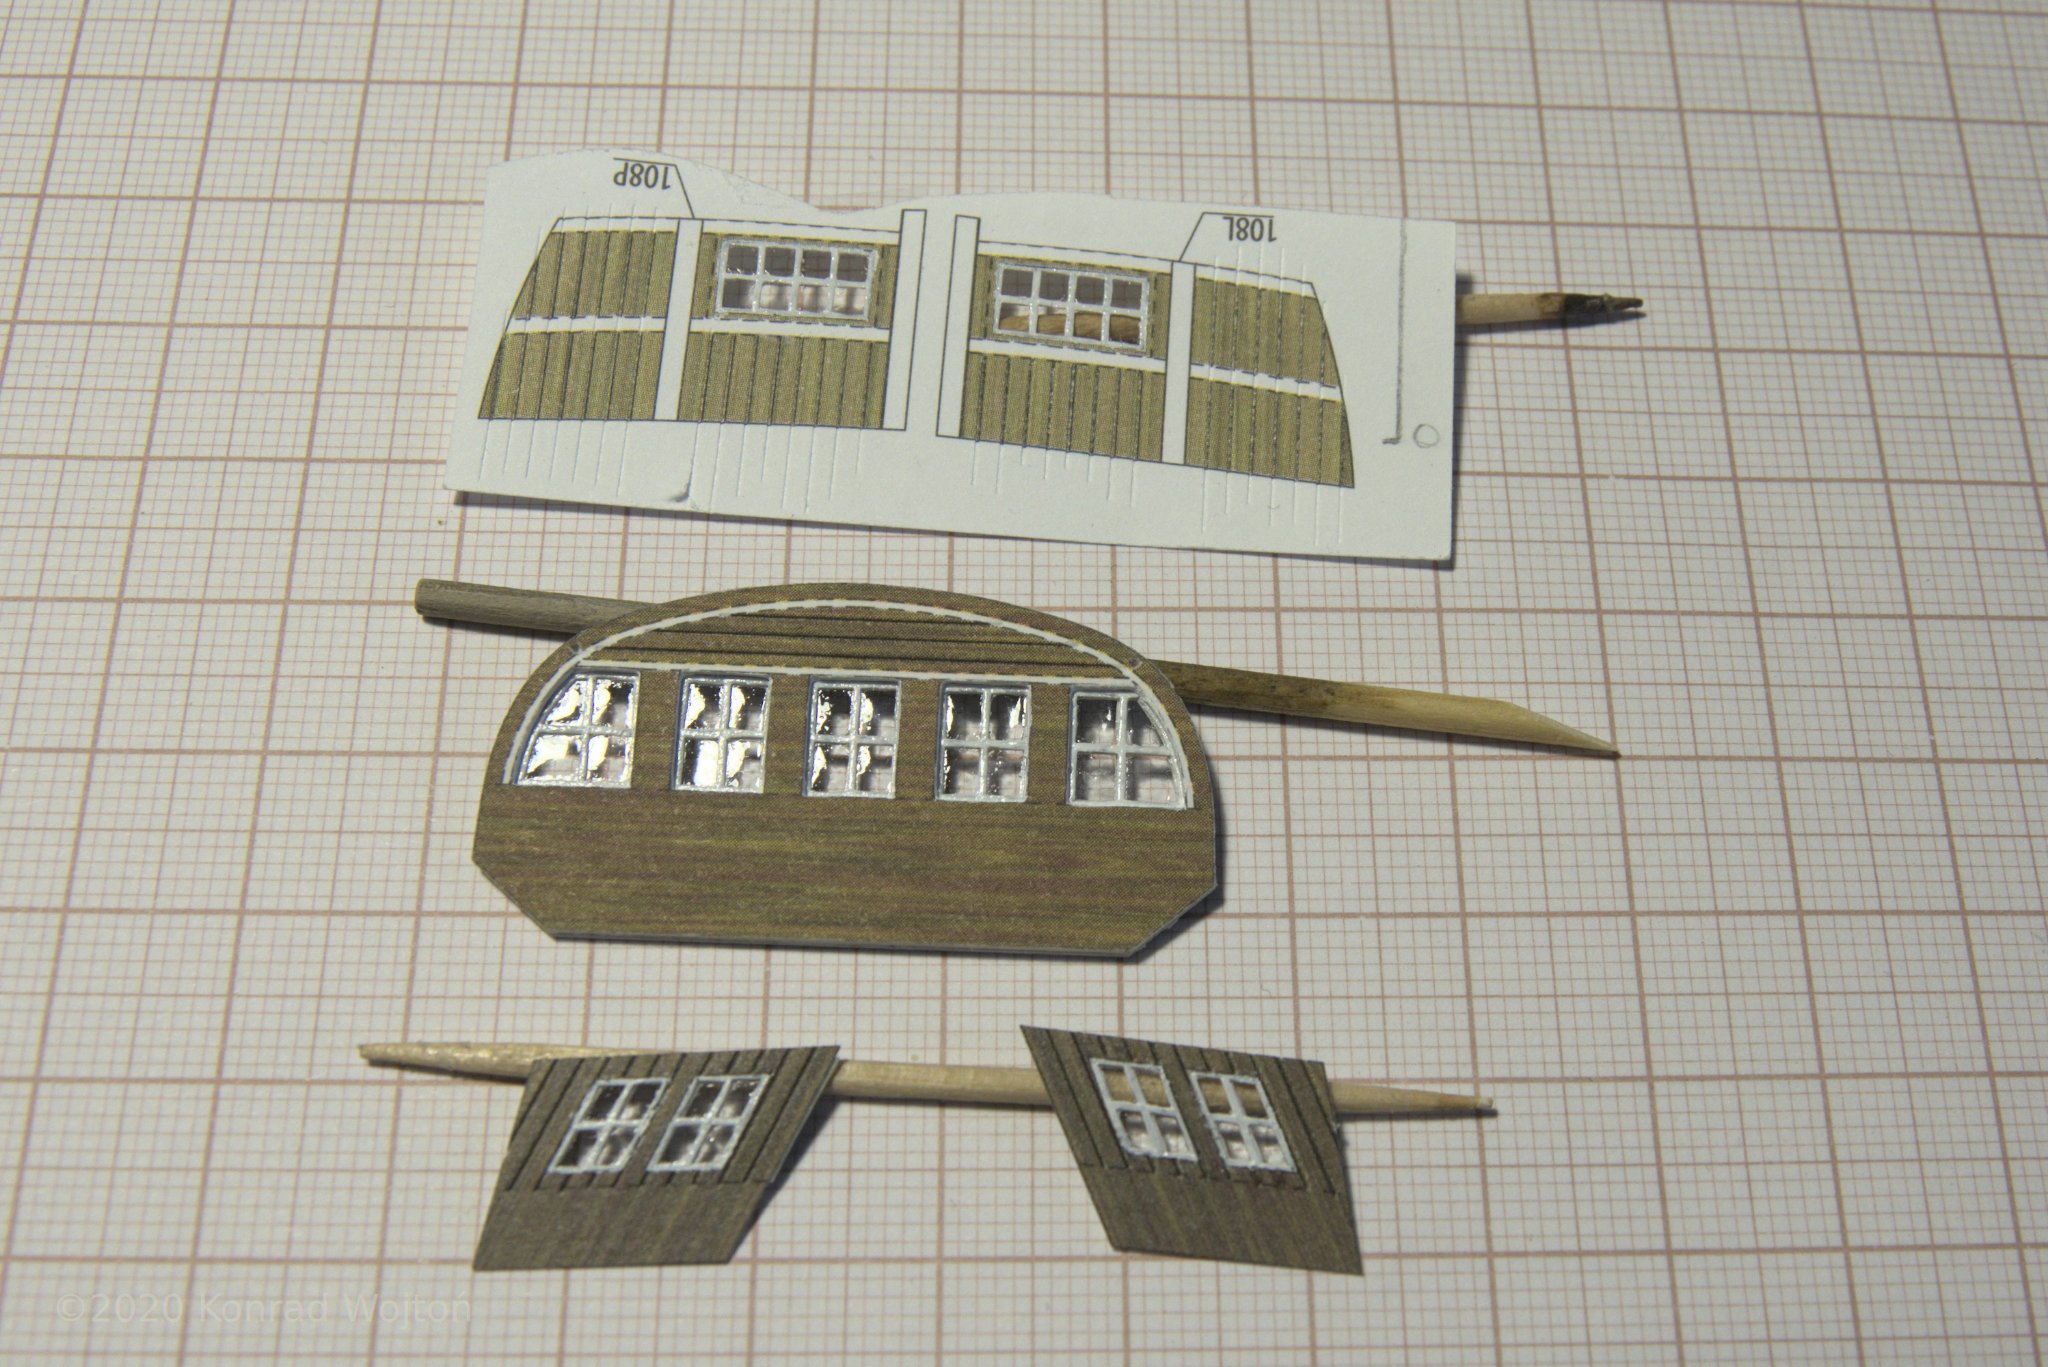
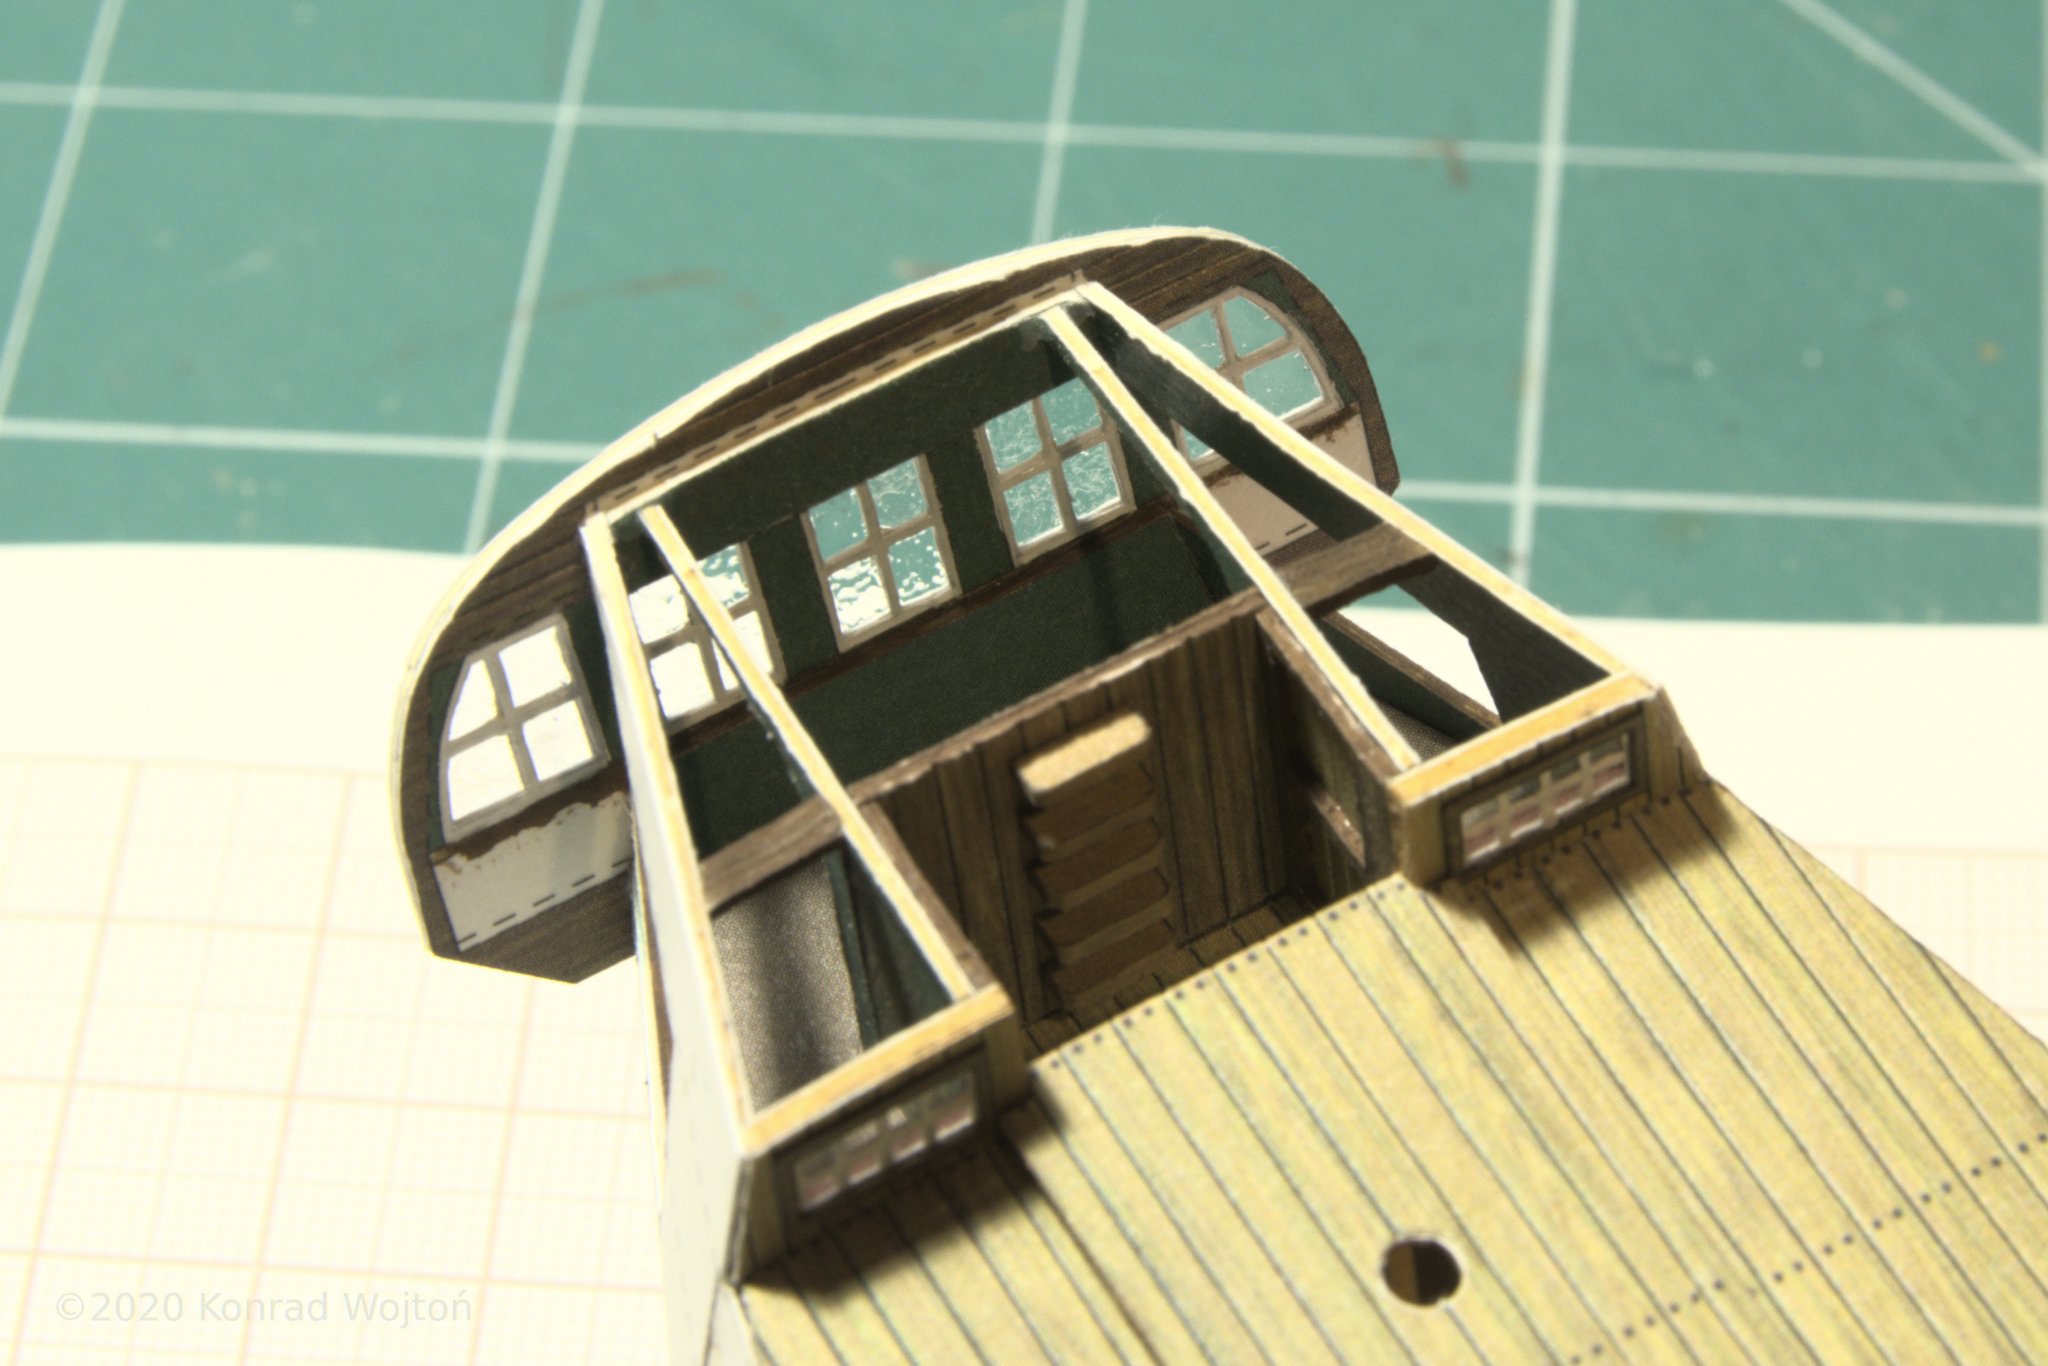
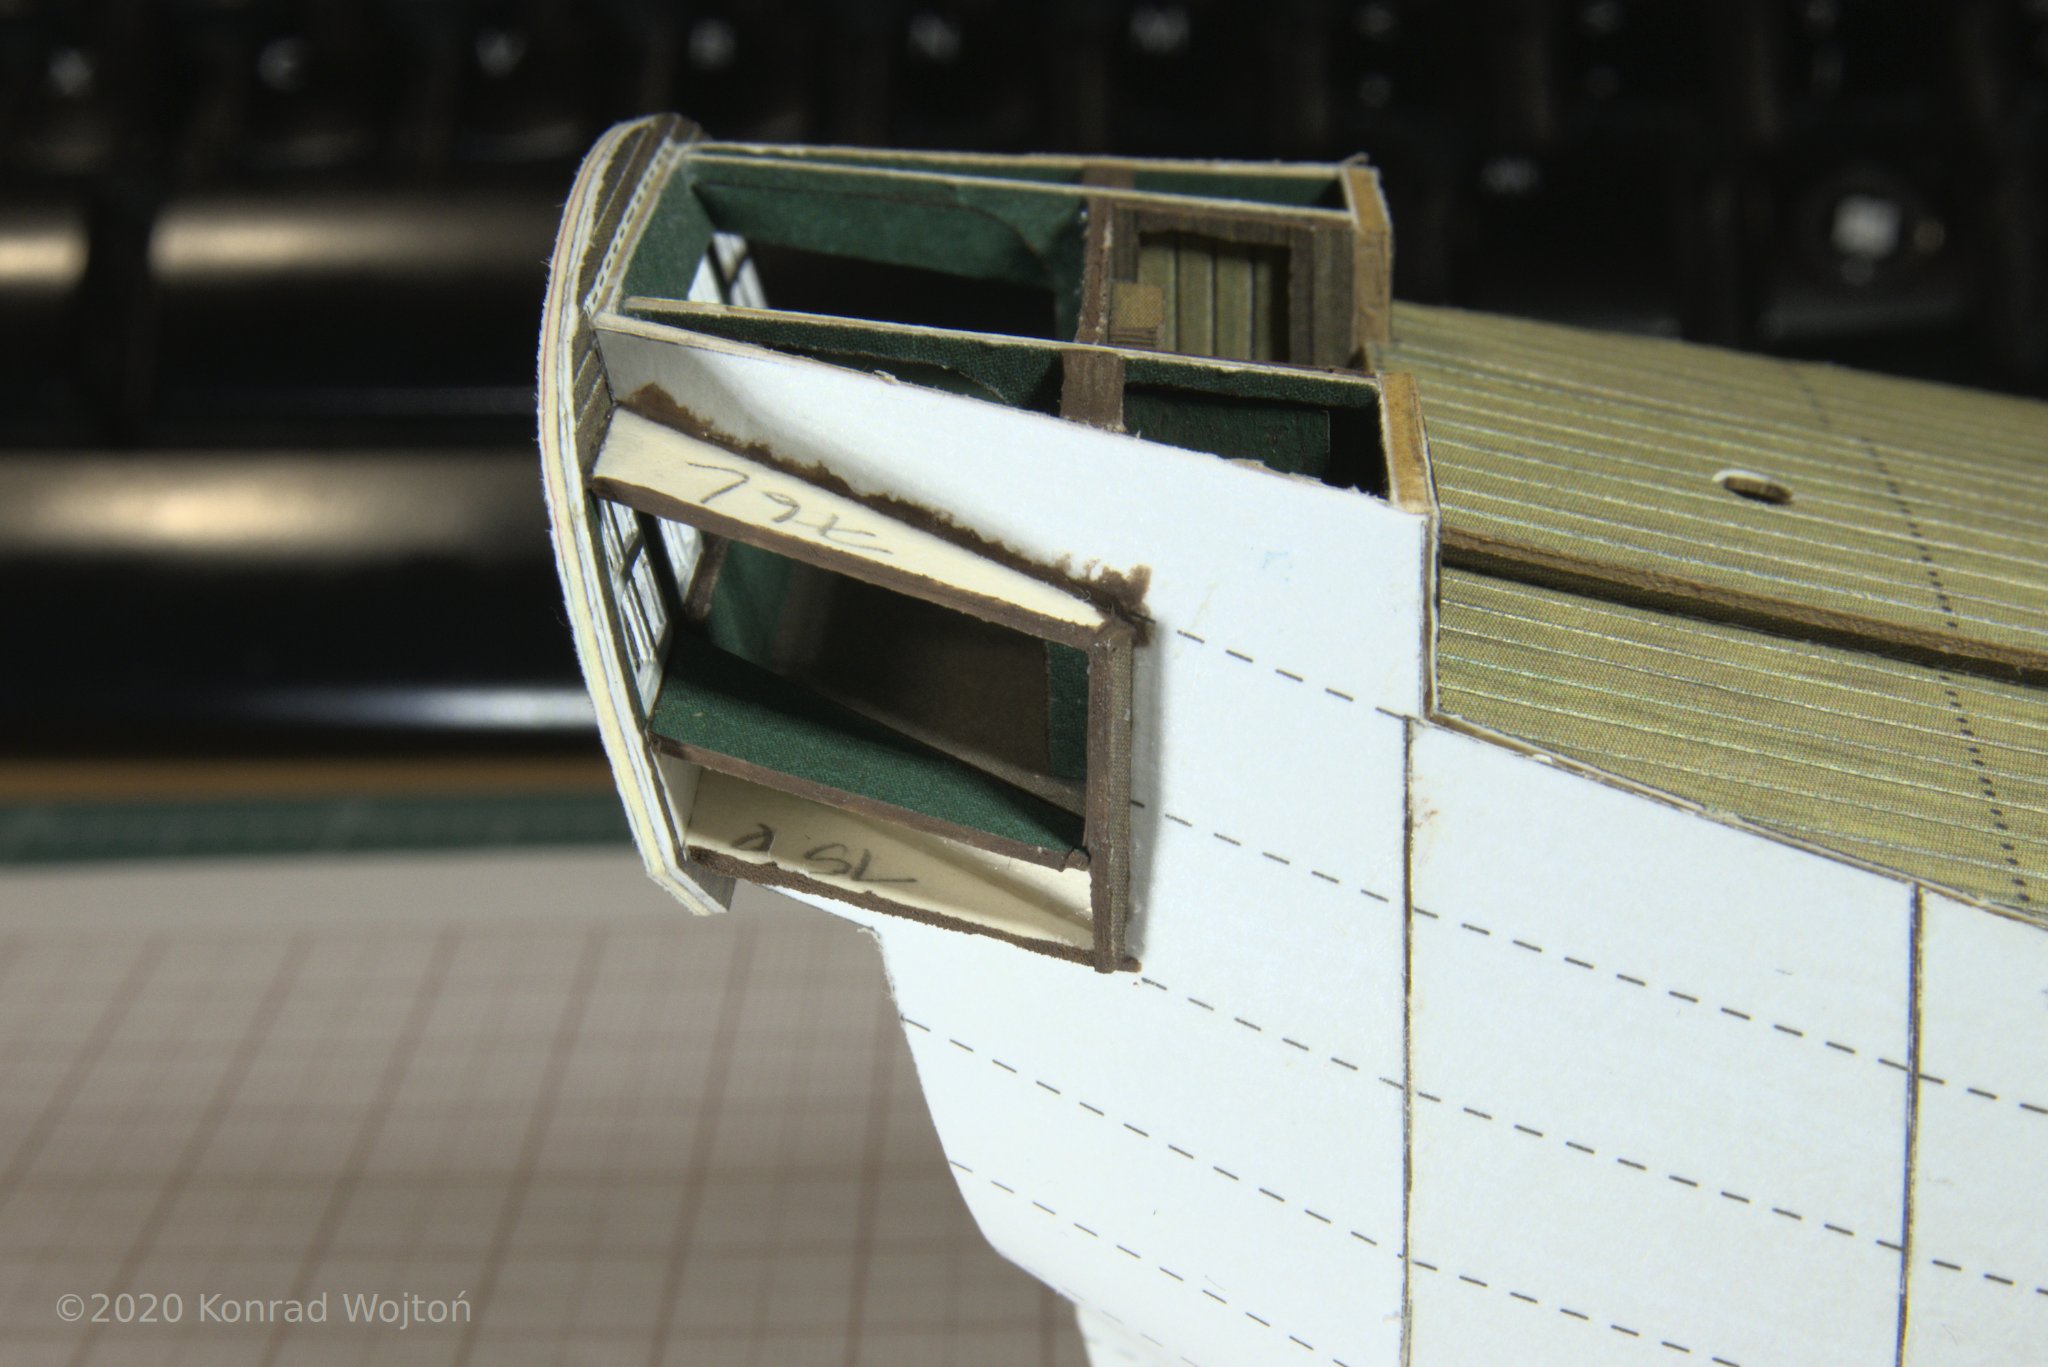
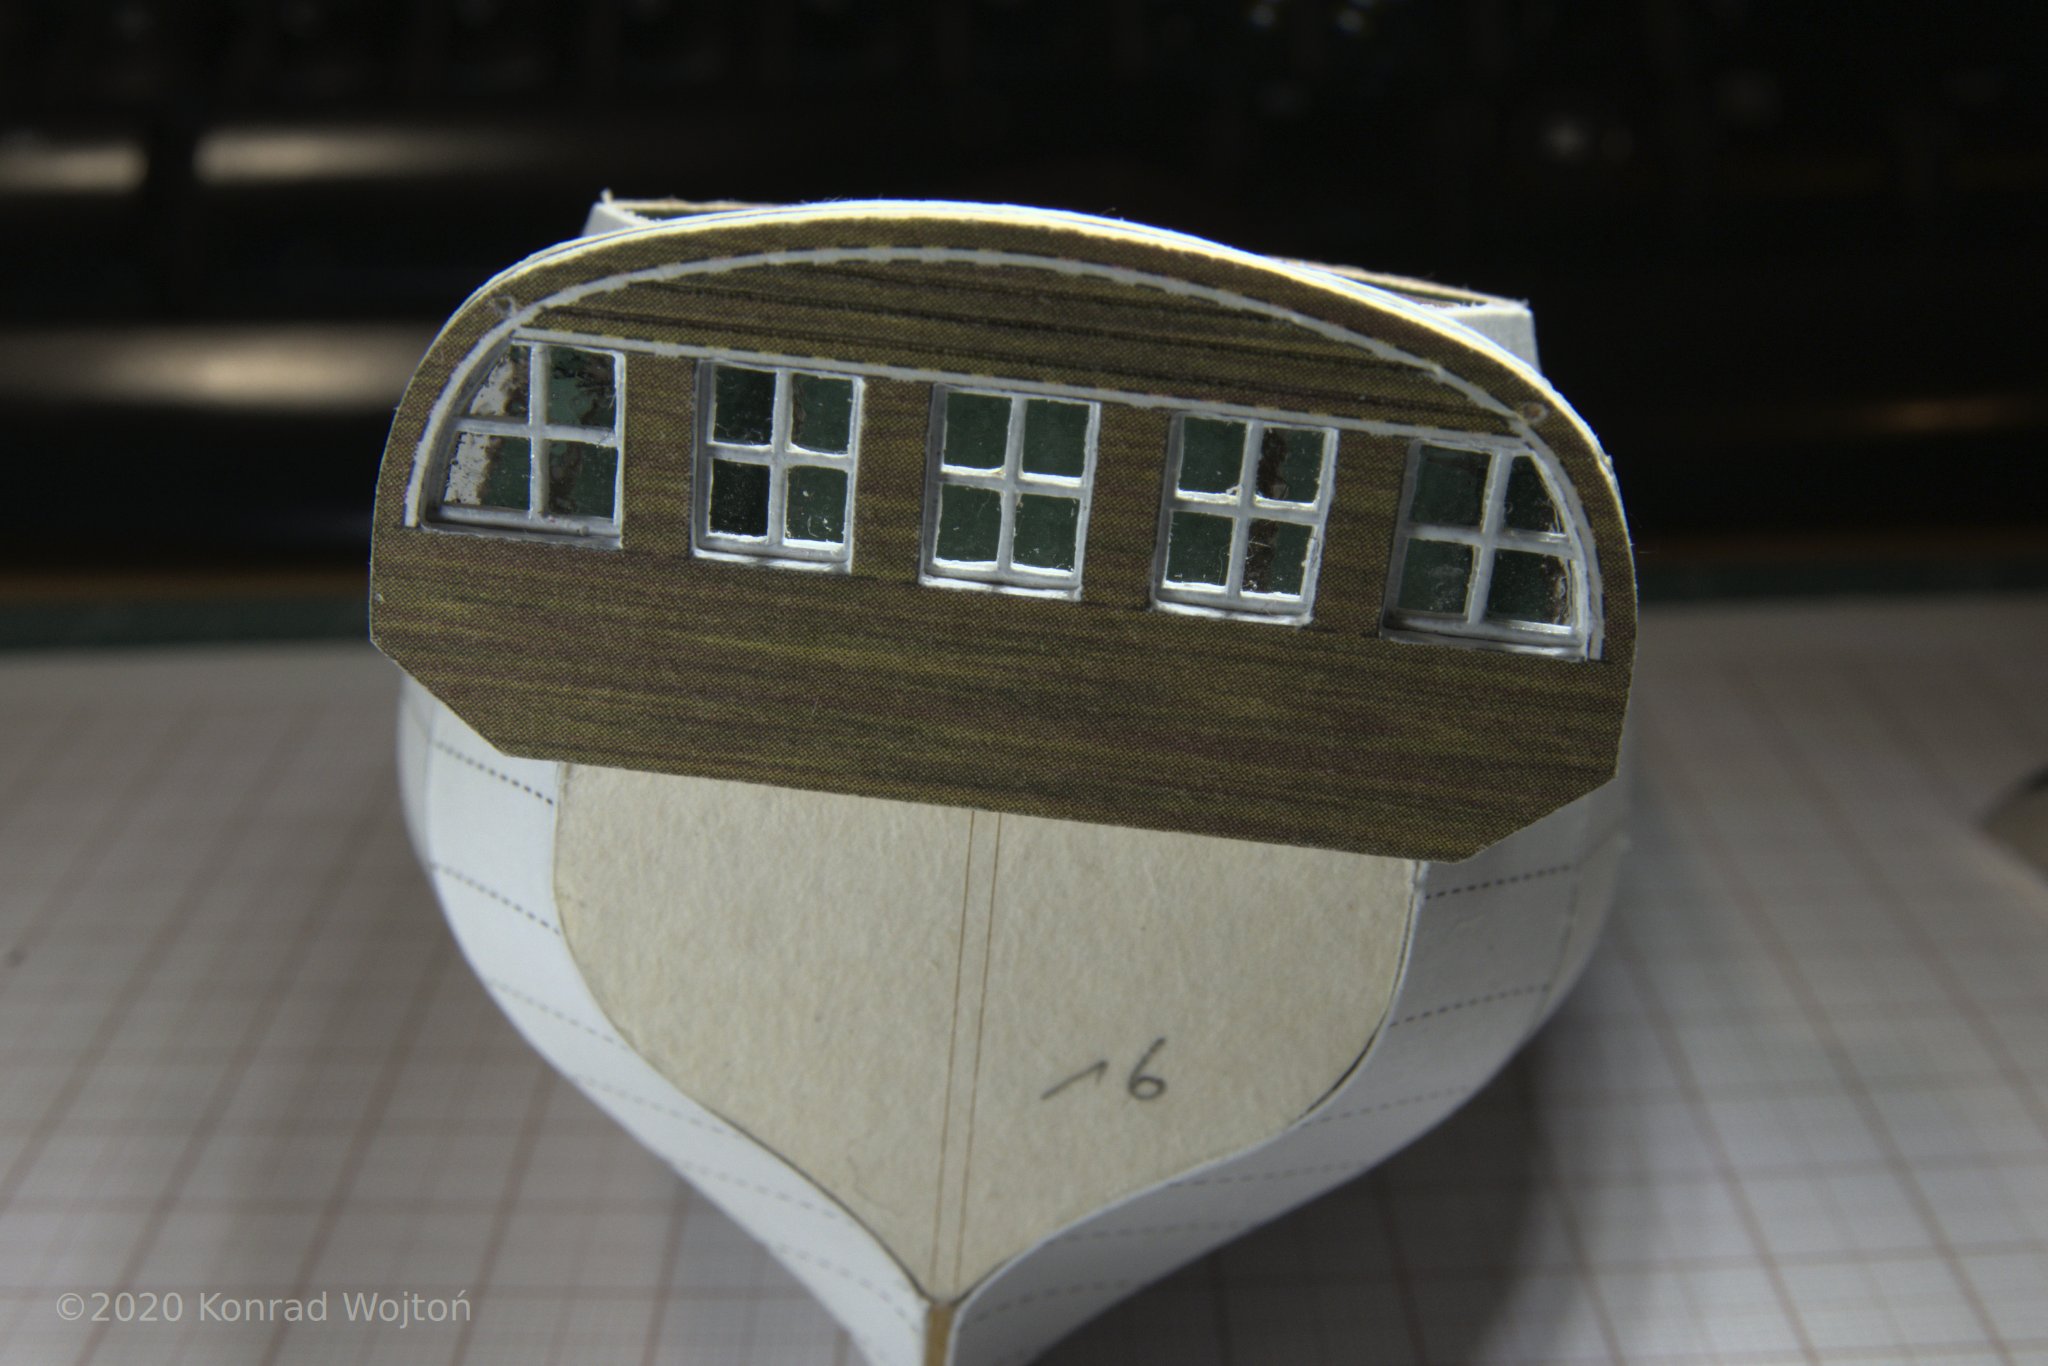
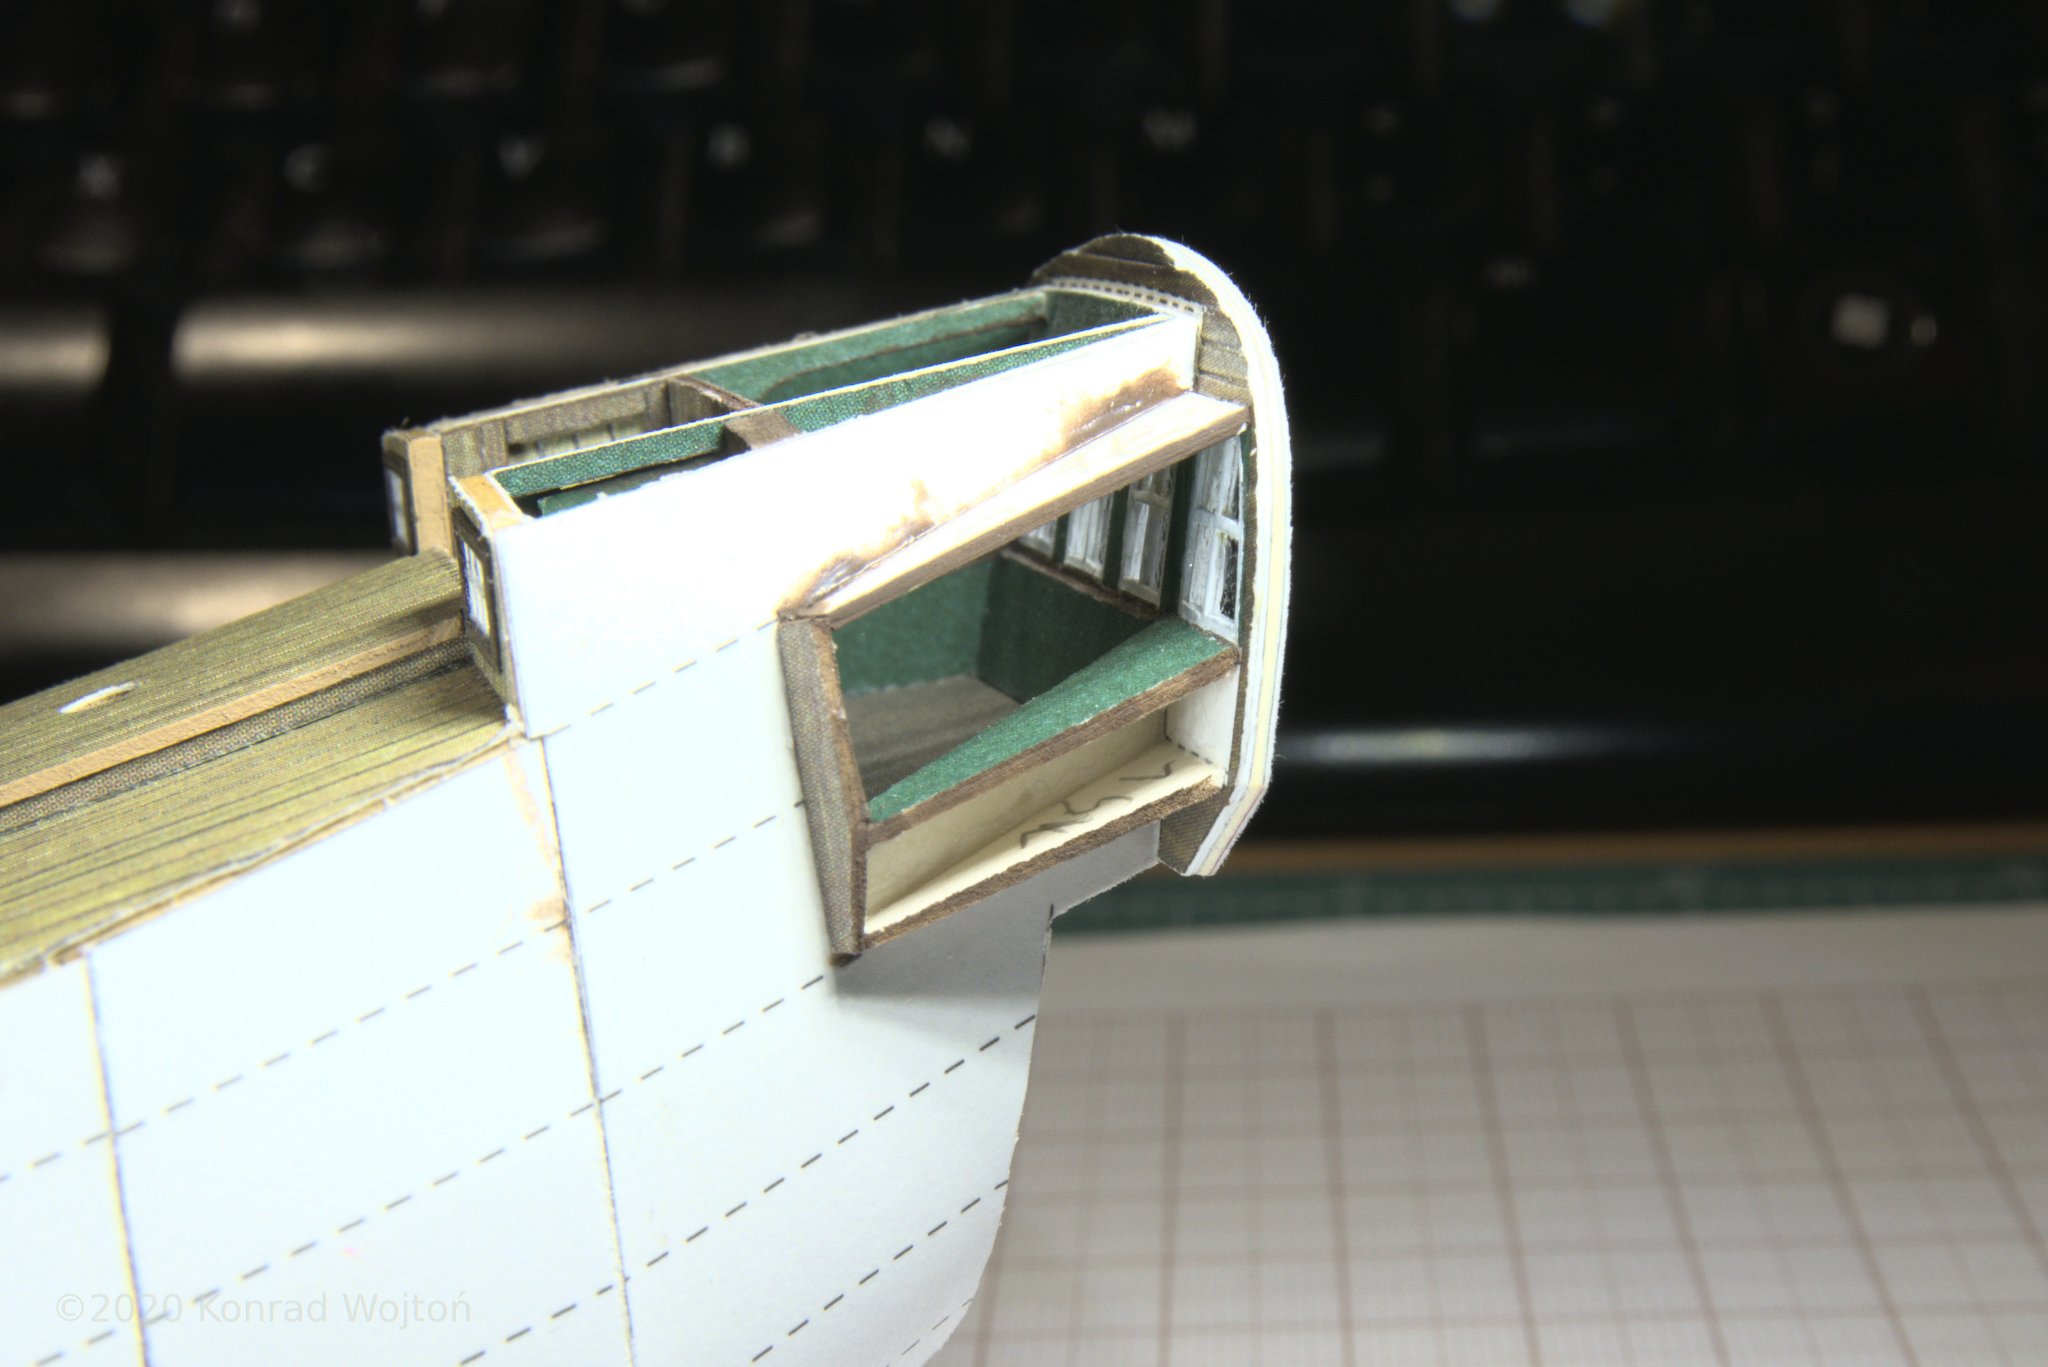
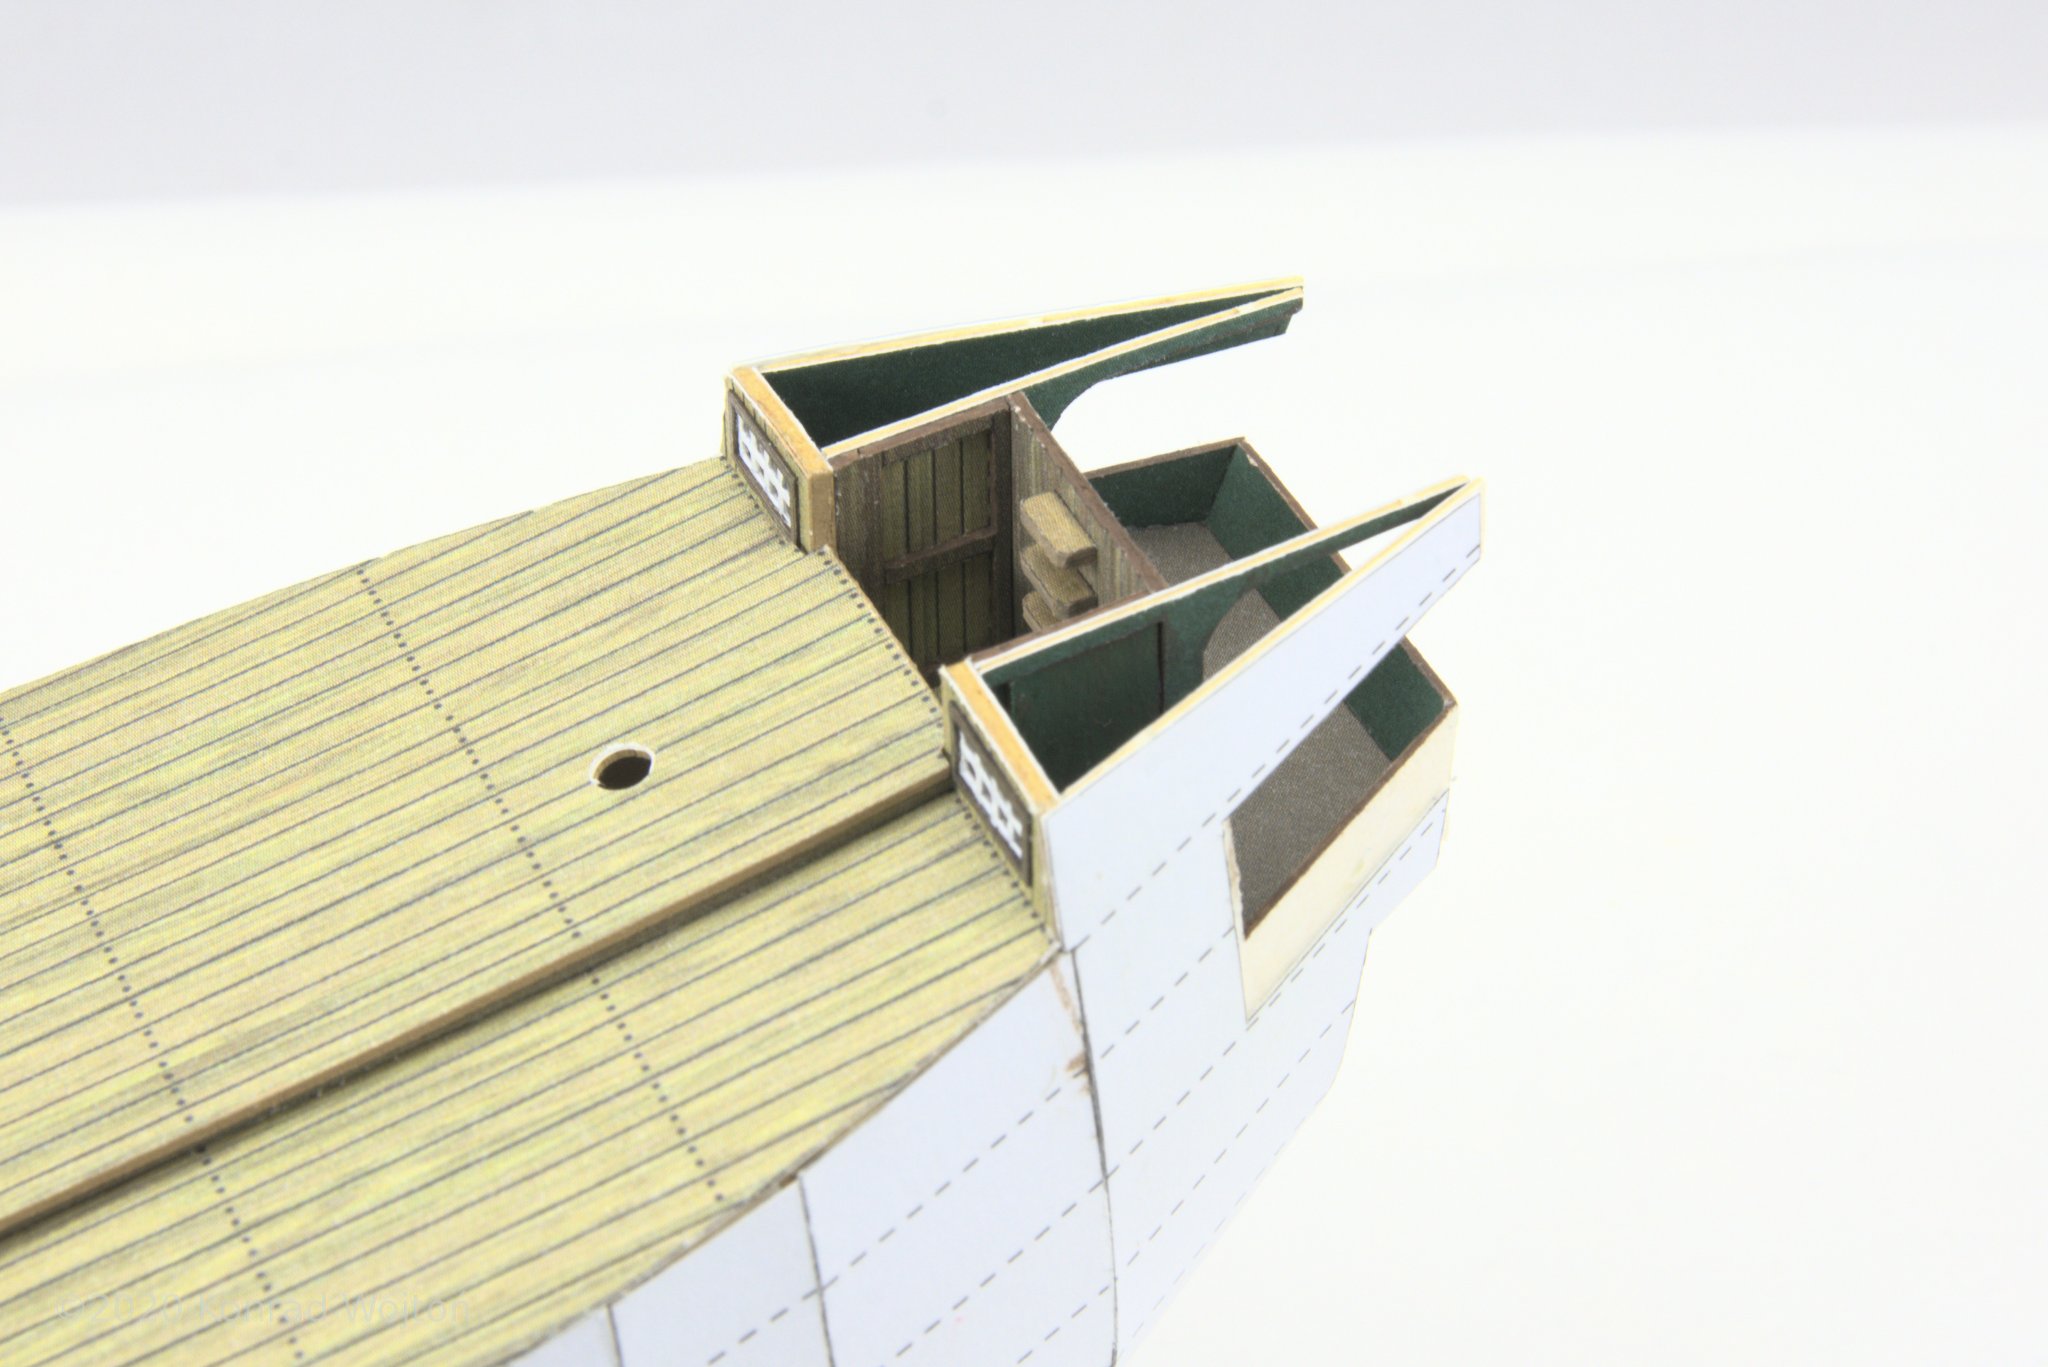
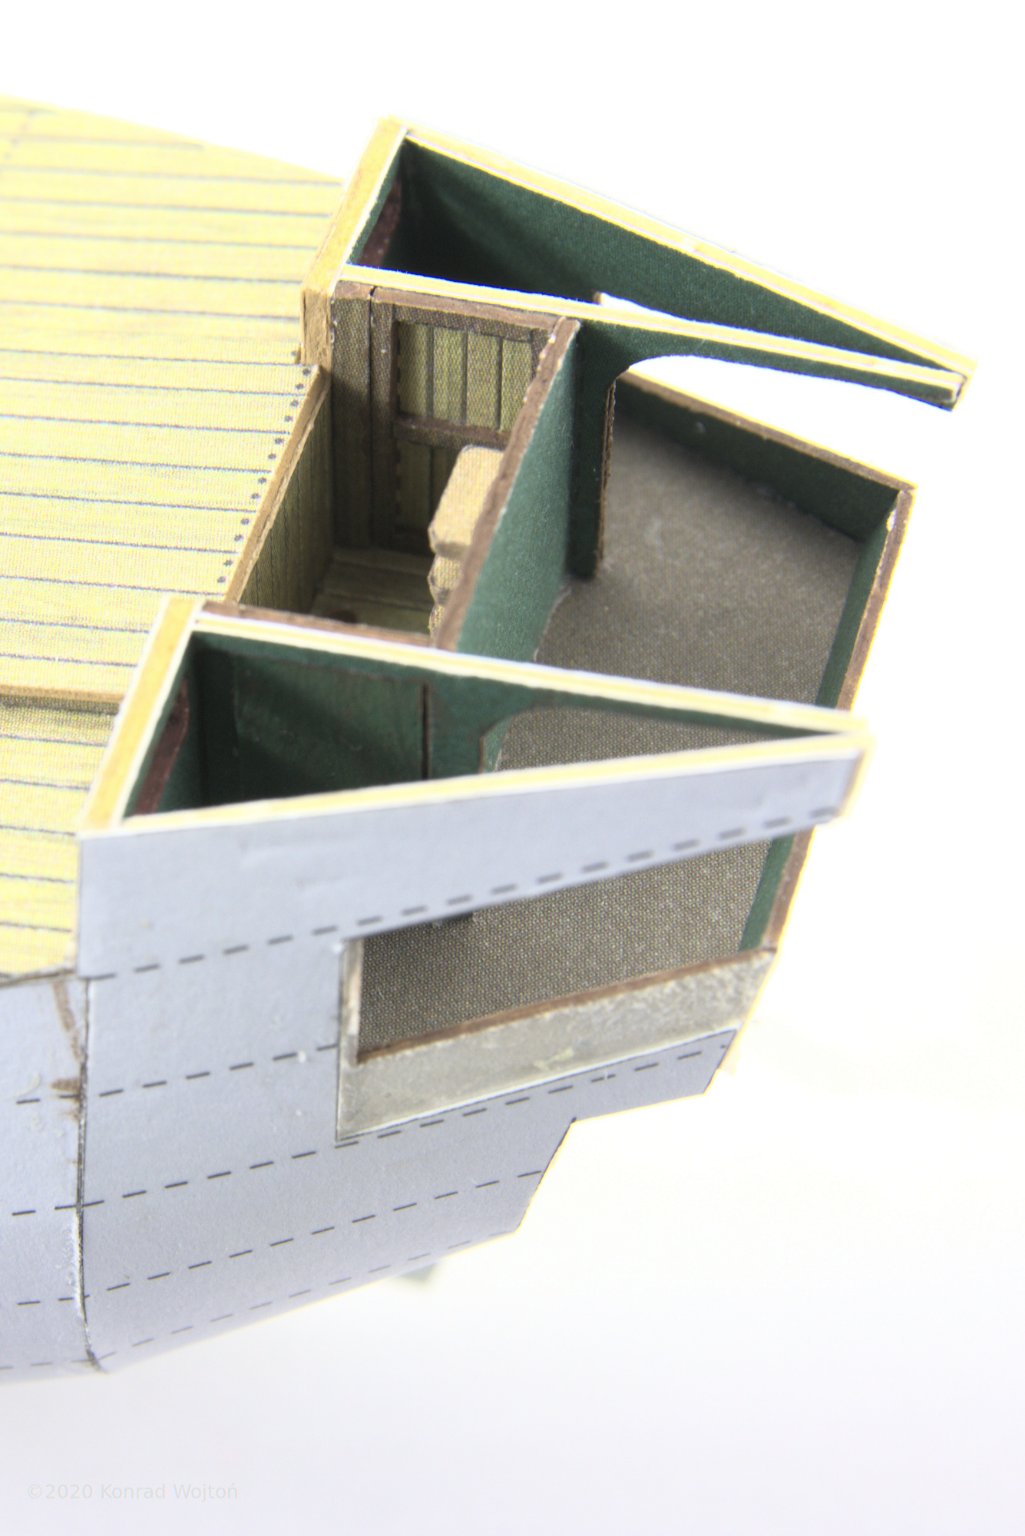
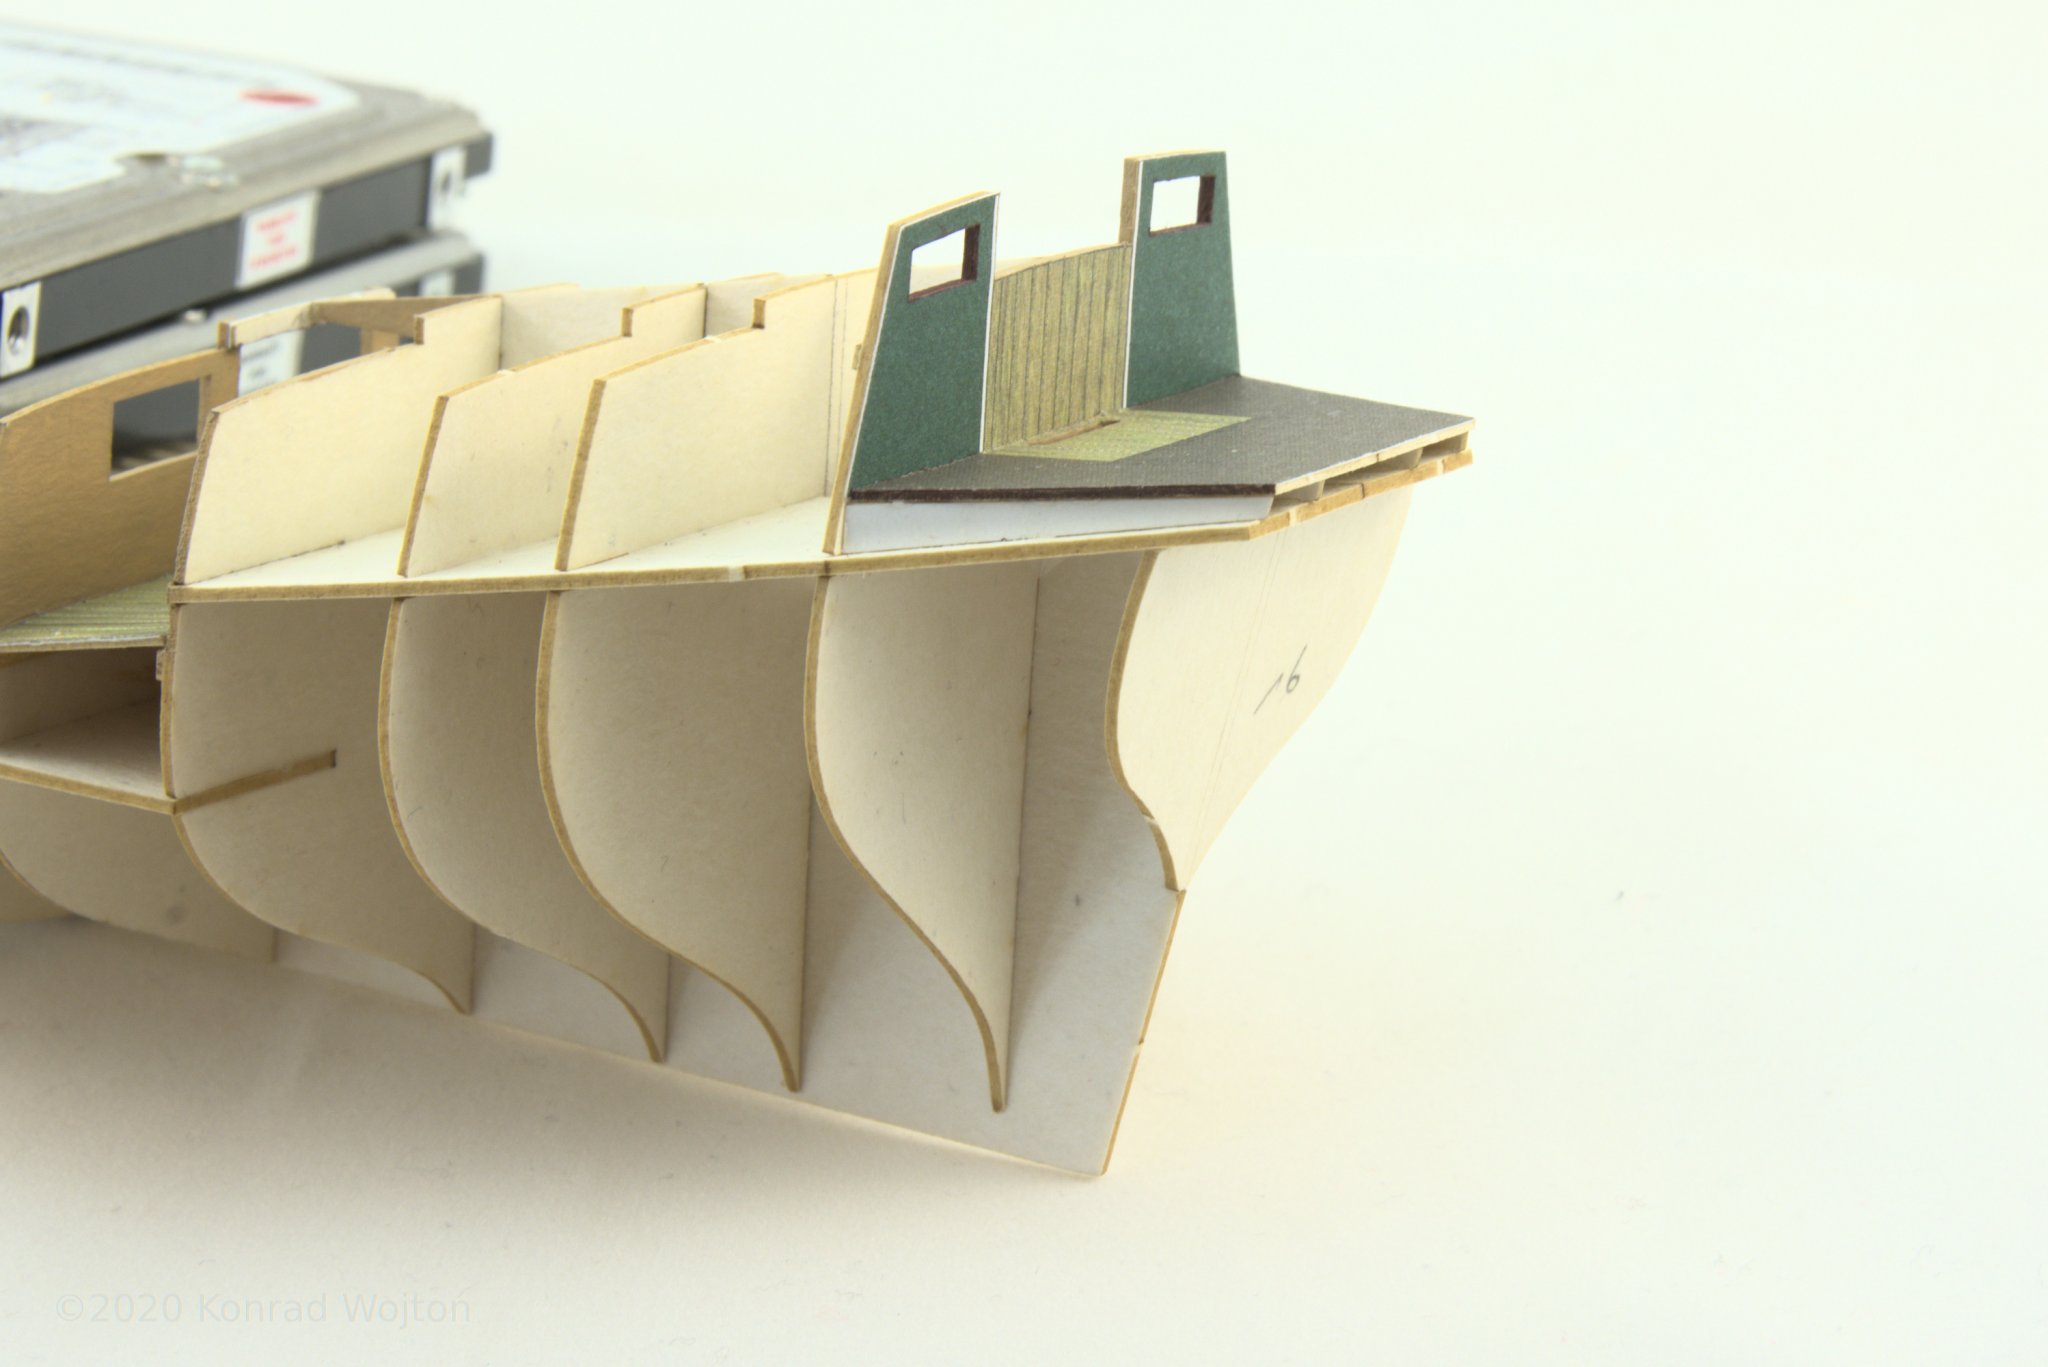
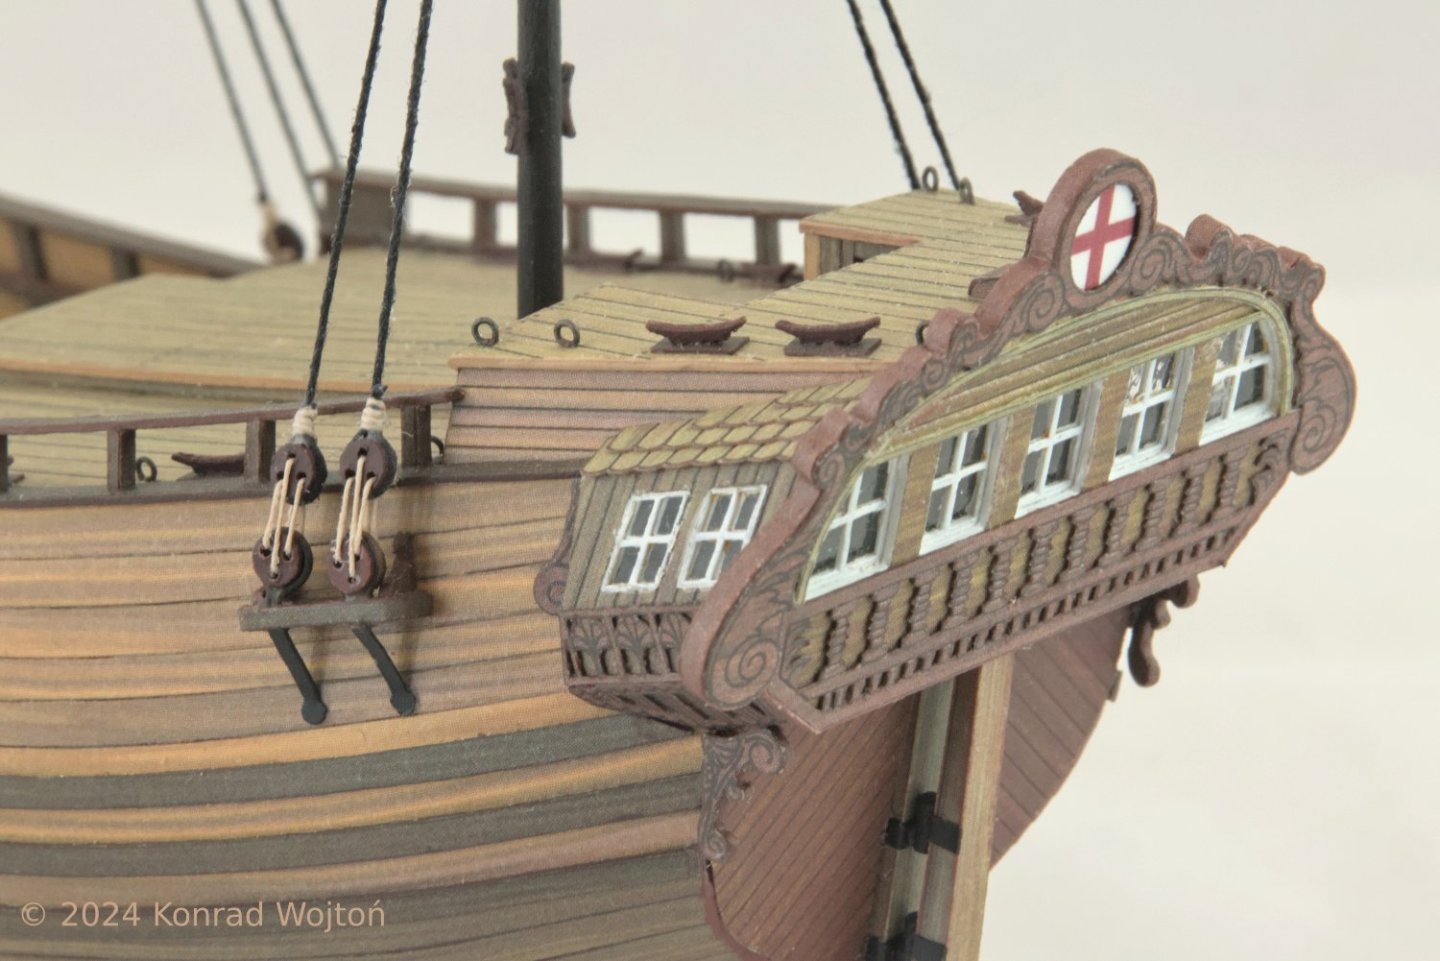
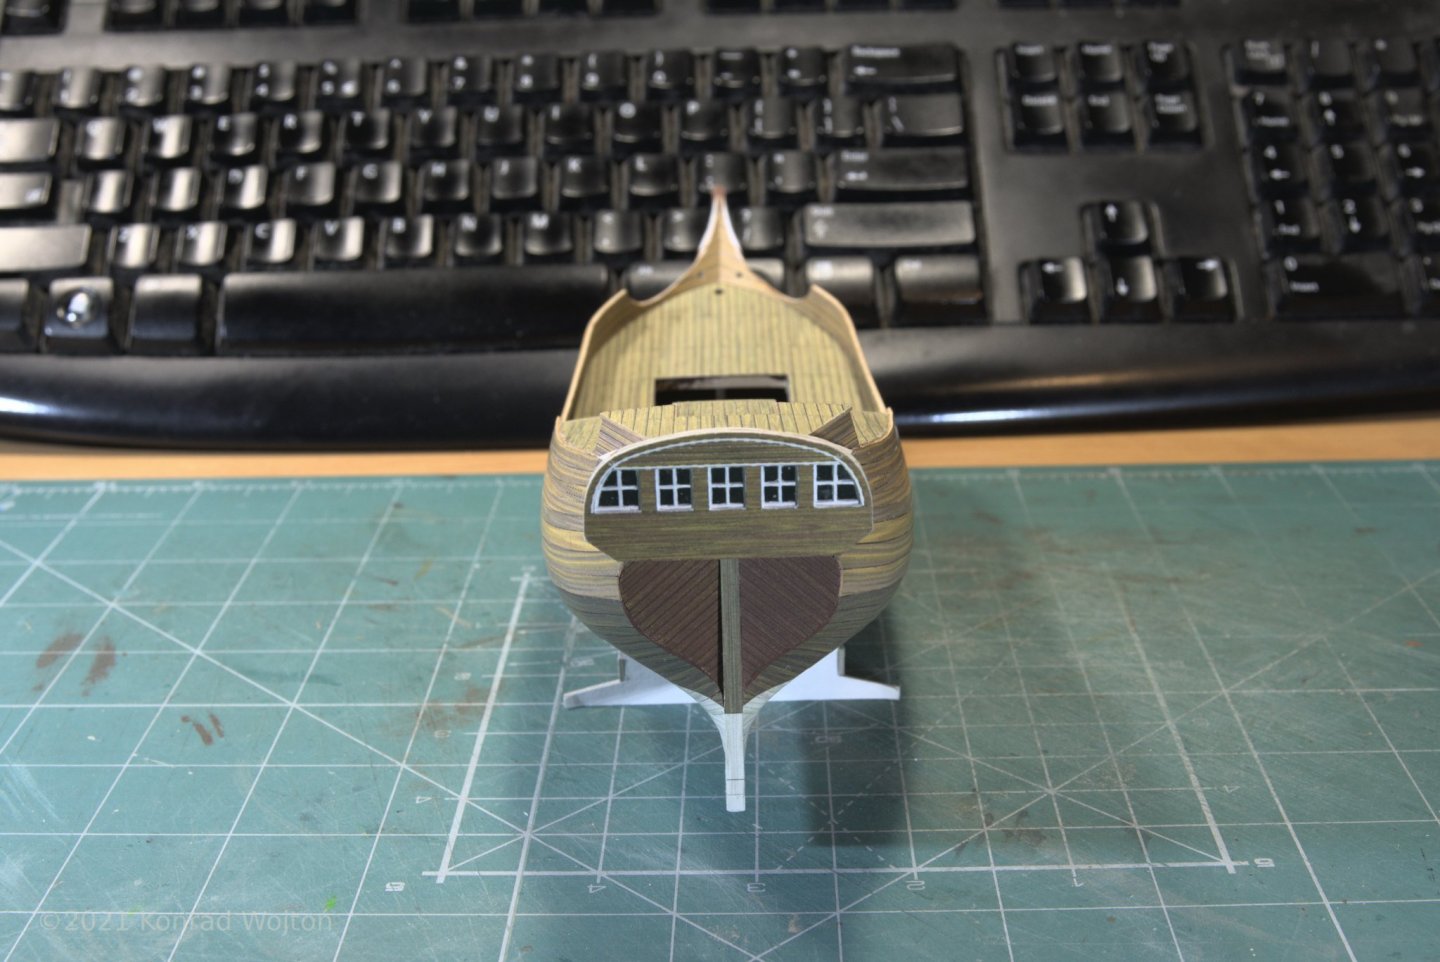
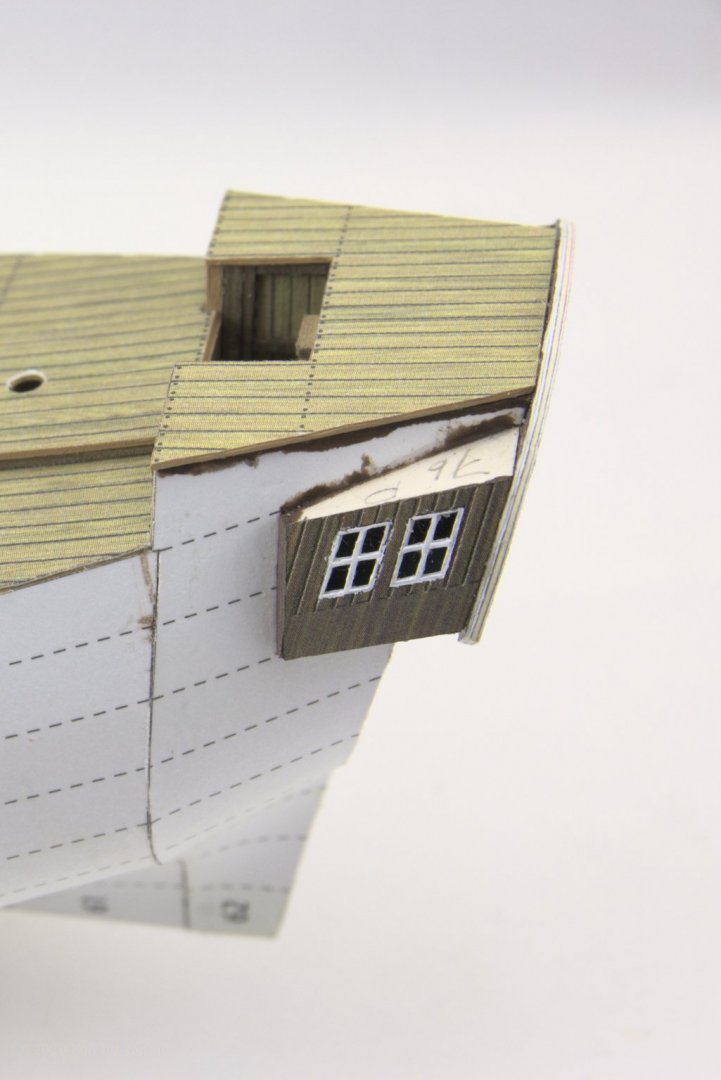
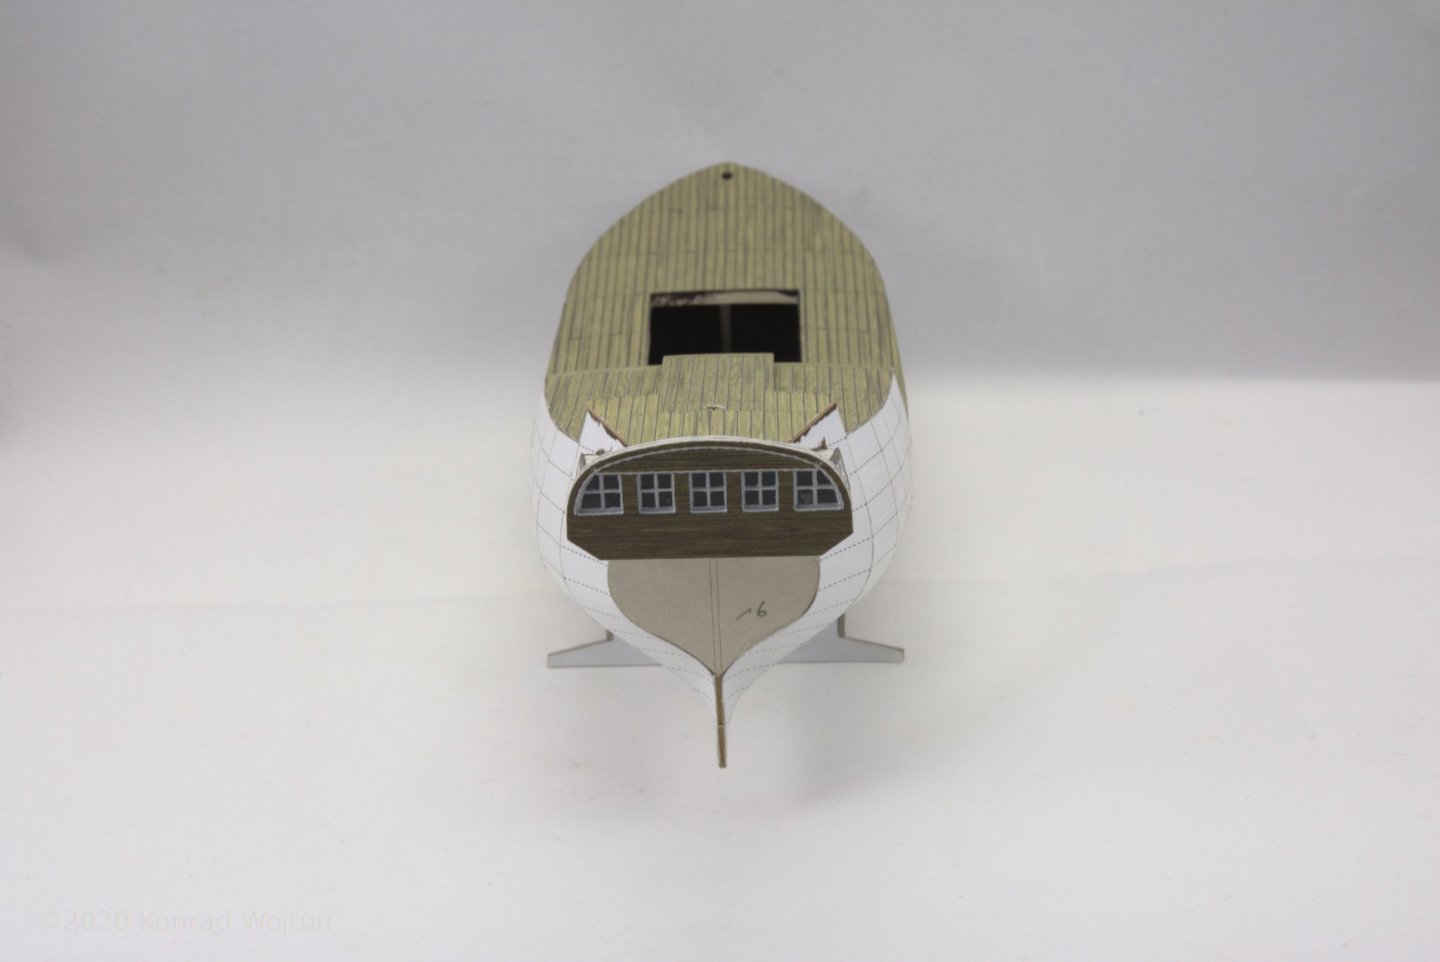
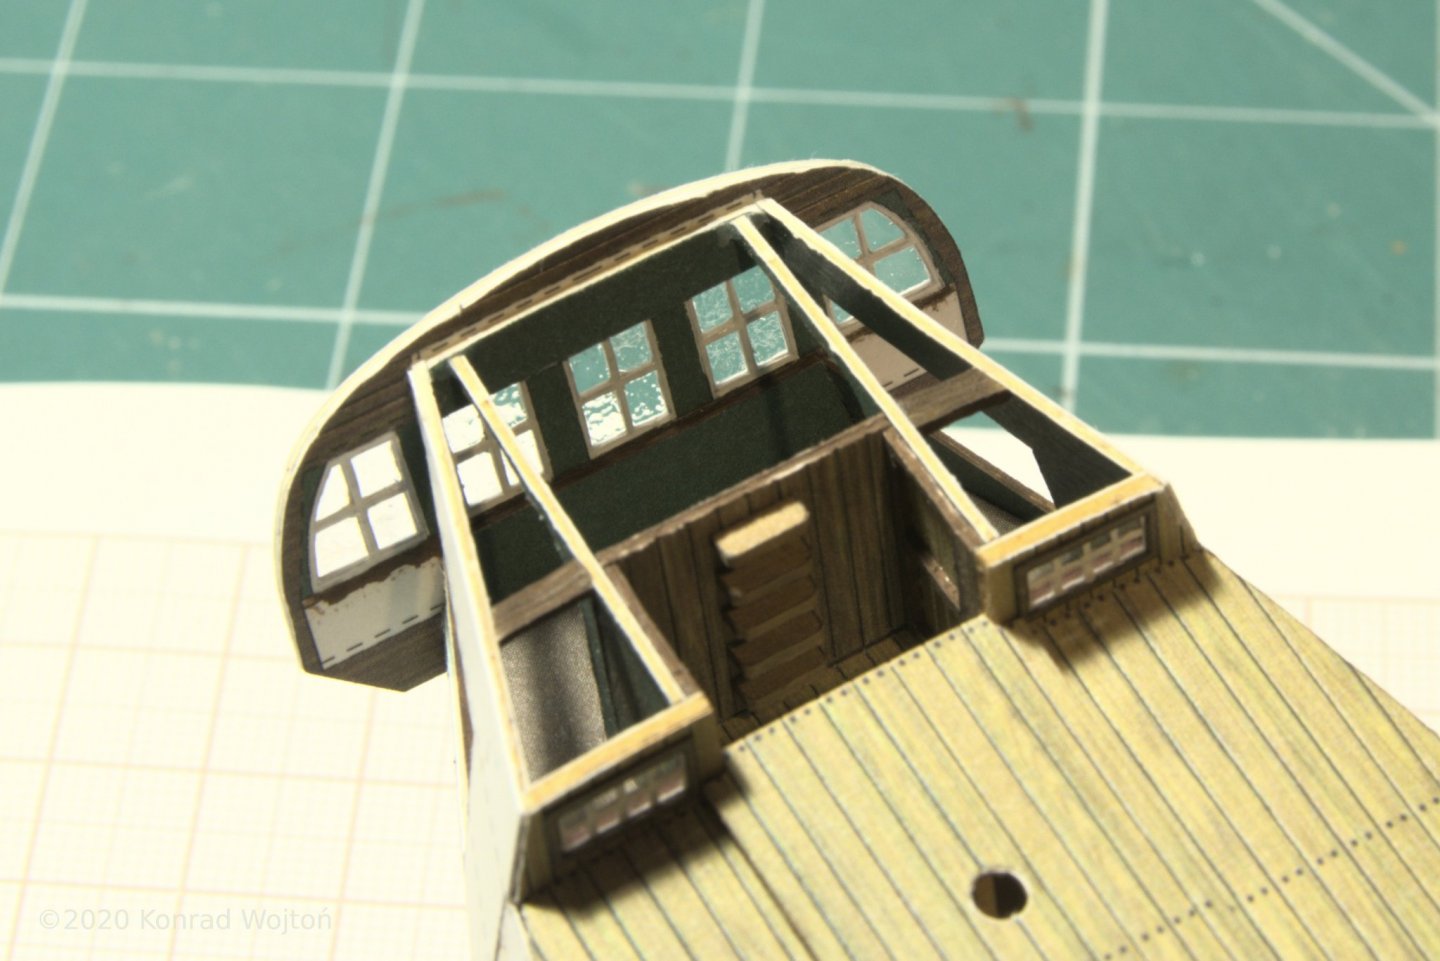
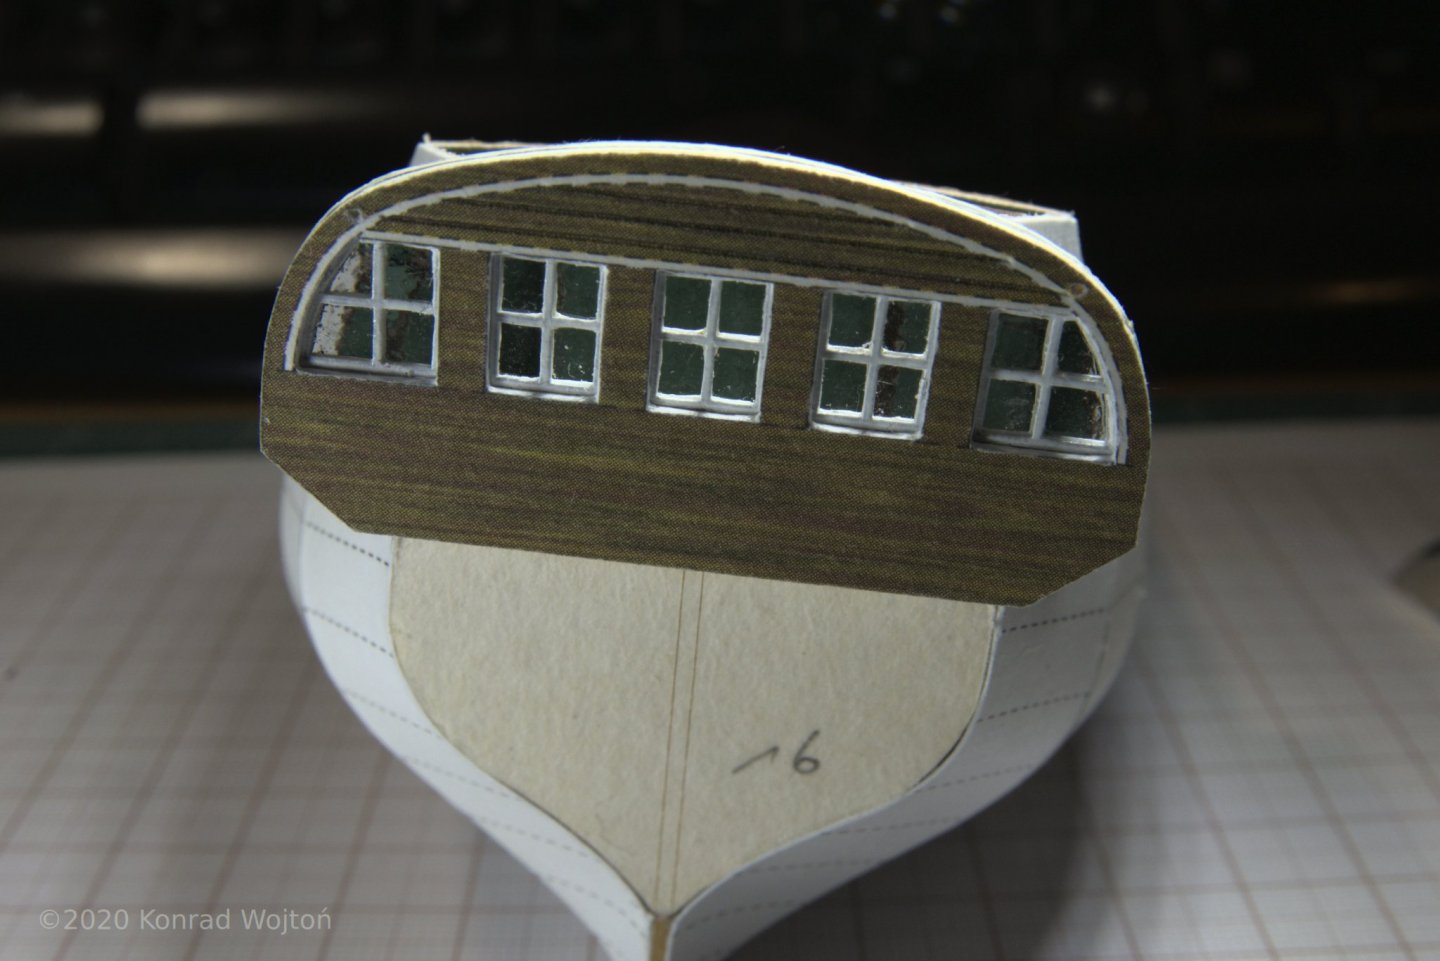
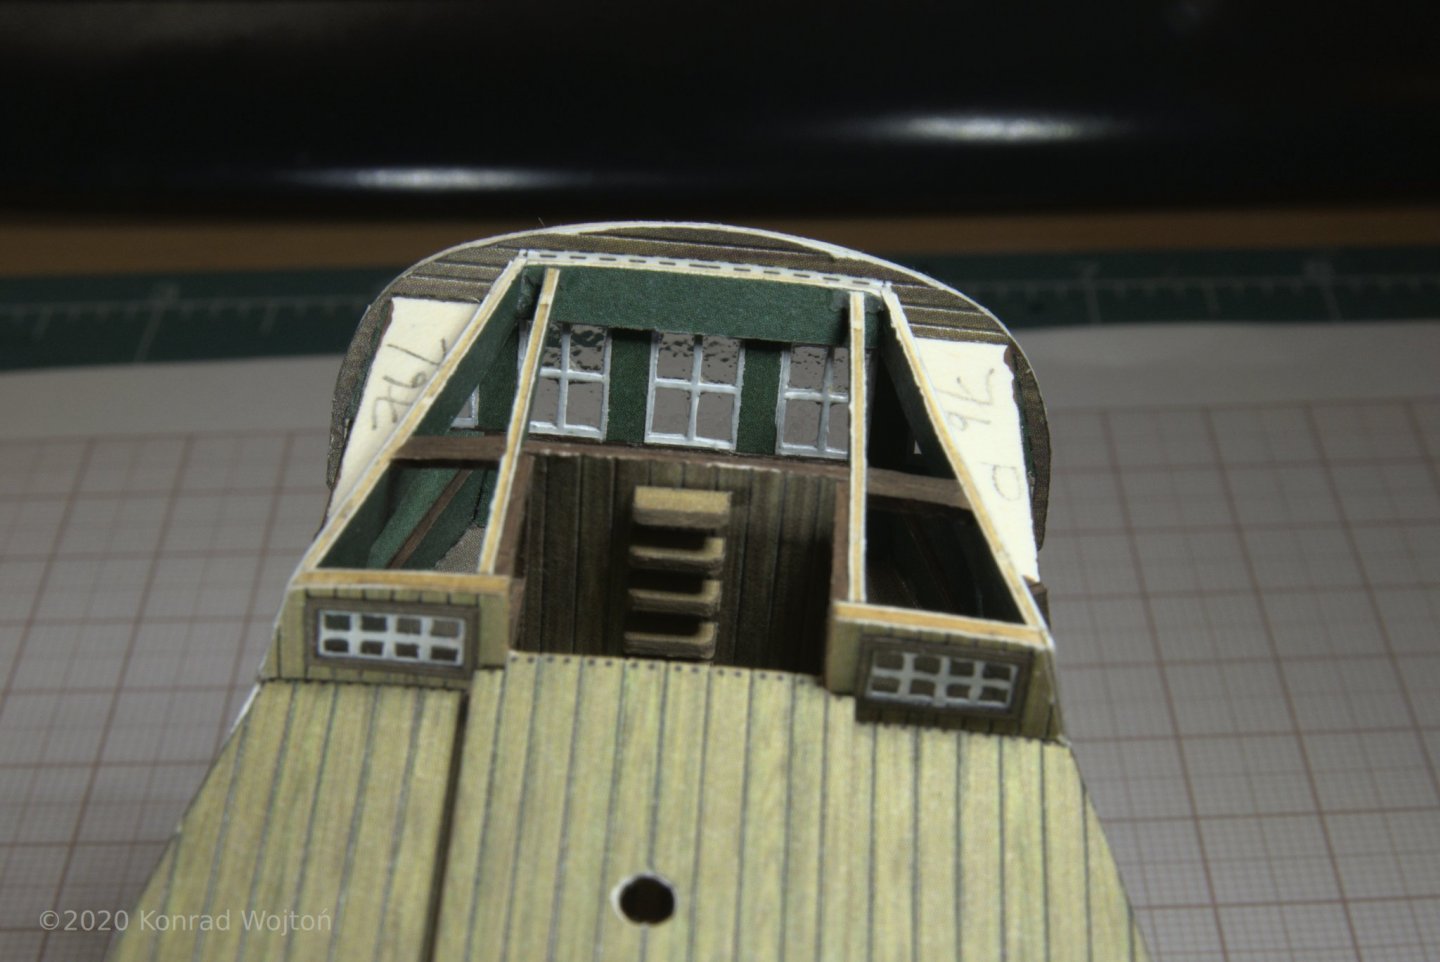
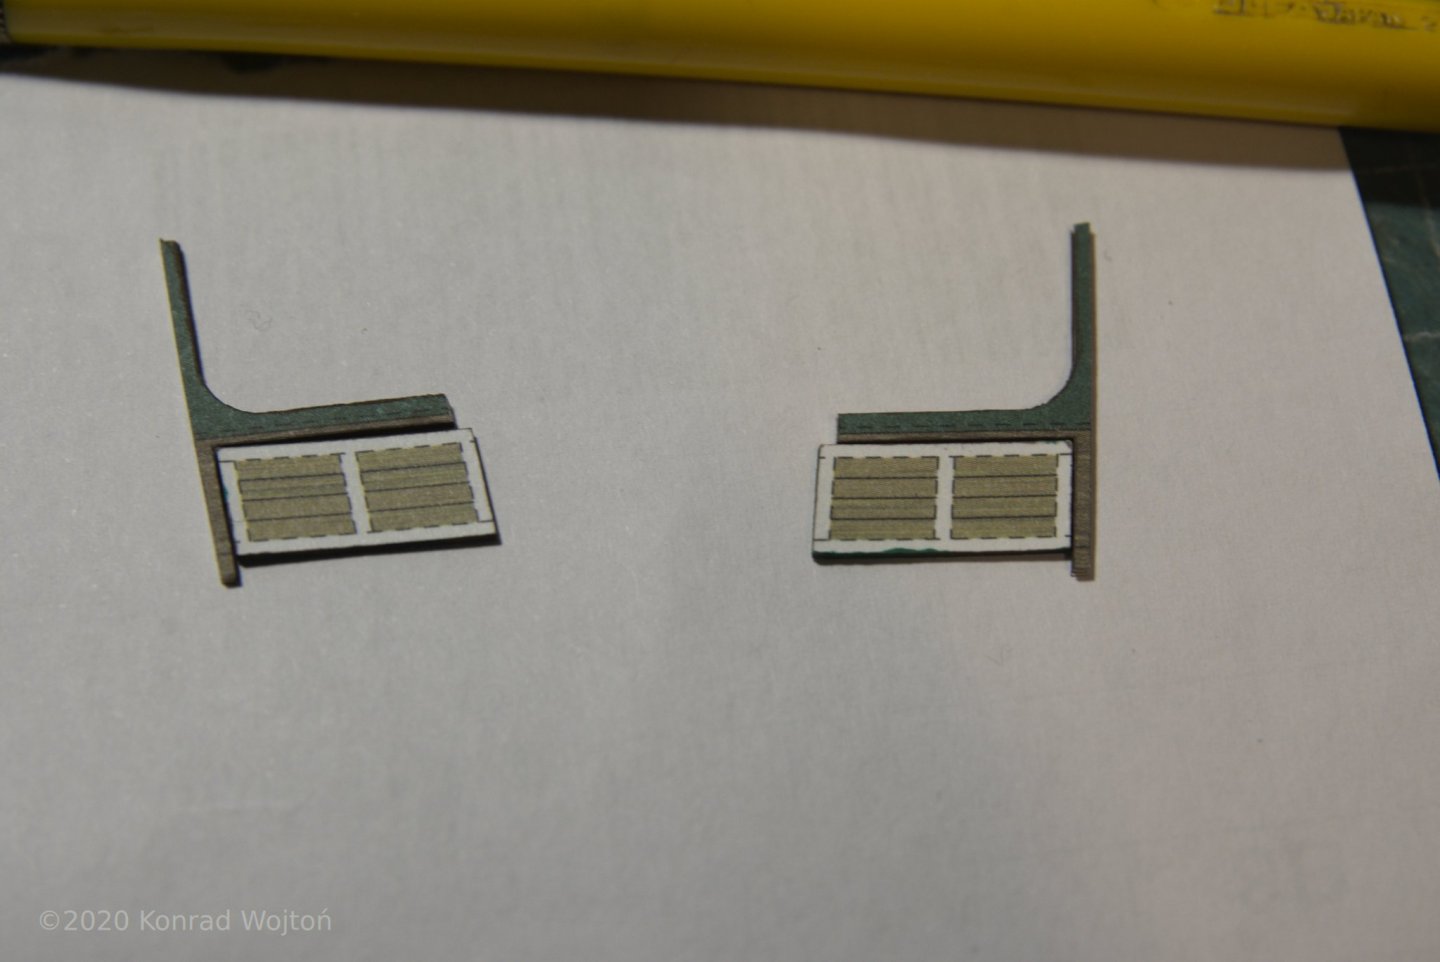
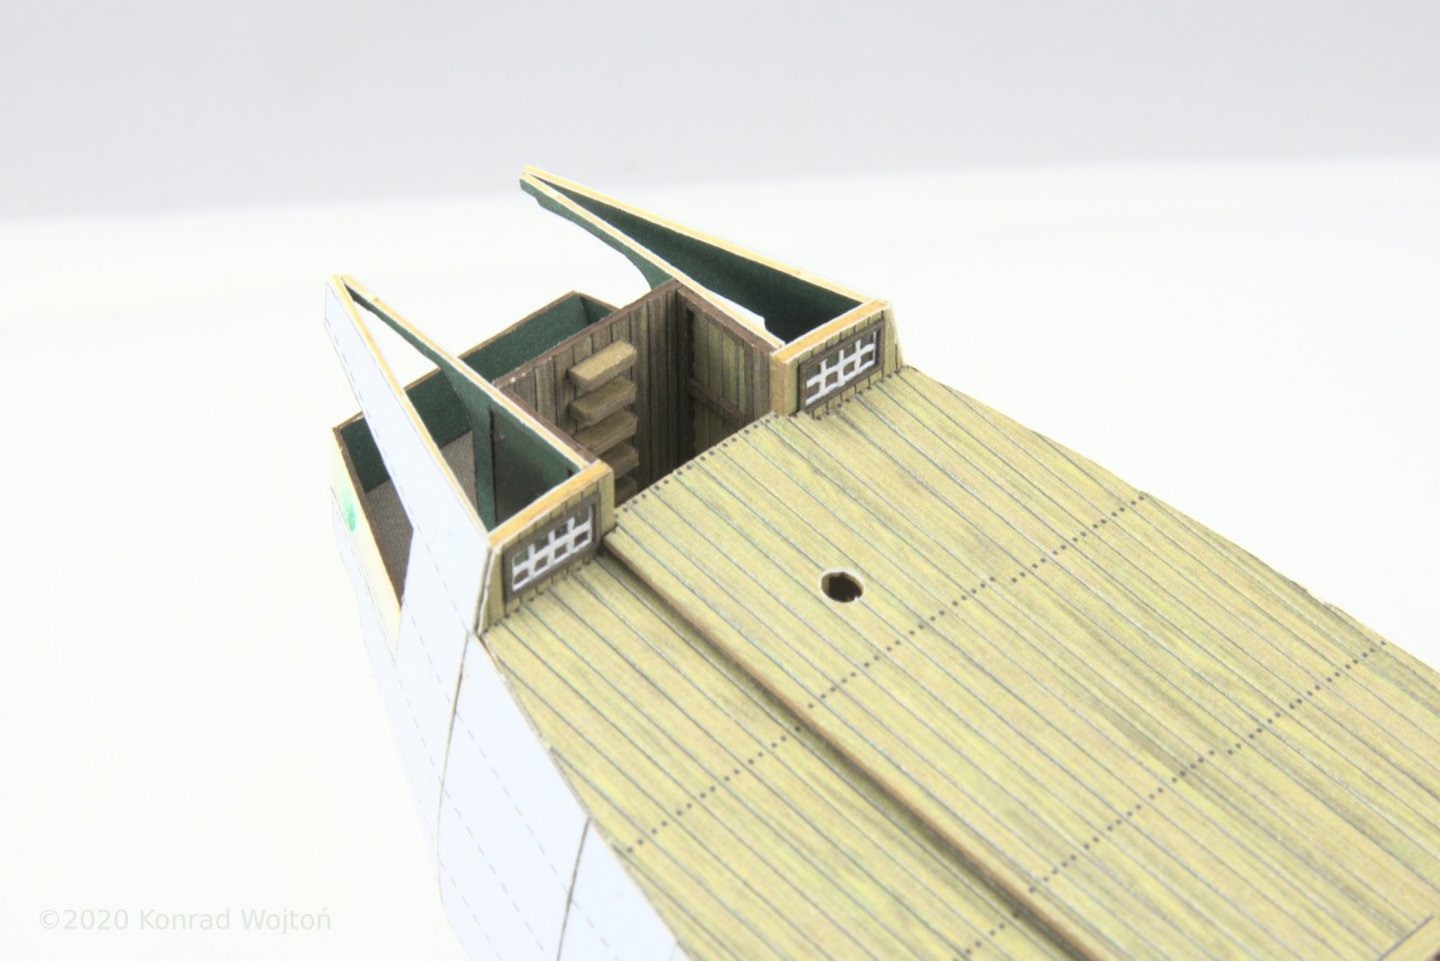
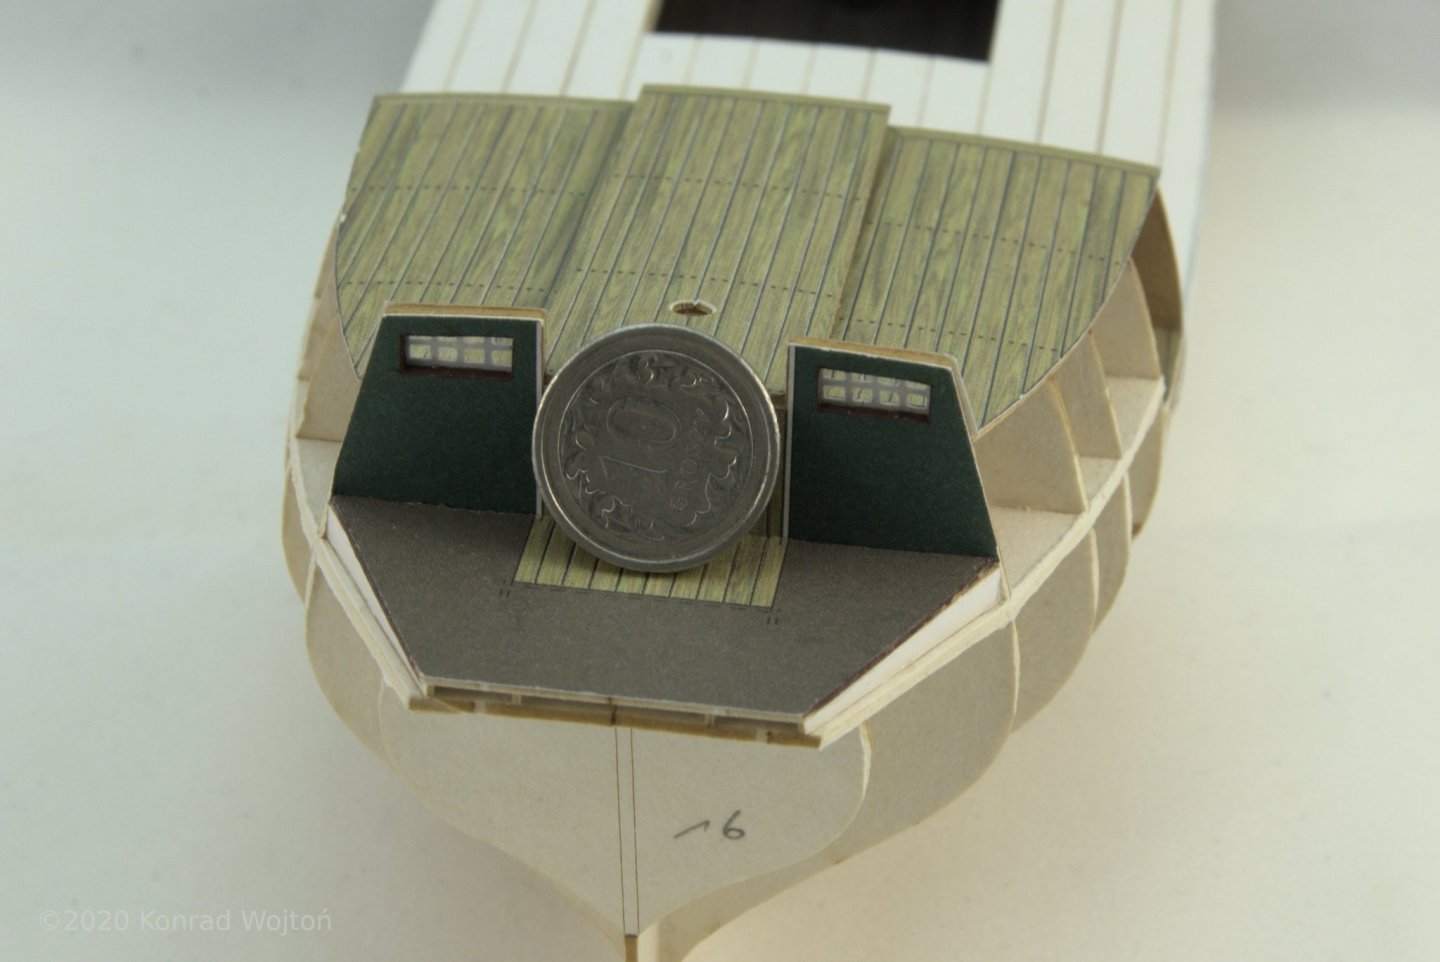
A little bit of window joinery Without "glass": And with "glass": "Glass" was made of thin, transparent foil used to package laser cut parts and after gluing and some masking sprayed with glossy acrylic lacquer. Currently I'am preparing to close stern cabin with side windows and deck. I've made small error while fitting middle horizontal part but this little sin will be hidden with sides.


- 32 replies
-
- 10
-
-
As bigpetr said, soaking is the way to go, especially with this kind of card form which laser cut parts are made (it goes by the name beermat here). CA glue is OK if you don't care about potential discoloration (which is fine for frames) and if you are not allergic to its fumes. Since I am allergic I've decided to try something different and I soaked through all laser cut parts in a can of nitro lacquer. It is not as hard as with CA so it is easier to sand but nitro helps keep its structure. I've also painted all printed parts with two layers of nitro. I use 180 grit sandpaper and miniscule amounts of pressure.
-
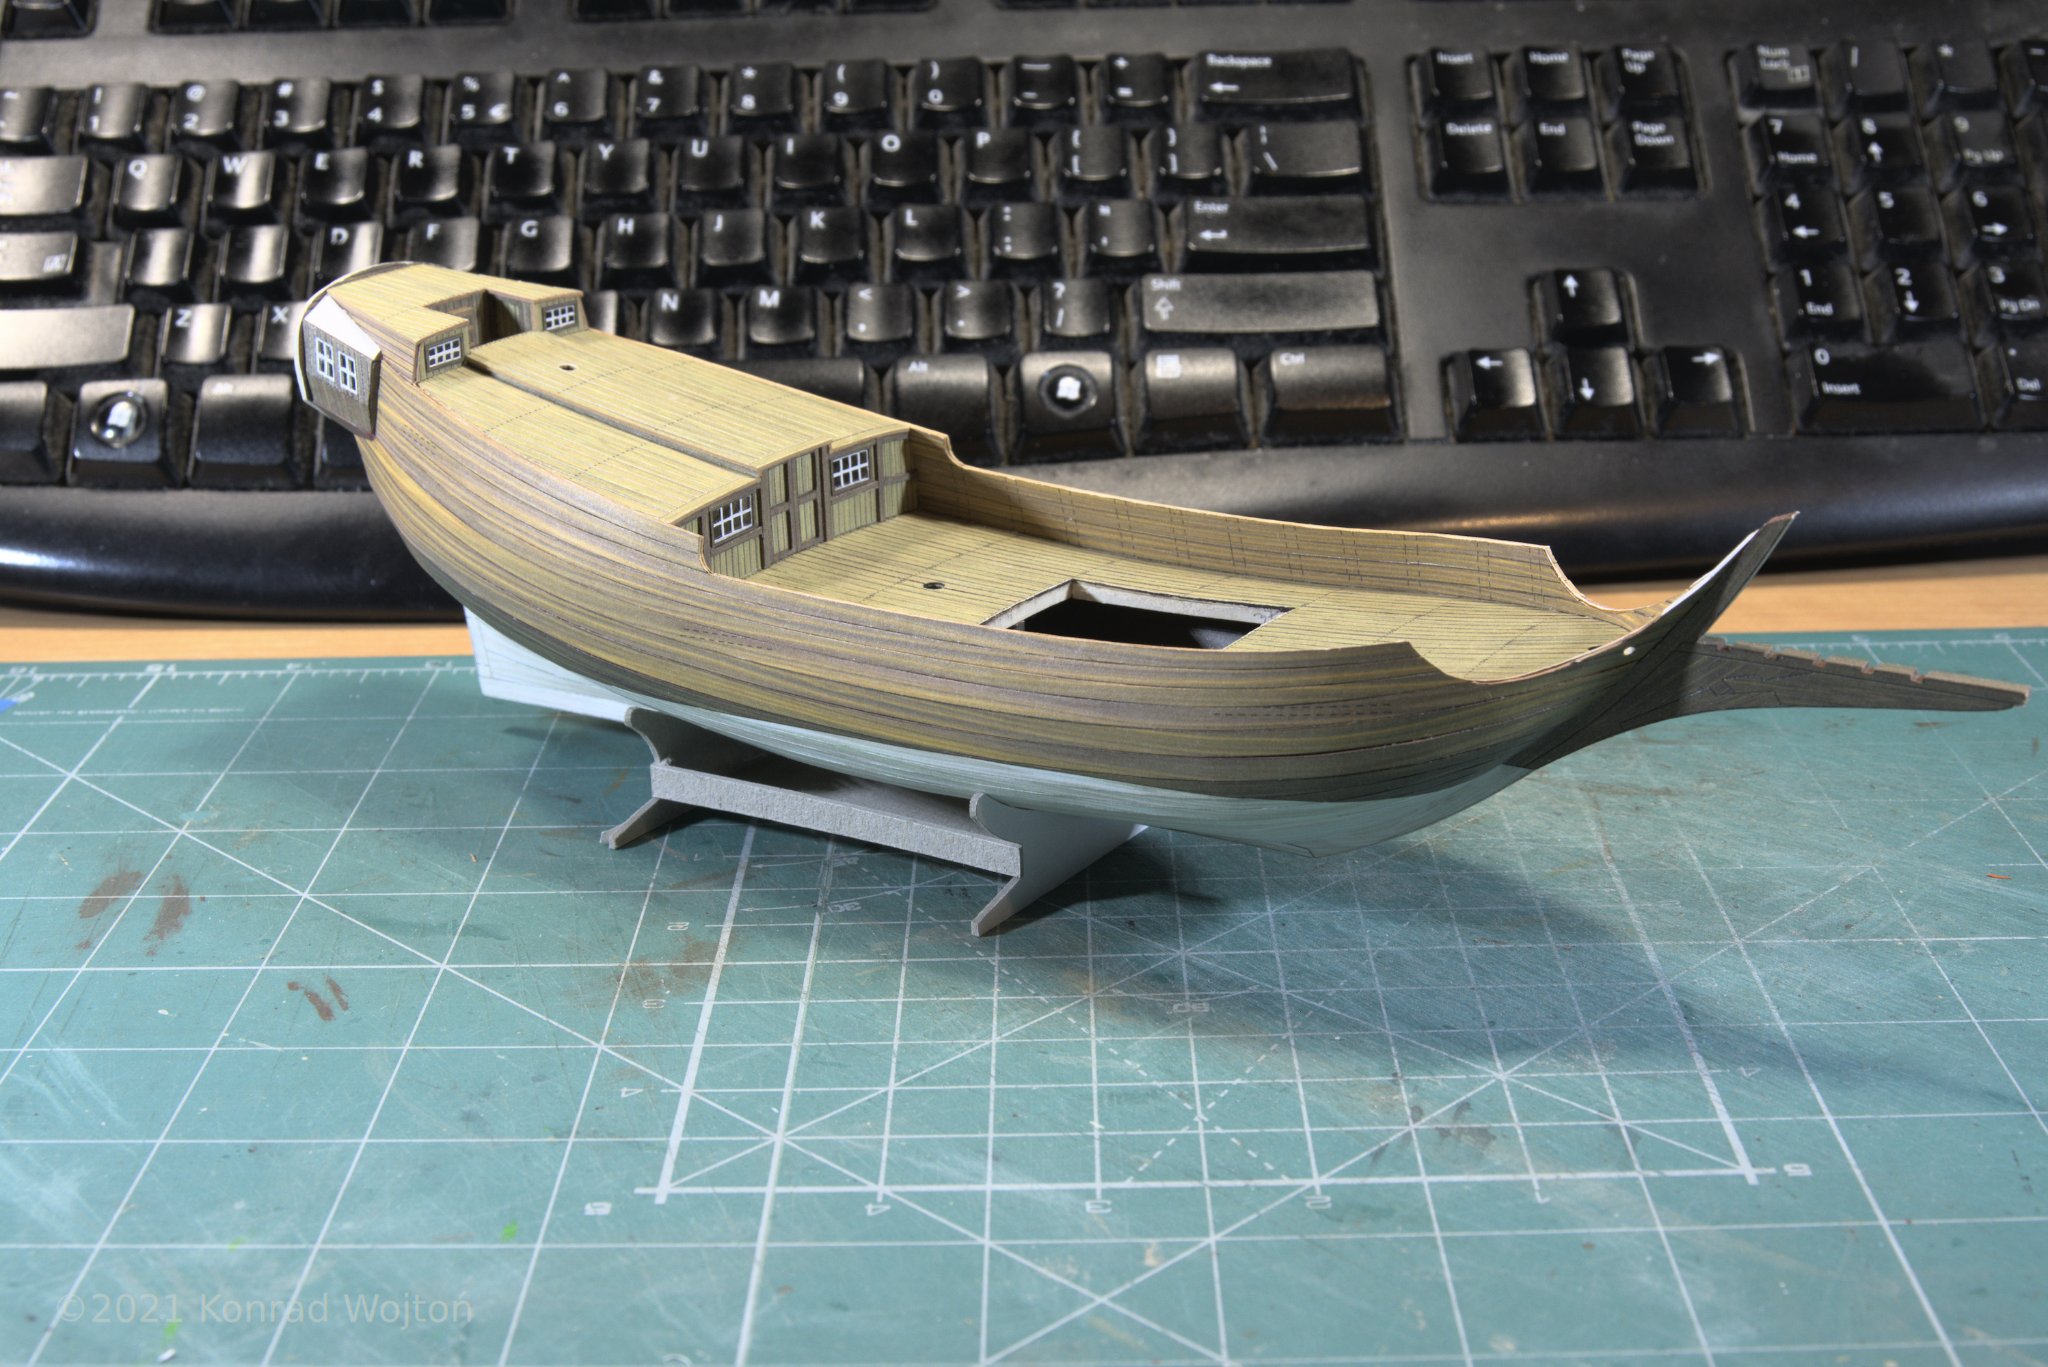
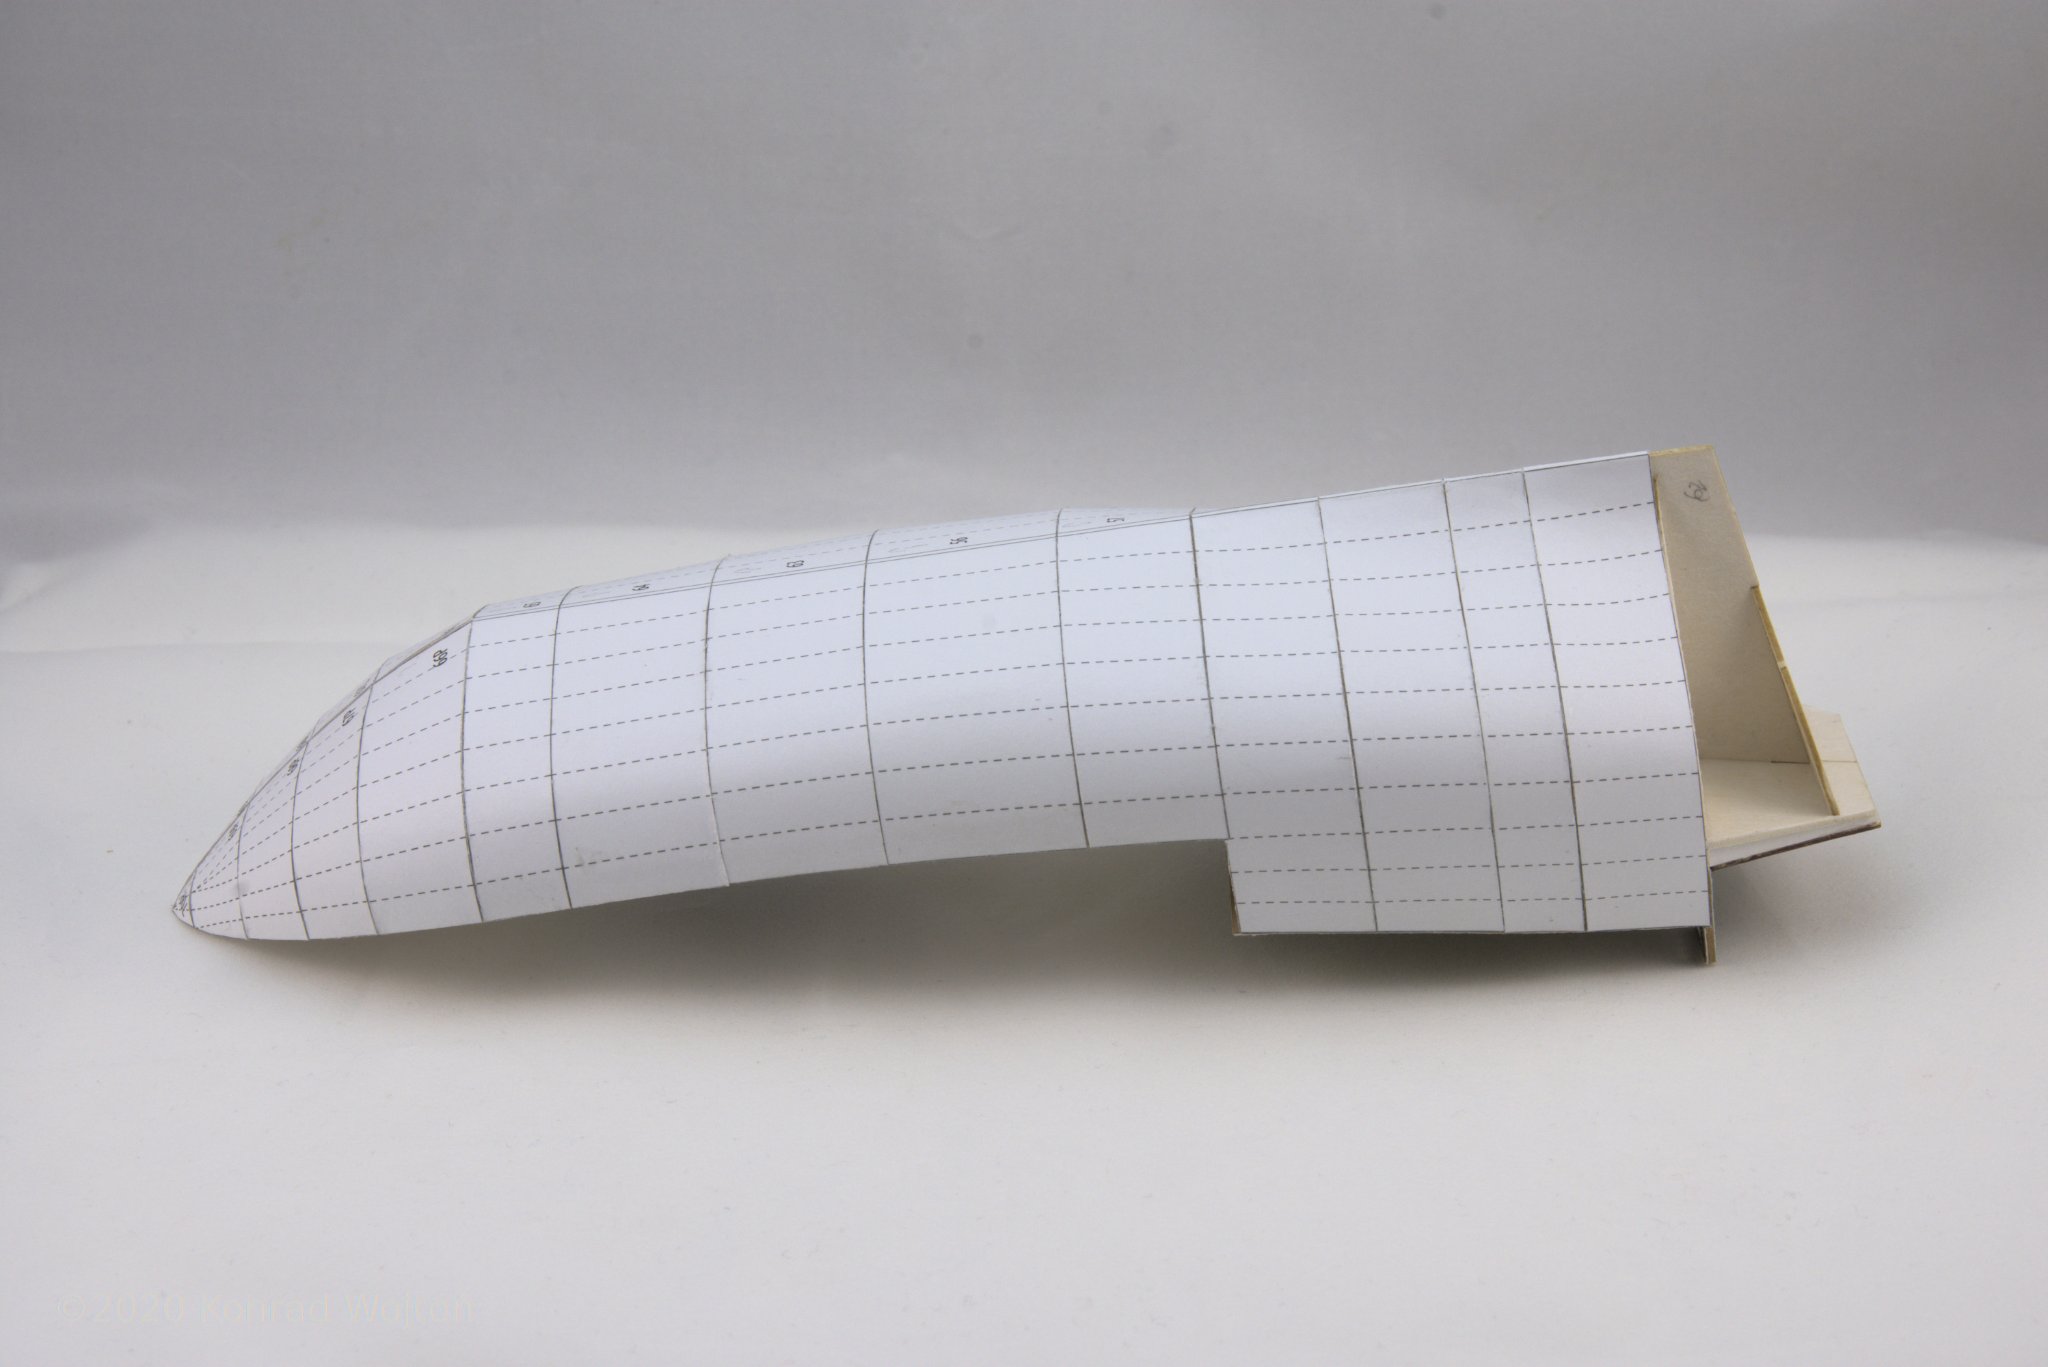
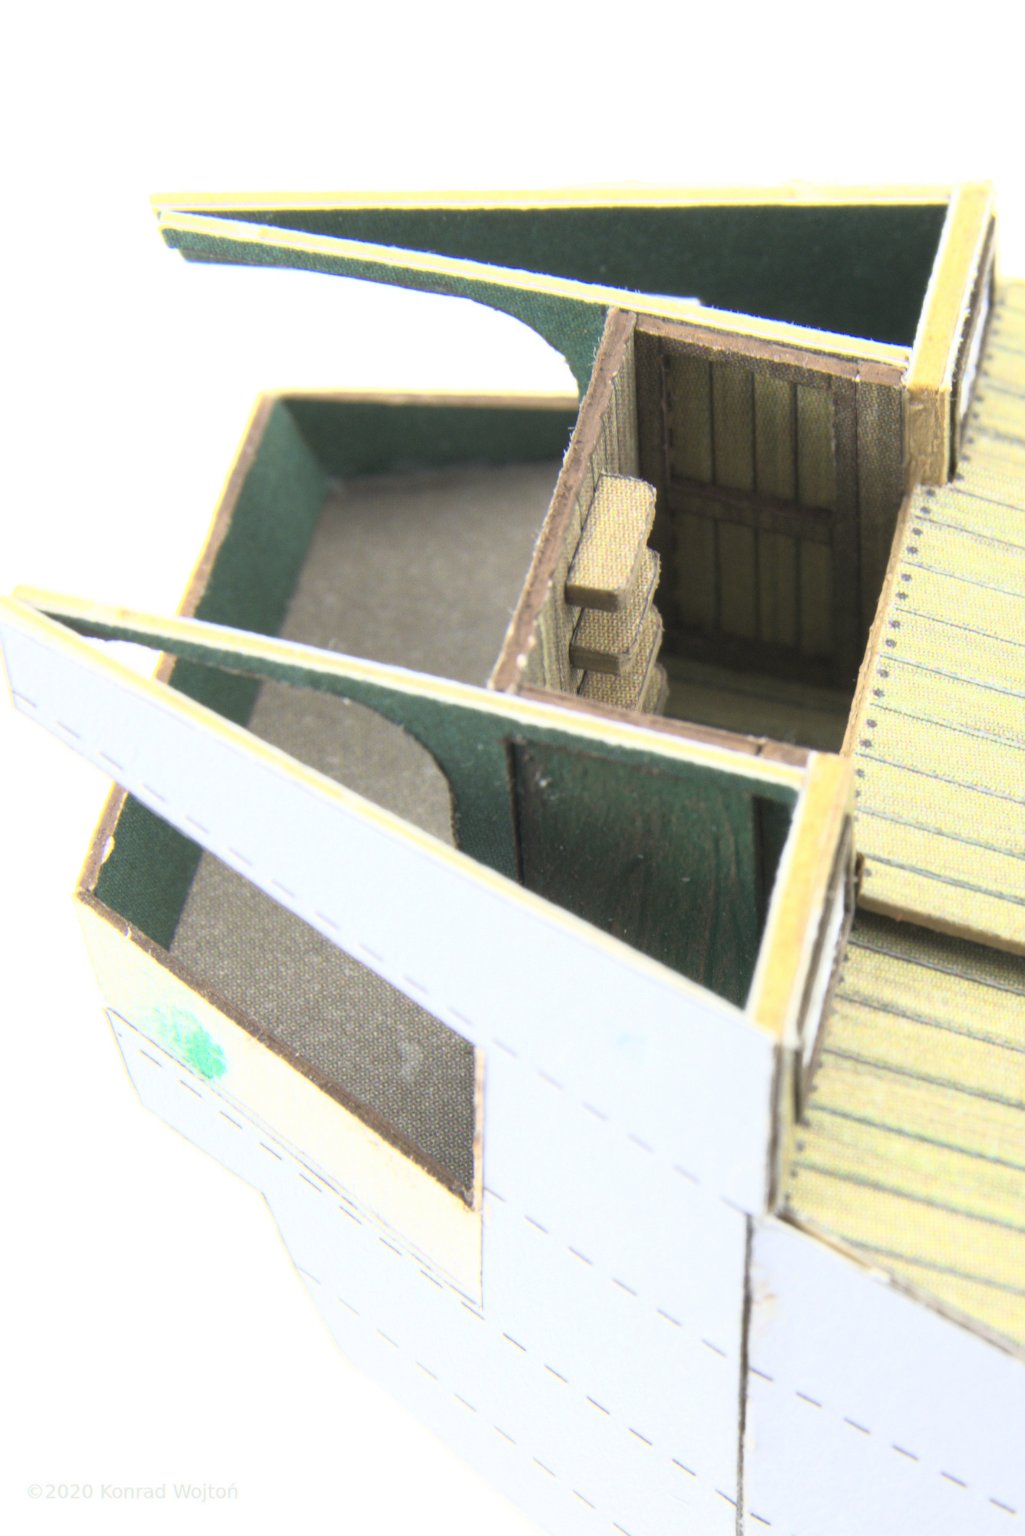
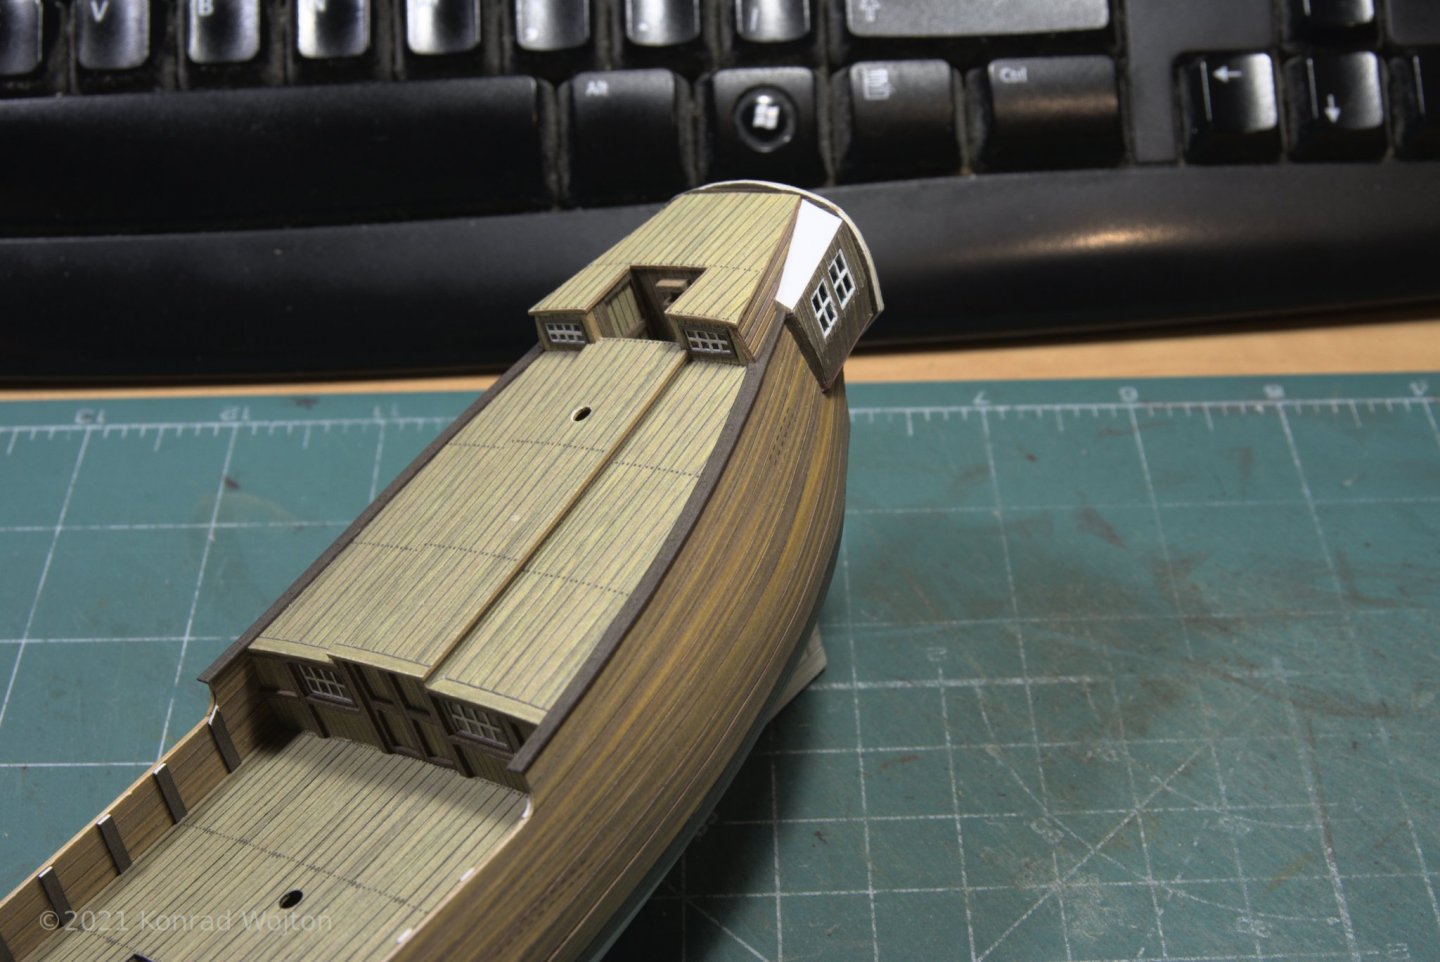
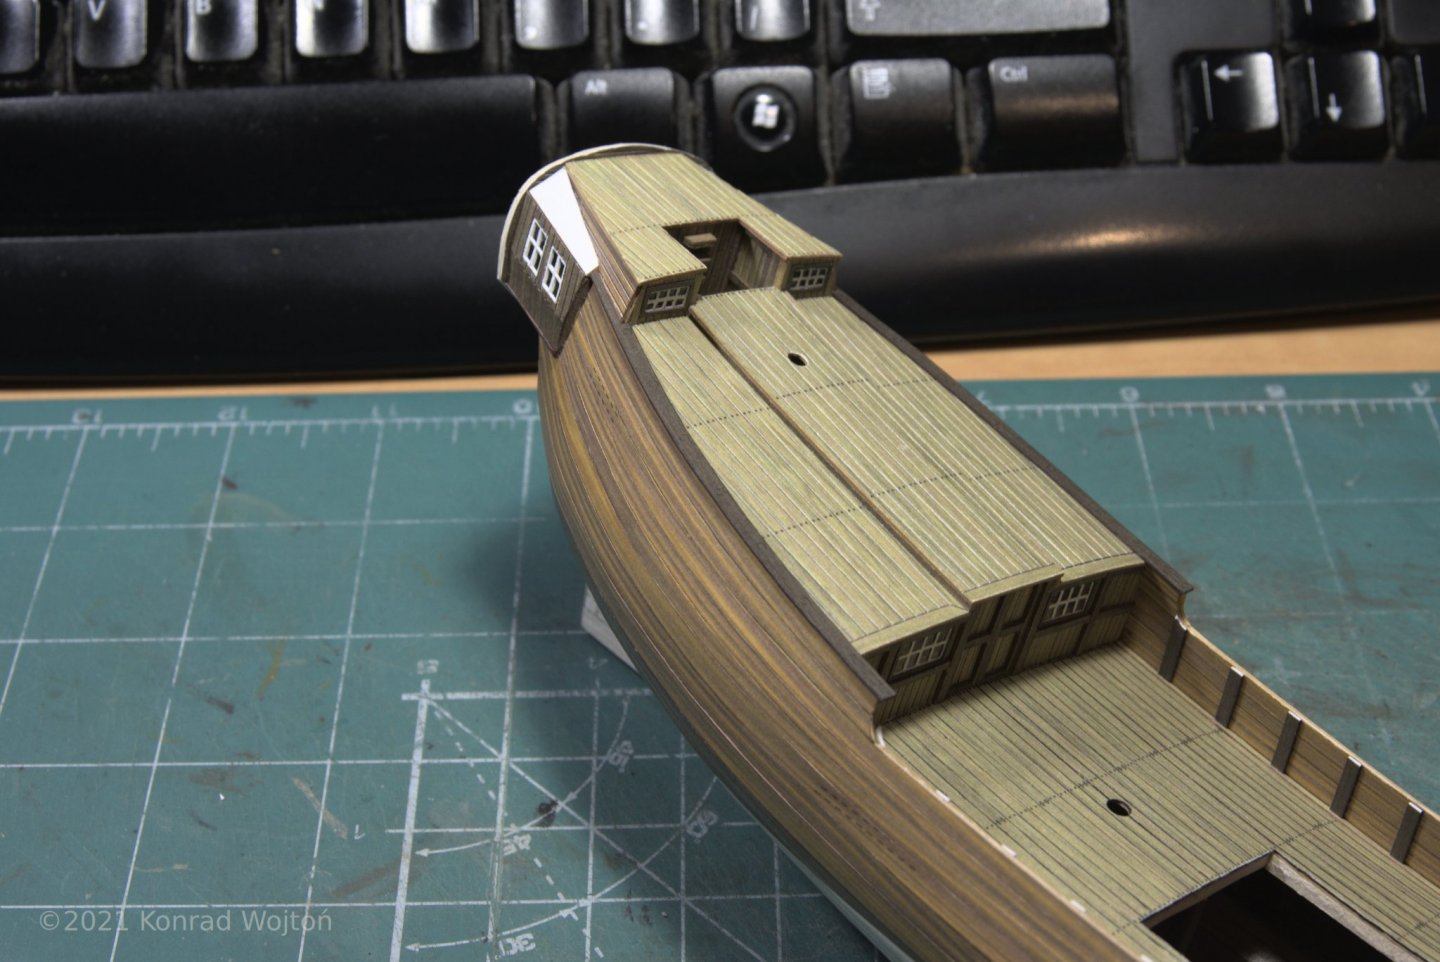
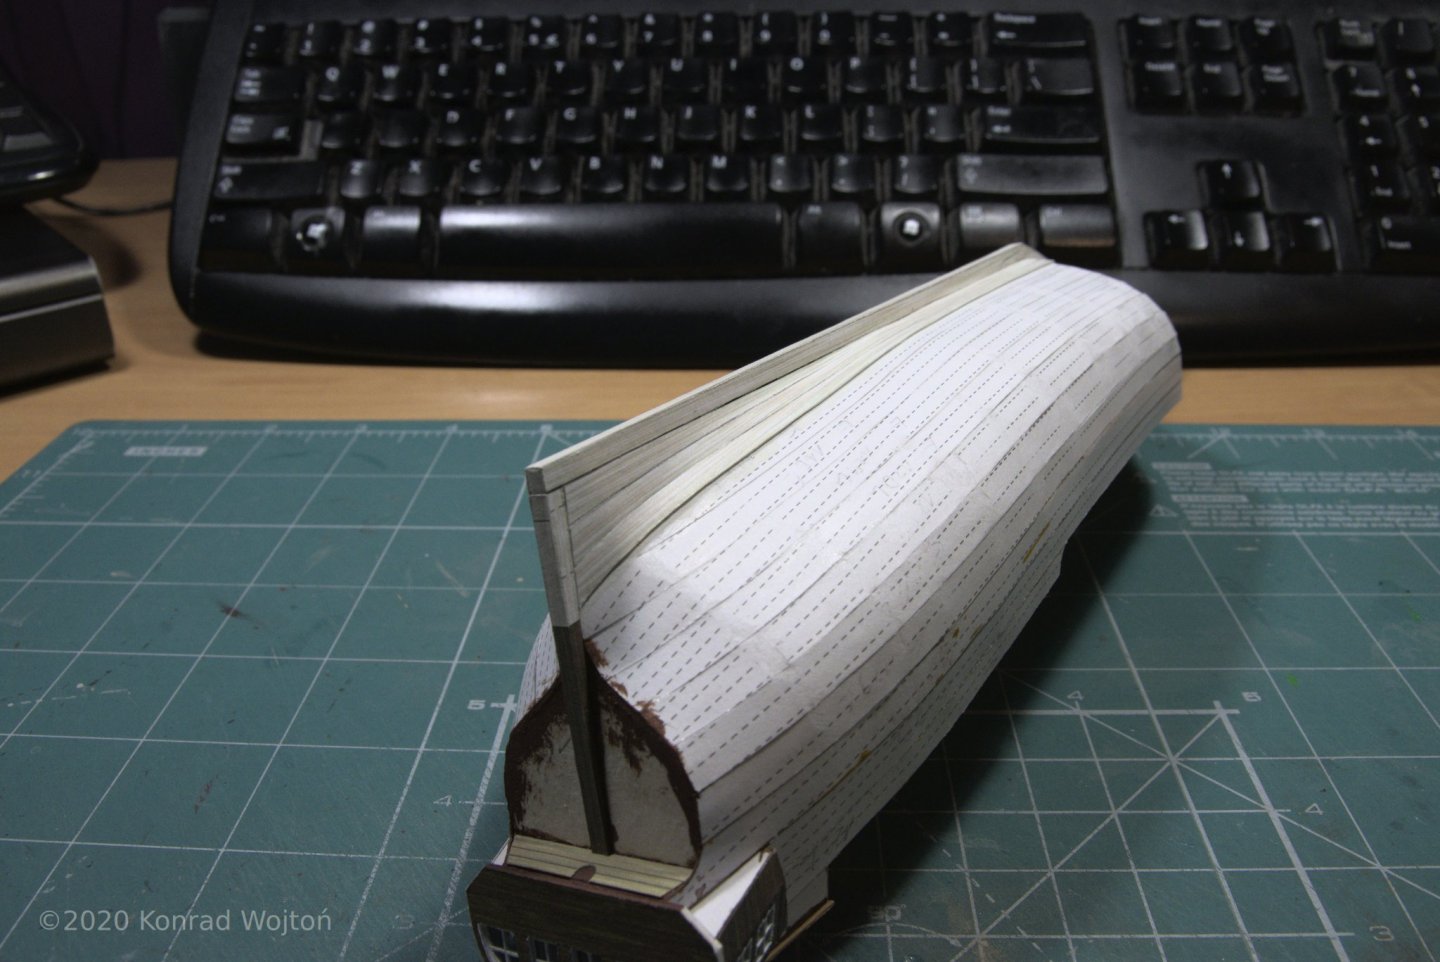
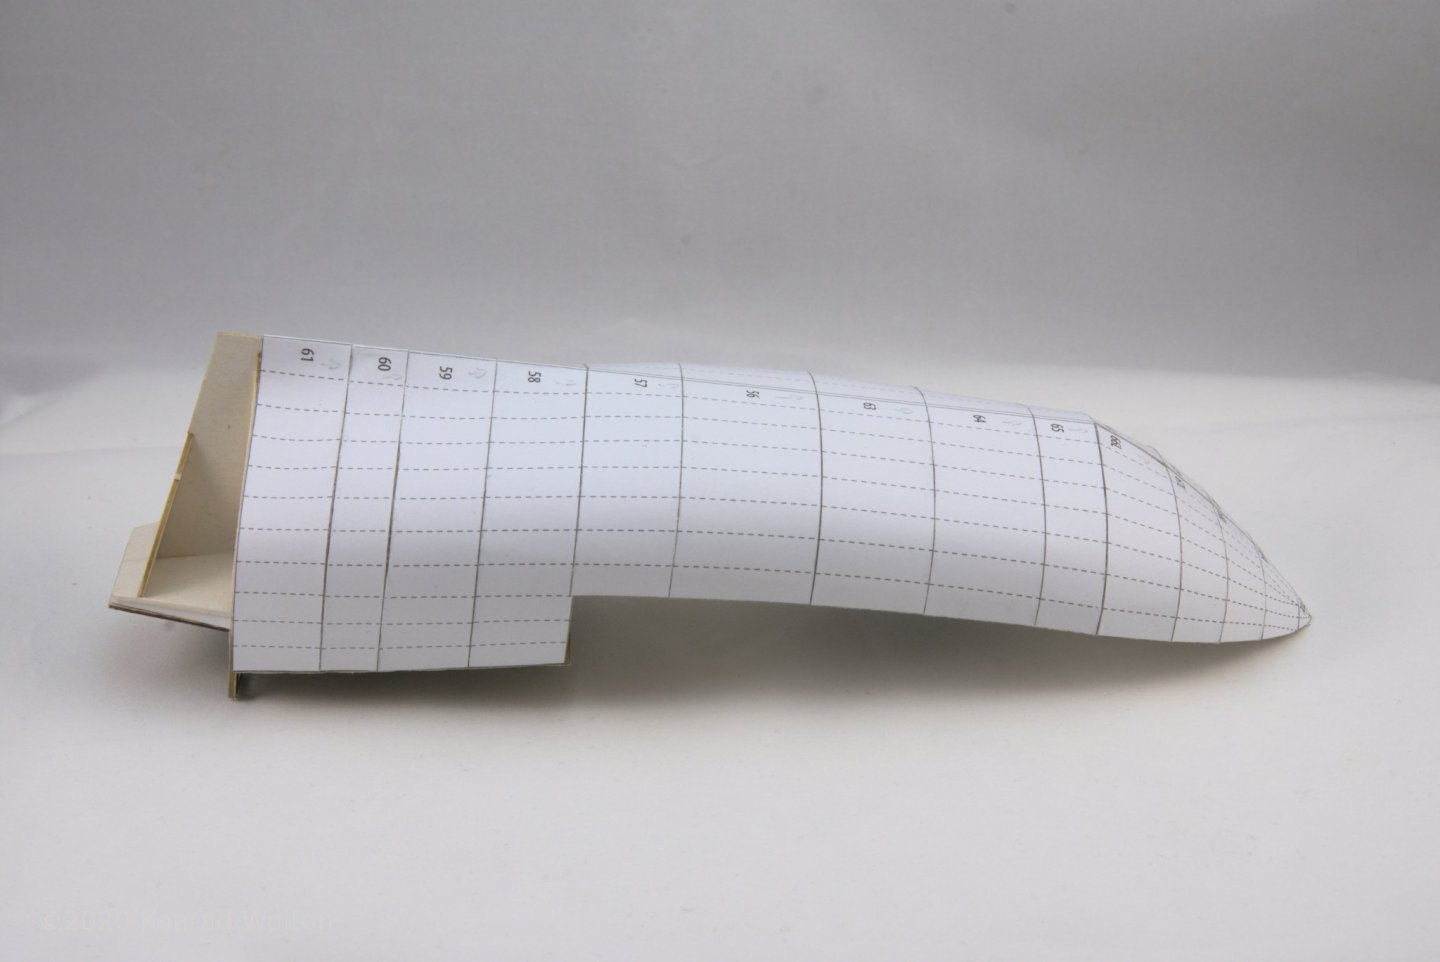
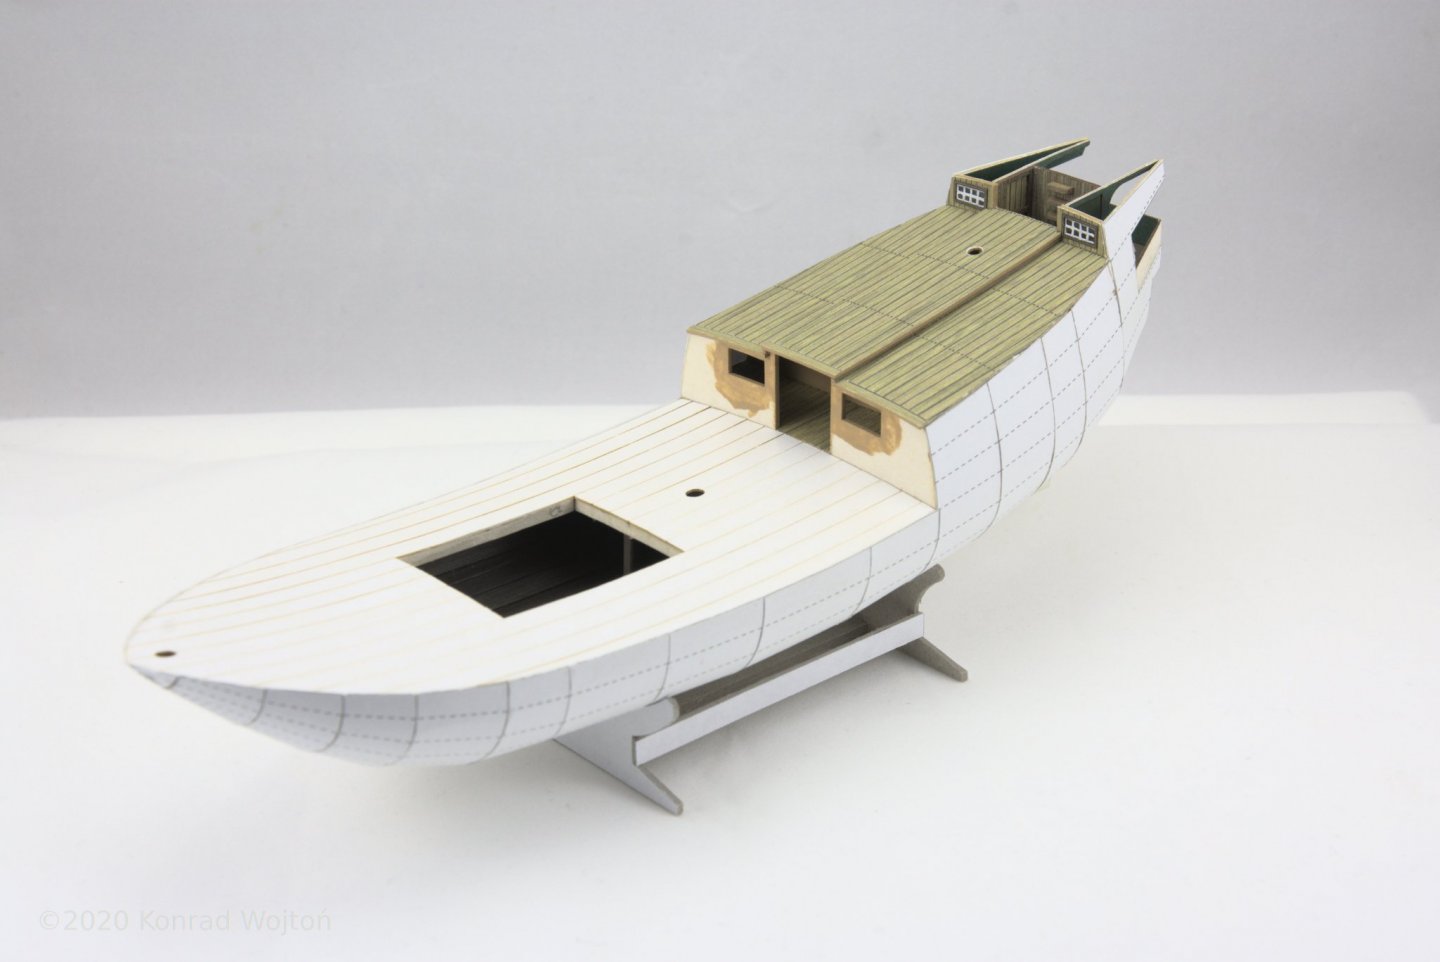
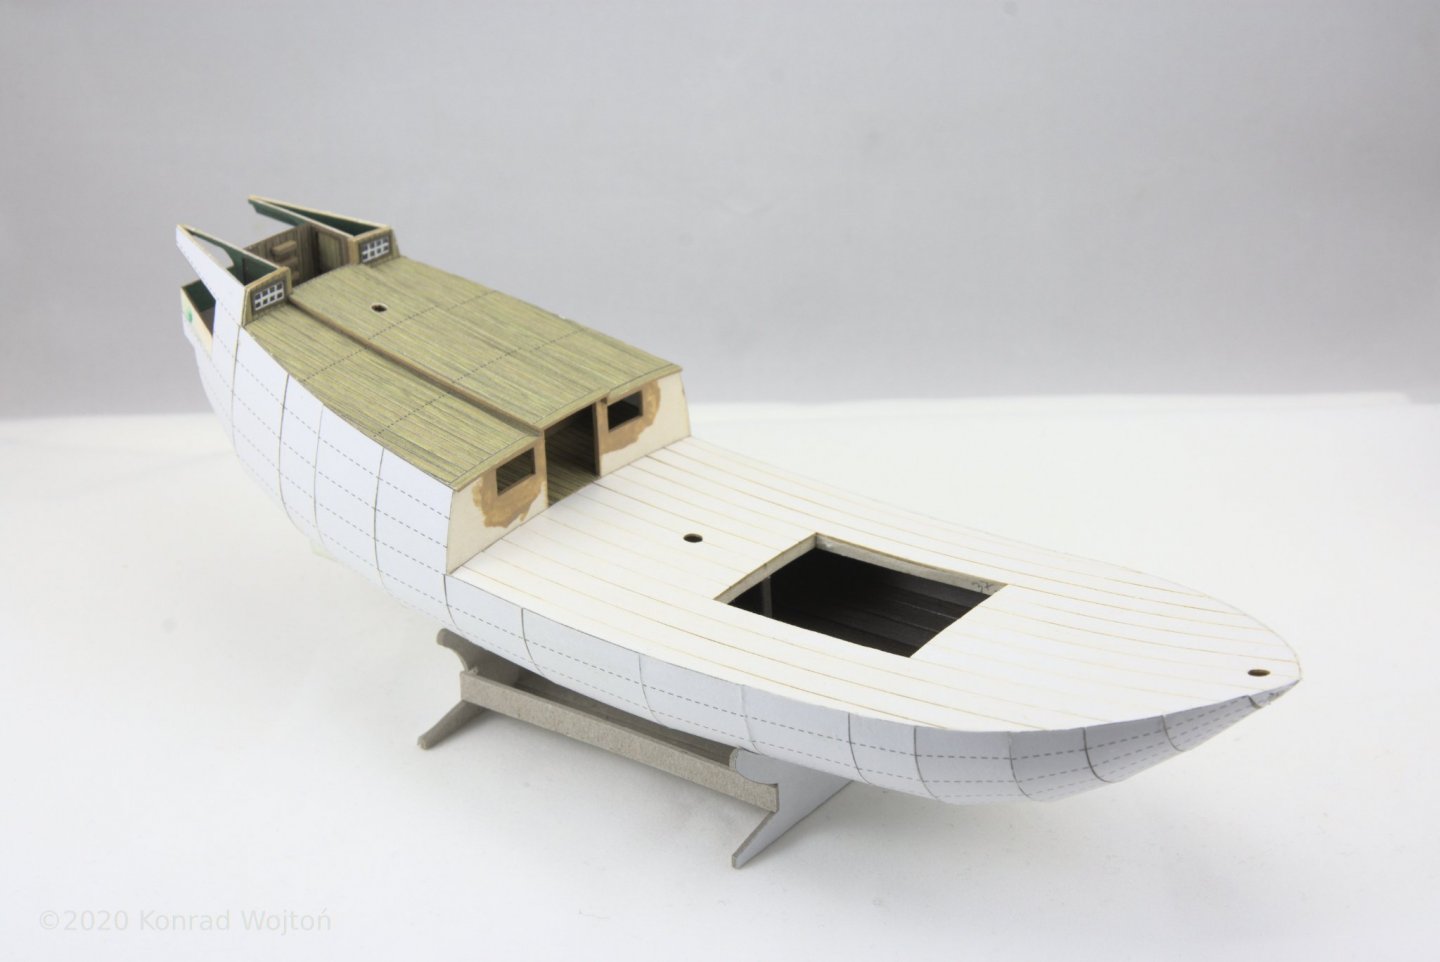
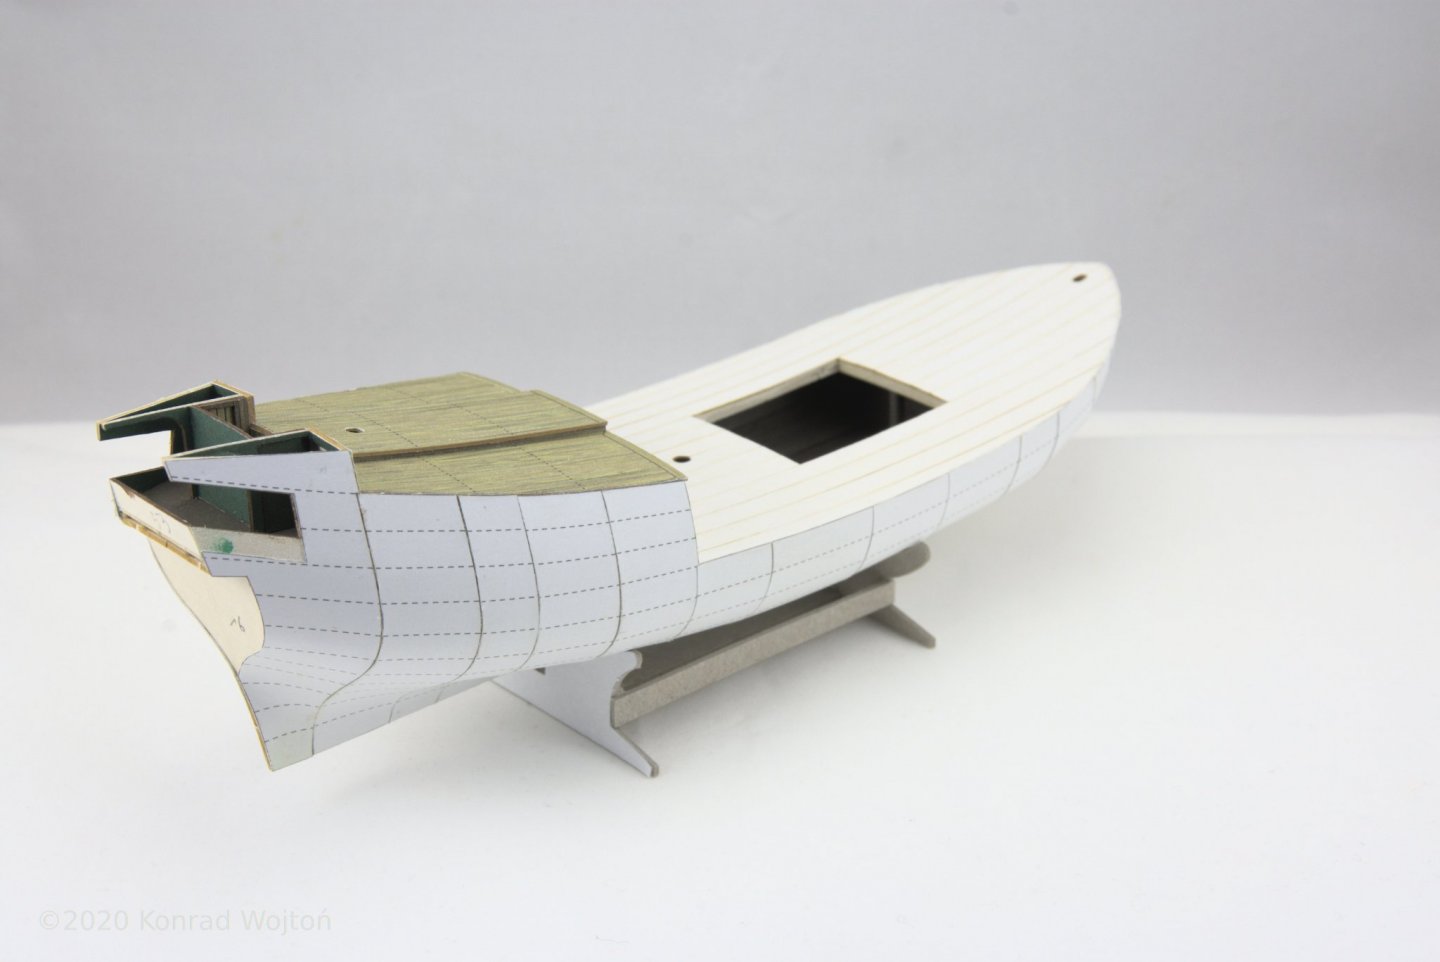
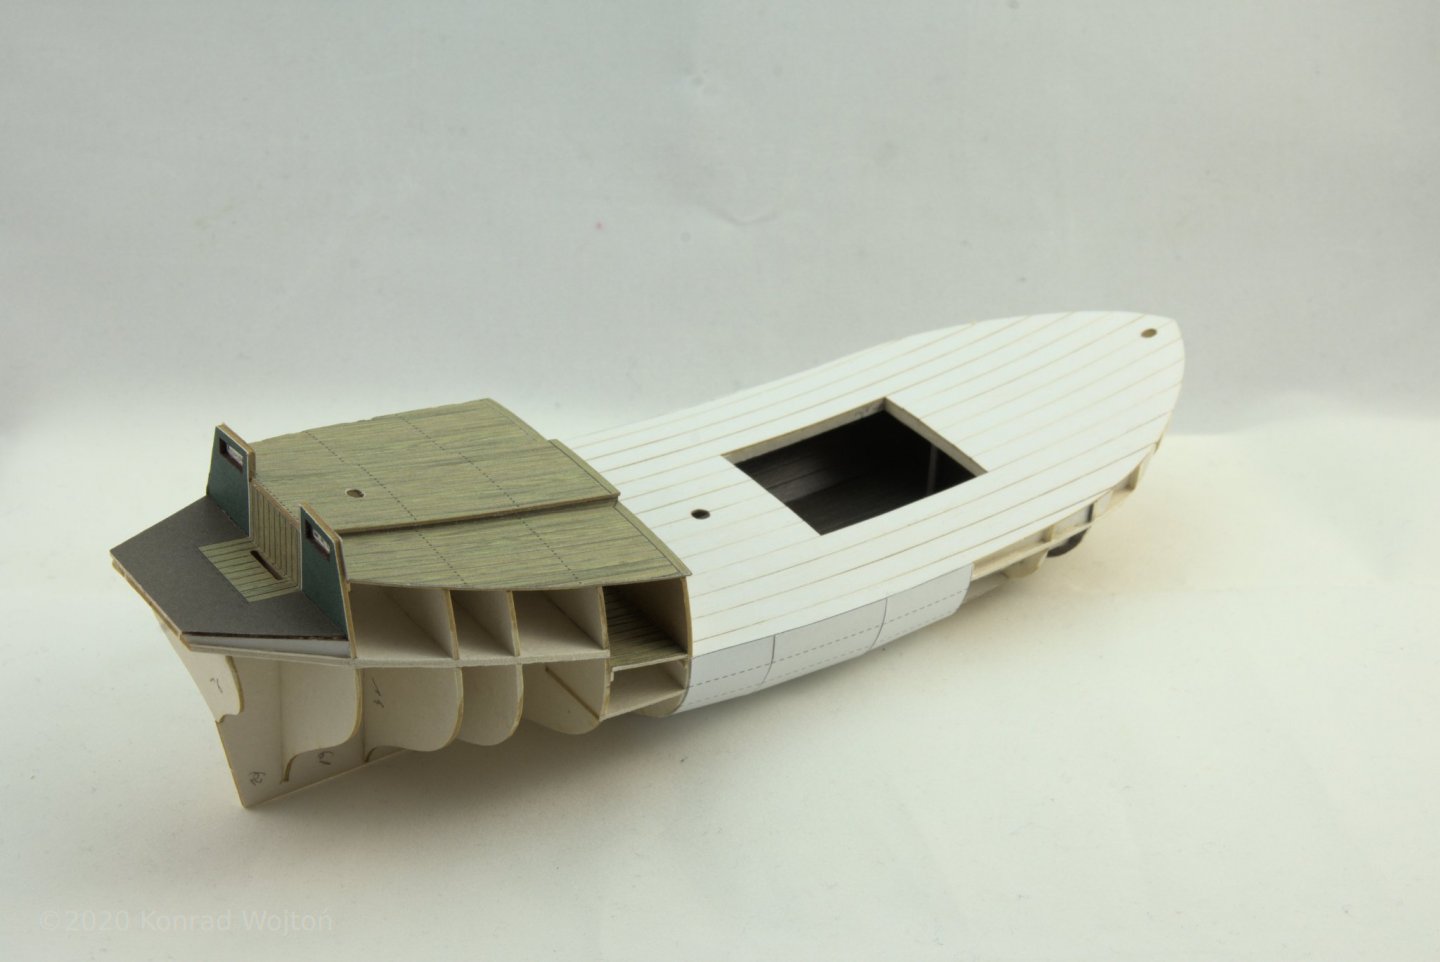
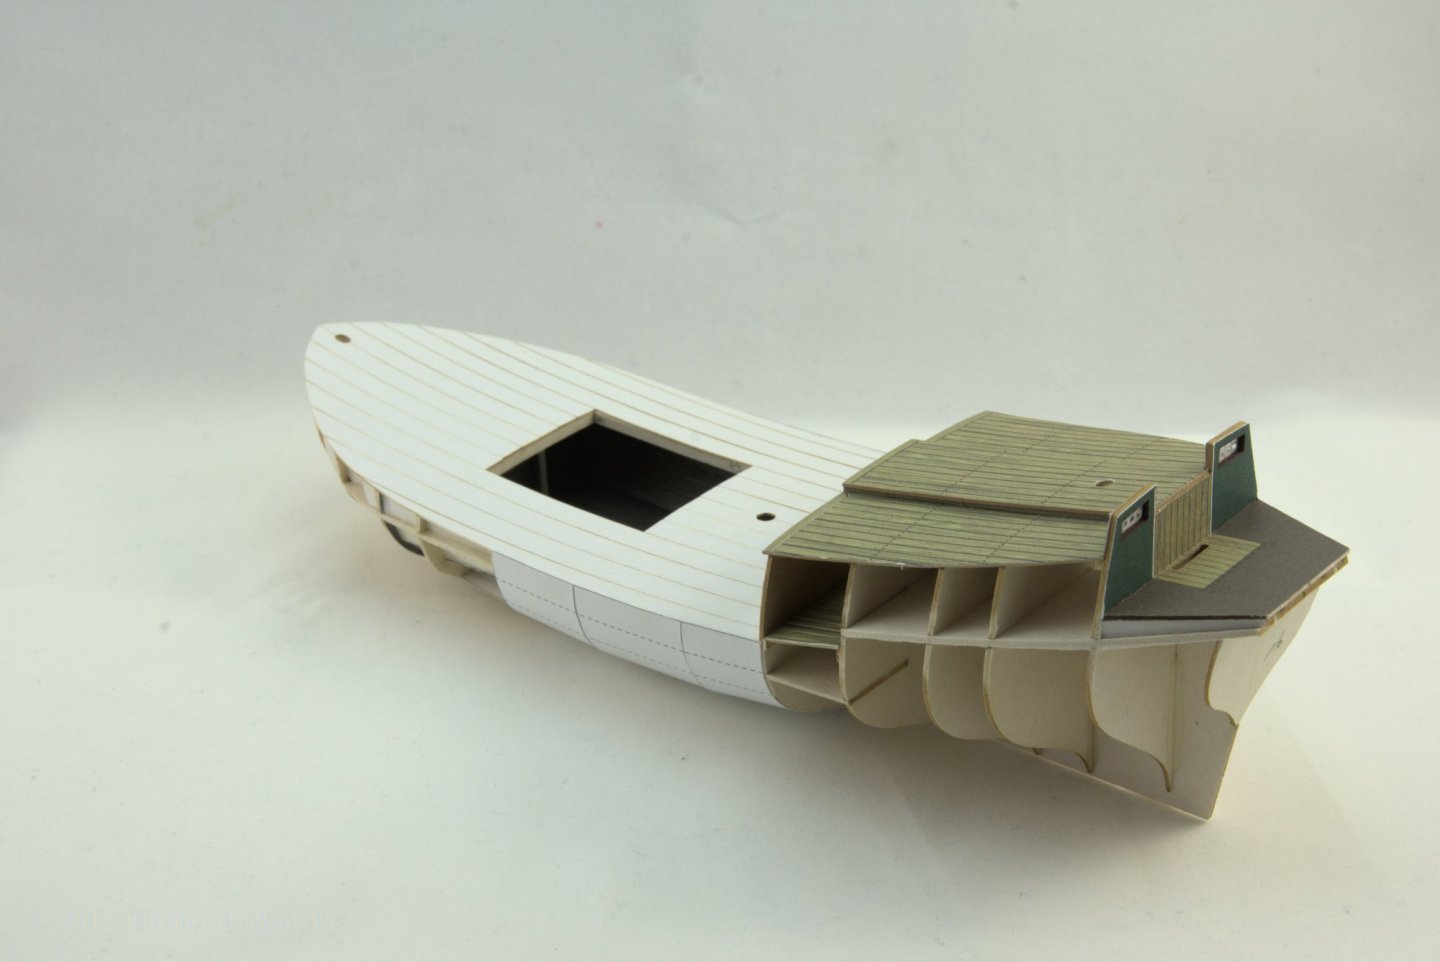
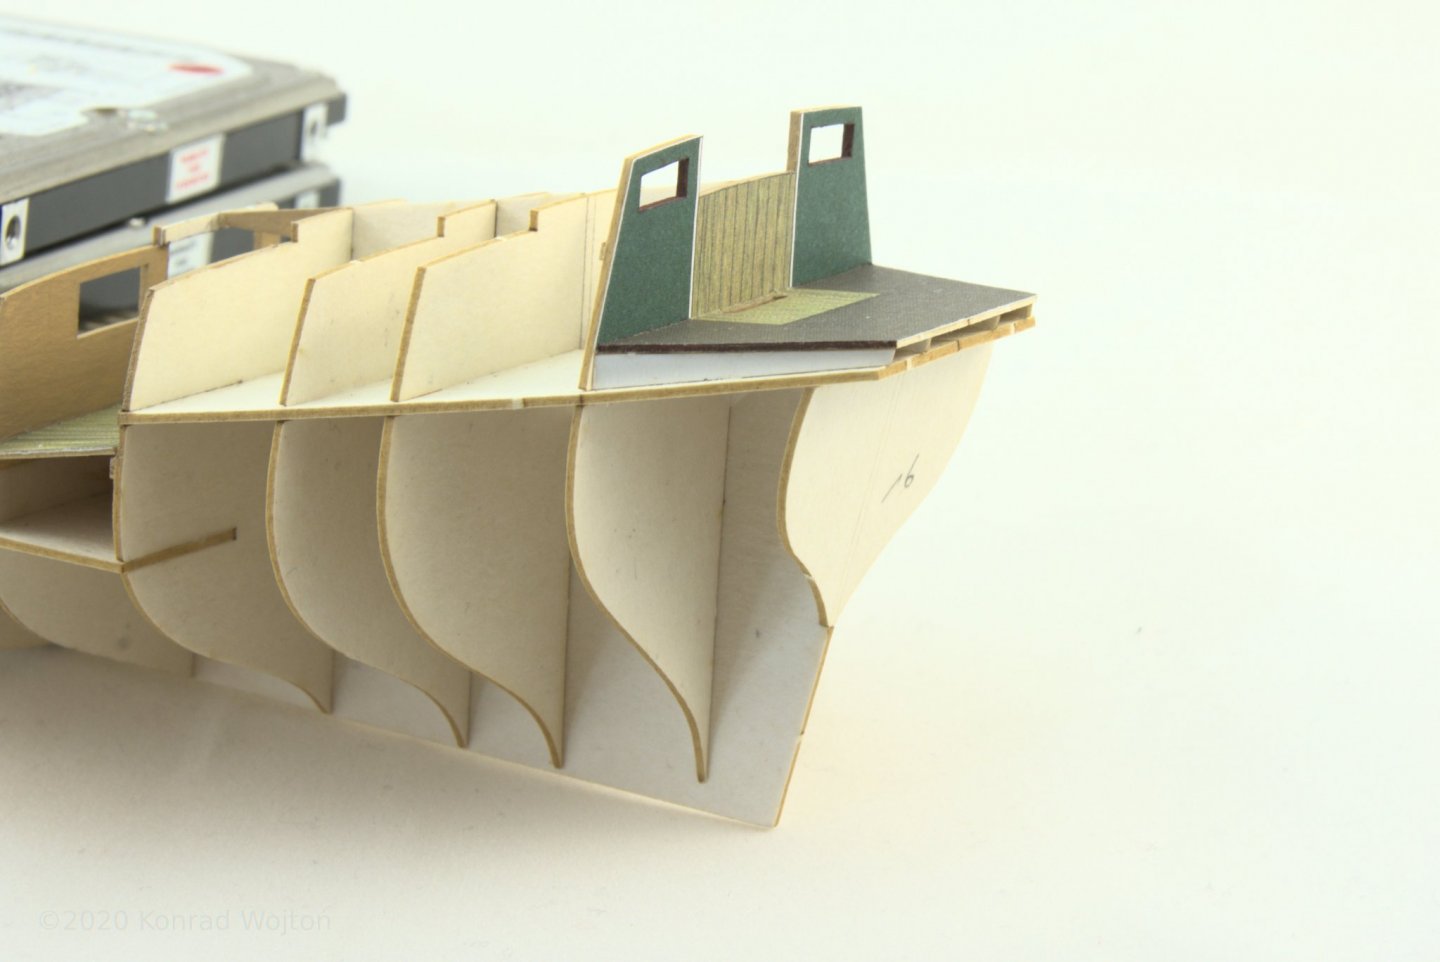
Time for another update. At first I've glued almost all parts of first layer of skin, leaving only last piece covering stern. After that it was time to roughly shape up stern cabin. Doors happened to be a little to large and needed slight trimming. Current progress


-
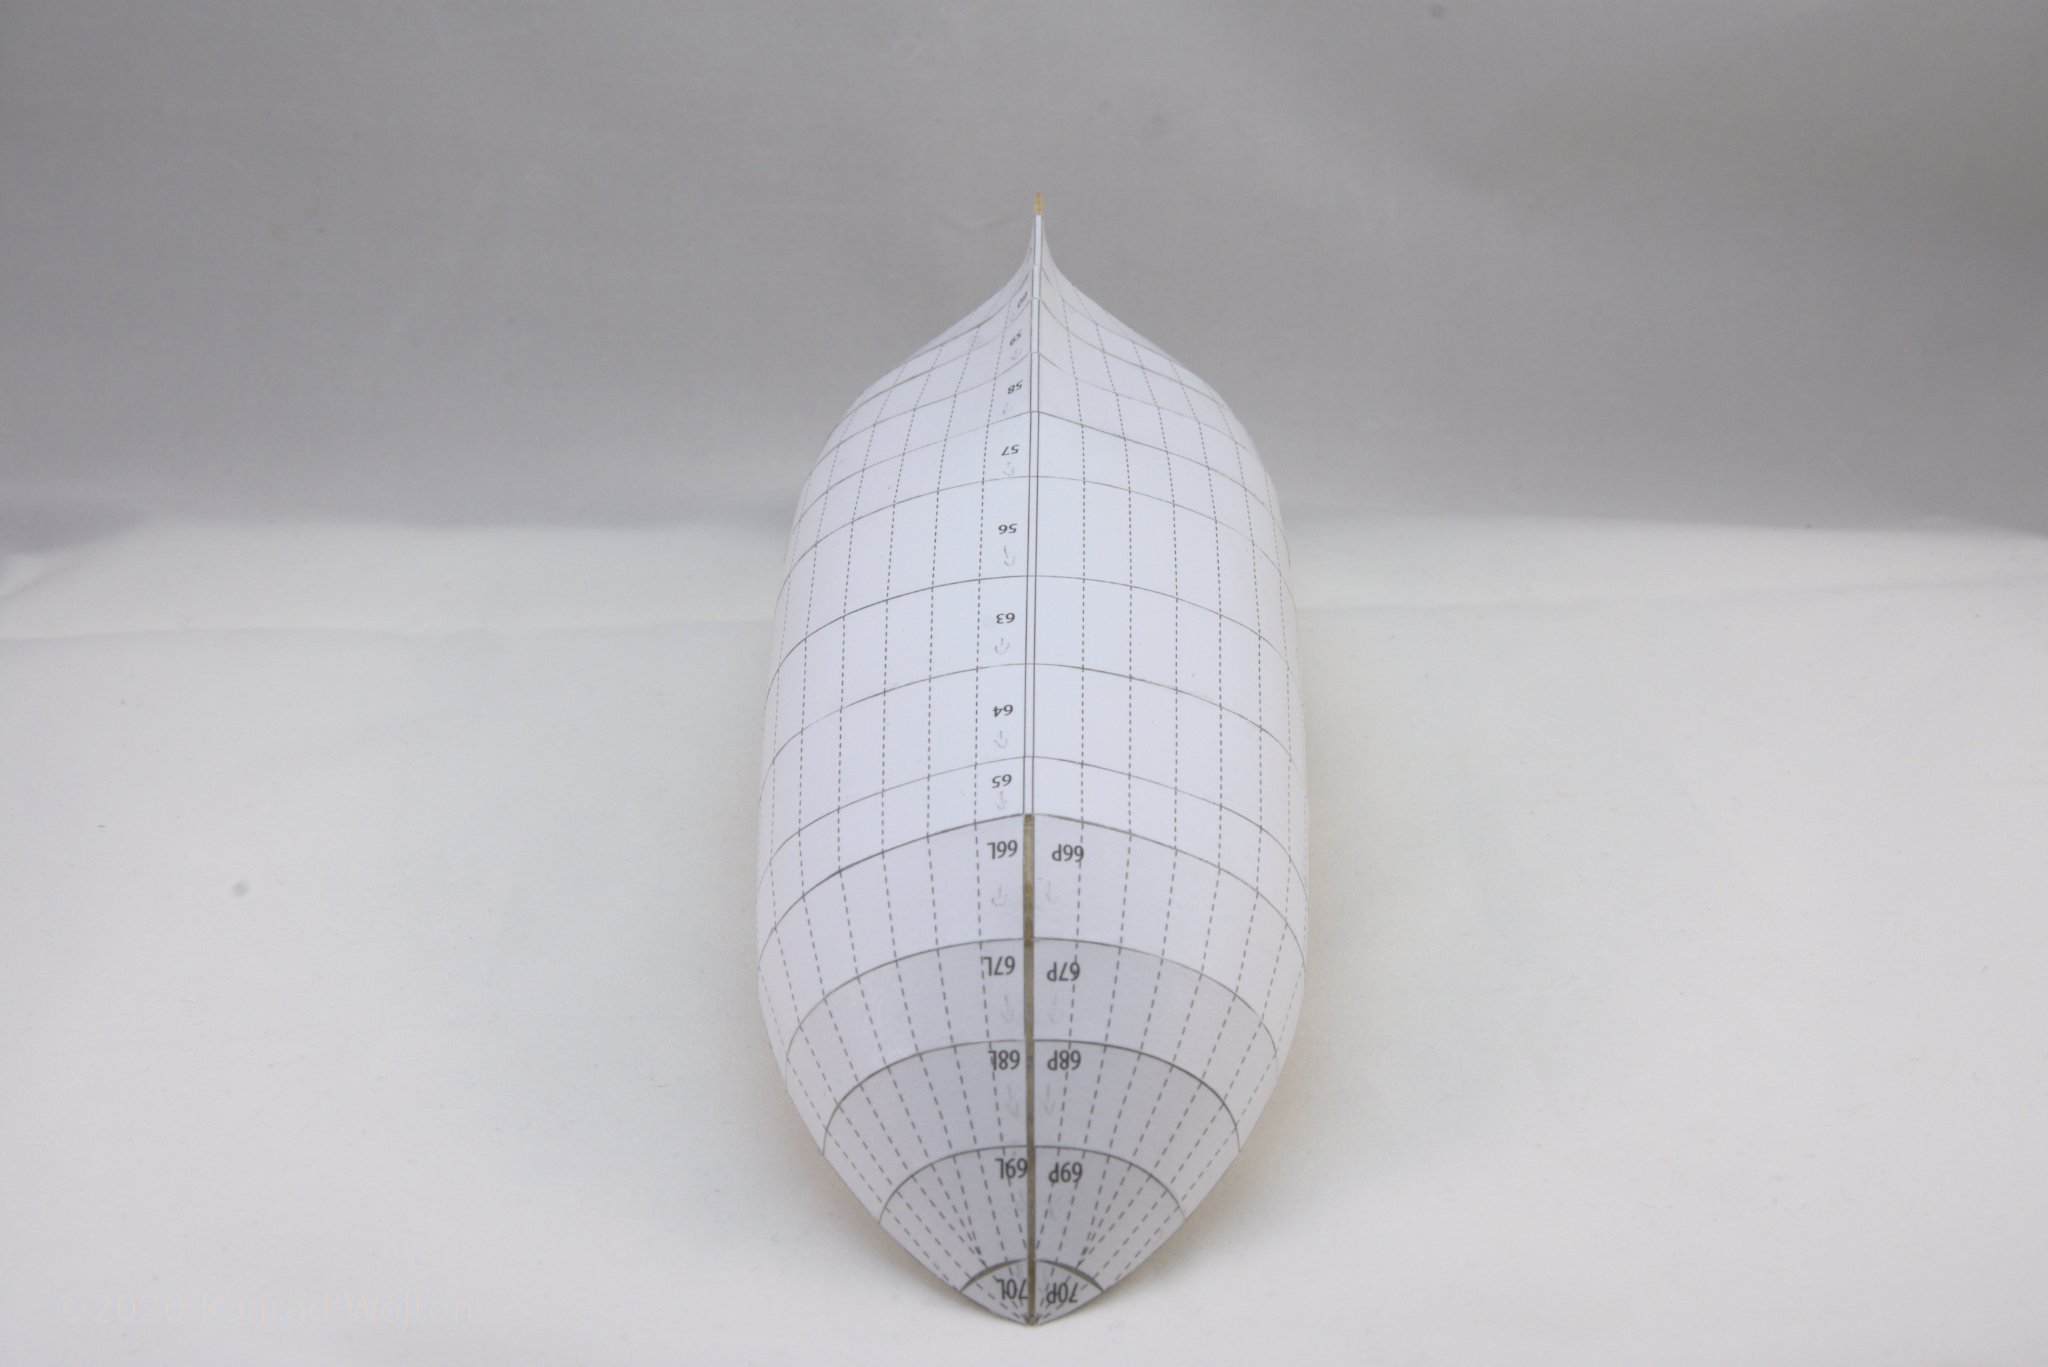
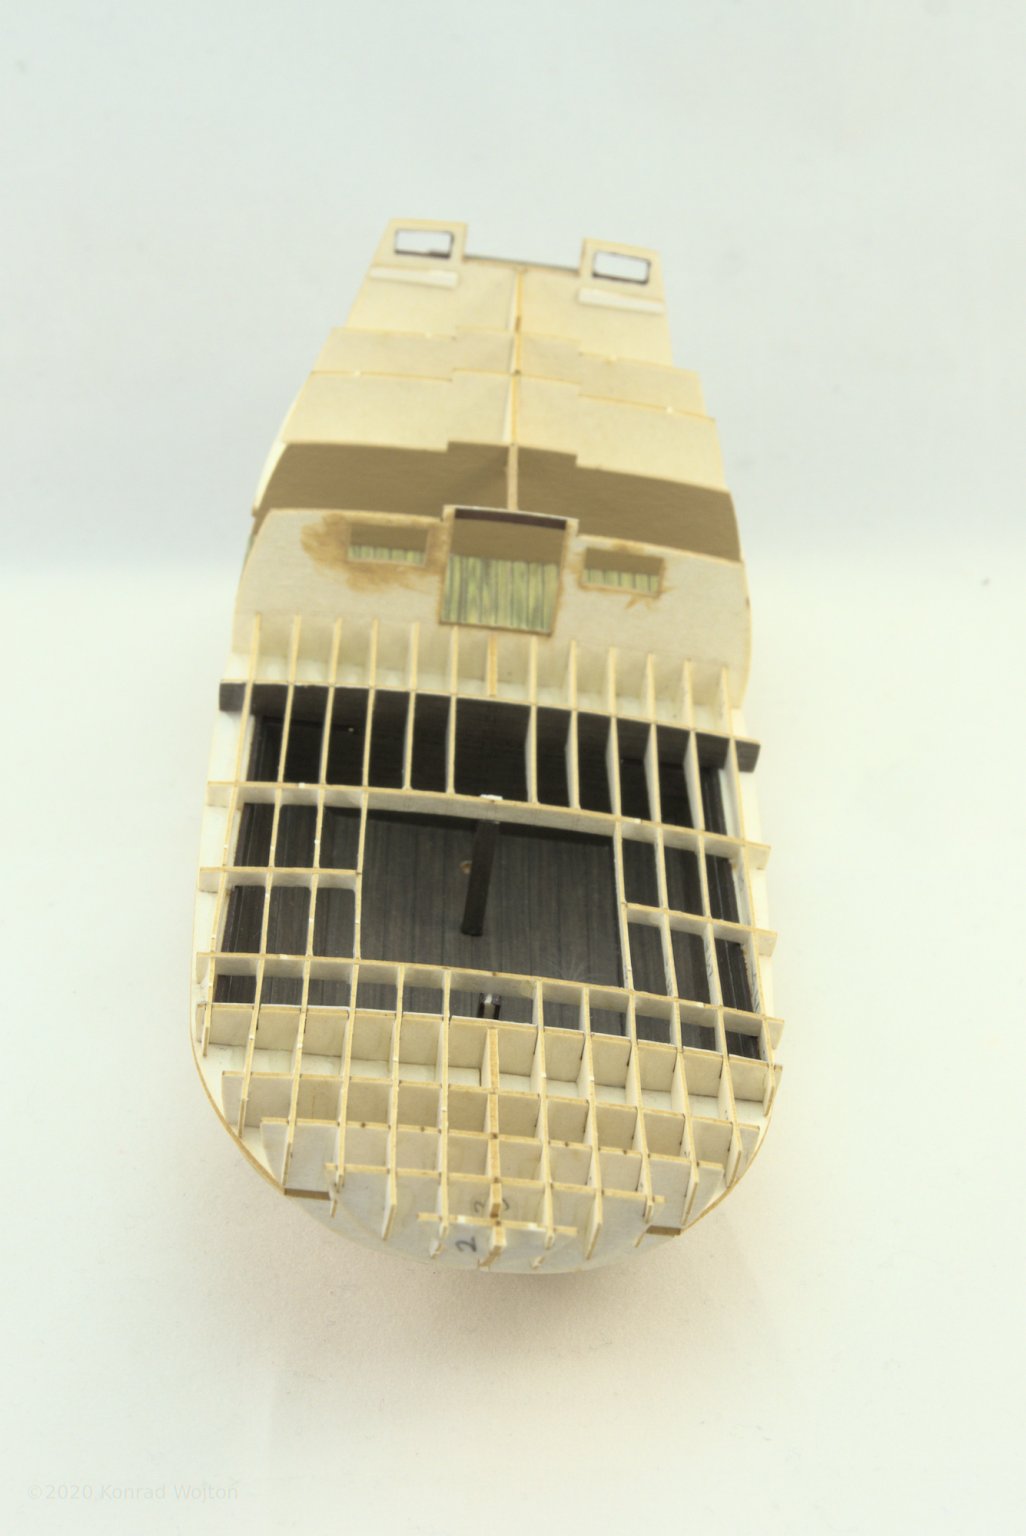
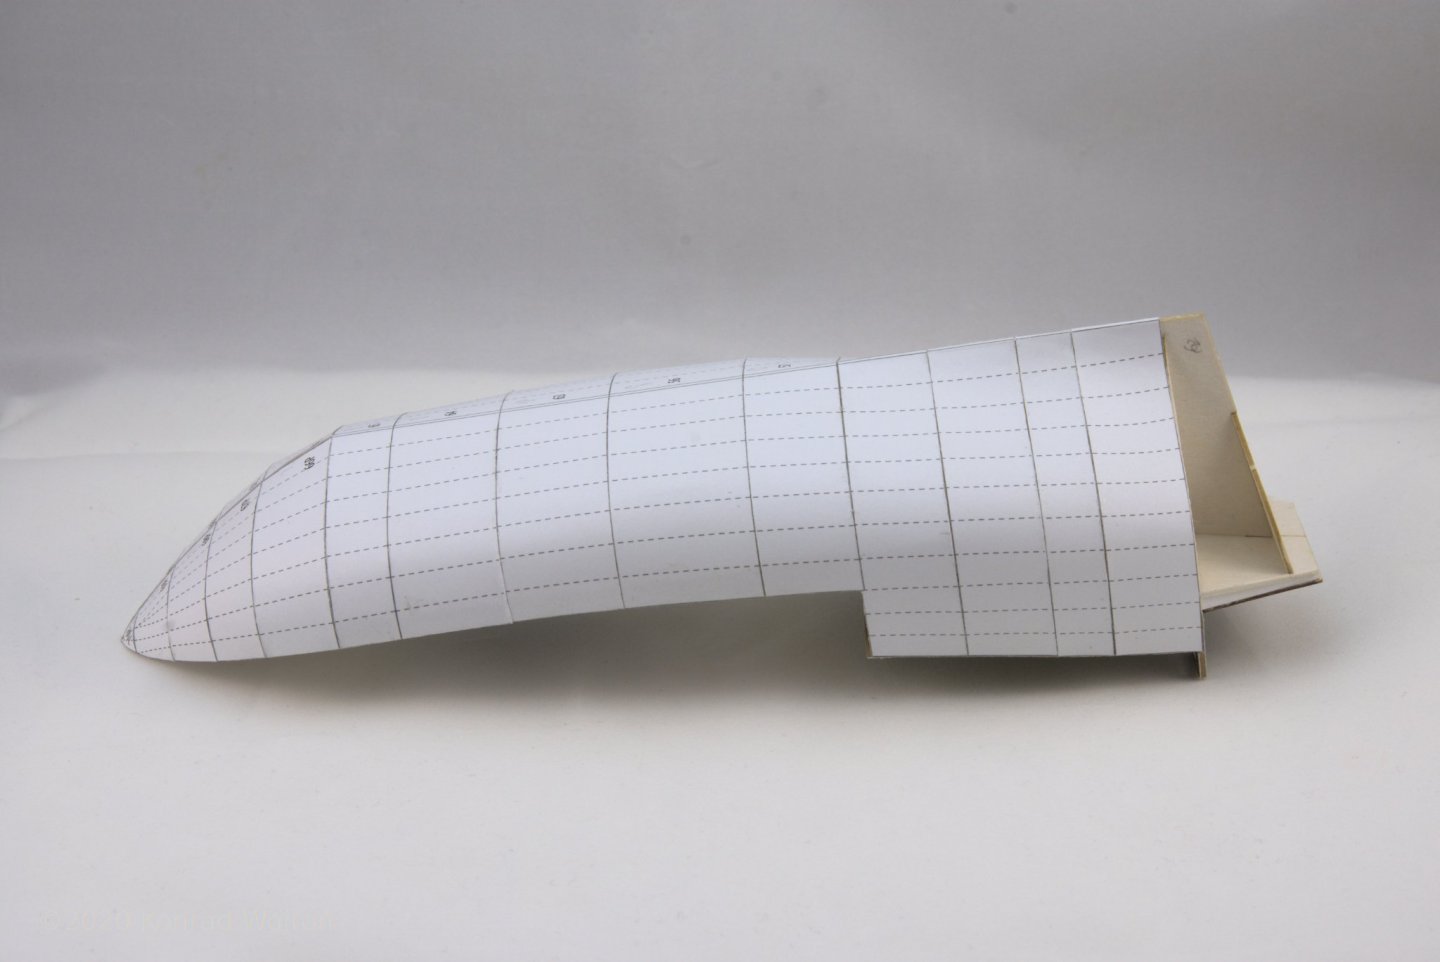
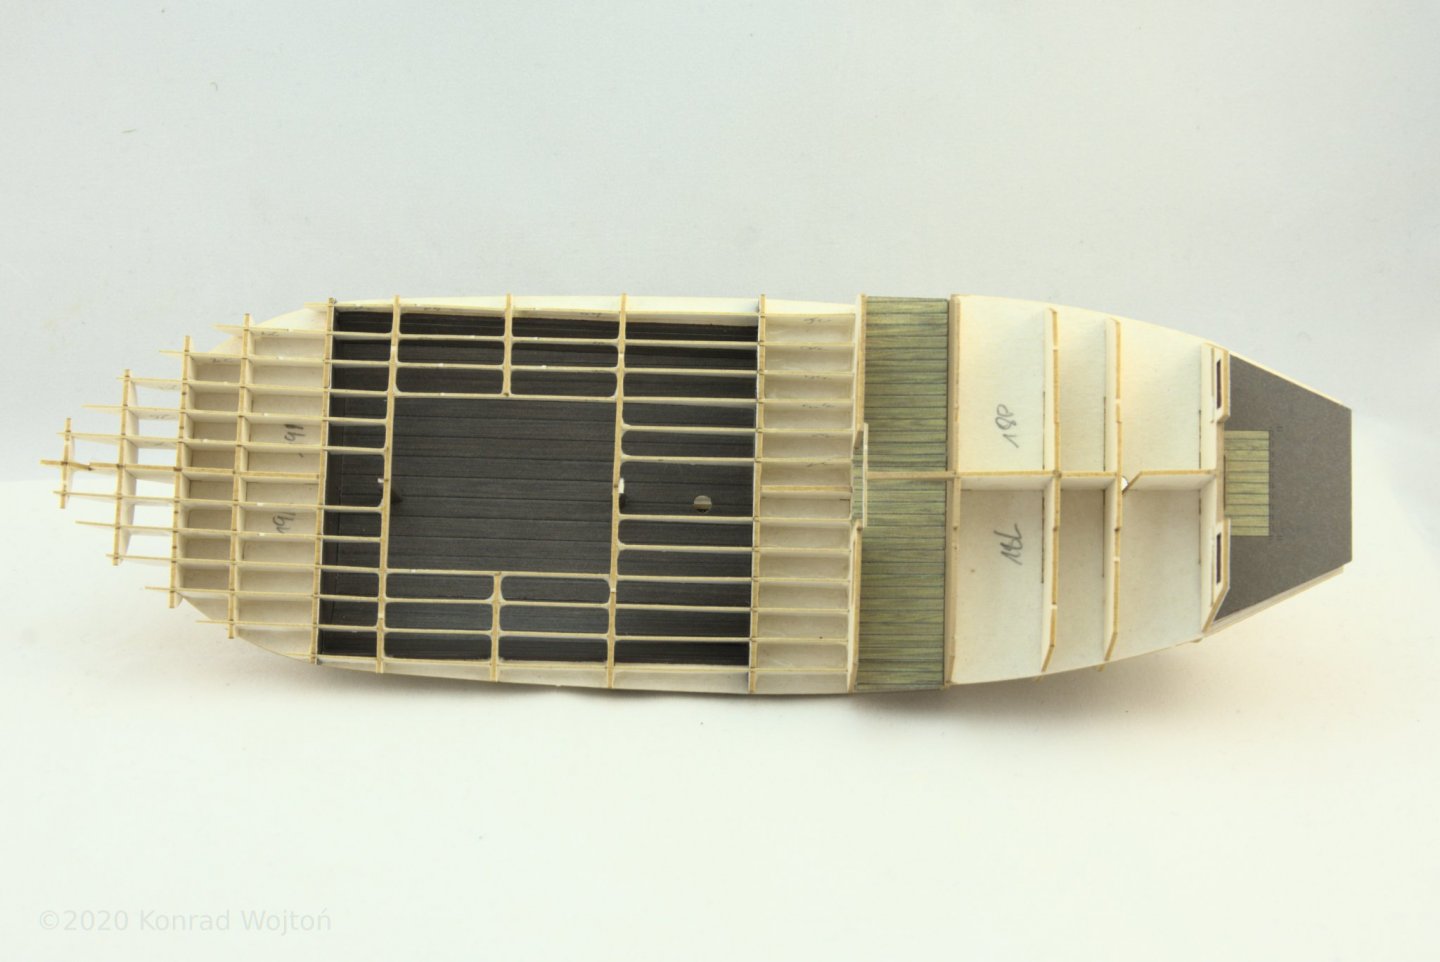
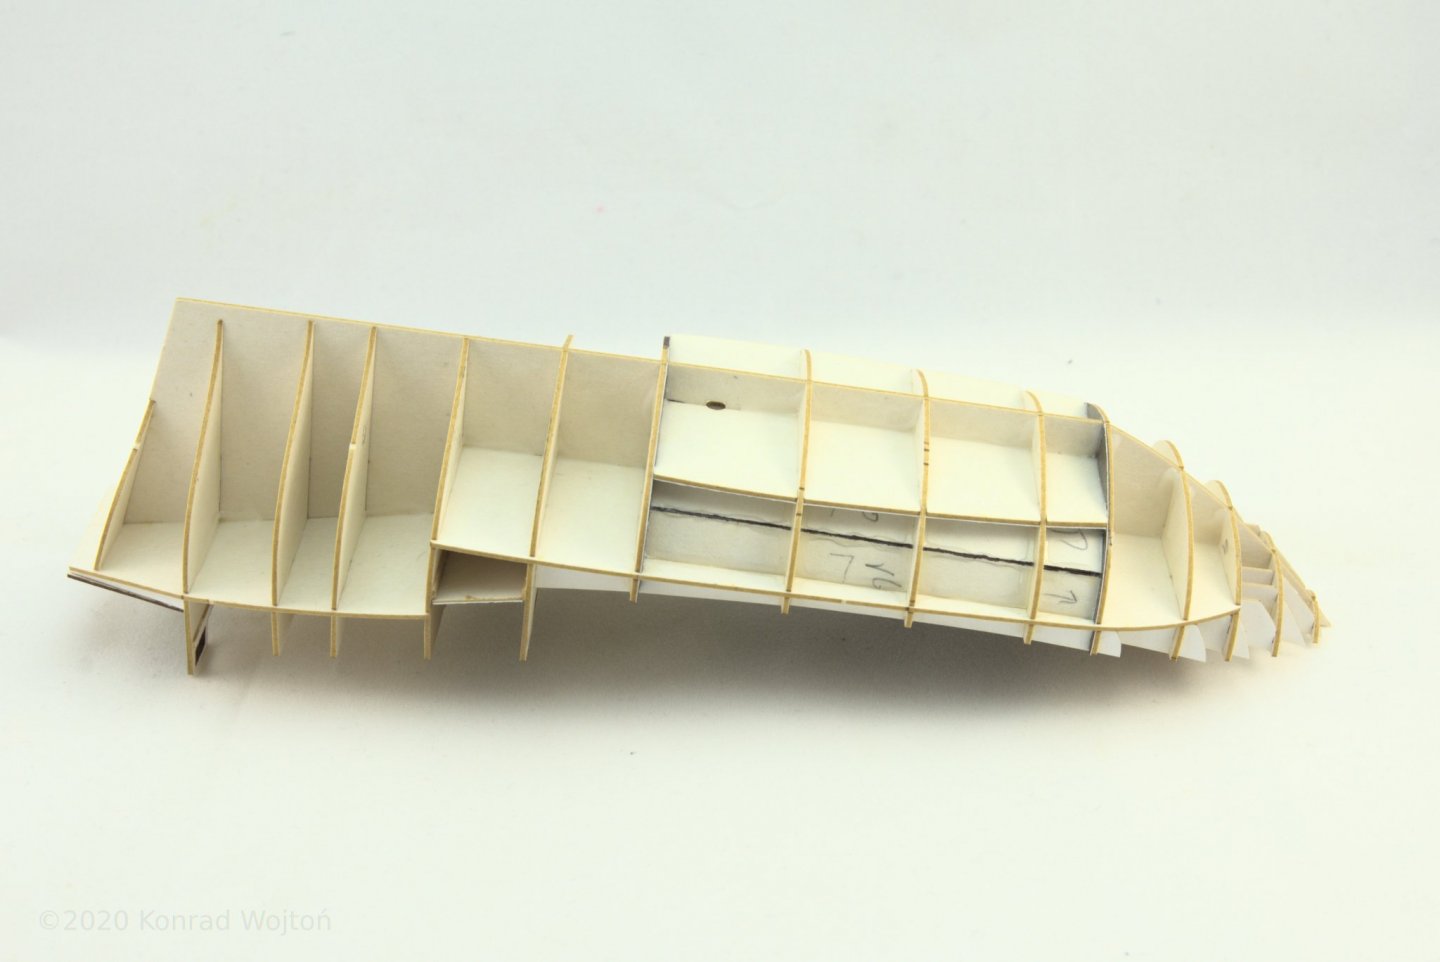
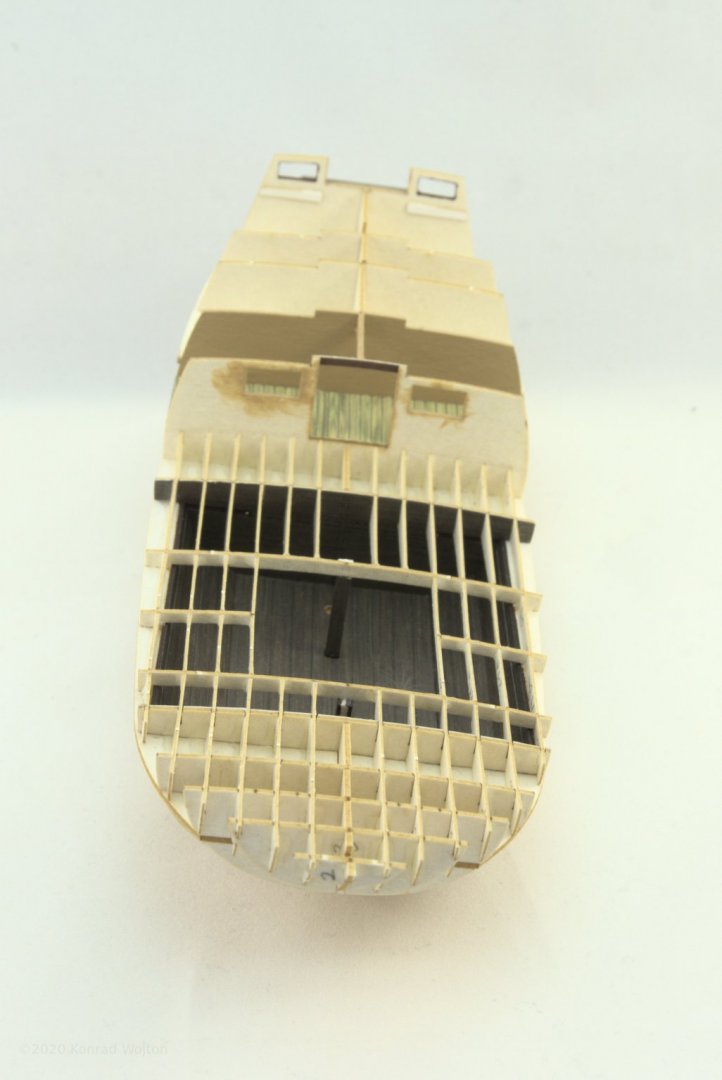
Small update, quarterdeck and first layer of main deck closed framing from the top. I've deviated a bit with build sequence from parts numbering and created first windows. I've also started to cover hull with first (of three) layer of skin.


-
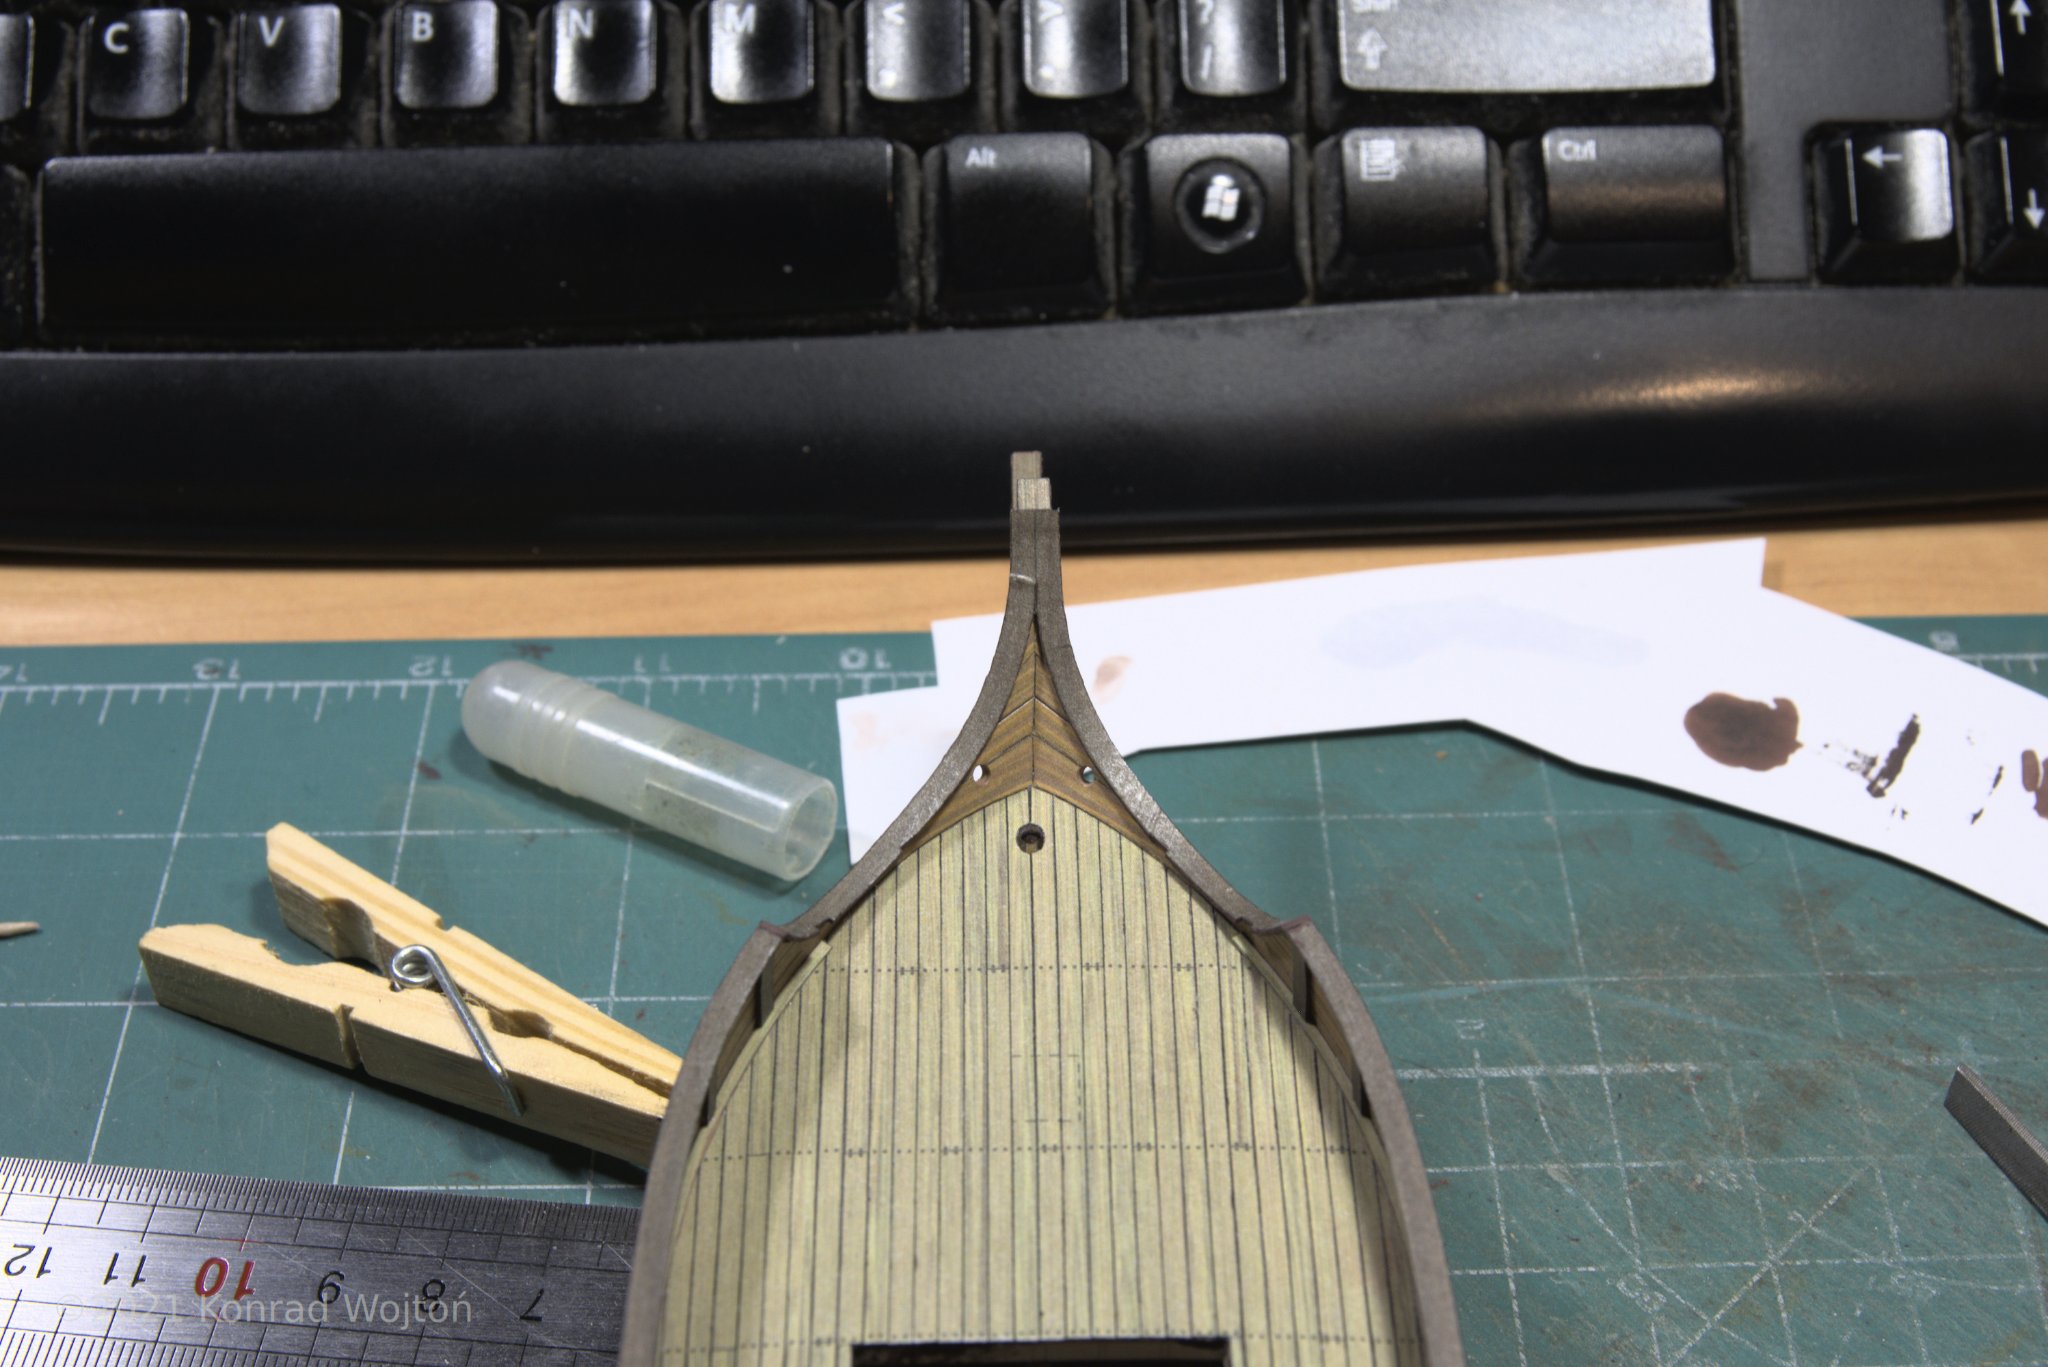
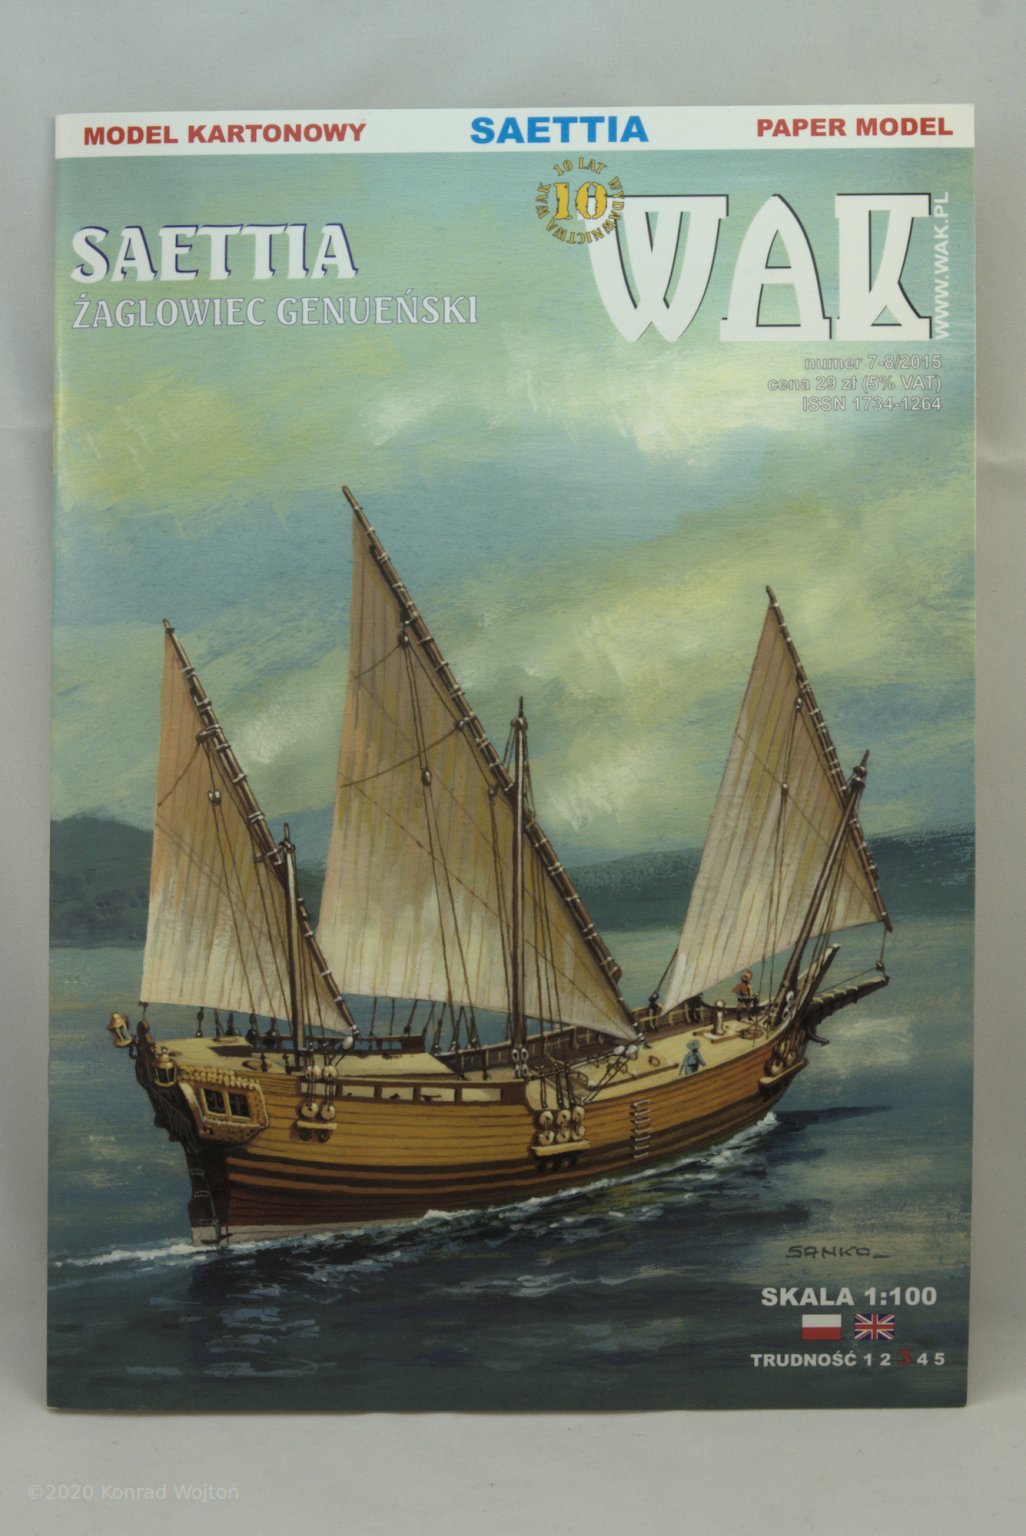
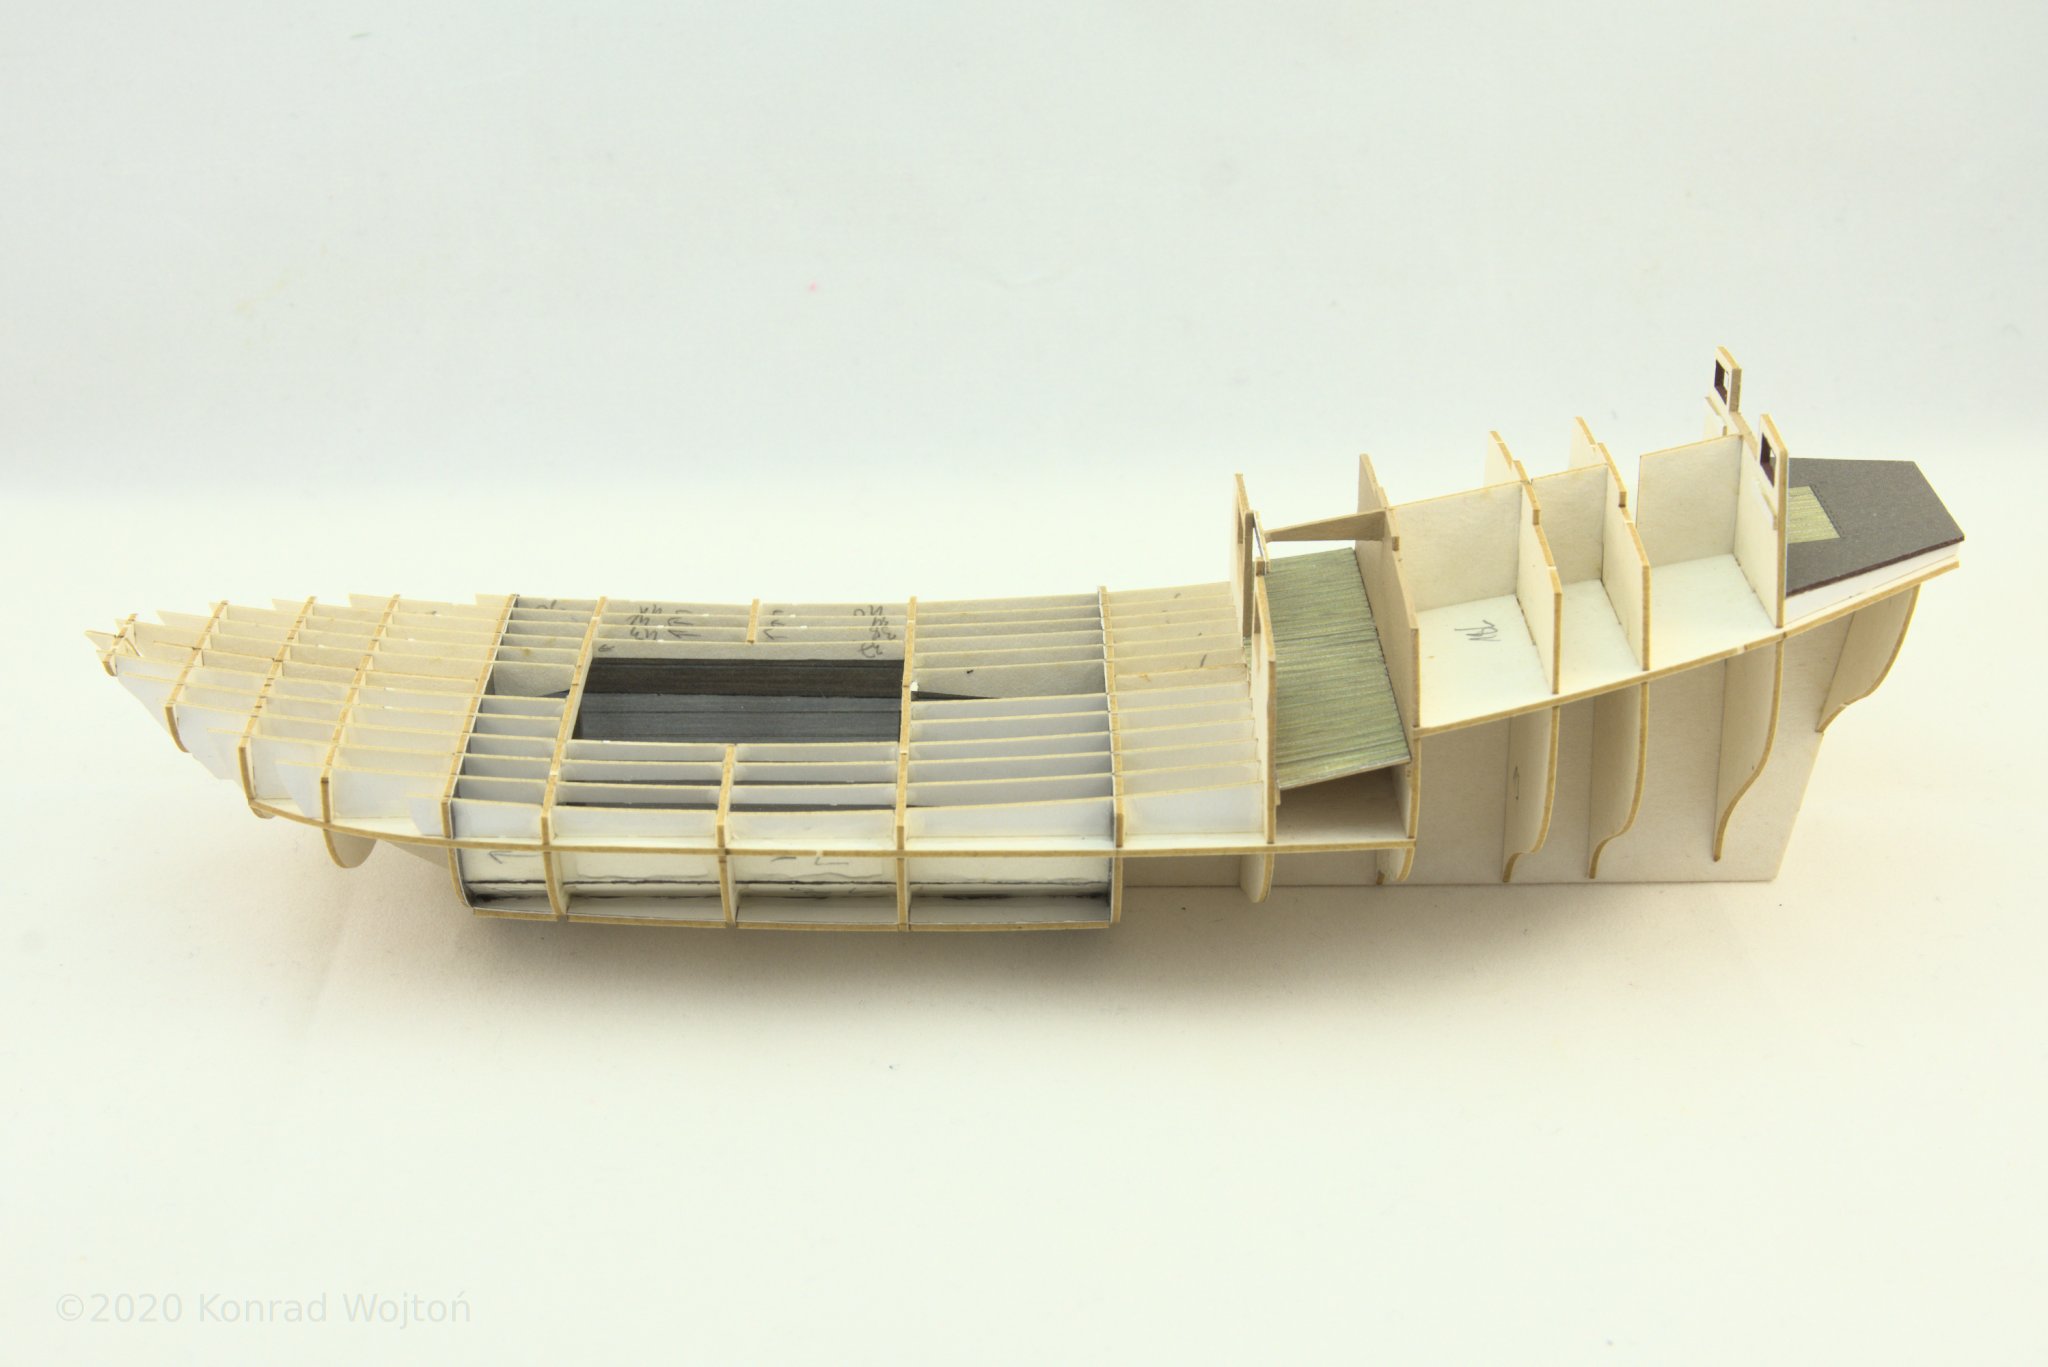
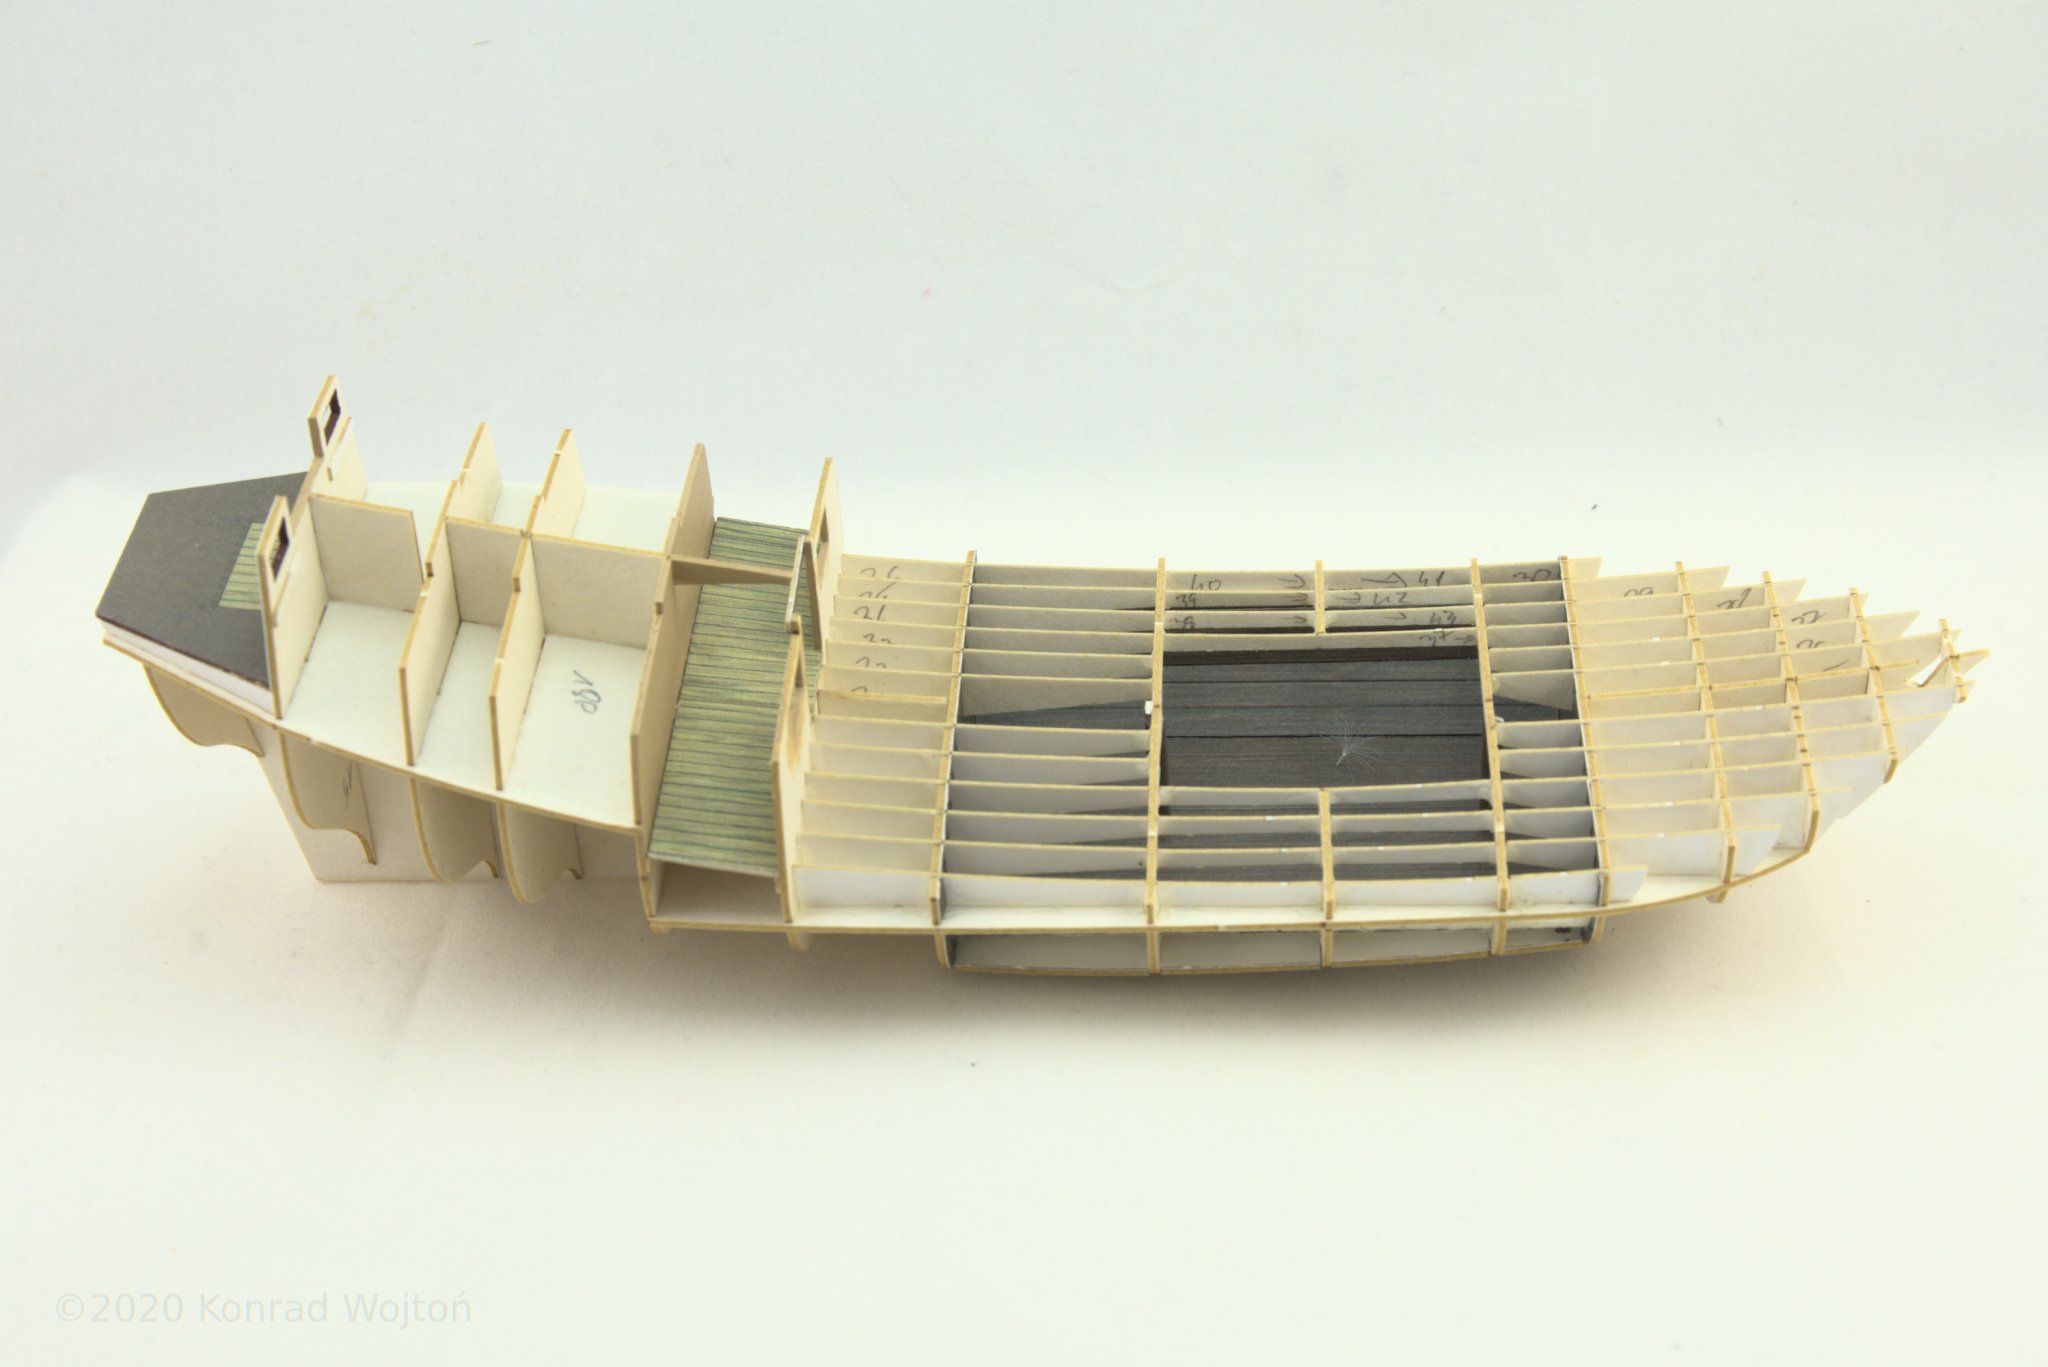
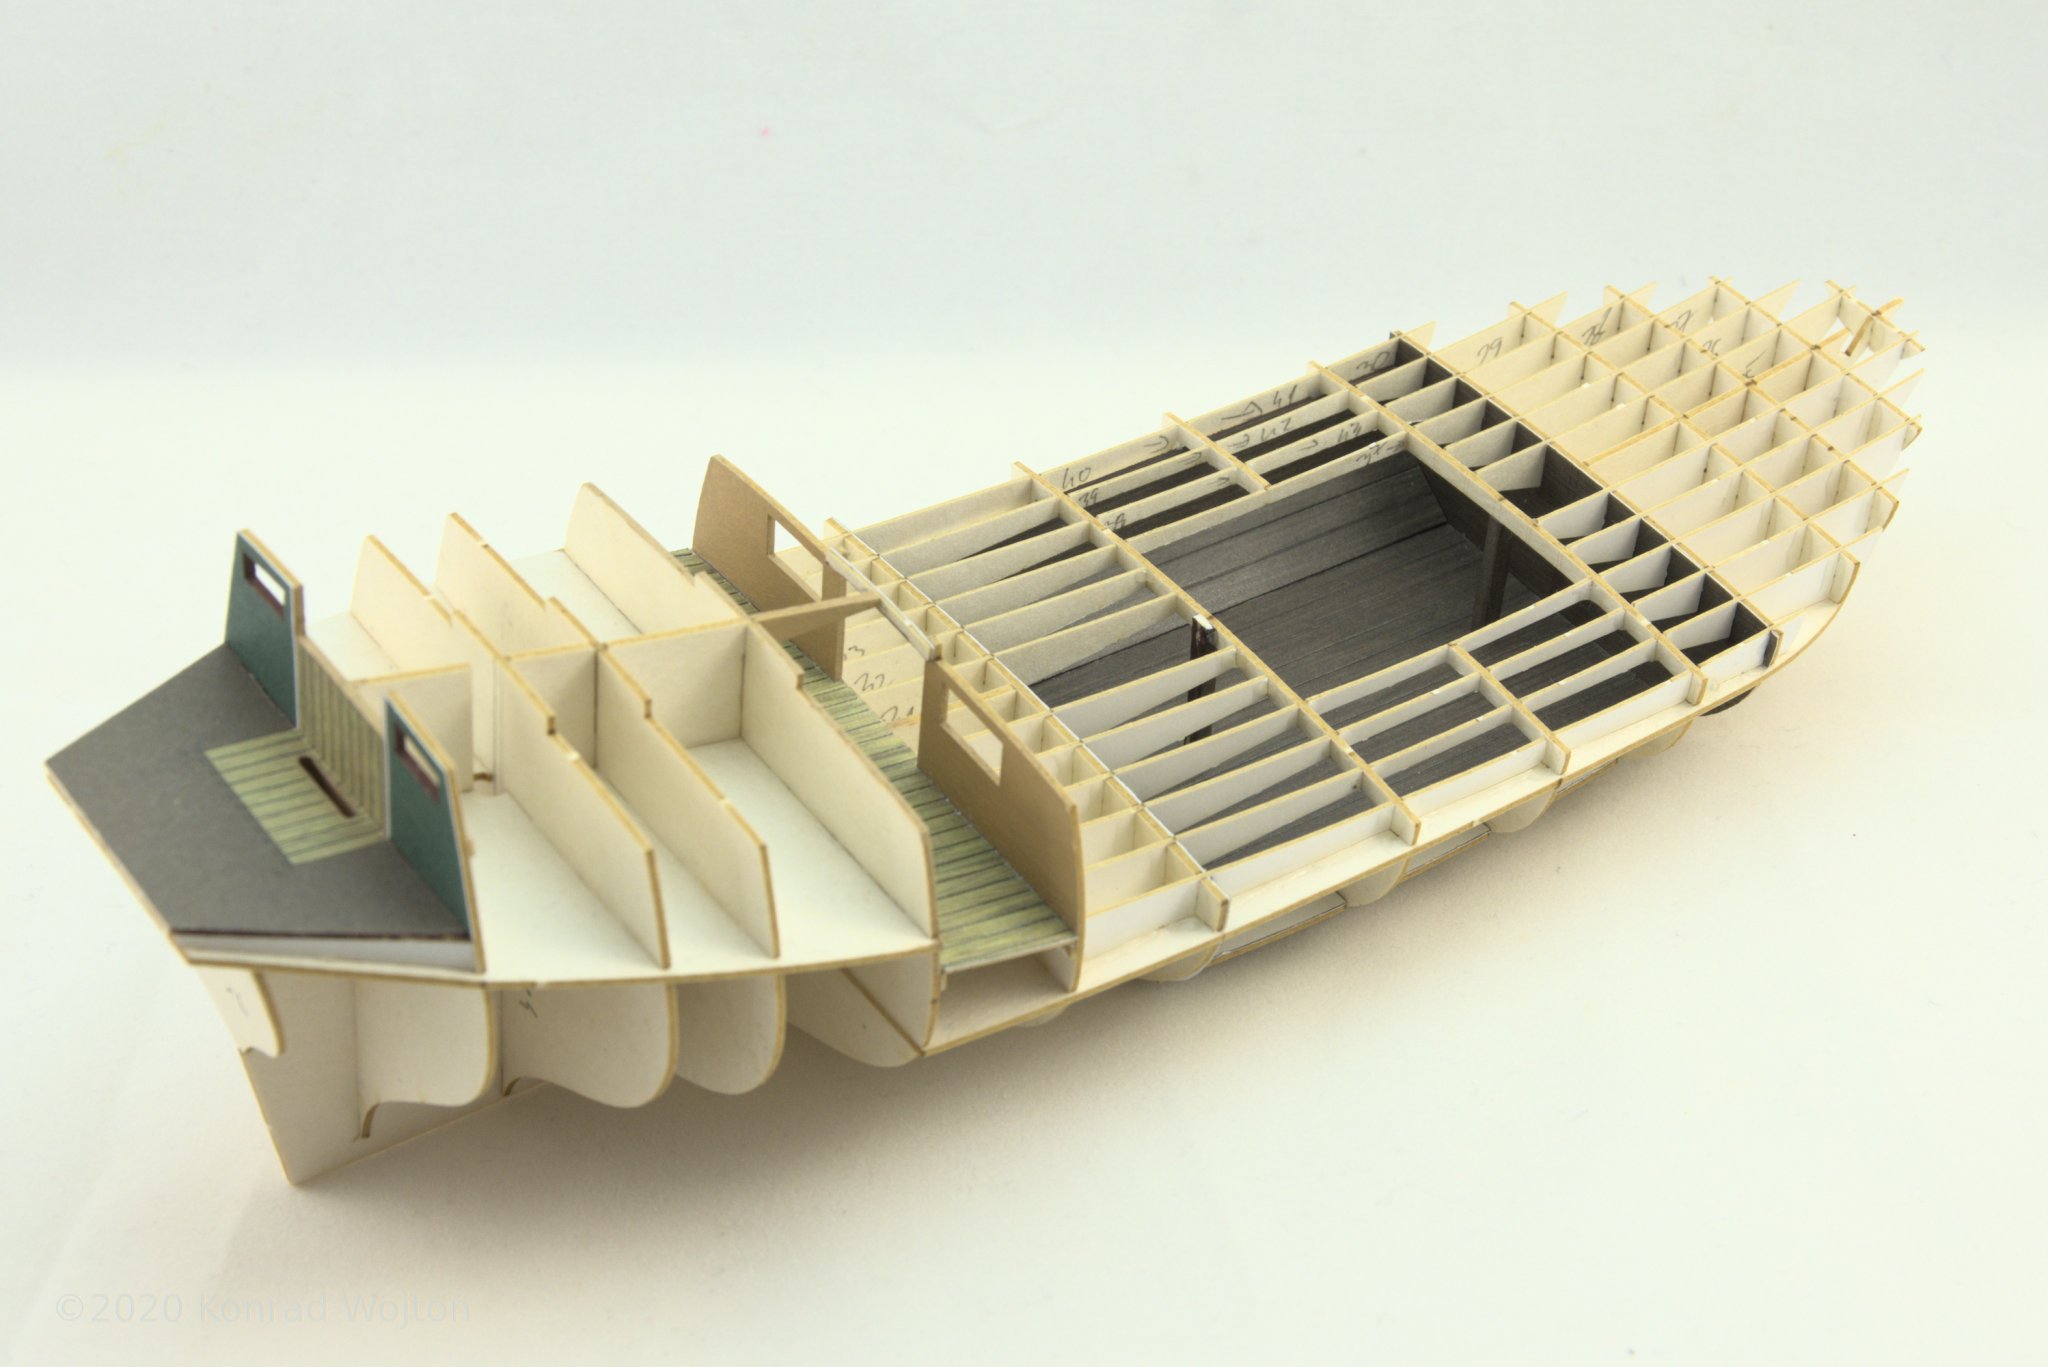
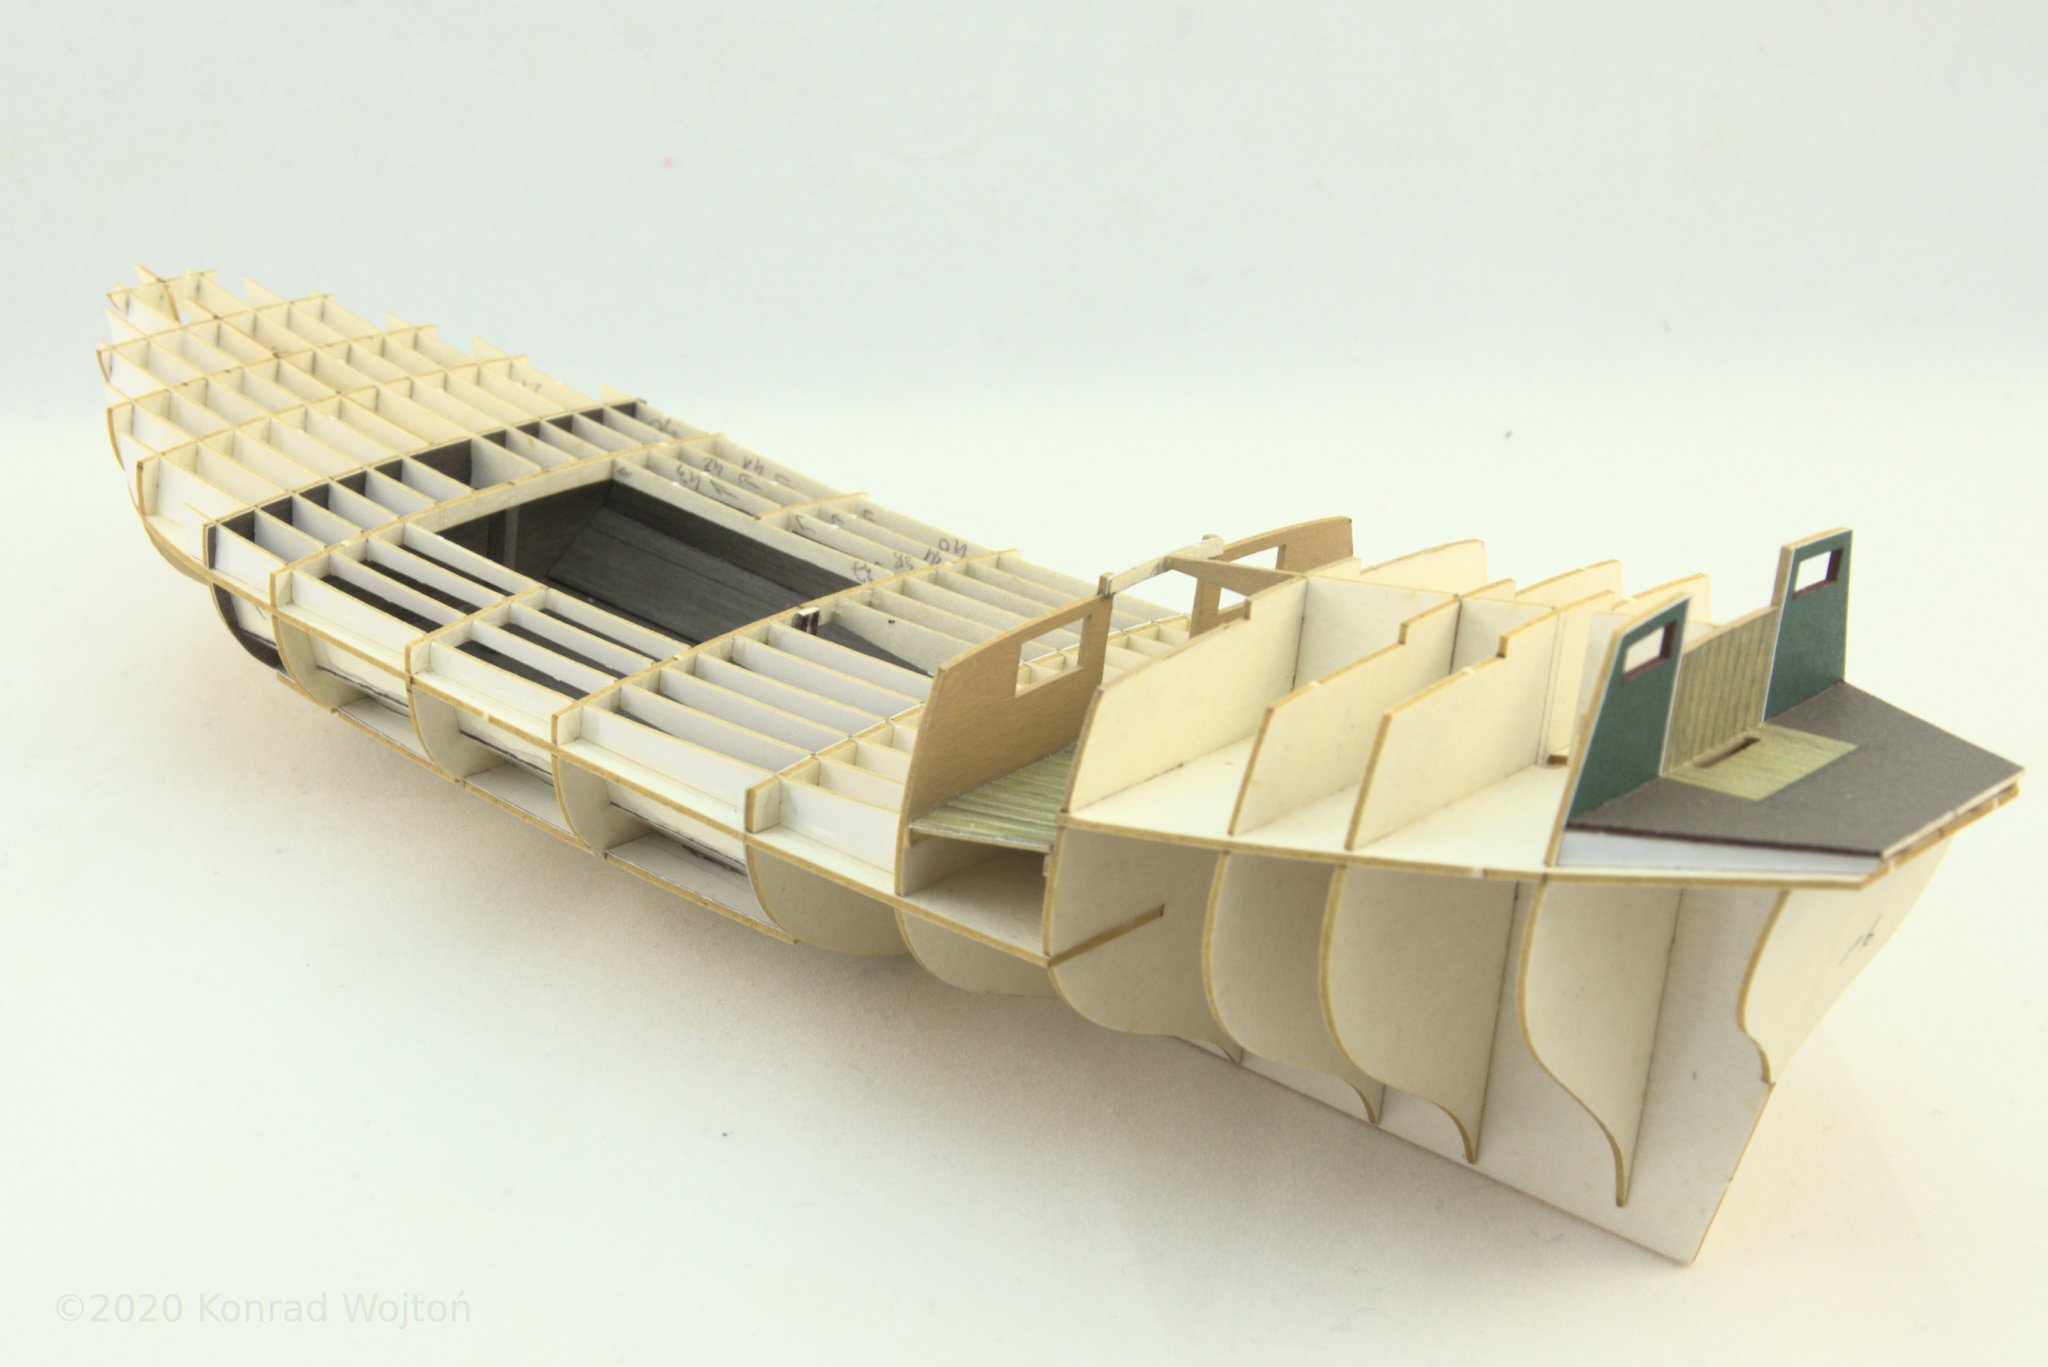
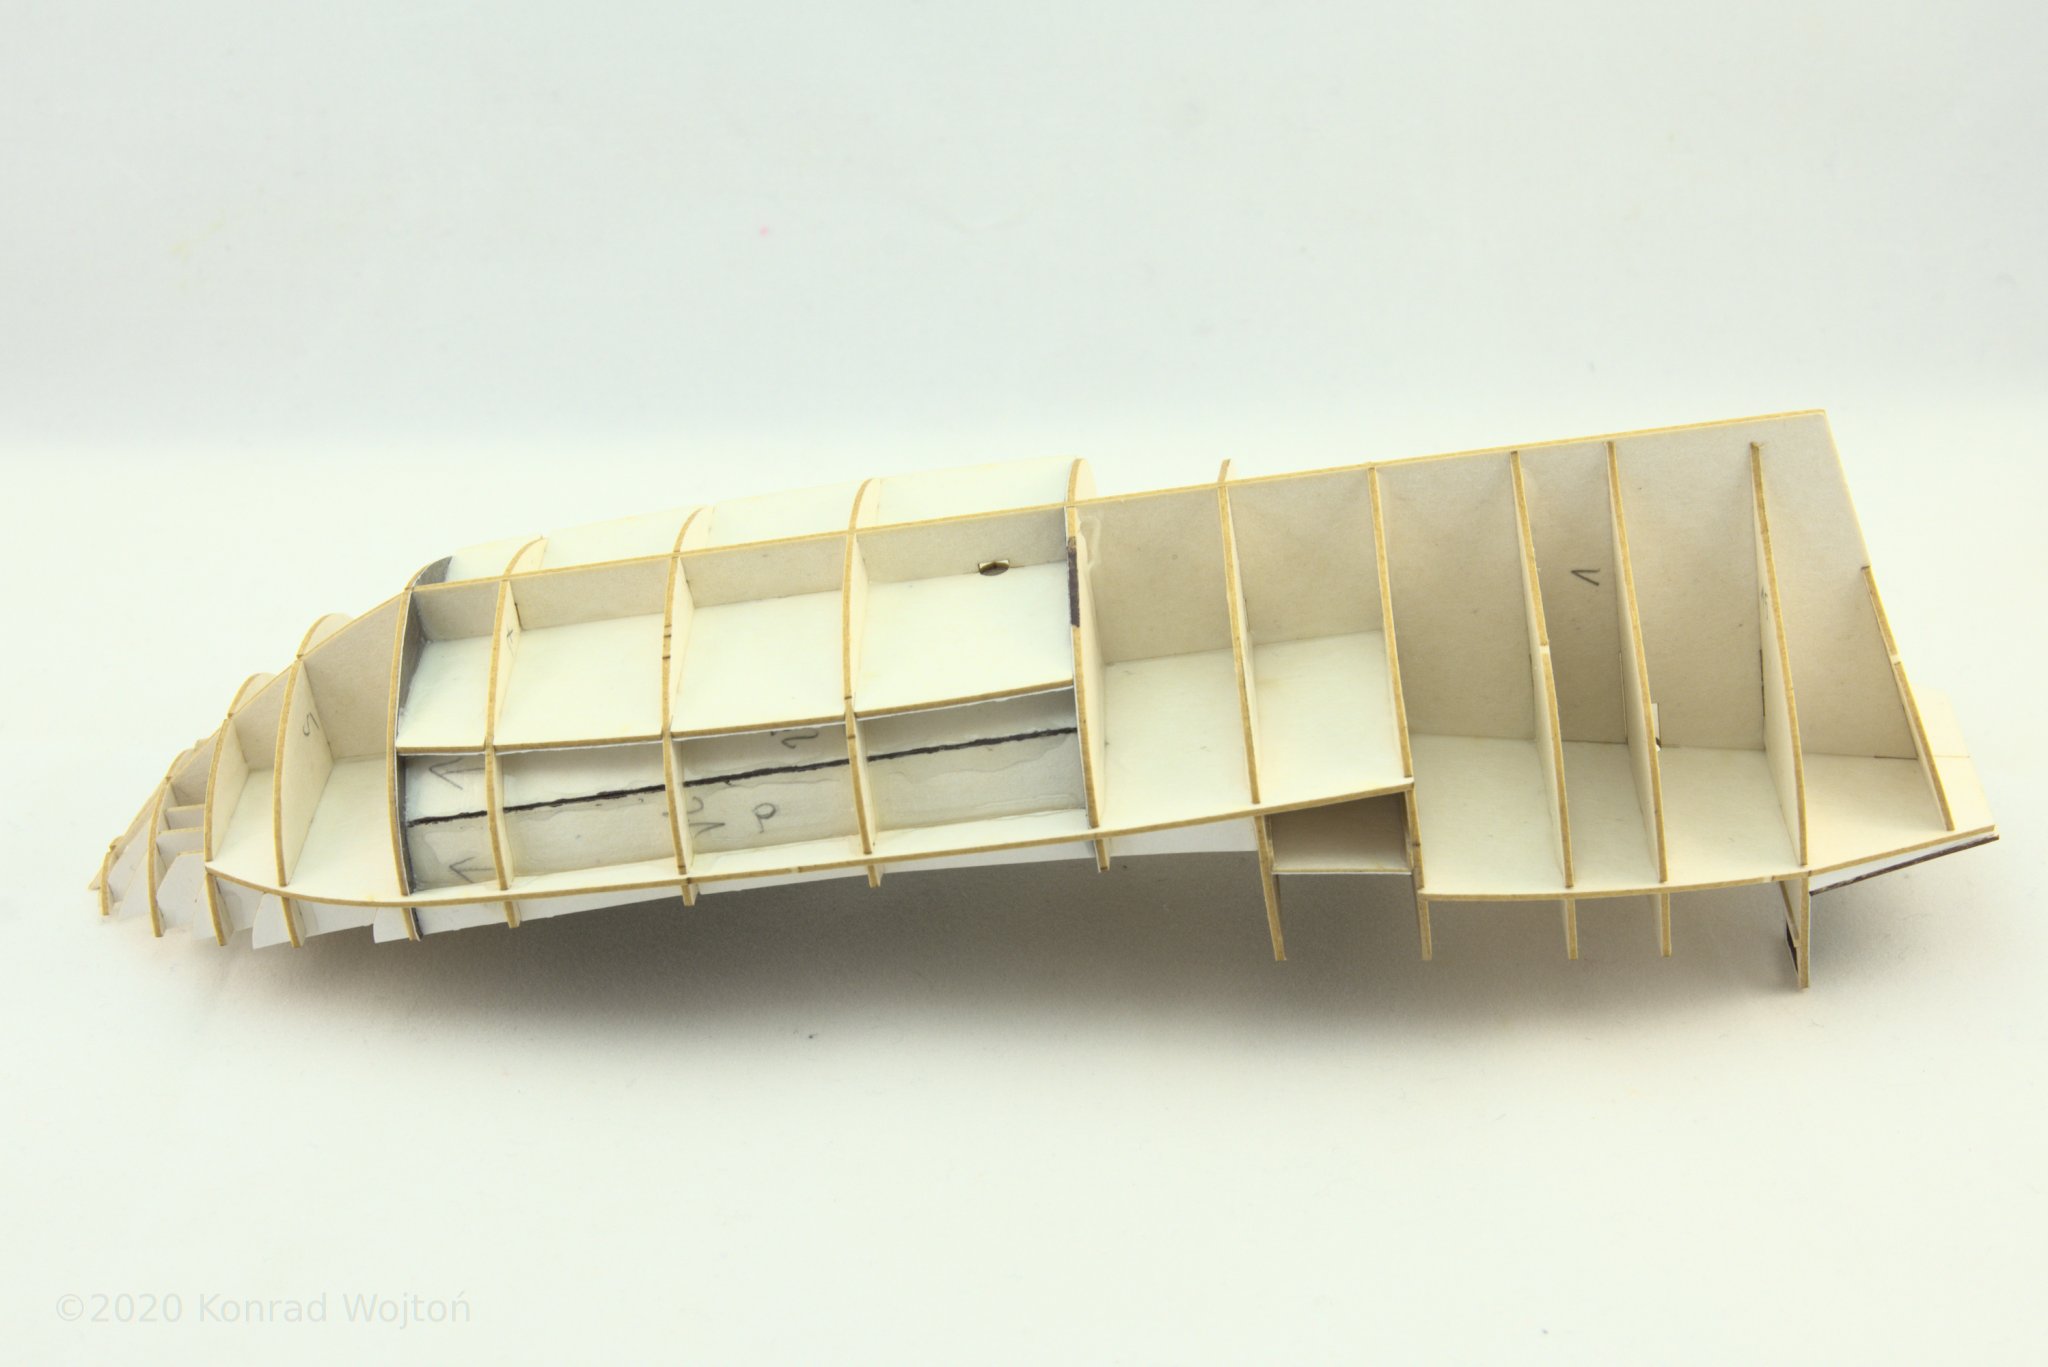
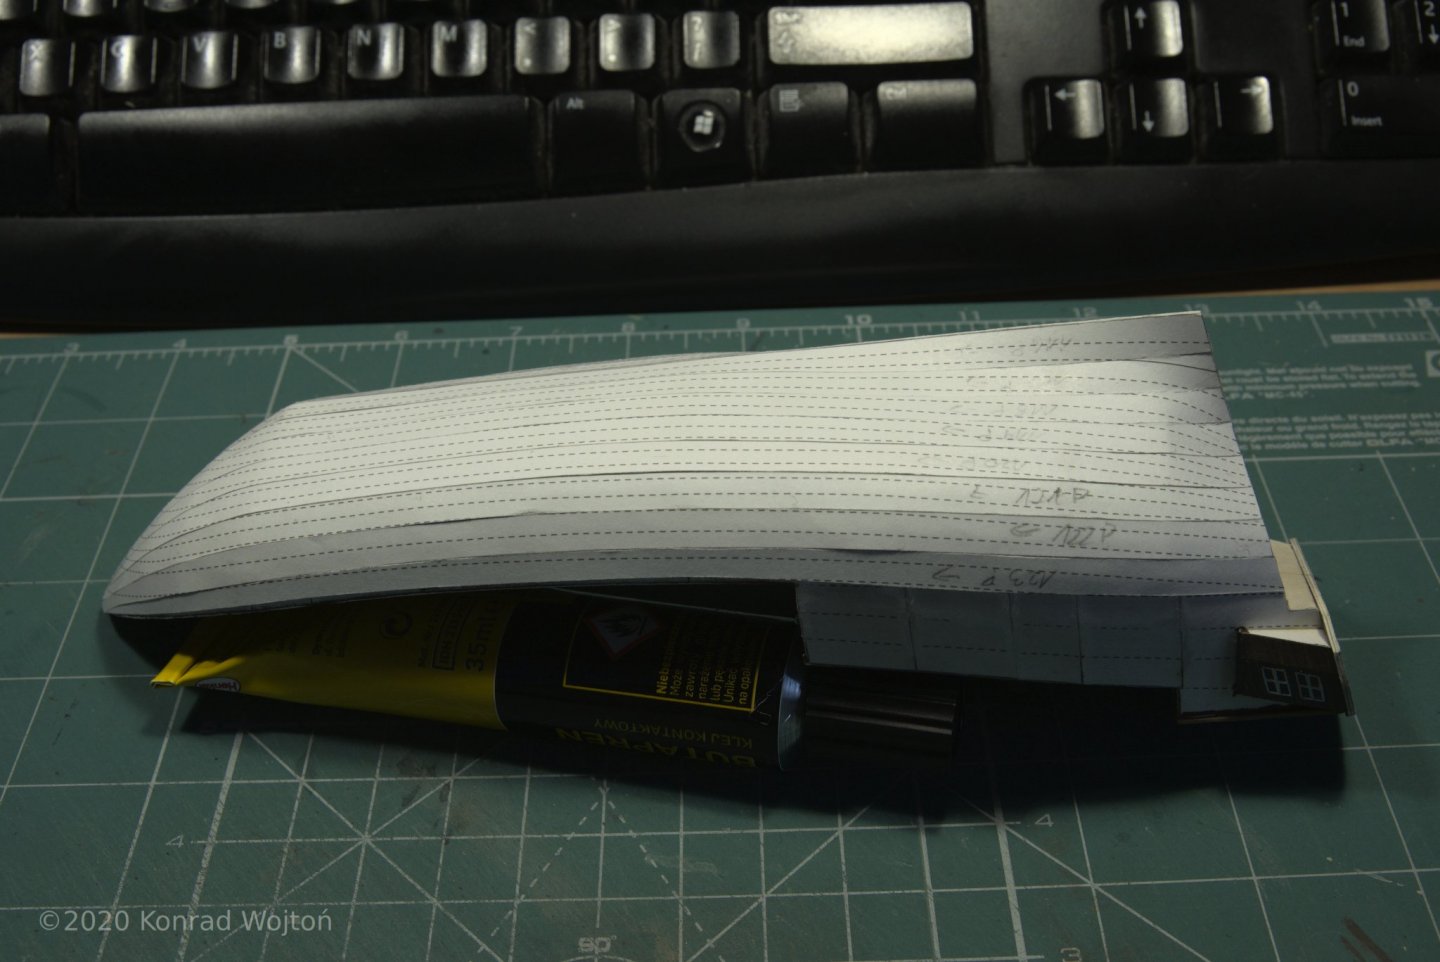
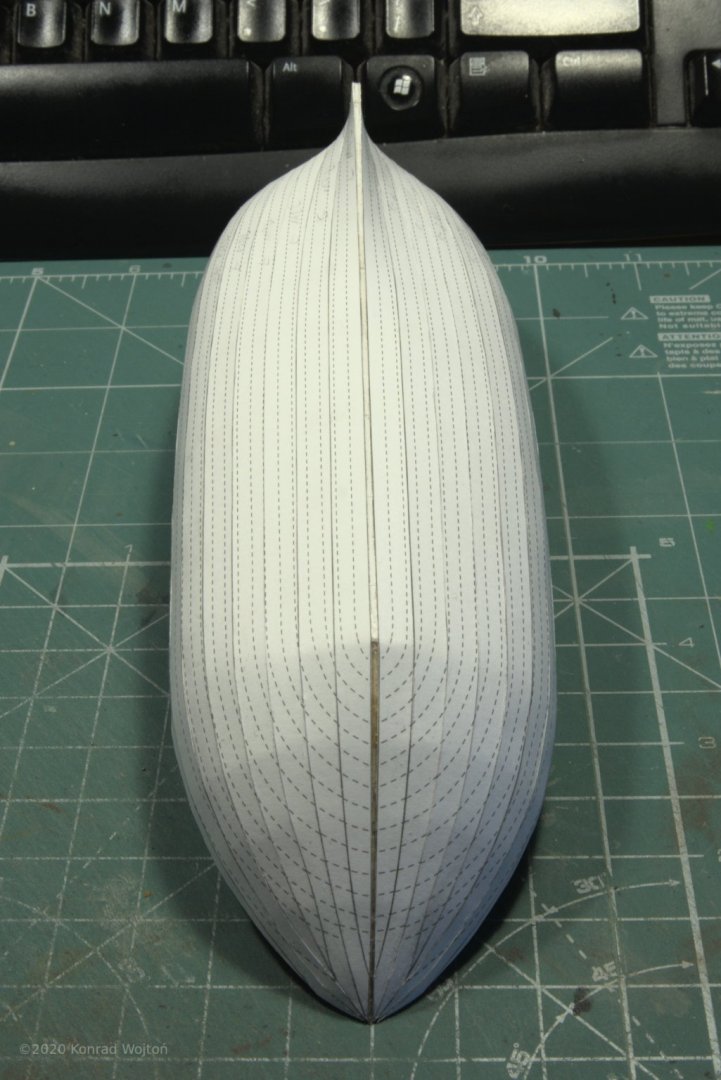
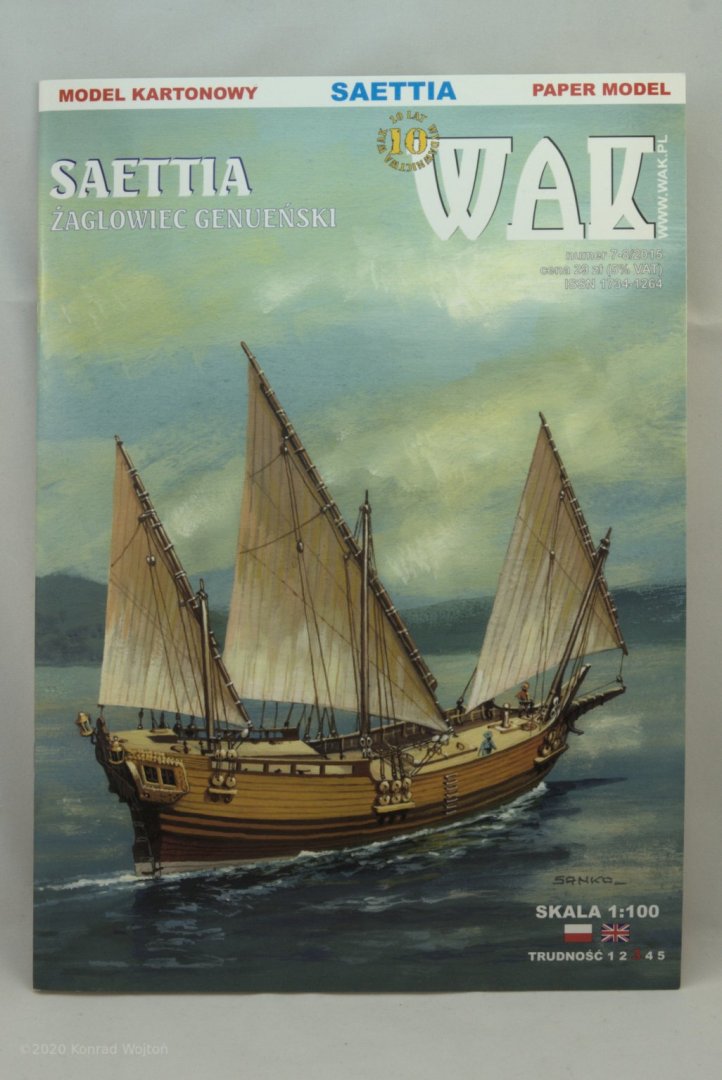
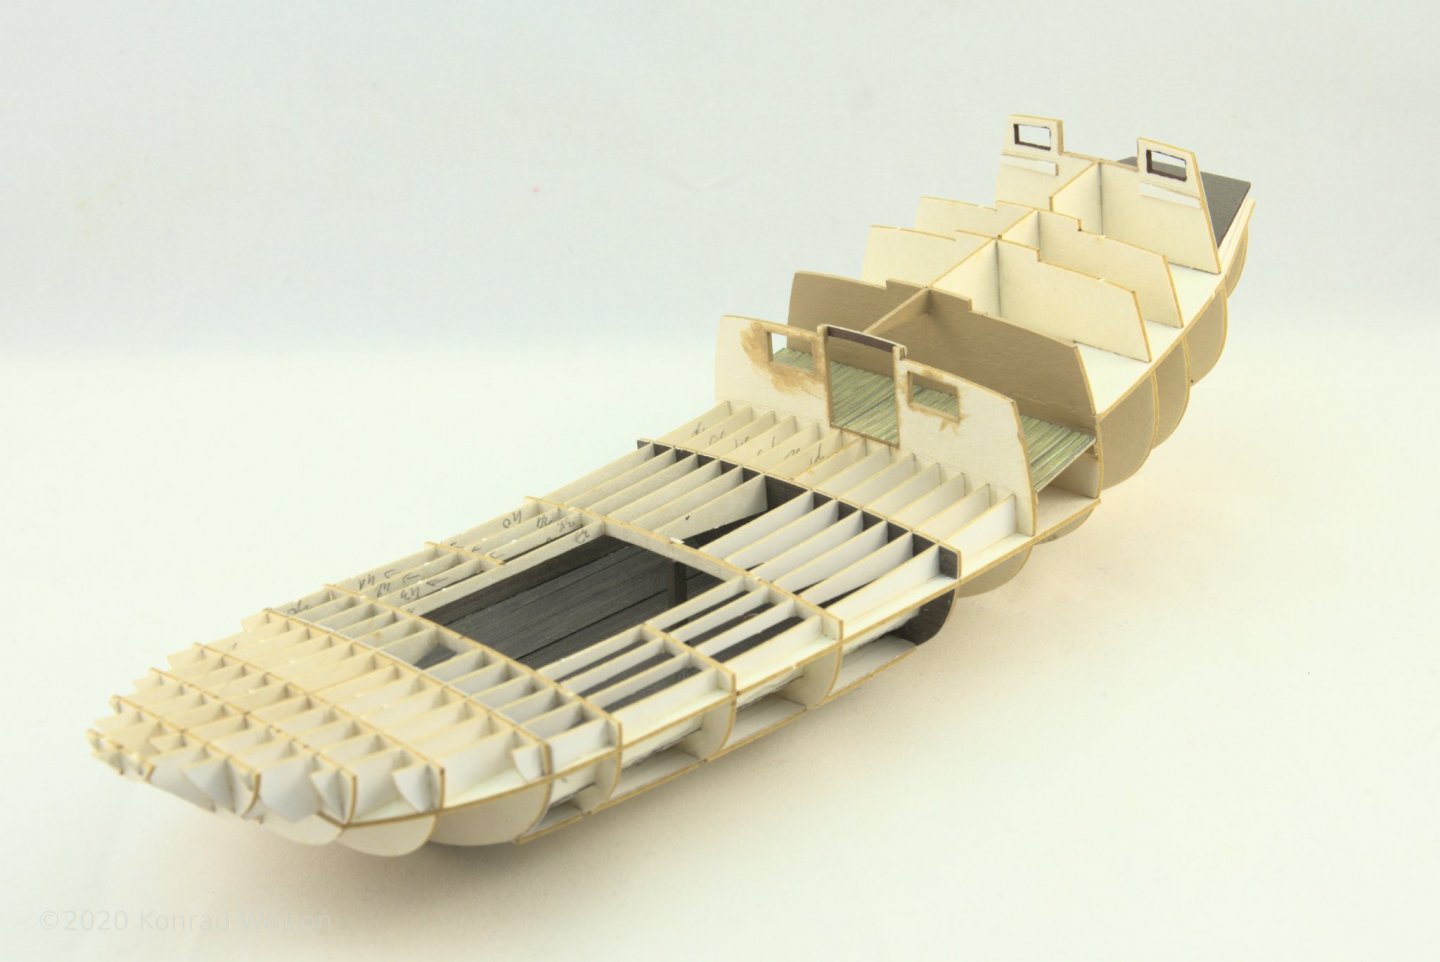
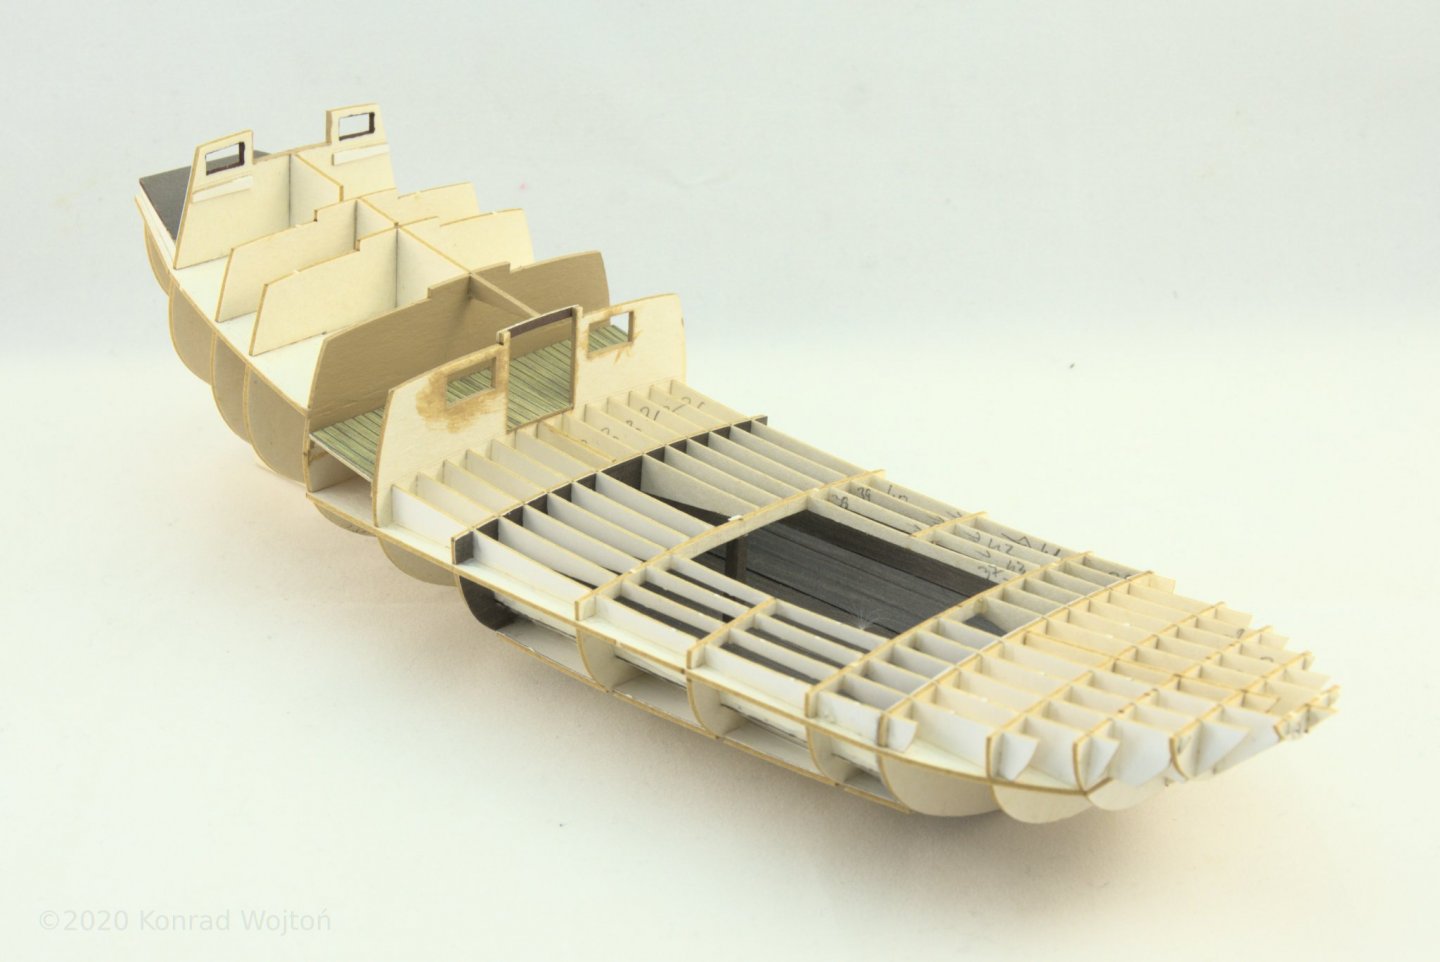
Hi. I've decided that it is time to end period of inactivity after finishing Allege and start new project. I've decided to try my skills at building card kit of Saettia, small transport vessel from Genoa, used from end of XIII until XVIII century in western parts of Mediterranean Sea. Kit was designed in 1:100 scale by Tomasz Weremko aka Seahorse and published by WAK issue 7-8/2015. This time I've decided to use laser cut frames. Since these parts are made of beermat cardstock, which is nice to cut with scalpel but awful when sanded with sandpaper (it is very soft), all parts were soaked through in nitro based varnish. After drying parts got a bit more stiffnes and stopped falling apart when sanded. Currently whole frame is glued and ready for covering with deck and sanding before first layer of skin. Cover of the kit: Hull frame: Till next time.


- 32 replies
-
- 13
-
-
This one was quite tricky in my build as well, I've had a bit of trouble fitting rudder under this piece.