horschtl
-
Posts
7 -
Joined
-
Last visited
Content Type
Profiles
Forums
Gallery
Events
Everything posted by horschtl
-
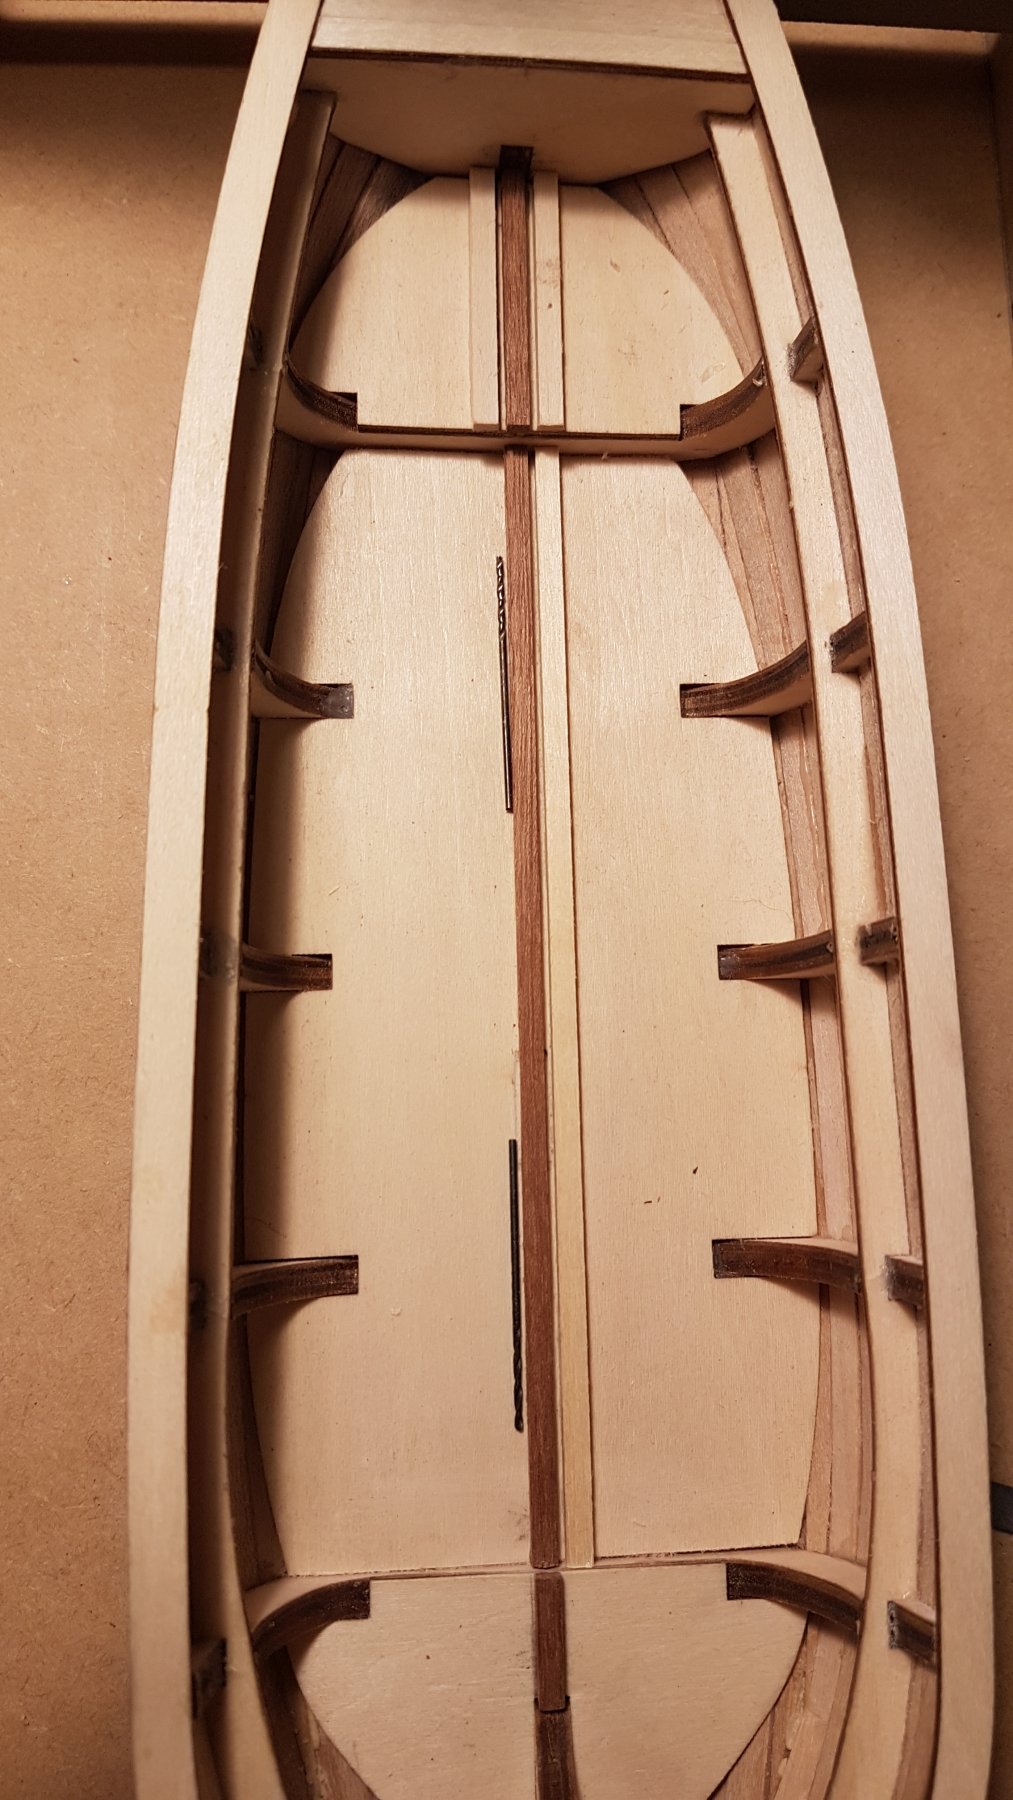
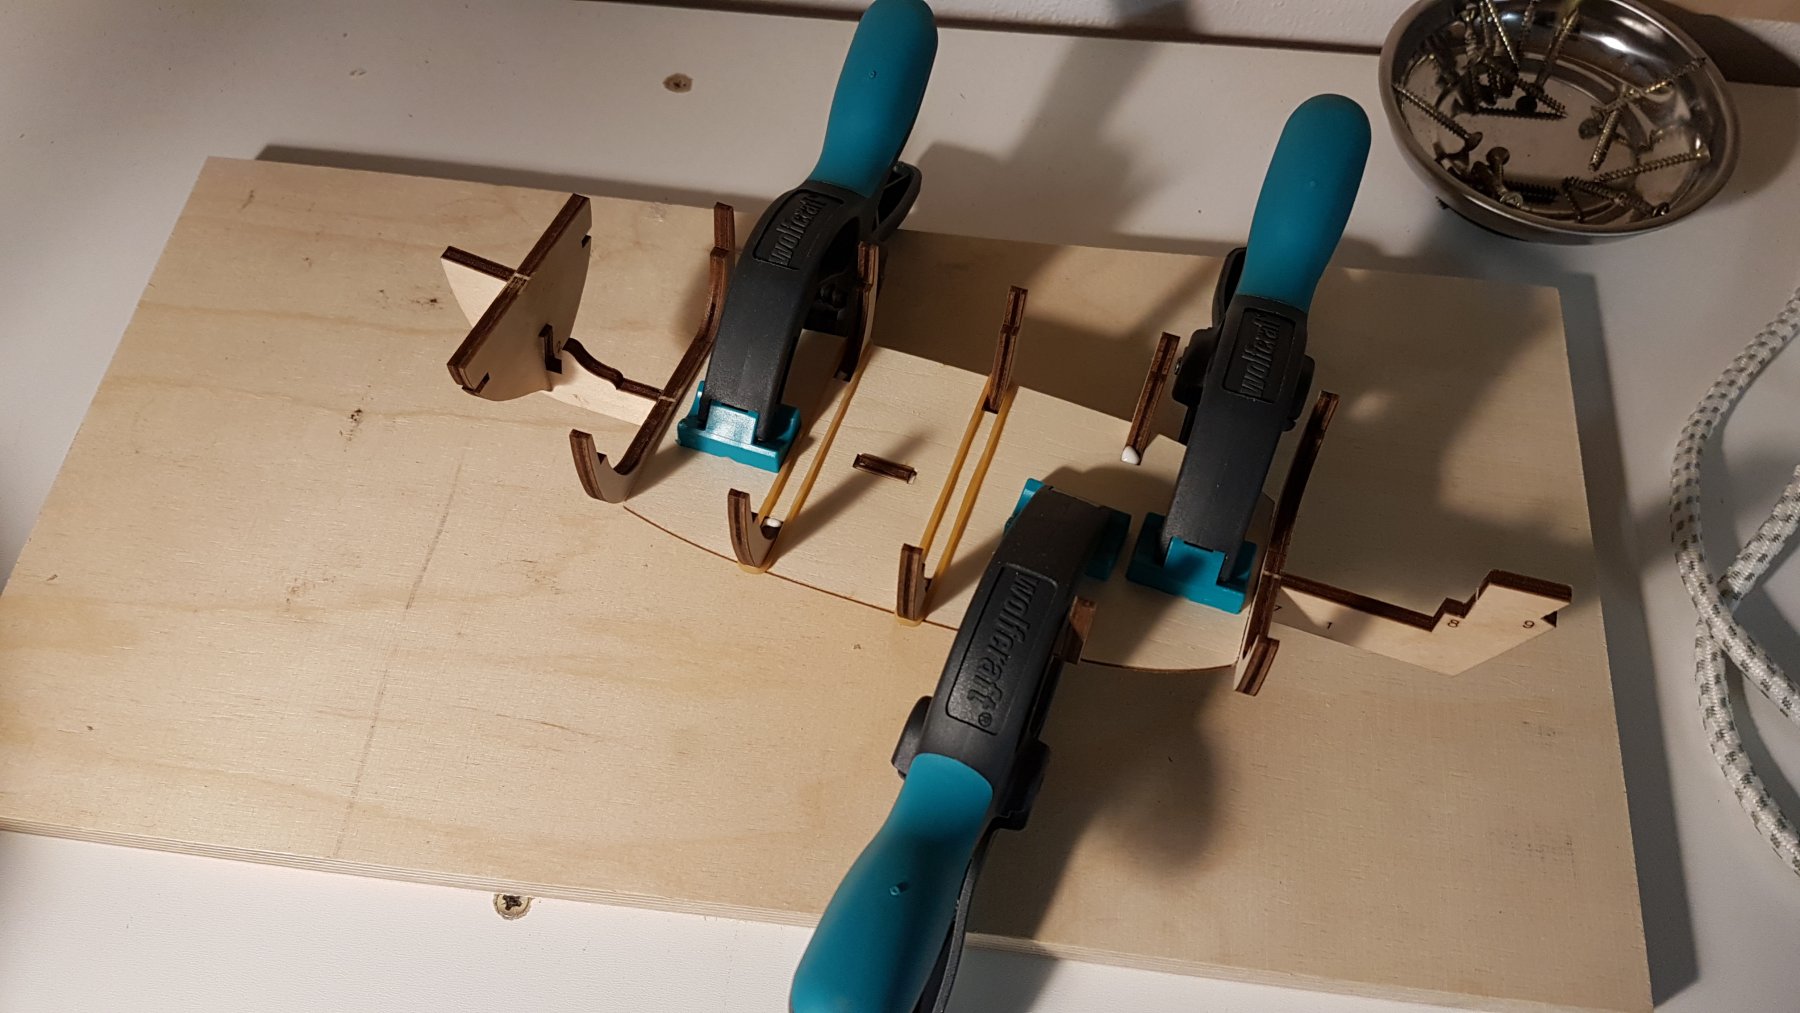
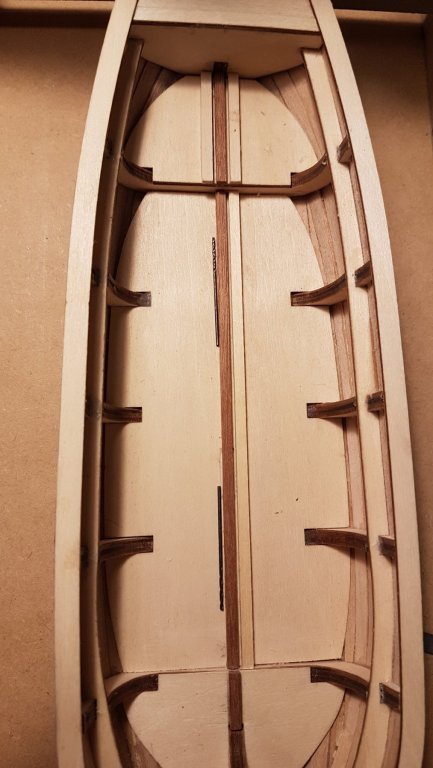
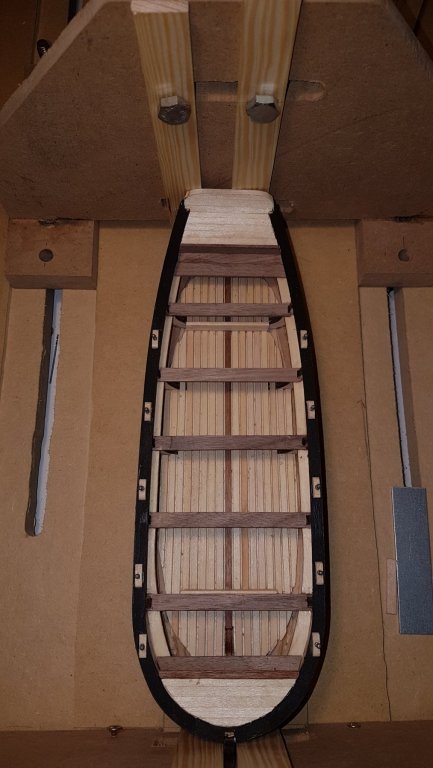
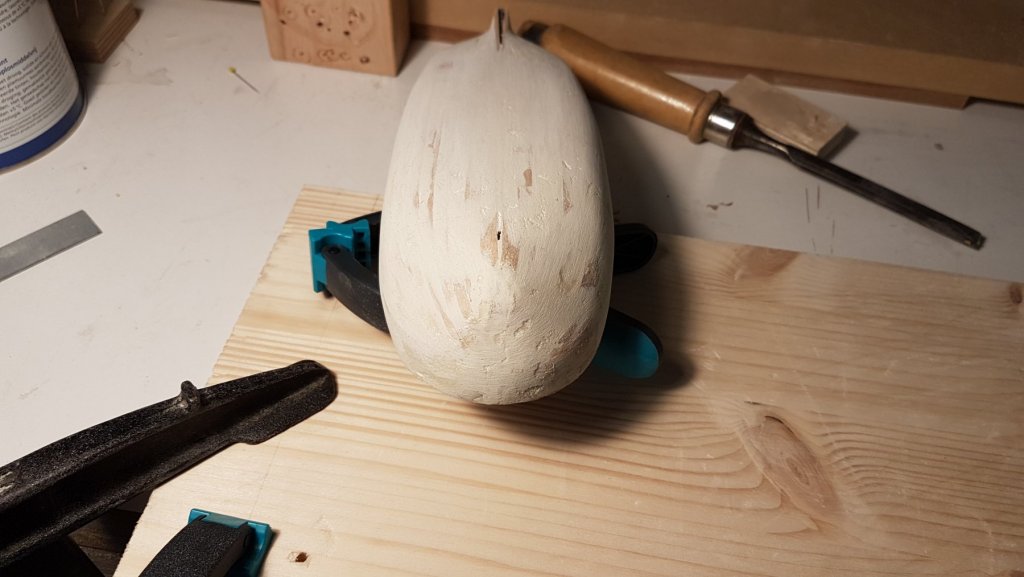
Hi, during the holidays I moved along. I finished the second planking and inserted the floor as well as the thwarts. Although I read Rick01s’ building log for his Endeavour longboat, I decided to follow the manual and not Ricks suggestion to do steps in the order 8, 11, 9, 10. This was a bad decision. For anyone building this model, do it in the way Rick suggests…It worked out nevertheless, but it would be much easier the other way around. The third picture shows my vice. It should, in theory, adapt to the next builds. We'll see. Picture 4 shows 1mm drills, which I used as distance template between the floor tiles. The last one showed the current state of the boat. The gunwale should be colored with asphalt and resolvent. Surprisingly, I was in short supply of asphalt. Instead I used a mixture of black and brown acrylic color. This worked perfectly. As a side question, do you use asphalt?

- 5 replies
-
- 2
-

-
- longboat
- artesania latina
- (and 1 more)
-
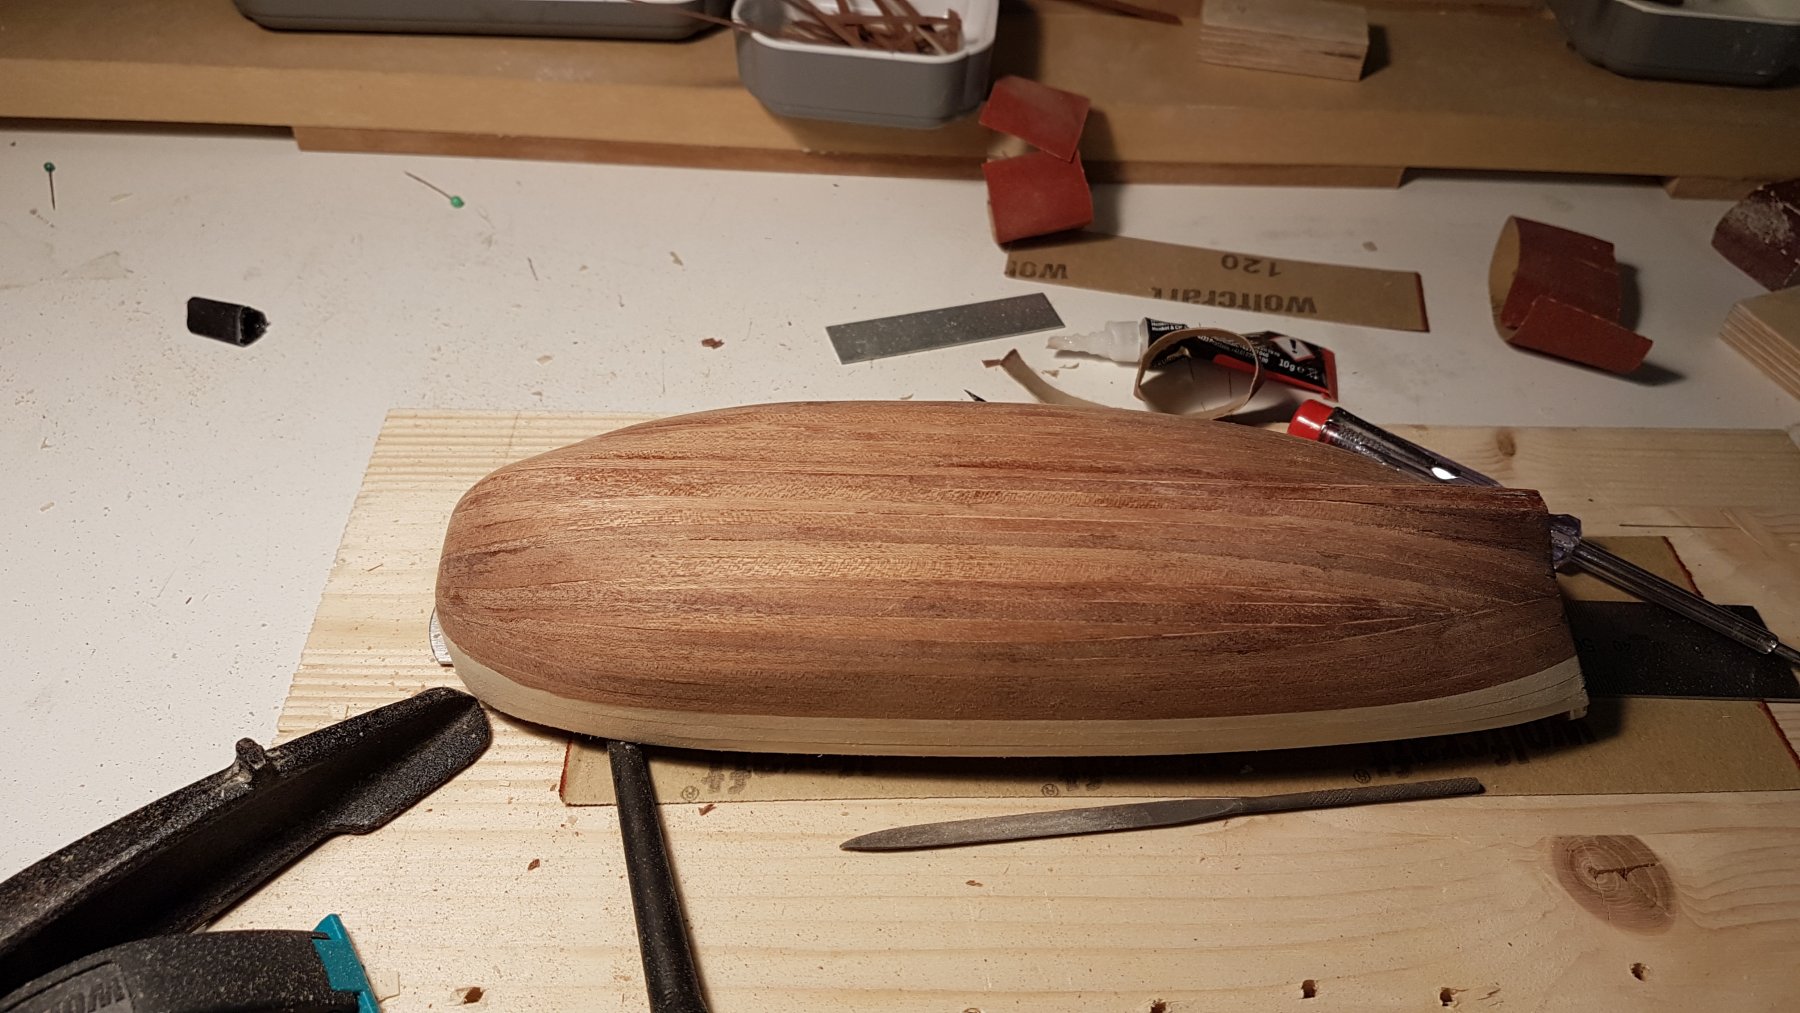
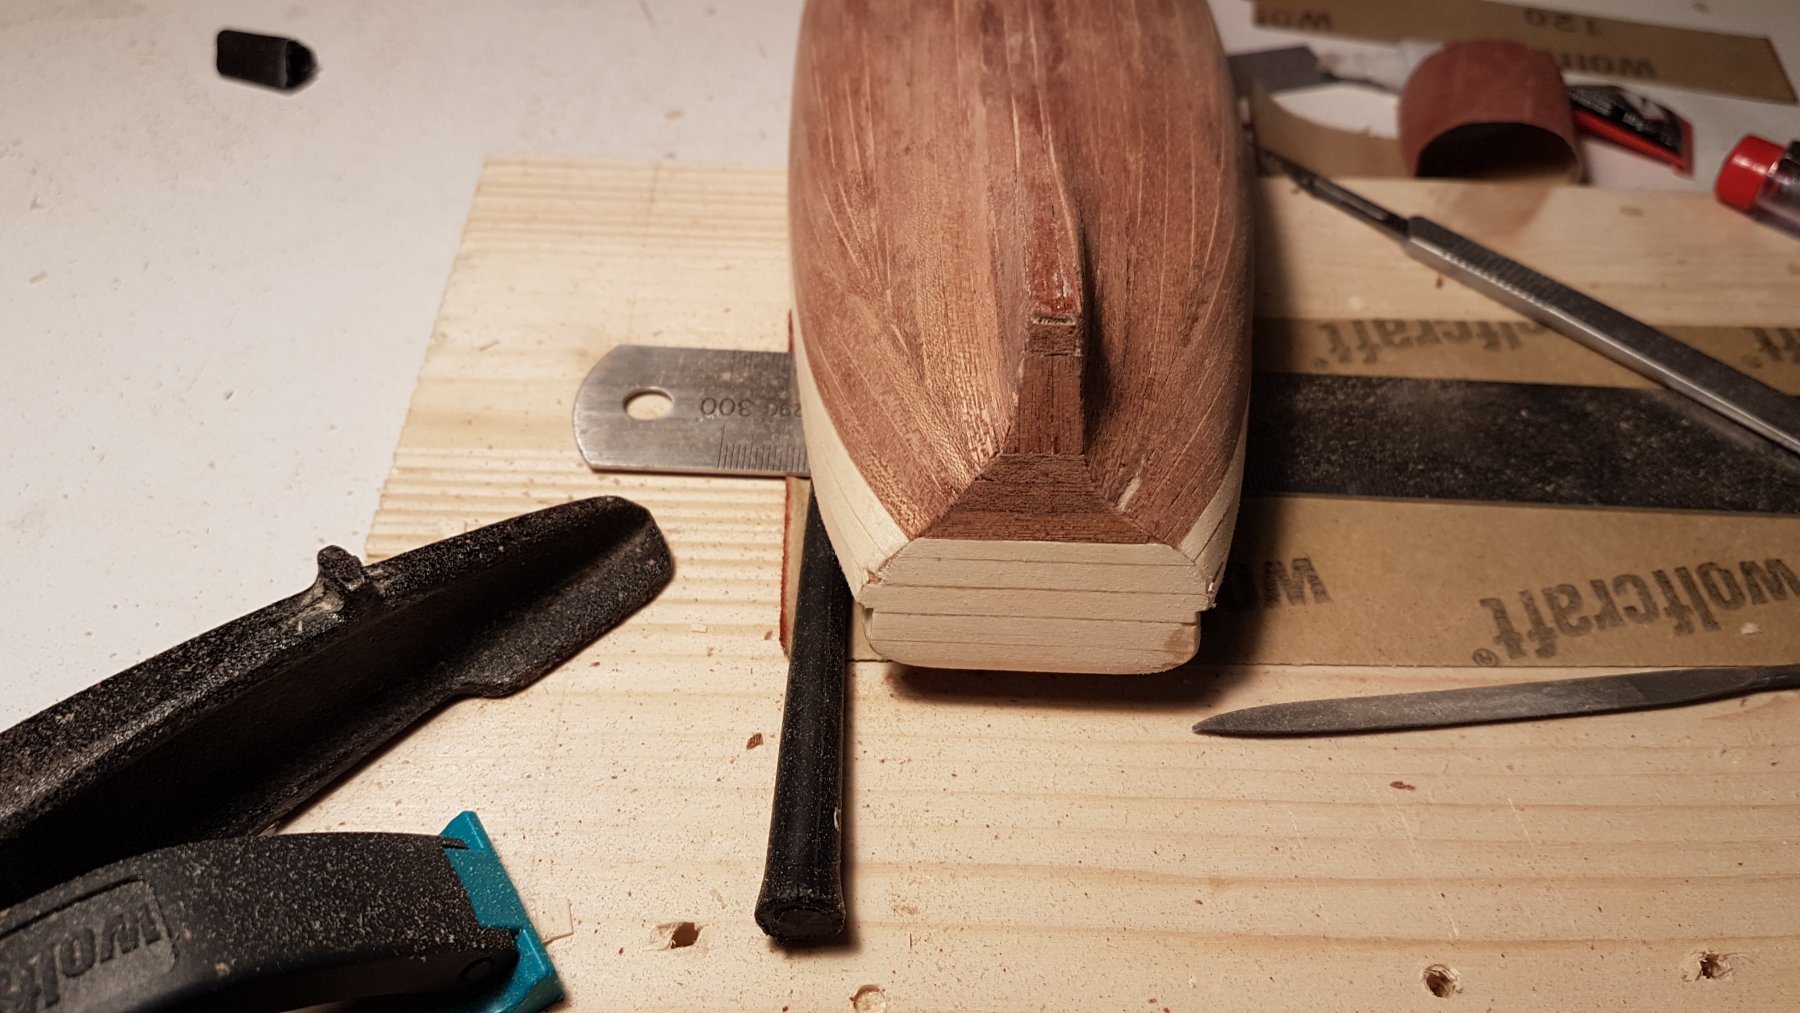
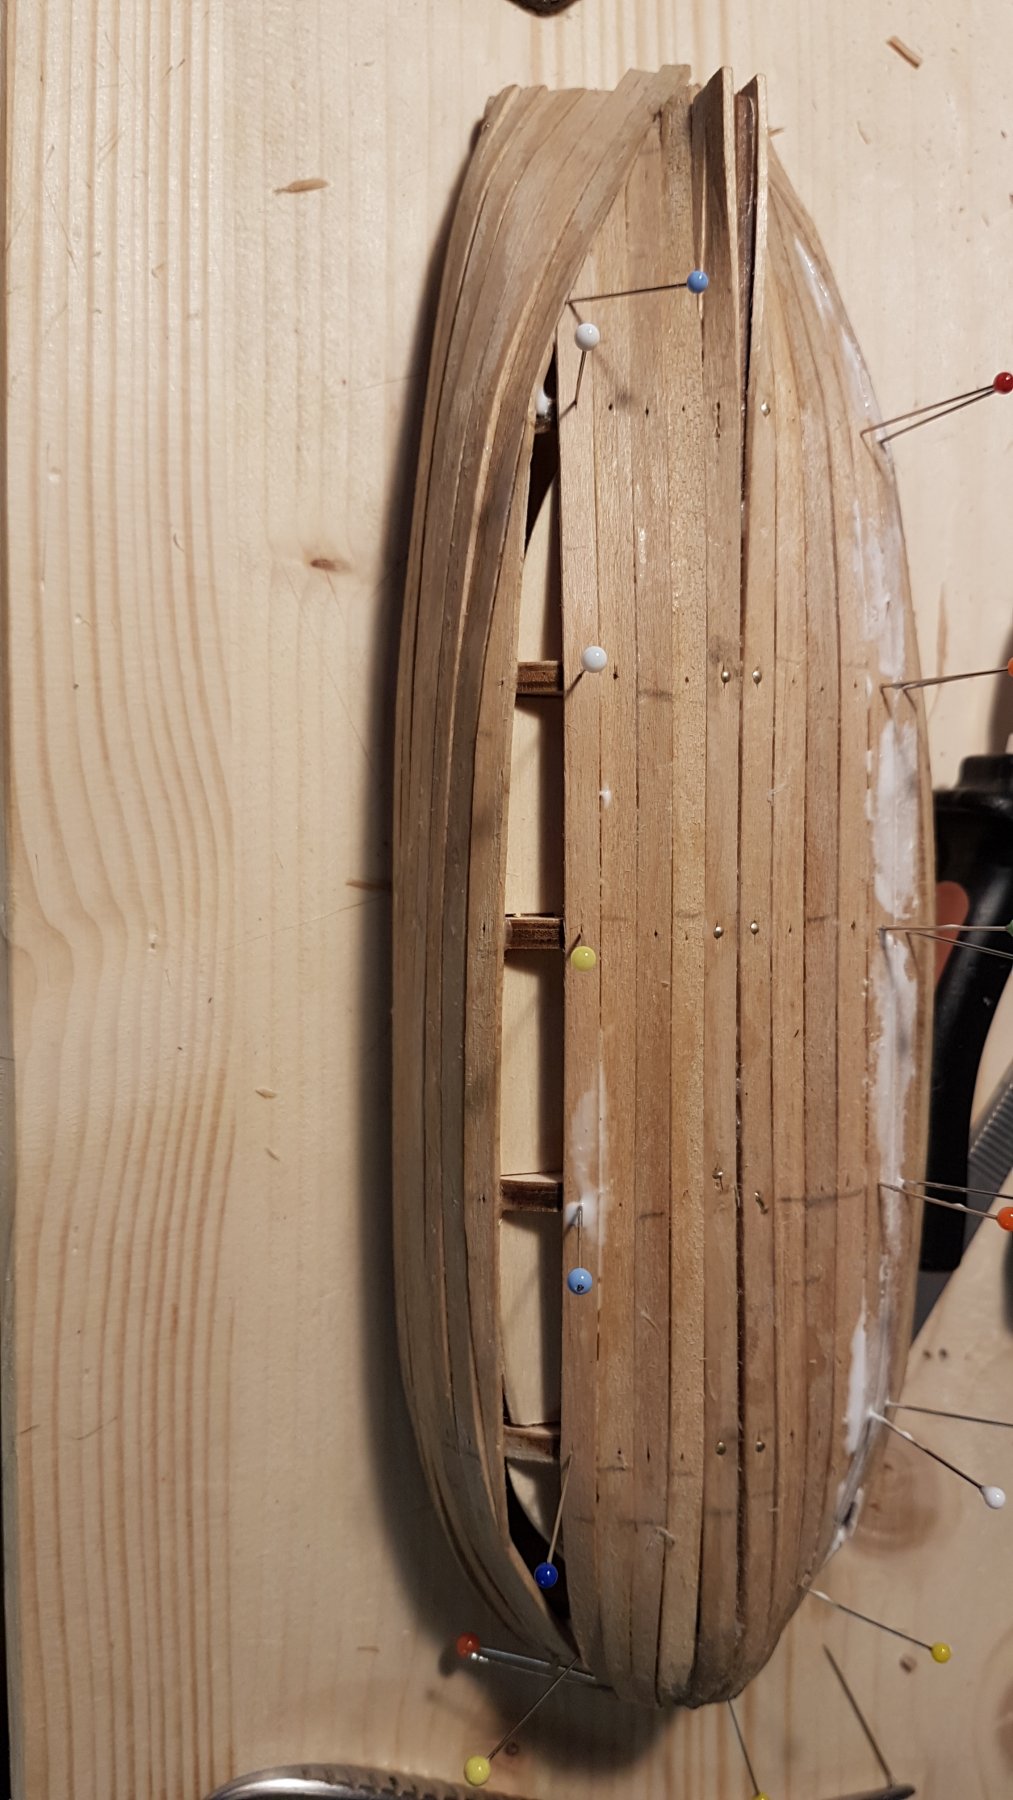
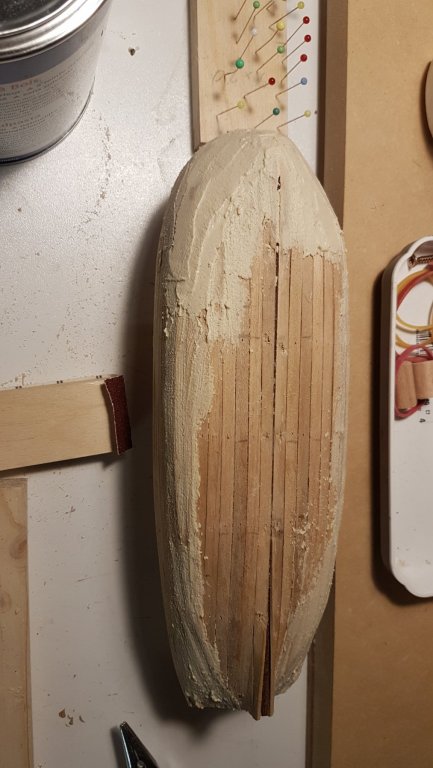
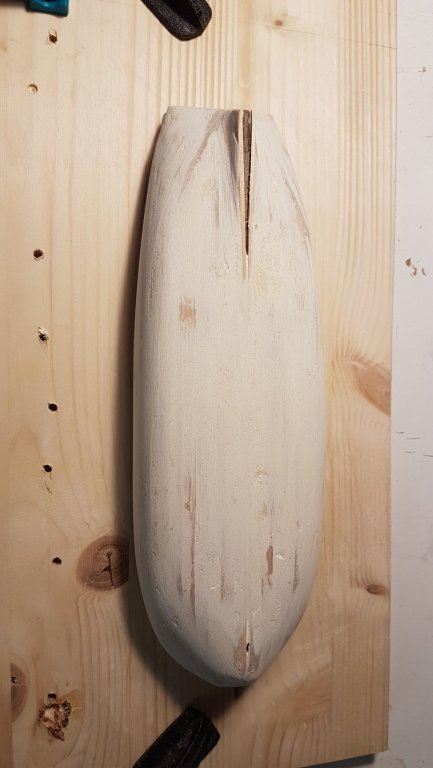
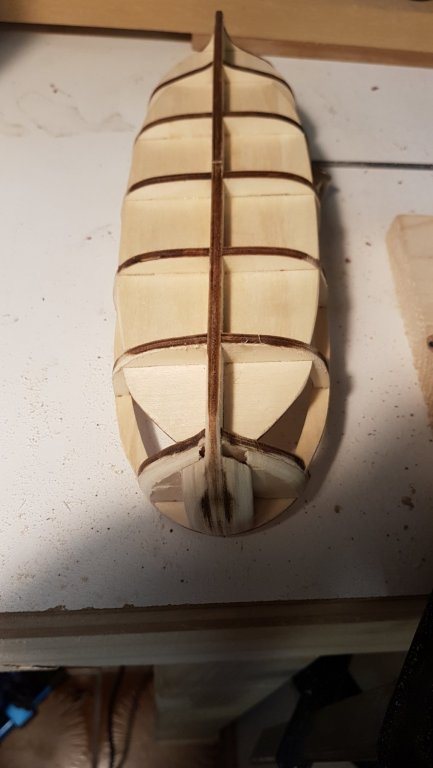
I wasn't idle the last couple of days. I finished the first layer of planking. Going along was like driving a race car over a field track. But I got there. I think I tampered to early, as I started tempering at the second plank from the wale. After looking at it with all planks attached, I decided to use a layer of filler over the hole hull and sand it down. This was not necessary everywhere, but I figured it can't hurt either and it will cover every bump. It took about an hour of sanding, but now I'm quite pleased with the result. I will start with the second layer later today. I already tried it out without glue and it seemed to me that those much thinner planks will be much easier to bend. We'll see.

- 5 replies
-
- 1
-
-
- longboat
- artesania latina
- (and 1 more)
-
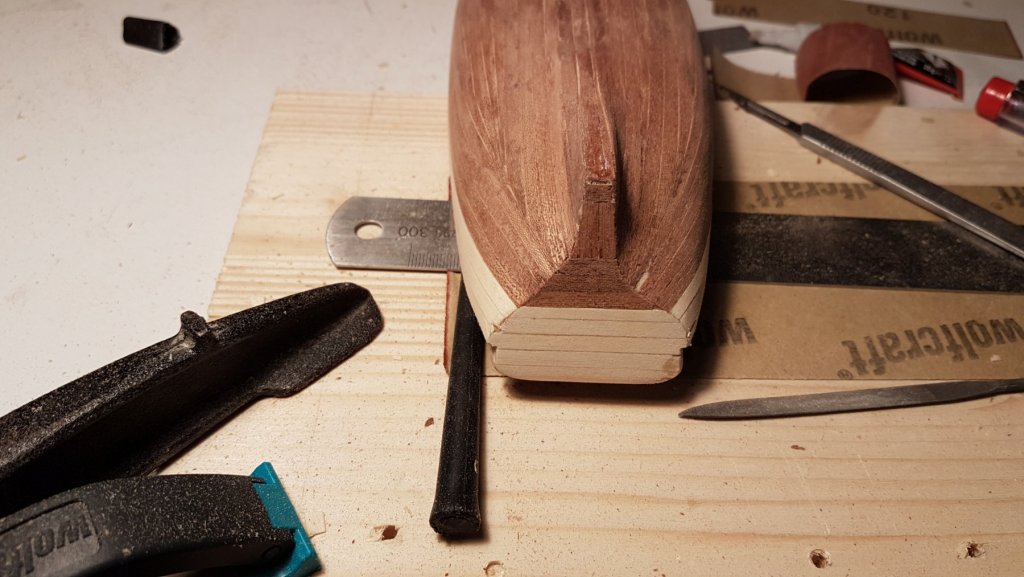
I subsequently added the supplied filler block fore at the stem and stern as well as the deck fore and aft and the bulwarks. After that I soaked the first planks in water and begun sanding down the filler blocks fore and aft. After reading a bit in other logs, I inserted additional filler blocks cut out from the frame of the ship parts, because I didn’t have such thin wood (except beech, which I didn’t want to sand down) and was to lazy to set up the table saw. (By order of the high lords of the admiralty I’m not allowed to use the saw inside due to the dust, which is not completely collected from the industrial vacuum cleaner I attach to the saw).
- 5 replies
-
- 2
-
-
- longboat
- artesania latina
- (and 1 more)
-
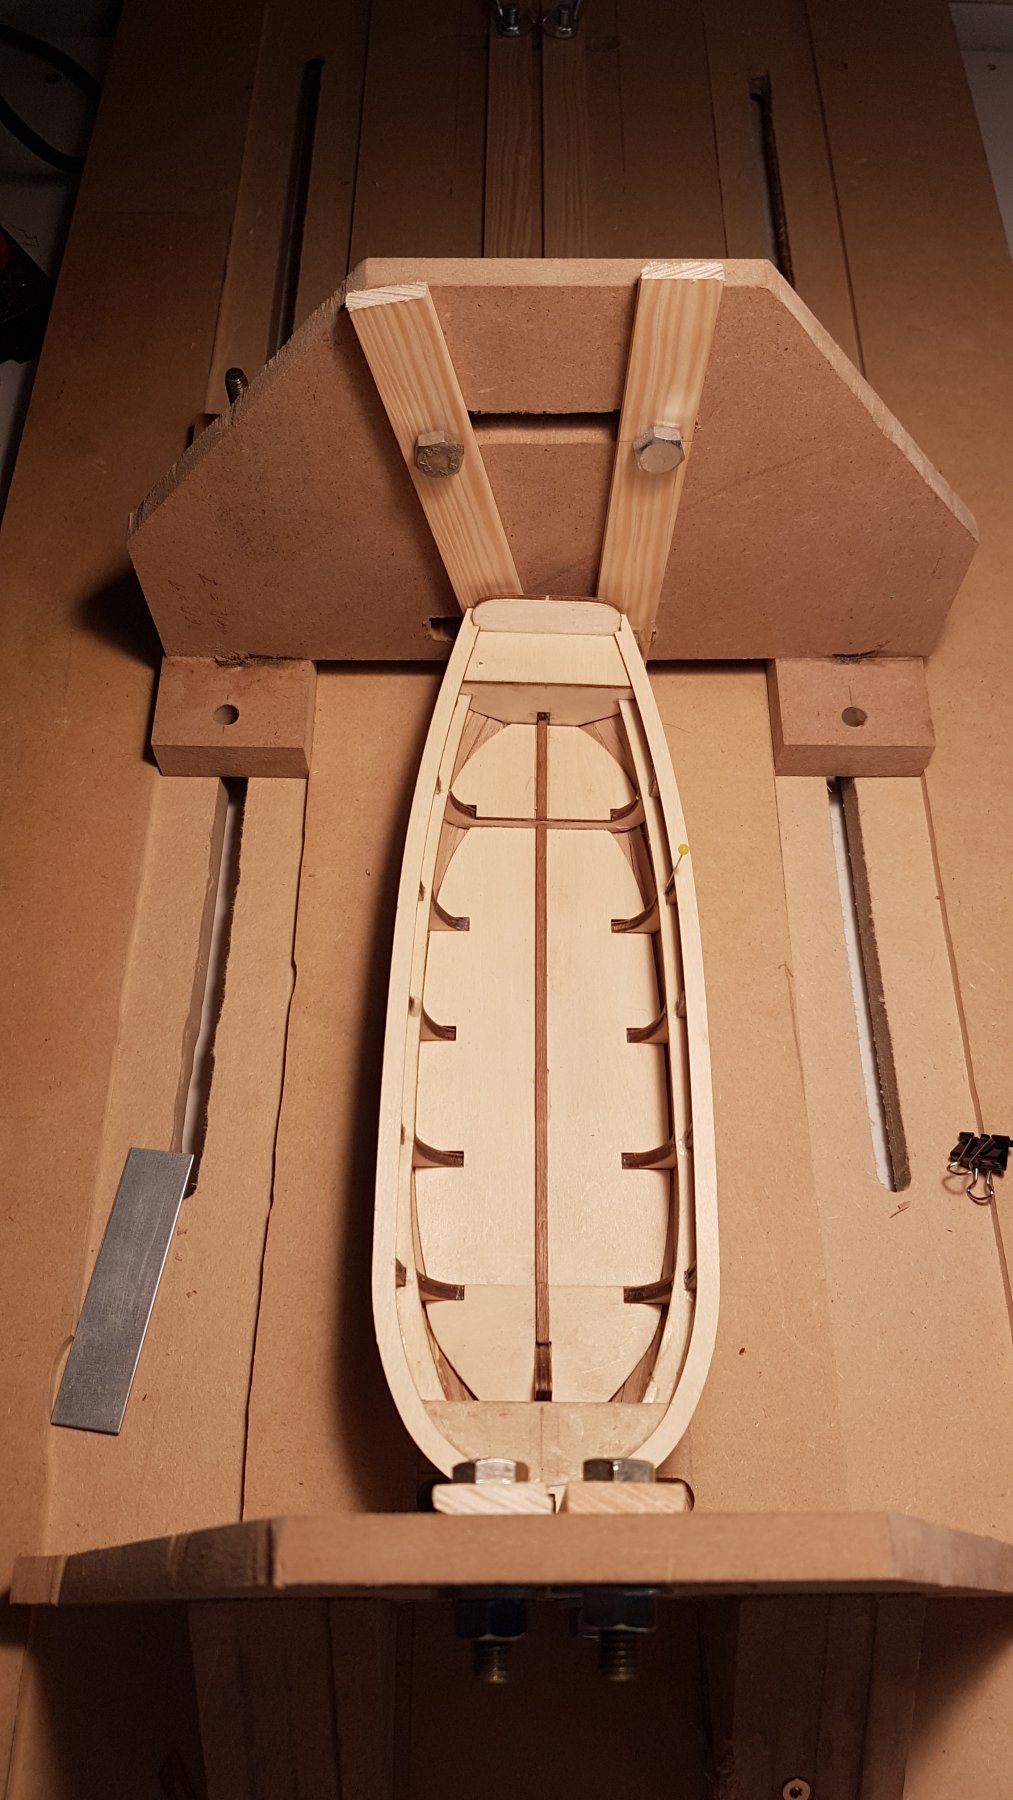
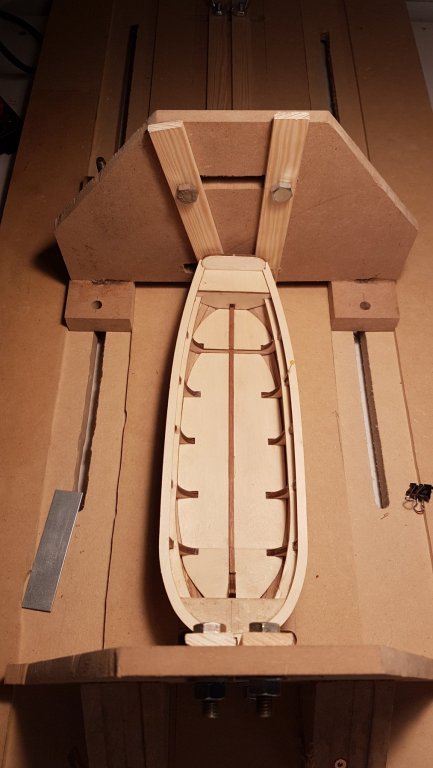
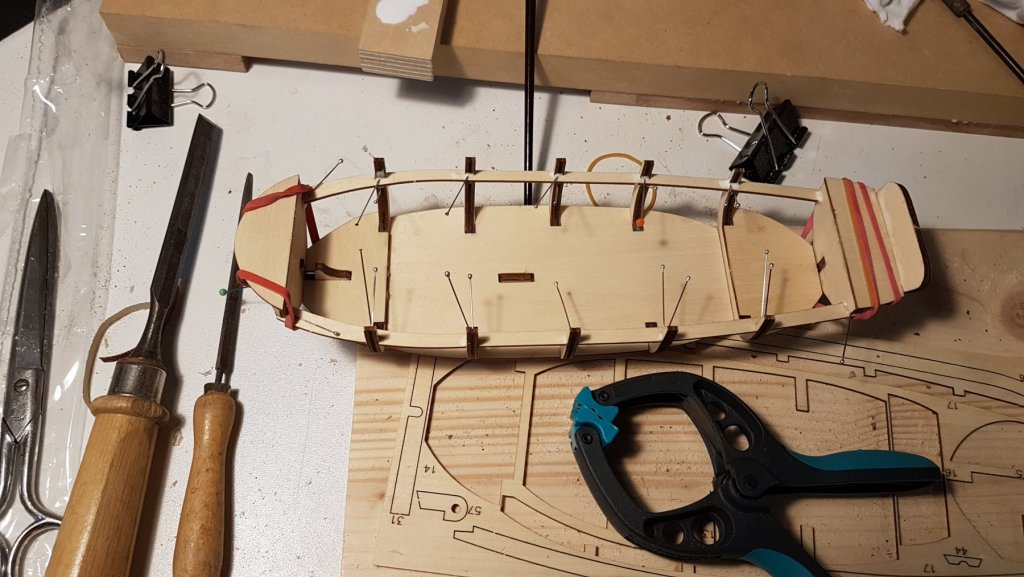
Well, as threatened in my introduction i will post my first building log. First picture is taken several hours past the beginning. I removed the bulkheads from the frame with a scalpel nr.3. This was easy and only a little filing was needed at the connecting points, because the thin scalpel cut very accurate. One little error in the provided laminated wood was that it was delaminated at one point of the frame. Two parts were affected. The deck in the aft and one base of the thwarts were affected. The deck could be repaired by putting some white glue on a toothpick and distribute it inside. As that base of the thwarts is only 7 mm wide it cracked even more in the process. I repaired it with a splint about half as wide as the base so it should not be visible. The fit of the bulkheads was pretty good out of the box. After dry-fitting, I saw that deck was slightly too long at the aft, but it took only a little sanding. The first frame and the last frame needed a little adjustment to be in one plane with the rest. I discovered this only after fitting the base of the thwarts in addition to frames and deck. After everything seemed to fit squarely, I glued it together.

- 5 replies
-
- 1
-
-
- longboat
- artesania latina
- (and 1 more)
-
Hi, thank you all for the warm welcome. @Sticker Thank you for your tip with the visibility of the first layer of planks from the inside. I wouldn't thought of that in a million years, although, after you said it, it seems quite obvious . @Vossiewolf Your book suggestion sound interesting from what I can gather from the table of content. It's even available as new book from German Amazon. Messis, thank you for your suggestion. I've read about this book several times in the forum and will get it soon. But I will get the english version, because most of the books are written in english and I will try to learn the english vocabulary of seamanship. As a start I bought the 'Oxford Companion to Ships and the Sea' and as a small introduction to modelling 'Period Ship Kit Builder's Manual'. @Davidrasch: We'll, if I have fun with the whole modelling in the longrun, I will think about it in the future. I always wanted my own mill and lathe ;-). But till then I will stick to kits. Cheers Horst
-
Hi, I am the new to the forum (and the hobby) and wanted to introduce myself briefly. I came to ship modelling because I love the age of sail and large sailing vessels. I'm generally interested in the history as well as the working of large sailing vessels. It started with the novels of Patrick O'Brian, which led over to Forresters' and Popes' novel. In order to get a better understanding of the work on the ship I bought 'The young sea officers sheet ancho' and 'The Art of Rigging'. After that, I was still not able to completely understand how things worked. So I figured, when building it myself I'm probably foster my understanding. And here I am. I am Phd student at the Technical university of Munich working in the field of forestry. During day time I spend my time playing with statistics and try to make sense to figures and numbers others have measured. In my spare time I train my own dogs in FCI obedience on a competition level and dogs of others in general good behavior and obedience. I have a little hobby shop in my basement. Amongst hand tools I am a proud owner of a Bosch professional table saw as well as some other electrical tools like router, mill press and dremel miller. After reading in this very interesting forum, I ordered the Endeavour longboat from AL. I'll start the building log as soon as I have some pictures ready. I'm currently doing the first planking and we'll see how that goes. Anyway, thank you for this site and probably for future useful comments. Horst