SandyBay
Members-
Posts
37 -
Joined
-
Last visited
Content Type
Profiles
Forums
Gallery
Events
Everything posted by SandyBay
-
Very nice, they certainly look the part.
- 133 replies
-
- chaperon
- model shipways
-
(and 2 more)
Tagged with:
-
- 33 replies
-
- 18th century longboat
- model shipways
-
(and 1 more)
Tagged with:
-
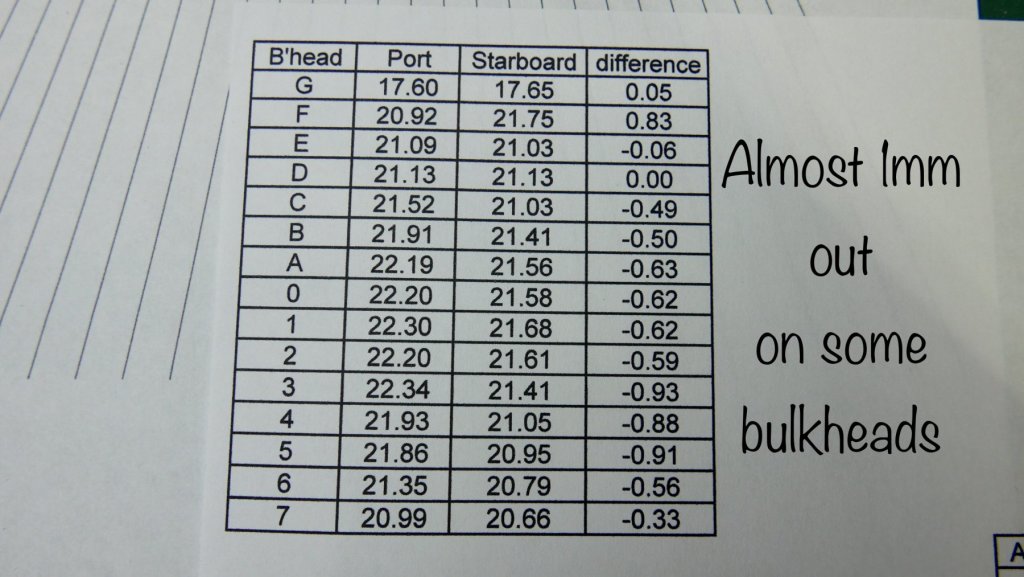
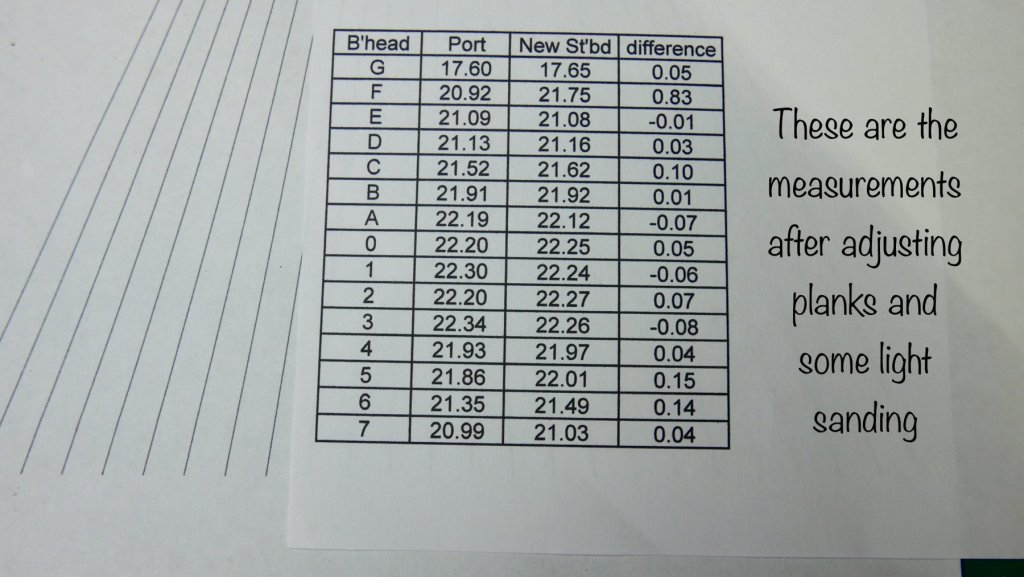
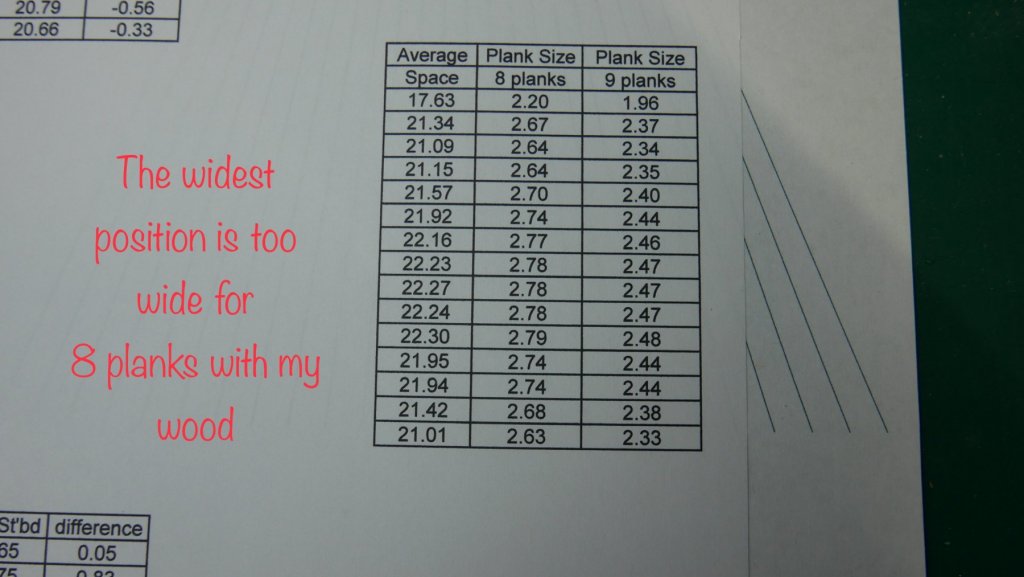
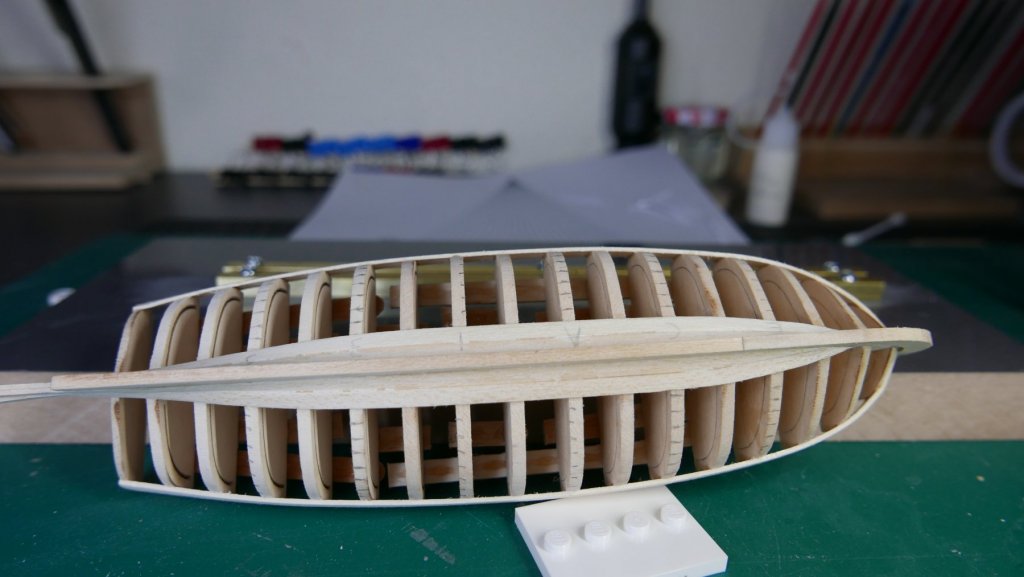
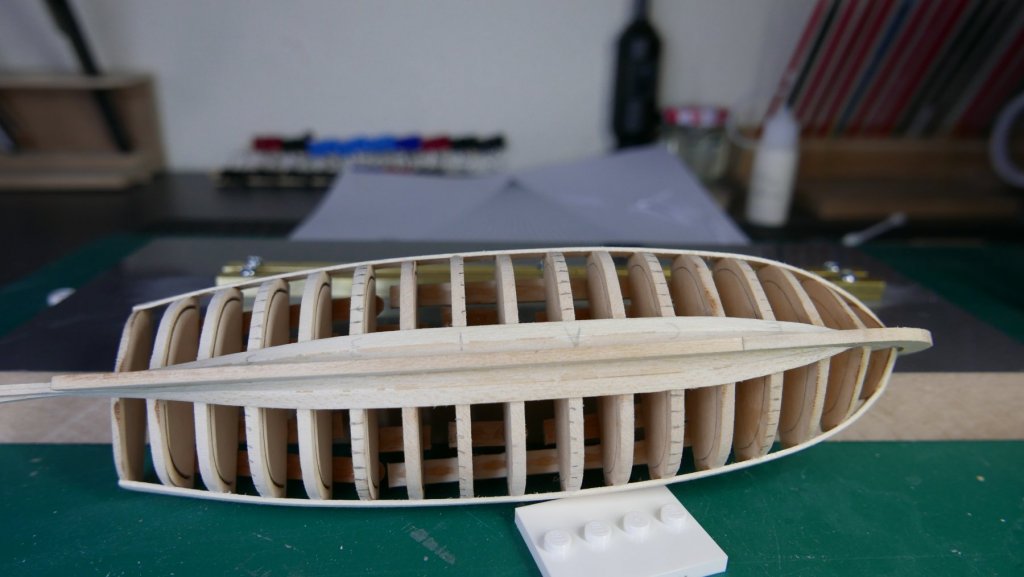
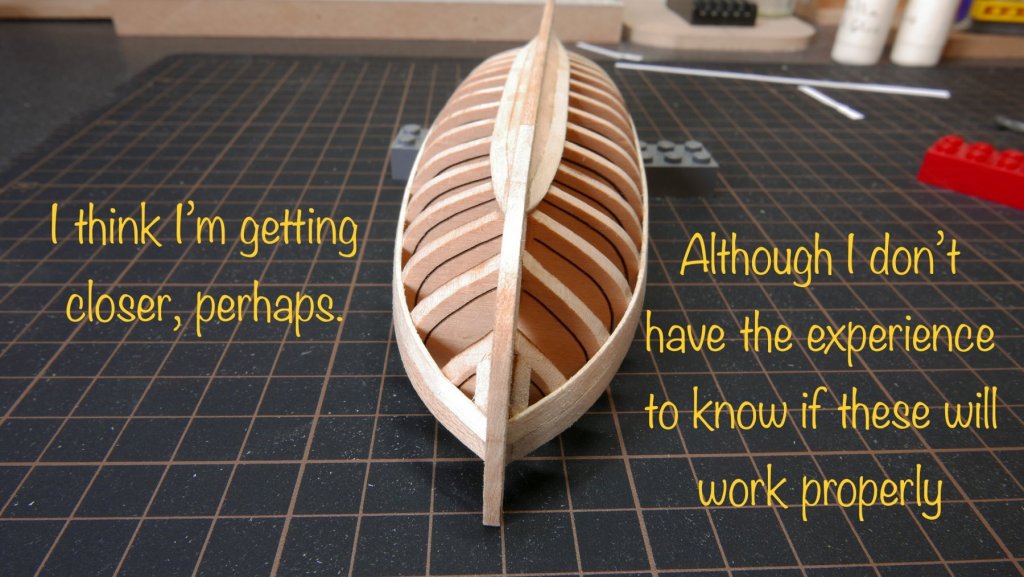
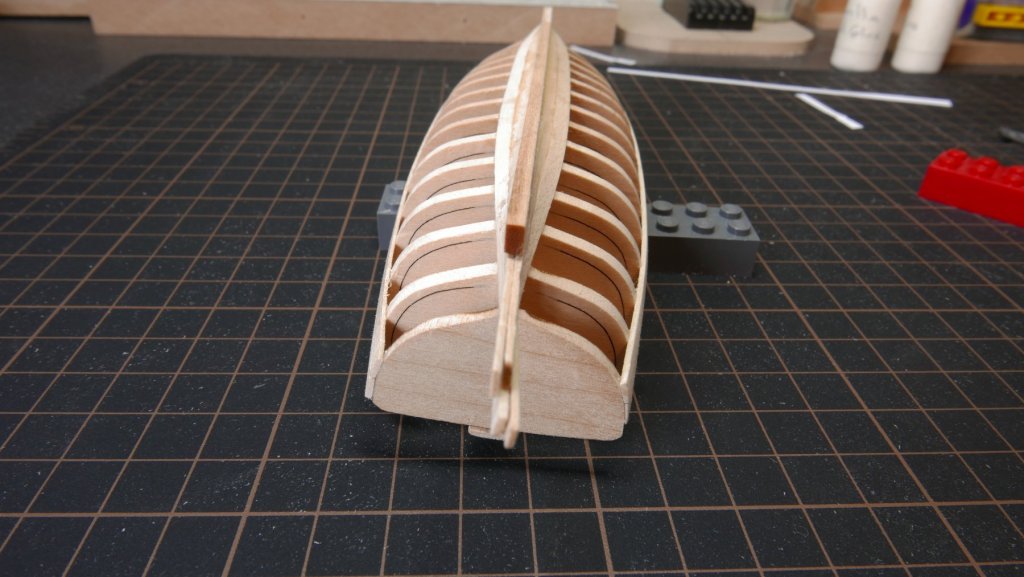
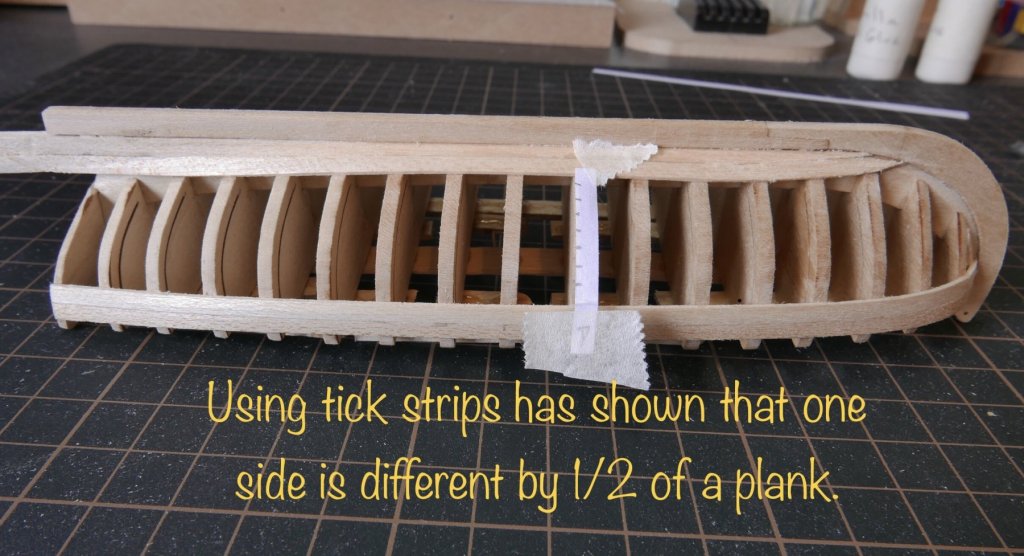
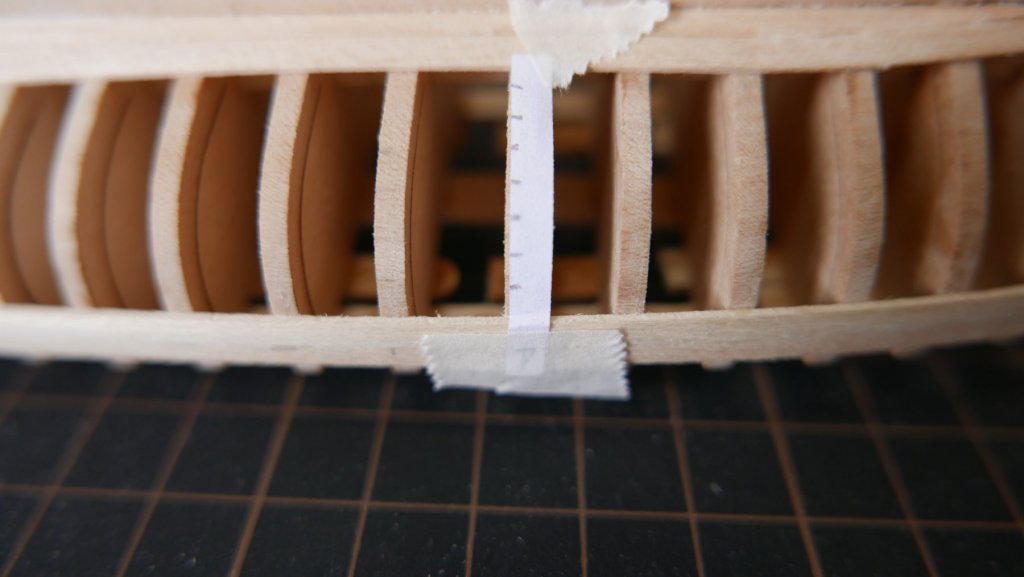
Well I’ve taken on board all the helpful comments I’ve received here and immersed myself in learning about bent wood. Following on from what gsdpic suggested and using Vossiwulf’s stylish method I’ve checked and rechecked my plank positions. Well the top two planks were different heights so I carefully removed one set and reglued them correctly. Then useing a planking fan I tick marked every second bulkhead. It still didn’t pan out so I measured and recorded the gaps on every bulkhead and found that I was considerably out on several positions. I was confident now about the top four planks which meant the inaccuracies had to be in the two keel planks each side. They’d already been fitted and changed twice before and I was dubious about getting them off again and cleaning up the glue without breaking some of the frames free from the keel. I took the decision to simply sand those planks to even up the spaces between port and starboard. I don’t want to run the risk of losing heart and stopping because I’m not getting something as nice as I see on your build logs so I’m cracking on again and it seems to be going ok (ish). I’ll tell you what guys, building boats isn’t like doing a jigsaw is it. Some pictures to follow but my iPad is denying any knowledge of them at the moment so I’ll have a stern word with it.
- 33 replies
-
- 18th century longboat
- model shipways
-
(and 1 more)
Tagged with:
-
Ah, perhaps I should have read to the end of the thread BEFORE I emailed you asking if you intend to continue offering the kit. 🙂
- 421 replies
-
- medway longboat
- syren ship model
-
(and 1 more)
Tagged with:
-
I’ve just read your log from beginning to end and I’m just blown away by the sheer amount of work involved to get your model to where it is now. Did you (or your admiral) ever work out how those cherry strips mysteriously ended up in your online shopping basket.
- 162 replies
-
- america
- BlueJacket Shipcrafters
-
(and 1 more)
Tagged with:
-
Ahhh! That’s a brilliant idea Vossiwulf, thanks for the picture and I’ll definitely have a go with that method.
- 33 replies
-
- 18th century longboat
- model shipways
-
(and 1 more)
Tagged with:
-
Thanks Gary, Todays job is to carefully measure the positions of all the planks and then formulate a plan of action. I will probably take the pragmatic view that no one (apart from you lot on here) will ever see and inspect it from underneath so visually the top six or seven planks each side are more important. I always knew this would be a learning experience and I’ve certainly learned that you can’t just stick a model boat together like you can a plastic kit.
- 33 replies
-
- 18th century longboat
- model shipways
-
(and 1 more)
Tagged with:
-
I was, in retrospect, quite casual about the symmetry on each side as I built it and obviously my chickens are now coming home to roost. I have always been impressed by the wooden ship models I’ve seen but now I have a whole new level of respect for the painstaking attention to detail and skill which is necessary to produce a quality ship model. It is so much more demanding than any plastic aeroplane kit. Would you happen to have a photo of your carbon fibre datum machine in action as I’m having trouble visualising how it would work?
- 33 replies
-
- 18th century longboat
- model shipways
-
(and 1 more)
Tagged with:
-
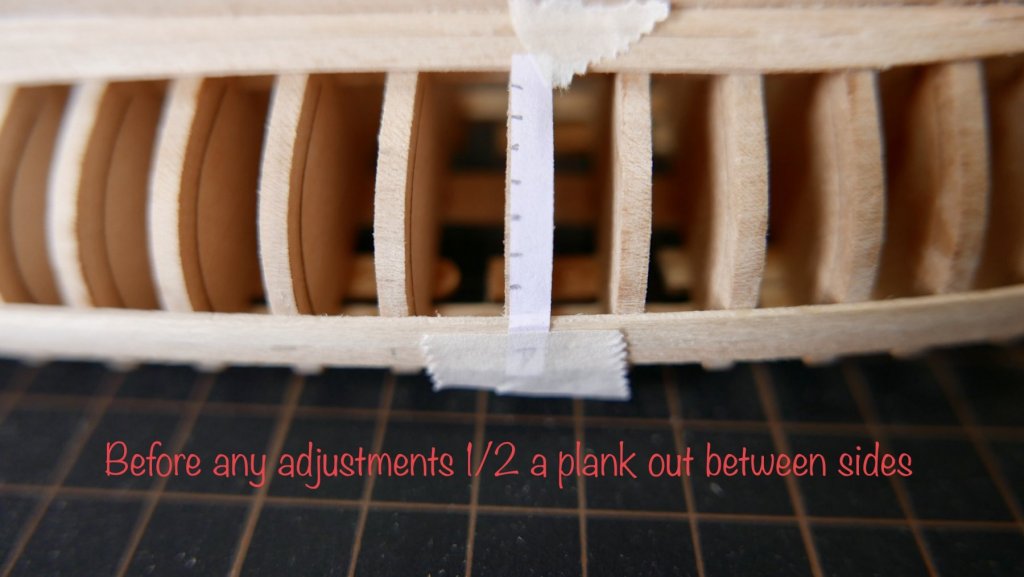
I could do with some advice if you’d all be so kind. I’ve been working through using tick marks on the bulkheads and as I found on the first bulkhead, the available space is approx half a plank less on the port side. I’ve checked the height of the planks on the gunwhale and they seem the same heights so my inaccuracies must be in the garboard planks. my question is this, is it better to reduce all the planks on the small side or try and sand the garboard area so the space to plank is the same as the starboard side?
- 33 replies
-
- 18th century longboat
- model shipways
-
(and 1 more)
Tagged with:
-
- 33 replies
-
- 18th century longboat
- model shipways
-
(and 1 more)
Tagged with:
-
- 33 replies
-
- 18th century longboat
- model shipways
-
(and 1 more)
Tagged with:
-
- 33 replies
-
- 18th century longboat
- model shipways
-
(and 1 more)
Tagged with:
-
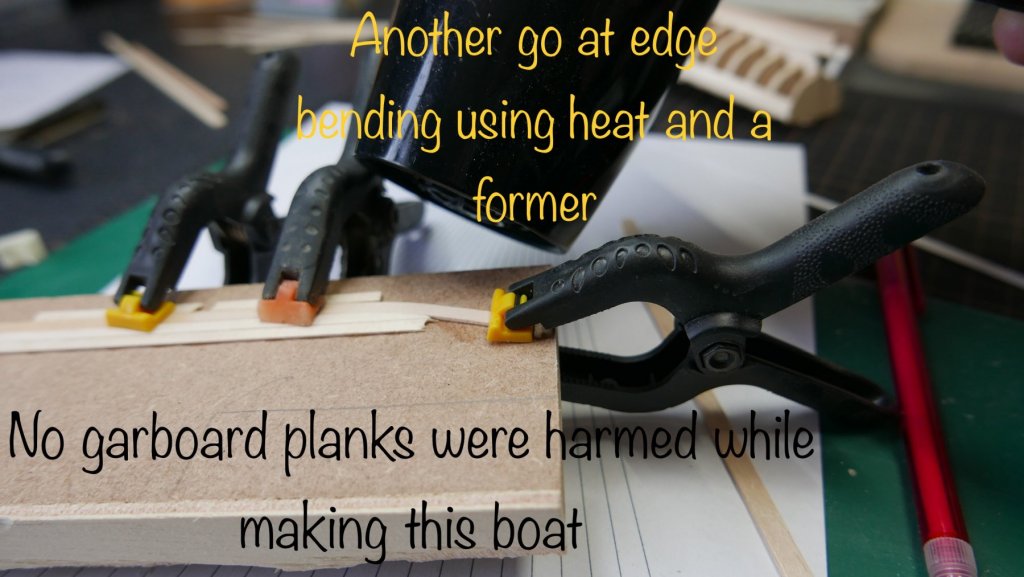
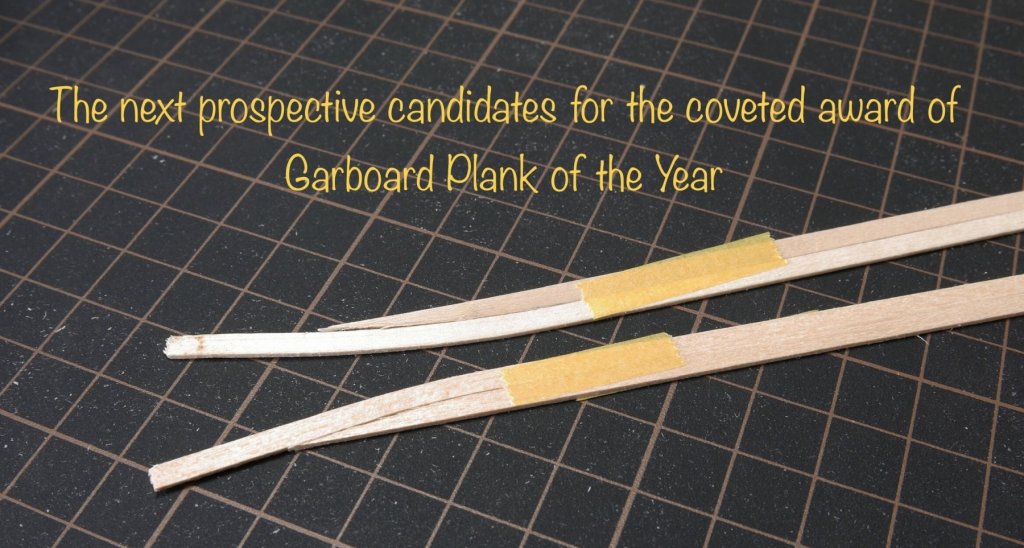
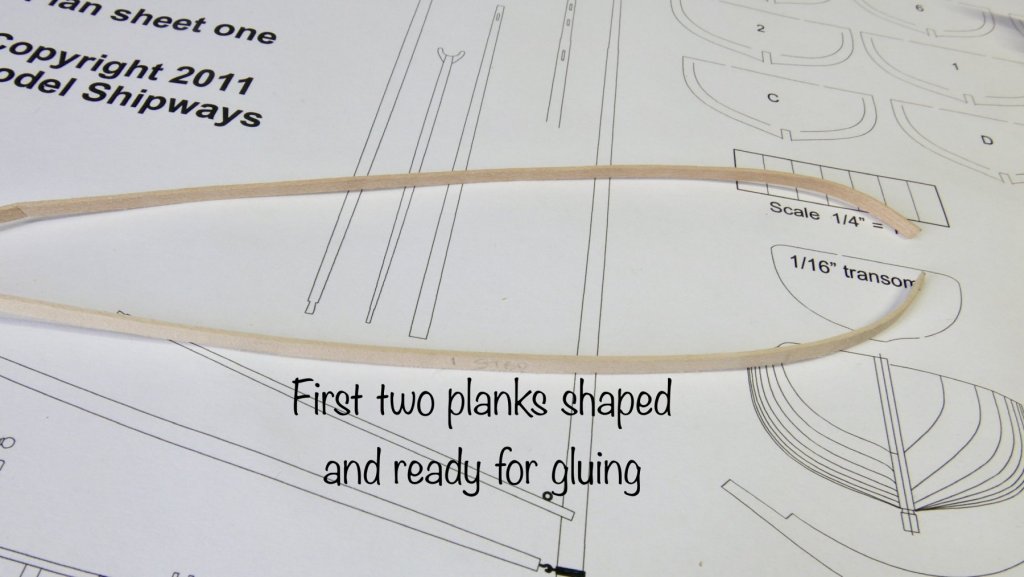
Goodness me this boat building lark isn’t easy is it? I’ve been working on making the garboard plank and the plank next to it. I’ve been trying to emulate the planks which BobF showed in his longboat thread back in 2013.
- 33 replies
-
- 18th century longboat
- model shipways
-
(and 1 more)
Tagged with:
-
I love the nails you’ve put on yours, it really brings the model up to a new level.
- 95 replies
-
- Model Shipways
- 18th Century Armed Longboat
-
(and 1 more)
Tagged with:
-
Thanks for the advice about clamping, I’ve already dented some pieces. It’s a fine line between enough clamp pressure and too much isn’t it. I’ve made two more garboard planks and (hopefully) the curve on those is is better, I’ll find out tomorrow. If not I’ve still got plenty of wood left and with the help of you guys on here I’m sure I’ll get there eventually.
- 33 replies
-
- 18th century longboat
- model shipways
-
(and 1 more)
Tagged with:
-
No, mine is the 18th century longboat by Chuck, although it would be nice to have a ‘build buddy’.
- 168 replies
-
- 18th Century Armed Longboat
- Model Shipways
-
(and 1 more)
Tagged with:
-
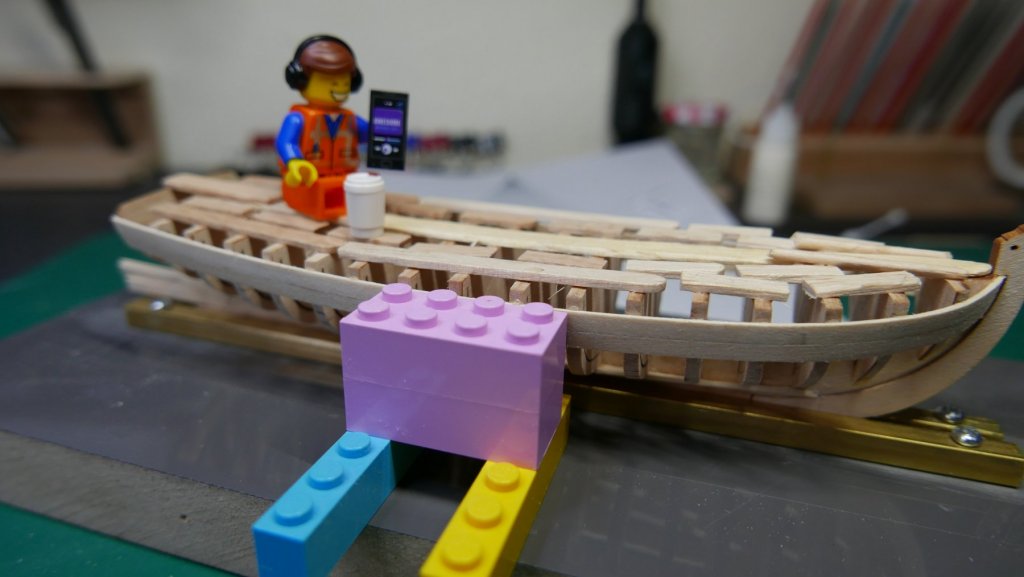
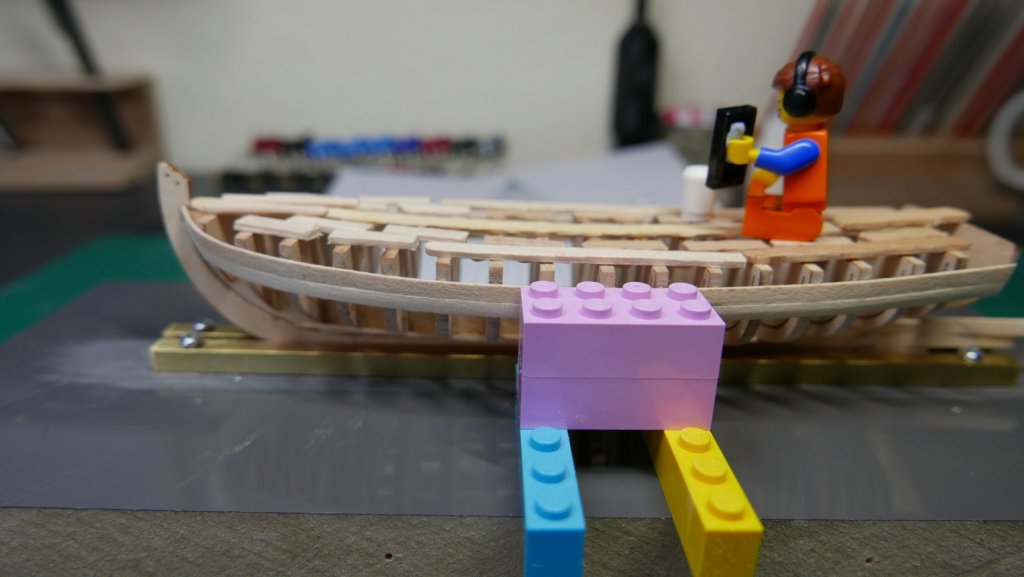
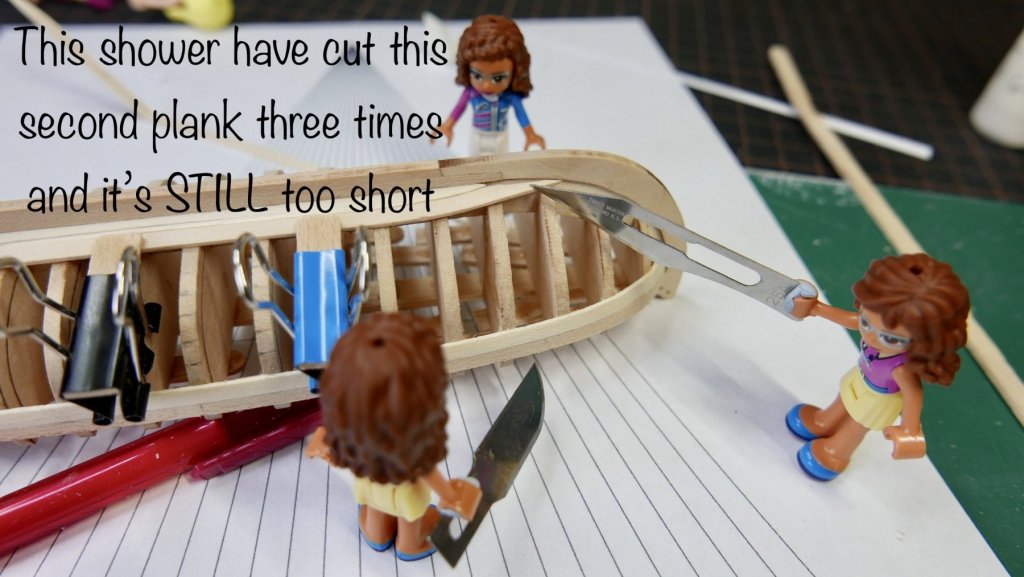
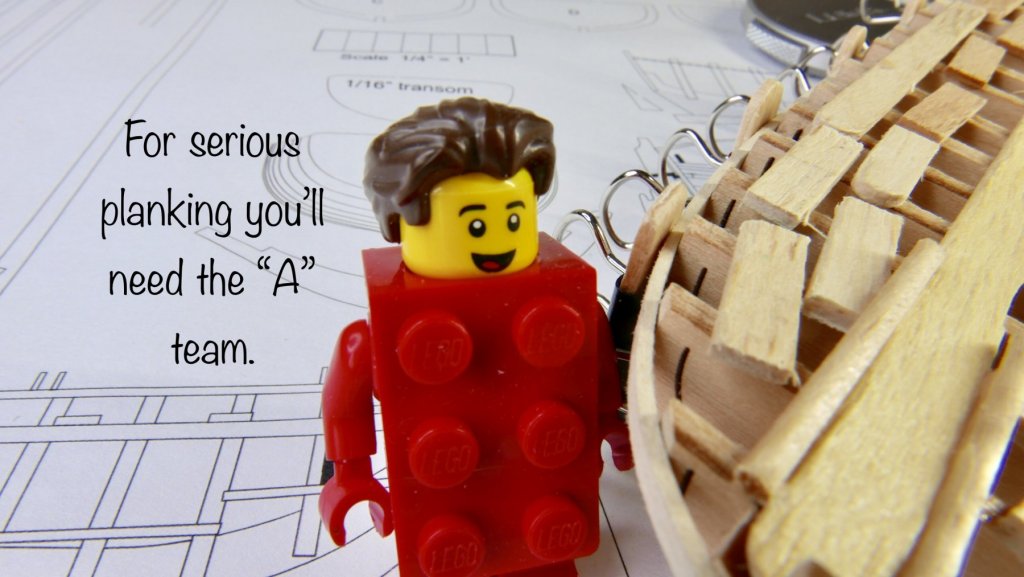
After the keel gap incident I’ve had to let that Lego foreman go. This guys a LOT more expensive but he told me he’s more experienced.
- 33 replies
-
- 18th century longboat
- model shipways
-
(and 1 more)
Tagged with:
-
A lovely looking dog...but why is every illness a dog gets so painfully expensive?
- 90 replies
-
- english pinnace
- Finished
-
(and 1 more)
Tagged with:
-
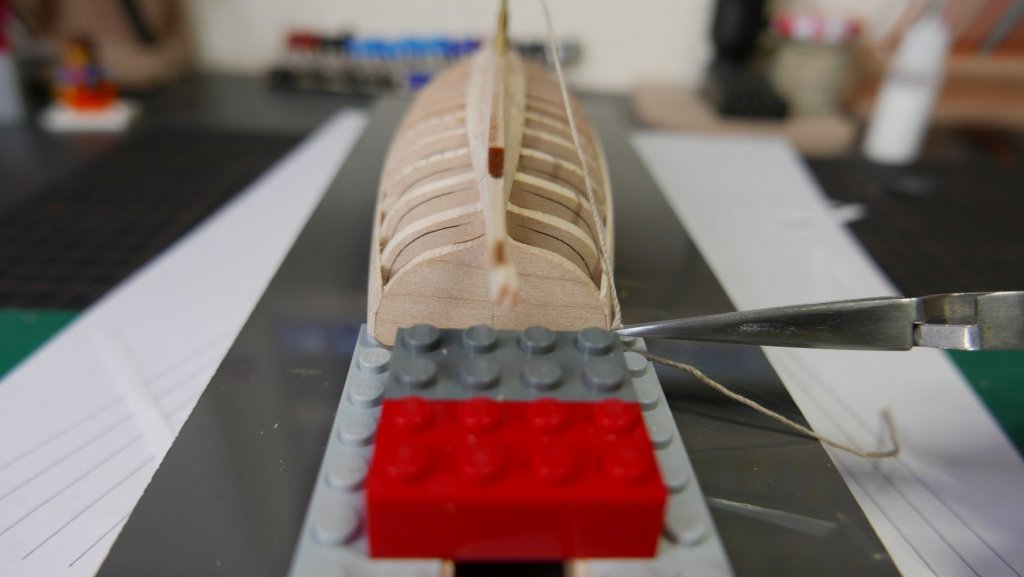
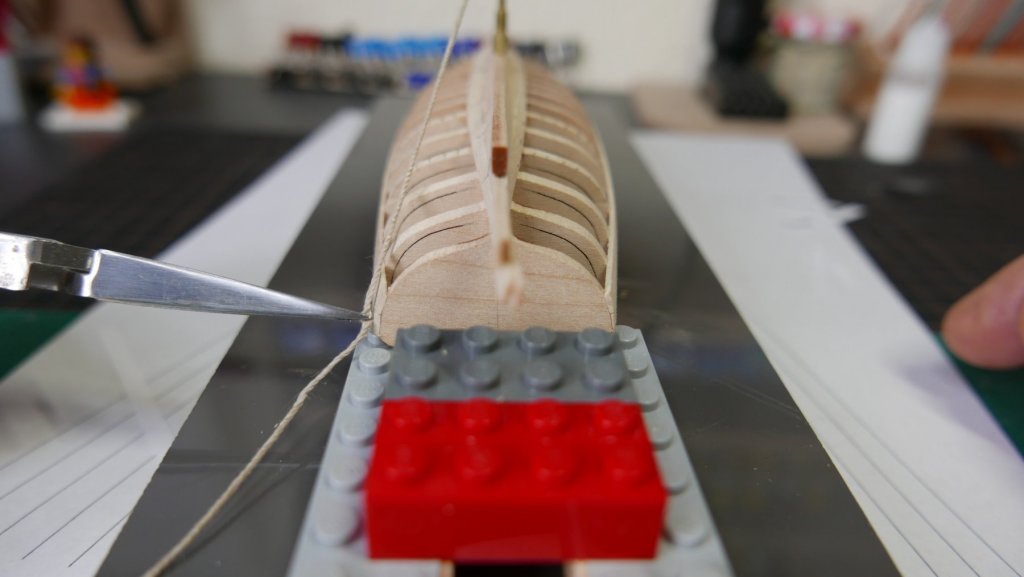
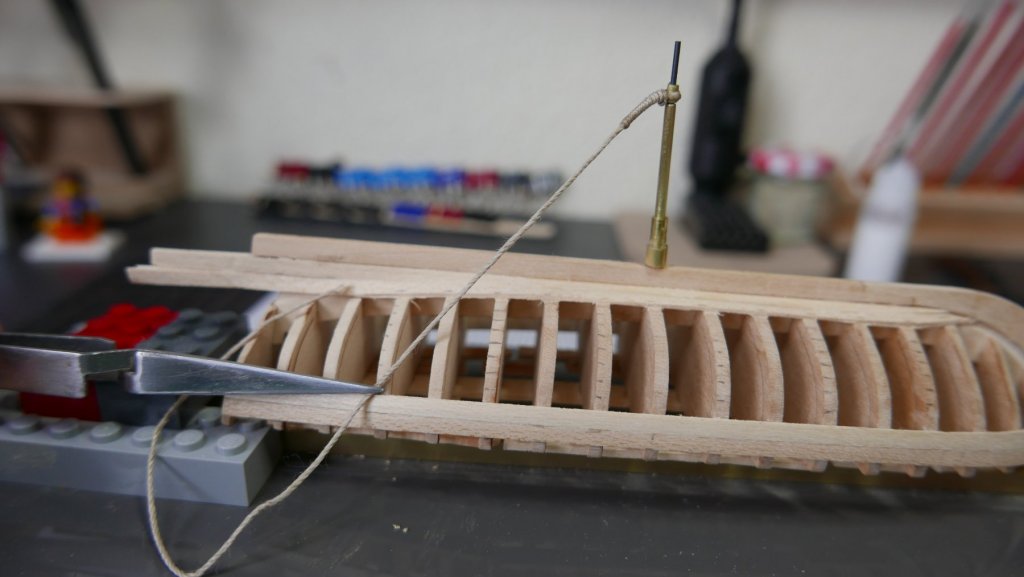
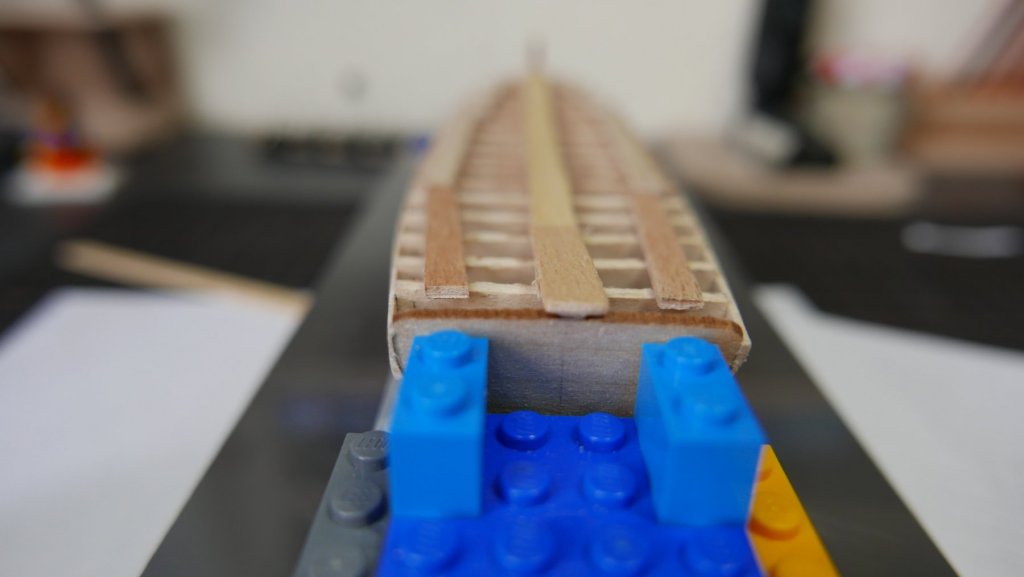
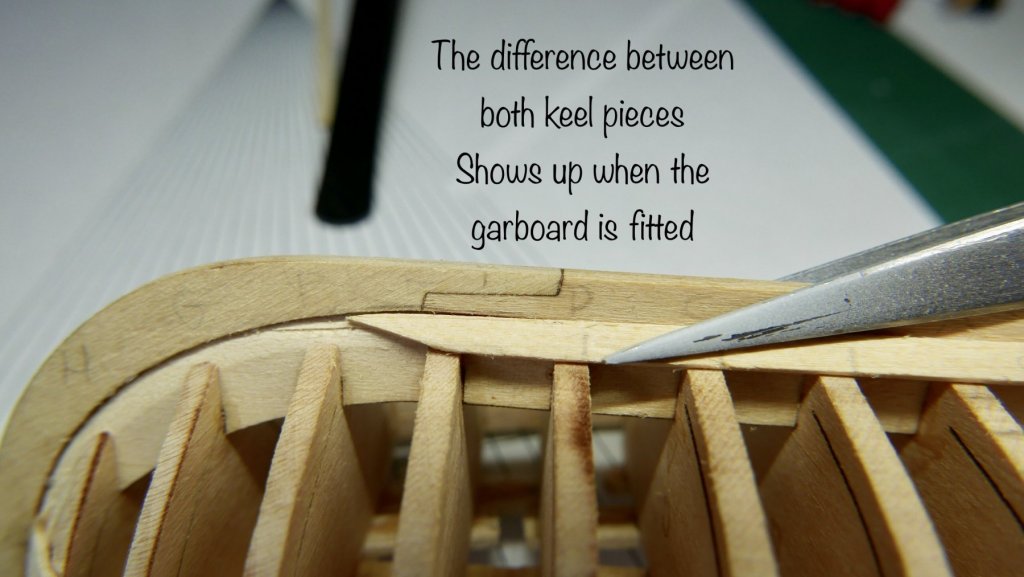
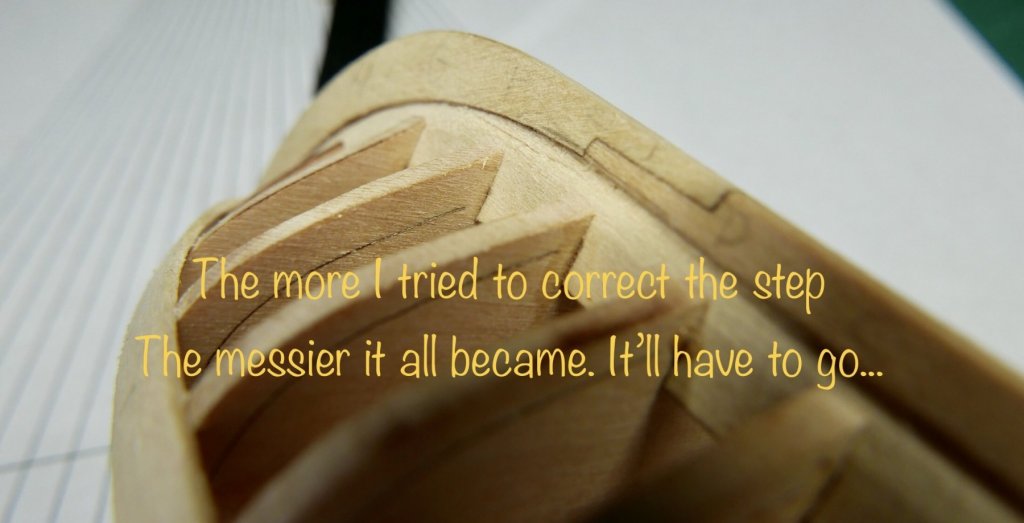
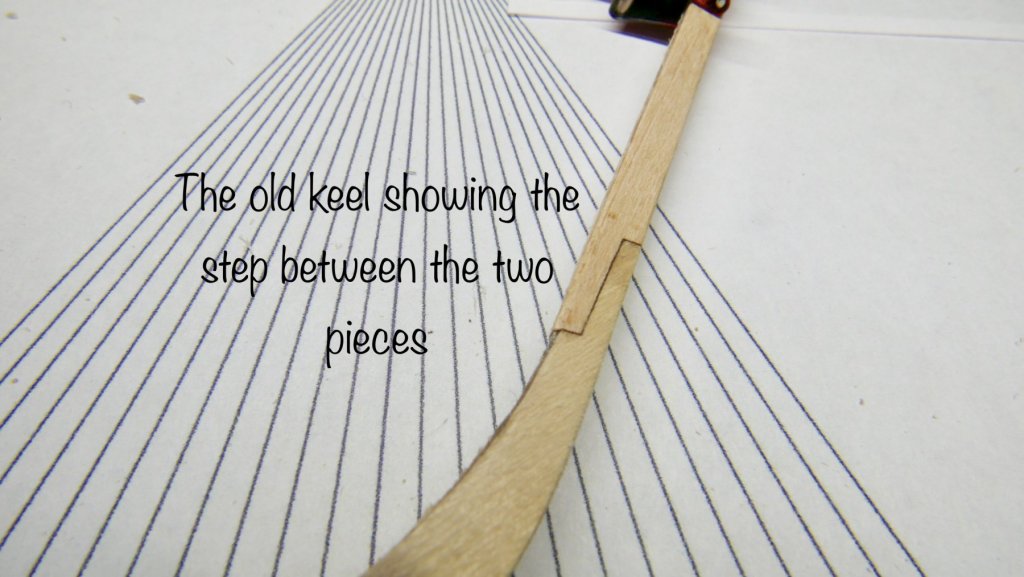
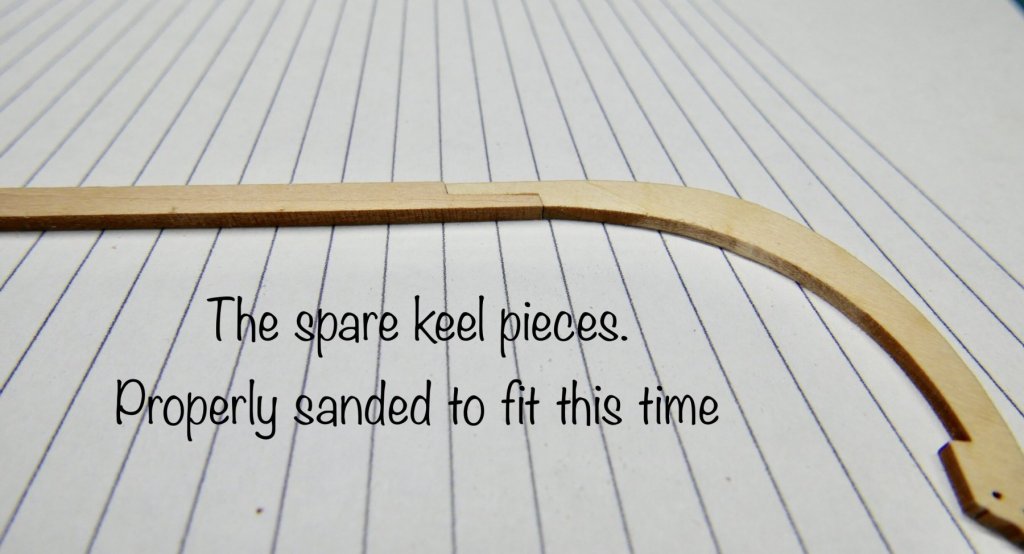
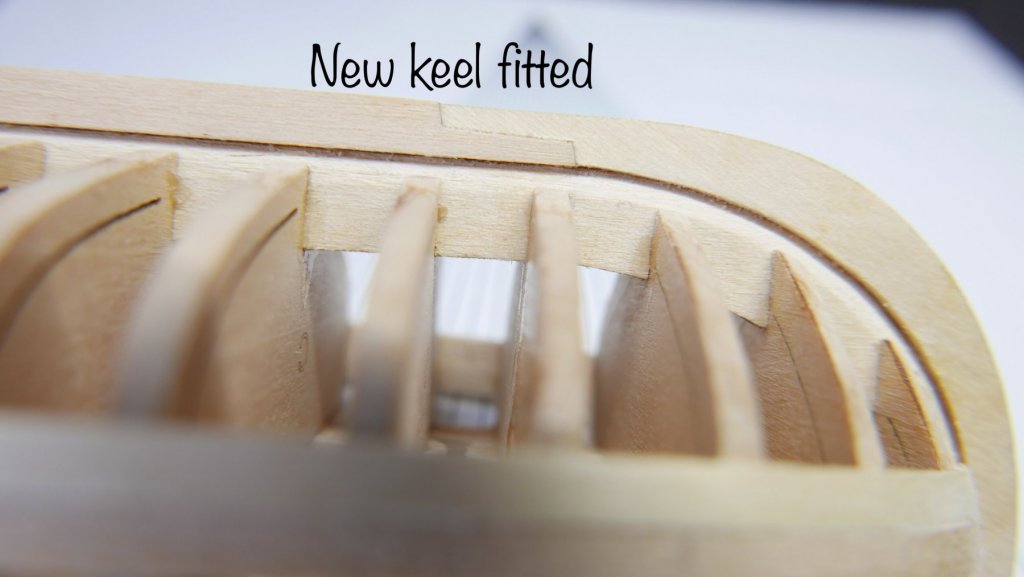
Now we come to the not so pretty bit. When I glued the keel pieces together I hadn’t realised that the tiny difference between the front and rear keel pieces would cause such a problem but as I was fitting the garboards I couldn’t get rid of the unsightly gap. I tried to sand the rebate level in situ and also briefly considered accepting the gap but decided that as I’m learning how to plank a hull I should put more effort in and try and do it properly. luckily for me Chuck put extra keel pieces in the kit so I nervously removed the old one and replaced it with one which I’d sanded properly.
- 33 replies
-
- 18th century longboat
- model shipways
-
(and 1 more)
Tagged with:
-
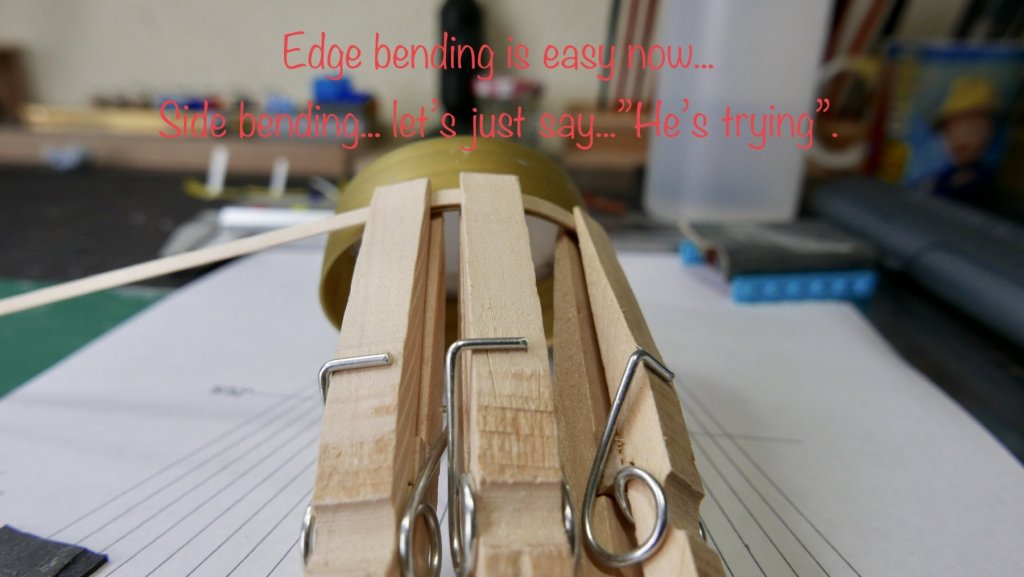
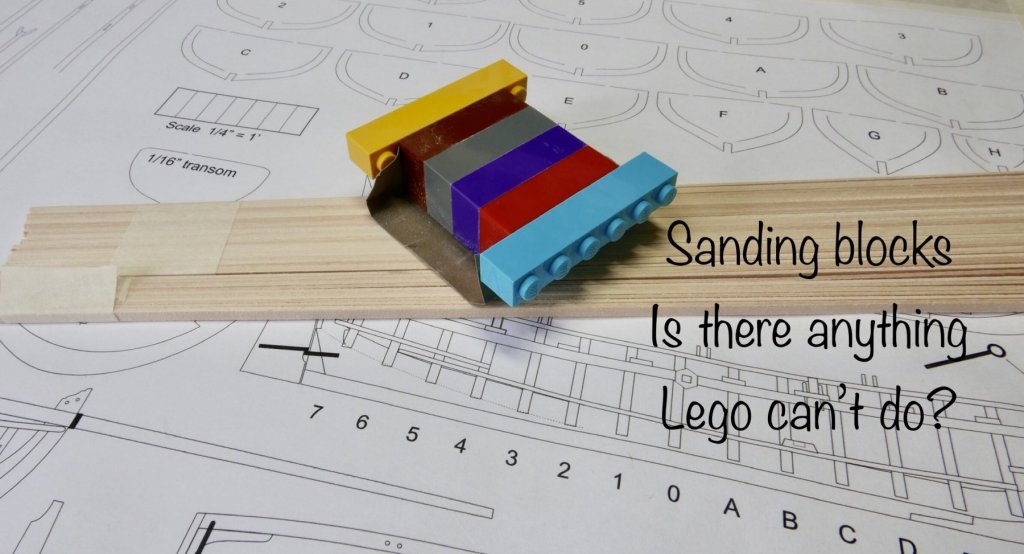
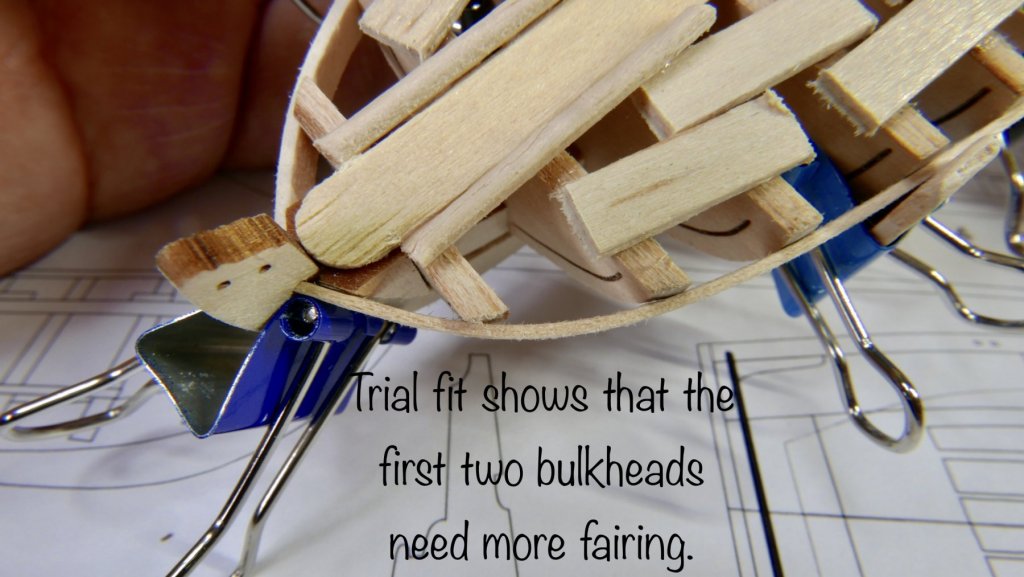
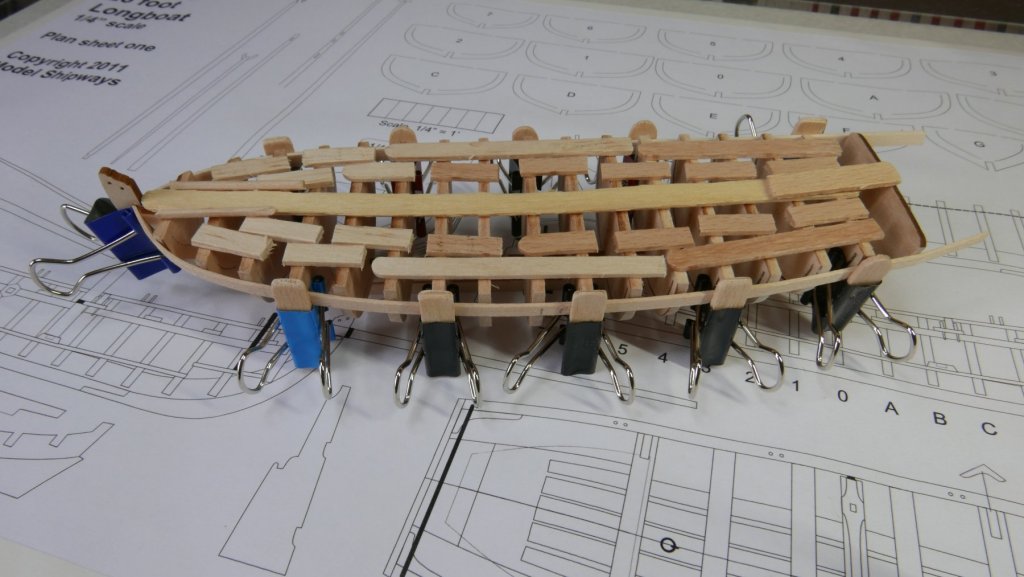
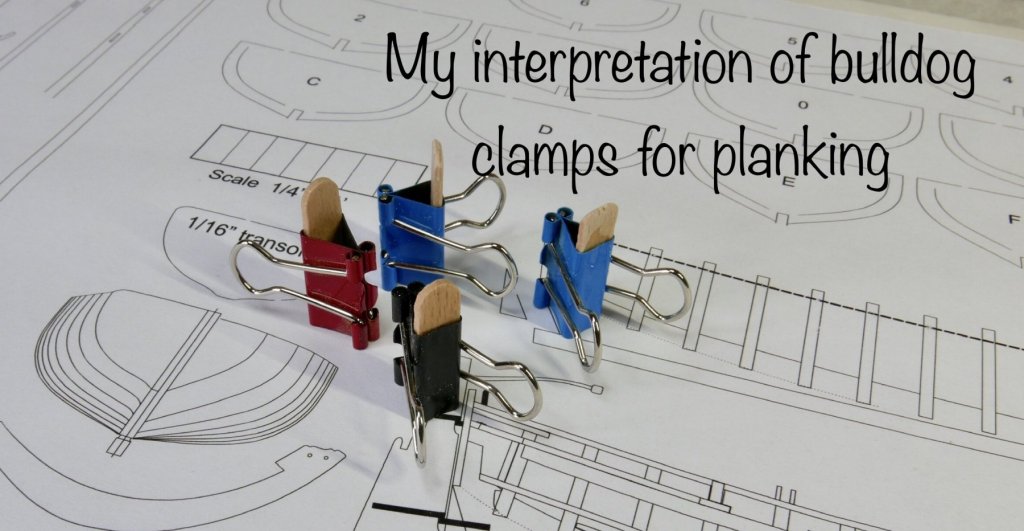
I’ve been studying ErikW’s build log as well as some others and started work on the planking. One of the best tips I’ve picked up so far is how to sand the planks before starting to get a nice fair edge. Dan Vadas’ suggested taping several planks together and sanding the lot in one go. Once I’d done that I checked the fairing and decided that I needed to improve the run on the first two bulkheads. All four top planks went on well and it’s starting to look like a boat now. Try as I might I couldn’t get the wire from one clip to fit into another one so I just glued some spare bits of wood in instead.
- 33 replies
-
- 18th century longboat
- model shipways
-
(and 1 more)
Tagged with:
-
Today is the day I tackle my first ever garboards on my longboat. From what I can see yours looks exactly the shape all the ones I’ve studied on other longboat builds so, as the resident “non-expert”, I’d say you’ve nailed it.
- 168 replies
-
- 18th Century Armed Longboat
- Model Shipways
-
(and 1 more)
Tagged with:
-
Thanks for the heads up about the kits on eBay UK. I’ve seen those before but when you consider the exchange rate and postage from the US it makes them very expensive.
- 168 replies
-
- 18th Century Armed Longboat
- Model Shipways
-
(and 1 more)
Tagged with:
About us
Modelshipworld - Advancing Ship Modeling through Research
SSL Secured
Your security is important for us so this Website is SSL-Secured
NRG Mailing Address
Nautical Research Guild
237 South Lincoln Street
Westmont IL, 60559-1917
Model Ship World ® and the MSW logo are Registered Trademarks, and belong to the Nautical Research Guild (United States Patent and Trademark Office: No. 6,929,264 & No. 6,929,274, registered Dec. 20, 2022)
Helpful Links
About the NRG
If you enjoy building ship models that are historically accurate as well as beautiful, then The Nautical Research Guild (NRG) is just right for you.
The Guild is a non-profit educational organization whose mission is to “Advance Ship Modeling Through Research”. We provide support to our members in their efforts to raise the quality of their model ships.
The Nautical Research Guild has published our world-renowned quarterly magazine, The Nautical Research Journal, since 1955. The pages of the Journal are full of articles by accomplished ship modelers who show you how they create those exquisite details on their models, and by maritime historians who show you the correct details to build. The Journal is available in both print and digital editions. Go to the NRG web site (www.thenrg.org) to download a complimentary digital copy of the Journal. The NRG also publishes plan sets, books and compilations of back issues of the Journal and the former Ships in Scale and Model Ship Builder magazines.


