.jpg.4175a43a36d3689e03e47a7f22a29f89.jpg)
Jeffrey
-
Posts
26 -
Joined
-
Last visited
Recent Profile Visitors
330 profile views


-
 ccoyle reacted to a post in a topic:
Yankee Hero by Jeffrey - FINISHED - BlueJacket Shipcrafters - first build
ccoyle reacted to a post in a topic:
Yankee Hero by Jeffrey - FINISHED - BlueJacket Shipcrafters - first build
-
Jeffrey reacted to a post in a topic:
Revenue Cutter by wtimlen - BlueJacket Shipcrafters - 1:48
-
Ed Gibbons reacted to a post in a topic:
Yankee Hero by BlackGSD - BlueJacket Shipcrafters - Scale 3/8” to 1’ - first build
-
Captain Mantooth reacted to a post in a topic:
Yankee Hero by Jeffrey - FINISHED - BlueJacket Shipcrafters - first build
-
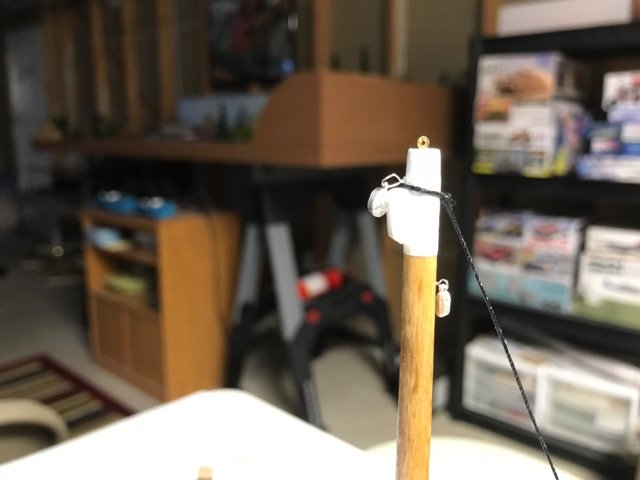
.thumb.jpg.95648470ff6c8bd57629b48ef06f7444.jpg) I did not paint the mast hoops. If you do paint them, use enamel paint. Take care and stay healthy. Jeff
I did not paint the mast hoops. If you do paint them, use enamel paint. Take care and stay healthy. Jeff -
KurtH reacted to a post in a topic:
Yankee Hero by Jeffrey - FINISHED - BlueJacket Shipcrafters - first build
-
wtimlen reacted to a status update:
Thank you Bill. Nice work on the hull. Looks like you are well on your way to a fine
-
Thank you Bill. Nice work on the hull. Looks like you are well on your way to a fine looking model. Regards and safety to you and yours as well.
-

Hello Jeffrey,
Studying your build and a mentor for your wonderful work on the "Hero" since January 2020, question for you. Did you paint your mast hoops or keep them stock brass, I can not tell by the pictures. If brass they look clean. Your post have been a great help and inspiration.
I hope family and you are safe and healthy. Thank you.
Bill T.
-
-
Jeffrey reacted to a post in a topic:
Revenue Cutter by austristan - BlueJacket Shipcrafters - Scale 1:48 - First build
-
Jeffrey reacted to a post in a topic:
Yankee Hero by Jeffrey - FINISHED - BlueJacket Shipcrafters - first build
-
reklein reacted to a post in a topic:
Yankee Hero by Jeffrey - FINISHED - BlueJacket Shipcrafters - first build
-
reklein reacted to a post in a topic:
Yankee Hero by Jeffrey - FINISHED - BlueJacket Shipcrafters - first build
-
reklein reacted to a post in a topic:
Yankee Hero by Jeffrey - FINISHED - BlueJacket Shipcrafters - first build
-
reklein reacted to a post in a topic:
Yankee Hero by Jeffrey - FINISHED - BlueJacket Shipcrafters - first build
-
reklein reacted to a post in a topic:
Yankee Hero by Jeffrey - FINISHED - BlueJacket Shipcrafters - first build
-
Jeffrey reacted to a post in a topic:
Yankee Hero by Jeffrey - FINISHED - BlueJacket Shipcrafters - first build
-
Jeffrey reacted to a post in a topic:
Red Baron by schooner - FINISHED - BlueJacket Shipcrafters - 3/8" scale - lobster boat
-
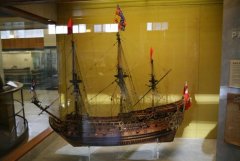
I have the Revenue Cutter that I would like to start sometime; however, I would really like to tackle the We're Here. I really like the lines on this boat. Hoping not take on more than I can handle. I would really like to have some plank on frame experience, so any suggestions?
-
Jeffrey reacted to a post in a topic:
Sultana by Overworked724 (Patrick) – FINISHED - Model Shipways – Scale 1:64 – Solid Hull – First Wooden Model Ship
-
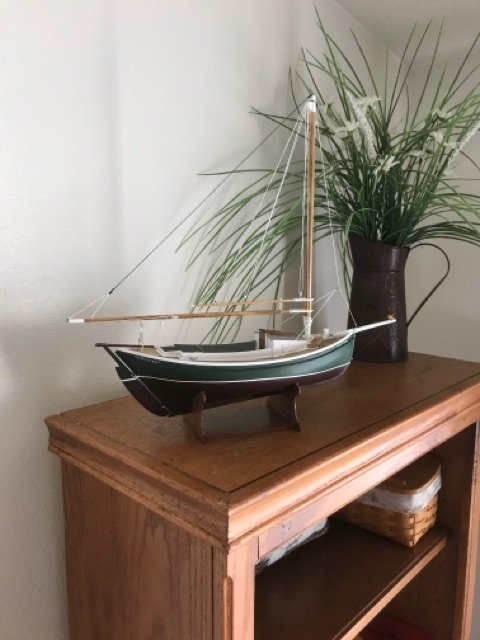
Finished! Not perfect, but good enough for my first attempt at a new kind of modeling. I noticed the the mast sticks up a bit too far and the decal transfers did not work as well as I had hoped. I have mixed results with these in the past. Anyway, not bad at all and I really enjoyed the project. I would welcome feedback to help improve my skills.

- 35 replies
-
- 5
-
-
- yankee hero
- first build
- (and 2 more)
-
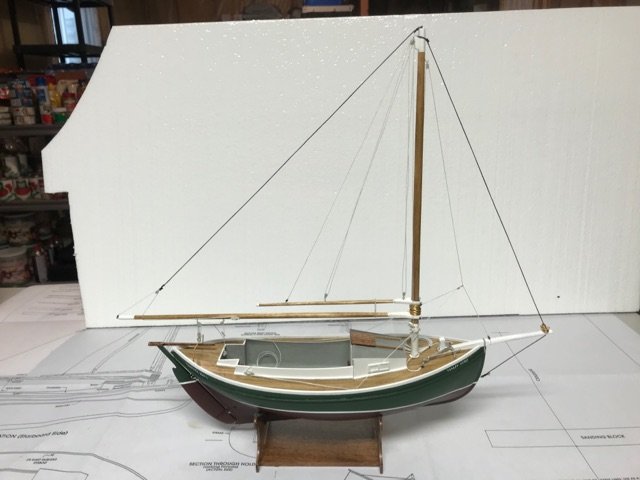
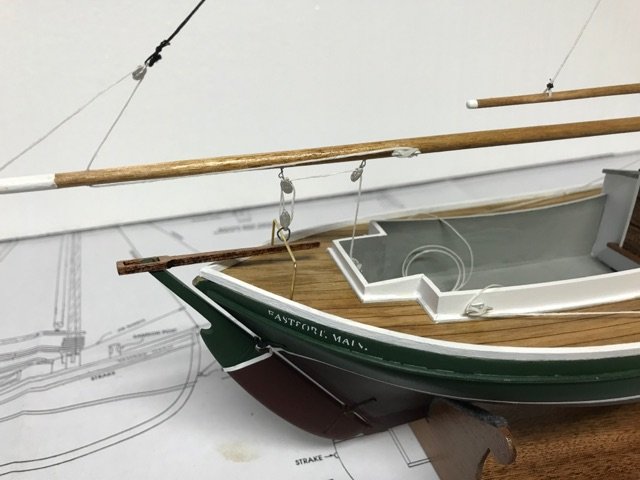
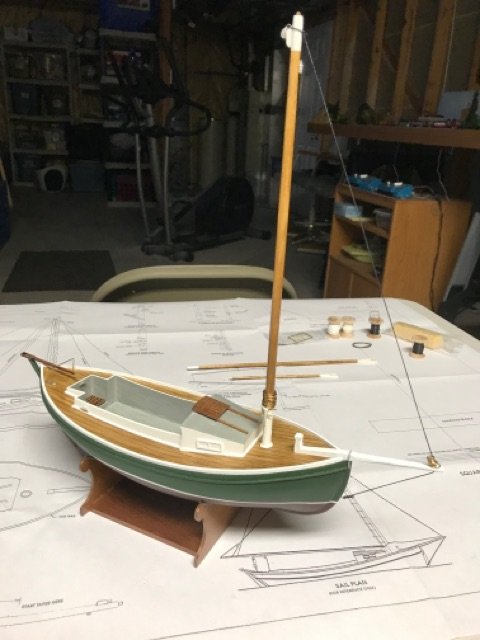
Installed the mast and started on the rigging. I seized the forstay I solved the hurdle of the eye bolts. I did not like what was supplied with the kit for fitting the blocks, so I am using 30 gauge steel wire wound and shaped into an eye-bolt. Hardly noticeable. This is my first wood ship model, and I was very reluctant to start one, but after researching I really appreciate the quality of the kits and personal feedback that Nick and the folks folks at Bluejacket provide. Light at the end of the tunnel. I anchored the forestay using the seizing technique used by J Brent at https://www.youtube.com/watch?v=nzDl5MYOgmQ&list=FL-IuytKOPJkBPU7CHxuRS7g&index=4&t=68s
- 35 replies
-
- 5
-
-
- yankee hero
- first build
- (and 2 more)
-
Question: I am getting close to attaching the rigging blocks to the mast/gaff/boom eyes that I have inserted into the appropriate locations. Both the rigging blocks and the eyes, each attach together to hold the rigging block, both have closed eyes. Any suggestions as to how they attach together?
-
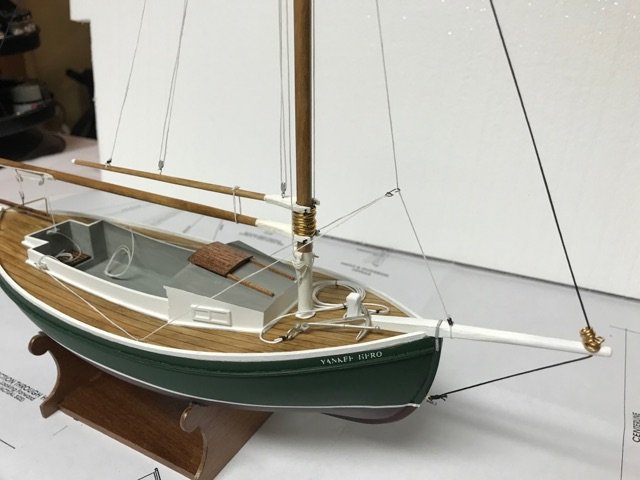
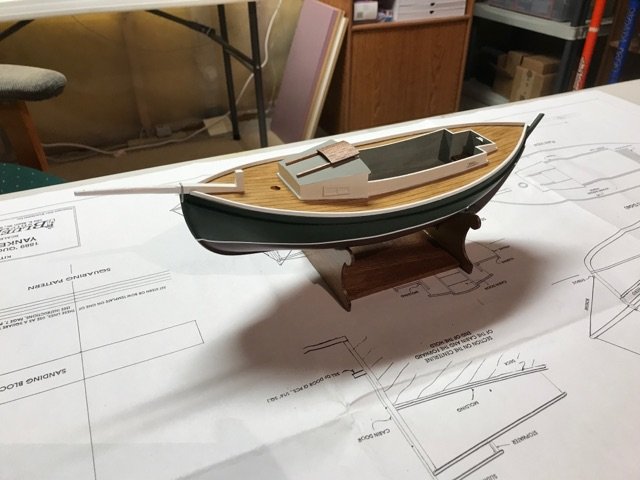
Toe rail completed. Installed bowsprit and Samson post. Deck is now clear coated. Looking forward to the rigging.

- 35 replies
-
- 7
-
-
- yankee hero
- first build
- (and 2 more)
-
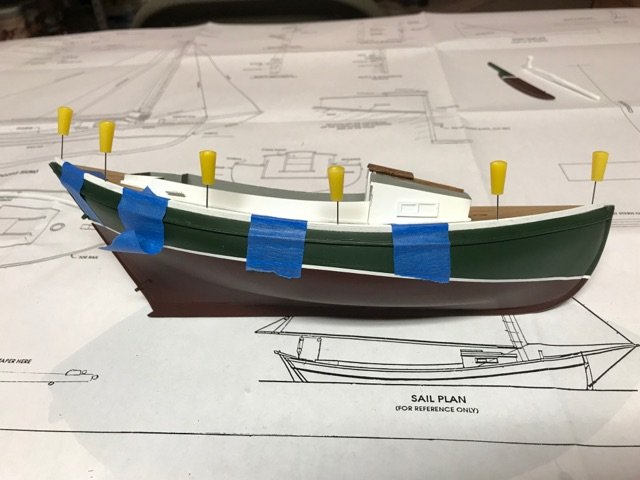
Tried the suggestion to pre-drill the toe rails and insert metal wire. I used my hobby pins in place of the wire. The suggestion is appreciated and got me going. Have to remember this. Moving on. Thanks!


- 35 replies
-
- 4
-
-
- yankee hero
- first build
- (and 2 more)
-
Jeffrey reacted to a post in a topic:
Yankee Hero by Jeffrey - FINISHED - BlueJacket Shipcrafters - first build
-
Jeffrey reacted to a post in a topic:
Yankee Hero by Jeffrey - FINISHED - BlueJacket Shipcrafters - first build
-
Thanks for the feedback. I will look into the rubber band idea. I was going to use super glue, but I hate the stuff since there is very little forgiveness in screwing up in the short time it takes to setup.
- 35 replies
-
- 1
-
-
- yankee hero
- first build
- (and 2 more)
-
Jeffrey reacted to a post in a topic:
Yankee Hero by Jeffrey - FINISHED - BlueJacket Shipcrafters - first build
-
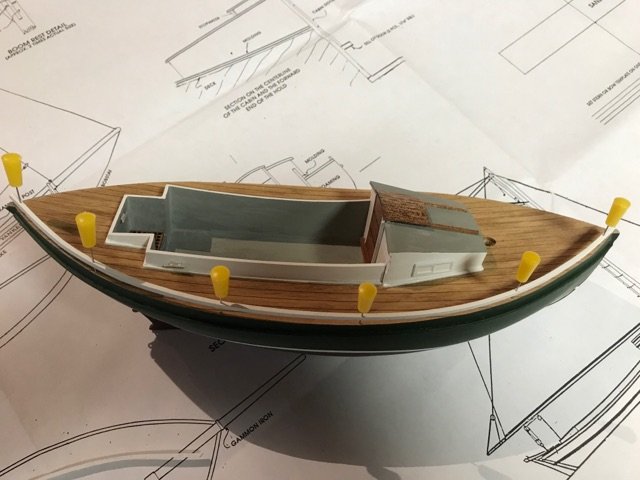
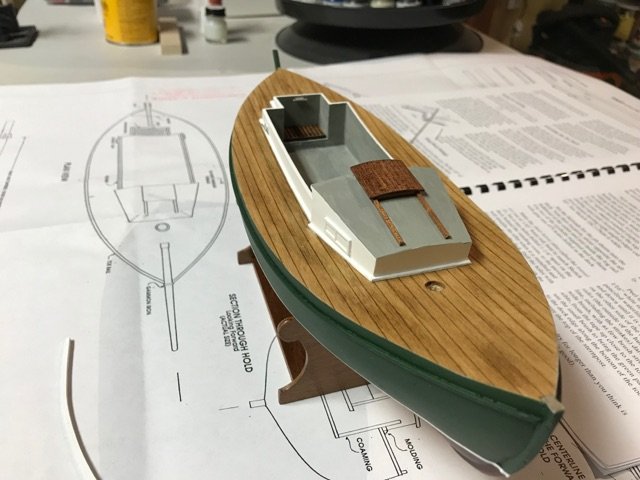
Permanently installed the cabin. Installed the deck molding around the cabin. I've pre-formed and pre-painted the toe rails. The bowsprit is completed and ready to installed. Noodling with how to install the toe rail. I may have to resort to super glue and install in portions while waiting for the glue to dry. I really try to avoid this stuff, but at times it is necessary. The kit instructions suggests using pins, but from my extensive experience in building wood airplanes, that method will leave pin holes and may split the wood. Any suggestions out there?

- 35 replies
-
- 6
-
-
- yankee hero
- first build
- (and 2 more)
-
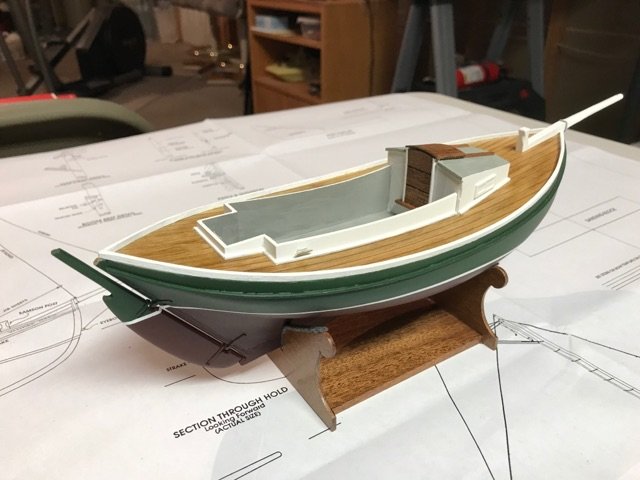
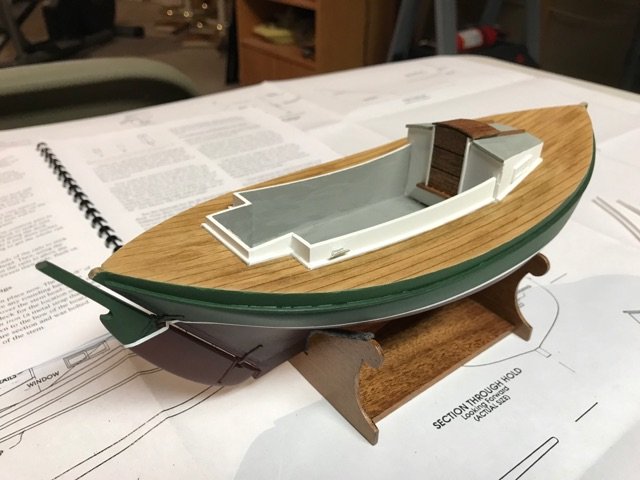
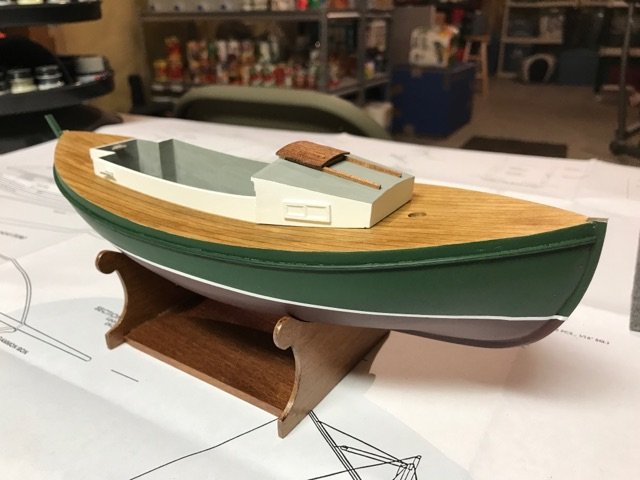
Deck is stained and the completed cabin is temporarily fitted in place to see how everything looks. On to the bowsprit, toe rails, and cabin molding. Looking pretty good I think for a first timer wooden boat modeler. Many skills and lessons learned gathered in other modeling hobbies definitely transfer to this hobby.

- 35 replies
-
- 10
-
-
- yankee hero
- first build
- (and 2 more)
-
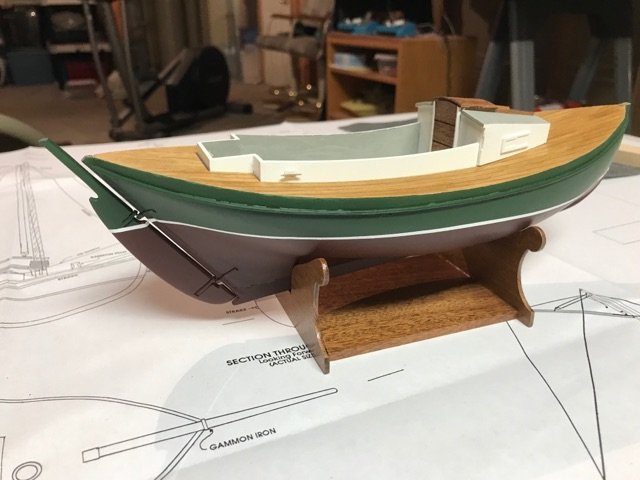
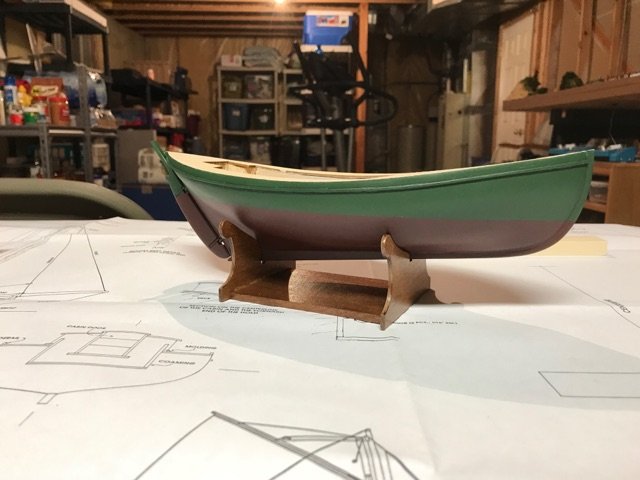
Completed painting the hull using Tamiya acrylics.

- 35 replies
-
- 5
-
-
- yankee hero
- first build
- (and 2 more)
-
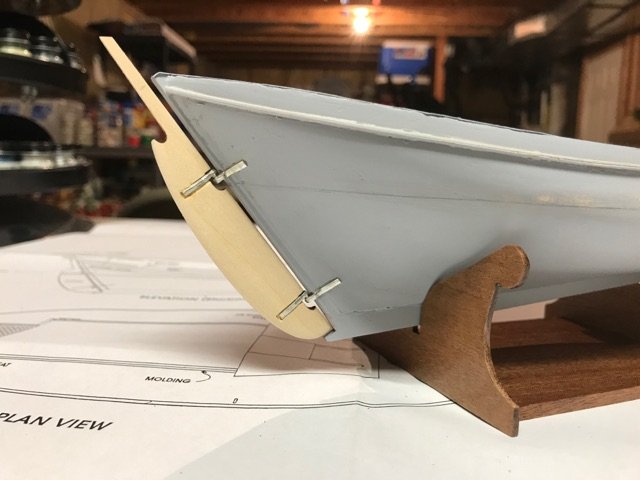
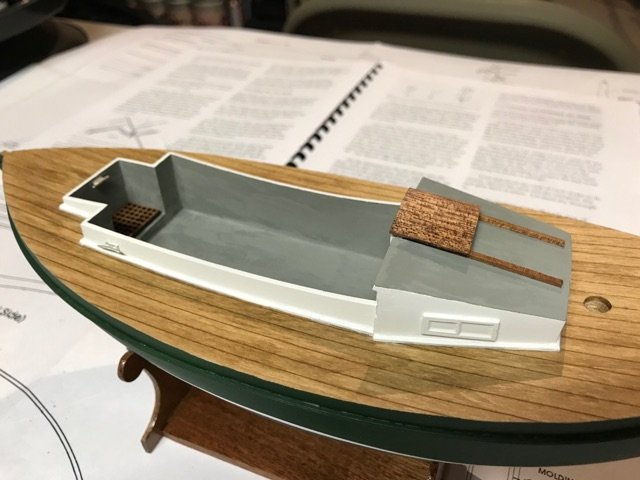
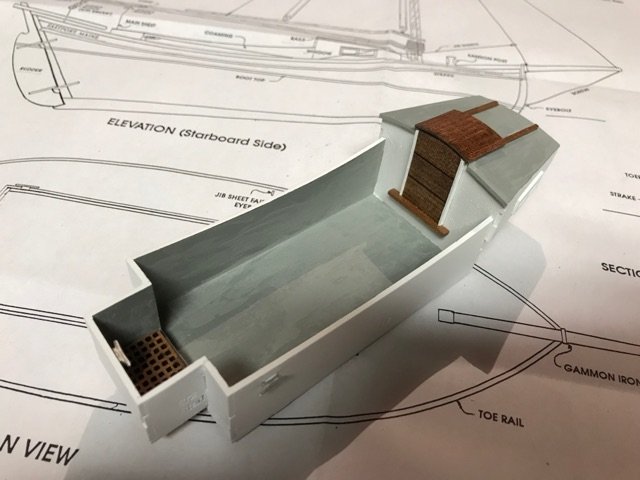
Completed the cabin. Moving to water lining the hull and shaping/installing rudder. I gave up on the enamel paint. I use solely acrylics for my models, which are far more forgiving, work faster, and less of a hassle. The mahogany wood was clear coated using a water base semi-gloss by Minwax, the same clear coat that I will use on the deck after staining with a Minwax stain. For painting the hull, I will airbrush Tamiya hull red and deep green. When using acrylics, I always seal the paint with a clear lacquer spray finish. For this project I will use a clear matte finish.
- 35 replies
-
- 5
-
-
- yankee hero
- first build
- (and 2 more)