seafarermiami
-
Posts
119 -
Joined
-
Last visited
Content Type
Profiles
Forums
Gallery
Events
Everything posted by seafarermiami
-
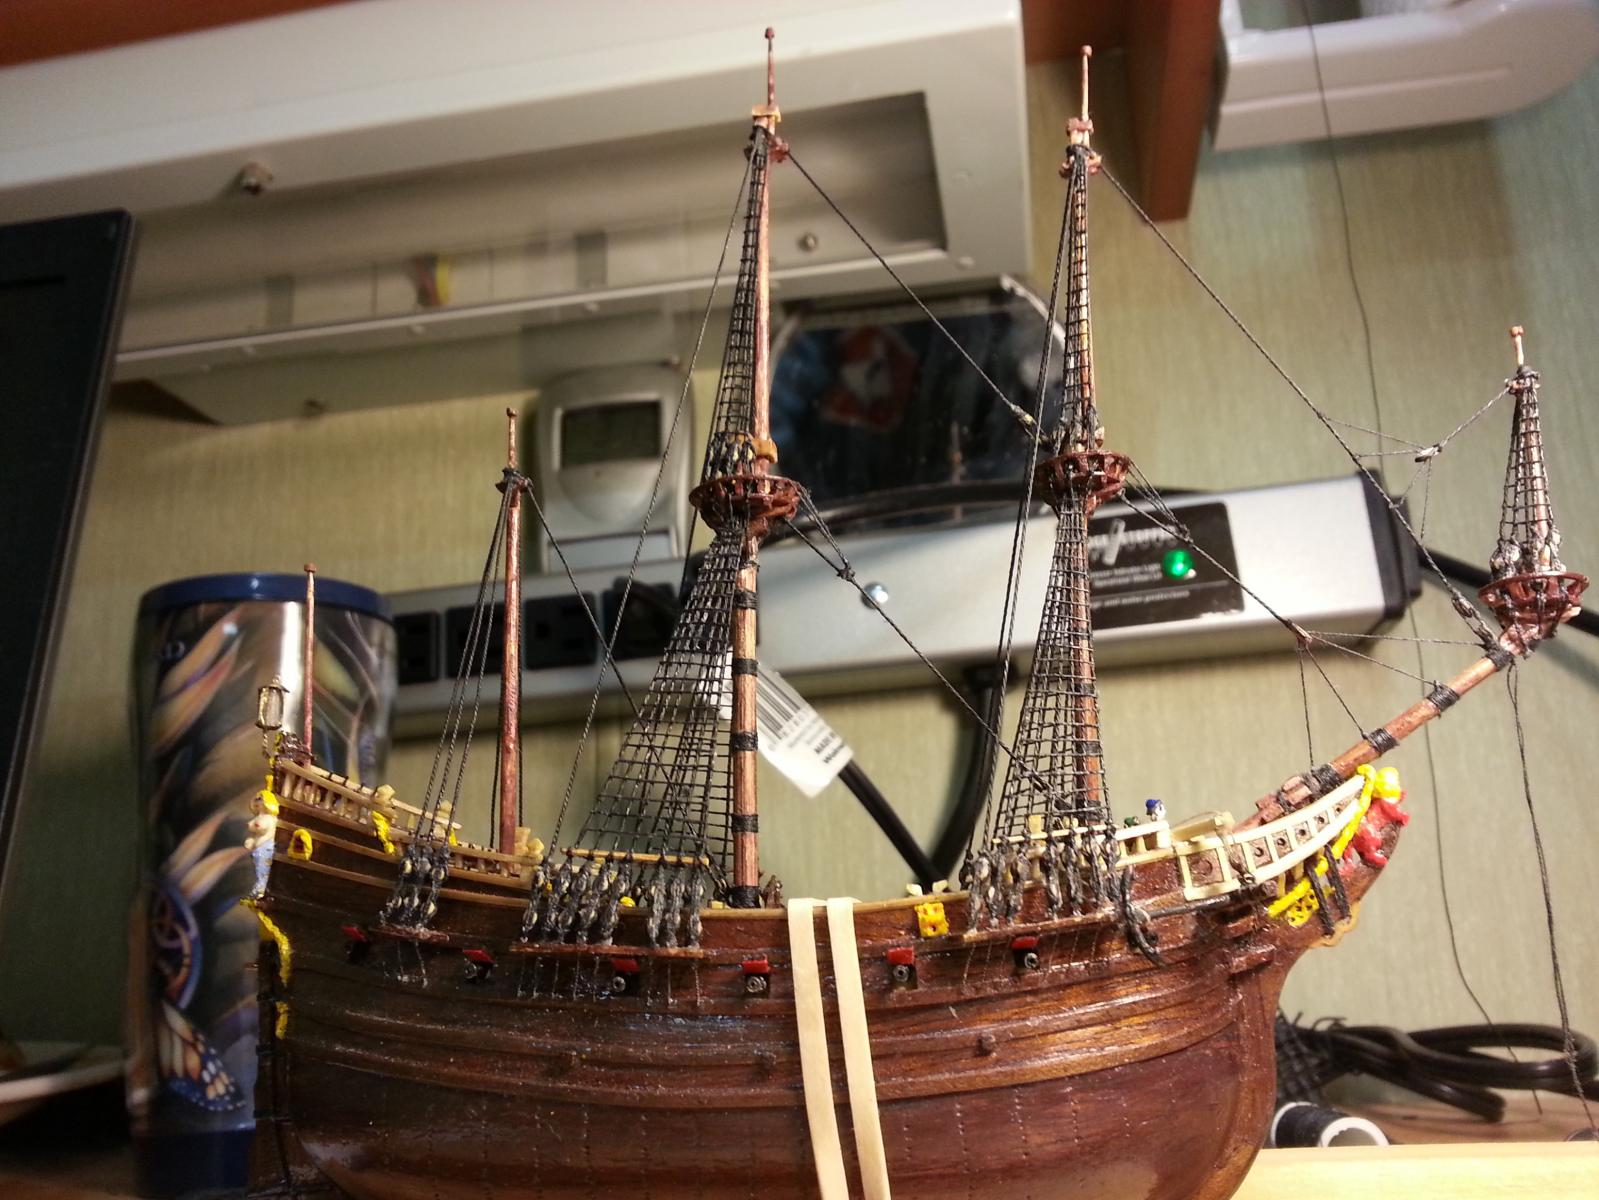
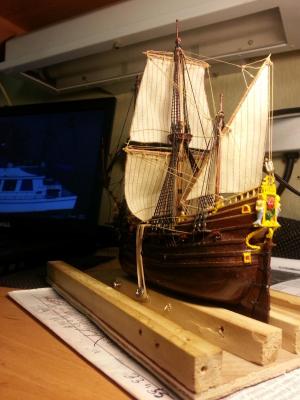
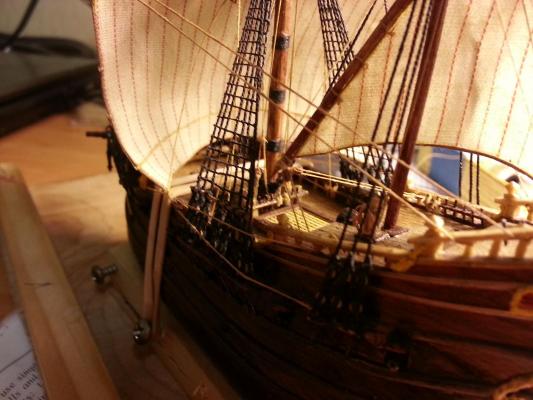
From the practical point of view the ratlines should be tarred. First I don't think somebody would keep them clear when tarring is going on a regular basis. At least where the knots are for sure they are tarred. Second as a standing rigging this will prolong their life at least twice. And the third I don't think somebody would care for the cleanliness of the sailors feet at that time. They never had a boots besides. The other think is that in tropical climate all the oils of the tar evaporates in two days and is not sticky at all.
-
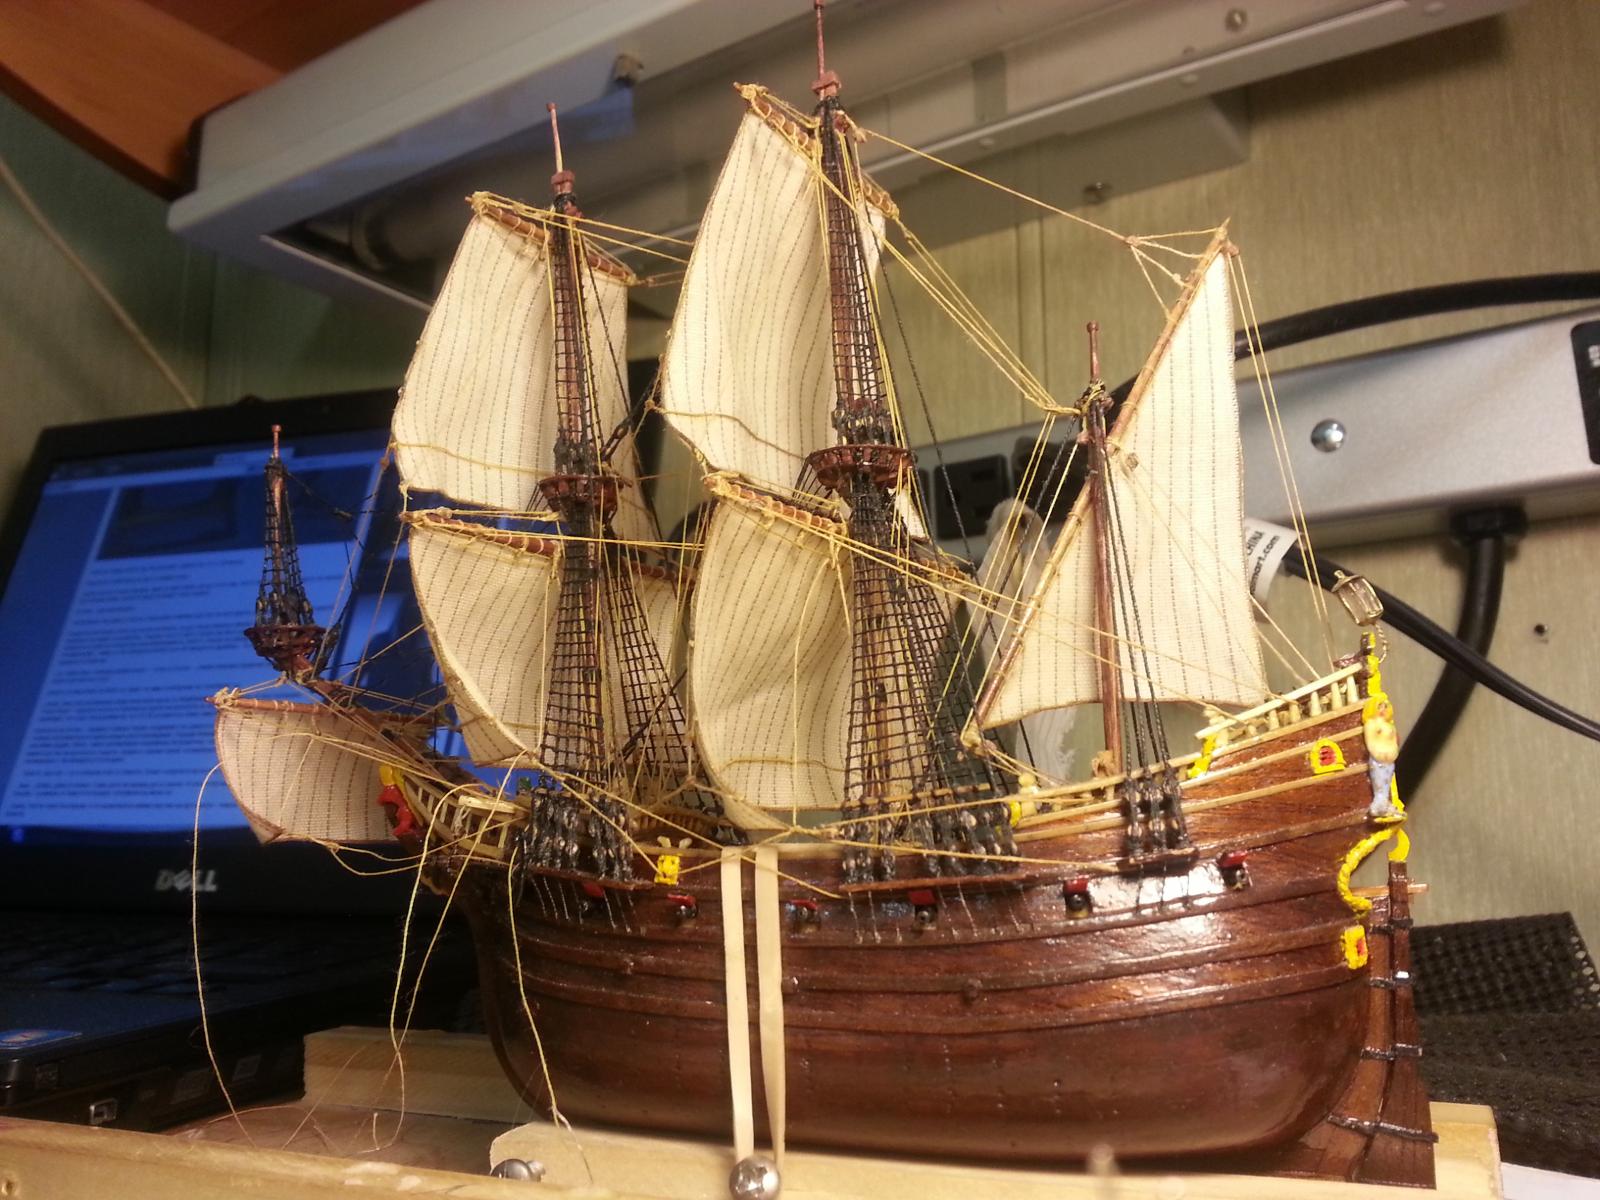
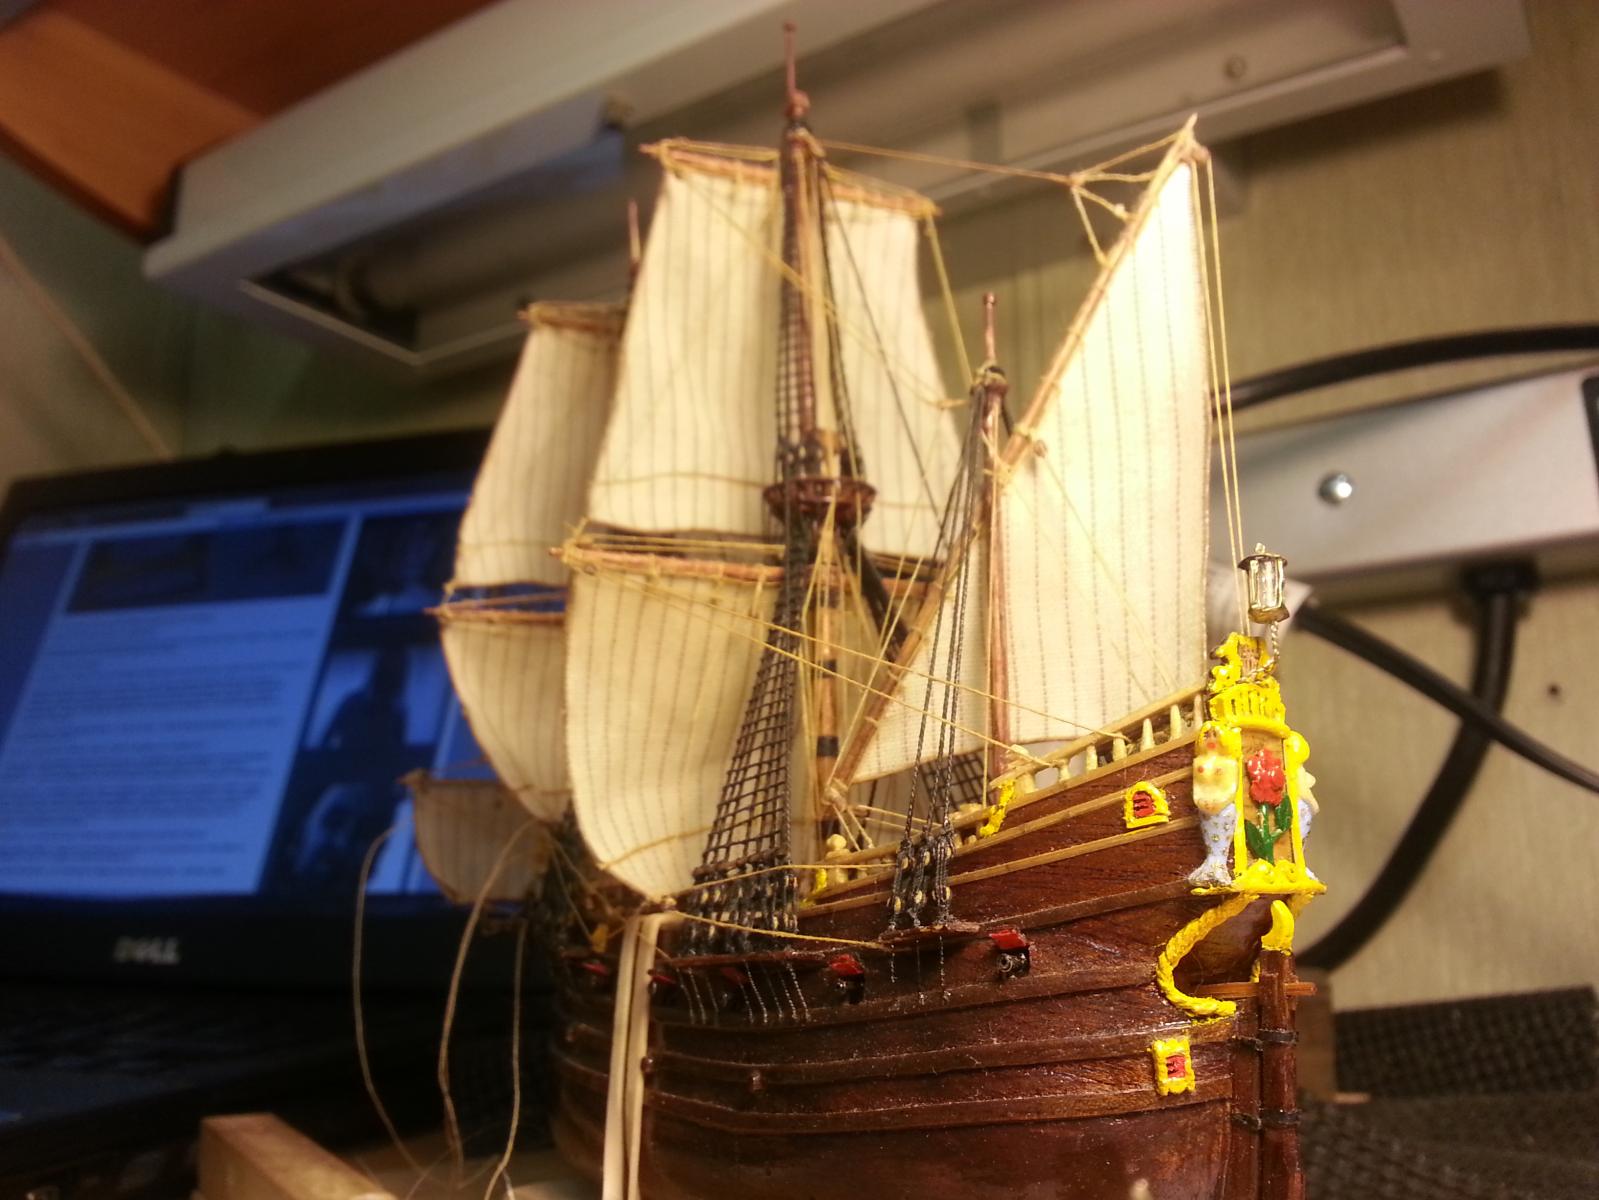
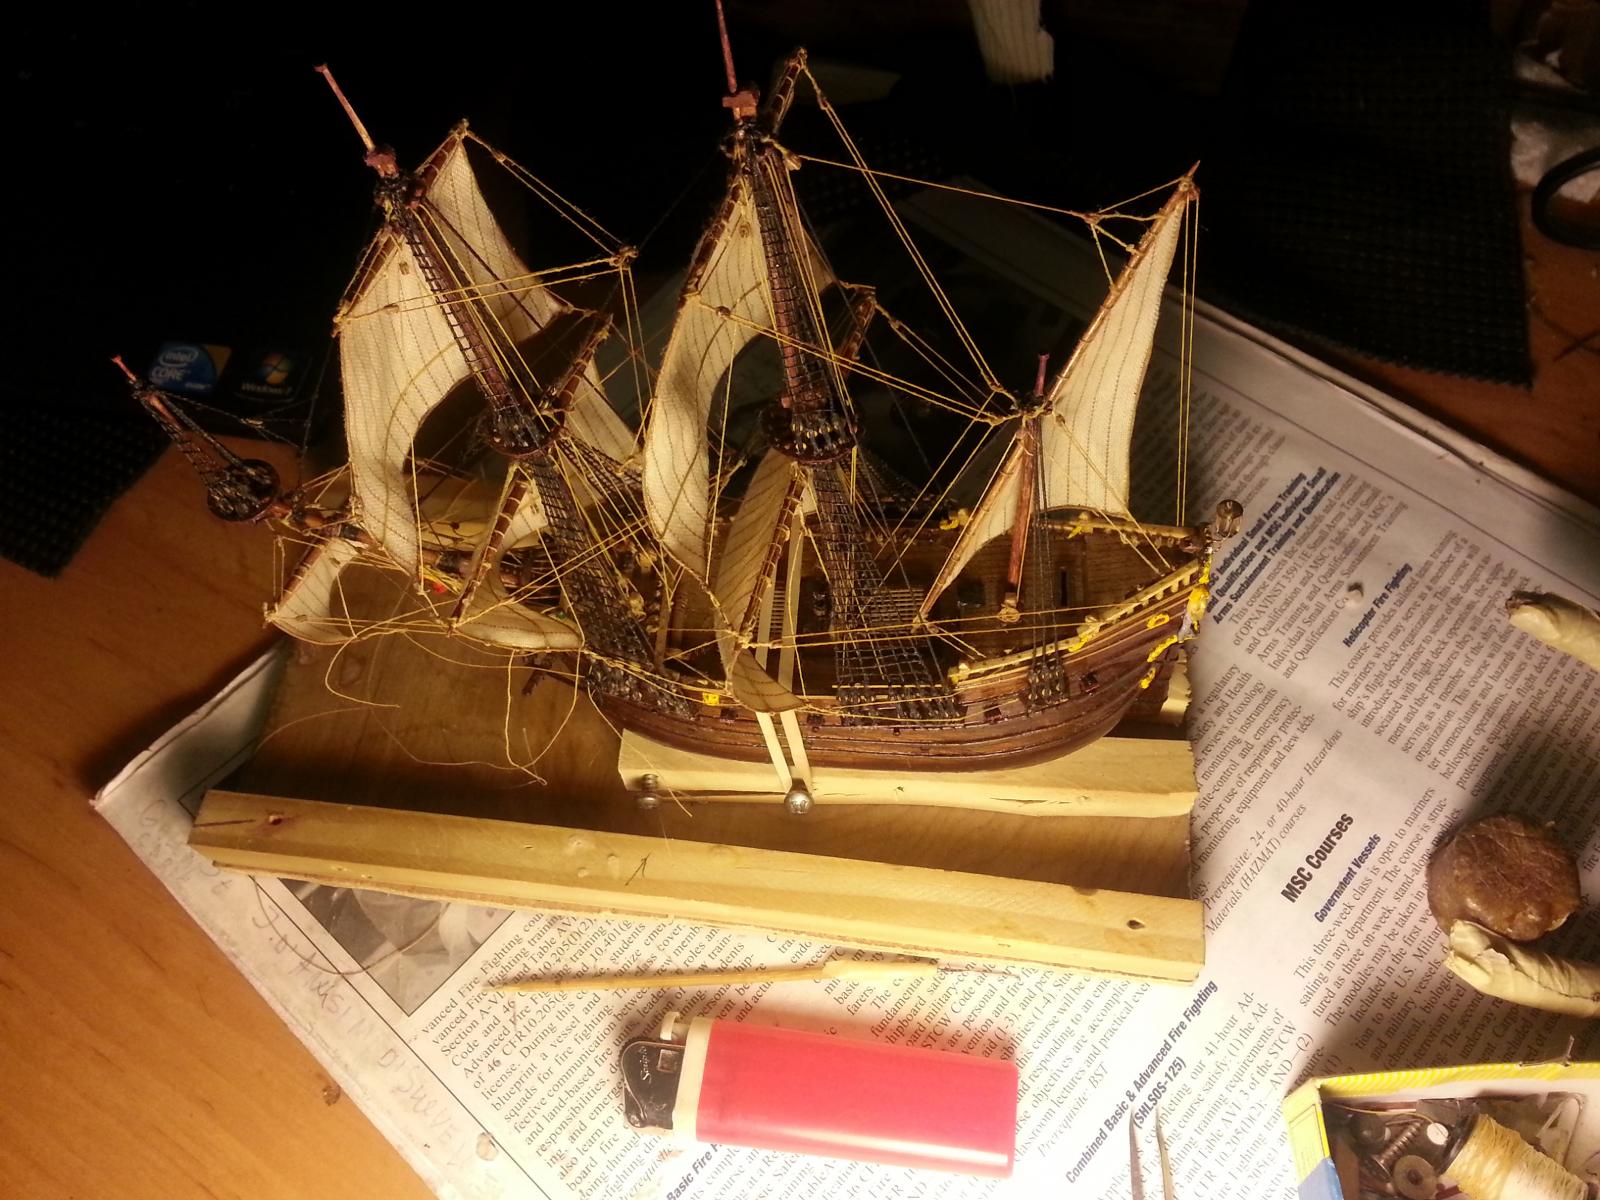
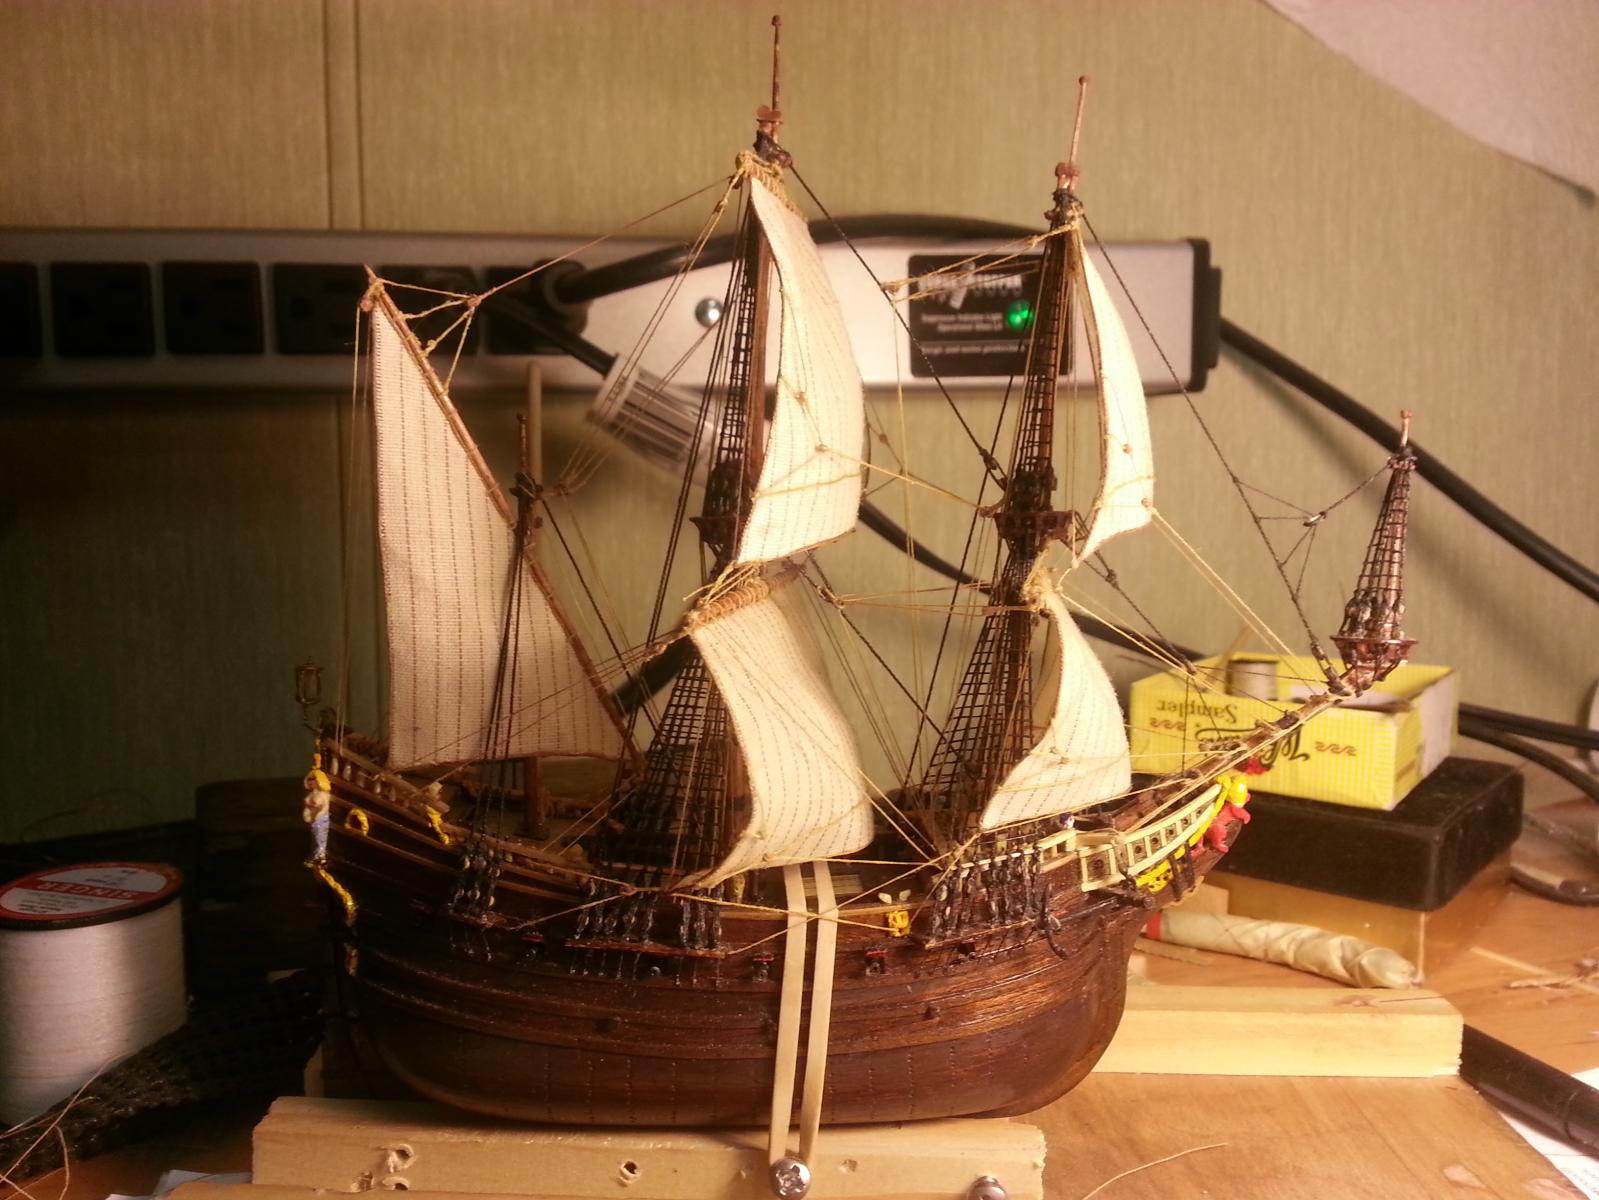
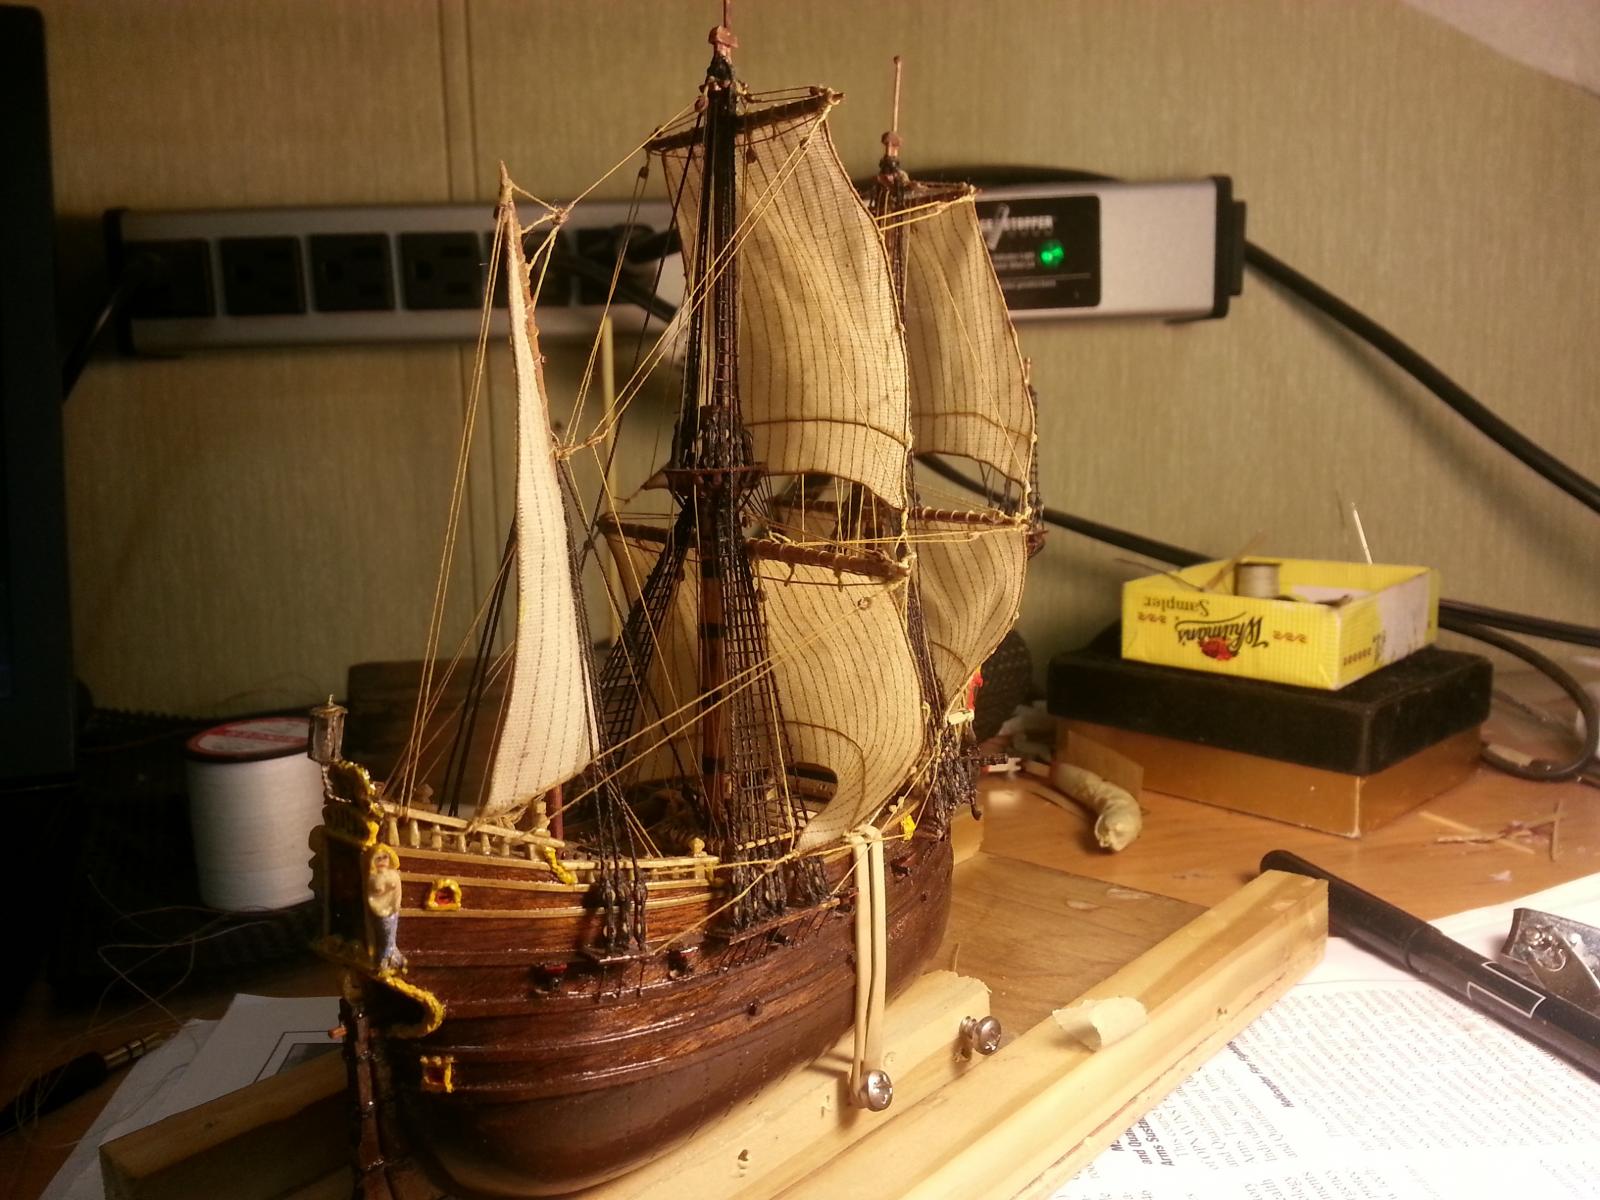
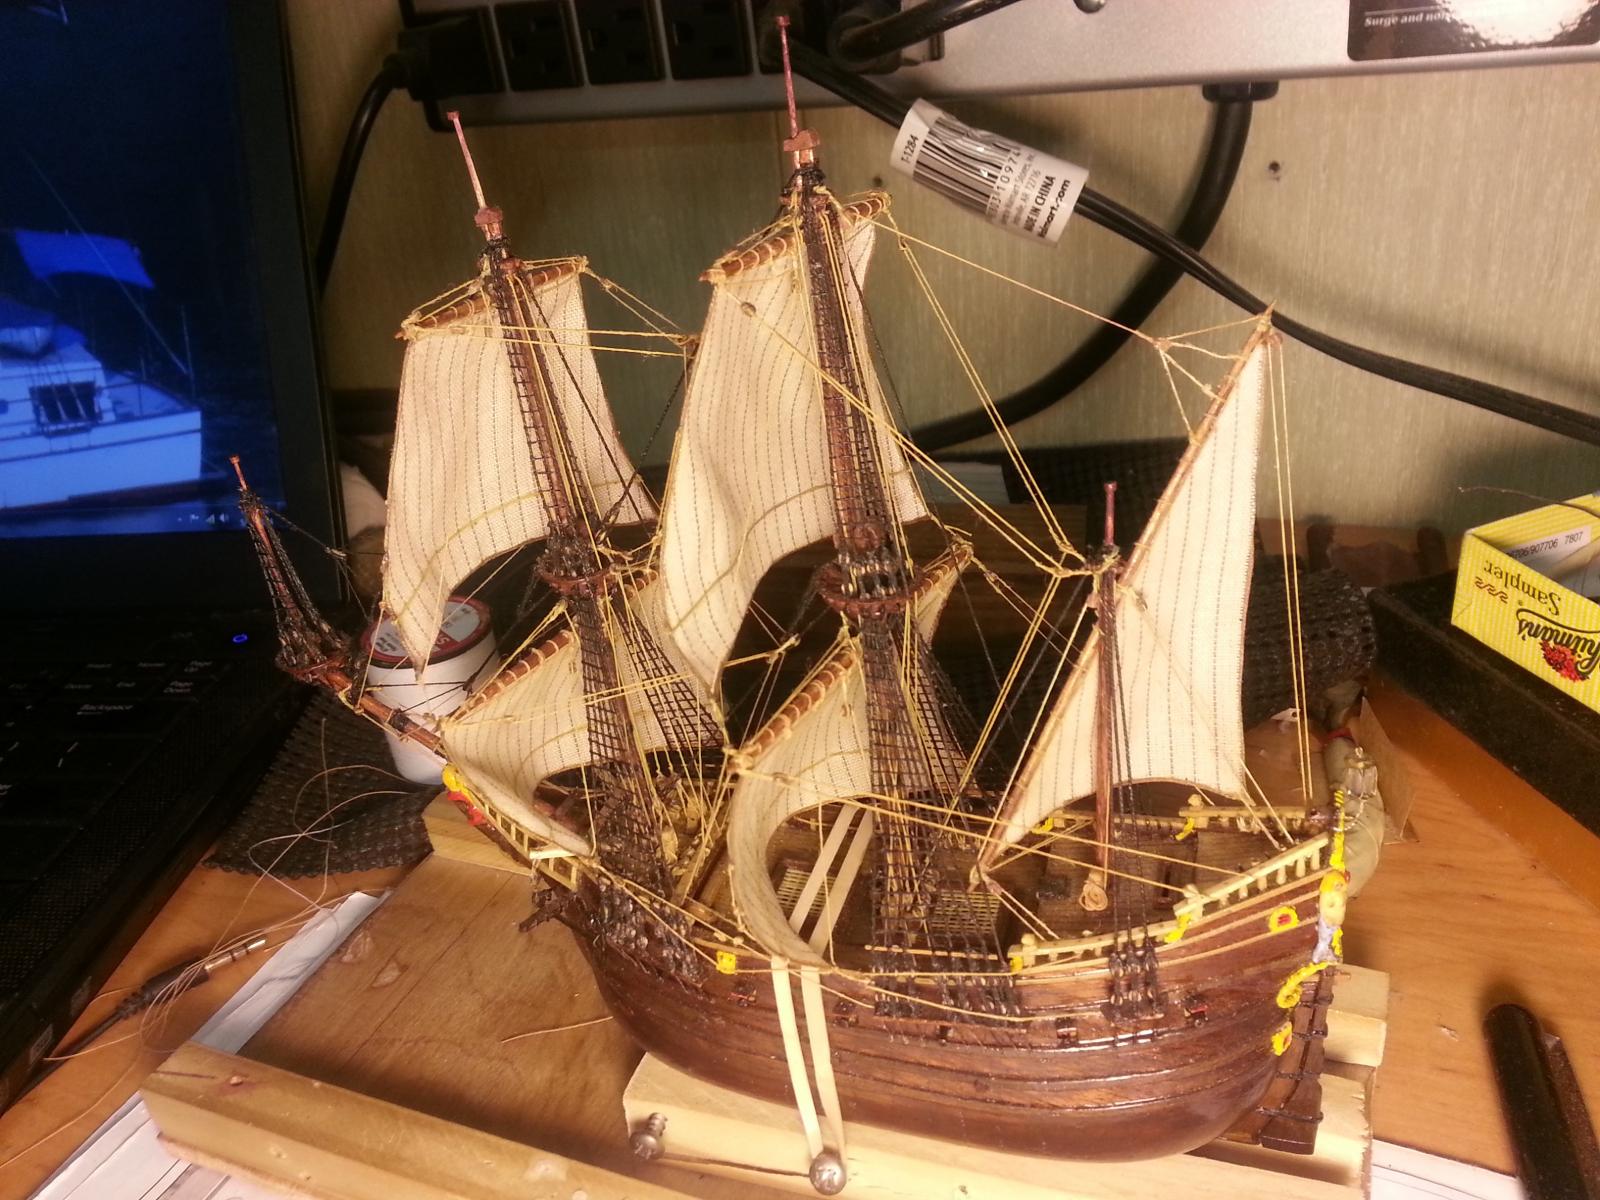
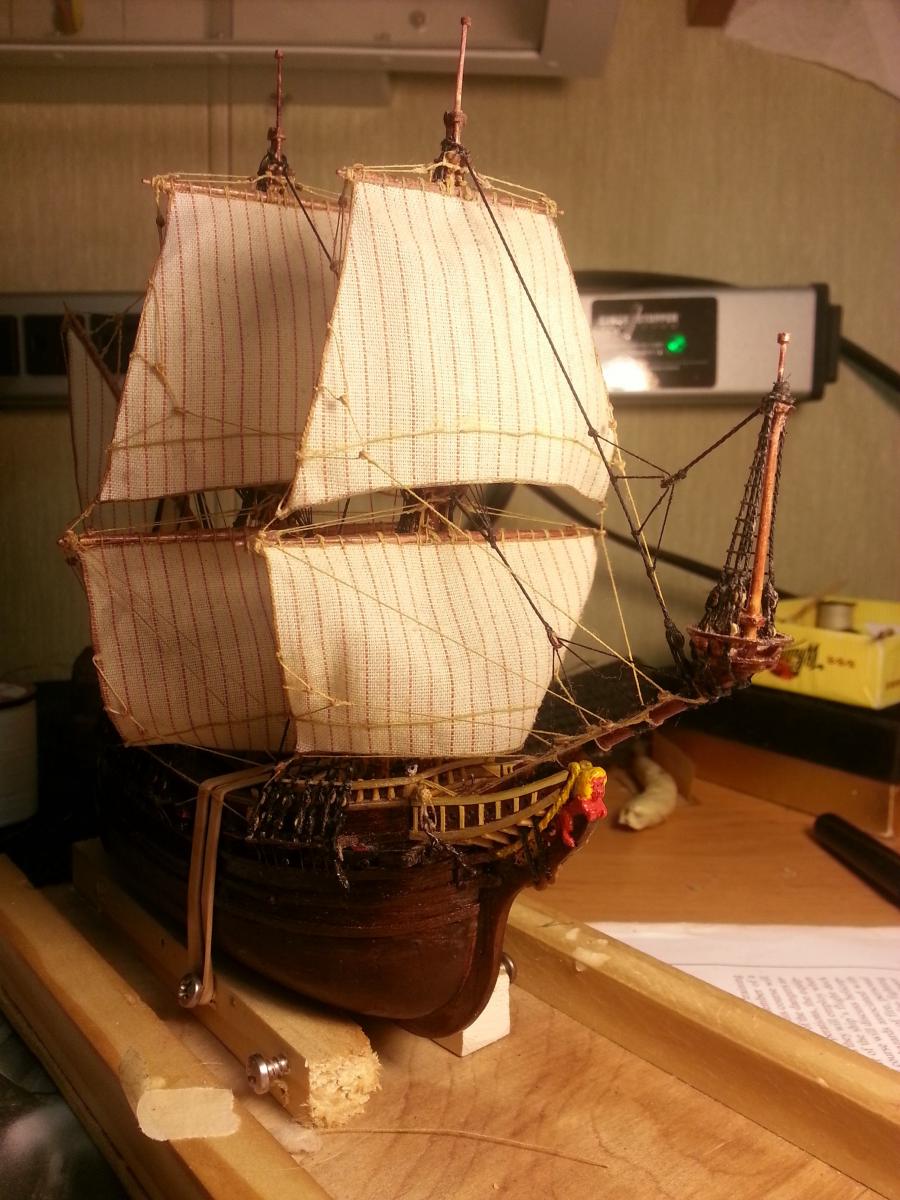
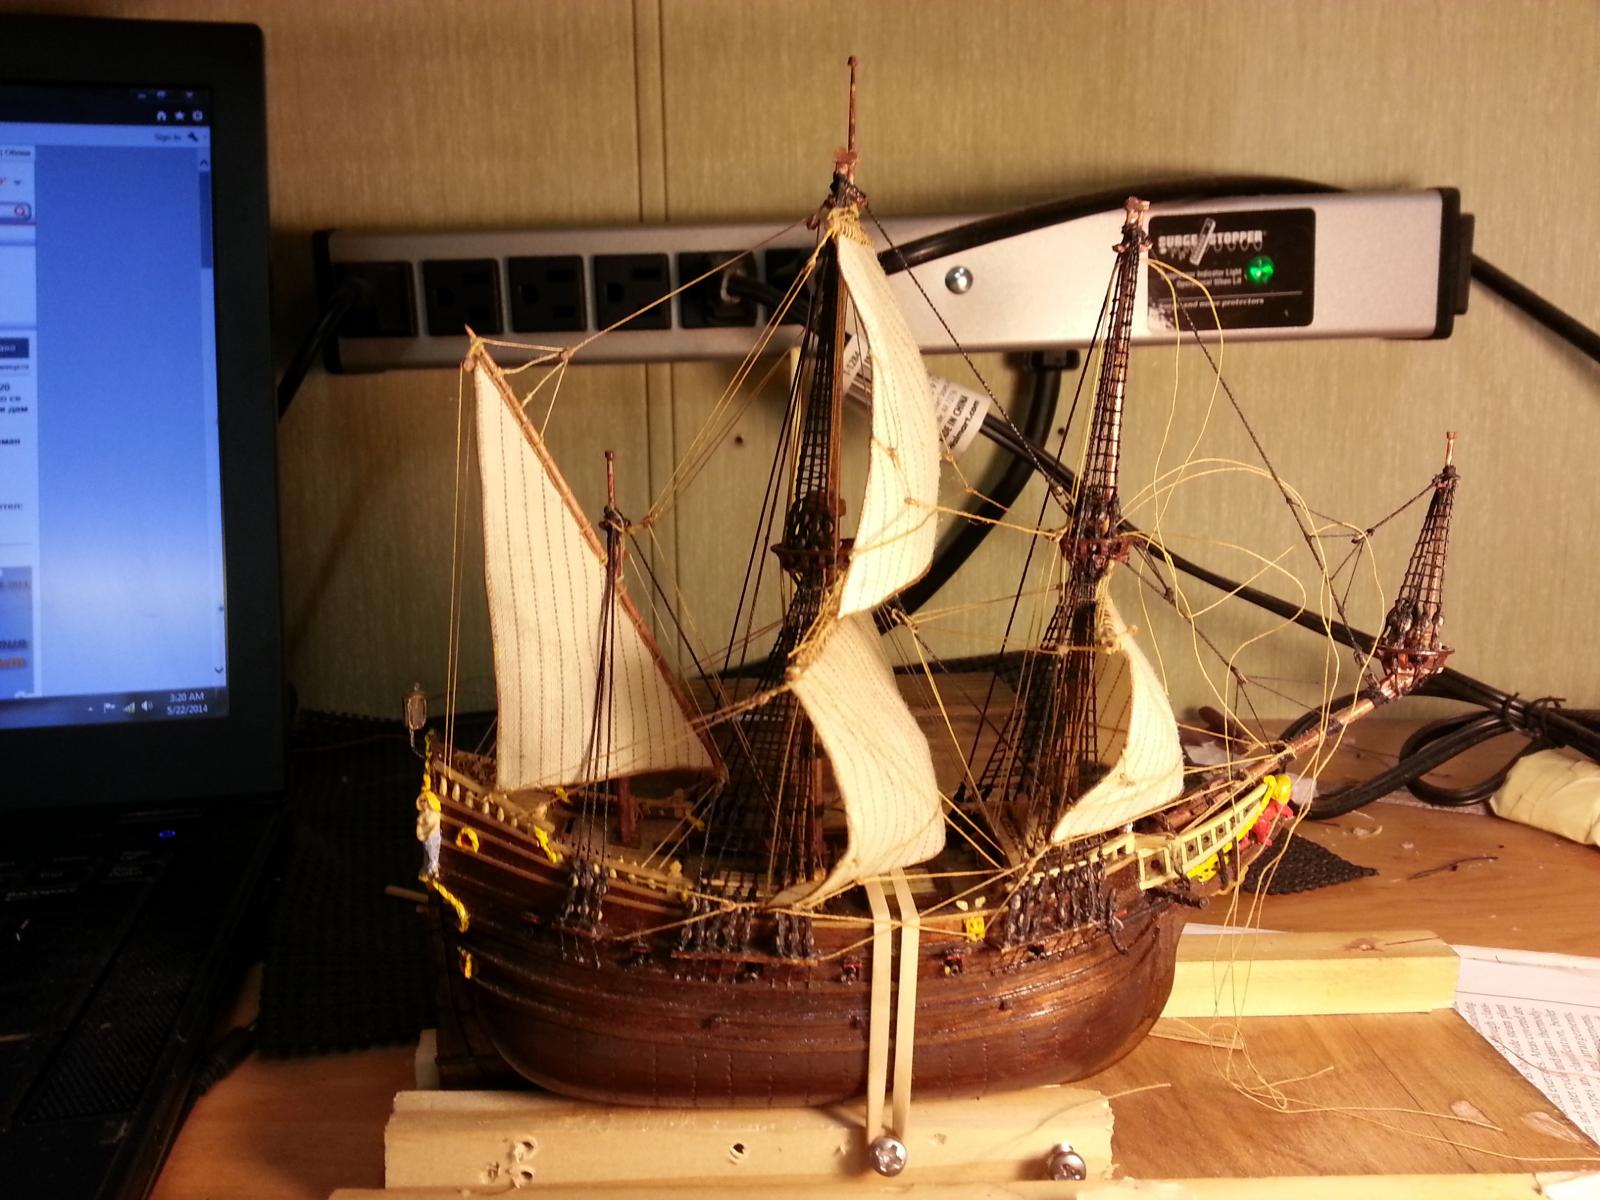
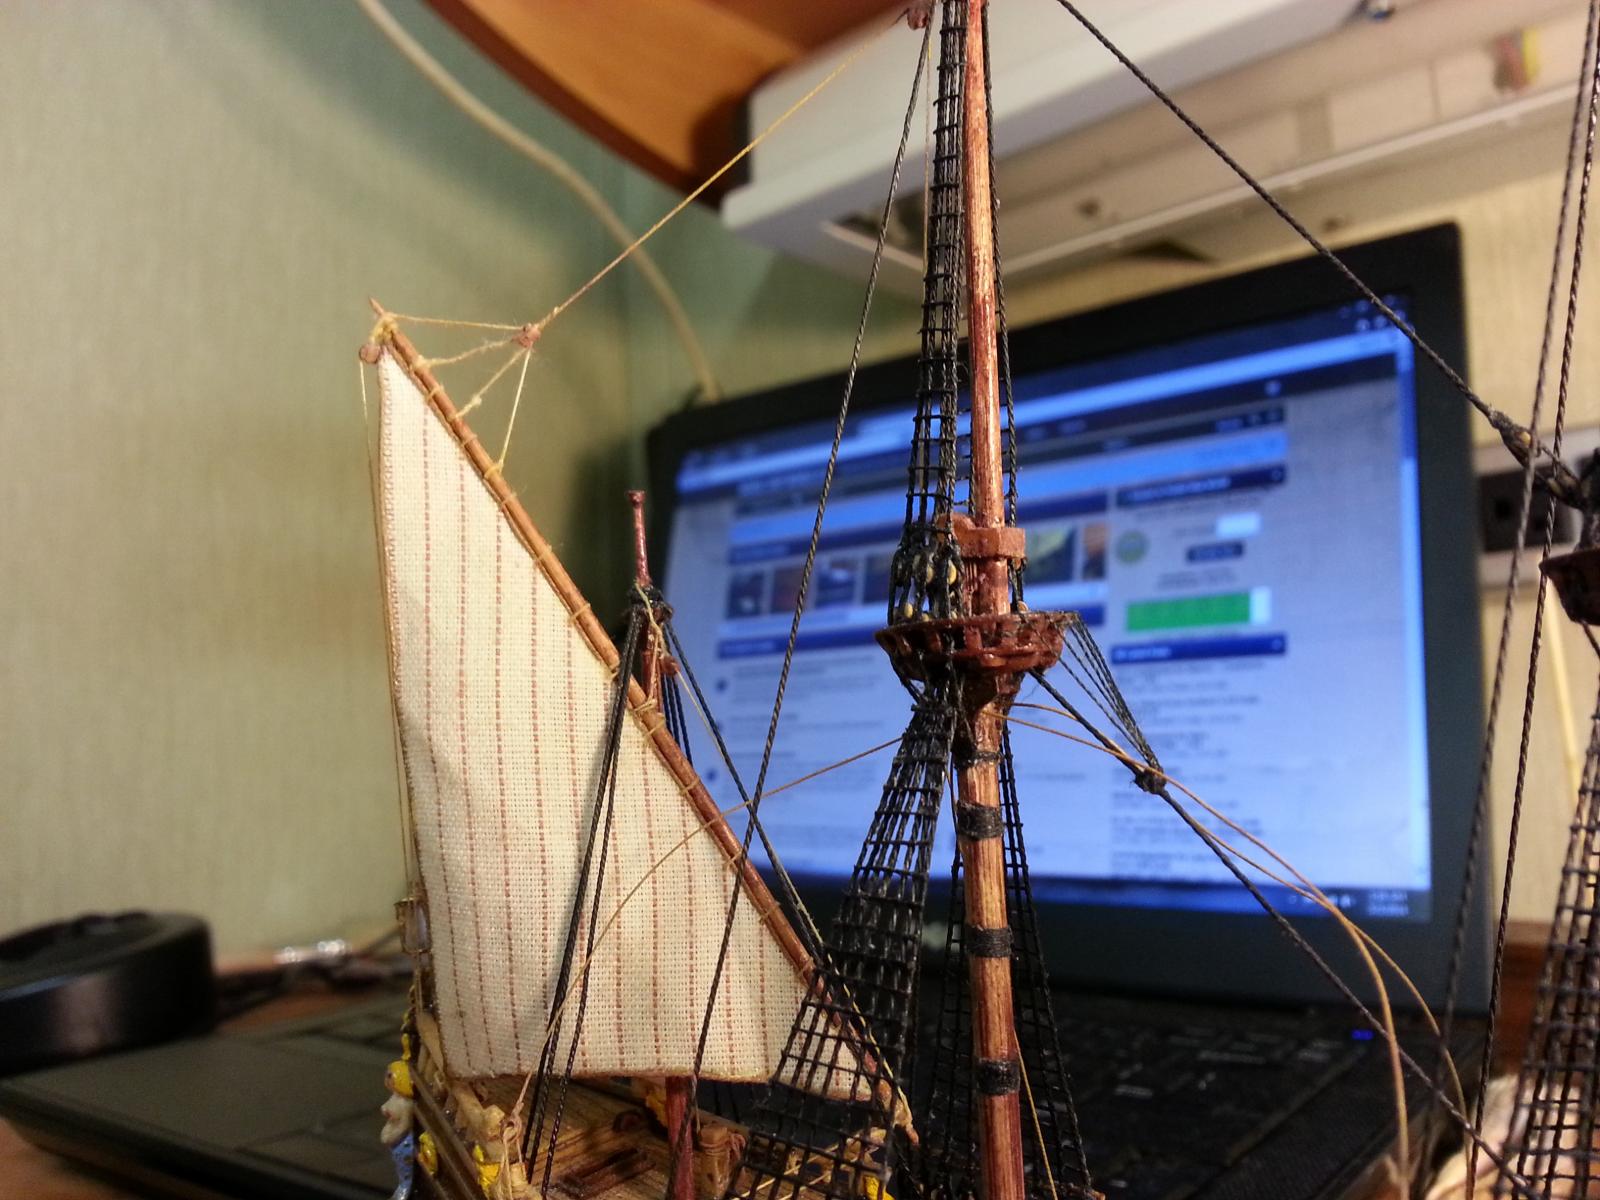
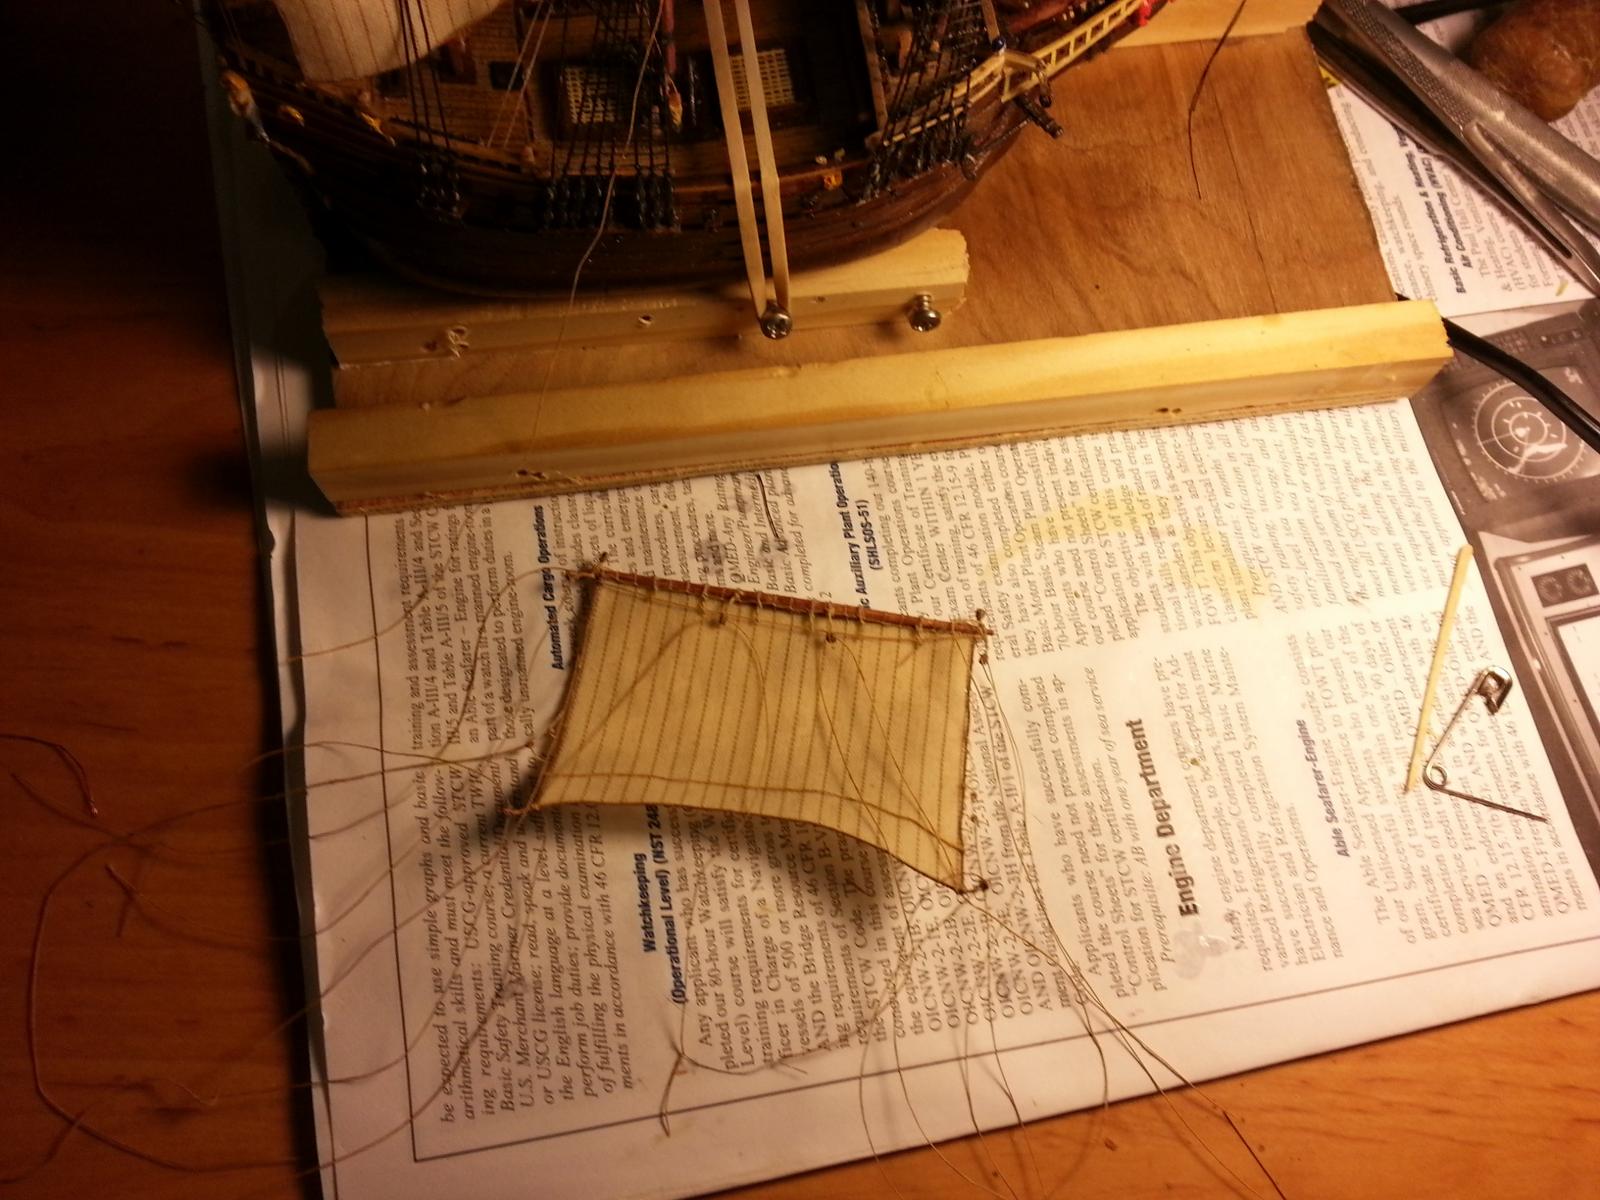
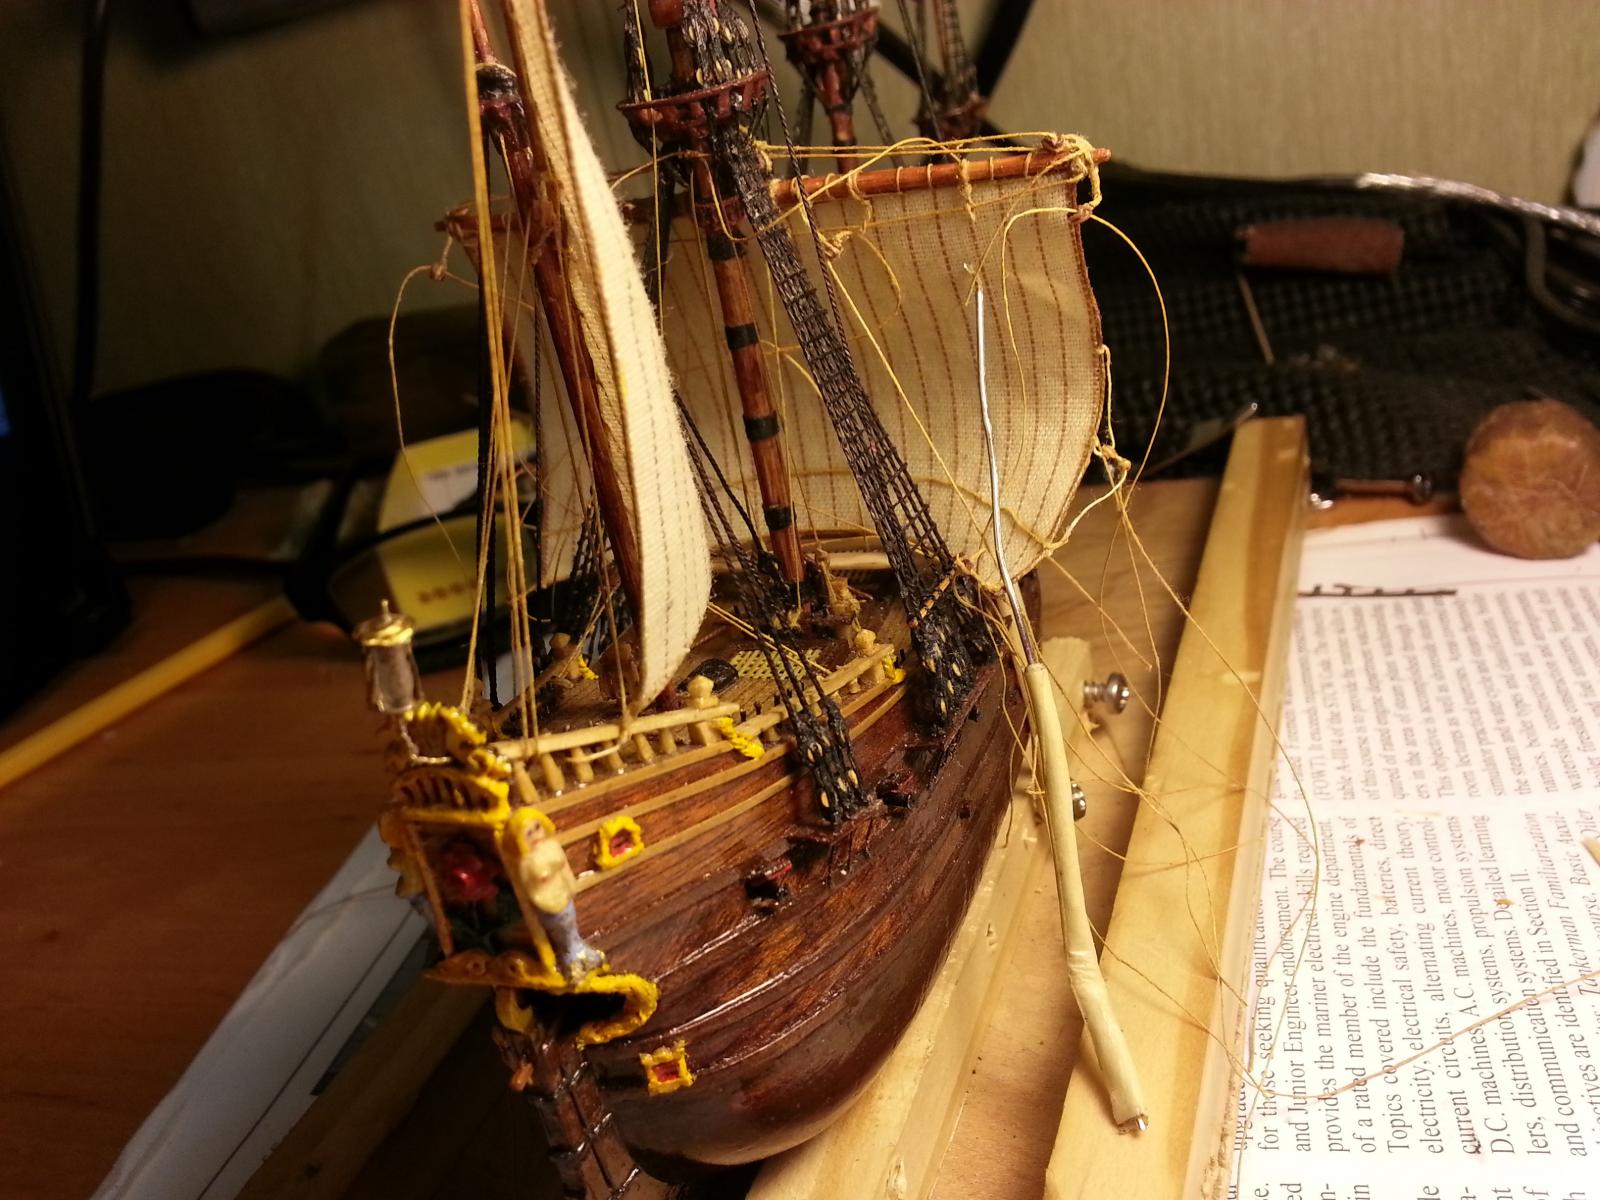
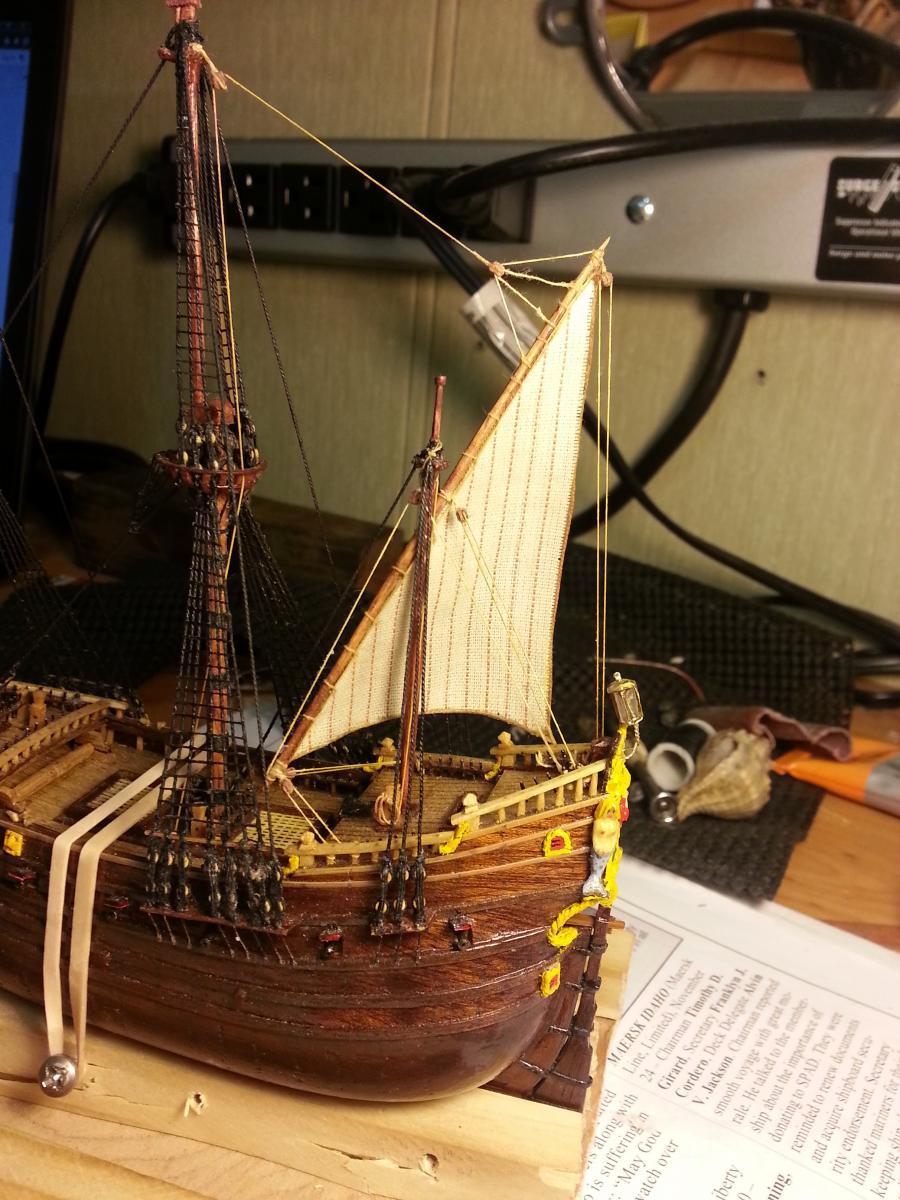
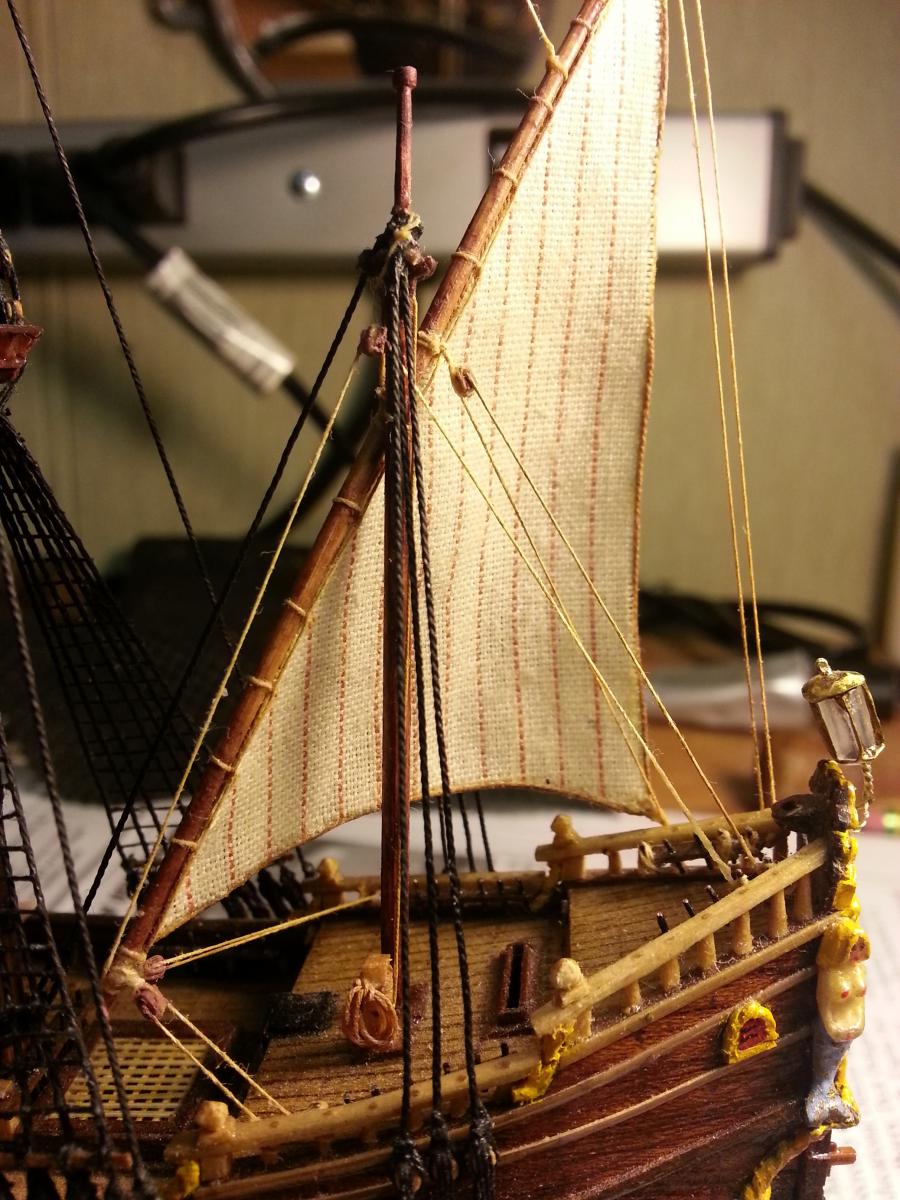
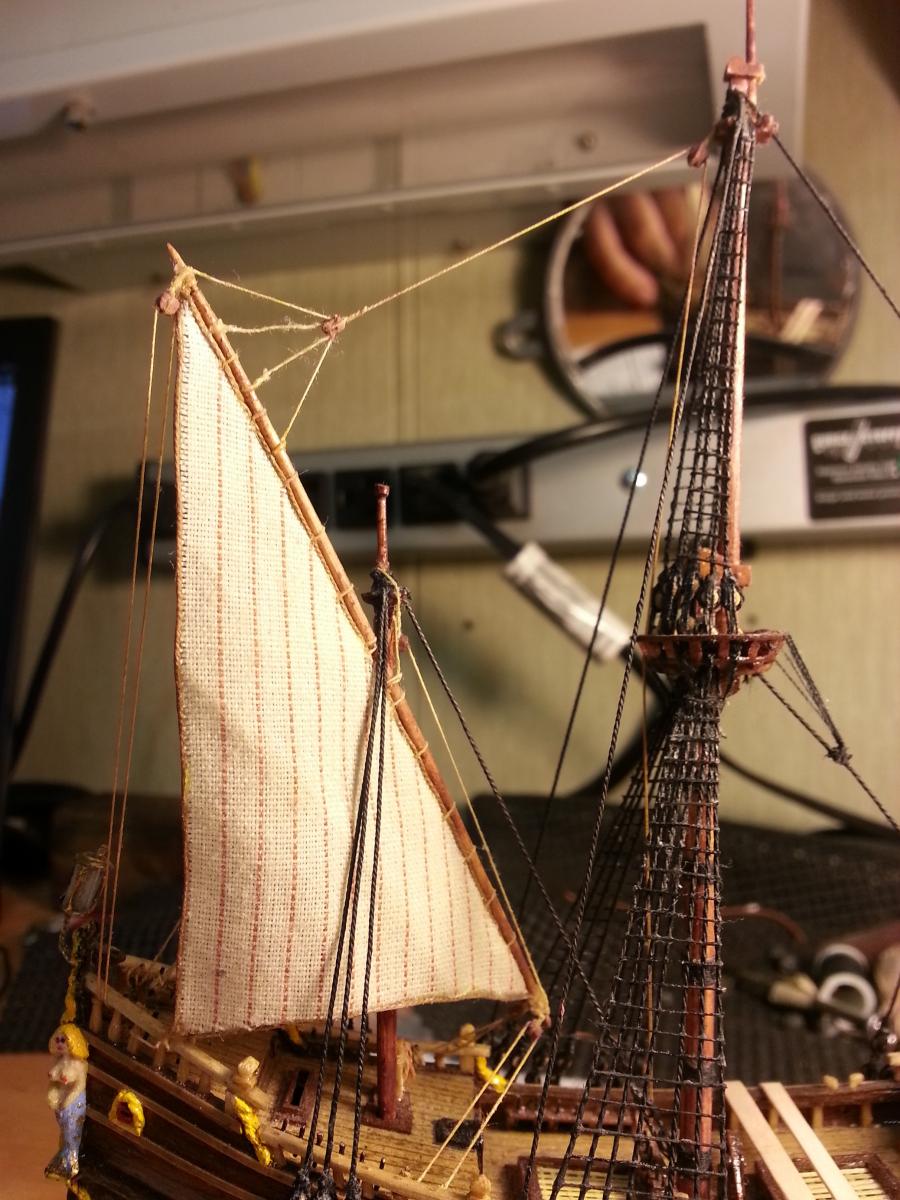
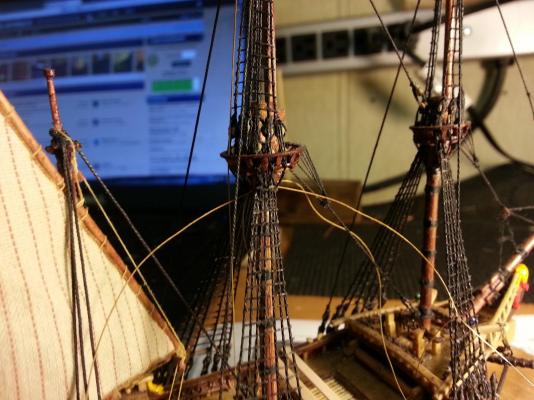
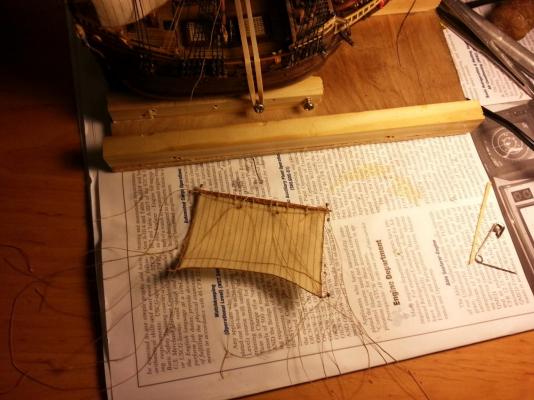
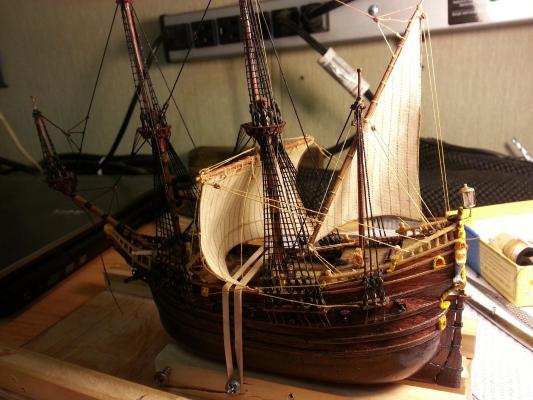
Sails should be attached to the yards. Start from the mizen mast and go ahead first rigging the lower sails. Some lines for the topsails can be attached to their pins first and made trough all blocks and narrow places and thus after rigging the lower sails will be easy to rig the upper one. Look at my build log for the Dutch fleyte.
-
Batavia by *Hans* - FINISHED
seafarermiami replied to *Hans*'s topic in - Build logs for subjects built 1501 - 1750
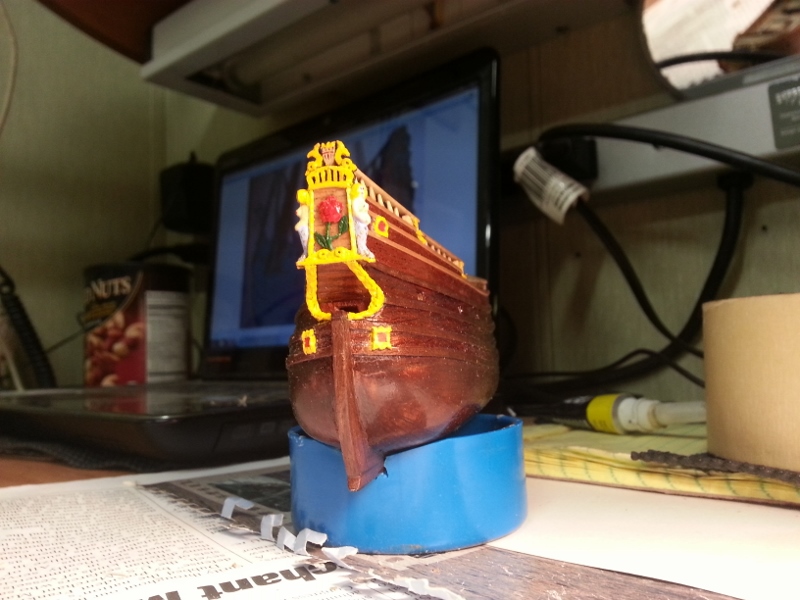
Next step - the lionfigure on the bow I already had made the head of the lion - which some people thought was a dogs head. Hm on my fluyte my daughter set it looks like her tedy bear. But for me is lion -
My son has a huge fish tank. It will cruse there.
-
Some progress. The lines that are hanging above foresail are for the rigging of the fore tops'l. It is easier to attach them first to the belaing pins and after the sail is placed to tie them from top.
-
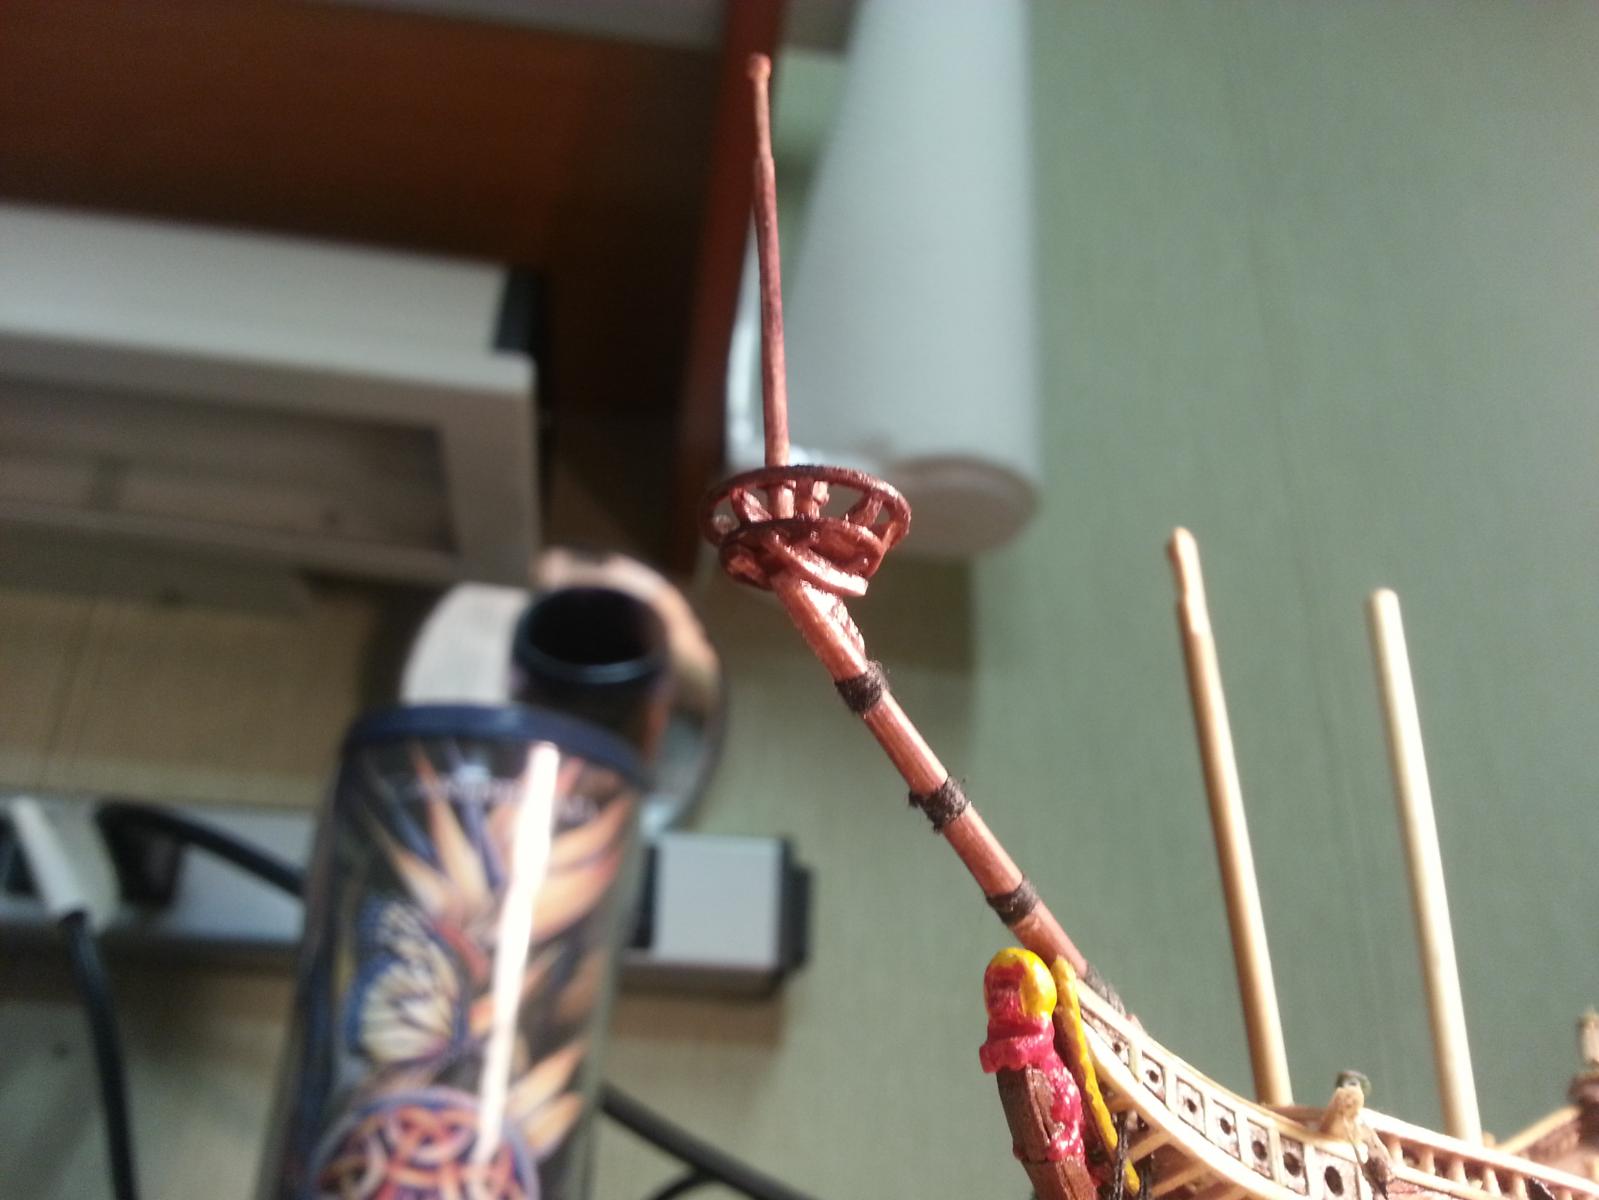
Let's make a difference. Capstan is with vertical axel. Windlass is with the horizontal axel.
-
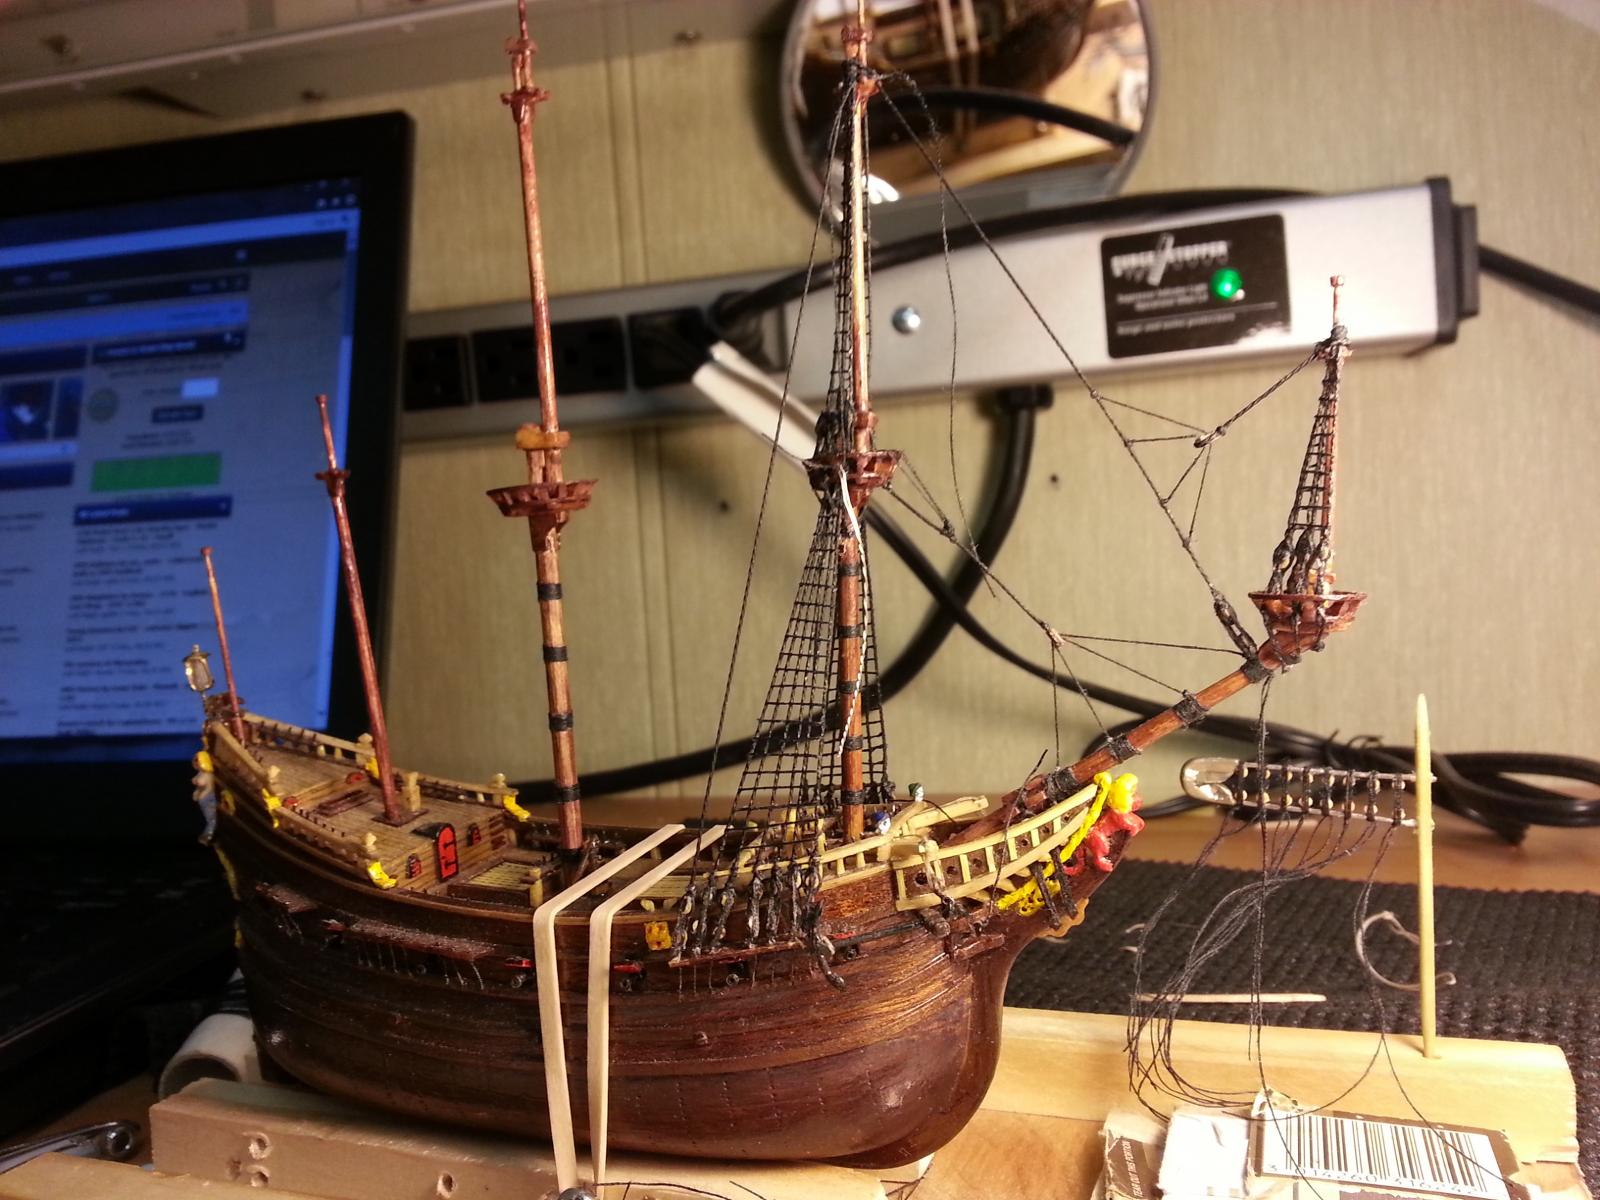
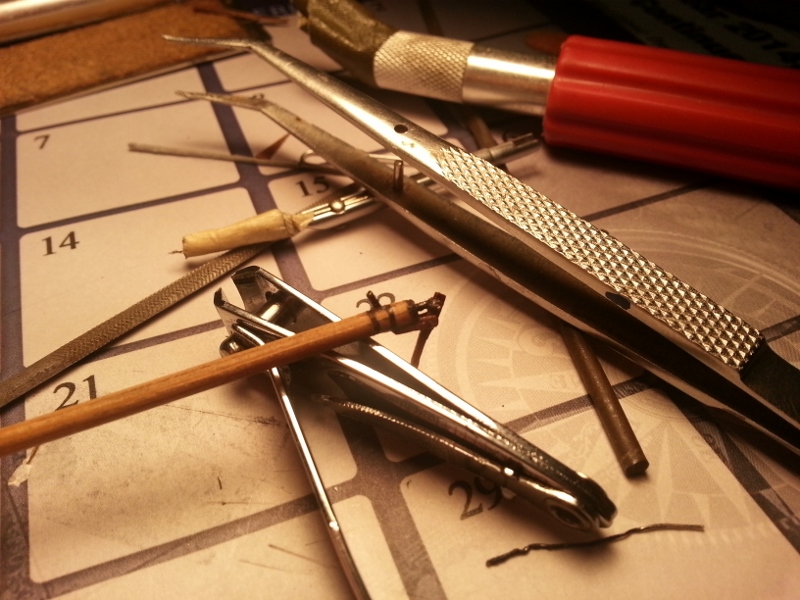
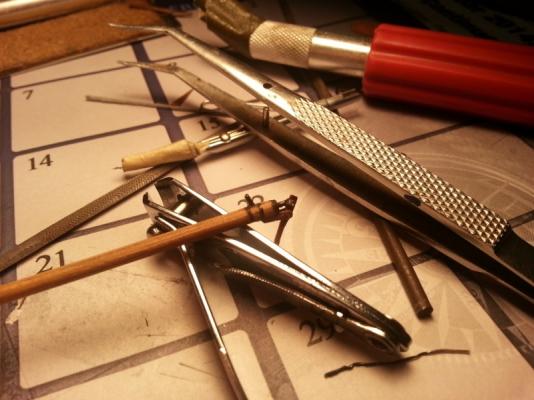
Some parts had to be detached from the deck in order to tread the lines trough the rollers and then glued back again. Home made needle for treading lines trough rollers


-
I had a computer problem and lost some of the pictures but those were still in the camera


-
My next will be in a bottle
-
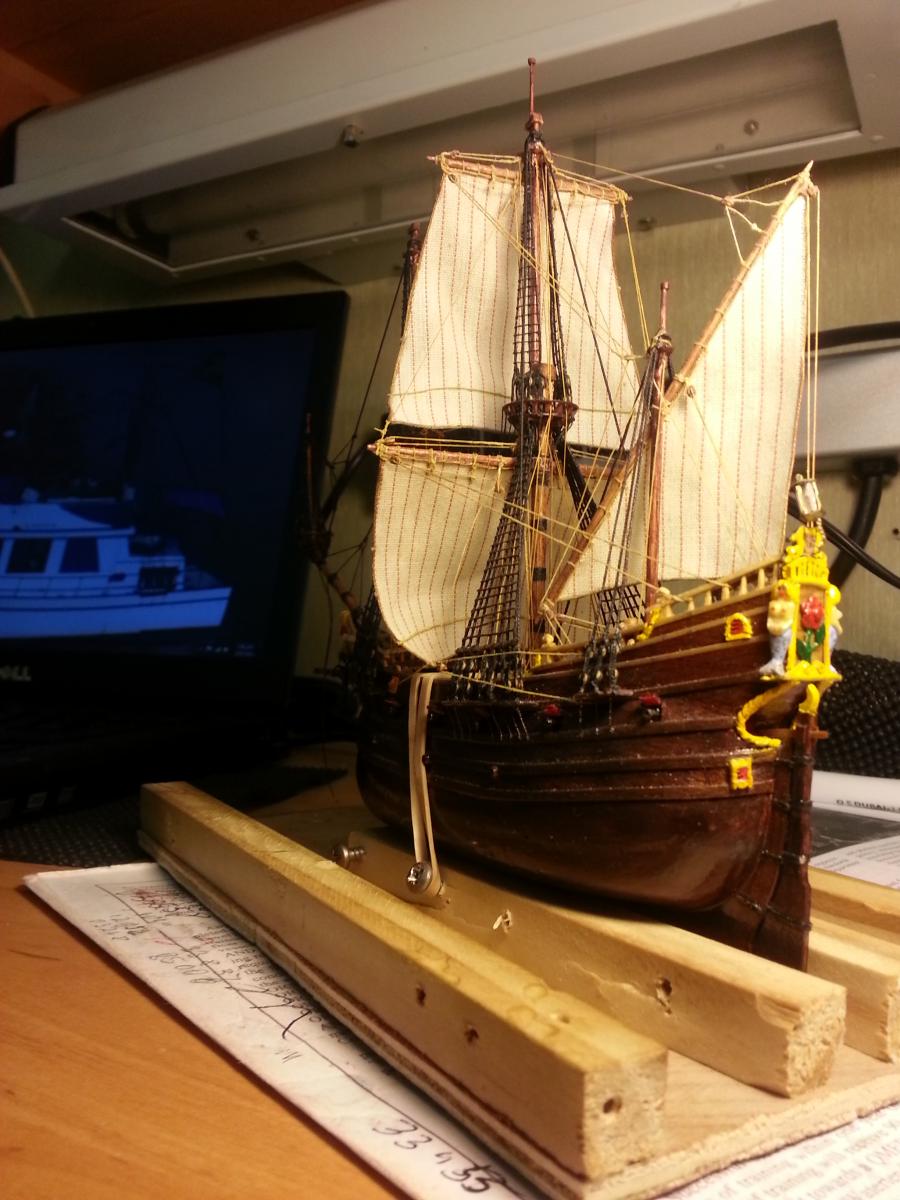
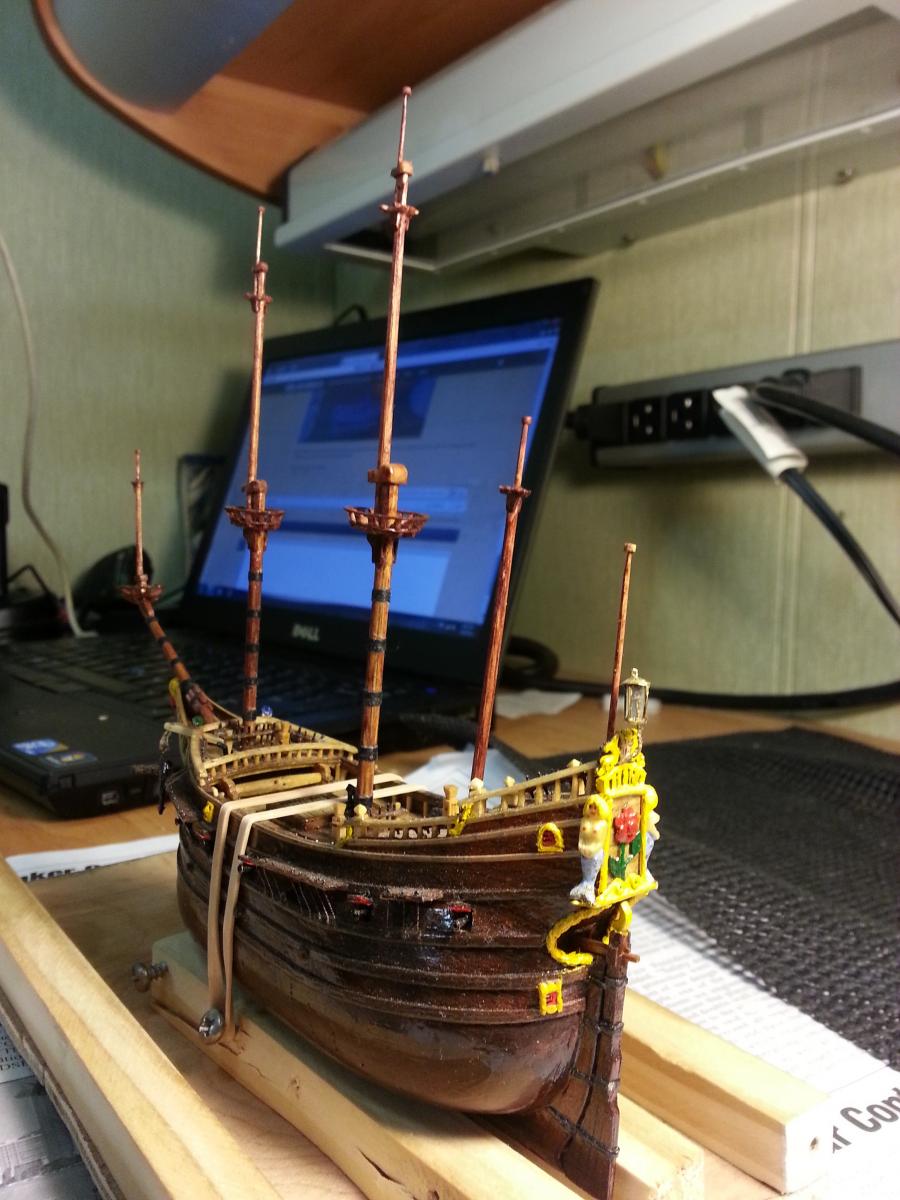
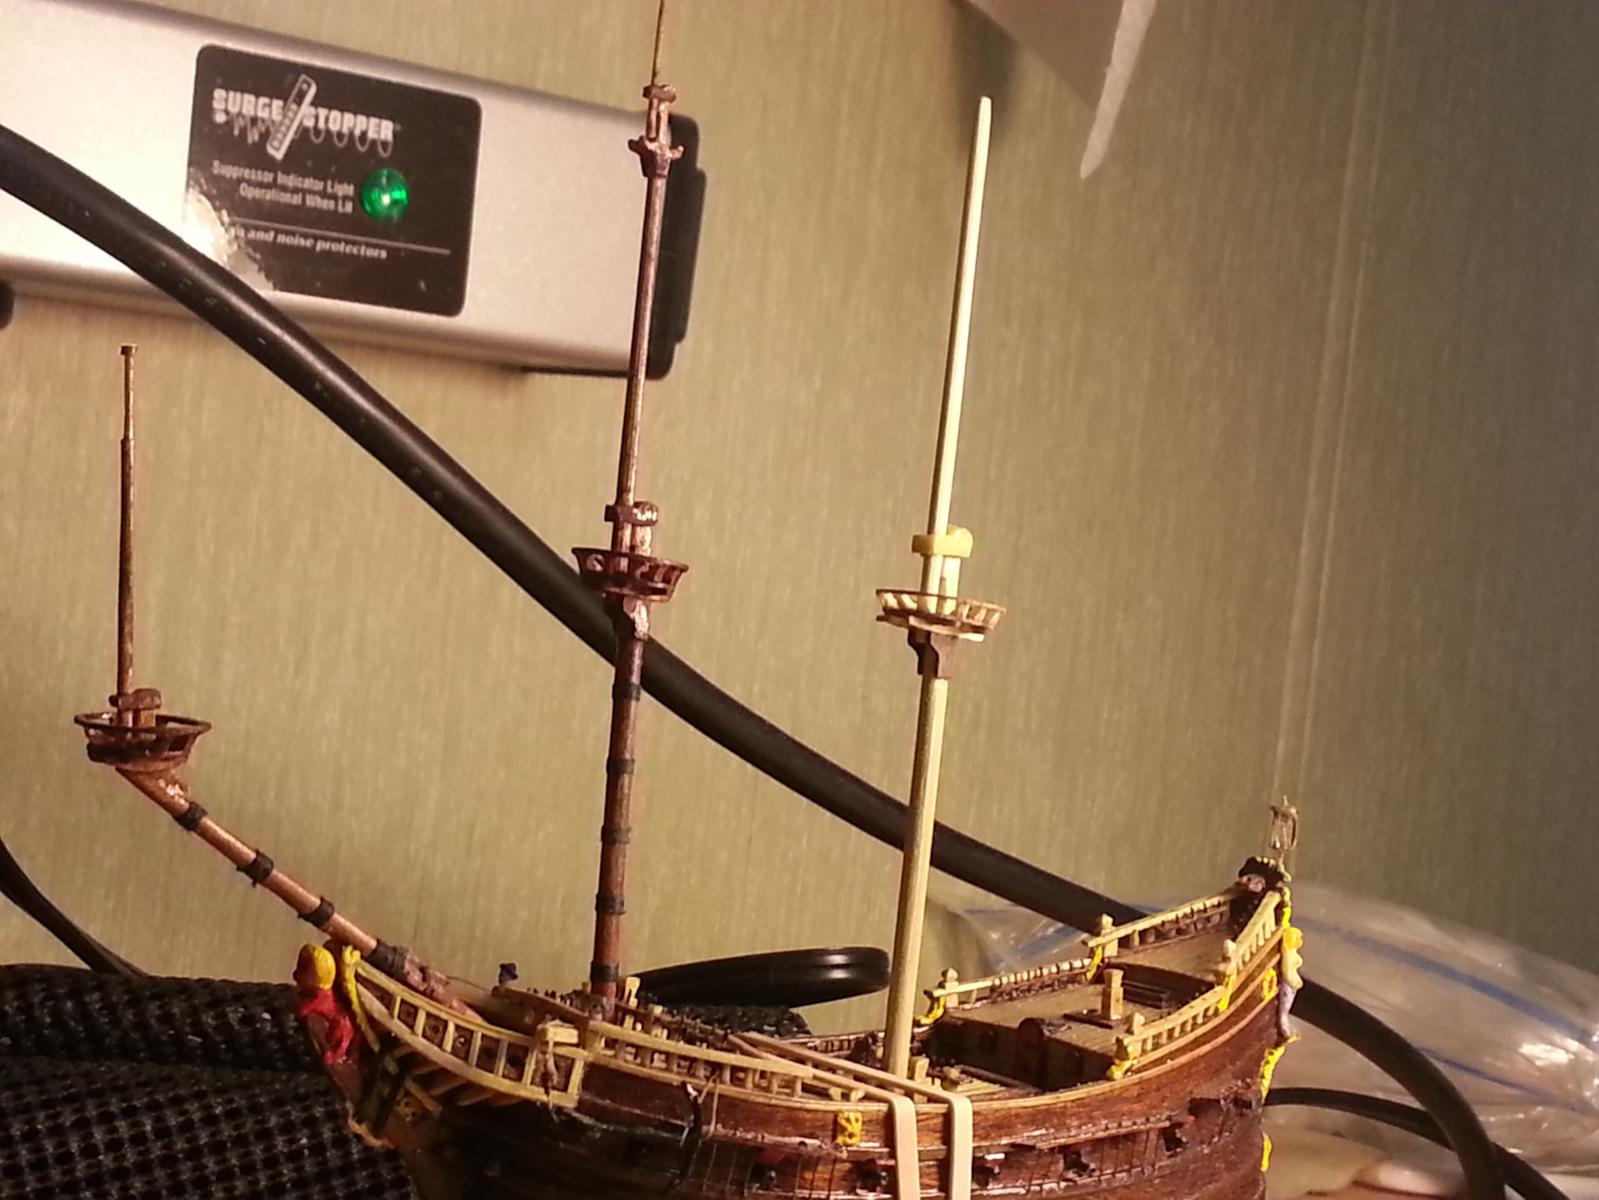
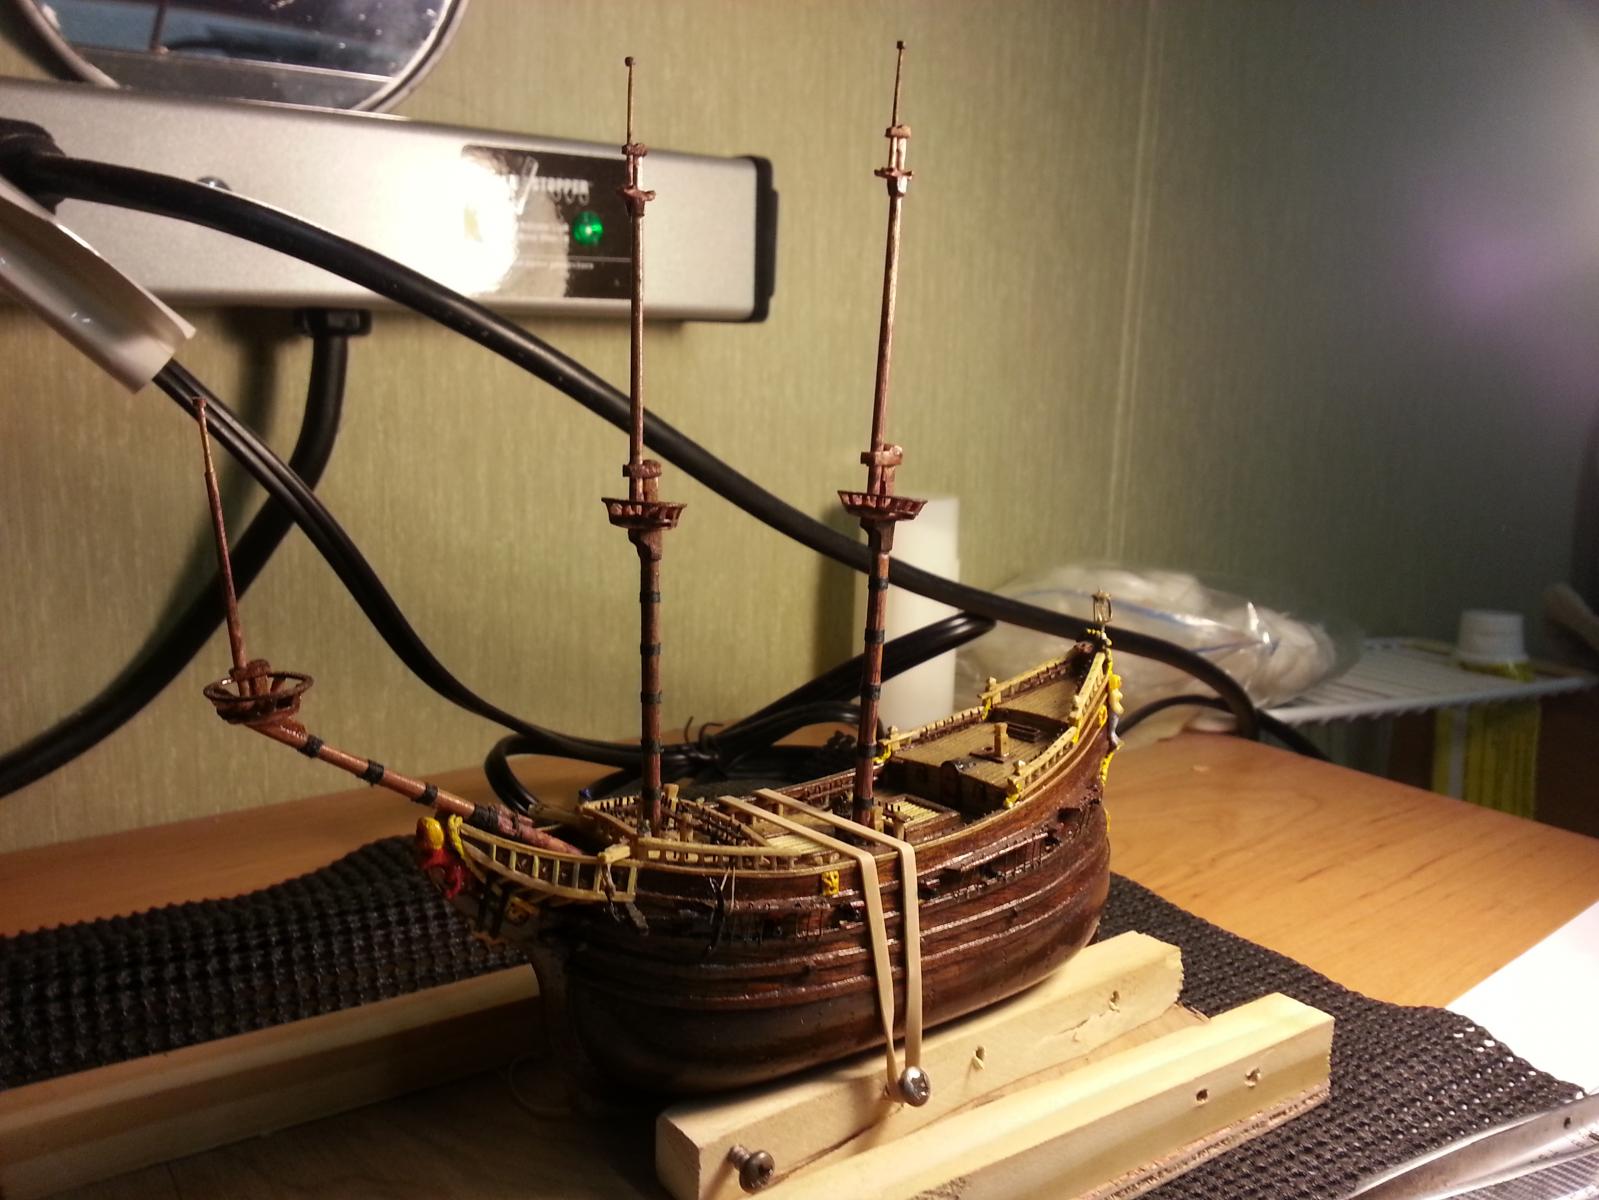
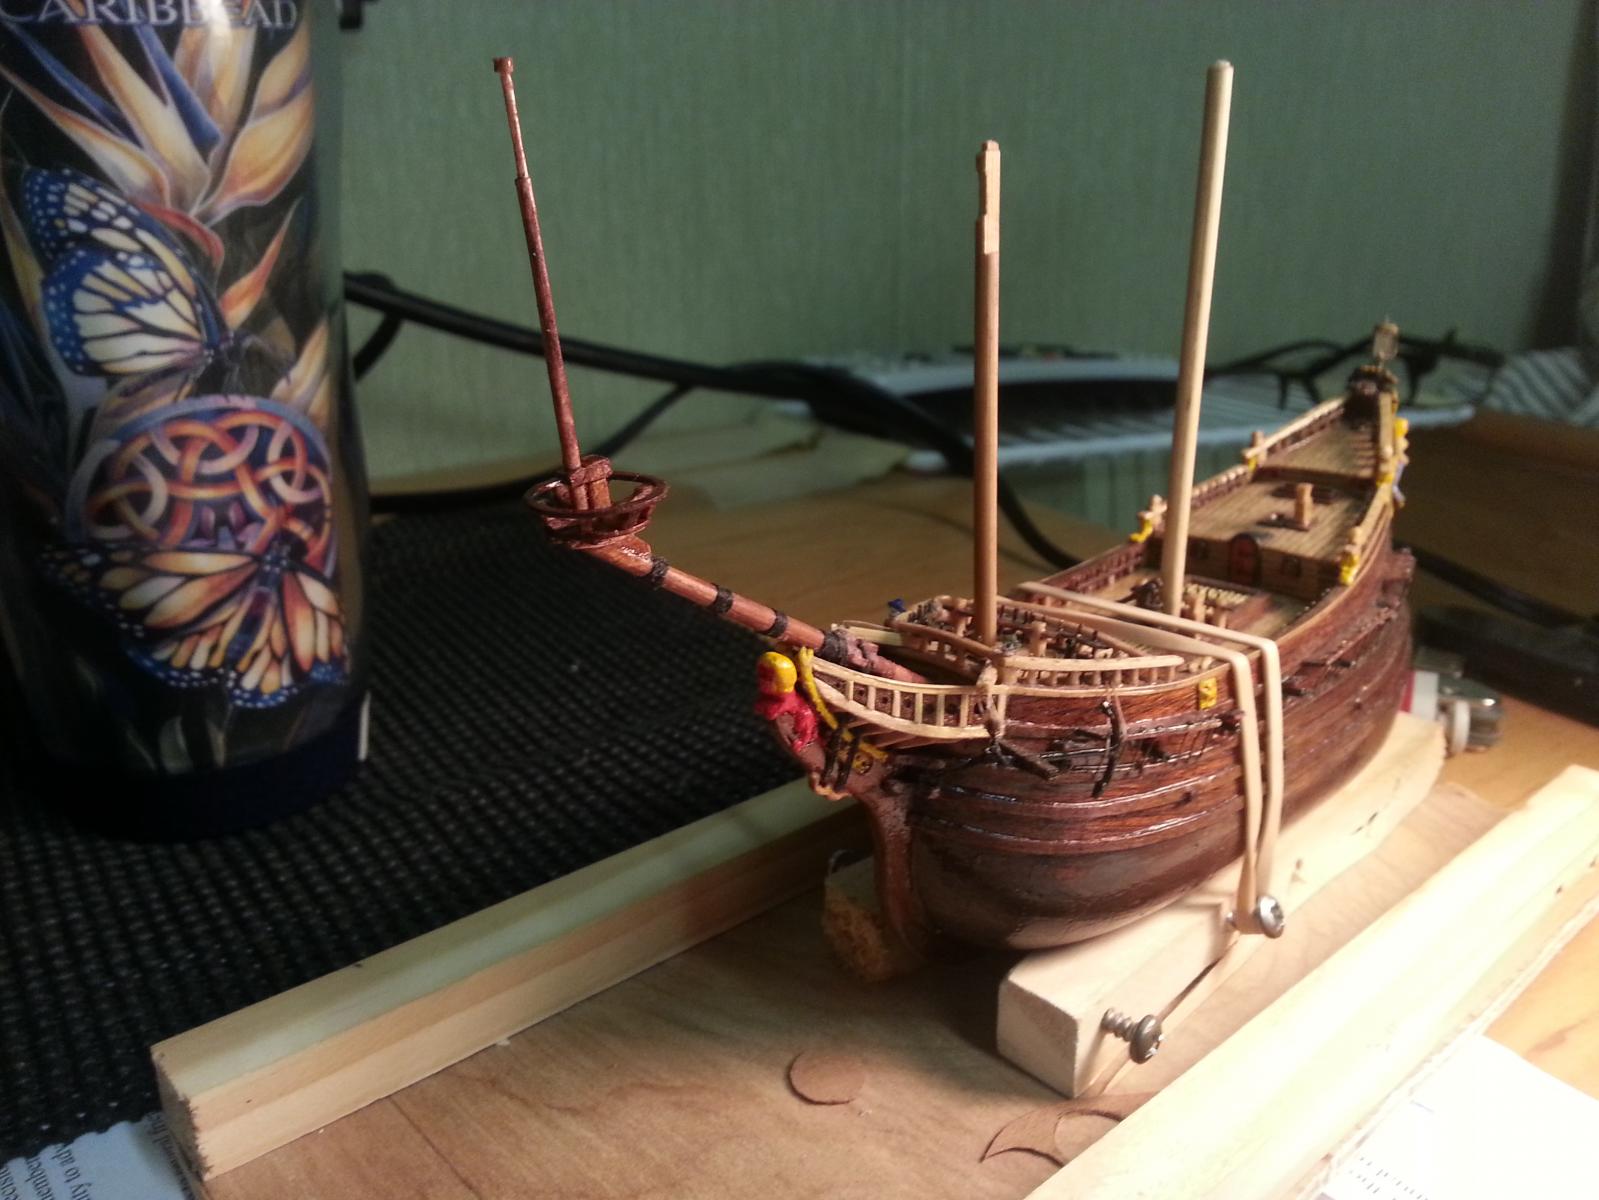
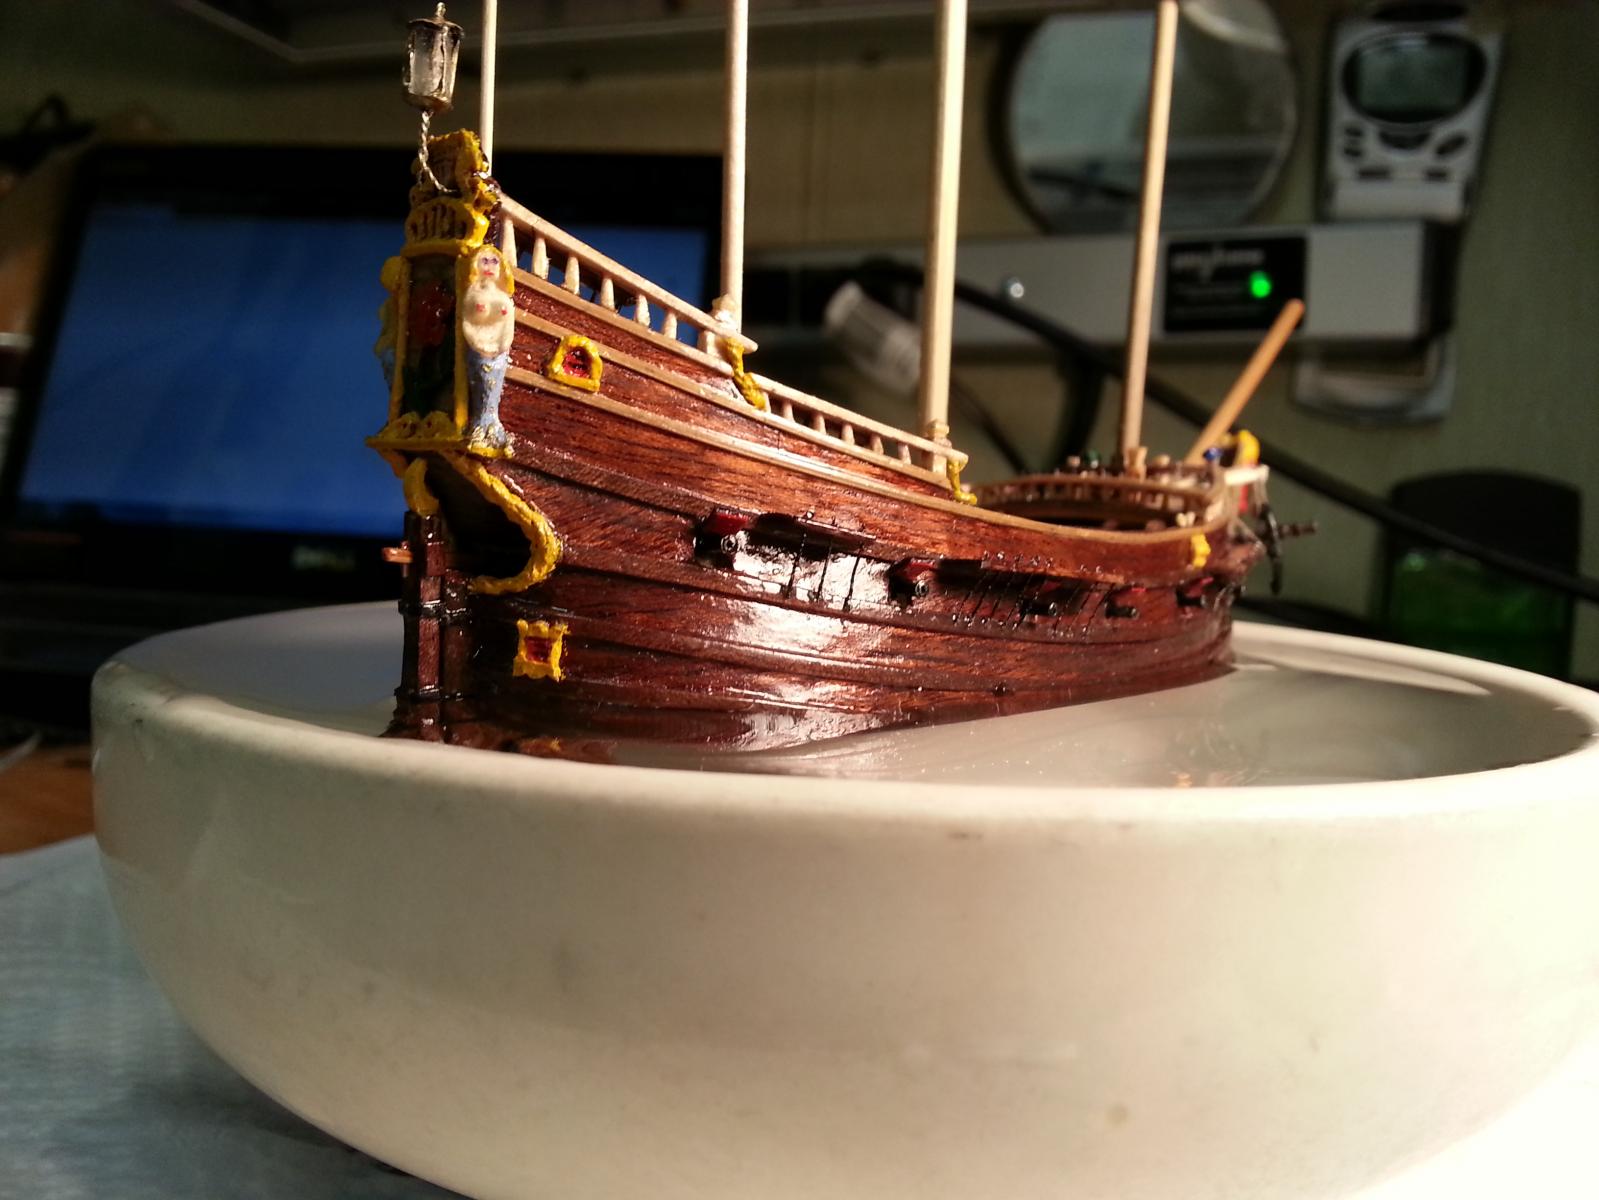
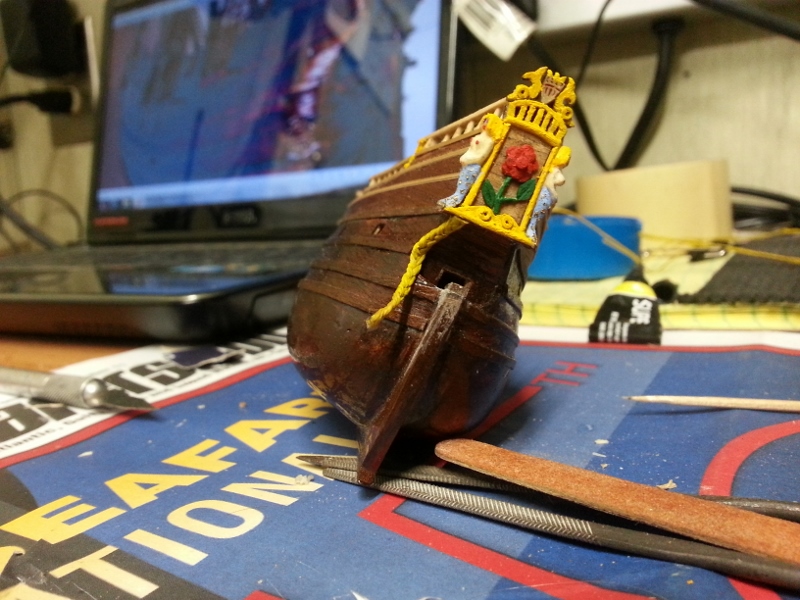
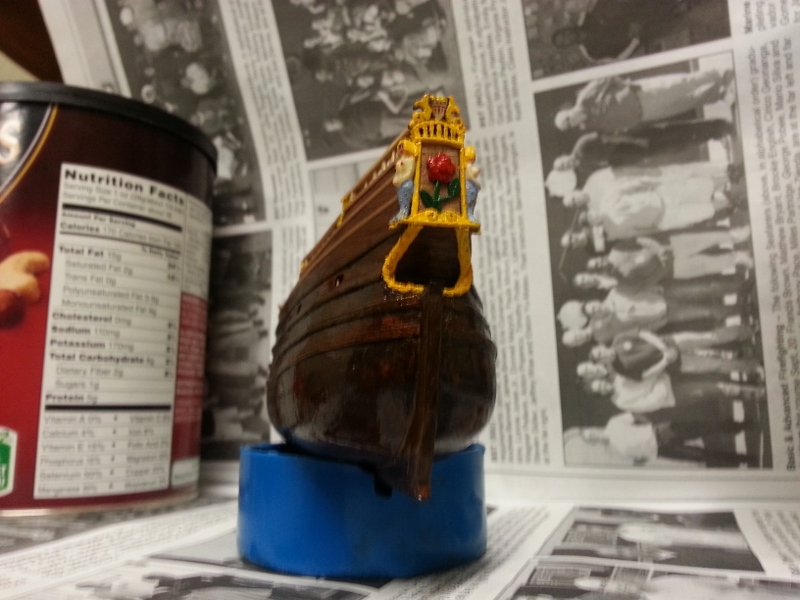
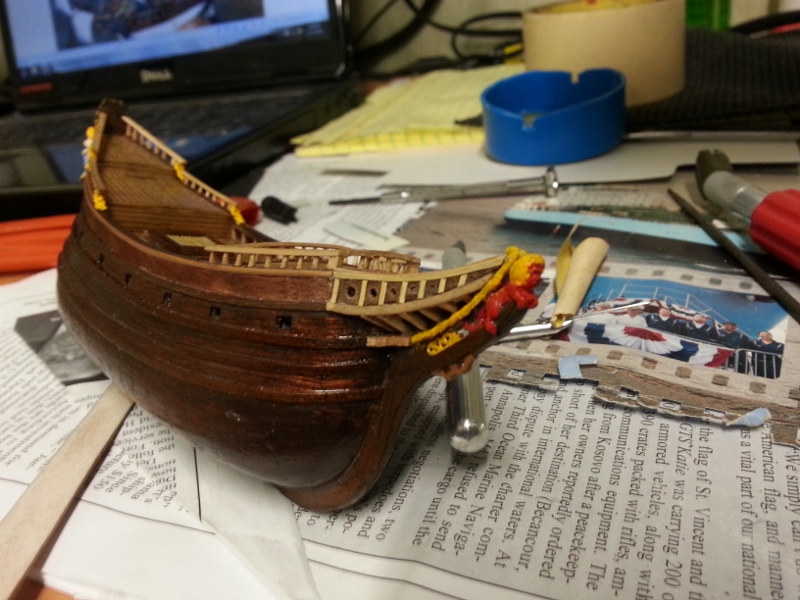
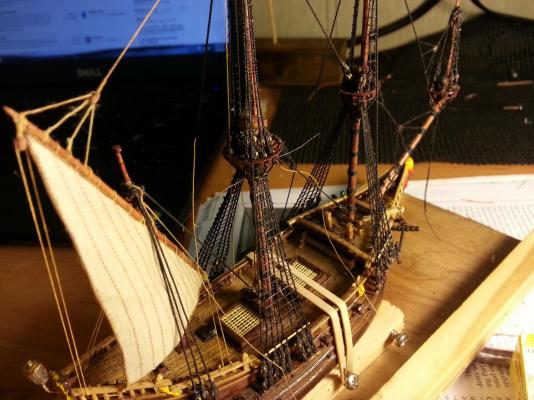
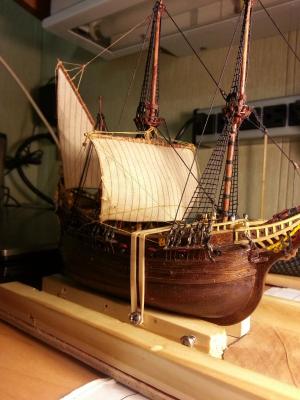
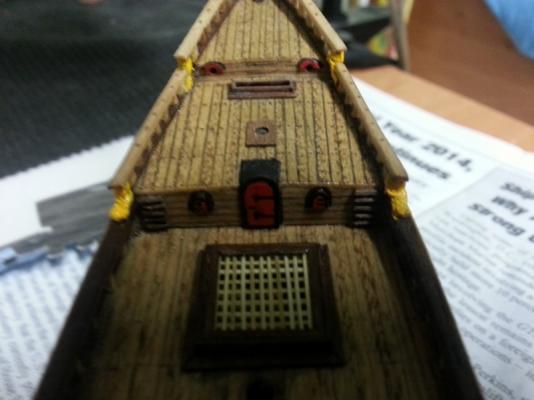
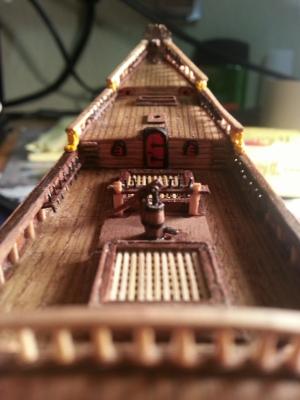
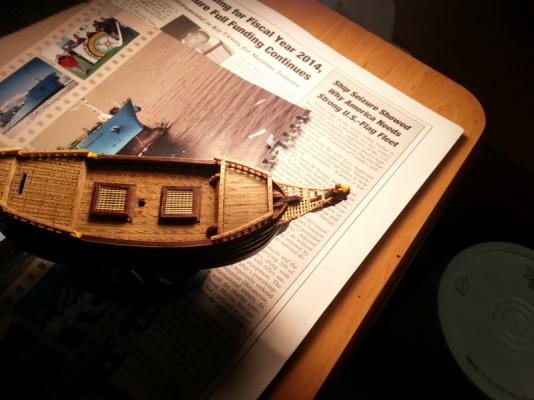
Some final touches to the stern (windows) and start filing up the deck with all the items and gears found there including some decoration heads as I have seen them on Batavia a ship of the same period. I had the idea to make the pump moving. But gave up. too many hour for that tiny part


-
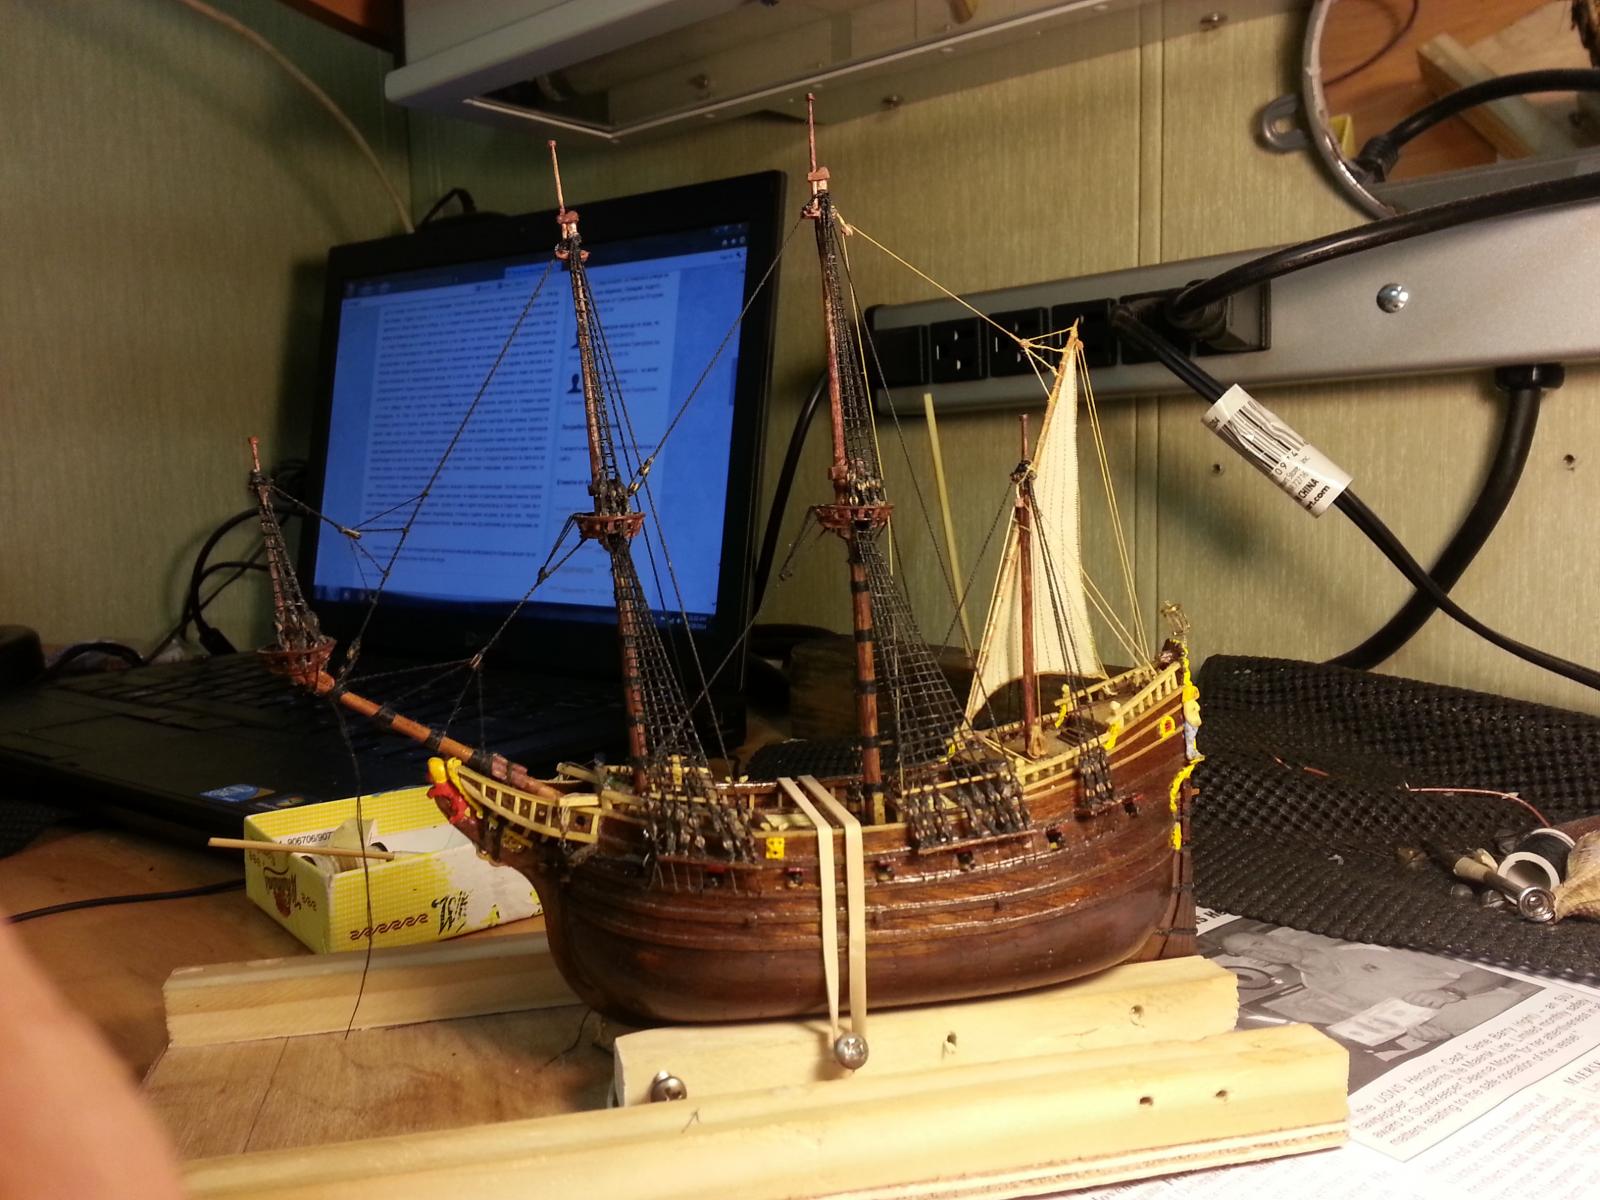
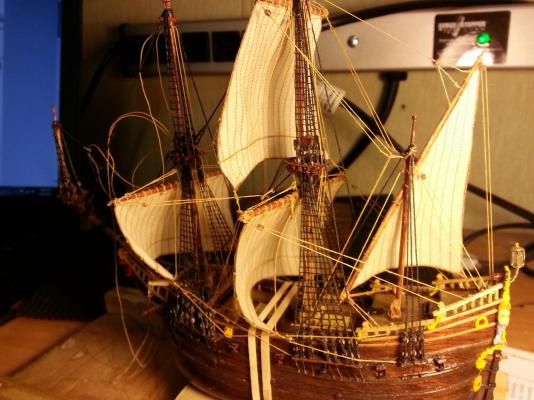
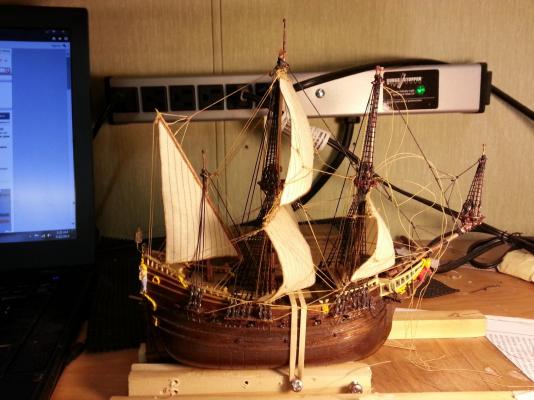
Some carving are imitating spliced lines and knots. In this scale is easier to splice the colored treads and glue them as wood carving. Began constructing the galleon.


-
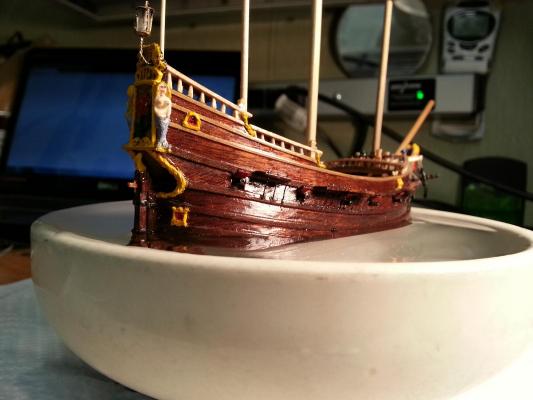
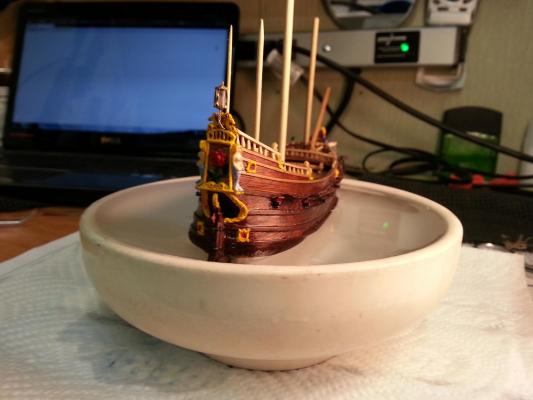
Working on the stern decorations. Again the Chinese brush went in use for the mermaids and some veneer for the rouse and the dolphins. I don't know but to me the mermaids look somewhat playboy models.


-
Yes the hull should be more narrow somewhat 4-5 to 1 this is just 3 to 1. I don't pretend for historical accuracy. This is just a toy which has as much details as I can input in this scale. Something like 3D picture.
-
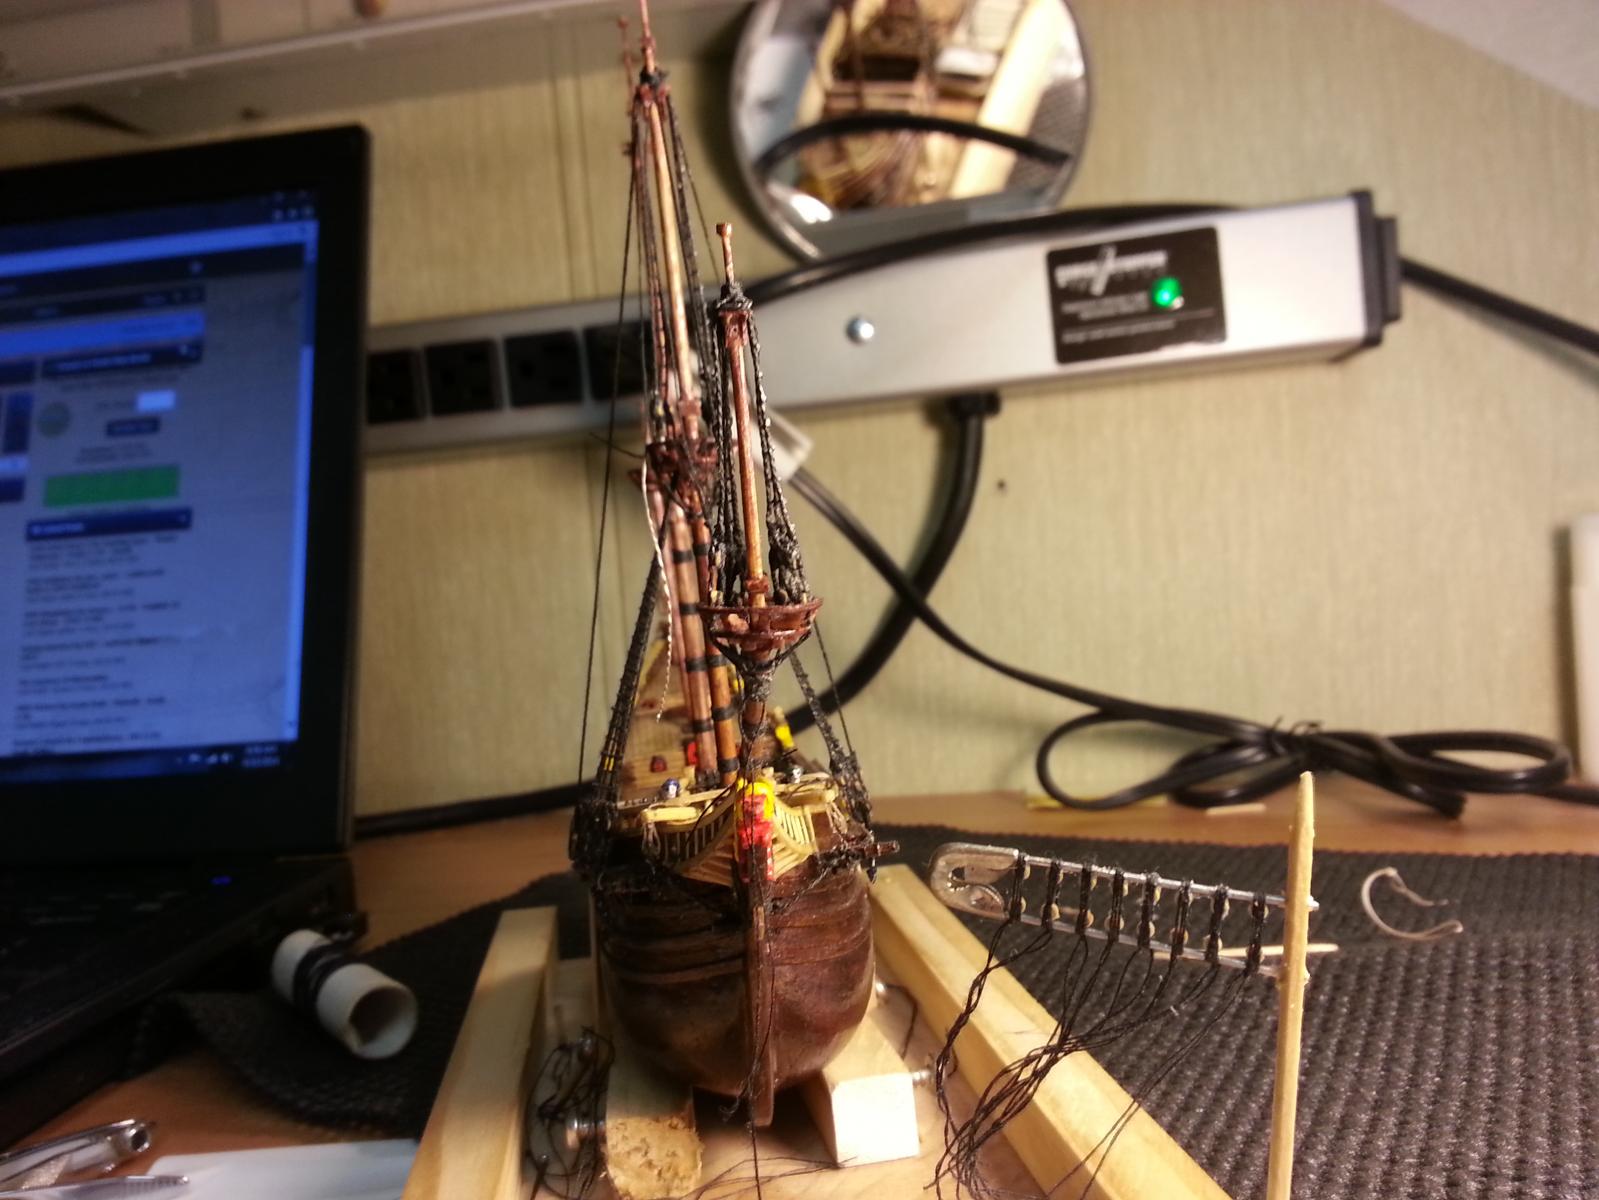
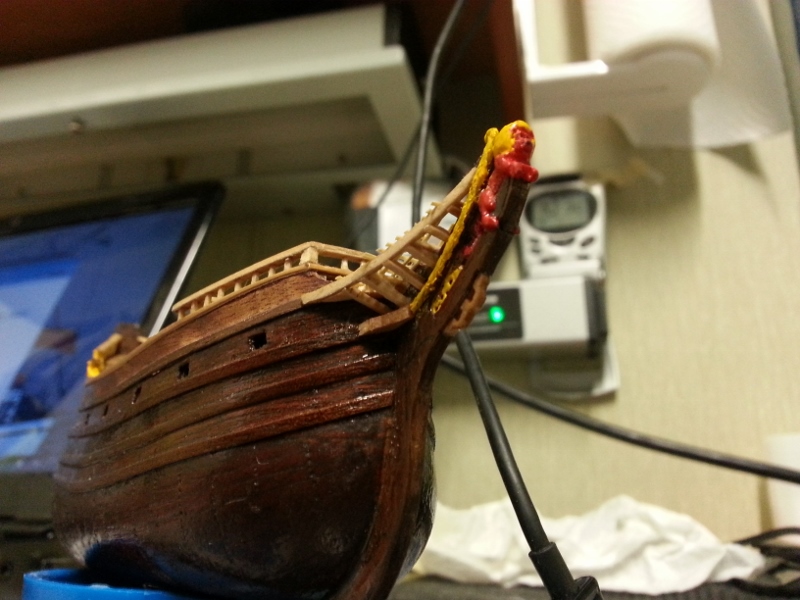
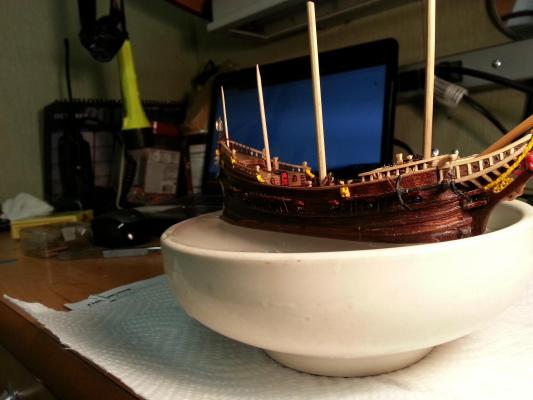
You welcome. Here the planks are removed and a framing of the gunwales is installed. Began construction of the rails. It is tricky task and in order to be build strong because there are belay pin planks attached to them and in the same time good looking I use toothpicks and coffee stirrers again. I think it is visible how it is done.


-
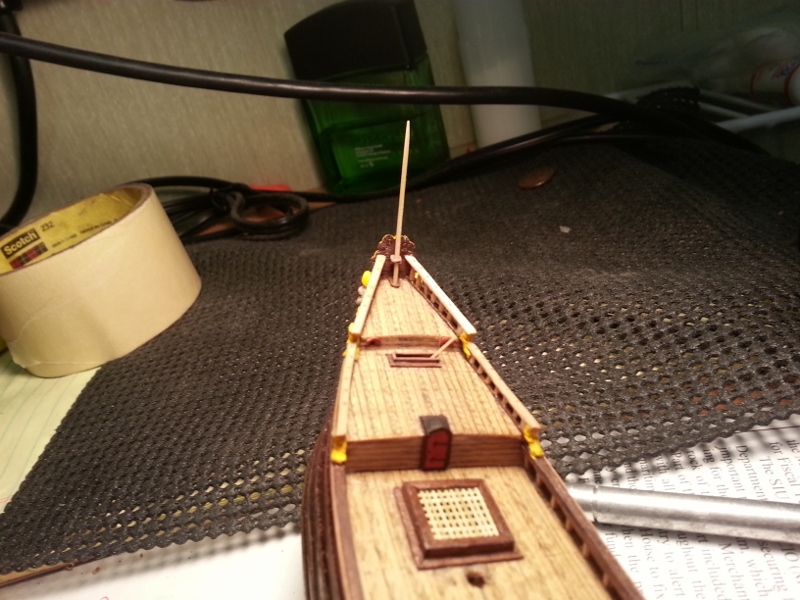
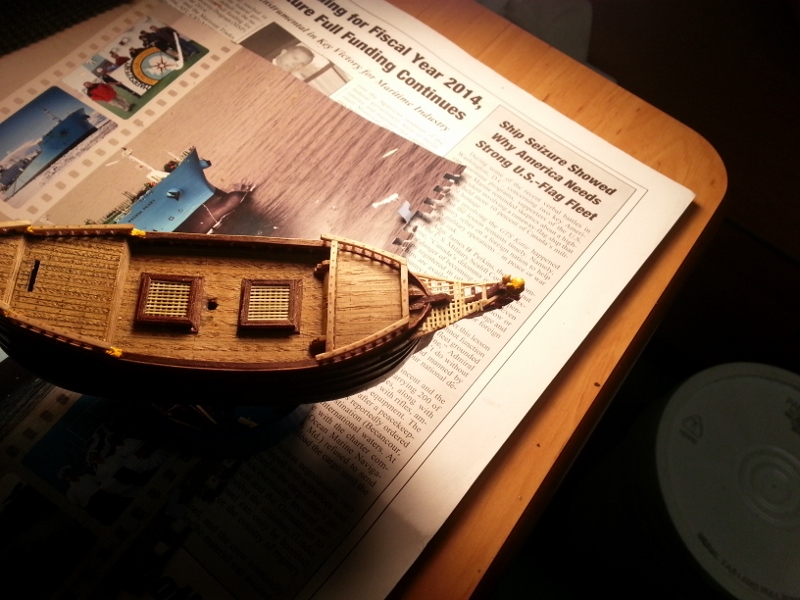
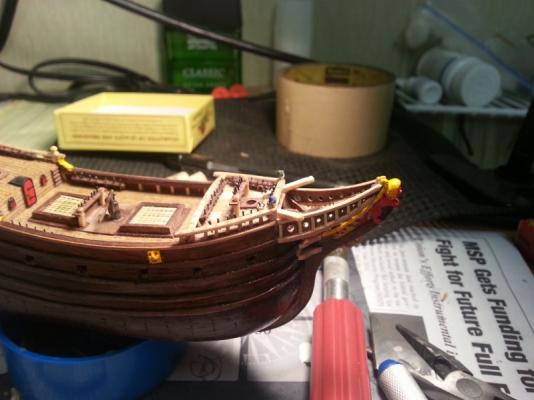
Inserting the main deck. The cargo hatches are cut out and the coamings are inserted too. The coamings are made out from coffee stirrers. The gratings are from split broomsticks. I mean not the handle of the broom but the working part .After that they are clad in ply strips to imitate timbers and cover whatever uneven edges occurred. Then follow the framing for the upper sides and forecastle in which is included the big winch character for this type of vessels. It is actually supporting the aftermost deck beam on the forecastle. Three planks are glued very slightly to the hatchcoamings in order to serve as midshipframes. They will be removed afterwards. For the sides I use a cardboard templet which I draw pressing piece of cardboard to the side. If the ship is wright one is good enough for the both sides. After that I cut the sides out from mahogany ply using the templet. To bend them I dip them in rubbing alcohol.


-
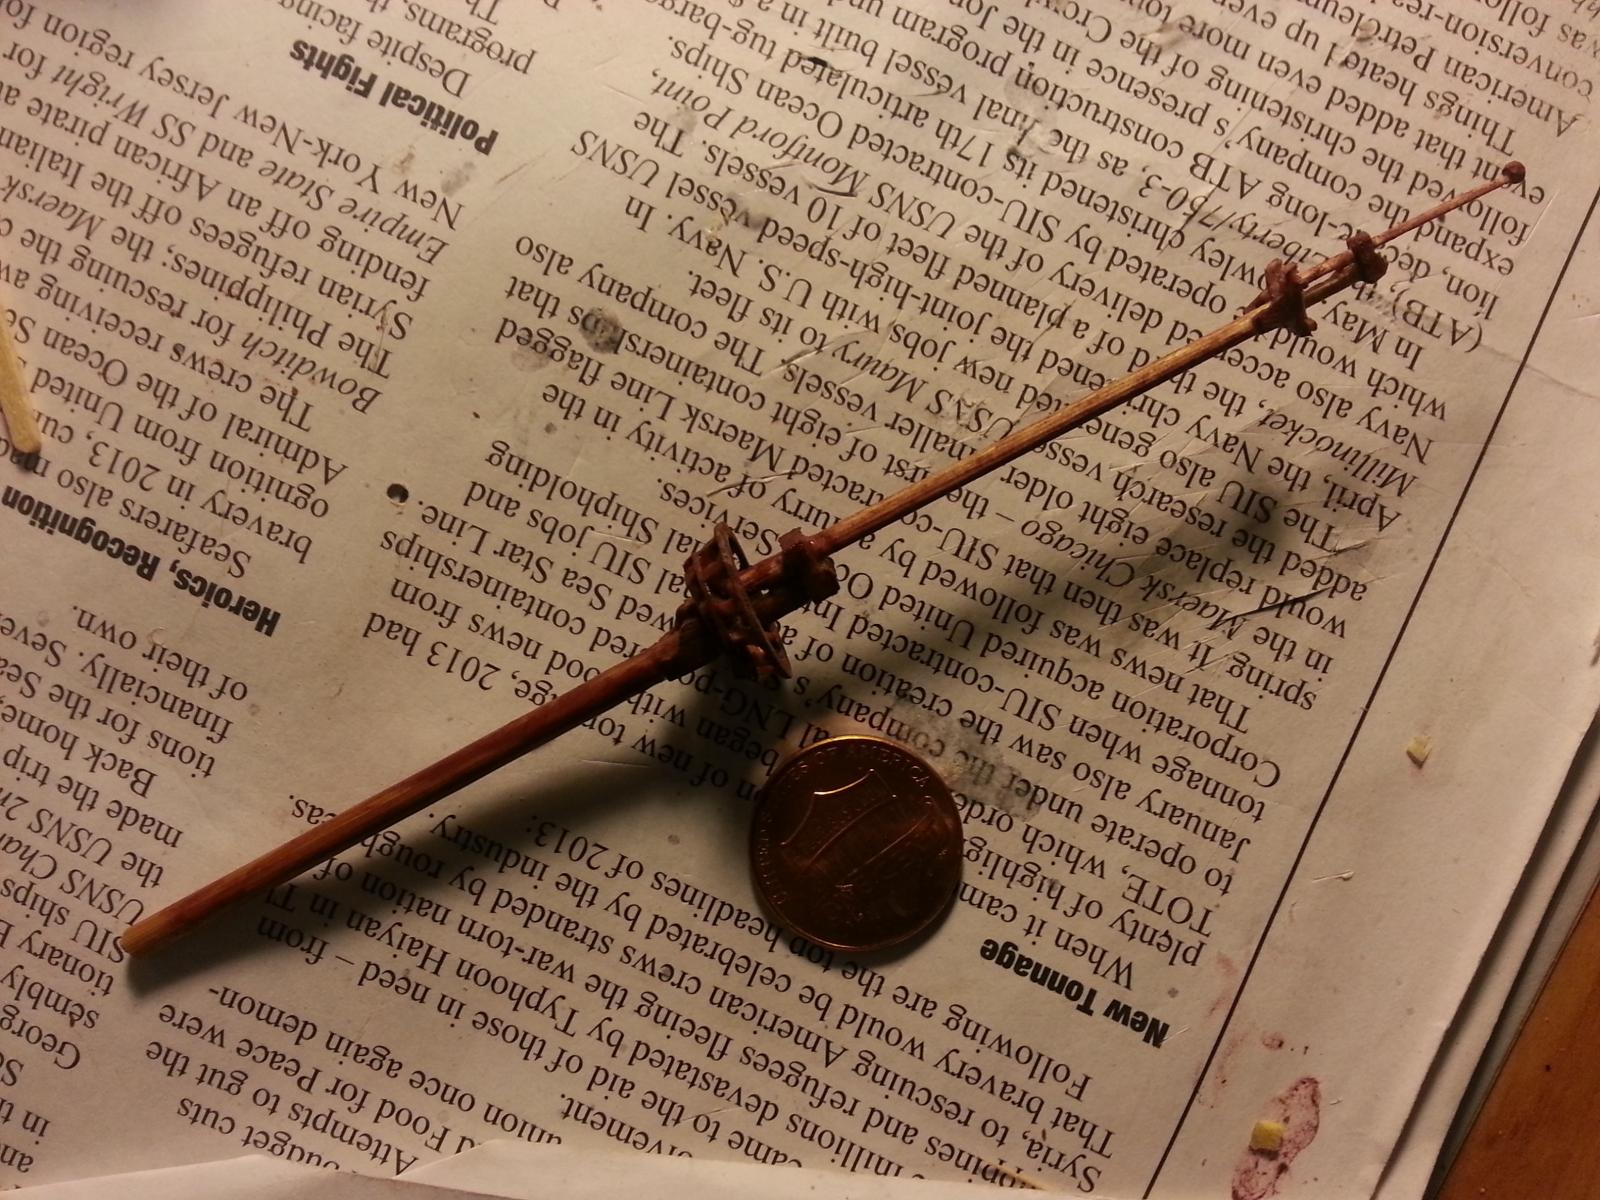
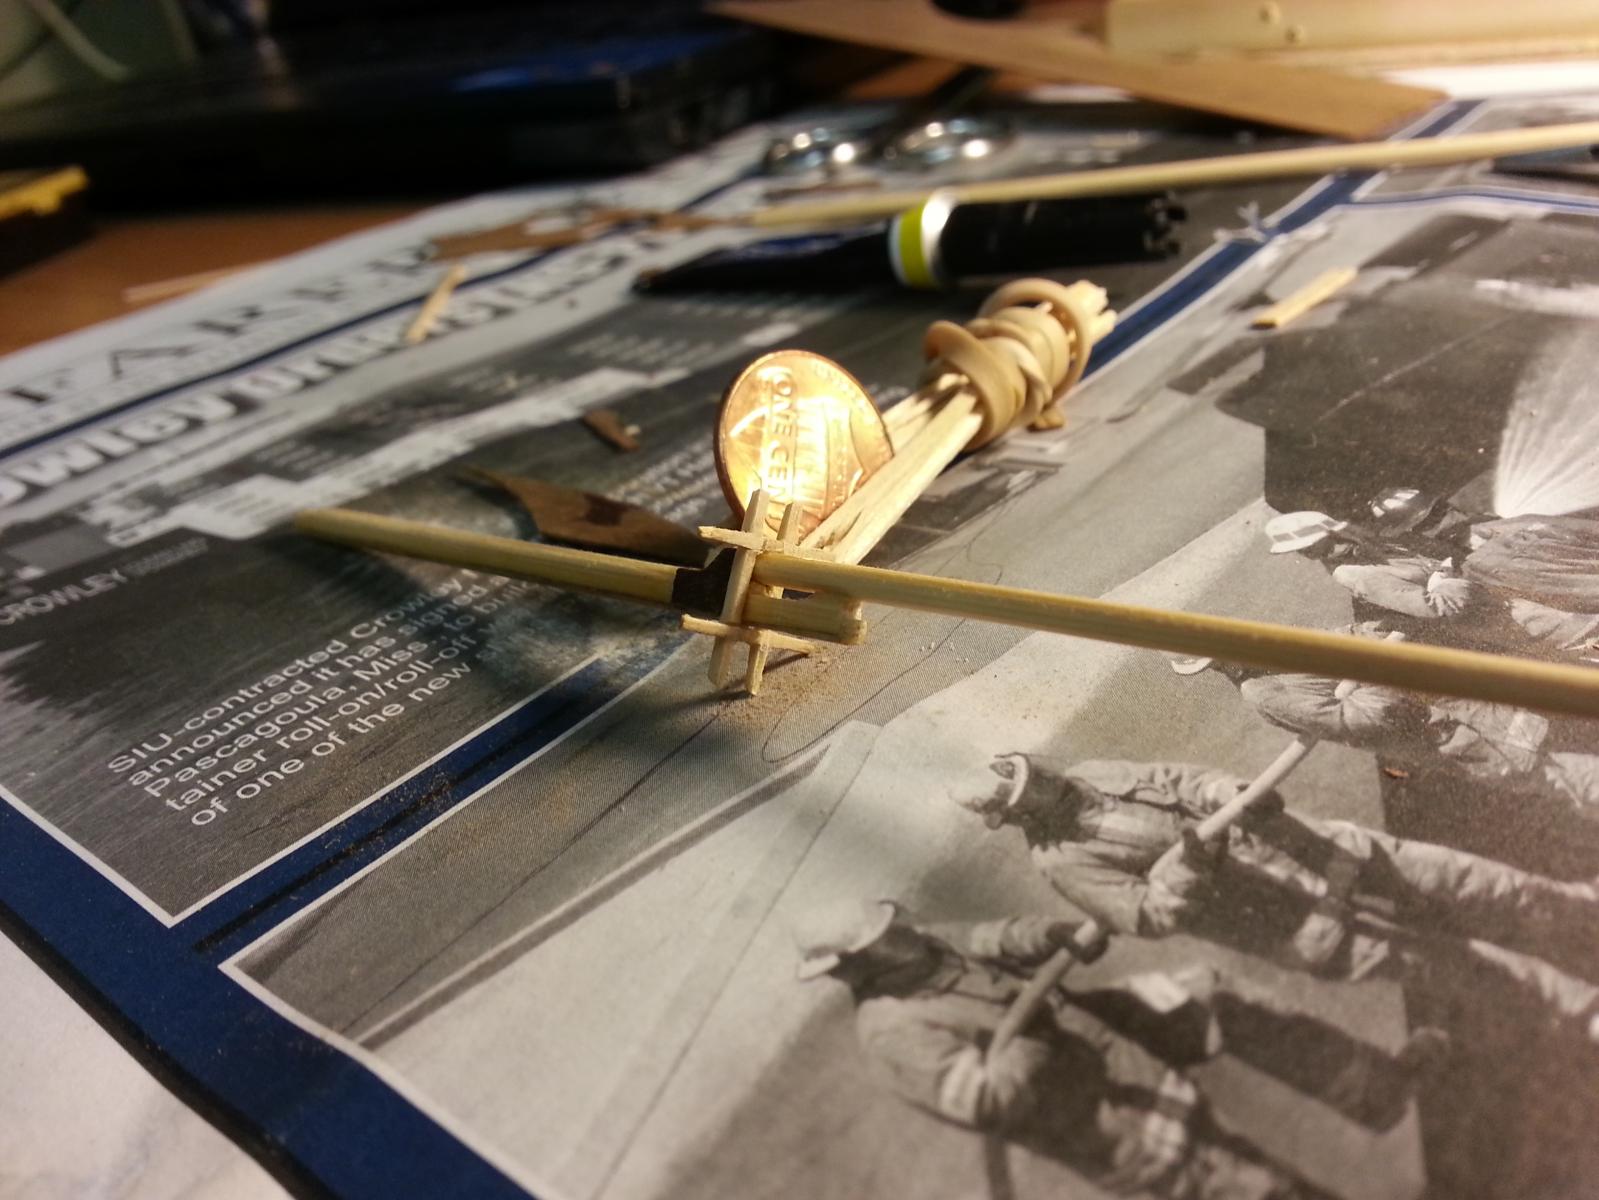
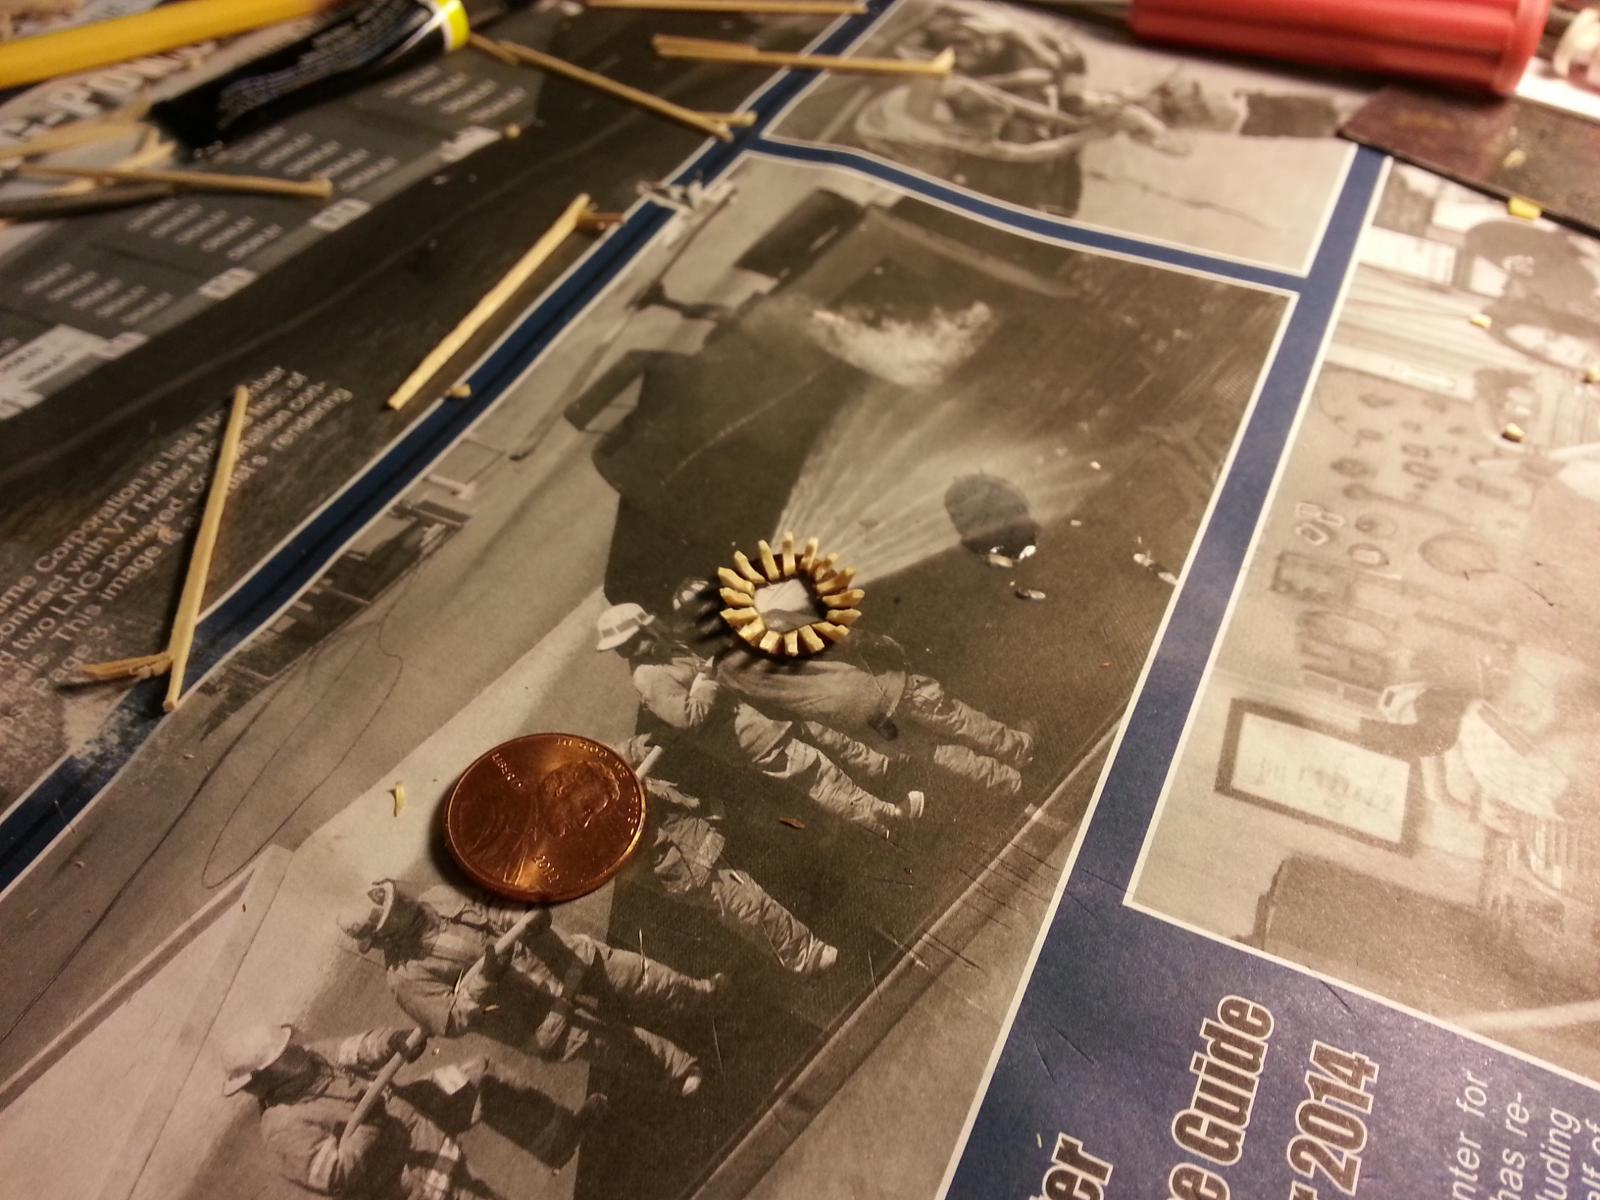
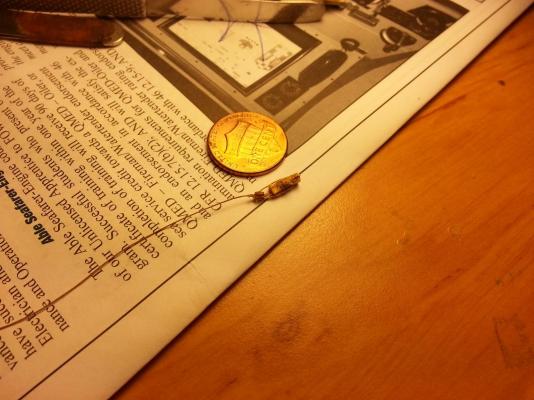
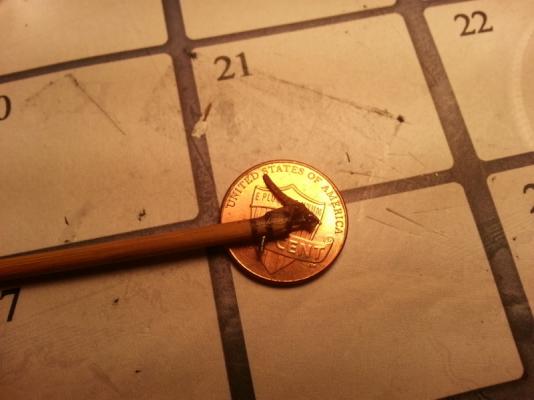
The guns are made out from medical tube needles I have made even smaller as the swivel guns for other models. If you go in a medical store you can see what small sizes they have. The rings are from copper wire which I wrap around the tube once and cut the exes by a nail clippers. Then take it out from the tube and press it slightly to meet the ends even. After that I insert them back on the tube and glue them. But even just the spray paint is enough to keep them in position. The bigger diameter tube is used to form the back part of the gun. After that I glued them in position and pulled the smaller tube out so do not be obstruction during the further building of the model. The picture below is of a swivel gun of a caraca

-
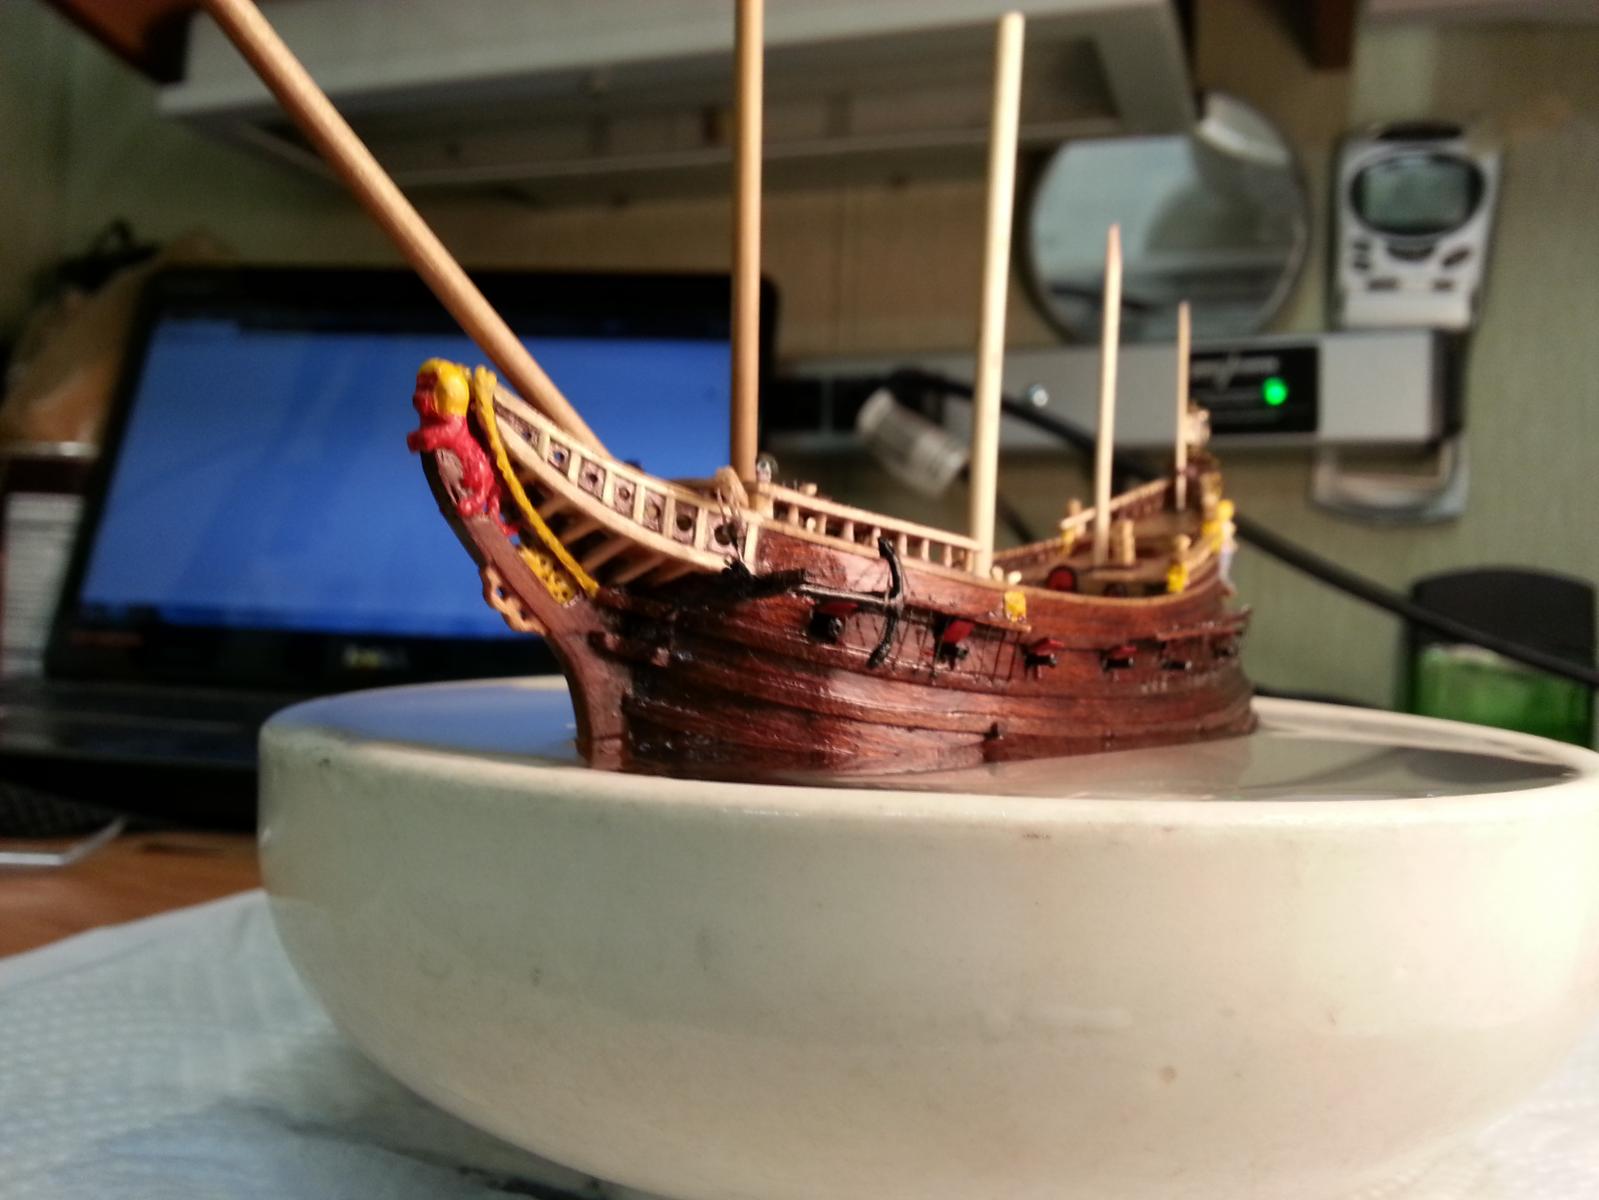
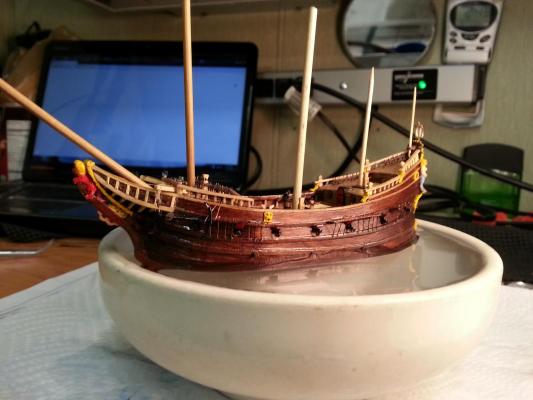
Inserting the sides on the gun deck the guns and sea trail again to see if the draft is changed.


-
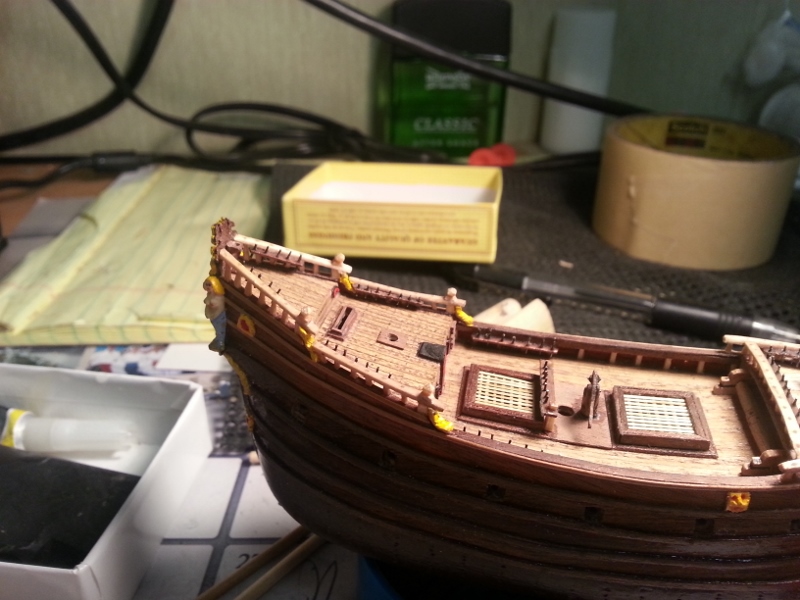
In this pictures is shown installing the boards and fenders. The fenders actually cover the gaps between the strips of ply. Also I draw the lines on the sides representing the timbers and nails. After varnishing they are barely visible but on this scale is good enough.


-
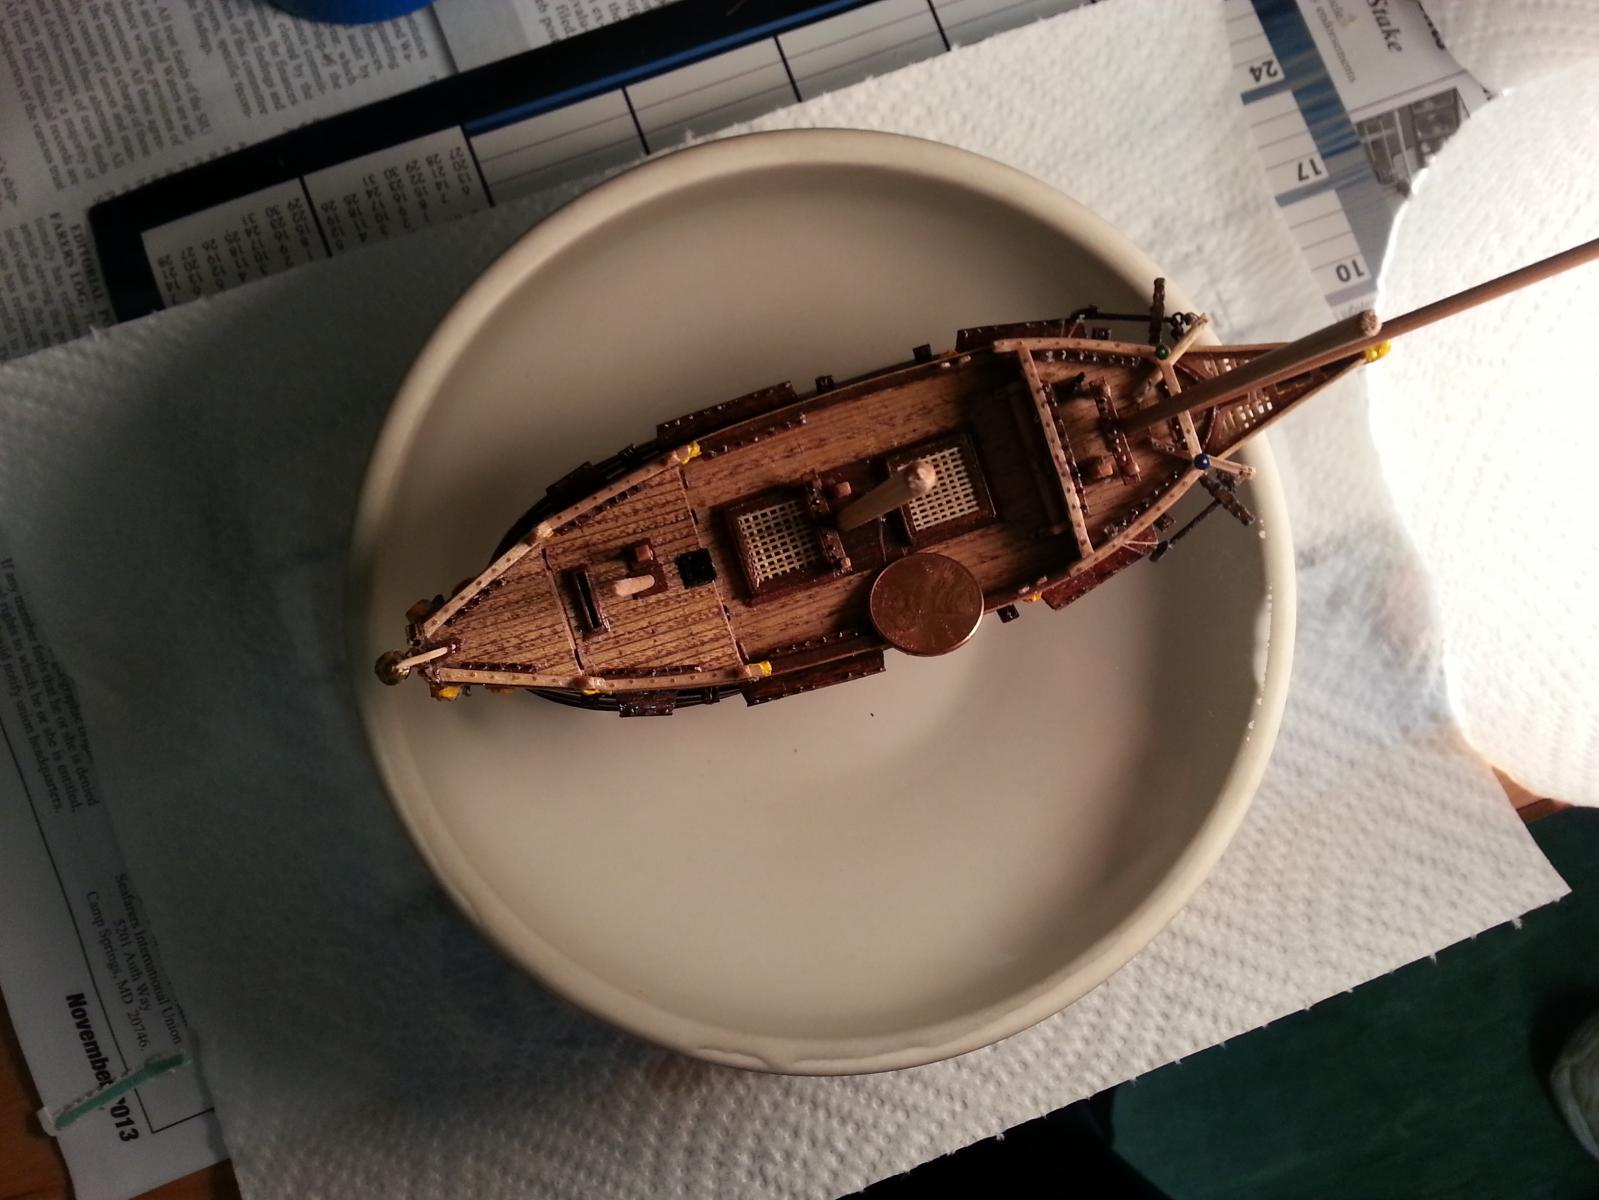
The lower deck and the tweendeck are sealed watertight in order to provide buoyance even if the ship is listed on 90 degrees