


Mirabell61
-
Posts
7,357 -
Joined
-
Last visited
Content Type
Profiles
Forums
Gallery
Events
Posts posted by Mirabell61
-
-
1 hour ago, Valeriy V said:
Mechanism for turning the ventilation socket.
fantastic mechanism detail Valeriy,
Nils
- Canute, mtaylor, Keith Black and 1 other
-
 4
4
-
thanks for sharing your find Keith,
Nils
- Keith Black, mtaylor and Canute
-
3
-
great work B.E.
my recommendation : add the tiller-lines with appropriate blocks, of course its up to you....
Nils
- mtaylor, dunnock and Blue Ensign
-
2
-
 1
1
-
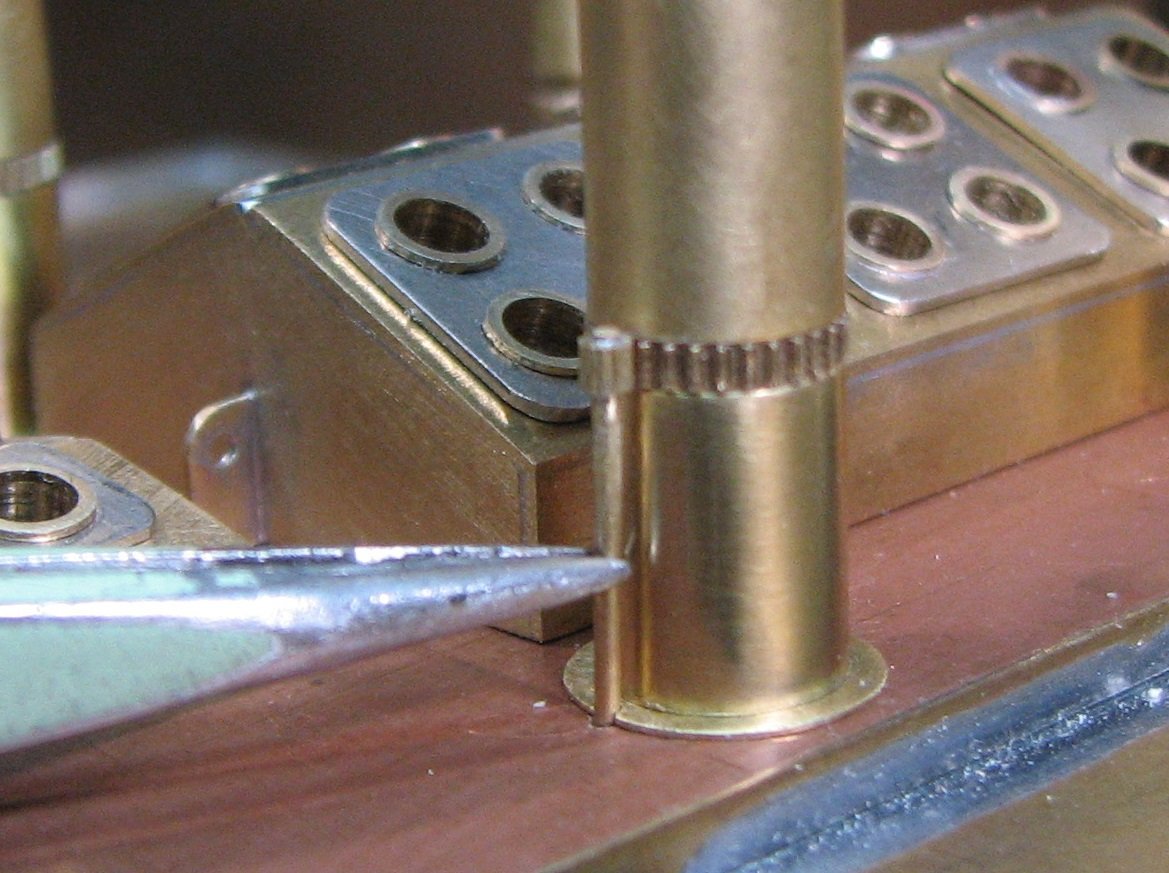
34 minutes ago, wefalck said:
One day, I have to get myself one of those dapping blocks (as jewellers call it) and matched punches ... China and India throw them onto the market at reasonable prices.
Thanks for your input Eberhard,
I was`nt aware that those dapping blocks with matching punches are juwel-makers tools, Thats a very smart idea for making vent cowls as Valeriy did here
Nils
-
very nice work Valeriy,
how did you machine that multi smart idea enbossing block, is it hardened after machining ?
Did you need to aneal the brass rounds prior to shaping with the punch ?
The final soldering and trimming of the vents looks great.the relative thin wall-thicknesses, do not bring too much topweight to the model.
Nils
- Valeriy V, FlyingFish, Keith Black and 2 others
-
5
-
-
On 1/22/2024 at 8:36 PM, Jond said:
Nils
thank you for your kind comment. I regularly watch your work and I must say it inspires me especially at this small scale.
cheers
Thank you Jond,
Nils
-
-
-
Hi Roel,
many thanks for your comment. The "Heavy weight punch" is a print on canvas, I like Geoff Hunt`s maritime paintings very much. Its because I`m short with display space that there are models in front of that wonderful picture.
Nils
- mtaylor, Ras Ambrioso, Canute and 1 other
-
4
-
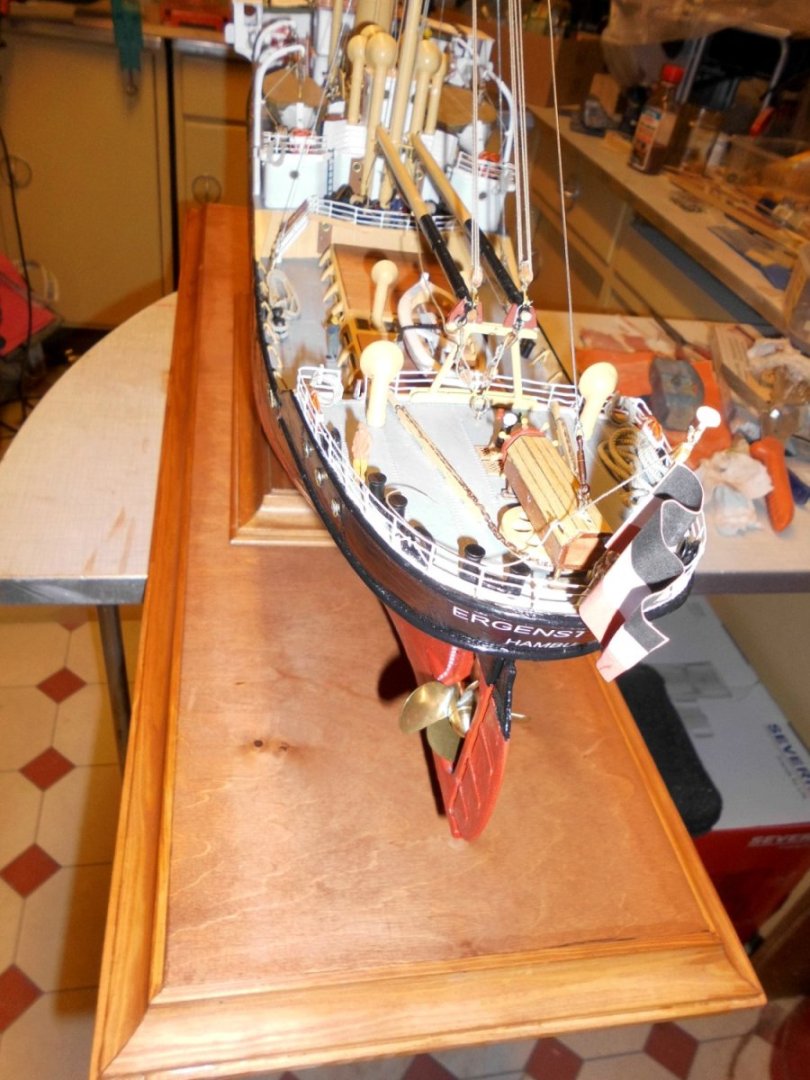
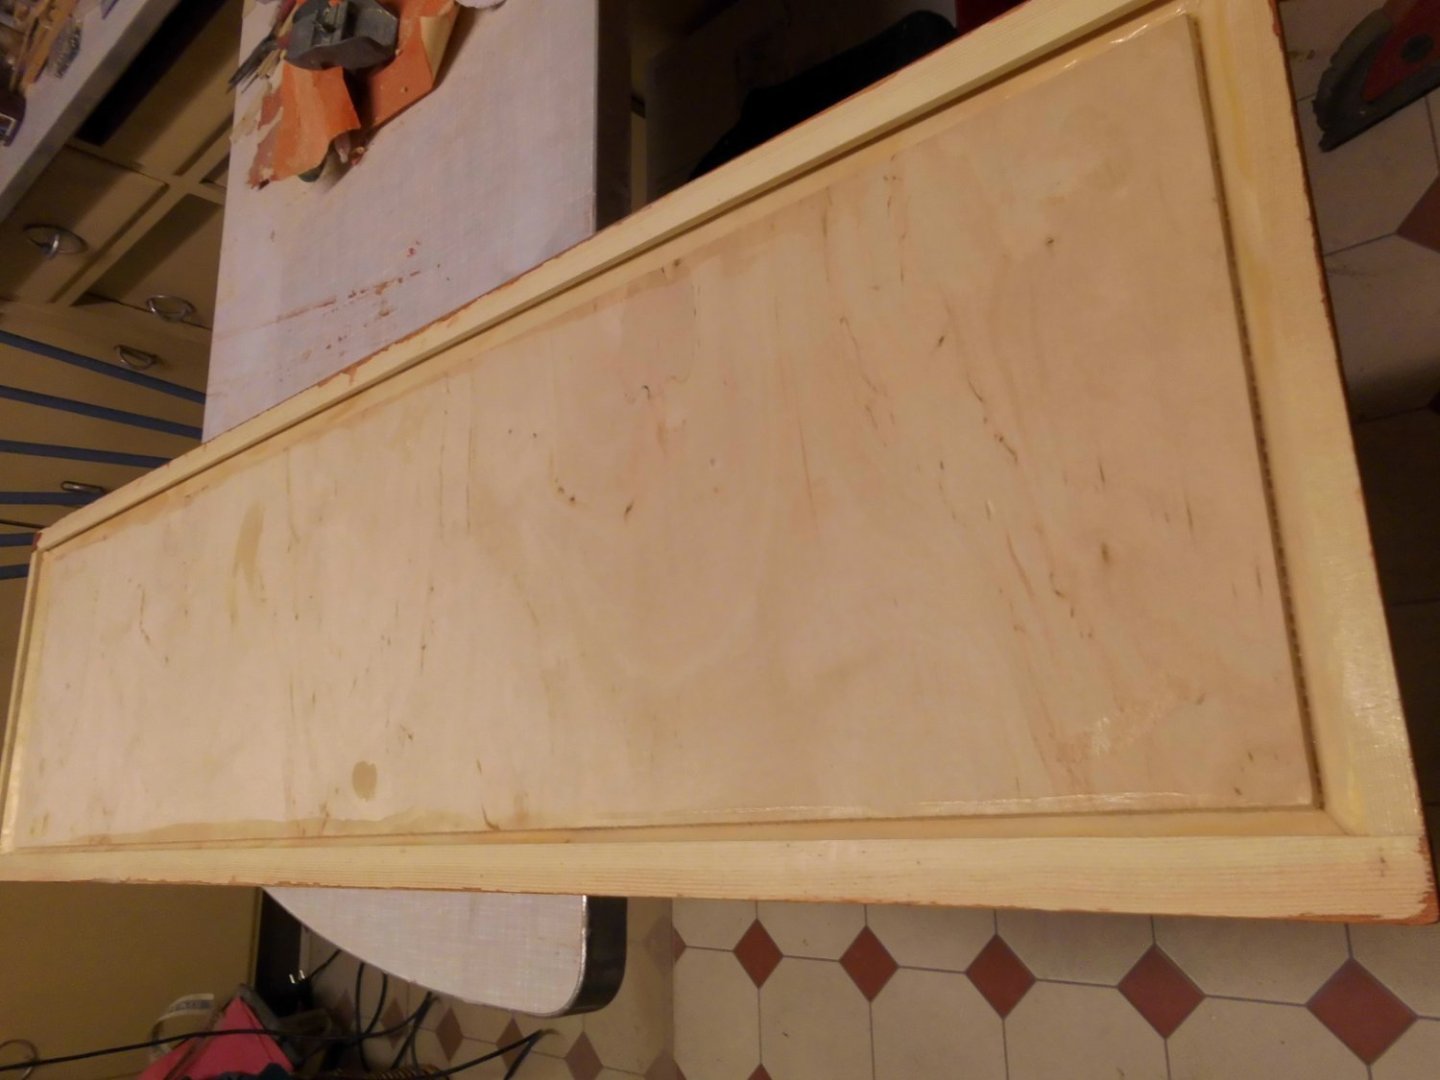
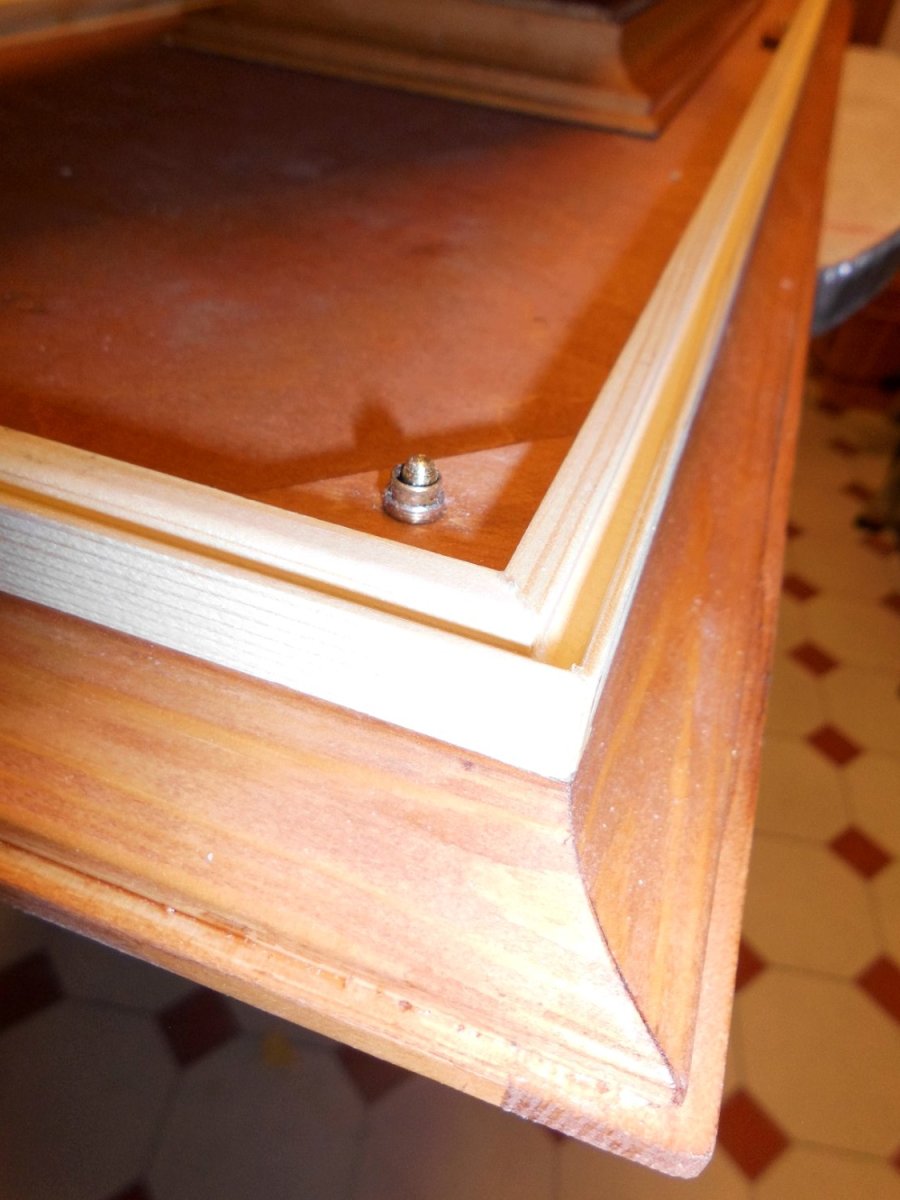
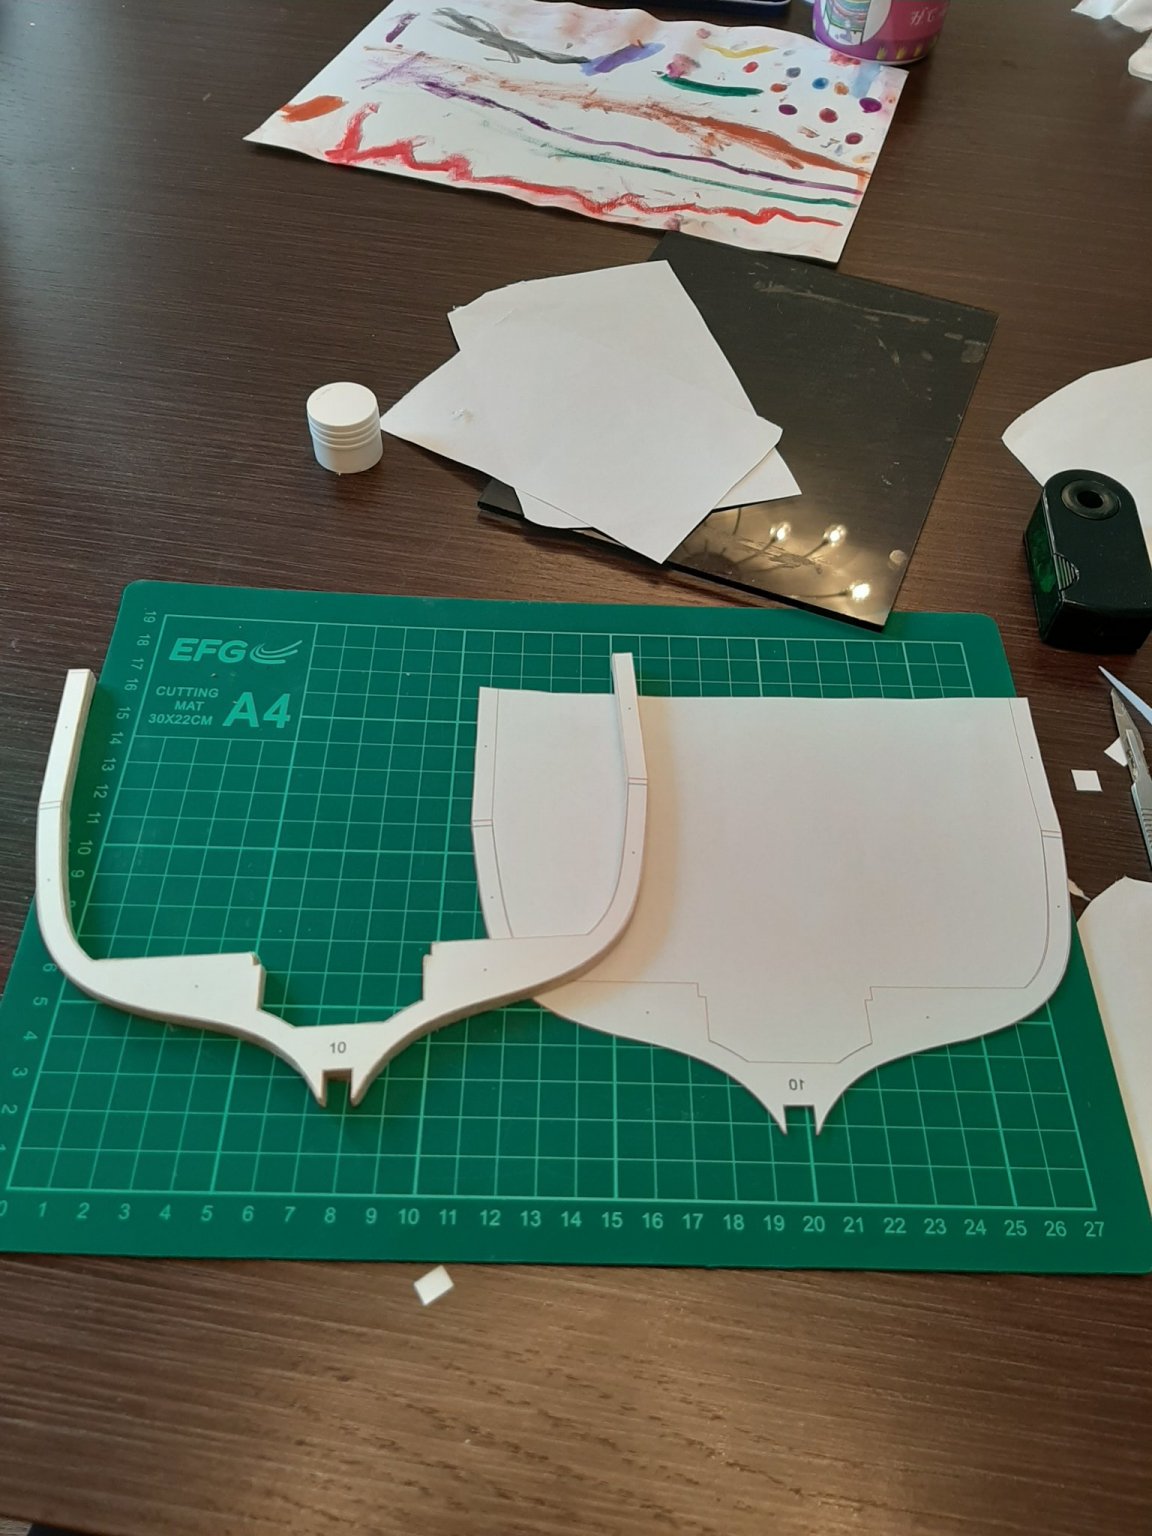
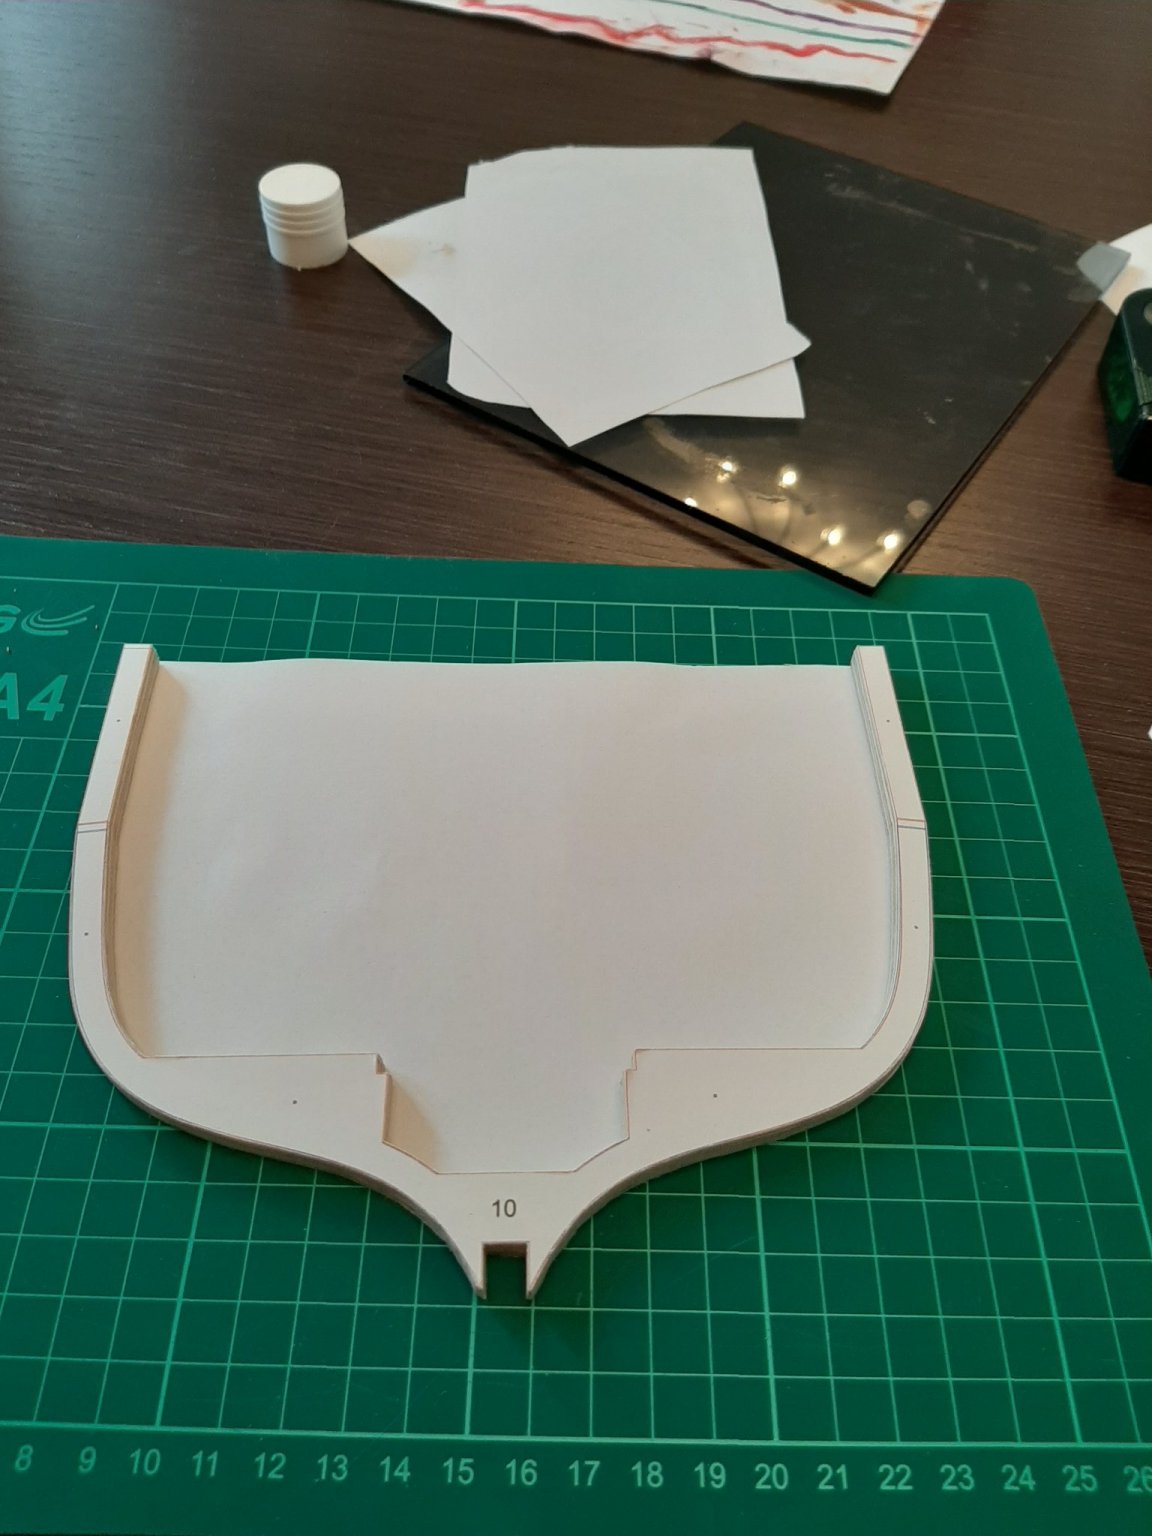
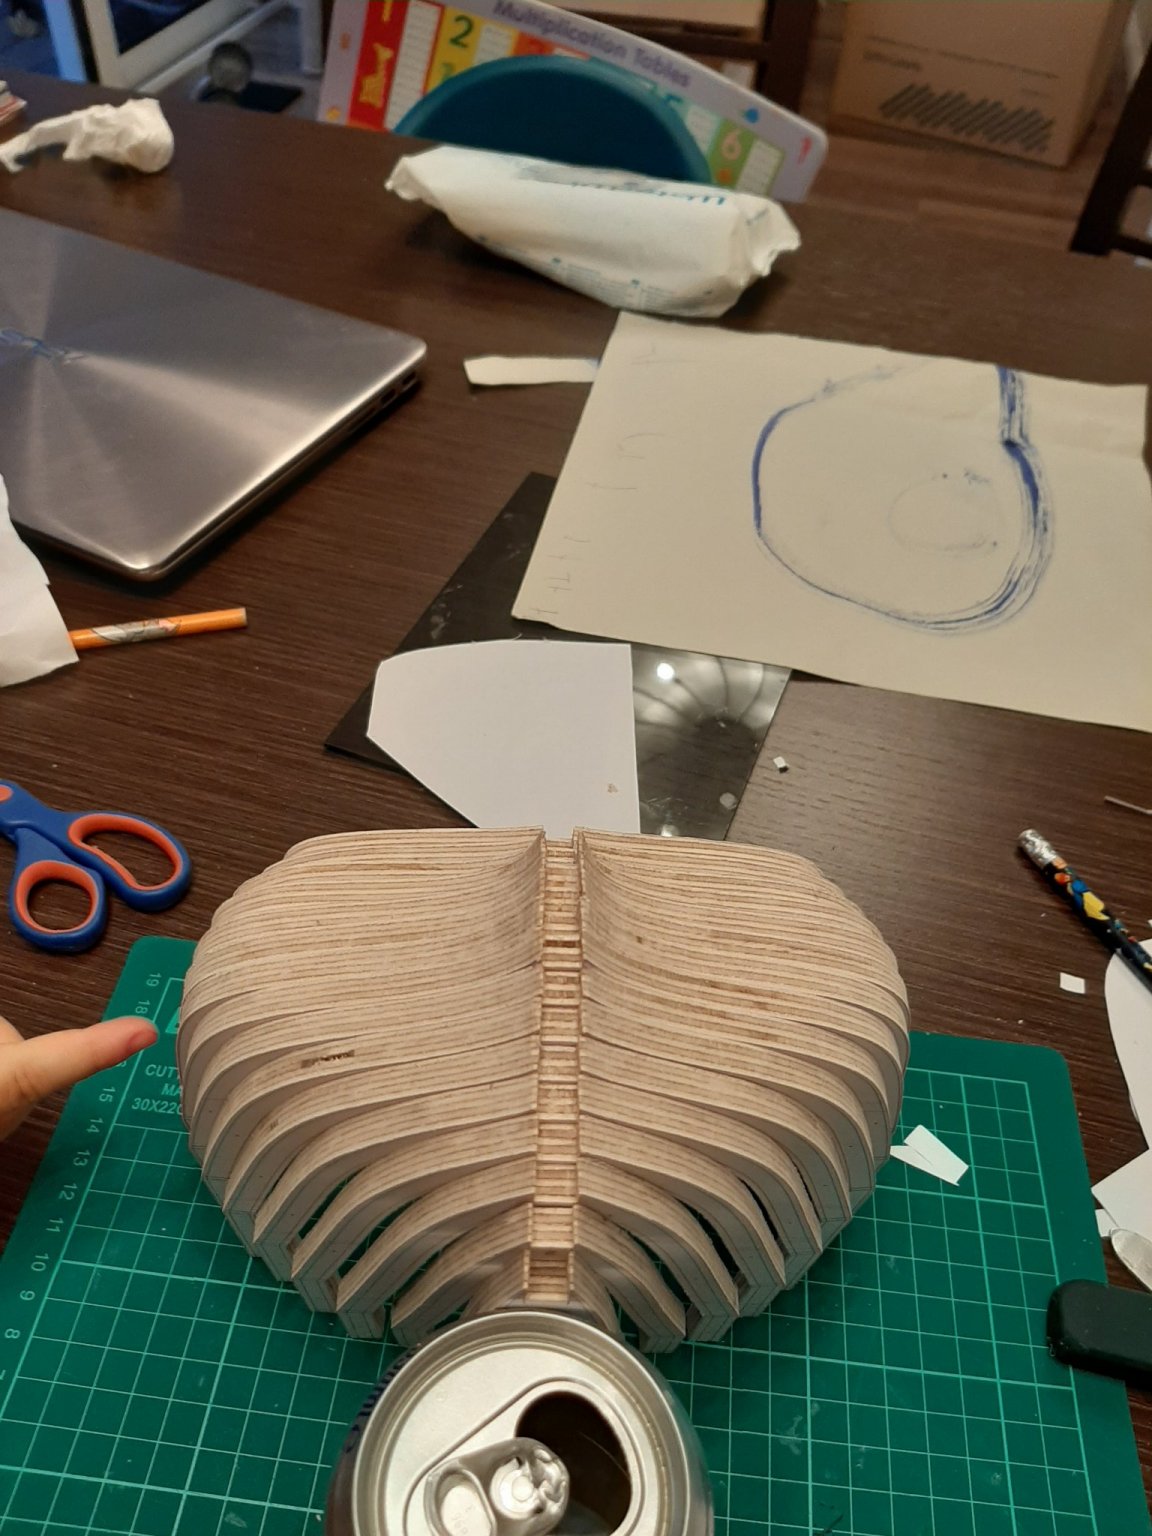
The model is finished, but not yet the glass-casing for it.
I ordered the glass panes at my local glassers yesterday, and am meantime working on the baseplate and the frame parts (double slot) wooden liners ......
I have used this method to date on all my casings
Nils
the baseplate with edge-profiles and bottom liners
the look from beneath

the bottom liner profiles with reinforcement angles and brass sleeves to fit the 6 adjusting brass pins (here without stain treatment)
the model will stand on its own standplate in the casing. This allows to remove it at any time, whereby the upper bonnet can be lifted off the
6 pins

The case corners, hopefully precise cut panes of 4mm thick glass will fit exactly into the slots The wooden slots have slightly surplus of appr 1 mm in length in order to compensate possible wood shrinkage
-
Thank you both Richard and Kees,
Richard,
yes, I would add some weathering like rust etc, but unfortunately I have no expereience with that
Kees,
I`m 76 years, and the hobby with it`s modeling tasks still keeps me going quite well.....
Nils
- Canute, mtaylor, kees de mol and 2 others
-
5
-
Very nice job B.E.
I like those cutaways in the decks allowing the sight to the inside
Nils
- mtaylor and Blue Ensign
-
1
-
1
-
Lovely build Steve,
it looks great
Nils
- mtaylor, Keith Black and Canute
-
3
-
On 11/19/2020 at 11:40 PM, vaddoc said:
I think another update is in order.
Box, many thanks but actually the frames on the photo were roughly cut , they were later finished to the exact pattern.
Keith, it was actually very easy to glue the mirror pattern on the back. I am pretty sure there are already significant tolerances in the build, a bit more to the left or to the right will make no difference I think!
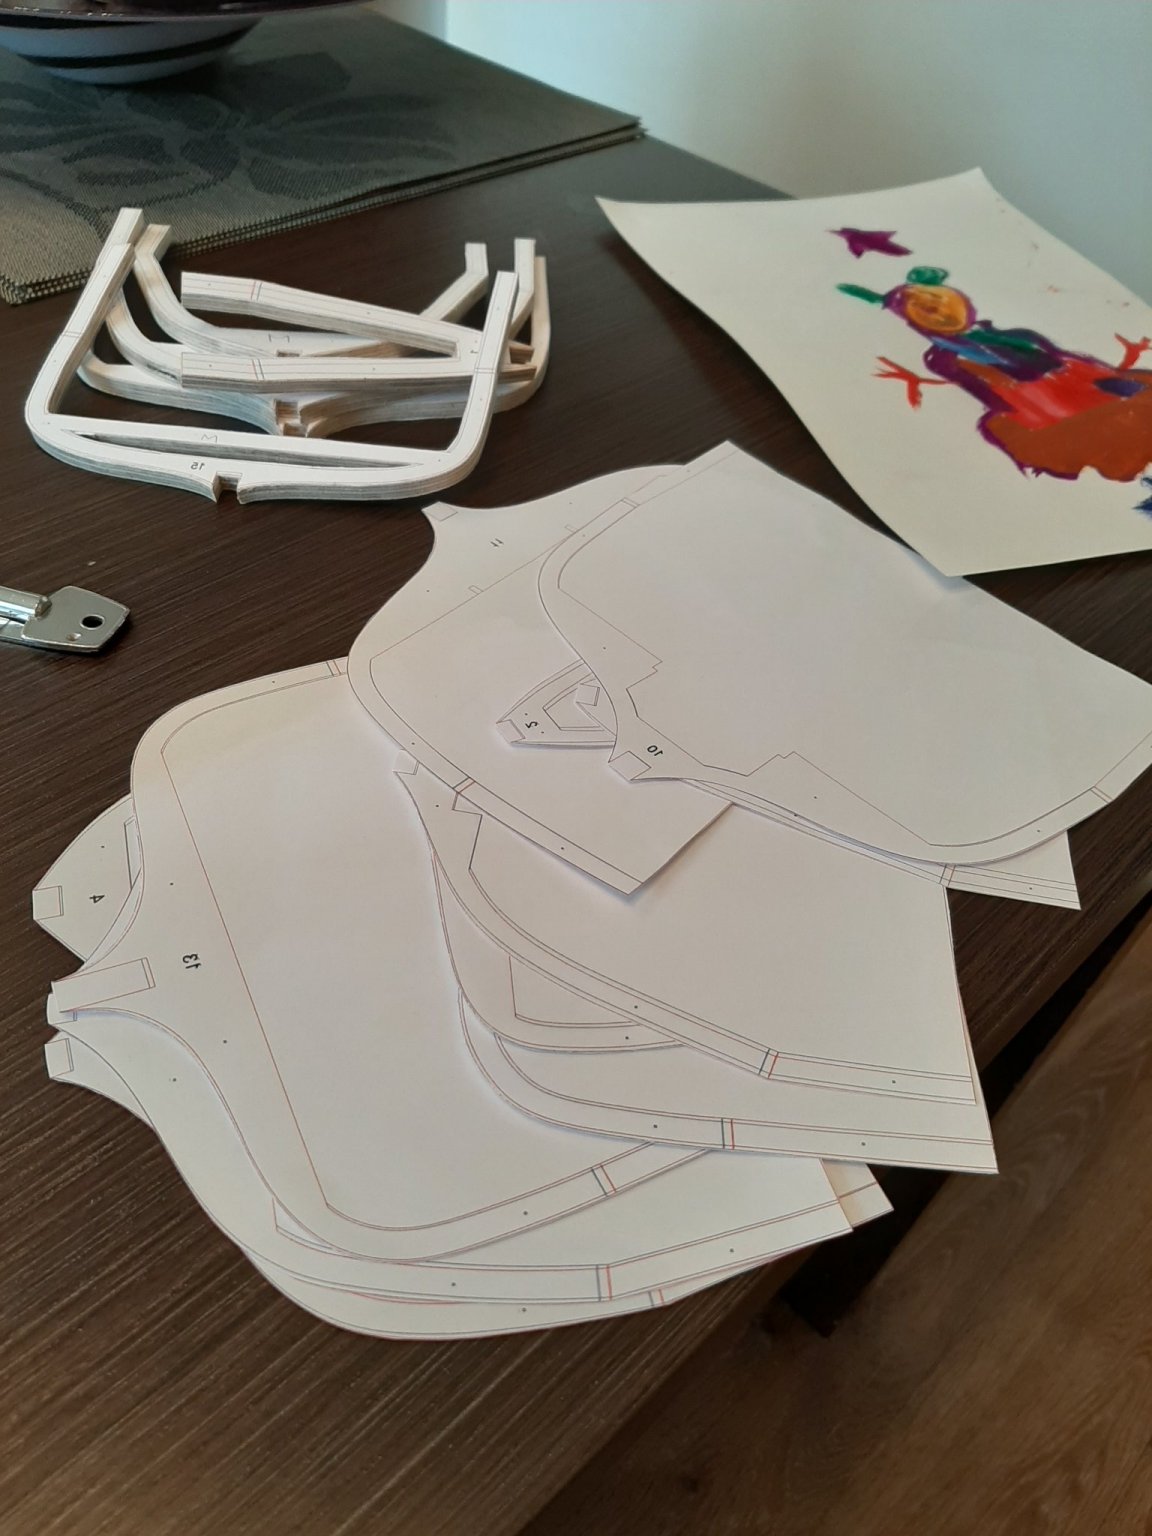
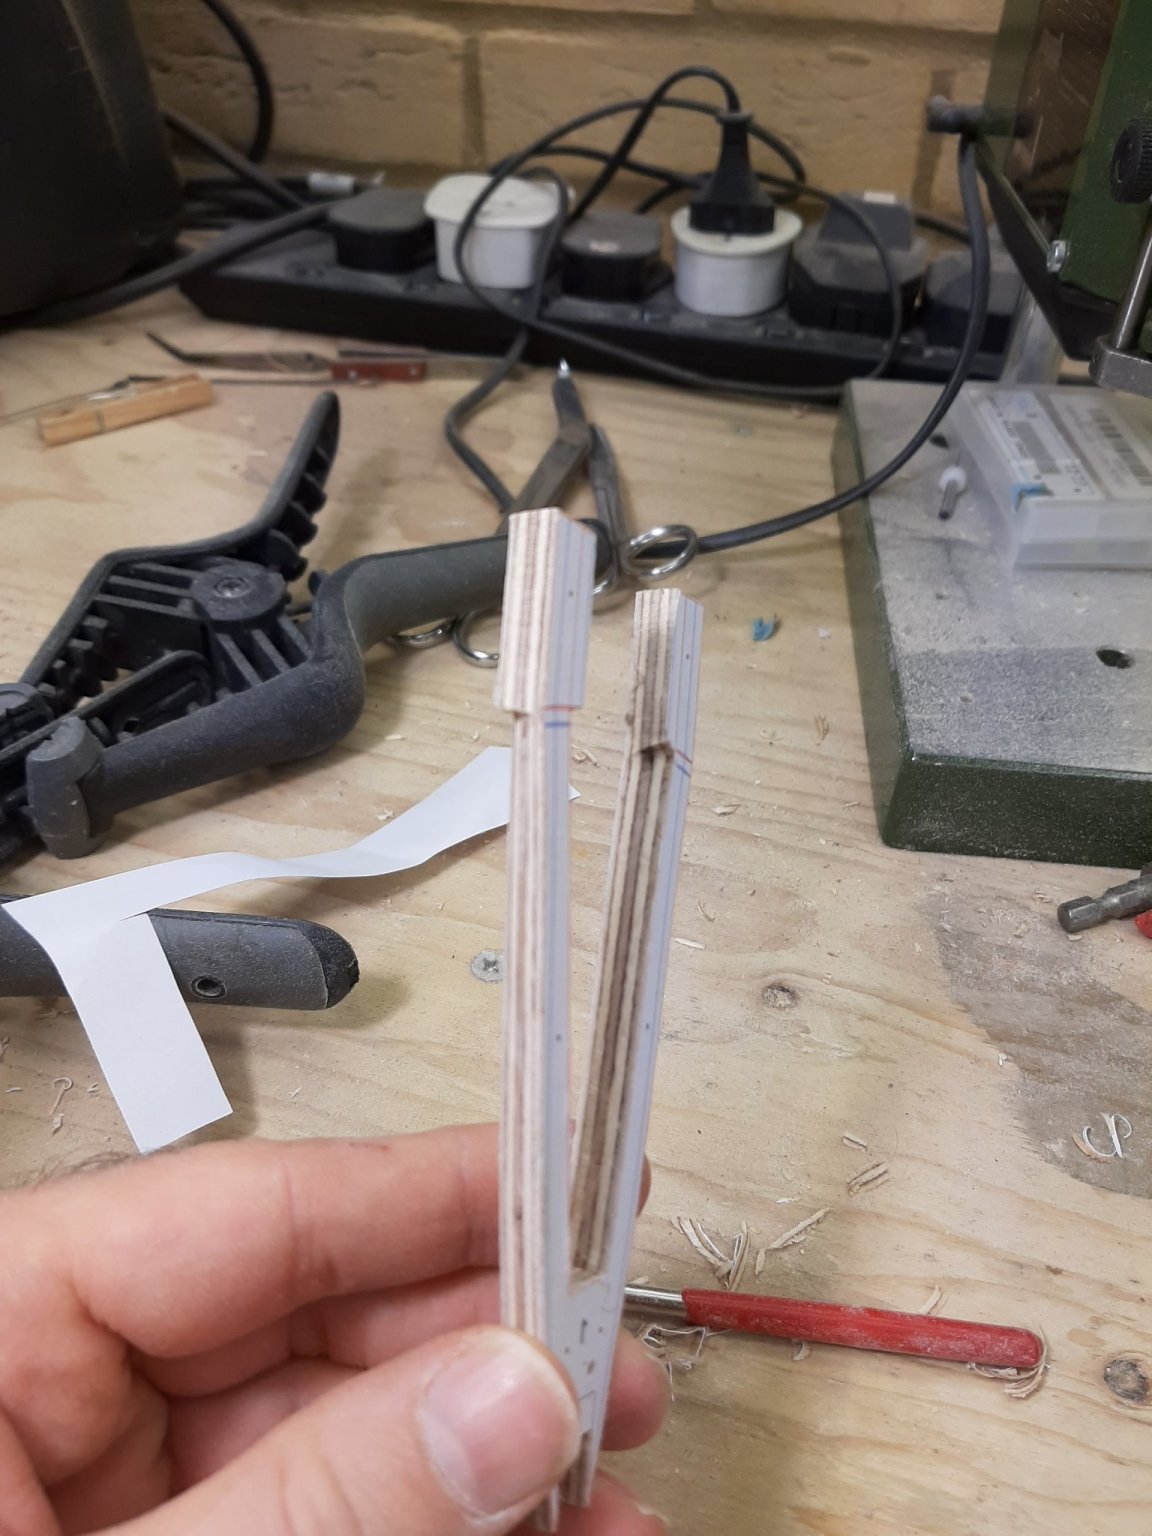
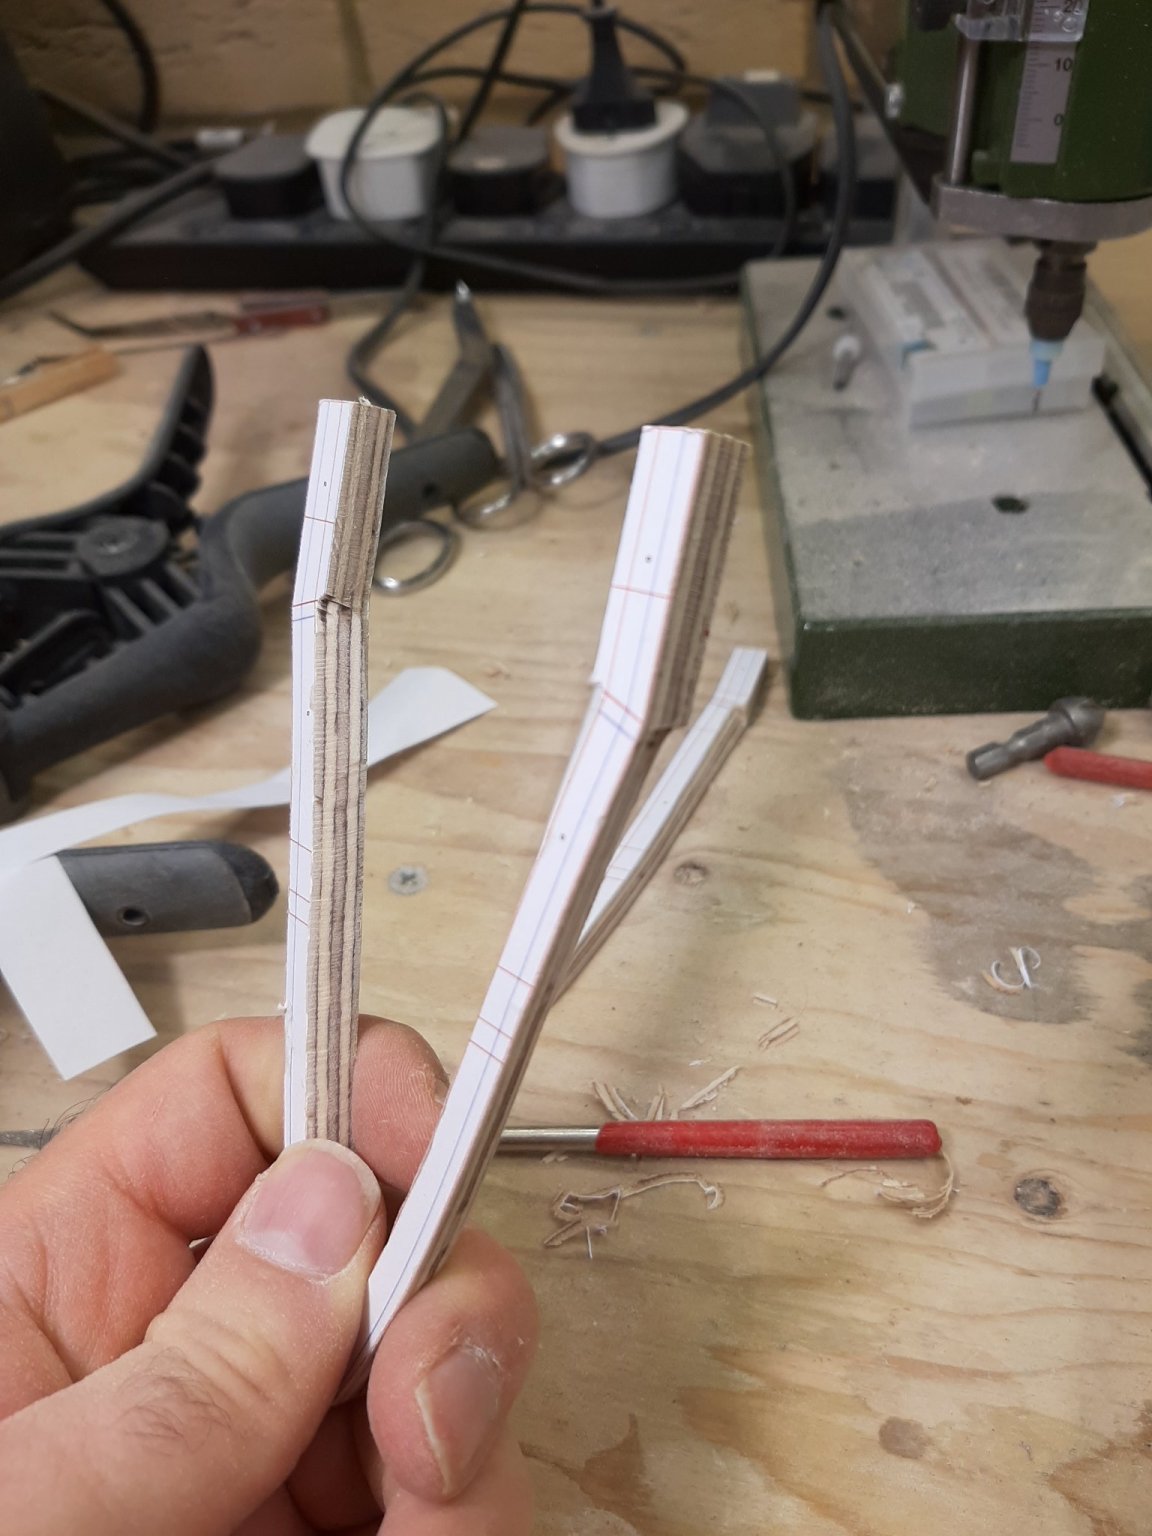
I just managed to scrape a few moments here and there to work on the boat. I first finished all the frames to the exact pattern using the disc sander and mostly diamond files, which remove a lot of wood quickly. This took a while as the plywood at 6 mm is pretty thick.
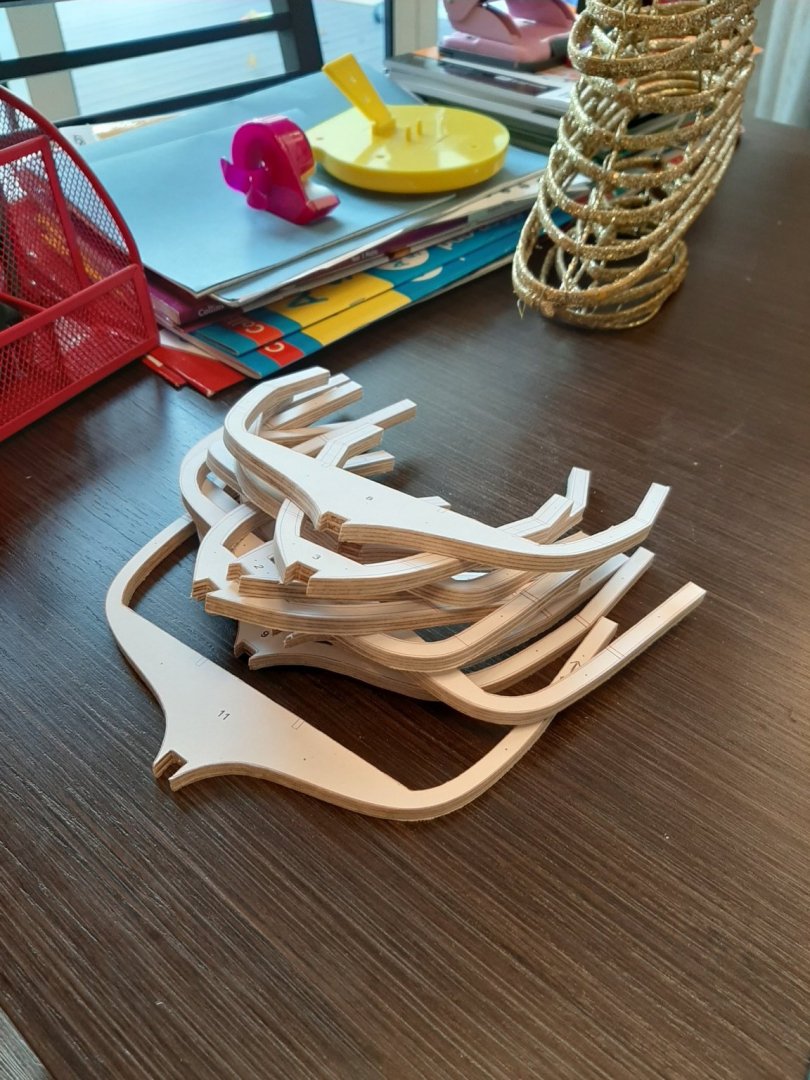
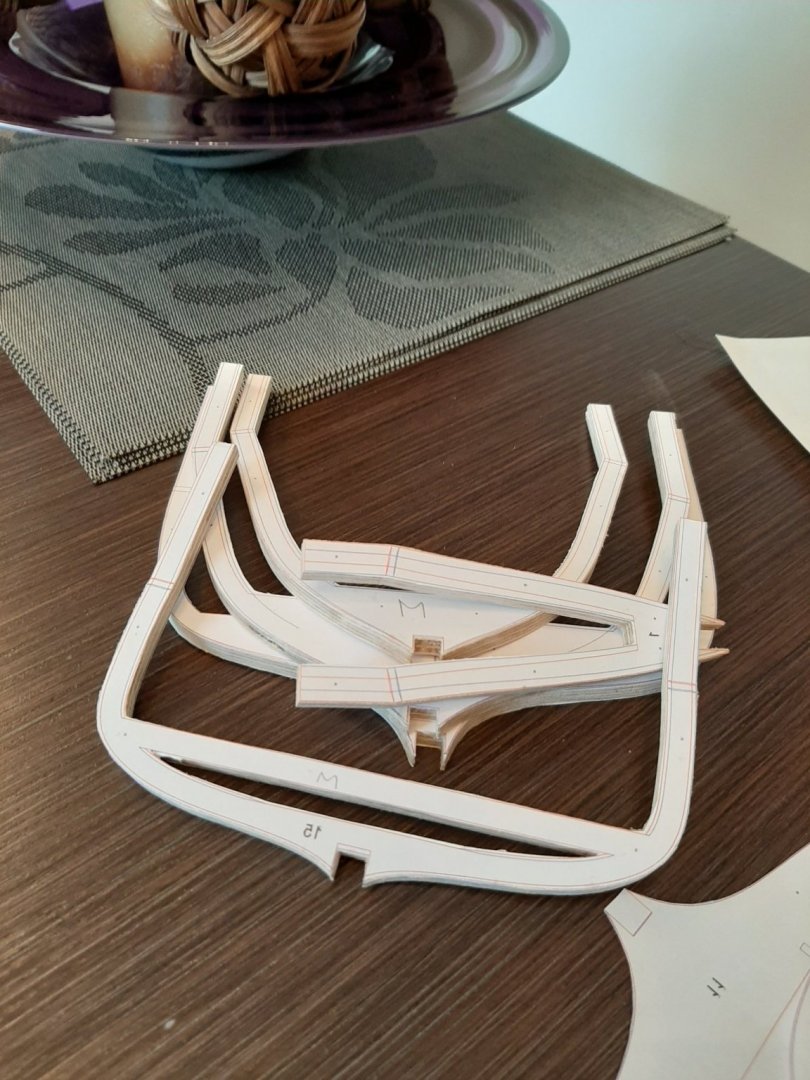


Then, I printed mirror patterns for all frames and with scissors cut the outline. Then I simply glued the frames to the back of the pattern. It actually worked pretty well.
I could not resist aligning the frames, nice curves I must say... The straight parts that ruin the poetry will later be cut off, they are there just to help to set up the frames.
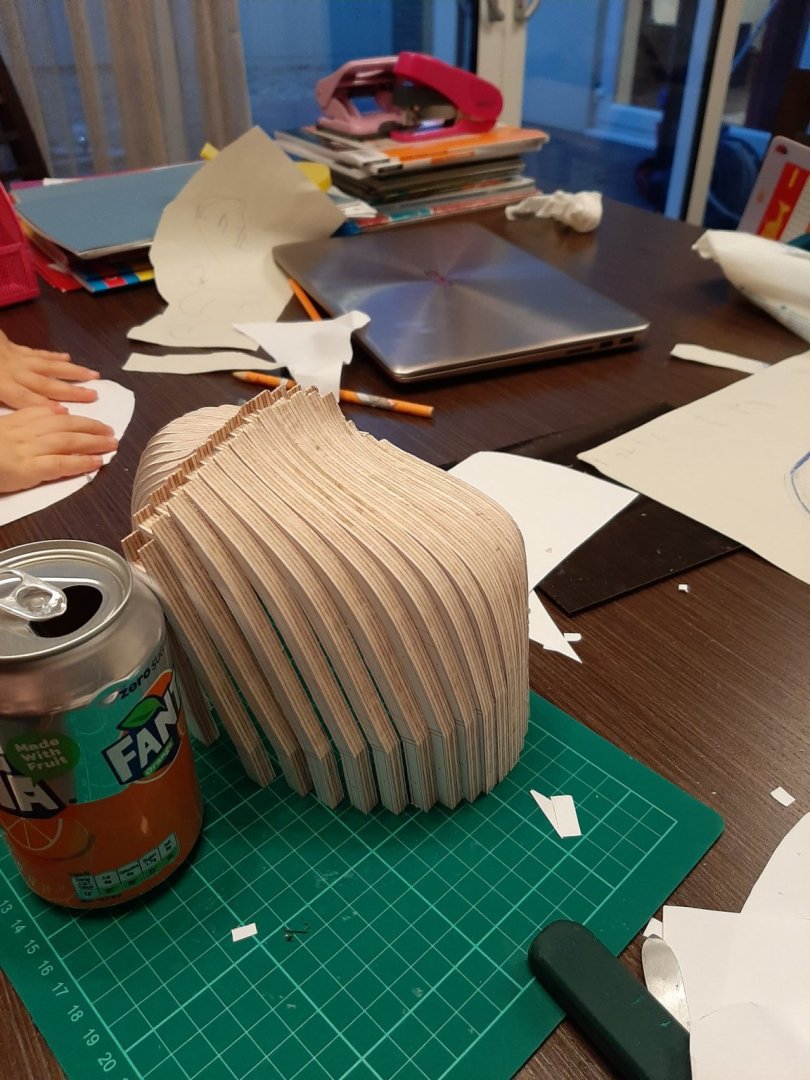

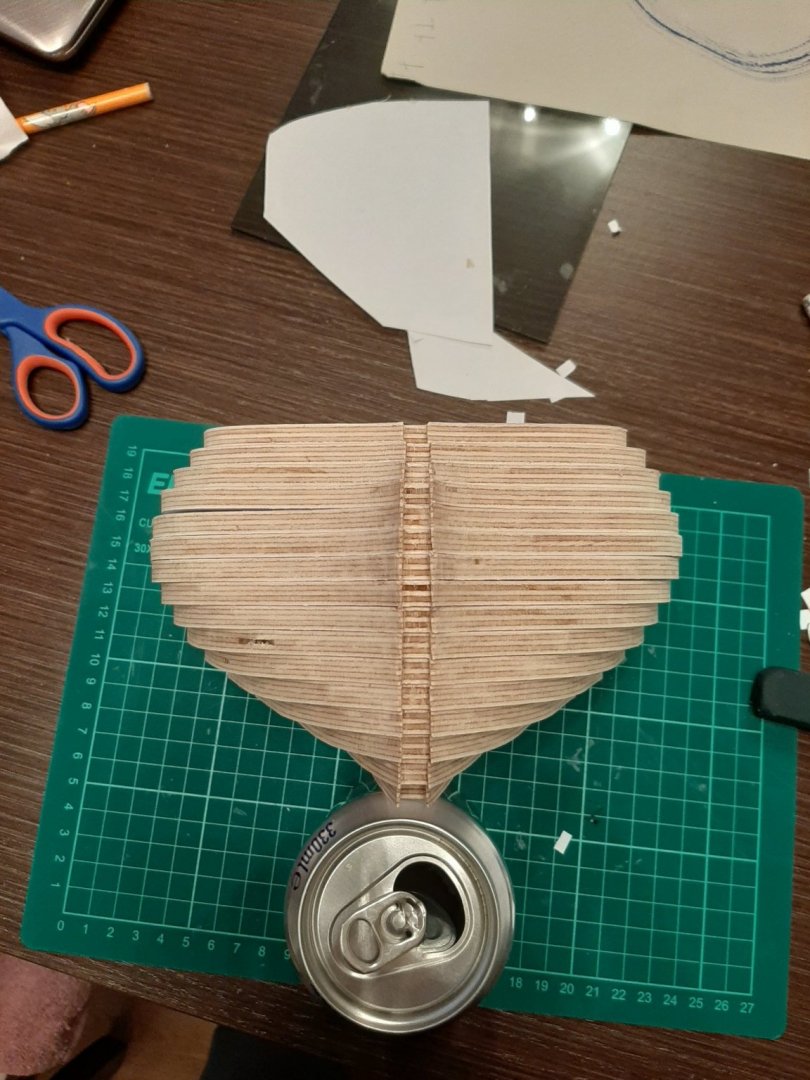
However, this was the easier part. I now need to cut the bevels, both for the outer and the inner planking. This is pretty challenging.
The diamond files are not useful here. The disc sander is far too aggressive and far too large. What actually made the task easier was to attach round sand paper to the Dremel. I like this trick, it sands not too aggressively but also is flexible and can fit in tight spaces.


A mountain of work left, I ve only sanded the bevels for two frames.
I also printed the patterns for the keel and stem. I think I will cut the deadwood en block instead of building it up.
I am not 100% certain how the boat will be assembled, probably the right side up as the frames will be permanent so need to somehow be well attached to the keel. We ll see.
Regards
Vaddoc
Very nice project Vaddoc,
Nils
-
-
Good work Jond,
she looks very nice
Nils
-
Many thanks Phil,
Nils
- GrandpaPhil, mikegr and Canute
-
3
-
Hi Yves,
many thanks for your kind words, much appreciated,
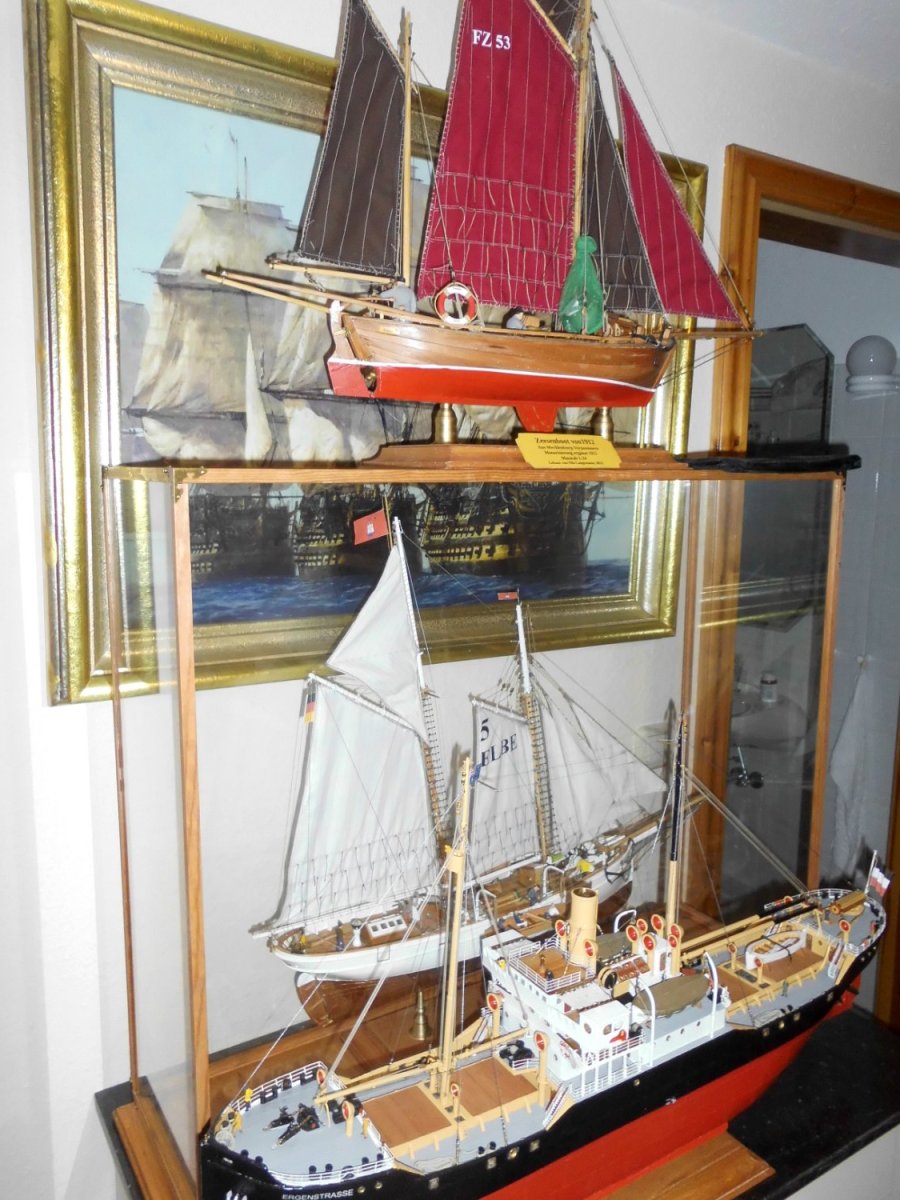
I`ll have pull the handbrake on modeling in the moment, due to lack of space for displaying. I have`nt made any decisions for future builds yet, allthough there are many project ideas spooking around in my mind. I have to build the two glass cases next for my "Zeesboot", my wifes favorate one, and for the just finished "Ergenstrasse".
The glass case of the "5 Elbe" pilotschooner fits as well for the "Zeesboot" perfectly, as this was intended, but that ca`nt be swapped every now and then, and the problem in cleaning a dusted ship, ca`nt be ignored eighther.
Nils

"Zeesboot" on top, underneath "5 Elbe" pilotschooner and "Ergenstrasse" in front
- FriedClams, yvesvidal, mikegr and 7 others
-
10
-
-
thank you very much Valeriy,
for your kind words, am pleased you like the work.
As far as Elsa ( aka Lana Turner) as the only passenger is concerned, according to Andrew Geer`s Sea Chase novelle, the crew perceived her and her more or less "nightclub" clothing as a foreign (but sexy) untouchable body on board from the start onwards.
I was looking to use for a 1:87 figure for example of the blond Marylin Monroe instead, but unfortunately did`nt find any in that scale.
Nils
- Canute, Keith Black, FriedClams and 2 others
-
5
-
2 minutes ago, Blue Ensign said:
Wonderful build Nils, I love your choice of subjects and artistry in creating them.
You have a most interesting collection of ship models worthy of a more public display.
Regards,
B.E.
Thank you very much B.E.
your words are much appreciated. I have often thought about displaying somewhere outhouse, it would give me more freeroom in my hobby office, but there is always the question of where it would be possible in more public way, the insurances and the safe protection and transport of the glass cases.
Nils
- Canute and Keith Black
-
2
-
-
3 hours ago, FlyingFish said:
Congratulations on finishing - it looks very good, and as others have said, it tells a story. I like that. Very good photos too.
Thank you very much Andy,
as usual I make the final photos by using my wifes adjustable ironing board and a fluffy black blanket hanging from a preliminary support. I have 4 LED spots that are turned towards the model for a good lighting. Some pics with flash, some without
Nils
- FriedClams and Keith Black
-
2


Atlantica by Wintergreen – Scale 1:30 - POF - sail training ketch - a smack of English heritage
in - Build logs for subjects built 1901 - Present Day
Posted
Very nice planking job Hakan,
Nils