-
Posts
70 -
Joined
-
Last visited
Content Type
Profiles
Forums
Gallery
Events
Everything posted by Helli
-
Hi, Because of the ship model building, i am actually interested about everything. The history, the connections and the way of thinking. About why this was done. Helli
-
Hello John, Thank you very much! Helli
-
-
.thumb.jpg.4b7bd8d1724d970eaddb3802a1706a45.jpg)
HMS Victory by Helli - Caldercraft
Helli replied to Helli's topic in - Kit build logs for subjects built from 1751 - 1800
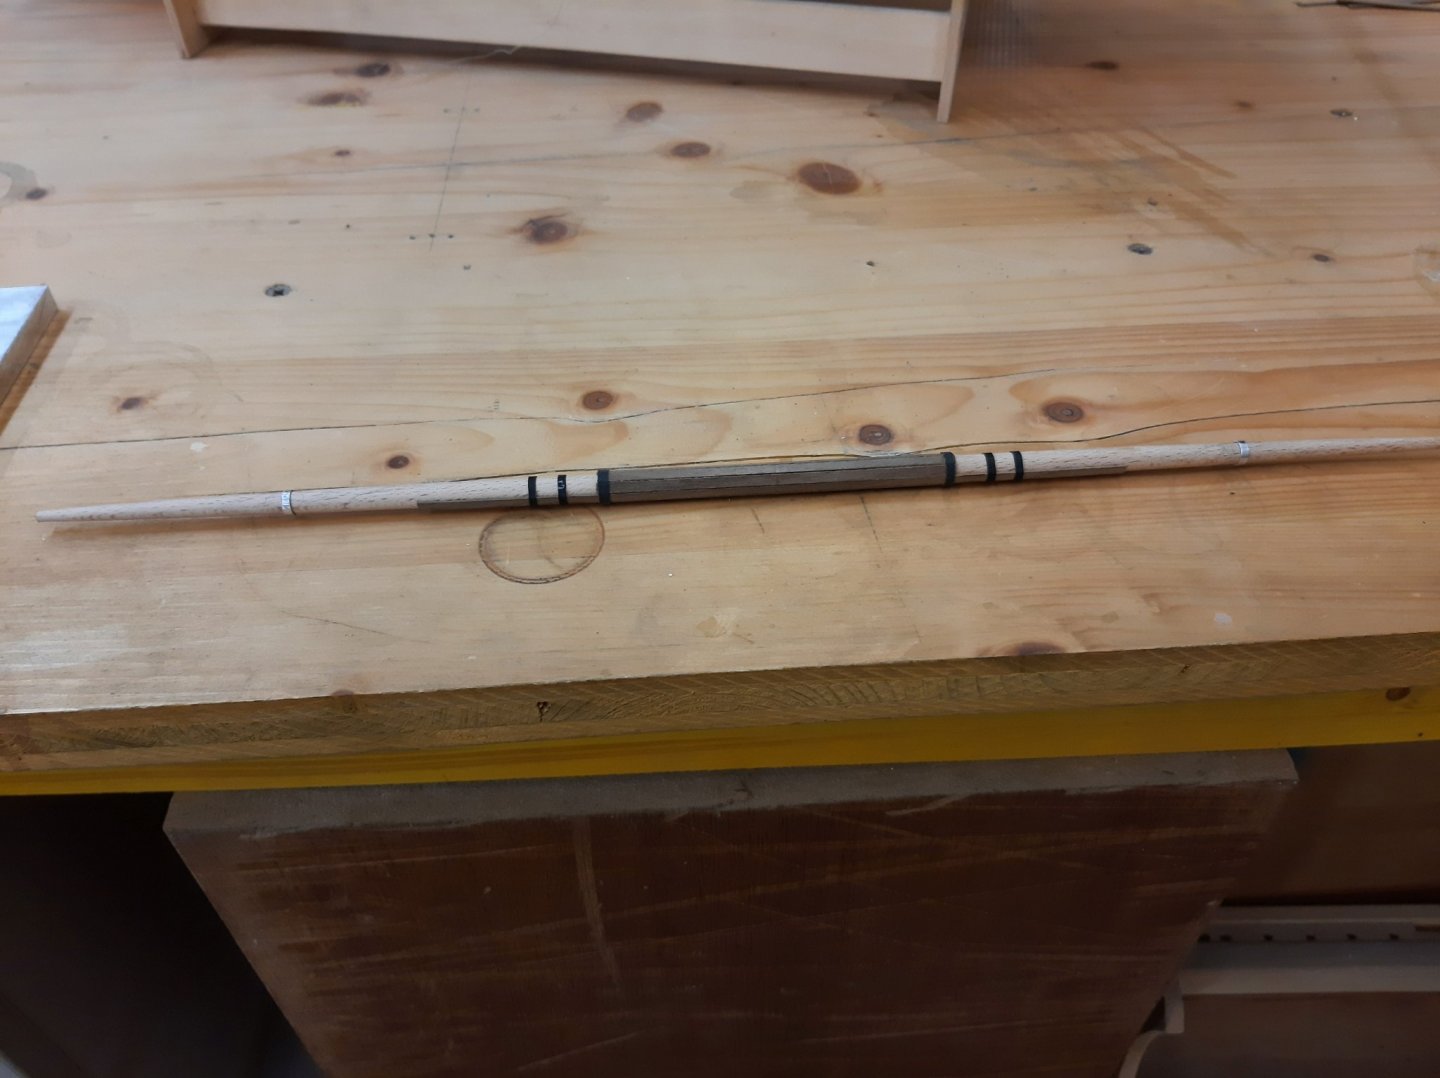
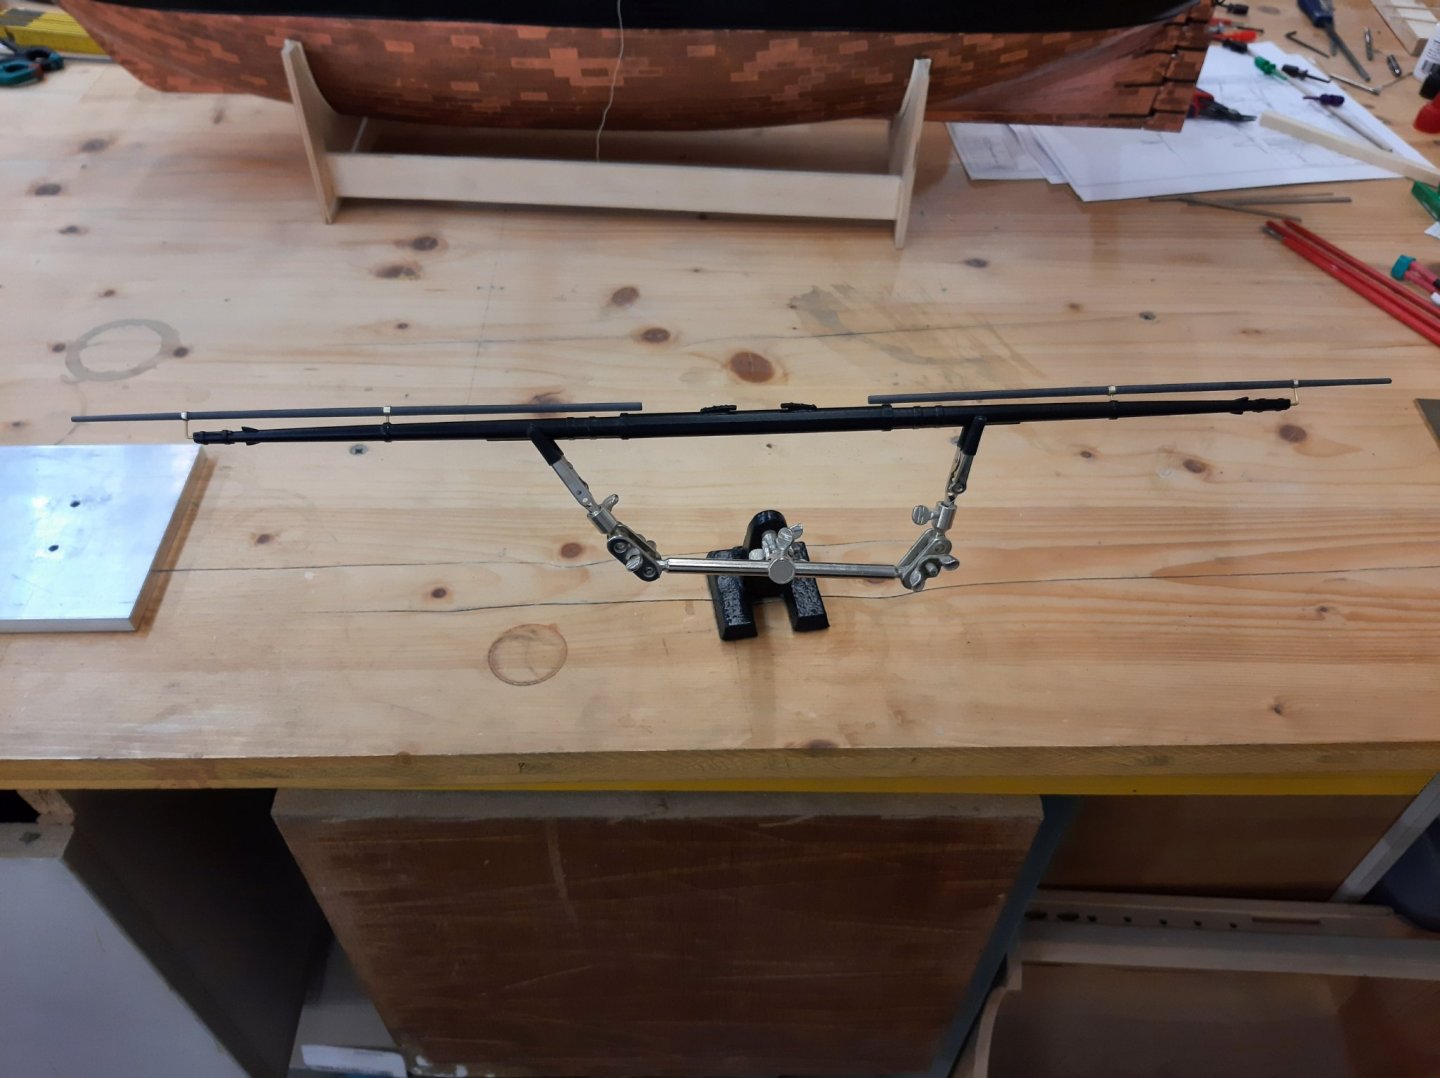
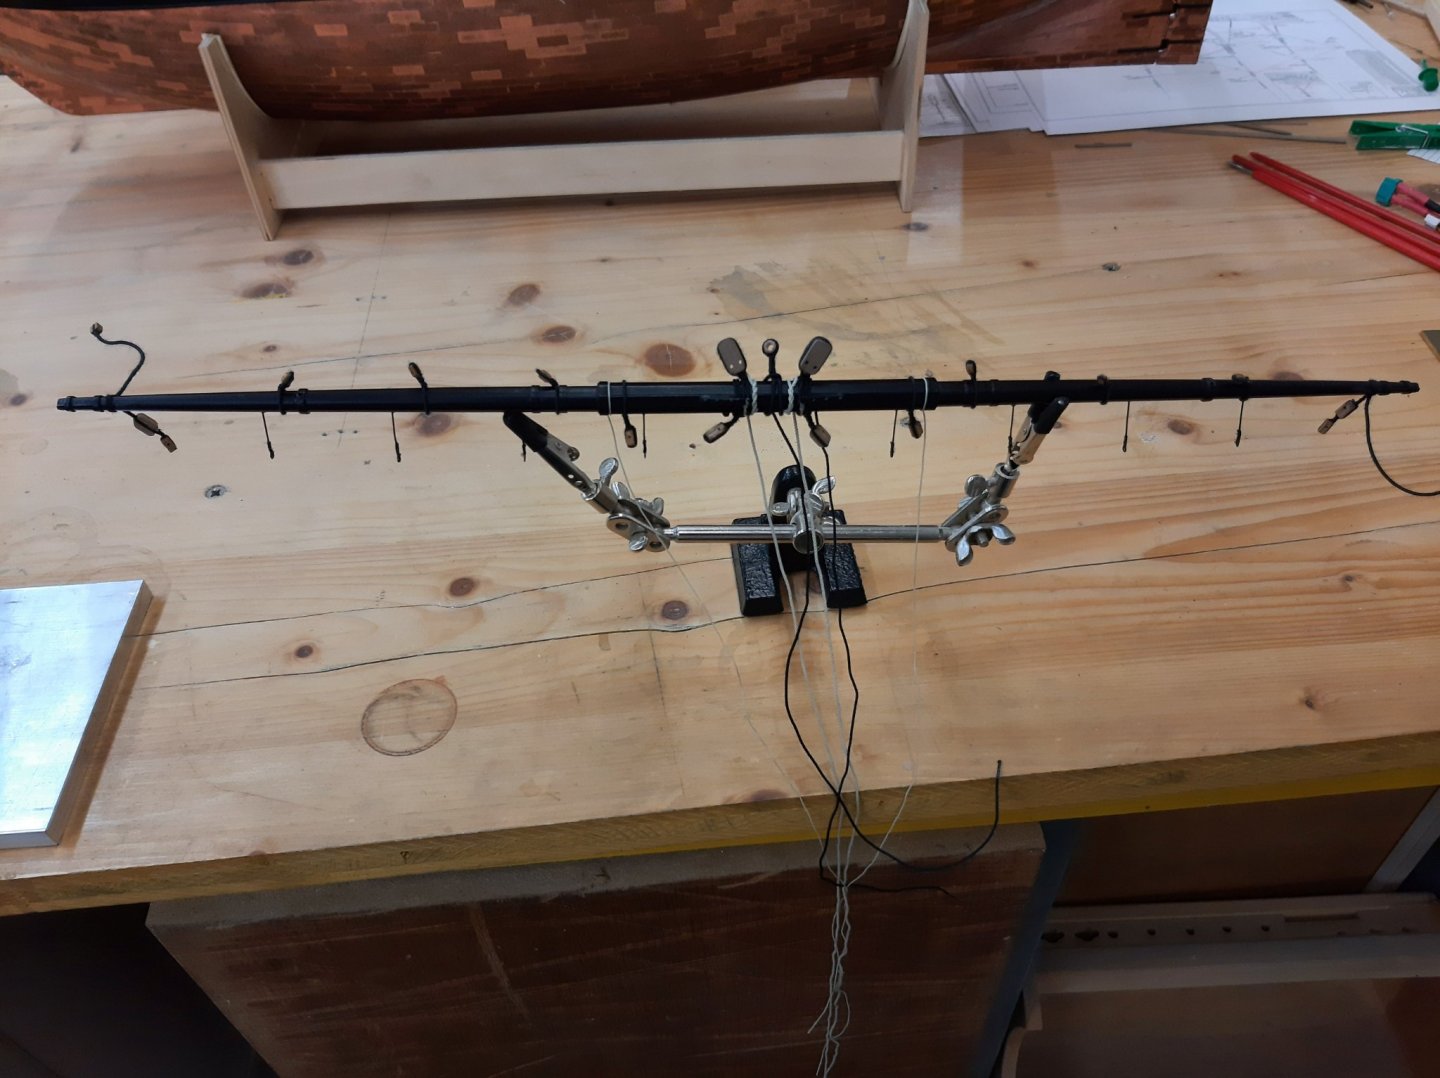
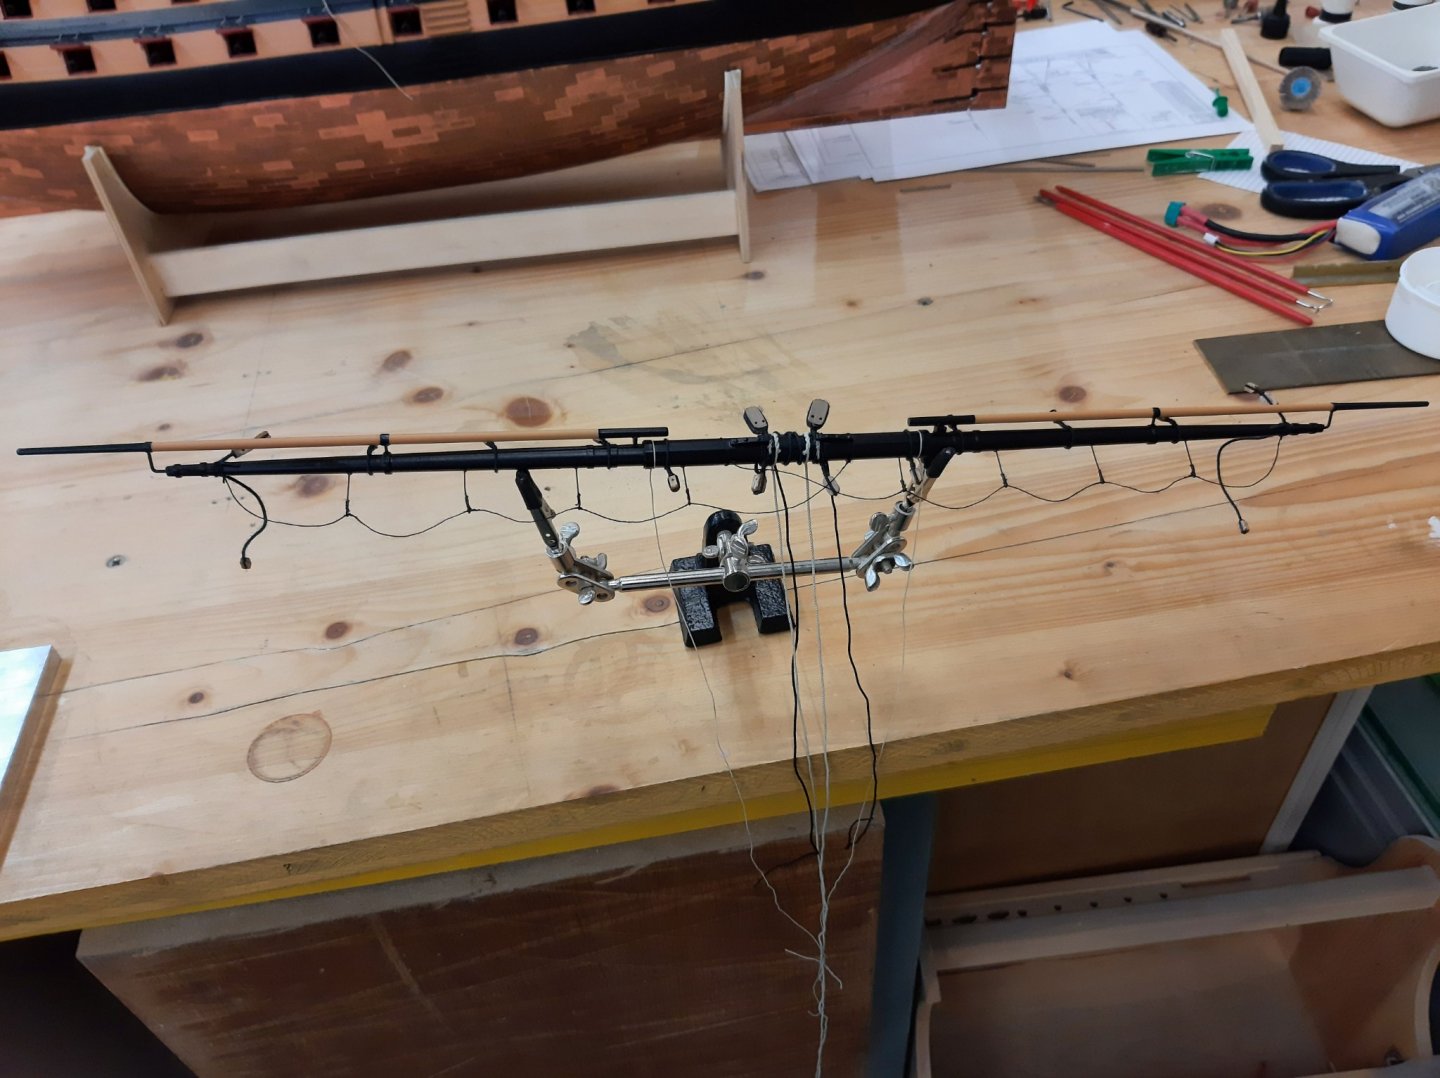
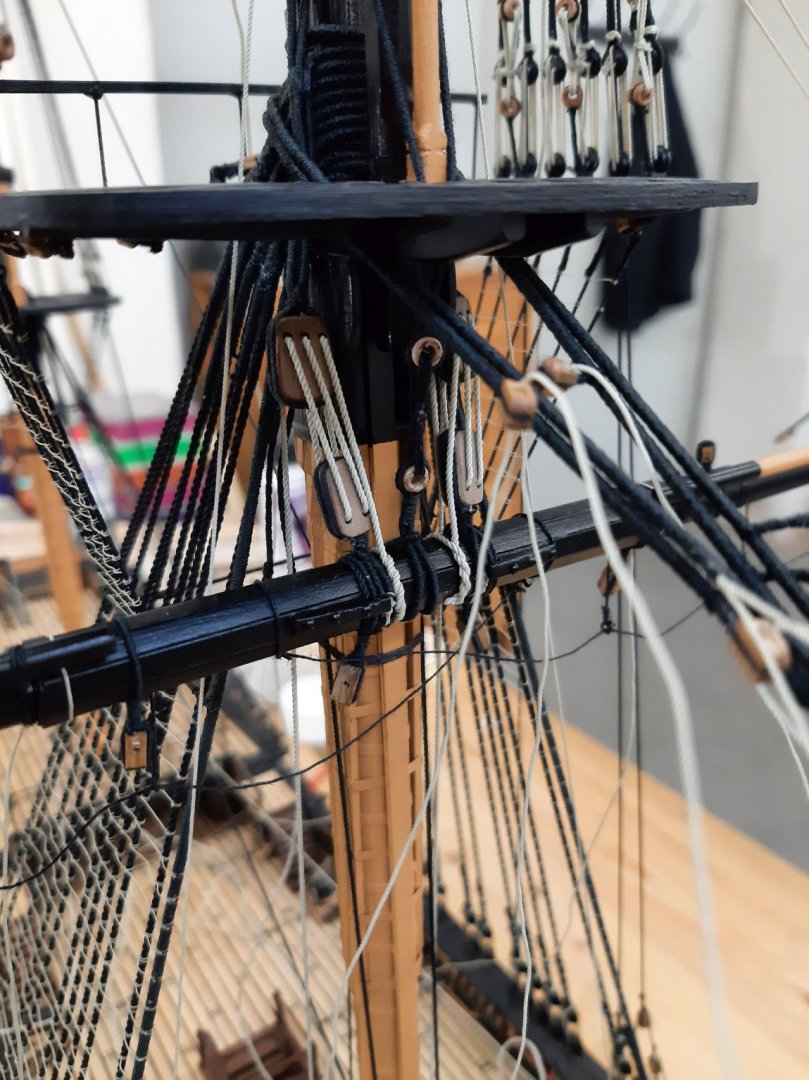
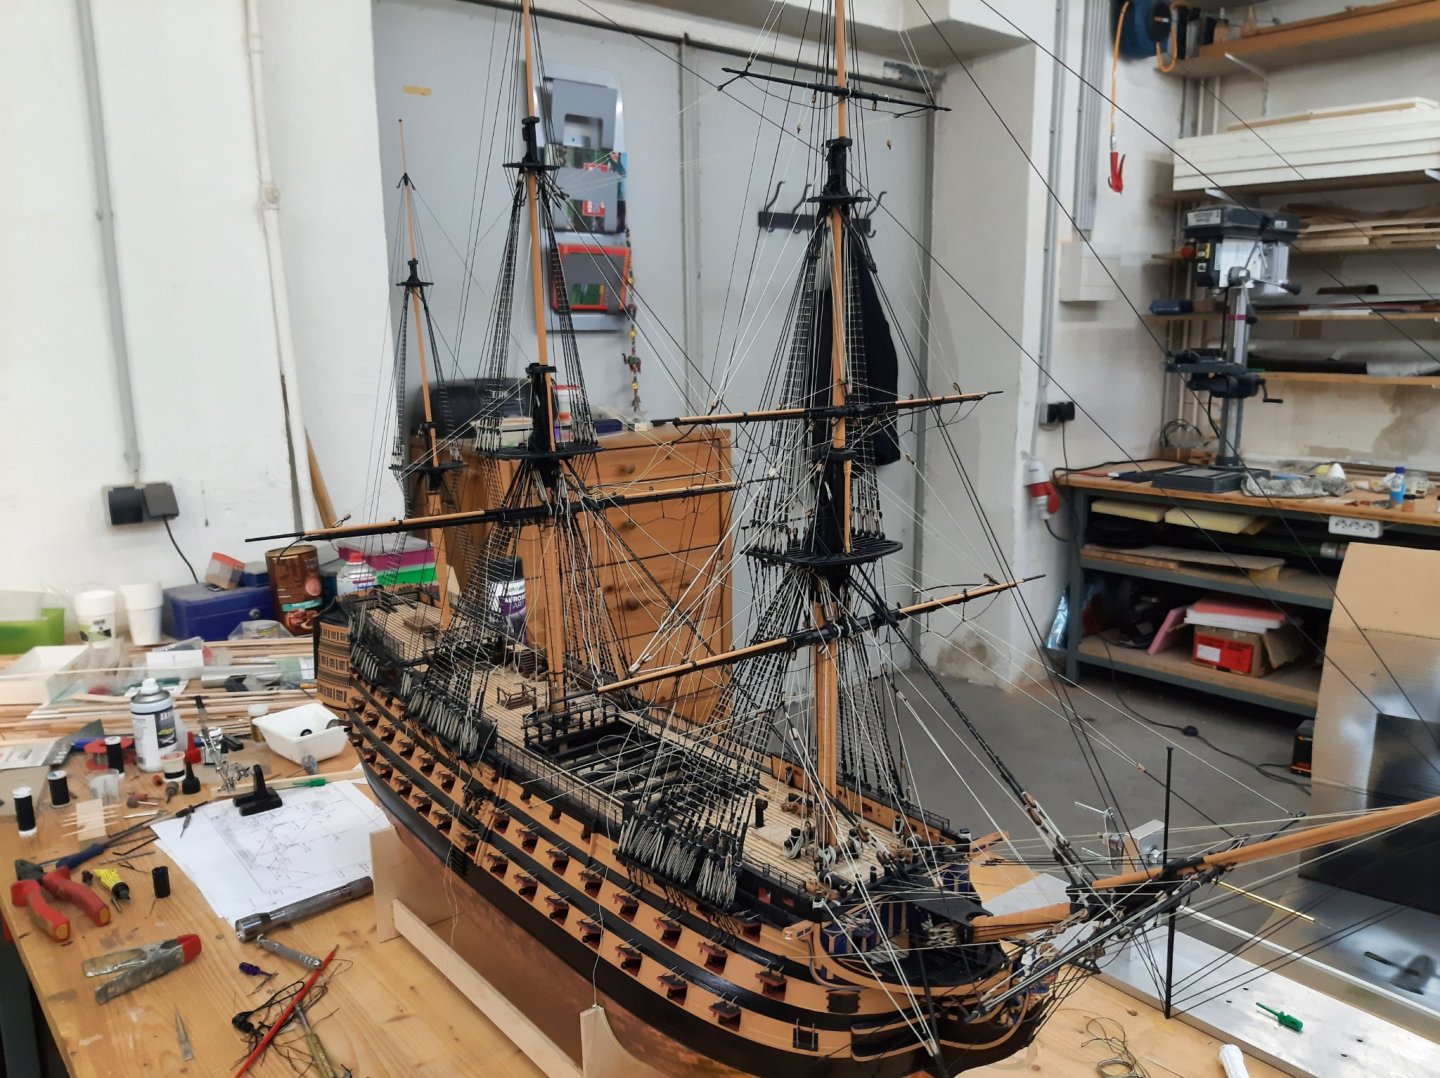
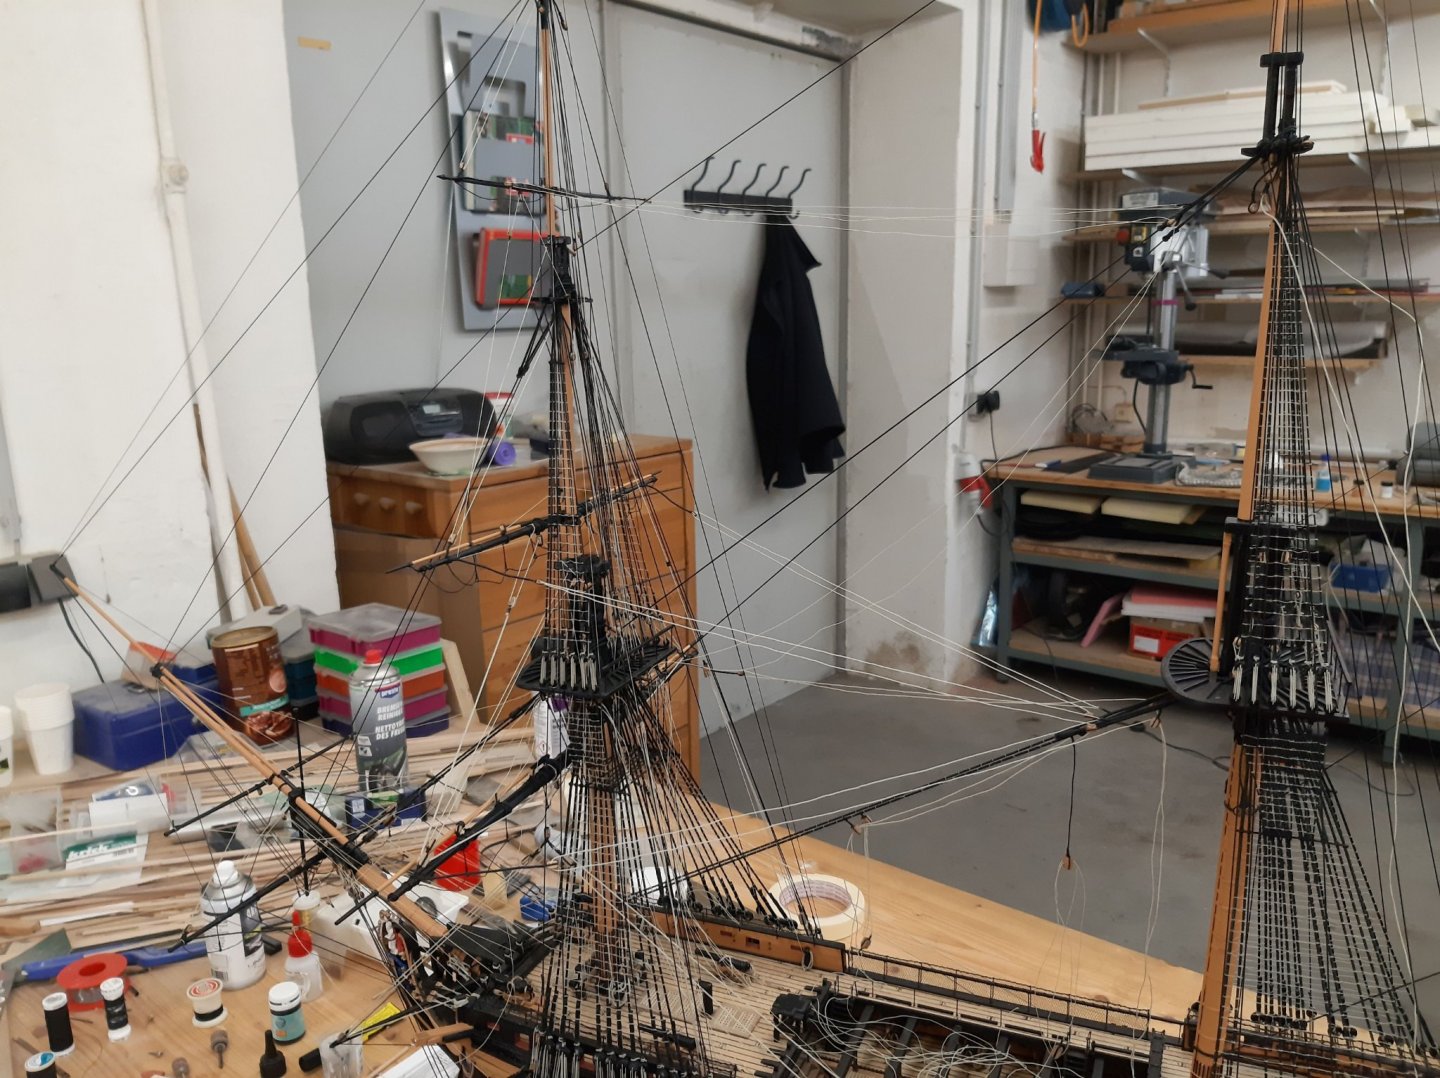
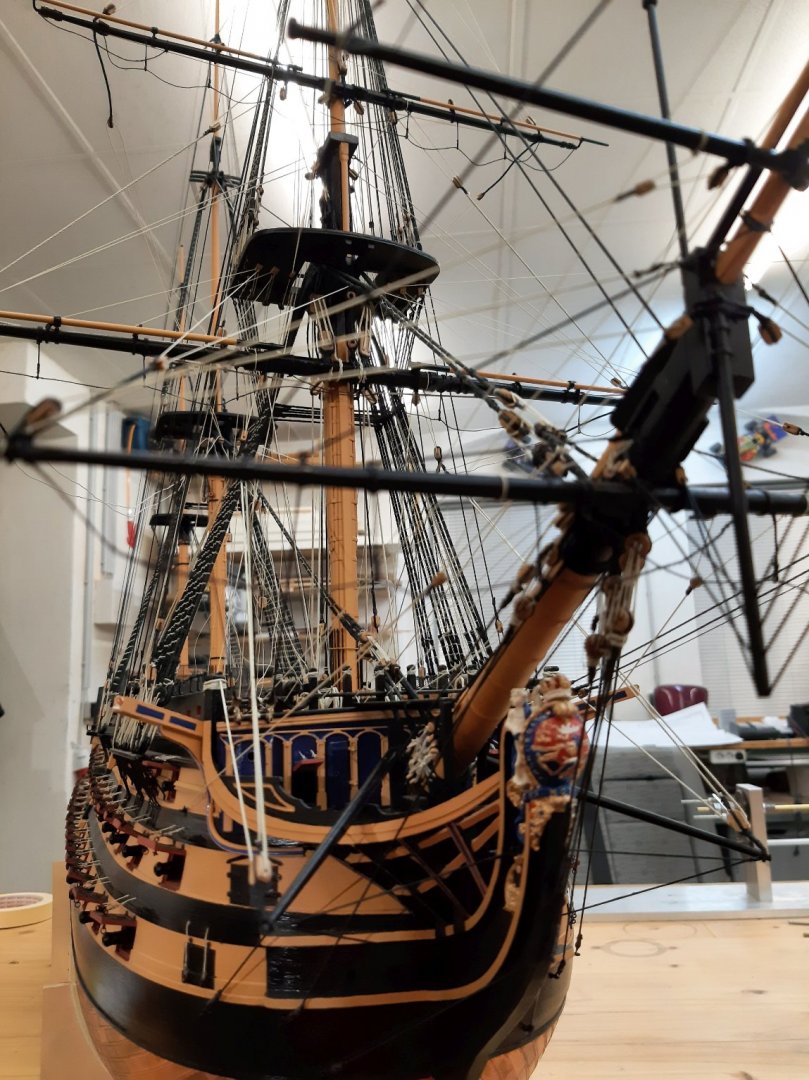
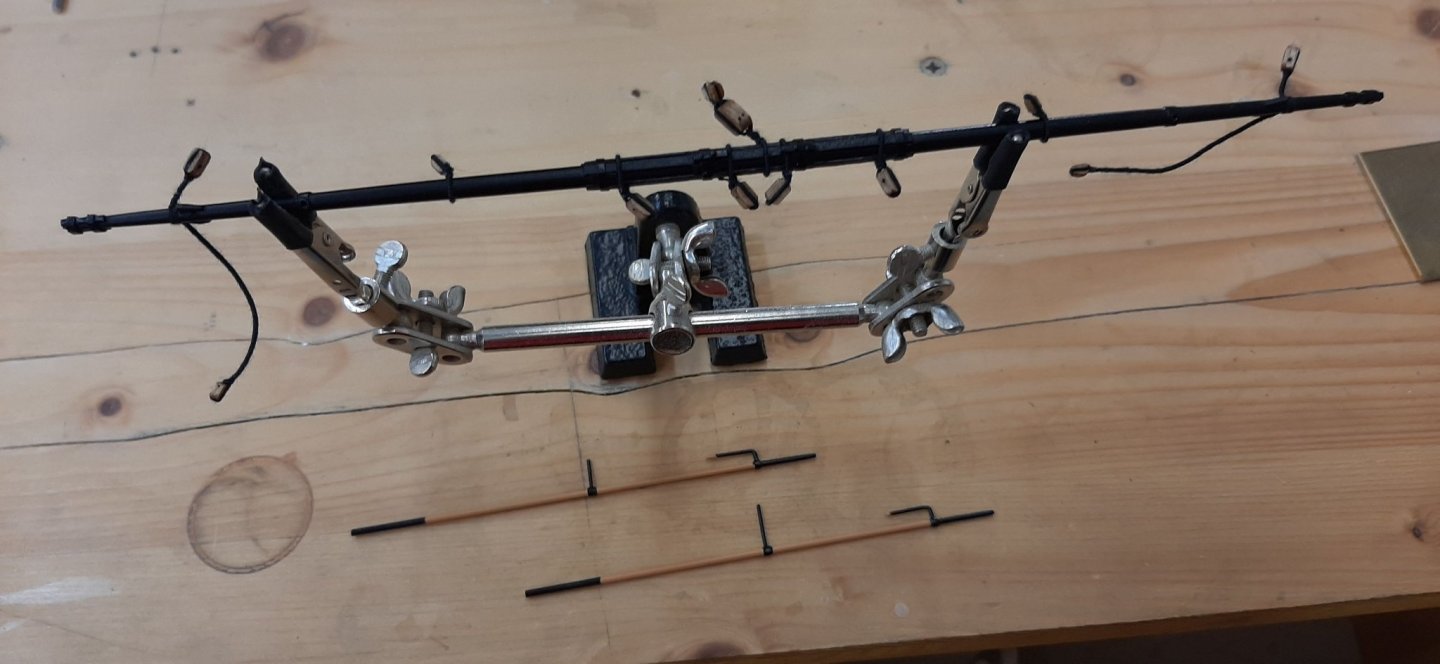
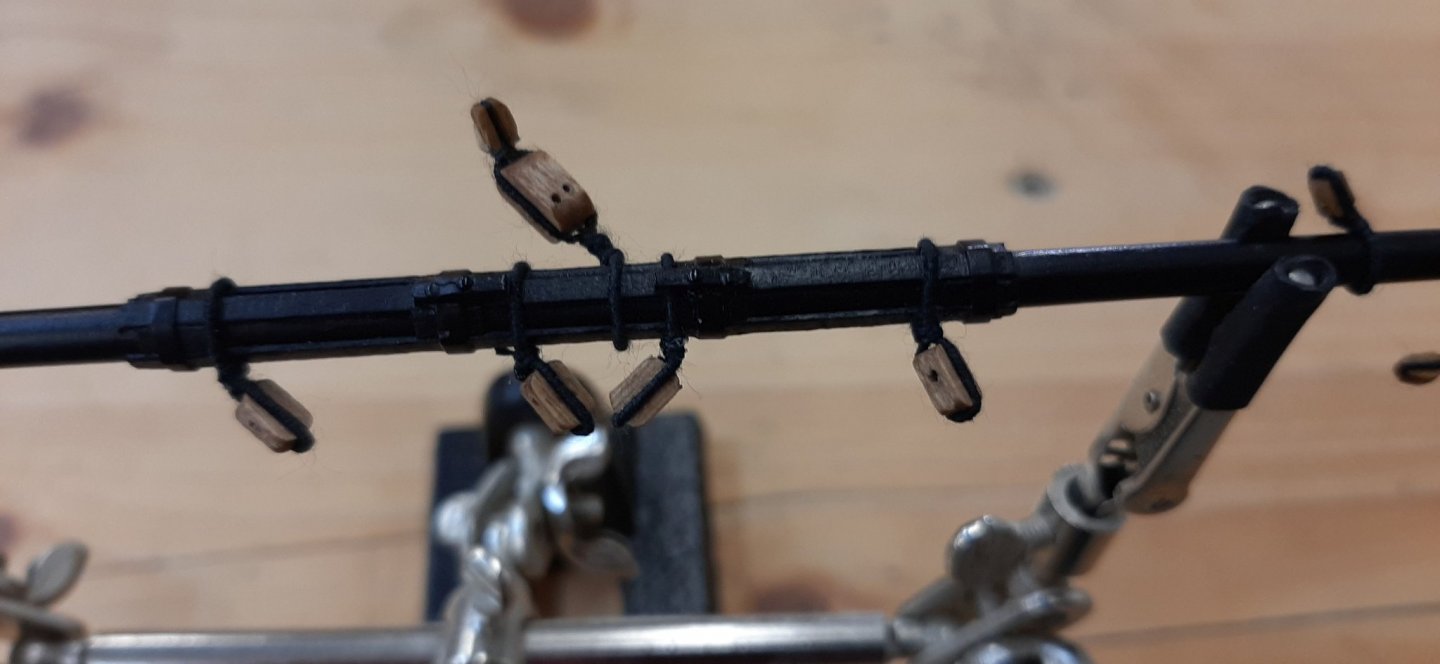
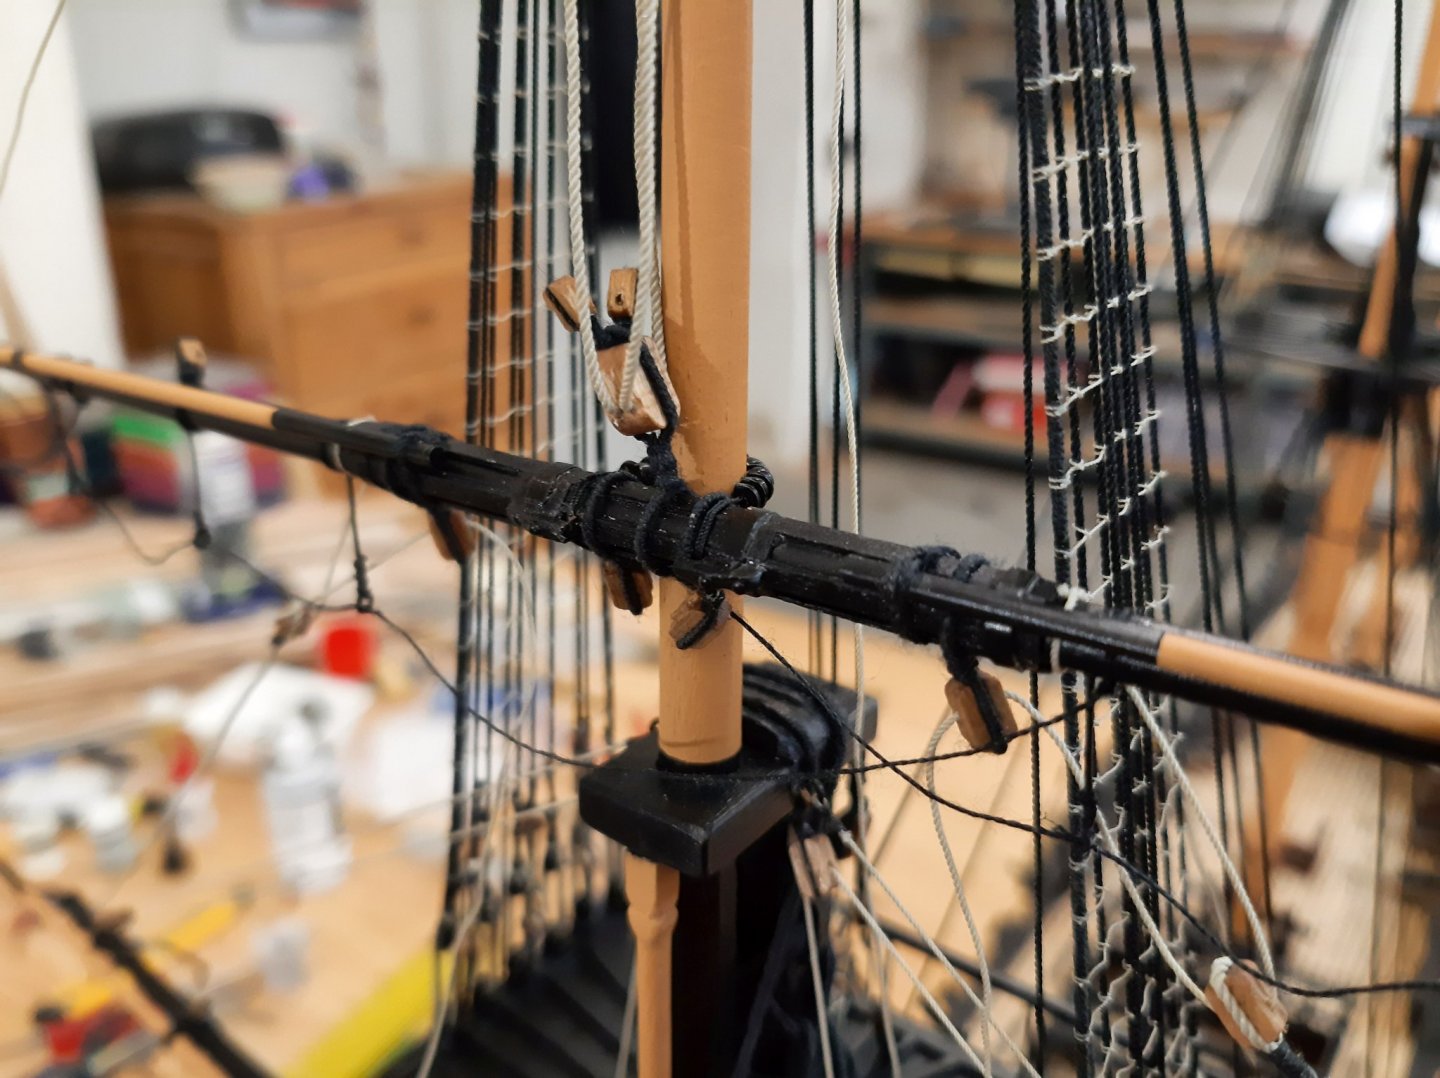
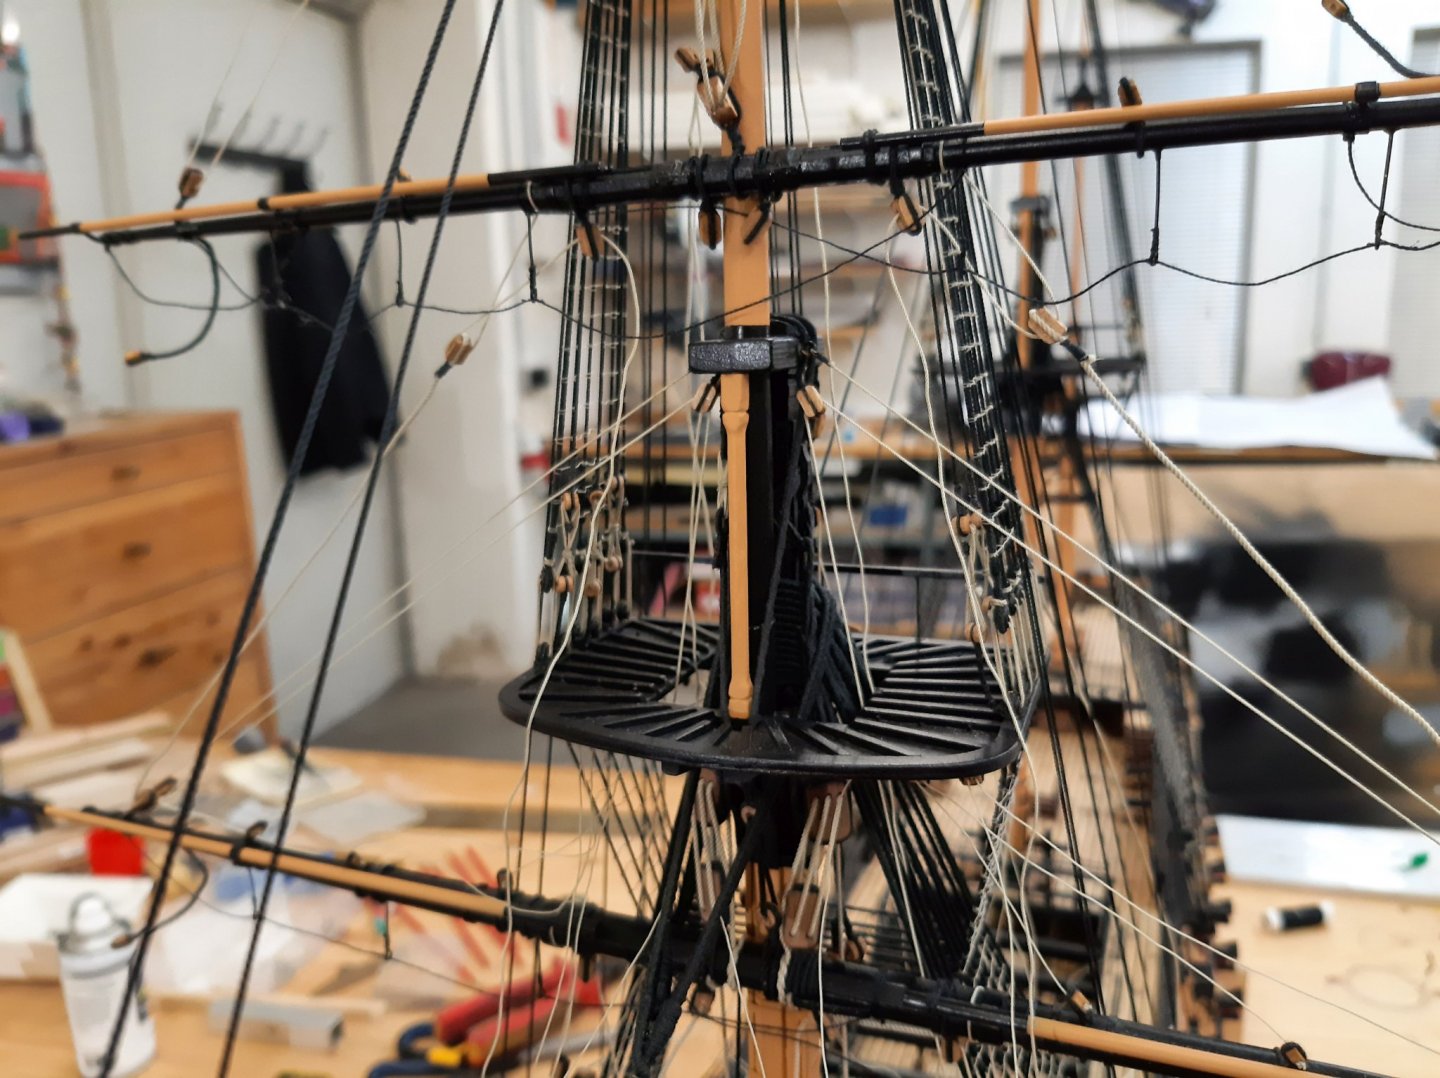
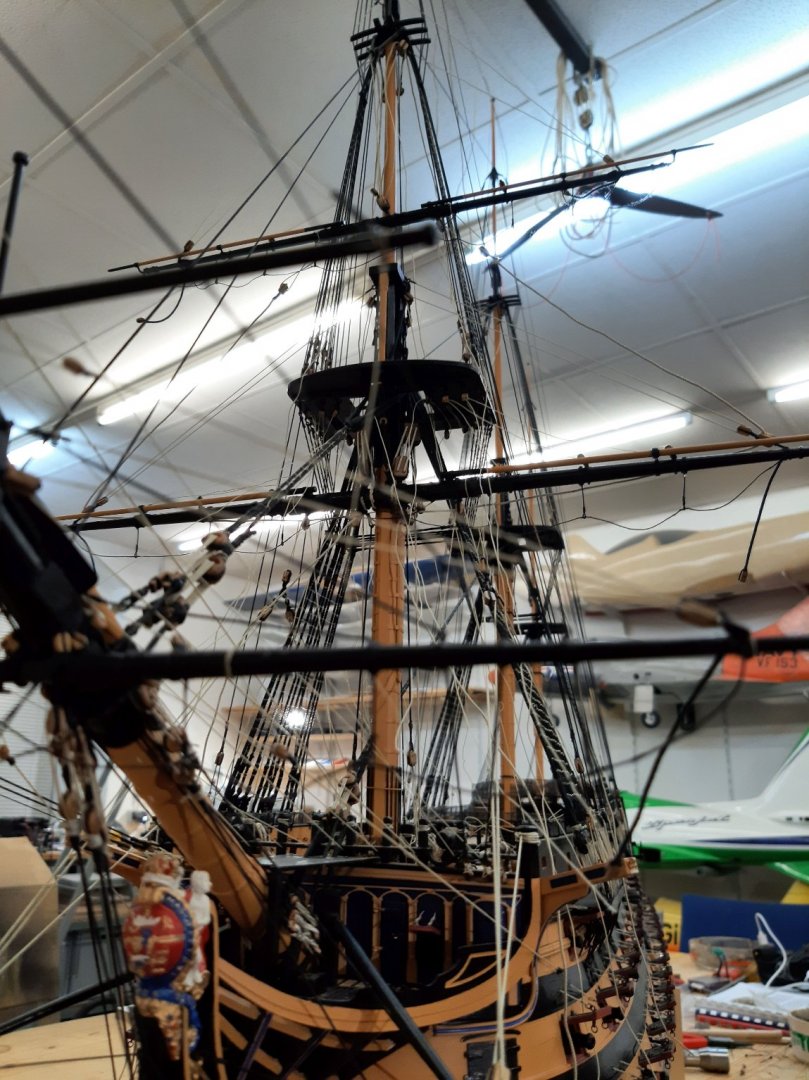
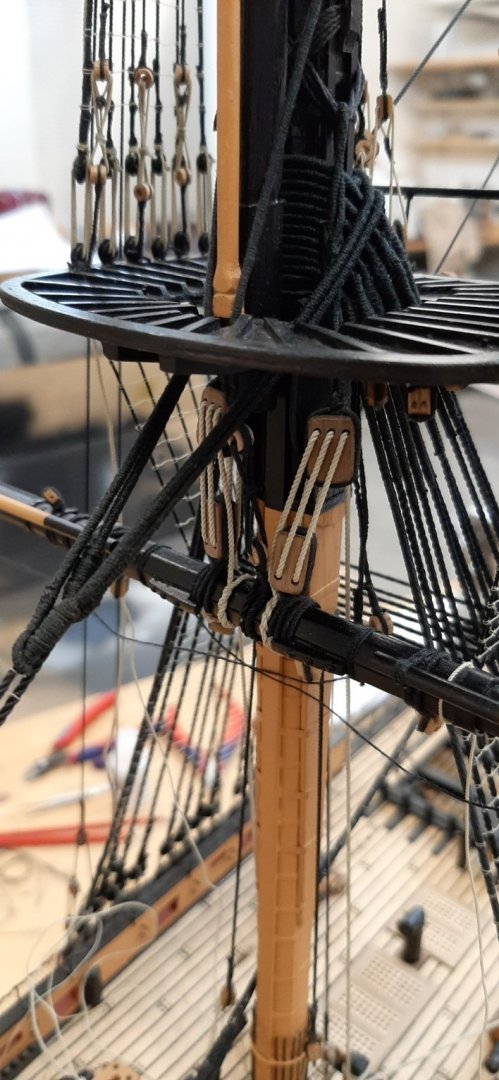
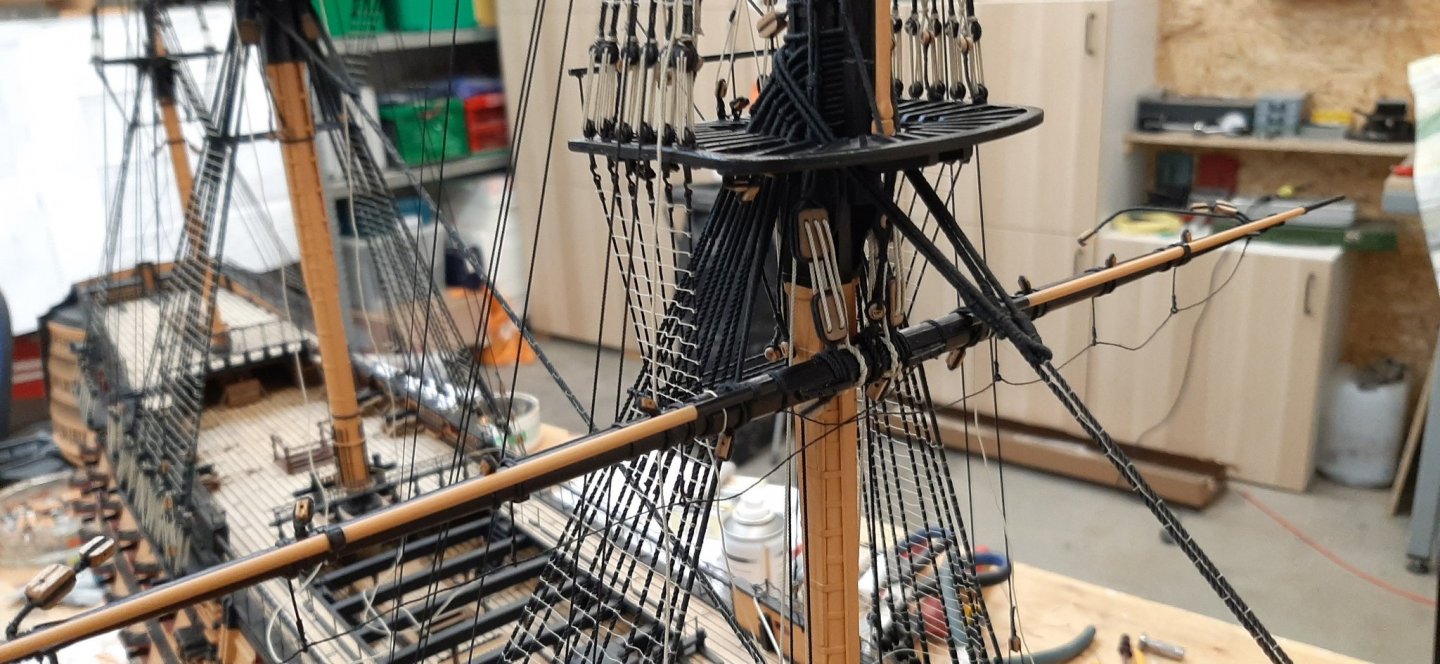
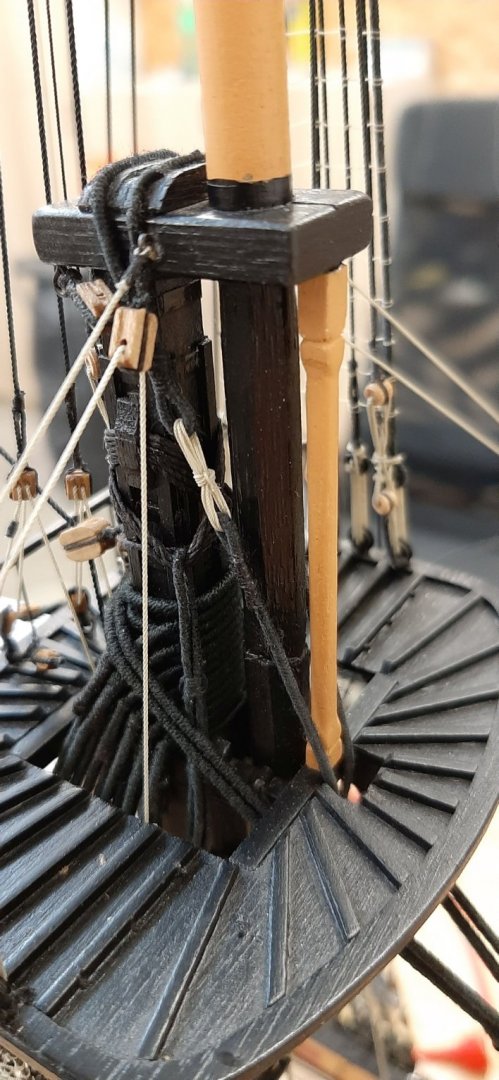
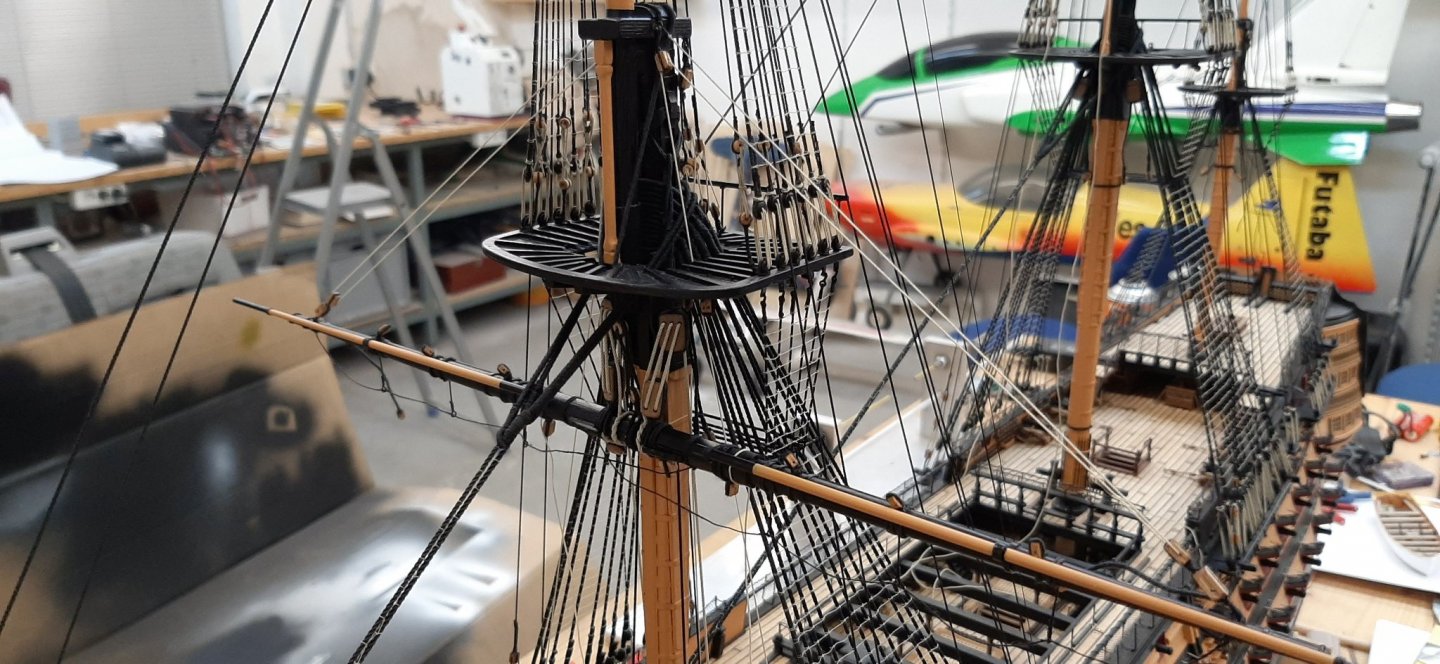
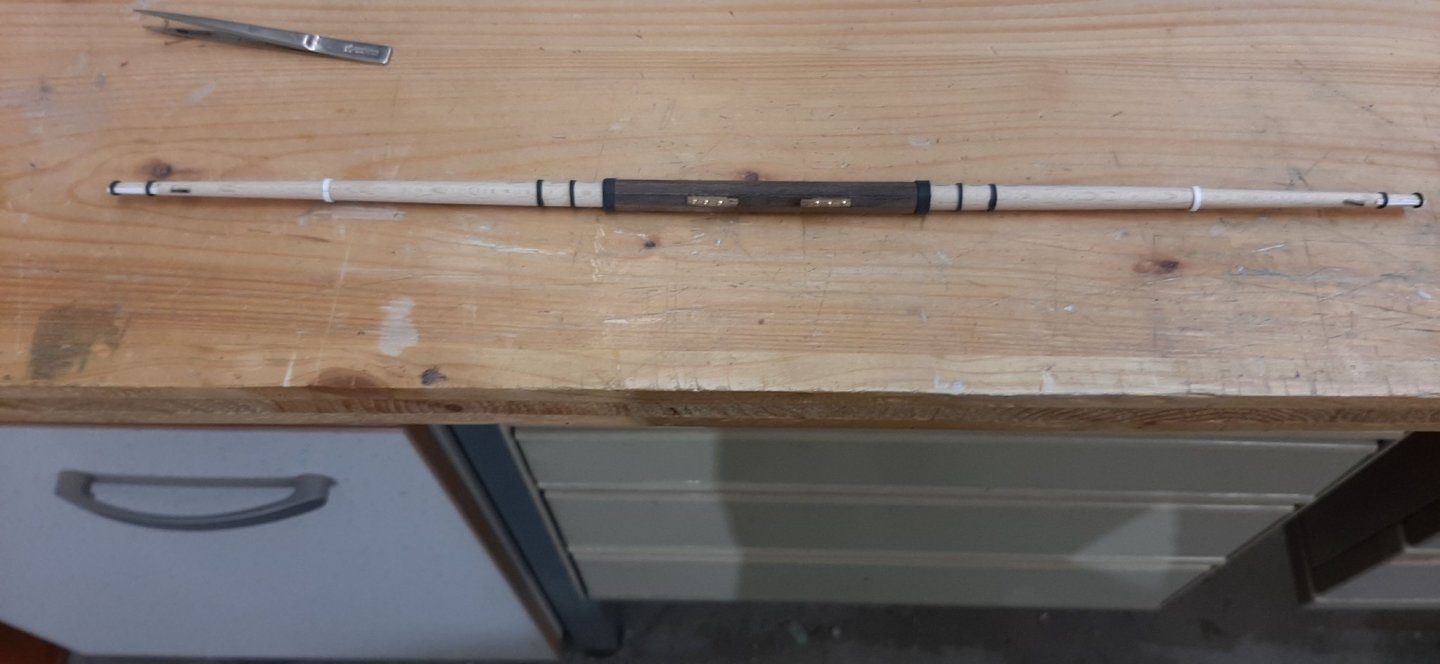
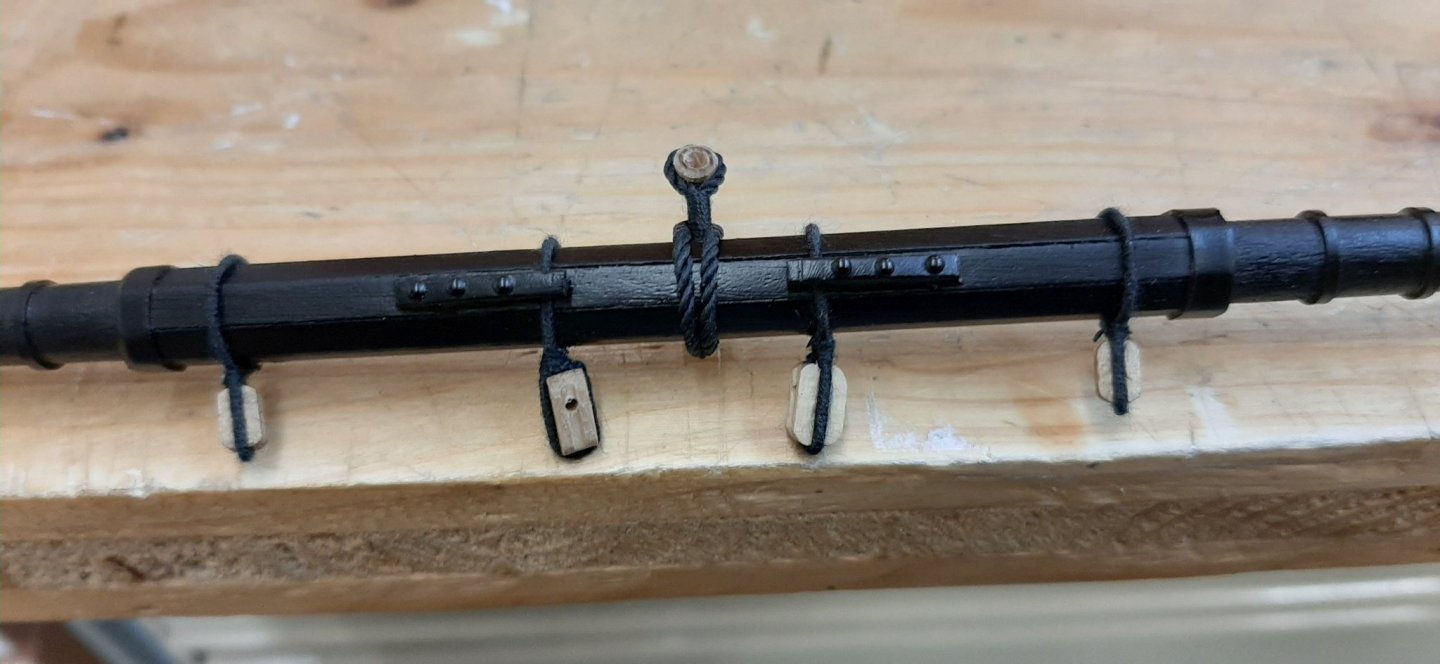
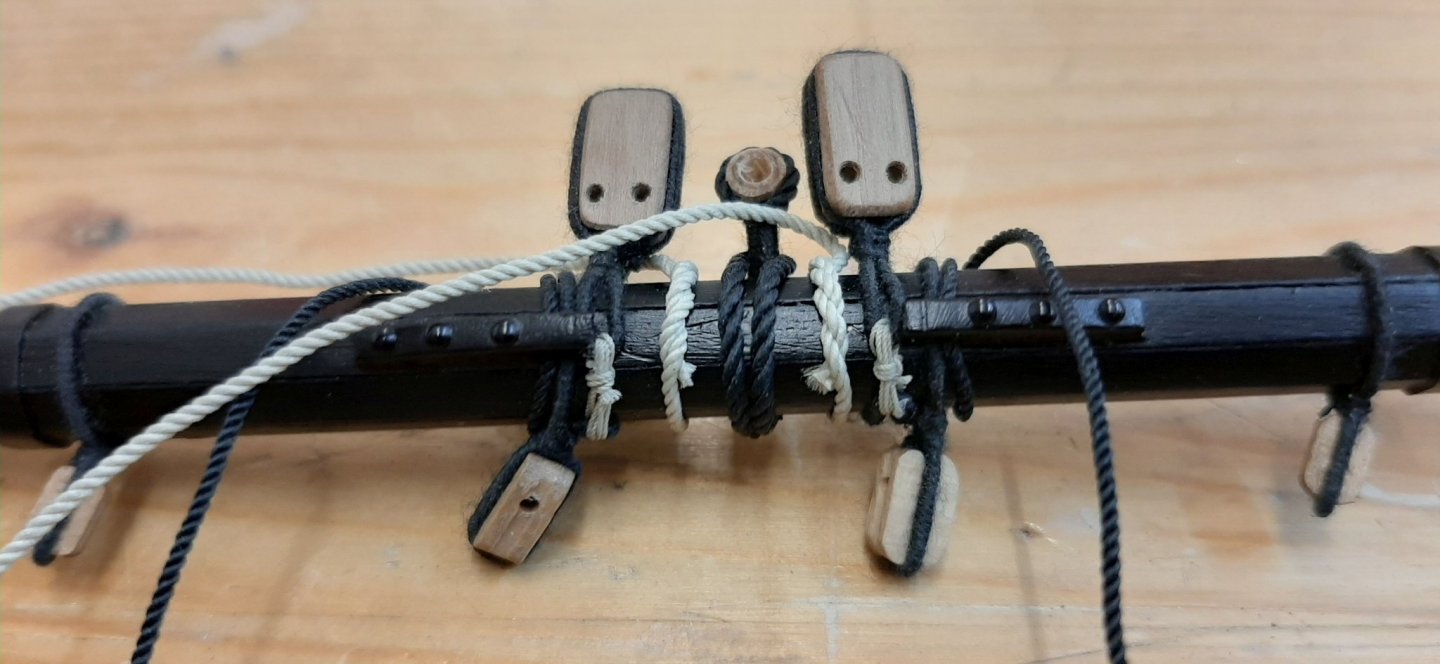
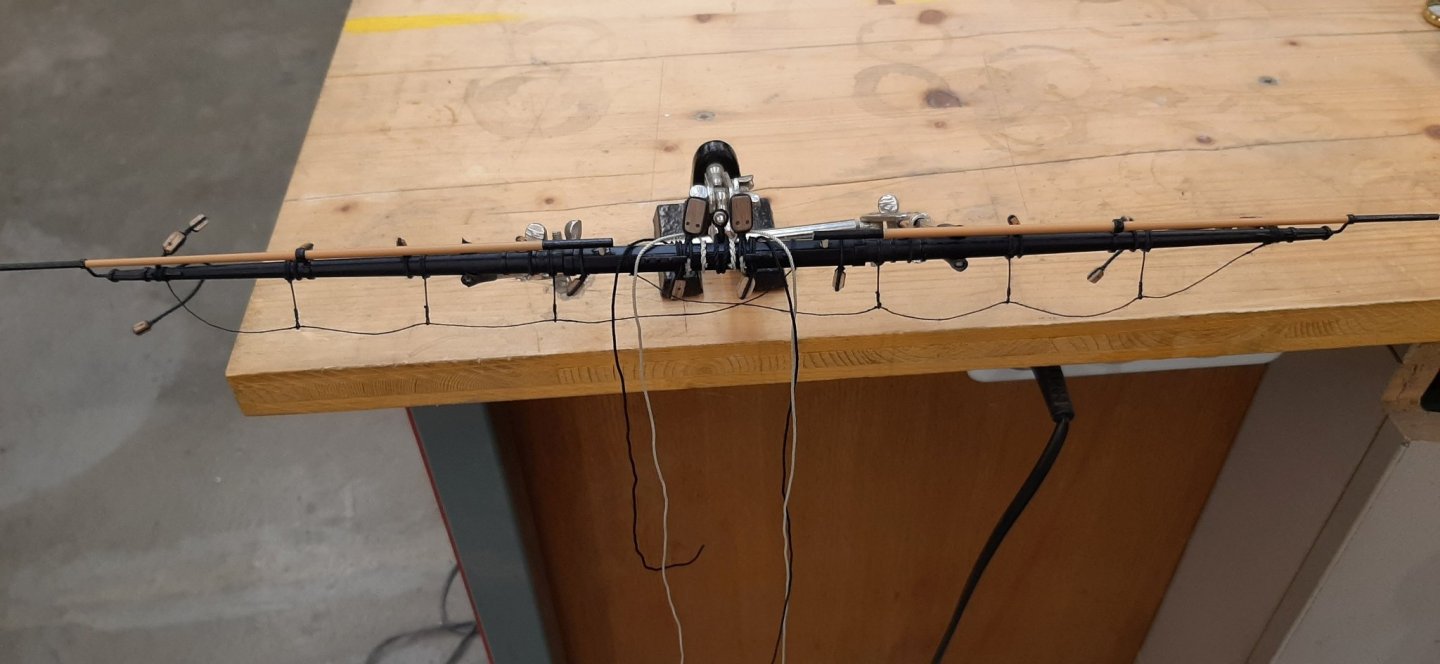
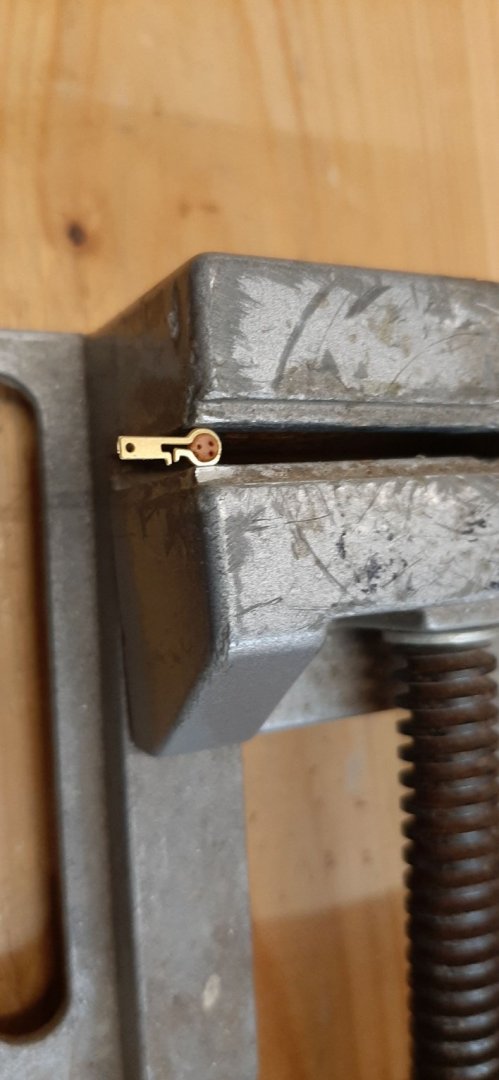
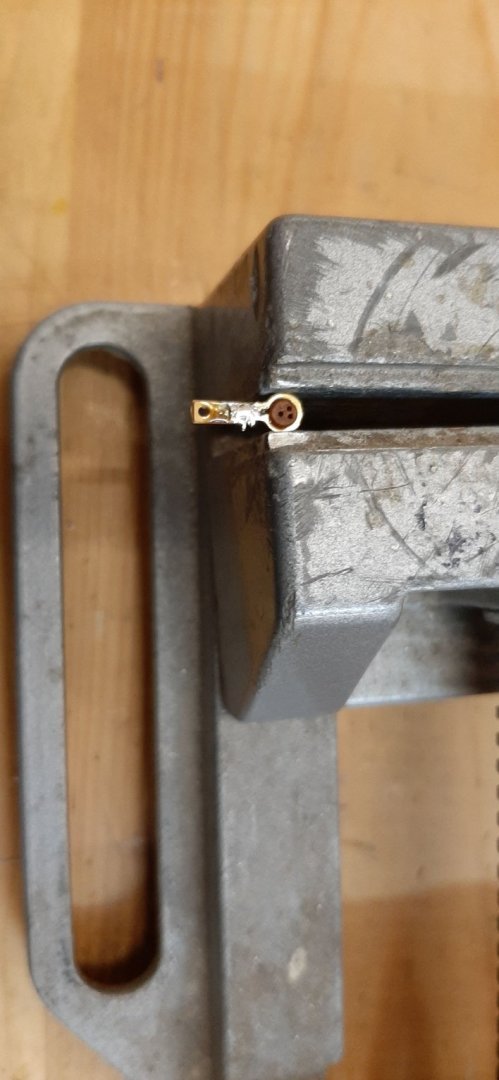
Hello, Now i have finished the main yard. First thing i did the yard. Afterwards i mounted the octagon and the iron fittings. I made these from shrink tubing. I made the quarter boom iron out of brass. Now i´m rigging the main yard. I will now be busy with rigging for some time. I will report again afterwards. Helli -
Hello, OK! Thank you very much for the photo. Then i really have to get over the cannon. That was what i couldn´t imagine. Helli
-
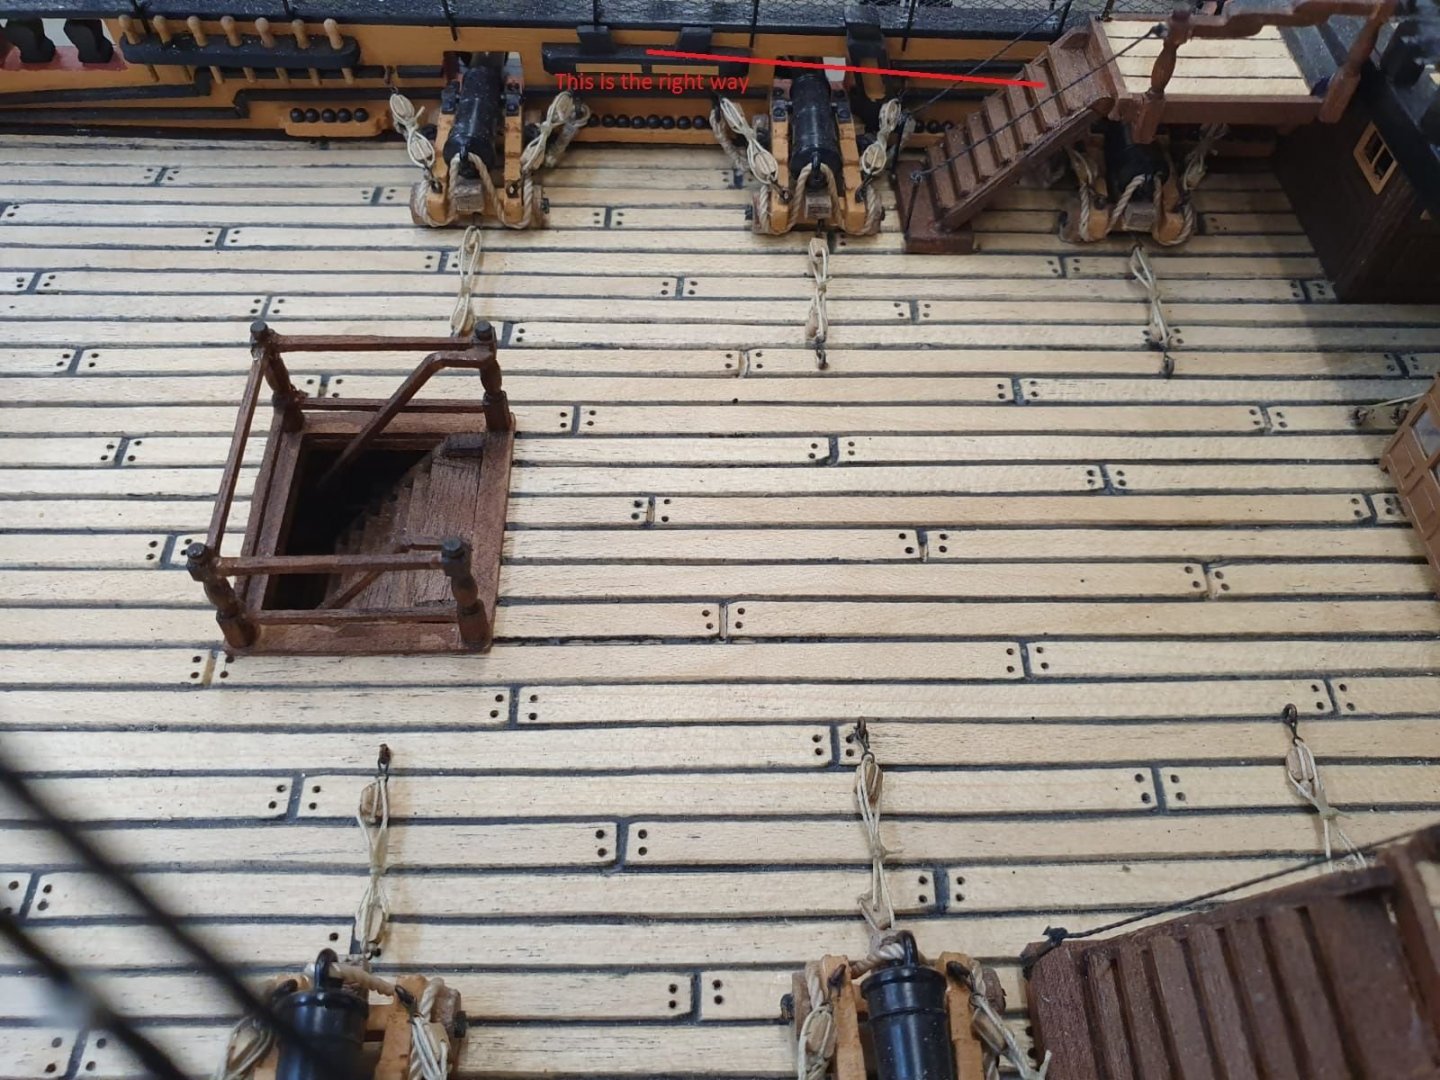
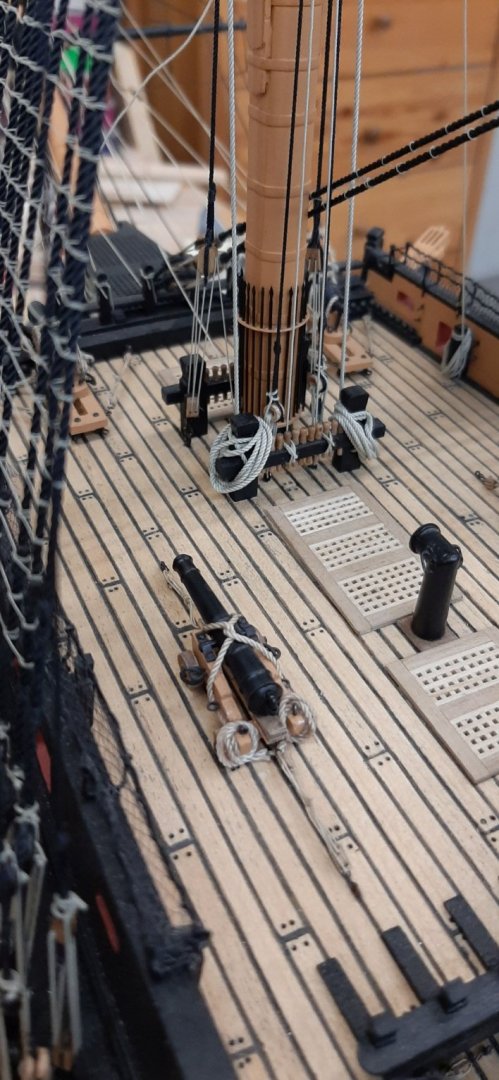
Hello, In the pictures you can see what i mean. I come with the rope through the hole under the stairs and then go over the cannons to the attachment point. Have i understood that correctly? Helli
-
Hello, How to drill a hole wasn´t my question. I wanted to know how to get from the hole to the attachment point with the rope. Helli
-
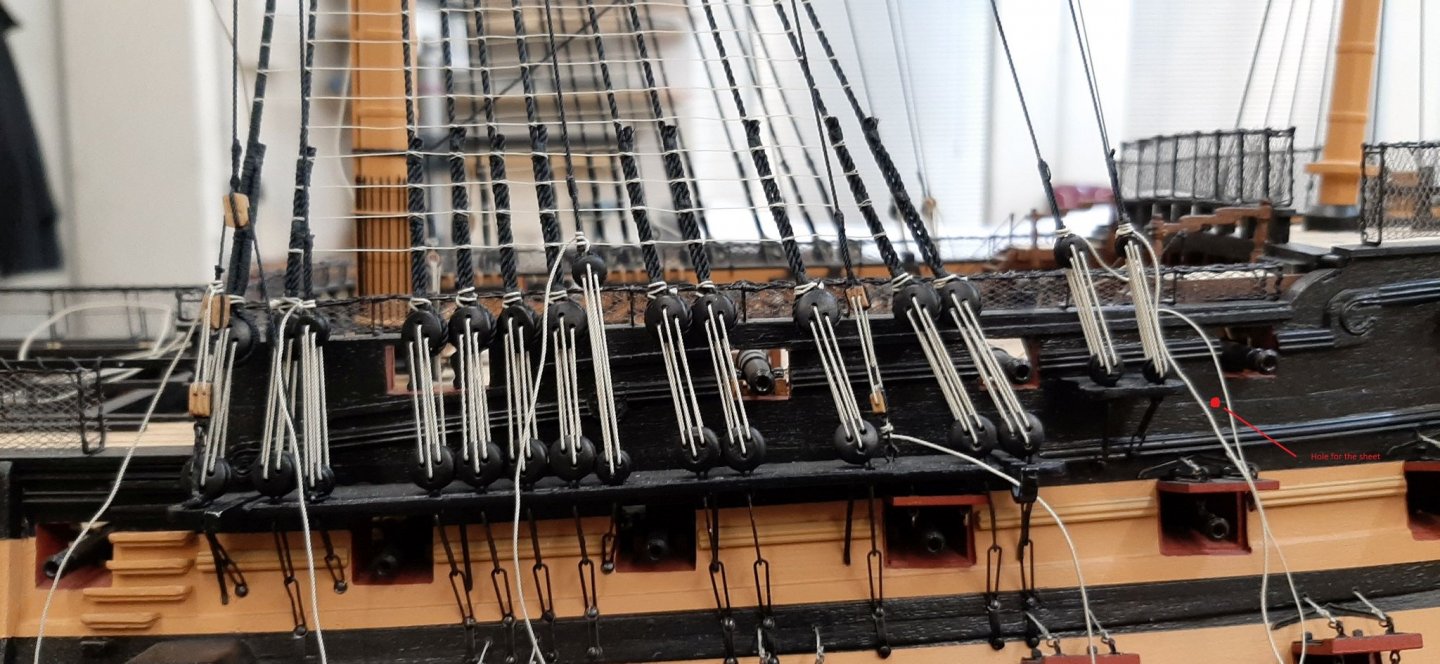
Hello, I have a question for the HMS Victory builders. In the book "The Anatomy of Nelson´s Ship" on page 95 it is described how the sheet of the main yard run. Here is an excrept from the book. The standing part of the sheet is made fast to another eyebolt below the block. Forward of the block and above it there is an oblique lead lined hole through the quarter deck bulwark; the leading part of the sheet reeves through this hole and belays to a large staghorn on the quarter deck bulwark. Of course, i didn´t install this pipe. Now i am looking for an alternative method. And now my question. How did you solve it? Here are two more pictures so you know what i mean Thank you Helli
-
.thumb.jpg.4b7bd8d1724d970eaddb3802a1706a45.jpg)
HMS Victory by Helli - Caldercraft
Helli replied to Helli's topic in - Kit build logs for subjects built from 1751 - 1800
Hello Robert, Many thanks. You don´t have to be afraid of rigging, you grow with the tasks. I am sure you can do it. This is only my first ship. Hope i do better with the next one. Helli -
.thumb.jpg.4b7bd8d1724d970eaddb3802a1706a45.jpg)
HMS Victory by Helli - Caldercraft
Helli replied to Helli's topic in - Kit build logs for subjects built from 1751 - 1800
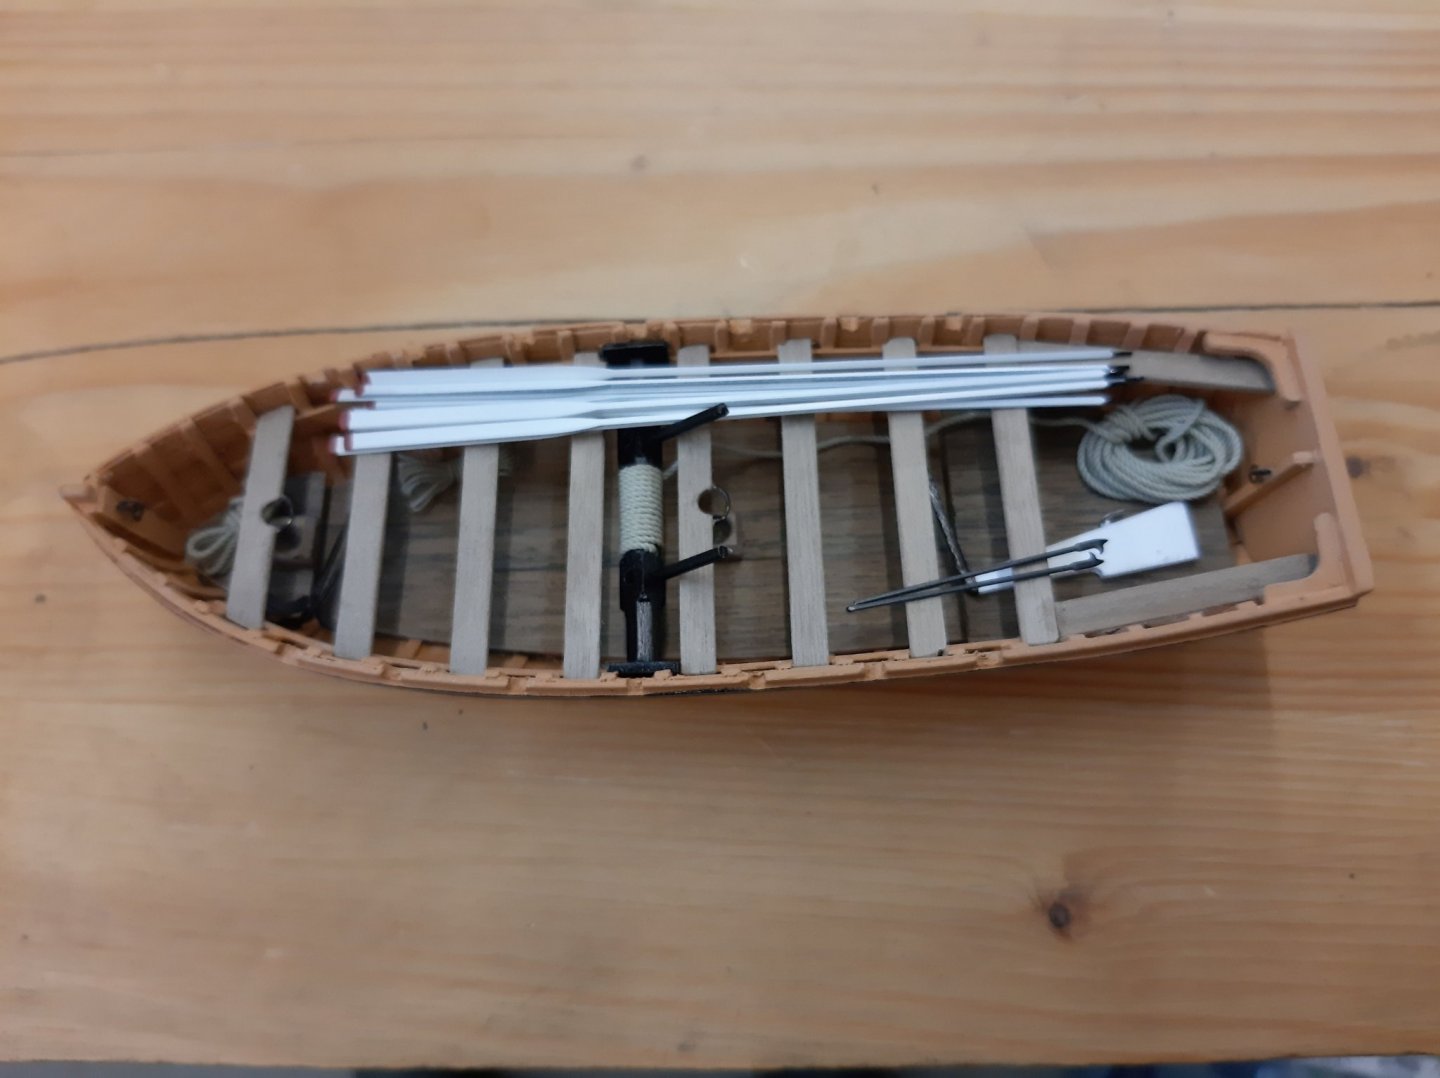
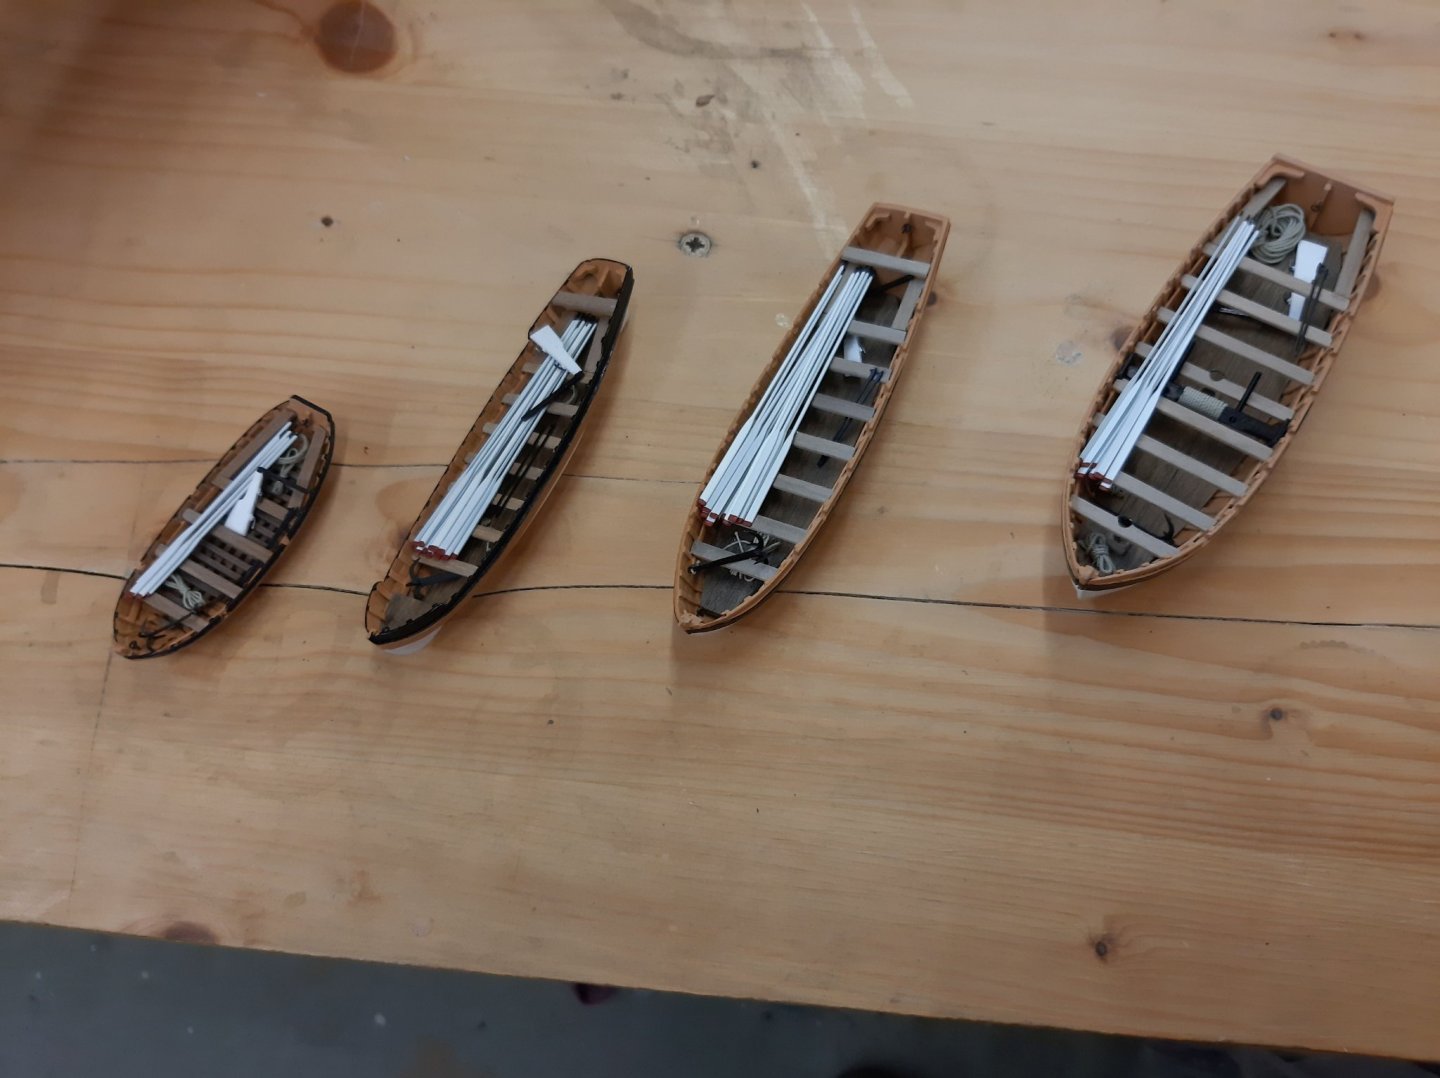
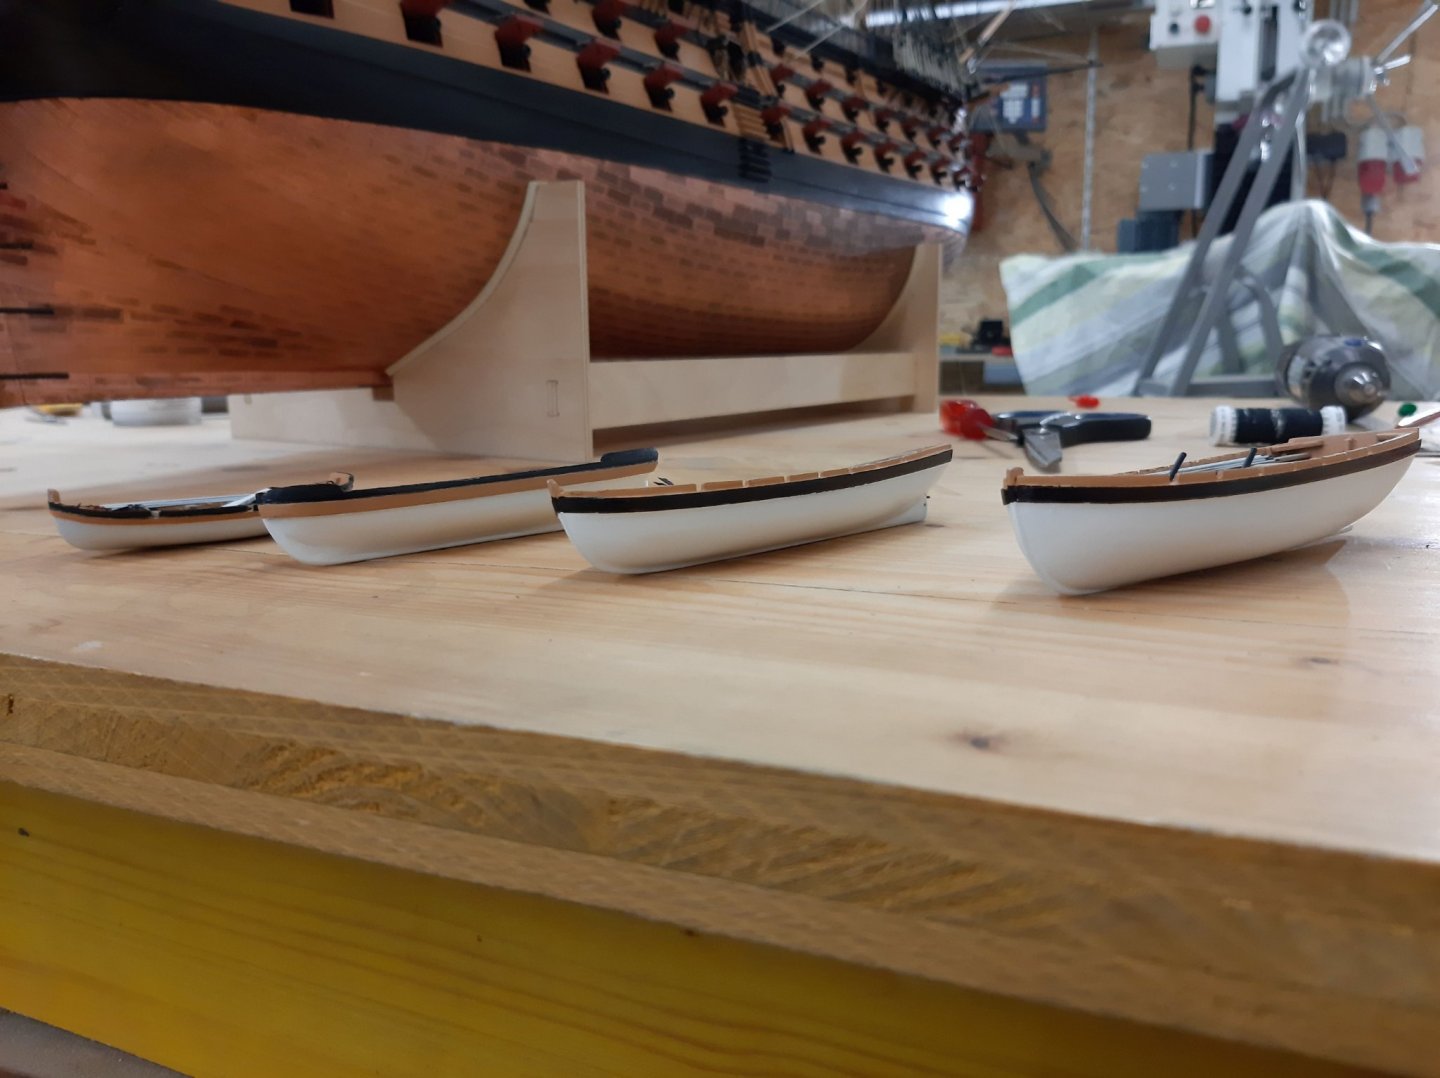
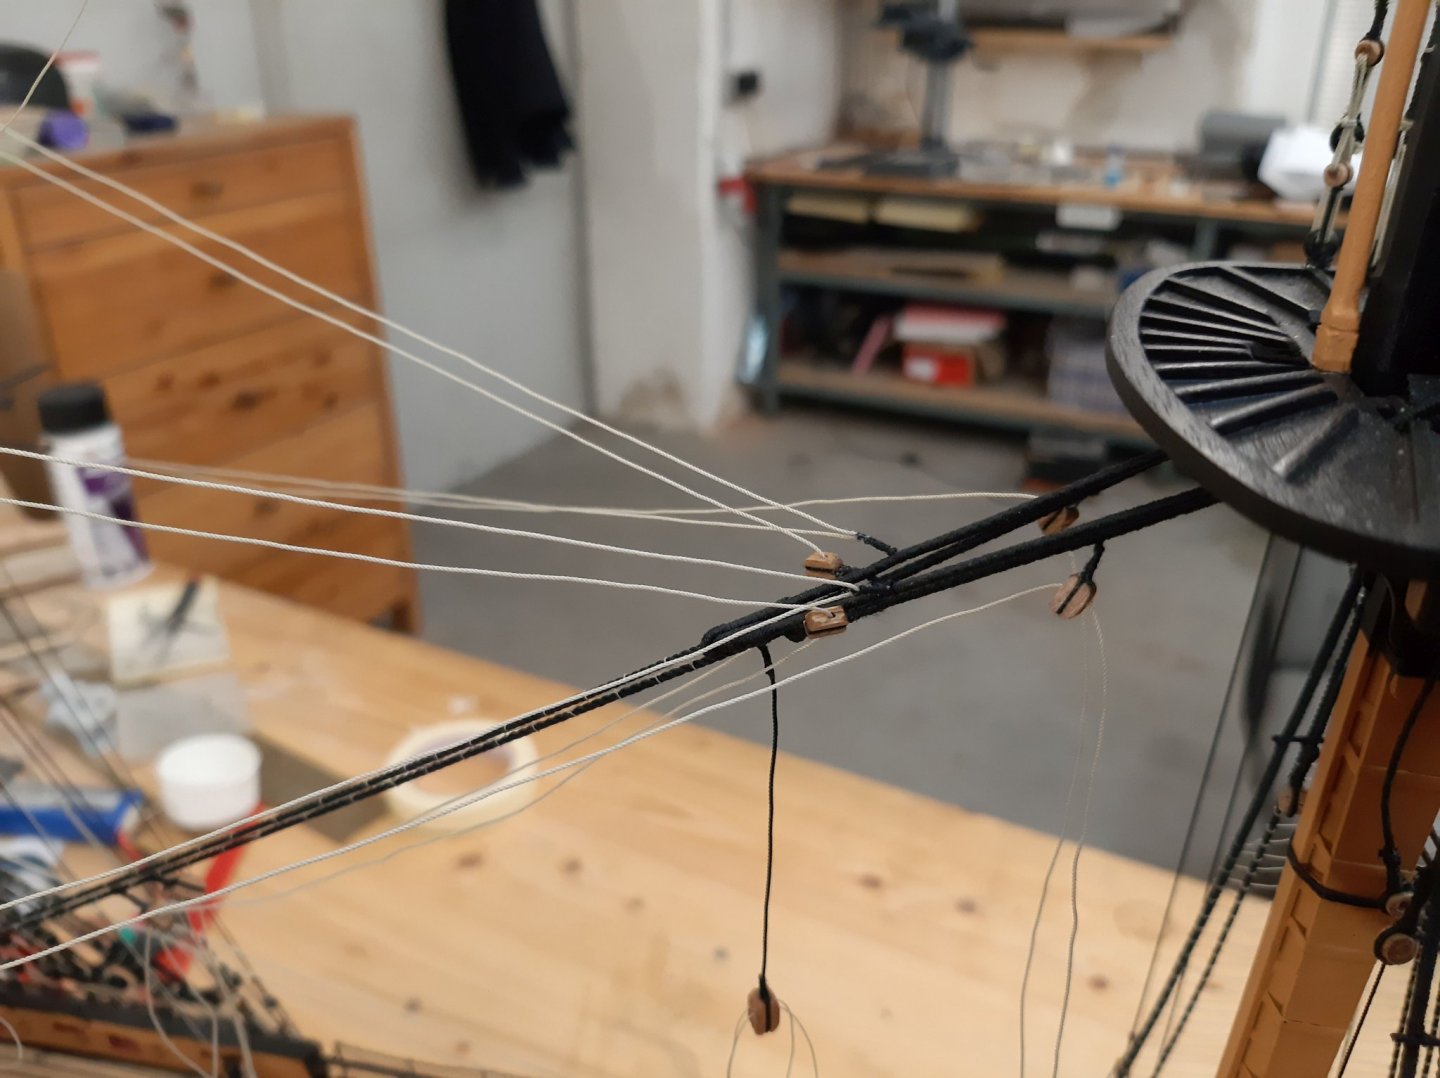
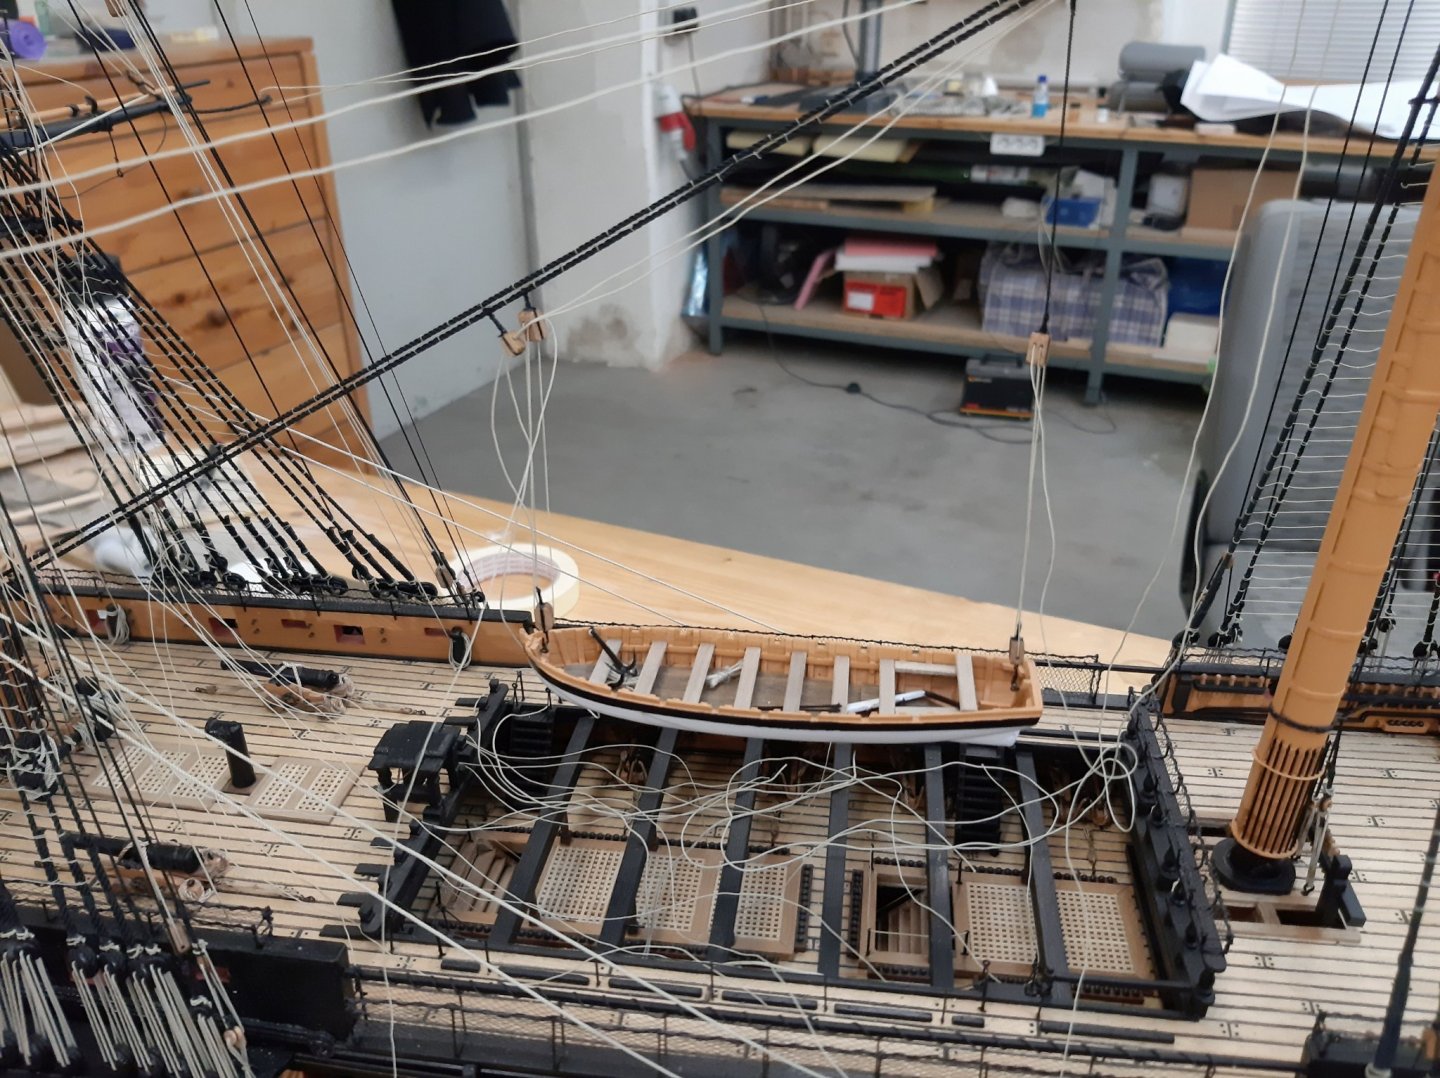
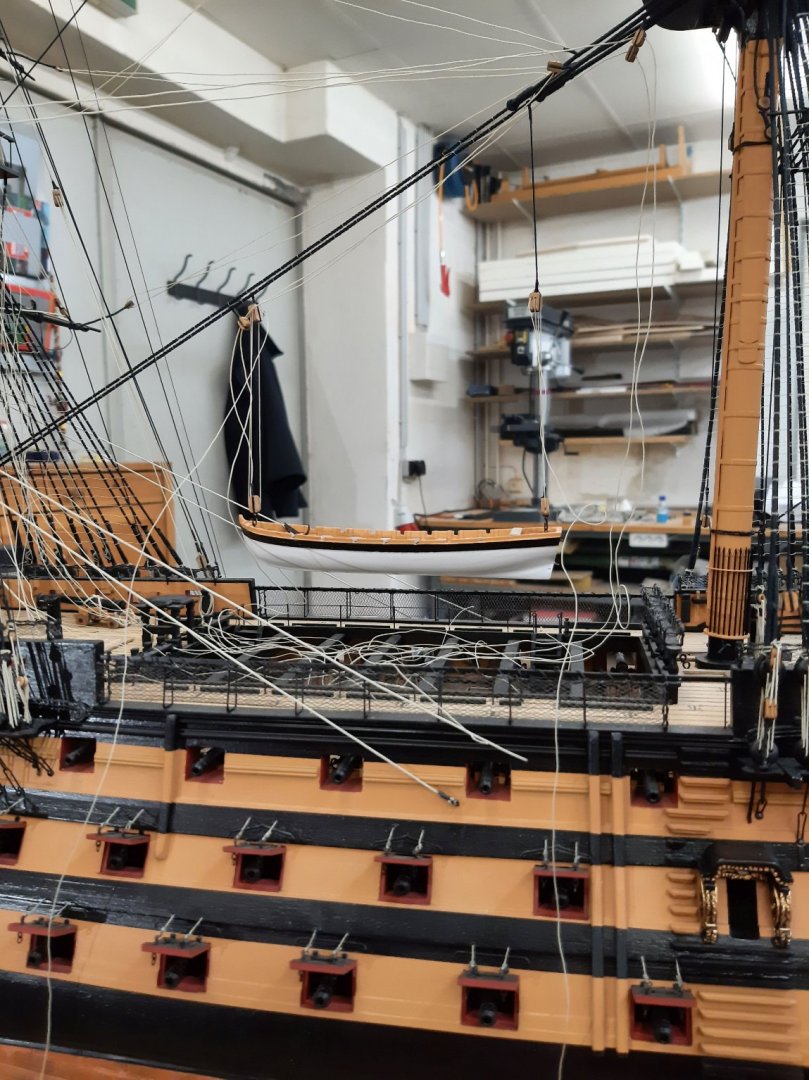
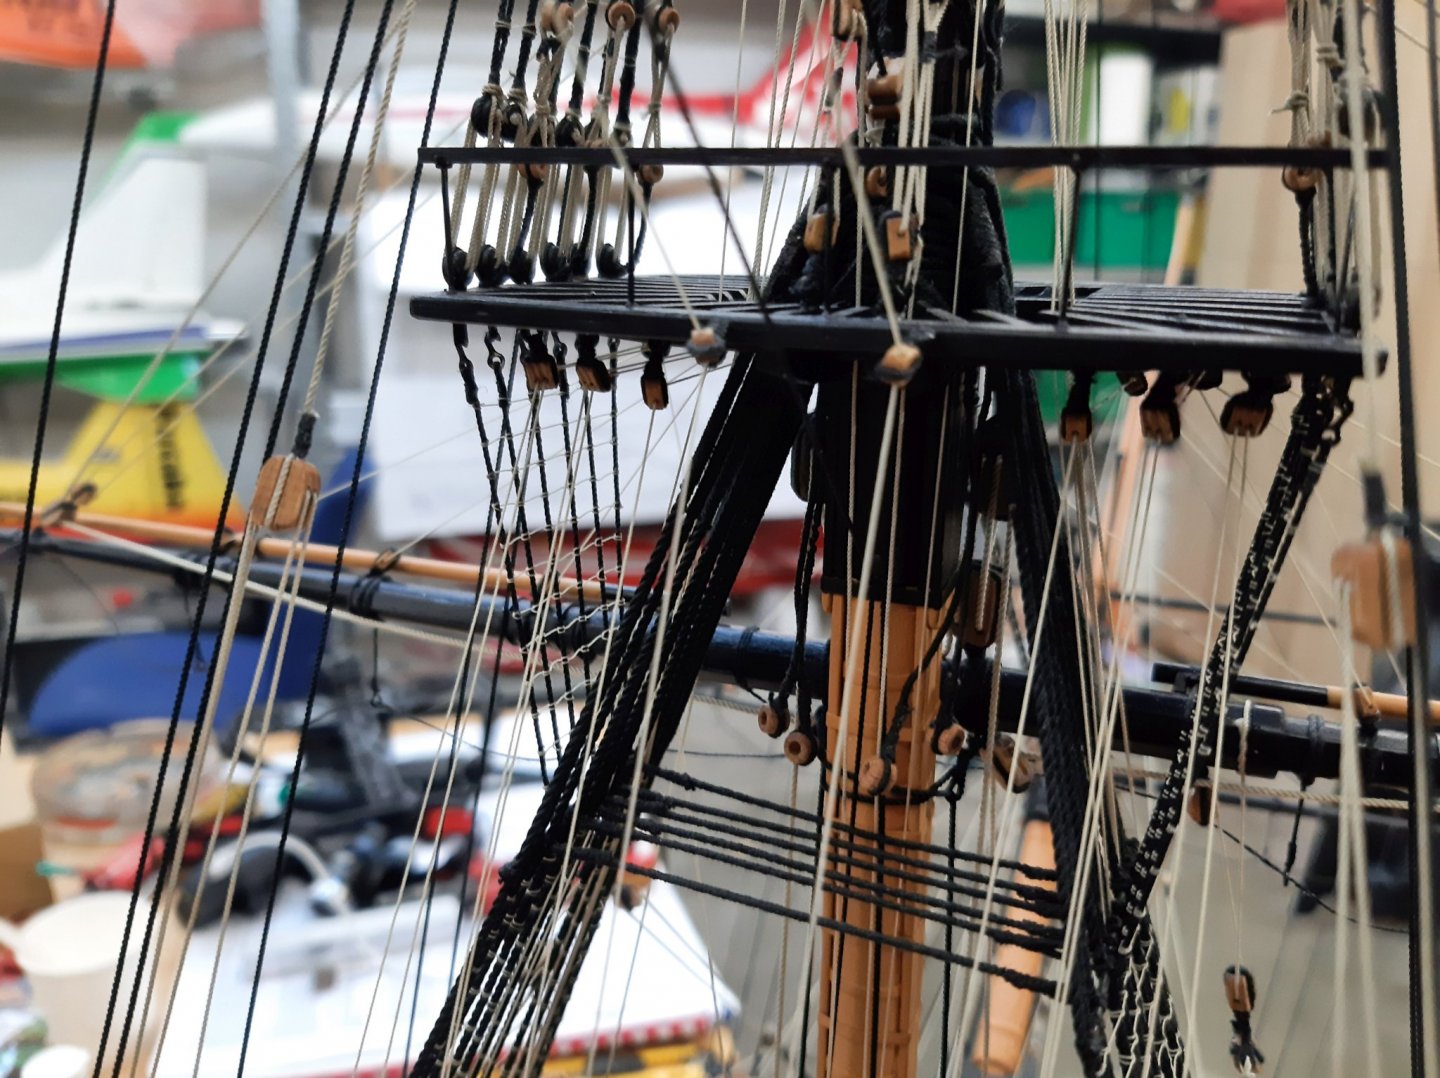
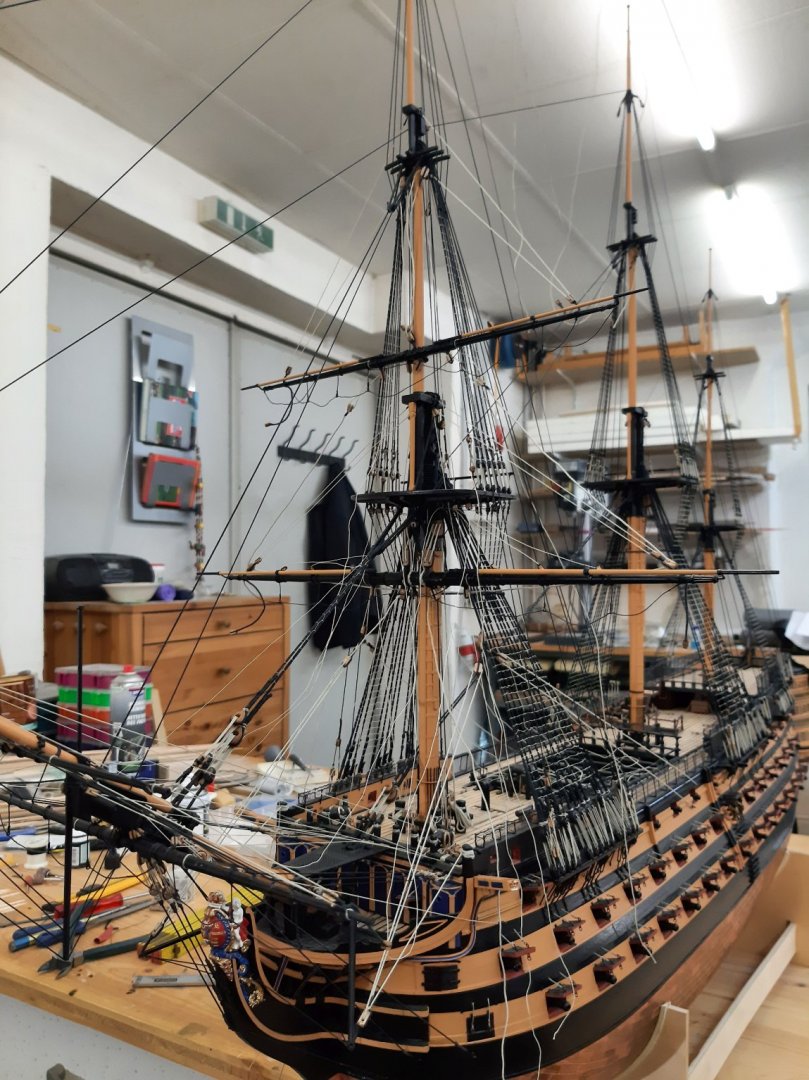
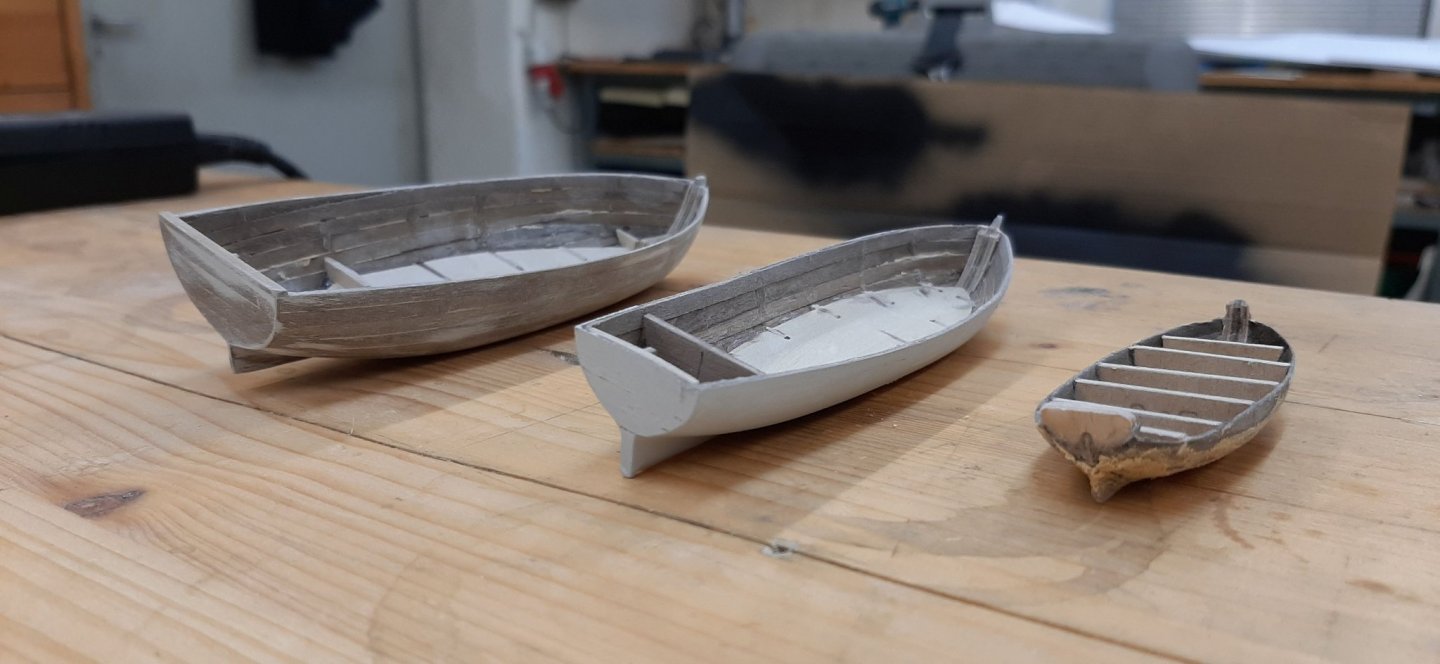
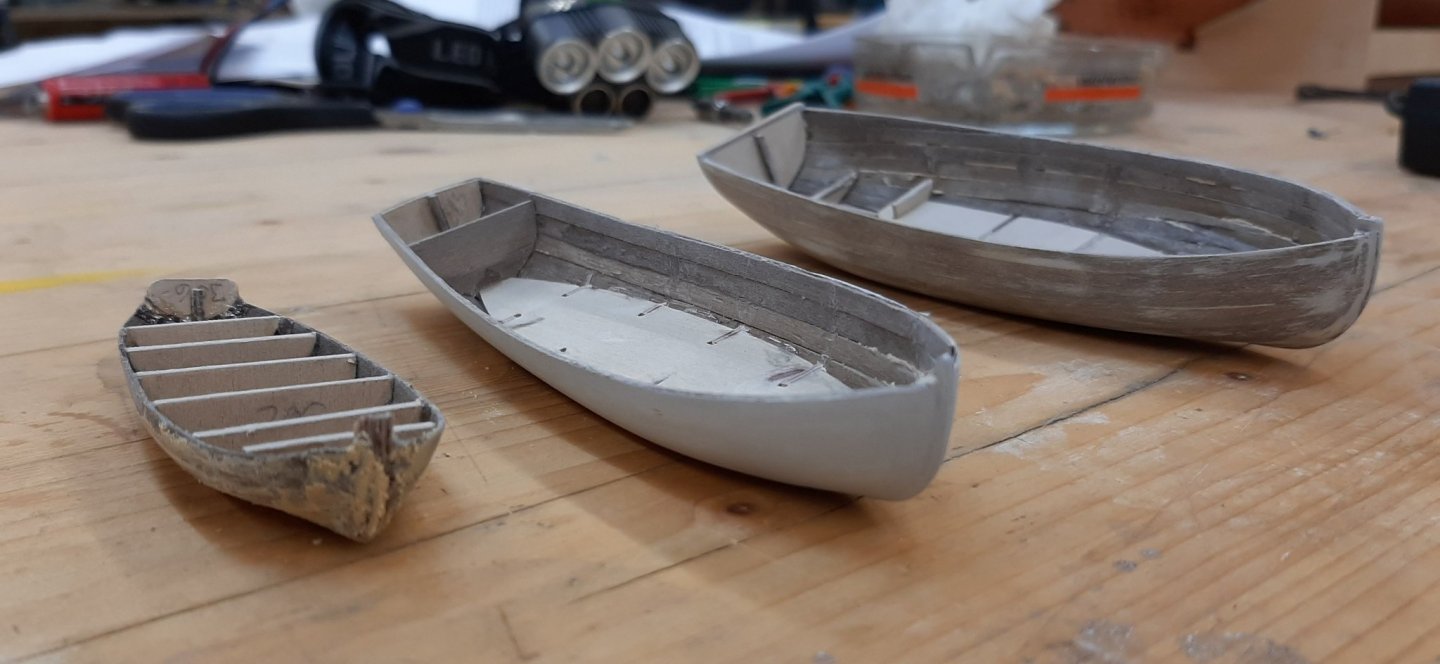
Hello, Now I´m a giant step further. I´m finish with the dinghies. After that i continued with the braces. Here I have hung up a dinghy for testing purposes. Here i am at the buntlines and leachlines. Now the rigging on the fore mast is ready. Next i will start with the main mast. Helli -
.thumb.jpg.4b7bd8d1724d970eaddb3802a1706a45.jpg)
HMS Victory by Helli - Caldercraft
Helli replied to Helli's topic in - Kit build logs for subjects built from 1751 - 1800
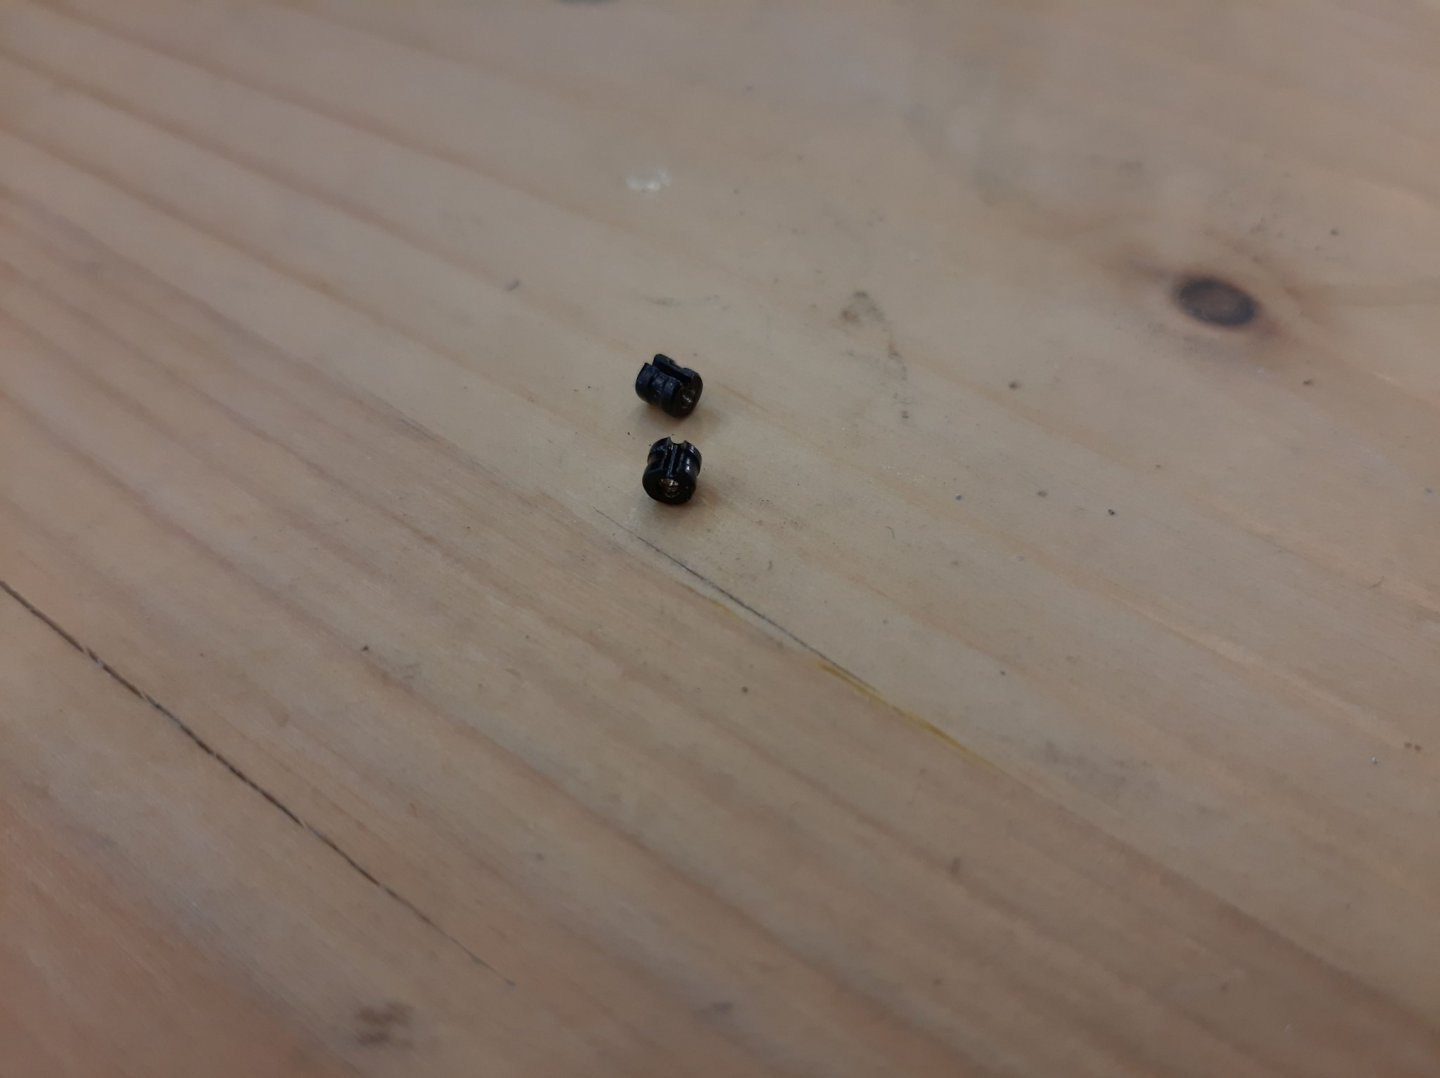
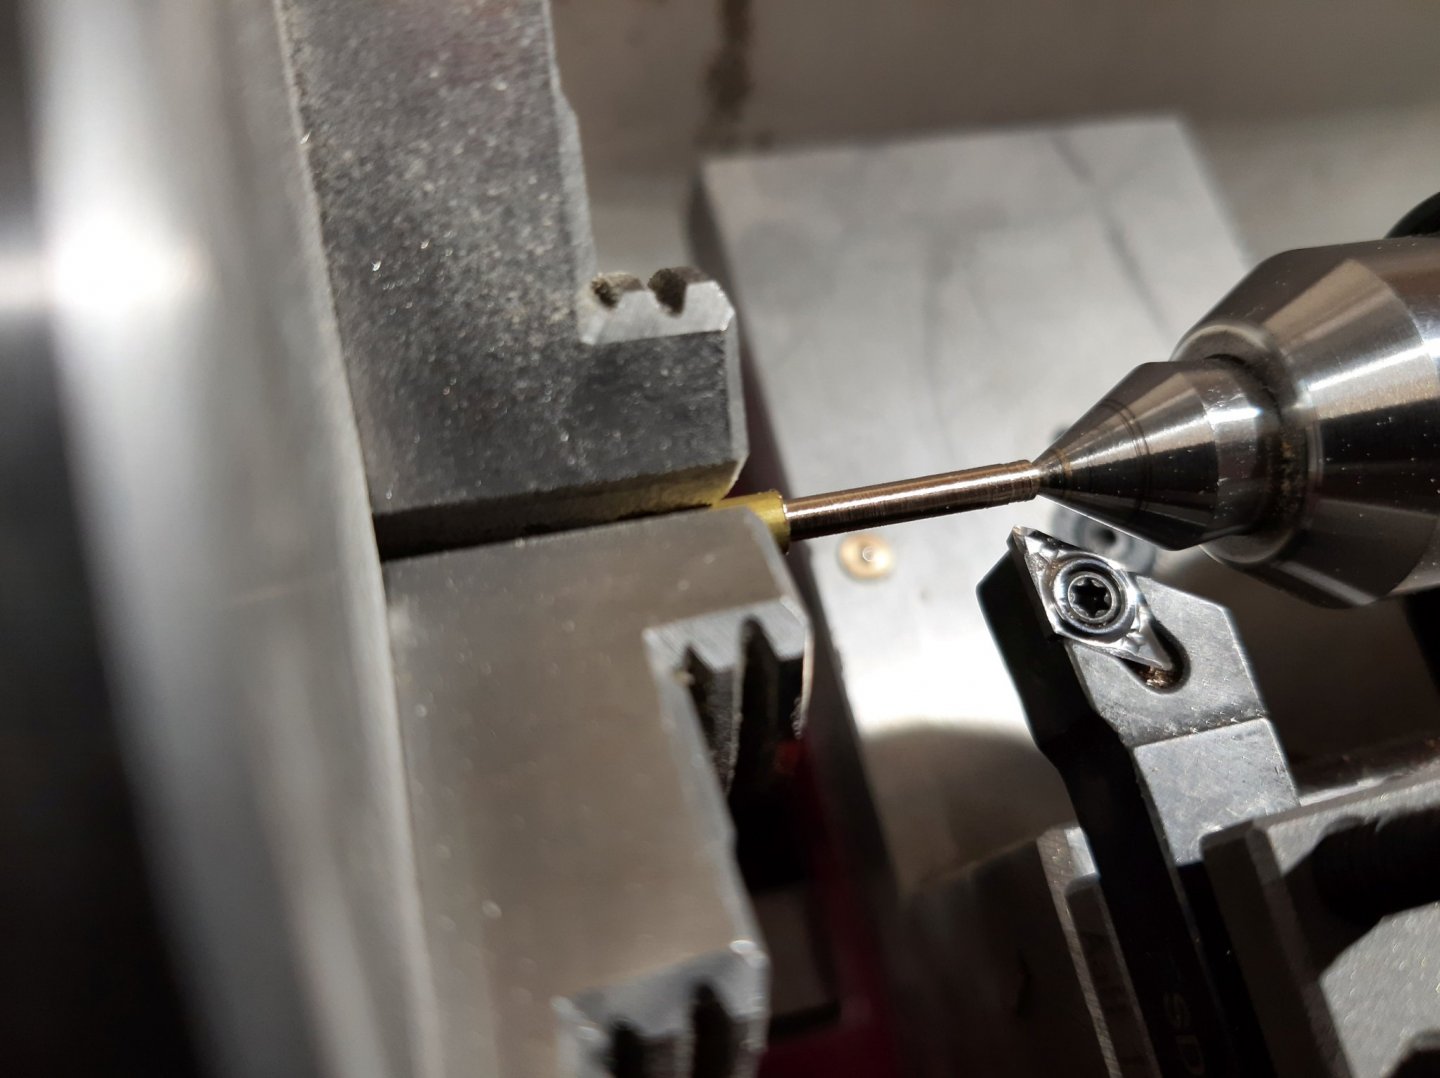
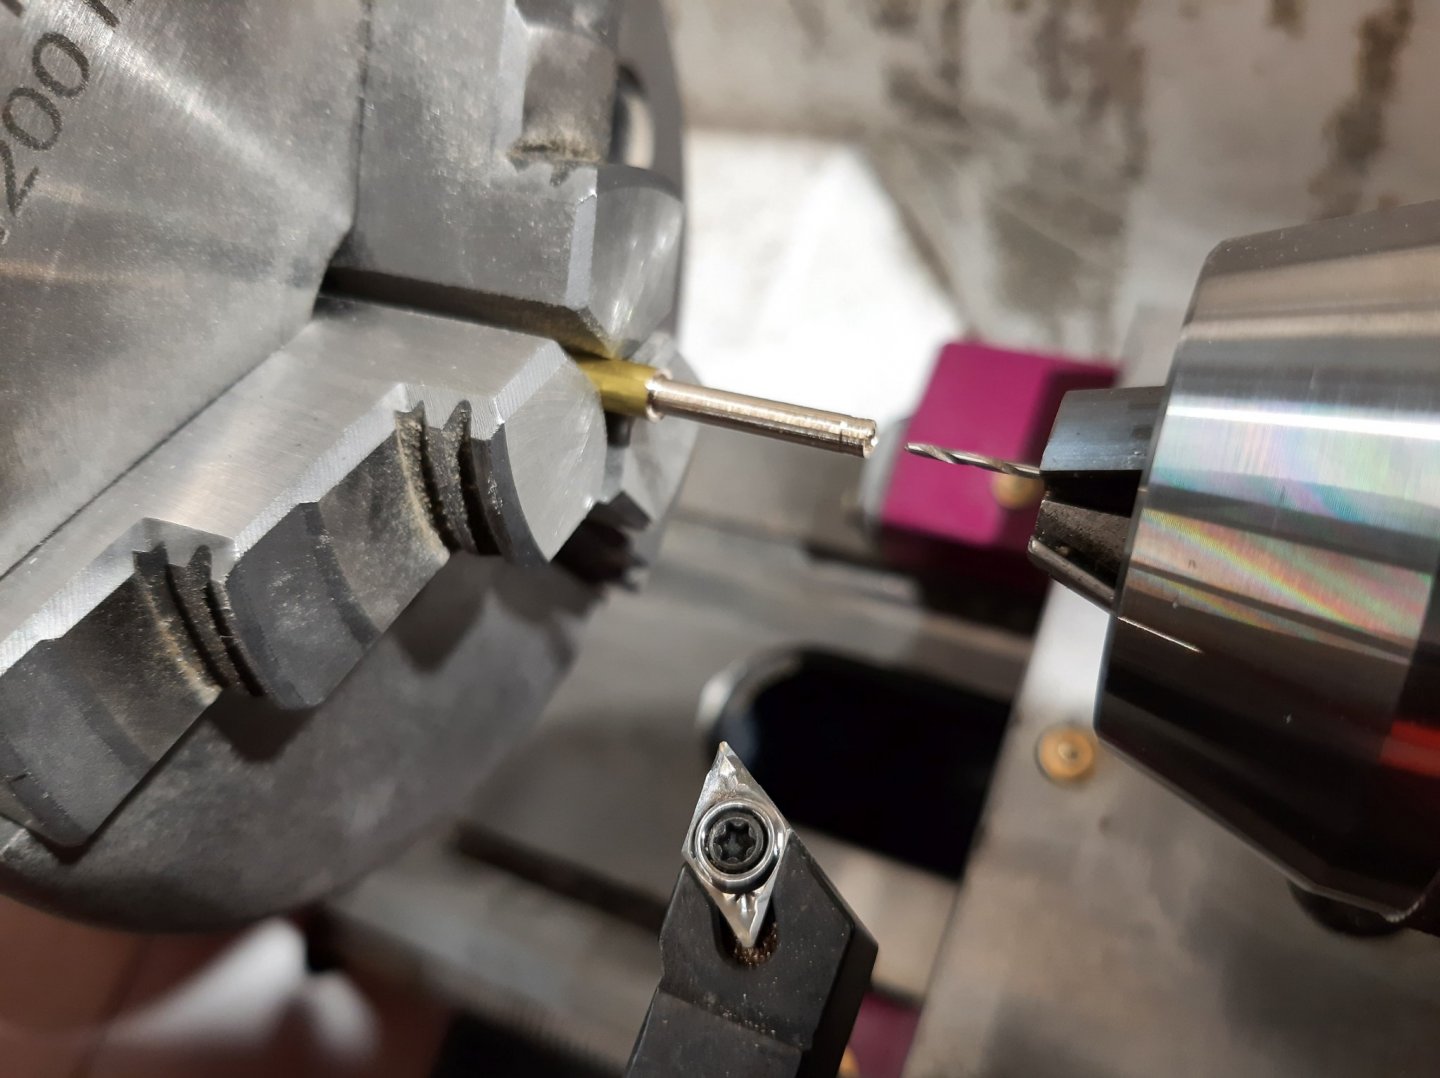
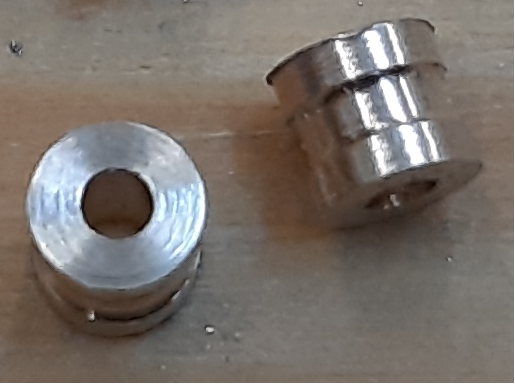
Hello, Roberts Orca Thank you very much for the compliment. I made the rigging truck on the lathe. Now it goes on with the fore topgallant yard. Helli -
.thumb.jpg.4b7bd8d1724d970eaddb3802a1706a45.jpg)
HMS Victory by Helli - Caldercraft
Helli replied to Helli's topic in - Kit build logs for subjects built from 1751 - 1800
Hello, Got a little further again. I have now made and installed the fore topmast yard. But now it is slowly getting full of lines. Now i must made the rigging truck because i don´t have one in the kit. I will then report on the further construction progress. Helli -
Hello, Thank you very much. It was very helpful. Helli
-
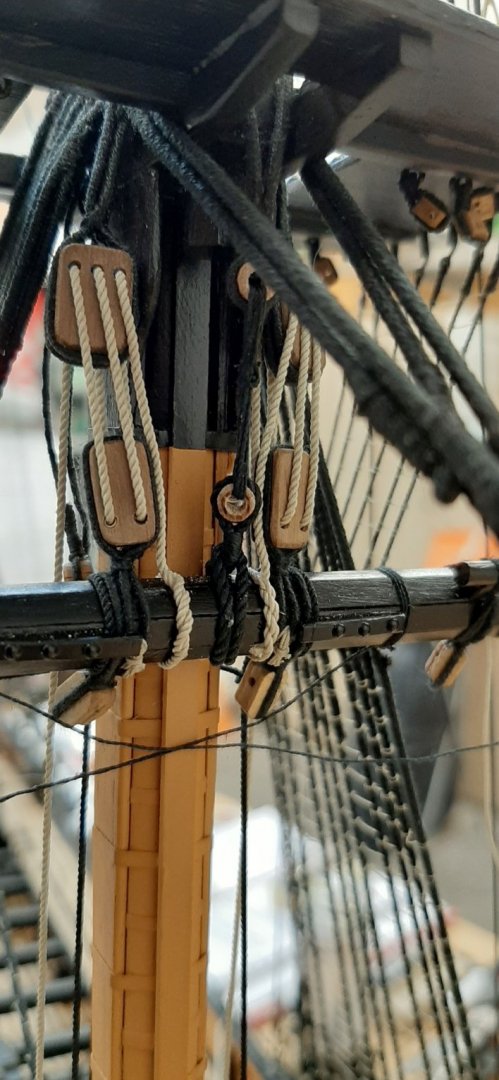
Hello, It is the Victory from Caldercraft 1:72 On the topmast yard and the topgallant yard there are double and sigle row truss. Helli
-
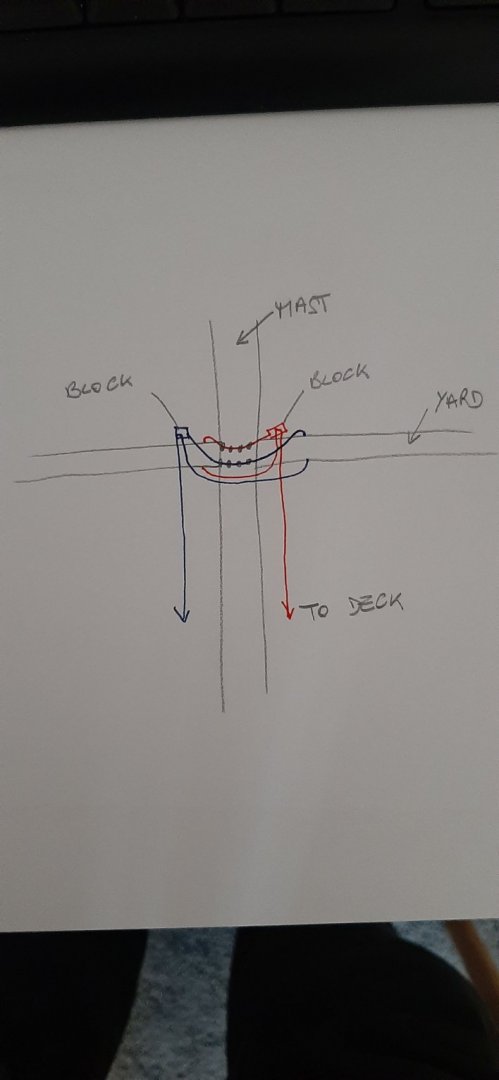
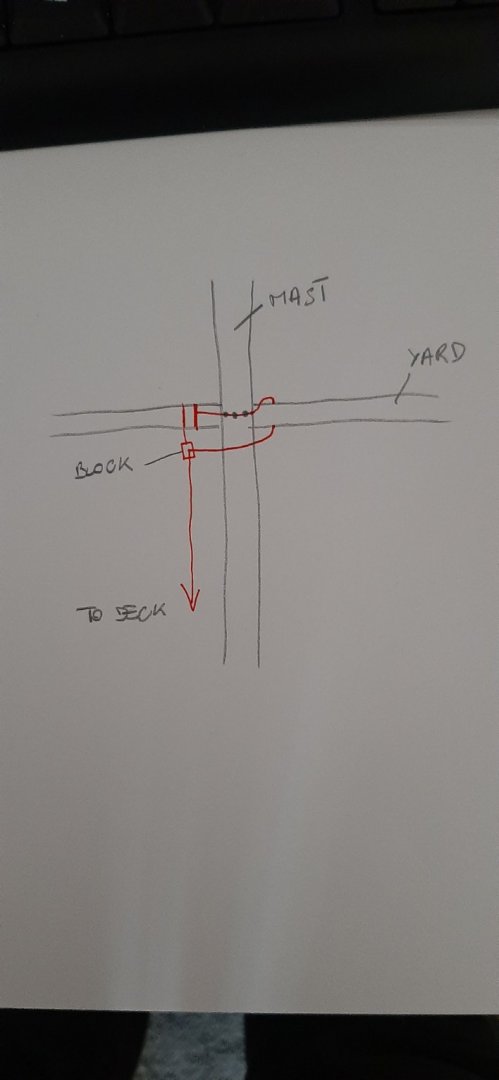
Hello, If i have a double row truss i take the one line and go around the yard. Then back through the block and down to deck. The other line is the same. I hope this is correct. But if i have a single row truss i don´t know how attach the line on the yard. I have made a picture so that you know what i mean. Thank you Helli
-
Hello, I have a question. Can someone tell me how to mount a single row truss? I can only find something through multiple rows. Many Thanks Helli
-
.thumb.jpg.4b7bd8d1724d970eaddb3802a1706a45.jpg)
HMS Victory by Helli - Caldercraft
Helli replied to Helli's topic in - Kit build logs for subjects built from 1751 - 1800
Hello, Thank you for the likes and comments. The fore yard didn't have to wait long for assembly. Now it is already installed. Next I will focus on the fore topmast yard. Helli -
.thumb.jpg.4b7bd8d1724d970eaddb3802a1706a45.jpg)
HMS Victory by Helli - Caldercraft
Helli replied to Helli's topic in - Kit build logs for subjects built from 1751 - 1800
Hello, I'm done with the dinghies except for a few small things. Now I have started with the yards. The fore yard I have now finished. Now it waits for the assembly. I am now doing one yard after the other and work my way to the stern. Cheers Helli -
.thumb.jpg.4b7bd8d1724d970eaddb3802a1706a45.jpg)
HMS Victory by Helli - Caldercraft
Helli replied to Helli's topic in - Kit build logs for subjects built from 1751 - 1800
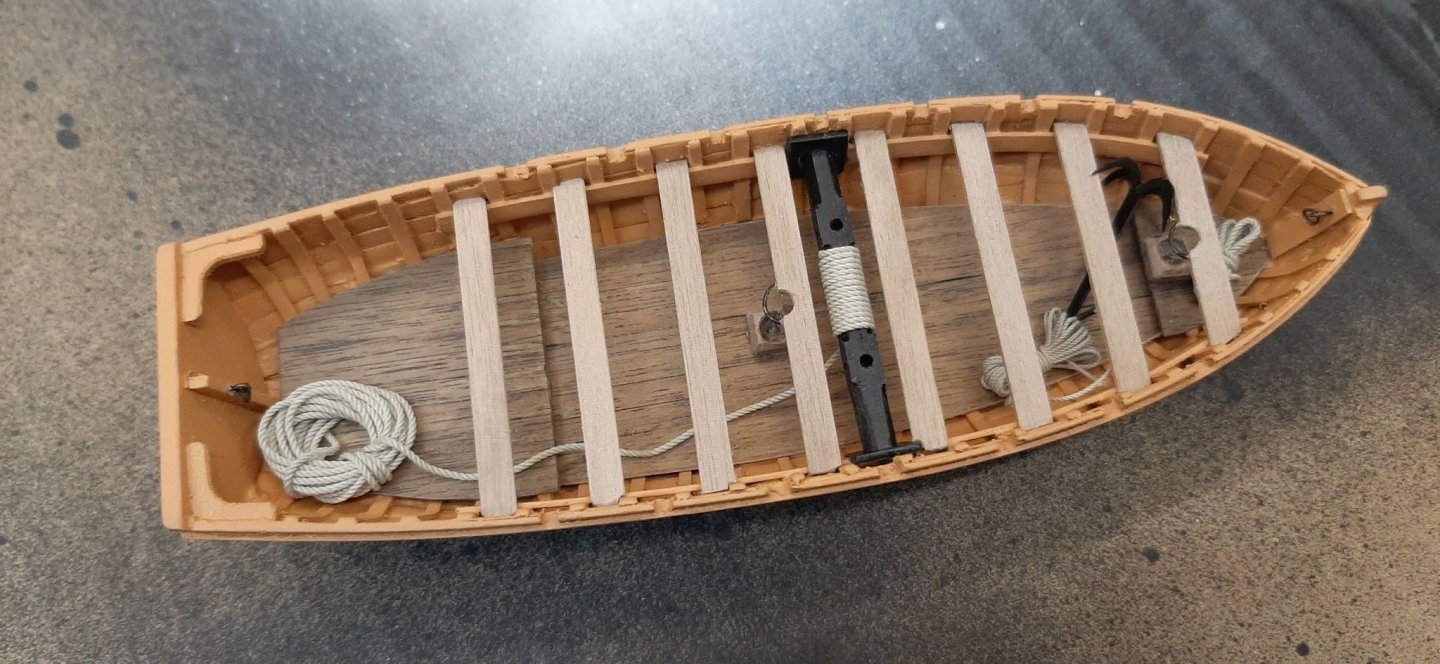
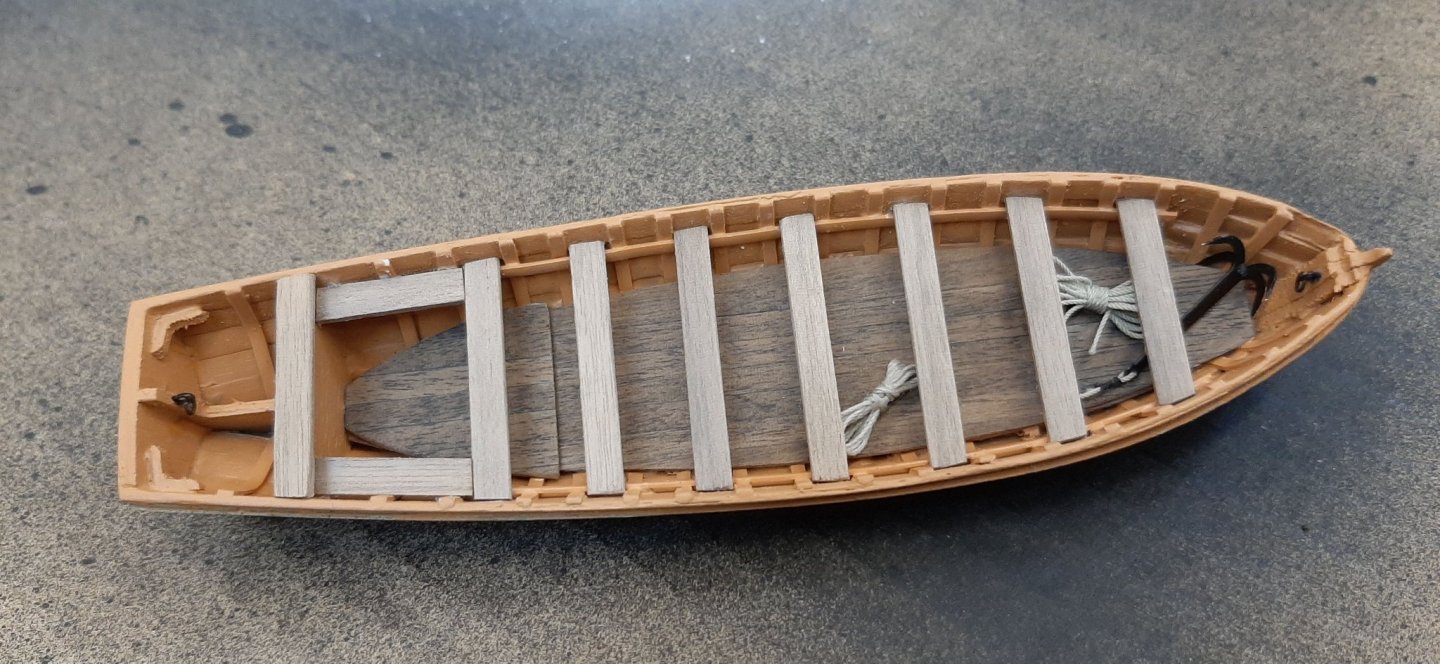
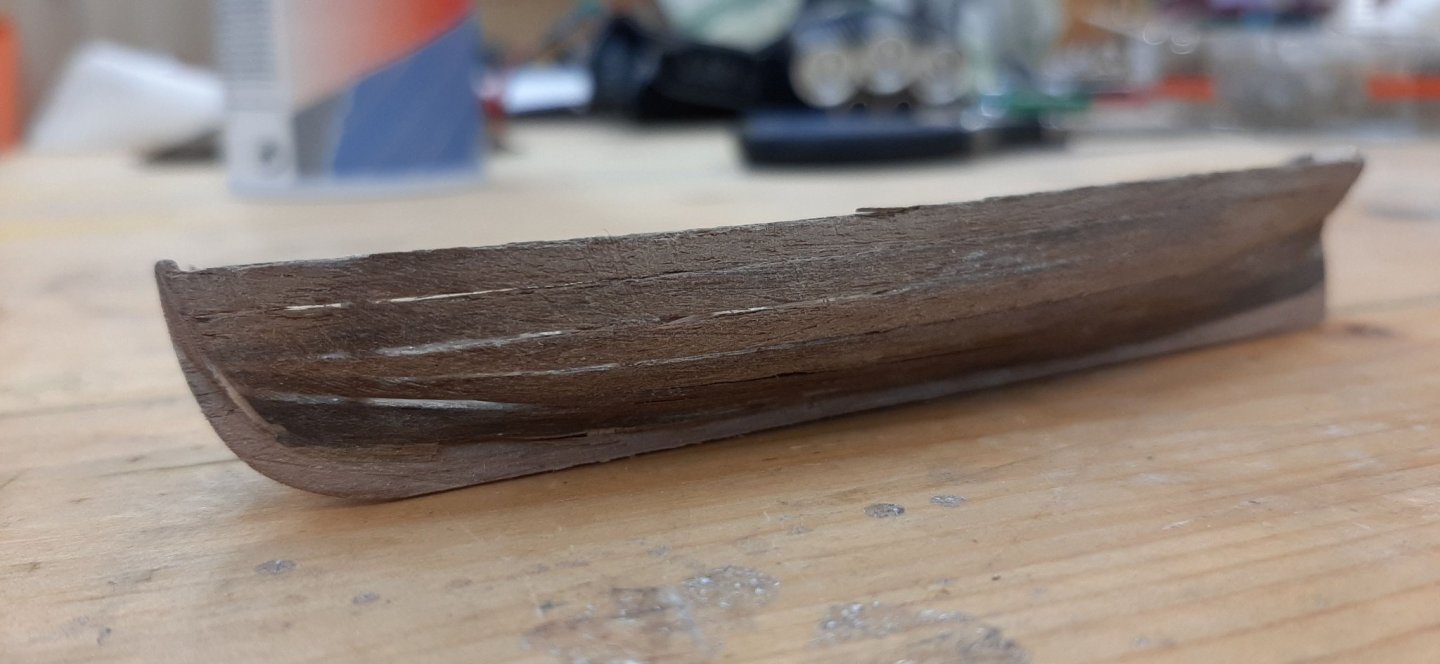
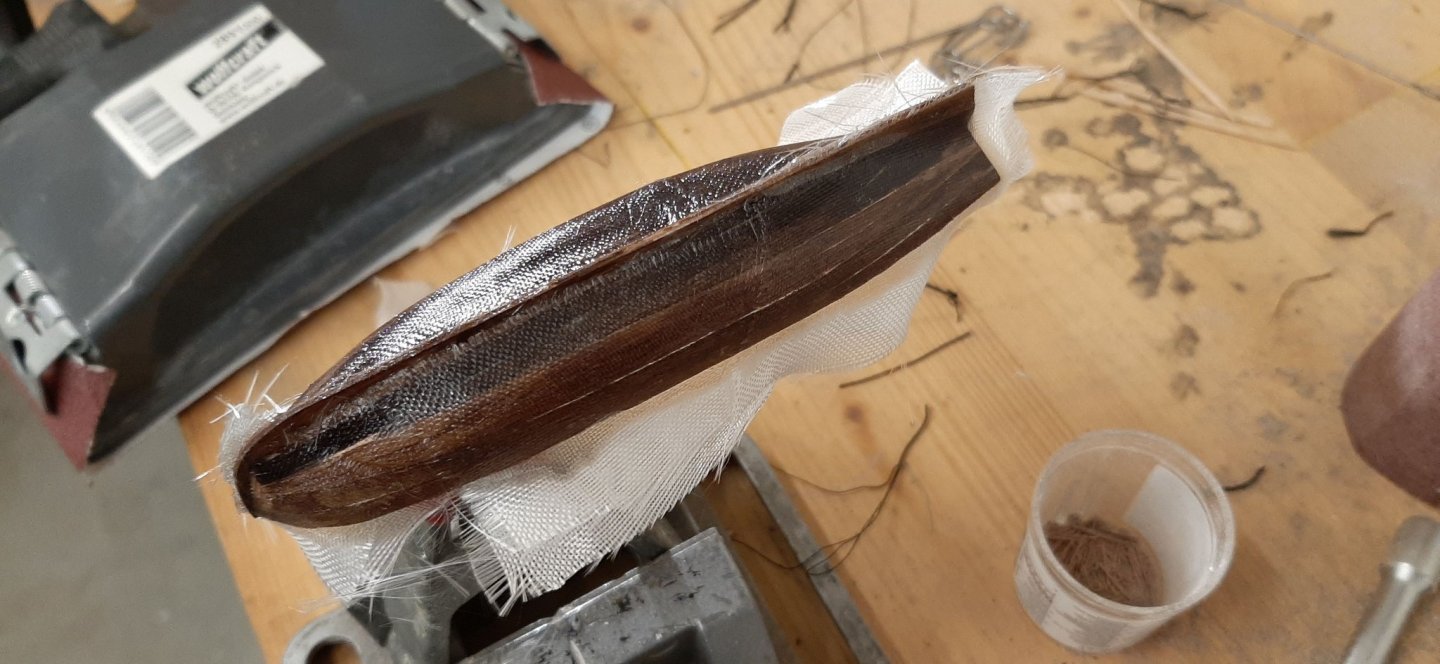
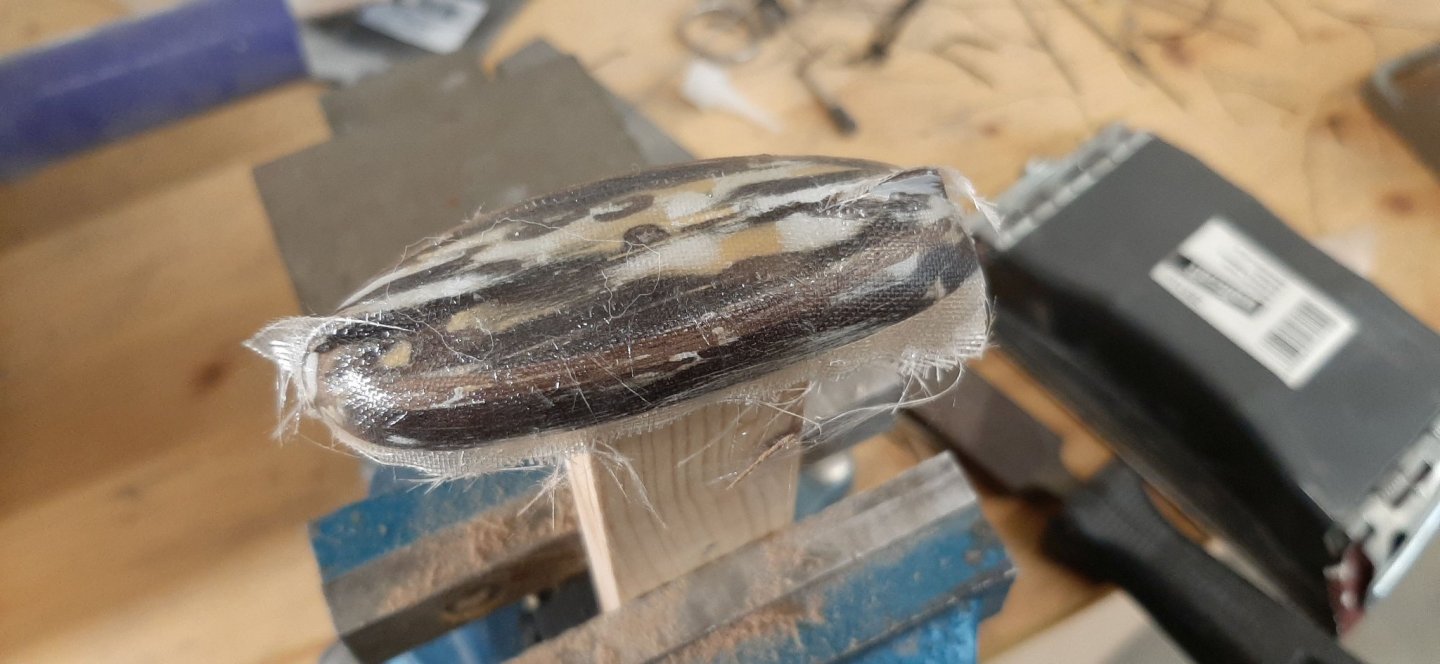
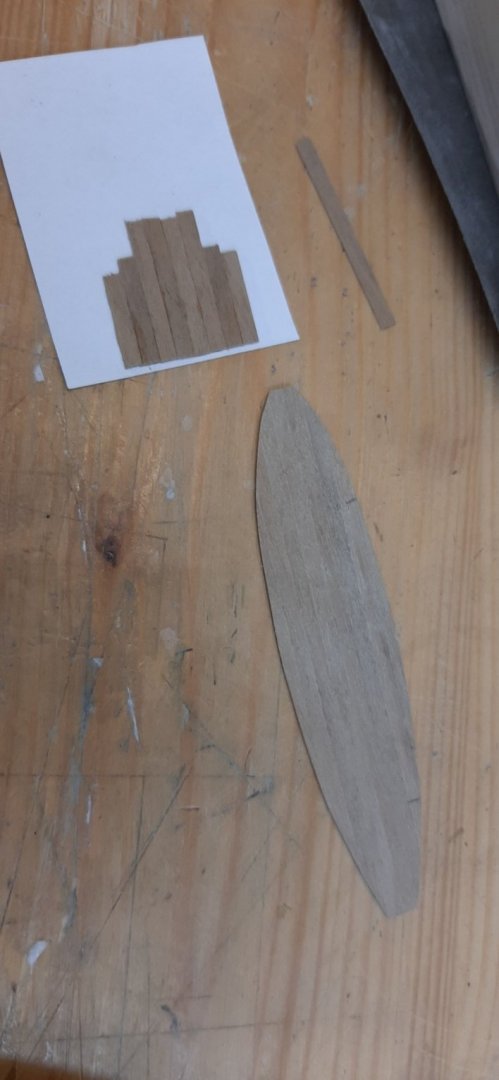
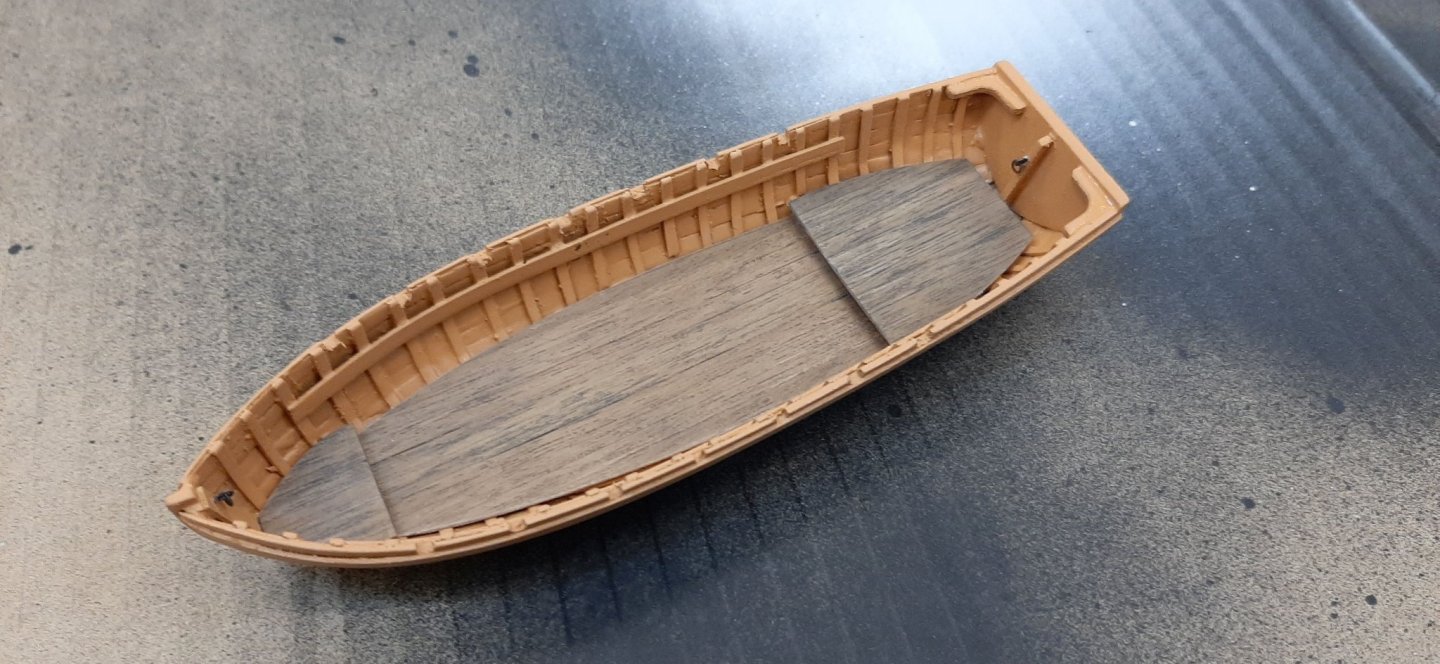
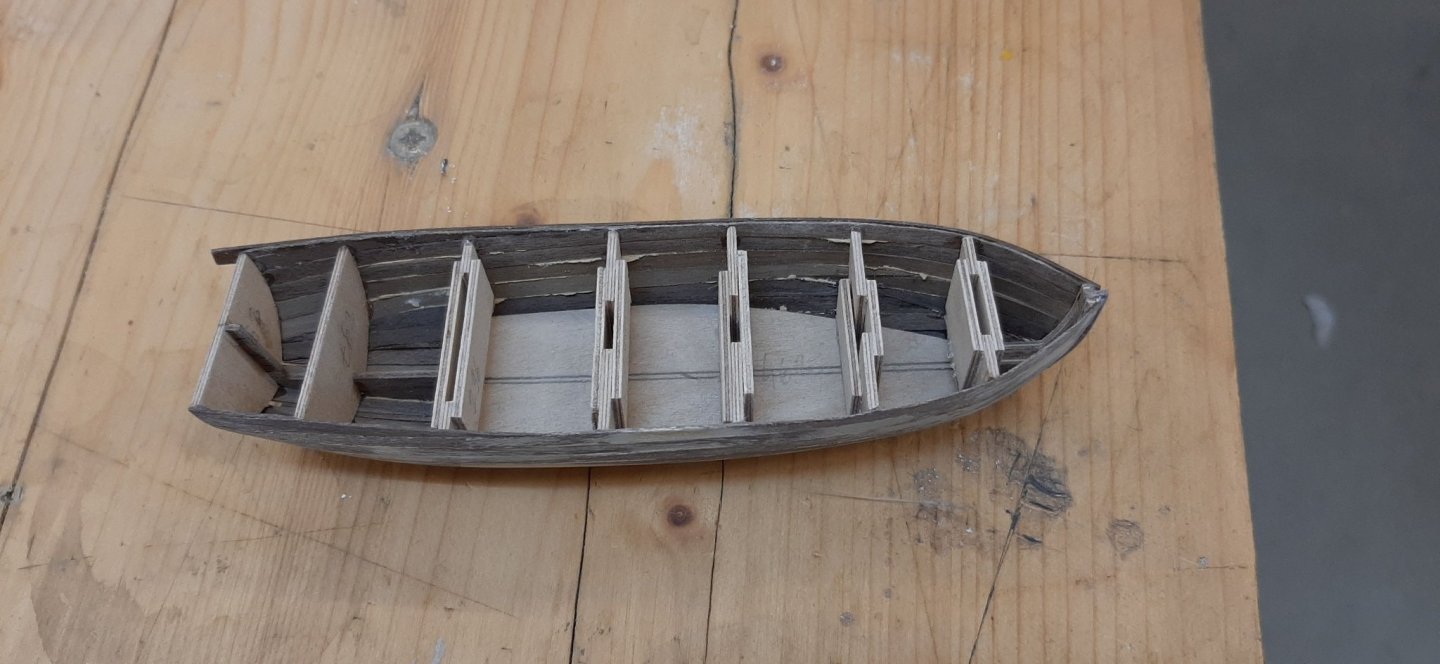
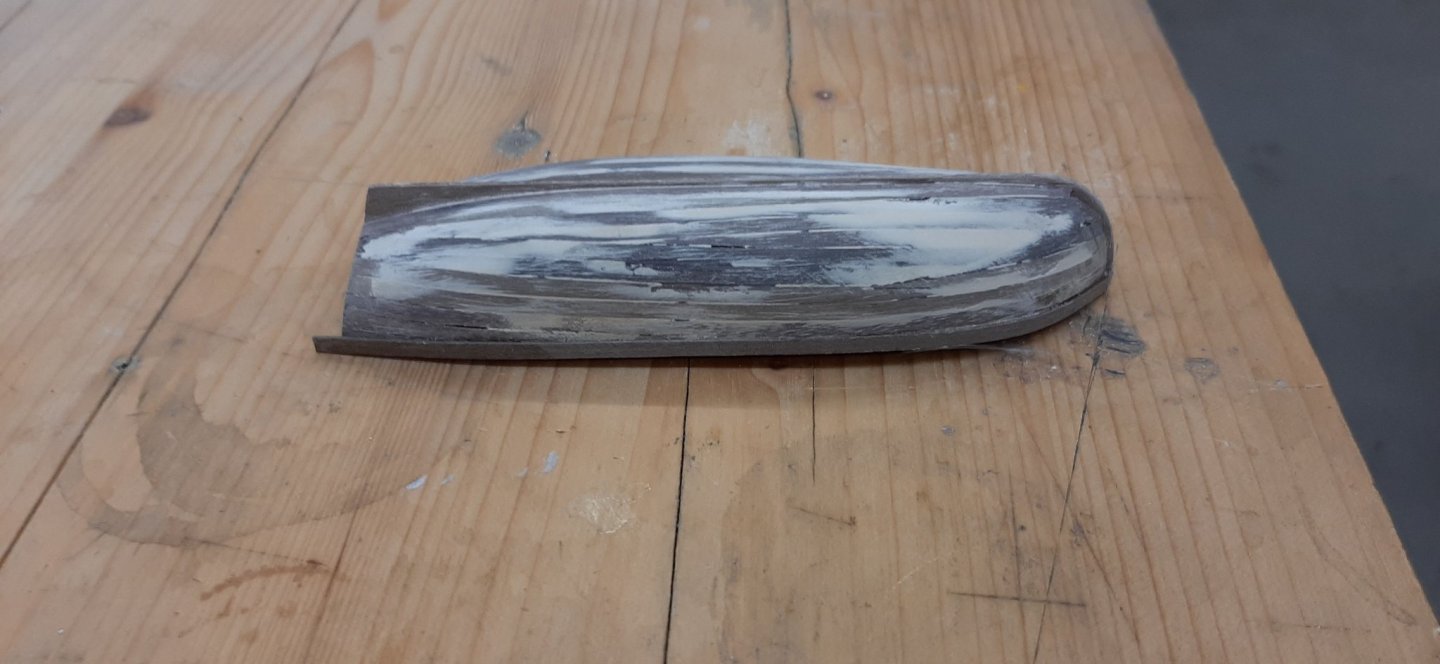
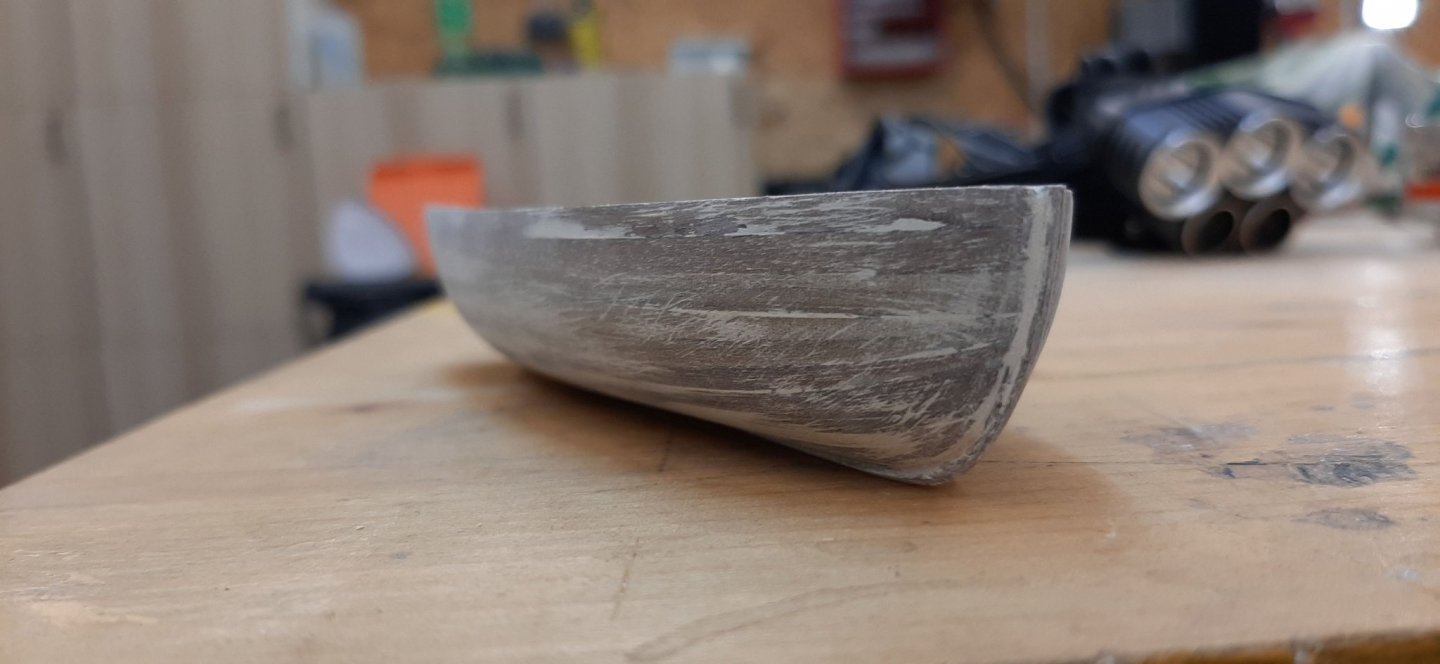
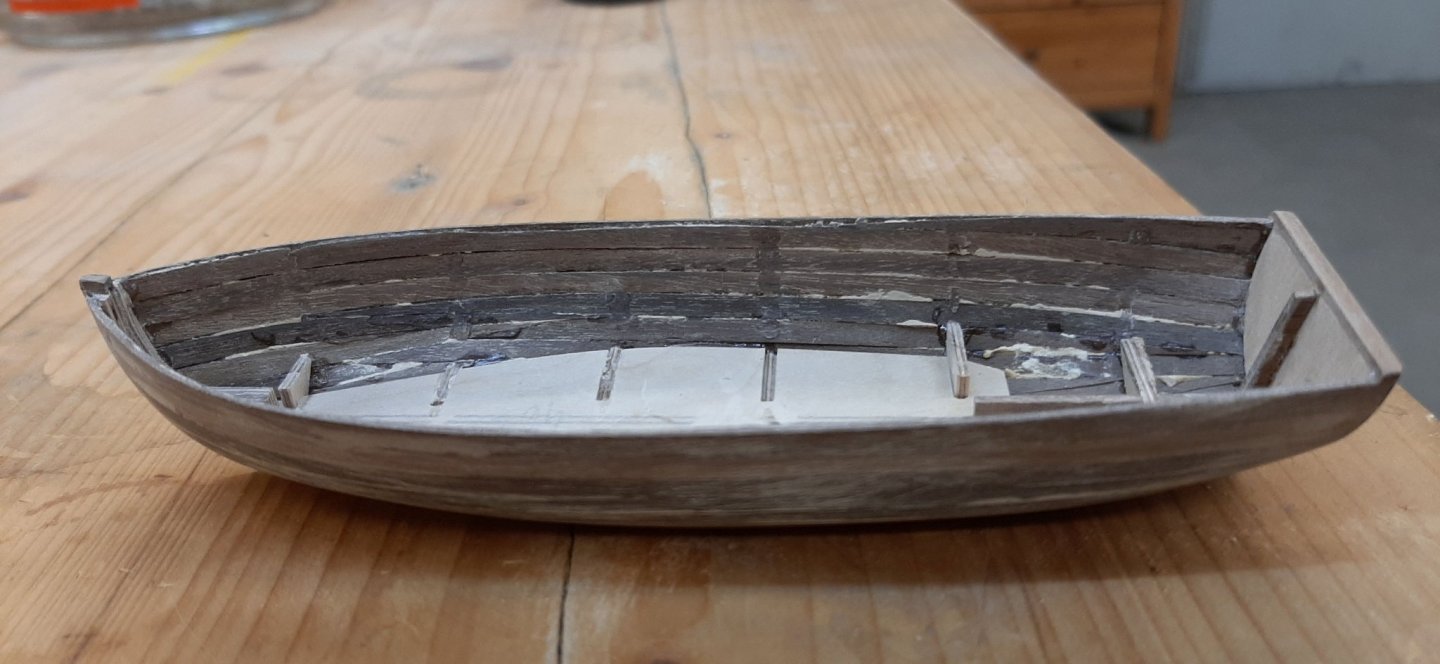
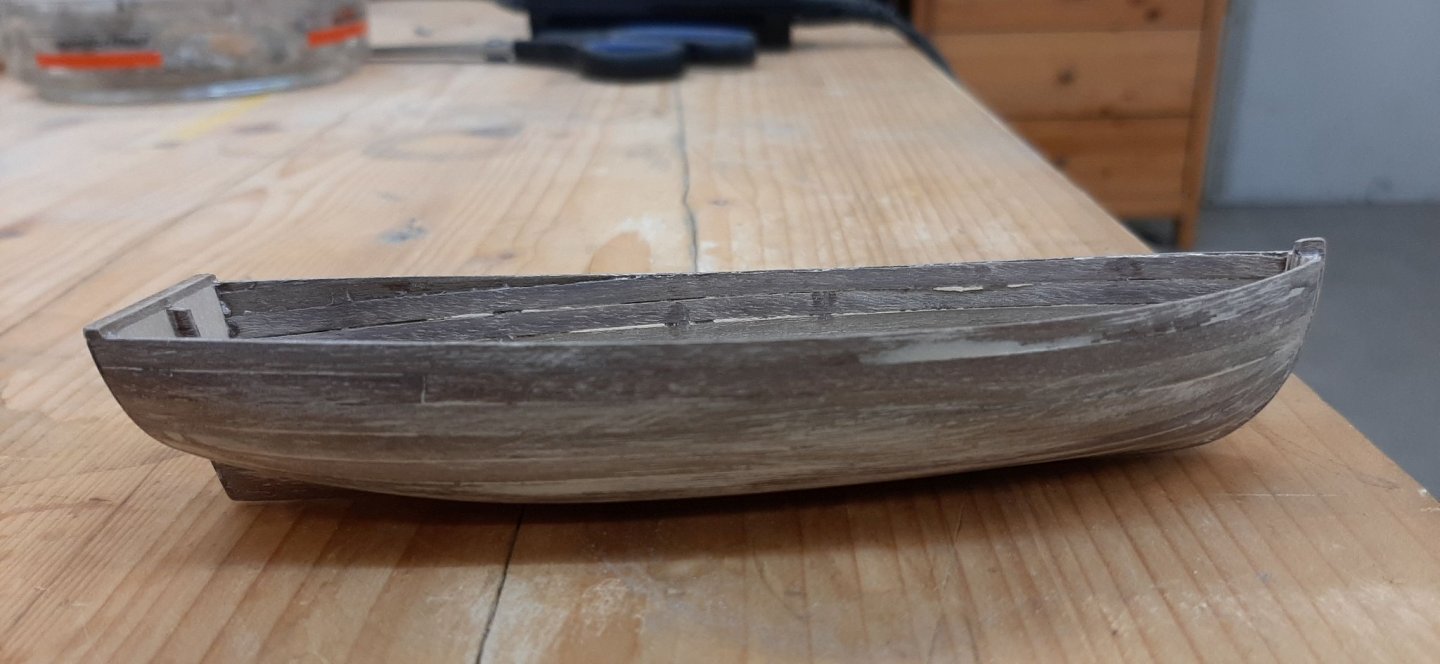
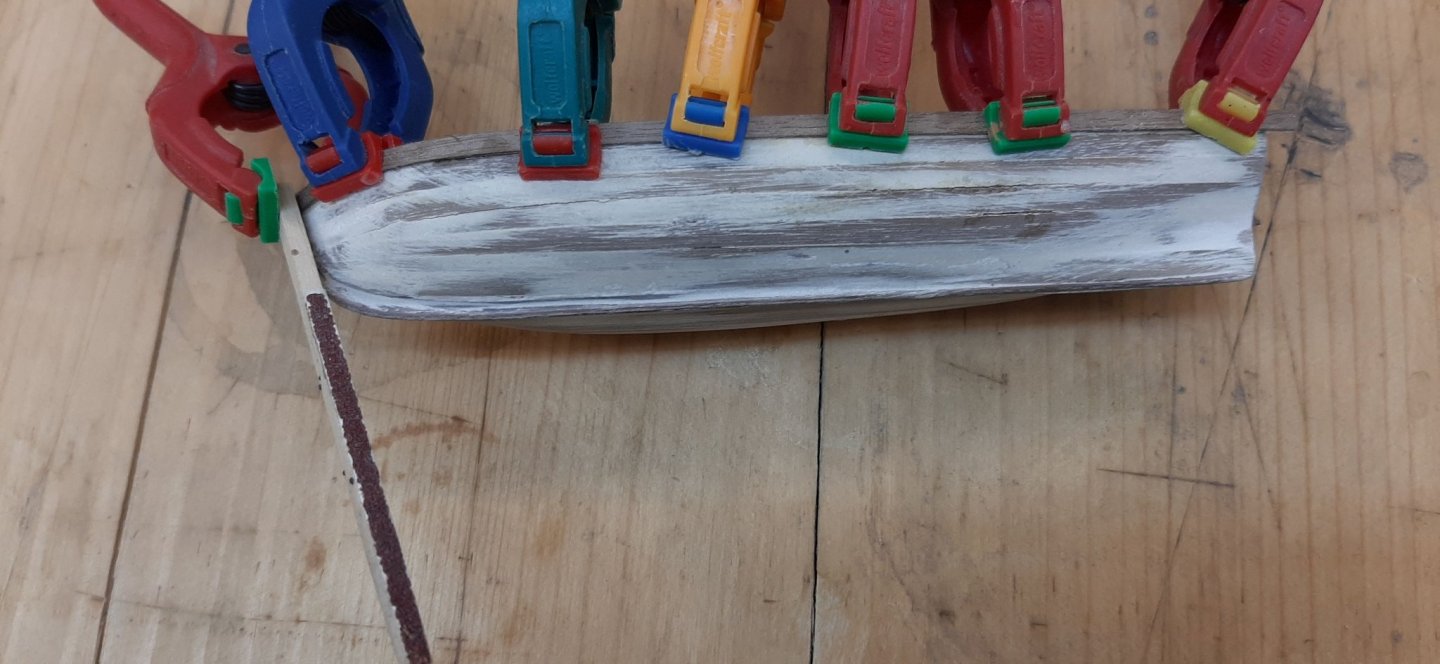
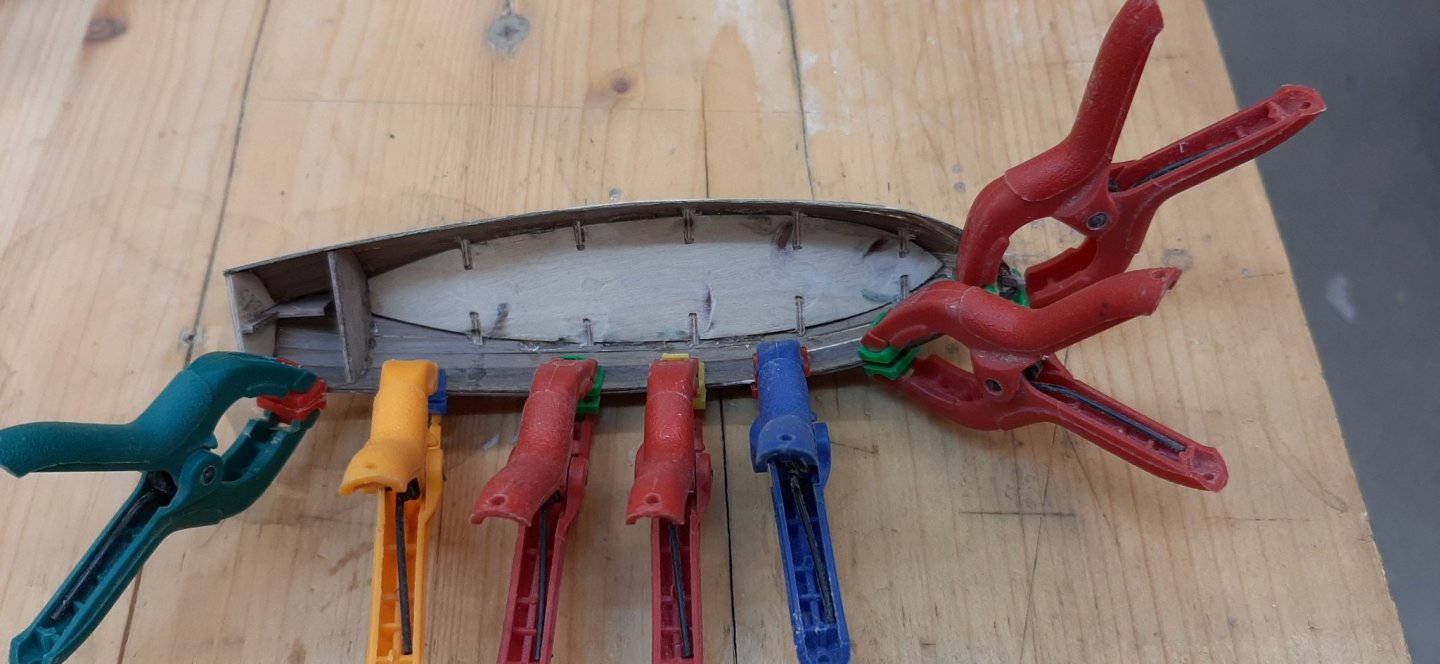
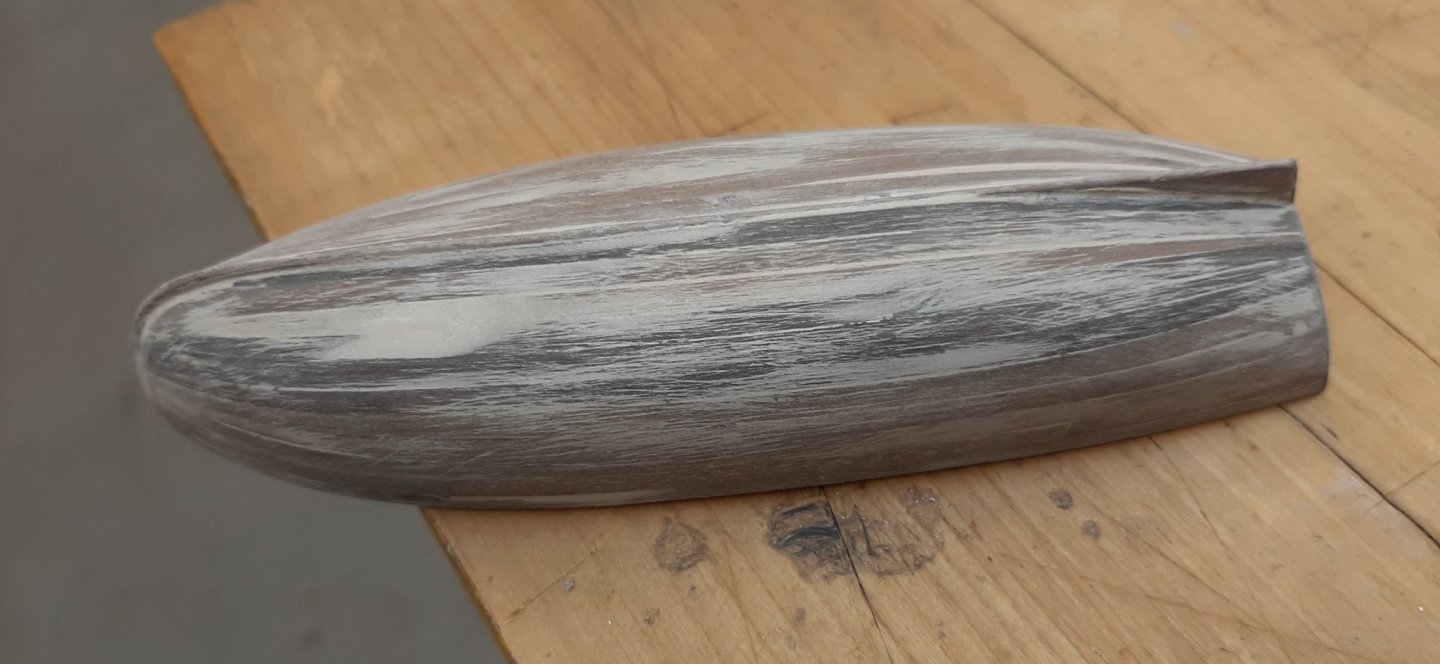
Hello, I have made a little progress again. Now I have all four dinghies in the shell finished. With the two small boats I have planked only once. Since this is not very strong, I have applied a layer of GFK. This is now also sanded and filled. The decks are already made and weathered. Now the interior begins. Cheers Helli -
.thumb.jpg.4b7bd8d1724d970eaddb3802a1706a45.jpg)
HMS Victory by Helli - Caldercraft
Helli replied to Helli's topic in - Kit build logs for subjects built from 1751 - 1800
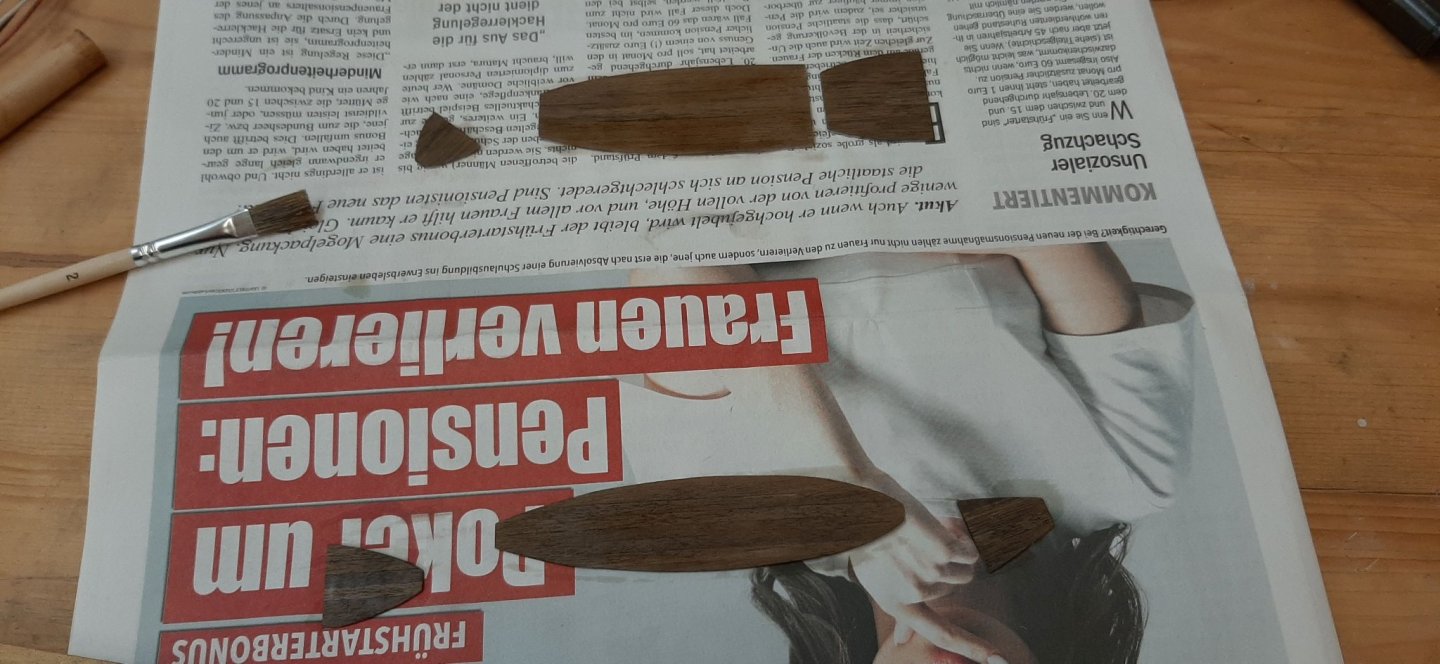
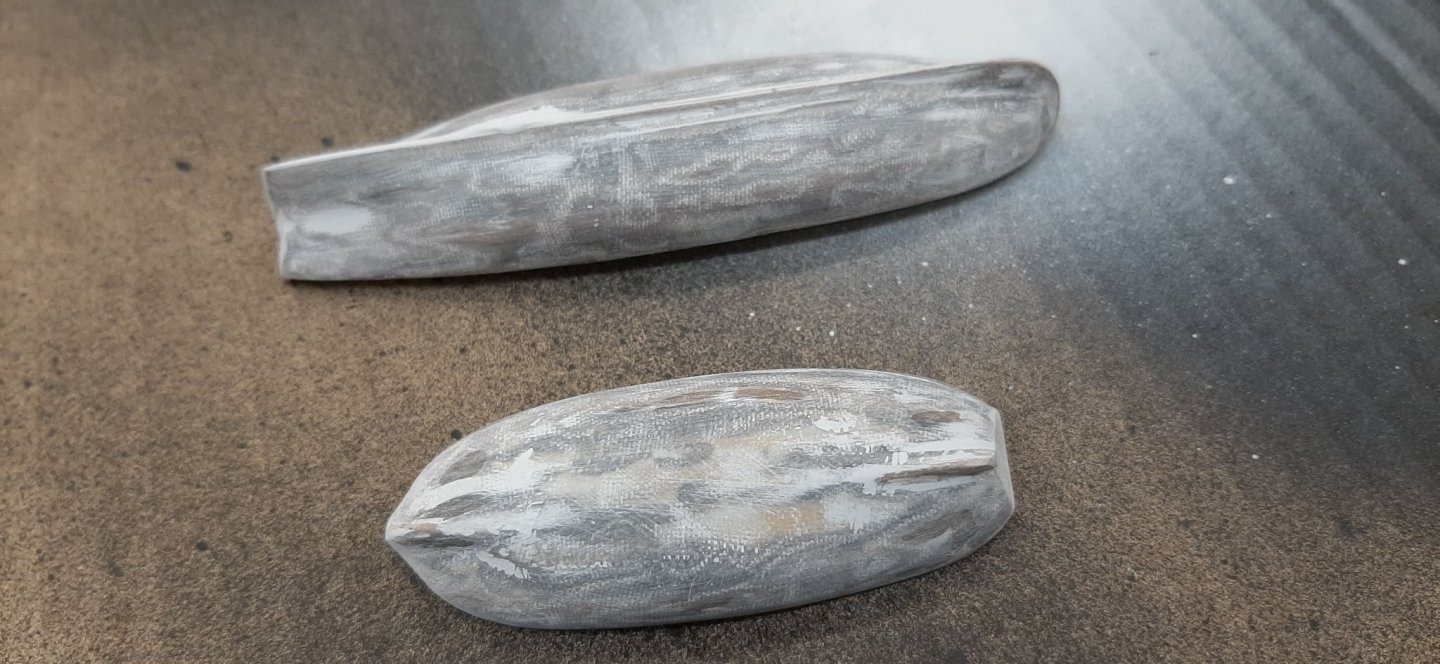
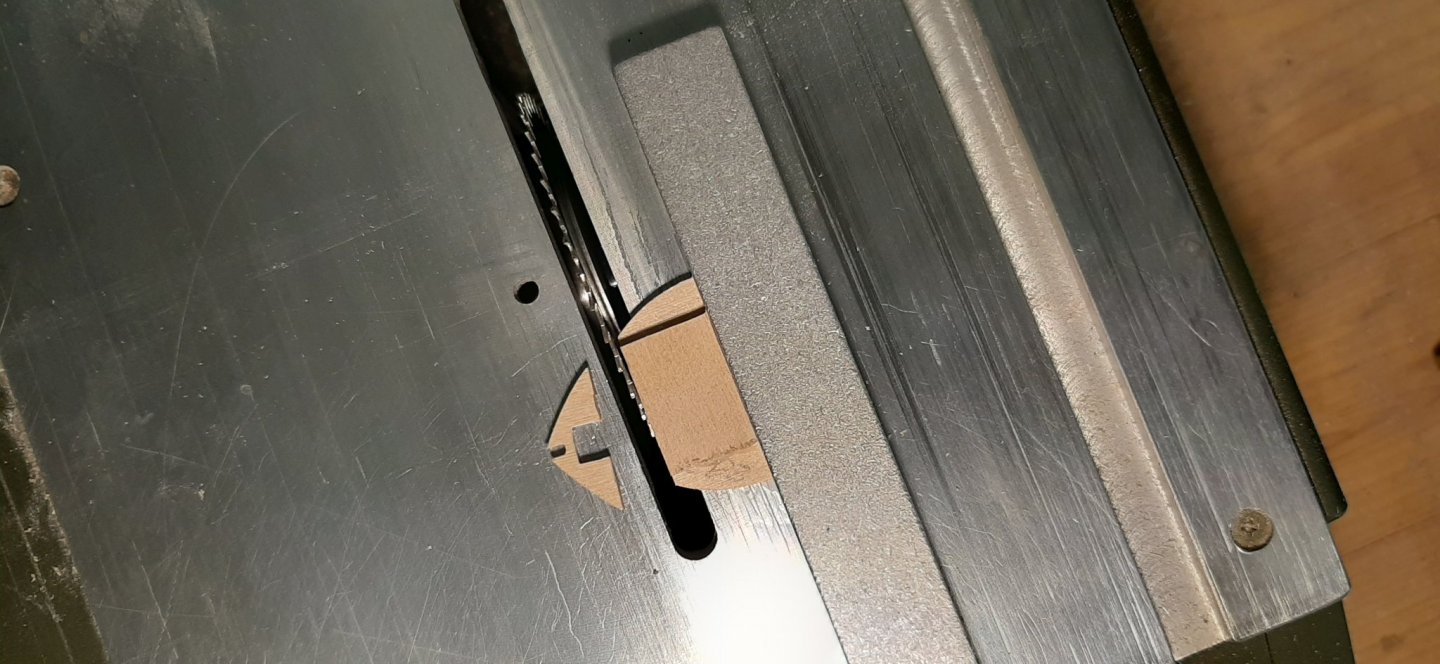
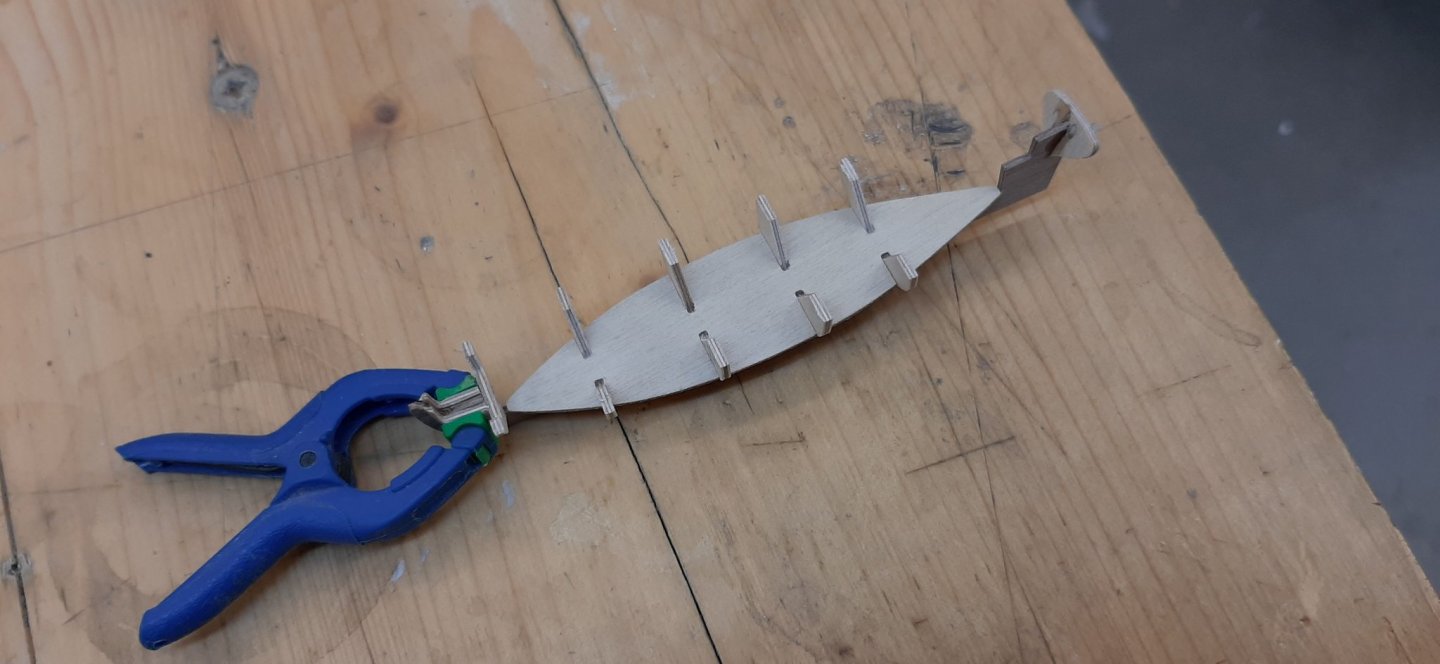
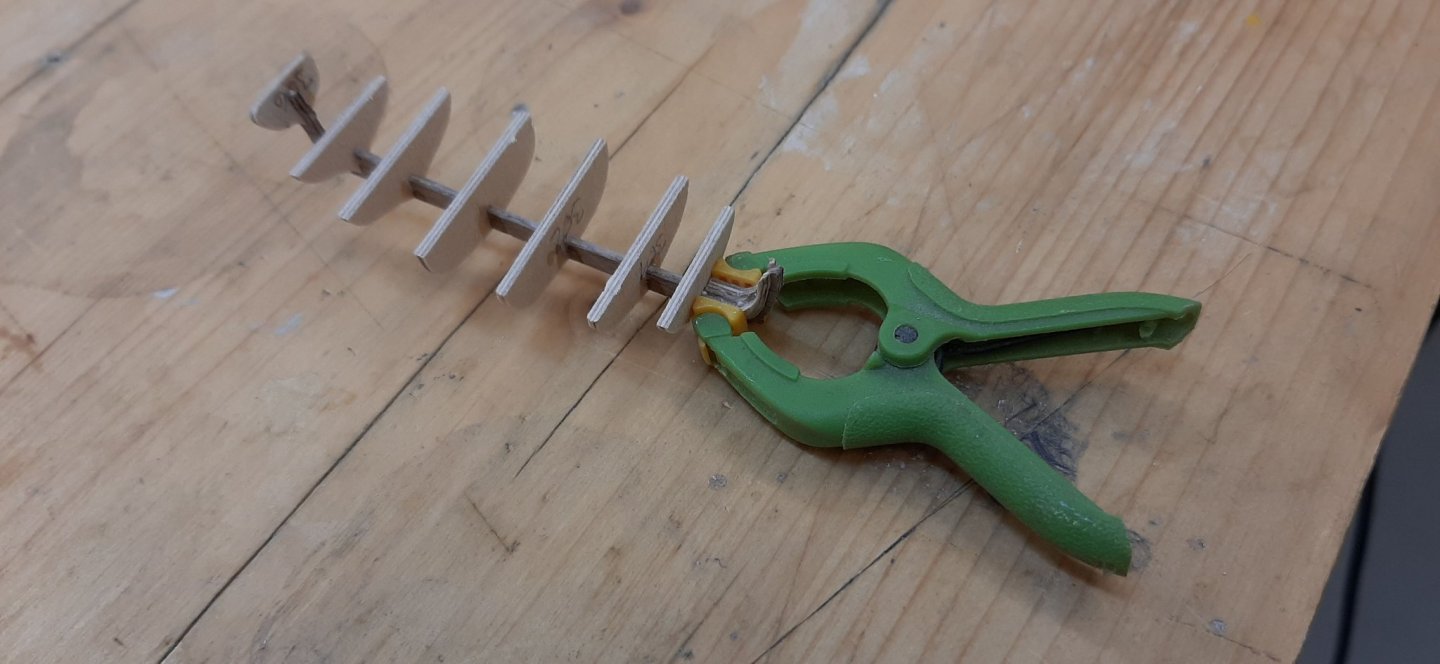
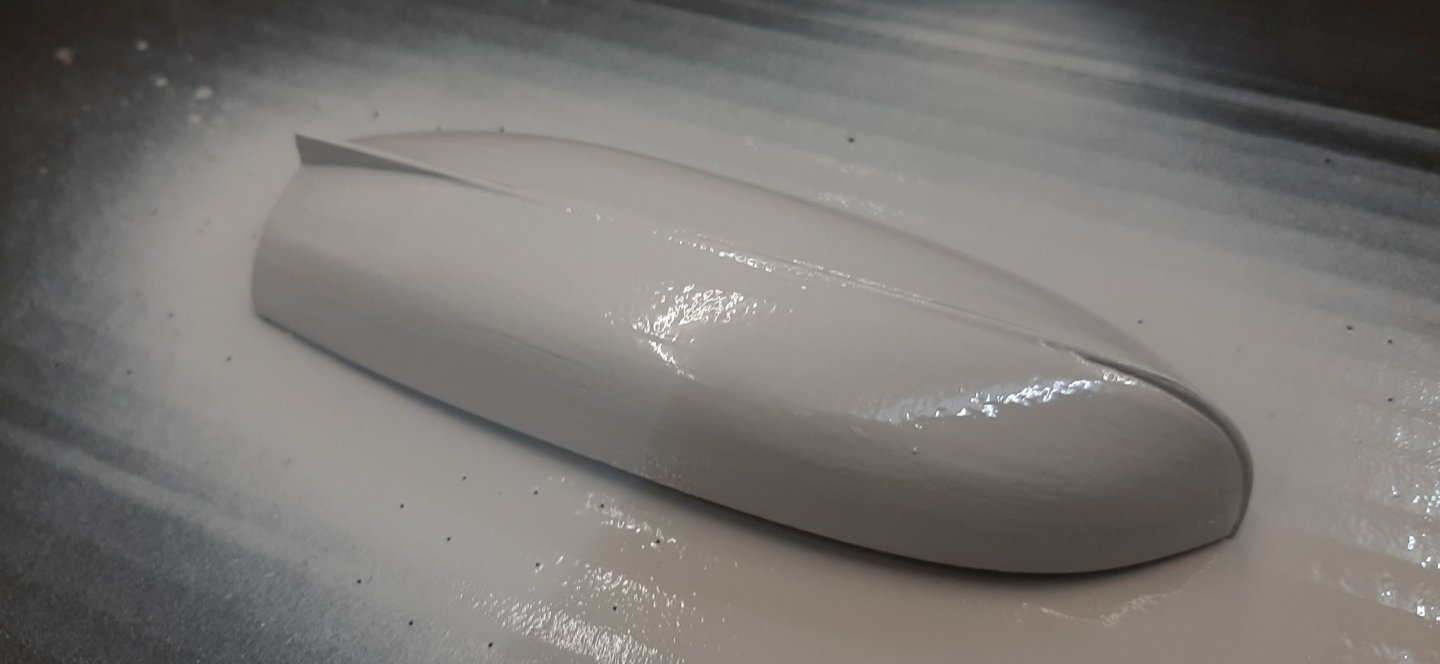
Hello, Since I have a forced break in the rigging, I started with the dinghies. The method of gluing the frames was too risky for me. Therefore, I have separated them before gluing to use them afterwards as placeholders. After that I sanded the first planking filled and sanded again Now I started with the second planking Add a few more details and fill a first time So the whole three times I will report again on the further progress Helli -
.thumb.jpg.4b7bd8d1724d970eaddb3802a1706a45.jpg)
HMS Victory by Helli - Caldercraft
Helli replied to Helli's topic in - Kit build logs for subjects built from 1751 - 1800
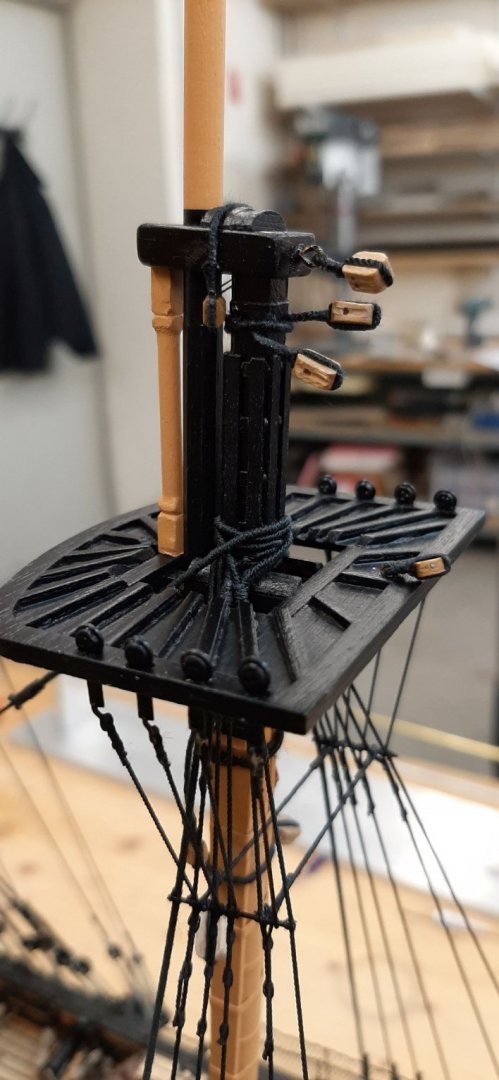
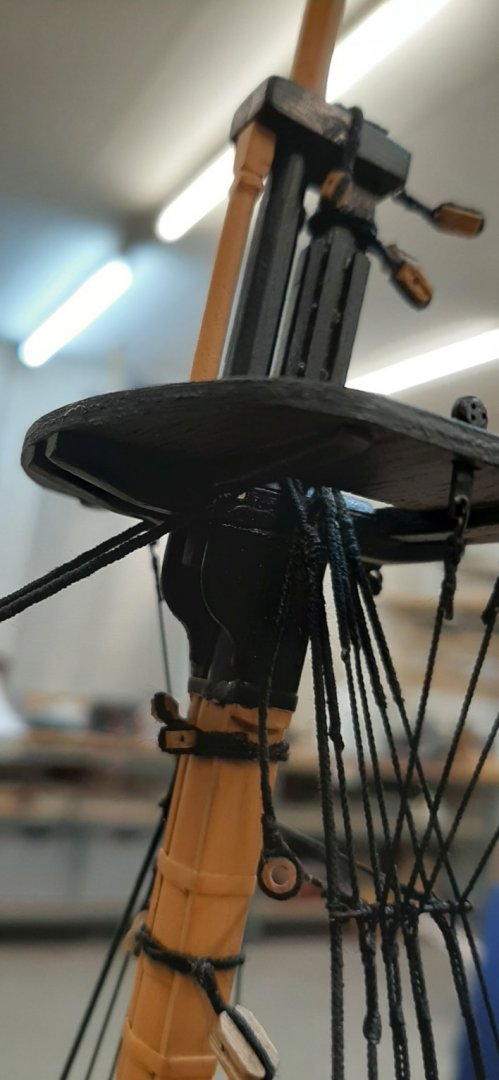
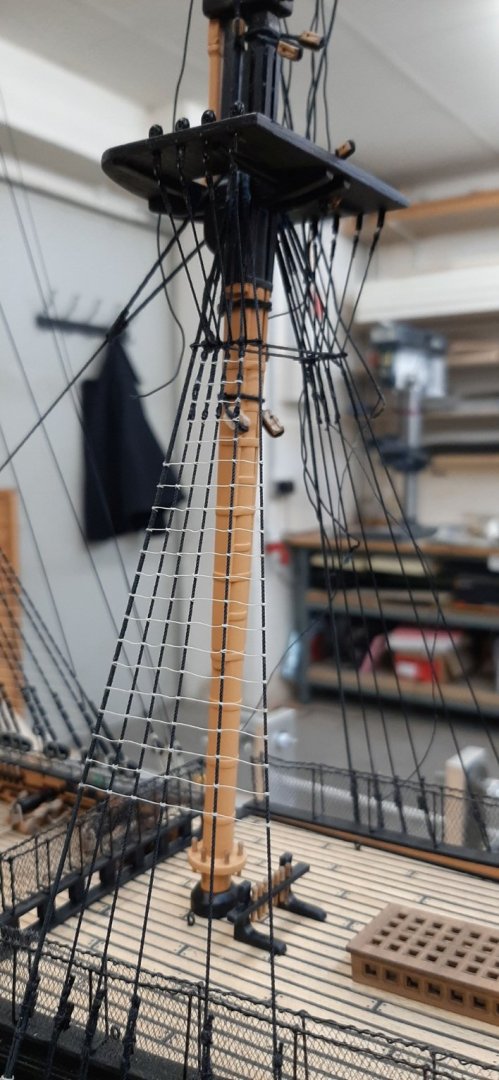
Hello, Before it went to the fitting of Deadeye Futtock Strops I soldered them. But with a maximum of 10w soldering iron because otherwise the brass anneals and cracks. Then I mounted all the blocks and the futtock shrouds. And again ratlines :-) Now I have a forced break because I lost one when painting the deadeyes and I have no more in reserve. Due to the lockdown all stores are closed so I have to get them online. But there are still enough other things to do. Helli
About us
Modelshipworld - Advancing Ship Modeling through Research
SSL Secured
Your security is important for us so this Website is SSL-Secured
NRG Mailing Address
Nautical Research Guild
237 South Lincoln Street
Westmont IL, 60559-1917
Model Ship World ® and the MSW logo are Registered Trademarks, and belong to the Nautical Research Guild (United States Patent and Trademark Office: No. 6,929,264 & No. 6,929,274, registered Dec. 20, 2022)
Helpful Links
About the NRG
If you enjoy building ship models that are historically accurate as well as beautiful, then The Nautical Research Guild (NRG) is just right for you.
The Guild is a non-profit educational organization whose mission is to “Advance Ship Modeling Through Research”. We provide support to our members in their efforts to raise the quality of their model ships.
The Nautical Research Guild has published our world-renowned quarterly magazine, The Nautical Research Journal, since 1955. The pages of the Journal are full of articles by accomplished ship modelers who show you how they create those exquisite details on their models, and by maritime historians who show you the correct details to build. The Journal is available in both print and digital editions. Go to the NRG web site (www.thenrg.org) to download a complimentary digital copy of the Journal. The NRG also publishes plan sets, books and compilations of back issues of the Journal and the former Ships in Scale and Model Ship Builder magazines.


