

.jpg.86de90214b5ec64ae9106574f7552ed2.jpg)
Helli
-
Posts
70 -
Joined
-
Last visited
Content Type
Profiles
Forums
Gallery
Events
Posts posted by Helli
-
-
-
Hello,
Can anyone tell me what the "red point" on the english flag means?

Thank you
Helli
-
Hello Robert,
As the previous speaker said, I´m sure you will make it.
It`s very easy with filling and sanding. The planking looks very good and with patience the result will convince you.
Helli
-
Hello Robert,
I like the planking very much. The wooden nails are great. It`s a shame that they disappear under the second planking.
Keep it up.
I`m already looking forward to the next step.
Helli
-
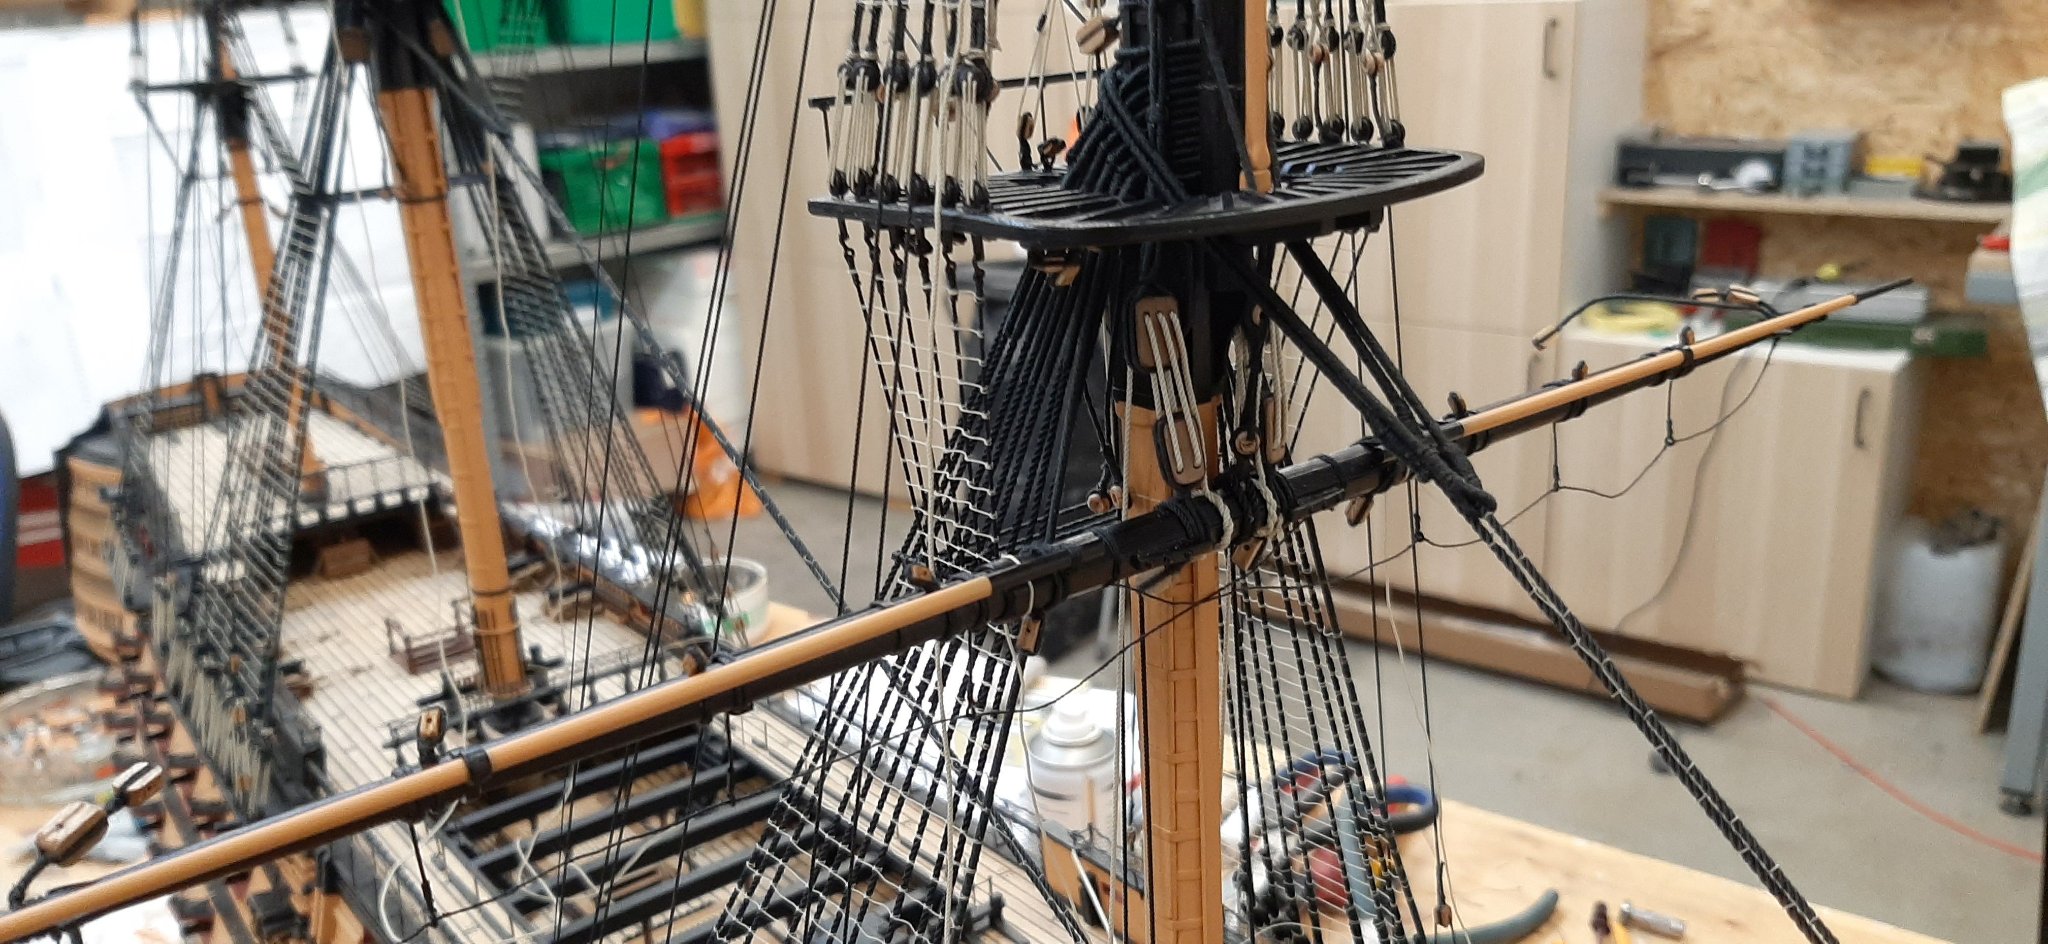
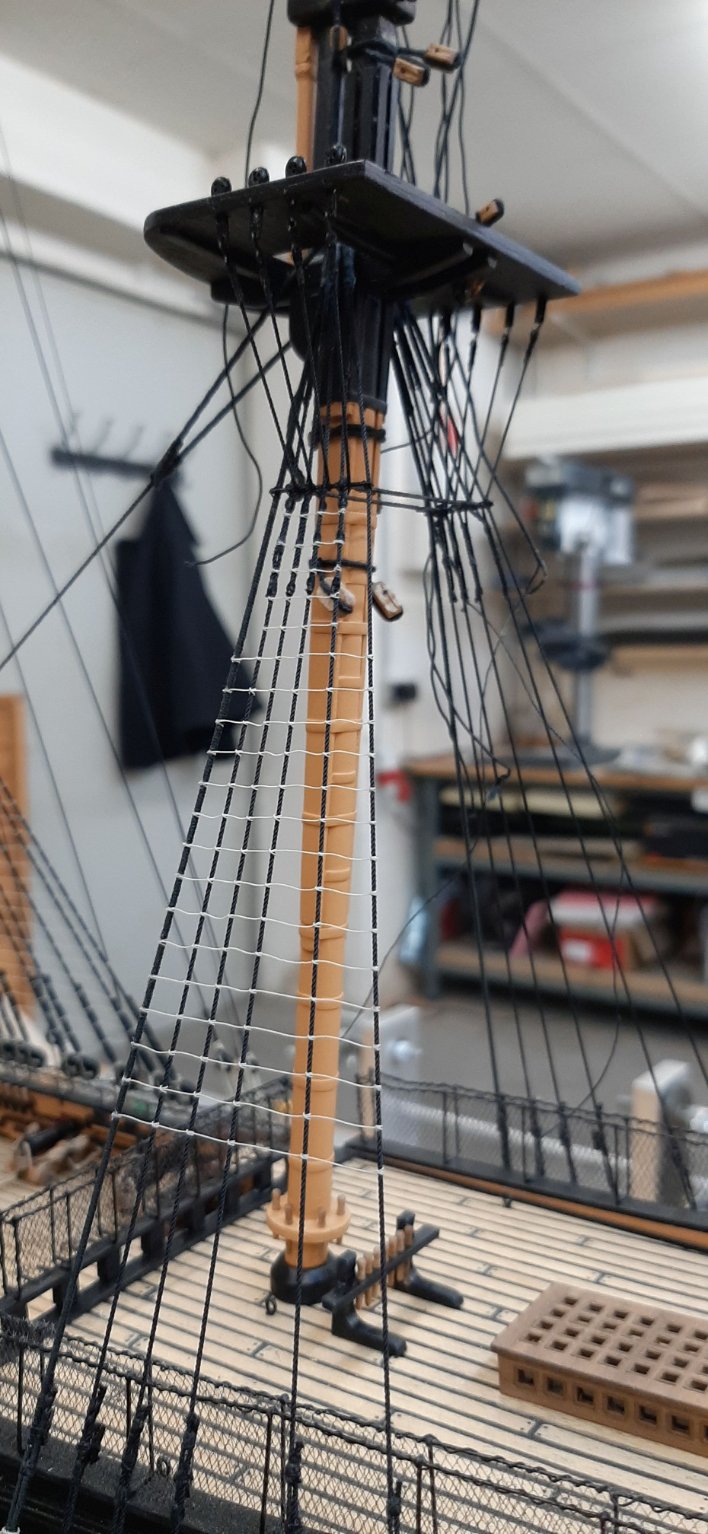
Hello,
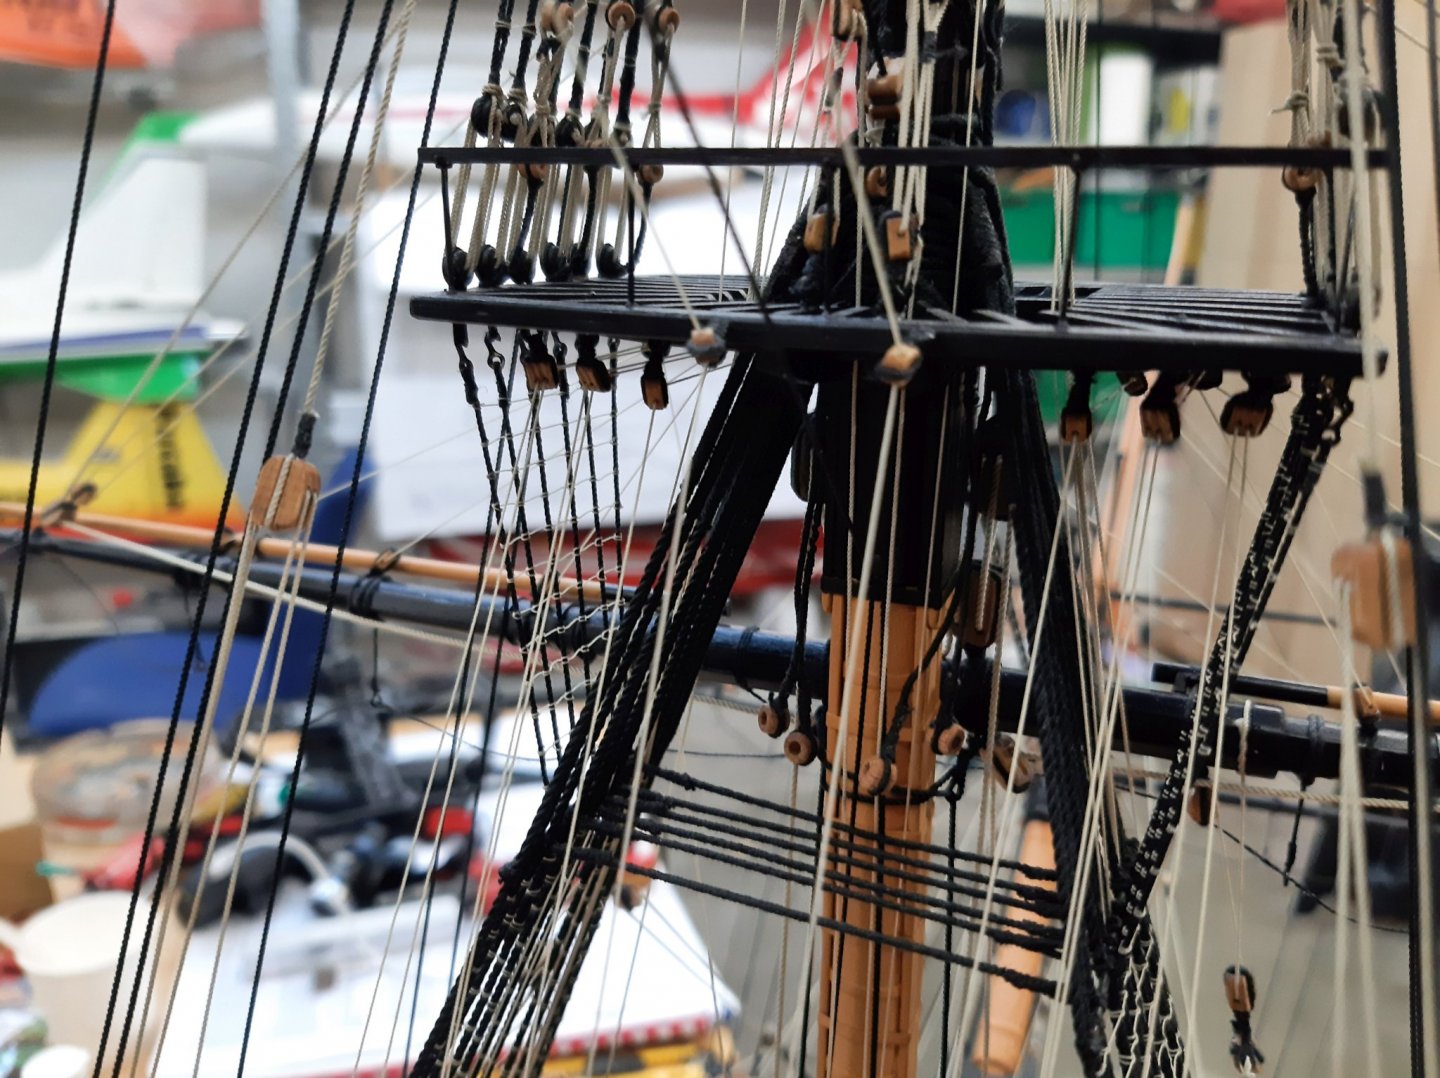
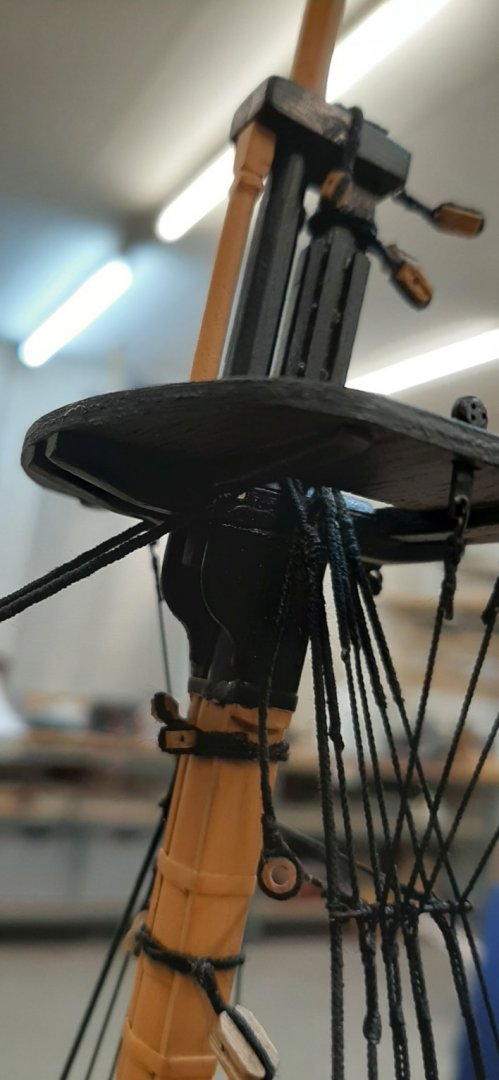
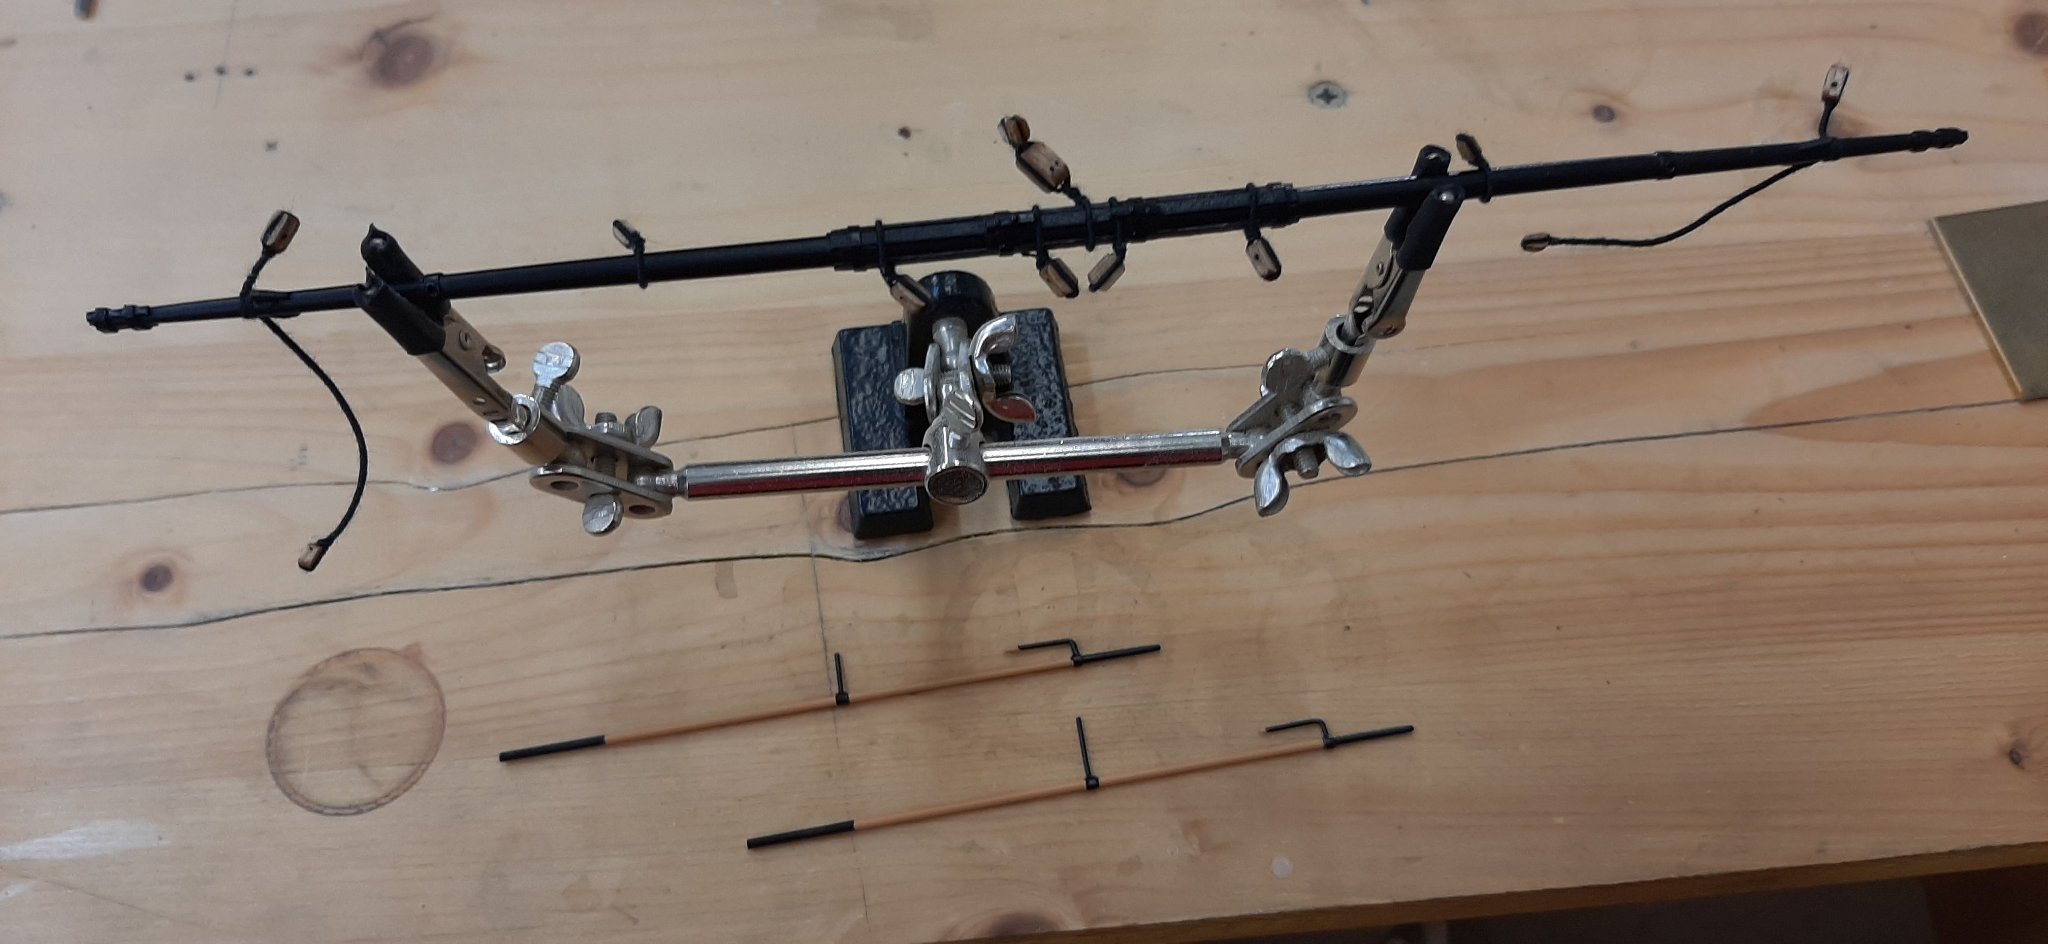
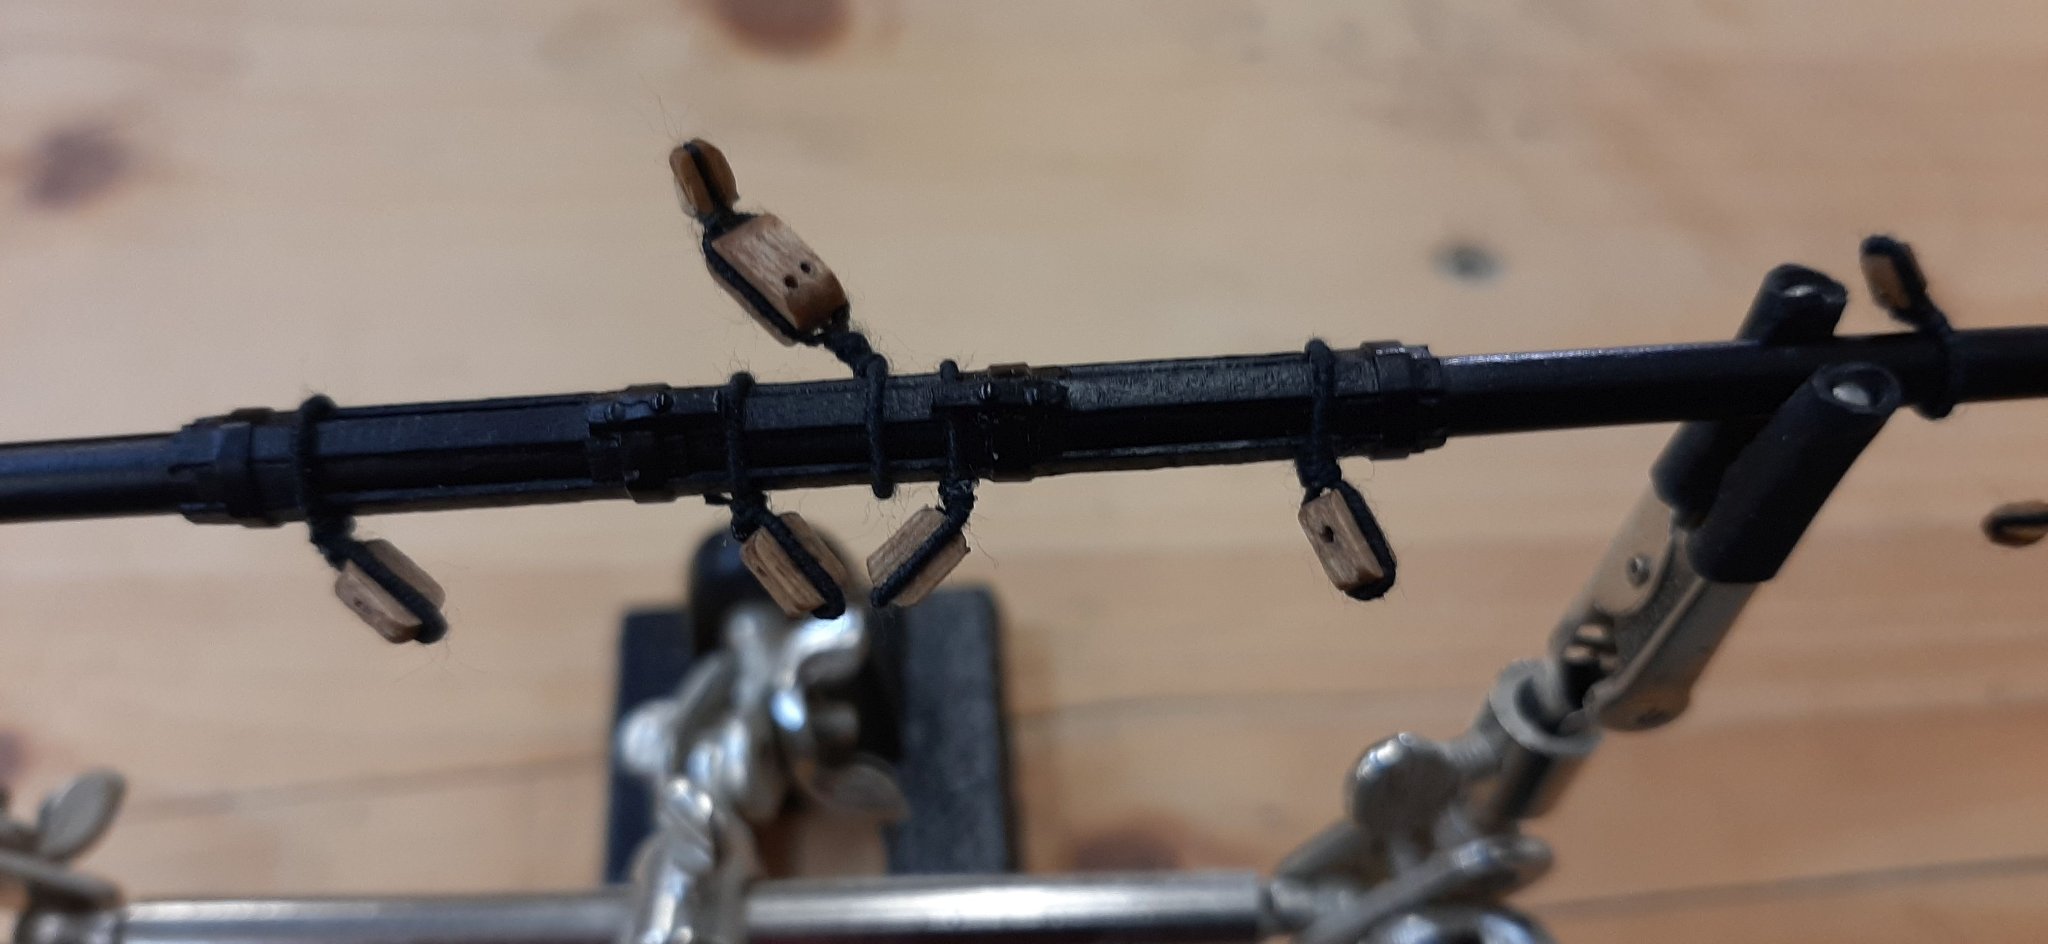
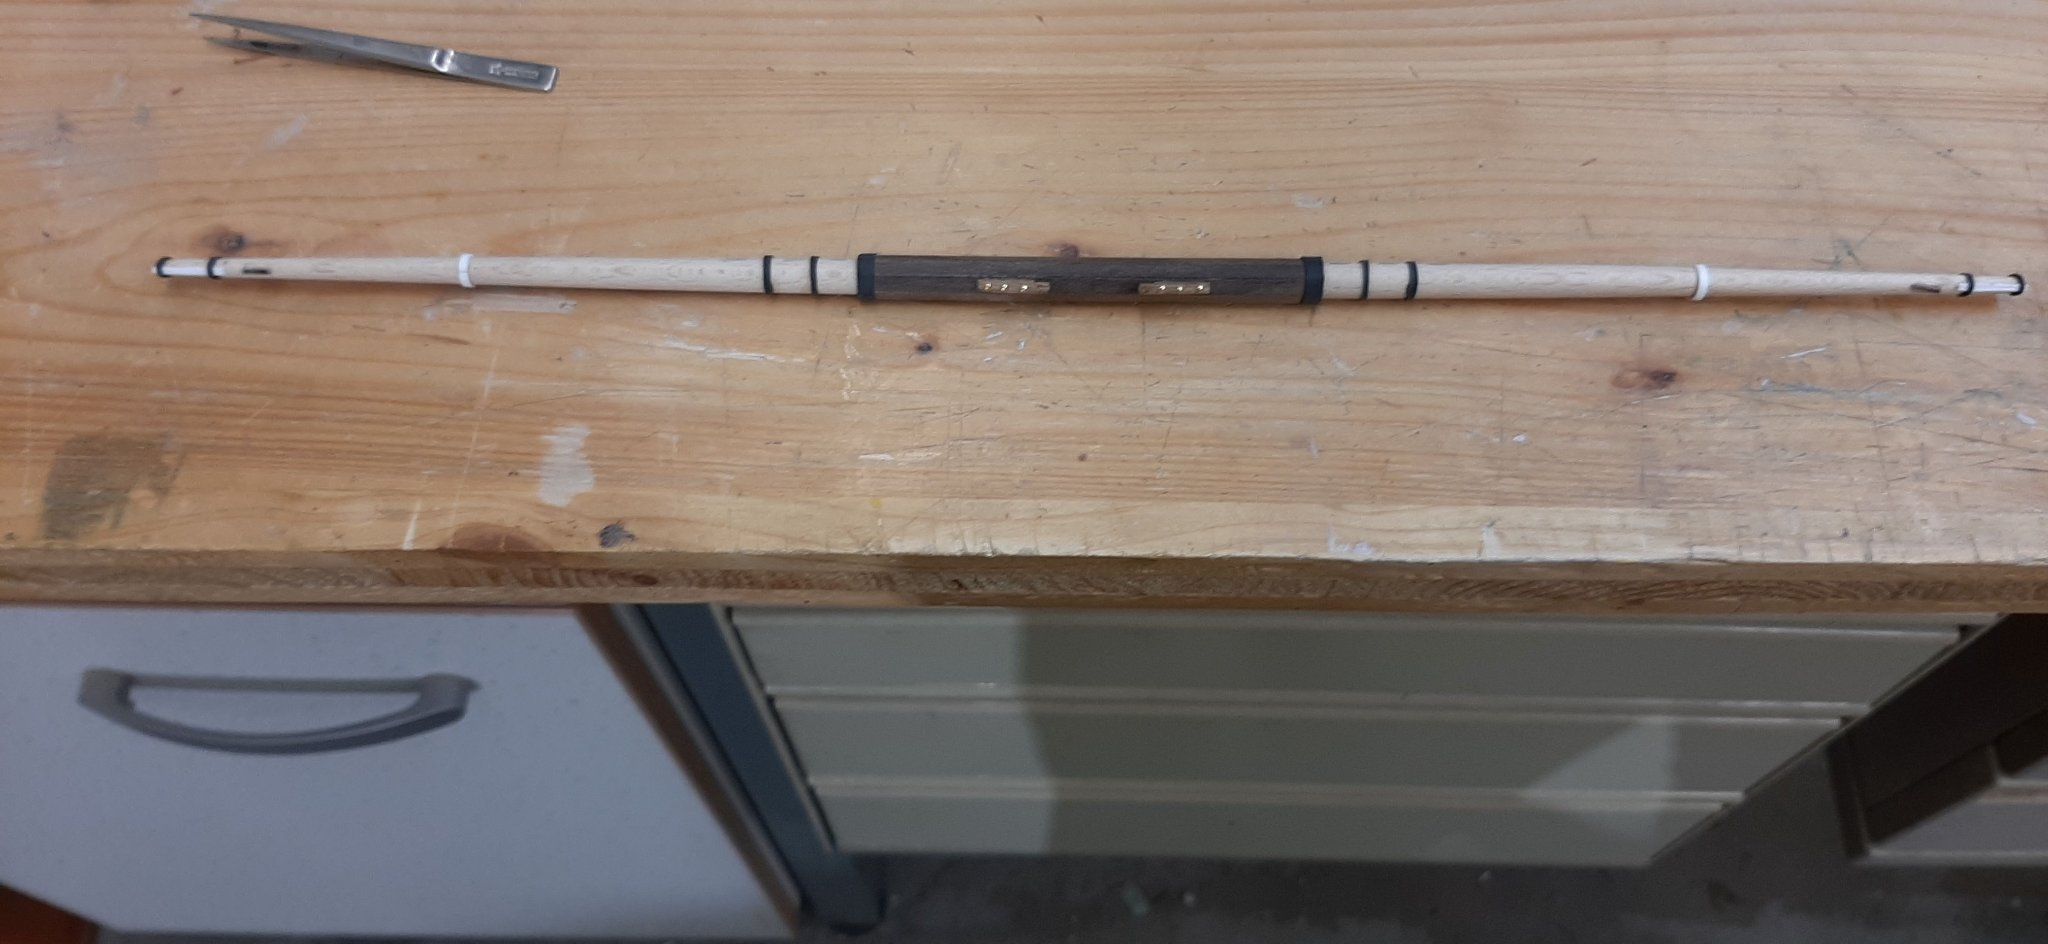
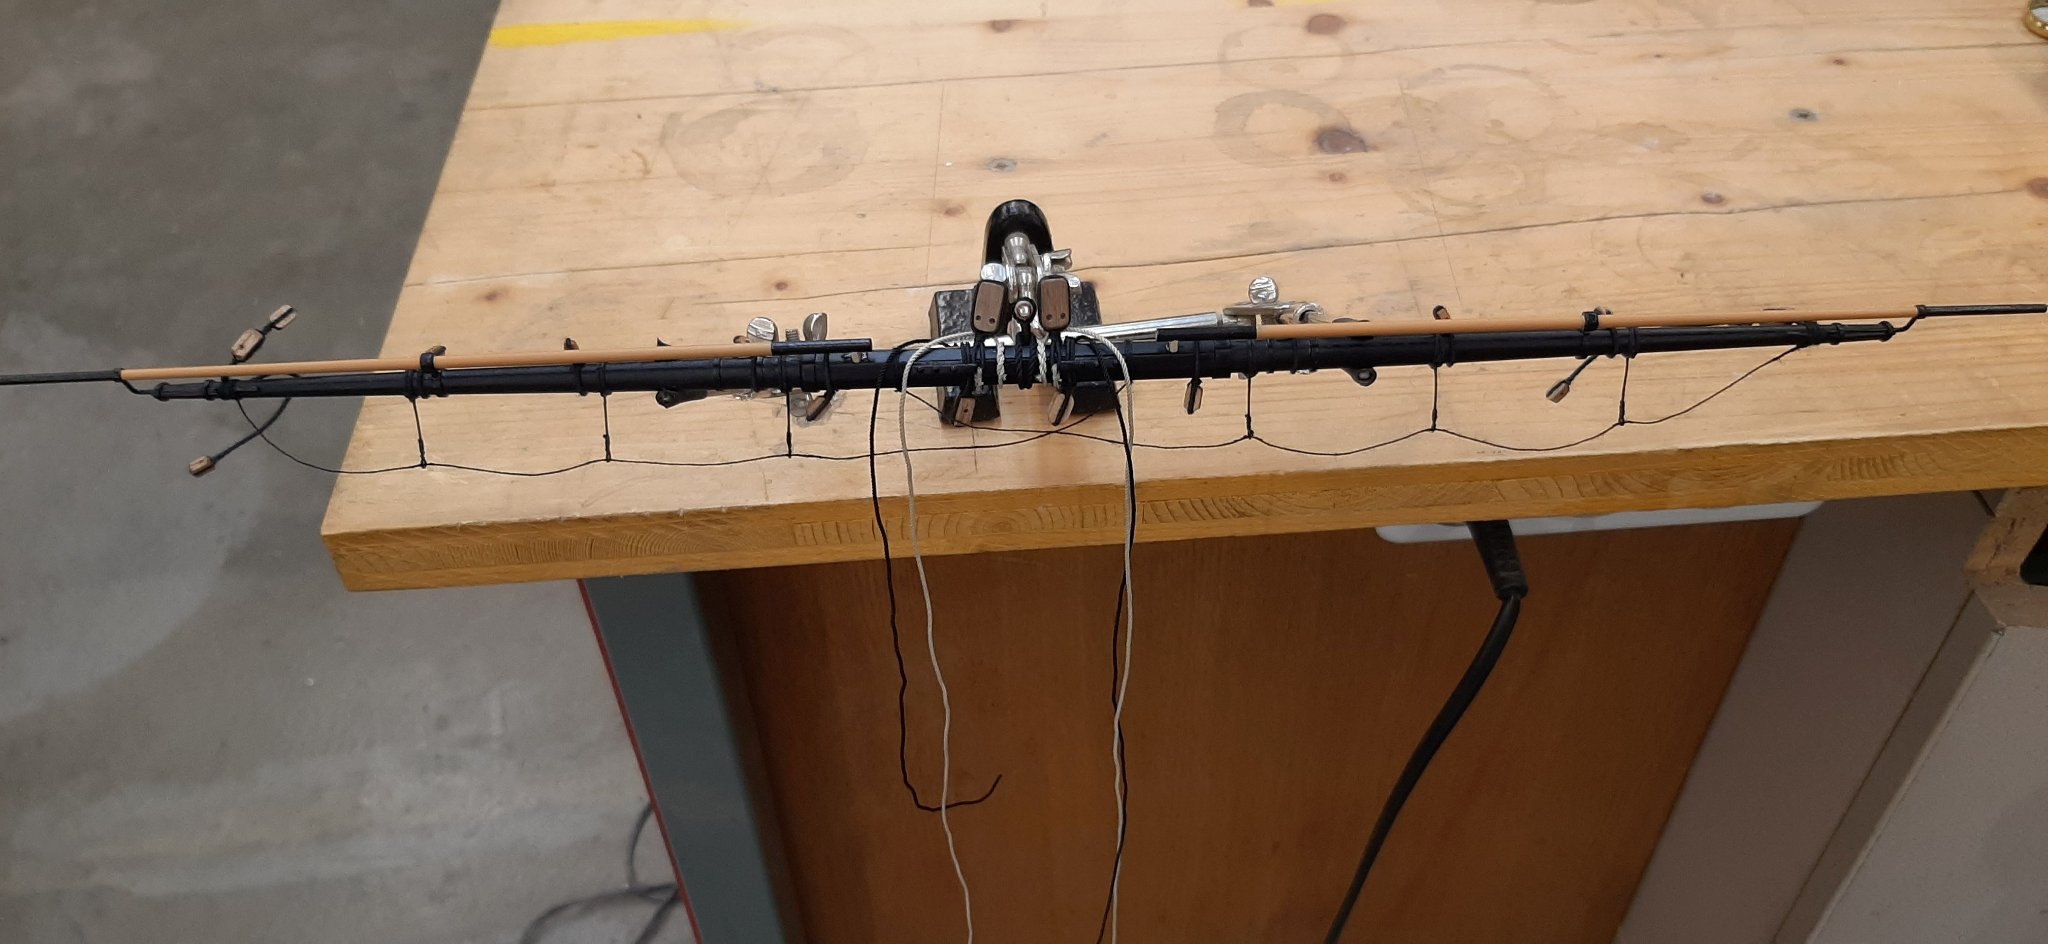
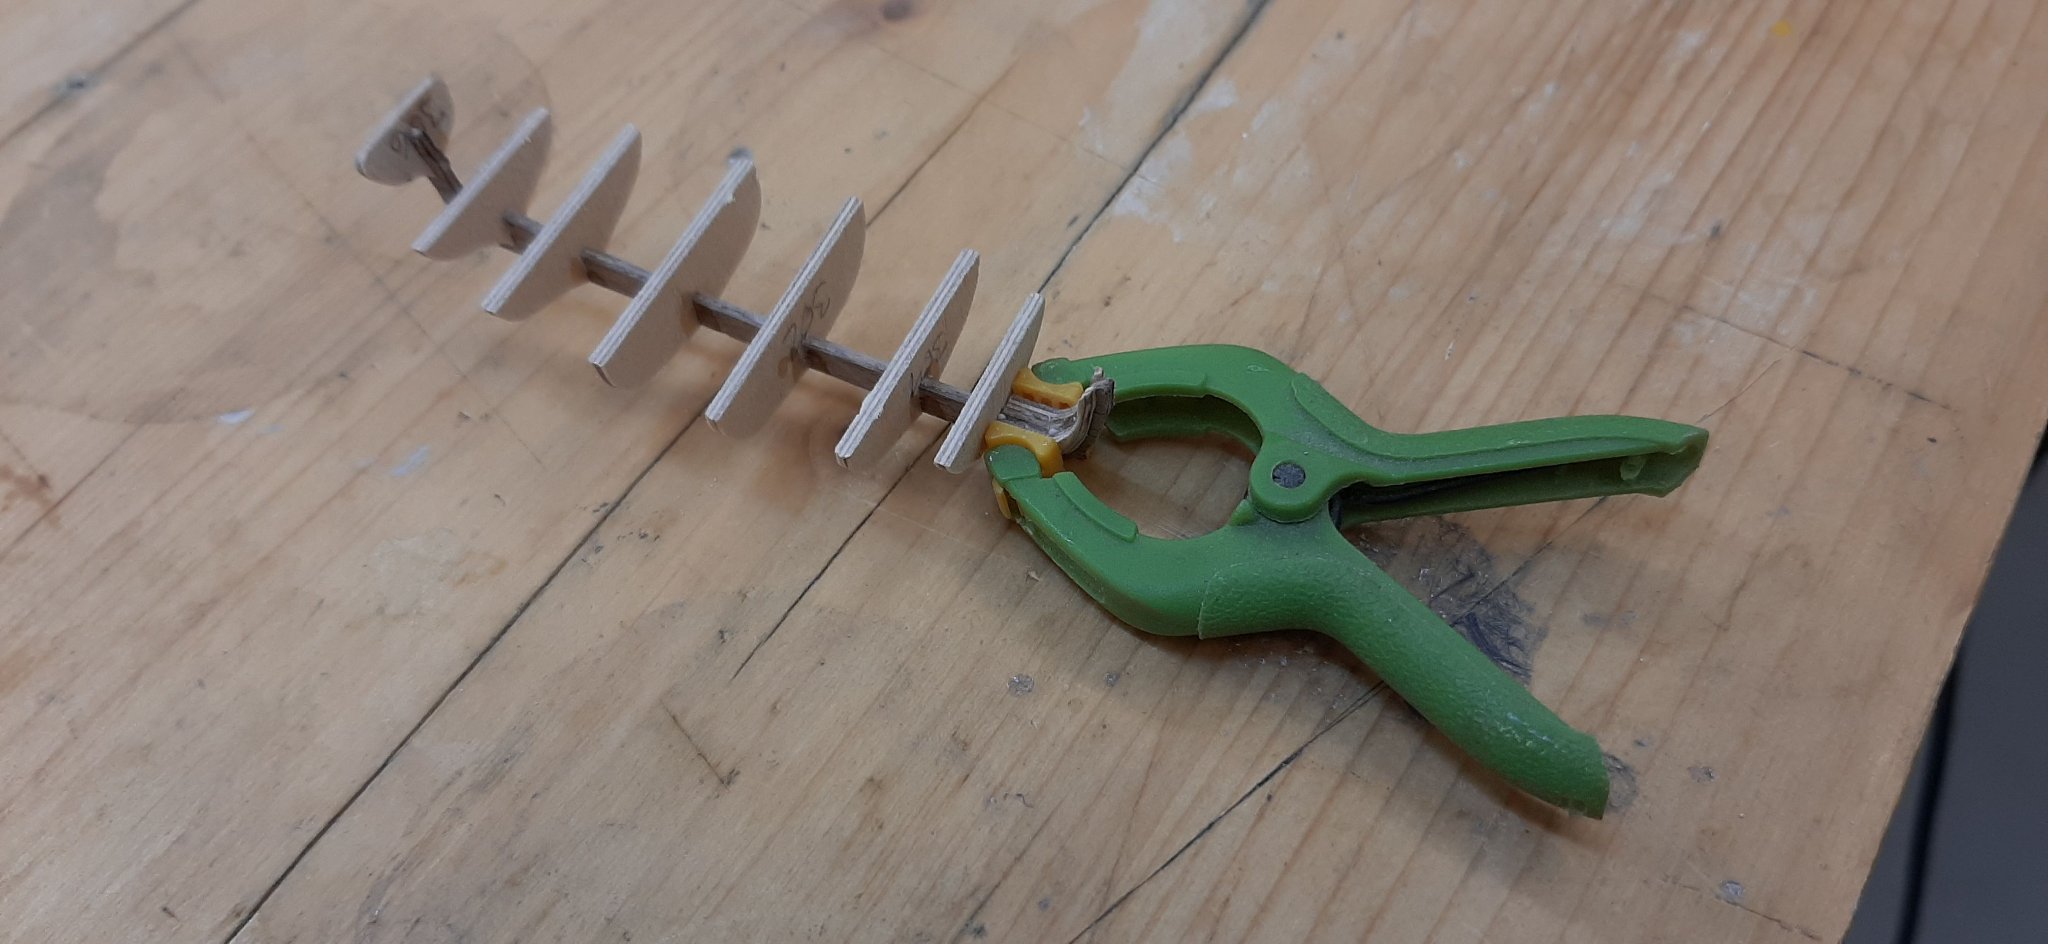
Now i have finished the main yard.
First thing i did the yard.
Afterwards i mounted the octagon and the iron fittings. I made these from shrink tubing.
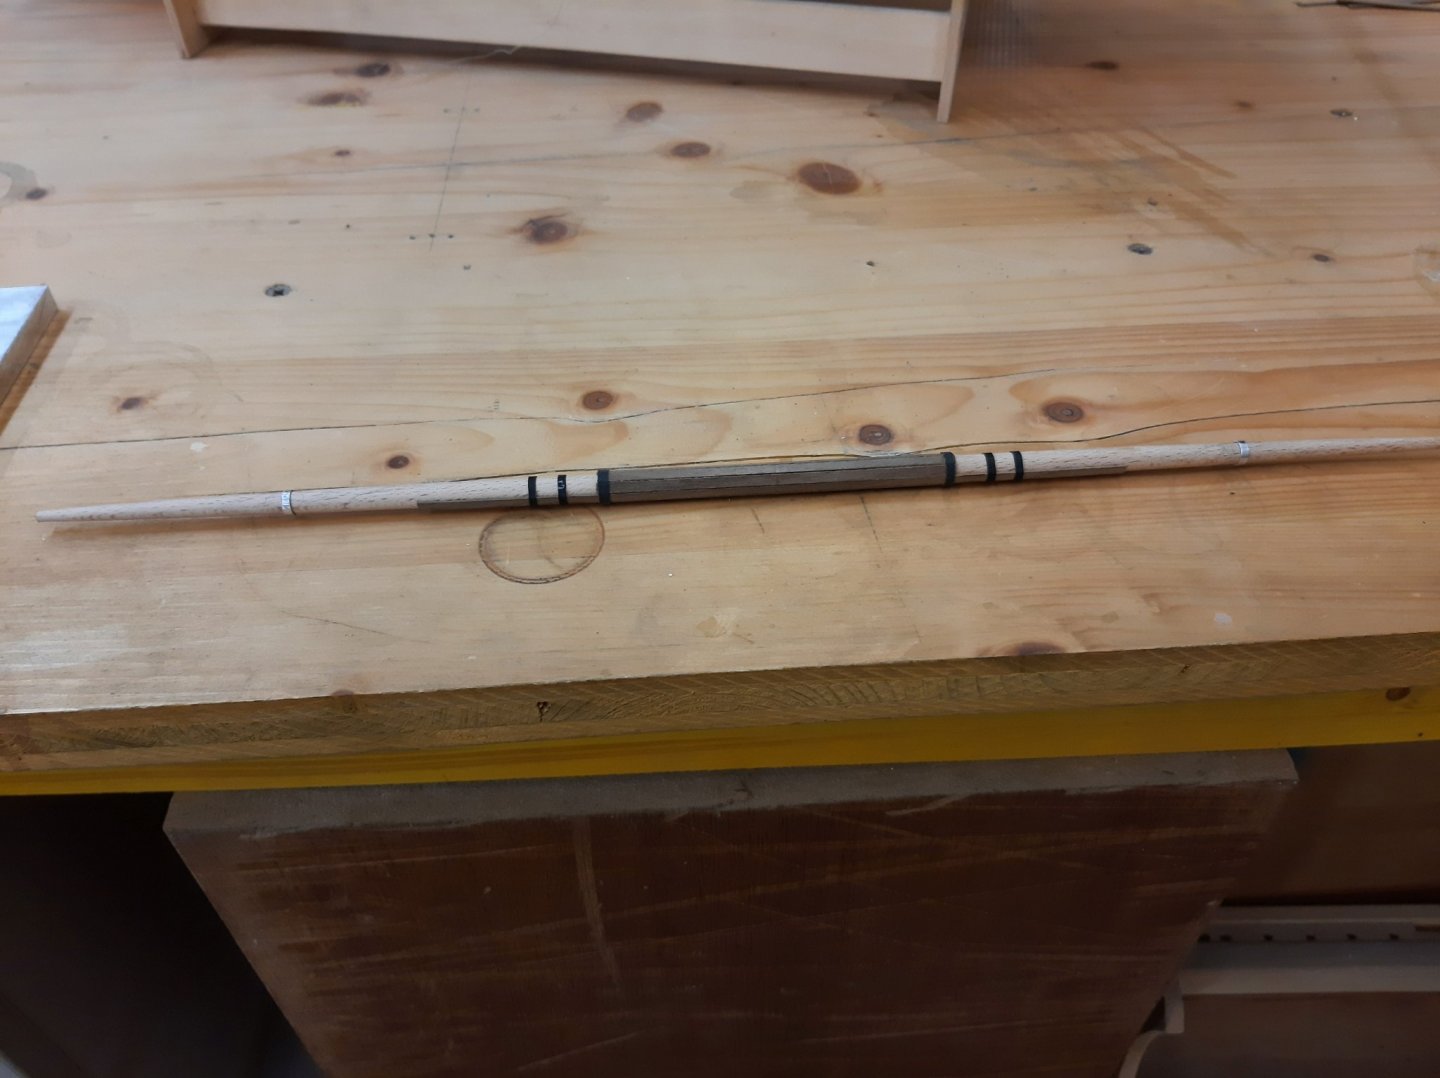
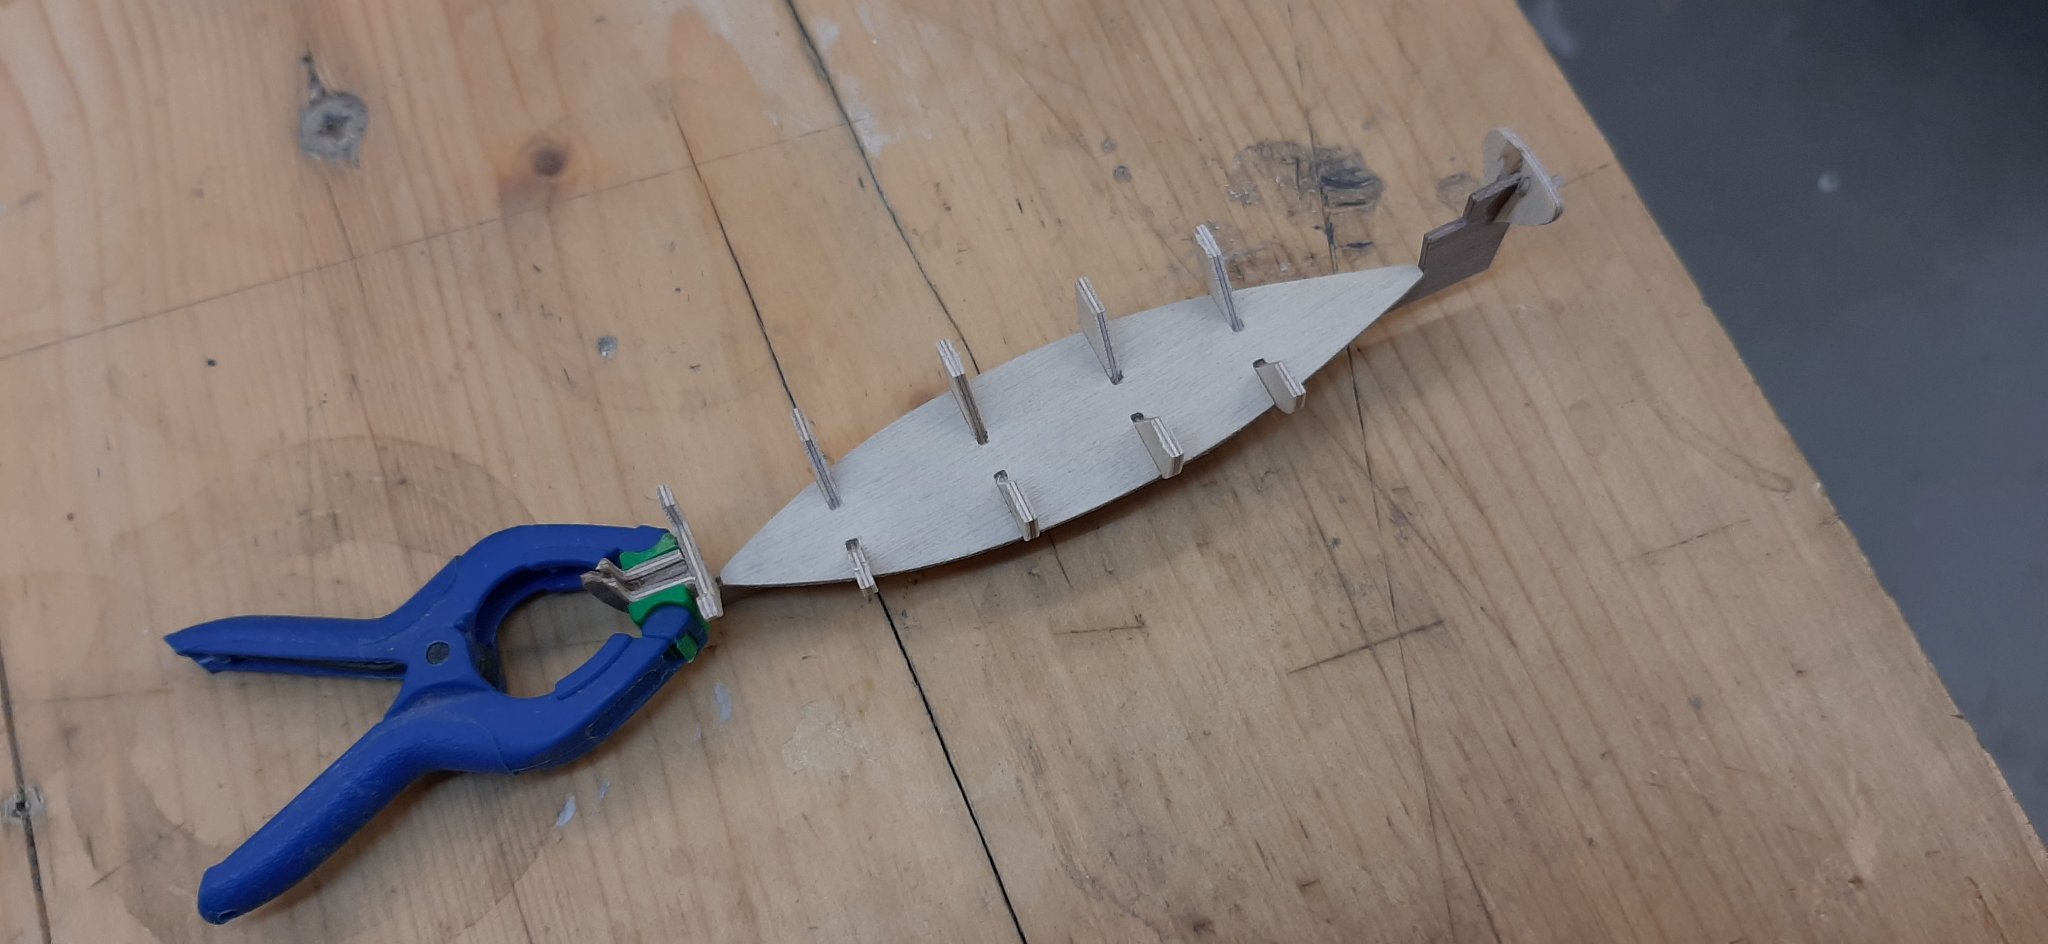
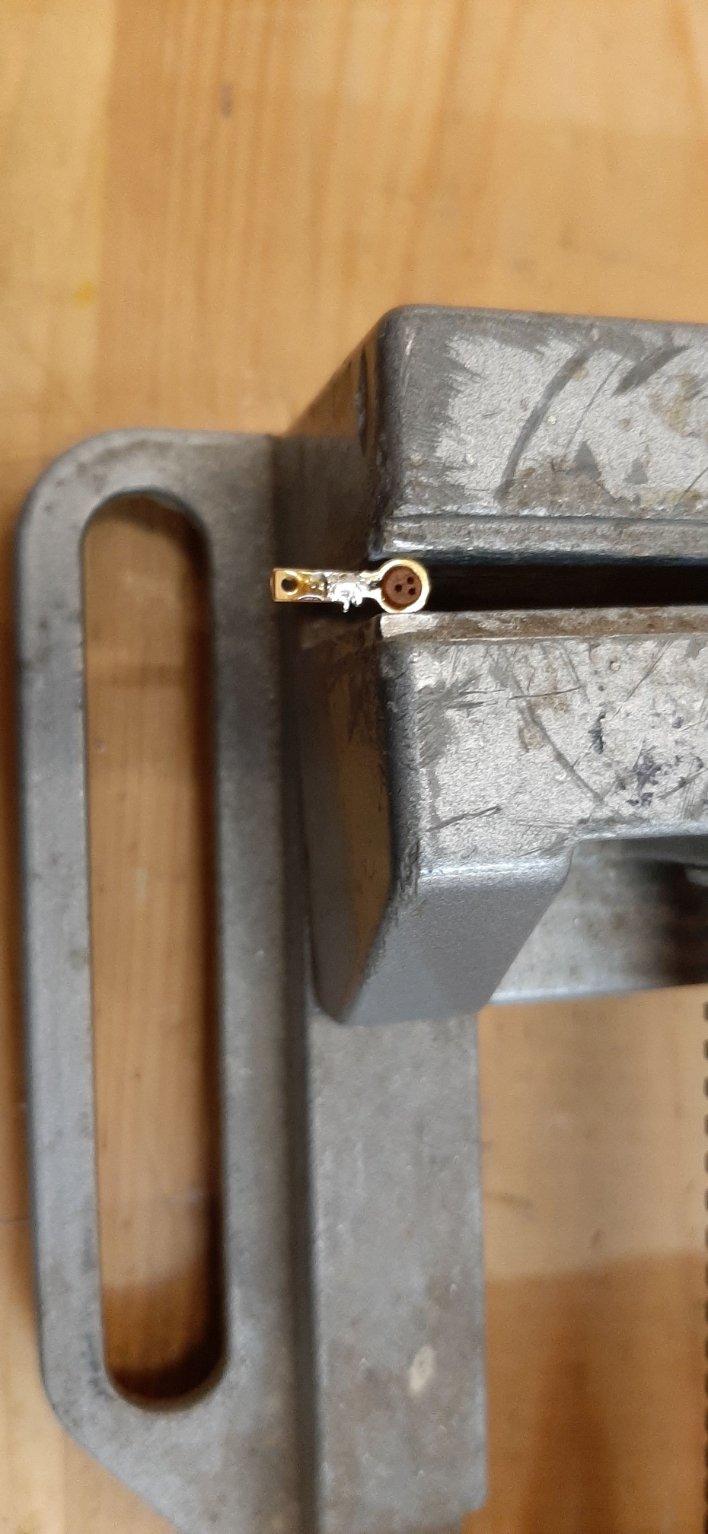
I made the quarter boom iron out of brass.

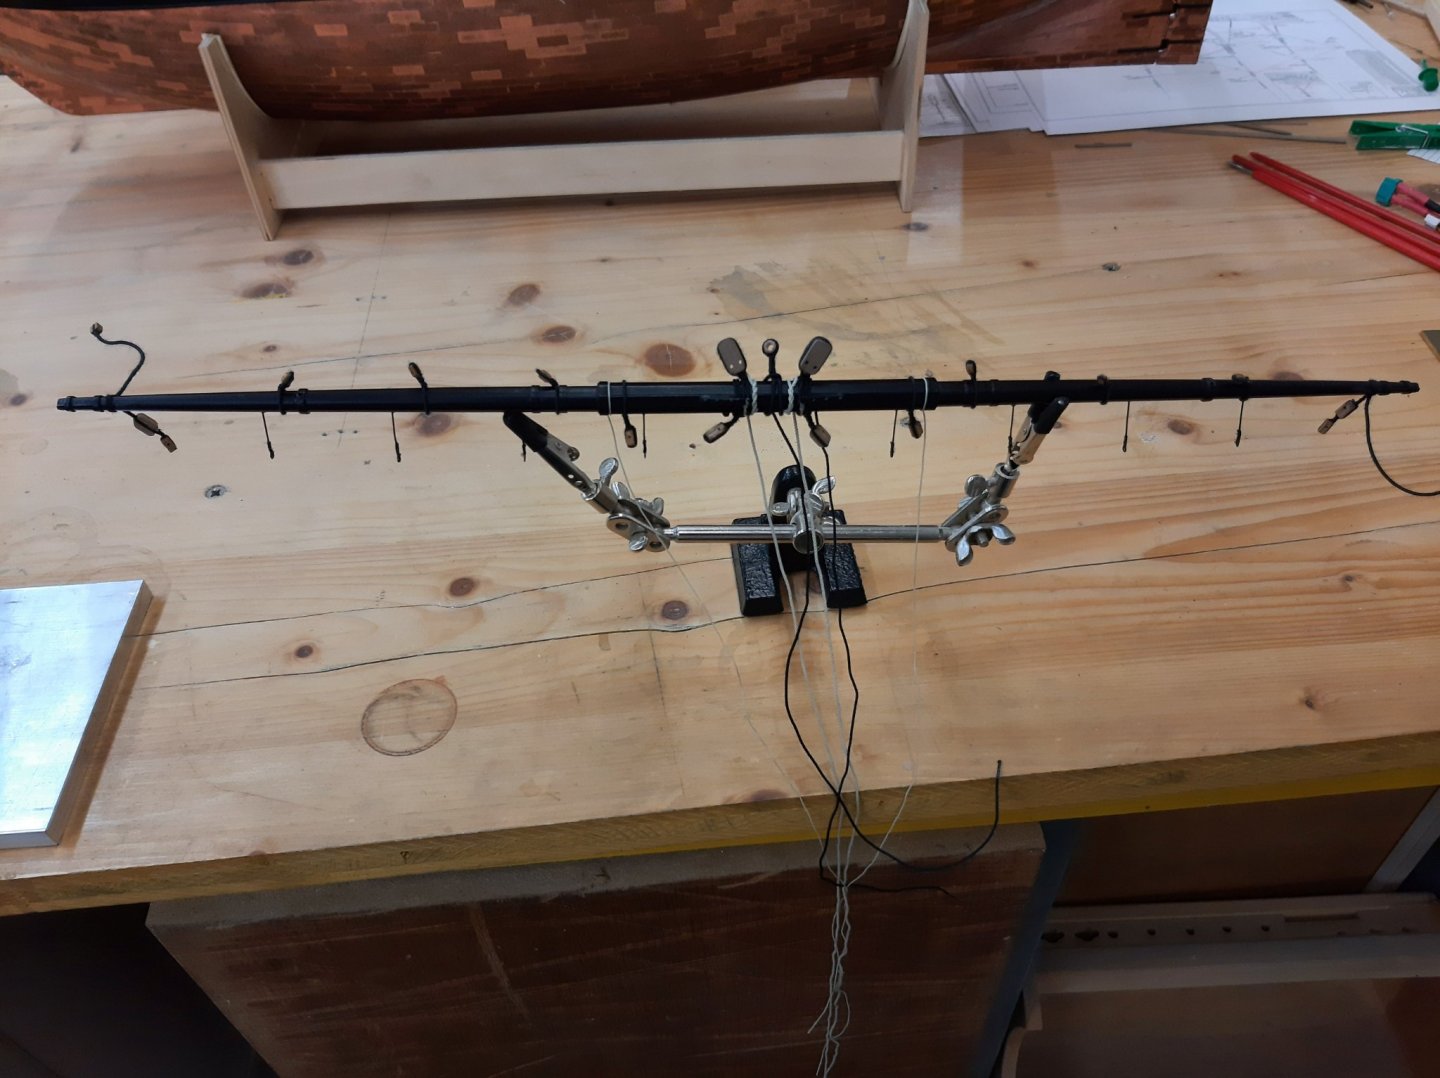
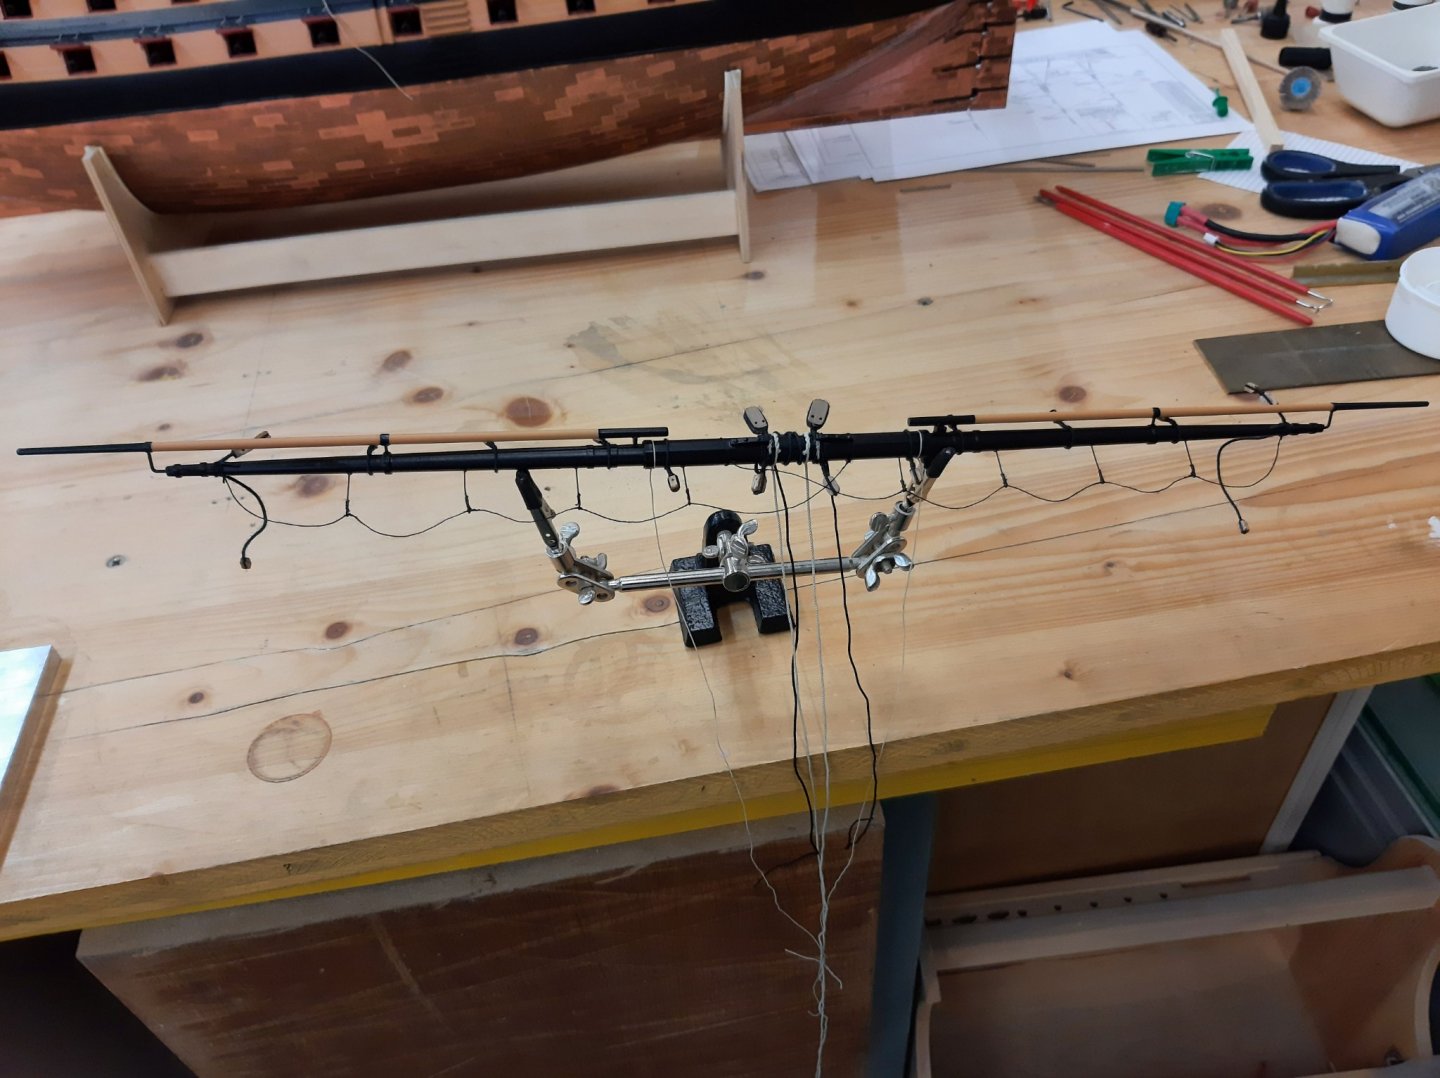
Now i´m rigging the main yard.
I will now be busy with rigging for some time.
I will report again afterwards.
Helli
- Roberts Orca, GrandpaPhil and Robert29
-
 3
3
-
Hello,
I´m already looking forward to the progress.
Helli
-
-
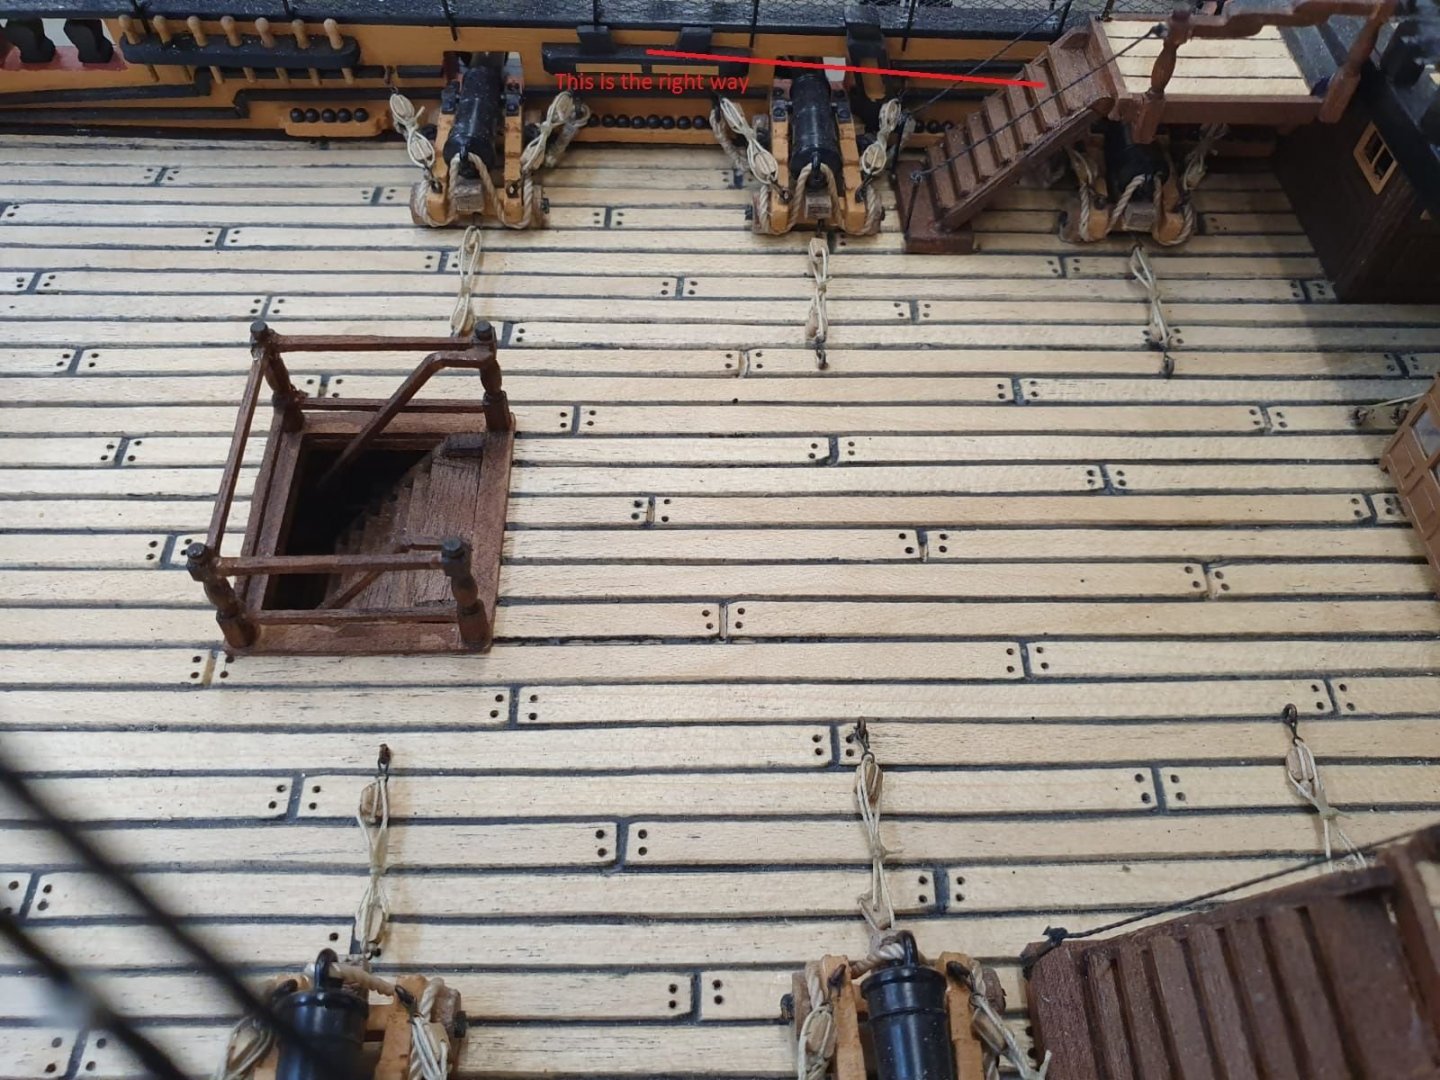
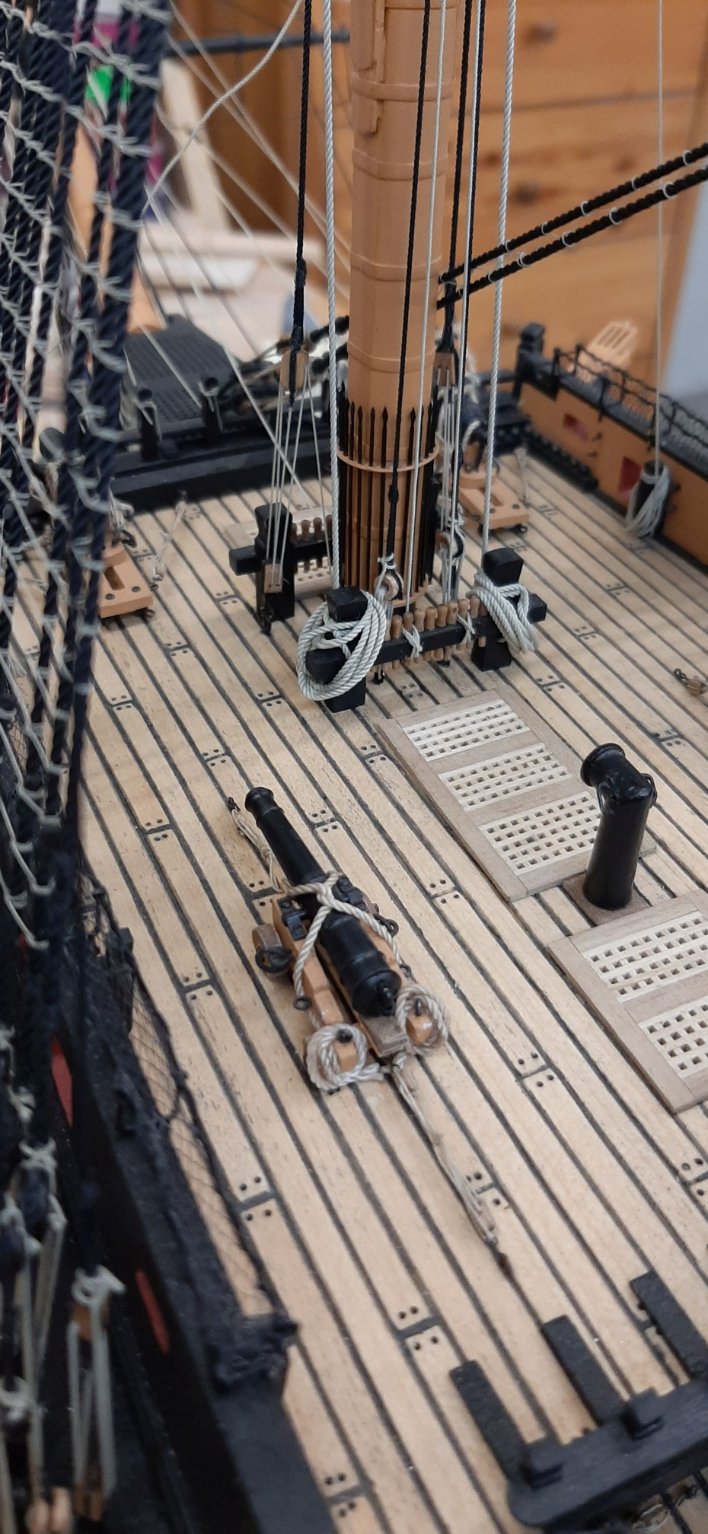
Hello,
In the pictures you can see what i mean.
I come with the rope through the hole under the stairs and then go over the cannons to the attachment point.
Have i understood that correctly?
Helli
-
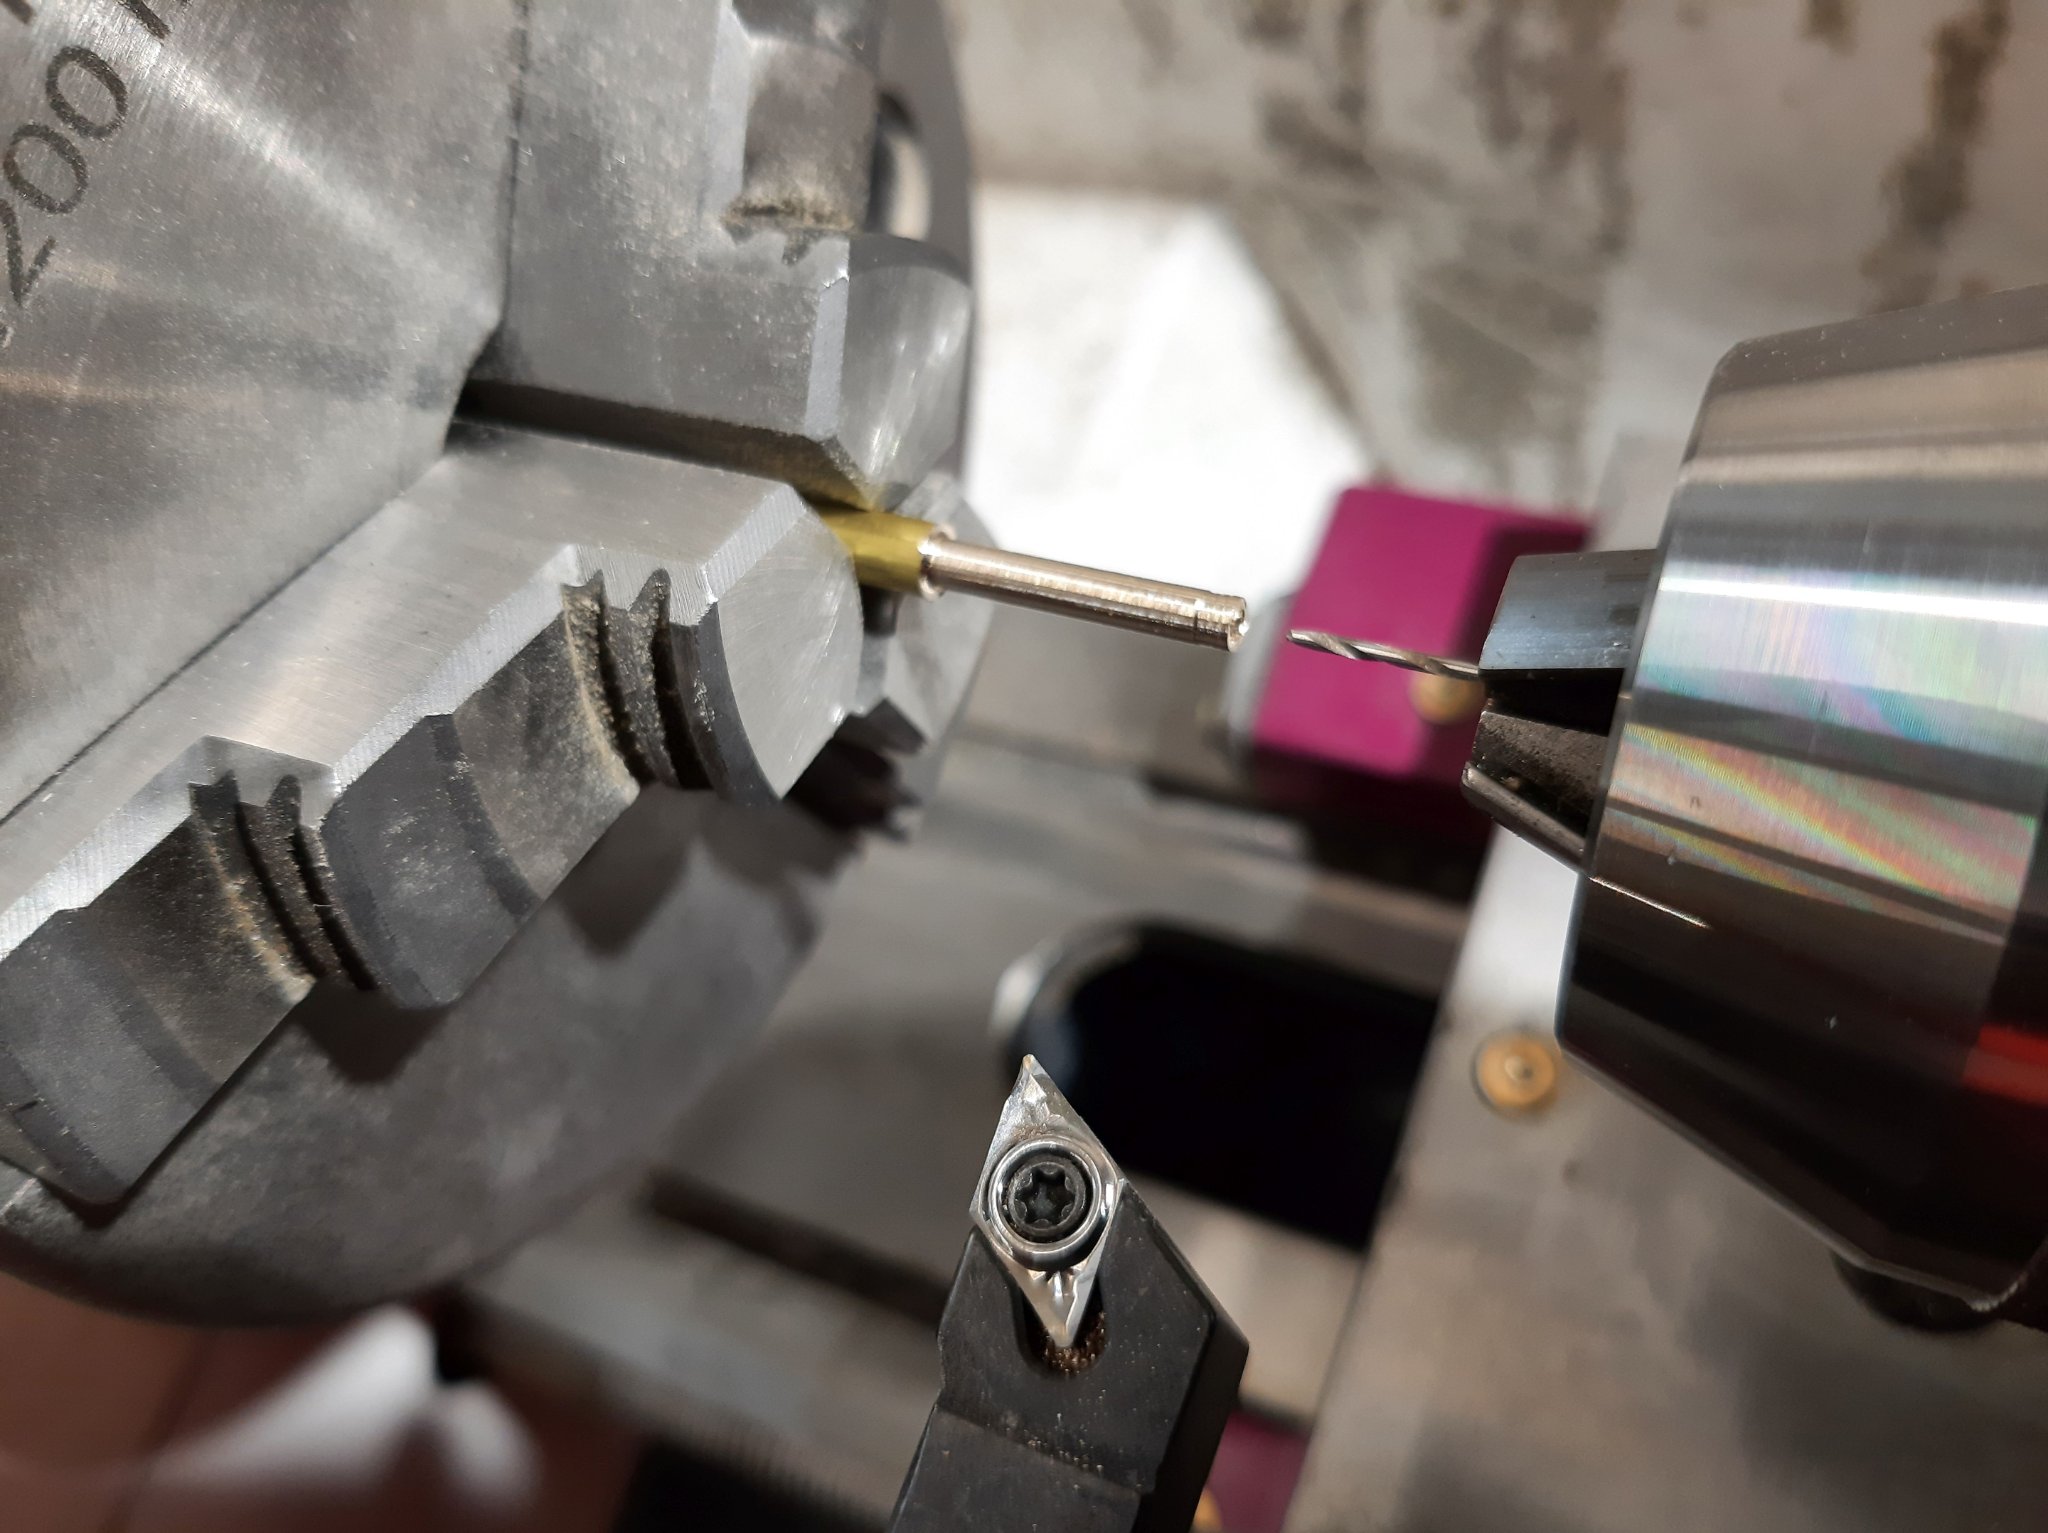
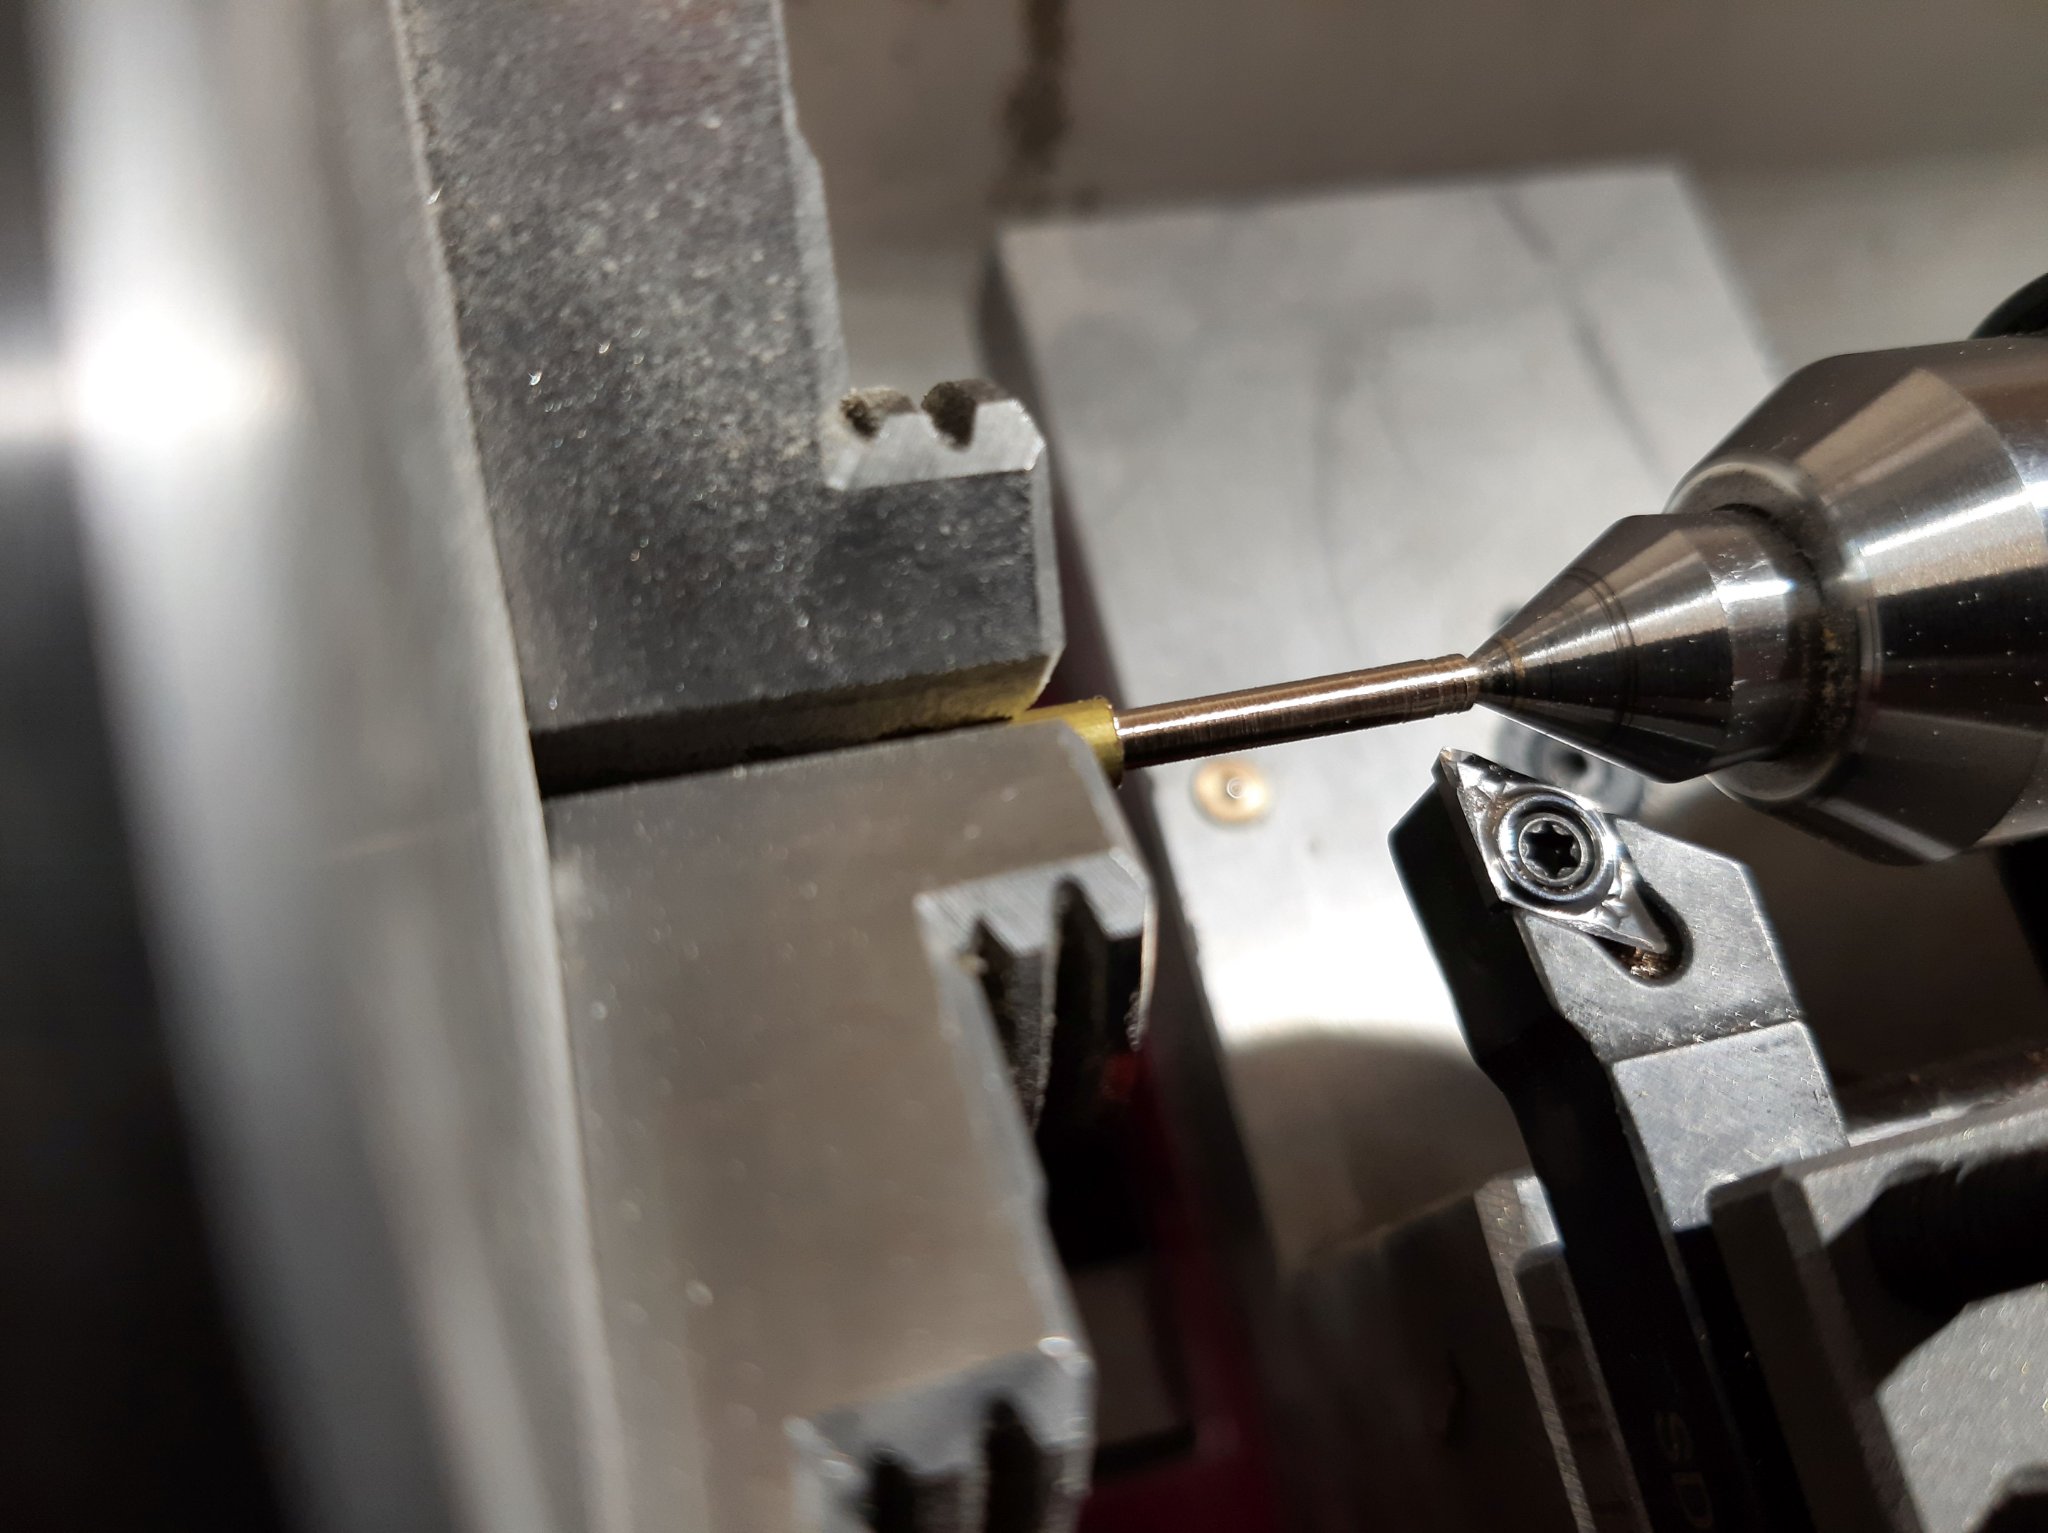
Hello,
How to drill a hole wasn´t my question.
I wanted to know how to get from the hole to the attachment point with the rope.
Helli
-
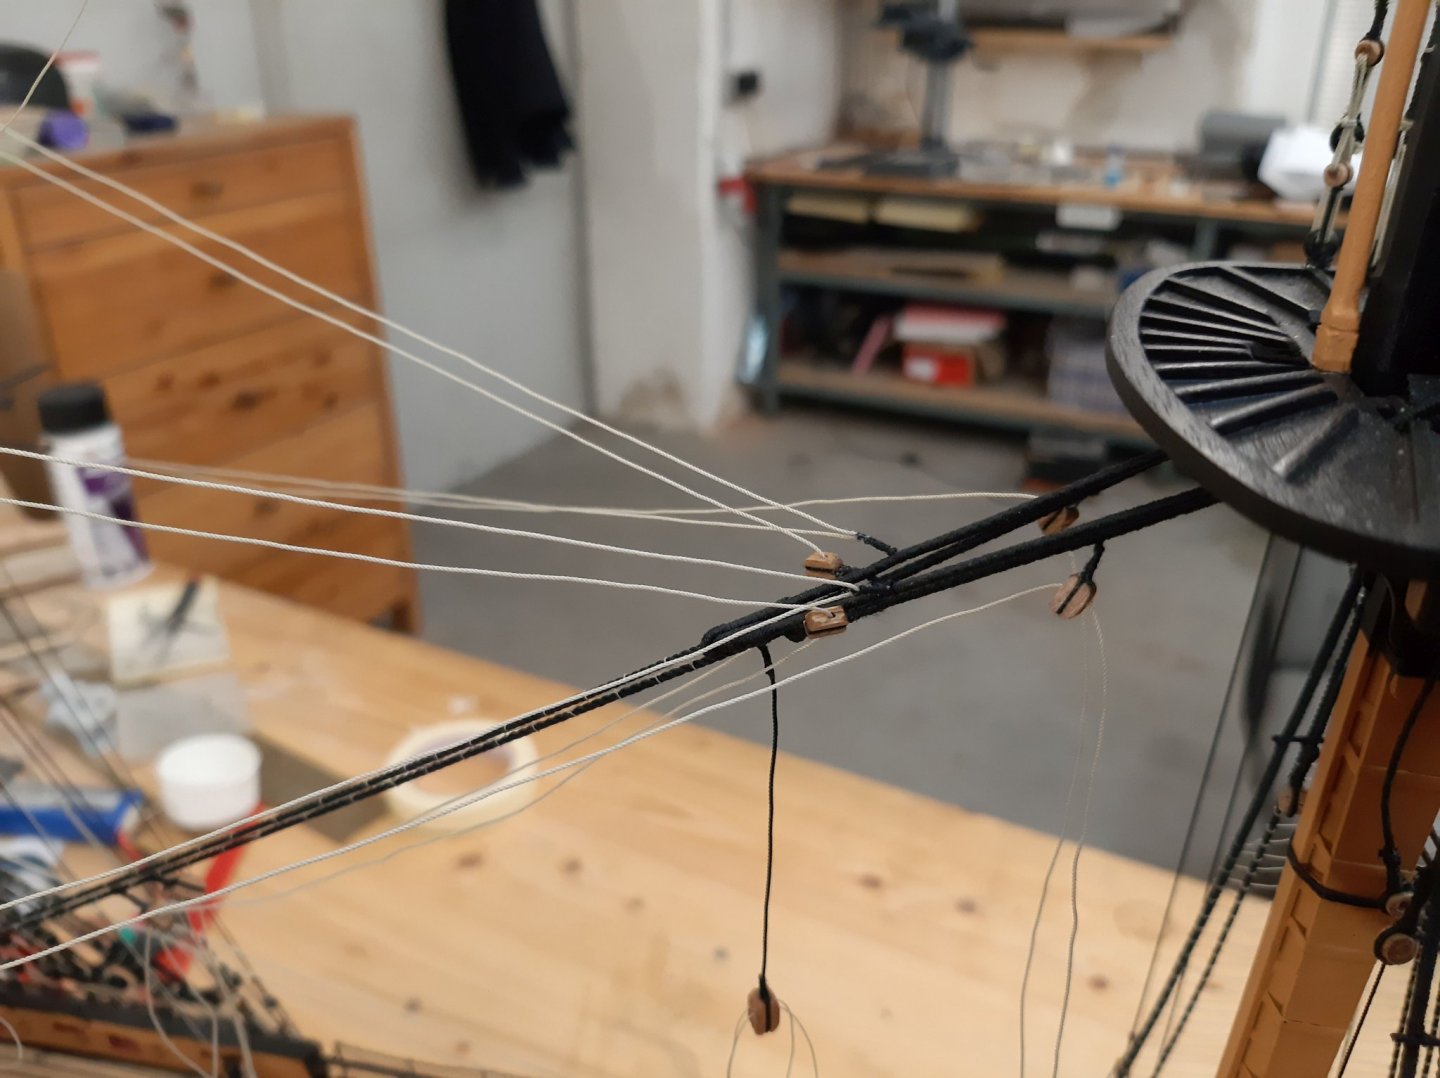
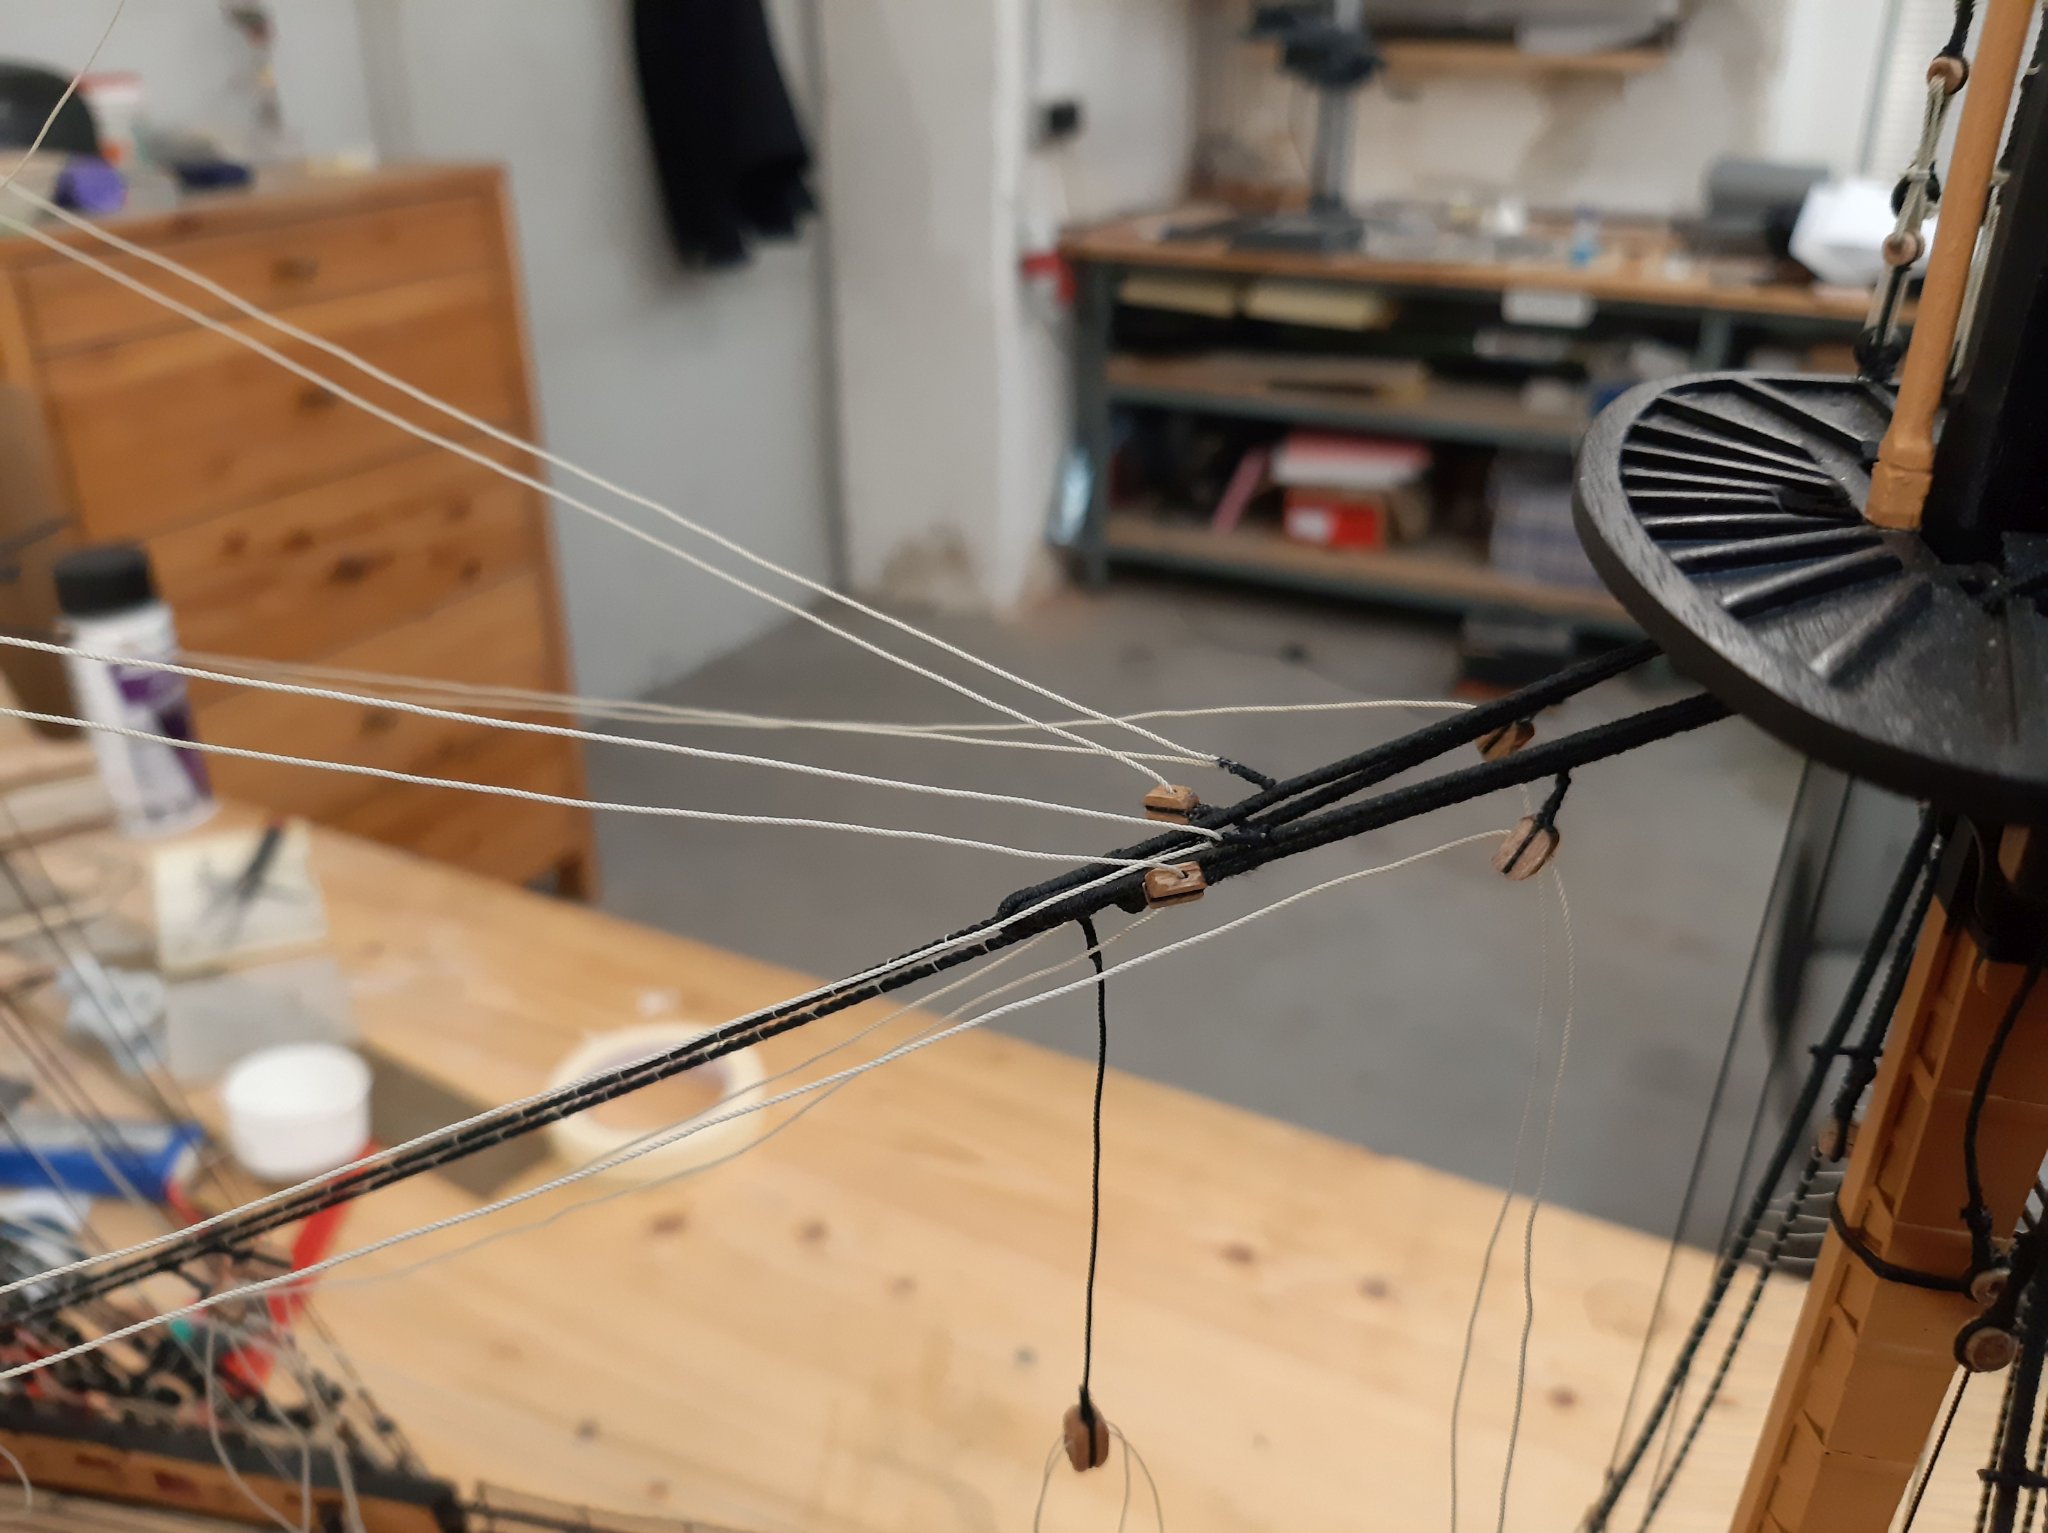
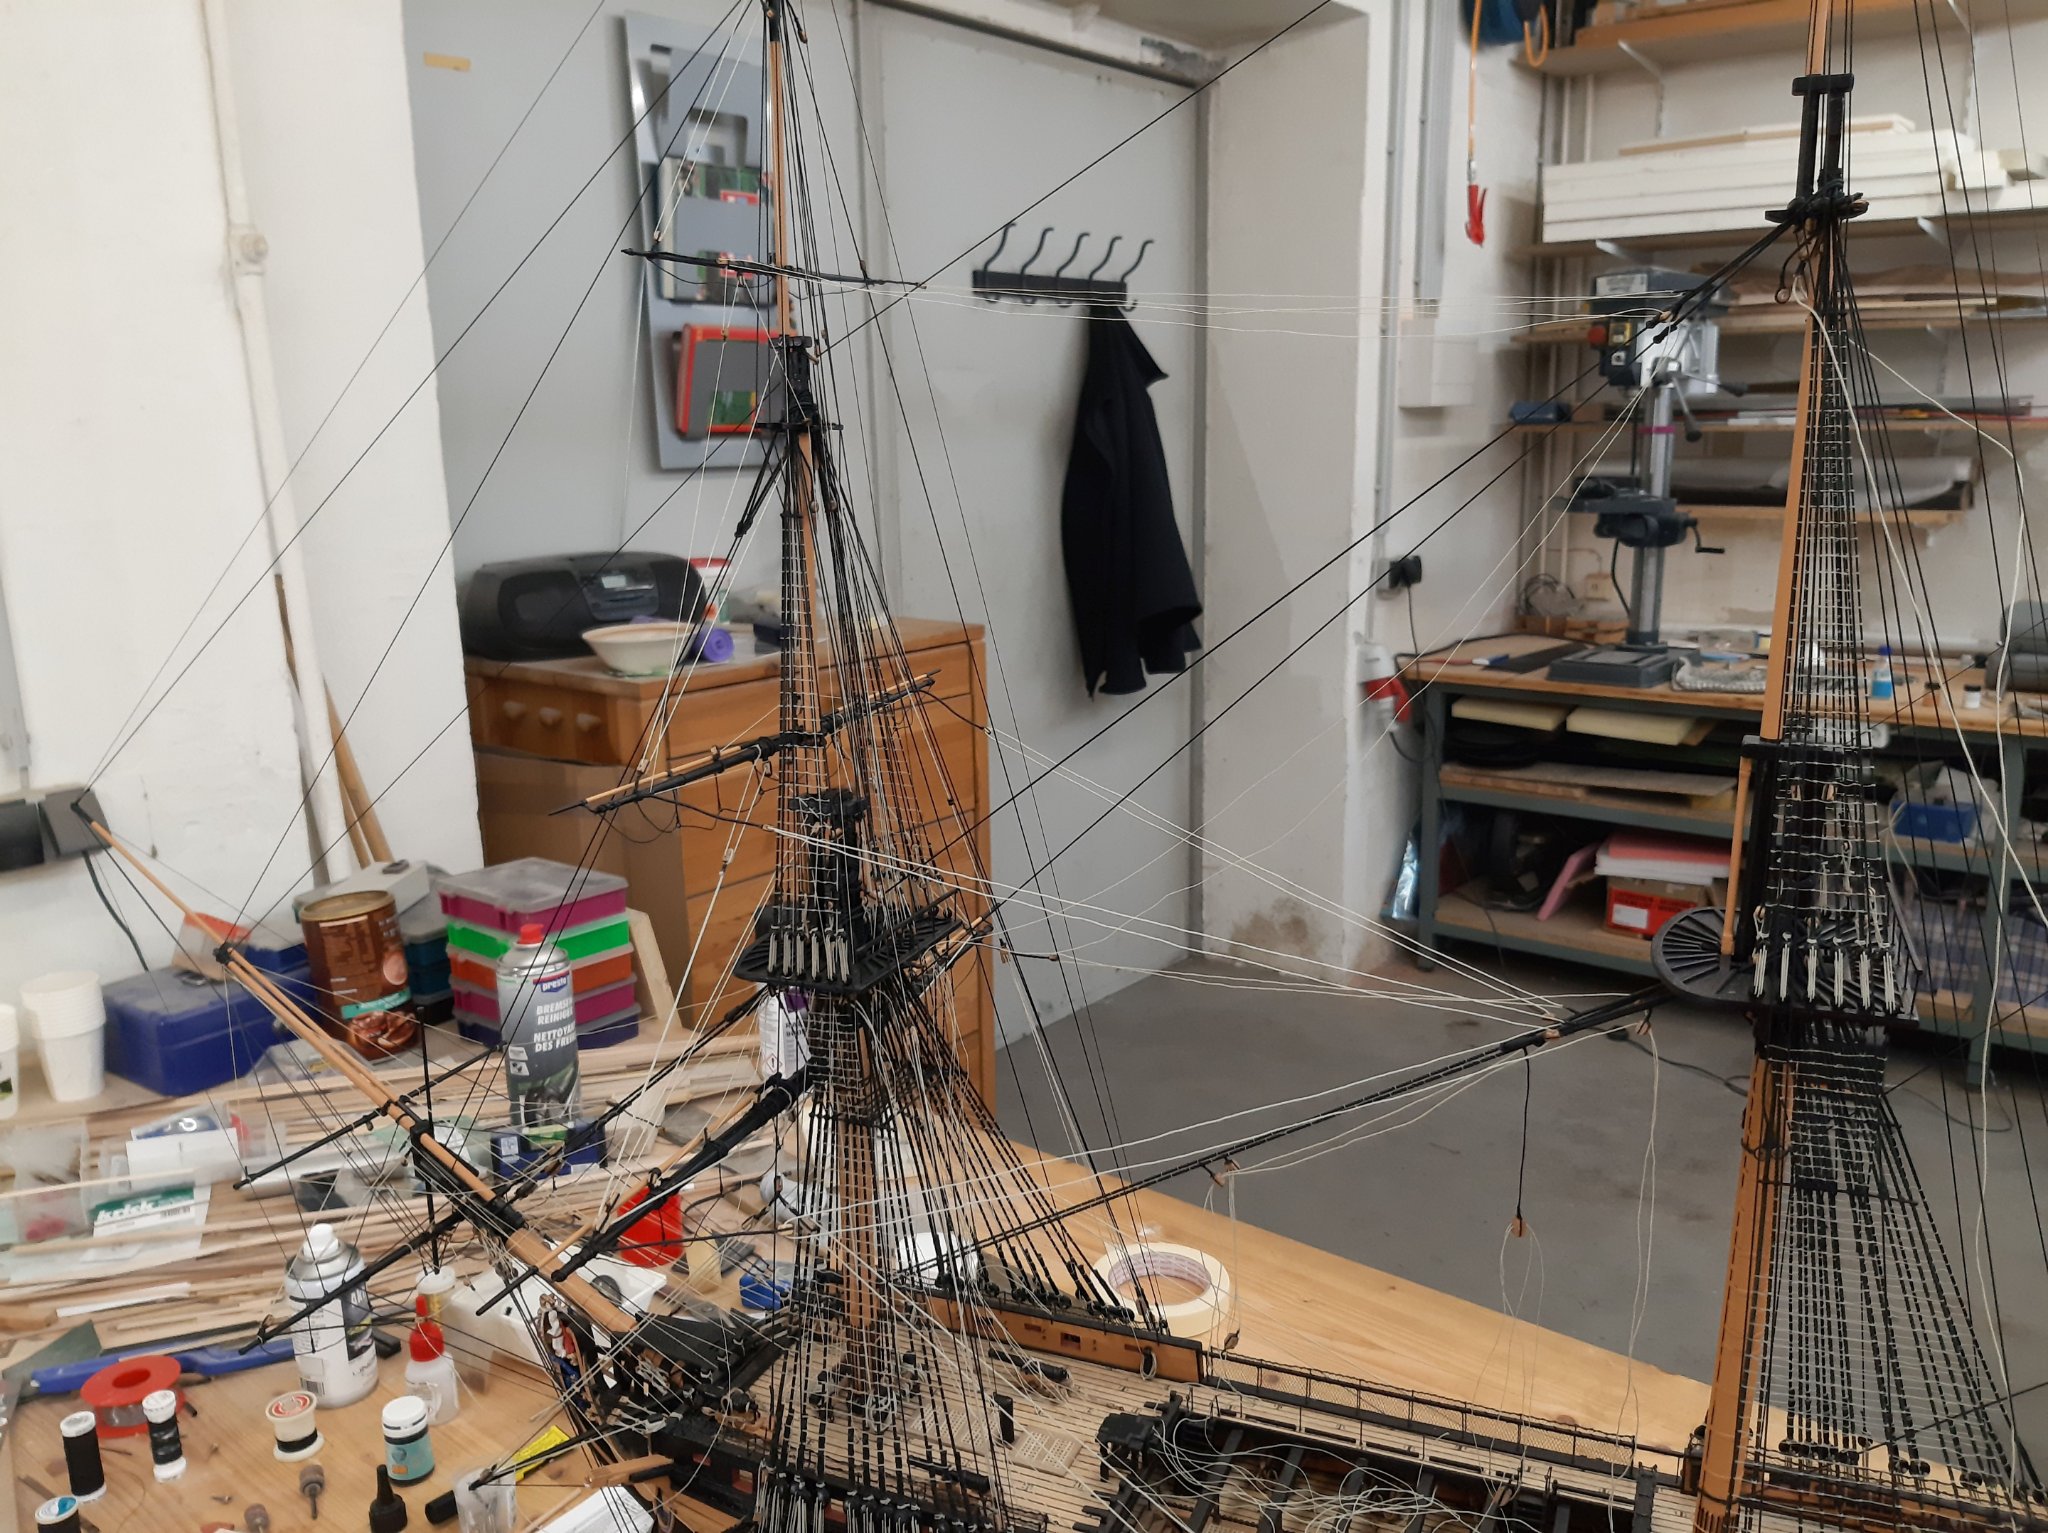
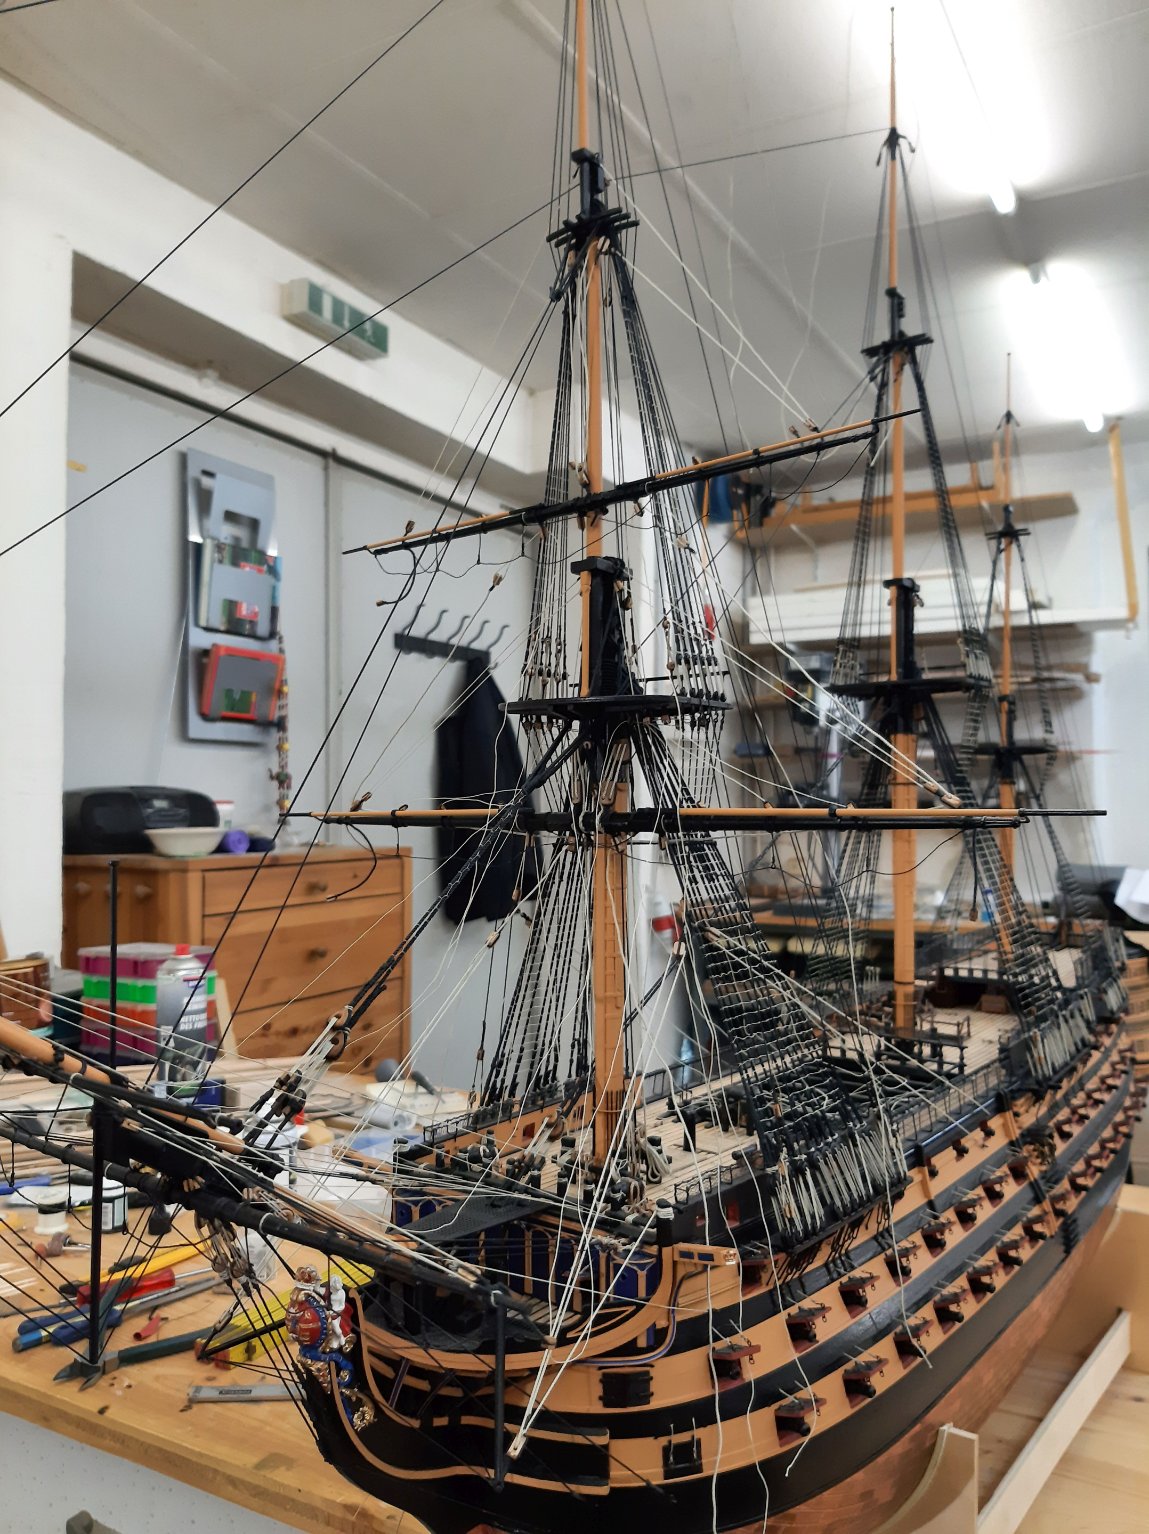
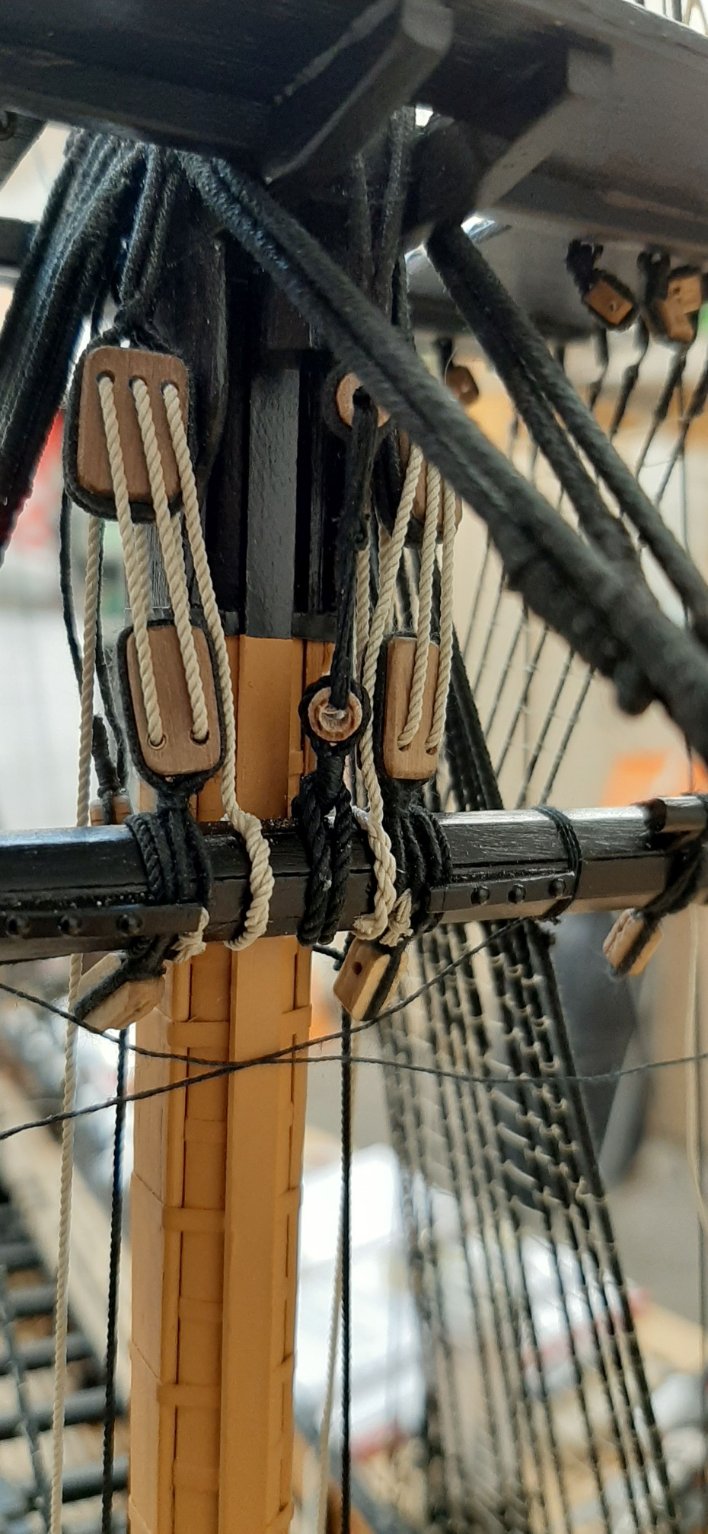
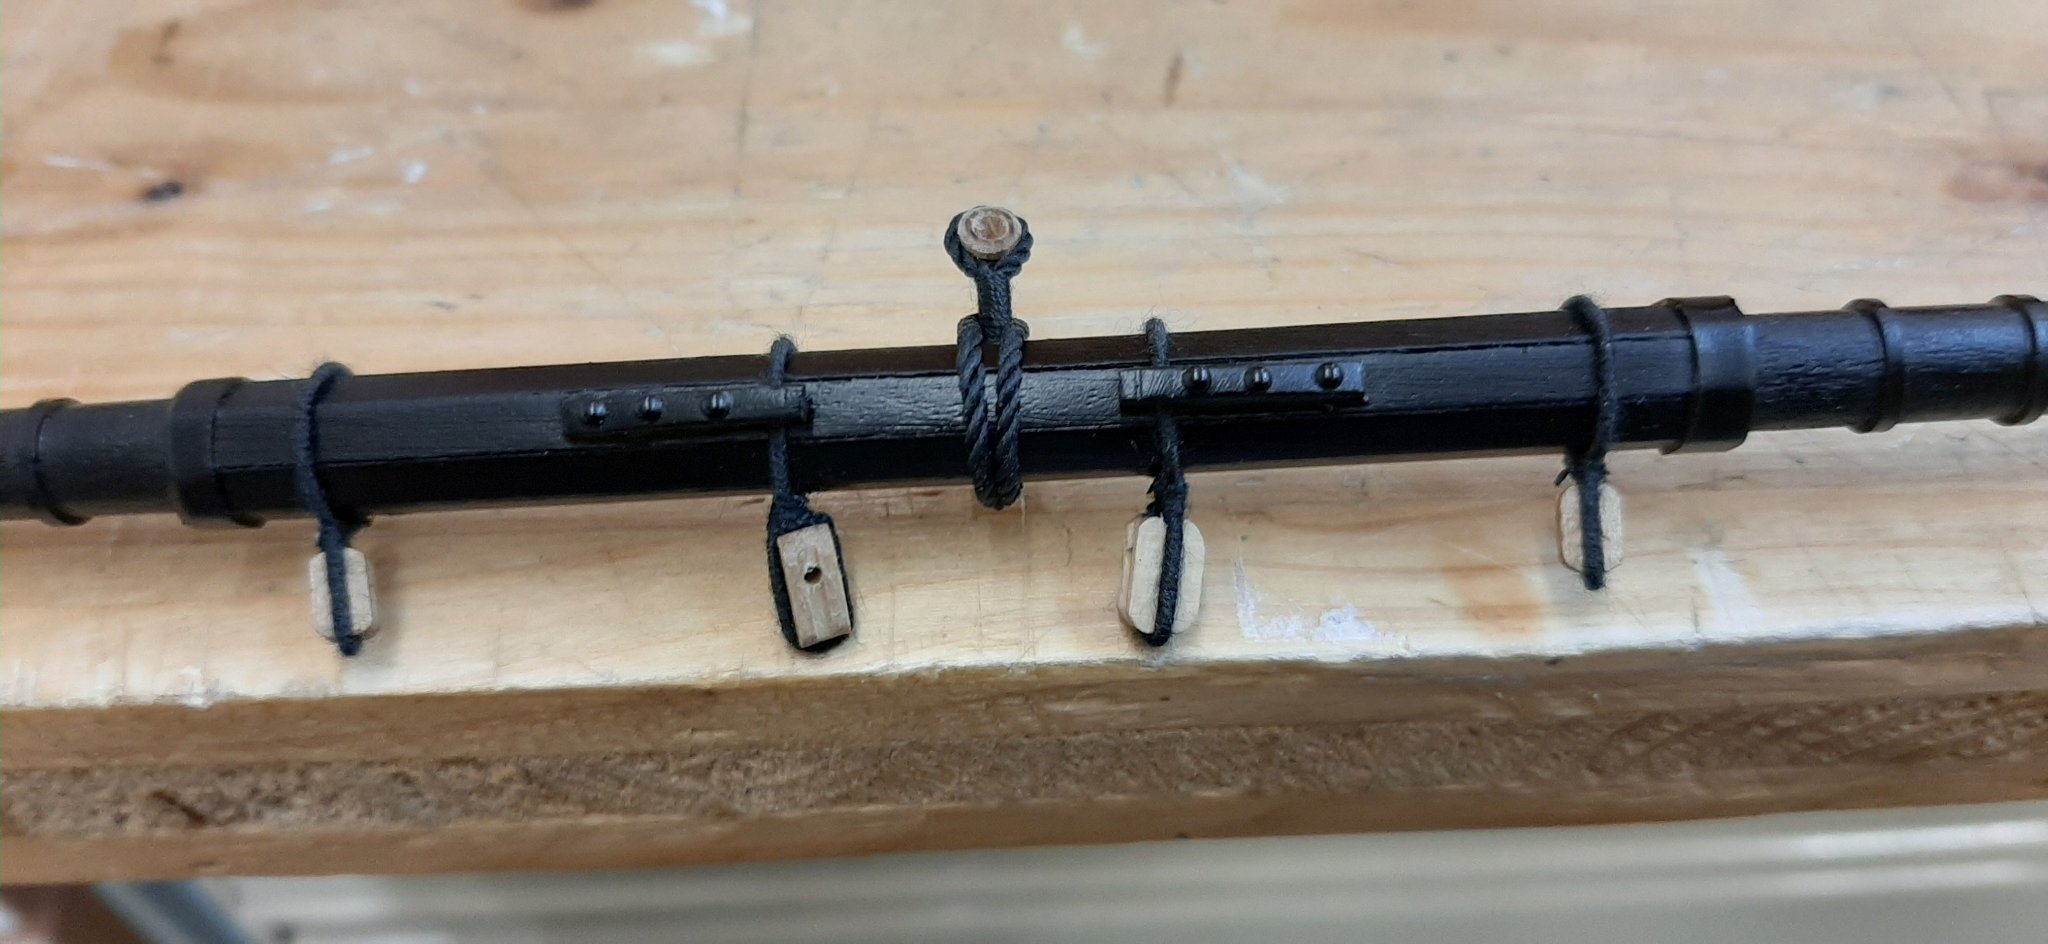
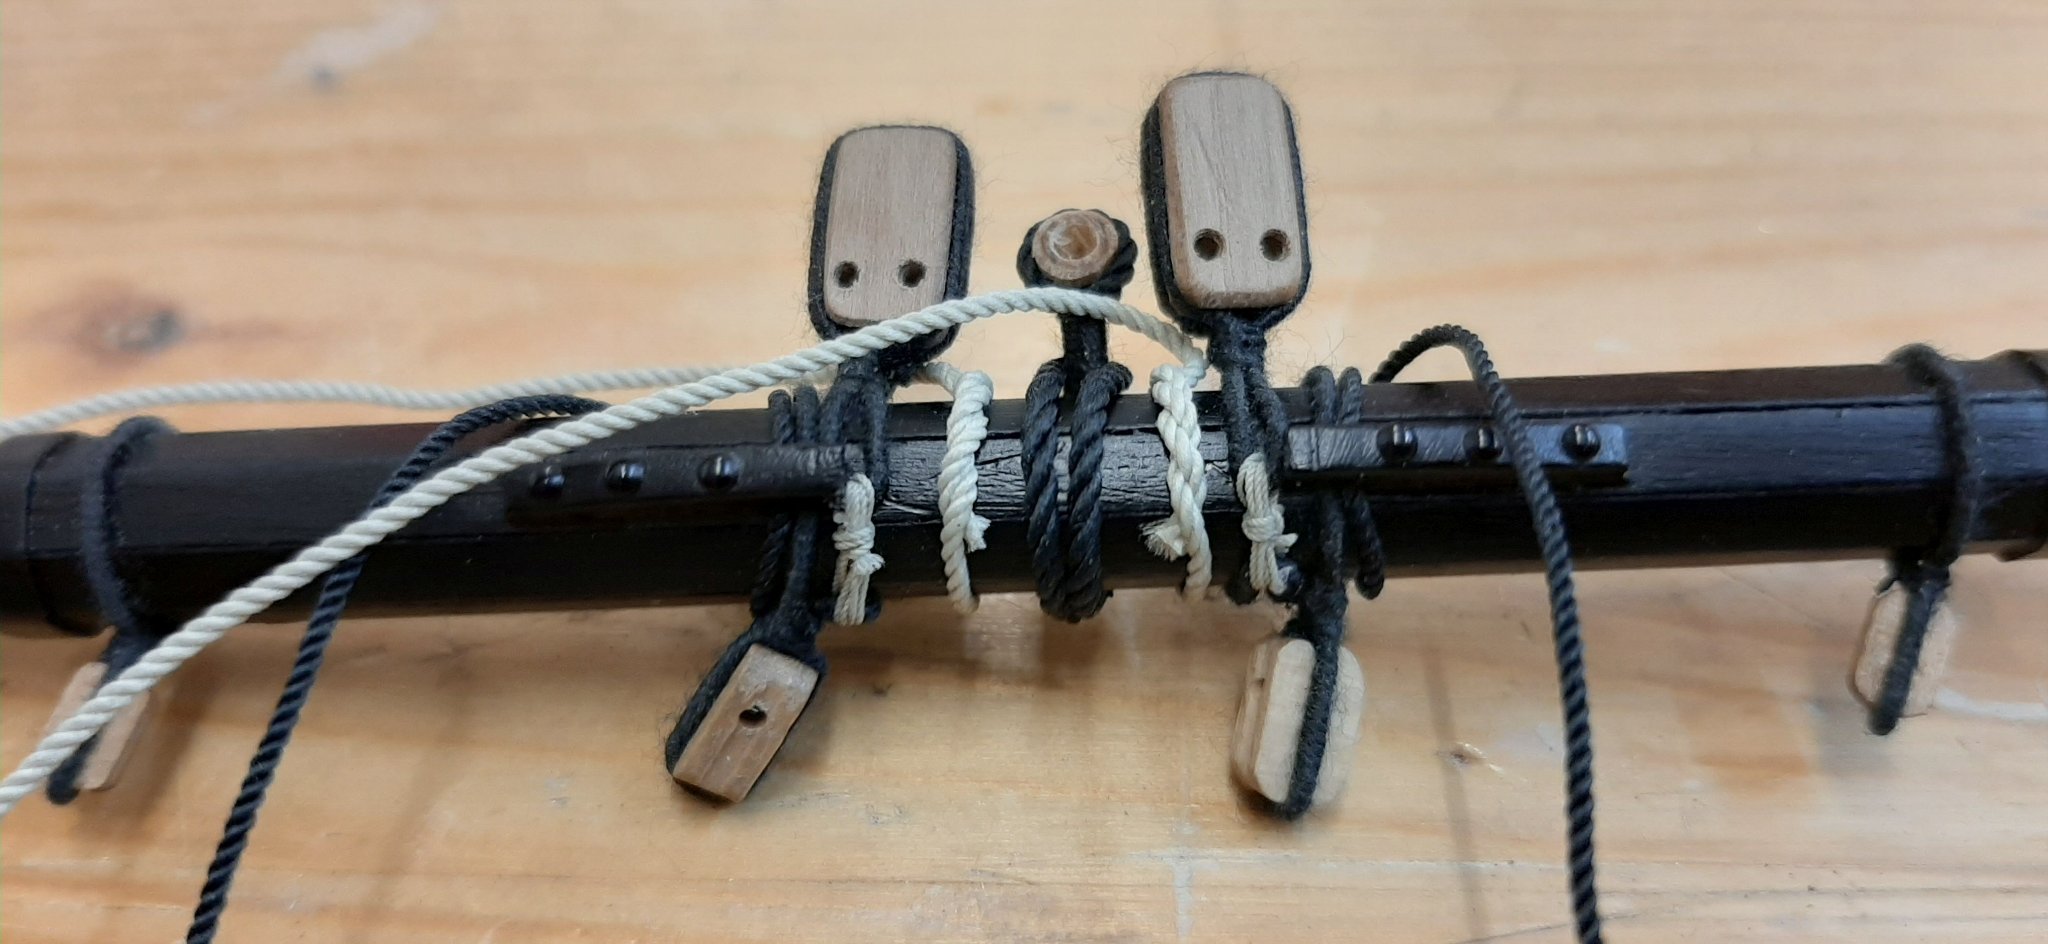
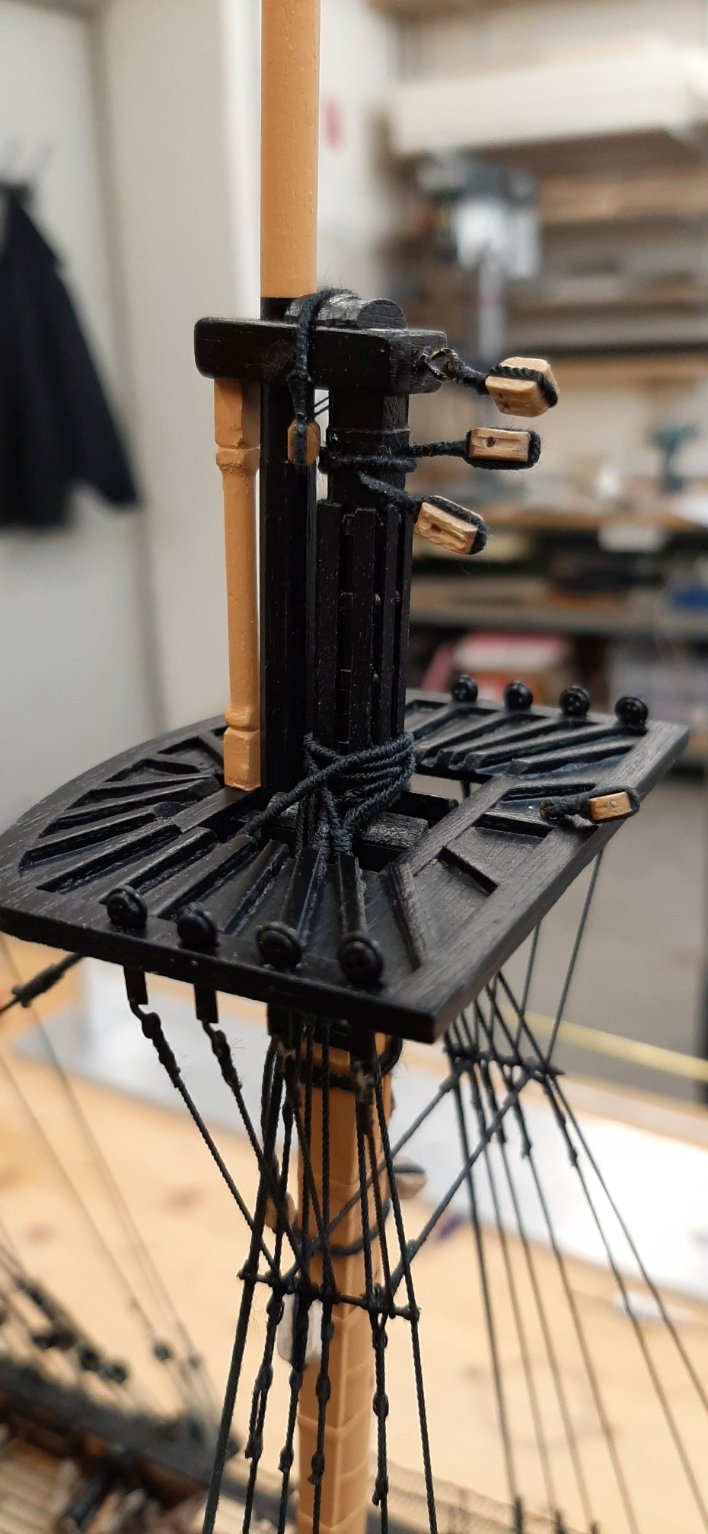
Hello,
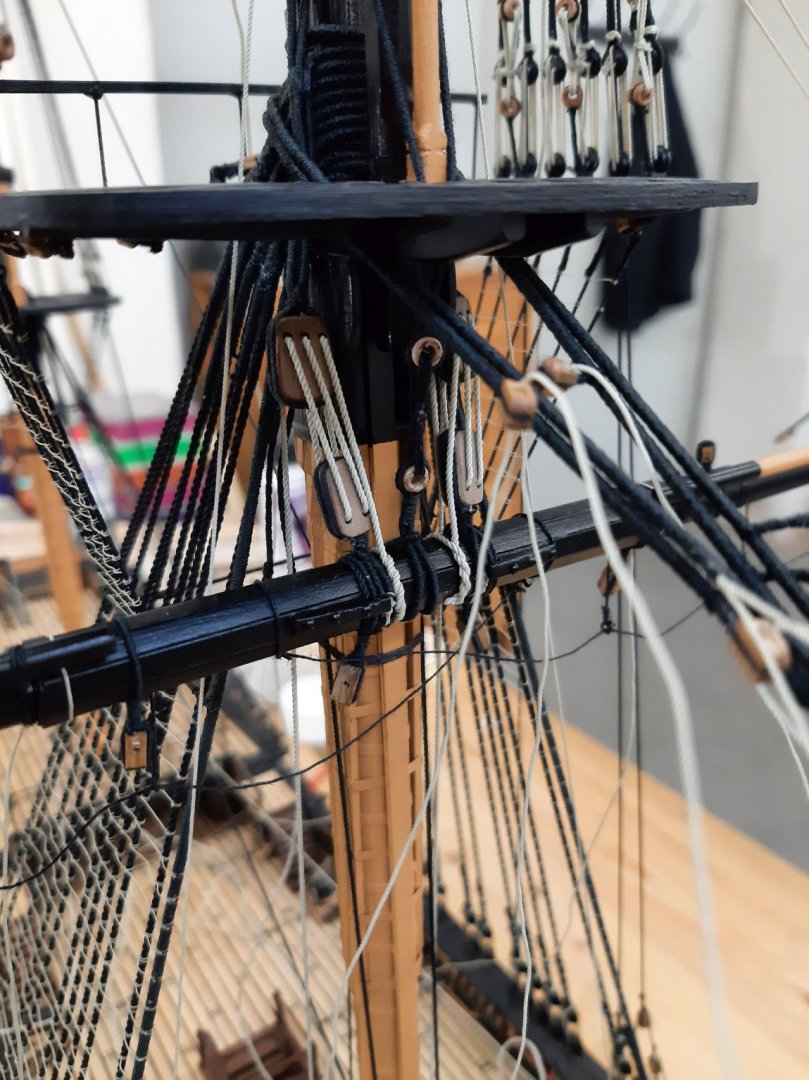
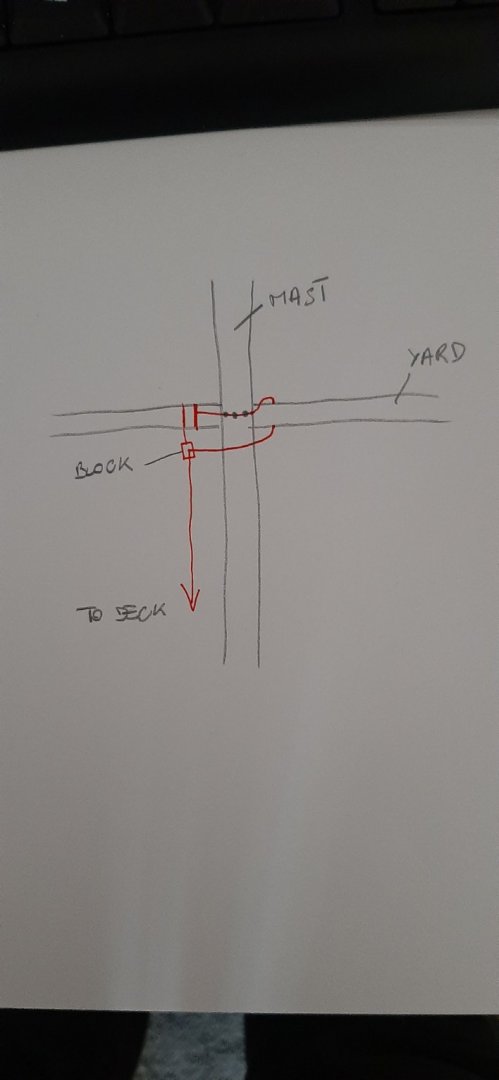
I have a question for the HMS Victory builders.
In the book "The Anatomy of Nelson´s Ship" on page 95 it is described how the sheet of the main yard run.
Here is an excrept from the book.
The standing part of the sheet is made fast to another eyebolt below the block. Forward of the block and above it there is an oblique lead lined hole through the quarter deck bulwark; the leading part of the sheet reeves through this hole and belays to a large staghorn on the quarter deck bulwark.
Of course, i didn´t install this pipe. Now i am looking for an alternative method.
And now my question.
How did you solve it?
Here are two more pictures so you know what i mean
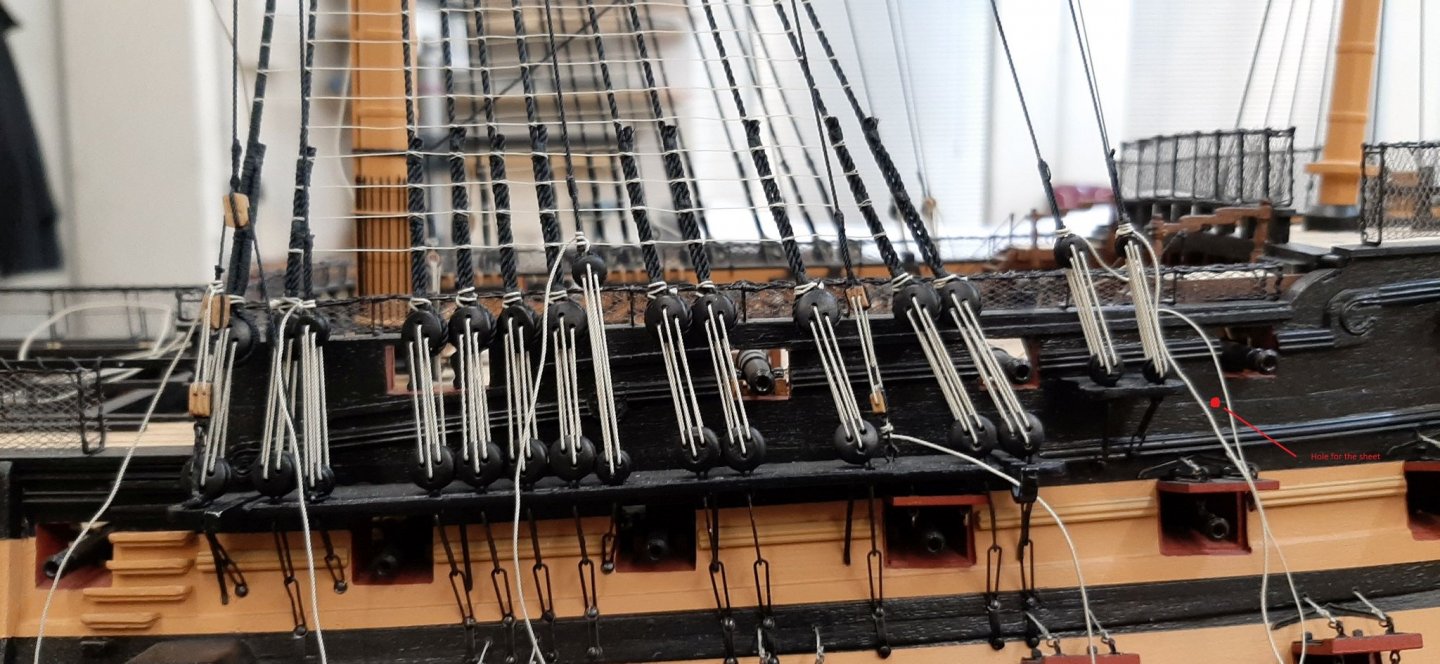
Thank you
Helli
-
Hello Robert,
Many thanks.
You don´t have to be afraid of rigging, you grow with the tasks.
I am sure you can do it.
This is only my first ship. Hope i do better with the next one.
Helli
-
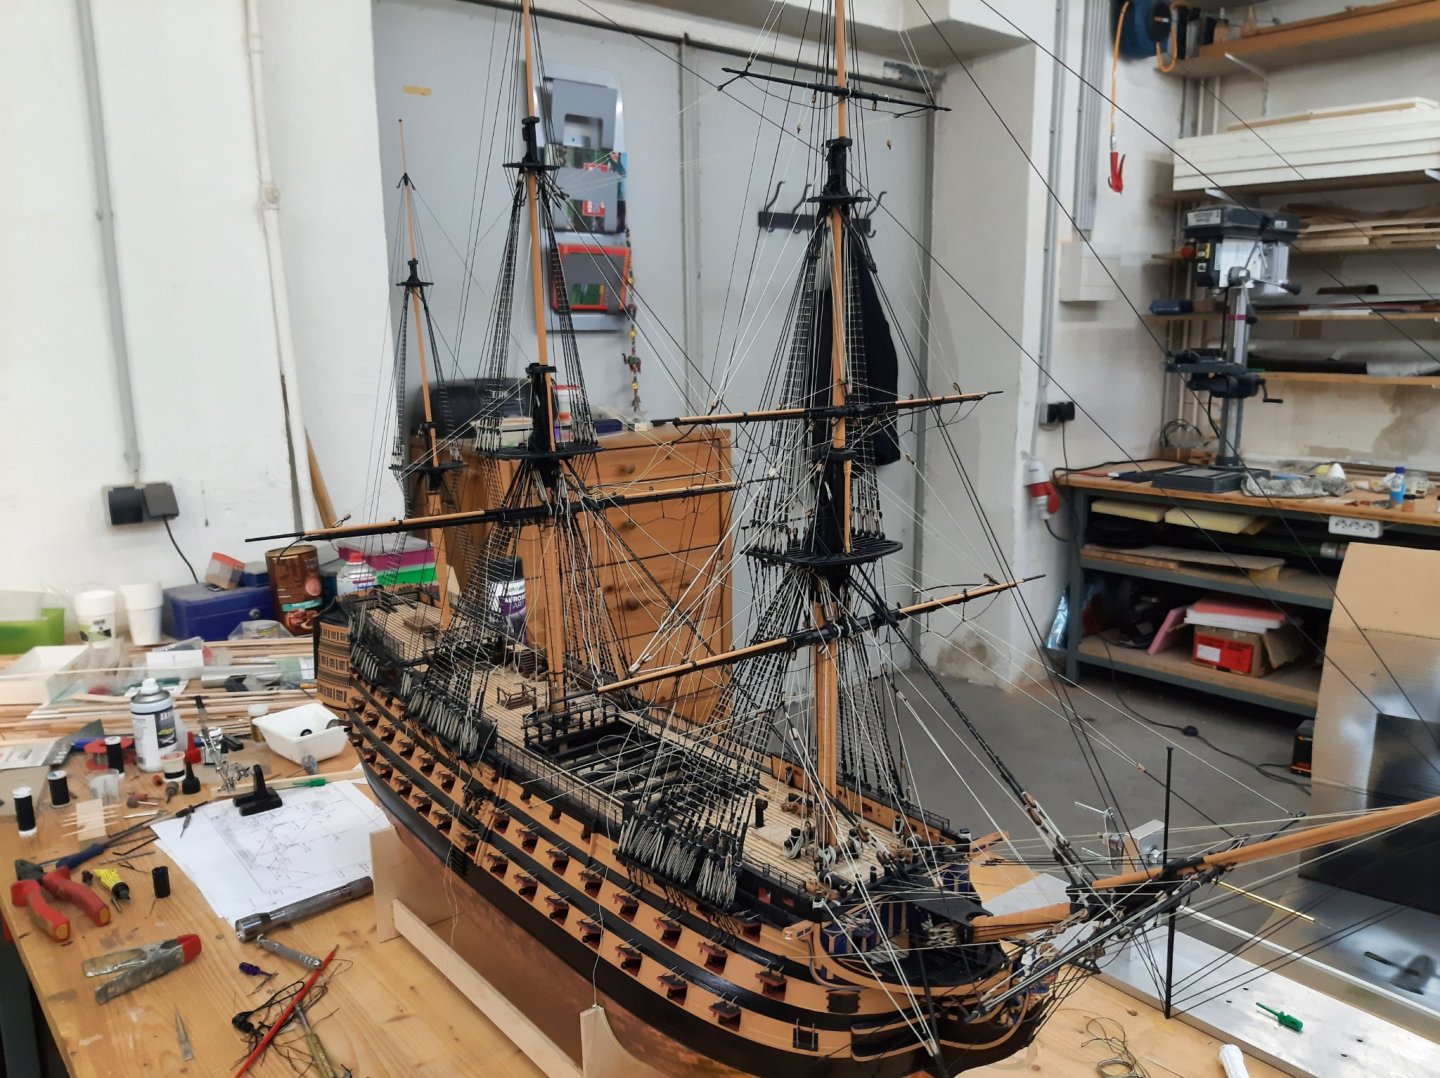
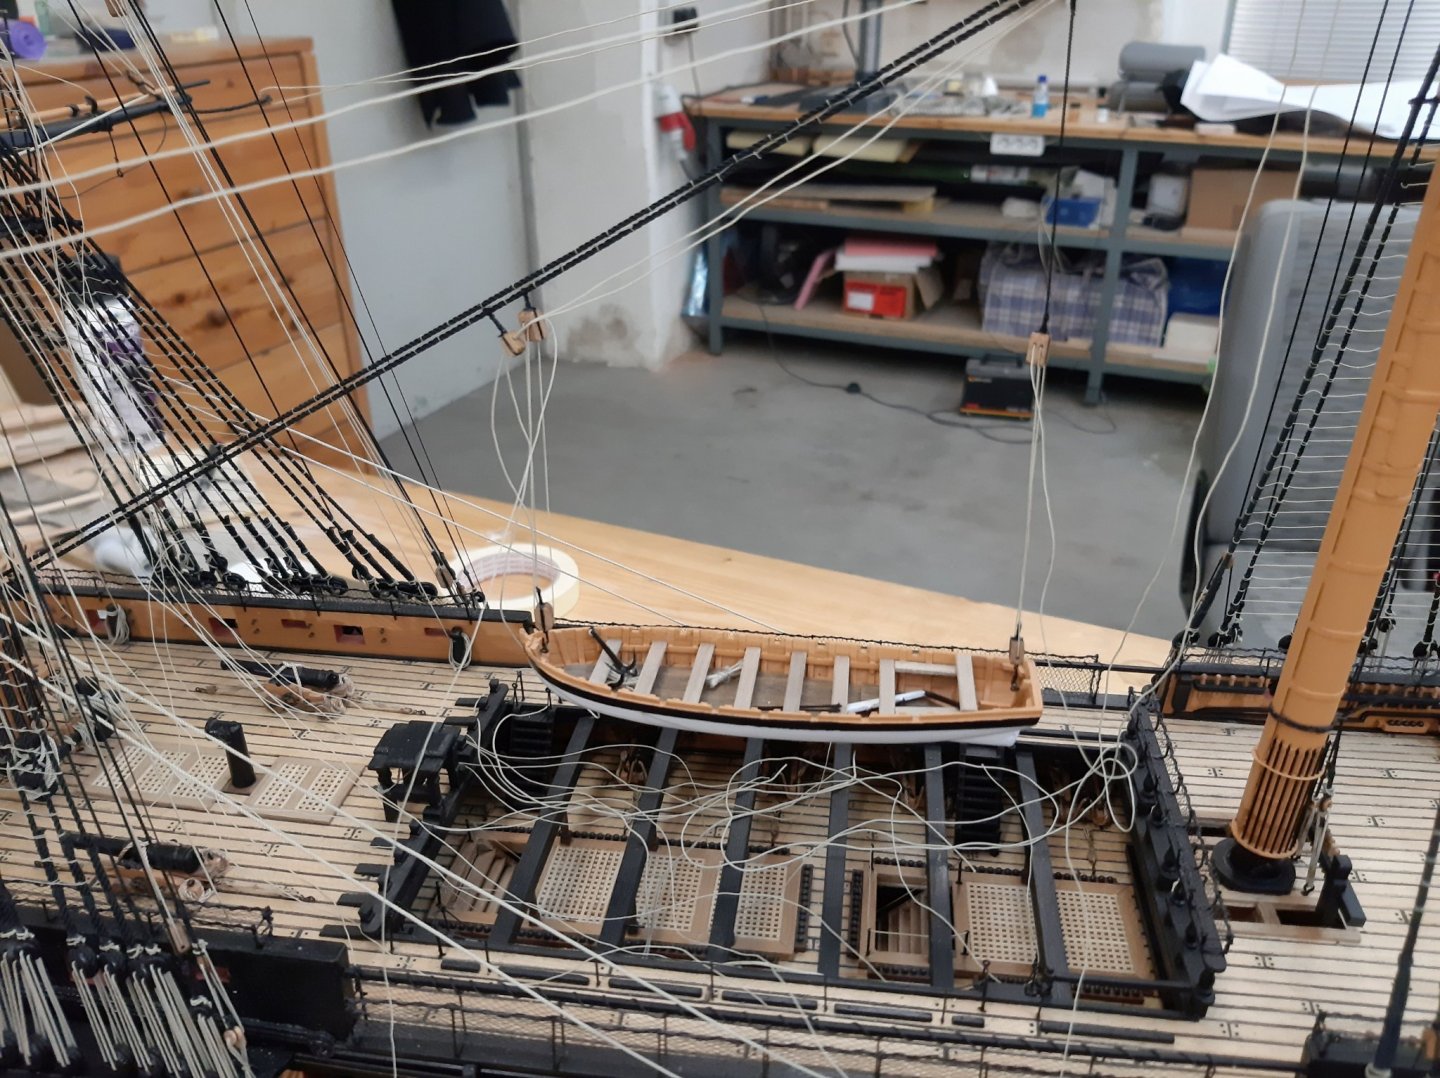
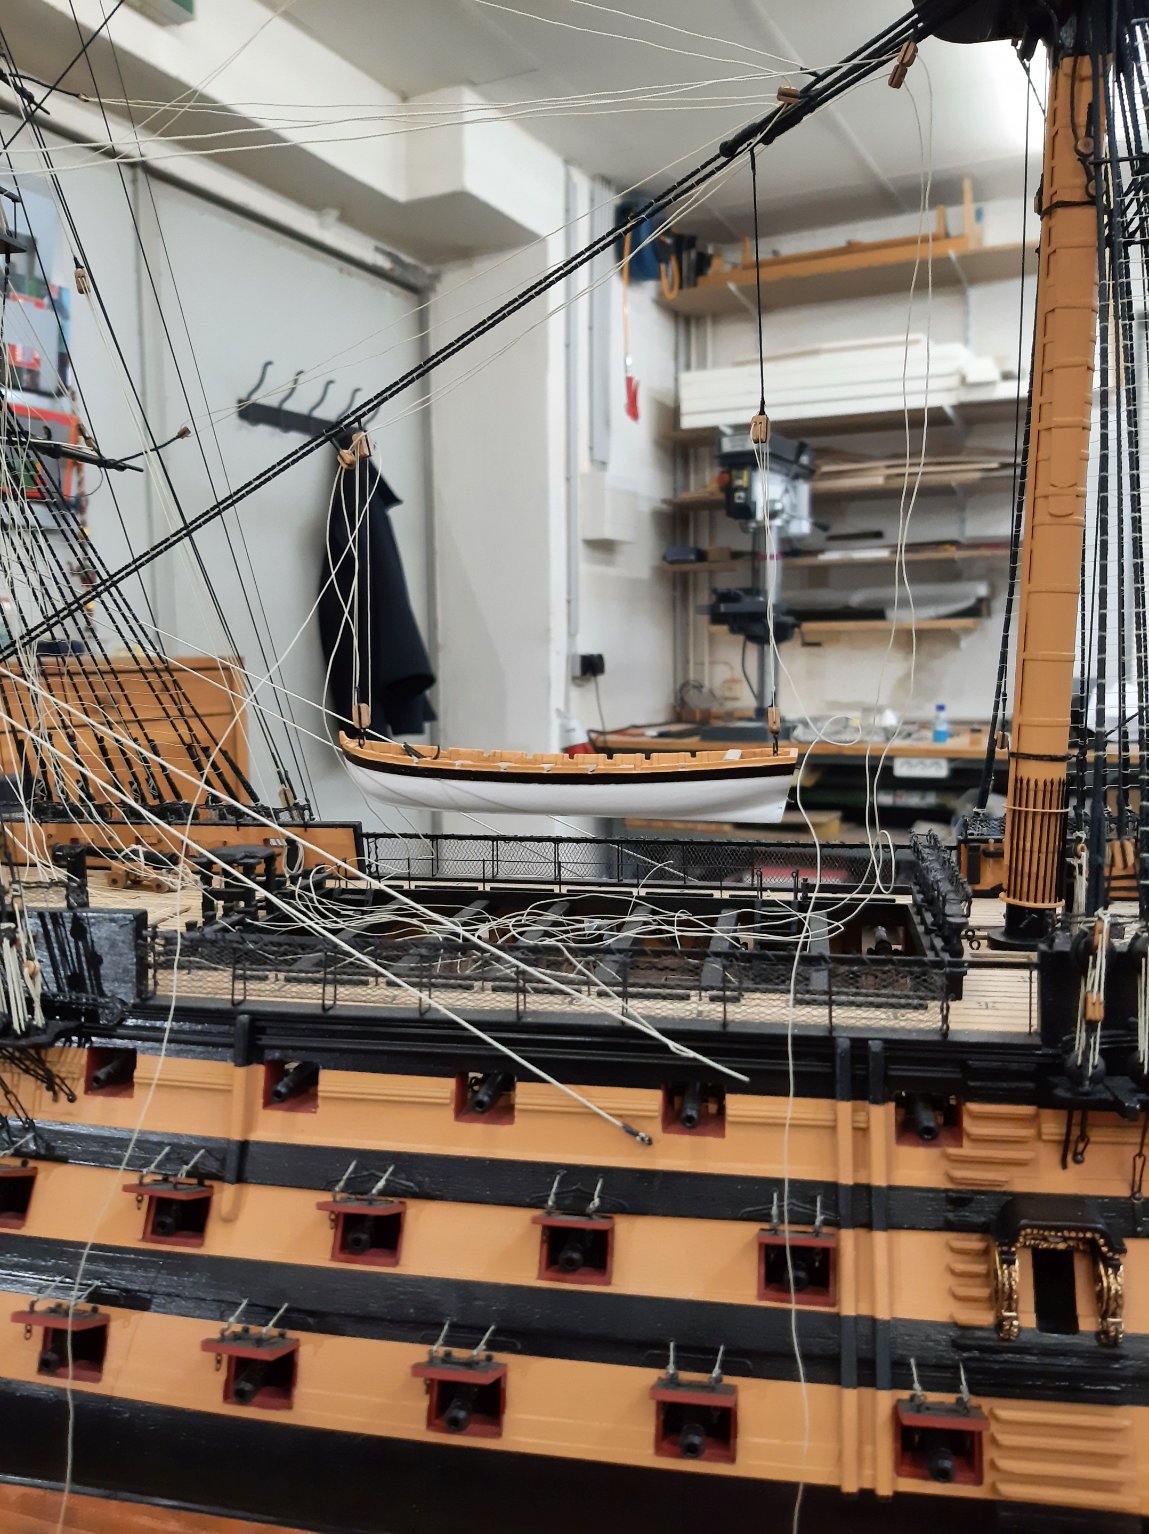
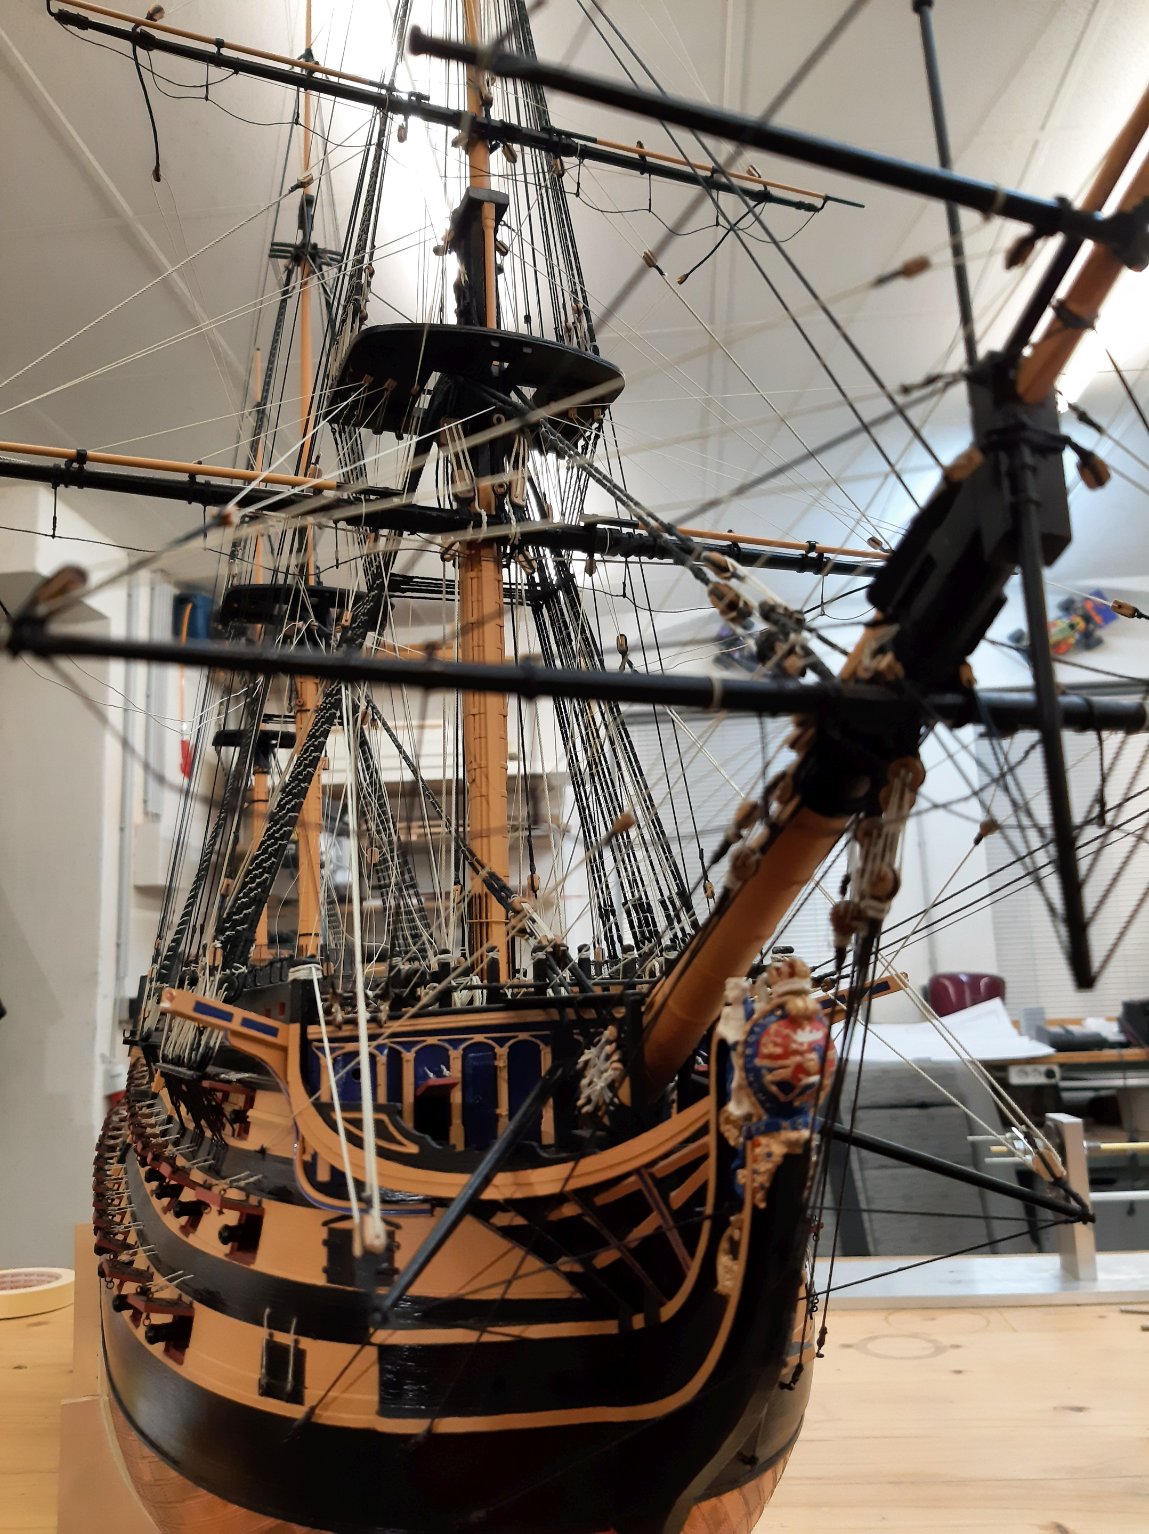
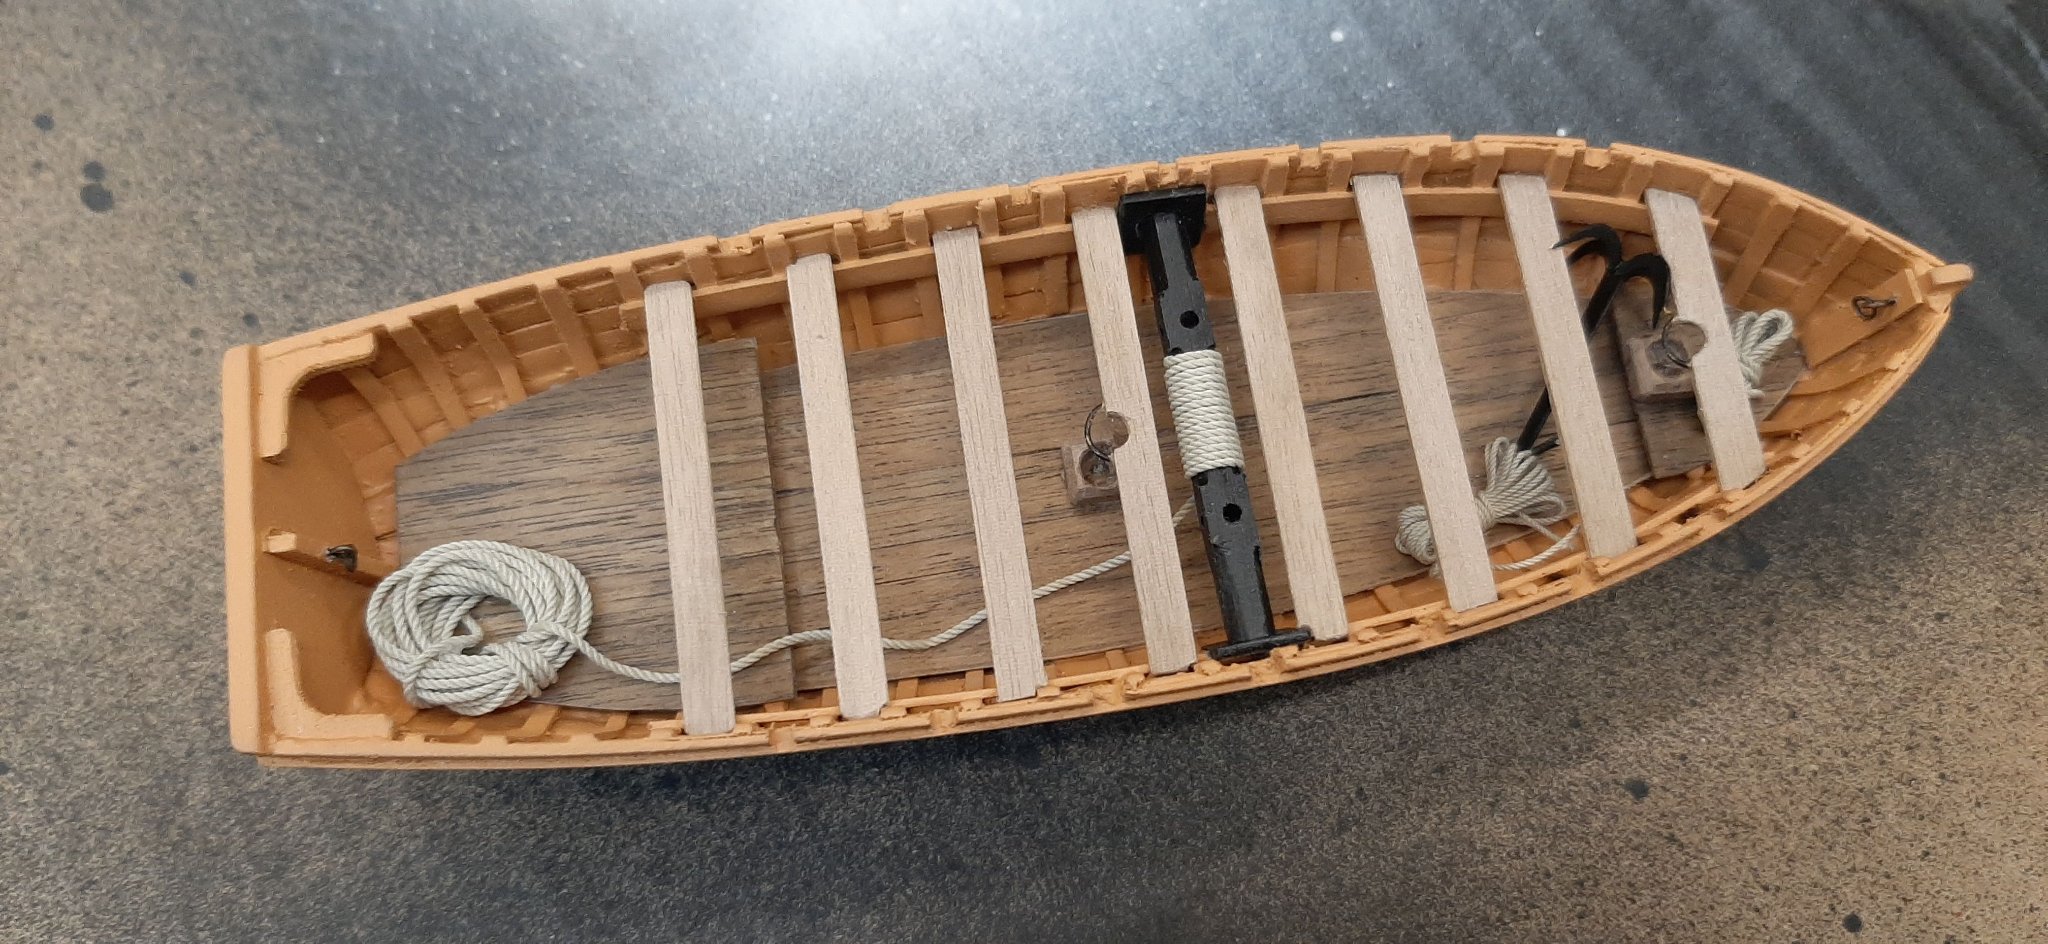
Hello,
Now I´m a giant step further.
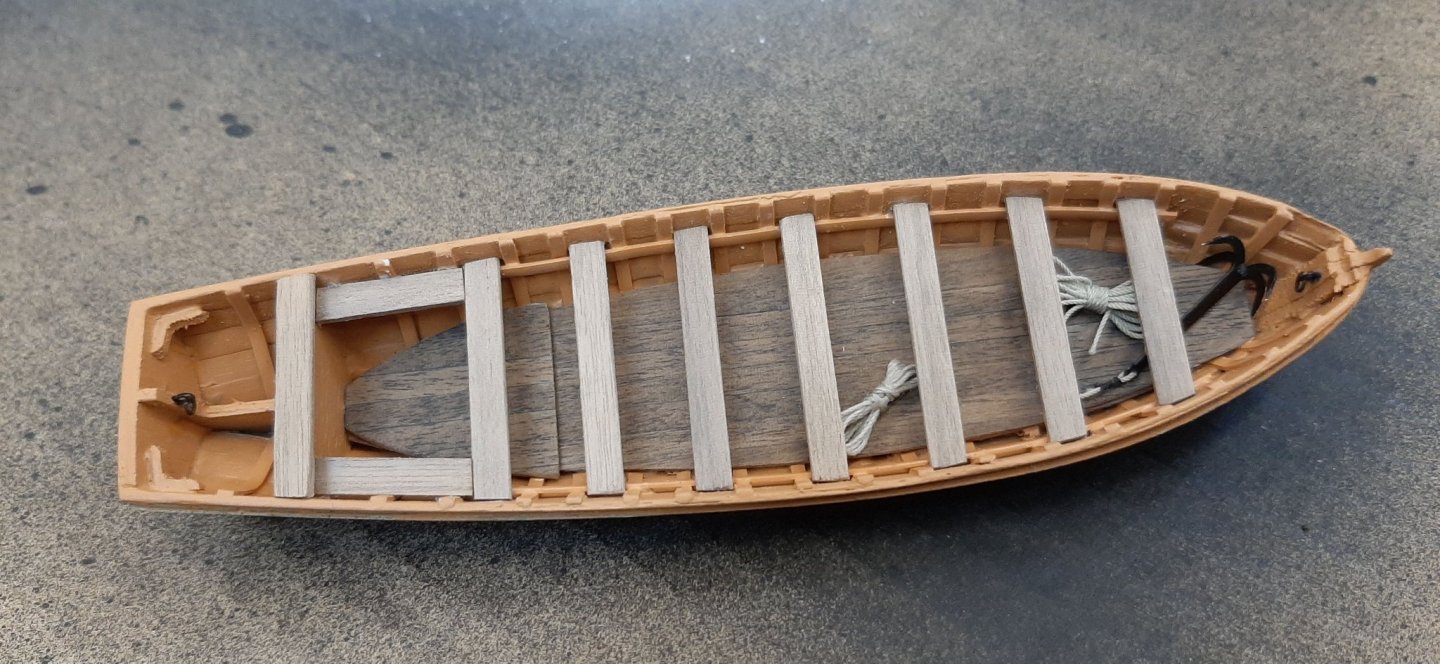
I´m finish with the dinghies.
After that i continued with the braces.
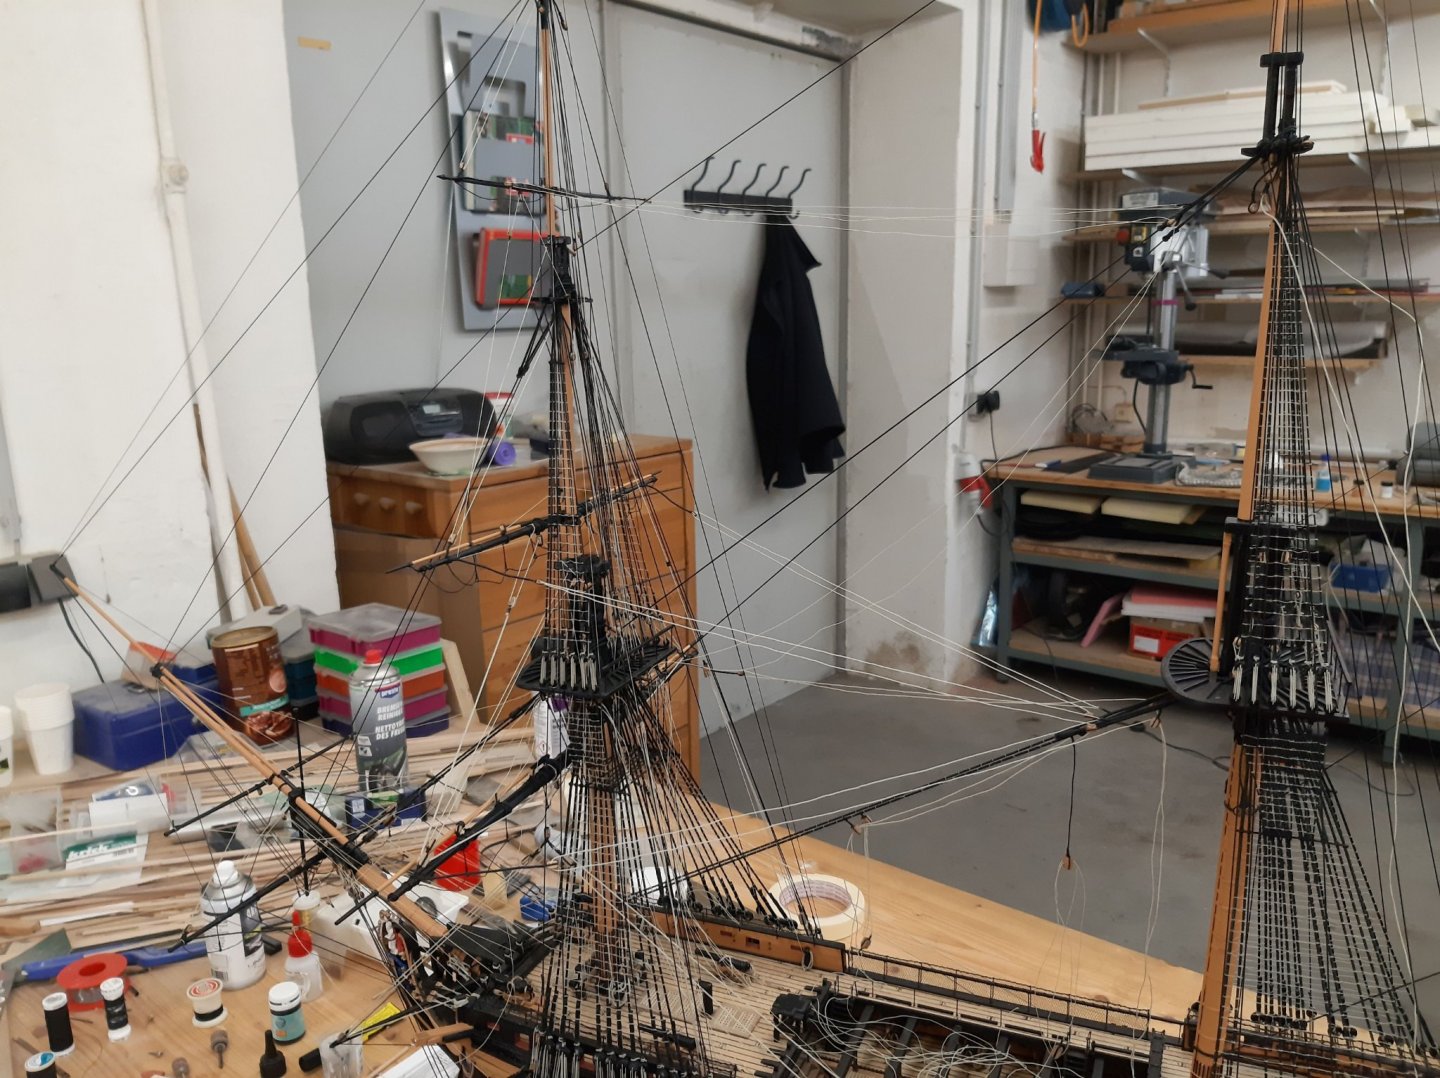
Here I have hung up a dinghy for testing purposes.

Here i am at the buntlines and leachlines.
Now the rigging on the fore mast is ready.
Next i will start with the main mast.
Helli
-
Hello,
It´s looking great.👍👍👍
Helli
-
-
-
Hello,
Thank you very much. It was very helpful.
Helli
-
-
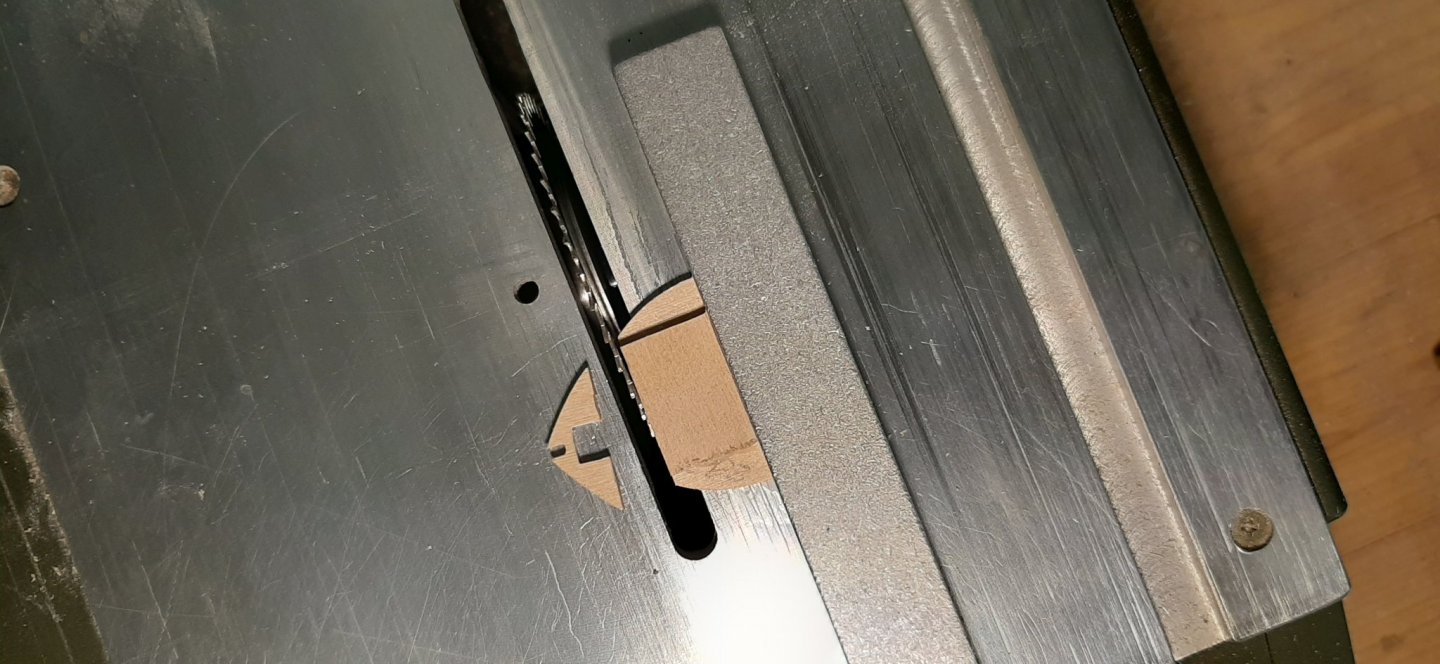
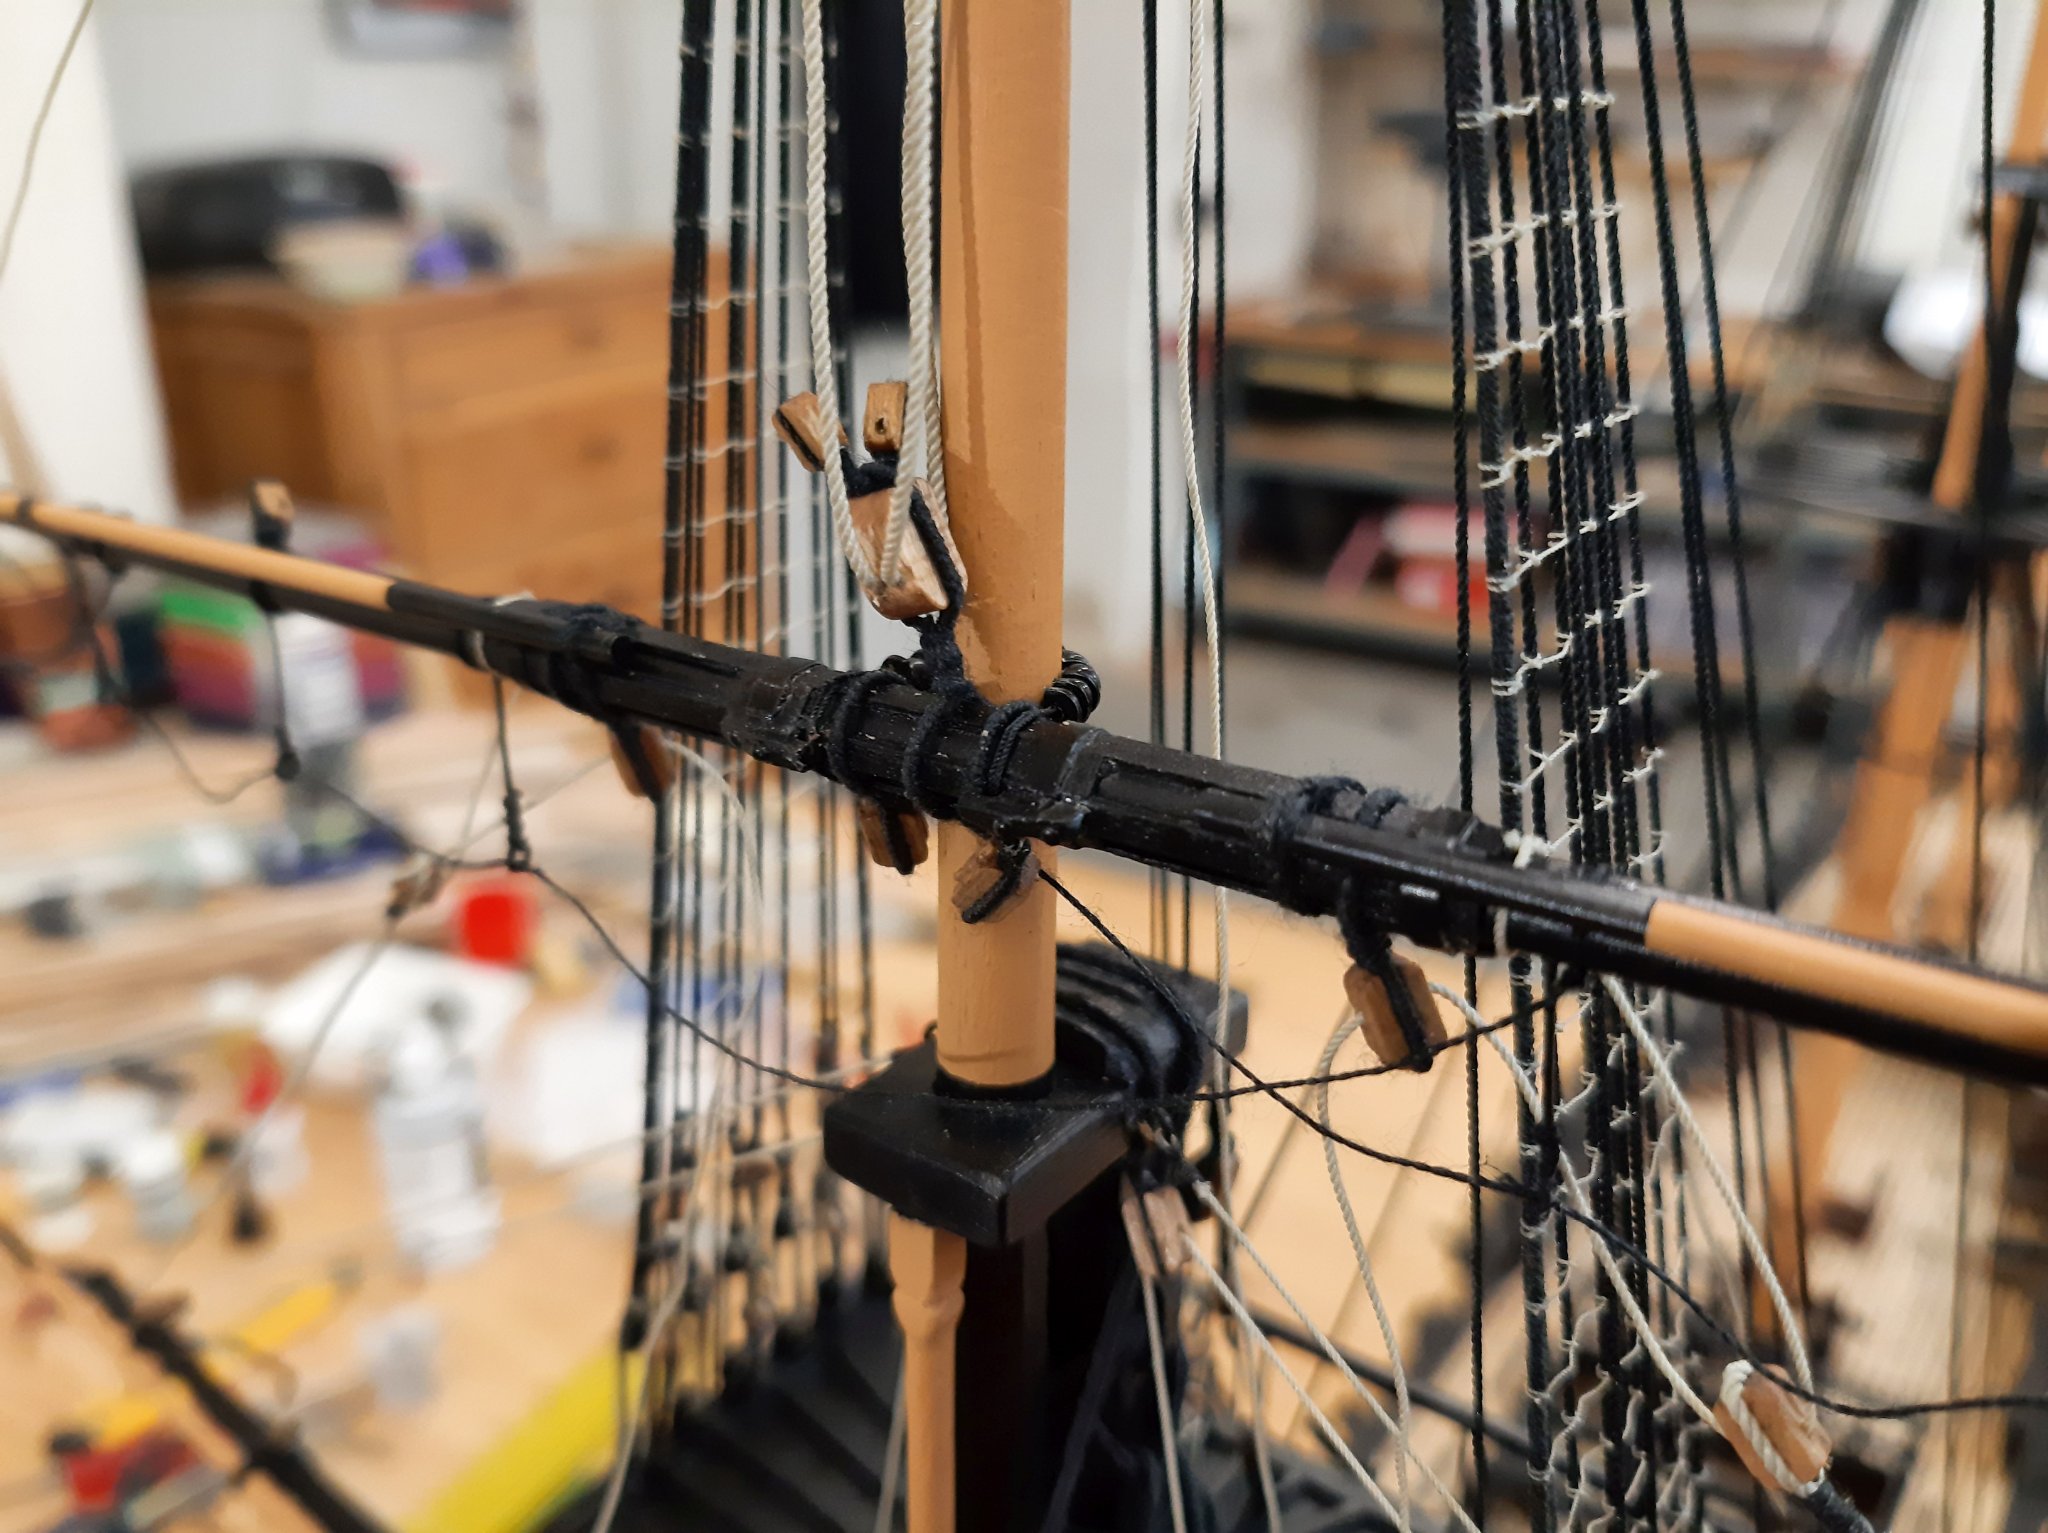
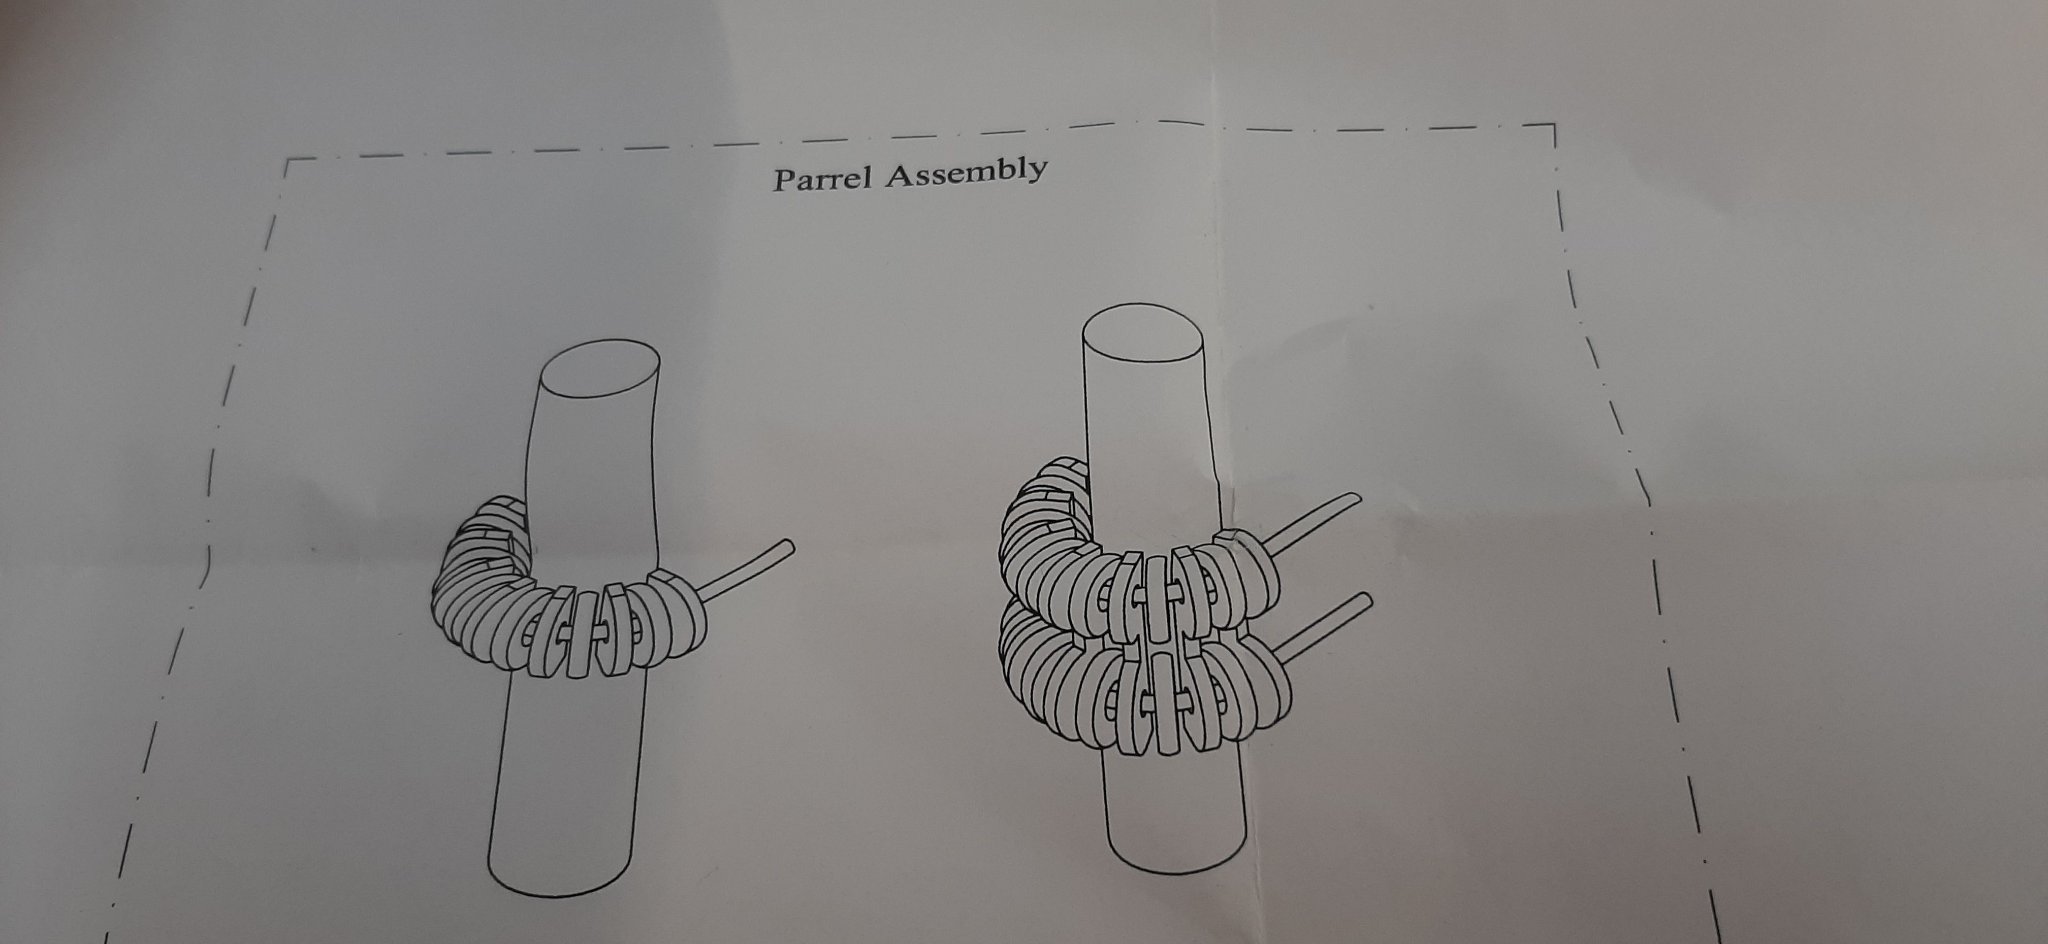
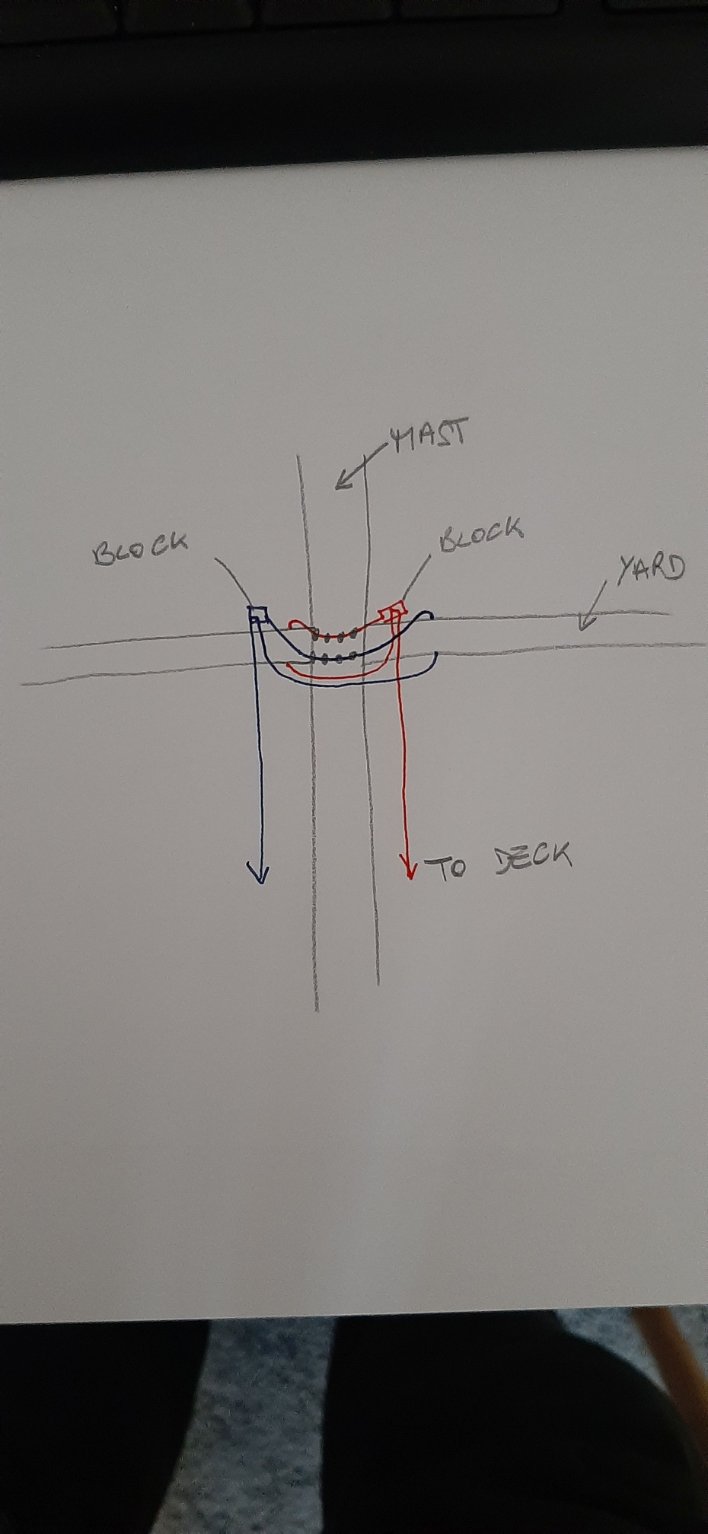
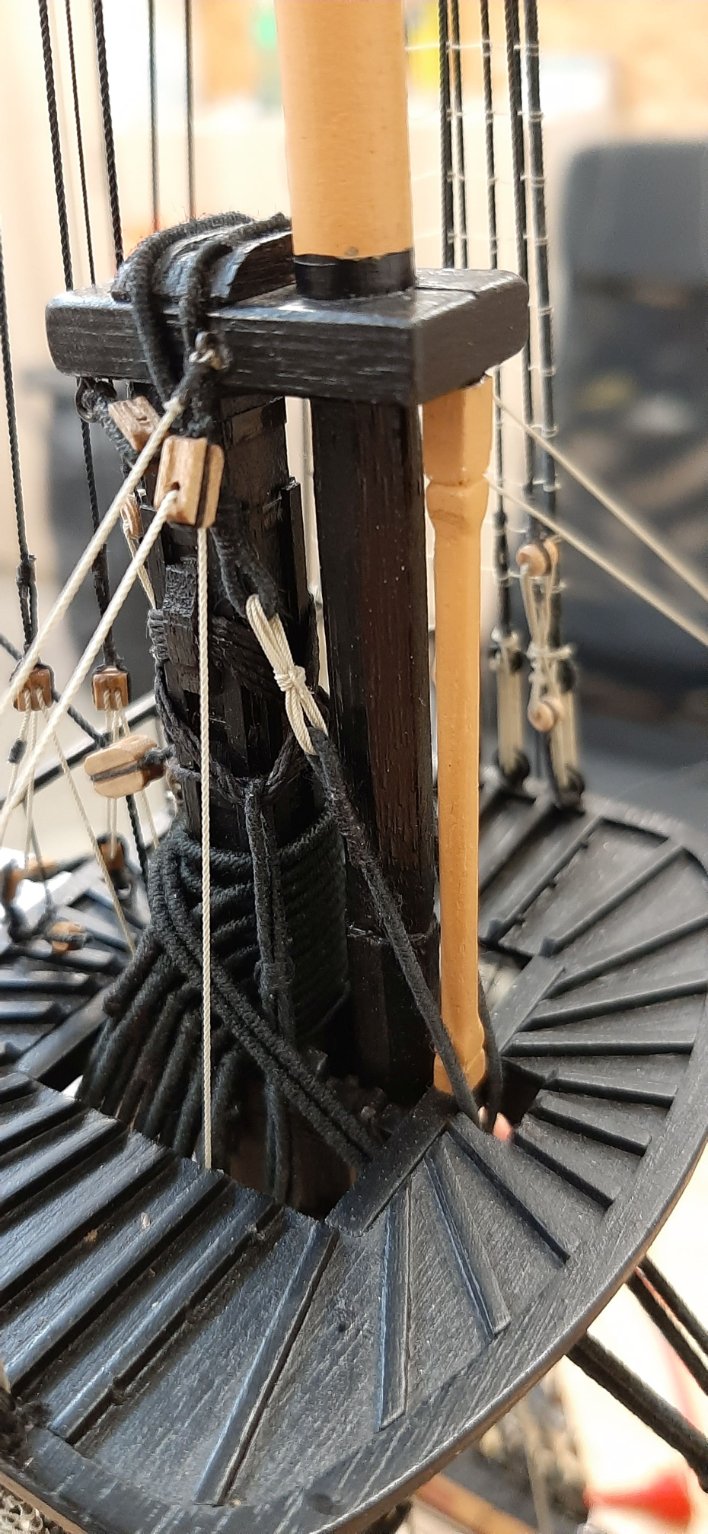
Hello,
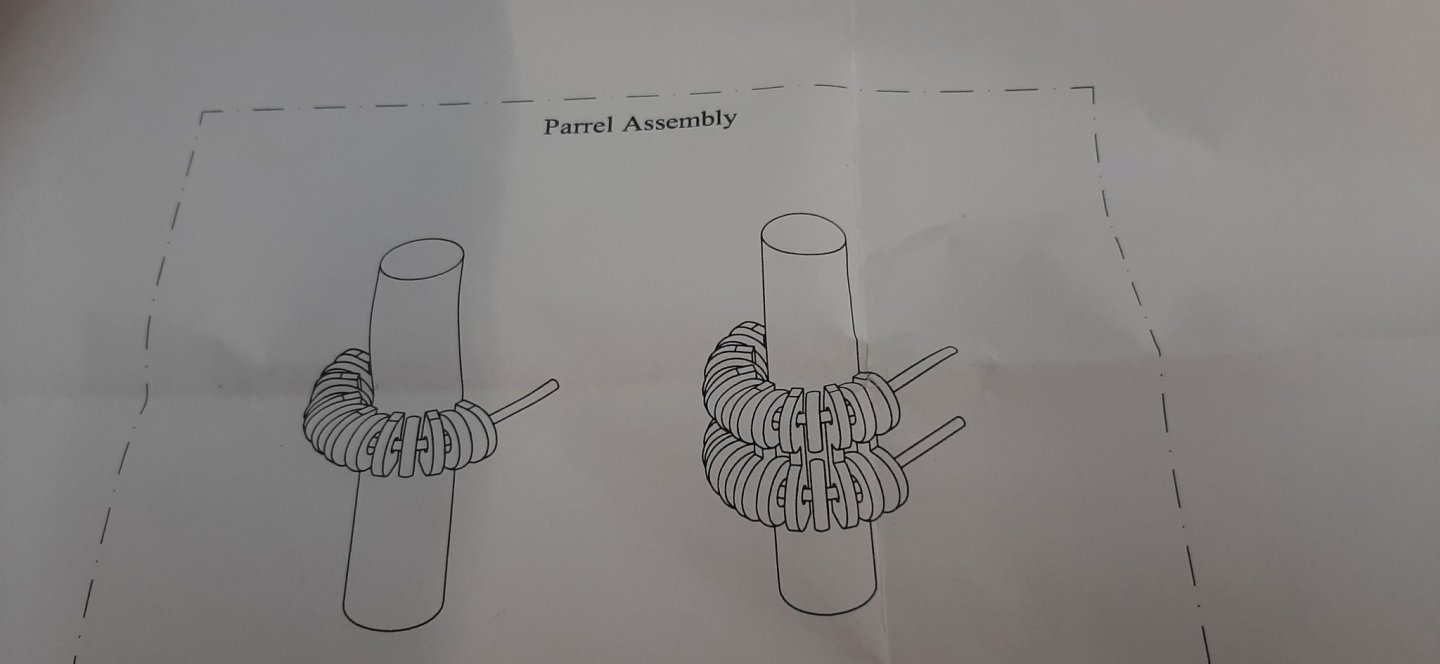
If i have a double row truss i take the one line and go around the yard. Then back through the block and down to deck. The other line is the same. I hope this is correct.

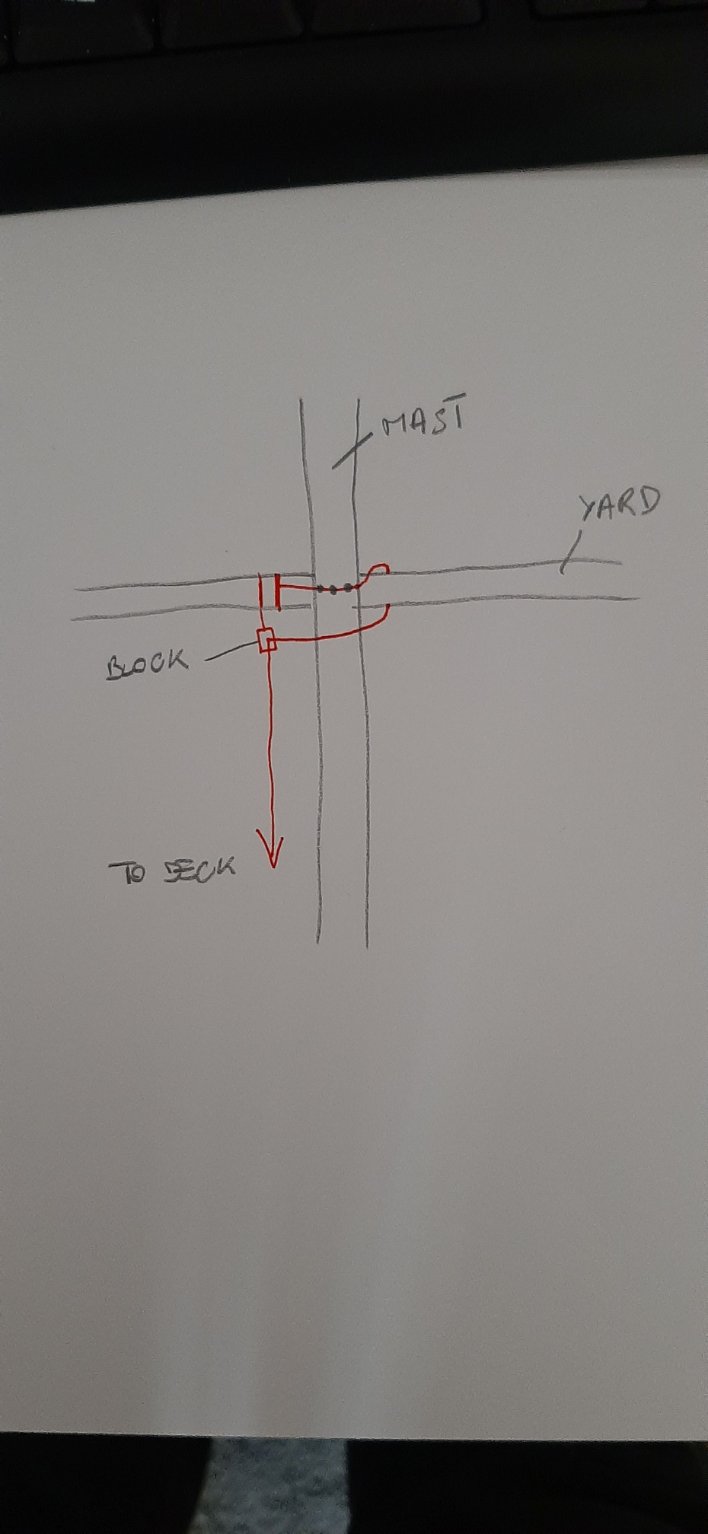
But if i have a single row truss i don´t know how attach the line on the yard.
I have made a picture so that you know what i mean.
Thank you
Helli
-
Hello,
I have a question.
Can someone tell me how to mount a single row truss? I can only find something through multiple rows.
Many Thanks
Helli -
-
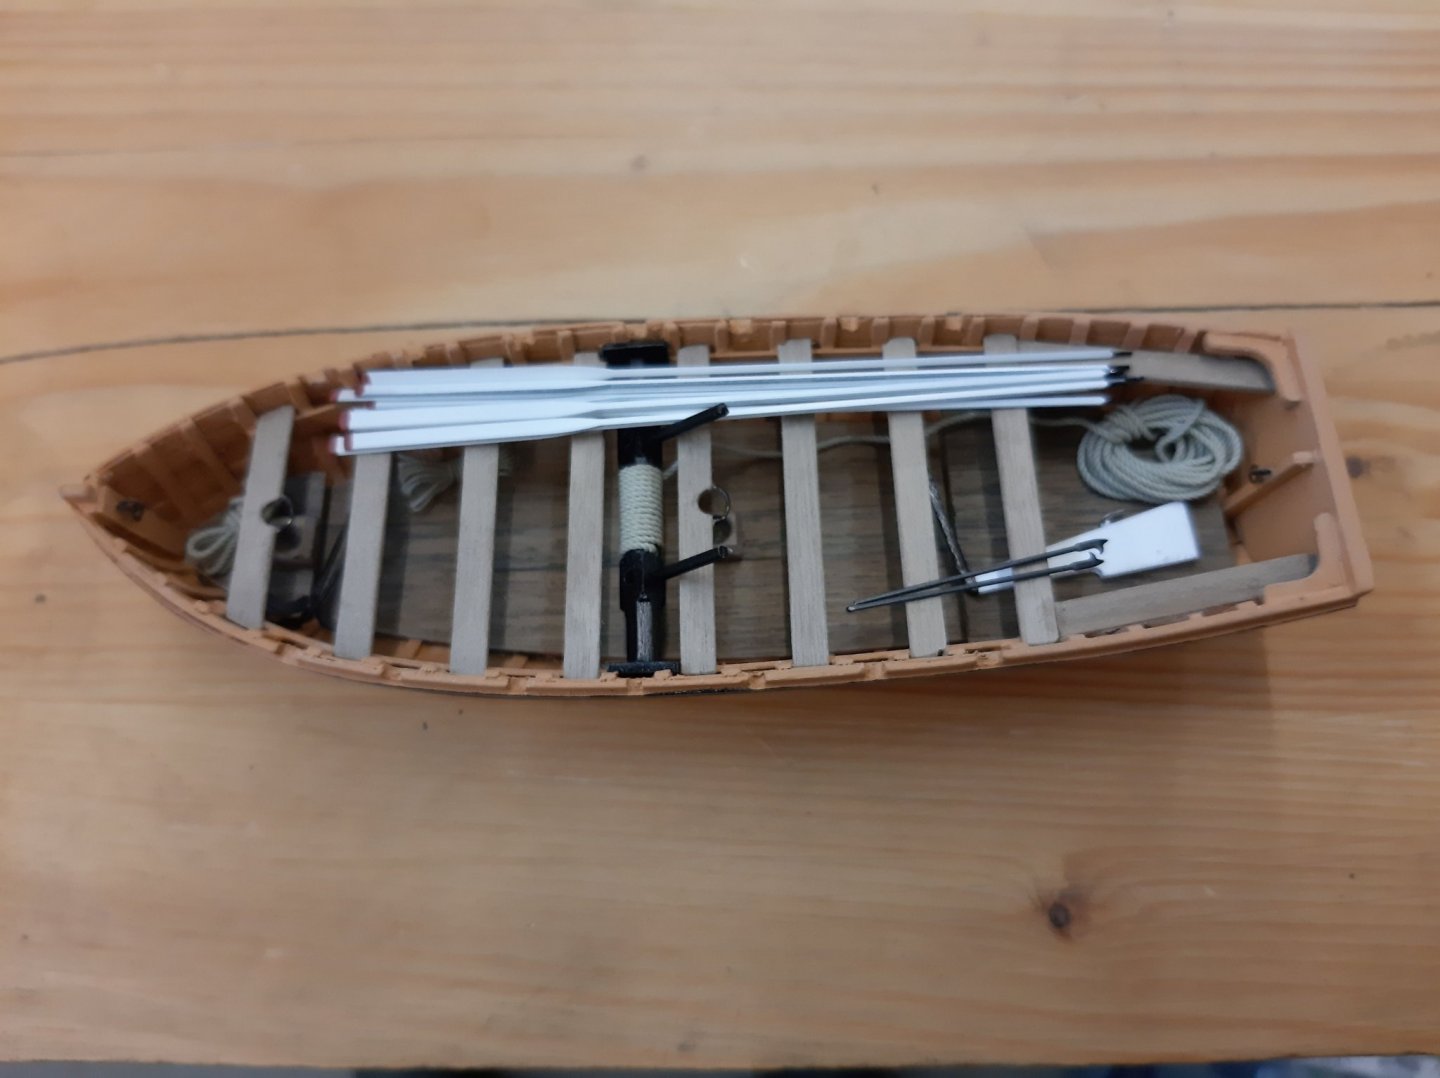
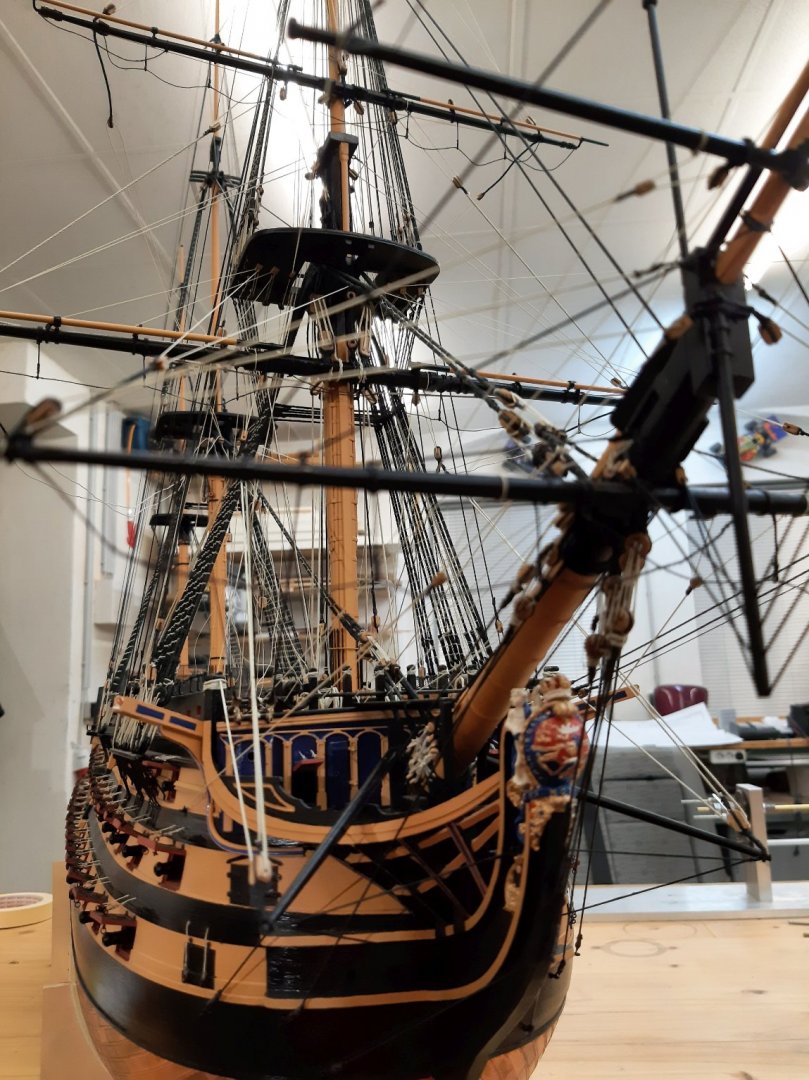
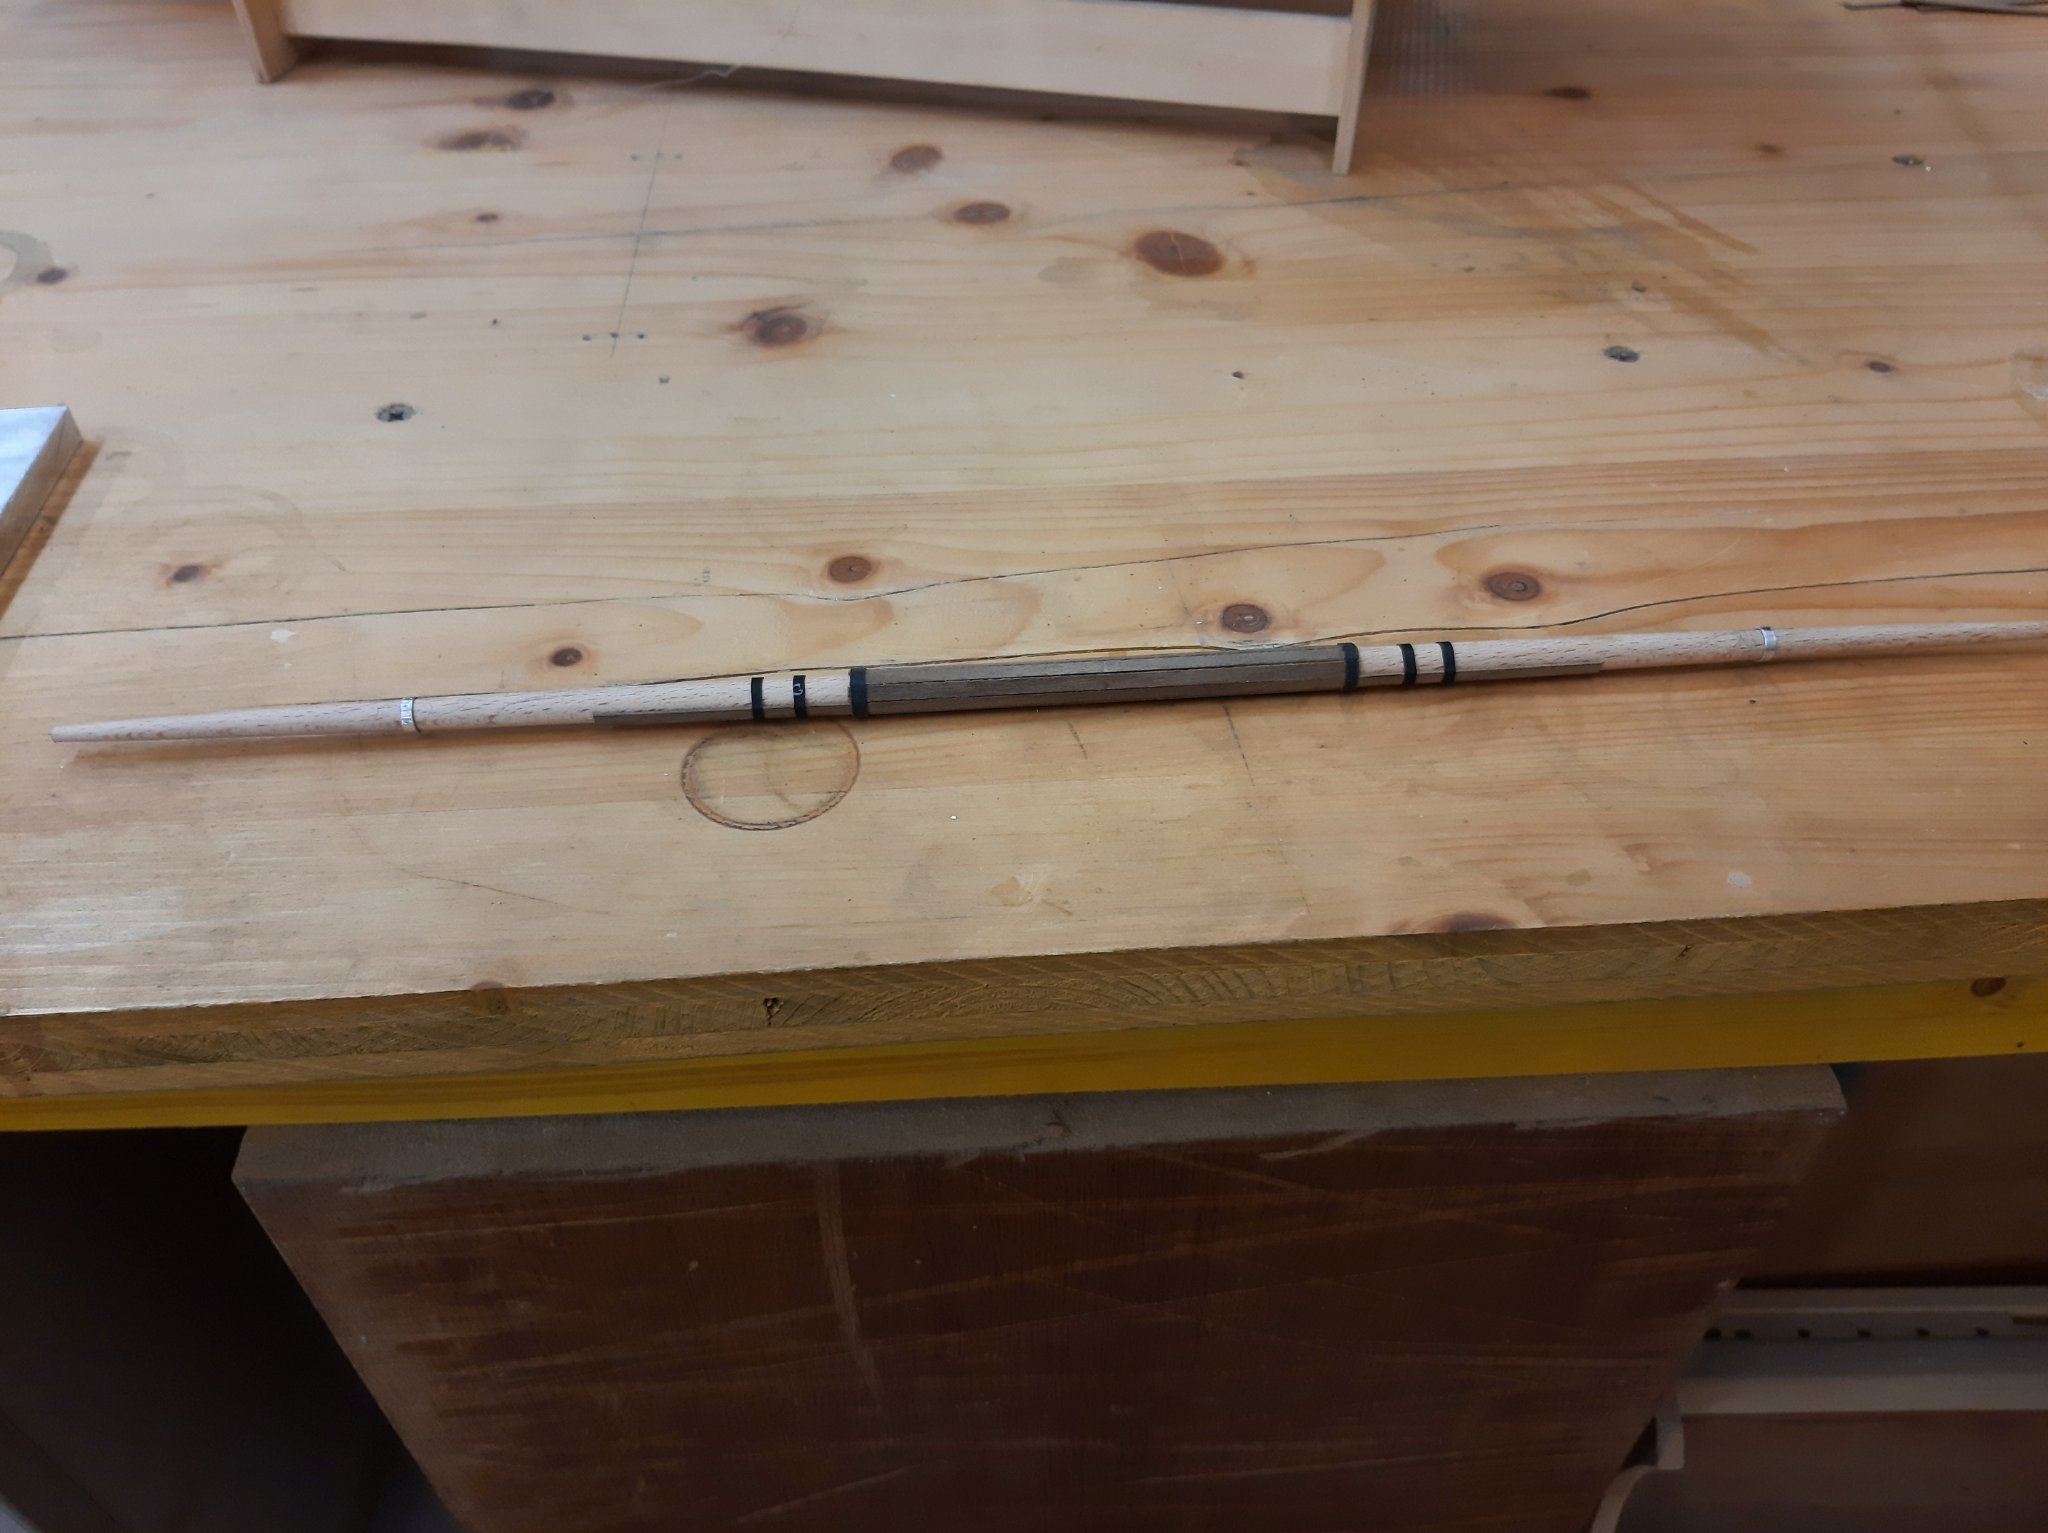
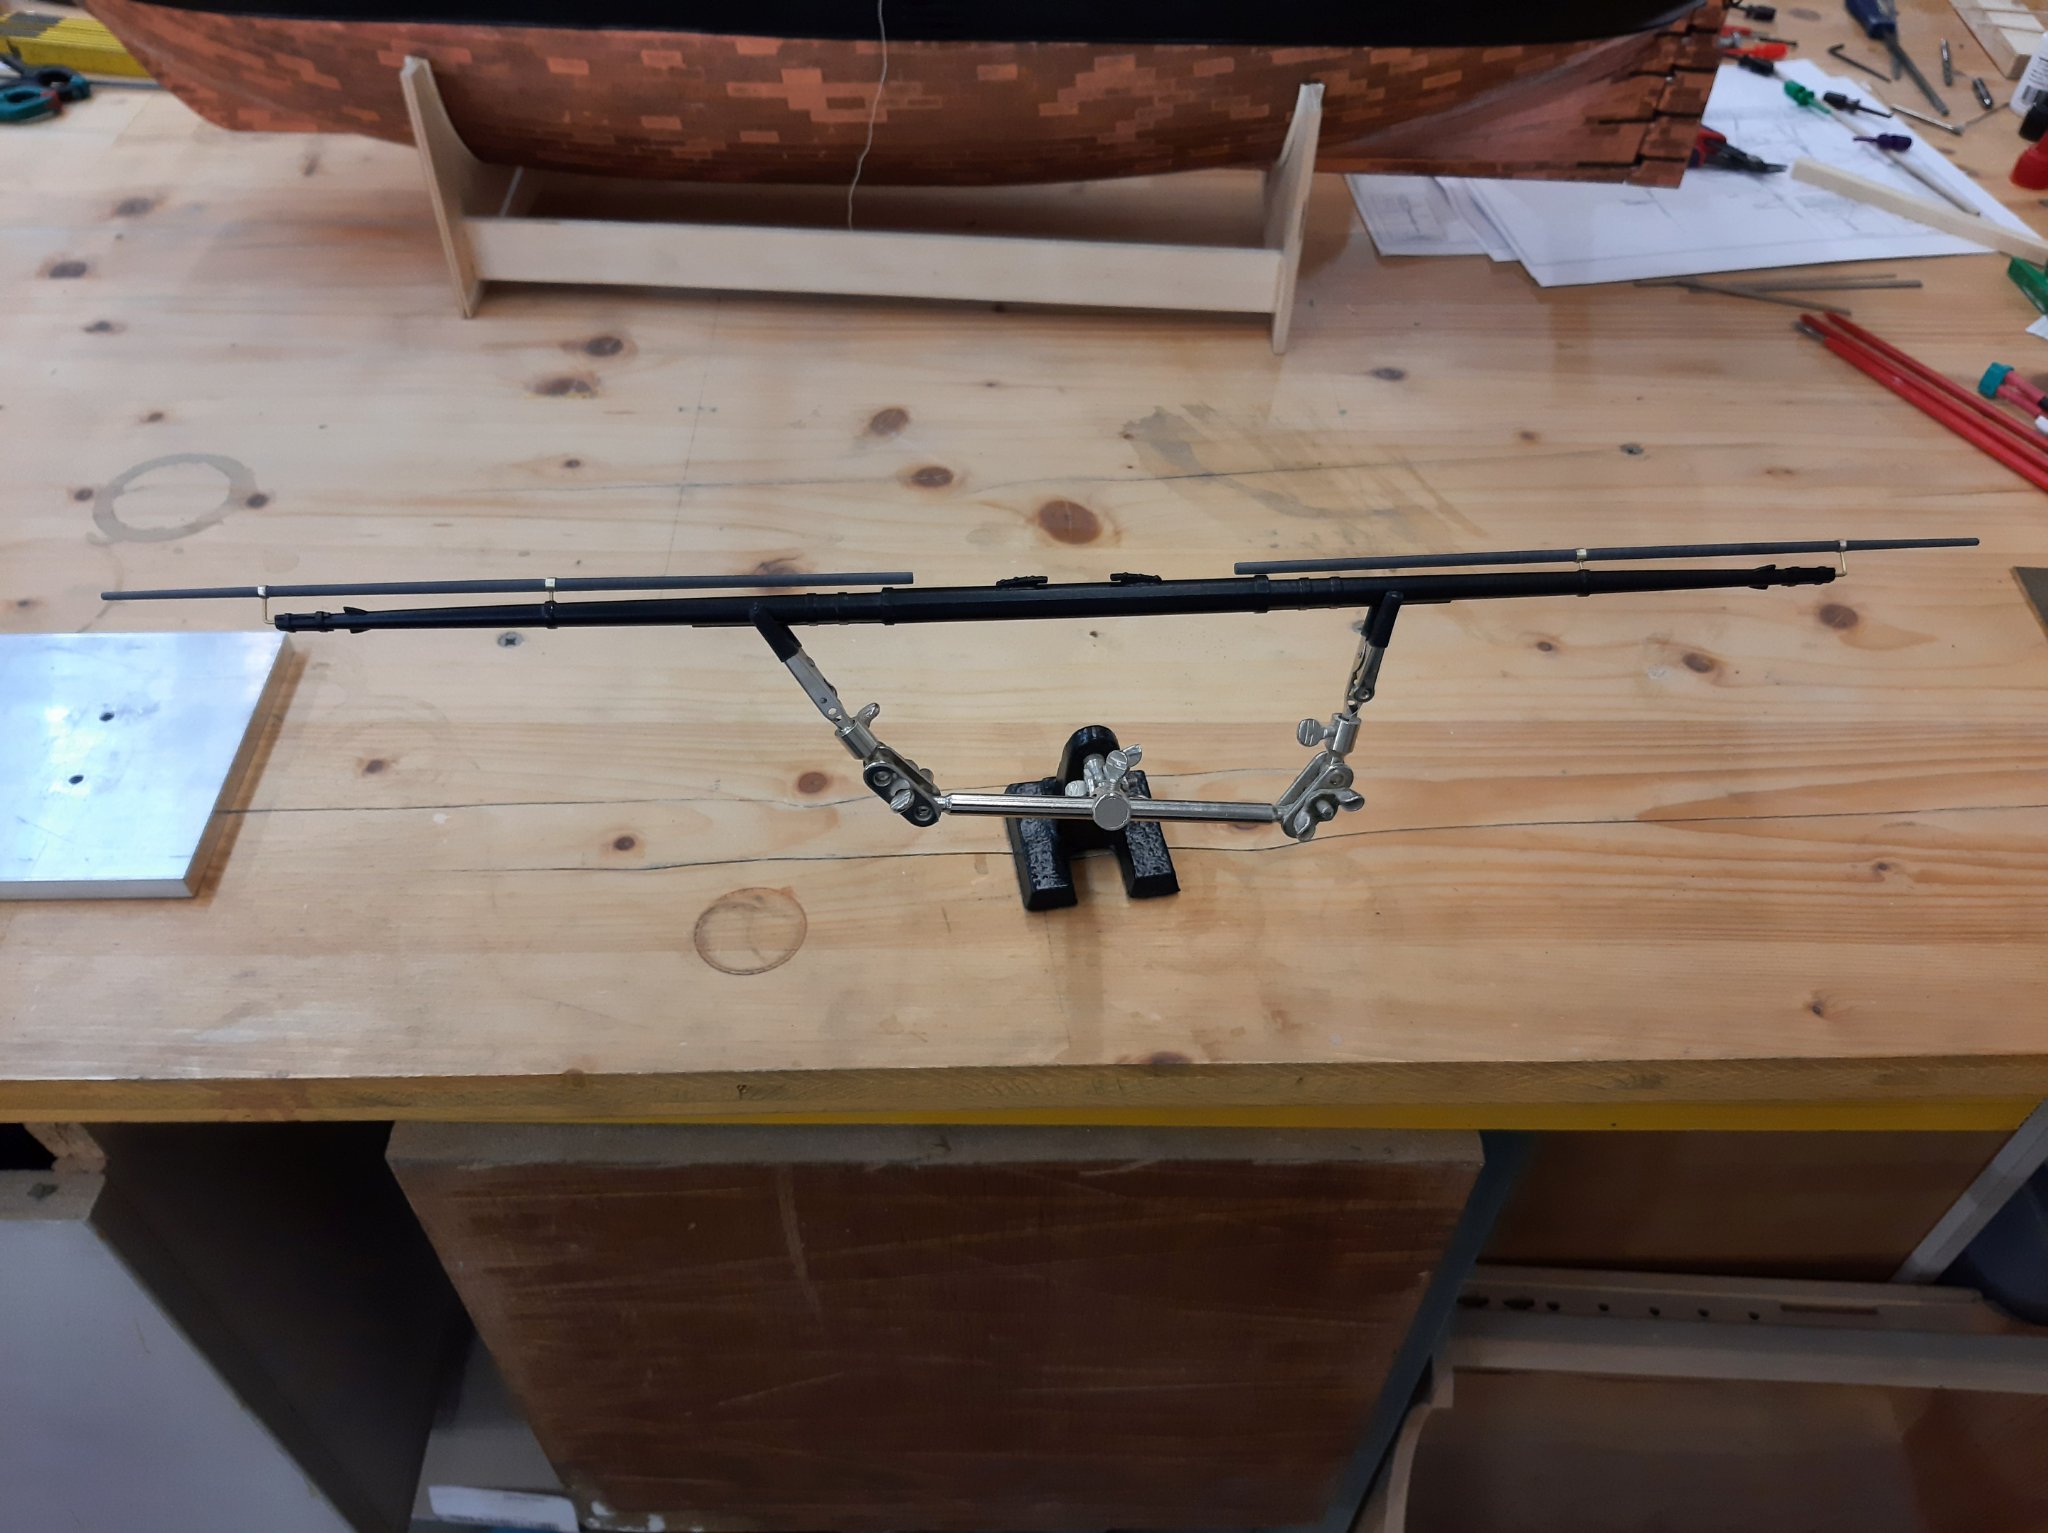
Hello,
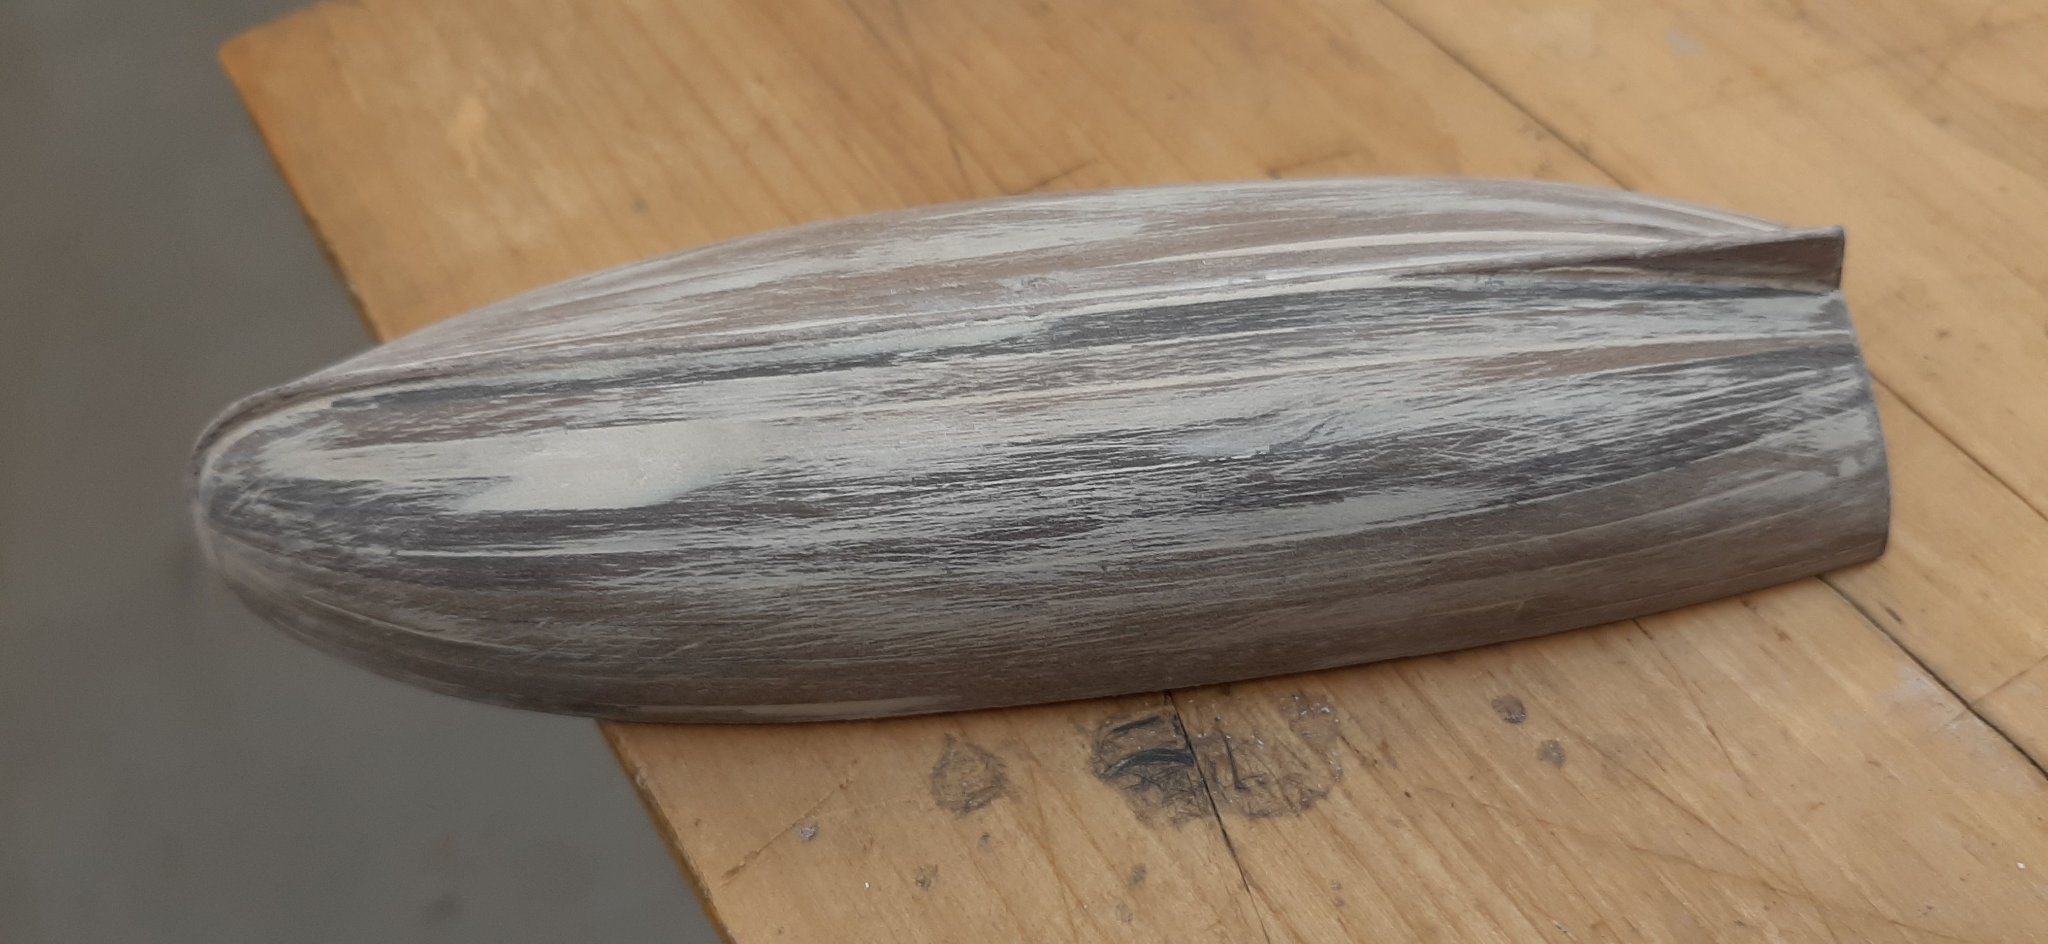
I'm done with the dinghies except for a few small things.
Now I have started with the yards.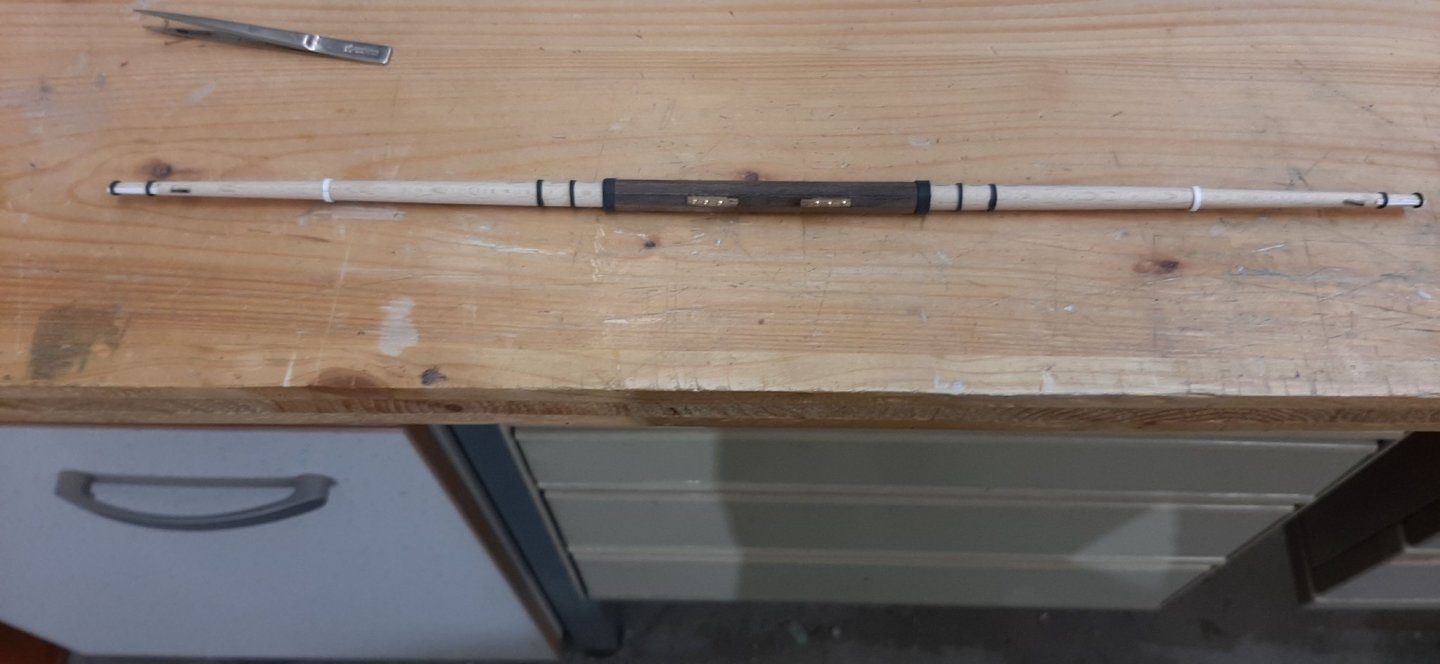


The fore yard I have now finished.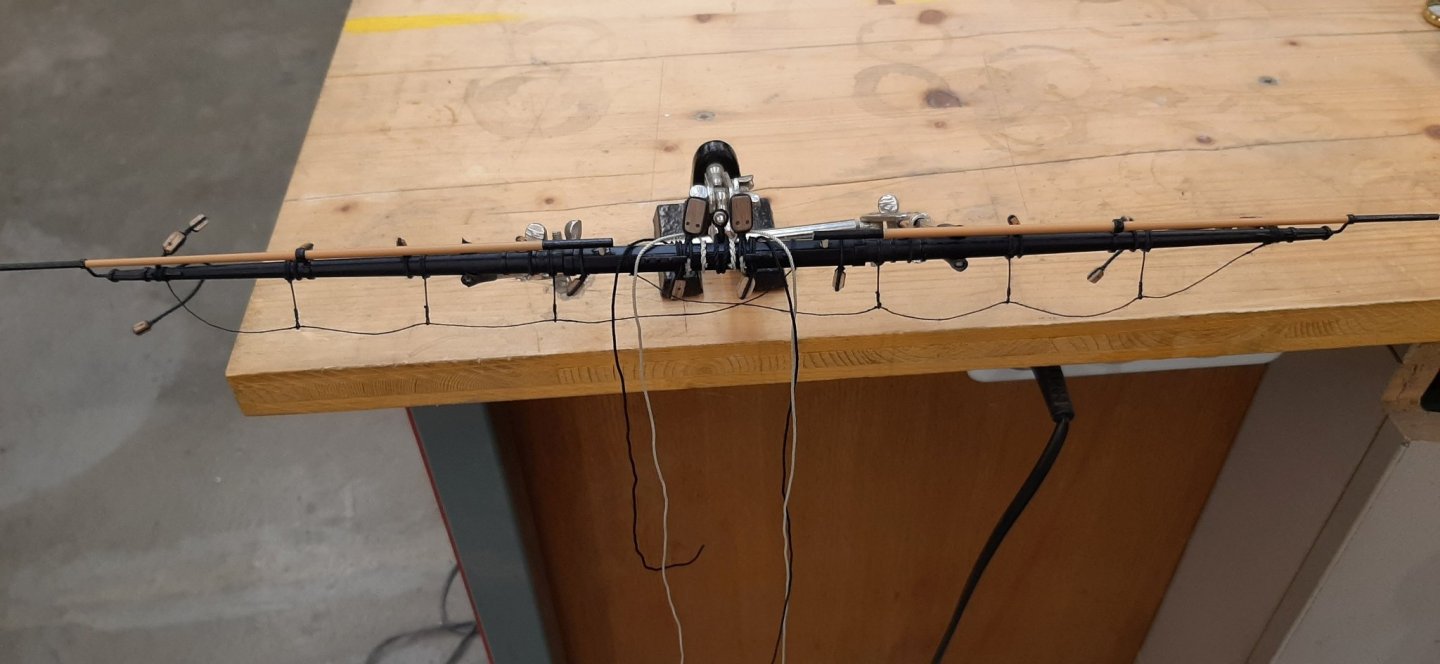
Now it waits for the assembly.
I am now doing one yard after the other and work my way to the stern.Cheers
Helli
- mort stoll, gieb8688, ccoyle and 1 other
-
4
-
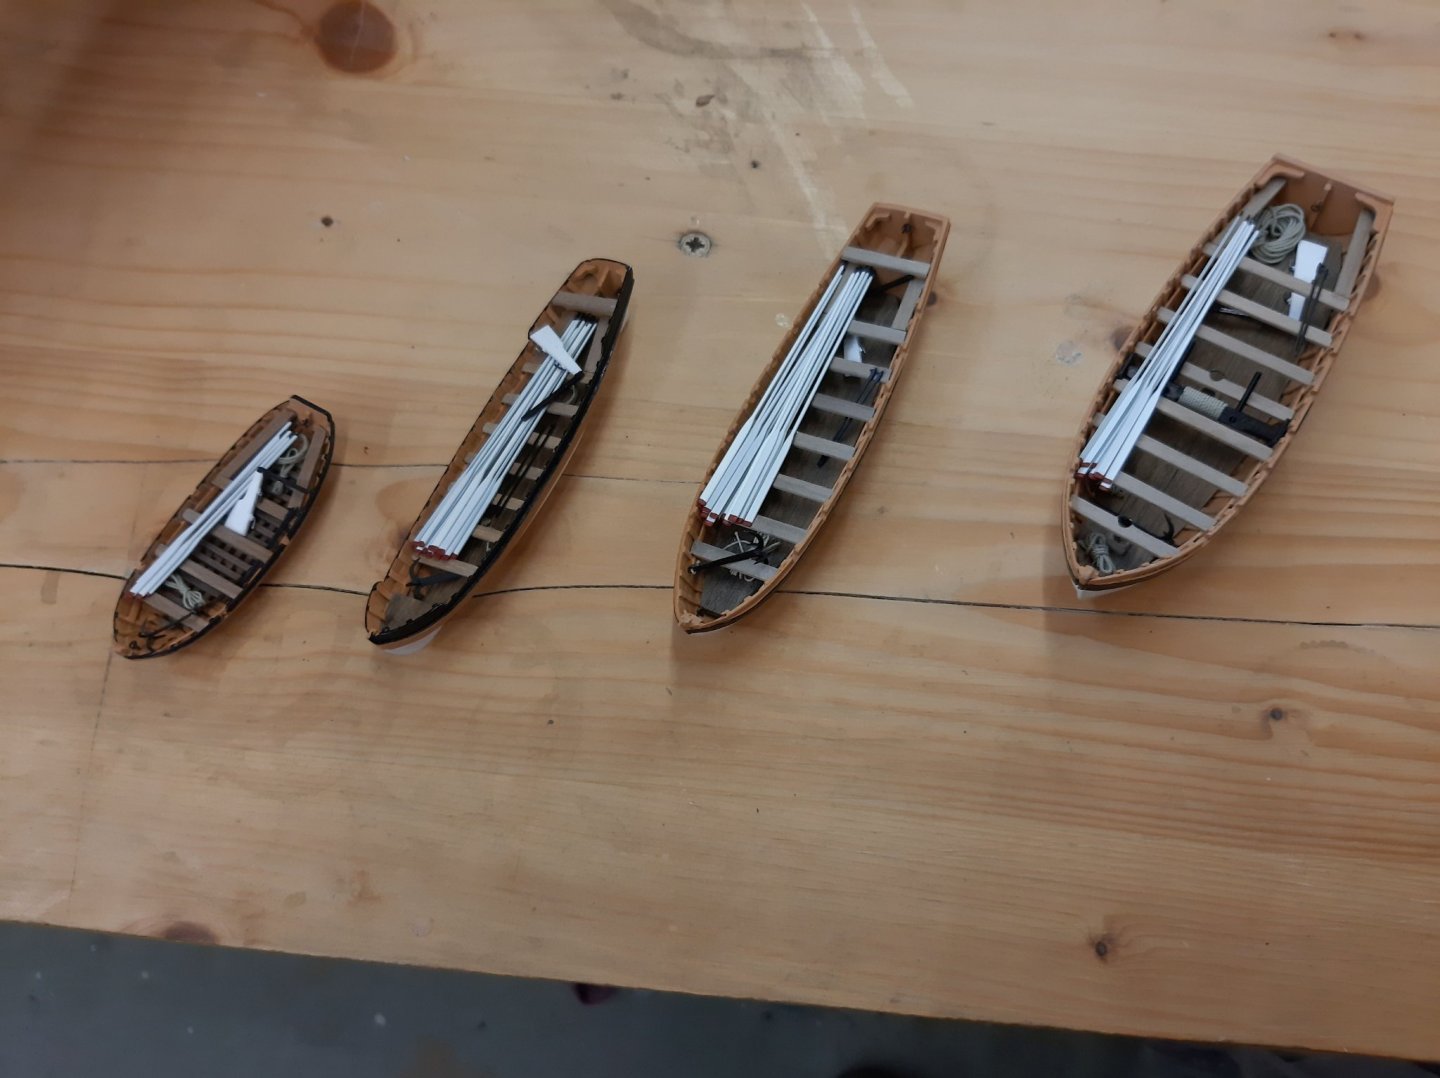
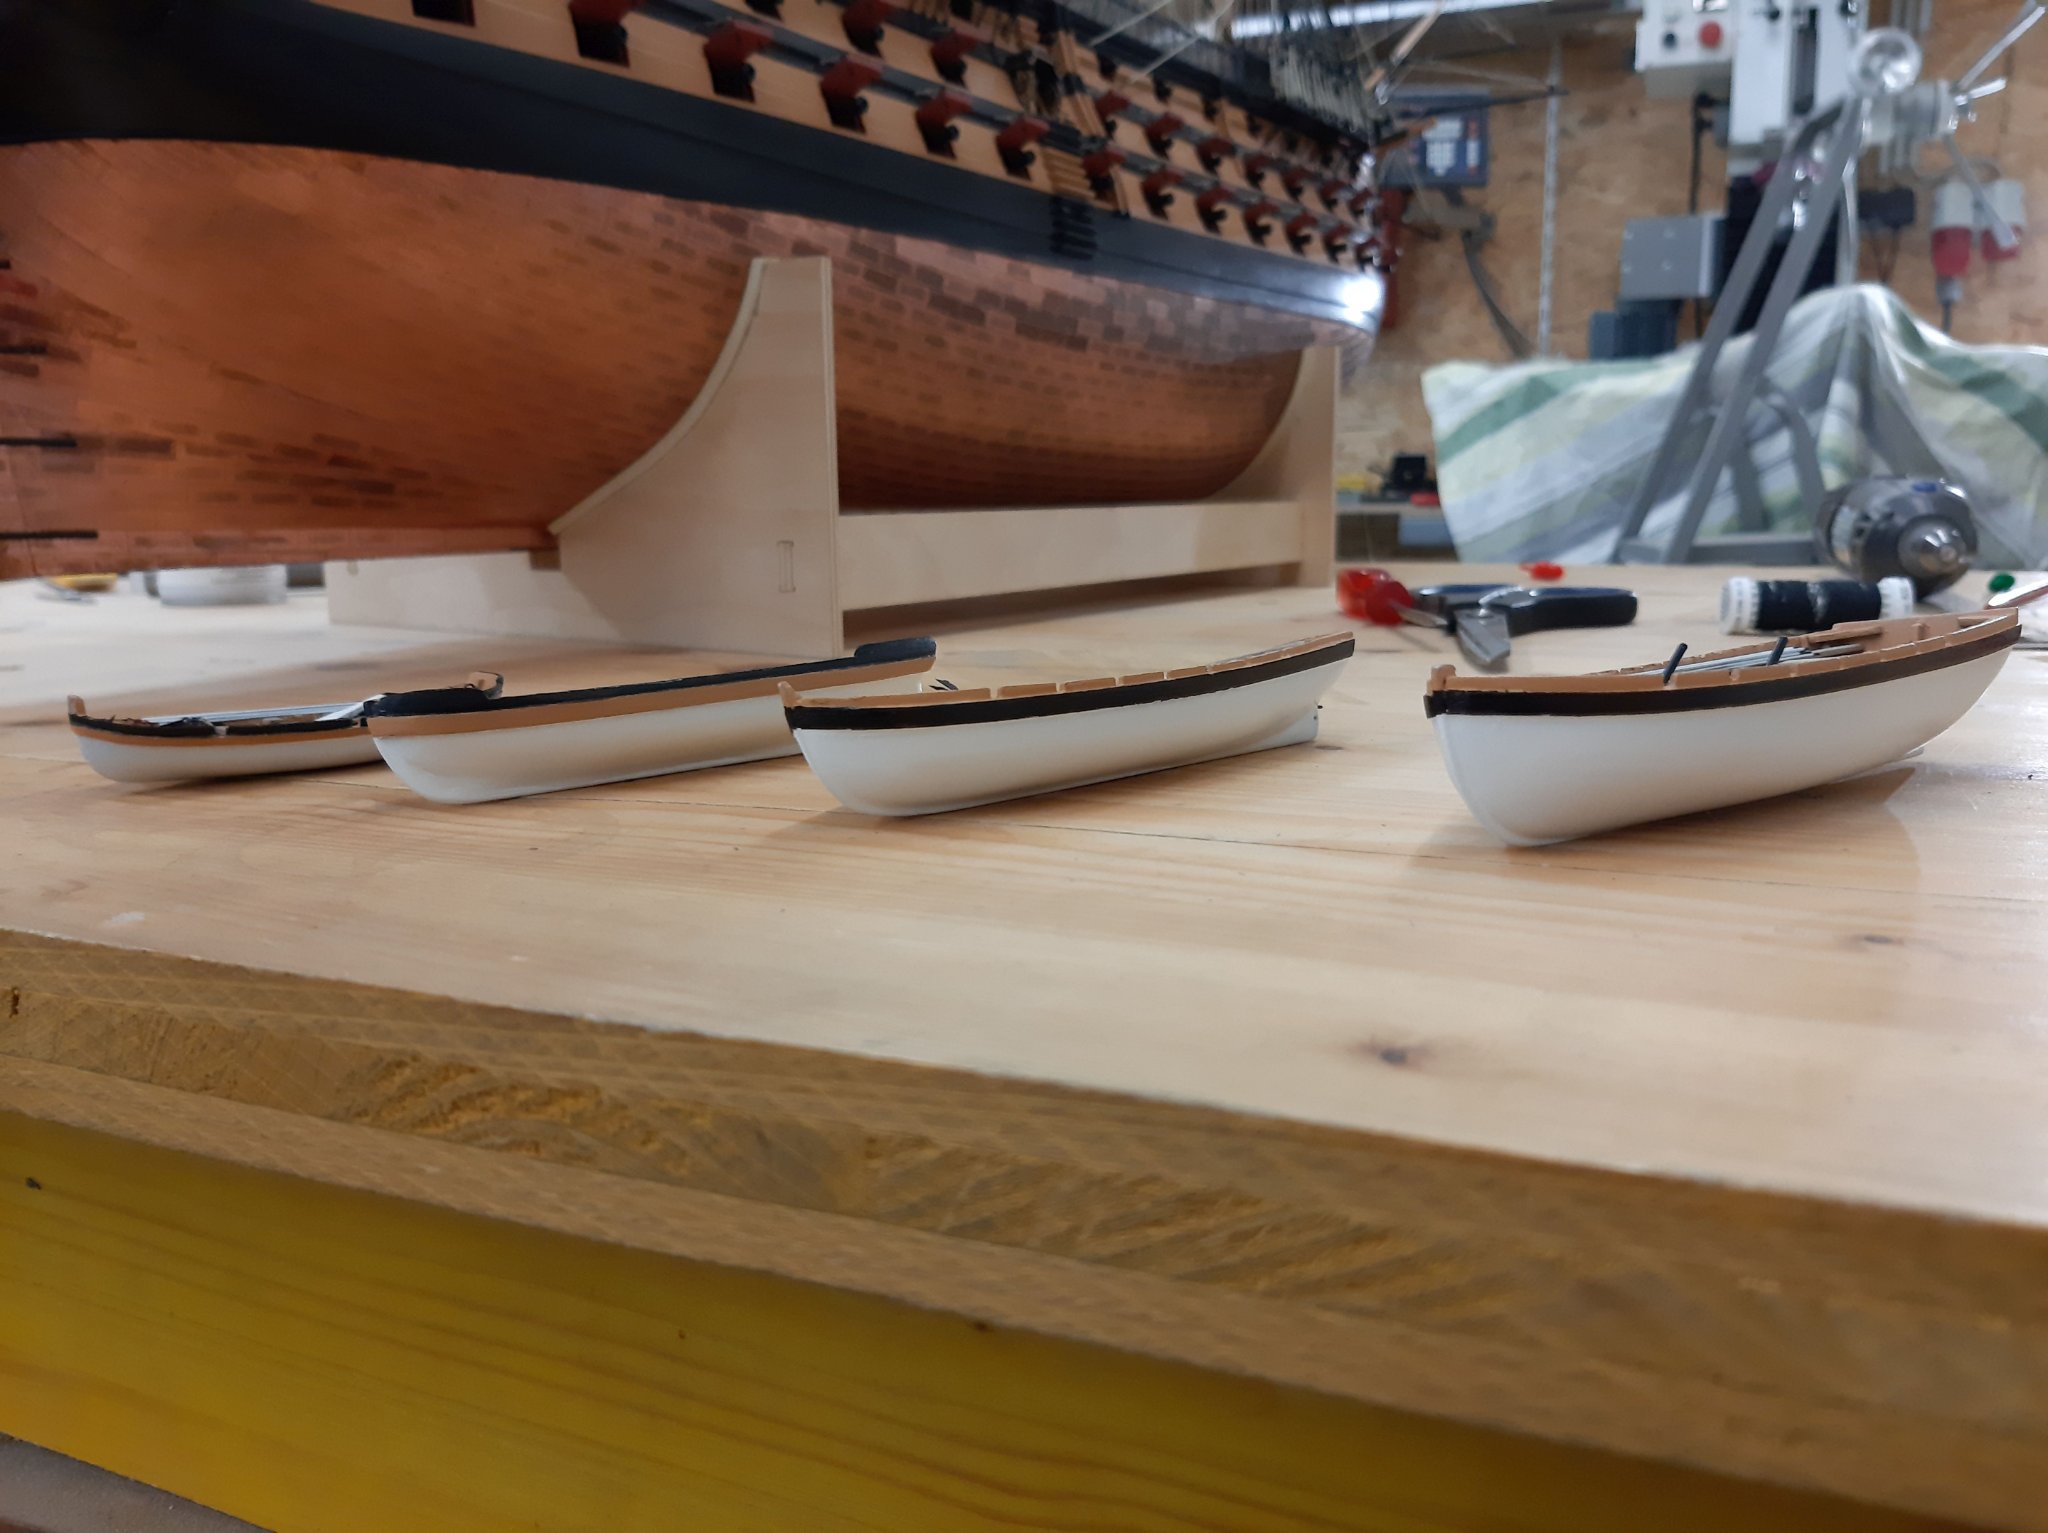
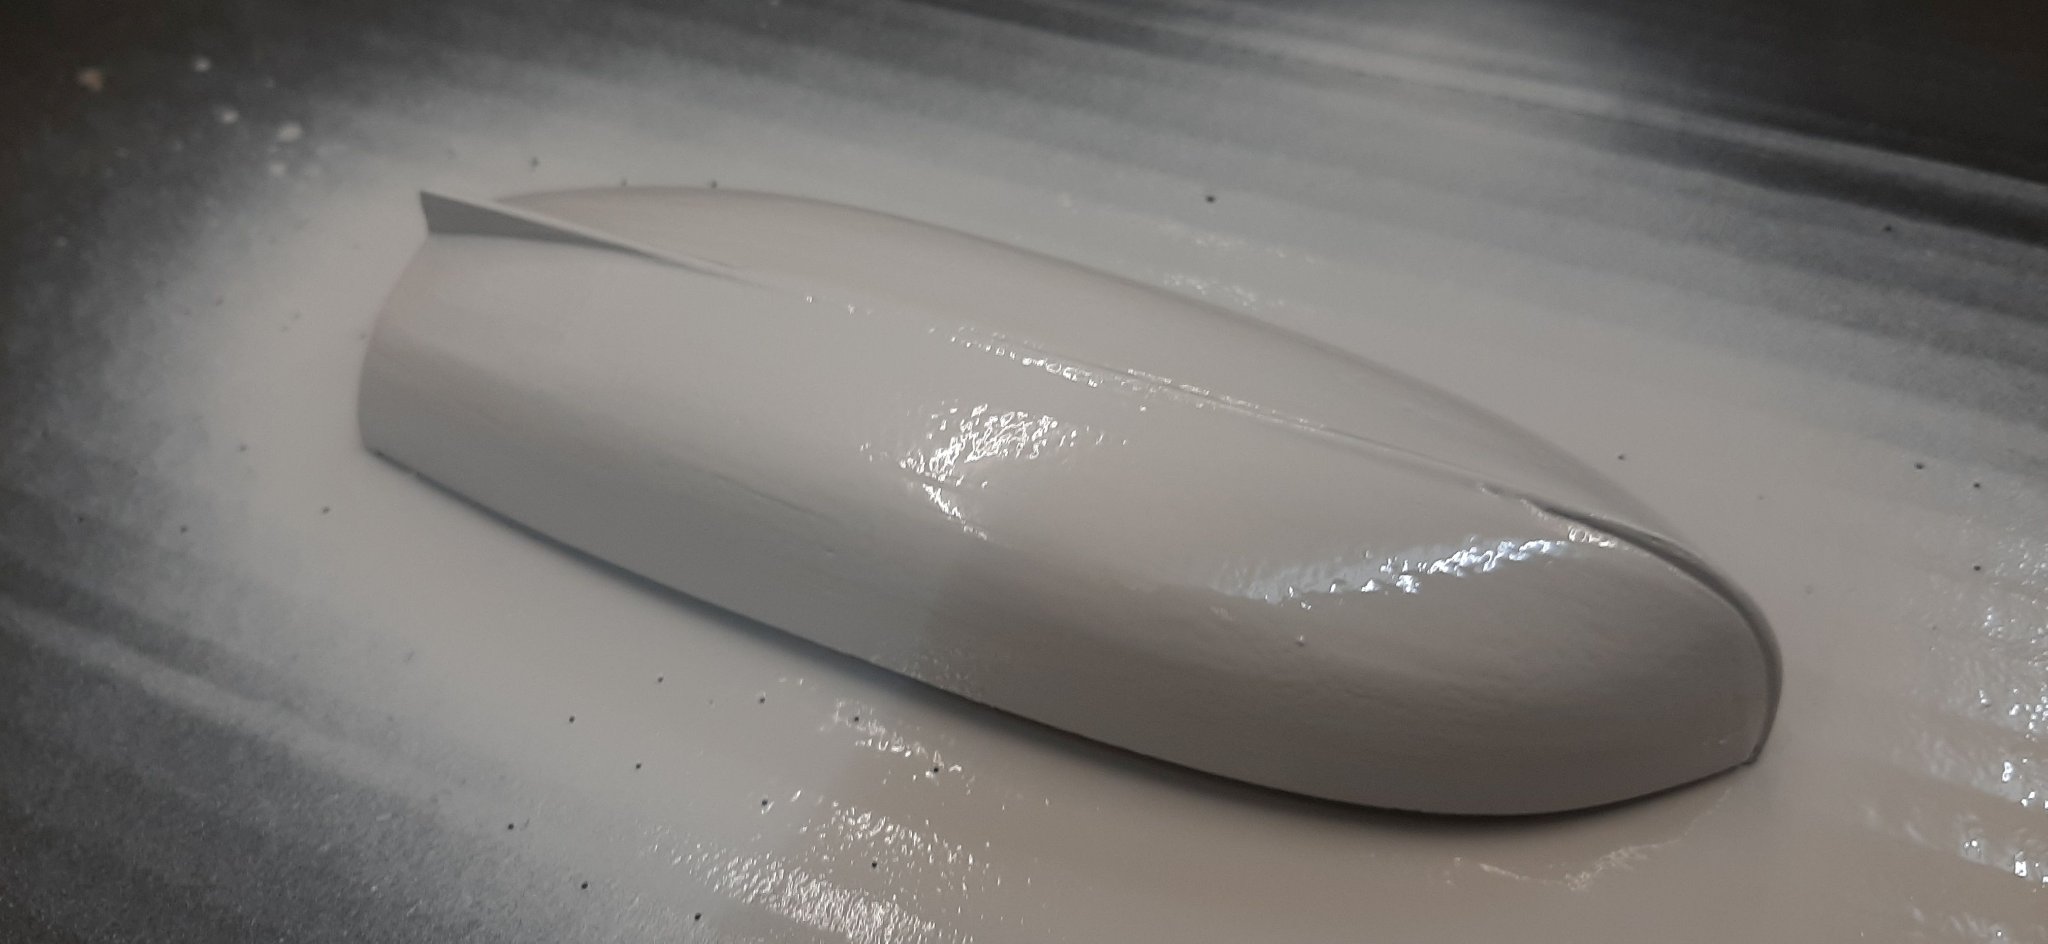
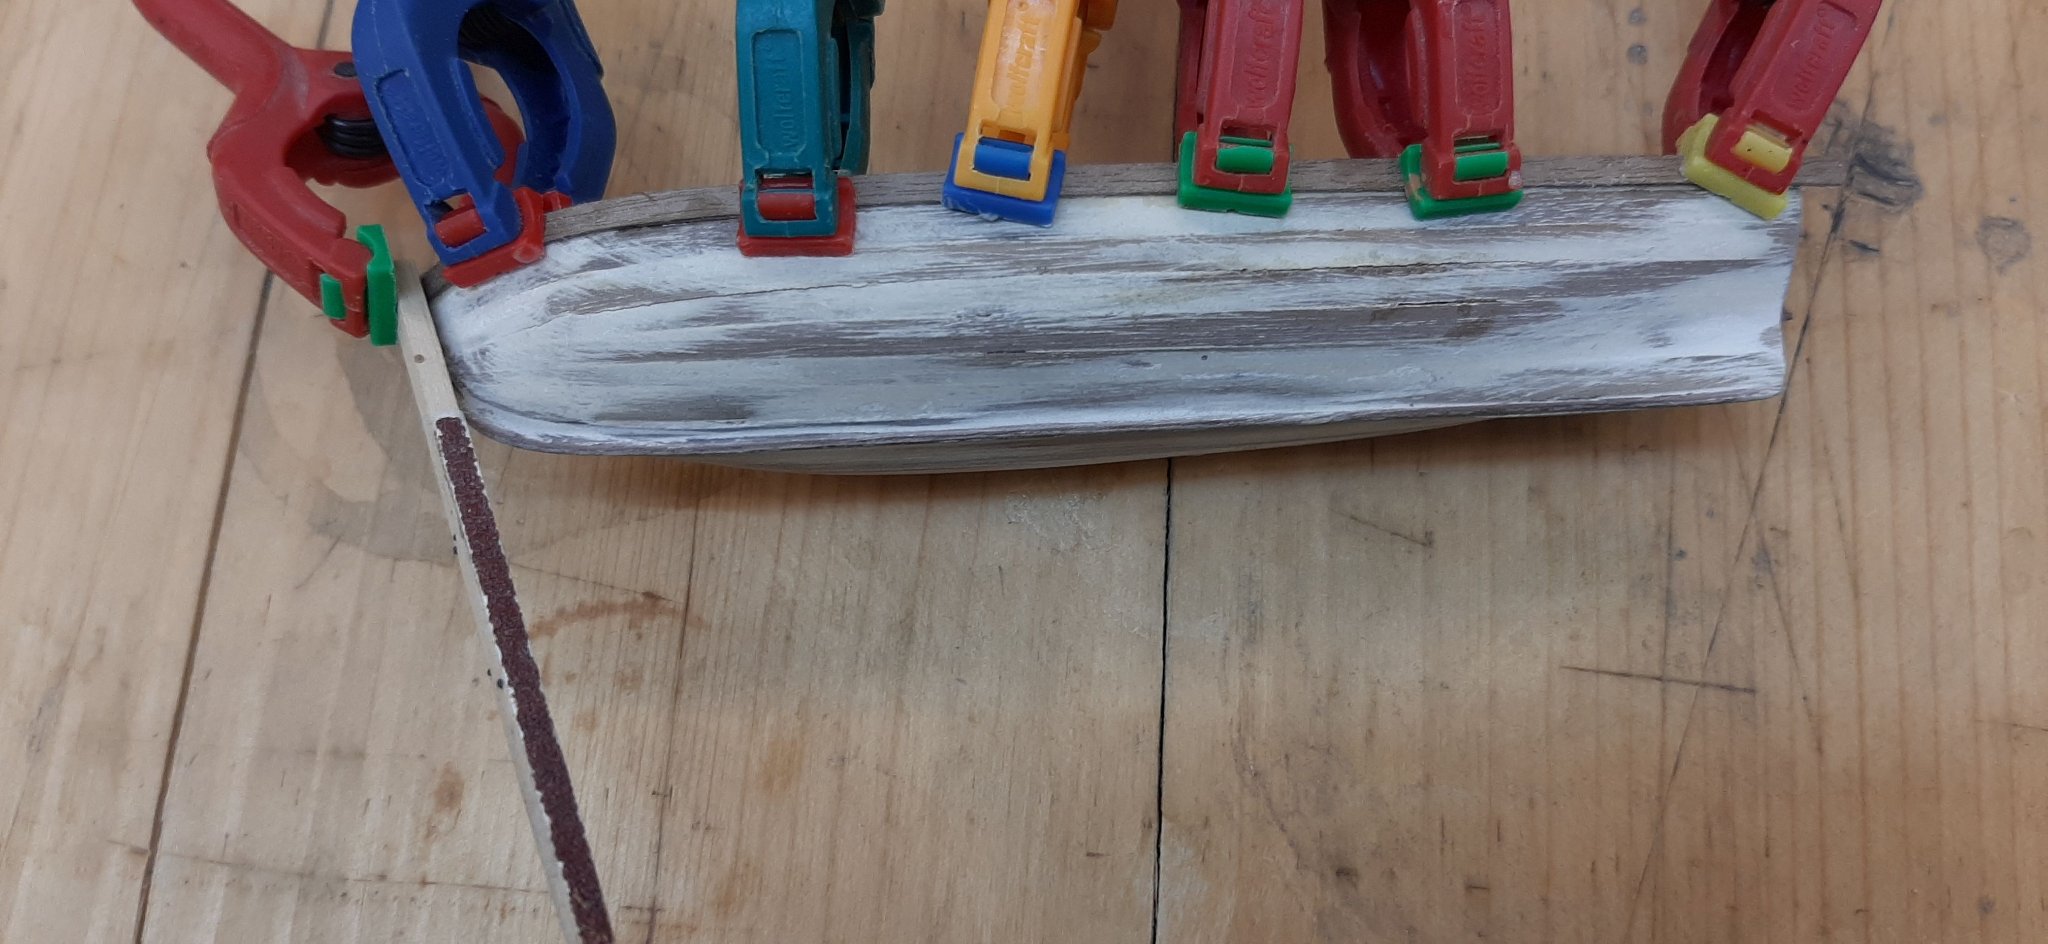
Hello,
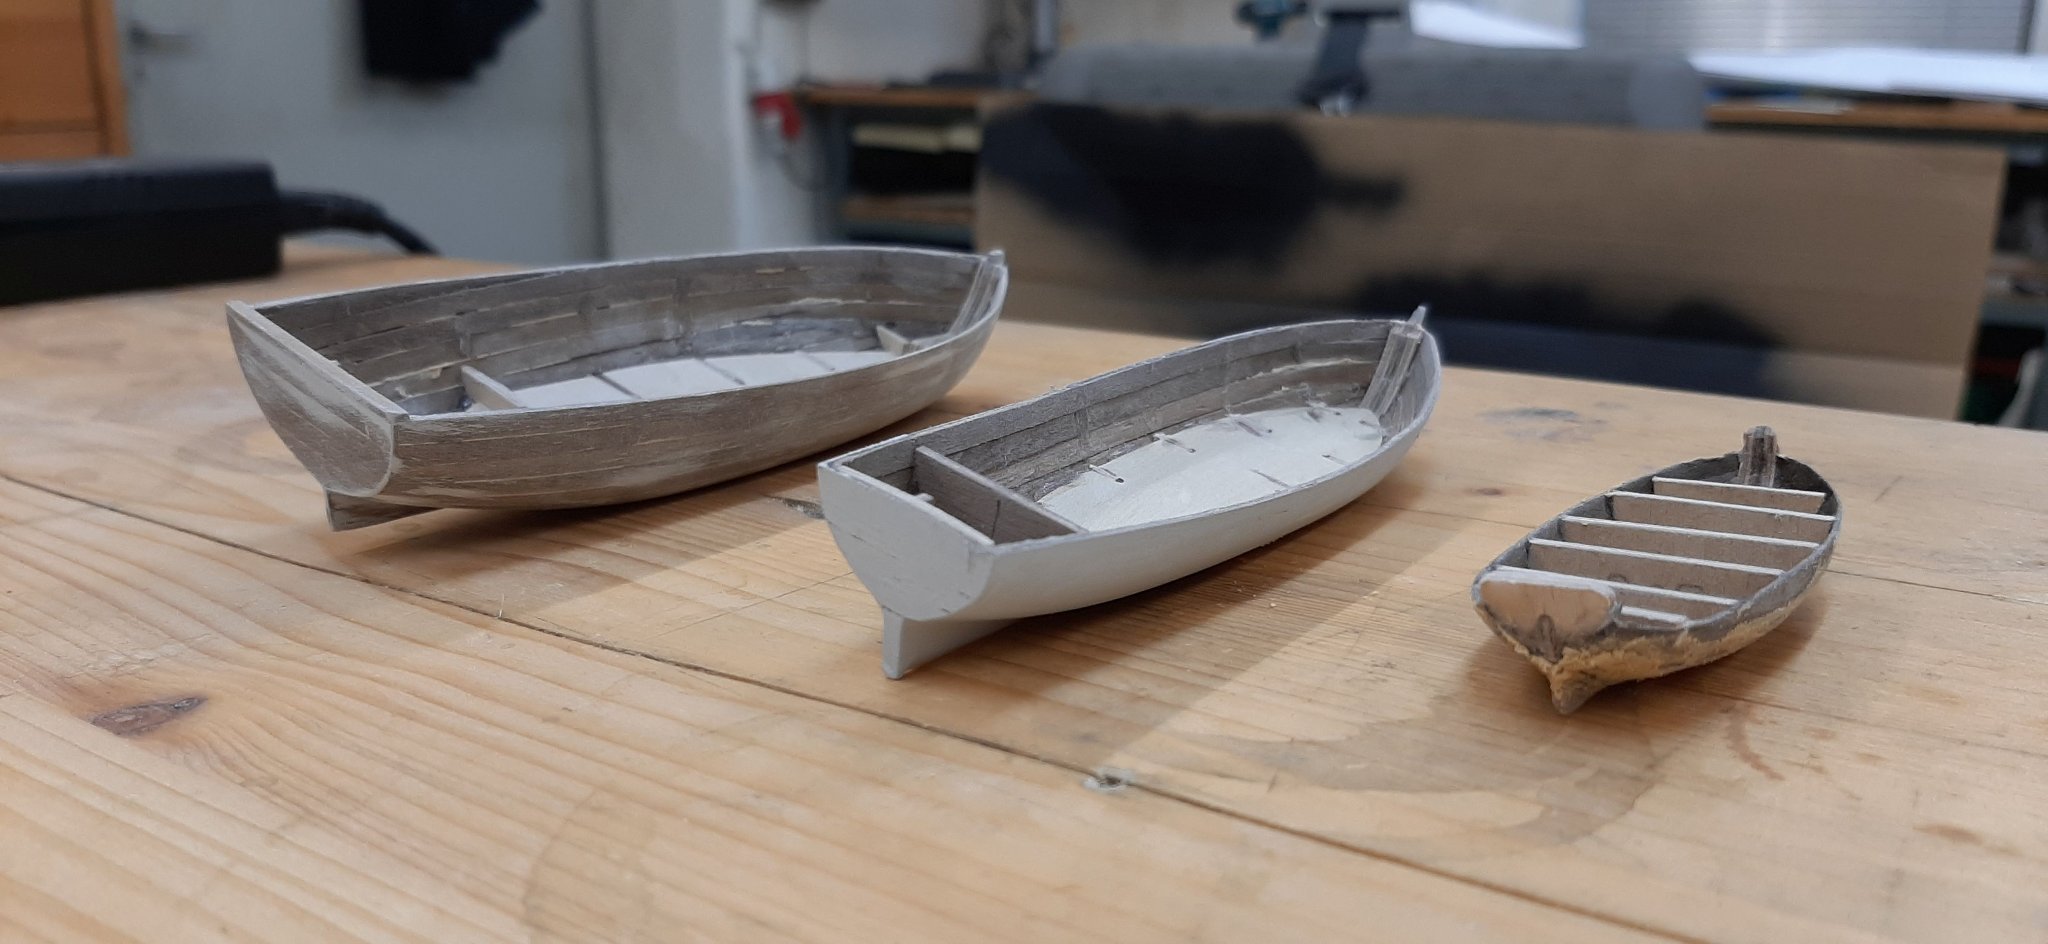
I have made a little progress again.
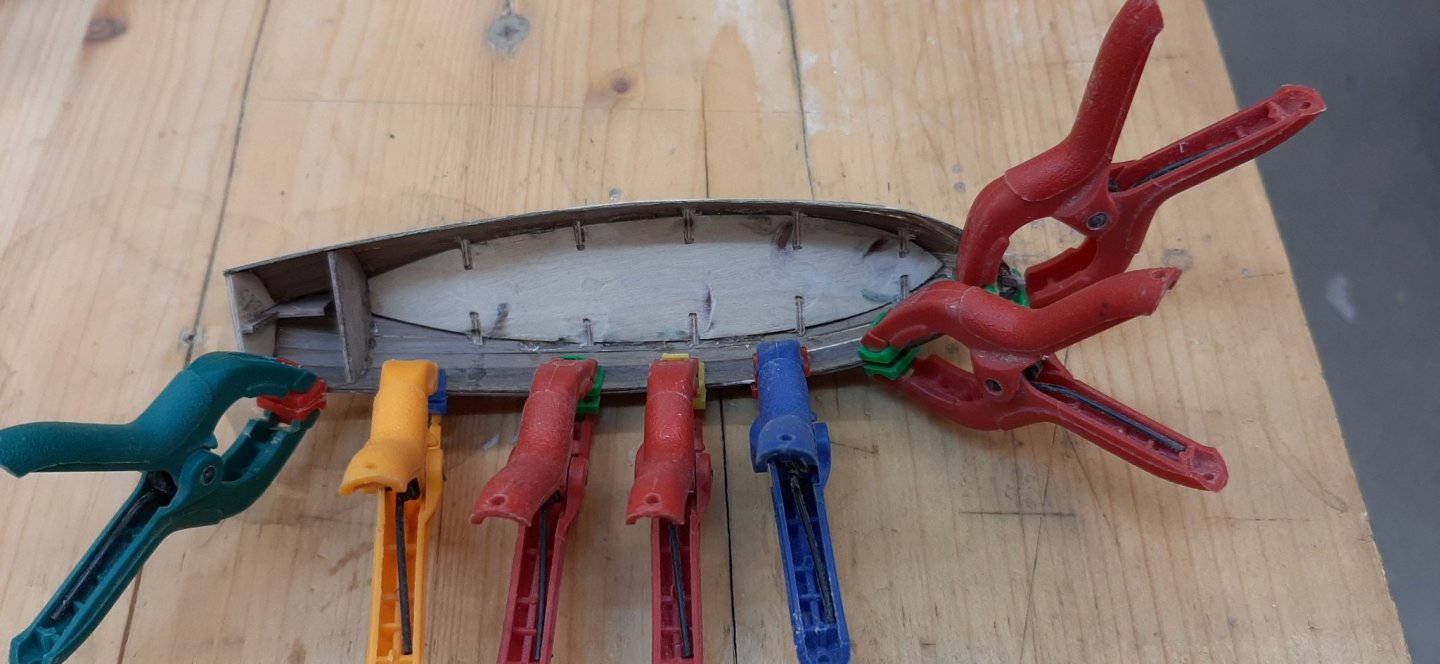
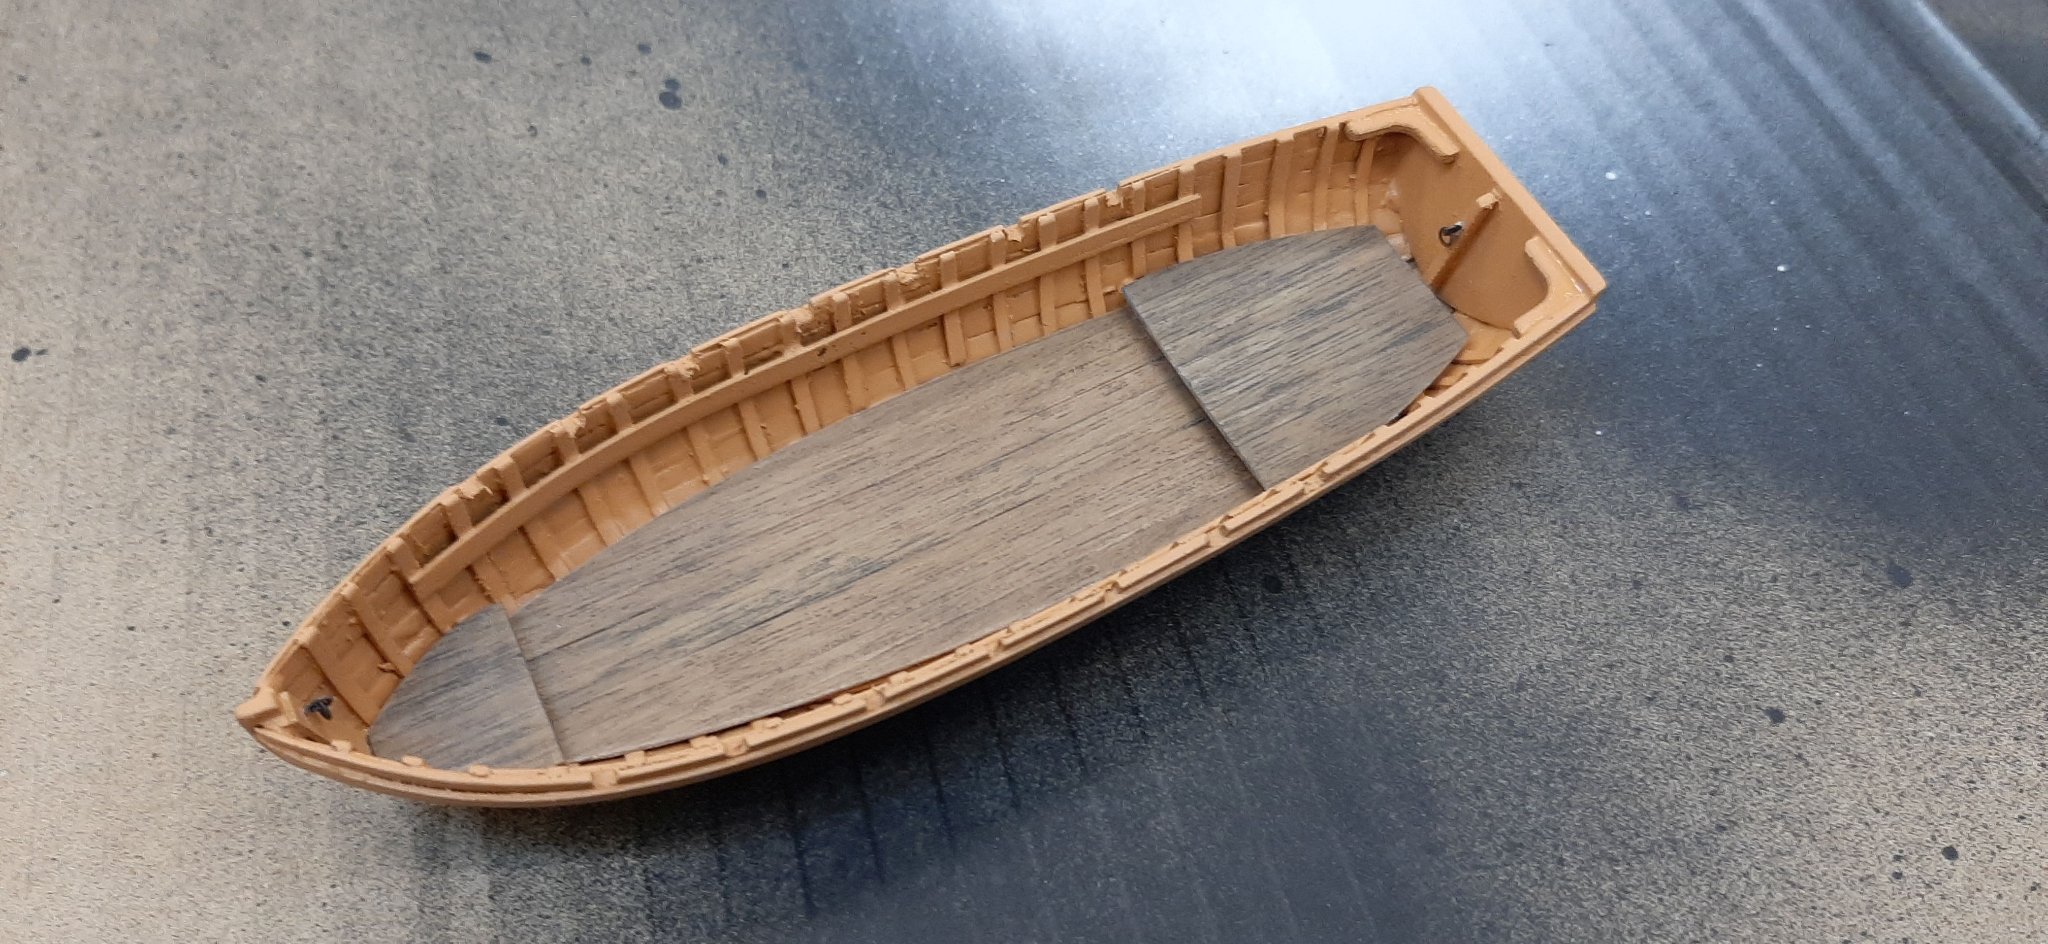
Now I have all four dinghies in the shell finished.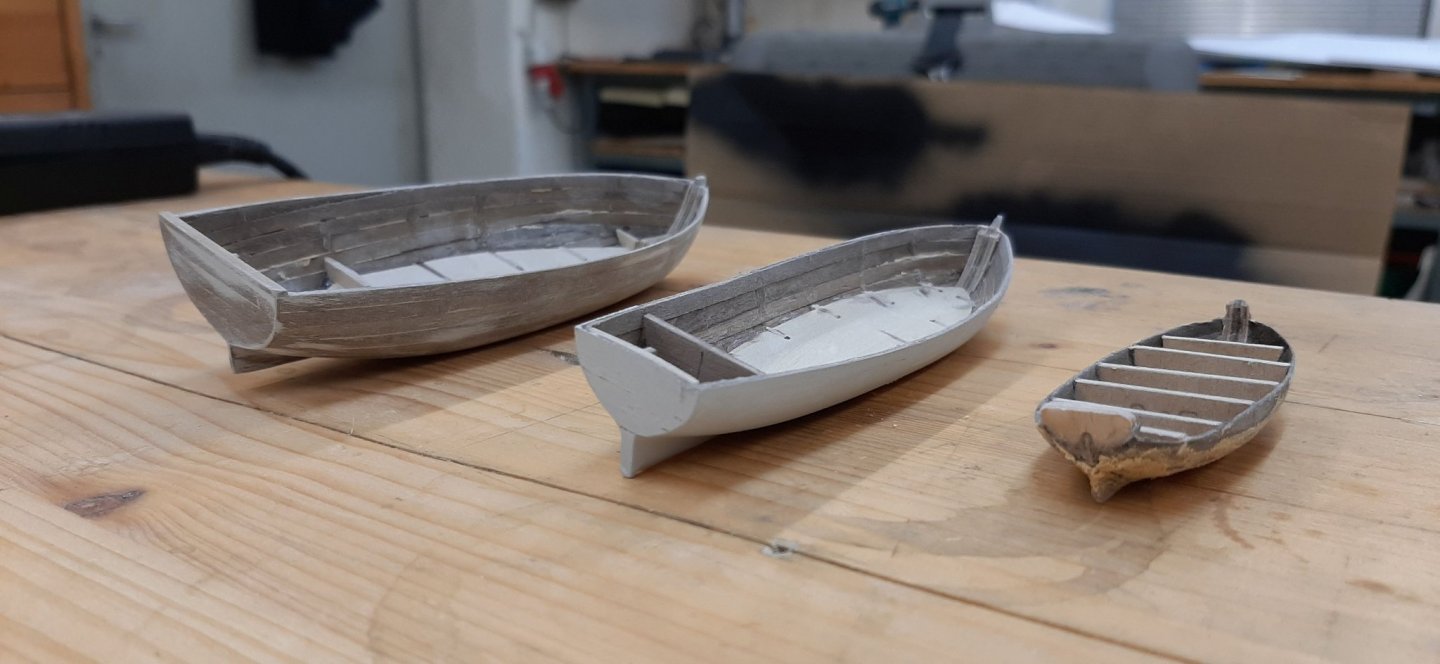
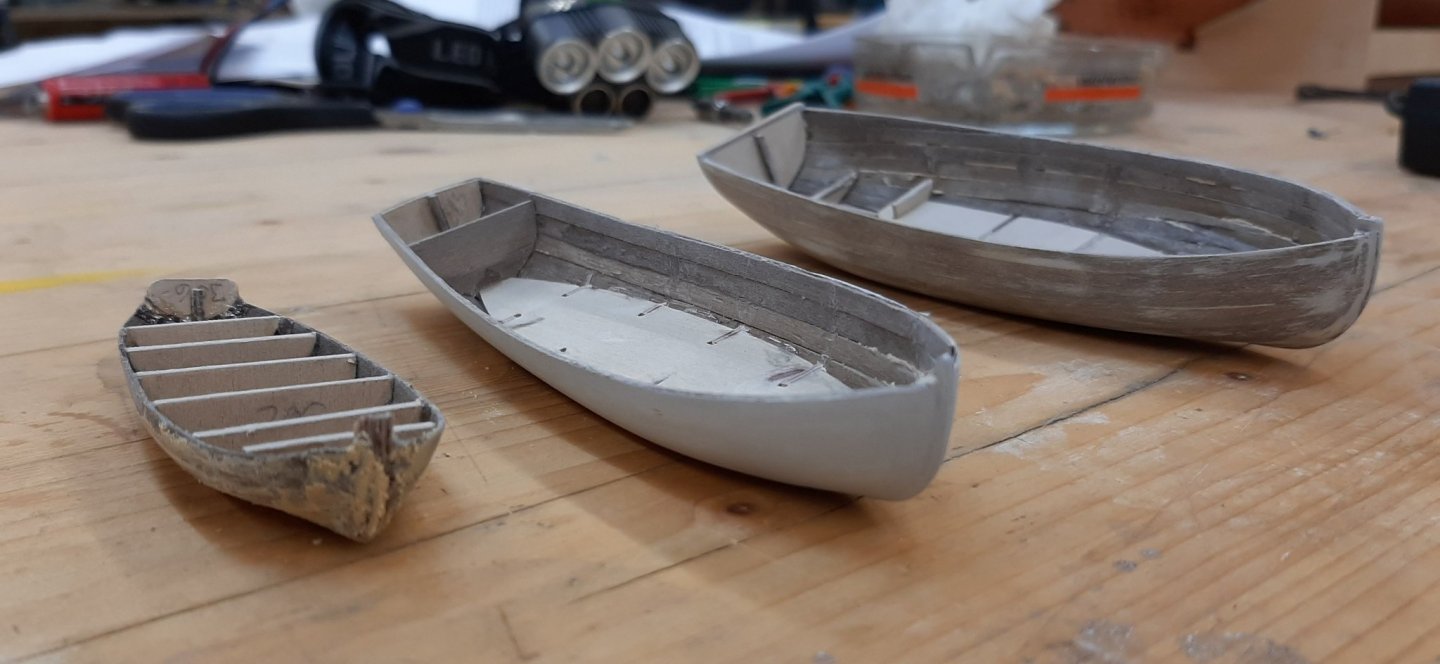
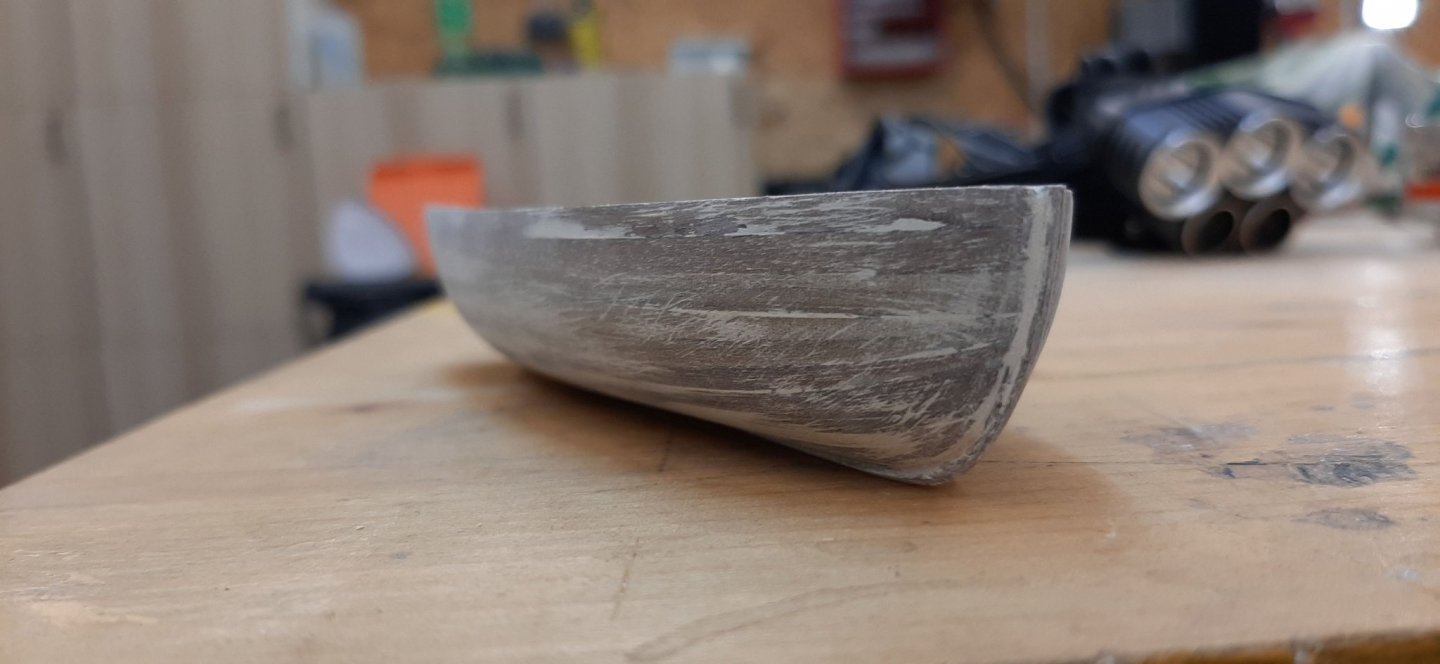
With the two small boats I have planked only once.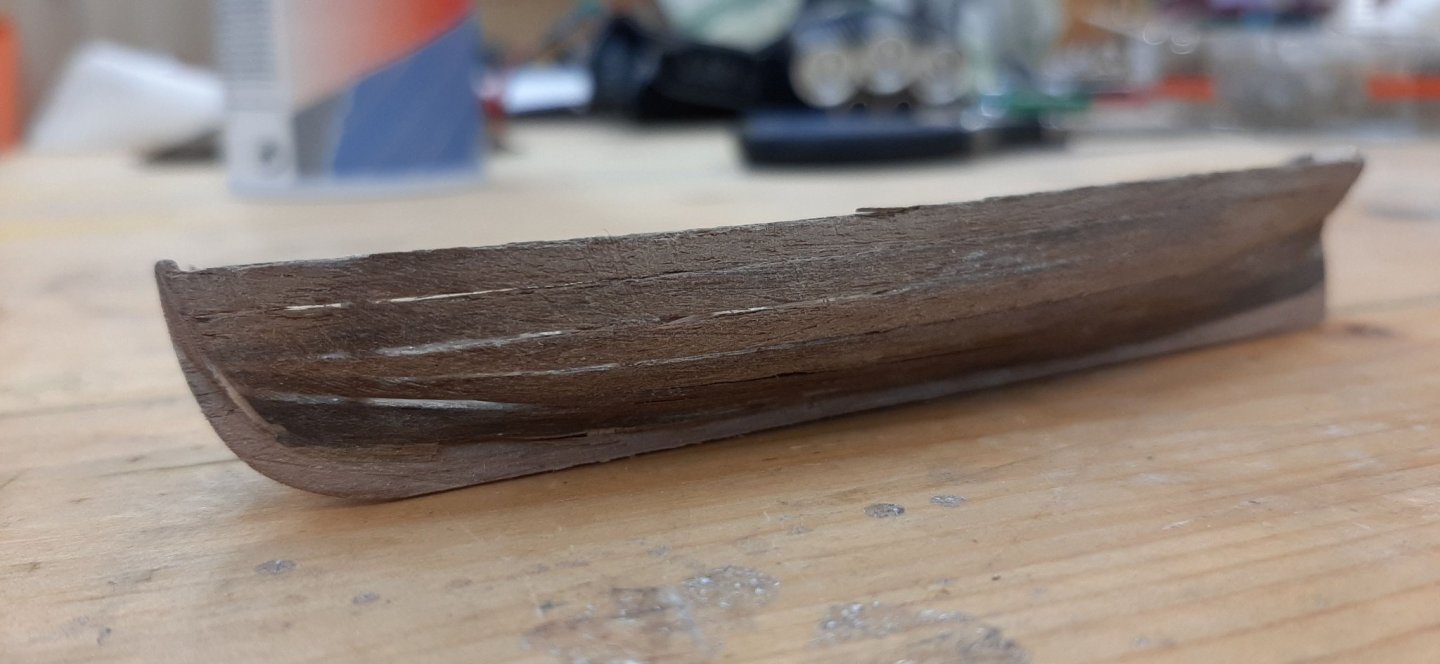
Since this is not very strong, I have applied a layer of GFK.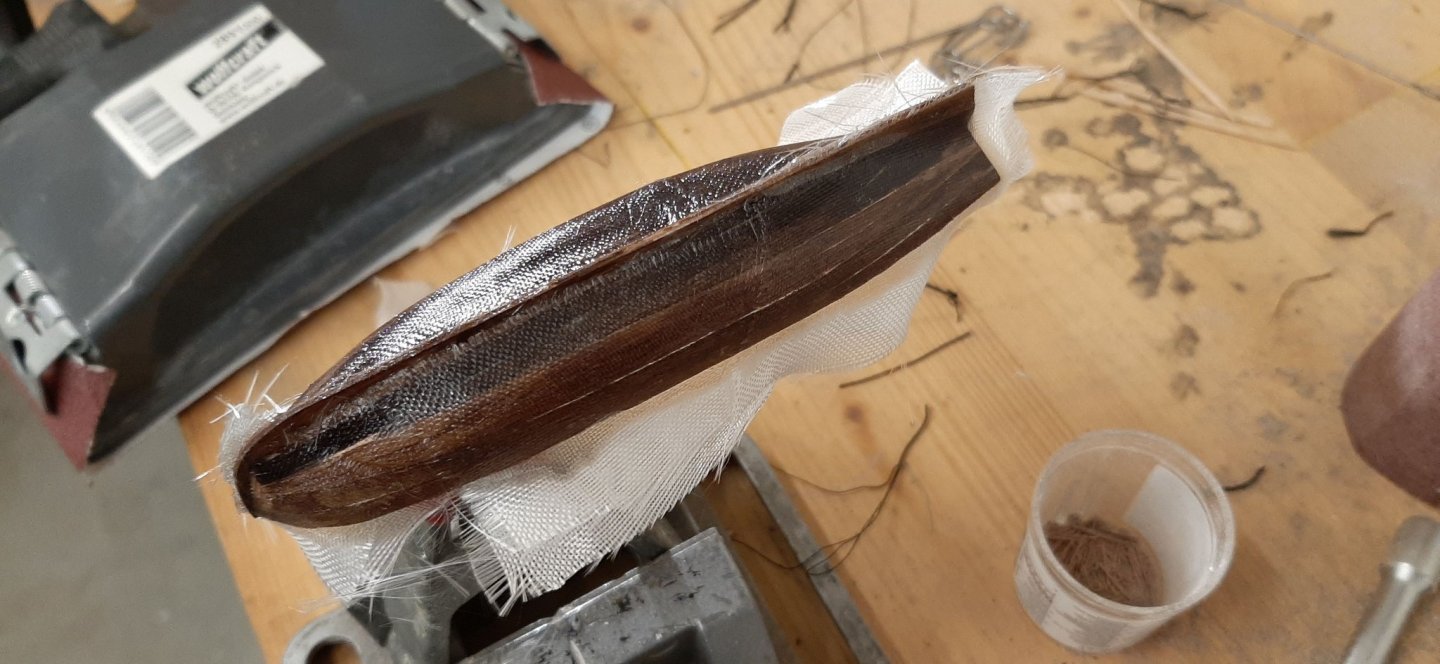
This is now also sanded and filled.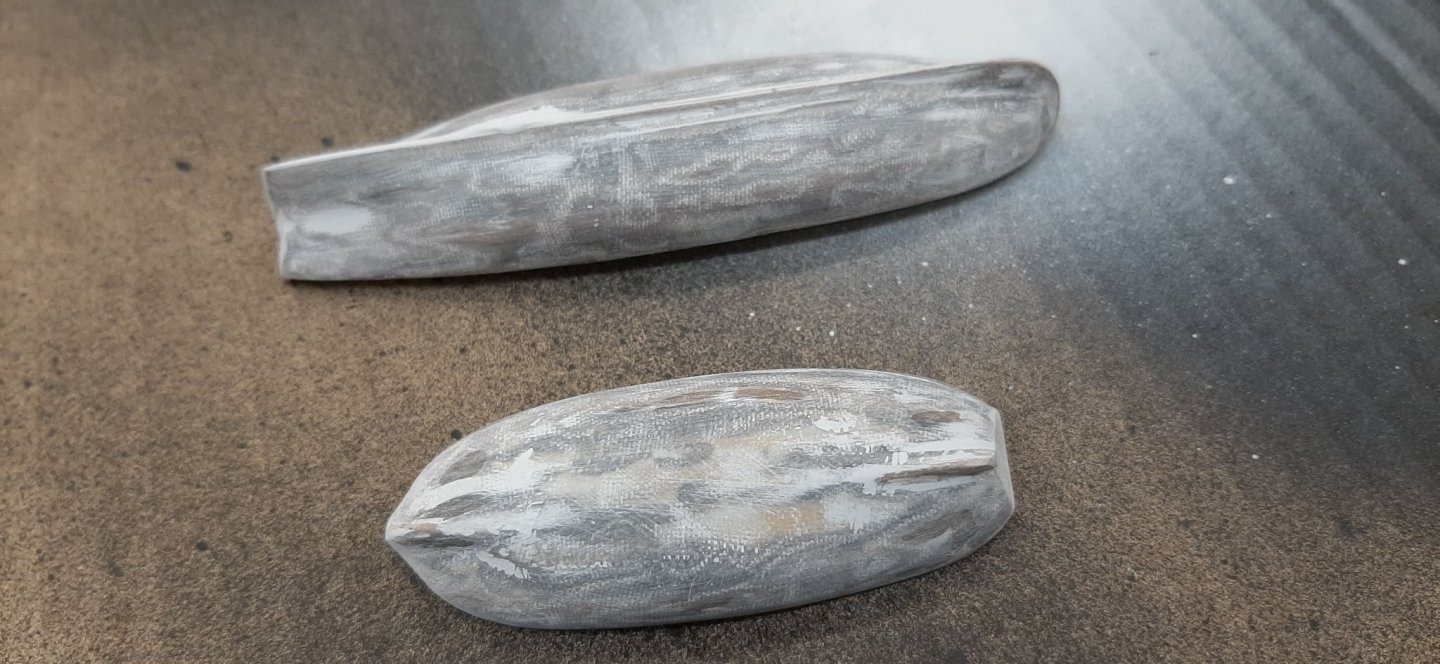
The decks are already made and weathered.

Now the interior begins.
Cheers
Helli
- gieb8688, mort stoll and flyer
-
3
-
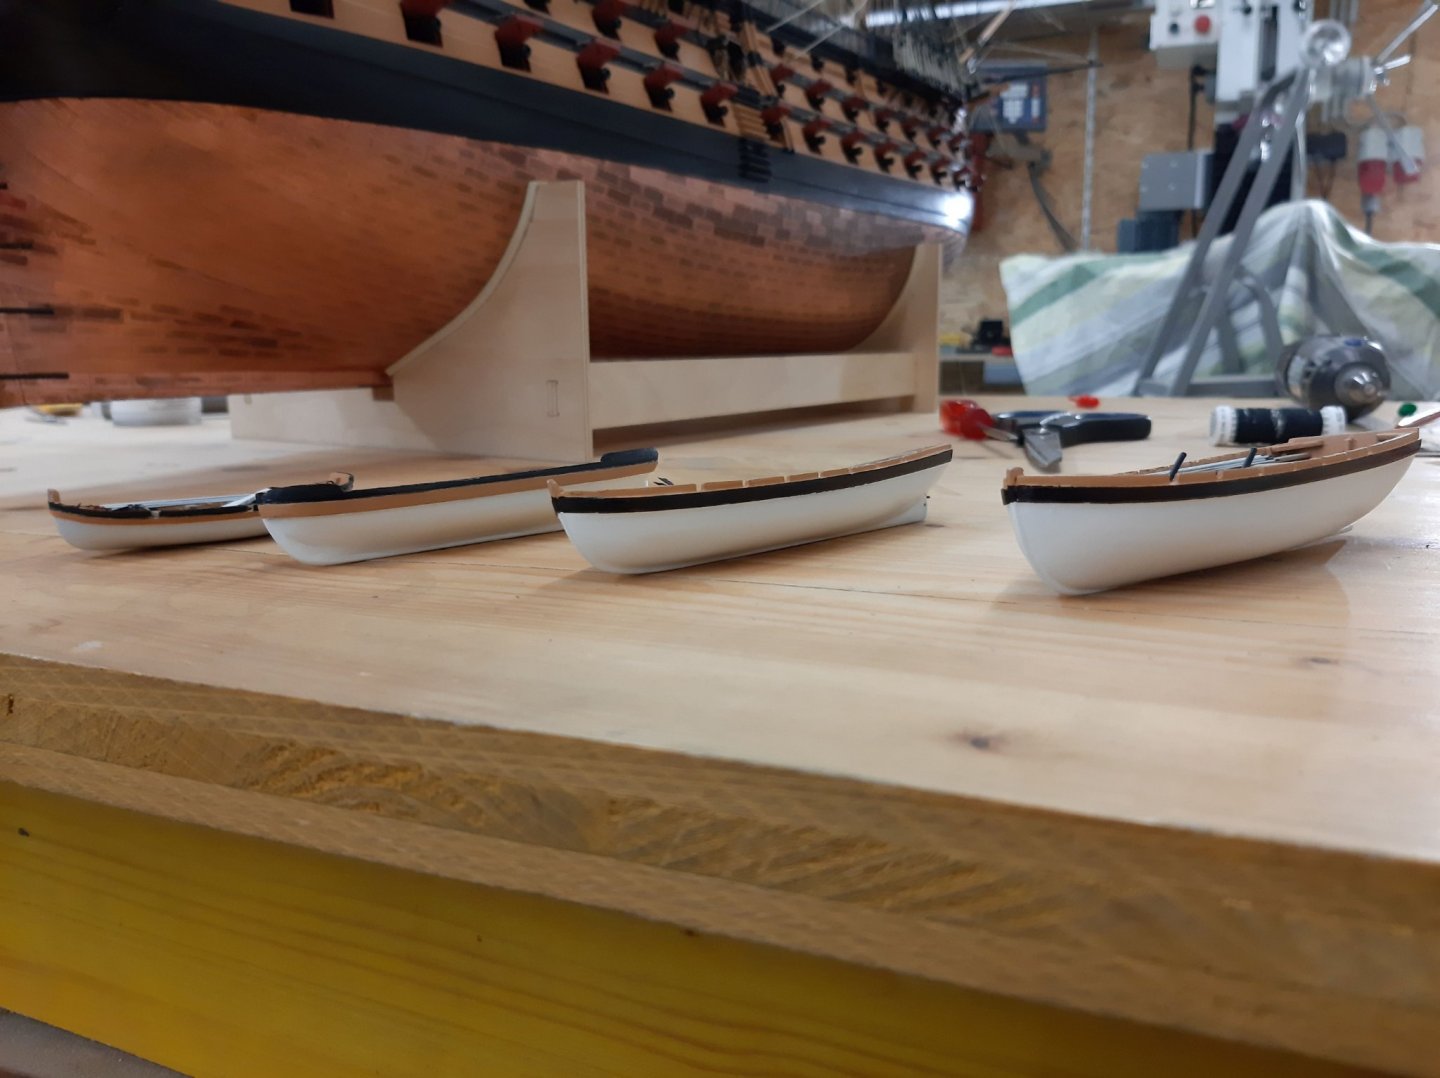
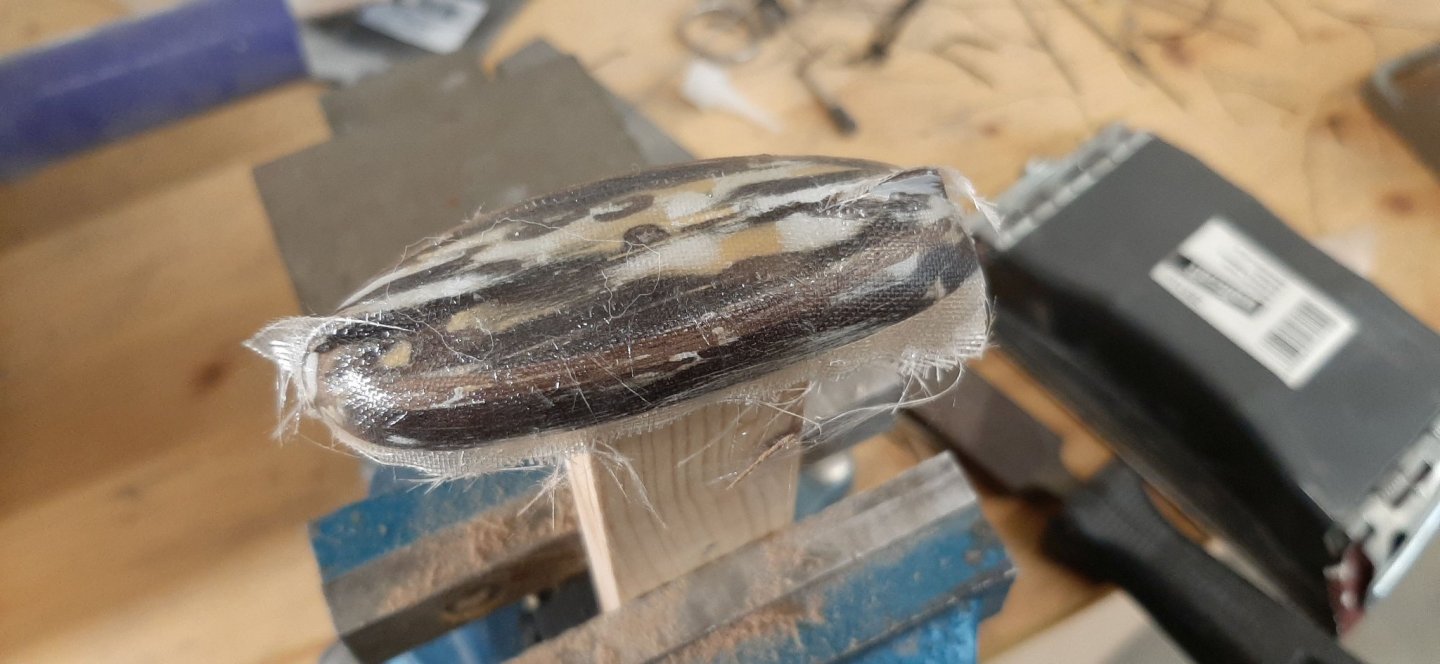
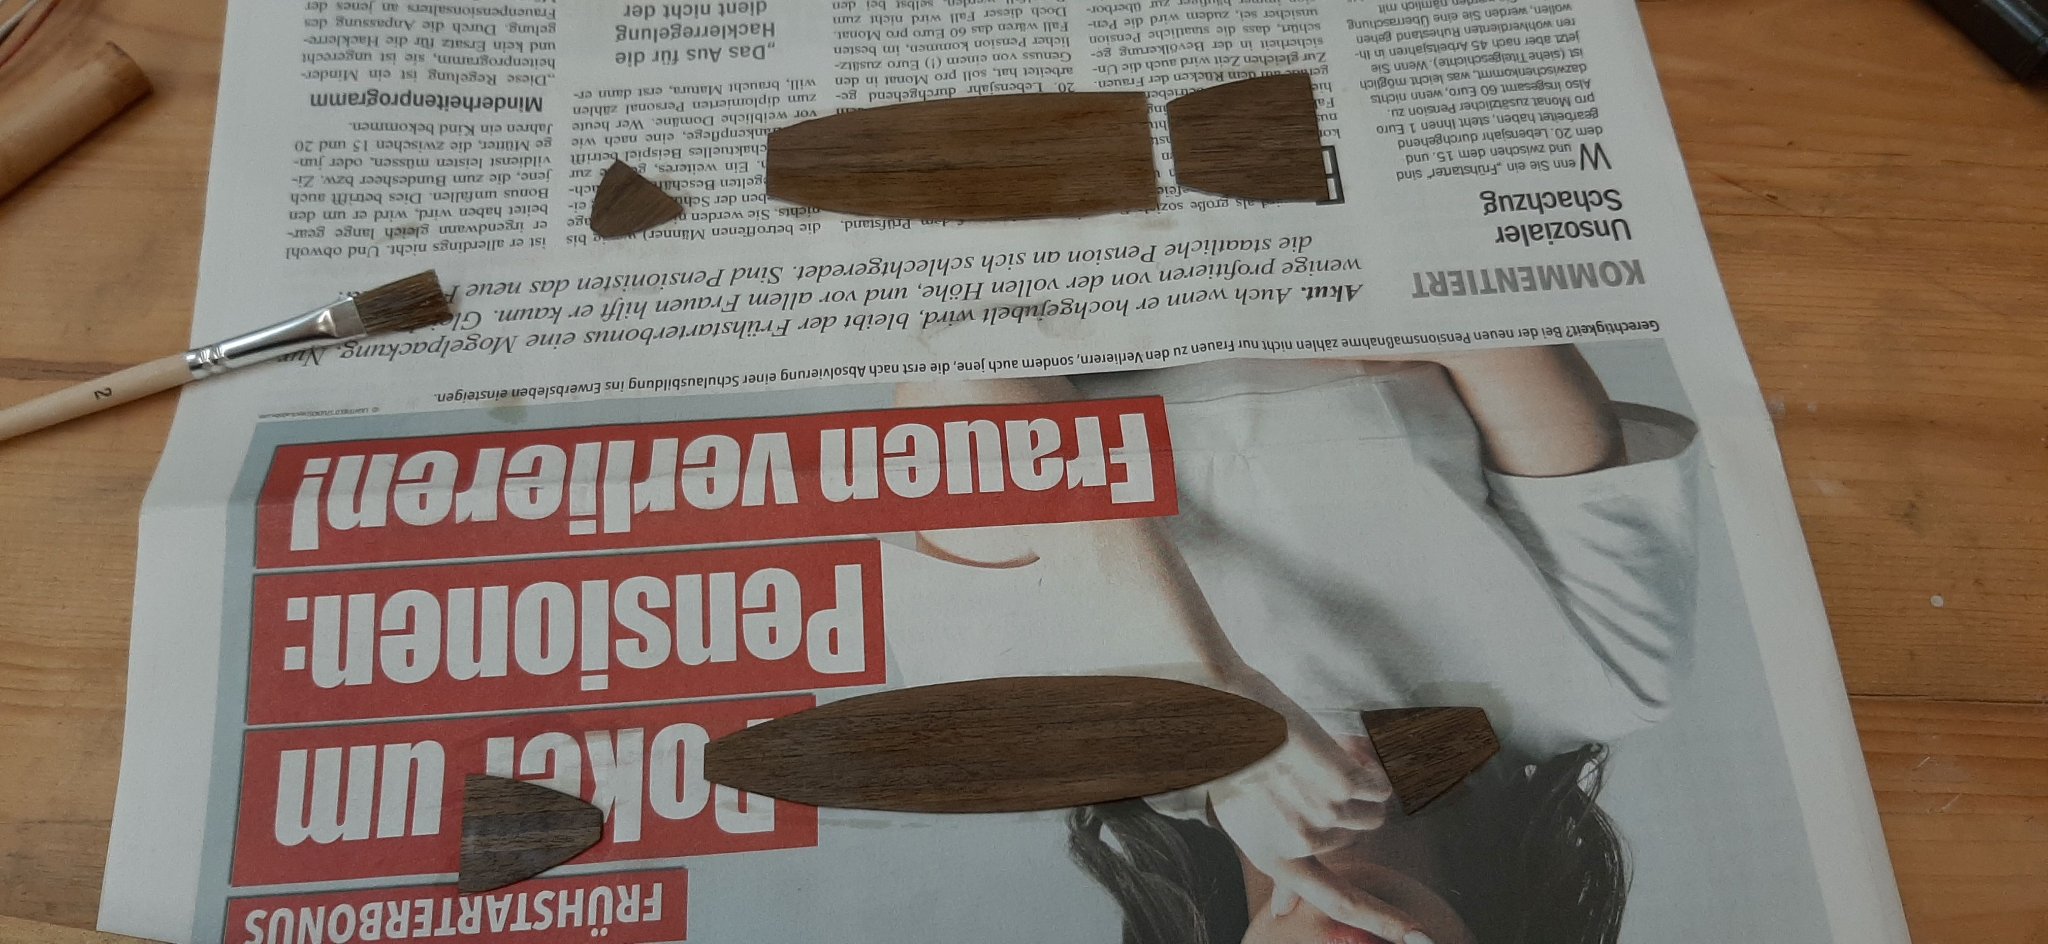
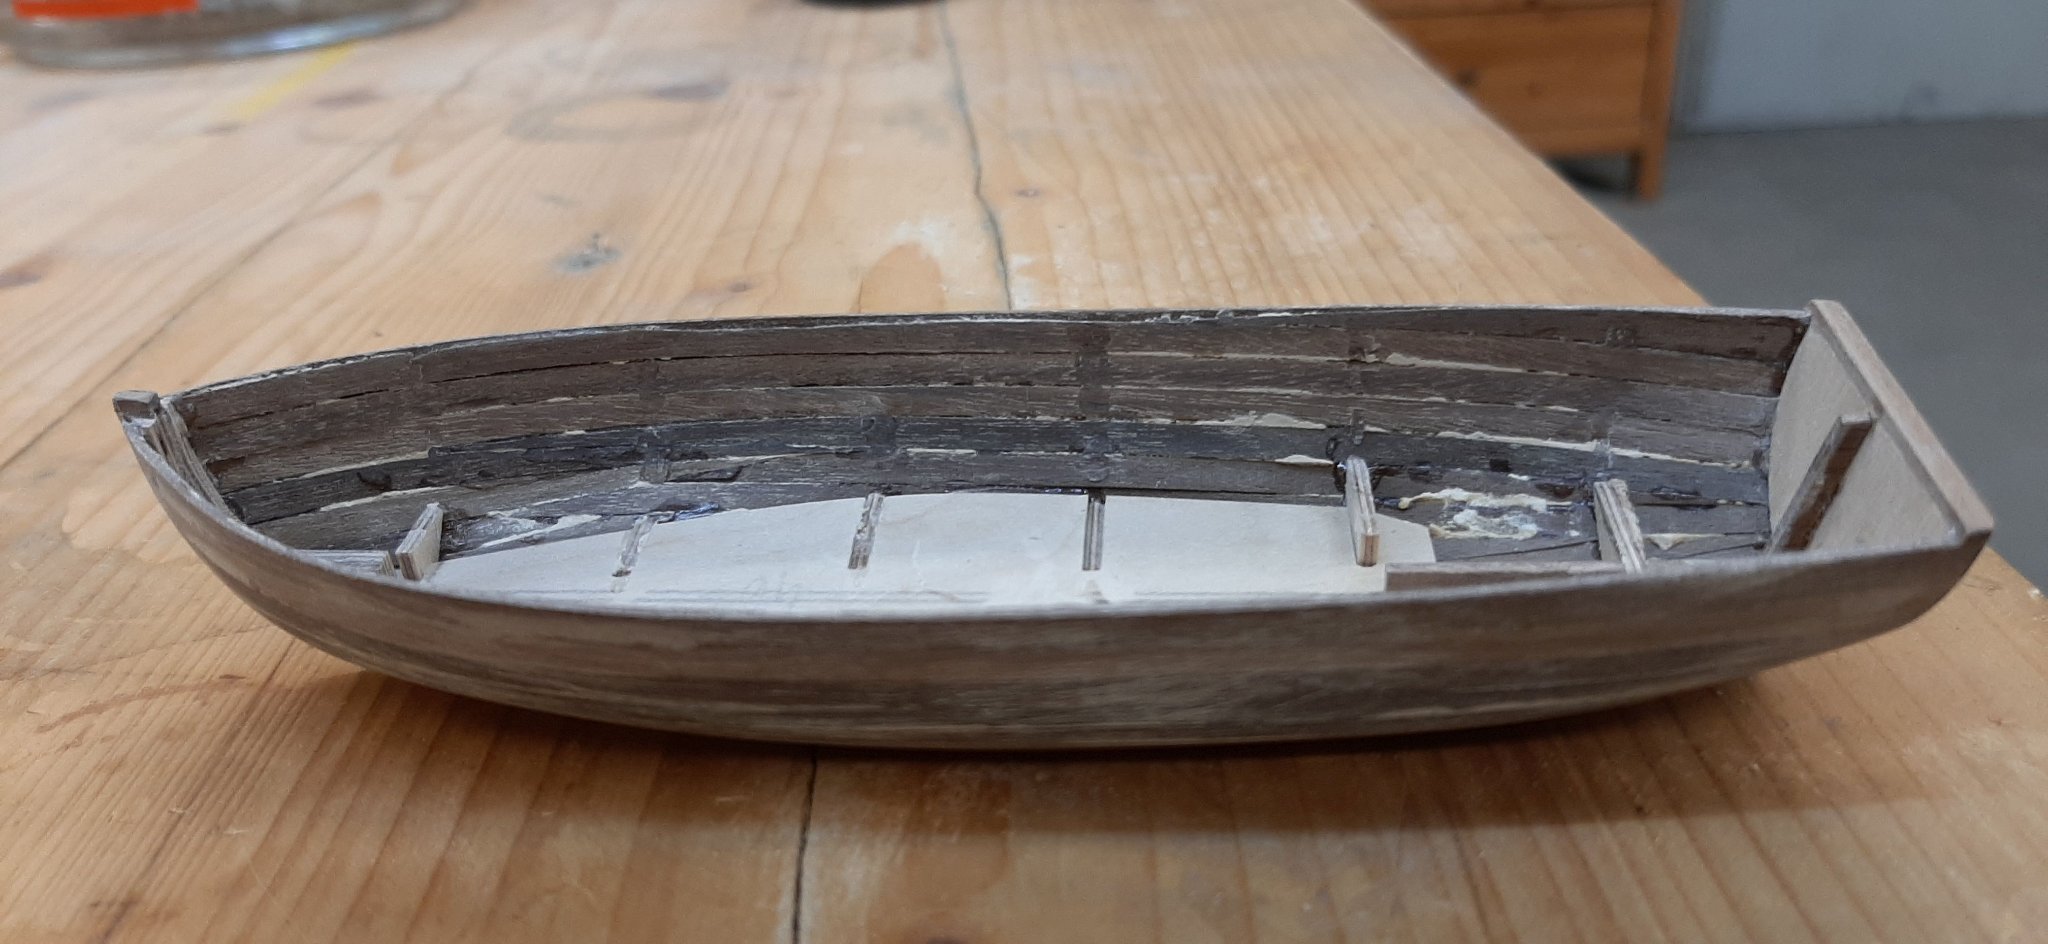
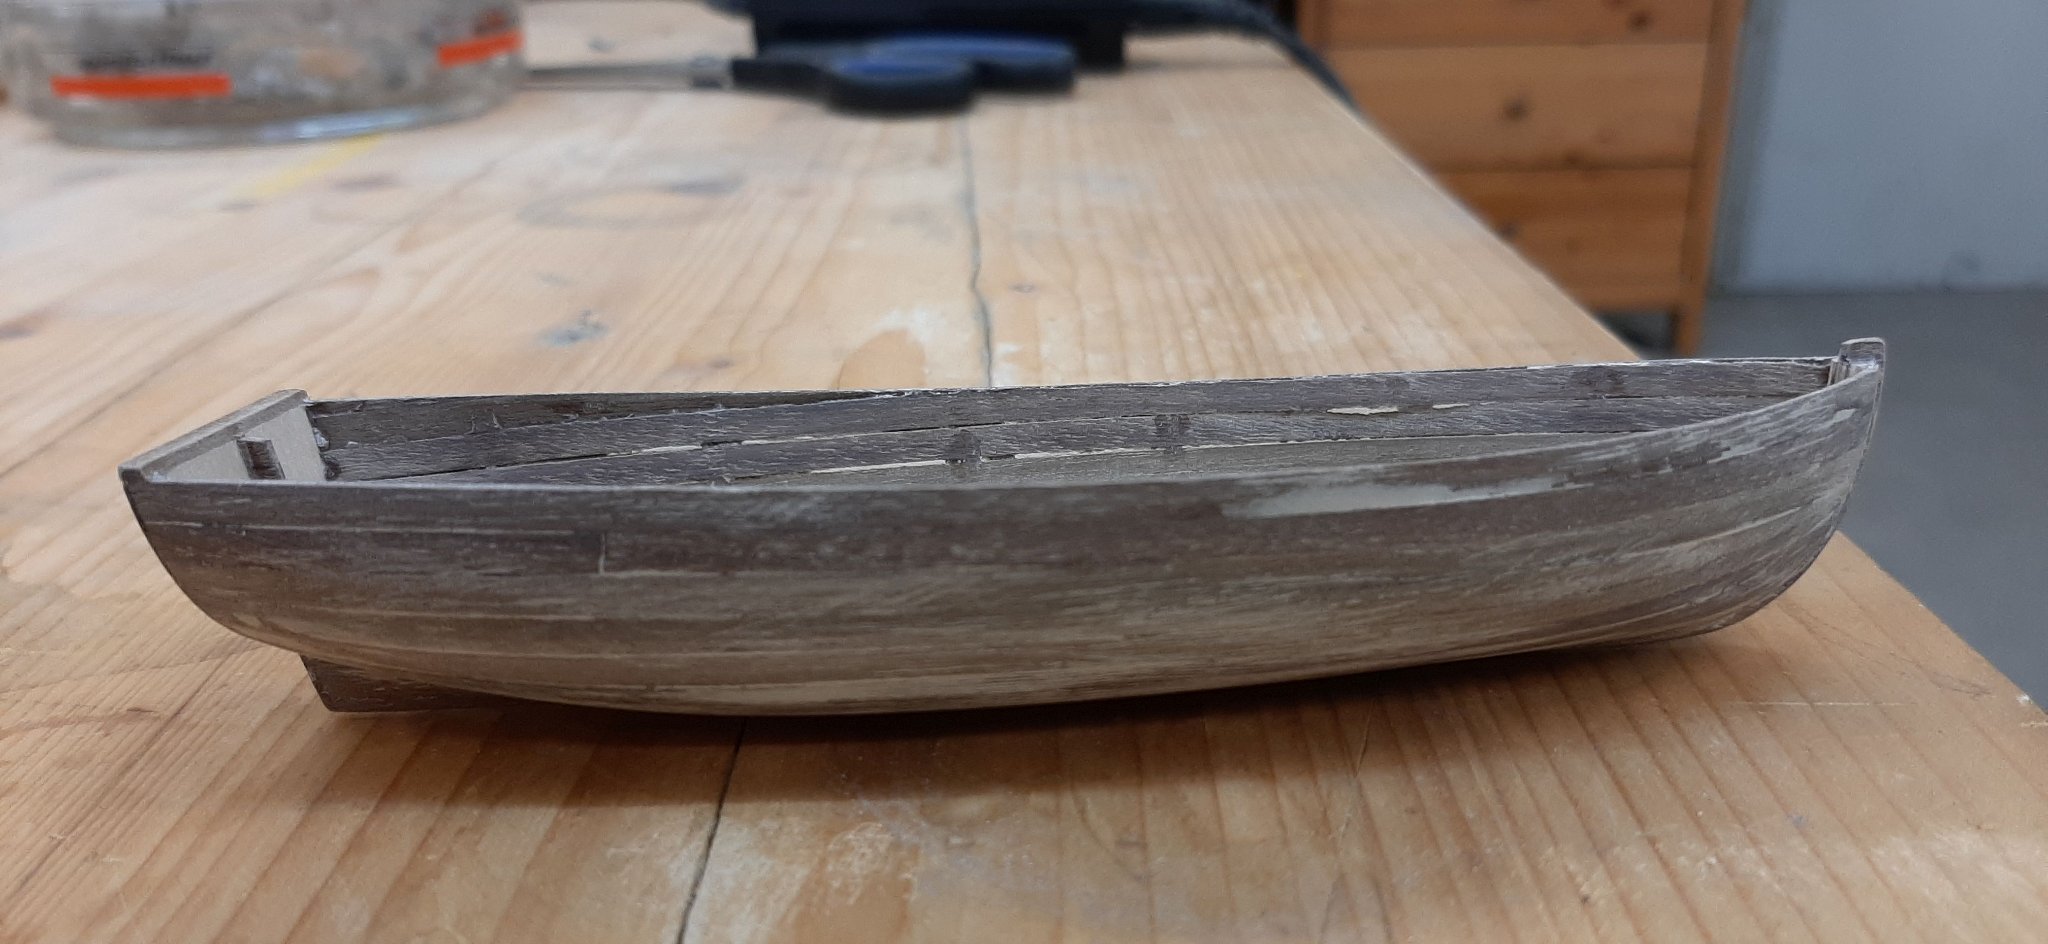
Hello,
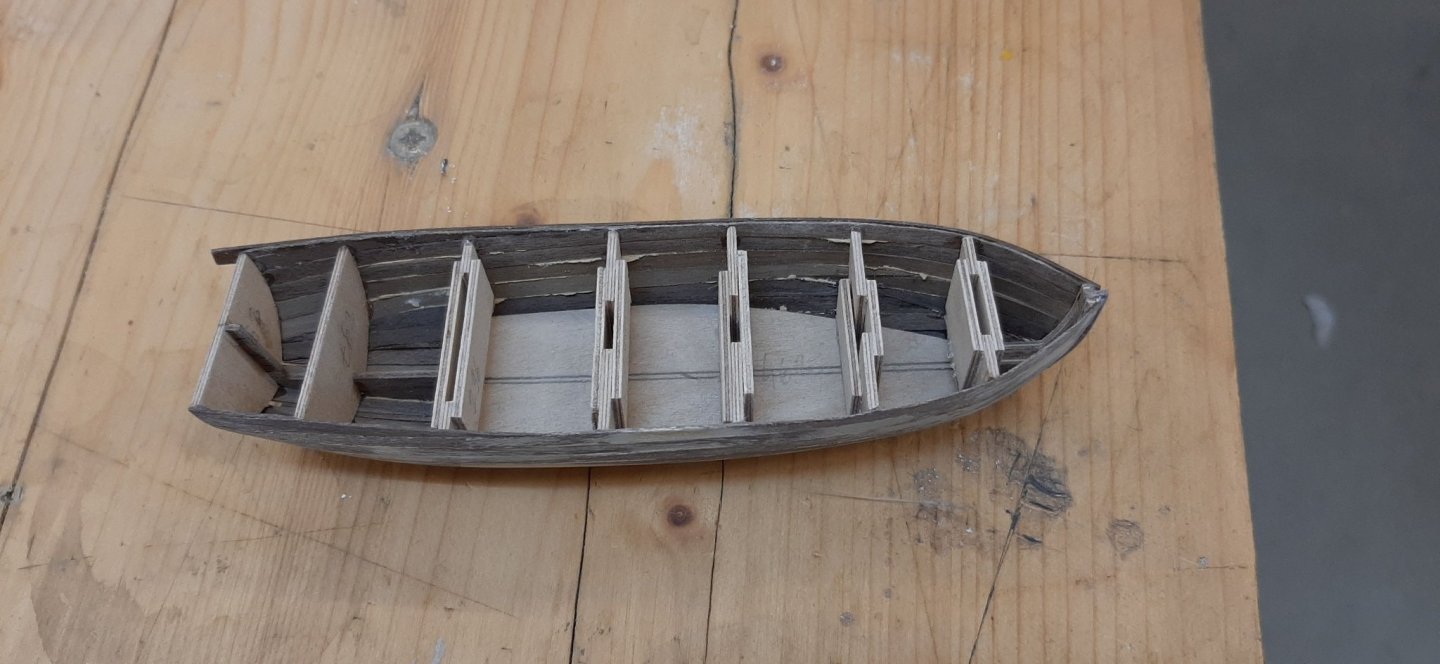
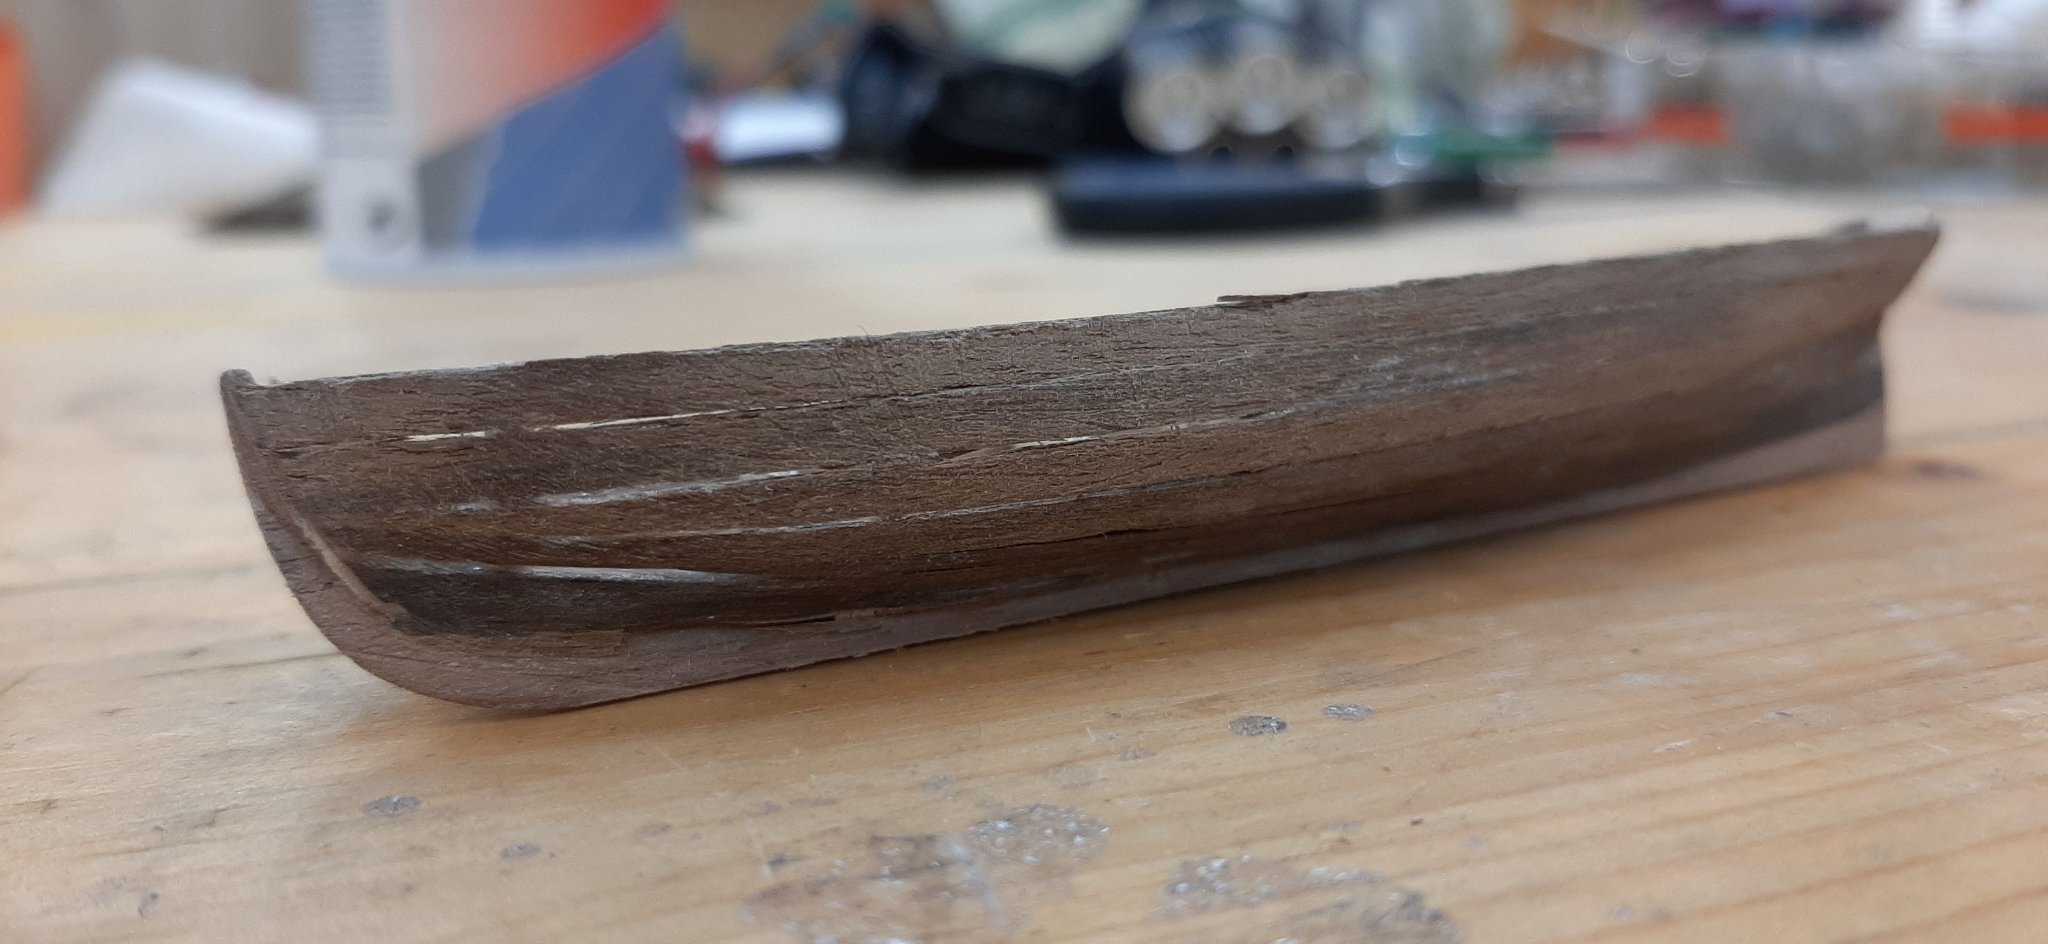
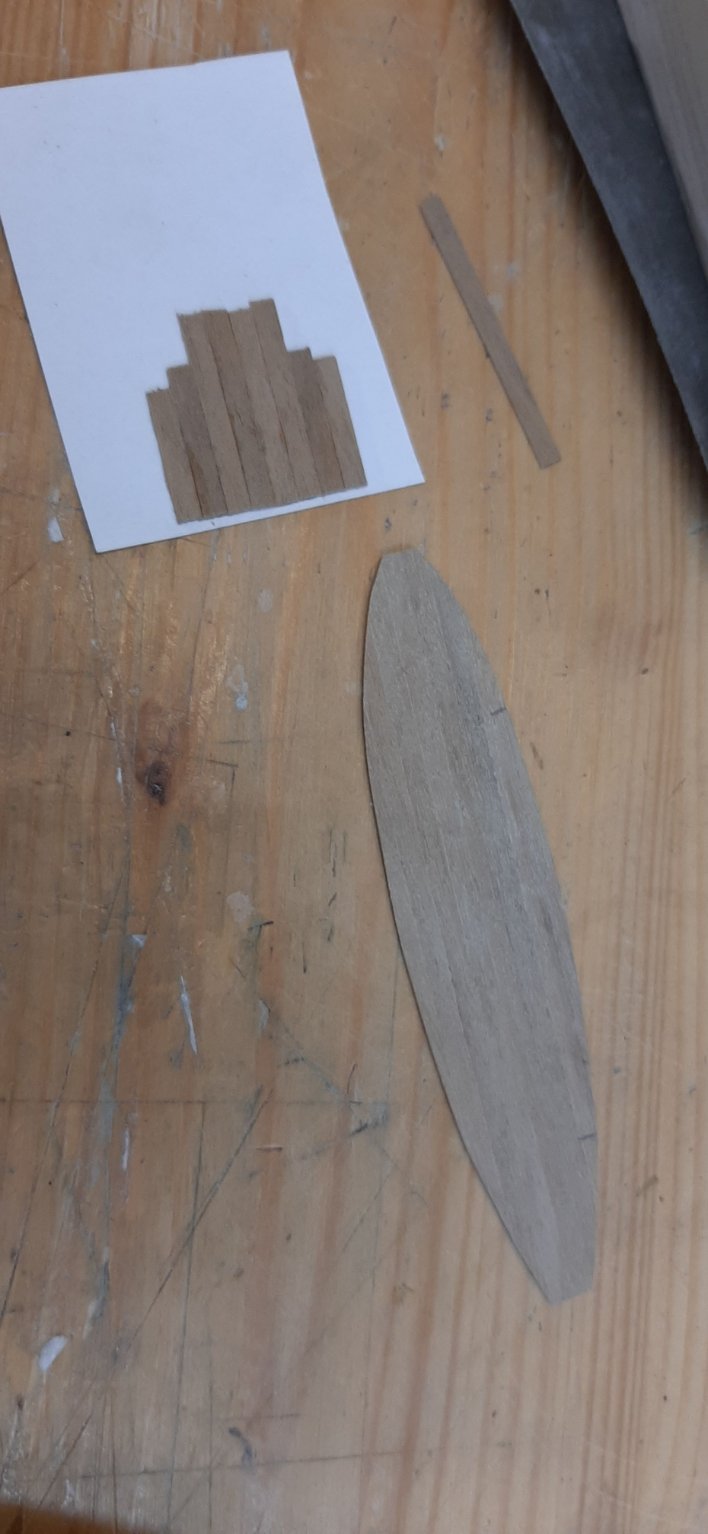
Since I have a forced break in the rigging, I started with the dinghies.
The method of gluing the frames was too risky for me.
Therefore, I have separated them before gluing to use them afterwards as placeholders.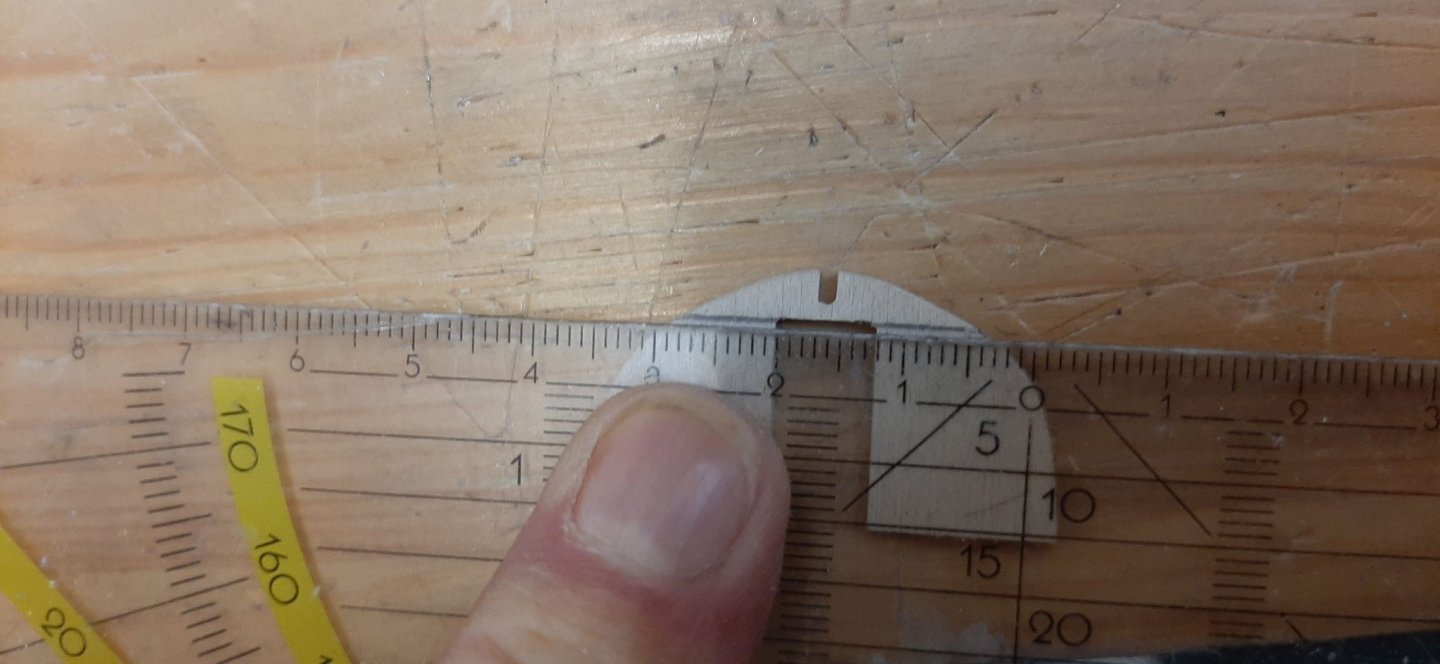
After that I sanded the first planking filled and sanded again

Now I started with the second planking

Add a few more details and fill a first time


So the whole three times


I will report again on the further progress
Helli
- gieb8688 and mort stoll
-
2
-
Hello,
Before it went to the fitting of Deadeye Futtock Strops I soldered them. But with a maximum of 10w soldering iron because otherwise the brass anneals and cracks.

Then I mounted all the blocks and the futtock shrouds.
And again ratlines :-)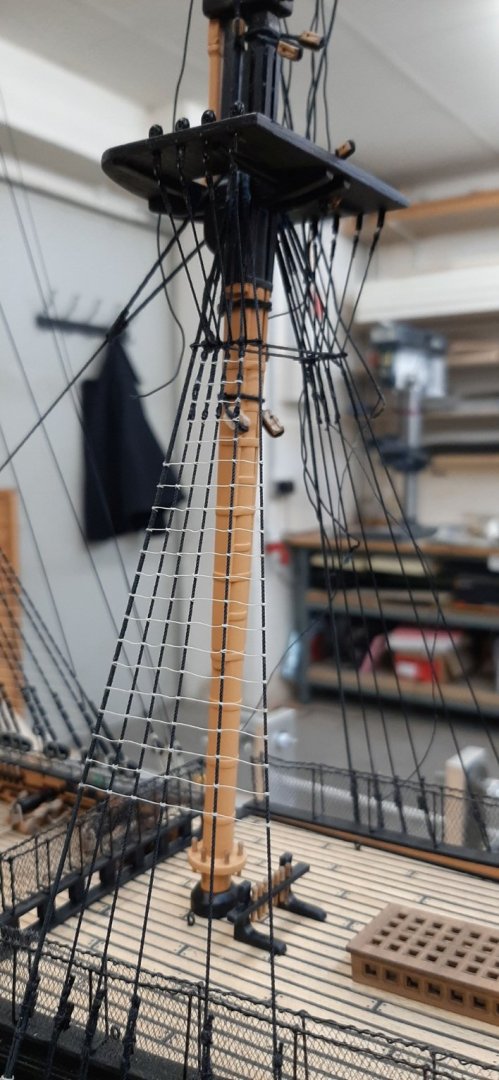
Now I have a forced break because I lost one when painting the deadeyes and I have no more in reserve. Due to the lockdown all stores are closed so I have to get them online.
But there are still enough other things to do.Helli
- gieb8688 and mort stoll
-
2


English flag
in Nautical/Naval History
Posted
Hi,
Because of the ship model building, i am actually interested about everything.
The history, the connections and the way of thinking.
About why this was done.
Helli