birchbaysider
-
Posts
53 -
Joined
-
Last visited
Recent Profile Visitors
1,306 profile views


-
 mtaylor reacted to a post in a topic:
Pilar (Ernest Hemingway's Fishing Boat)
mtaylor reacted to a post in a topic:
Pilar (Ernest Hemingway's Fishing Boat)
-

Pilar (Ernest Hemingway's Fishing Boat)
birchbaysider replied to birchbaysider's topic in Nautical/Naval History
I posted a detailed build log before all the content on this site was lost. I tried to repost as much as I could. Pilar by birchbaysider - FINISHED - Constructo - 1:27 (Ernest Hemingway's Fishing Boat, 1934) - - Kit build logs for subjects built from 1901 - Present Day - Model Ship World™ -
GrandpaPhil reacted to a post in a topic:
Pilar 1934 by birchbaysider - FINISHED - Constructo - 1:27 - Ernest Hemingway's Fishing Boat
-
VACorsair reacted to a post in a topic:
Pilar (Ernest Hemingway's Fishing Boat)
-
jargat reacted to a post in a topic:
Pilar 1934 by birchbaysider - FINISHED - Constructo - 1:27 - Ernest Hemingway's Fishing Boat
-
Where is a good place to buy from? - moved by moderator
birchbaysider replied to wdretired's topic in Wood ship model kits
Try Hobbylinc. They only carry a few manufacturers, but their prices are hard to beat. They also have good deals on supplies and tools. Hobbylinc -
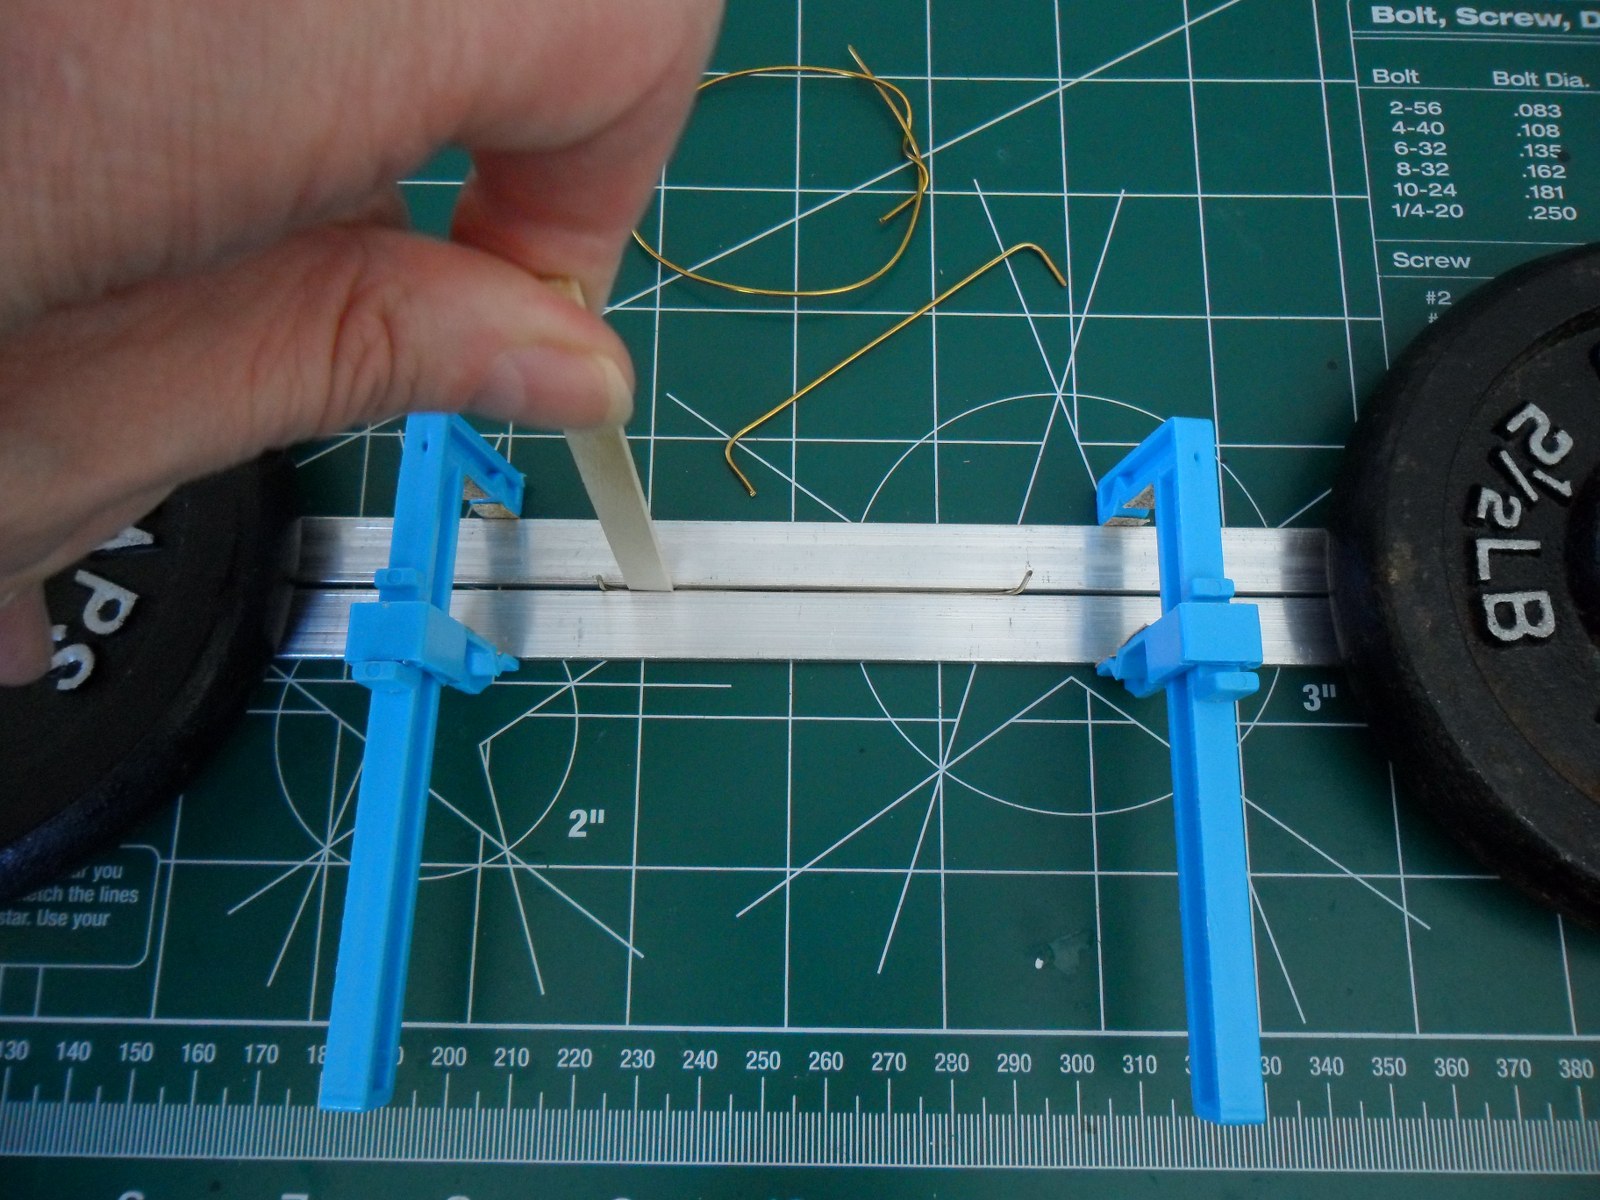
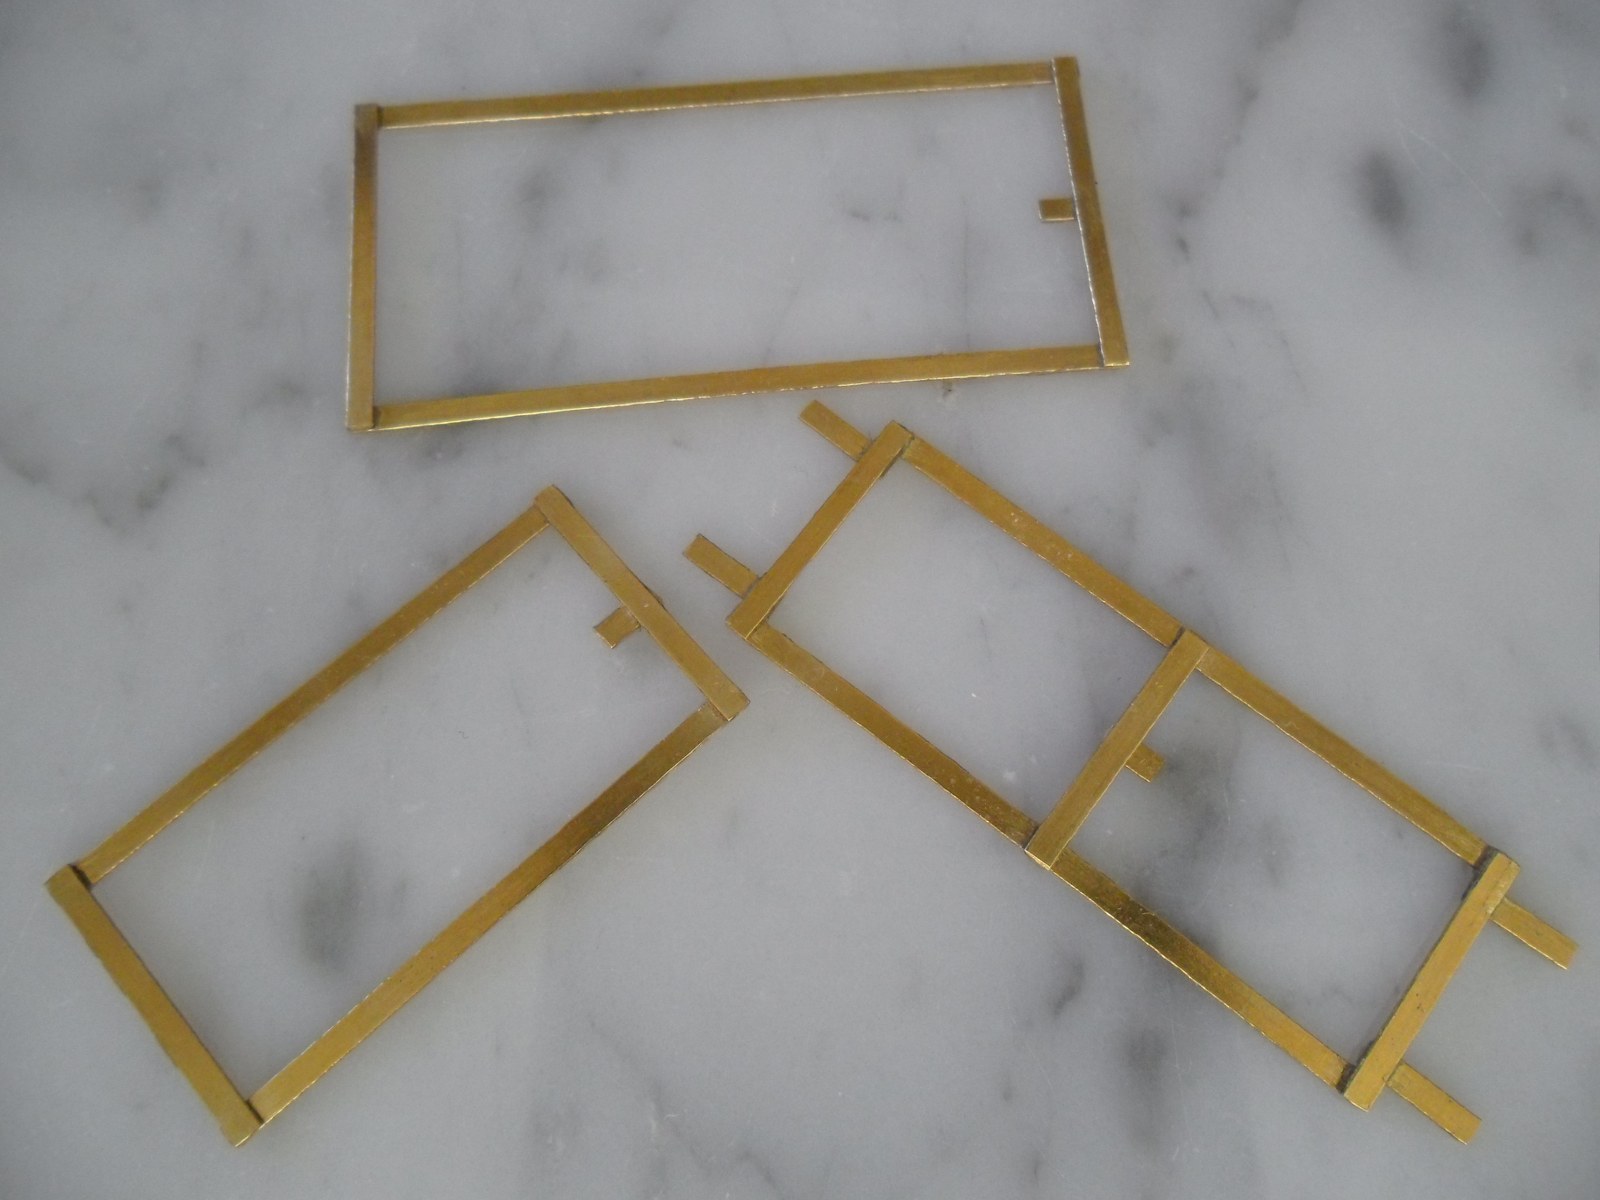
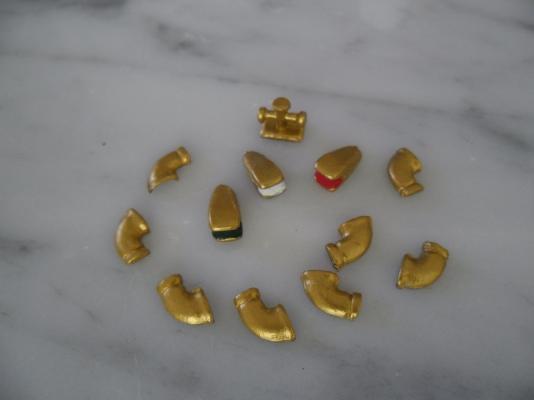
Jon, Sorry to hear that soldering didn't work for you. I know you can get brass solder. Like I stated in my build log, I don't like working with metal. It's very difficult to get coiled wire straight. I tried this method of clamping it together and pressing down, but it didn't work well. The best way I found is to just take my time and straighten with my fingers, but I never get it perfect. As far as gluing, I started out using CA, but it always leaves a white residue, so I've switched to clear epoxy. With small round files, I give the ends of the wire a concave shape to get maximum surface area for gluing.

-
Thanks Bob. Nice work on your Lobster Smack.
-
Thanks for the compliment. BlueJacket's Runabout looks like a great kit, but way out of my price range.
-
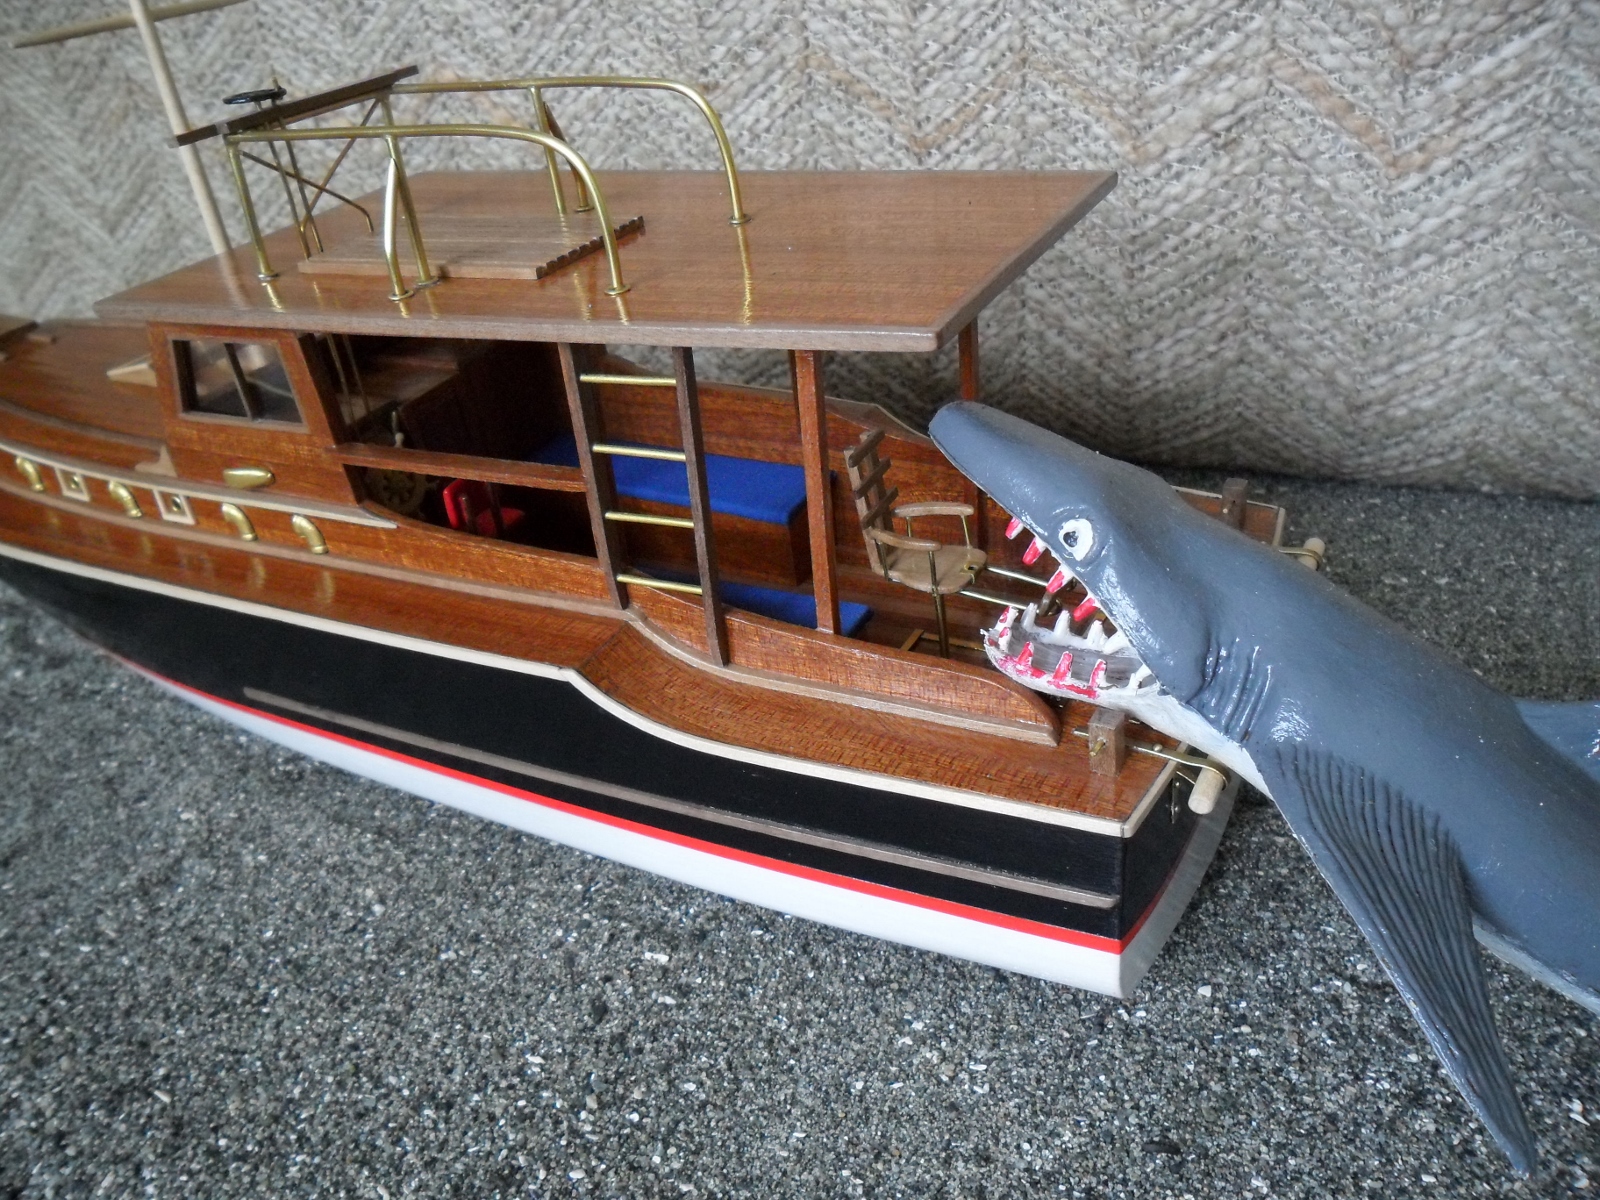
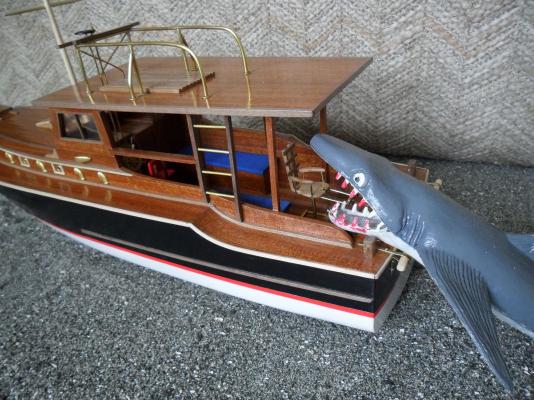
Pilar is finished, but sometime I would like to add outriggers and make it a real fishing boat. I'm gonna need a bigger boat


- 34 replies
-
- 2
-
-
- pilar
- constructo
- (and 1 more)
-
Thanks for the link. I've included it in my post on Pilar in the Nautical History Forum.
-
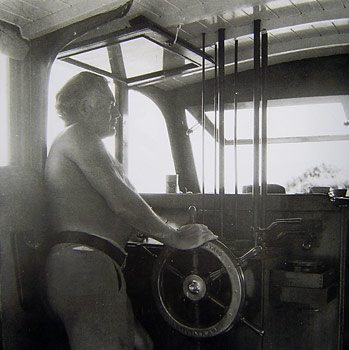
Thanks for the info. The article is in the July/August 2013 issue of Woodenboat Magazine. I put a hold on it at my local library. When Hemingway had the flying bridge added it came with a Model T steering wheel.
-
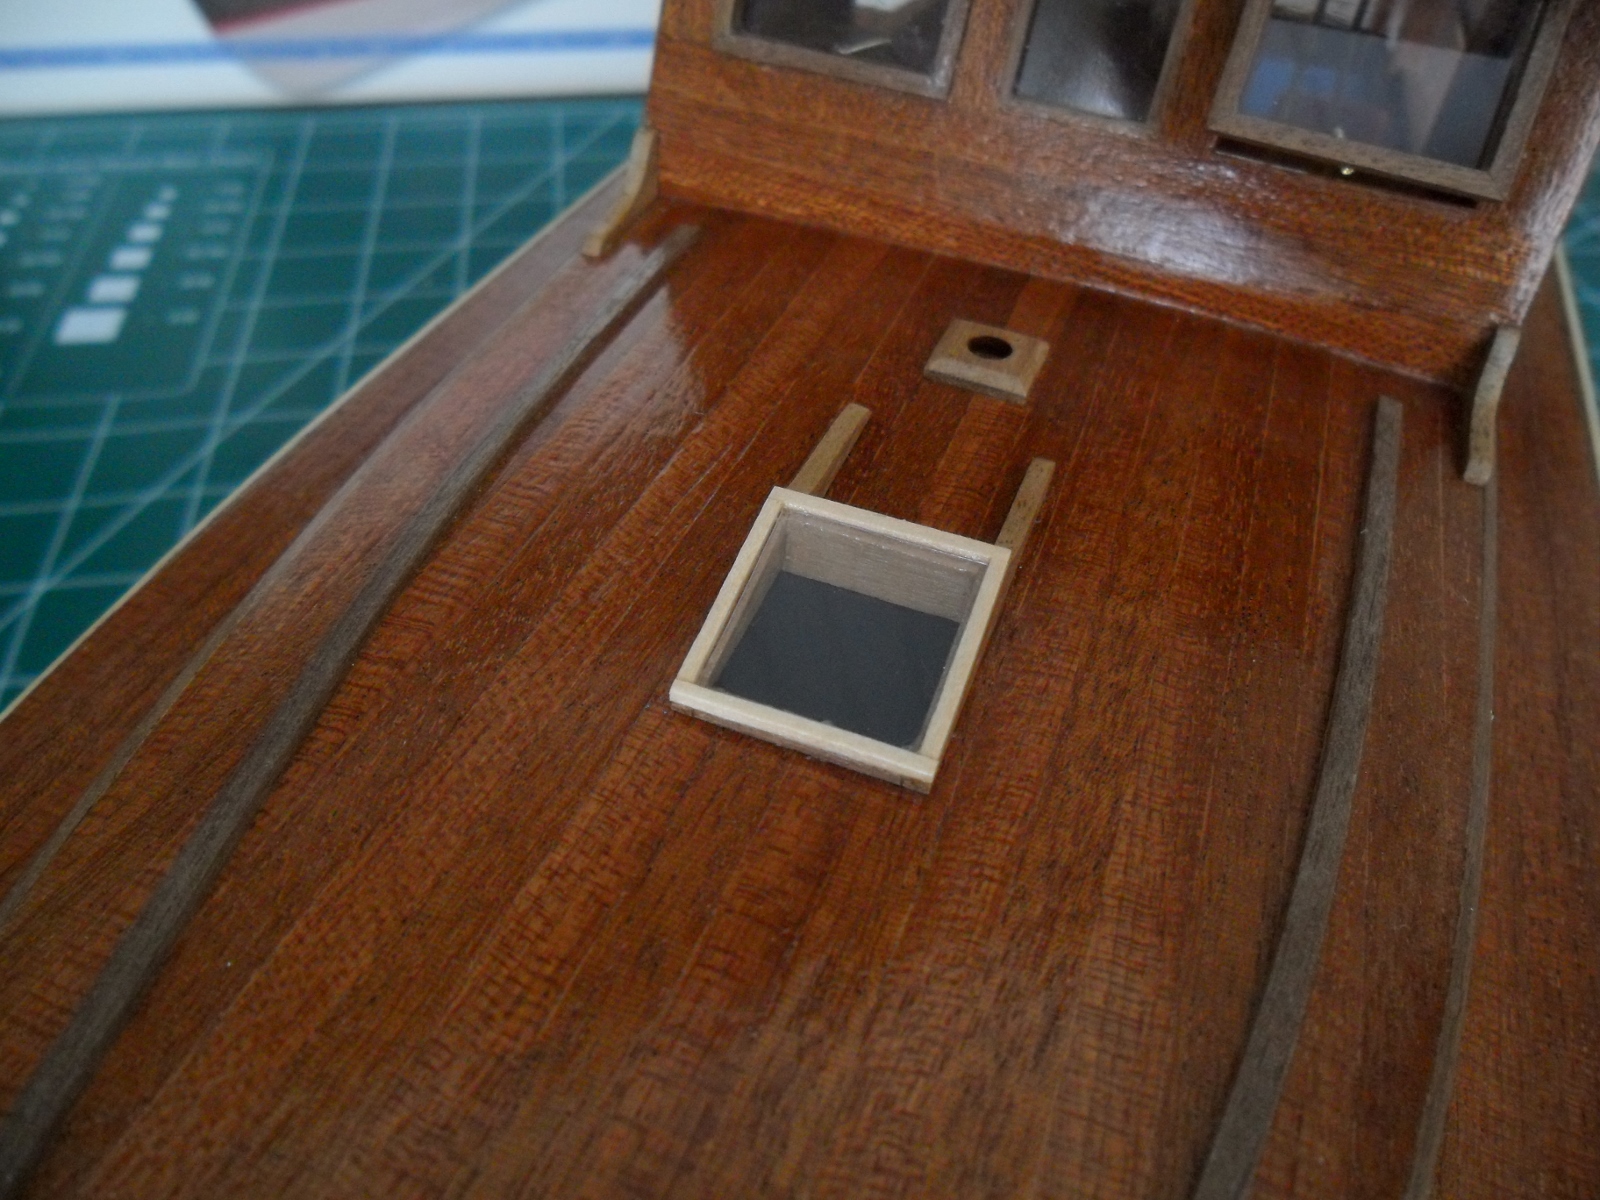
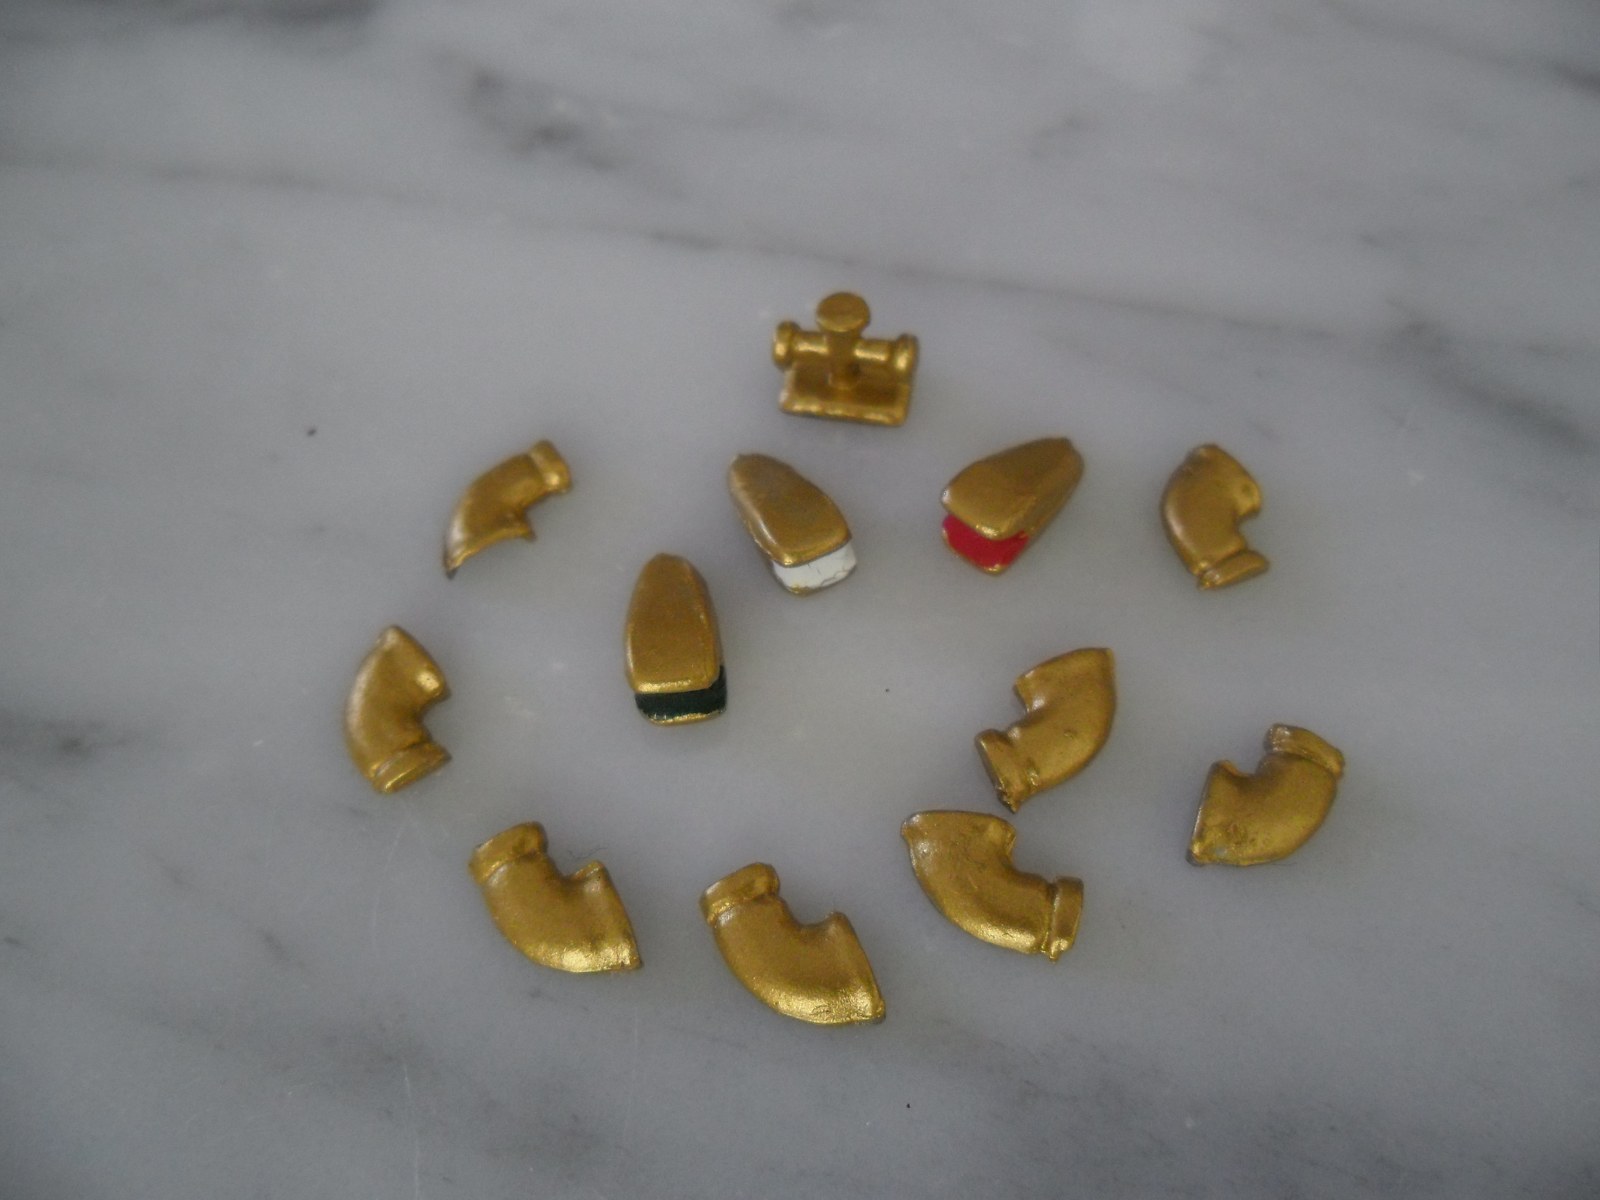
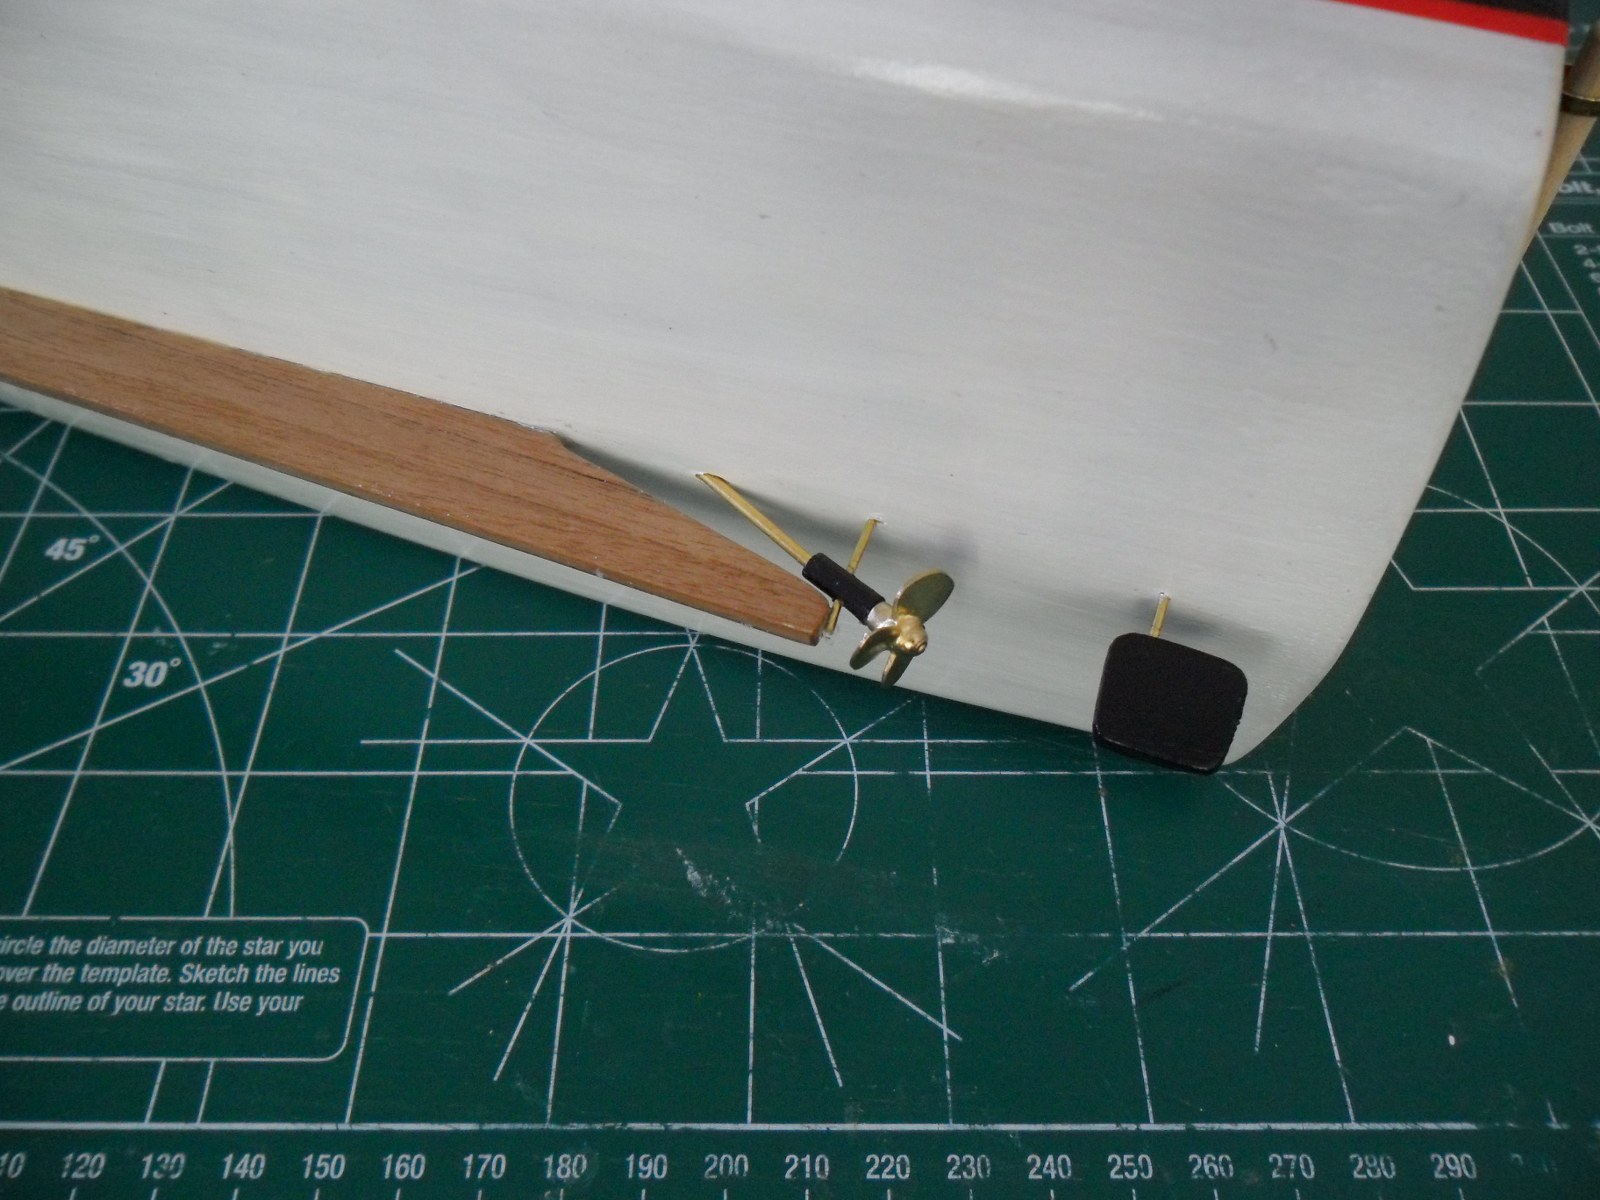
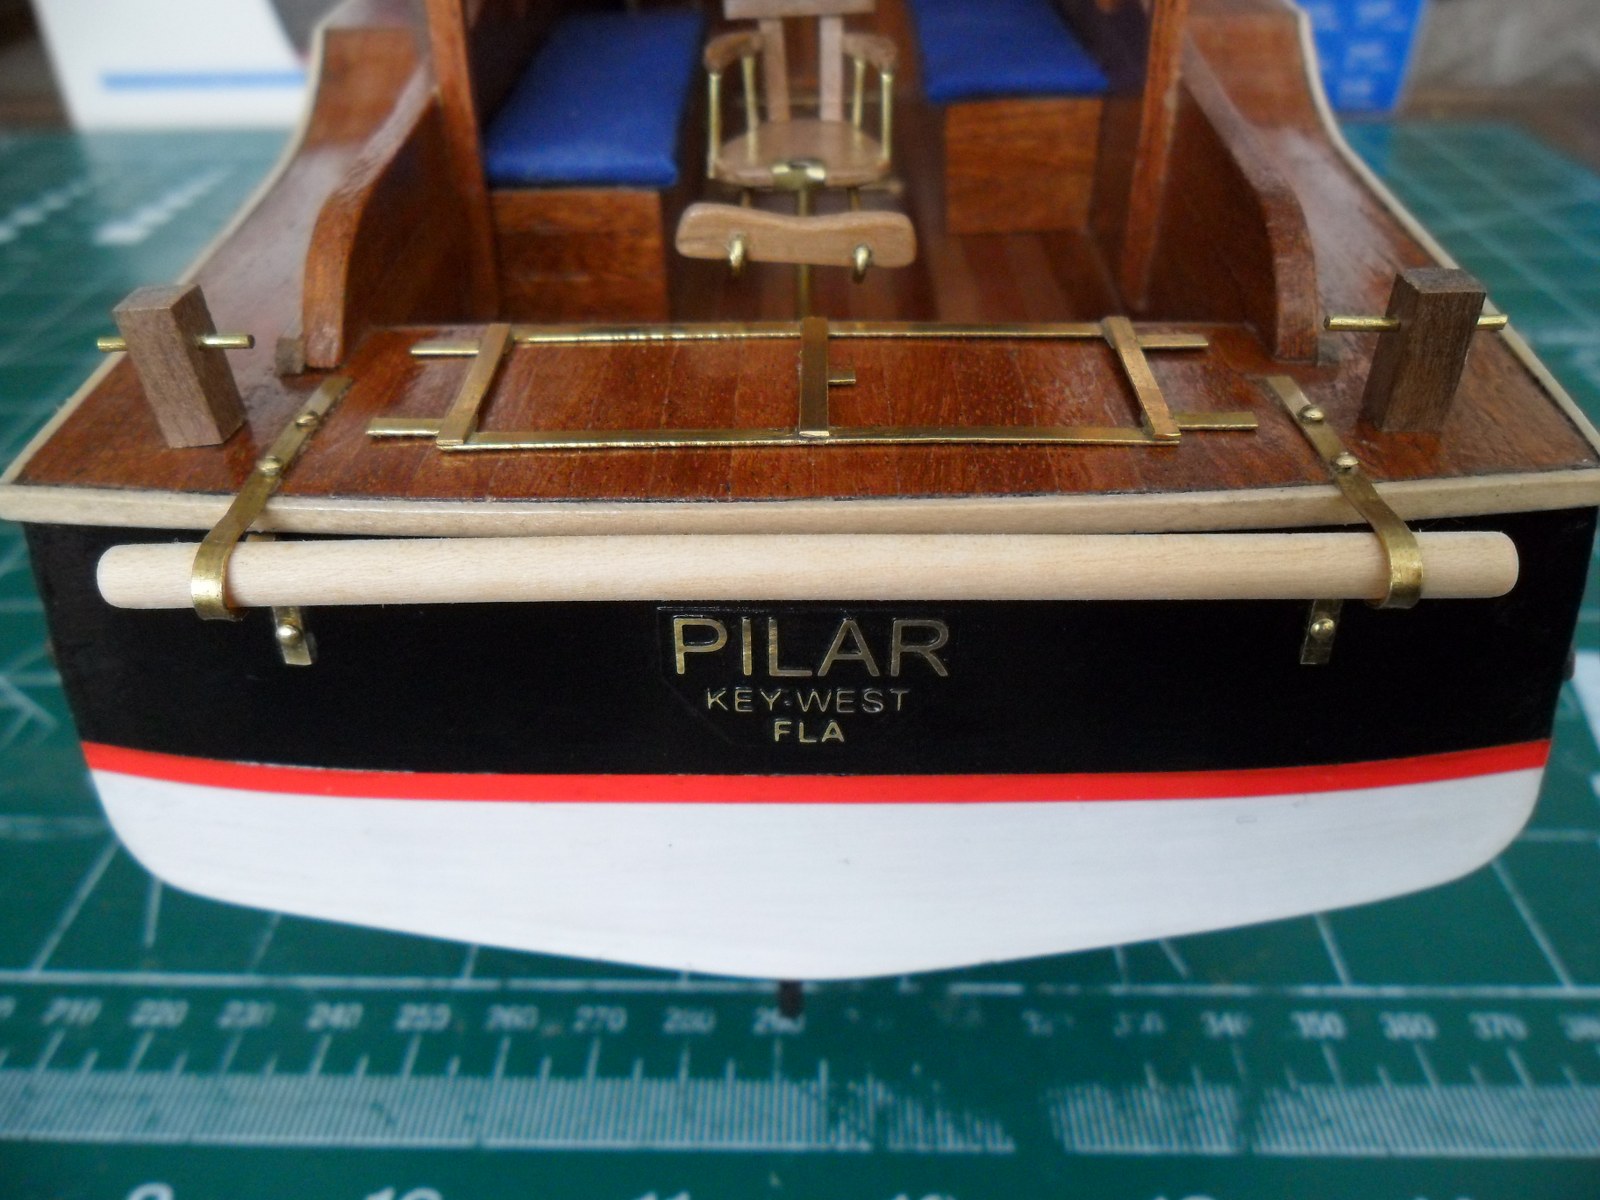
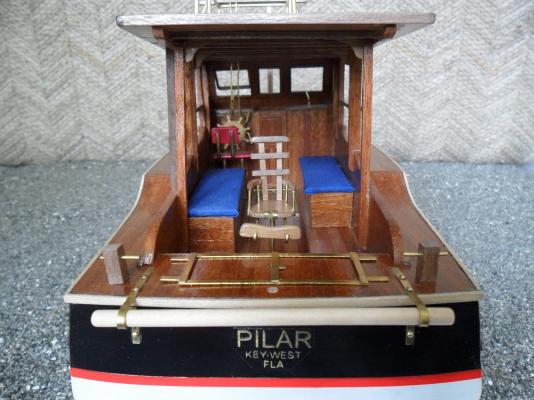
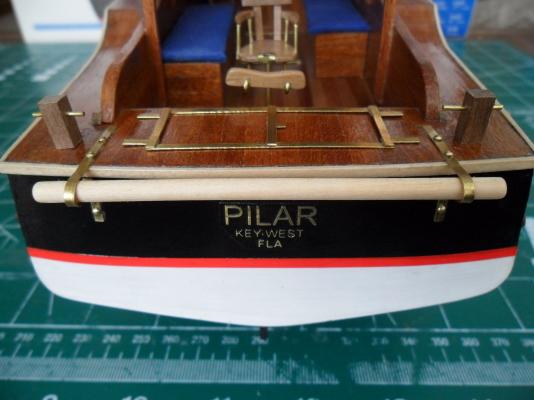
I painted the cabin roof black below the skylight to give the impression that the dark cabin is below. Skylight Lights, cross bitt & air shafts painted Port holes, air shafts & position light The model has one prop, but Pilar actually had twin screws. Hemingway ordered the boat with a 40 hp 4-cylinder Lycoming engine for trolling in addition to the standard 75 hp Chrysler Crown reduction gear engine. Prop & rudder Nameplate, stern roller, stern cleats & live well frame


- 34 replies
-
- 2
-
-
- pilar
- constructo
- (and 1 more)
-
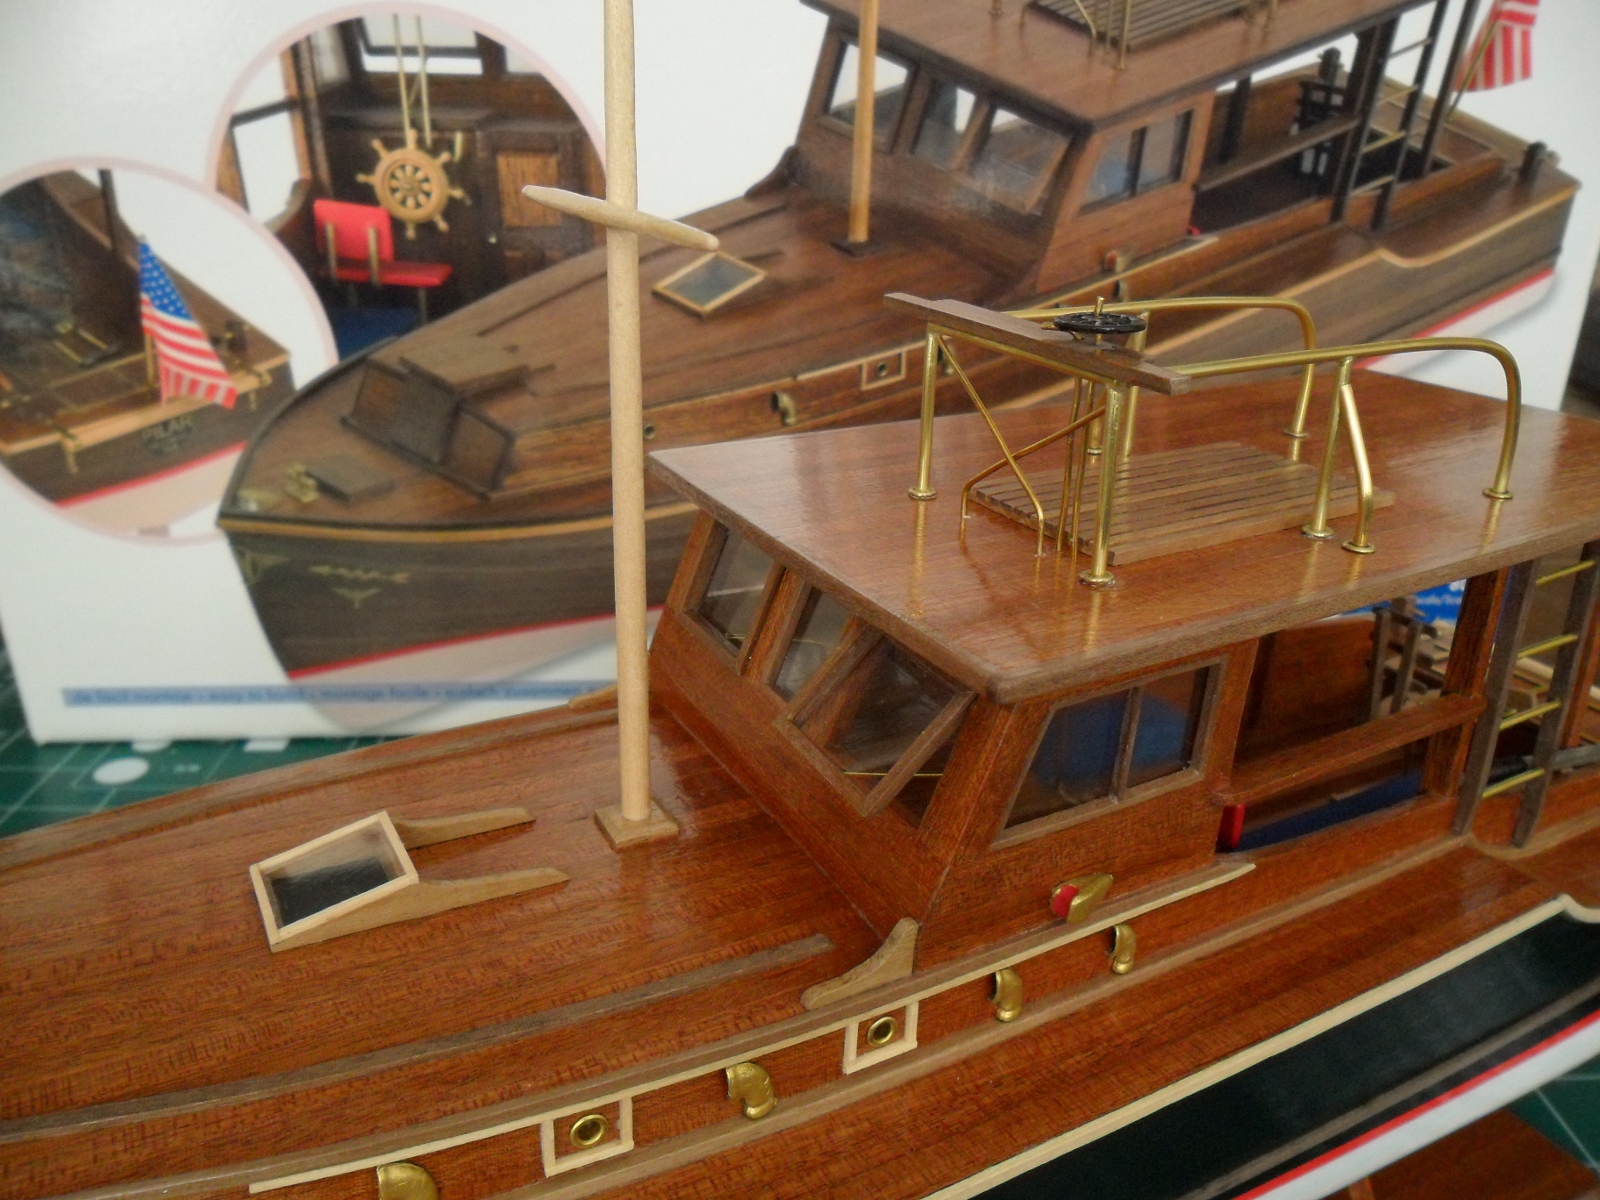
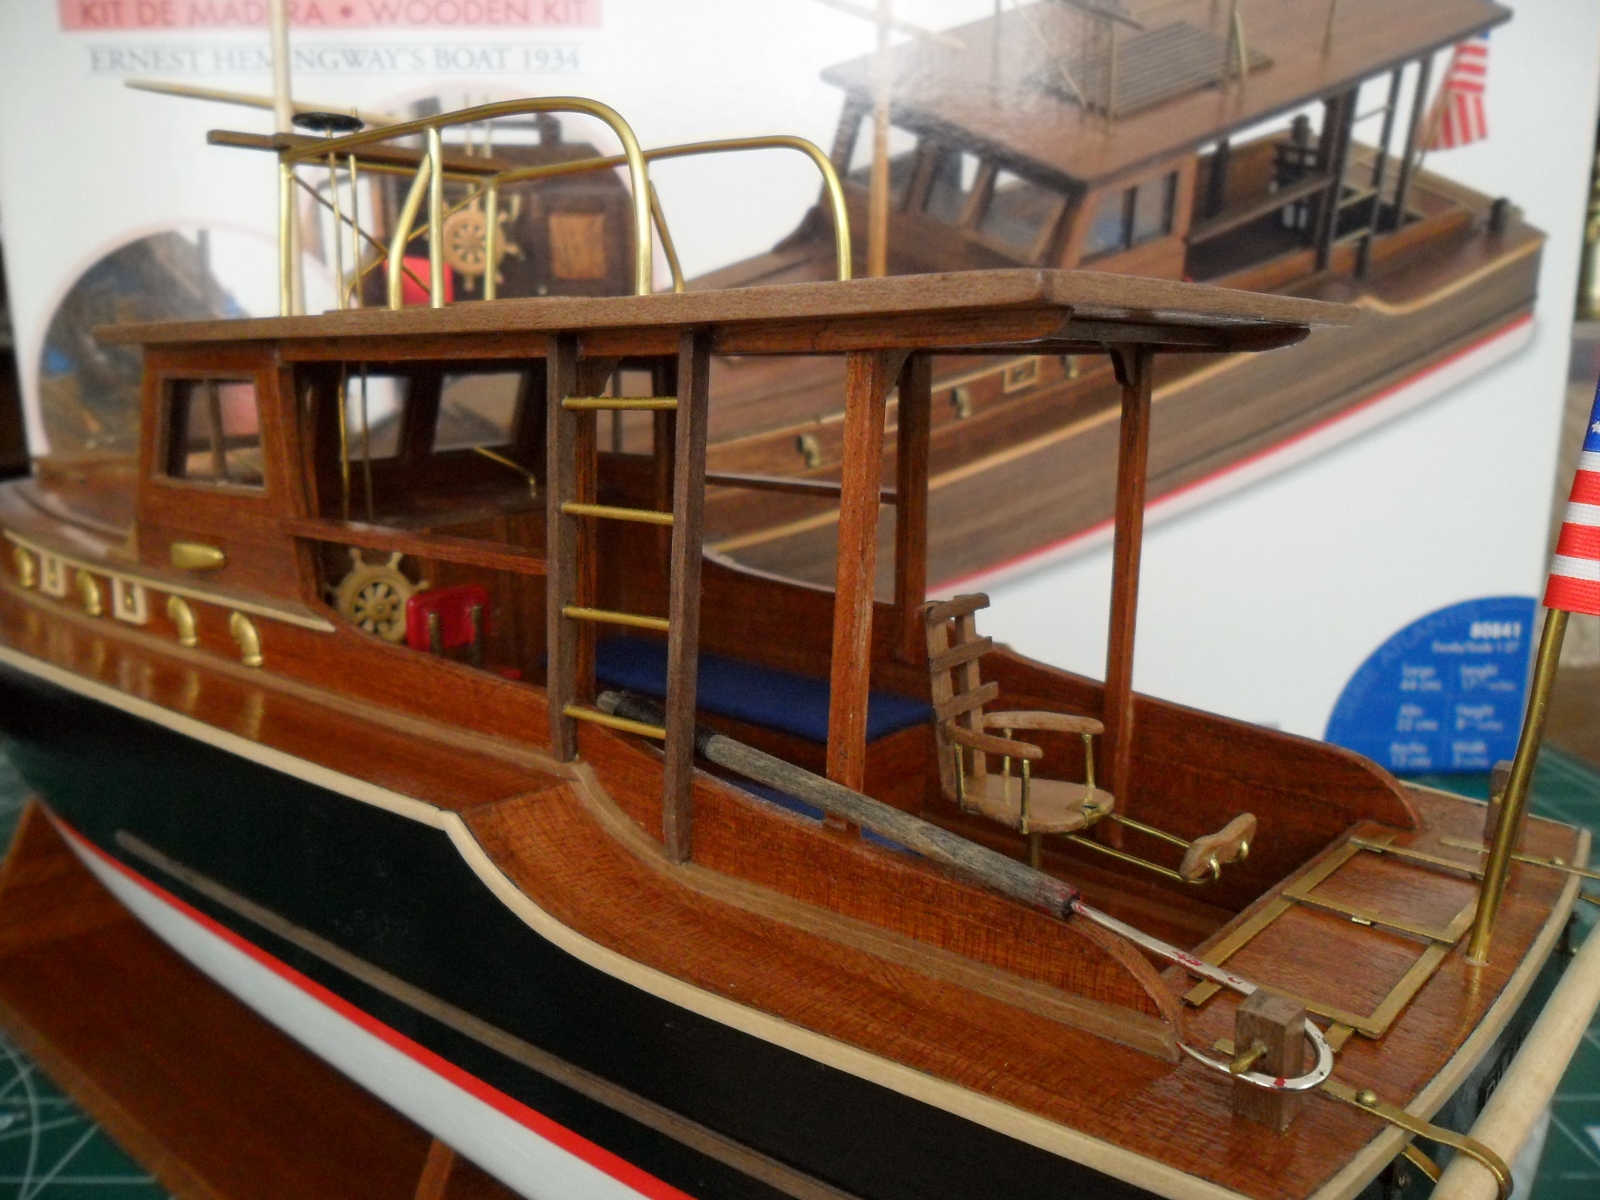
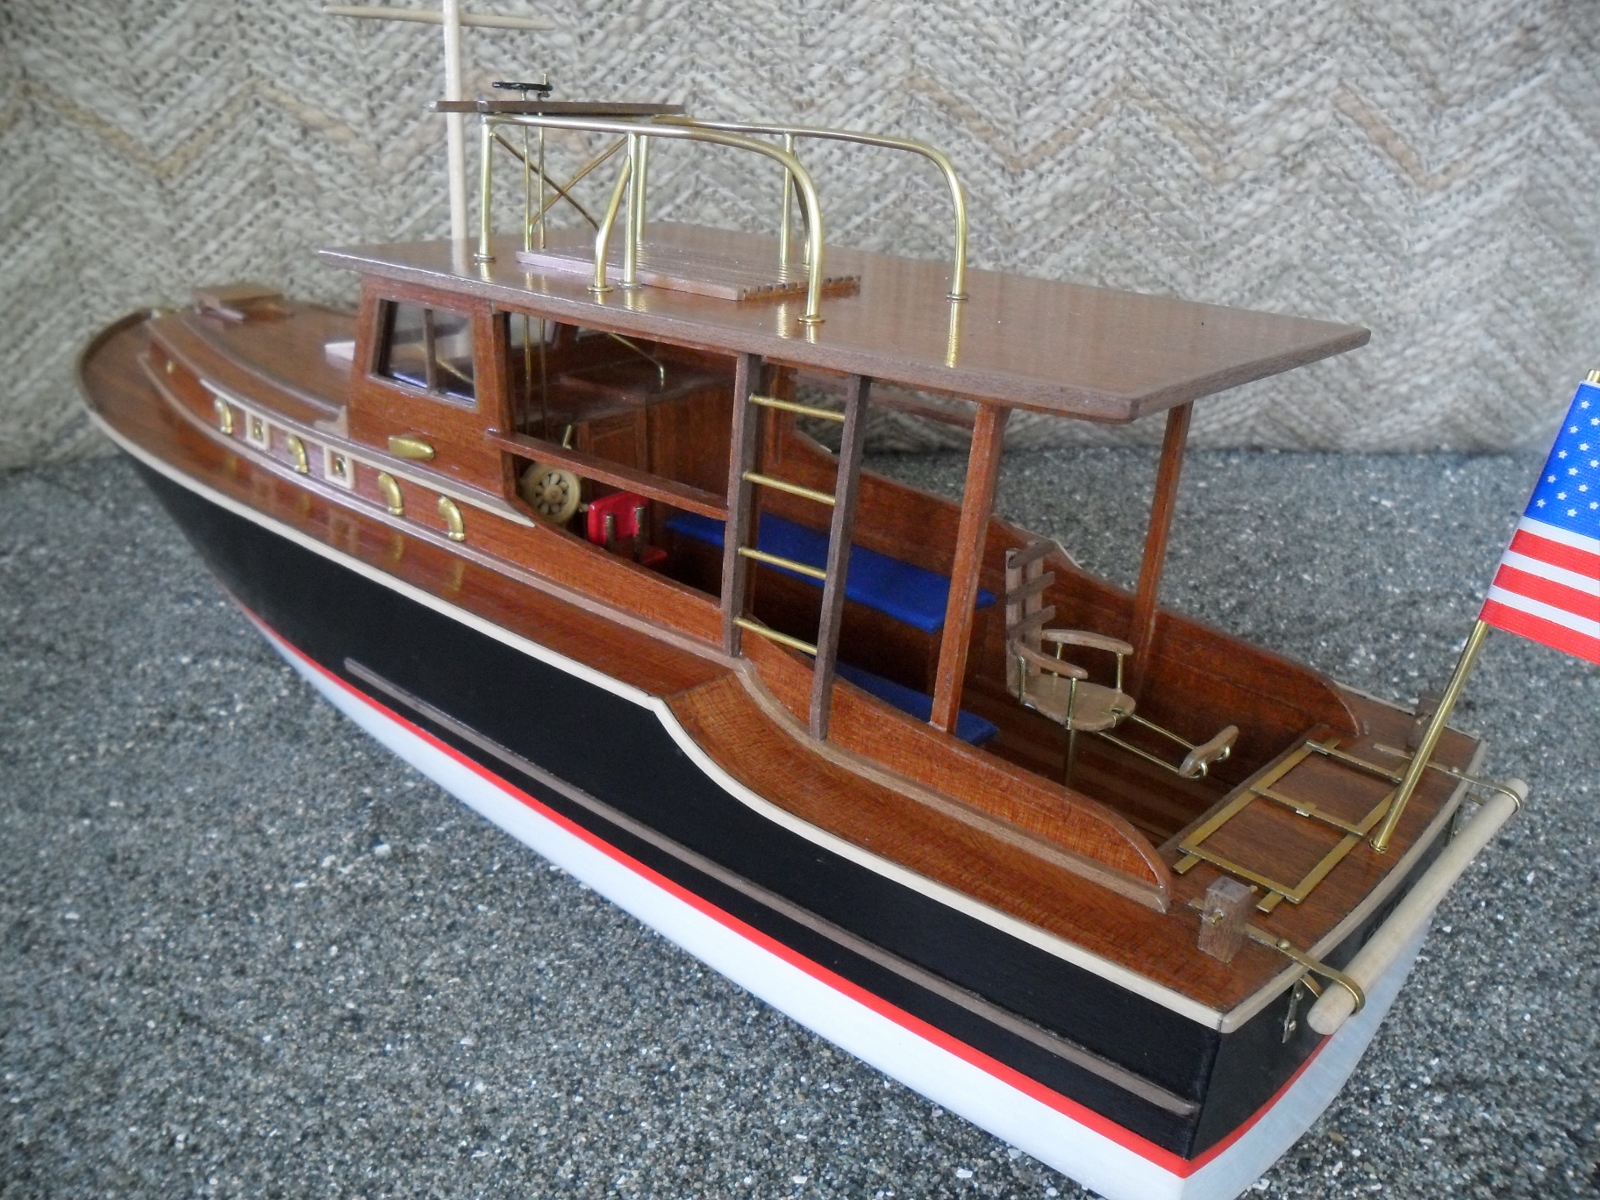
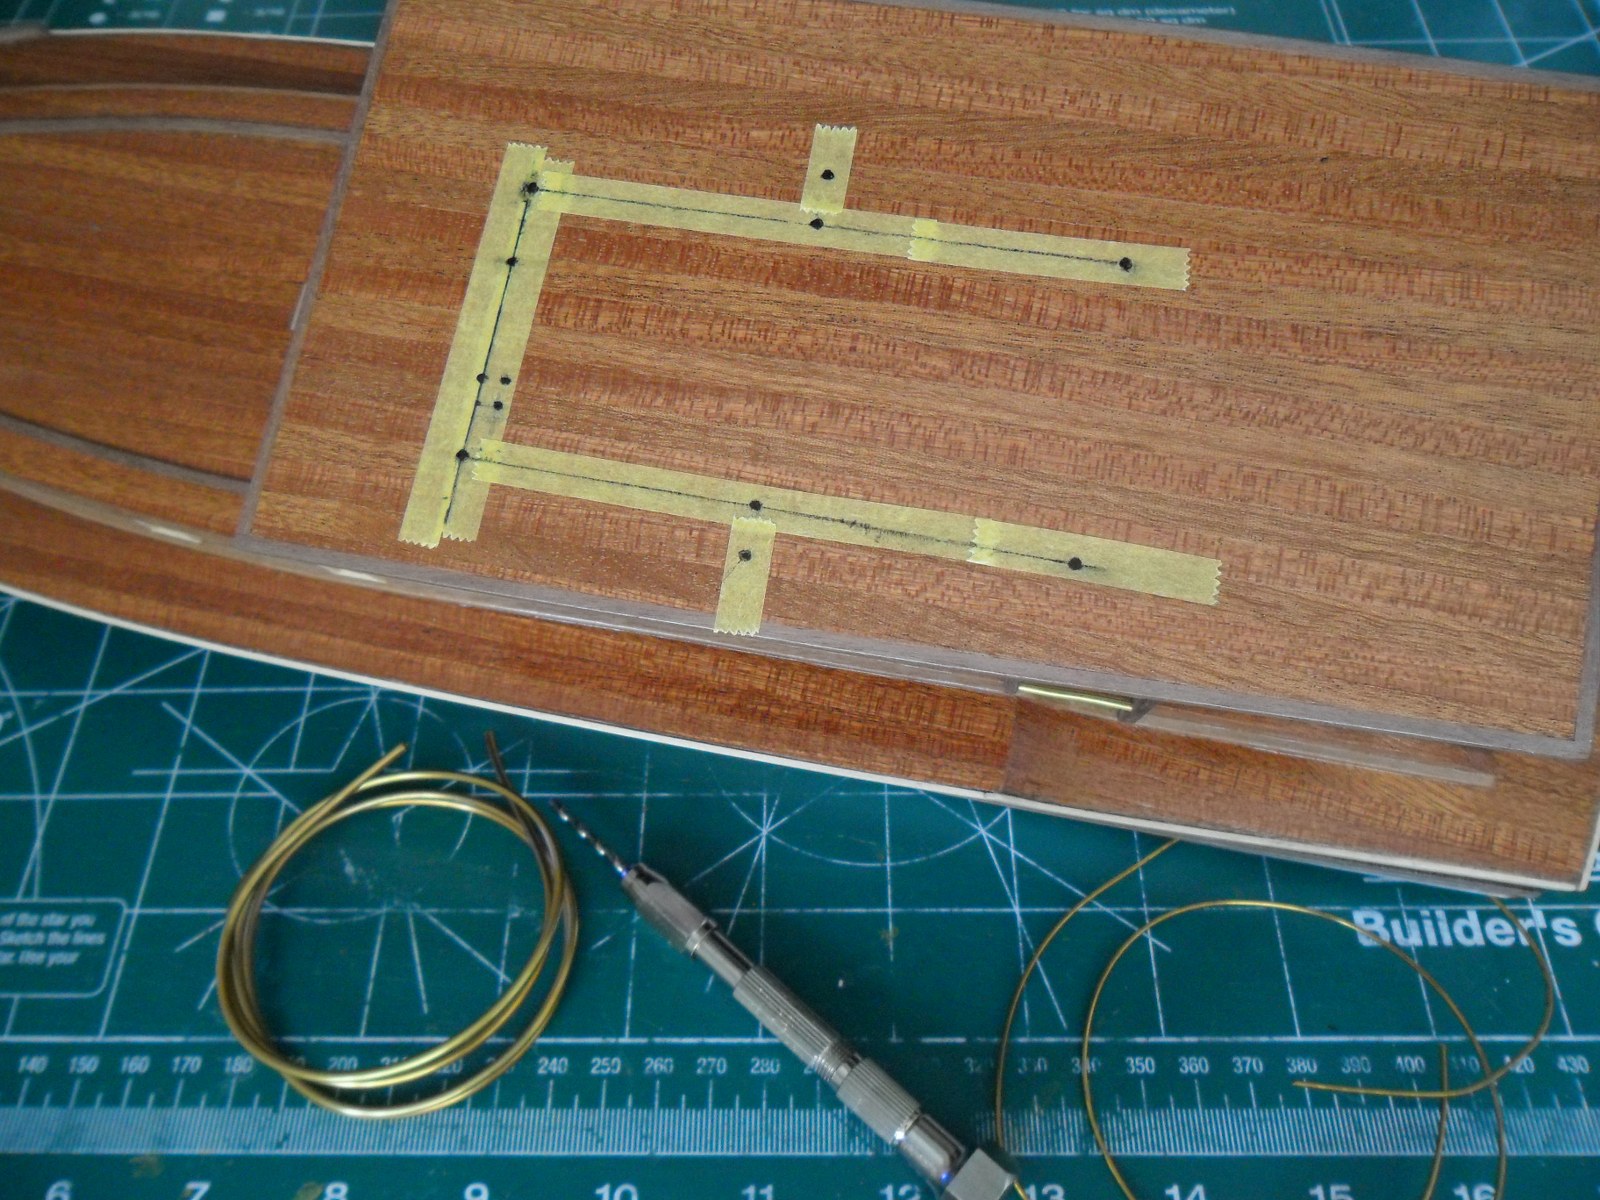
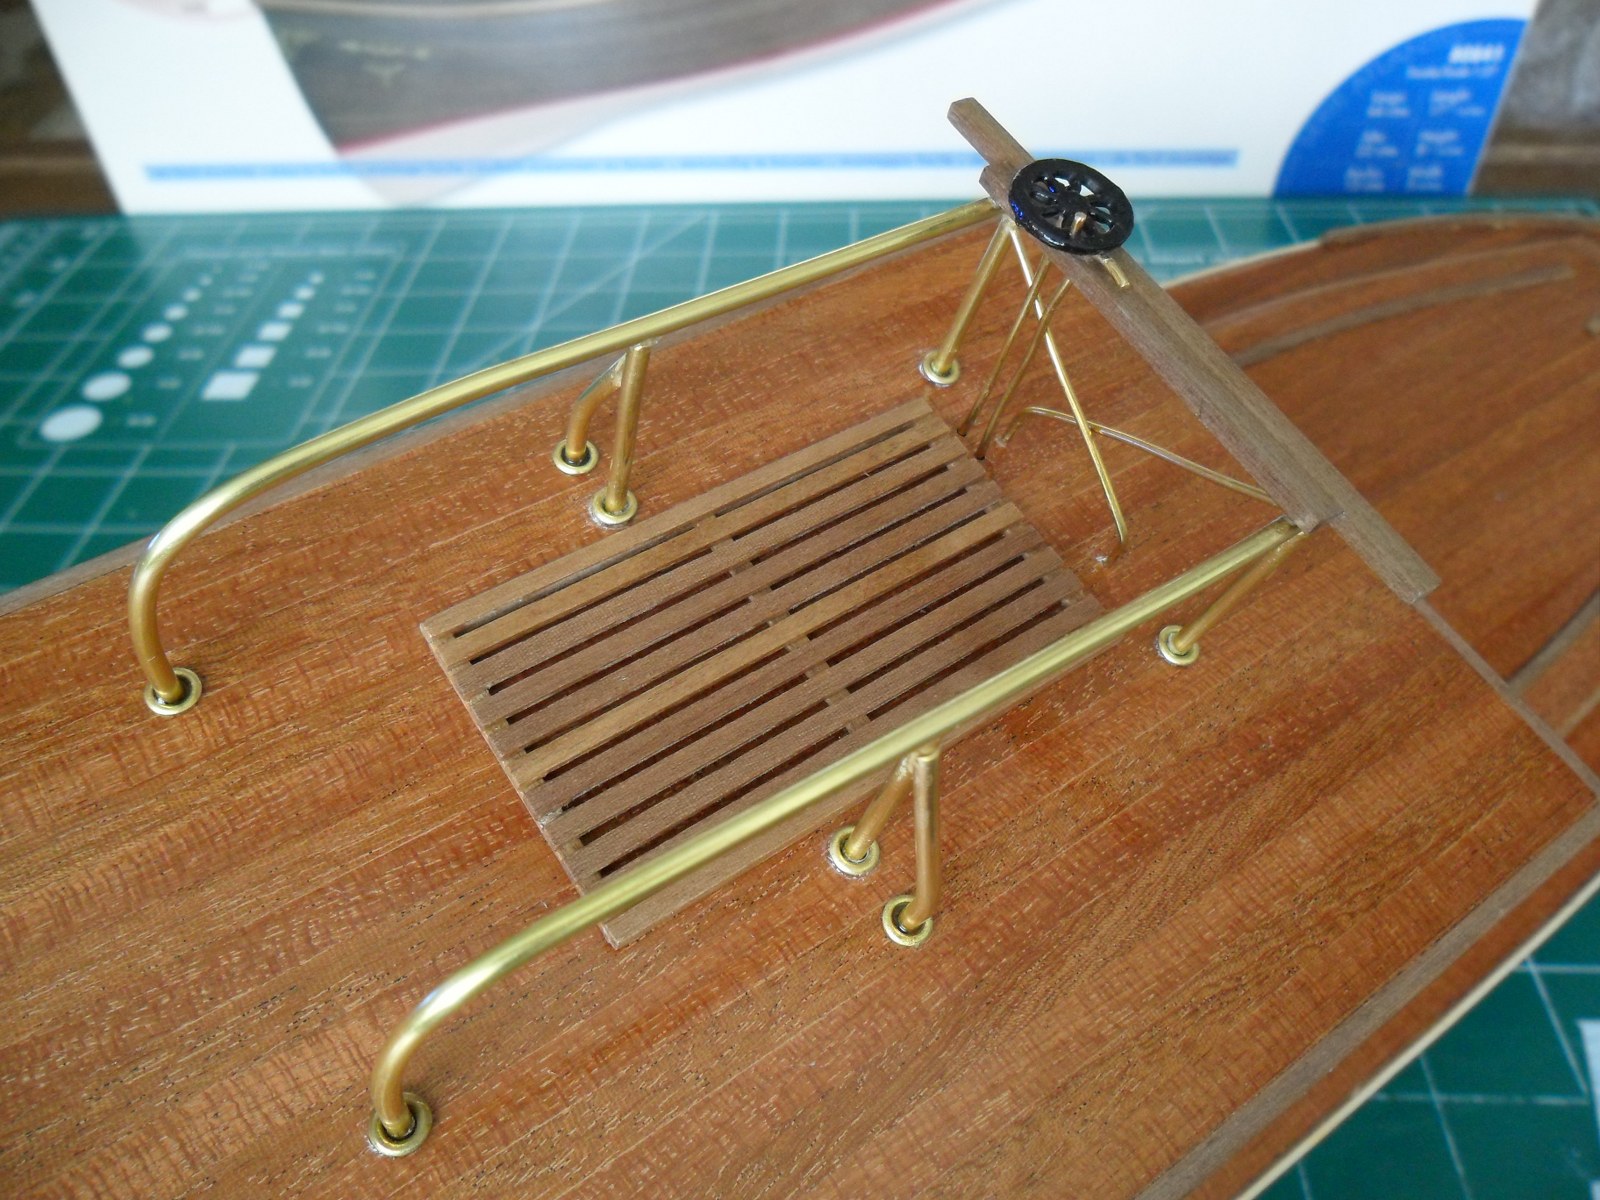
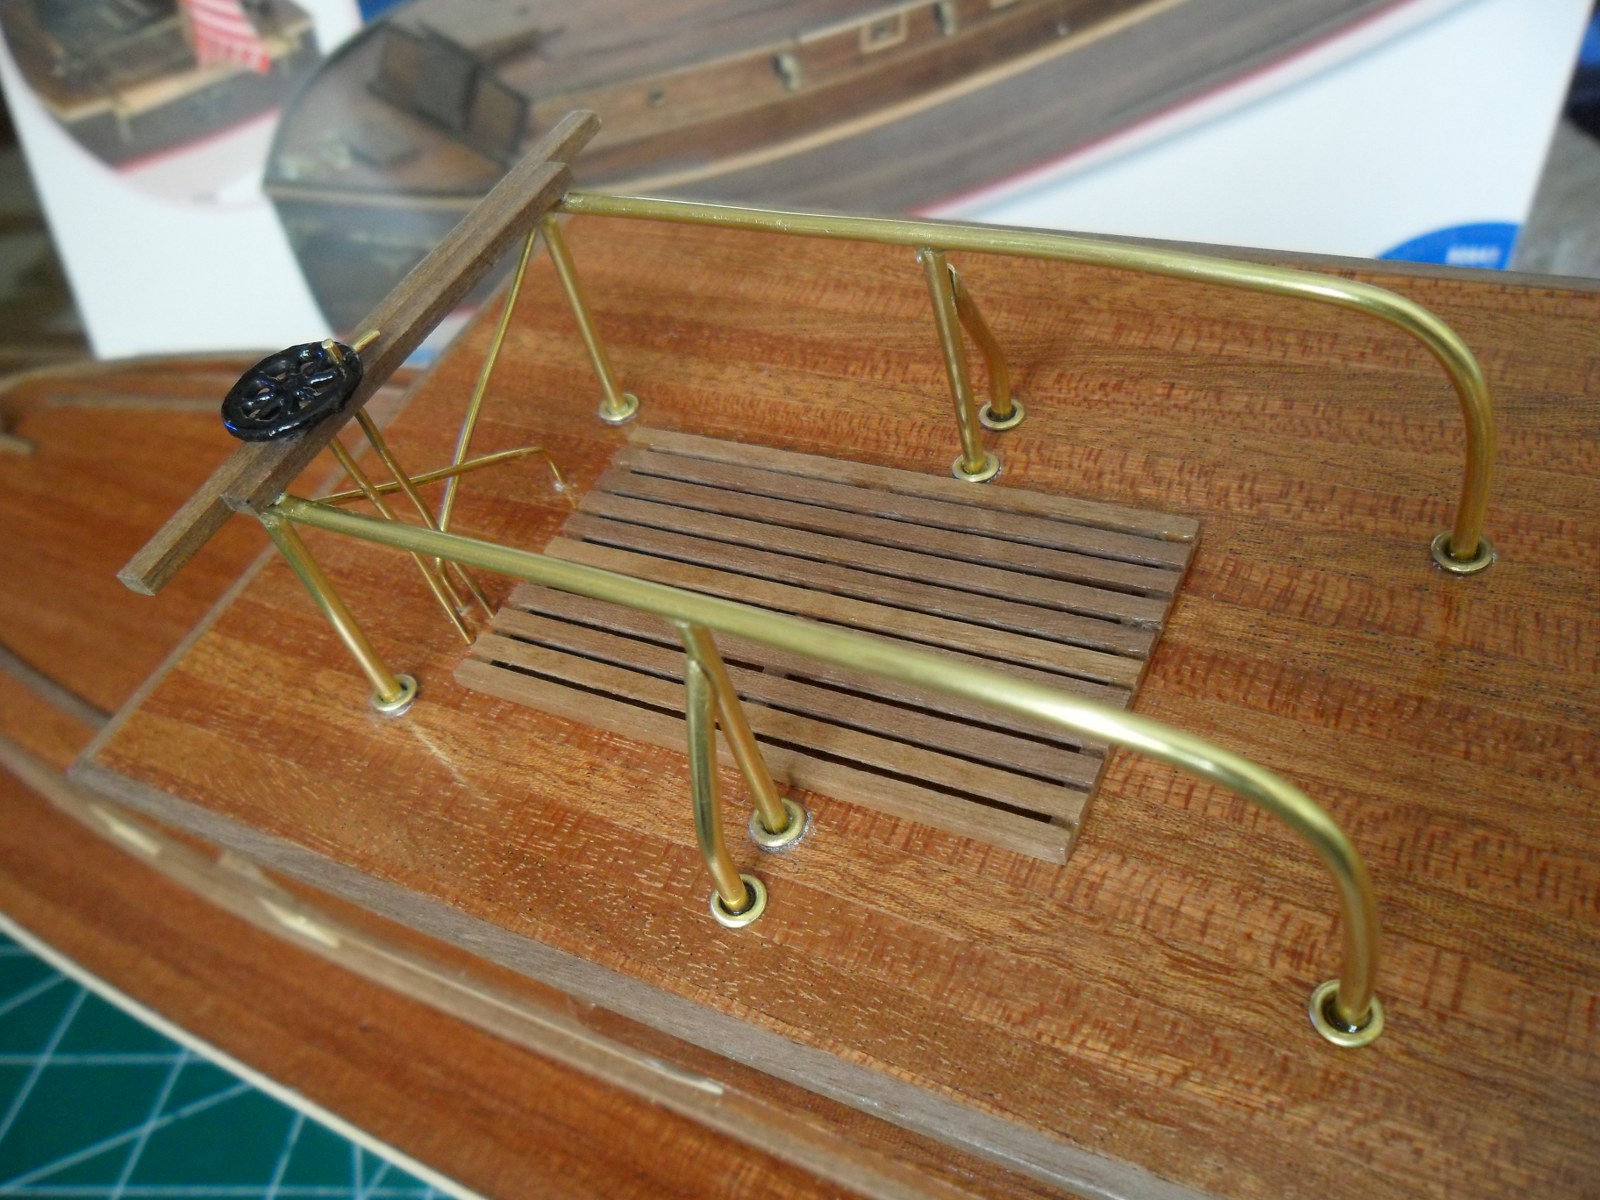
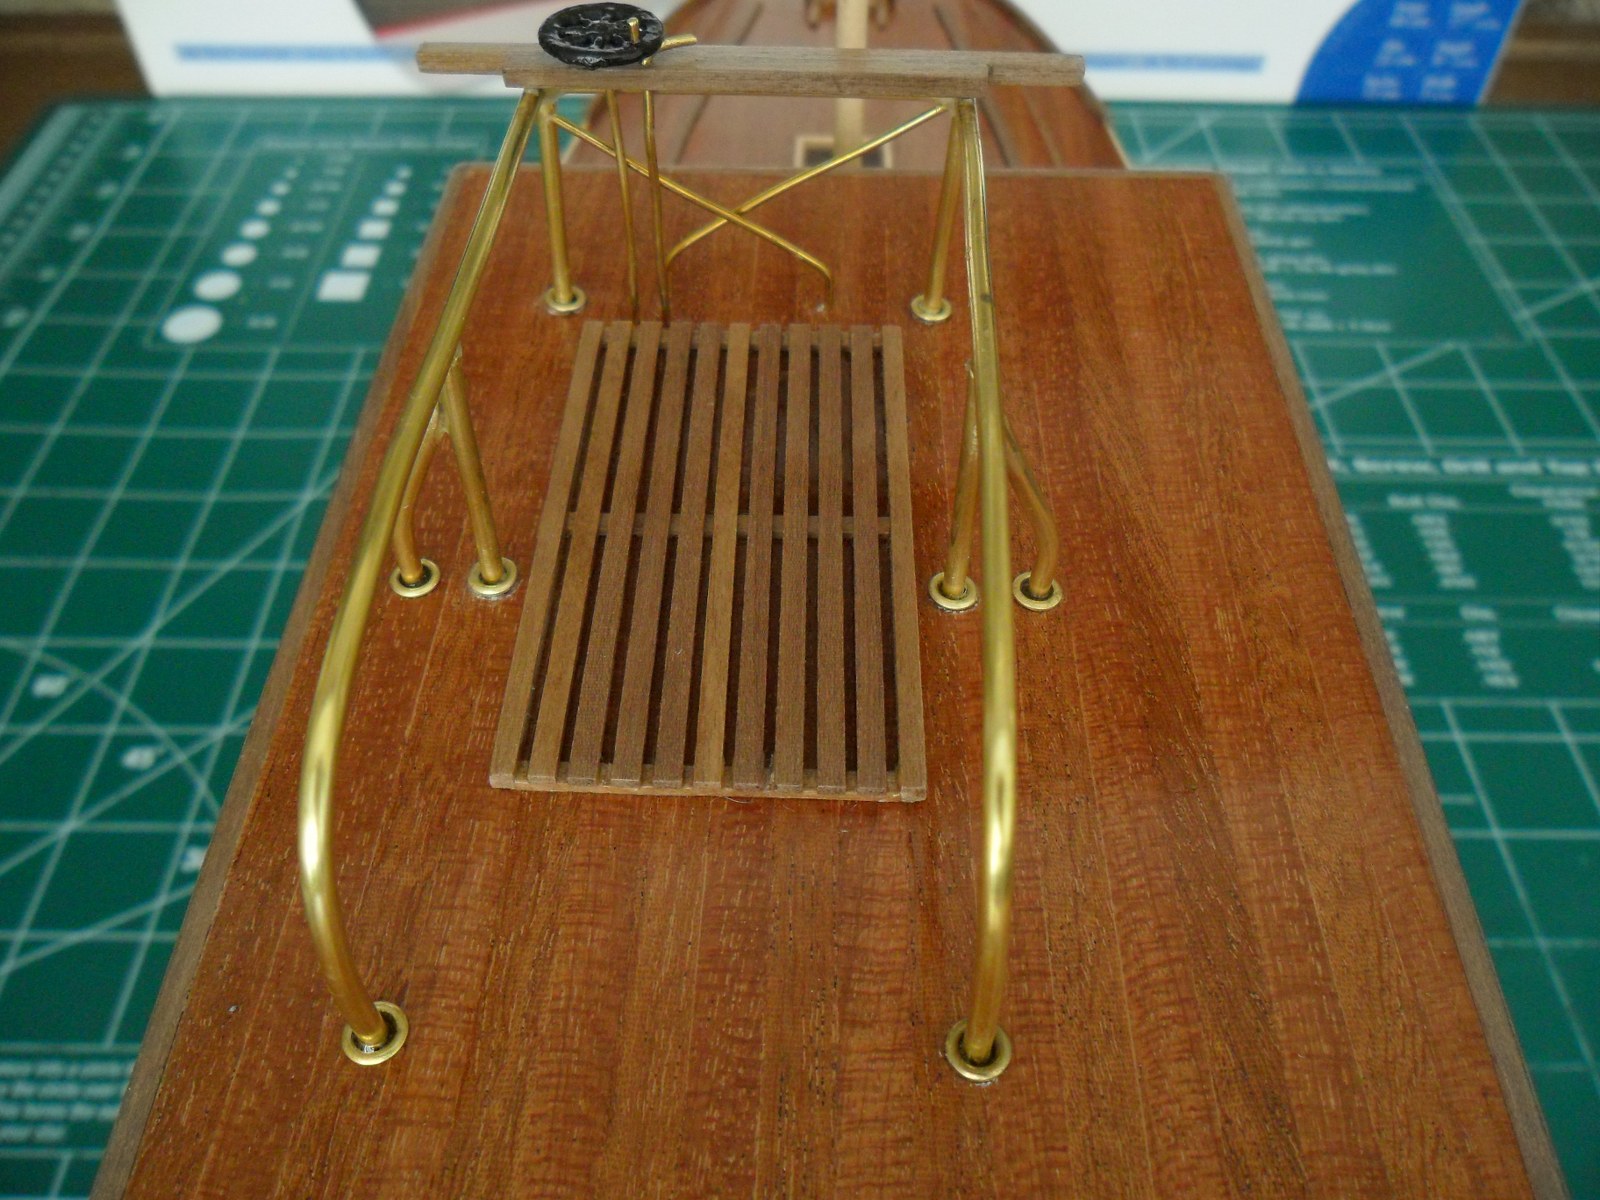
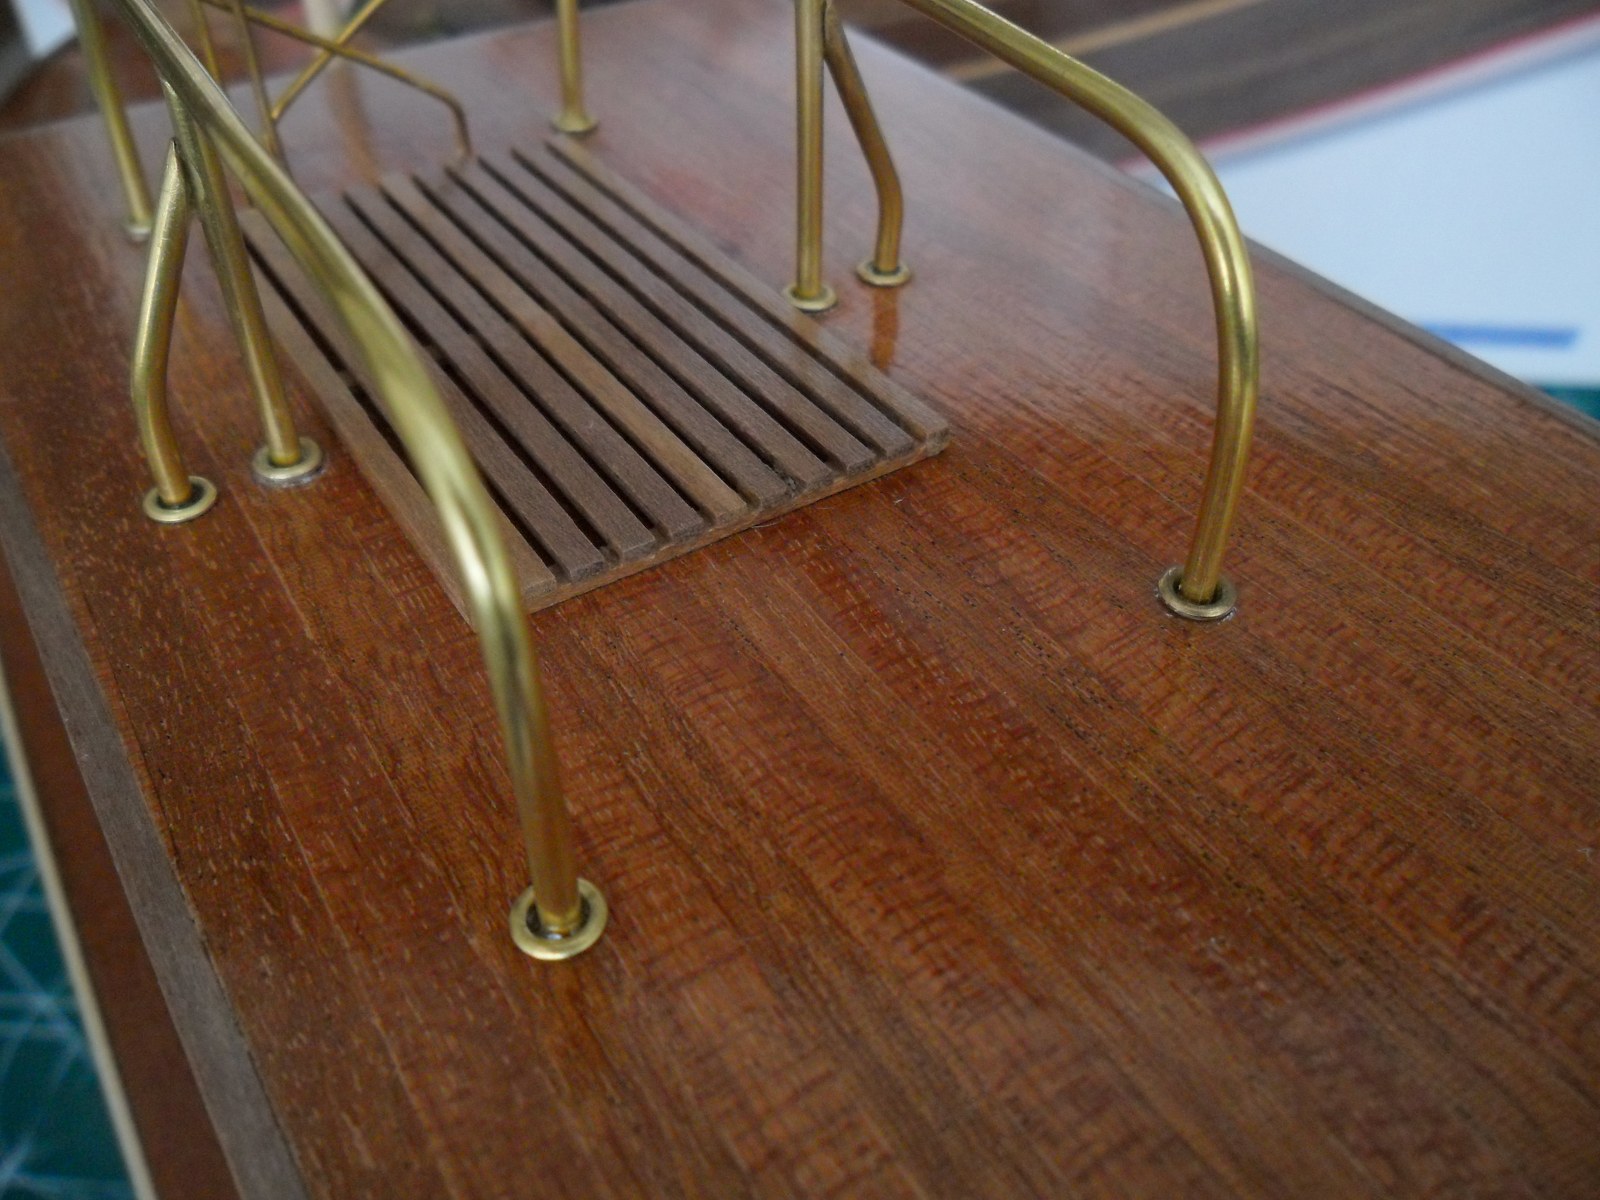
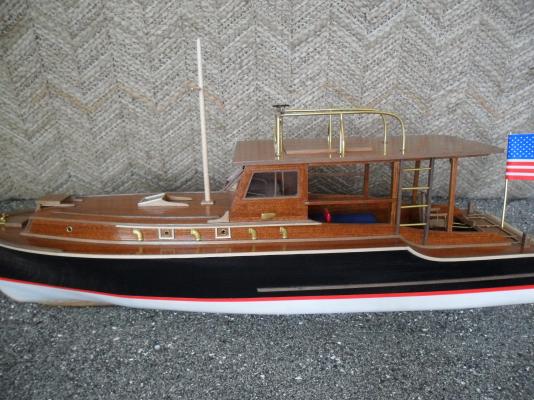
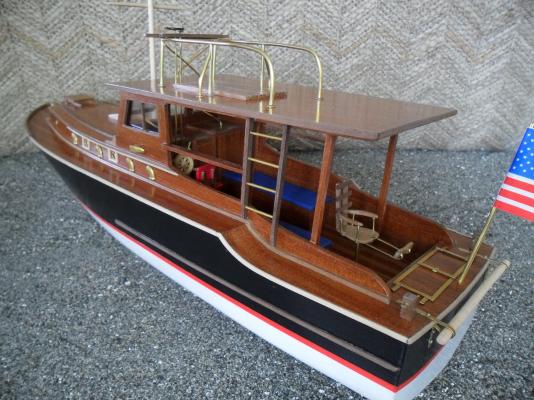
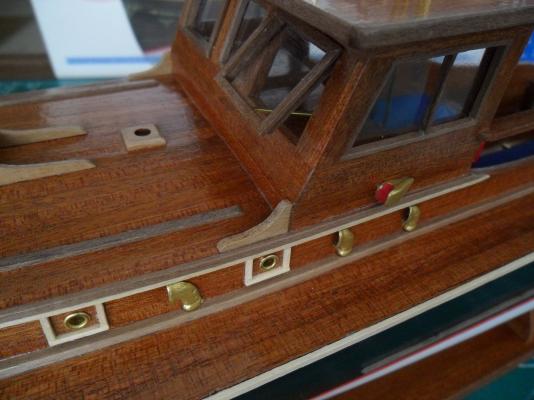
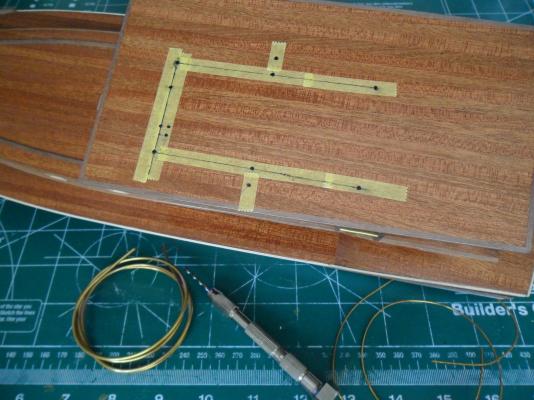
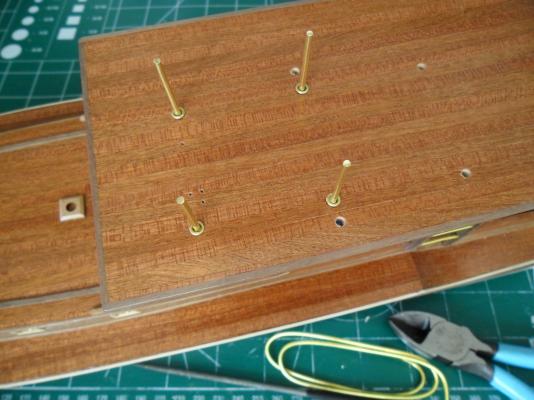
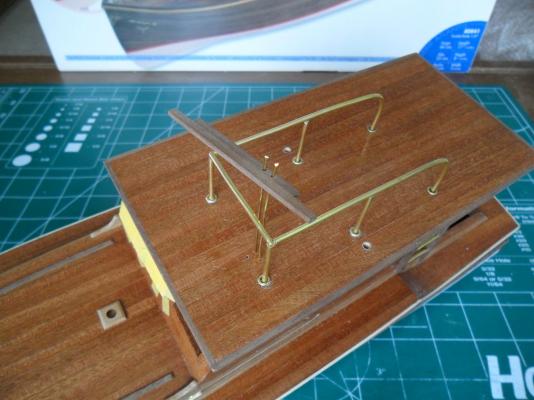
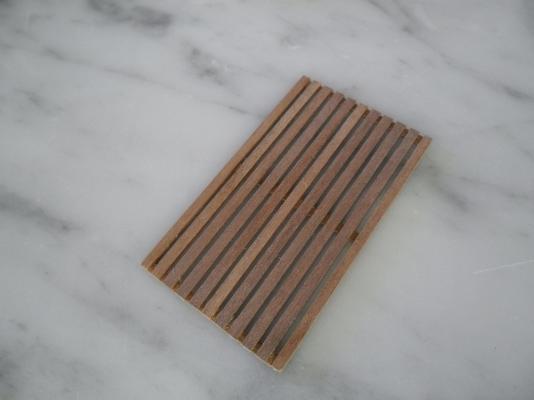
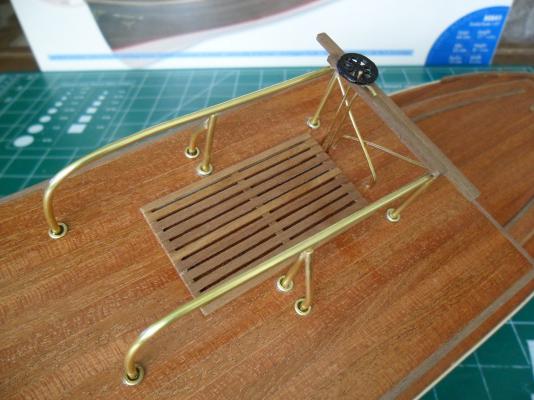
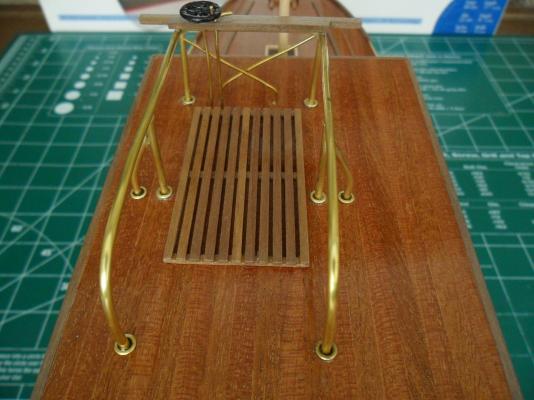
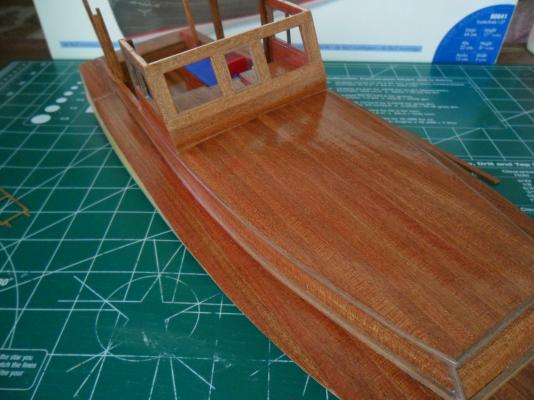
I'm not fond of working with metal, so the flying bridge was a challenge. Marking holes to be drilled for the flying bridge Installing flying bridge railing supports As you can see in the photo, Pilar actually had six galvanized pipes running from the bridge up through the poop deck to the flying bridge, but the model has two. Hemingway at the helm Flying bridge platform made from Mansonia strips Flying bridge complete I alternated grain types of Sapele veneer on the poop deck like on the cabin roof and I think it turned out looking fine. Next step will be to work on the skylight, prop and rudder and small metal components.


- 34 replies
-
- 1
-
-
- pilar
- constructo
- (and 1 more)
-
Thanks for the comment, Jon. There's not much info on this kit and I wanted to share my build log with others who are interested in this famous American fishing boat.
-
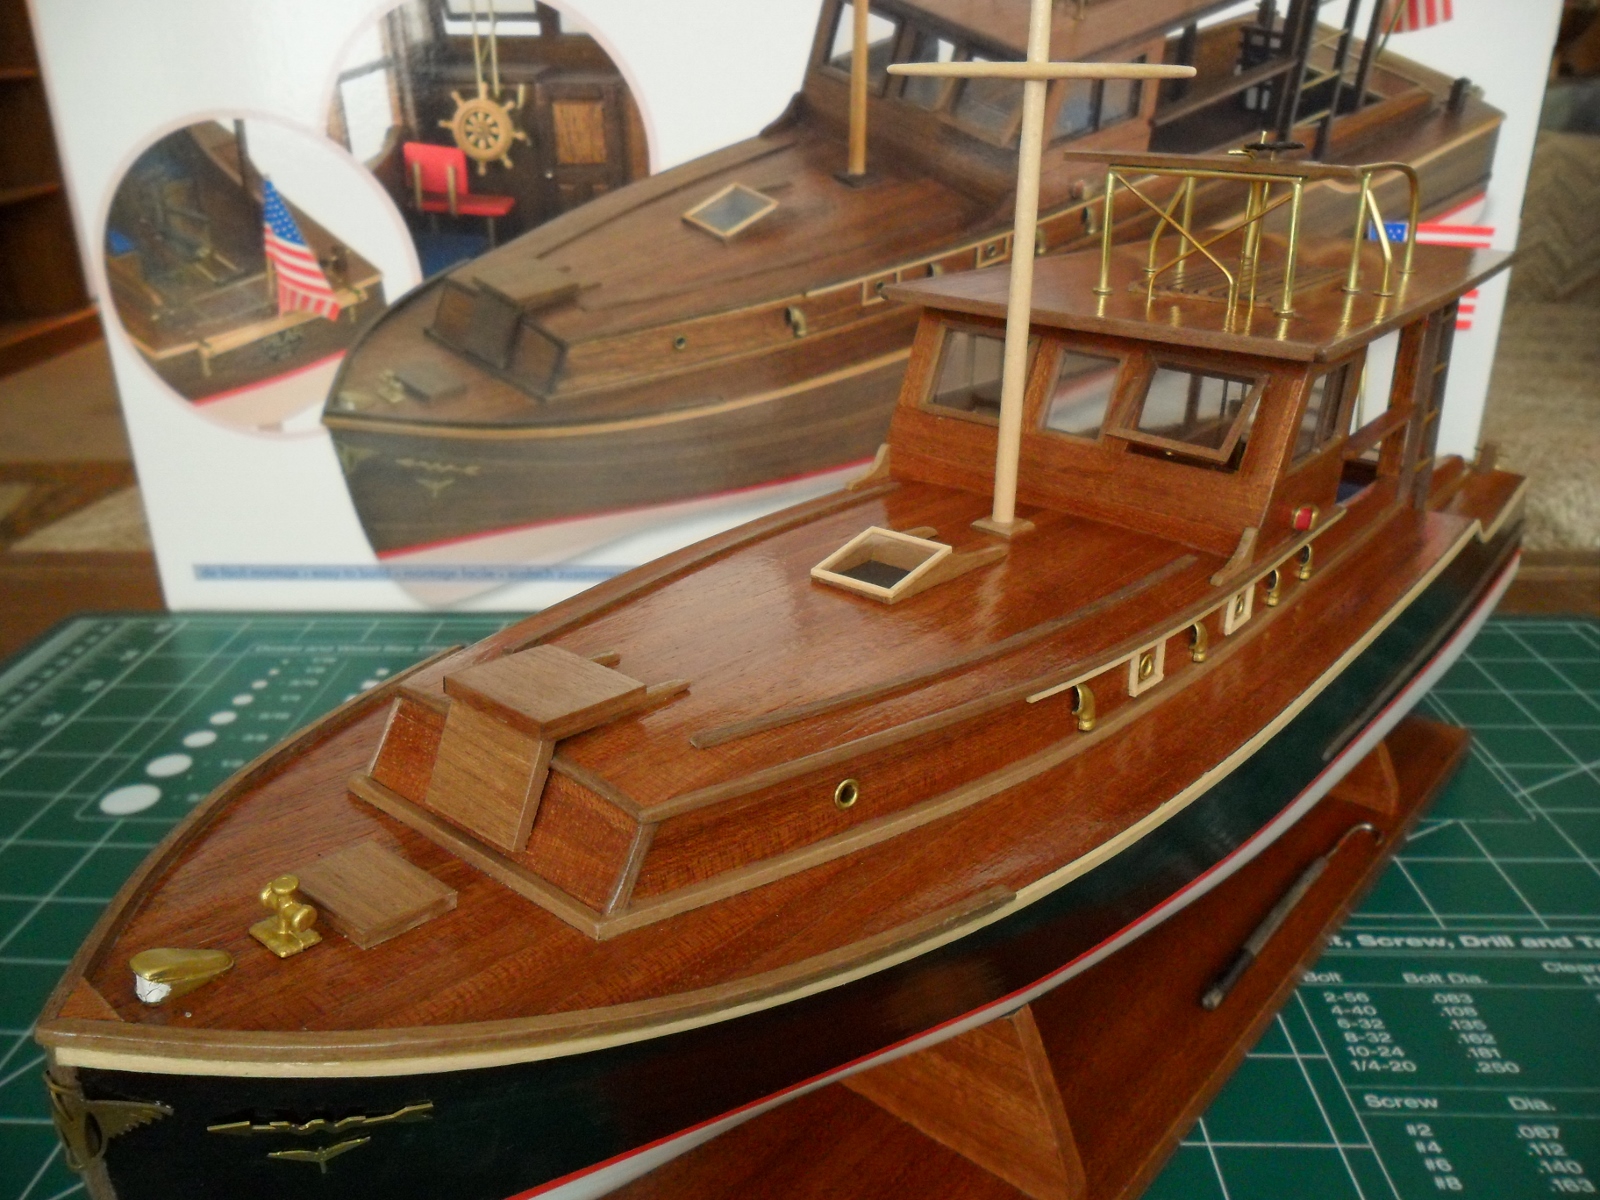
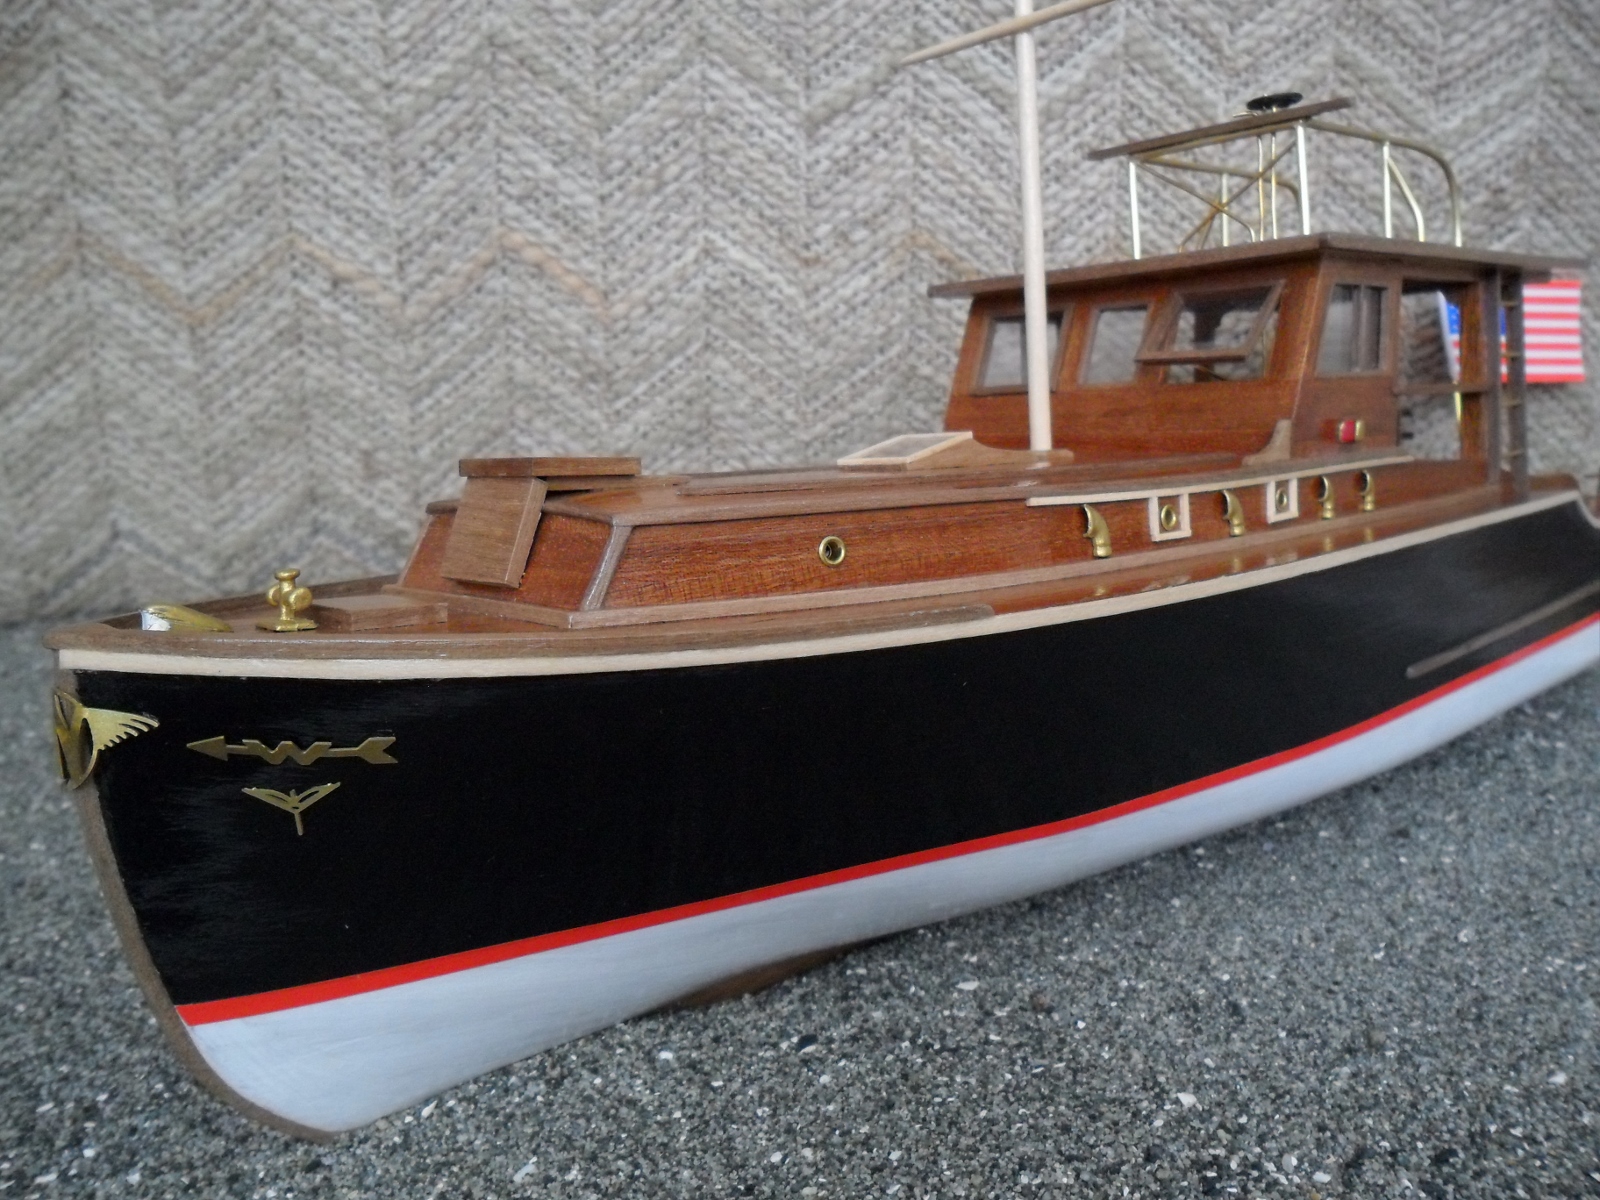
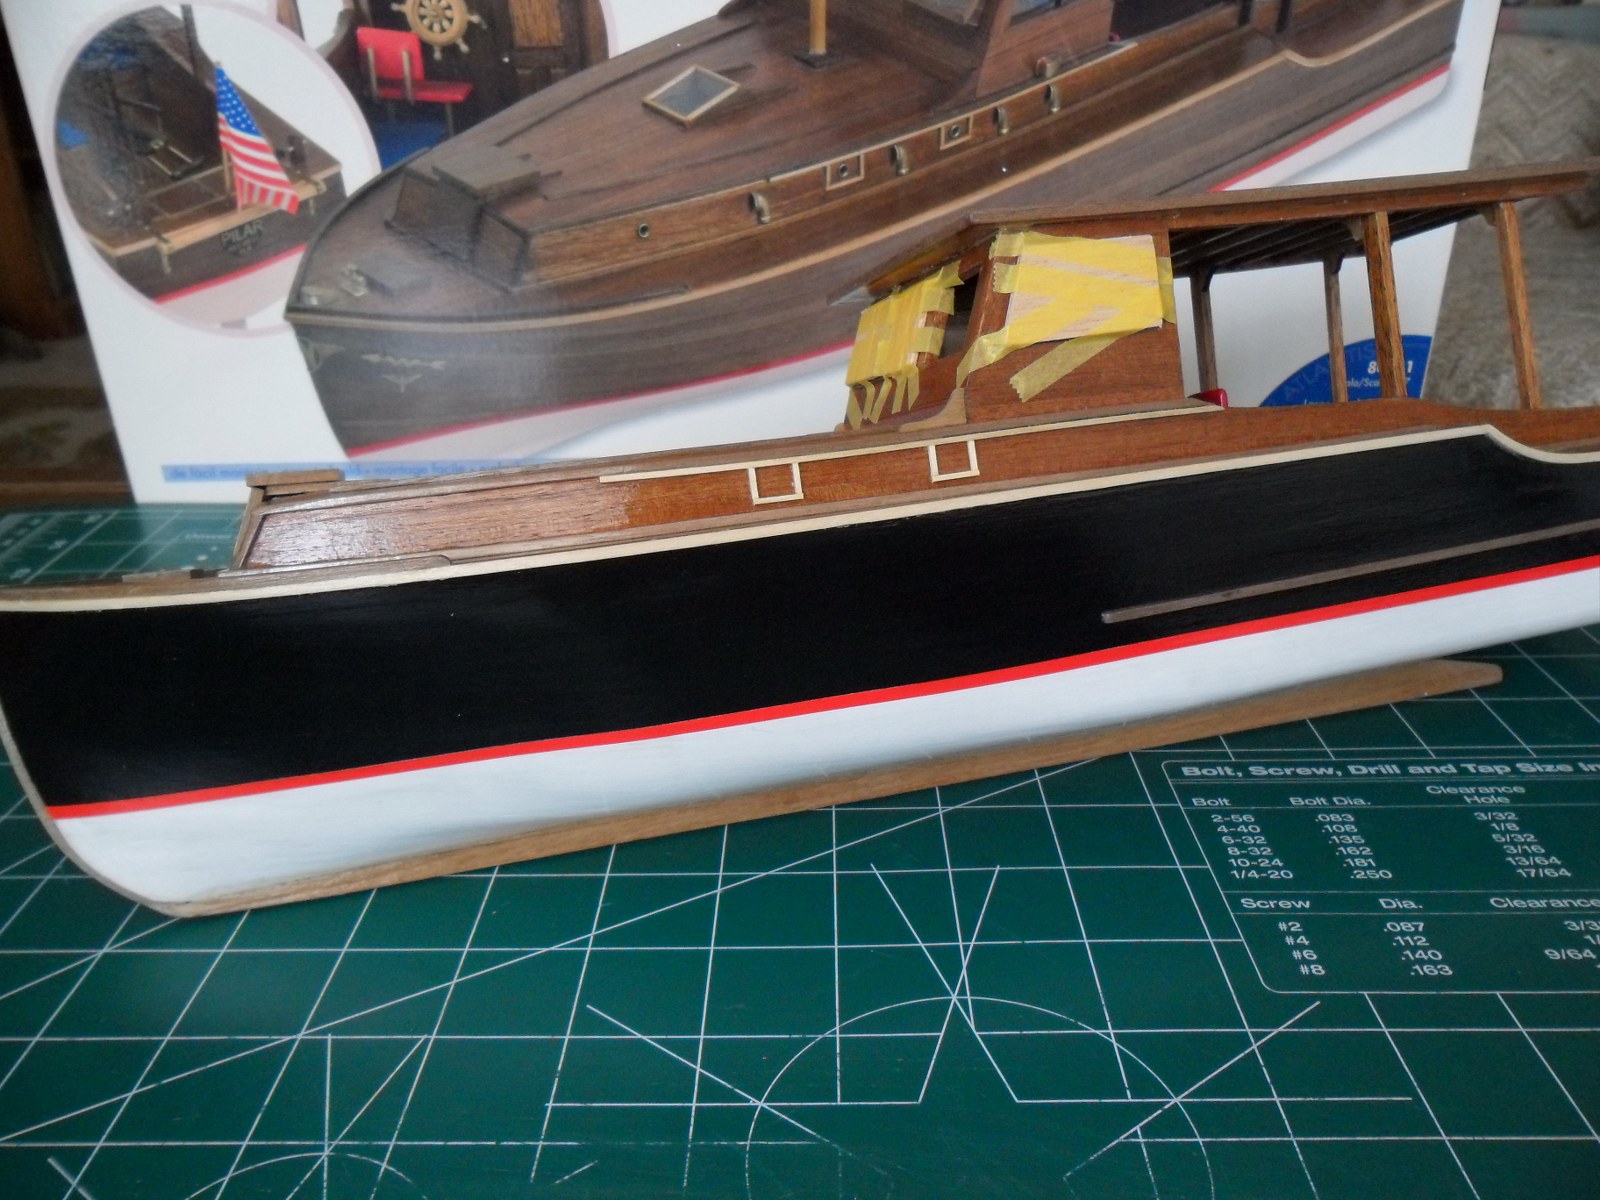
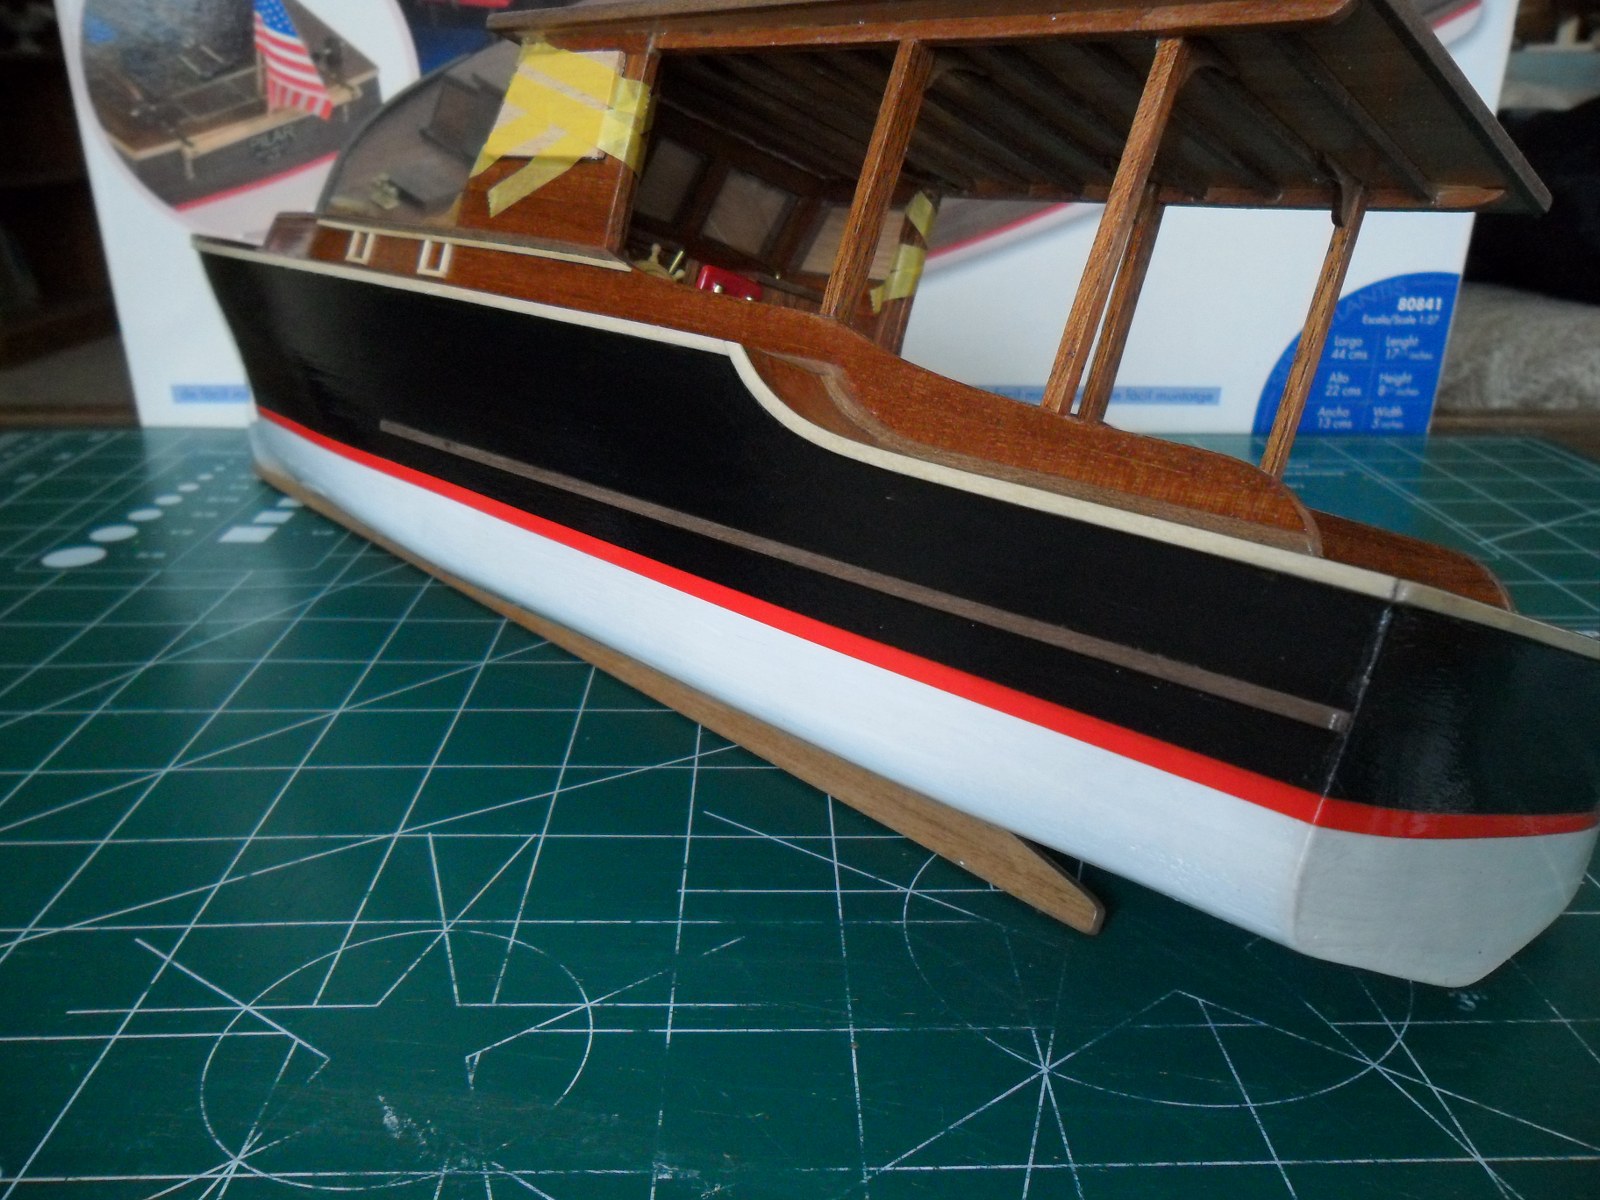
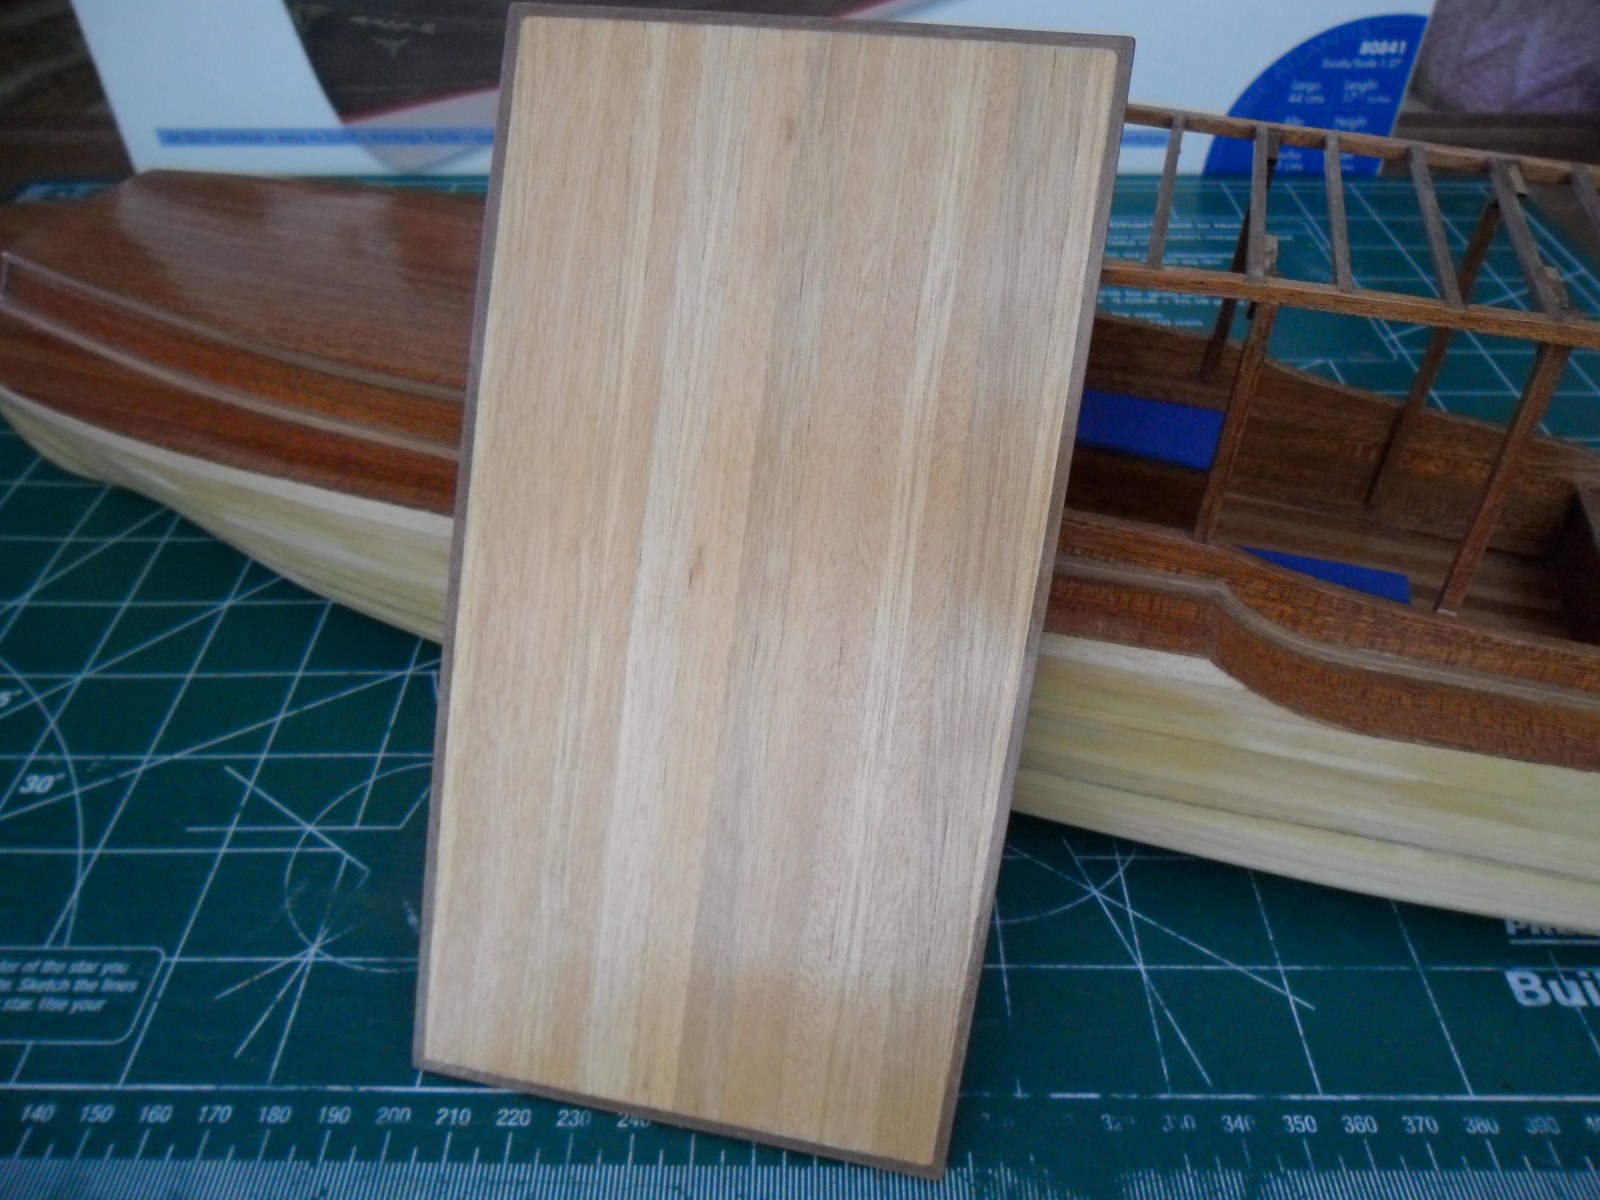
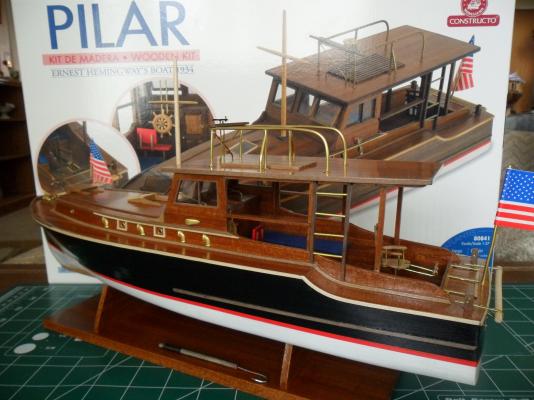
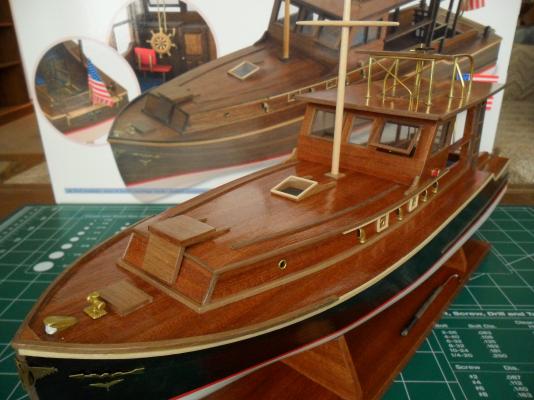
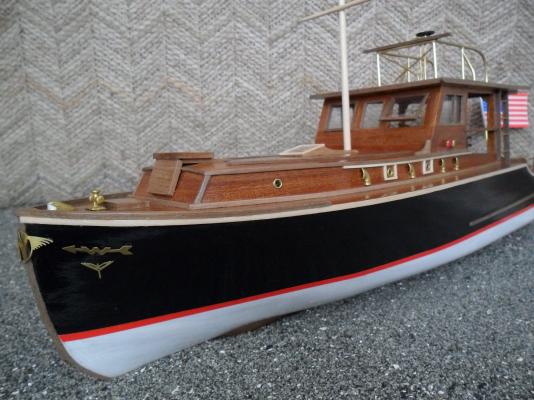
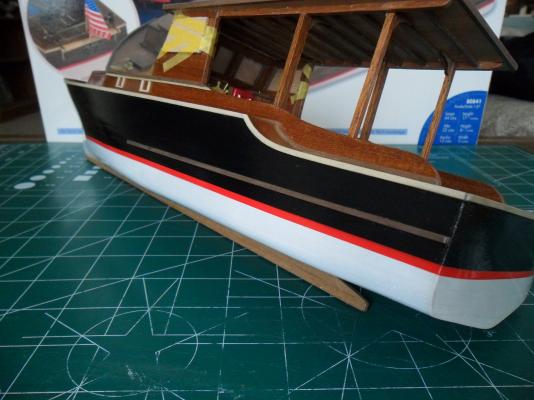
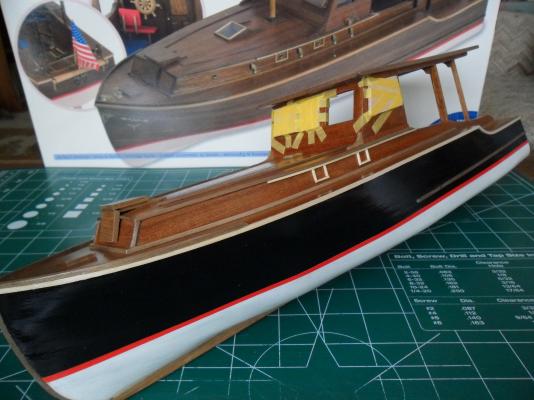
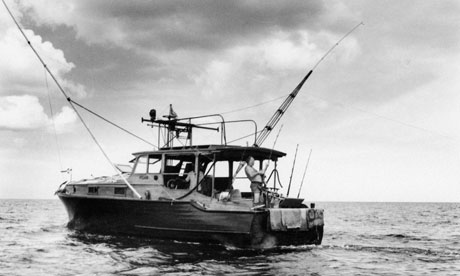
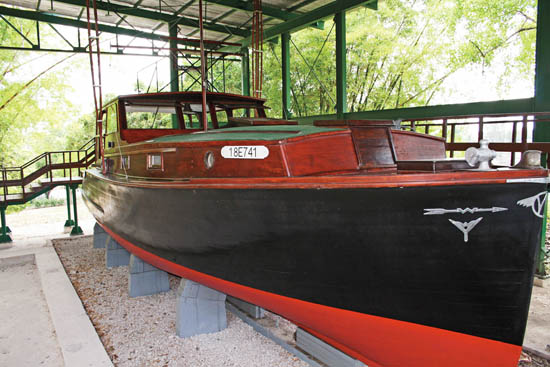
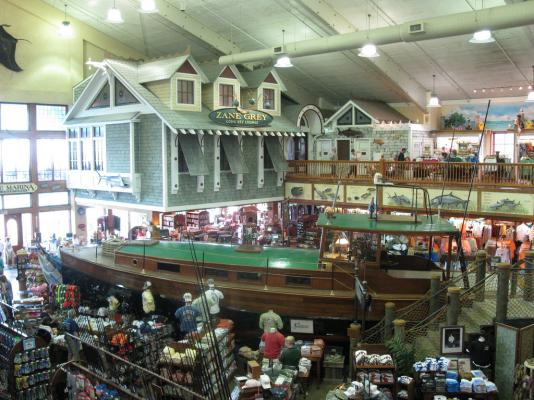
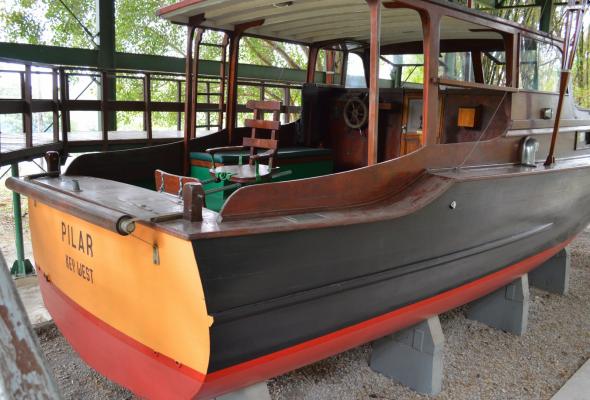
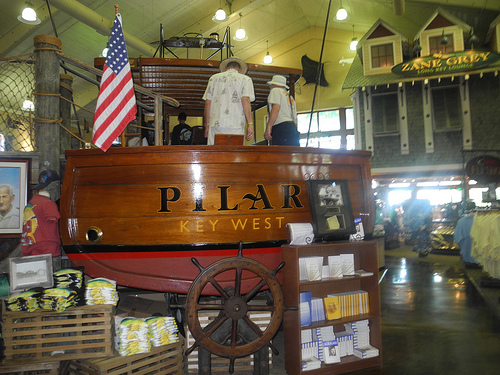
Originally, Hemingway ordered the hull to be painted black. After a few years he had the hull re-planked with Mahogany and it was left all natural above the waterline. The kit shows white below the waterline with all natural wood above. The restored Pilar in Cuba has a red, yellow and black hull with green and natural wood above deck. The pilar replica in Florida has red and black below the waterline with natural wood and green above. Early years of Pilar at sea Restored Pilar in Cuba Pilar replica in Florida I like this color scheme because of the contrast between the white, black, red waterline and natural Sapele wood. Next will be to construct the flying bridge.

- 34 replies
-
- 2
-
-
- pilar
- constructo
- (and 1 more)
-
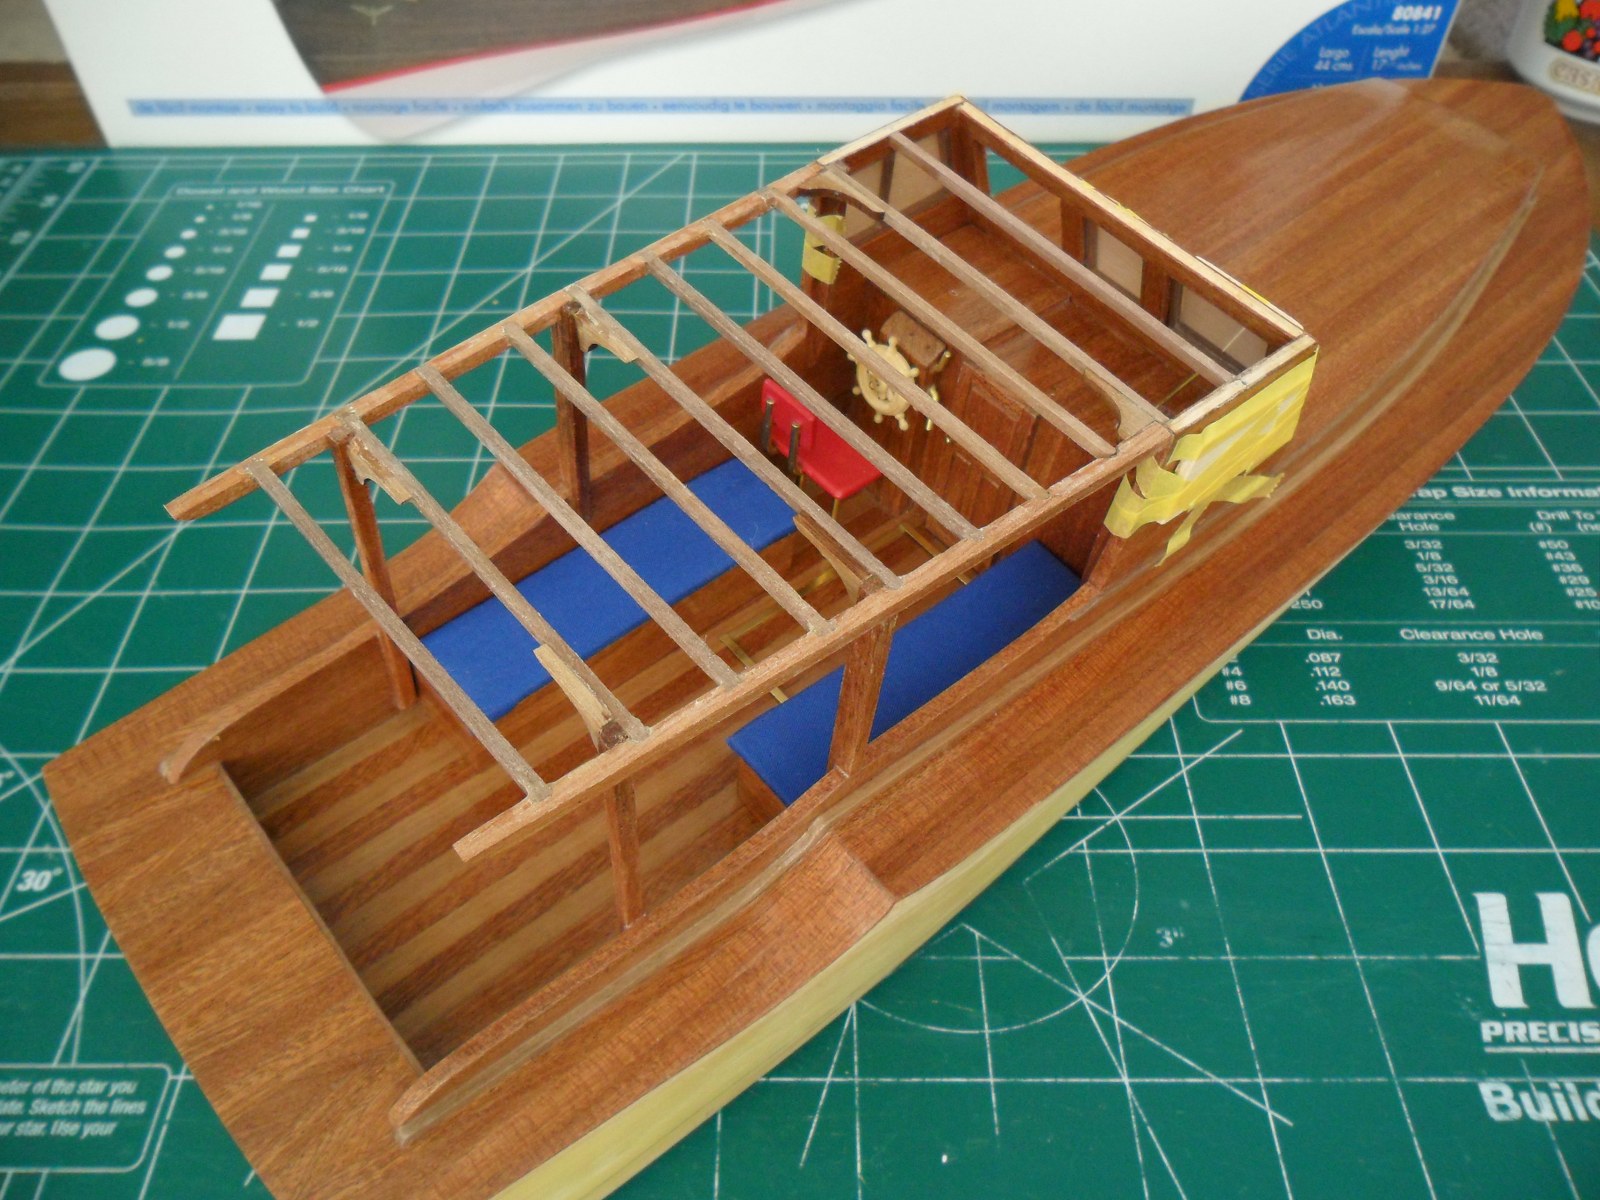
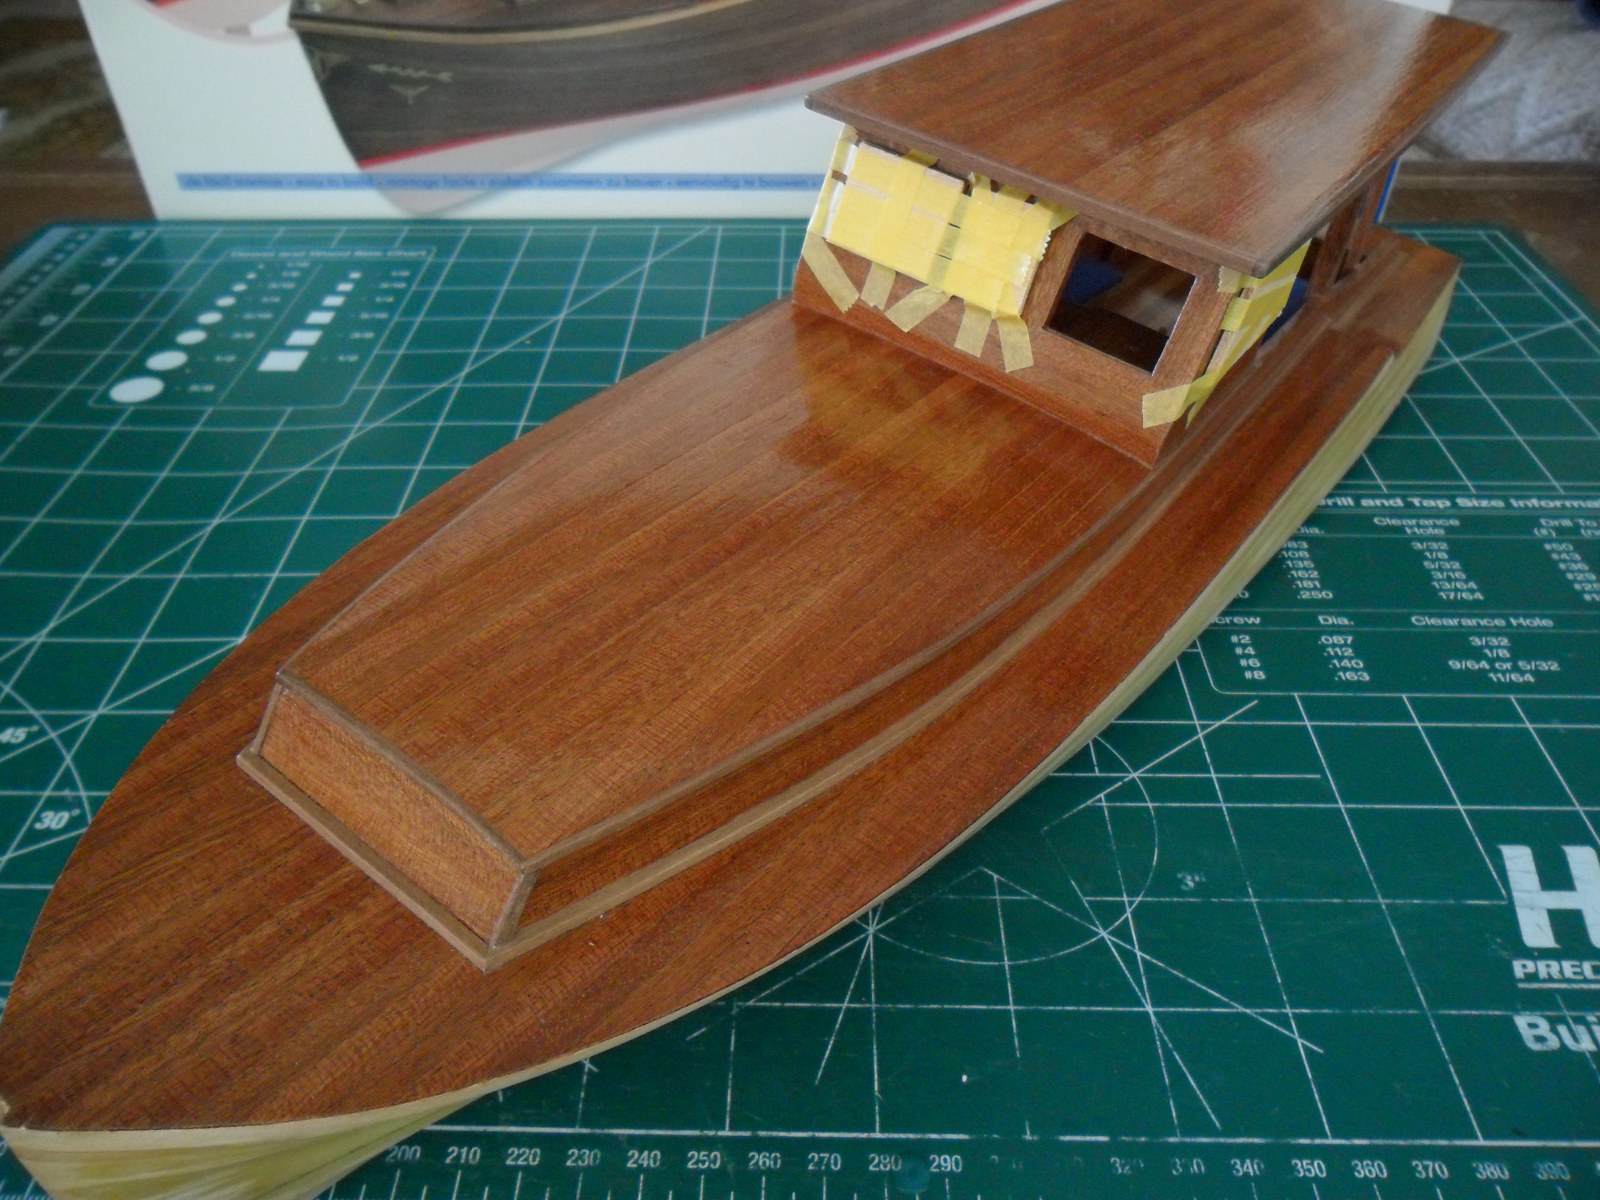
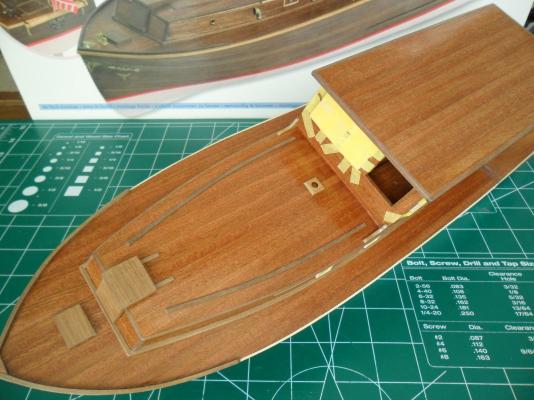
Hatch frames Poop deck frame Poop deck frame attached Poop deck underside I installed the acetate windows and kept accidentally poking them out, so I put some temporary covers over them. Poop deck attached Mast frame, anchor cover, companionway door & lid installed Next will be to paint the hull.


- 34 replies
-
- 2
-
-
- pilar
- constructo
- (and 1 more)
-
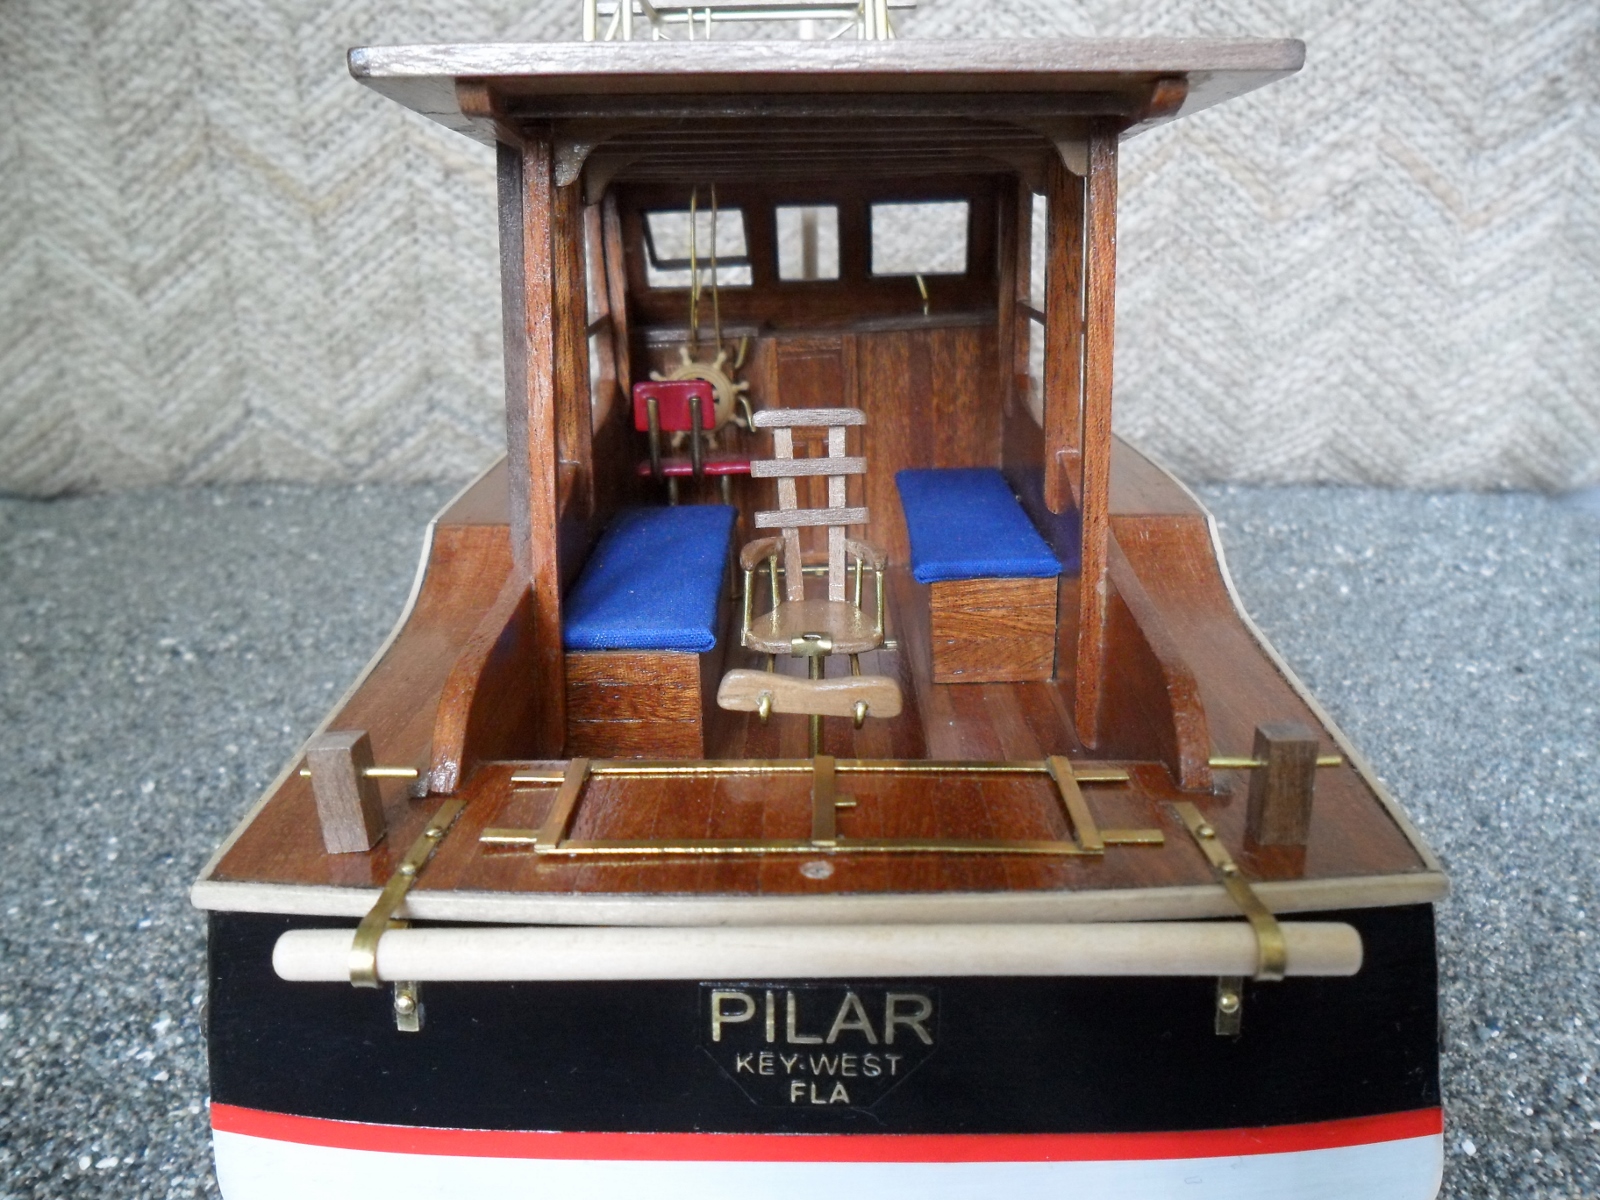
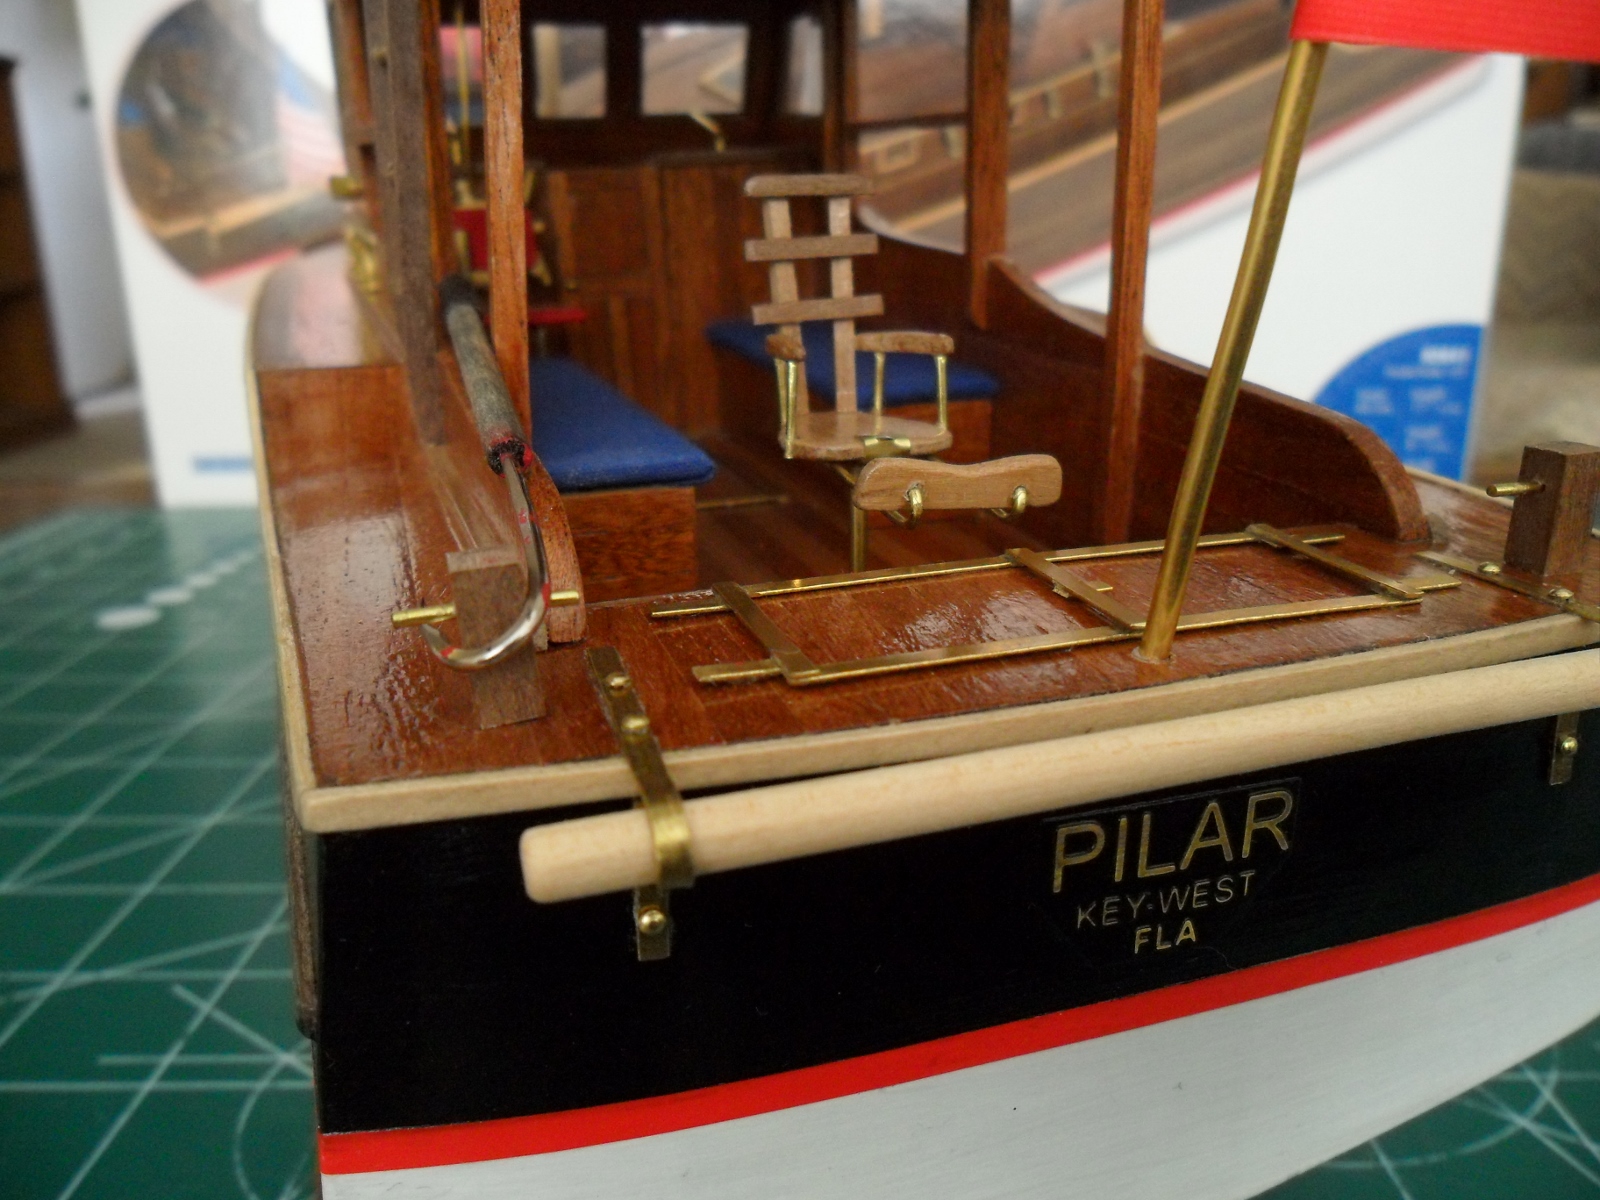
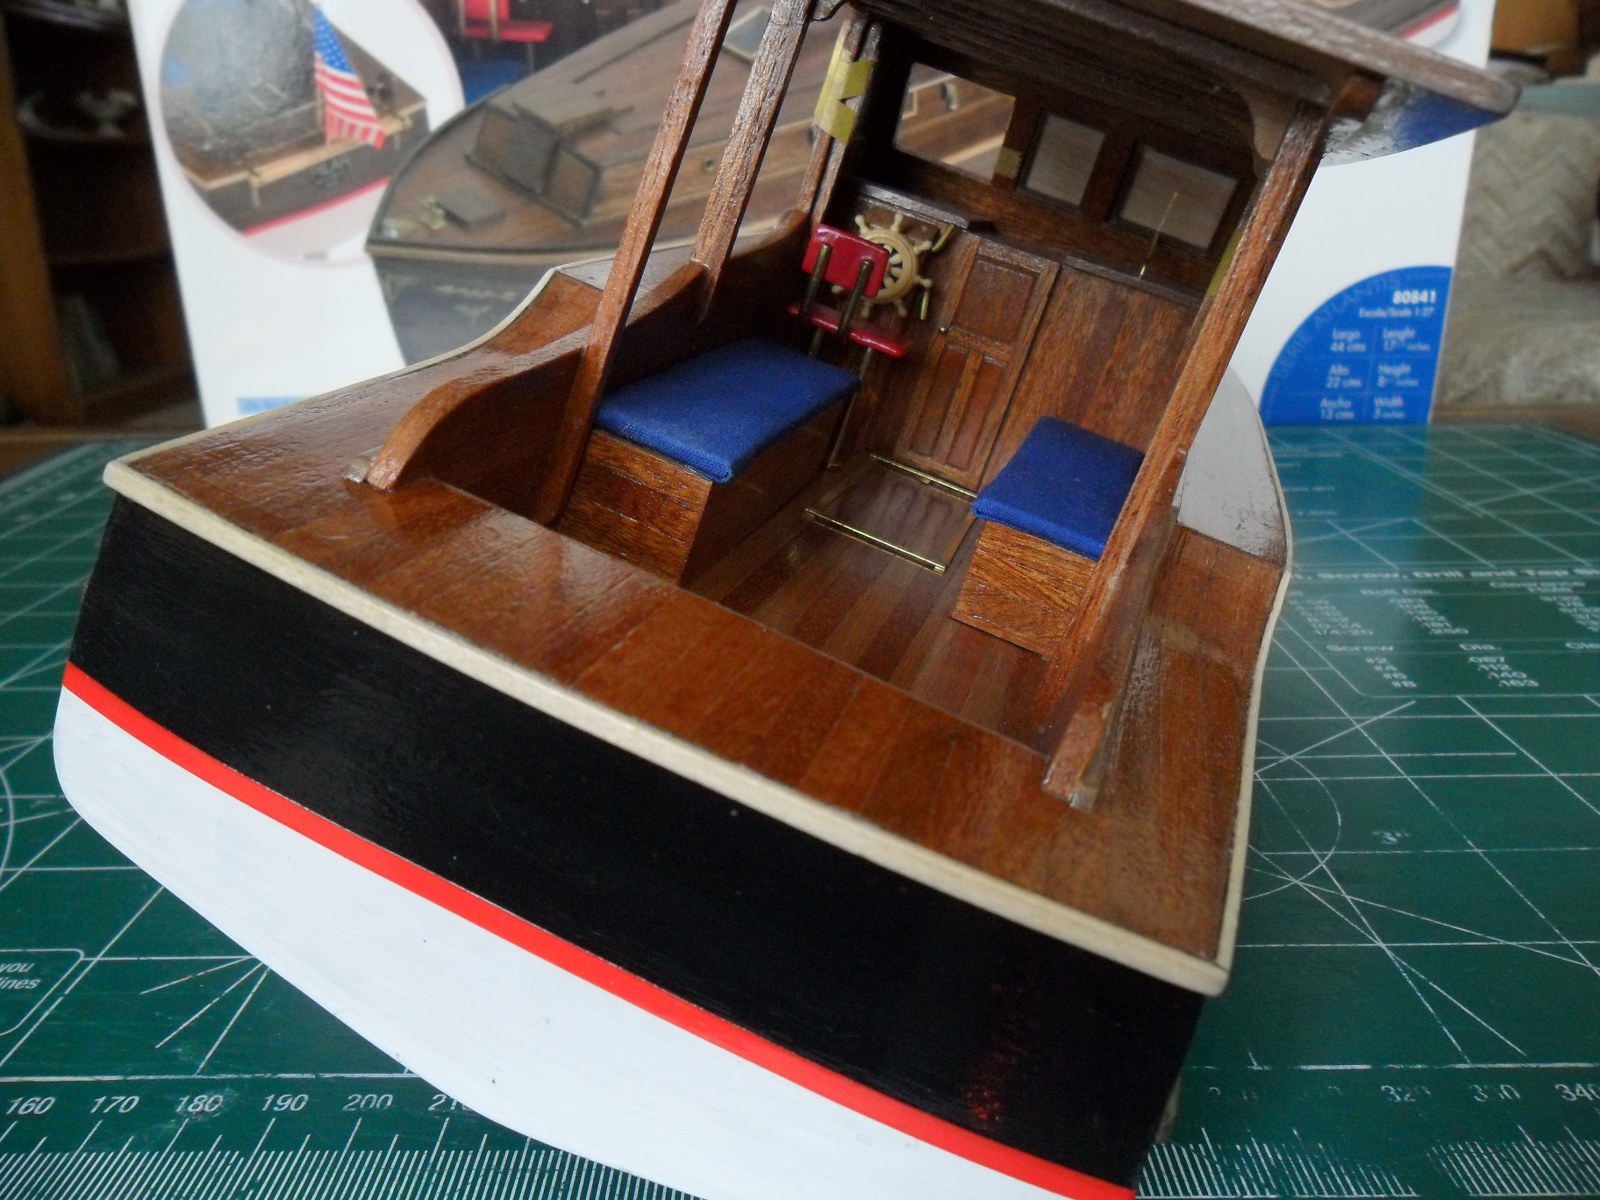
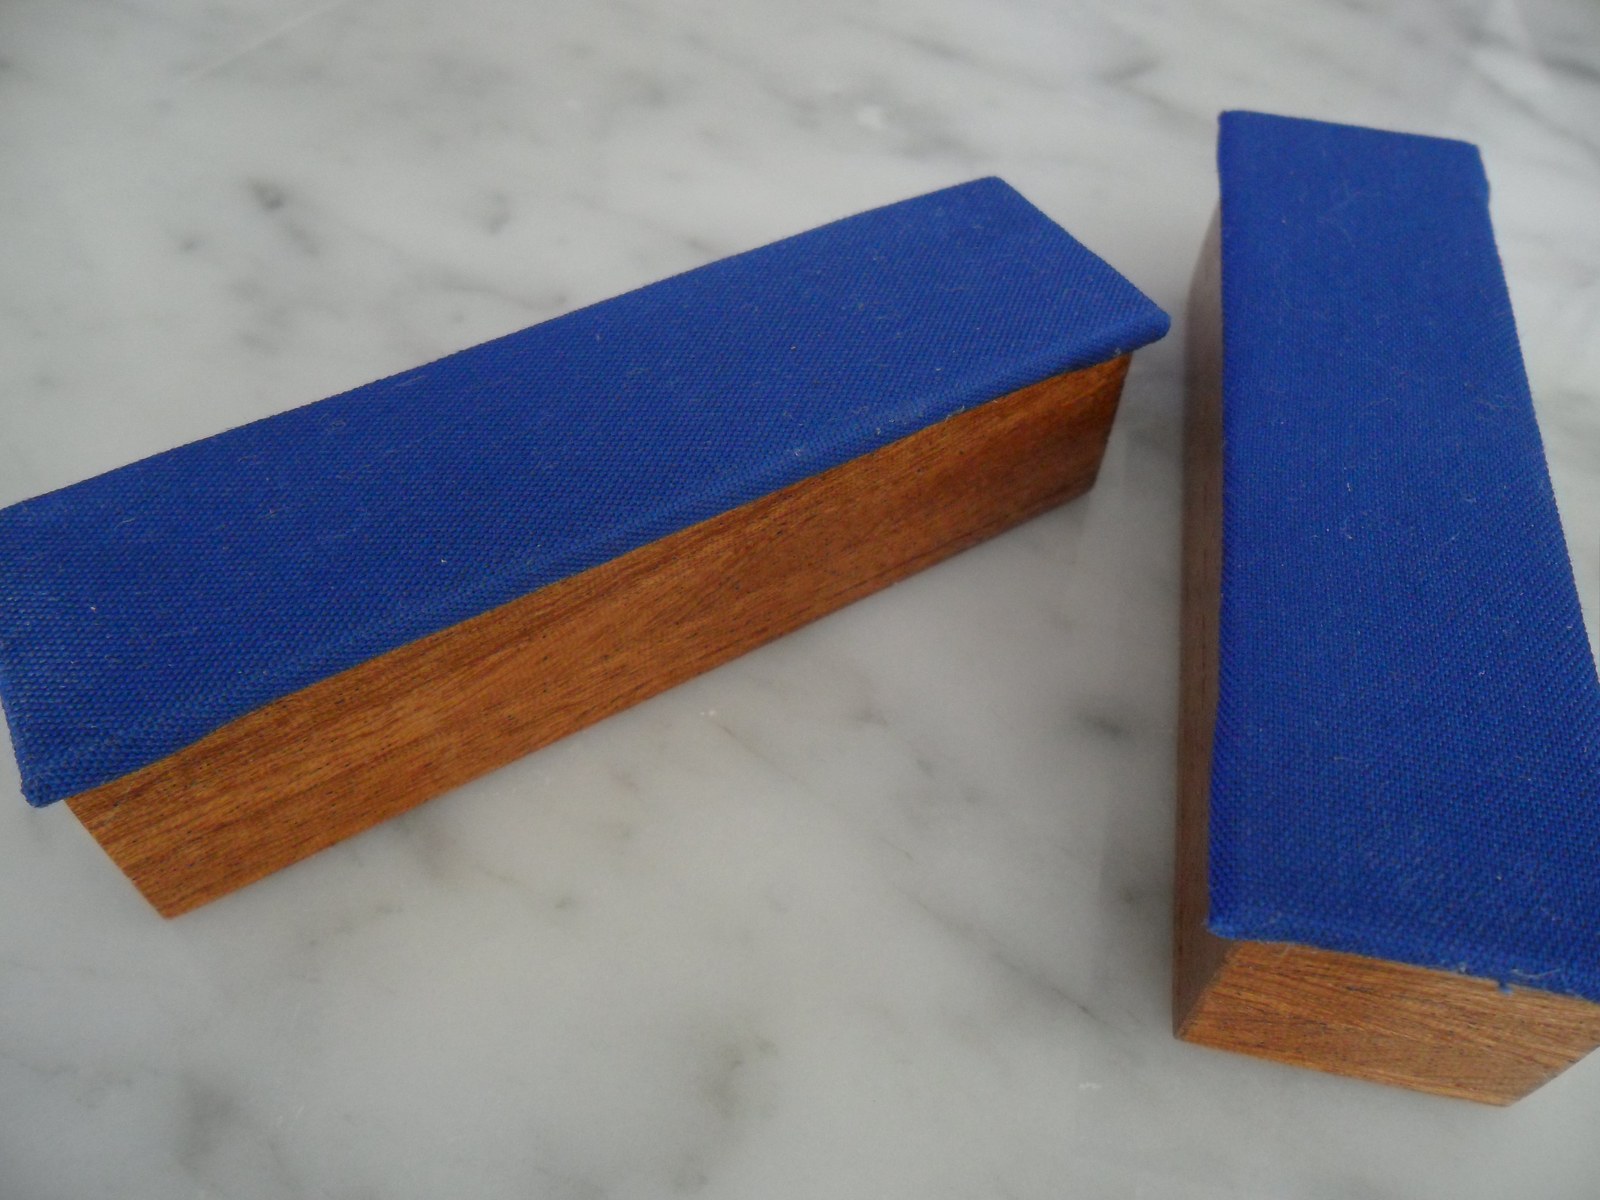
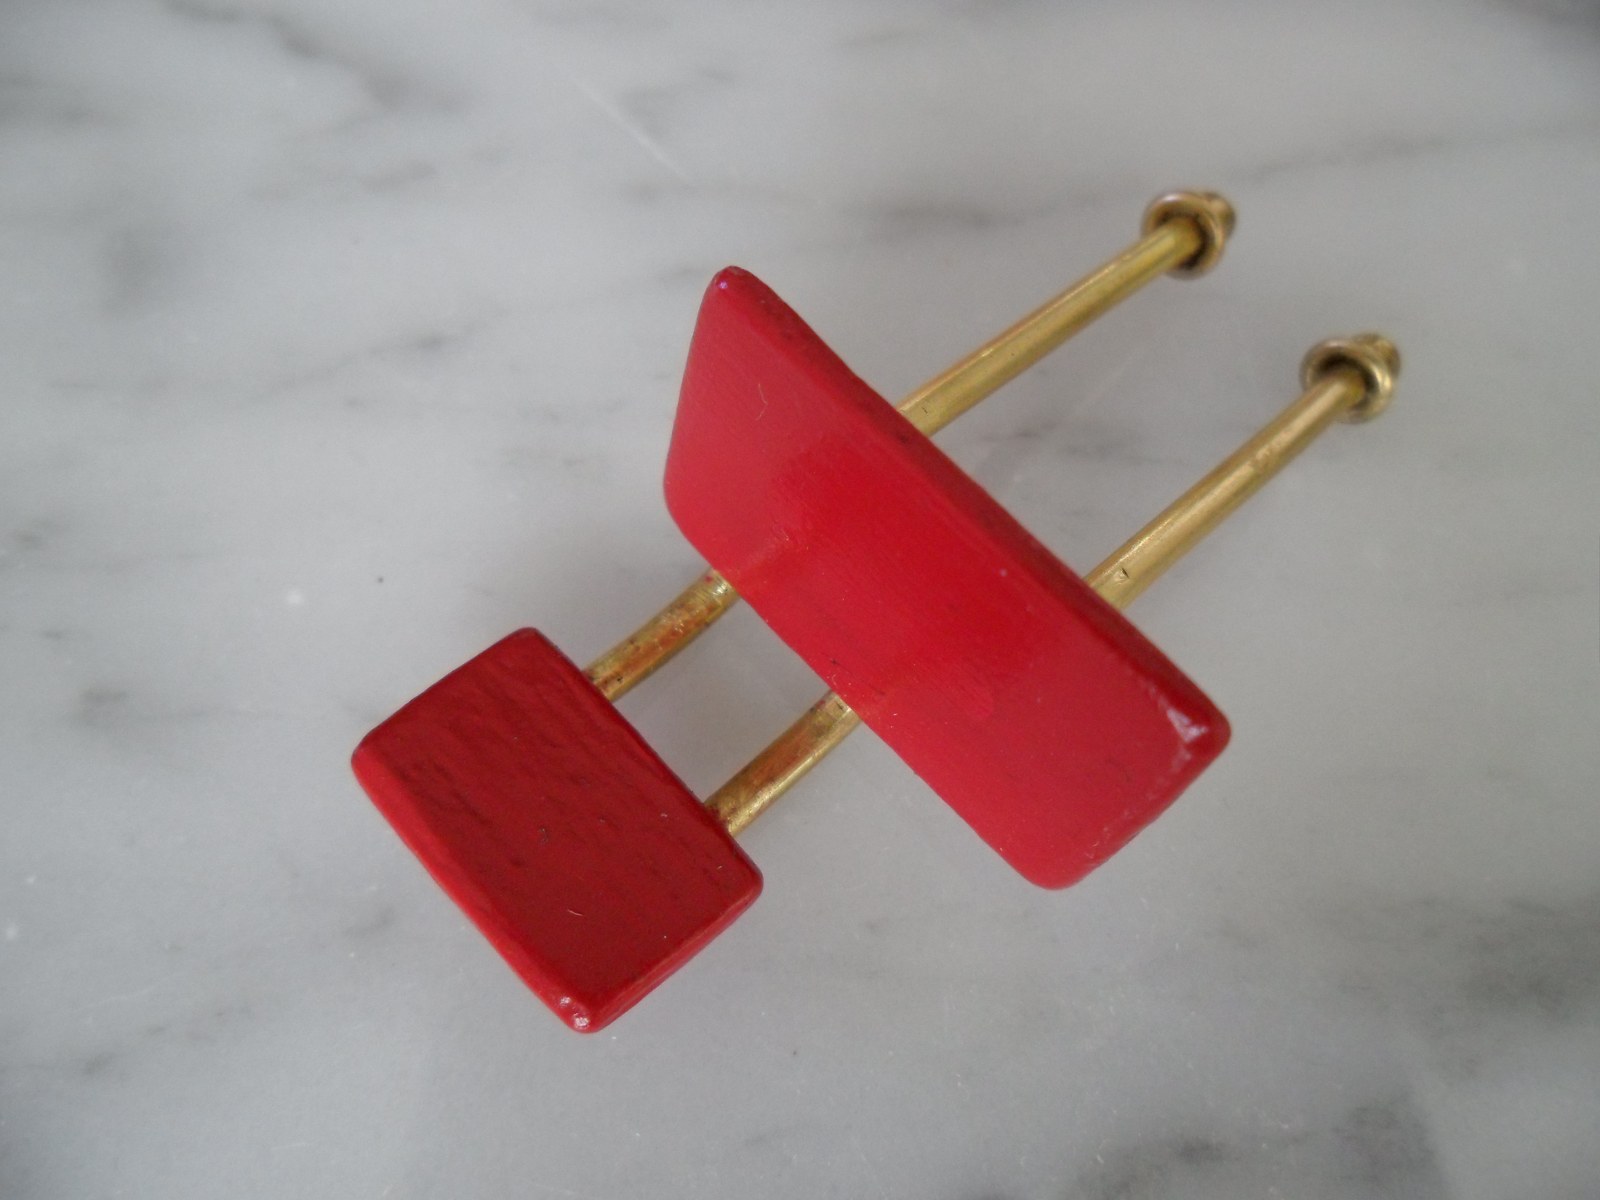
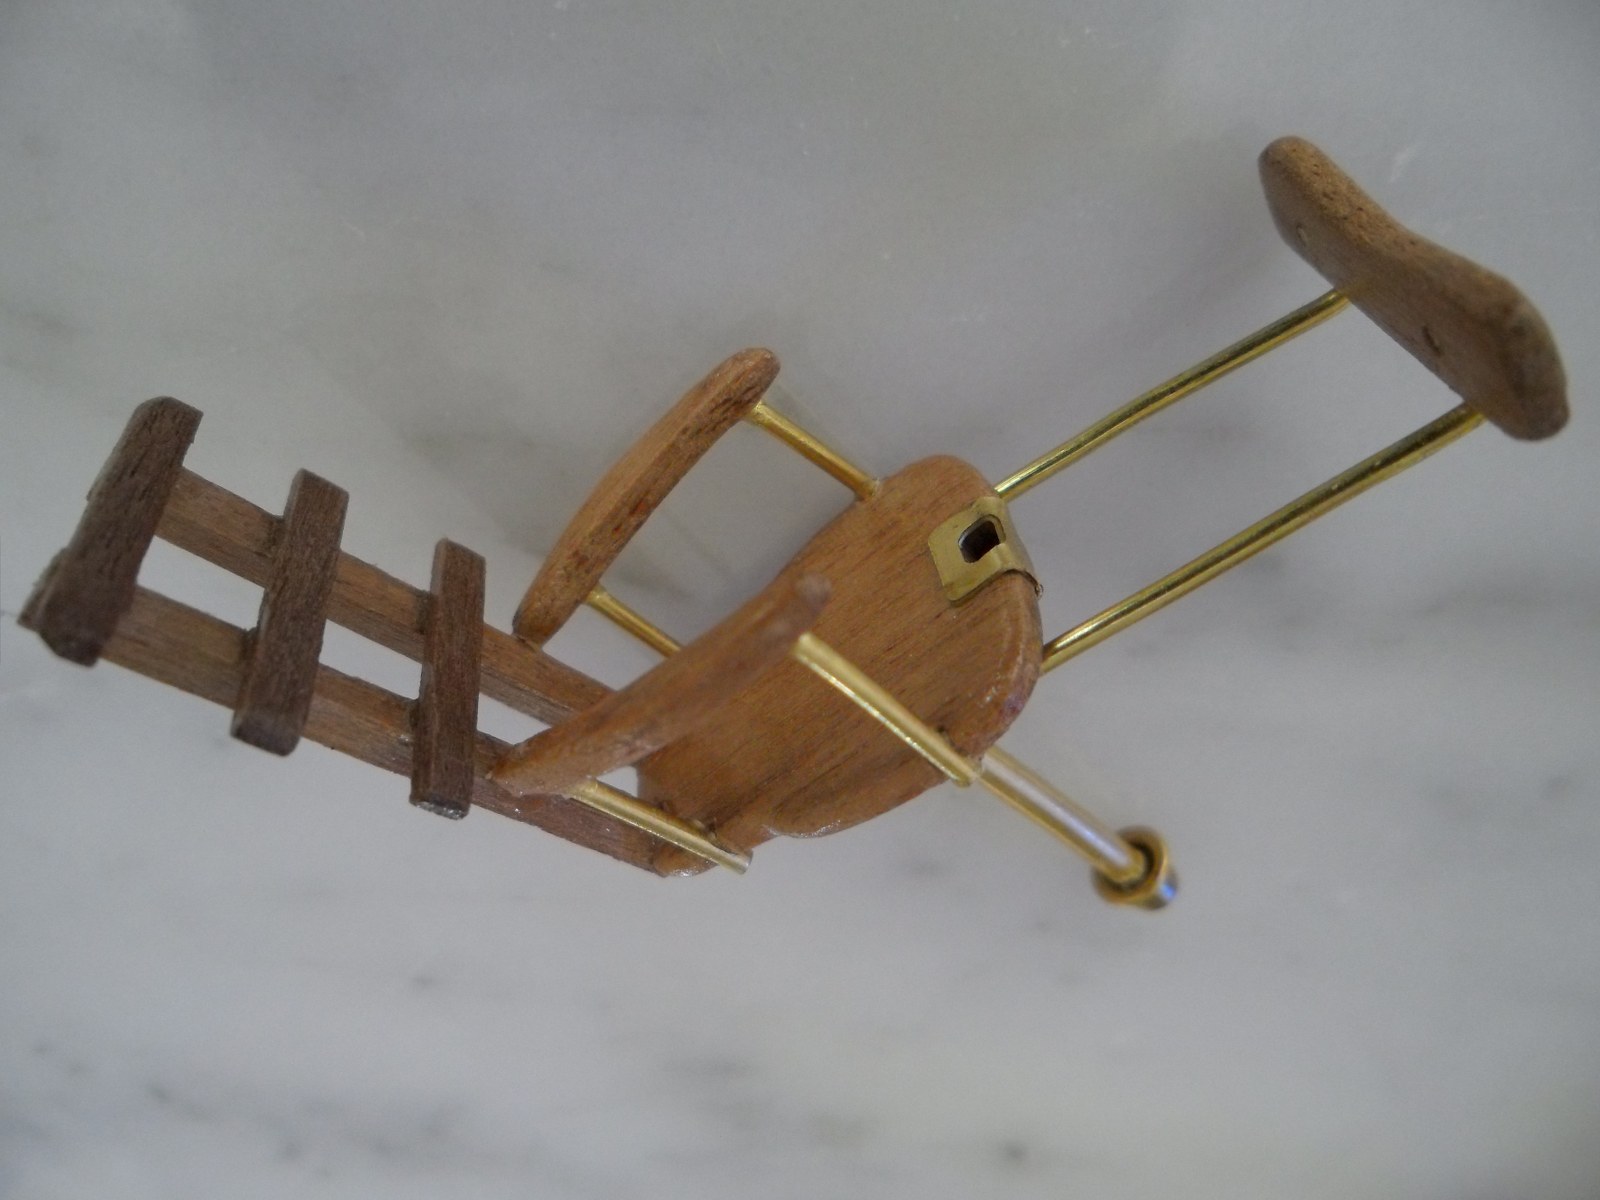
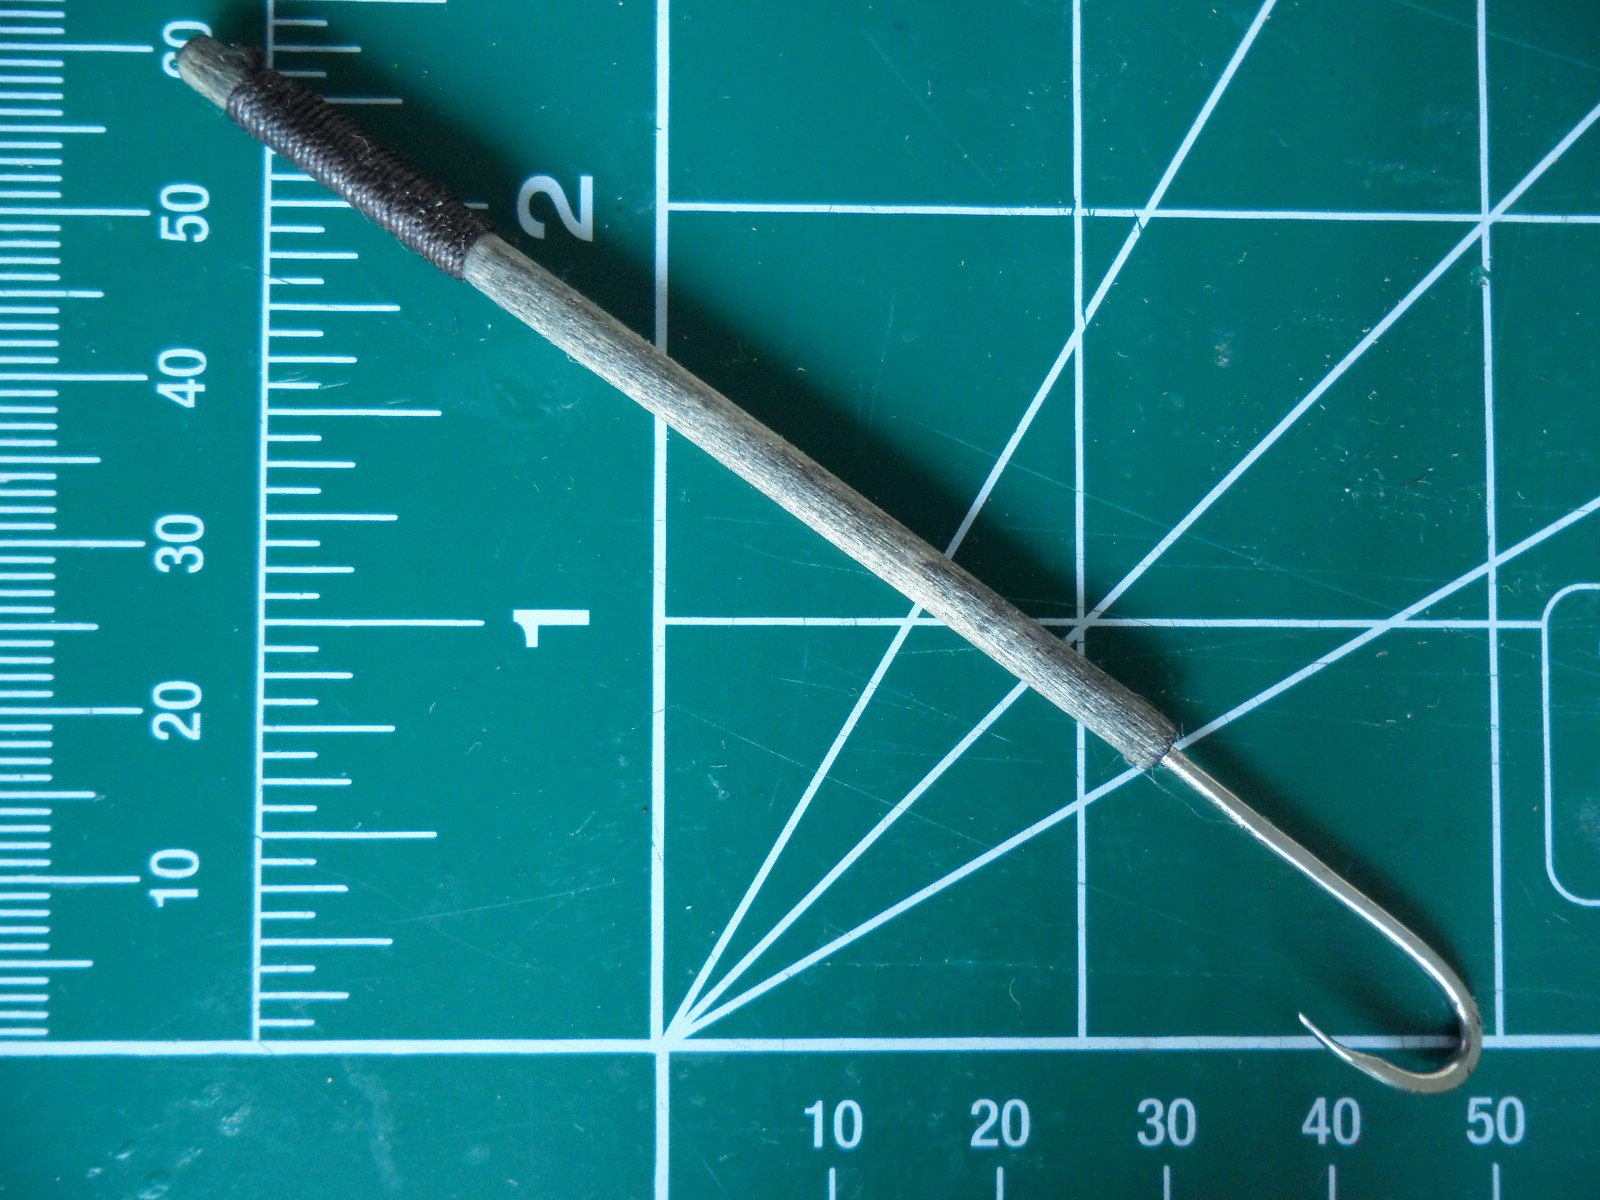
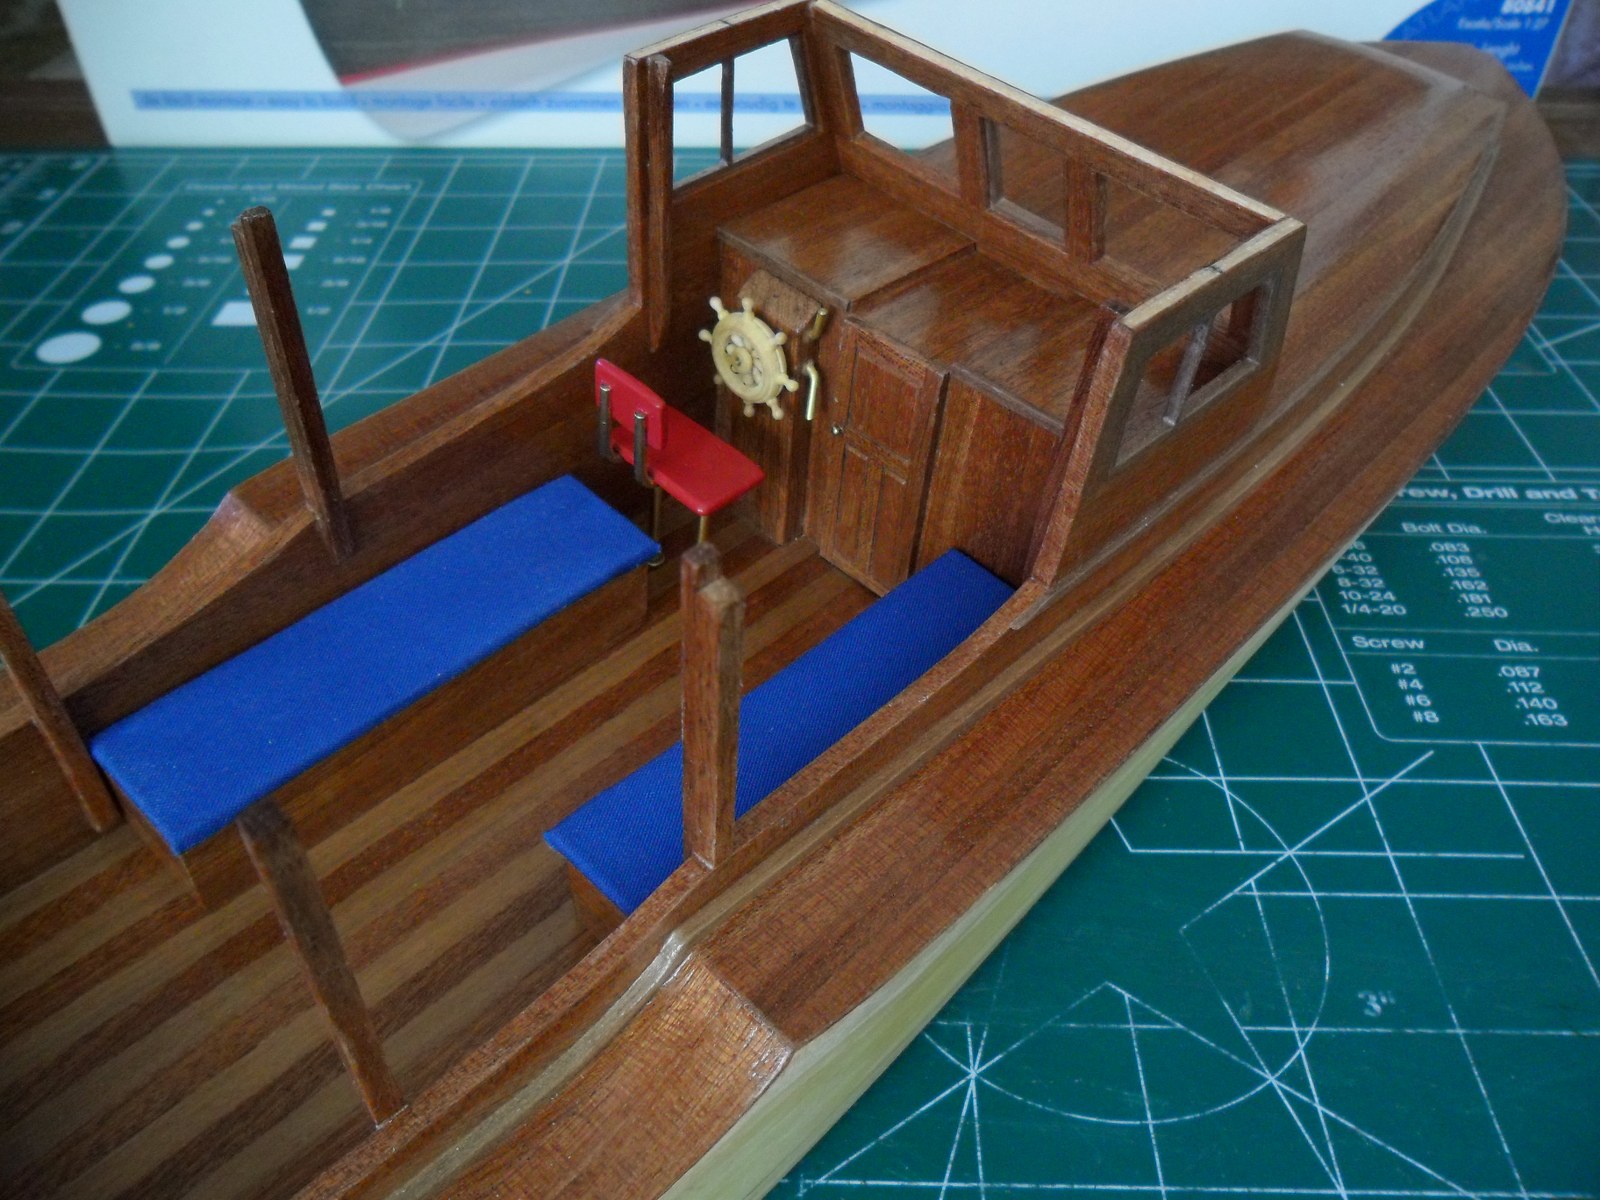
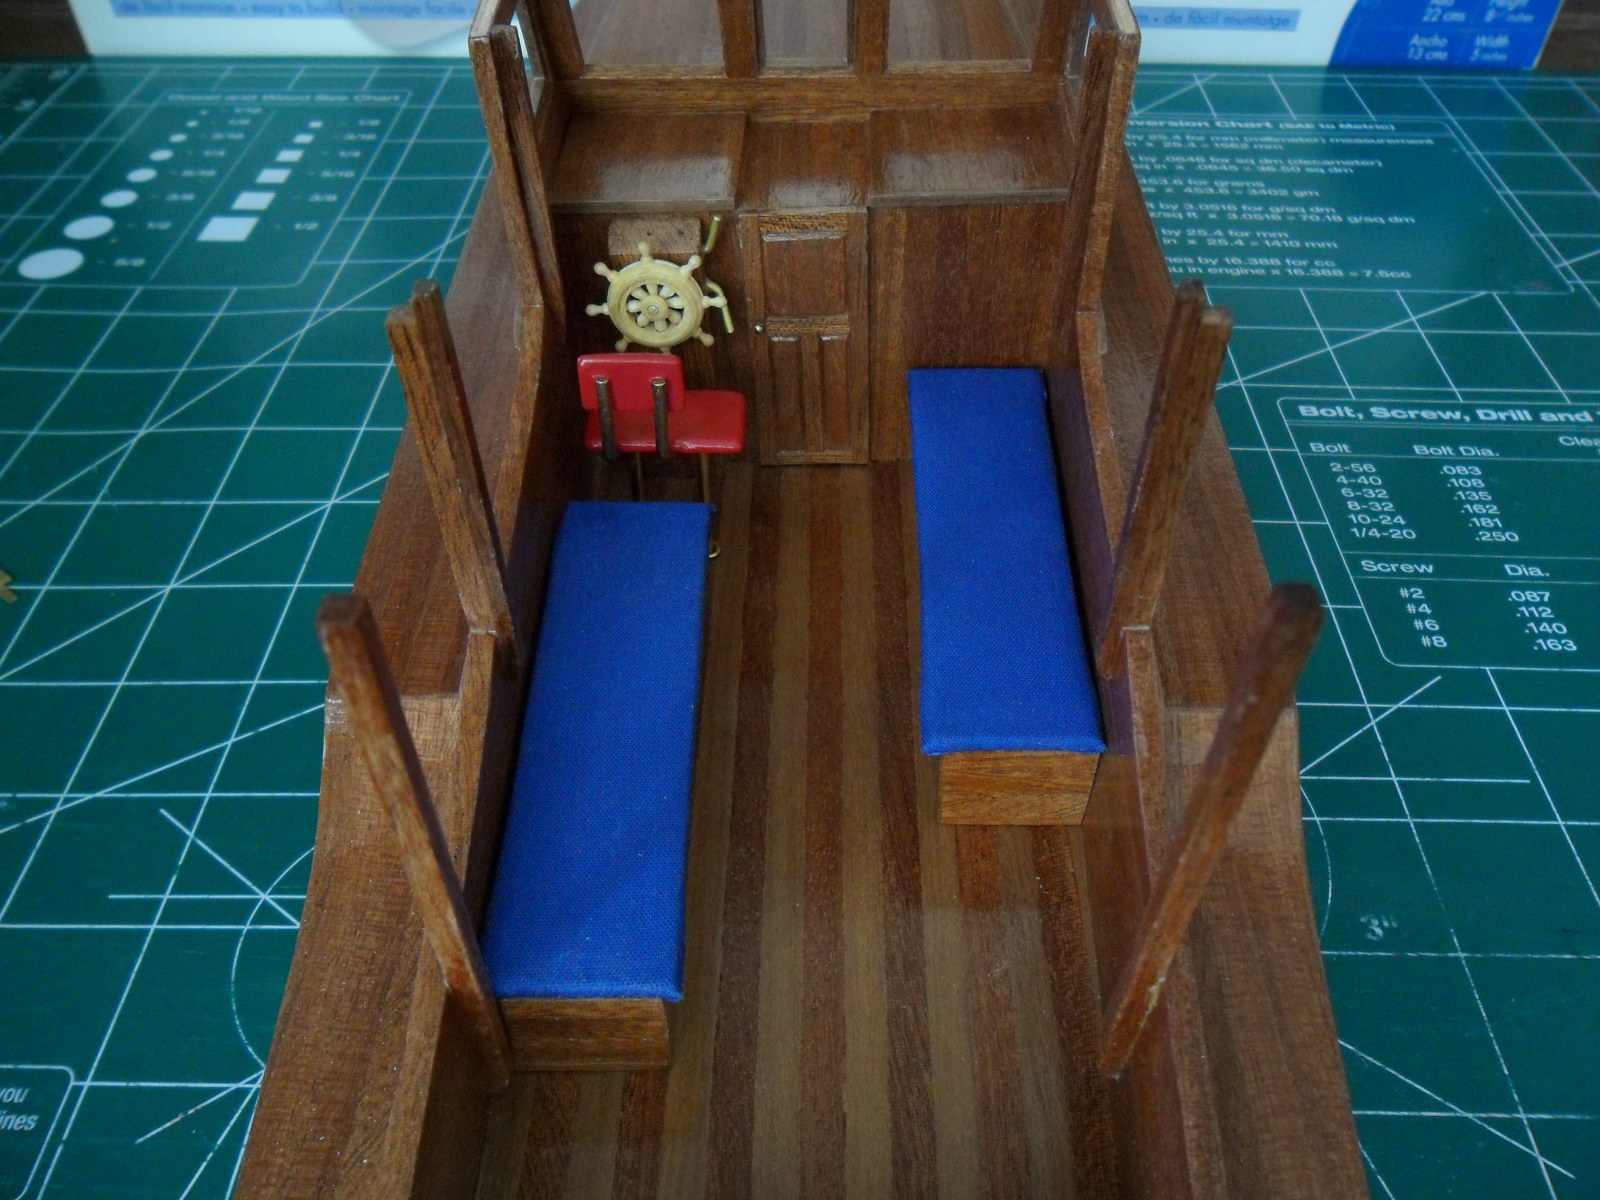
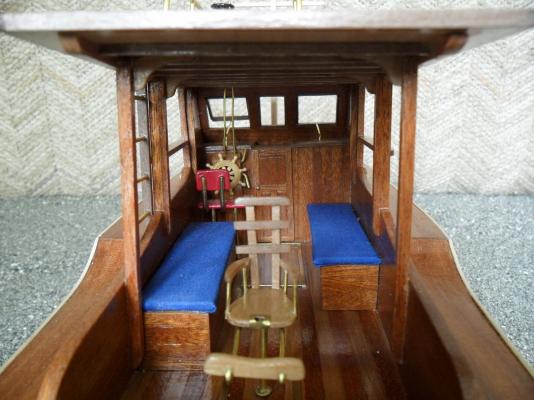
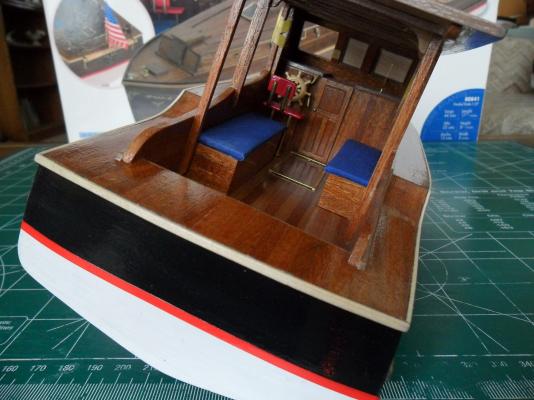
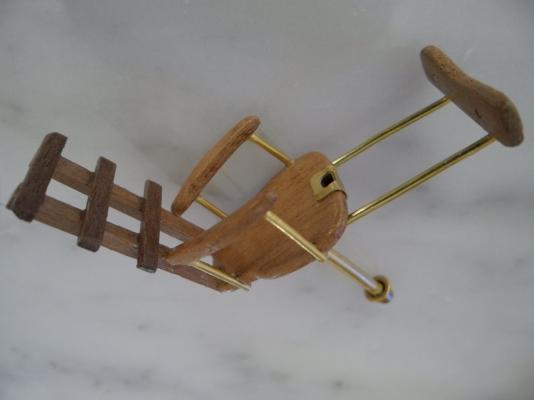
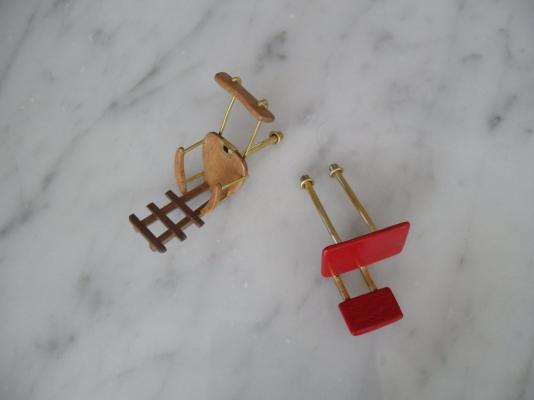
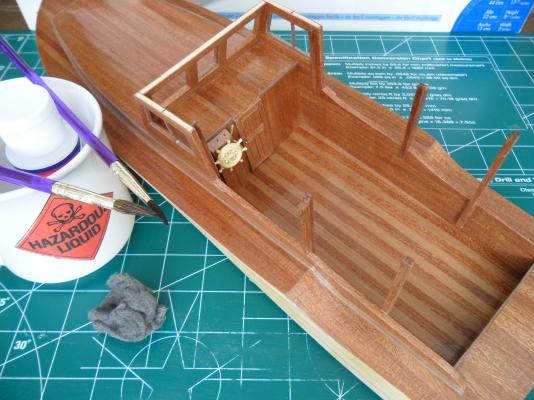
Bench seats Captain's chair Fish fightin' chair I thought that Pilar needed a gaff hook to land all those big Marlin and Tuna so I fished a barbless hook out of my tackle box and made one trying to make it look well used. Gaff hook with wrapped handle for improved grip Bridge completed Next will be to build the hatch frames and complete the poop deck.


- 34 replies
-
- 1
-
-
- pilar
- constructo
- (and 1 more)
-
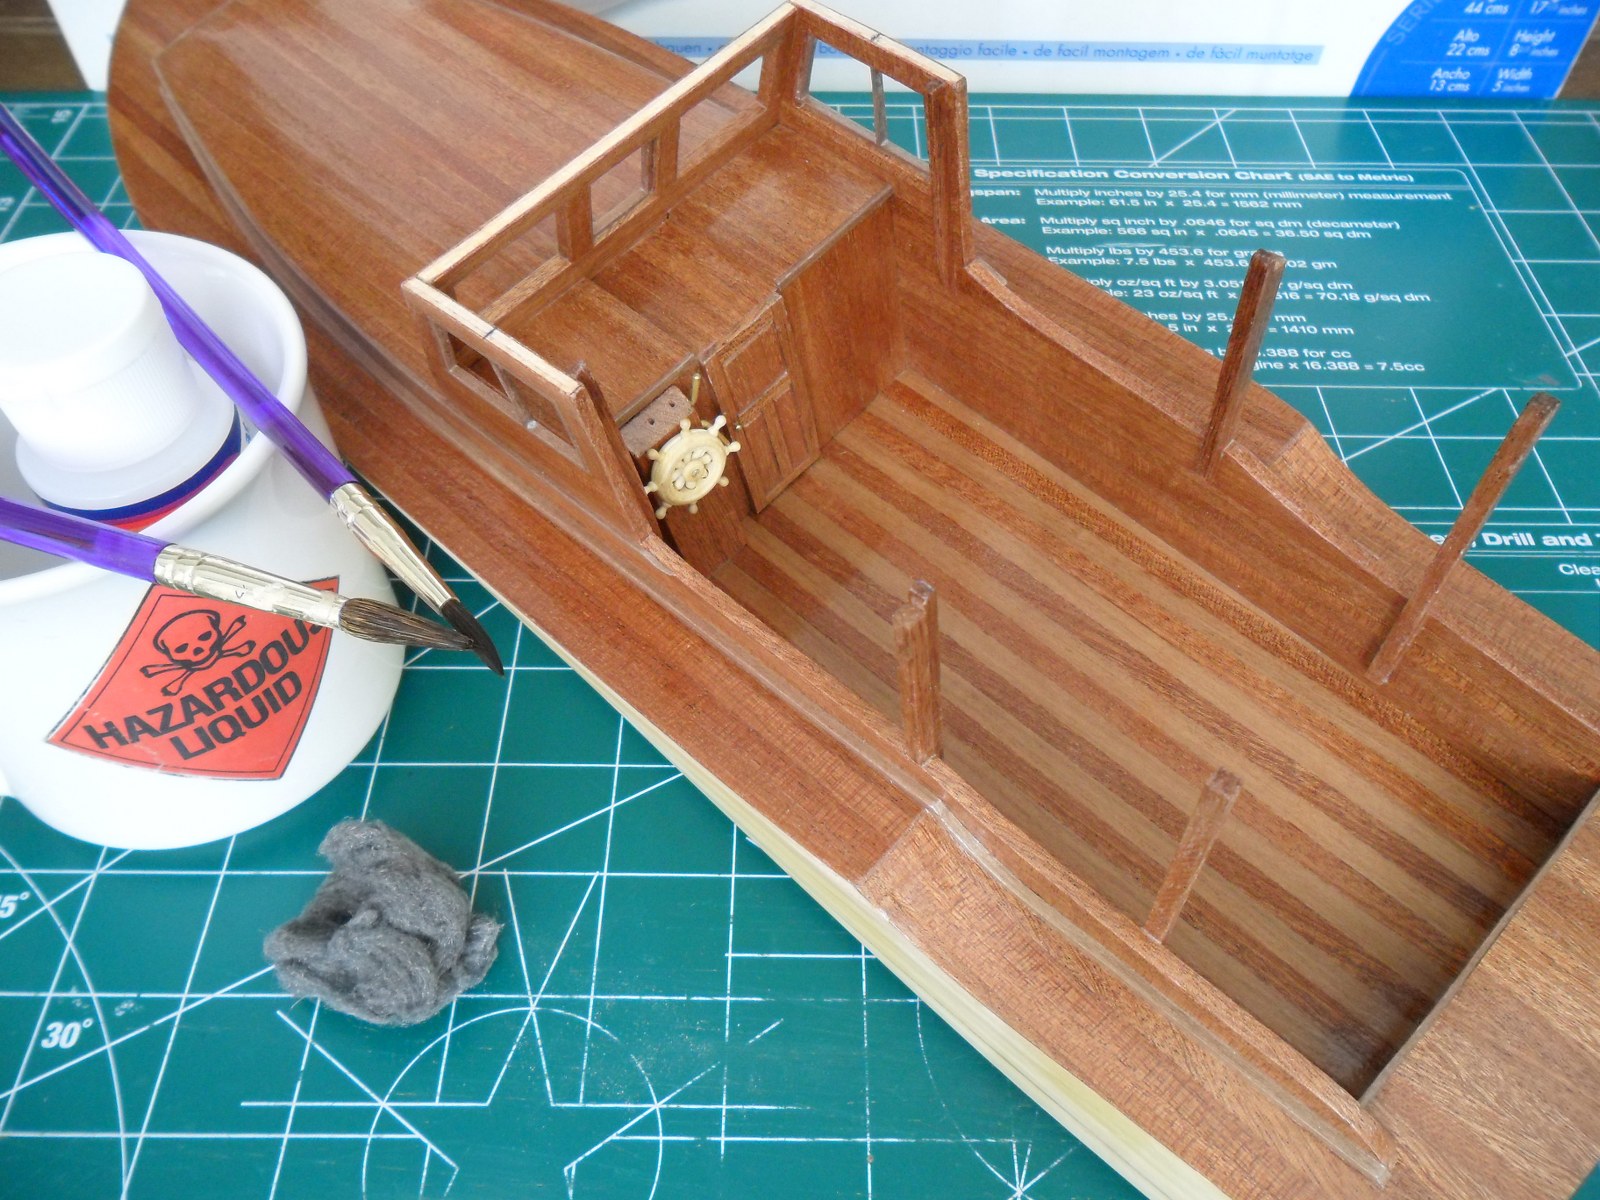
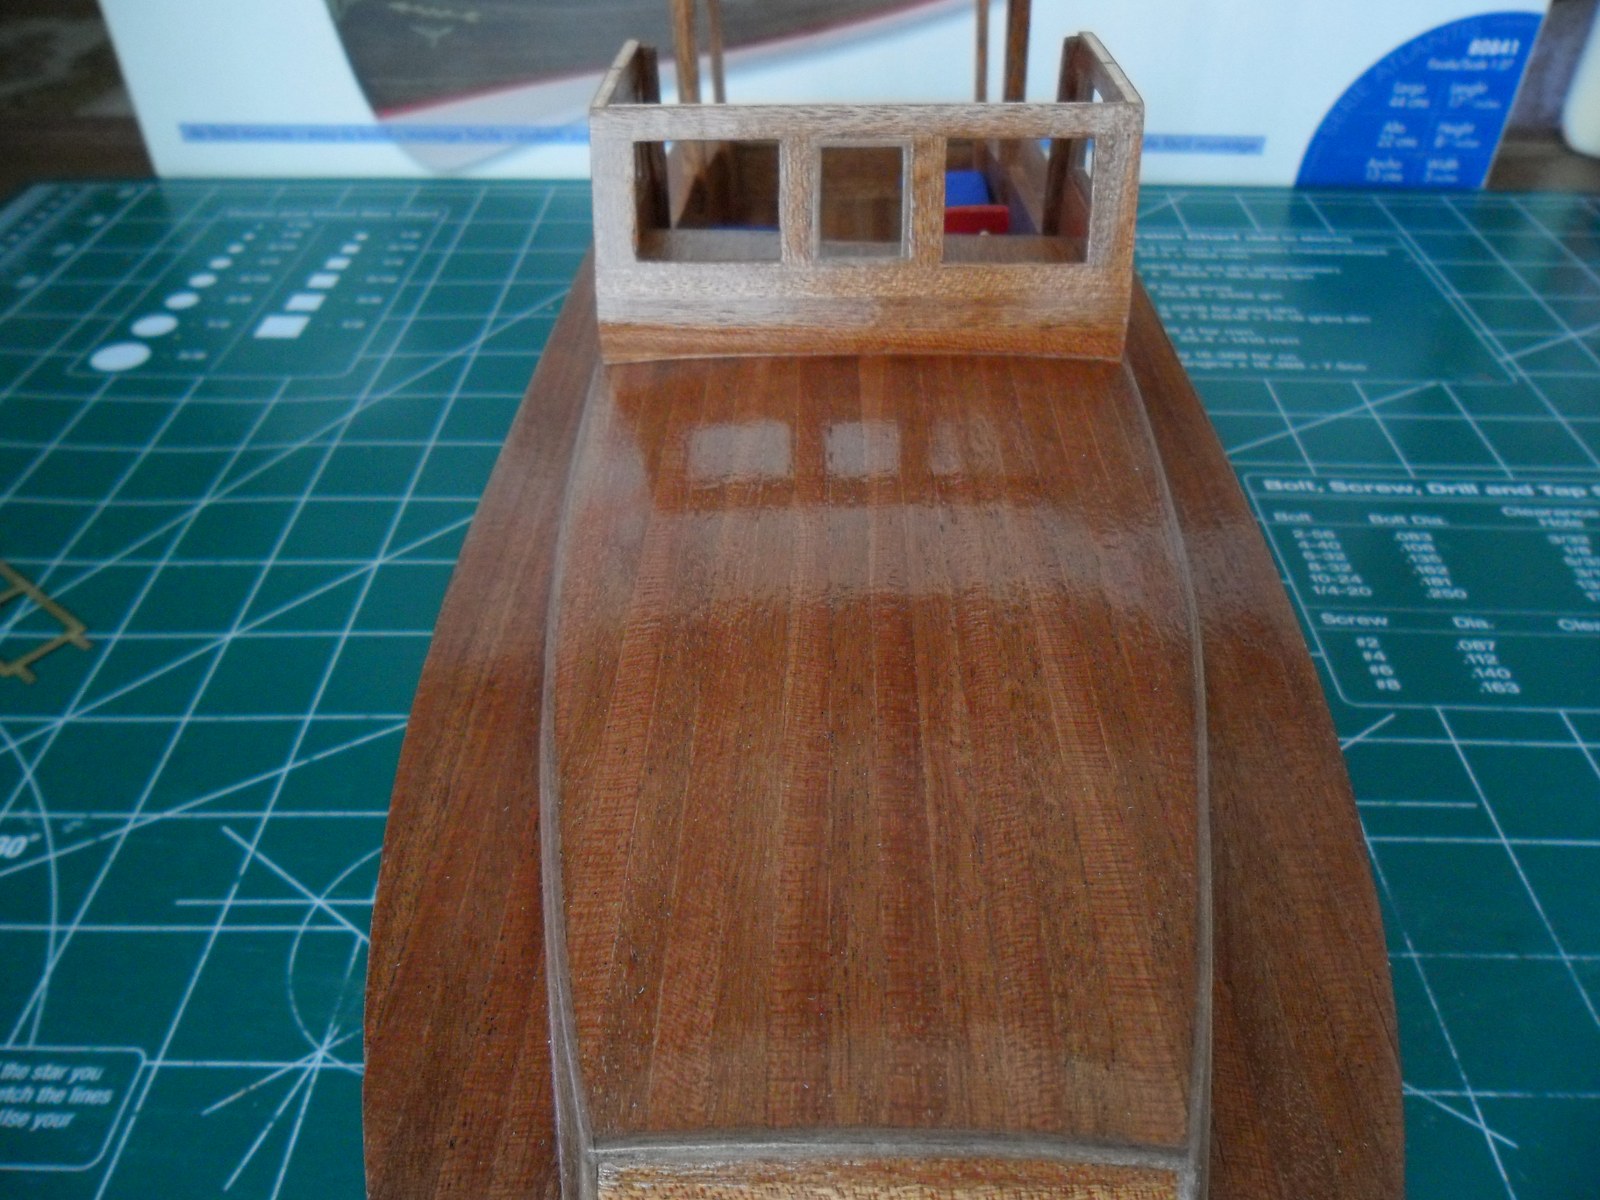
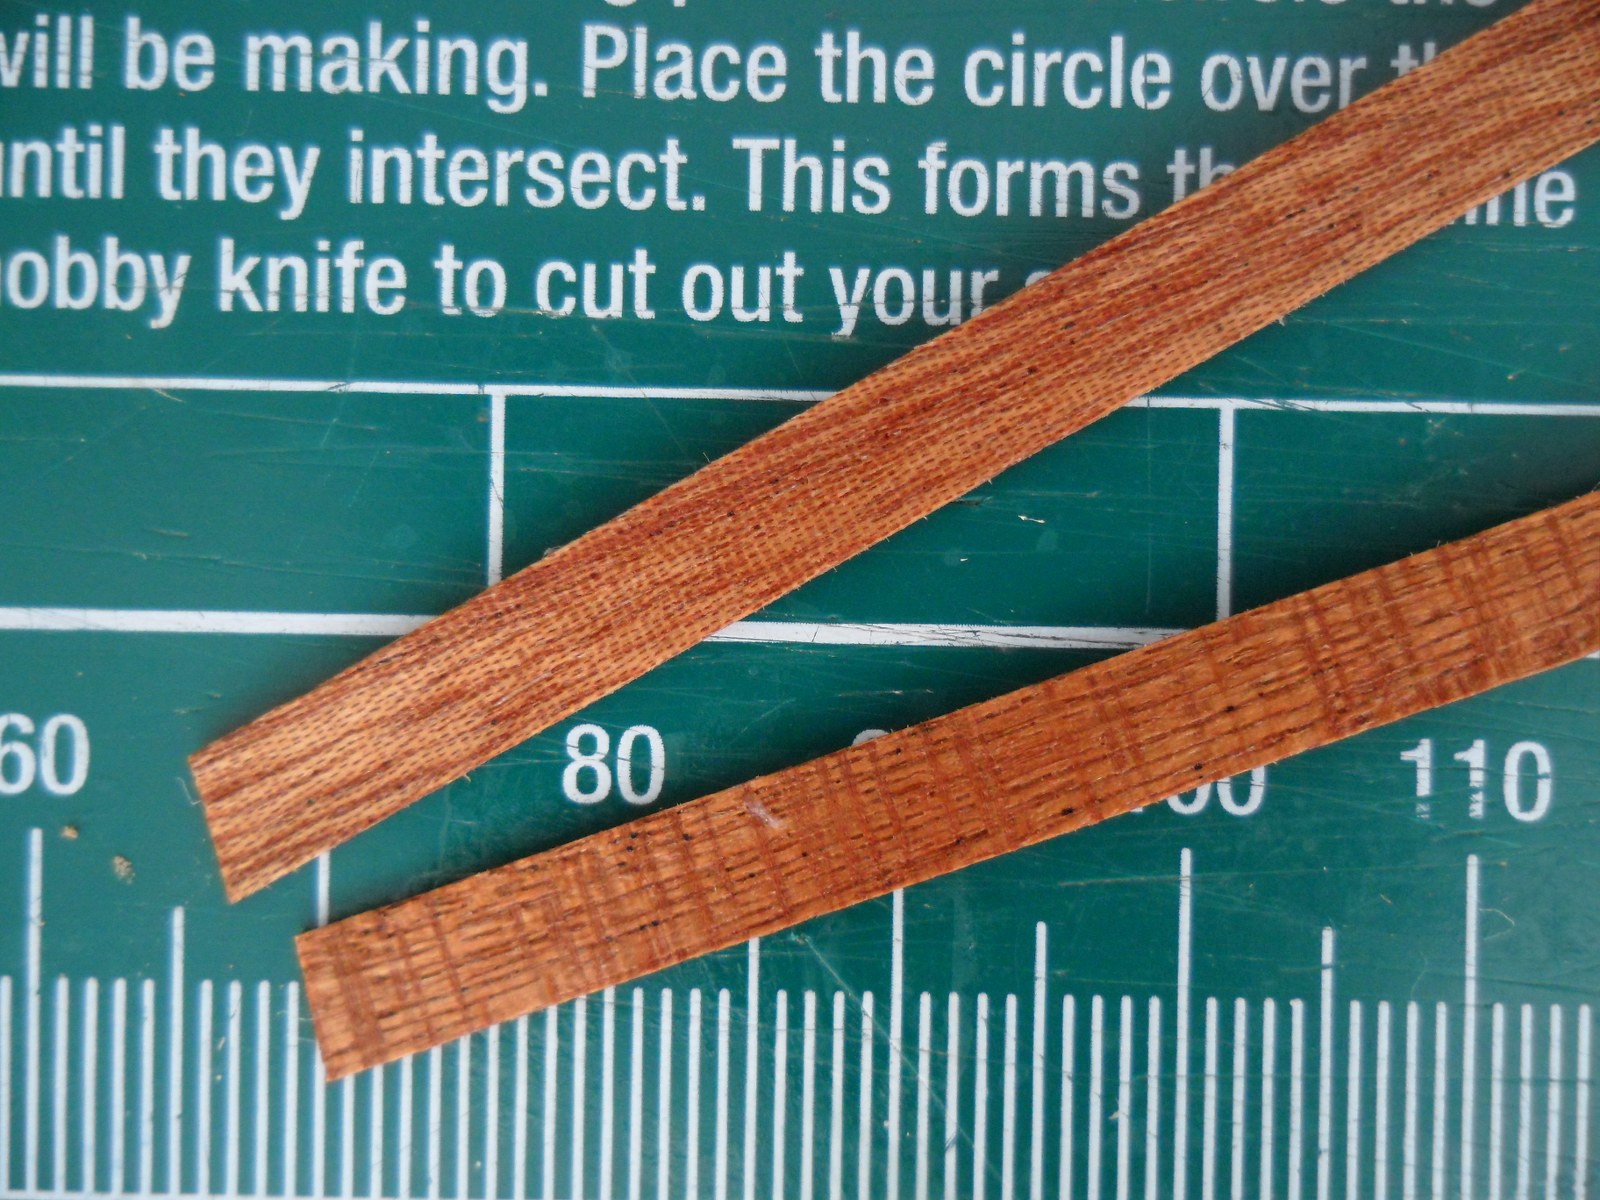
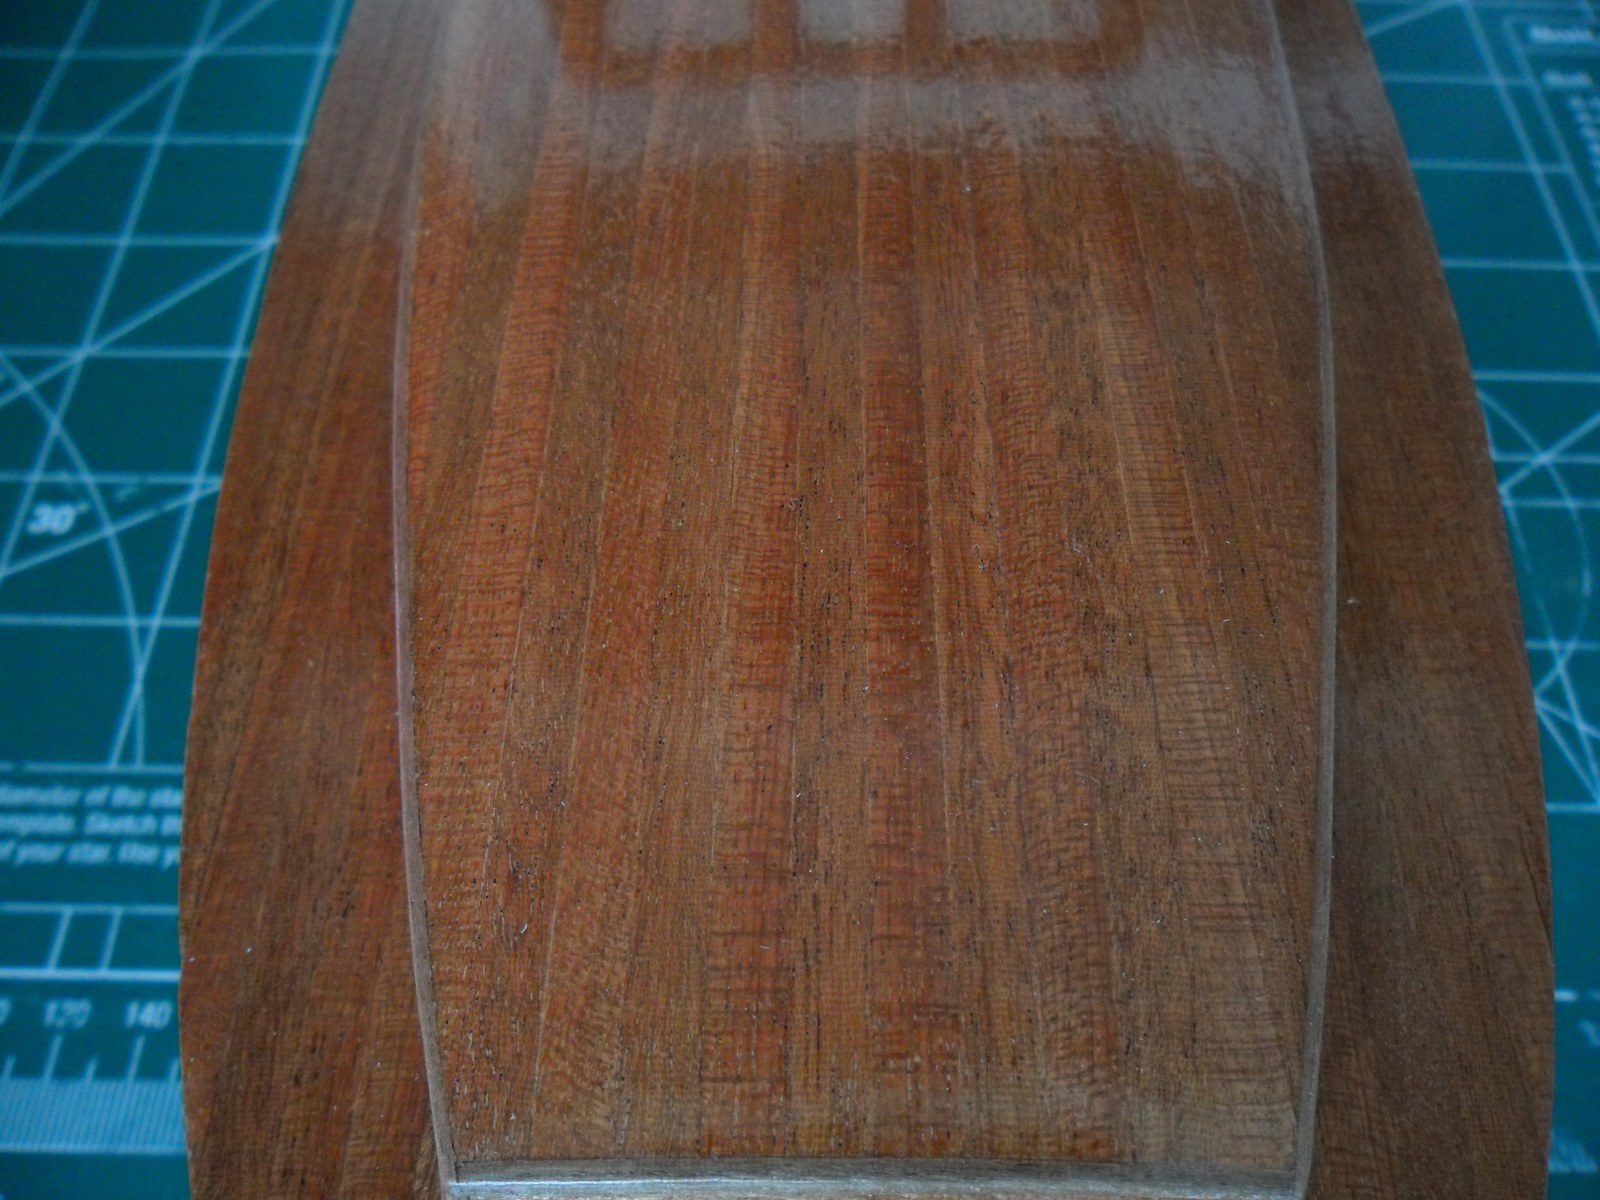
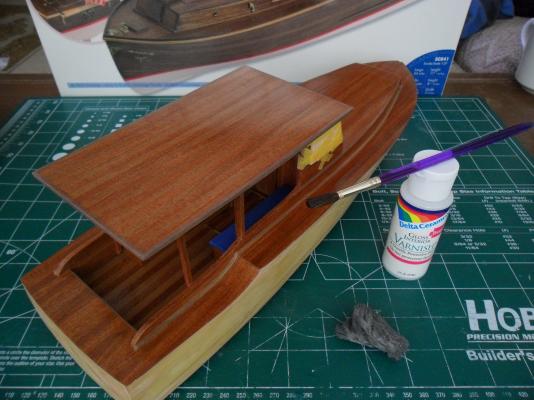
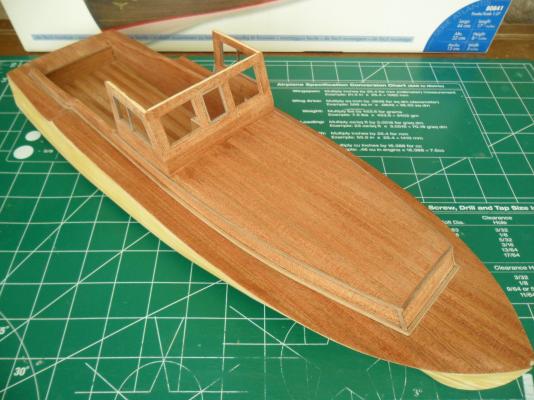
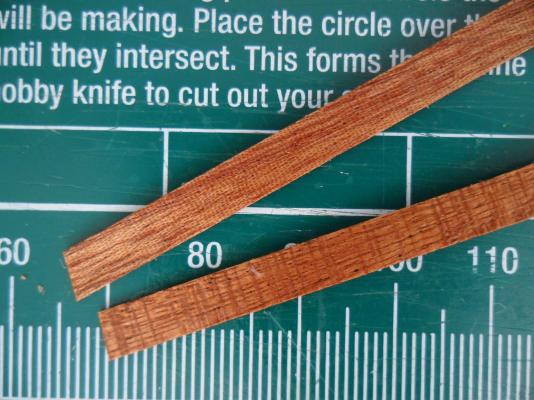
Mansonia edge trim & window frames installed Poop deck supports attached & everything topside varnished I had some Sapele veneer from a previous build that was a different grain type than the veneer that was supplied with this kit and alternated them on the cabin roof. Sapele veneer Cabin roof Next will be to construct the seats and complete the bridge.


- 34 replies
-
- 1
-
-
- pilar
- constructo
- (and 1 more)