
Cajun_Pirogue
-
Posts
19 -
Joined
-
Last visited
-
 Ryland Craze reacted to a post in a topic:
Lowell Grand Banks Dory by Cajun_Pirogue - Model Shipways - Scale 1:24 - Small - First ship build
Ryland Craze reacted to a post in a topic:
Lowell Grand Banks Dory by Cajun_Pirogue - Model Shipways - Scale 1:24 - Small - First ship build
-
Ryland Craze reacted to a post in a topic:
Lowell Grand Banks Dory by Cajun_Pirogue - Model Shipways - Scale 1:24 - Small - First ship build
-
Ryland Craze reacted to a post in a topic:
Lowell Grand Banks Dory by Cajun_Pirogue - Model Shipways - Scale 1:24 - Small - First ship build
-
Ryland Craze reacted to a post in a topic:
Lowell Grand Banks Dory by Cajun_Pirogue - Model Shipways - Scale 1:24 - Small - First ship build
-
Ryland Craze reacted to a post in a topic:
Lowell Grand Banks Dory by Cajun_Pirogue - Model Shipways - Scale 1:24 - Small - First ship build
-
Ryland Craze reacted to a post in a topic:
Lowell Grand Banks Dory by Cajun_Pirogue - Model Shipways - Scale 1:24 - Small - First ship build
-
Ryland Craze reacted to a post in a topic:
Lowell Grand Banks Dory by Cajun_Pirogue - Model Shipways - Scale 1:24 - Small - First ship build
-
Organ tech reacted to a post in a topic:
Lowell Grand Banks Dory by Cajun_Pirogue - Model Shipways - Scale 1:24 - Small - First ship build
-
boatsNbeers reacted to a post in a topic:
Lowell Grand Banks Dory by Cajun_Pirogue - Model Shipways - Scale 1:24 - Small - First ship build
-
DPhilbrick reacted to a post in a topic:
Lowell Grand Banks Dory by Cajun_Pirogue - Model Shipways - Scale 1:24 - Small - First ship build
-
Cajun_Pirogue reacted to a post in a topic:
Lowell Grand Banks Dory by Cajun_Pirogue - Model Shipways - Scale 1:24 - Small - First ship build
-
Cajun_Pirogue reacted to a post in a topic:
Lowell Grand Banks Dory by Cajun_Pirogue - Model Shipways - Scale 1:24 - Small - First ship build
-
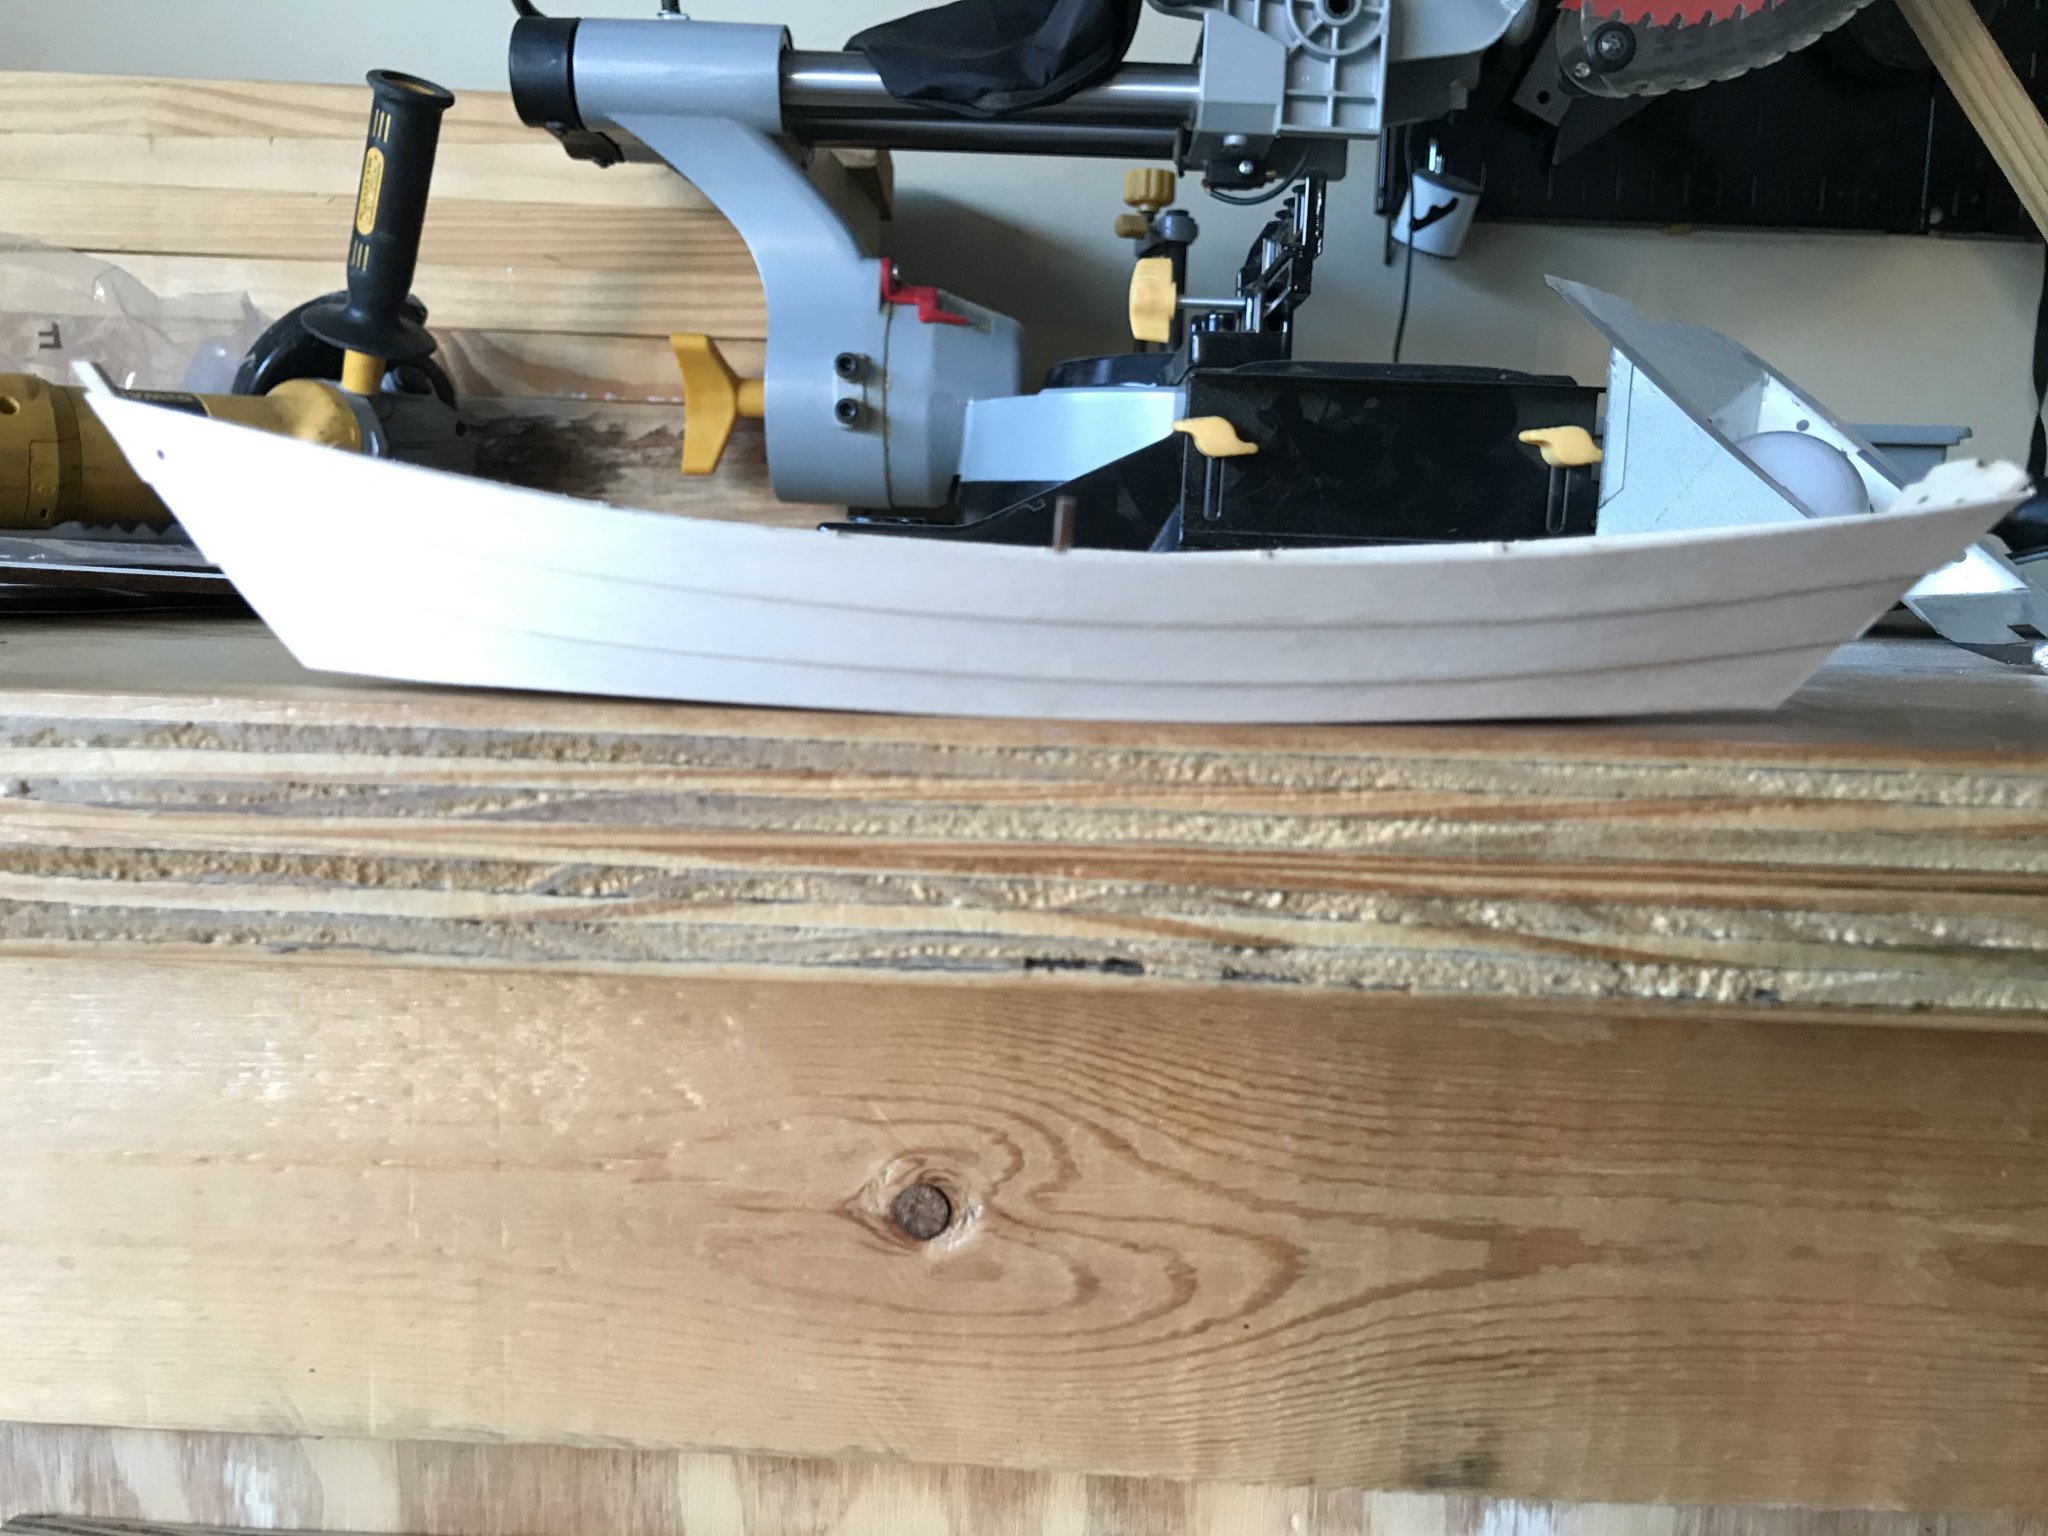
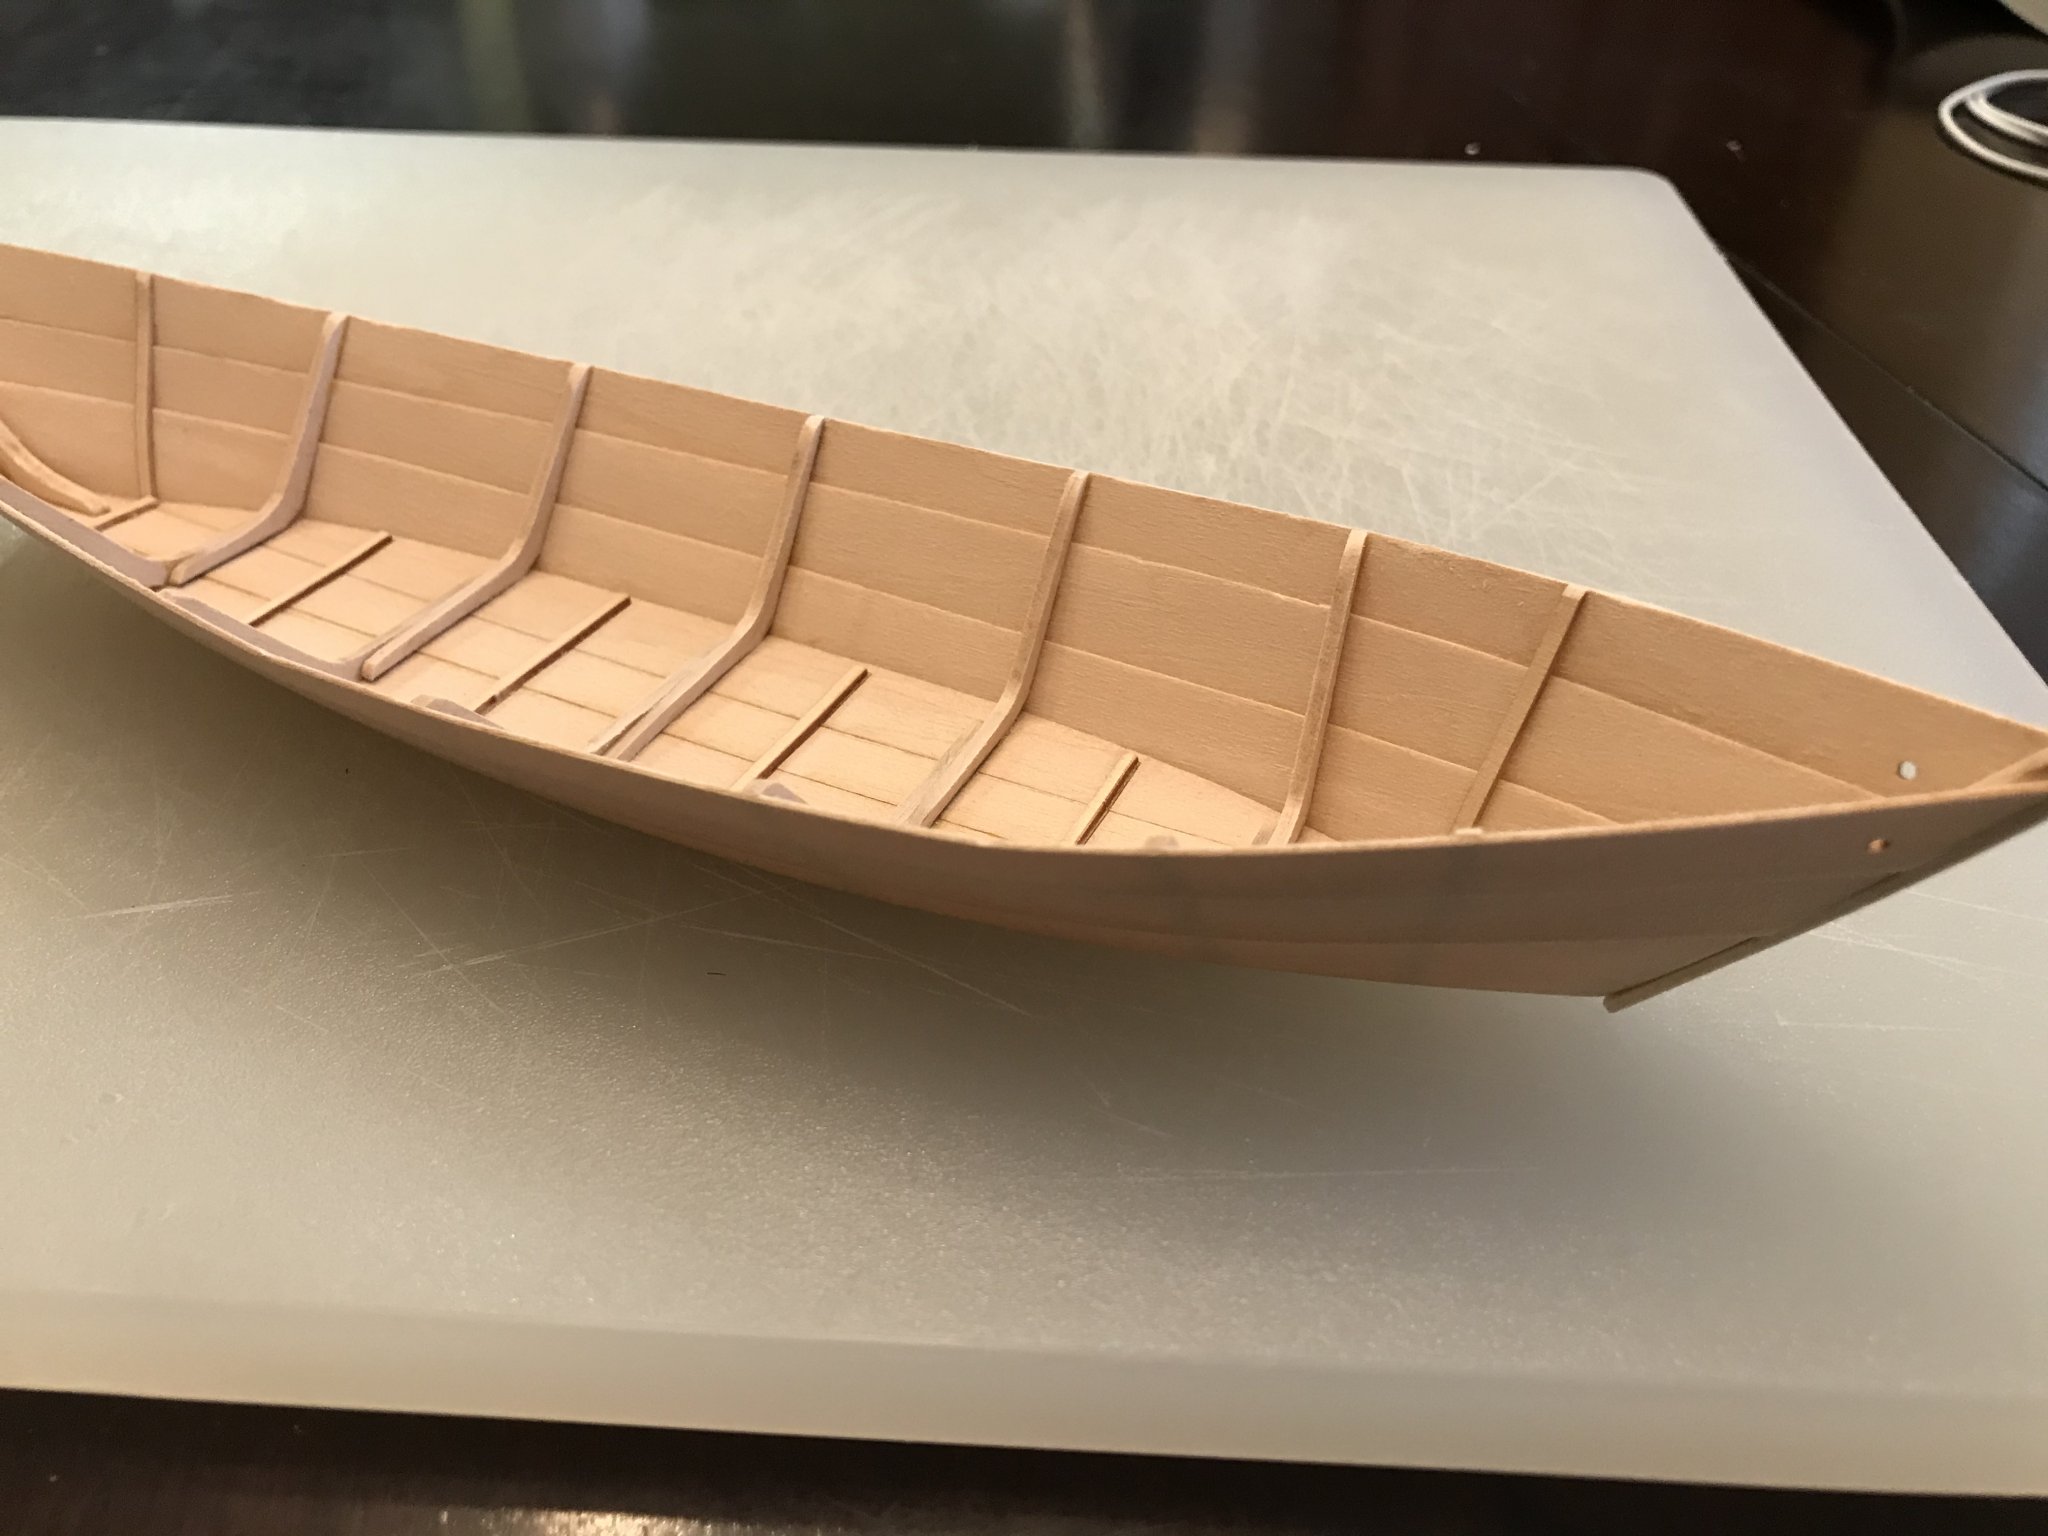
Attached the other gunwale. Will just need to touch up with a little sanding.
- 30 replies
-
- 11
-
-
- grand banks dory
- model shipways
- (and 1 more)
-
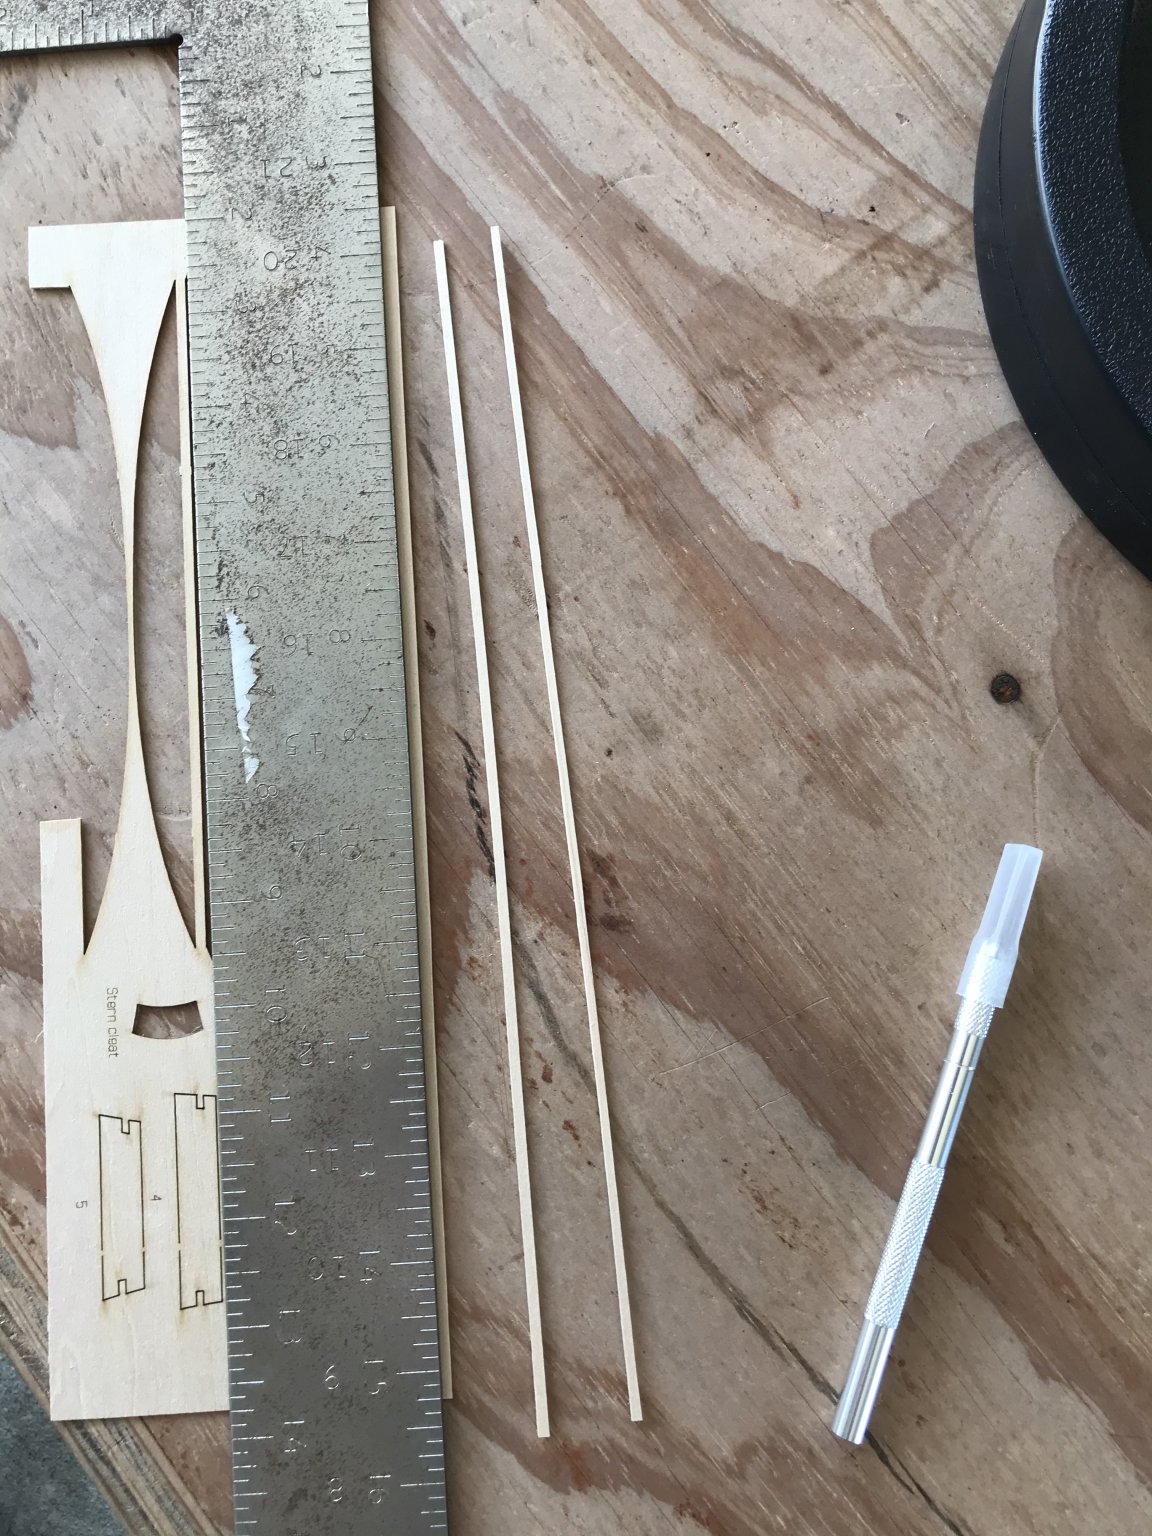
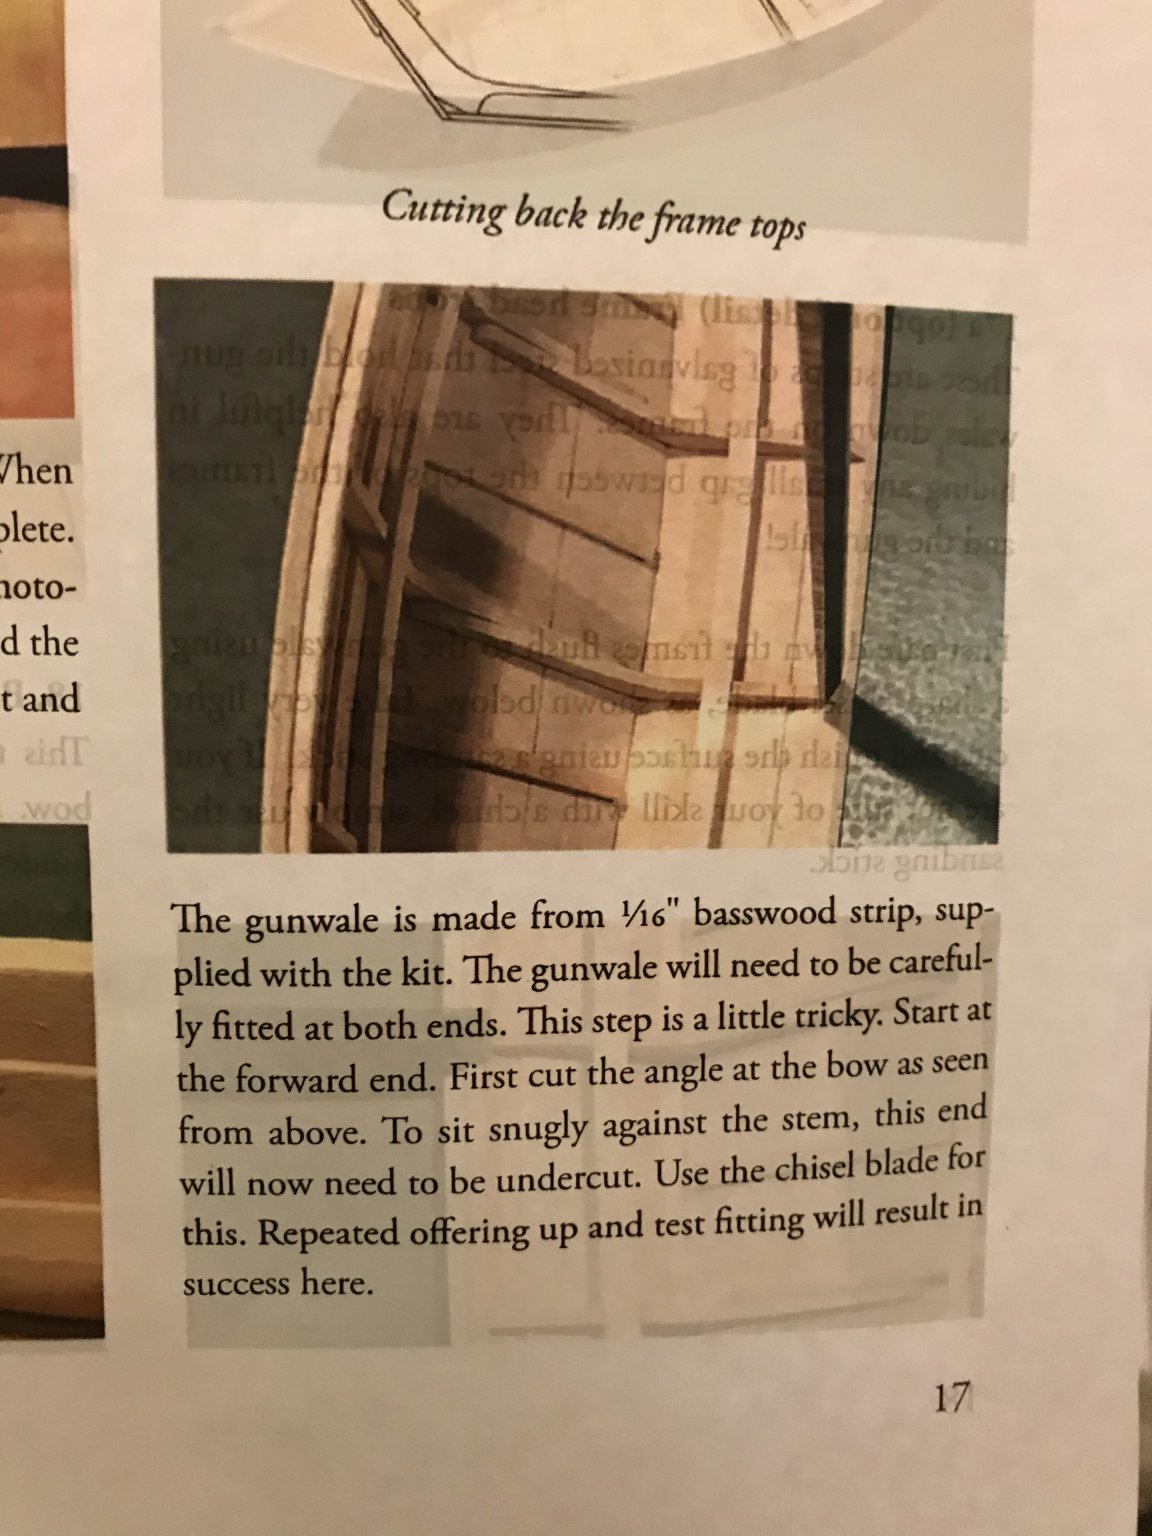
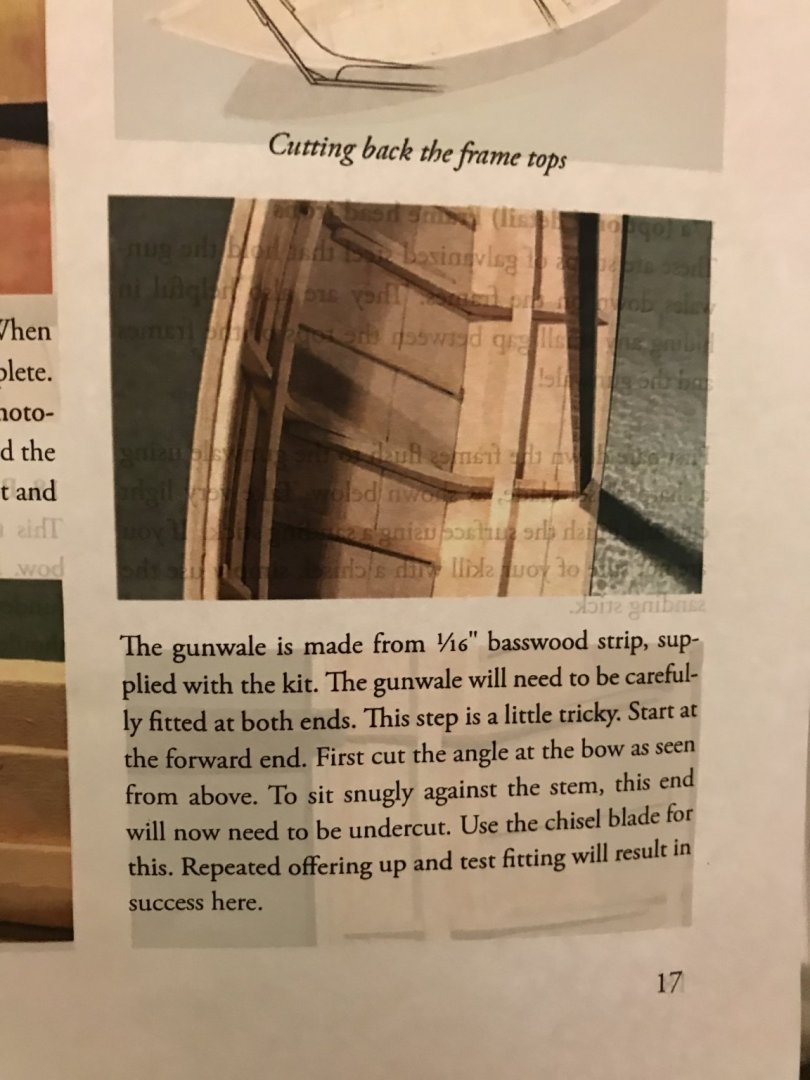
Ran into a problem of what appears to be missing pieces? Manual says gunwale is 1/16 strip supplied with the kit, but the only 1/16 strip included was 3” in length. After looking several times I decided to manufacture my own from scrap wood from the kit. I used a square as a straight edge and ran the exact-o blade along it to make gunwale strips. they seem to work ok. One side has been glued down...

- 30 replies
-
- 12
-
-
- grand banks dory
- model shipways
- (and 1 more)
-
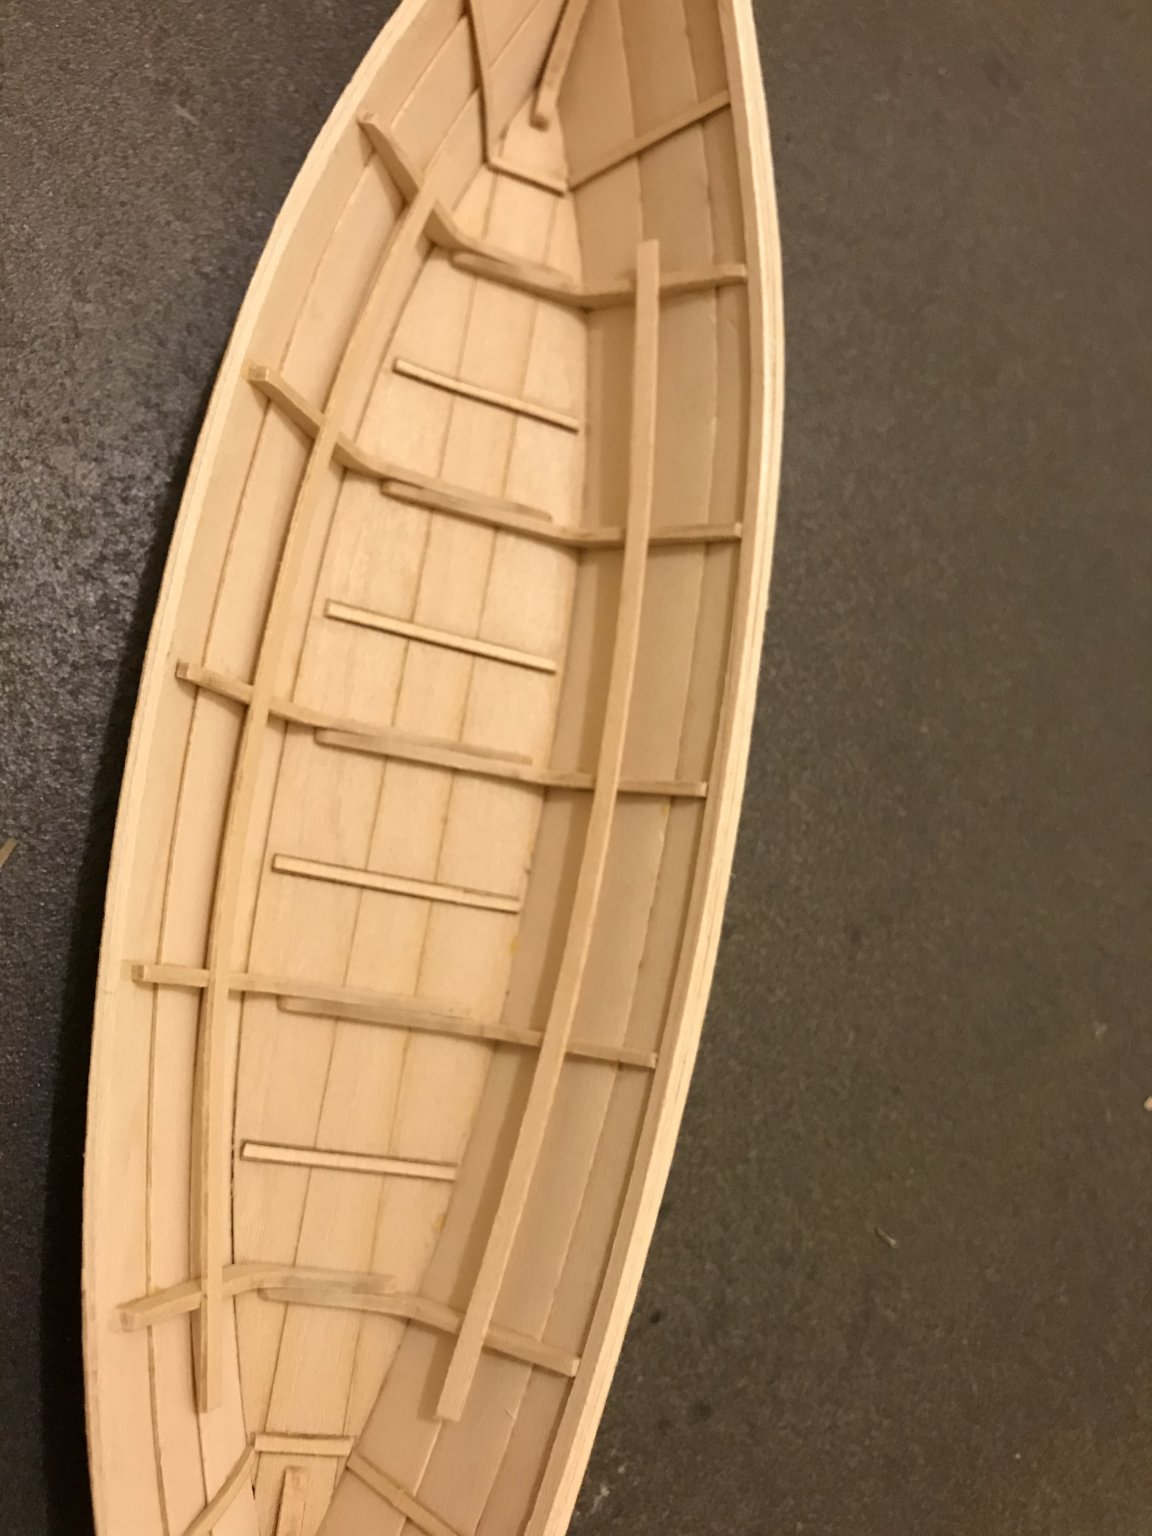
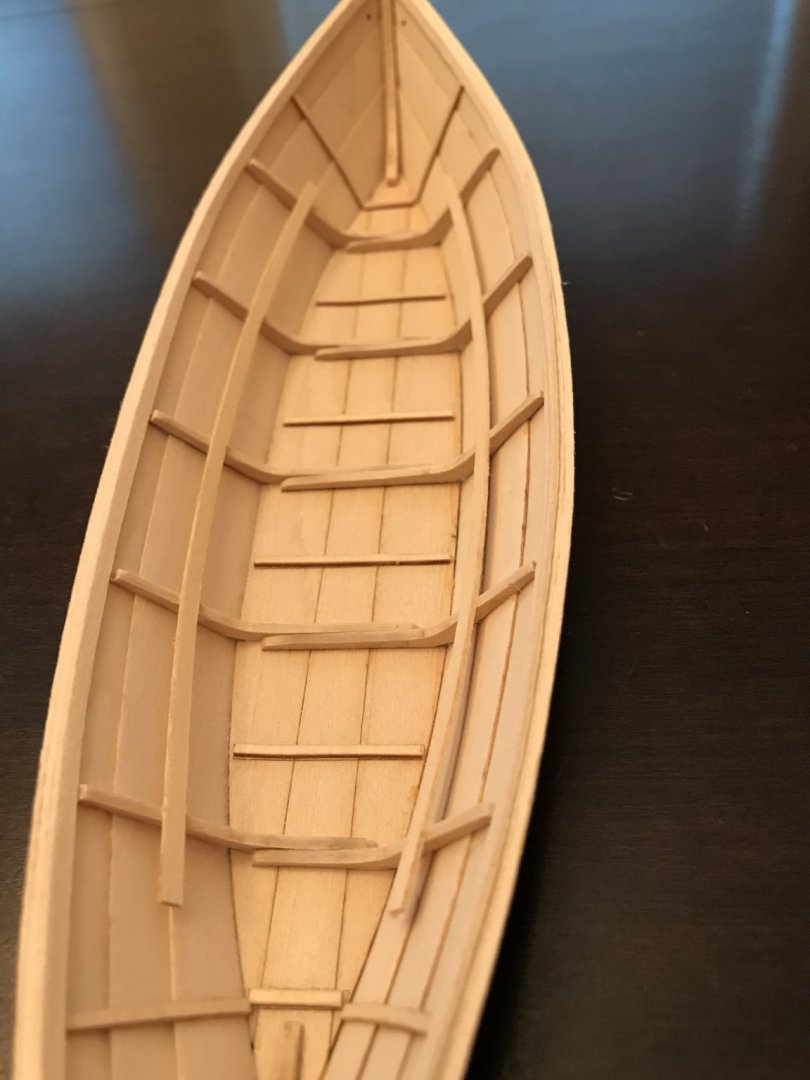
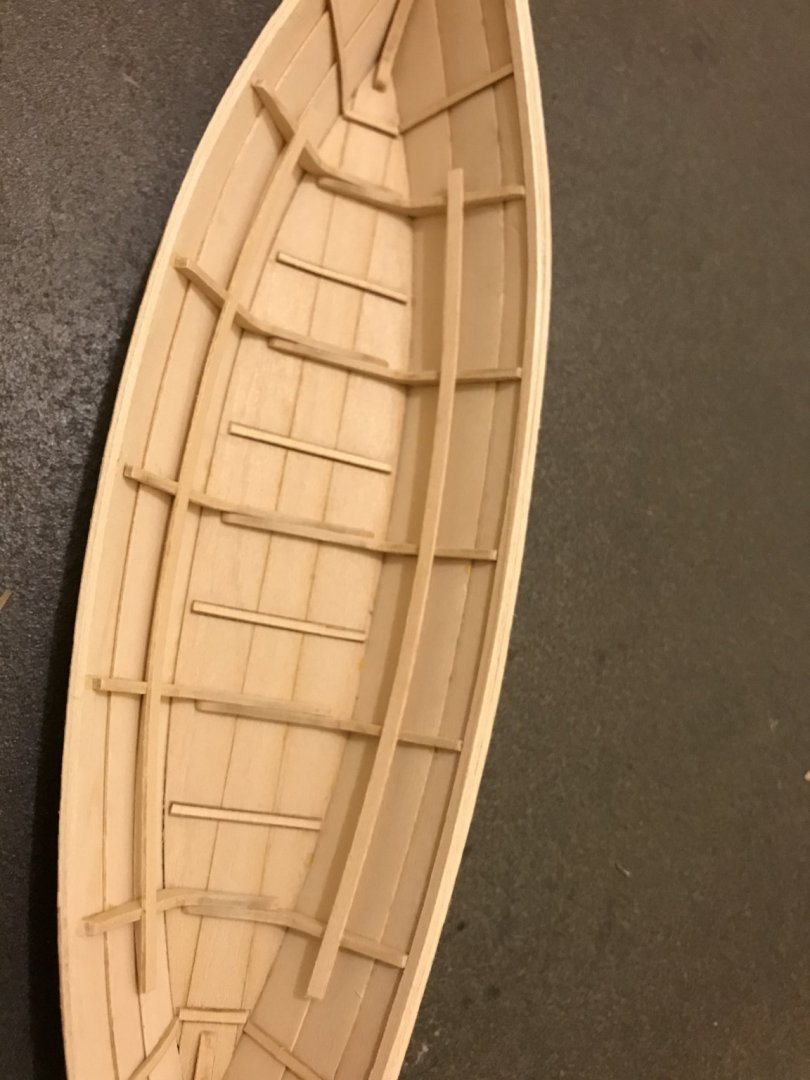
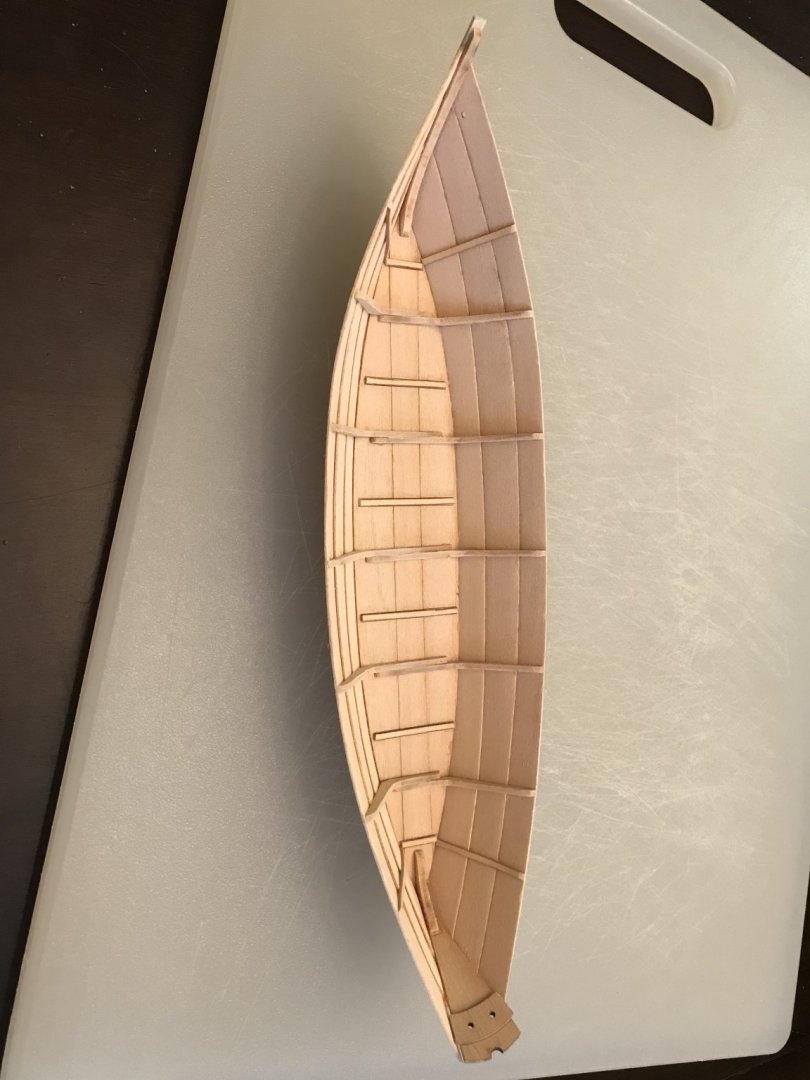
Ok it’s been a while. Sorry again for the long delay. Here are more progress photos. Has a few issues that didn’t quite come out as good as I hoped, but good learning experience.


- 30 replies
-
- 13
-
-
- grand banks dory
- model shipways
- (and 1 more)
-
And another from the Great Pacific Northwest
Cajun_Pirogue replied to Egilman's topic in New member Introductions
Welcome -
Not sure with modeling, but I’ve used it with wooden projects to bring out the grains and colors in the wood. I have found though that some woods it looked great and others not so much. My plan was to try a scrap piece to test, but was curious if anyone had tried it. I never put anything over it. On a side note, I have used matte poly often and have been satisfied with it.
- 113 replies
-
- 1
-
-
- small
- Peterboro Canoe
- (and 2 more)
-
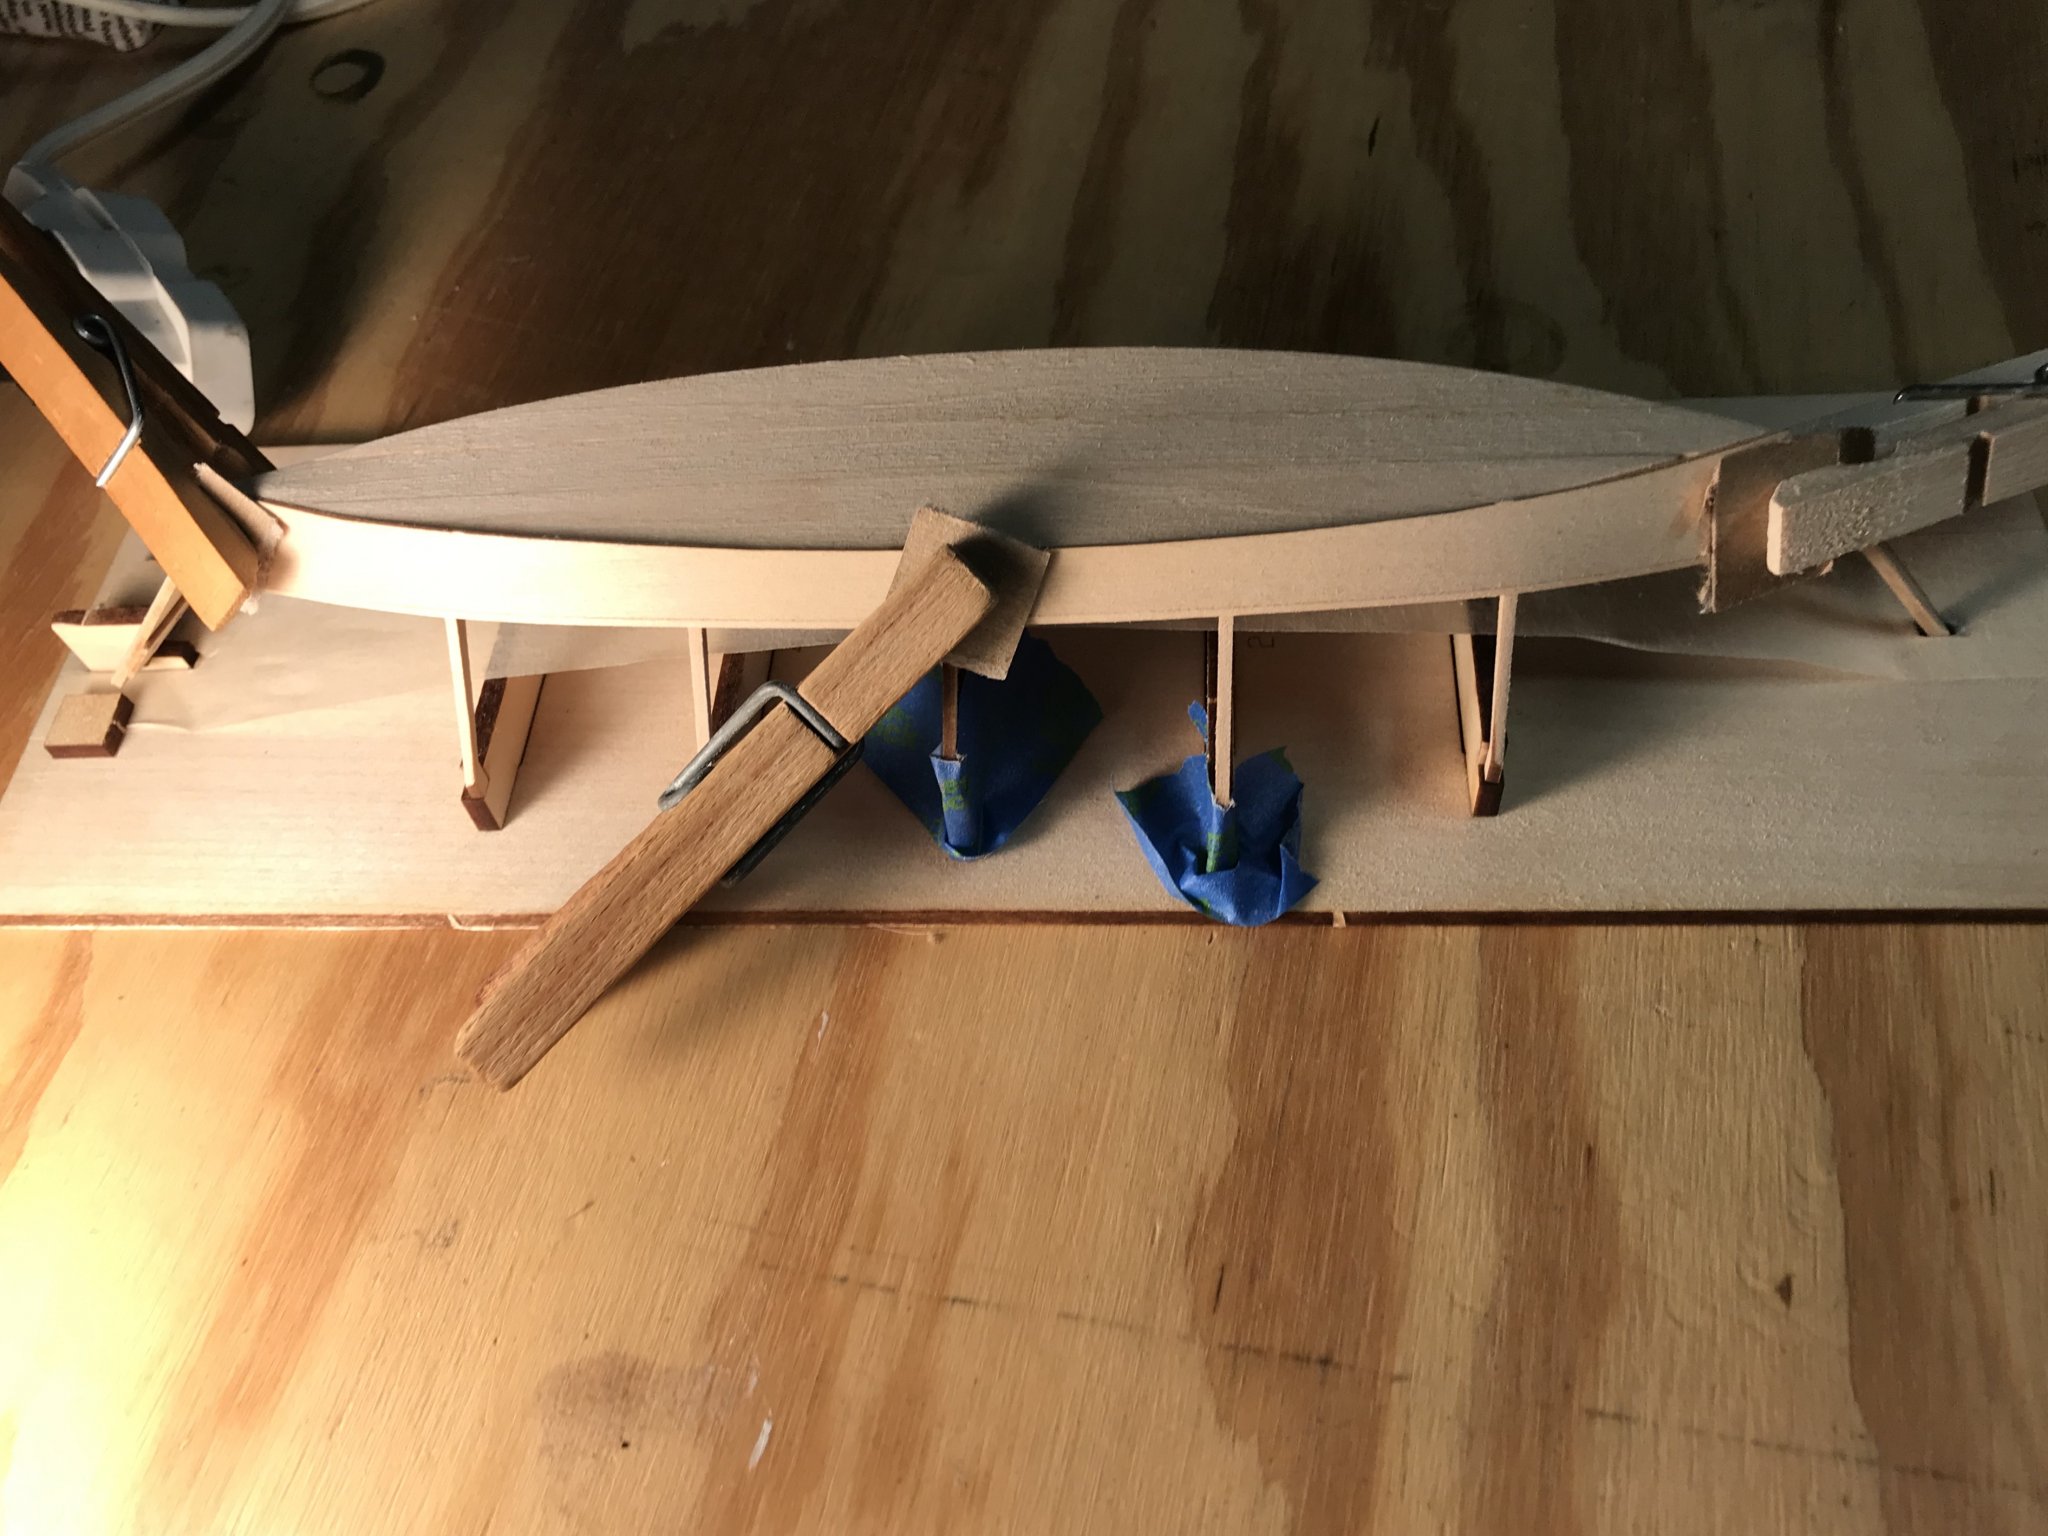
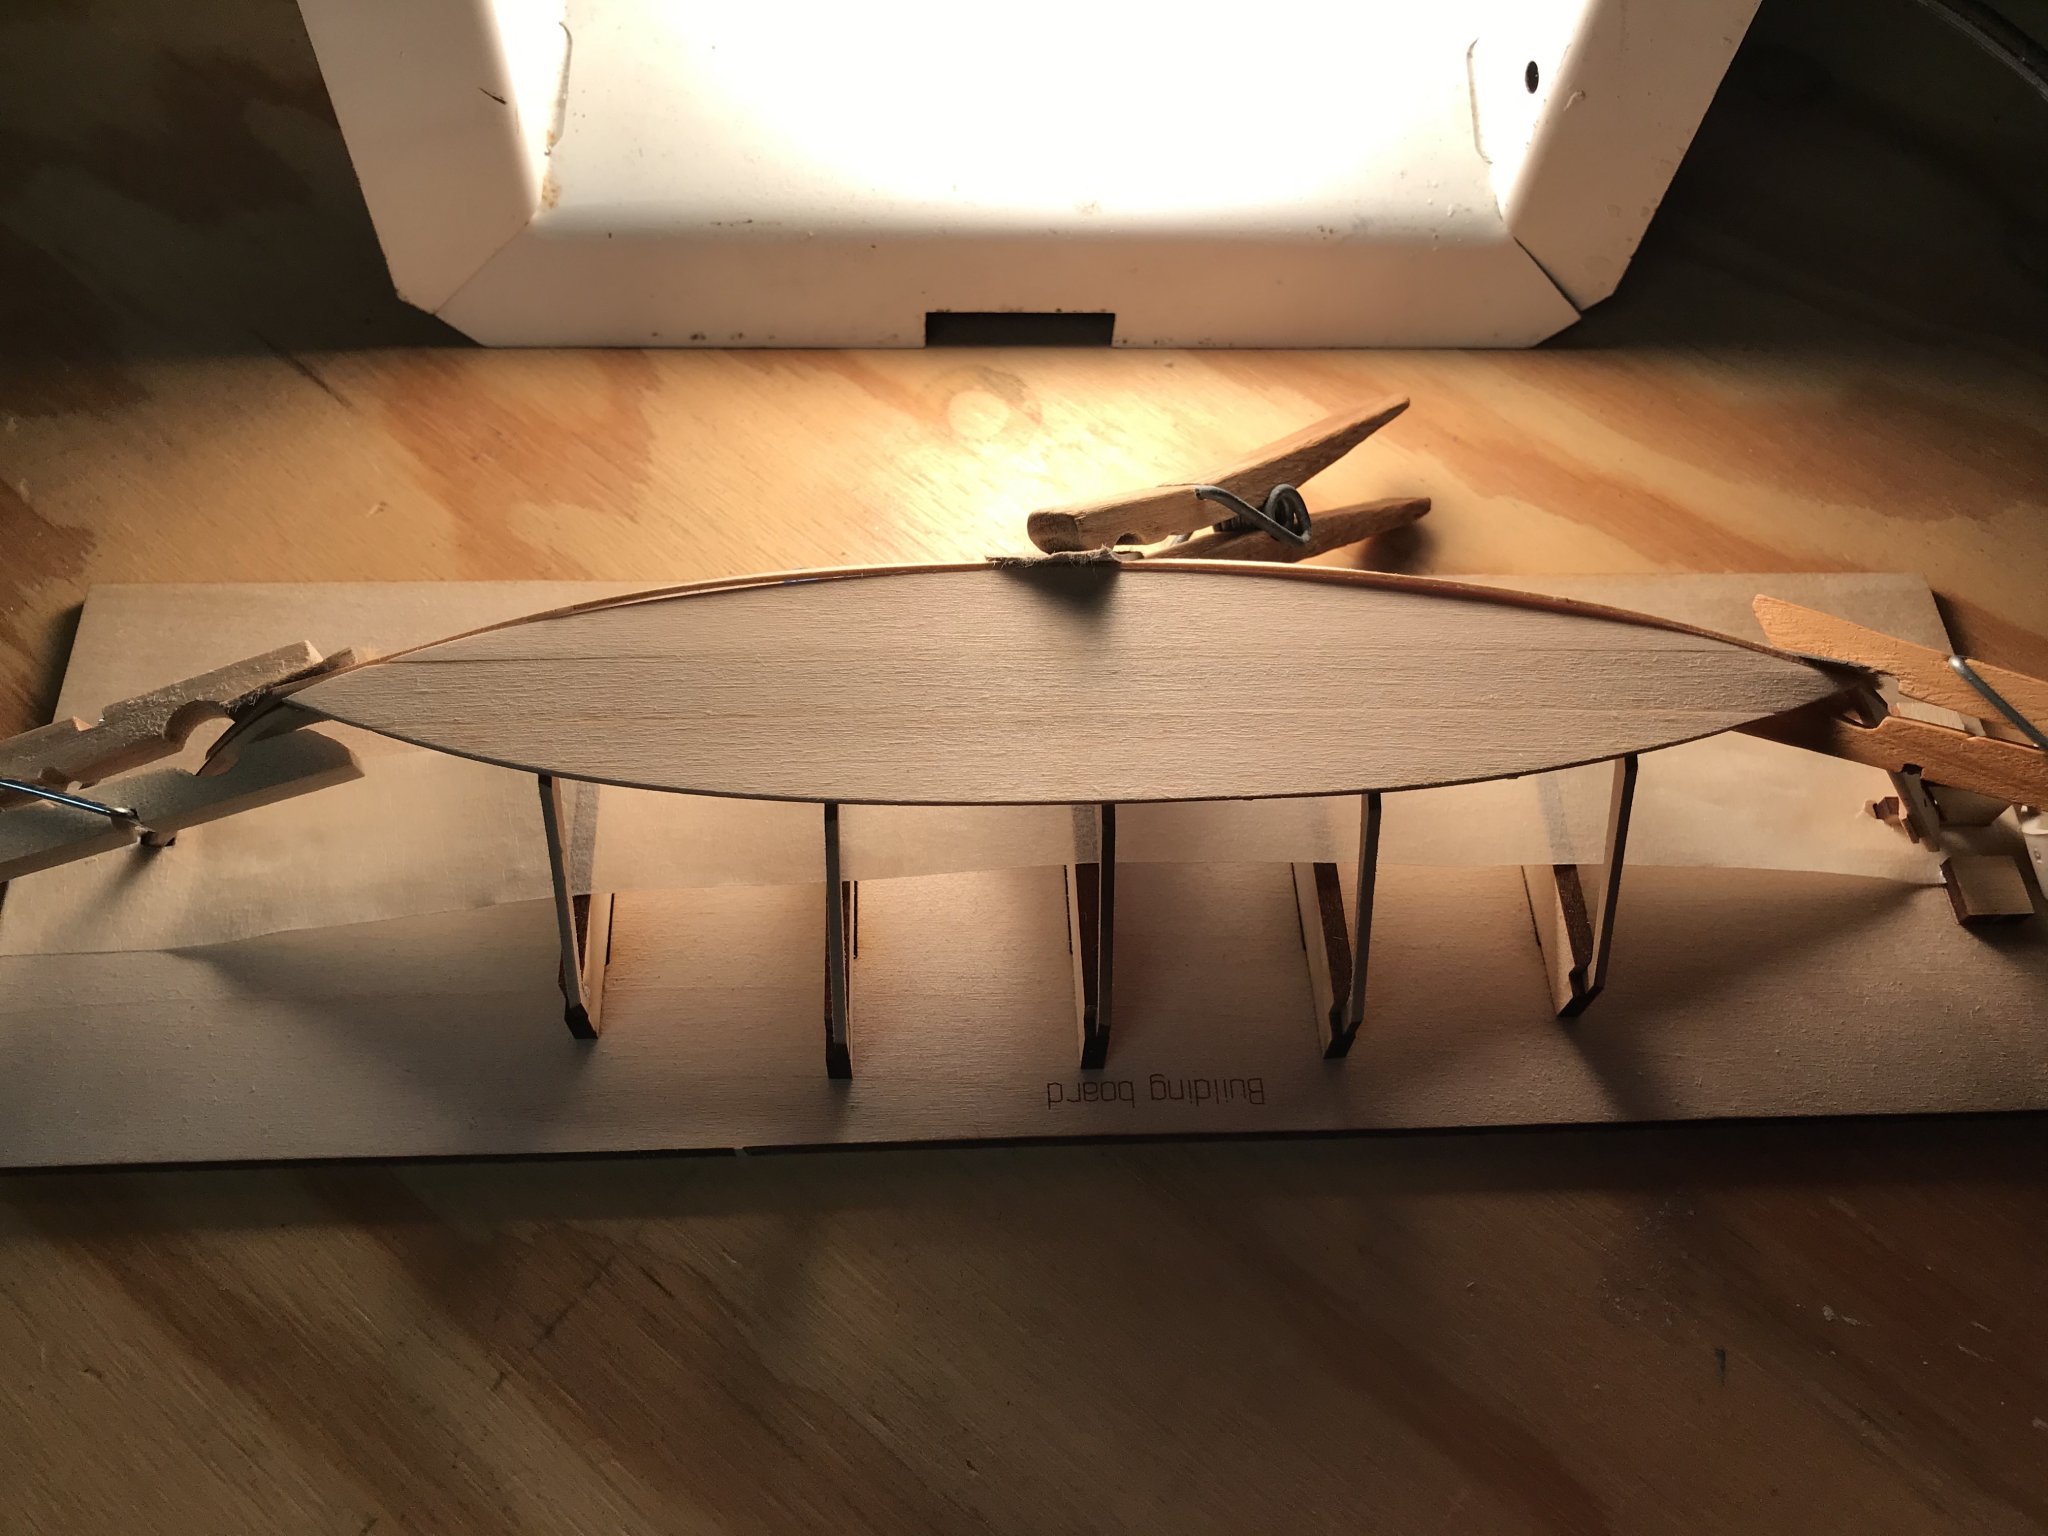
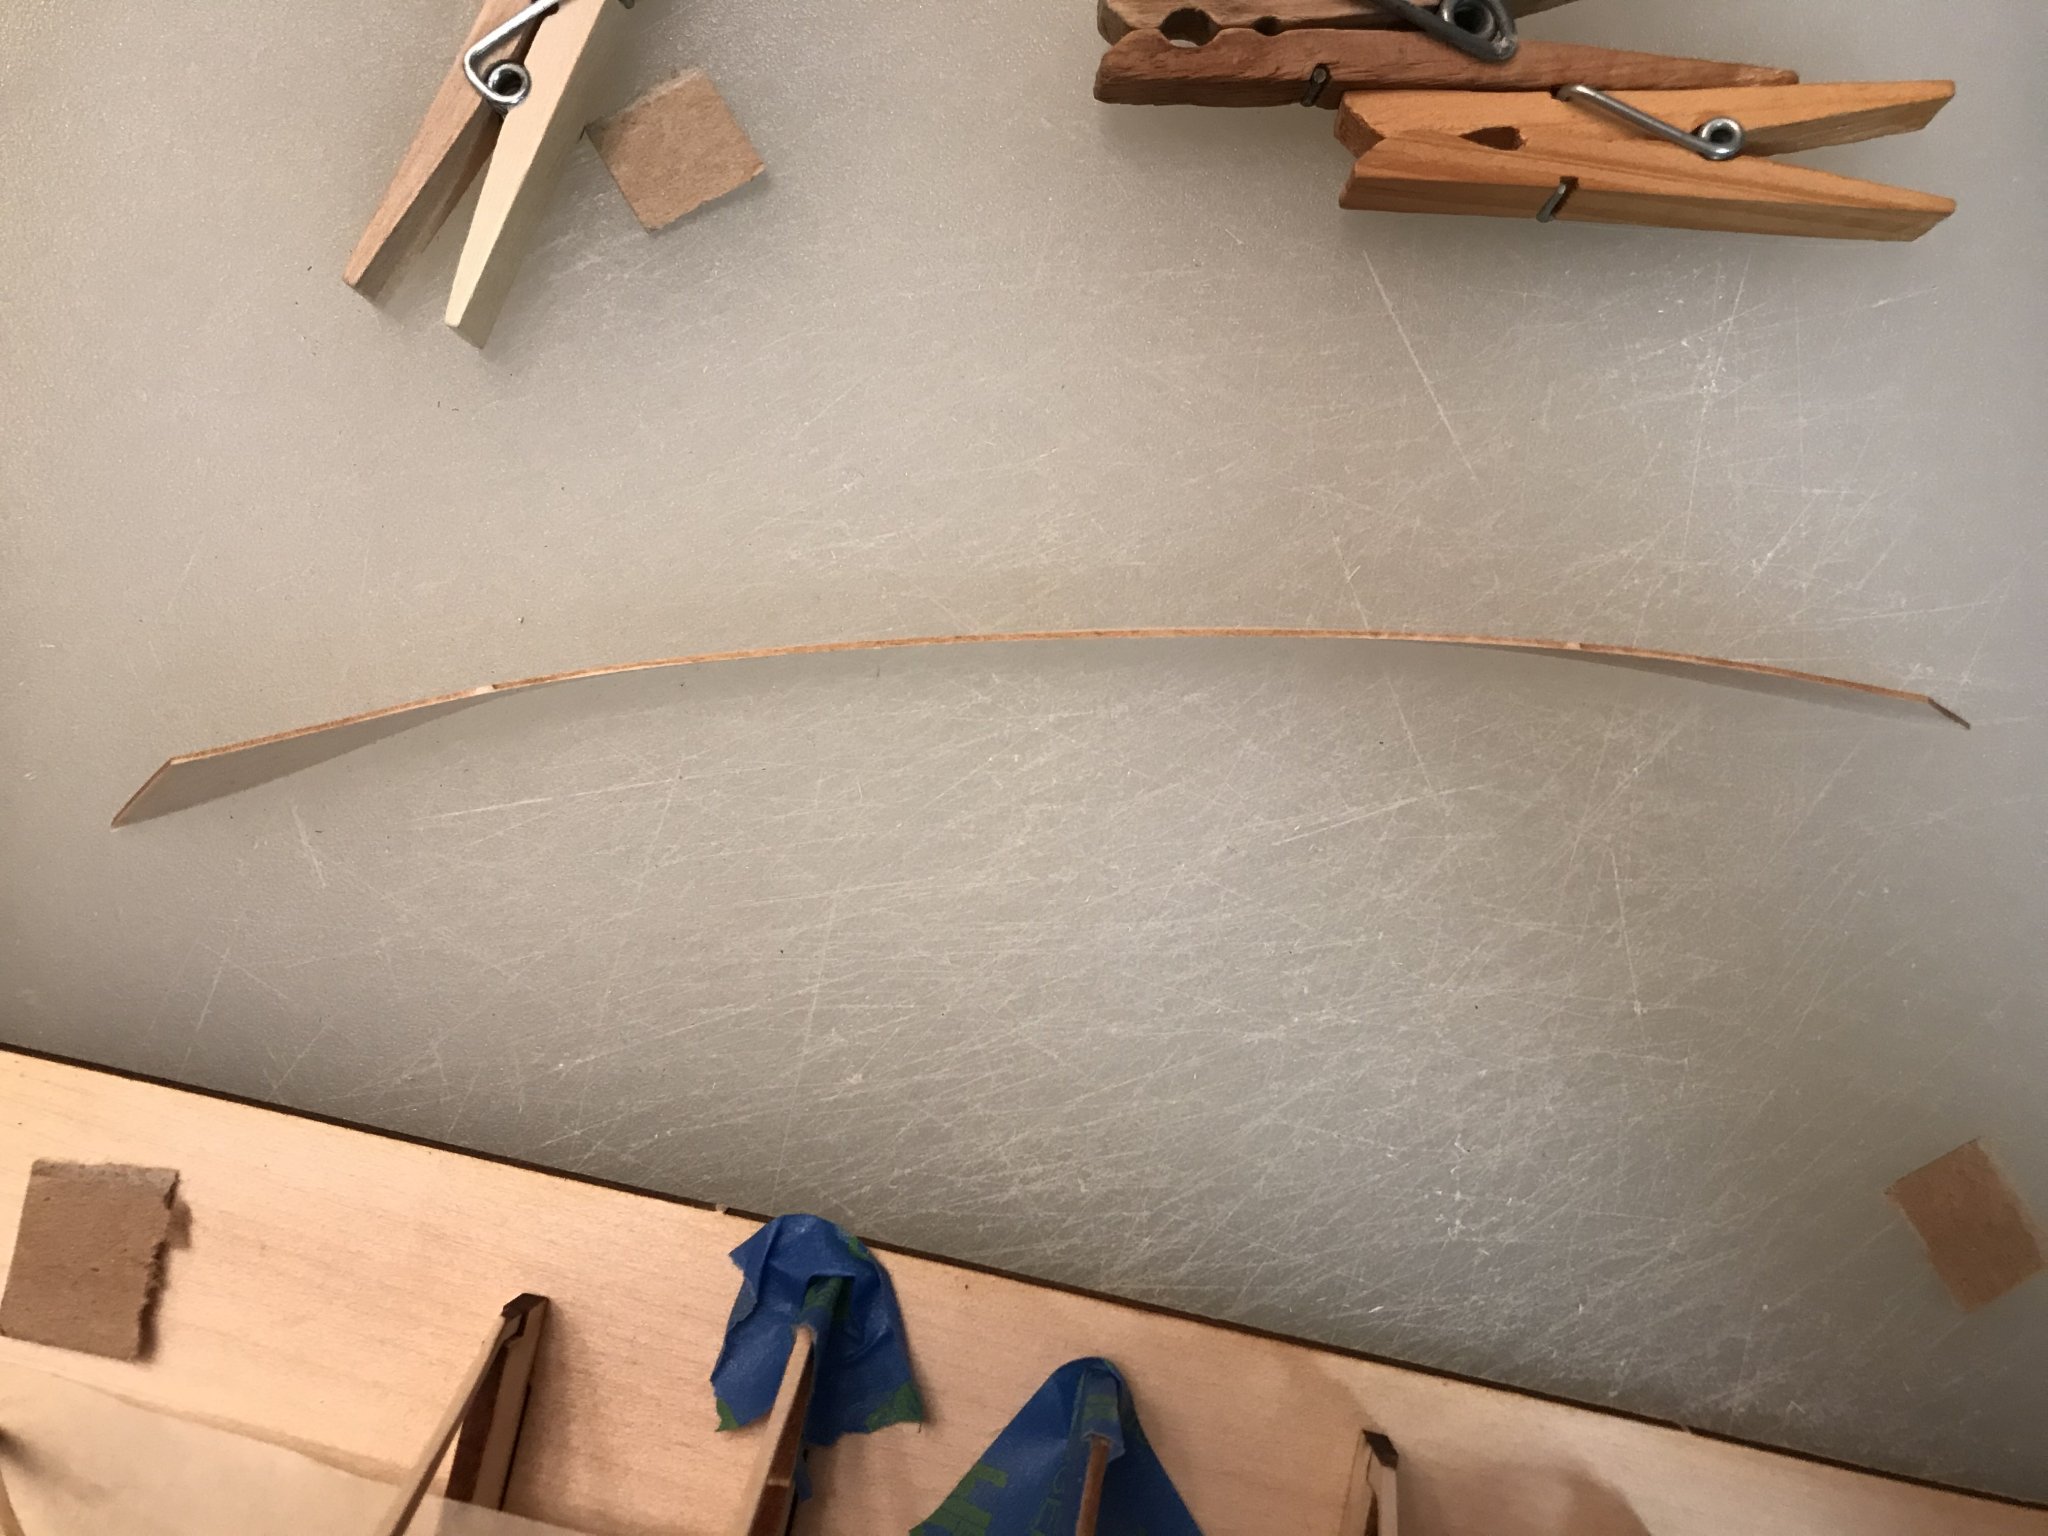
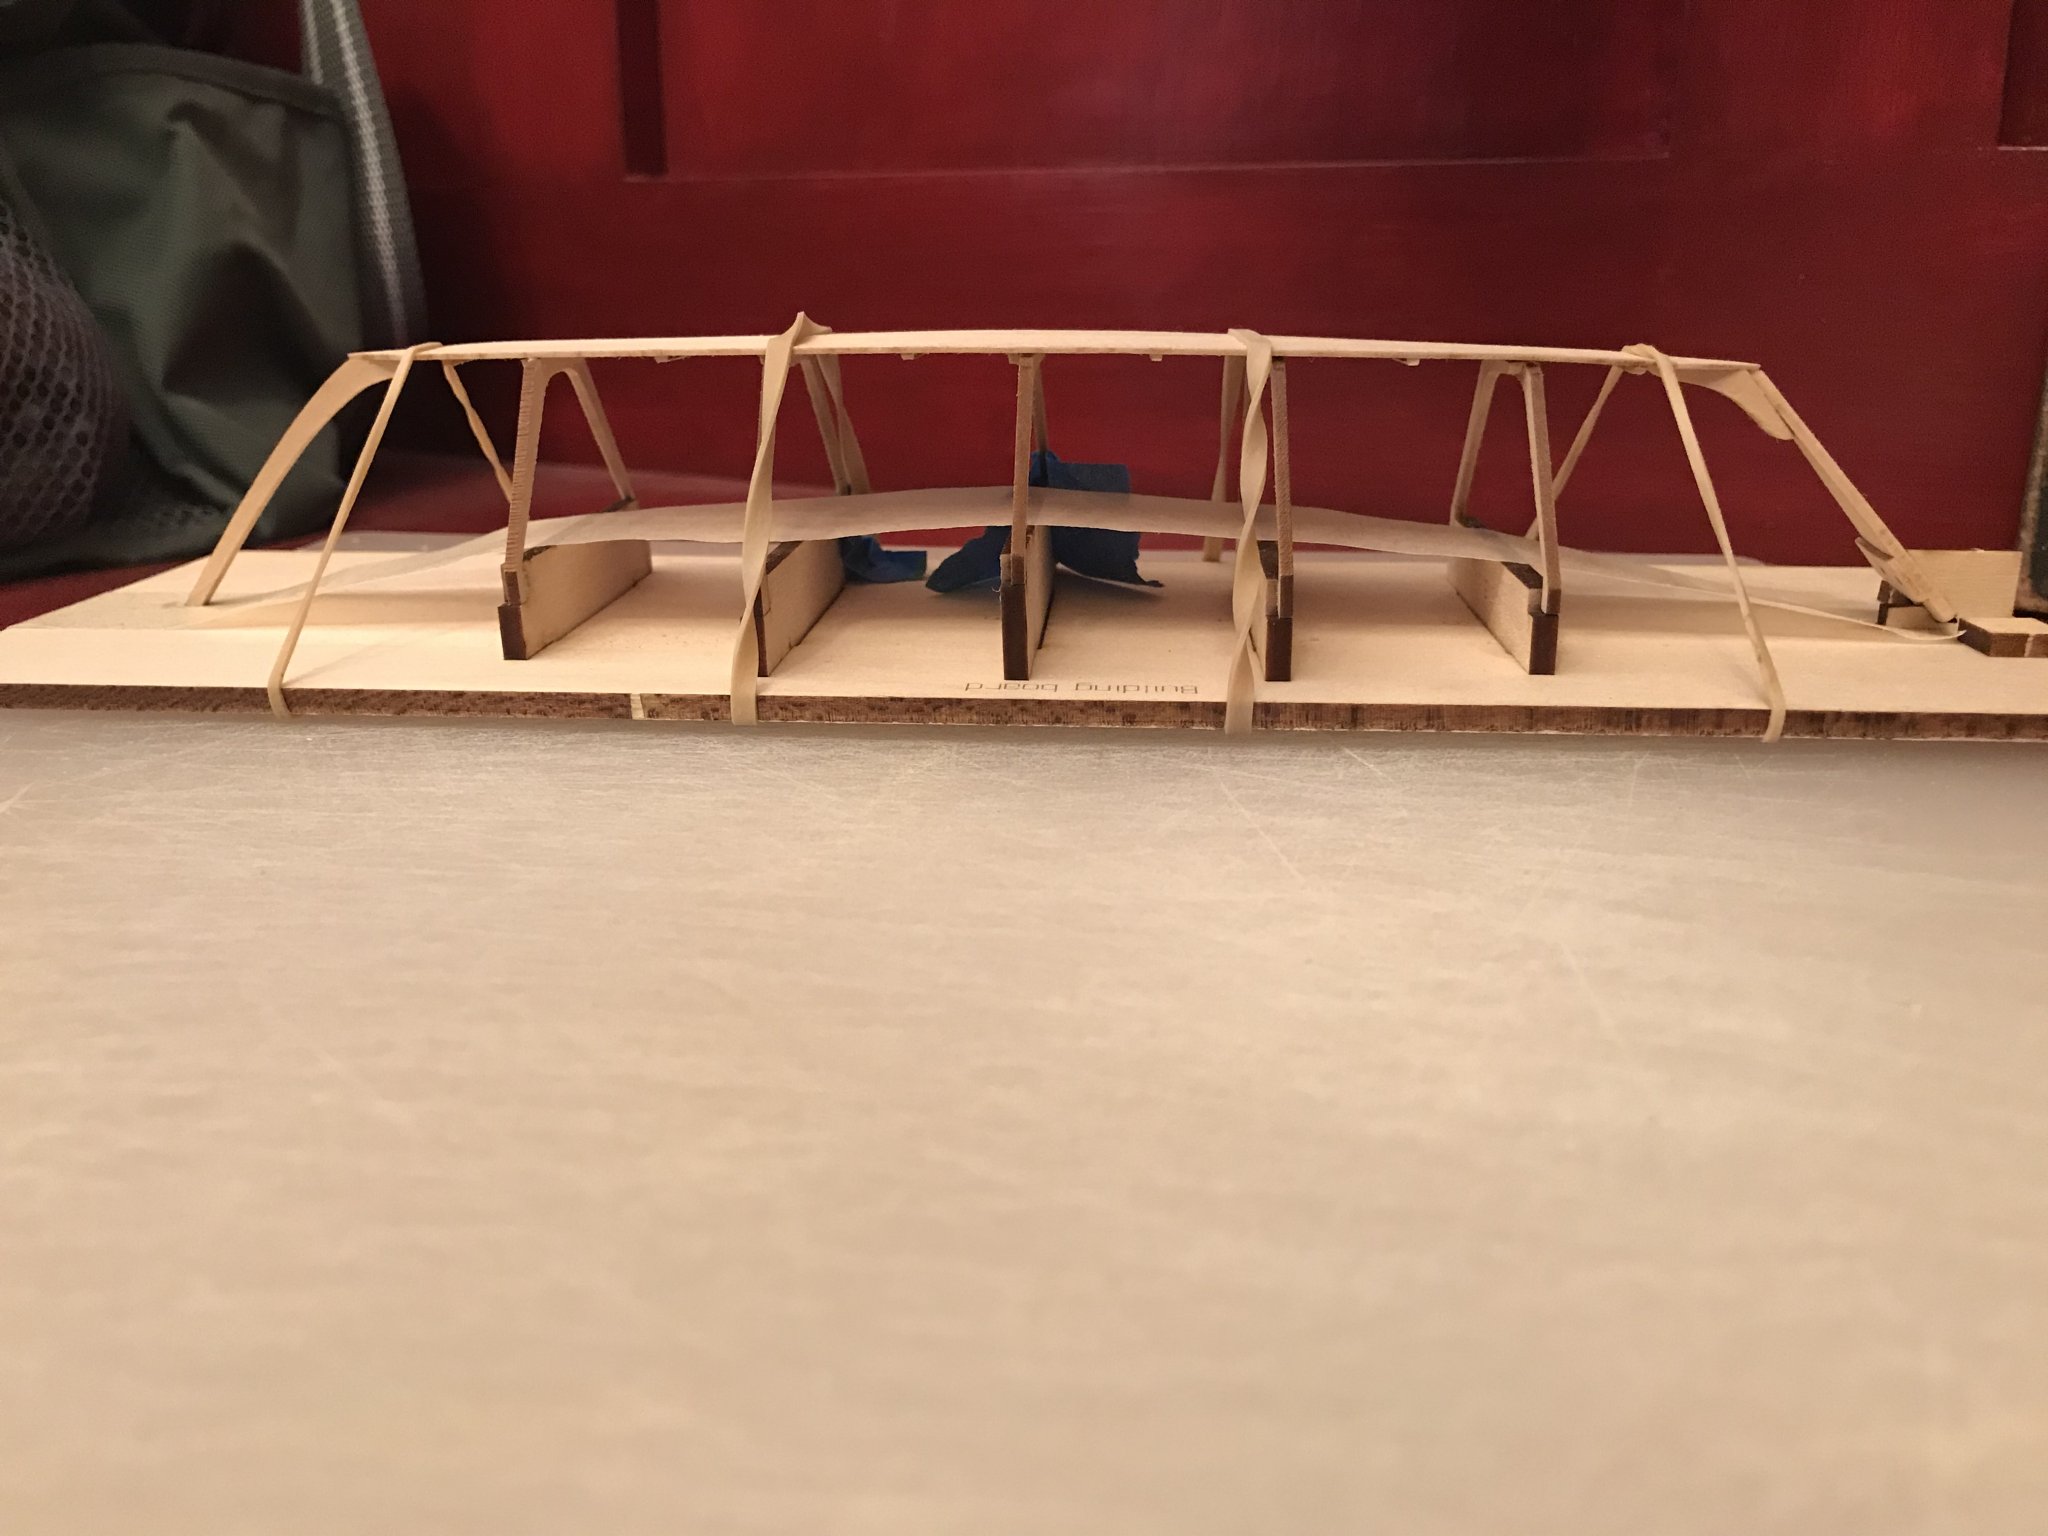
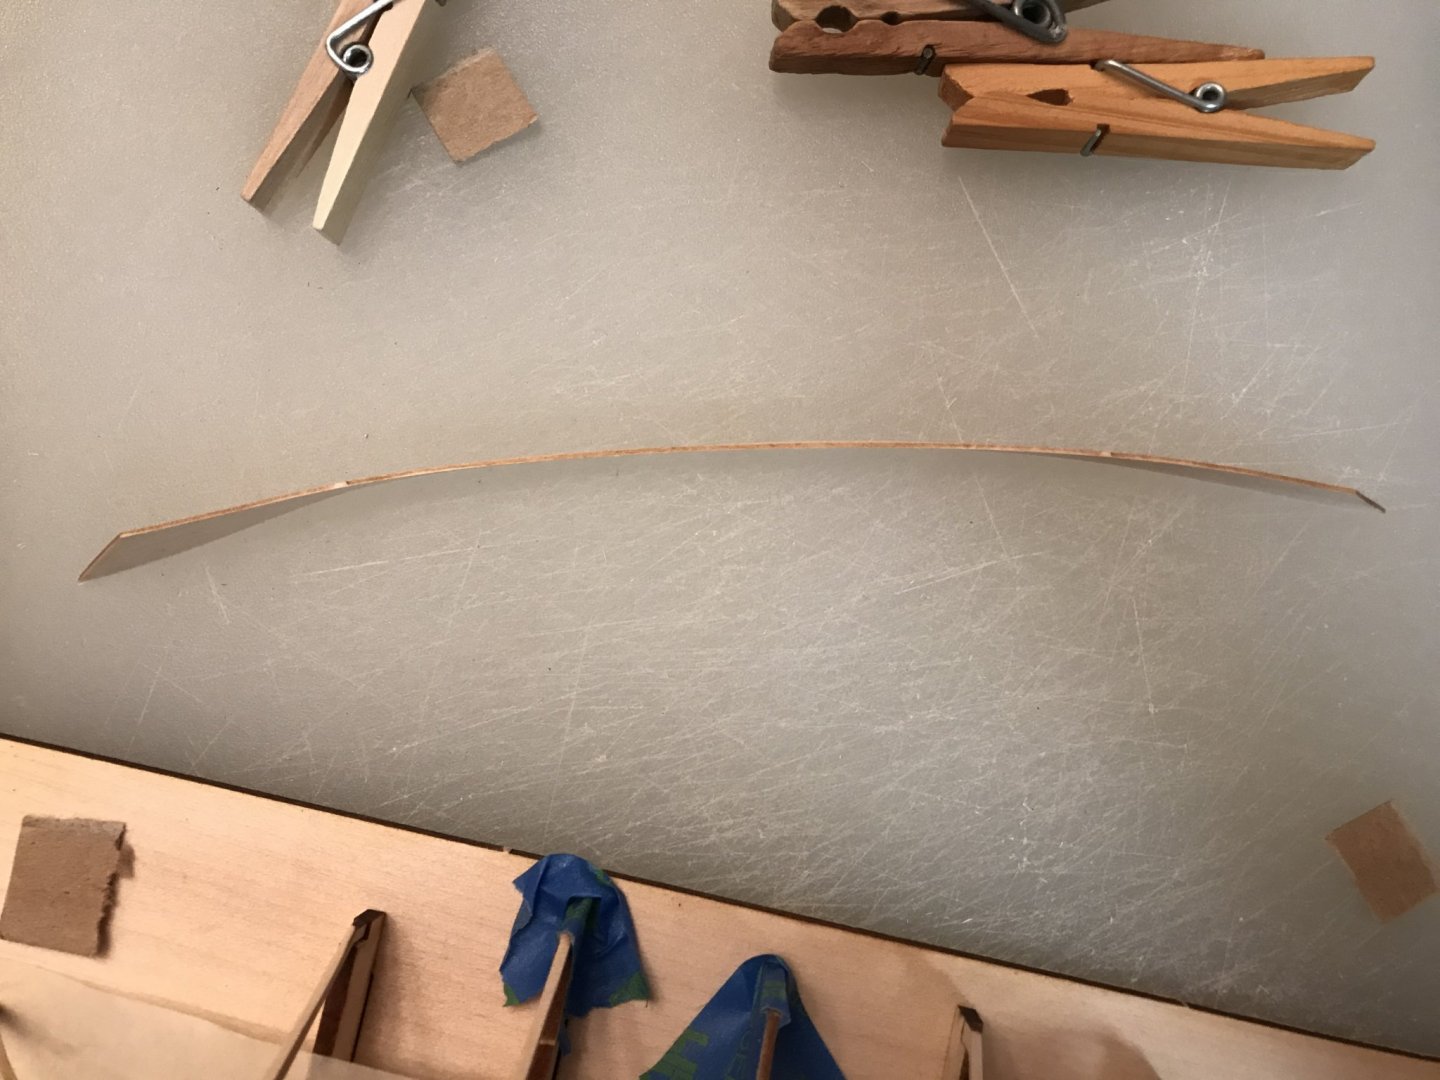
Ok sorry for the slow progress, but had a busy week and weekend. Had to touch up glue on a couple of the frames as they did not adhere properly to the bottom. I was able to use a #1 brush to sneak some glue between two frames and bottom, so everything is secure now. Finally started the garboard planks. I sanded a slight bevel along the upper edge of the plank so the next plank will hopefully sit flush atop this garboard. The kit actually had a line marked along the garboard showing how far to bevel along the edge. Which I found really helpful to get an idea of how this is supposed to look. Next I soaked the plank in warm water for 5 minutes per instructions and then shaped and clamped the garboard along the frame. While drying I decided to leave it sit in front of an old work light and figured the heat may help it keep shape: After letting everything dry the board seemed to have shaped well: Lastly, I sanded the interior of the board lightly, just to knock down the grain, applied glue to the frames and clamped the board in place to set: I’m taking my time with this to learn as I go and hopefully things will end up well with my first build.


- 30 replies
-
- 13
-
-
- grand banks dory
- model shipways
- (and 1 more)
-
Looks awesome! Anyone use boiled linseed oil? I’ve used it with woodworking. I do like using poly though.
- 113 replies
-
- 1
-
-
- small
- Peterboro Canoe
- (and 2 more)
-
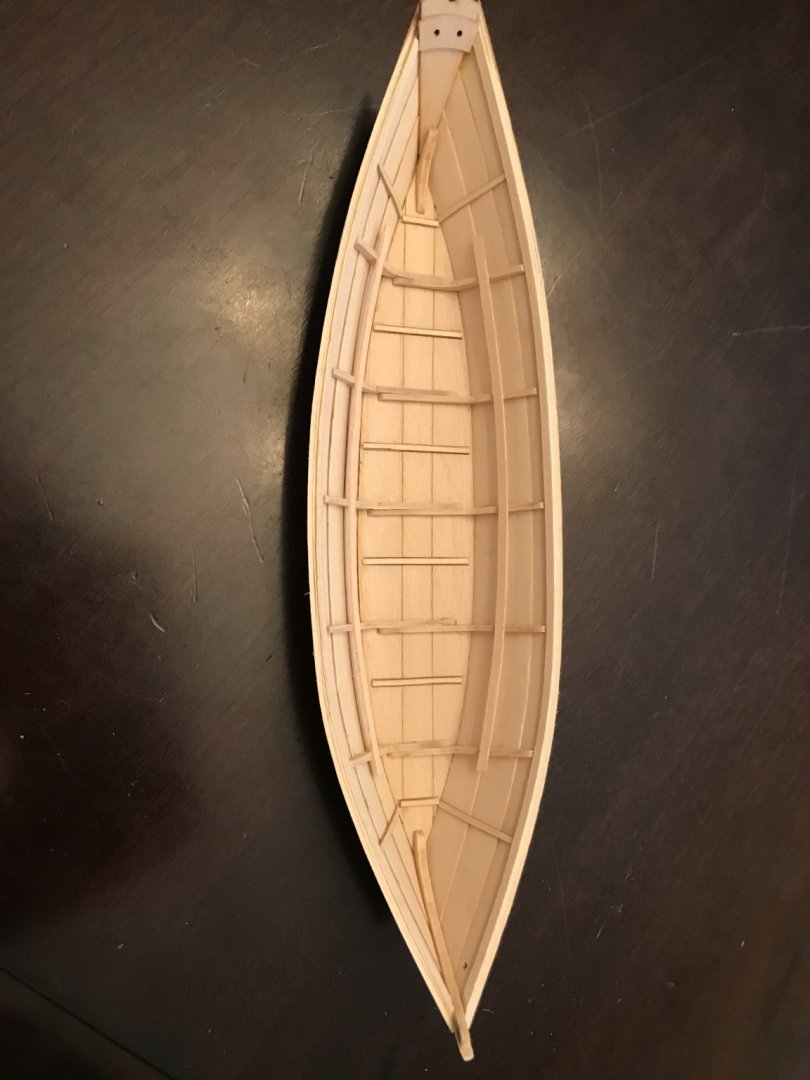
Looks like I finally got the bevel on the frames just right to maintain the slight curve in the hull. Test fit, tweaked, and bottom glued onto the frames. Planking the sides up next....

- 30 replies
-
- 13
-
-
- grand banks dory
- model shipways
- (and 1 more)
-
Beautiful ship so far. Nice work.
-
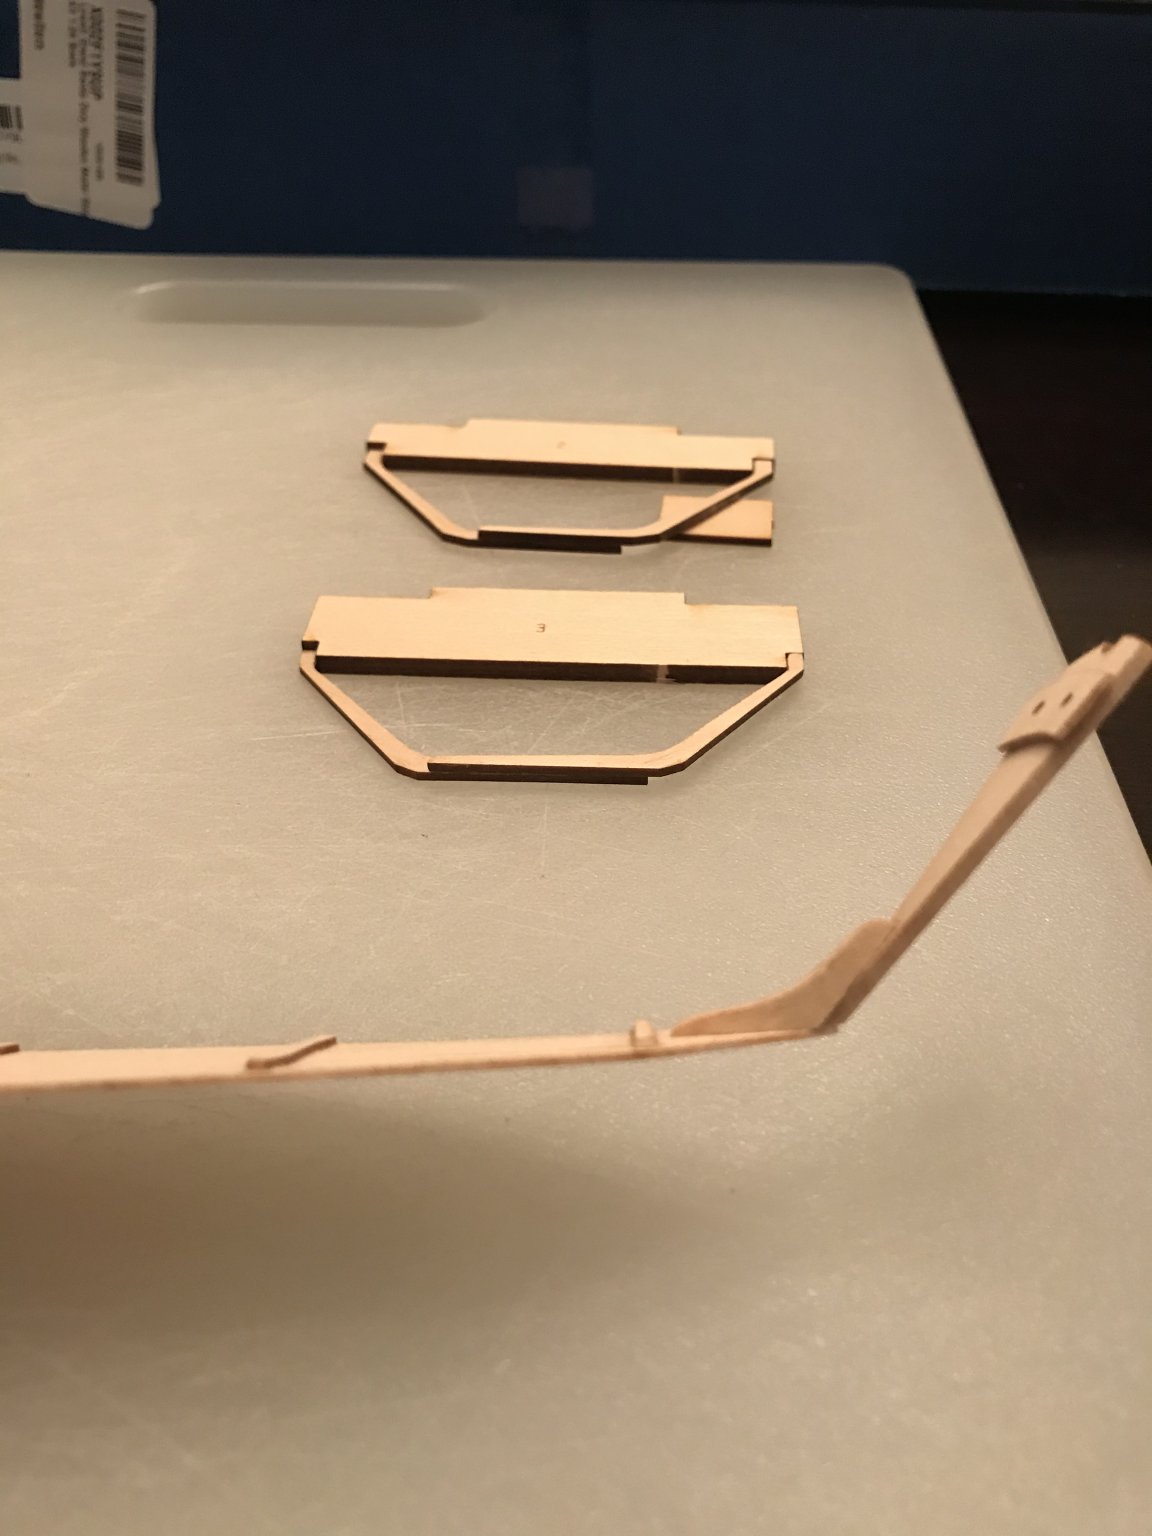
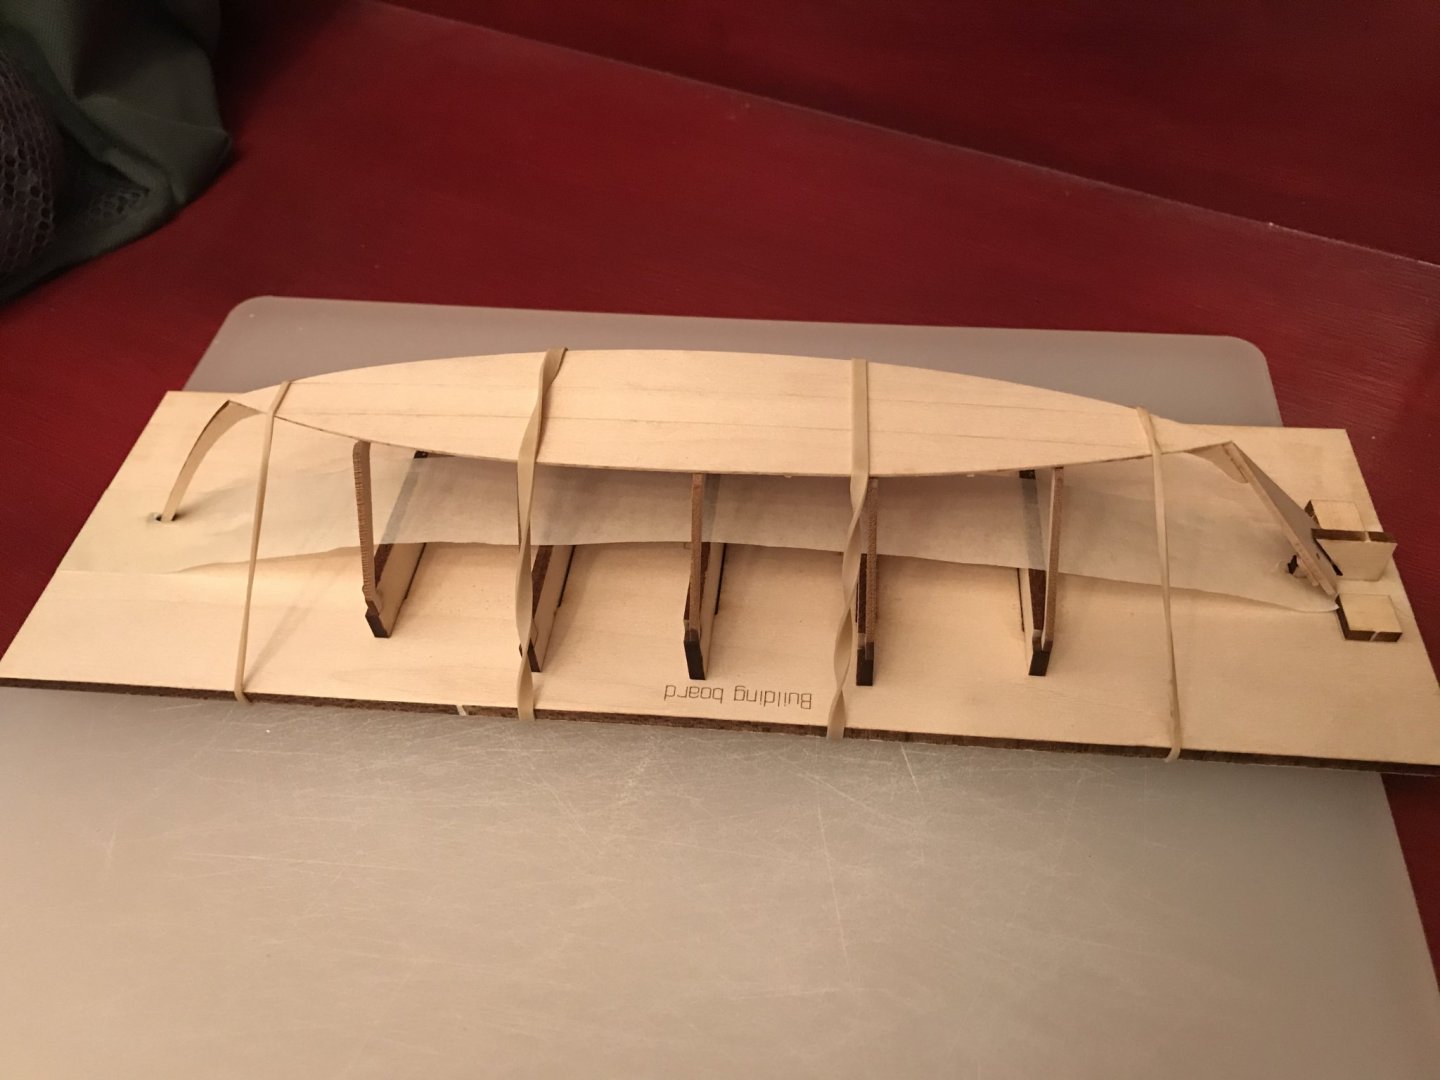
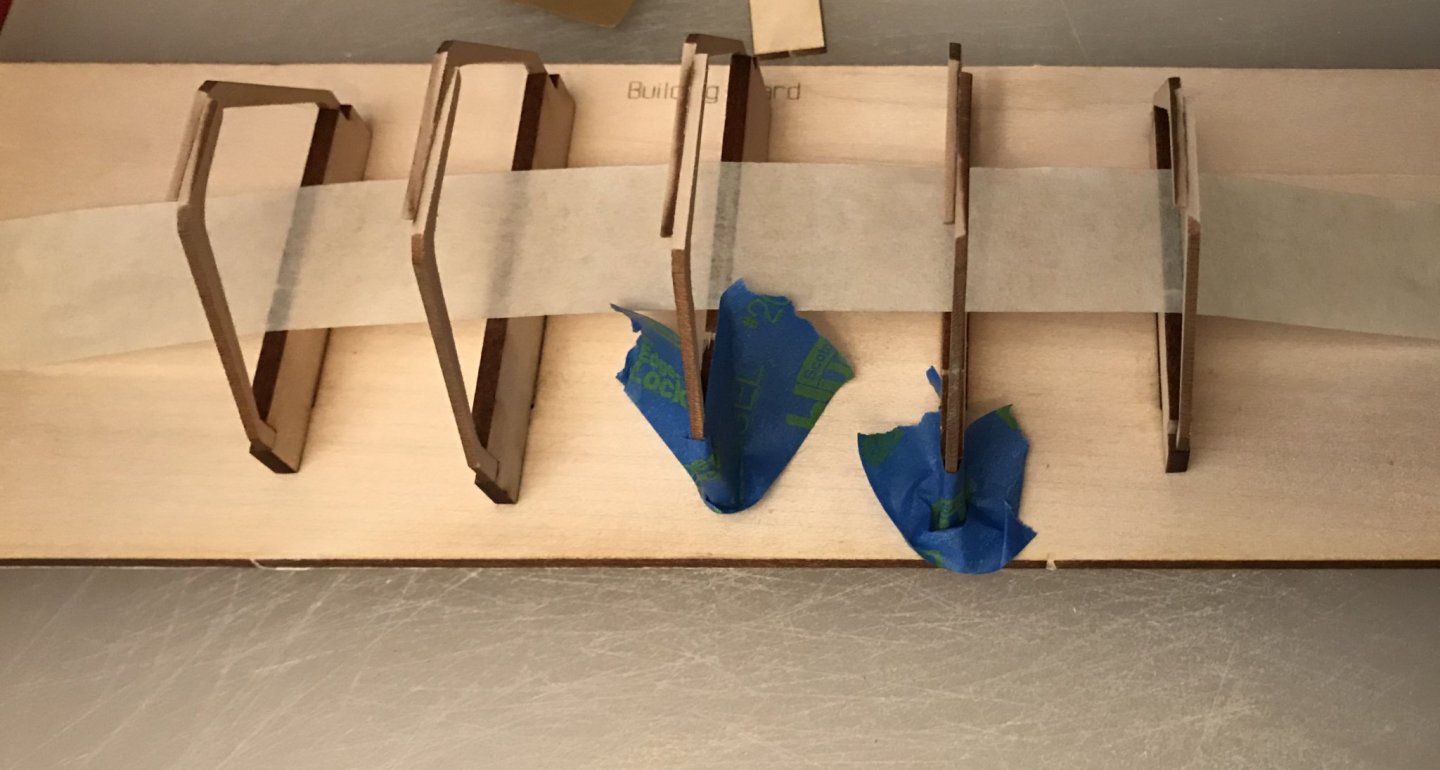
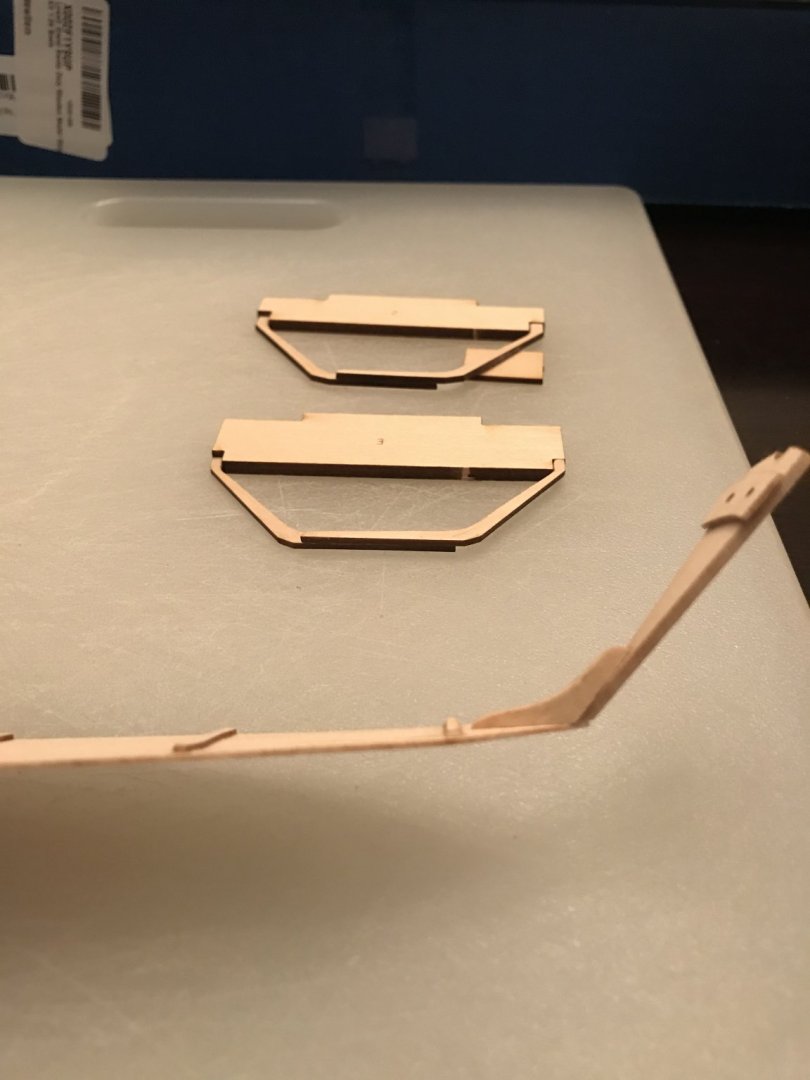
Ok the bottom is done for now, so moving on to the framing. There are five frames to assemble for the inside ribs of the boat. The manual has these picture layouts for each frame assembly which makes it pretty easy to line everything up properly. They also provide the build board inserts (larger top piece) to make sure the two frame pieces are space properly. Also provided is a small spacer (small square piece under right frame piece) to set the height to overlap the other frame side. I thought these tools were very helpful. Below are all five frames inserted into the build board. Looks like everything else will be assembled upside down for now. I did have trouble getting the frames to sit tight enough into the build board to sand them three at a time per instructions. I wet the wood around the inserts, but they were still a bit loose, so I used some tape to help hold them. Seemed to work well. There is supposed to be a slight bevel towards the bow and stern to maintain the curved bottom. I’m hoping this will be correct and may have to tweak once I add the bottom.

- 30 replies
-
- 8
-
-
- grand banks dory
- model shipways
- (and 1 more)
-
Yeah I was excited to get into ship building, but wanted to start with something small and not too expensive, so when I mess up it won’t be a huge loss. This boat seems like the perfect starter kit . Hopefully it’ll come out well and motivate me to progress from here.
- 30 replies
-
- 2
-
-
- grand banks dory
- model shipways
- (and 1 more)
-
Hello from South Carolina
Cajun_Pirogue replied to Gremreeper1967's topic in New member Introductions
I was actually looking at that kit for my first build, but then saw the dory and decided to start with that. I might definitely think of doing this one next. Nice work. -
Wow those are a lot of ribs and planks on that little canoe. Looks really good though. Makes me excited to try something like this in the future. Nice work!
- 113 replies
-
- 2
-
-
- small
- Peterboro Canoe
- (and 2 more)
-
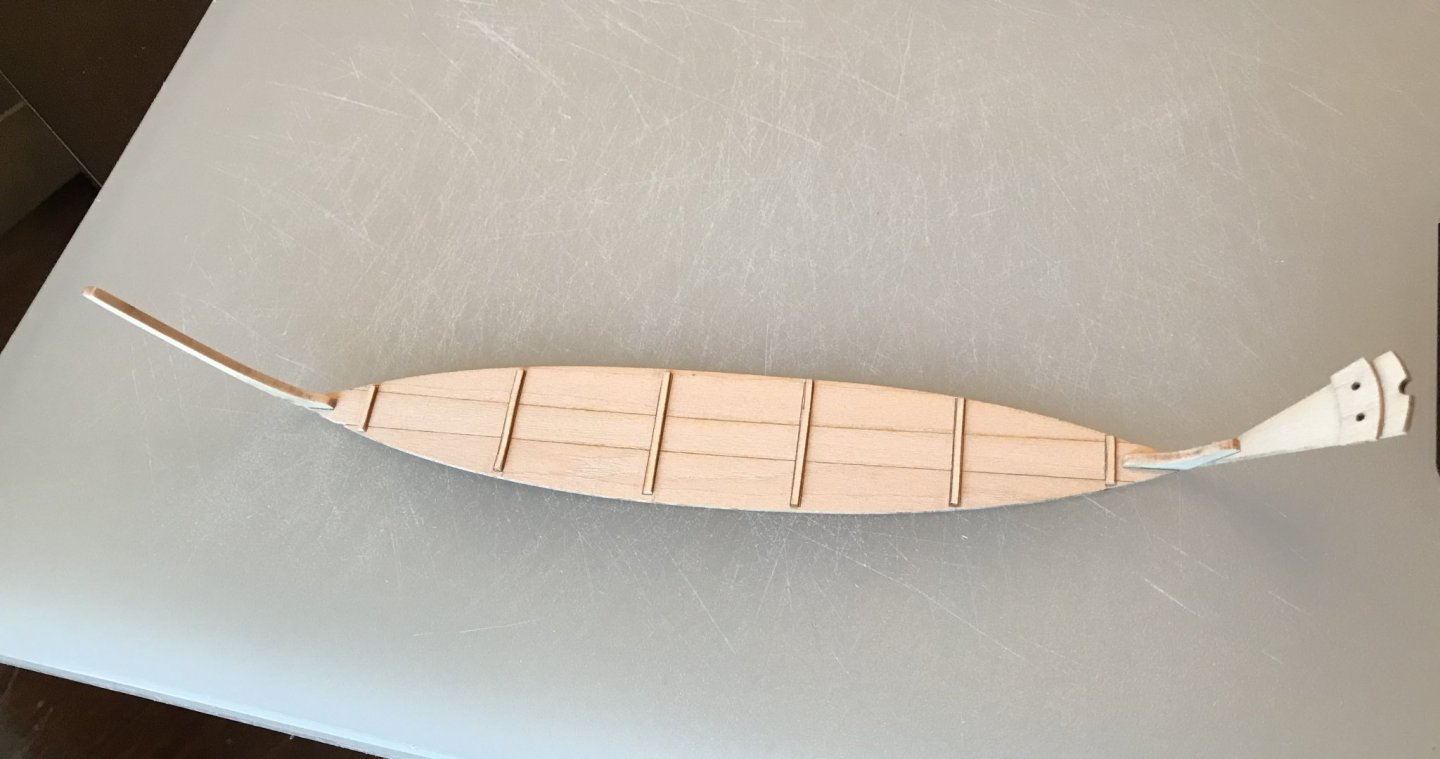
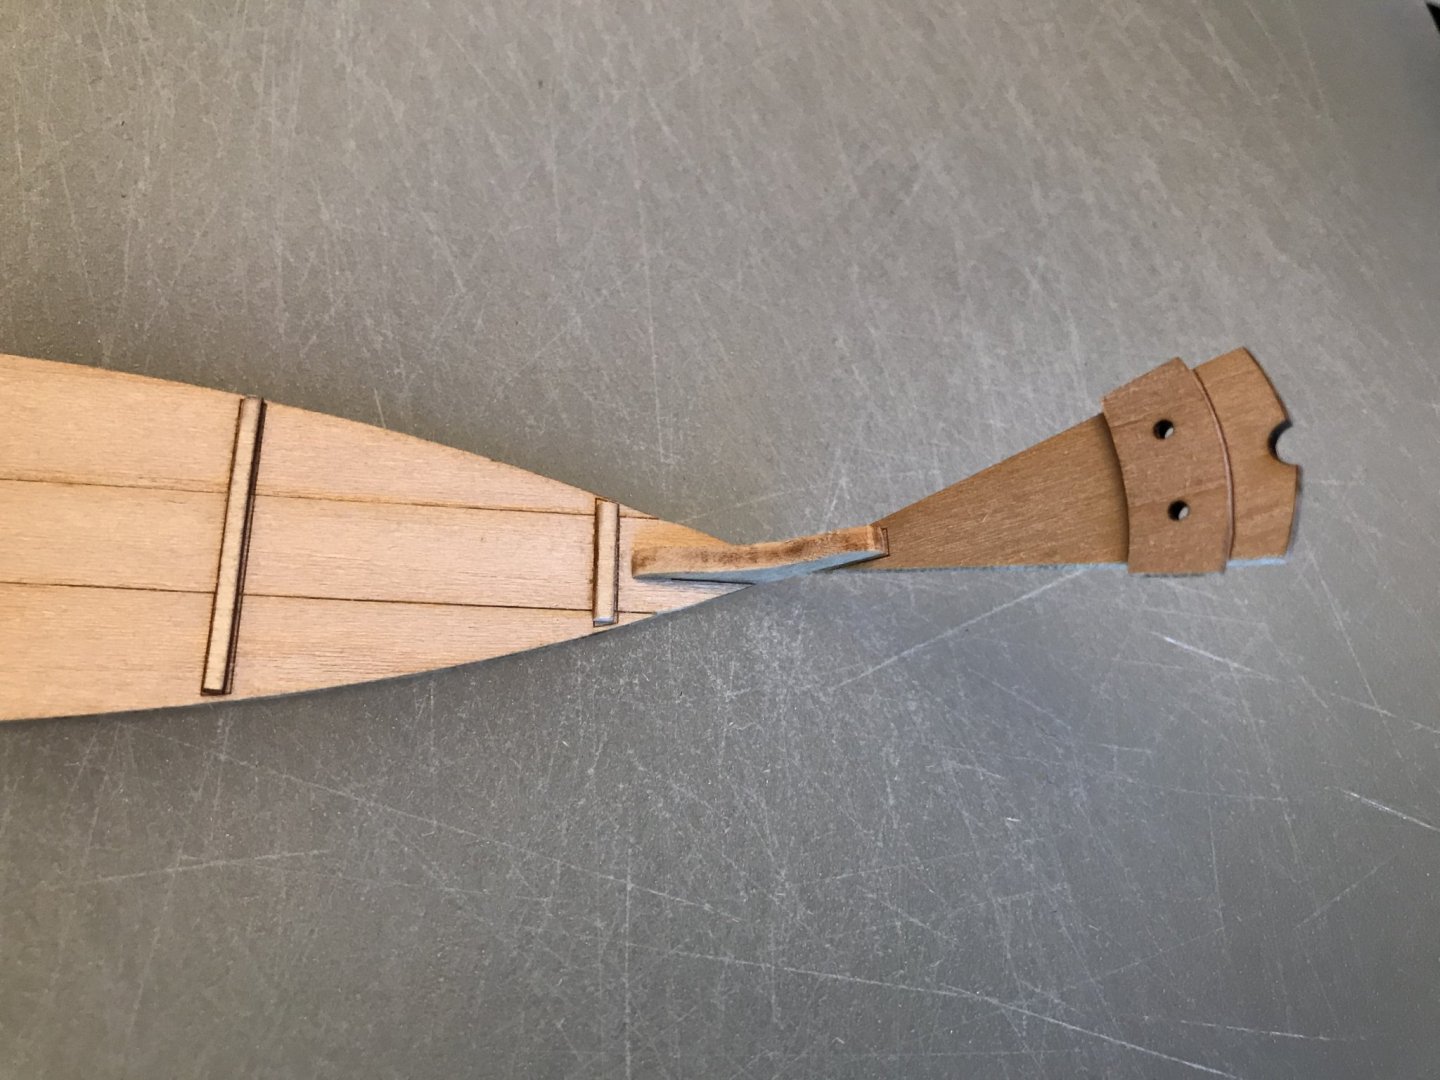
Here is the bottom with bracing, transom and stem attached. I curved the bottom per directions by wetting underside of bottom and using two scrap pieces under bow and stern with a weight in the middle. Had to do this a 2nd time because bottom lost its curve maybe from removing too soon? I will probably leave with weight until ready for frames. Transom close-up: Transom side shot with first couple frames in background:
- 30 replies
-
- 8
-
-
- grand banks dory
- model shipways
- (and 1 more)
-
Yeah I figured it might be a new kit because after looking for beginner kits for a couple days, that one suddenly popped up. Plus the manual talks about the next ship in the series(Norwegian Sailing Pram) which doesn’t seem to be out yet. I’m taking my time with this and trying to learn the techniques and about the history of these boats. Please feel free to offer any tips or advice as I go along. Definitely appreciate any input from the years of experience here.
- 30 replies
-
- 4
-
-
- grand banks dory
- model shipways
- (and 1 more)