
Geam
-
Posts
67 -
Joined
-
Last visited
2 Followers
.thumb.jpeg.ee4d205046163acd786c8b7e92026d43.jpeg)
Recent Profile Visitors


-
 Scottish Guy reacted to a post in a topic:
Oseberg by Arjan - FINISHED - Billing Boats - 1/25 - Longship rc conversion
Scottish Guy reacted to a post in a topic:
Oseberg by Arjan - FINISHED - Billing Boats - 1/25 - Longship rc conversion
-
Sundt reacted to a post in a topic:
Colin Archer no.414 By Sundt - Billing Boats - RADIO - polystyrene hull
-
Sundt reacted to a post in a topic:
Colin Archer no.414 By Sundt - Billing Boats - RADIO - polystyrene hull
-
Paul Le Wol reacted to a status update:
Took some "Colin Archer-by-night" photos on Wednesday evening, and lauched her yester
-
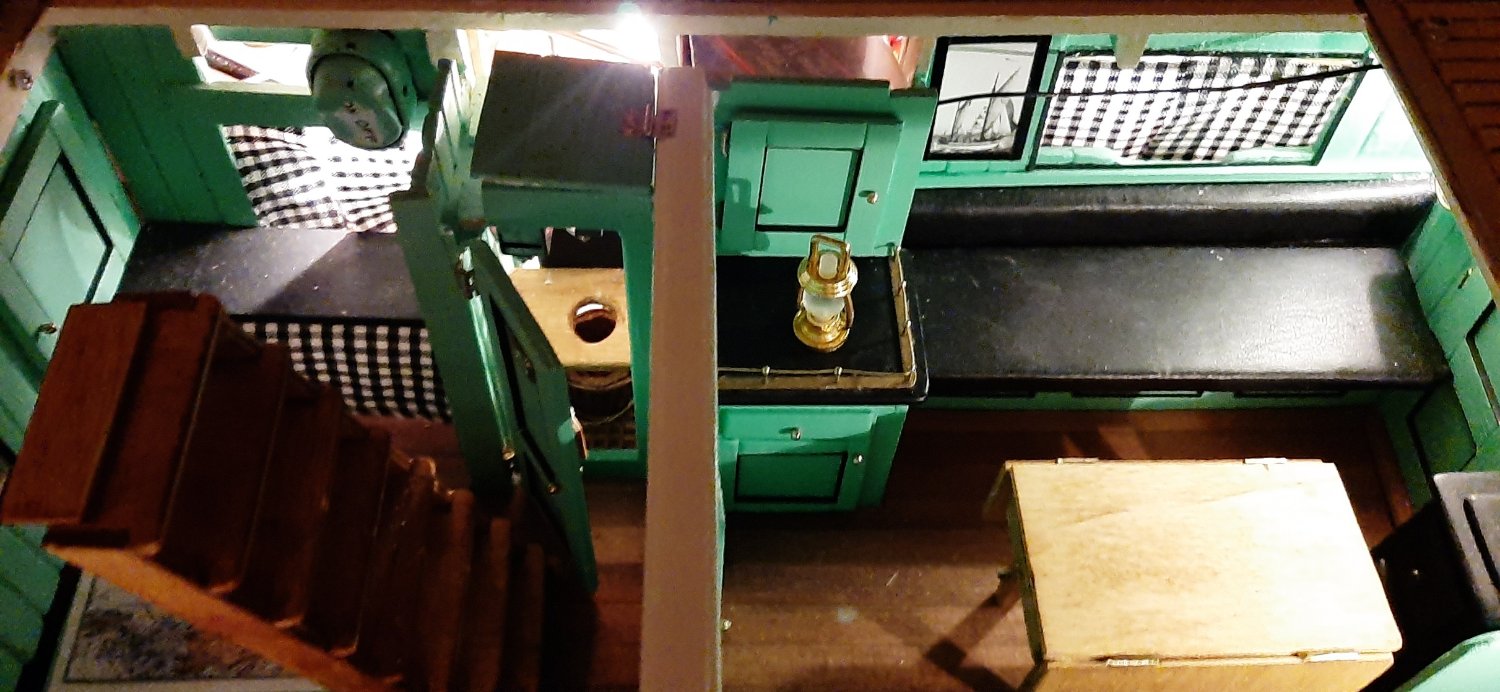
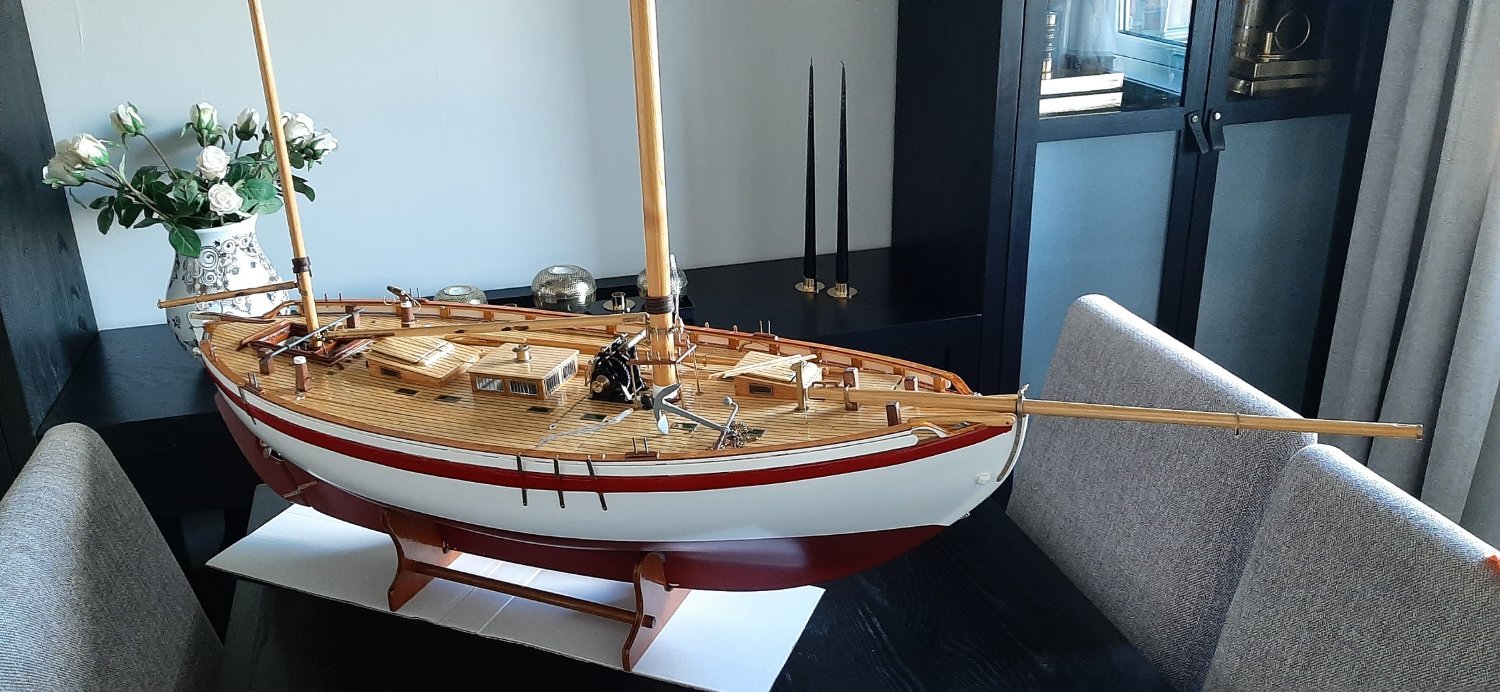
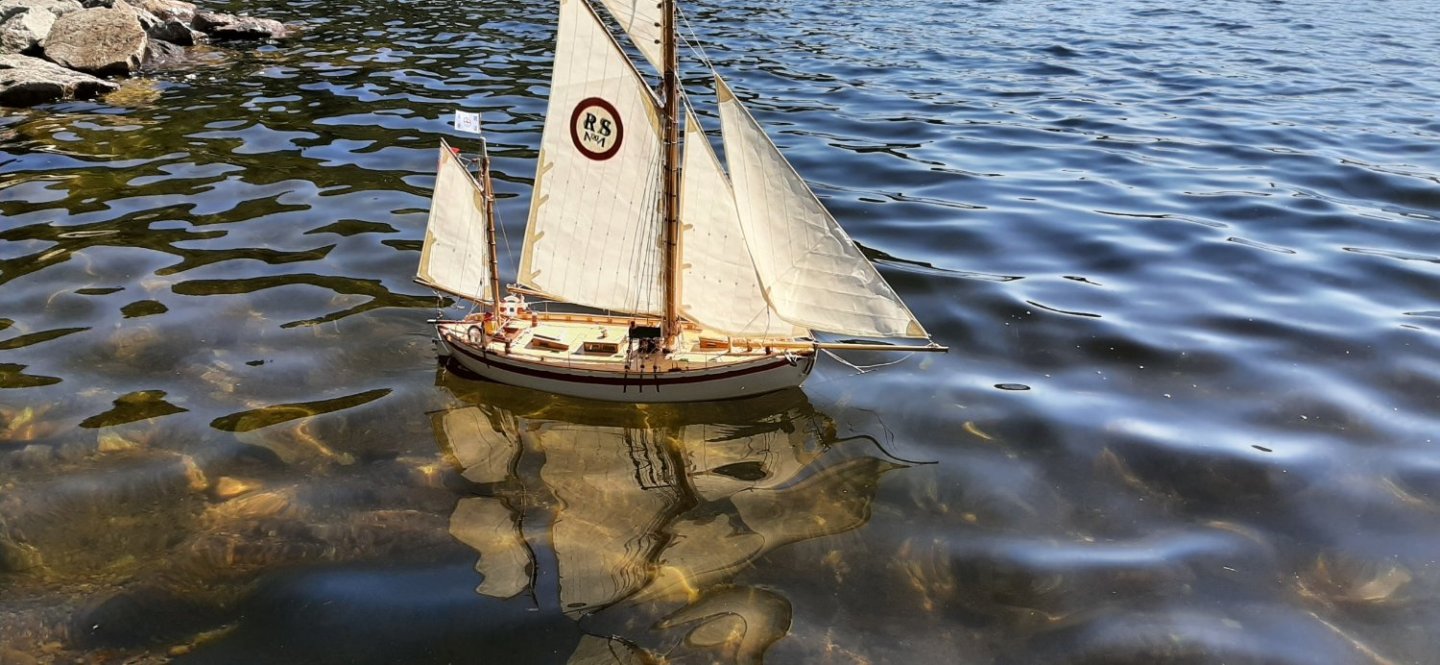
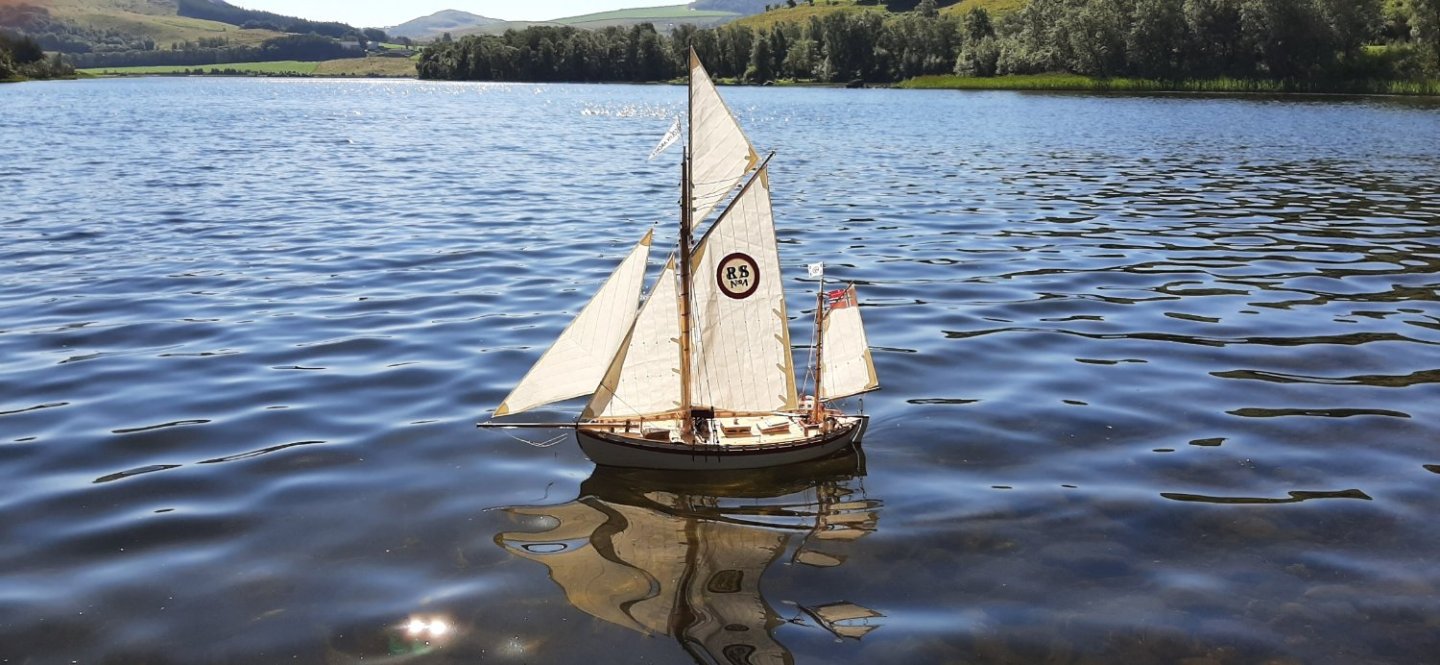
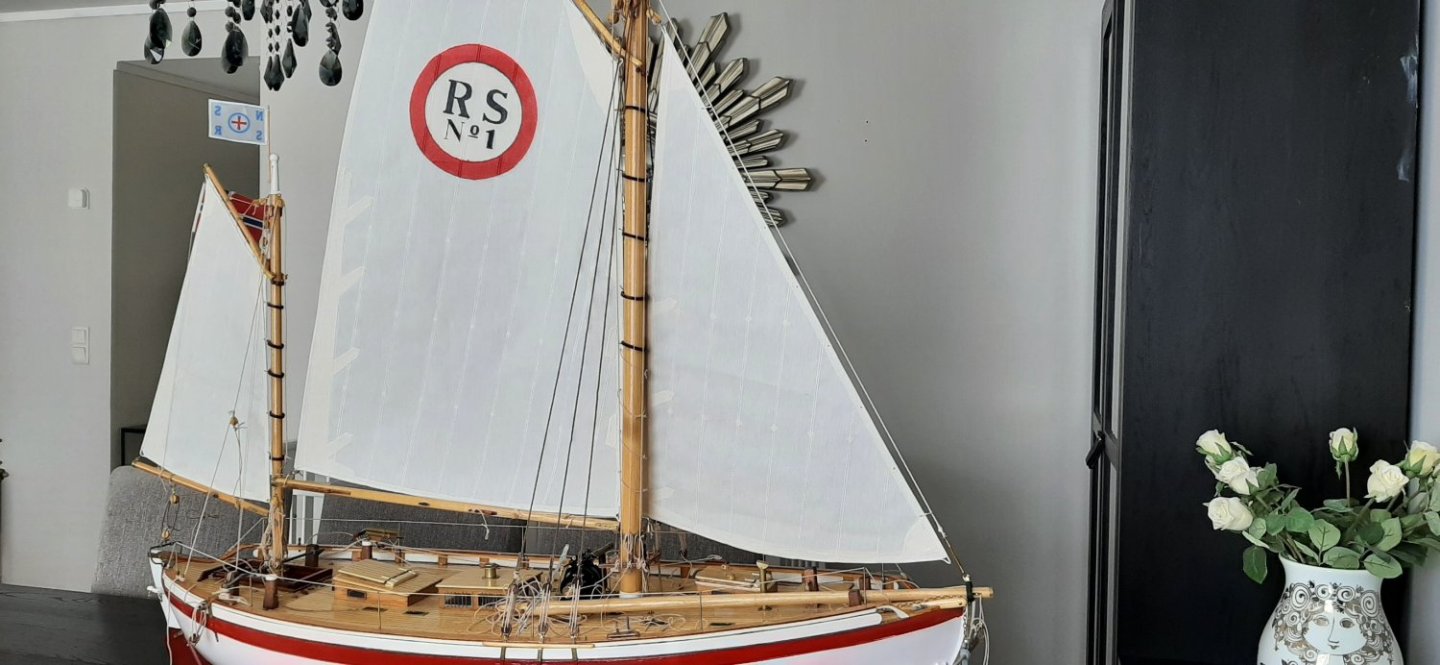
Took some "Colin Archer-by-night" photos on Wednesday evening, and lauched her yesterday, Thursday. Sailed very well indeed. I was actually very surprised. The interior lighting and nav-lights look more impressive in real life than in the photos.
There are one or two small items to be added before she's 100% finished. The above mentioned 1mm dia. bolts are to be fitted to the dead-eyes. New name-transfers are in the post from Billing Boats, Denmark. The original ones are so old, they are yellow around the edges and they also self-distruct when dipped in water!


-
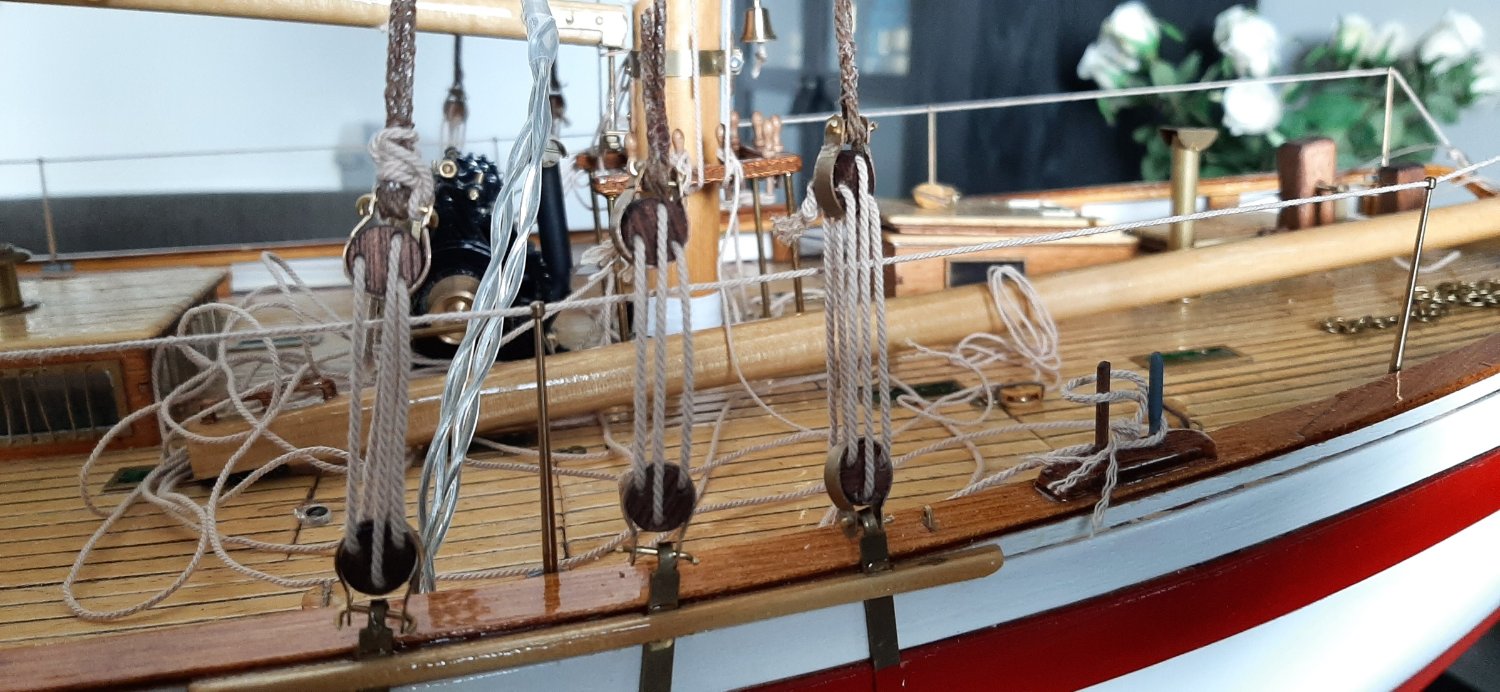
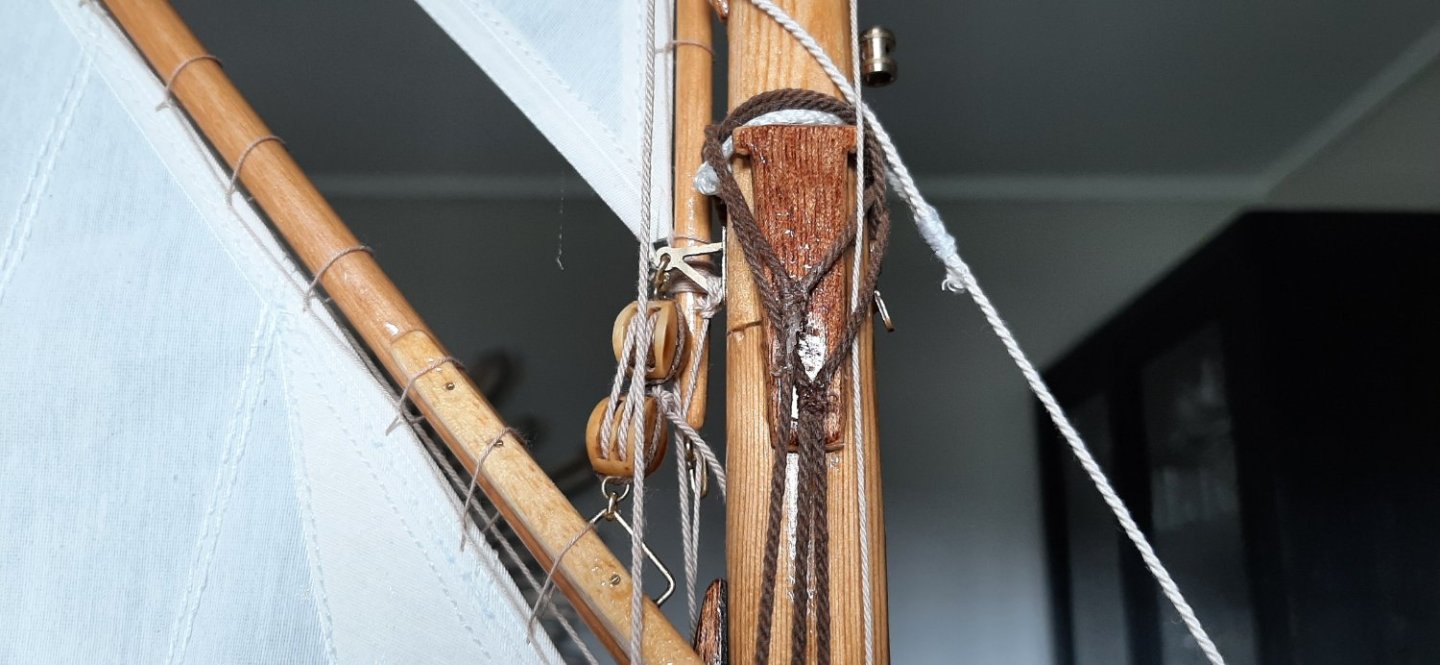
I have sourced some 1mm brass bolts and nuts to replace the 1mm brass rod which (almost) joins the lugs of the dead-eye straps. I know this looks bad, but the wire was all I had at the time. The brass bolts should make it look better and provide a better engineering solution.
George
-
A bit delayed as usual due to non-hobby related matters but have hoisted yet another sail and threaded a few dead-eyes for the main mast shrouds. The flying headsail and mizzen shrouds are on the list for this weekend as are 'ratlines' on the starboard shrouds.
Nav-light boxes have to be lashed to the shrouds too.
I wish a good weekend to all.
George

-
Paul Le Wol reacted to a status update:
Many detail items completed recently, not quite certain which photos are of interest
-
Paul Le Wol reacted to a status update:
A boatspeed indicator is fitted to the aft companionway -as on the present fullsize v
-
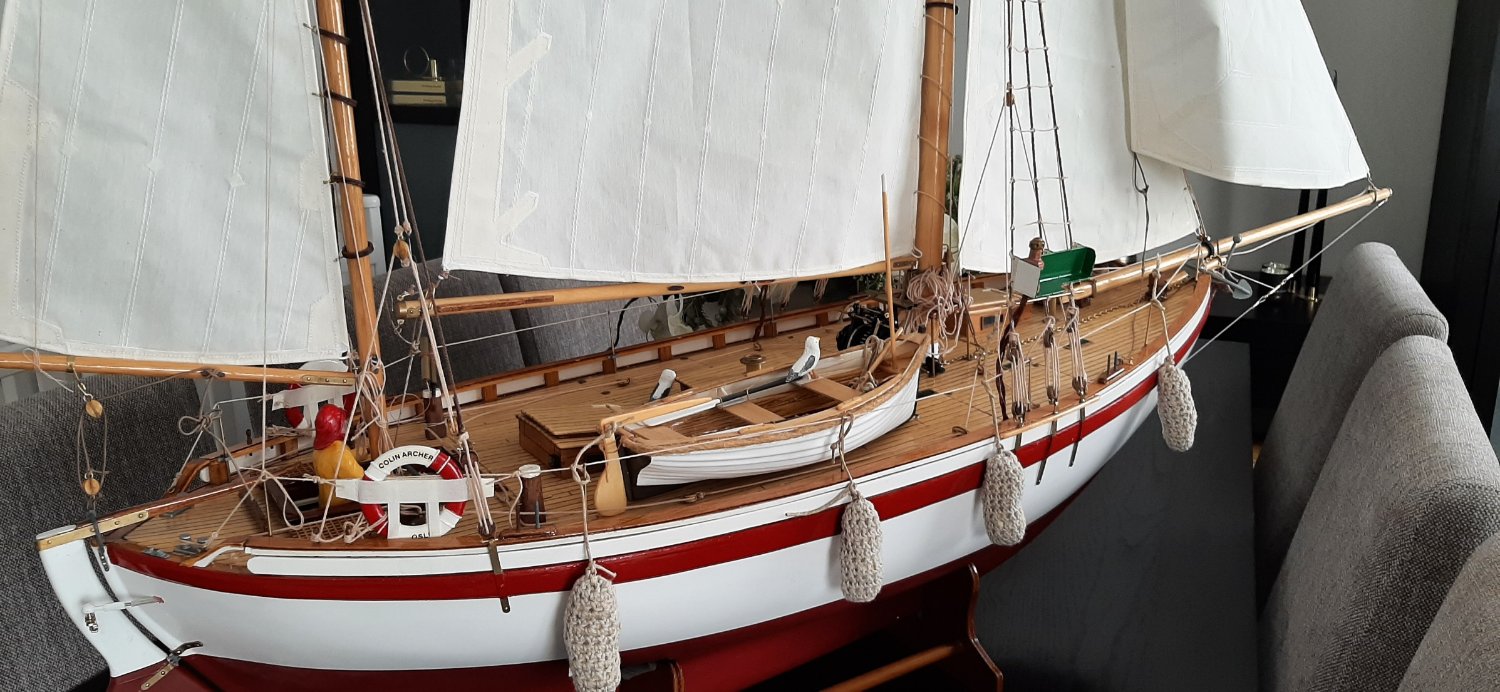
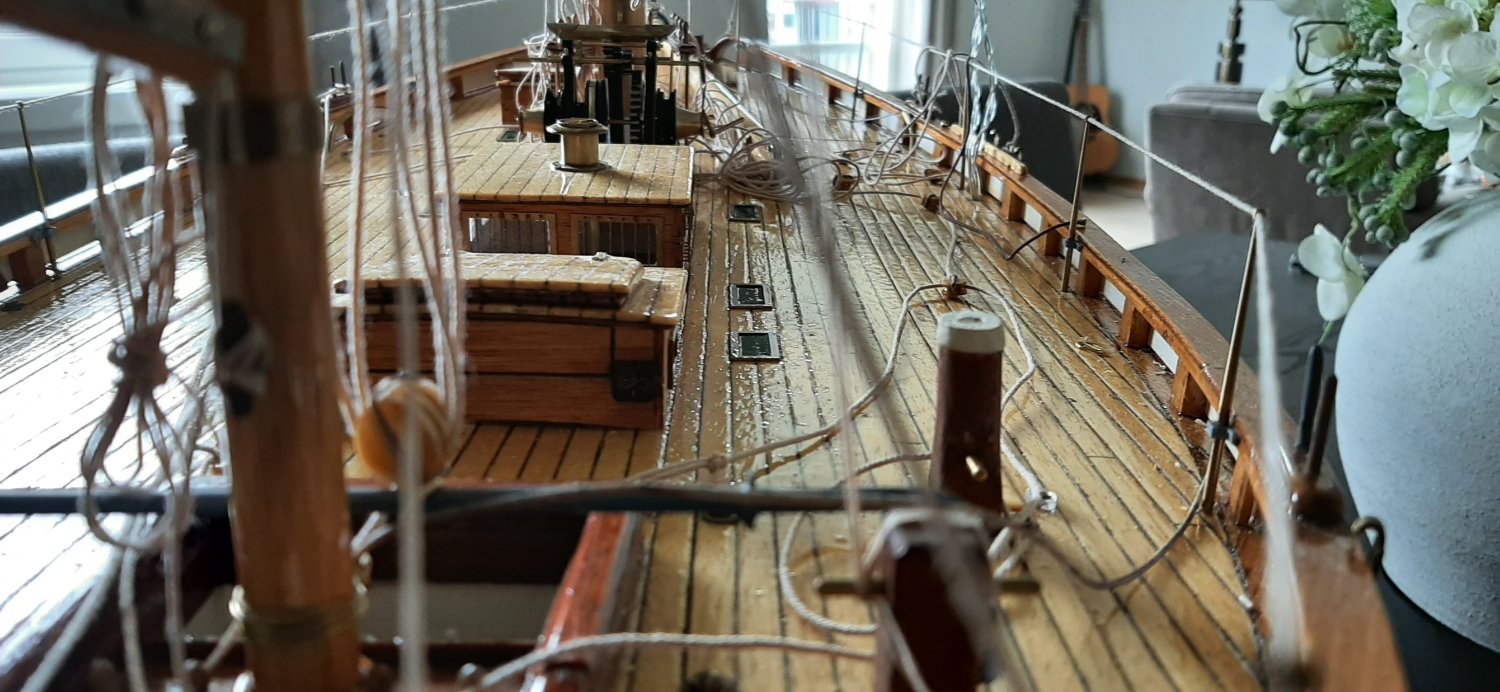
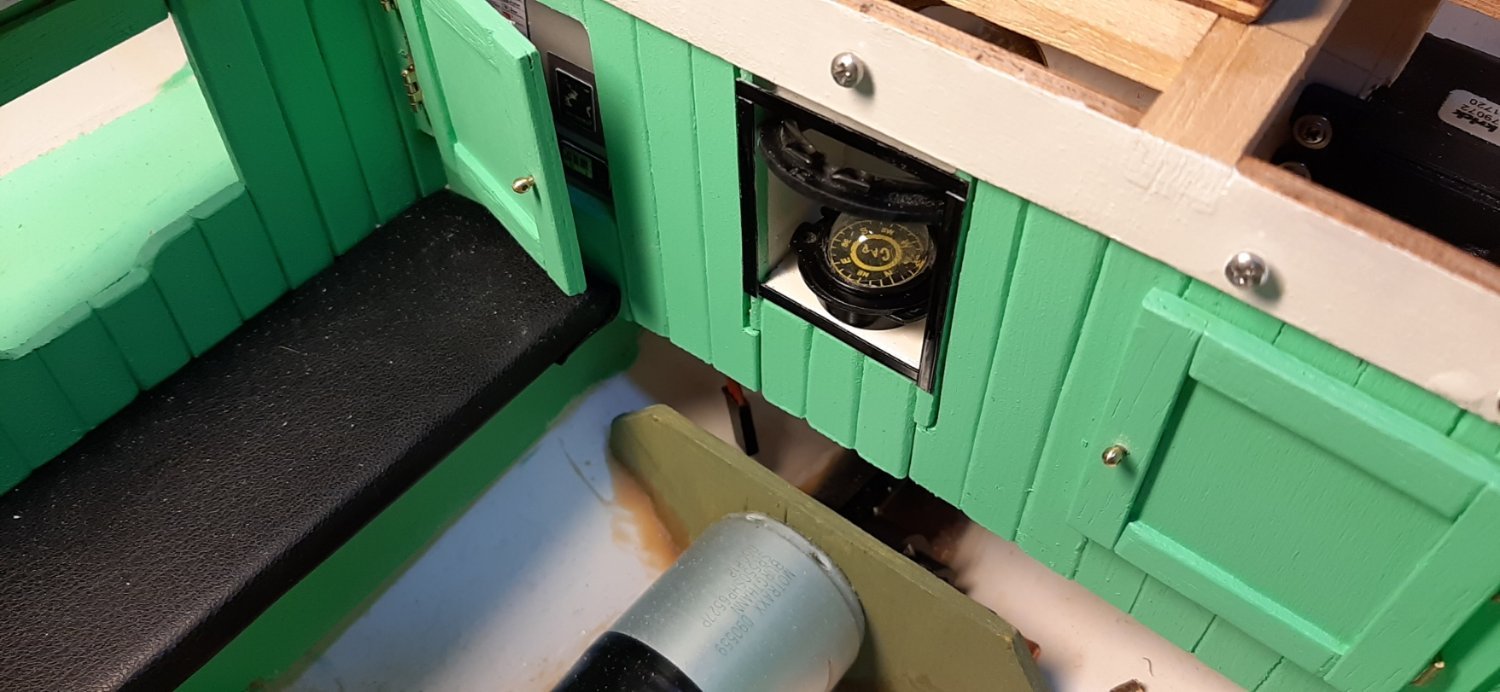
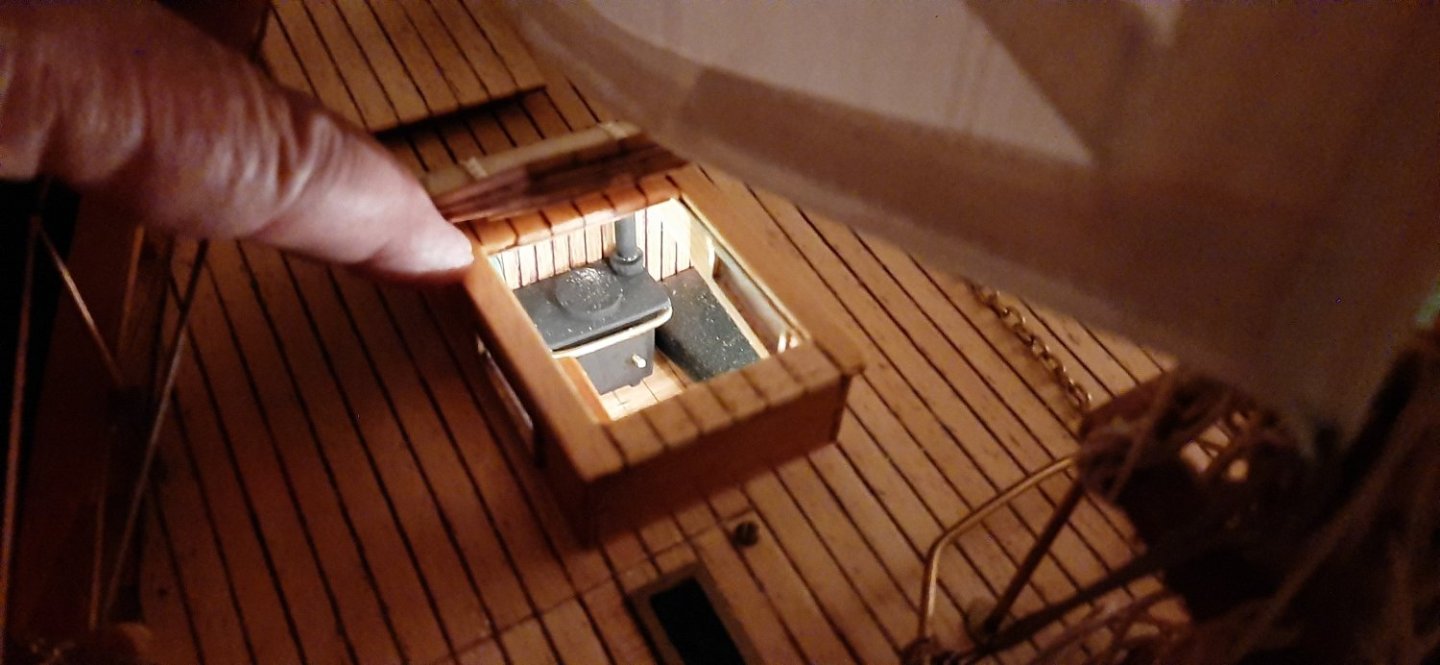
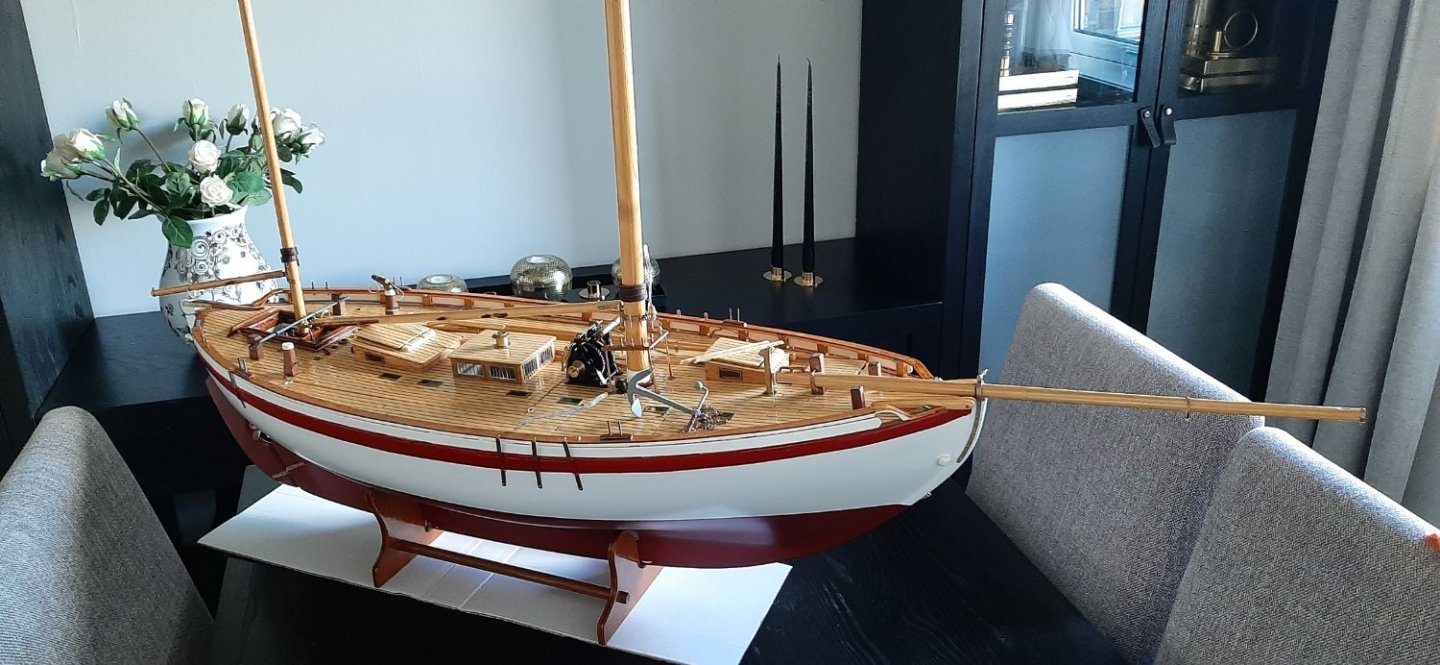
A boatspeed indicator is fitted to the aft companionway -as on the present fullsize version.
View from the helm shows the deck becoming cluttered with sheets and halyard ends. It will take a while to get all the 'ropework' properly stowed.
This weekend should see all the sails attached and hoisted. Then the standing rigging/shrouds etc. will be on the list for next week.
I'm hoping for a launch day sometime in August.
George

-
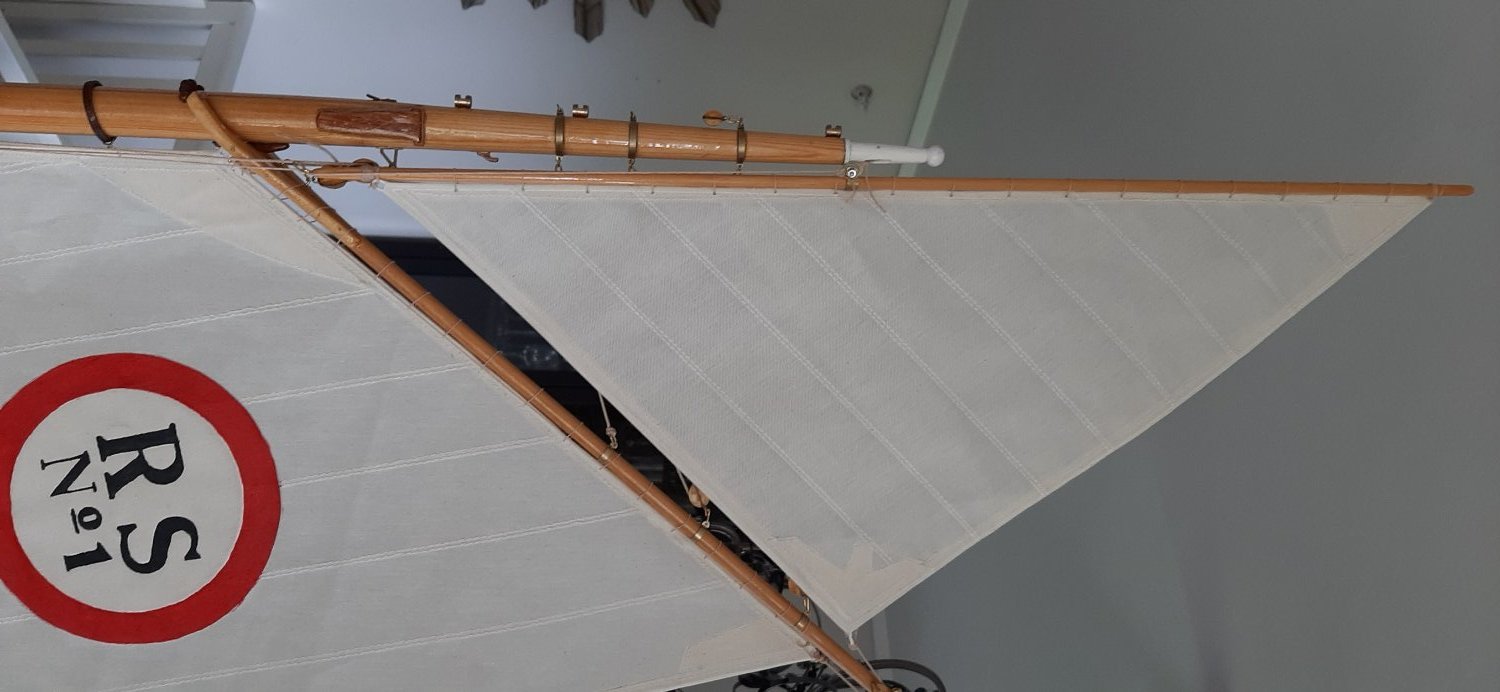
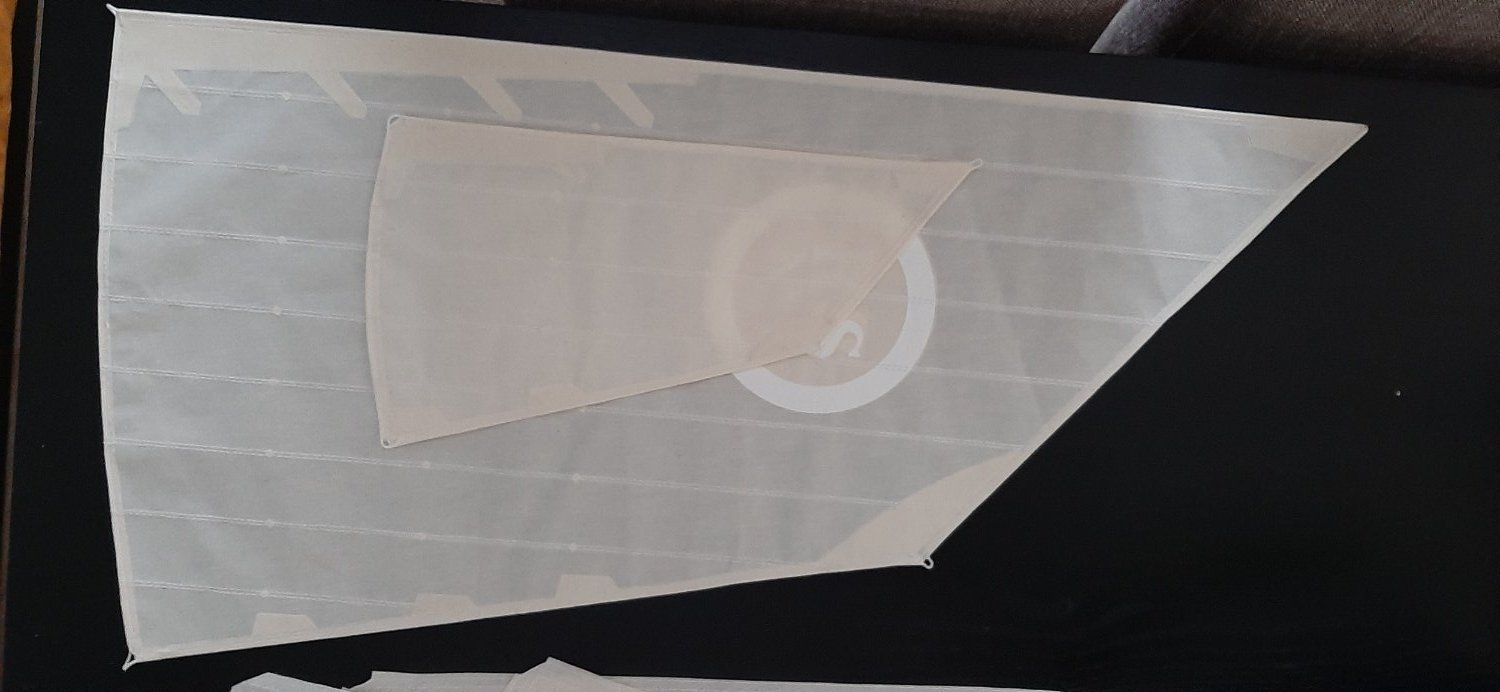
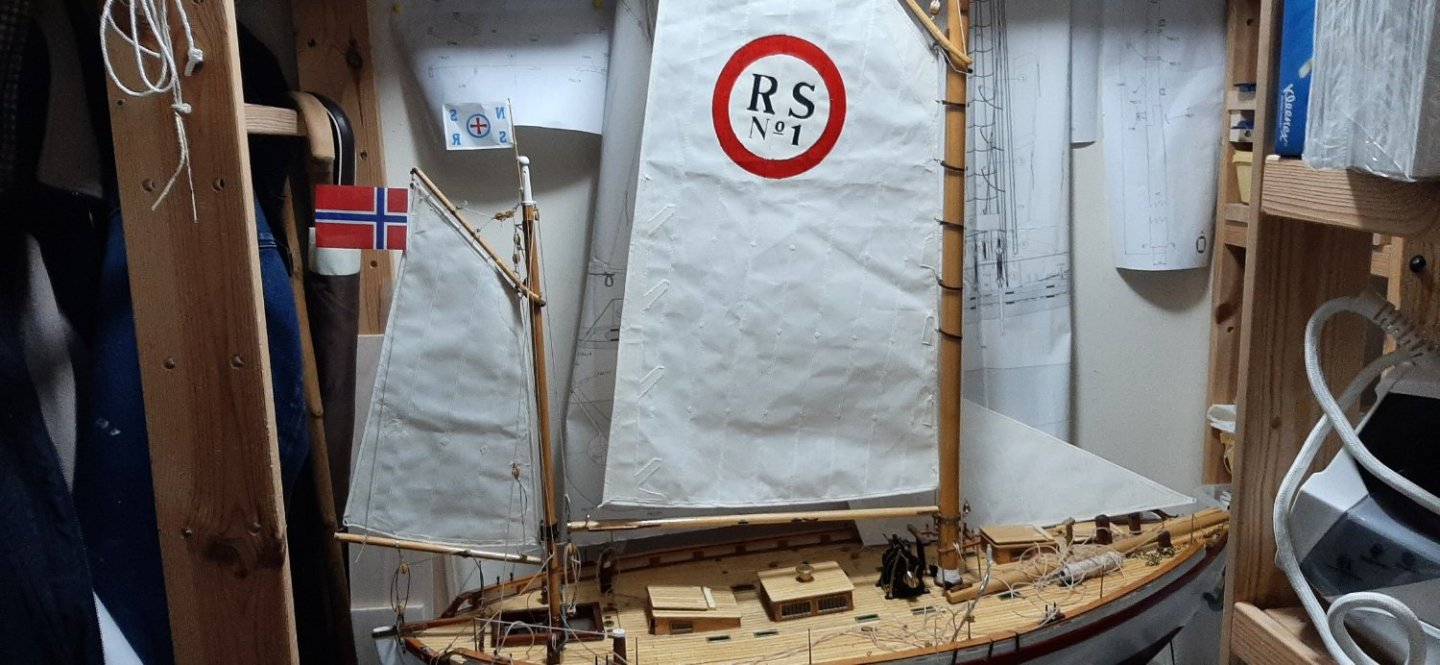
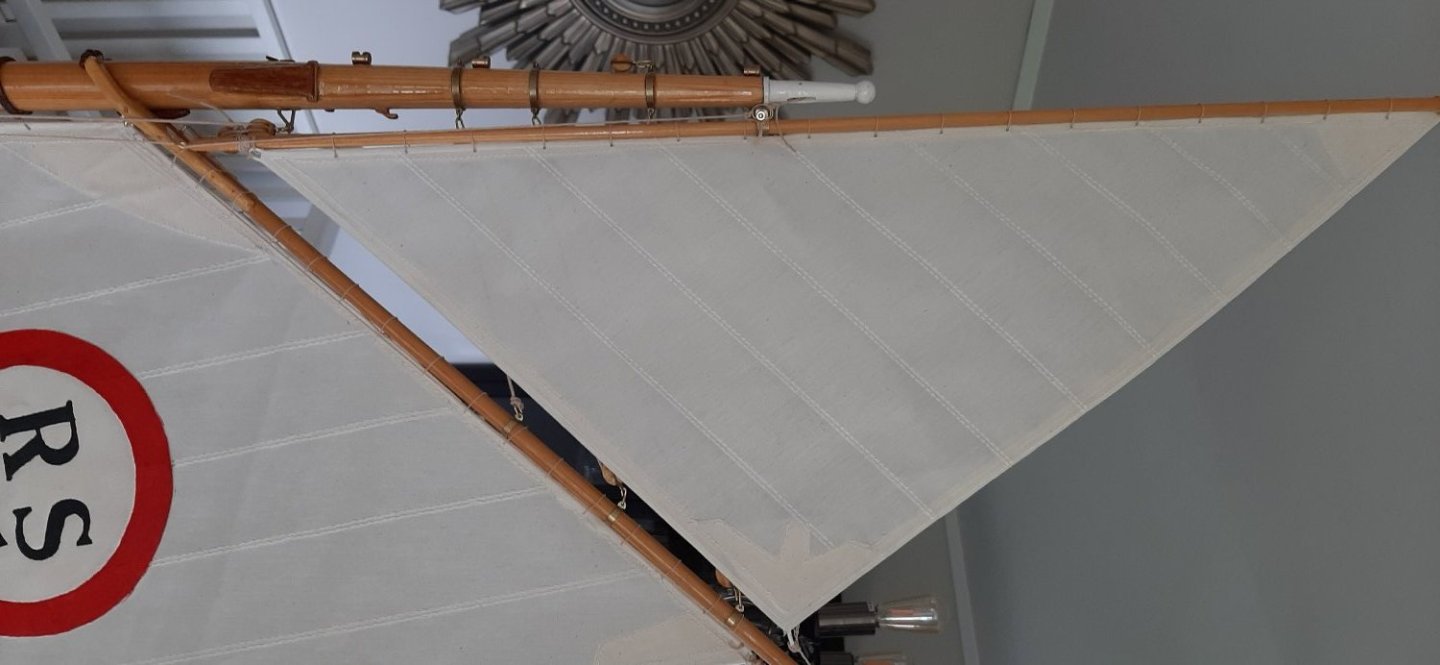
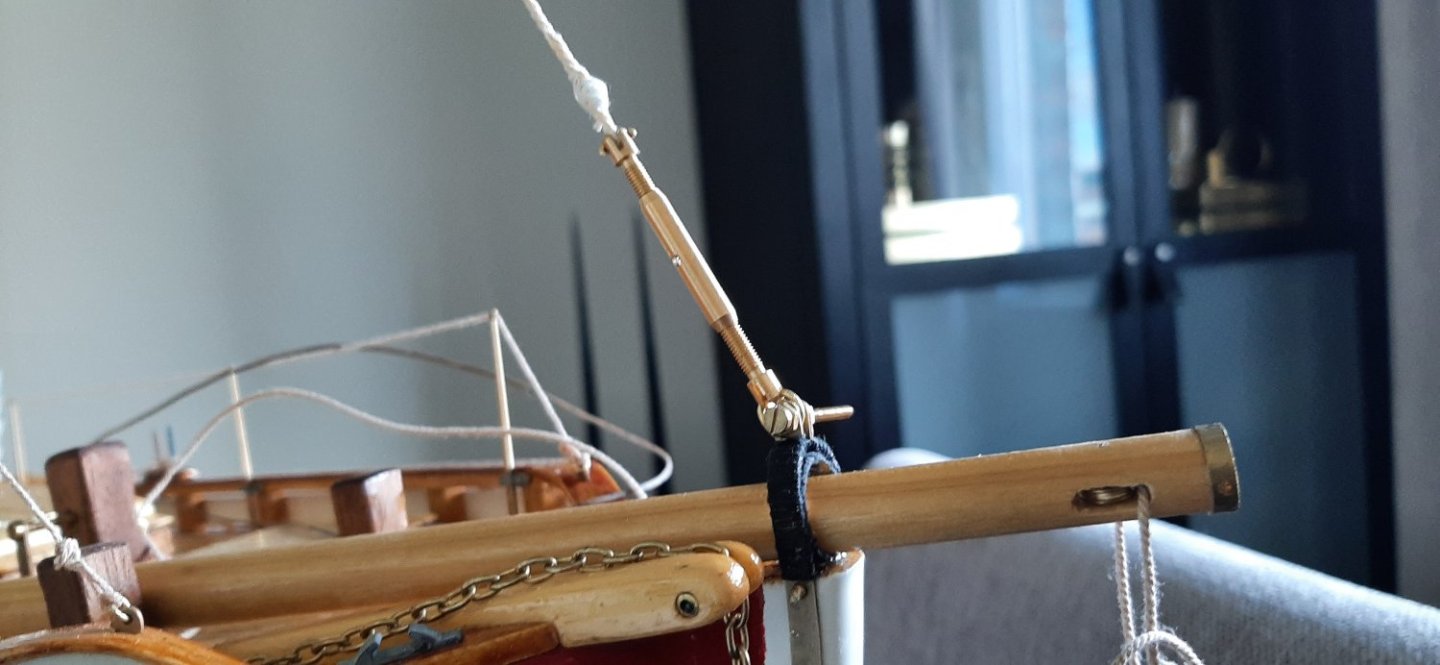
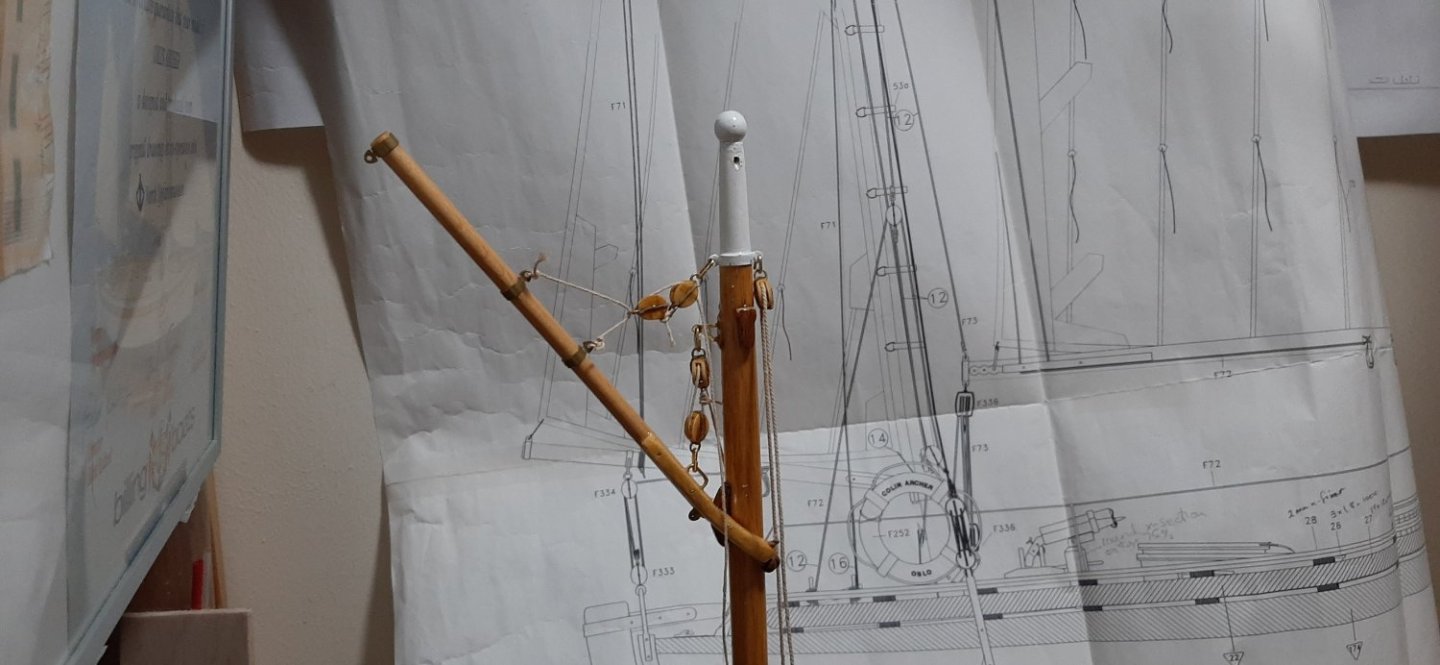
Many detail items completed recently, not quite certain which photos are of interest to others, but rigging and sails are being fitted all over the place! Mizzen mast and sail more or less complete now. Logo painted onto the mainsail and sail fitted to the mast. Topsail 'sewn' onto the spire and spire hoisted. The inner forestay is attached from mast to stemhead with a brass bottlescrew.
George

-
Started work on attaching sails and rigging. Takes some focus to work out the routing of all the 'rope'. Almost finished attaching the mizzen sail. Some rigging fitted to the main mast too. Some mast photos ended up sideways!
George


-
Hi Andreas, Jeg savner innslag og bilder fra deg og Carsten. Hvordan går det med CA RS1 bygging? George
-
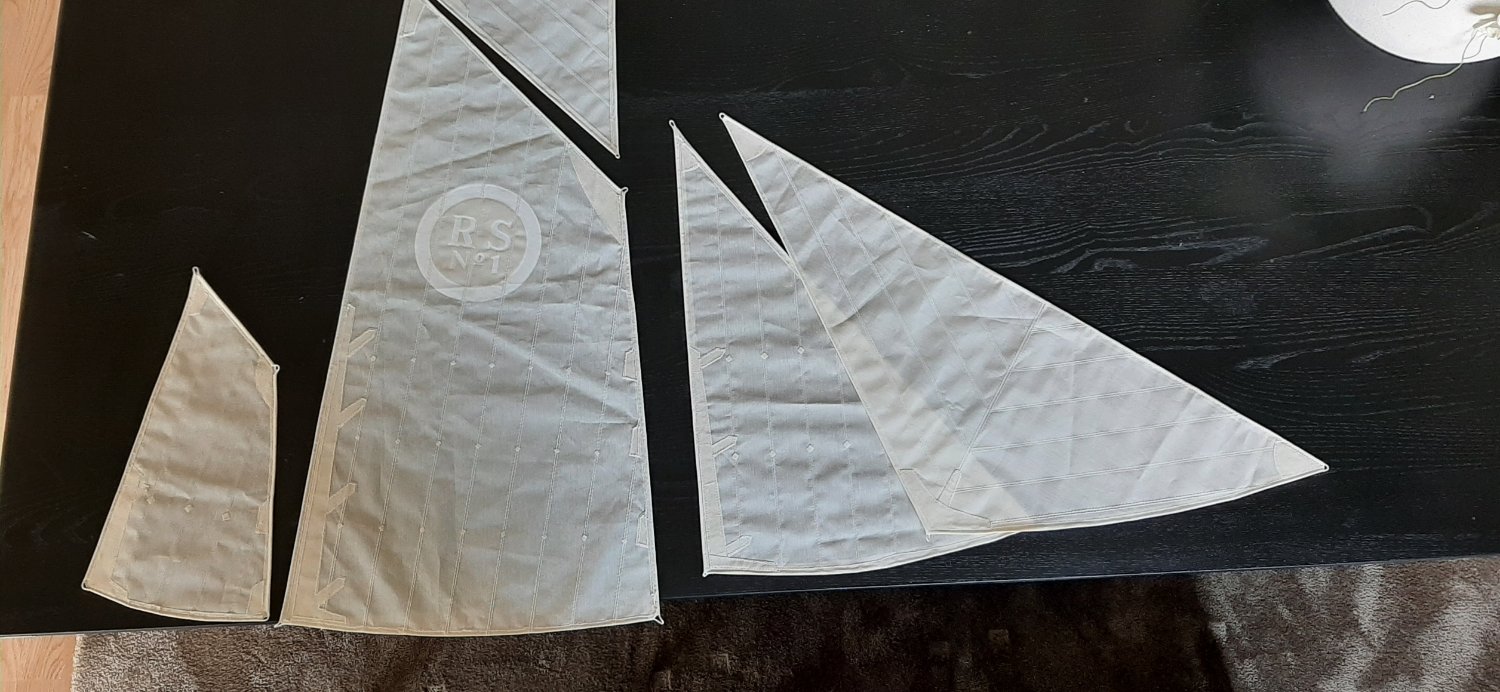
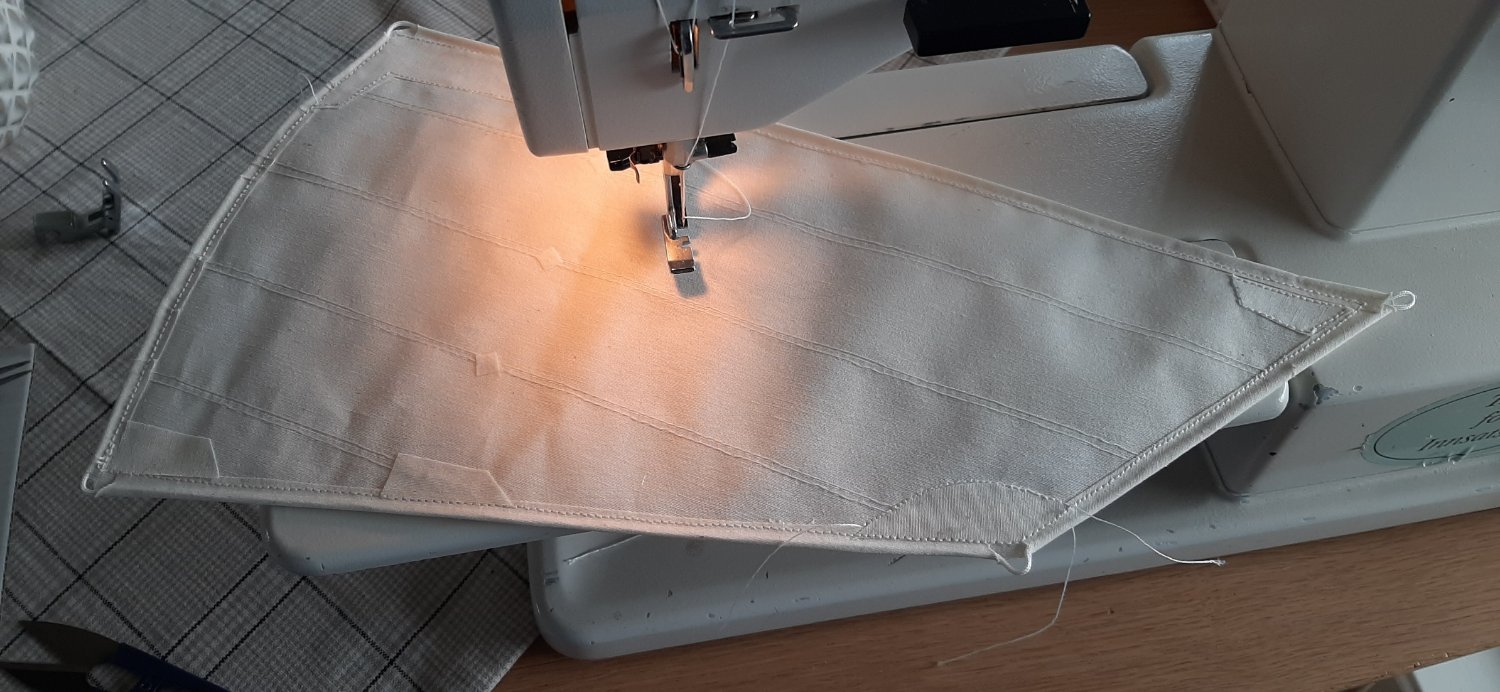
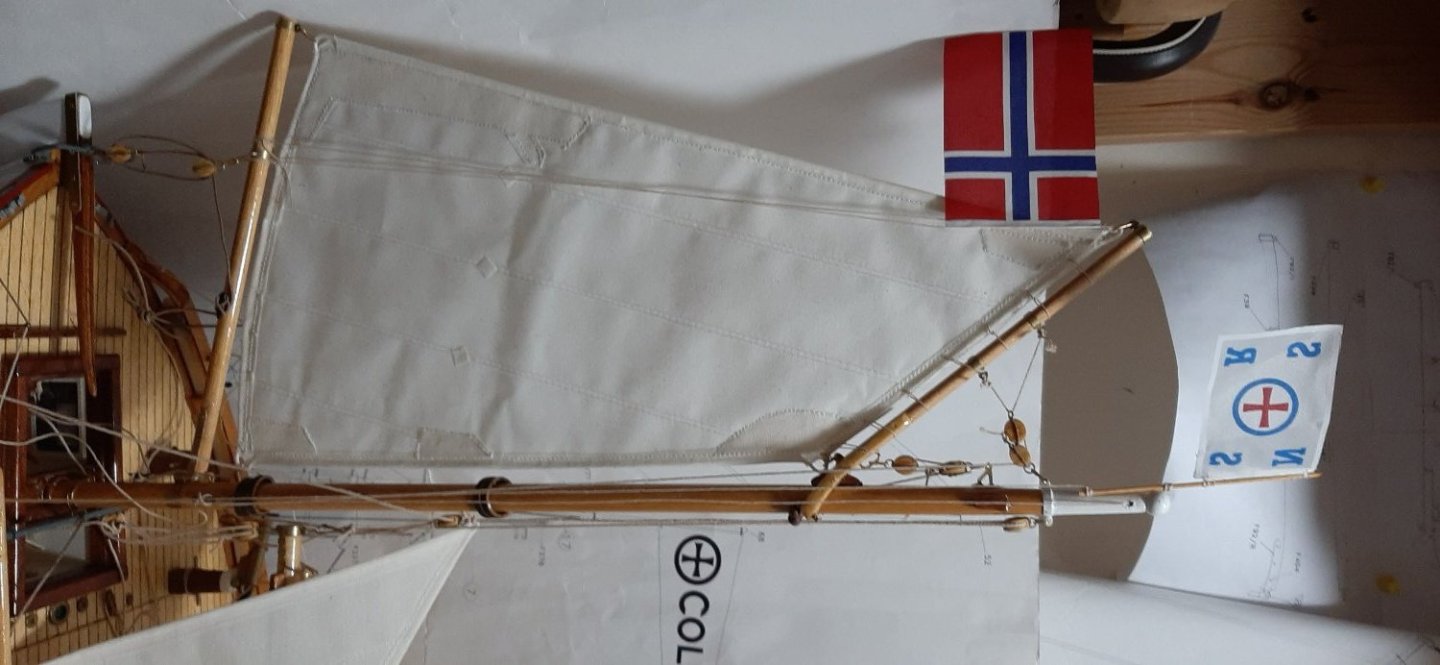
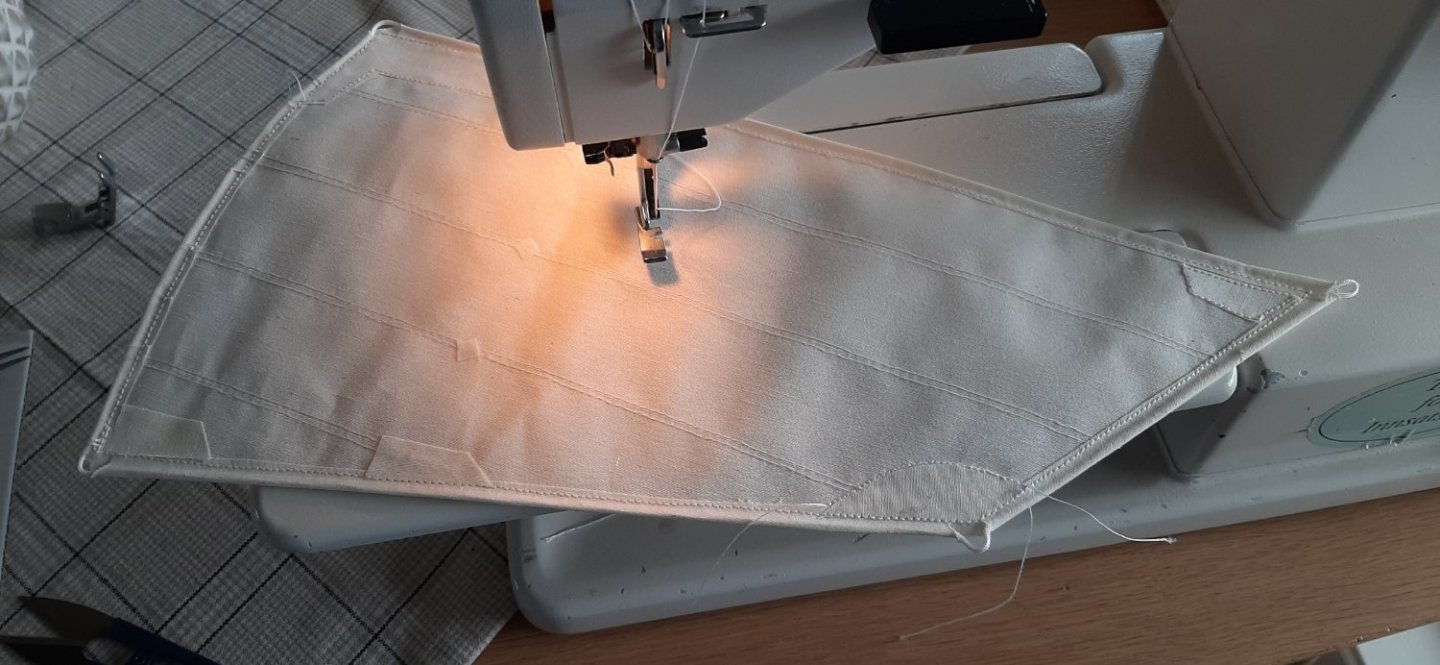
Sail-sewing session now completed. Not a perfect result, but looks good from 1 metre away! Didn't always have full control of the compass heading of the sewing-machine needle you understand🥴
George

-
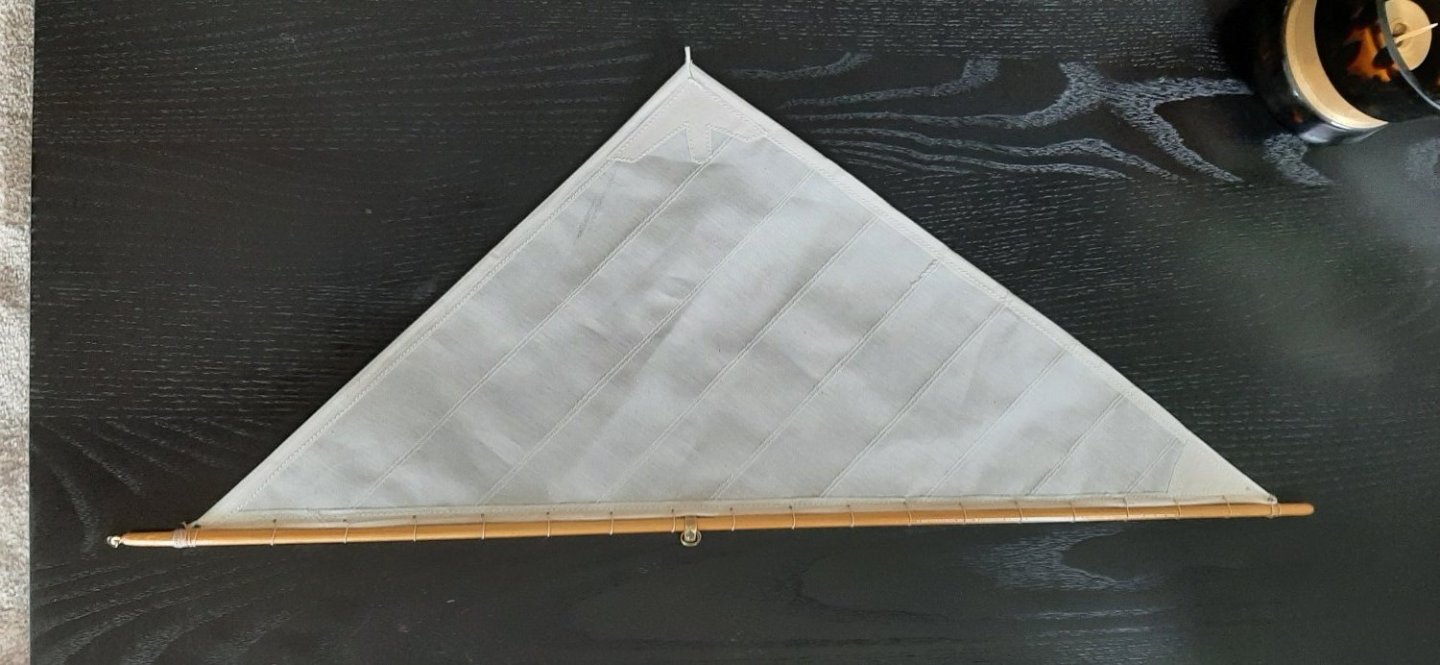
I've been given an intensive sewing course by the Admiralty. Started on the sails last tuesday. Had a delay due to a lever failure on the side of the sewing machine. Took all day thursday to fix it with epoxy, aluminium strip and a bolt! Mizzen sail has been produced and almost finished the mainsail. Some of the stitching is a bit below standard but looks OK from 1 metre away! Mizzen is much smaller than the mainsail as -shown in the photo,
George

-
Frodo reacted to a status update:
Floor-laying thing went very well. Got rid off 2 kg off ugly fatt too! Need to dump 5
-
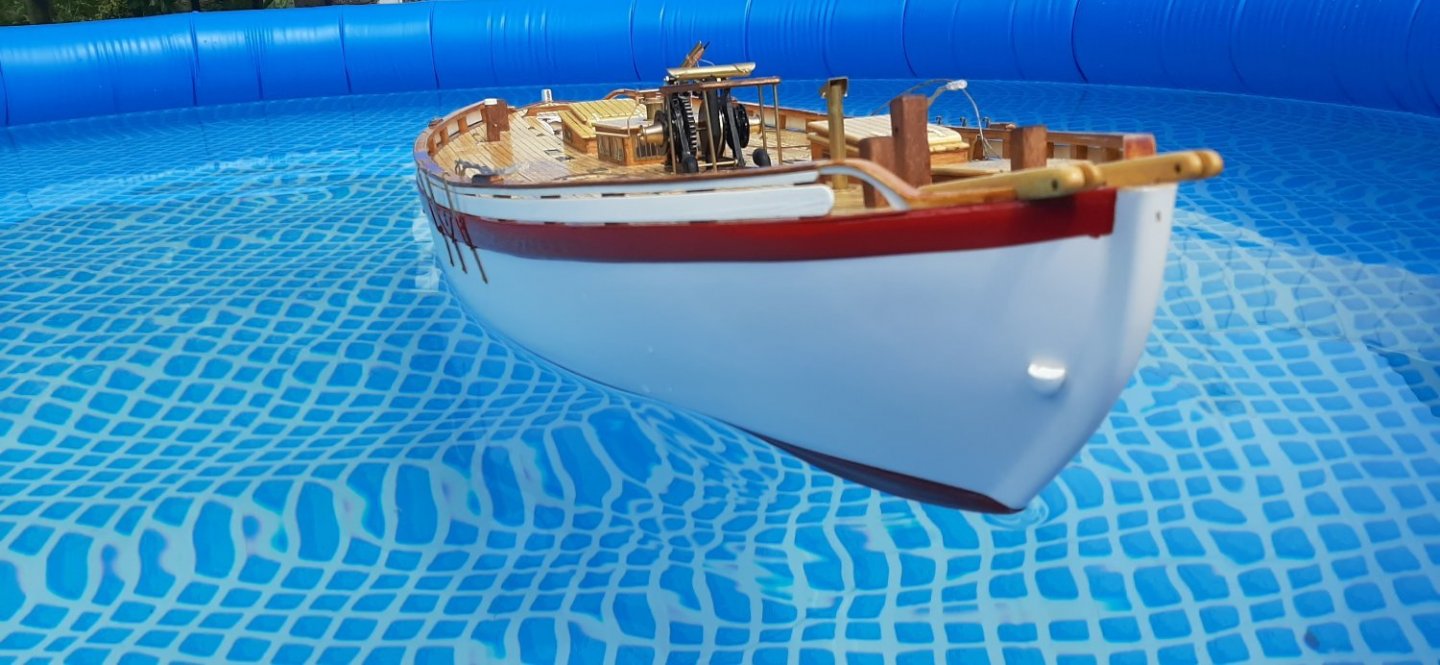
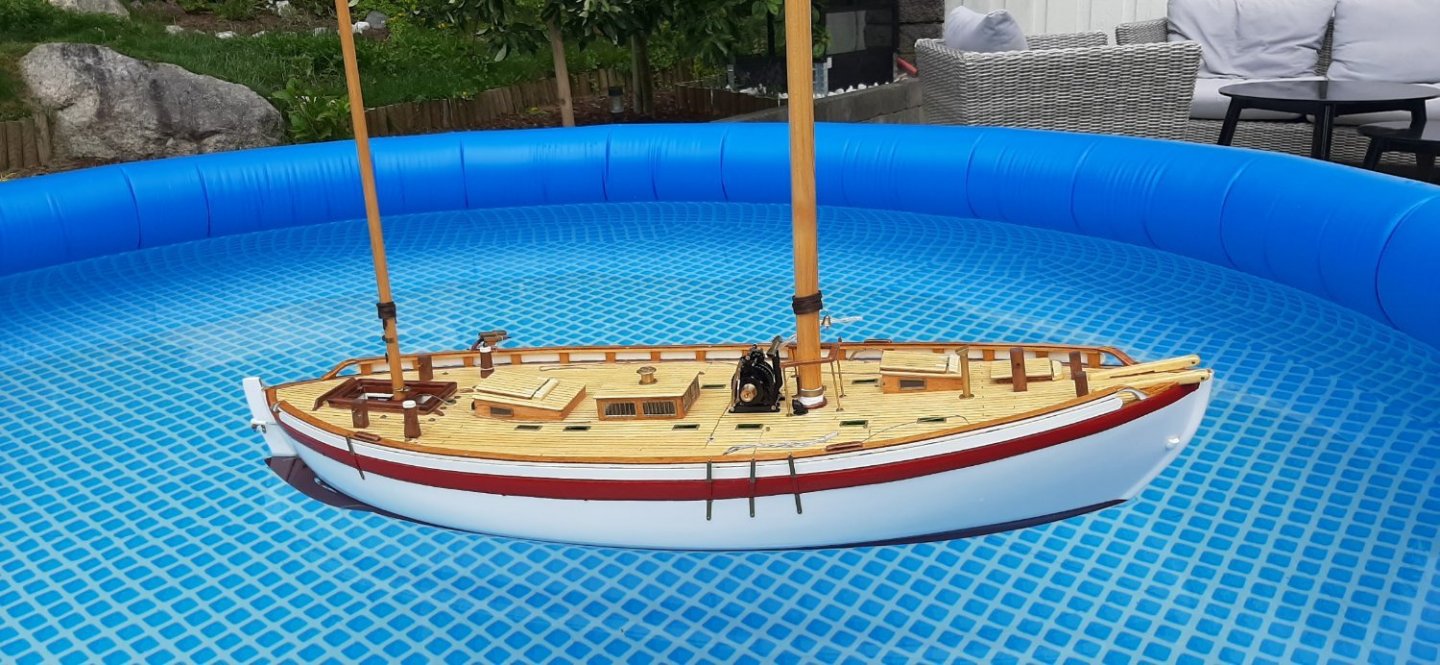
Floatation tests show -as expected-that the interior detail has increased displacement! The antifouling line will have to be rasied about 1 cm. Ran the motor and sailed around the pool a few times.
Later inspection showed a few drops of water in the aft bilge. Propshaft has been withdrawn and re-greased thoroughly to try to seal it better.
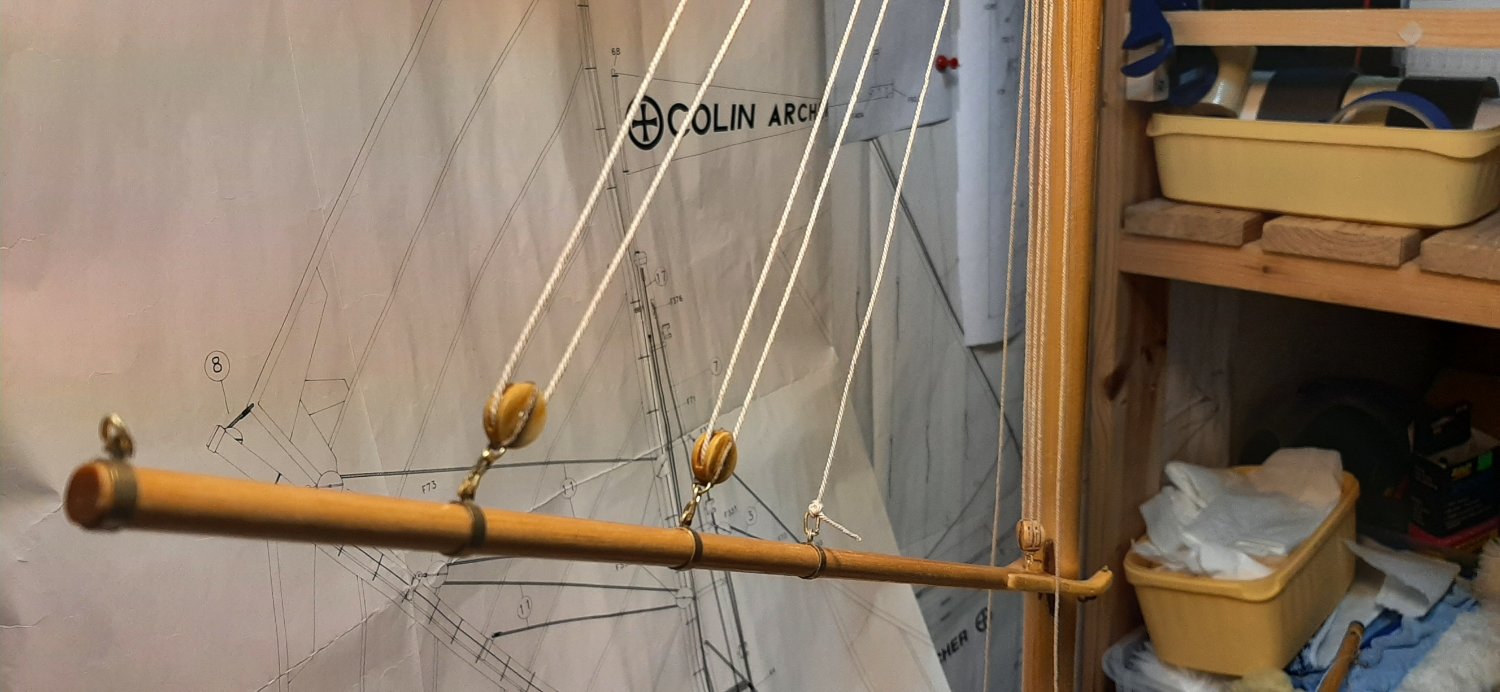
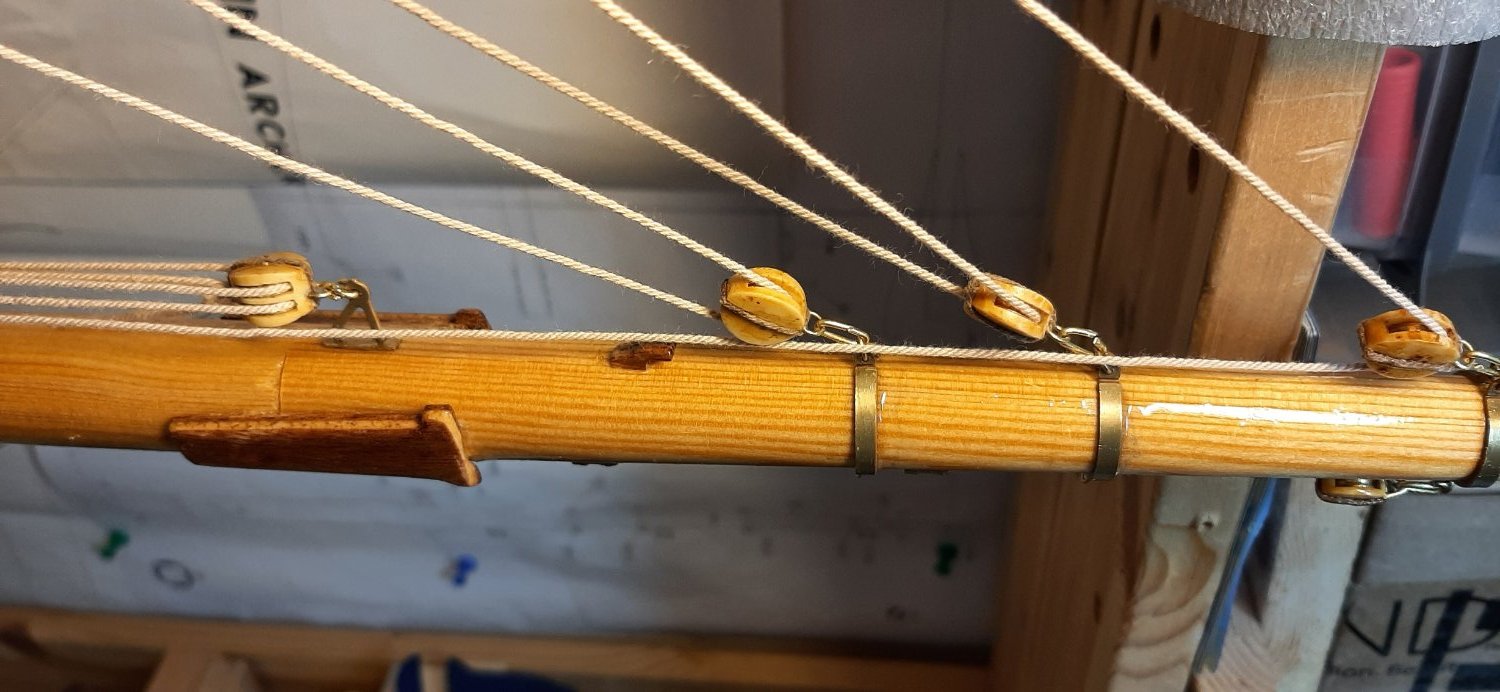
Bowsprit now added as well as many small detail items.
George
-
Floor-laying thing went very well. Got rid off 2 kg off ugly fatt too! Need to dump 5-6 kg more, but I'm not going to do it in the floor laying business.
Not easy to get back into the swing of yacht building again, but starting on some small jobs like fitting the steering well so that it can be removed for access to the propshaft and servos below deck.
The smaller deck hatches will be held down by brass-painted 6.5mm screws and washers. The main hatch will be held by Caldercraft/Krick 'hatch-latches.
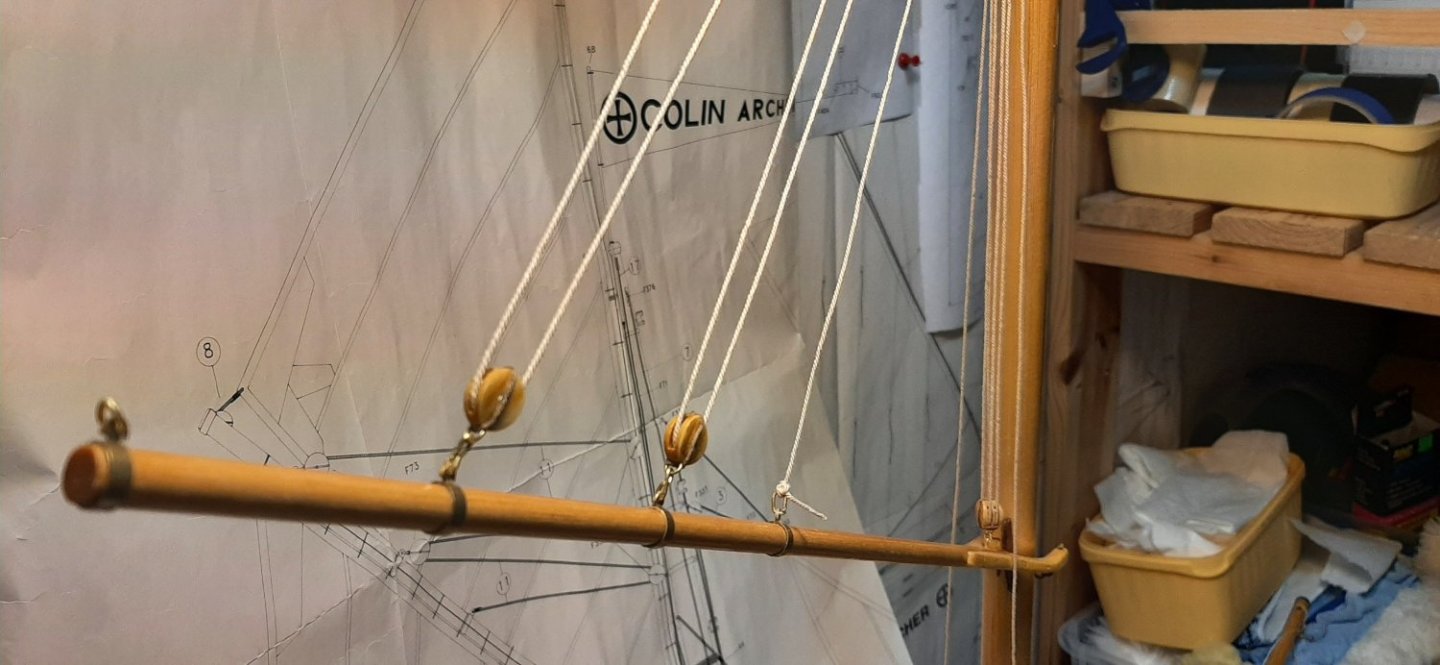
A lot of small jobs to do on deck fittings for the sheets and standing rigging. Also dozens of blocks to be assembled with eyes and straps.
Not quite onto a good build rhythm yet. The coming summer weather will also delay 'play'.
George

-
Frodo reacted to a post in a topic:
Colin Archer by Frodo - Billing Boats - 1:15
-
 Frodo reacted to a status update:
Yesterday it looked like my wife had bought me a giant, ready stained, Colin Archer k
Frodo reacted to a status update:
Yesterday it looked like my wife had bought me a giant, ready stained, Colin Archer k
-
Very fine workmanship Frodo. You are a fast builder. Nice too see the 'Nordlandsjolle-ish' dinghy too. Hope you added some lead so you can tow it? Looking forward to seeing both afloat this summer. My wife bought me a 'present' last friday. 76 sq.m of oak wood flooring. Have to replace the old parquet flooring before I am allowed to continue with the RS1.🥴 George
-
Yesterday it looked like my wife had bought me a giant, ready stained, Colin Archer kit. She said it was a kit. A kit of hundreds of identical planks which, when fitted together properly would make 76 square metres of wood flooring😬
There will be some delays in model boatbuilding during the next few weeks. Luckily, all hammering, drilling and swearing has to stop by 1700 each week day or the sake of the neighbours. So some assembly of blocks and shackles can take place in the evenings!
George
-
Frodo reacted to a reply to a status update:
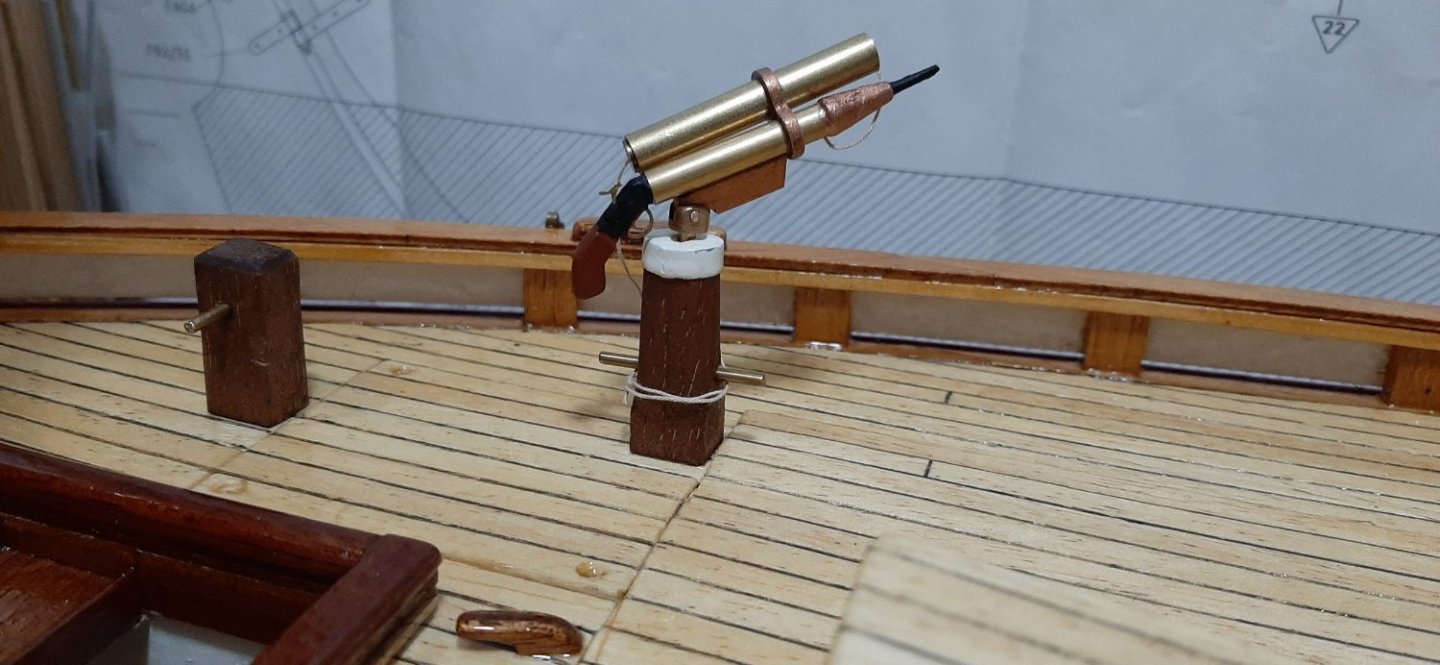
Assembled the line gun. Shoots a line over to a vessel needing a tow -for example. It
-
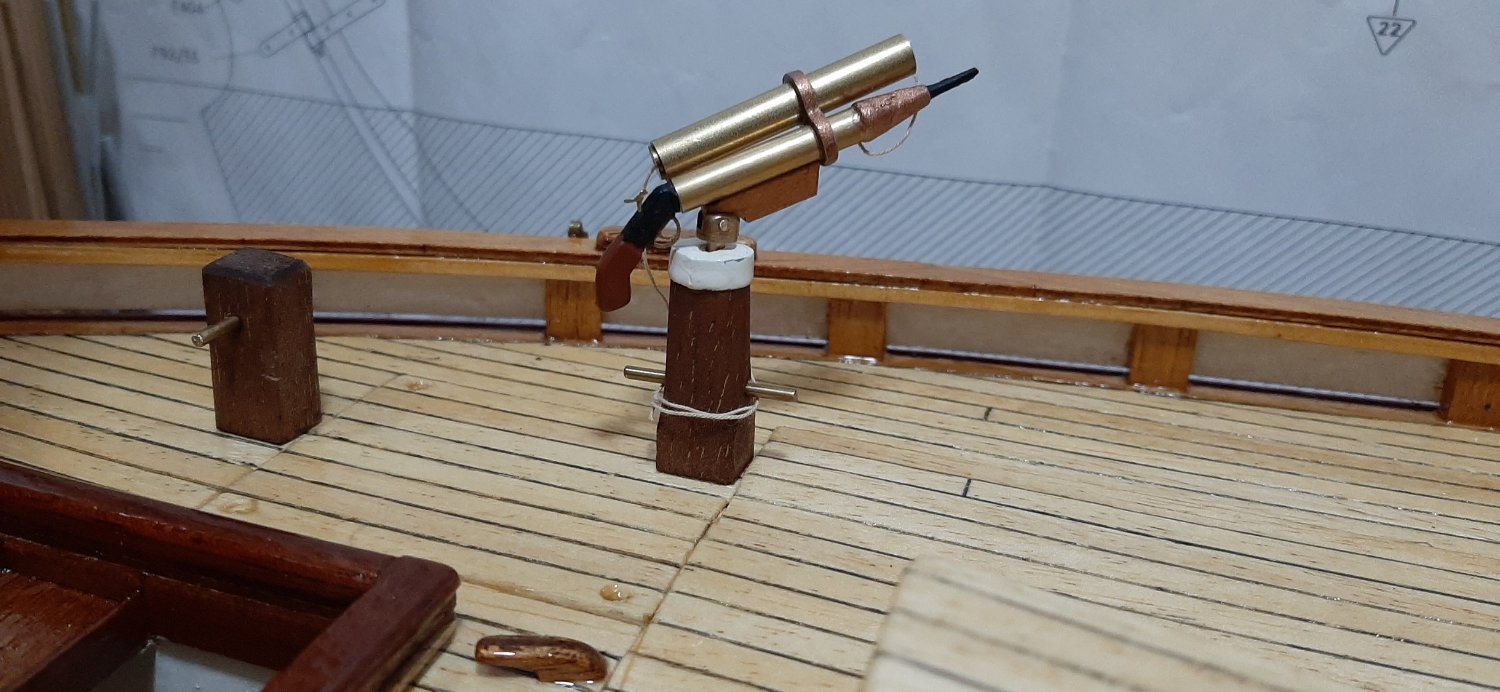
Assembled the line gun. Shoots a line over to a vessel needing a tow -for example. It's supposed to be black, but as with the windlass, I want some shiny, brass contrast on deck.
George
-

-
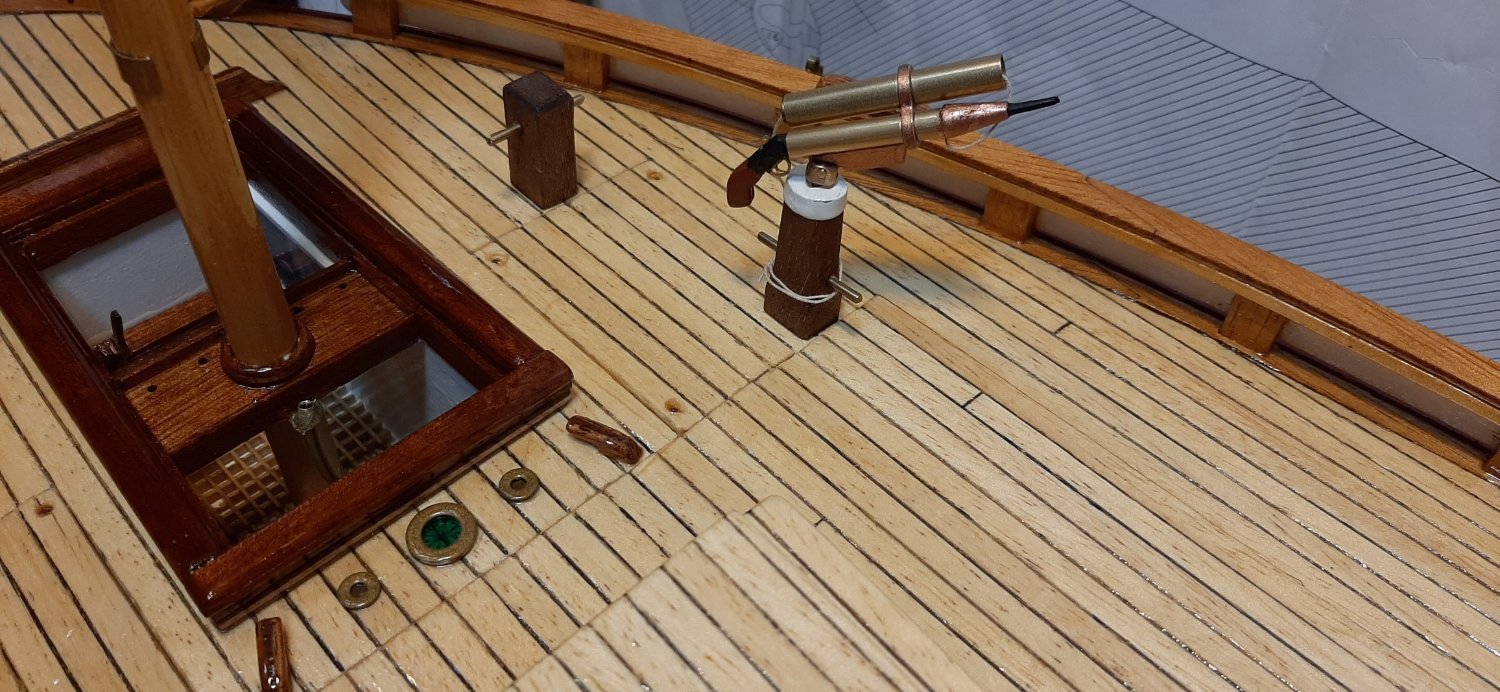
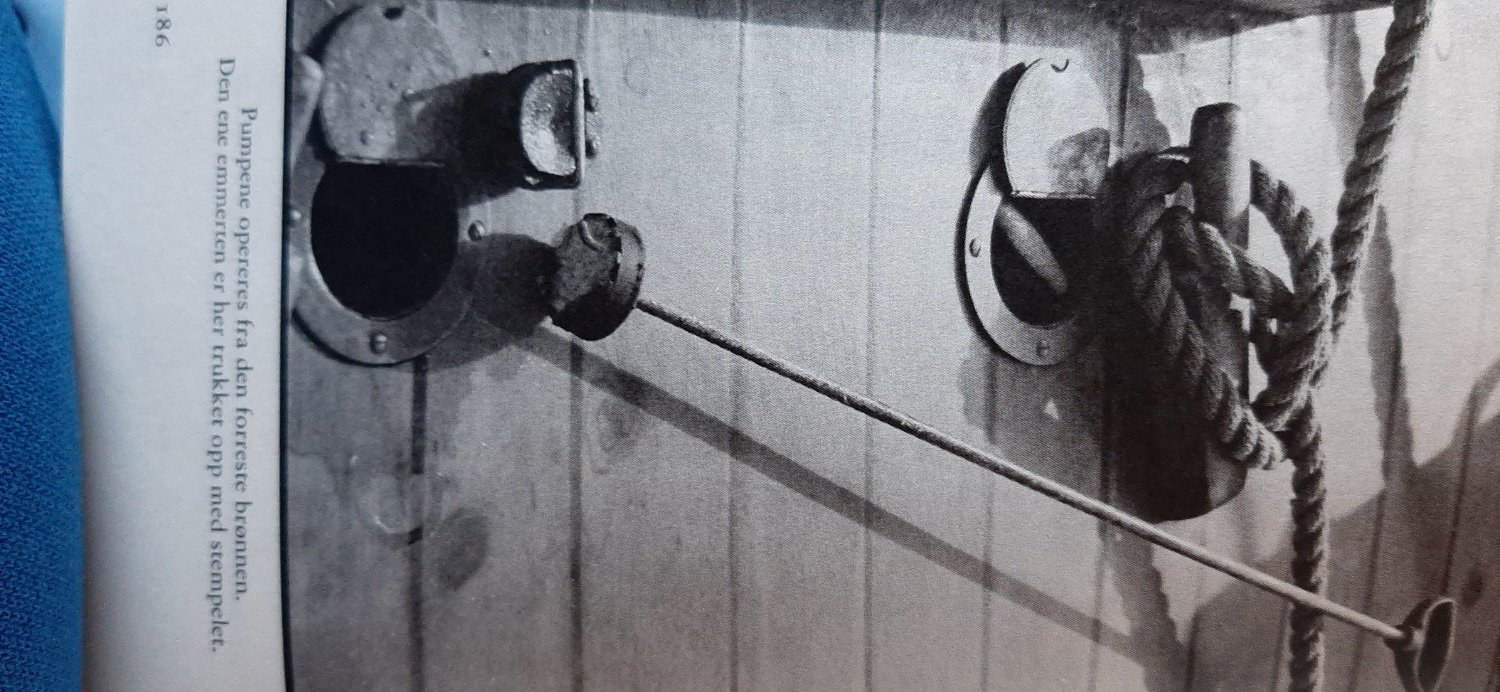
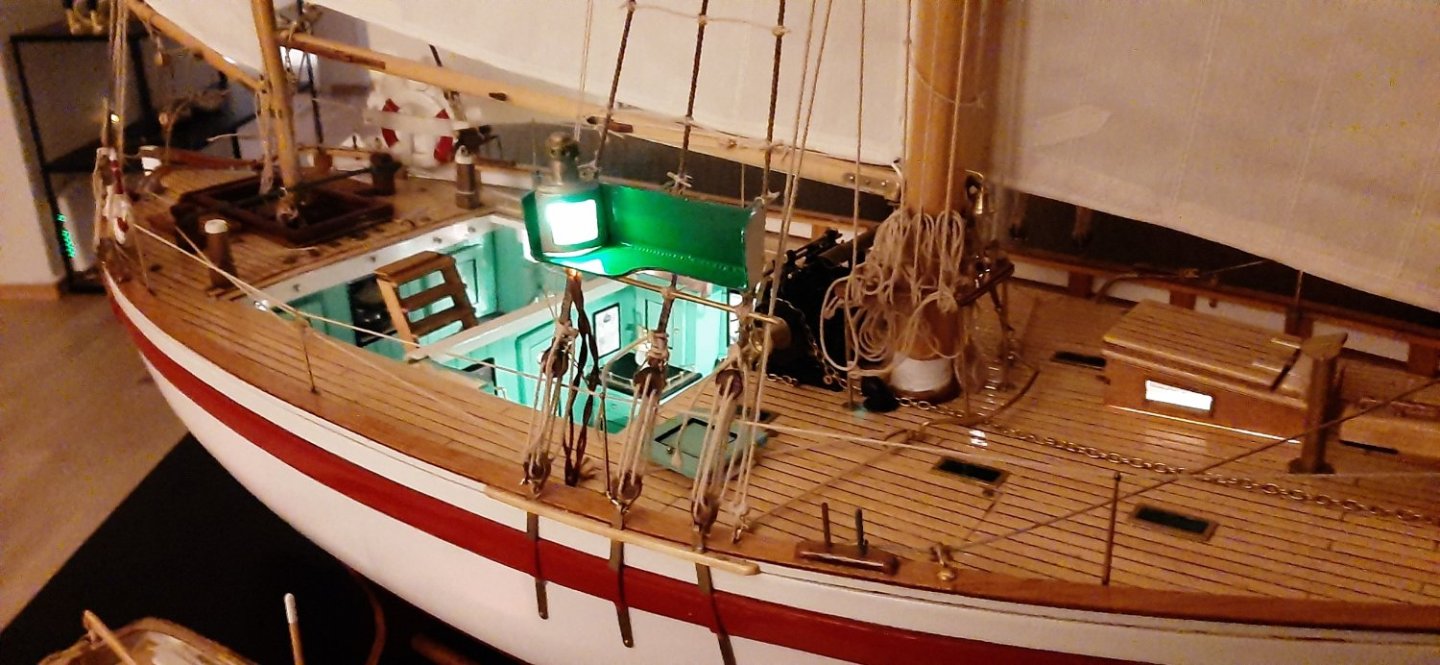
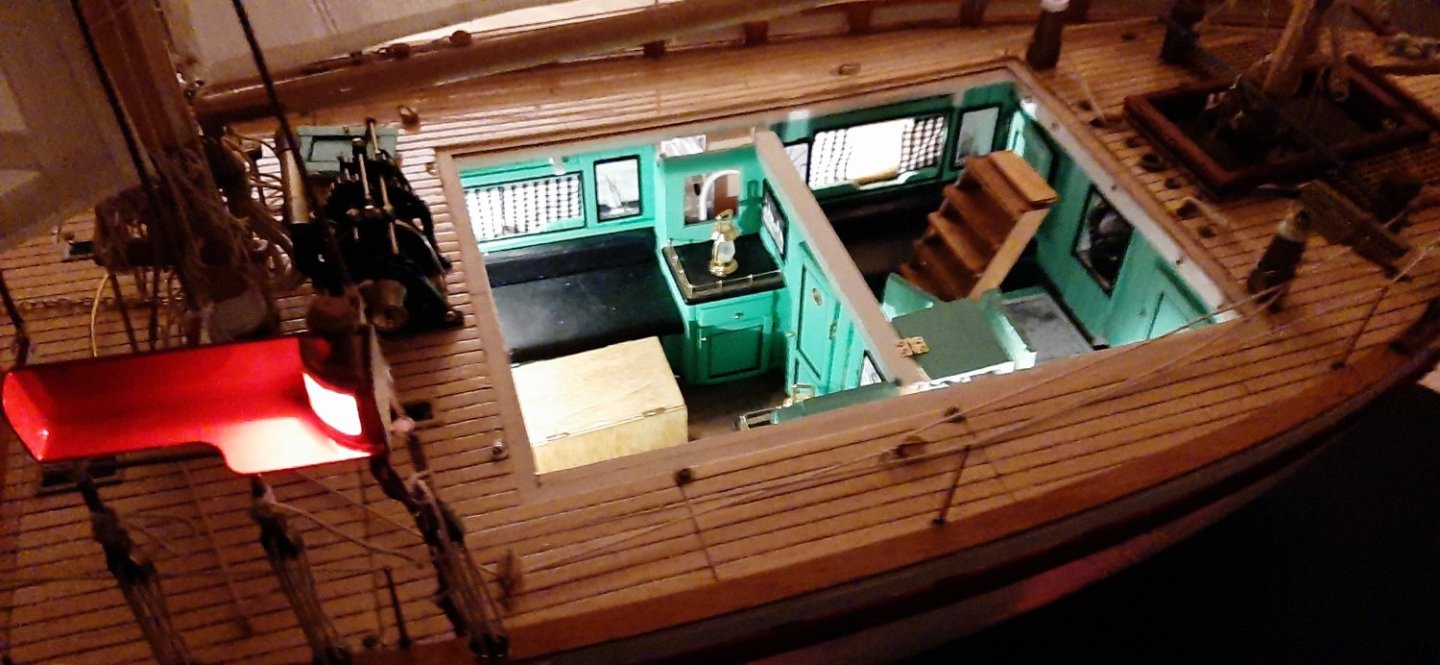
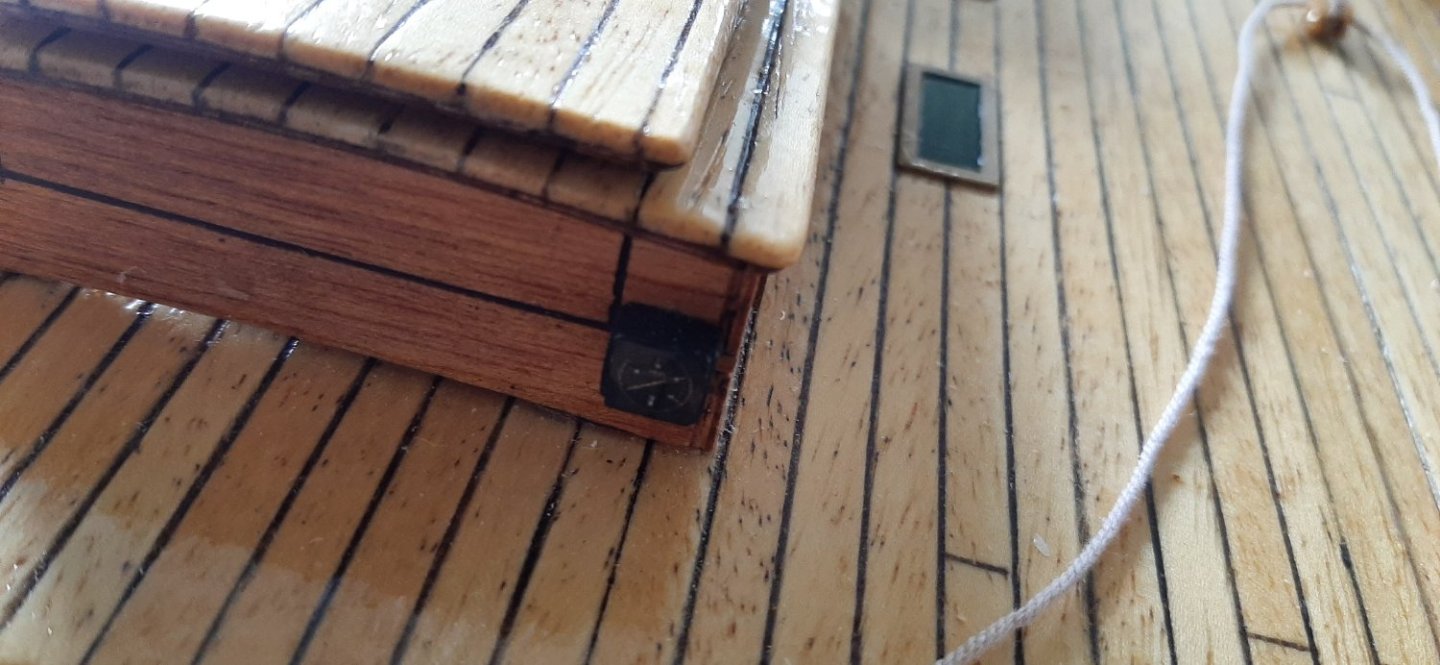
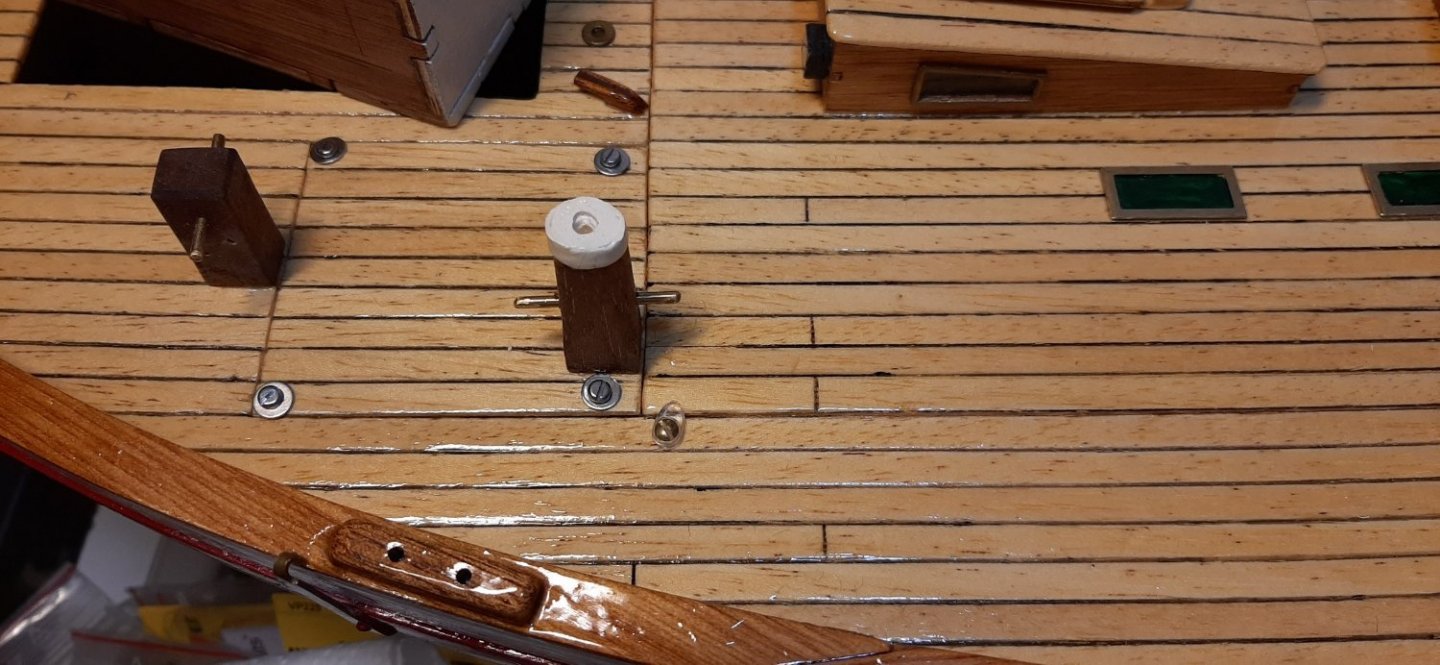
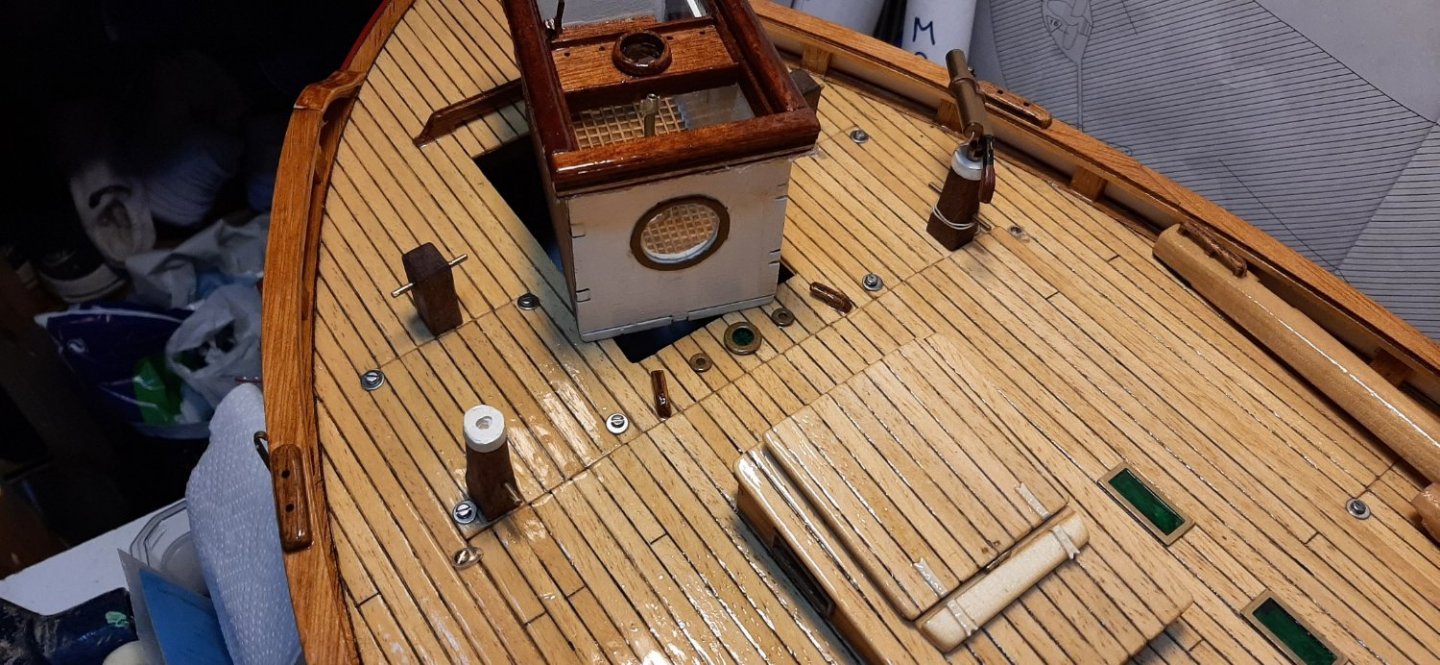
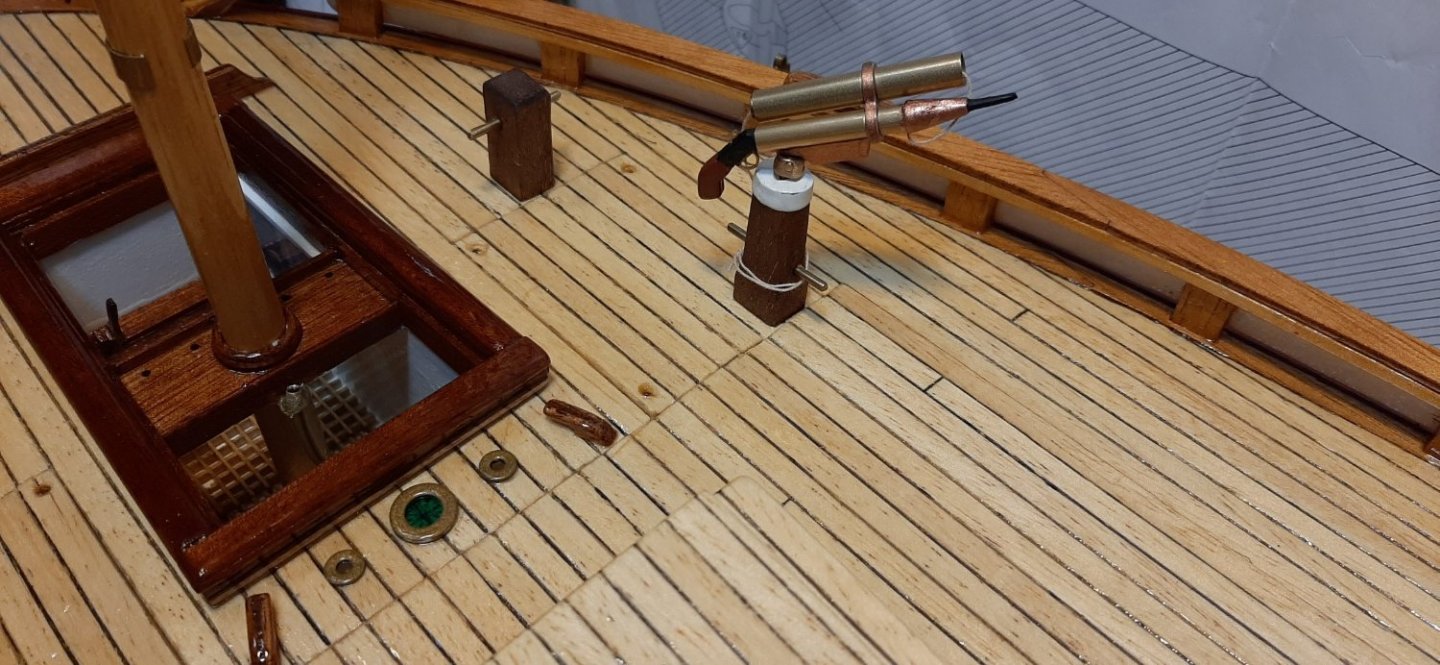
Hi Frodo. This is a long story.....The two small rings (steel washers painted brass) represent the two bilgepump outlets. I think these can be seen on the Colin Archer museum photo Gallery, but I'm not quite sure where I have seen this detail -I will check. There are two pipes that go down into the bilges to pump out any seawater which has leaked into the boat. Of course, mine are simply painted washers placed on deck! The centre of the washers can be filled with brass paint, but for some strange reason I found out that I would make it complicated.... the bronze metal in the centre of each small washer is not brass paint. It's from the metal top of french crémant Bourgogne Pinot Noir from 'vinmonopol'. A few drops of brass paint will do fine though!
The large ring represents a port hole/skylight which allows light to shine down onto the steering compass mounted in the aft cabin -foreward of the cockpit. This is a larger washer (also painted brass) with a small round piece of green acetate/plastic below. I used green acetate to indicate the colour below decks. Before I placed the acetate on deck I drew an outline of a compass rose on the deck. So if anyone looks closely, it looks like they are seeing the steering compass one meter below the deck.
The servo line for the main boom comes up just forward of the mizzen mast. It will pass through the brass ring part 505 which is lashed to the mizzen mast.
Now you know why I have been building this RS1 for a looonng time!😬
George

-
-
-
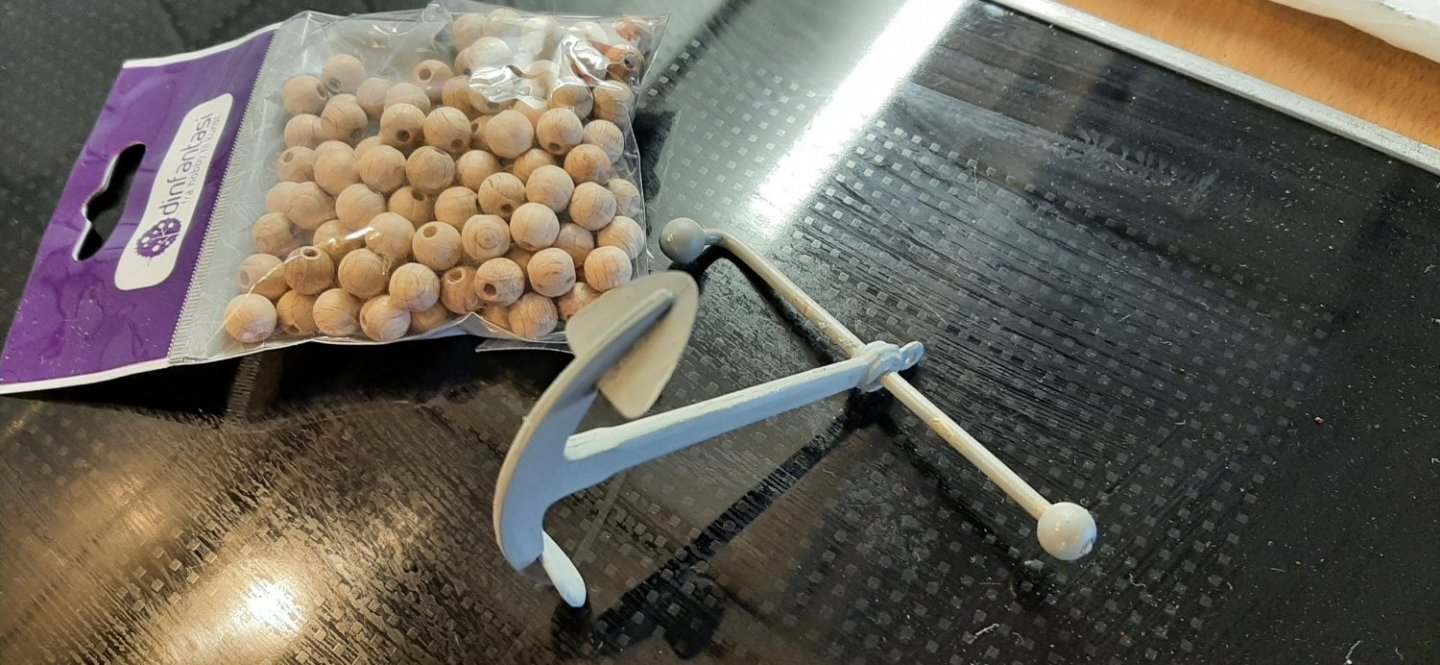
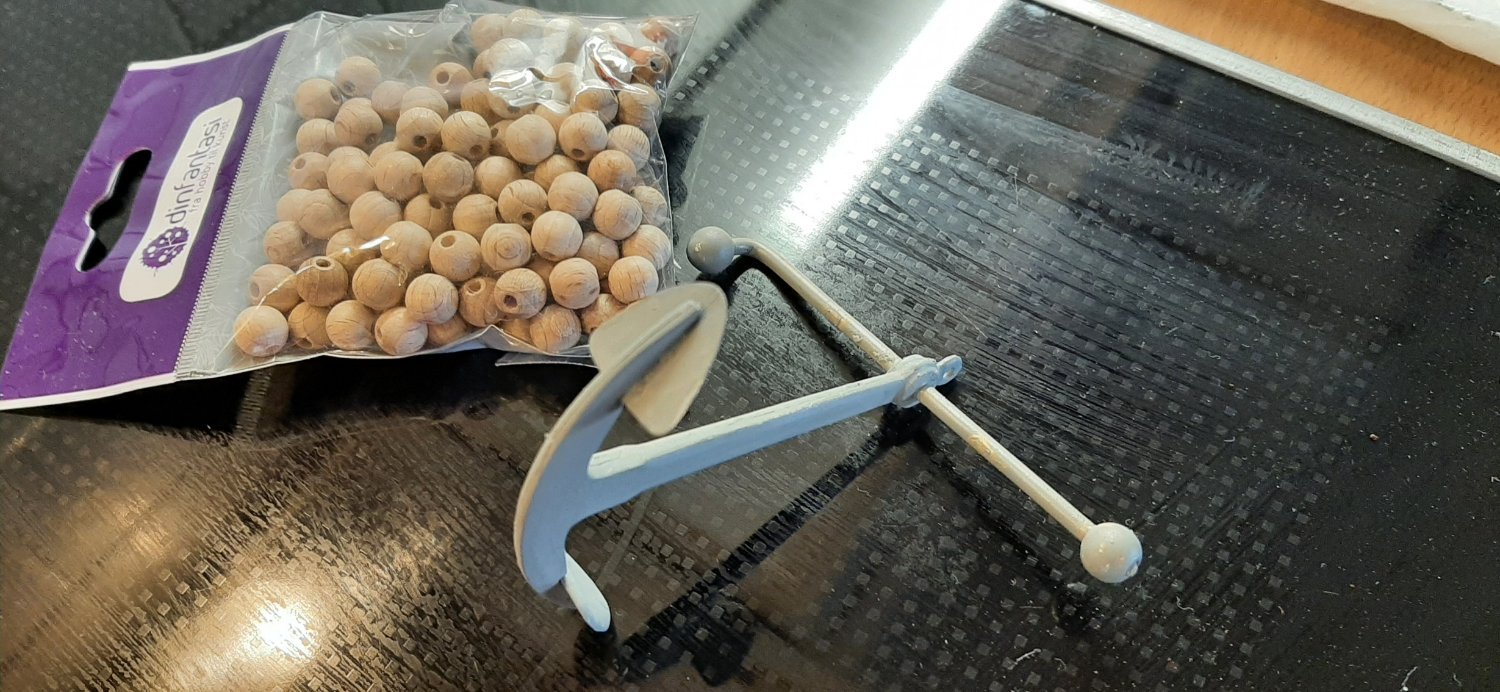
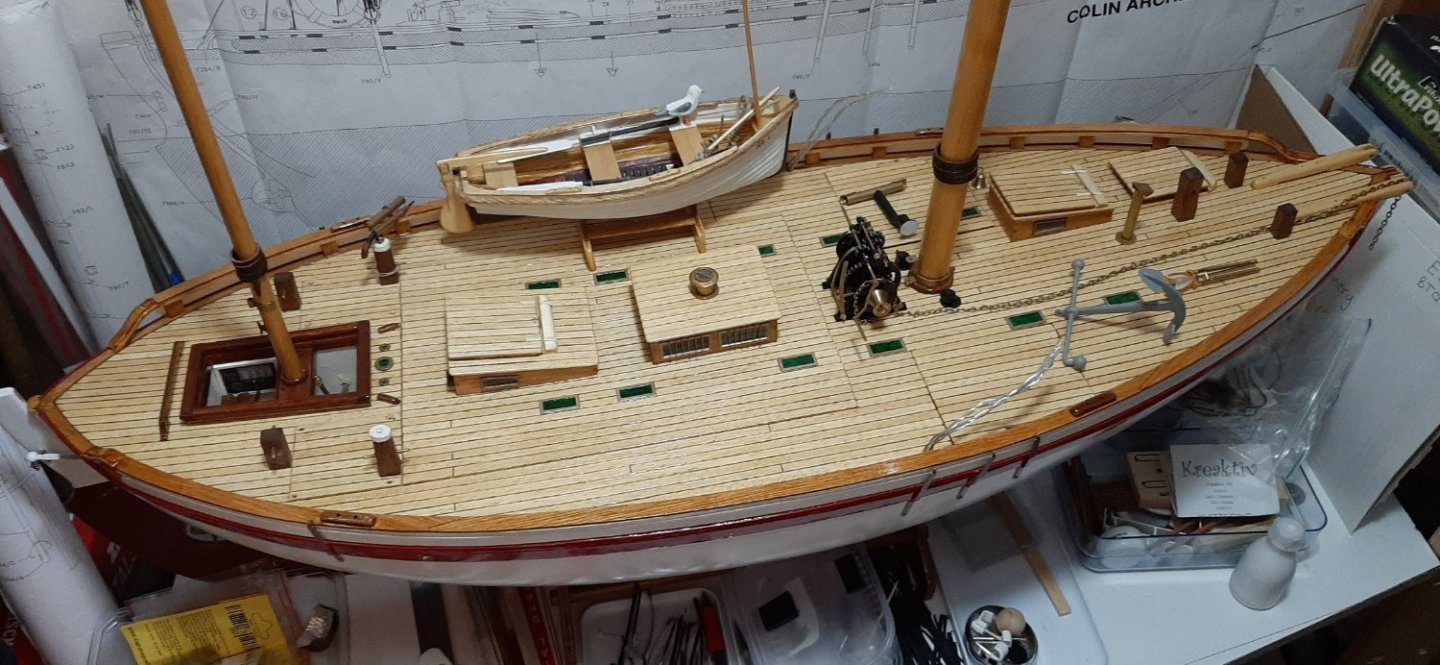
Assembled the anchor this evening. The hardwood spheres on the ends of the stock are marked as 6mm in the parts list. The ones in my kit were only 5mm part nr F347.
When I tried to drill out the hole to fit the diameter of the stock....it split. I thought they looked a bit small anyway, so out I went to the local sewing centre and bought some 8mm hardwood spheres. The smallest packet they had contained 140 spheres 🥴.
So now I can make 69 more stock anchors! Lucky boy🙂. I can use some of them as freight on the N-scale Chistmas train set.😬
Just thought I would share this useless piece of info'.
George