
Unegawahya
-
Posts
58 -
Joined
-
Last visited
Content Type
Profiles
Forums
Gallery
Events
Everything posted by Unegawahya
-
Thank you so much for all the help! I thought I was going crazy. I looked every where for these. I'm starting to think that they where removed for some reason, because the museum didn't have them and I didn't get them with the download the I got from the Navy Museum. After I get the 28' Whaleboat done I'm going to get started making a Jig file for this one too! 28' GIg Whaleboat.pdf
-
I know I’ve been on a break for a wile, but I was wondering if you could help me? I seem to be unable to find any plans anywhere of the 36’ pinace. I’ve checked my US Navy plans and the modelers resource from the Constitution museum. It’s almost like they’ve been removed for some reason.
-
I tried to find some as well, with no luck either. I had the 1/90 Revel USS Constitution and the little people were a great add on. We may have to find someone that’ll do custom printing to get the correct size and look.
-
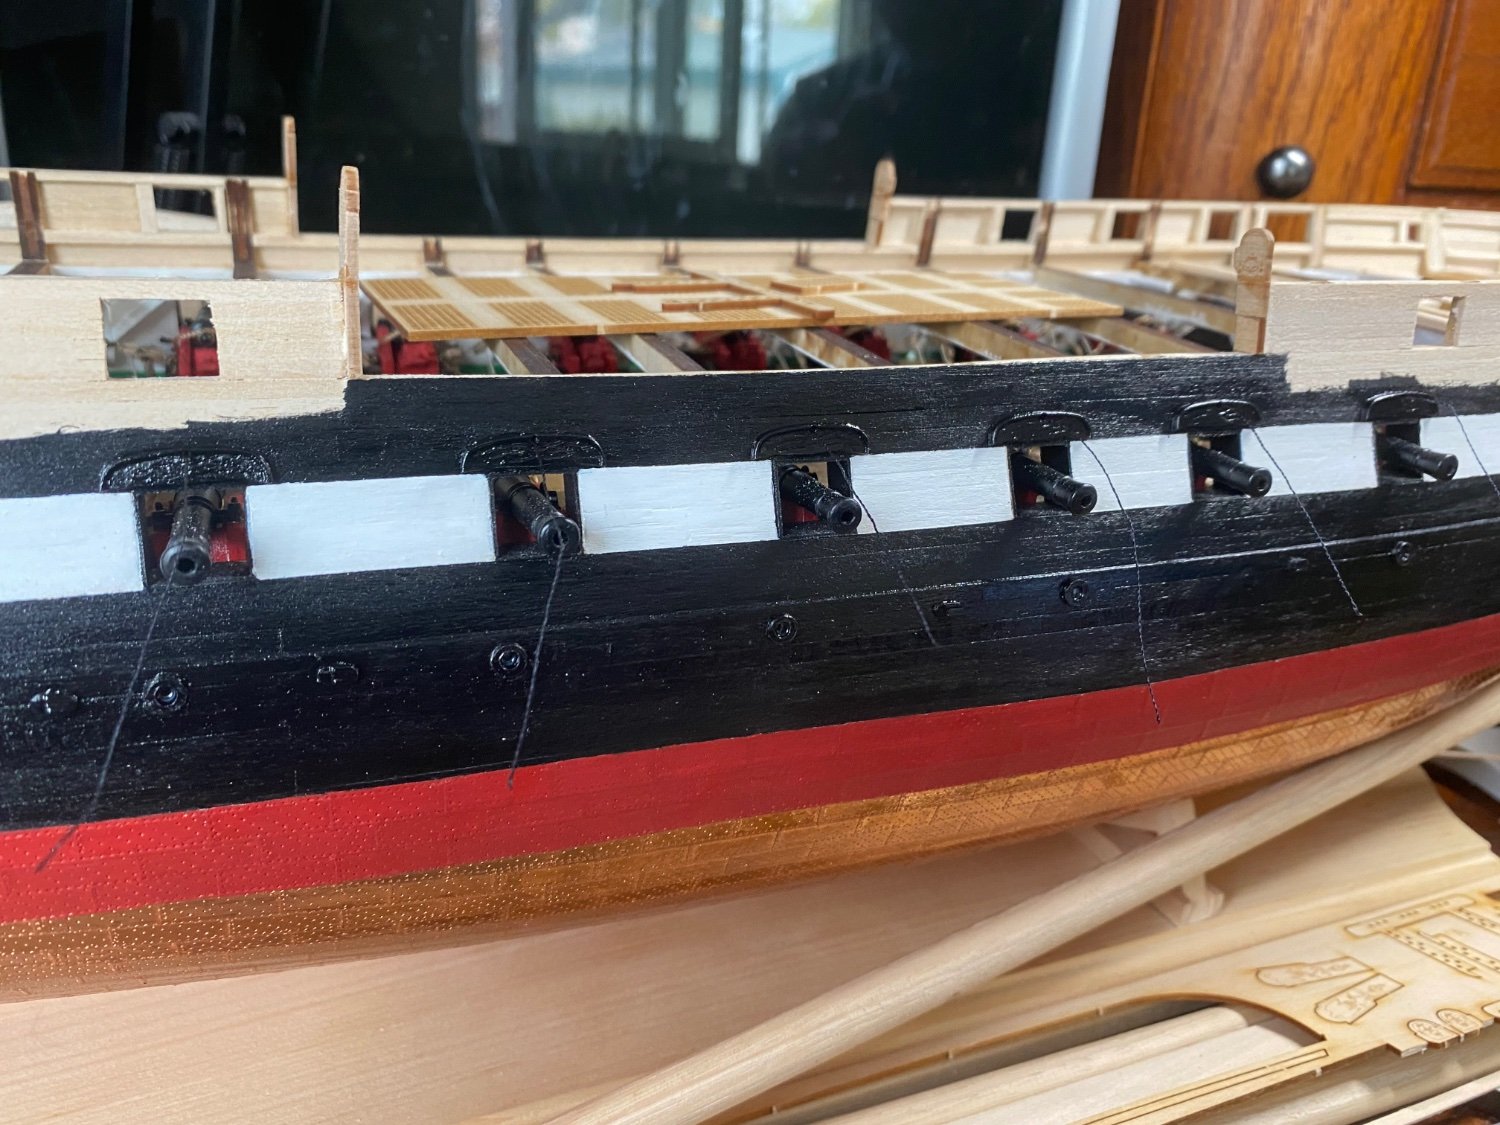
I cut mine off the carriages and made a jig to drill my trunnions. The two screw elevated carronades I left the base attached.
-
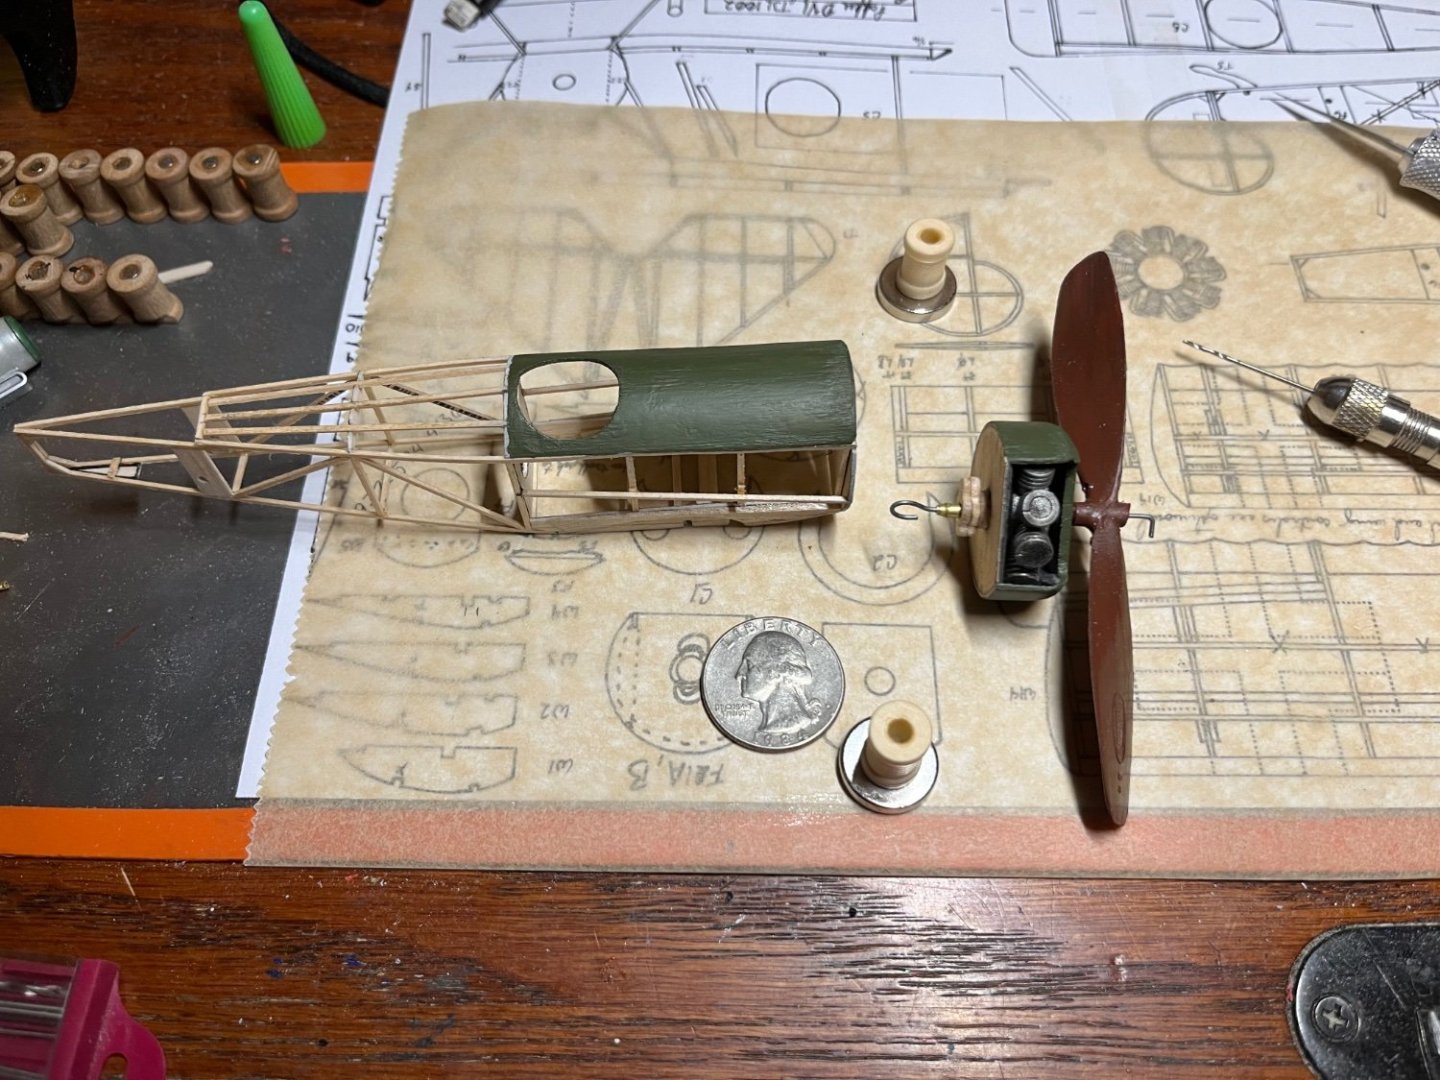
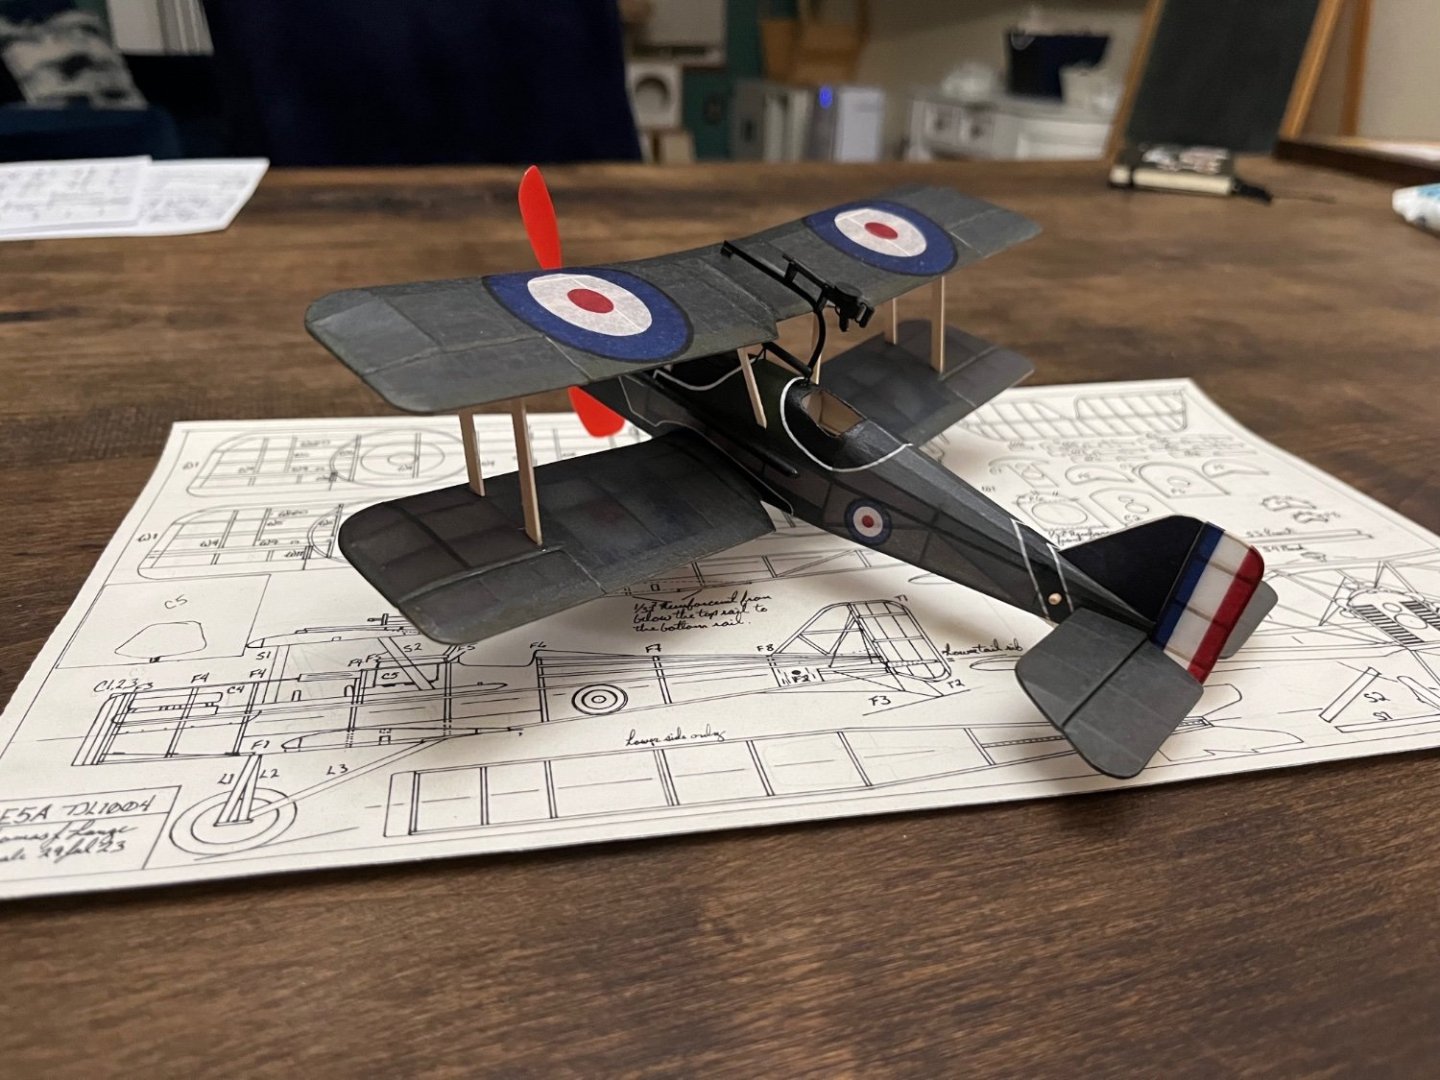
I’m sorry for the random breaks in my log! I built a SE5a and a version two on my Fokker D-VI. I drafter both of the plans by hand and are 100% custom builds! I’m hoping to get back to my Connie’s boats here soon!
-
Thank you! mall of the 3D printed parts come from Model Monkey. The guns were just about perfect size, but the carriages were just a bit too long and way to narrow according to the plans from the US Navy. I ended modifying the carriage parts from the kit to look like the Navy plans.
-
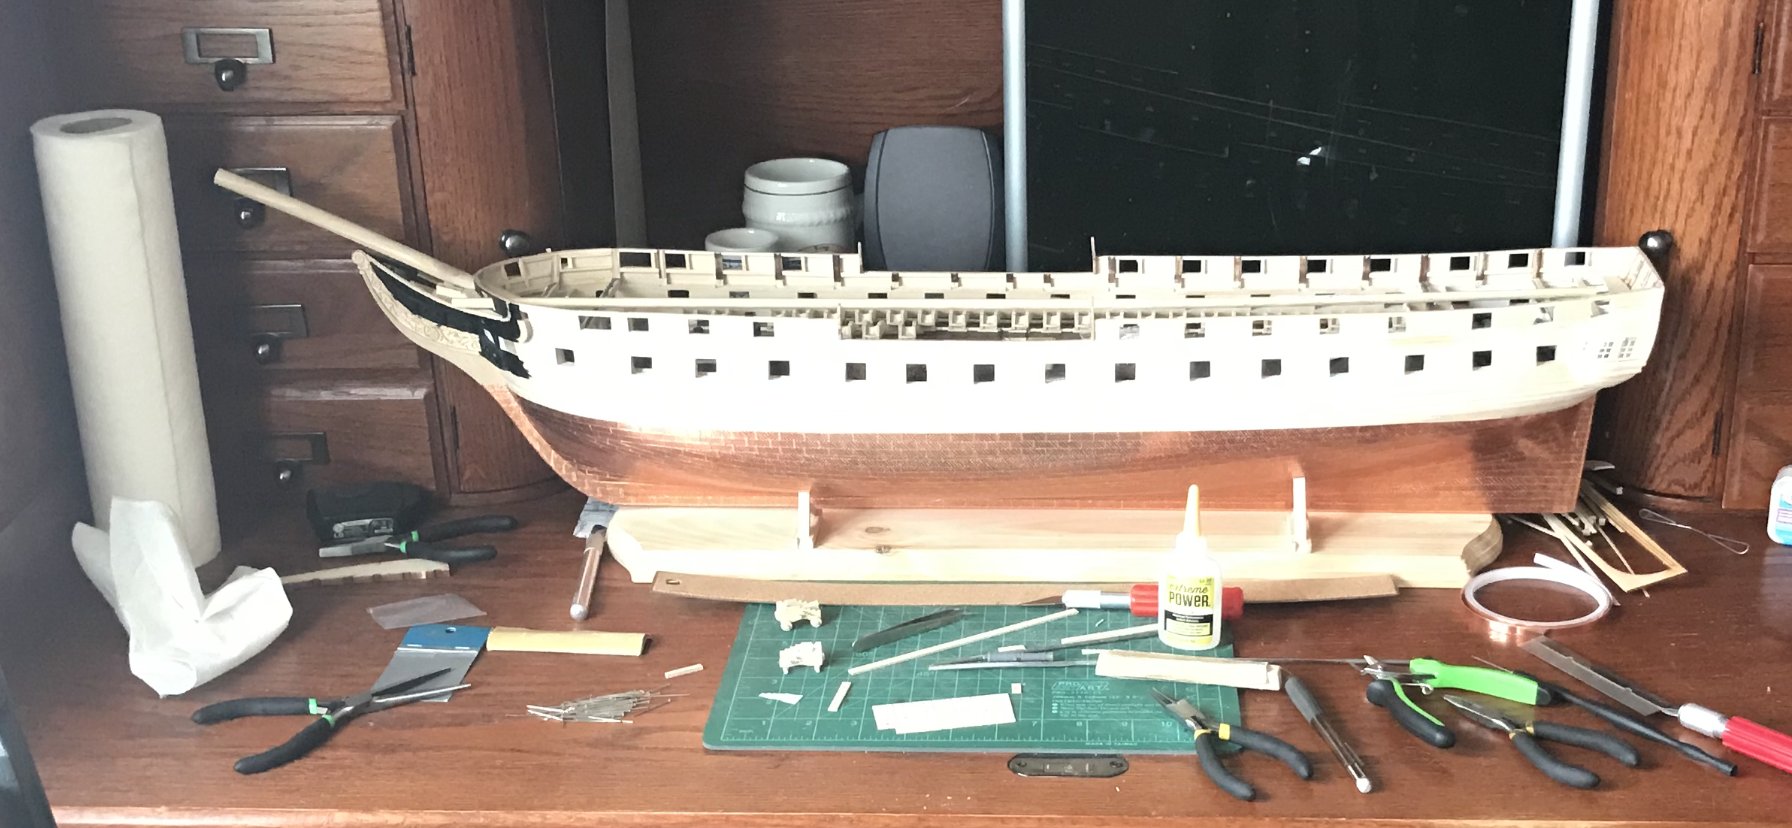
Now it time to experiment on making a boat jig for my USS Constitution Gig Whaleboat.
-
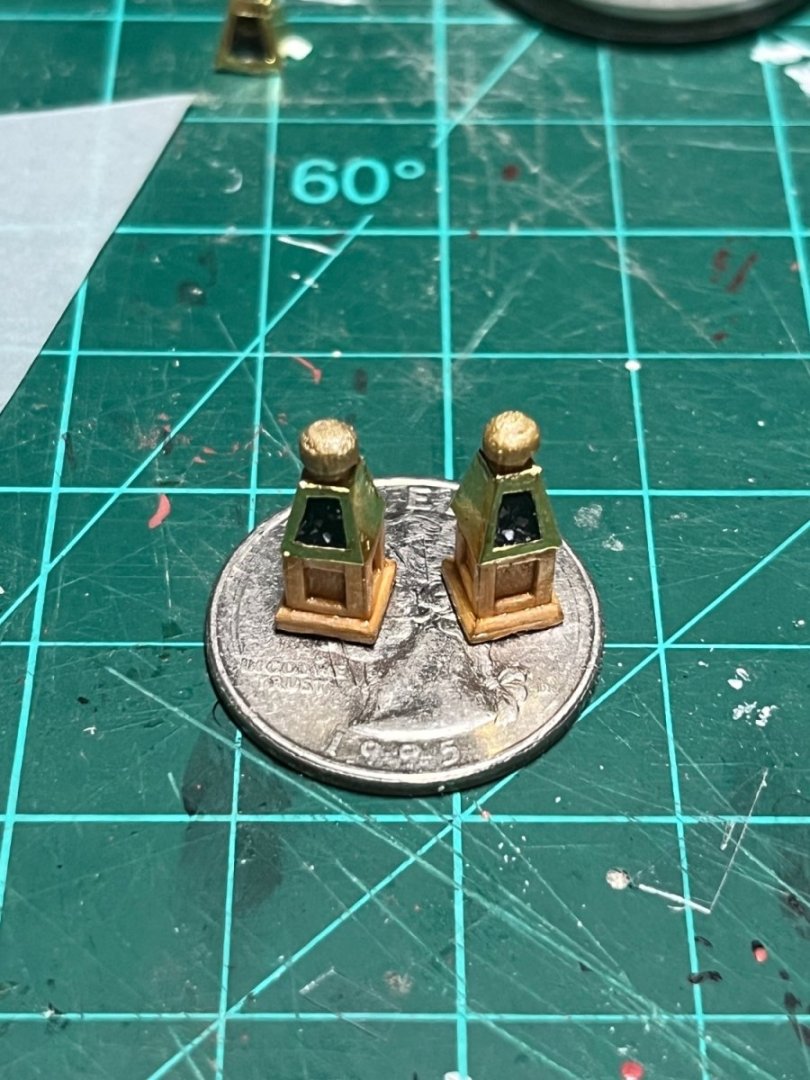
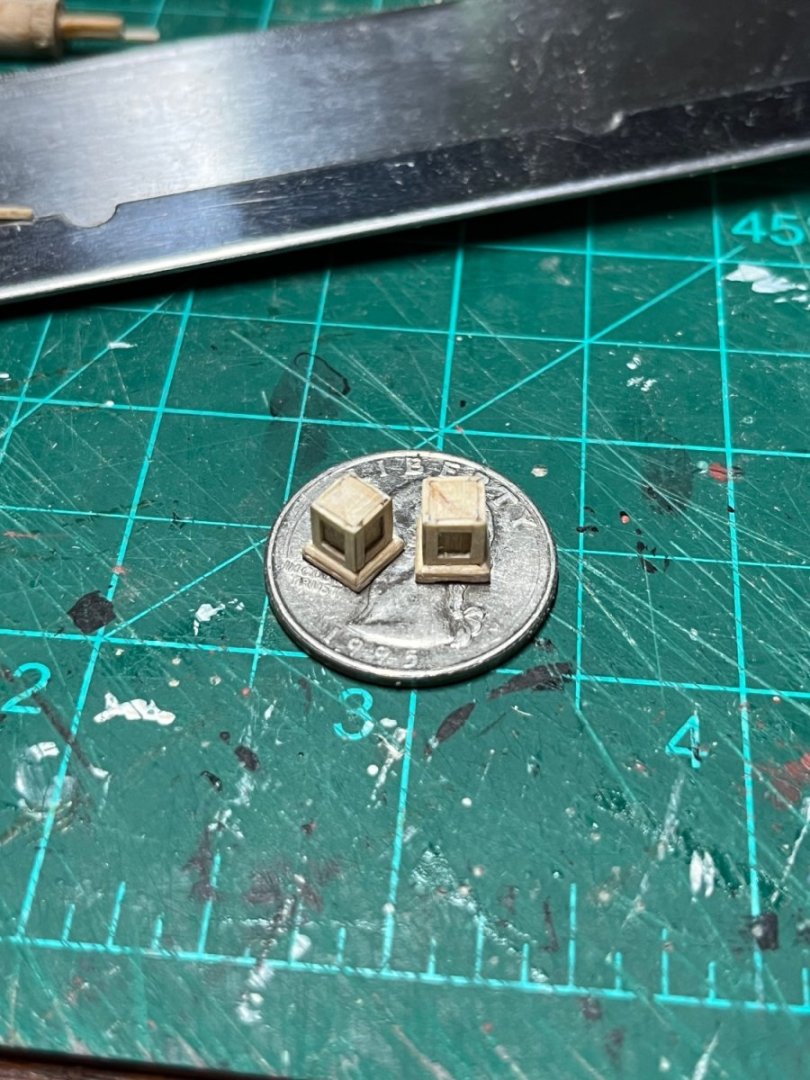
My Binnaclles are done! I made the tops out of extremely thin brass (almost brass foil). The cap on the top is a dowel that I shaped and painted.
-
I’ve been getting shaky since I got out of the Navy and started driving a 50 ton wrecker for the last 13 years! I have to brace my hands together and lean on my desk to keep it a bay!
-
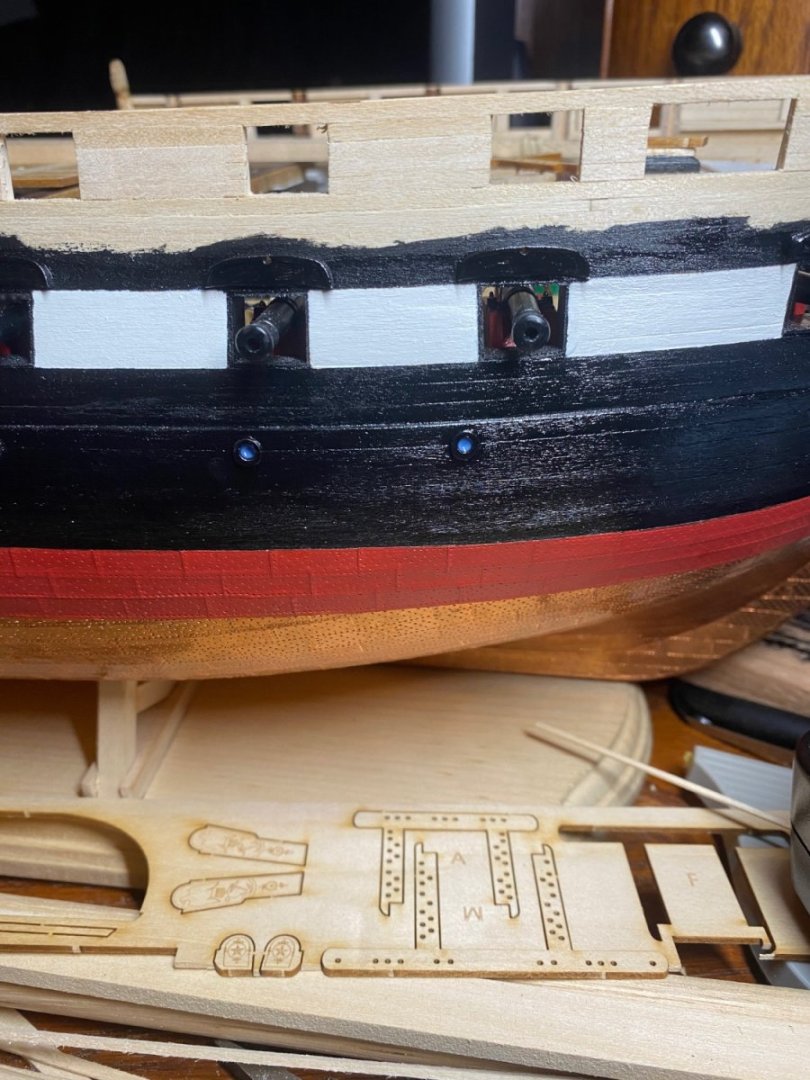
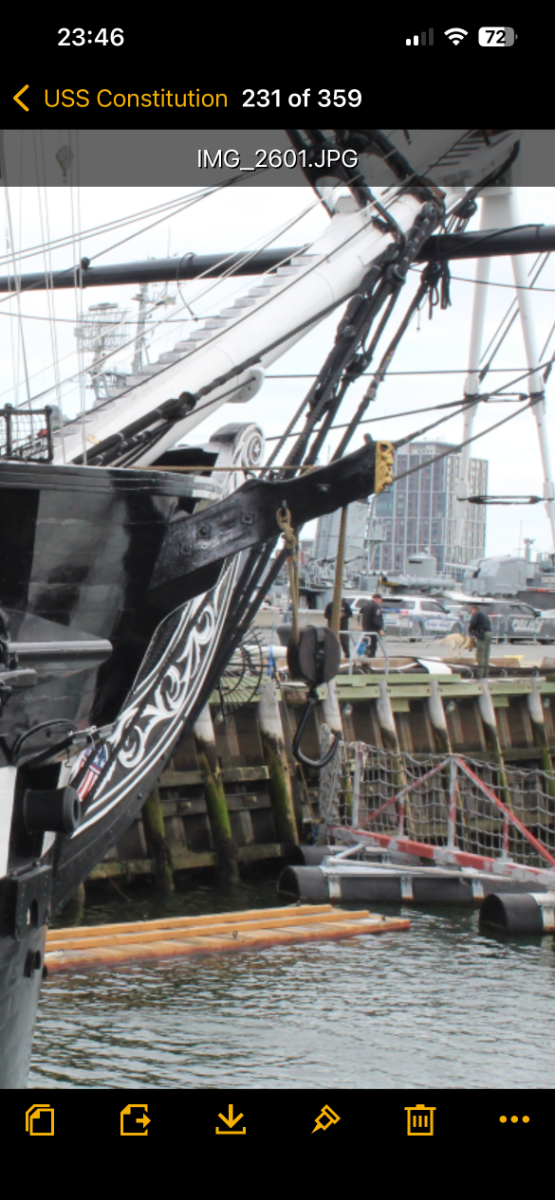
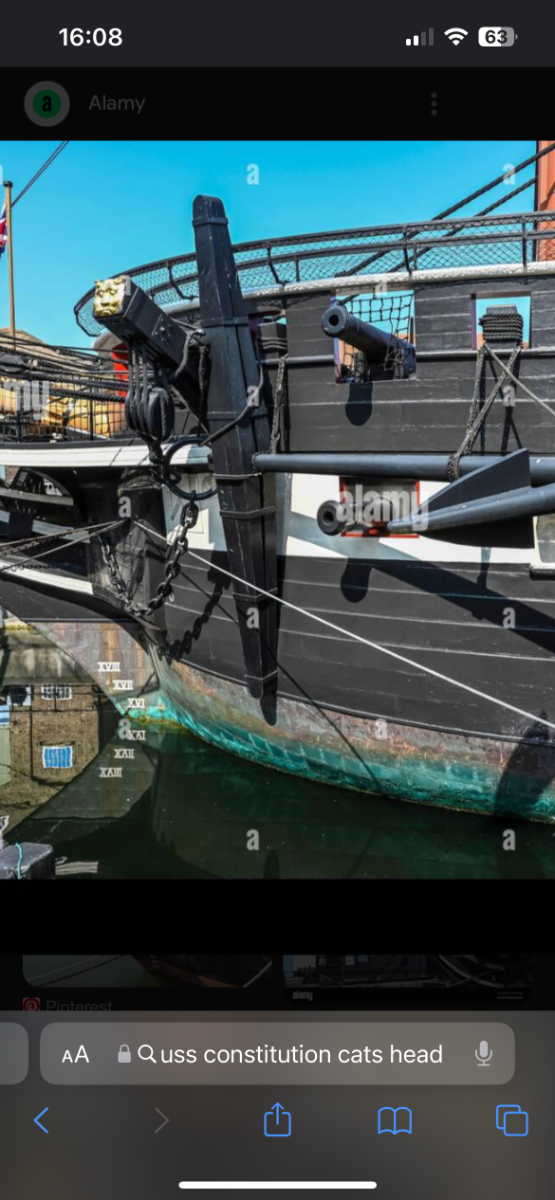
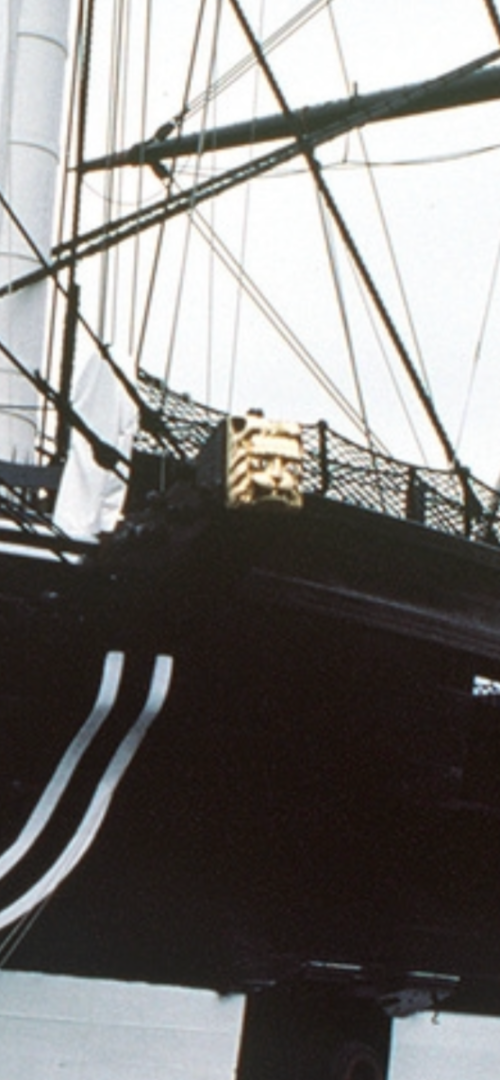
You our very welcome! I did carve my cat heads. It was very interesting to carve something that small! I believe page 5 or 6 of our plans has a not very detailed picture of the cat heads but I didn’t find it helpful at all!
-
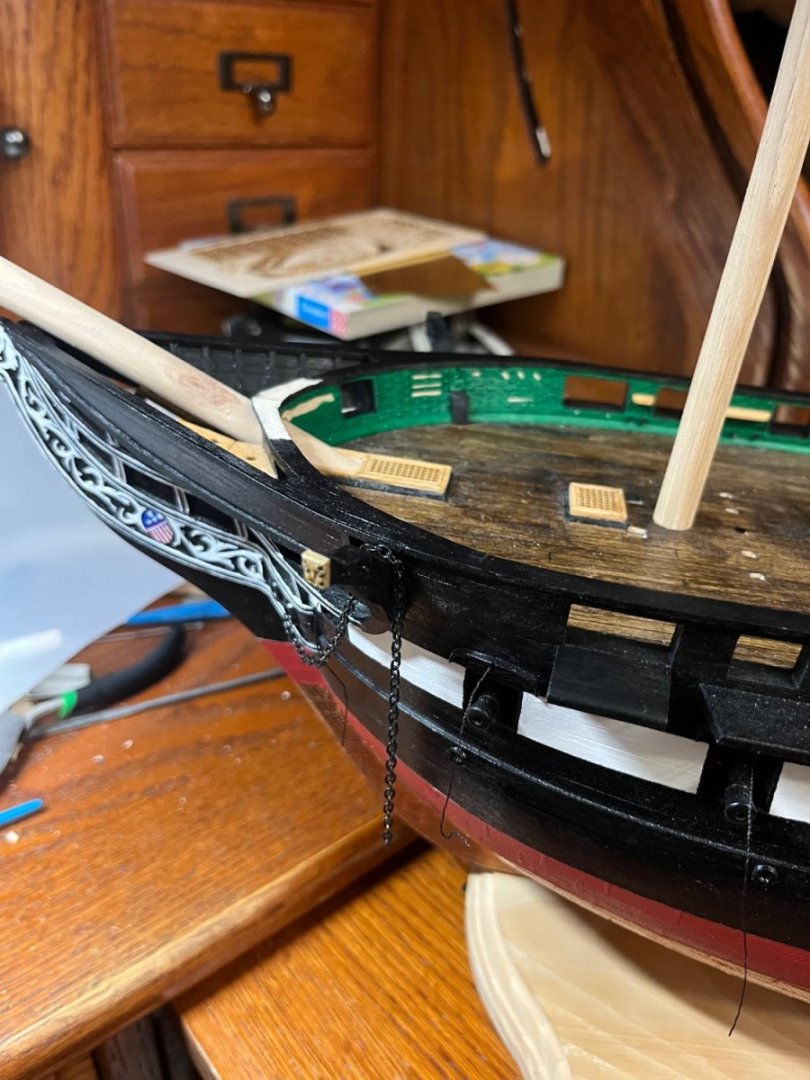
That’s perfectly ok! I also did all the details on my cat heads before installing them. my only problem was that I waited way to long to put my cat heads in which caused me to have to modify my bulwarks and patch parts on the inside. I also included some of my references pictures for you too!


-
I was able to get the bases for my two Binnacles done. I just need to work on the tops!
-
Than you! I would have to think in that. But, it’s a maybe. it would take about half of the time it took me to make mine.
-
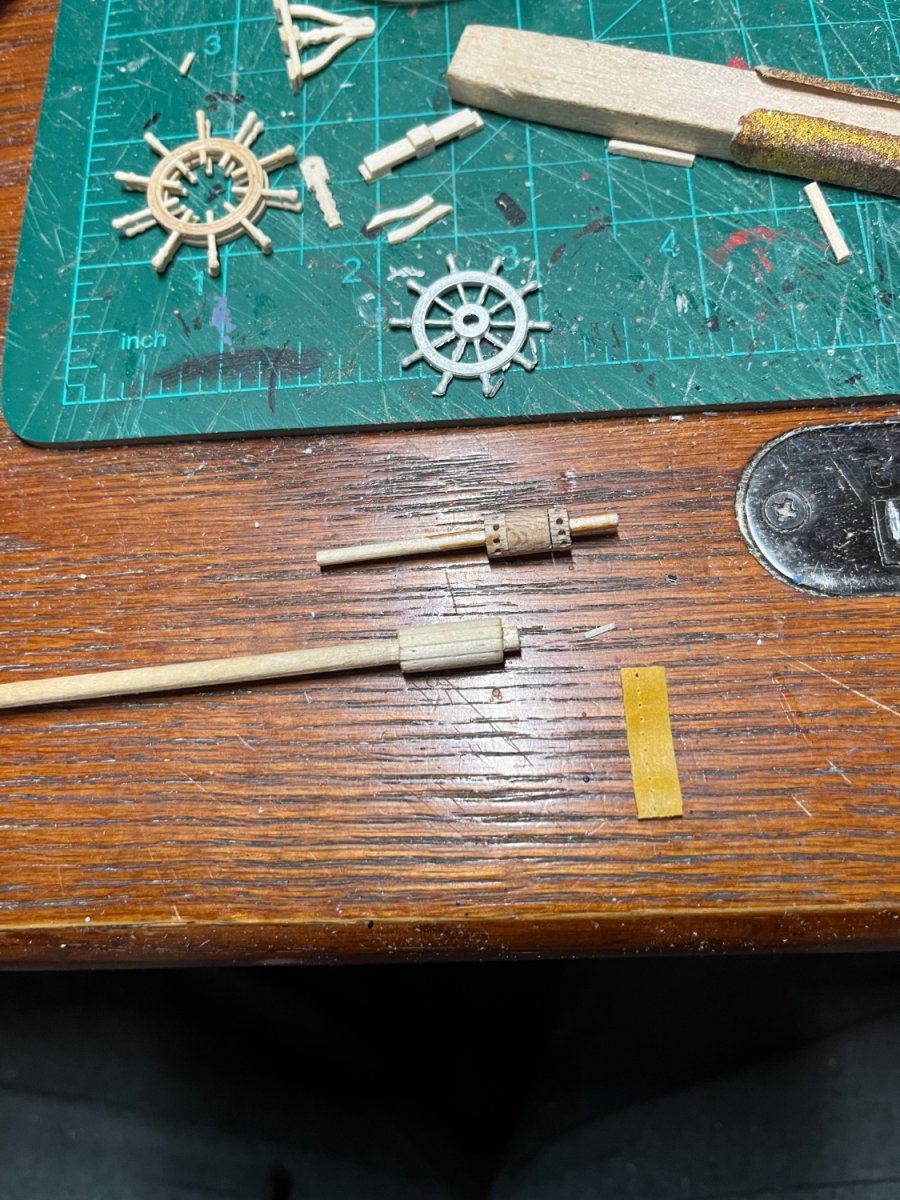
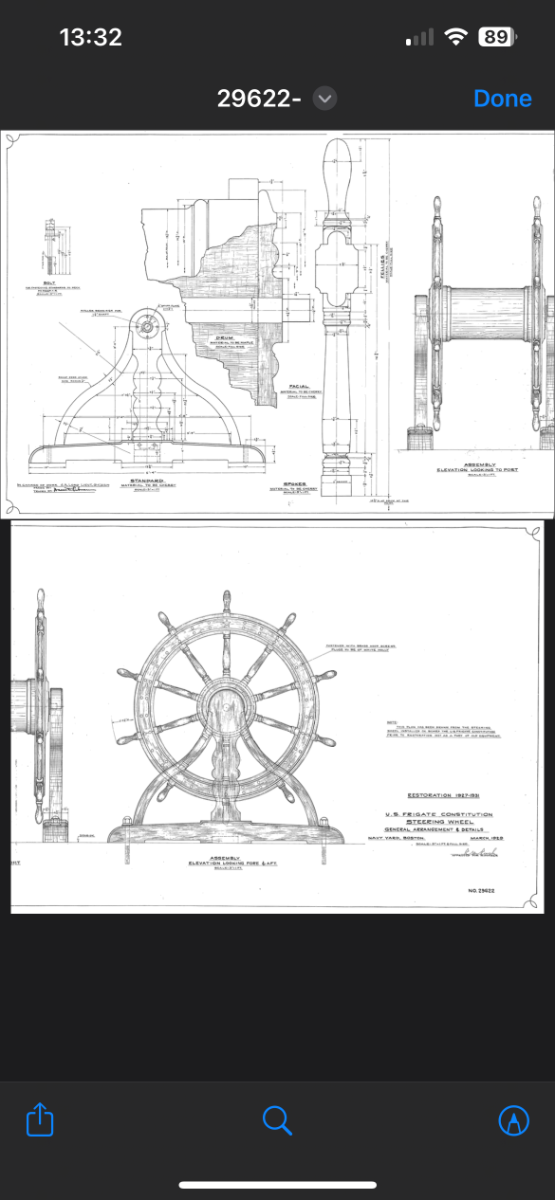
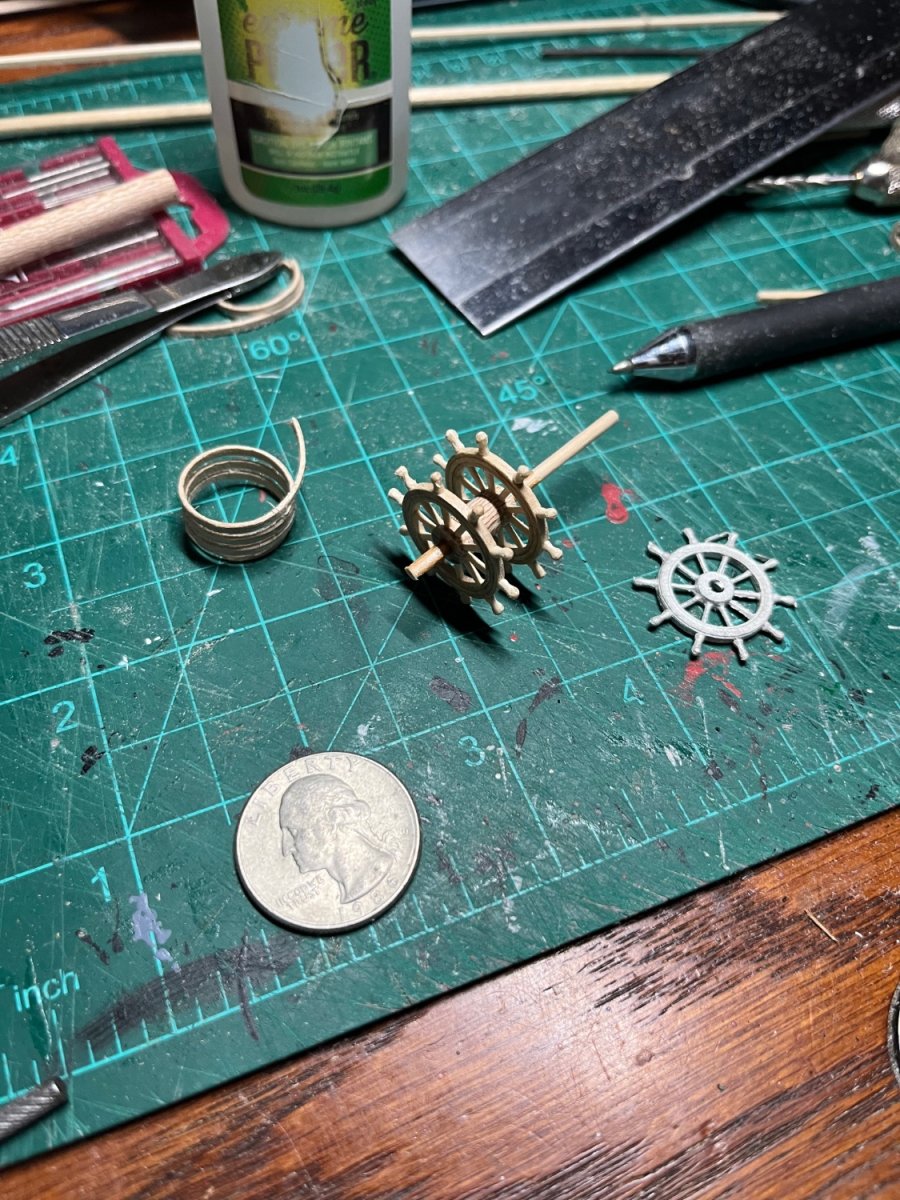
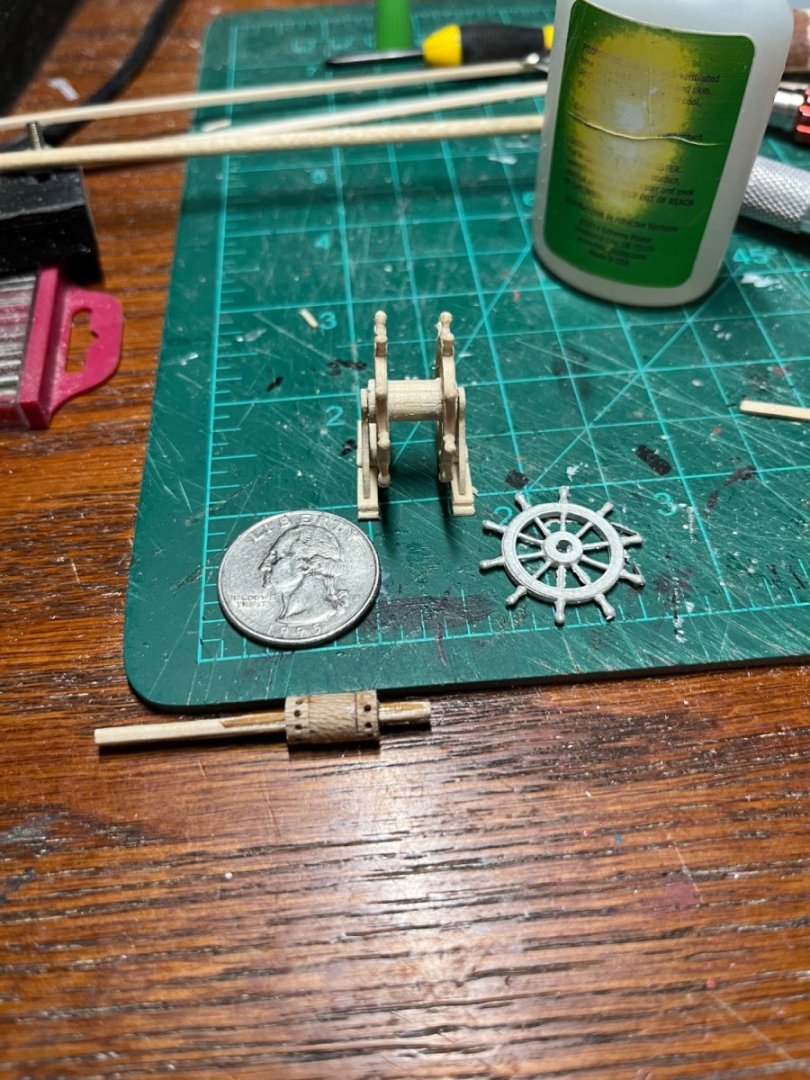
To start thins off, after sleeping on it I was not a fan of the way the barrel of my wheel looked for my USS Constitution. So today I backtracked and rebuilt the barrel today. I started with a 1/8” dowel and used 1/16” sticks to cover the dowel. (This took me two try’s) Luckily my new barrel turned out to be exactly 20mm in circumference which made it easy to mark the 10 holes. I used modeling tape with the marking to line up and poked small pilot holes to use my hand drill on. I got the stands finished tonight and now I just need to stain everything.


-
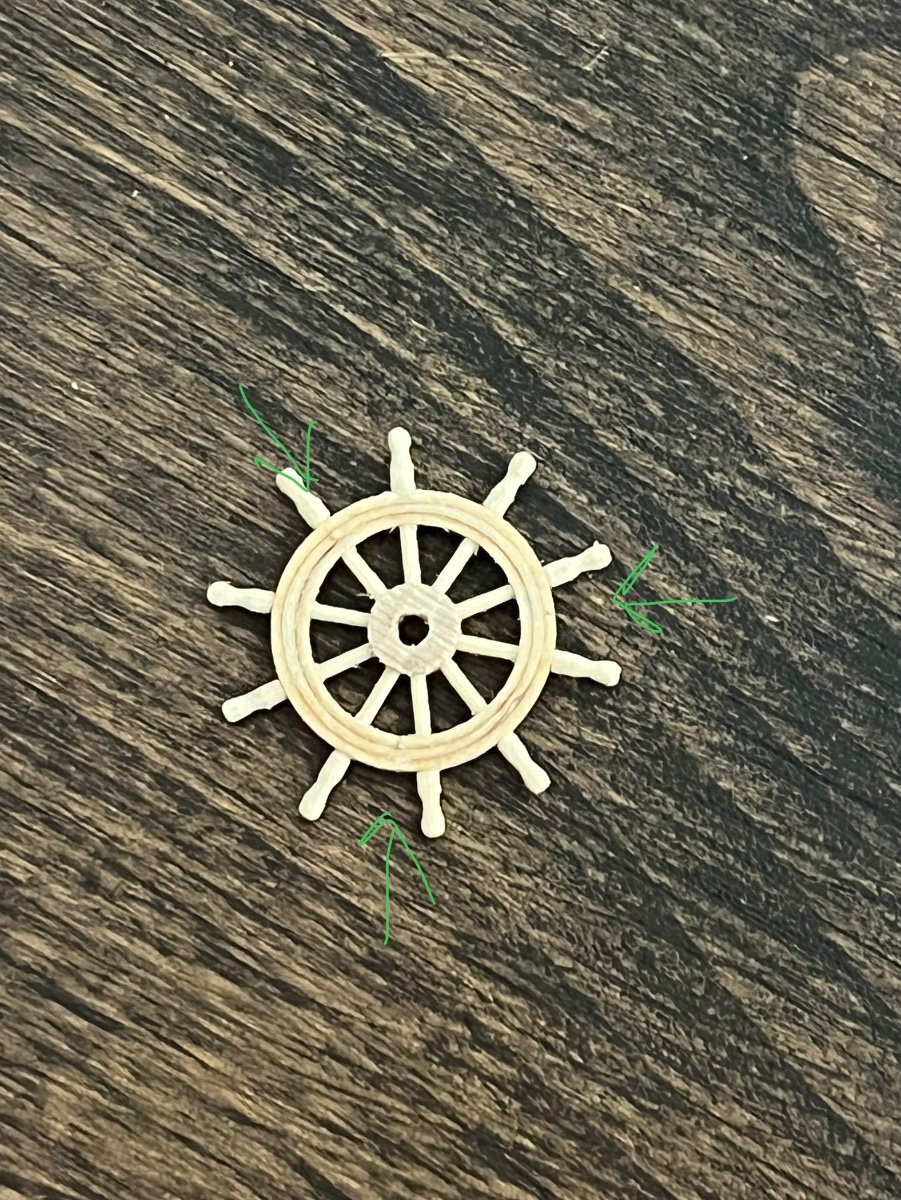
Thank you! I wasn’t 100% happy with the way it looked. I think I’ll like it more if I fix the center drum. I’m just glad the spokes are all interference fit and they’re not glued!
-
From your pictures and looking back at the blueprints, I’m going to try to rebuild the center of my wheel.
-
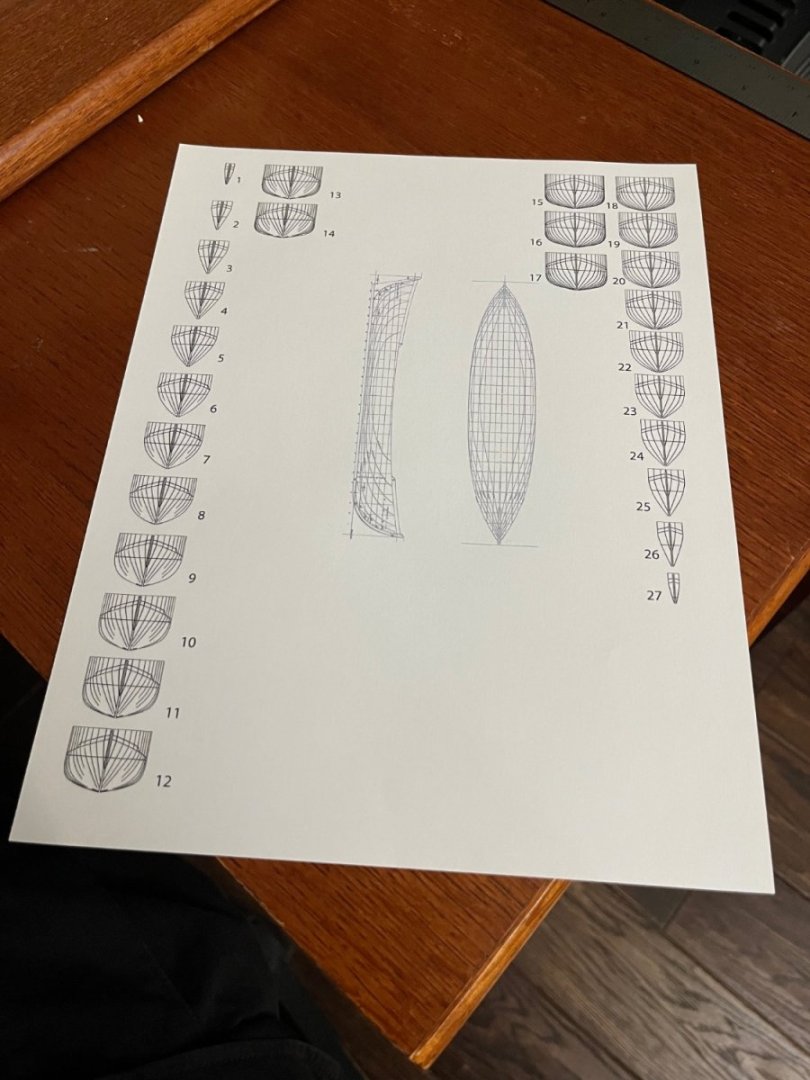
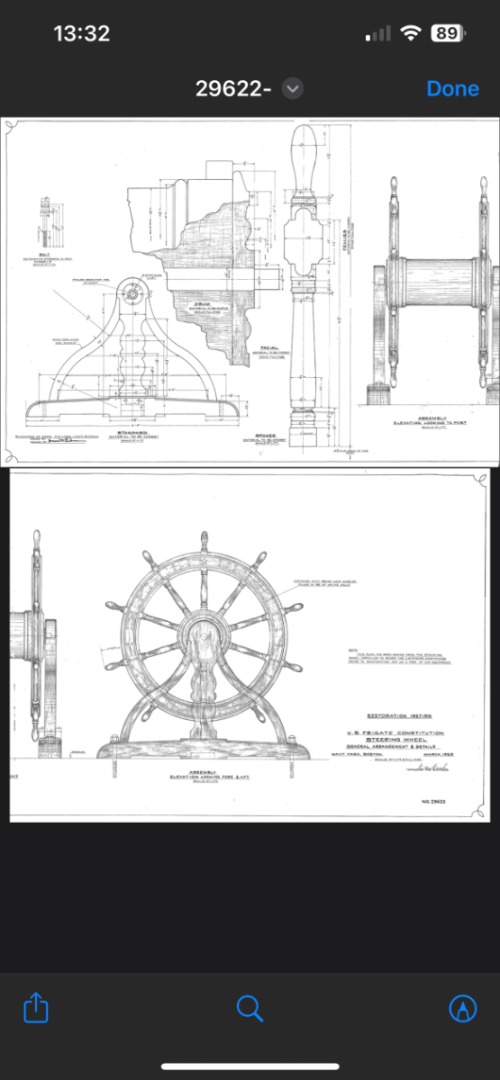
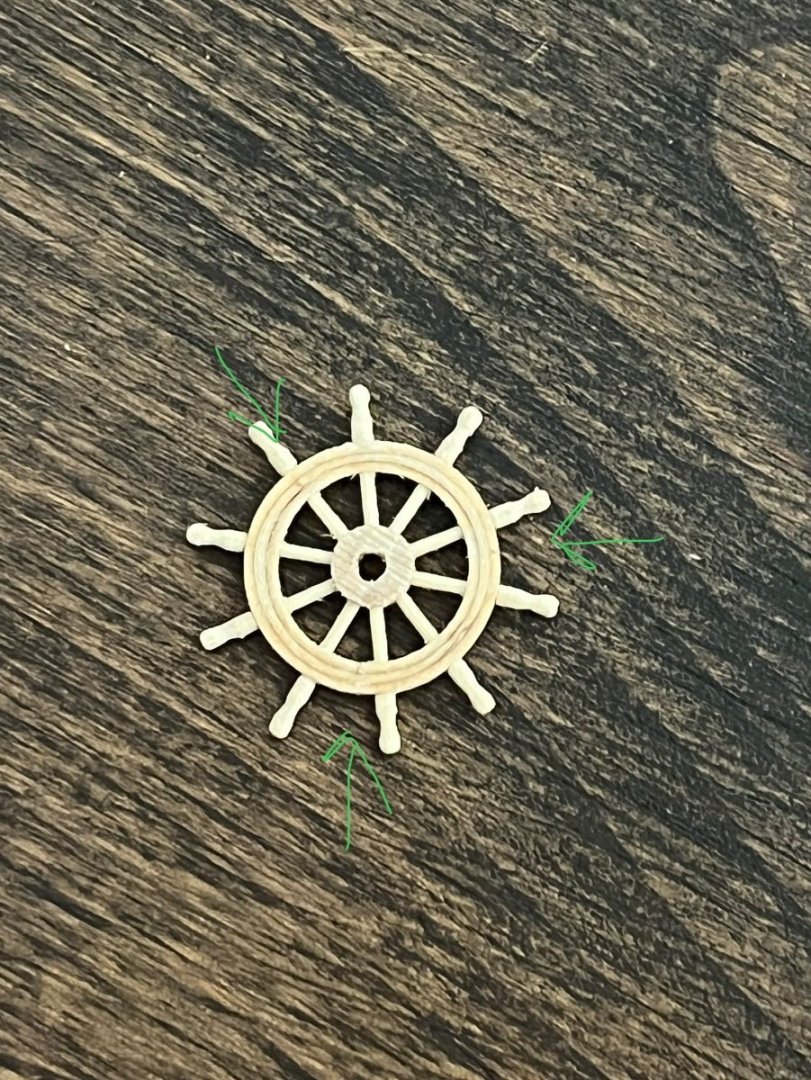
On my wheel I had a hard time drilling out the two wheel hubs for the wheels, I had just decided to to make them completely separate. In the end this turned out to maybe not be such a good idea because now I had to make everything close to square and I used a toothpick as a center shaft to keep everything together. The toothpick allowed me to glue the ends of the wheel to keep everything together. I was worried about that because I wanted everything to accept stain somewhat evenly. To that end all of my spindles and hubs have a small interference fit. The only part of the wheels that are glued are the rims and the small spots on the very ends that will be covered by the stands. Once I stain the wheel I was thinking of using a test peace of wood and drilling all the small wholes and inserting small brass wires. If this doesn’t work on the test peace I may just try to paint them on. I referenced all of my sizes and shapes from the Model Shipways plans and unfortunately I still can’t find the wheel in the instructions accept for a picture on page 33 of the actual wheel. I also referenced the Navy plans. Unfortunately, after looking I have been unable to find Bobs Practicum.
-
Thank you very much. just keep in mind I’ve also modified my kit at lot to make her look like she did in 2015 when the 3D tour was made. I also modified in the complete gun deck and cabins.
-
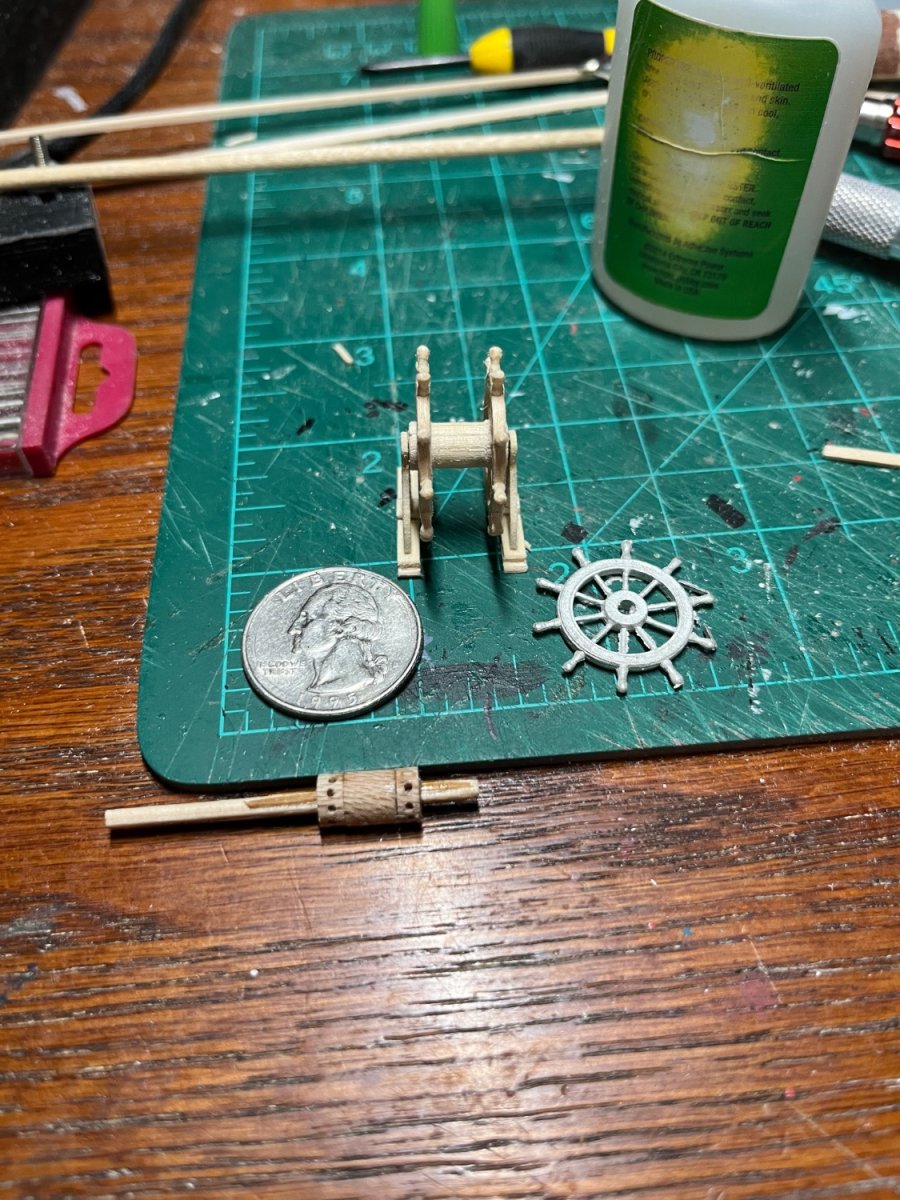
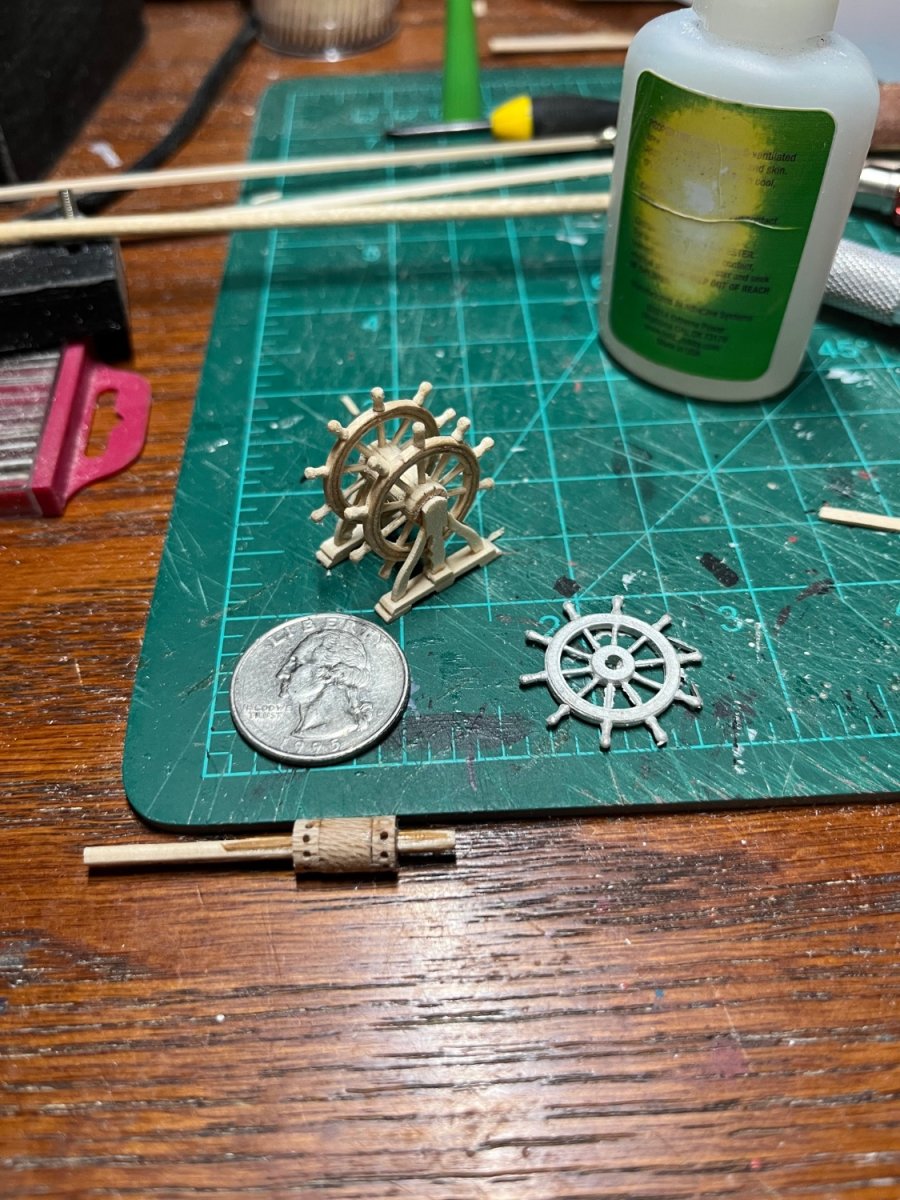
So I had gotten both of my wheels done yesterday just to realize that all of the handles were too long. After trying to shorten them and breaking several I just had to remake all 20 of them. I’m just happy that I was able to speed up my turning process. I now have both joined together!


-
Sorry about that! I was trying to explain that I put the seams from each layer apart by about a third of the circumference of the wheel. I need to fix the handles on this wheel. I made them close to the cast size and they’re about two times too big!
-
You are very welcome! I love to help as much as I can and thank you!
-
Thank you! I really appreciate your kind words! This is technically my third all wood kit but I’ve been building plastic models and stick and tissue planes for about 28 years! I made three attempts to make my wheels. The first two I used too thick wood and I could not get the tight bend. I finally decided to use use 1/32 mx1/16” basswood. From here I boiled one stick that was about 24” for about 15-20 minutes. Then I curled the wood around a small spray can. Once the wood dried for about 6 hours I boiled it again. After I boiled the second time I taped about an inch of the wood to the socket and the rolled to wood to the socket on the counter. Doing this I still had one split in the wood, but it gave me enough material to have a little extra leftover. After I got it secured to my socket I let it dry completely overnight. To form the wheel I layered two more layers on the first. Each layer was offset by one third of the wheel. To make the holes for the spokes I used the cast wheel from the kit to get a good even positioning around the wheel. The I used a needle awl to make a small pilot hole and started with a three sizes smaller drill bit. Each time I drilled the holes I checked for center and took my time. I went up each size to make sure that I didn’t get to close to the sides. The spindles I had to use my fingers and different files to lethe them. Making the spindles has so far taken the longest of everything.
-
The way I drilled the holes as close to the center is, I made all my marks first. Then I uses a needle awl to make a pilot hole to start. Then I started with three sizes smaller than I needed the hole. Once the first holes were done I went up in each size drill bit. Each time I drilled the holes I also made shire that the drill wasn’t walking to one side or the other. to make all the spindles I made a master spindle to model all of the next ones off. Unfortunately I don’t have a actual lathe so I had to use my fingers to turn the spindles using different files to shape.
-
That’s ok I did the same thing just I was missing for a lot longer! I favorited you build! She’s looking great!
-
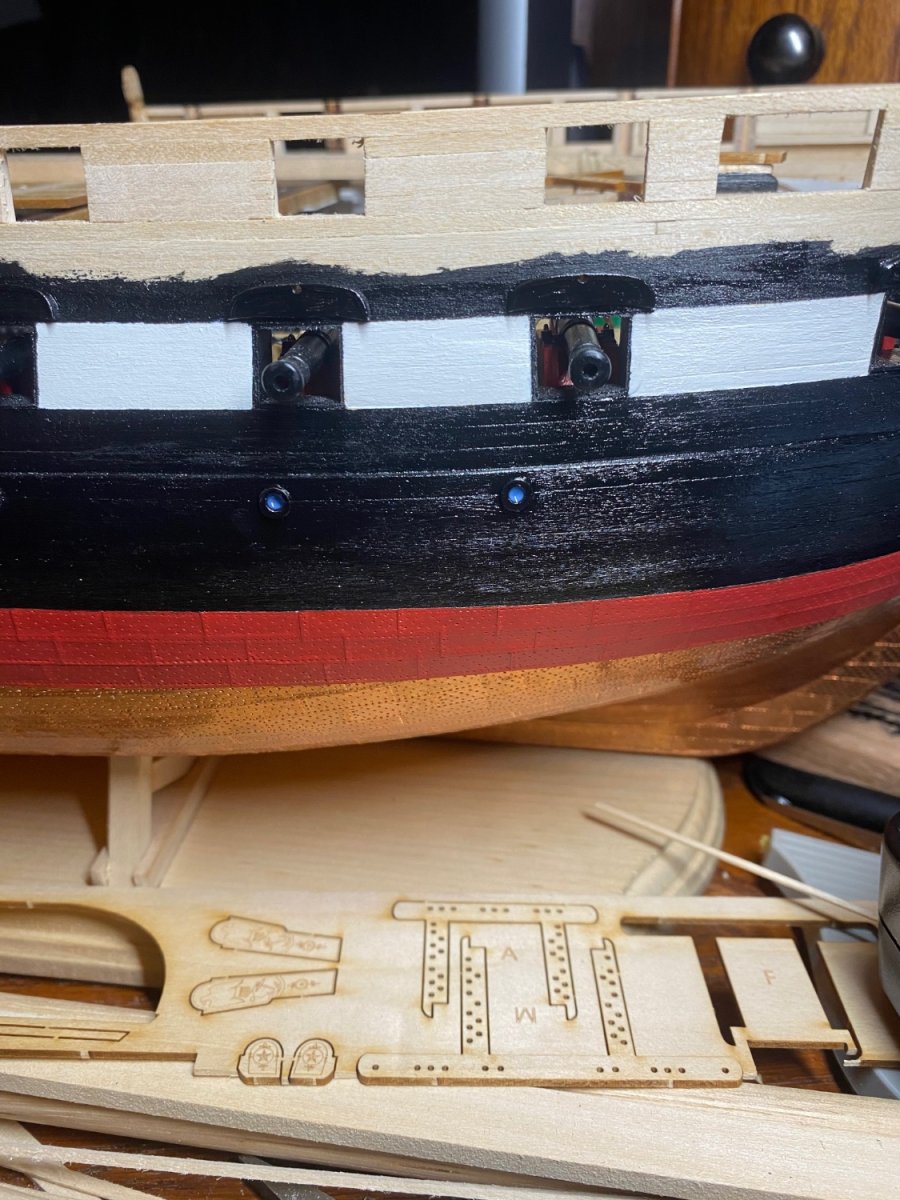
I’m sorry, I almost forgot! I found that using a little bit of canopy glue in the birth deck portlights once dry gives them a beautiful look of having glass! It starts looking a foggy, but once it drys they are completely clear.