Riotvan88
-
Posts
108 -
Joined
-
Last visited
Content Type
Profiles
Forums
Gallery
Events
Everything posted by Riotvan88
-
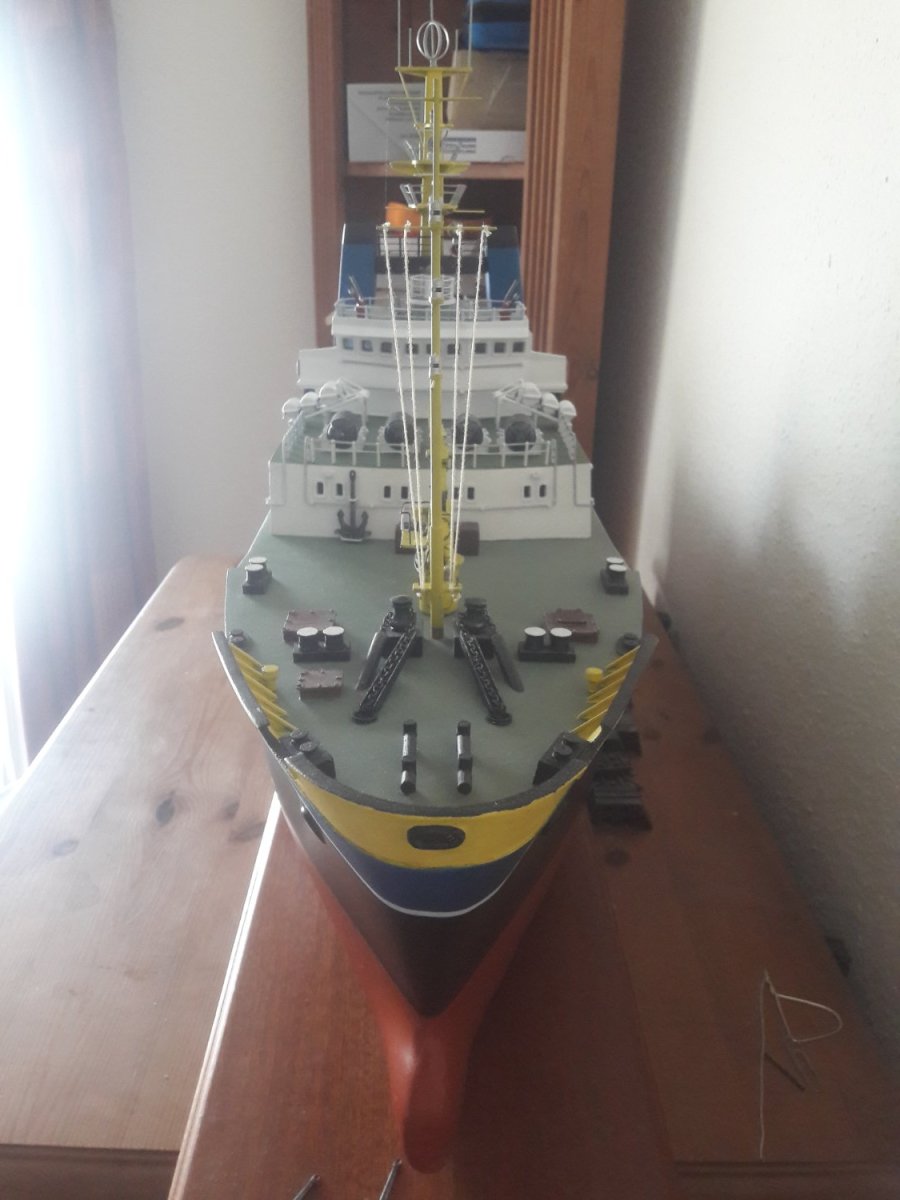
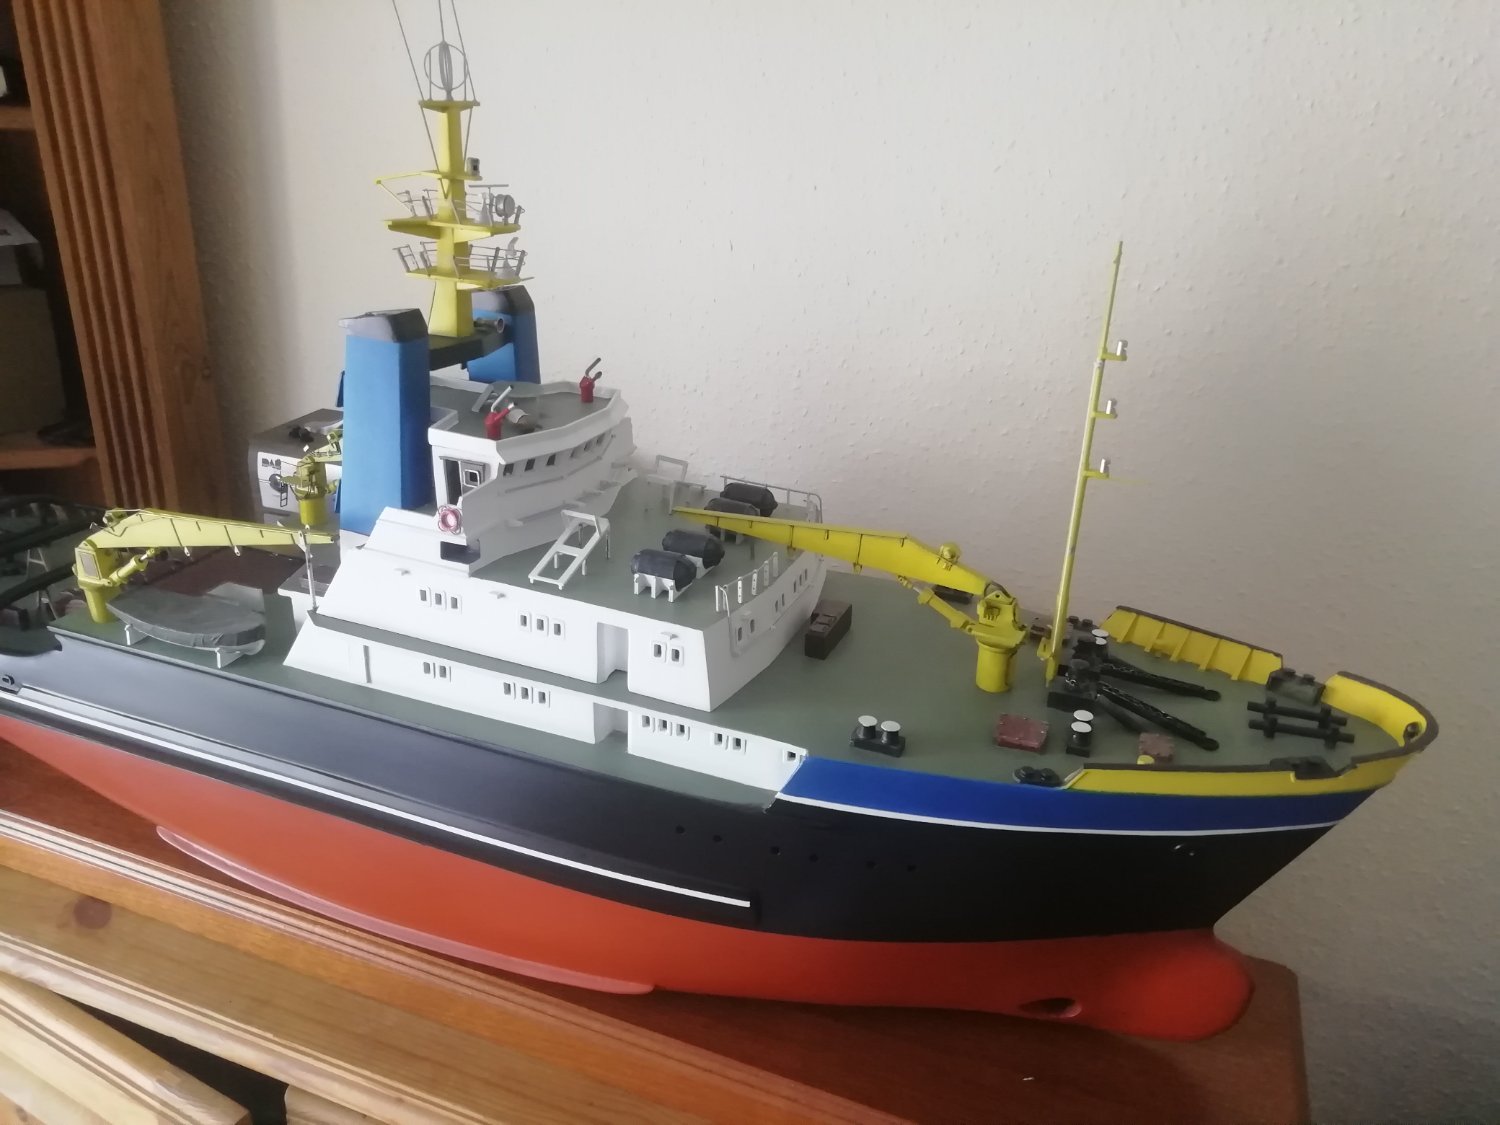
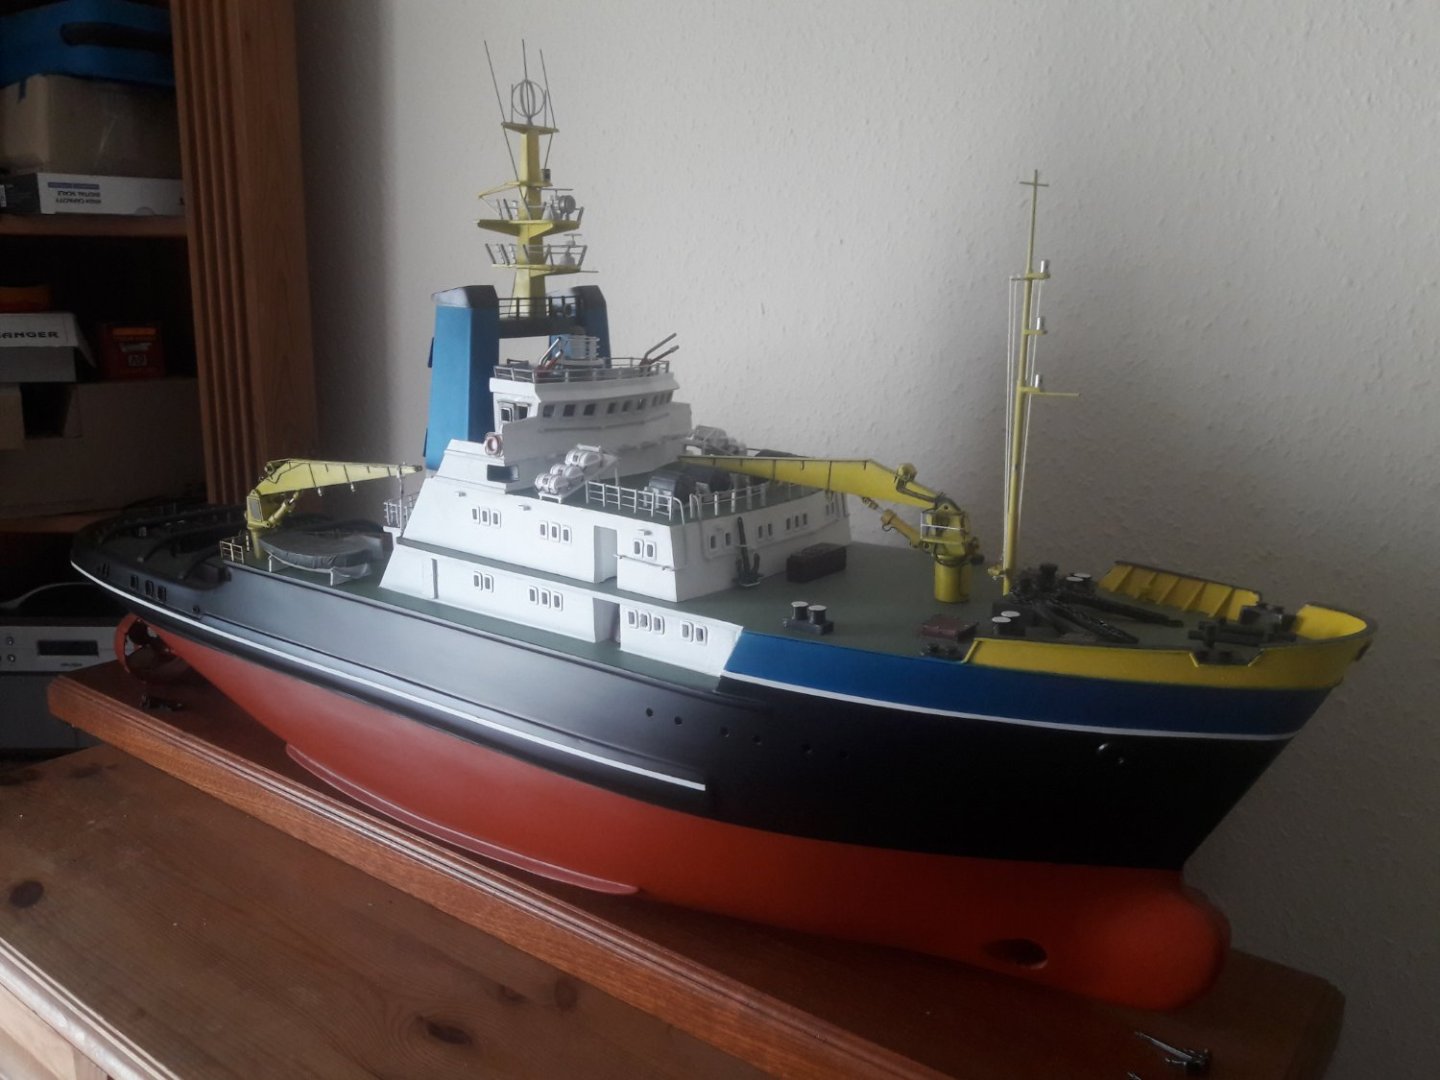
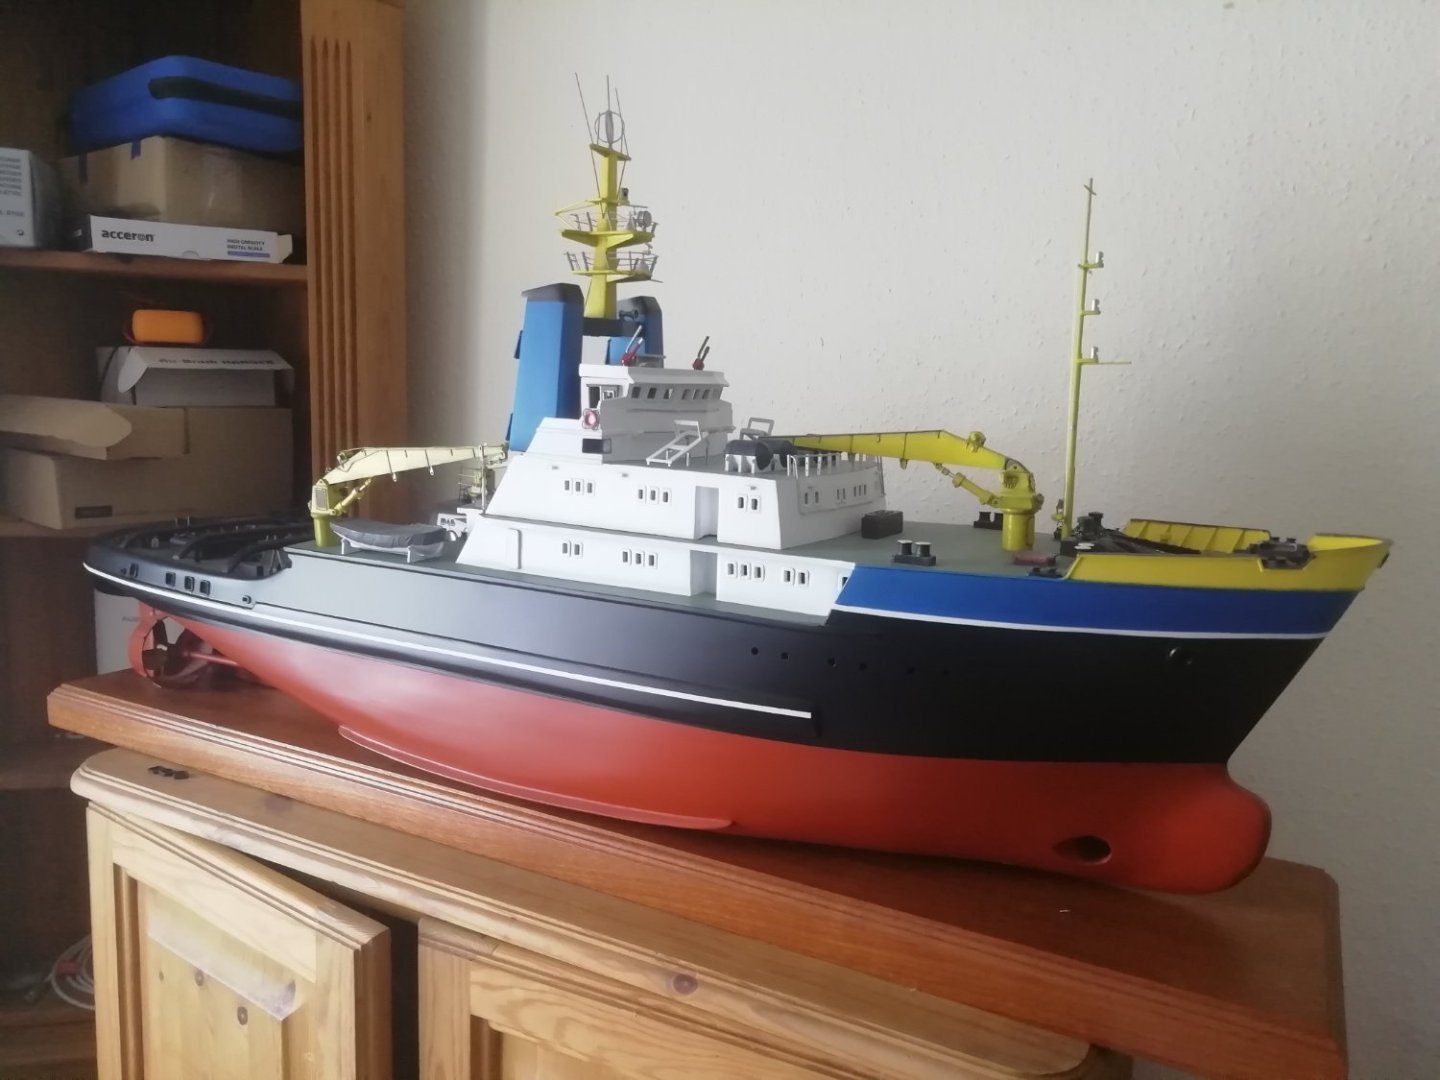
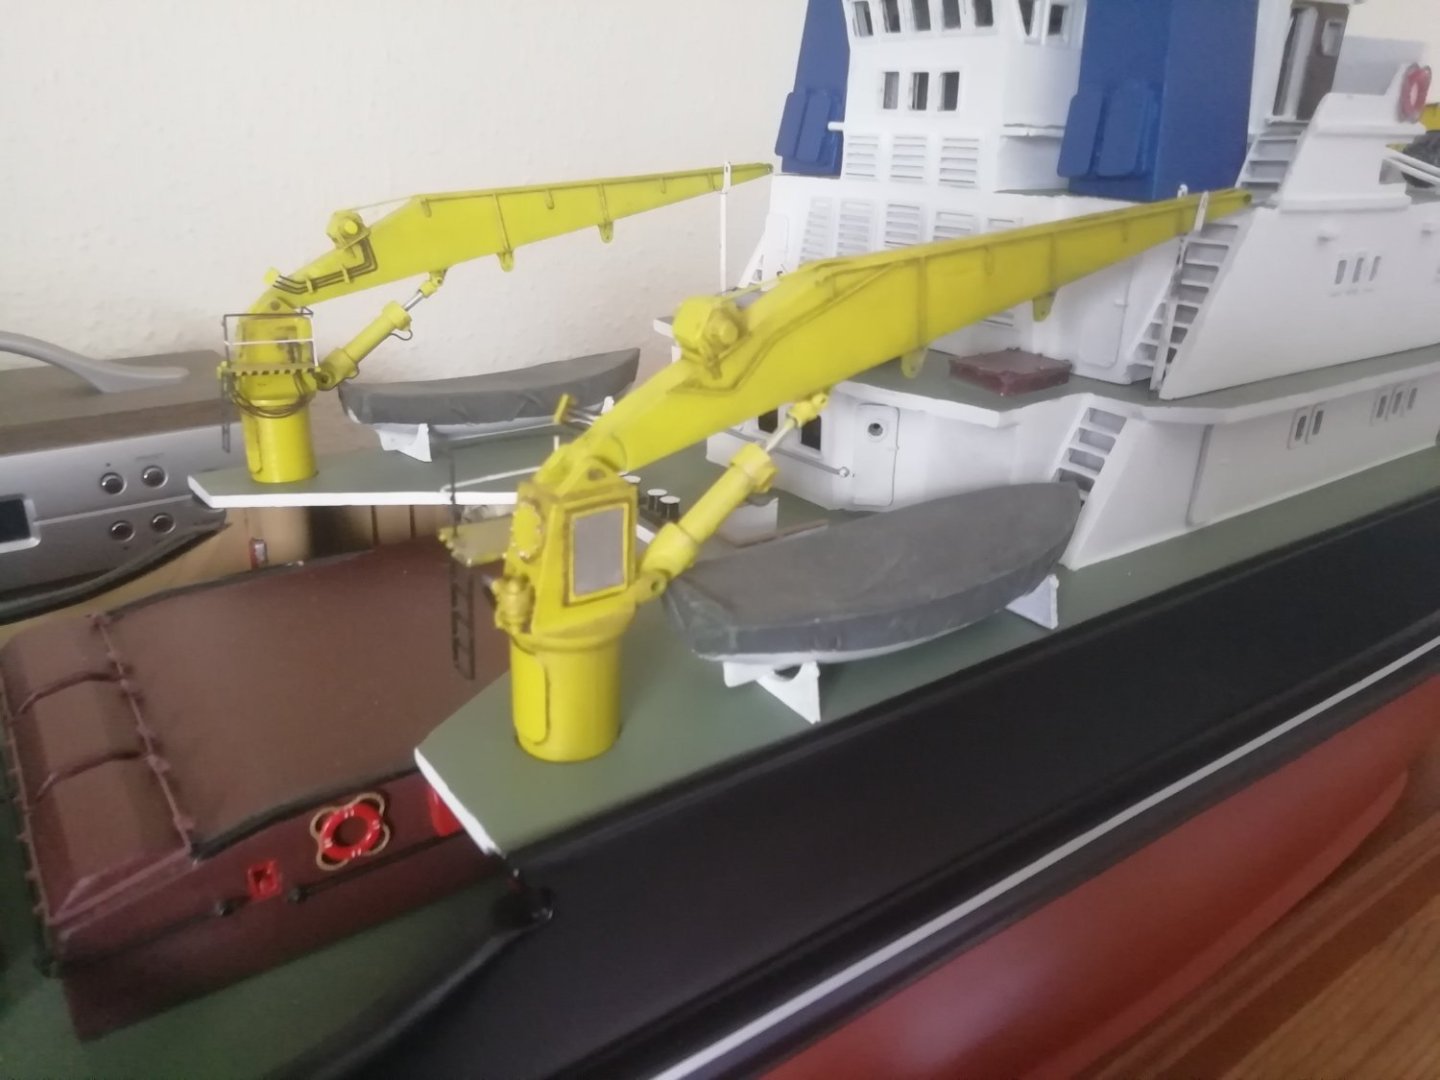
Few more details added. Mostly just decals and railings left to do.


-
Hi guys Building a scratch Zwarte Zee and now approaching the time to fiberglass the Hull. Previously built a smit rotterdam and used west systems Gflex epoxy only but this time I want to use cloth aswell. What is the best weight of cloth to use and what epoxy resin to use? The Gflex used previously was thick and probably not suitable for wetting out cloth. Just looking for suggestions and tips as to what everyone else uses. Cheers

-
Thanks for all the info guys. Regarding the instructions apparently both kits come with a detailed booklet and online reviews rate both instructions as good. I think I'll buy those books so I can build a more accurate model either way.
-
So I'm currently building a Caldercraft Sherborne, so far the Hull is coming together and I'm fairly happy with the result. This is my first period ship model although I have now built three wooden hulls previously. I'm looking to start the next model at some point in the new year. I'm keen on building the gallion Revenge. It appears there's two kits available the occre revenge kit and the Amati/victory models kit. Has anyone got any experience with either kit? The occre is much cheaper and looks to be a more decorative model whereas the Amati looks to be a more realistic representation of the real ship. The Occre kit also comes with sails and although less realistic I very much like its appearance. That said I also like to more scale realistic look of the Amati model too. I just wondered what people's opinions are on the two options. Additionally I think the occre kit is aimed more at beginners like myself so thats also a plus for that one. Would the planking be harder for these kits than the Sherbourne? Interesting to hear people's thoughts Cheers
-
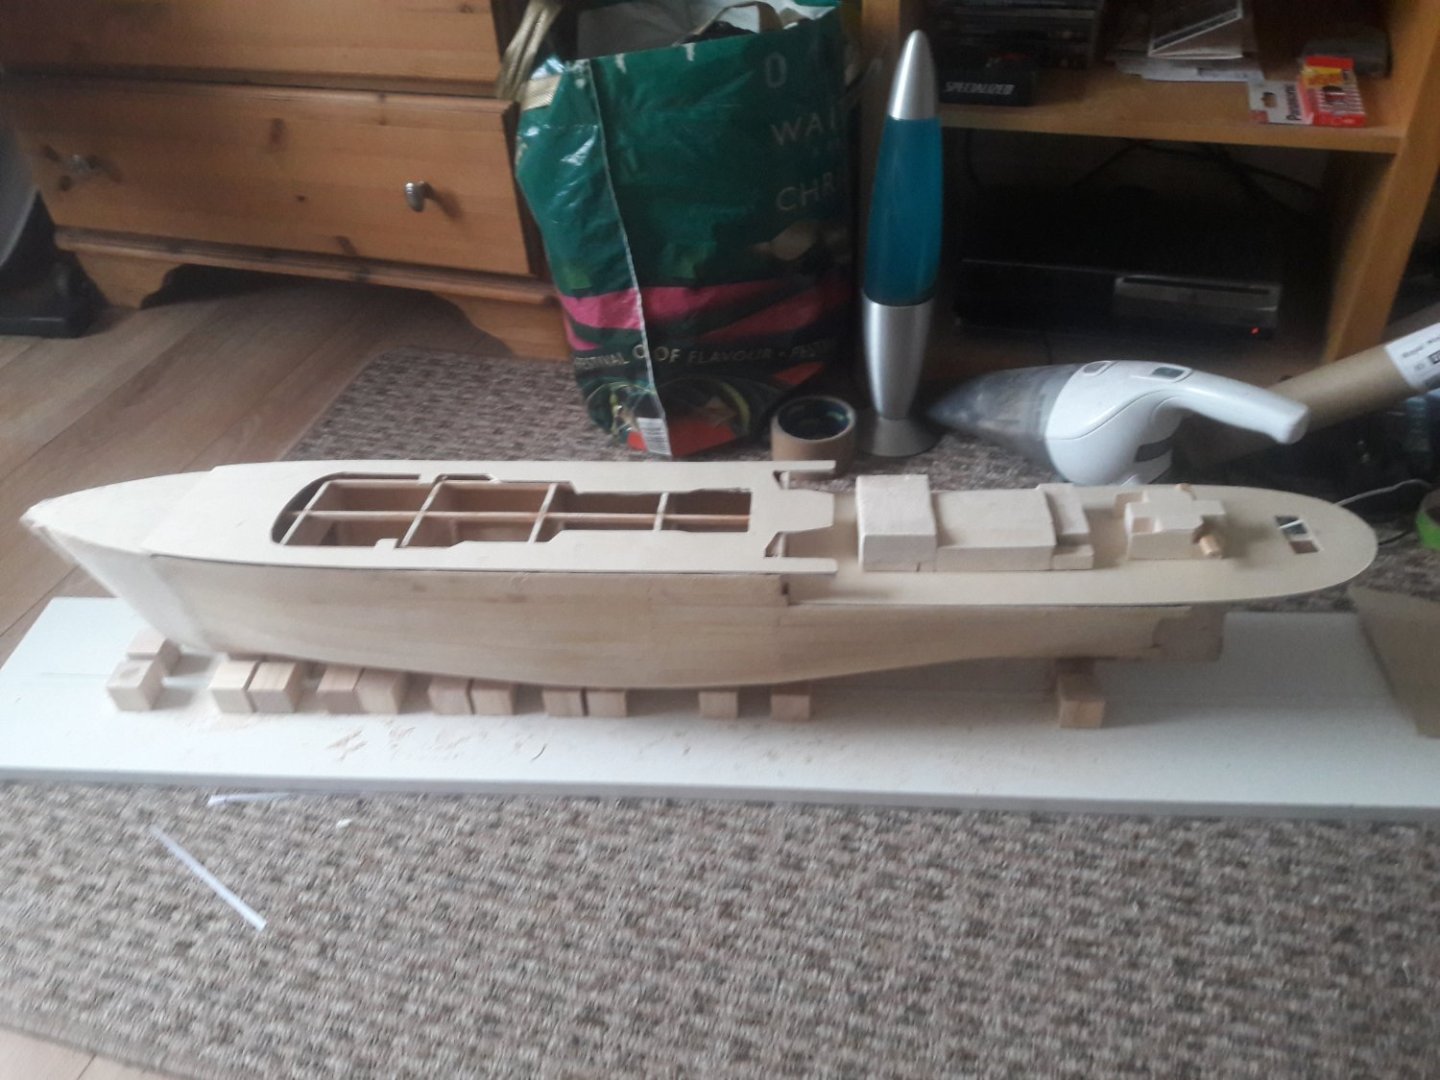
Hull taking shape


-
Recently picked this model up again after being shelved for a couple of years. Progress as of today.


-
How did you get on with it? My kit was one of the early releases, the latest one looks much improved regarding the sequence and parts design.
-
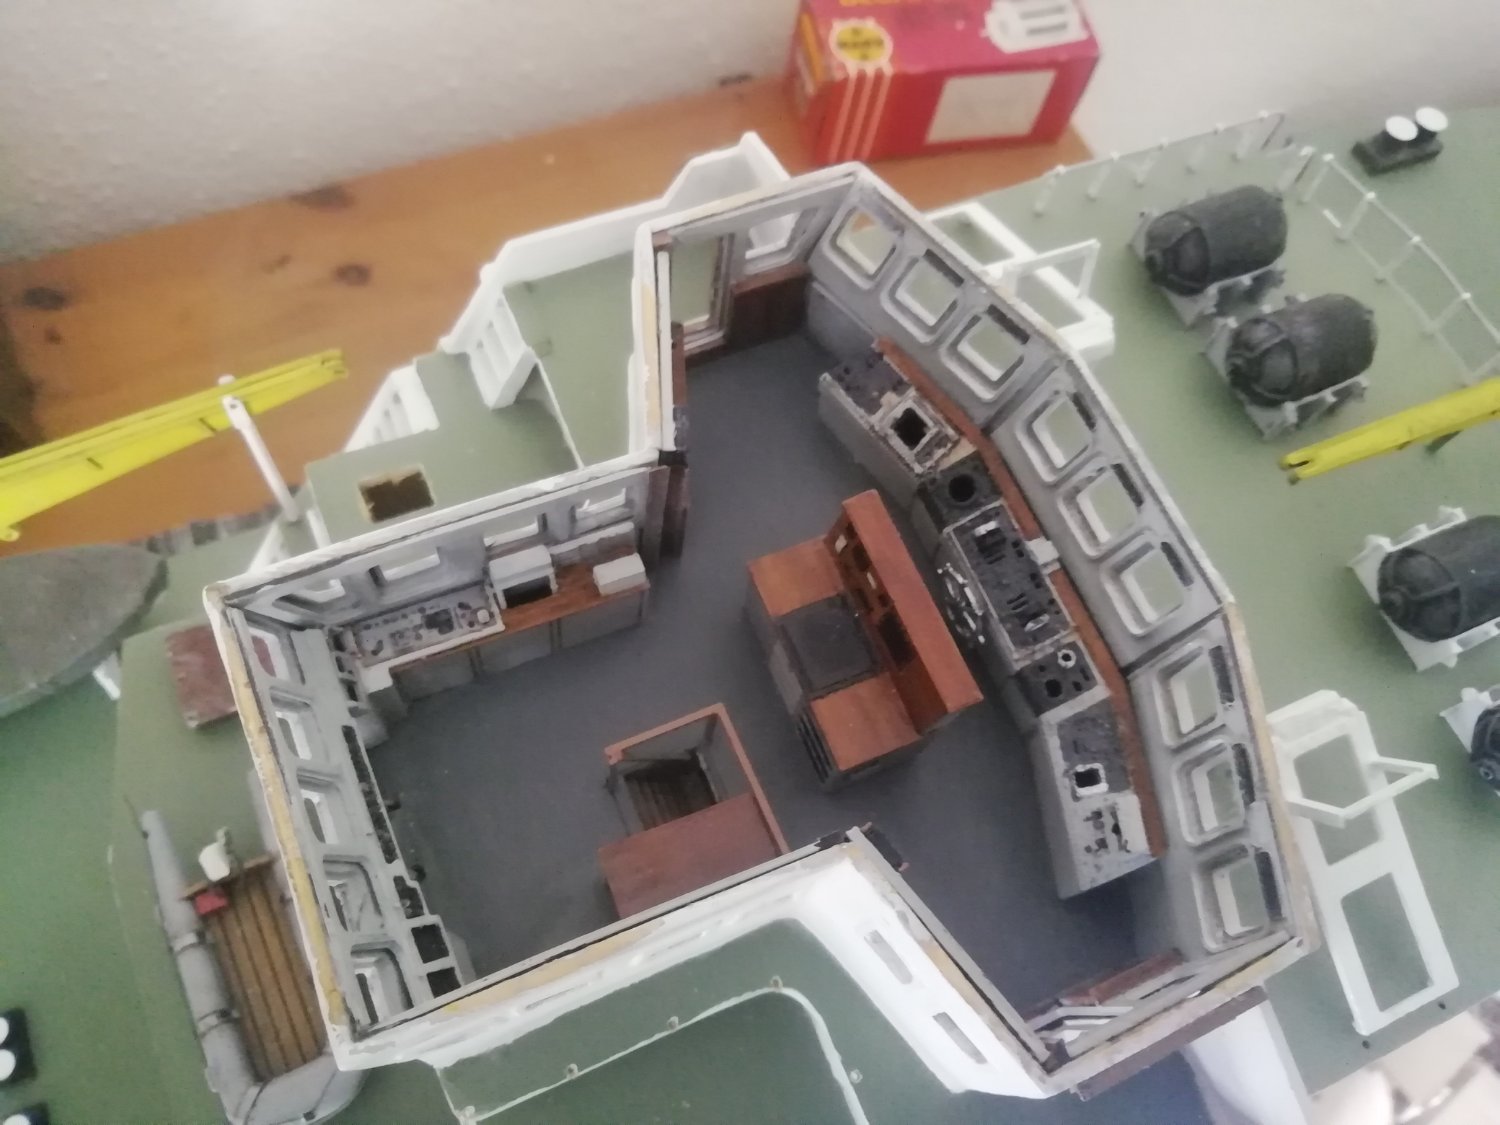
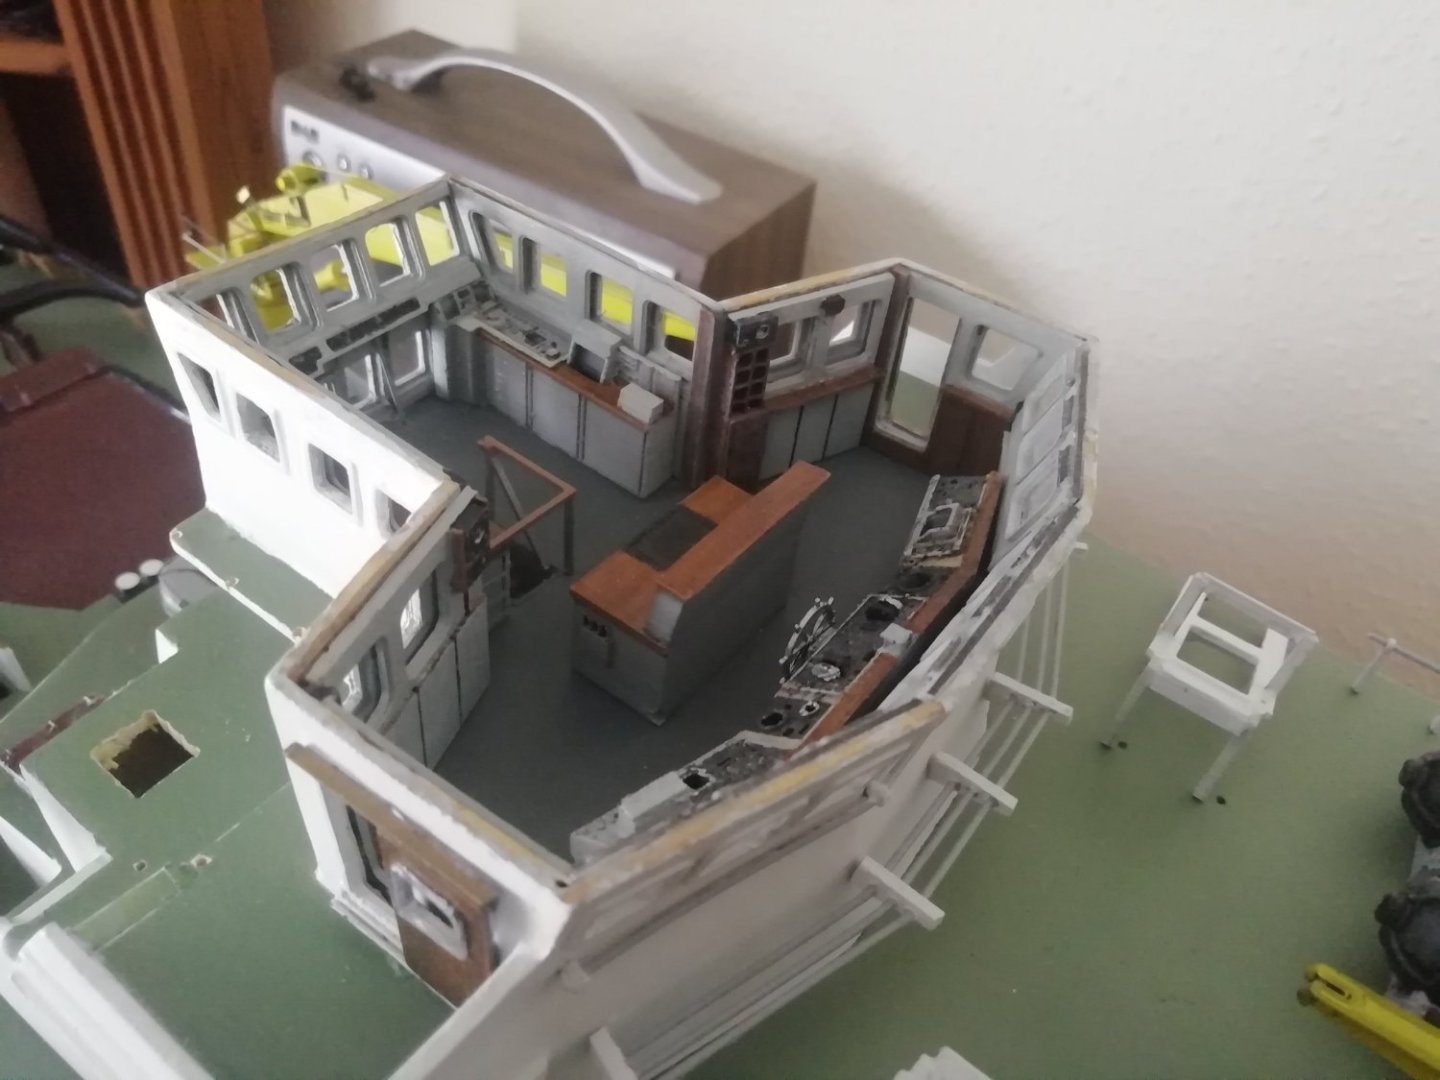
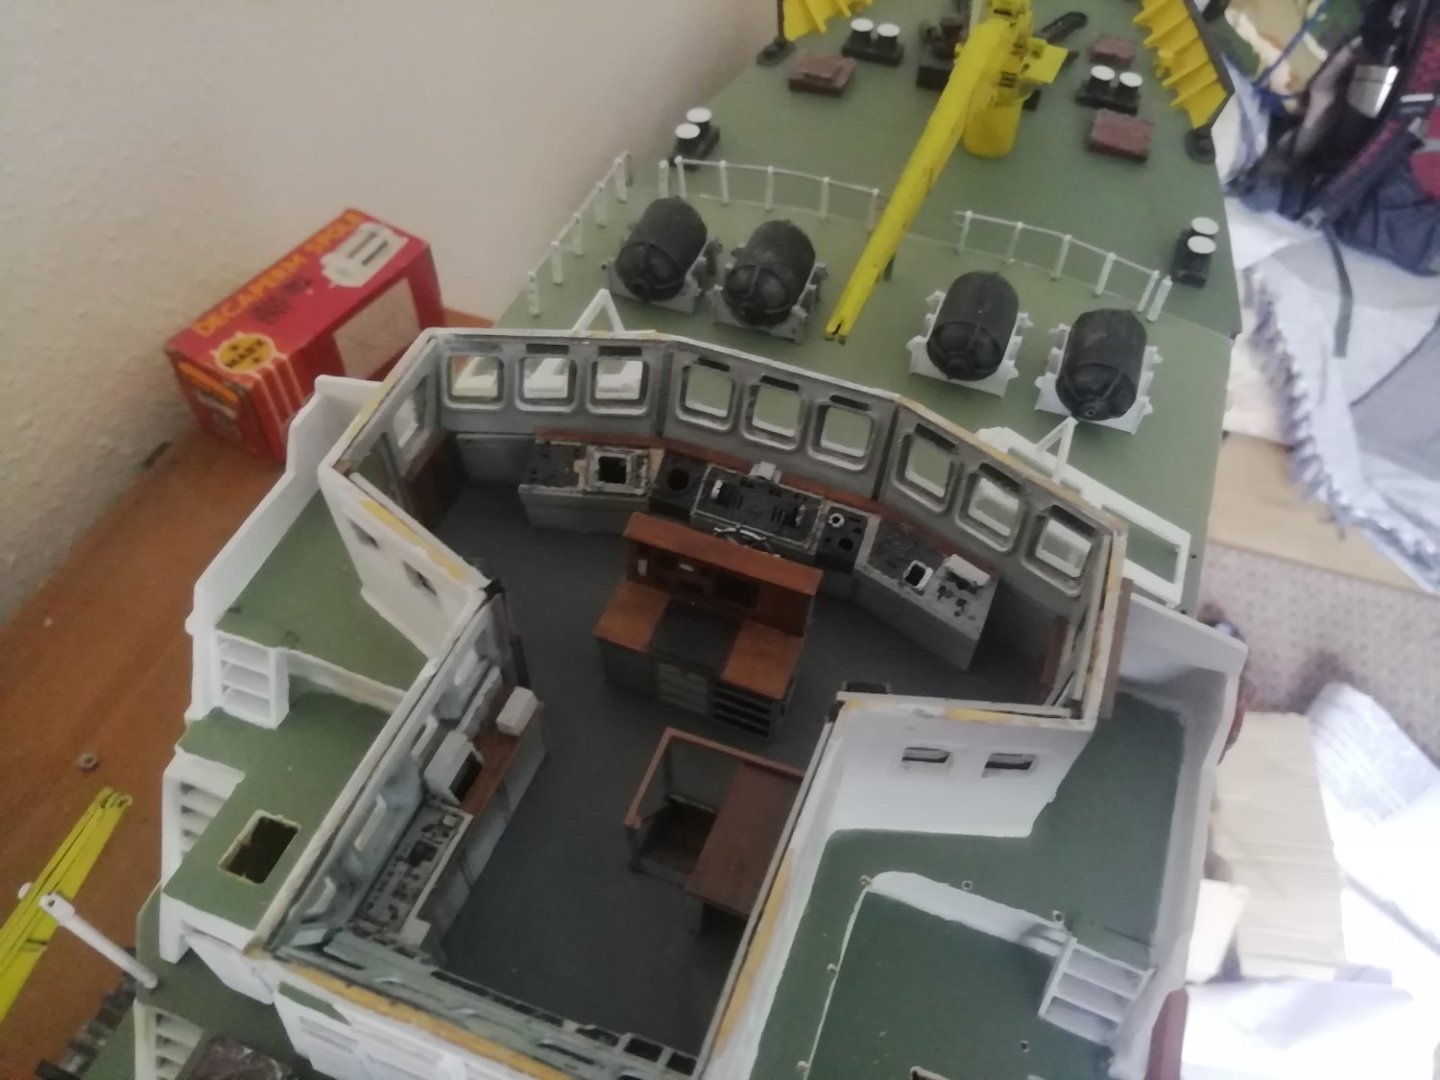
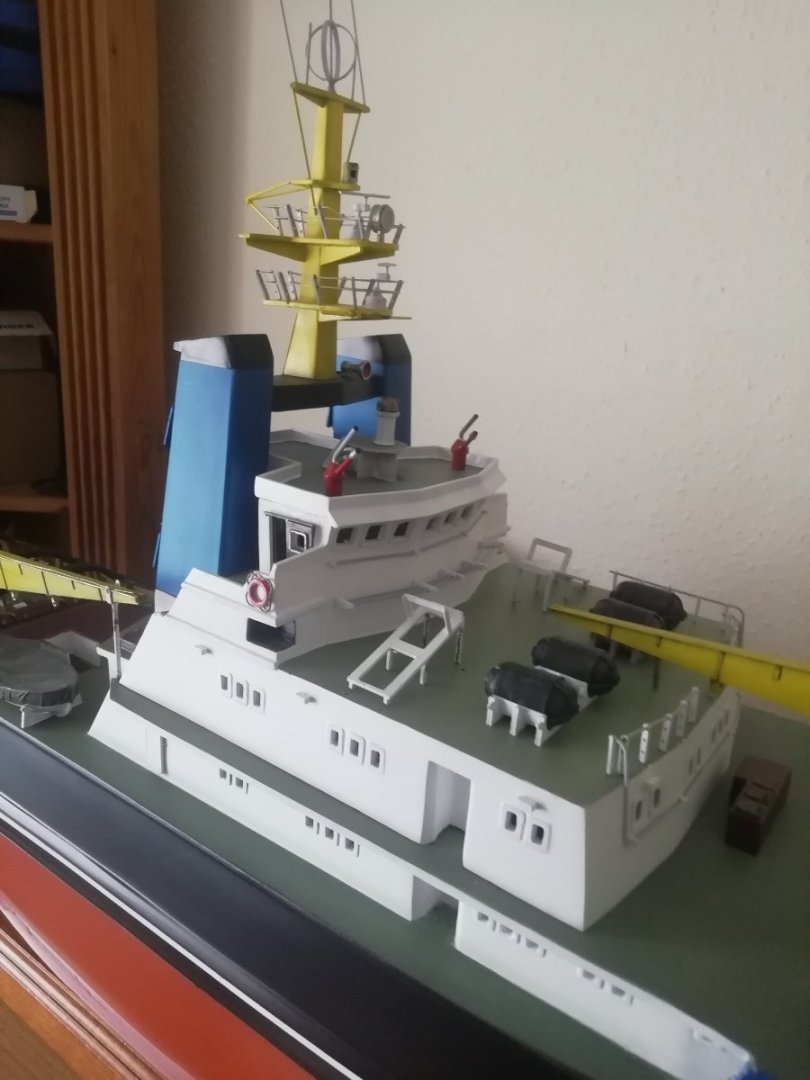
Bridge interior modelled using 3d printer. Unfortunately won't be very visable although I've added led lights so should be partially visable through the small windows when lit

-
About 90% finished now. Still some railings and details to add along with decals. Will have to make some replacement ones as the kit ones are yellowed and creased. Started the next build scratch zwarte zee in same scale.

-
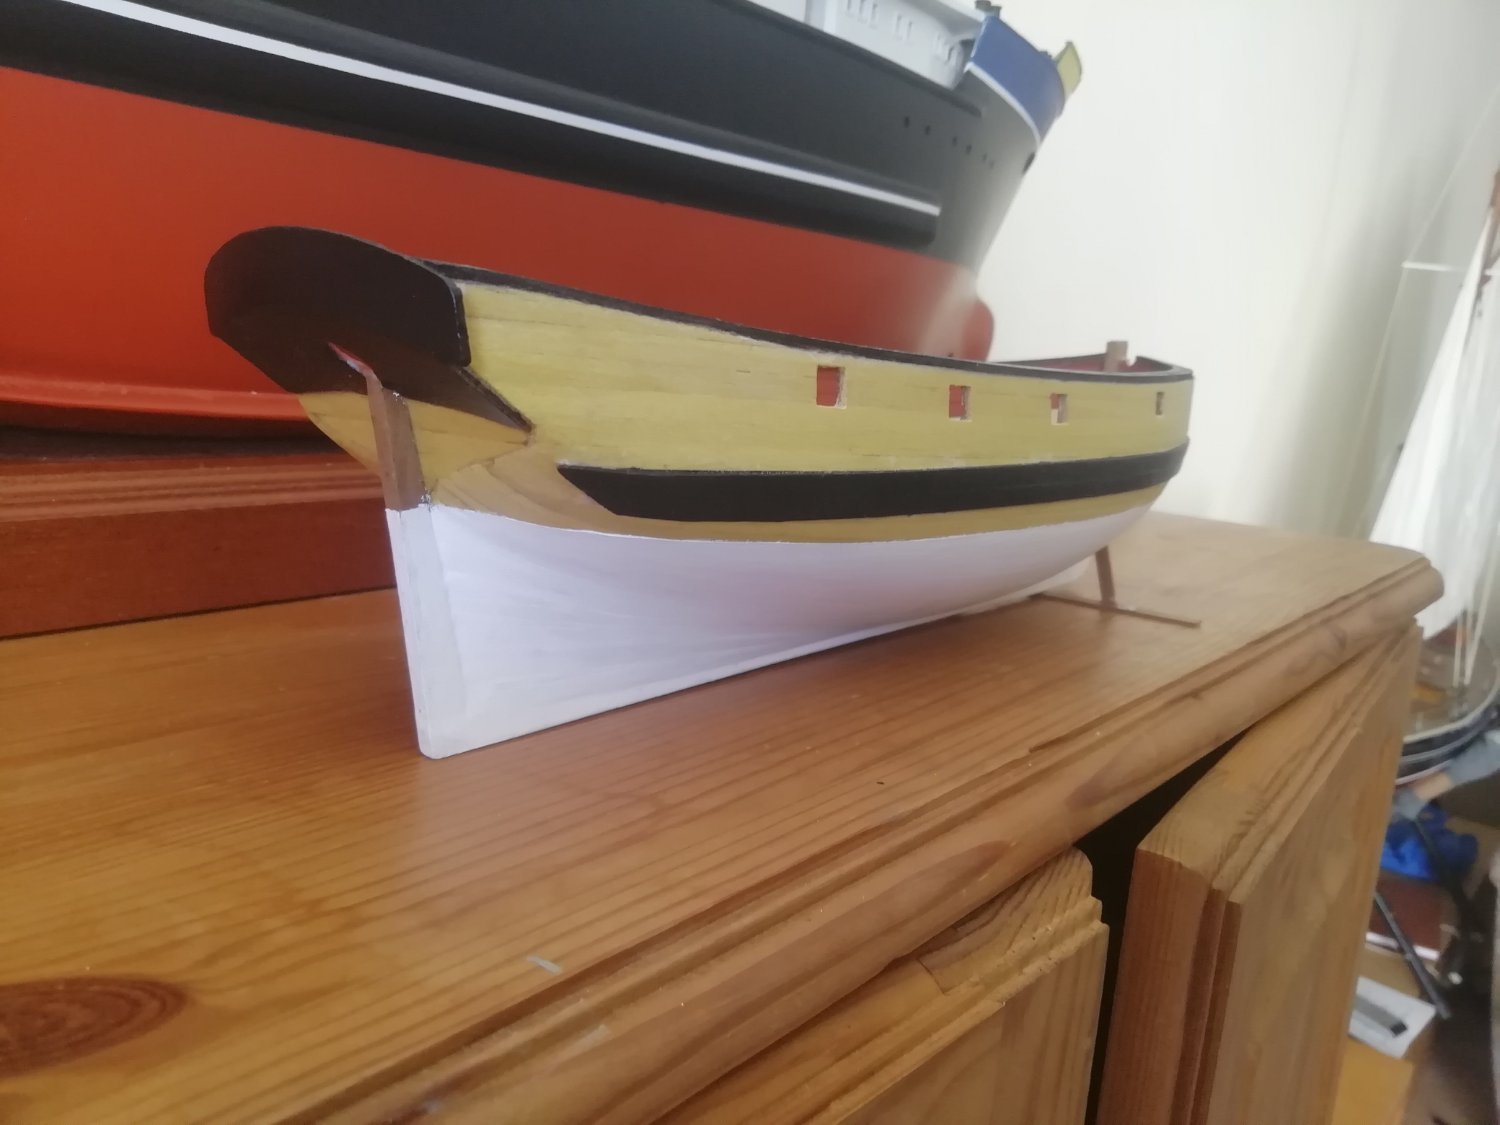
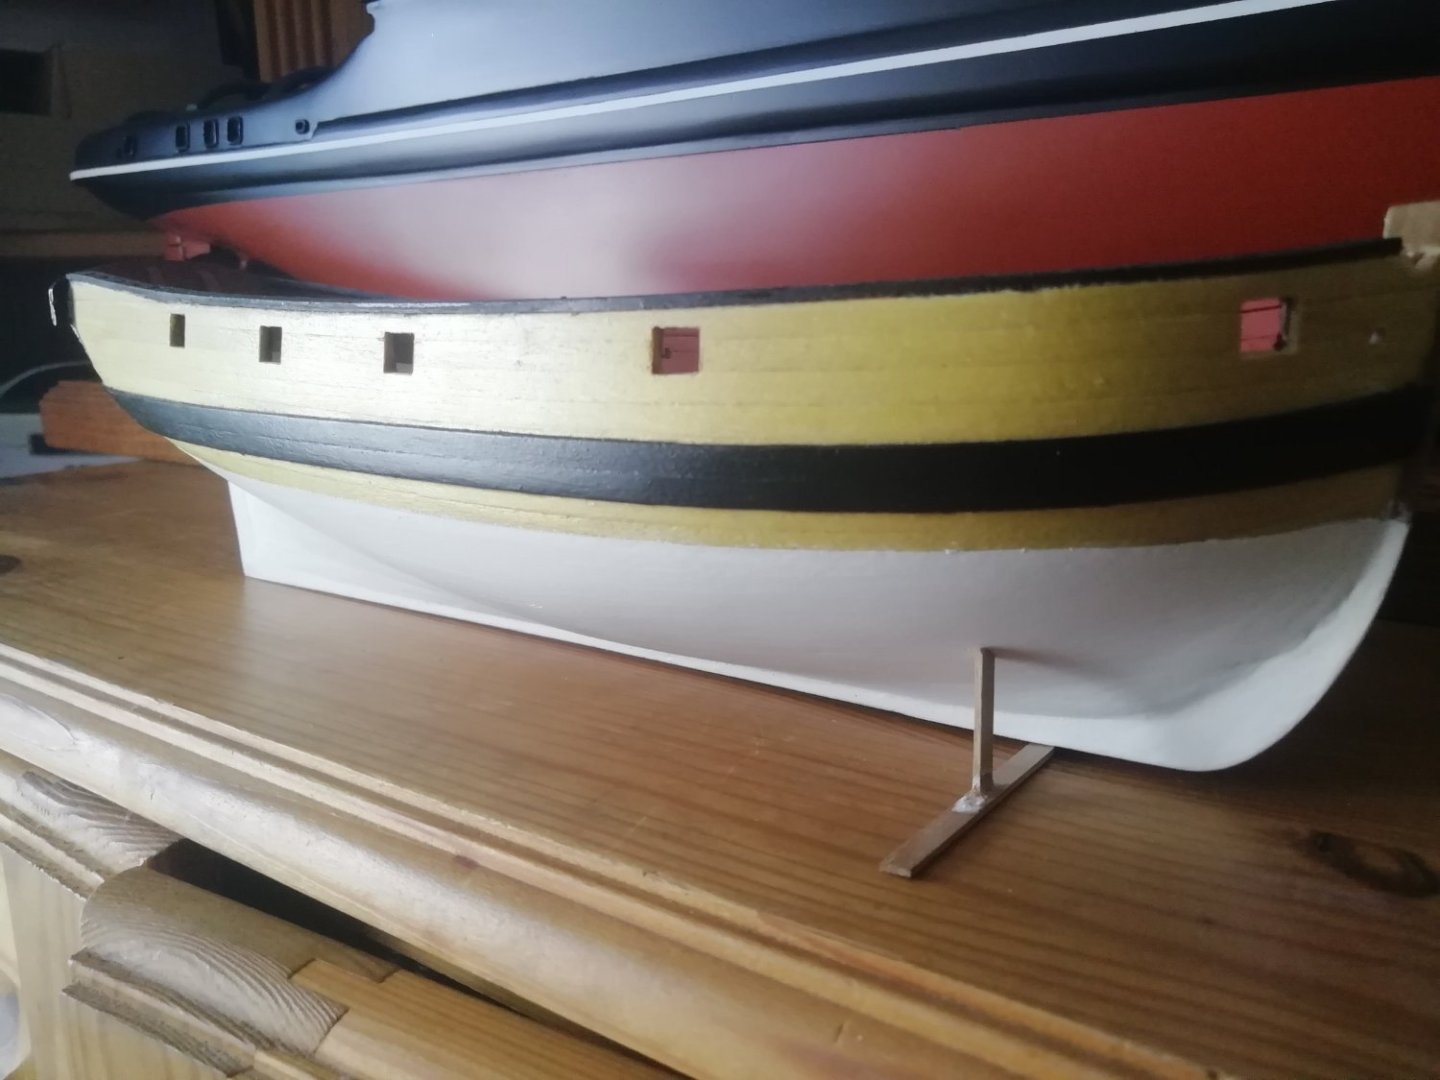
Hello Is there a way to sand or remove a raise edge in paint where masking tape has been? For example along a Waterline? Without effecting the paint shine or matte level of the finish? Would rottenstone archive this? I've built a boat and there is an edge that can be felt where the red paint meets the black. The paint has the finish I want so I don't want to do any polish or sanding that will alter the finish.
-
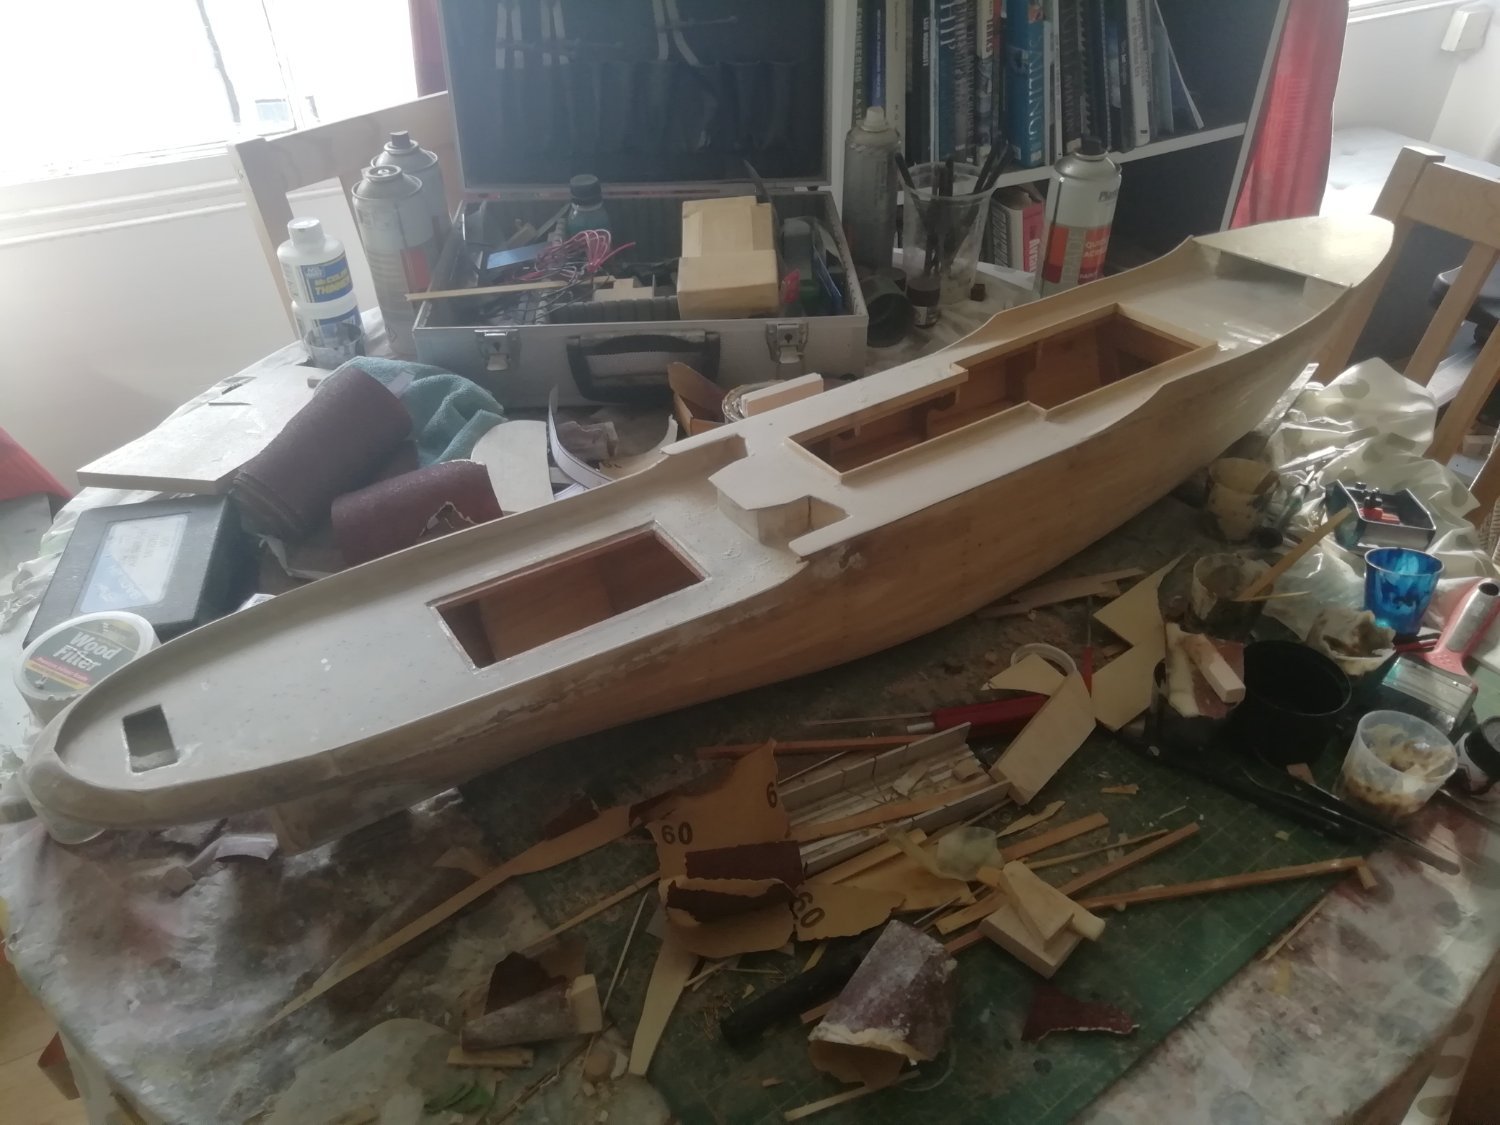
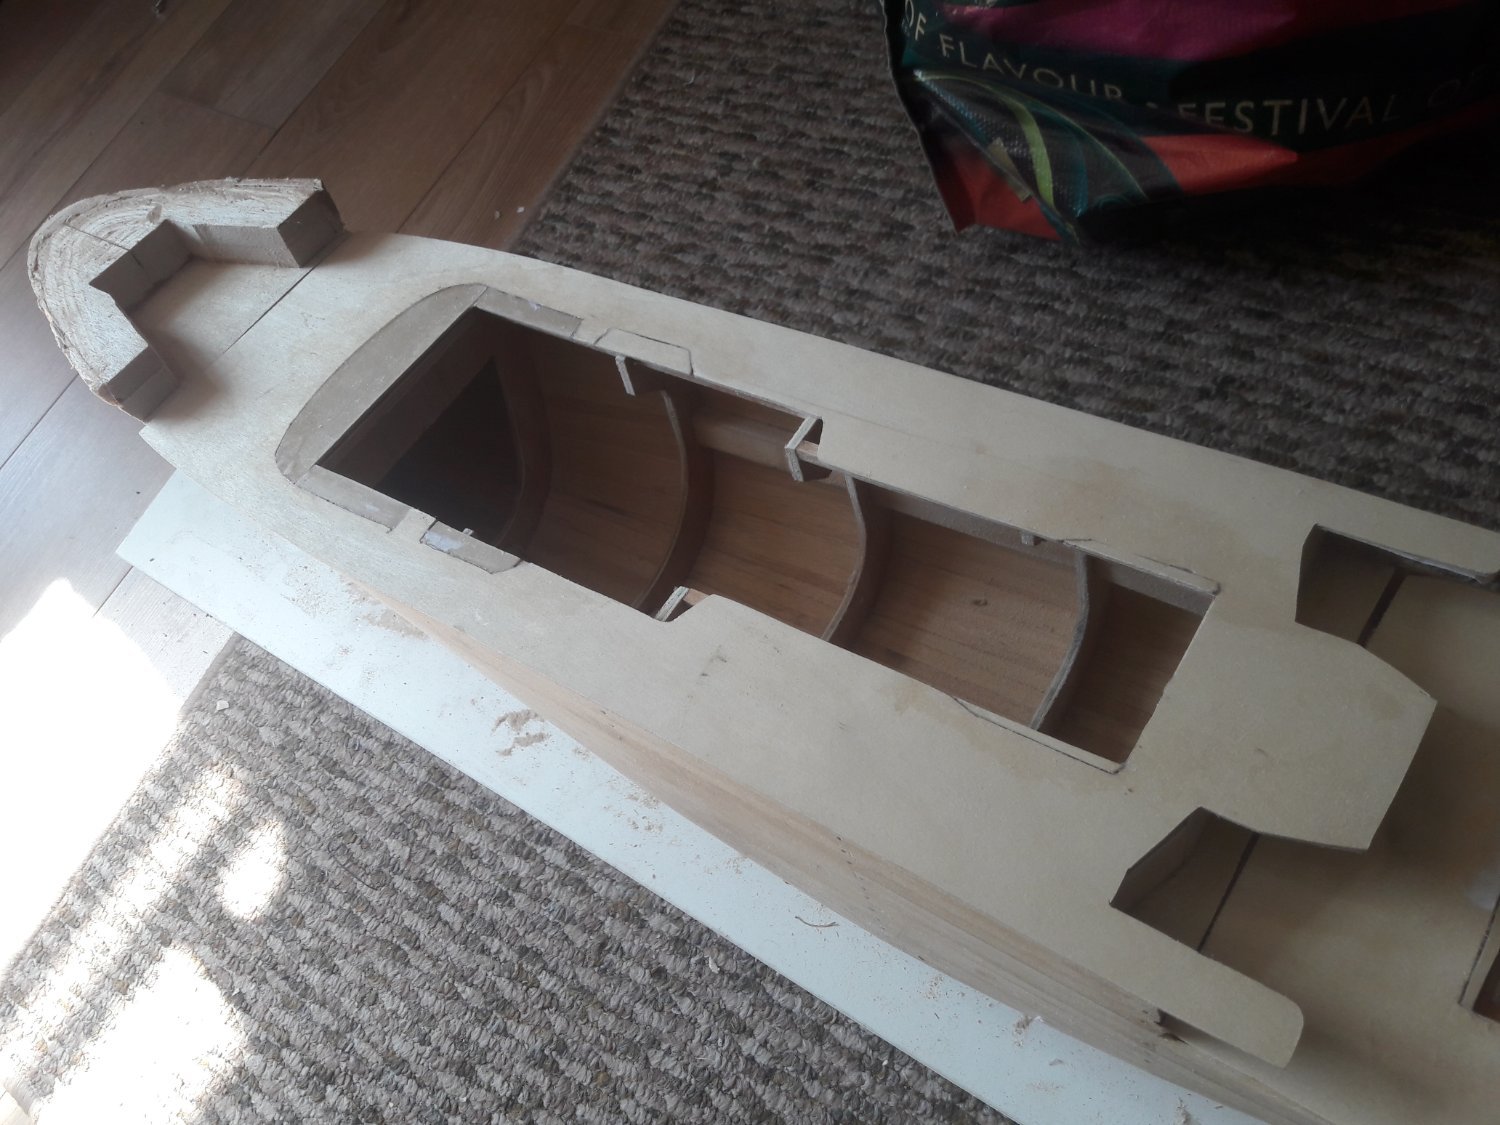
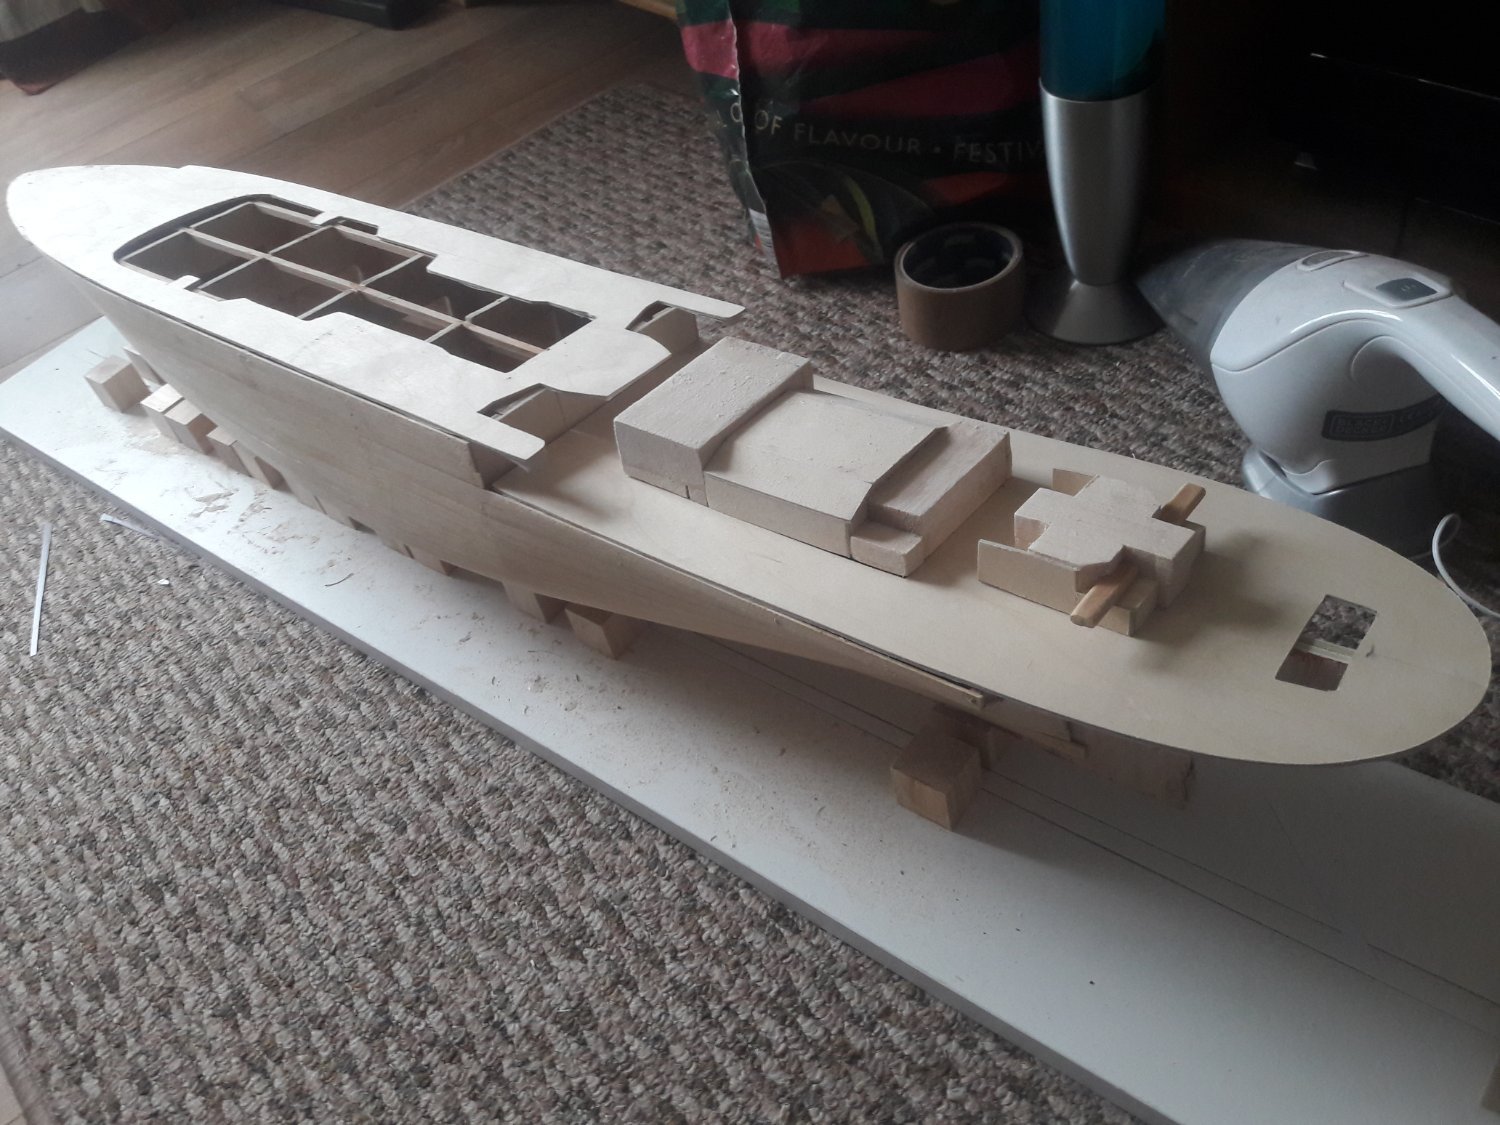
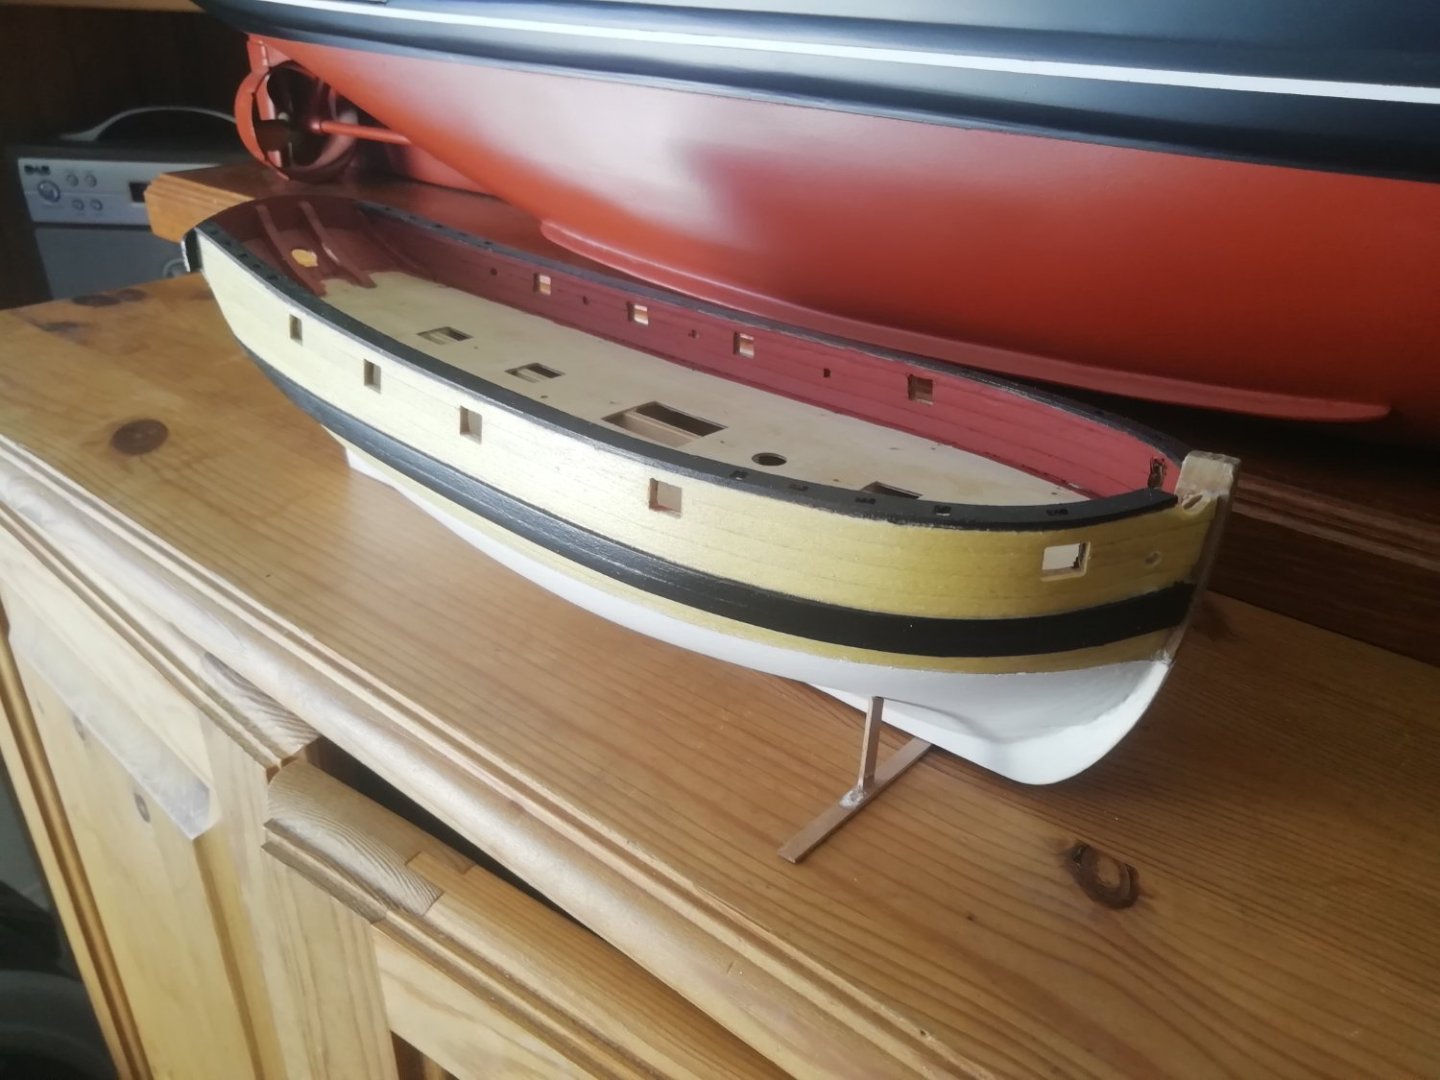
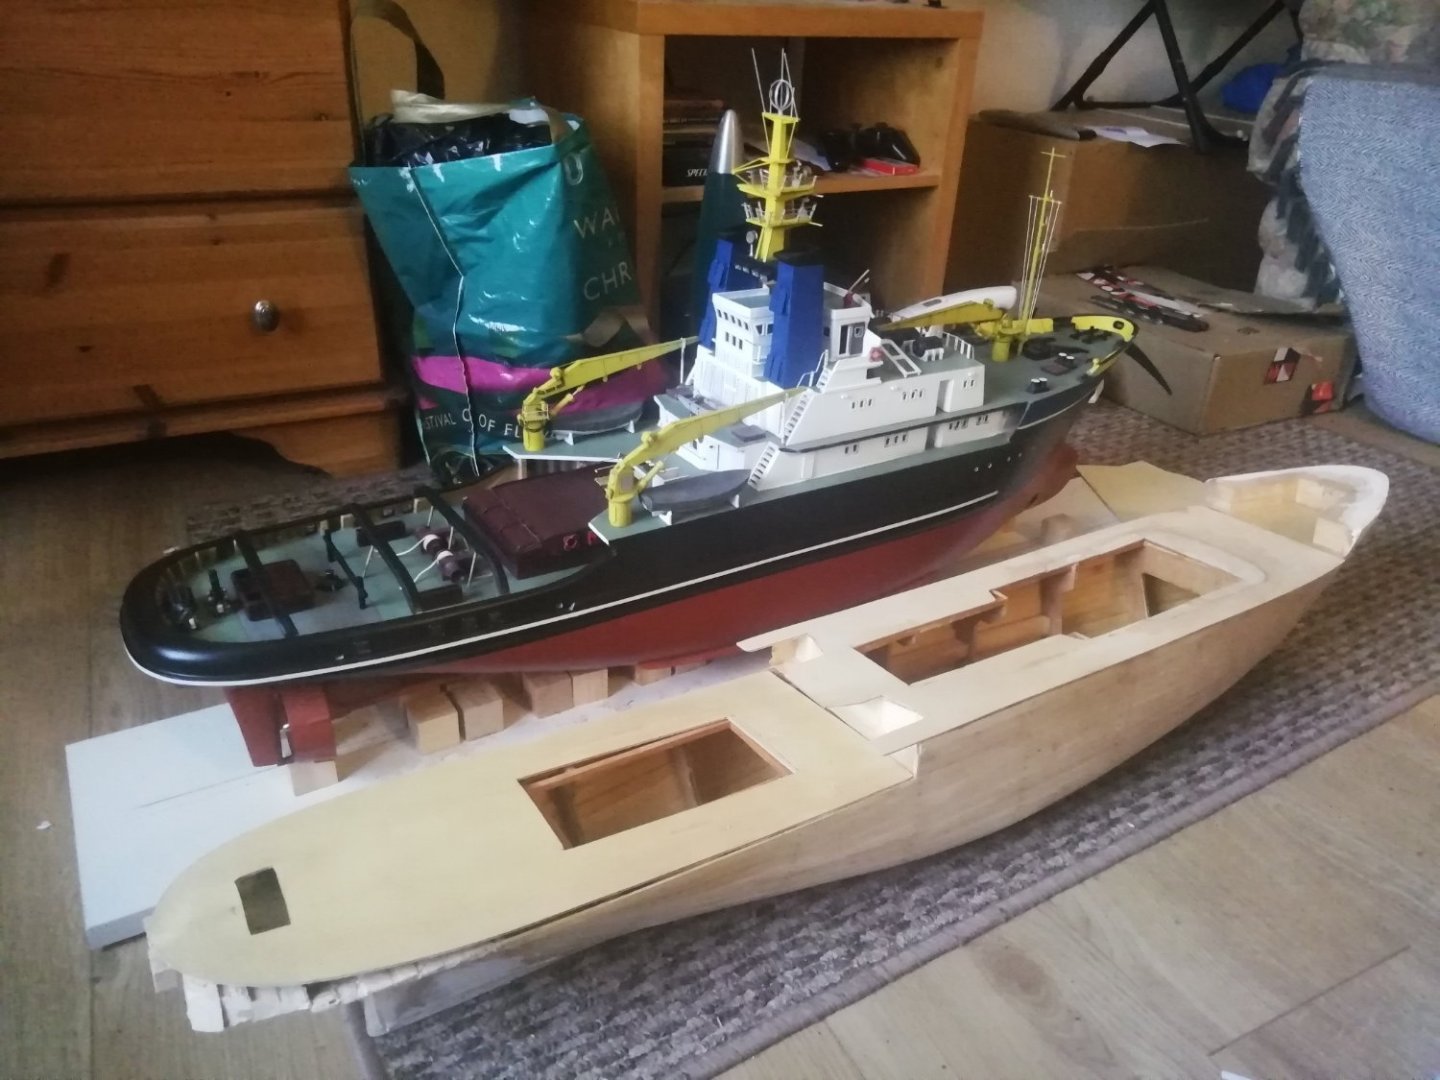
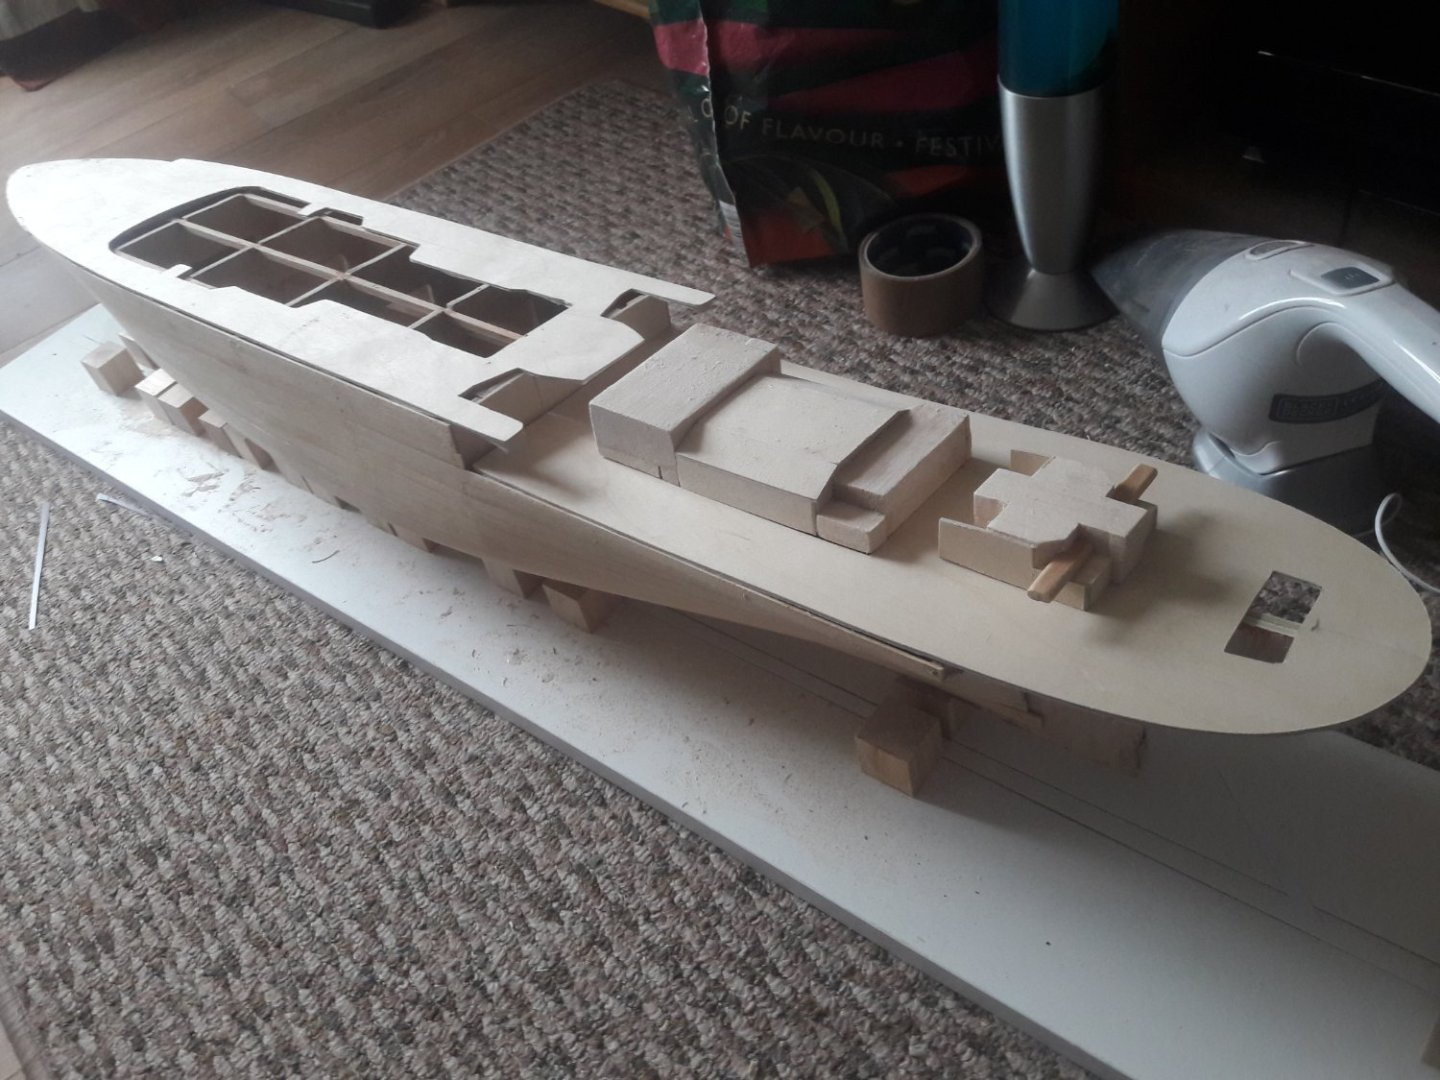
Now cut away internal structure for the access hatches and begun blocking the stern. Lots of sanding and fairing for now next step glue the decks down.


-
No the plans are from a German hobby company done in 1/100 scale. I believe the billings zwarte zee kit is in 1/90. I've already built the billings smit rotterdam which is 1/75 so I've scaled these plans to match.
-
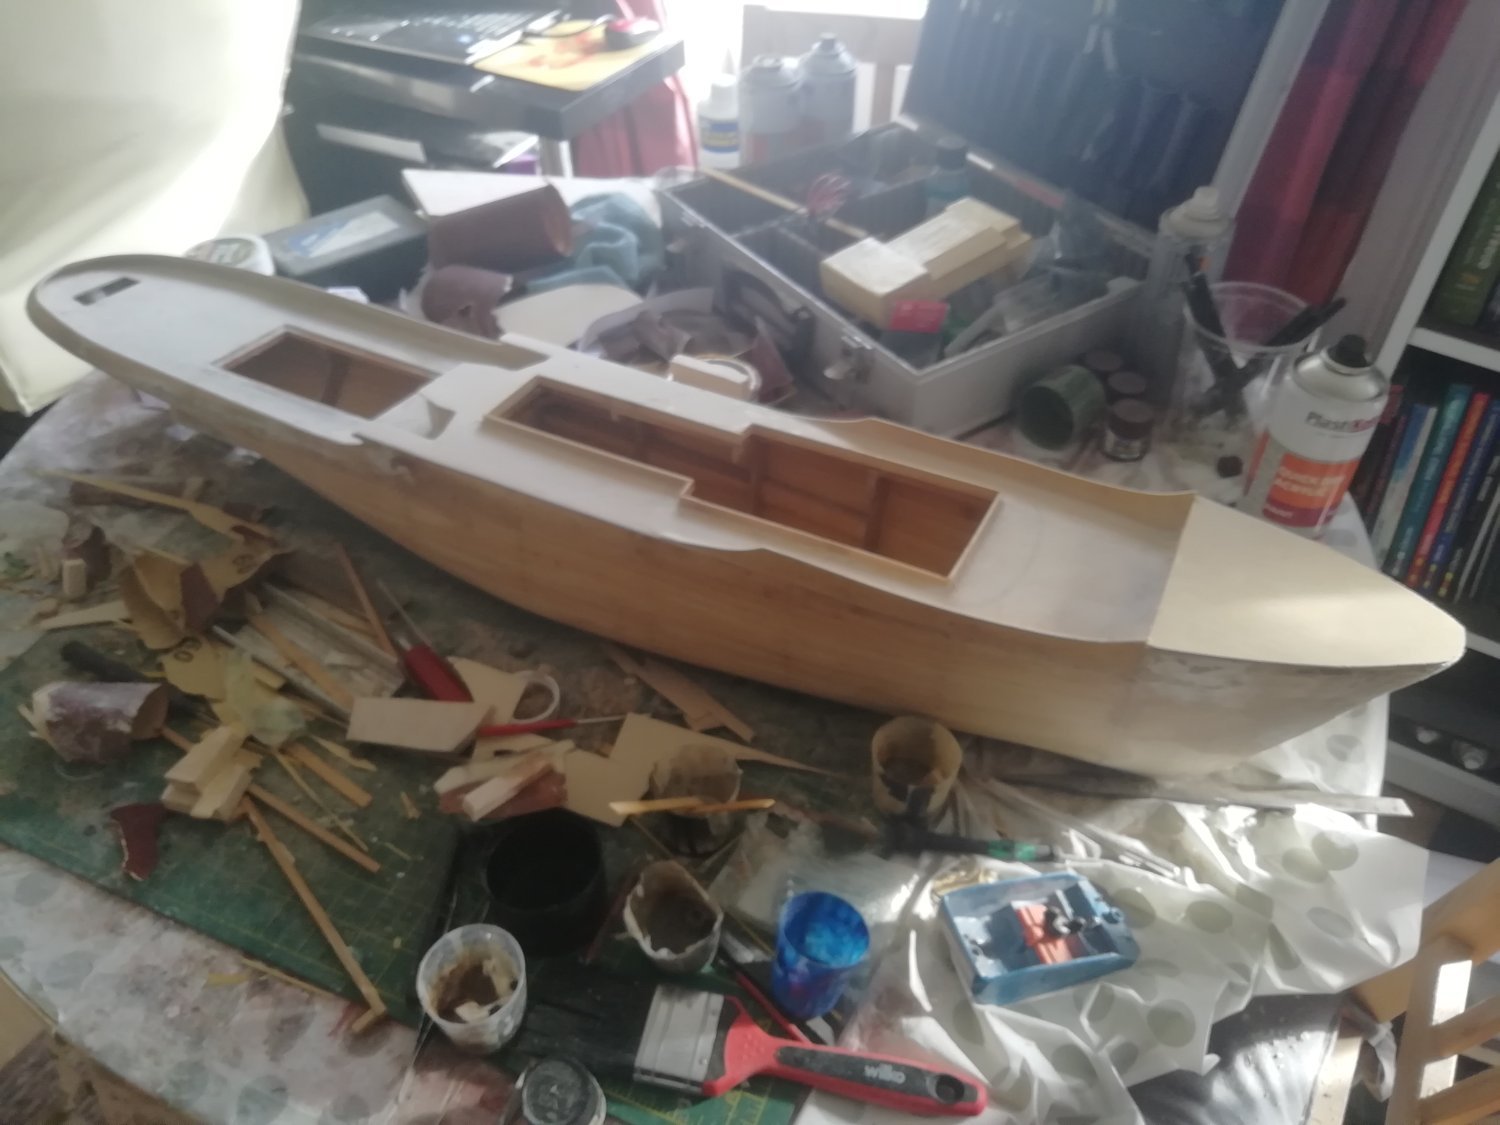
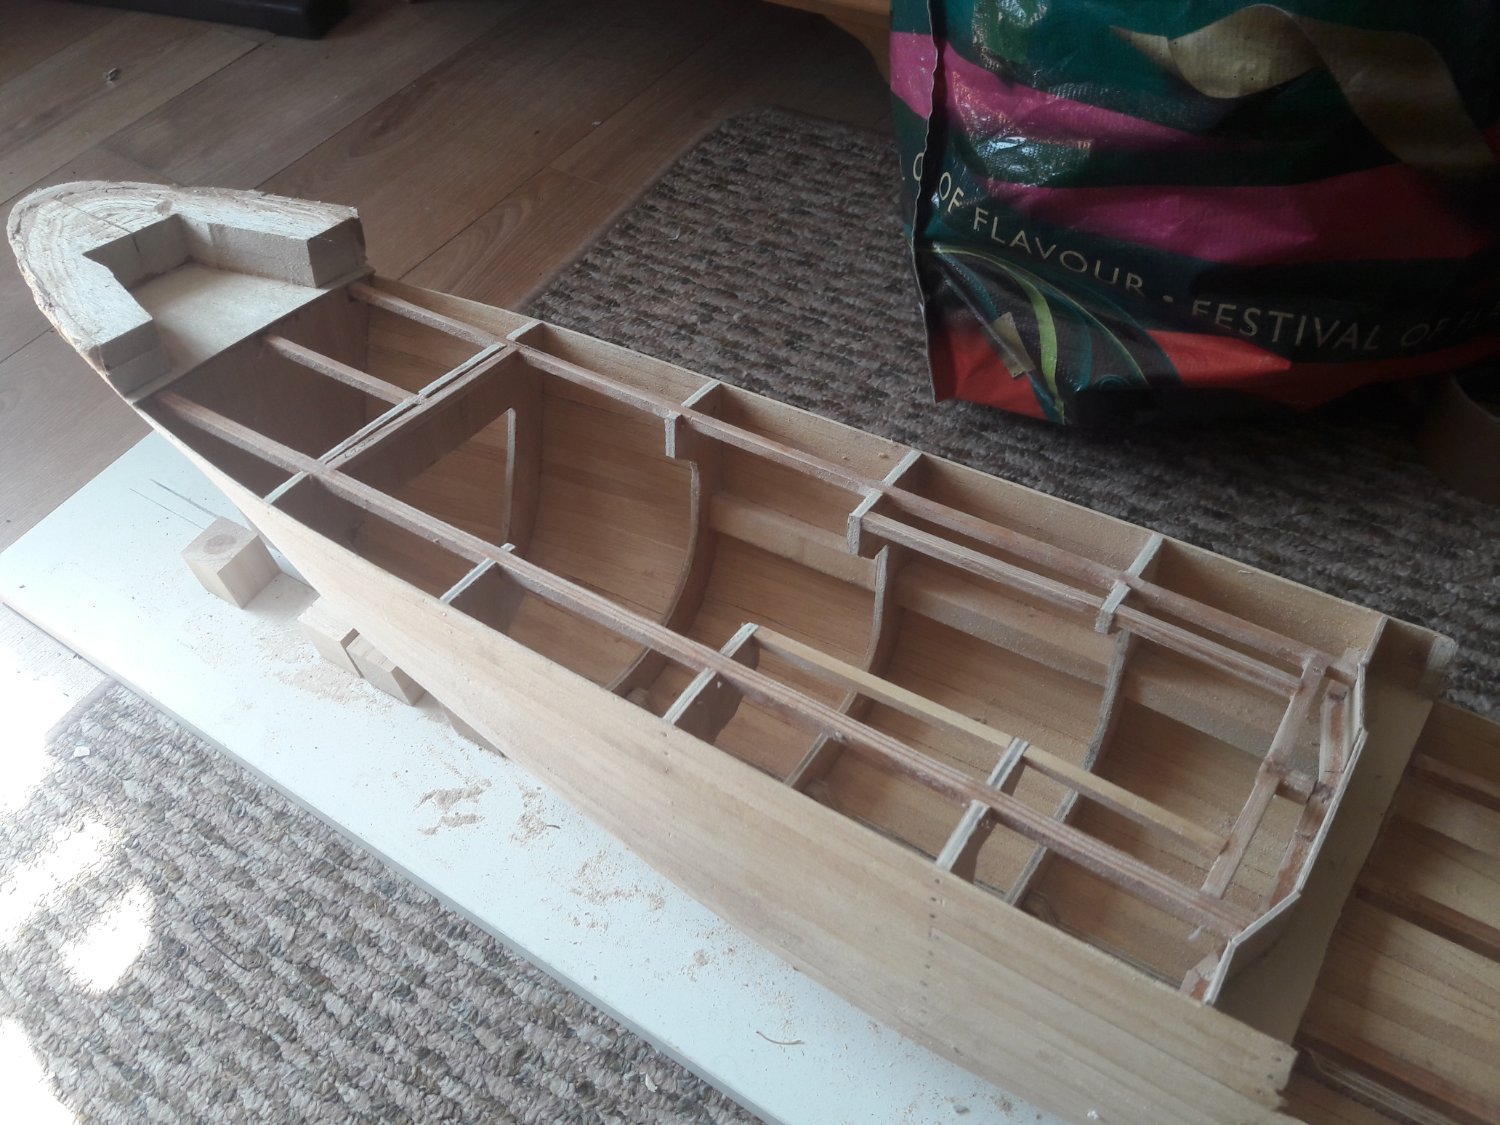
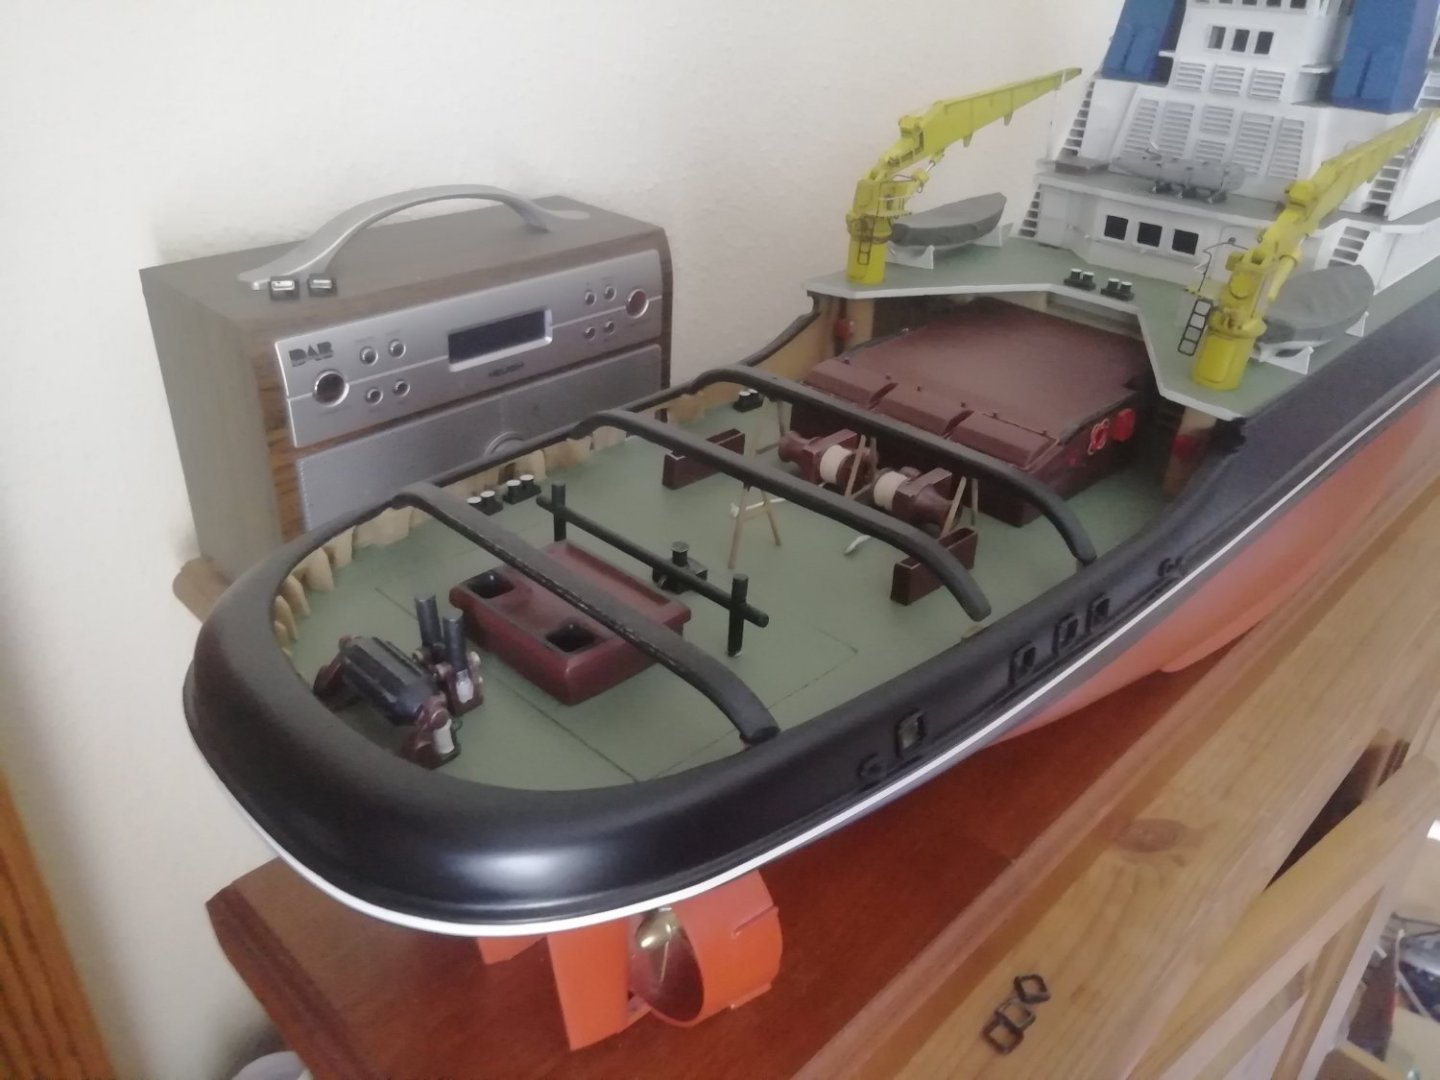
Hull planked with Obechi. The planking is nit the neatest job in the world but it will be covered with resin and cloth and painted. Stern will eventually be blocked in with Basswood. Making a start on rear deck superstructure. Decks lose fitted for now. So far really enjoying this build.


-
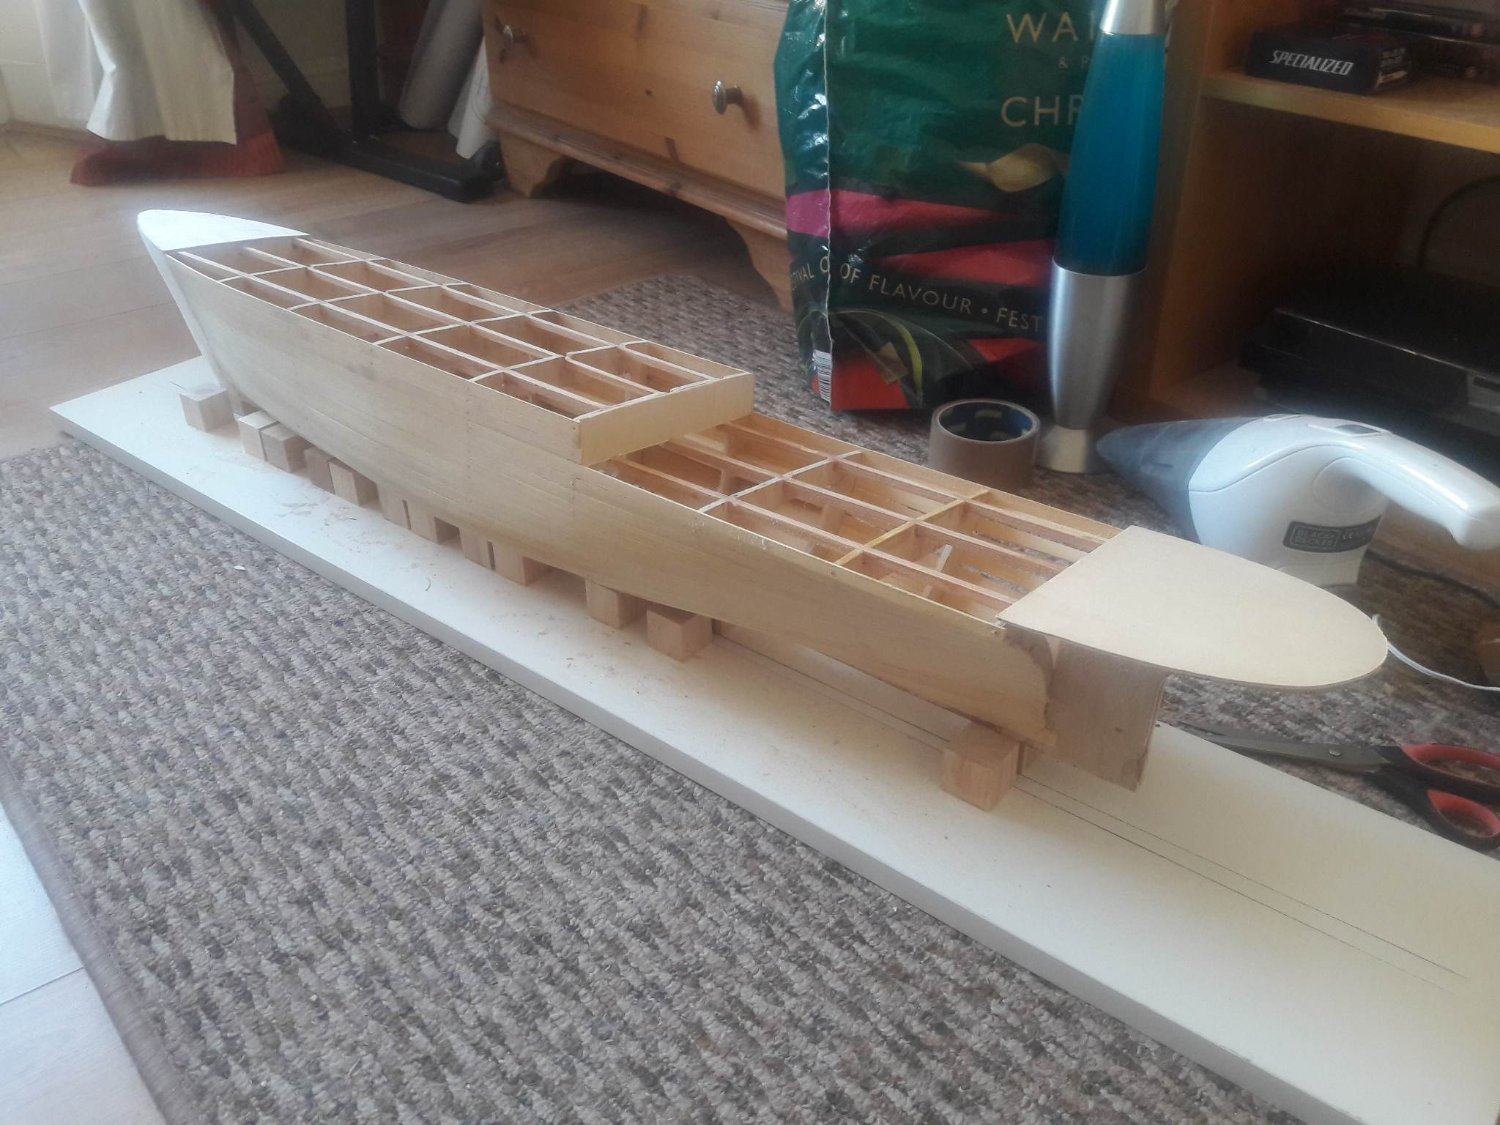
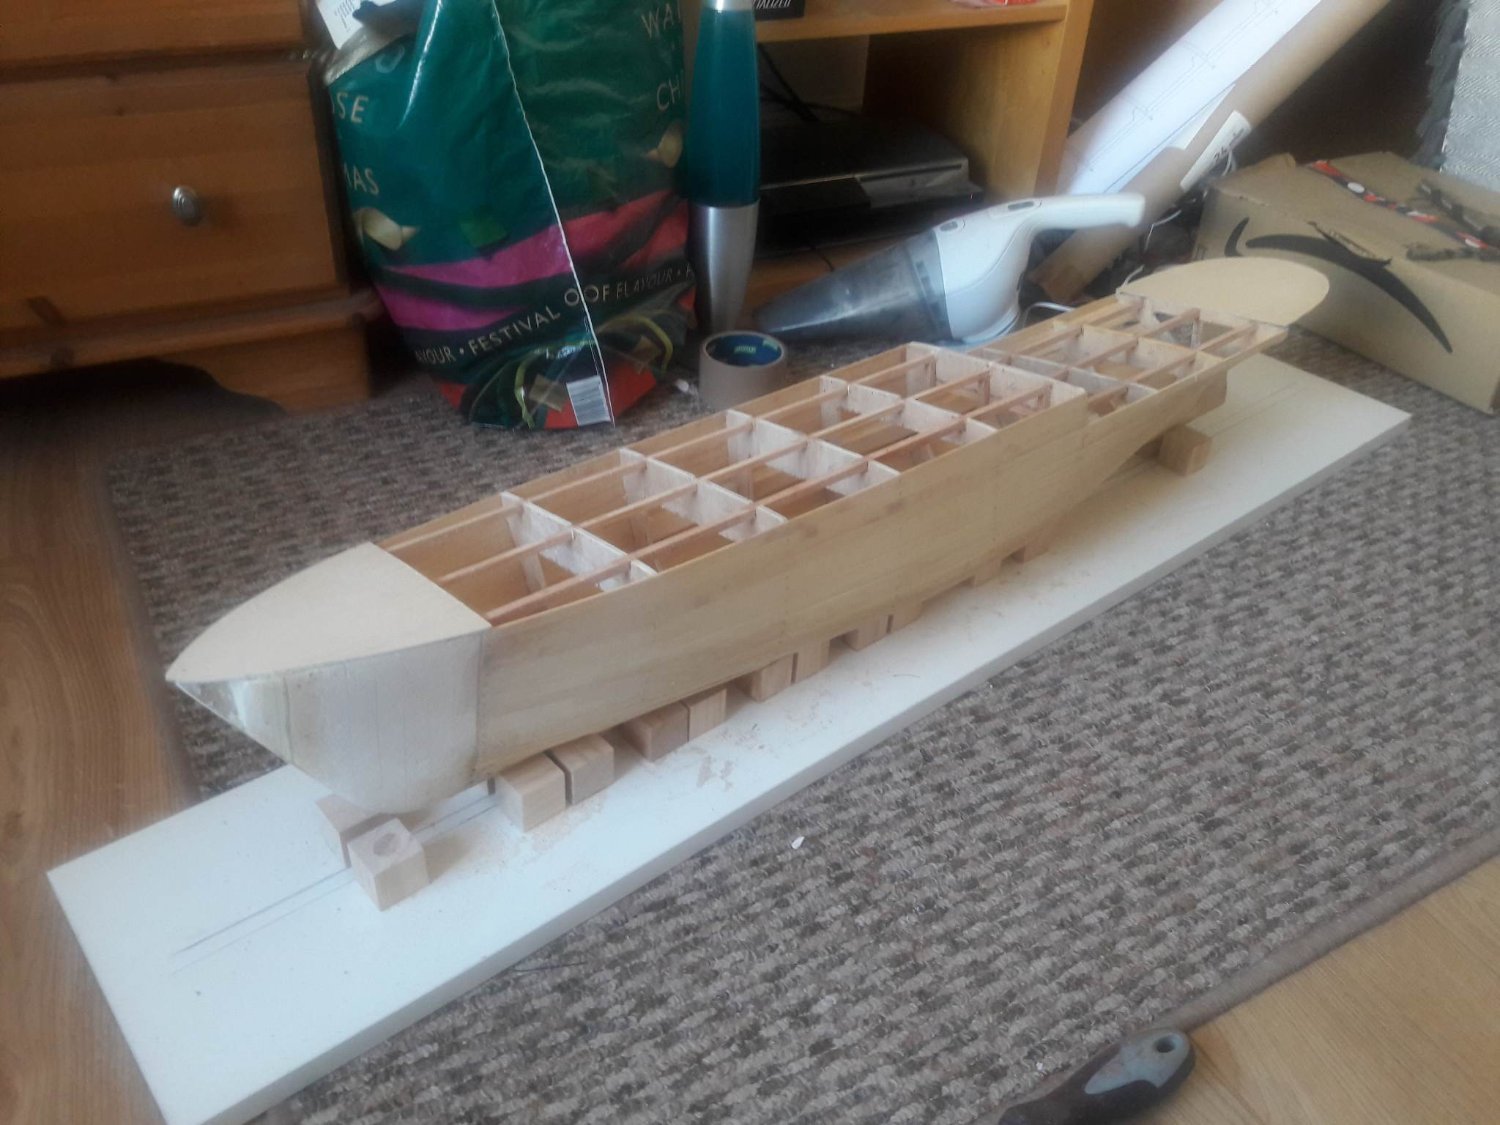
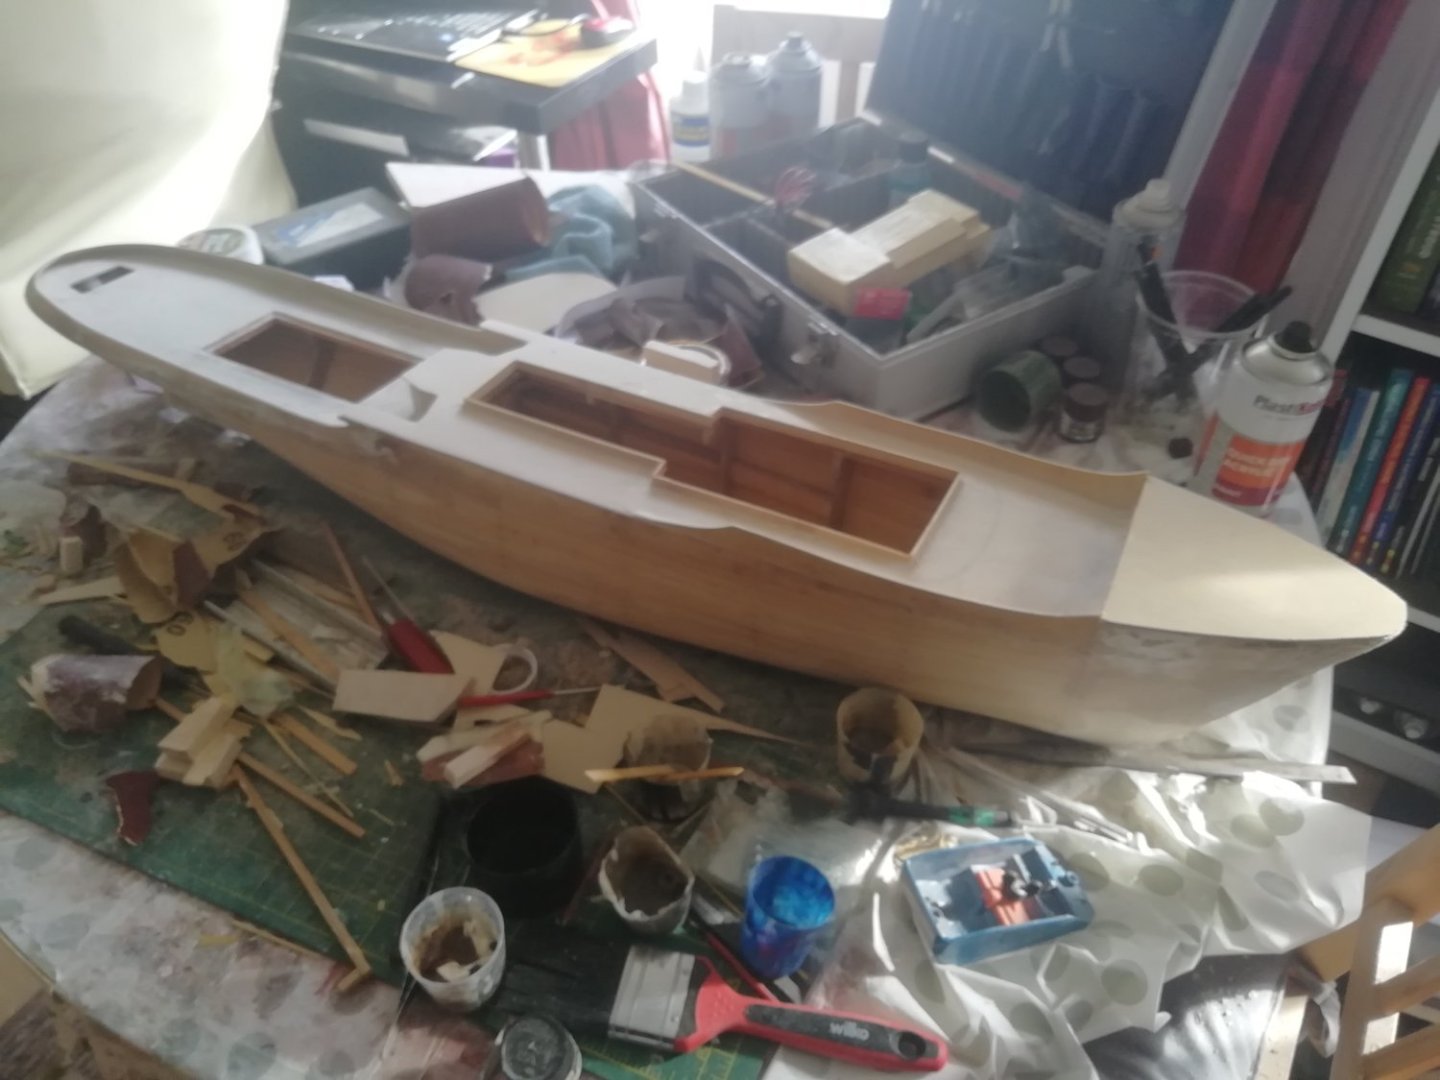
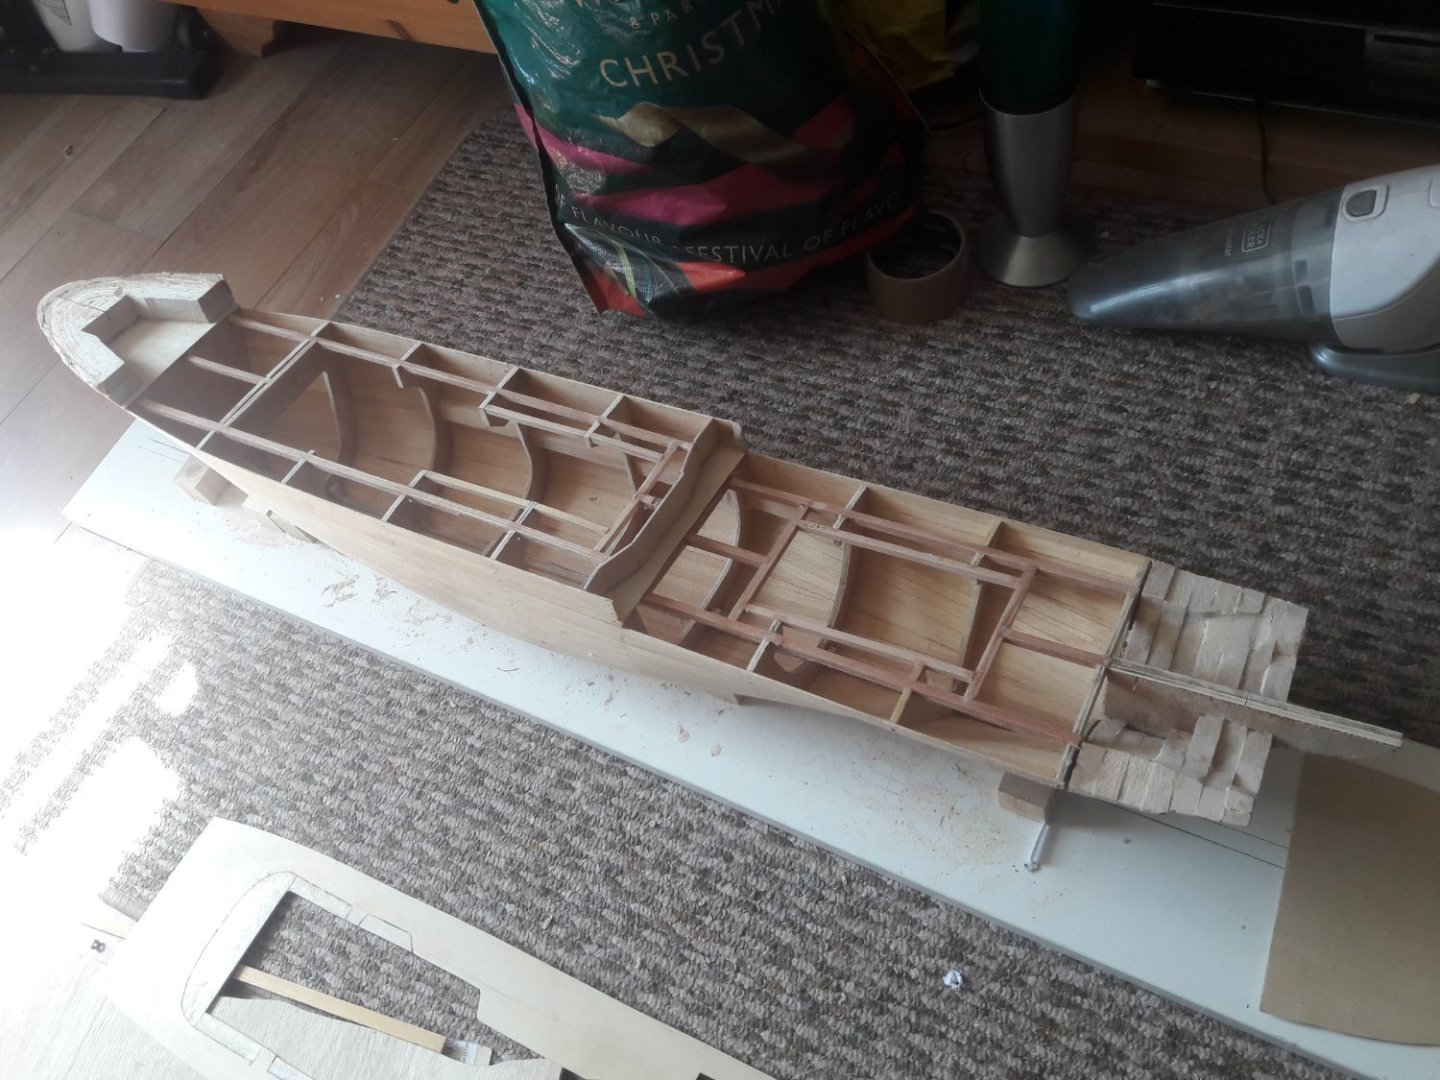
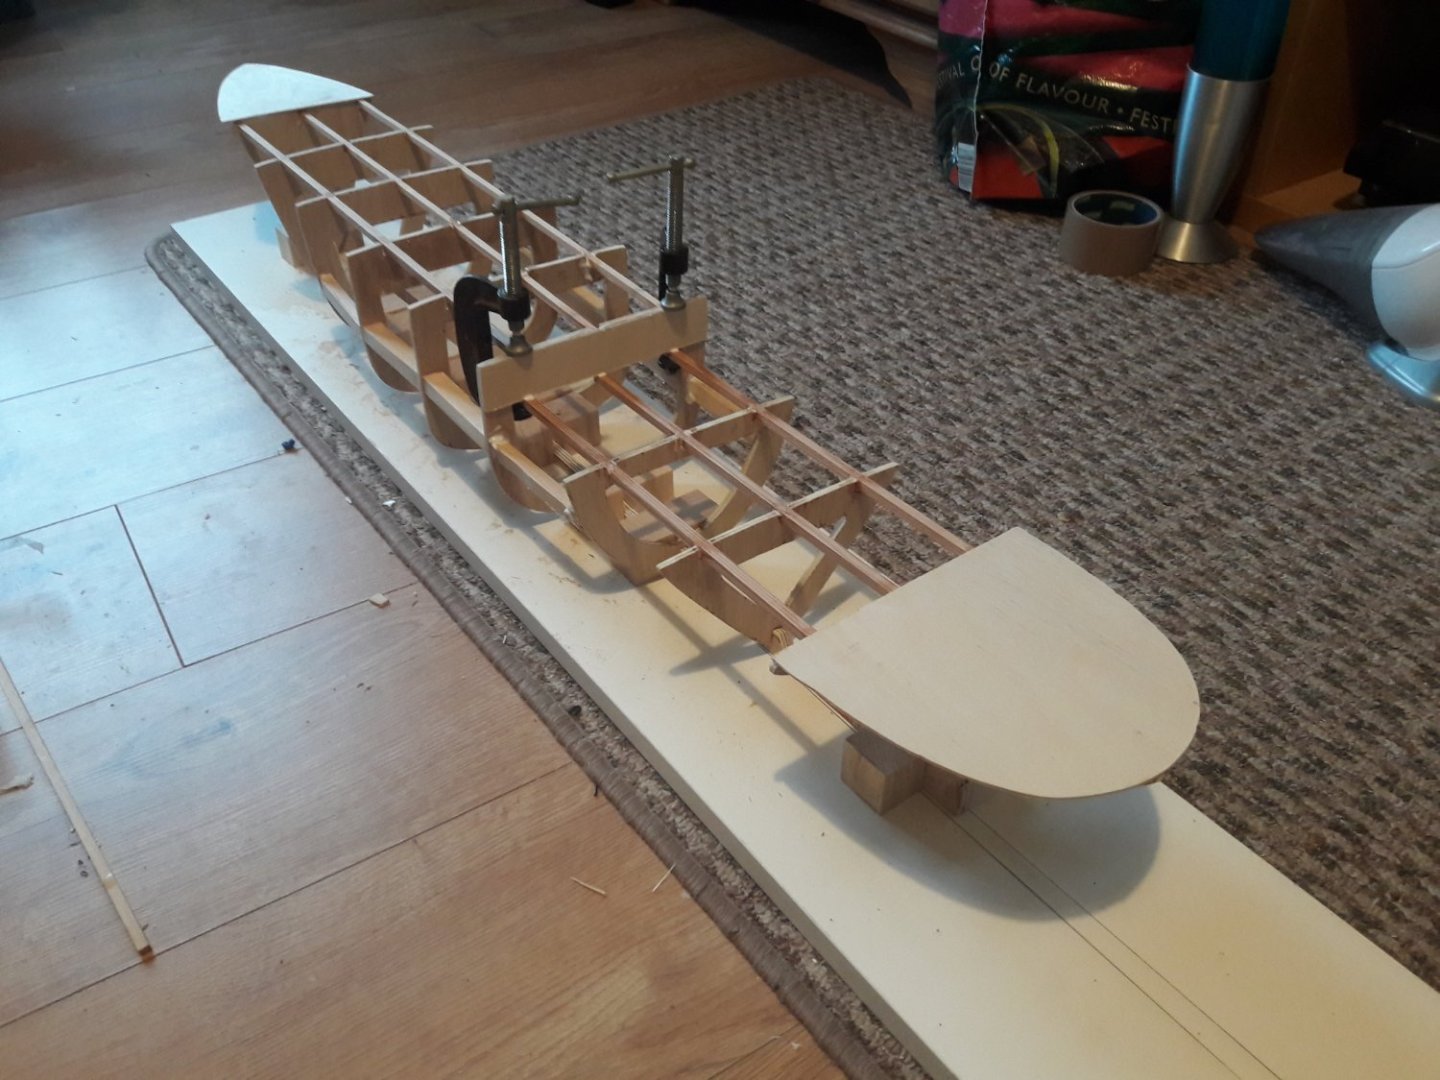
My 1st scratch build. Zwarte zee tug built in 1/75 to match my previous build of Smit Rotterdam. After some indecision I built the internal structure using cheap plywood and 5 x 5mm stripwood. The bow was blocked in using basswood.

-
Thanks for all the advice and suggestions. In the end I built it using cheap ply using the method I've used previously in kits. Progress as of one week. However my next build is already planned (schooner Argus from Sarik hobbies) for that I'll use bread and butter method since as many of have noted Wickes appears to have reasonably priced pine.
-
Thanks for the Info. I'm in the UK and unfortunately it is much more expensive. A 2x6 inch 8 foot long piece of wood here is around £35 and upwards. Roughly $40 US. That makes an expensive build.
-
I think wood must be more expensive in the UK. This model is about 1 meter long. Even at £30 a sheet your likely to only get one WL out of each sheet and need about 5 to 10 WLs depending on hull. Stil very expensive. I'm going to search for a local yard and ask around. As a bread and butter looks less tedious than building a structure and planking it.
-
Thanks for the help. This is certainly true. Quotes for 1 inch thick boards sized appropriately to cut full WL as single pieces are in excess of £1000 using English cedar or Douglas fir. I had decided to give the bread and butter method a go but not at prices like that.
-
Looking online it appears impossible to buy large boards of basswood in the UK that would be wide and long enough to cut out the WLs..... Also pricing this up with something like pine it's going to cost 100s.. Anyone in UK know a supplier?
-
After some consideration I'm going to attempt a bread and butter build. I'm going to create the WLs using tracing paper and Mark them off over the original plans. I plan to use 1inch thick basswood. I'll see how it goes. Whilst not in a rush it looks to be a quicker build method than planking an internal support structure.
-
I do appreciate the advice, just out of interest how thick would the lifts be for a typical bread and butter build? Wouldn't it require a huge amount of shaping and sanding to go from a blocky form to the final smooth hull form unless one made many thin lifts?
-
Thanks for the advice. I do have some experience and not a total beginner. I've built a Billings smit Rotterdam. Along with a couple of caldercaft models and a scratch built albeit basic model I built some years ago. For the Rotterdam I replaced most of the fittings with ones I made. So creating the detail parts is no problem. What I'm mostly asking here is what wood is best for the moulds/bulkhead. I've no idea what is used in kits but they didn't involve doubles with joints. Which is why I'm asking simply because whatever wood the kits use seemingly allows one to eliminate that process. I don't want to incur unessesary expense on fine decorative wood and don't want something that isn't up to the task. So hopfully that explains why I'm asking these questions. I've not been very clear but the plans I have are complete, what I meant by more work was that to do a bread and butter method I'd have to measure each cross section at various heights and record that data to create the waterlines either in drawing form or a list of points to work from. Otherwise I can just cut directly from my plans as is. The reason I don't want to buy the kit is because it is 1/100 and I want this to be 1/75 and I want to scratch build it.
-
Would Birch modelling ply be any good? Is that the high quality type ply? https://www.hobbies.co.uk/quality-birch-plywood Otherwise it'll be 3mm mahogany sheets from the model shop and done Hahn style. I'm just cautious of buying expensive finishing/decorative wood unnecessarily for something that's going to be used for hidden internal structure
-
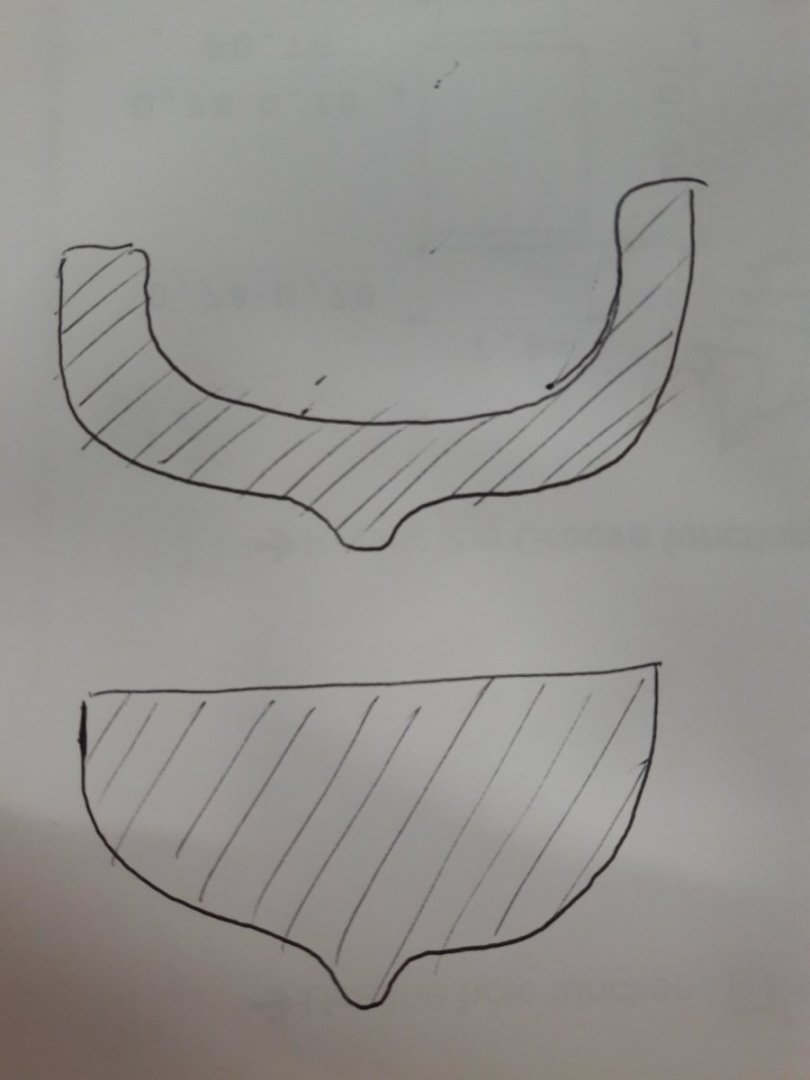
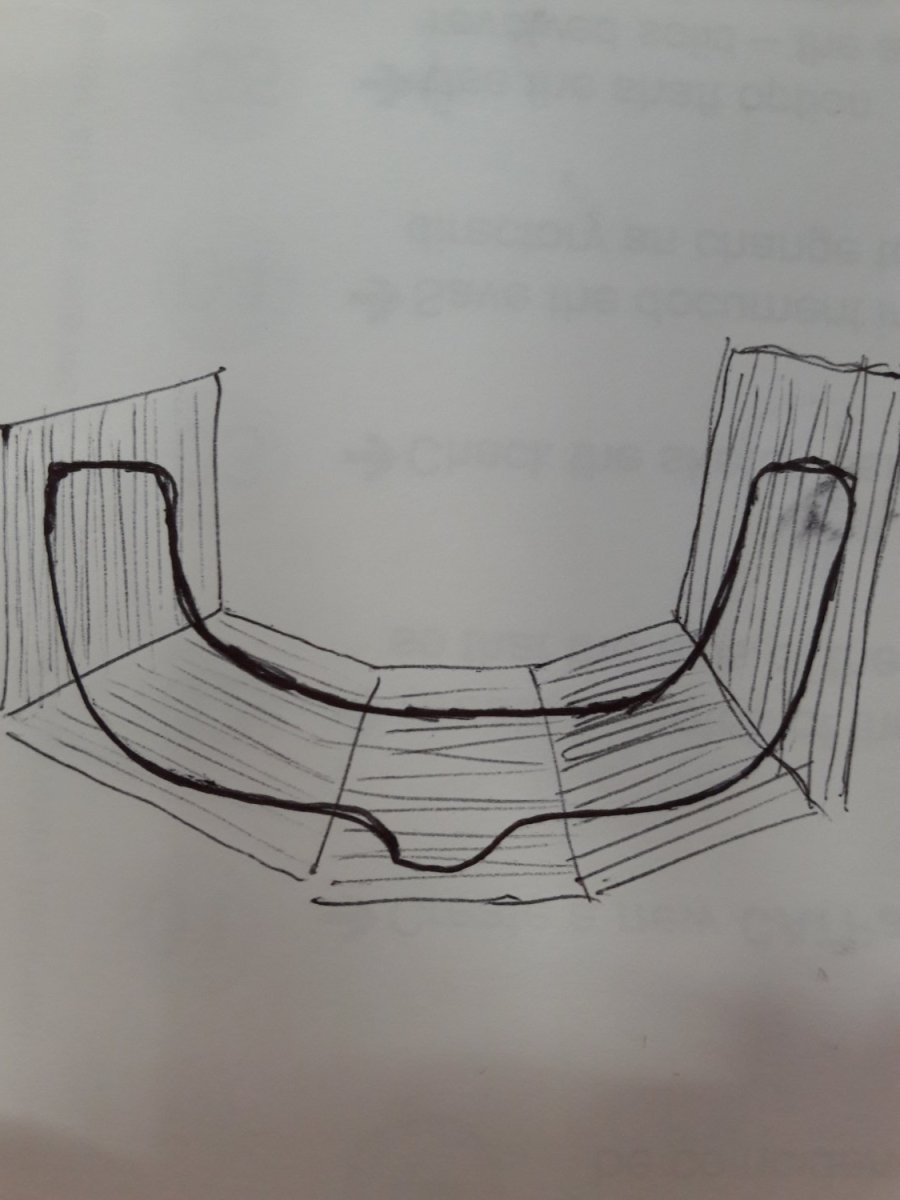
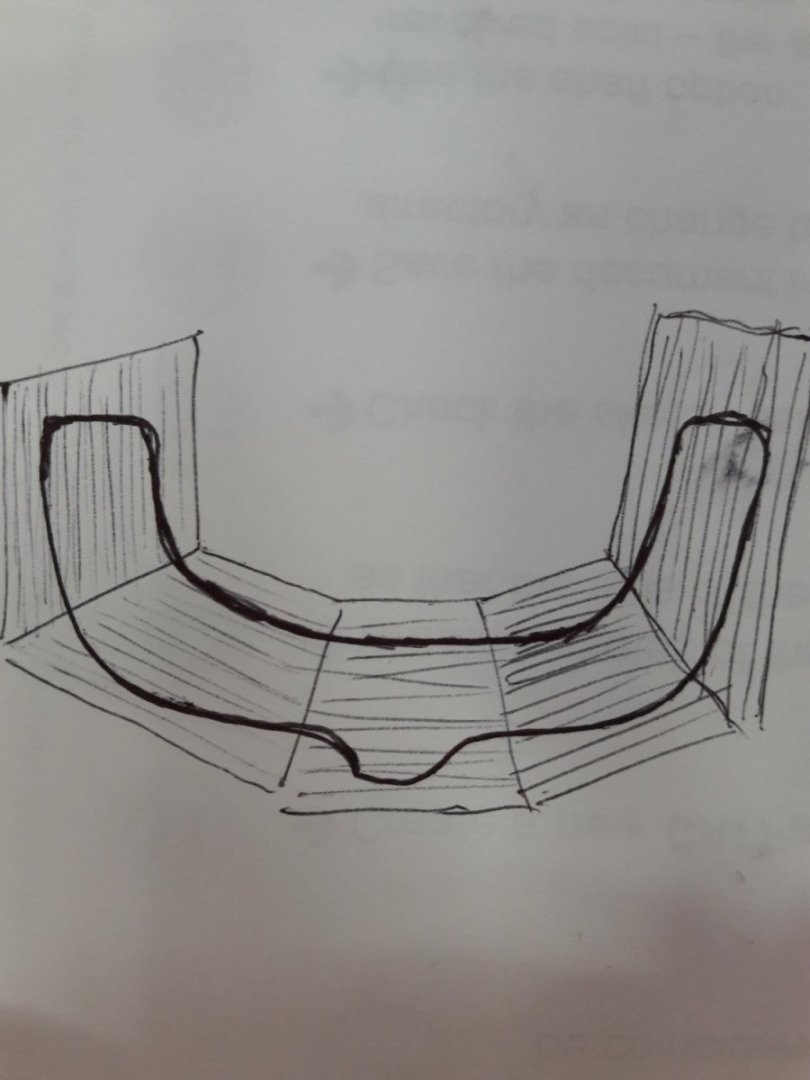
Ok thanks again. My understanding is that I need to create a frame from pieces arranged such that the grain does not run out at the outside edges where the planks will attach. Something like the image attached? And done in pairs with the joints overlapping.
-
Isn't a mould a solid cross section like the bottom image whilst a frame is a curved structural member as seen in the top image? That was my understanding. Which if correct my model will indeed be POF.