Petit Loir
-
Posts
6 -
Joined
-
Last visited
-
 Wintergreen reacted to a post in a topic:
Jolie Brise Pilot Cutter by Petit Loir
Wintergreen reacted to a post in a topic:
Jolie Brise Pilot Cutter by Petit Loir
-
Rudolf reacted to a post in a topic:
Jolie Brise Pilot Cutter by Petit Loir
-
Papa reacted to a post in a topic:
Jolie Brise Pilot Cutter by Petit Loir
-
mtaylor reacted to a post in a topic:
Jolie Brise Pilot Cutter by Petit Loir
-
bruce d reacted to a post in a topic:
Jolie Brise Pilot Cutter by Petit Loir
-
 Thank you Michael, coming from you it is a most encouraging comment. I've had the occasion to admire your varied and high quality projects. What I am lacking most in this endeavour at present is... TIME !!! Surprise surprise... Following the summer sales season I shall have more of that precious commodity. Please be assured I have neither forgotten the project nor abandonned it. I hope everyone is having a good summer, I will give signs of activity in the Autumn. Cheers to all, Walter
- 15 replies
-
- 2
-
-
- jolie brise
- pilot
- (and 1 more)
-
GrandpaPhil reacted to a post in a topic:
Jolie Brise Pilot Cutter by Petit Loir
-
wefalck reacted to a post in a topic:
Jolie Brise Pilot Cutter by Petit Loir
-
wefalck reacted to a post in a topic:
Jolie Brise Pilot Cutter by Petit Loir
-
Vladimir_Wairoa reacted to a post in a topic:
Jolie Brise Pilot Cutter by Petit Loir
-
Petit Loir reacted to a post in a topic:
Allège d’Arles by Javier Baron - FINISHED - 1:200
-
Petit Loir reacted to a post in a topic:
Kamakura Period Large Sea Boat by catopower - FINISHED - Scale 1:50
-
Petit Loir reacted to a post in a topic:
18th-century Pinnace by Chuck - FINISHED - 1/2" scale
-
Petit Loir reacted to a post in a topic:
HMS Kingfisher 1770 by Remco - 1/48 - English 14 Gun Sloop - POF
-
tlevine reacted to a post in a topic:
Jolie Brise Pilot Cutter by Petit Loir
-
Petit Loir reacted to a post in a topic:
Pilot Cutter by Michael Mott - 1:500 scale
-
Petit Loir reacted to a post in a topic:
Pegasus Cross Section (1776)- 1:48 - by Chuck - swan class sloopl
-
Thanks for the photos Keith, and thanks for the encouraging words and likes from other members. The details seen will definitely help, and beg the question, what level of detail am I able to reach ? A feeling of "there's no going back now...". I'm setting up the bulwarks assembly, currently sizing up the stern futtocks (...the parts on photo are still rough cut), I wish I had a thickness to go by, possibly 15 cm ? To scale 2.2 mm. I wondered if the stern was restored at one point, and if the thicknesses of that kind of part wrer near standard in those kinds of construction, depending on the deck width and/or number of futtocks, six in this case, with an approx. 2,4 meter stern width, height approx. 75 cm. I'm asking myself the same question, exact dimensions, about quite a few other parts in fact. Kit plans have to have made certain concessions unless they were redrawn from the exact original plans, when they existed ! I imagine quite a few modelers are tortured about these matters of dimensional conjecture ... Fair winds to all, Walter
- 15 replies
-
- 5
-
-
- jolie brise
- pilot
- (and 1 more)
-
Petit Loir reacted to a post in a topic:
What Wood Is Best For What
-
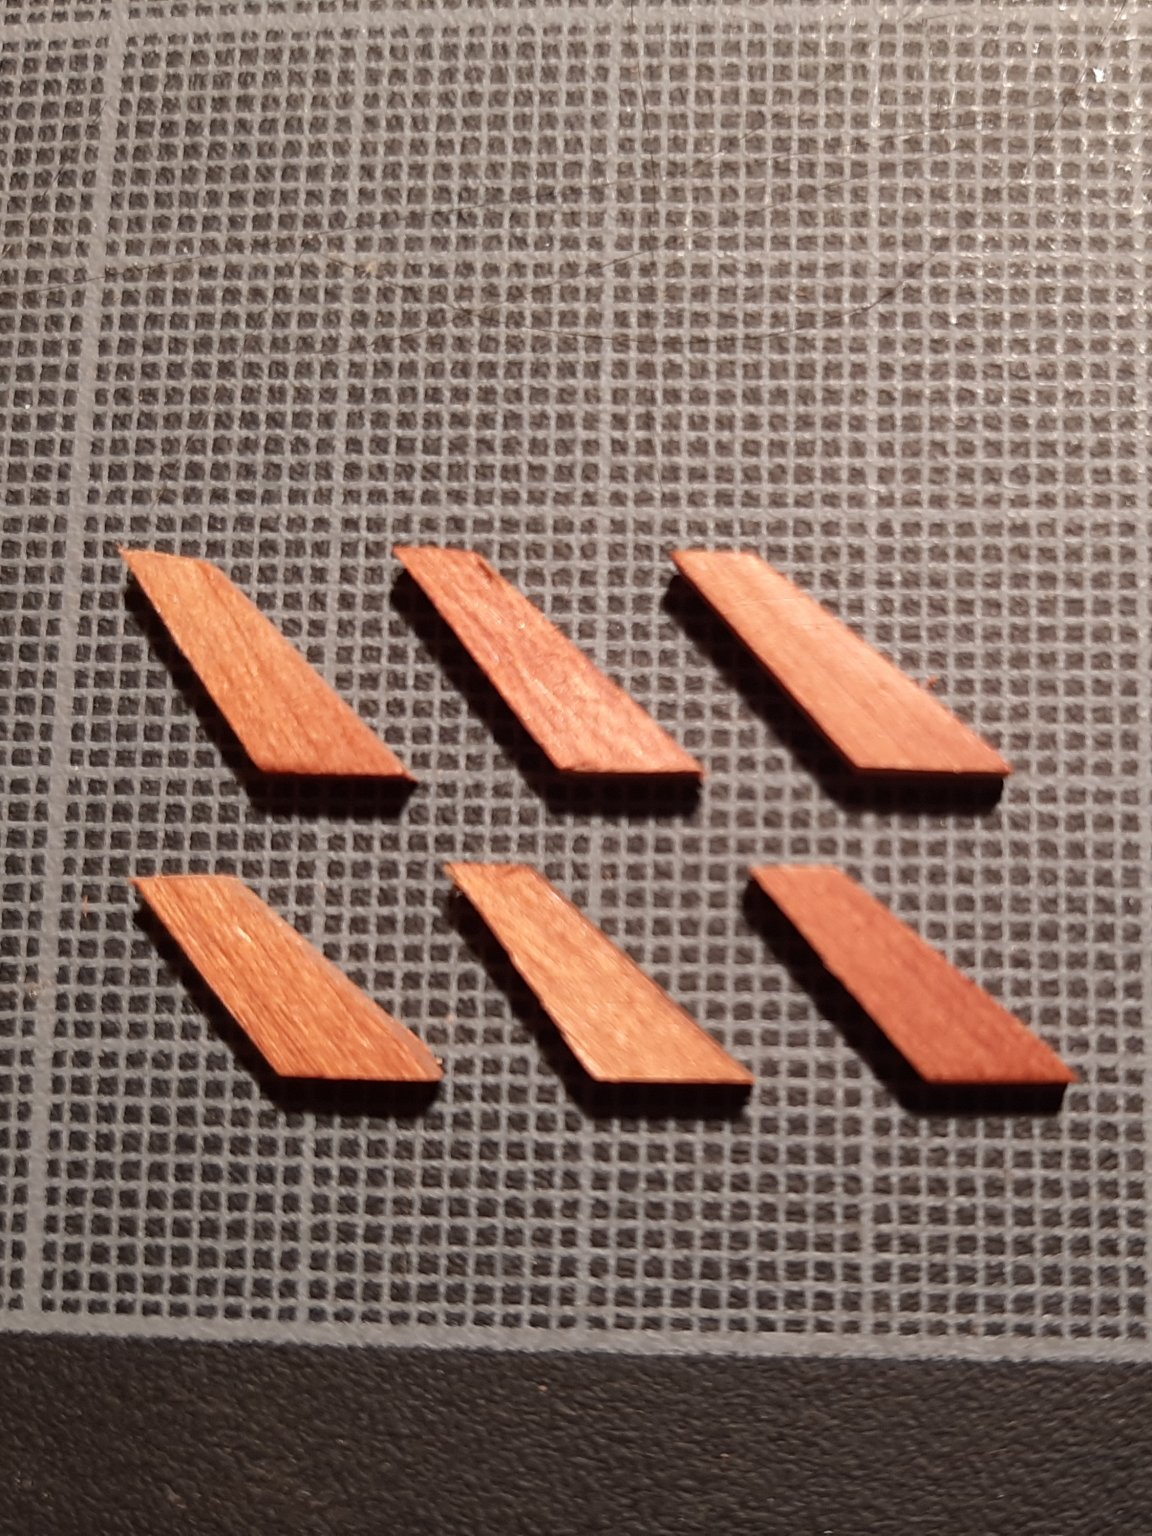
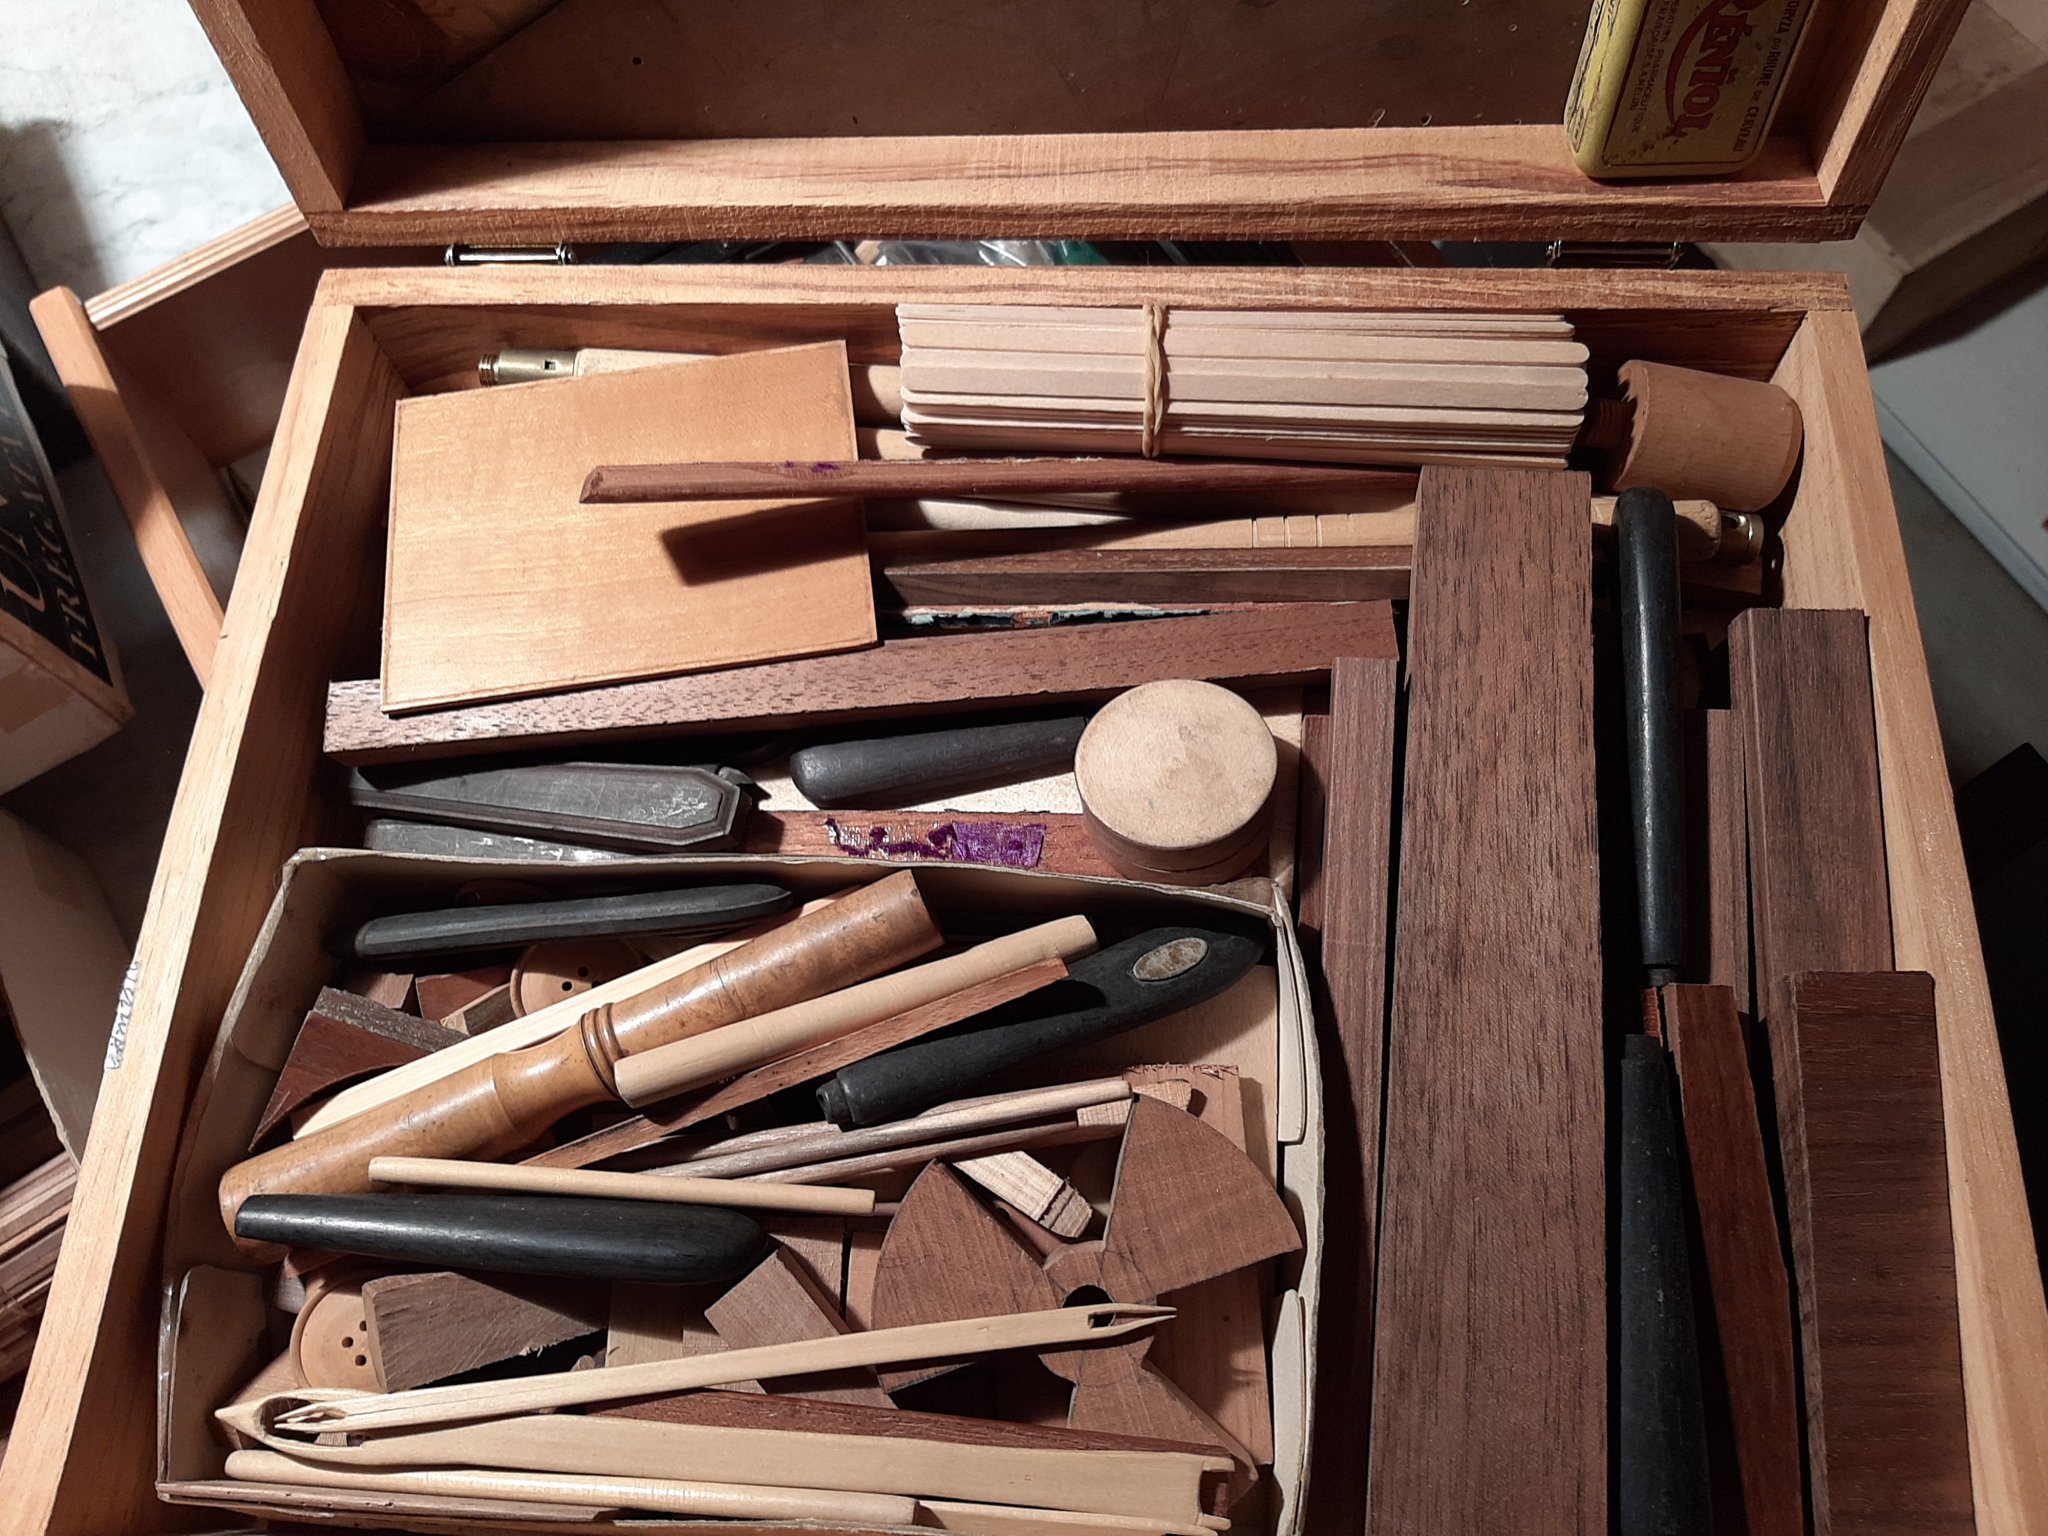
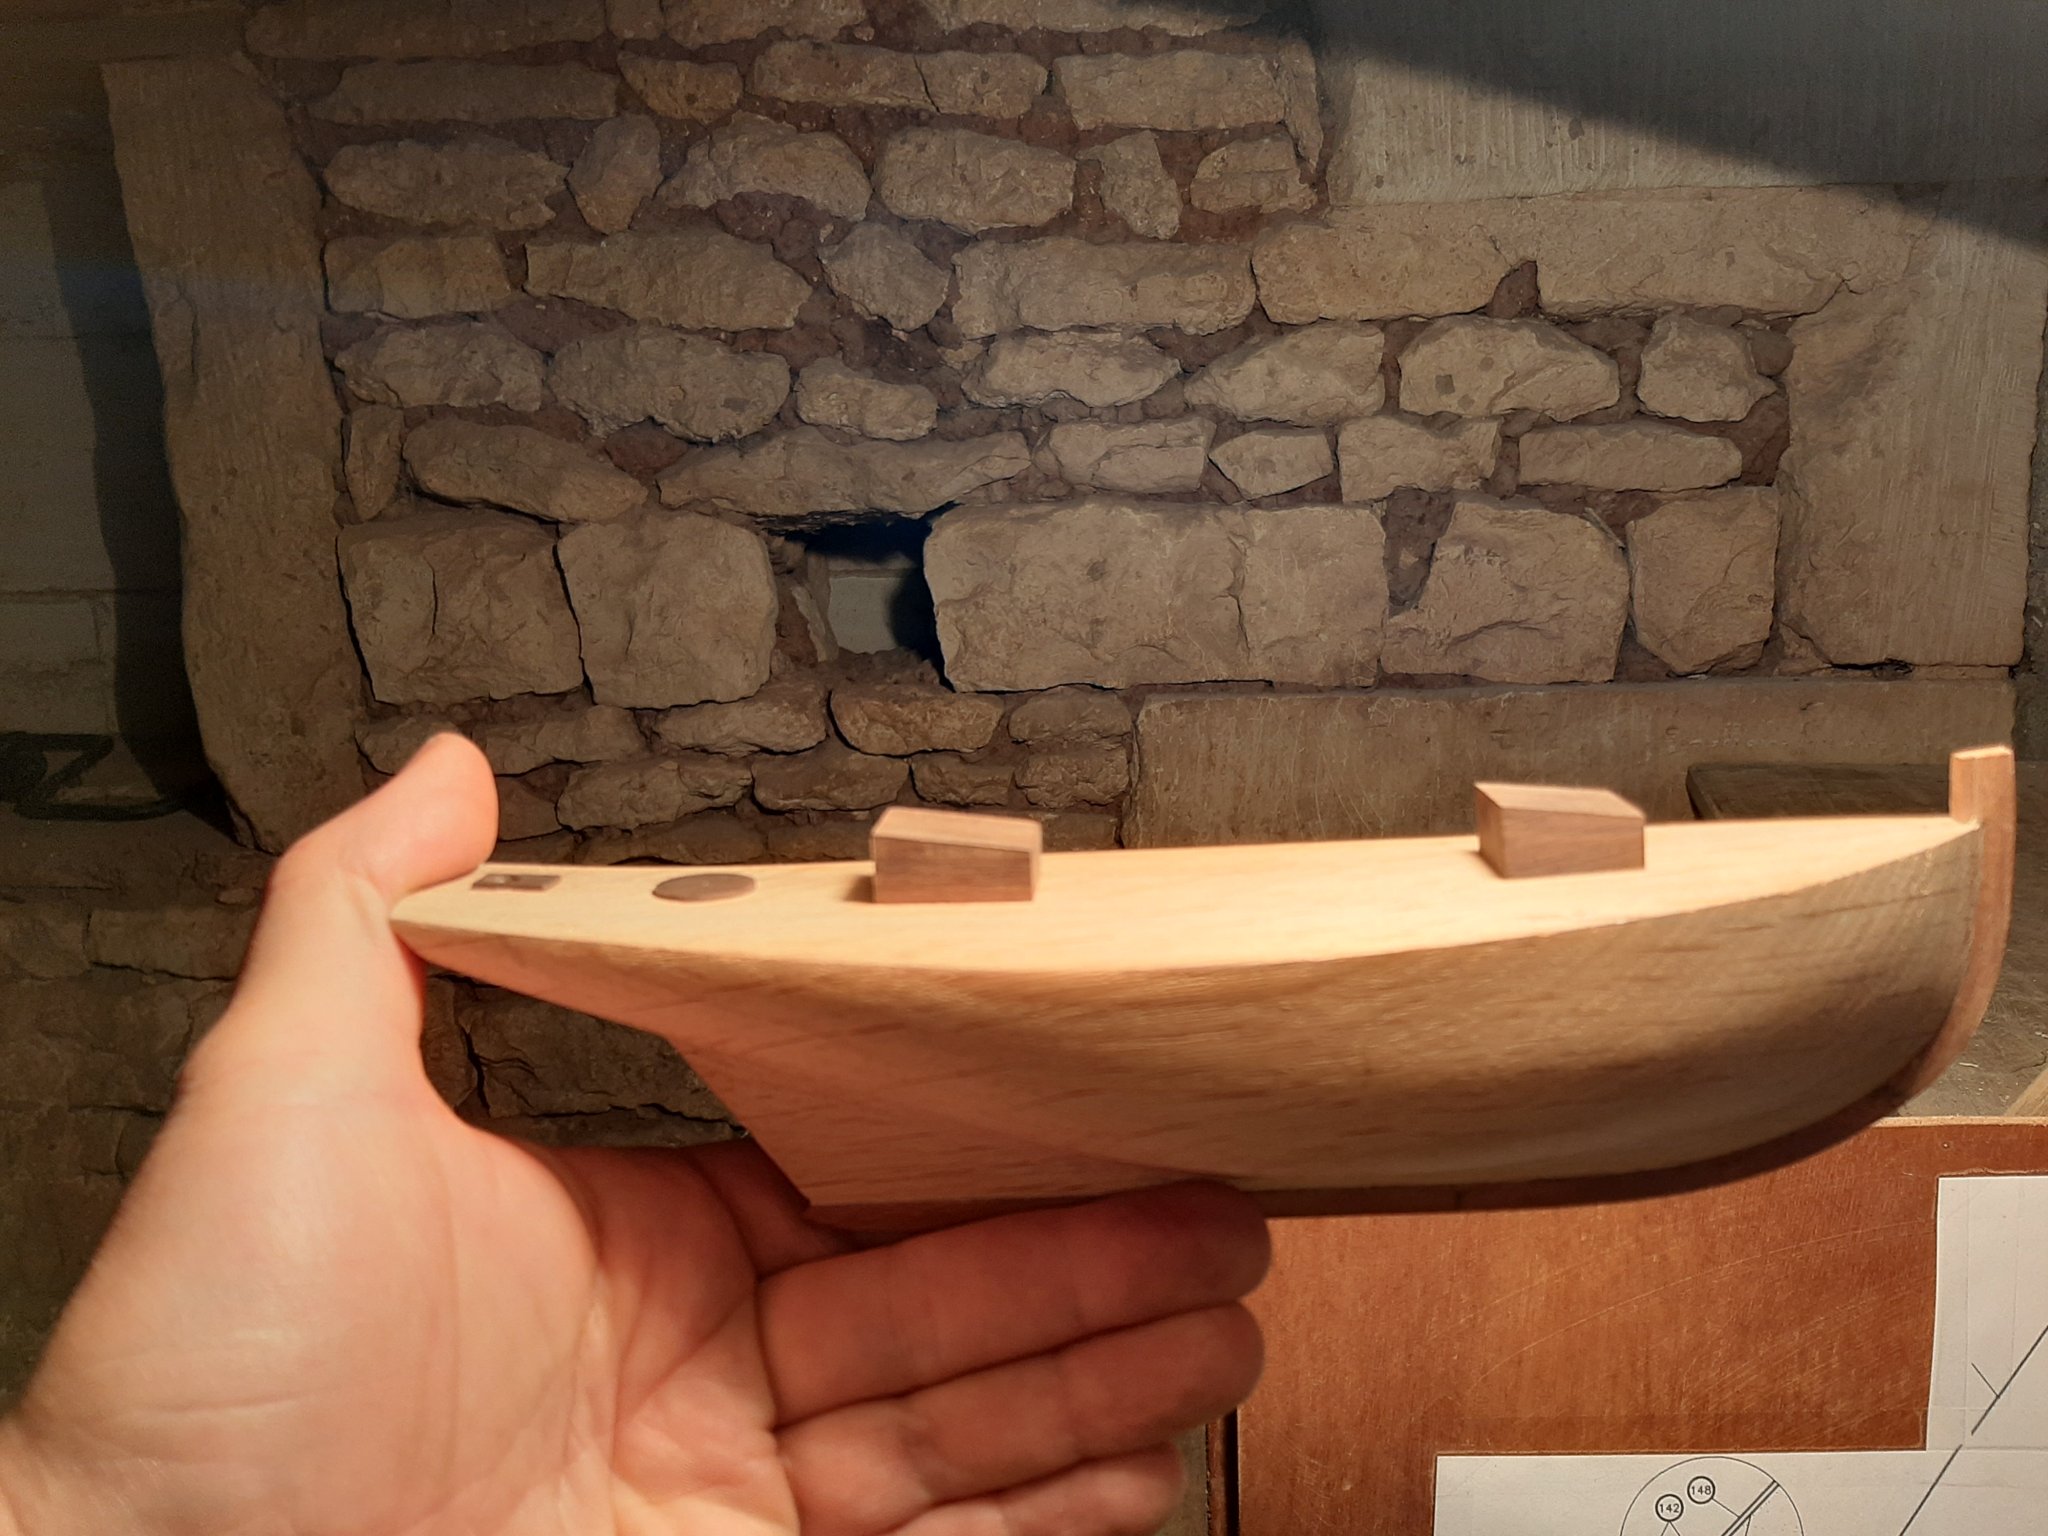
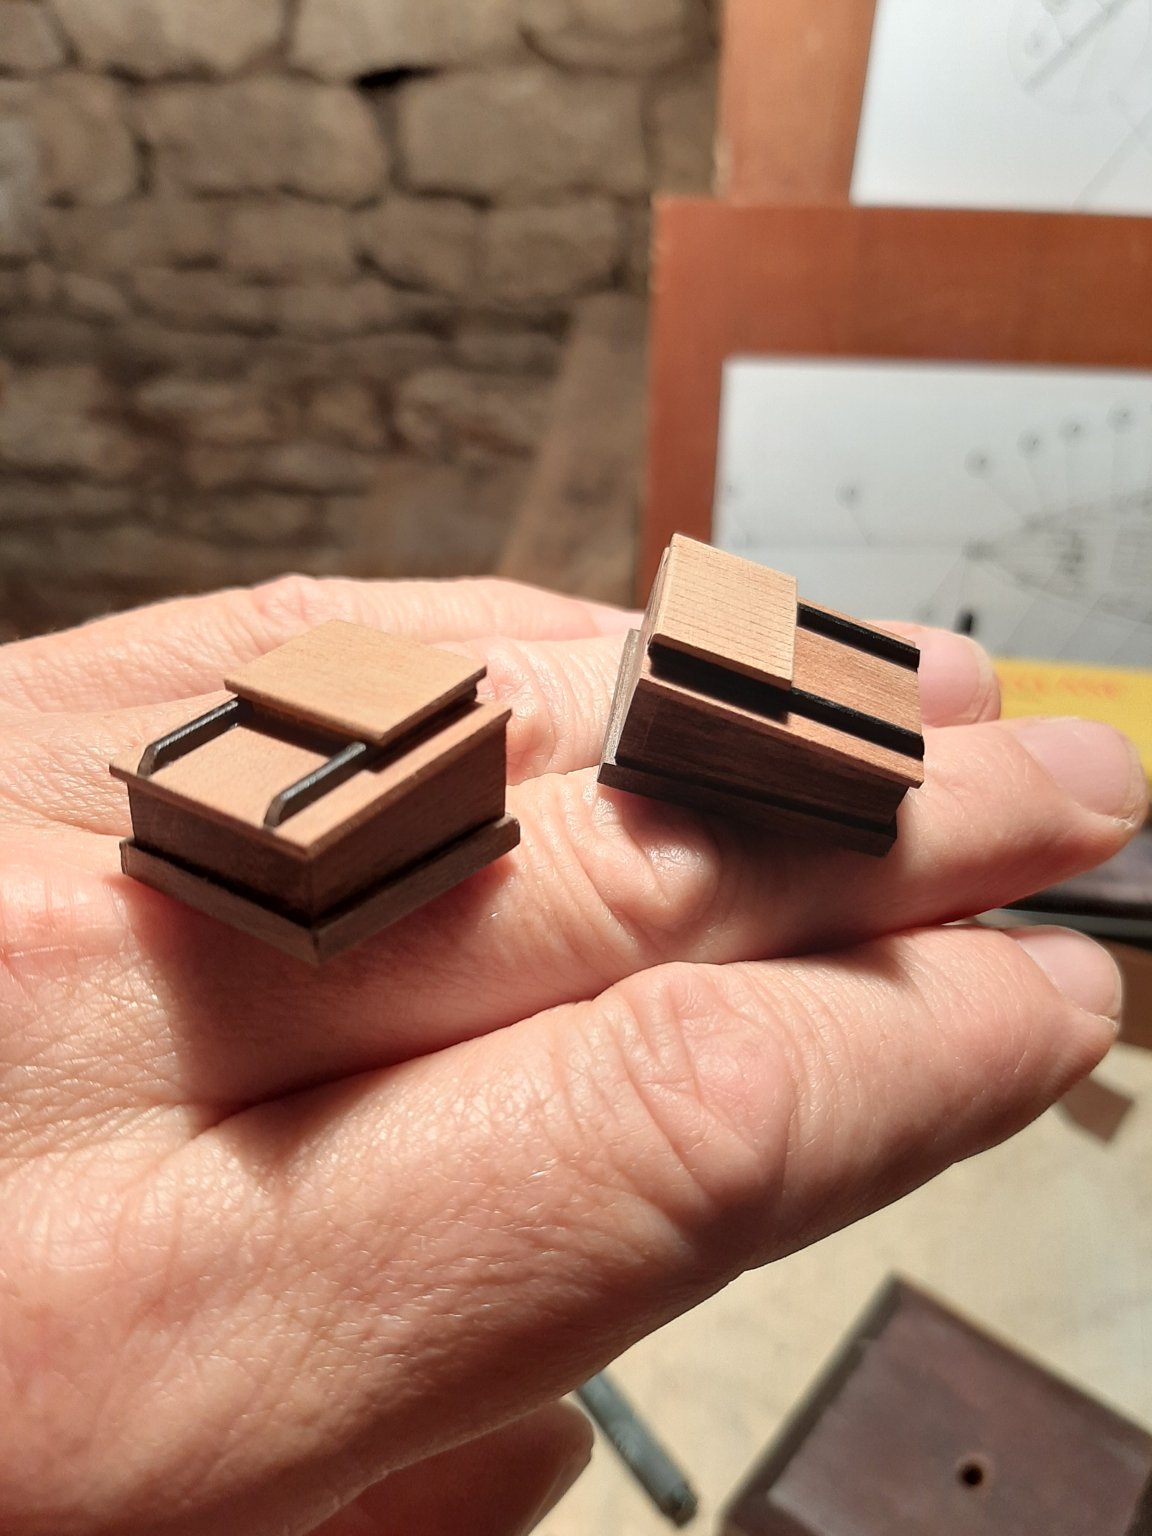
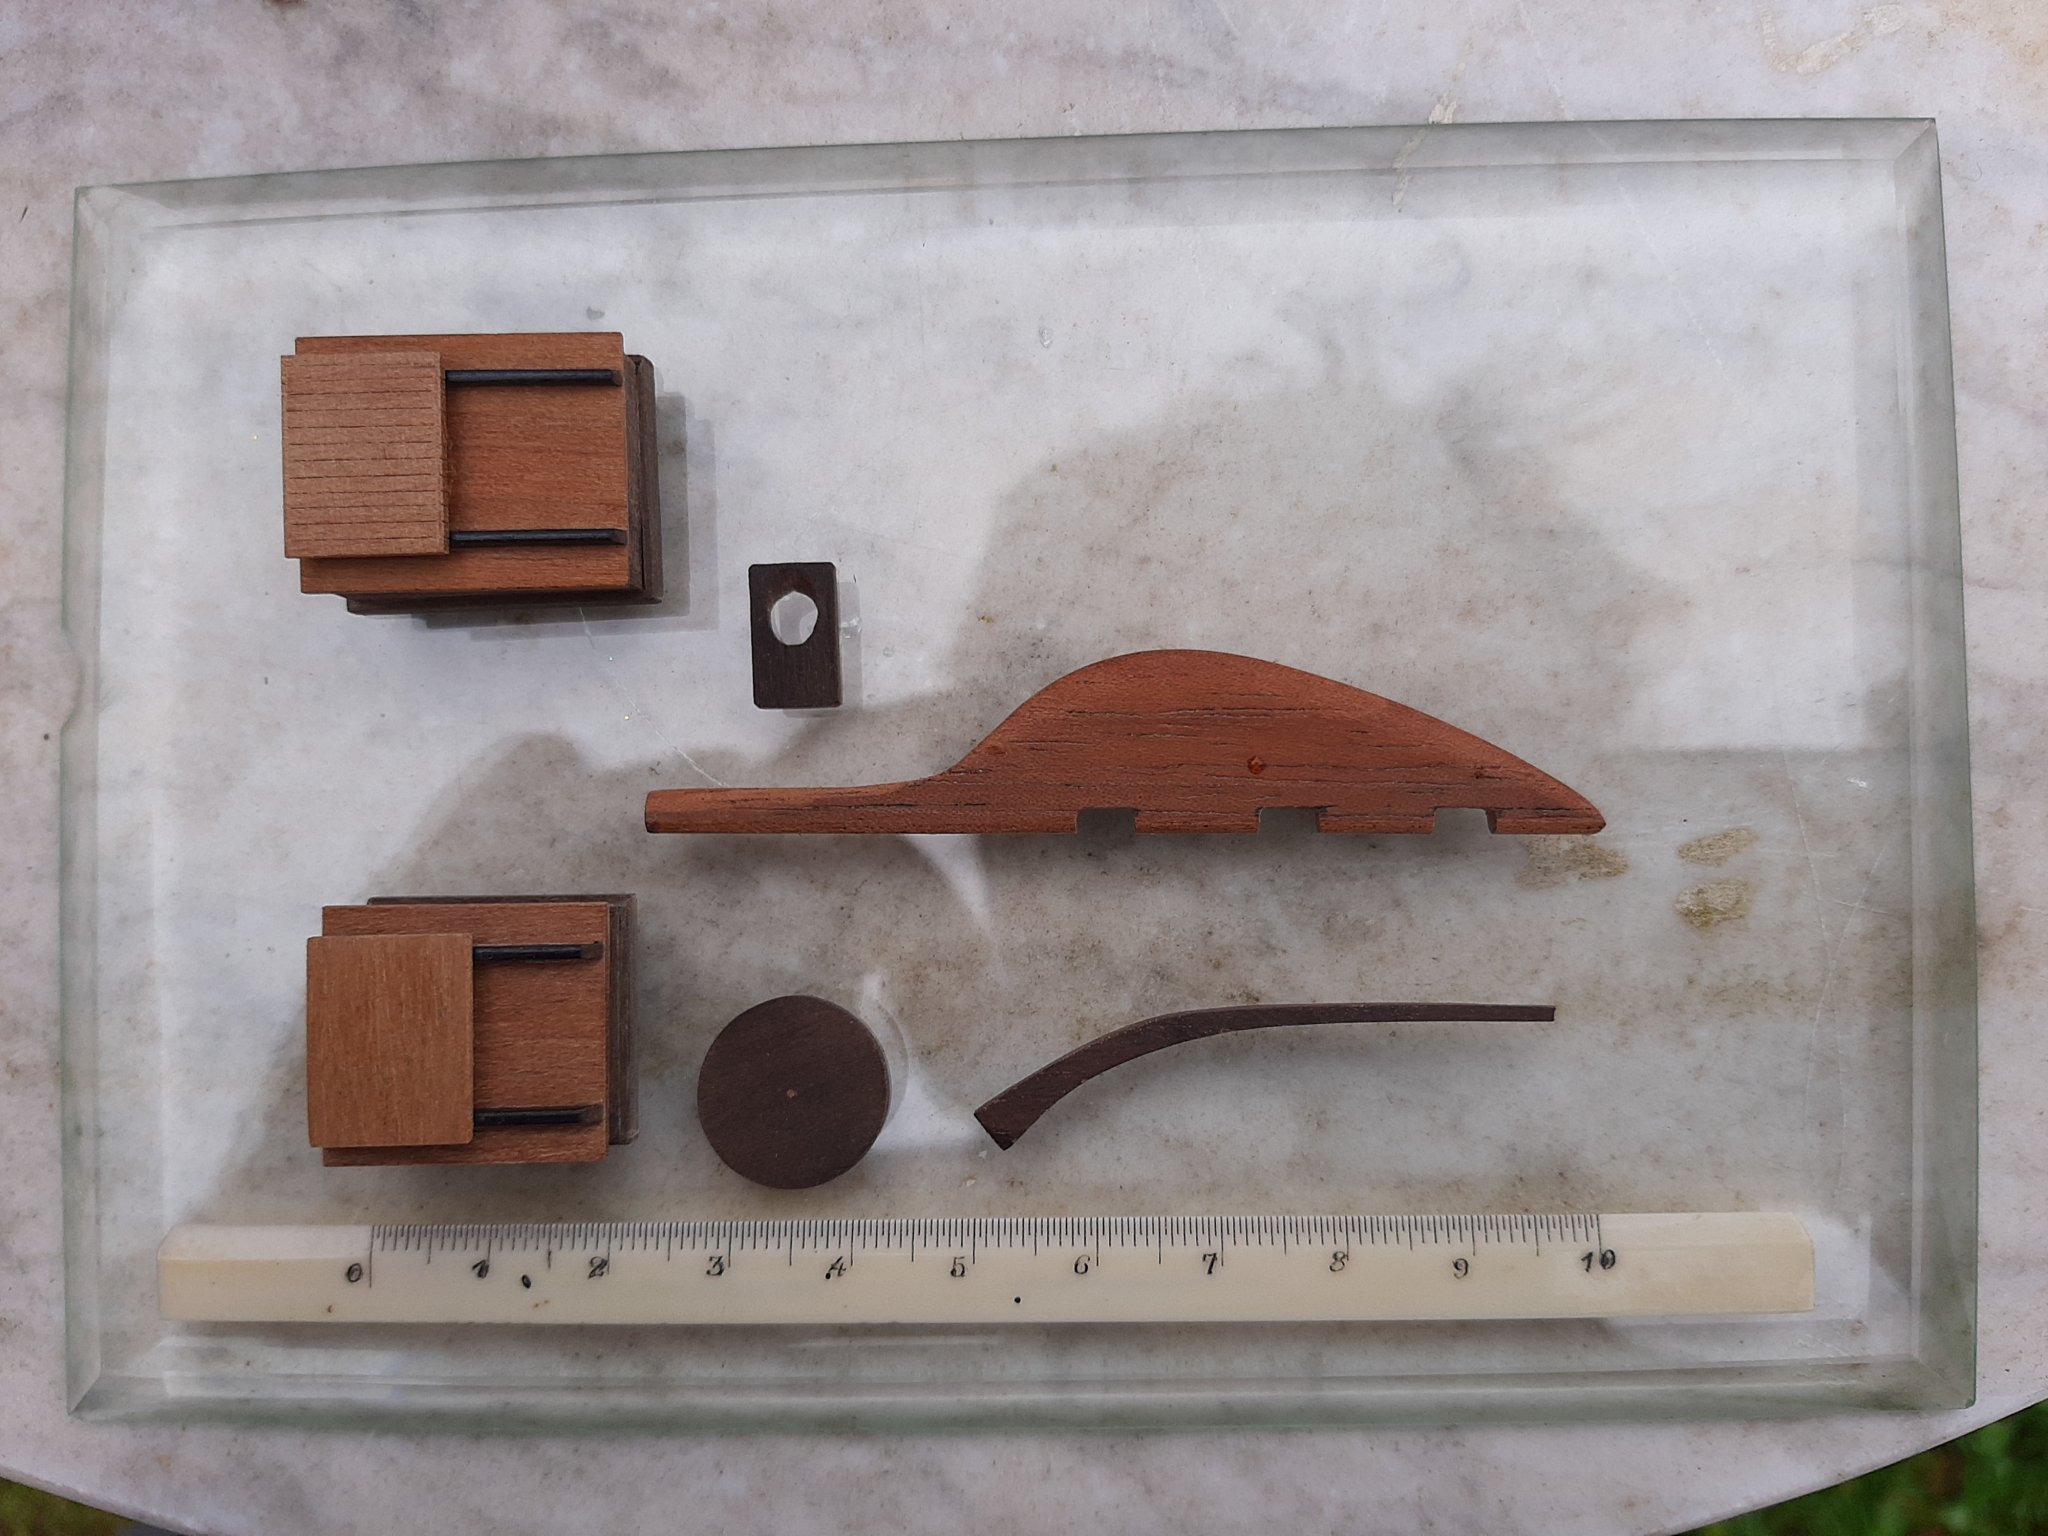
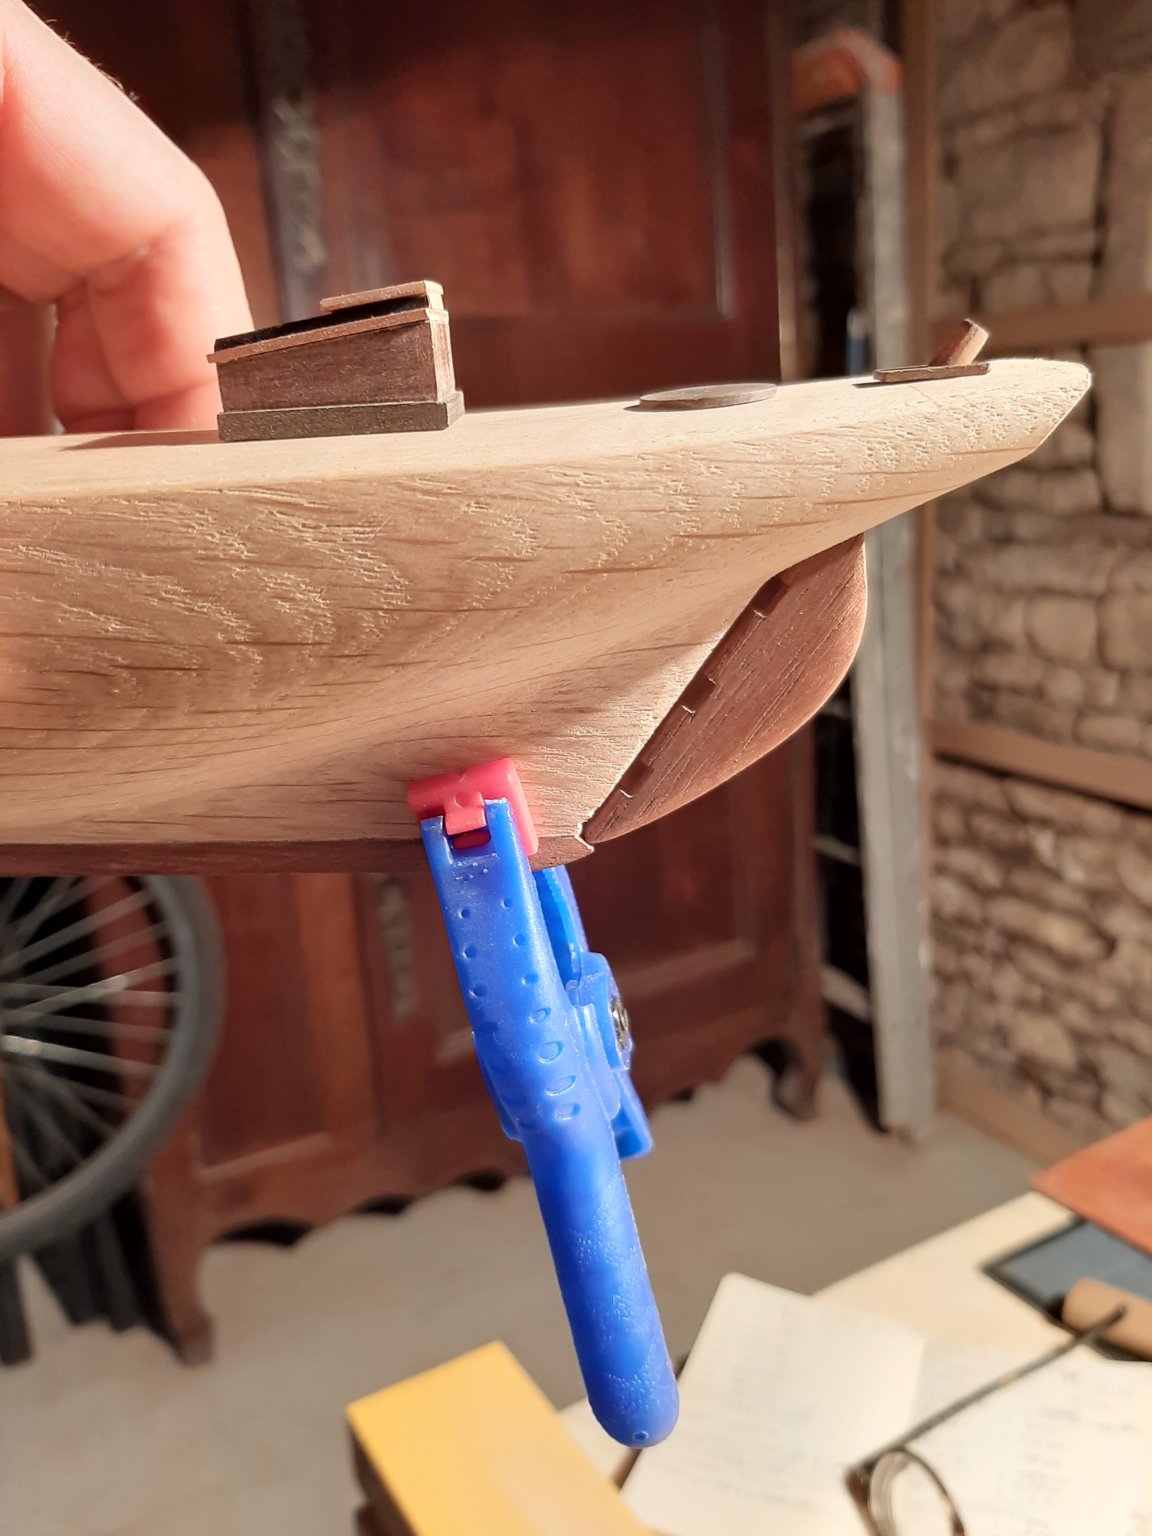
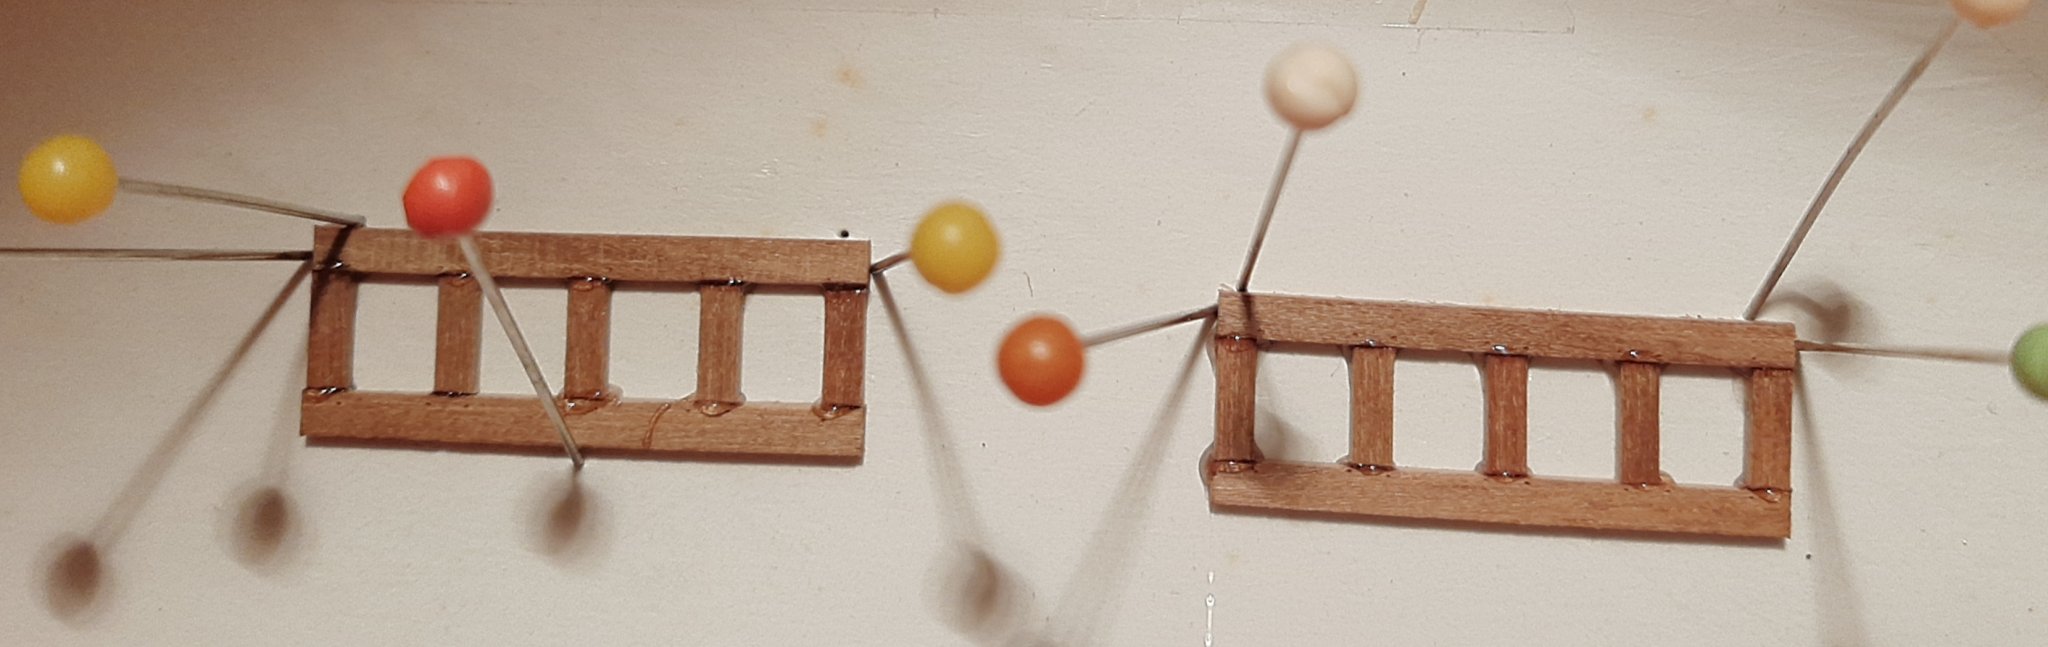
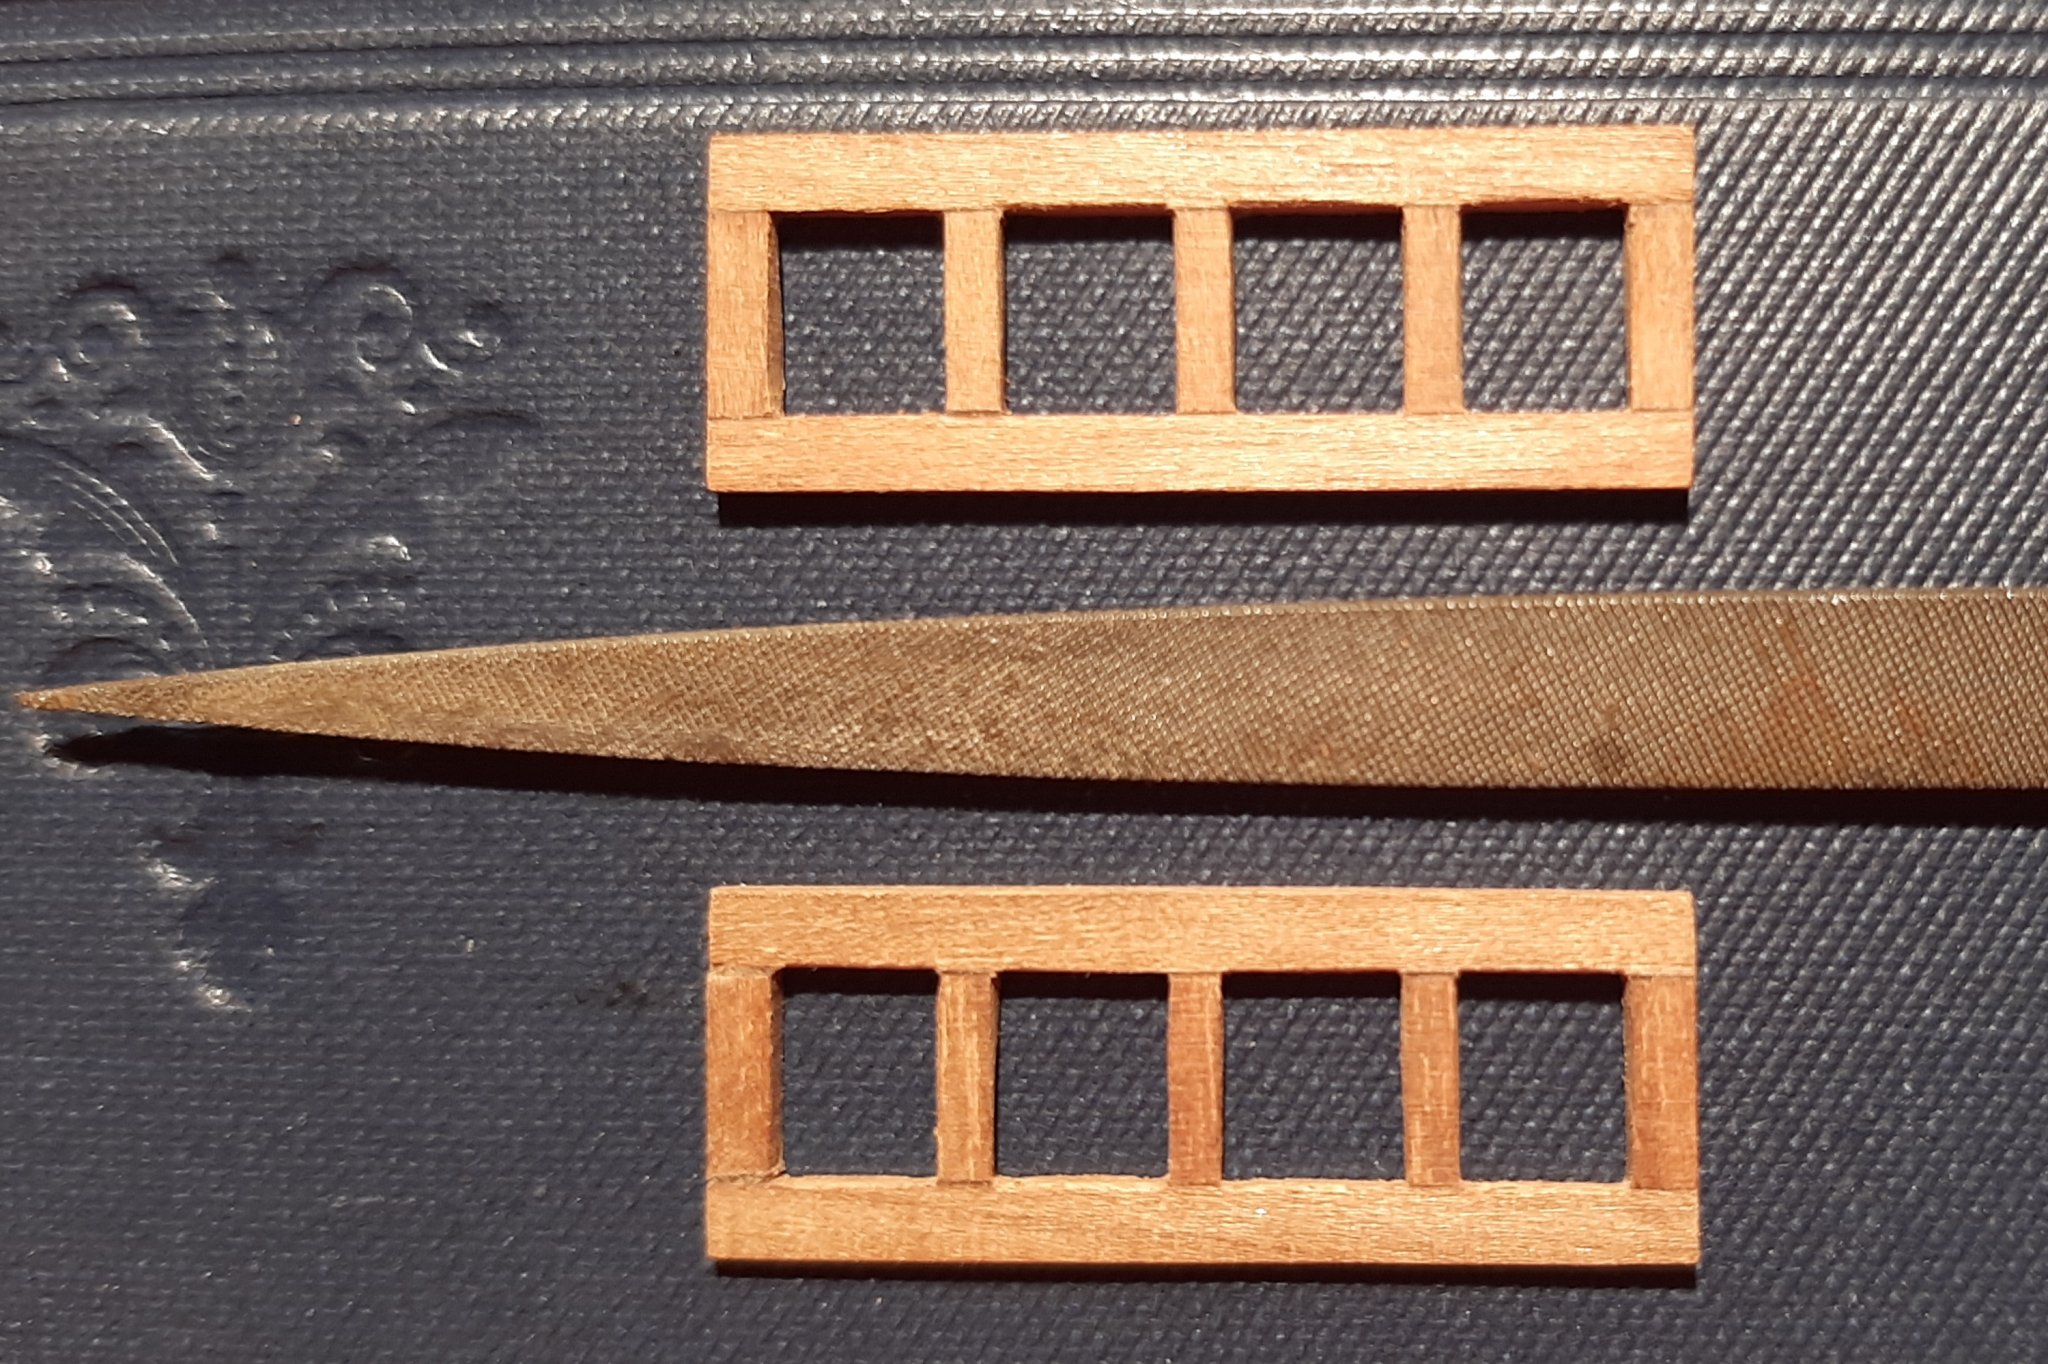
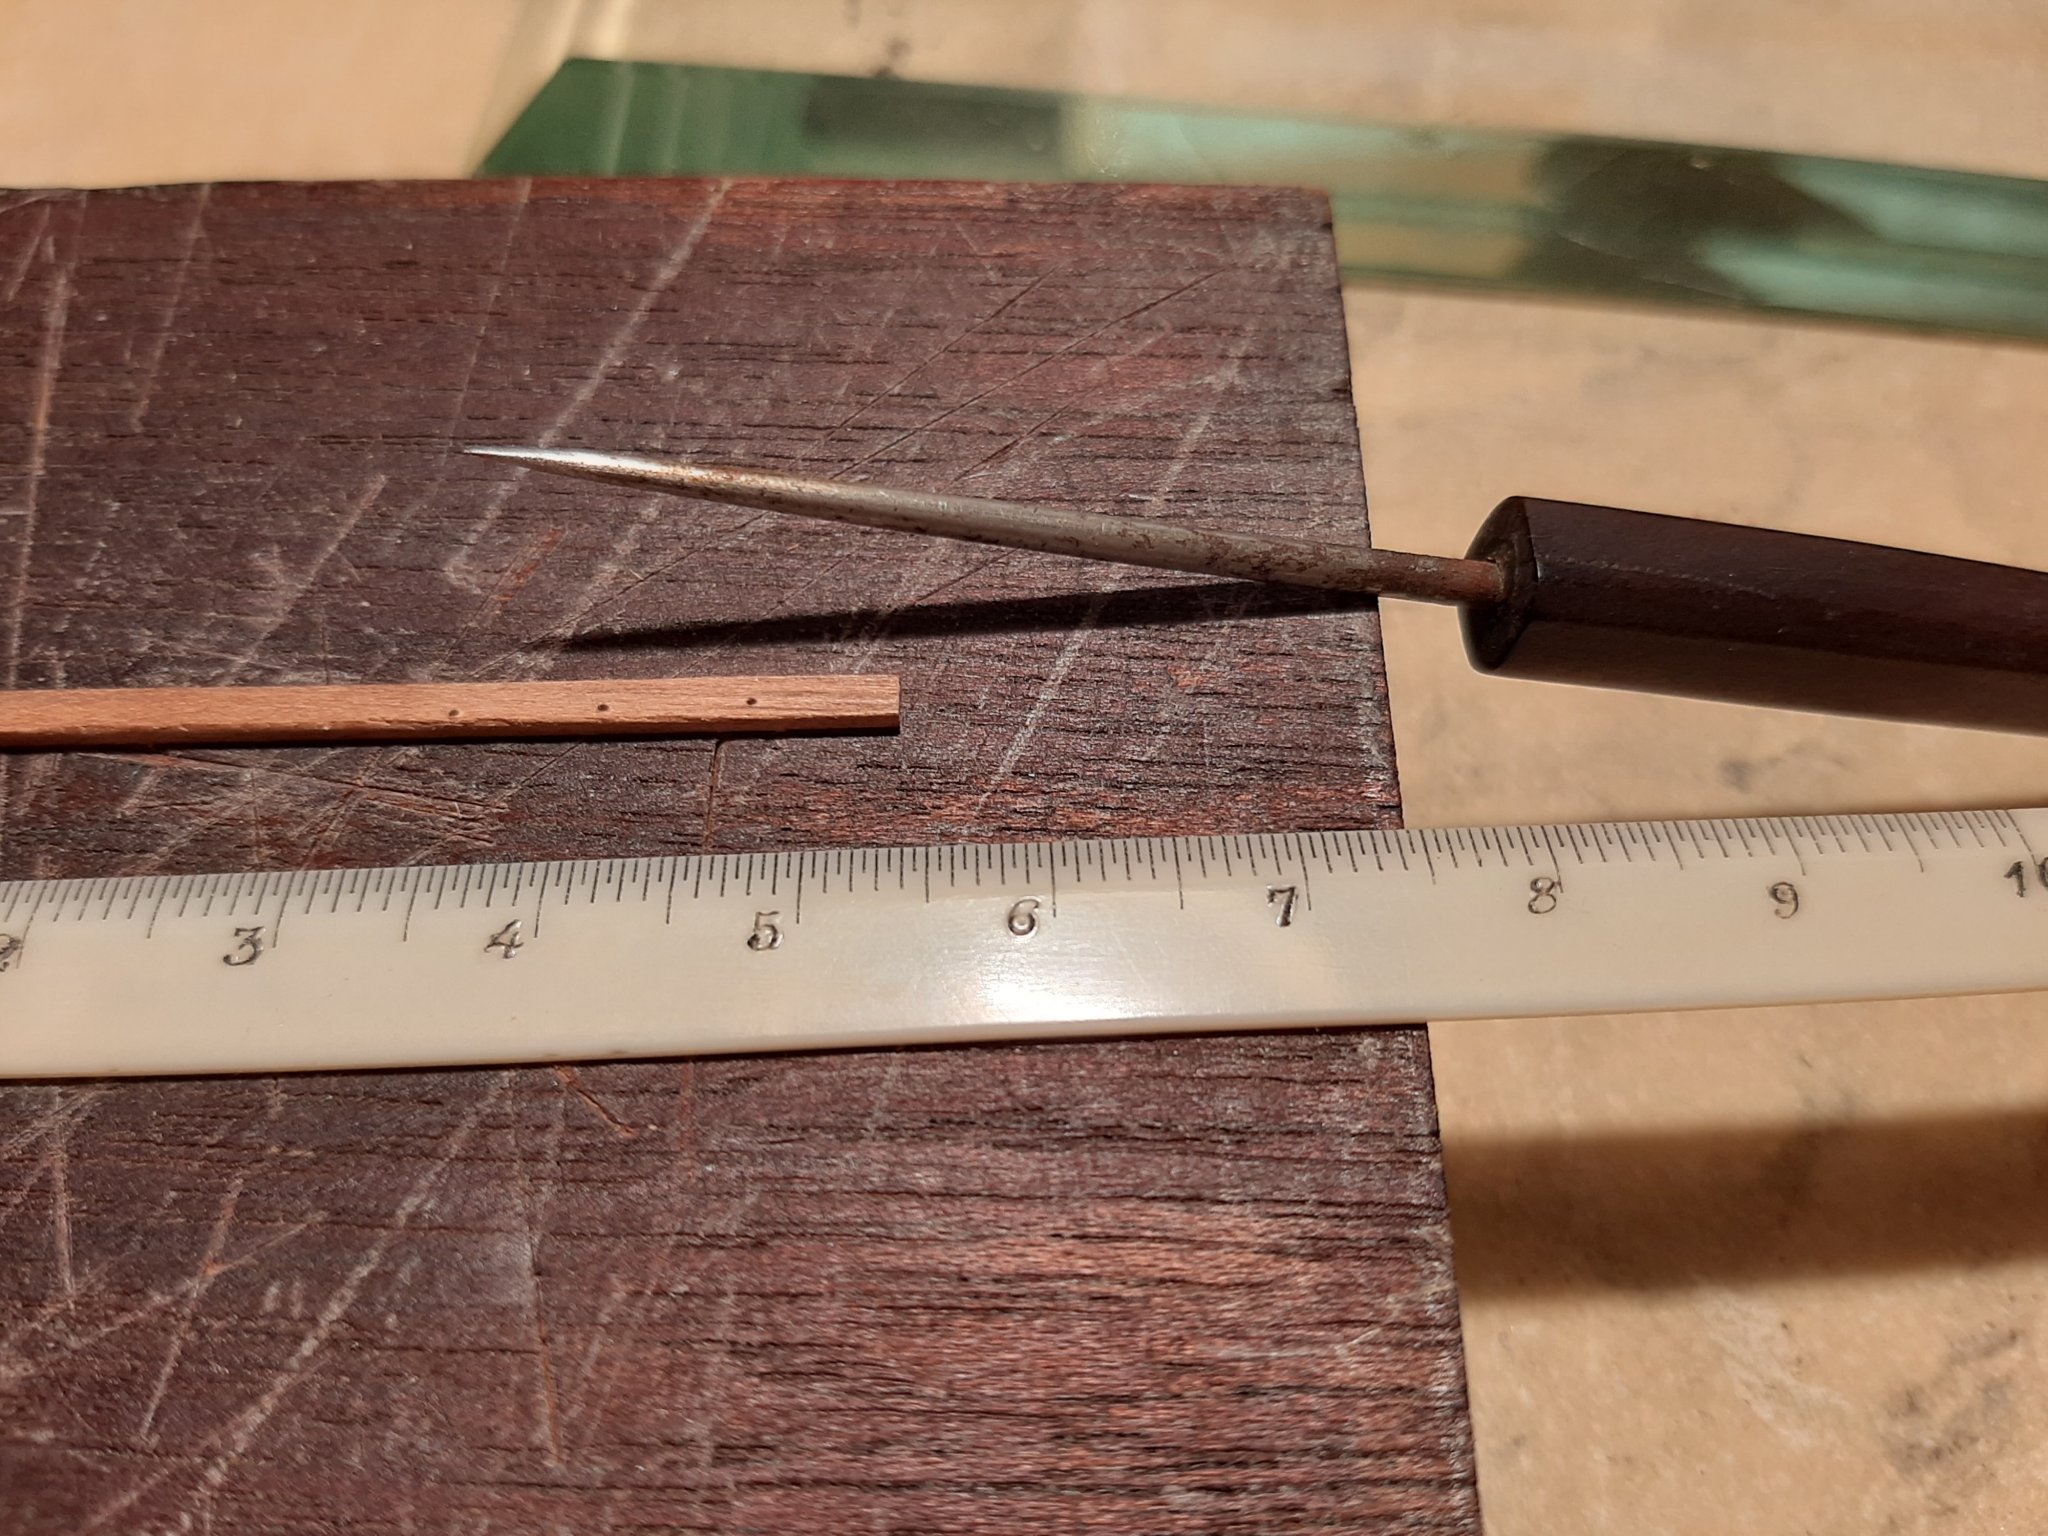
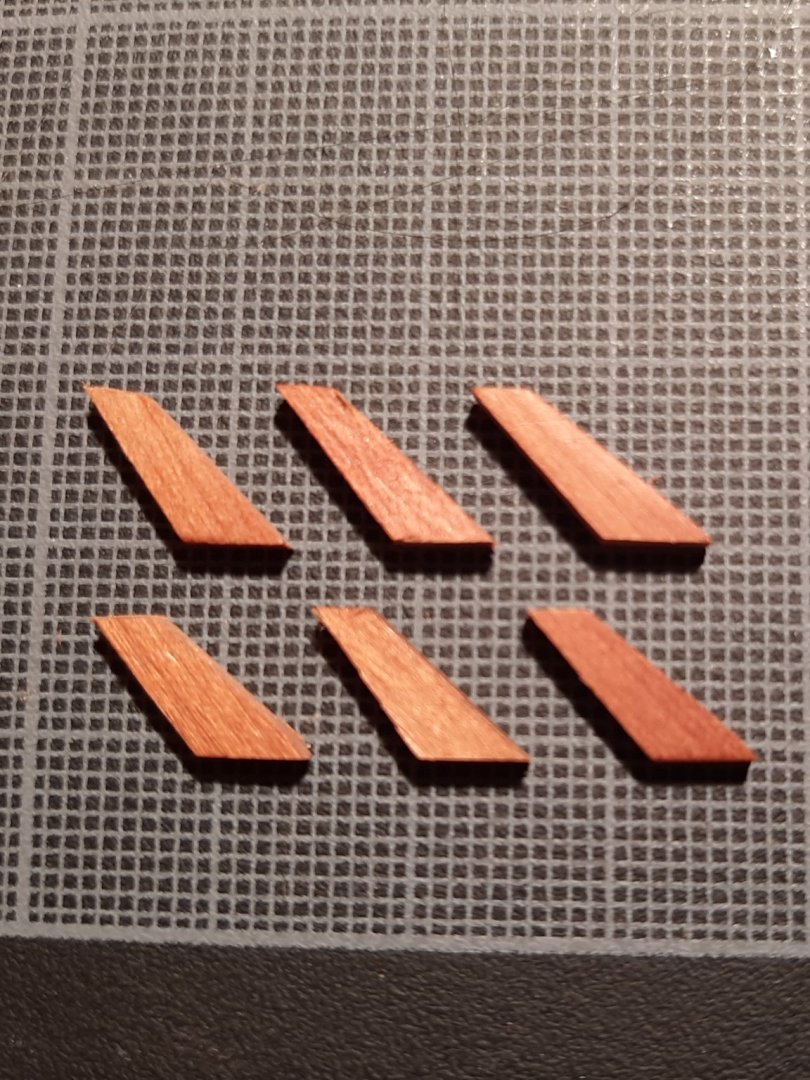
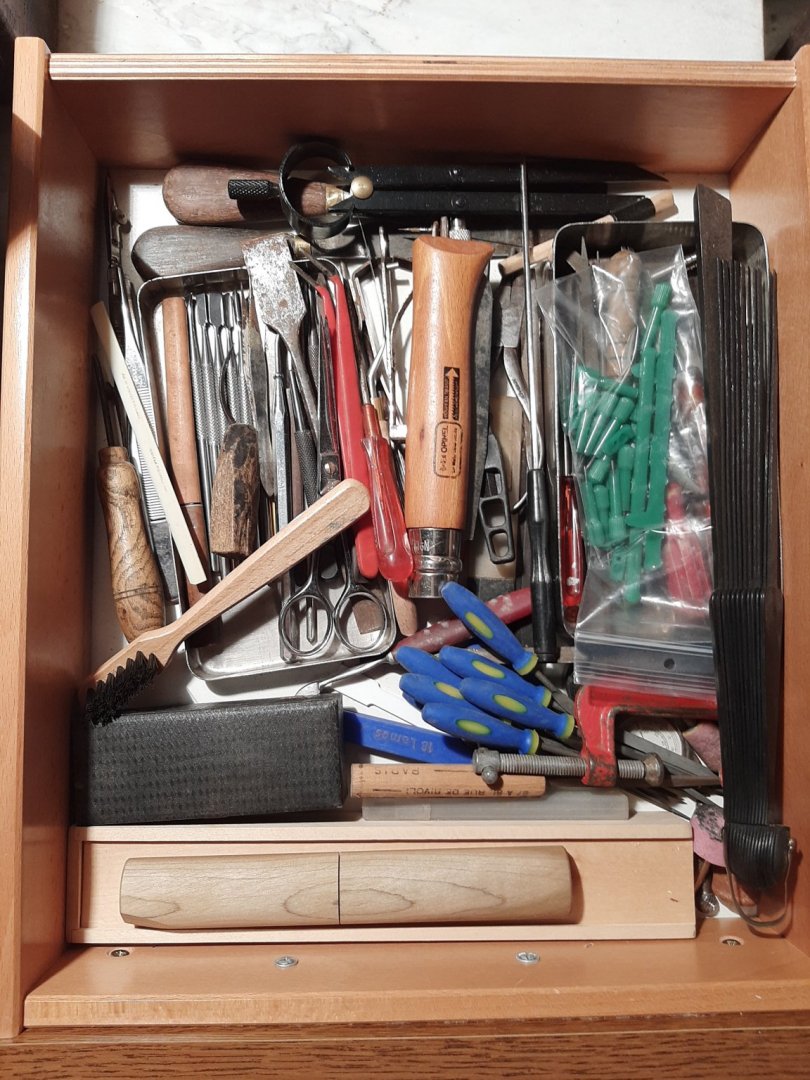
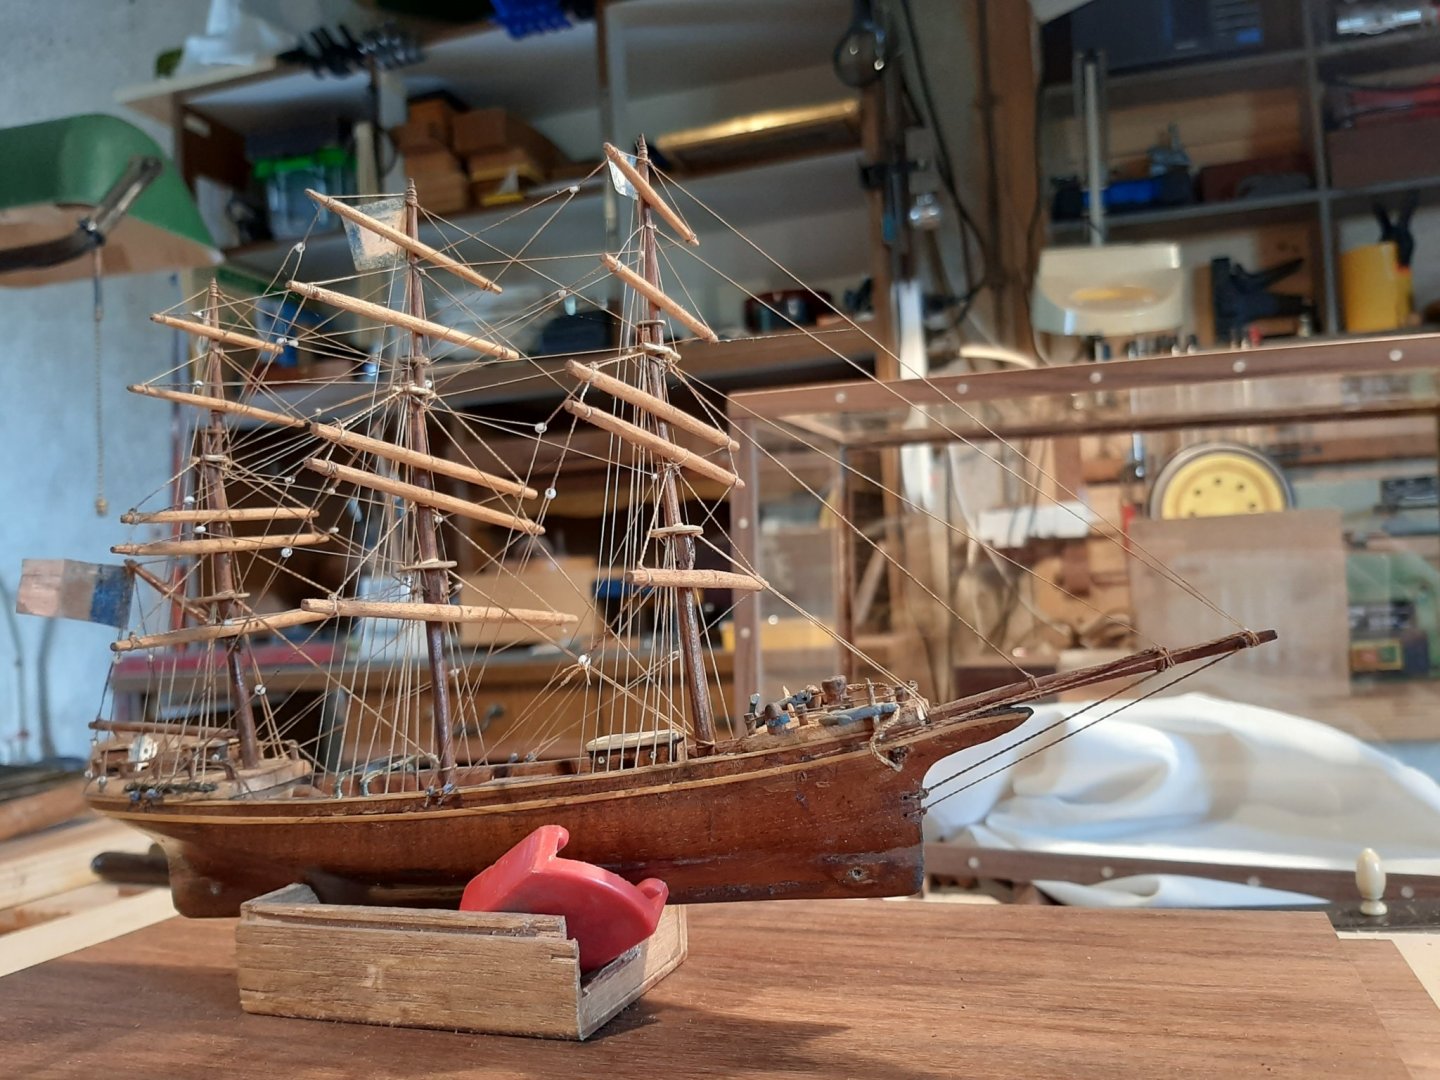
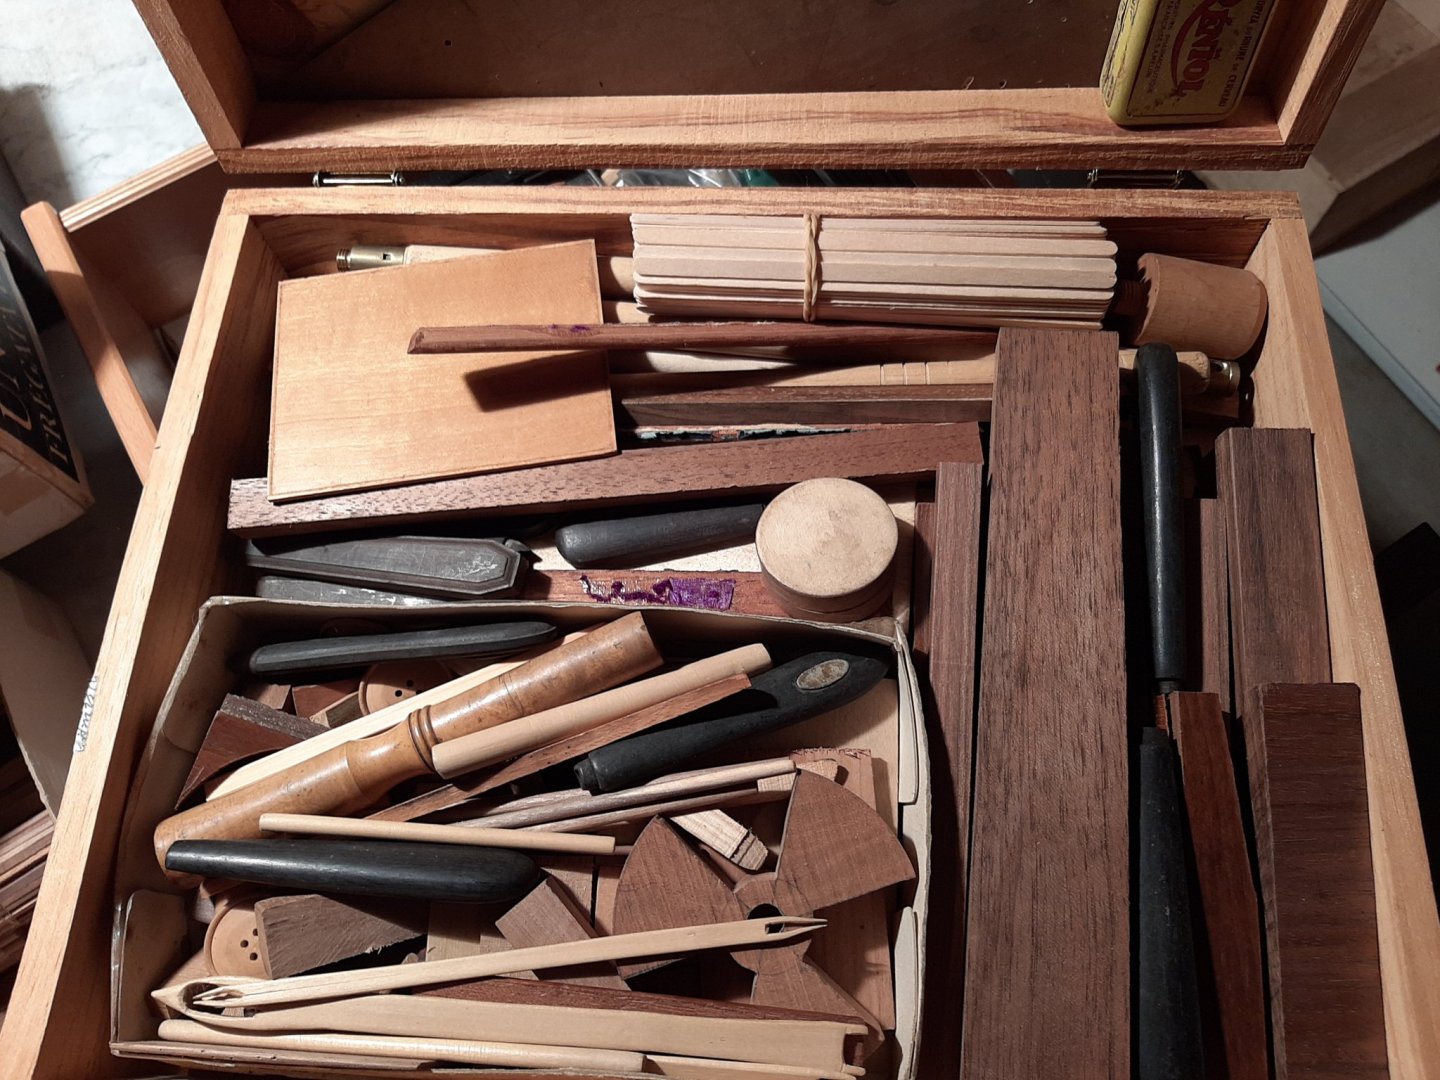
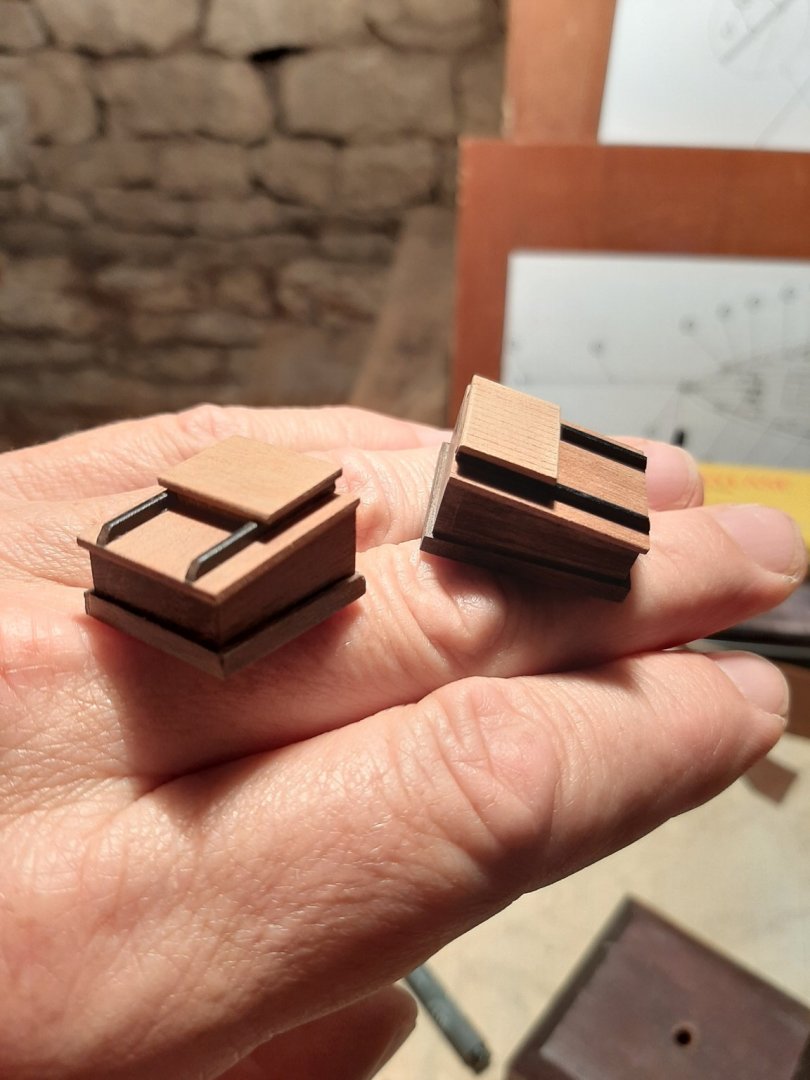
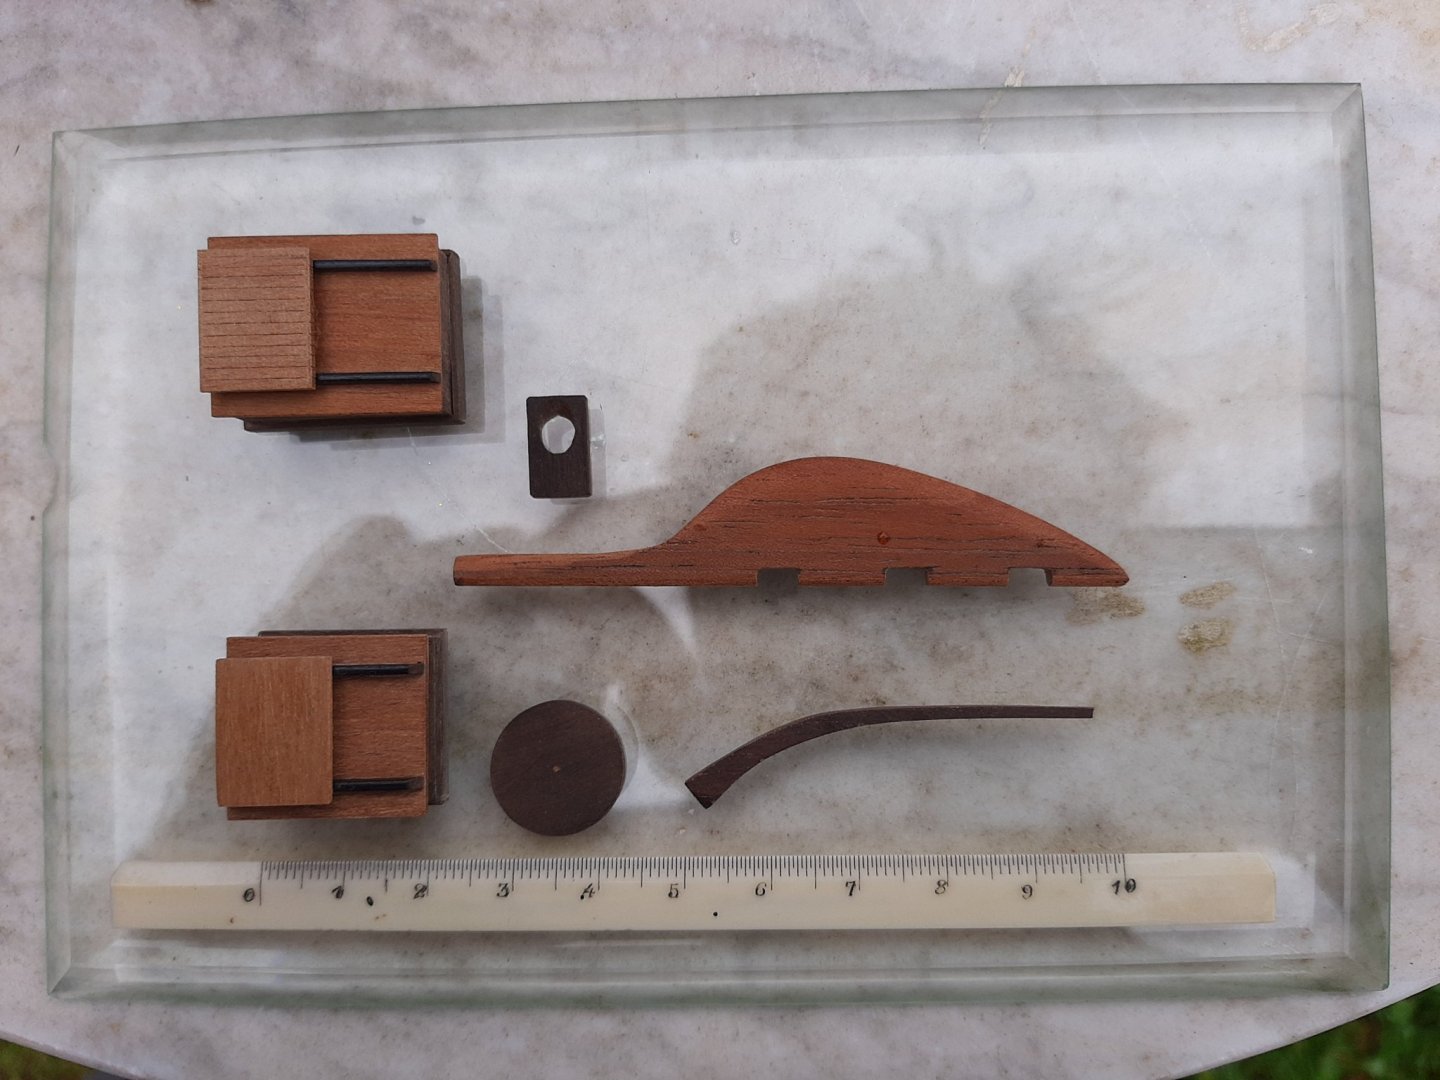
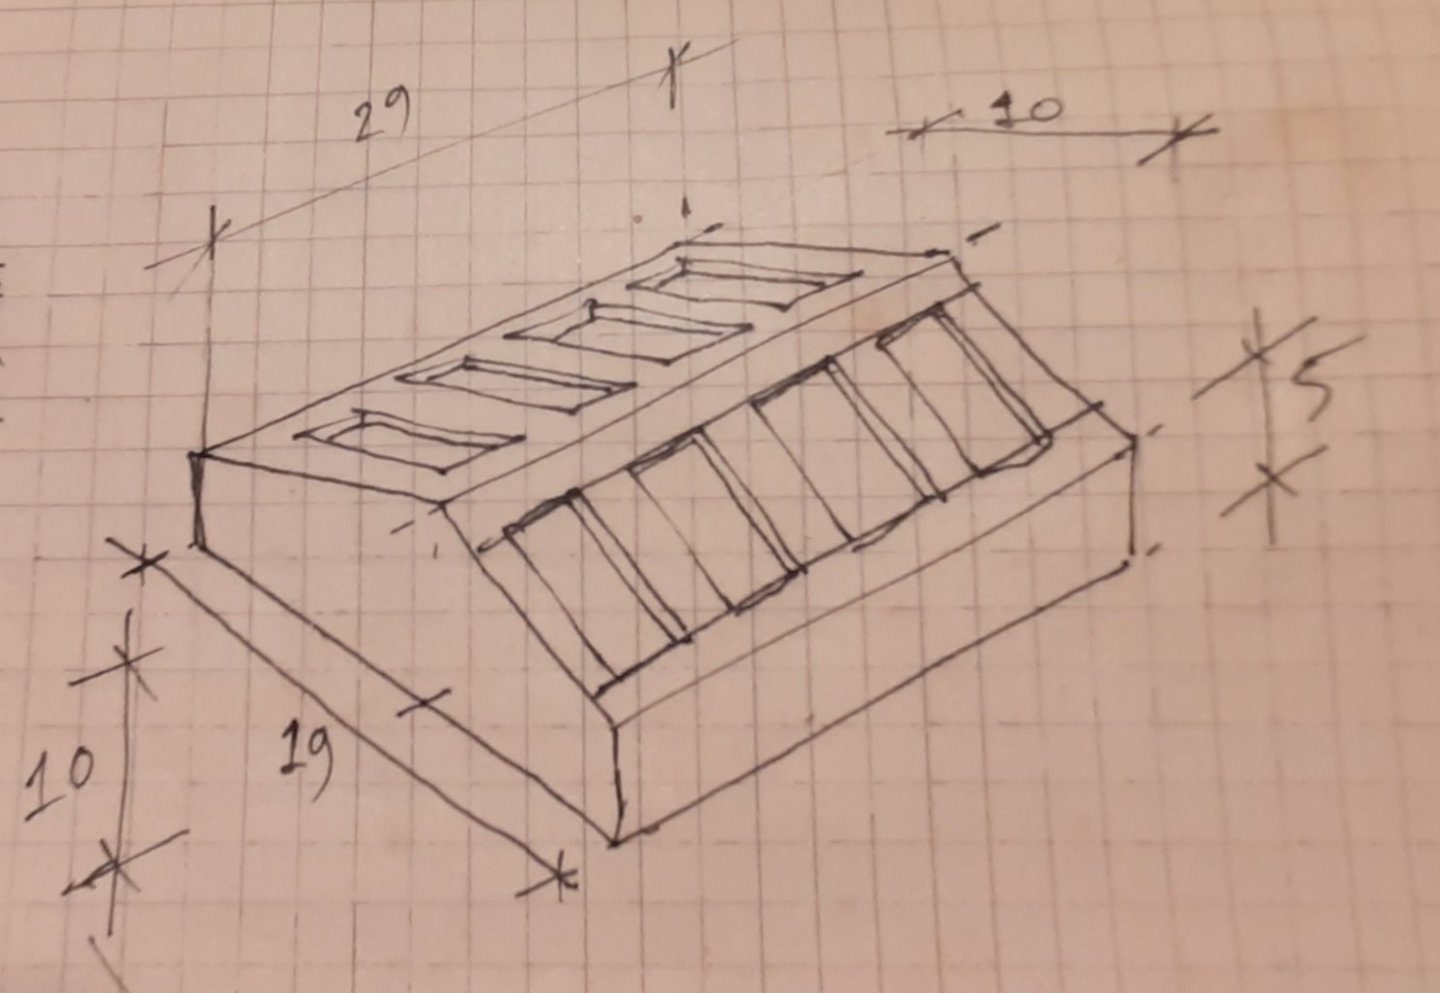
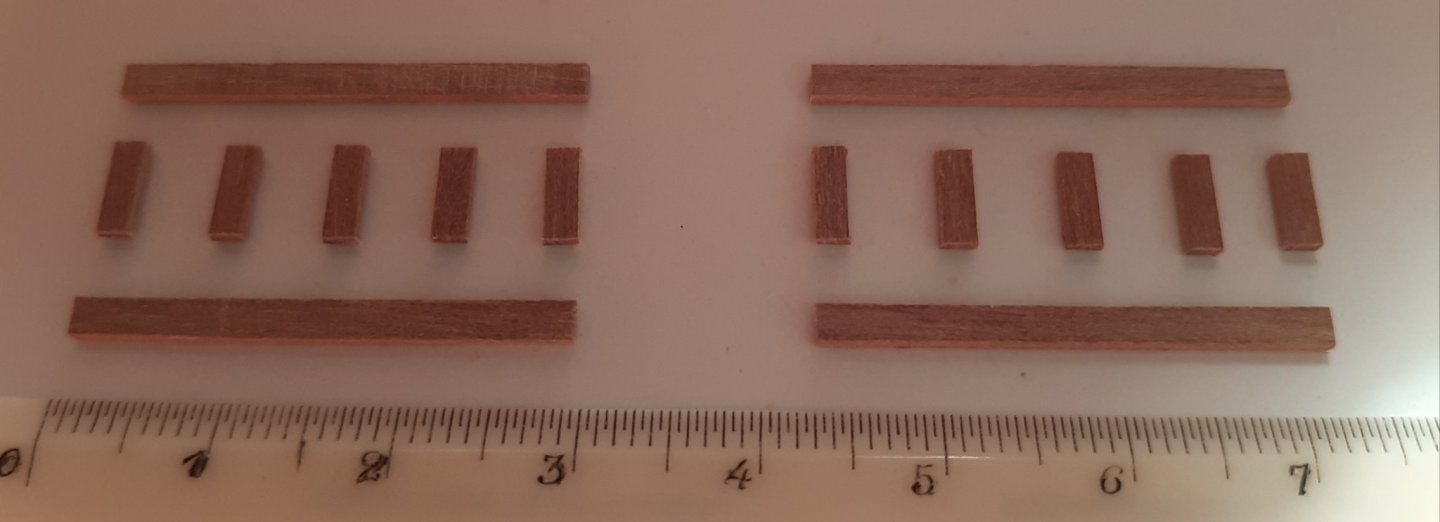
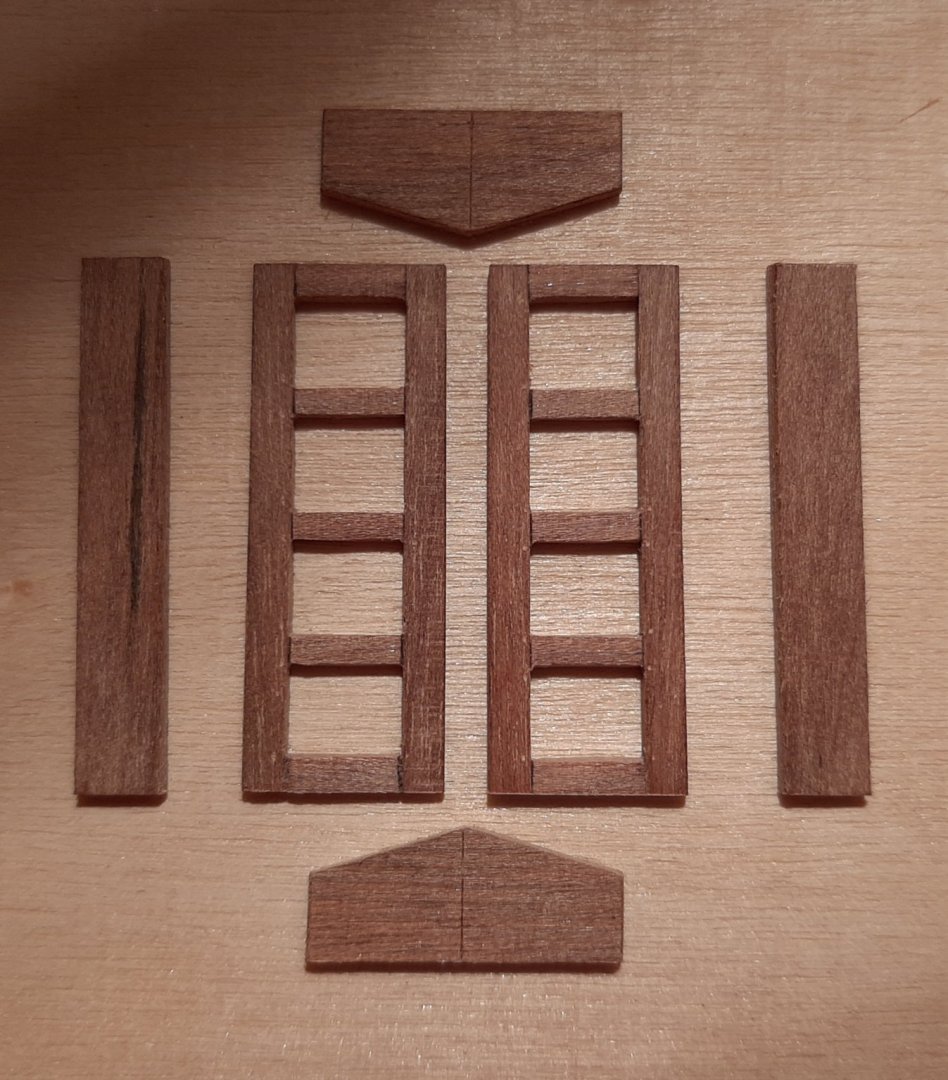
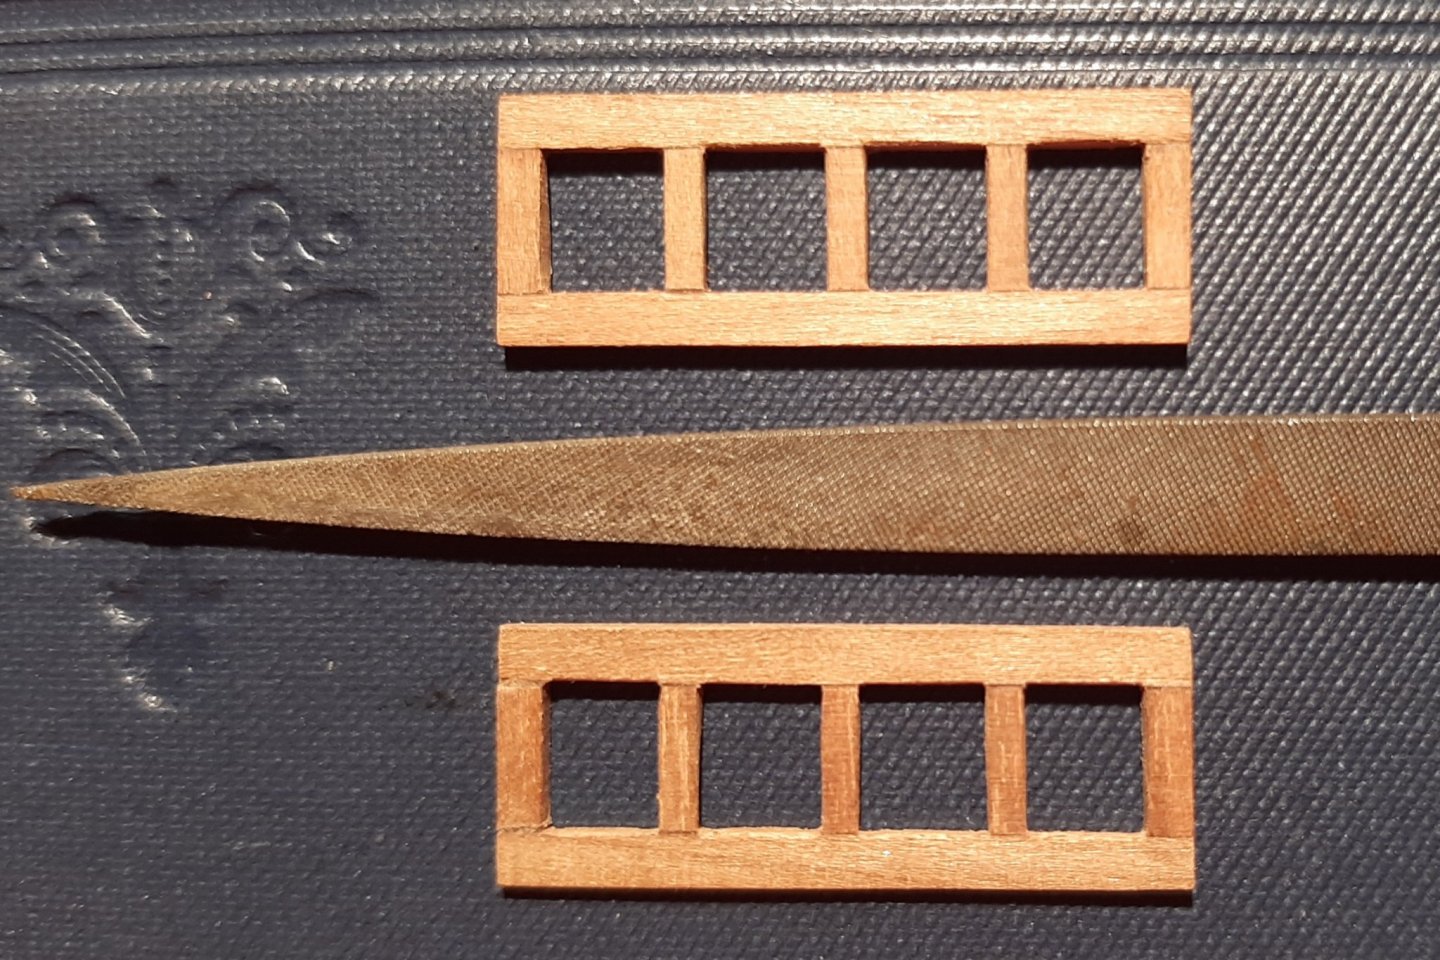
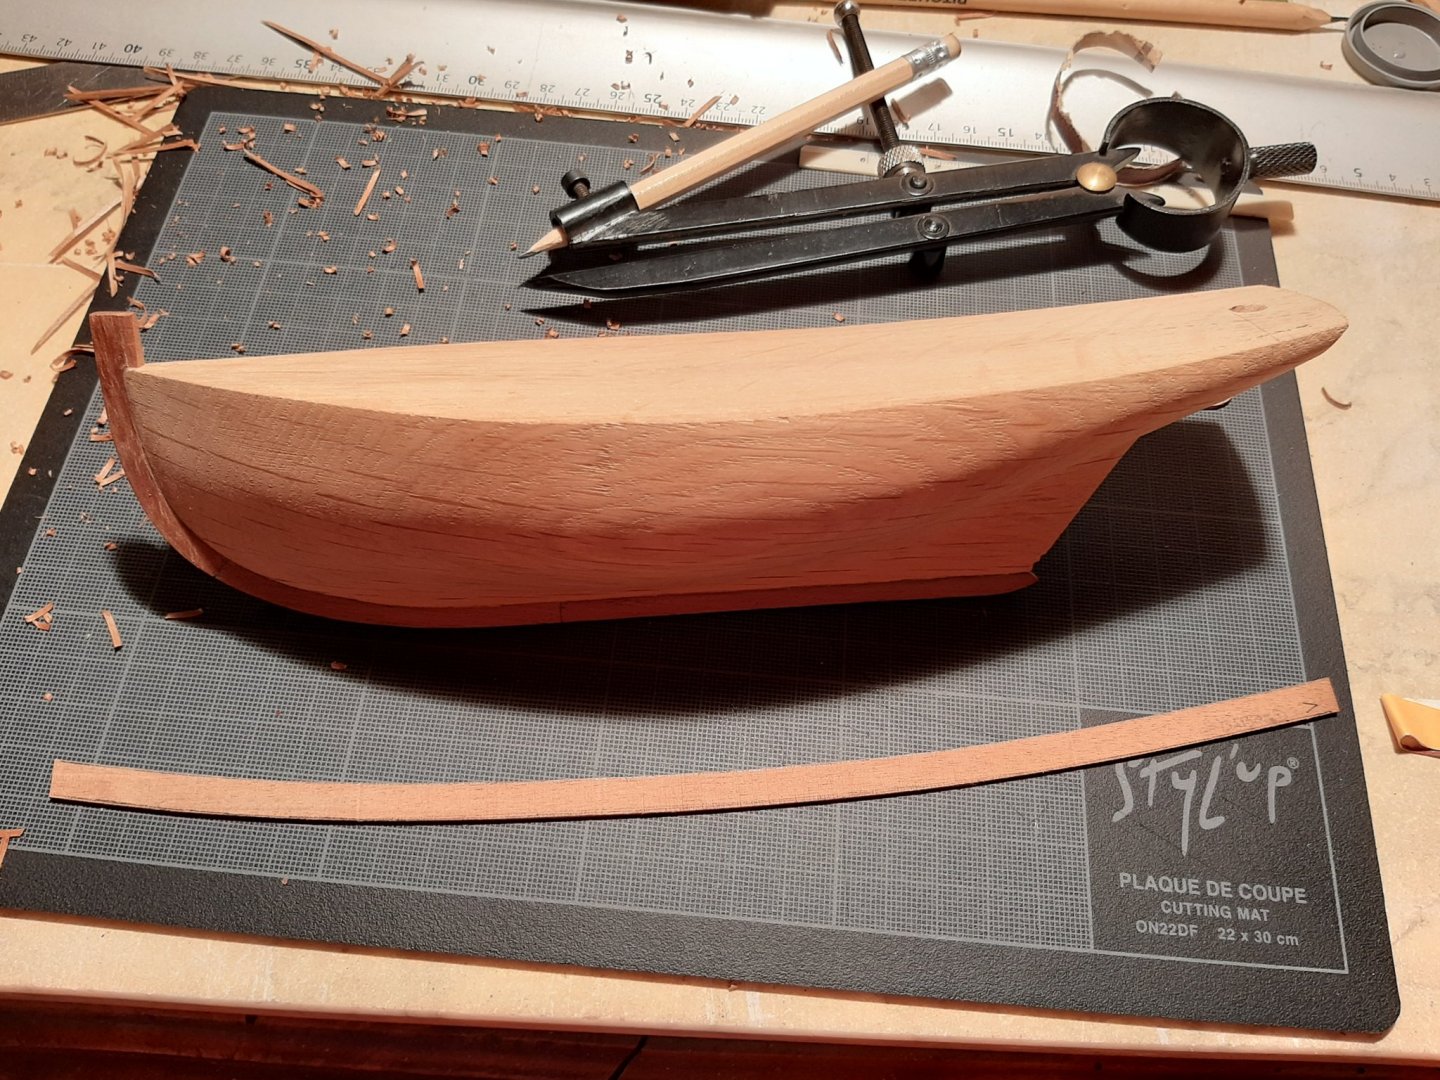
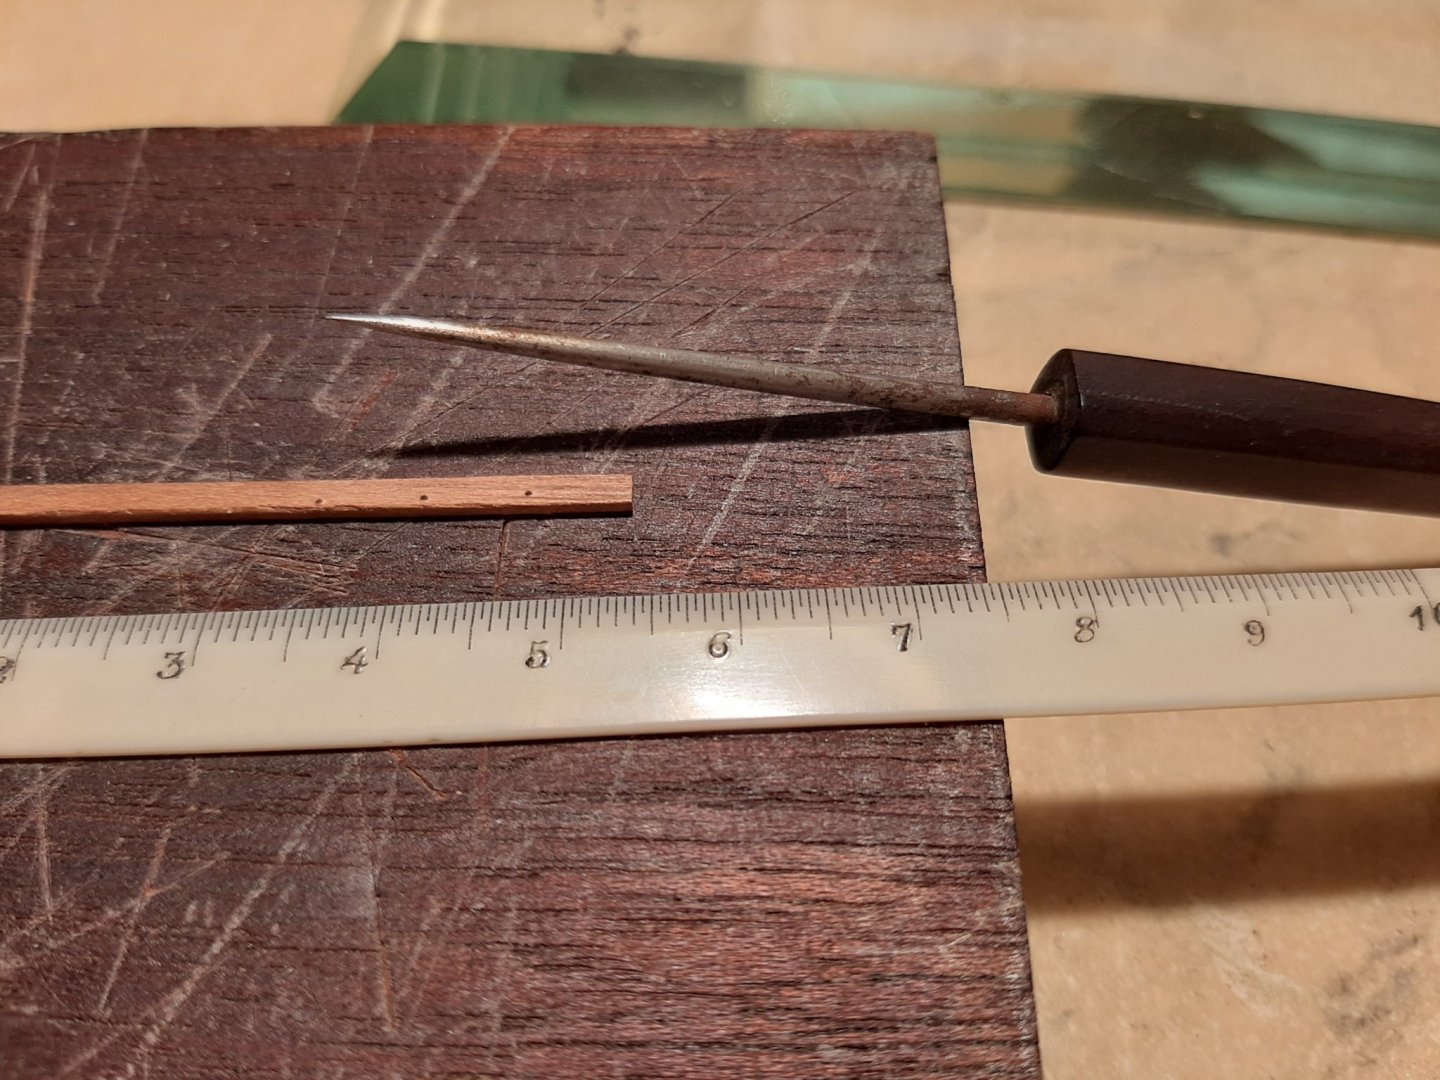
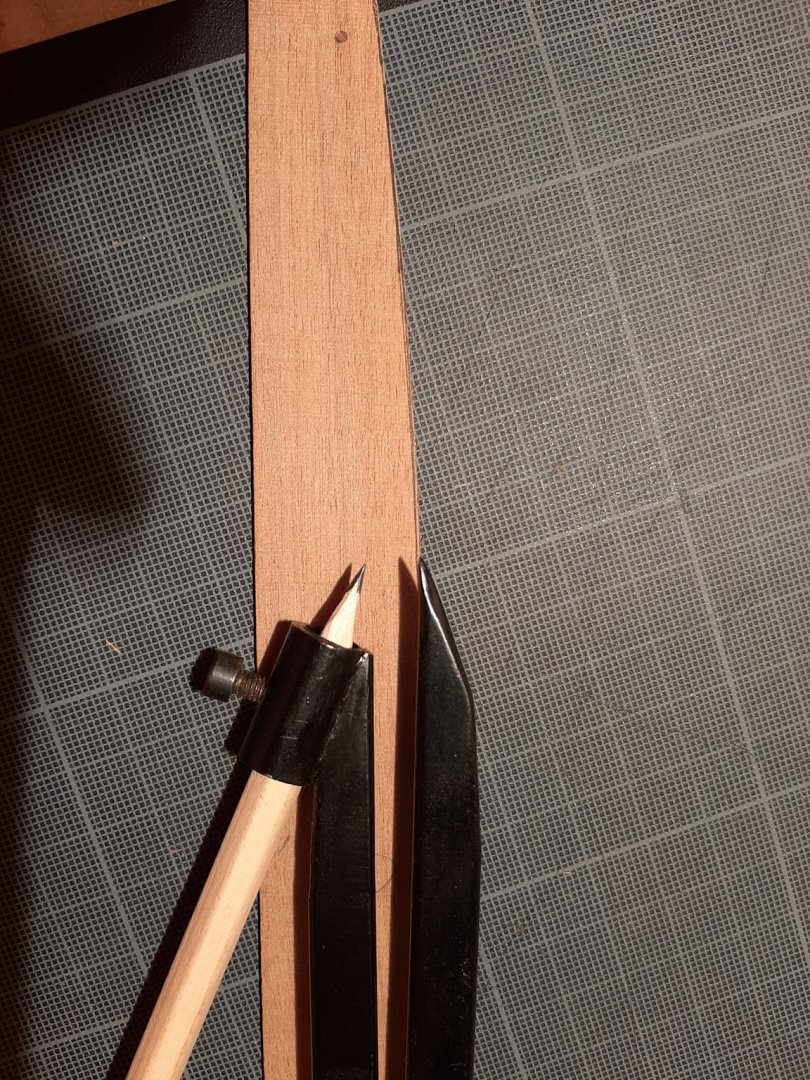
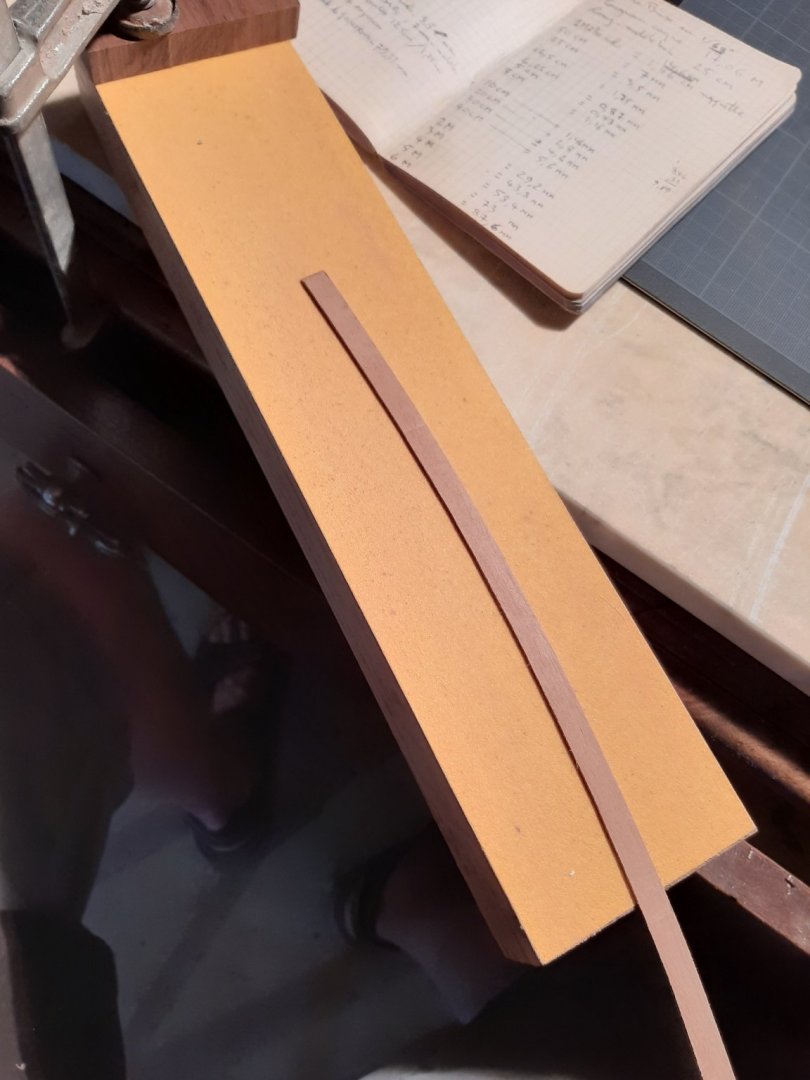
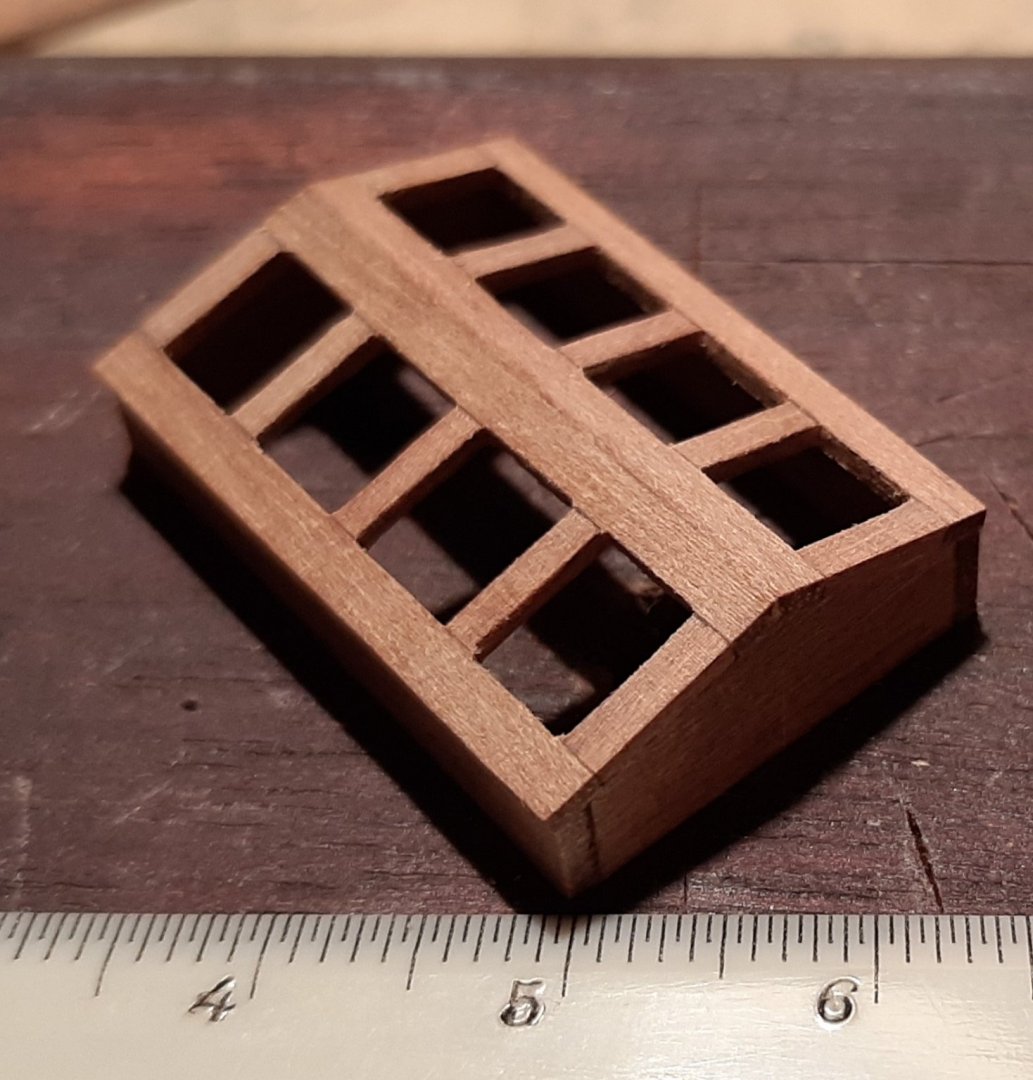
Hello everyone, I'm happy to be able to share the next steps I took with this build. It was pleasant and encouraging to read other posts and build logs and it made me think about how to go about this project, which I sarted in a bit of a spontaneous an un-planned way. The website is a delight to browse through, well done to its creators and admin, and one learns many interesting things reading other's experiences and achievements. Although this is my first build of a wooden model boat I've been reflecting on the subject, and preparing in a way, for some time. My trade as a vintage and antiques dealer allows me acces to all sorts of modelling related "stuff" : books, tools, old bits of wood, old boxes of scraps from other kits and various things that can help along : As it happens the tools I've been using are approximately what ship modelers from the past might have used : chisels, cutter, fine saw, sanding blocks, rules and measuring instruments, glue, tweezers and small hand tools of various descriptions. I'll soon have to make a base or support for the boat. I like above all the older models that were made, which can be seen in museums or sometimes at auctions. I picked up the old model photographed below, dating from around 1900 in a flea market, it was made by a mariner, it was his ship. Although the proportions and materials are not to match the realistic miniaturisation we wish to achieve in historical models, there is a charm and harmony to this model and the rigging is complex with all the white glass beads in lieu of blocks... I made her a dark walnut case (at its finishing stages), inlaid with hornbeam dots to preserve and celebrate this anonymous craftsman's elegant work (overall model length 25cm, or 9,8 inches) : I somehow like the idea of using a limited number of hand tools and as little higher technology as possible to work, relying on the eye, a practised gesture and creativity. Which is not to say I don't admire what today's world has to offer in terms of fine power tooling, the results of which can be breathtaking, I just feel a better connection with our forefathers, who made masterpieces with so many fewer means... Back to Jolie Brise though, and the many questions that poured in once the hull was carved... I'd downloaded a line drawing and carved straight from the drawing scale, which gives me I confirm, 1/68th, or 1,46 cm for one meter. Fine, small enough to fit on a mantelpiece, even cased, but where to find the plans ? By luck I had bought on another flea market, two old kit boxes full of lumber and old plans and by chance found the 1/50 scale plan of Jolie Brise by Artesania Latina, which gave me a start, especially after having reduced the plans by 73%, to match my hull scale. The AL plans are fair, but when you look at them very carefully there are some questions, and more and more of them as you look, comparing with other views, plans and drawings of Jolie Brise and similar craft, both French and English. My attempt to make her historically accurate from her early pilot days has limits : she was built from plans (rare enough) drawn out by Alexandre Pâris, at le Havre in 1913. Attempts to secure copies of those plans have thus far been fruitless. The end result I hope, will probably be a generic interpretation of what Jolie Brise was like. I can't ask for more for the time being, and the aim of this first build is to tuck in to making, all parts, including the smallest, most demanding. The windlass for example, the blocks, small hooks etc, I have to learn. I'll use a lathe at one point, again, my luck to have found an old but clean Unimat in a house clearance ! : I started with the keel parts from mahogany : Then I thought, this is a scratch build, there are no instructions apart from what I decide, so I'd better be careful about the order in which things are done. So safely I hope, I'm building all the fittings and various parts before assembling them, and I know my next big challenge will be the bulwarks. I'll explain that later. Meanwhile these are the elements I made, from old bits of hardwood, I'm looking for dense fine grain woods for the scale question and crispness, tiller and companionway roof sliders are ebony, rudder mahogany, companionways old walnut, some pear I think (skylight) : The 2 companionways in their respective future positions. The parts so far with a millimetric scale. Rudder seems to fit ok... The skylight was made from a 0.8mm wood I still haven't been able to identify. I broke it down into smaller elements and glued it all. That took some time and filing, the result is acceptable for now and fits the scale. the protective metal bars over the panes still have to be made, I need 0.3 mm brass wire for that. to scale it gives a 2cm diameter bar. I can't seem to trust the plan dimensions for that one, they give me someting I feel will be too thick. A quick volume scketch with dimensions in mm The window parts before assembly. Glued in place with epoxy on a very thin and taut fragement of a plastic bag, to prevent sticking on my board... Filing to clean up and reduce the width of the inner separators All parts ready to be assembled Assembly finished. I've cut and sanded the bulwarks, and my current dilema is how to glue them edge on, to the very edges of the hull... If I can secure the two ends to something solid, I may have a chance of an acceptable assembly. I can glue them to the stem, wait till it's cured (slow epoxy), then once I've made and assembled the stern futtock/gunwale plank sheer group to the deck, I may be able to curve the bulwarks and glue them snugly. I have to give them a curve. They are quite resistant at 0.9 mm thickness and 7 mm height... My next post should see the bulwarks and futtocks assembled to the hull, stern assembly, and some more parts made. And many more questions and solutions to find. Wishing you all a very good week !


- 15 replies
-
- 9
-
-
- jolie brise
- pilot
- (and 1 more)
-
...sorry, enabling an accurate build. I agree with you Dave B, I'll leave the hull unpainted. Wishing you all a very good week, Walter
- 15 replies
-
- 1
-
-
- jolie brise
- pilot
- (and 1 more)
-
Many thanks Gentlemen for your encouraging words and advice. I shall diligently gather the documentary elements enabling an accur
- 15 replies
-
- 1
-
-
- jolie brise
- pilot
- (and 1 more)
-
Petit Loir changed their profile photo
-
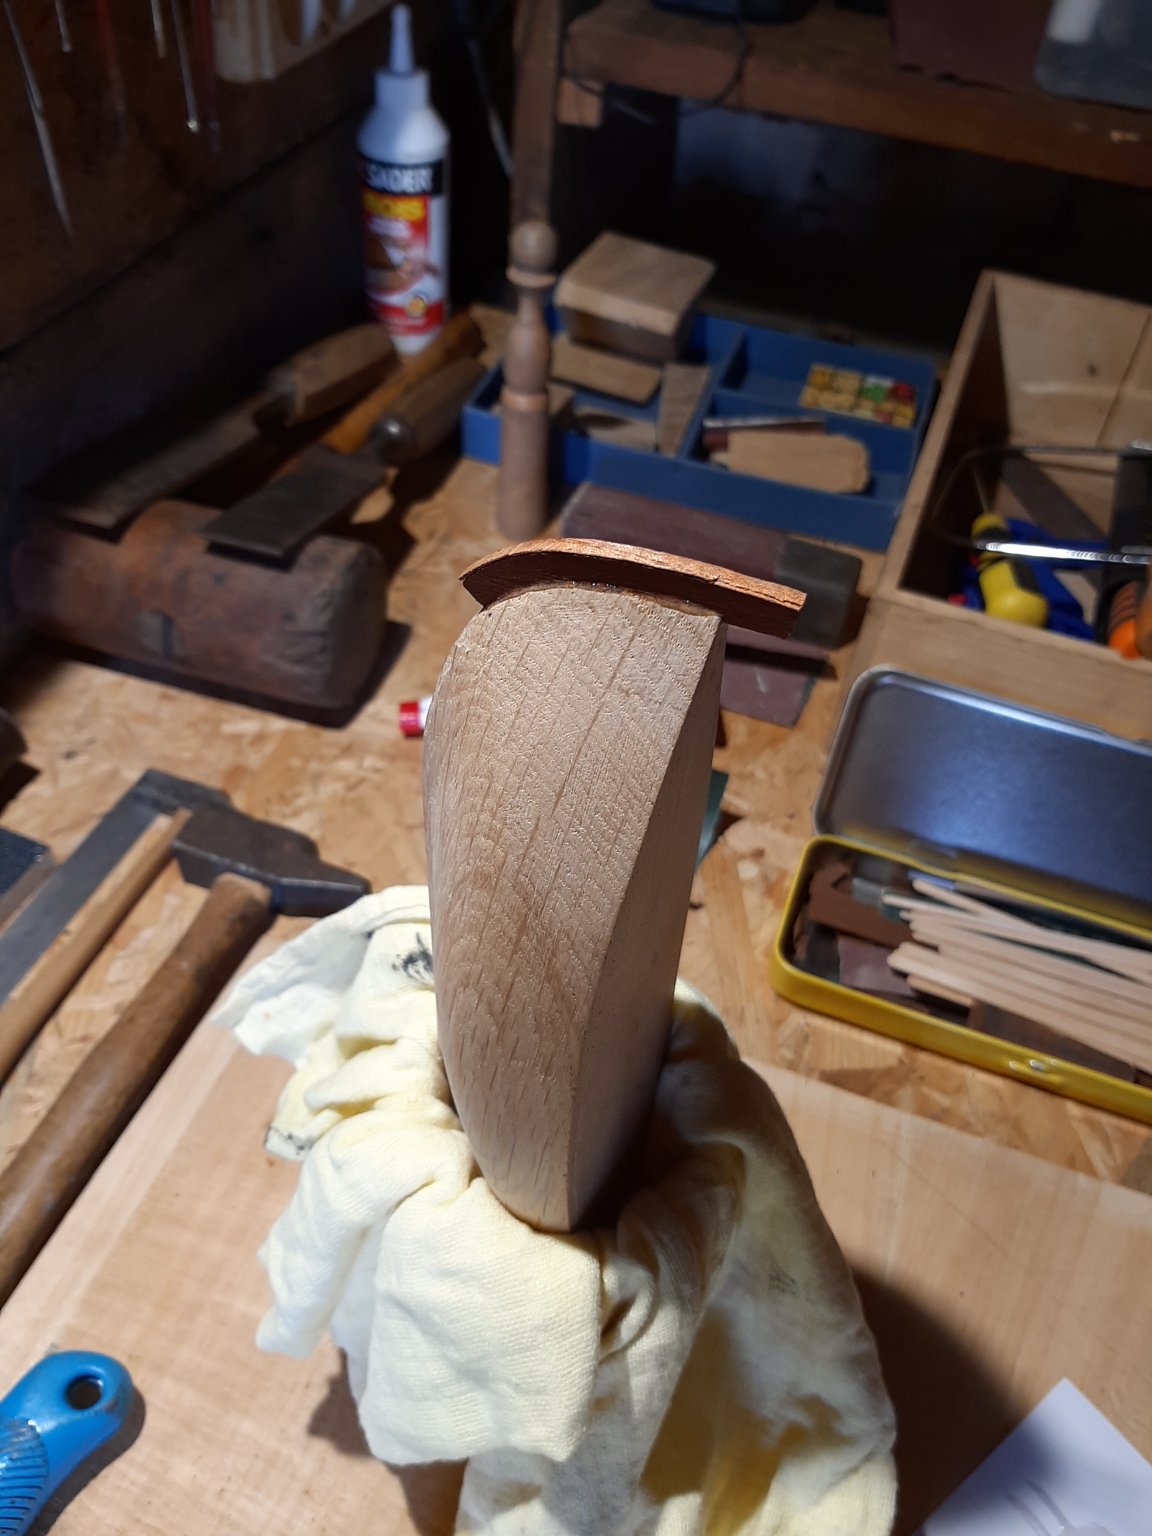
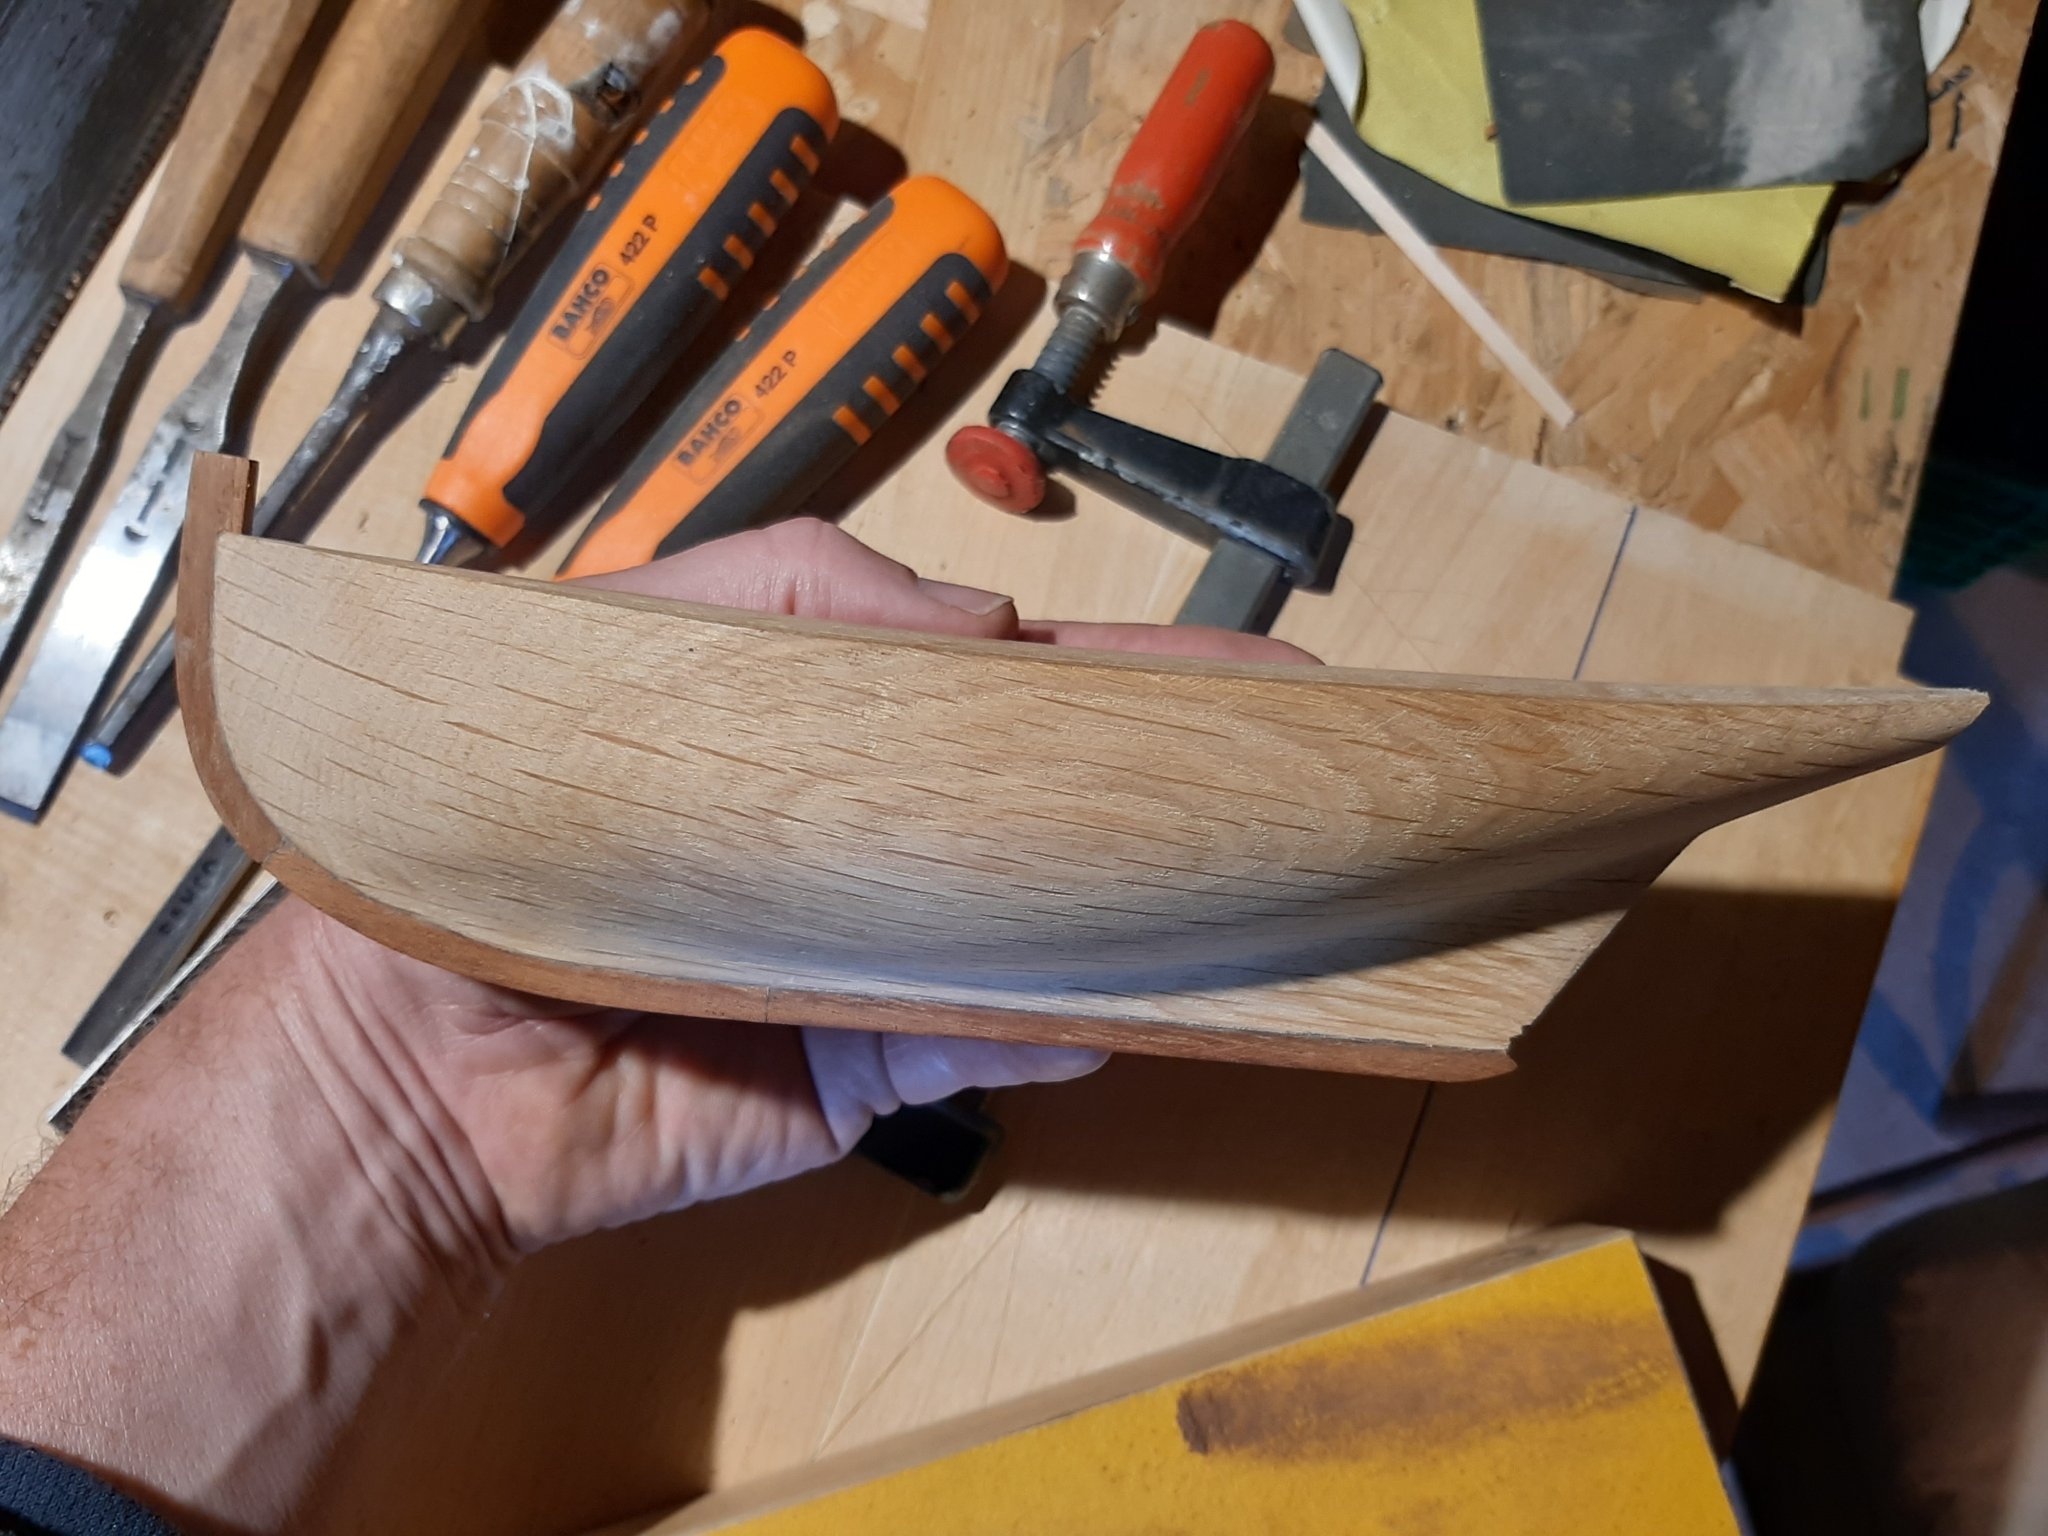
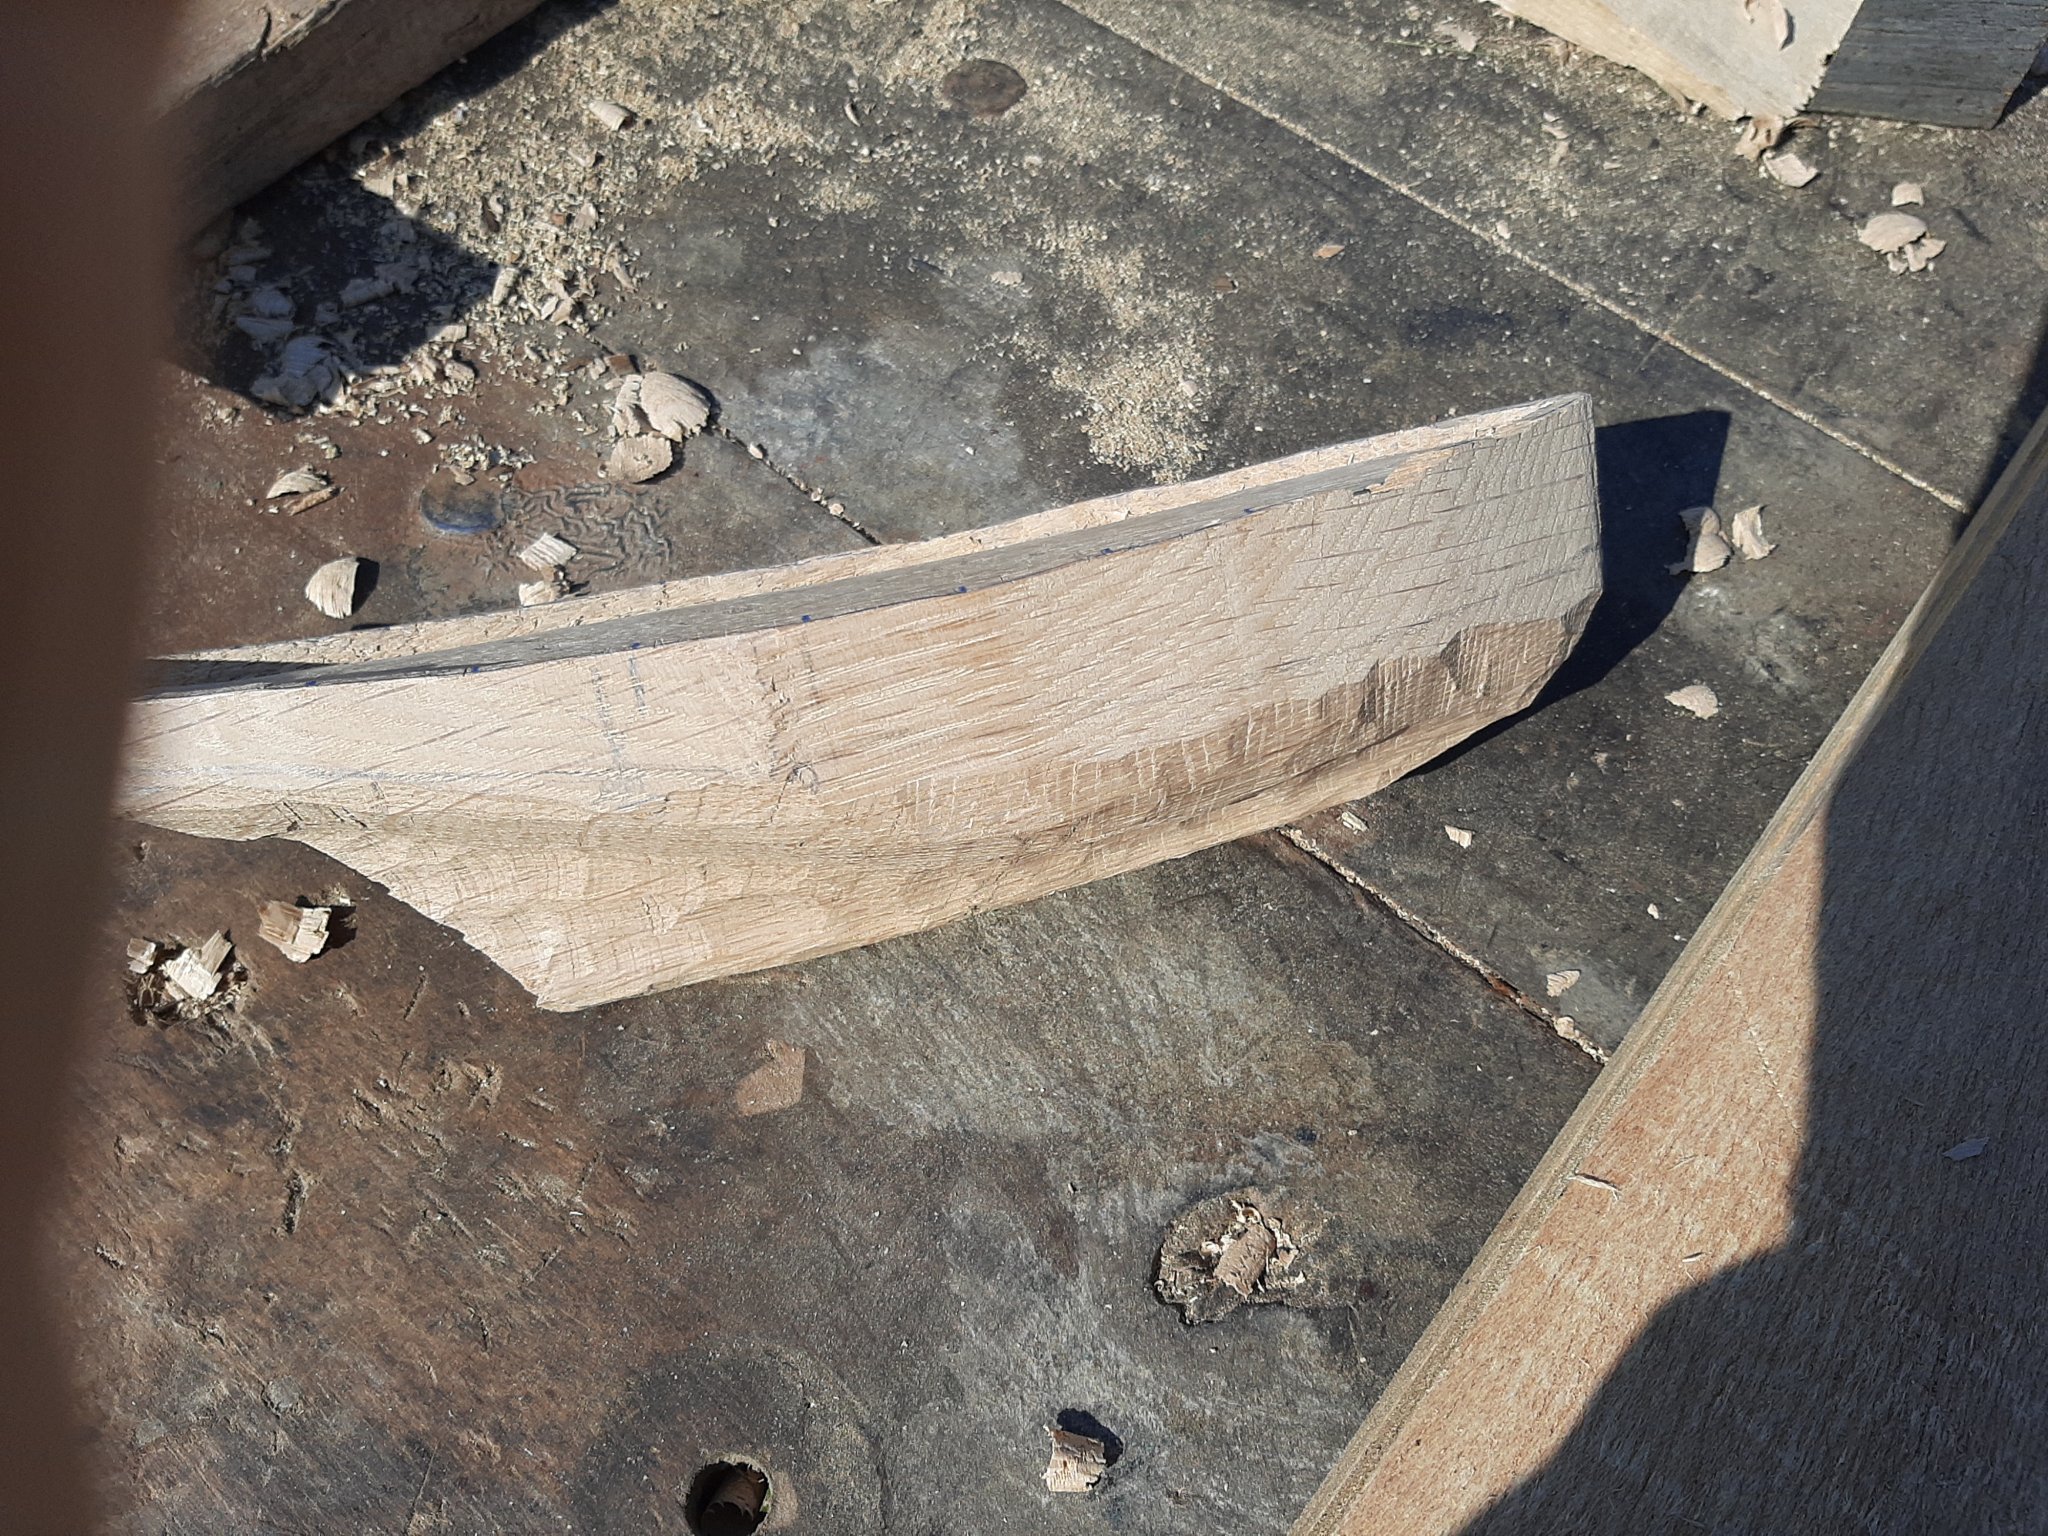
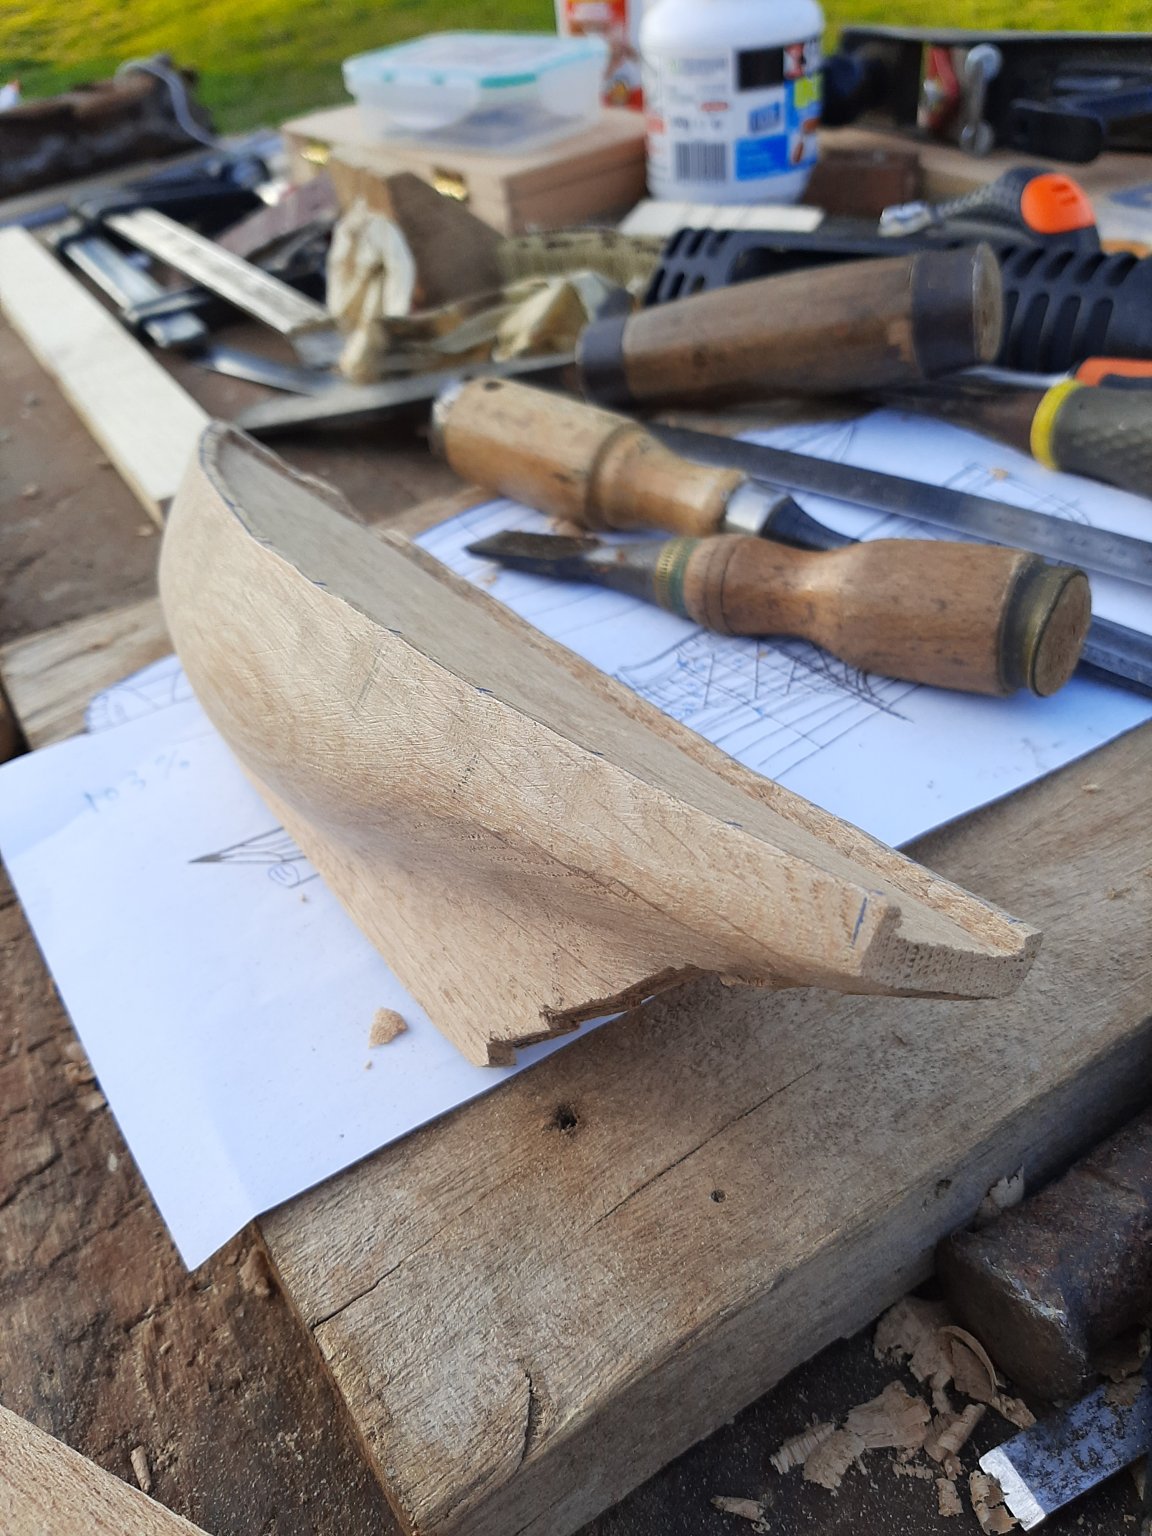
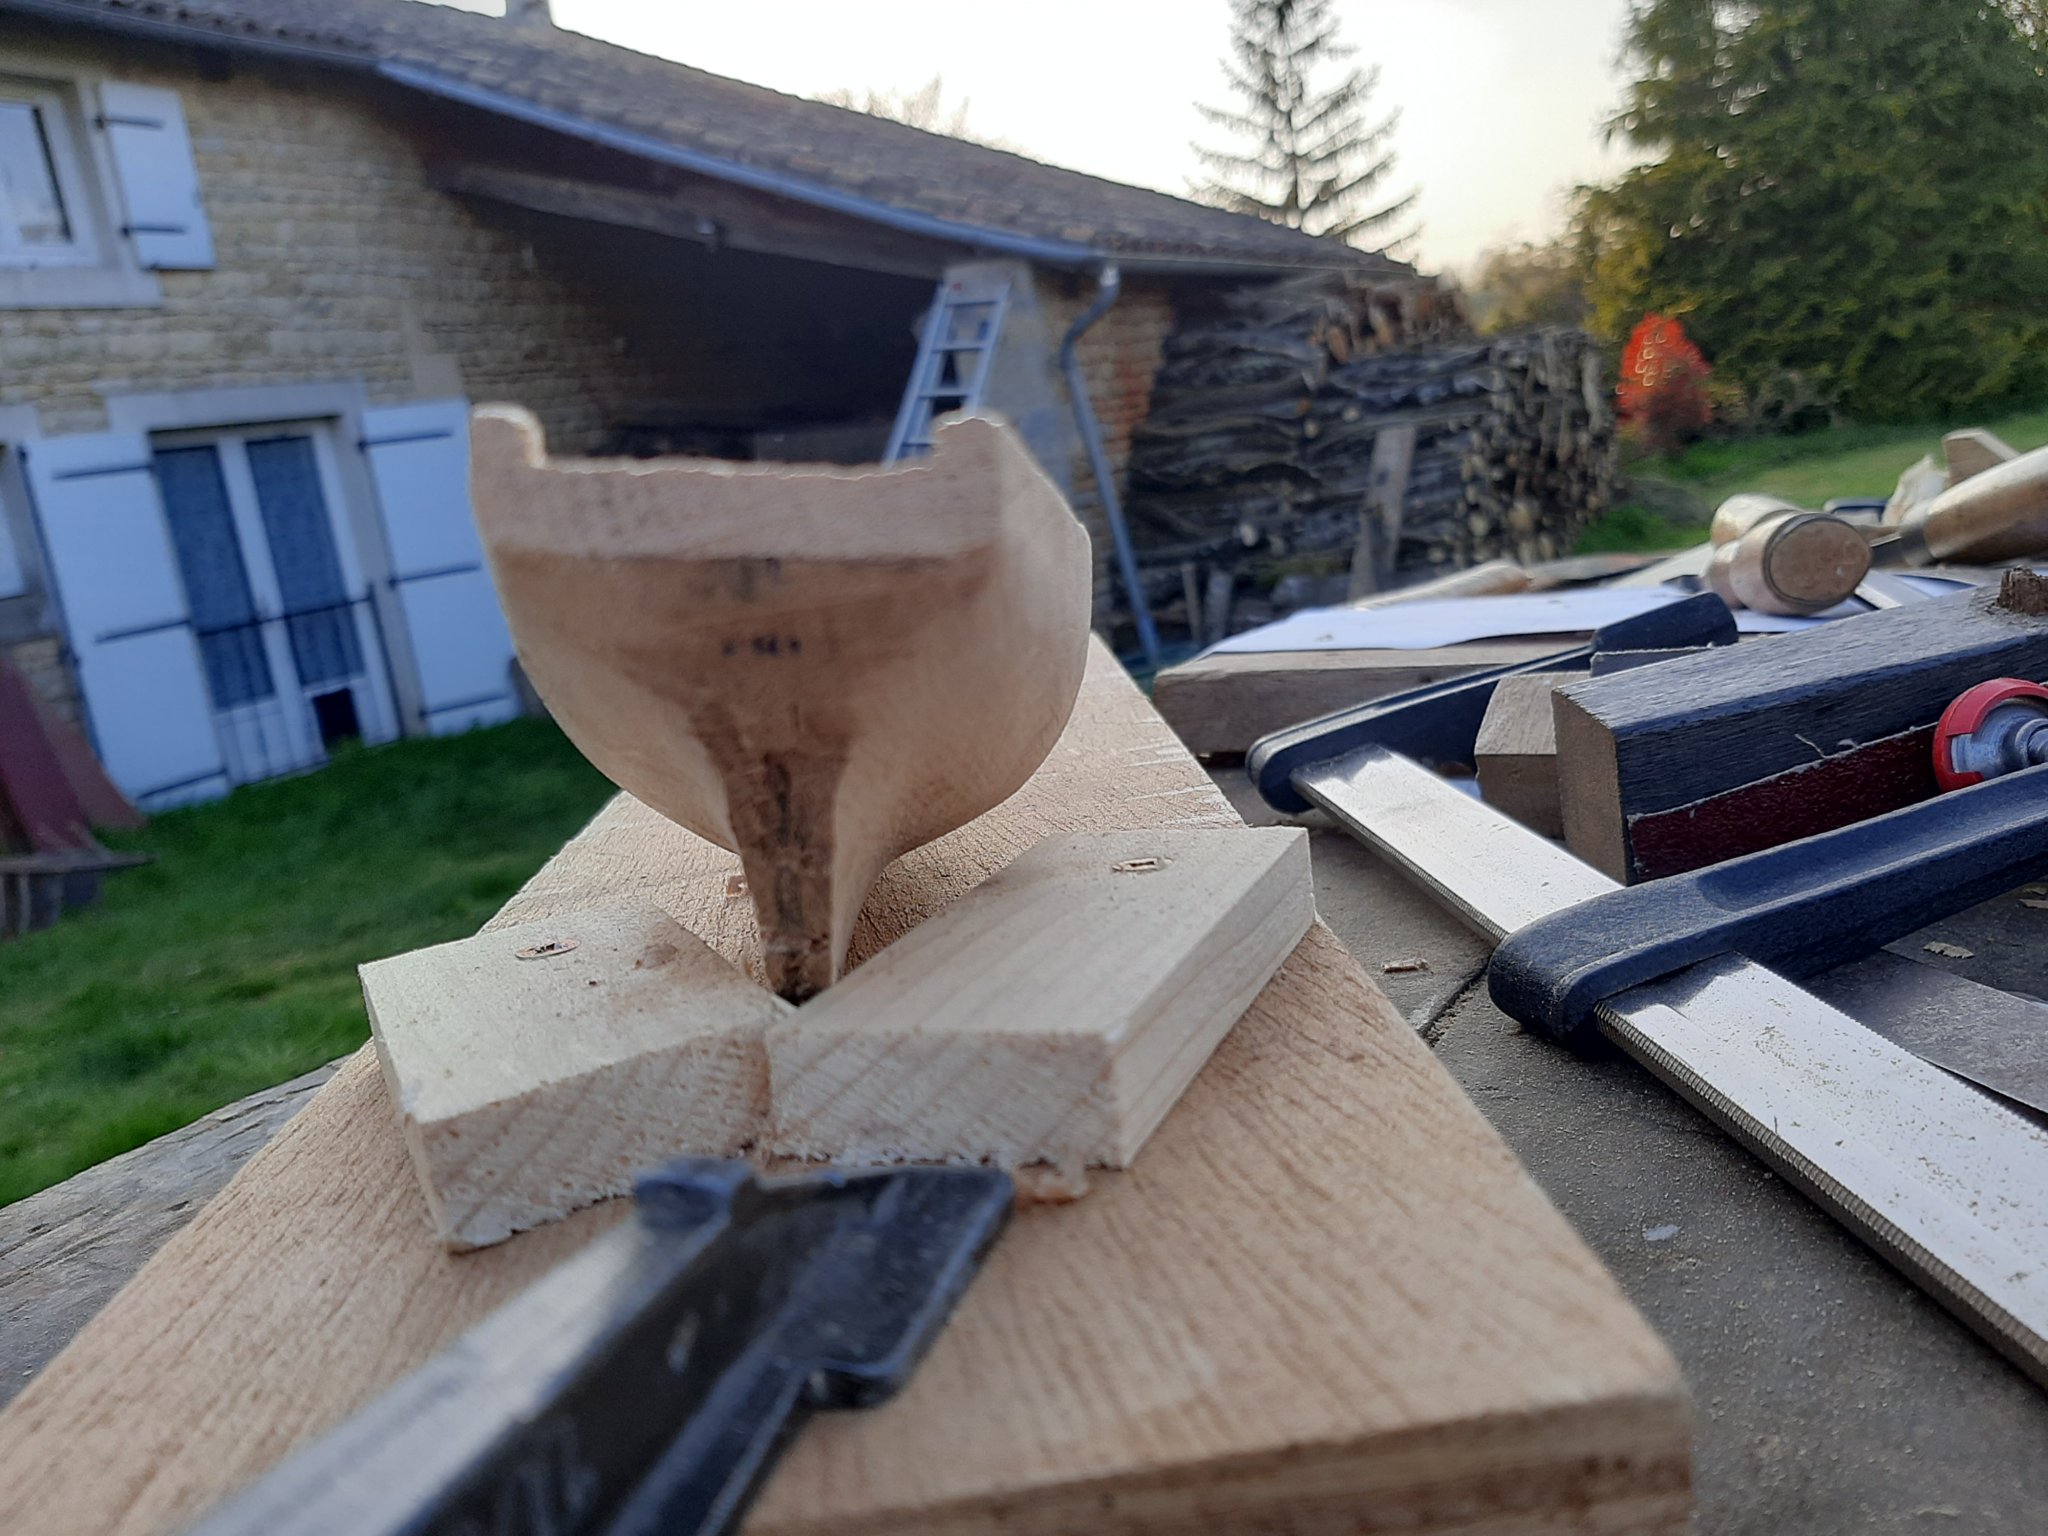
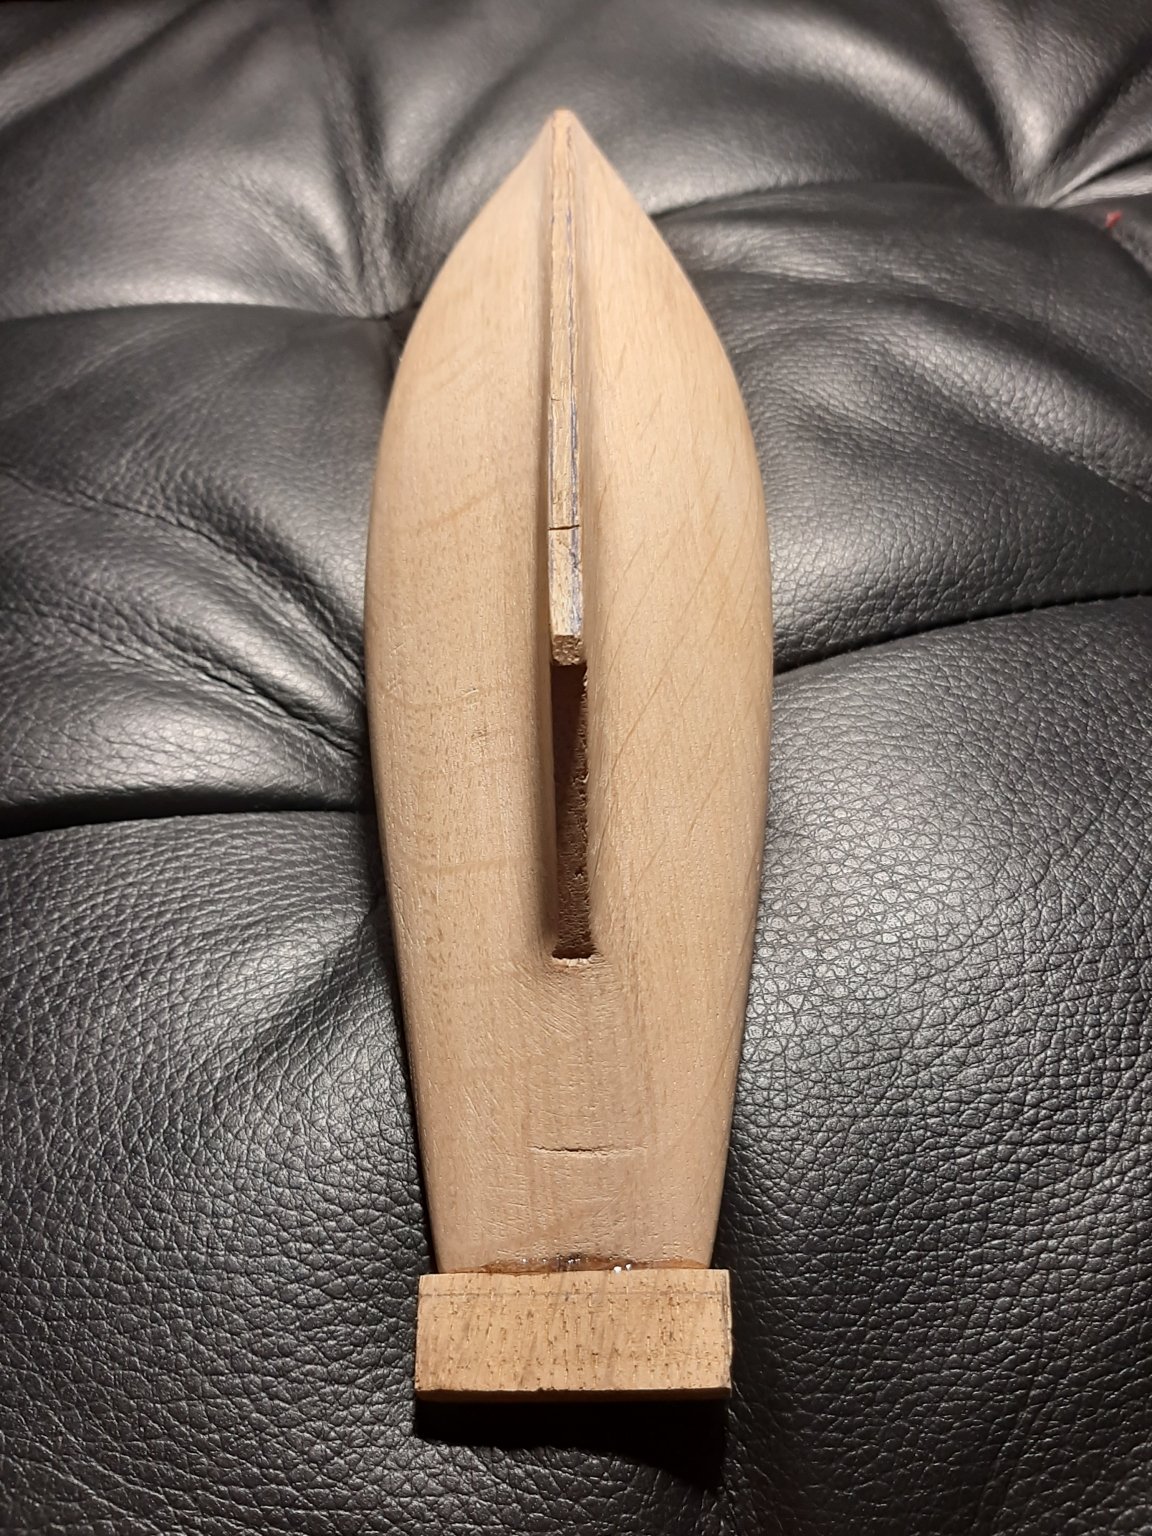
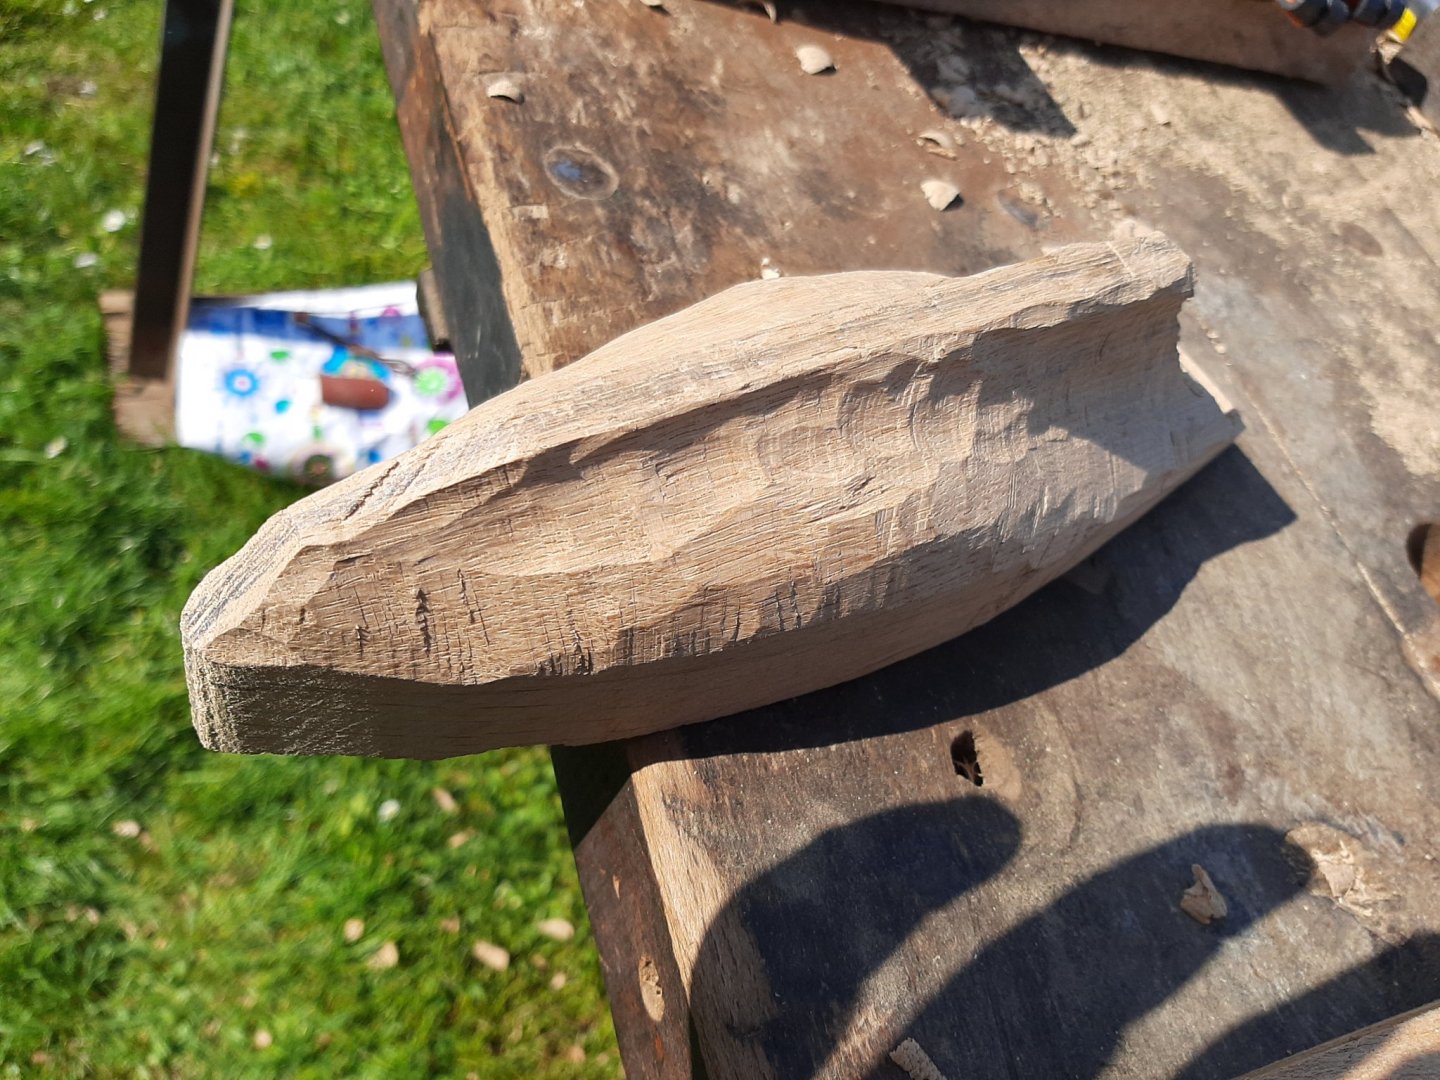
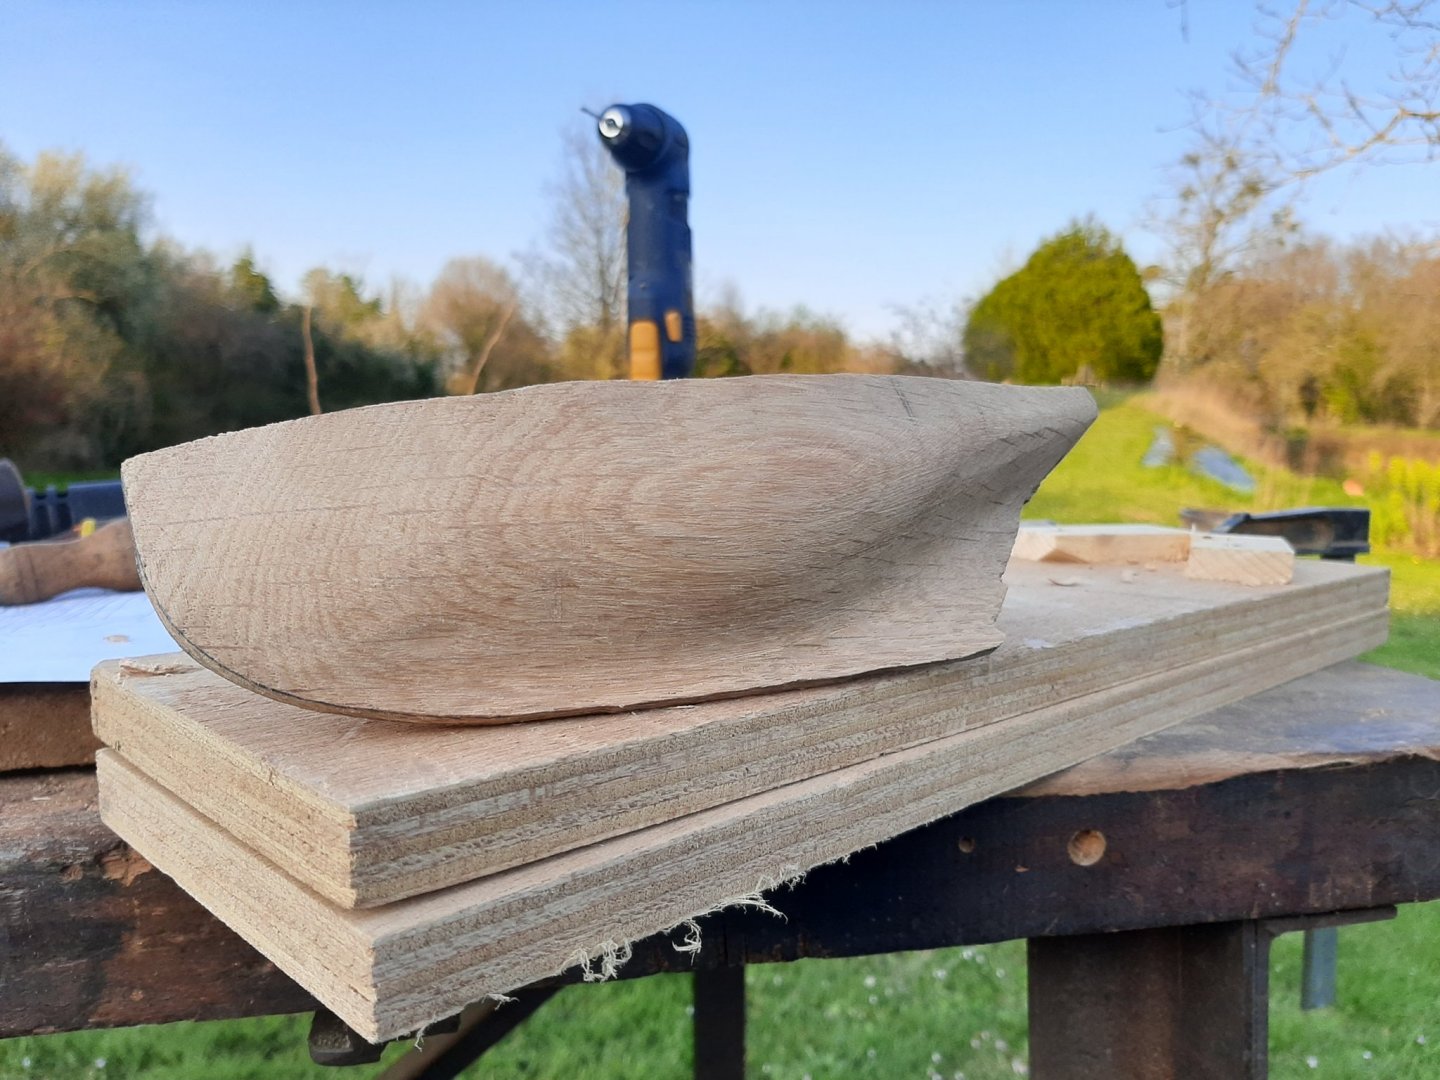
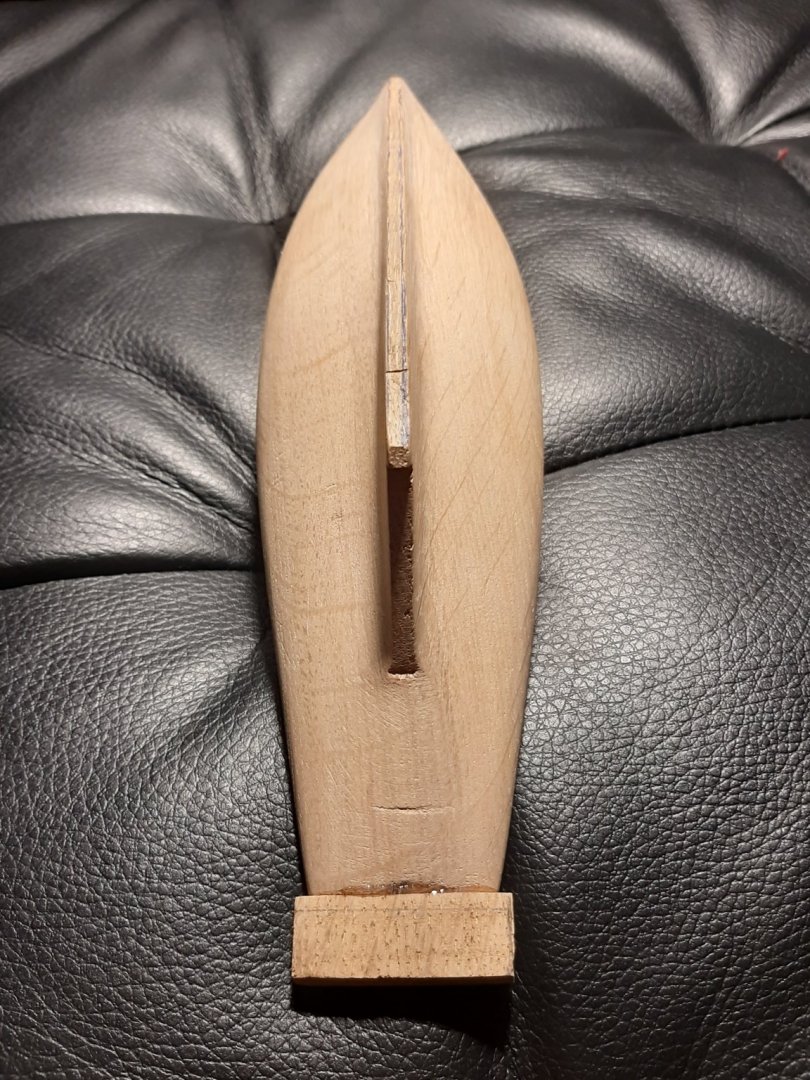
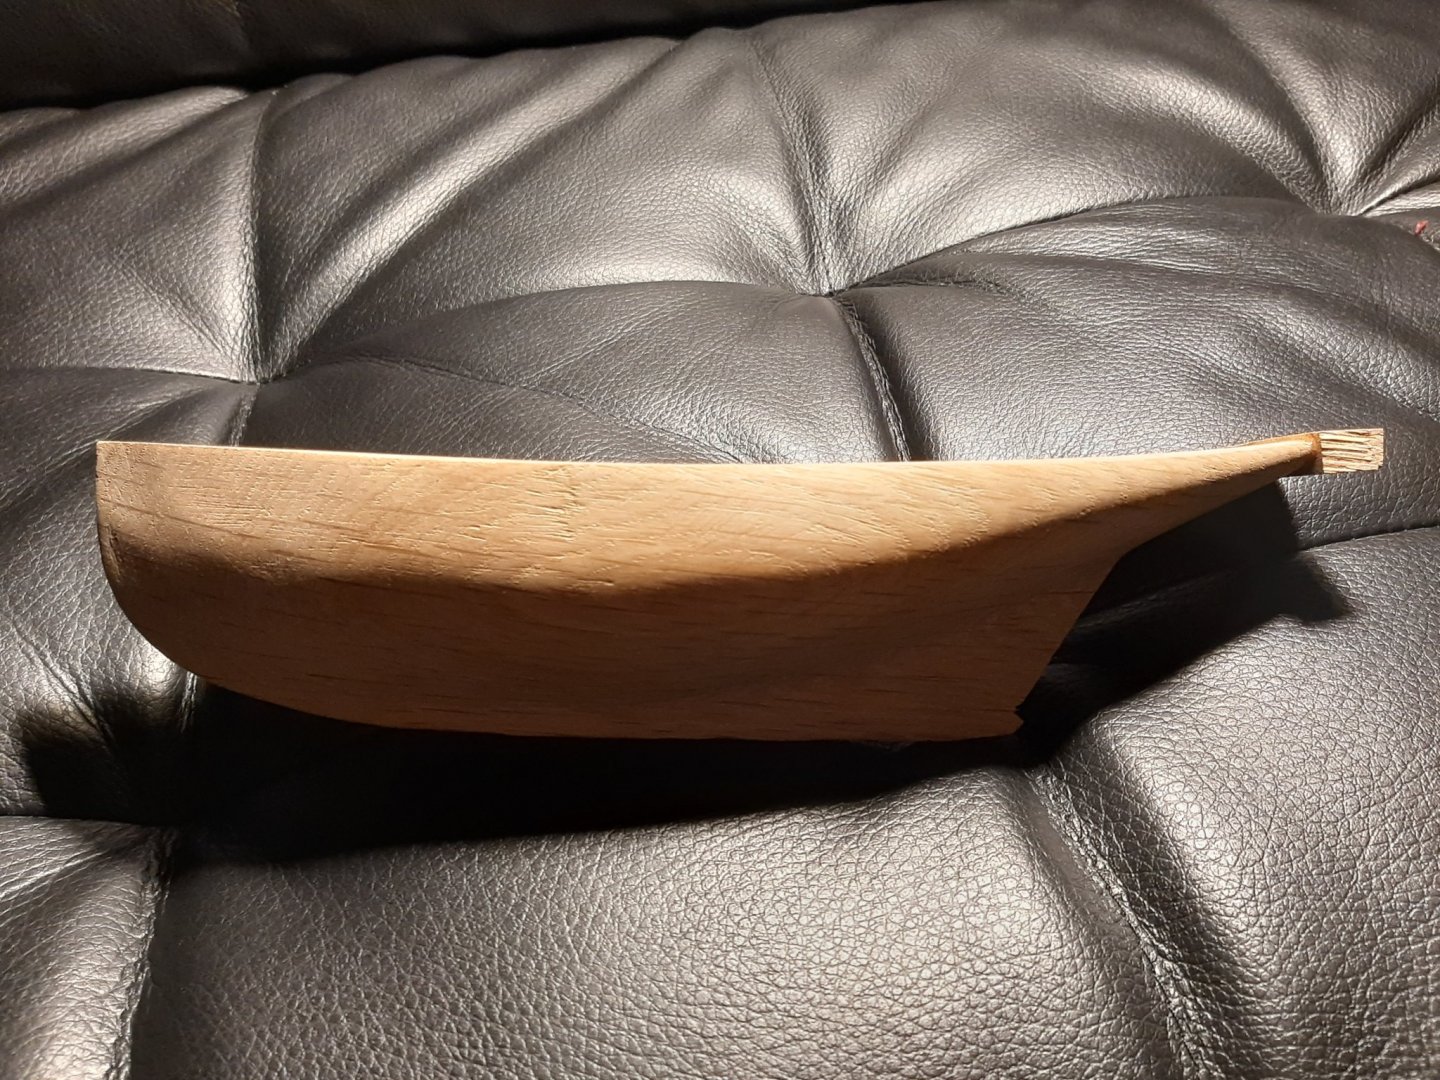
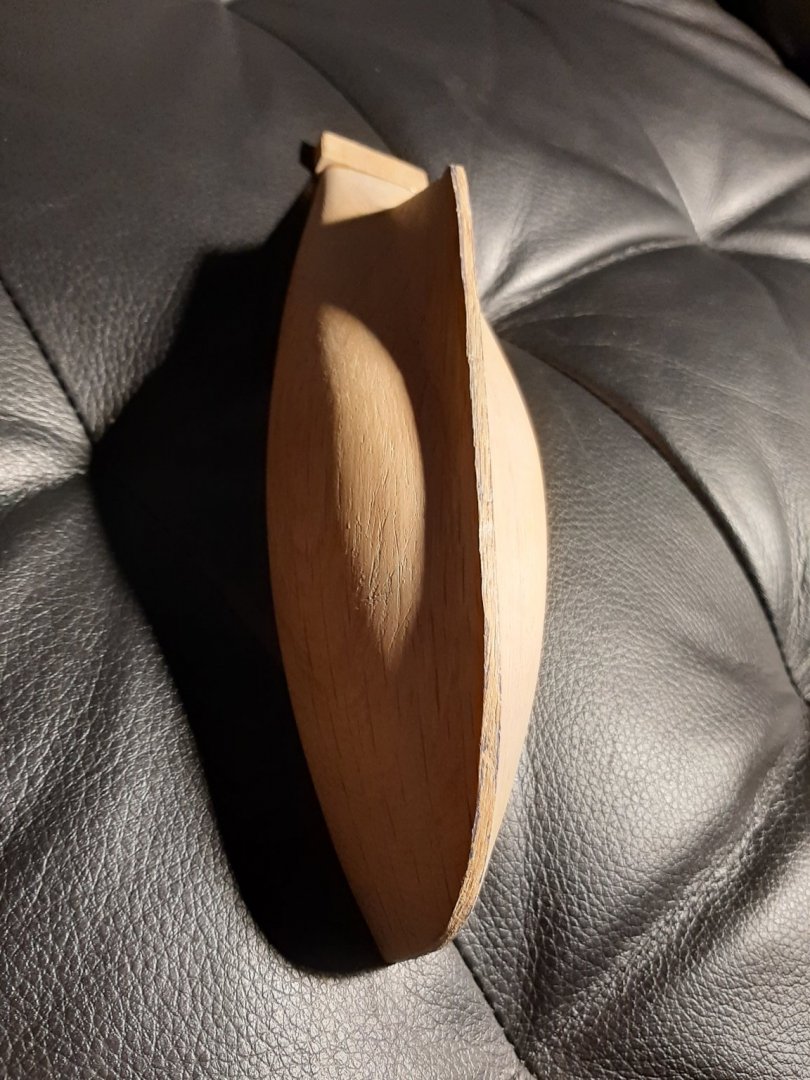
Hello everyone, I'm happy to have come across the modelshipworld website and feel less lonely in my interest for model boatbuilding, in which I'm a complete novice, albeit with some basic manual skills. A few photos of my first model boatbuilding project, a bit unorthodox but for some reason I wanted to carve a hull from a solid piece of wood, I had oak on hand. Length 25 cm, scale 1/68 (?). Progress has sufficiently encouraged me to go forward with a complete build from scratch, I'm now pausing for research and finishing the hull so it truly fits the plan, using card cutouts of the frames for visual reference. I wish to build her historically correct from the time she was a pilot in le Havre, France. If you have any advice or tips, I'm all ears. Well done to all model builders who posted their projects, it's inspiring and encouraging, daunting sometimes when I see the superb detail.


- 15 replies
-
- 16
-
-
- jolie brise
- pilot
- (and 1 more)