Neddie2
-
Posts
15 -
Joined
-
Last visited
-
 GrandpaPhil reacted to a post in a topic:
Open Whaler by Neddie2 - Panart - 1:16 - bitten off more than I can chew
GrandpaPhil reacted to a post in a topic:
Open Whaler by Neddie2 - Panart - 1:16 - bitten off more than I can chew
-
grsjax reacted to a post in a topic:
Open Whaler by Neddie2 - Panart - 1:16 - bitten off more than I can chew
-
WalrusGuy reacted to a post in a topic:
Open Whaler by Neddie2 - Panart - 1:16 - bitten off more than I can chew
-
Stimpy reacted to a post in a topic:
Open Whaler by Neddie2 - Panart - 1:16 - bitten off more than I can chew
-
And I forgot to say thank you for all the help and hints on this site which were a huge help!
-
so... a bit of a jump in terms of the build log, as now complete! thoroughly enjoyed the first build, and a few (of the many things0 I'd learn for next time: - there's a list of kit contents which I only found right at the end of the build, which would have been very handy up front - tapering the planks freestyle isn't easy or effective (just can't get a straight finish). much improved if I two long straight edges to clamp, and then set the amount of plank protruding at each point before planing off. - a base made from a bit of scrap garden bench hardwood can work a treat! - The waterline stripe (a product for cars) is very dificult to get straight, even with a clear line to apply over. -Overall v happy with the quality of the kit, although I could have been more careful about measuring quantites up front rather than maybe having too much wastage and running short. Now, the Endeavour has caught my attention...
.thumb.jpeg.49f30315b6243029d027b93804616f2a.jpeg)
.thumb.jpeg.341939e6264350a4940fdb04e407de8d.jpeg)
.thumb.jpeg.afdd108321d86528da85018505d7a2fe.jpeg)

.thumb.jpeg.d45edf38a711e76cd60d11d03e90bf36.jpeg)
-
maddog33 reacted to a post in a topic:
Open Whaler by Neddie2 - Panart - 1:16 - bitten off more than I can chew
-
maddog33 reacted to a post in a topic:
Open Whaler by Neddie2 - Panart - 1:16 - bitten off more than I can chew
-
maddog33 reacted to a post in a topic:
Open Whaler by Neddie2 - Panart - 1:16 - bitten off more than I can chew
-
maddog33 reacted to a post in a topic:
Open Whaler by Neddie2 - Panart - 1:16 - bitten off more than I can chew
-
maddog33 reacted to a post in a topic:
Open Whaler by Neddie2 - Panart - 1:16 - bitten off more than I can chew
-
maddog33 reacted to a post in a topic:
Open Whaler by Neddie2 - Panart - 1:16 - bitten off more than I can chew
-
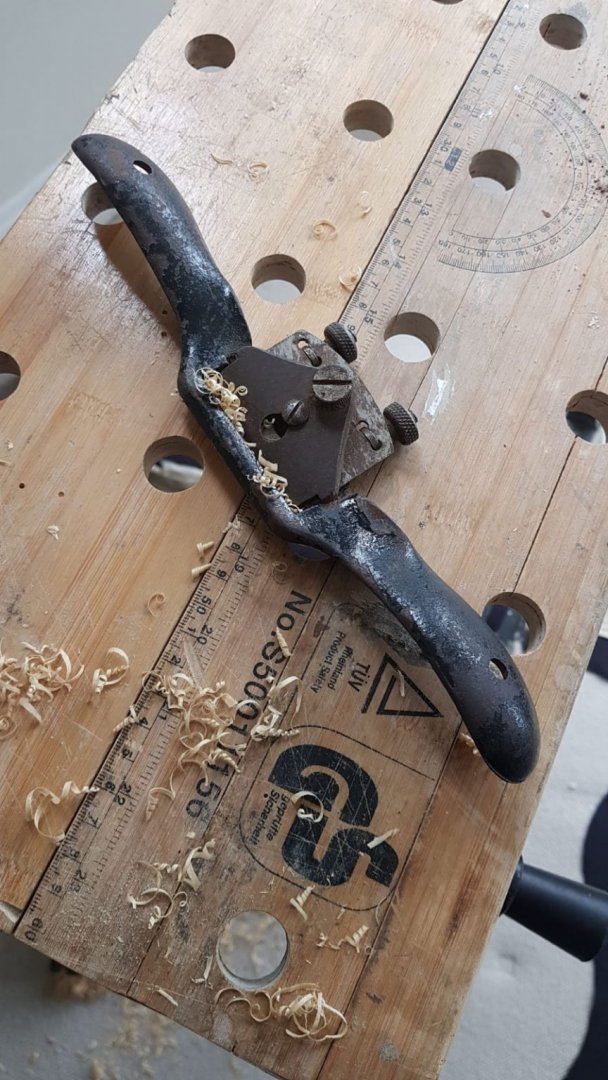
Thanks Chris, looks much better than my agricultural version 😁! whilst making do has worked okay so far, the right tools make it even more enjoyable I suspect (eg razor saw which I hadn't realised existed but has been a life saver)
-
Btw, thanks to Dan at Hobbies.co.uk. few wood supplies in the kit were short and he sorted extra within a week
-
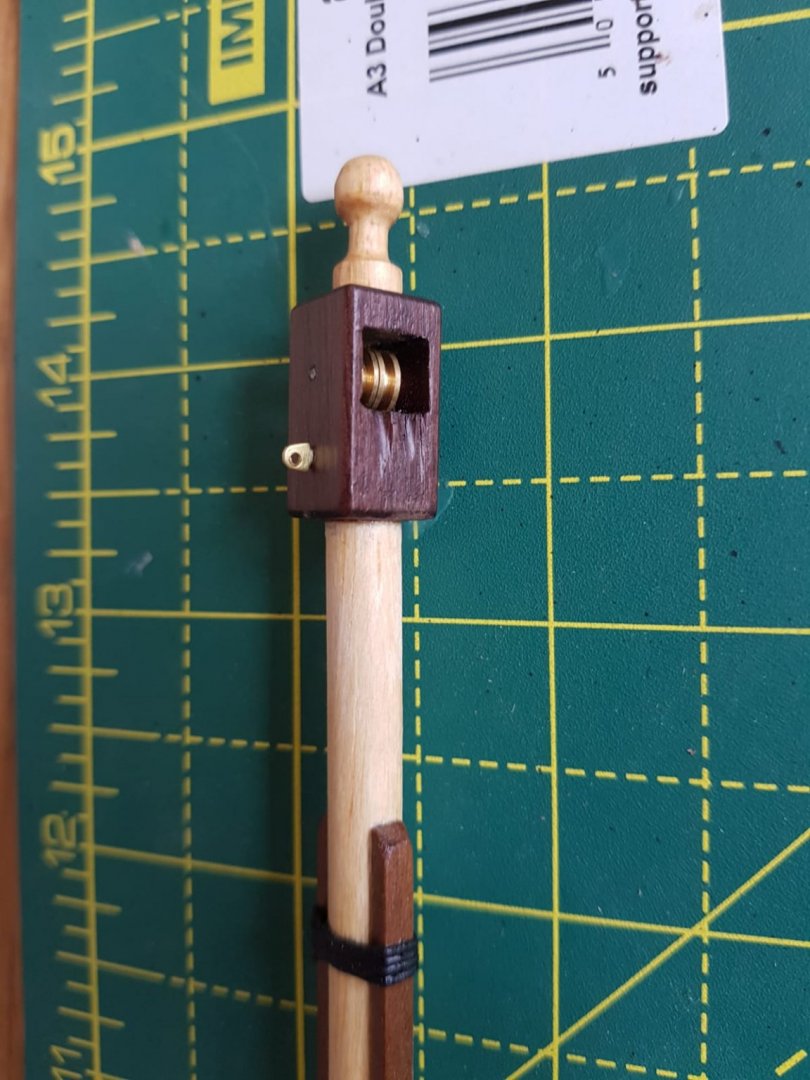
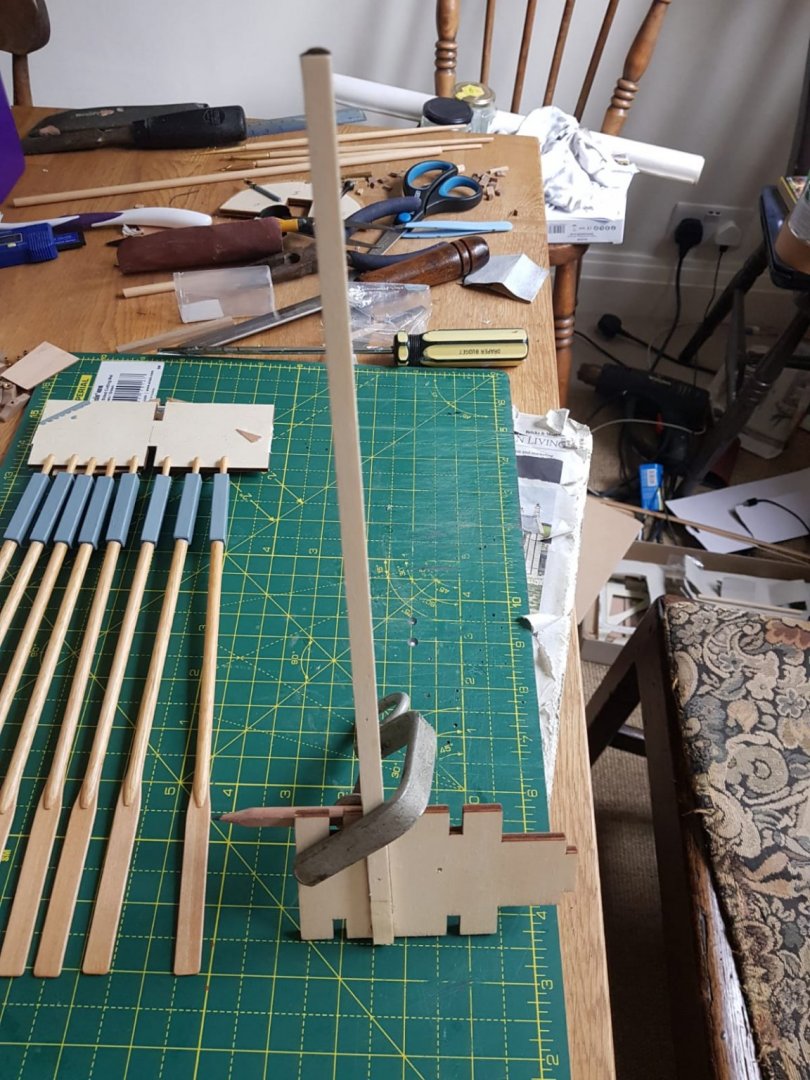
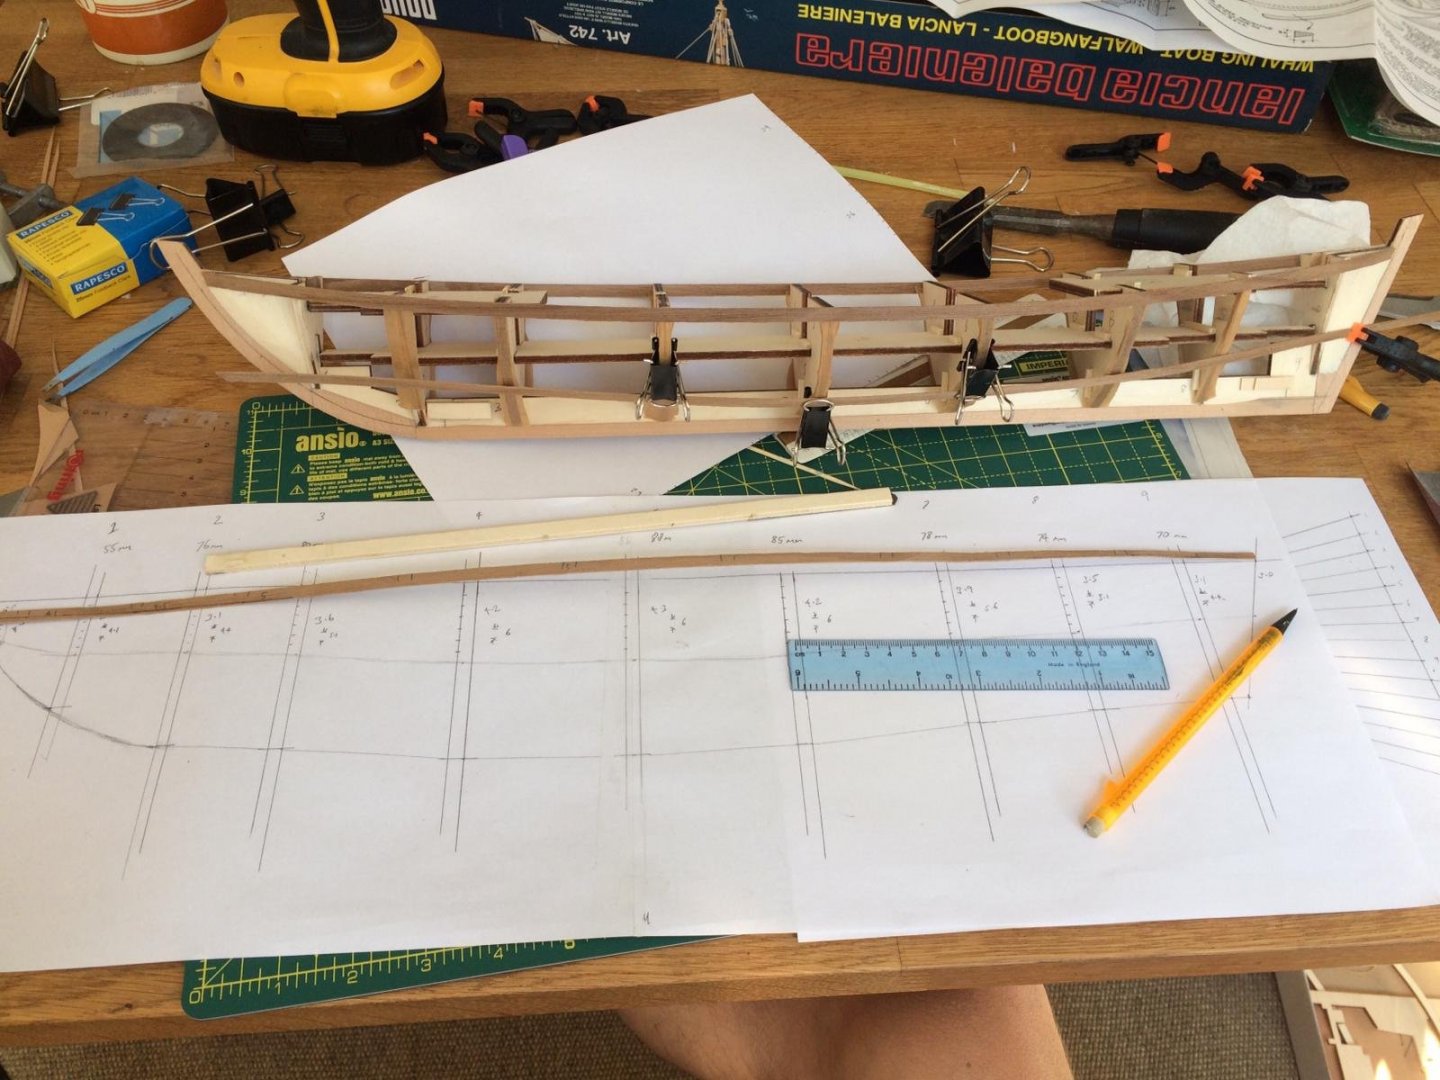
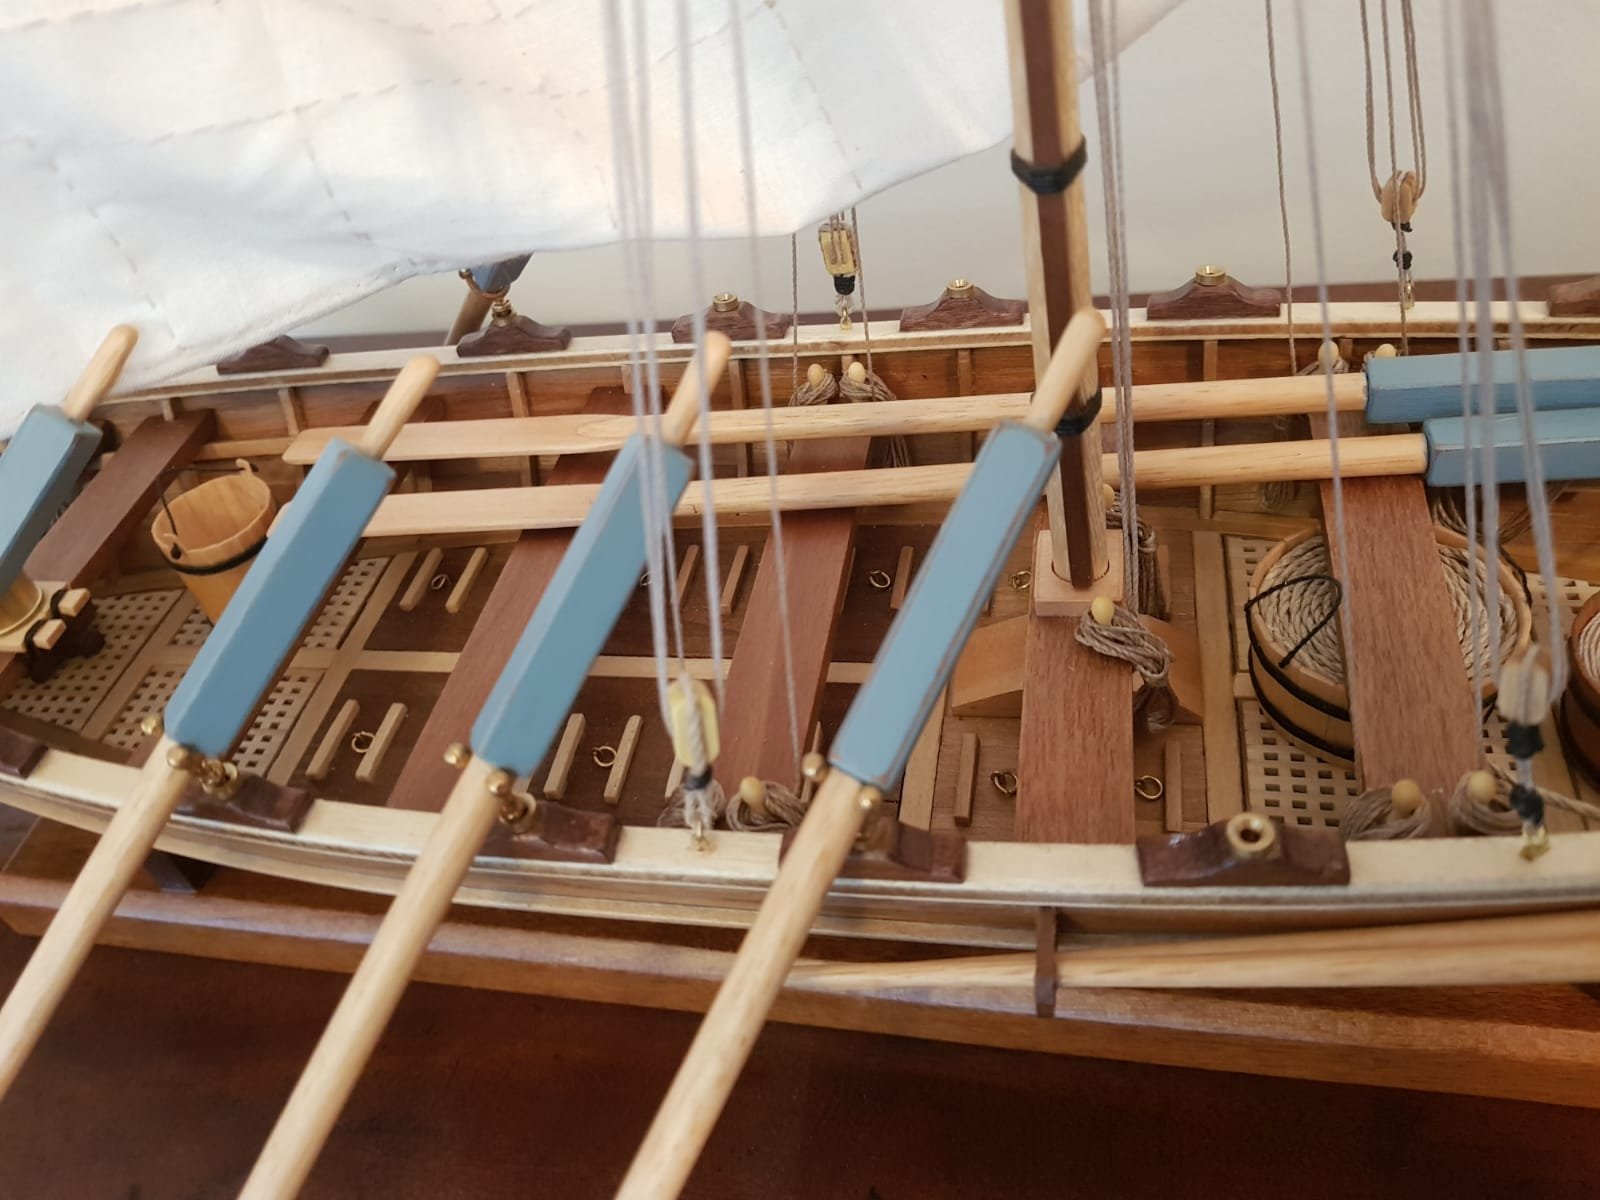
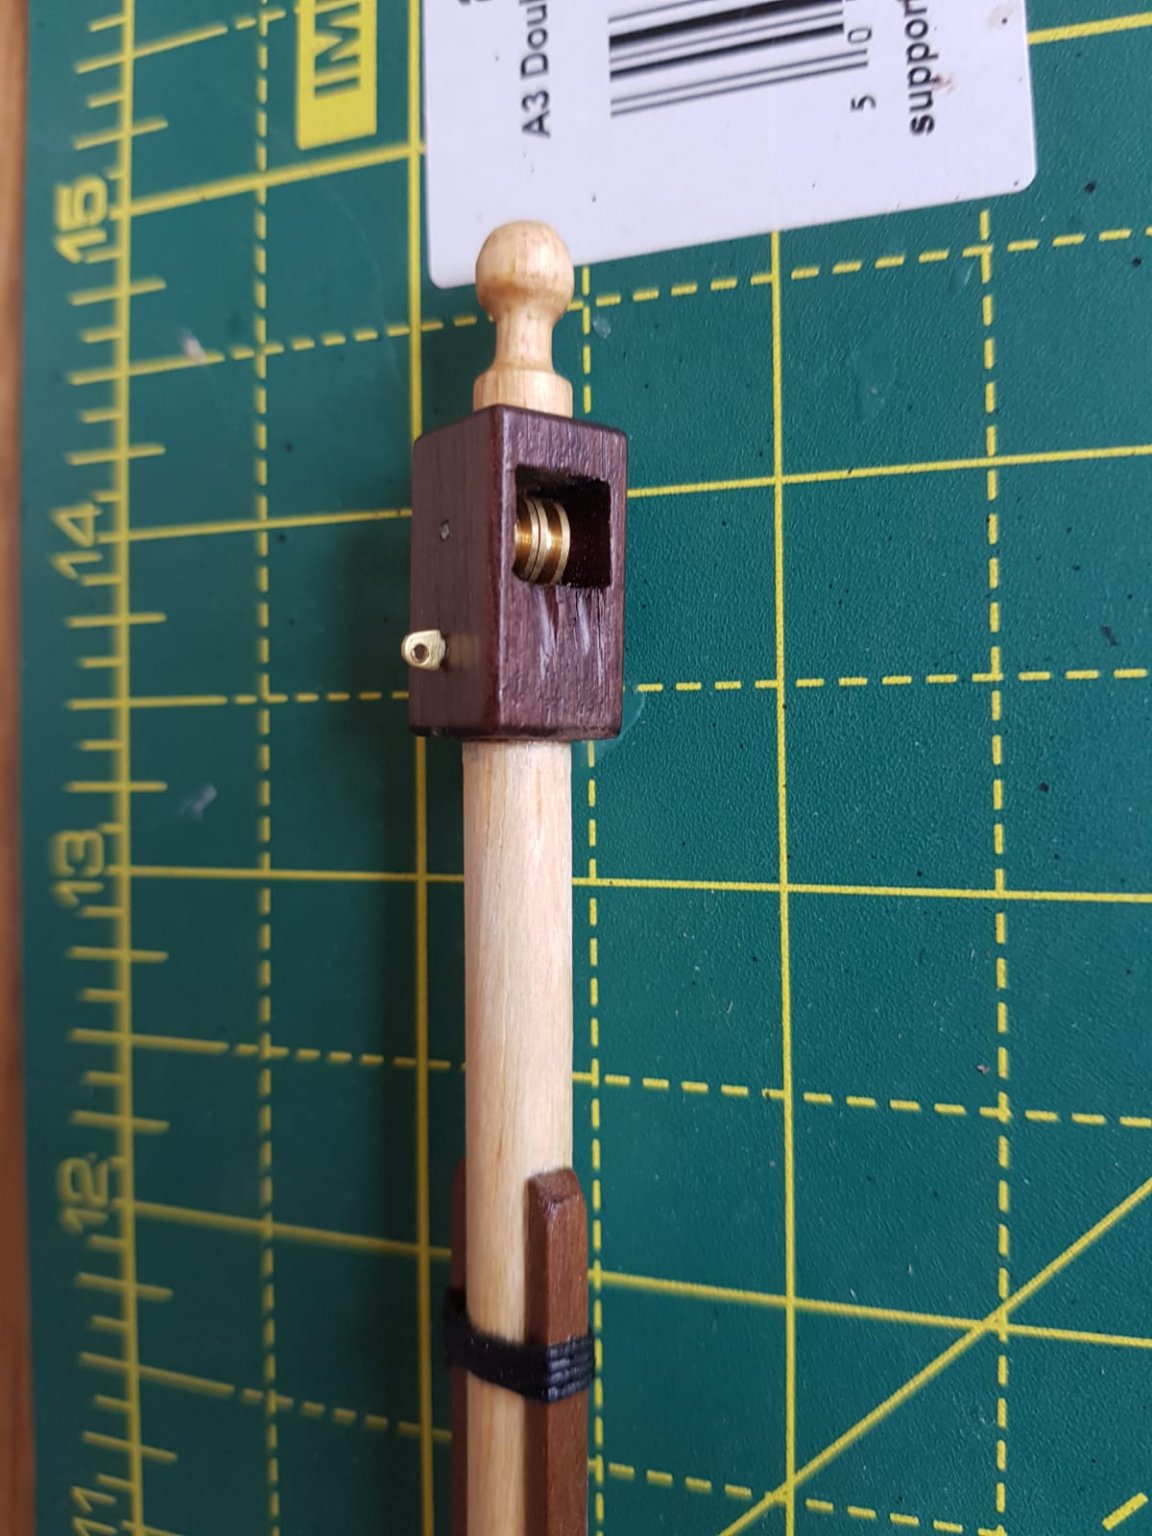
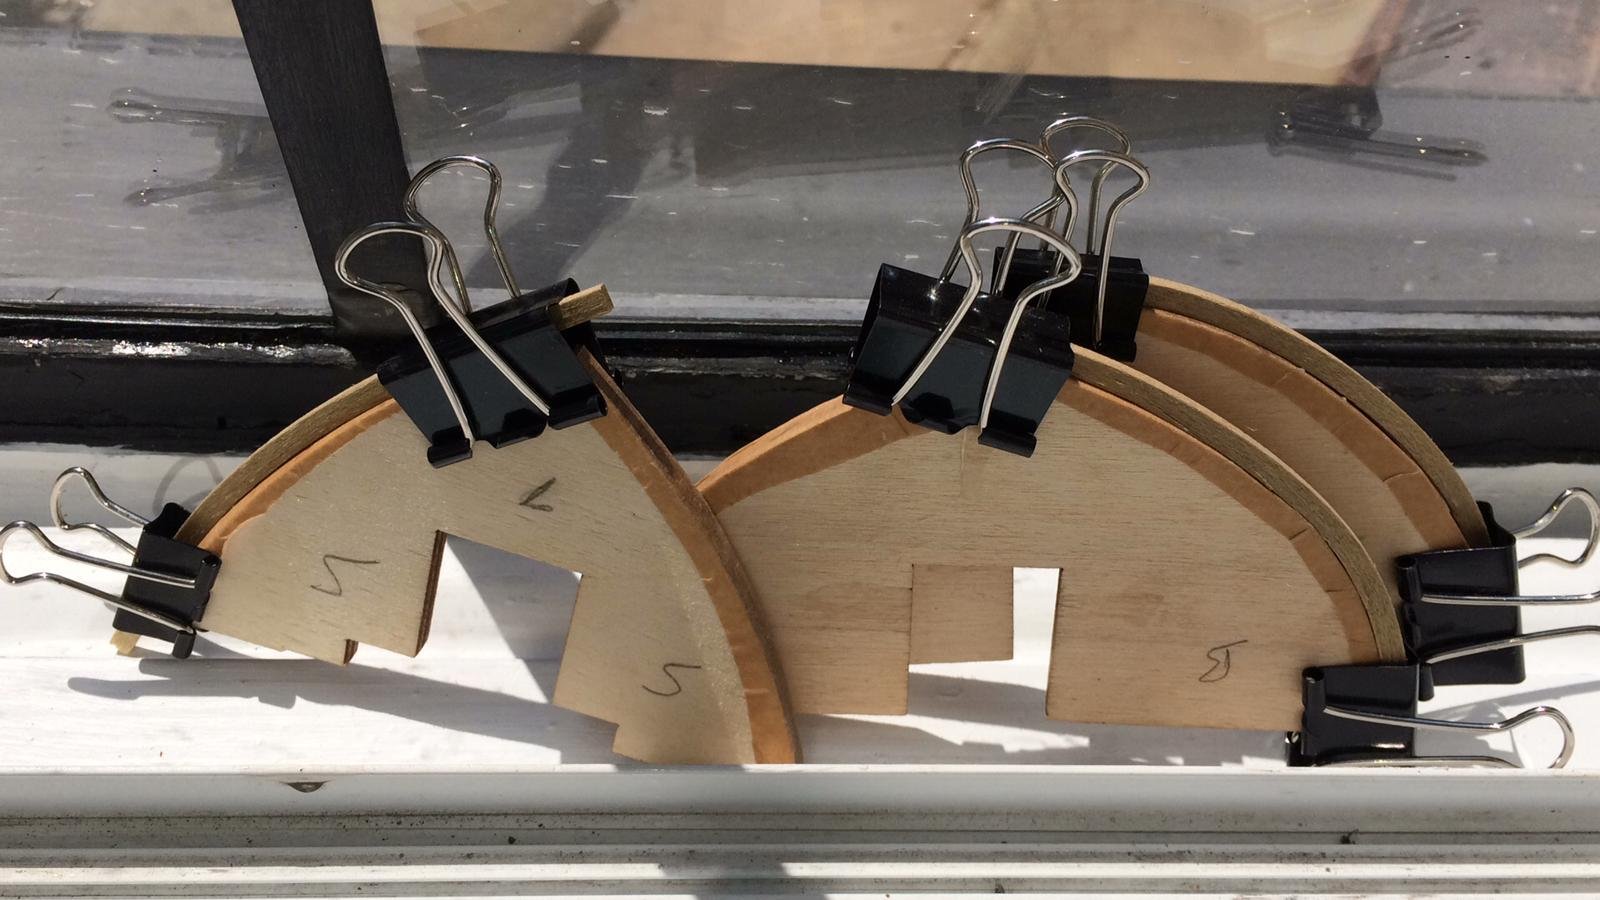
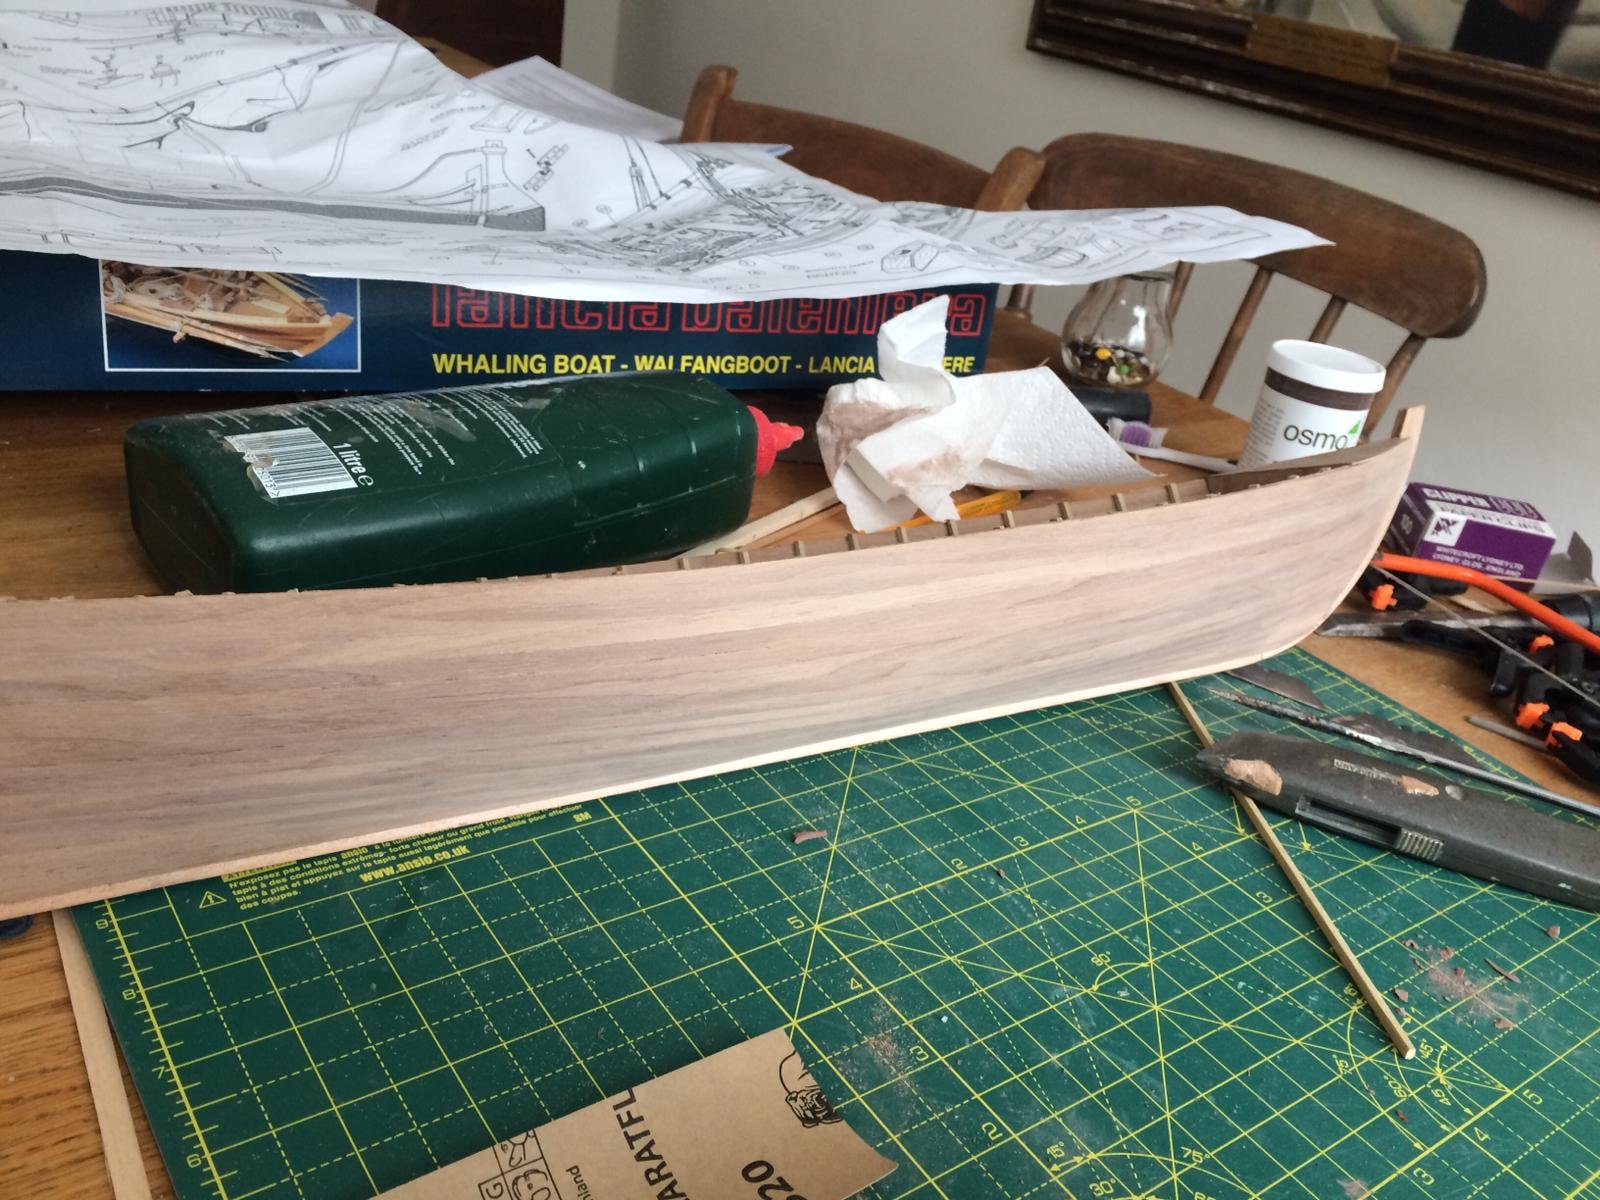
Thanks RussR, you've inspired me to another post - made a big jump in progress, and been thoroughly enjoyed it. Deck completed, and fitted, in the end a lot of filing was important to make it fit the whales reasonably closely. Top of the mast was interesting - managed to make too wide a gap for the pulleys, so there are two spacers sliced from an applicator pipe from aerosol can to keep them roughly central (and the rod to hold them is a bit of paper clip!) These were fun to do, but not when I realised only 6 are needed! (8 shown on kit box.. 6in plans) And for you RussR, the bodged tools made out of scraps continue, with this. thin stick is at 3 degrees to help drill the mast step, and the pencil is for the waterline.. And now for the rigging, time to review some more info on this site
.thumb.jpeg.bc252e84bb757d4434a971016c92f32c.jpeg)
.thumb.jpeg.2d48c42f7a0e74c2ab3a4a8cea4c03bd.jpeg)
-
Neddie2 reacted to a post in a topic:
Open Whaler by Neddie2 - Panart - 1:16 - bitten off more than I can chew
-
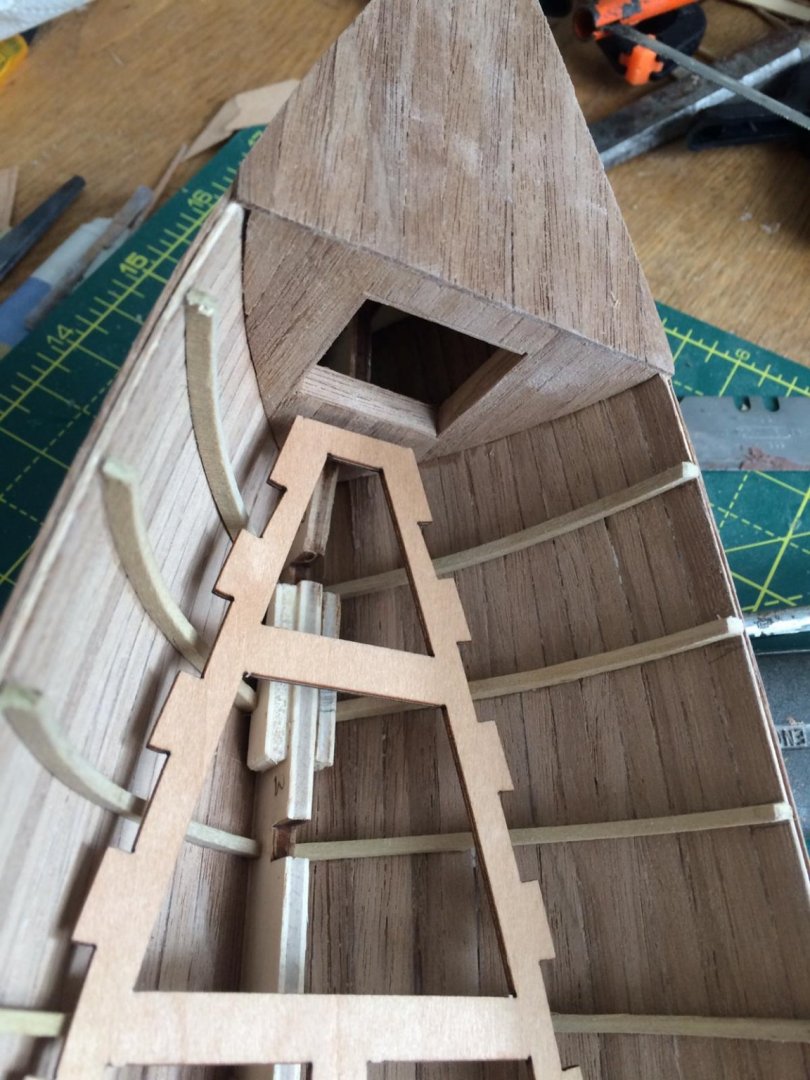
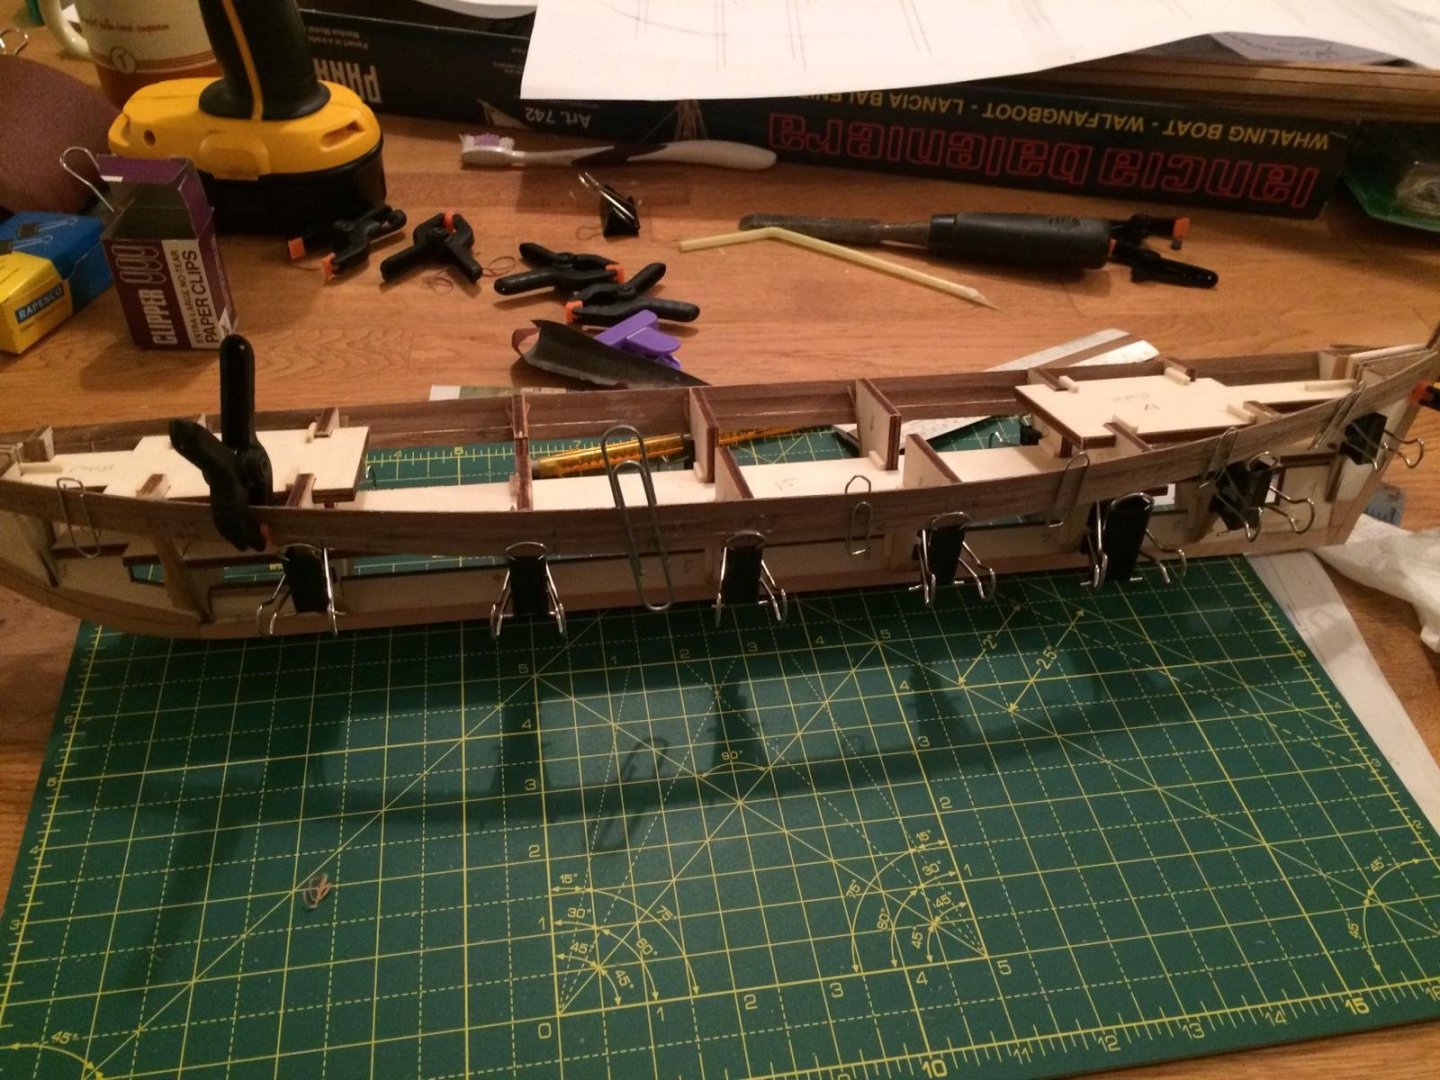
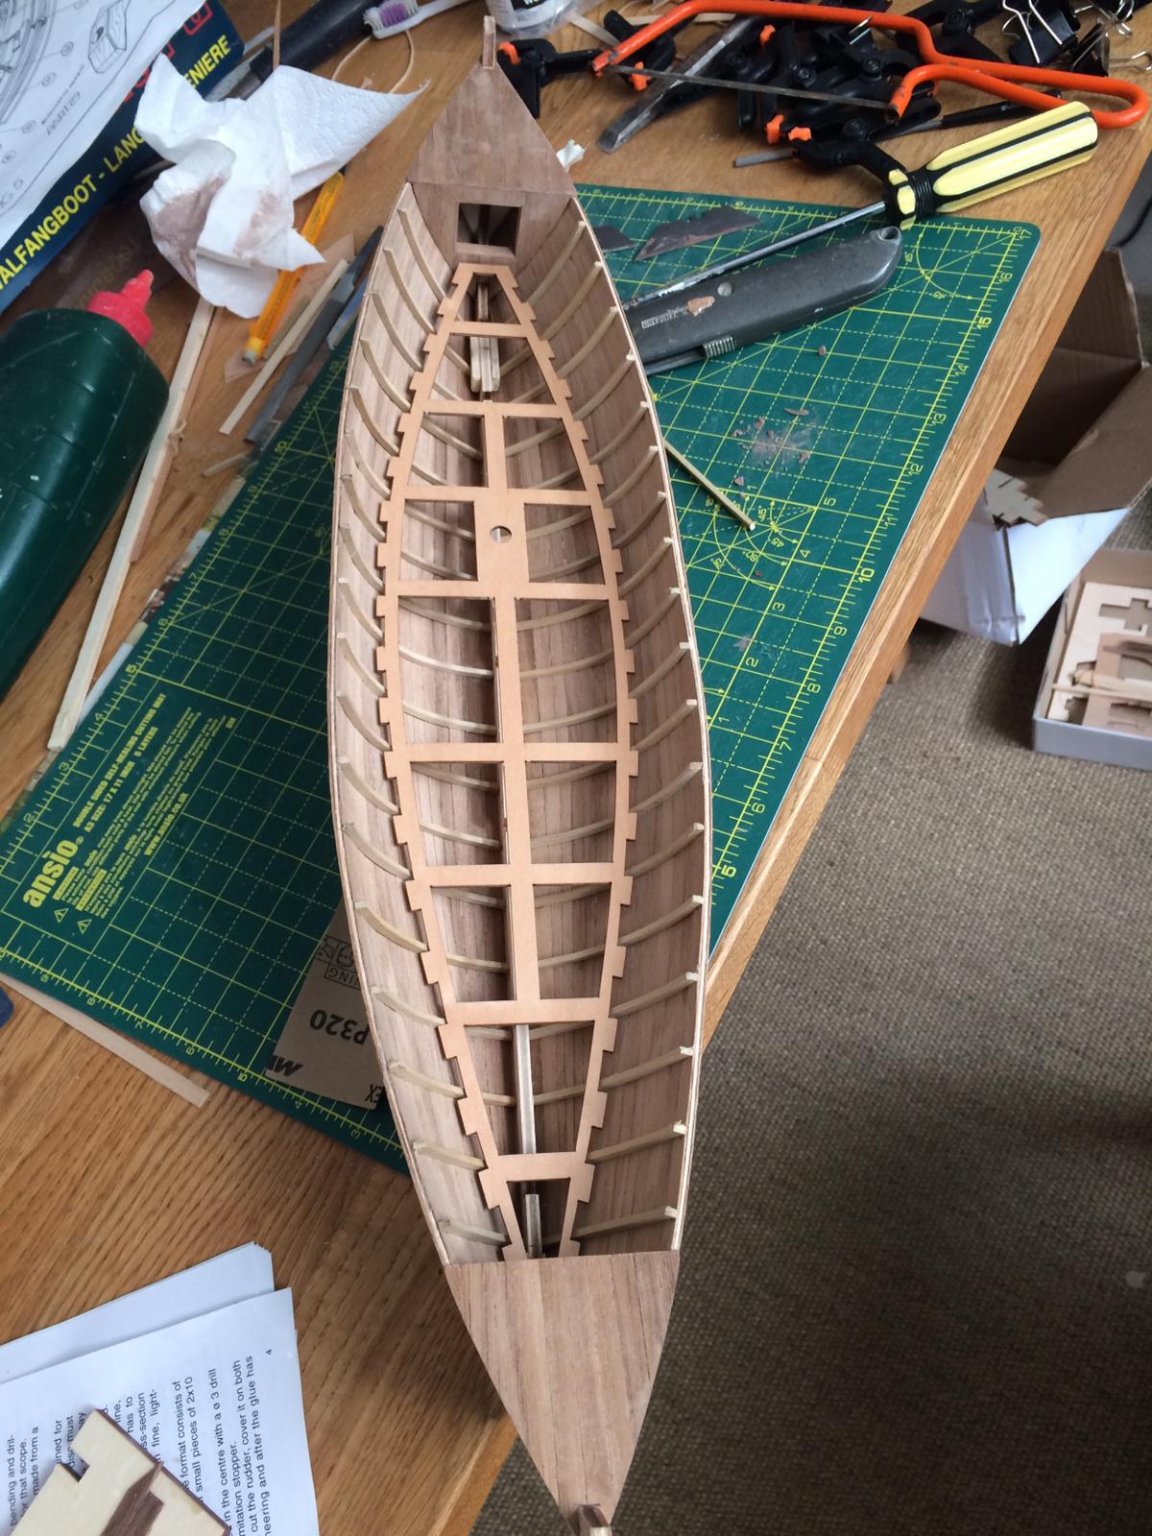
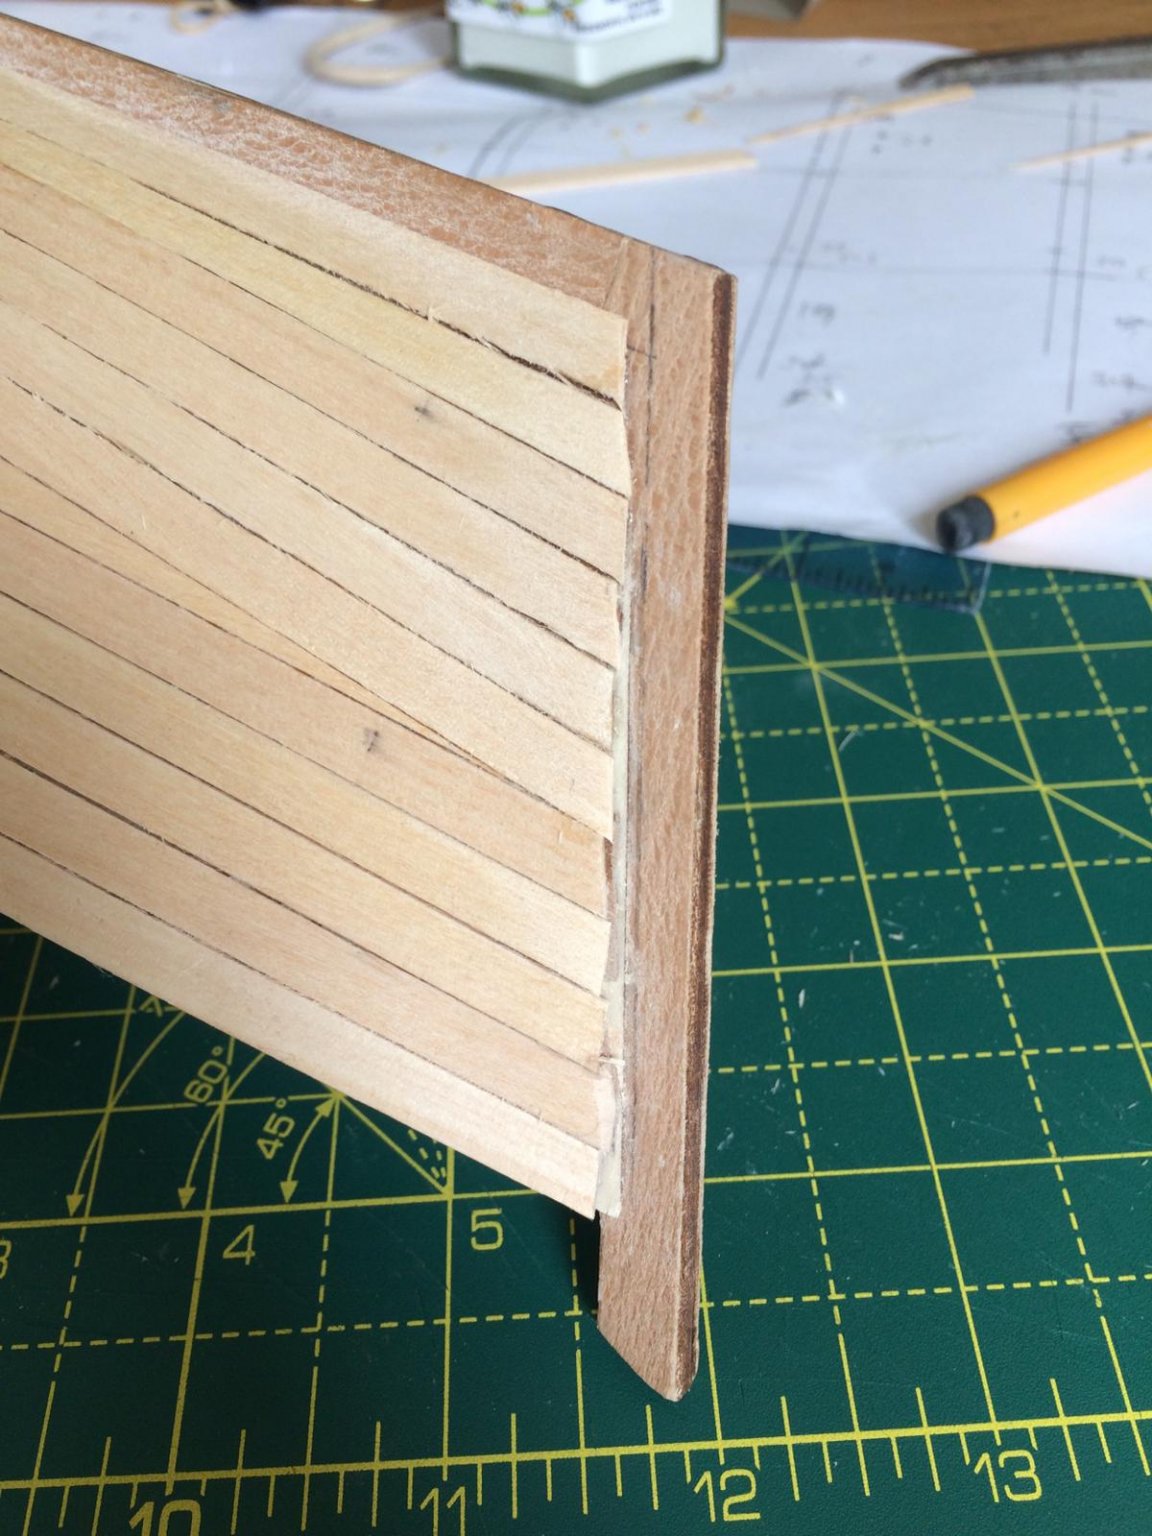
Also made it onto the whales, which I thought was going to be a nightmare, but seemed to work well boiling 2/3 in a pan for 8-10 mins and then clipping to the bulkheads as a former. I hadn't realised quite how soft and flexible the heating/wetting makes them . And with the bow and stern lockers fitted; One odd thing is the fitting of the deck. It needs fitting with various covers and boarding, but just doesn't fit the hull very well at the back (as in miles off...). Close up shows the issue, and it's almost like there's an extra bulkhead in the build, so the hull is too wide at the bow. I've no idea how to sort this without leaving a massive gap... someone please tell me I've missed something incredibly obvious!


-
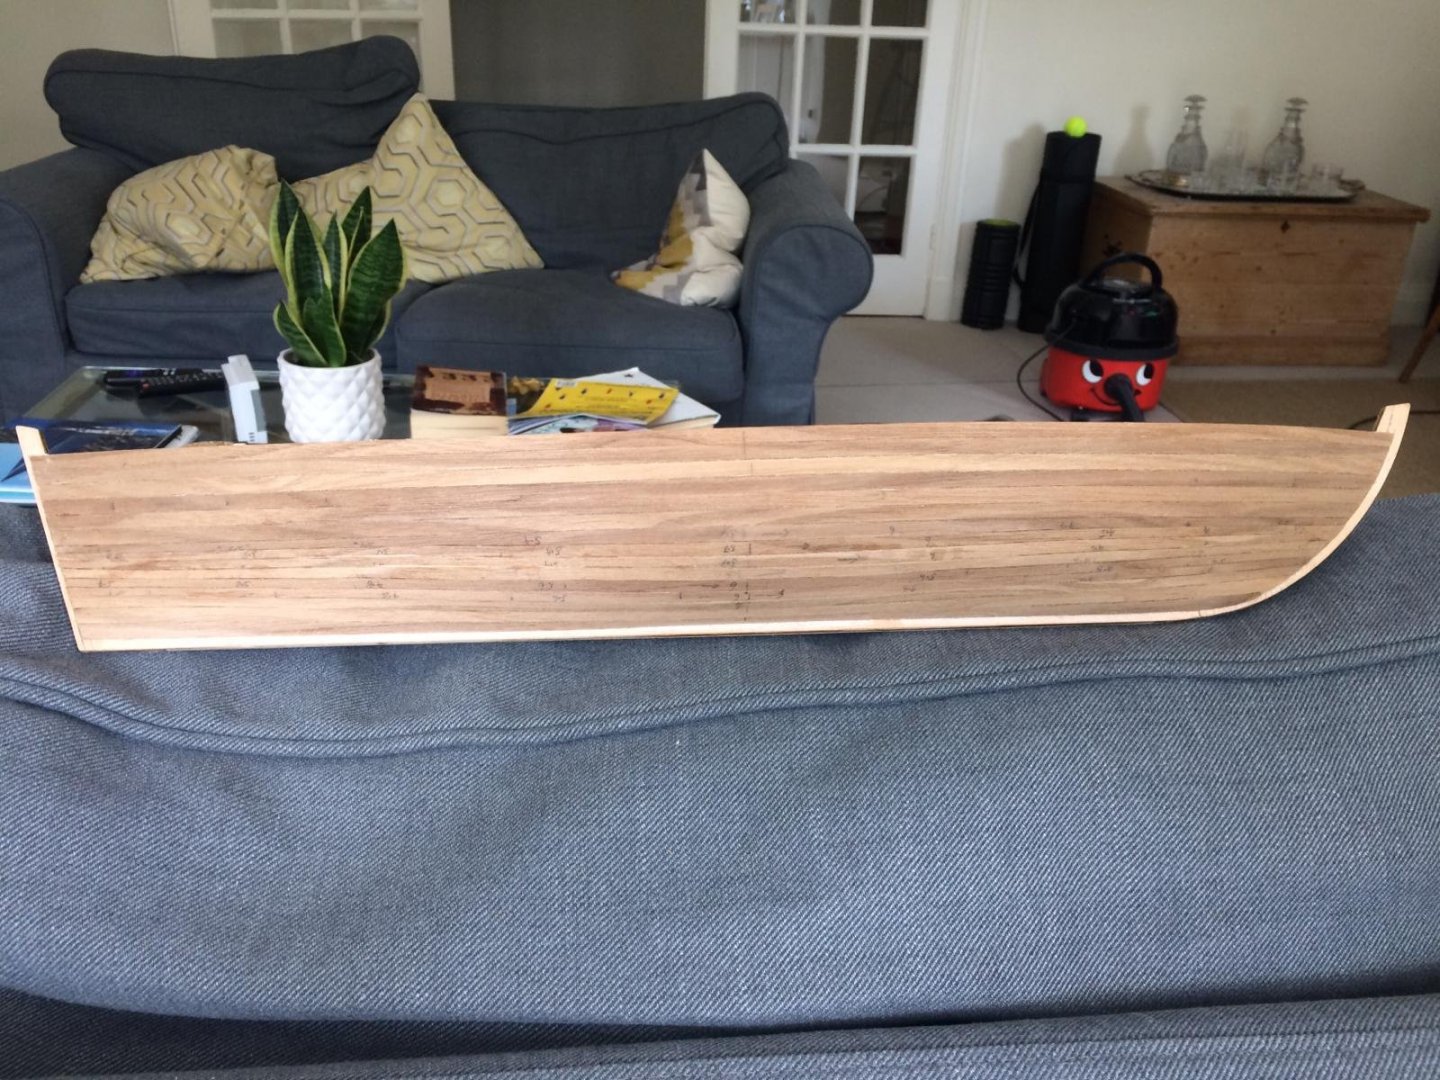
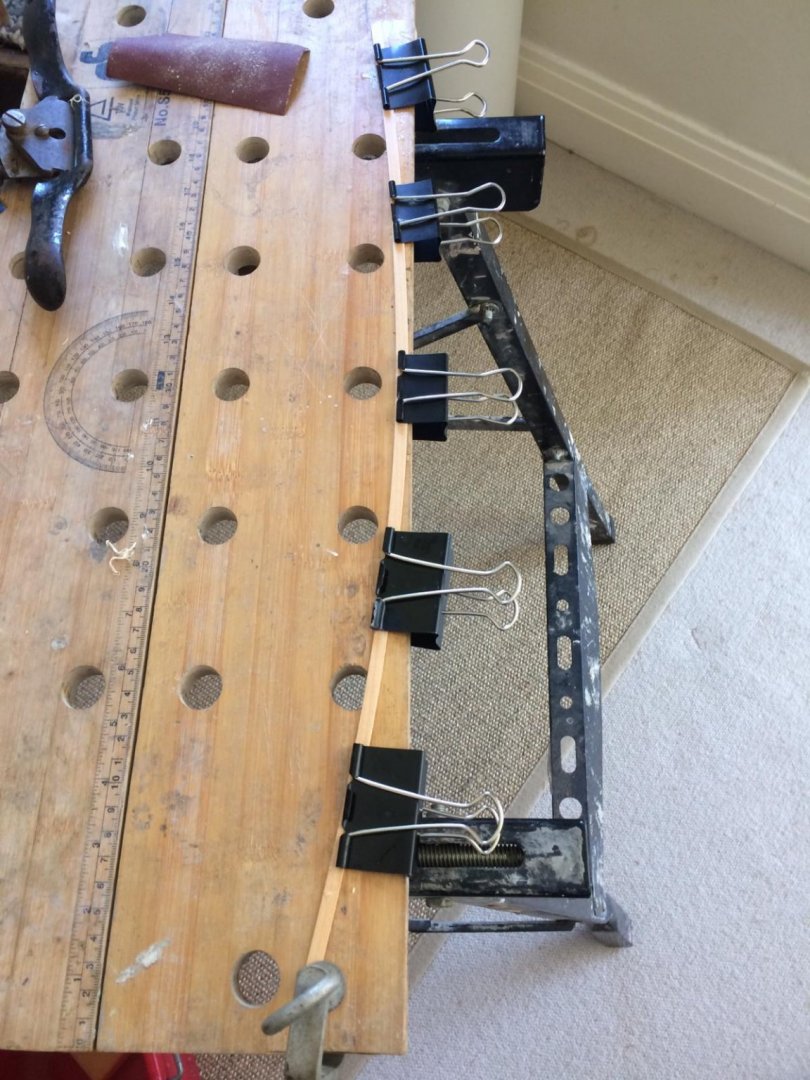
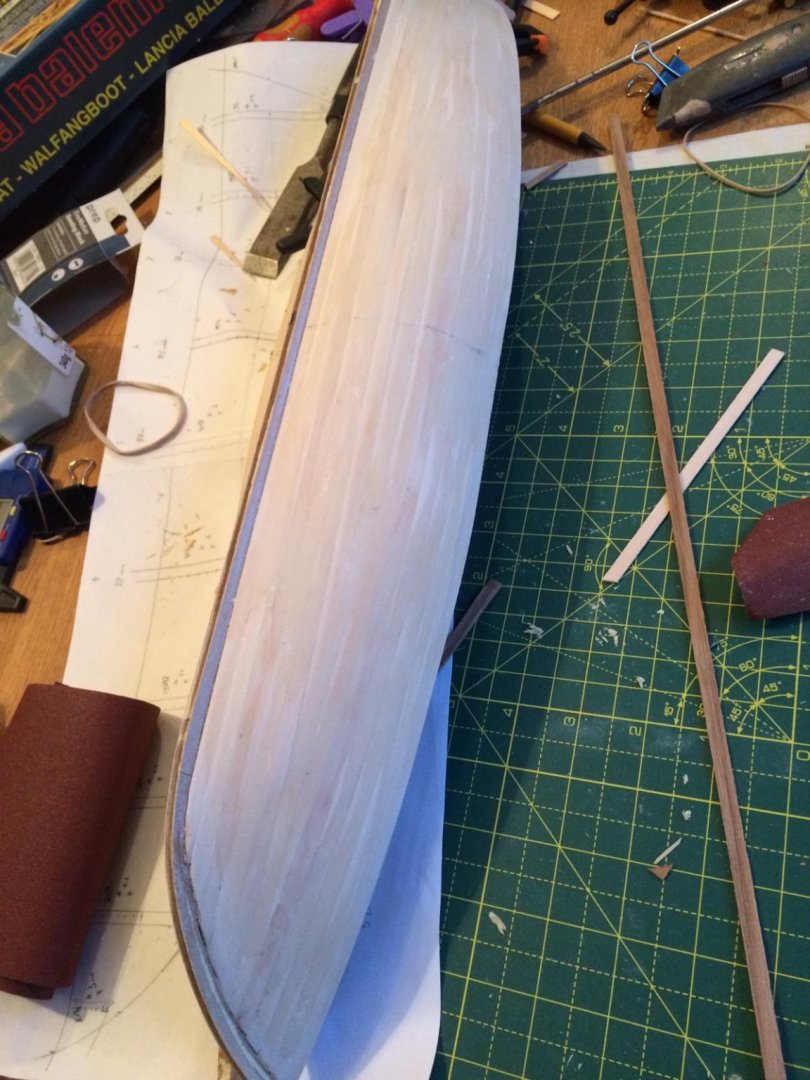
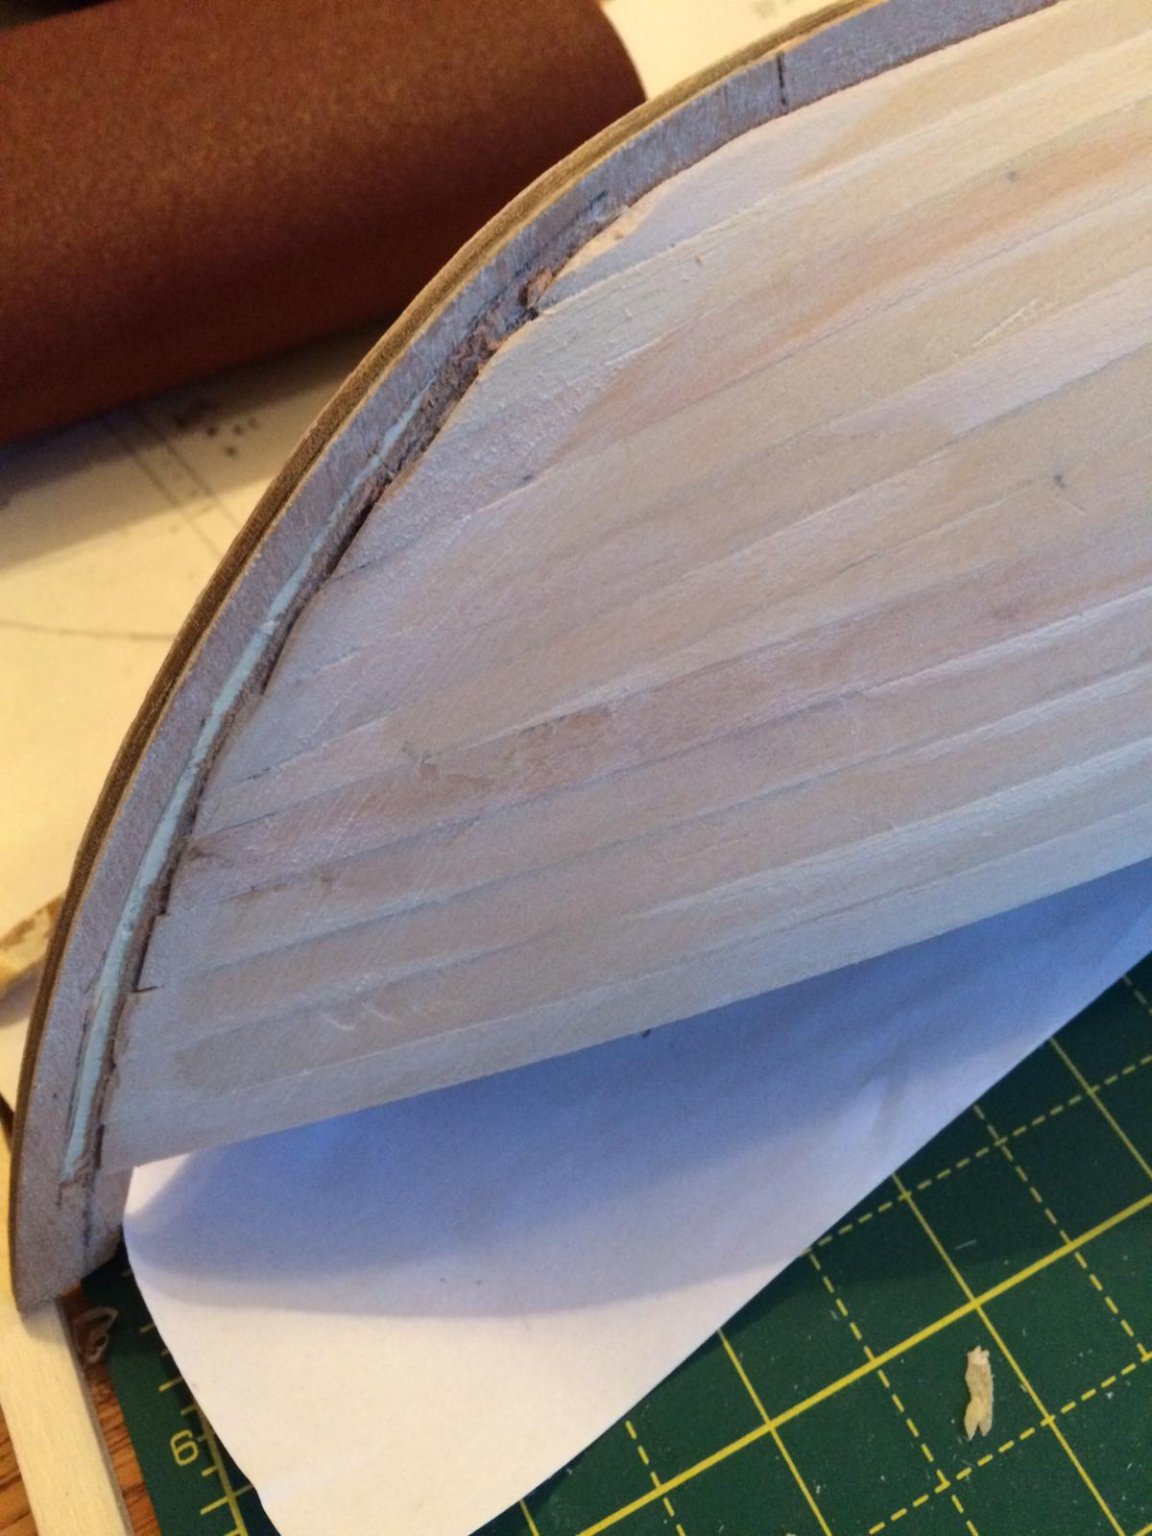
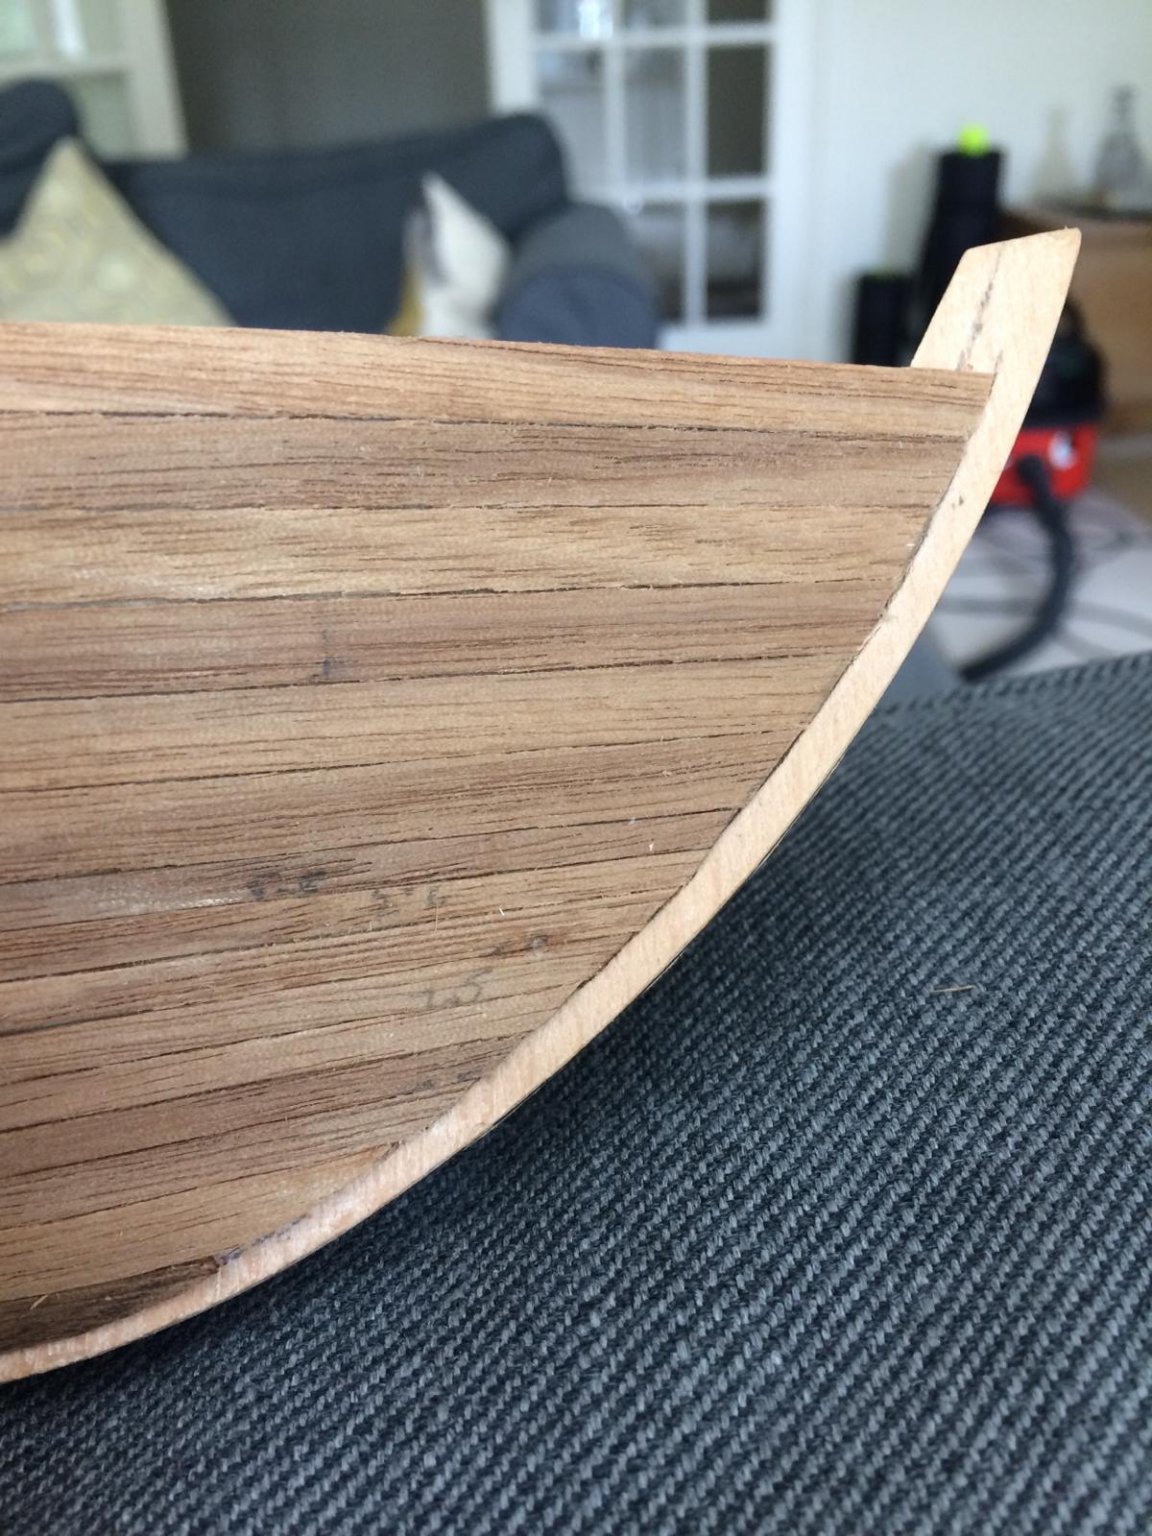
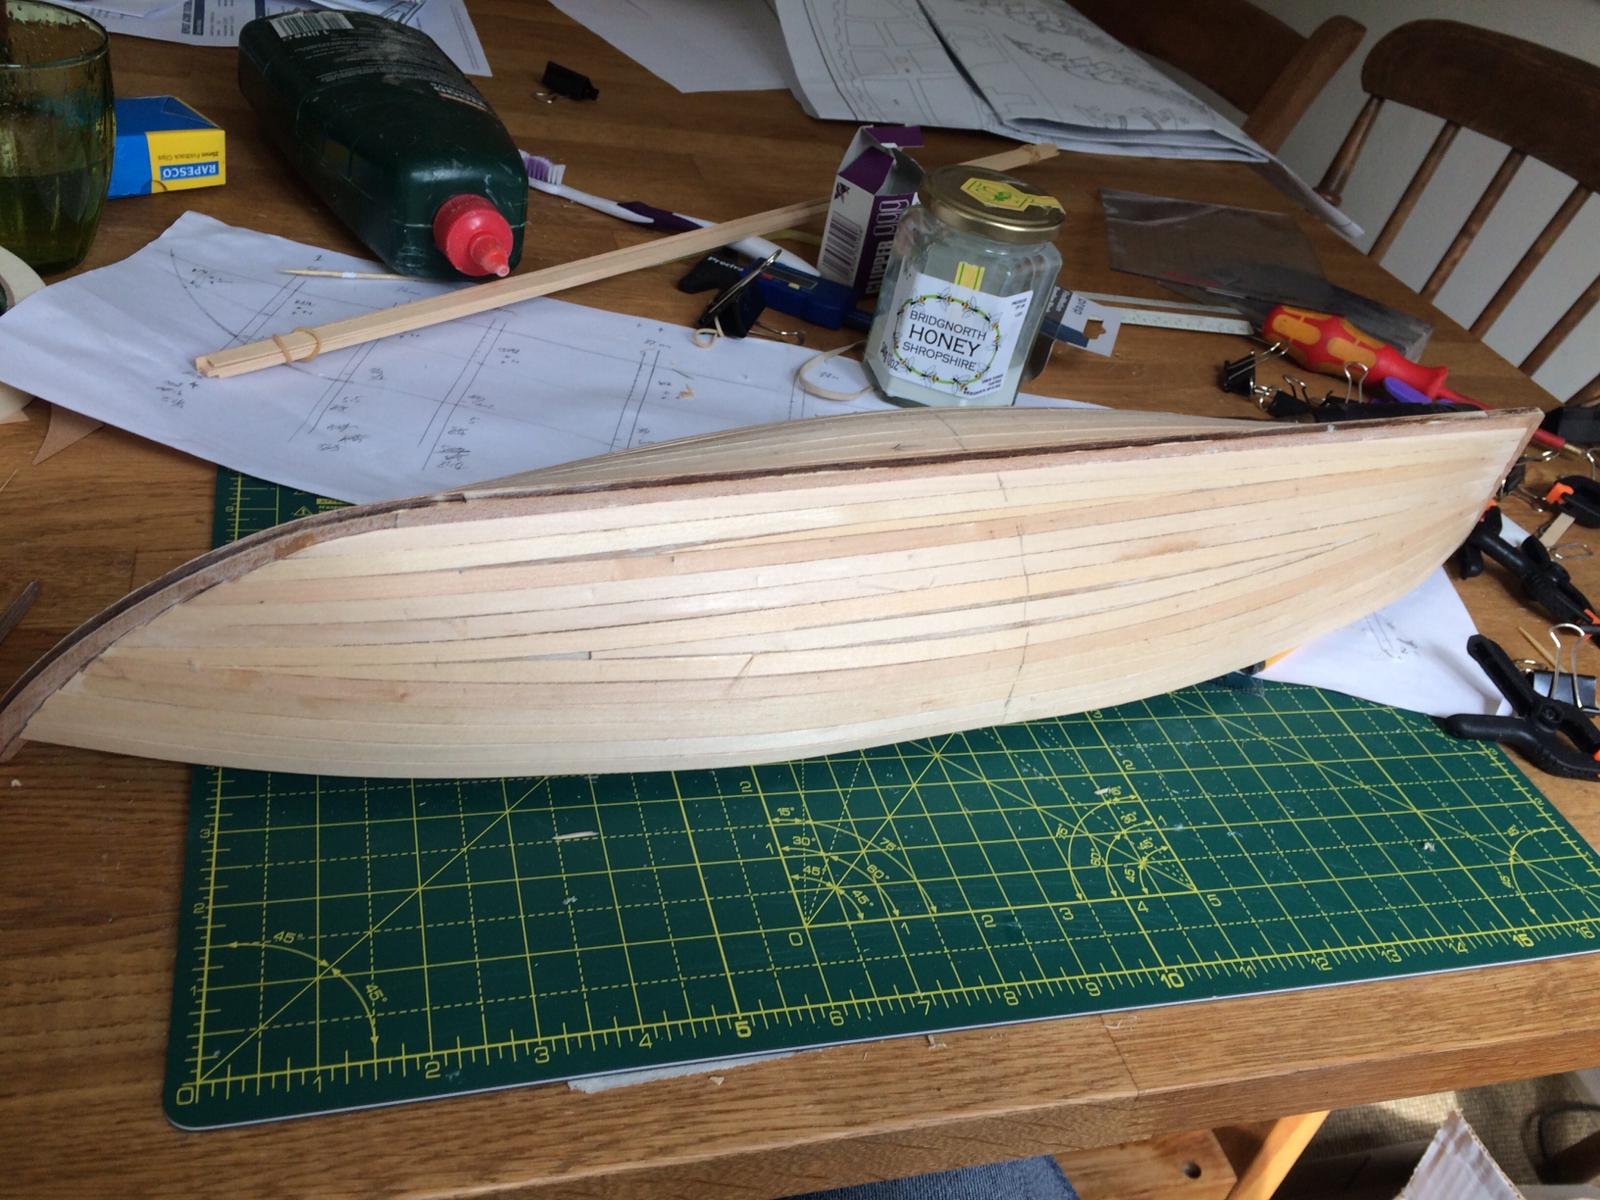
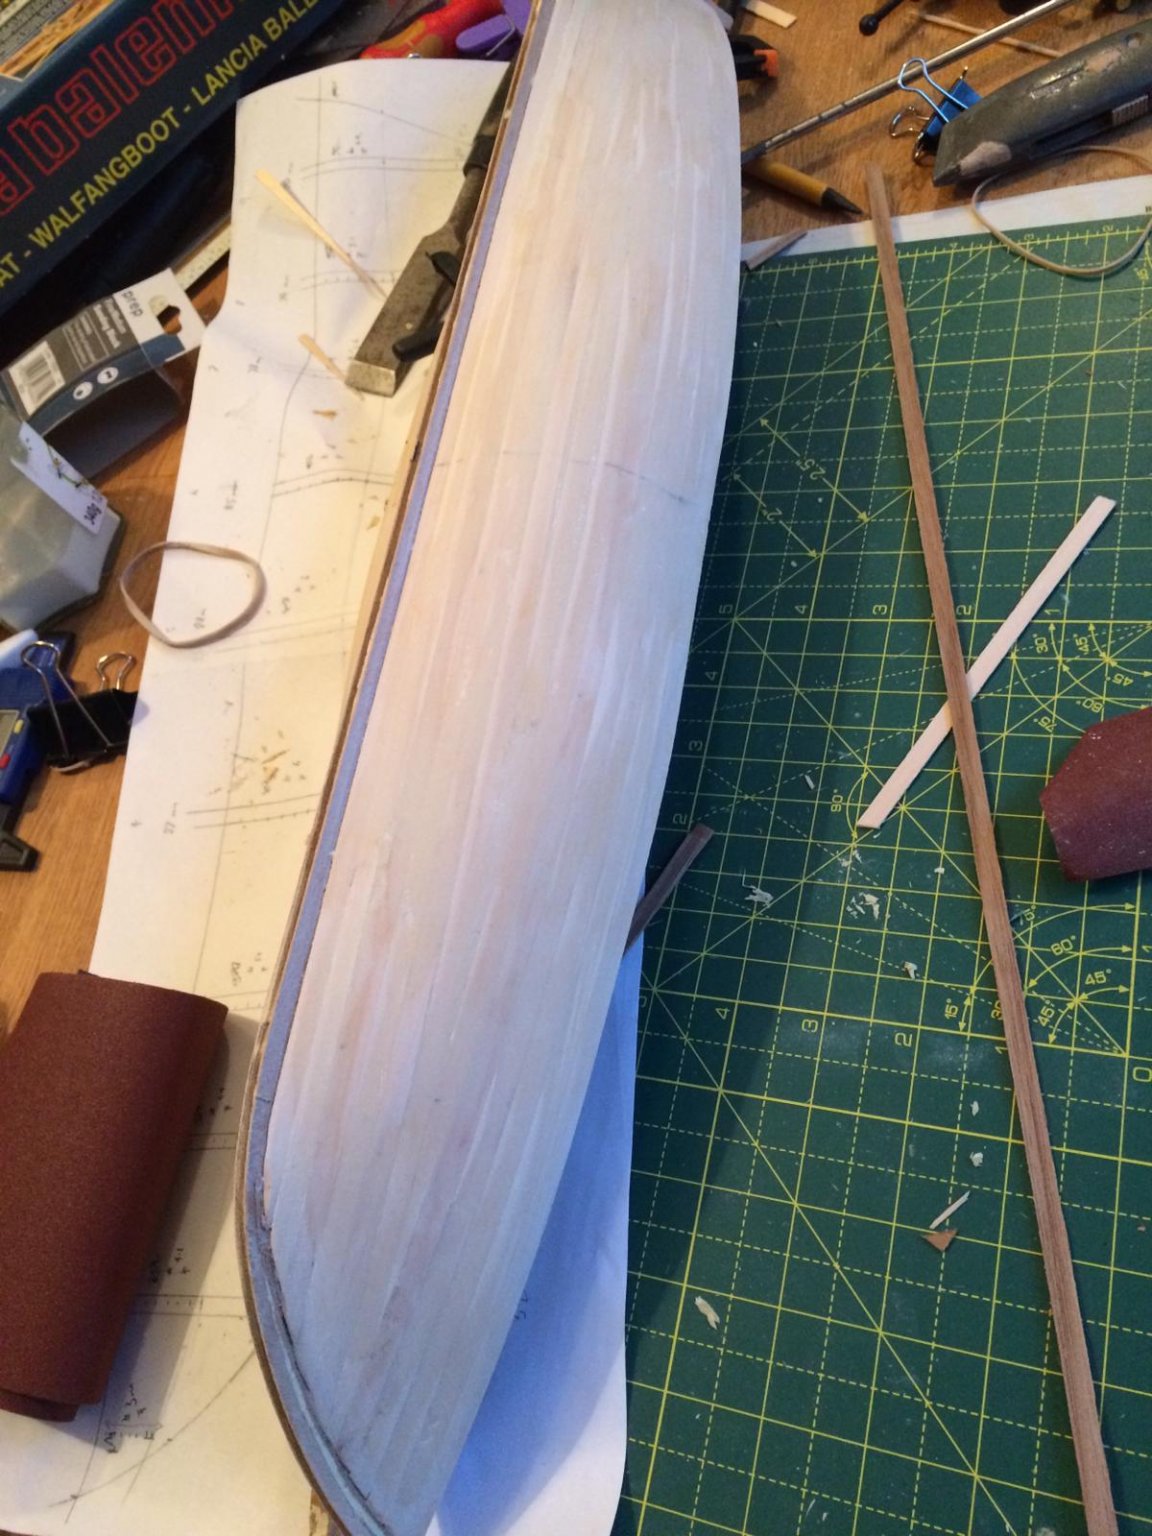
So a bit of a jump in progress with the final layer of planks fitted. Managed to carve a rabet in the bow and stern veneer, which seemed to work well (although done v v carefully): And final planks. I had a real problem tapering the planks evenly (working to measures at each bulkhead point), and ended up with big gaps, so decided to do the top planks without tapering, and then taper the others. Its only the top ones varnished with the hull base black, so worked for me.... so before and after a bit of filling gaps and sanding: HAving had a bit of a struggle with the first two layers of planks, rather enjoyed the final one!


-
Neddie2 reacted to a post in a topic:
4-Oared Yawl by rexnuktia - Master Korabel MK0103
-
Neddie2 reacted to a post in a topic:
18th Century Armed Longboat by Justin P. - FINISHED - Model Shipways - Scale 1:24
-
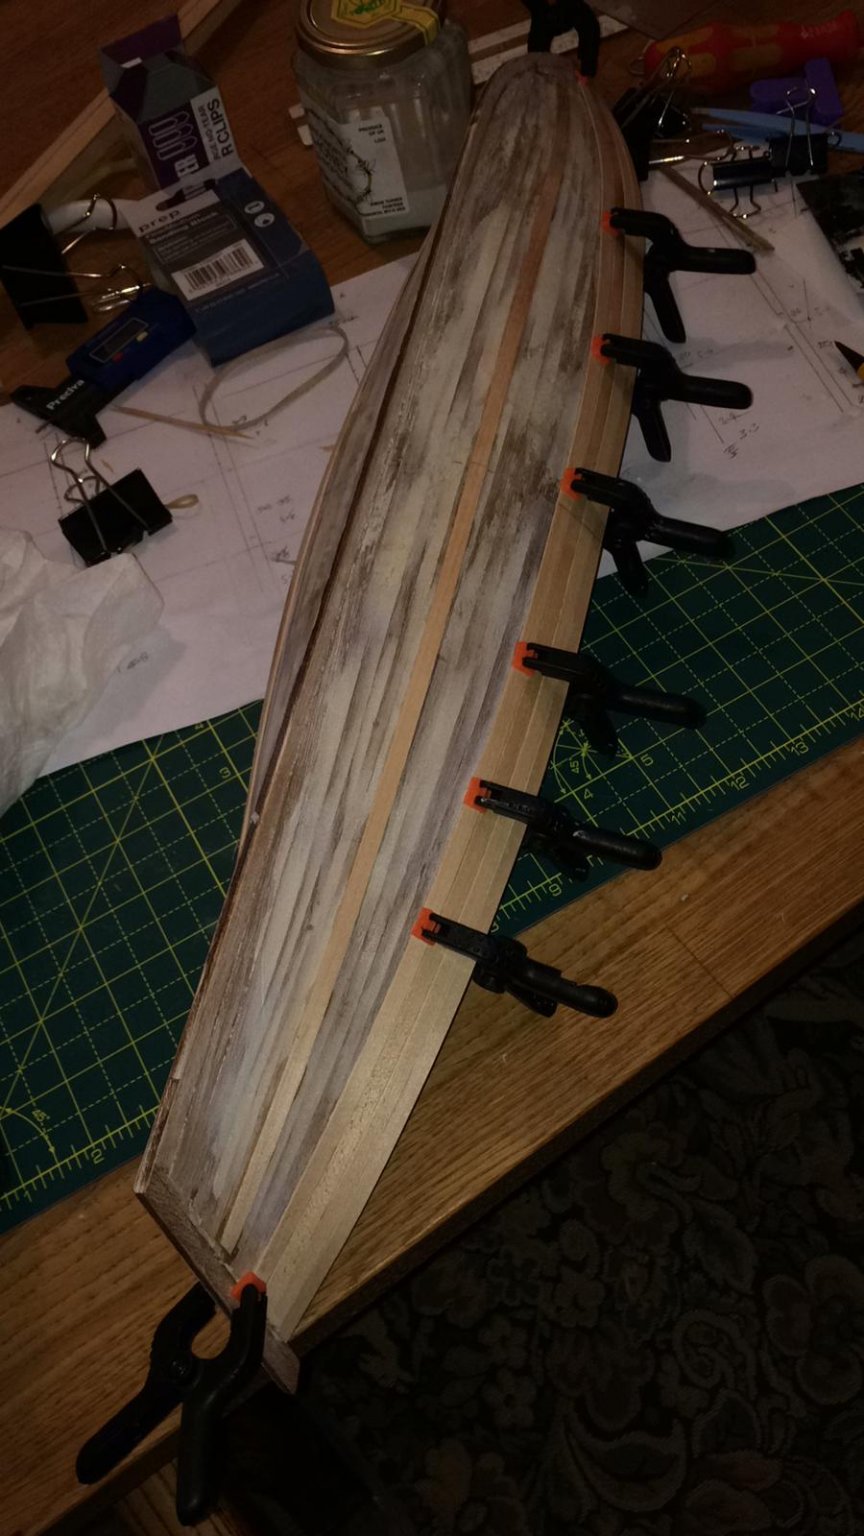
So good development recently. First layer of planking done and filled: With start of second layer of planking. Started using CA glue for this (seemed to work with the bit of filler, whereas clean wood to wood wasn't good) SEcond layer of planks in place - didn't bother with regular tapering, or much neatness, given it's just to be filled and covered again...) After filling and flatting: only just added a rabbit to the bow, which I think will work okay. Would have been v tricky to just position at start of first planks But the angle the planks meet the stern post is so fine, a rabit doesn't really work. Not sure what the plan is here, probalby sand down planking at the stern so the third layer almost flush Now the pressure of the final planks that can't just be lashed with filler!


-
Again, any suggestions as to what I've done wrong / could do better much appreciated, as I'm making this up as I go along!
-
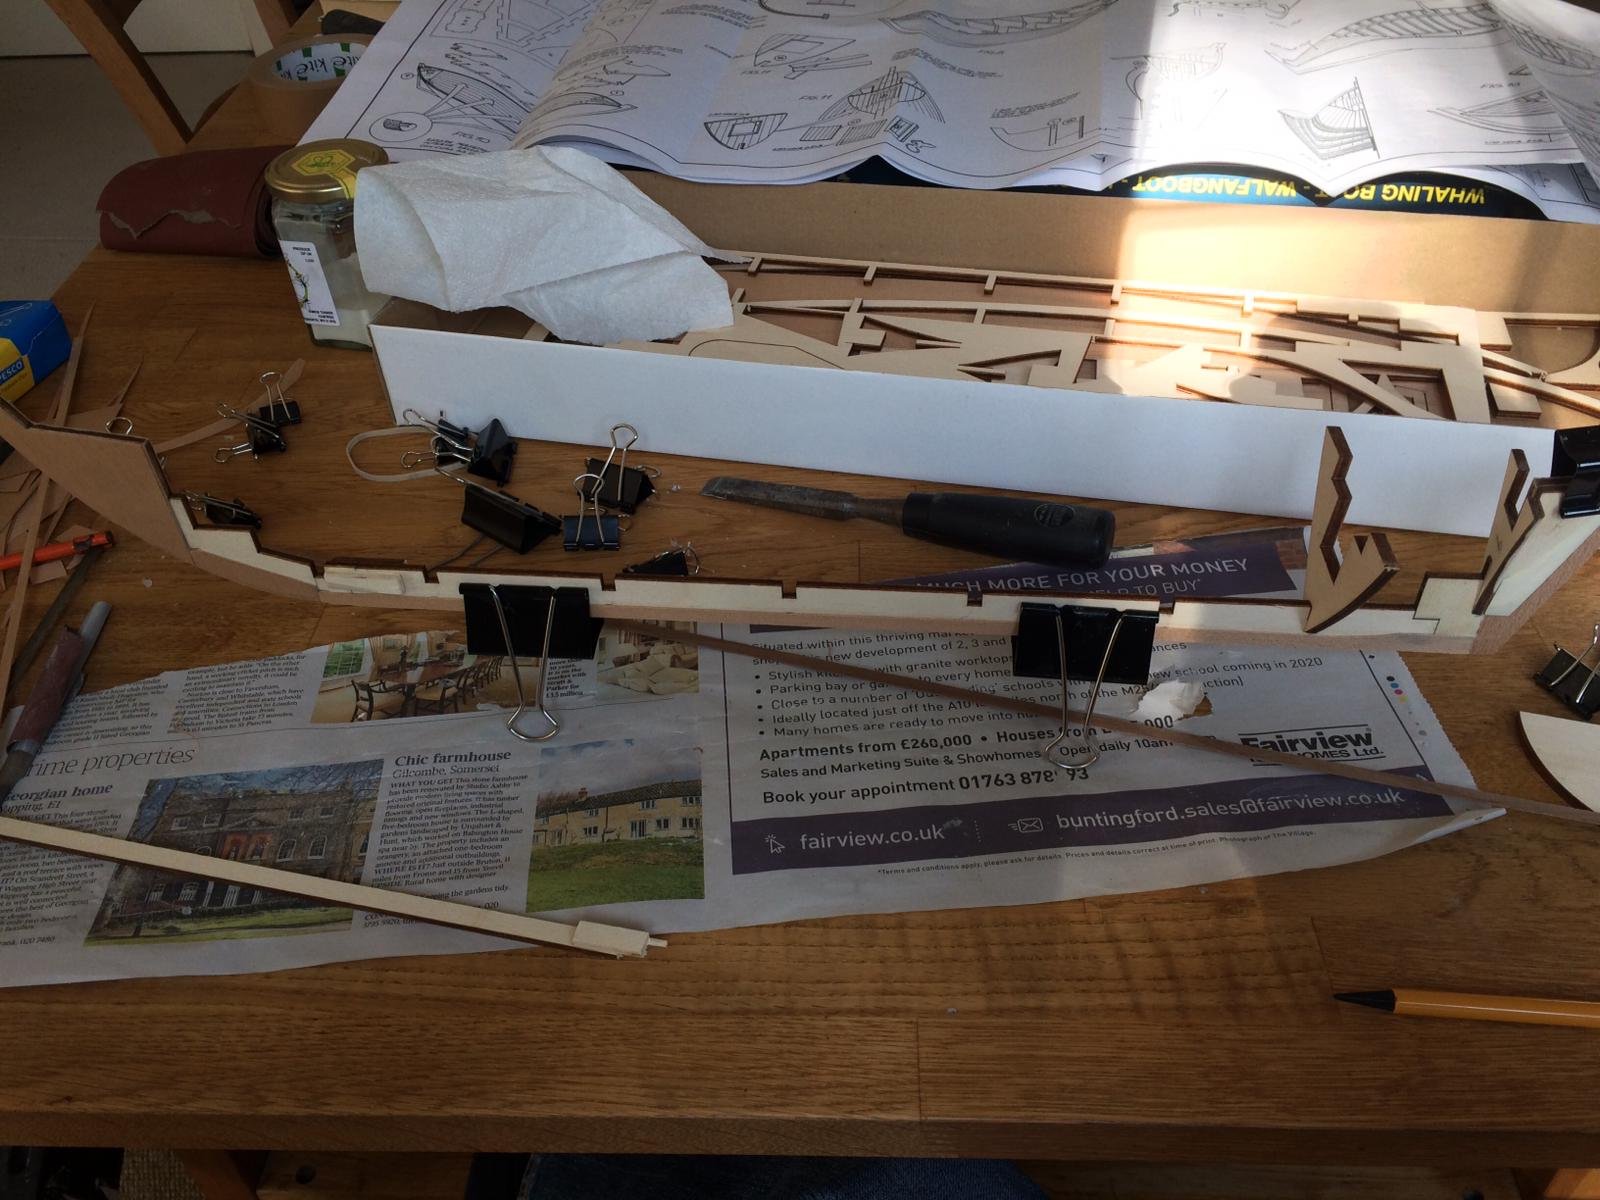
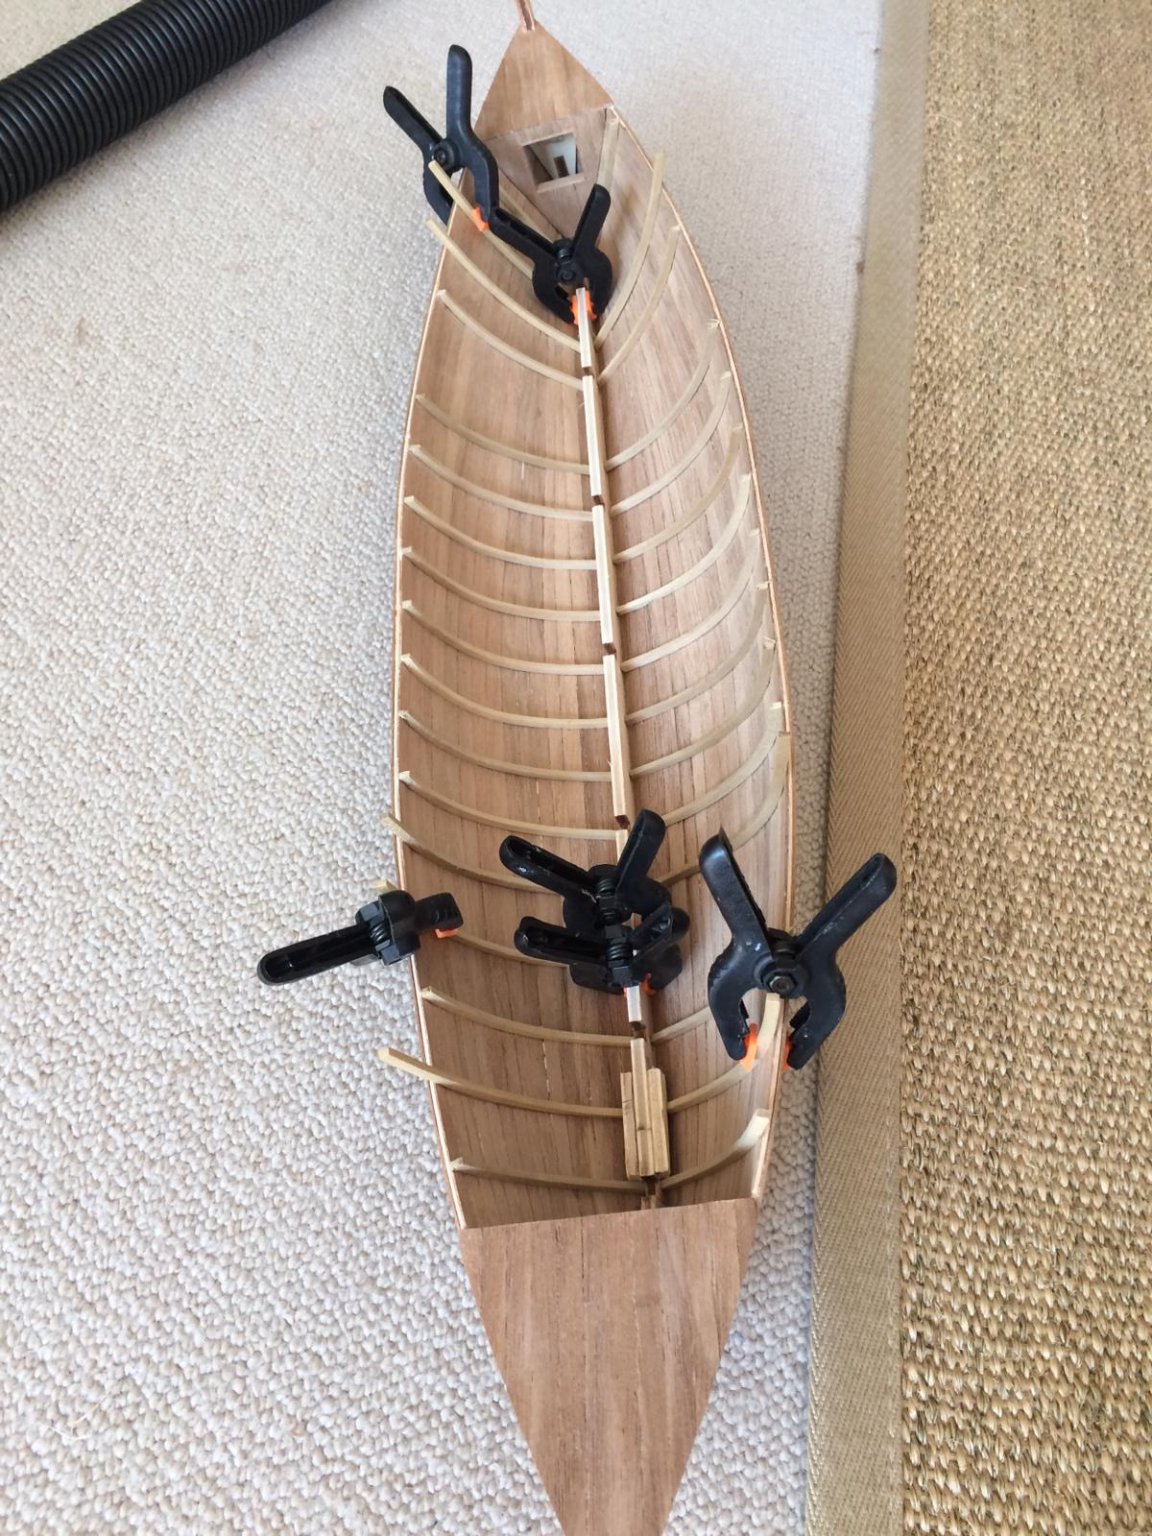
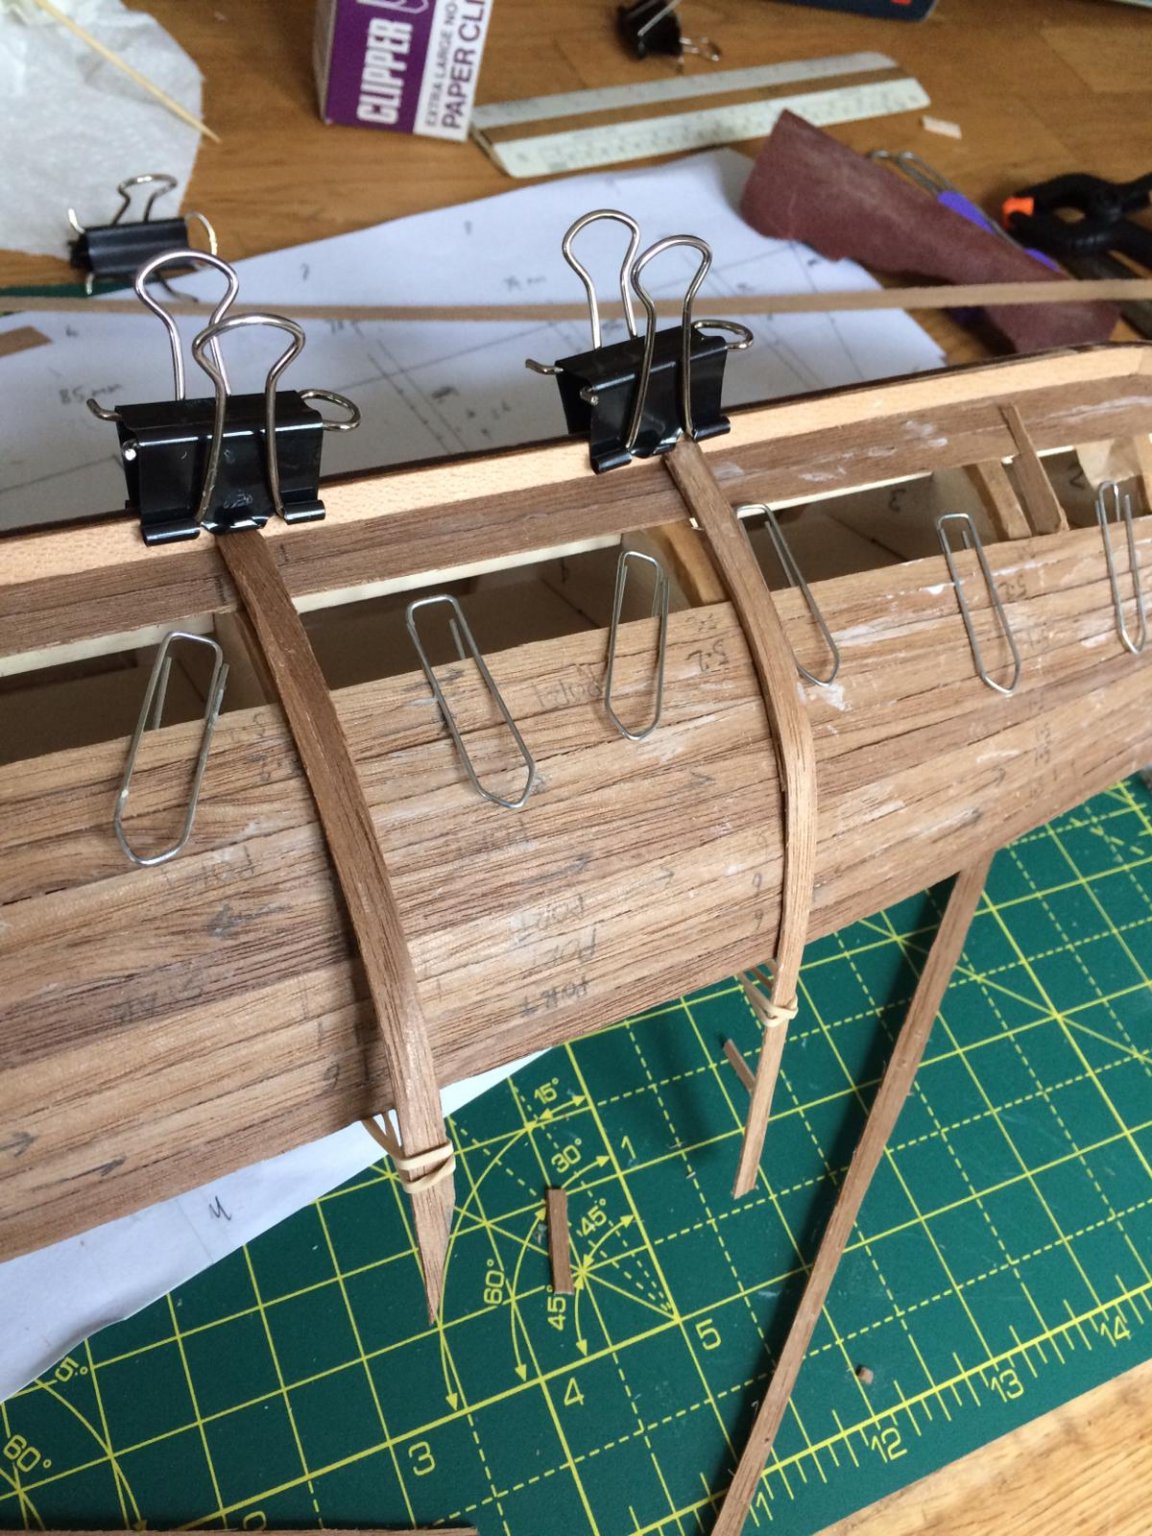
First update... with some good help from here, I've got the first couple of rows of planking done now. I needed to fit the bulkheads so they could be removed later, but at the same time wanted them to be pretty firm for the planking, so glued slithers of match alongwise each join - ended up pretty strong, and I can chip them off later for easy removal. In terms of plank sizing, I split the hull into top and bottom half, and drew out a plan. I'm not really sure whether this is required, but did help get my head around my first planking. Because the bulkheads have to be removed, I took the advice of others on this forum, and put masking time to protect them from any glue (the planks are just edge glued rather than to the bulkheads). Actually, the tape doesn't run right to the top of each bulkhead, so the top plank is half glued there (assuming I can break this small fix before bulkhead removal). For each plank you can see there's a mass of clips, but feels like you can't have too few. The paper clips are v handy in between each bulkhead to ensure alignment. (lowest plank on the far side isn't fixed yet, hence the big air gaps!
.thumb.jpeg.fab5e423670400bd4fe3467719f5cad8.jpeg)
-
Thank you both, much appreciated, and I can see how it should progress (well this bit!)
- 129 replies
-
- 2
-
-
- armed launch
- panart
- (and 1 more)
-
Superb, thank you! (I was a bit enthusiastic about the duplicate message on Mobbsie's thread too, so sorry hadn't seen that at the time). That's a great help, and I've got a route forward again...
-
Hi Richard44, that looks superb, and I can see similarities with my open whaler Panart design - a question which you've clearly well solved, is how do you fix the first layer of planking to the bulkheads in such a way that the bulkheads can be removed later? other than glueing, I can't see how the planks can be fitted firmly enough, but then how to release later on? any recommendations very welcome before I head off in the wrong direction!
- 30 replies
-
- 1
-
-
- armed launch
- panart
- (and 1 more)
-
Hi, so I've just started this kit as my first build - not only do I lack previous experience, I lack many handy tools and anything more than than a kitchen table to build on, but here we go! Keel and veneering seems fine, and just starting on the bow and stern faring blocks. One thing I can't quite understand (from the instructions 'translated' from Italian) is how the bulkheads can be glued to the keel, have the planking glued to them, but still be removed later, to get the open hull result. Should they just be pinned to the keel? special glue to use that's easily dissolved? My current range of available glues is from PVA to...PVA I'll keep posting photos, if just to show the pitfalls of a beginner buying an intermediate kit!

-
Neddie2 joined the community
-
Hi Mobbsie, I'm very new to building models, and have ended up with a v similar looking kit, being the lancia baleniera (a whaling version), with the same triple planking. And there's one thing that's worrying me at an early stage which I hope you can help with....I've got the bulkheads all fared and ready to fix, but on my model they have to be removed entirely after planking - with the planks glued to the bulkheads I can't really see how I can the remove them afterwards. How did you get around this on yours? It looks superb by the way - I'm many months or years from that at the moment! Thanks, Ed
- 129 replies
-
- 2
-
-
- armed launch
- panart
- (and 1 more)
.jpeg.998dd249938cae6d44fec6fe82a433e1.jpeg)
.jpeg.7df9abb17b69382432fe9fc94a3b9d17.jpeg)
.jpeg.92a0e868e749f4c5d56c5f7e9b83de8c.jpeg)
.jpeg.12a229789915195339660ec29eecb403.jpeg)

.jpeg.934716570608e5a649833c329d728392.jpeg)
.jpeg.ccde968587f1f296823a941844c2bf16.jpeg)


.jpeg.66a13660243f92819c5c0a9010f84402.jpeg)