
Halfdan
-
Posts
36 -
Joined
-
Last visited
Content Type
Profiles
Forums
Gallery
Events
Everything posted by Halfdan
-
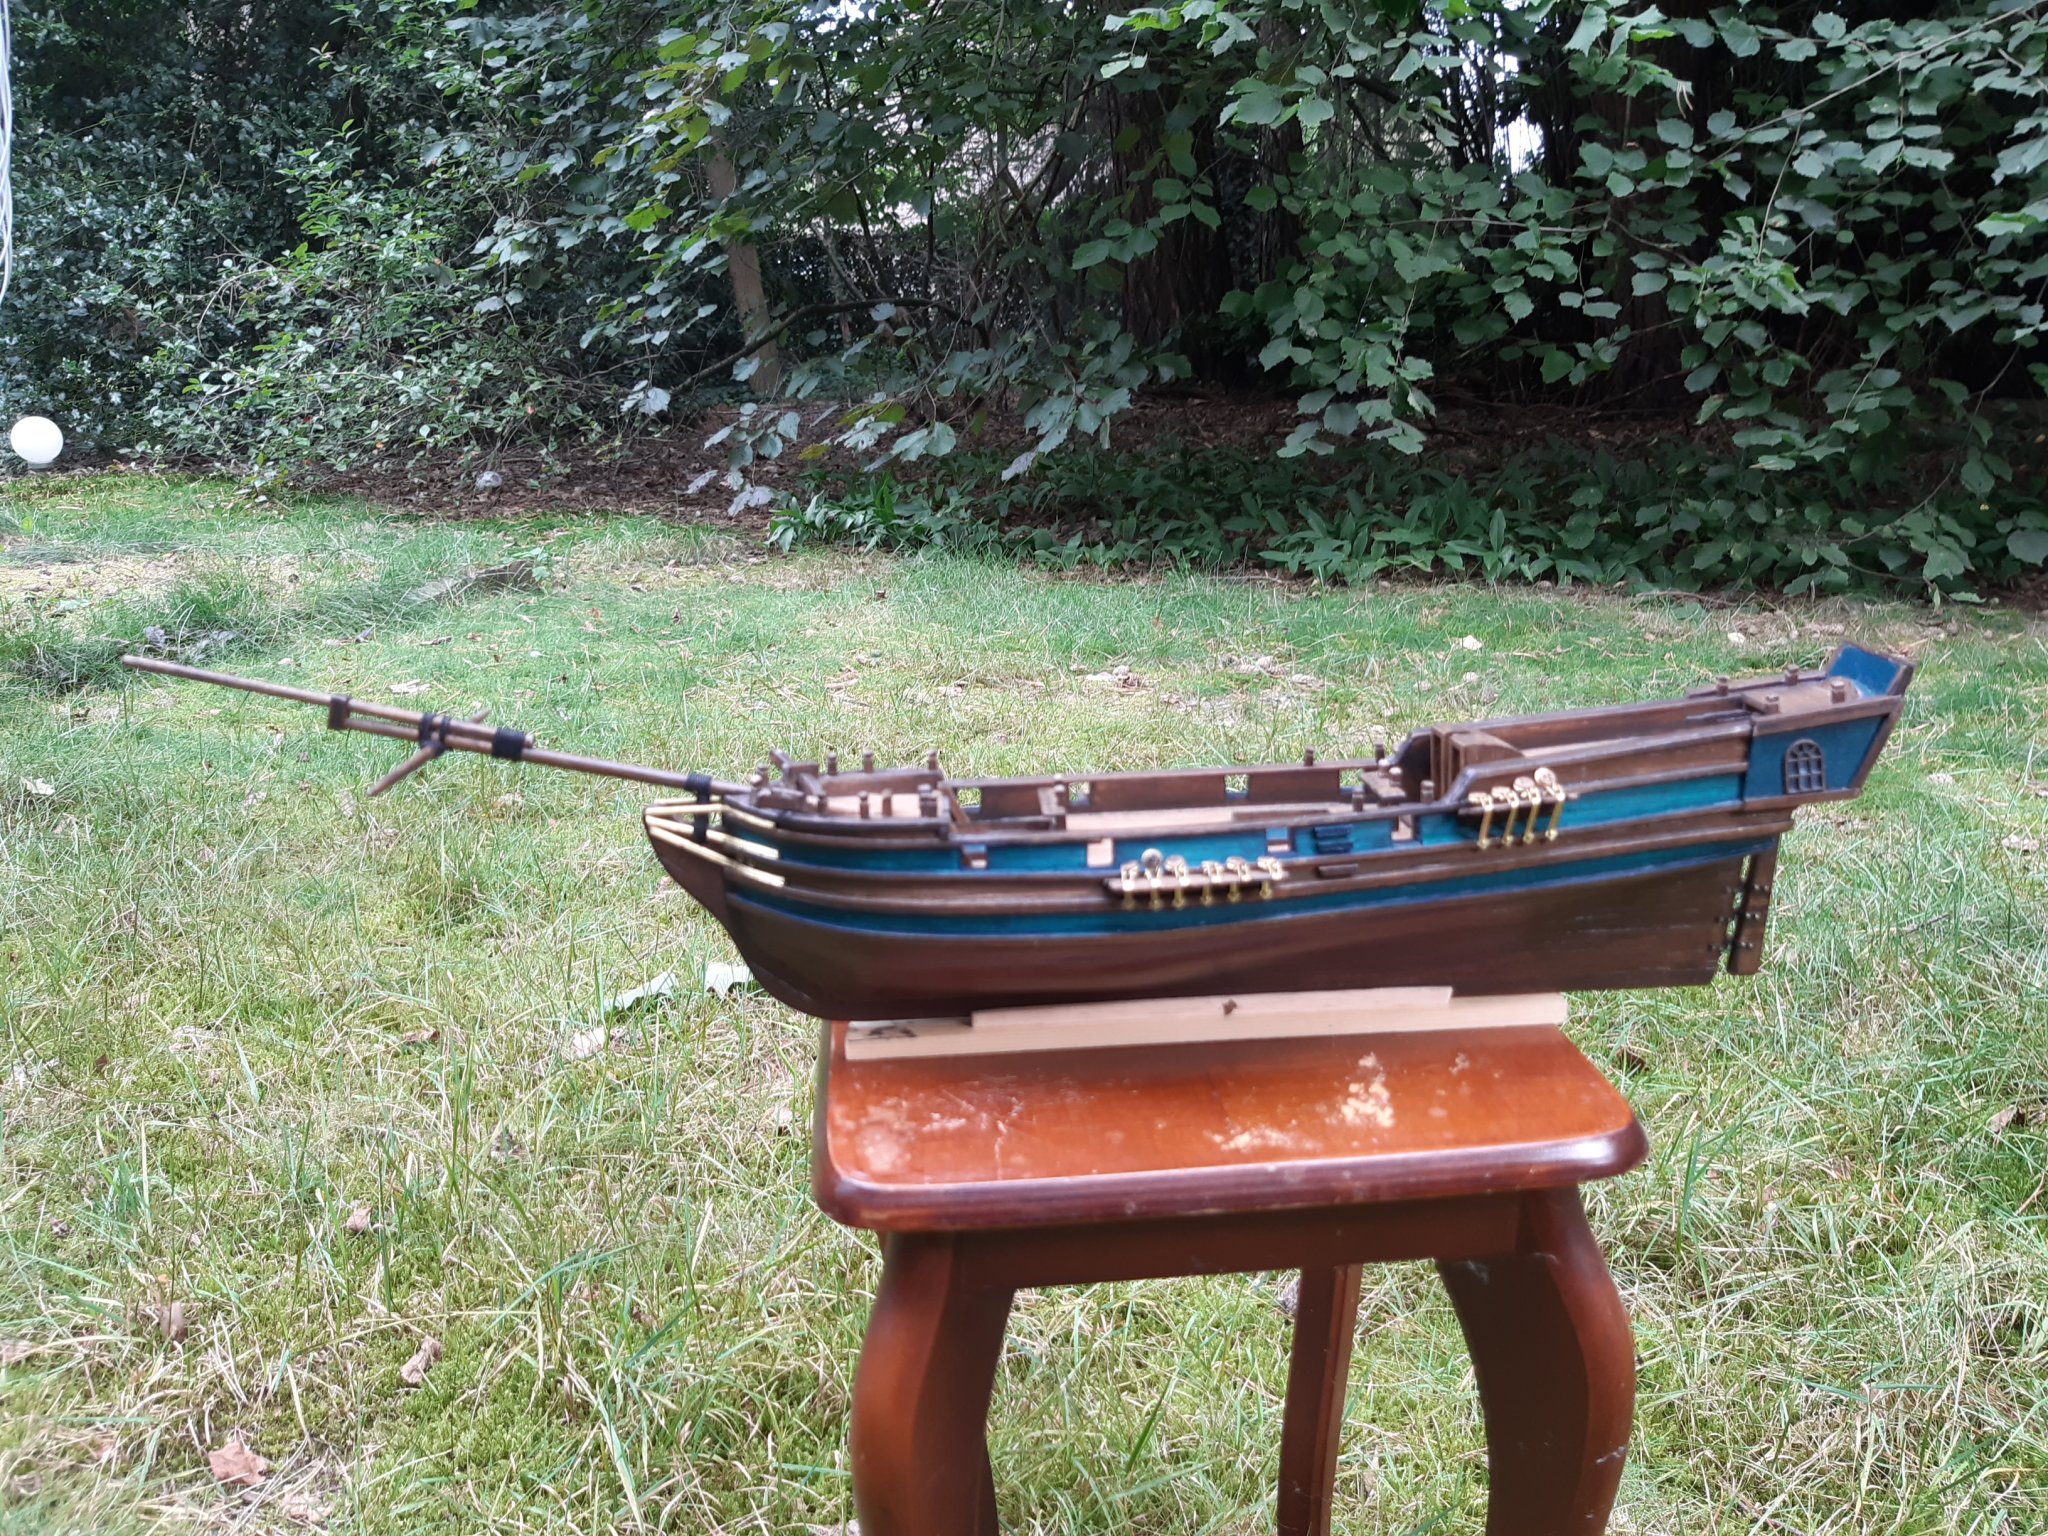
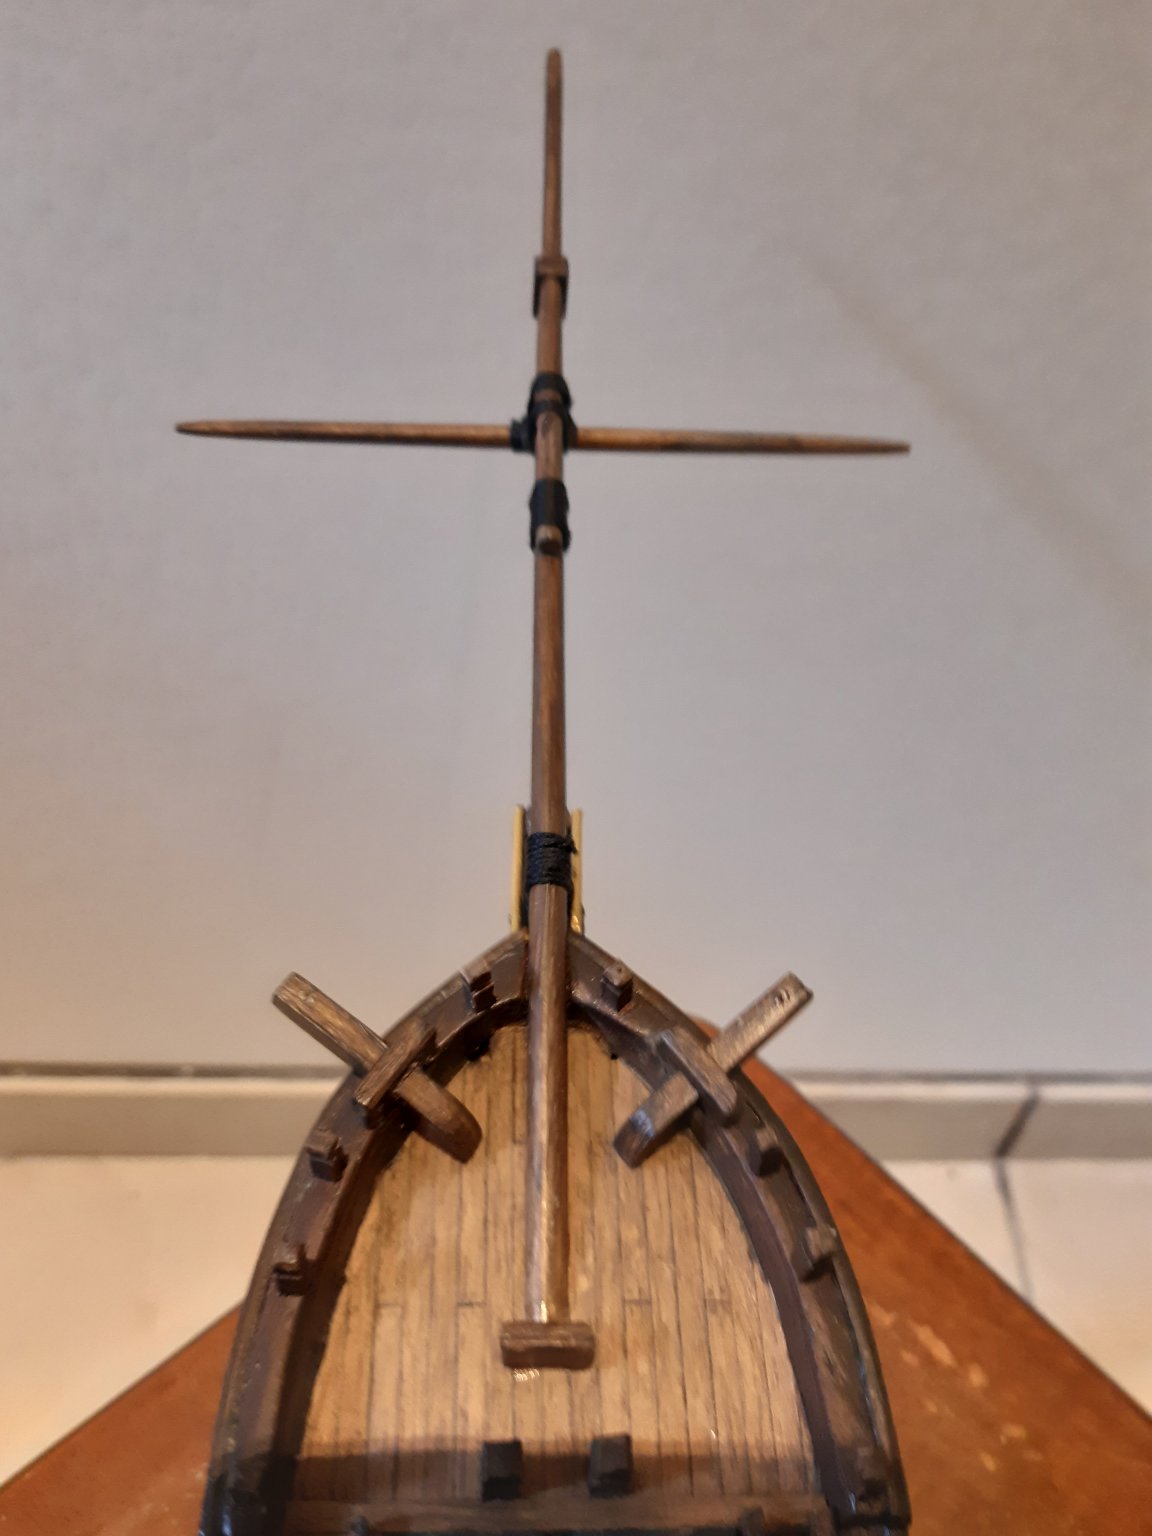
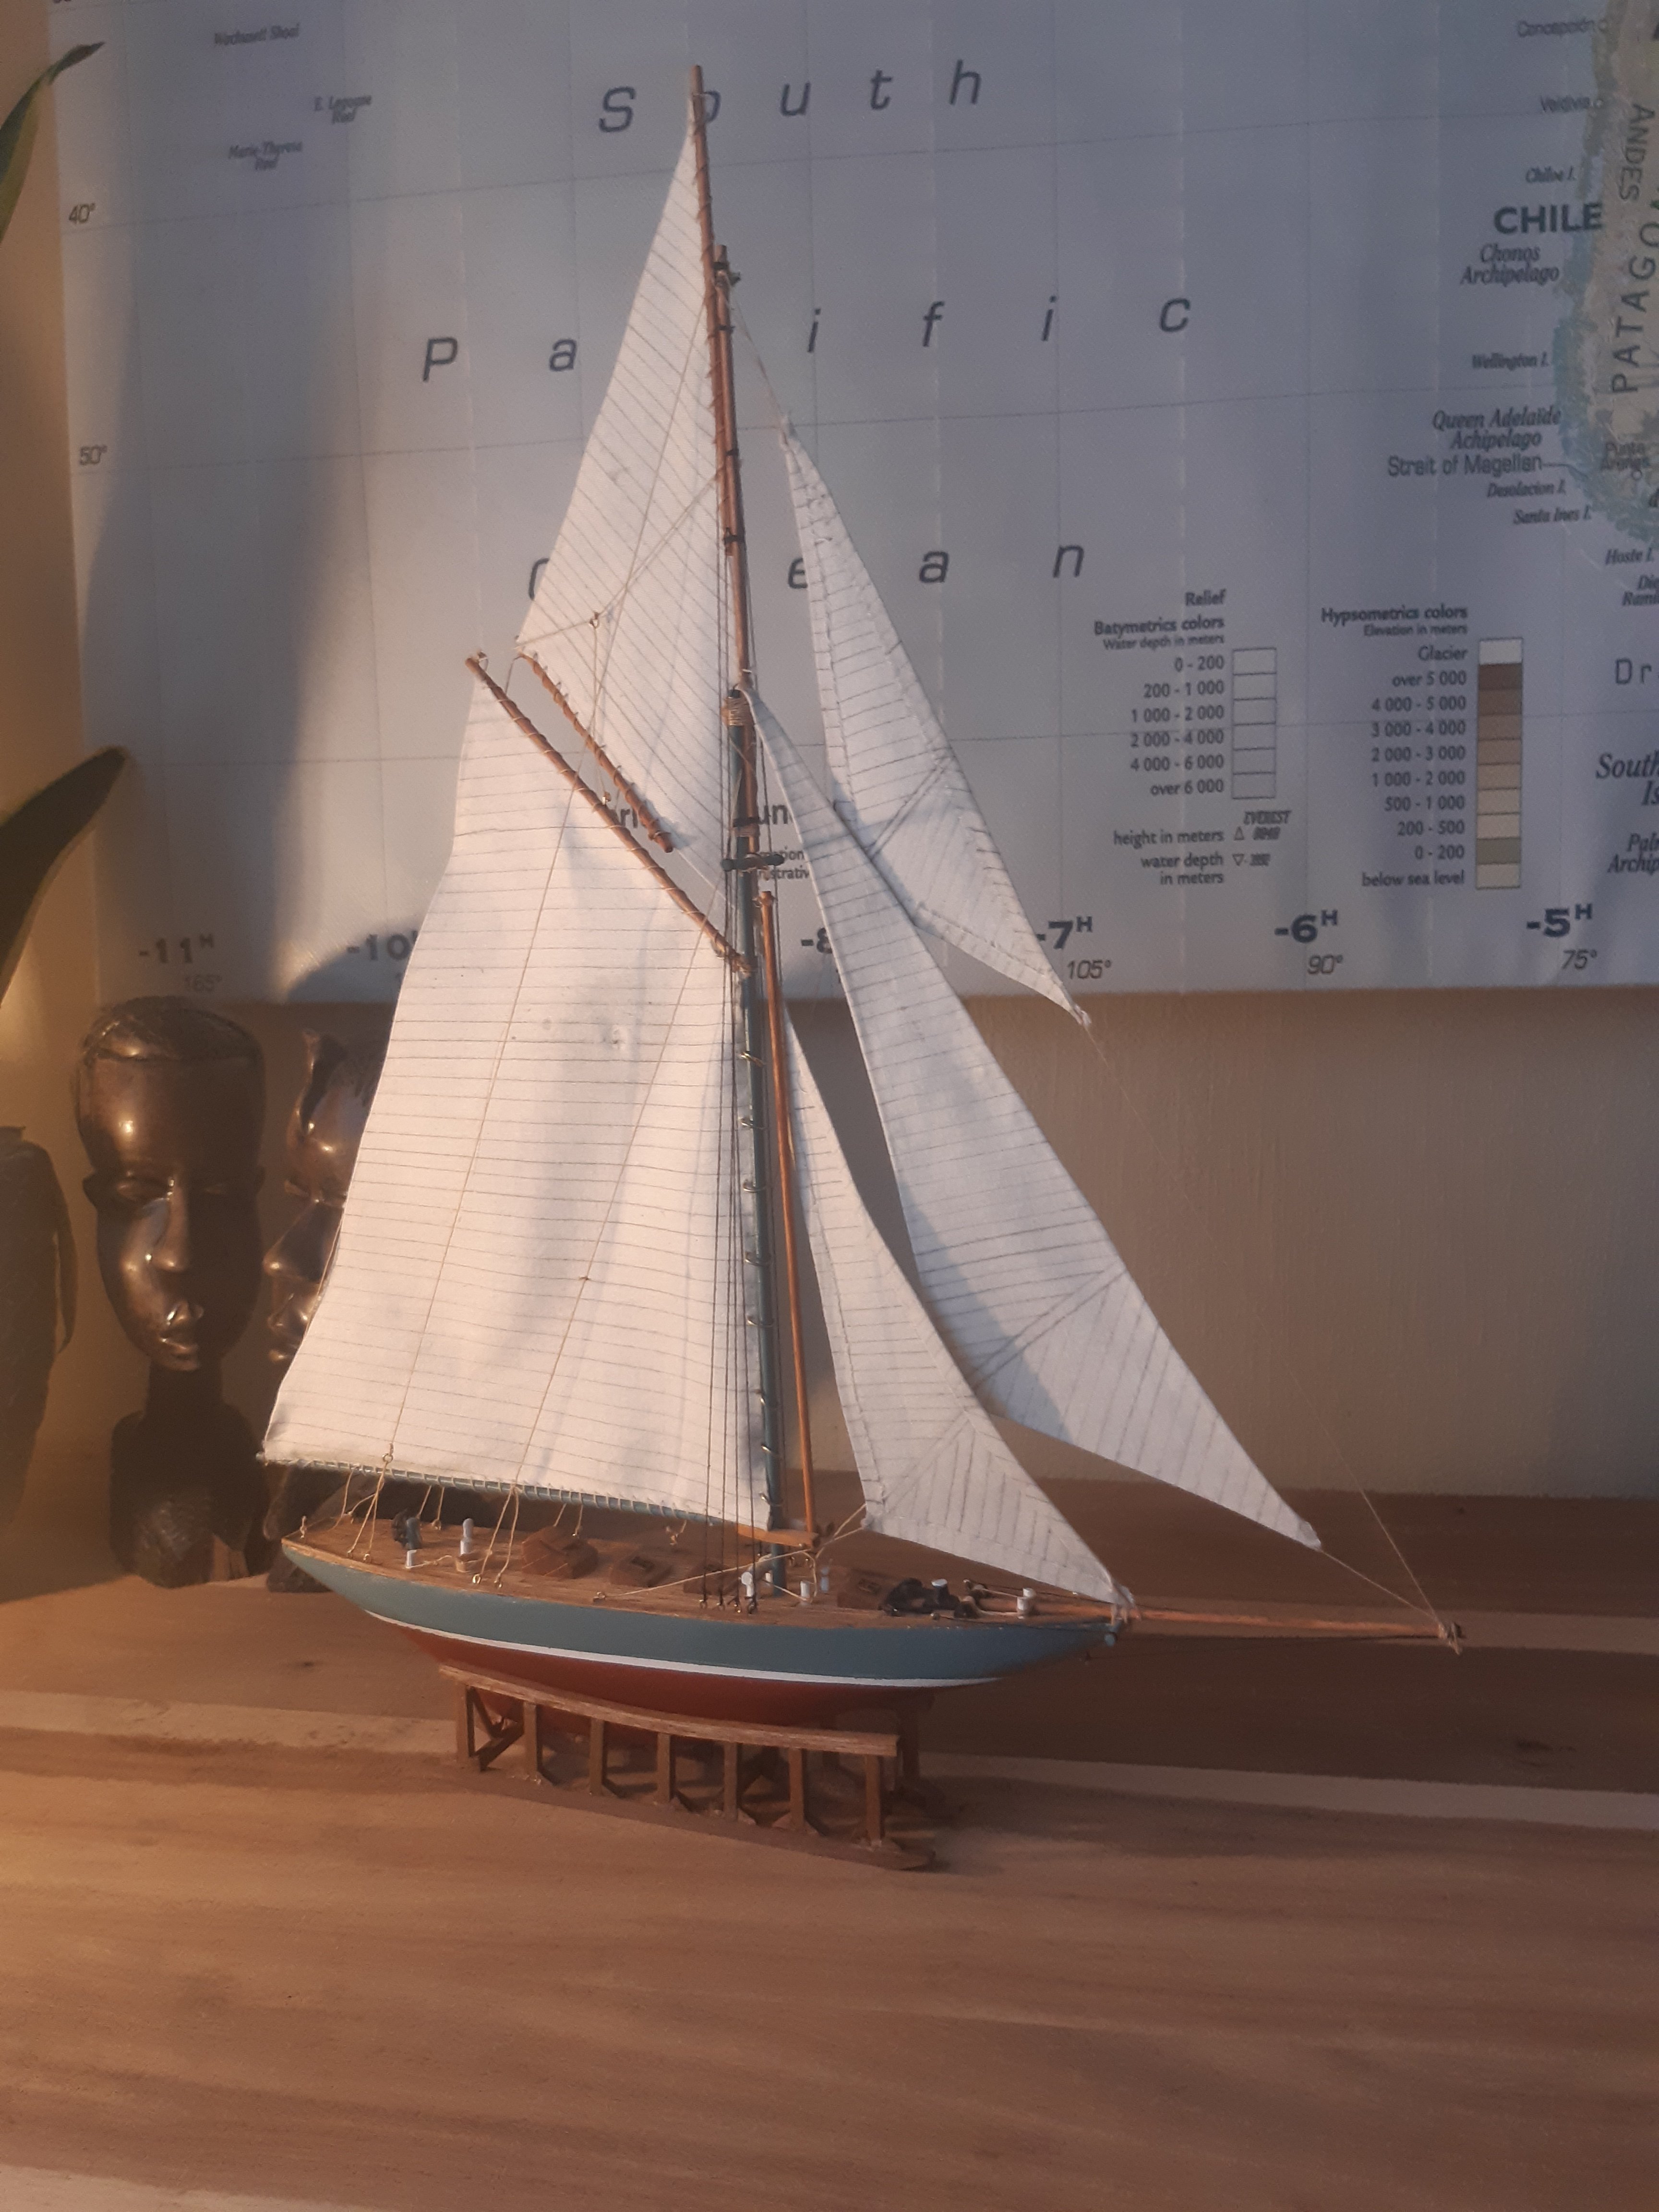
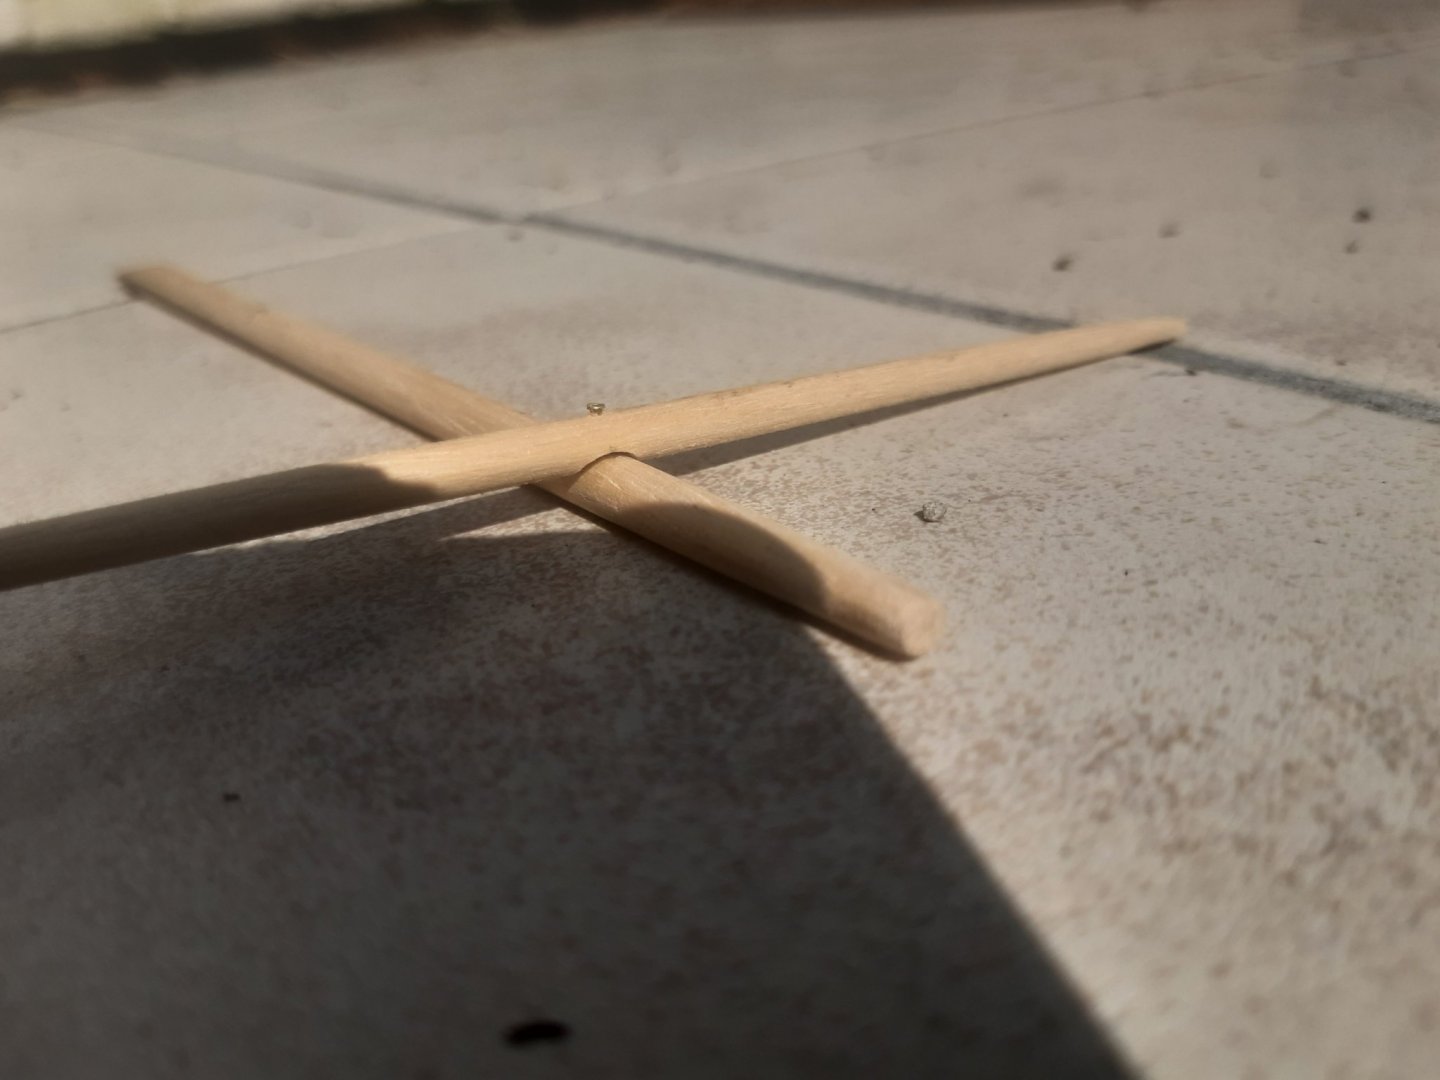
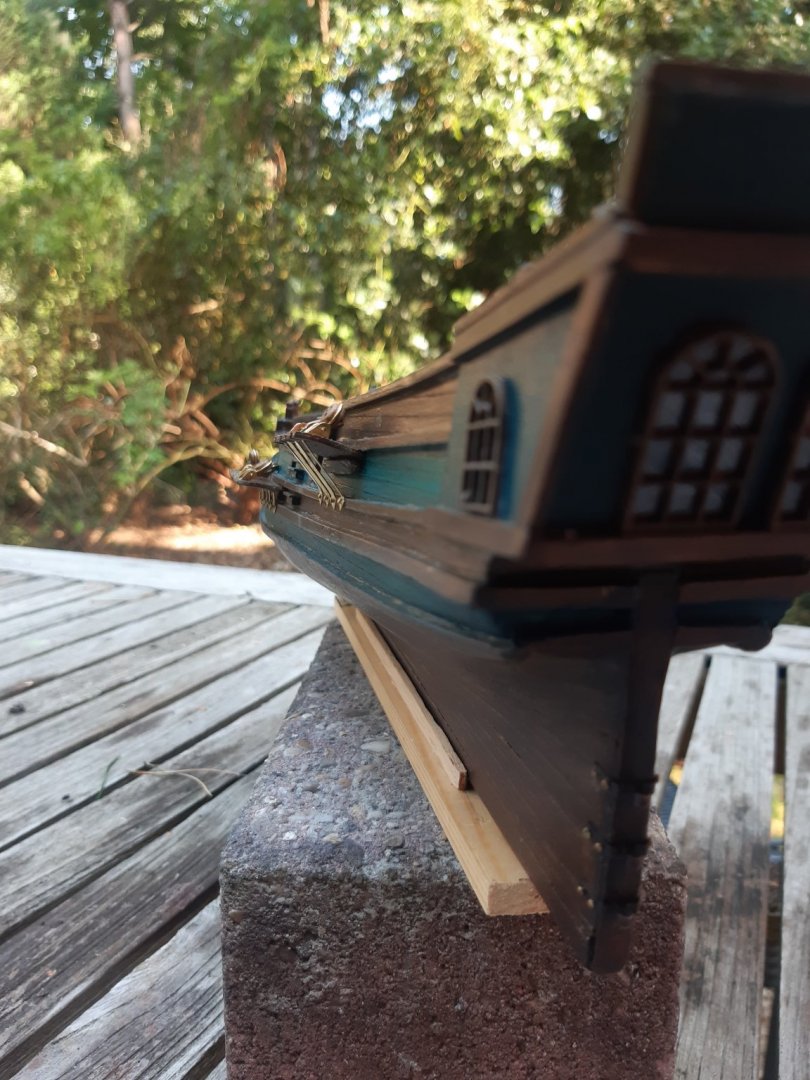
Hi msw, yet another update. The hull is nearly finished, just need to add two more poles on the foredeck to secure the bowsprit. The first "rigging" part, constructing the bowspirit, went really well. Better than anticipated. This, http://www.animatedknots.com/knotlist.php?LogoImage=LogoGrog.jpg&Website=www.animatedknots.com , helped a lot! I'm actually looking forward to the rest of the rigging now. I ran the thread through wax because I read that this helps with manipulating it. Most recommended are beeswax and microfiber wax (eg renaissance wax). I didn't have any of these so I used Mr Zogs sex wax (surf wax). It didn't do any harm but it also had little effect on the thread, besides making it smell good, so I ordered microfiber wax instead. It is still due to arrive but next time I'll be able to share my experience with this. Btw, do you have to wait inbetween wax layers or can you just pull the thread through a few times in a row? I will put the masts on the ship one of these days, but I have no clue about what ropes to tie first and the manual doesn't mention anything about this. What order would you guys recommend? Thanx for watching and possible answers, your friend Halfdan I tried making the cross section on the bowsprit as firm as possible so I added a little pin and adjusted the cross section so it would fit on the bowsprit better. (I do apologize for my poor terminology, it's a work in progress )


-
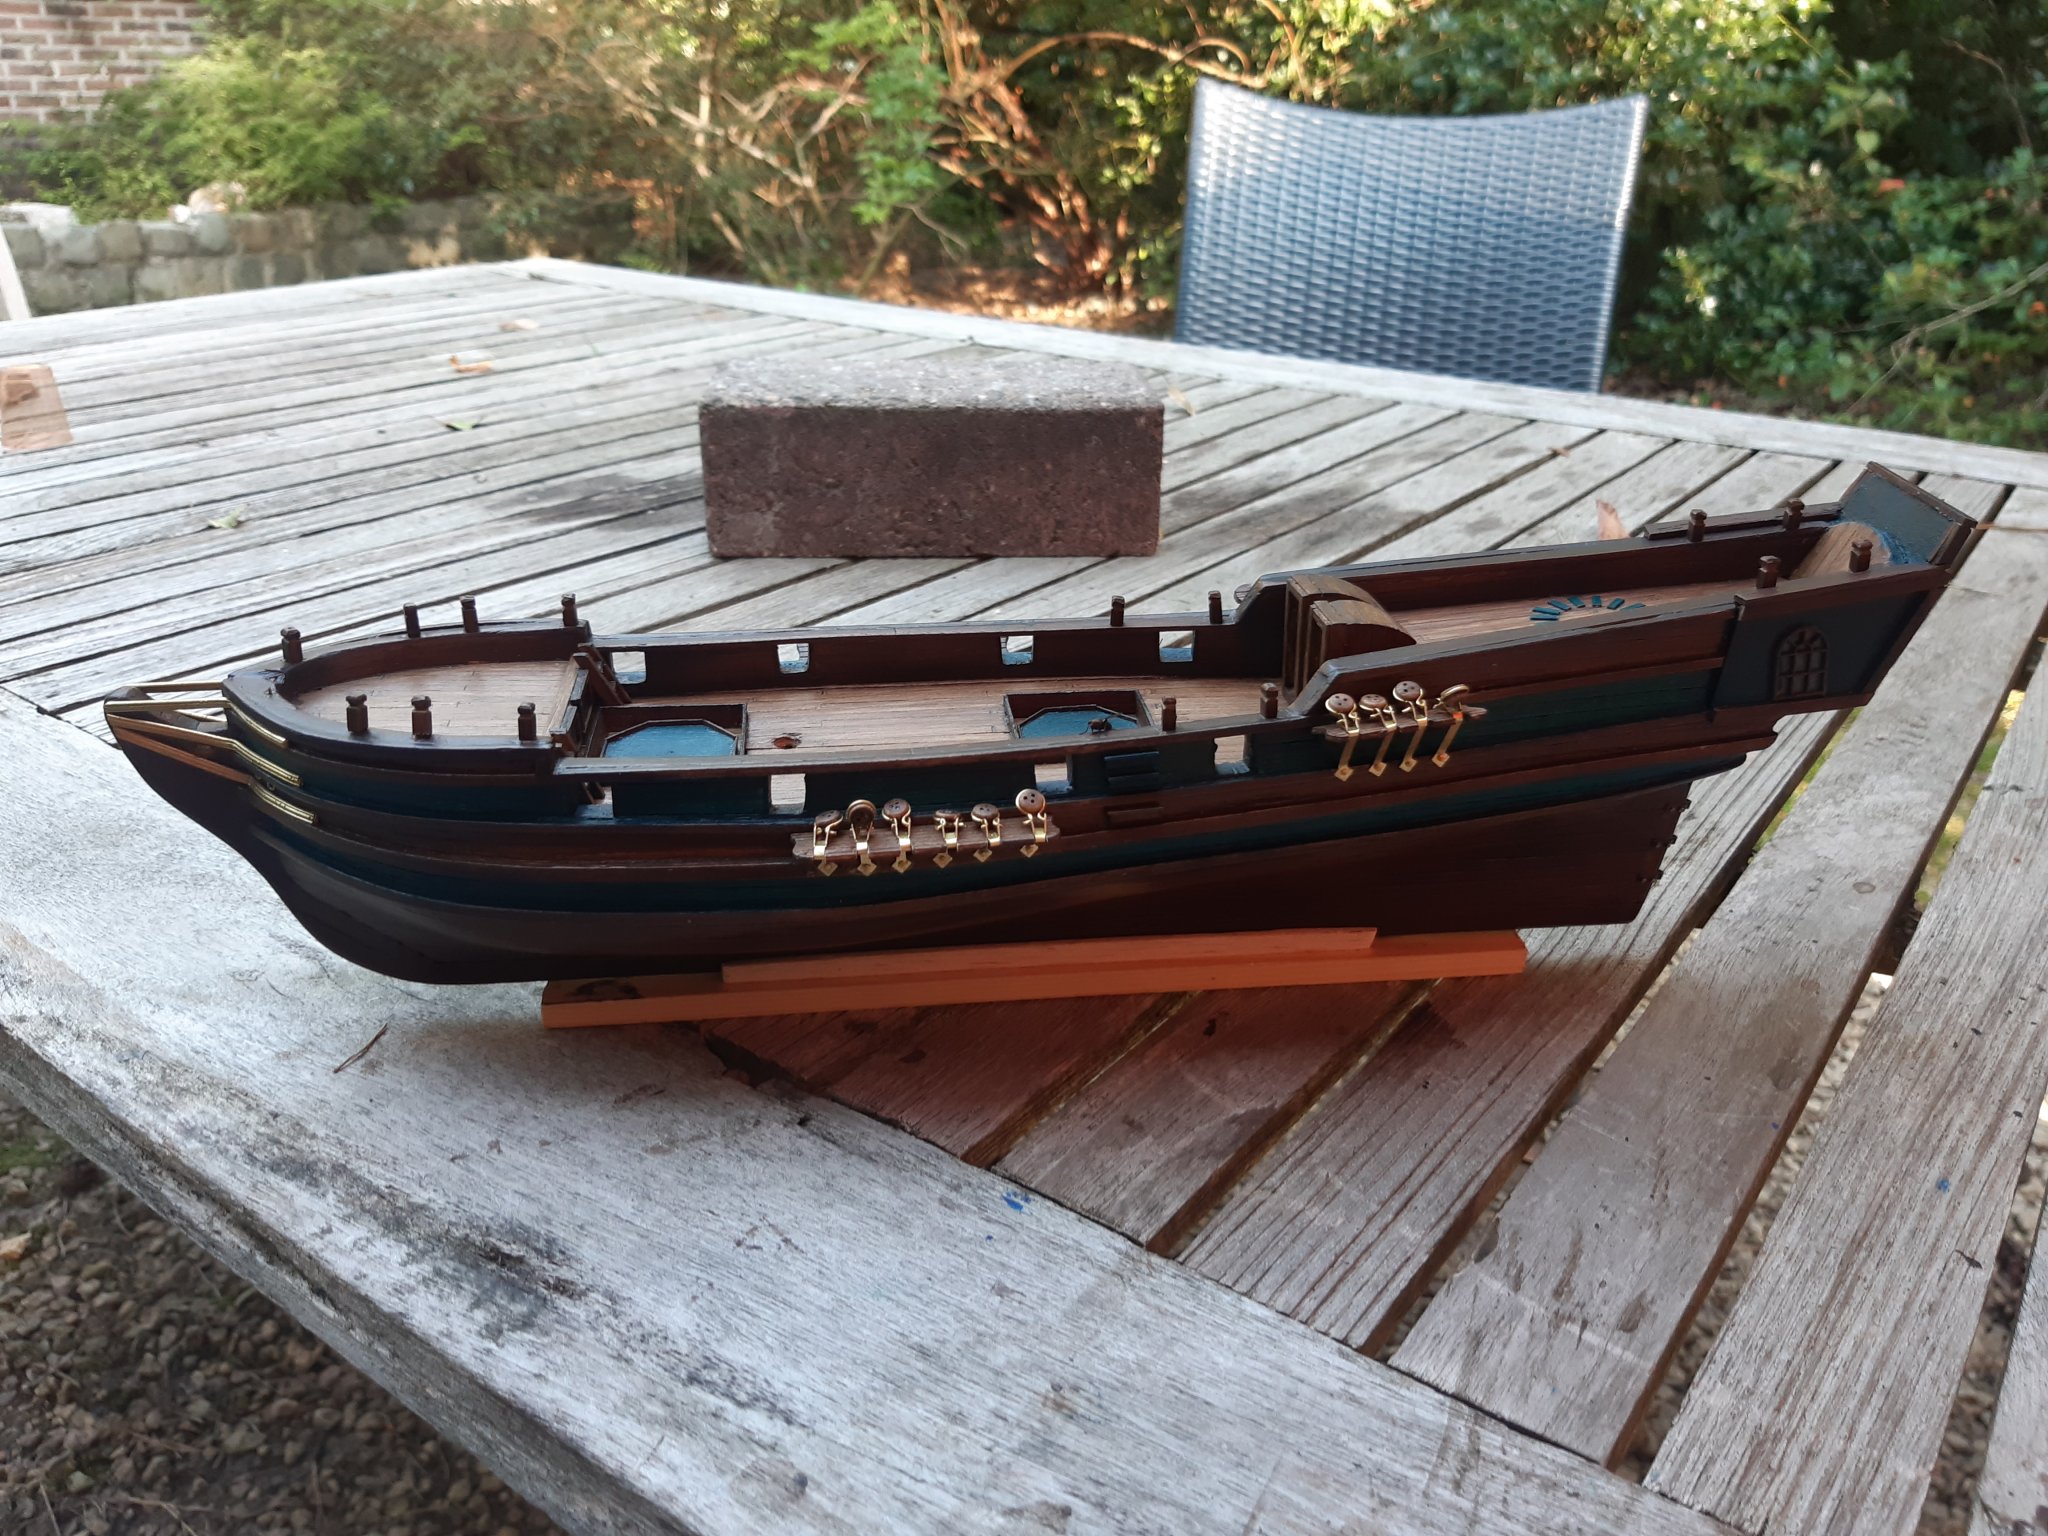
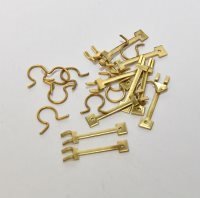
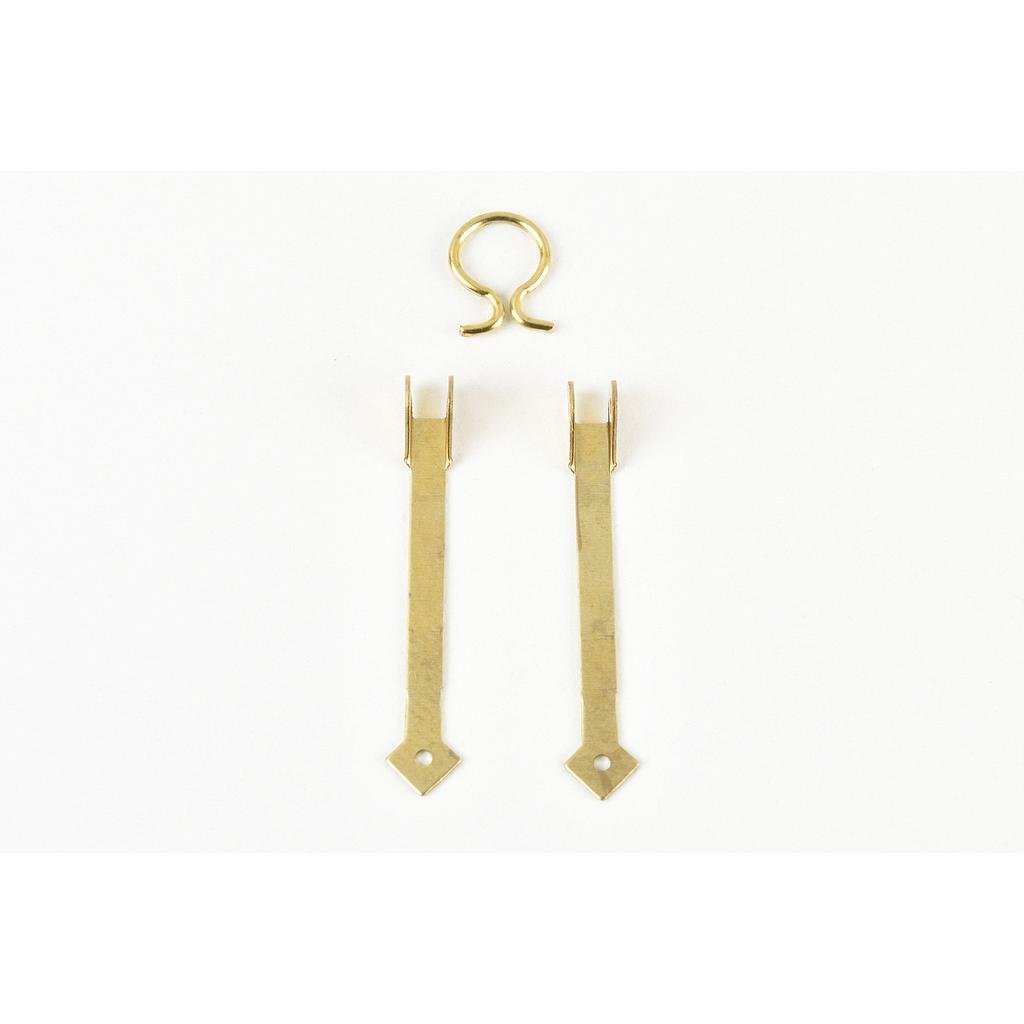
Hello msw, I hope everybody is well. It’s been a while since my last post so I thought I would show some pictures to keep you up to date. I have not yet encountered significant problems or issues. I have however experienced some annoying setbacks, like having to rebuild and install all posts (on the railing of the ship) because I made the first ones out of a 4x4mm beam while 3x3mm looks a lot better, etc… The only thing I could not manage to assemble were the messing shroud holders that are attached to the hull. I wasted 3 hours on them and then decided to throw them as far as they could fly. Instead I bought the ones from Amati (see pic below) and they were much better and a lot easier to assemble. I also spent a lot of time on the aftercastle but that’s because I made my own version. In total I made about 10 versions of which I have posted a few before. But I’m happy with how it turned out and I think it fits the ship better than the one provided with the kit. It is however not complete yet. But all in due time. I bought the kit at a price of €90, but wit all the extra wood, varnishes, paint, glue, messing ornaments, etc… I have easily spent another € 90. This is not necessary tho, (except for the glue and some tools of course), if you follow the instructions, everything you need is provided. All parts are of oké quality, except for the messing parts, they were absolutely rubbish. Maybe this differs from kit to kit but mine were of poor quality (bended, size off, ….). You’ll see on the pictures that I tried to bring back the same color as the stripes on the ship onto the deck. This is probably not for everyone but I personally find most of the kits you can buy have boring colors (if they have any at all). I know this isn’t historically correct or what not but I have to look at my model when it is finished and I prefer aesthetics above historically accurate. I still have lots of work. I am not looking forward to rigging the ship but that’s because I’m unsure about it. I have two knots in my repertoire if you will, one for tying my shoelaces and another for my tie. I’m affraid none of those will be needed tho. Luckily rope and deadeyes are cheap so I can practise as much as needed. Thanks for reads, likes and follows! These are godawful. (mantua) Use these instead : (amati)

-
Great job so far, looking very good! I’ll be following with great interest as I’m considering La Flore for my next project. It’s a beautiful ship and looking at your progress so far I’m sure you are going to do it justice. Keep it up👍🏻
-
Impressive job! I was at the national maritime museum in Amsterdam yesterday and none of the models displayed there are of this quality, not even close. Very inspiring log, thanks for posting 👍🏻
- 41 replies
-
- 3
-

-
- artesania latina
- hms victory
- (and 1 more)
-
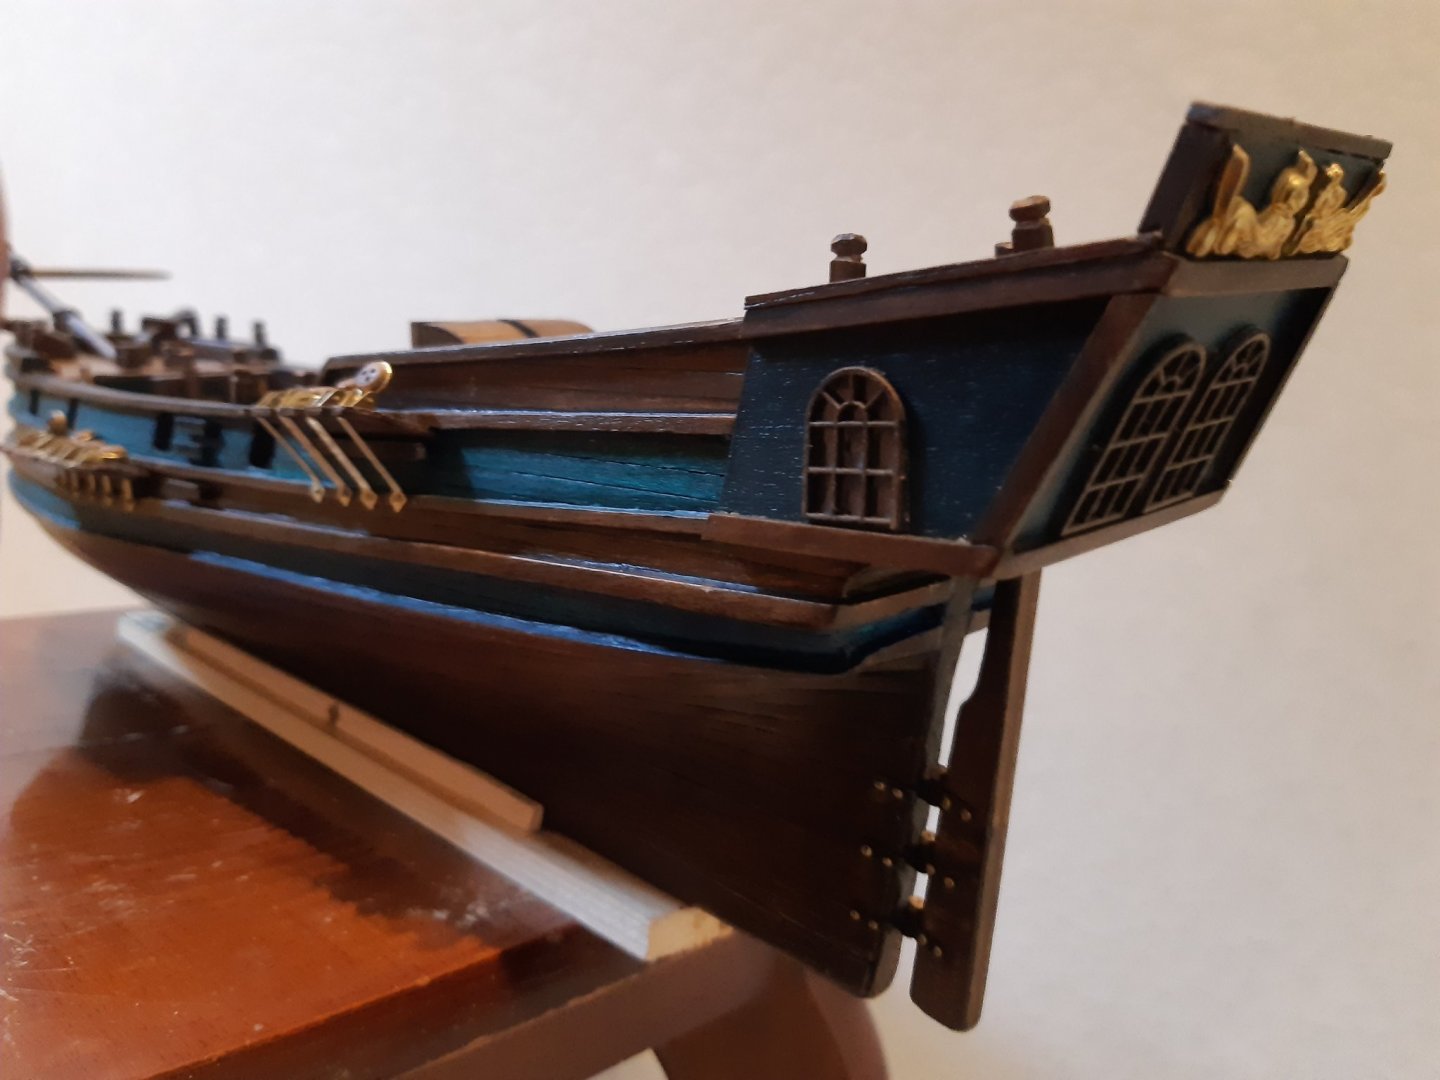
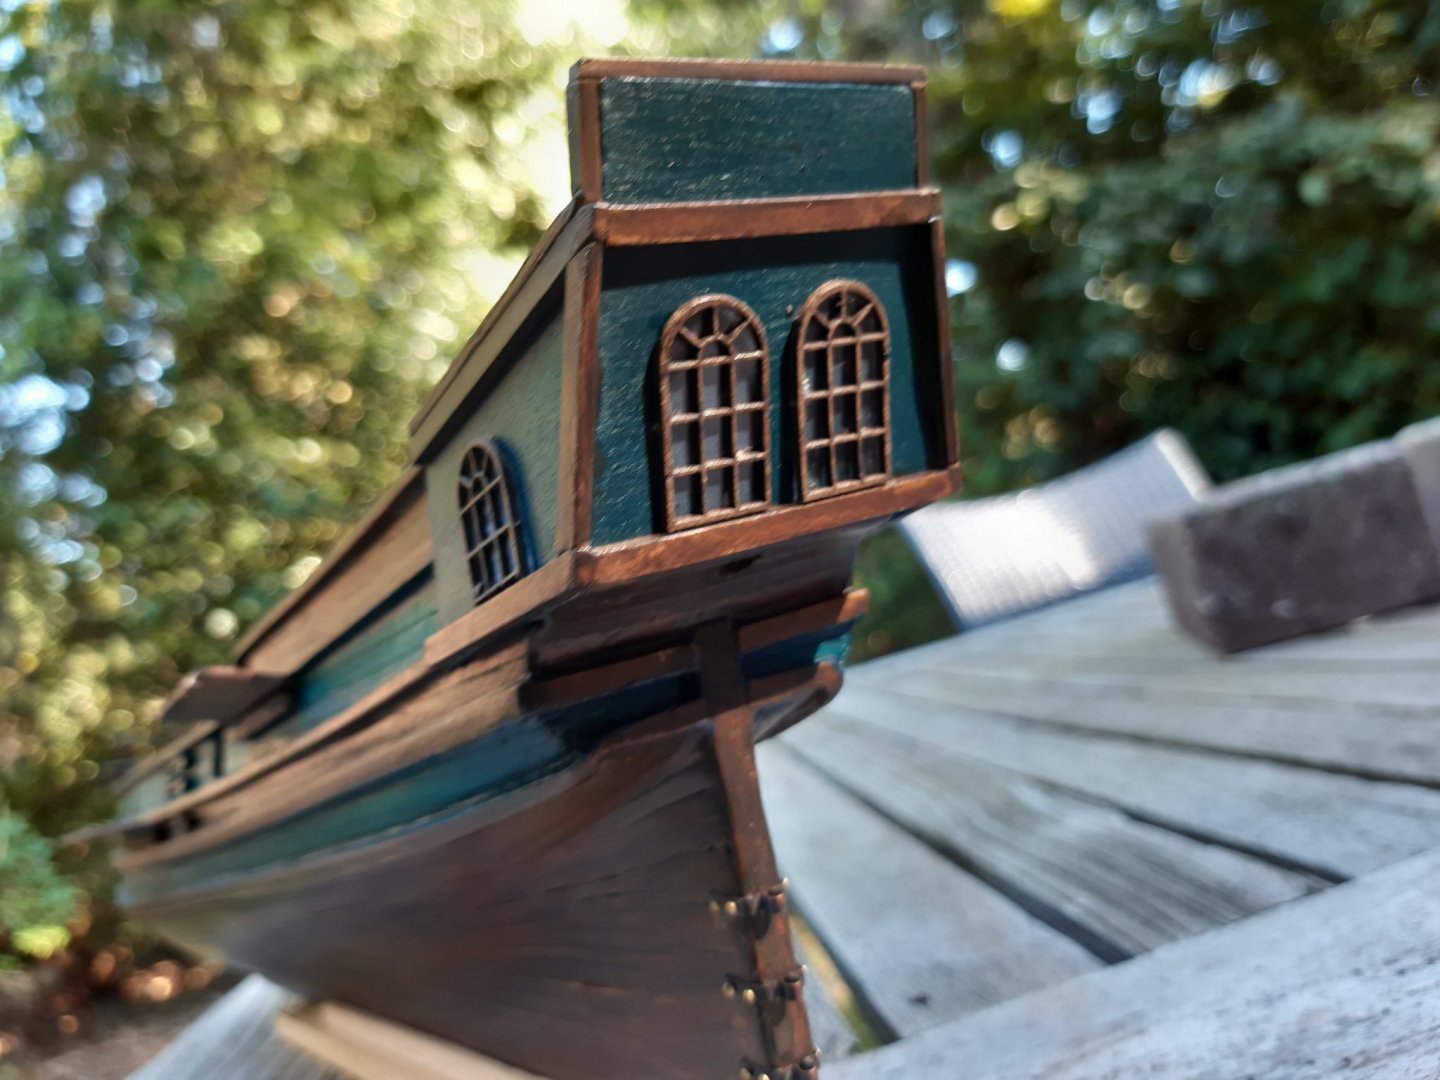
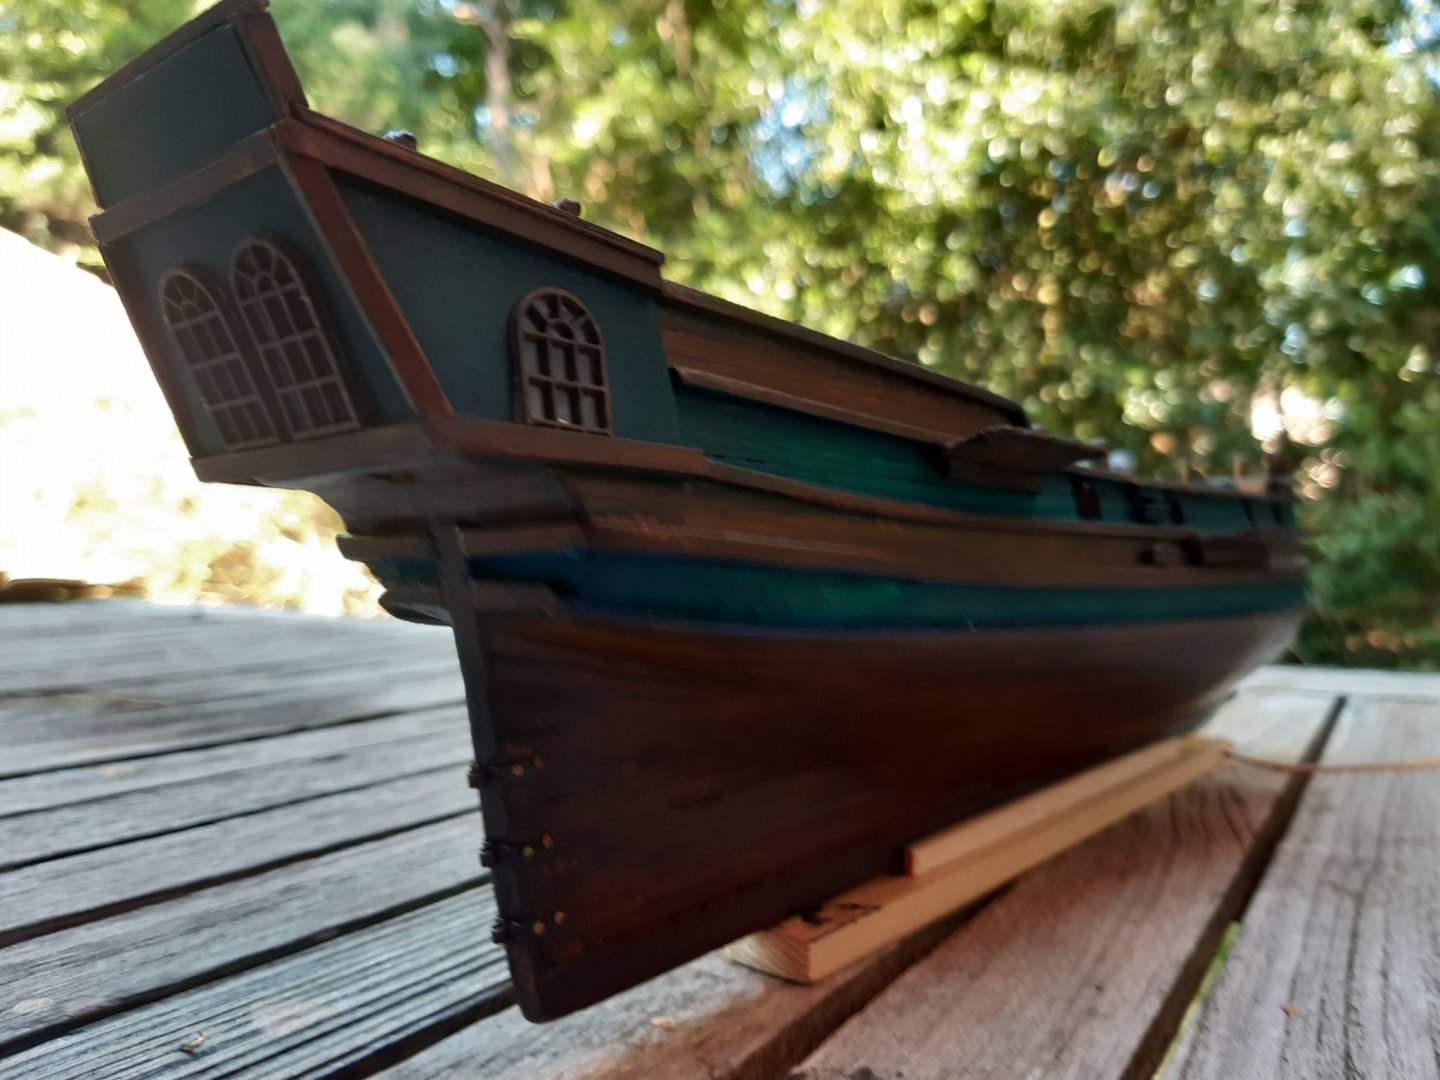
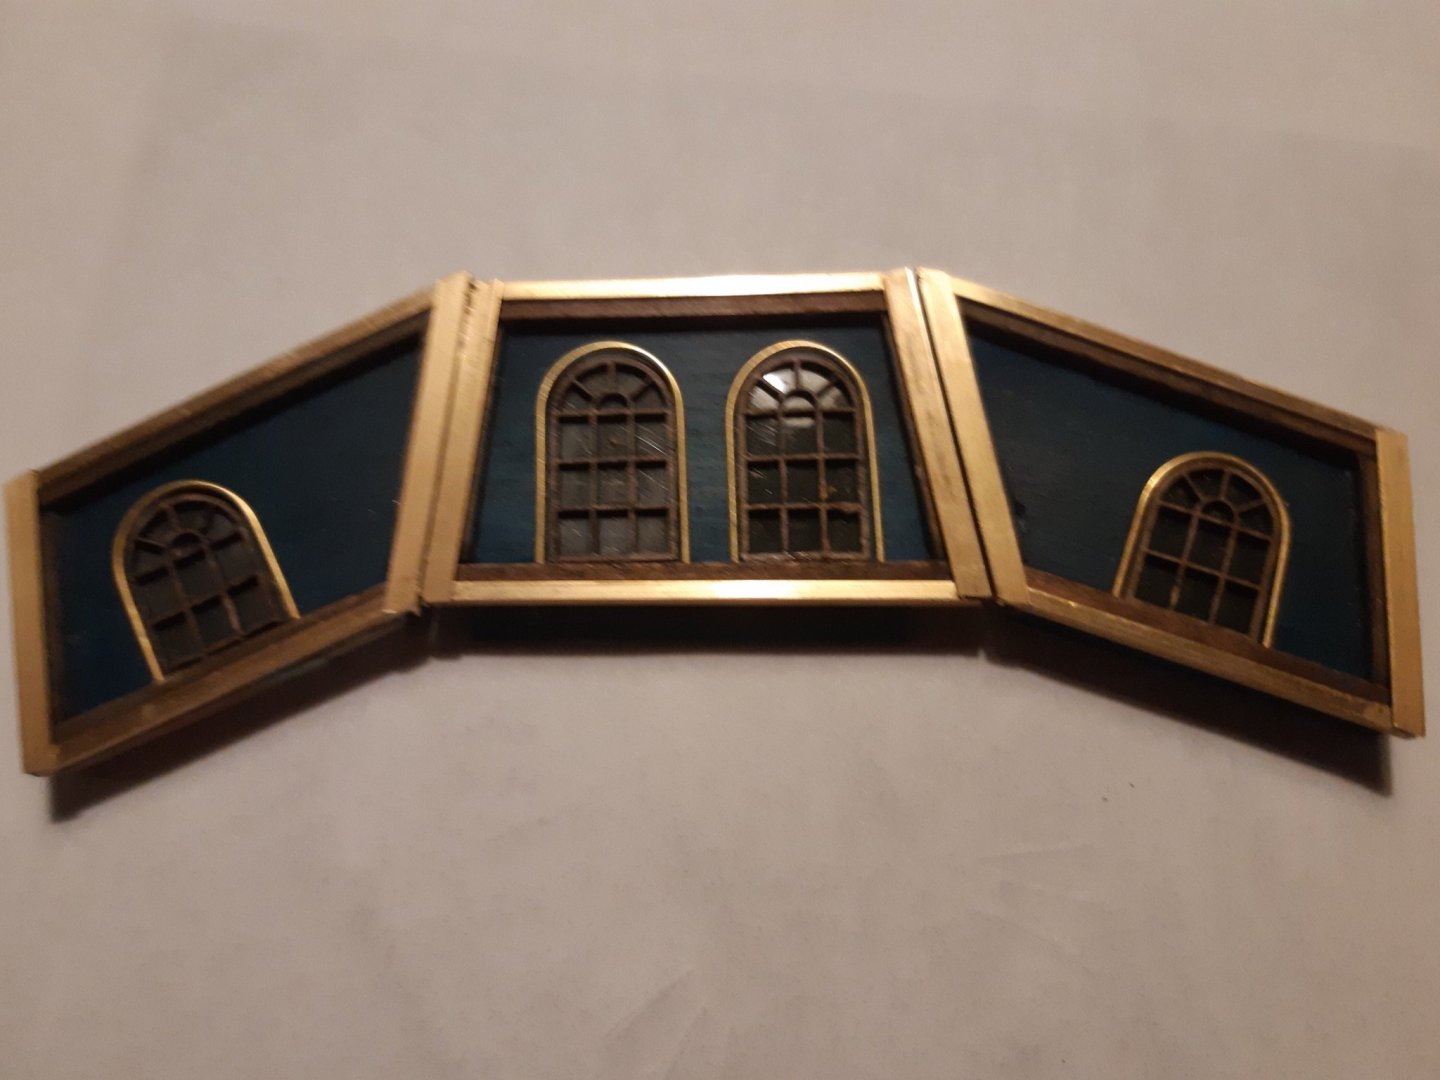
Completed the aftercastle. The empty space on the side panels will be filled in with ornaments I ordered online. But for now I can move on and start focussing on the next step.
-
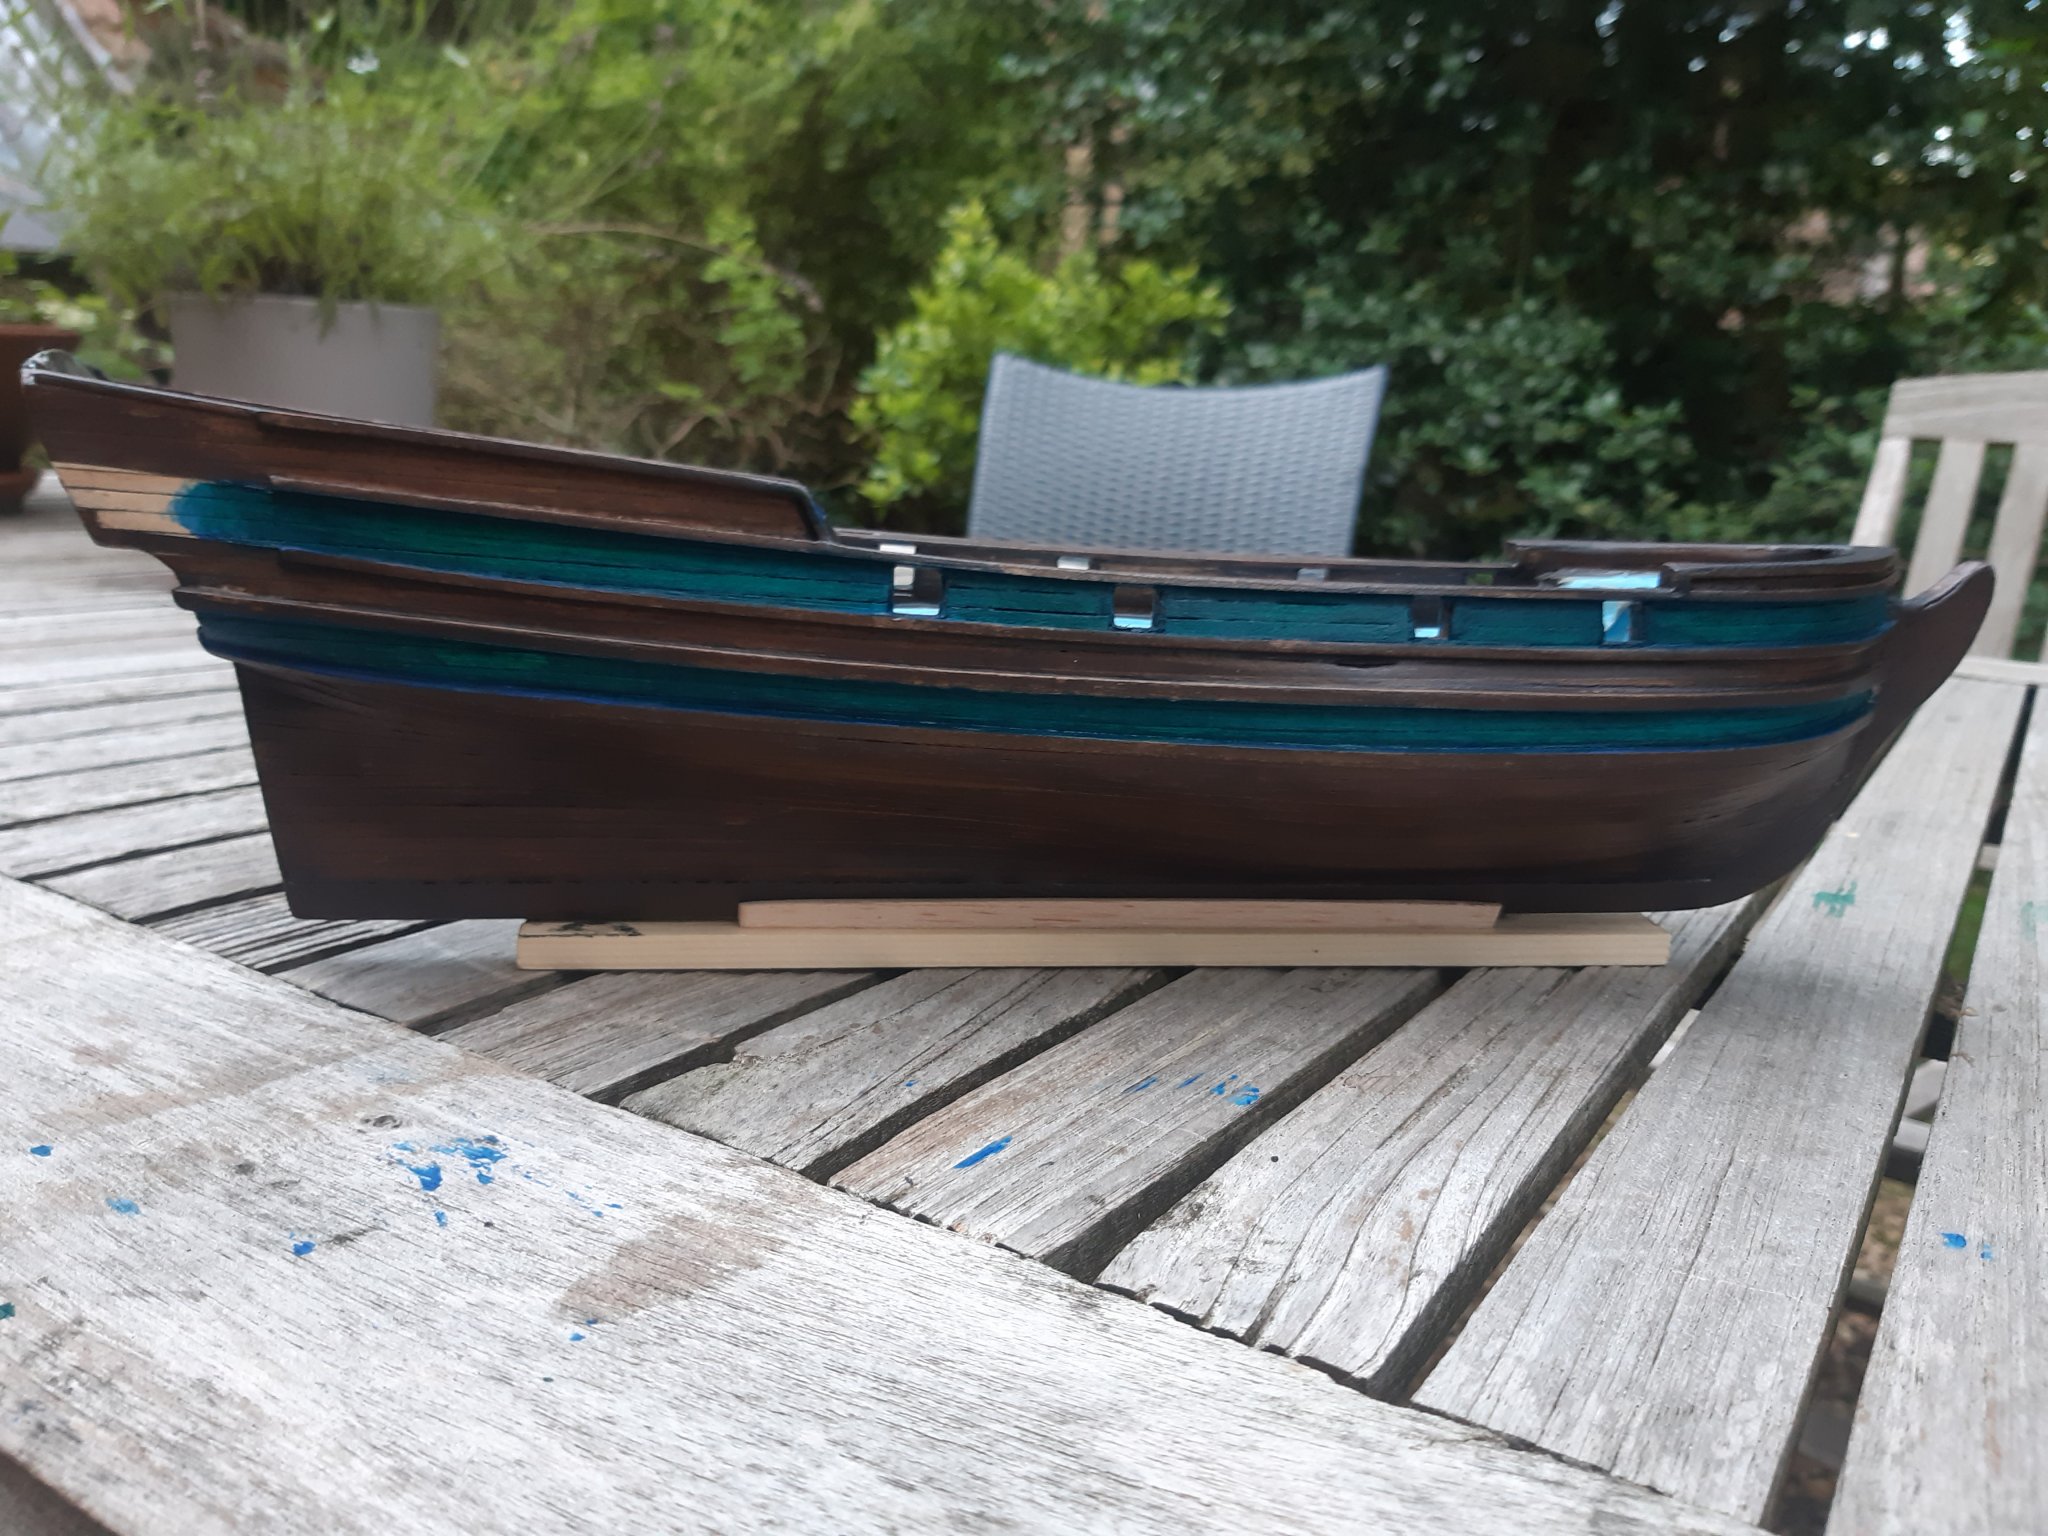
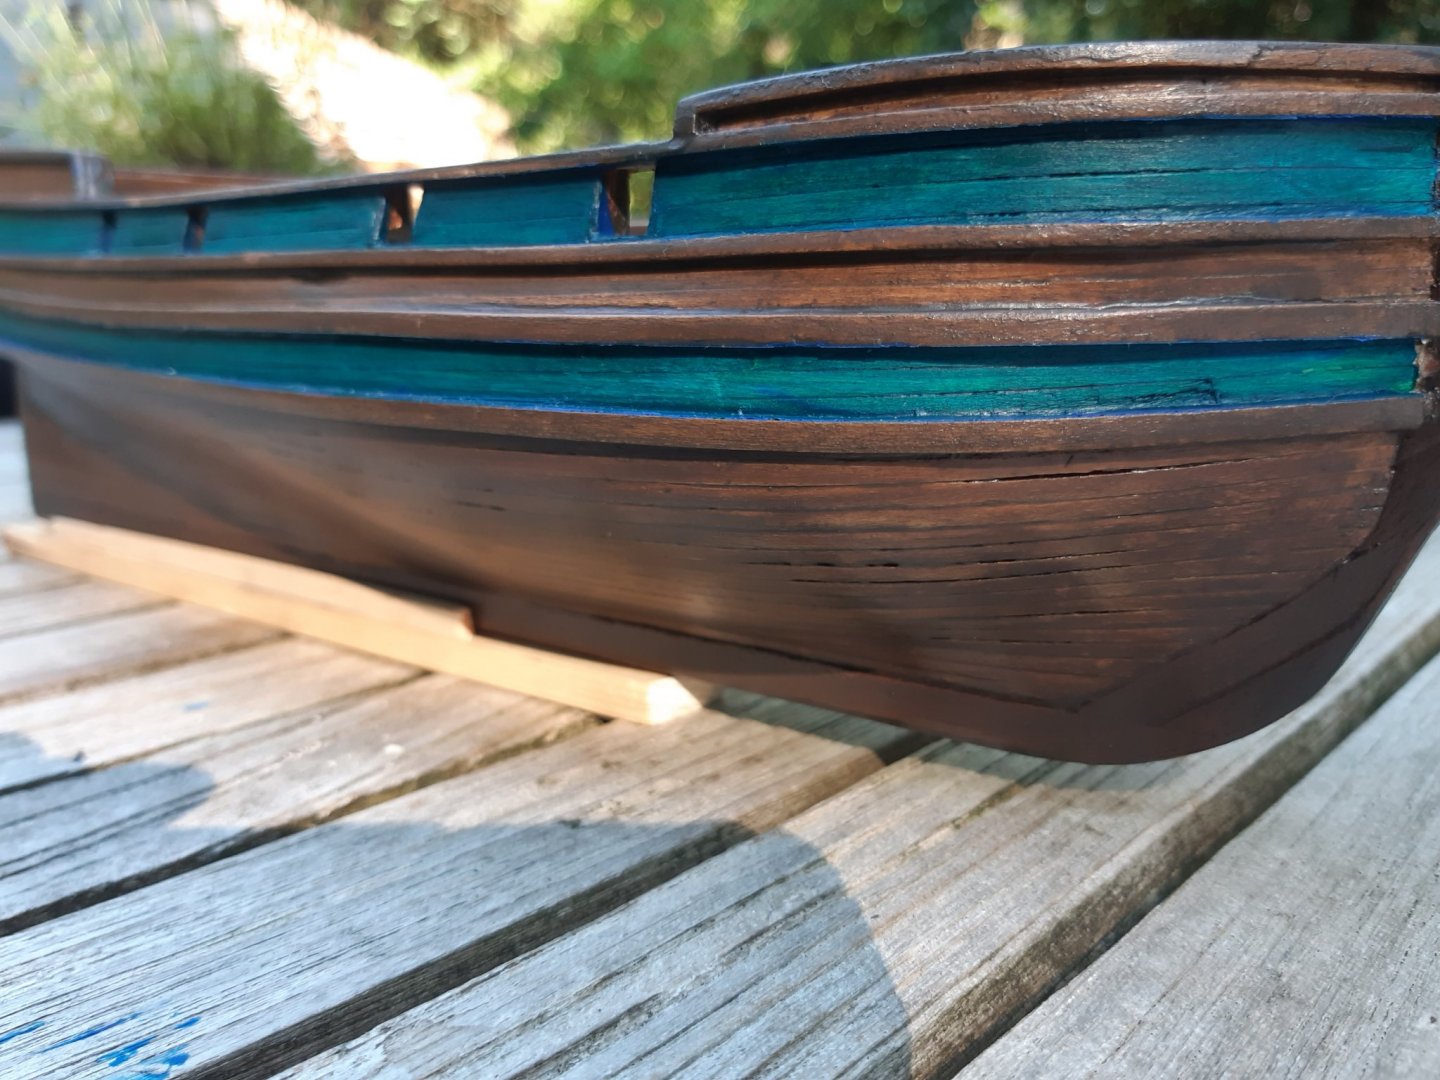
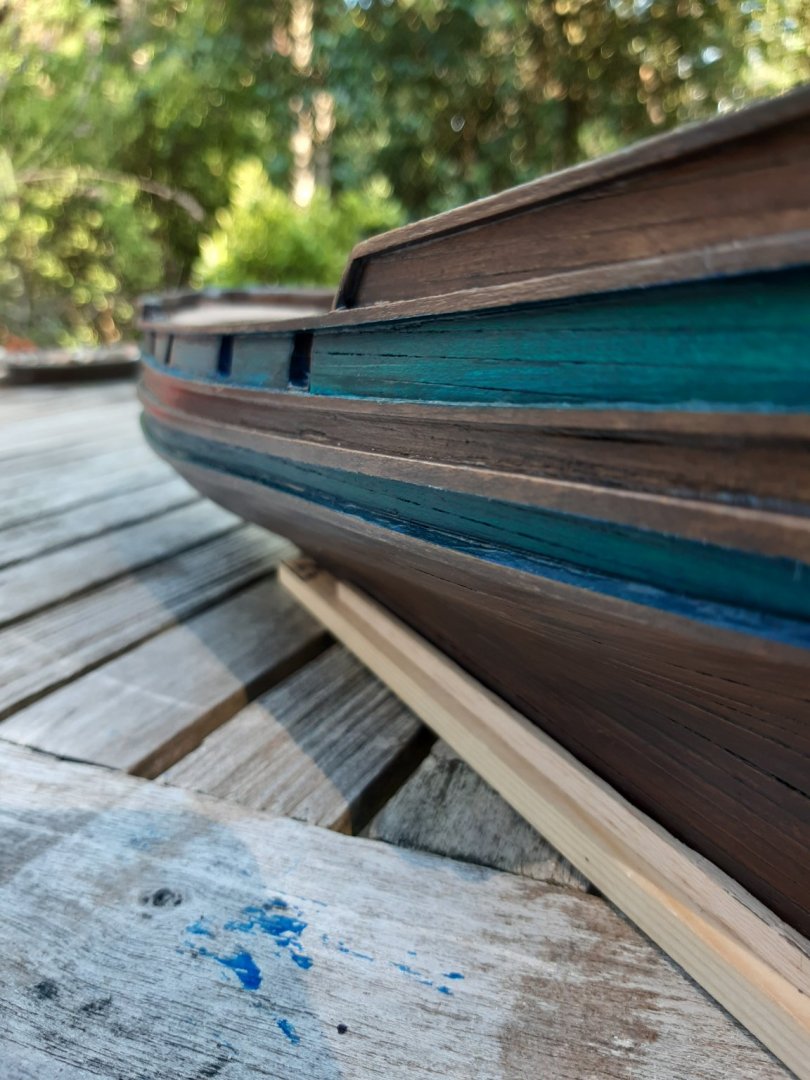
Hello again msw, finally I made some mention worthy progress. I spent a lot of time deciding upon the ship’s colors and on trying to figure out how to make the aftercastle. Finishing; I applied 5 layers of thinned dark oak varnish with soft sanding in between layers. For the colored stripes I intended to use black but after giving it some thought I wanted something less “boring”. I could not make up my mind between green and blue so I did both. I started with a layer of thinned blue followed by a layer of green and did this twice, so four layers in total. Aftercastle; I decided upon a simpel layout with limited bling. I used foamboard, woodfineer, brass wire and L profiles, pre made windows and a plastic transparant sheet. I tried making the windows myself but I could not get them as clean and detailed as the pre made ones so I used the latter instead. The whales and the painting stop naar the stern, this is where the aftercastle will be fitted and cover the unpainted part. The castle is not completely finished yet as I plan to fit it in a later stage, I’m worried about damaging it while working on other parts of the ship. I also ordered some ornaments that I might add. So far the build is going pretty smooth without too much difficulties. I did spent a ridiculous amount of time glueing the whales on tho, persistence is key! Next up are all the structures, ladders, etc on the deck.


-
Amazing job on the deadeyes Patrick! Your detailing is so thorough that people who are not into model ship building probably won't even notice it or value the amount of work put into it. Keep it up!
- 756 replies
-
- 3
-
-
- galleon
- golden hind
- (and 2 more)
-
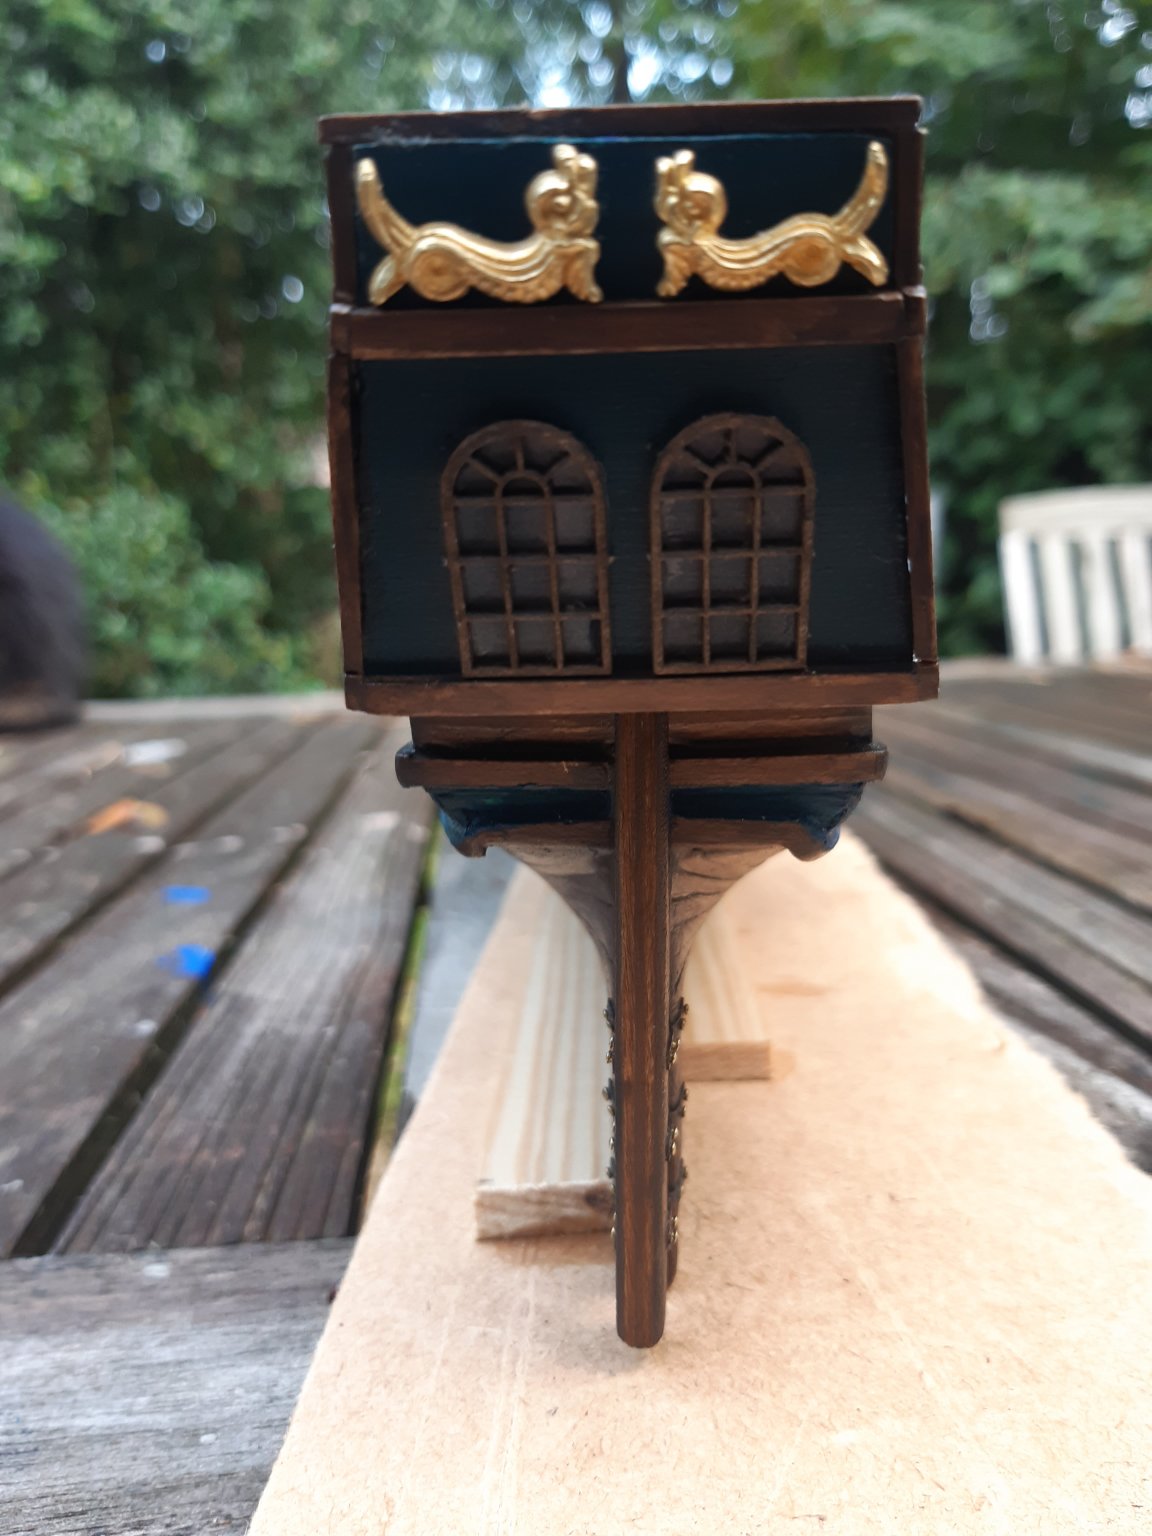
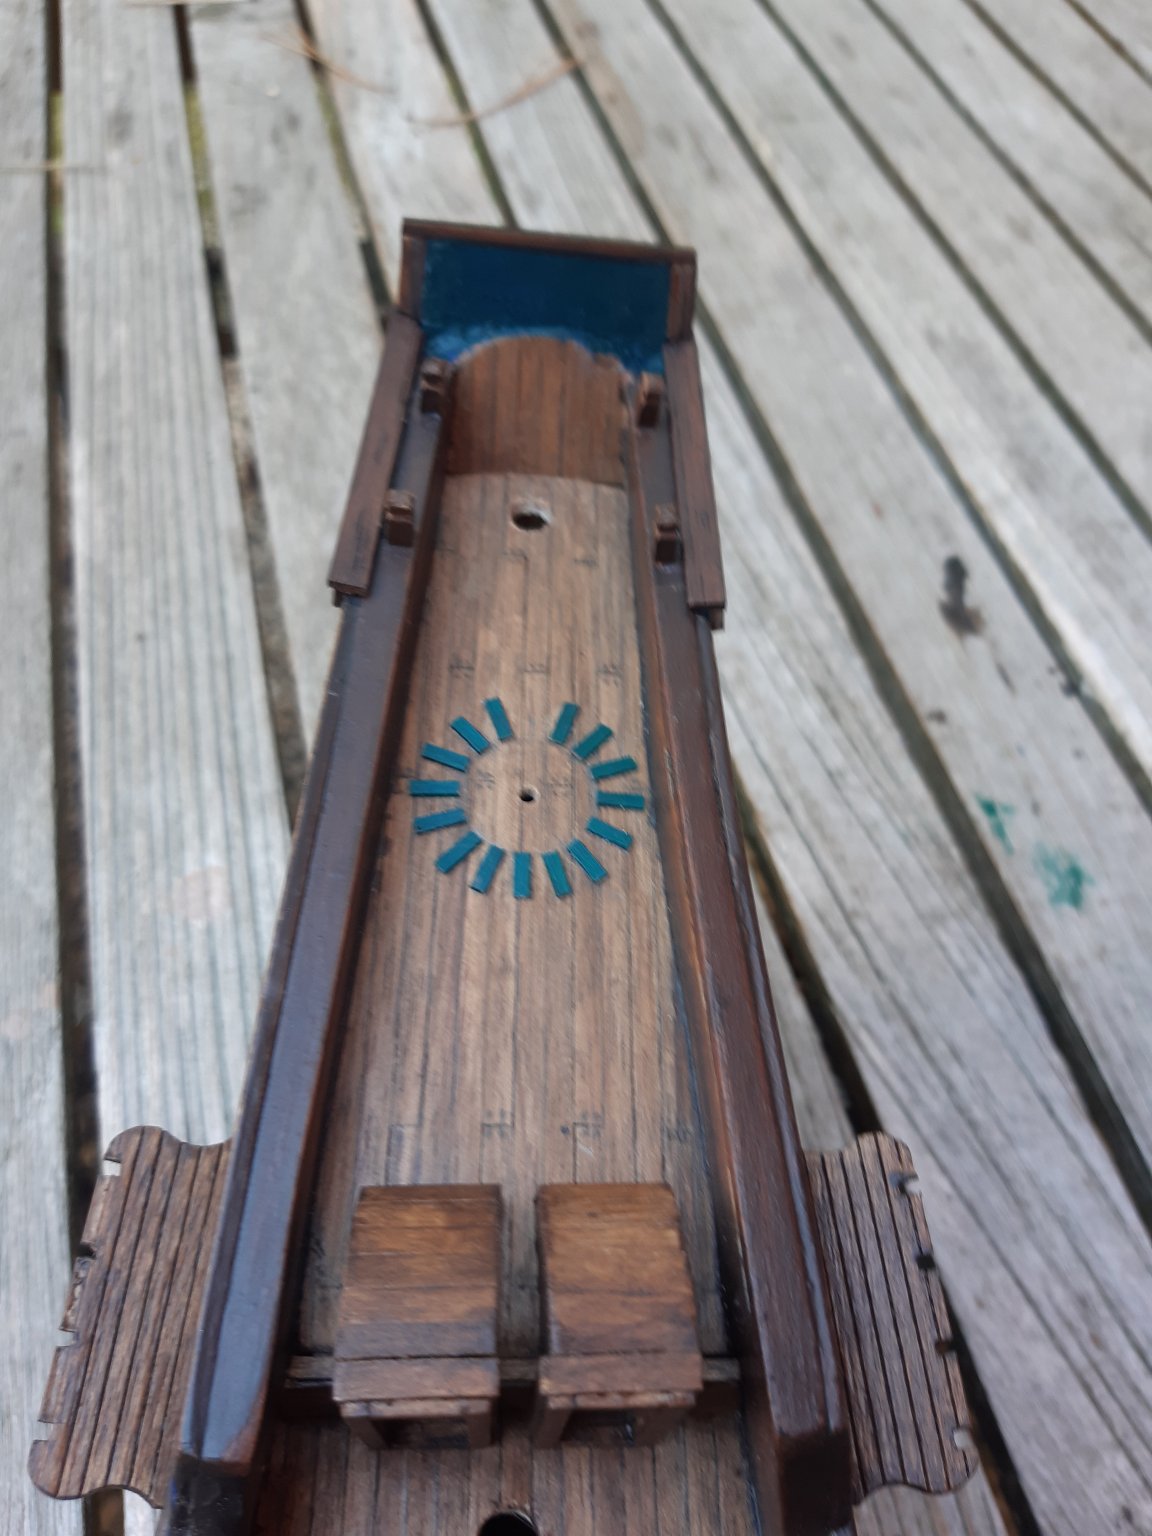
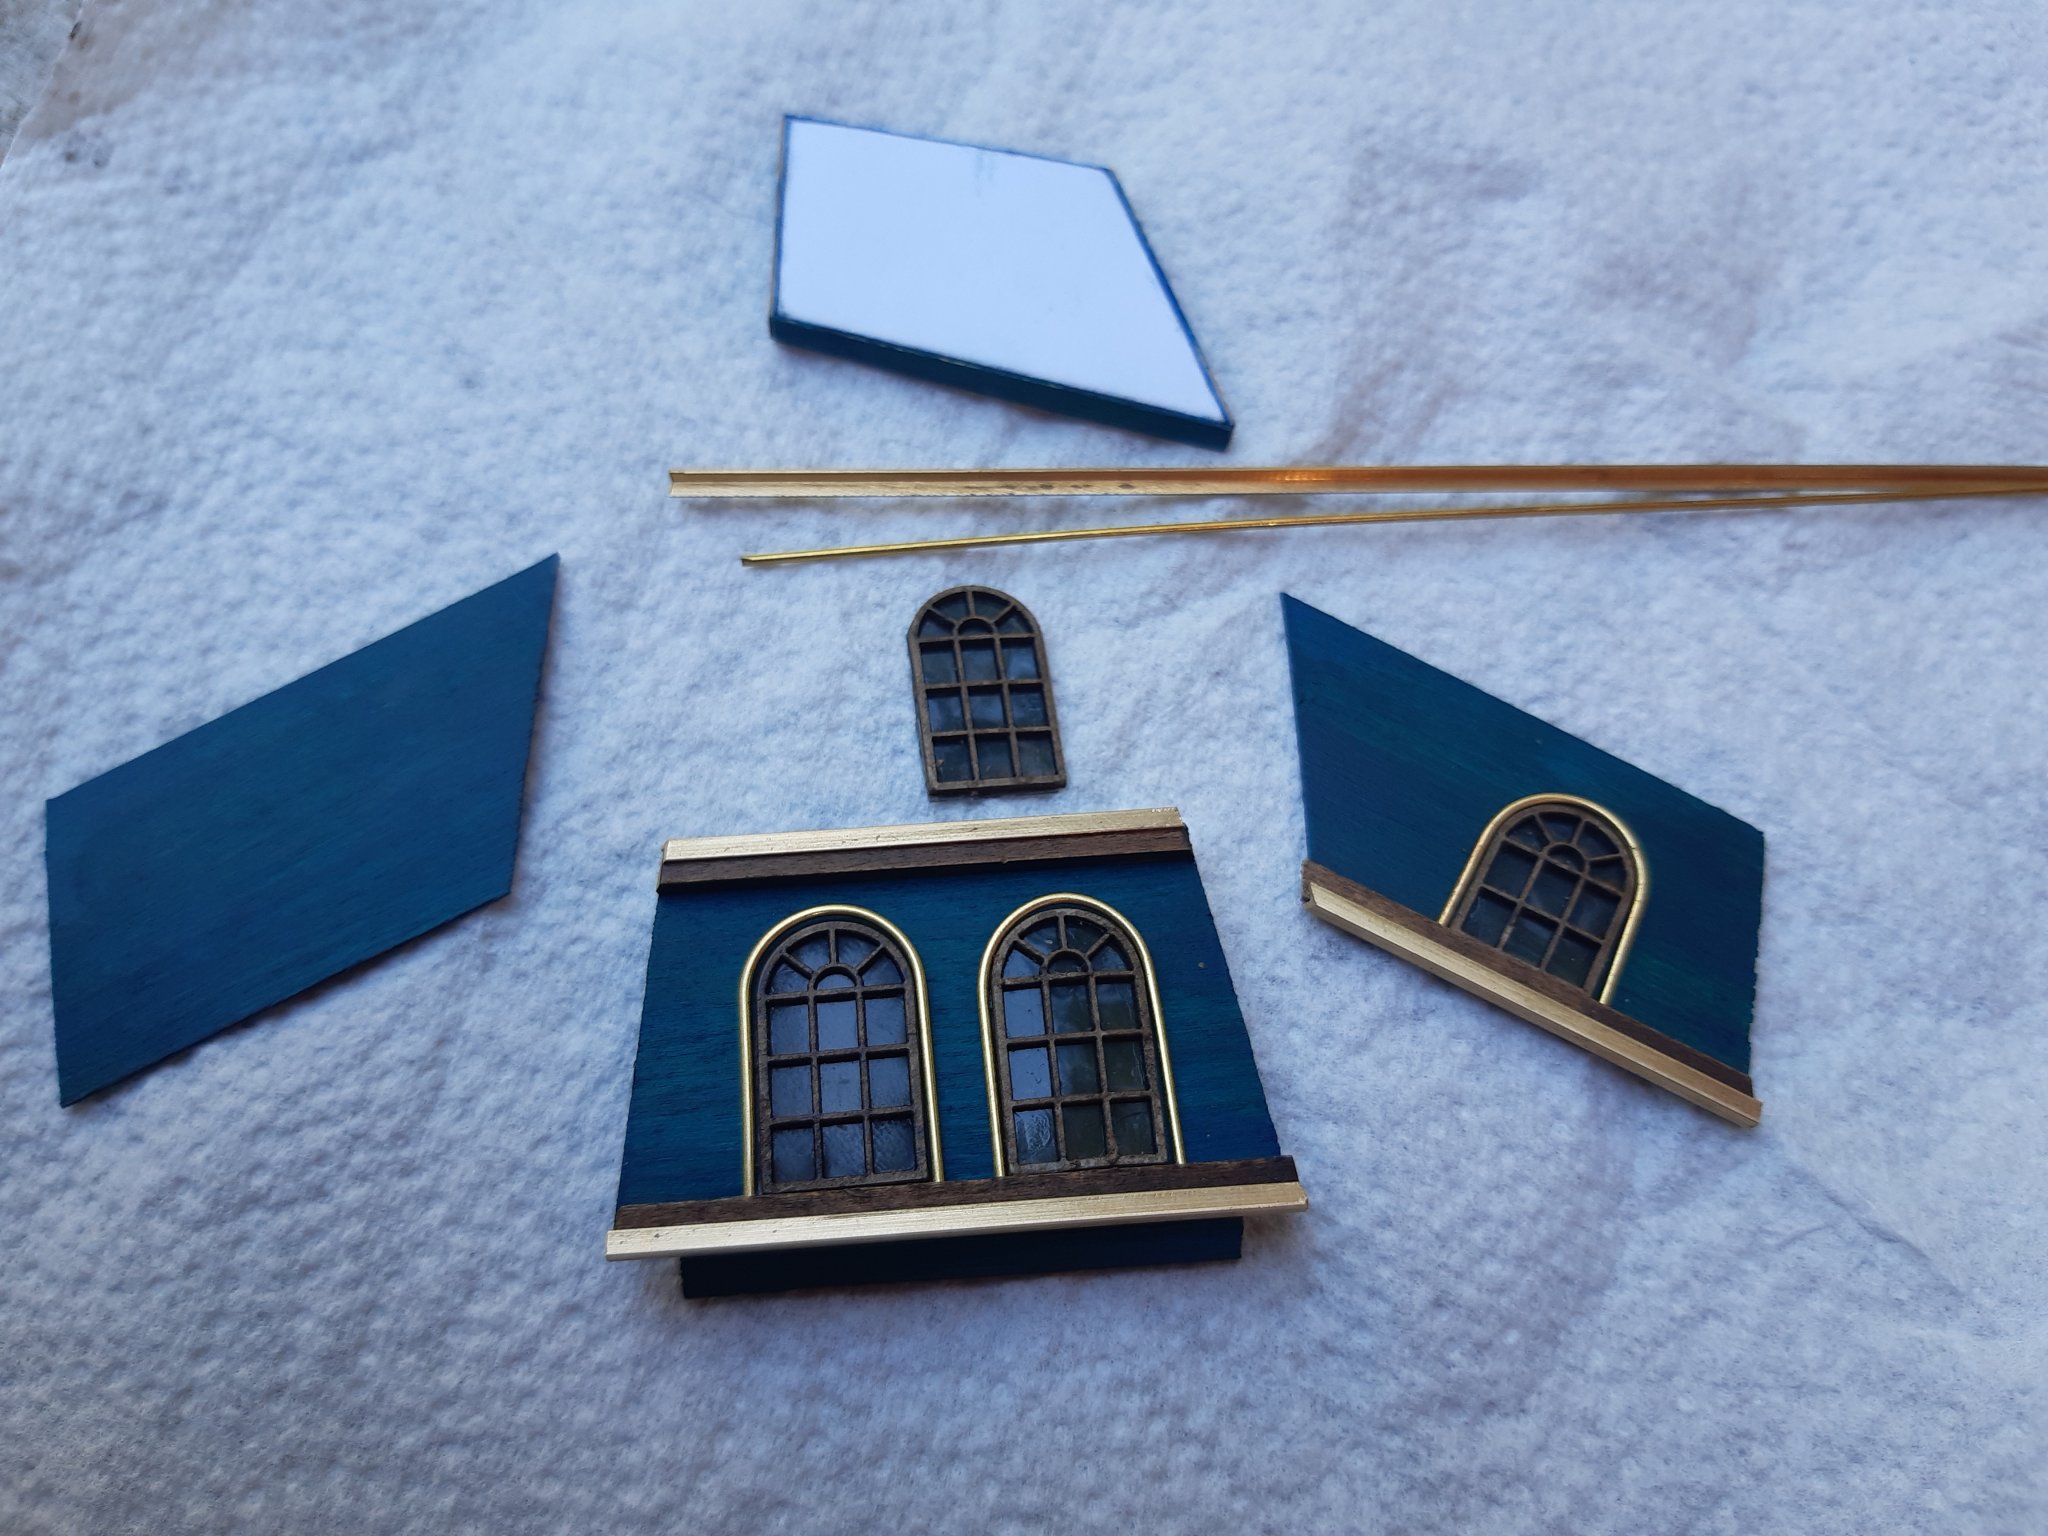
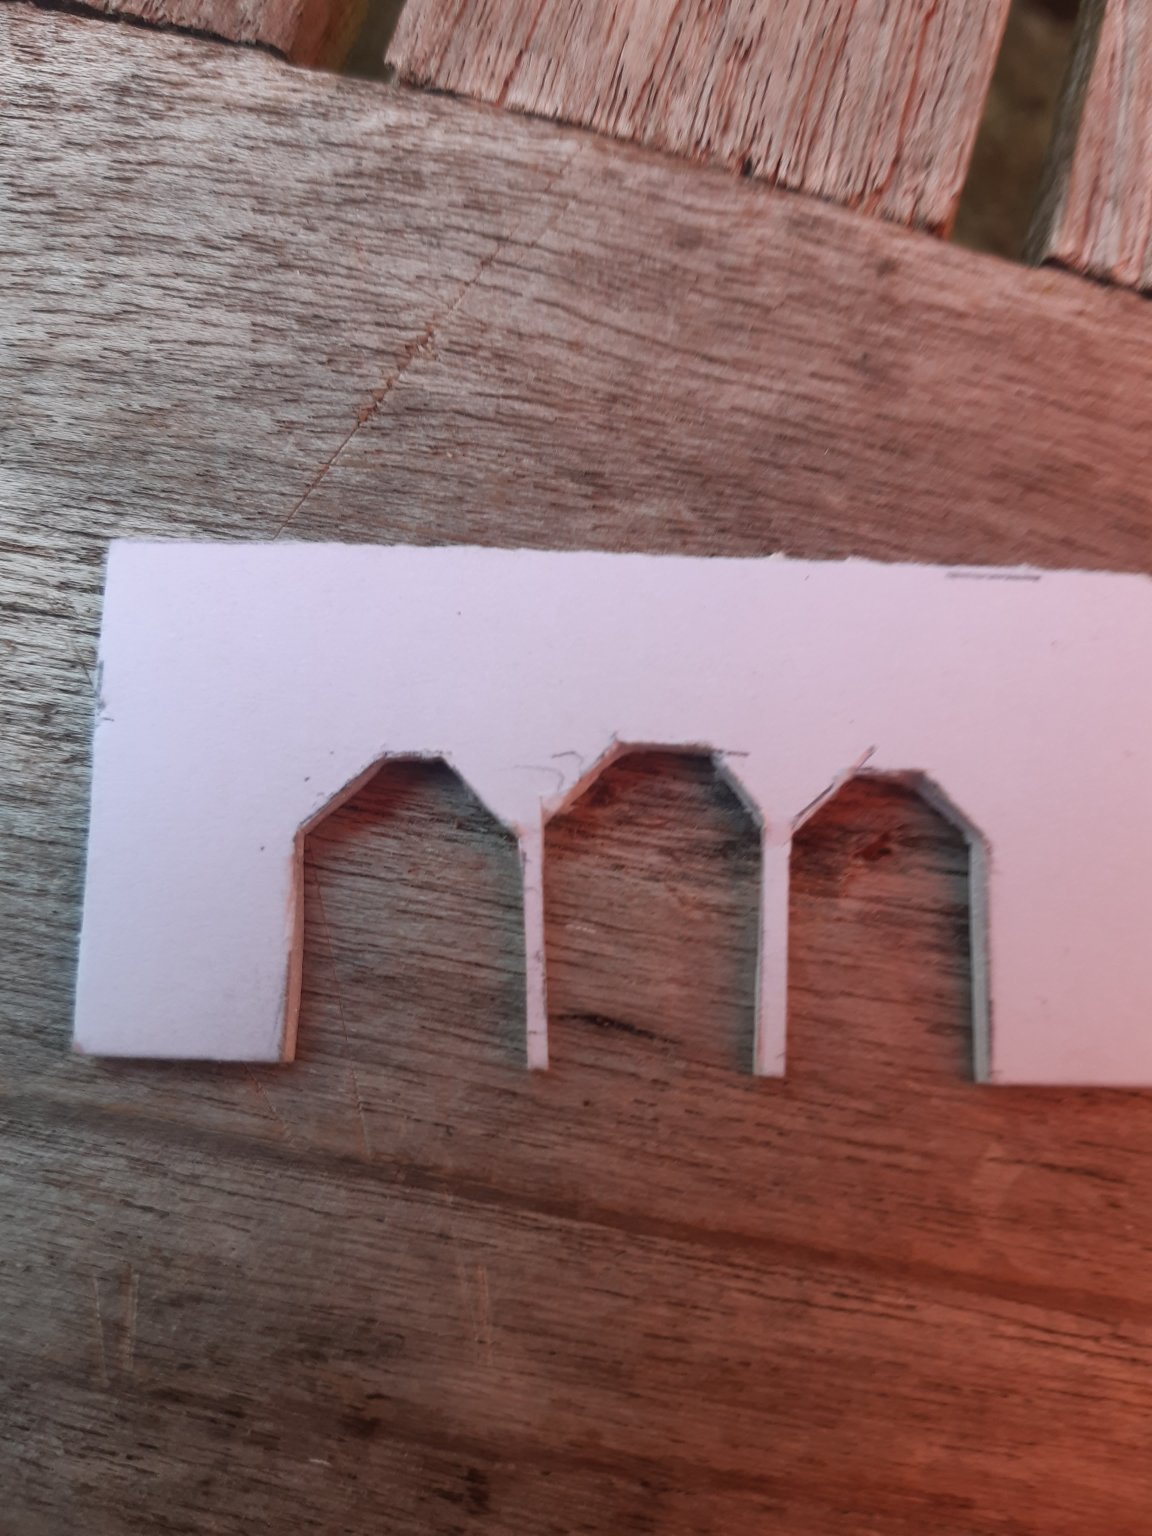
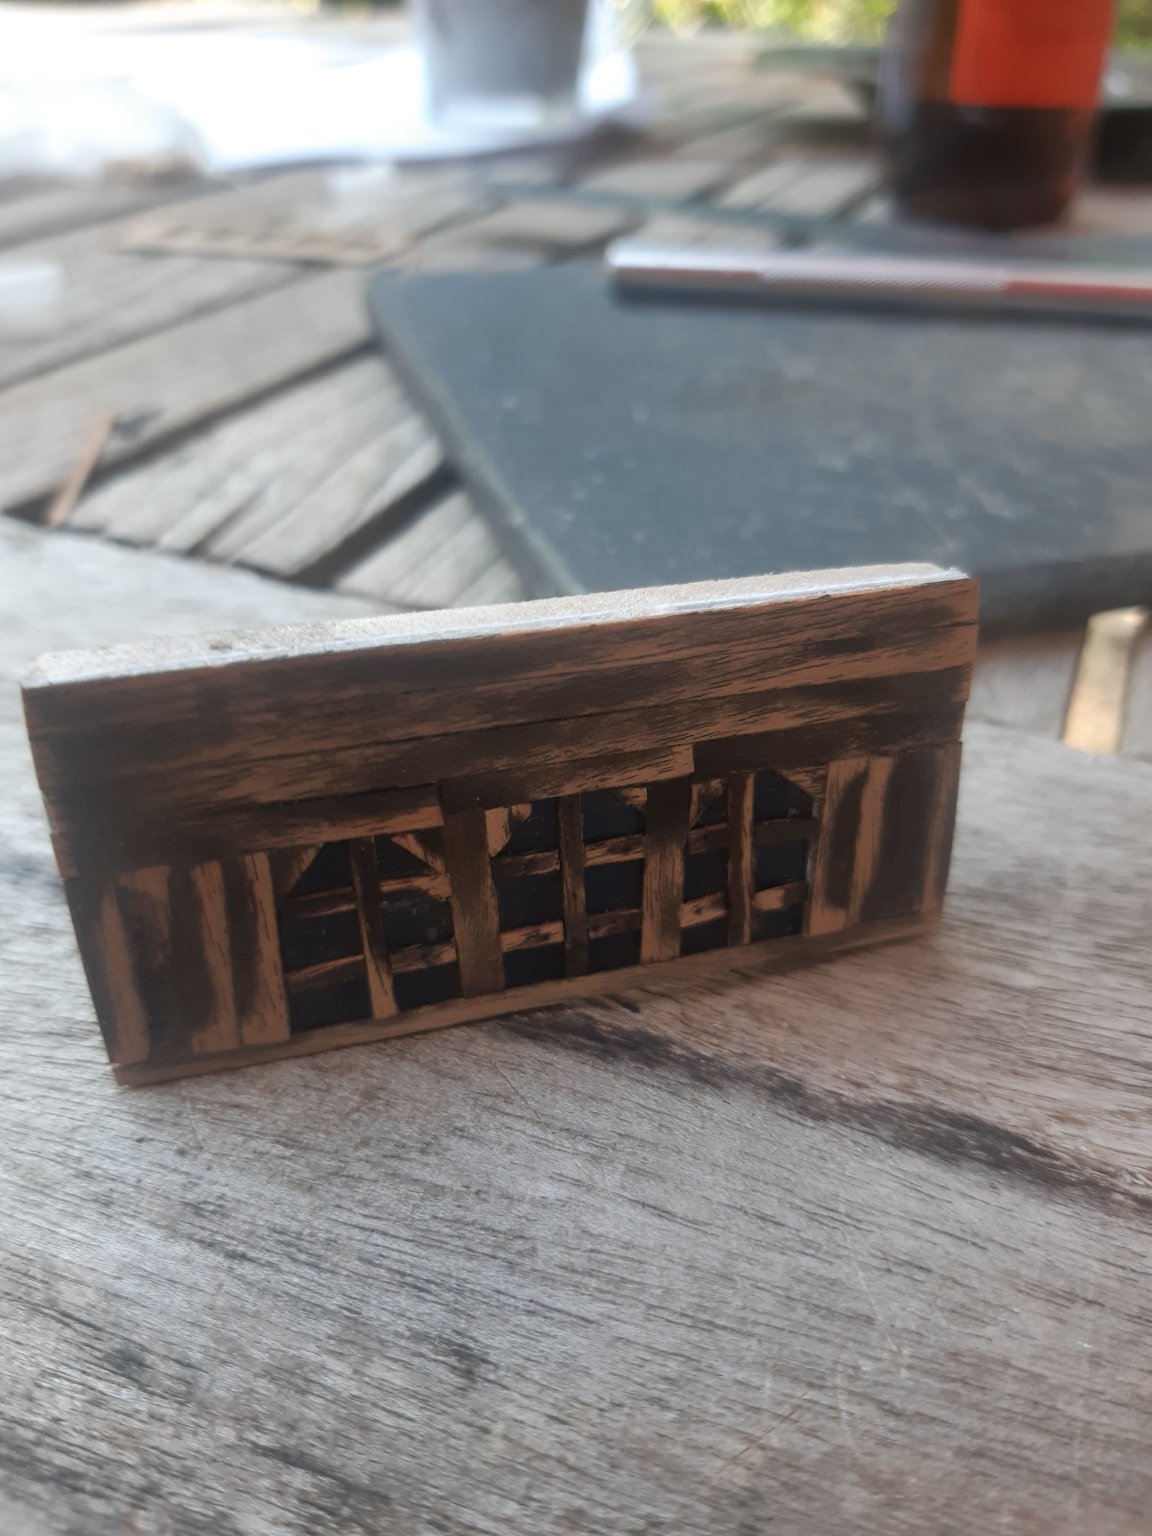
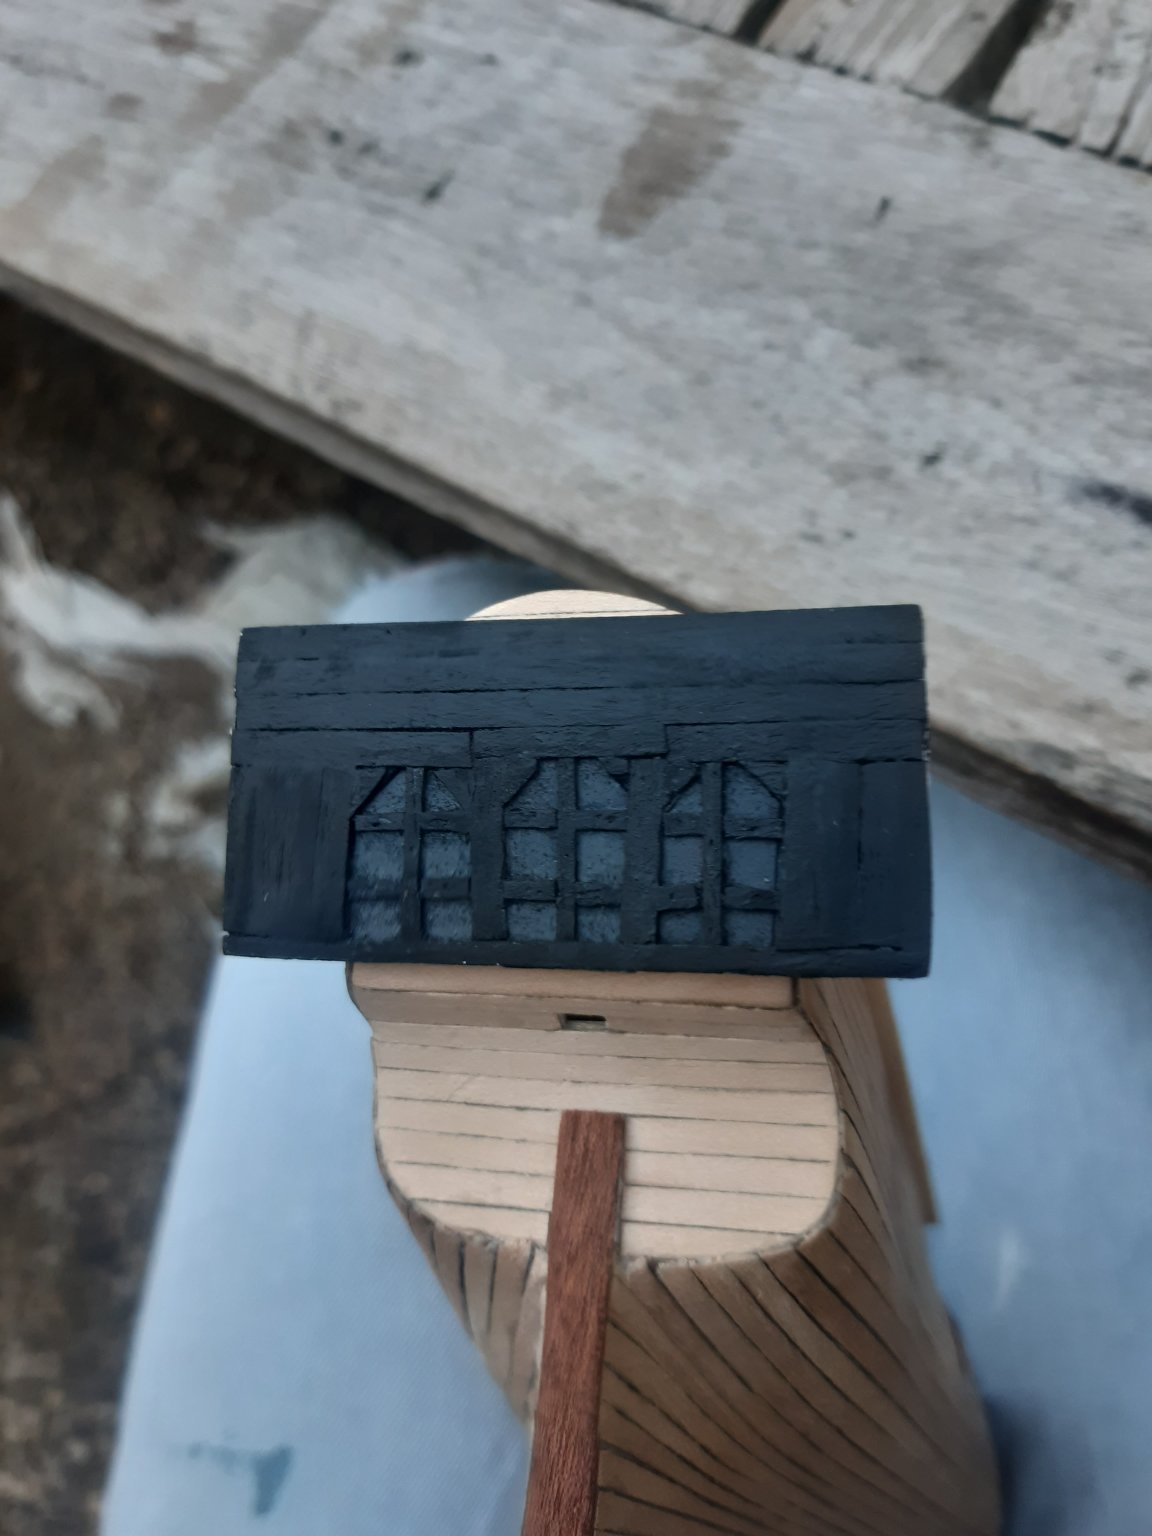
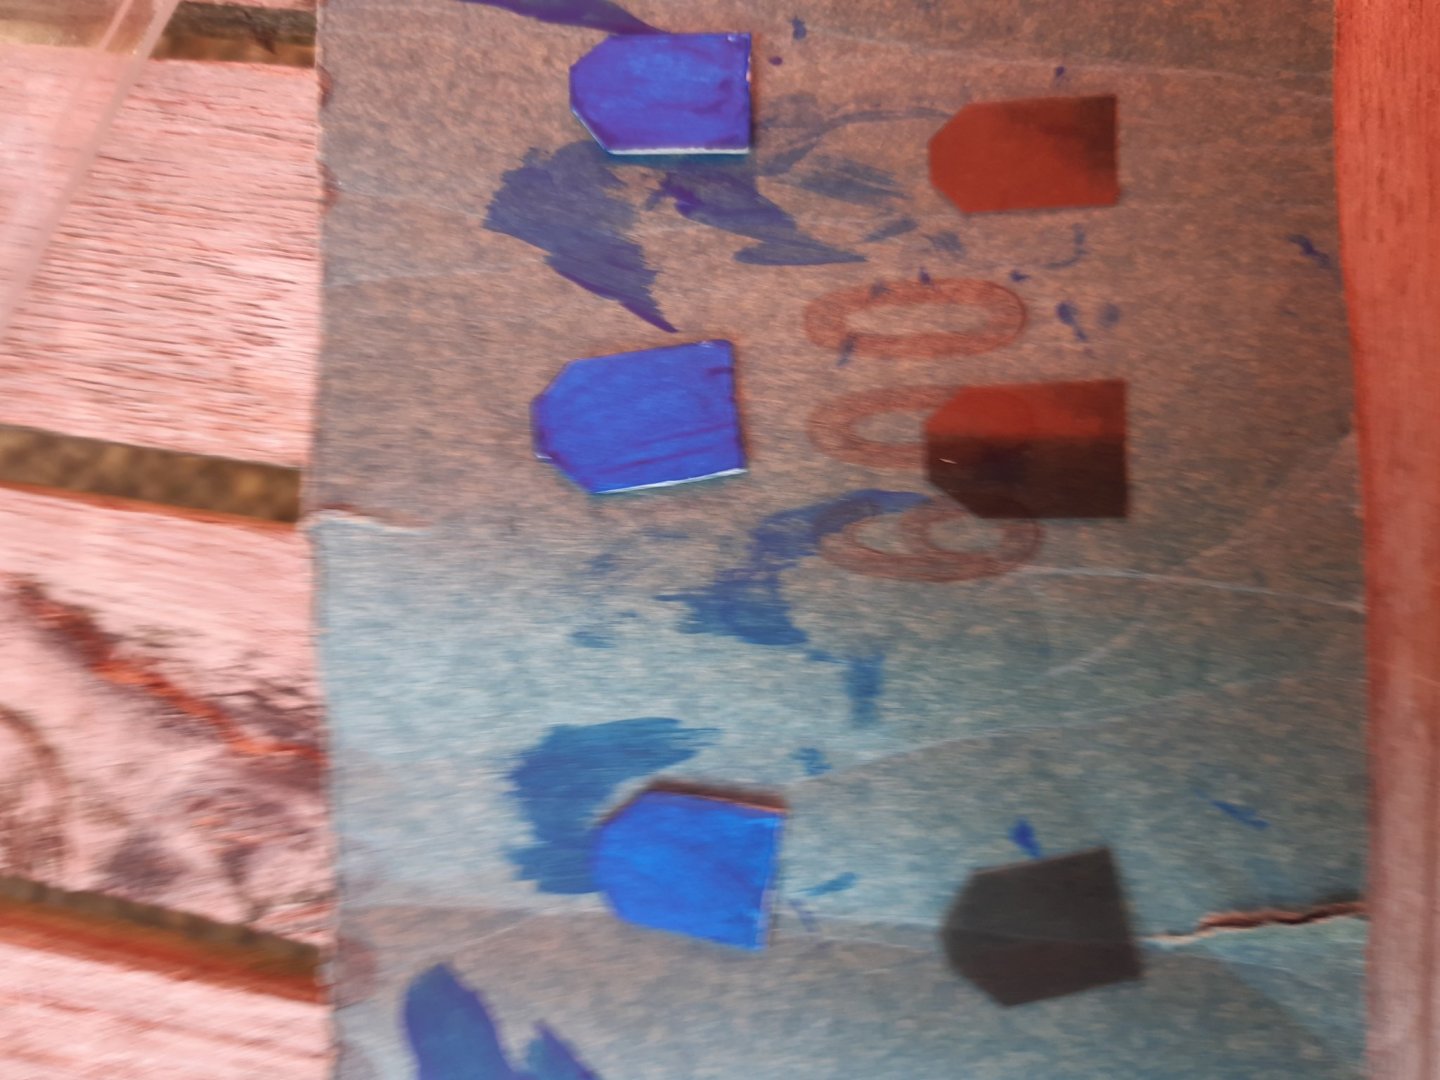
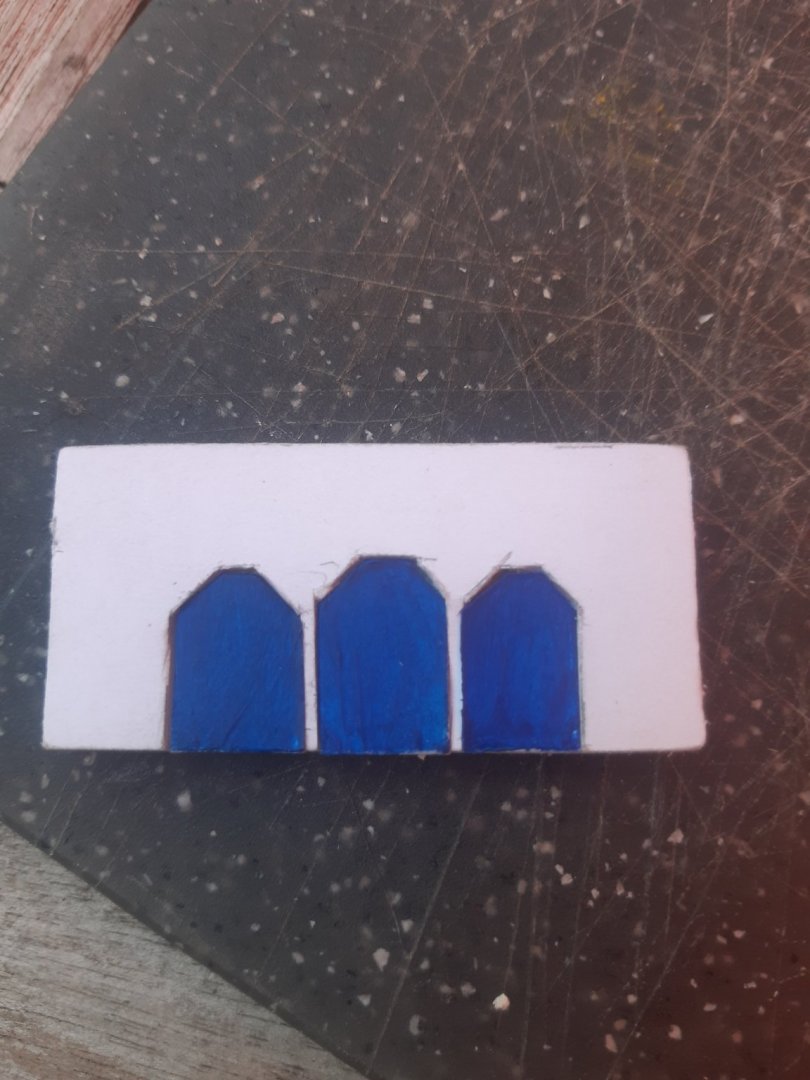
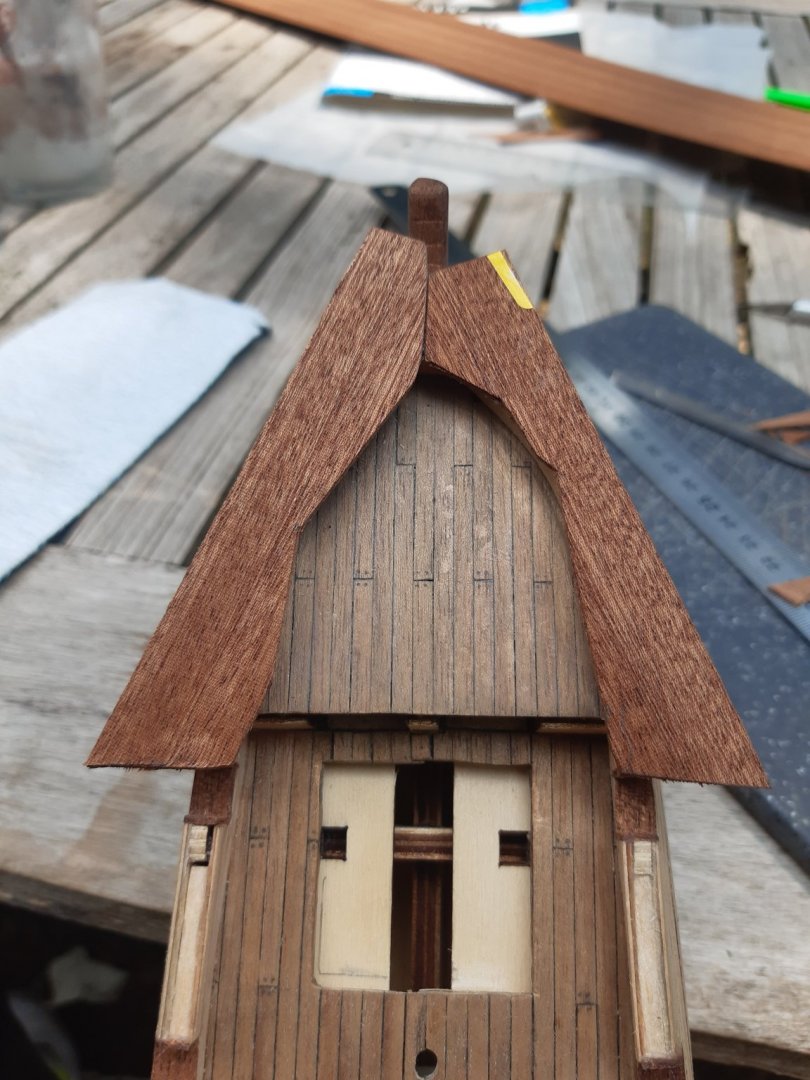
Hi again So I made a mockup of the structure of the captains cabin at the stern. I used 2 mm thick foamboard and cut out the window openings and glued the foamboard onto 4 mm balsa wood. At first I tried to cut the window openings out of the balsa wood but that was no succes. Cutting the balsa in the direction of the grain is easy but as soon as you go vertically or diagonally the edges of the plank look like rats have been knibbeling on them. Then I took 1 mm foamboard and transparant plastic sheeting (about 0,5 mm thick), and cut out the shape of the windows. I tested with the (coloured) transparant sheet over the white foamboard but the white came through too much so I decided to paint the 1 mm thick window cutouts blue and then glued them on the 4 mm balsa wood in the slots made in the 2 mm foamboard. This way the windows lay a bit lower than the surrounding structure and so I would have room to create windowframes. In order to give the structure a wood look, I planked the whole thing, I used half width planks for the window frames. There is a picture below of this structure but it doesn’t really show how sloppy the windows (transparant sheeting) looked after spilling too much glue from the planking. So, since I am just experimenting, I decided to paint the windows grey. And then I painted the structure black as shown below. The final result looks pretty rough but it’s just a prototype. The mockup is way too high and a bit too wide. I also think it looks like a piece of a “medieval-torture-barn”. I do like the macabre vibe tho. I assume that life at sea in those days was more often miserable than jolly and so I am going for an overall darker vibe. But not as medieval as the mockup. After trying to make the windowframes myself I now realise that I am not going to be able to achieve the look I want that way. May plan is to make them look more like church-windows. I will try once more by scratching the plastic sheet and coloring the grooves with thinned paint (as suggested by Backer), but I also ordered some laser cut windowframes from a hobby-shop just in case. On top of the structure I will add a roof, like the one shown on the picture above of the stern of the black pearl. That’s way the mockup is too high, there is no more place to add the roof. It’s nowhere near what I want it to look like but I’ll get there. Thnx for reading!


-
Very nice job Bob! I like your helpers and captain too 😺 The part with the captain and the doorhandle was really funny. I can tell you’re enjoying your build. keep up the good work, 🤙🏻
-
Hi Bob Thanks for your tips, I will definitely keep them in mind. The thing with going “freestyle” is that suddenly everthing is possible. I will have to test a lot with different materials tho... It’ll take me a bit longer but I don’t care. I’m enjoying the process. I was thinking about using coloured (greyish) transparant sheeting to use for the windows. I’ll see whether I can create the illusion of depth that way. And if it doesn’t I can always ad a colour wash. Tomorrow I’m going to hobbyshop and I plan to buy enough stuff for testing. I’m going to read your build log of the Mississippi cause I’m sure I can learn a thing or two from you 😉
-
That looks very nice Backer, you really have a keen eye for detail! Thanks a lot for sharing 👍🏻And it seems a very doable solution too.
-
Hi everyone I have been contemplating about whether or not to stick to the instructions and materials provided with the kit, or to start “freestyling”. I am not at all happy with the look, quality and measurements of the messing decorations provided with het kit. At first I was planning to use them anyway, but I might as well just take my time, get creative and build them myself. The first “ornament” I will be focussing on is the structure/windows of the captains cabin at the stern. The last few days I have been looking at photographs of 18th century sail ships to get some inspiration. But the ones I found are way too intricate for my skill-level. I am searching for a design with simple and clean lines. The example I like the most, so far, is the one on the Black Pearl (see pic below). This one has a “simple” structure and few frills and seems managable to build. It won’t be an exact copy, but I will use it as a starting point. I plan to use a mix of styrene and wood. I do have a question about the window frames; I don’t want to use the ones from the kit because they do not have the right shape and size, so I’ll try and make them myself as well. But I’m a bit lost at how to do this and what materials to use. Therefore I am asking whether anyone has experience with this and if it would be possible to share how they made windowframes? Thanks a lot!

-
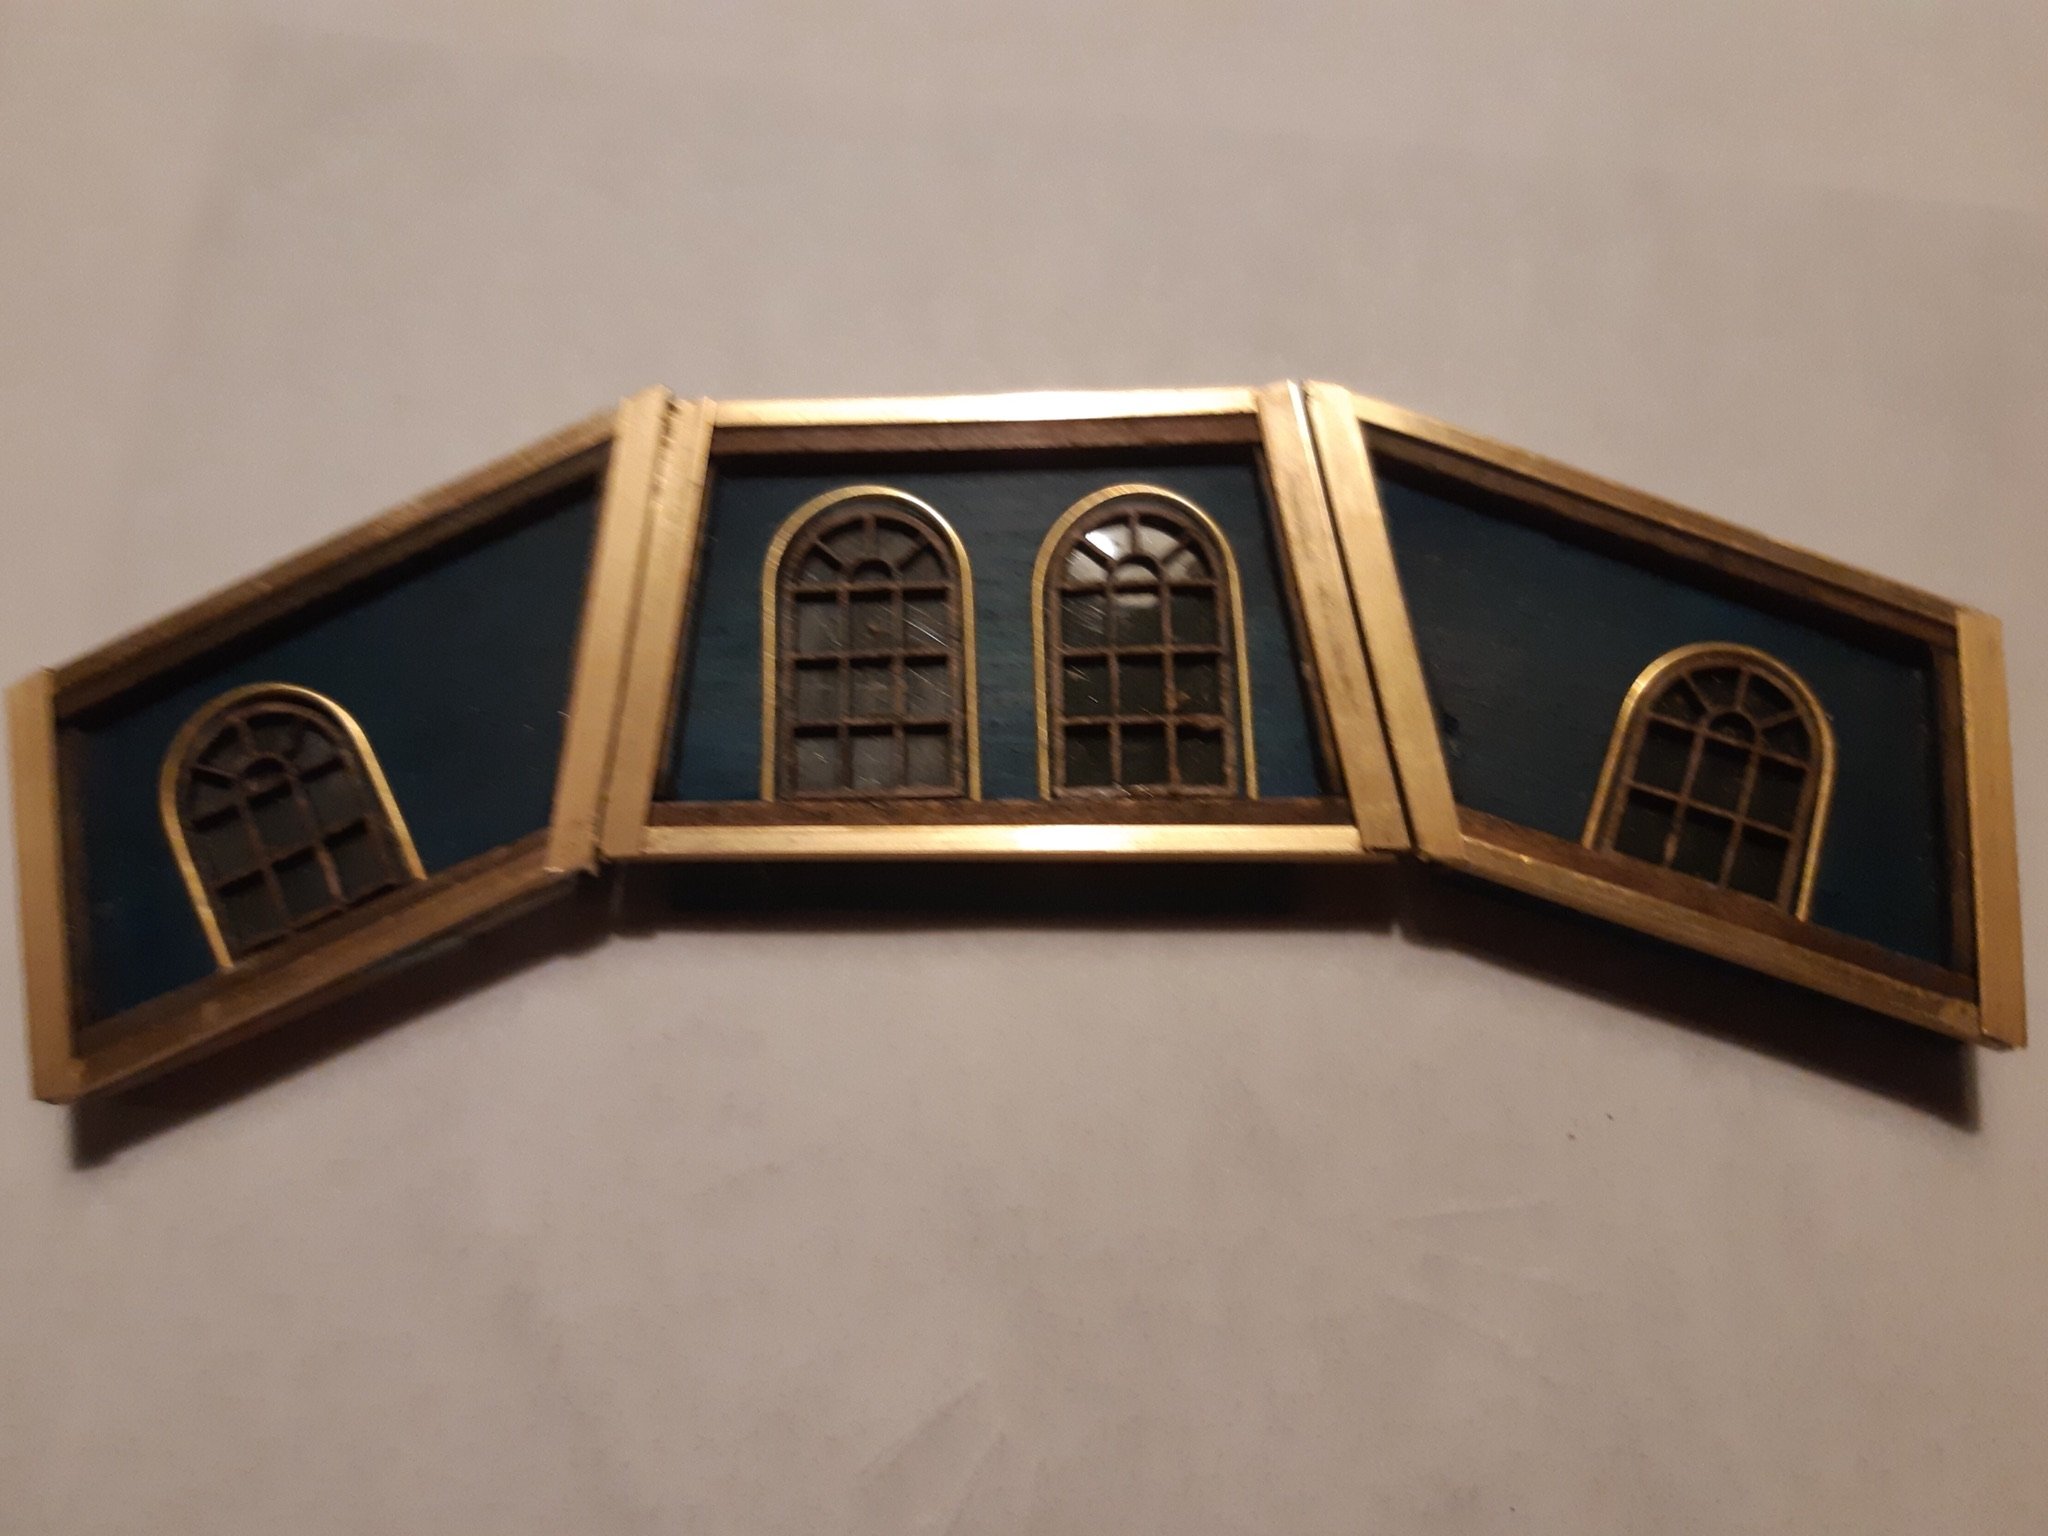
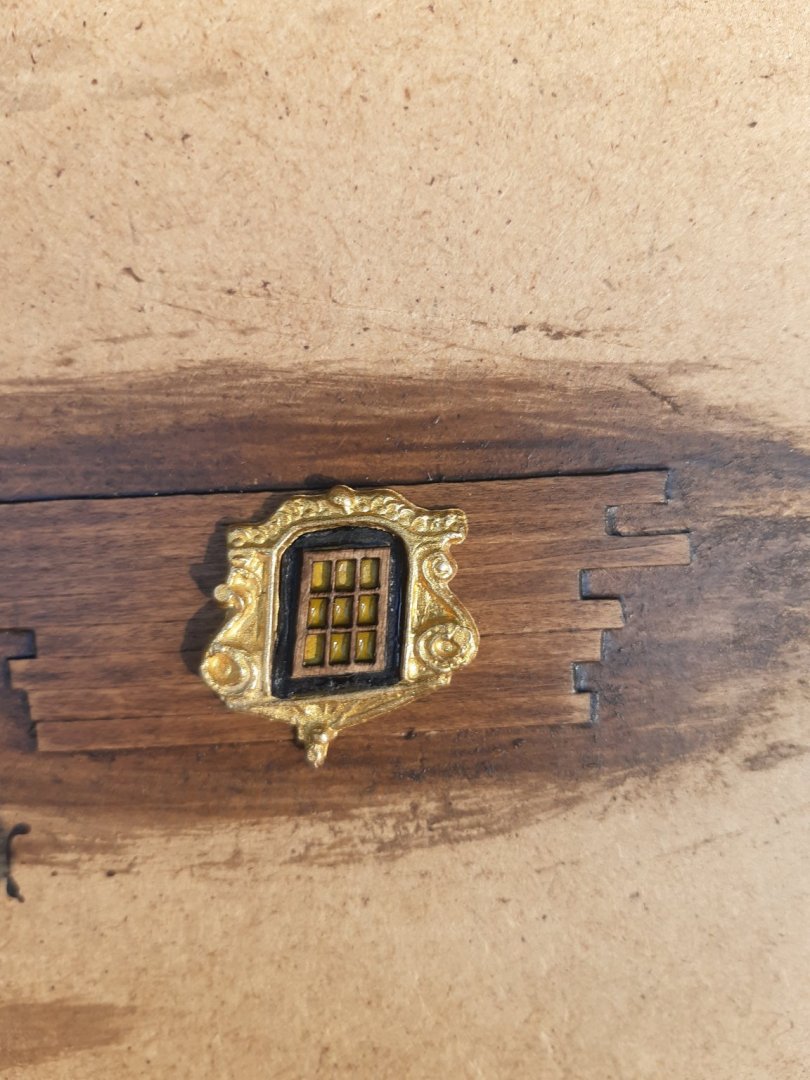
Today I tested dark oak varnish, this is the one I’m going to use. I’m glad I found the color I was looking for. First time I tested with varnish, seems way easier to get it right. All previous attempts were done with stain and with none of those I achieved a satisfying result. I also made the windows that’ll go on the sides of the model.
-
I actually thought about that. The only problem is the scale, the details on the figurehead are so small that I would need some serious practice before attempting that. For now I’m just going to finish this ship with premade decorations. I’m considering a scratch build for my next project, then I’ll focus on how to make all those details myself. As this is my first build there is already enough to learn about as it is. But great advice, I’ll get there in due time 😉
-
Hi Bob, that’s the one indeed! What a piece of art. With a lot of imagination I can kind of see that’s the figurehead it should be. Very nice picture, thanks for posting it 👍🏻 I’m sure I’ll find one on te web that looks the way it’s supposed to. cheers, Halfdan
-
Here's a pic of the figurehead provided in the kit, I seriously have no idea what this is supposed to be. But if I where to put this on my vessel I should call it the hms Goldnugget. I will buy a replacement for that.

-
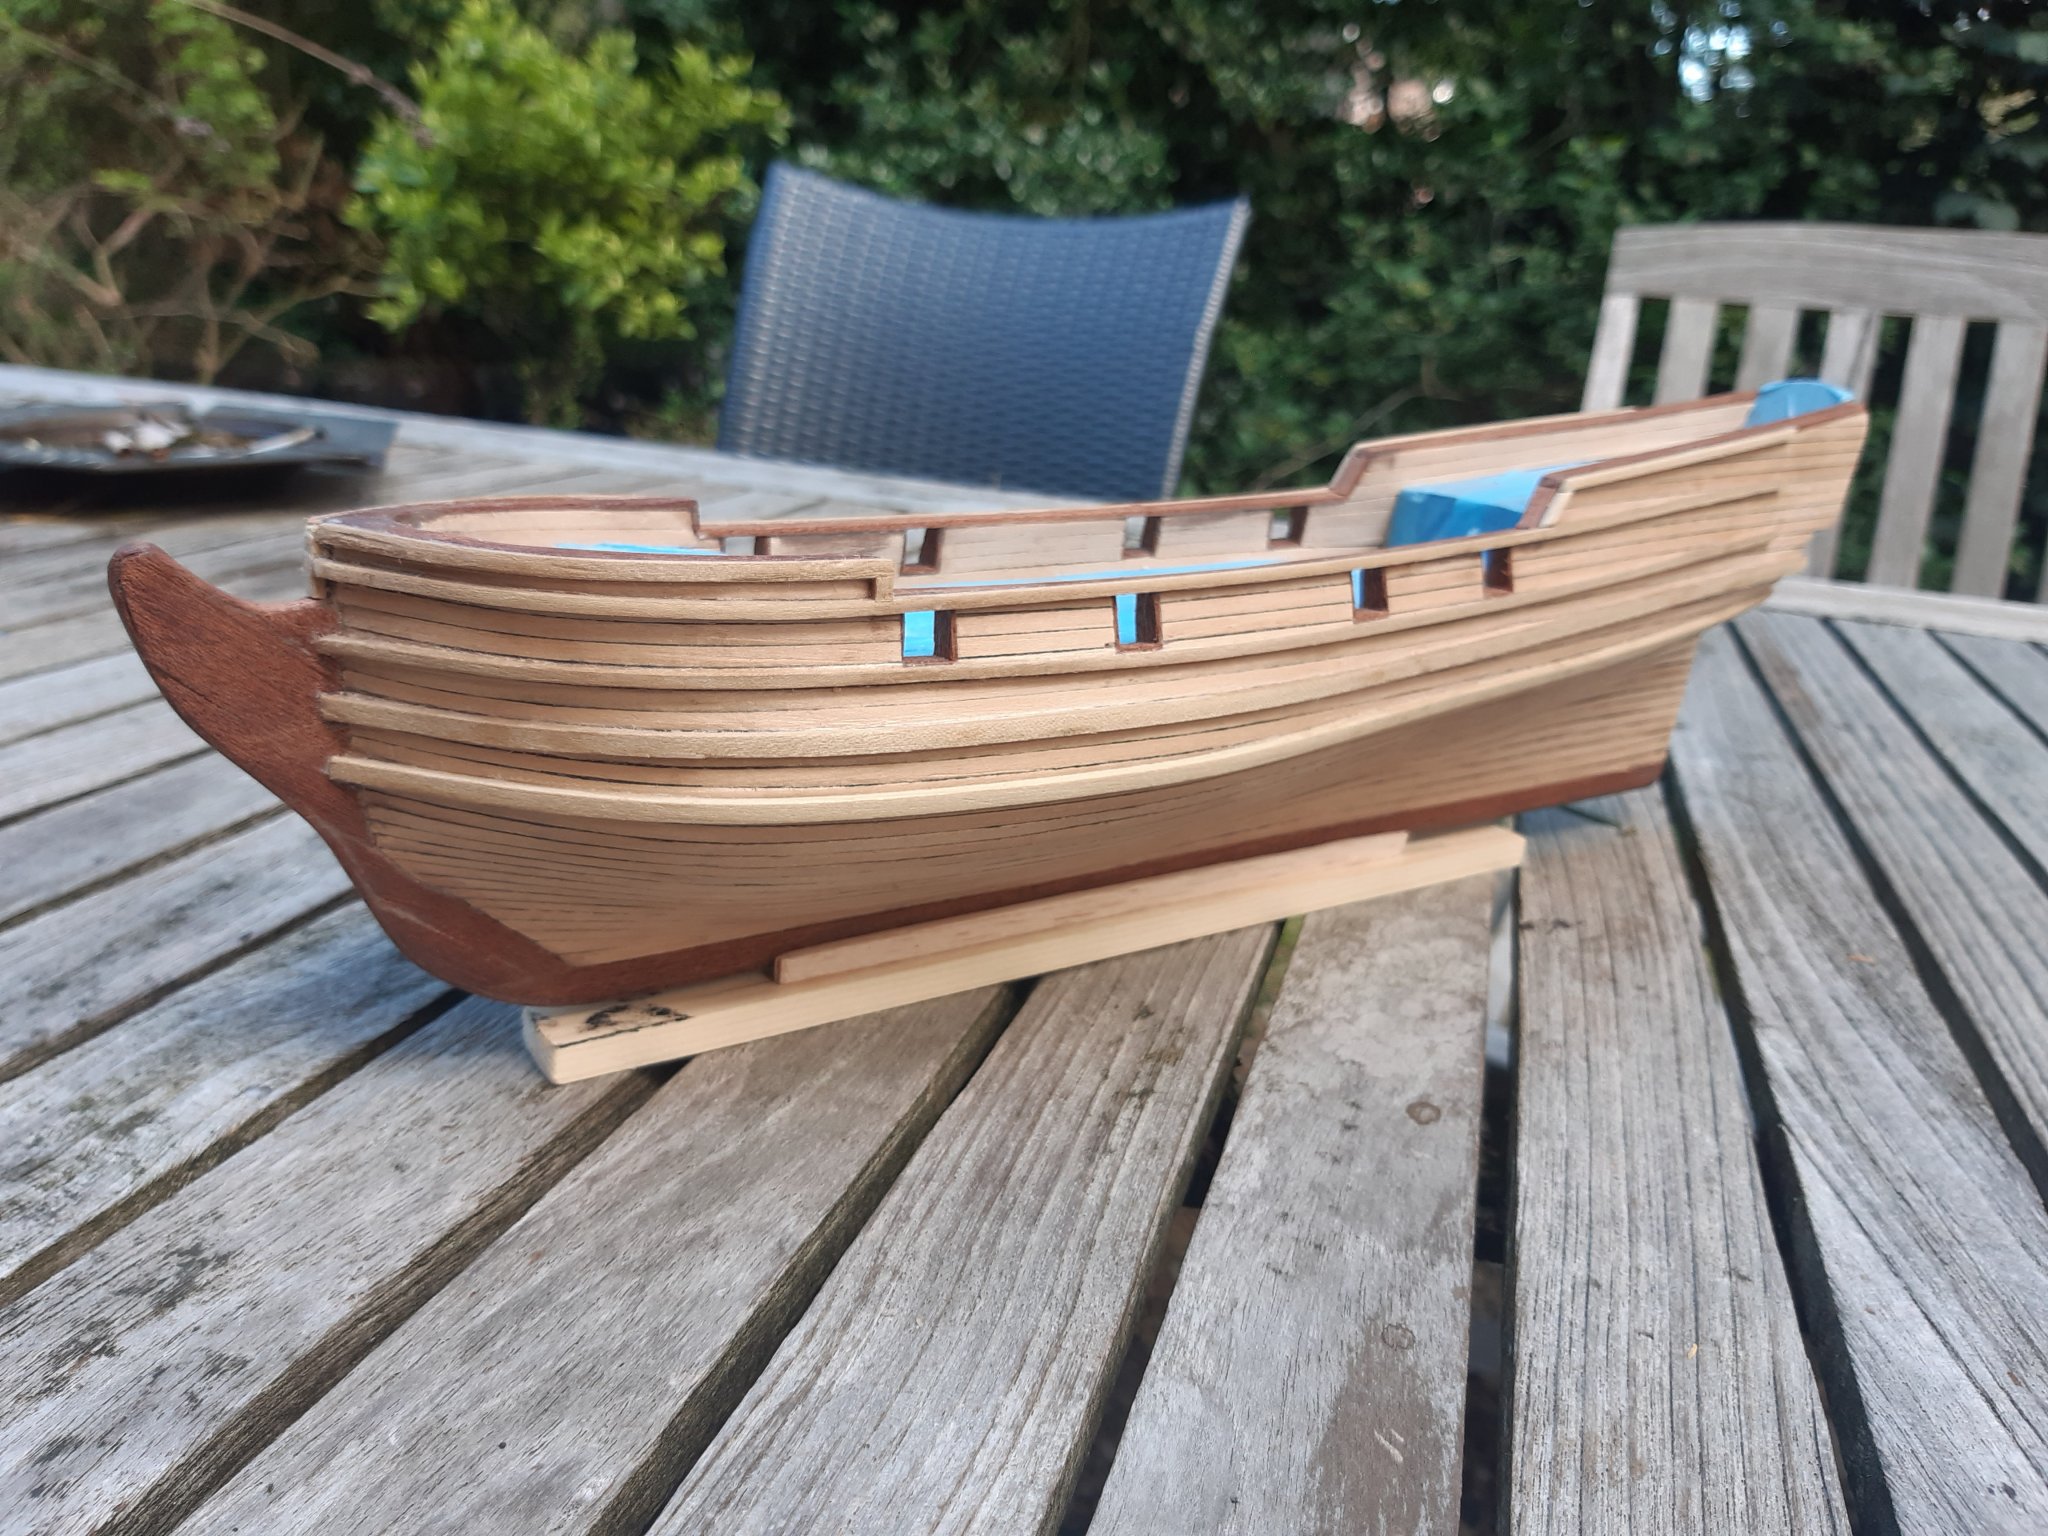
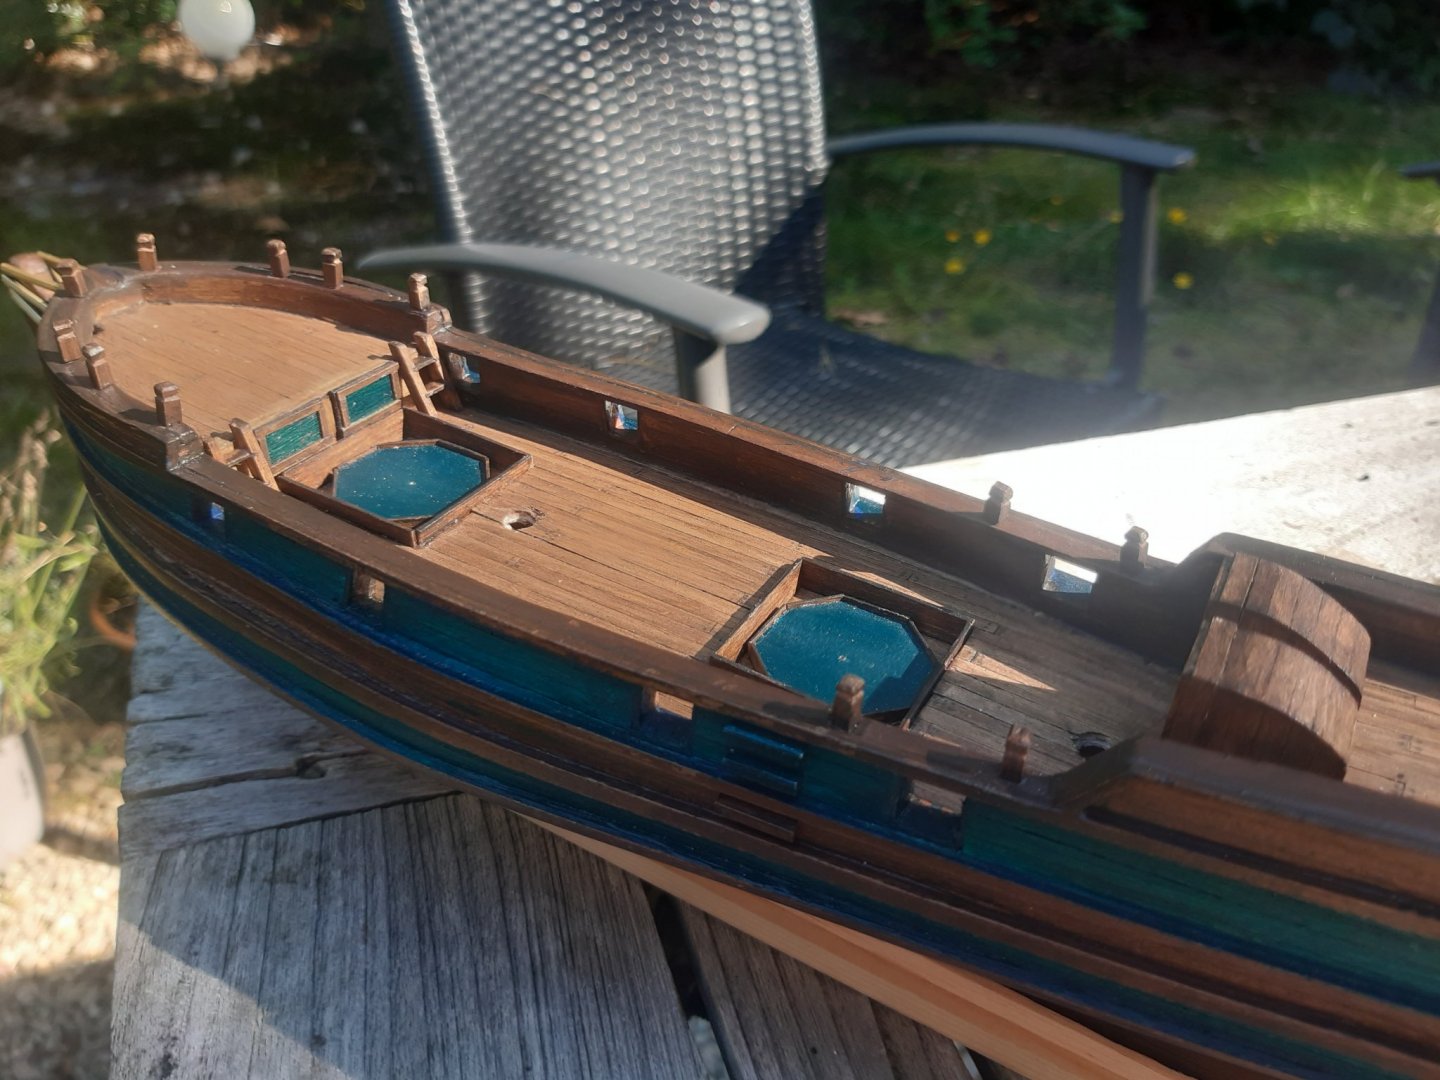
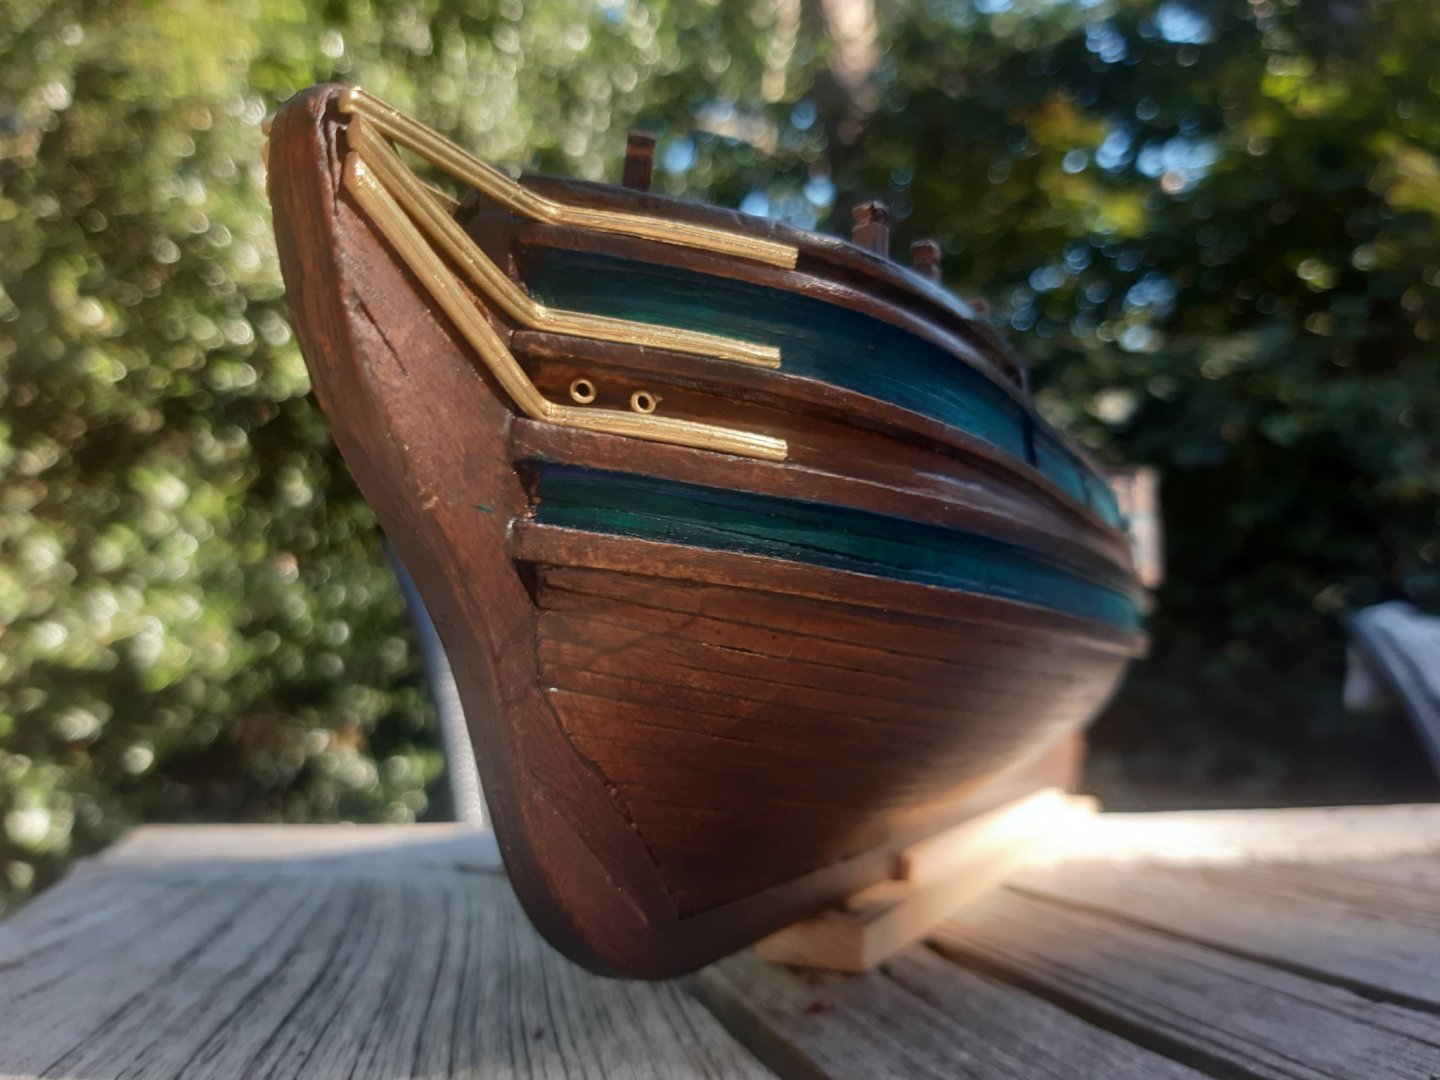
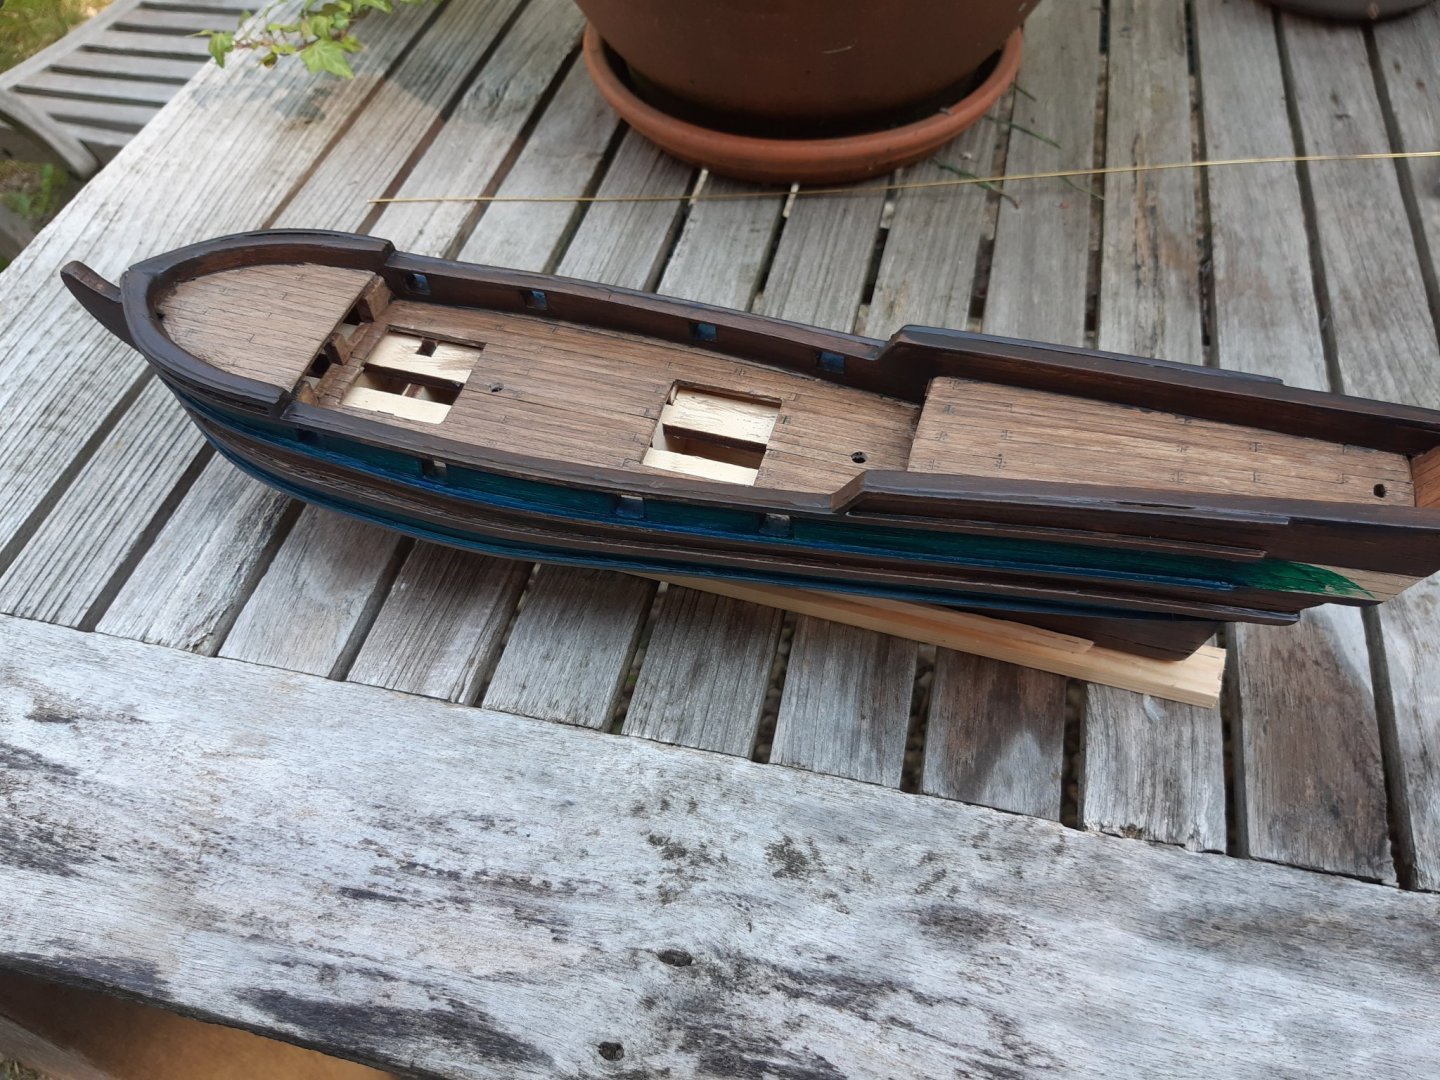
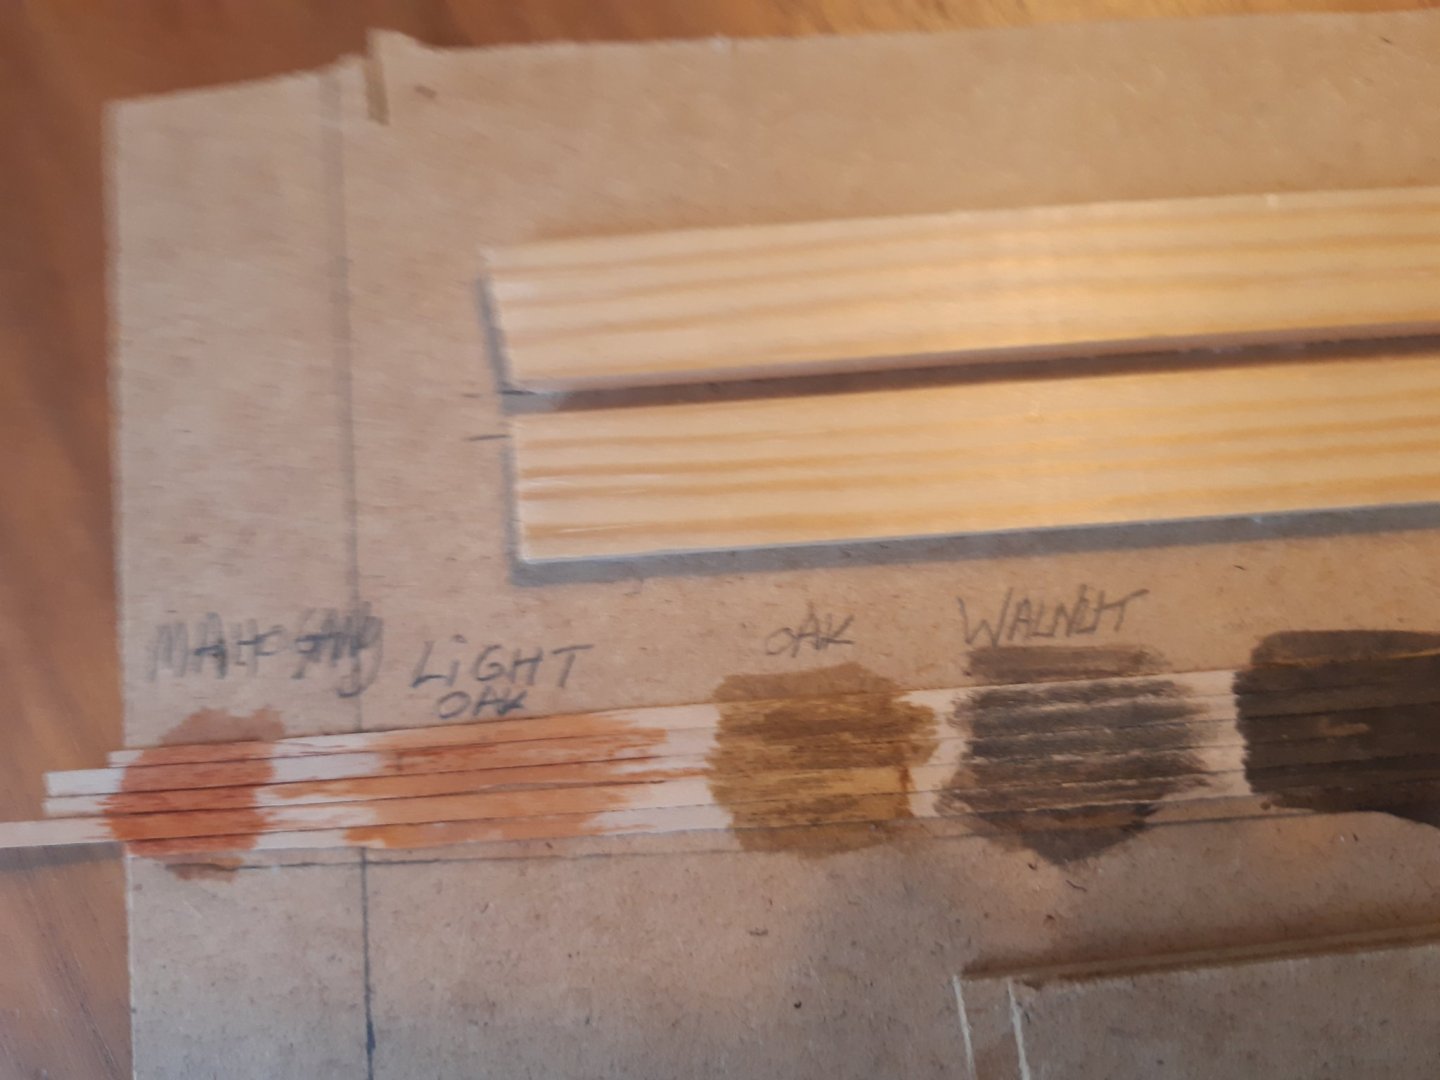
Hello all, another update : Progress has been slow but steady. As this build is going on I tend to follow the instructions less and less. To be completely honest, I haven’t really looked at them since I started planking the hull. I just put all the wood strips and bars on a big pile and take what I need as I go along and if it’s not there I go and buy it. I’m sure I’ll need the instructions again to get a general idea but I will be using materials as I see fit and will work with my own measurements as those in the instructions often make no sense. The manual also prescribes some working methods that I find completely absurd so I approach them differently. (For example; in the instructions, the plank on top of the railing on the foredeck, which is curved, should be made out of little pieces of wood that you puzzle together into “one” piece as you glue them on. I have no idea how long this would have taken me and how frustrating it would have been to put in that amount of work and end up with a mosaic of sloppiness but instead I bought a 1,5 by 100 mm mahogany plank and glued two pieces on, large enhough to cover the top surface the railing. I still had to sand and cut a lot of excess wood but it I’m sure it didn’t take me any longer than it would have taken to make said mosaic) I opted for 4 gunports on each side of the vessel. I left out the middle one as that would have only caused problems further down the road. (The middle gunport is right in front of where the shrouds and ratlines need to come, so in order to not shoot those into pieces when that middle cannon would be fired, I left them out.) I used the kit’s provided planks for the planking of the hull, which is basswood, and for all the other parts I used mahogany that I bought extra. (at €0,65/m it’s not a big cost). I have been testing different finishes as well. The stain options were disastrous, I tried middle oak, light oak, mahogany and walnut. I test-applied them on some (super clean surfaced) left over basswood planks that I glued onto a surface but they all looked crappy as hell. Blotched up and colors were very inconsistent. (I will post a picture of it later, I don’t have it on my phone) So I am probably going to use varnish (dark oak) instead, I still have to test it of course. I also have to test the paint I bought (mat and satin finish) and figure out in what order I’ll apply the different finishes. All tips are welcome of course. Tl;dr : - not really following the instructions of the kit - finishing is still a ? - see pics for progress

-
Looking good 👍 I really like the voc fleet models. I’m considering one for my next project, but I think I’ll buy one from Kolderstok as those kits come with more bulkheads. You are managing just fine but as a beginner I’d feel more comfortable with that. Anyway, I like your progress so far and will be following your log with great interest.
- 135 replies
-
- 3
-
-
- billing boats
- half moon
- (and 1 more)
-
That’s awesome, thanks for sharing! The black walnut stain looks spot on, I think I’ll be using that as well. And the the lighter tone on the wales makes a fine contrast. I think I’ll paint the areas inbetween the wales tho, probably black, as I plan to add extra messing decorations I hope the black makes them stand out more. Anyway, thanks again for posting those pictures. The small mistakes only add character to your beautiful ship. Cheers to you !
-
Alright, the walnut seems like a good option. I'm looking forward to viewing it on your ship.
-
She looks very good Jonathan, you did an amazing job on your first build. I’m sure ADM Buchanan would have liked her in his fleet! I’ll be putting her under another flag as well, not sure which one yet. Time enough to figure that out tho. It’s very interesting to see the different approaches to this kit. Would it be possible to post a picture of the side of the model please? In a not to distant future I will install the wales and chose a painting/staining scheme. On your pictures above I can’t really see what colors you decided on and I’m curious to know. From what I can make out you used a darkish stain which is what I lean to as well. Thanx in advance
-
Tnhx GL, the more the merrier 🥳
-
That’s a beauty. Very nicely done. I like your solution for the middle gunport and placement of the headrails, much cleaner that way. I havent given rigging a thought yet but I’m sure your photo’s ‘ll come in handy along the way.
-
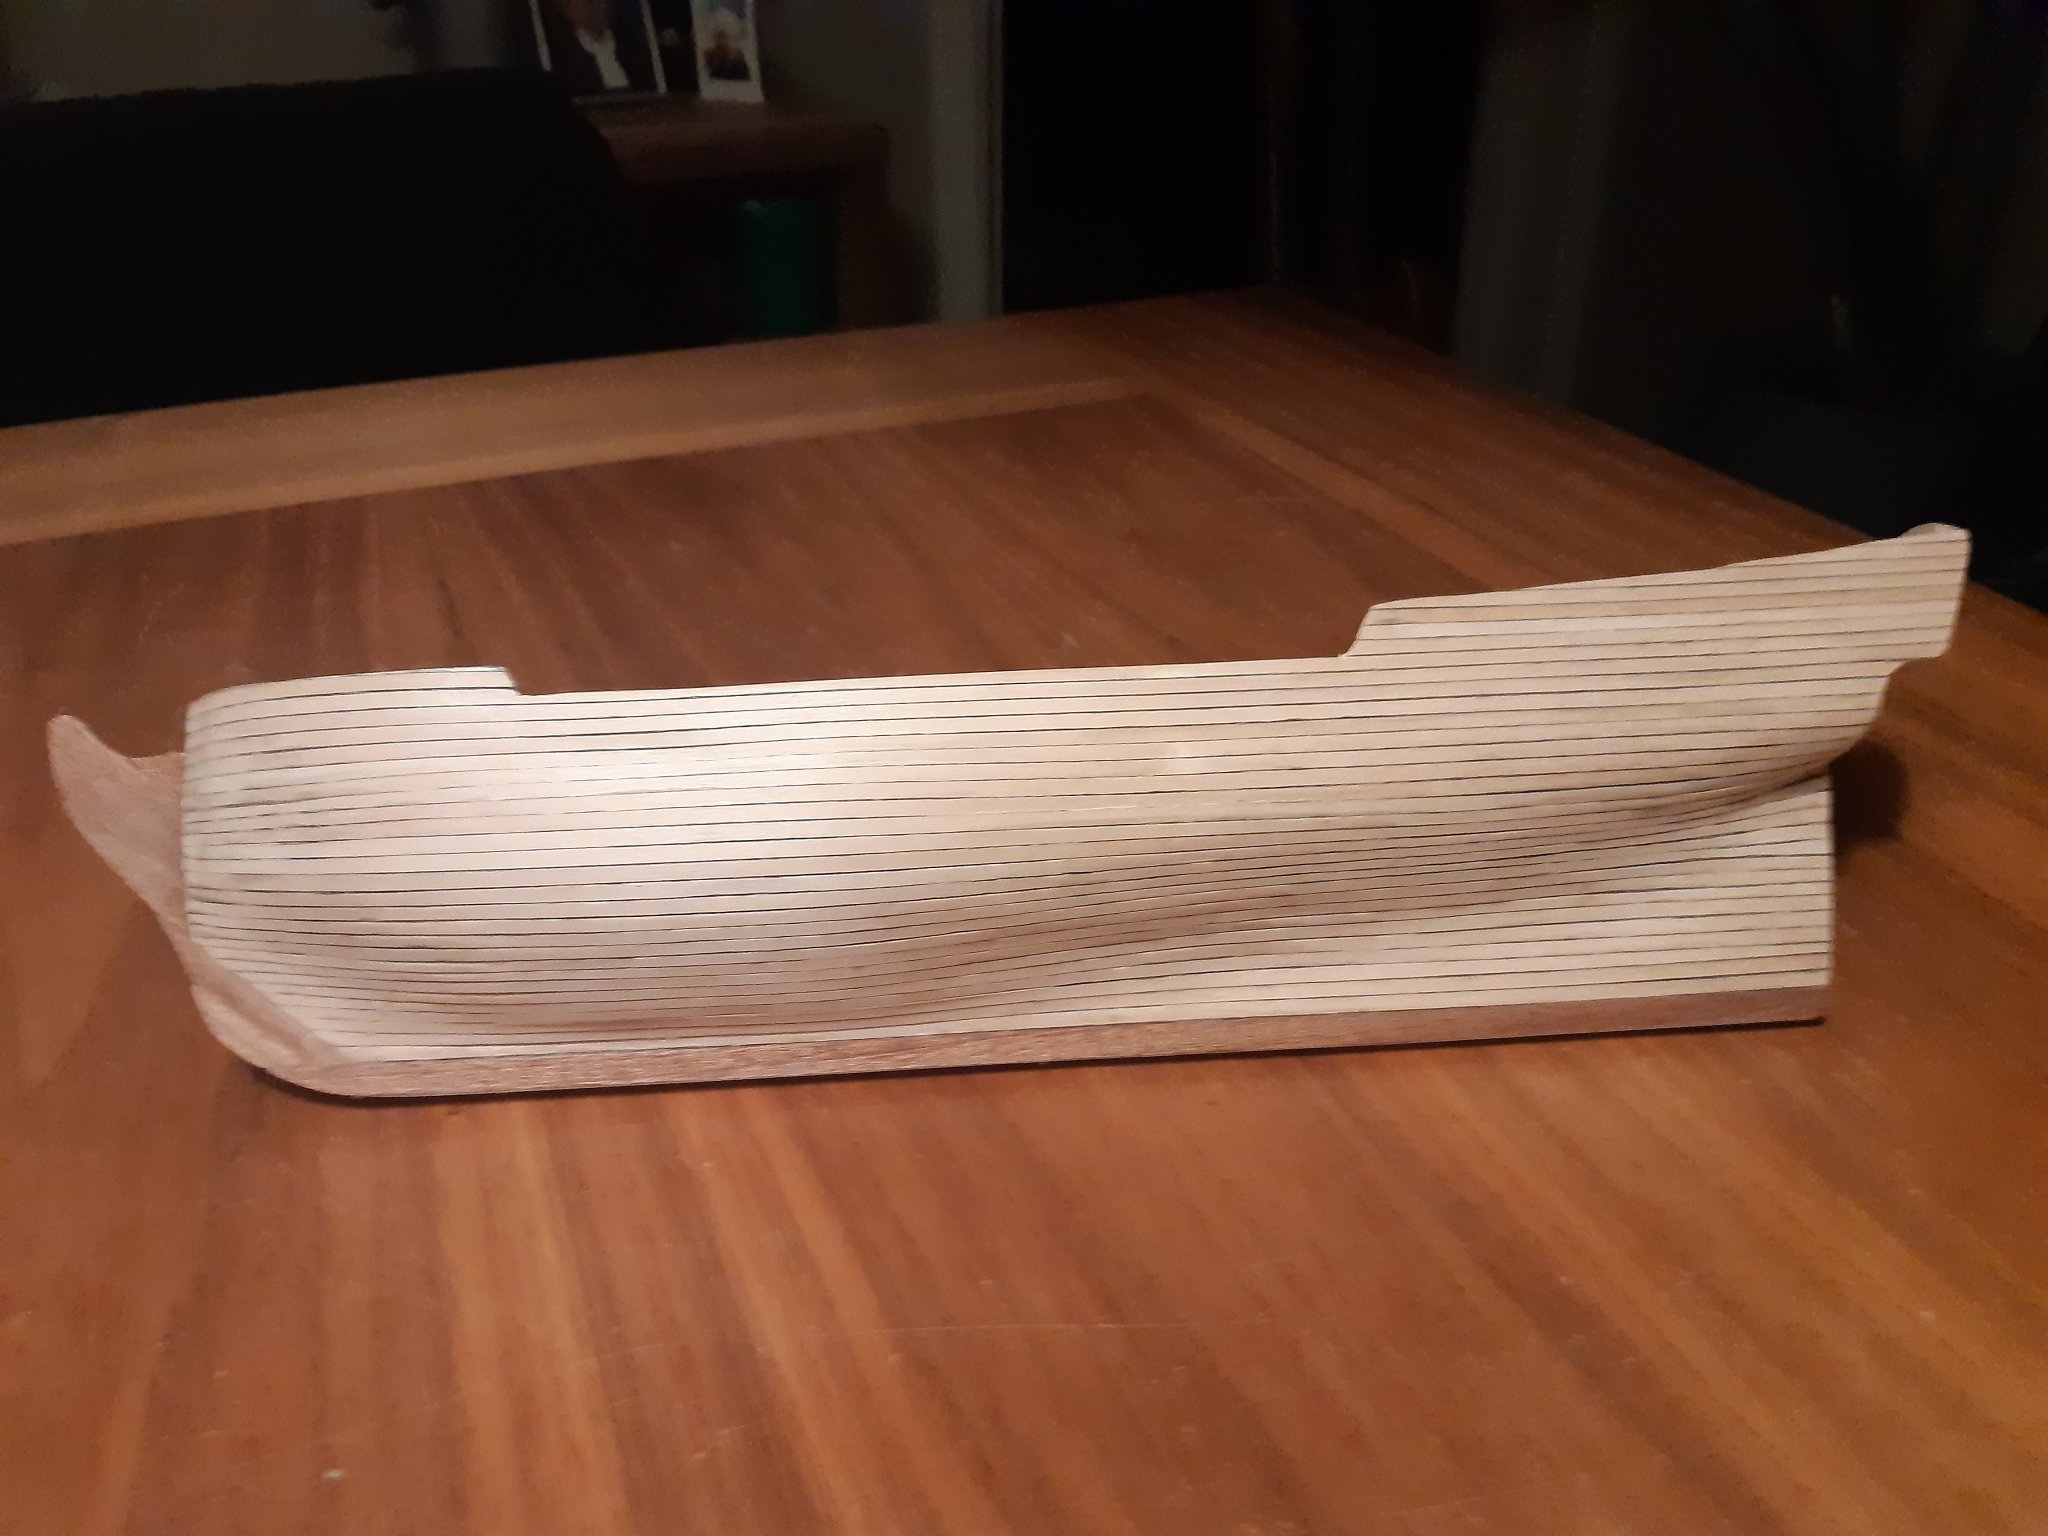
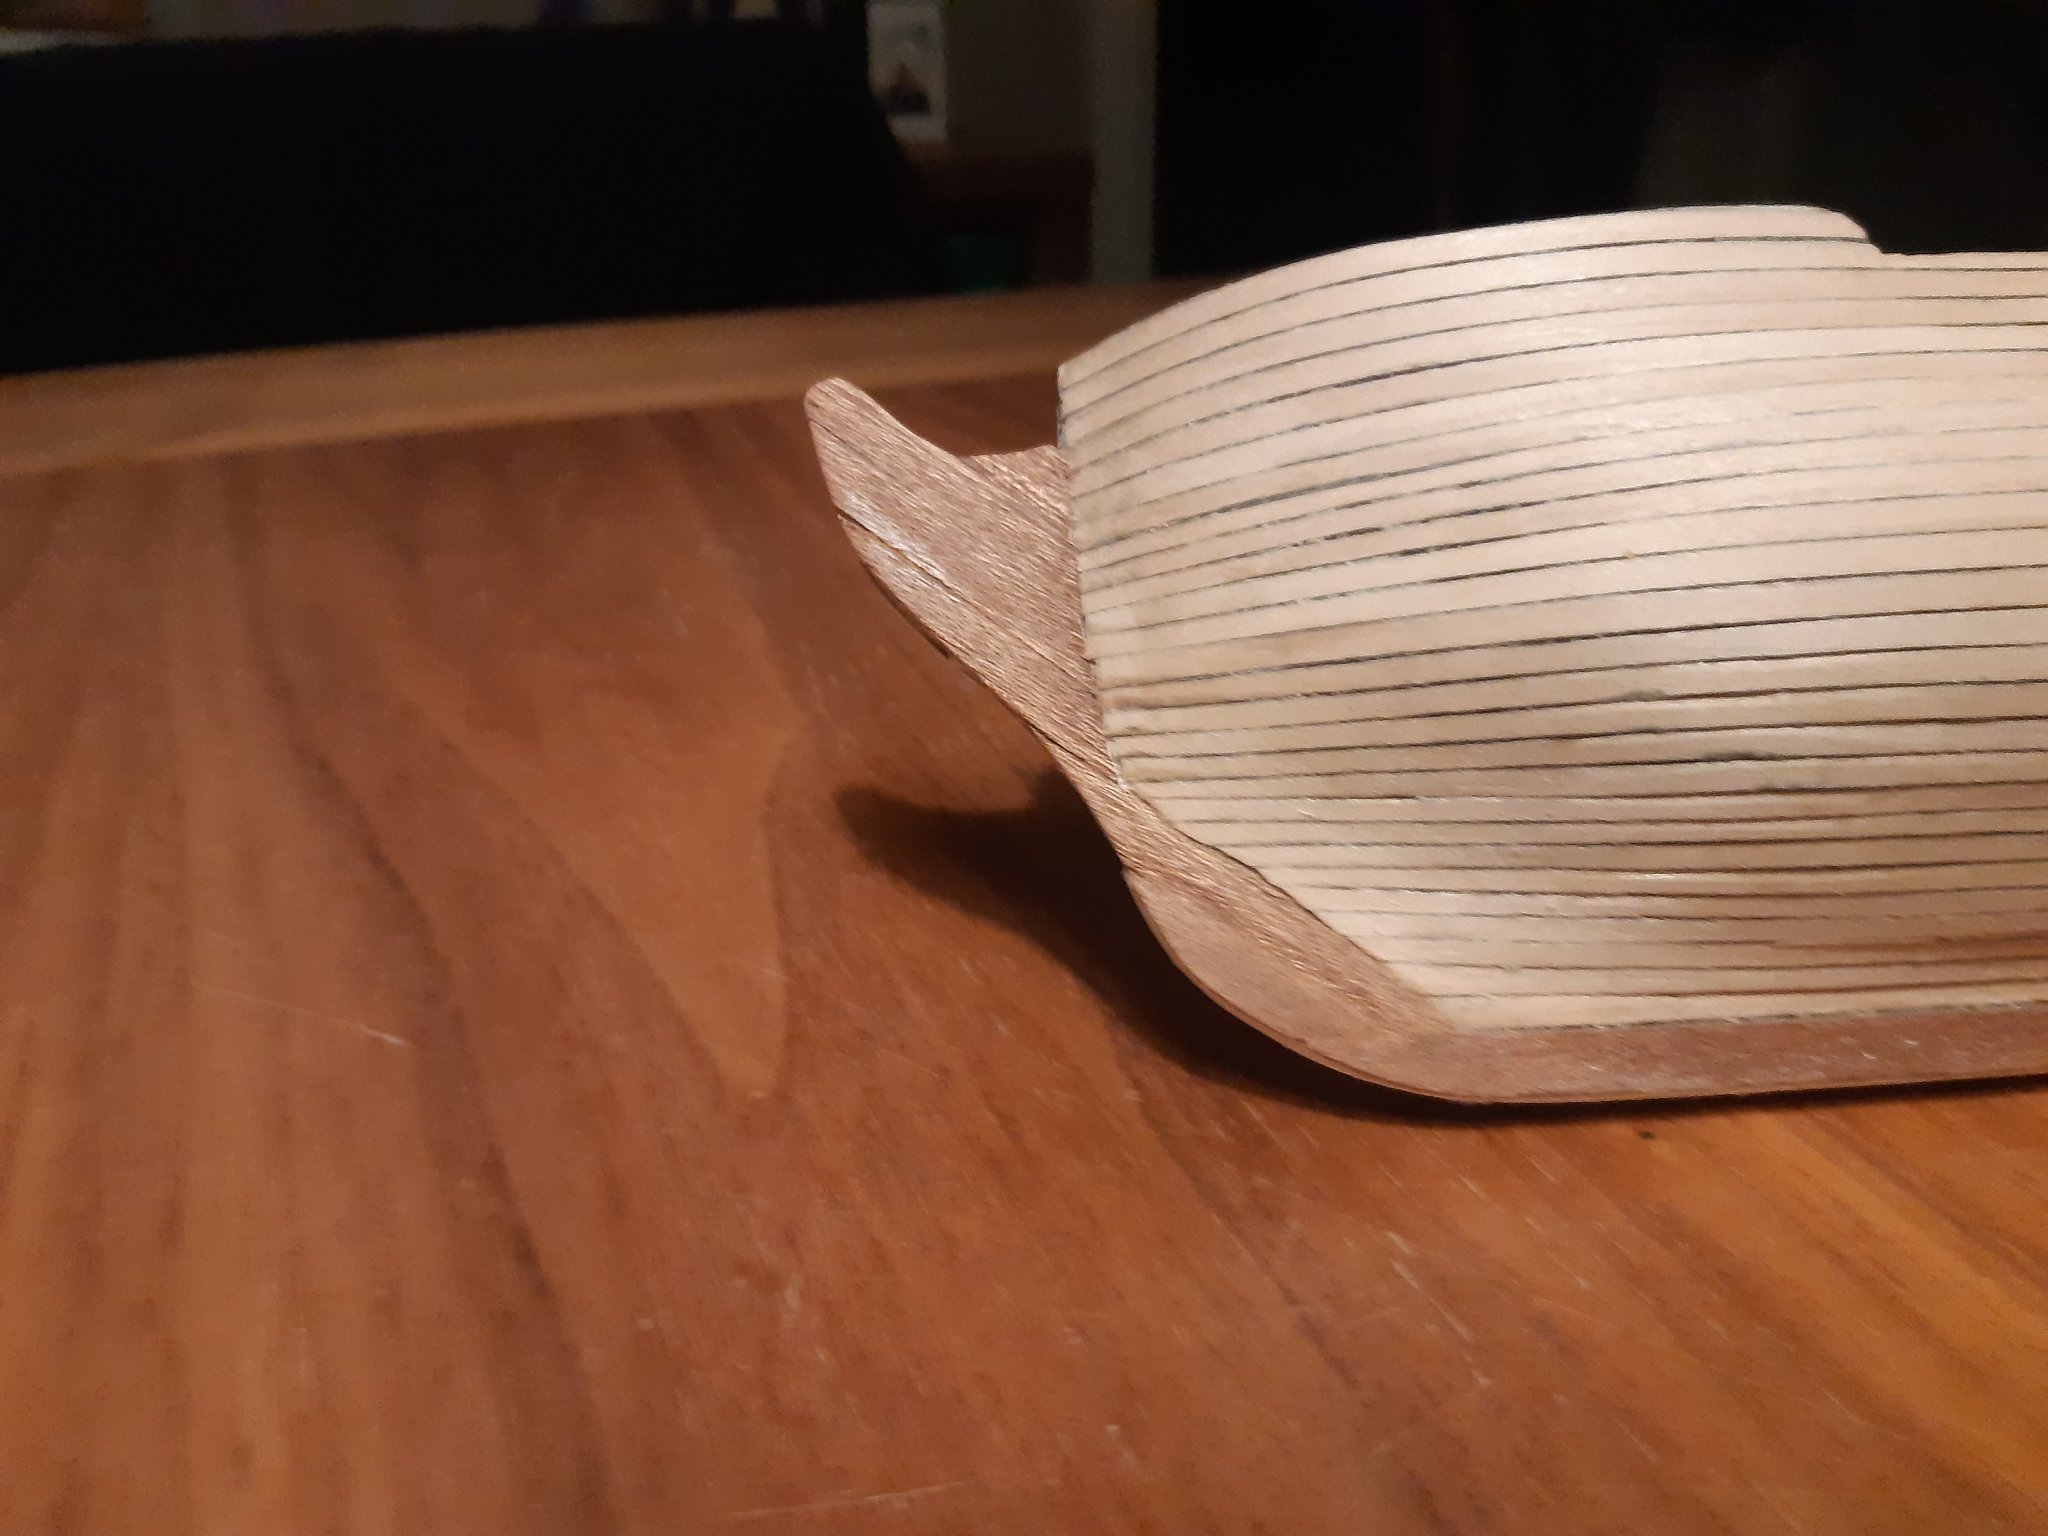
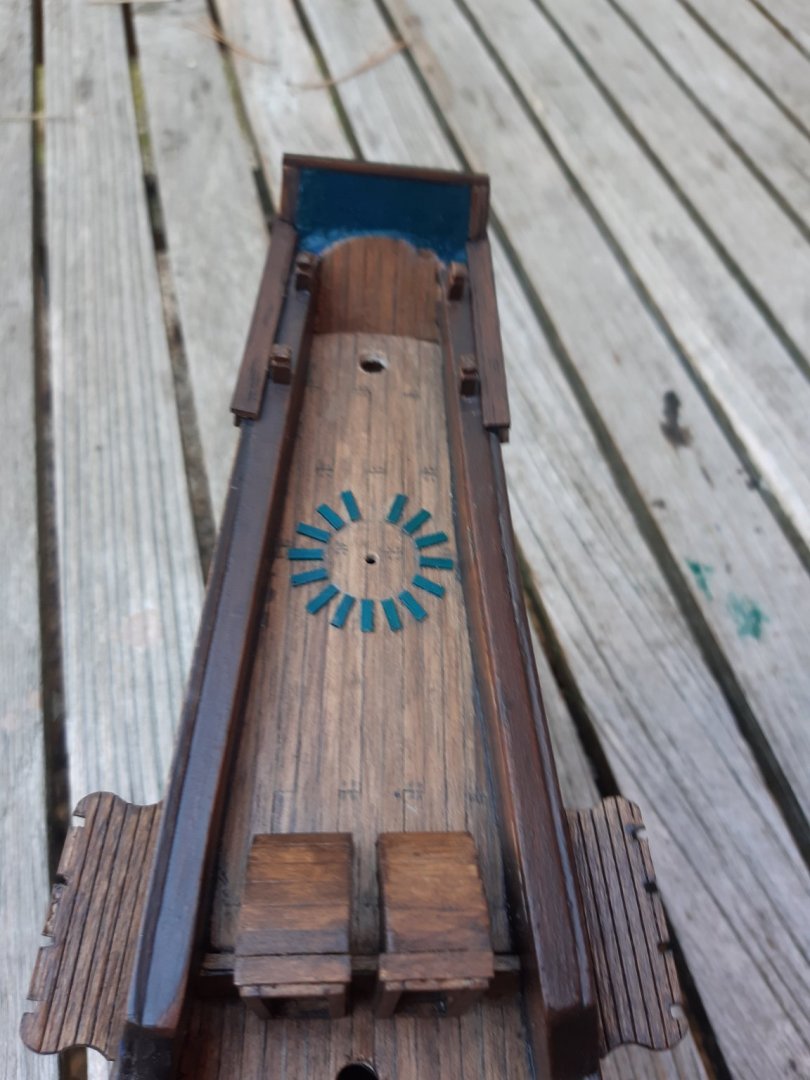
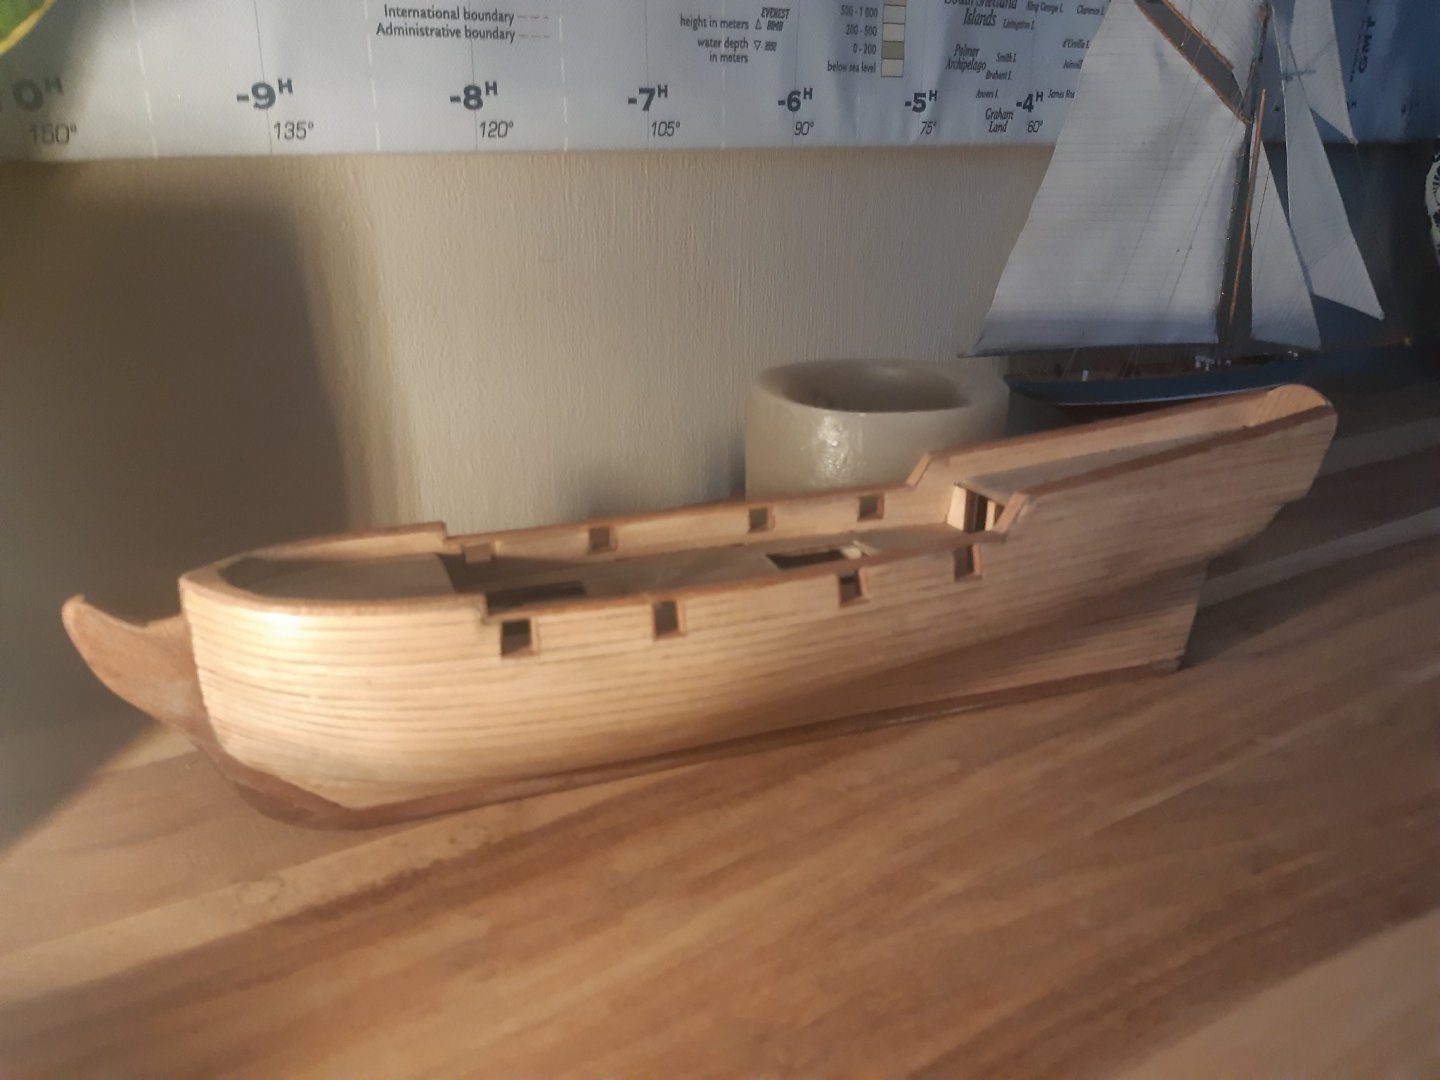
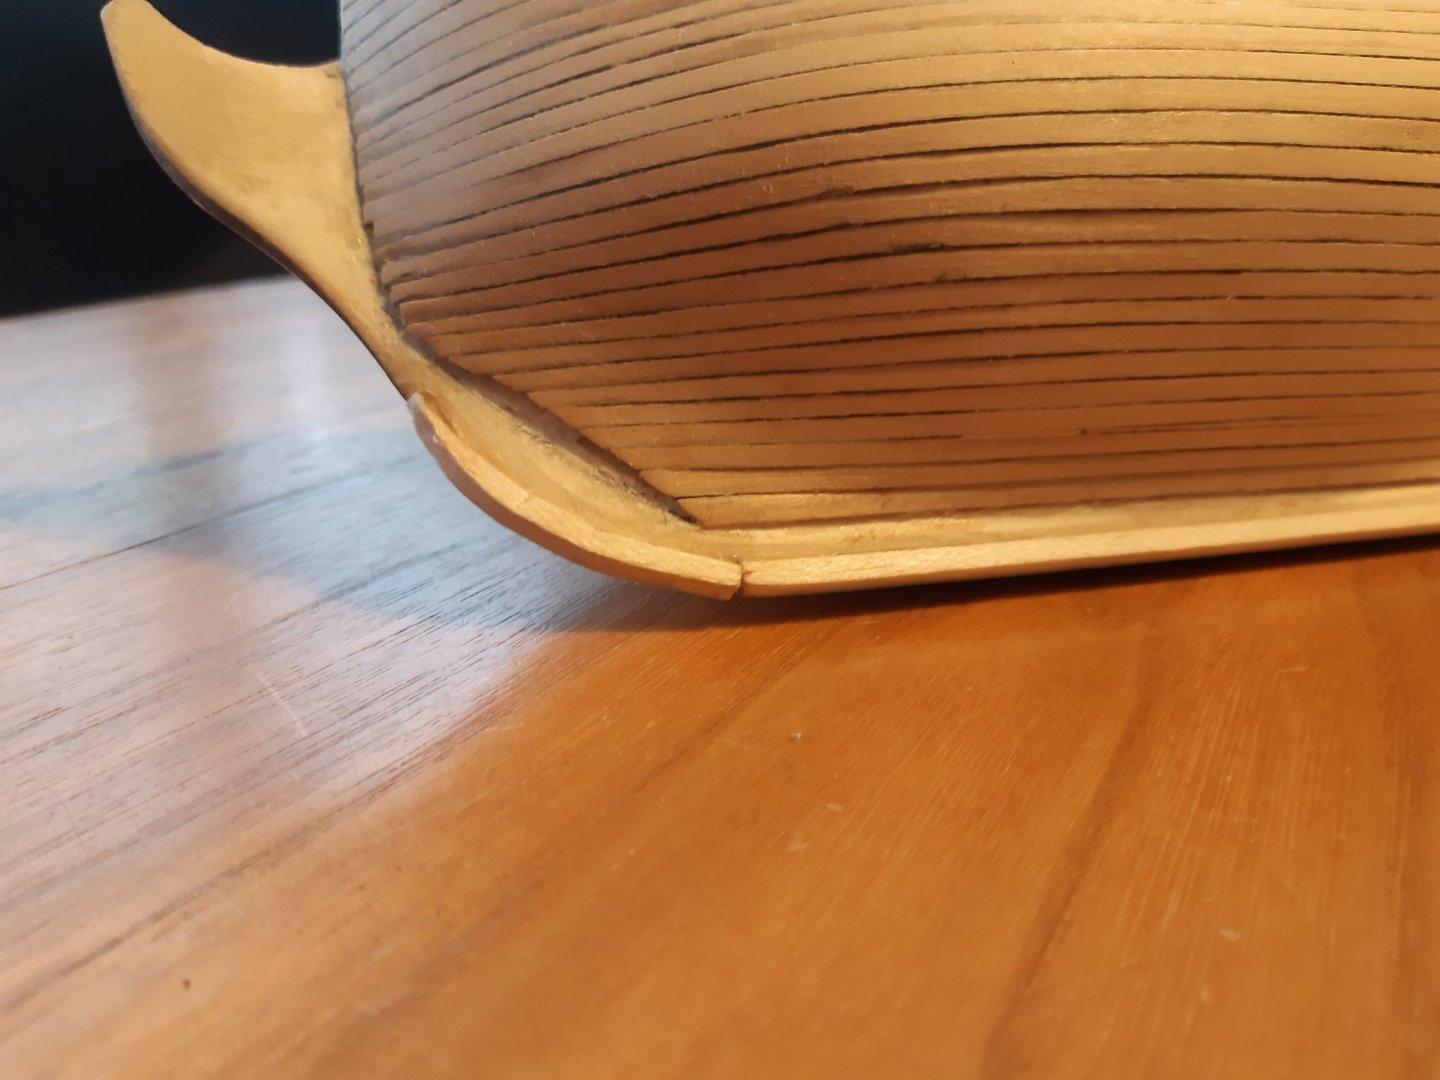
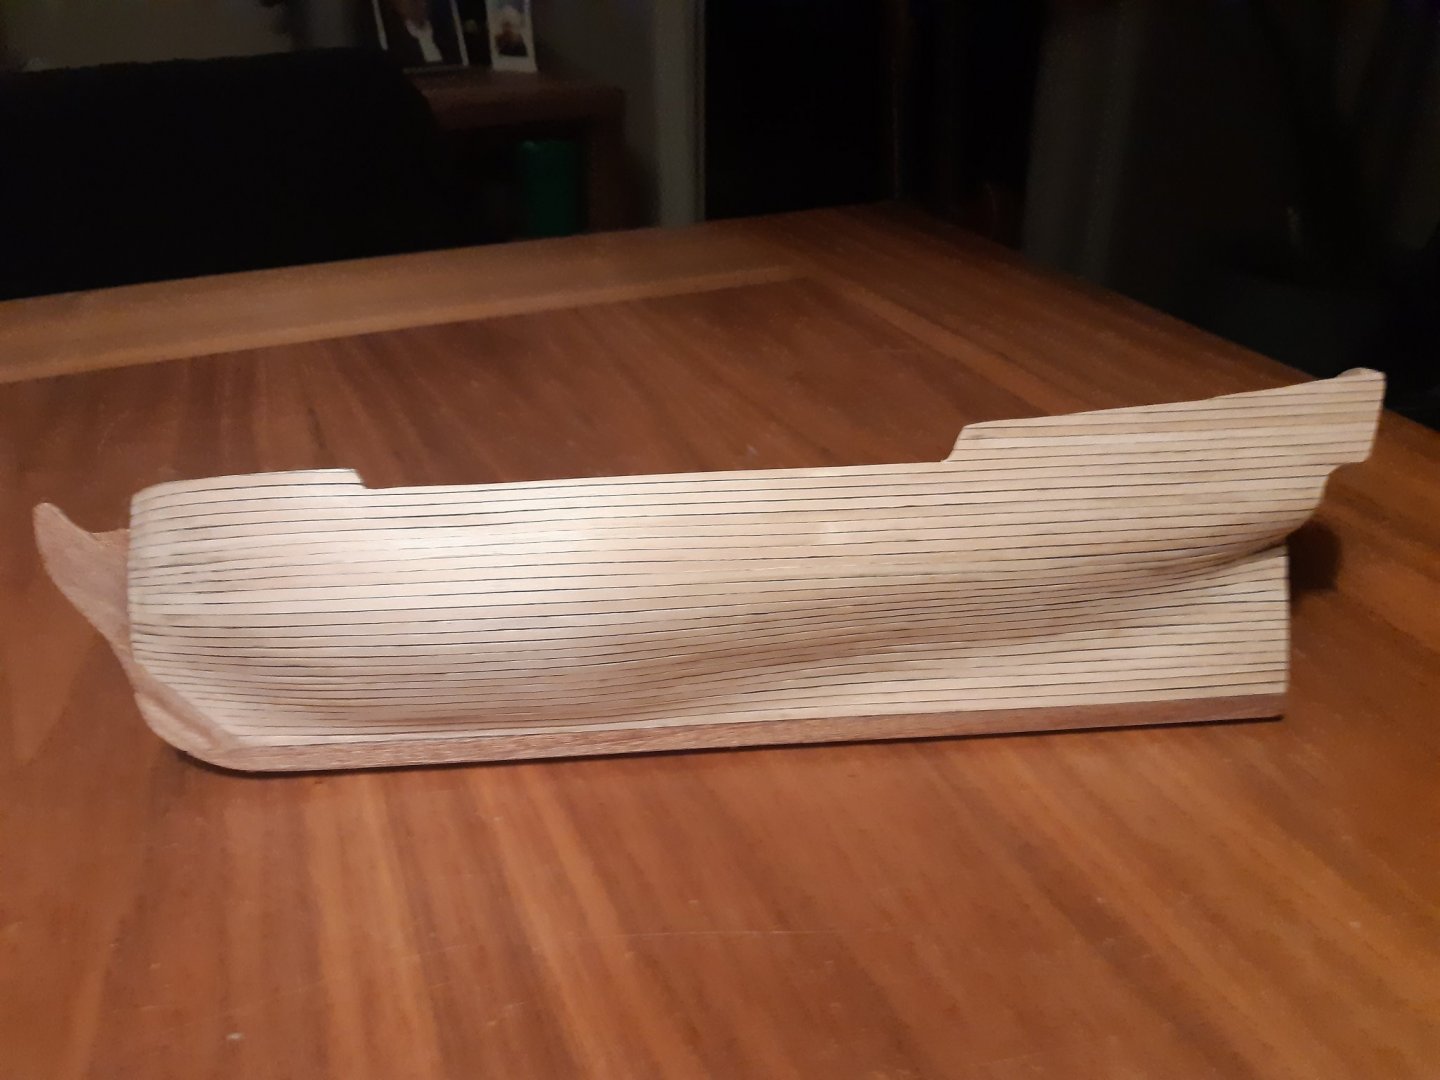
Small update; The kit doesn't provide a false keel so I decided to make one myself. I used balsa wood for the structure and strips of mahogany to cover it. Portside is finished, starboardside will be done after buying more (brittle) mahogany strips. The way the lower planks of the hull near the keel at the bow form a straight line looks a bit odd but I think I'll stick with it. I tell myself I designed it this way to strengthen the bow against ice during its arctic expedtions and then I can sleep at night 🙂


-
Thanks for this information, I find the evolution of these desings fascinating. The Conway’s ship types book is on its way, seems like a great source of inspiration for this type of vessels. I will use the book as guide for the design, however, since this is my first build, I am mostly guided by where the building process takes me. Thnx again.