Chris H
-
Posts
9 -
Joined
-
Last visited
-
 etubino reacted to a post in a topic:
Atlantic by Chris H - BlueJacket Shipcrafters - 1:96 Scale
etubino reacted to a post in a topic:
Atlantic by Chris H - BlueJacket Shipcrafters - 1:96 Scale
-
closehaul reacted to a post in a topic:
Atlantic by Chris H - BlueJacket Shipcrafters - 1:96 Scale
-
gsdpic reacted to a post in a topic:
Atlantic by Chris H - BlueJacket Shipcrafters - 1:96 Scale
-
Canute reacted to a post in a topic:
Atlantic by Chris H - BlueJacket Shipcrafters - 1:96 Scale
-
Prowler901 reacted to a post in a topic:
Atlantic by Chris H - BlueJacket Shipcrafters - 1:96 Scale
-
 BobG reacted to a post in a topic:
Atlantic by Chris H - BlueJacket Shipcrafters - 1:96 Scale
BobG reacted to a post in a topic:
Atlantic by Chris H - BlueJacket Shipcrafters - 1:96 Scale
-
ccoyle reacted to a post in a topic:
Atlantic by Chris H - BlueJacket Shipcrafters - 1:96 Scale
-
Ian_Grant reacted to a post in a topic:
Atlantic by Chris H - BlueJacket Shipcrafters - 1:96 Scale
-
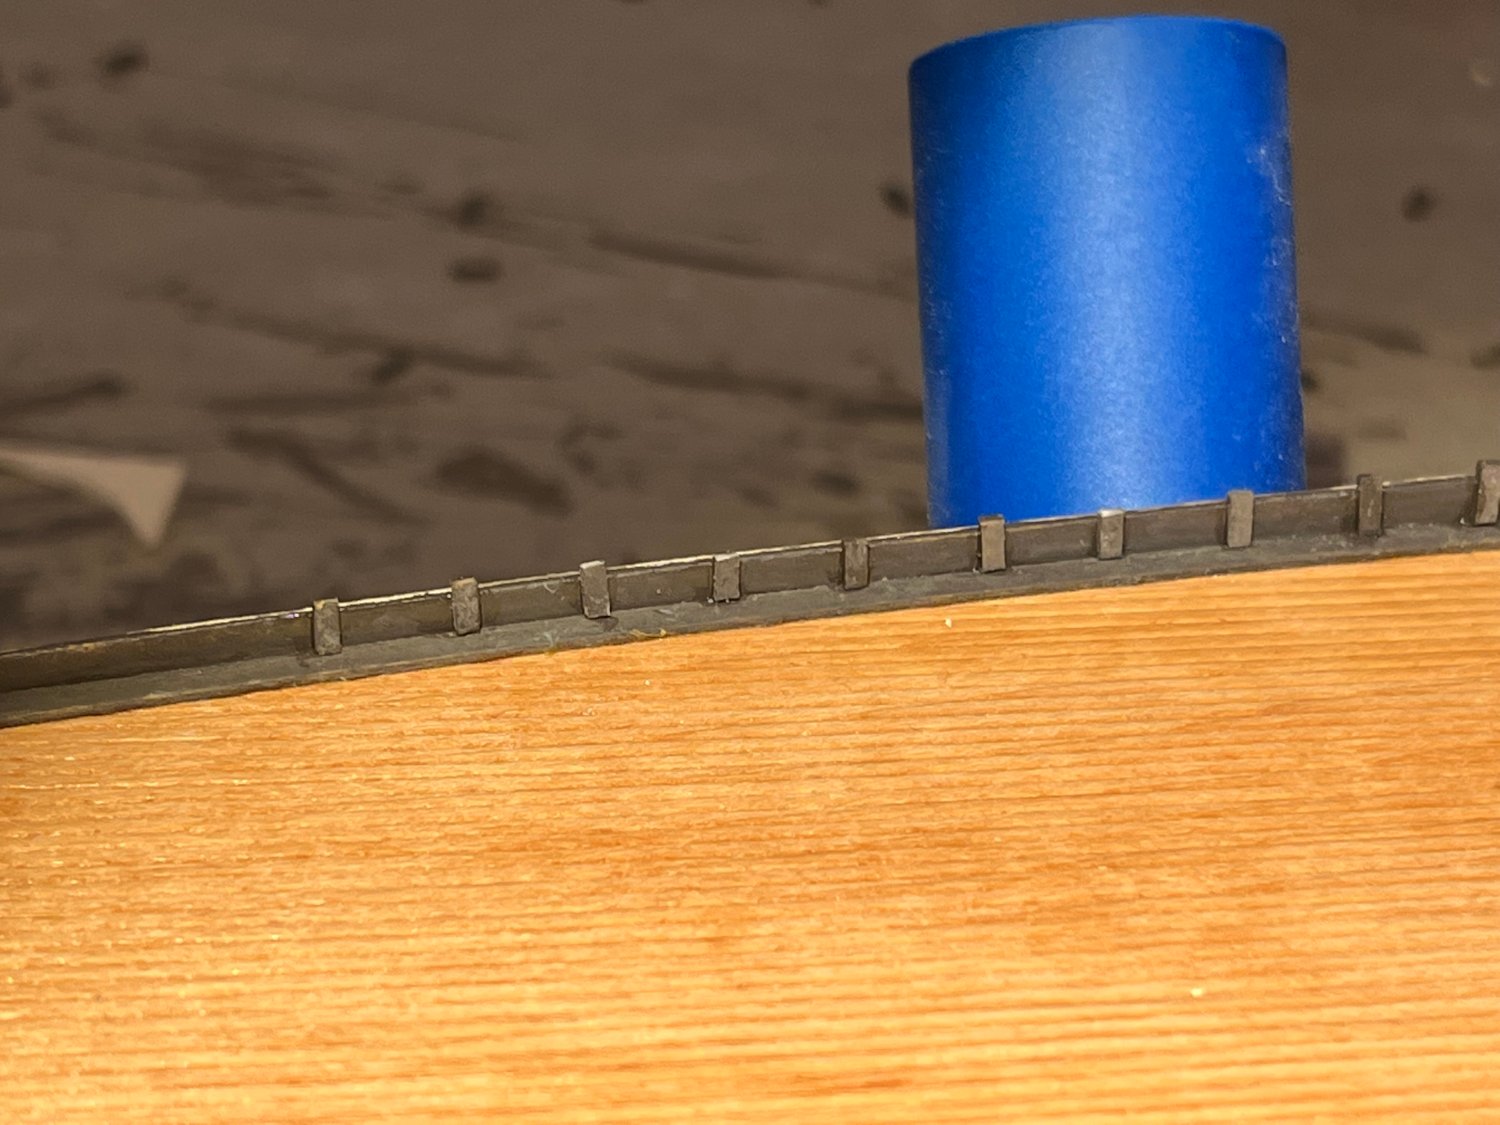
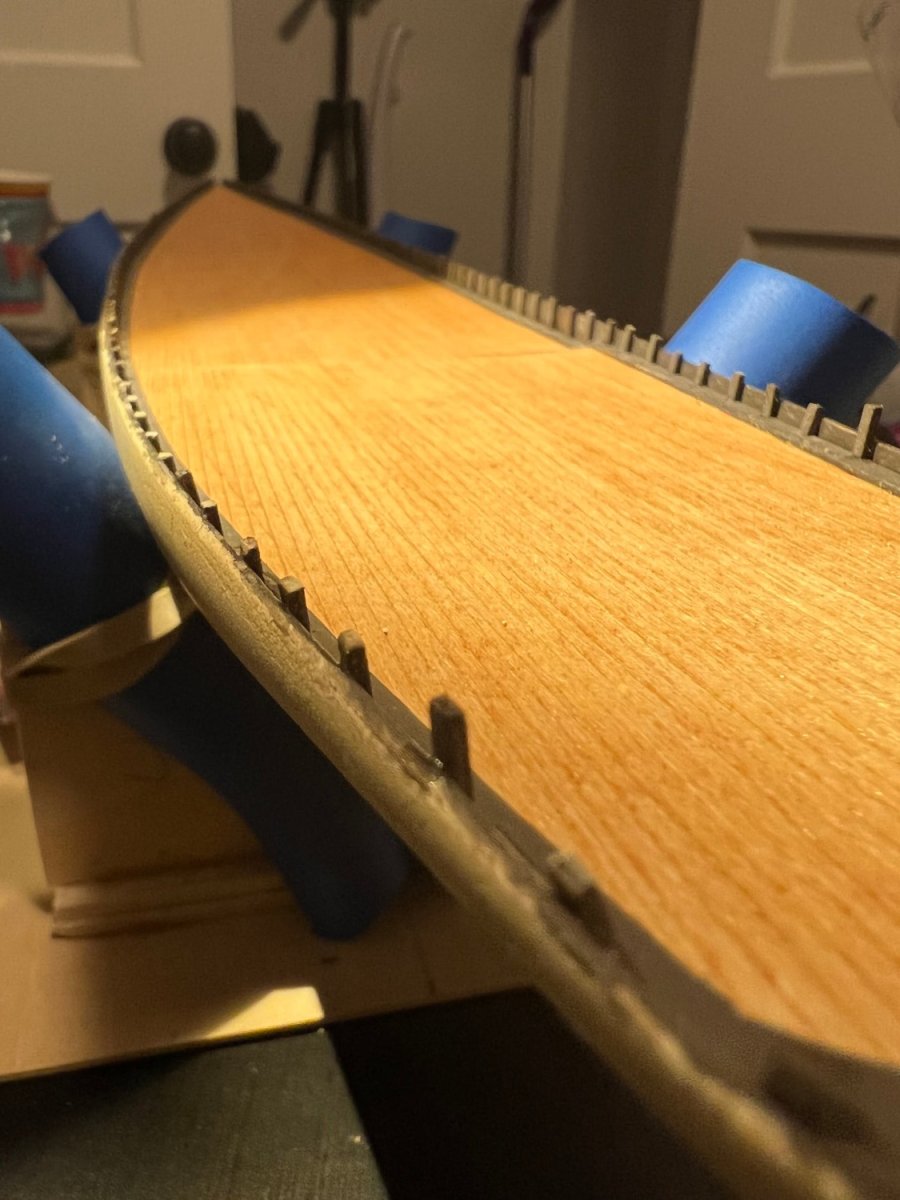
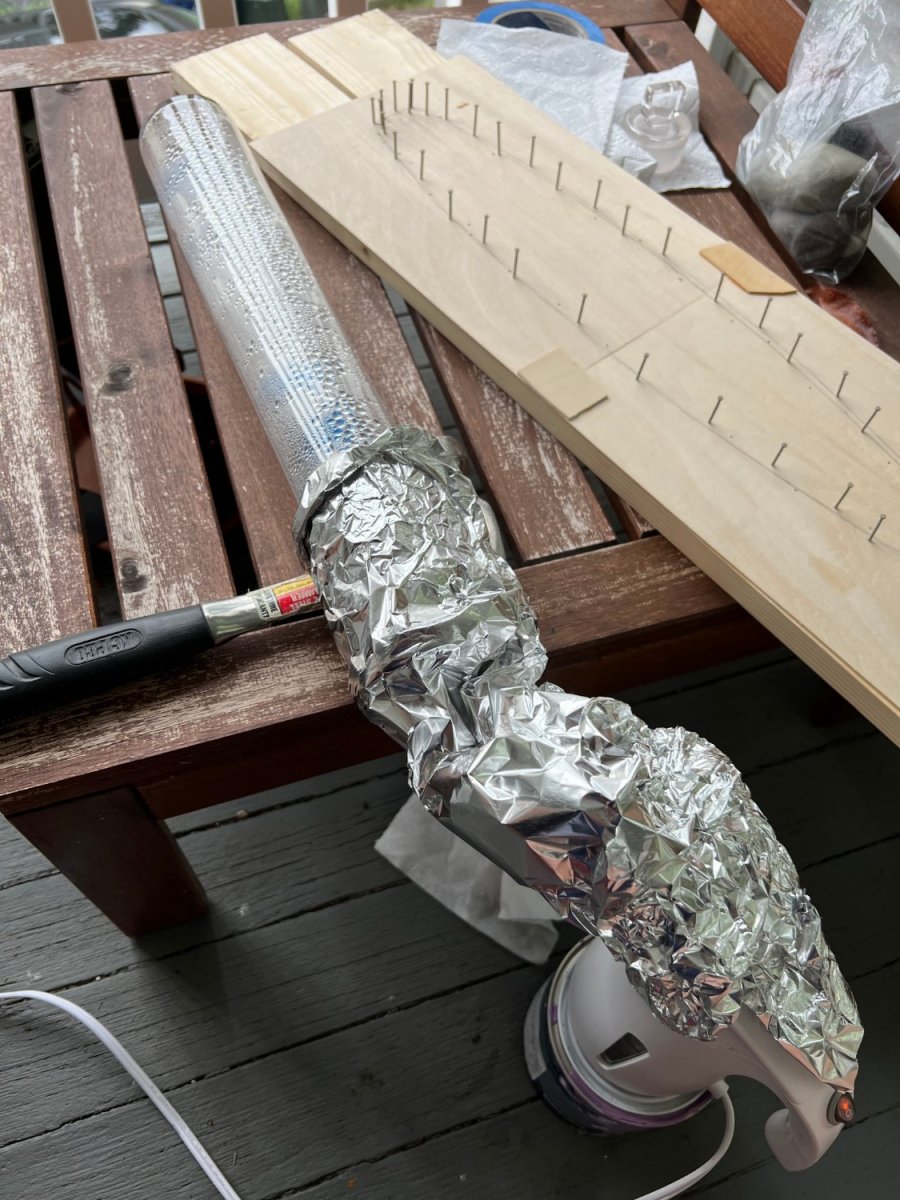
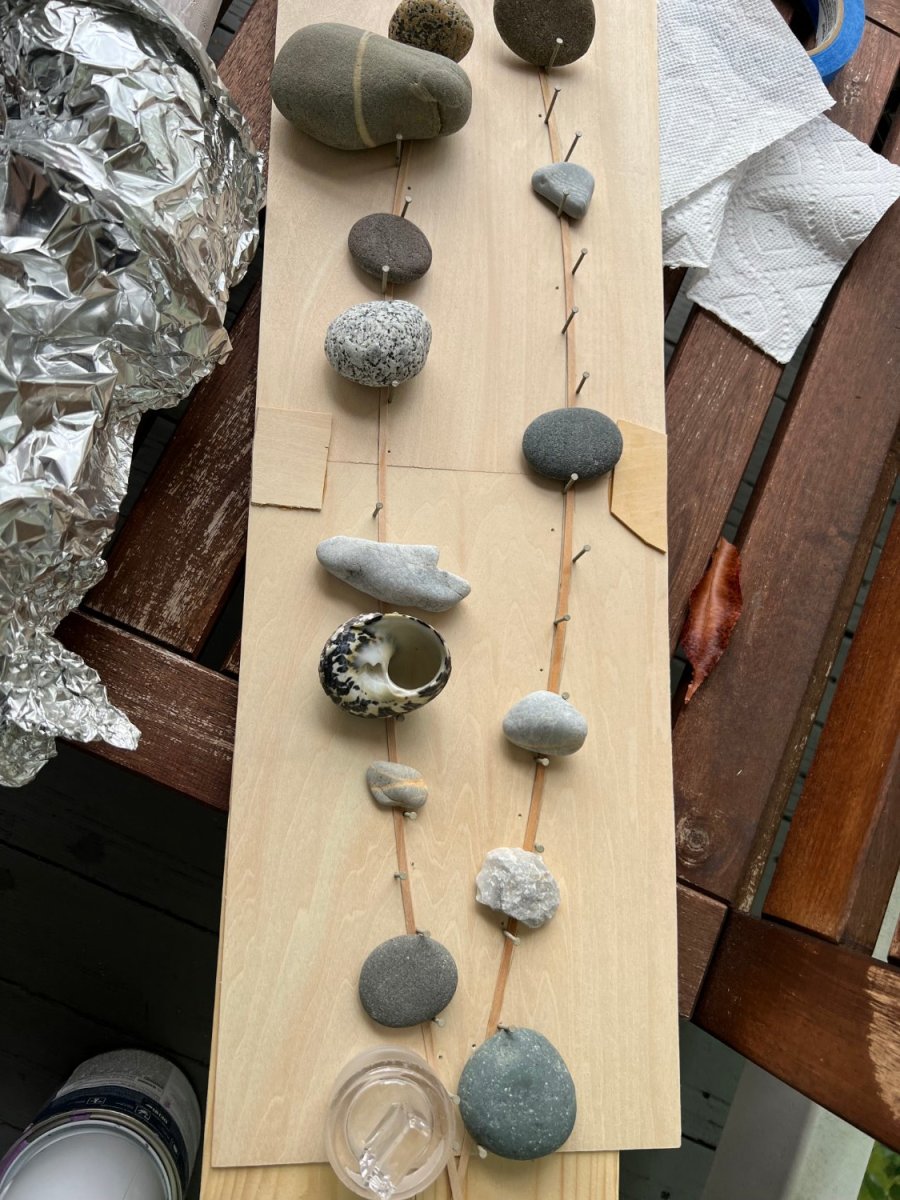
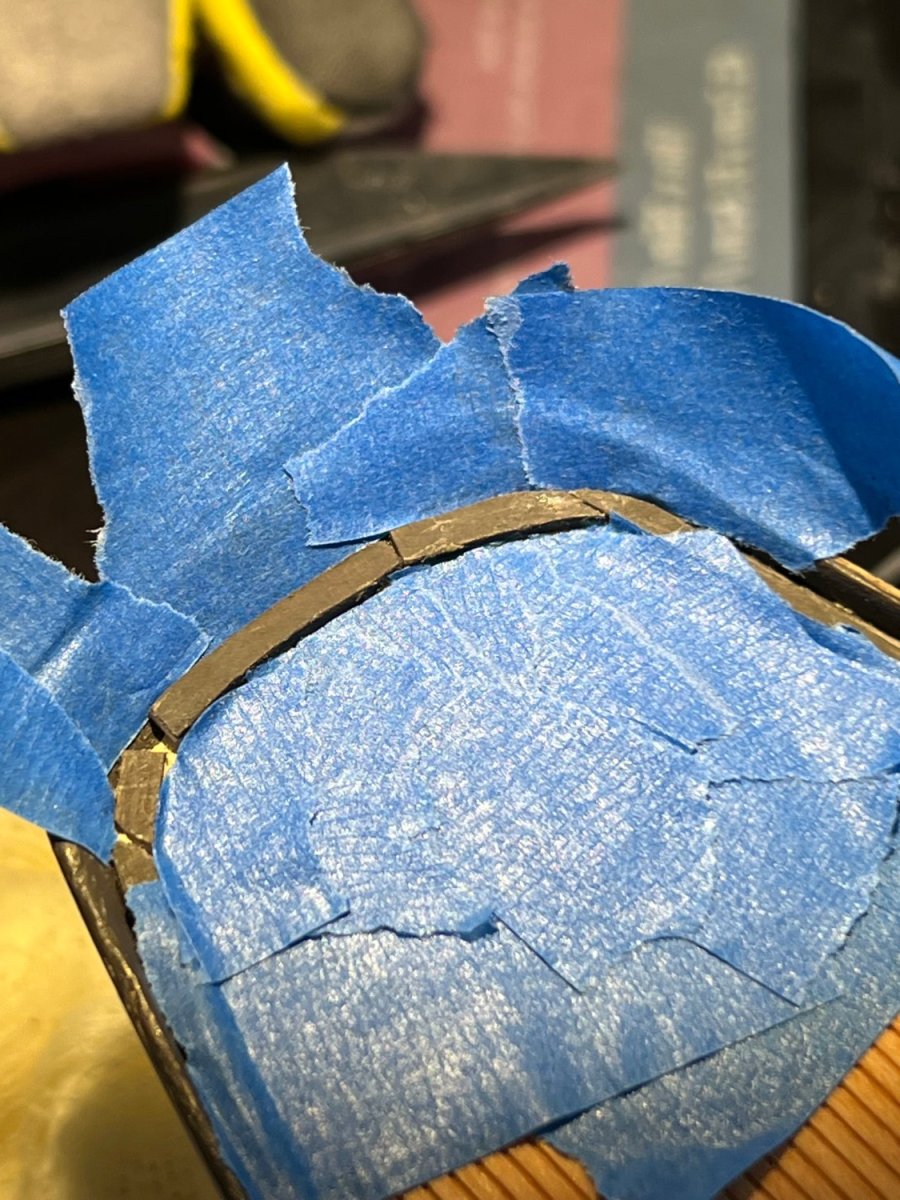
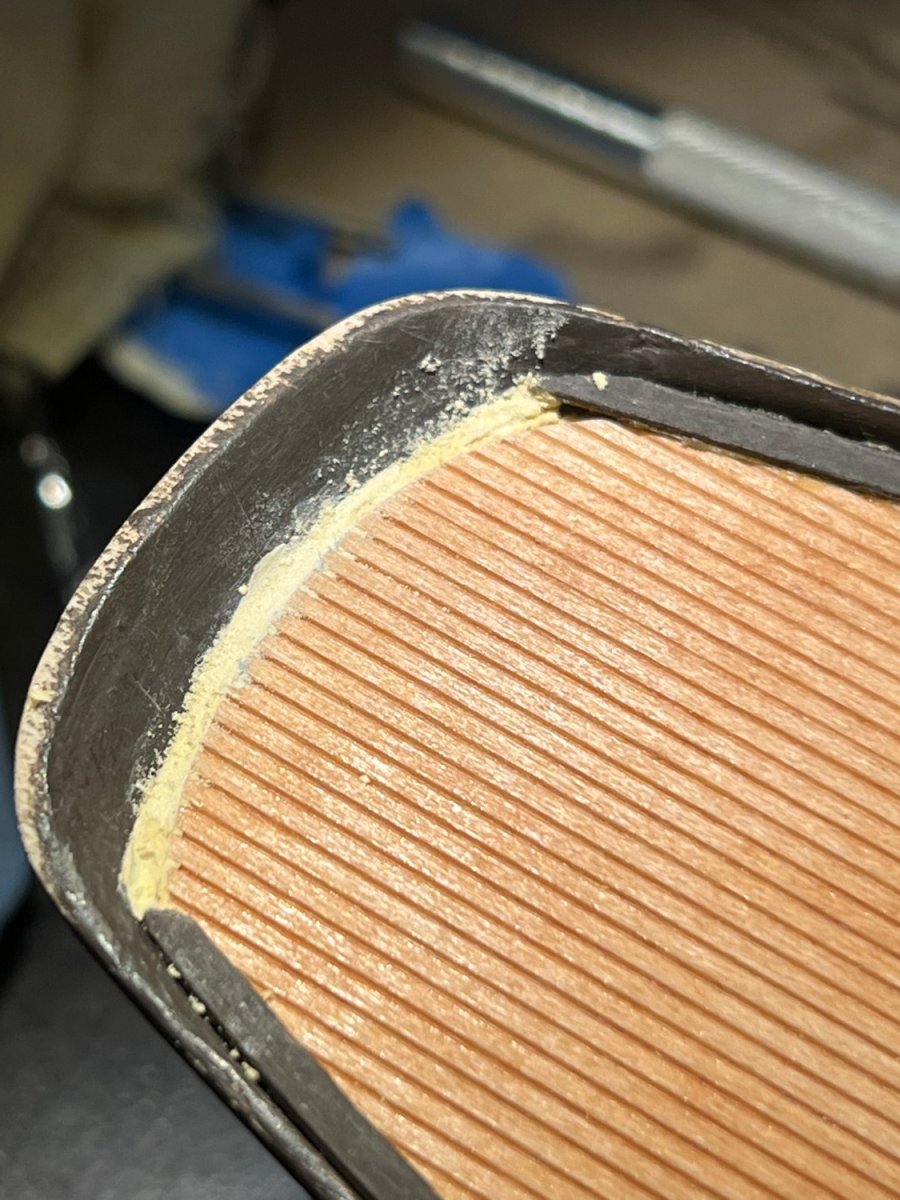
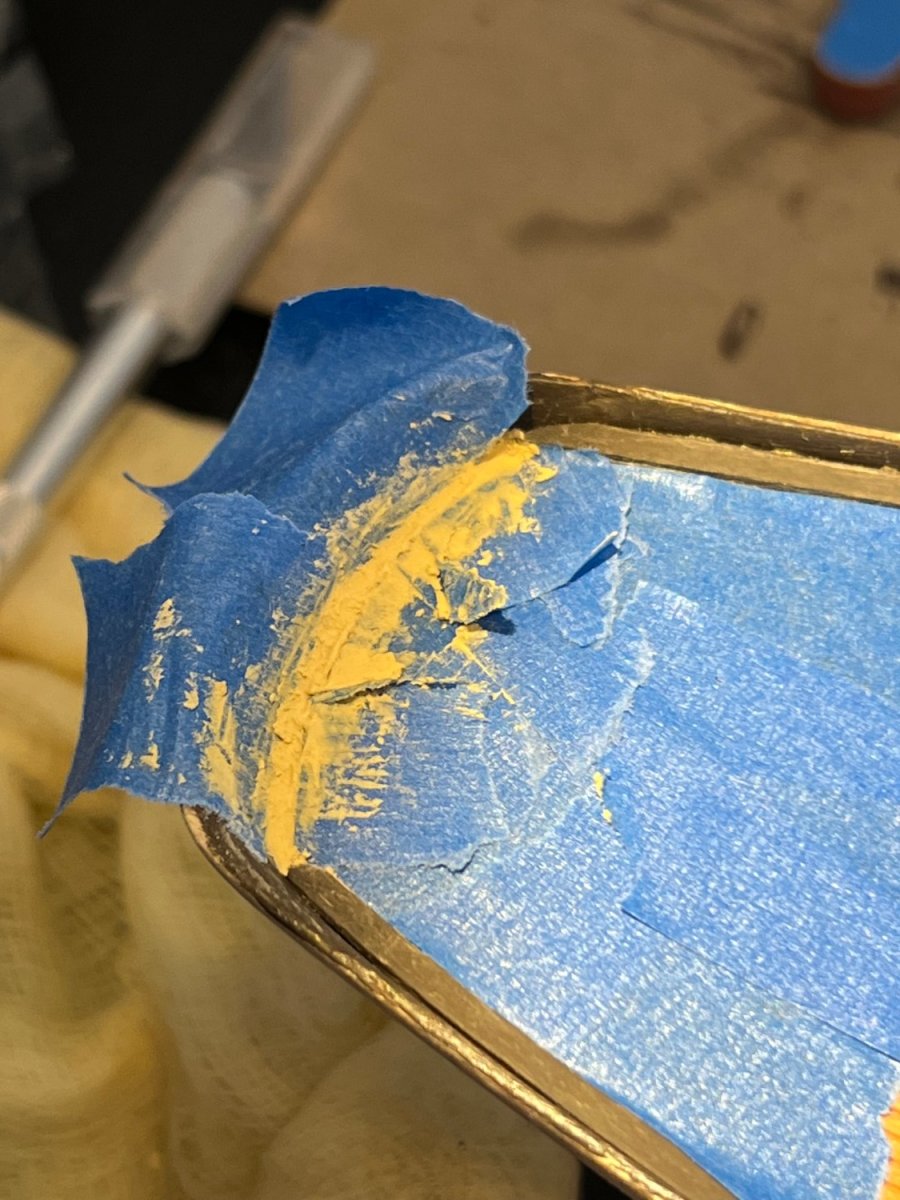
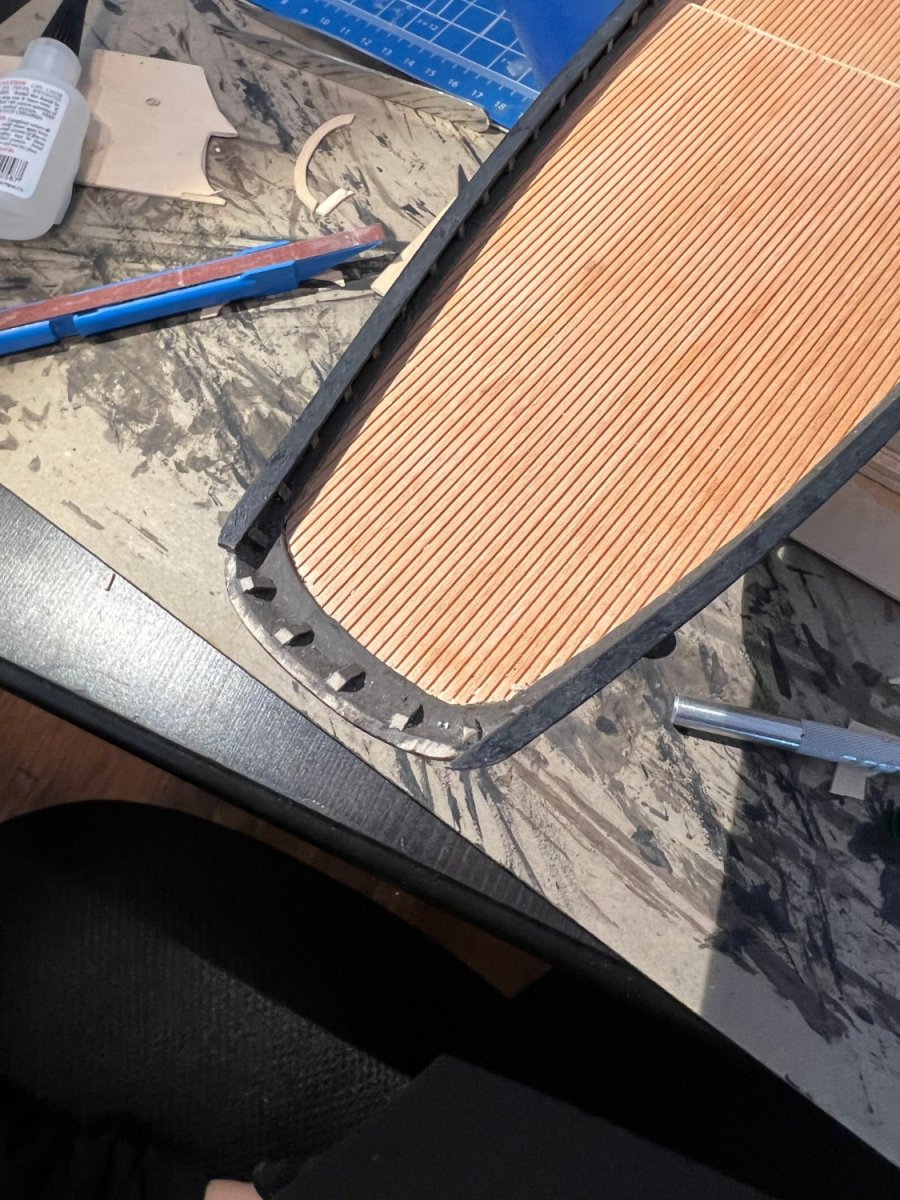
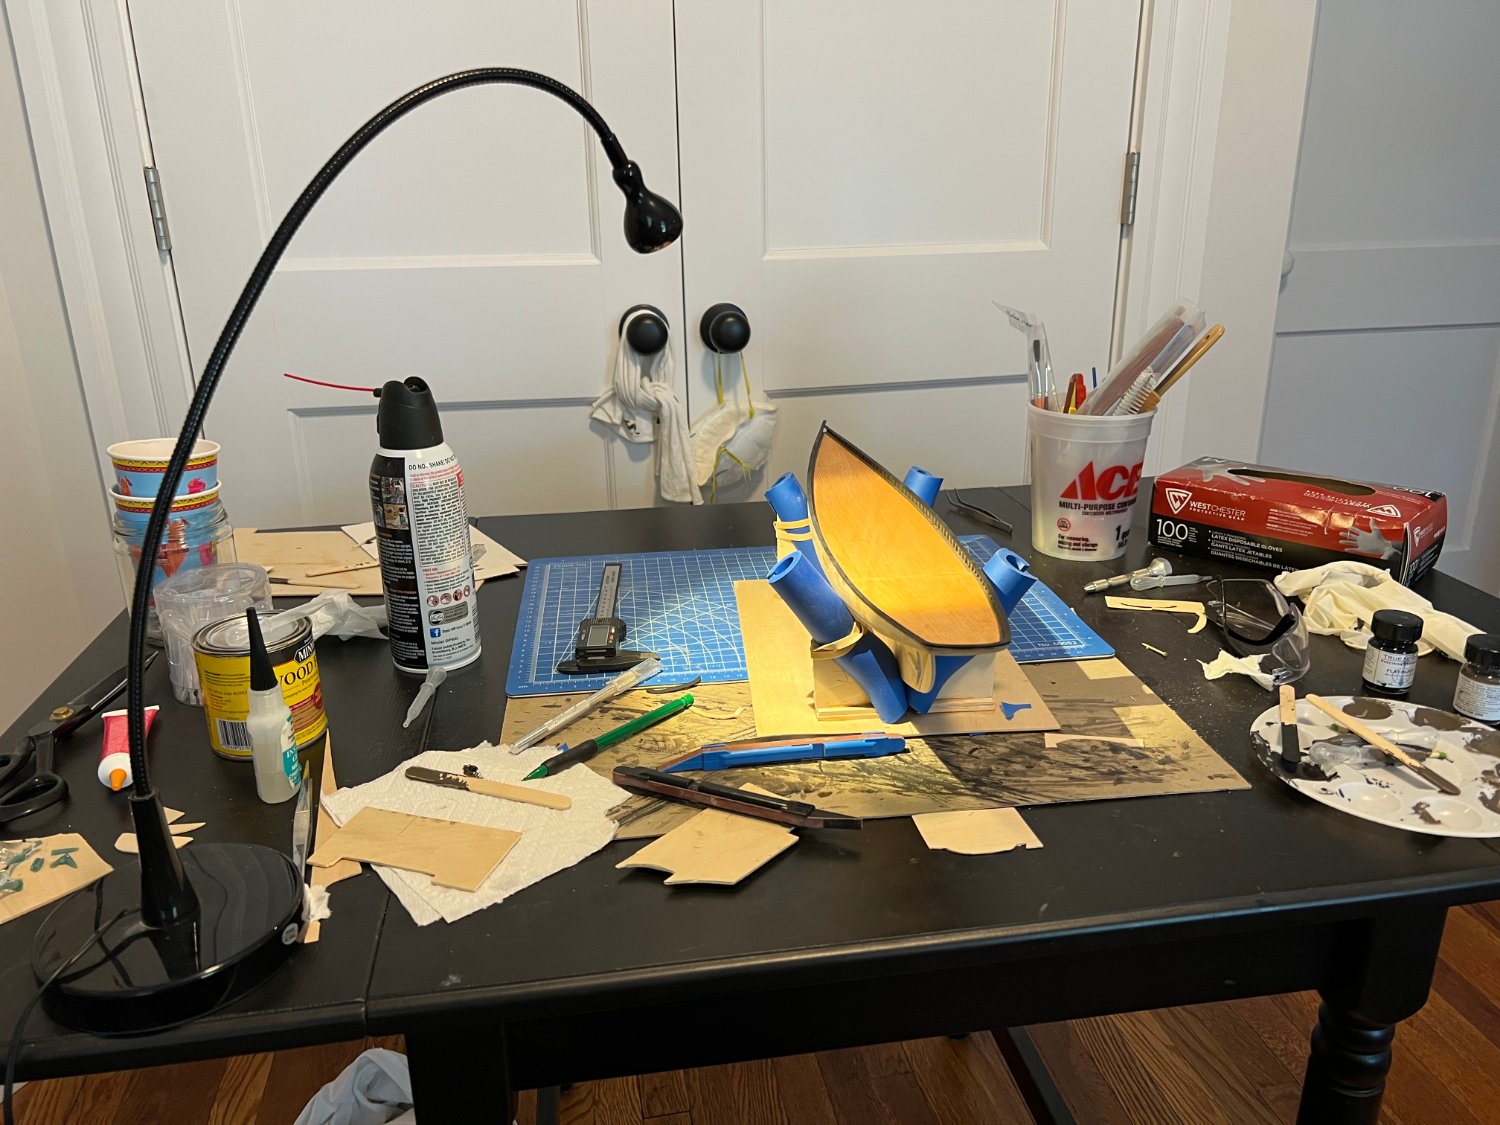
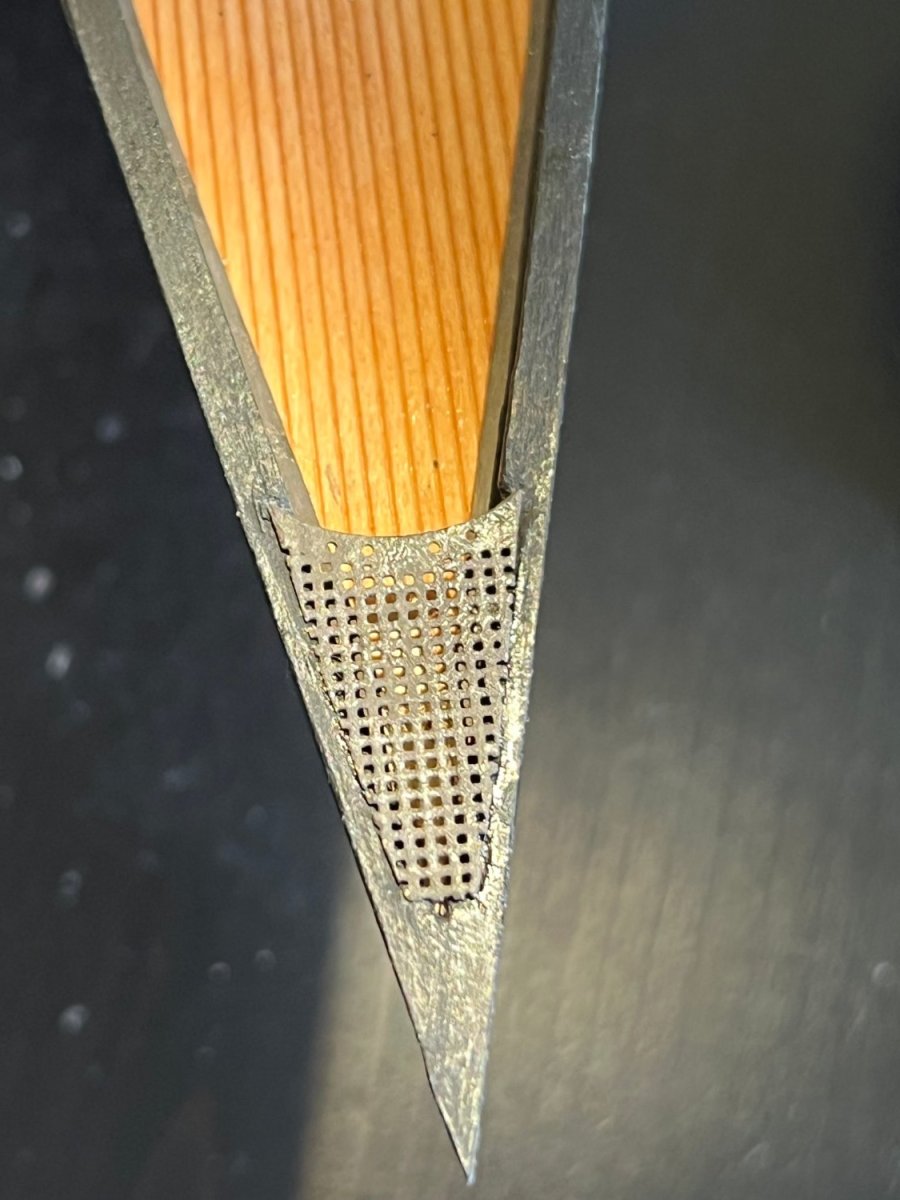
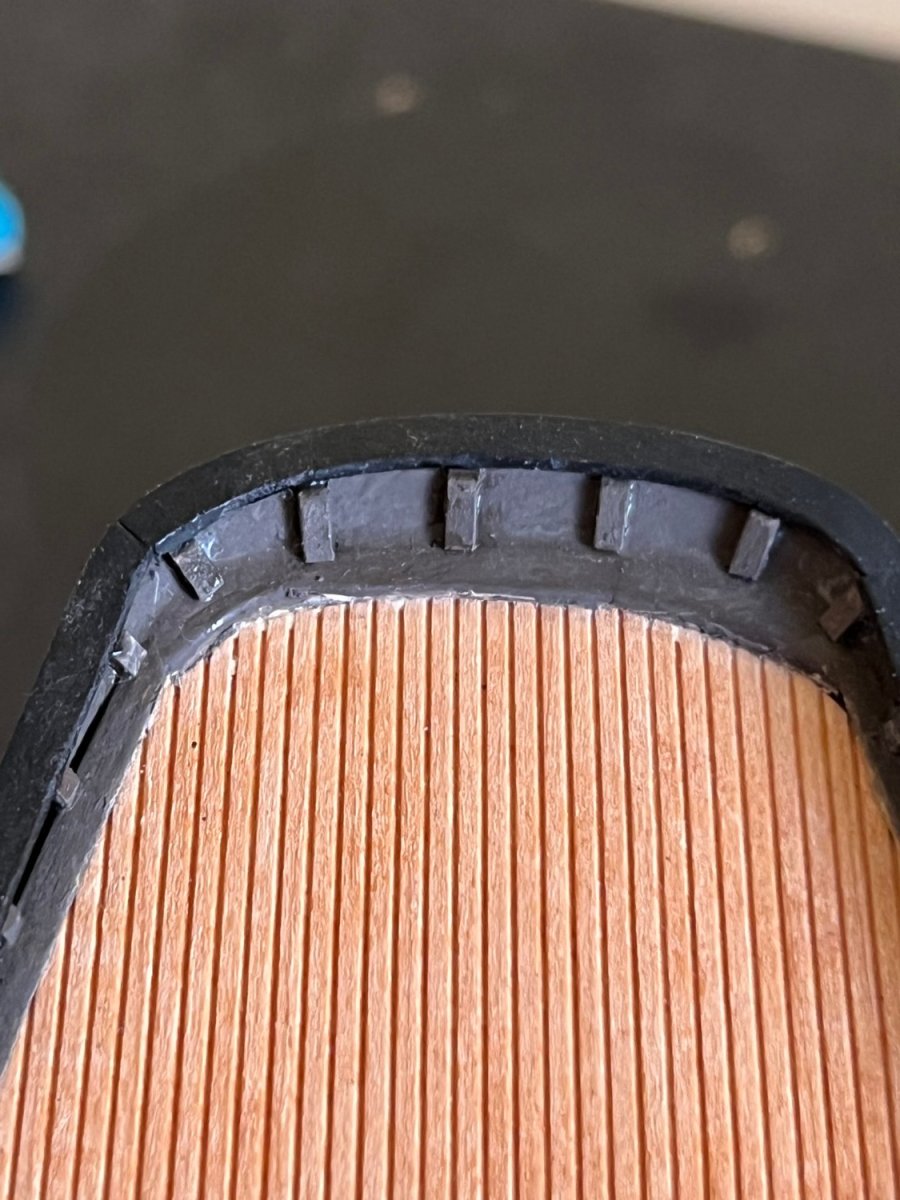
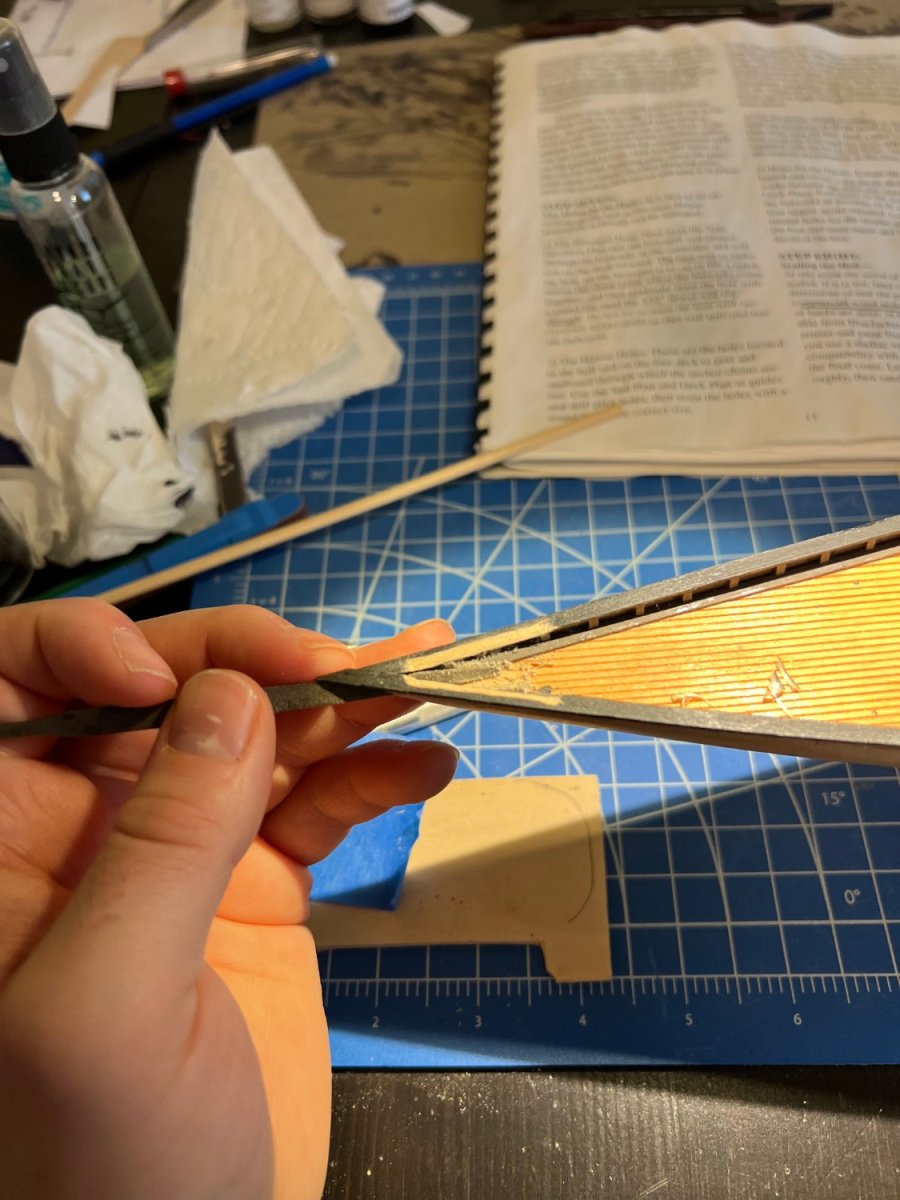
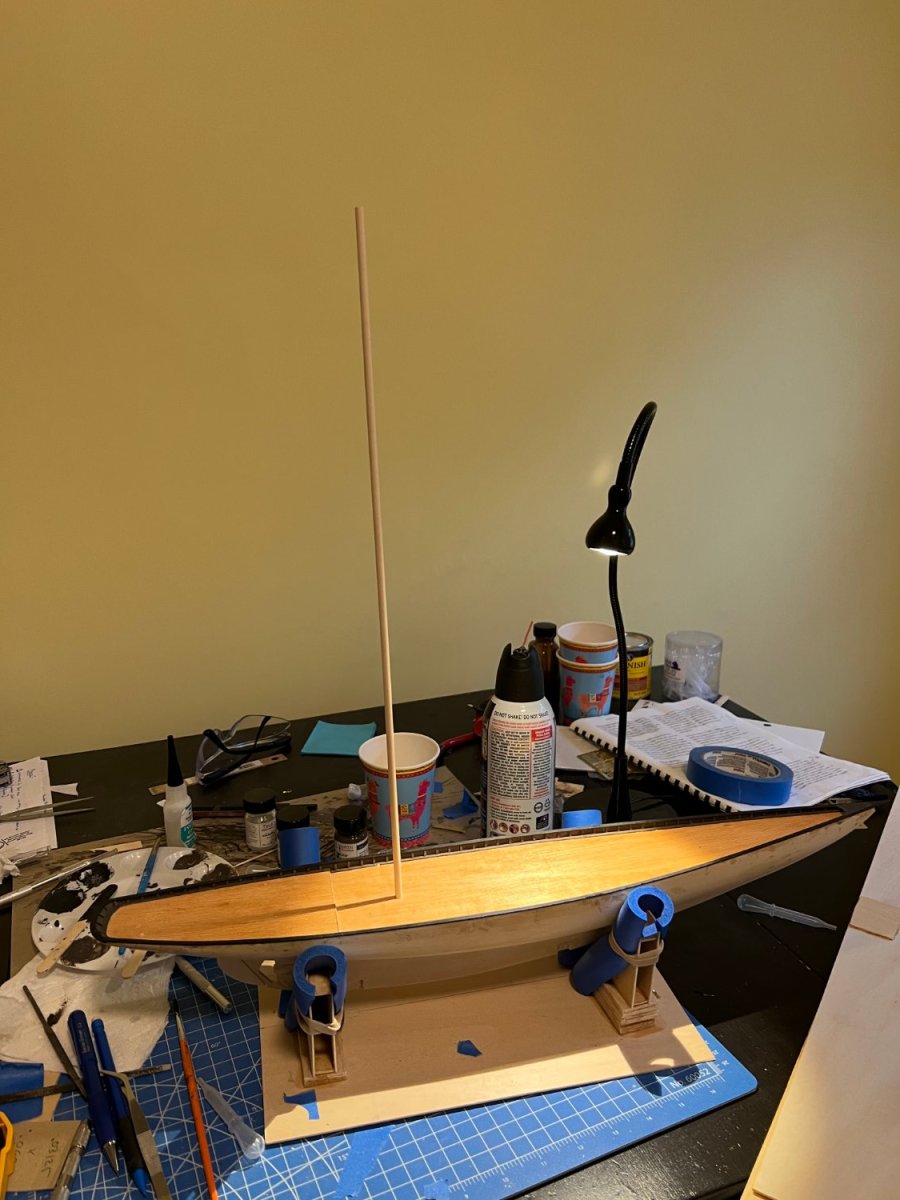
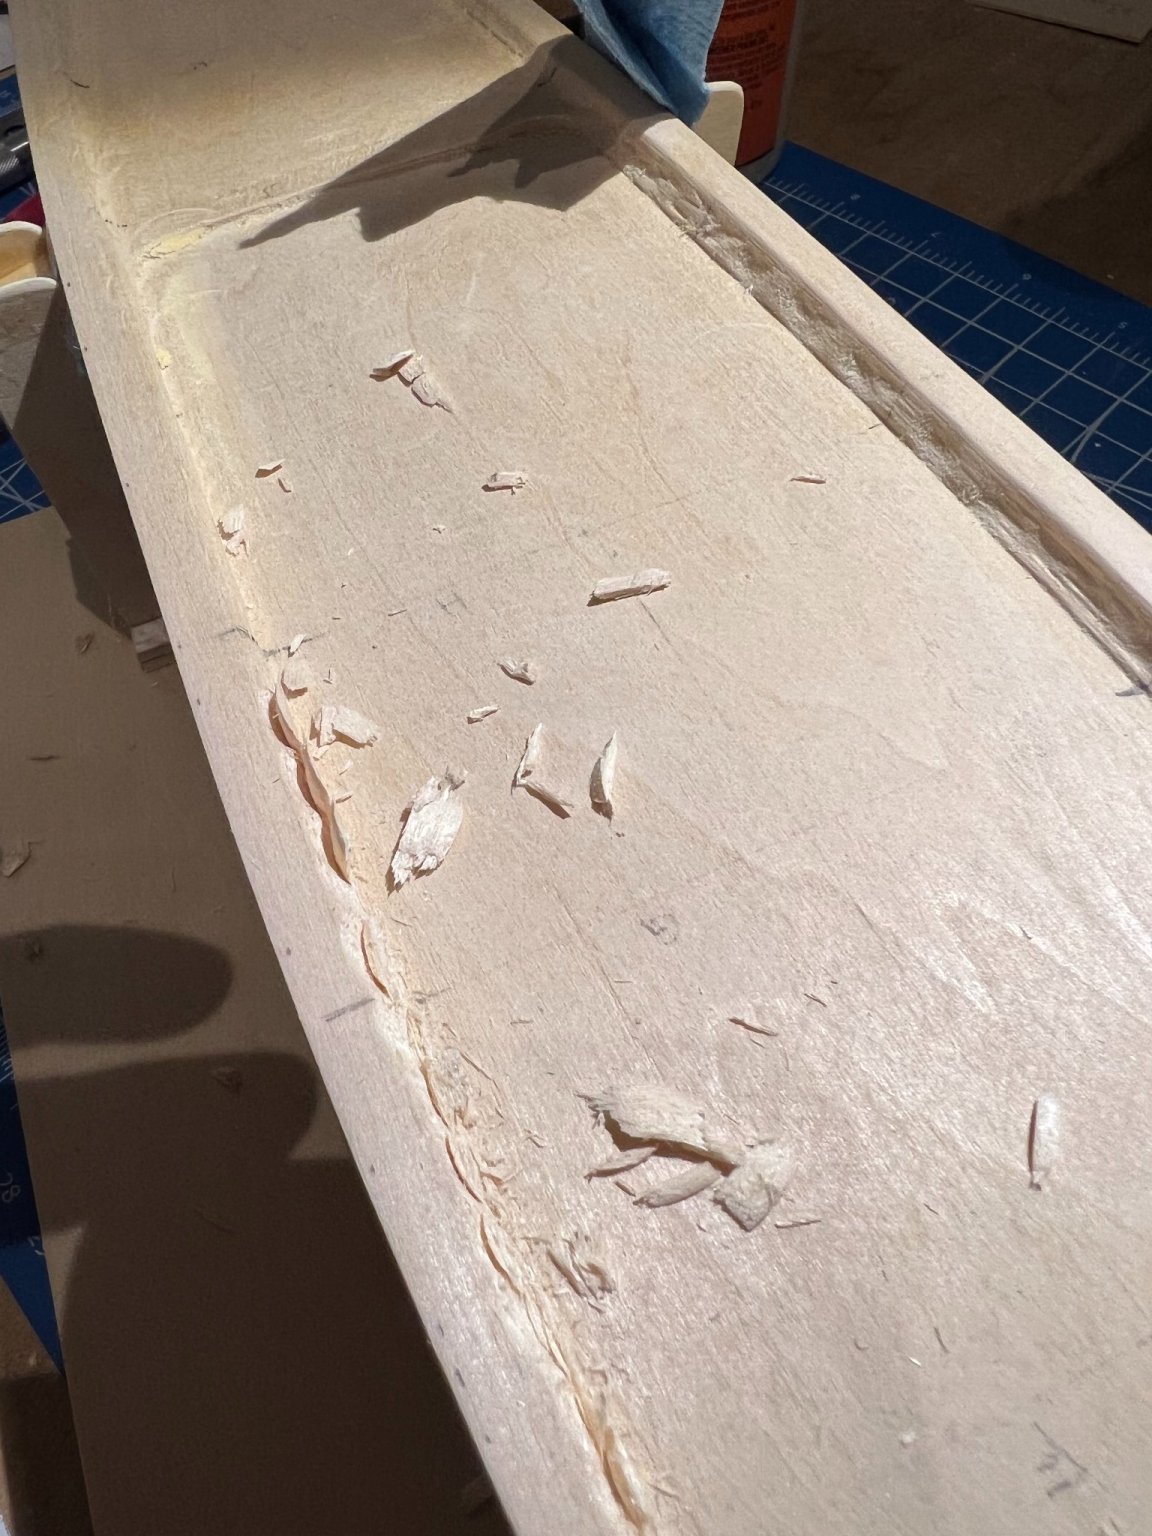
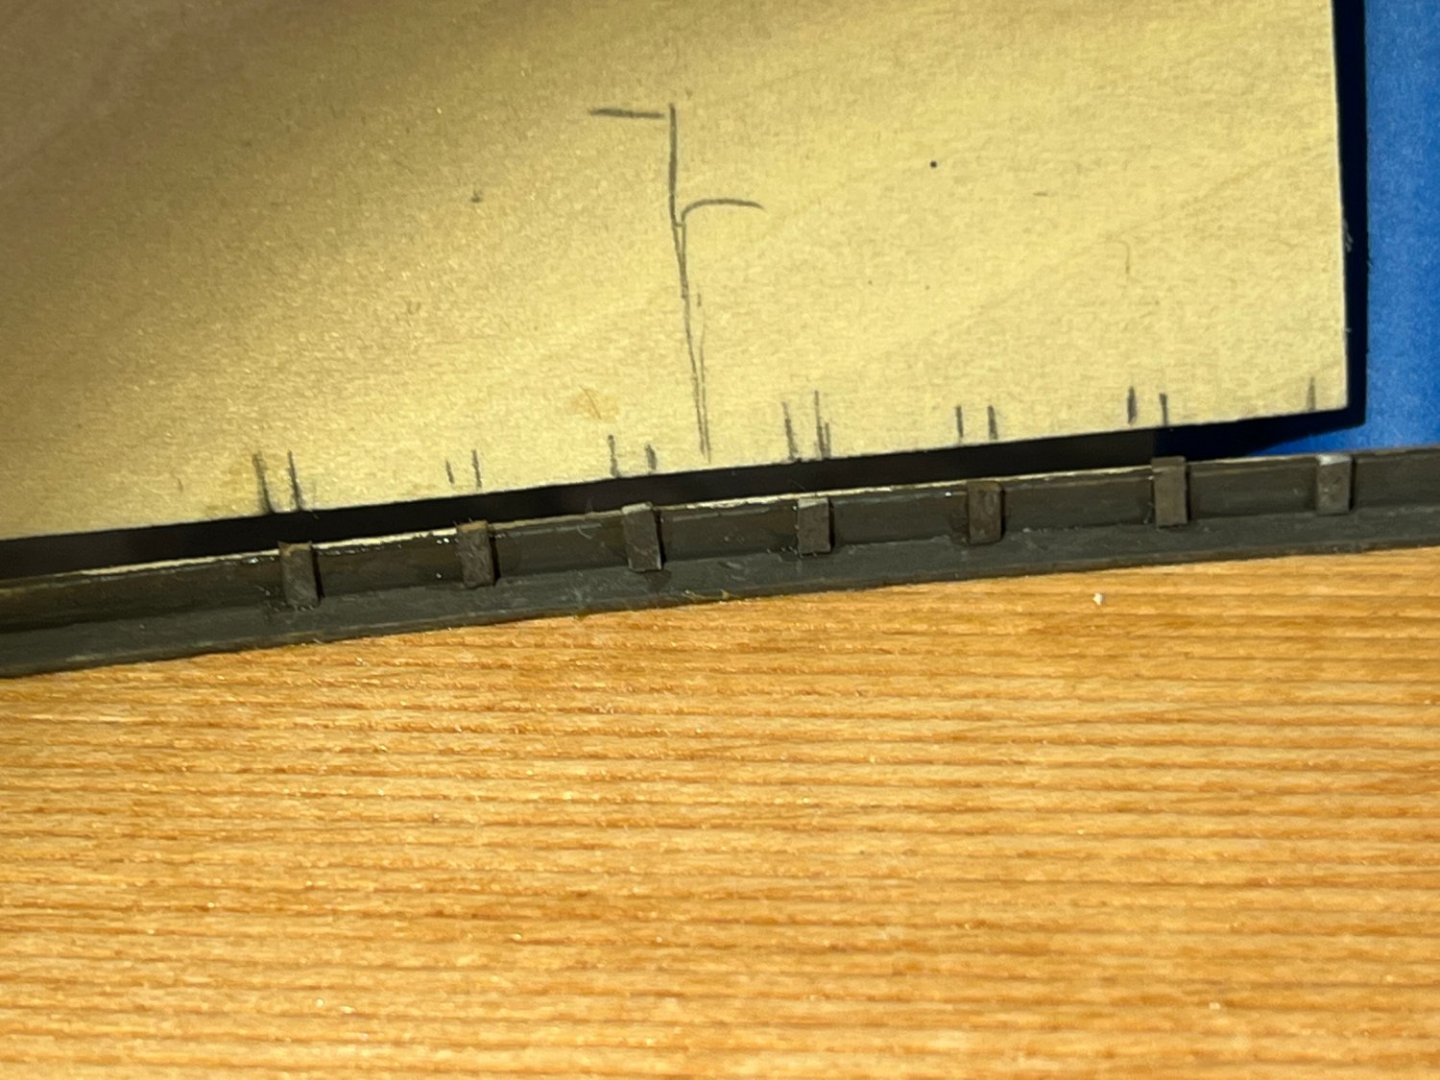
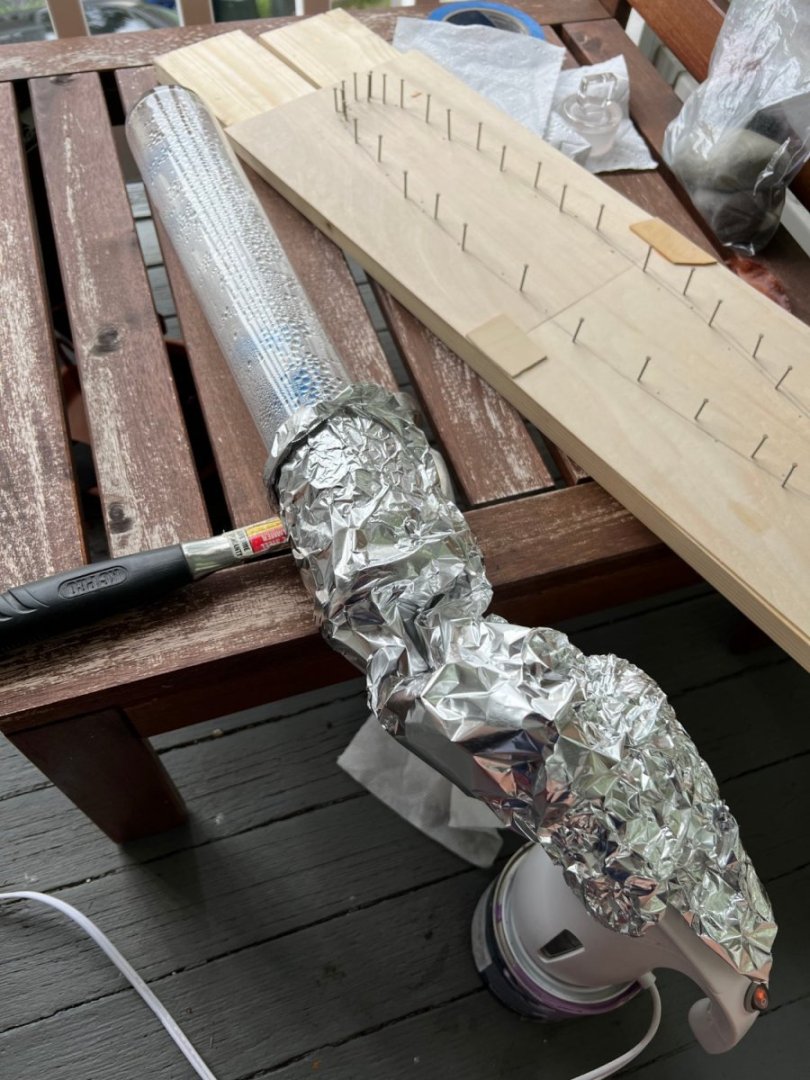
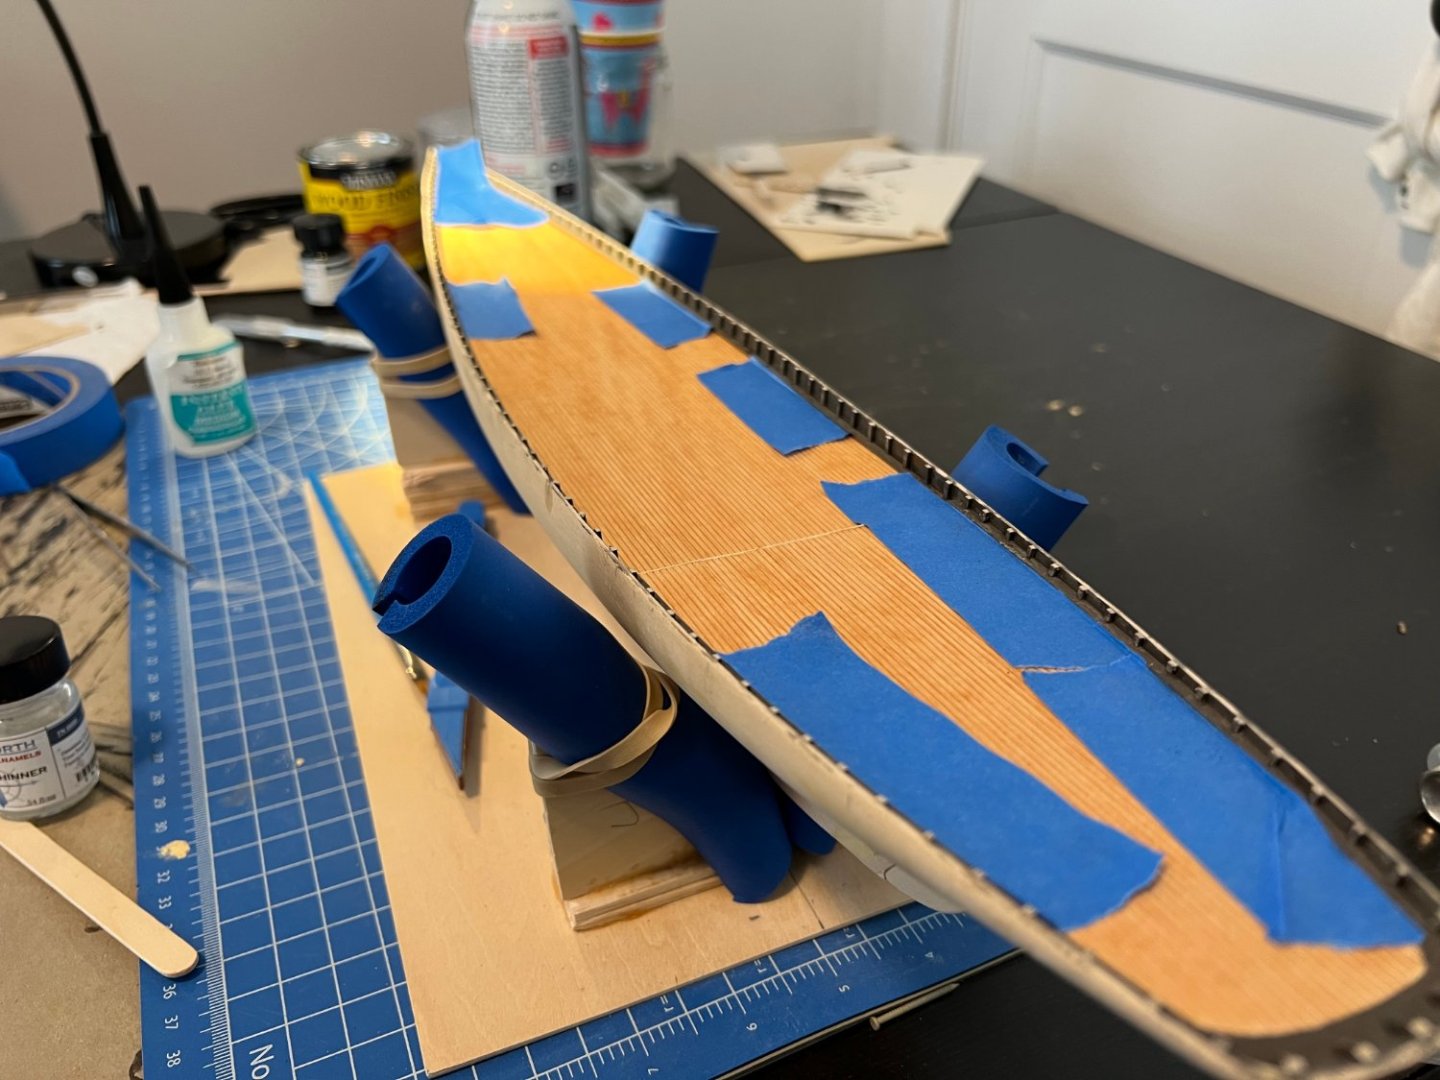
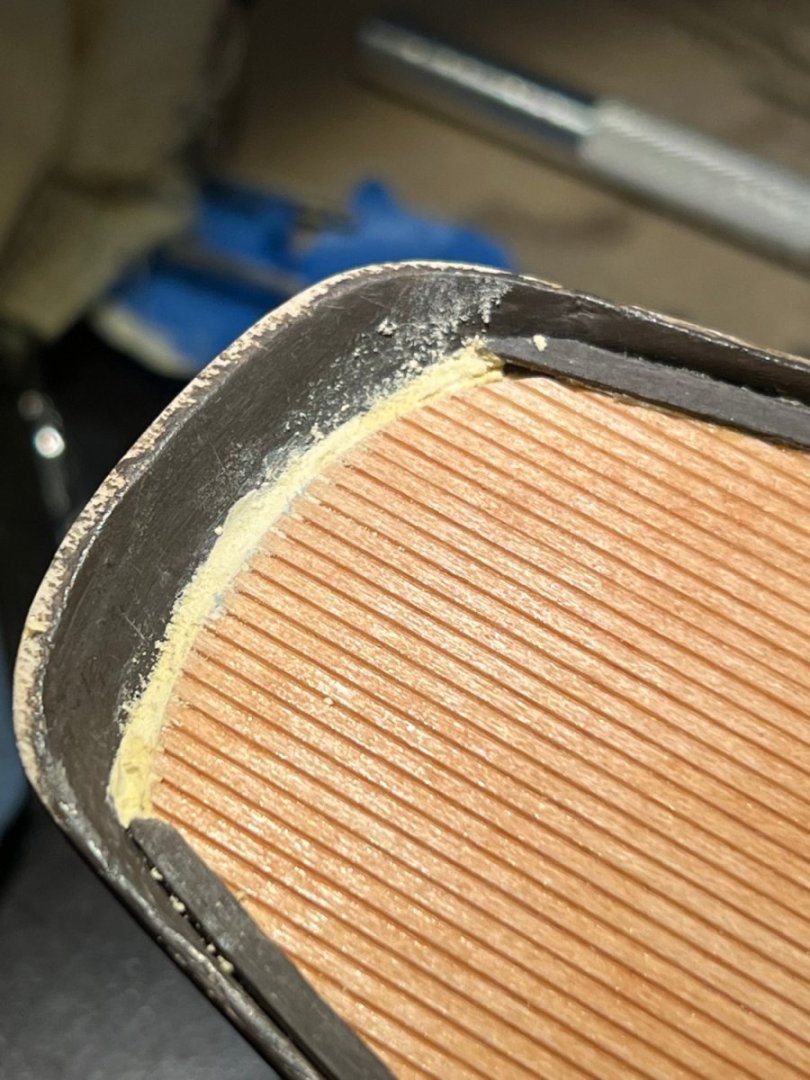
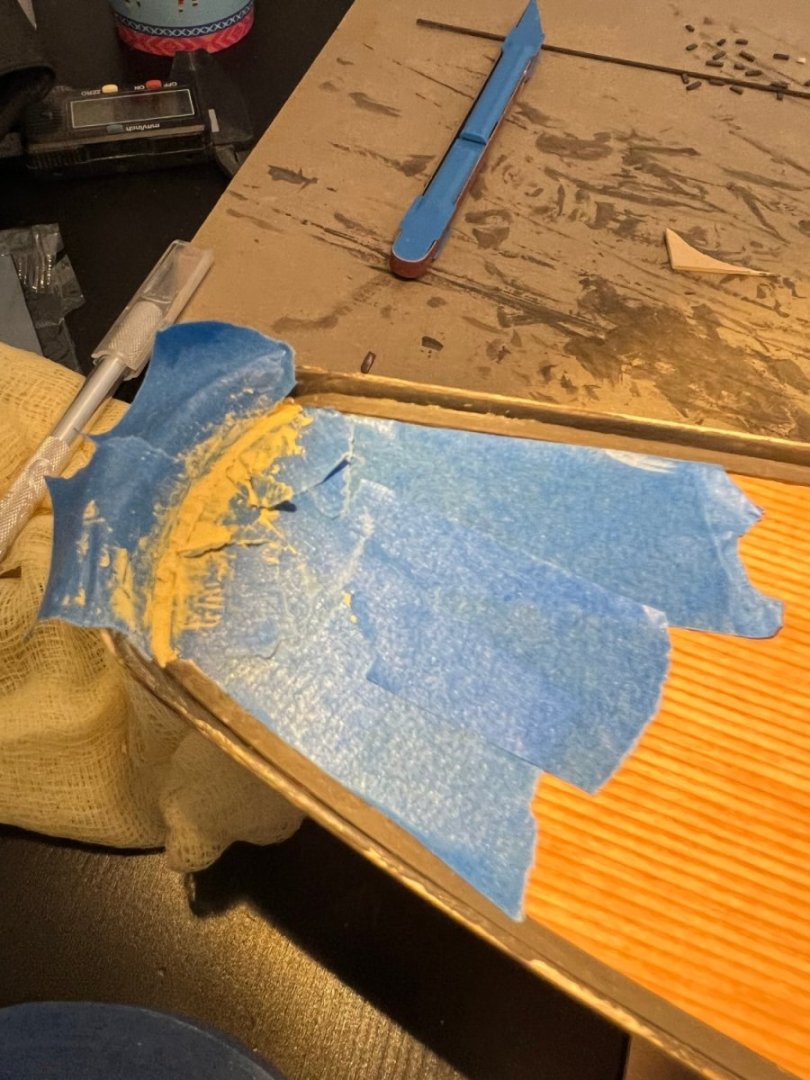
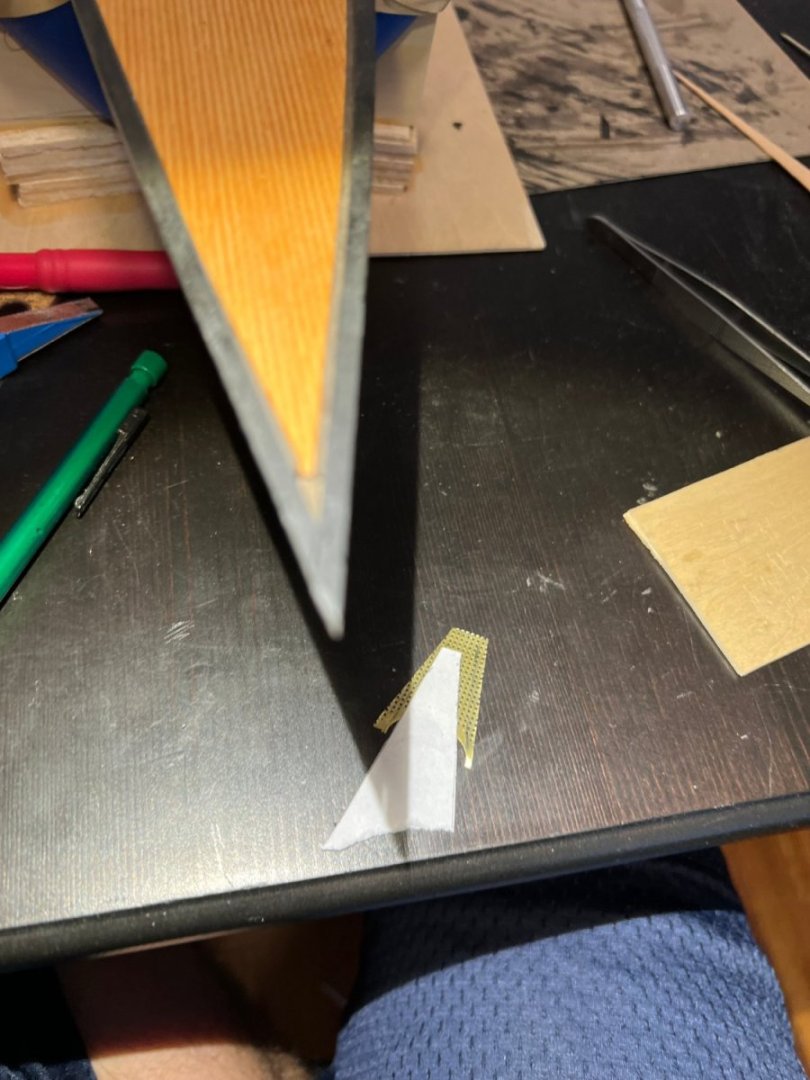
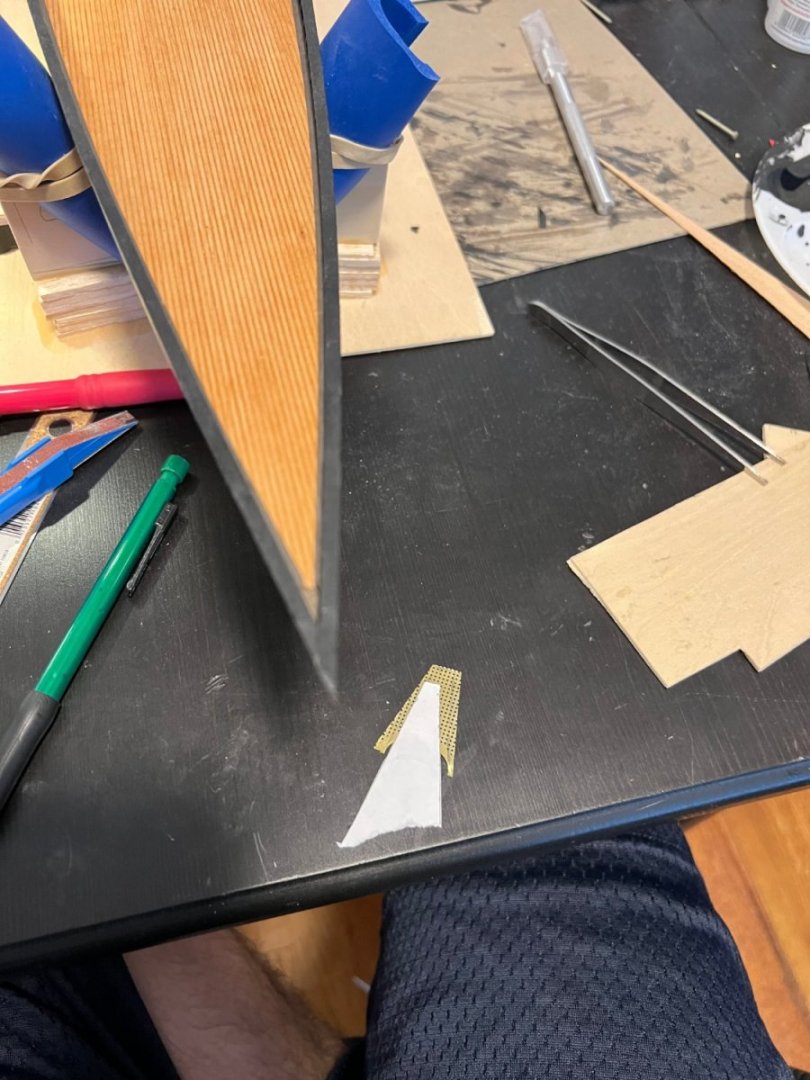
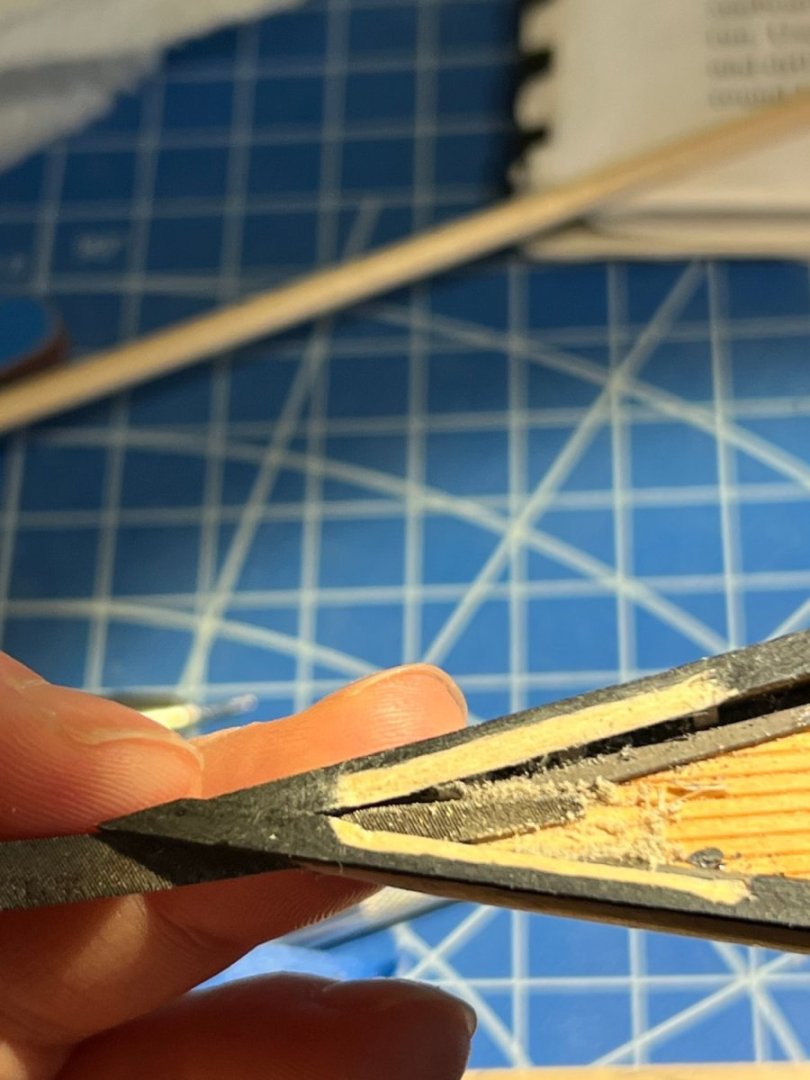
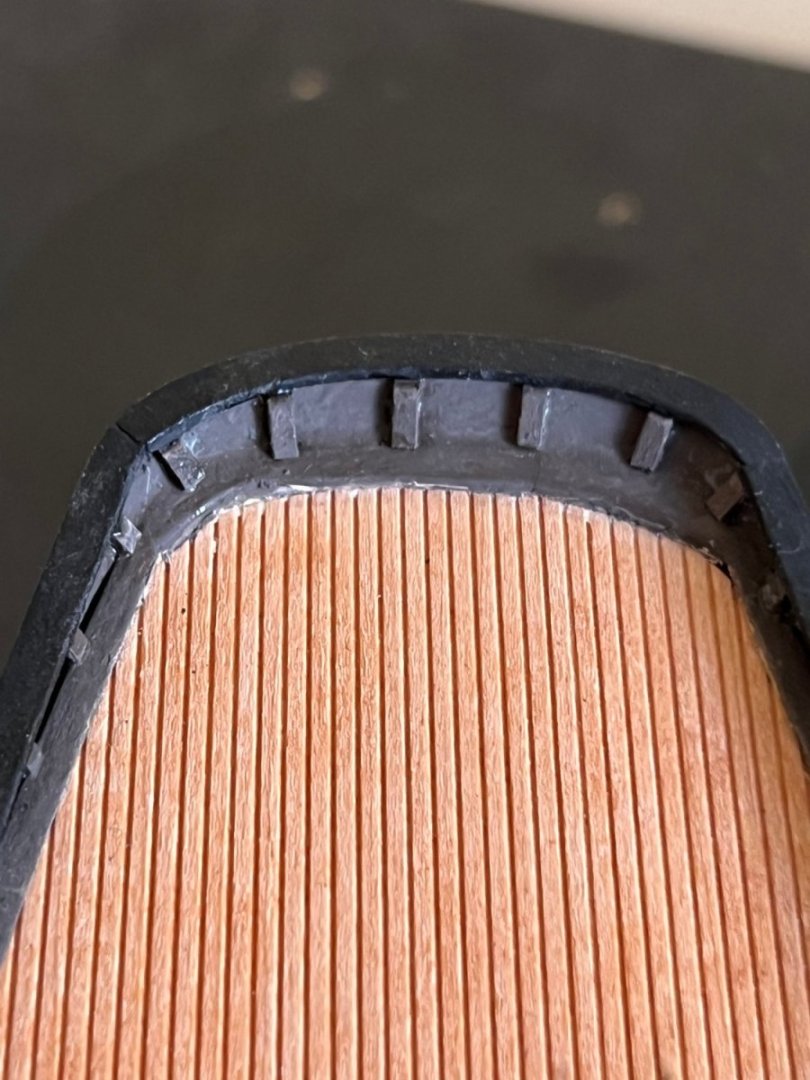
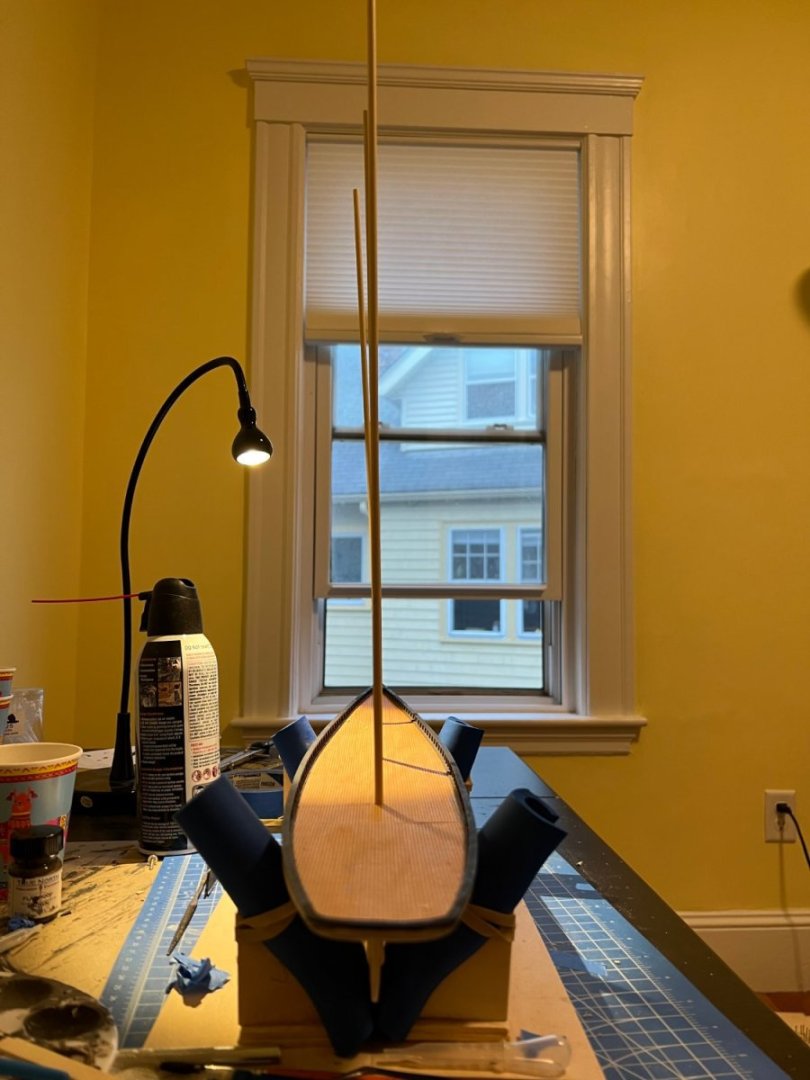
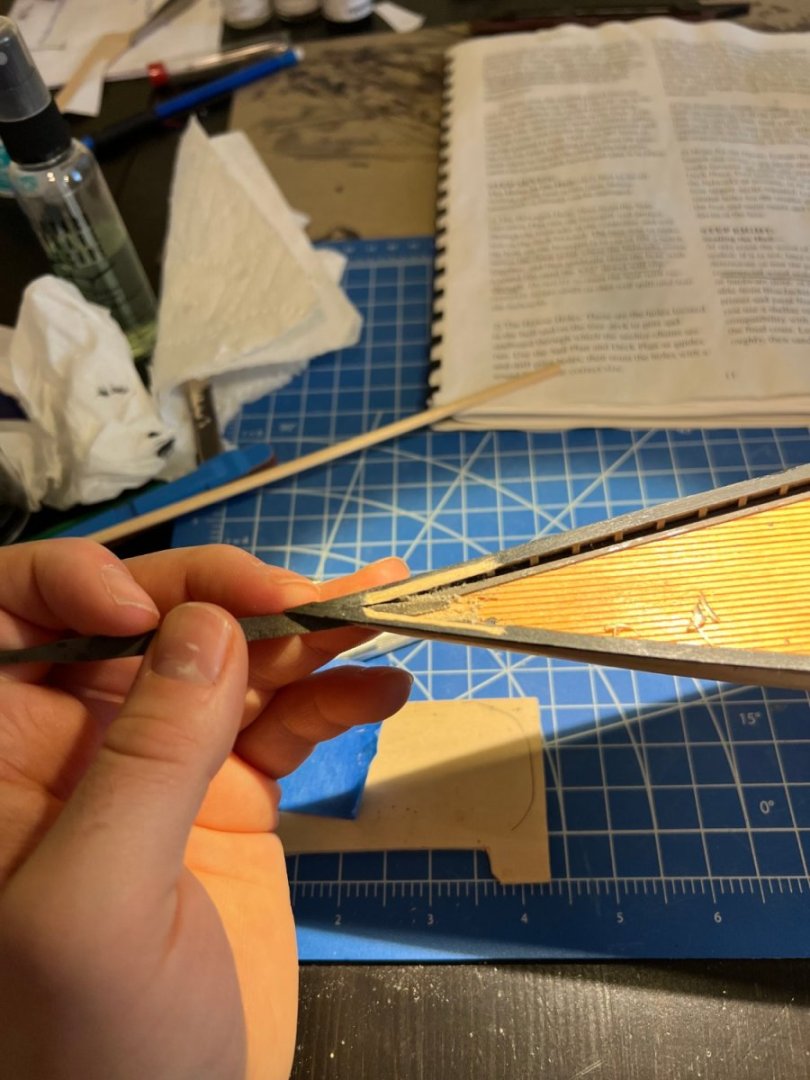
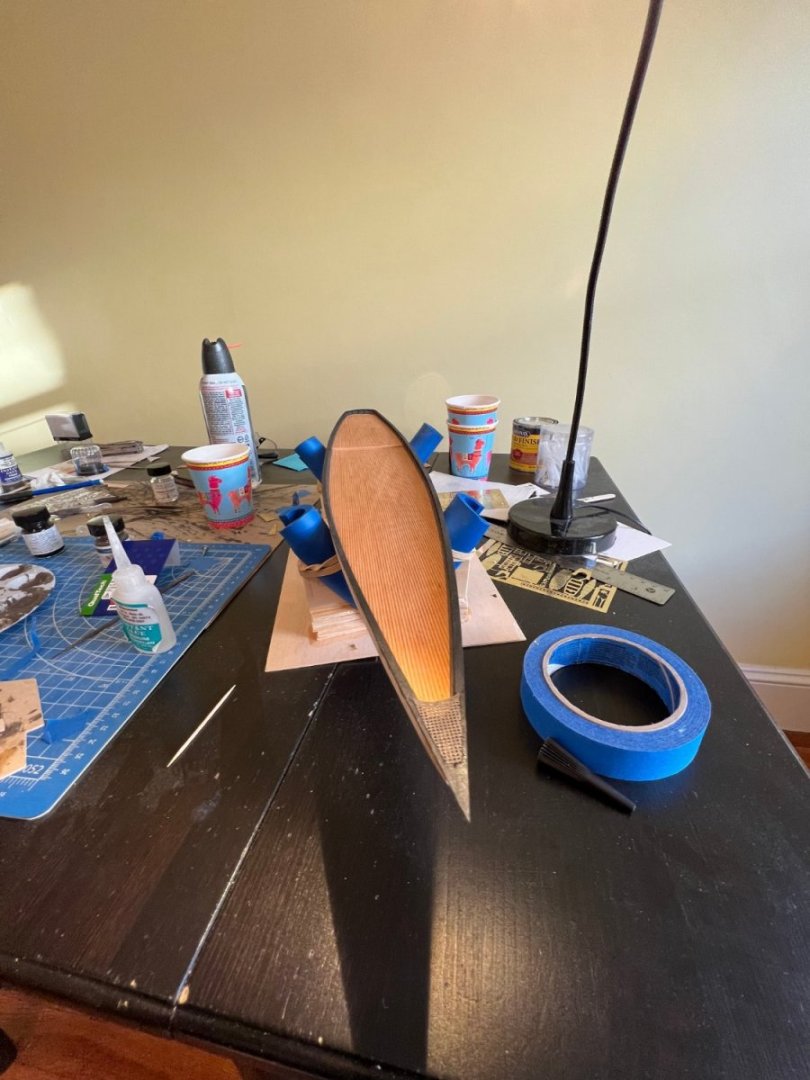
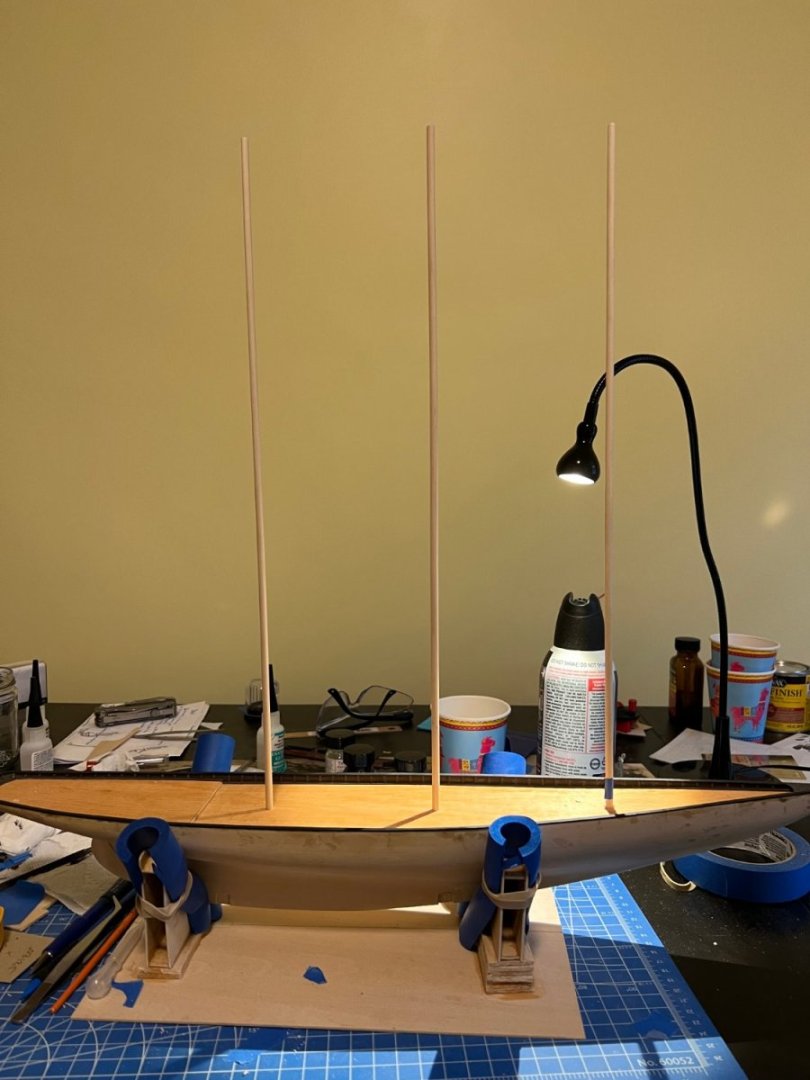
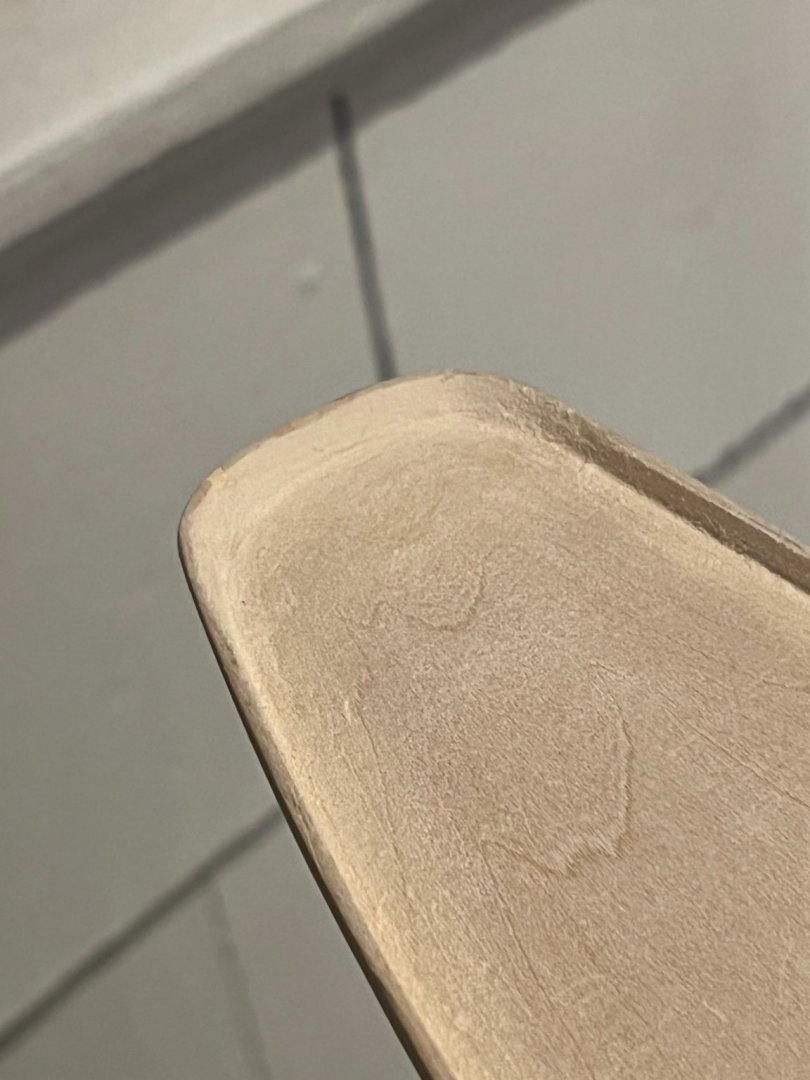
Hi All! Been about 8 months since I last posted but work hasn't stopped on the boat. I wasn't able to make much progress during the summer and fall but have been slowly making progress every few weeks. Posting a bunch of pictures summarizing progress. Finishing the waterway I wasn't happy with the way the stern of the waterway looked. I tried to go back and shape the corners better with wood putty. Not perfect but much better than initially done with the wood Finishing the timberheads I tried a few different techniques with making the timber heads. About the first half i cut and then painted but found that this was a lot more work than just painting the whole piece of wood and cutting to size as I went. The timberheads took either 2 or 3 coats to have a consistent look. I also made a wooden guide and used medium CA glue. Initially i did not spend a lot of time making sure the timberheads were close to the railing thinking that i could easily sand it down to match. However, this ended up being harder than I expected. I ended up knocking off a lot of them while sanding and they needed to be reglued or even remade. I also got a good amount of CA glue leaking out on the sides of the timberheads. After i got them all in place and glued down, I went through and touched up the paint to remove any shiny spots from the glue Making the Railcaps I decided to steam the railcaps to fit the bend of the boat. I made a contraption using a glass tube, aluminum foil and a clothing steamer to soak the wood. In retrospect i would have left the wood in the steamer longer to fully soak. The wood didn't entirely hold the shape after i removed it from the mold but glued down without any problems. I did have some struggles with making the stern railcap. I made the mistake of going off the sail plan for the shape and size which ended up not fitting the model as closely was i would have liked. Luckily it was easy to find some more wood planks from JoAnnes. Even so, I remade the stern rail cap probably 3 or 4 times before i got a shape that was close enough for me to go with it. I did end up needing to glue on a few pieces and then fill the gaps and edges with wood putty to make it look smooth. In the end, I'm pretty happy with the results, it is not perfect but looks great. Making the Bow grate The hardest part of this step was getting the bow grate flush. I ended up sanding down the edges with a small file until it looked close to flush. I did not account for the thickness of the paint however so the end result is a bit above the rail, but not noticeably. Drilling the holes I'm now working on cutting all the holes before we get to painting. So far I have cut out the bowsprit hole and the mast holes. Hoping to finish up the holes in the next few days so i can get started on painting the hull!


- 13 replies
-
- 7
-
-
-
- Bluejacket Shipcrafters
- atlantic
- (and 1 more)
-
etubino reacted to a post in a topic:
Atlantic by Chris H - BlueJacket Shipcrafters - 1:96 Scale
-
closehaul reacted to a post in a topic:
Atlantic by Chris H - BlueJacket Shipcrafters - 1:96 Scale
-
Hey All! Happy new year -- been a few months since my last post as I haven't had as much time to work on the boat due to a bunch of travelling. That said, I have been making some slow but steady progress. I completed cutting and sanding the rails and starting painting. I gave each side 3 coats of paint. I used two coats of medium wood stain (miniwax oil based golden oak). I've also got the waterways of the main deck glued down and starting to make the timberheads. I've been having a lot of trouble creating the waterways for the stern and making the curve look correct. Haven't quite figured out how to make the curve look good. Kept breaking the pieces trying to cut them into the right shape.
- 13 replies
-
- 6
-
-
- Bluejacket Shipcrafters
- atlantic
- (and 1 more)
-
Thanks for the tip! Just posted over there.
- 13 replies
-
- 1
-
-
- Bluejacket Shipcrafters
- atlantic
- (and 1 more)
-
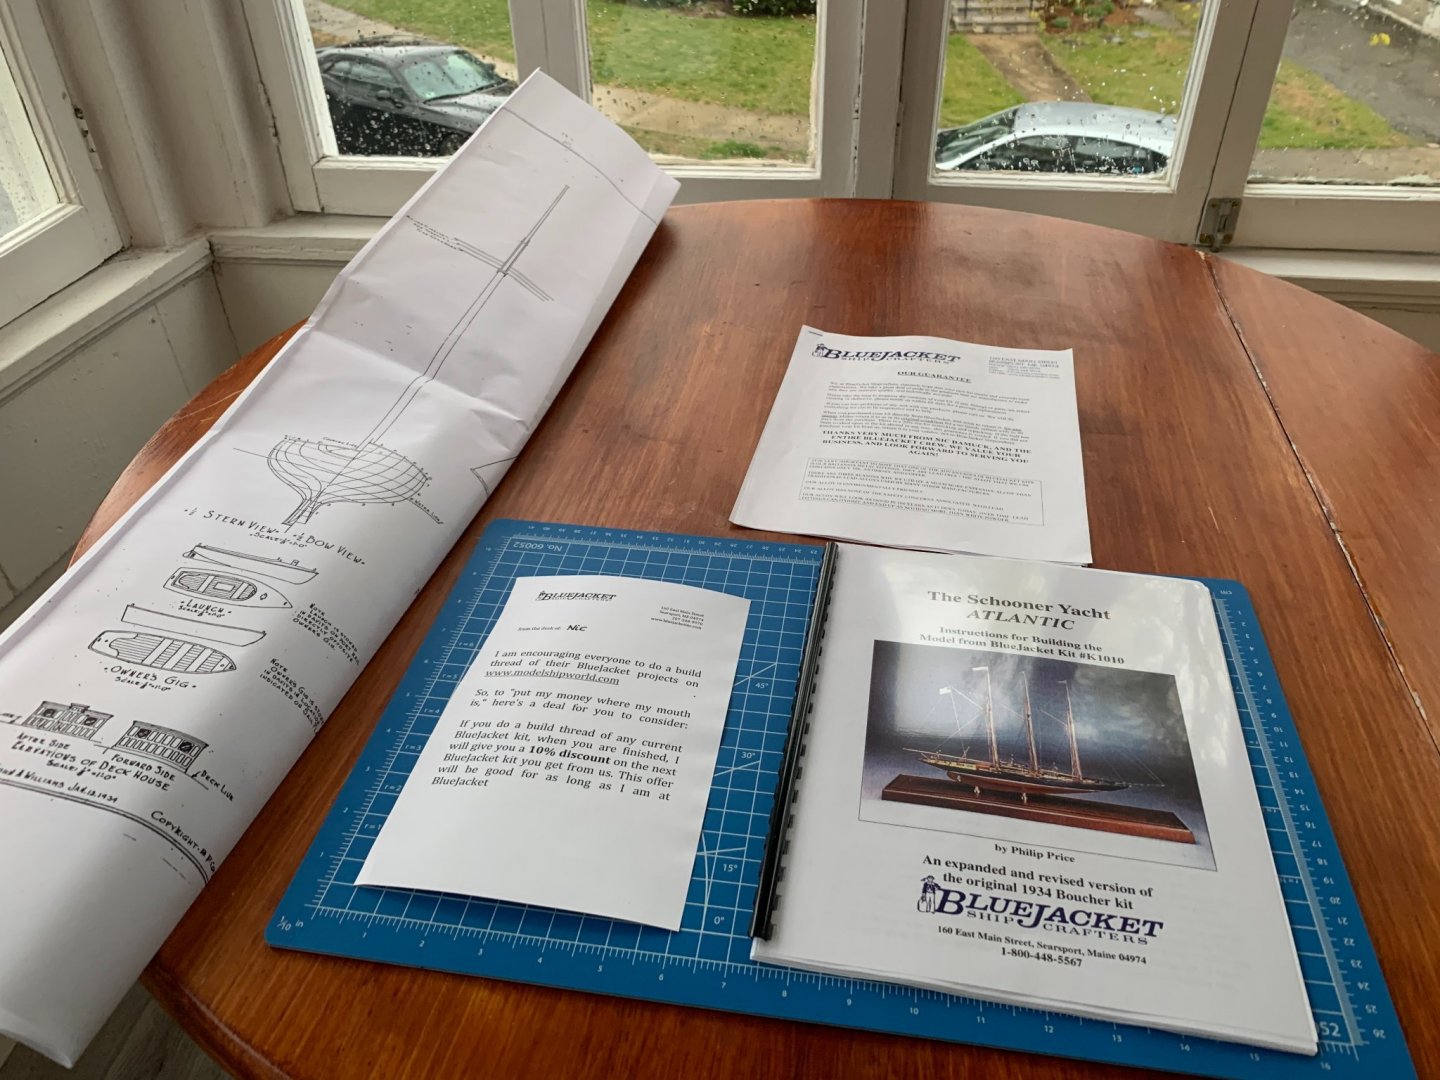
Hi Everyone! My name is Chris. I'm a new to the site and been working on my first build kit (atlantic kit from Bluejacket -- linked below). I actually purchased the model about a year and half ago but just recently picked it up to work more earnestly. I built a few models as a kid with my dad but haven't done anything similar since. I'm a software engineer in my day job so really enjoying a hobby that's not on the computer! I've enjoyed looking through everyone's build logs and excited to have my own complete one (hopefully) soon.
-
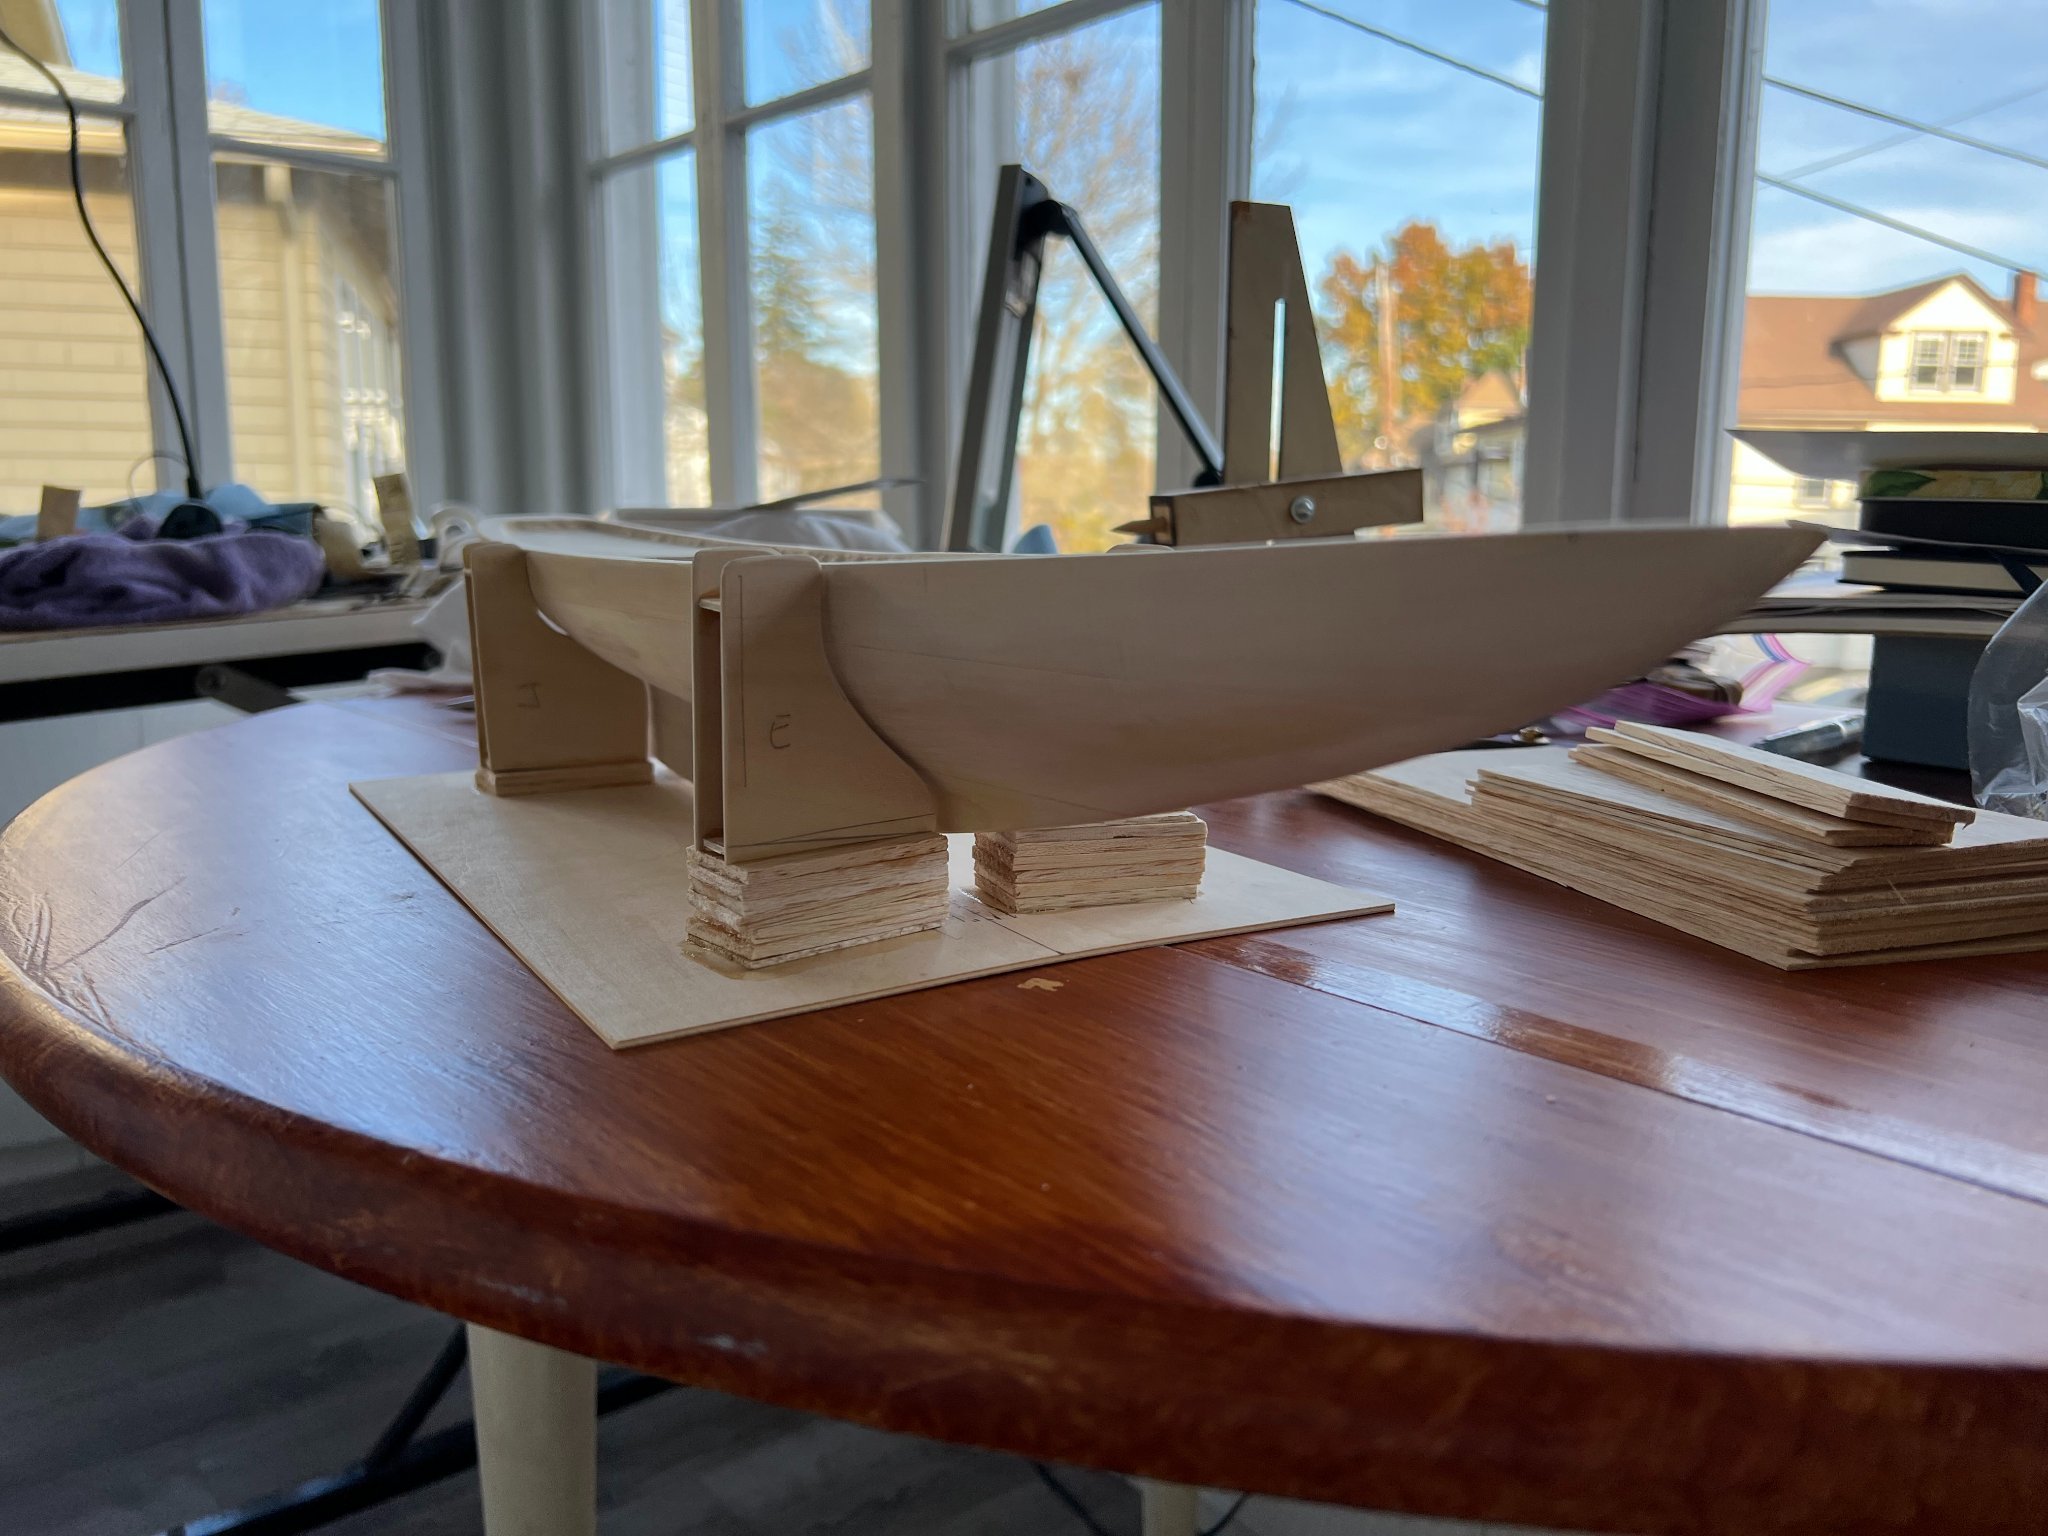
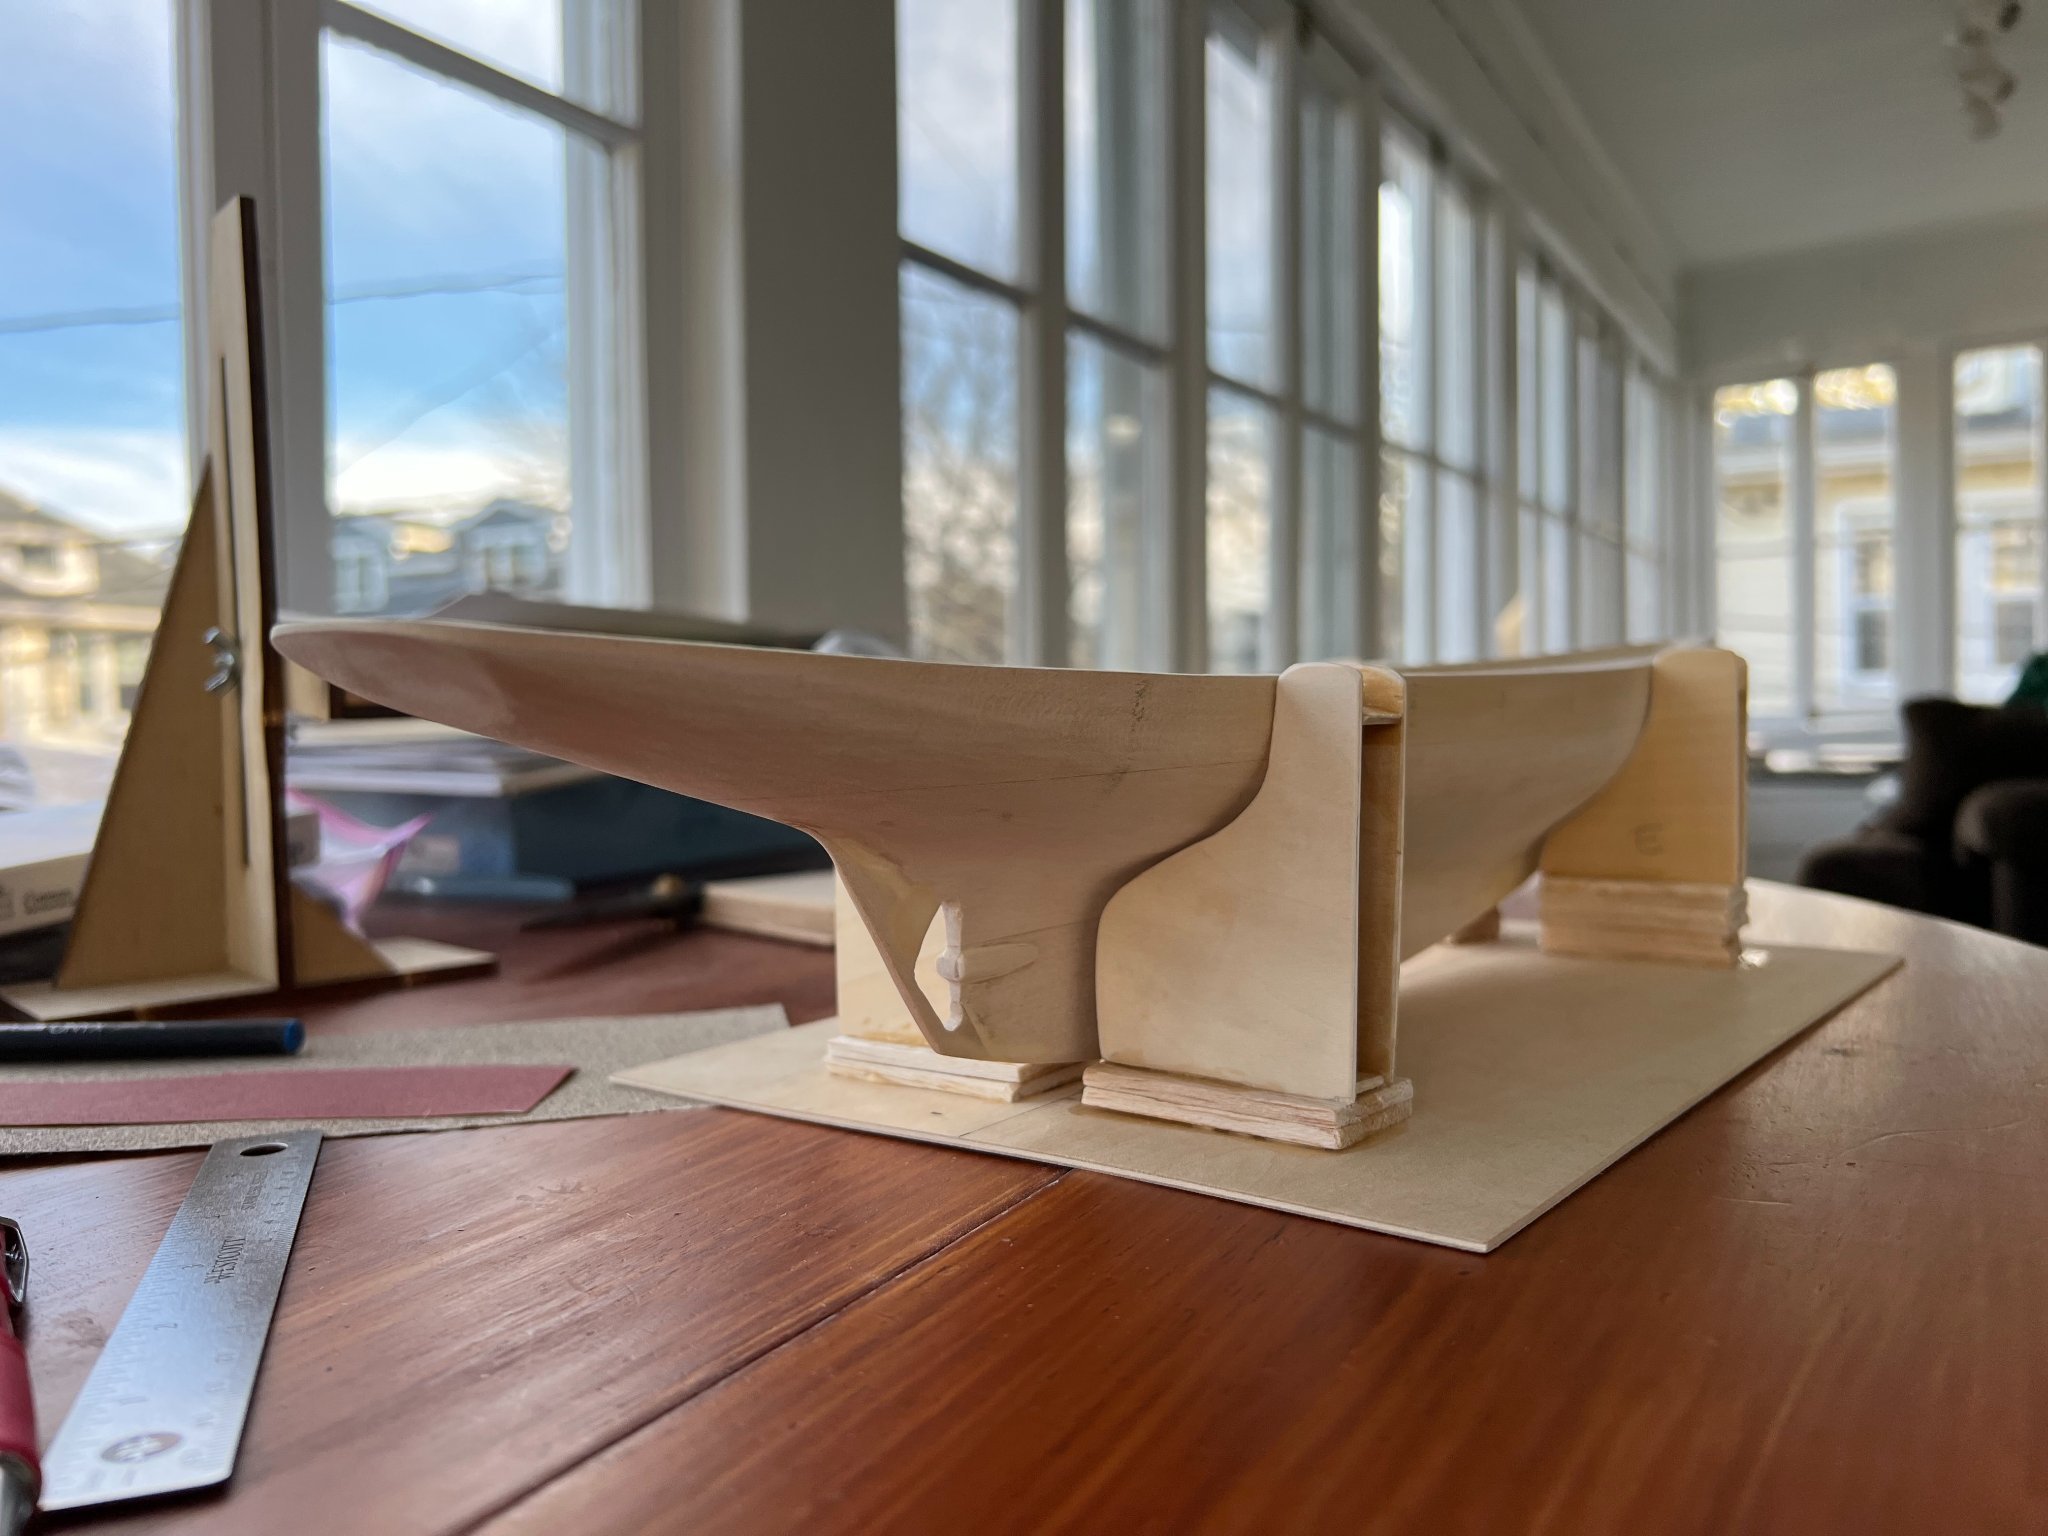
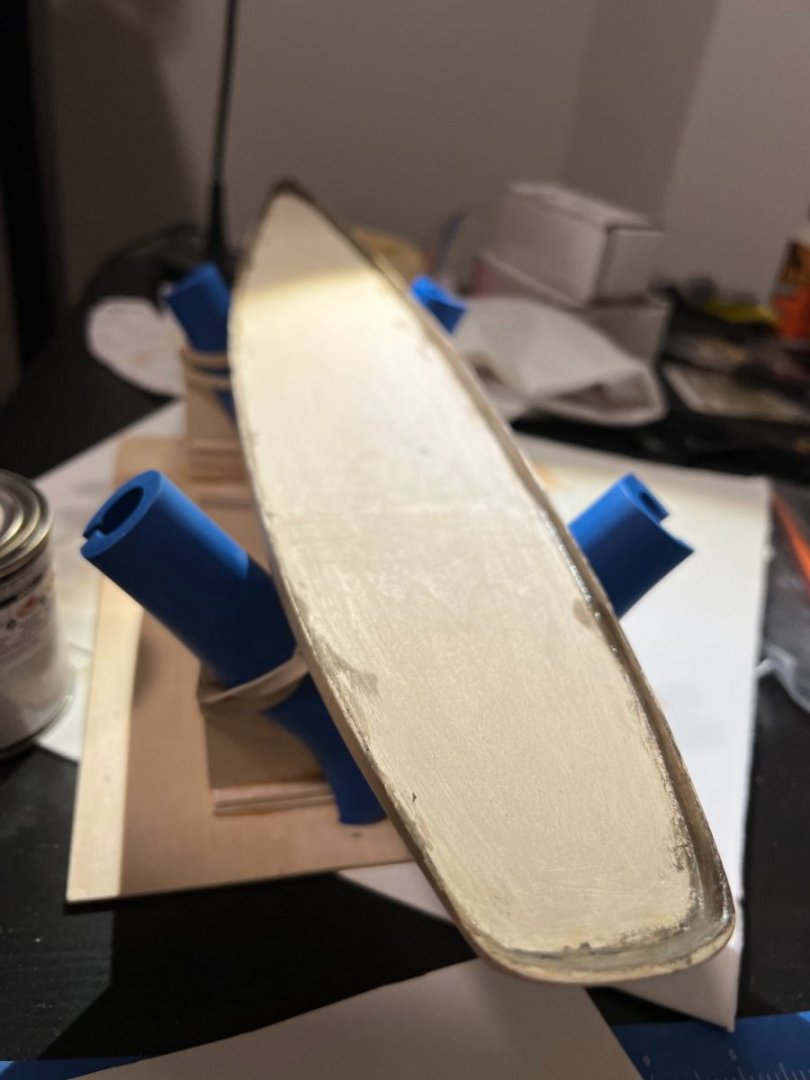
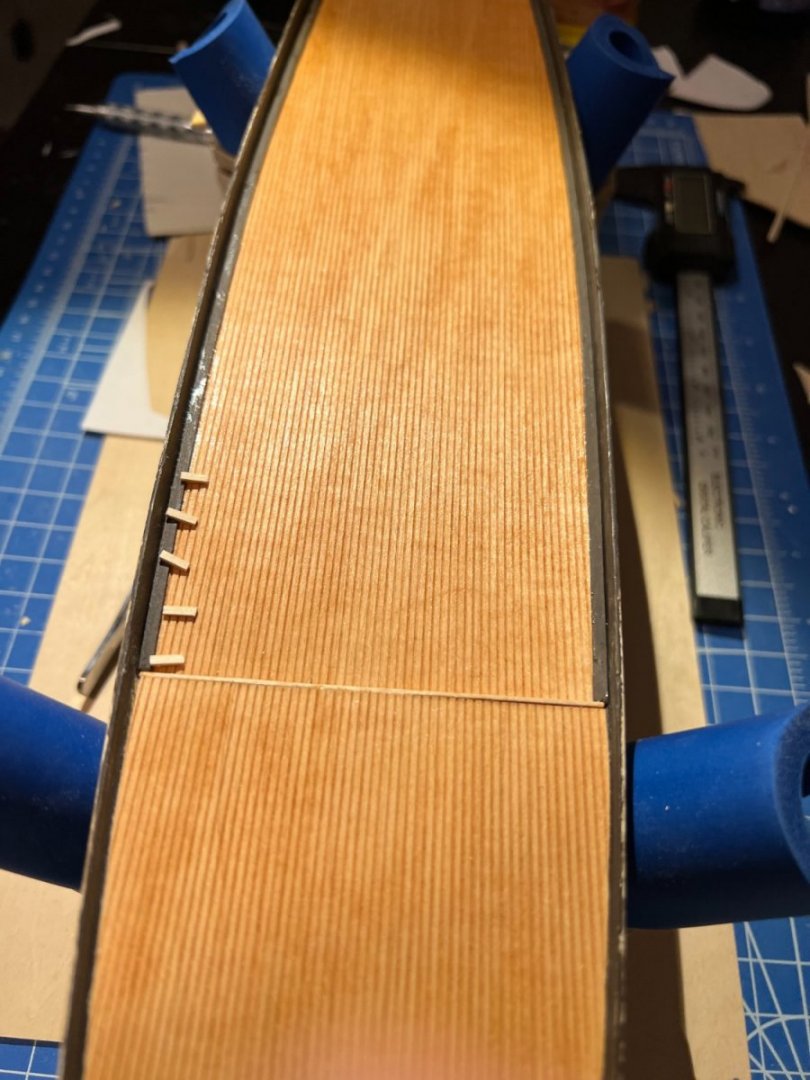
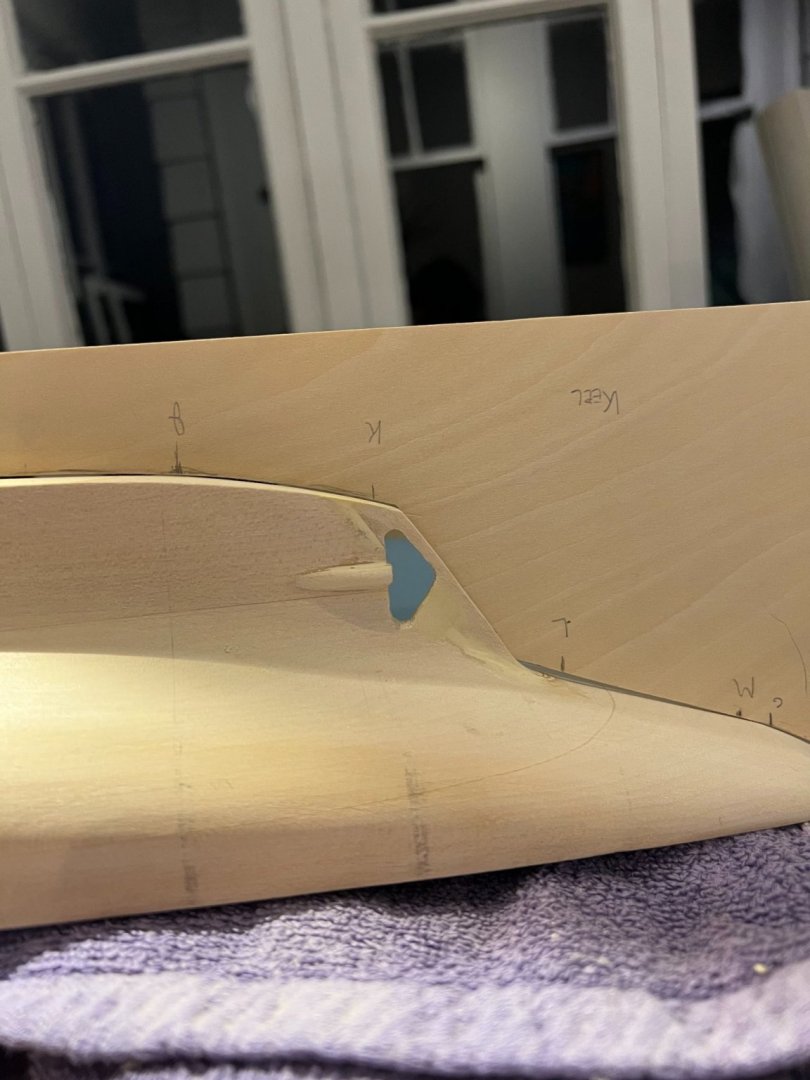
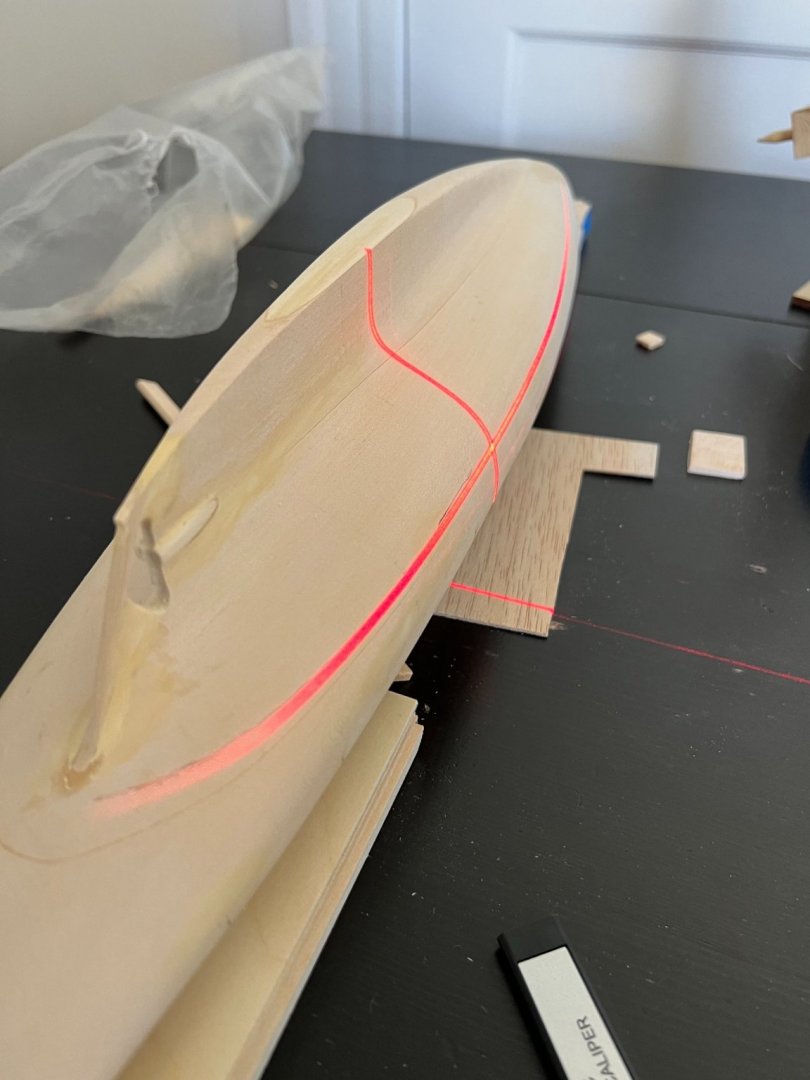
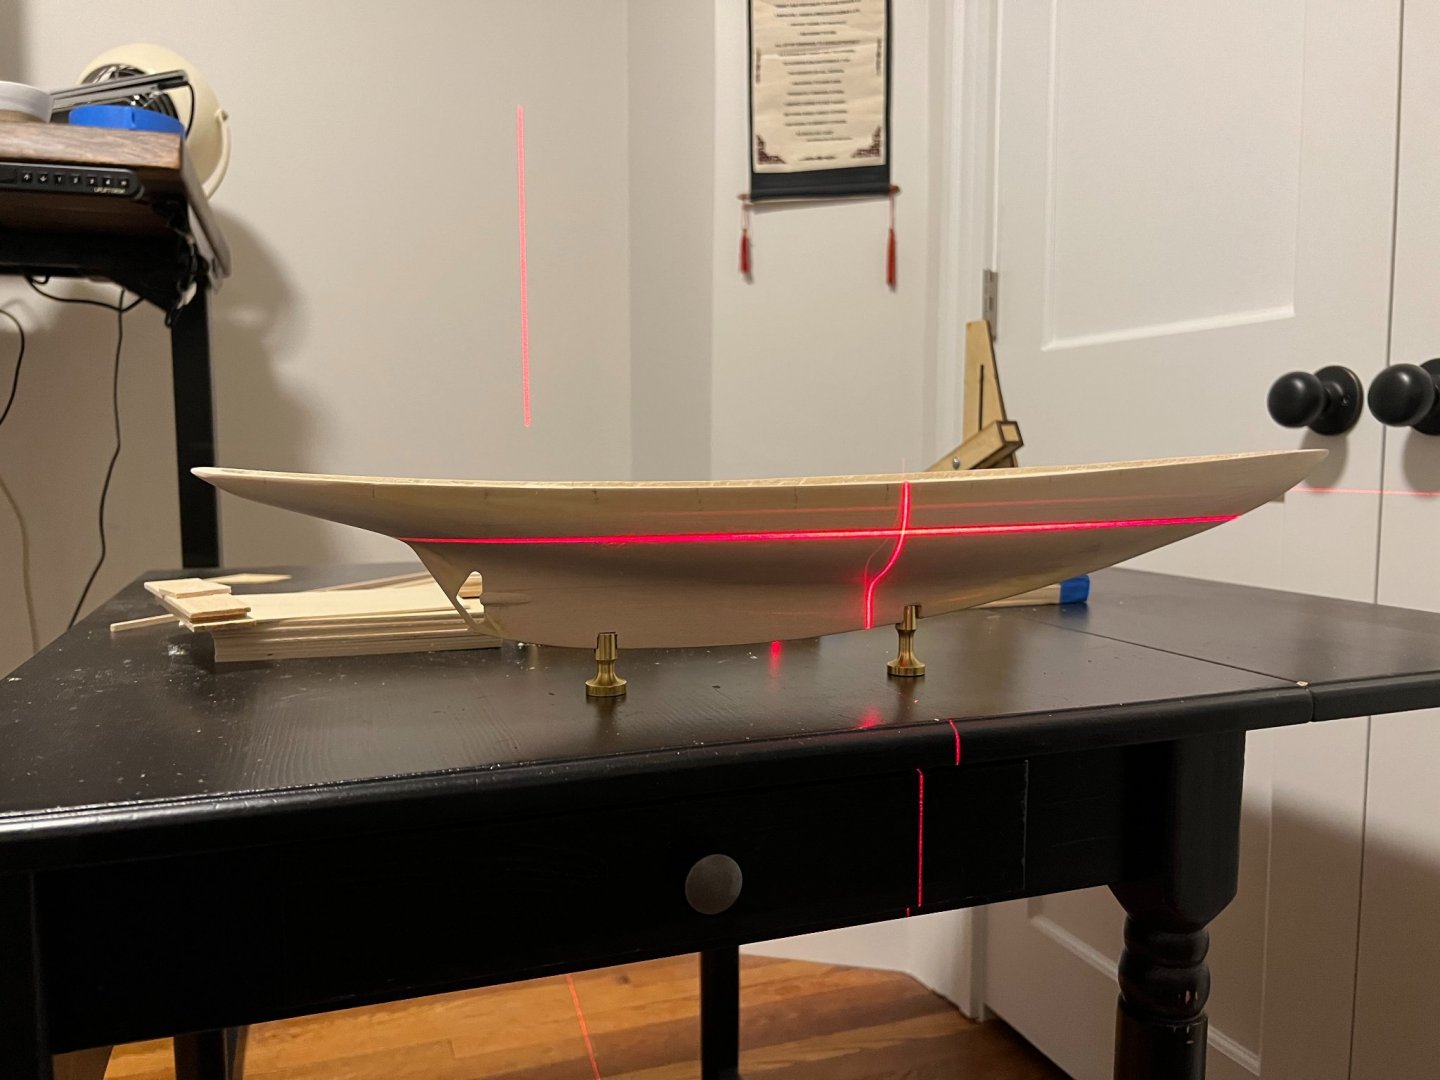
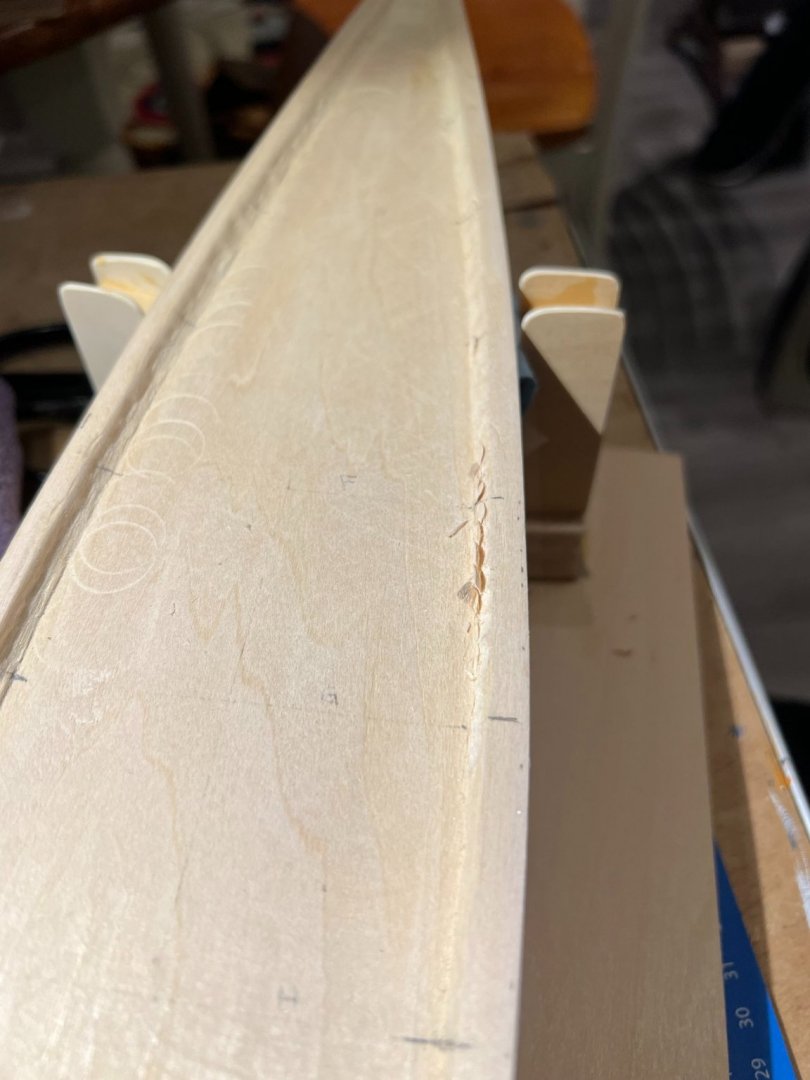
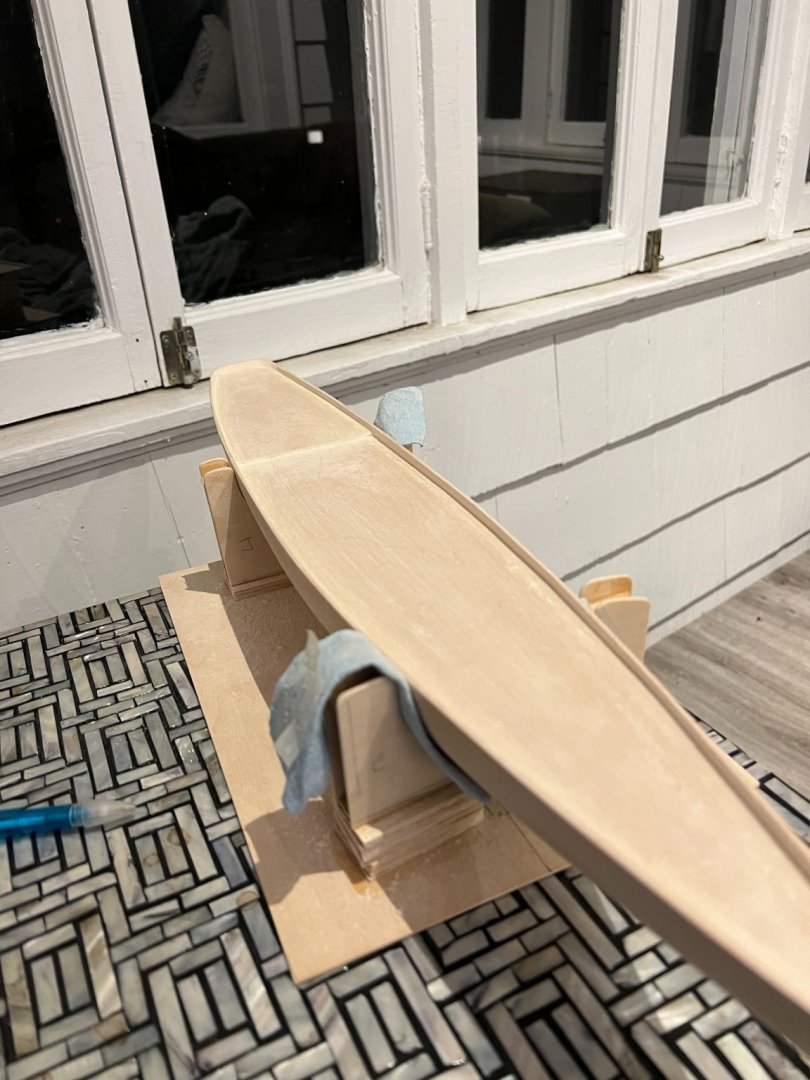
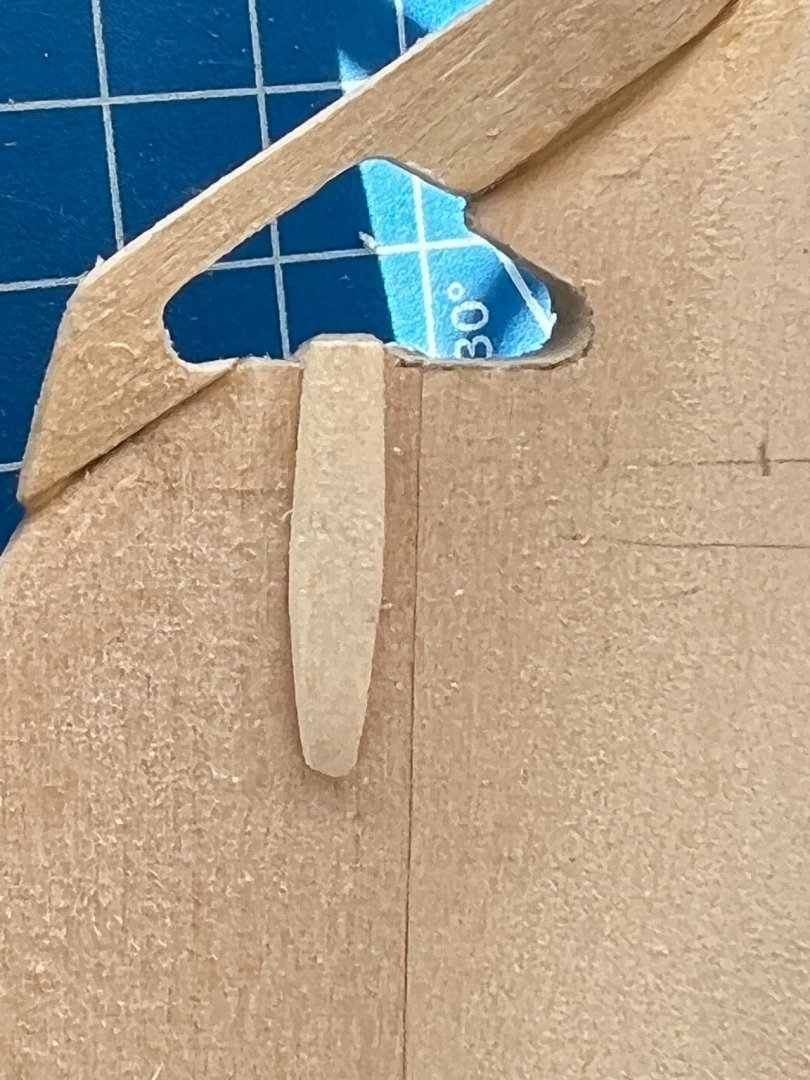
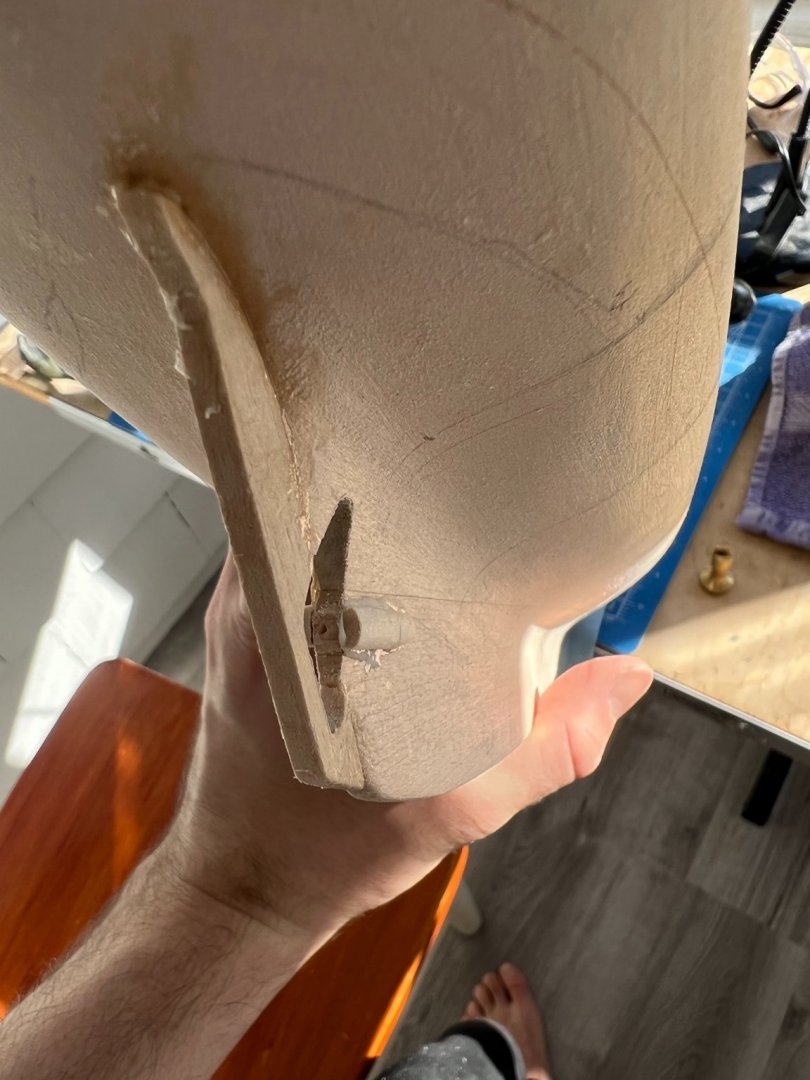
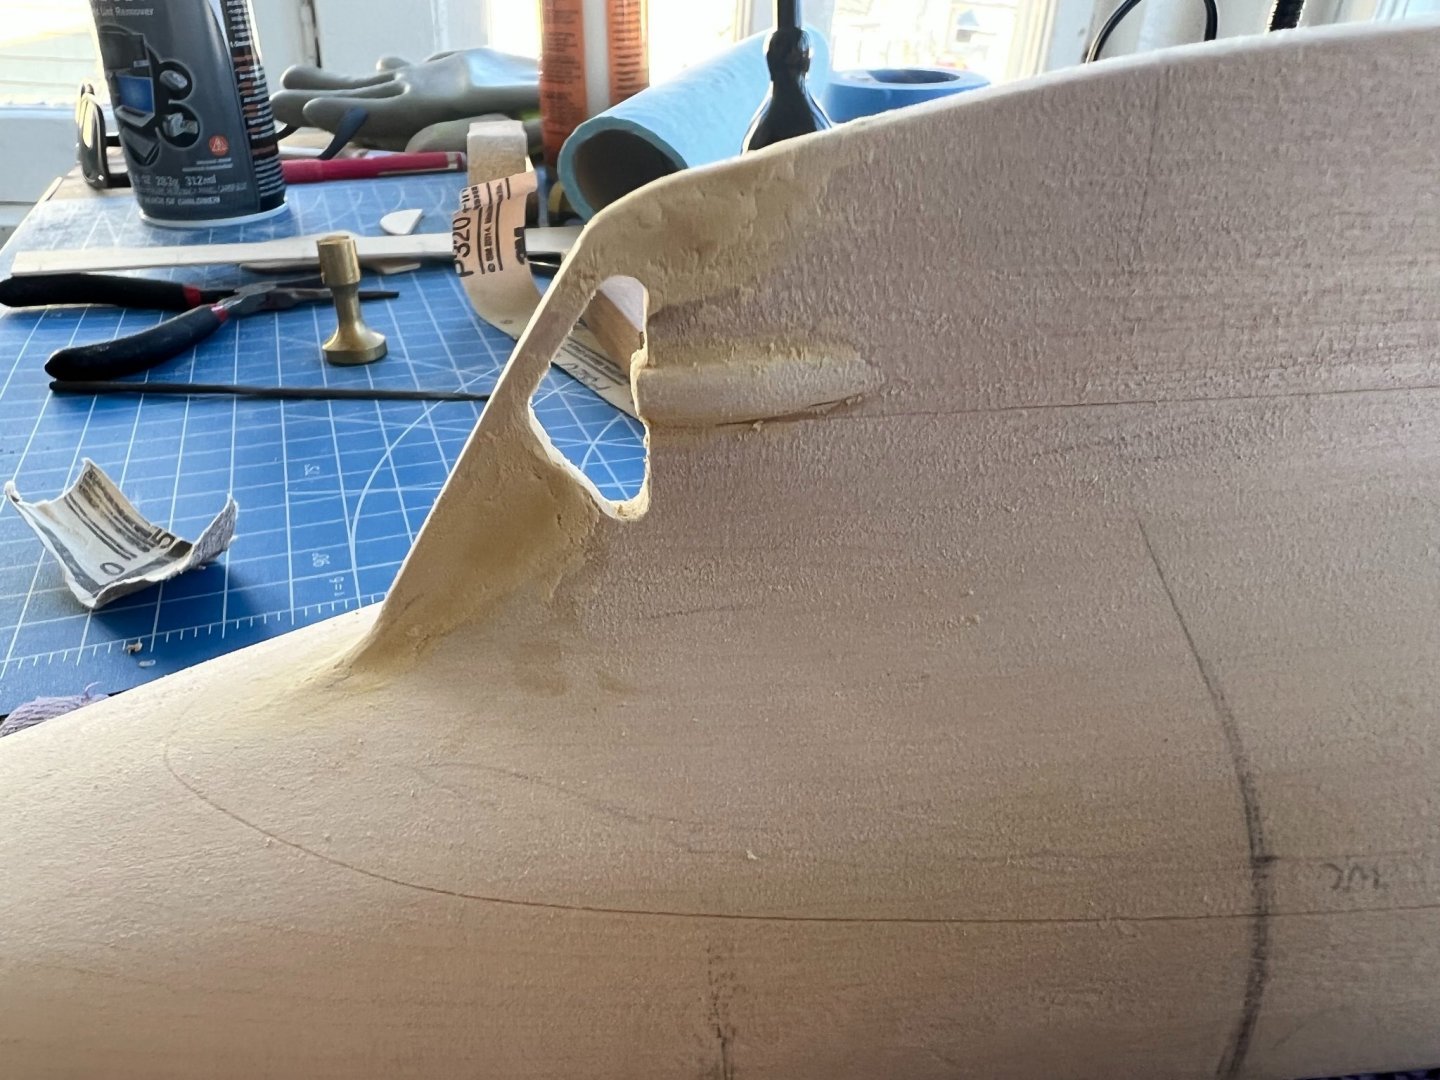
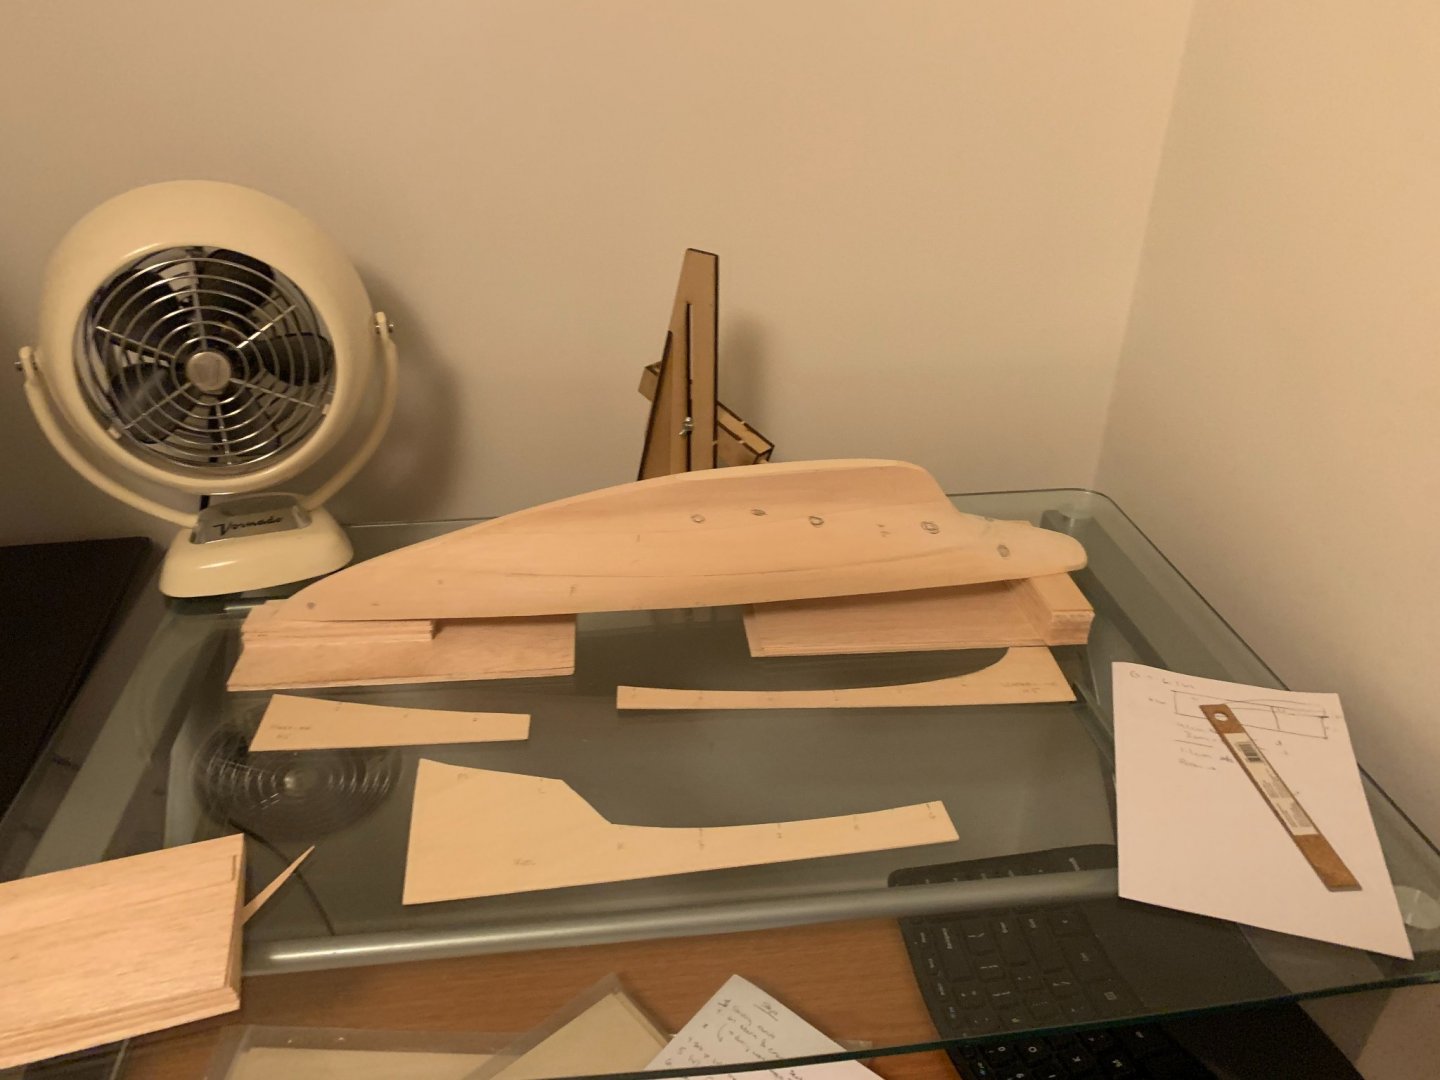
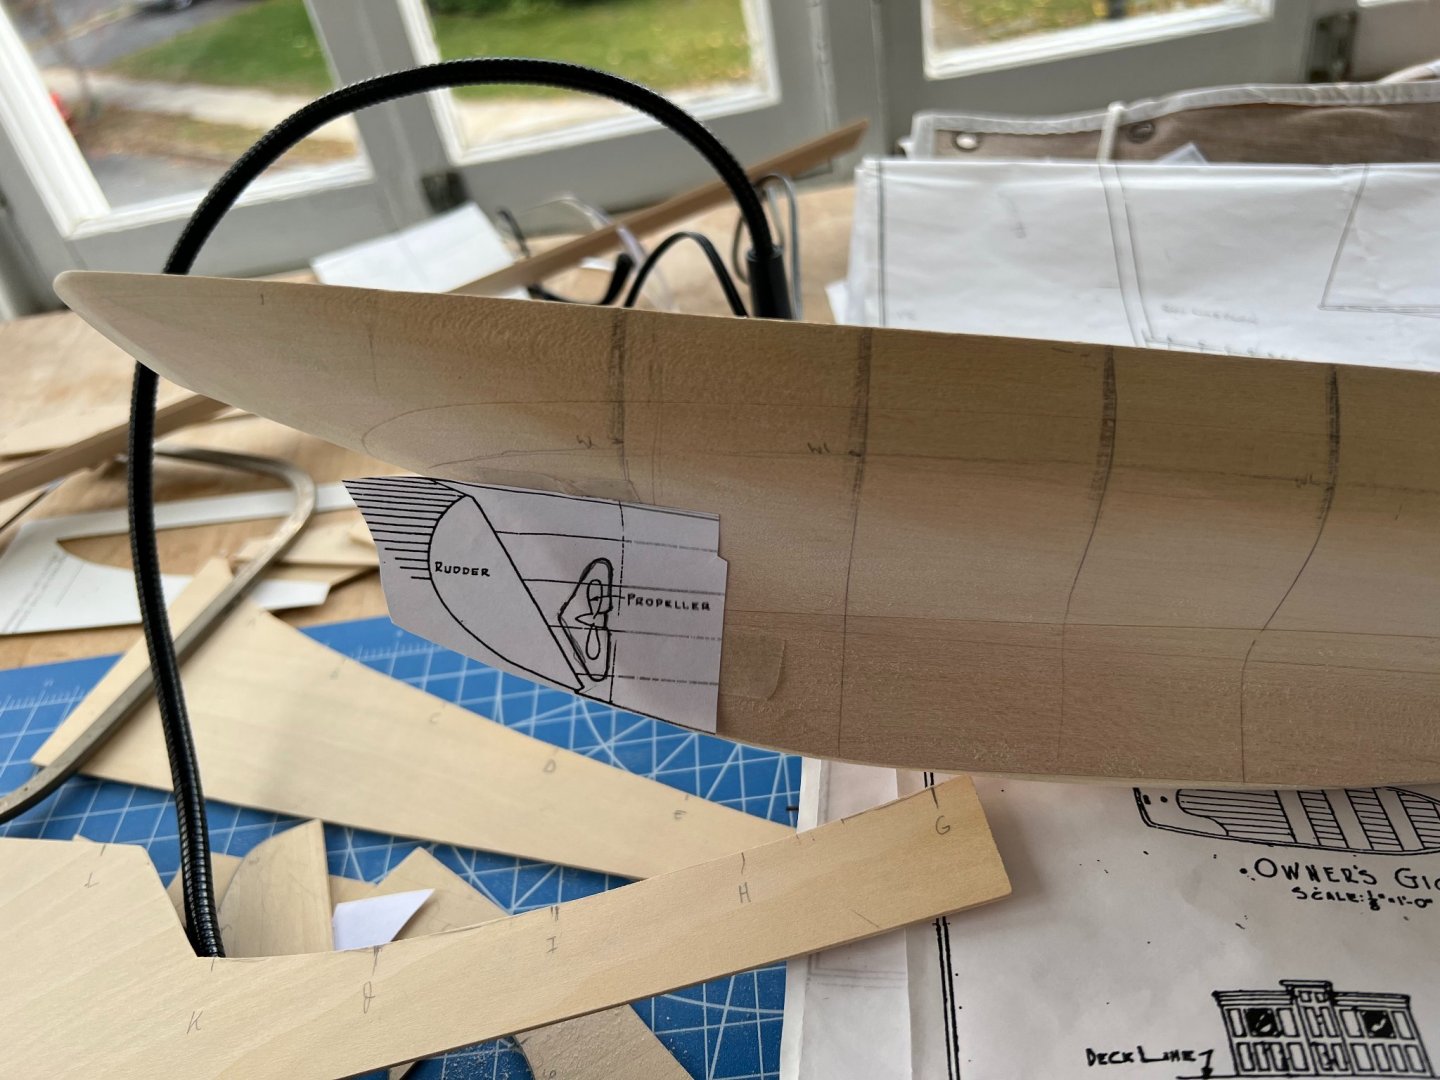
Hi everyone -- It's been a few weeks and wanted to share an update. It's been slow but steady progress. Here's a rundown of my progress over the last few weeks. First, I finished sanding in the propeller hole. I have the rudder ready as well but figured I would wait until the carving and sanding work on the deck is done to avoid accidently breaking anything. I then cut out slots for the hull stand. I ended up spending a long time on this because it feels like this will determine if the waterline is flat when it is in displayed in the stand at the end. I followed some of the suggestions I found on the site, I used a laser level to draw a more accurate waterline and test that the stand was flat After this I wanted to focus on the top of the boat so I built a simple cradle. Up this point I have been sanding on my lap or on-top a soft cloth. With the cradle built, I switched to carving out the top rail. So far, I've finished carving the sides down to about 1/16" and am now working on slowly sanding to 1/32" width and making sure the side is vertical. I was surprised by how much enjoyed the carving process and it certainly feels a lot more productive than the endless sanding of the hull. The hardest step so far was carving the stern down to the right width. I succeed with only 2 accidental breaks in the hull and was able to glue both back together without any incident in the end. I still have a good amount of sanding left on the deck to narrow the edges down to 1/16" and ensure the deck is consistently the right depth from bow to stern. I'll be travelling for Christmas and New Years so progress will slow down for a bit.


- 13 replies
-
- 7
-
-
- Bluejacket Shipcrafters
- atlantic
- (and 1 more)
-
Thanks! I've really enjoyed reading your log and the pictures have been very helpful when i've hit moments of doubt during the early sanding and shaping process.
- 13 replies
-
- 2
-
-
- Bluejacket Shipcrafters
- atlantic
- (and 1 more)
-
Chris H reacted to a post in a topic:
Atlantic by Chris H - BlueJacket Shipcrafters - 1:96 Scale
-
Thanks everyone for the encouragement! Got back to the boat today and cut out the prop hole, attached the propeller boss and stern post. I used some Elmer's wood filler to smooth out the edges. Going start the fine sanding next. Still trying to get the centerline on the keel to look straight. finding that part pretty tricky.


- 13 replies
-
- 8
-
-
- Bluejacket Shipcrafters
- atlantic
- (and 1 more)
-
Yes, i've been closely reading the logs posted by closehaul. Agreed that they are very helpful and inspiring when I hit uncertain spots.
- 13 replies
-
- 1
-
-
- Bluejacket Shipcrafters
- atlantic
- (and 1 more)
-
Chris H reacted to a post in a topic:
Atlantic by Chris H - BlueJacket Shipcrafters - 1:96 Scale
-
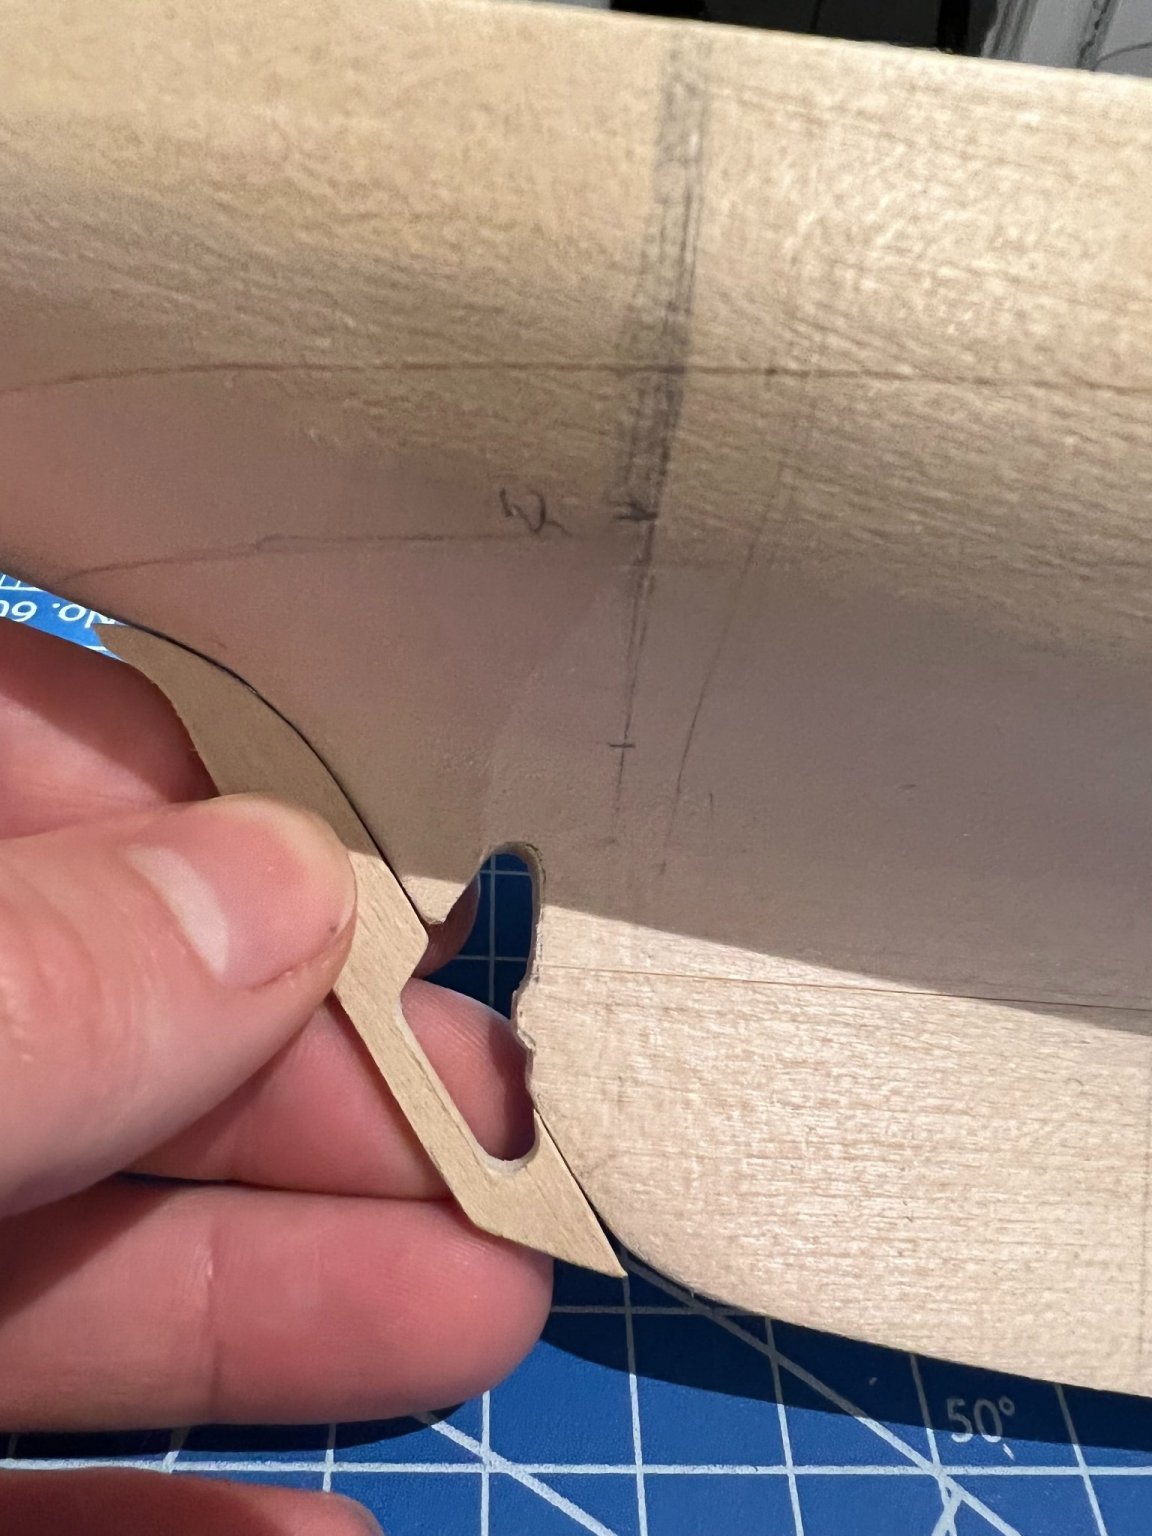
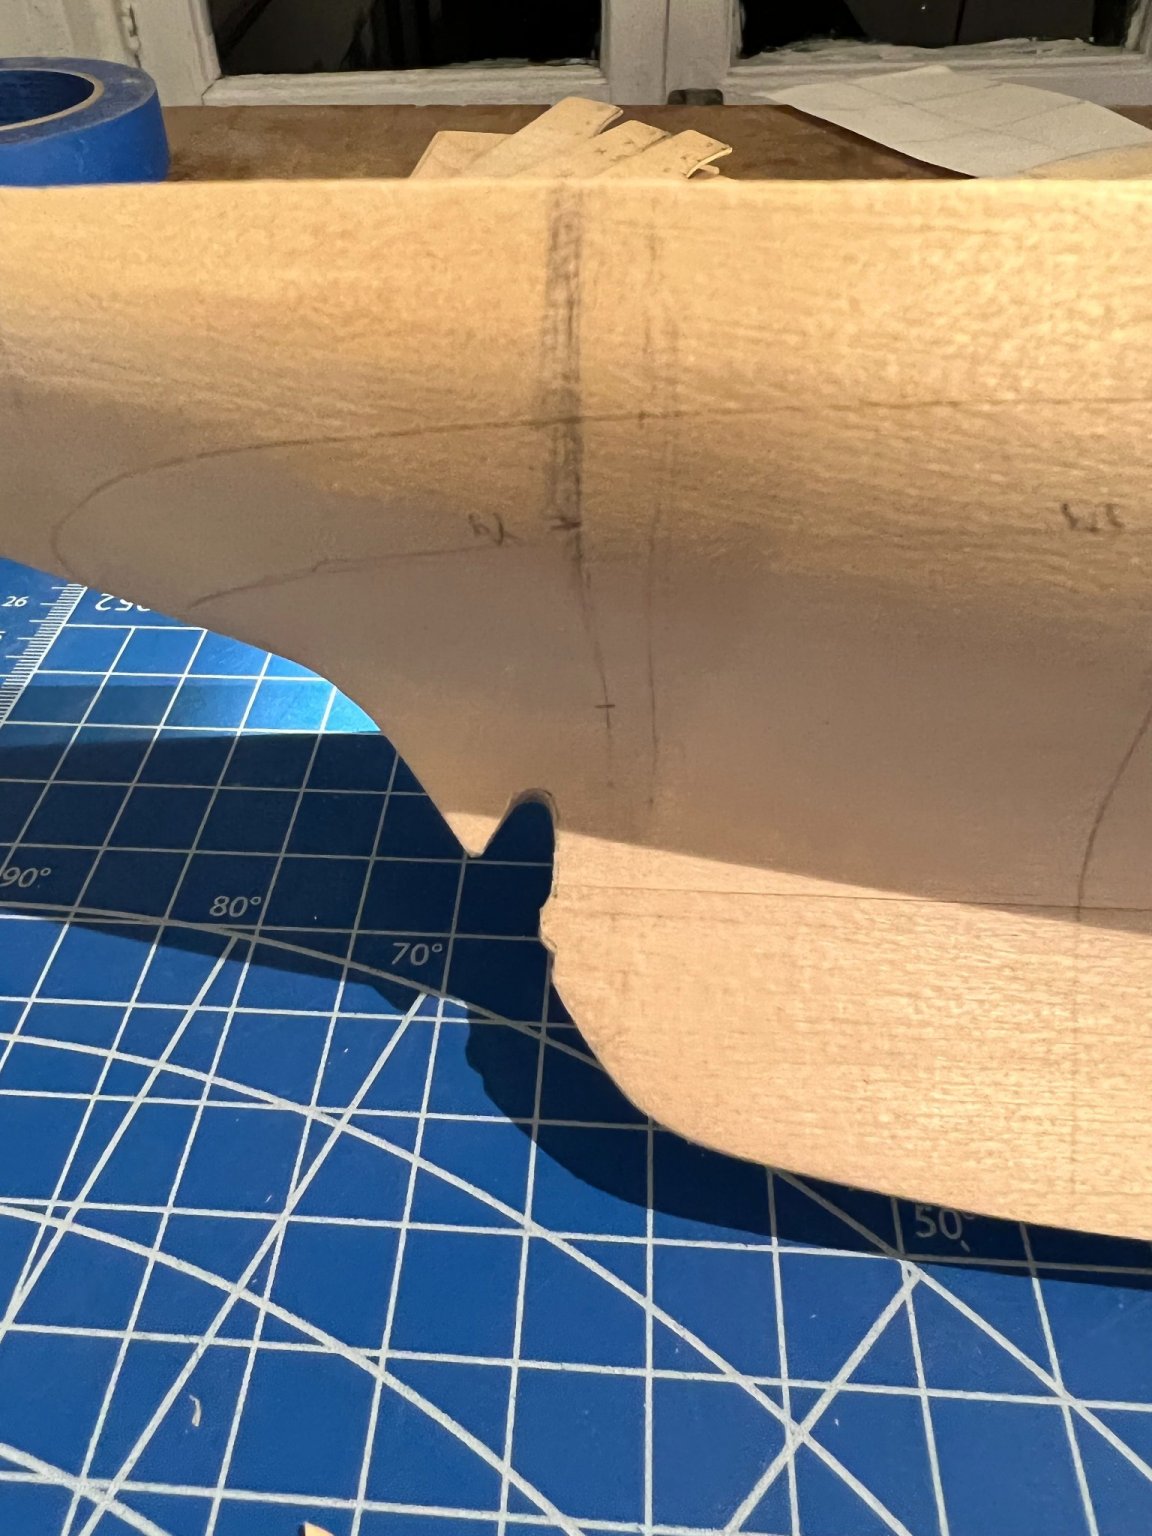
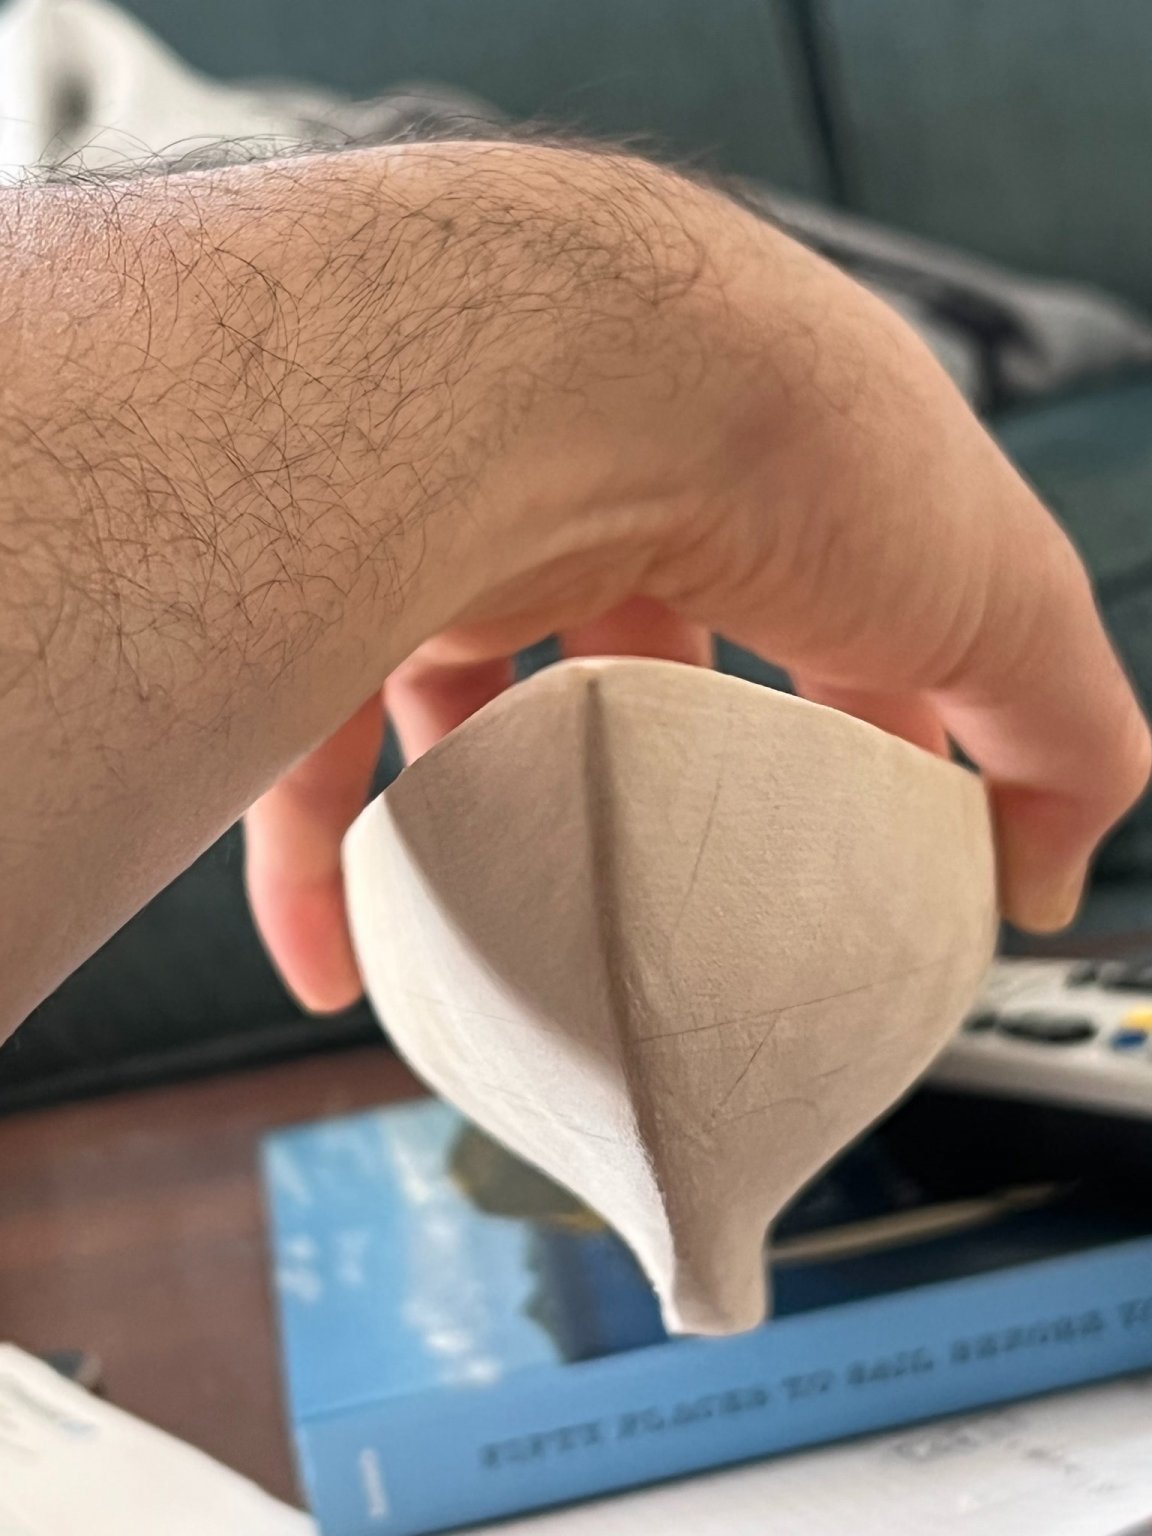
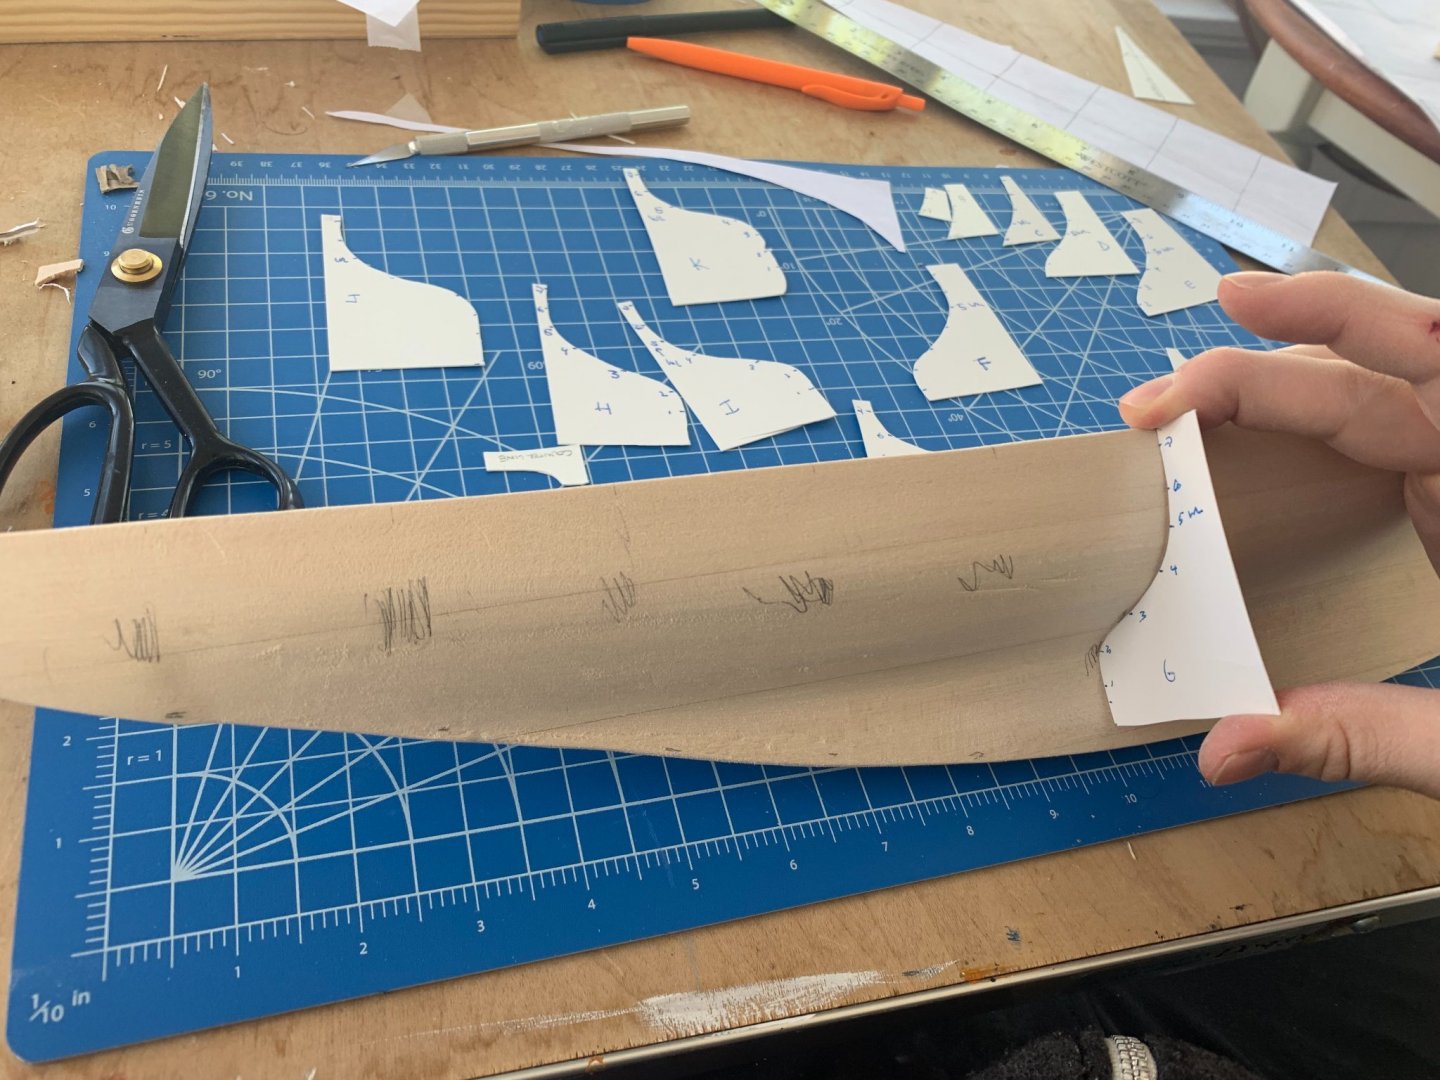
Hi Everyone -- This is my first build and I actually started about a year ago but am just now picking back up on the work. I didn't take many pictures while sanding. Started with some paper templates and then moved to cutting wooden ones so they would hold their shape. Almost done with rough sanding and going to cut the prop hole and shape the rudder today. more photos to come!
- 13 replies
-
- 8
-
-
- Bluejacket Shipcrafters
- atlantic
- (and 1 more)