Paul O
-
Posts
15 -
Joined
-
Last visited
-
 gieb8688 reacted to a post in a topic:
HMS Terror by ObviousNewbie - FINISHED - OcCre - Scale 1:75 - first wooden ship build
gieb8688 reacted to a post in a topic:
HMS Terror by ObviousNewbie - FINISHED - OcCre - Scale 1:75 - first wooden ship build
-
GrandpaPhil reacted to a post in a topic:
HMS TERROR by Wahka_est - OcCre - 1:75 - first wooden ship build
-
GrandpaPhil reacted to a post in a topic:
HMS Terror by Paul O - OcCre
-
GrandpaPhil reacted to a post in a topic:
HMS Terror by ObviousNewbie - FINISHED - OcCre - Scale 1:75 - first wooden ship build
-
Keith S reacted to a post in a topic:
HMS Terror by Keith S - OcCre - scale 1:75 - as she (dis)appeared on her final mission 1845 - first wooden ship build
-
Newbie, A very good video on the shrouds and ratlines. I also notice the he was doing the shrouds in pairs on the same side, not the method indicated by Occre.
-
ObviousNewbie reacted to a post in a topic:
HMS Terror by ObviousNewbie - FINISHED - OcCre - Scale 1:75 - first wooden ship build
-
NovaStorm reacted to a post in a topic:
HMS TERROR by Wahka_est - OcCre - 1:75 - first wooden ship build
-
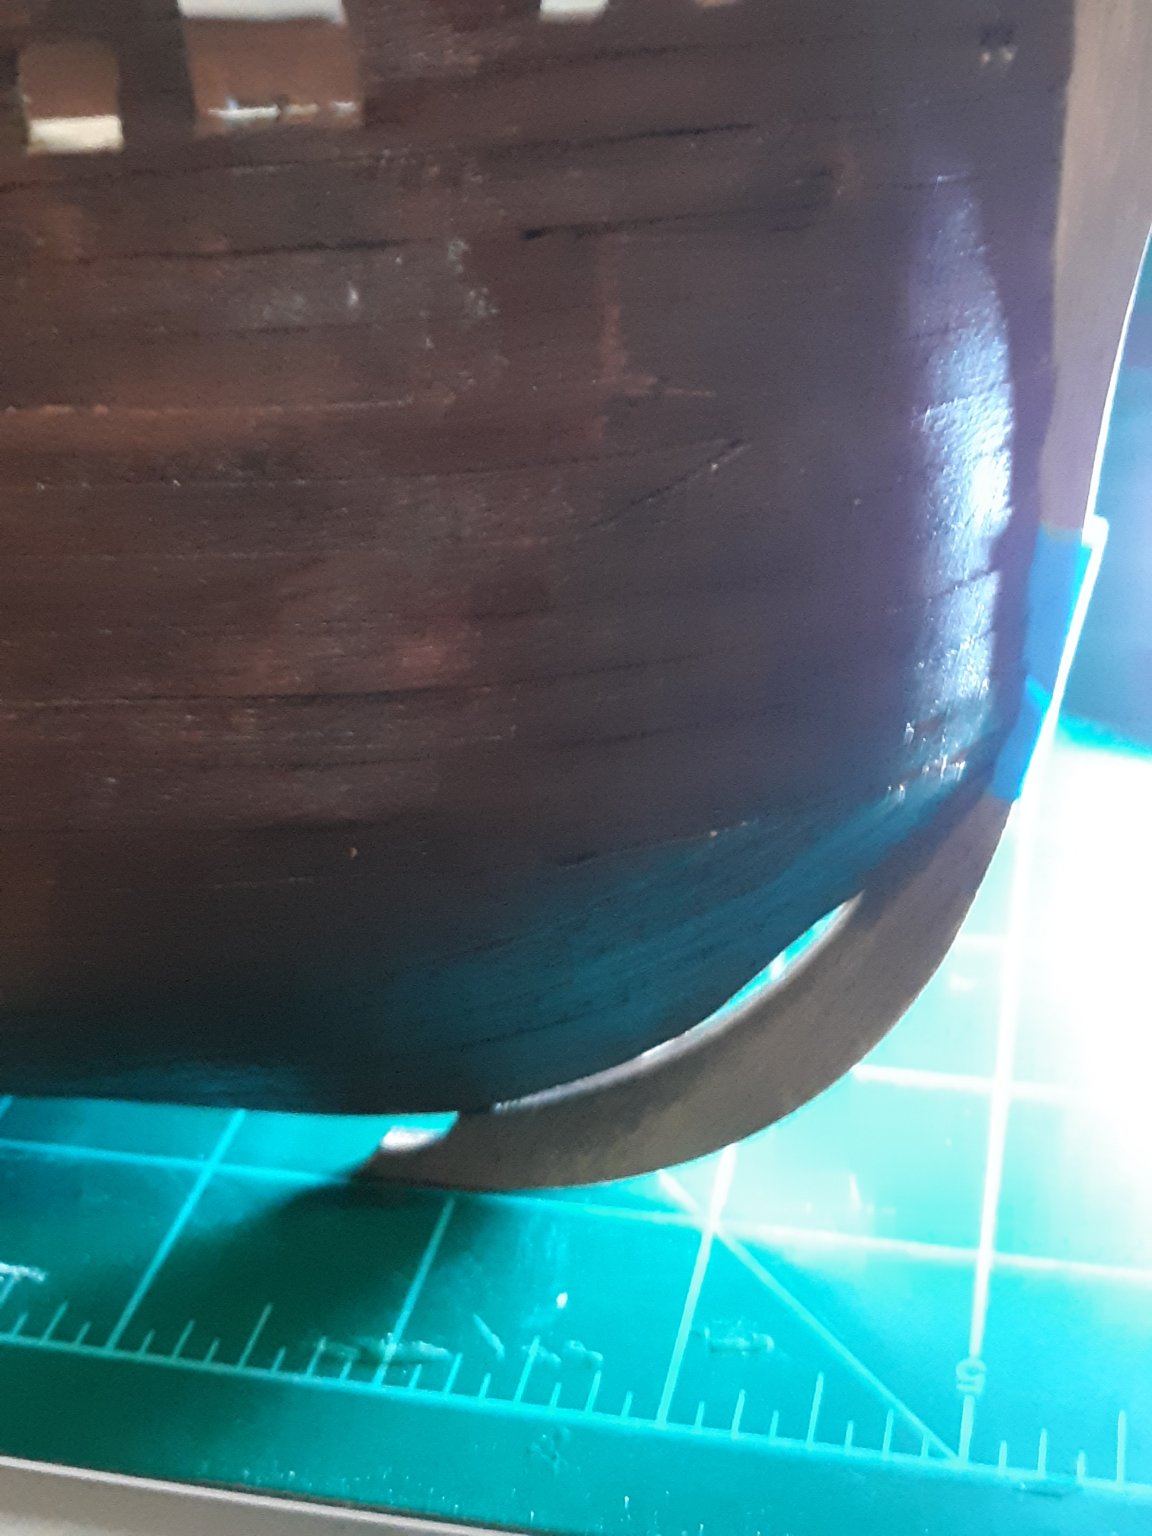
I'm starting this log on my HMS Terror build. I didn't find this site until last week, so my build is in process. DRY FITTING THE KEEL: WOW!! Looks great. I've been making some progress on my Terror and doing some reading. I've uncovered an issue with the shroud lines. The way Occre show to install them is totally incorrect. They show the shrouds being run through the gap between the lower masts and the upper masts, then evening them up on both sides of the ship. From what I've seen on line and in Mastini,s book, the shrouds should go around the mast and down the same side. They are then seized at the mast. You work with them in pairs on each side, one pair on the port side and one pair on the starboard side. You need to look at the Masting and Rigging section of the book (Ship Modeling Simplified by Frank Mastini). I got the bumpers bent last night and installed the water channels on the deck, I'll start installing the bumpers today. I've been dry fitting the keel and the bowsprit to the hull. I taped the first section and the curved section to help position the bowsprit and the keel. That looks like I will be able to fit them together just fine, but - I also showed that I have a noticeable gap between the hull and the curved keel. I've decided to fill the back side of the curve with left over strips of Sapelli from the second planking layer, then shape it to fit. I took a picture of it now I have to figure out how to get the picture from my cell phone to mt laptop, my phone has updated since the last time I did that and of course how you do that has changed. It is bad when the device is smarter than the user and I'm a 30+ IT professional. I'm going to have to stop now, The Blue Angels are doing a Fly Over here in Houston at 12:30 today. Here is the picture of the gap

-
I posted this on the other blog. Thought I would add it here. WOW!! Looks great. I've been making some progress on my Terror and doing some reading. I've uncovered an issue with the shroud lines. The way Occre show to install them is totally incorrect. They show the shrouds being run through the gap between the lower masts and the upper masts, then evening them up on both sides of the ship. From what I've seen on line and in Mastini,s book, the shrouds should go around the mast and down the same side. They are then seized at the mast. You work with them in pairs on each side, one pair on the port side and one pair on the starboard side. You need to look at the Masting and Rigging section of the book (Ship Modeling Simplified by Frank Mastini). I got the bumpers bent last night and installed the water channels on the deck, I'll start installing the bumpers today. I've been dry fitting the keel and the bowsprit to the hull. I taped the first section and the curved section to help position the bowsprit and the keel. That looks like I will be able to fit them together just fine, but - I also showed that I have a noticeable gap between the hull and the curved keel. I've decided to fill the back side of the curve with left over strips of Sapelli from the second planking layer, then shape it to fit. I took a picture of it now I have to figure out how to get the picture from my cell phone to mt laptop, my phone has updated since the last time I did that and of course how you do that has changed. It is bad when the device is smarter than the user and I'm a 30+ IT professional. I'm going to have to stop now, The Blue Angels are doing a Fly Over here in Houston at 12:30 today. Here is the picture of the gap
-
WOW!! Looks great. I've been making some progress on my Terror and doing some reading. I've uncovered an issue with the shroud lines. The way Occre show to install them is totally incorrect. They show the shrouds being run through the gap between the lower masts and the upper masts, then evening them up on both sides of the ship. From what I've seen on line and in Mastini,s book, the shrouds should go around the mast and down the same side. They are then seized at the mast. You work with them in pairs on each side, one pair on the port side and one pair on the starboard side. You need to look at the Masting and Rigging section of the book (Ship Modeling Simplified by Frank Mastini). I got the bumpers bent last night and installed the water channels on the deck, I'll start installing the bumpers today. I've been dry fitting the keel and the bowsprit to the hull. I taped the first section and the curved section to help position the bowsprit and the keel. That looks like I will be able to fit them together just fine, but - I also showed that I have a noticeable gap between the hull and the curved keel. I've decided to fill the back side of the curve with left over strips of Sapelli from the second planking layer, then shape it to fit. I took a picture of it now I have to figure out how to get the picture from my cell phone to mt laptop, my phone has updated since the last time I did that and of course how you do that has changed. It is bad when the device is smarter than the user and I'm a 30+ IT professional. I'm going to have to stop now, The Blue Angels are doing a Fly Over here in Houston at 12:30 today. Here is the picture of the gap
-
VTHokiEE reacted to a post in a topic:
Howdy, Paul O from Texas
-
GrandpaPhil reacted to a post in a topic:
Howdy, Paul O from Texas
-
mtaylor reacted to a post in a topic:
Howdy, Paul O from Texas
-
Wahka, I was looking at the selection of books you have bought and I see a couple that I have as well. I was looking through the container the San Francisco kit is in and found the I had the Ship Modeling Simplified by Frank Mastini to, I don't remember buying it but I must have when I was working on the San Francisco 20 years ago. I was looking through it an saw some good information on chainplates and how they should be installed, He indicates that chainplate should follow the same angle as the shroud line. So I think we should try running a shroud line from the top of the mast, past each dead eye to get the correct angle for the chainplate. This is for some one who is just starting a kit, i had made a copy of the 1:1 deck plan and cut that out and I have been using it as a template for things on the deck, like the port holes, much simpler than measuring. One of my favorite tools is a lighted 4" magnifying glass that is on a stand. It really helps when you are working with small parts/ Paul Oakley Spring, TX
-
Hi All. I am joining this forum to help with my ship model building. I won't say that I'm a novice builder, I've been building models for most of my life time. The first ship I built was the Revell USS Constitution 1:96. My parents had given it to me for Christmas on year back in the 60's. I was pretty far in to it was working on the rigging, then I went into the Army. My younger bother told me a cat had walked the the rigging and destroyed most of that, so he decided to blow it up. Siblings what can I say. I didn't get back into building models much until the 90's, a few plastic plane kits and later a few Guillow's airplane kits, I still have some of the larger Guillow's kits in inventory. The biggest problem I have with those right now is, after you build them where are you going to put them (Planes with 48" wing spans take a lot of room). I have been building for the last several years, planes, cars, tanks, and some Star Wars & Star Trec models. I currently have about 100 models on display here in my office/workshop. I had started an Artesana Latina kit the "San Francisco" in the 90's but never finished planking it. My son gave me an Occre Terror kit for my birthday, so I am now working on it. After what I've learned here on the Terror, I am planning to drag out the San Francisco kit (Yes, I still have it even after 20 years) and correct the mistakes and finish it. I have been looking at the build logs of the several people who are also working on the Terror and I have found the information useful. Thanks everyone, Paul Oakley Spring, TX
-
I am thinking about starting a blog on my build, but I seem to have a issue when I try to upload pictures from my cell or digital camera. The laptop starts doing weird things and won't recognize the storage on either device, the only way I have been able to get them from my phone is to e-mail them to my self. But, that won't work for the camera.
-
Wahka, The black rings are suppose to go on the tip of each mast. I am quite envious of your build work, I feel like mine comes out in a mess. I'm going to start the bumpers today. If I can get permission to mess up the kitchen from my other half, I think I may dub her the Rear Admiral, who is some times a pain in the ..... I have been working on some the small parts, dead eyes for the shrouds, and the columns for the chain plate, etc. - I'm not that happy with the way the chain plate turned out, I have a pair pliers with round tips and I used those to make them, but I feel that the loops are too large. Also, I ran out the 1 mm brass rod. I have requested some more from Occre, as well as some other missing parts (I am short 2 of the large anchors, the kit came with the 4 cross pieces but only 2 large and 2 small anchors. It won't be much of problem with the build since the second pair of large anchors and the 2 small anchors only tie on to the sides of the ship at the end of the build. You think the instructions from Occre are bad you should see the one I have for the San Francisco from the now defunct Artesania Latina. Of course they are 20 years old and there was no internet back then, my kit has a copy right date of 1994 on it. I don't believe you are going to build 2 ships at one time, I feel that I have enough on my plate with one, in fact I am not working on any other projects for the time being. I also build plastic models, cars, planes, tanks and scifi. I was going to start a Hamomag 251 from Tamiya but decided against it.
-
Thanks for the tip!. I was planning to bend and cut the buffers to fit prior to attaching them to the hull. I drew a line along the sides of the hull and pull one of the decorator pieces off the sprue and used it to draw a second line along the edge of the stern. I plan to cut each piece to end at the second line. I don't like the idea of taking the strip all the way to the stern and then after gluing and sanding it to trim it back as show in the videos. I used the 15mm distance as shown in the plans, but if the 20mm measure is more correct I can easily redraw the lines. I am debating on weather to paint the hull or not, I love the natural wood colors and hate the idea of covering it up with paint. The ebony stain is not a bad idea, I think I have some in the garage from an earlier honey do project. 7 Weeks stuck in side, what a drag. I'm in Texas, Houston area. We have been on a lock down here as well, But on Monday the Governor relaxed it a bit and has allowed restaurants to open at 25% capacity, so we were able to go to one of our favorite restaurants on Tuesday. It was nice to get out for a while. We are wearing masks when we go to the store for groceries. I need to because of my Virus profile. Virus Profile: 1) Age: 70 2) Type 2 Diabetic 3) Mild Asthmatic 4) Past history of pneumonia Paul Oakley Spring, TX
-
Hi All !!! I am Paul Oakley and I am also working on the Occre HMS Terror. This is my second attempt at building a Plank on Bulkhead kit. The first was an AL San Francisco kit that I started over 20 years ago (not finished). There was no internet back then. My son gave this kit to me in January for my birthday. I am learning a lot and making a lot of mistakes too. But, my Terror is progressing nicely. The bump out on the sides of the ship appear to be called "Rubbing Strakes", from what I have seen on the internet. I have completed the second layer of planking and getting ready to put the Rubbing Strakes on. I should get that done this next week. I too, have an admiral to deal with and she won't be happy when I mess up her kitchen to do them. After 45 years of marriage, I have to tread lightly. I posted a comment on the location of the chain plate earlier. I'll post the info here if I get a reply from Occre. Thanks.
-
I am approaching this step also. I posted on Occre's website a question on the location of the chain plate, but I have not gotten a response yet. I may position them at the front side of the mast. You are indicating the back side of the mast here, that would be just as easy to do. I am thinking about putting the dead eyes about 5mm apart.
-
The nail heads need to be filed or sanded flush - remember you have a second layer of very thin planking to put on after you finish sanding the sub-planking
-
Hi all!! I am working on the HMS Terror also. This is my second Plank on Bulkhead kit I have attempted. The first one I started, San Francisco (started not finished) was over 20 years ago. I have learned a lot by working on the HMS Terror. Believe it or not, I still have my San Francisco kit and I am planning to go back and complete it, after I finish the Terror. My build of the Terror is progressing nicely. I have completed the second layer of planking and getting ready to built the Rubbing Streaks, I plan to work on that this nest week. I have been trying to research the location of the Chain Plate and I am having little success. I posted a request for information on Occre's web site, but I have not received a response from them.
-
I agree! I found out the hard way. I used it for my build of the Terror as it says in the instructions and found that it not only smelled up the house but was hard to use also. It is not forgiving at all