ModernViking
-
Posts
17 -
Joined
-
Last visited
-
 Spantenstecher reacted to a post in a topic:
Buccaneer by ModernViking - Occre - Scale 1:100
Spantenstecher reacted to a post in a topic:
Buccaneer by ModernViking - Occre - Scale 1:100
-
ModernViking reacted to a post in a topic:
Buccaneer by ModernViking - Occre - Scale 1:100
-
 ModernViking reacted to a post in a topic:
Buccaneer by ModernViking - Occre - Scale 1:100
ModernViking reacted to a post in a topic:
Buccaneer by ModernViking - Occre - Scale 1:100
-
GrandpaPhil reacted to a post in a topic:
Buccaneer by ModernViking - Occre - Scale 1:100
-
Meriadoc Brandybuck reacted to a post in a topic:
Buccaneer by ModernViking - Occre - Scale 1:100
-
Gregory reacted to a post in a topic:
Buccaneer by ModernViking - Occre - Scale 1:100
-
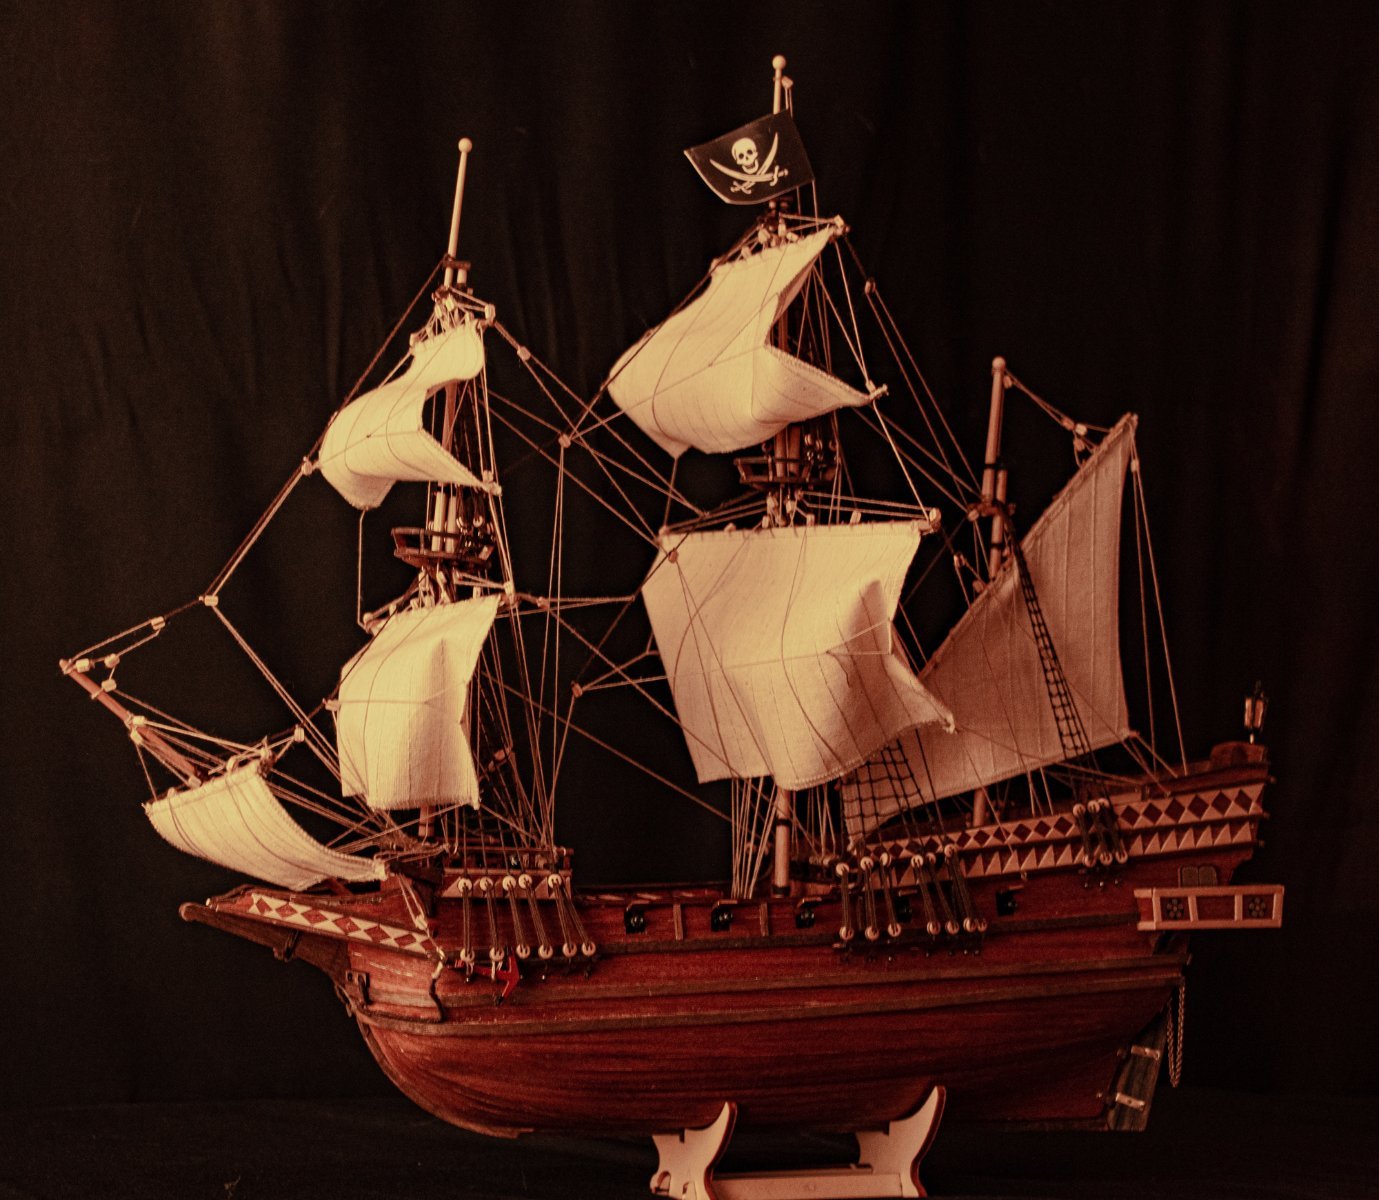
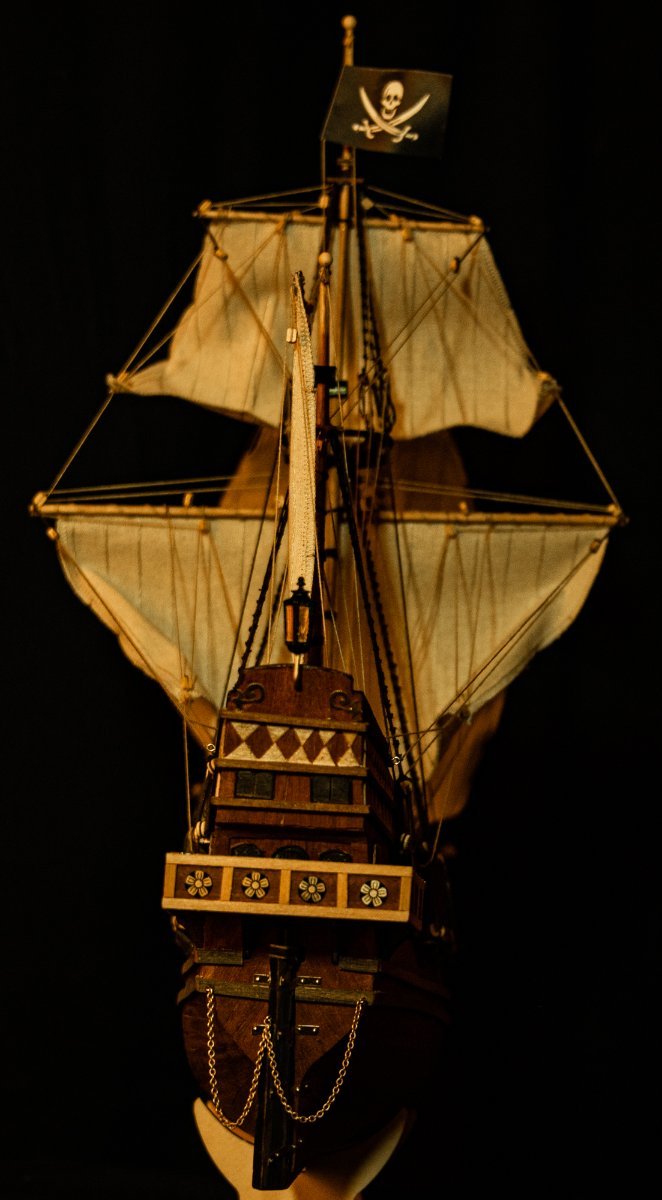
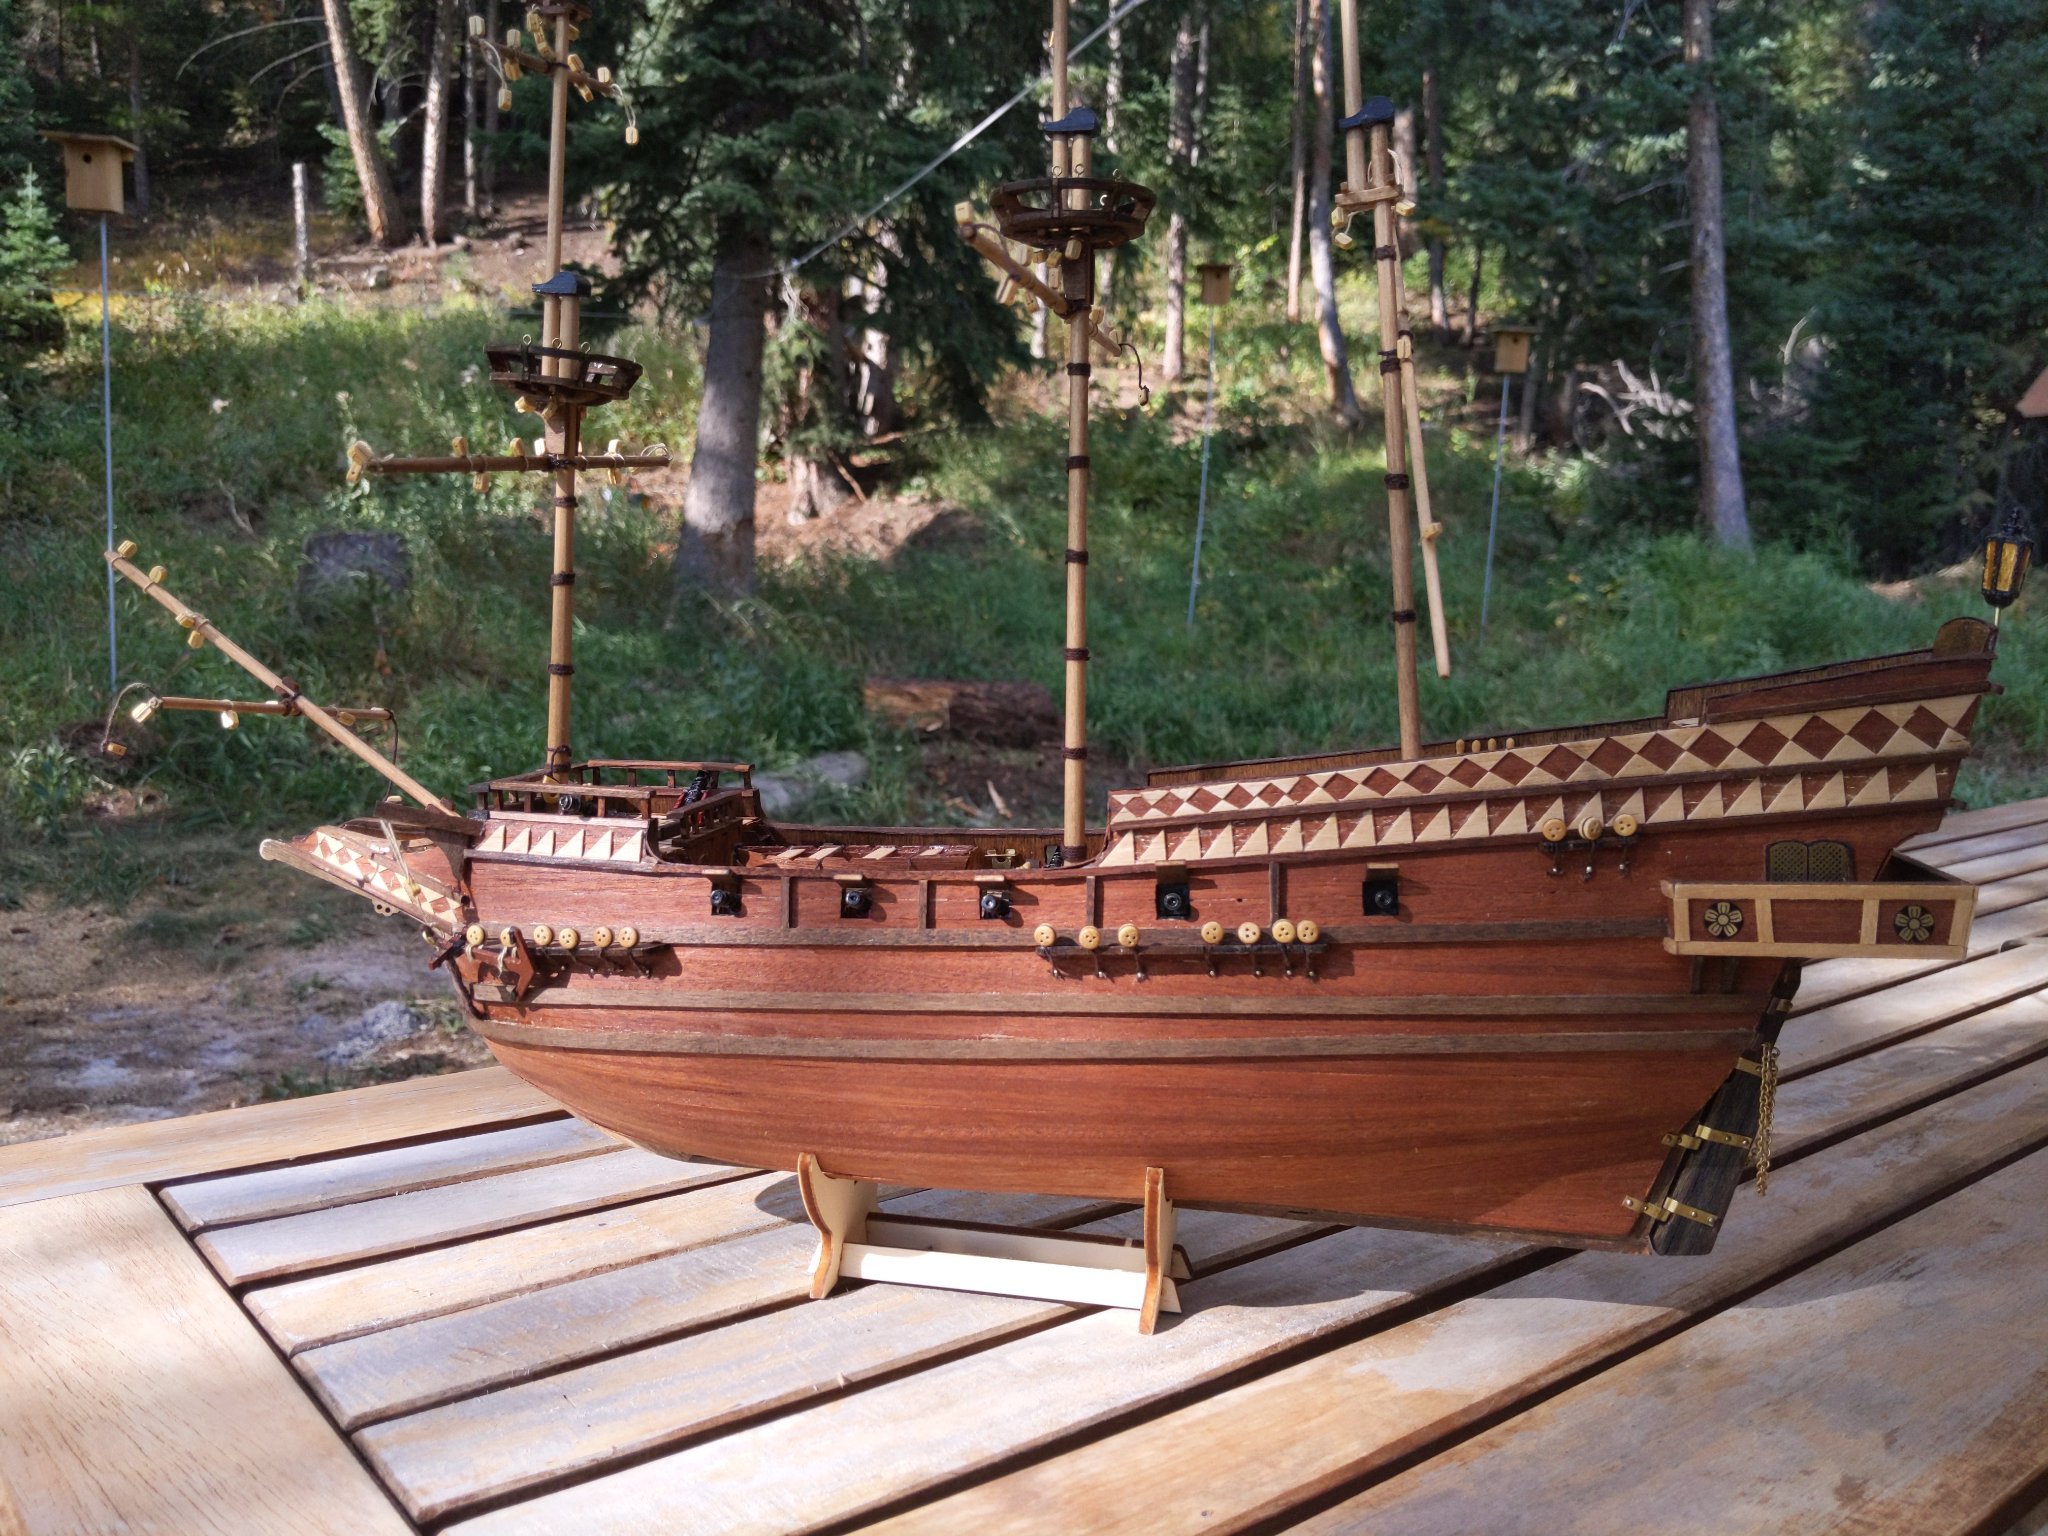
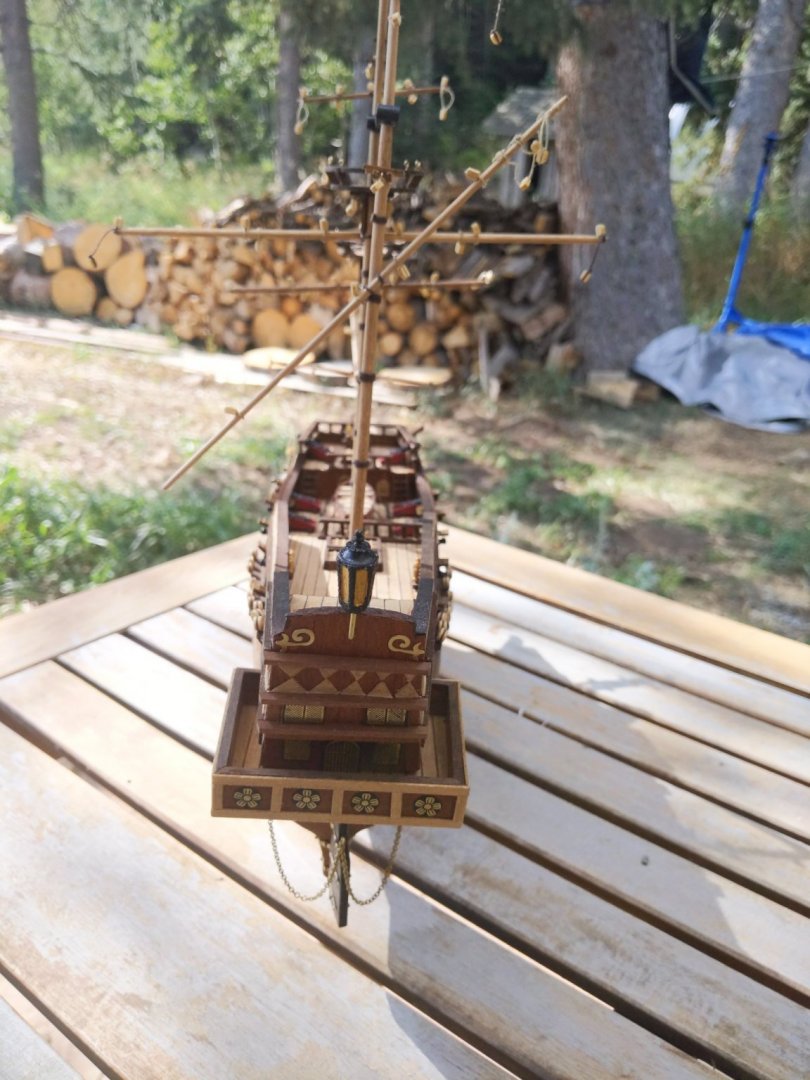
That was a fun year and a half! Now it sits above my desk and raises the wonder of what comes next.


-
Meriadoc Brandybuck reacted to a post in a topic:
Buccaneer by ModernViking - Occre - Scale 1:100
-
GrandpaPhil reacted to a post in a topic:
Buccaneer by ModernViking - Occre - Scale 1:100
-
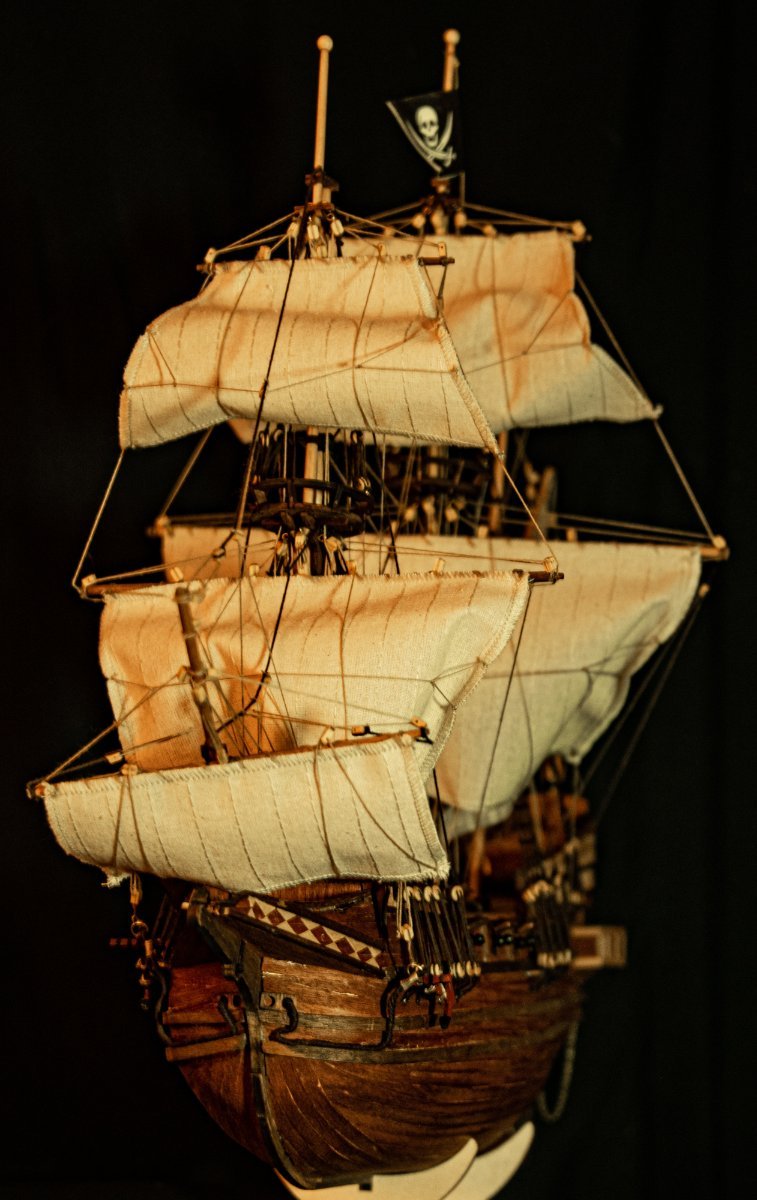
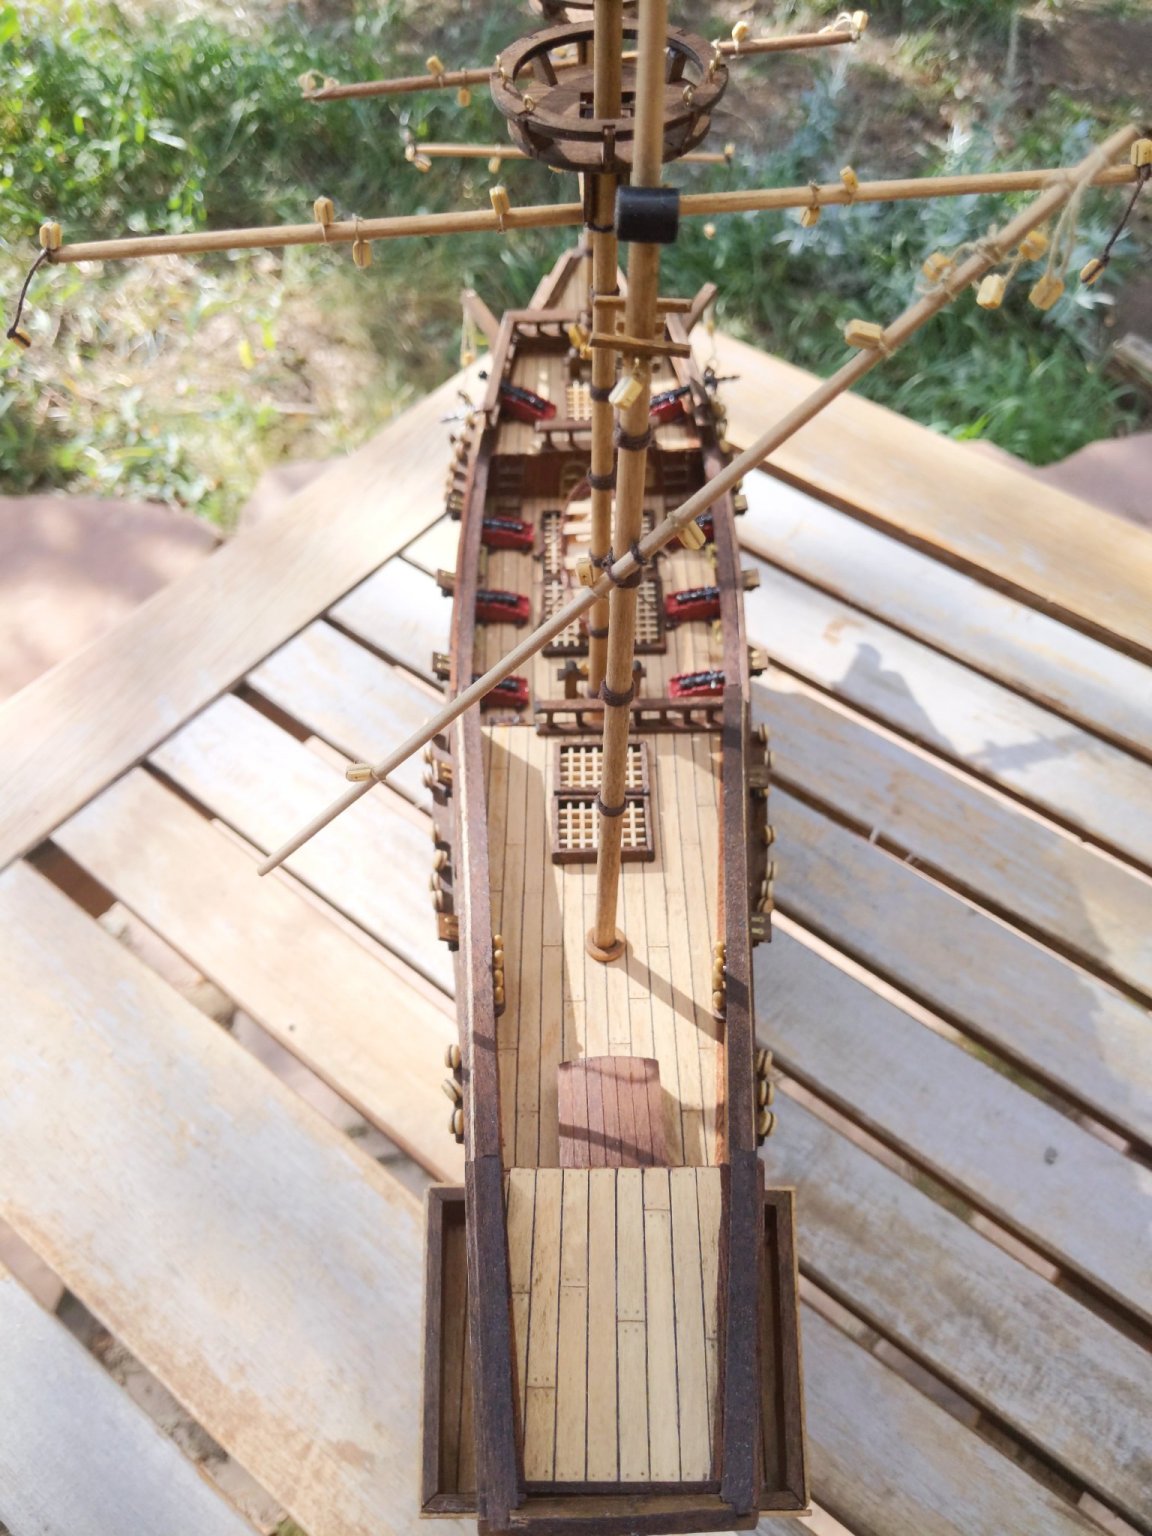
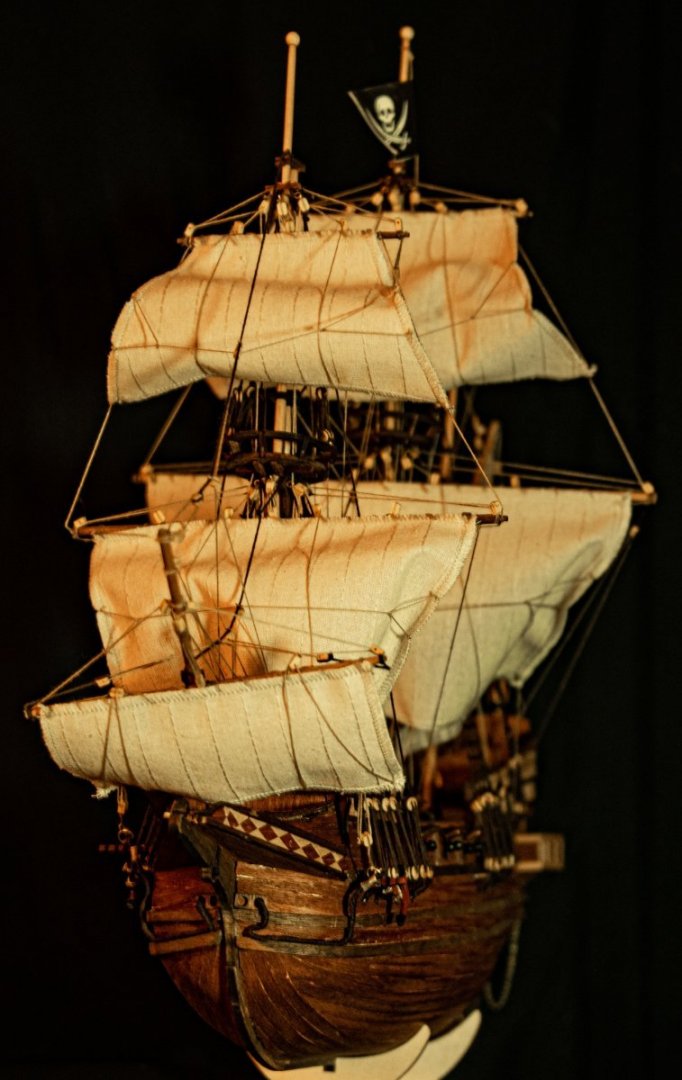
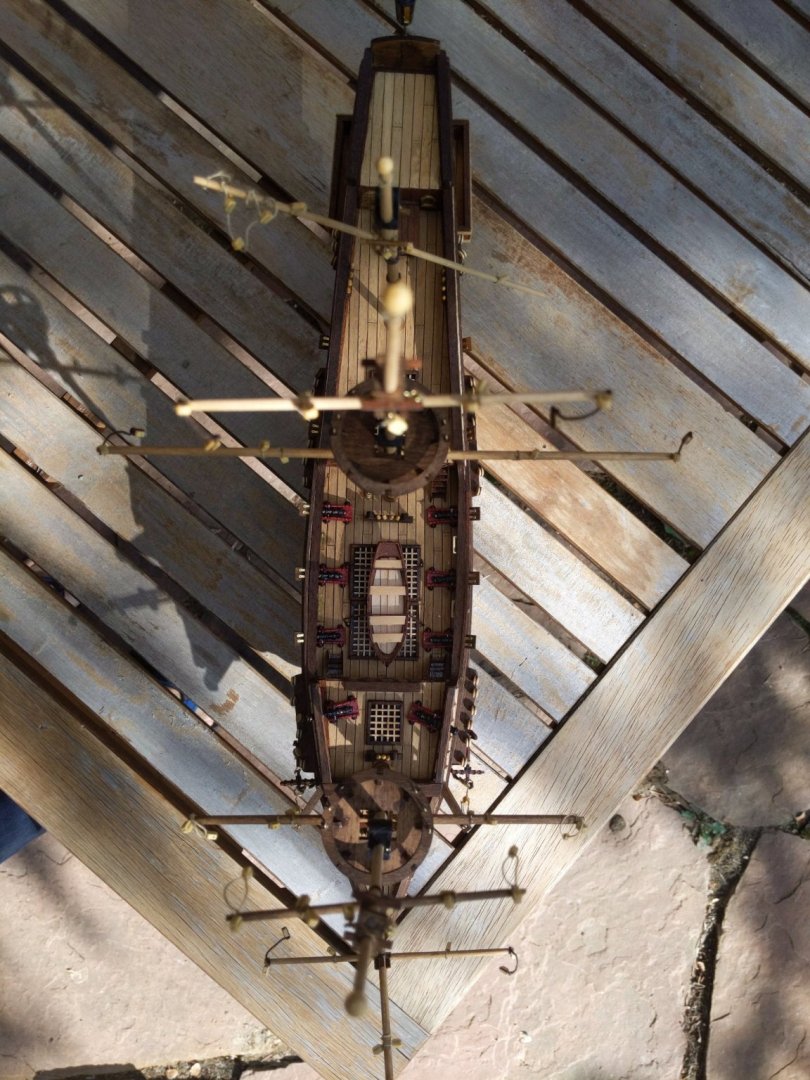
So many little knots! I'd been dreading the ratline stage of this project simply because fine work with those knots wasn't something I expected to enjoy. Turns out they weren't as bad as I feared. Slow, steady work, but I'm reasonably happy with how they turned out. Not entirely even or perfect, but not too terrible. In some ways, exciting to be seeing the end of this build in sight but then I'll be stuck in the position of needing a new distraction through the winter! Oh, and even before she's set sail, the Buccaneer has picked up a stow-away. . . . . If he sticks around much longer I'll have to name him.


-
Baltic_submariner reacted to a post in a topic:
Buccaneer by ModernViking - Occre - Scale 1:100
-
Meriadoc Brandybuck reacted to a post in a topic:
Buccaneer by ModernViking - Occre - Scale 1:100
-
GrandpaPhil reacted to a post in a topic:
Buccaneer by ModernViking - Occre - Scale 1:100
-
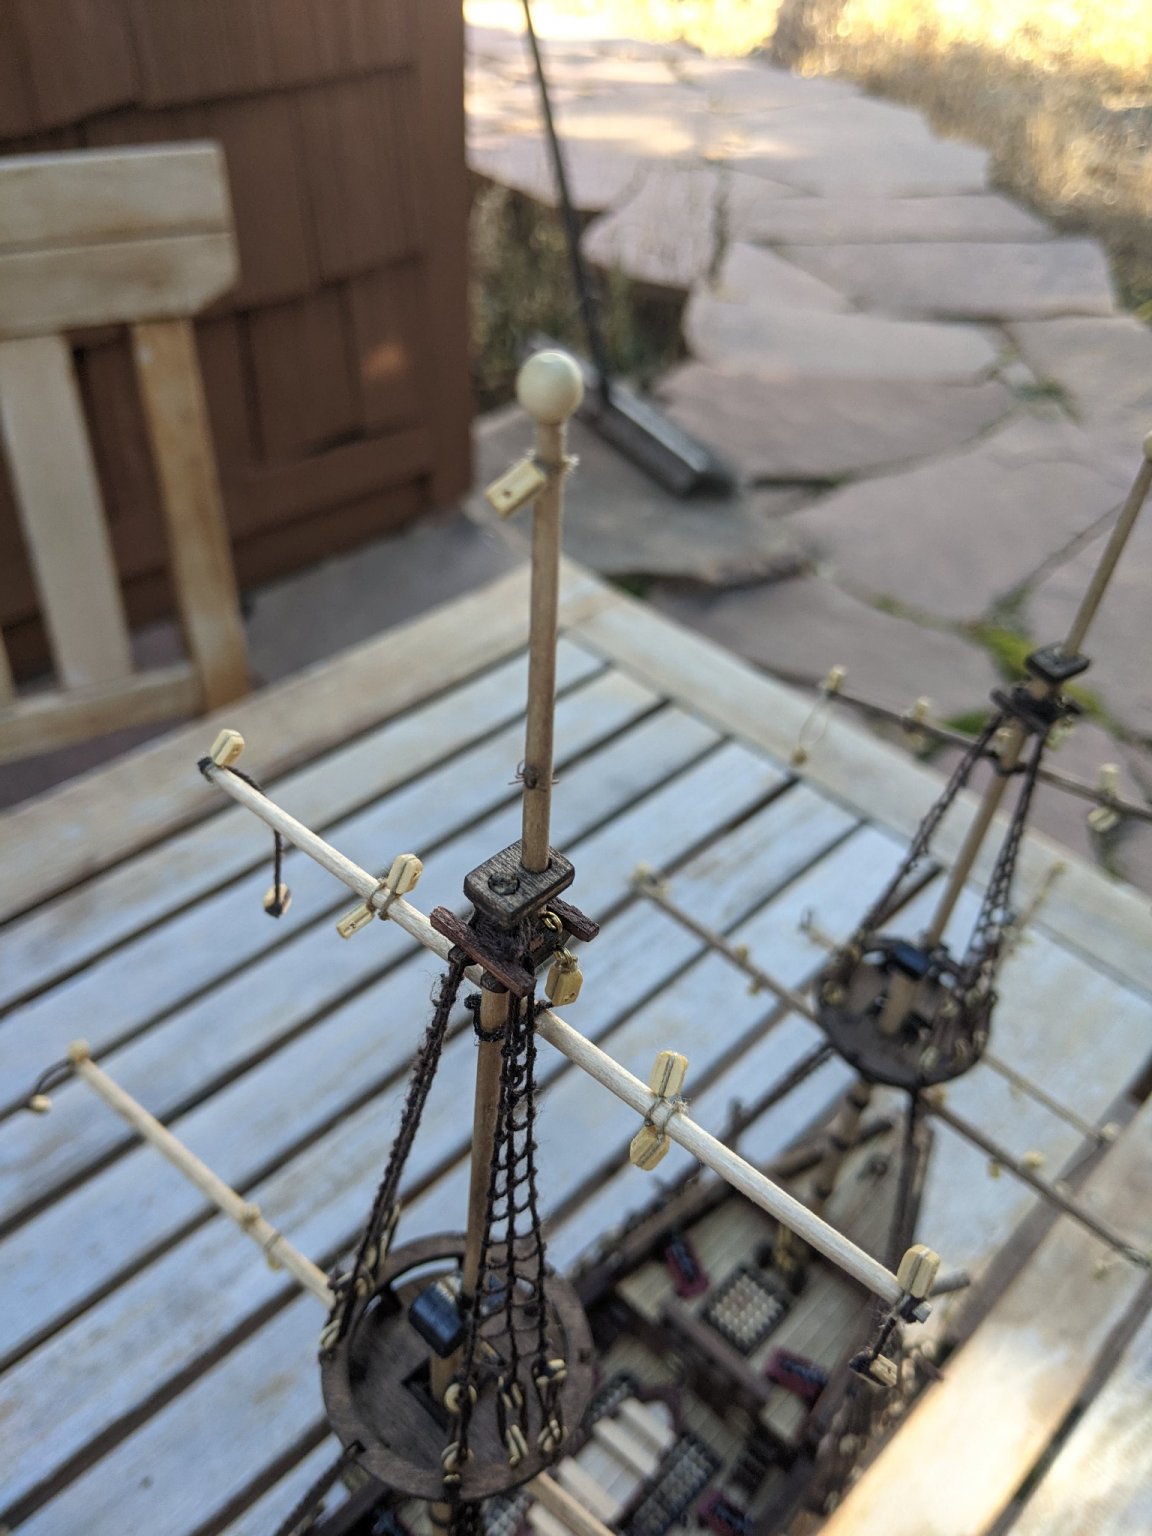
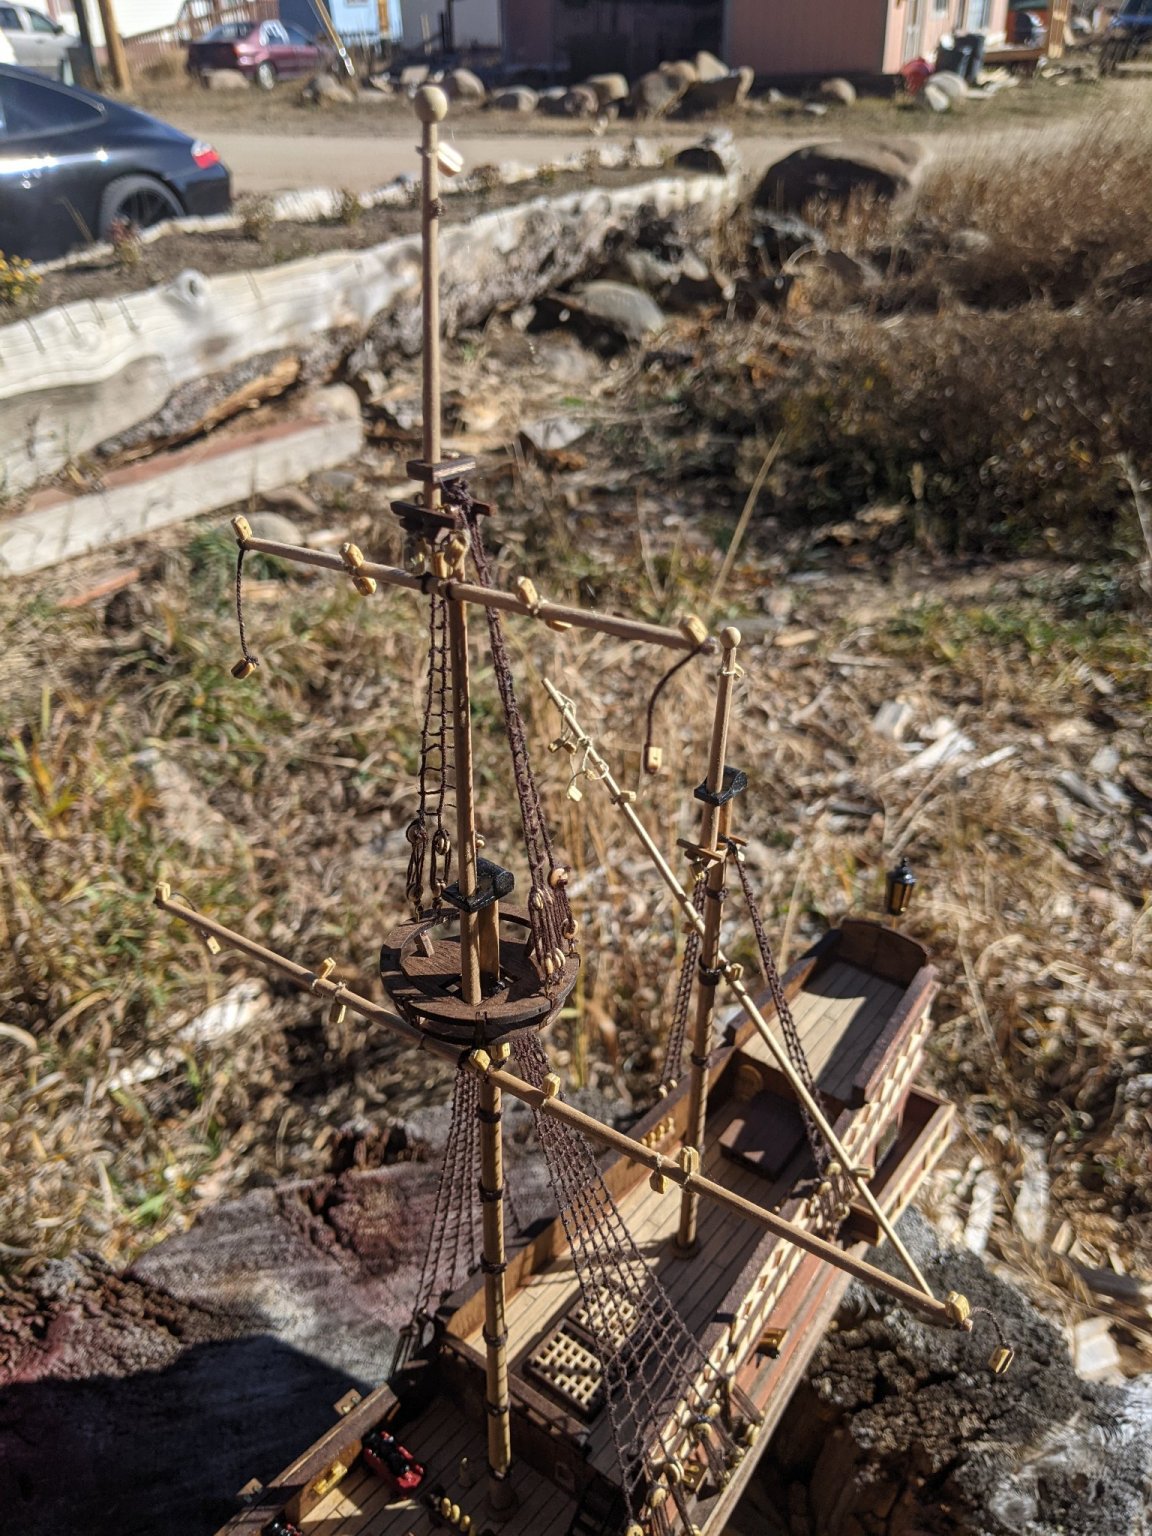
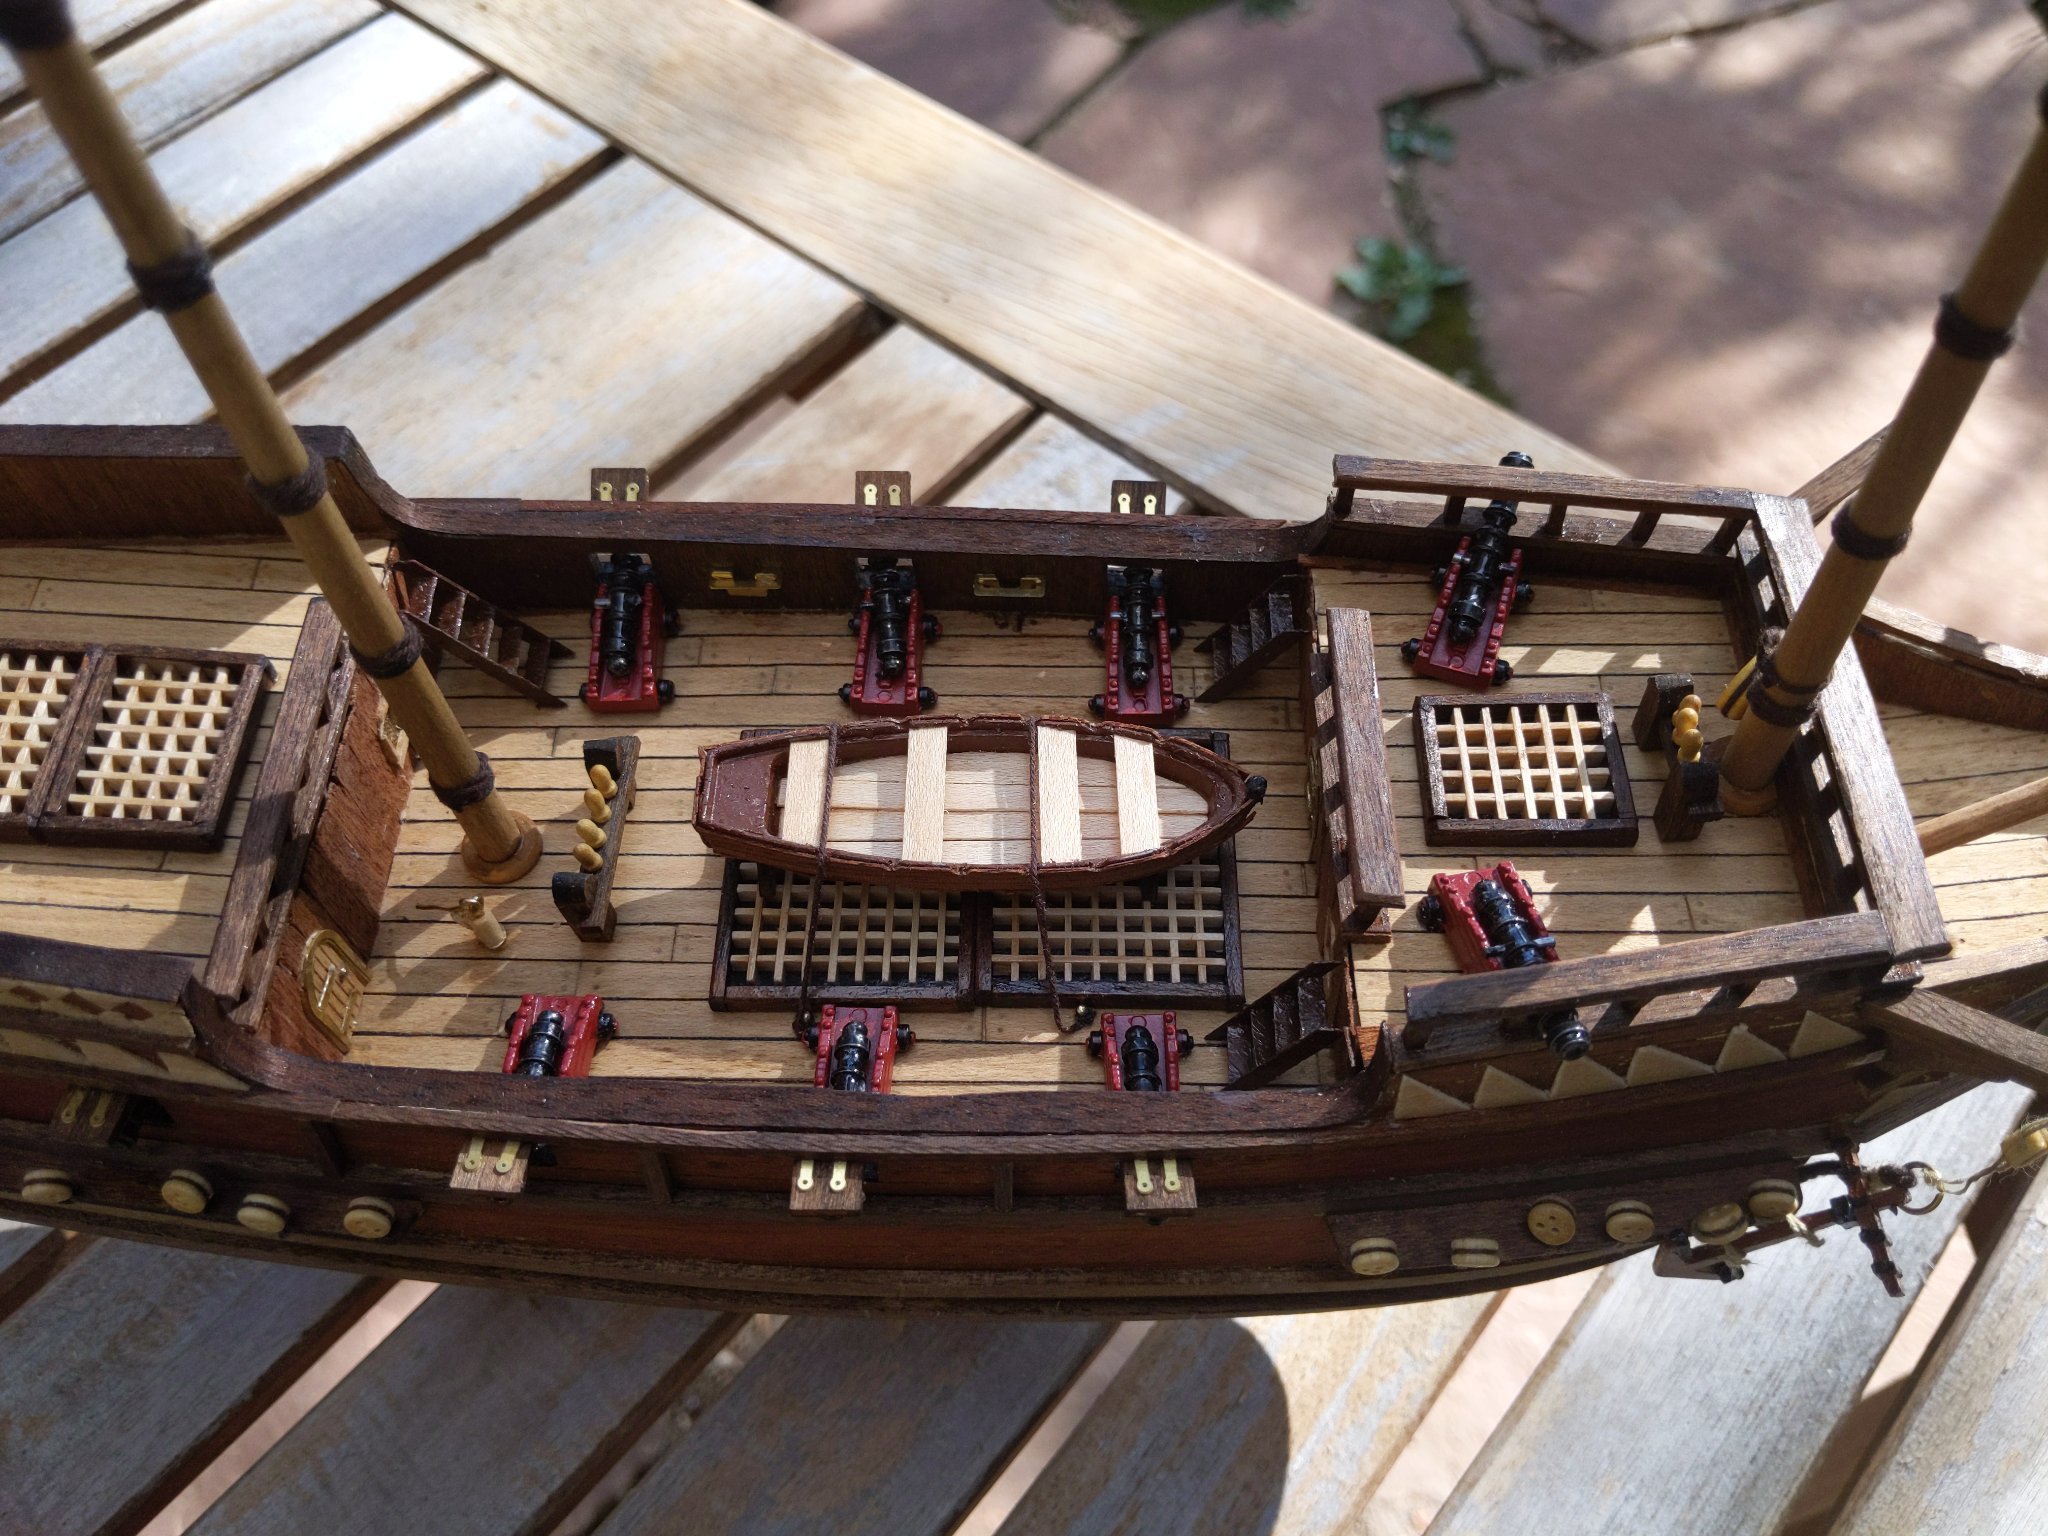
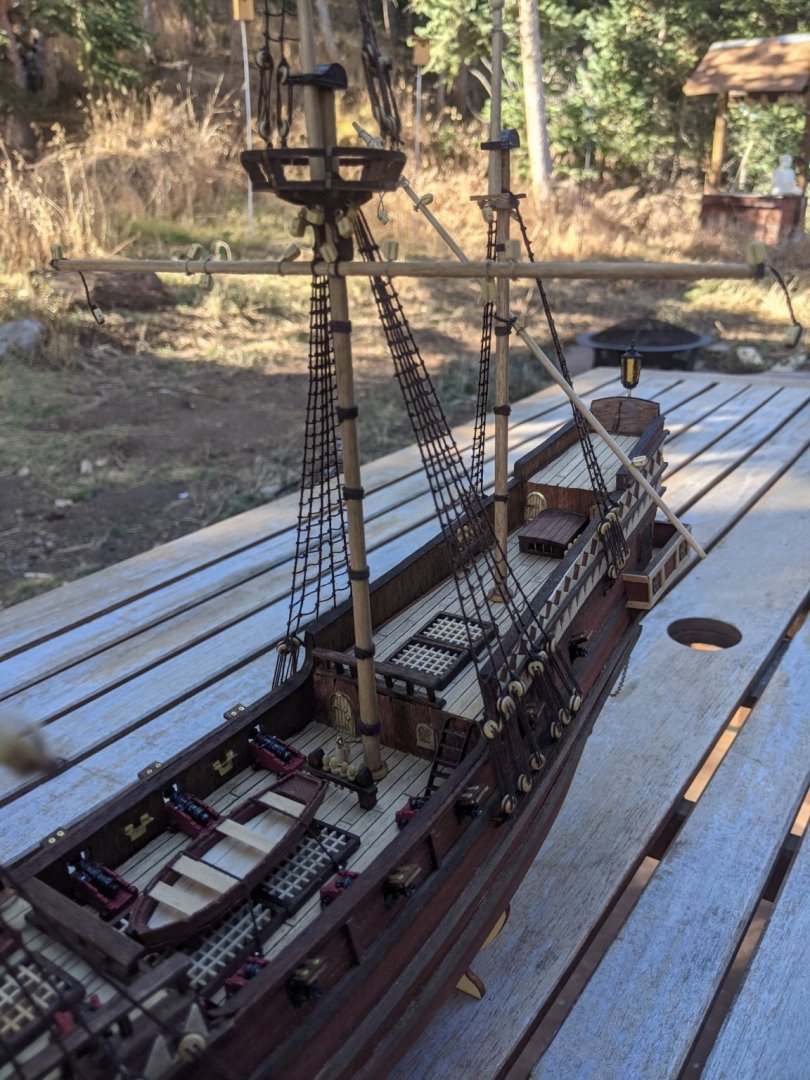
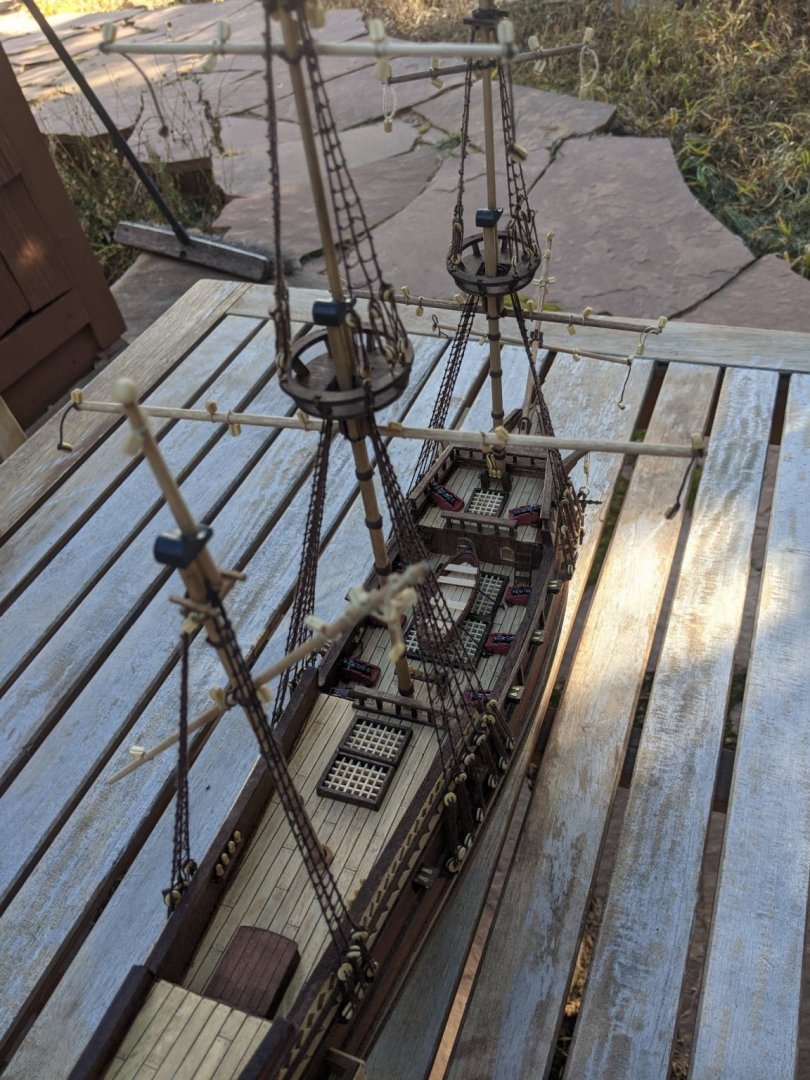
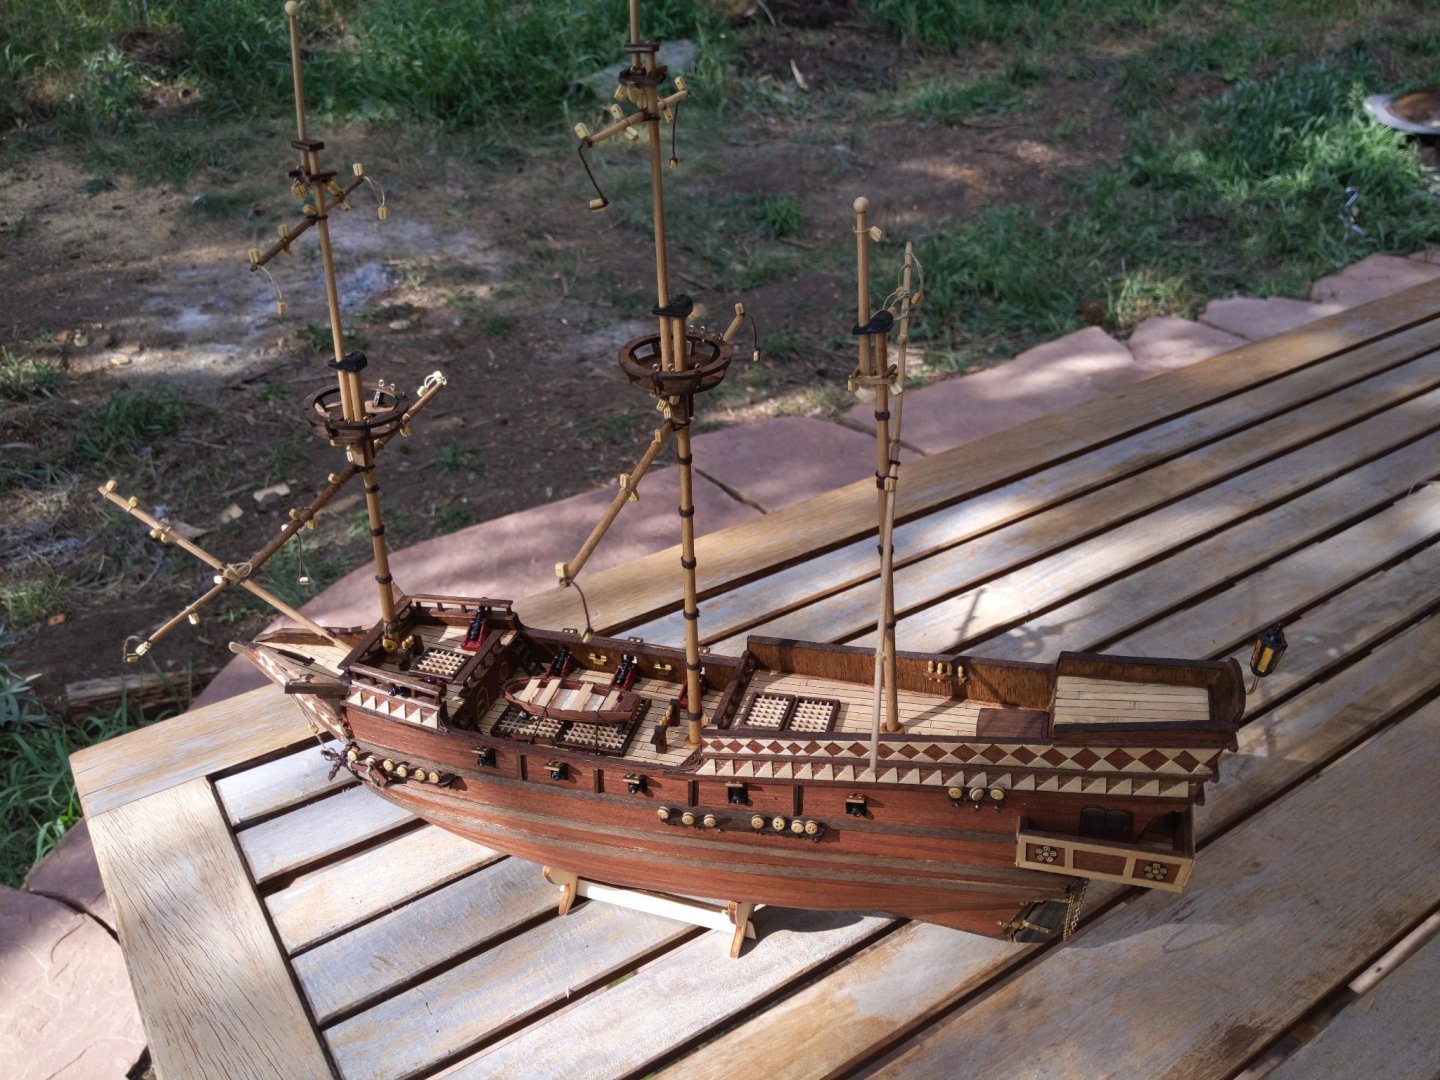
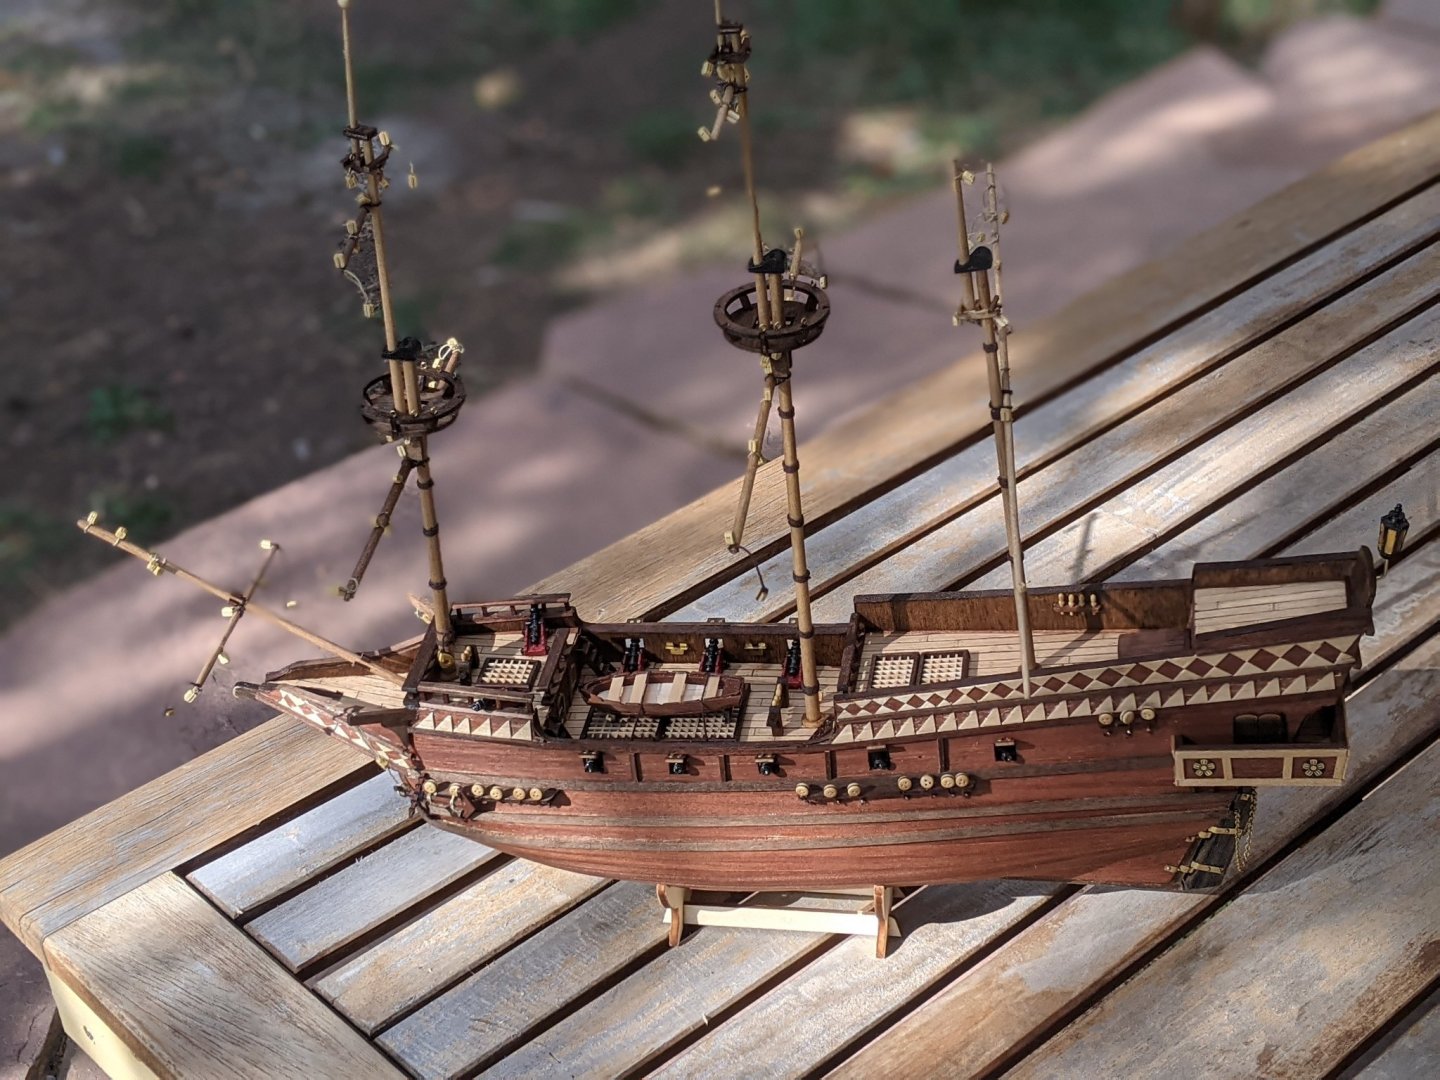
So I haven't been that great about updating this build log over the last few months . . . Too much other work and have only been able to give a small amount of time here and there to the build. However, lots of progress nonetheless! Finished (I think) with everything apart from rigging. Did a few extra steps, particularly with the ship's boat since I didn't like how the paint took to the cast metal. So I took some of the scrap wood from the hull (have to say I've been really happy with how much extra material Occre included) and made a wrapped the boat. Now onto the incredible number of knots to tie for the rigging! Honestly, I've been dreading this step since starting the model so if anyone has suggestions to make it go smoothly I'd love to hear them!


-
GrandpaPhil reacted to a post in a topic:
Buccaneer by ModernViking - Occre - Scale 1:100
-
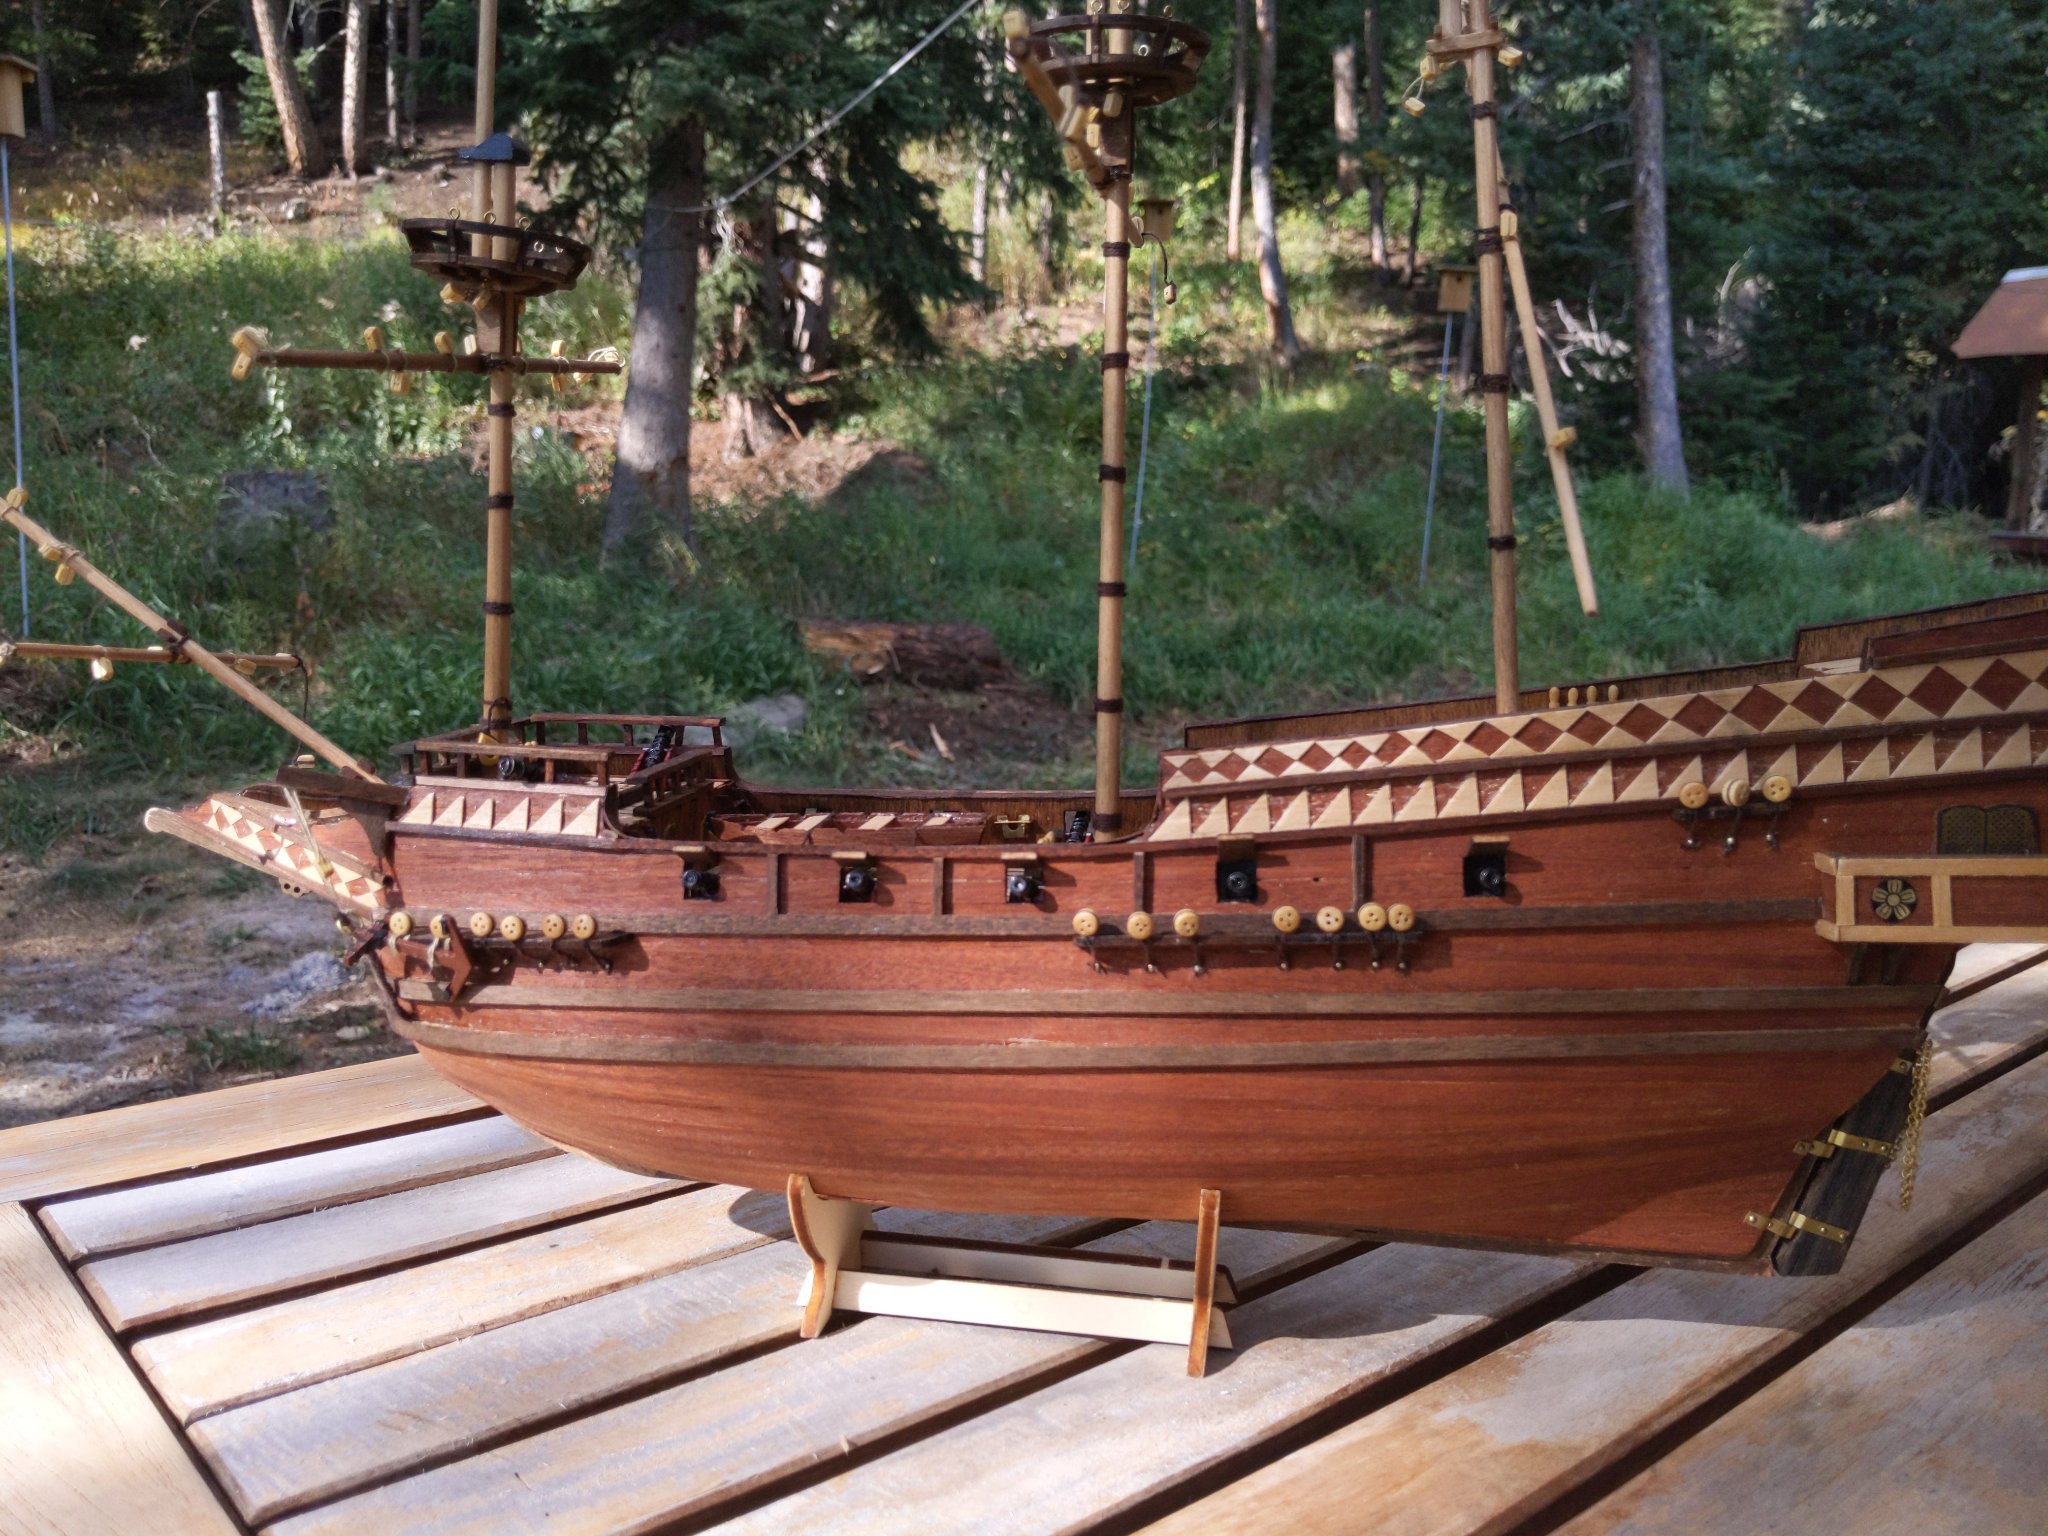
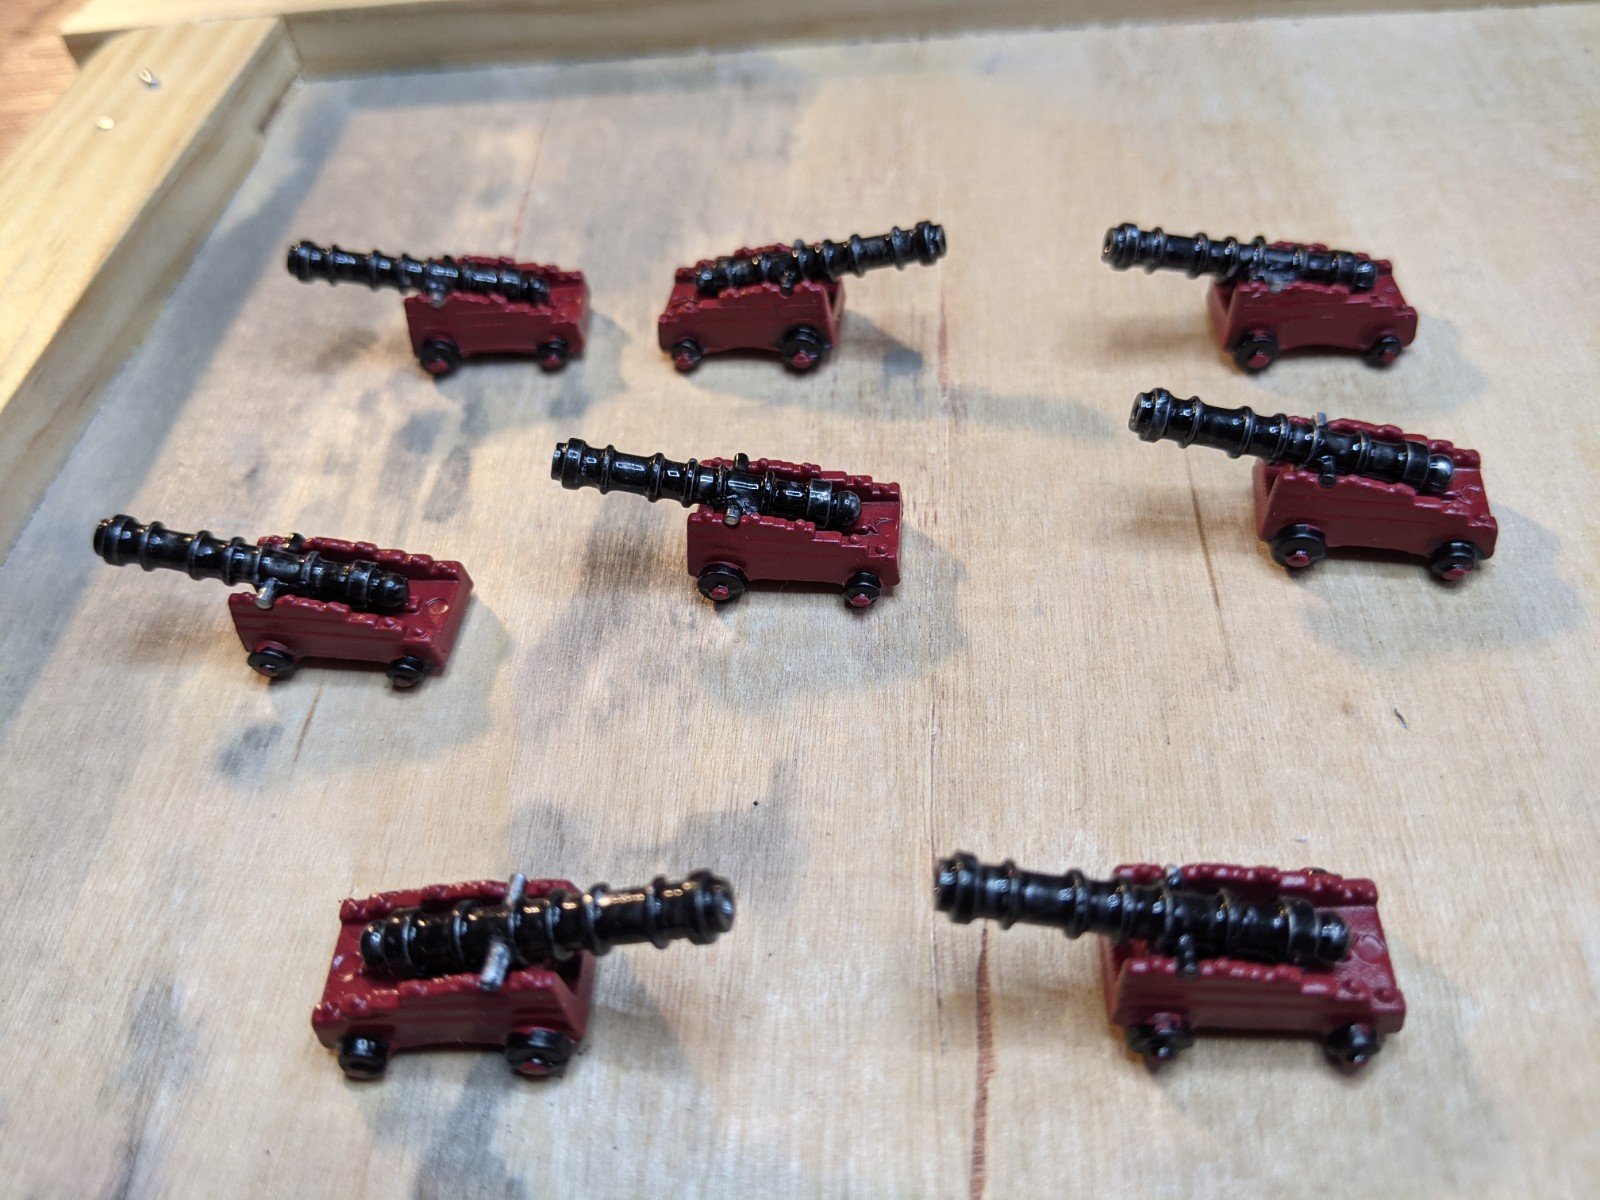
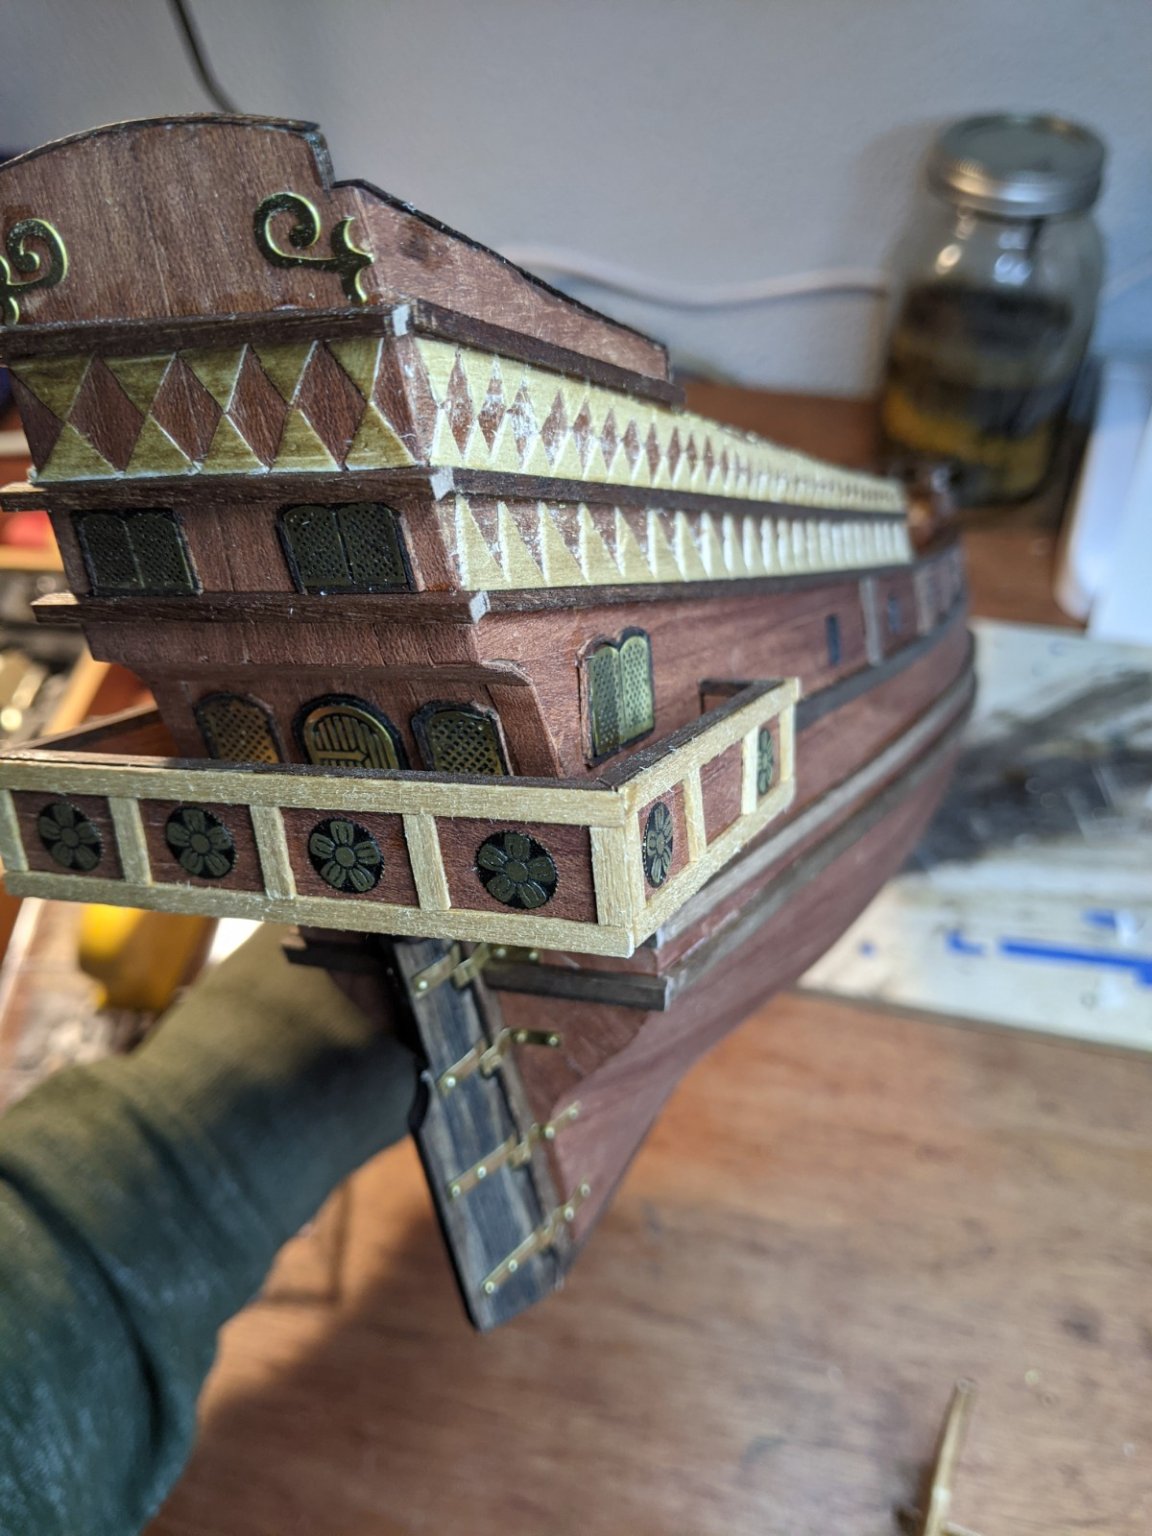
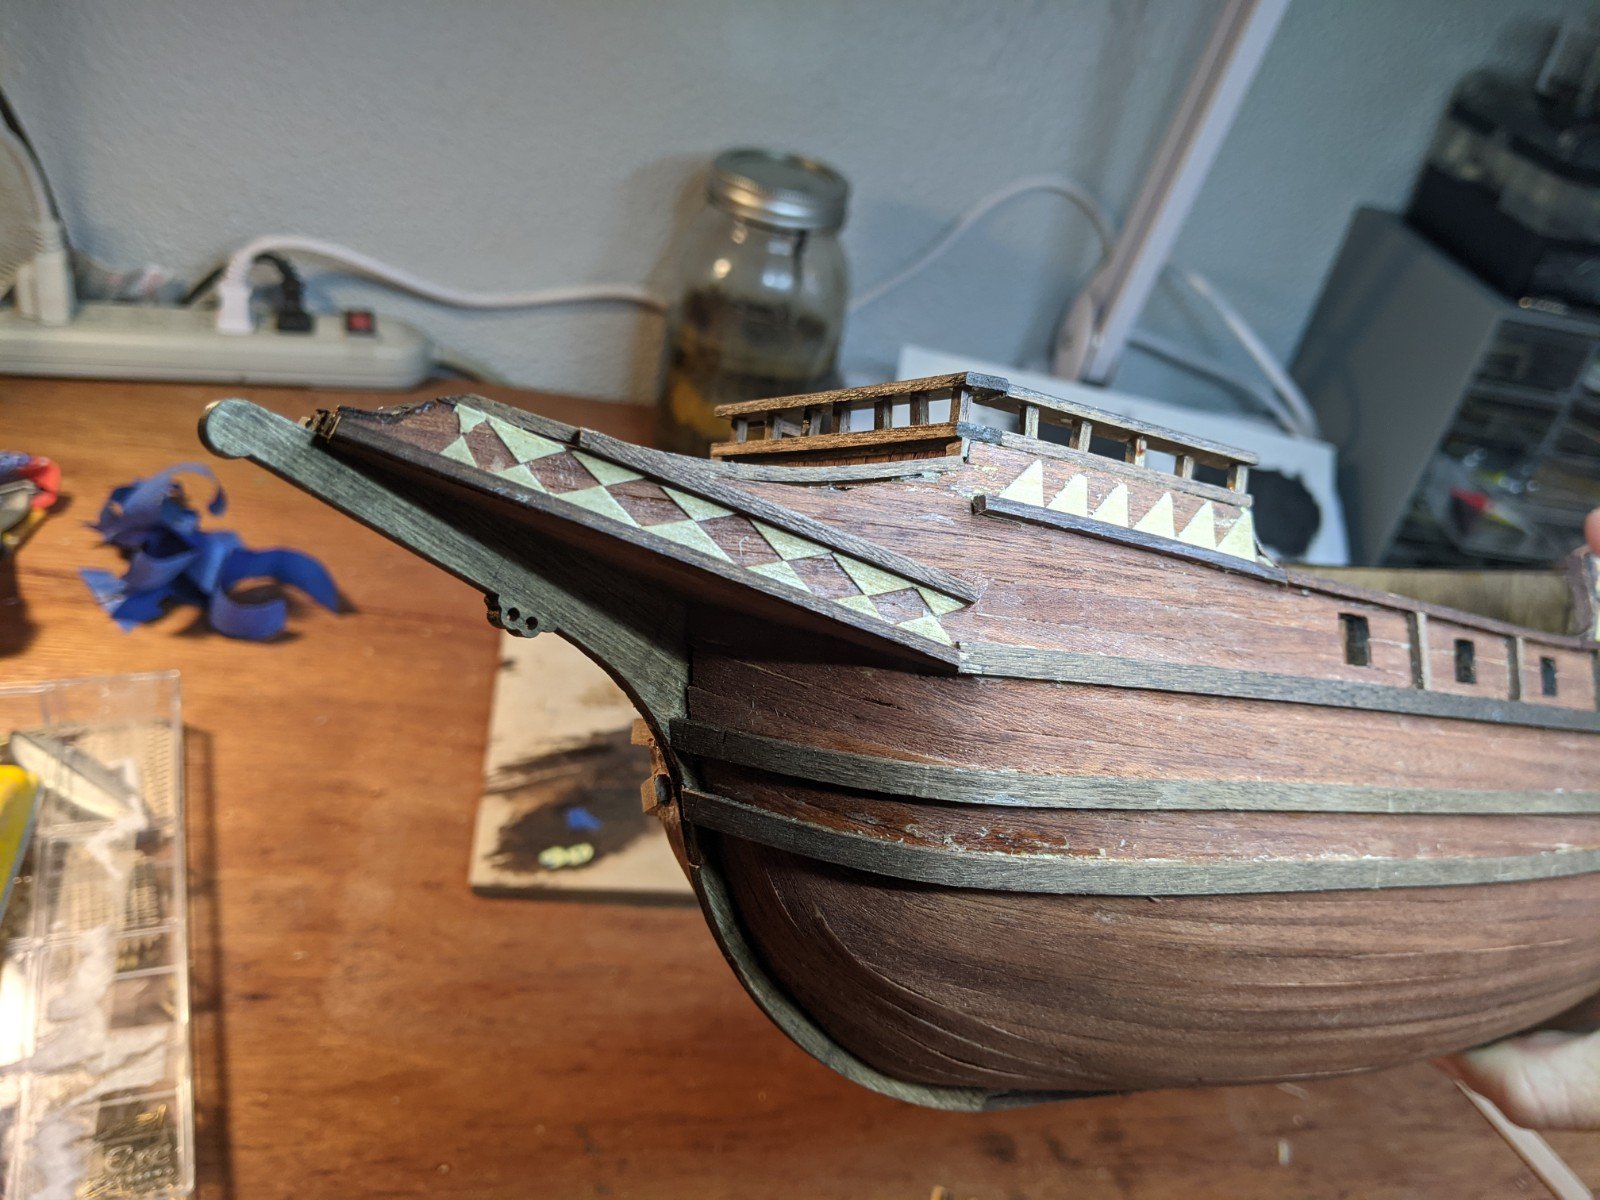
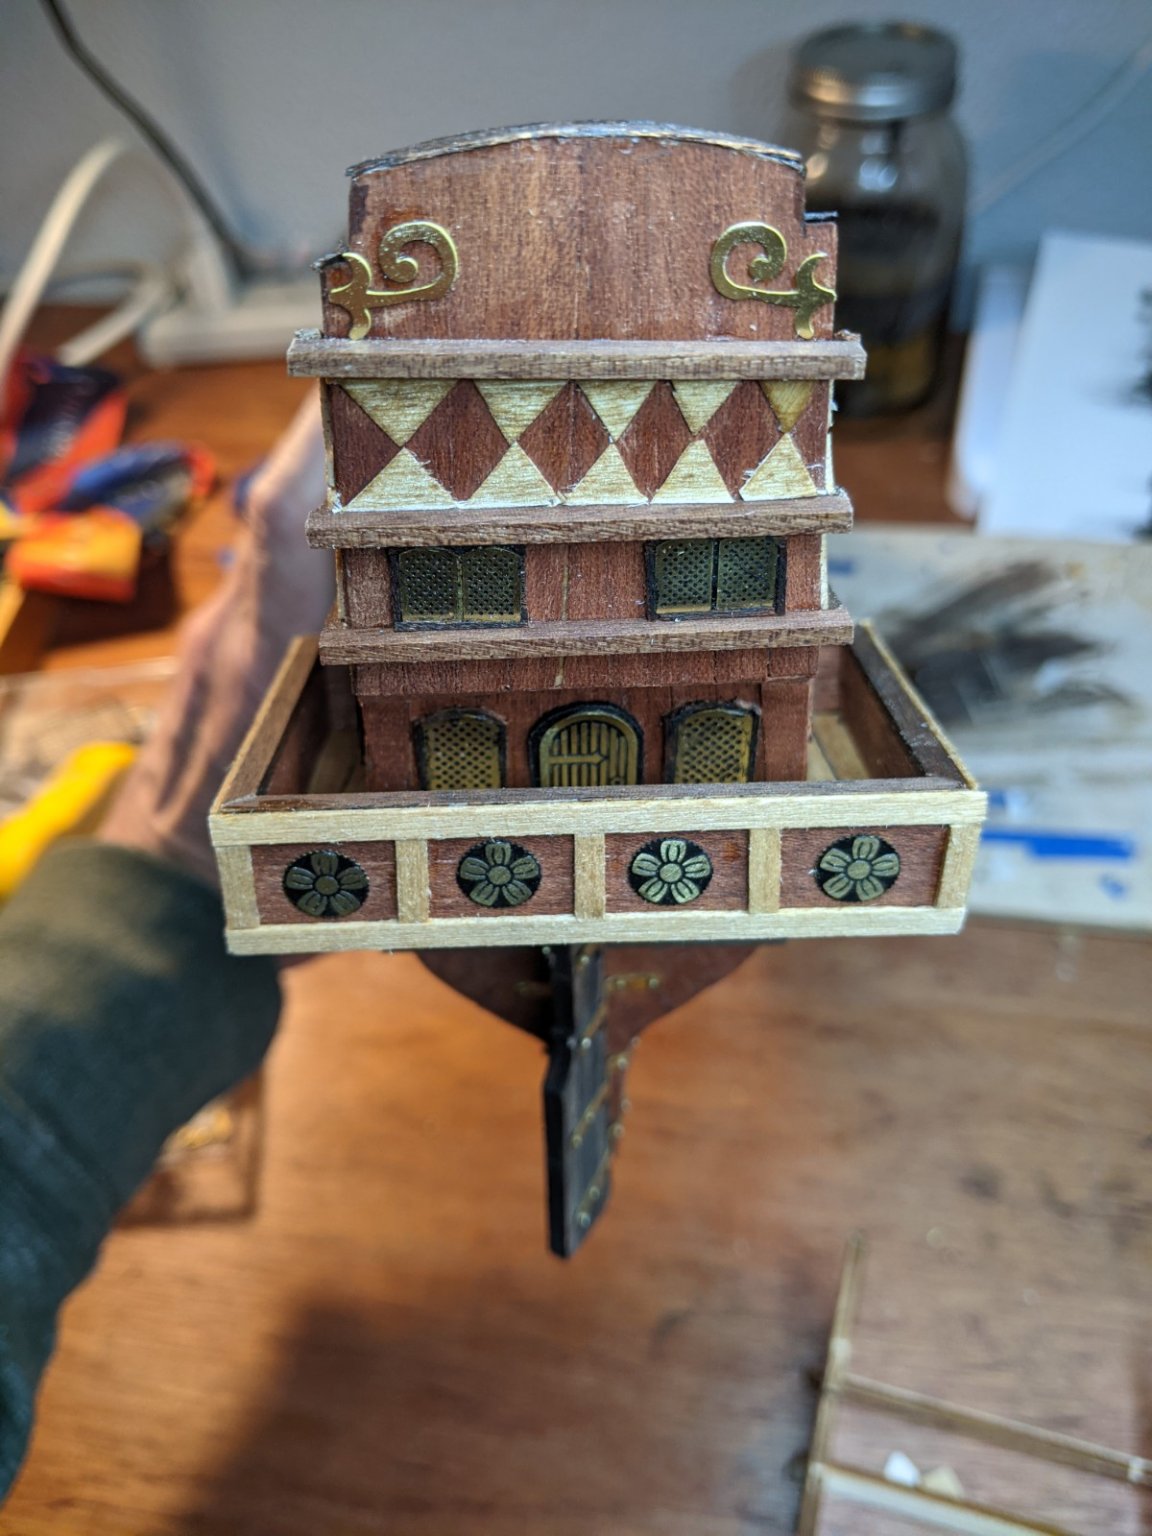
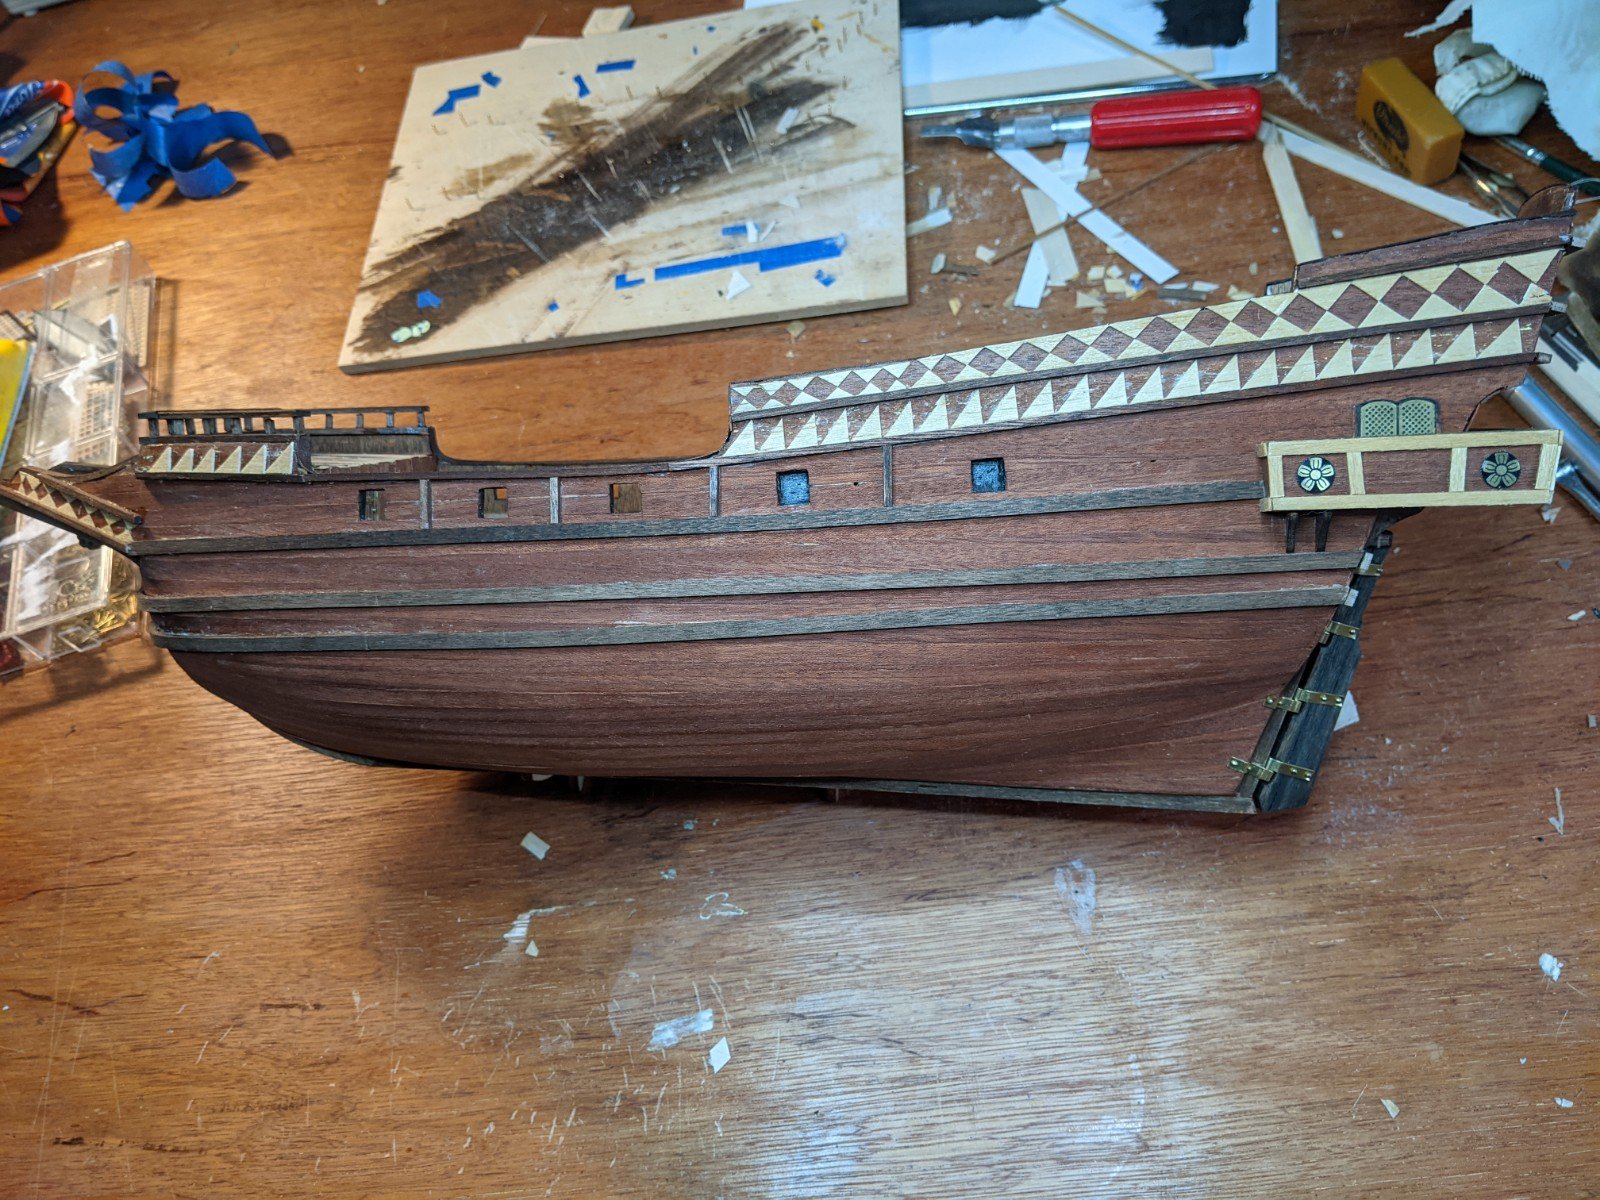
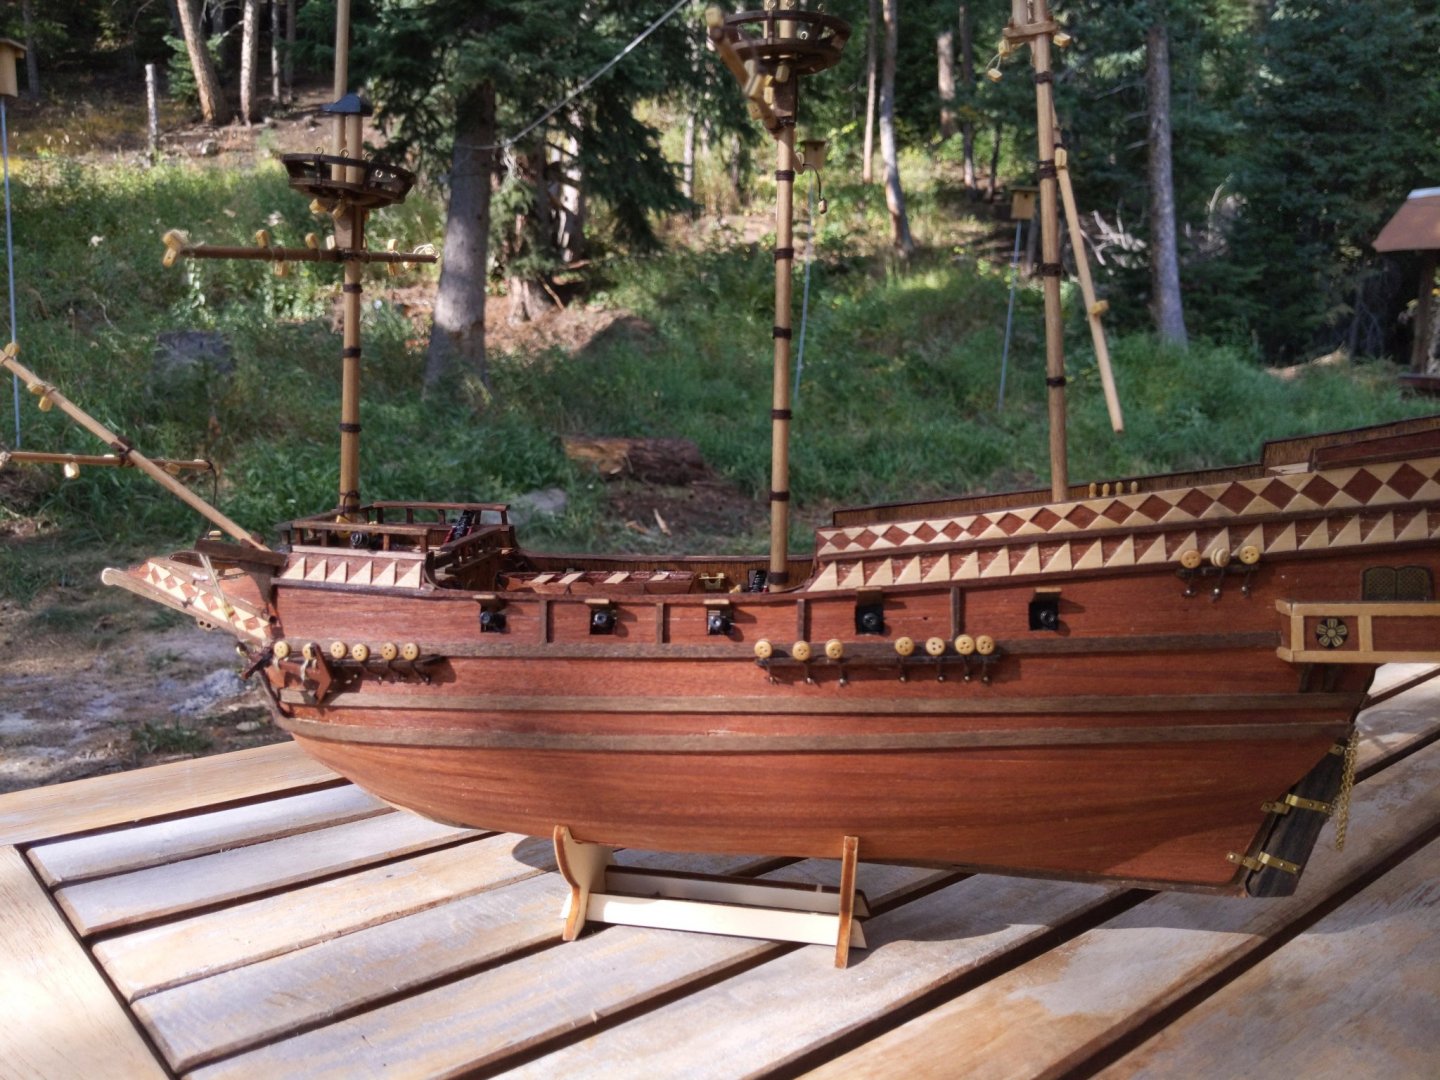
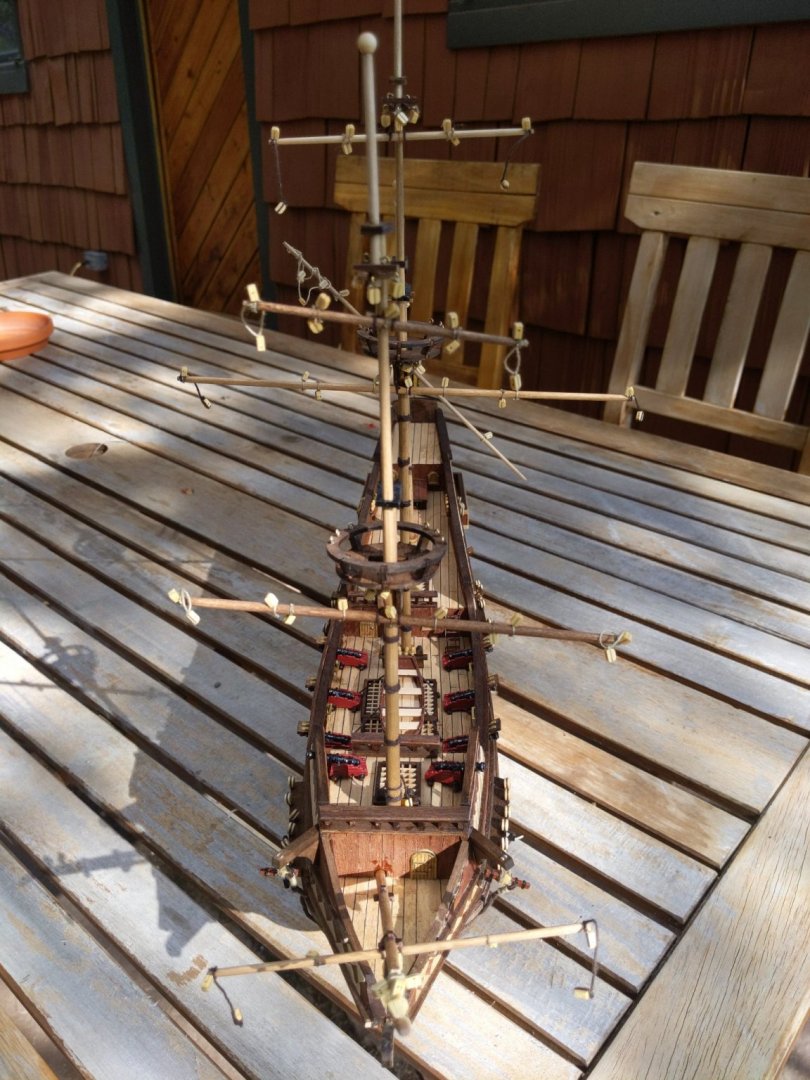
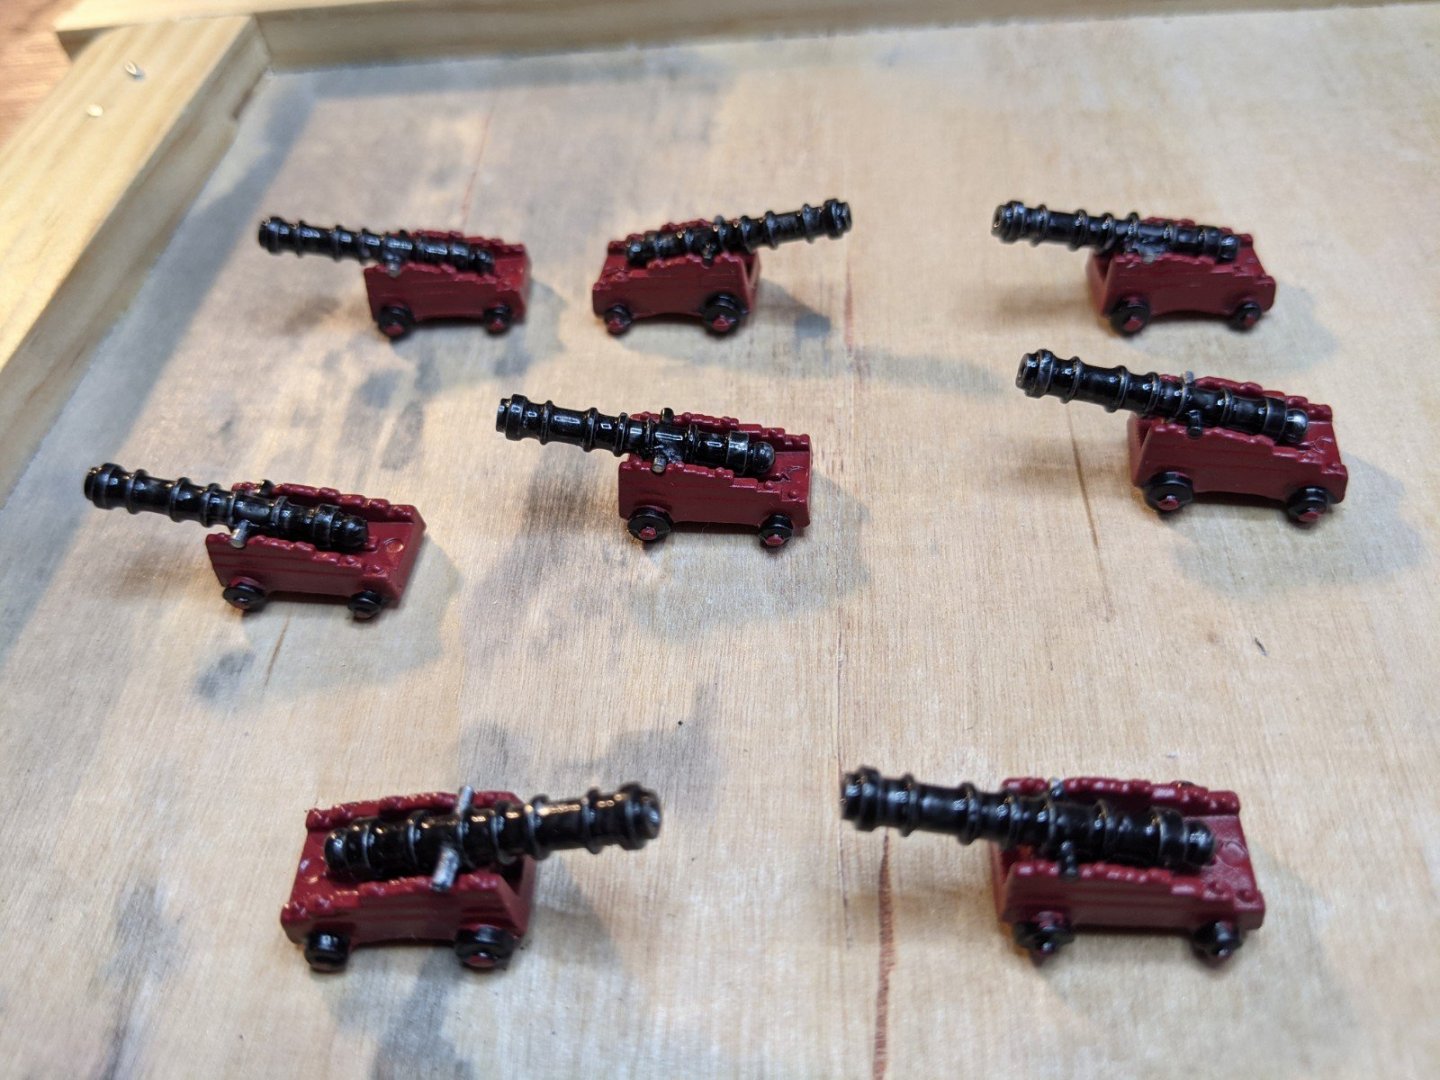
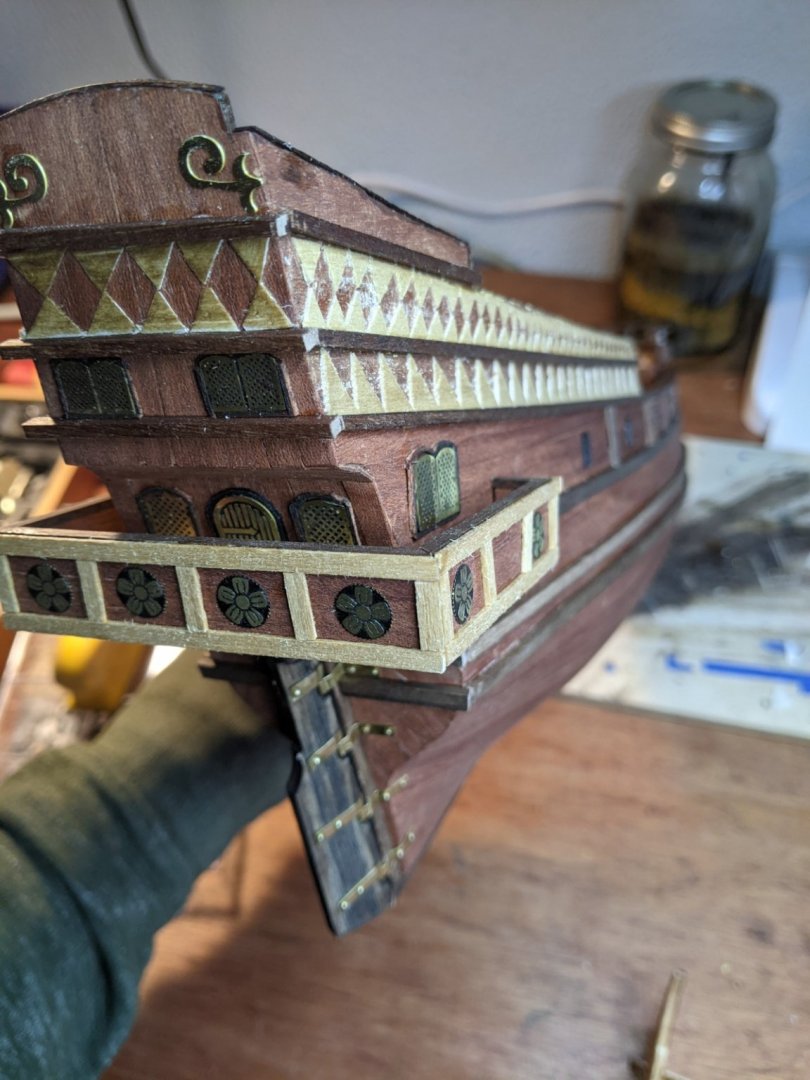
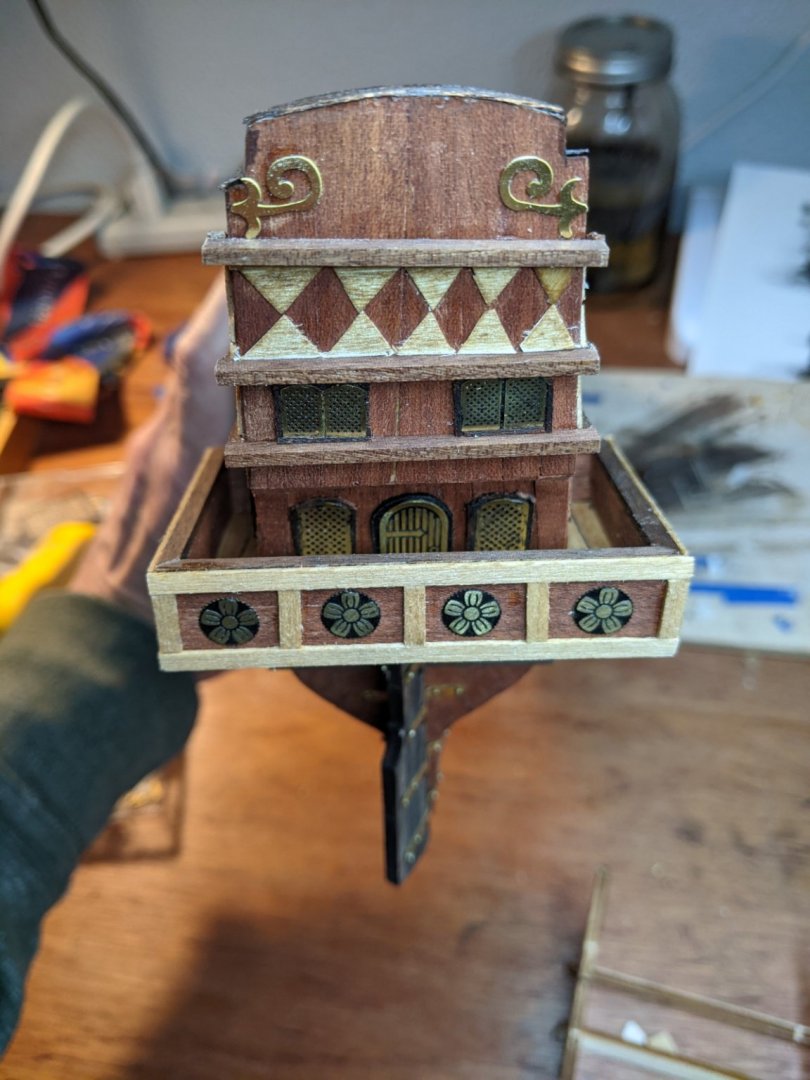
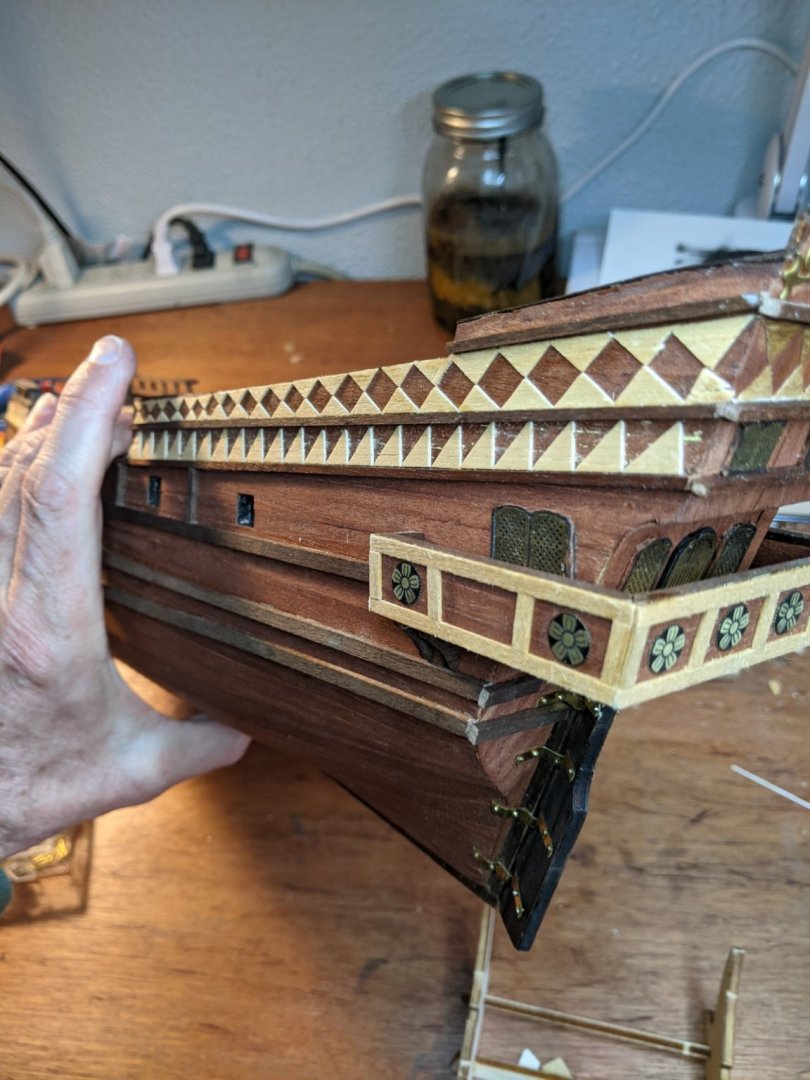
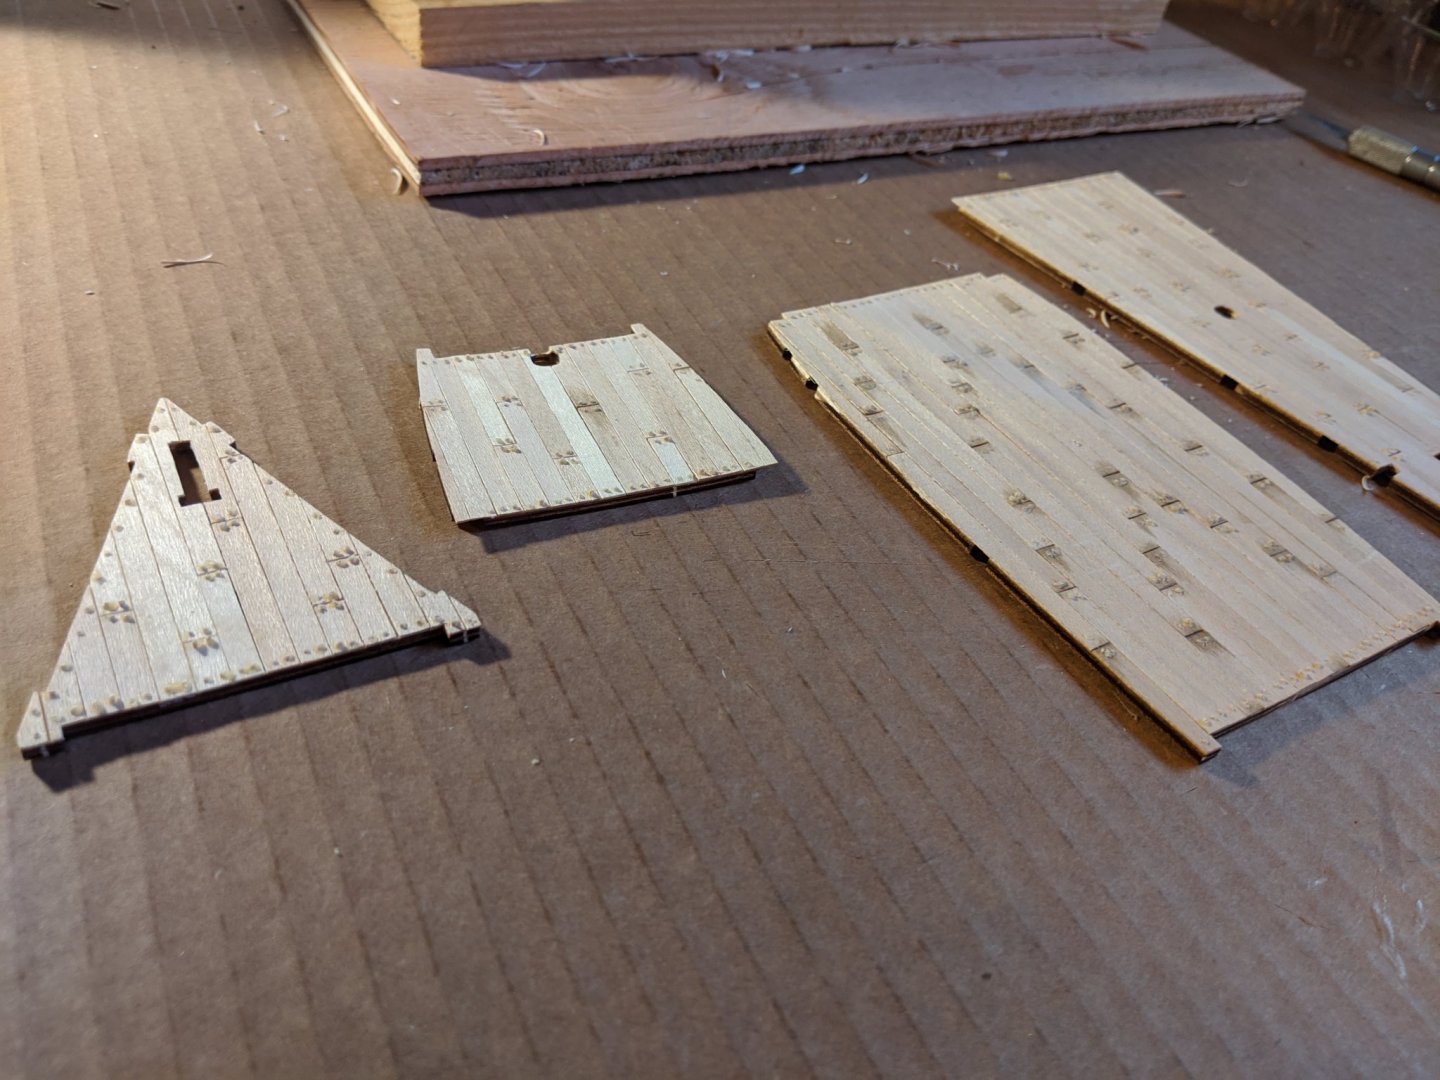
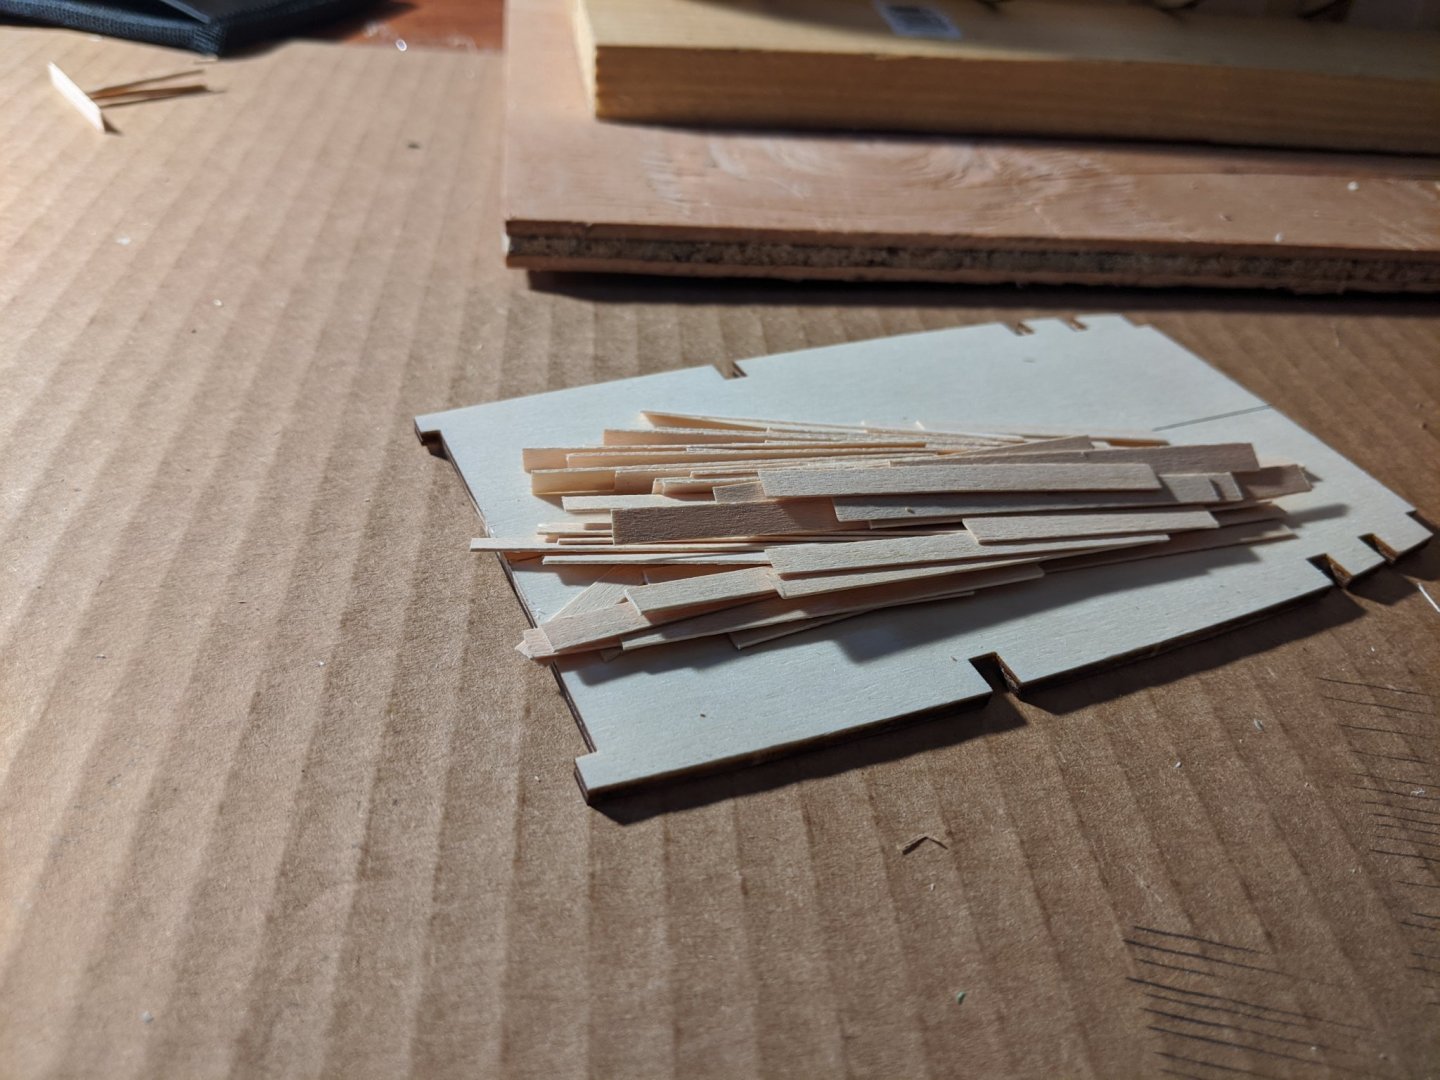
It's been a few months of slow progress on the Buccaneer front! But almost exactly a year after I started this project, I think I'm finally to the point where the hull can be considered 'complete'. Stll a few things to polish off and clean up, but after a lot of trial and error, I'm feeling relatively happy with how things are turning out. Of course, I see all the mistakes and things I did wrong . . . A couple things I did do differently from the Occre instructions. One is that I just could get the paper 'triangles' to look right as I put them on the hull. Everytime I tried, the just ended up looking wrong to me so I took a different tack by creating them out of very thin balsa stock. Basically, I sanded some already thing balsa sheets until they were nearly paper thin, then glued them in place and cut the triangles and diamonds. Definitely a more uneven finished product (and the source of many of the mistakes I see) but I far prefer the 3d nature of them over the paper. Secondly, following up on my last post, I found a painting solution to the gun carriages. Obviously going away from the bronze/wood color of the model kit but the reddish brown seems still to be period correct and provides a little more color to an otherwise fairly uniformly colored ship. Now on to the deck furnishings!


-
Oh interesting. I bought mind in April or May of 2020.
-
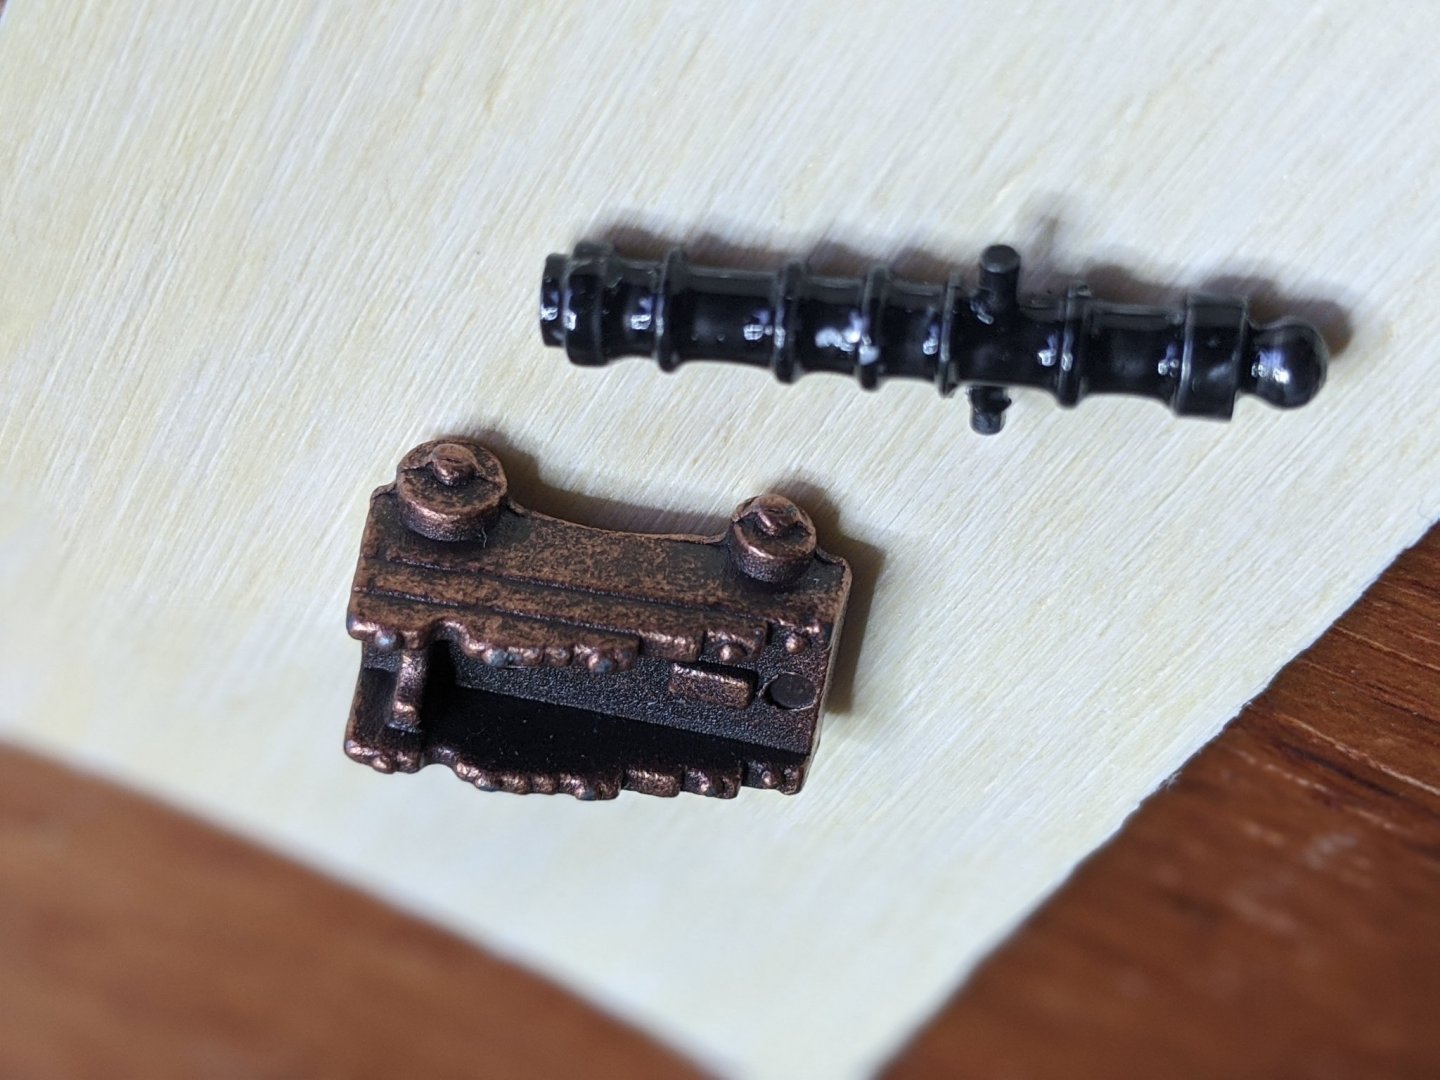
Ok, question for the hive mind. One of the differences between the model as it is packaged and the instructions is the gun carriages. Instructions show them as being built out of wood much like the rest of the kit, however the kit includes cast metal carriages along with the cannons. My question is how are others painting/weathering/finishing metal like this to make it look a little more correct? I've blacked the cannon and feel pretty good about how they turned out, but am stumped on the carriages! Thanks!
-
ModernViking reacted to a post in a topic:
Buccaneer by ModernViking - Occre - Scale 1:100
-
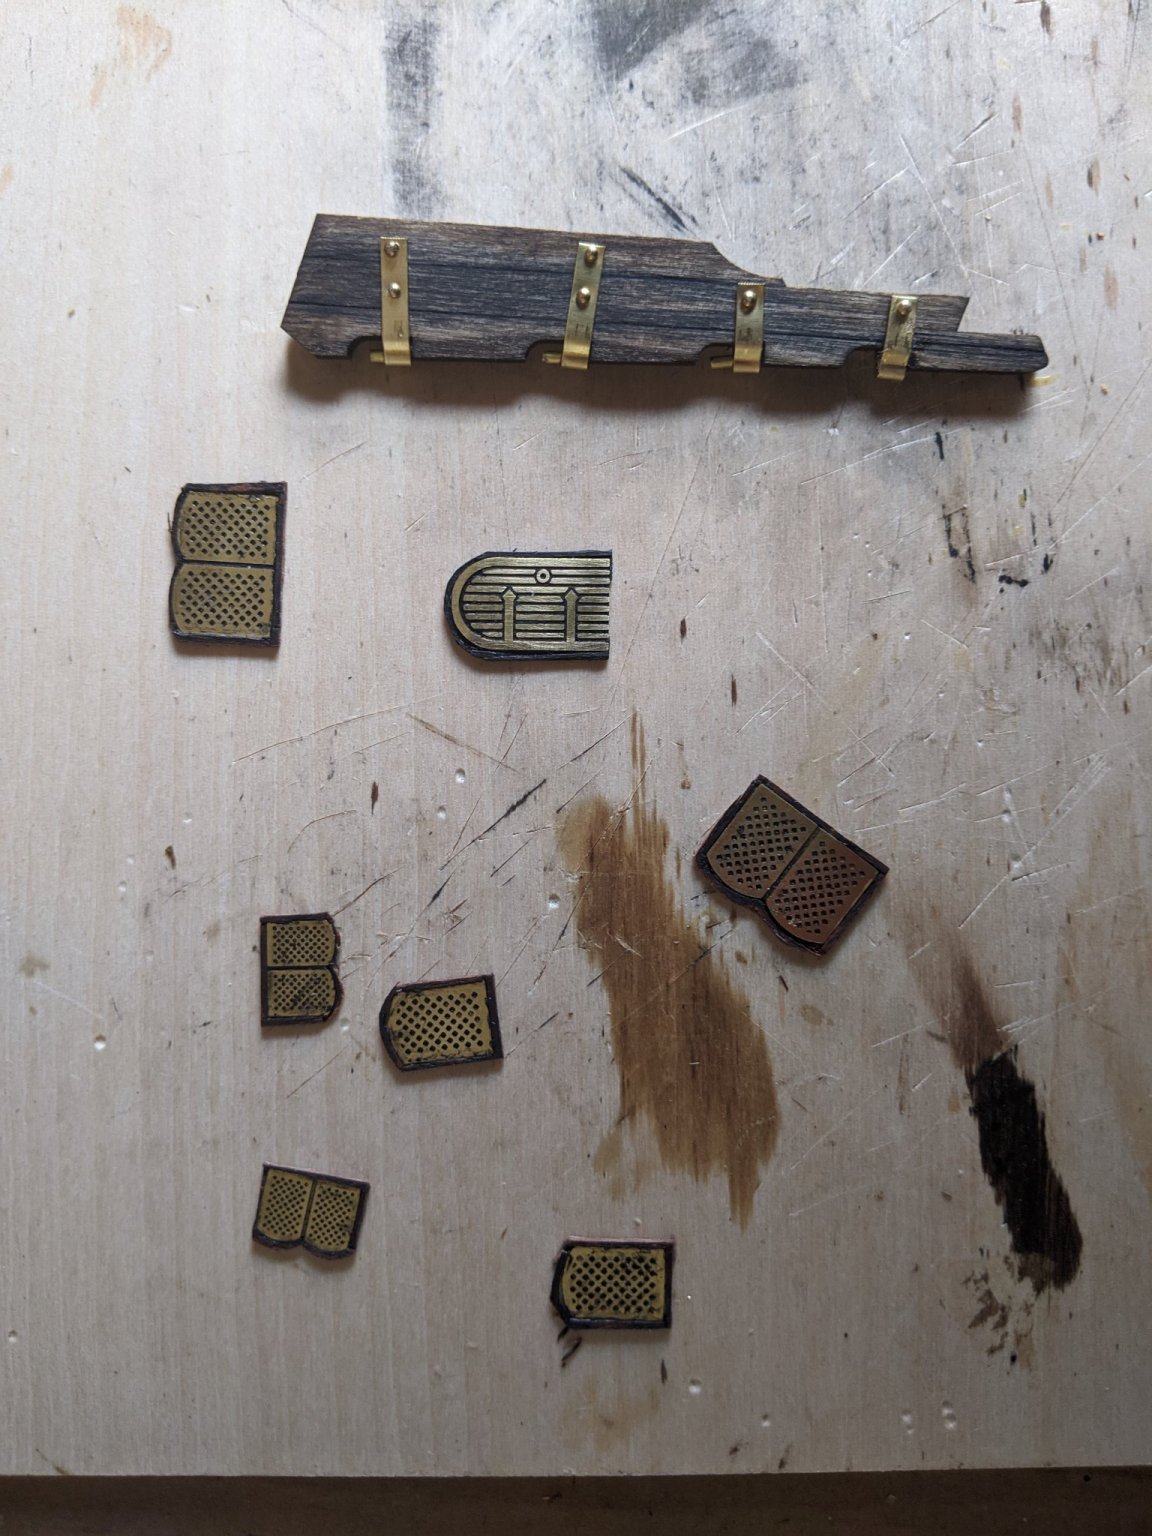
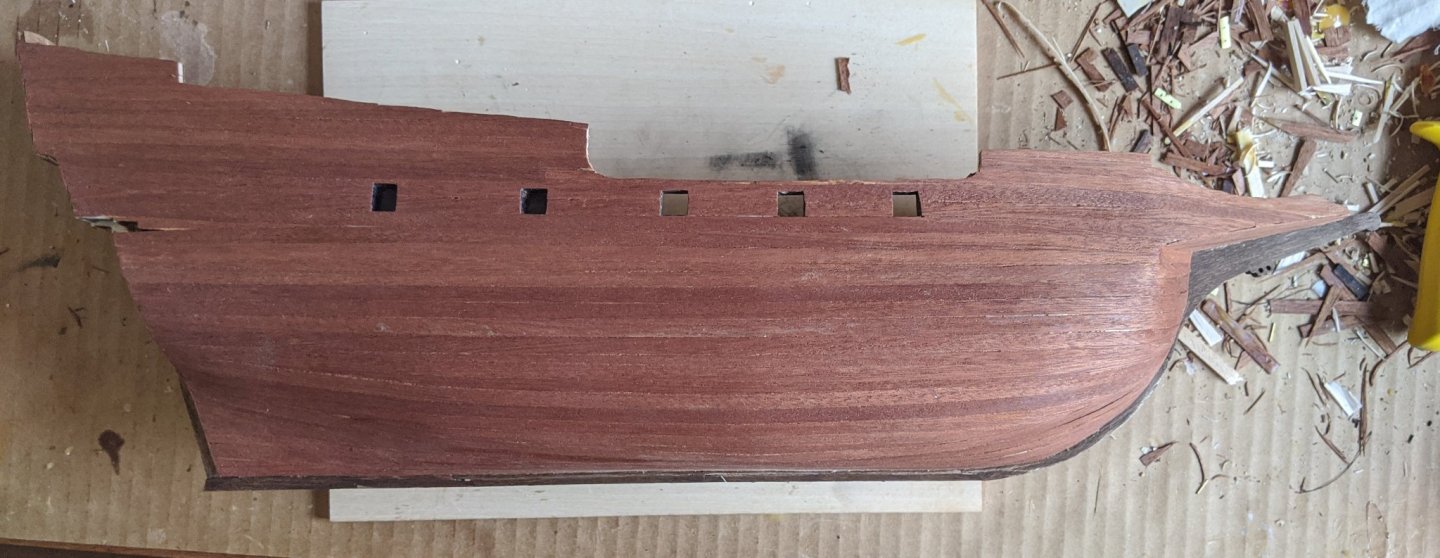
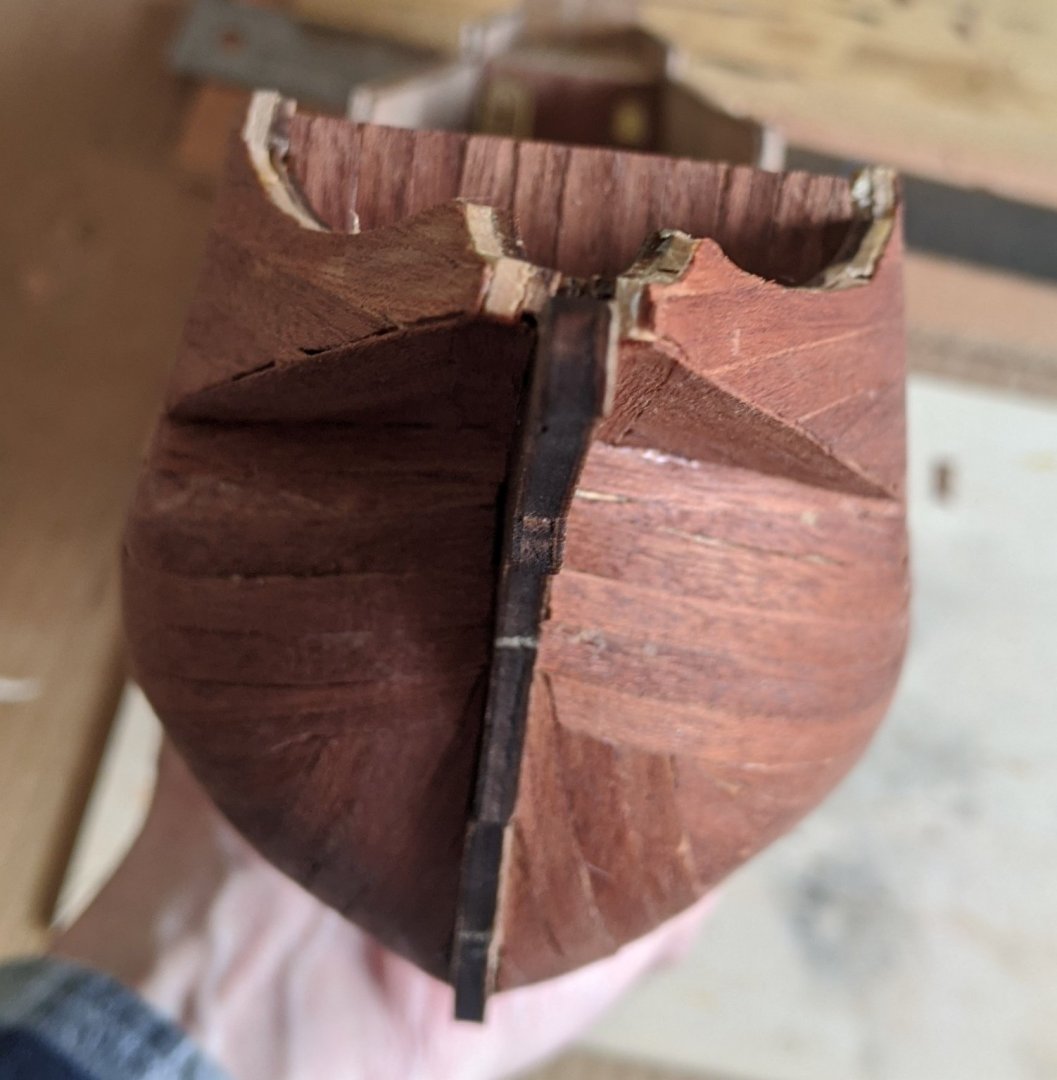
Believe it or not, work progresses. Finally finished the second planking! This was one of the steps I was dreading, and it turned out better than I hoped. Of course I can see all the mistakes and errors, but hopefully when all complete those will begin to fade in my memory. Also have been working on some of the smaller pieces, building frames around the remaining etched brass doors and windows and the rudder. Feels good to be making progress, especially after the unrelenting stress of this week!


-
Thanks! That's great to know
-
Looking ahead a few steps, I have some questions for those who have done other OcCre models. In the Buccaneer, there is a sheet of paper with the triangles and diamonds that appear just below the aft rails and near the bow. My initial feeling is that doing these cosmetic details using the paper isn't quite what I want to do. Has anyone else gone so far as to either paint those details or even add them as very thin wood veneers?
-
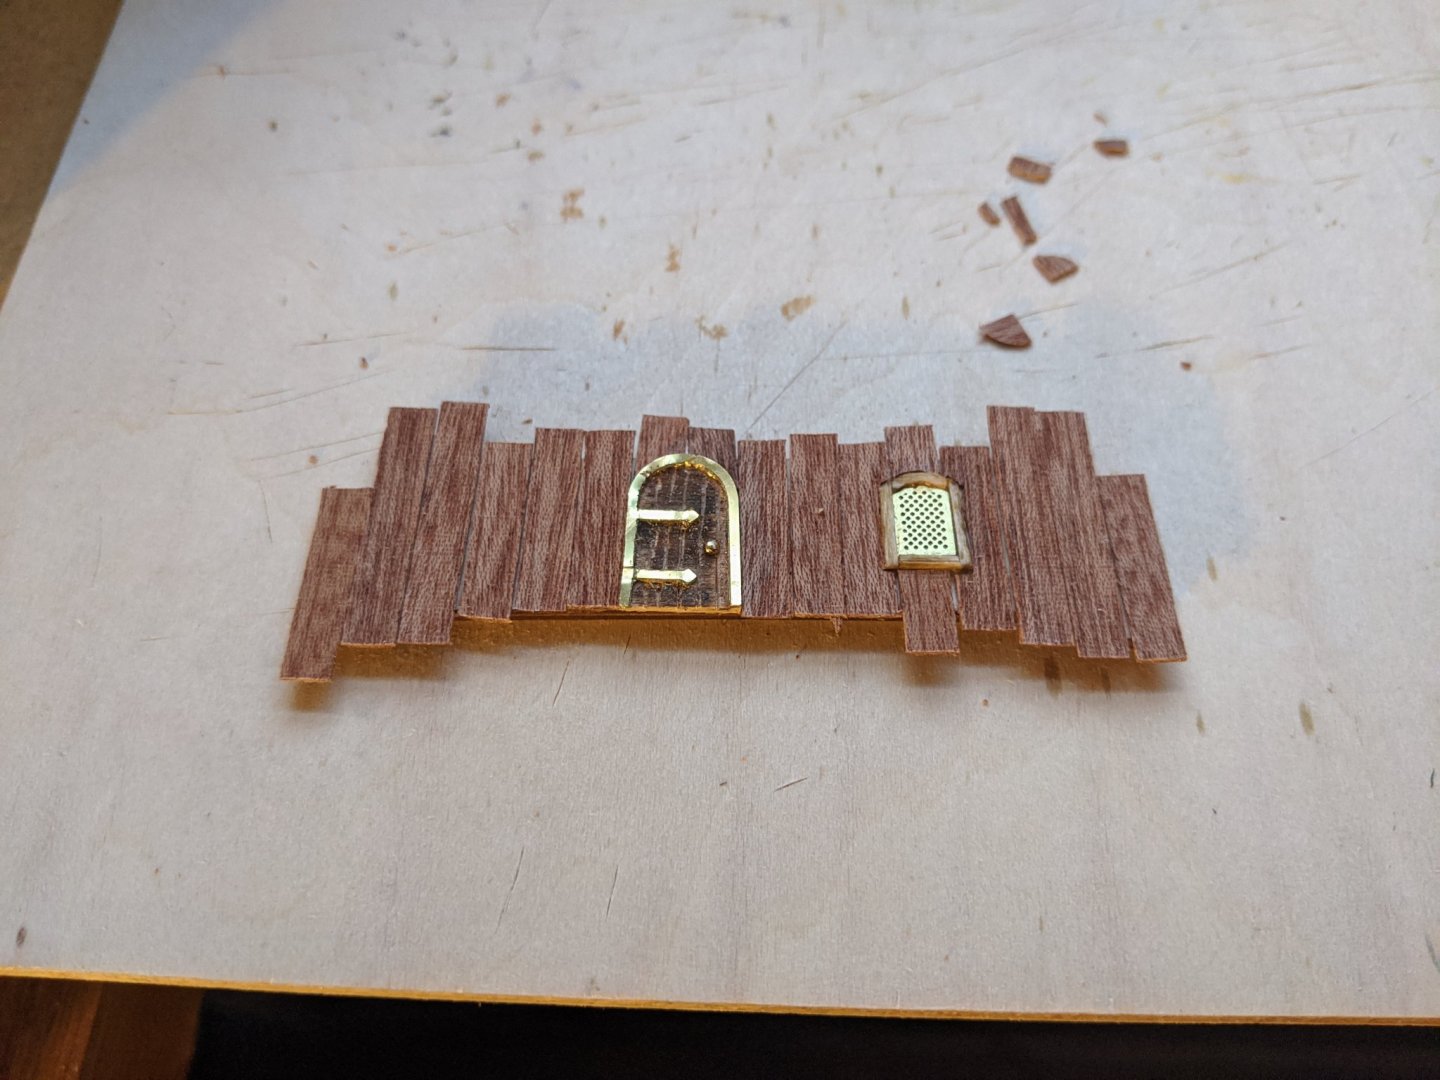
Been a busy summer, but still making slow progress. One thing I decided, because making my first ship of this type wasn't enough, was that I wanted to 'improve' the photoetched brass pieces. Specifically the doors, since just gluing those onto the planks looked too two-dimensional to me. So a little work with snips and blade, plus scrap wood, and I built up the doors into more of a 3d look with frames. Frames too for the windows. Also finally started the planking, which is off to a faster start than anticipated!
-
You are making fast progress! Congrats! I've gotten about halfway through my first planking and hopefully will have a chance to do some more soon!
-
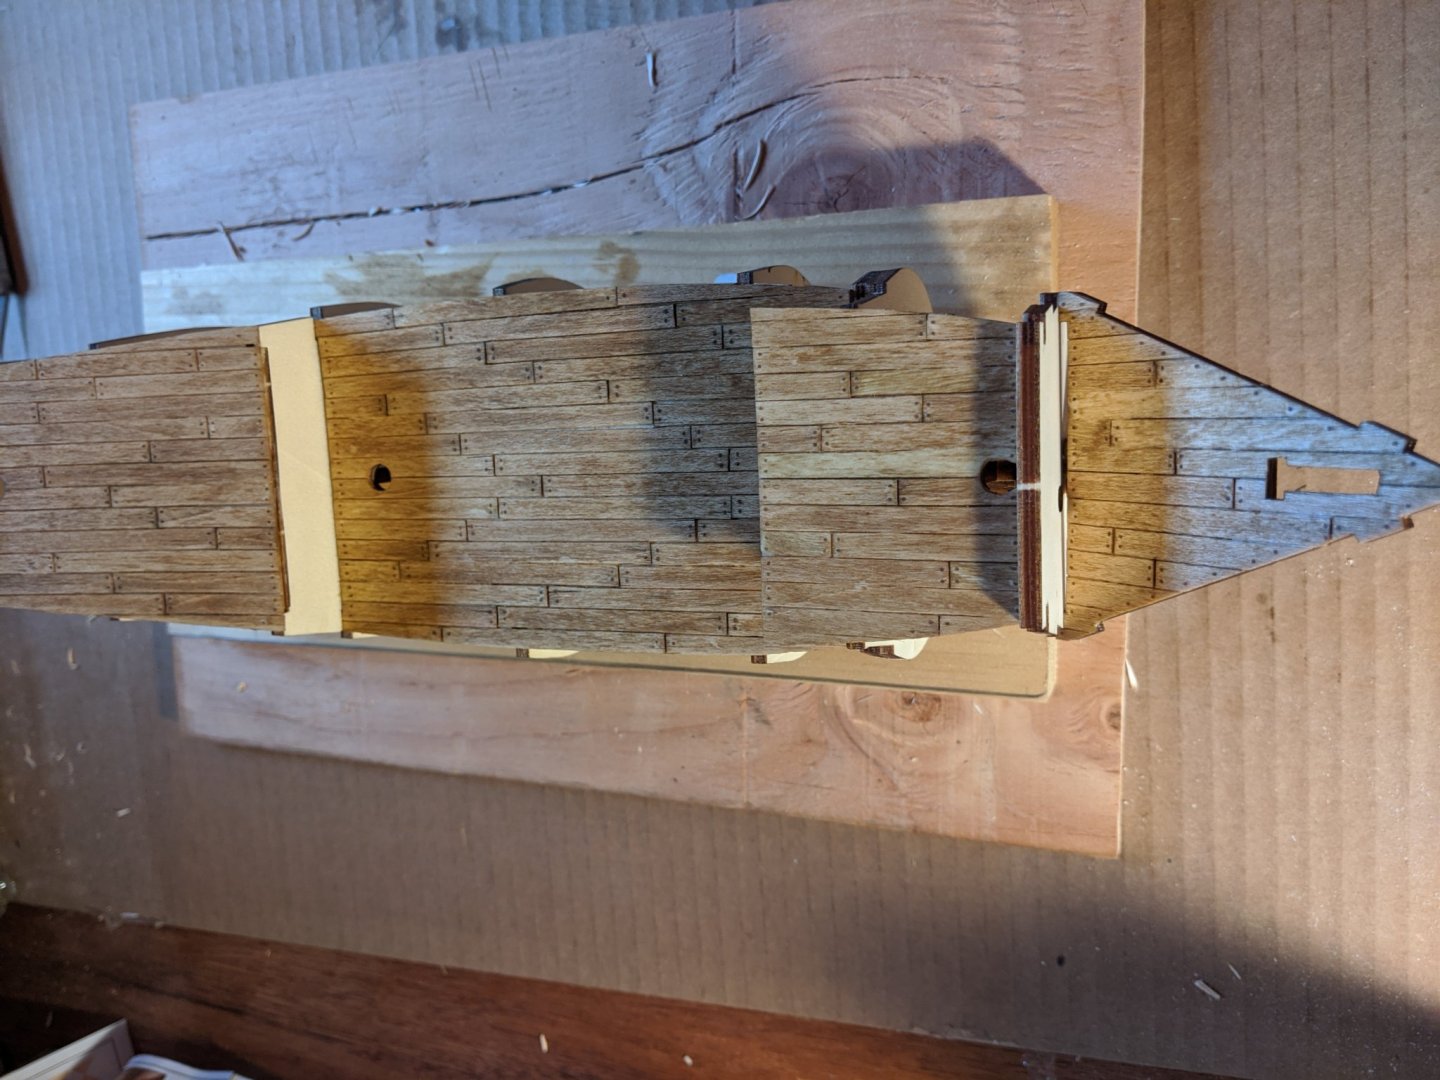
Saw another has jumped onto the Buccaneer build wagon and thought I should update the very slow progress on my build. The treenails are complete, and with the light staining on the deck stand out in just the way I'd hoped.
-
Definitely going to be following along here as well! I started the same model a couple months ago, going as far as to start a log, but life has gotten in the way and I've made almost no progress as yet! Hopefully seeing another tackling this model will help prompt me to get back at it!
-
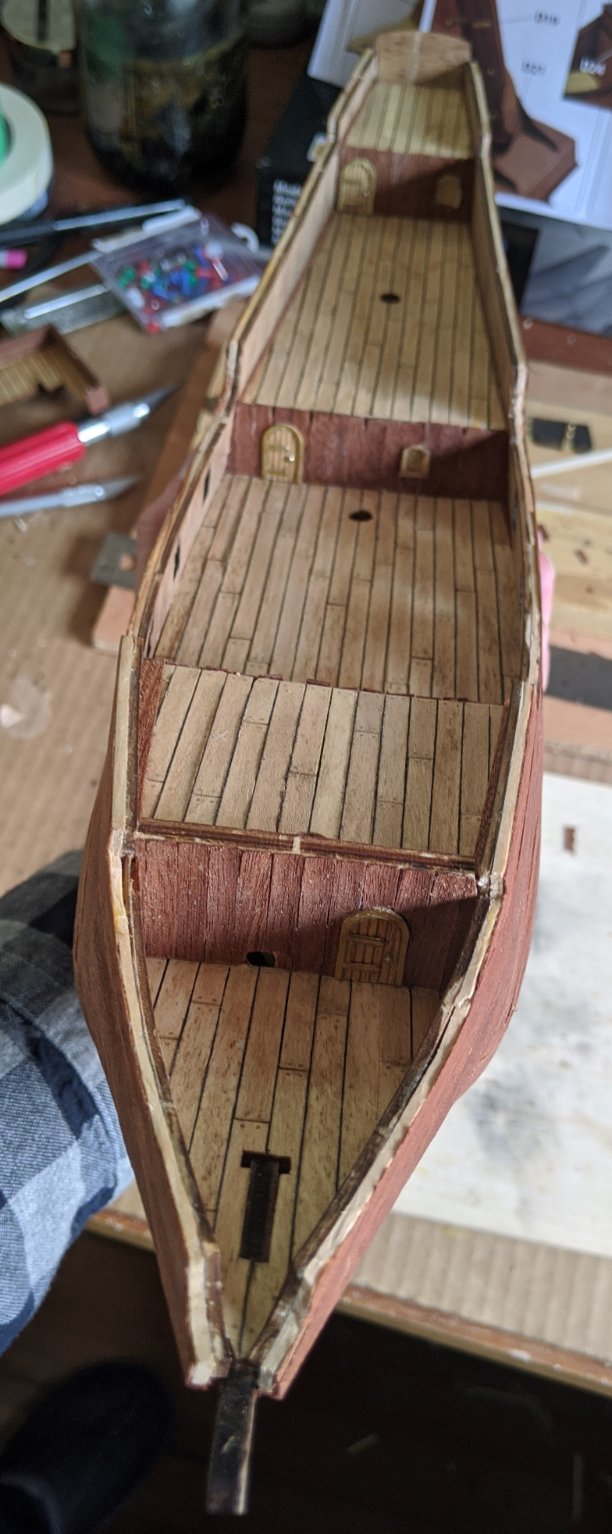
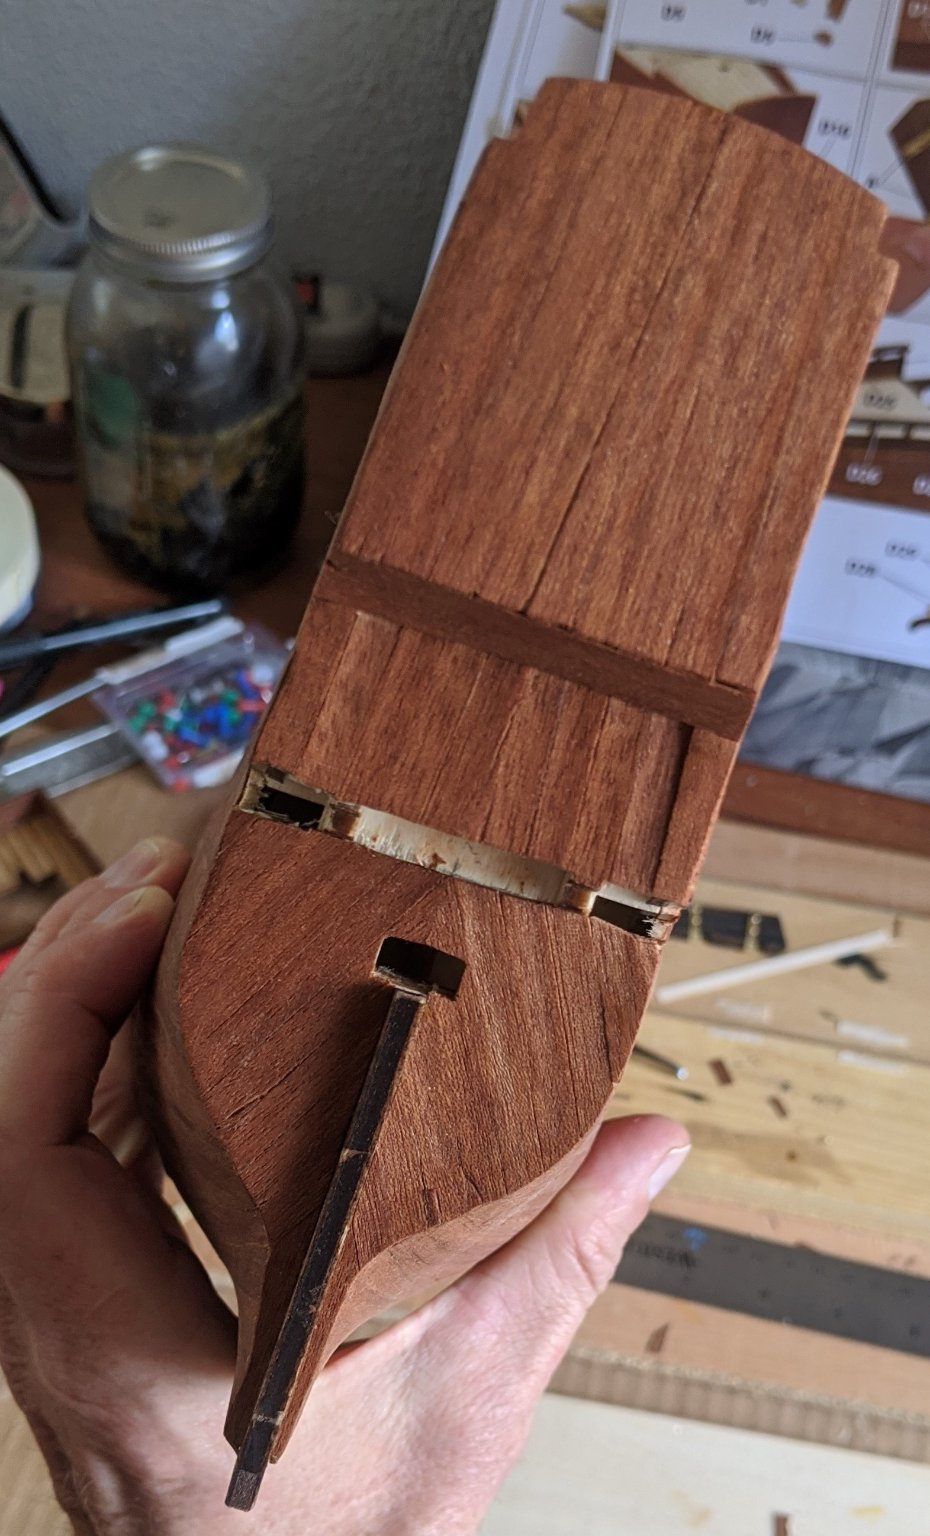
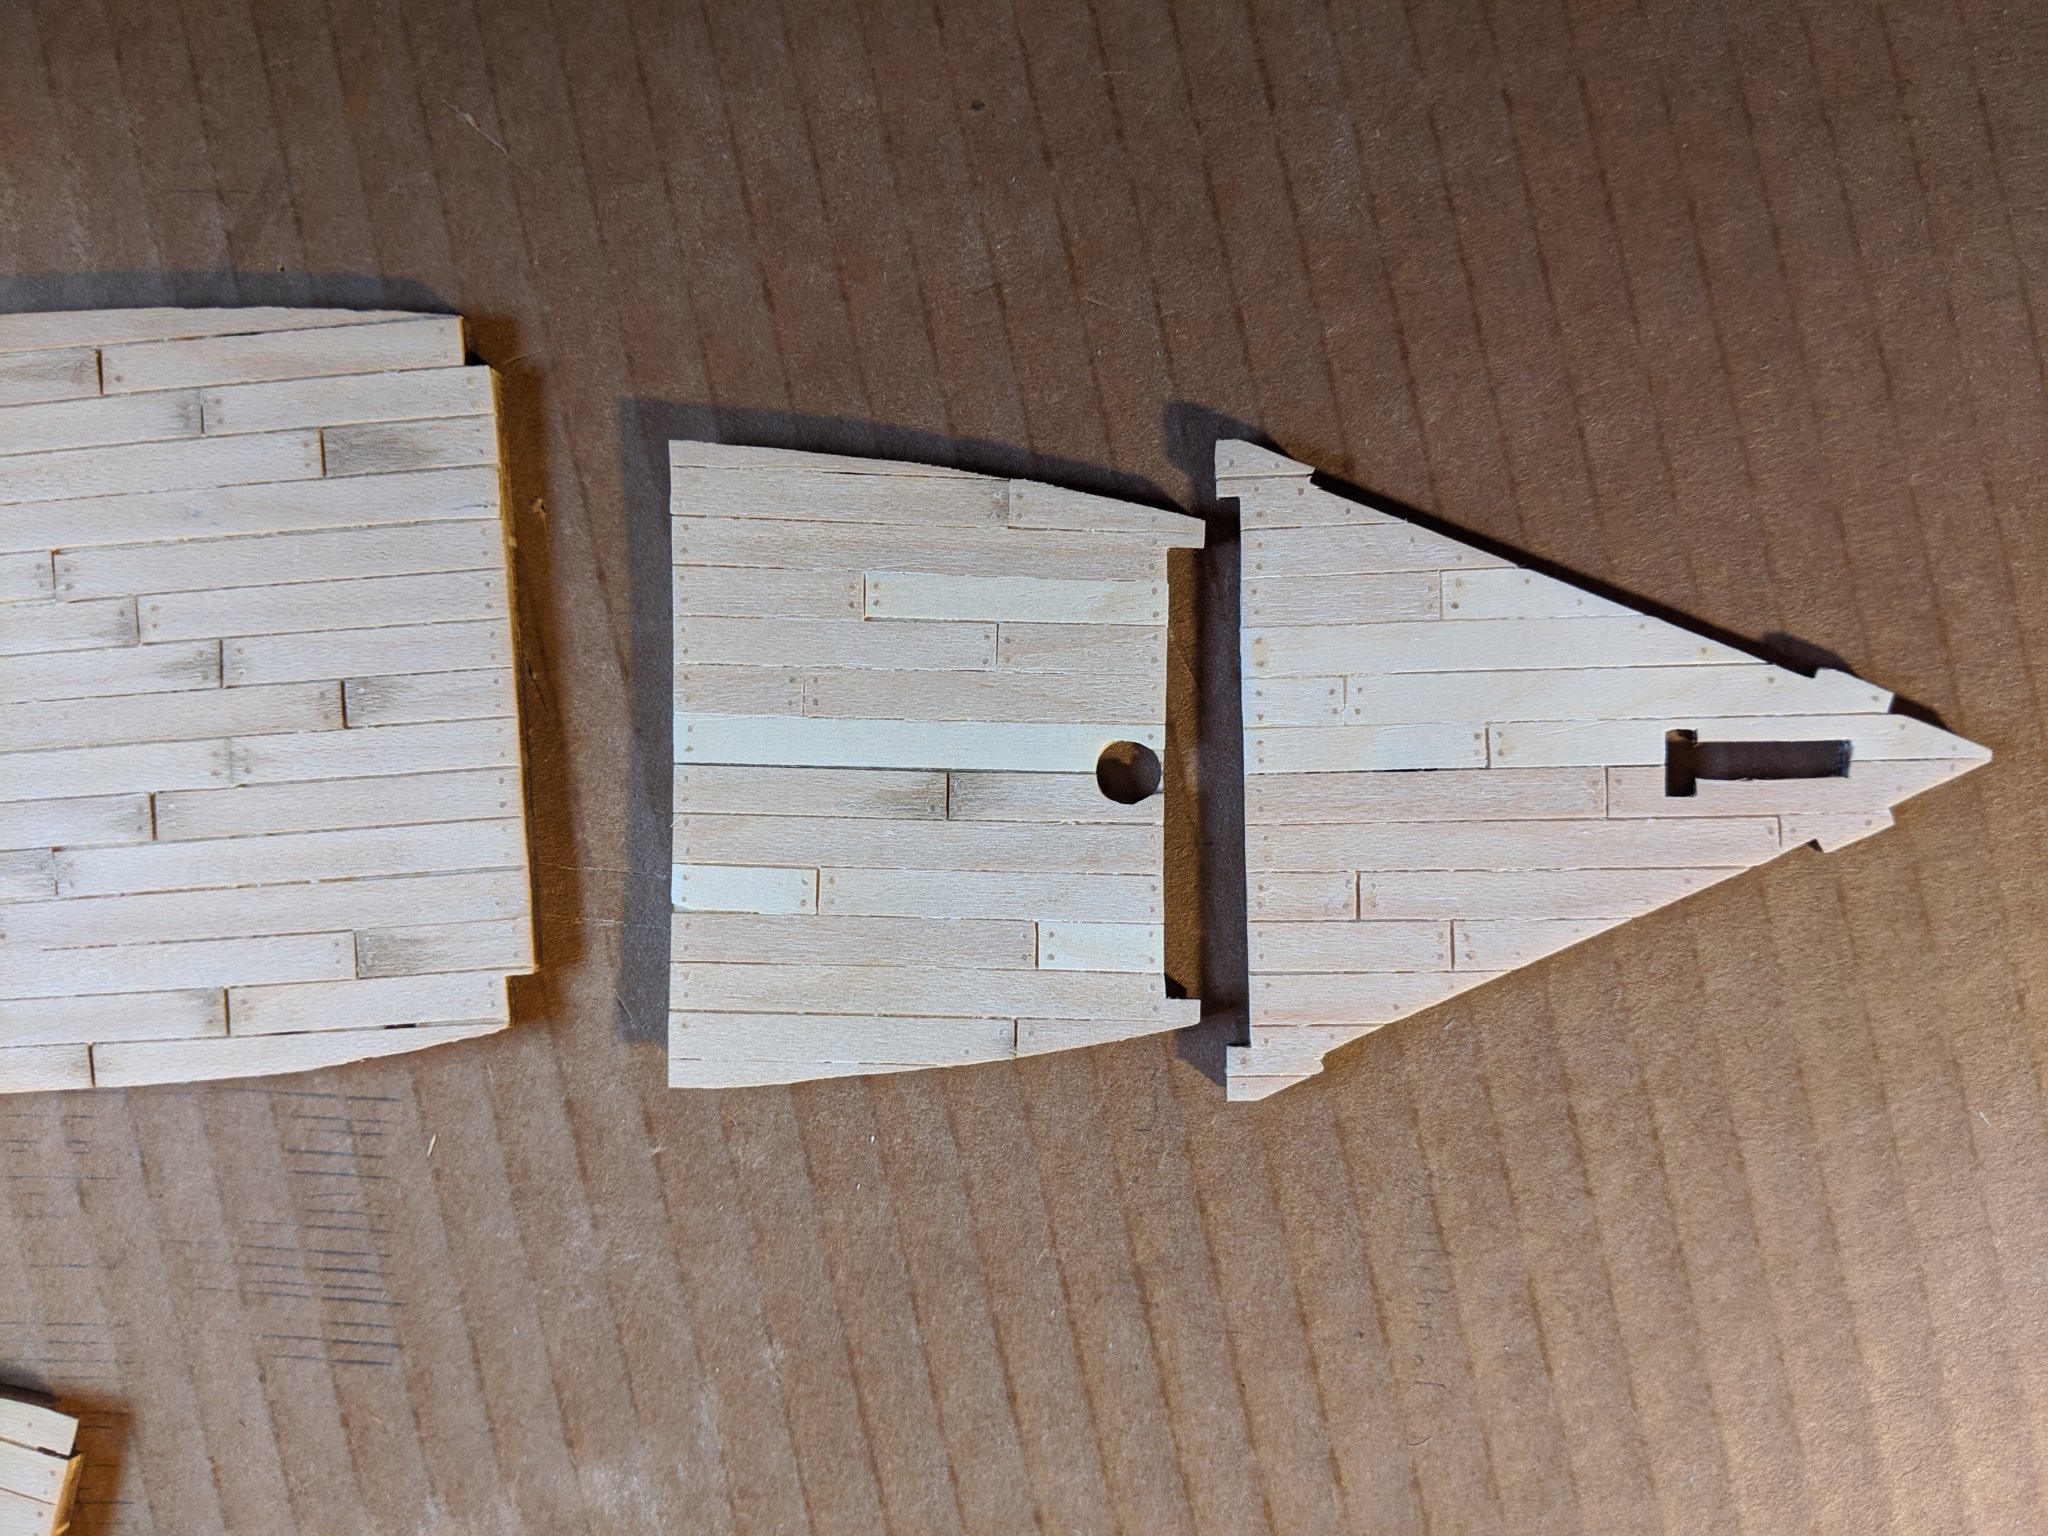
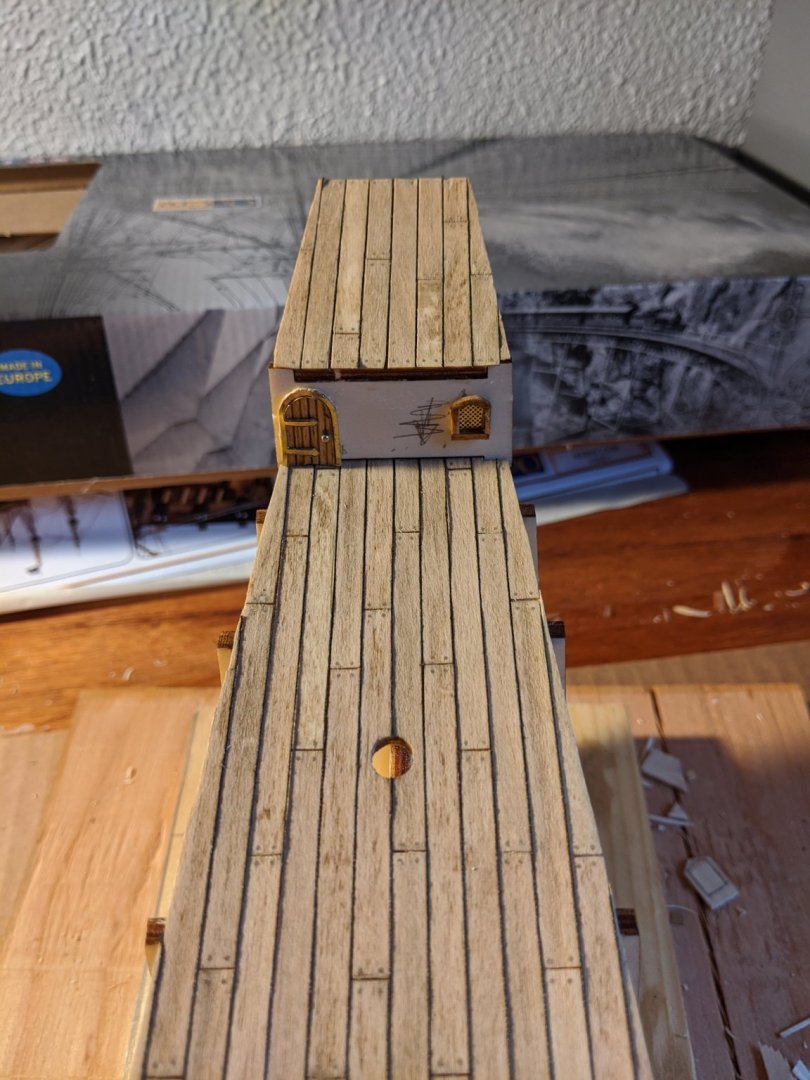
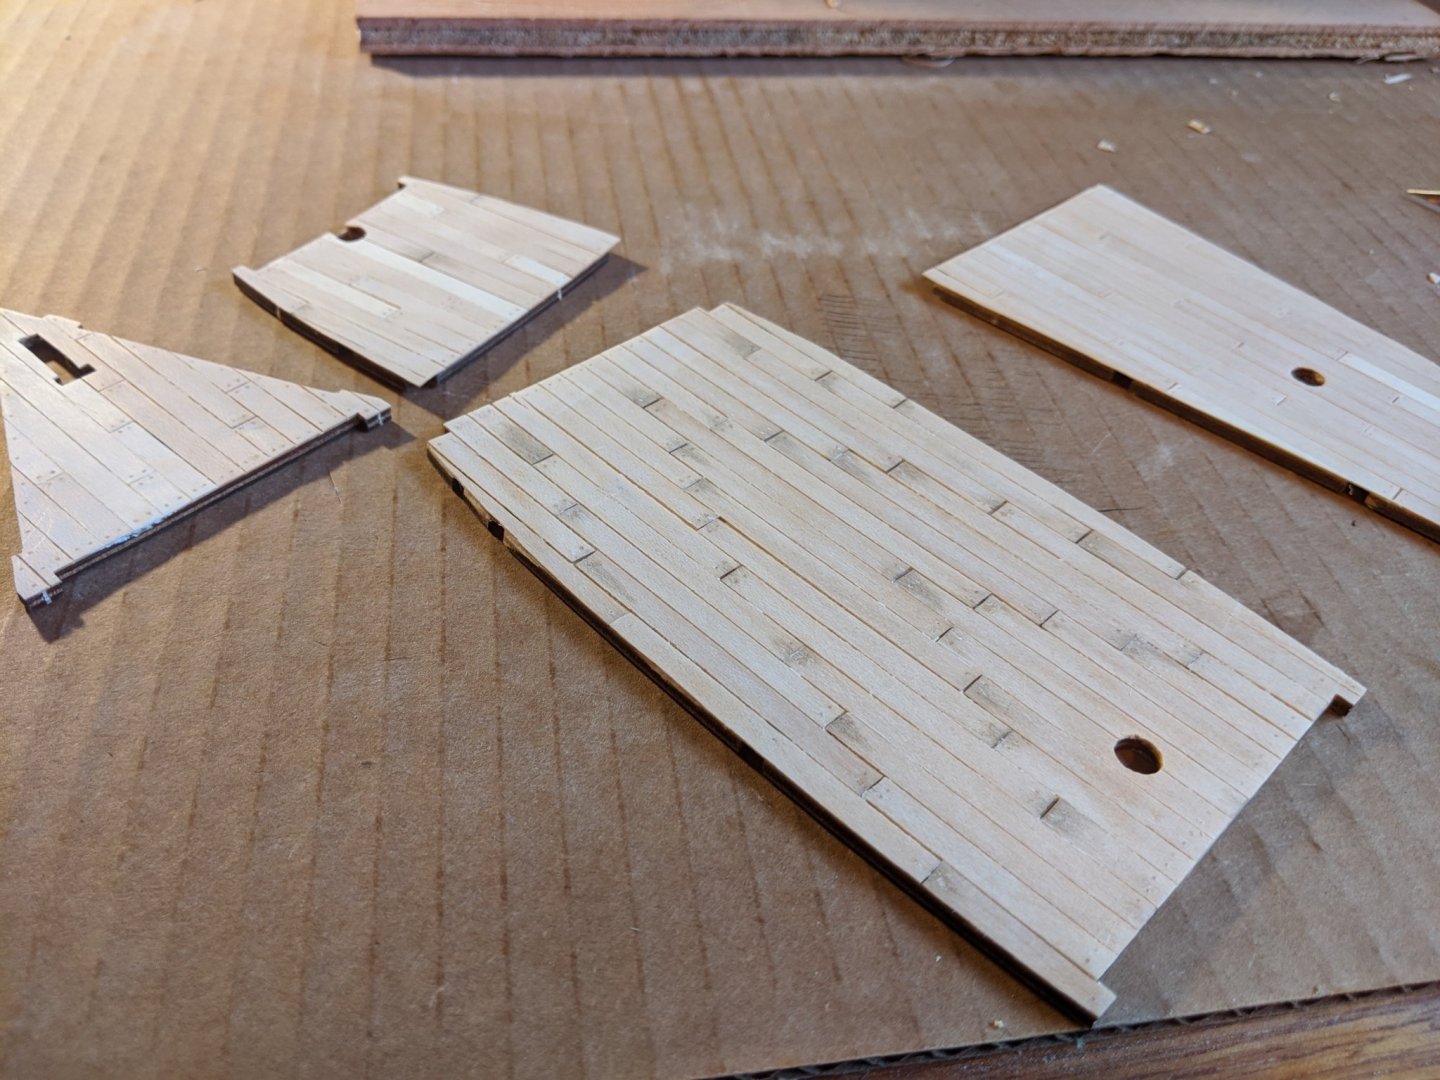
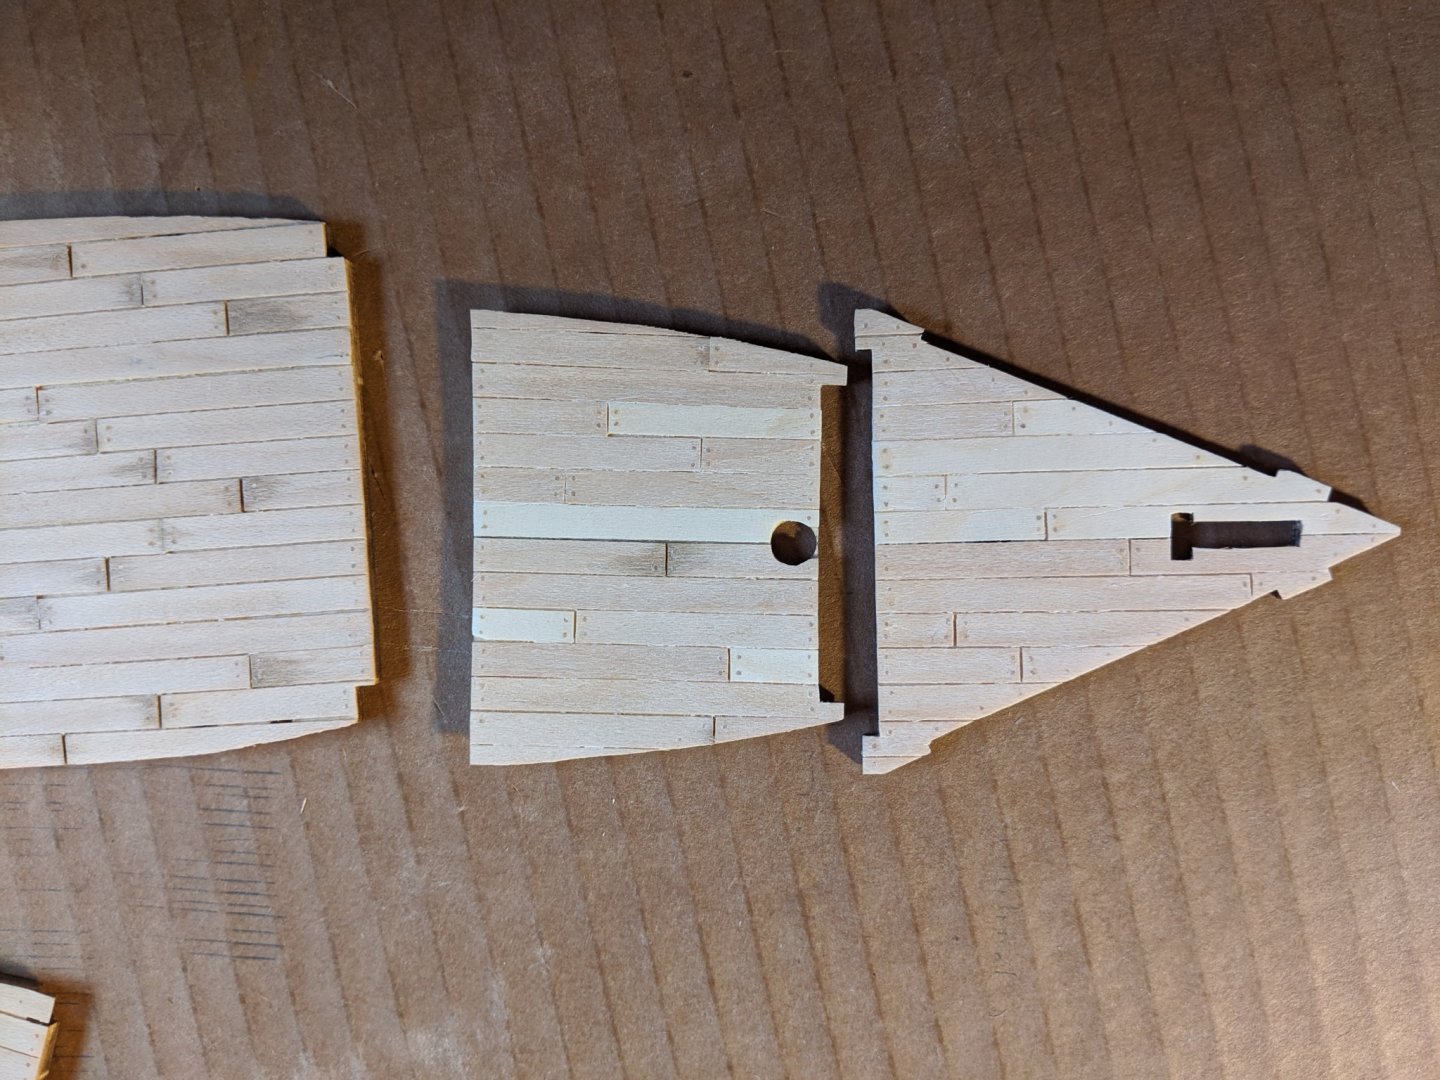
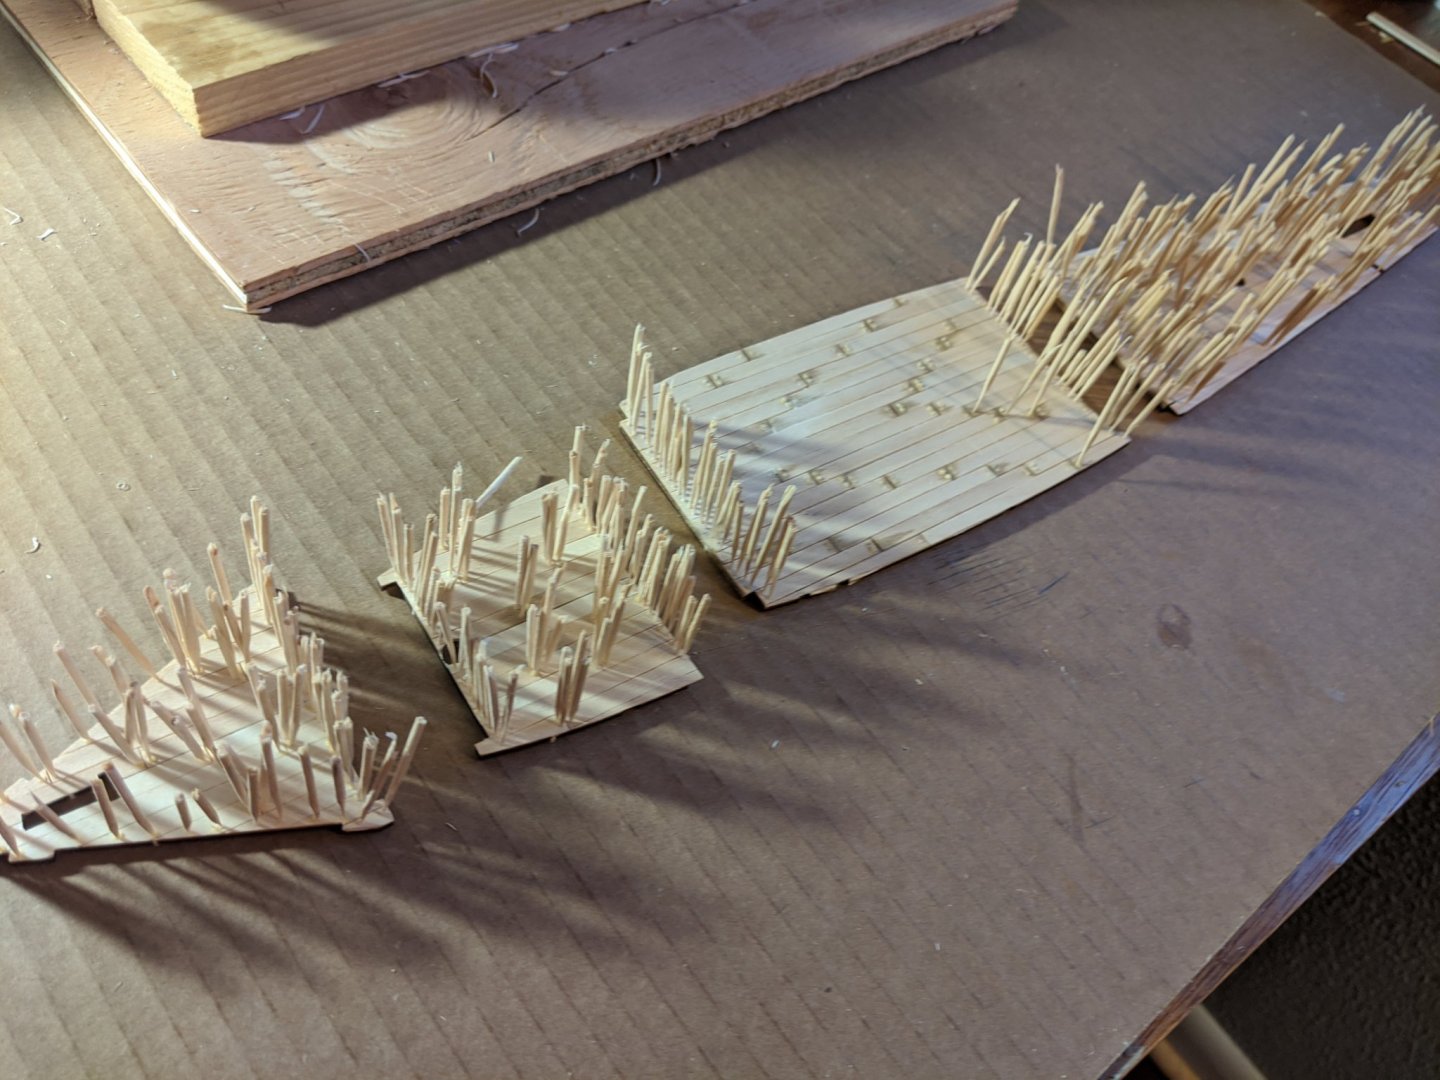
Slowly moving forward with the main decking. As seems to be often the case in these forums, I'm going a little beyond what the strict reading of the instructions suggest. In this case, instead of running the planks the full length of each deck and then marking the smaller individual planks and treenails with a pencil I'm cutting each plank to 60mm and doing the treenails through the toothpick method I learned from so many other build logs on here! Now, I recognize that at the 1/100 scale these treenails are probably too big for scale, but since this is going to be more of a generic 'Buccaneer' instead of an representation of a known ship, my desire to try out the toothpick method can hopefully be excused. I drilled holes for each treenail with a #75 wire gauge drill bit and filled each with toothpicks I'd whittled to a much sharper point.
-
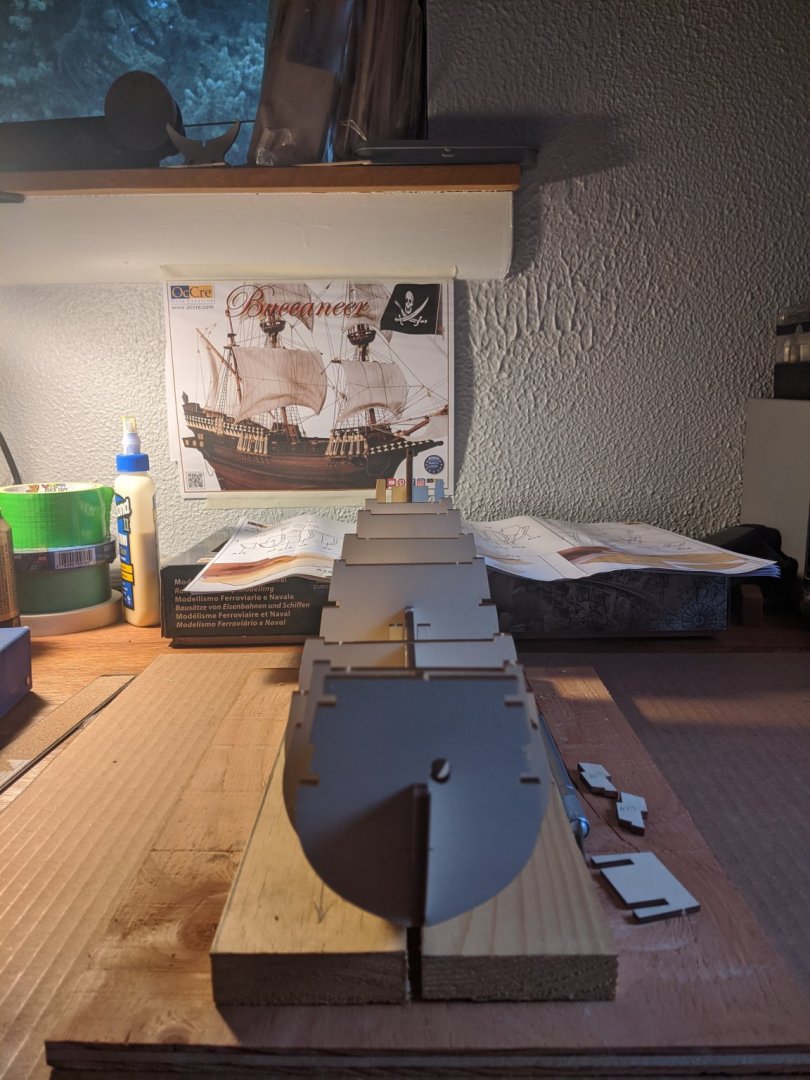
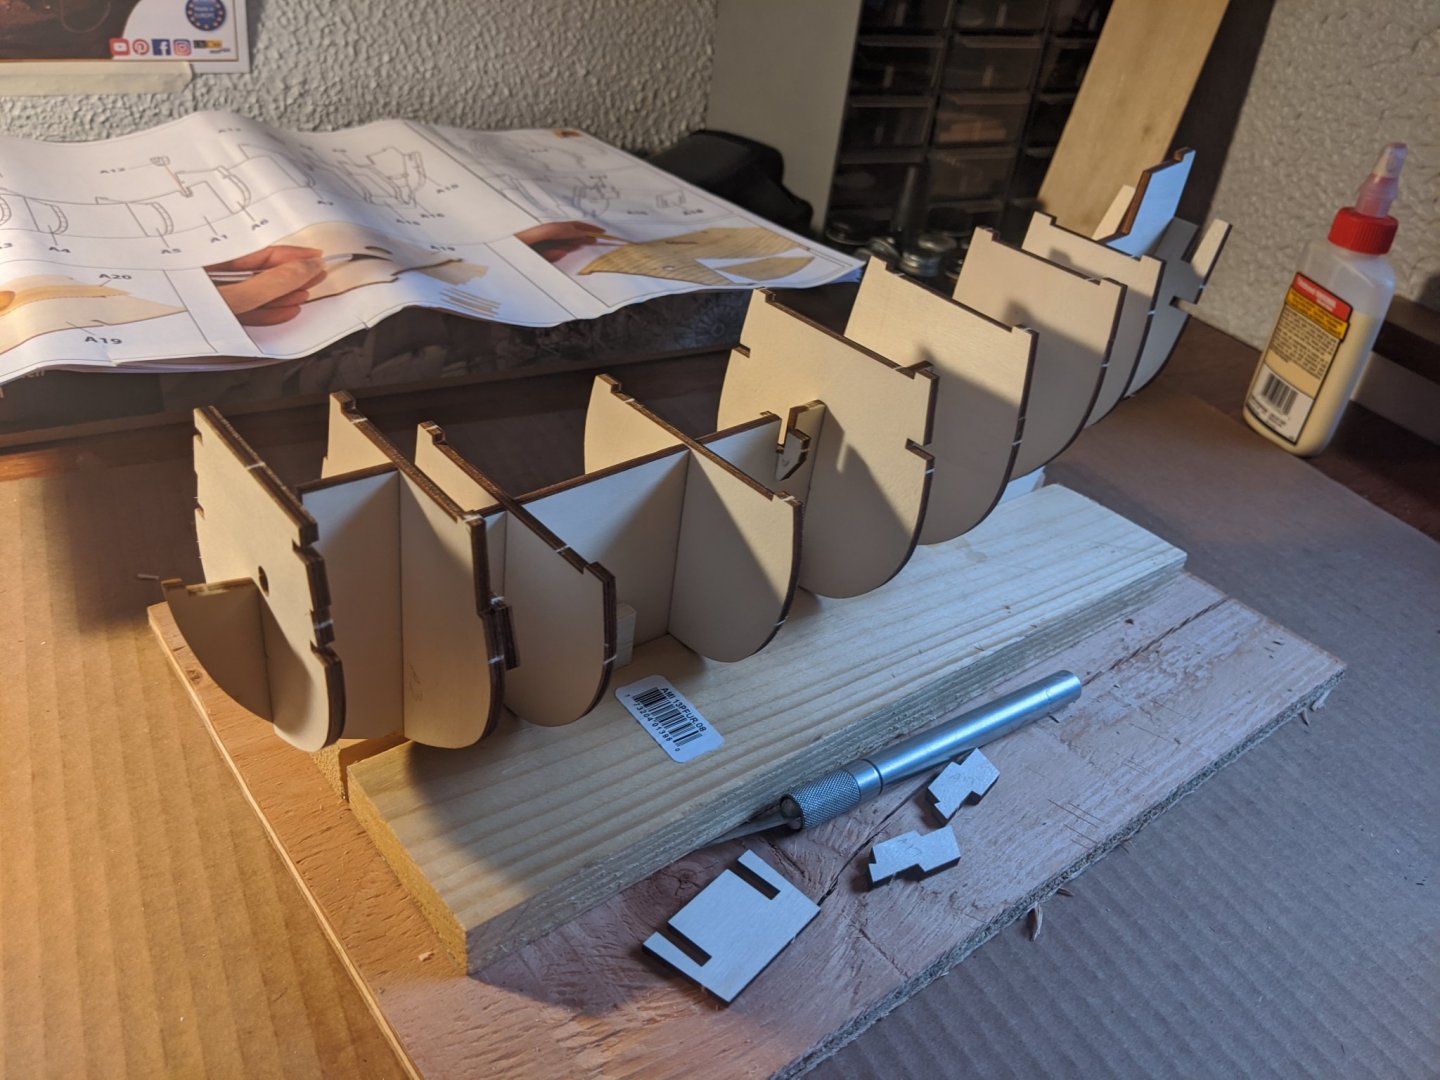
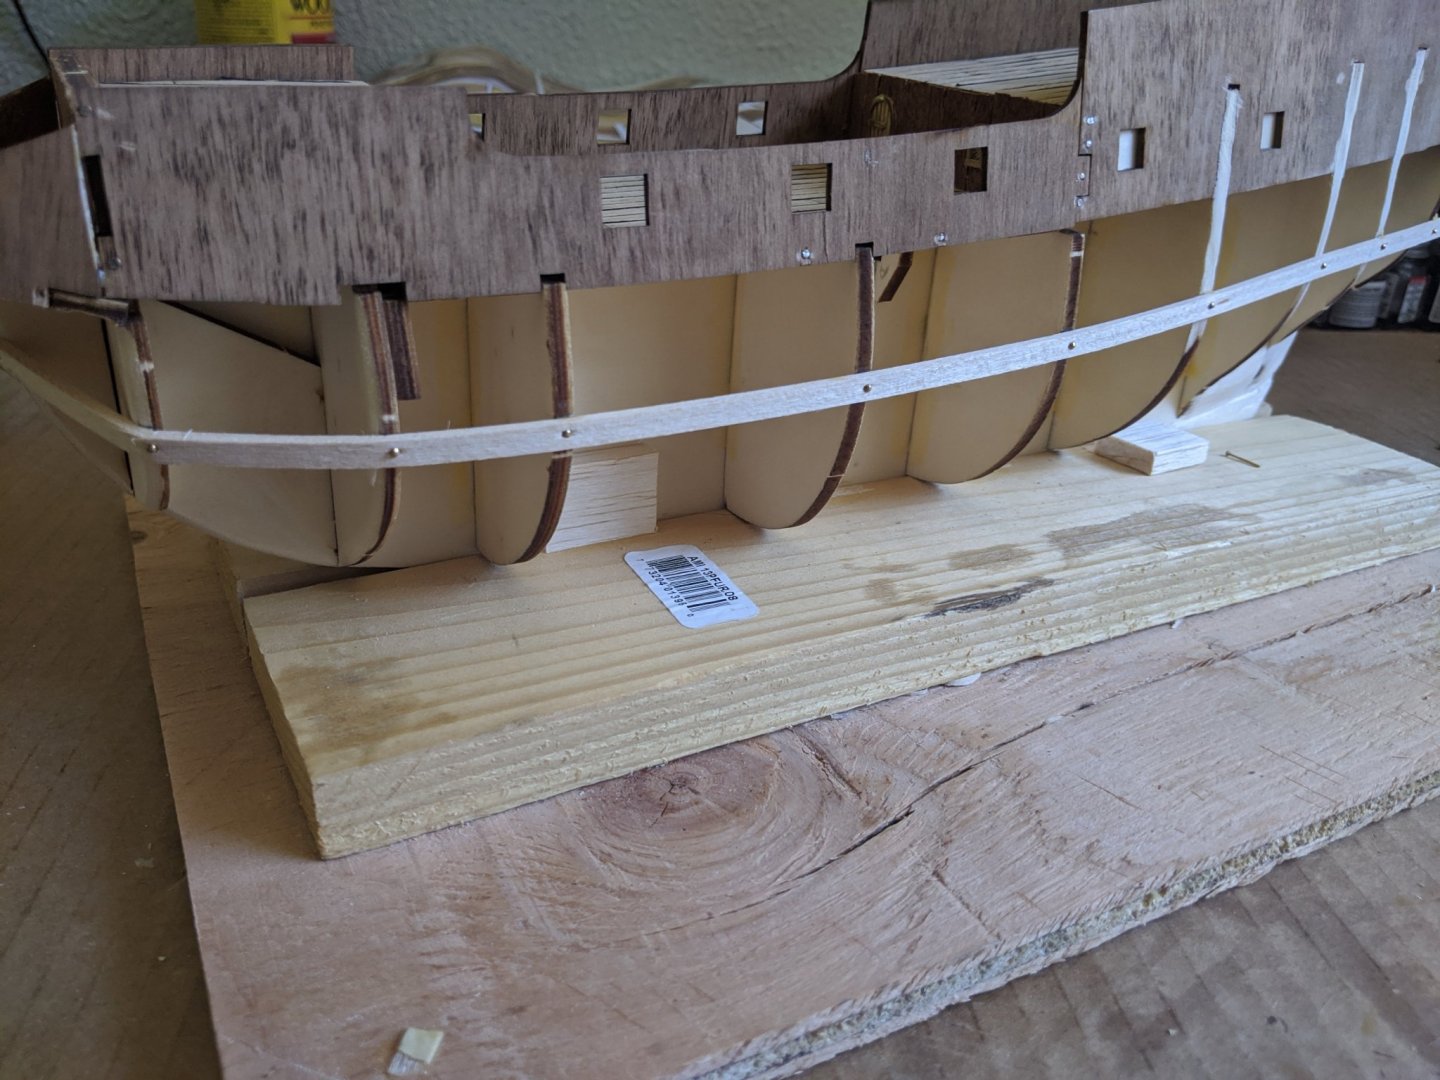
Put together a basic slip as I begin the first steps in the Buccaneer. Pretty impressed with the quality of the wood in this kit. No issues with warping in the plywood and the dry fit, while tight, was accurate and I didn't see any obvious misalignments. Will pull this all again to glue it up with the assistance of a simple homemade alignment guide I've also made out of basswood. apart