-
Posts
26 -
Joined
-
Last visited
Content Type
Profiles
Forums
Gallery
Events
Everything posted by Allamagoosa
-
Thanks! Actually I find going slowly, learning, and even redoing things that aren't up to my skill level or standards really poses no problem. I am not trying to get to the end as much as the path getting their. I really find this very relaxing. Frankly I wasn't clamping the wood or the miter box down so the whole thing was kind of wobbly and I will do that moving forward. I have some wood strips soaking for the top exterior shrakes and wail if those are the proper terms. Took me a bit to find the correct width woods. I am going to clamp them in and let them dry into shape as the directions instruct. Frankly with such a long keel I am not sure this is absolutely necessary but it looks like maybe some twisting is needed (not just bending) so going to default to following the instructions here.
-
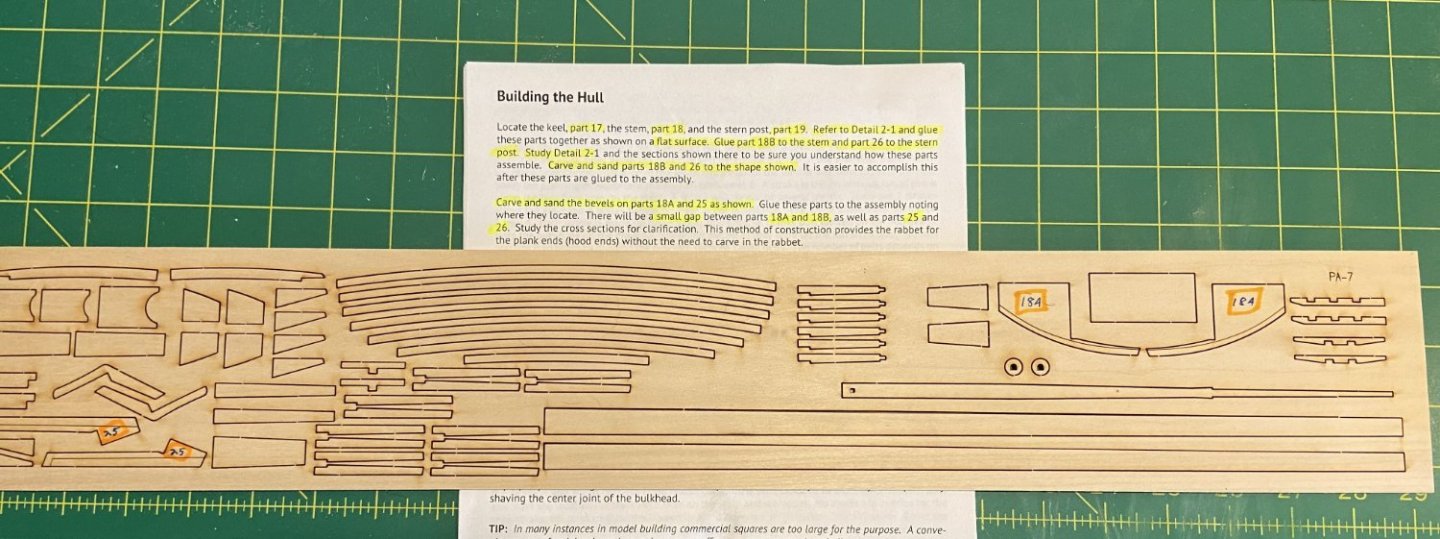
OK, So, I have almost finished the 1st page of the manual (about 12 pages long) which means length wise I am about 8% done but of course this is the very easy part so likely more like 3% done time wise I estimate. Here are some thoughts on what went well and what to look out for. Number everything before removing it from the wood cutouts. The directions suggest this and the parts are so similar it is extra important to do this. This is also pointed out in John Gummersall's build log for this kit. I found I broke a lot of the wood pieces. They are very fragile and command a very light touch. I expect this is more typical than I recall in pretty much every boat kit but watch out for this. Of course if you break something you can generally just glue it back together. The direction in the manual was to bevel the for and after parts after connecting them to the keel. I found this to be cumbersome as the keel is so long it is swinging around and hard to wield while you bevel the ends. The build log done by John Gummersall demonstrated the foresight to go rogue and do it their own way which I applaud and think was a better way to do it. As always, read the steps in advance multiple times to help clarify what you're doing. I did this and was grateful that I learned this lesson long ago. I found the best thing is to read the directions, look at the full scale plans (on my wall of course) and then review other build logs to make sure I understand what I am doing. Take your time and enjoy this part of it and you will be rewarded. I did this slowly over 2 weeks but really this 1st page as I am still setting up and organizing. Time wise it really should take maybe 1 to 2 days to do well even taking your time. Of course this is still very much the easy part. I found using a Dremel to bevel the bulkheads to be the easiest and safest way to complete that task. The Keel is once again so long and if you sand by hand it is easy to damage and crack things with the long lever arm. That is it creates a lot of torque. I cut all the decking between the bulkheads 11-12 and 5-6 first and pre-fit all of them before gluing. Not sure this was necessary but I recommend doing this at least for peace of mind. Don't forget about the bailing well when fitting and cutting the planks and supports between bulkheads 5 and 6. I found the baling well a bit of a puzzler on what the exact dimensions and setting should be. John's bailing well in his build log looks to have the well a bit smaller than what it looks like to me on the plans. NOTE, John also points out that the plan does not include an edge to support the lid. I decided to put in a lip so I can create a lid and place it on the model when done. See image green box number 2 I am not happy with the planking lengths (See image below). I used a miter box to try and saw square and consistent lengths but I seem to have made an eradicate line. When oiled or died I think it will look OK but I wish I was able to do a better job. So I am going to look at the miter box and the hand saw I used. Maybe it was too dull and the wood moved around, etc. see the image between the two green boxes. Other Build Logs for this kit that I found useful. I wish to thank these folks (and others on this website) for paving the way and making my job easier. Joseph F Build Log Bob Cardone John Gummersall Bruce So those are the highlights on the first page of the kit instructions. I am really enjoying this so I am ready to proceed. Please comment, make suggestions, or as questions on what I can do to do better or make a better build log.
-
Good catch. I hadn't noticed that and should have. It is fully glued to another piece to produce a rabbit so I don't think it will be a problem here but noted for future reference where it easily could be. Thanks! These are the kinds of tips I am looking for. With luck, patience and drive, I want to become at least a competent craftsman.
-
Next up are 4 more pieces to create a surrogate rabbit for planking. These are parts 18a and 25. I found it easy to take these parts and create the sanded slant first before gluing them to the keel ends. I did this with a cordless Dremel using one of the drum cylinder sanders. The material comes off quite quickly so be careful.
-
So, turns out I didn't exactly loose one of the pieces. The cat came in and dragged it away and subsequently ate most of it. I had to create the item out of spare wood which was not too hard to do. I did this by taking the vacant space created from the punch out of the missing part and tracing it over another piece of wood and then cut it out.
-
Ok, so I managed to lose a piece already. Should be easy to fabricate from part of the kit template. But kind of annoying. Below is the gluing of the first 3 pieces together. Note that while sanding the keel part of the piece 19 broke off and I had to glue it back together. Should not be a big deal of course but be careful and don't sand too vigorously. See the red circle on the left where the piece broke off while sanding. The picture below are the pieces for the next step which I believe I have to glue to either side of the end pieces on the keel. Note only 3 as I managed to already lose one but I will make it from scratch. Probably find it right after I am done with this step. -Allamagoosa
-
So, the first step includes removing parts 17, 18, and 19 and gluing them together. 17 is the keel with the parts 18 and 19 being glued at the ends. Read the instructions of course and examine Details (One of the large sheets) and glue on a flat surface. I am using Titebond Glue here and I was kind of sloppy on the workbench first laying down paper and having the glue stick to that. So I need some kind of wax paper or something to help me glue the items together without having it stick to paper or the counter.
-
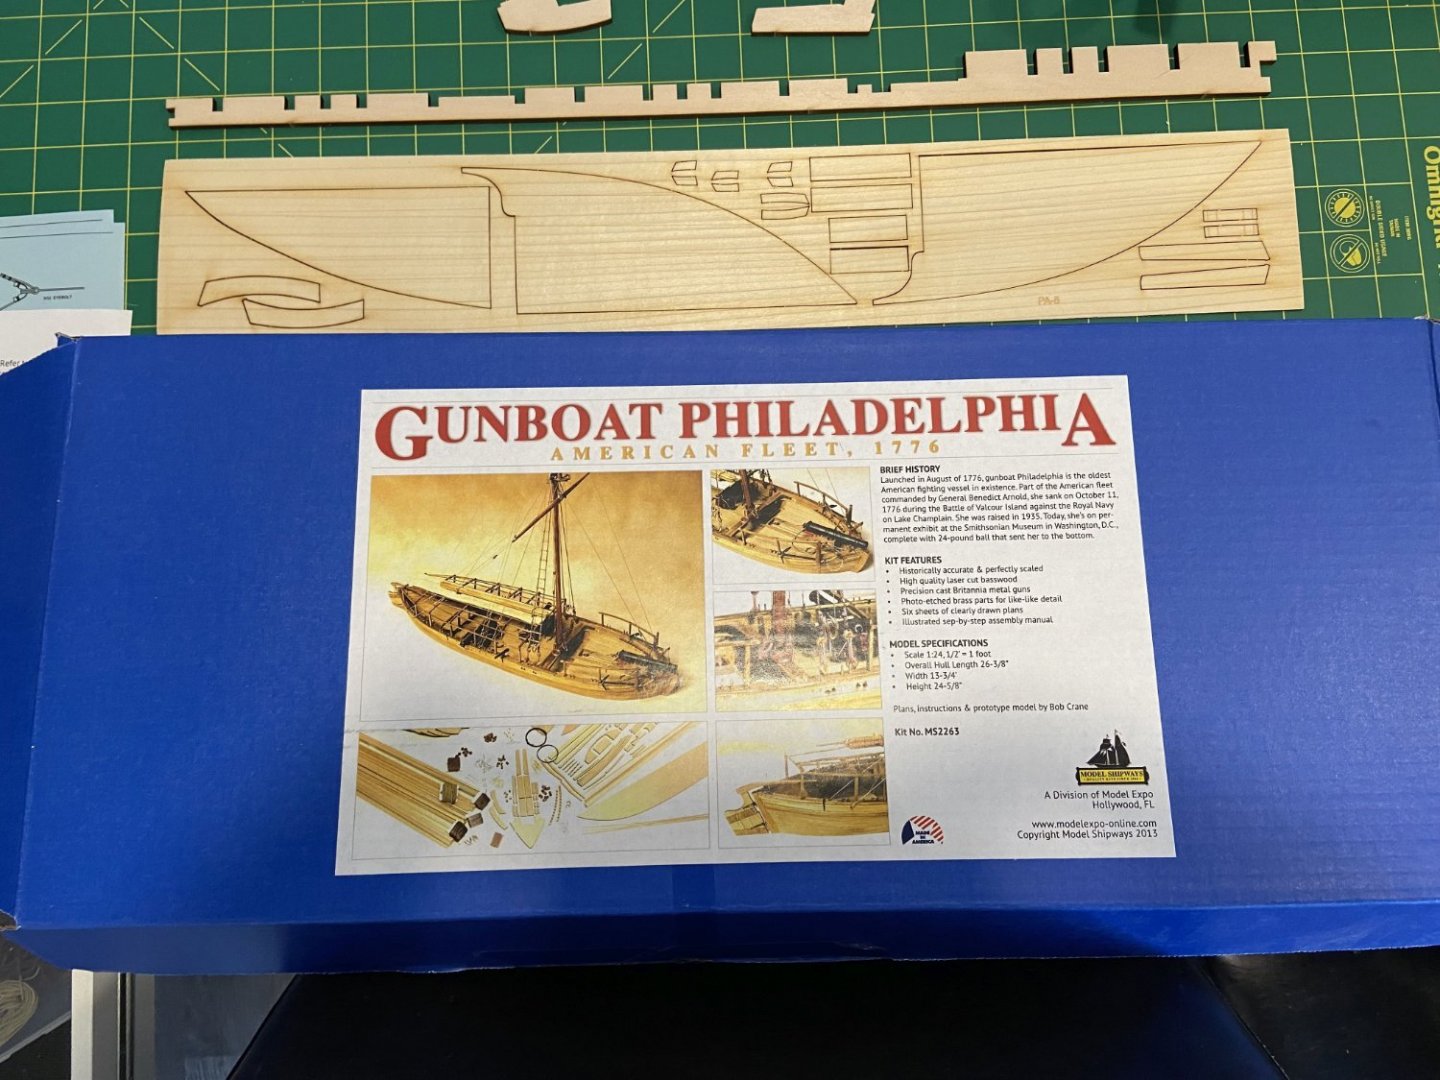
Good day to you all. It has been a bit more then a year since I have done any model work. I moved into a new home just over a year ago and between work and unpacking and well, you know. Anyway. The new home is great and nice to have a model bench to set up and ready to go. I plan on building the Model Shipways Gunboat Philadelphia built in 1776 as my first project in the new home. This will also be my first build log so I plan to take pictures from the very start and discuss my thoughts on the kit, etc. I am still very much a mid-level builder so don't expect great craftmanship here. But I will do my best to learn, practice, have fun, and do the Philadelphia gunboat justice. Thanks, -Devin (aka Allamagoosa)
-

Greetings from Southern California
Allamagoosa replied to Allamagoosa's topic in New member Introductions
Well, LA isn't doing very well at this time so I have a while I expect before I am allowed to travel to any foreign country. I have never traveled by Roo. I would love to try. I tried travel by Koala once but that didn't end well for the Kuoala. -

Directions for Mantua Model 780 Viking Ship
Allamagoosa replied to Allamagoosa's topic in Wood ship model kits
No worries. I do appreciate the suggestion. Likely I can just figure out what to do from pictures I see on the cover of the box. The rigging isn't too hard and is about a simple as it gets. -D -

Directions for Mantua Model 780 Viking Ship
Allamagoosa replied to Allamagoosa's topic in Wood ship model kits
I did, thanks. They were out of stock for th plans and wanted 15 pounds to get a hard copy which I didn't want to buy. I can likely just fix it from other pictures as it is a fairly easy kit and I just and to repair the rigging but I though I would ask if anyone had a copy. Thanks, -D -
I was wondering if anyone had a digital copy of the directions for the Mantua Model 780 Viking Ship? I build this ship about 20 years ago and I need to re-rig it as it is damaged but the directions are long gone. I also need to repair the stern section (tail). Apologies if this isn't the best place to ask. I searched around but didn't see a better area. Thanks, -Devin
-
Welcome aboard. I am relatively new to this site as well. I did some model ships a couple of decades ago but got distracted with life. I came back at the start of Covid as I was spending more time at home and have come back to the hobby with a passion. I forgot how much I love this hobby.
-

Greetings from Southern California
Allamagoosa replied to Allamagoosa's topic in New member Introductions
I love Humboldt country. I regularly drive up to the Avenue of the Giants and on to Prairie Creek State park. I love it up there. -

Greetings from Southern California
Allamagoosa replied to Allamagoosa's topic in New member Introductions
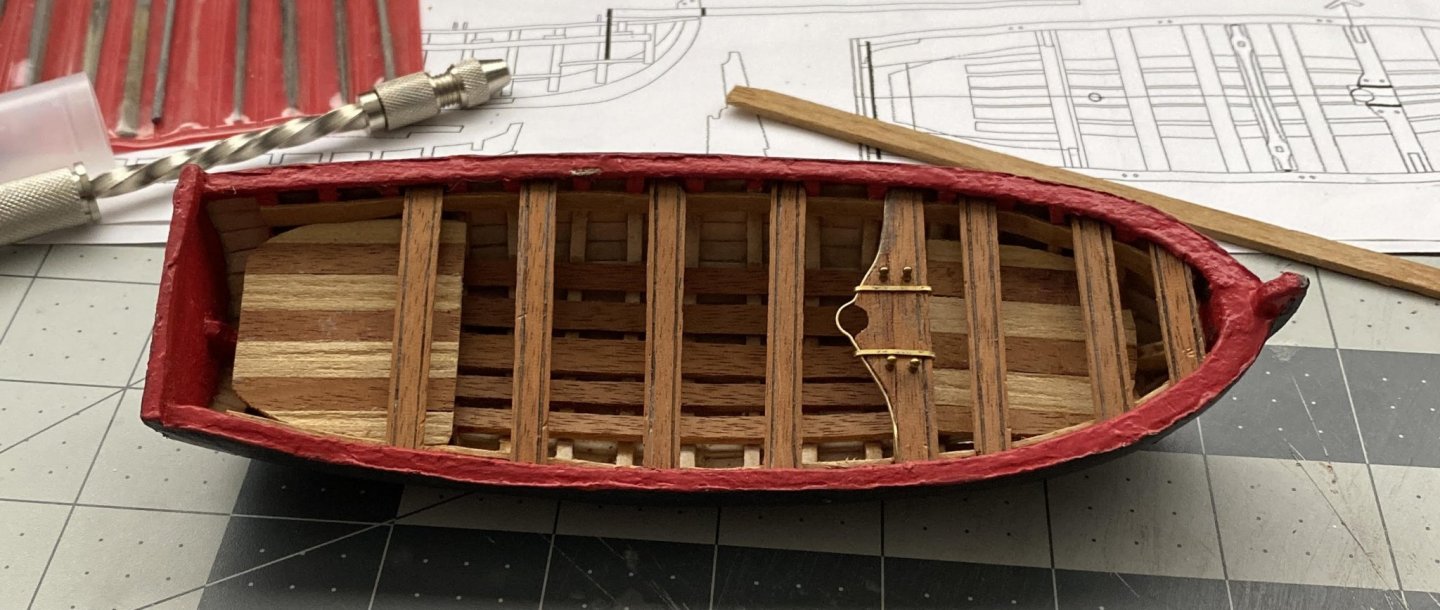
The Long Boat is getting better. I did some re-work. I am still compromising some standards but it is still nice. One thing that I think caught me off guard is the scale is 1:24 and that is pretty small and perhaps in some ways hence harder to work with. Things that I regret and will do better on the next ship Have more patience Use less Cyano Acrylic and more wood glue. The Cyano Acrylic stains the wood and it looks awful. Take deep long breaths and relax more Read the directions cover to cover before starting. Relax more. Have patience Alignment of the Hull is essential to good planking and subsequent work. Take the time to make sure things are properly aligned. You patience will be rewarded. It isn't a sprint. It is a marathon. Have patience. Read more about the definitions. Learn what a rabbit line is, things like this all of which will come in time. I will say this. I am having so much fun. -D -

Greetings from Washington, the State!
Allamagoosa replied to ~JC~'s topic in New member Introductions
Looking wonderful. And I actually like the look of the nails but the tones and craftsmanship look wonderful. I have completed a couple of ships (really begginer kits and 1 intermediate) about 20 years ago but have started anew. Looks like you are doing wonderful work. -

Greetings from Southern California
Allamagoosa replied to Allamagoosa's topic in New member Introductions
I certainly don't think of San Francisco as Southern California but maybe that is because I was raised in the Bay Area and now live in the Greater Los Angeles area. I think most (or at least me) consider San Francisco as really the southern part of Northern California. -

Greetings from Southern California
Allamagoosa replied to Allamagoosa's topic in New member Introductions
I so want to visit down under. Hope you are all safe and sound. But visiting your continent is a life dream I want to make a higher priority. -
Greetings everyone. I hope everyone and your family's are healthy and safe during these crazy times. I used to do model ship kits about 2 decades ago. I have only ever done up to intermediate work of marginal skill and quality. Mostly smaller kits like Viking Ships but I did complete the Blue Nose II with full rigging. With spending more time at home (although still fully explored thankfully) I am starting to spend time doing some model work again. Model Slipways opened up for business and I decided to take rather severe advantage of their back in business sale and so now have enough kits to keep me occupied for the next 2 years easy. So for my first project I am working on the 18th Century Long Boat MS1457 at 1/24 scale. I am doing some good things but making many poor choices as well where wish I had read and taken more time to read the directions more thoroughly before making some choices. That being said it is so much fun and rewarding to see the long boat start to take shape. The point of starting with a beginner kit is to work out some of the kinks and remind myself of the lost skills, etc. It is looking like this hobby has come a long way in the last couple of decades and I am really excited to improve my skills and see what others are working on. Enclosed is a picture (to be honest I am somewhat embarrassed with the quality) but I am having so much fun I just have to post it. The painting and such is to my liking at this time rather then a true re-creation. I will post more pictures in the proper forum section as things progress but I think this constitutes a fair greeting. You will note that I am using some customer Oak wood for planing and choose to go with brass as I didn't want to paint the items and I don't have the chemicals (yet!) to properly blacken the items. Cheers and take care. -Devin
About us
Modelshipworld - Advancing Ship Modeling through Research
SSL Secured
Your security is important for us so this Website is SSL-Secured
NRG Mailing Address
Nautical Research Guild
237 South Lincoln Street
Westmont IL, 60559-1917
Model Ship World ® and the MSW logo are Registered Trademarks, and belong to the Nautical Research Guild (United States Patent and Trademark Office: No. 6,929,264 & No. 6,929,274, registered Dec. 20, 2022)
Helpful Links
About the NRG
If you enjoy building ship models that are historically accurate as well as beautiful, then The Nautical Research Guild (NRG) is just right for you.
The Guild is a non-profit educational organization whose mission is to “Advance Ship Modeling Through Research”. We provide support to our members in their efforts to raise the quality of their model ships.
The Nautical Research Guild has published our world-renowned quarterly magazine, The Nautical Research Journal, since 1955. The pages of the Journal are full of articles by accomplished ship modelers who show you how they create those exquisite details on their models, and by maritime historians who show you the correct details to build. The Journal is available in both print and digital editions. Go to the NRG web site (www.thenrg.org) to download a complimentary digital copy of the Journal. The NRG also publishes plan sets, books and compilations of back issues of the Journal and the former Ships in Scale and Model Ship Builder magazines.


