Bill97
-
Posts
2,322 -
Joined
-
Last visited
2 Followers


-
 Veszett Roka reacted to a post in a topic:
Endeavour by Bill97 - OcCre - 1/54
Veszett Roka reacted to a post in a topic:
Endeavour by Bill97 - OcCre - 1/54
-
Kevin-the-lubber reacted to a post in a topic:
Endeavour by Bill97 - OcCre - 1/54
-
Hubac's Historian reacted to a post in a topic:
Endeavour by Bill97 - OcCre - 1/54
-
wvdhee reacted to a post in a topic:
Endeavour by Bill97 - OcCre - 1/54
-
jpalmer1970 reacted to a post in a topic:
Endeavour by Bill97 - OcCre - 1/54
-
ccoyle reacted to a post in a topic:
Endeavour by Bill97 - OcCre - 1/54
-
ccoyle reacted to a post in a topic:
Endeavour by Bill97 - OcCre - 1/54
-
Endeavour by Bill97 - OcCre - 1/54
Bill97 replied to Bill97's topic in - Kit build logs for subjects built from 1751 - 1800
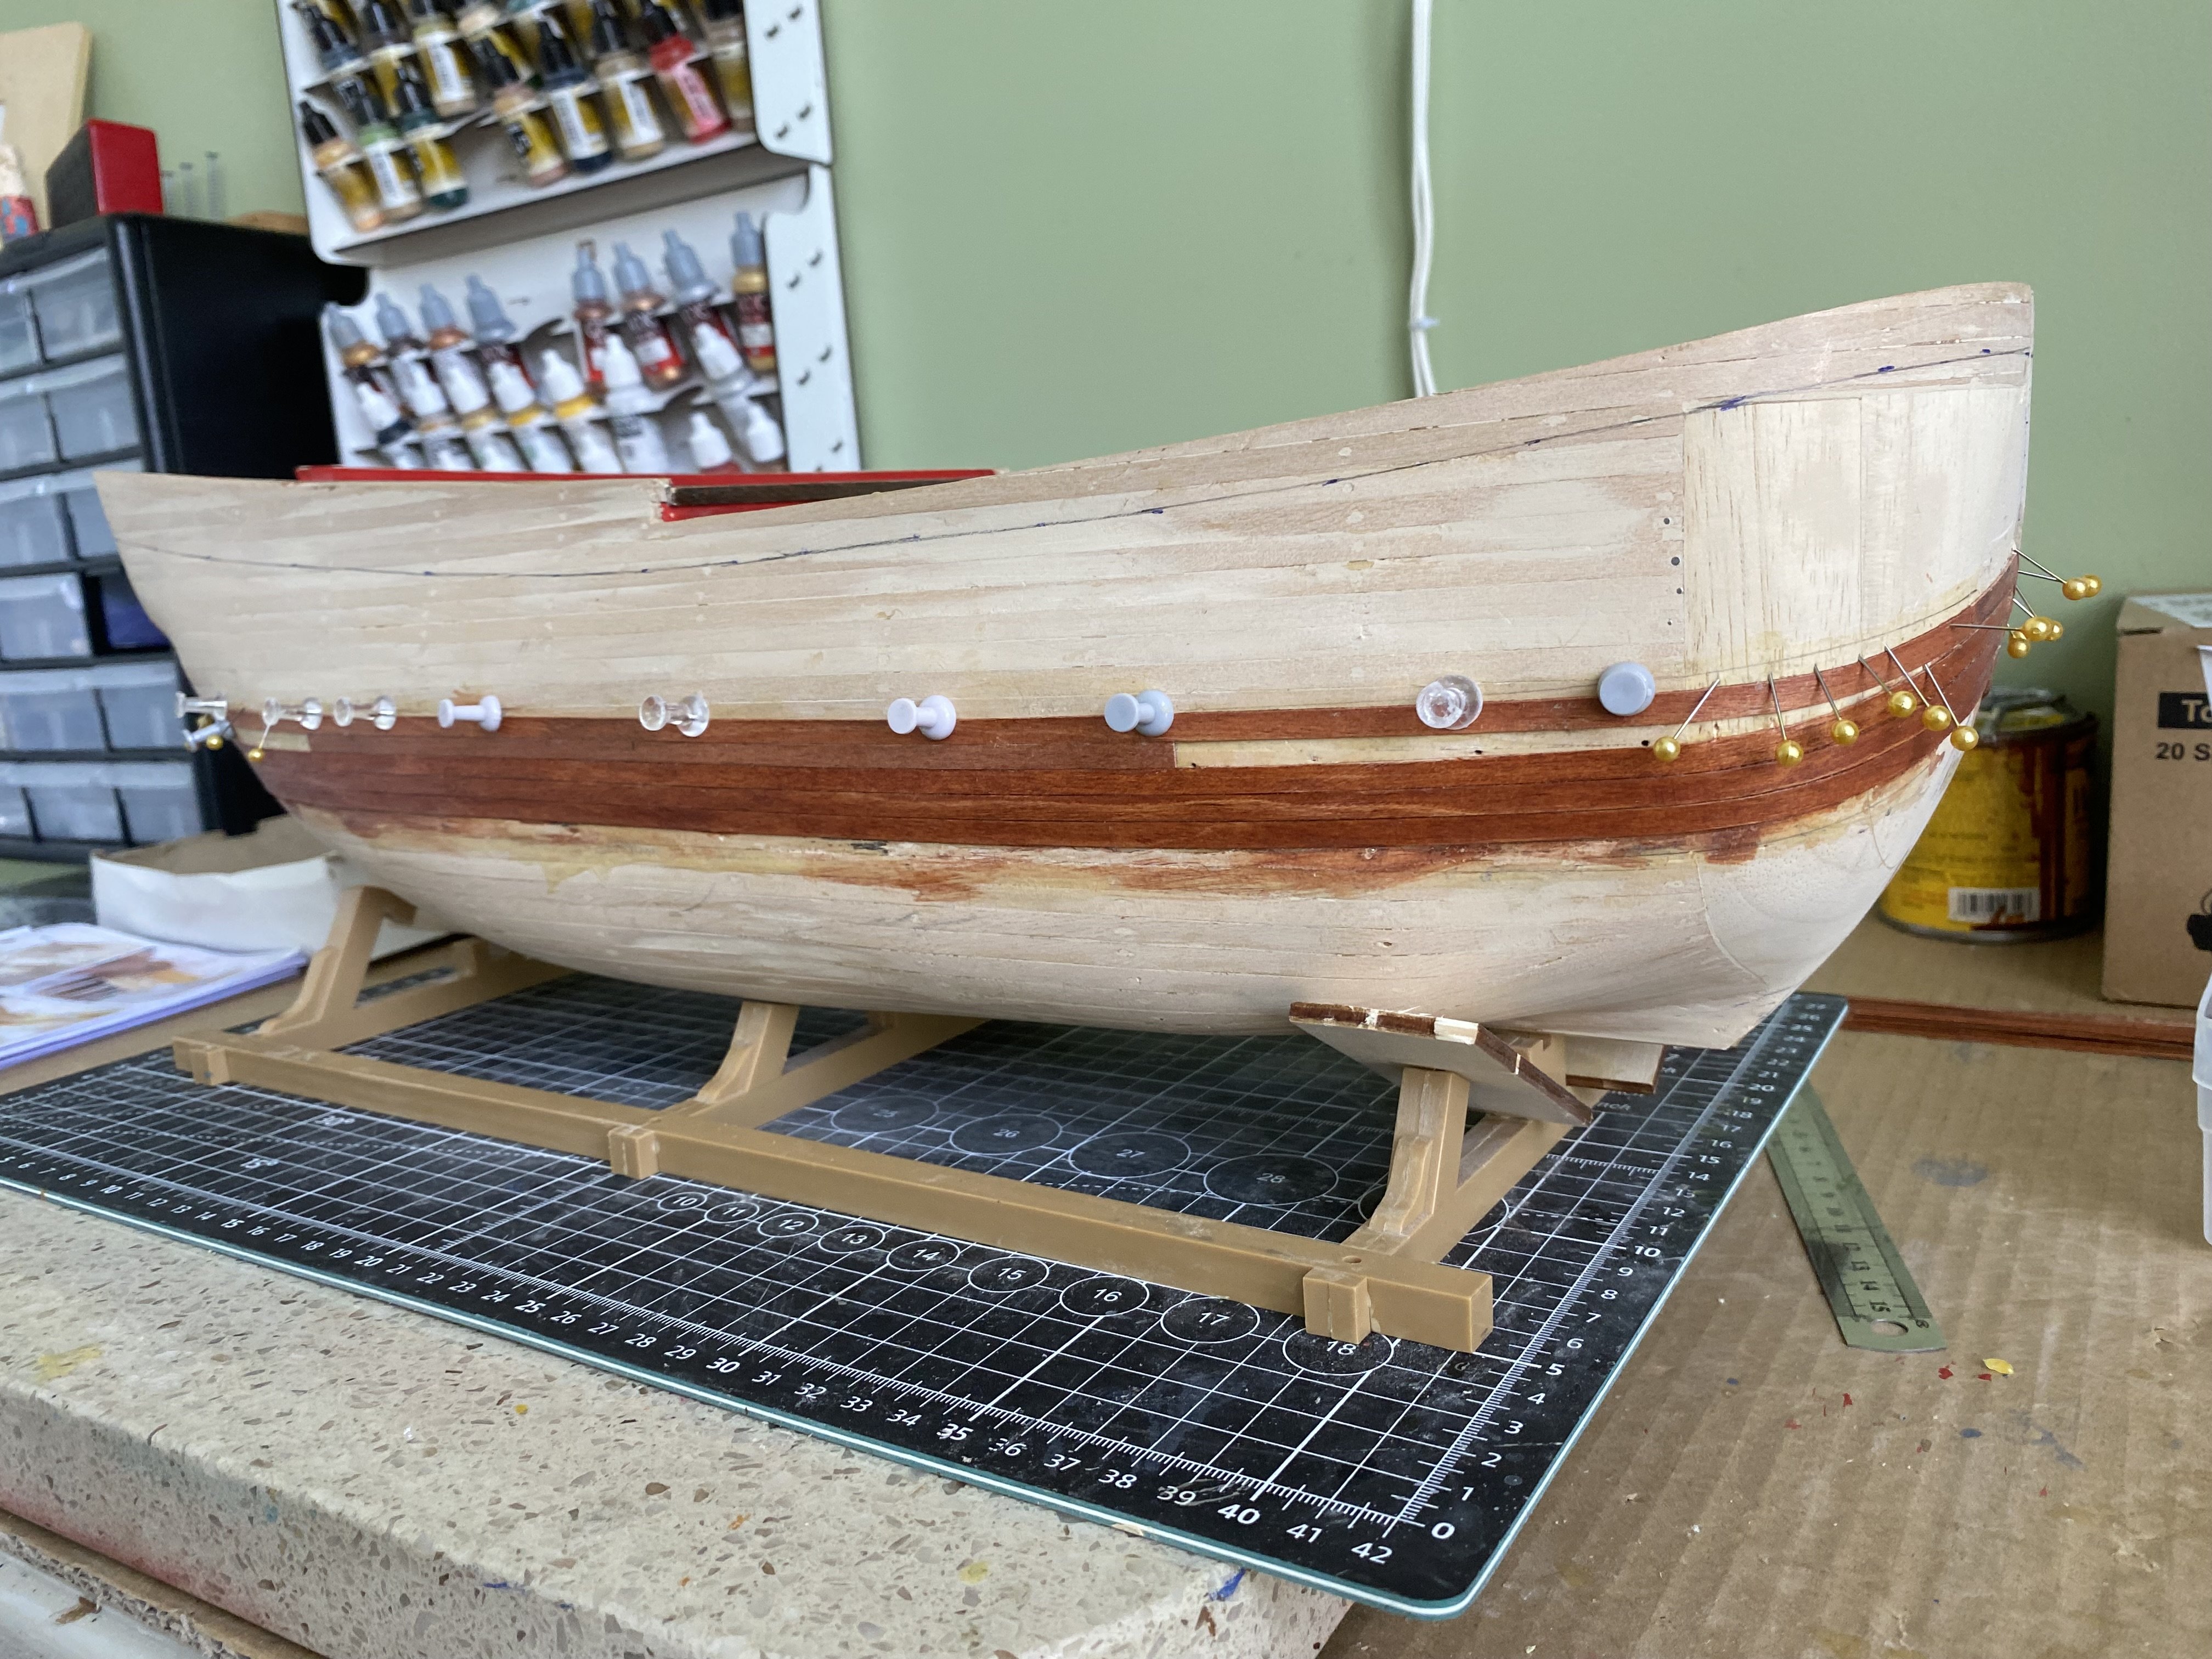
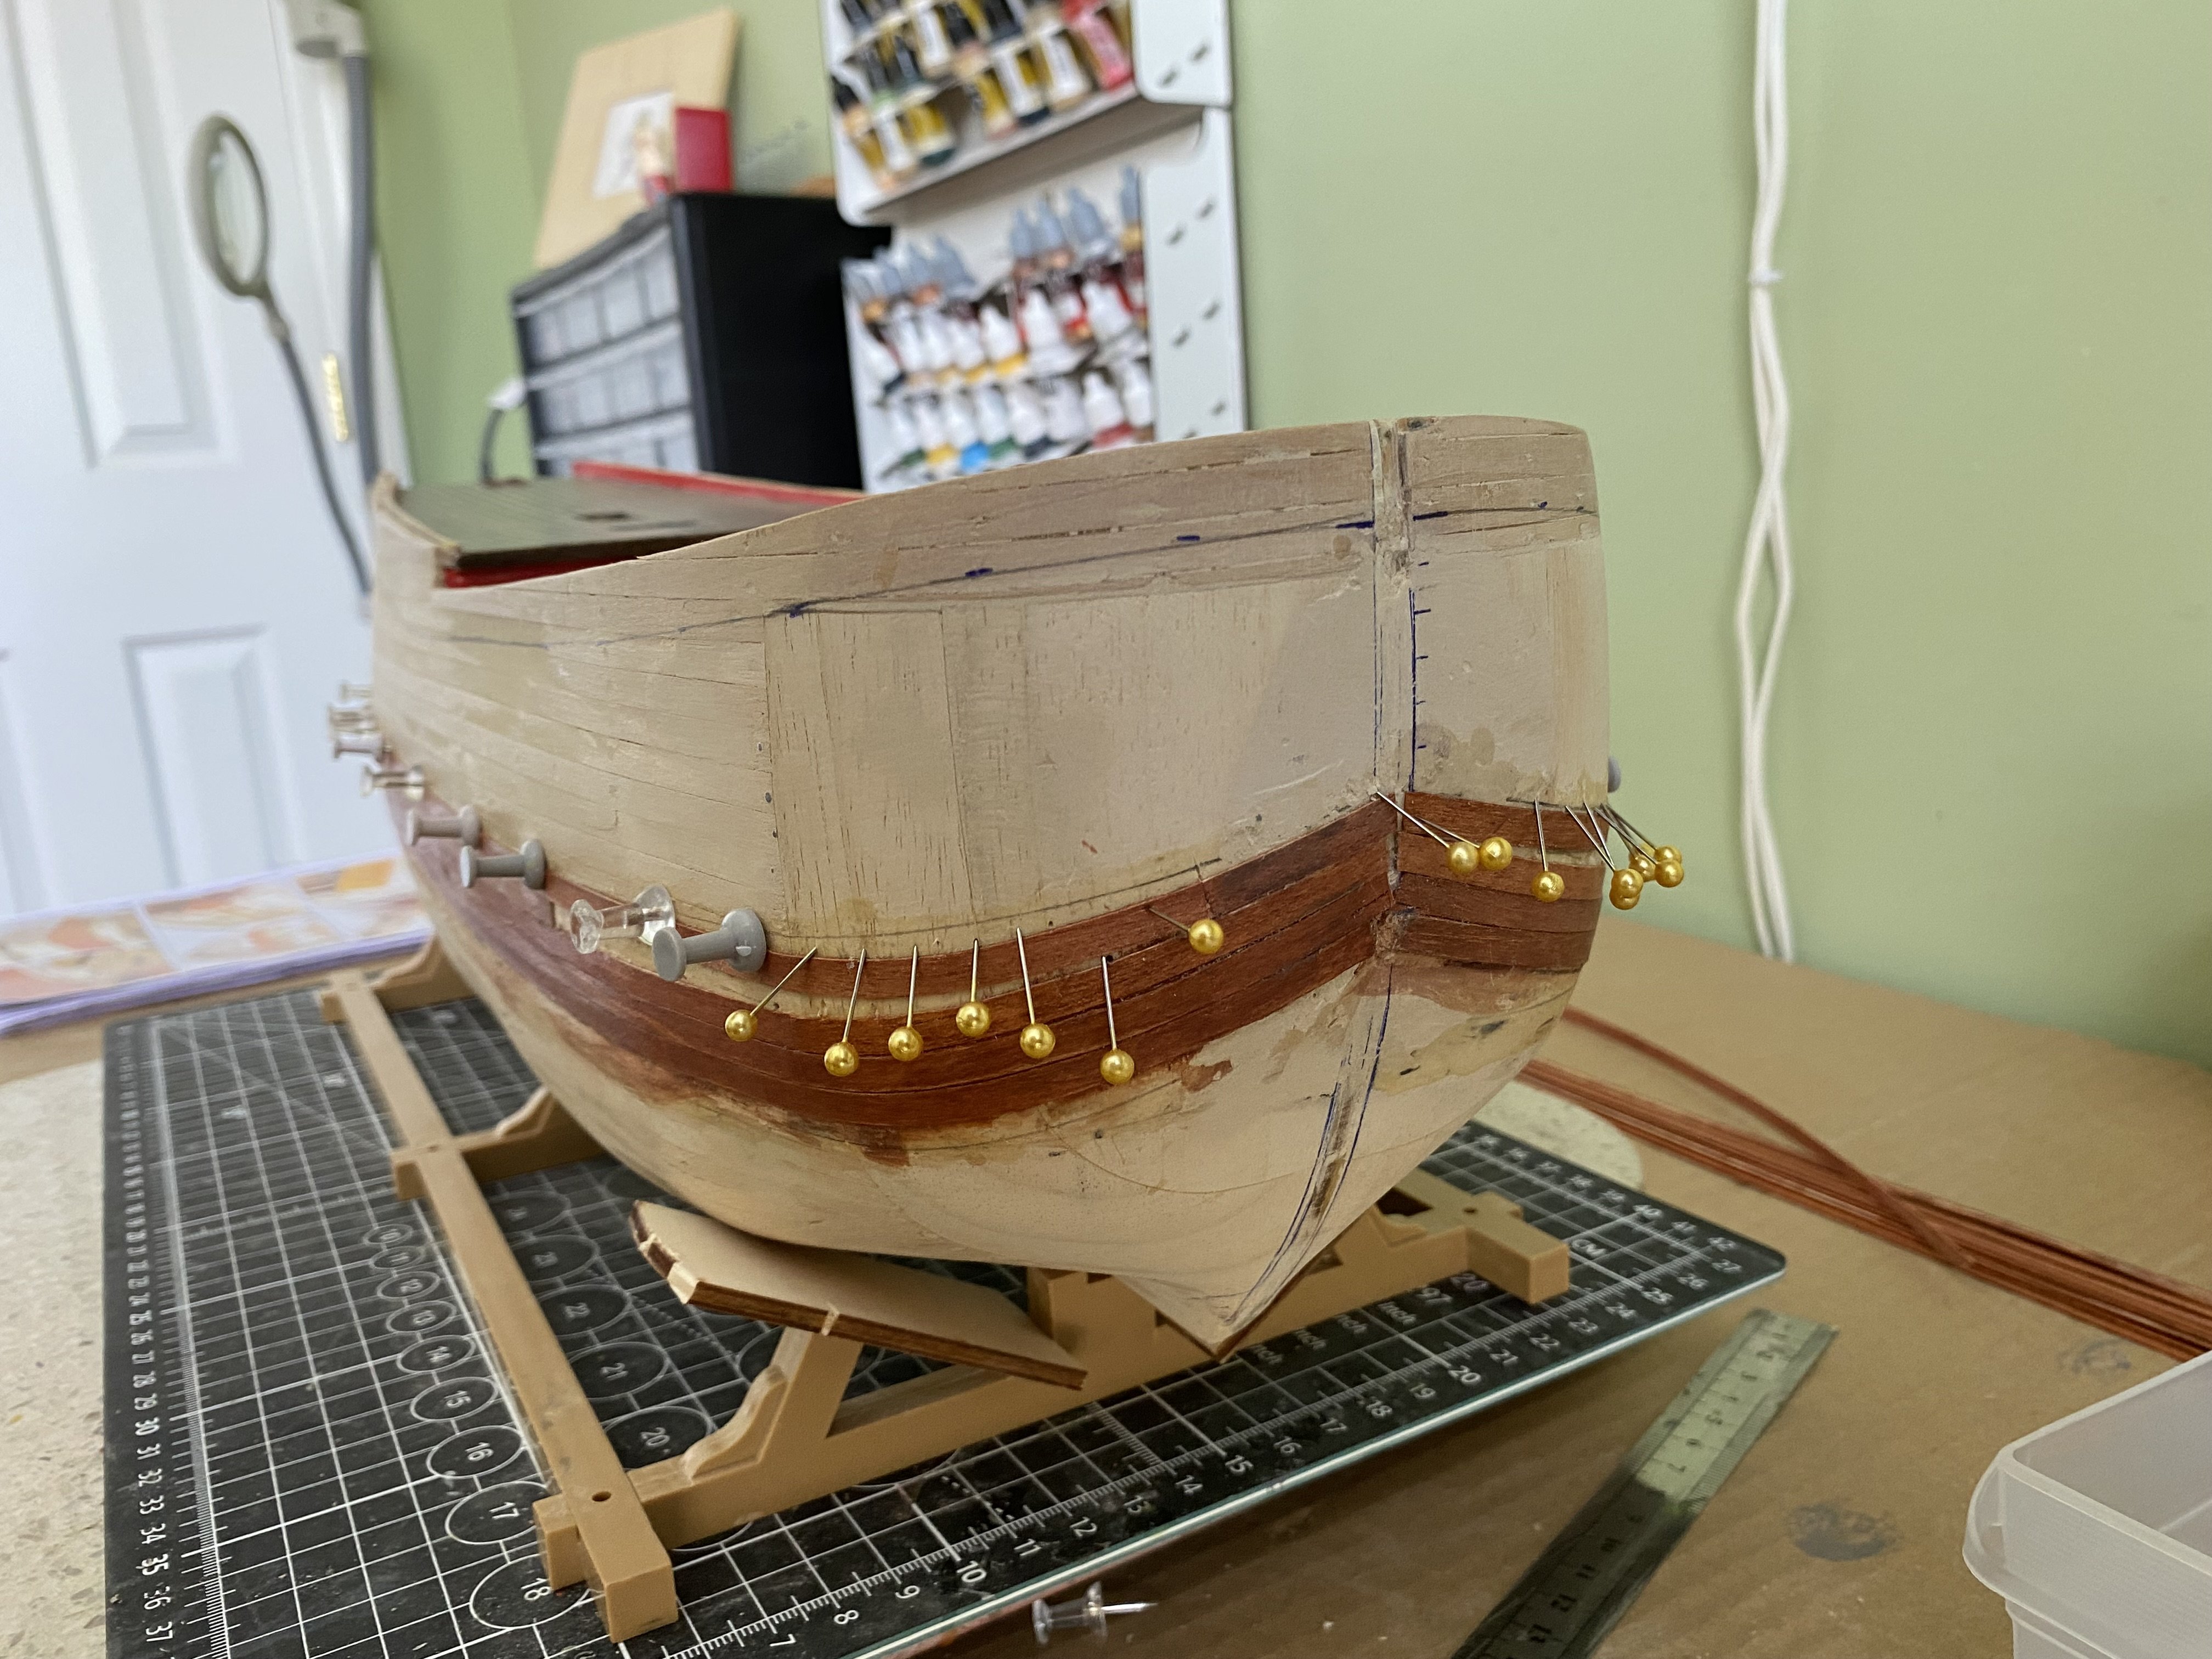
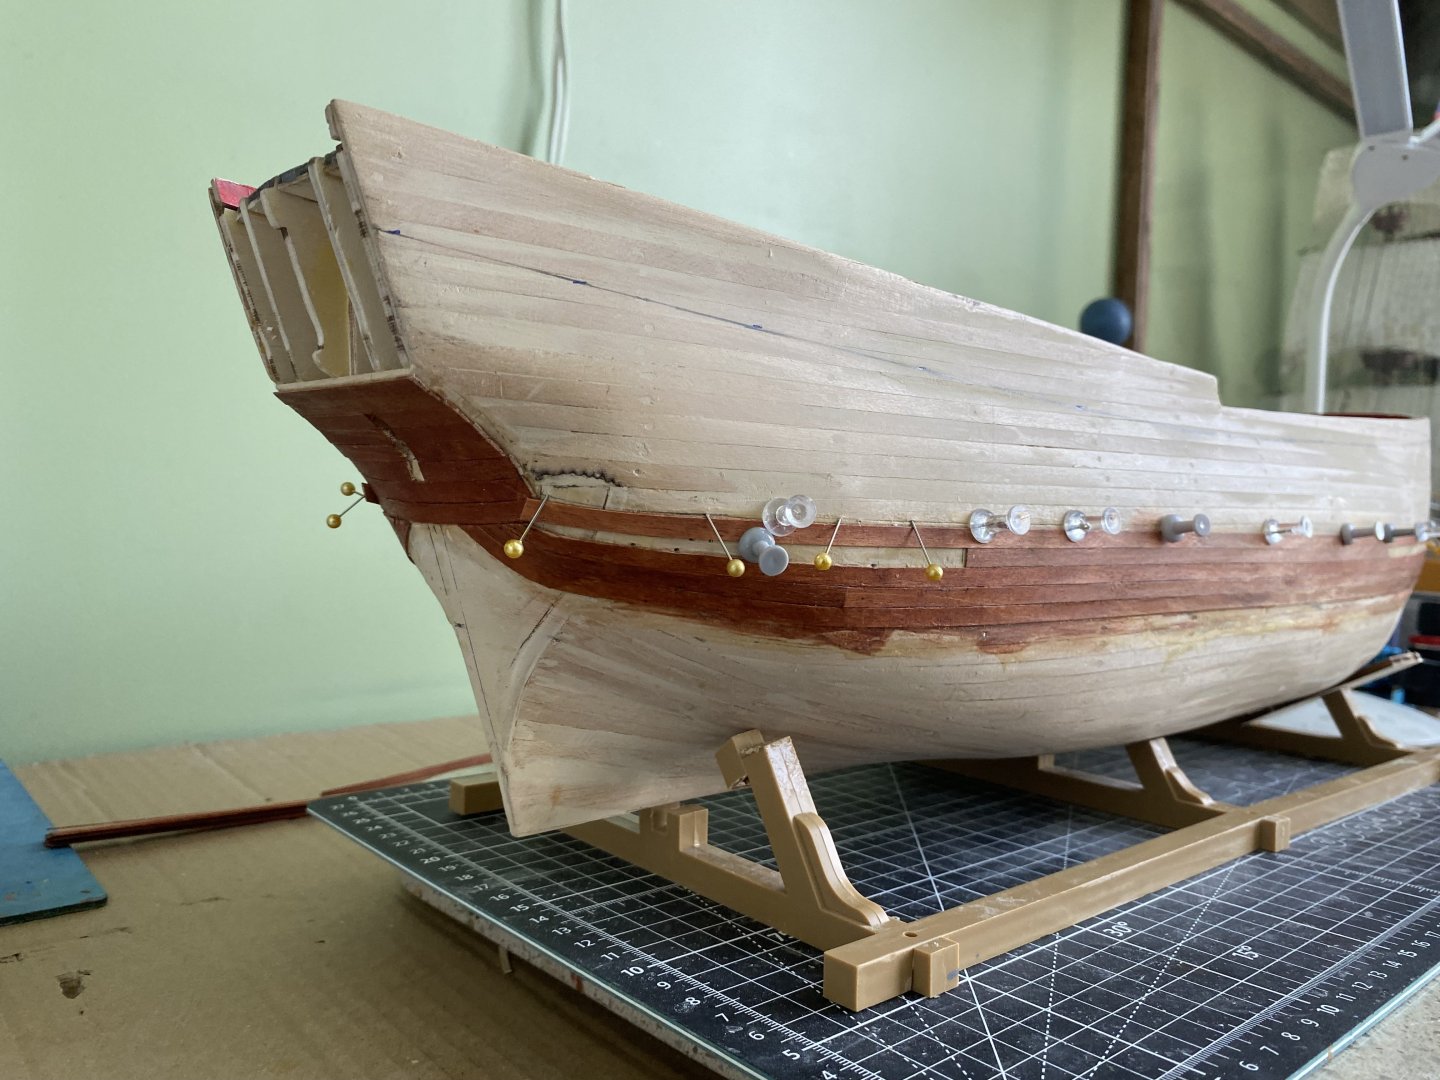
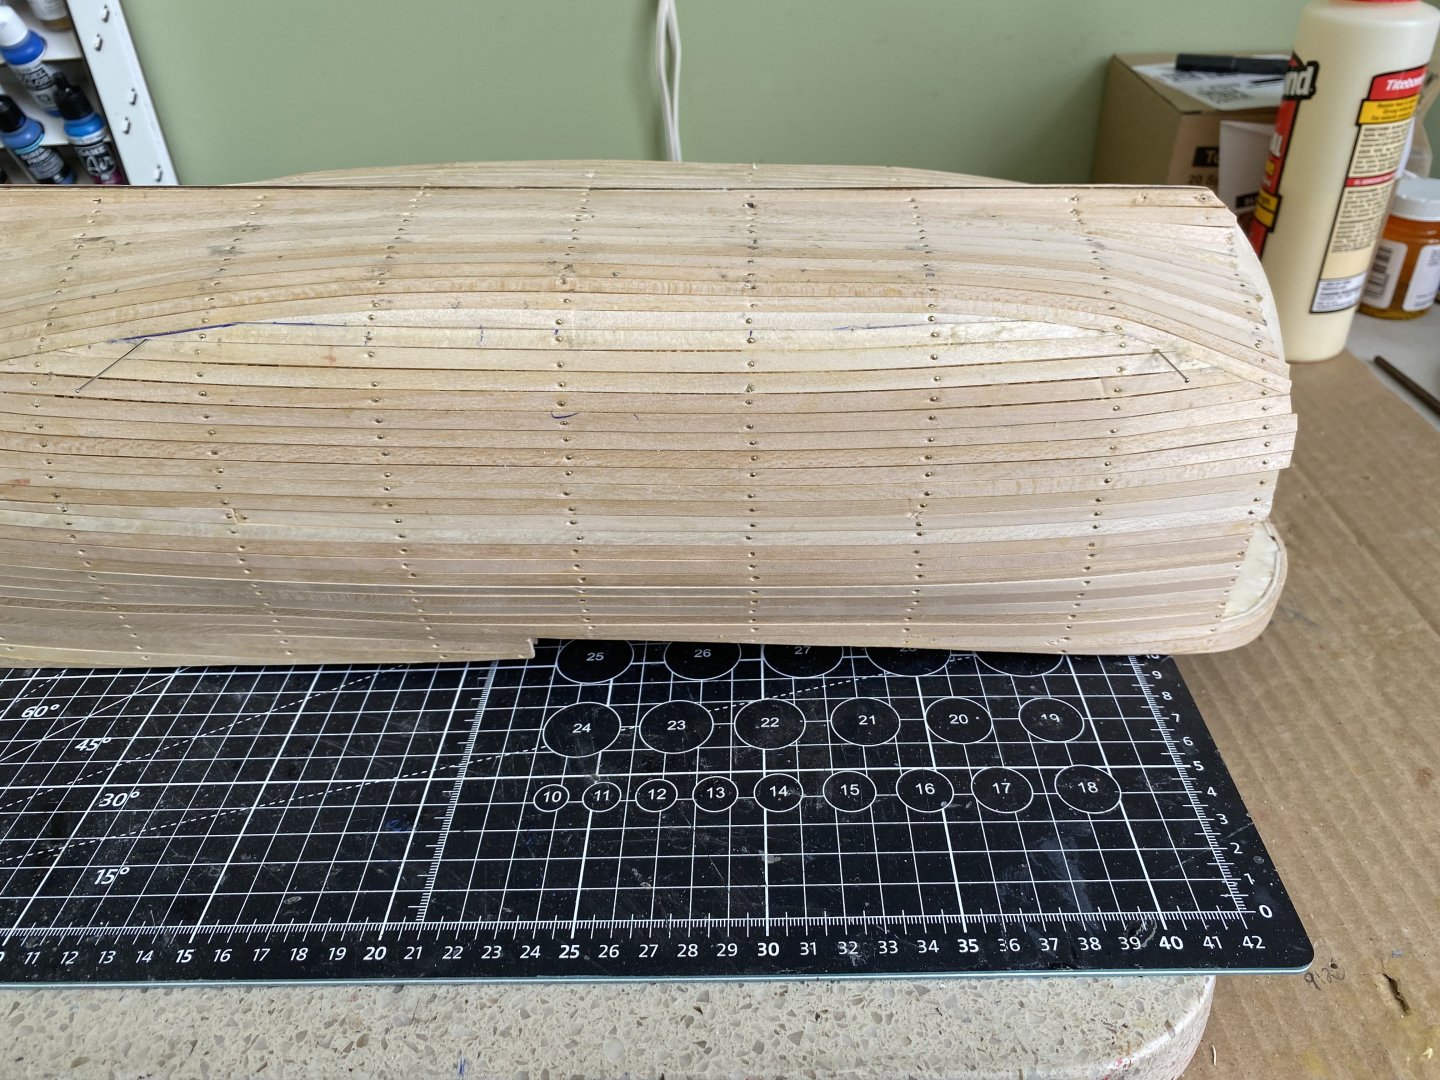
Second planking underway. Stained the planking strips. Following the OcCre instructions I established the starting position for these strips and began working upward toward the bulwarks. As with the 1st planking, various planks along the way will need to be custom cut to fill where a full plank is not used. I discovered after a few failed attempts and some non-church words I found push-pins to be the way to go.

-
Kevin-the-lubber reacted to a post in a topic:
Endeavour by Bill97 - OcCre - 1/54
-
Ian_Grant reacted to a post in a topic:
Endeavour by Bill97 - OcCre - 1/54
-
jpalmer1970 reacted to a post in a topic:
Endeavour by Bill97 - OcCre - 1/54
-
Endeavour by Bill97 - OcCre - 1/54
Bill97 replied to Bill97's topic in - Kit build logs for subjects built from 1751 - 1800
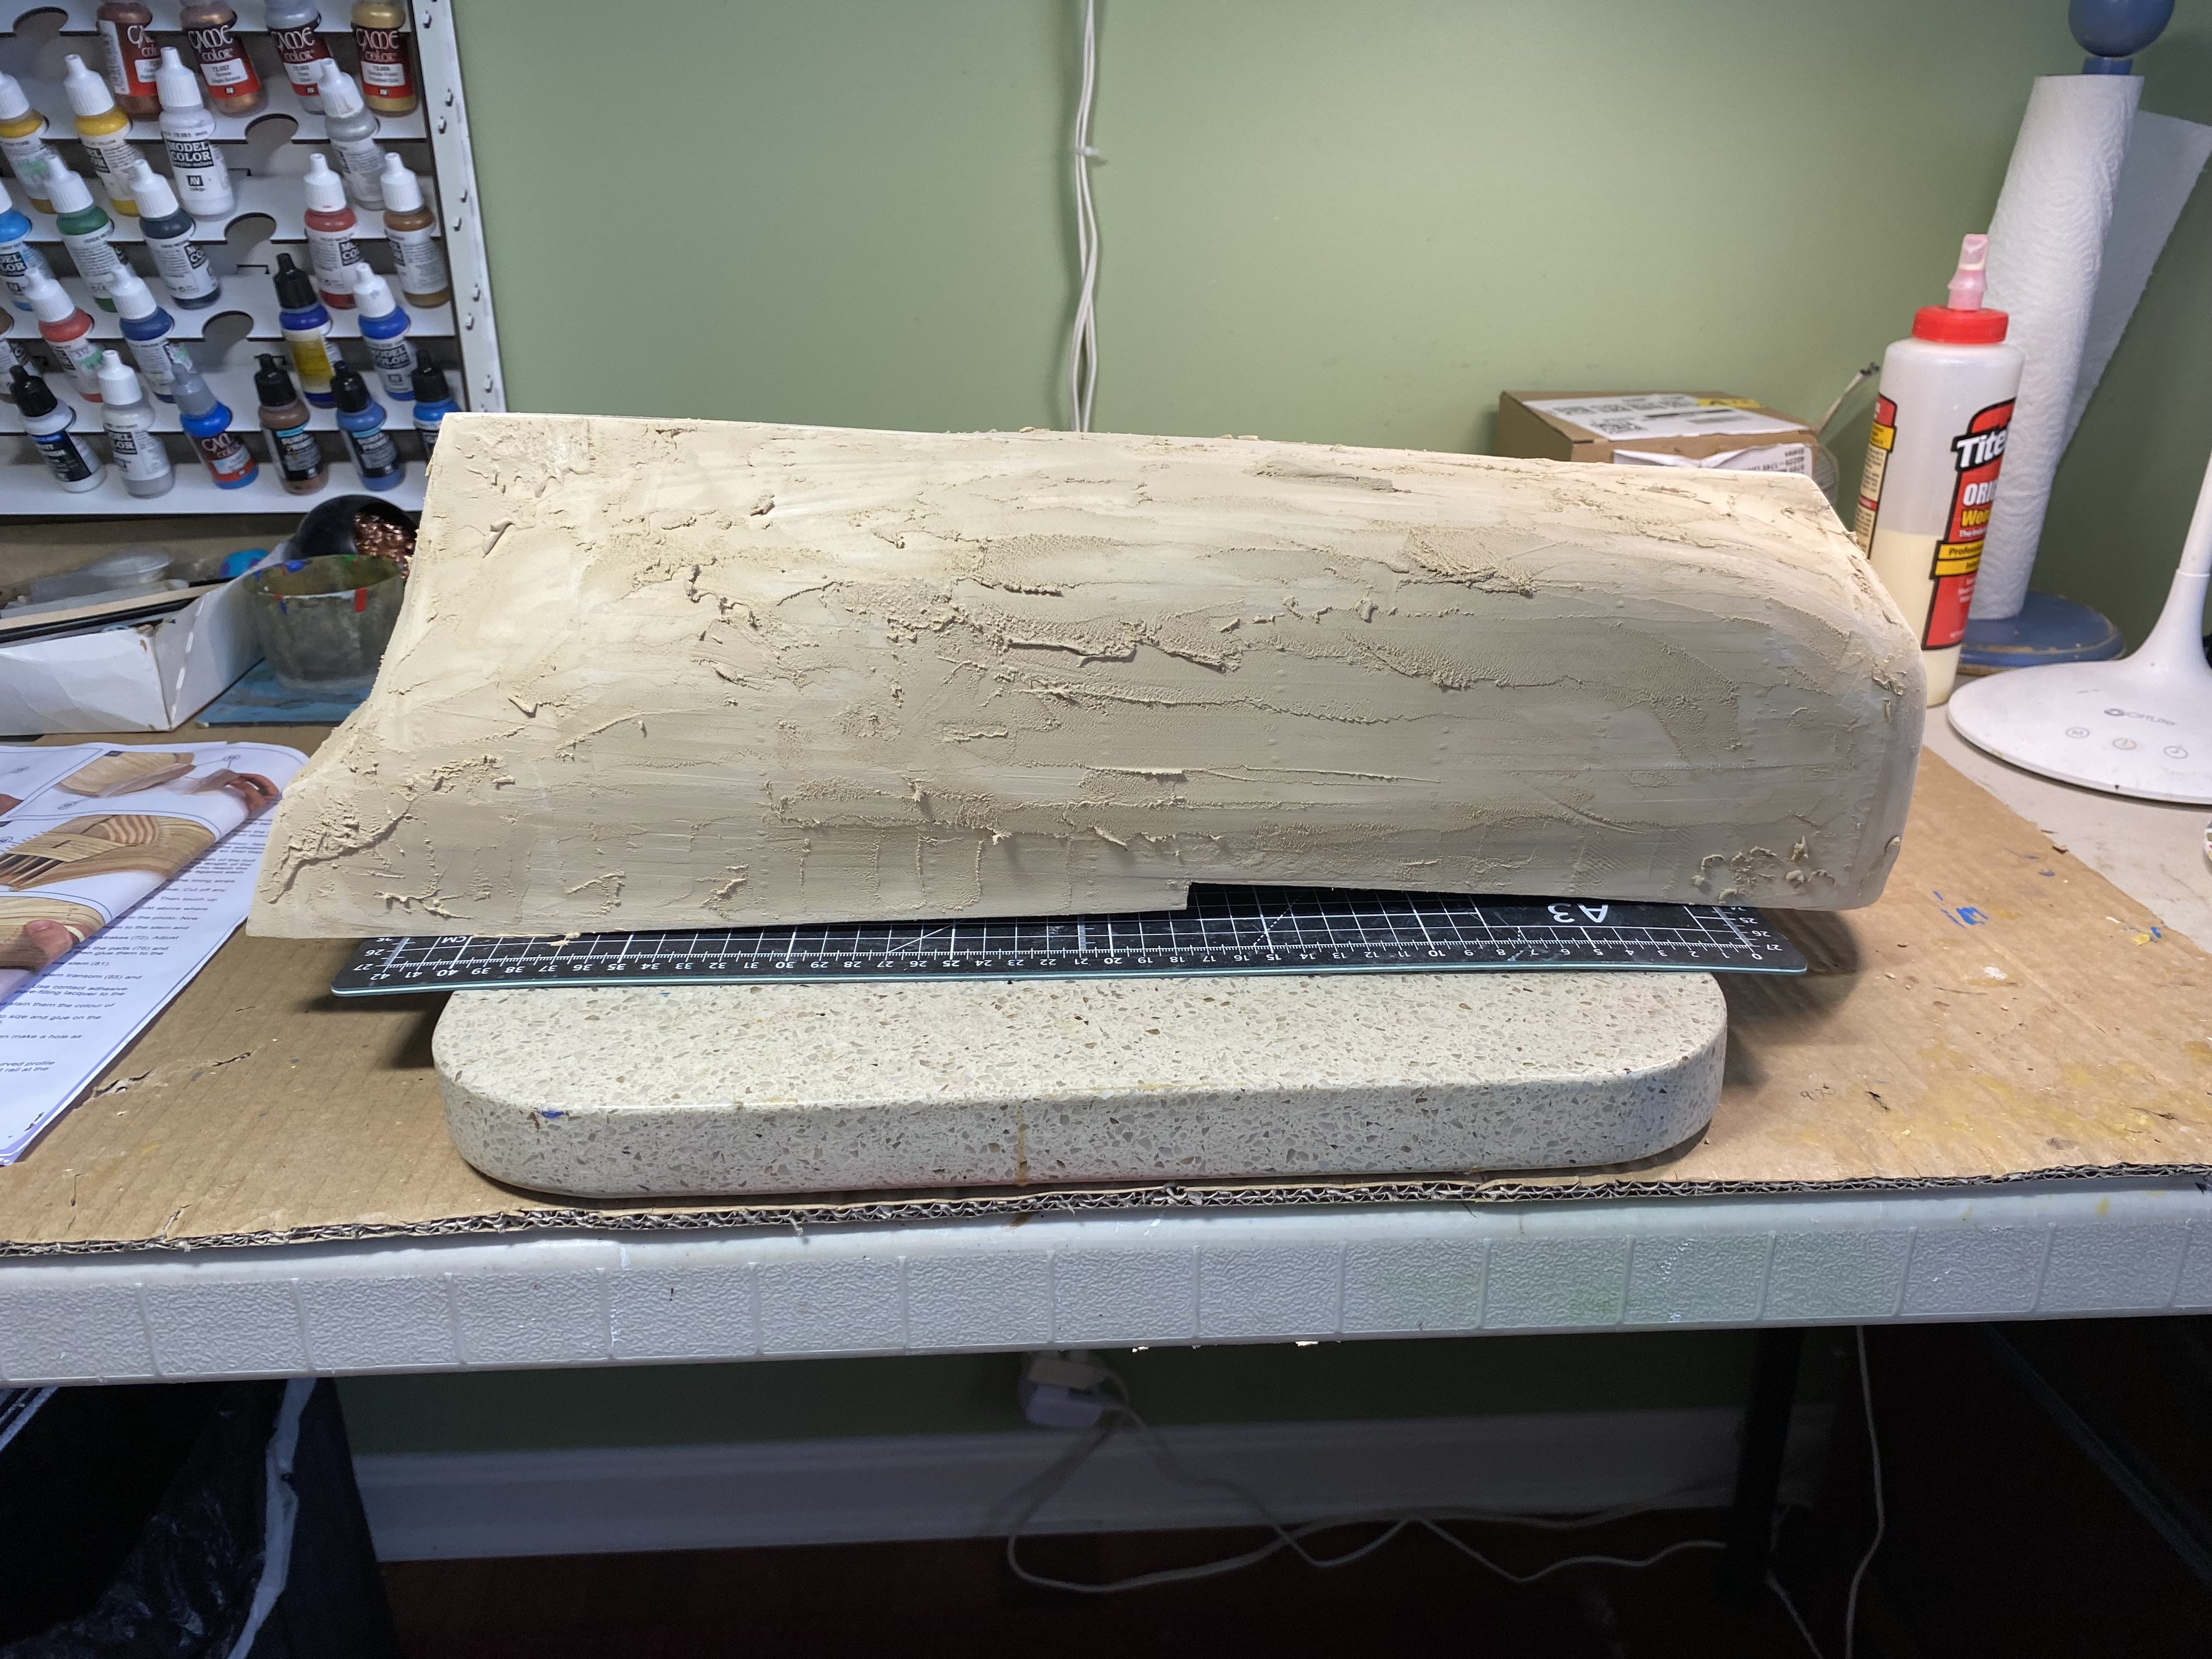
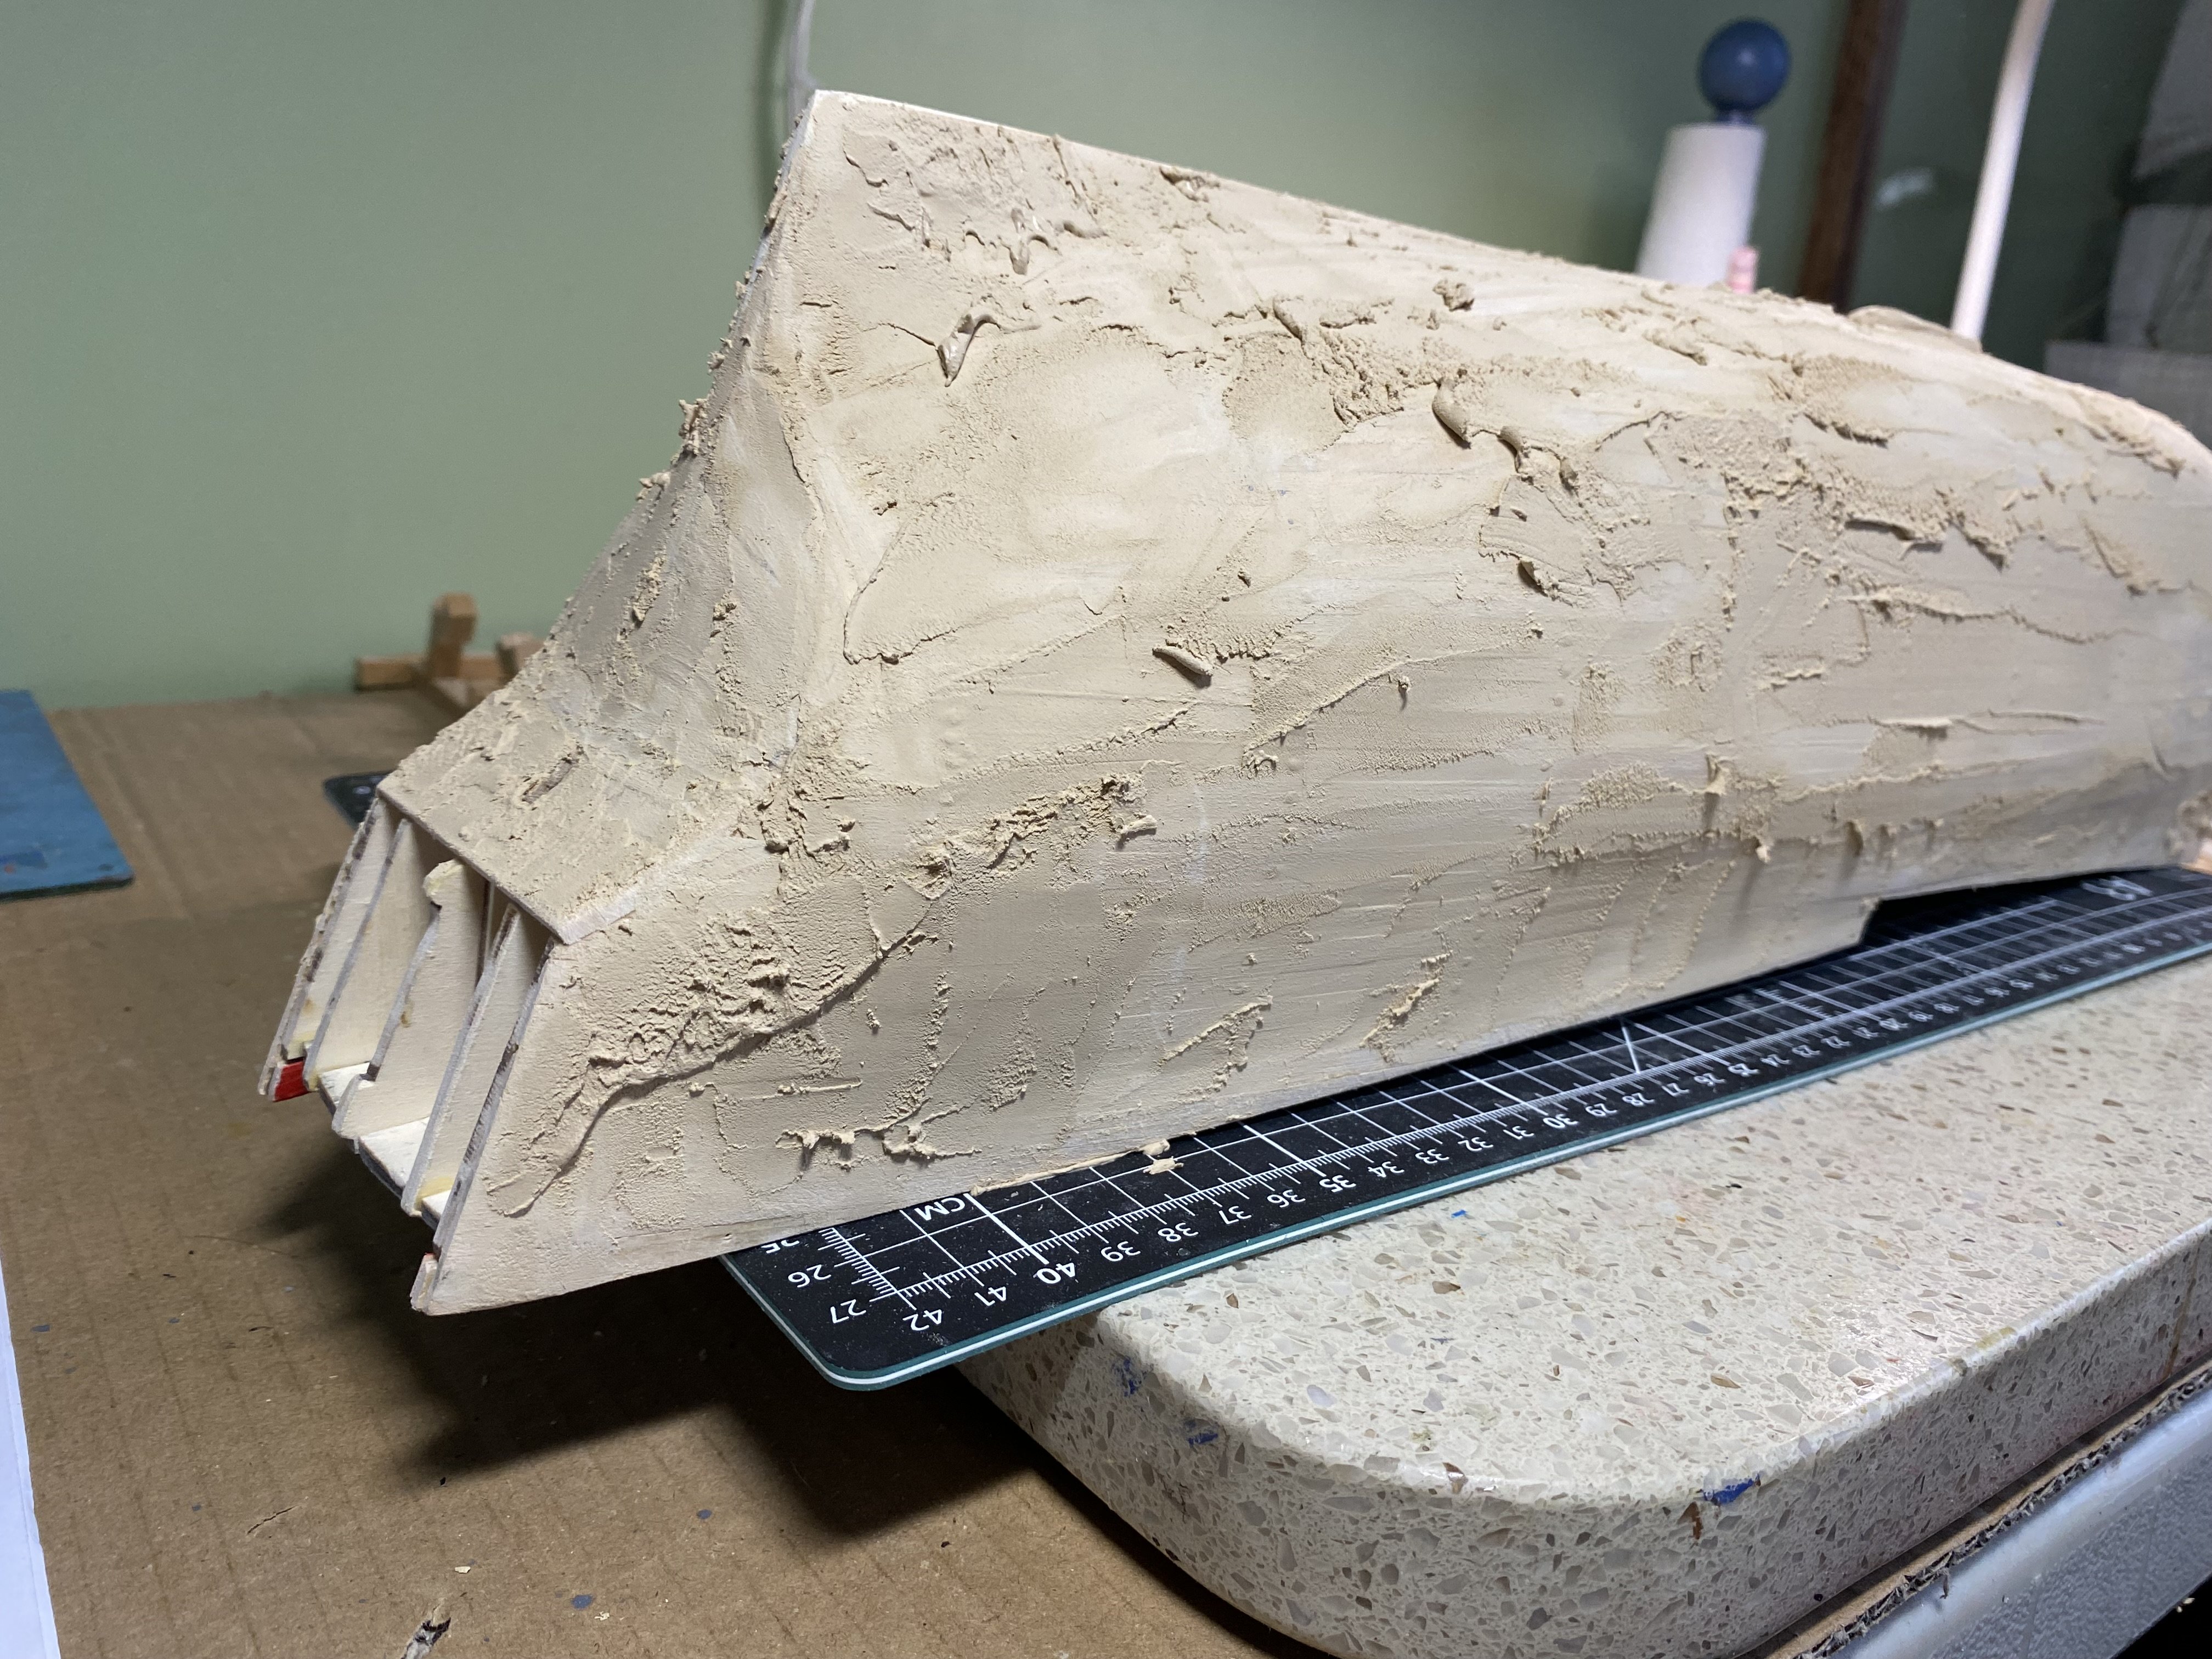
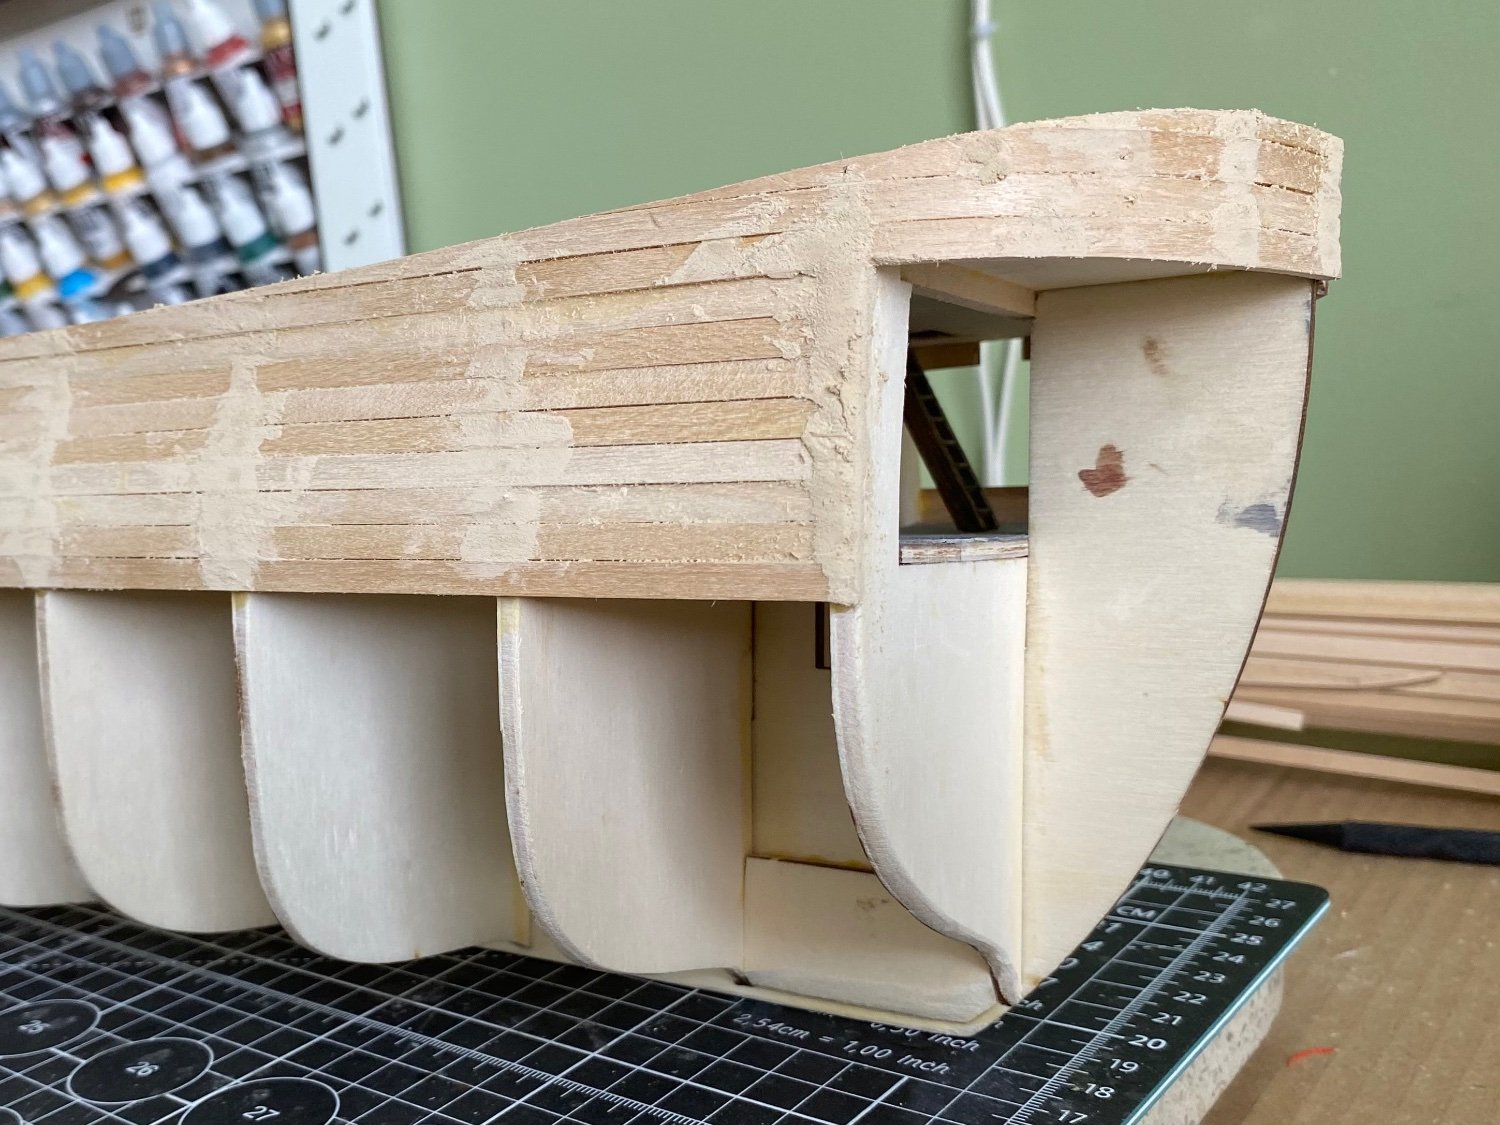
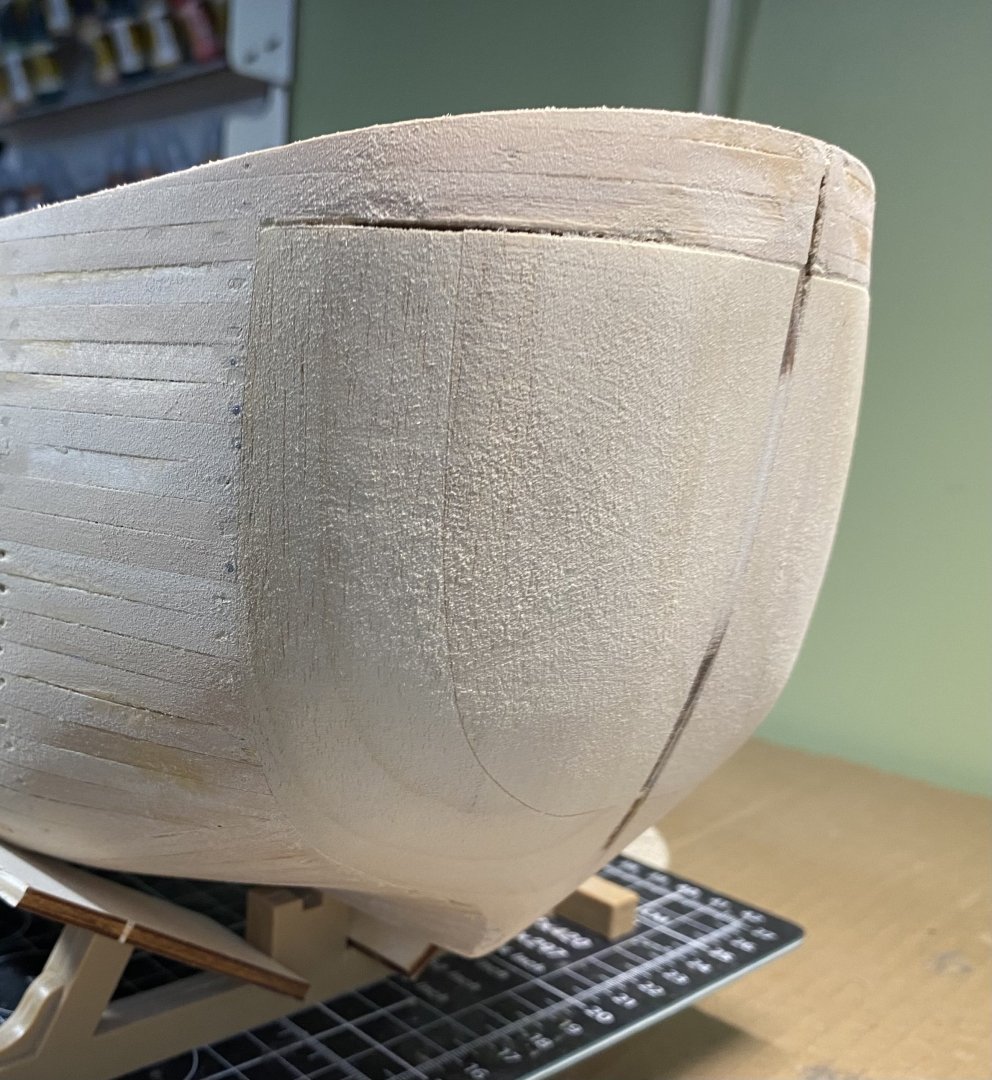
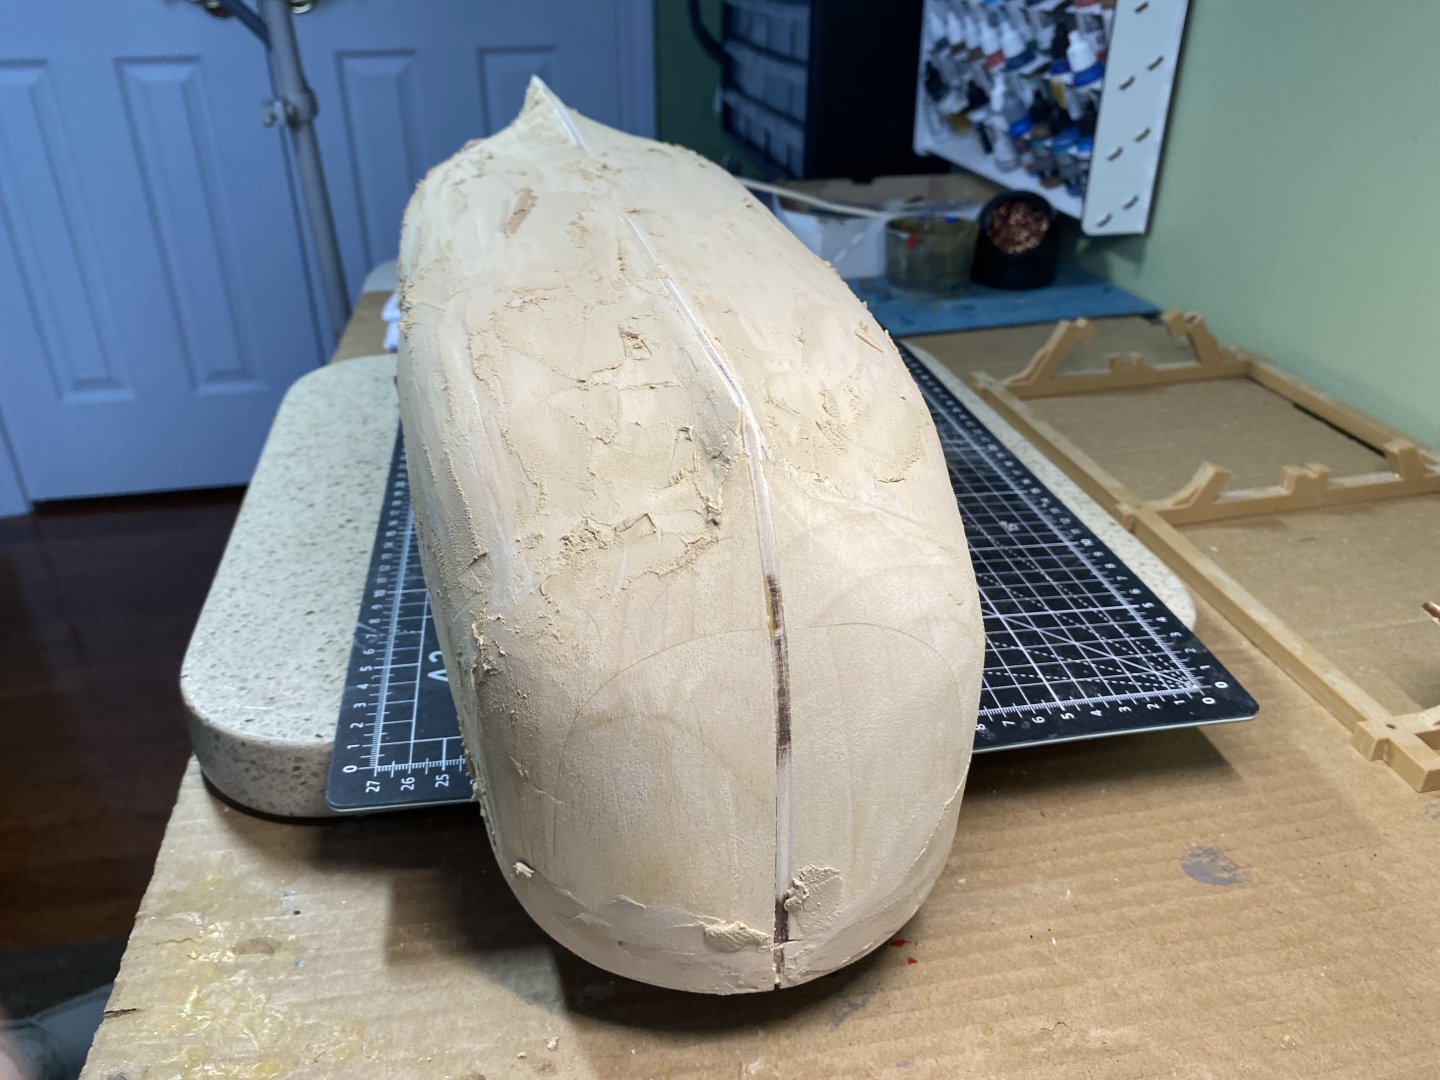
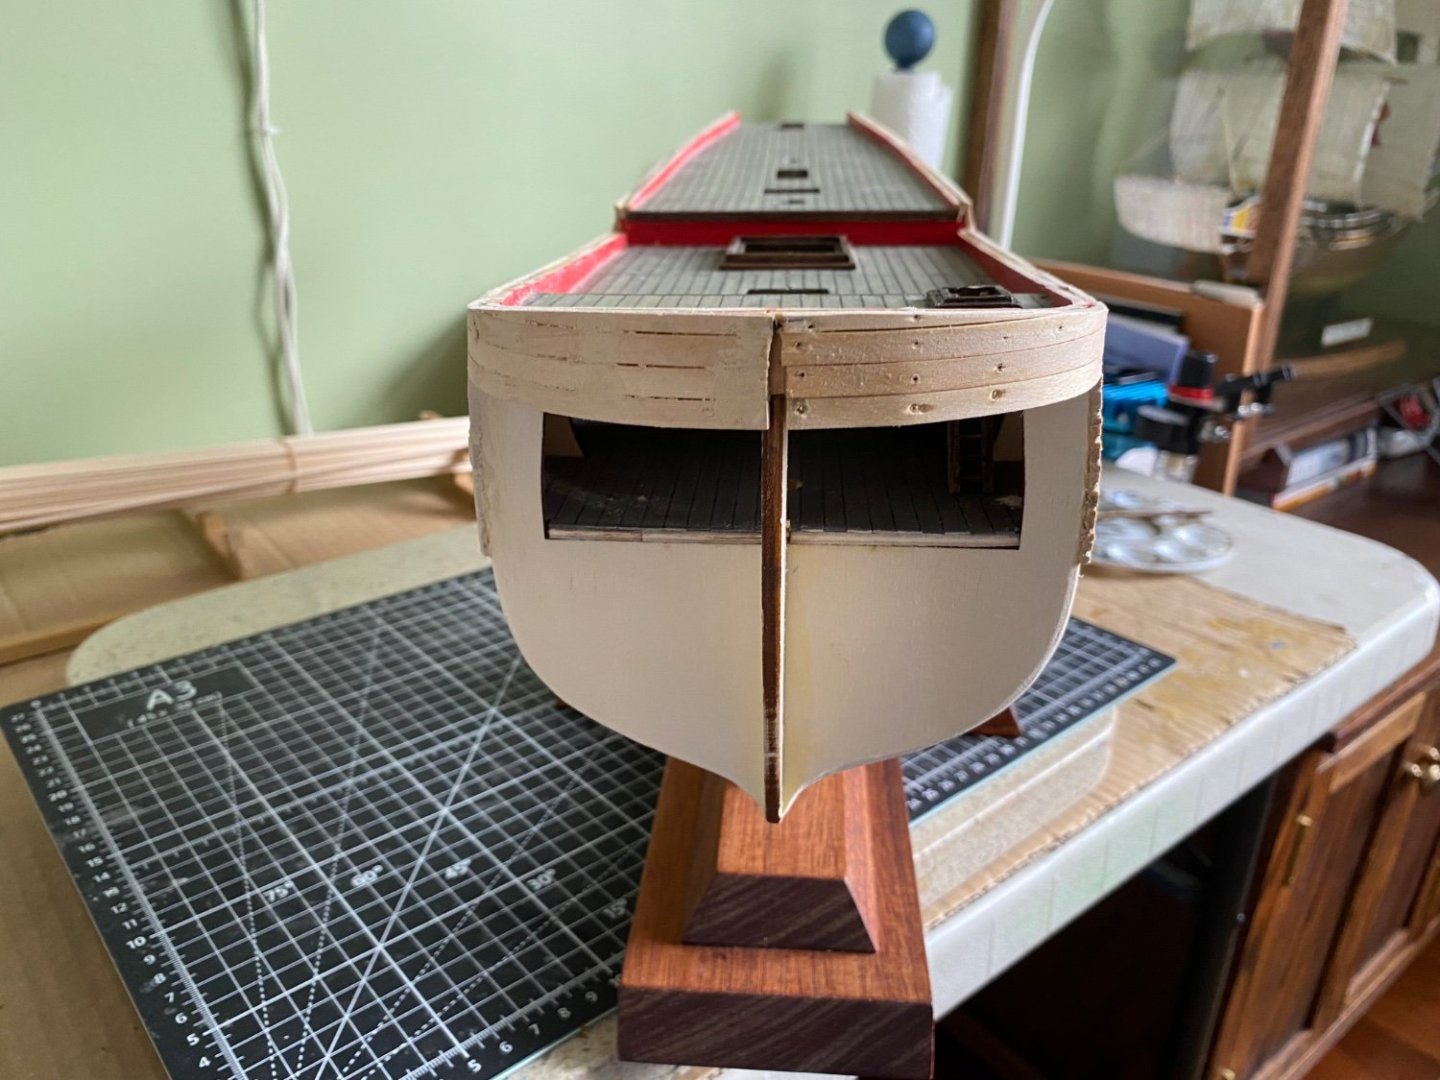
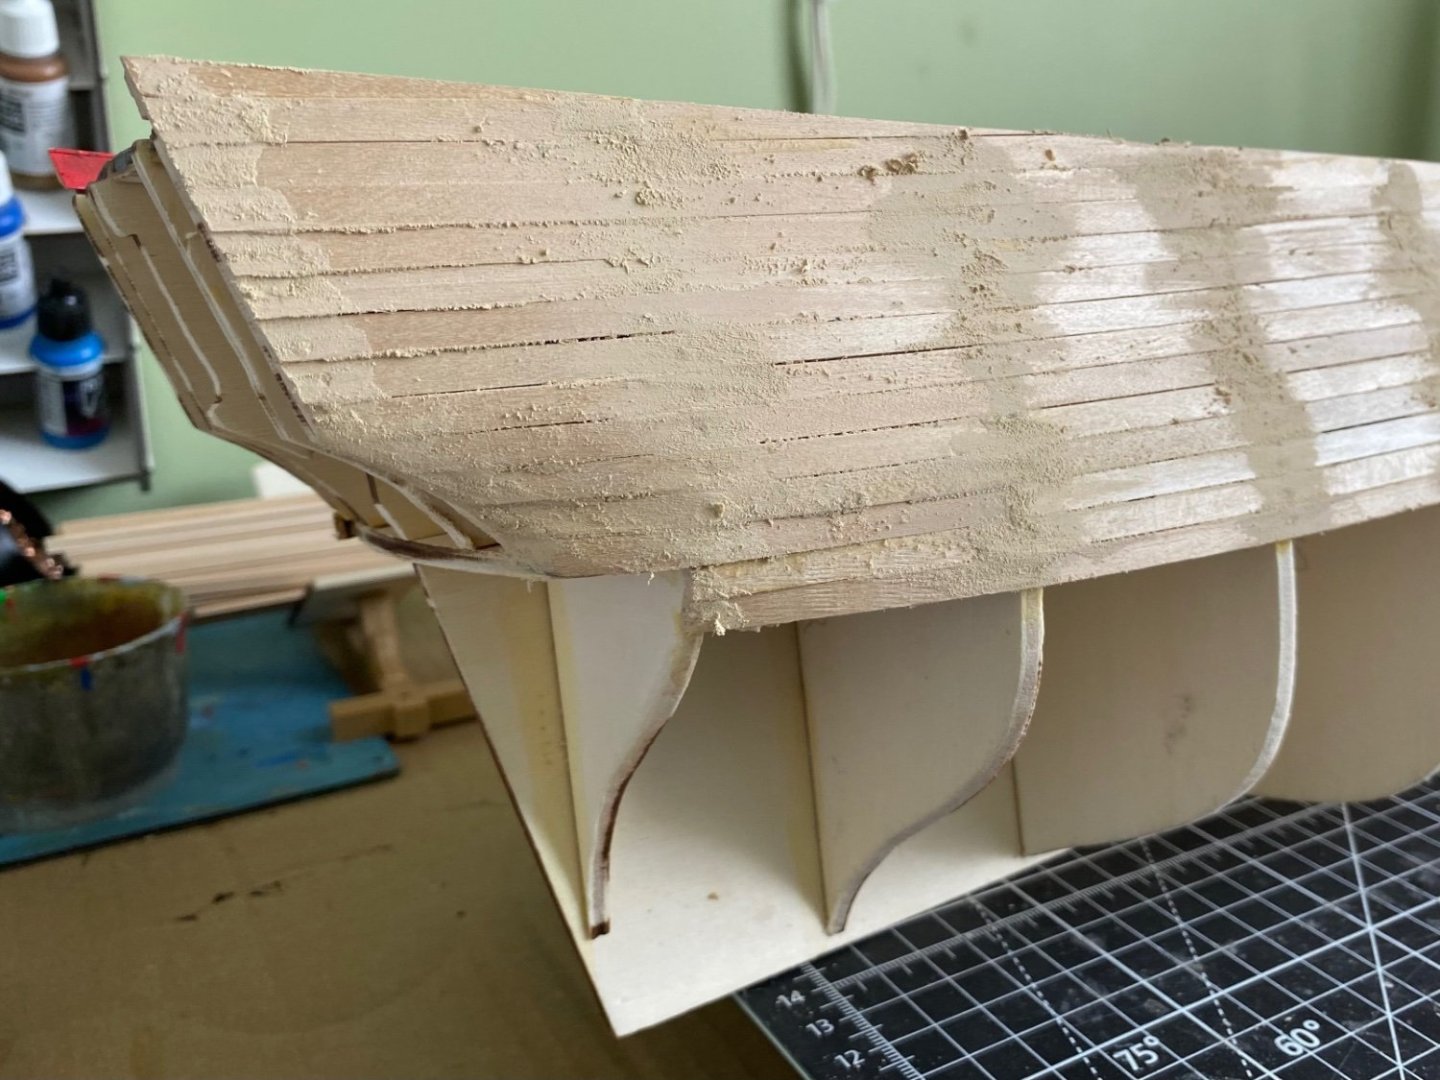
Bow and stern reinforcements sanded and shaped to make a smooth transition from the sides of the ship. Also sanded the planking to achieve a smooth surface keel to bulwarks. Let me advise anyone getting ready to do this to work outside or in a room you don’t care to get dusty. Wow sanding the two ends left a lot of sanding dust all over my workshop! Spent a little time with my ShopVac after I was finished. I then took a piece of the veneer strip and slid it over the two different reinforcements checking for any high or low spots that need some extra sanding. Once I was satisfied with the shape I coated the entire hull with wood filler putty to fill the nail holes and spaces between planks. Tomorrow after the wood filler drys and hardens I will sand the hull again with a fine grit sandpaper to remove the unnecessary dried putty.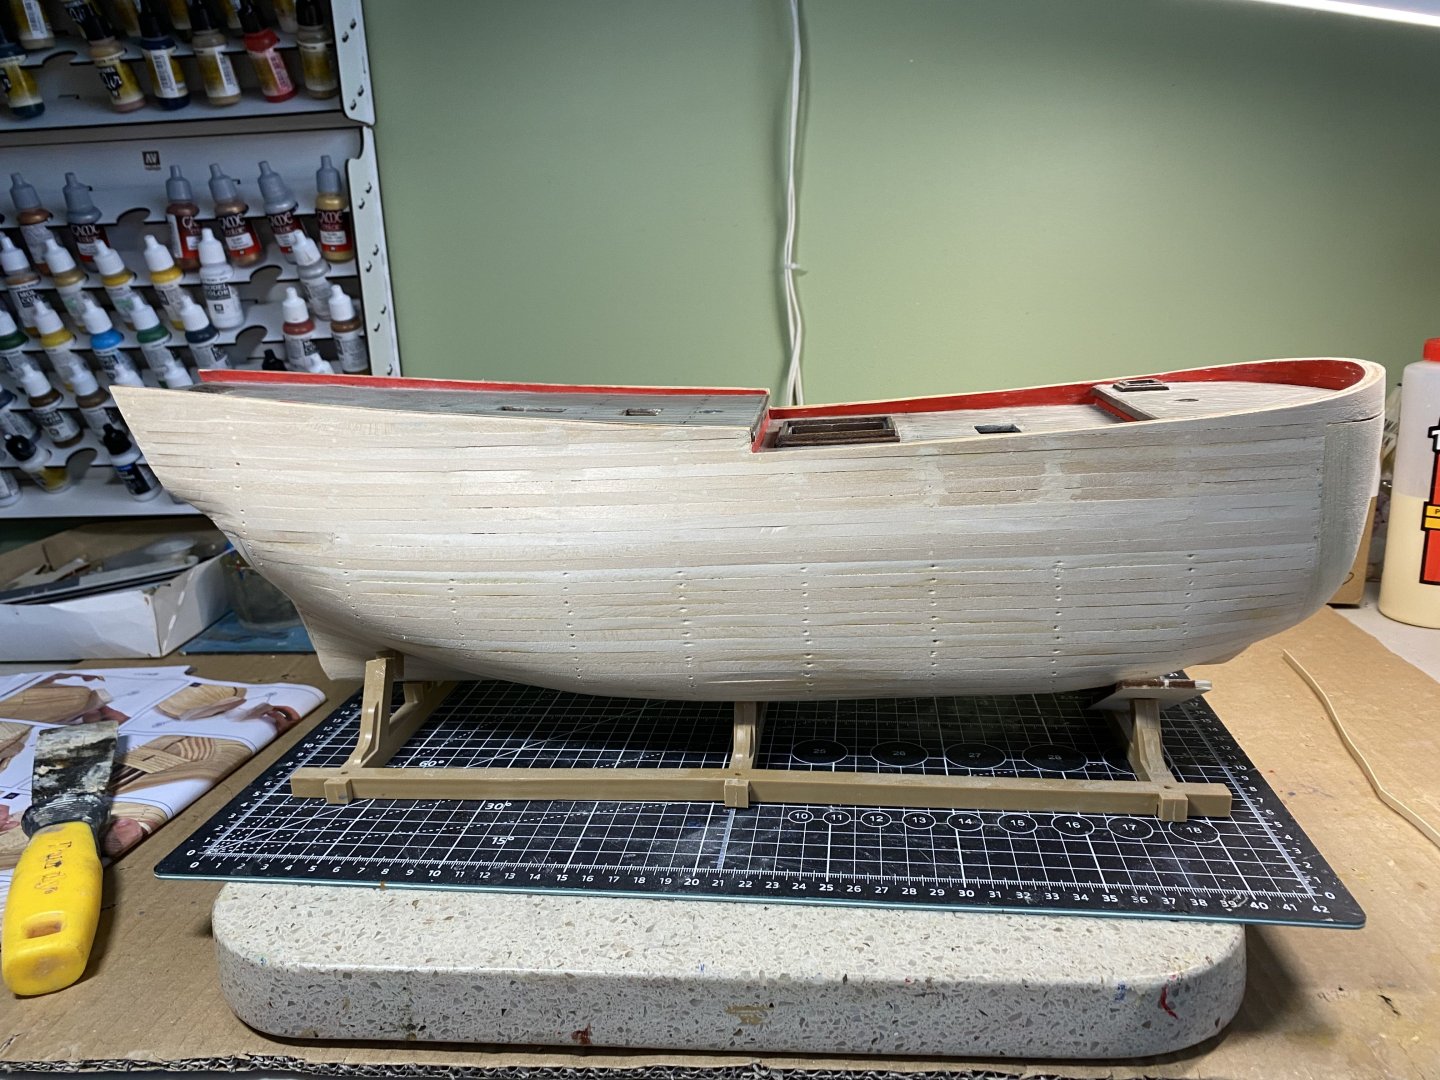


-
Endeavour by Bill97 - OcCre - 1/54
Bill97 replied to Bill97's topic in - Kit build logs for subjects built from 1751 - 1800
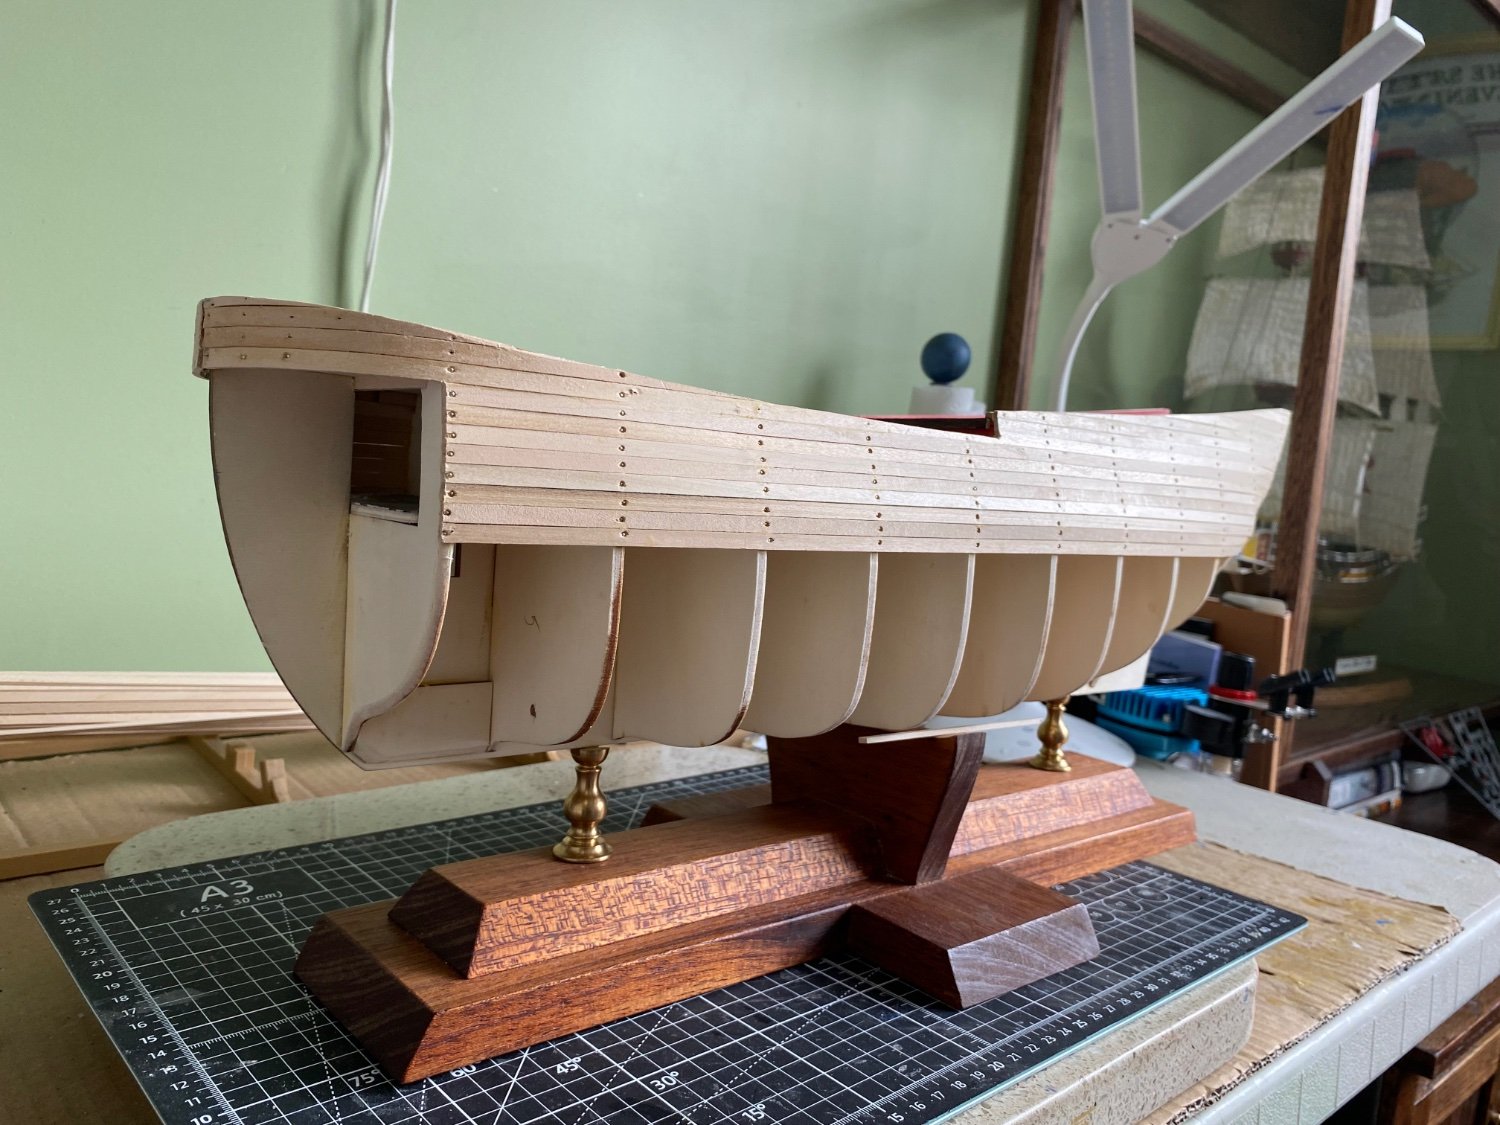
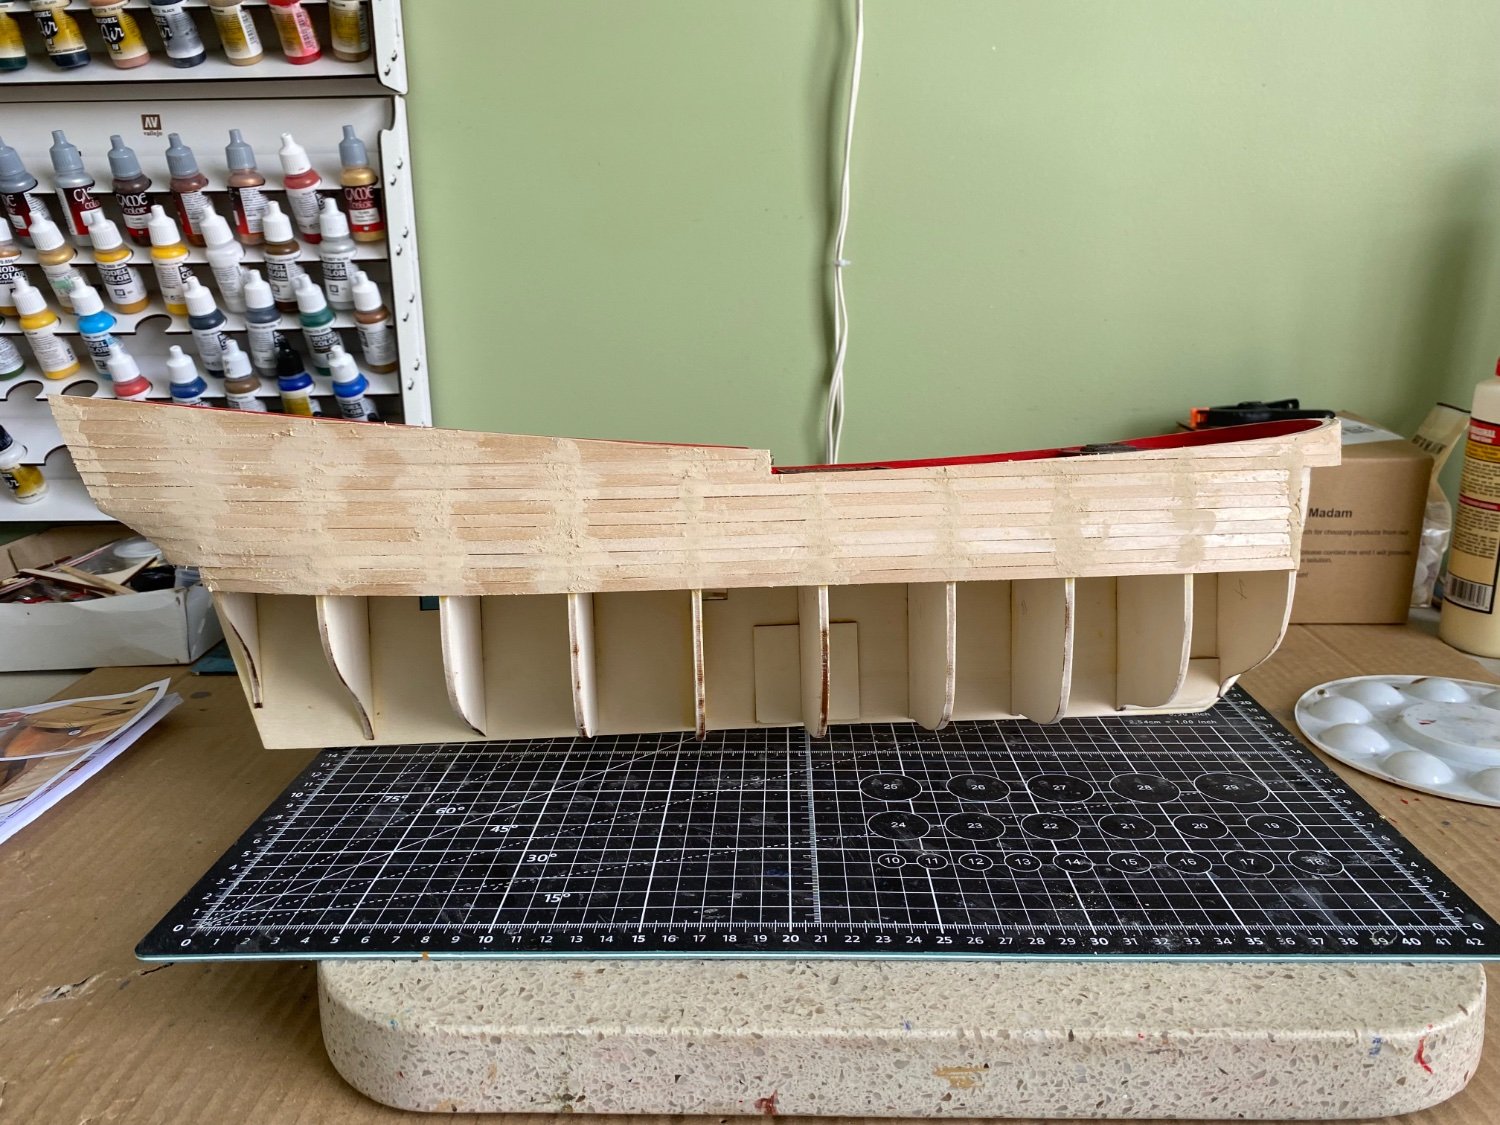
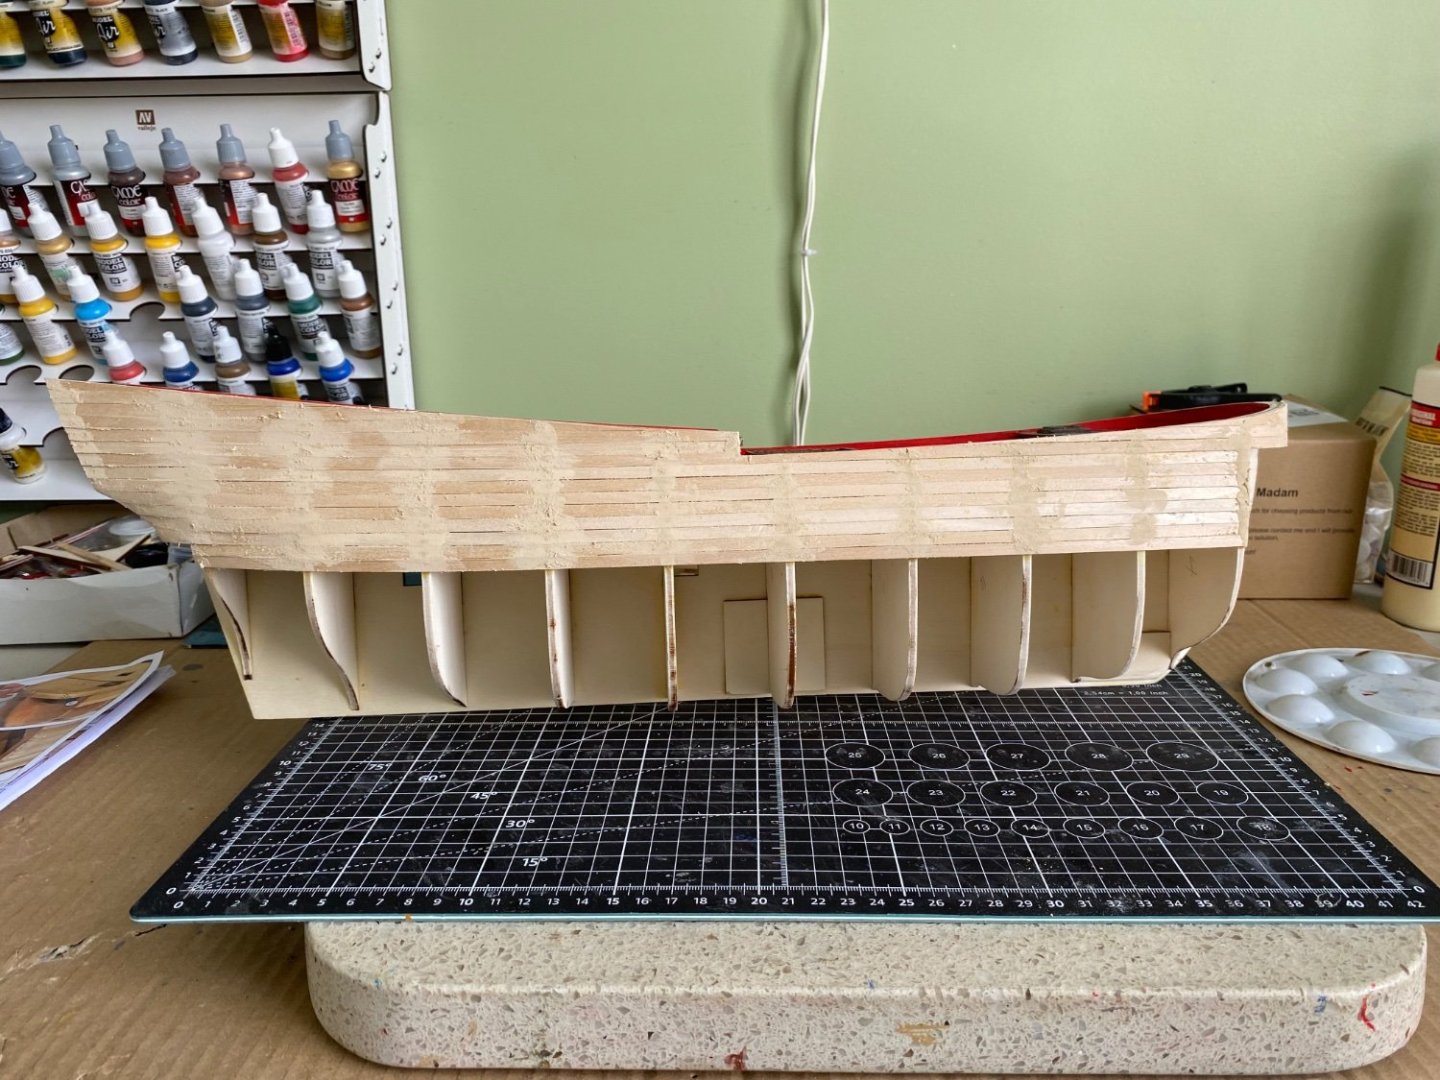
1st planking complete. Bow and stern reinforcements added. After allowing ample time for glue to dry I will begin the sanding process that will shape the hull. Wish me luck my friends .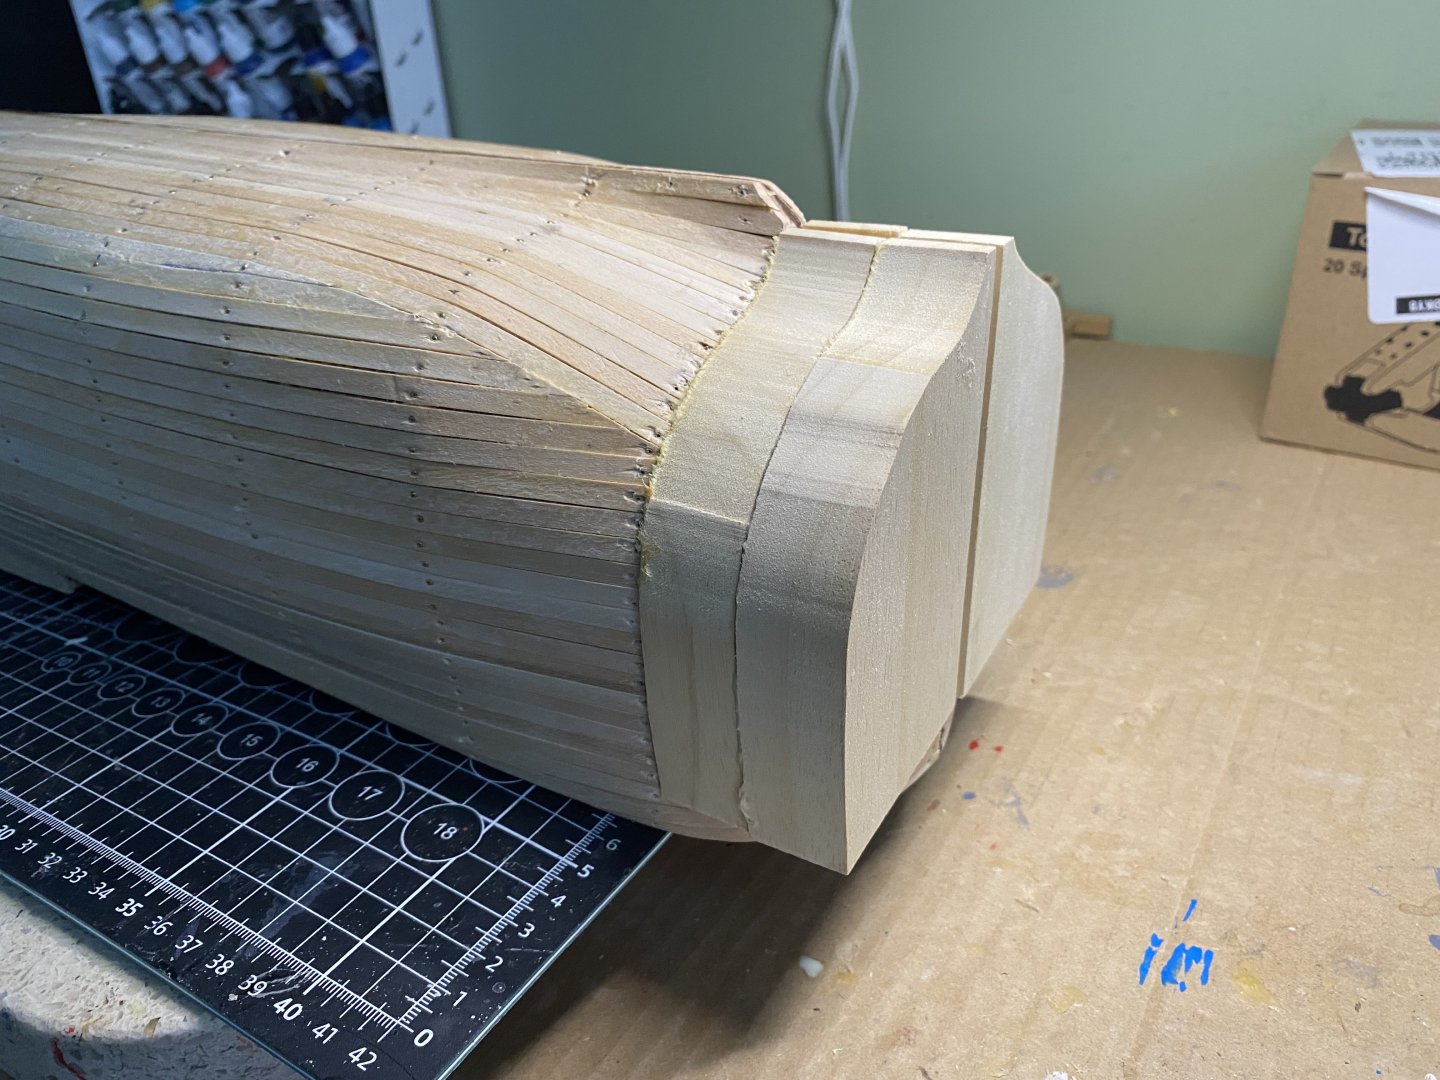


-
Endeavour by Bill97 - OcCre - 1/54
Bill97 replied to Bill97's topic in - Kit build logs for subjects built from 1751 - 1800
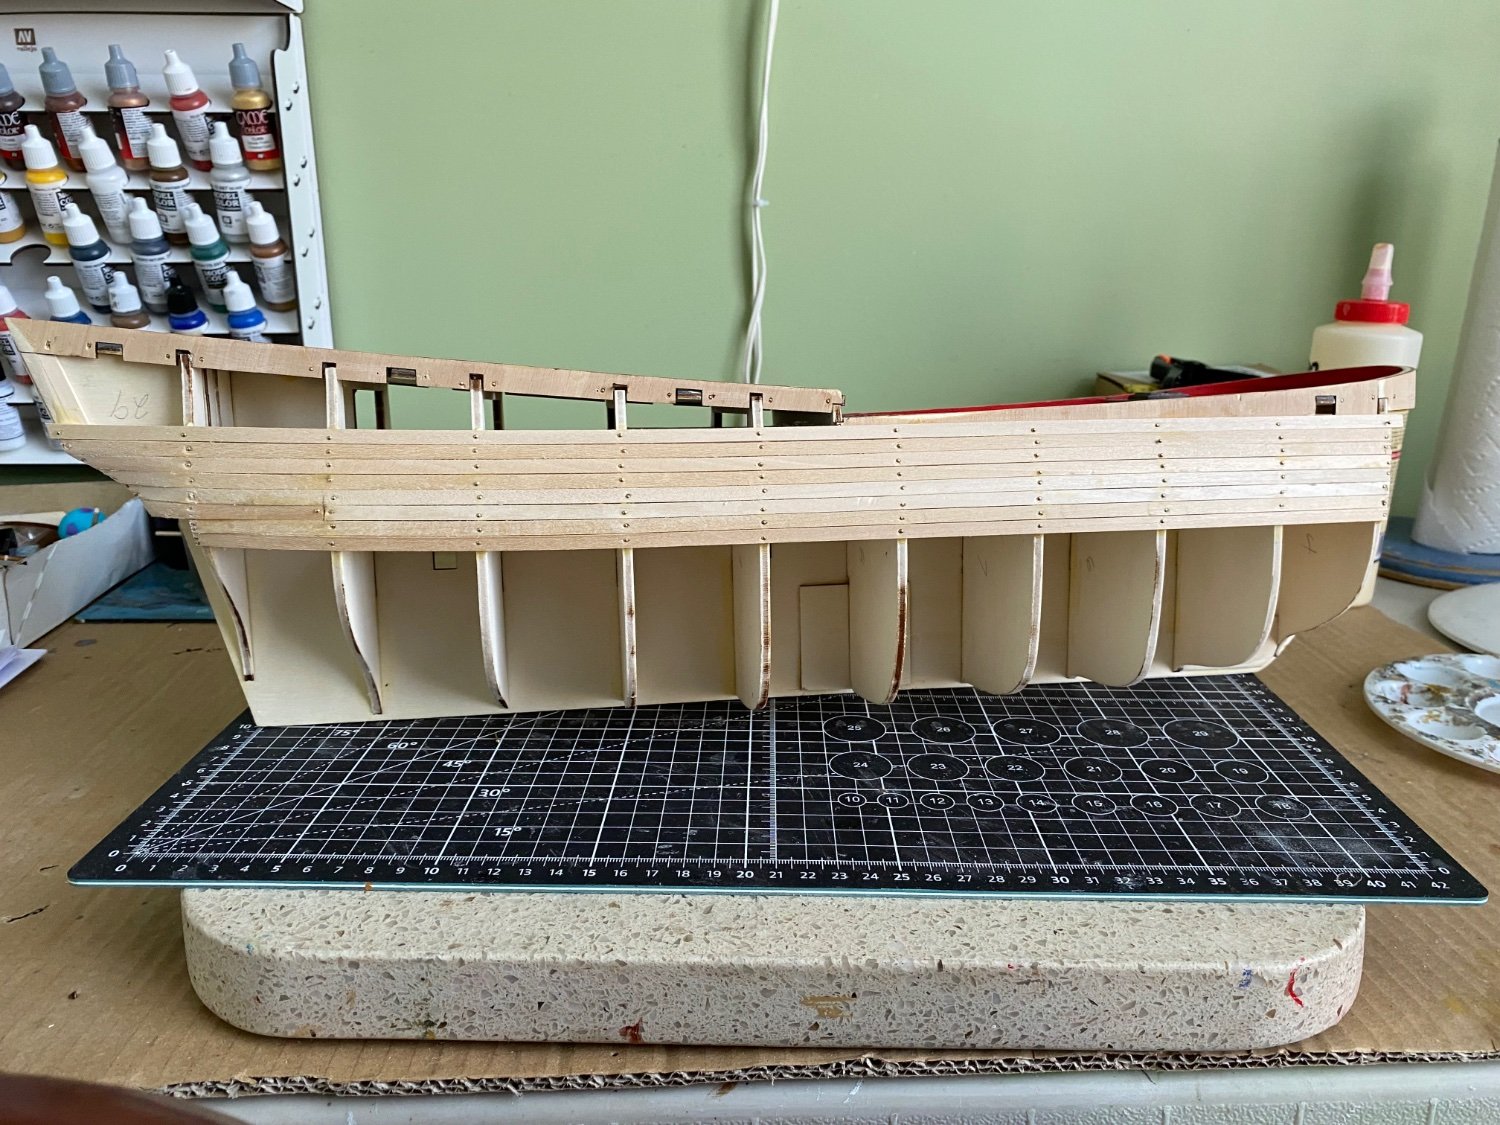
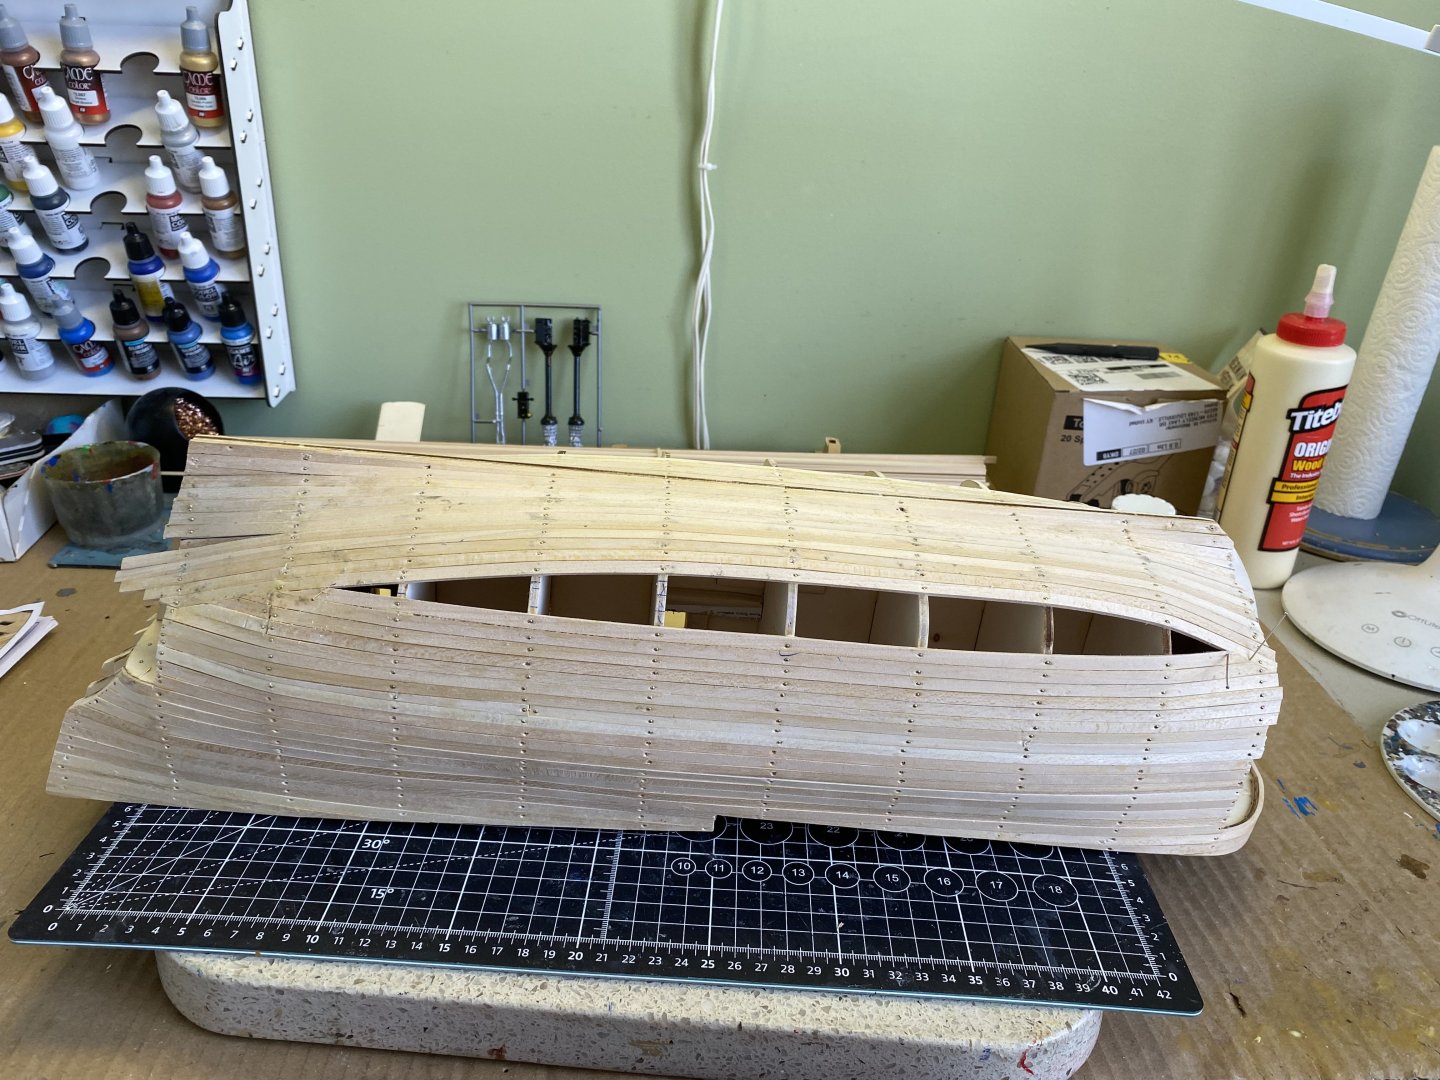
Port side of hull fully planked! About to close up the starboard side.


-
Endeavour by Bill97 - OcCre - 1/54
Bill97 replied to Bill97's topic in - Kit build logs for subjects built from 1751 - 1800
Little by little closing up the hull with the 1st planking!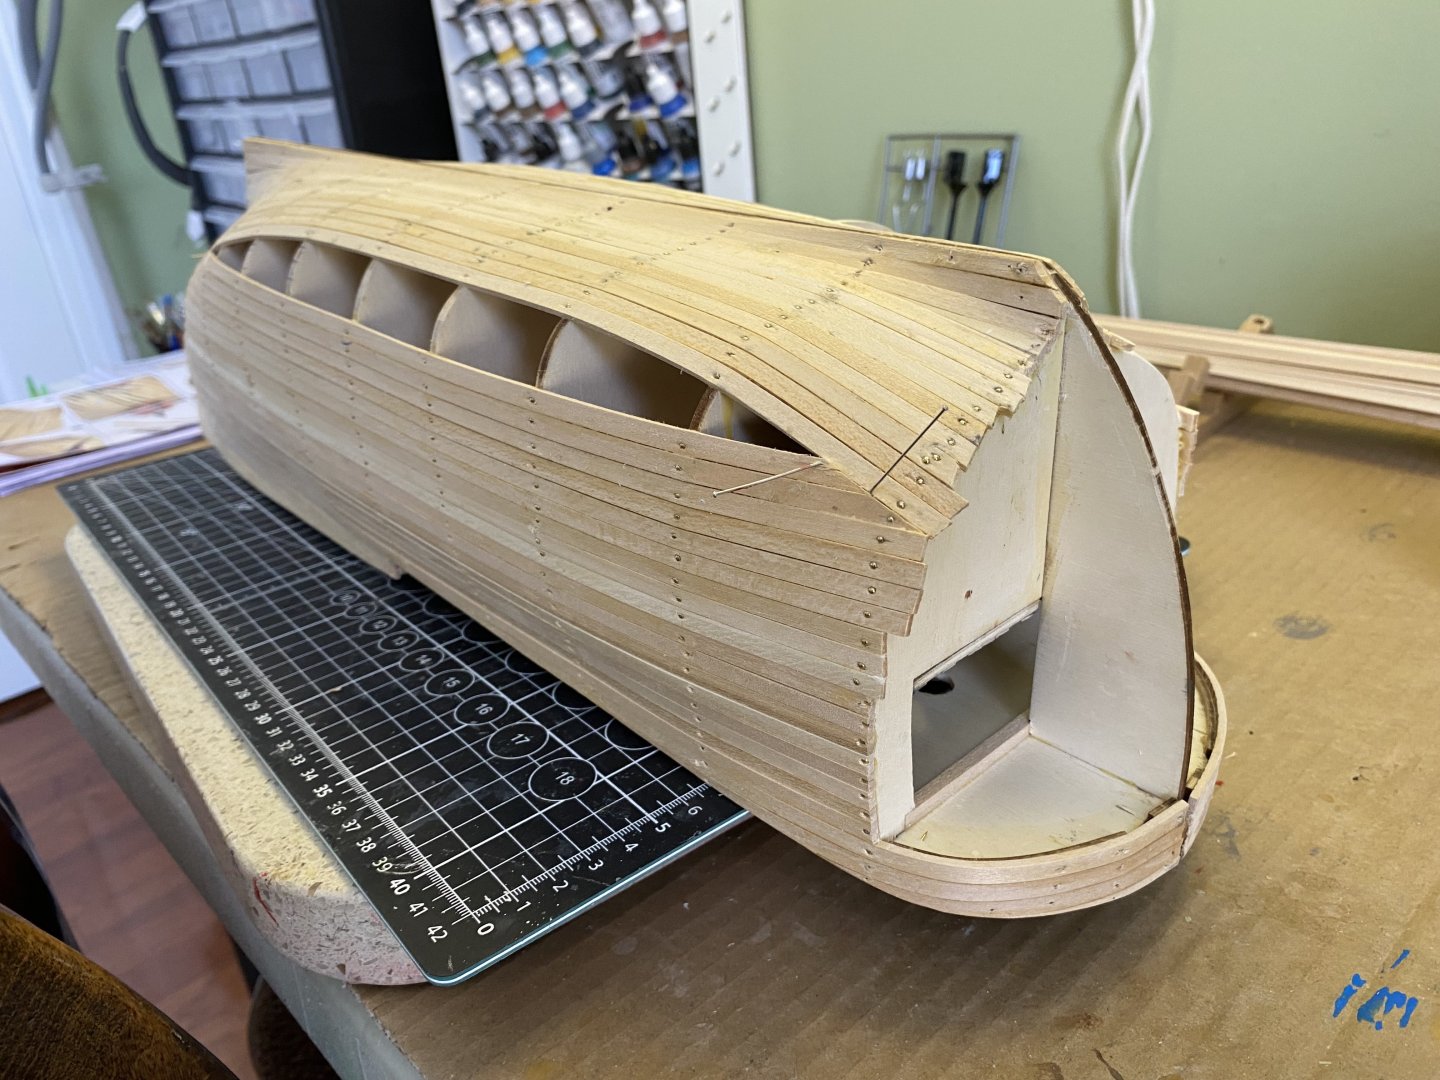
-
Endeavour by Bill97 - OcCre - 1/54
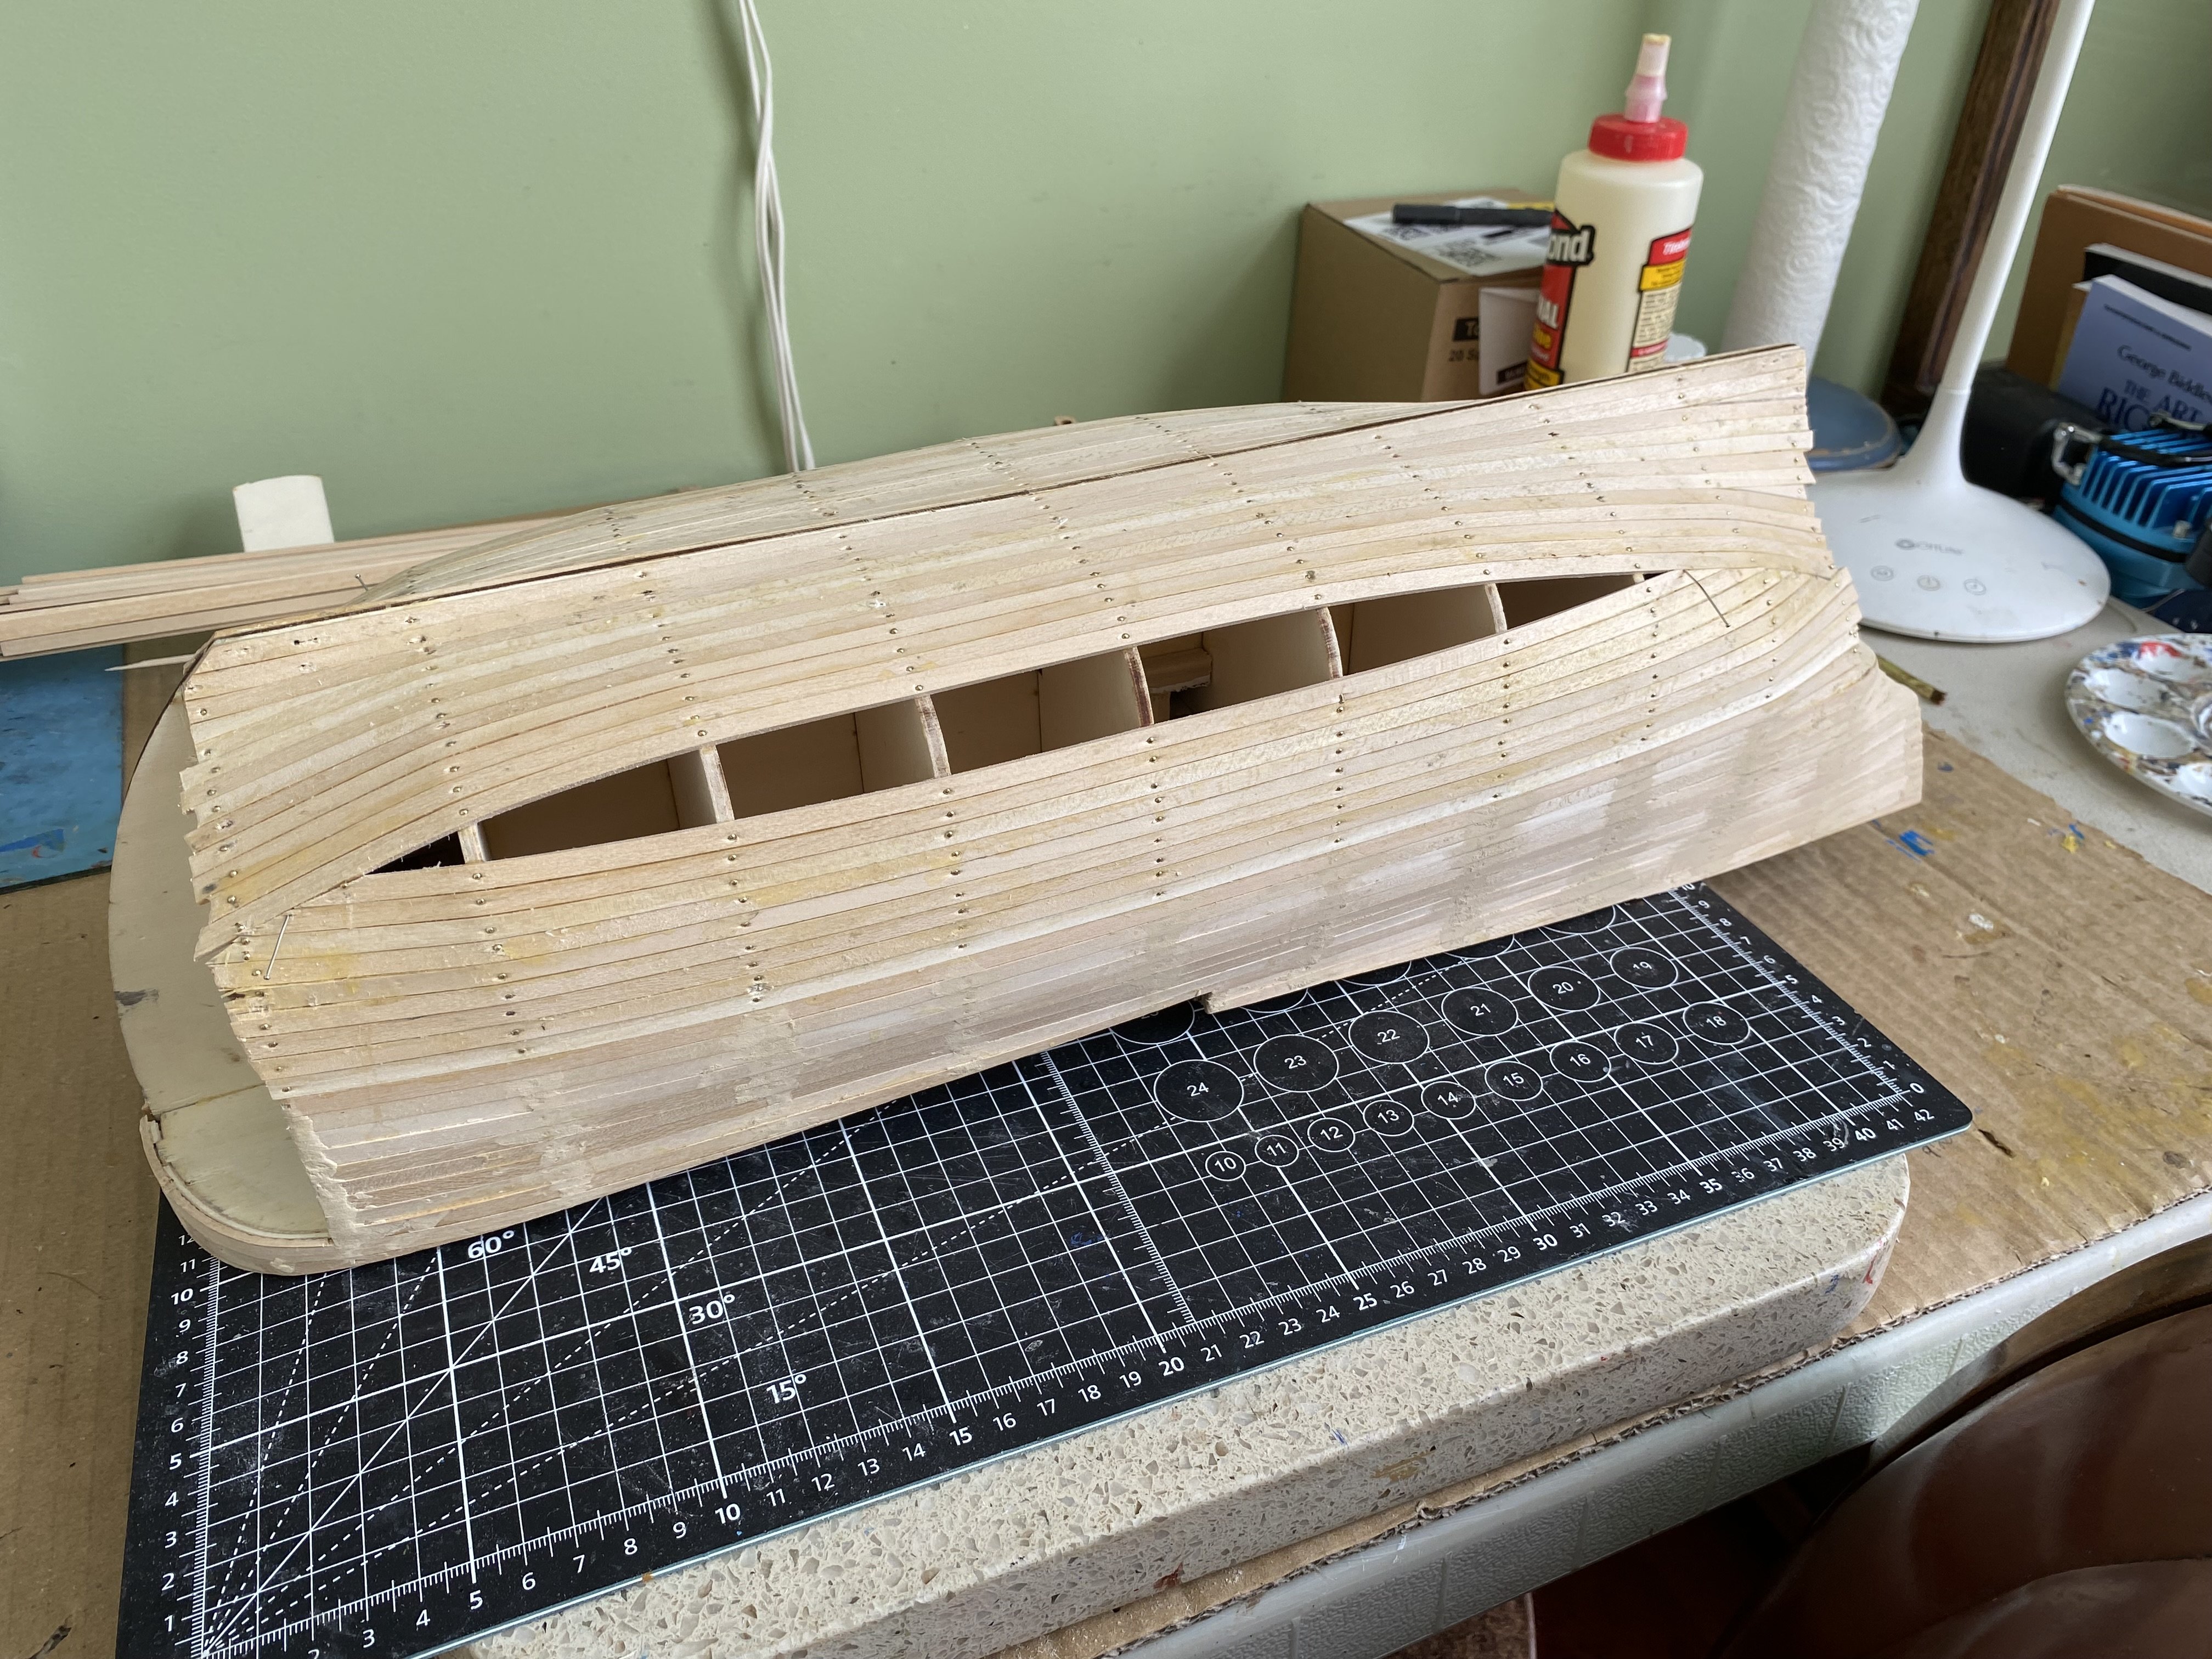
Bill97 replied to Bill97's topic in - Kit build logs for subjects built from 1751 - 1800
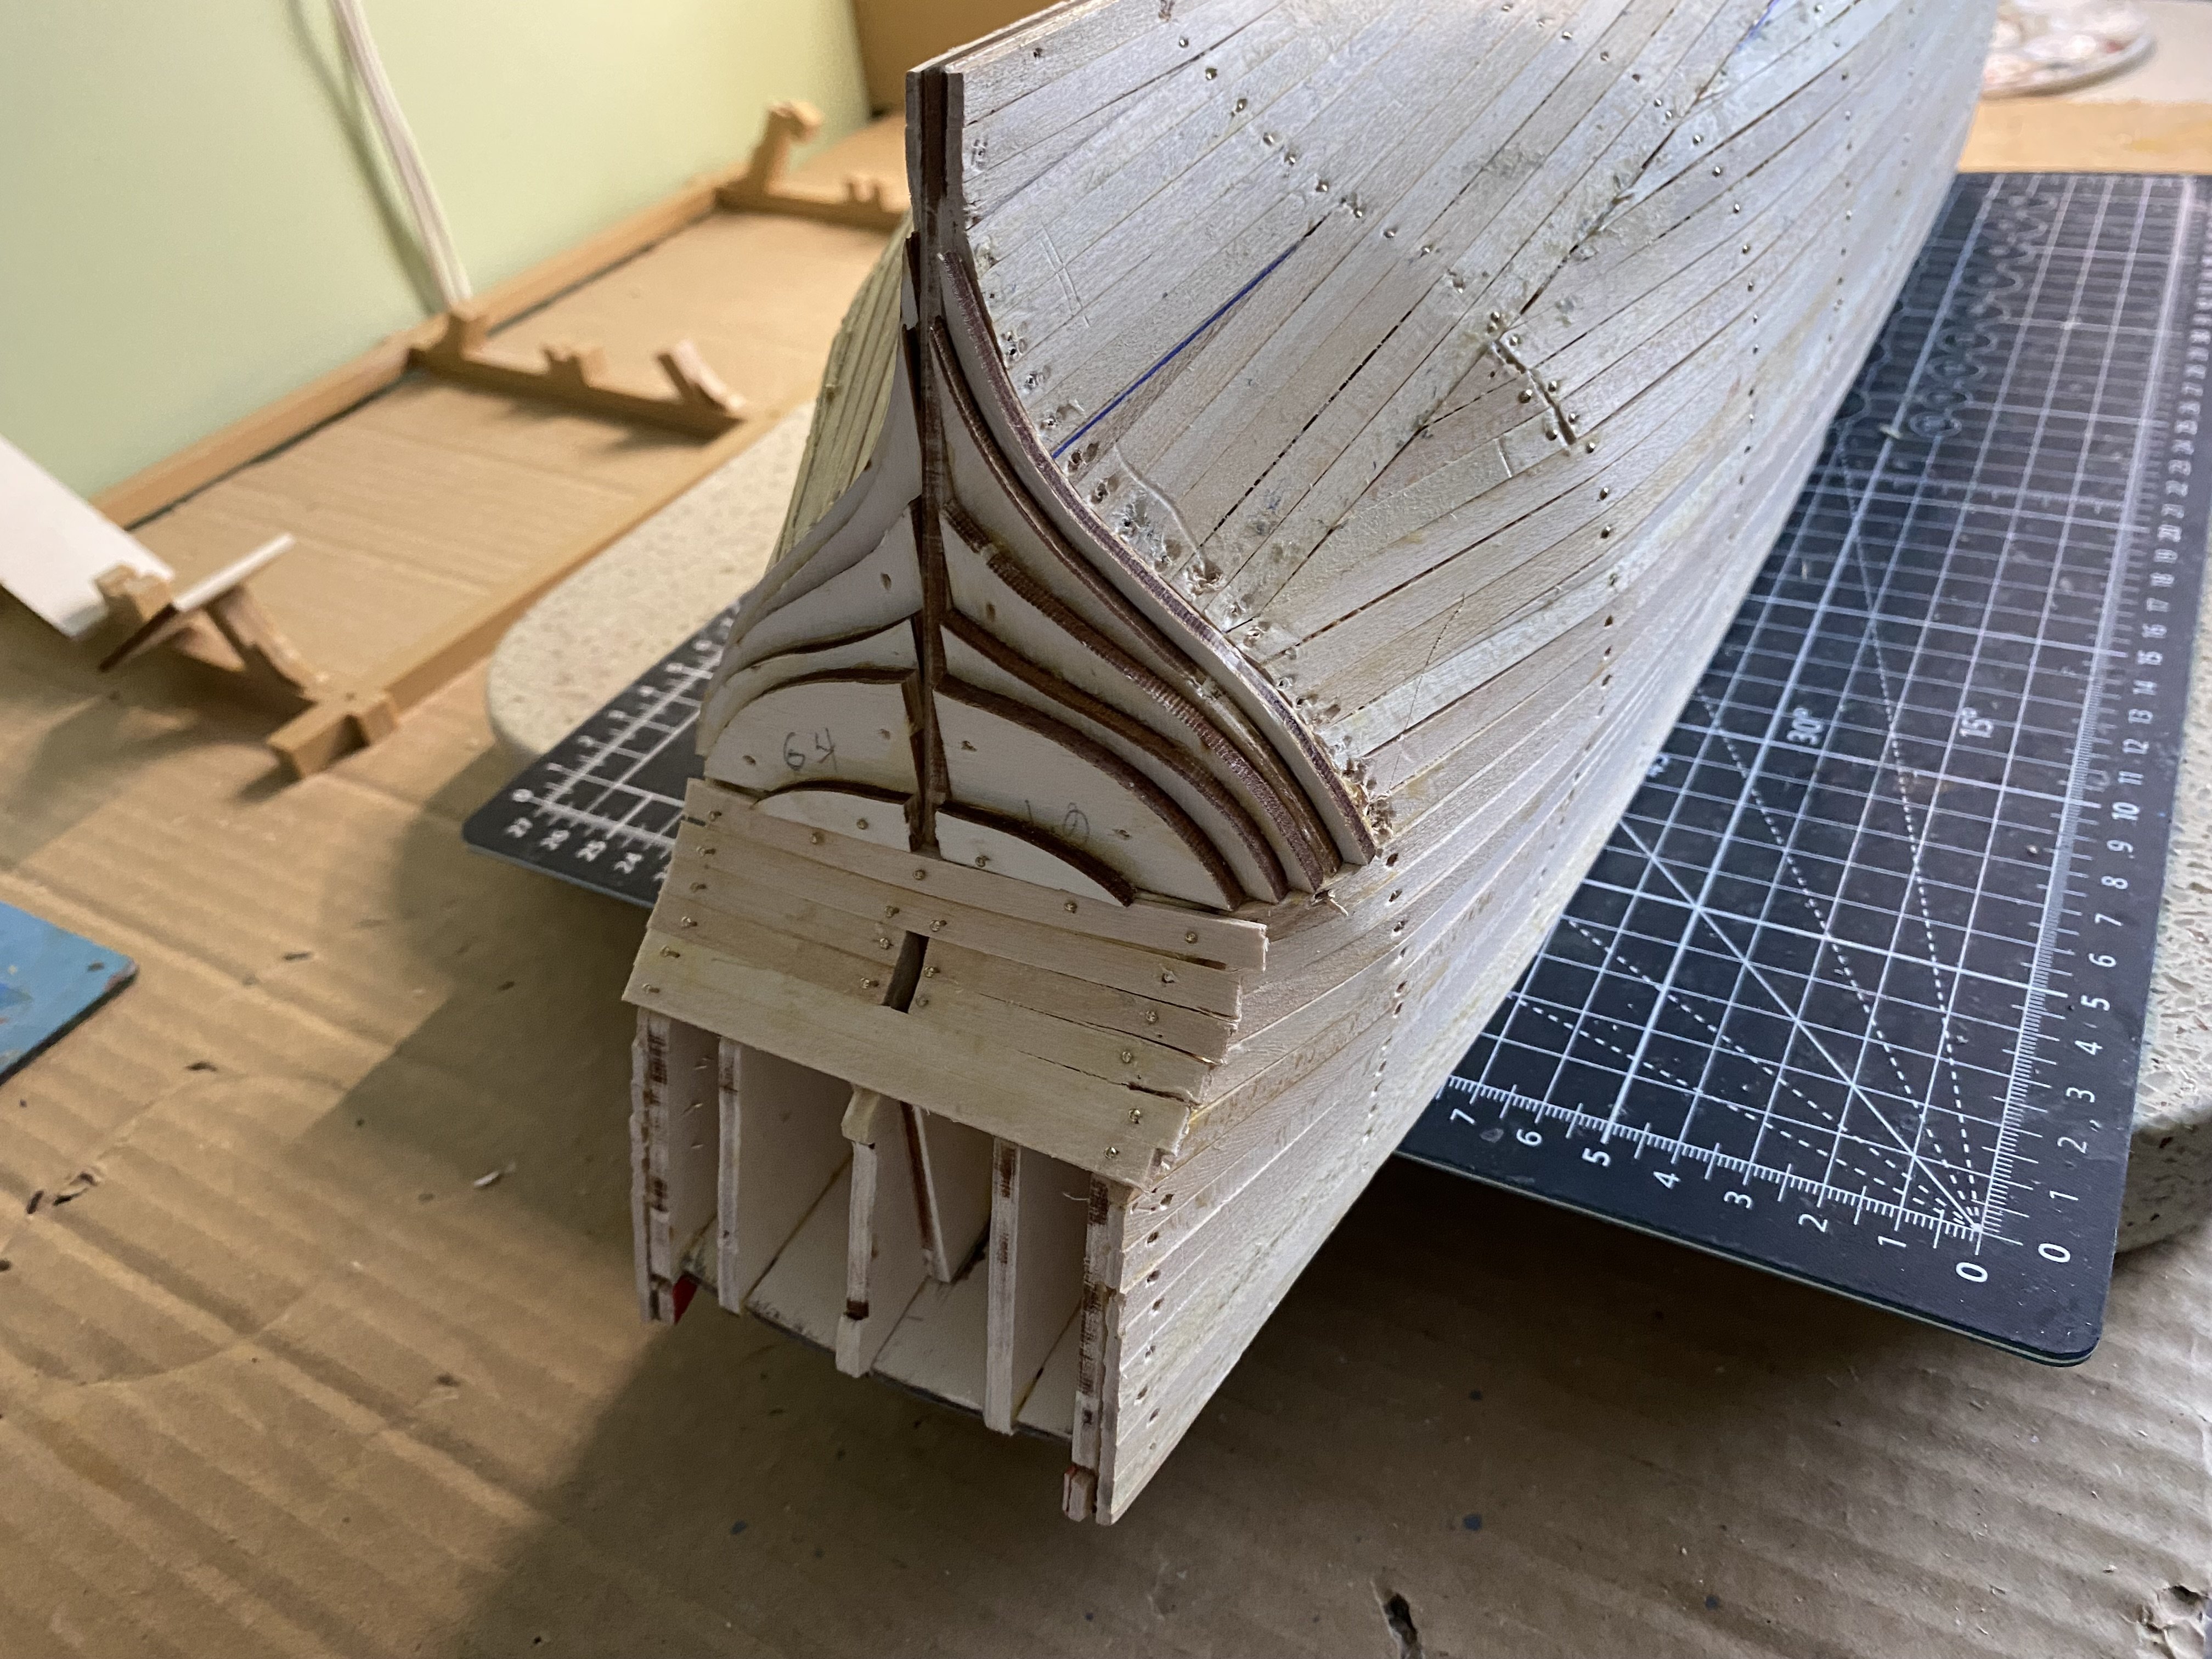
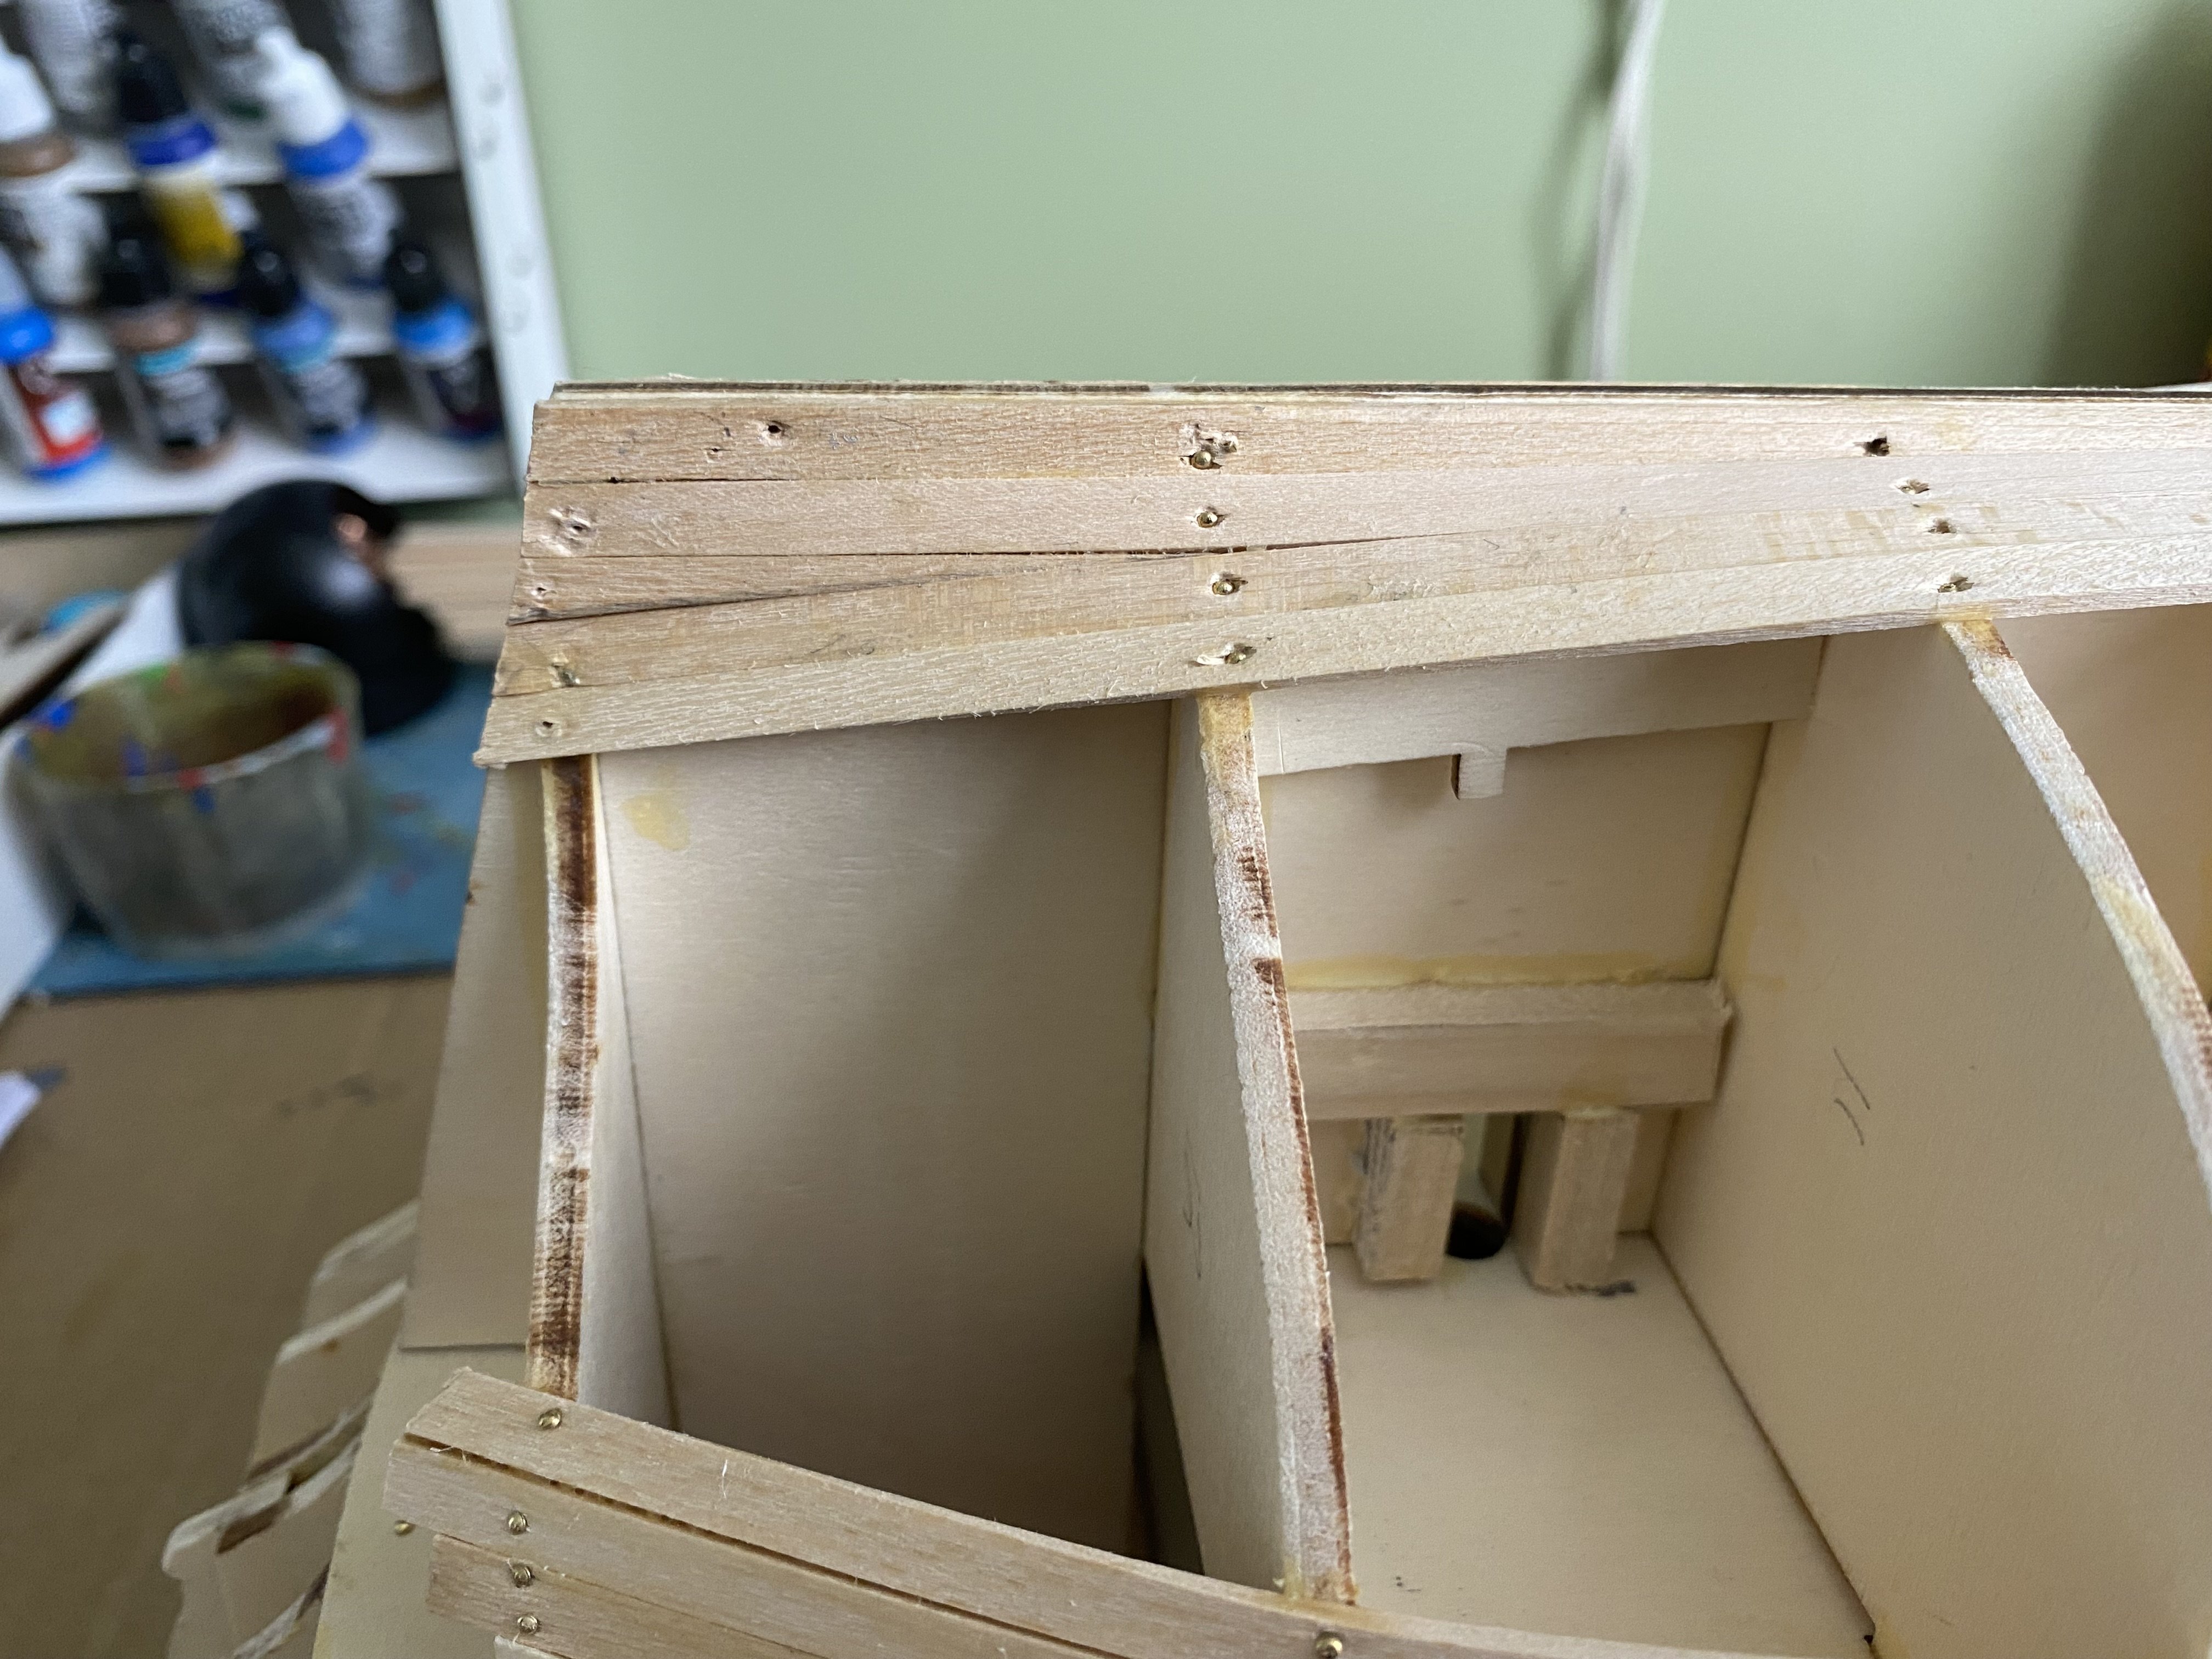
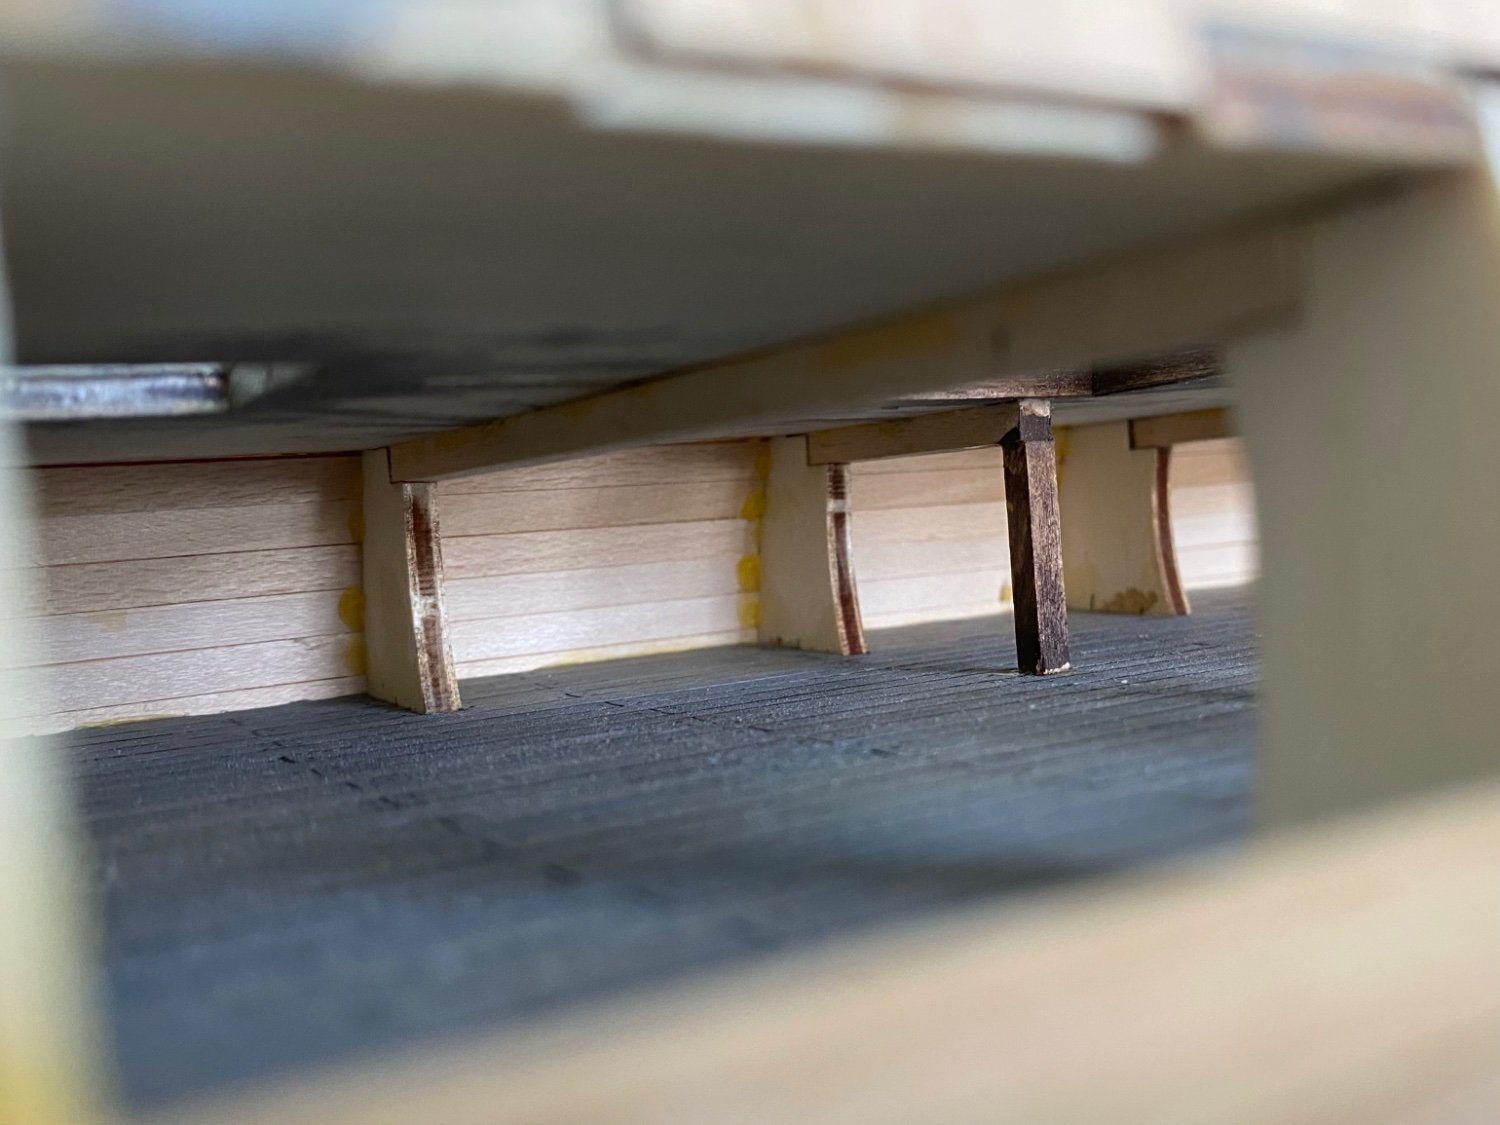
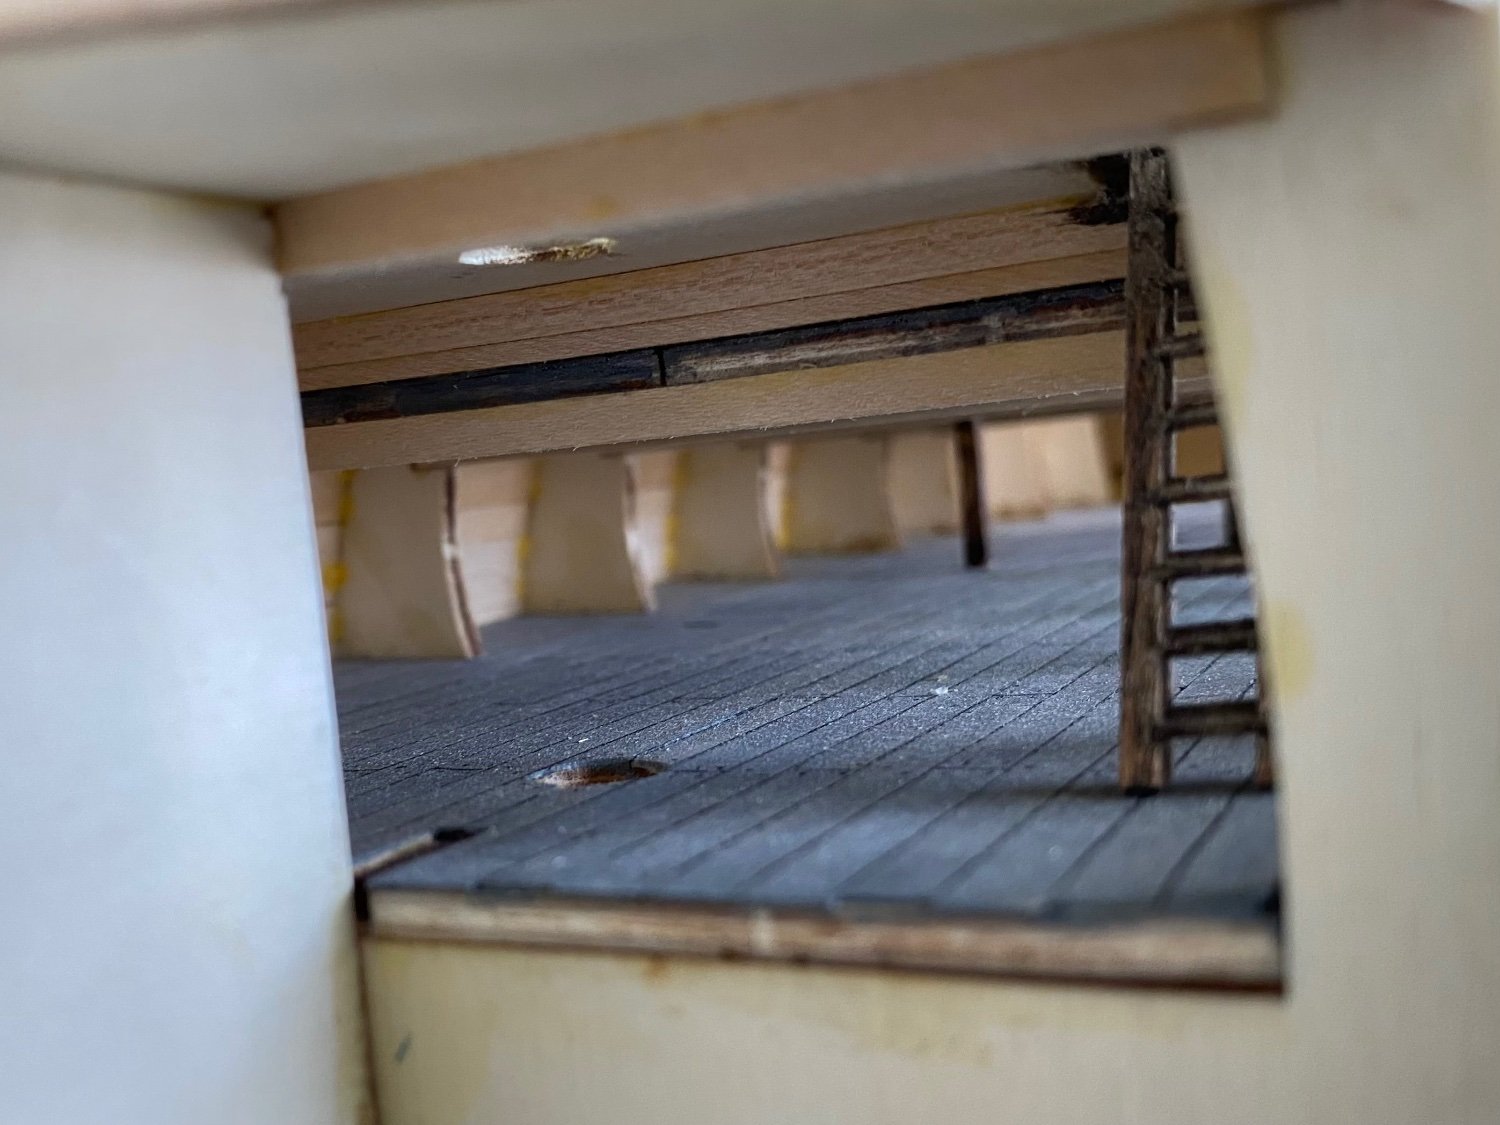
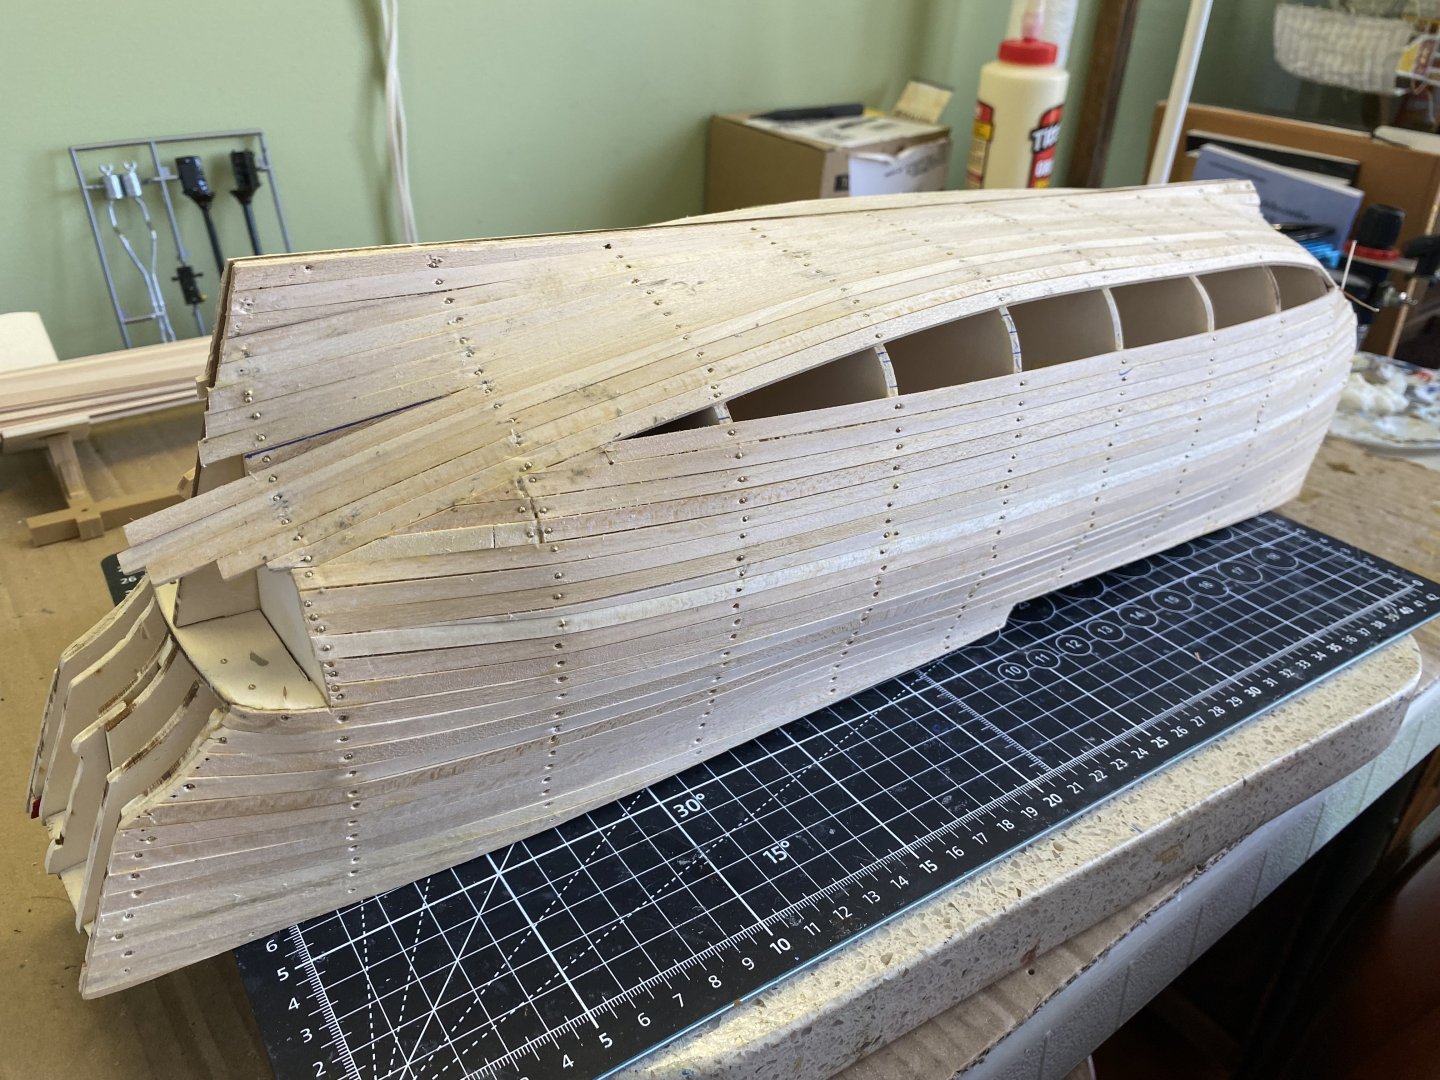
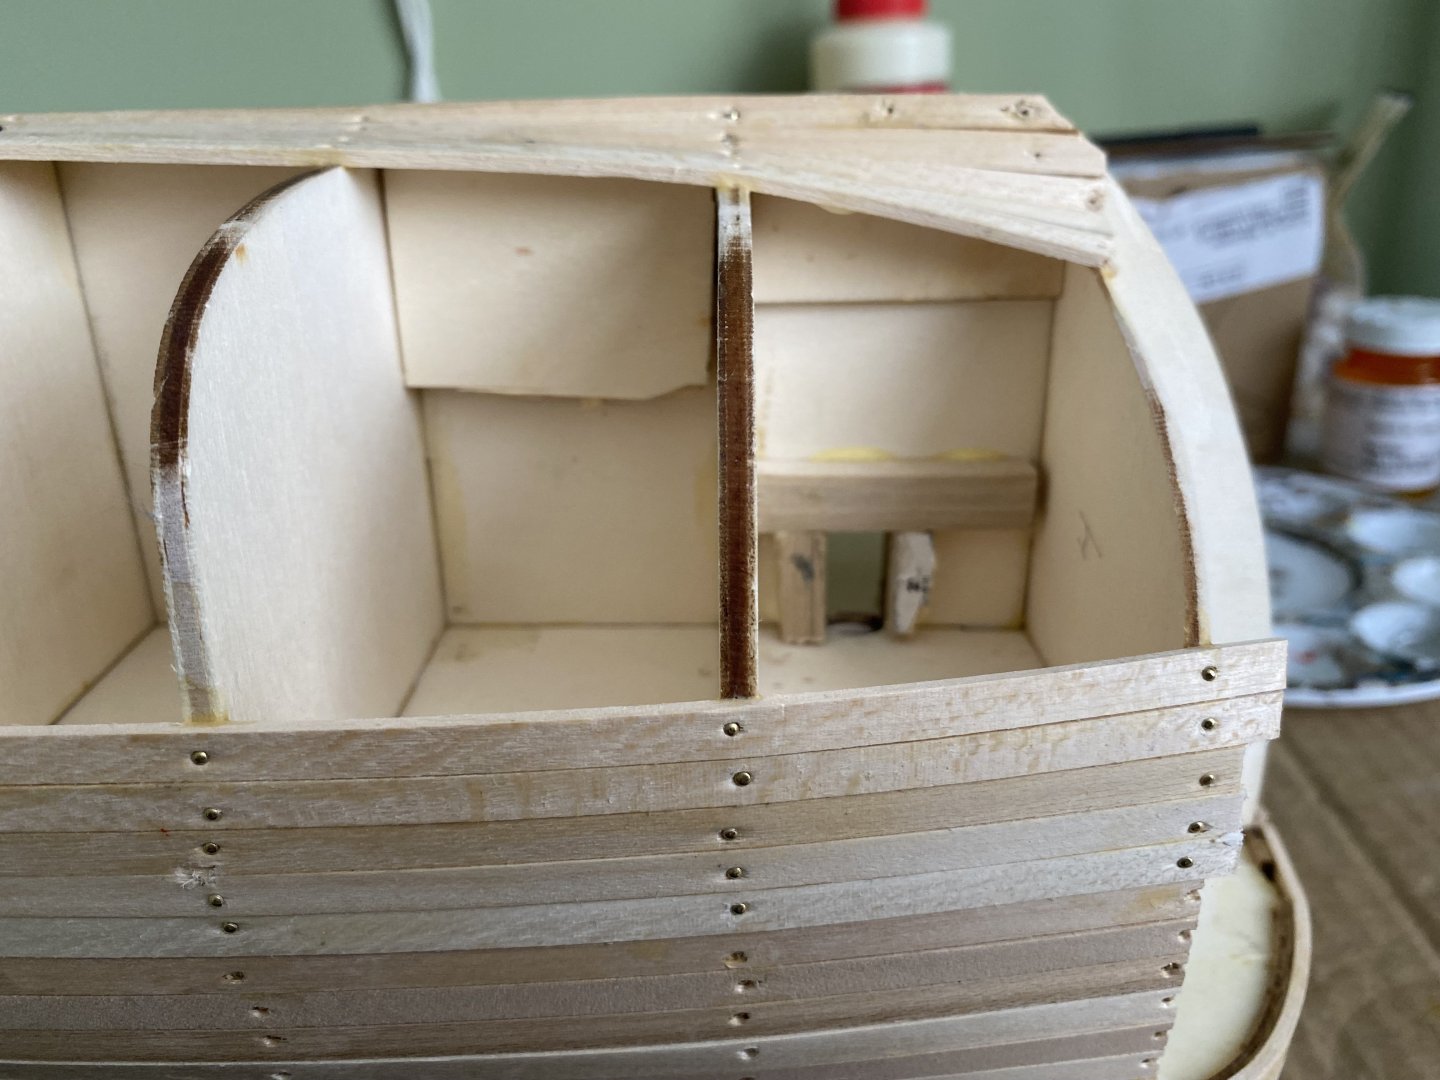
Progress continues on the planking. Pace is slower now that I am at the area where I need to put it together like a puzzle. Before I completely close up the hull I decided to use some scrap wood to reinforce the seat for the three masts also added some scrap material to widen the false keel where my the screws from my display stand will penetrate the keel up into the inner hull.


-
Endeavour by Bill97 - OcCre - 1/54
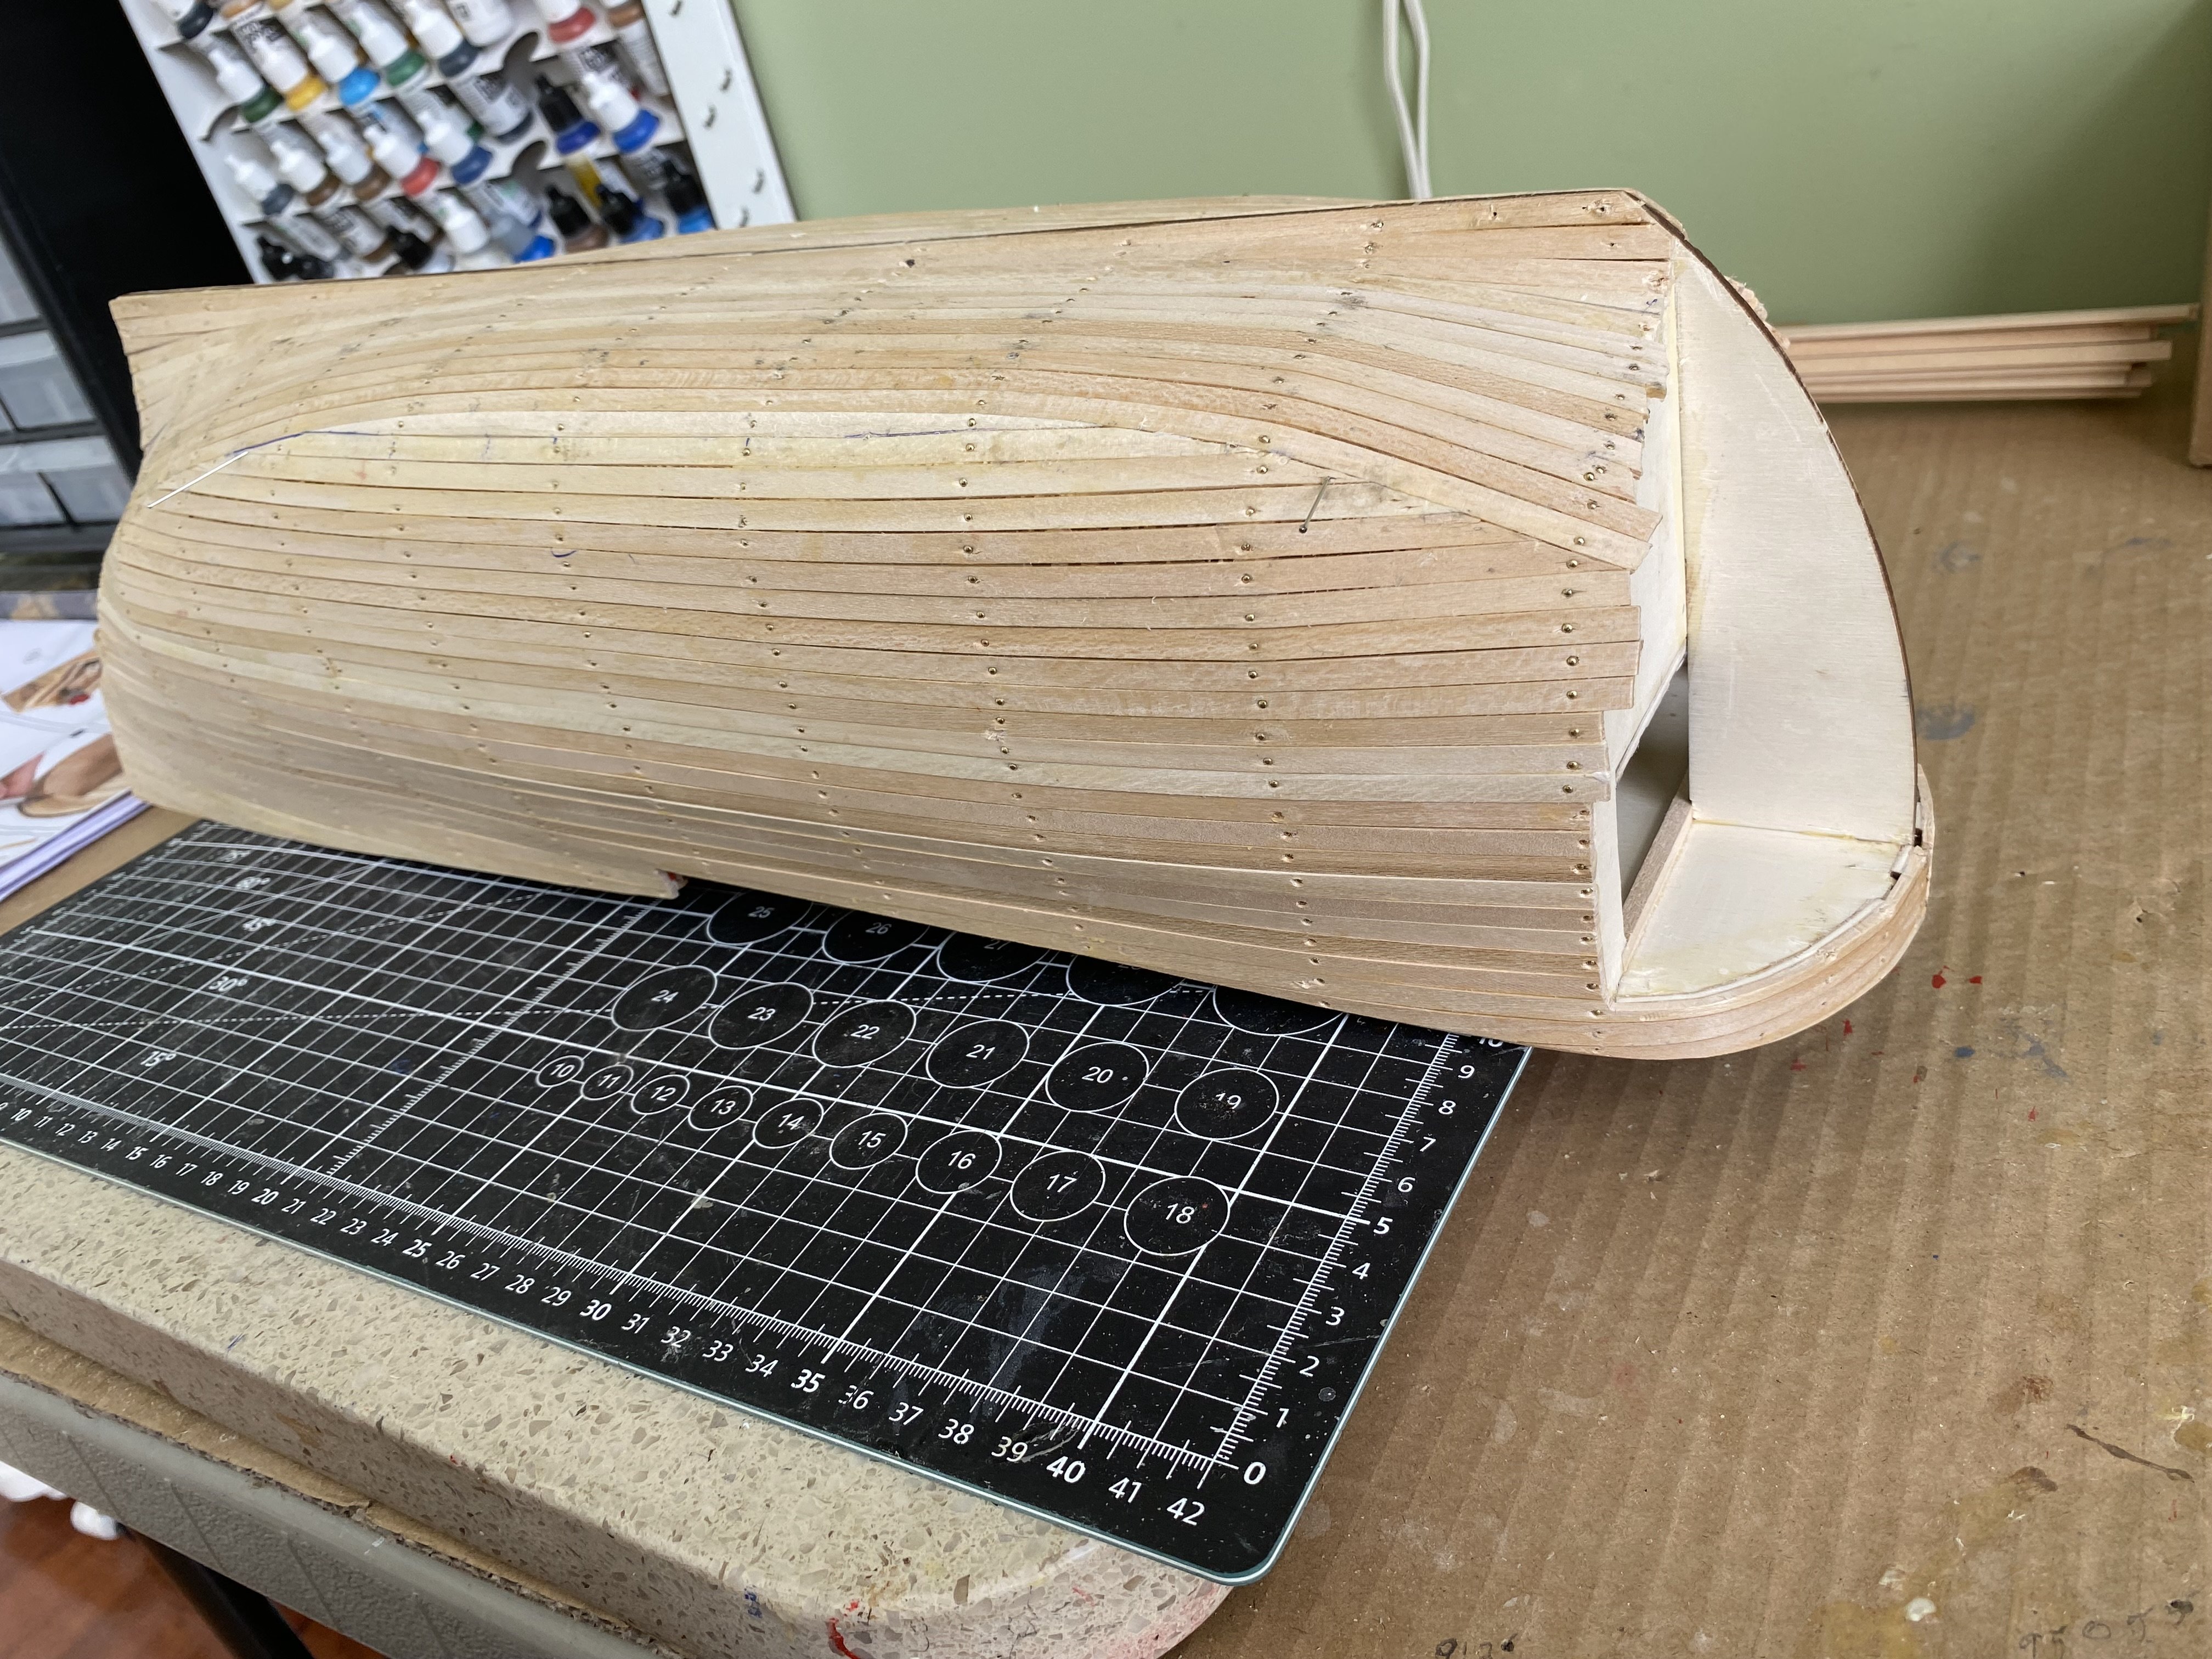
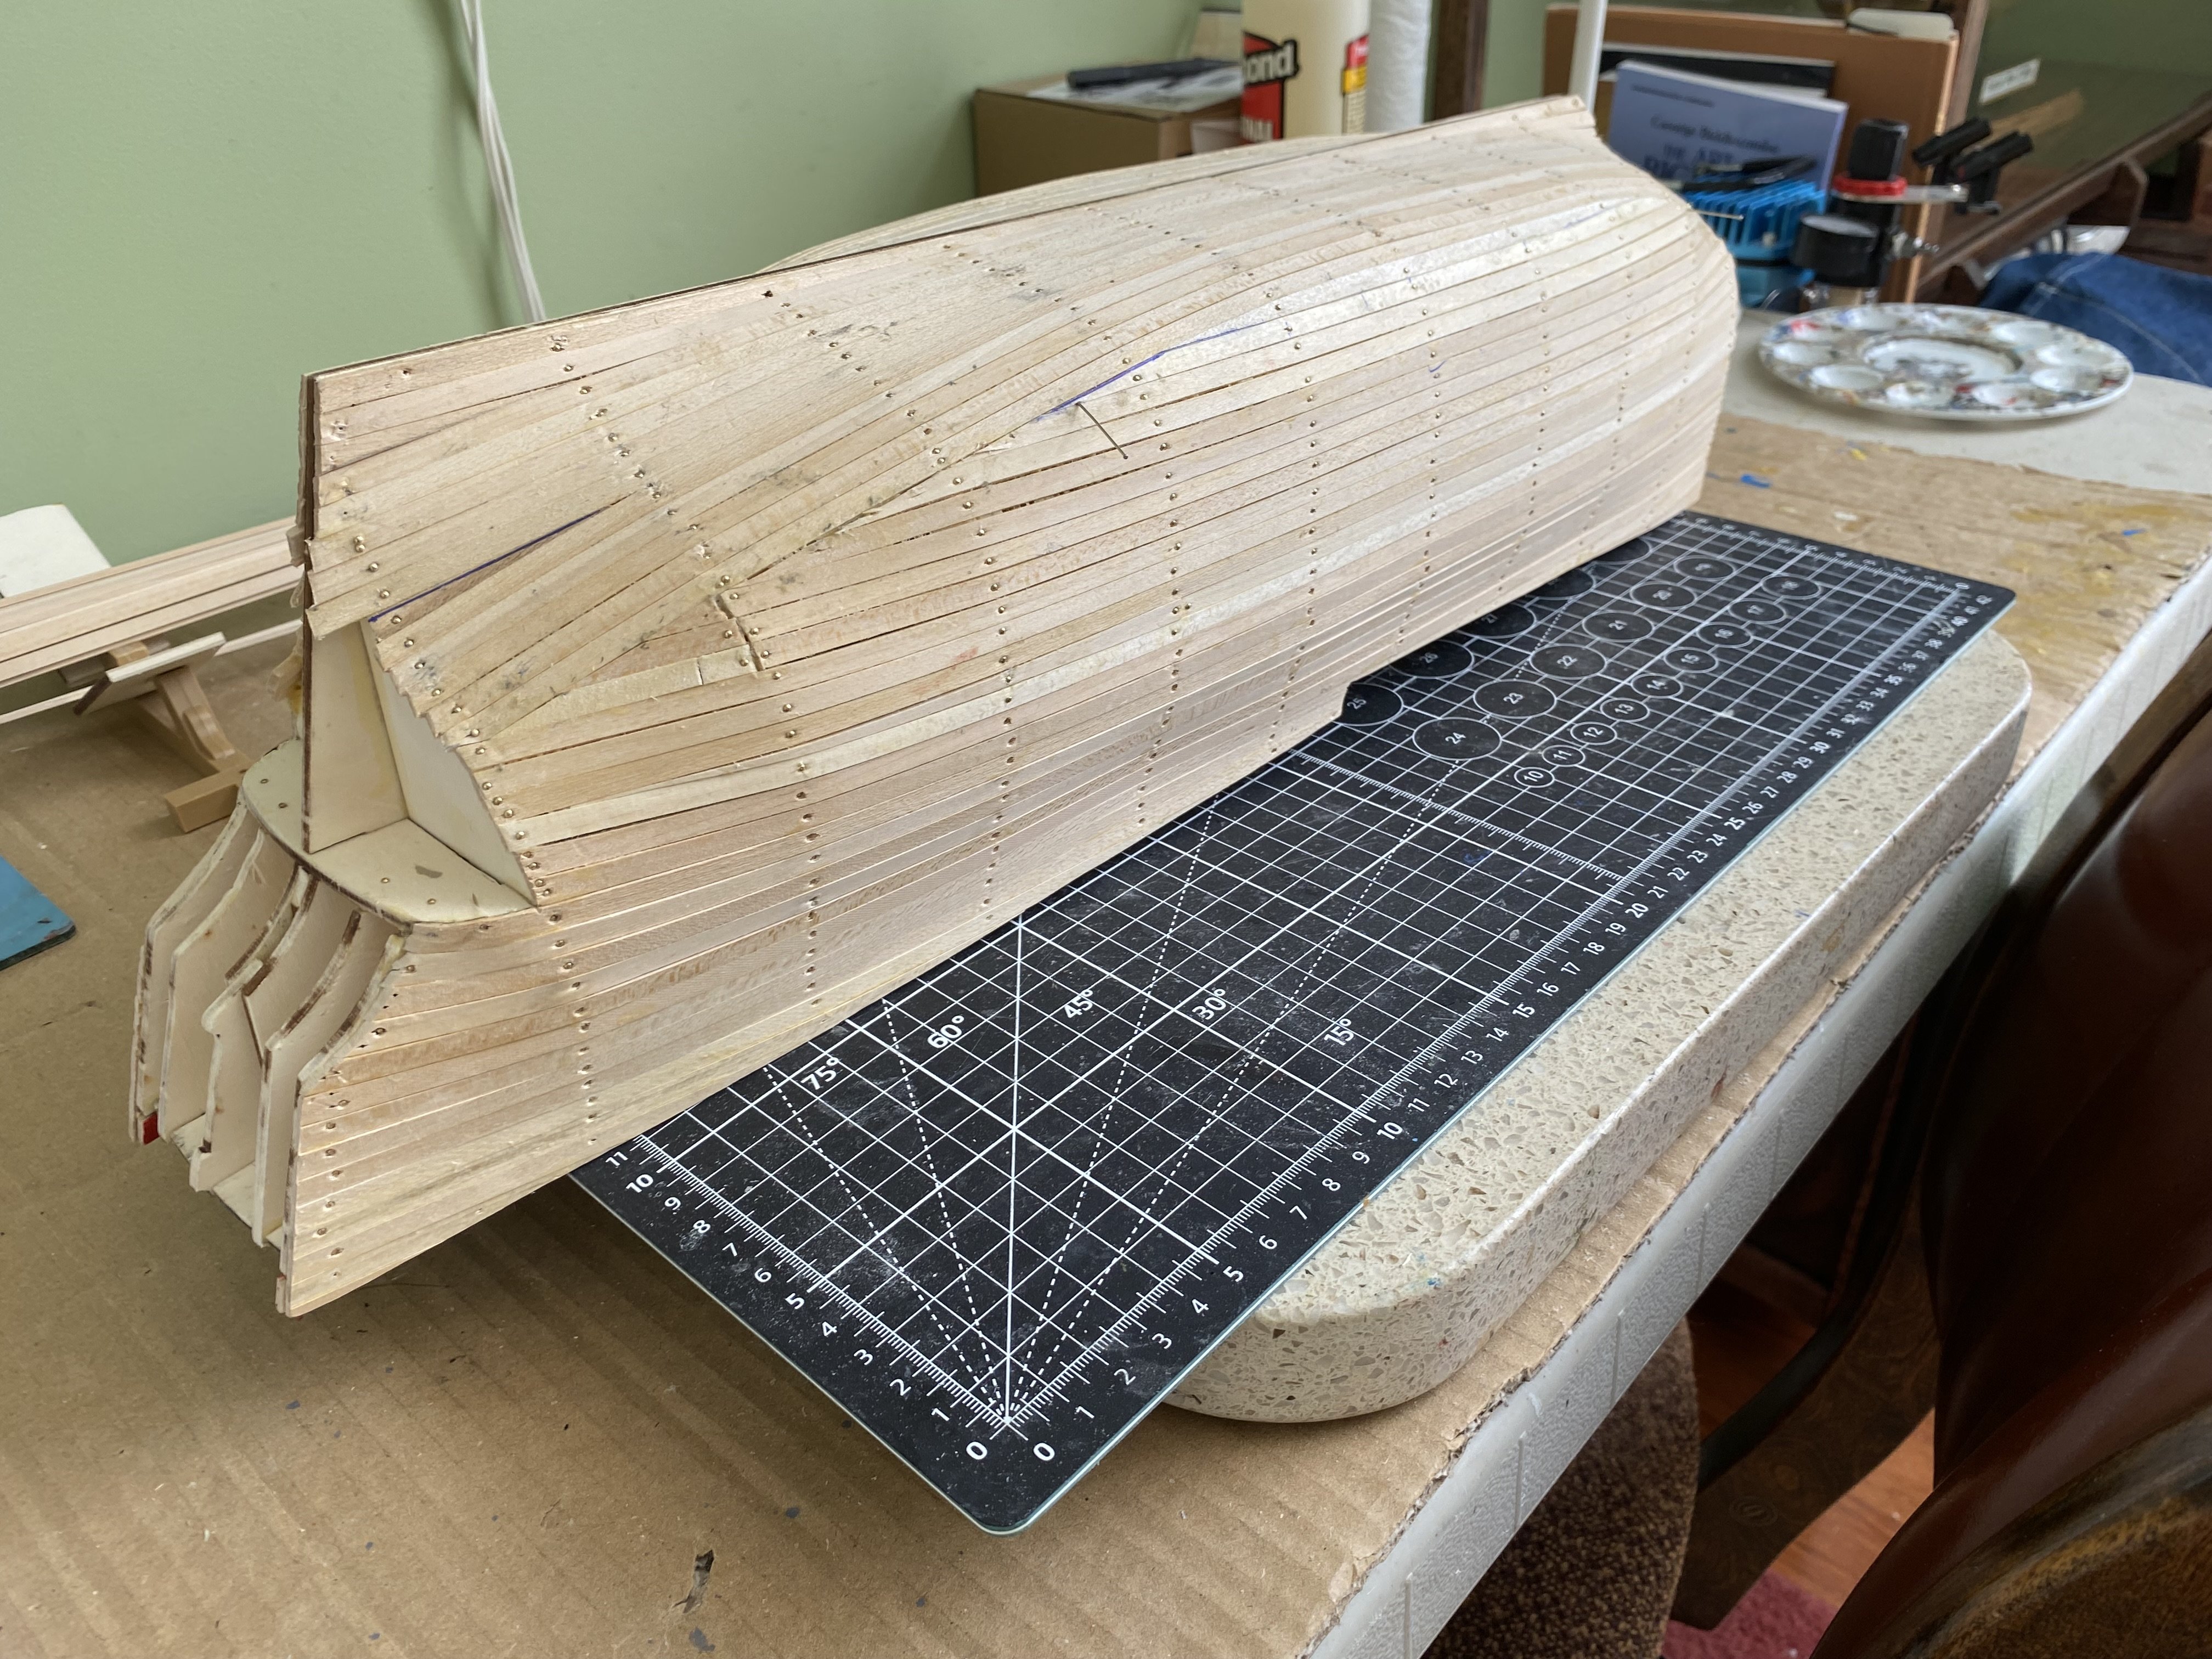
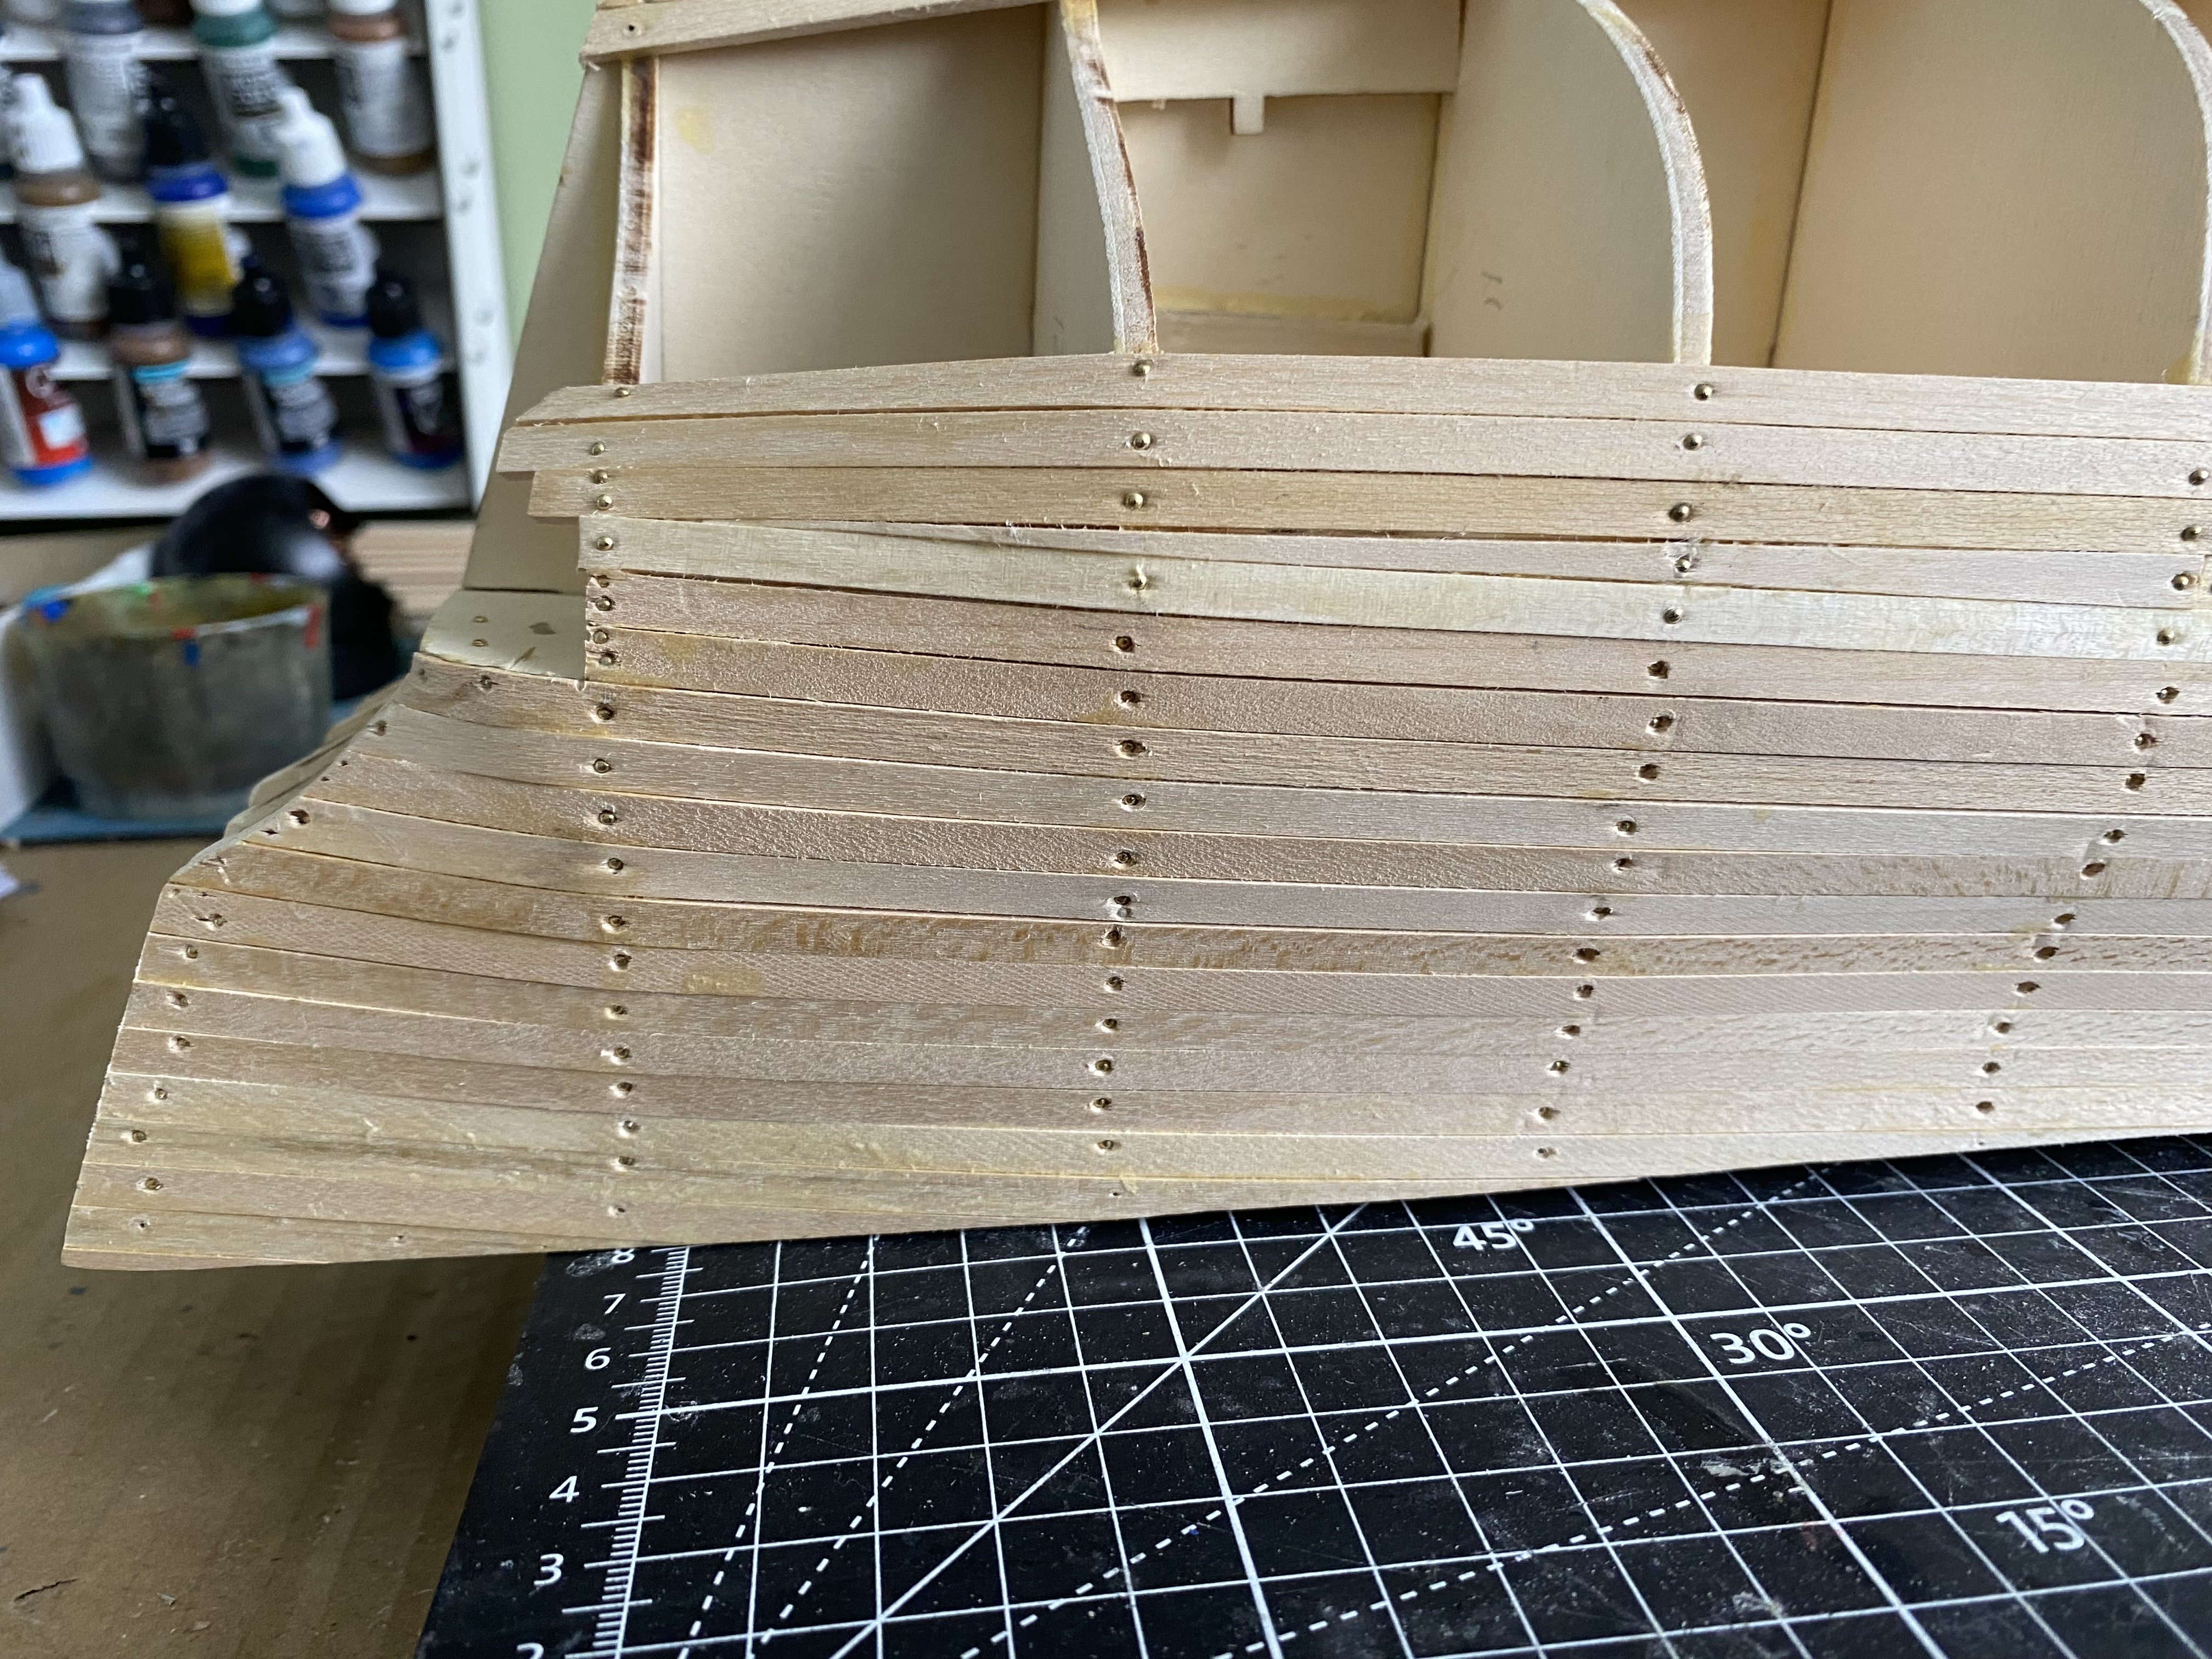
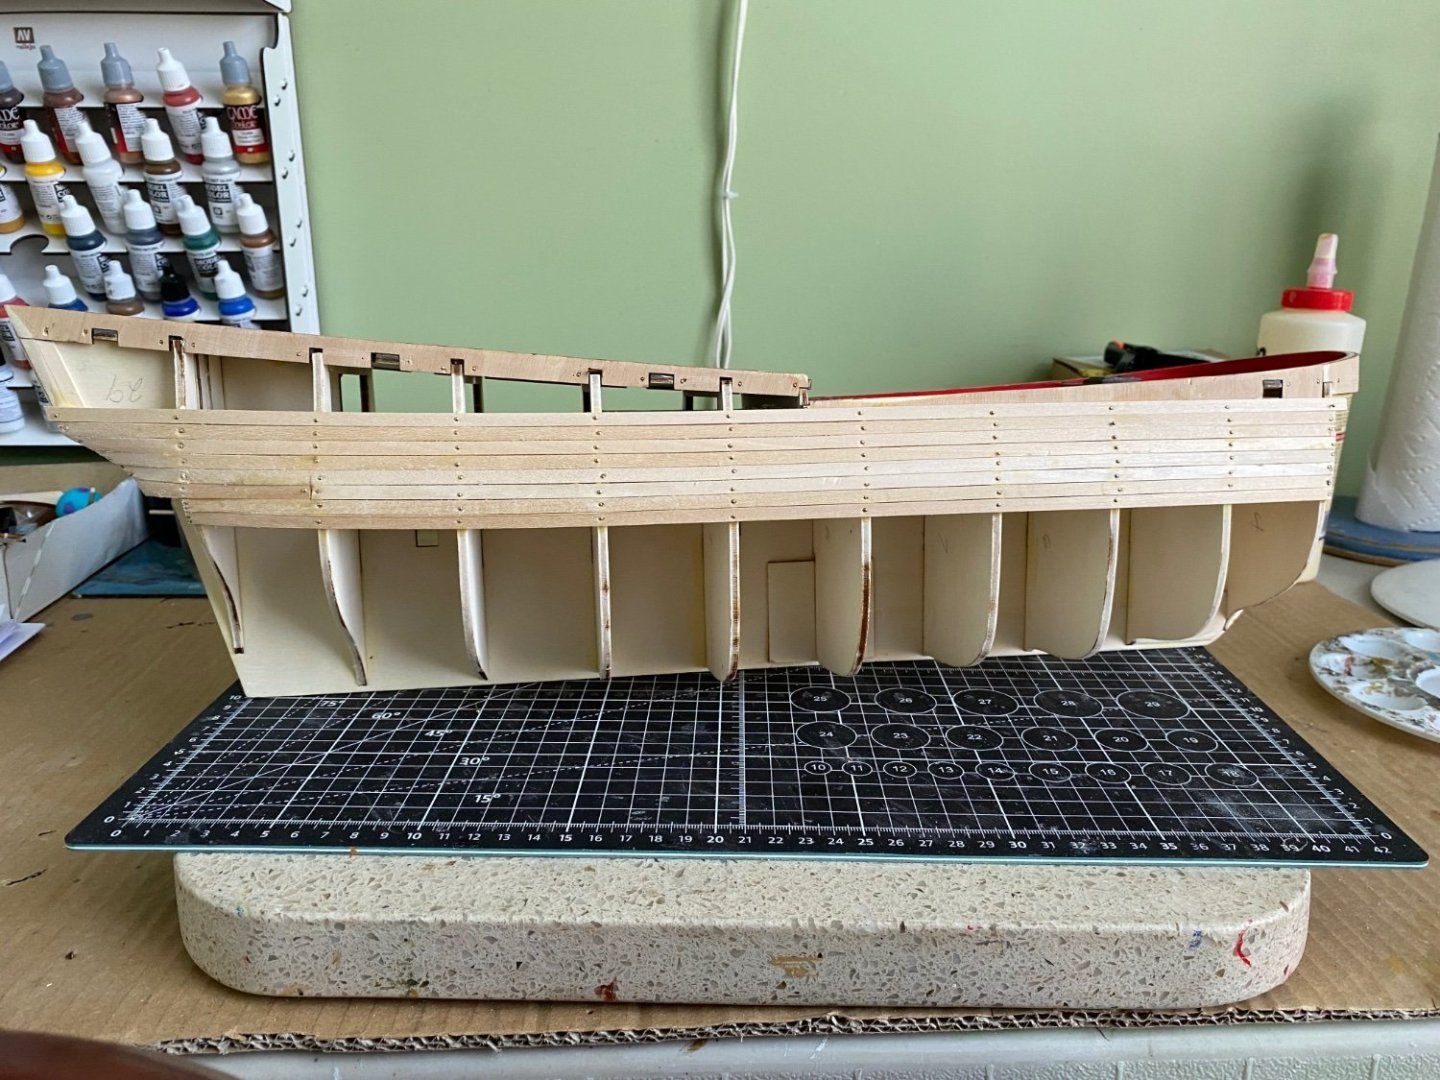
Bill97 replied to Bill97's topic in - Kit build logs for subjects built from 1751 - 1800
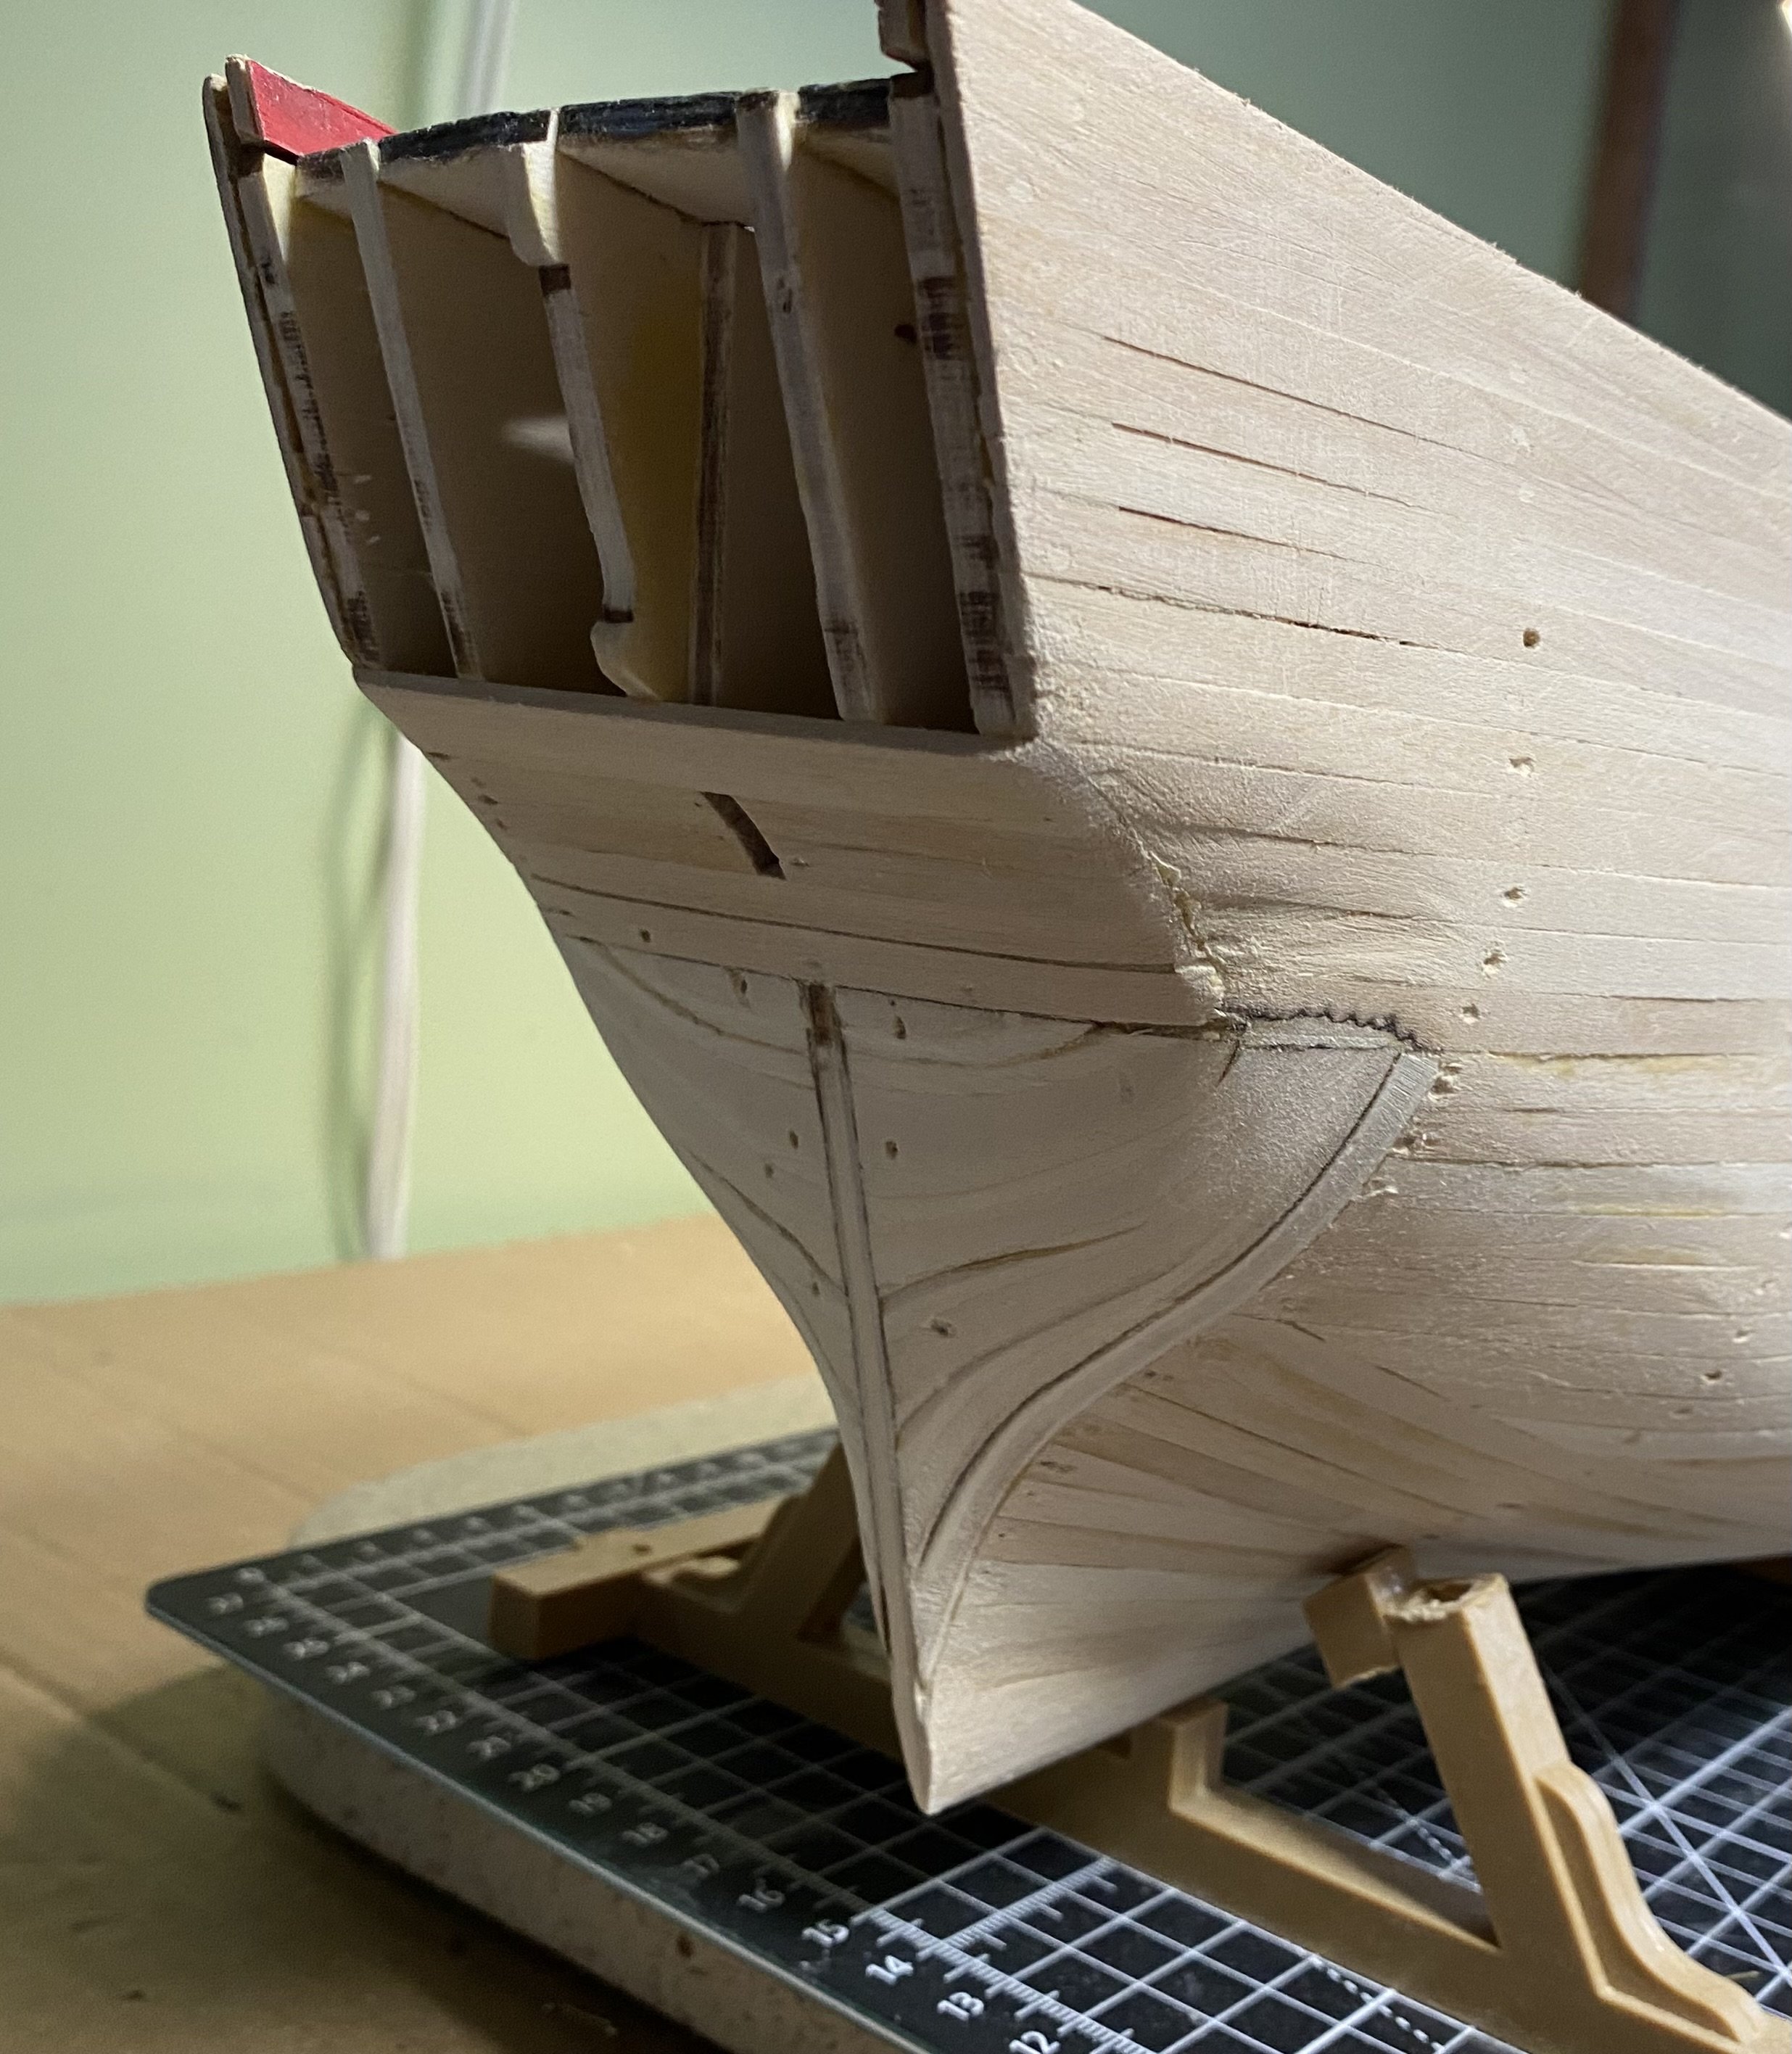
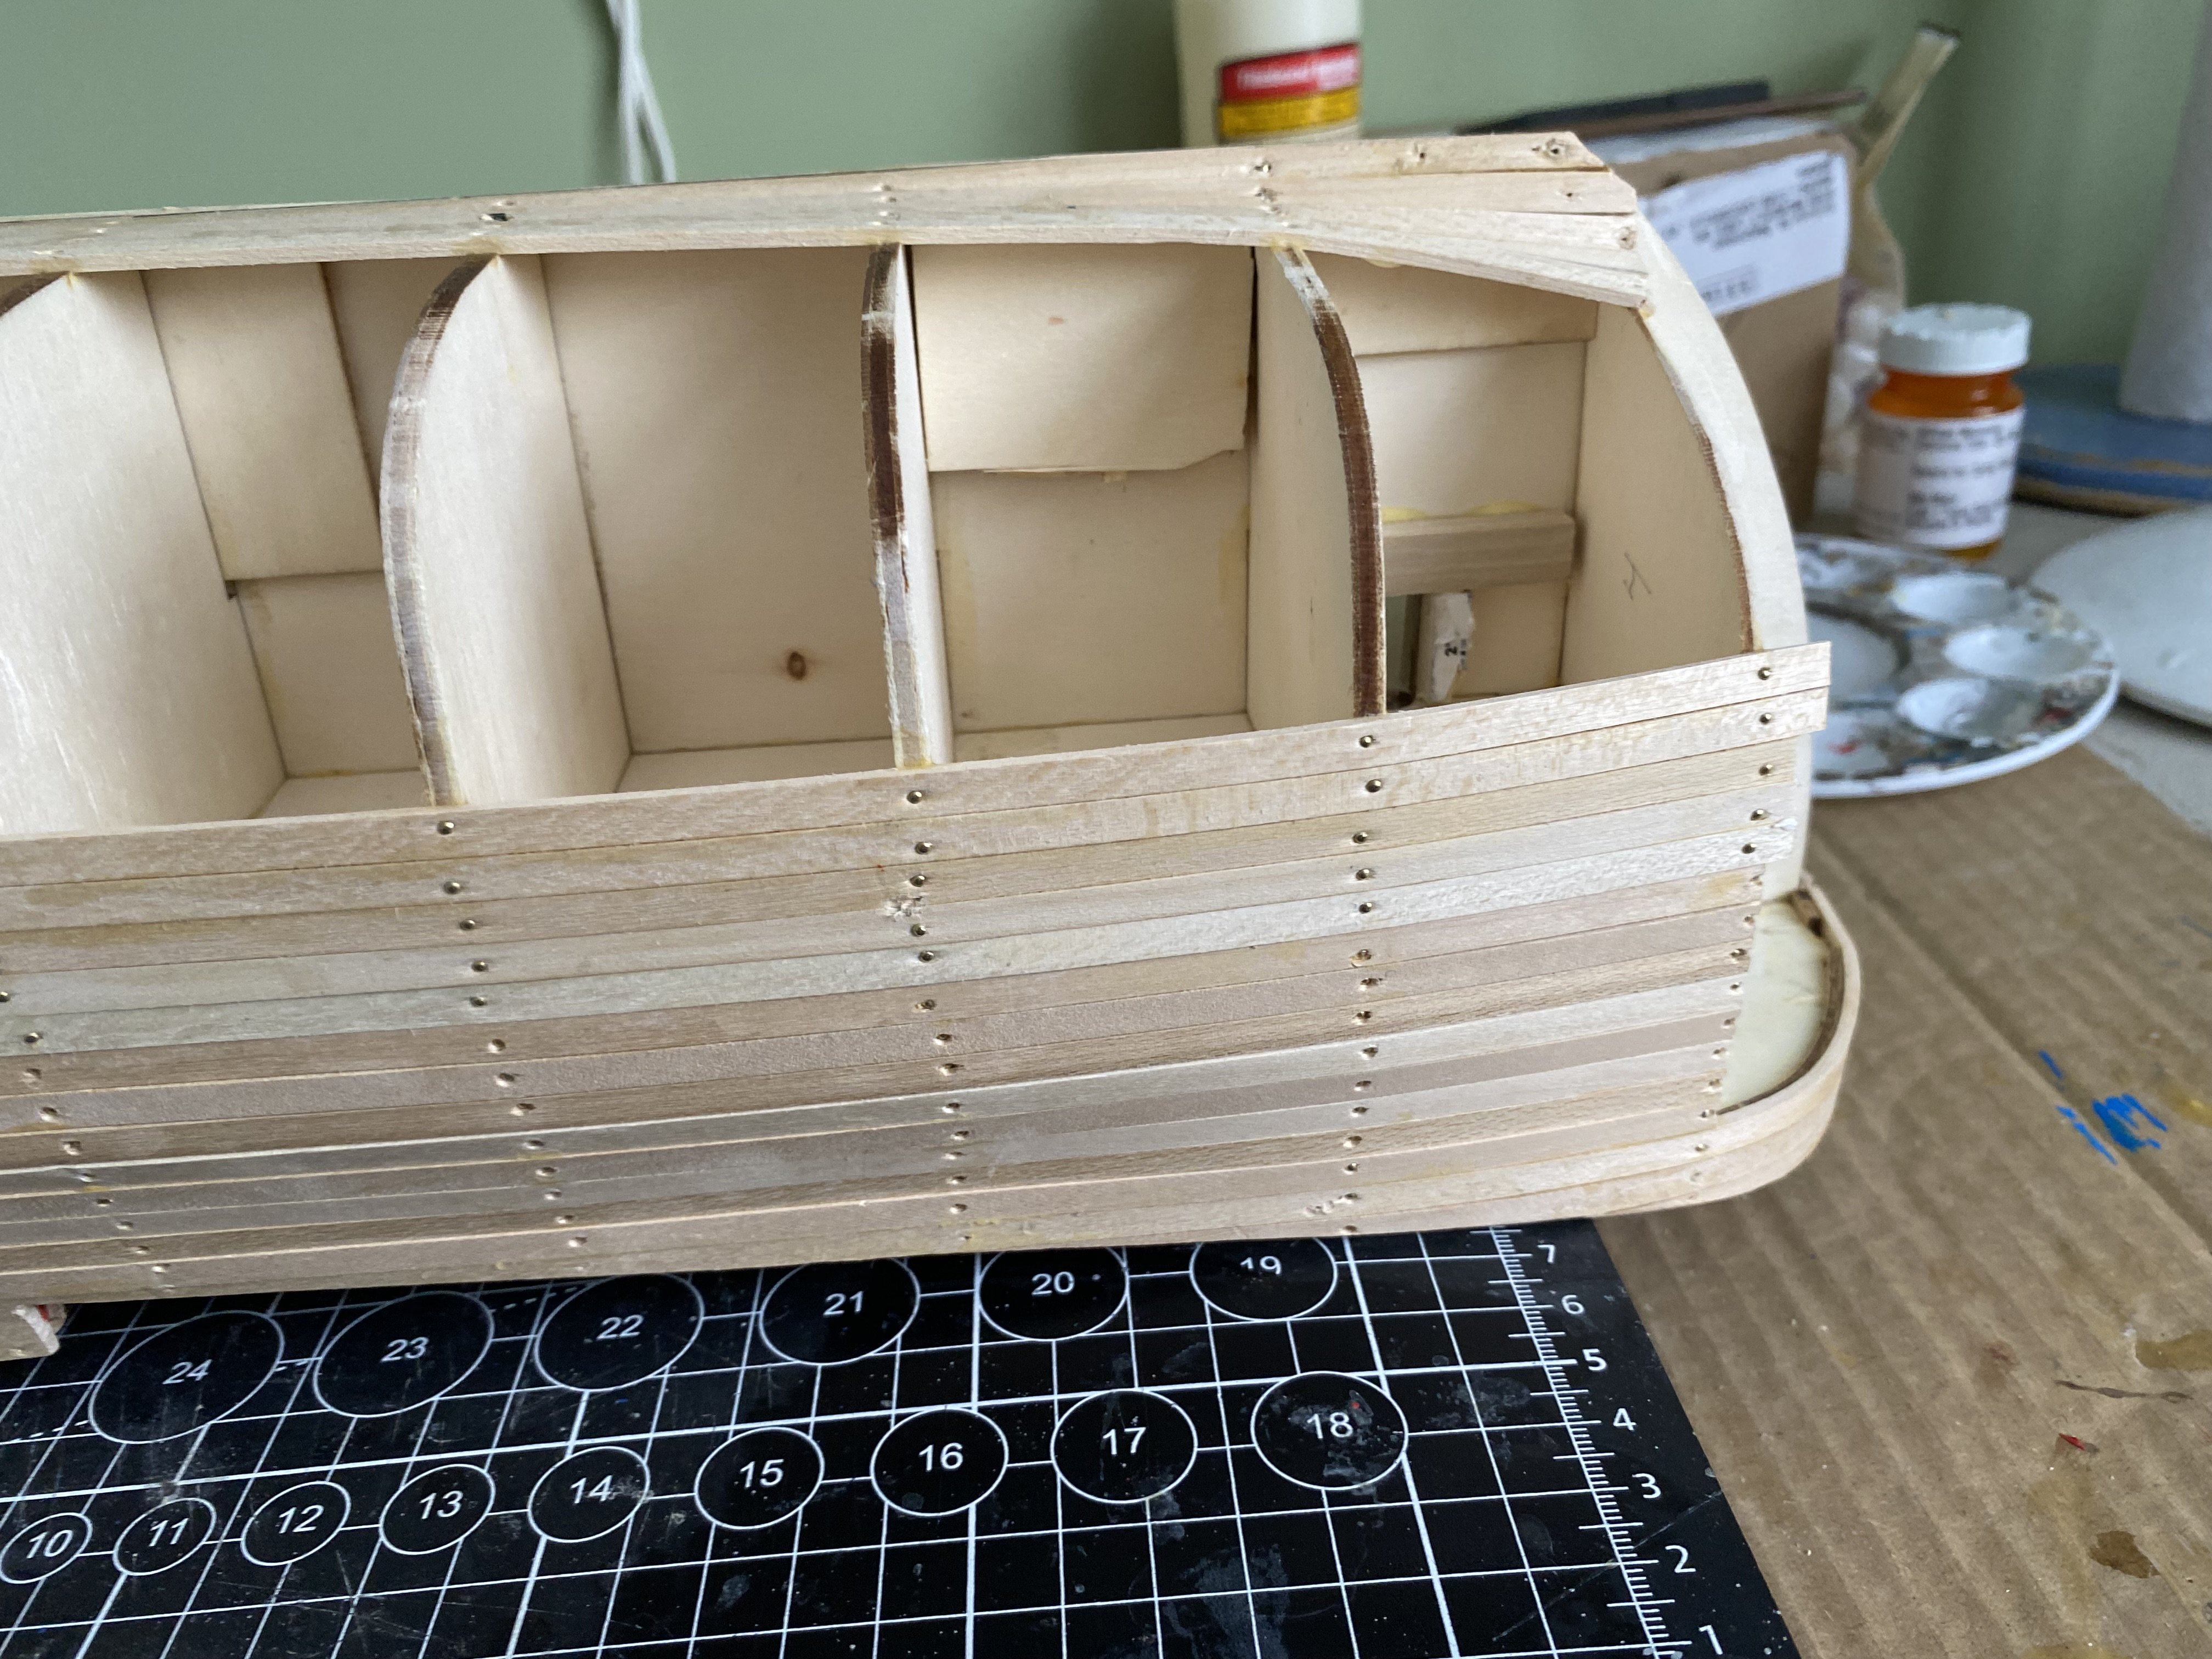
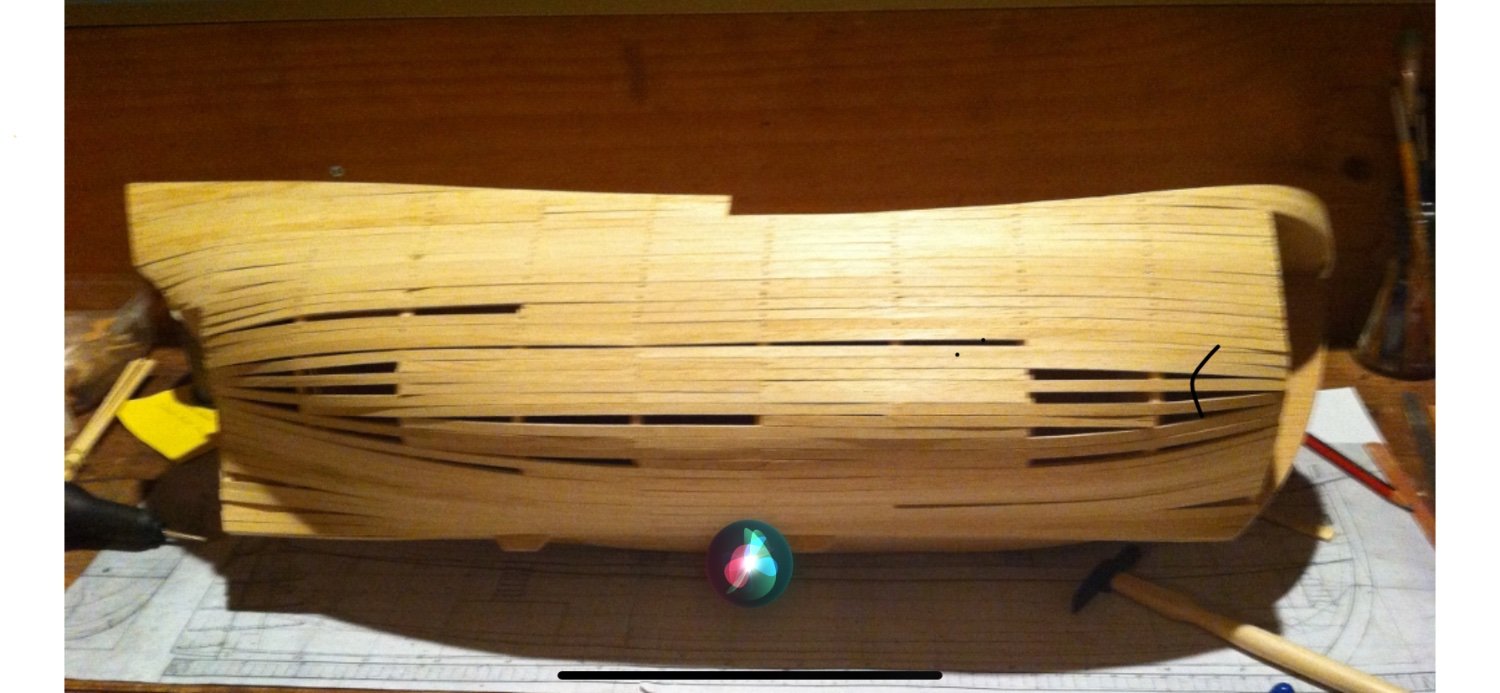
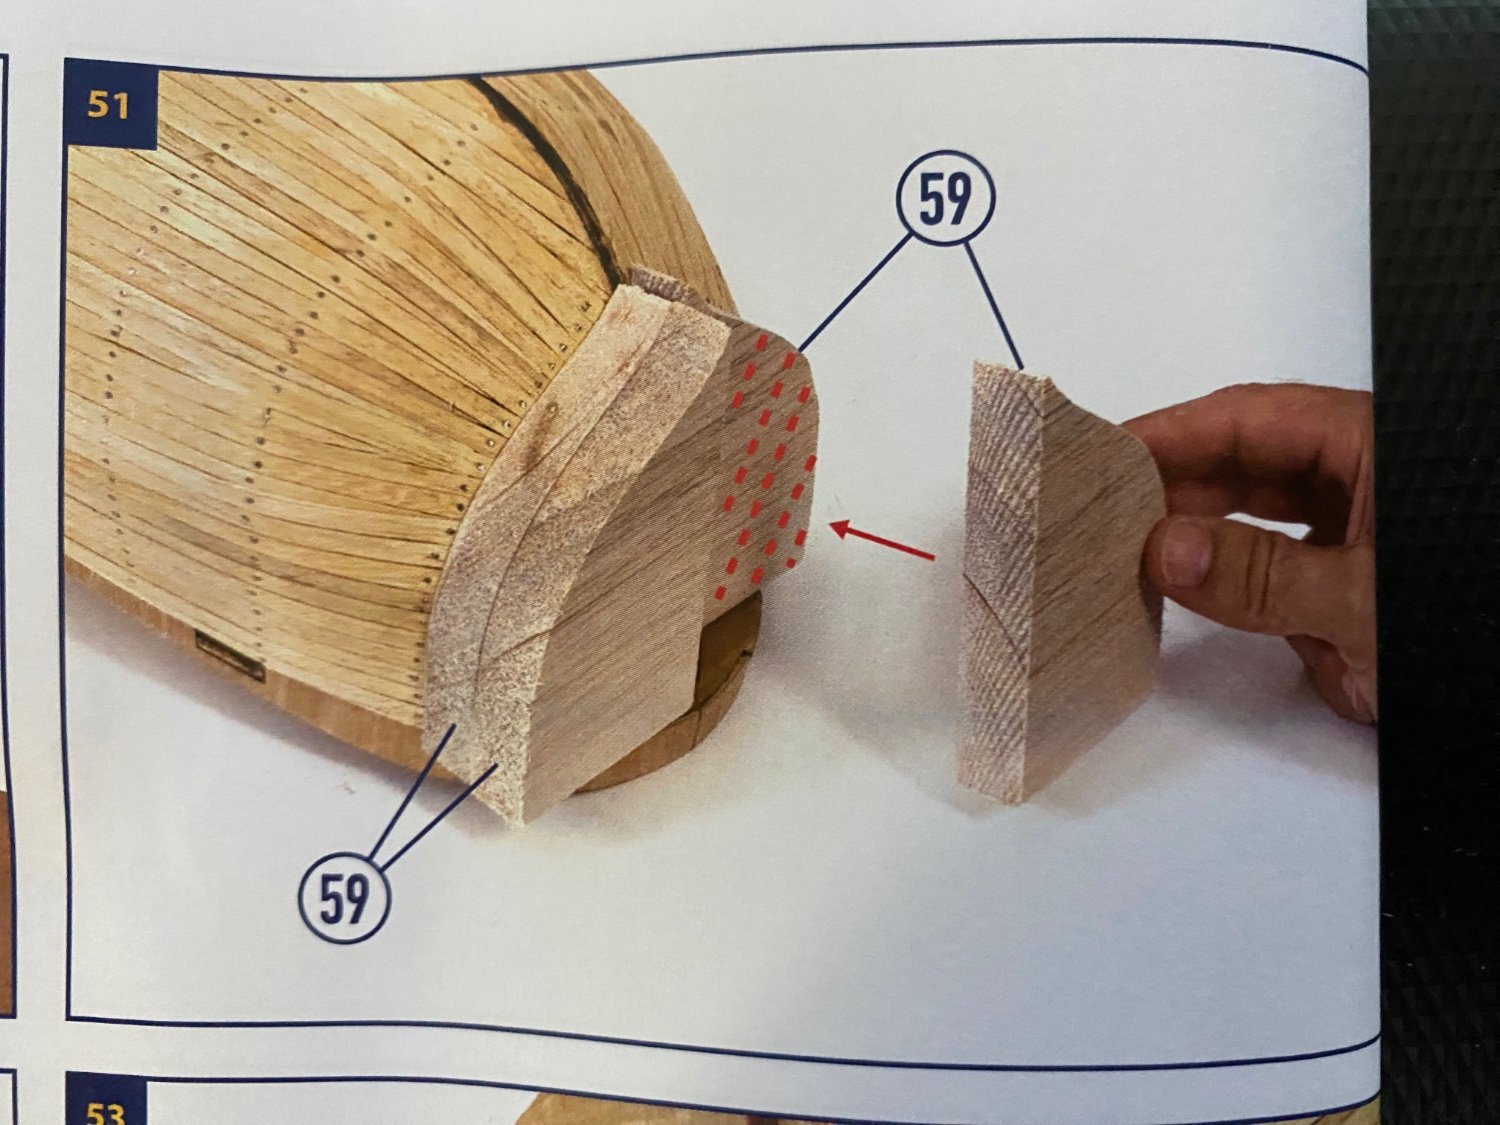
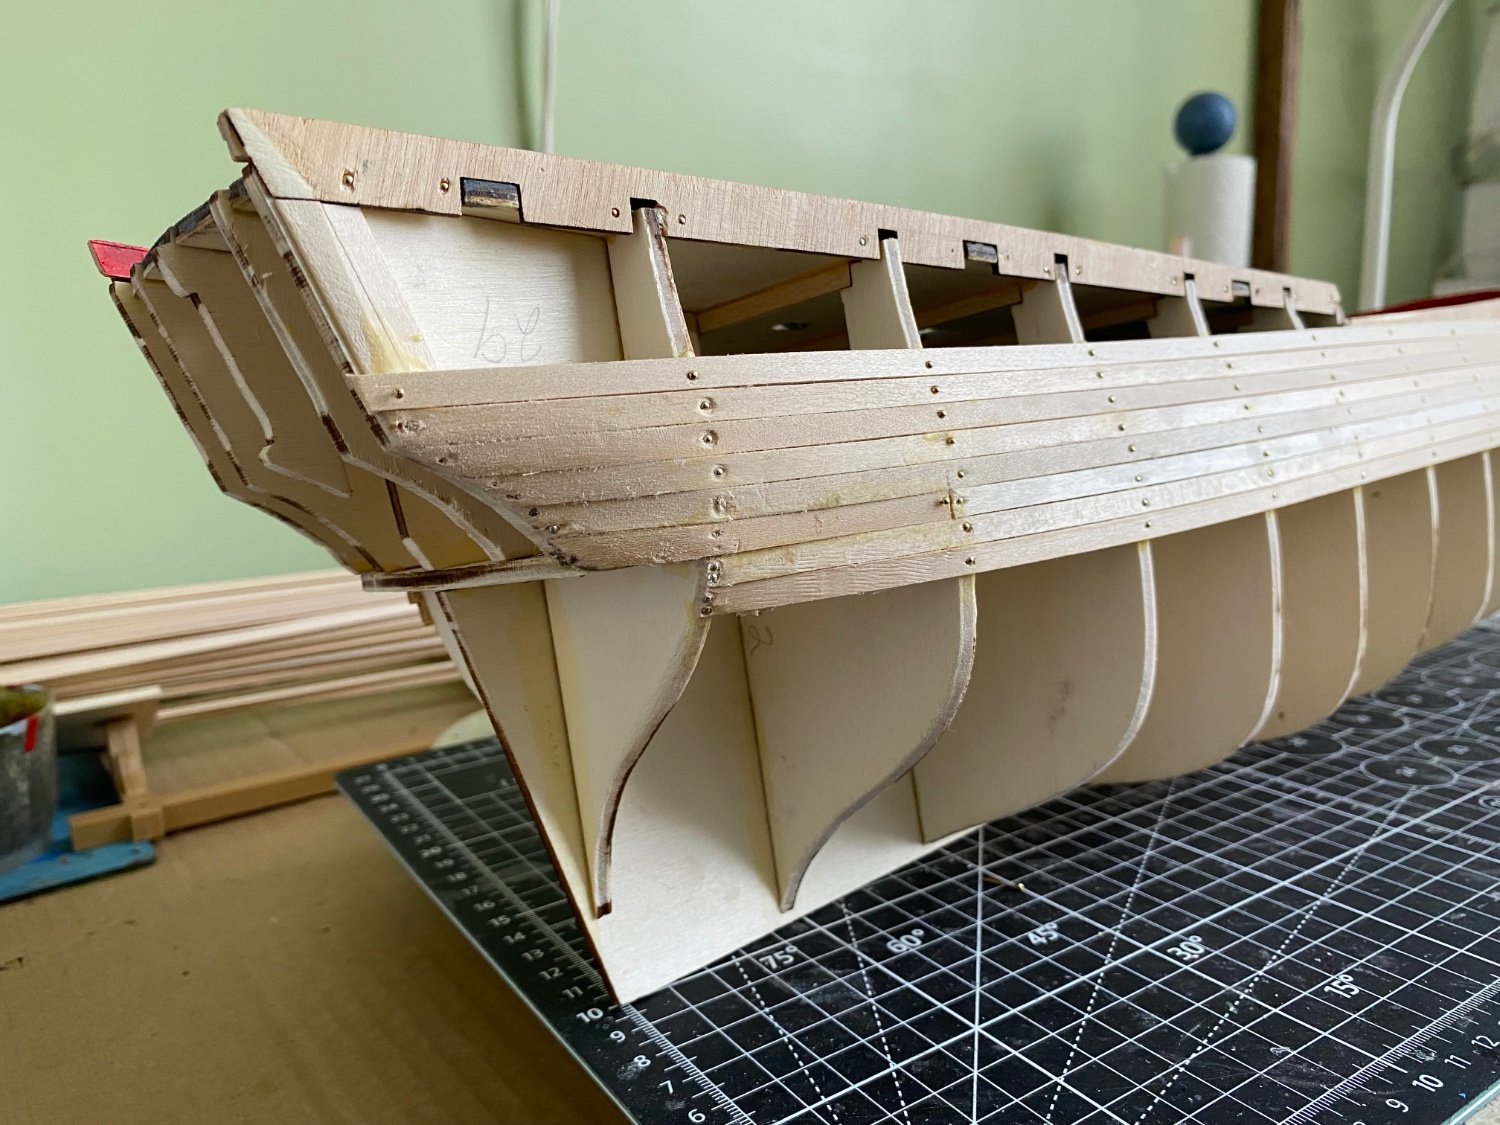
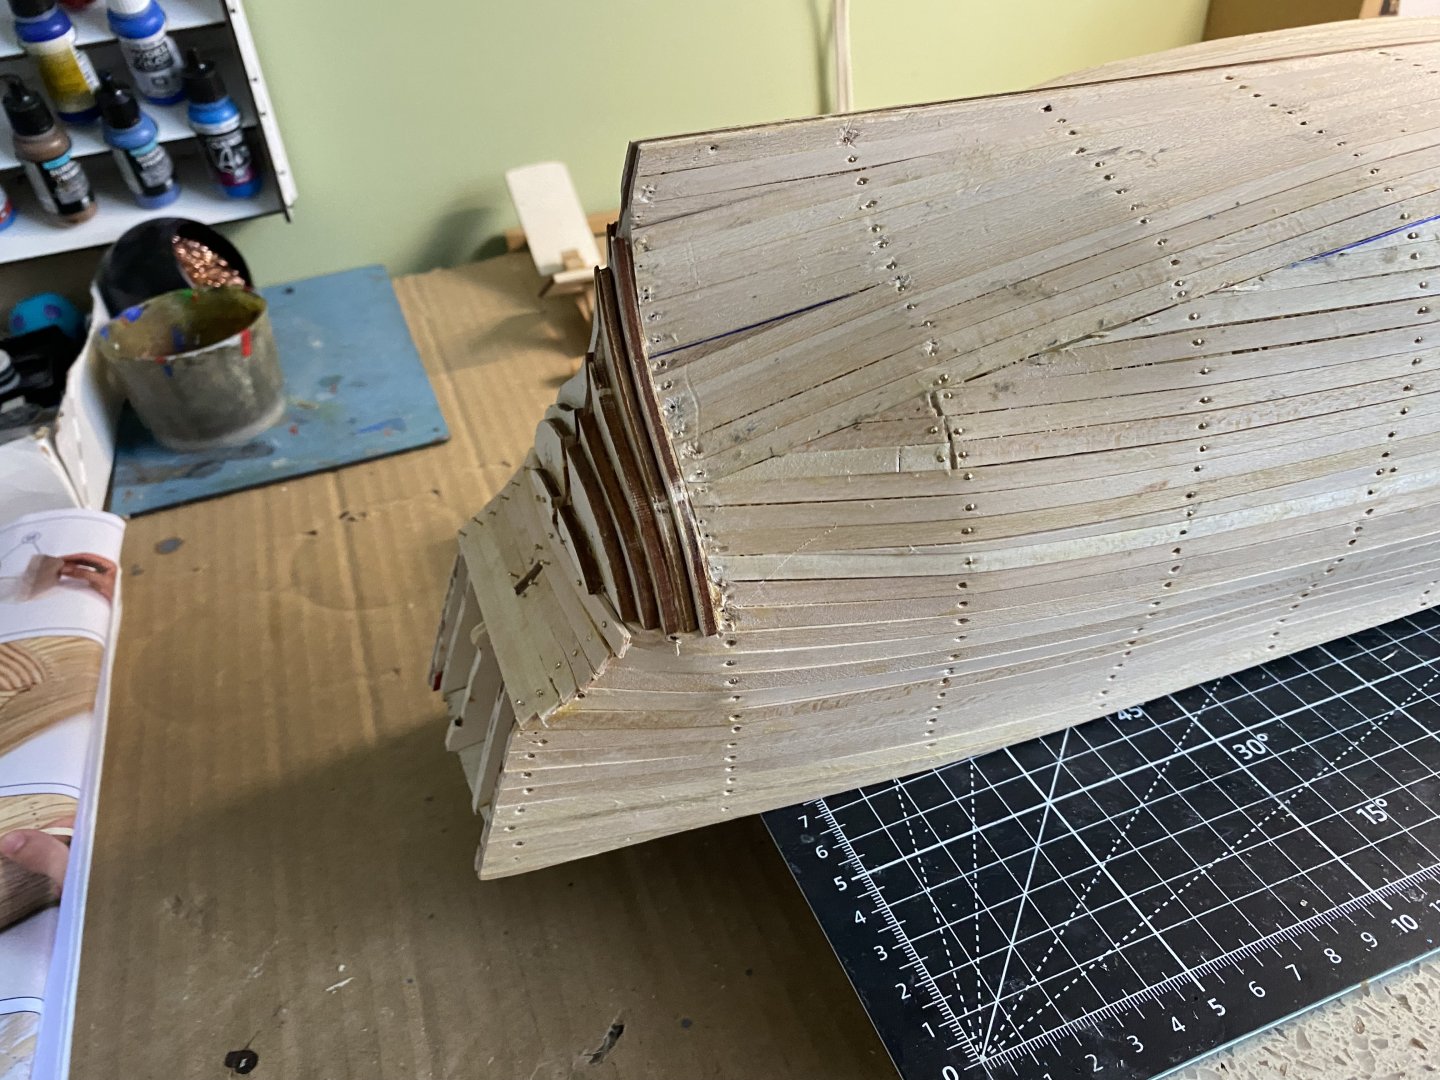
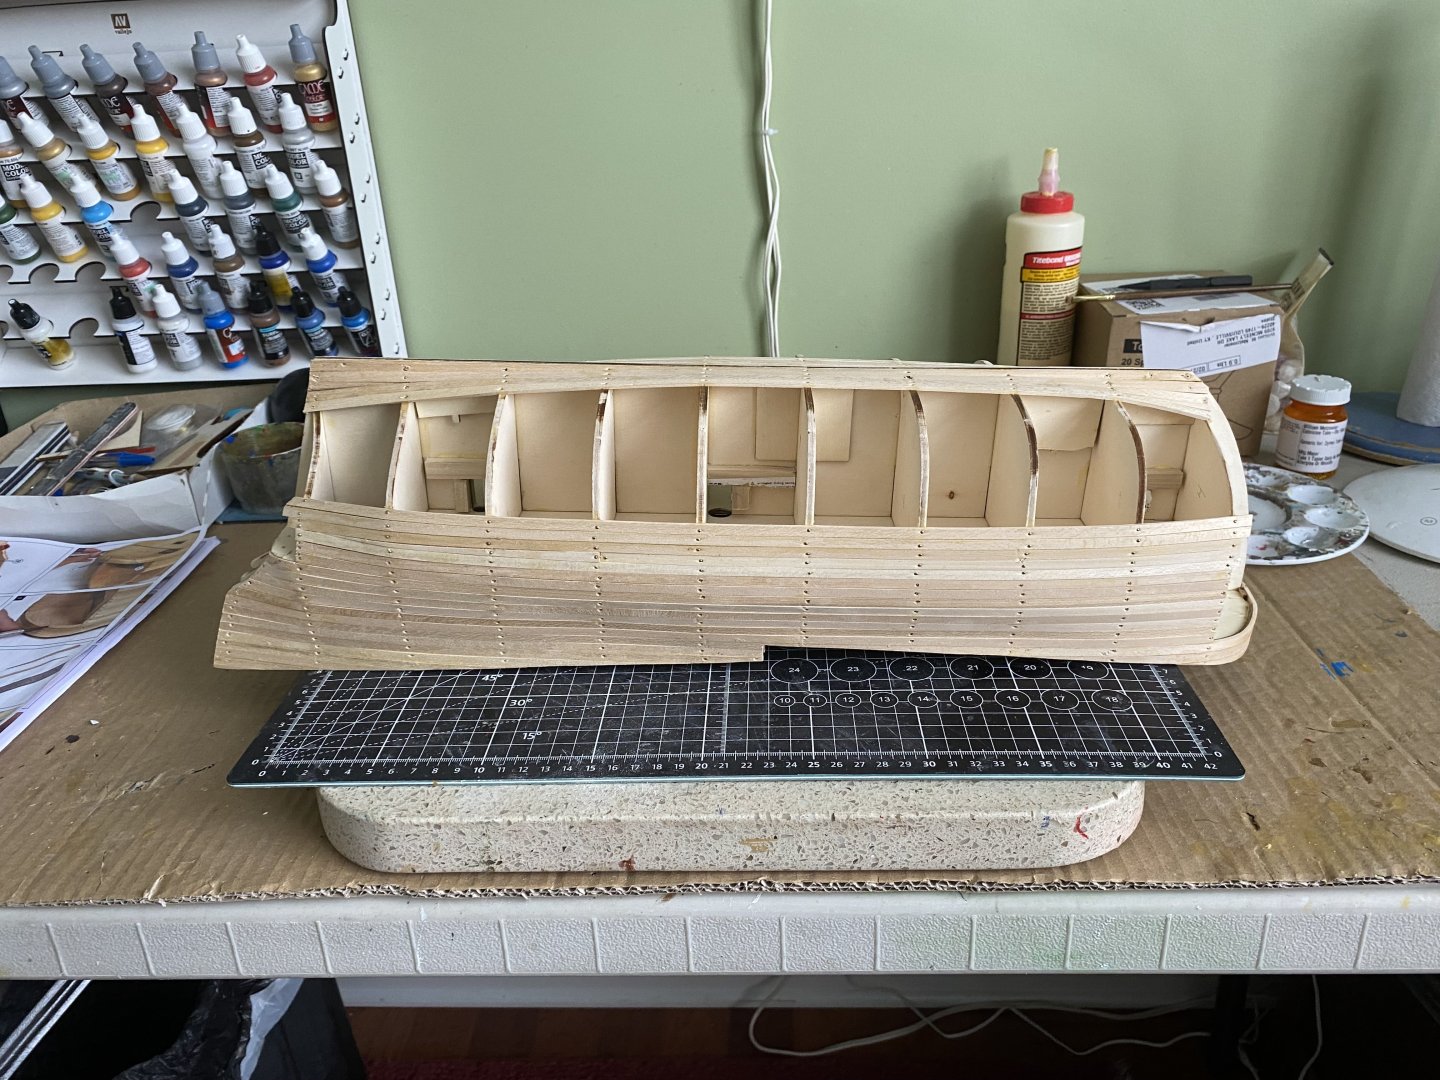
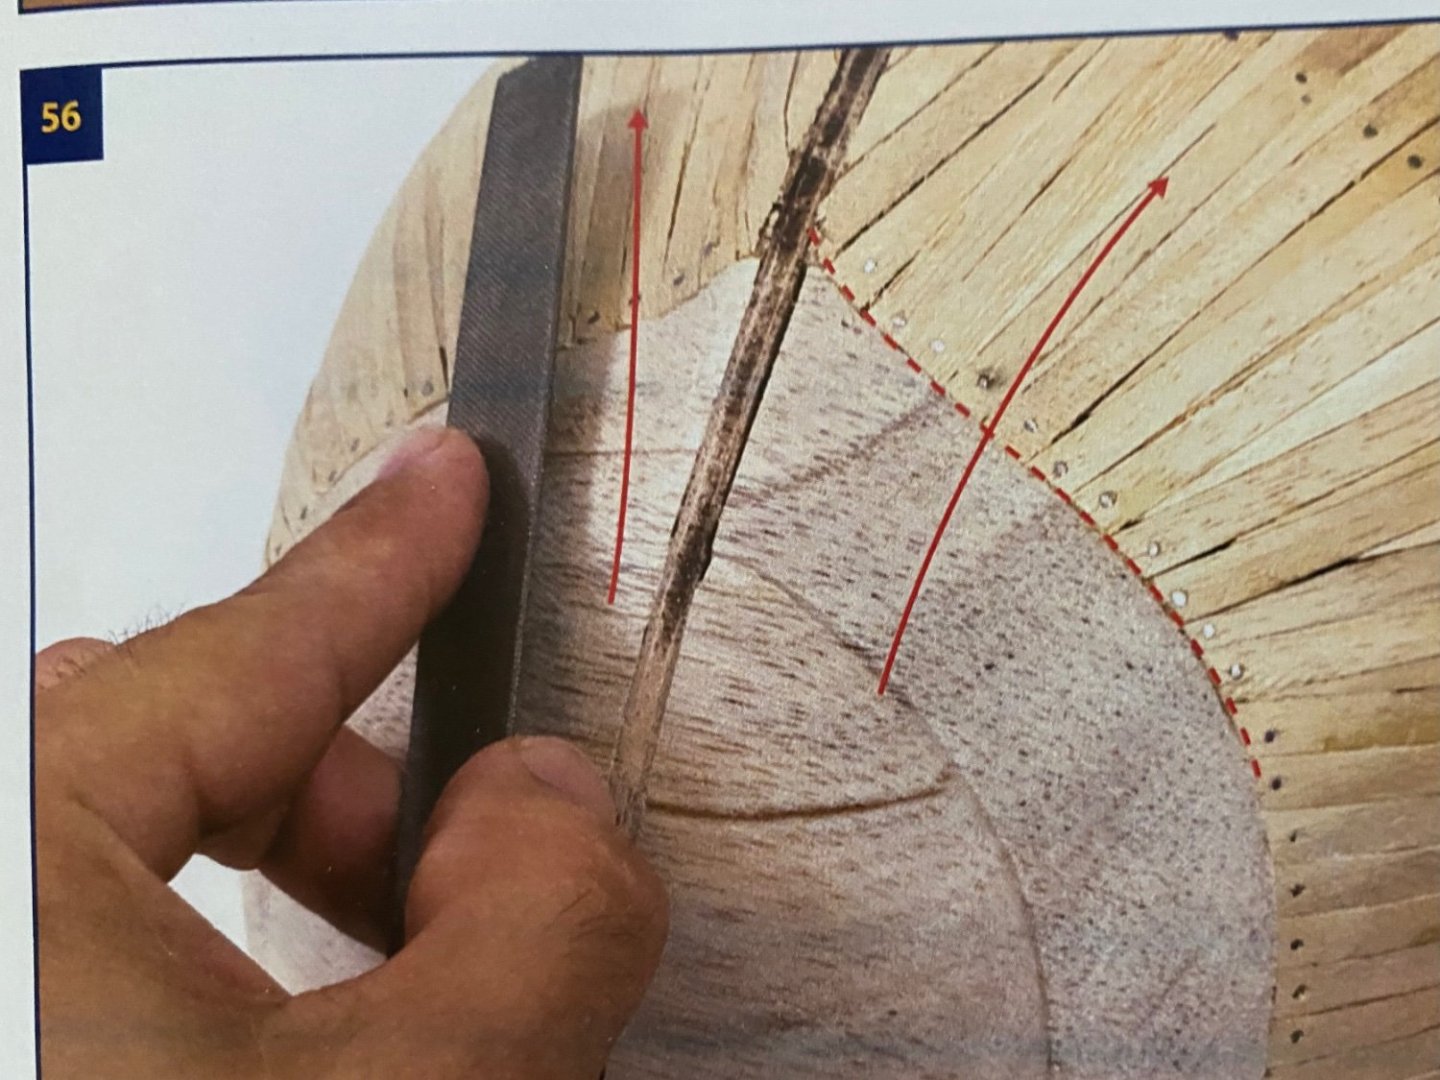
Finished the upper 1st planking on both sides of the ship now and will now start the bottom area. OcCre had me do the section from the lower deck up to the top of the bulwarks first and then start at the false keel and work my way up to meet. This next section will require numerous pie shaped pieces to fill in between planks as you can see in the last example photo. Looking to reuse, with modifications, the base I originally made for my Soleil Royal but now have in a diorama.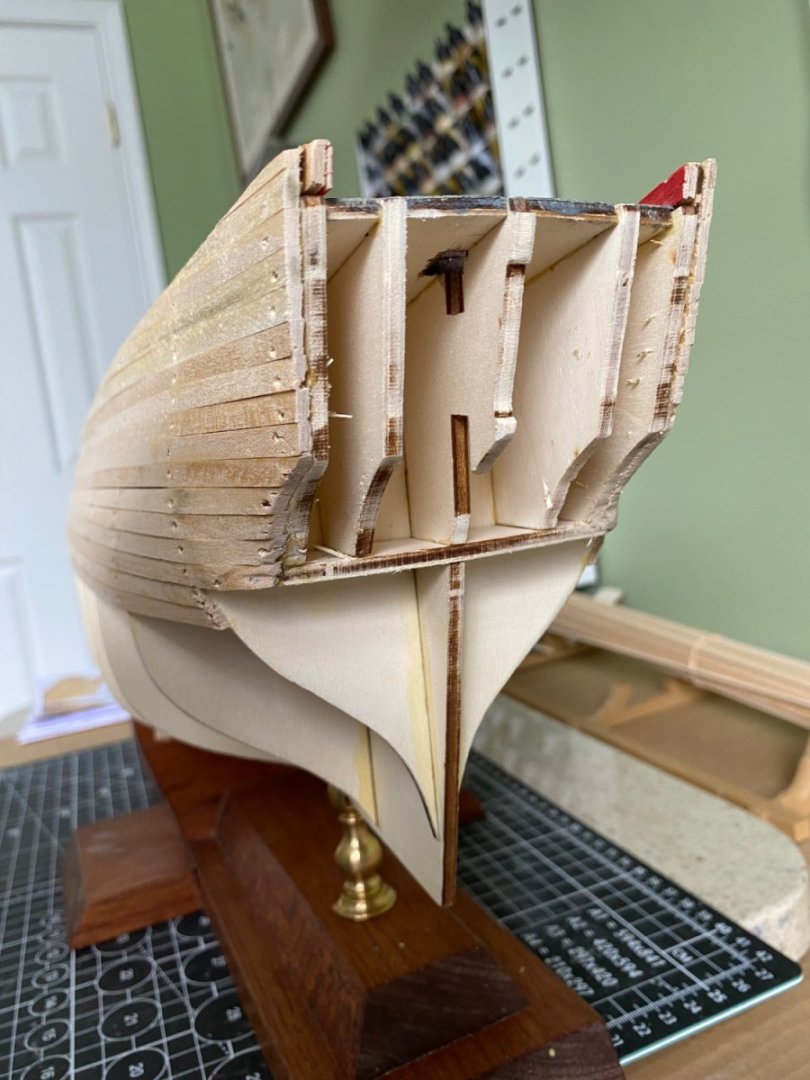


-
Endeavour by Bill97 - OcCre - 1/54
Bill97 replied to Bill97's topic in - Kit build logs for subjects built from 1751 - 1800
Yes Ian I have looked at them. They also hav a great line of street cars/trams. I bought an airbrush kit on Amazon back when I started building the Victory. With a little practice you would have no trouble. I use Vallejo Model Air paints with it. They are designed especially for use with airbrushing. -
Endeavour by Bill97 - OcCre - 1/54
Bill97 replied to Bill97's topic in - Kit build logs for subjects built from 1751 - 1800
Yes Ian. I am sorry just saw your comment. I will attach a couple OcCre instructions photos to show process.

-
Endeavour by Bill97 - OcCre - 1/54
Bill97 replied to Bill97's topic in - Kit build logs for subjects built from 1751 - 1800
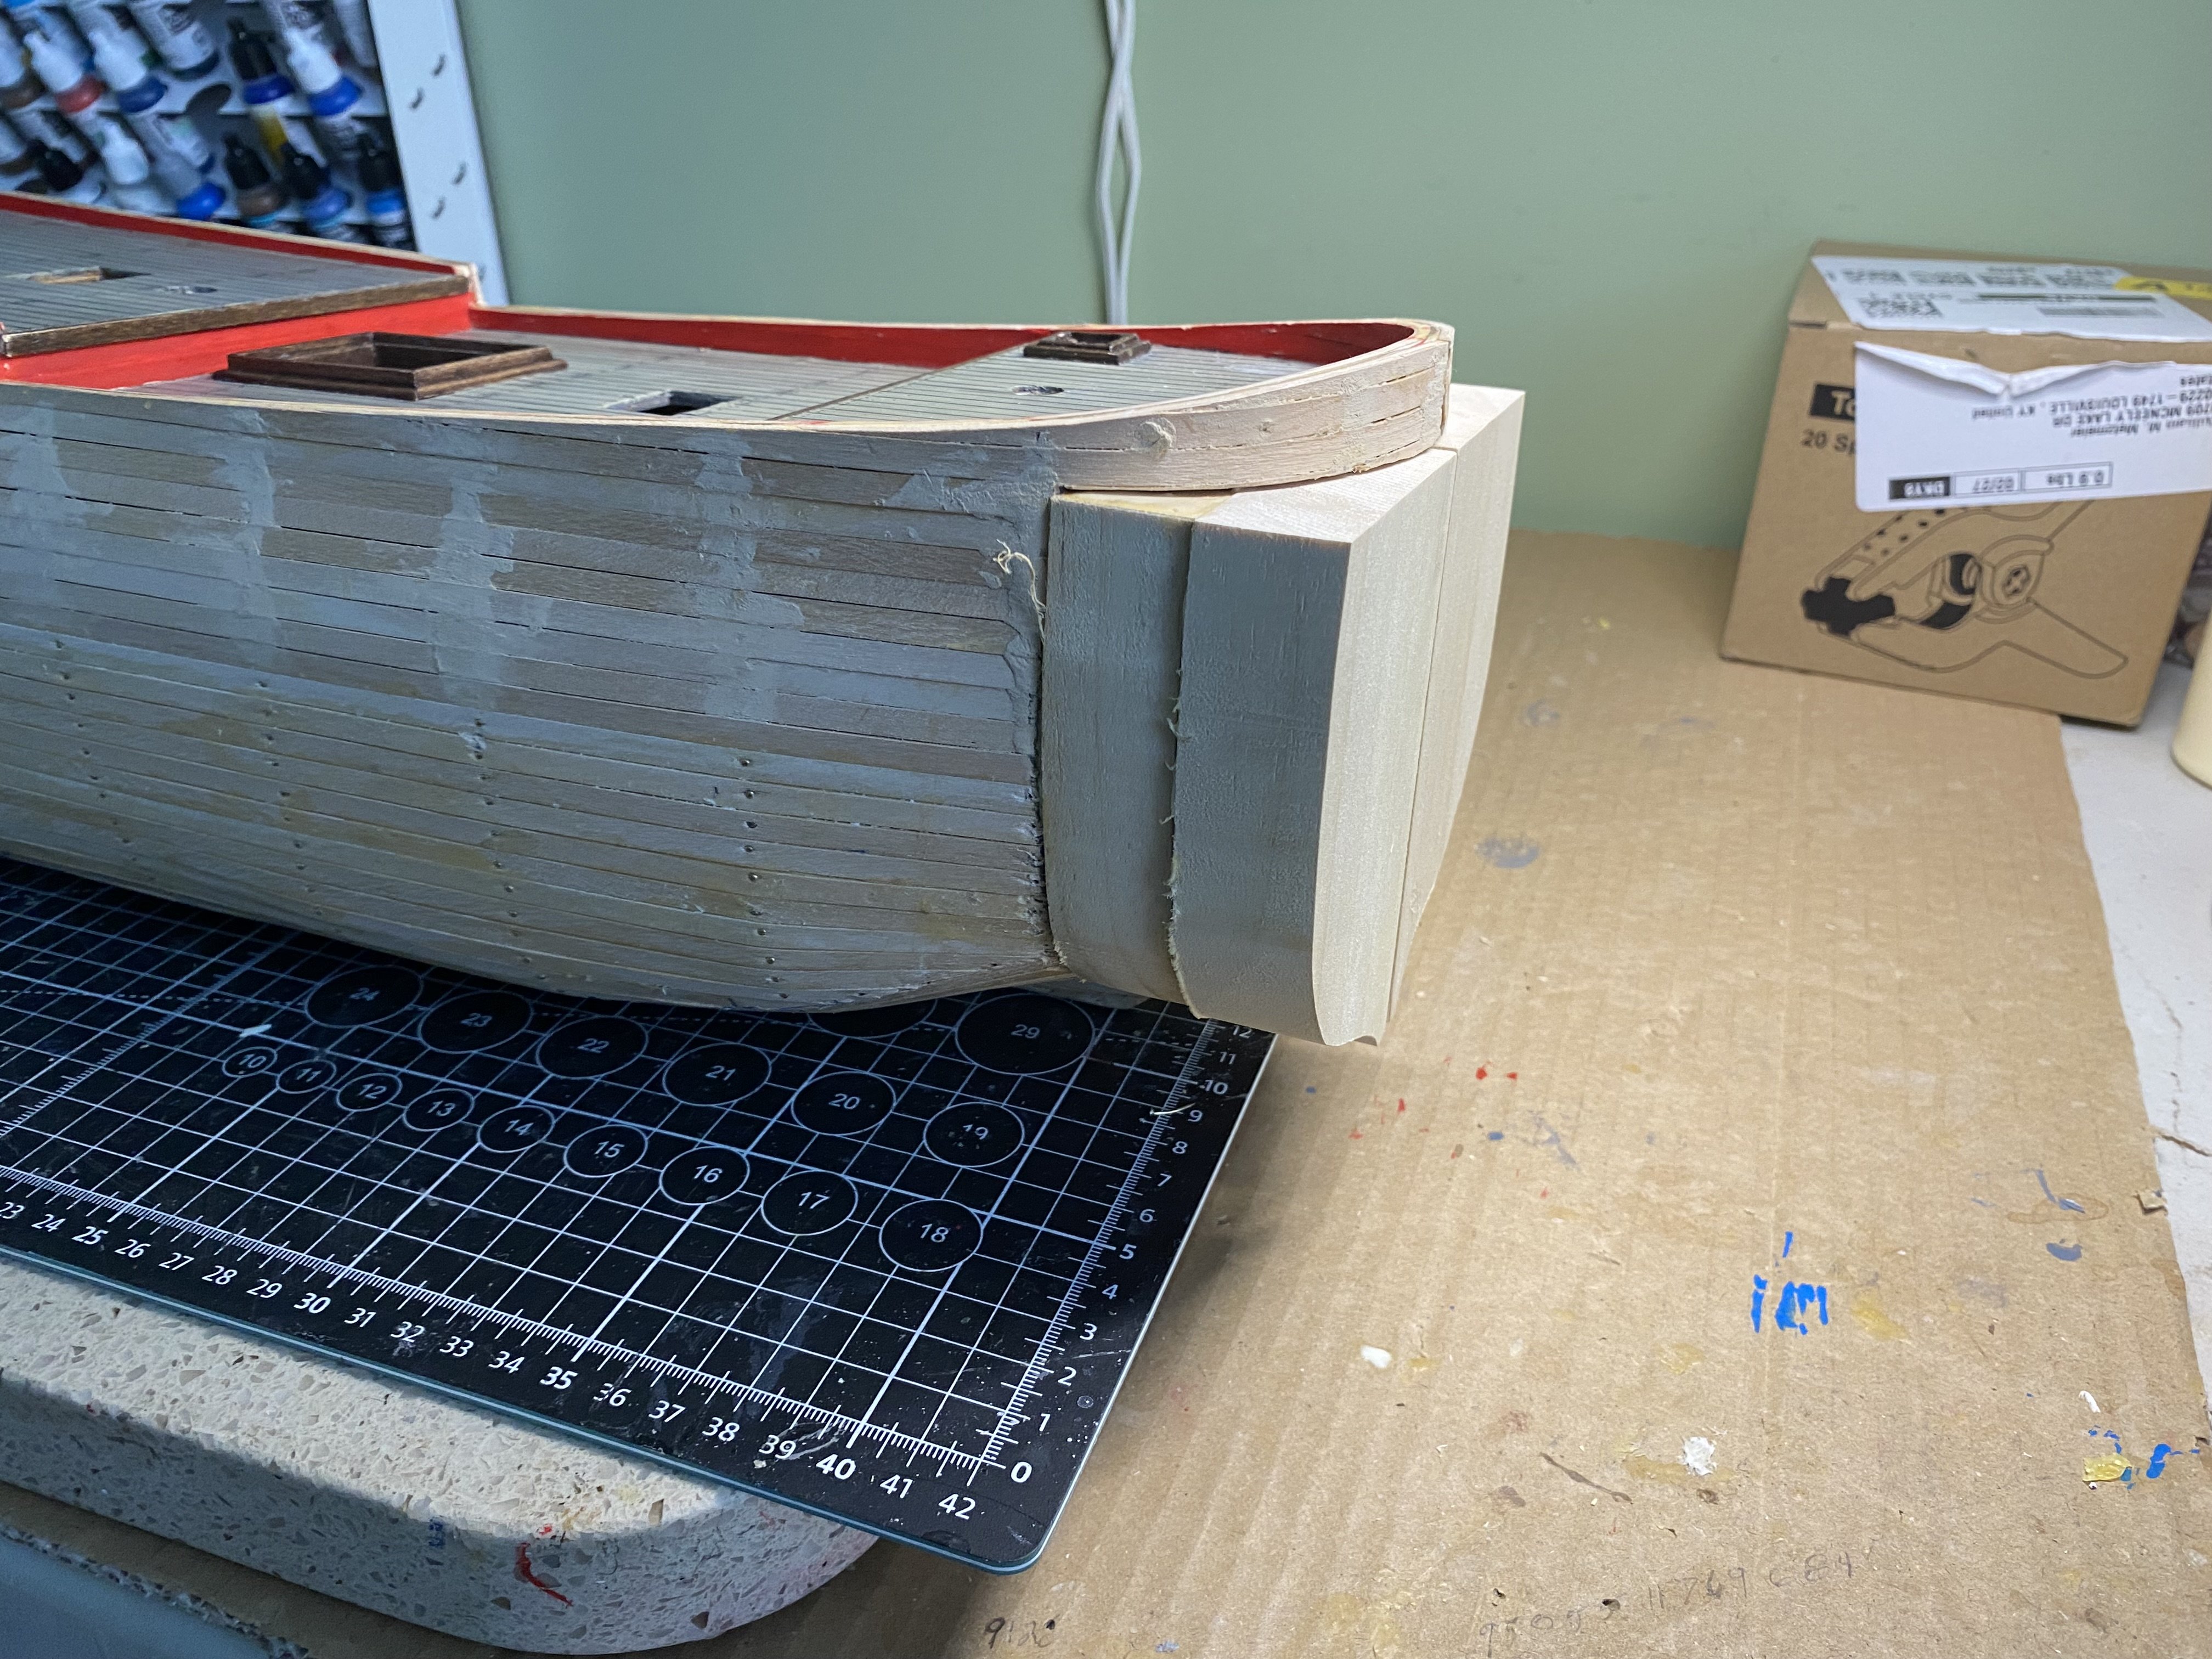
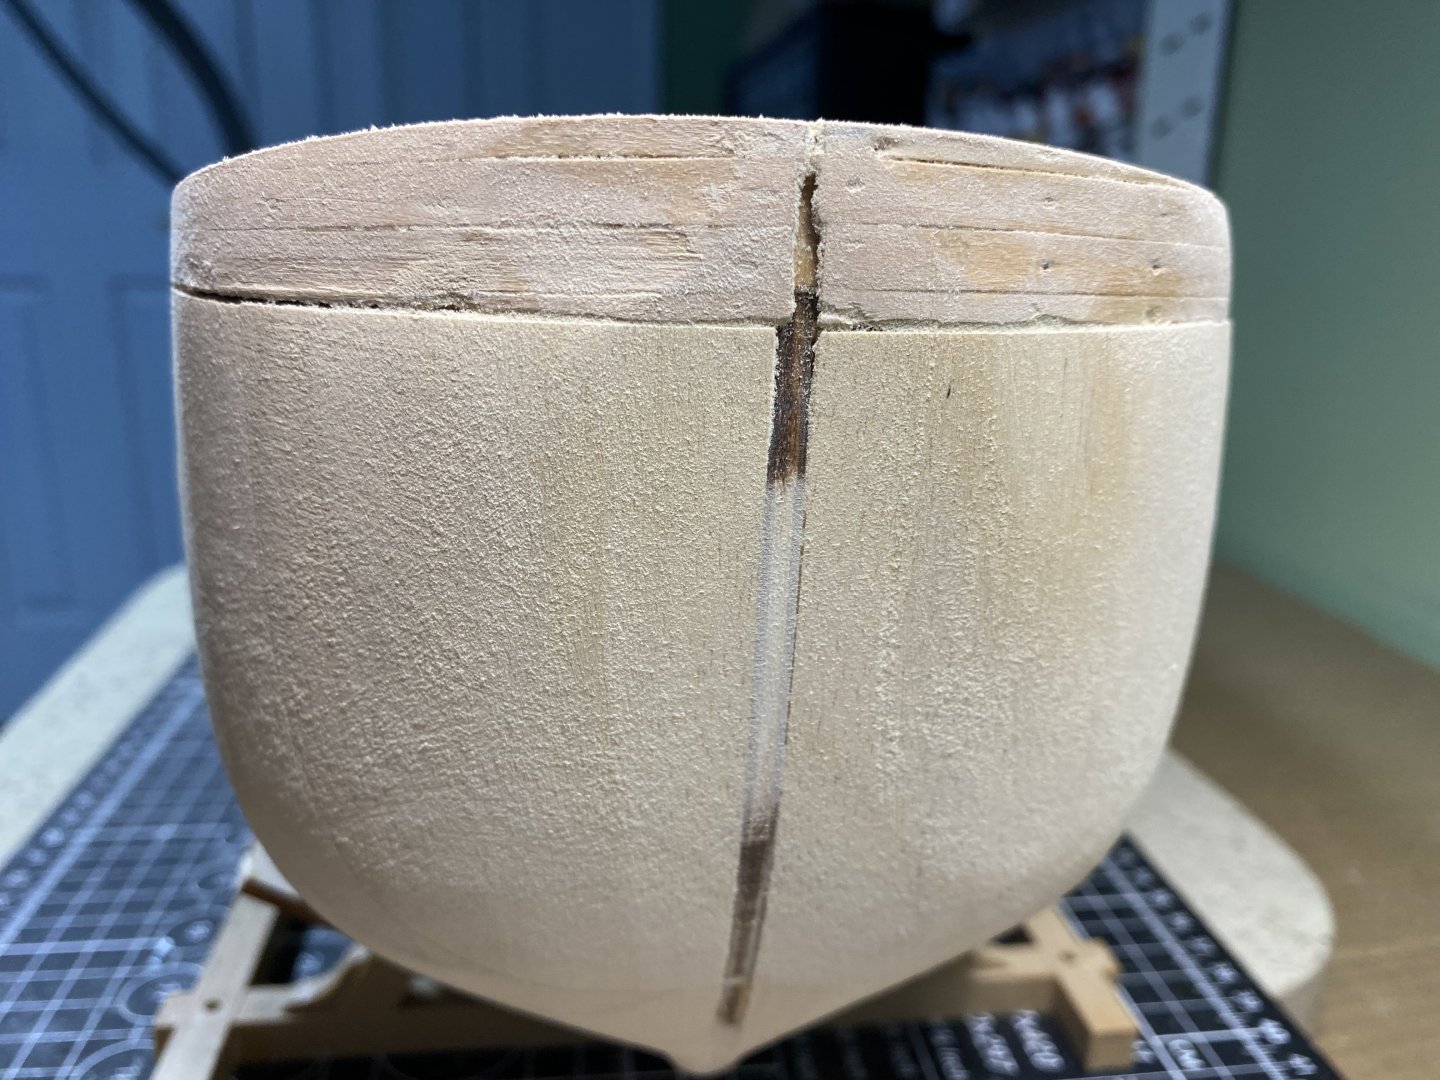
That is correct. Balsa blocks are glued in the bow and sanded to shape. -
Endeavour by Bill97 - OcCre - 1/54
Bill97 replied to Bill97's topic in - Kit build logs for subjects built from 1751 - 1800
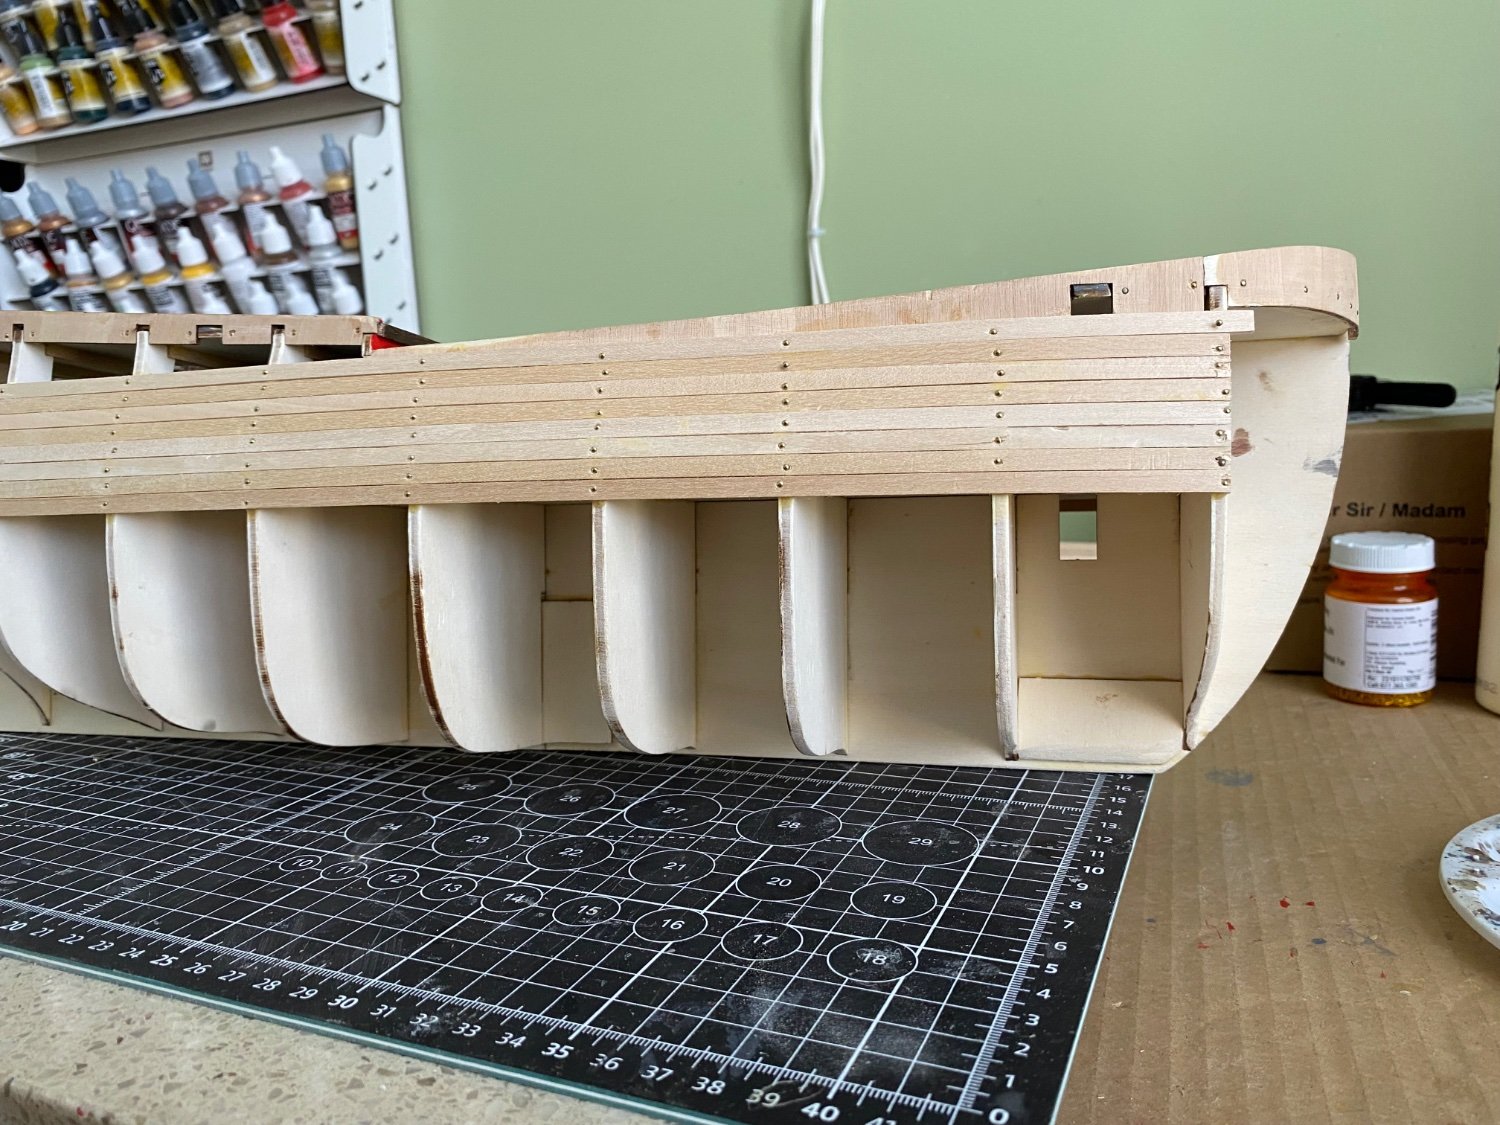
Planking of upper half of starboard side completed. Nails sunk and holes filled. Still need to sand, fill all the seems, and give final sanding after all the planking complete.


-
Endeavour by Bill97 - OcCre - 1/54
Bill97 replied to Bill97's topic in - Kit build logs for subjects built from 1751 - 1800
Thanks shipaholic and kiwiron. I have both of your builds bookmarked for reference. -
Good morning shipaholic. Just found your build after you commented over on mine. Some beautiful work you have done. Will definitely bookmark your’s for reference.
-
Bill97 reacted to a post in a topic:
Endeavour by Bill97 - OcCre - 1/54
-
Endeavour by Bill97 - OcCre - 1/54
Bill97 replied to Bill97's topic in - Kit build logs for subjects built from 1751 - 1800
First planking in progress. This process definitely employs my woodworking skills! Especially shaping around the stern. Have yet to decide if I am going to sink the nail heads or pull them out with needle nose pliers.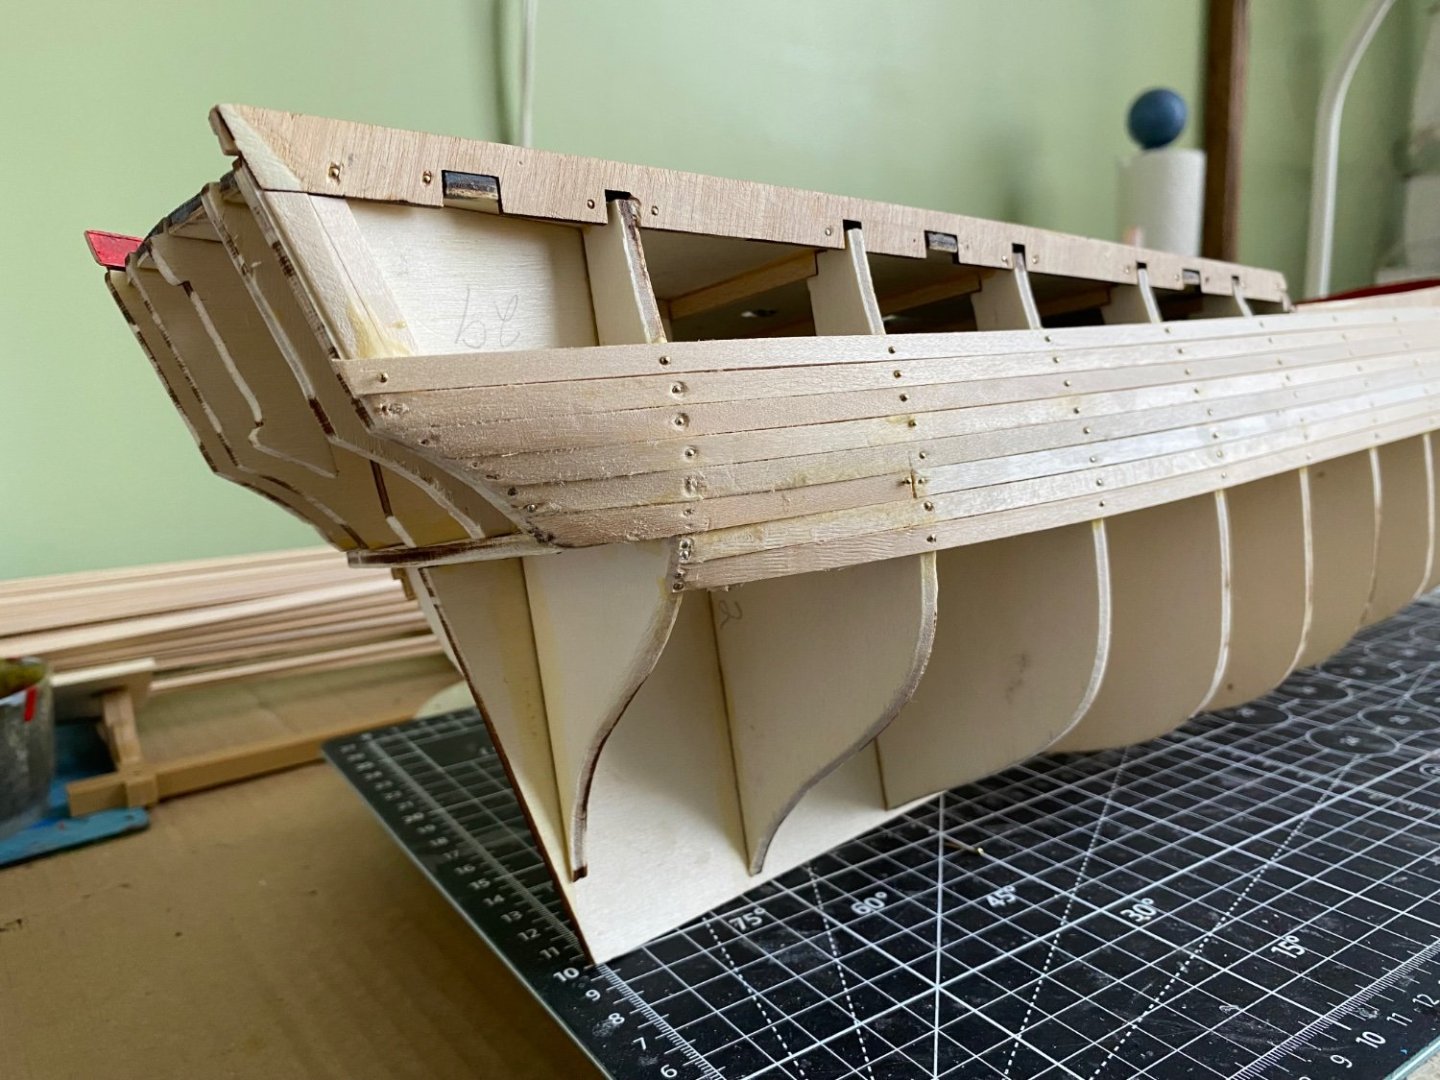

-
Endeavour by Bill97 - OcCre - 1/54
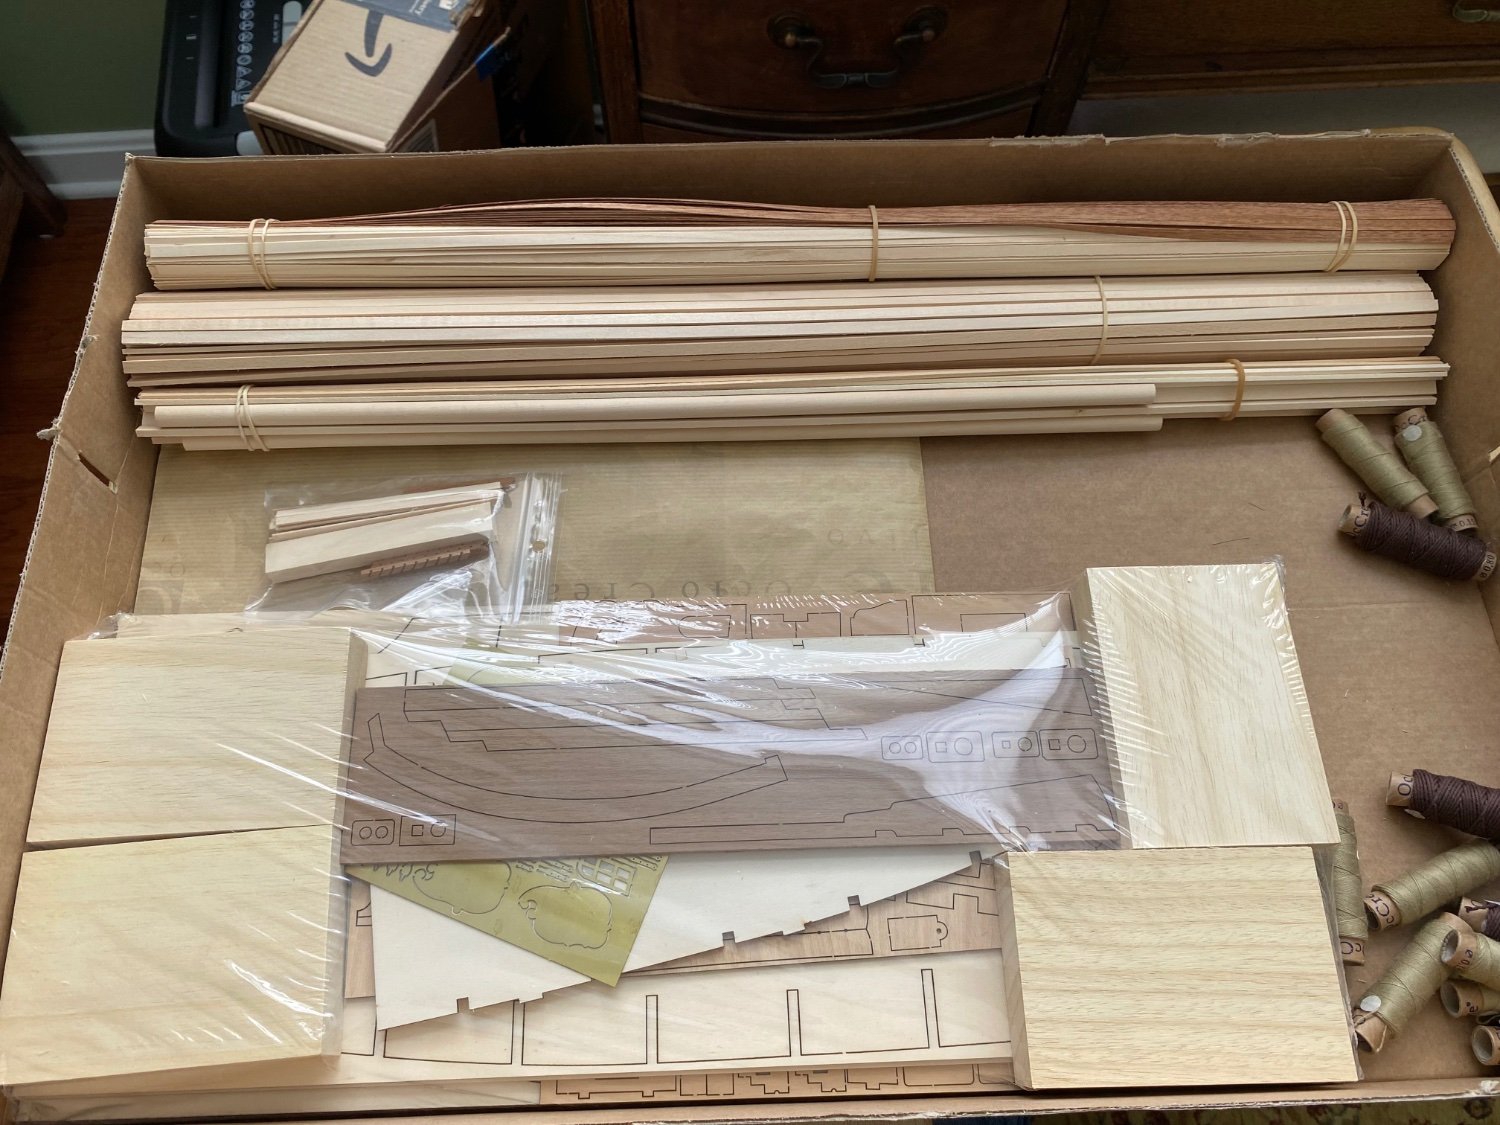
Bill97 replied to Bill97's topic in - Kit build logs for subjects built from 1751 - 1800
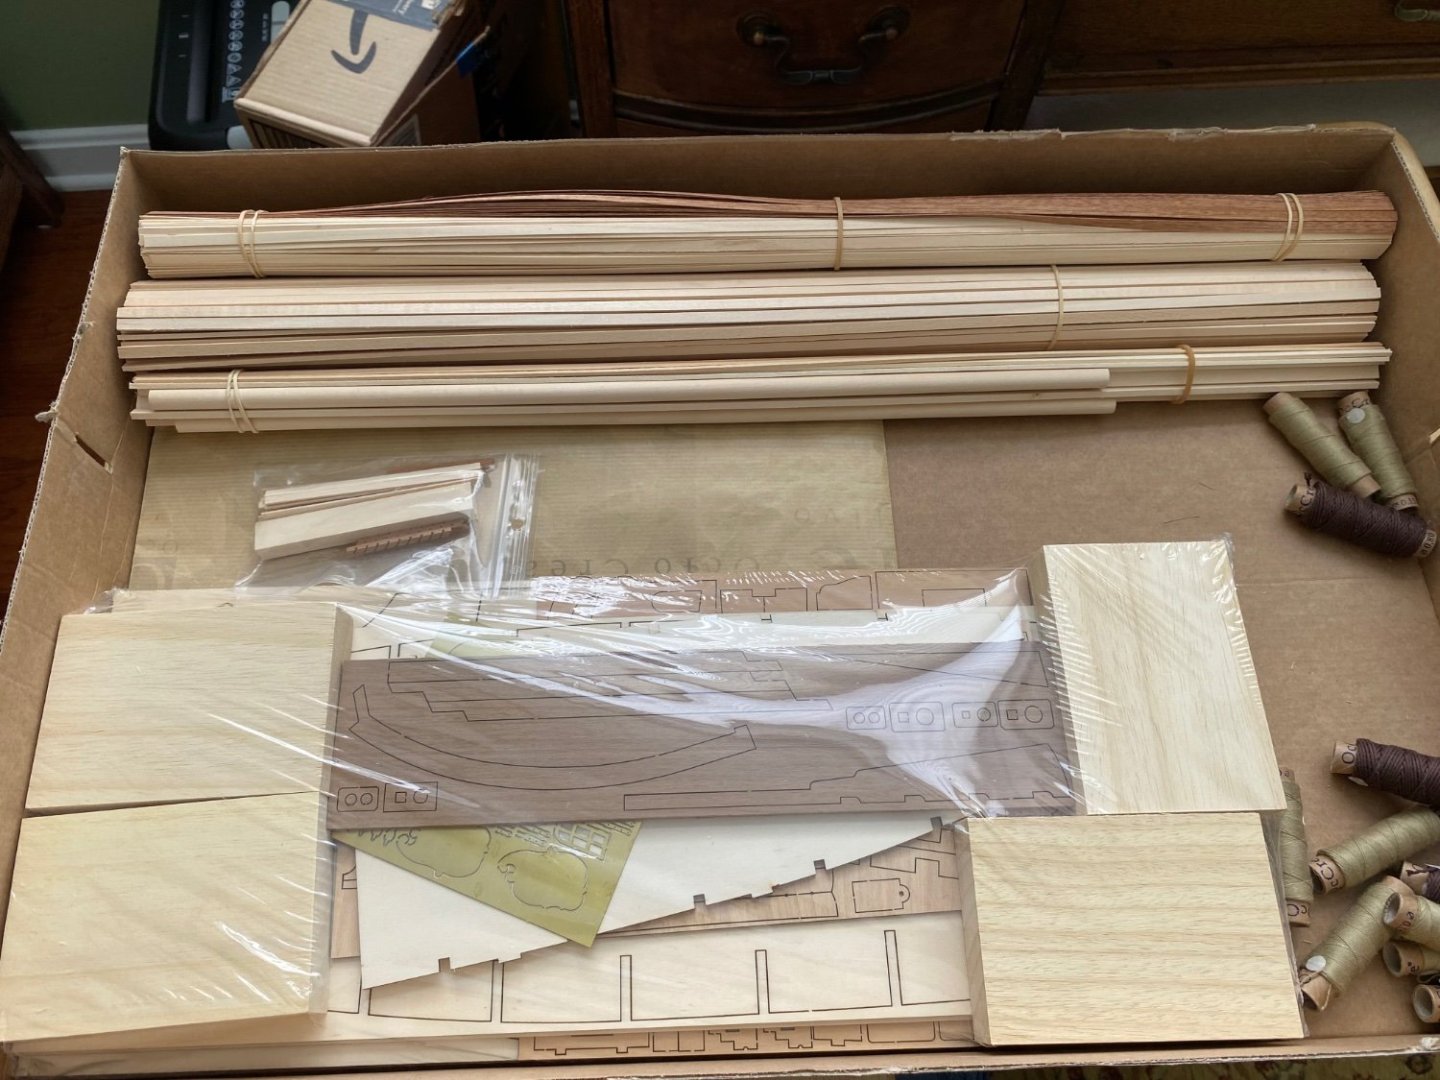
Yes Kevin. So far everything has been part of the kit. Got a big box of different size wood, a sort of plastic tackle box filled with all sorts of bits and pieces hardware, and an instruction book telling me the size to cut the wood. Great thing I have a caliper! The instructions might call for a 2x5mm piece of wood for example to complete a task. There are numerous bundles of sizes. Some 2x4, 2x5, 2x6, etc. Caliper makes that part easy. Very different from a plastic kit with pieces attached to sprues. Yes I like the deck better as well. As I told Marc it was different working with wood instead of plastic. Always great to hear from you Kevin. I continue to check in on your build but don’t always comment. Beautiful work as always my friend.