Bill97
Members-
Posts
2,323 -
Joined
-
Last visited
Content Type
Profiles
Forums
Gallery
Events
Everything posted by Bill97
-
Endeavour by Bill97 - OcCre - 1/54
Bill97 replied to Bill97's topic in - Kit build logs for subjects built from 1751 - 1800
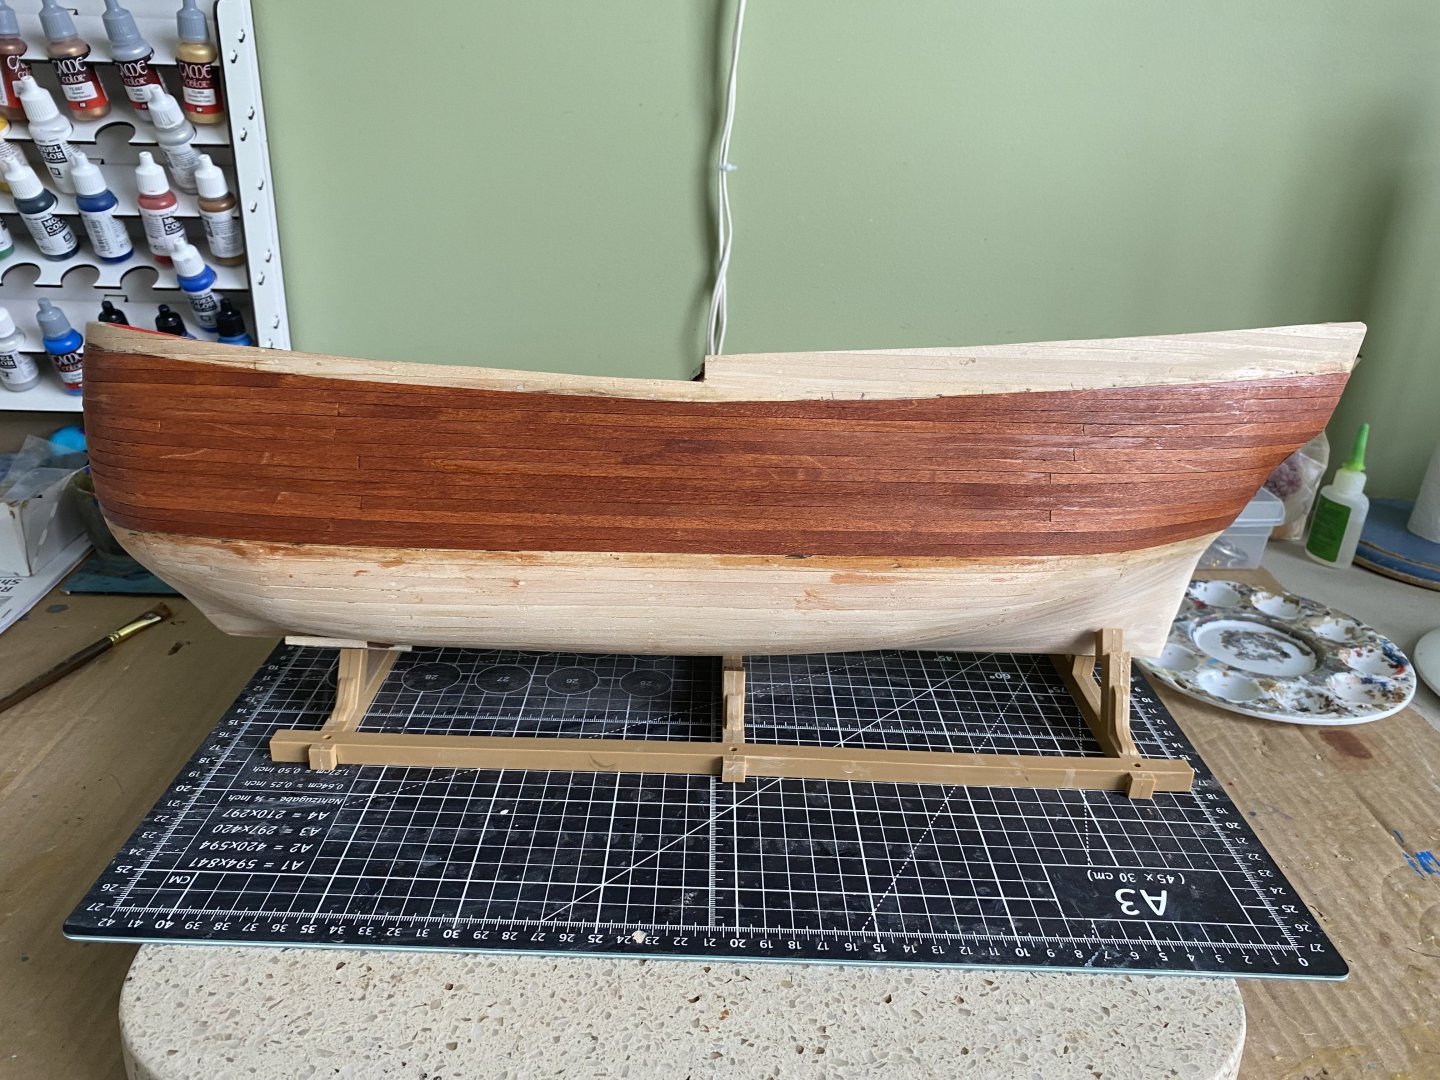
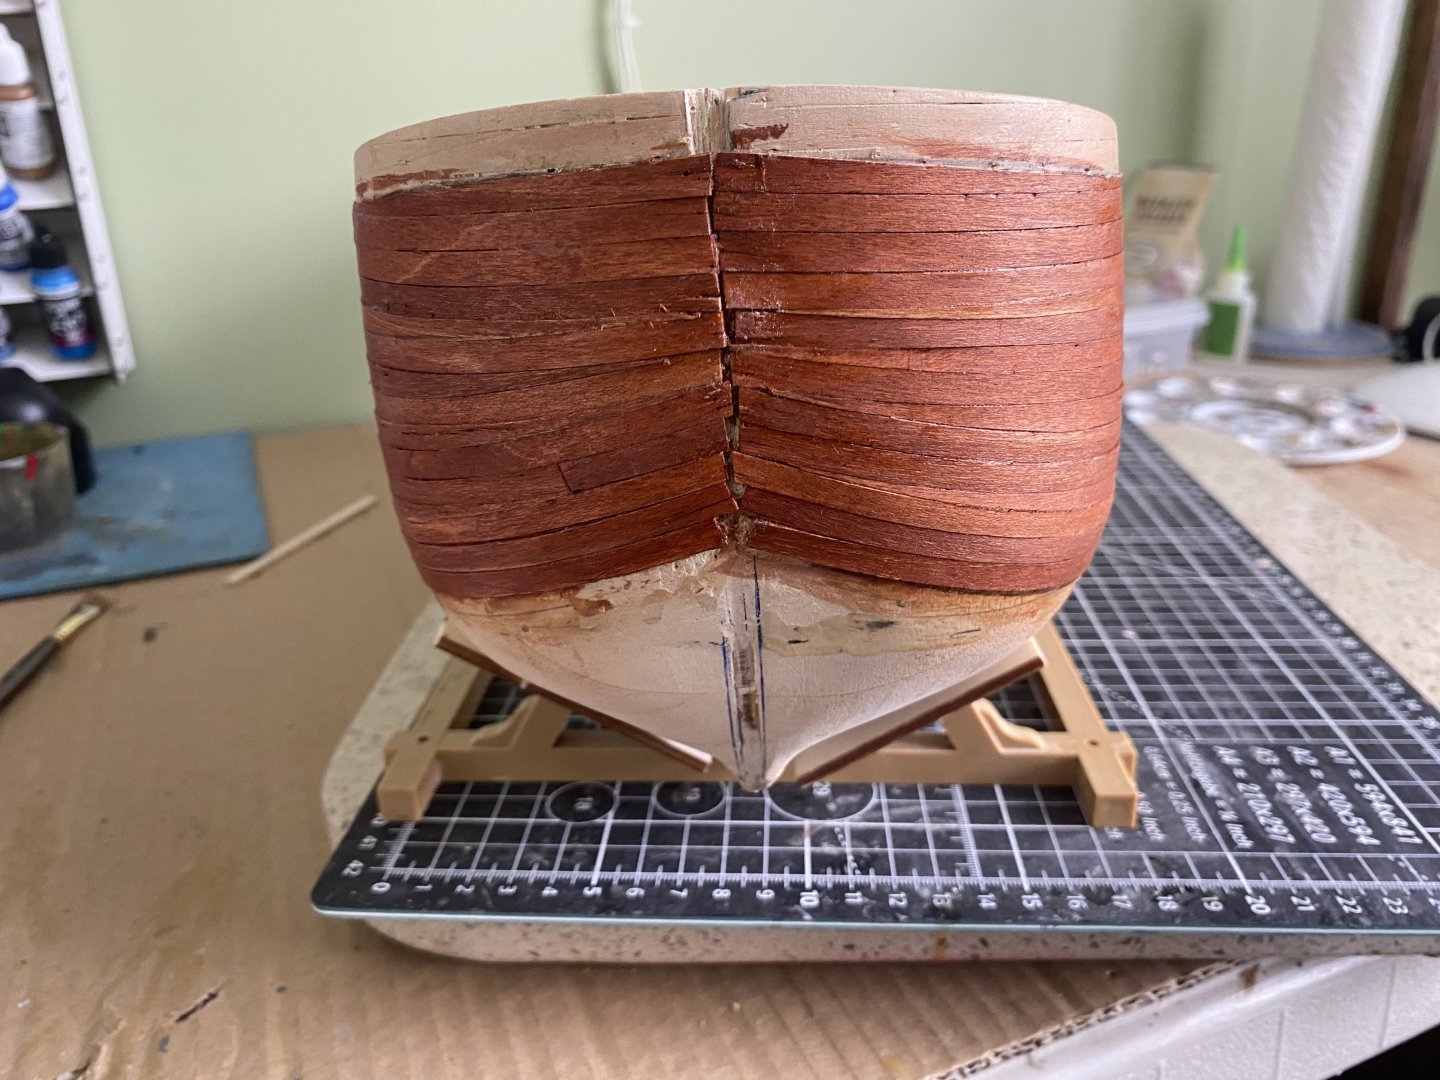
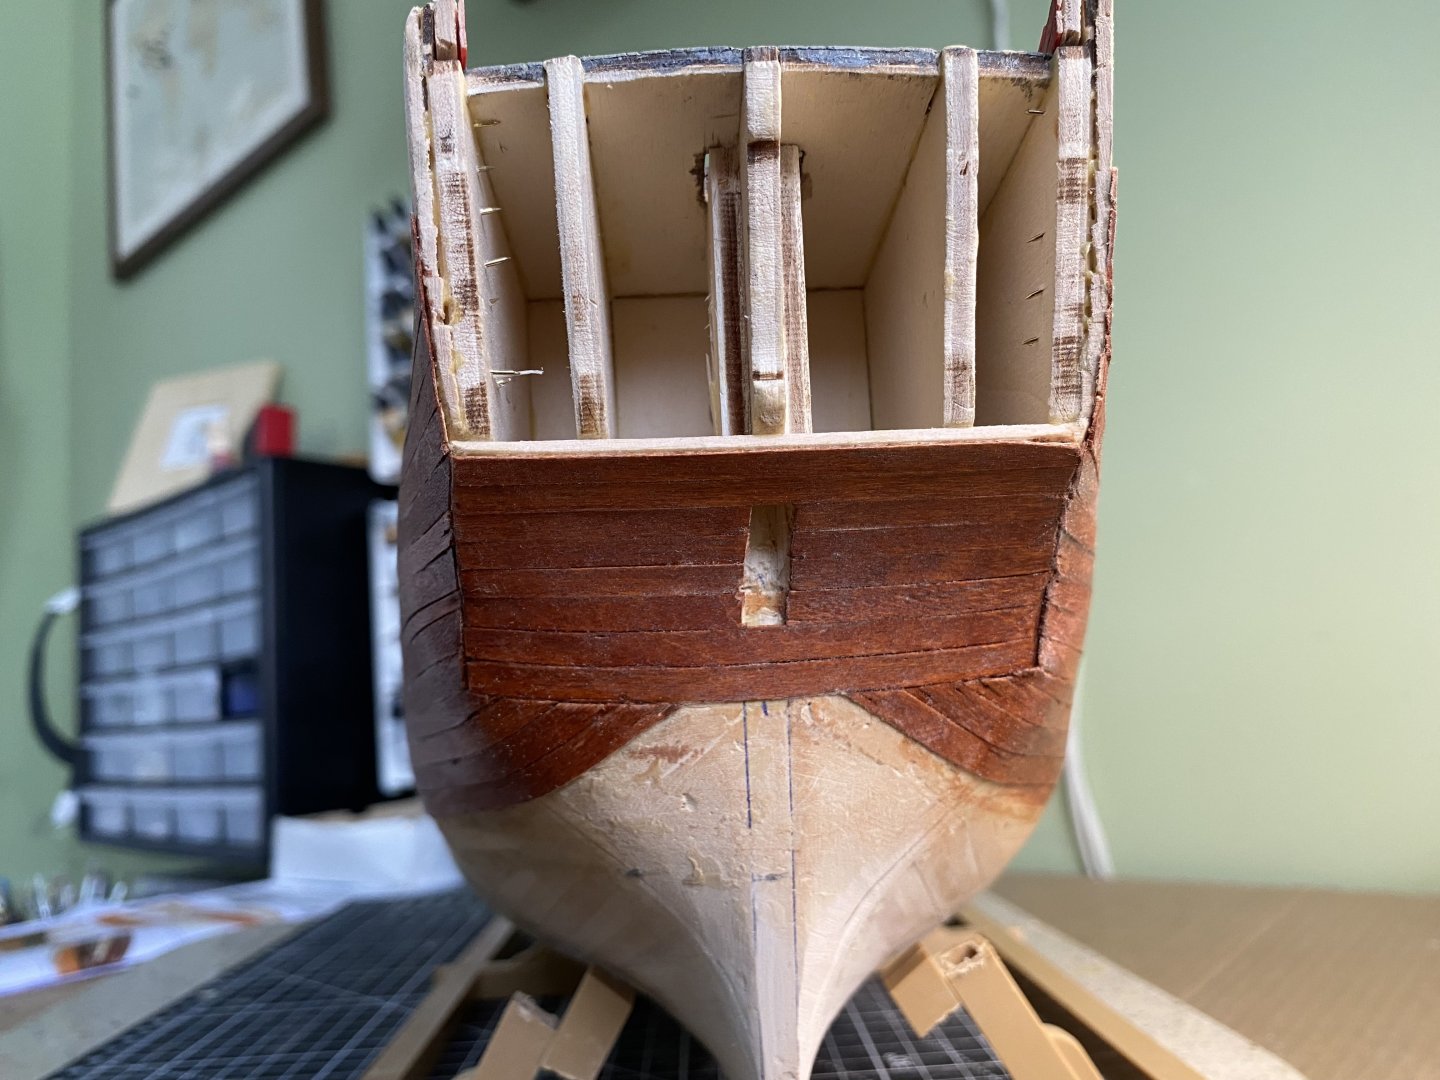
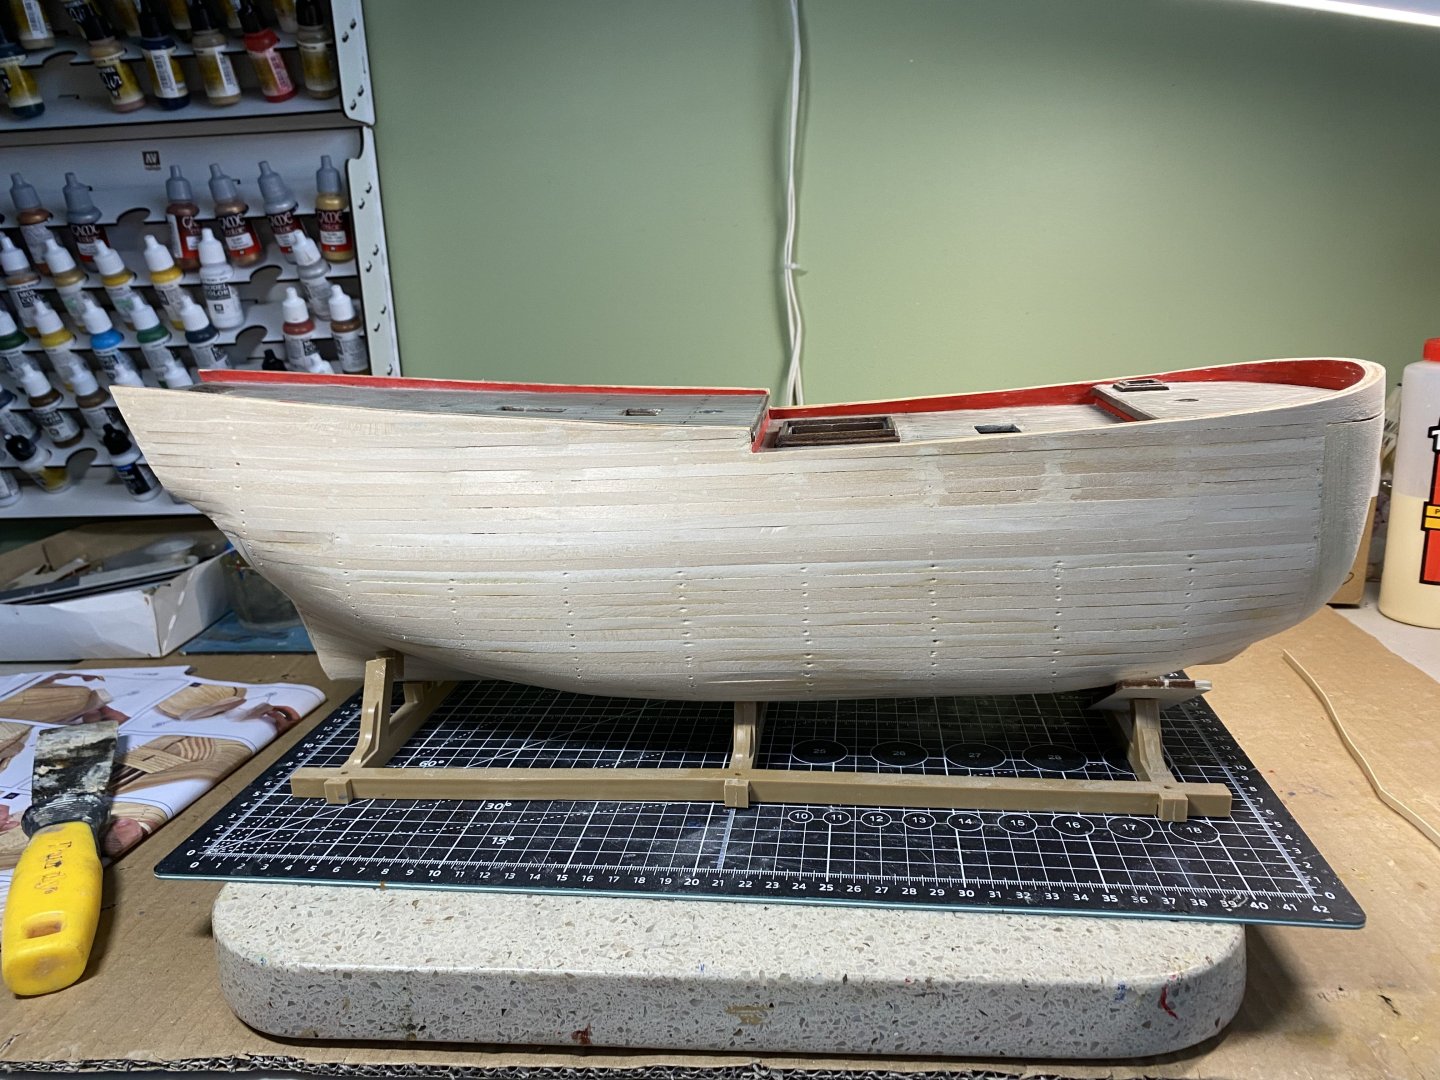
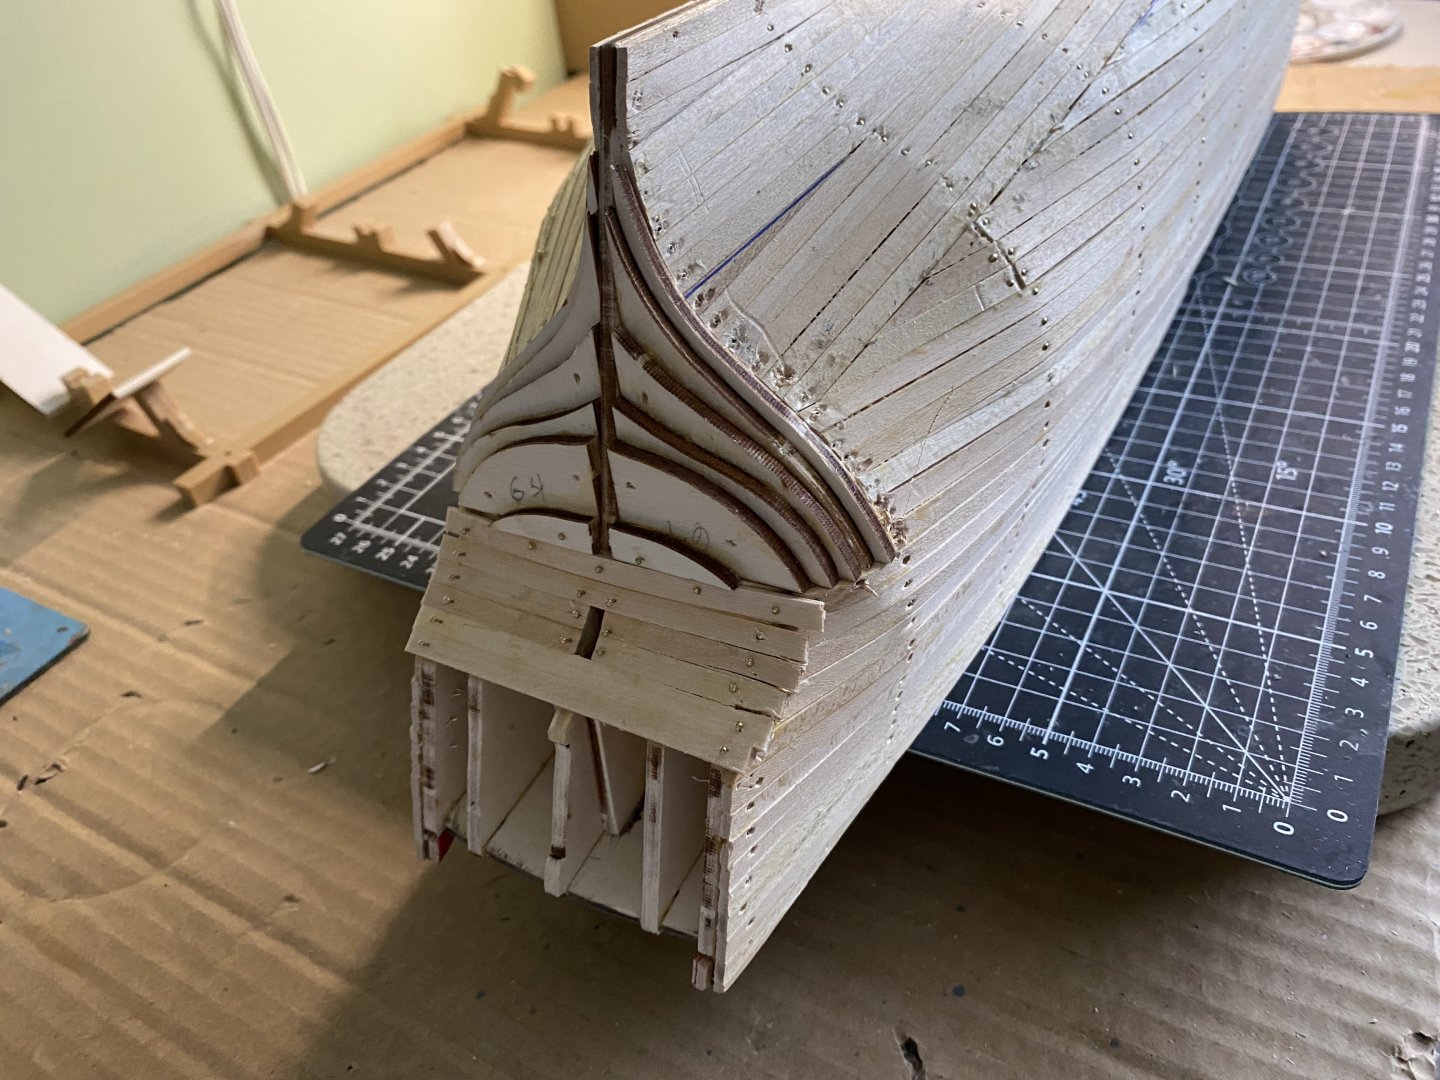
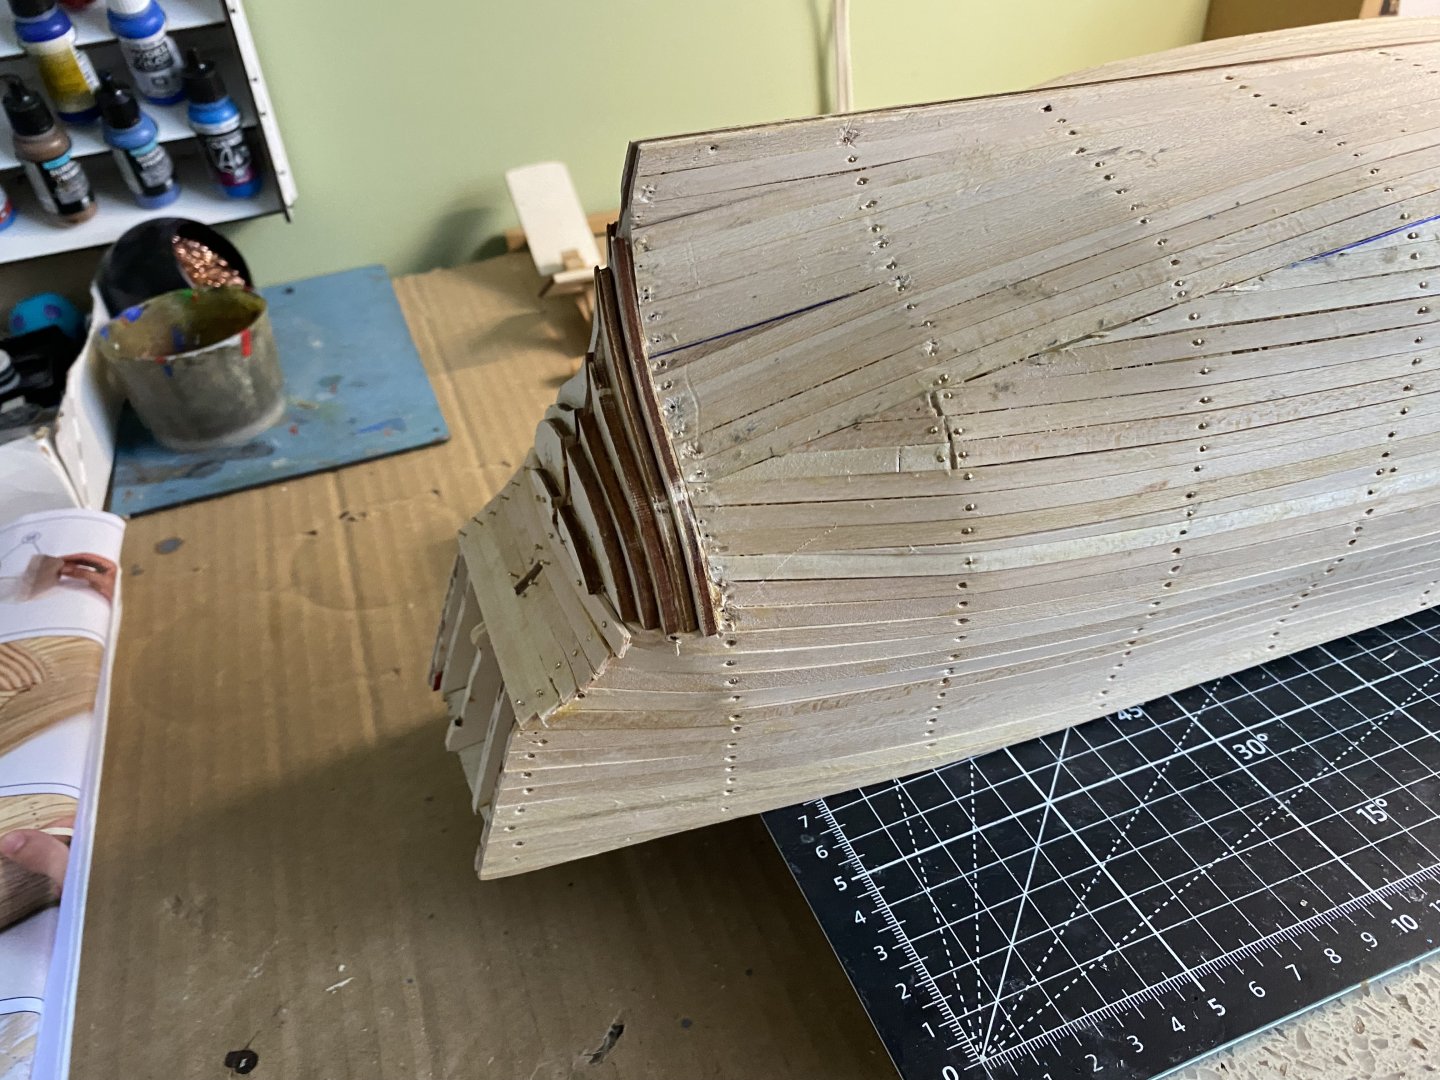
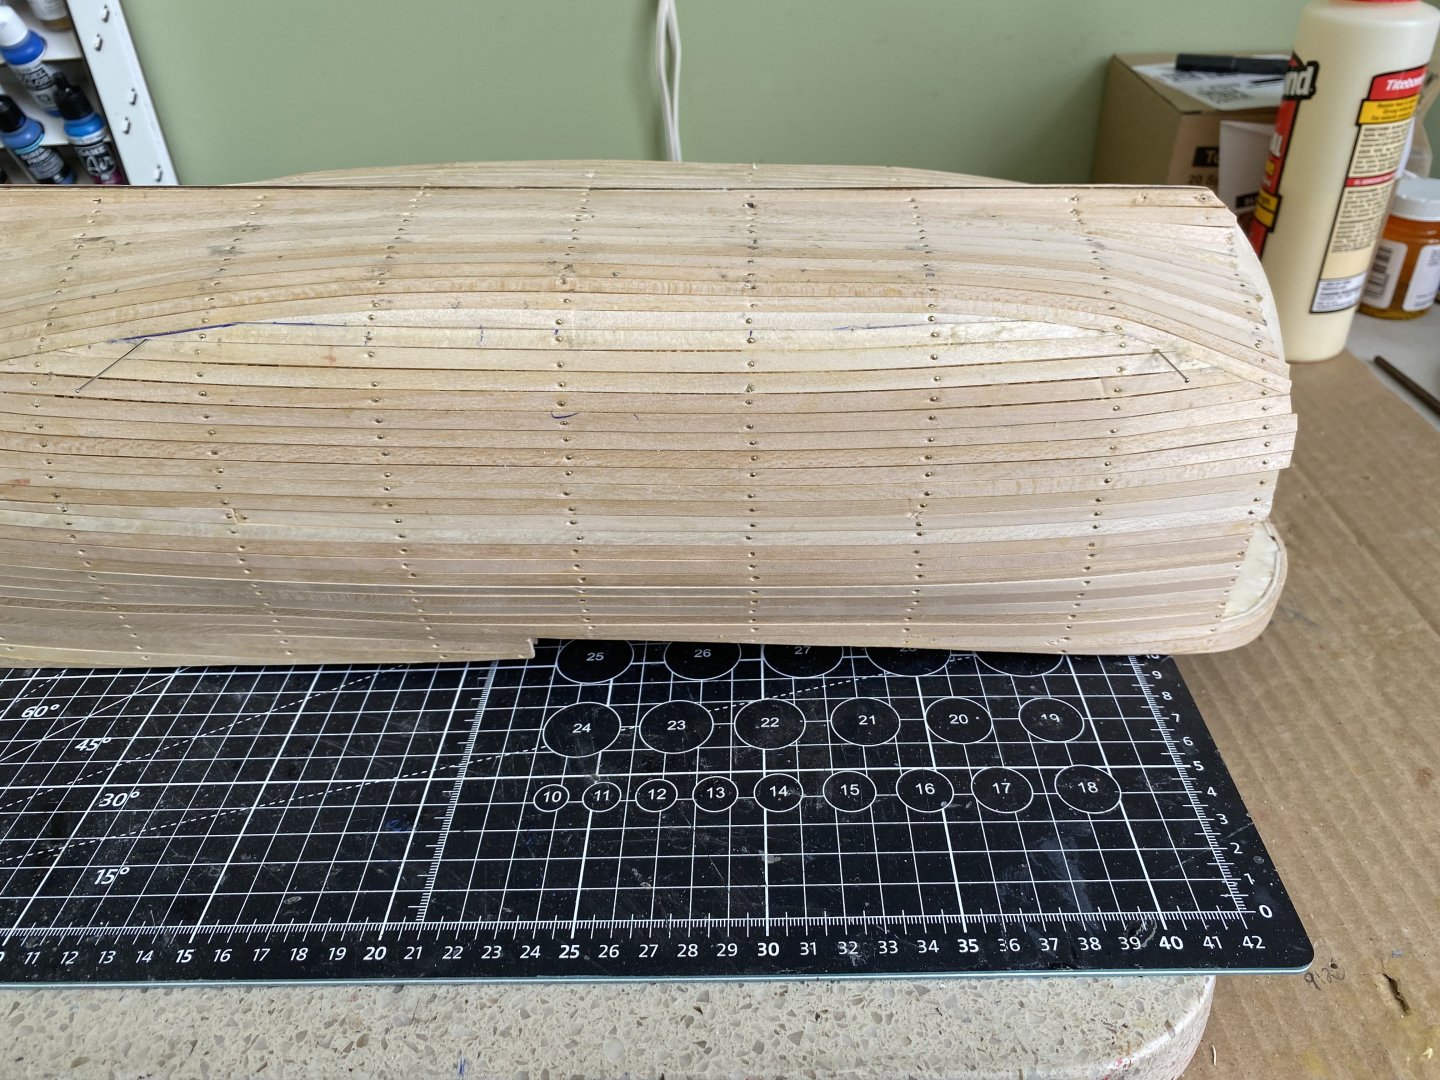
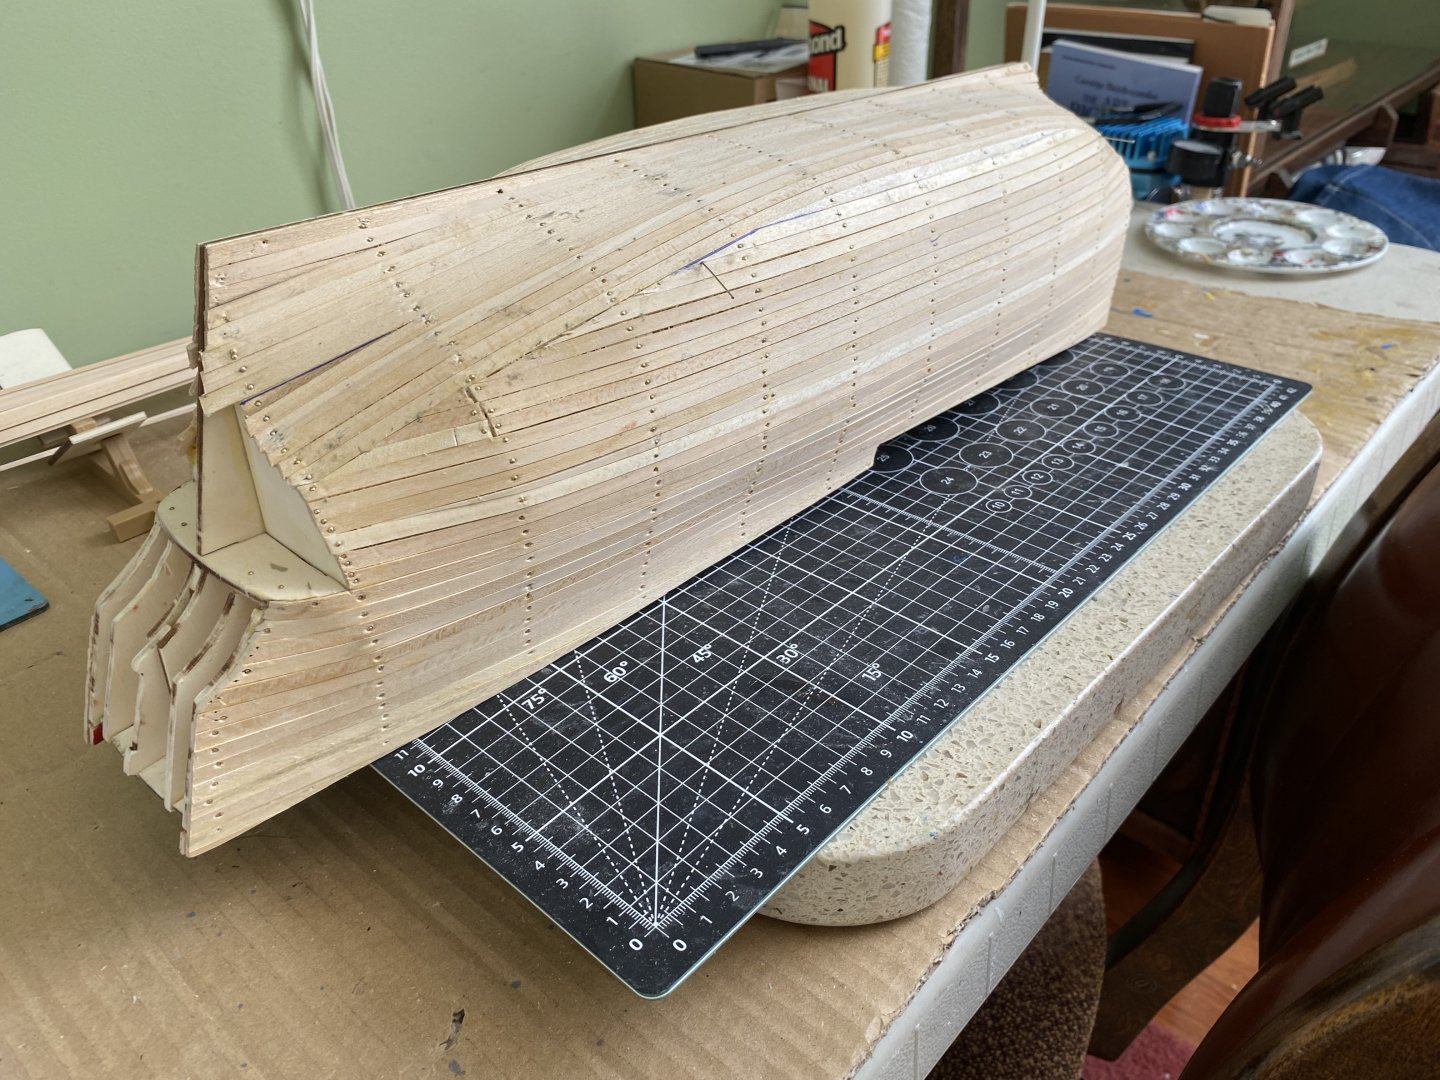
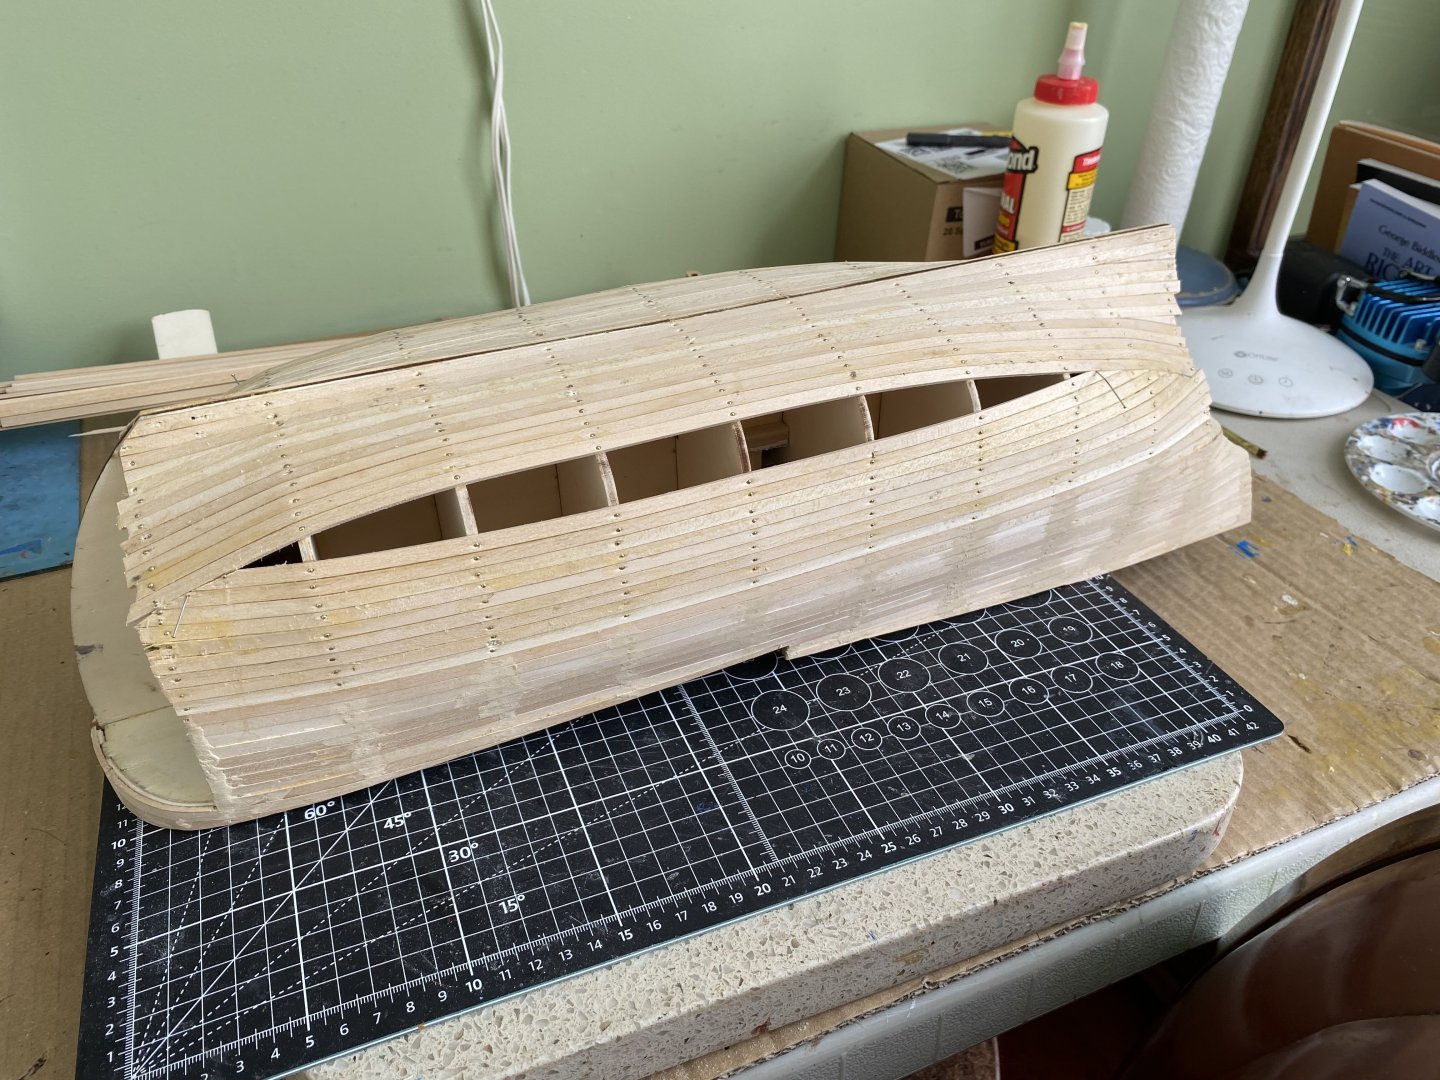
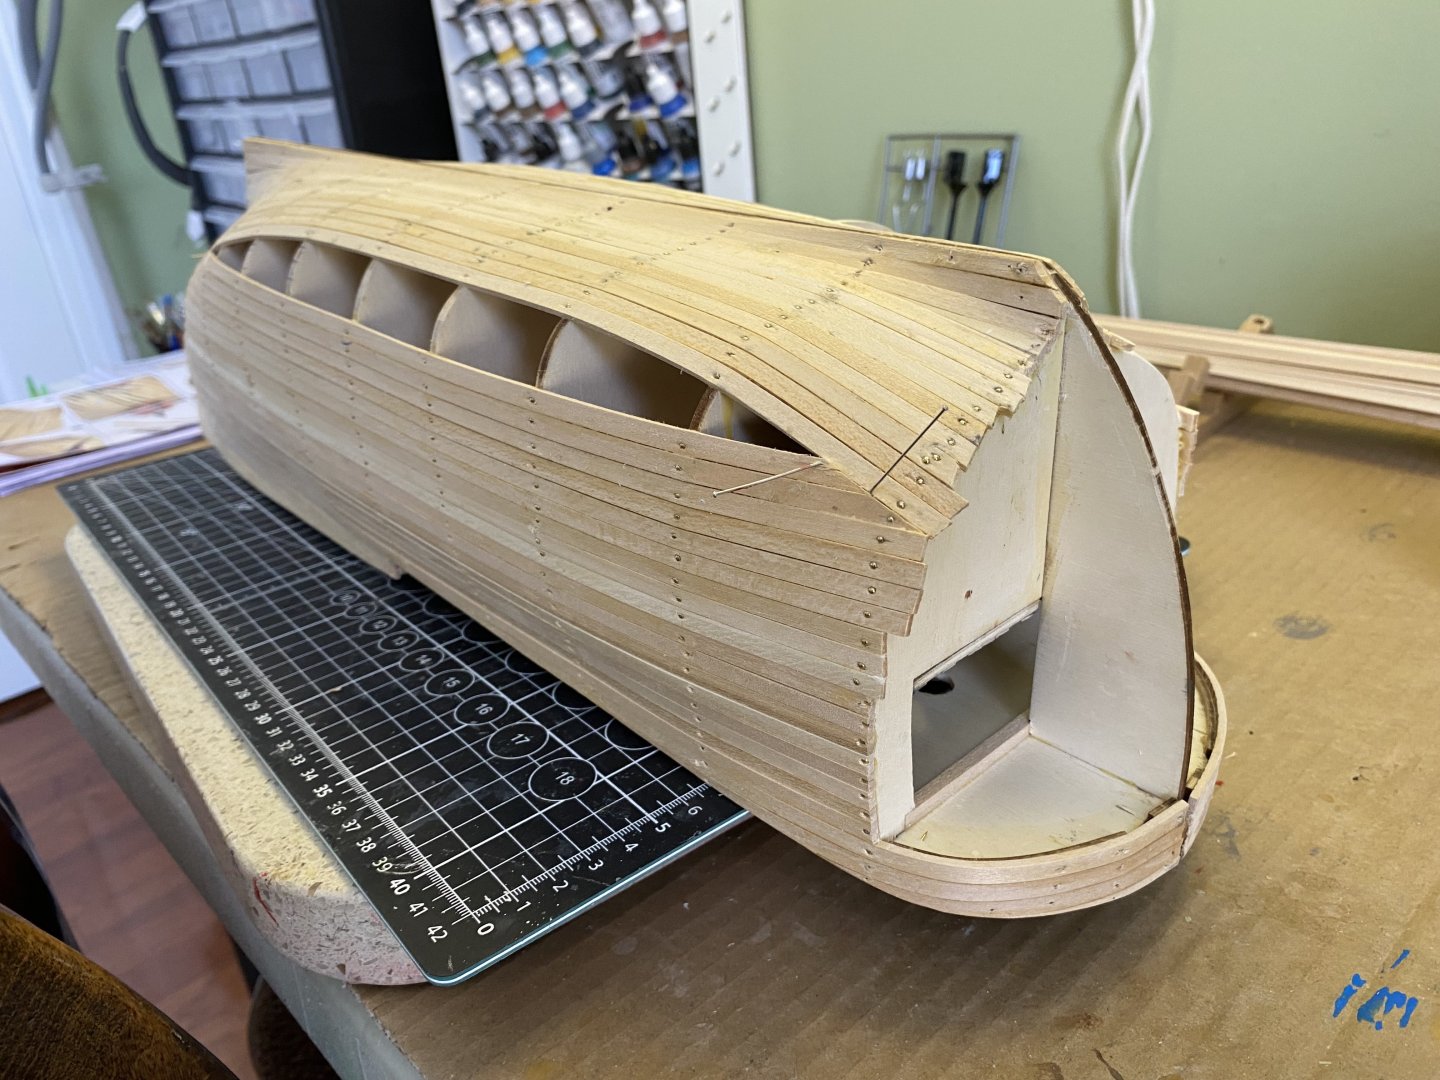
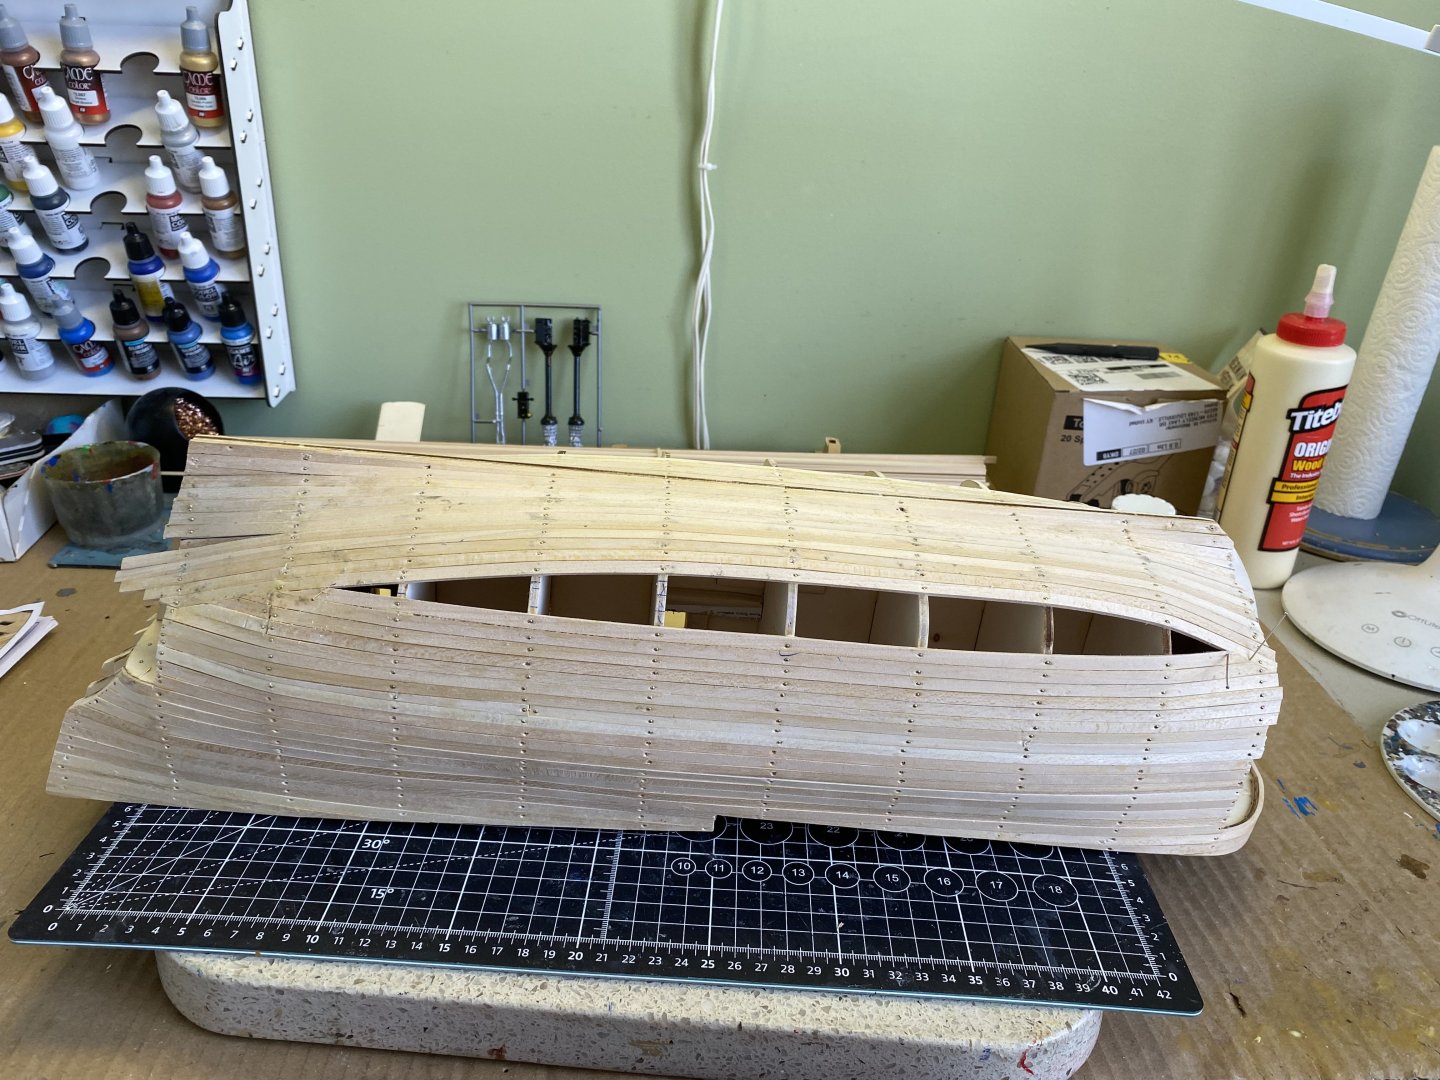
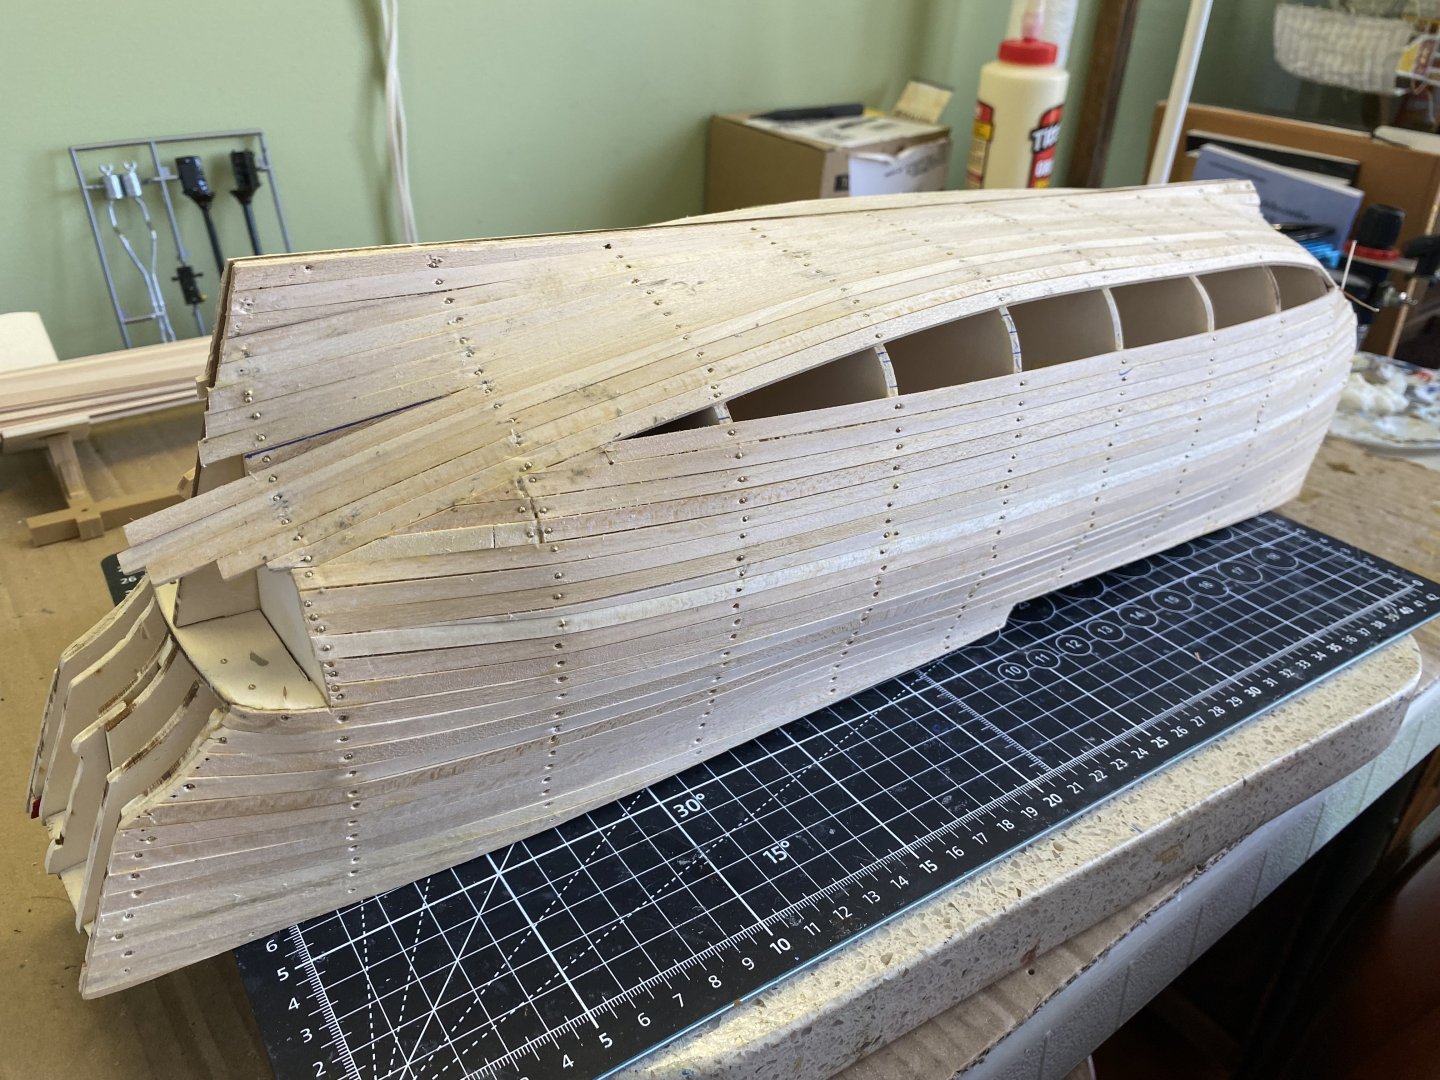
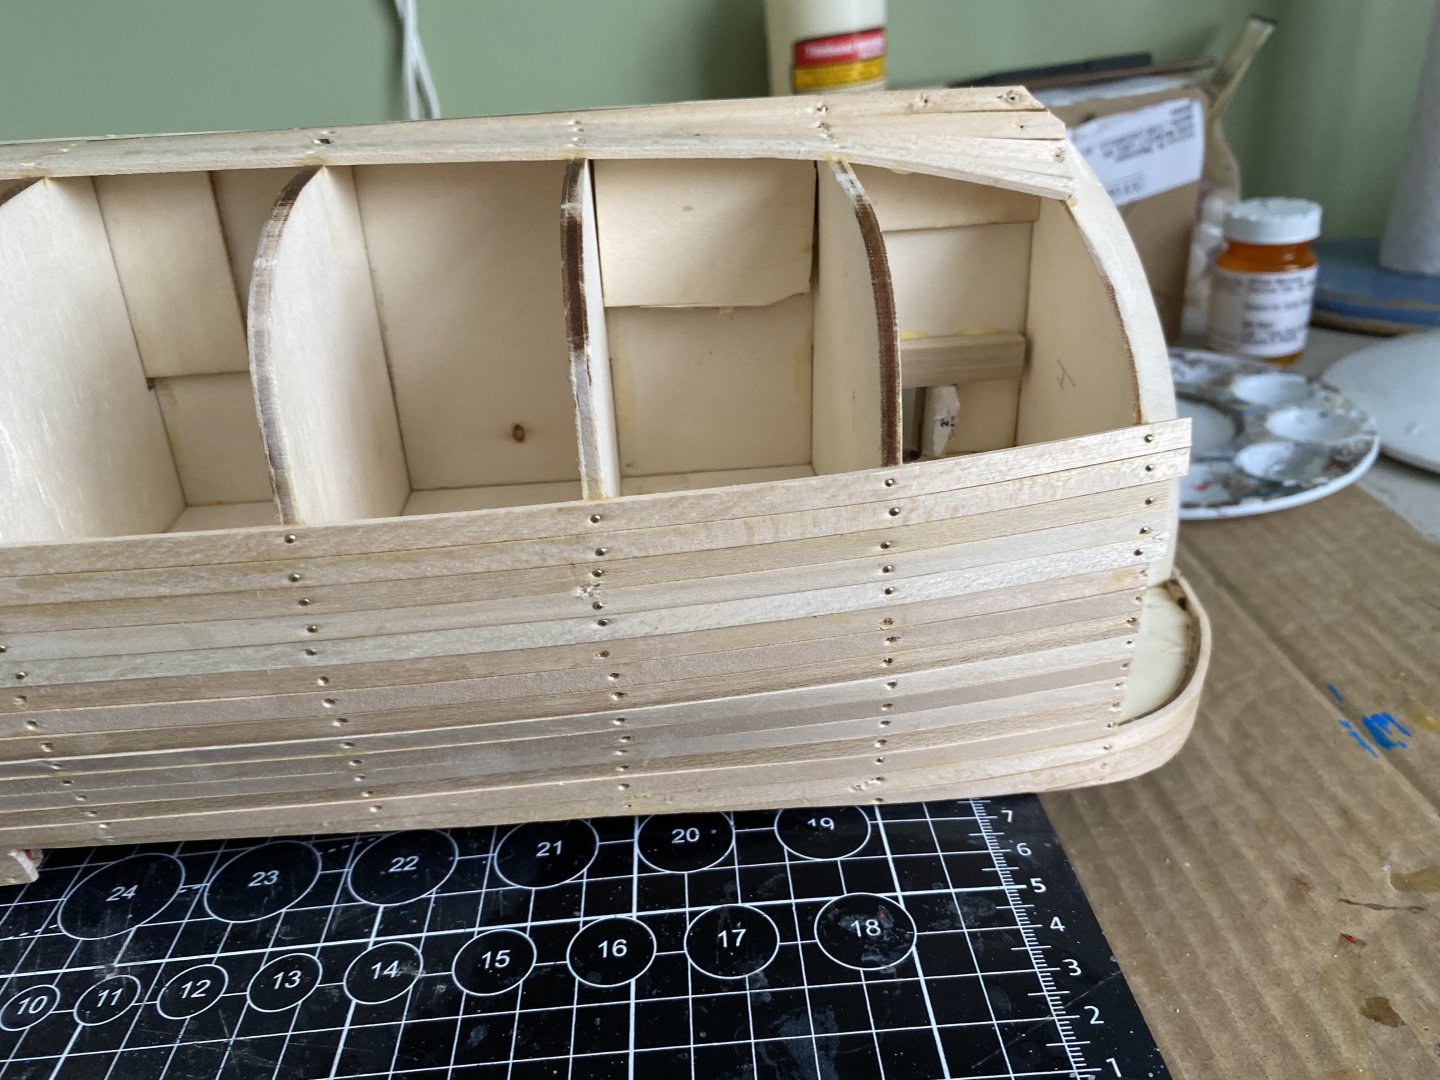
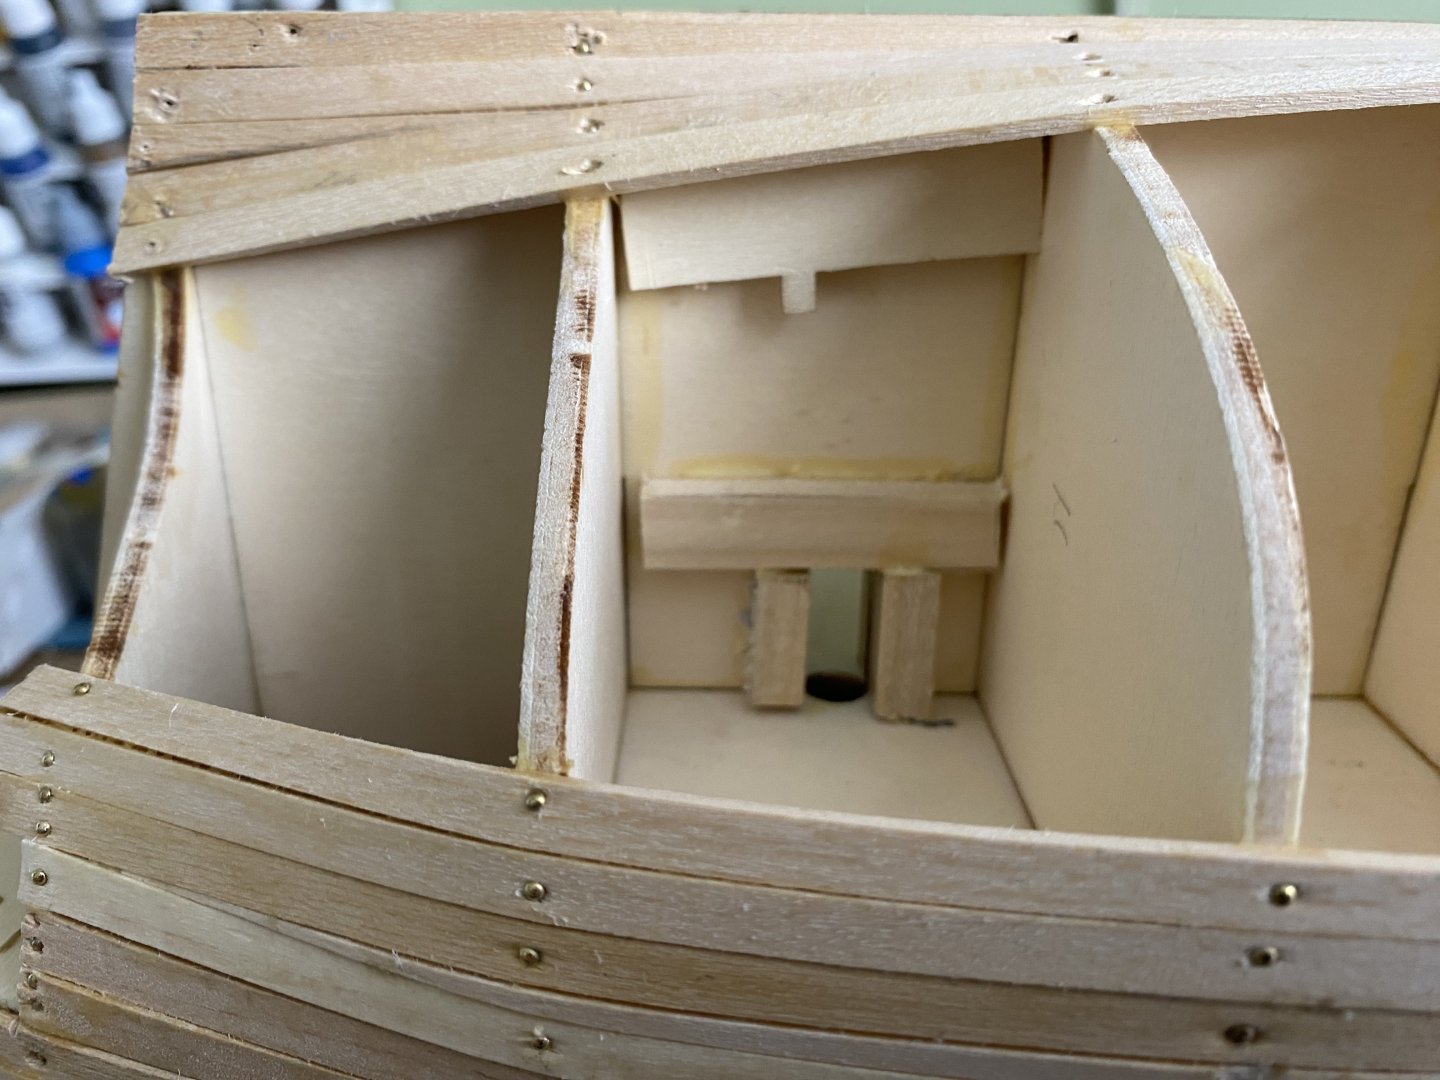
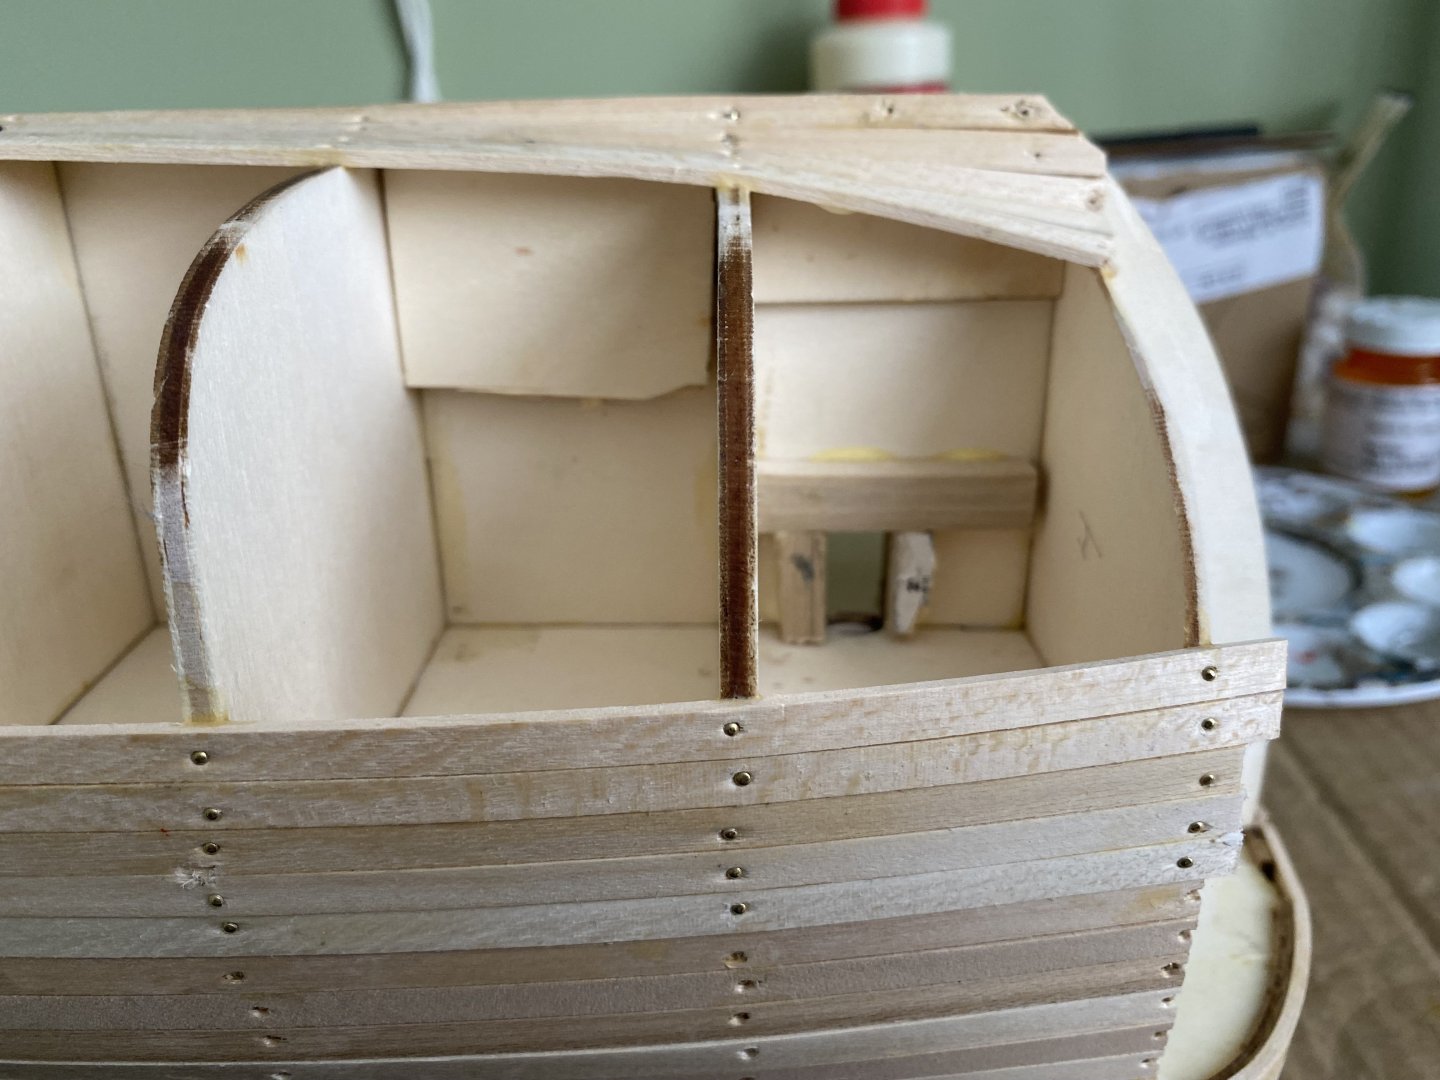
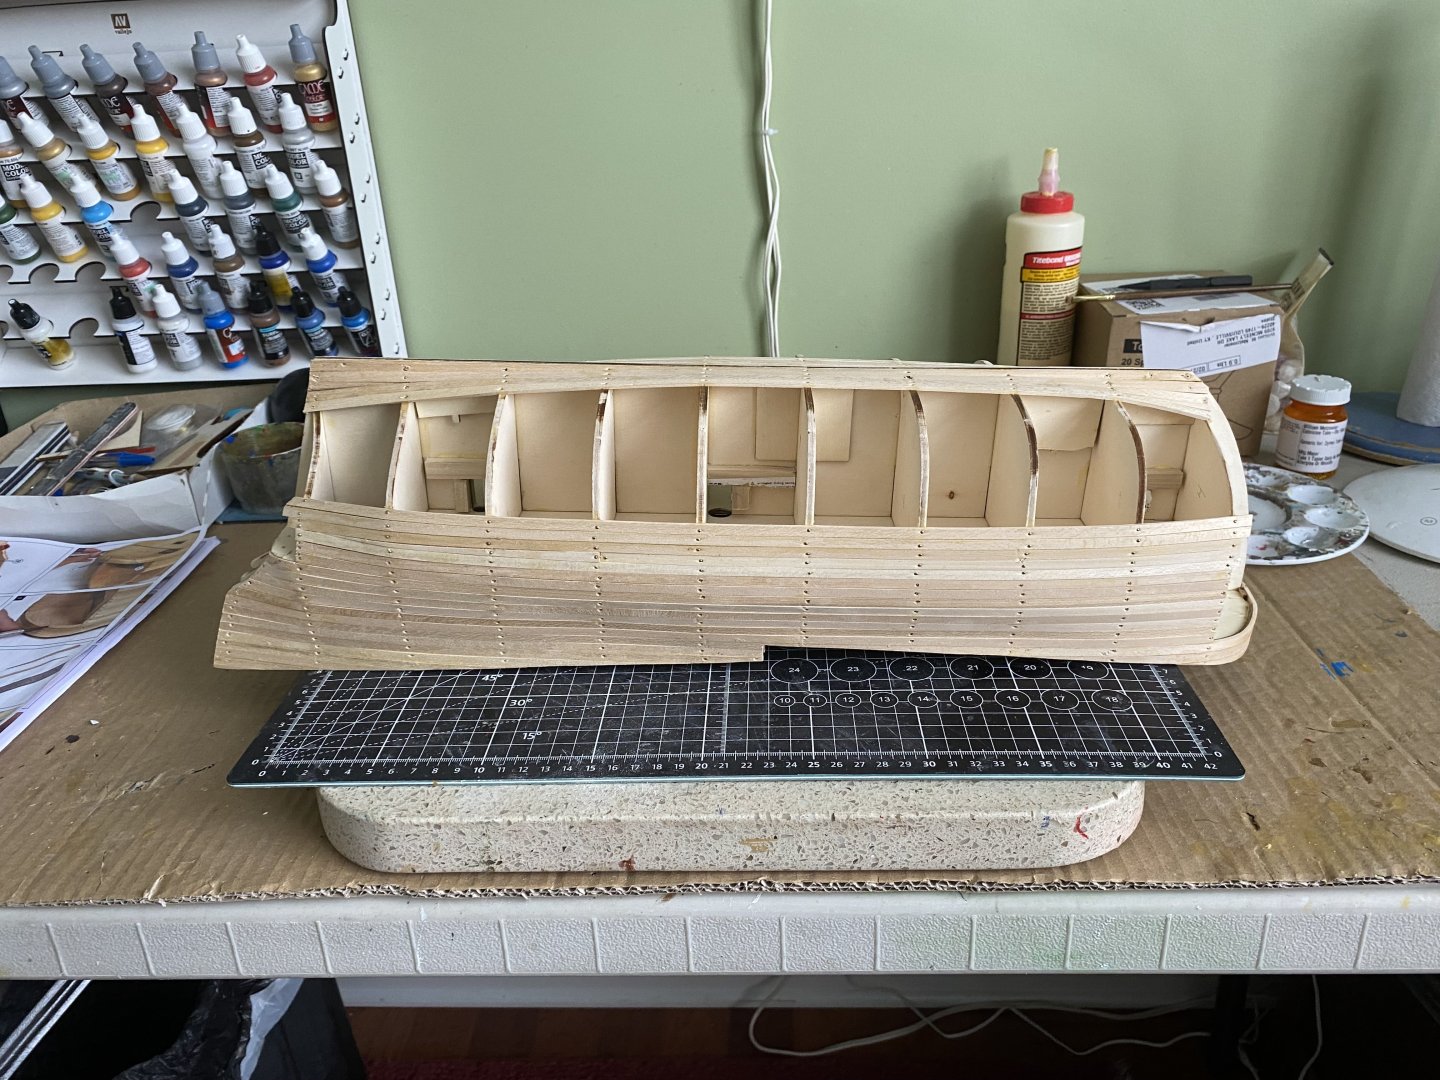
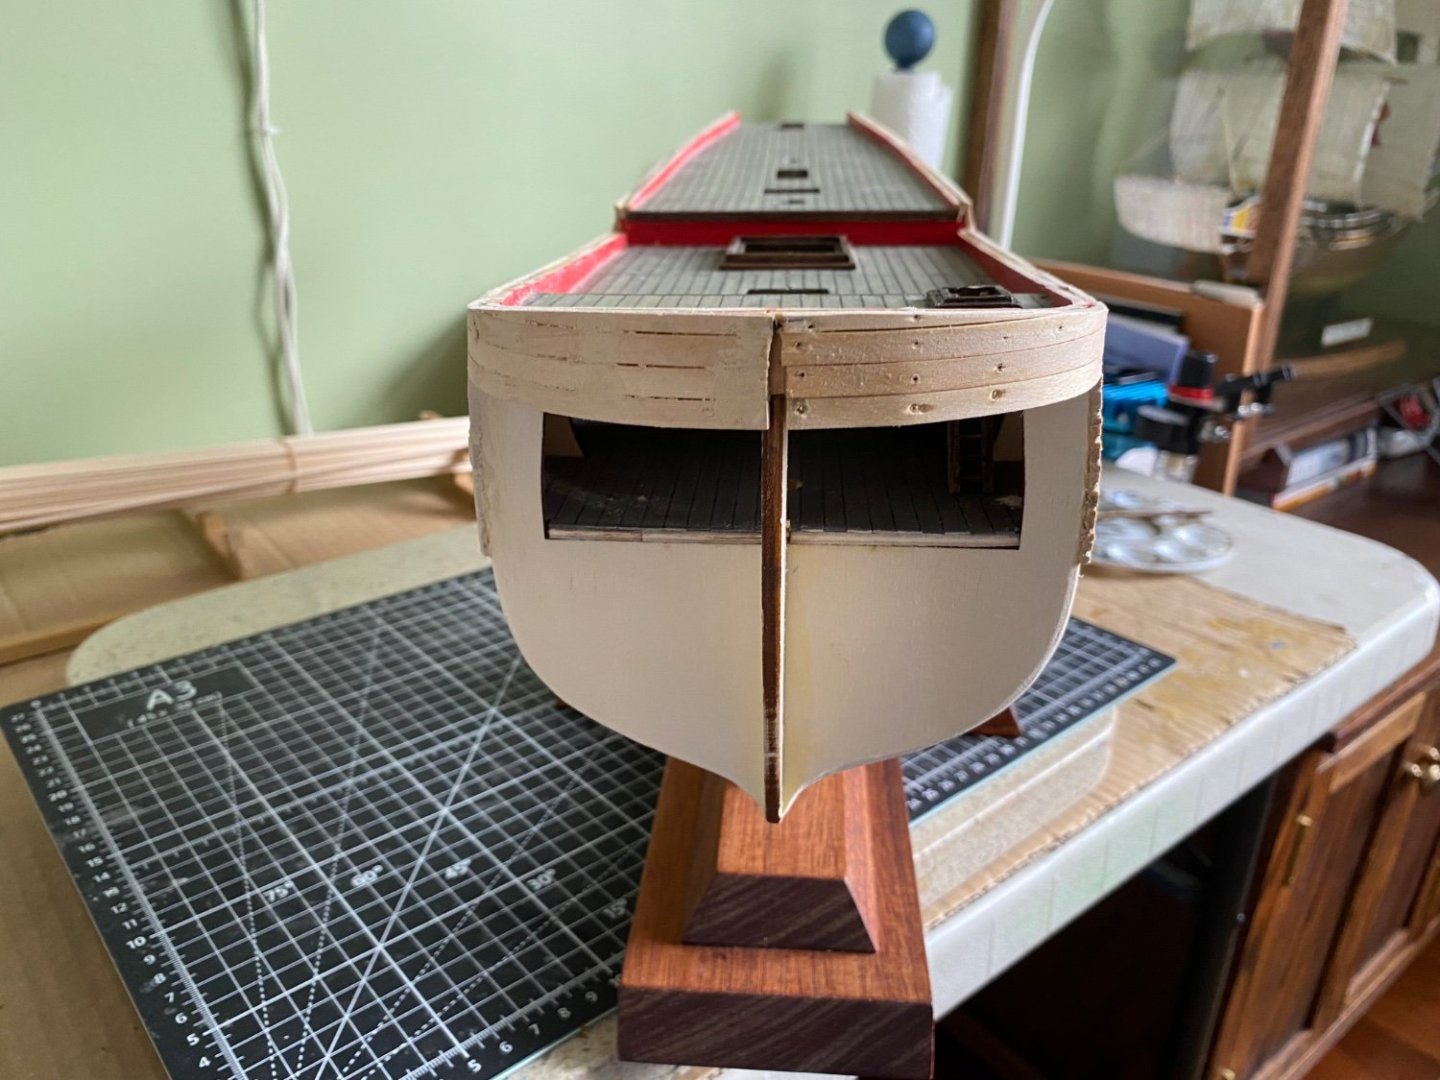
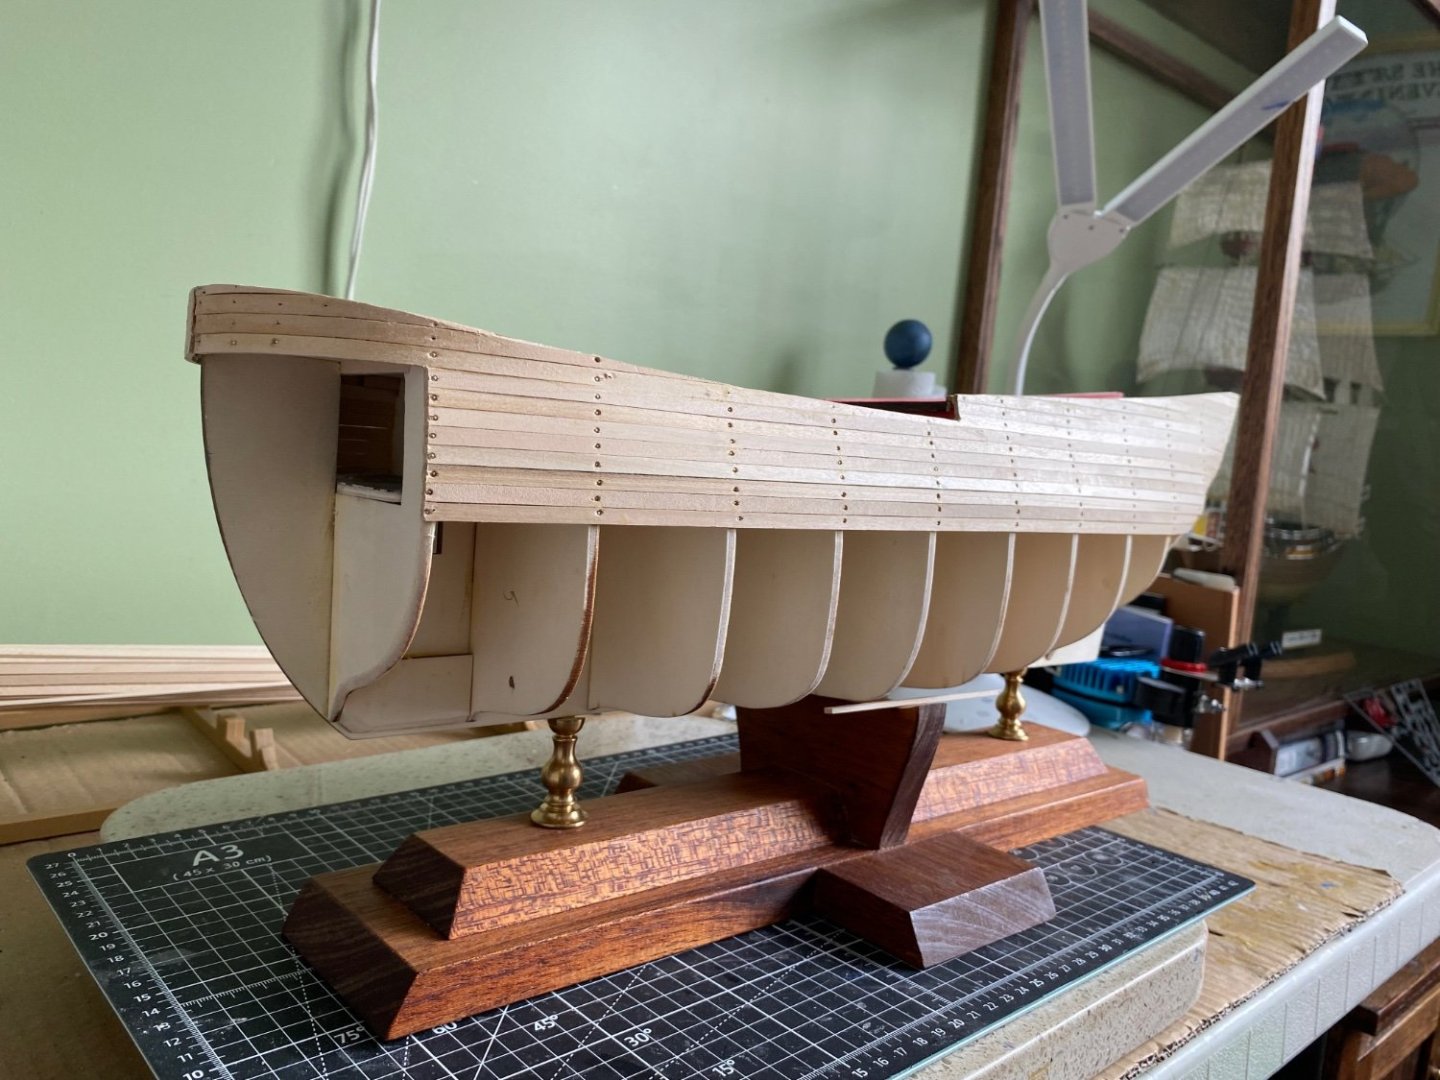
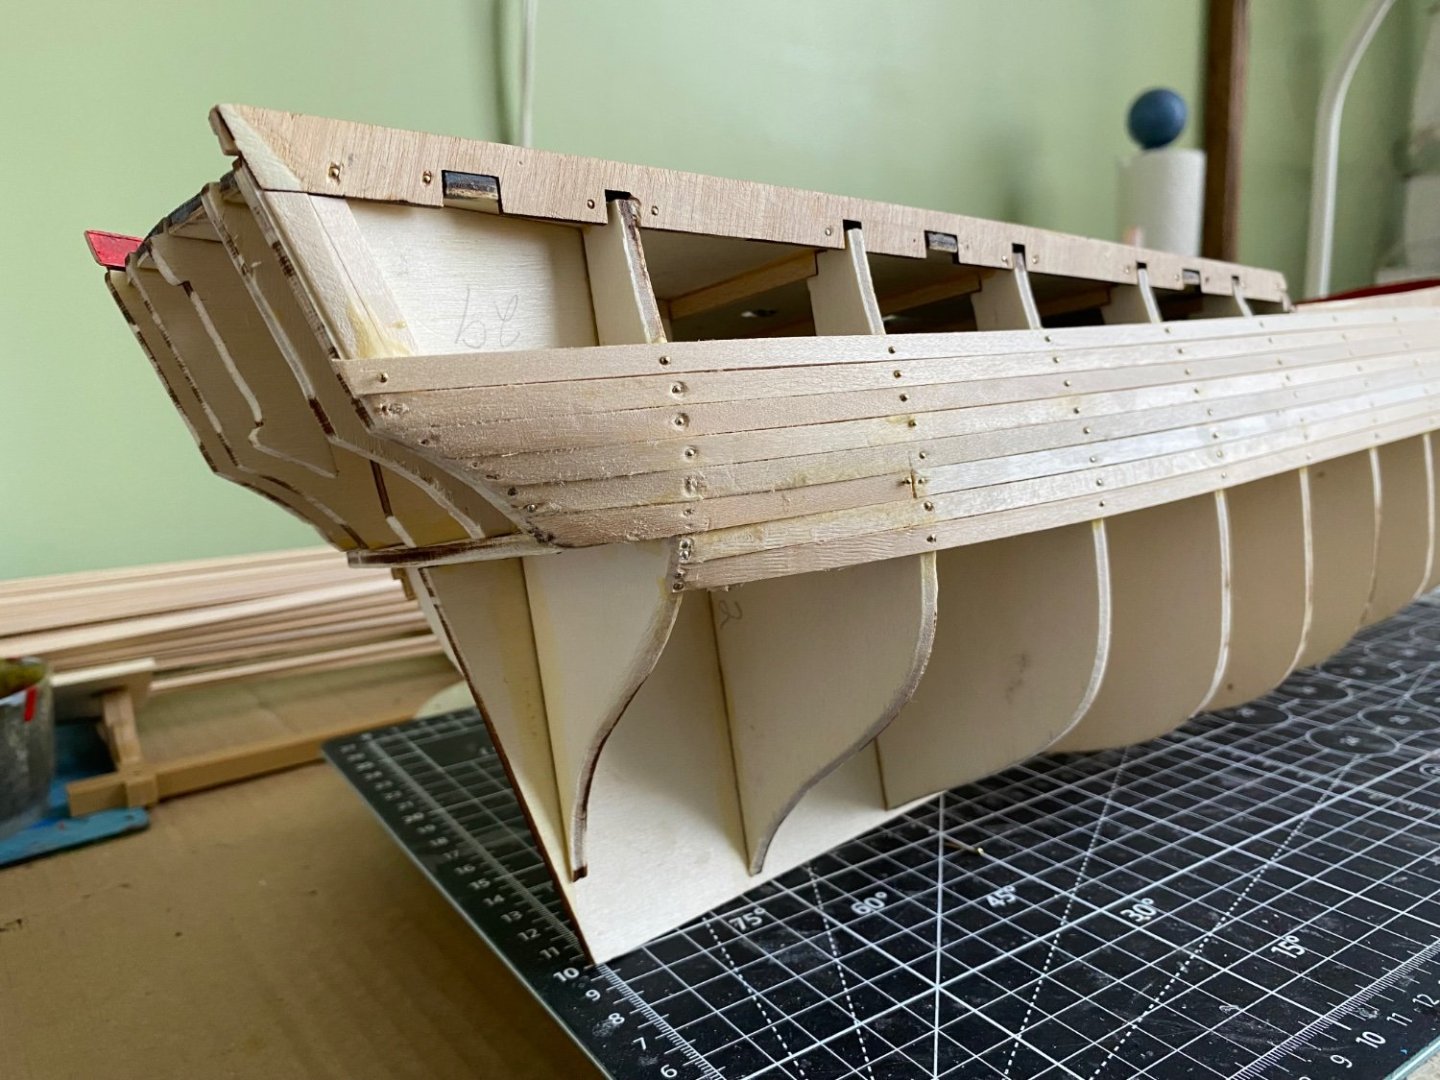
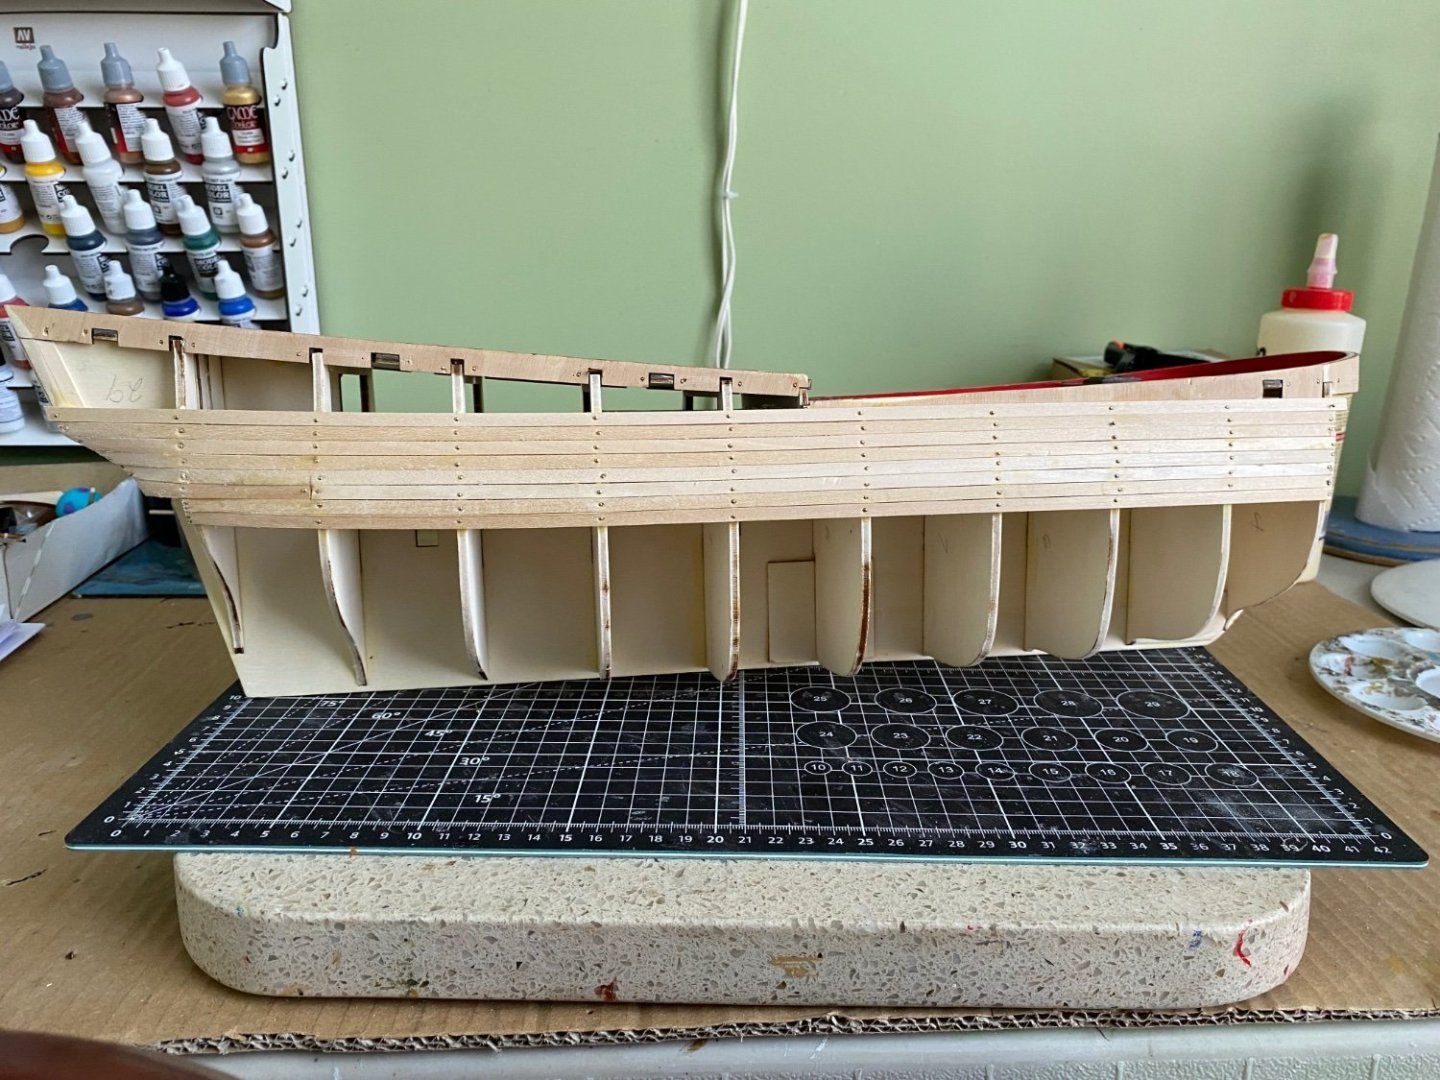
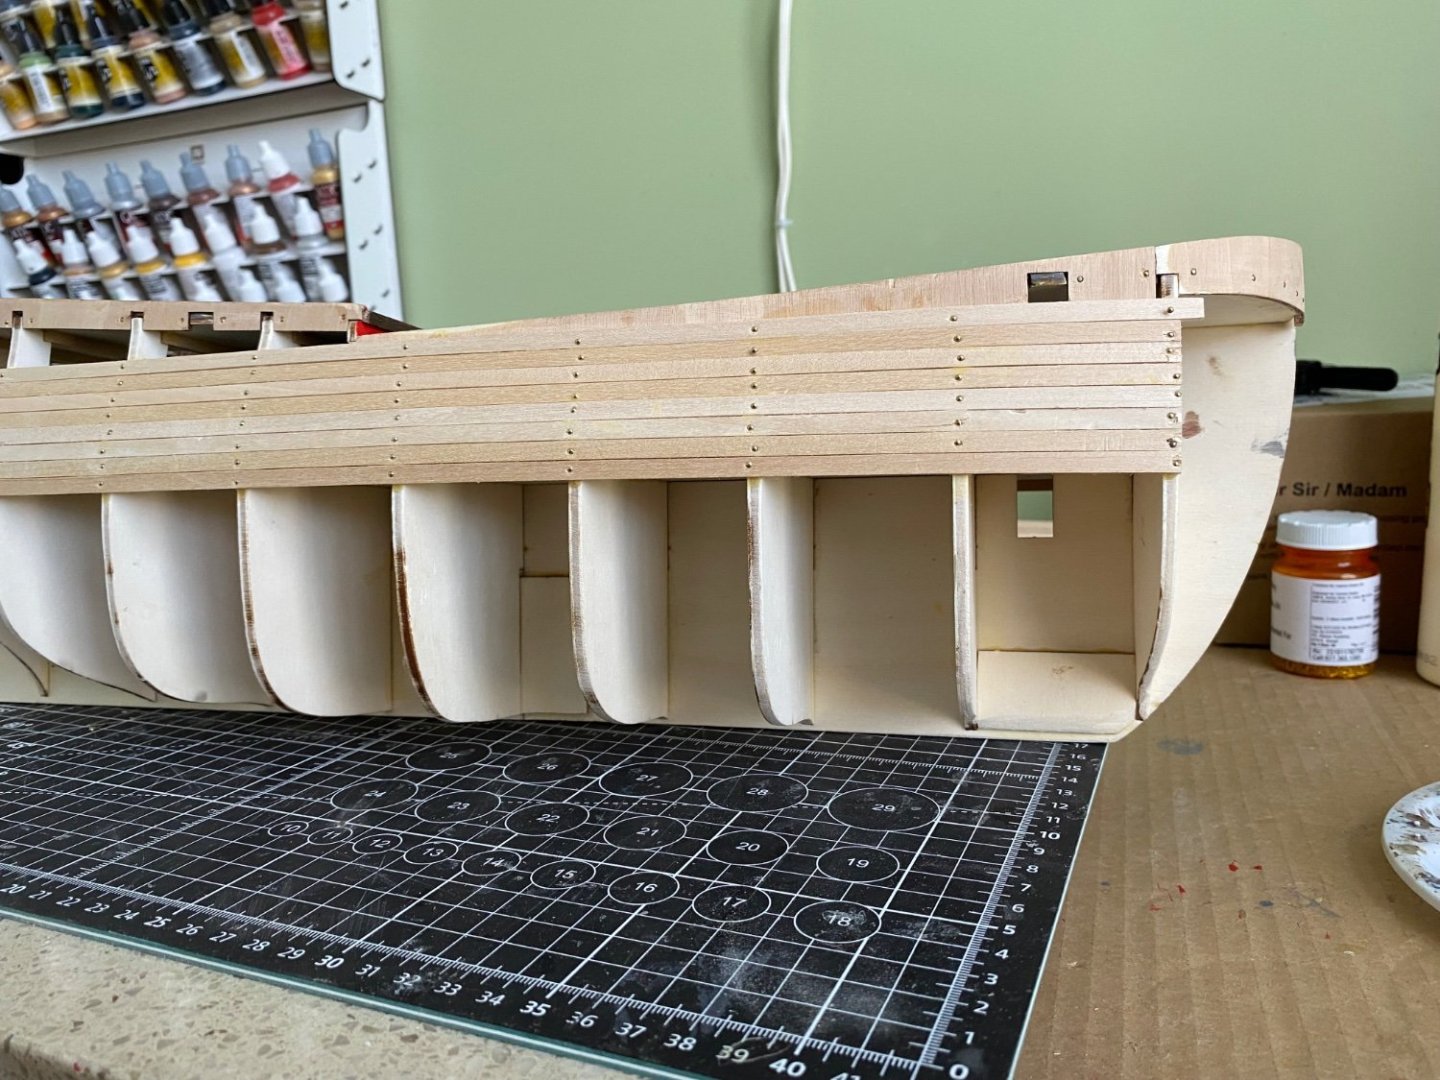
Finished the middle section second planking. A dark stained planking will go from the keel up to this planking and top area will be finished off with a dark blue stain. -
Endeavour by Bill97 - OcCre - 1/54
Bill97 replied to Bill97's topic in - Kit build logs for subjects built from 1751 - 1800
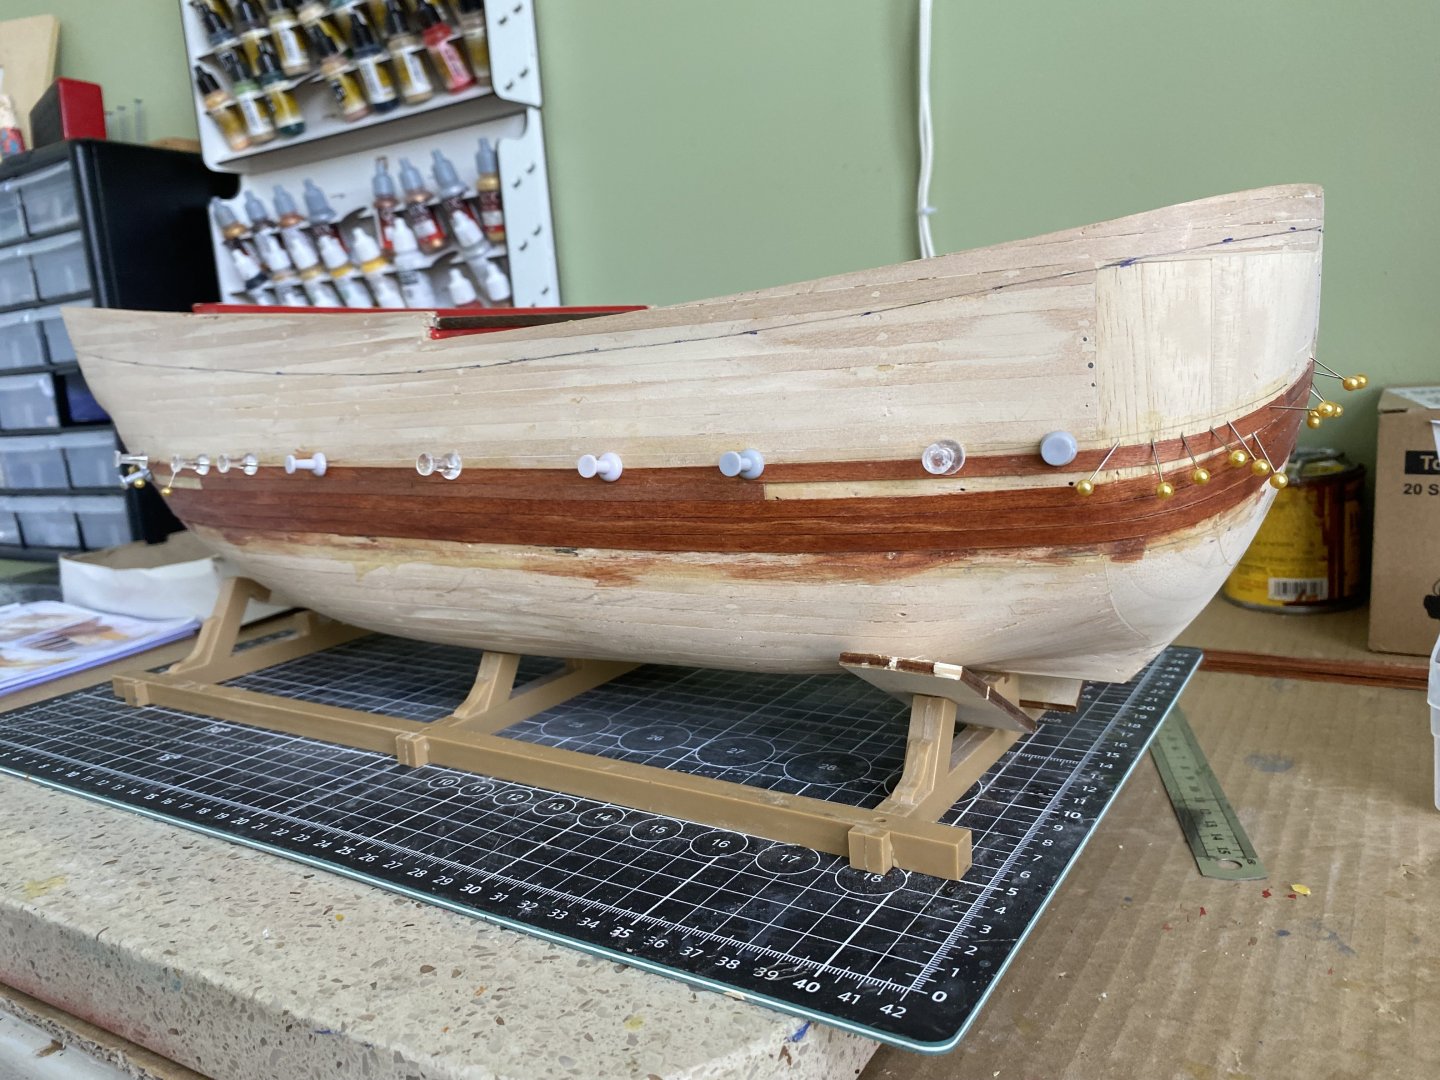
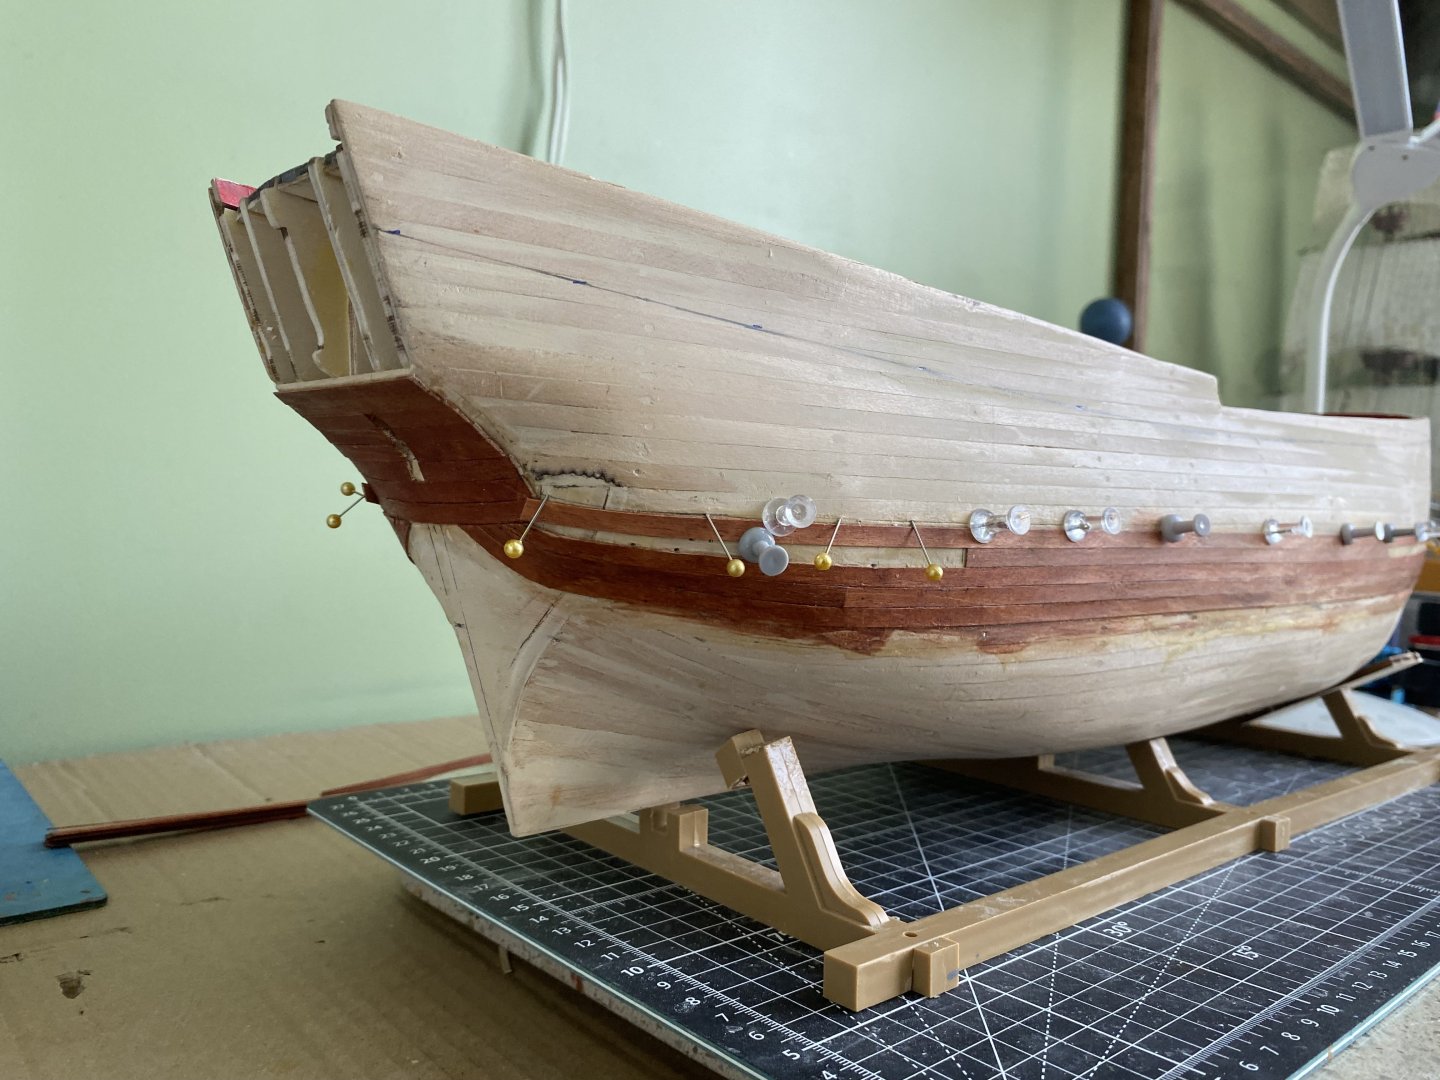
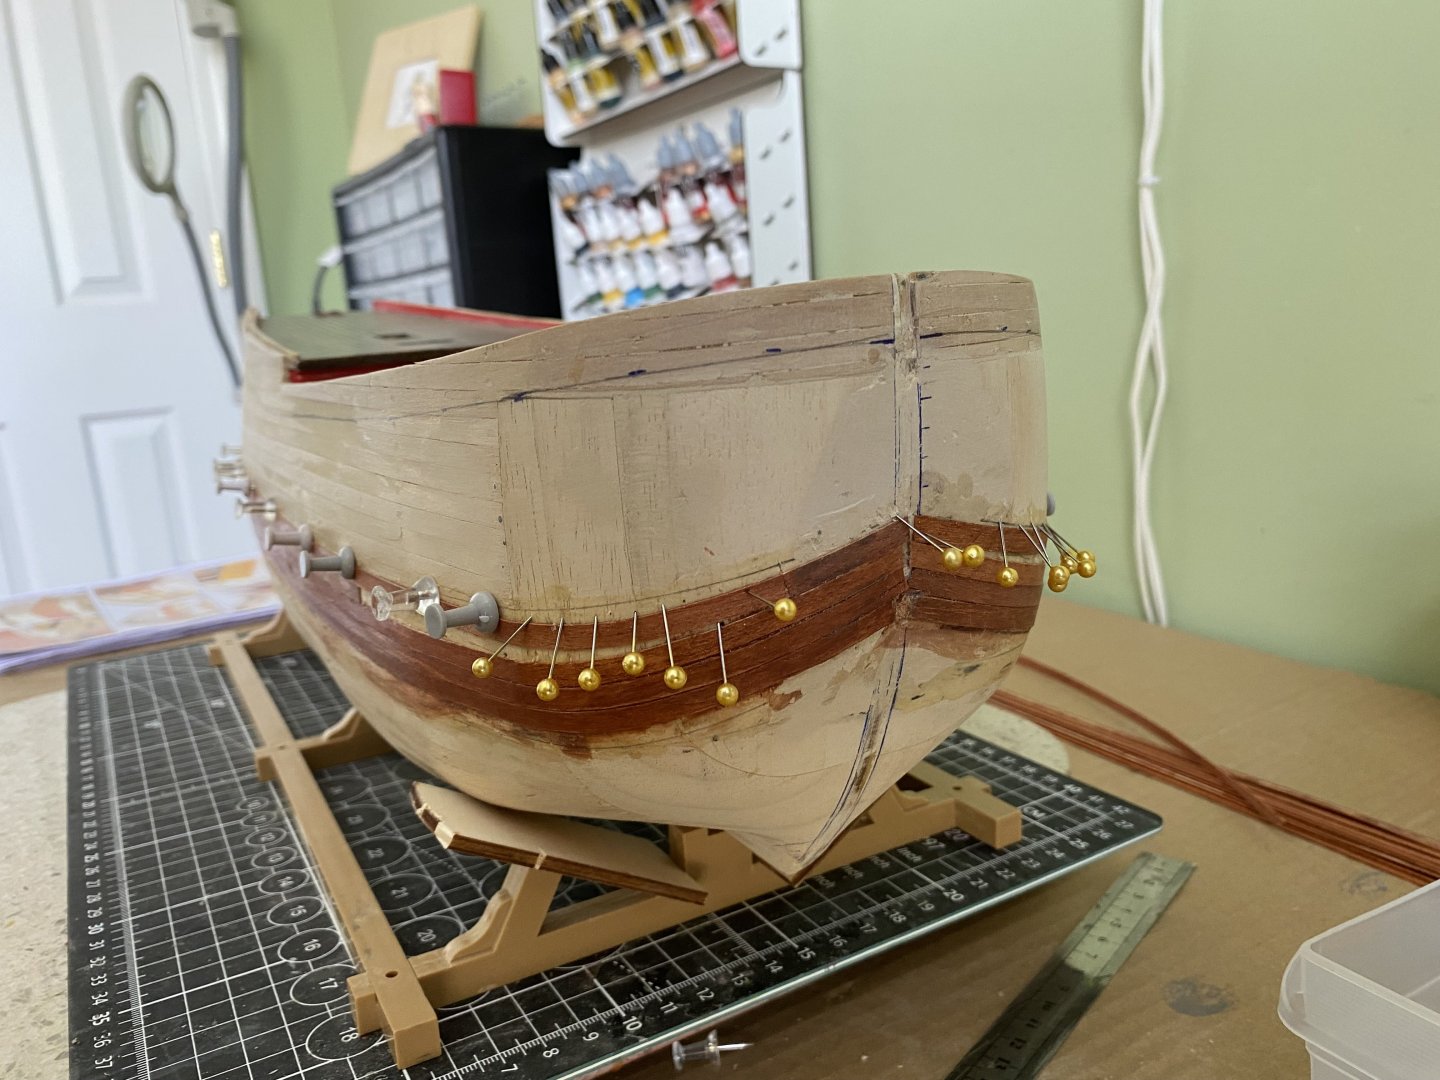
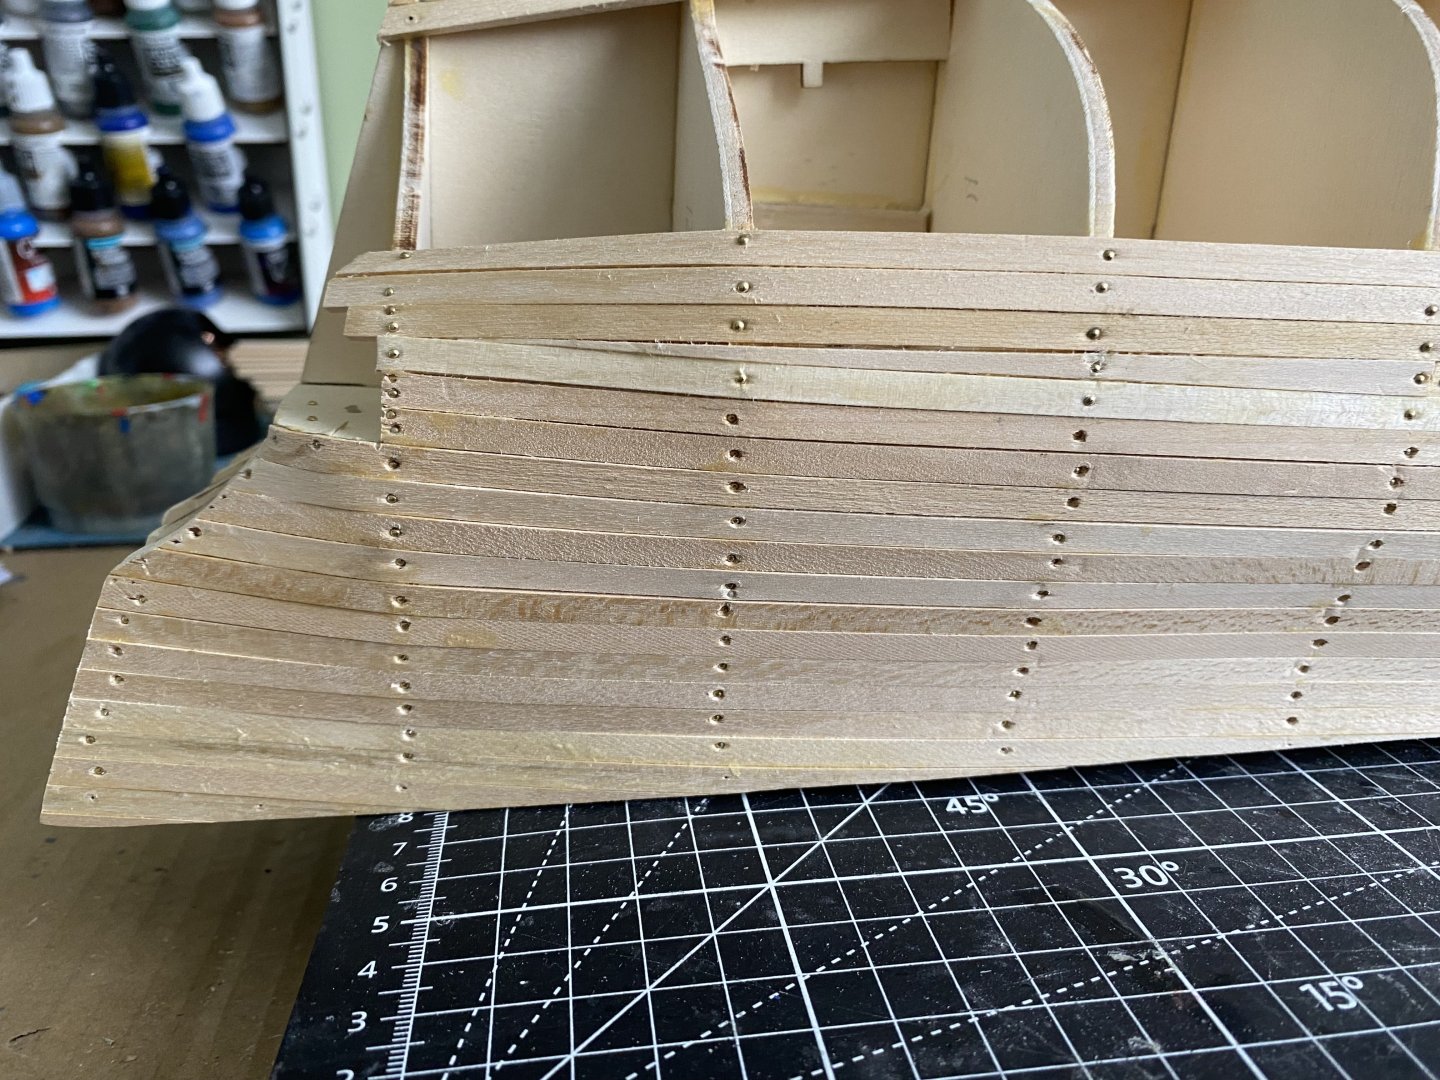
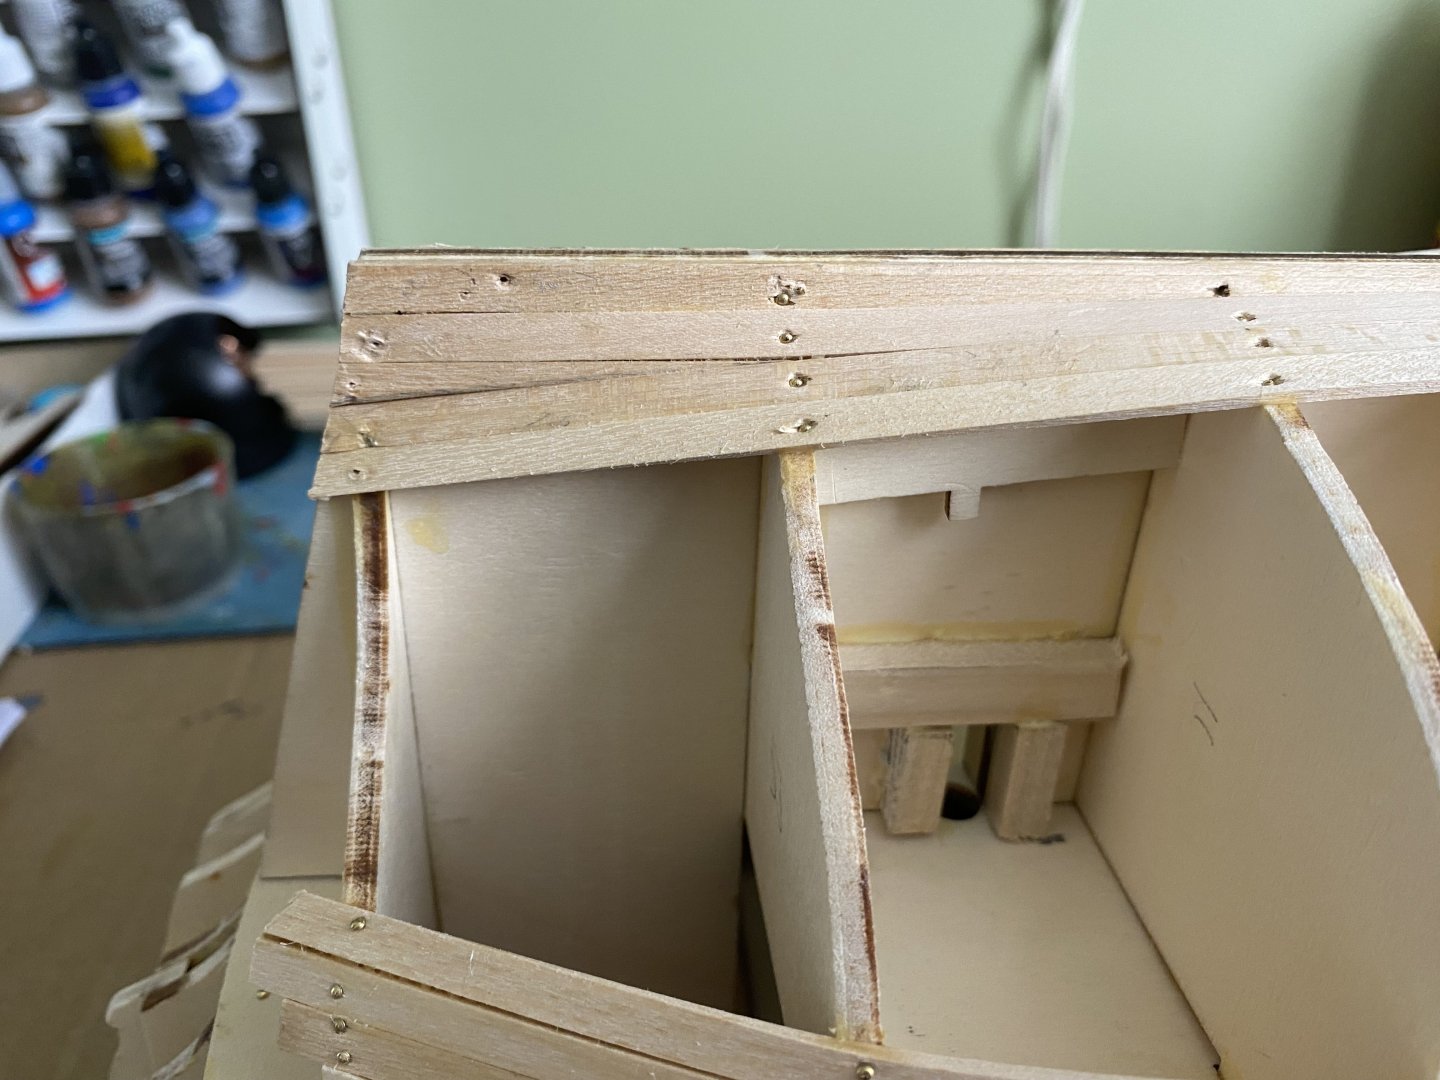
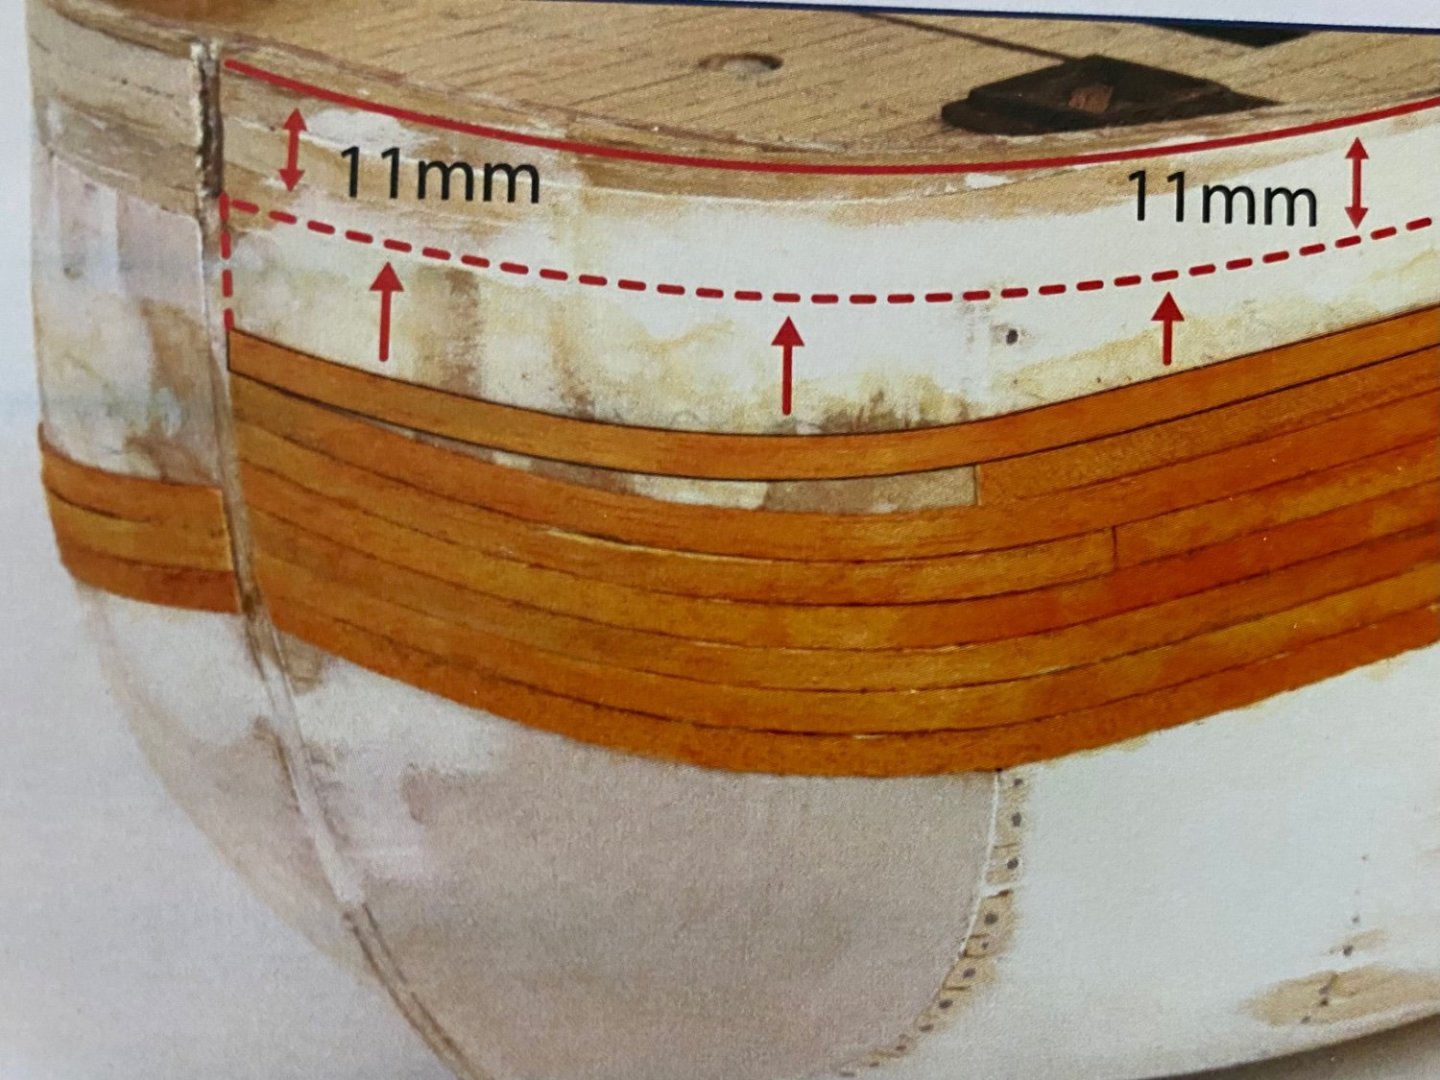
Second planking underway. Stained the planking strips. Following the OcCre instructions I established the starting position for these strips and began working upward toward the bulwarks. As with the 1st planking, various planks along the way will need to be custom cut to fill where a full plank is not used. I discovered after a few failed attempts and some non-church words I found push-pins to be the way to go. -
Endeavour by Bill97 - OcCre - 1/54
Bill97 replied to Bill97's topic in - Kit build logs for subjects built from 1751 - 1800
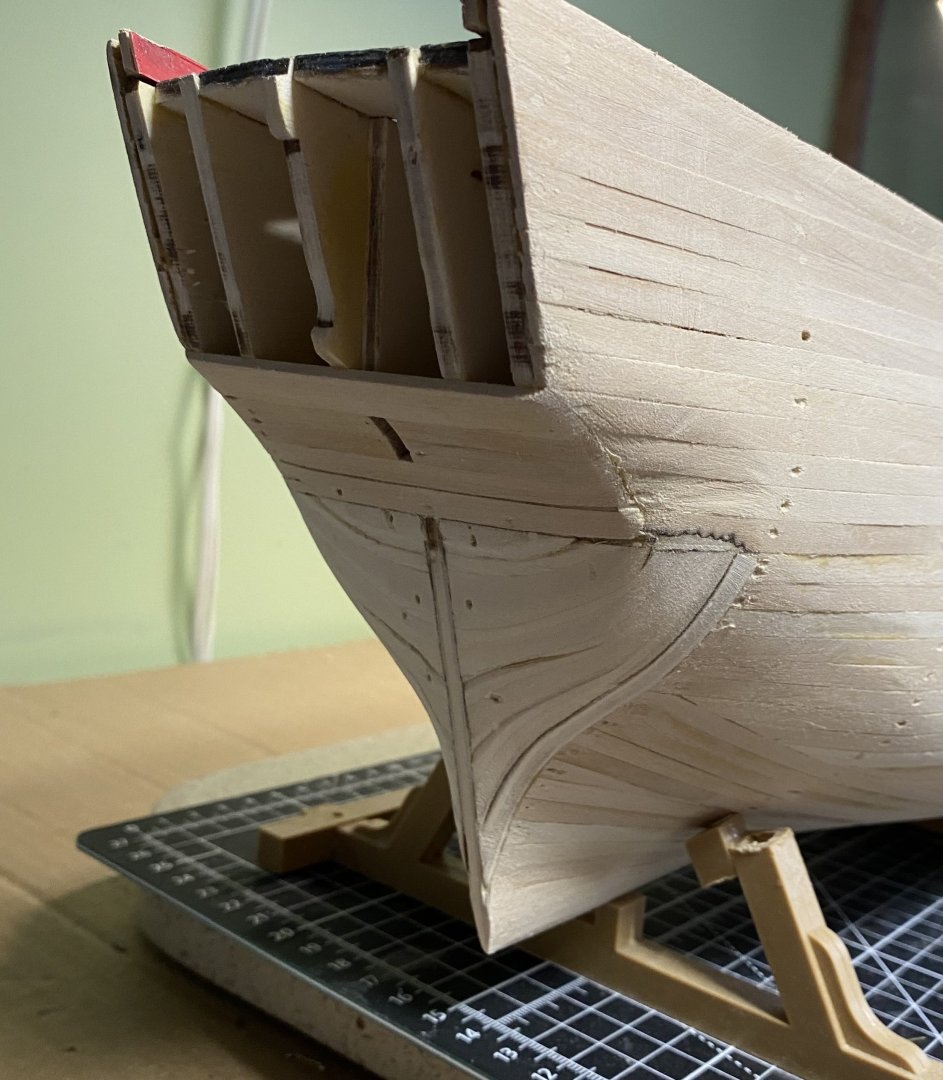
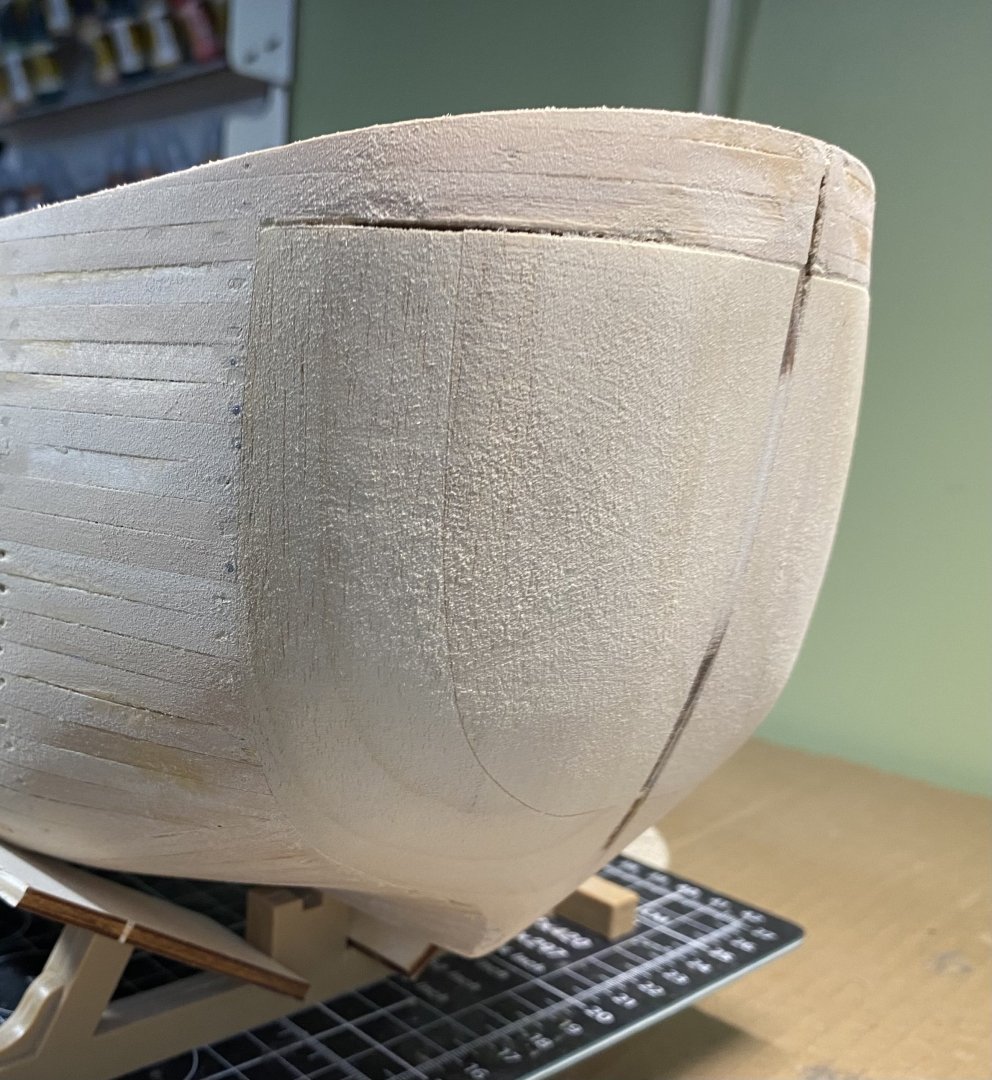
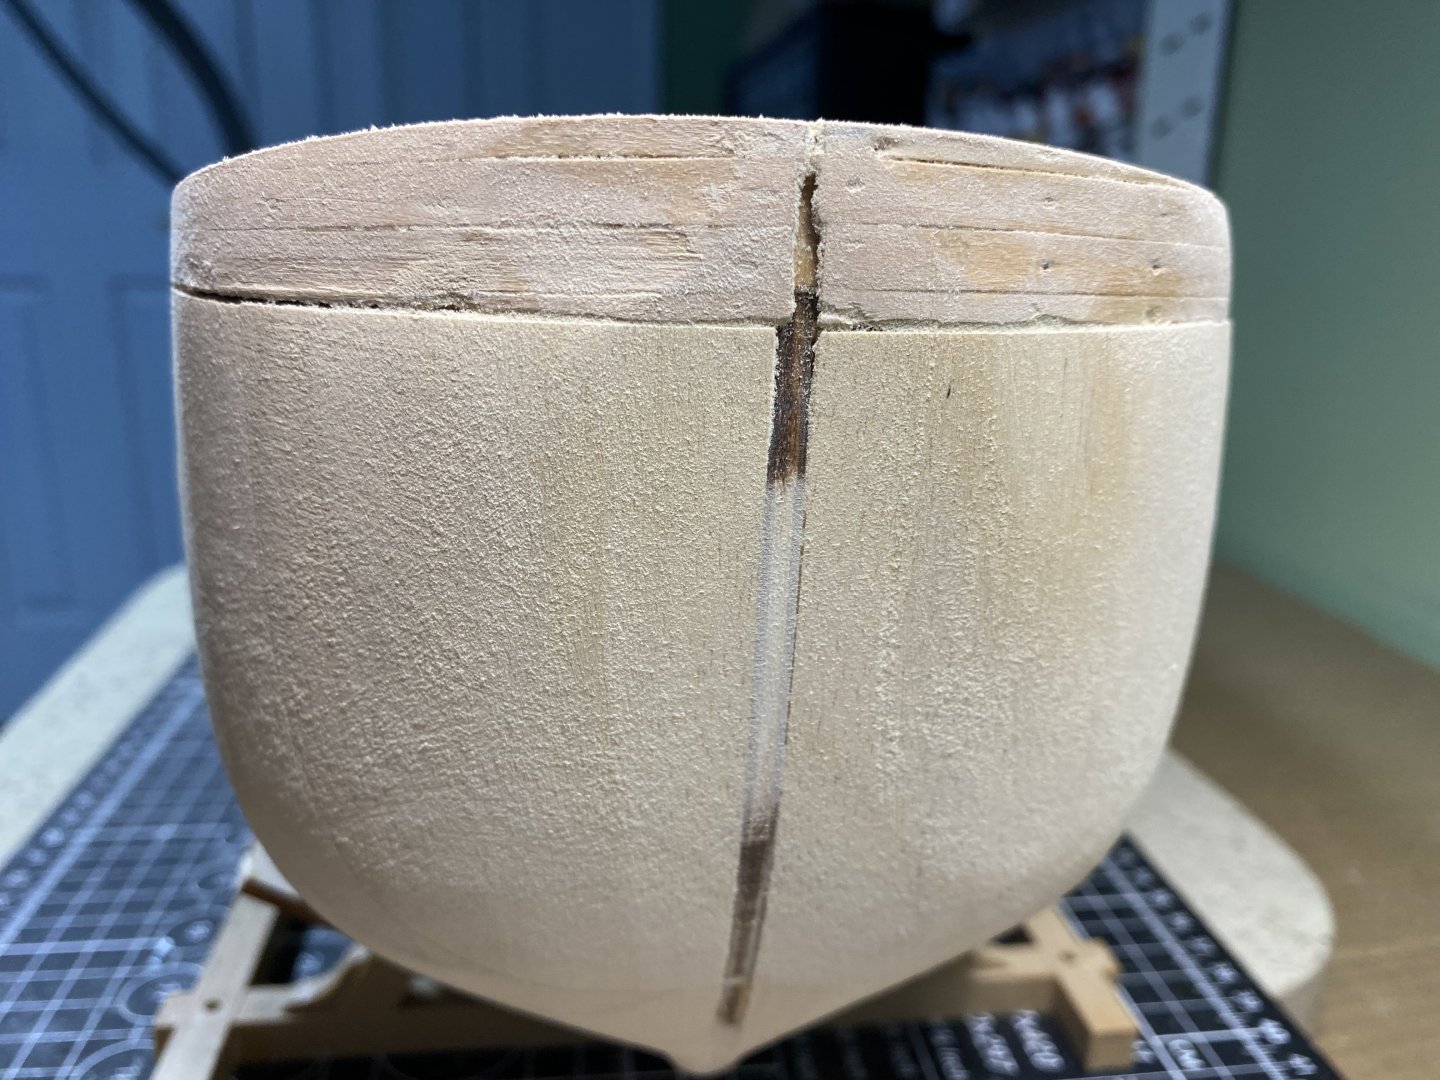
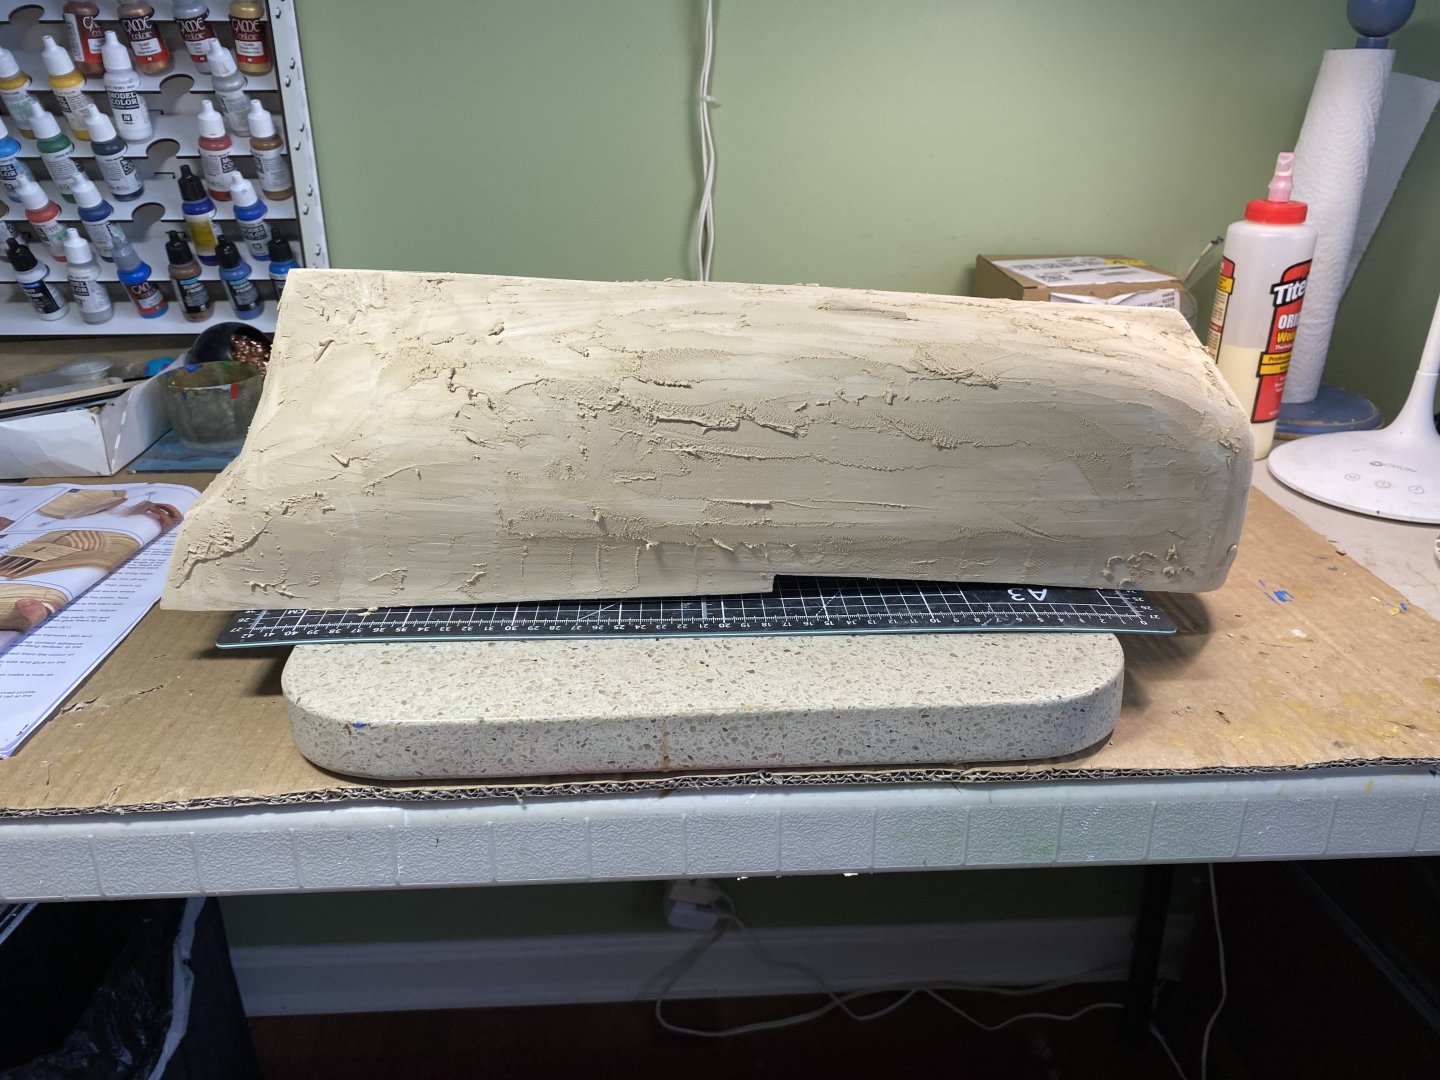
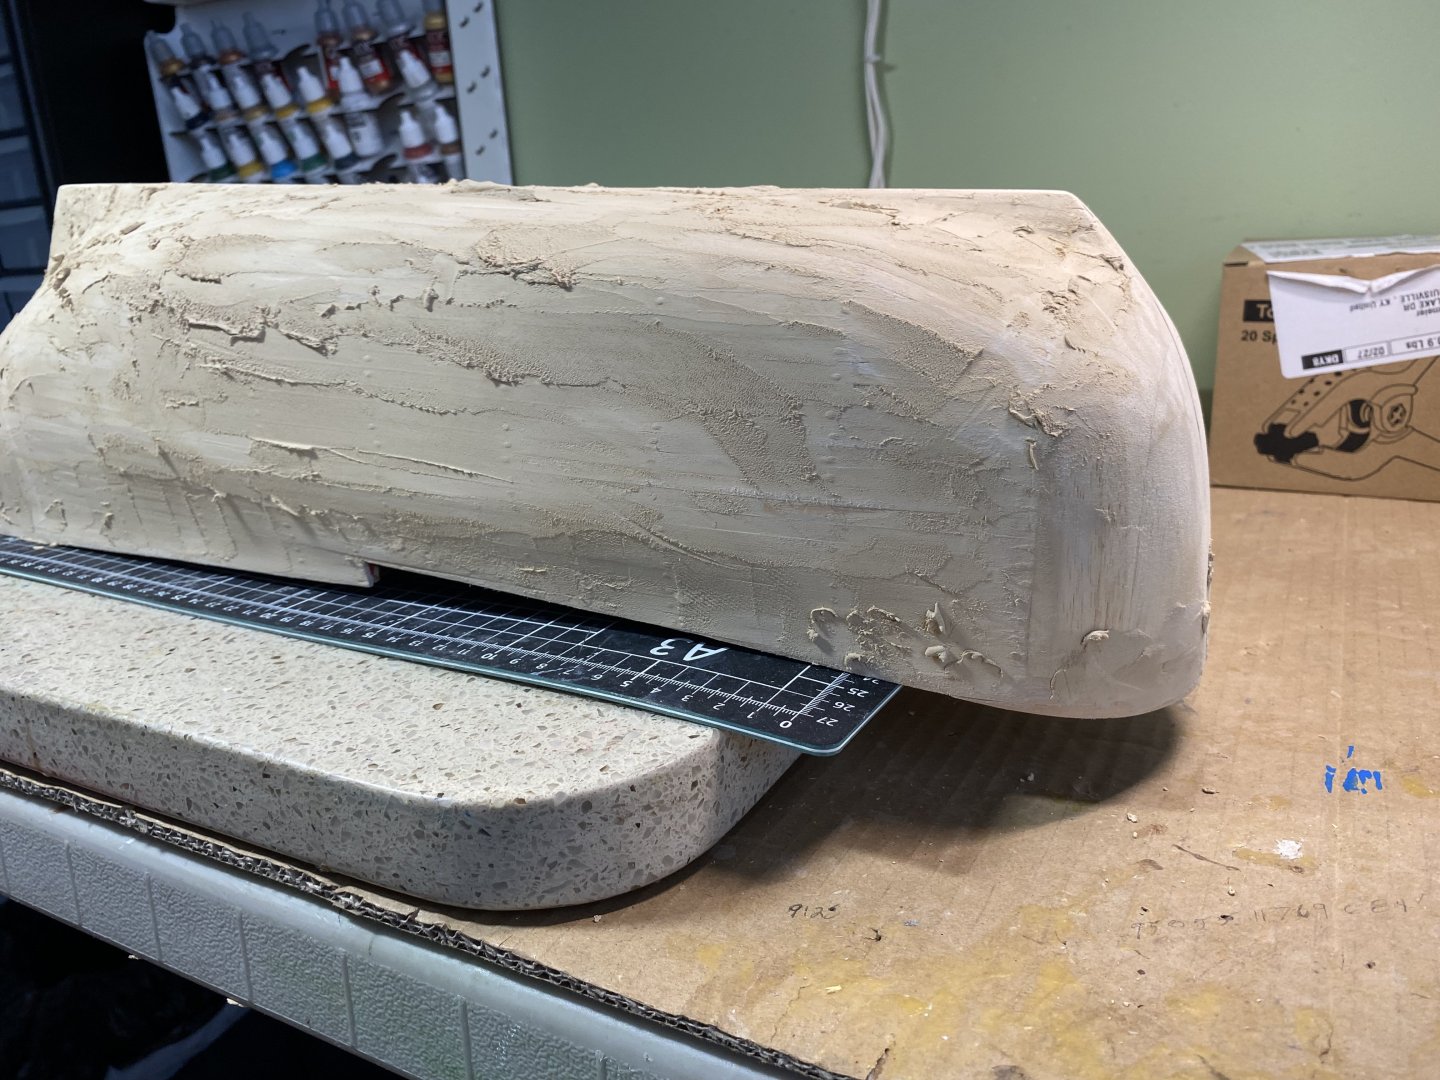
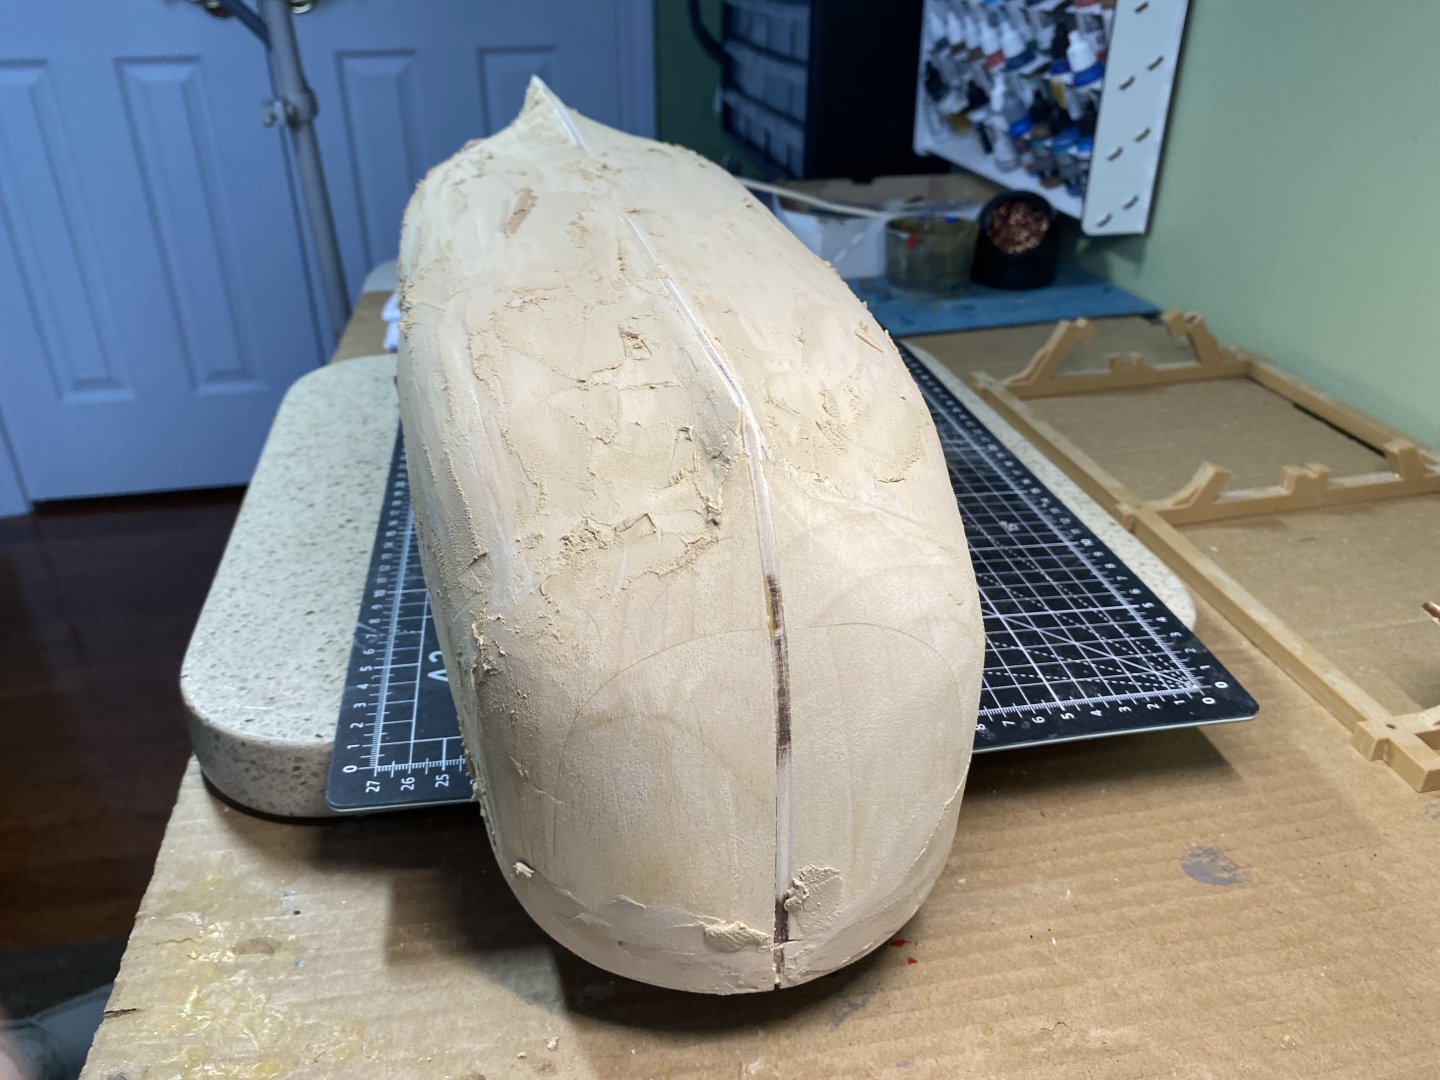
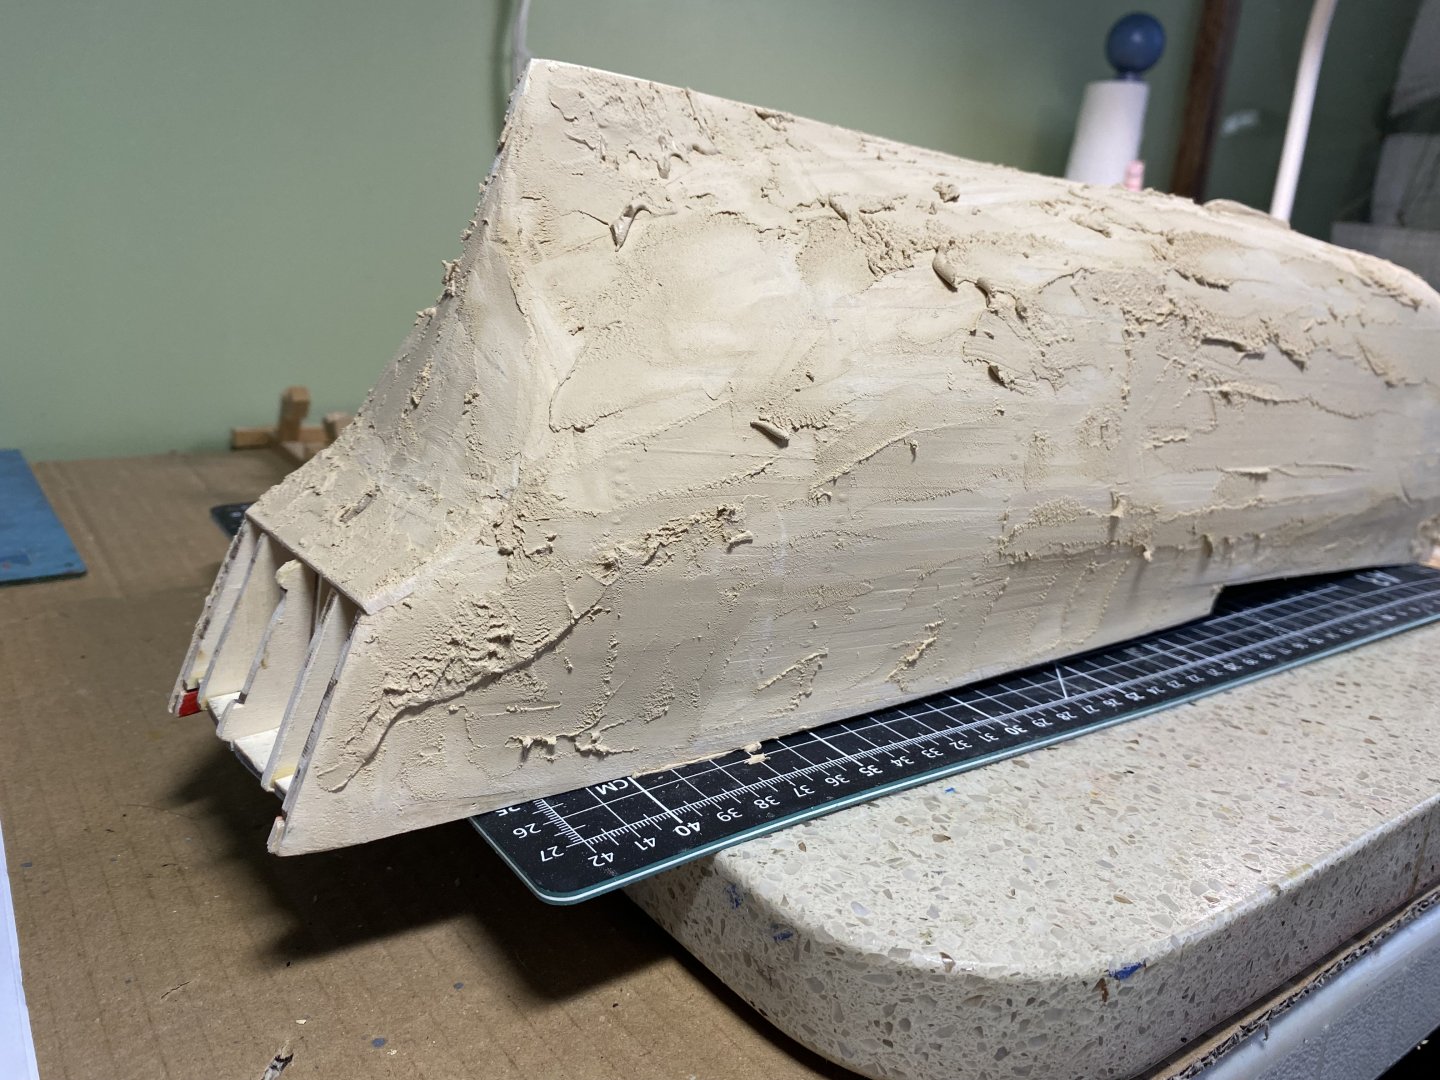
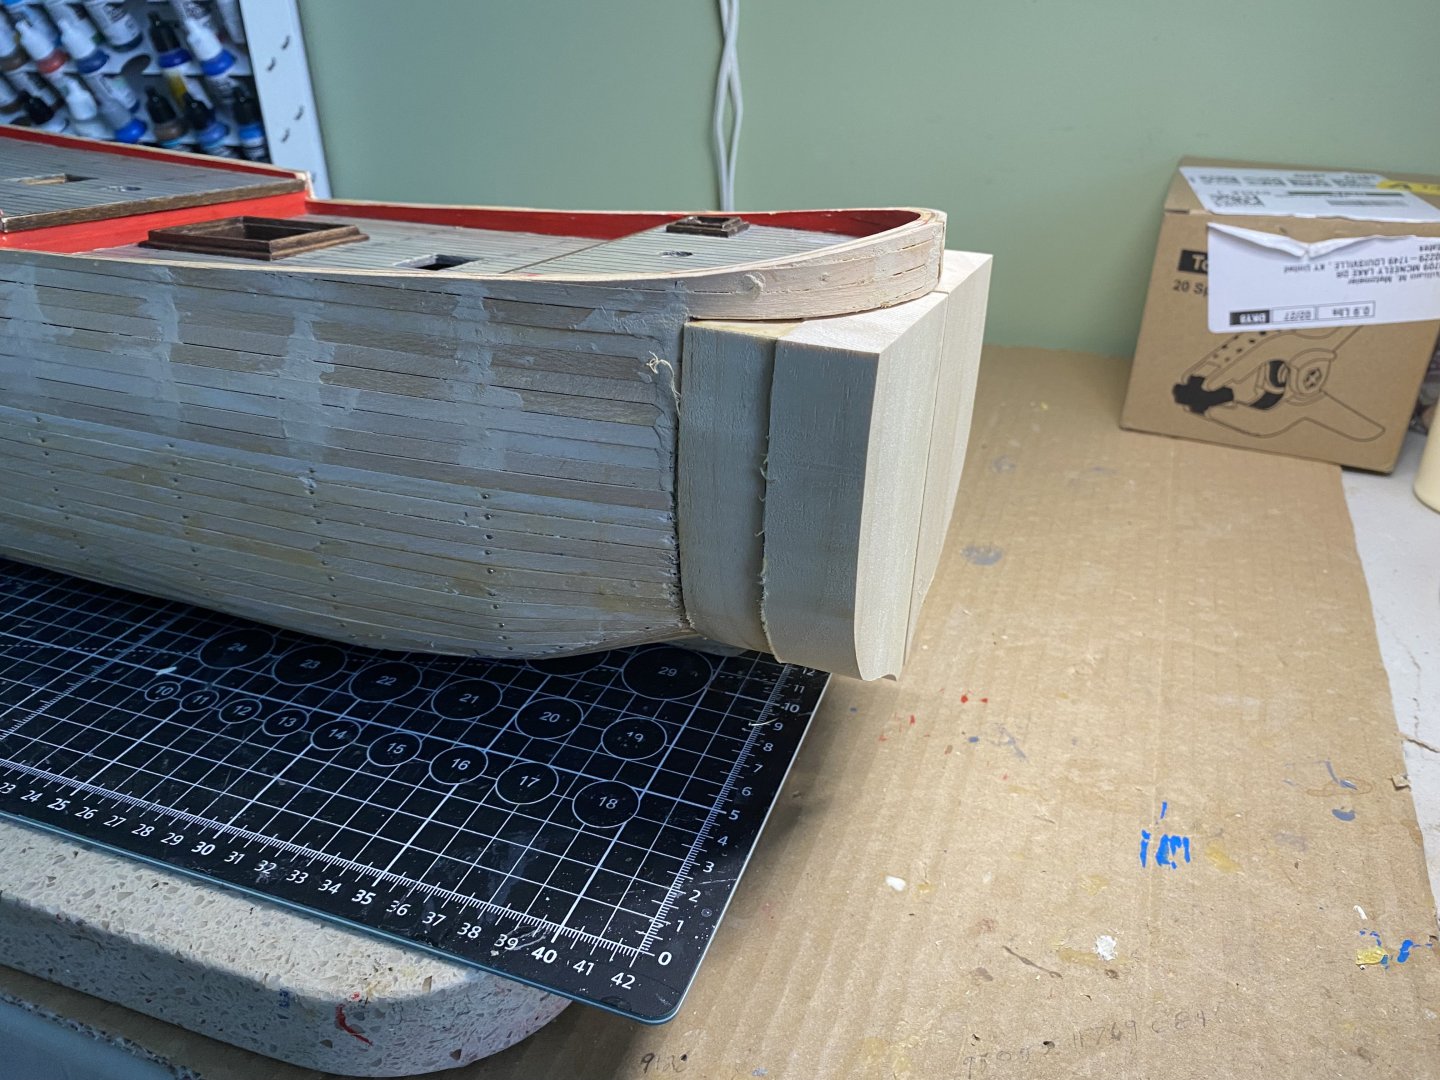
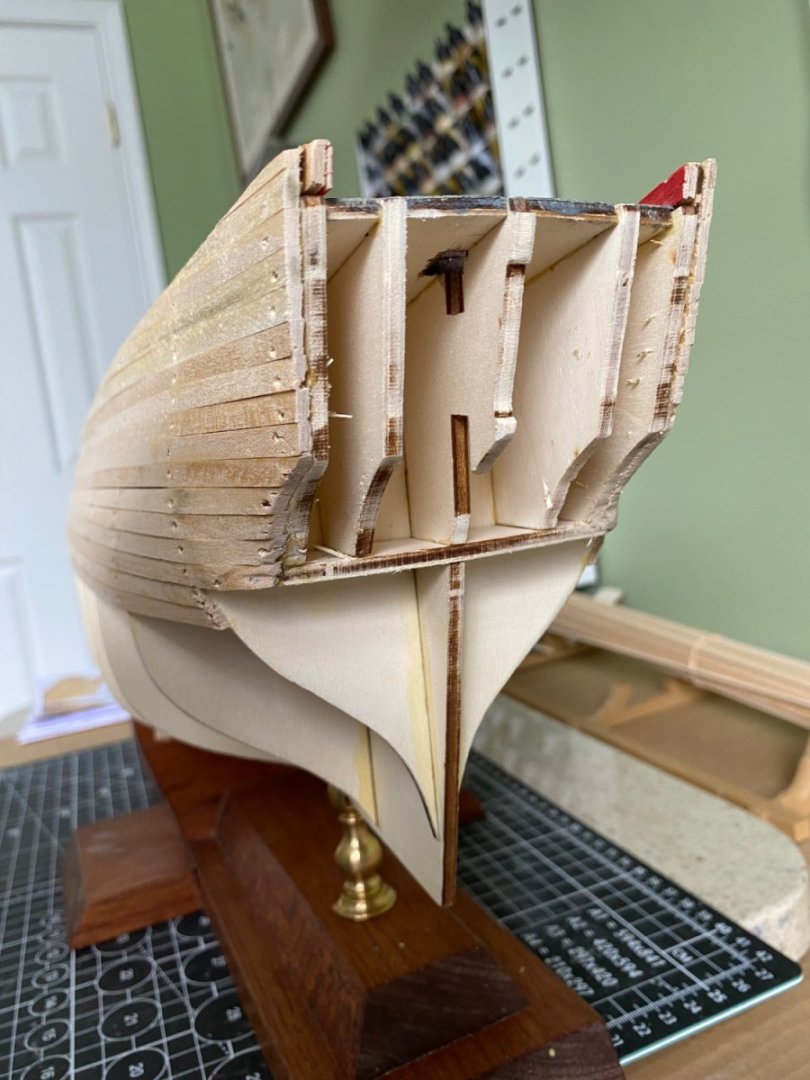
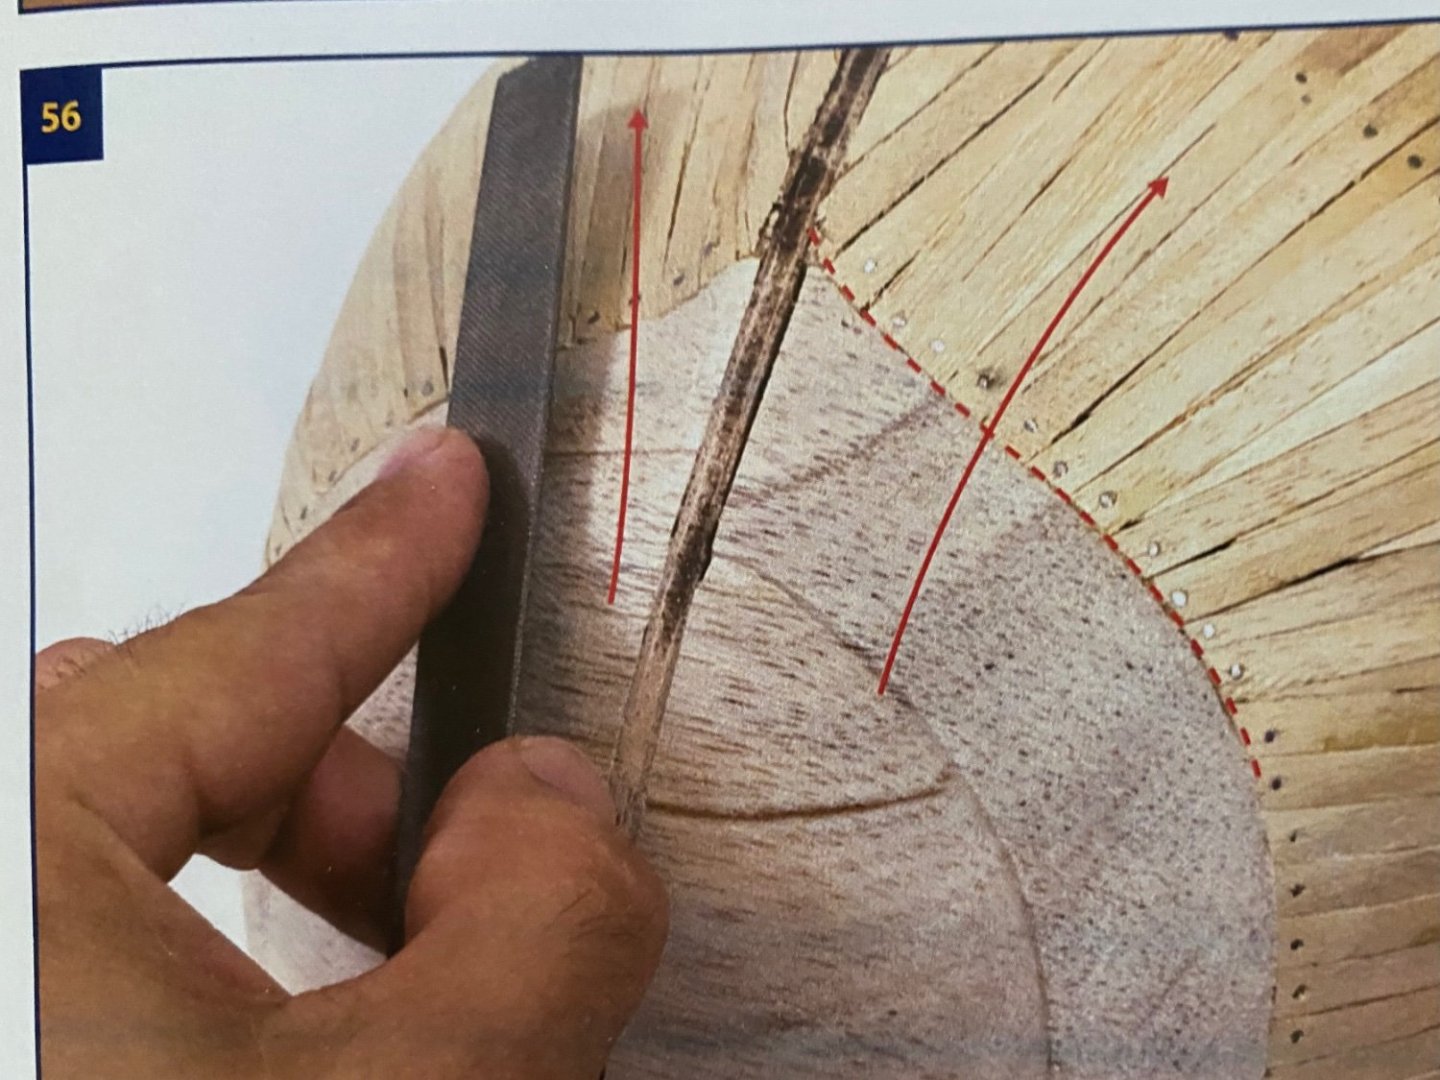
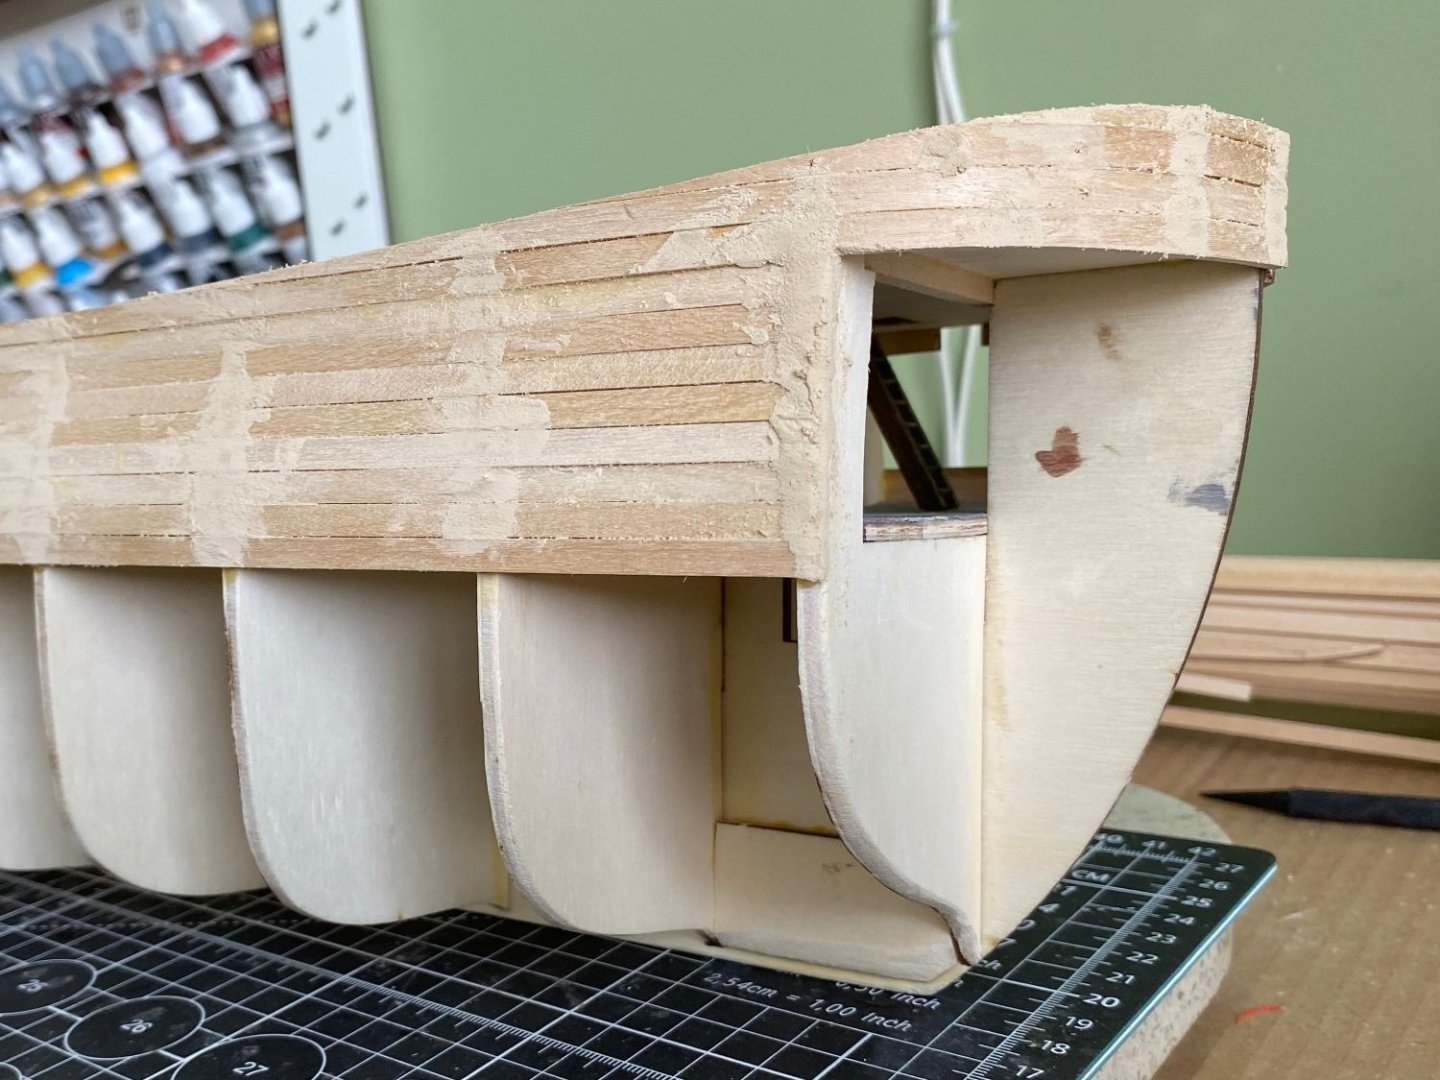
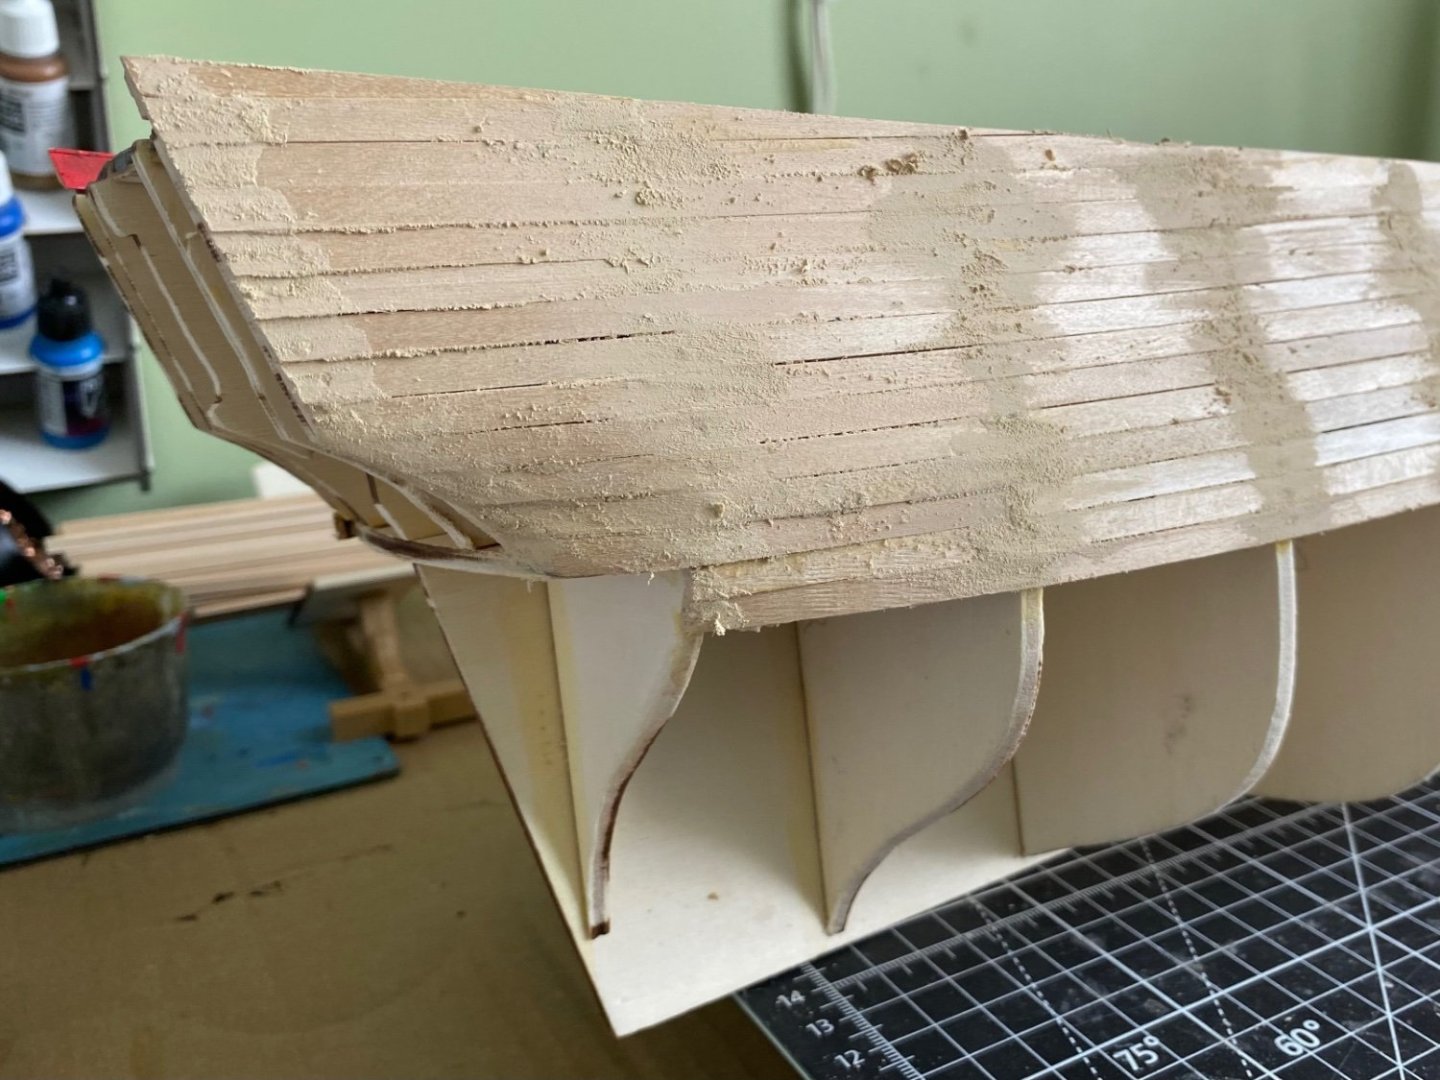
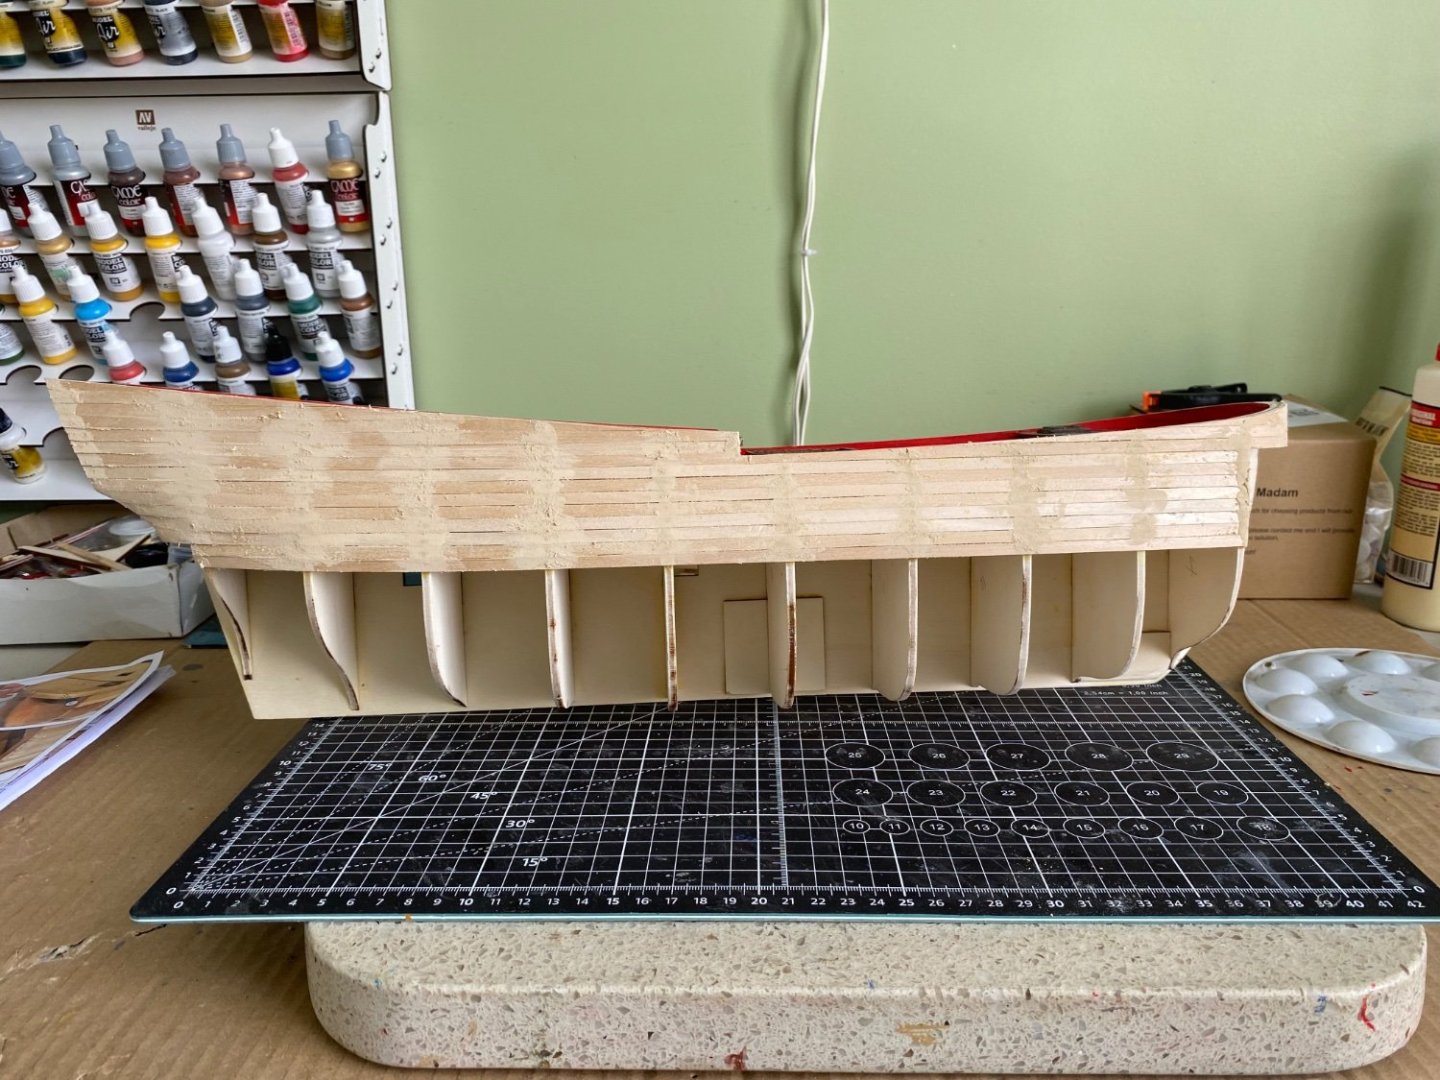
Bow and stern reinforcements sanded and shaped to make a smooth transition from the sides of the ship. Also sanded the planking to achieve a smooth surface keel to bulwarks. Let me advise anyone getting ready to do this to work outside or in a room you don’t care to get dusty. Wow sanding the two ends left a lot of sanding dust all over my workshop! Spent a little time with my ShopVac after I was finished. I then took a piece of the veneer strip and slid it over the two different reinforcements checking for any high or low spots that need some extra sanding. Once I was satisfied with the shape I coated the entire hull with wood filler putty to fill the nail holes and spaces between planks. Tomorrow after the wood filler drys and hardens I will sand the hull again with a fine grit sandpaper to remove the unnecessary dried putty. -
Endeavour by Bill97 - OcCre - 1/54
Bill97 replied to Bill97's topic in - Kit build logs for subjects built from 1751 - 1800
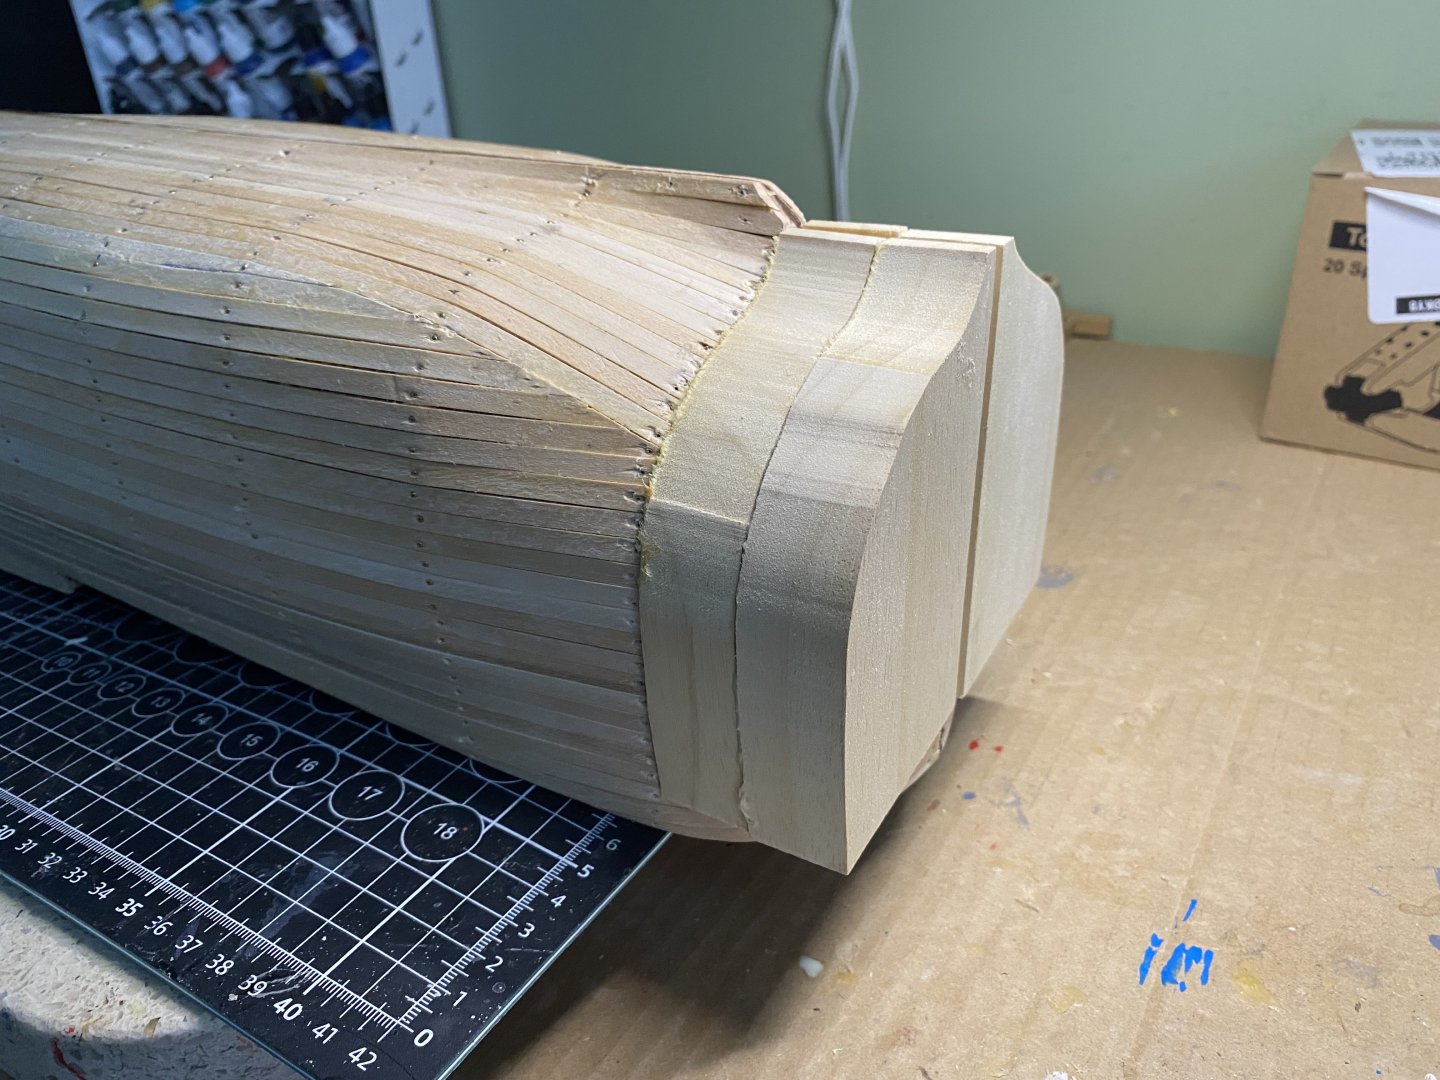
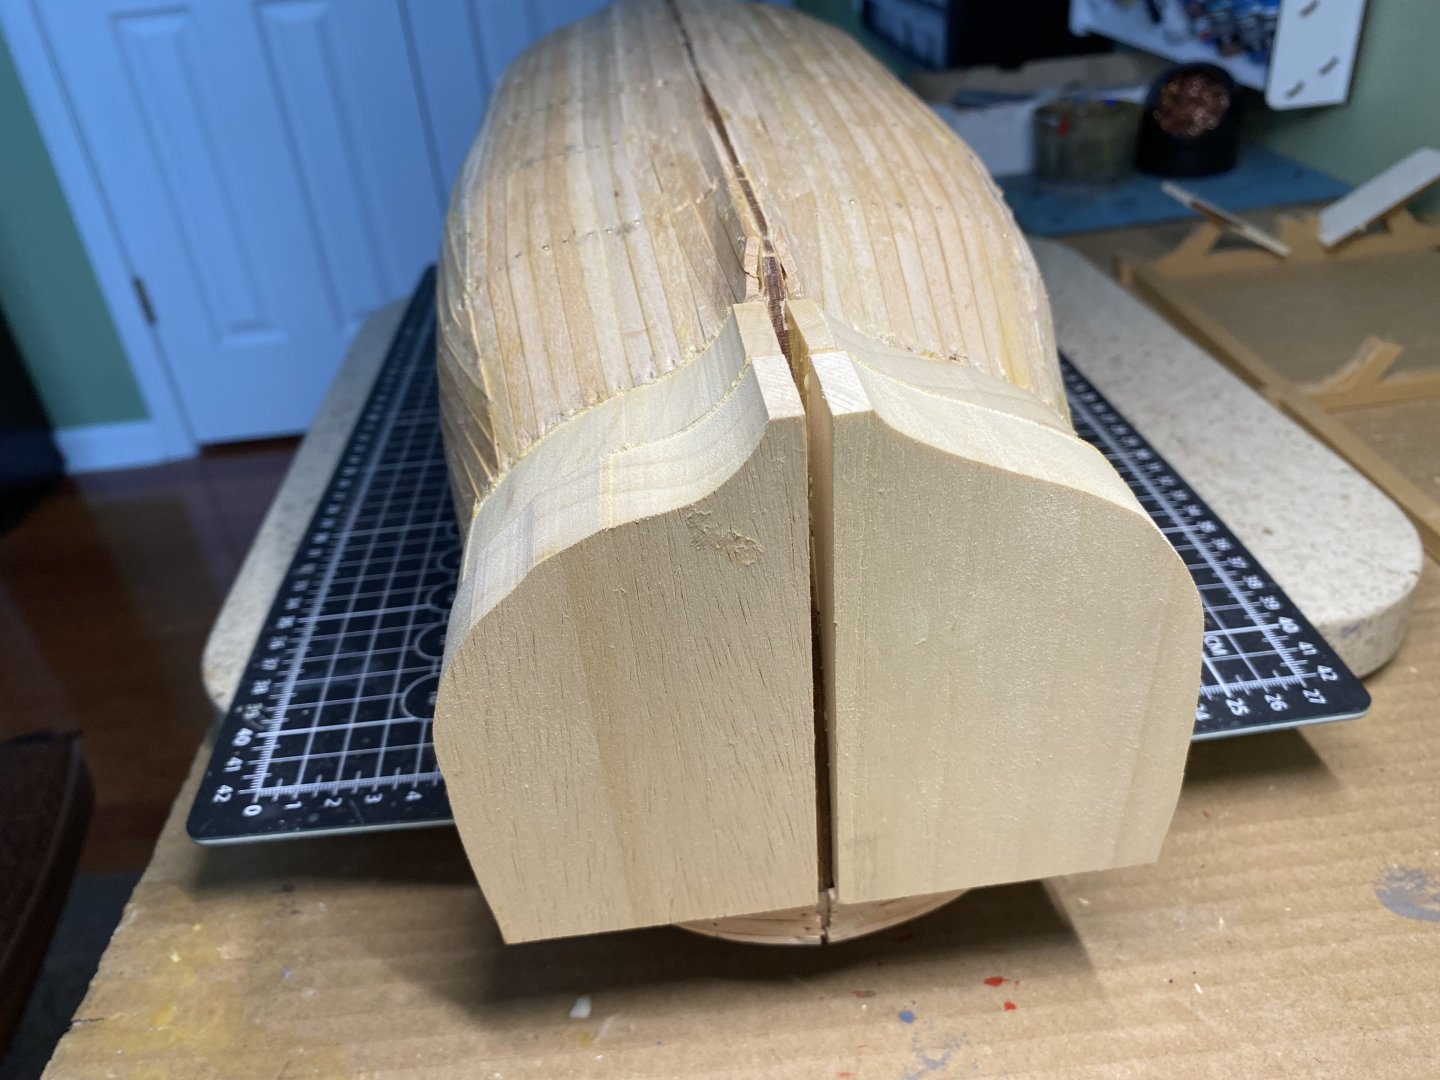
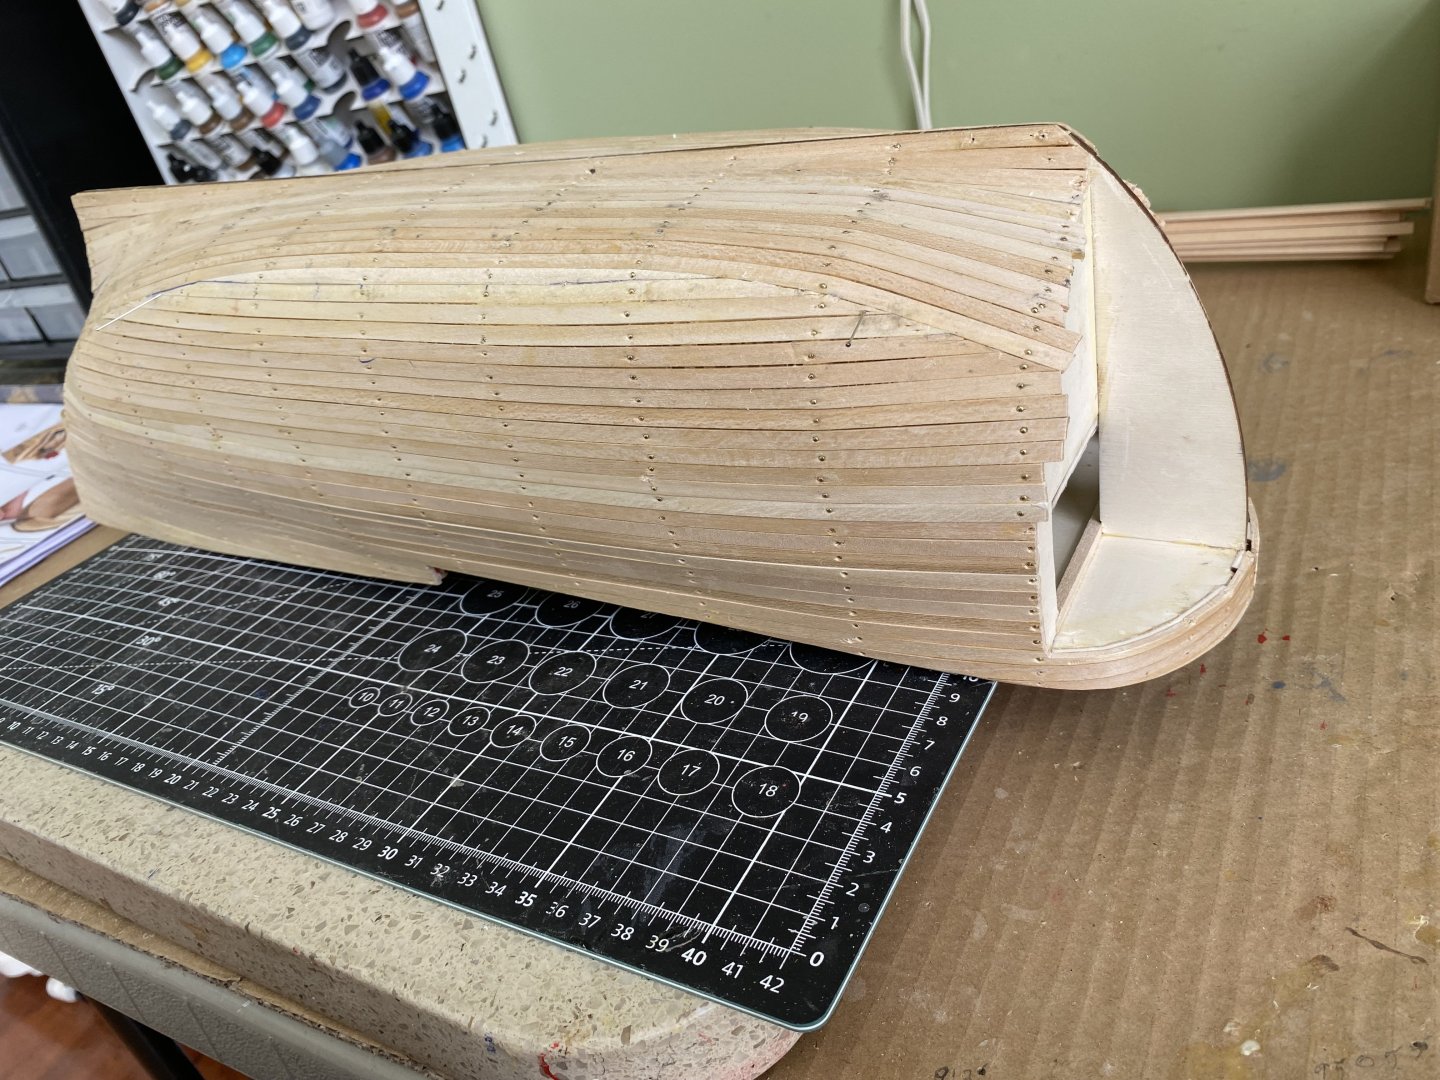
1st planking complete. Bow and stern reinforcements added. After allowing ample time for glue to dry I will begin the sanding process that will shape the hull. Wish me luck my friends . -
Endeavour by Bill97 - OcCre - 1/54
Bill97 replied to Bill97's topic in - Kit build logs for subjects built from 1751 - 1800
-
Endeavour by Bill97 - OcCre - 1/54
Bill97 replied to Bill97's topic in - Kit build logs for subjects built from 1751 - 1800
-
Endeavour by Bill97 - OcCre - 1/54
Bill97 replied to Bill97's topic in - Kit build logs for subjects built from 1751 - 1800
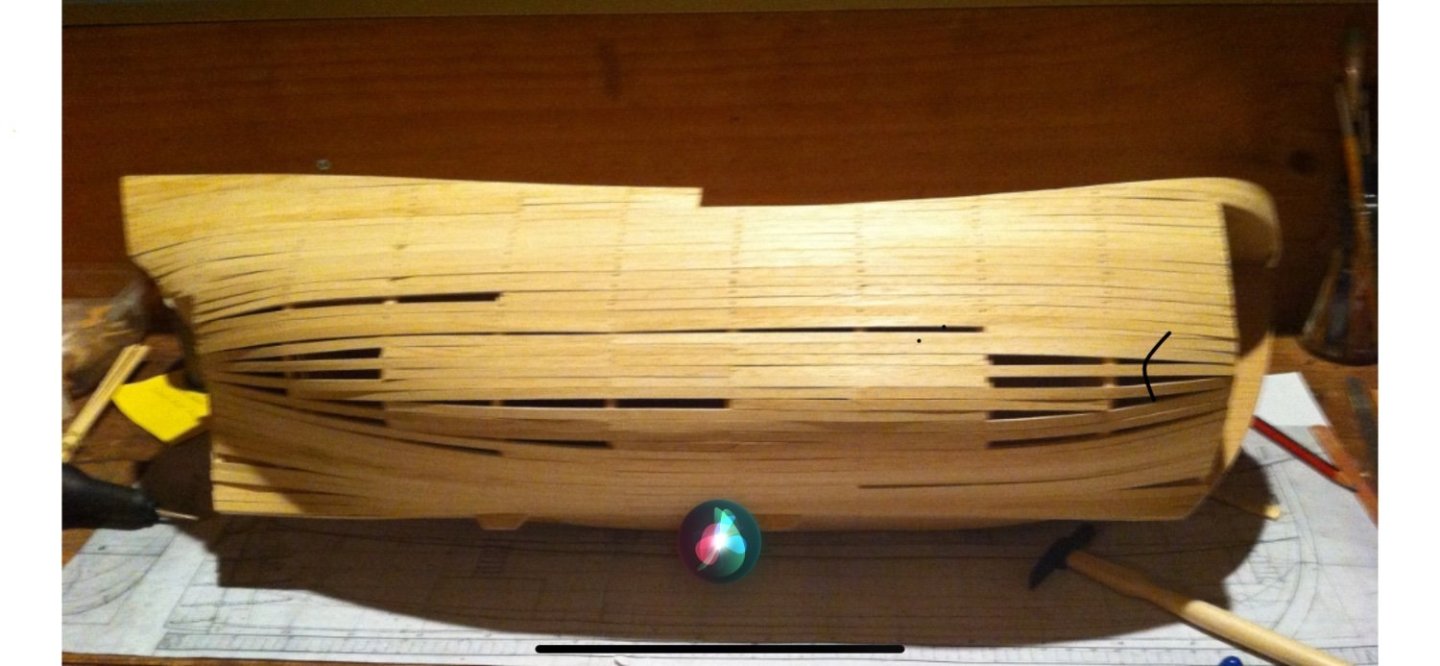
Progress continues on the planking. Pace is slower now that I am at the area where I need to put it together like a puzzle. Before I completely close up the hull I decided to use some scrap wood to reinforce the seat for the three masts also added some scrap material to widen the false keel where my the screws from my display stand will penetrate the keel up into the inner hull. -
Endeavour by Bill97 - OcCre - 1/54
Bill97 replied to Bill97's topic in - Kit build logs for subjects built from 1751 - 1800
Finished the upper 1st planking on both sides of the ship now and will now start the bottom area. OcCre had me do the section from the lower deck up to the top of the bulwarks first and then start at the false keel and work my way up to meet. This next section will require numerous pie shaped pieces to fill in between planks as you can see in the last example photo. Looking to reuse, with modifications, the base I originally made for my Soleil Royal but now have in a diorama. -
Endeavour by Bill97 - OcCre - 1/54
Bill97 replied to Bill97's topic in - Kit build logs for subjects built from 1751 - 1800
Yes Ian I have looked at them. They also hav a great line of street cars/trams. I bought an airbrush kit on Amazon back when I started building the Victory. With a little practice you would have no trouble. I use Vallejo Model Air paints with it. They are designed especially for use with airbrushing. -
Endeavour by Bill97 - OcCre - 1/54
Bill97 replied to Bill97's topic in - Kit build logs for subjects built from 1751 - 1800
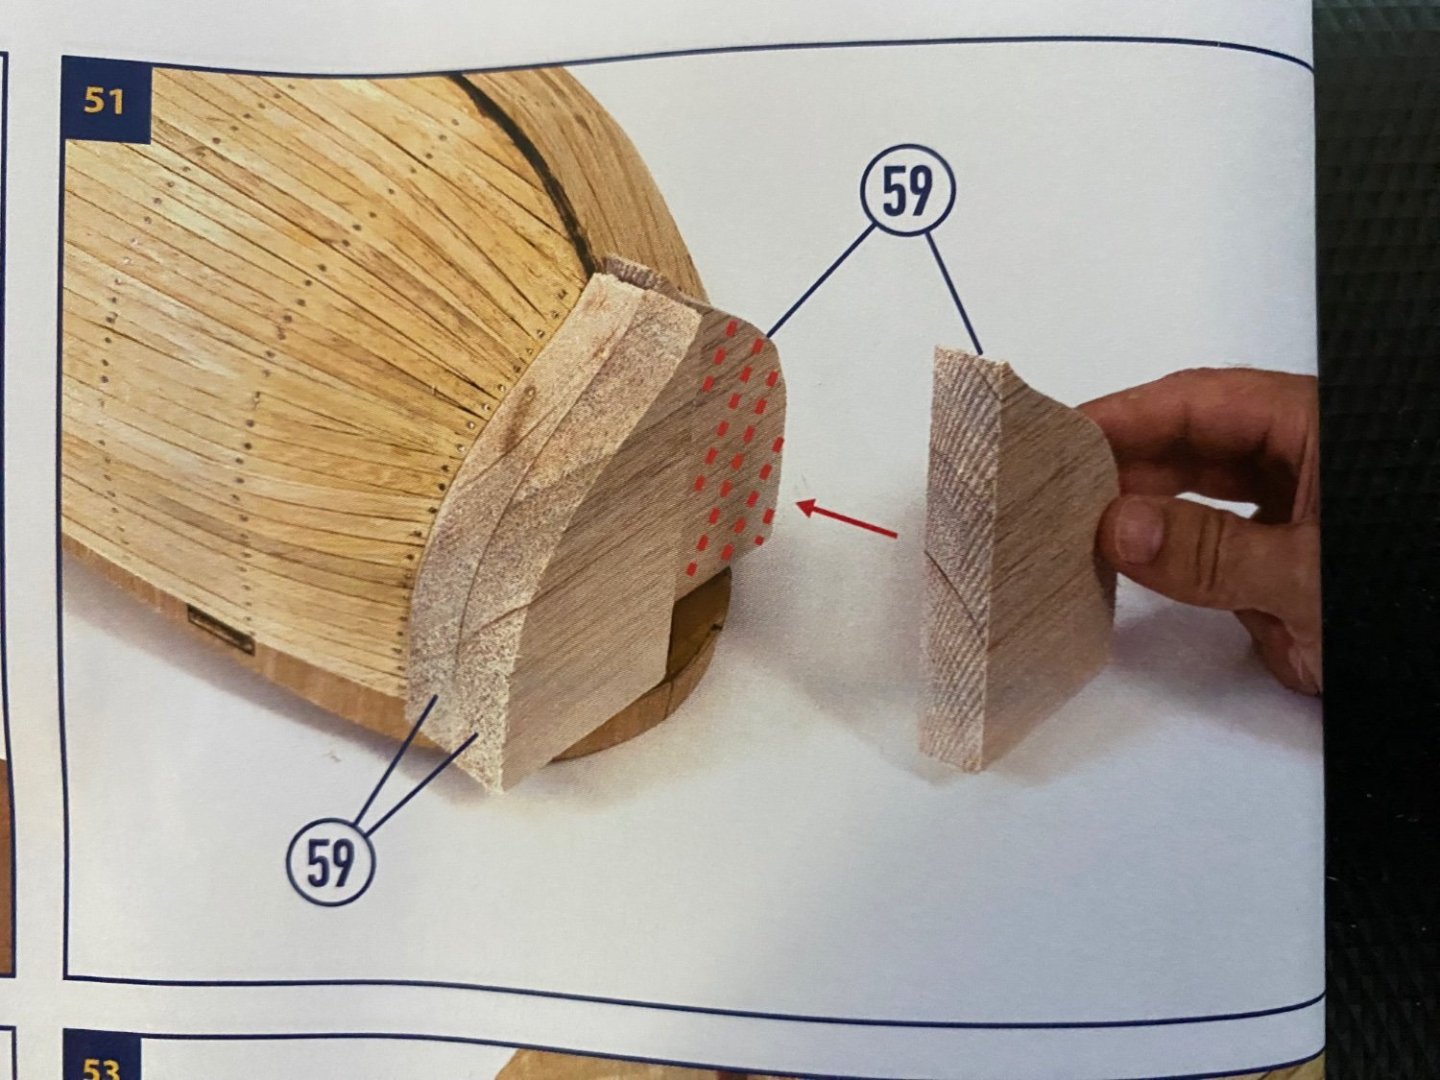
Yes Ian. I am sorry just saw your comment. I will attach a couple OcCre instructions photos to show process. -
Endeavour by Bill97 - OcCre - 1/54
Bill97 replied to Bill97's topic in - Kit build logs for subjects built from 1751 - 1800
That is correct. Balsa blocks are glued in the bow and sanded to shape. -
Endeavour by Bill97 - OcCre - 1/54
Bill97 replied to Bill97's topic in - Kit build logs for subjects built from 1751 - 1800
Planking of upper half of starboard side completed. Nails sunk and holes filled. Still need to sand, fill all the seems, and give final sanding after all the planking complete. -
Endeavour by Bill97 - OcCre - 1/54
Bill97 replied to Bill97's topic in - Kit build logs for subjects built from 1751 - 1800
Thanks shipaholic and kiwiron. I have both of your builds bookmarked for reference. -
Endeavour by Bill97 - OcCre - 1/54
Bill97 replied to Bill97's topic in - Kit build logs for subjects built from 1751 - 1800
First planking in progress. This process definitely employs my woodworking skills! Especially shaping around the stern. Have yet to decide if I am going to sink the nail heads or pull them out with needle nose pliers. -
Endeavour by Bill97 - OcCre - 1/54
Bill97 replied to Bill97's topic in - Kit build logs for subjects built from 1751 - 1800
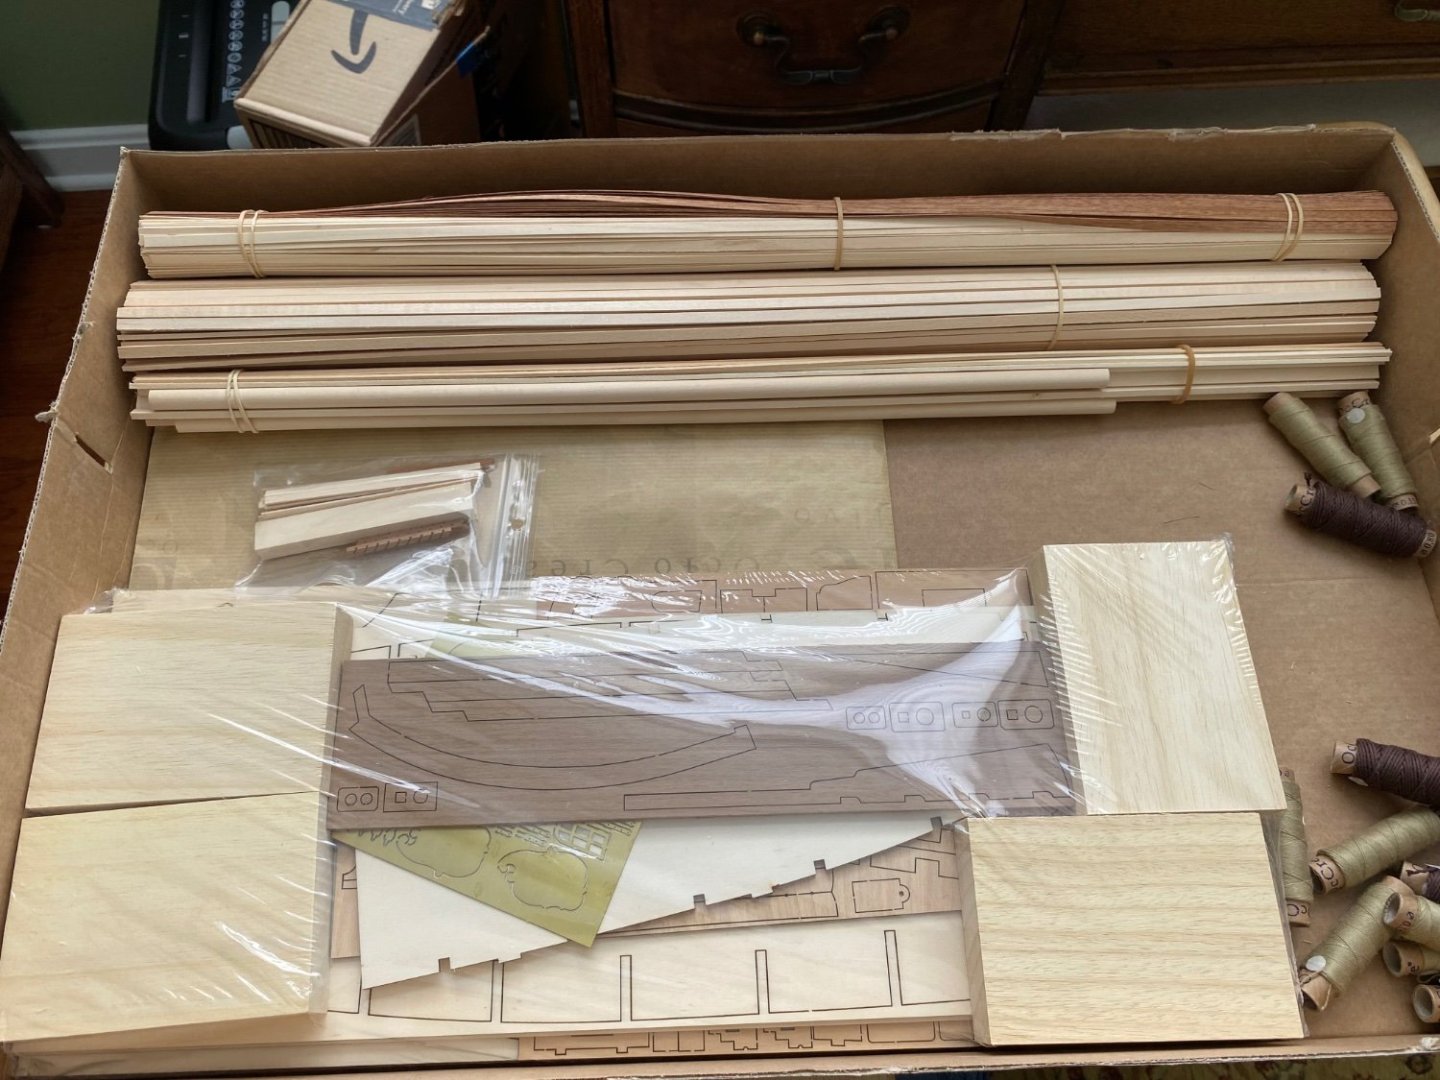
Yes Kevin. So far everything has been part of the kit. Got a big box of different size wood, a sort of plastic tackle box filled with all sorts of bits and pieces hardware, and an instruction book telling me the size to cut the wood. Great thing I have a caliper! The instructions might call for a 2x5mm piece of wood for example to complete a task. There are numerous bundles of sizes. Some 2x4, 2x5, 2x6, etc. Caliper makes that part easy. Very different from a plastic kit with pieces attached to sprues. Yes I like the deck better as well. As I told Marc it was different working with wood instead of plastic. Always great to hear from you Kevin. I continue to check in on your build but don’t always comment. Beautiful work as always my friend. -
Endeavour by Bill97 - OcCre - 1/54
Bill97 replied to Bill97's topic in - Kit build logs for subjects built from 1751 - 1800
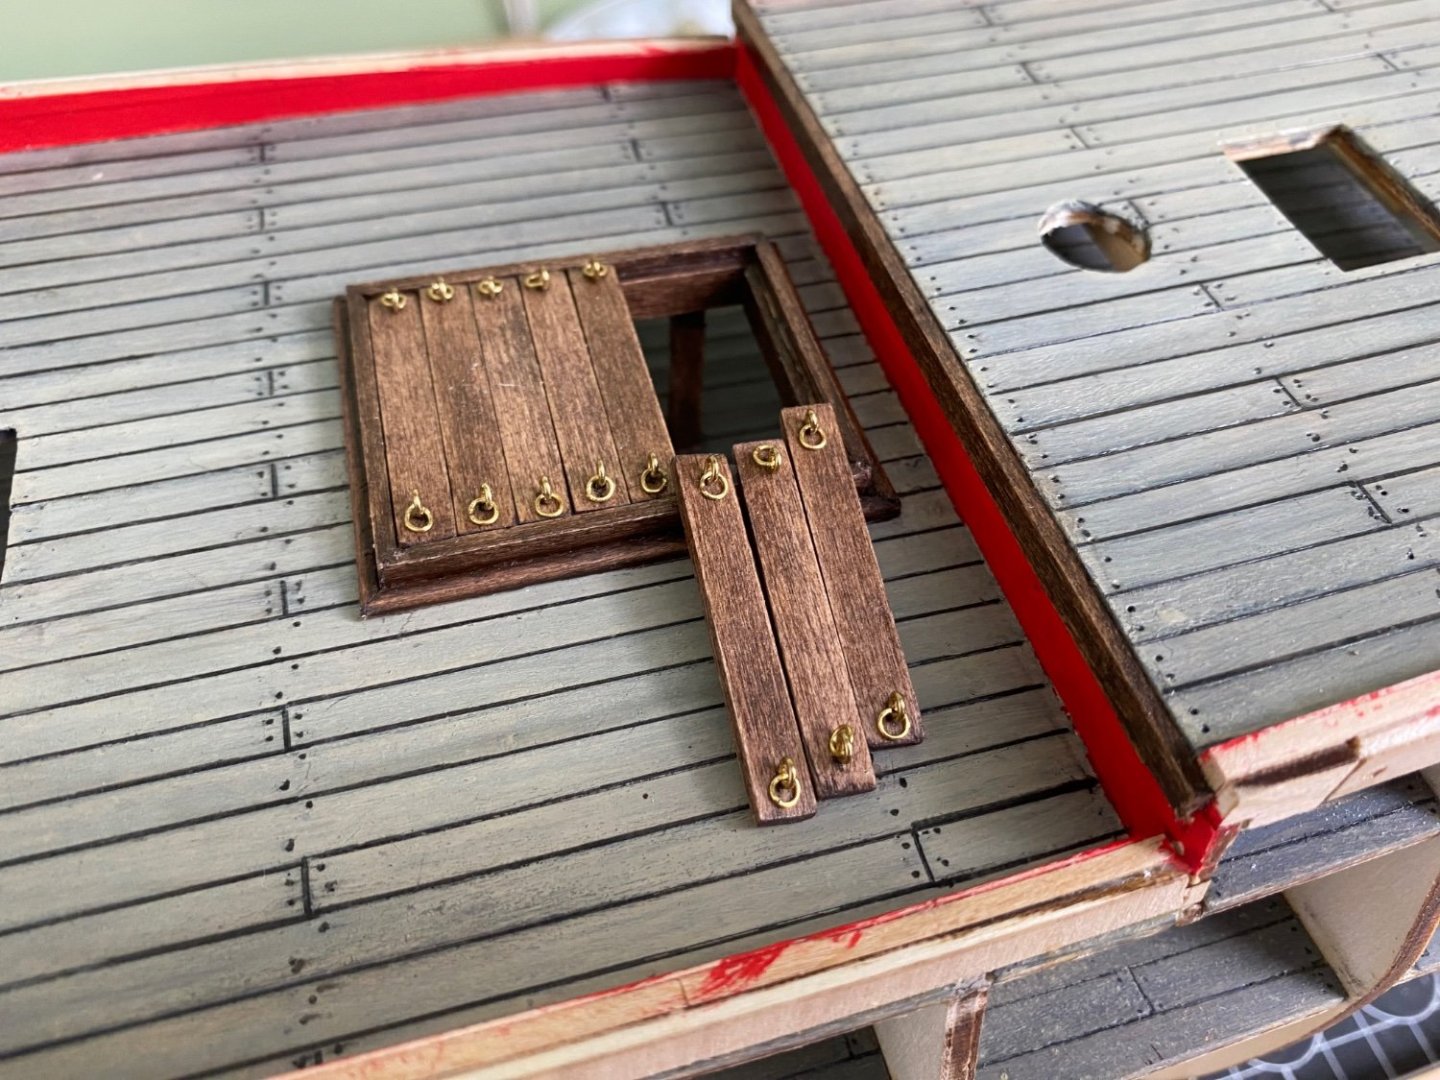
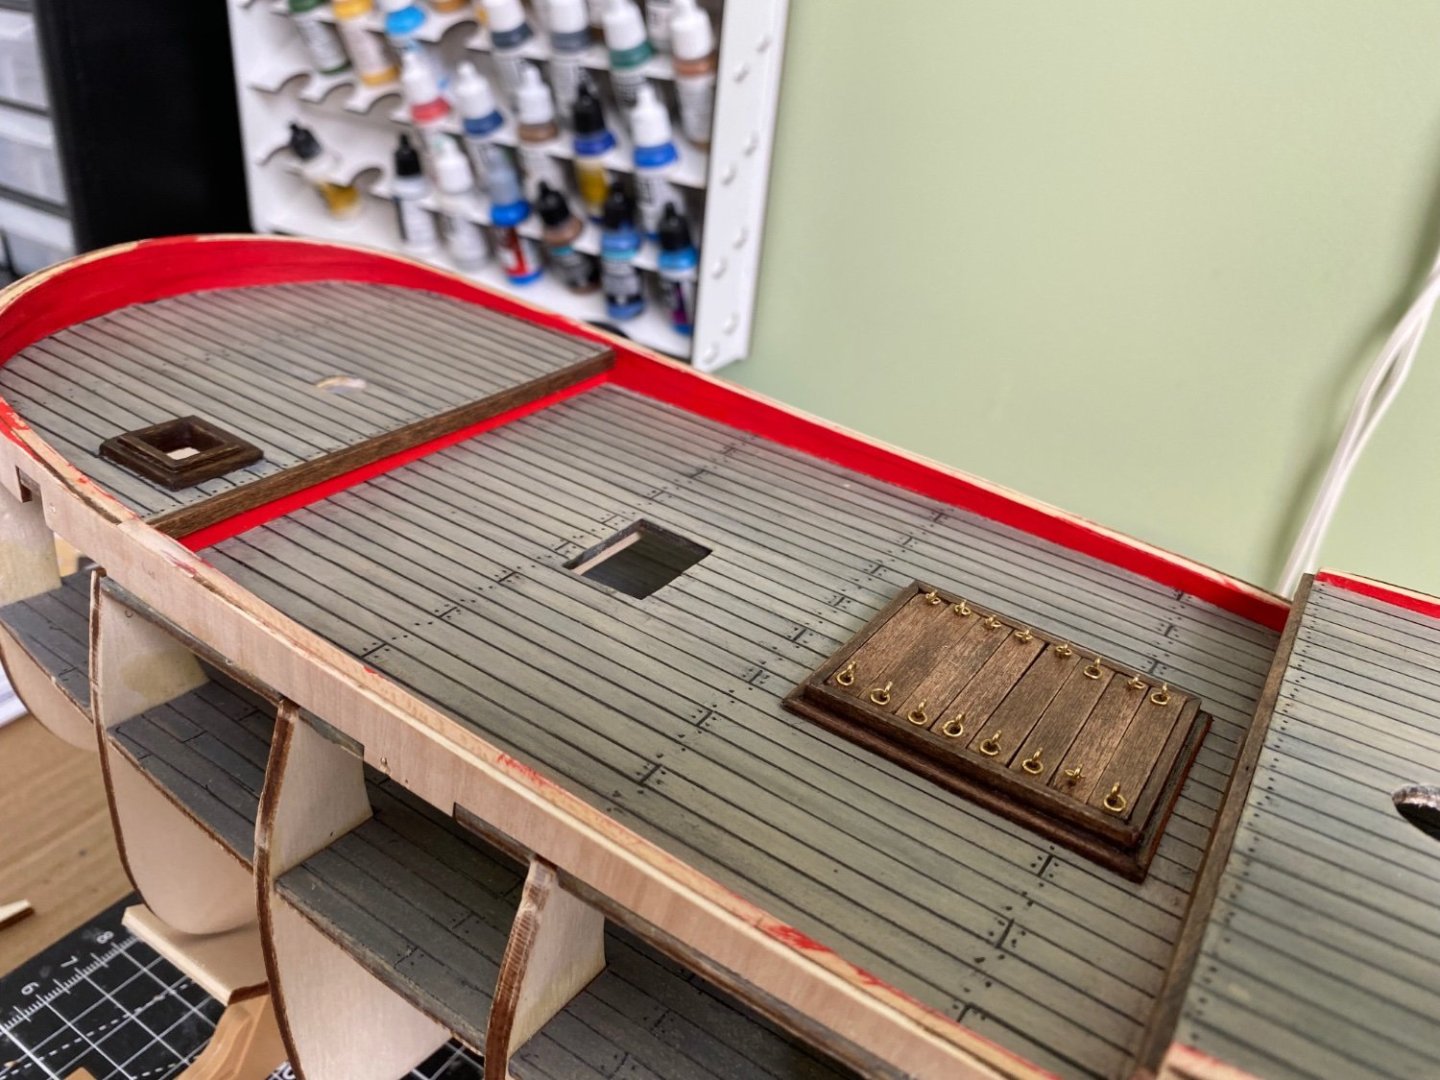
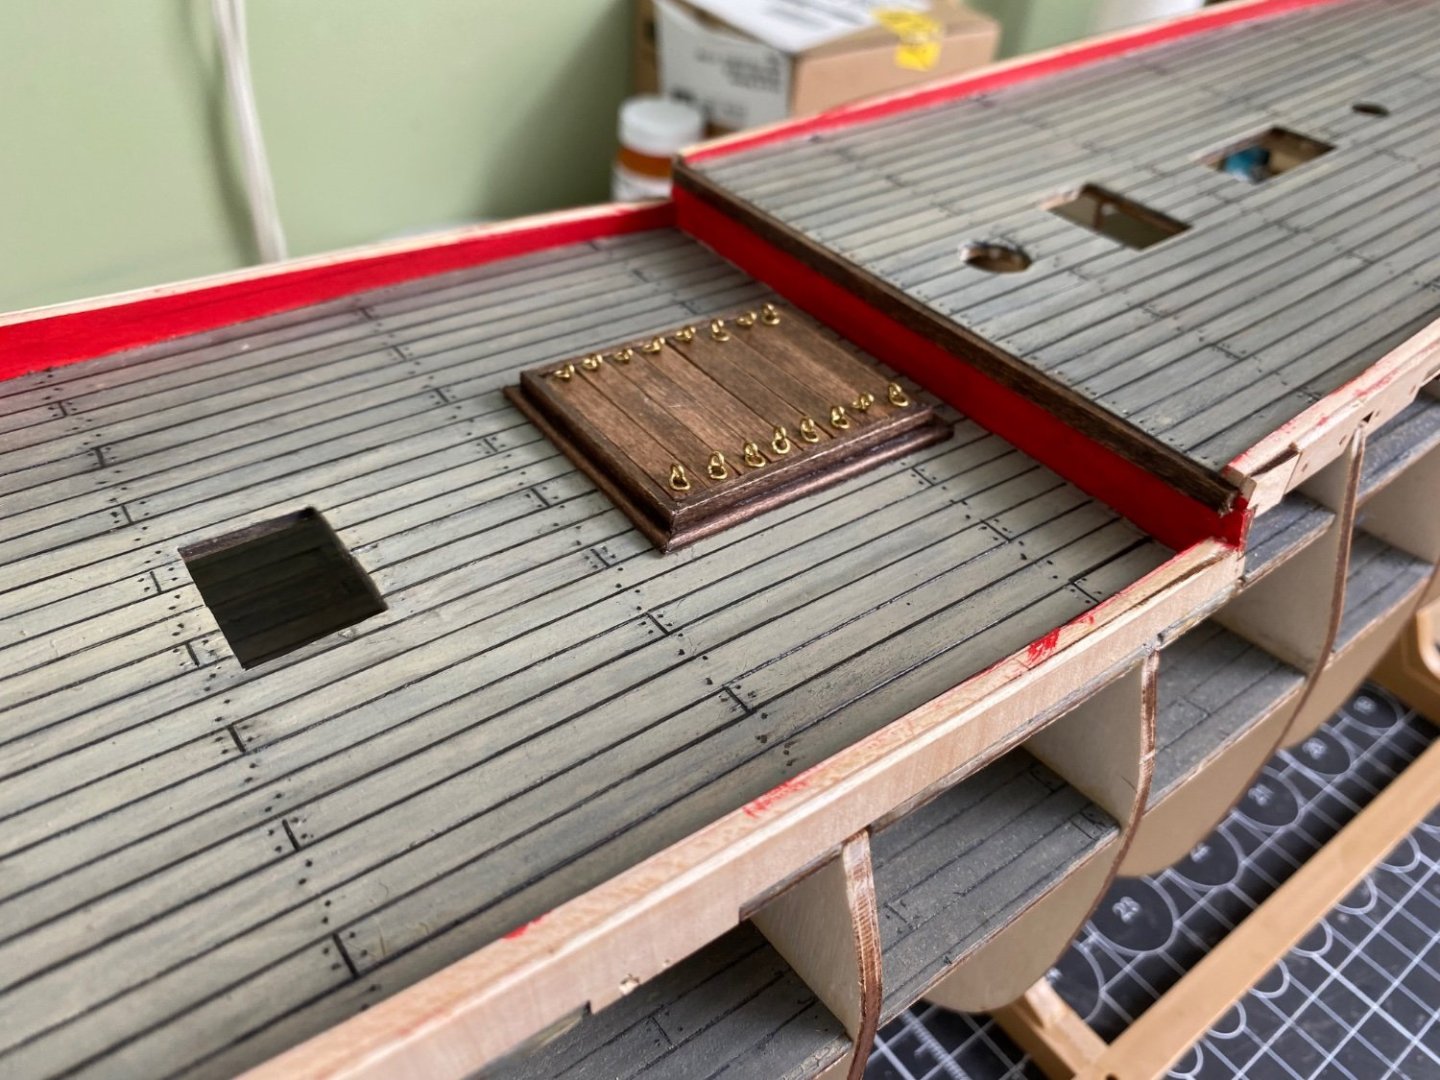
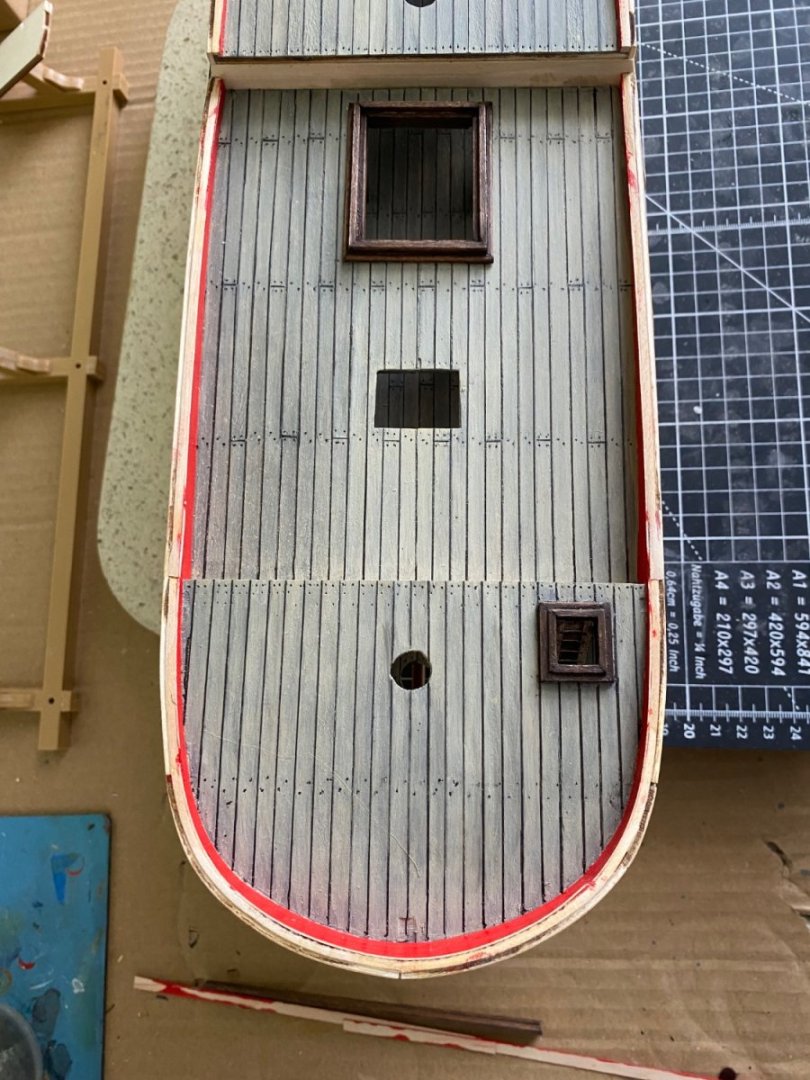
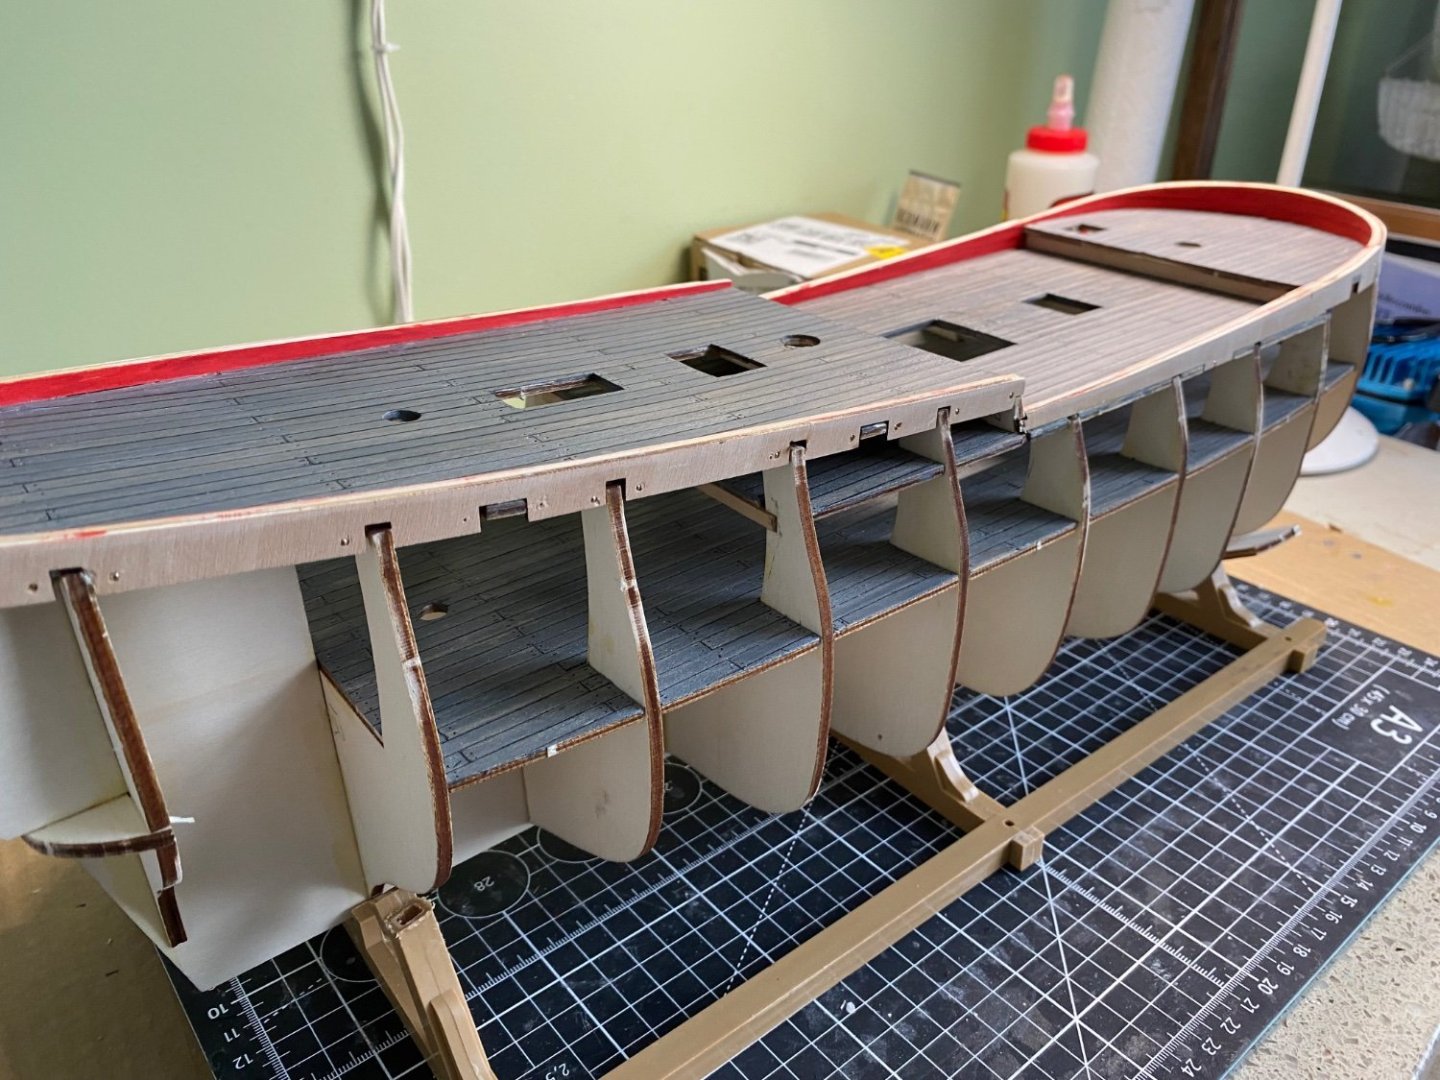
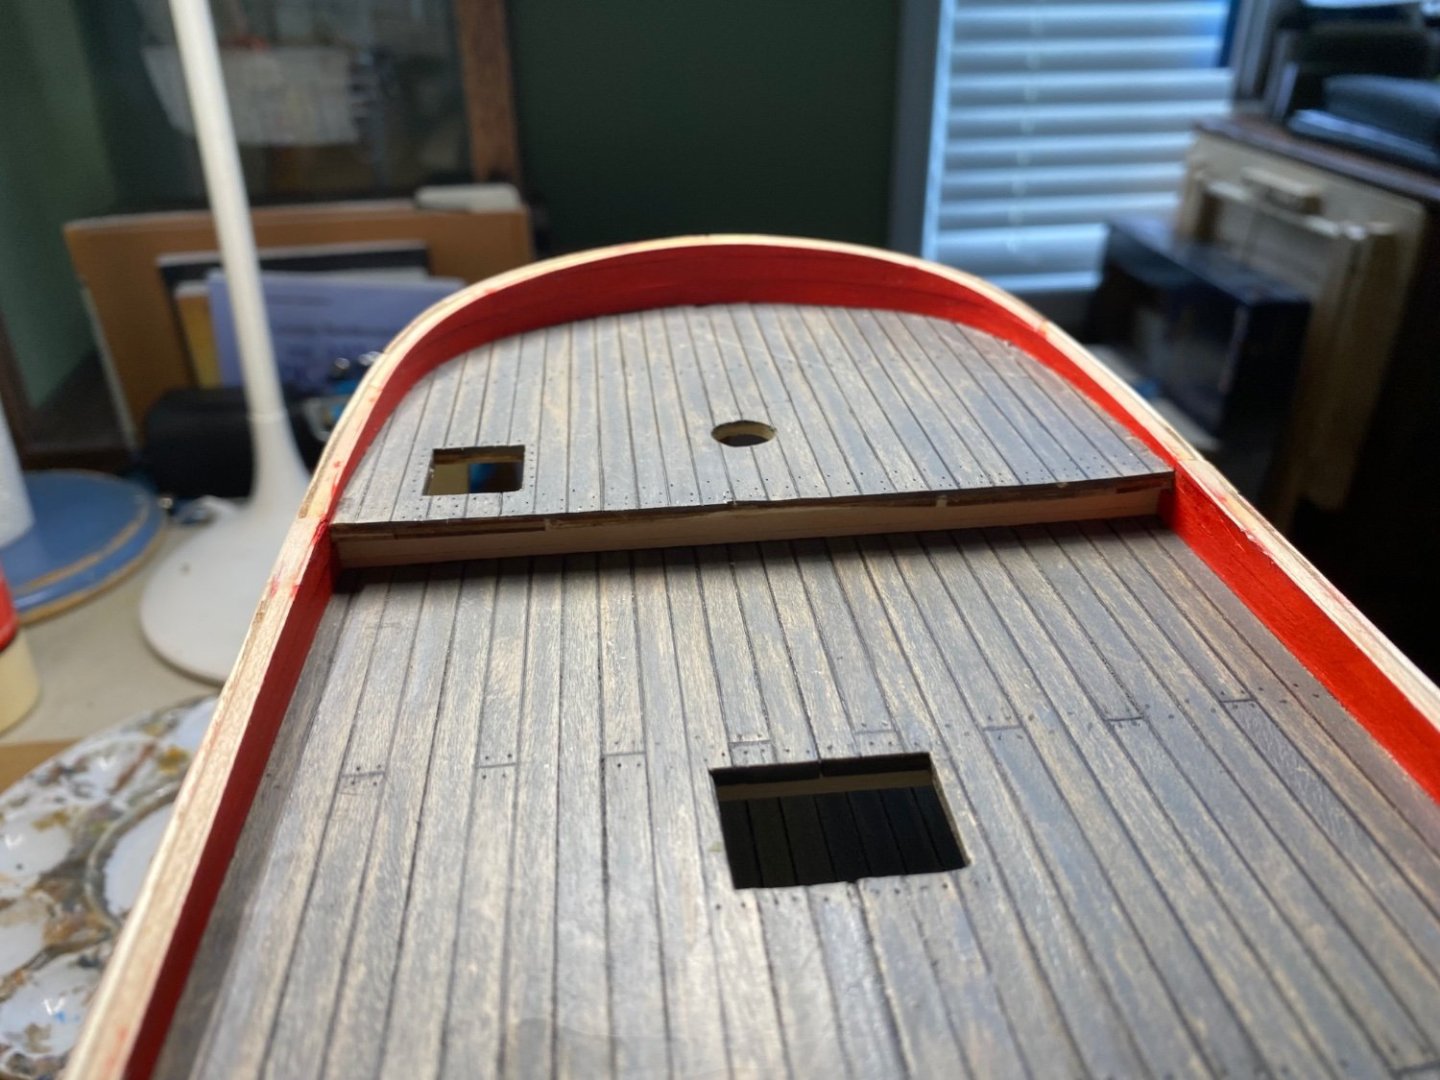
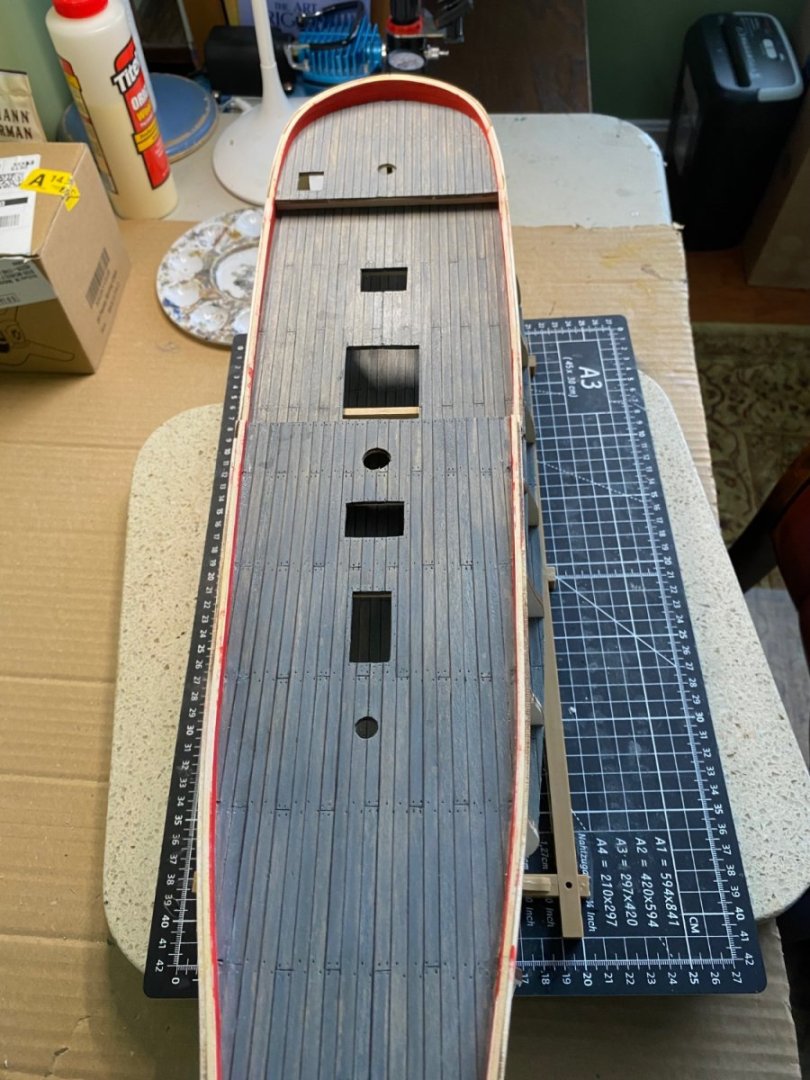
The main hatch cover boards with ring bolts cut, stained, top coated, and put in place on the main hatch cover frame. Also painted red, to match the inboard side of the bulwark, and trimmed out the two step ups between the decks. Getting close to starting the hull planking process. -
Endeavour by Bill97 - OcCre - 1/54
Bill97 replied to Bill97's topic in - Kit build logs for subjects built from 1751 - 1800
I think so too Marc. Will remember that on future builds. I was used to acrylics on plastic decks on all my previous builds. Actual wood stain on wood is a whole different thing. With my wood working experience I should have known 😊. -
Endeavour by Bill97 - OcCre - 1/54
Bill97 replied to Bill97's topic in - Kit build logs for subjects built from 1751 - 1800
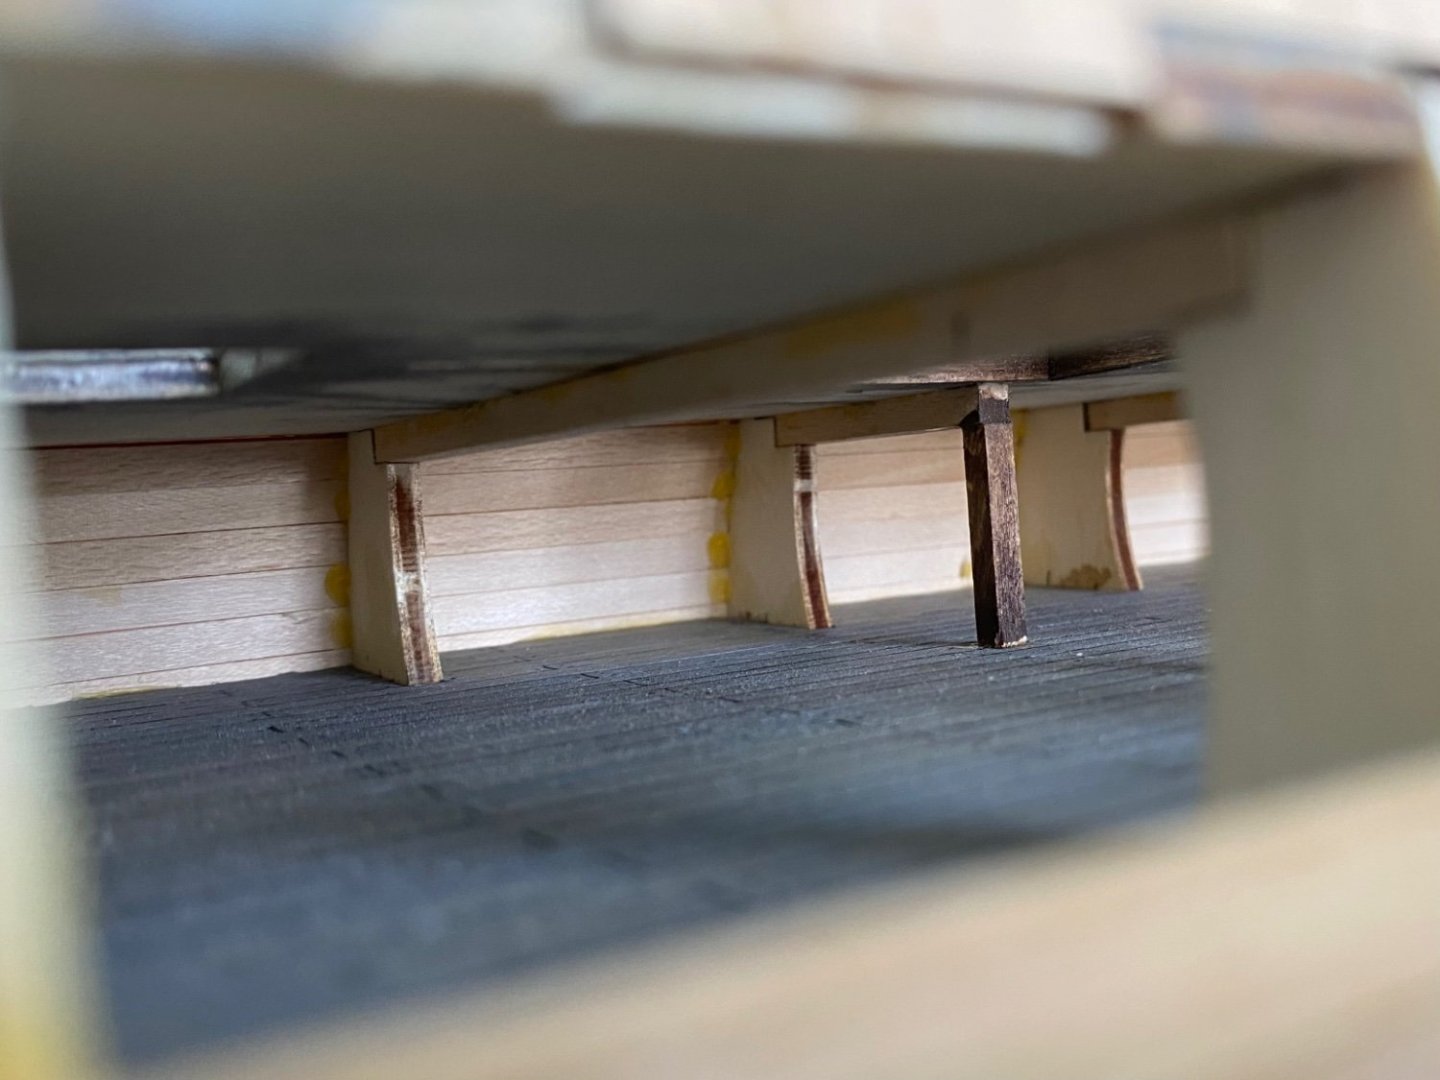
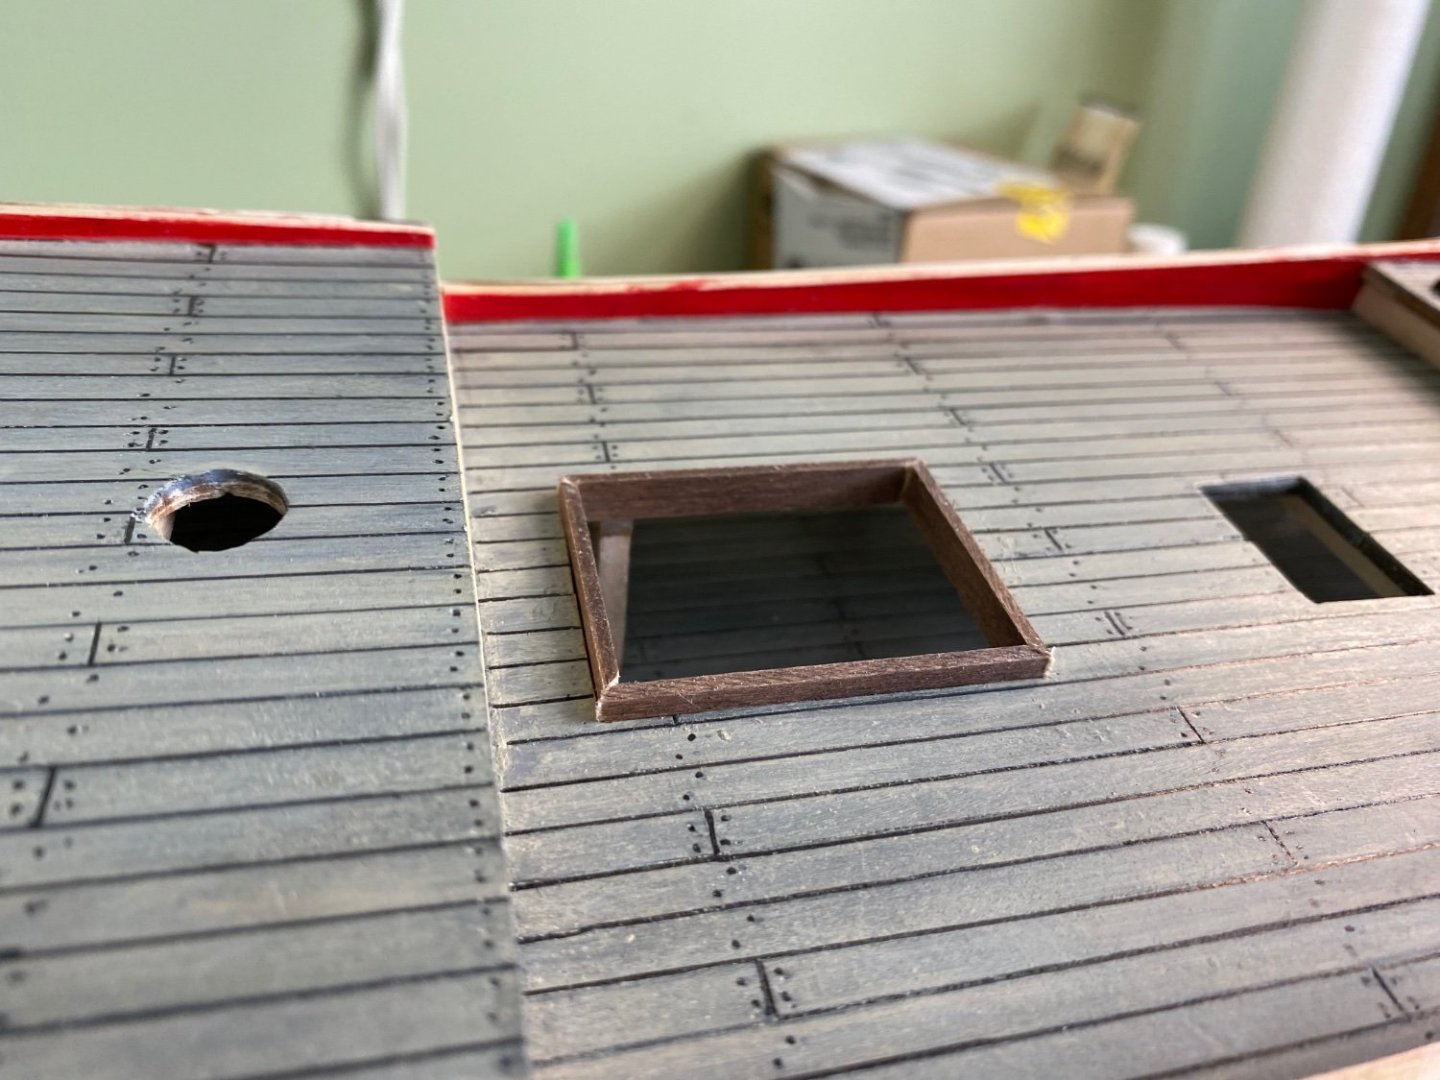
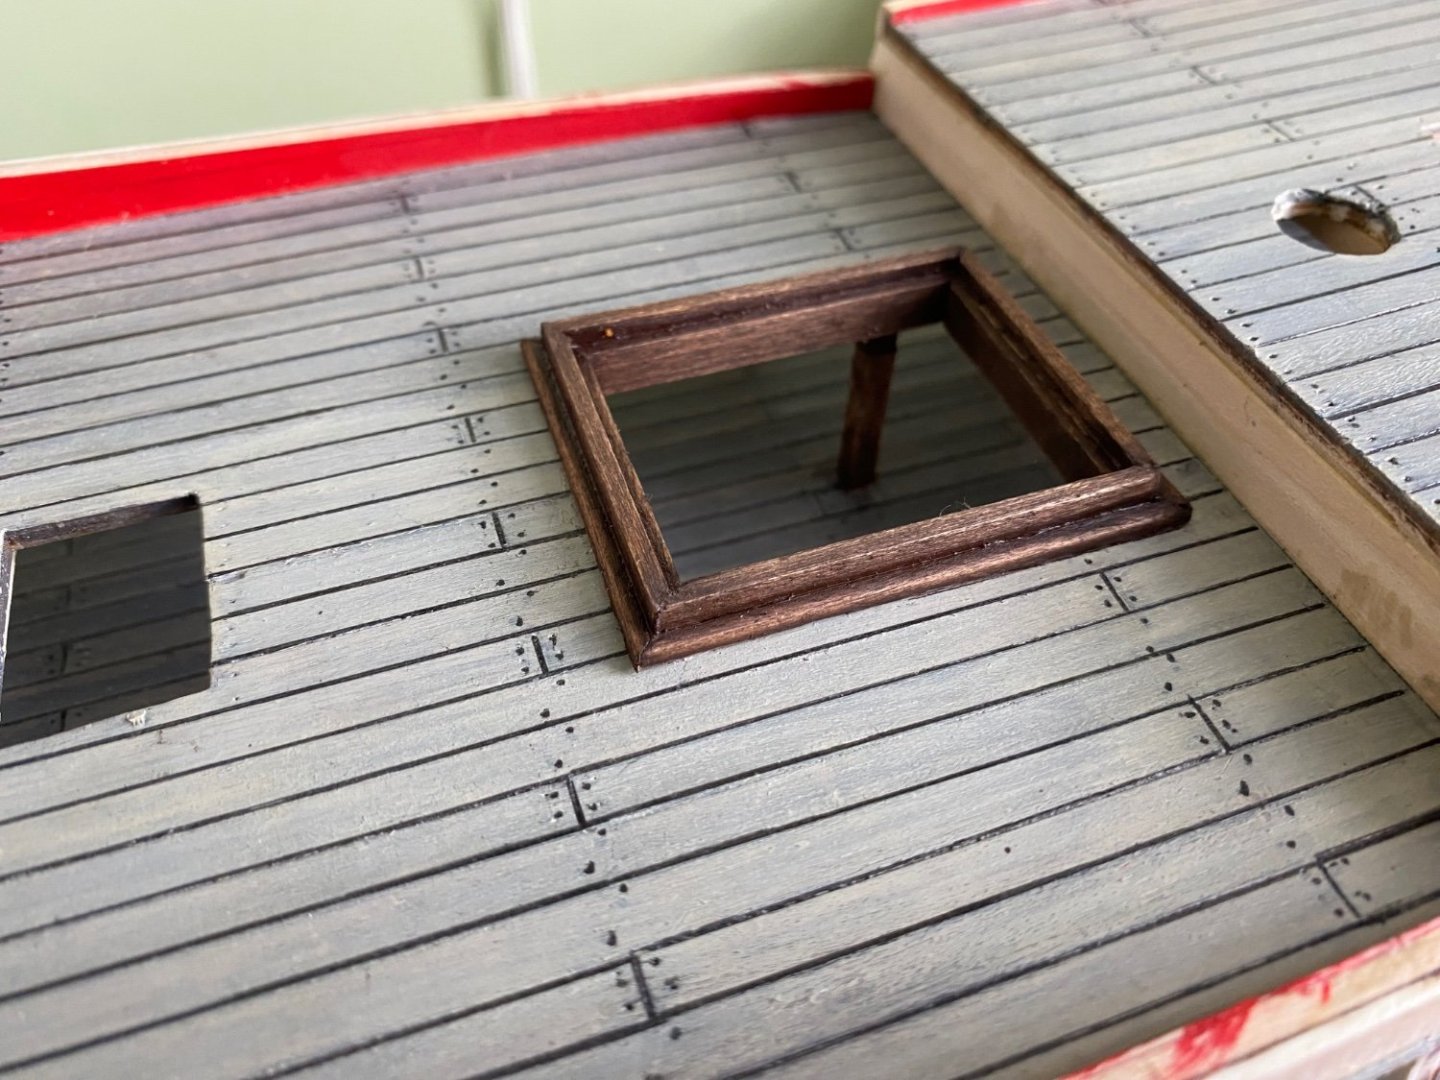
Worked on framing in the main hatch. The instructions recommended cutting the brace that passes under the hatch opening. I would think that such a brace, if cut, would be supported by columns so I added them. I then framed in the hatch again using a mitre cut for the corners. Slats with rings will be added to close the hatch. -
Endeavour by Bill97 - OcCre - 1/54
Bill97 replied to Bill97's topic in - Kit build logs for subjects built from 1751 - 1800
-
Endeavour by Bill97 - OcCre - 1/54
Bill97 replied to Bill97's topic in - Kit build logs for subjects built from 1751 - 1800
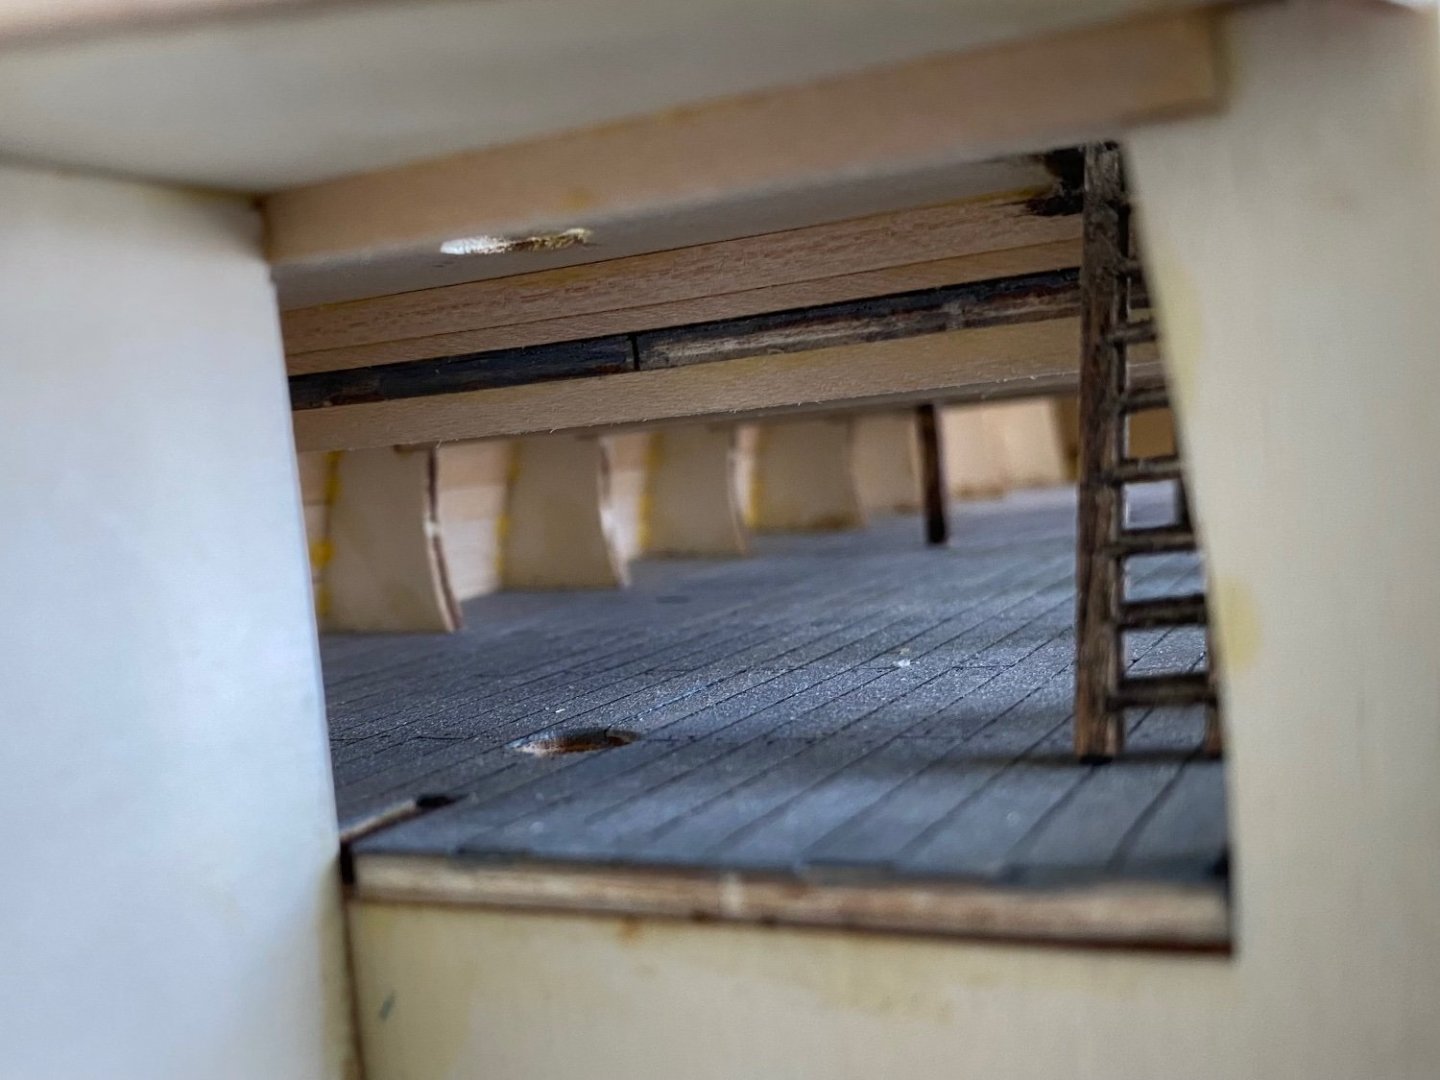
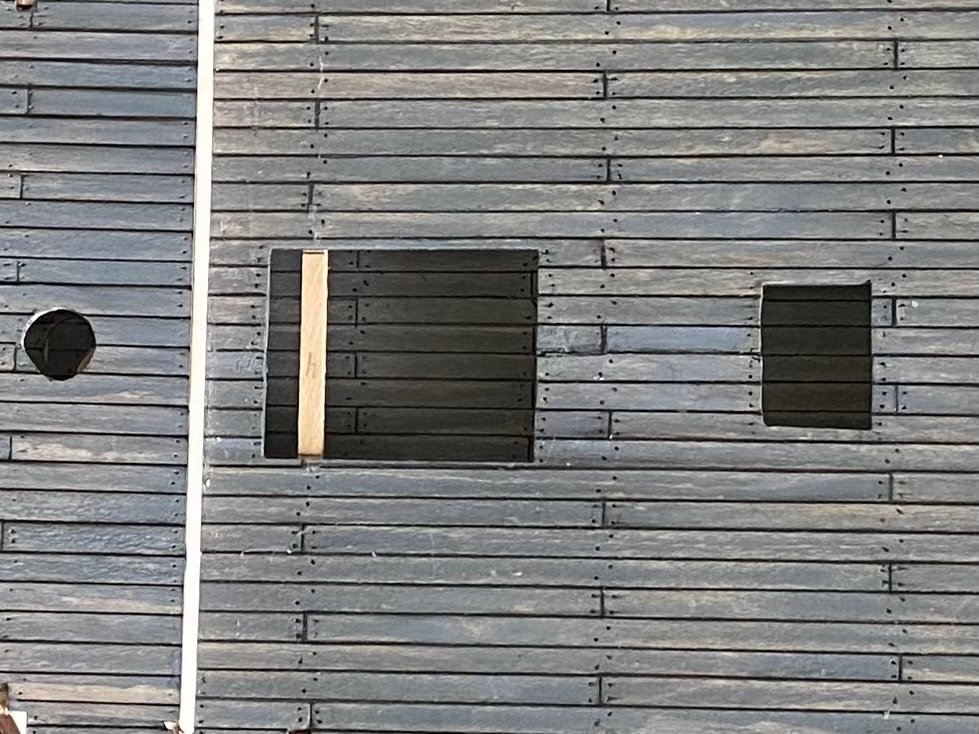
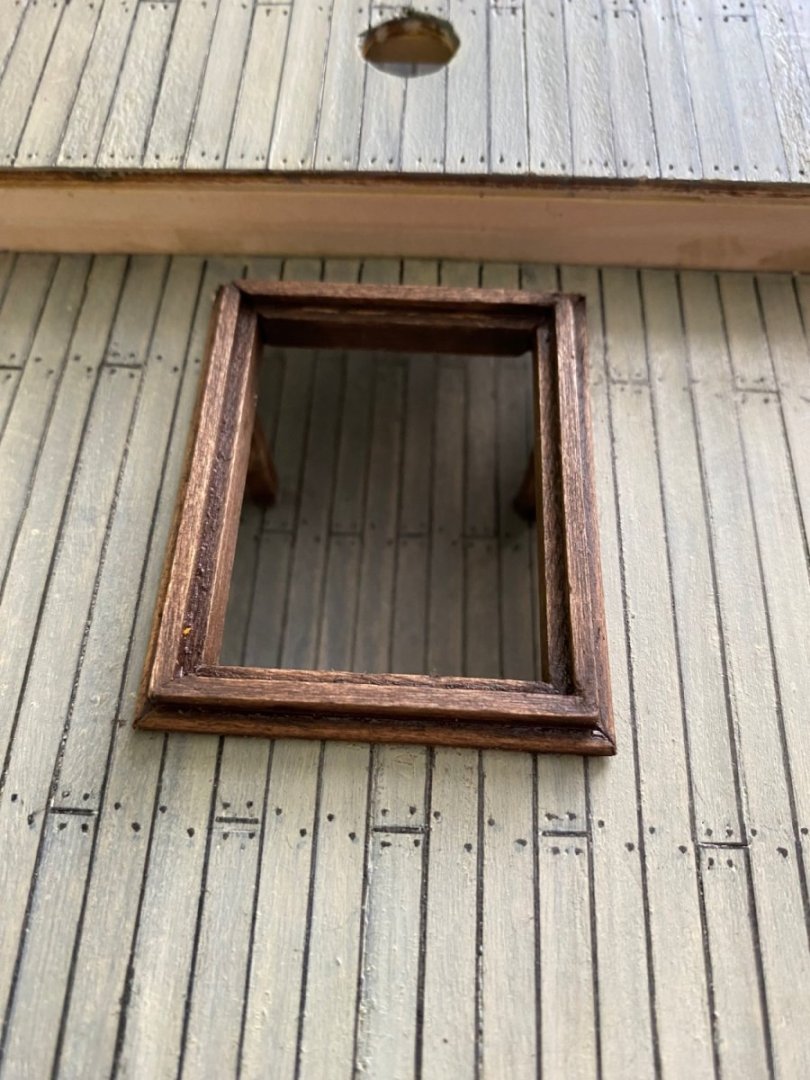
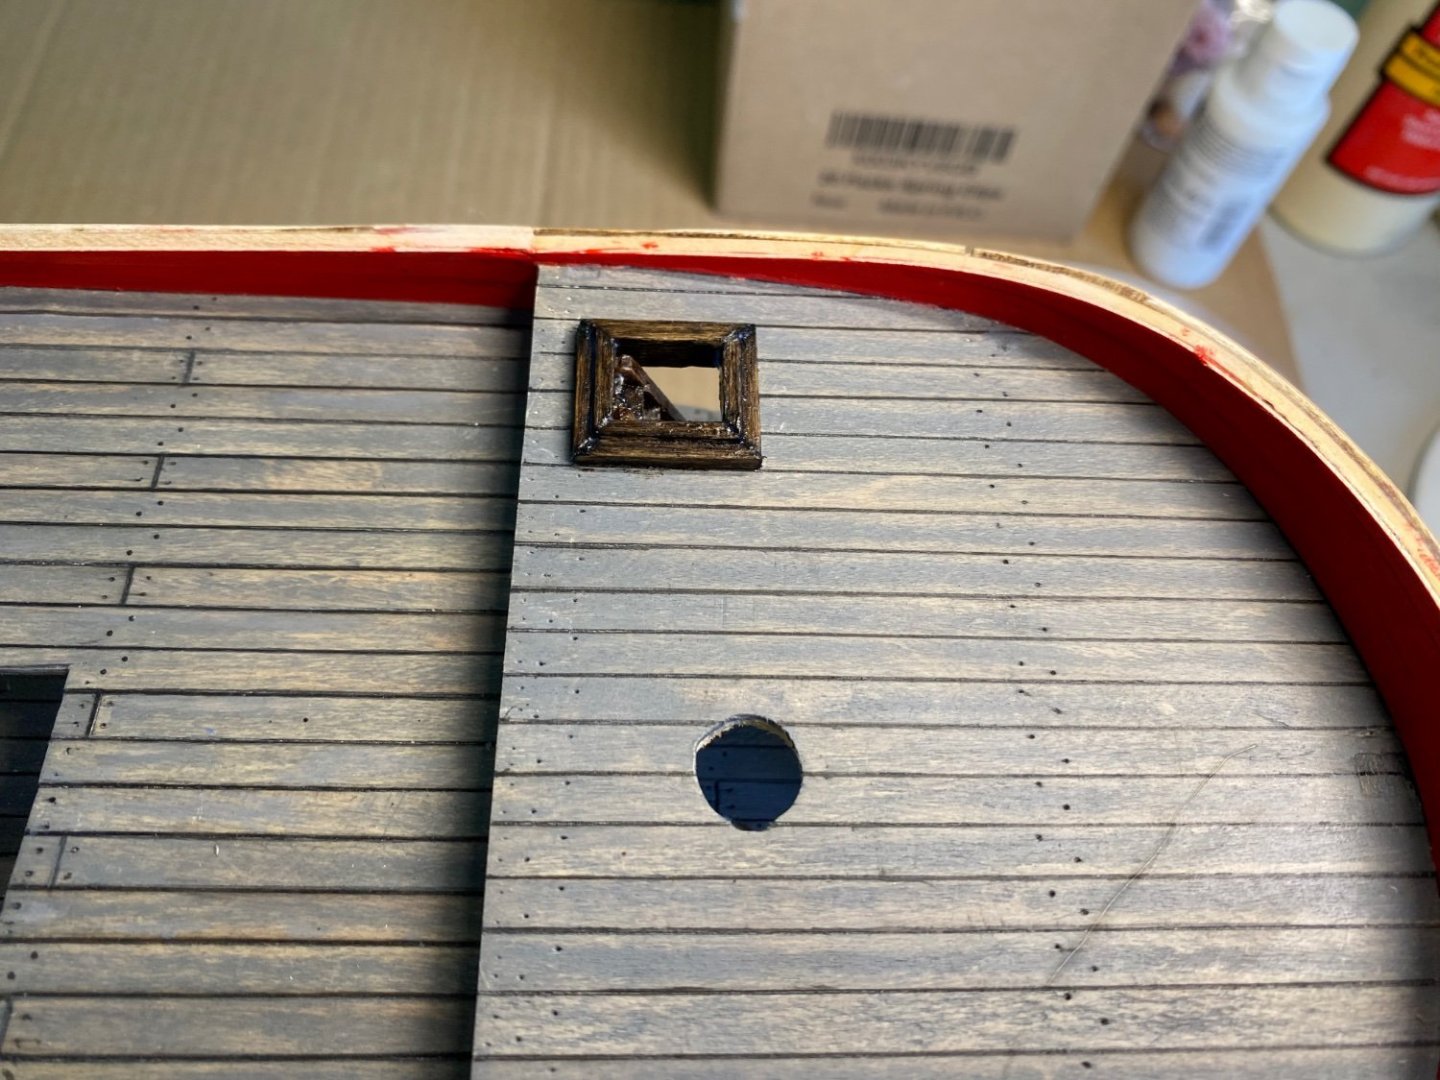
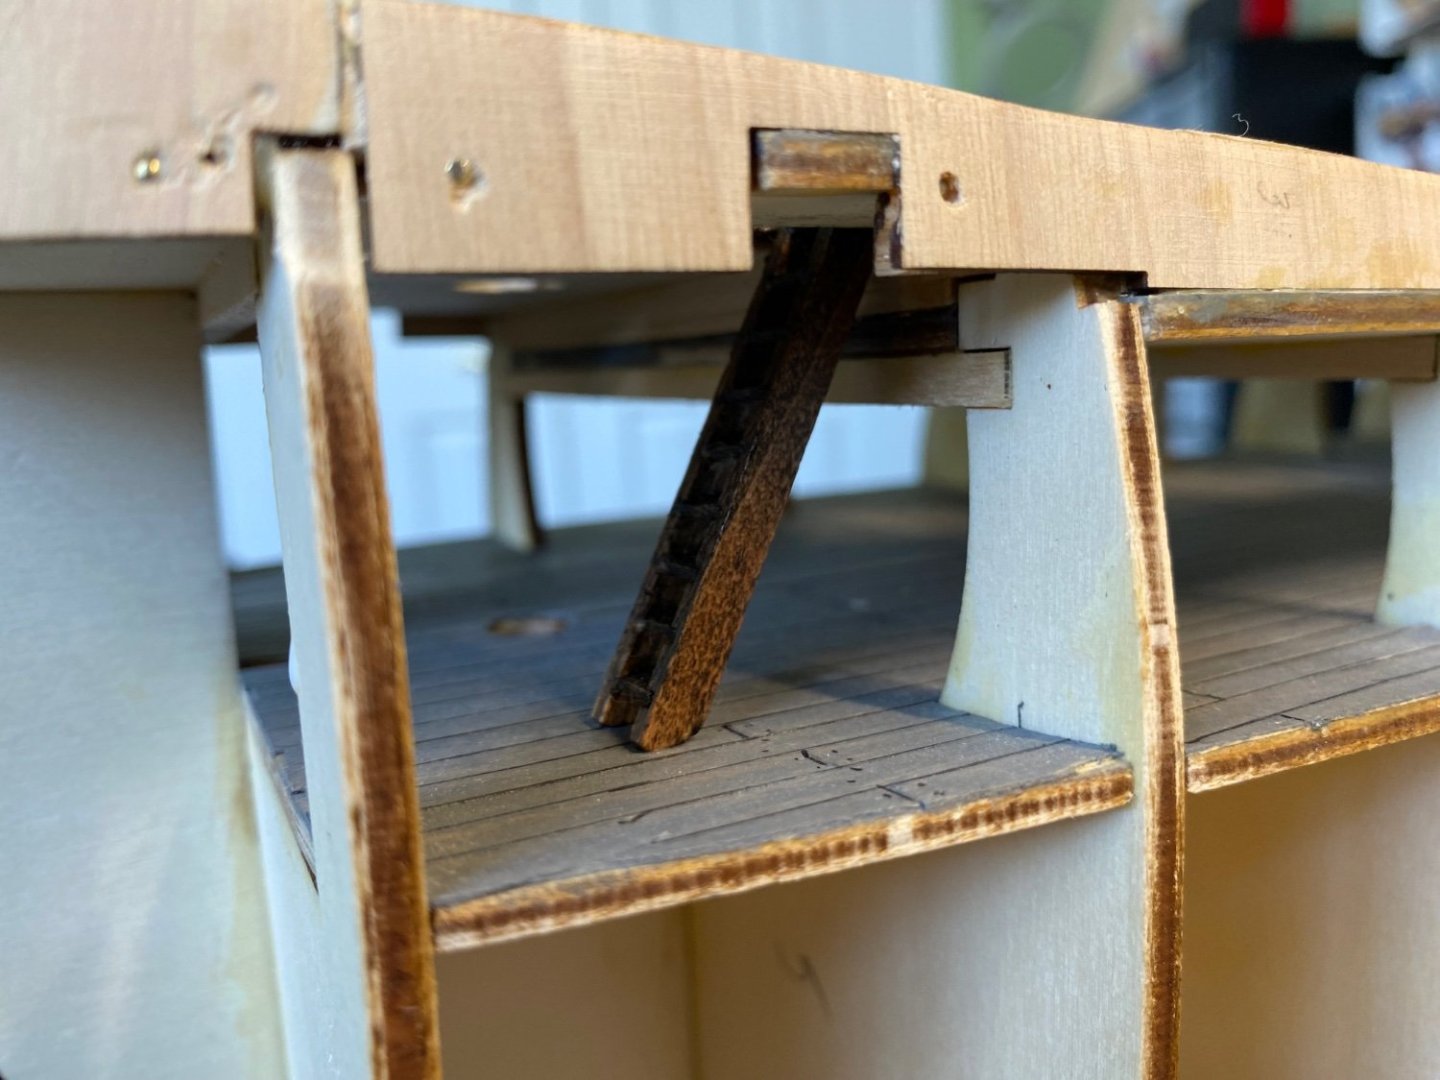
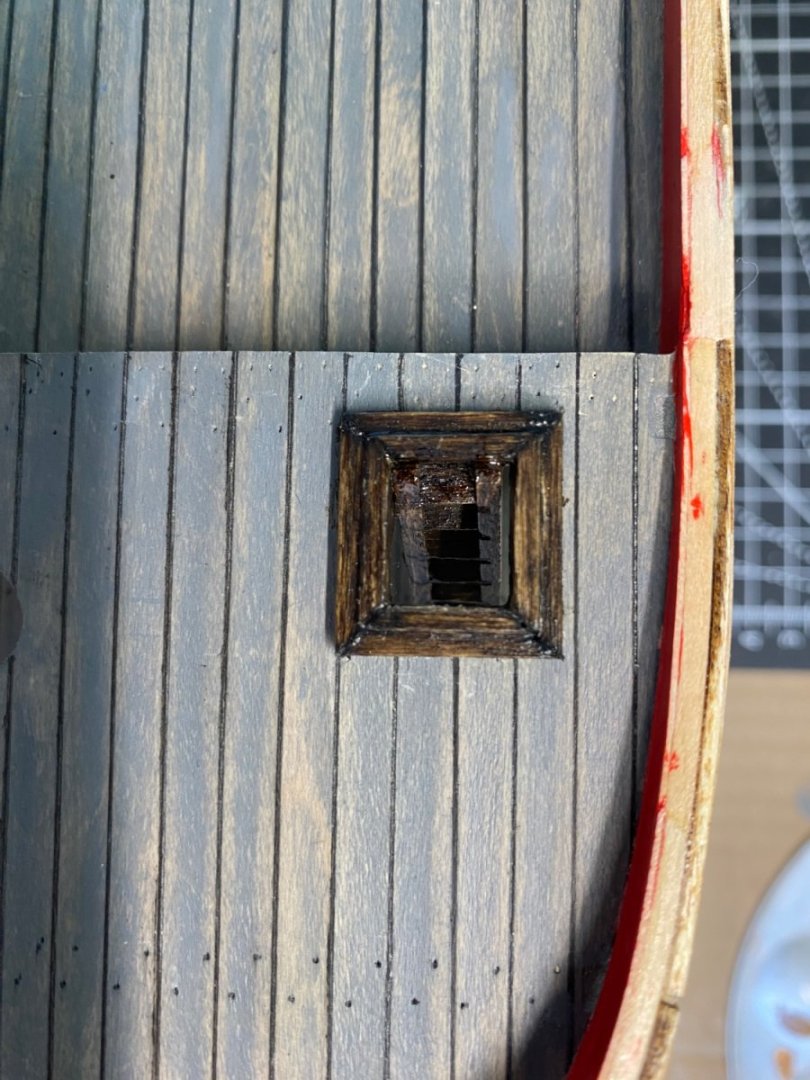
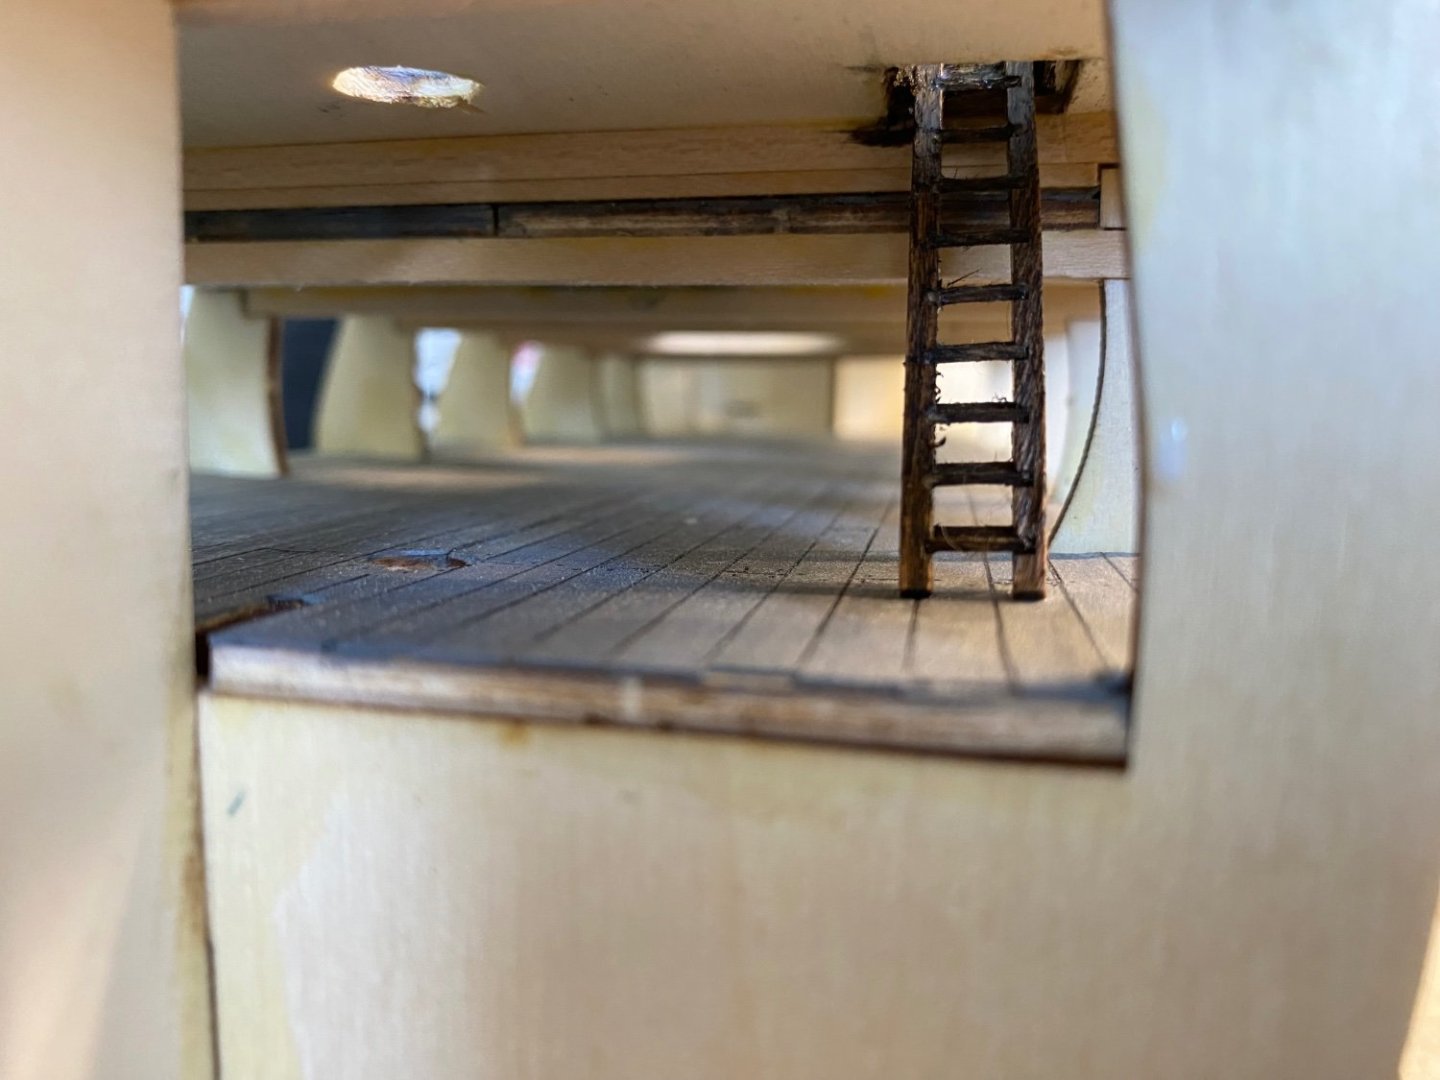
Marc it is already glued down with several layers of clear matt varnish. I am concerned if I put solvent to it I am just going to “F” it up. I may toy with a little light brown wash on one of the lower decks that will not be seen to see if I can just warm up the appearance a little. Will keep you posted. In the meantime I framed the hatch at the front and built the ladder that goes down to the lower deck. OcCre has you make the ladder by cutting the steps and gluing to the stringers. The instructions had a simple butt joint at the corners but I opted to mitre the tiny pieces. The hatch has a little shine to it because the varnish was still wet. -
Endeavour by Bill97 - OcCre - 1/54
Bill97 replied to Bill97's topic in - Kit build logs for subjects built from 1751 - 1800
Thanks Mike. -
Endeavour by Bill97 - OcCre - 1/54
Bill97 replied to Bill97's topic in - Kit build logs for subjects built from 1751 - 1800
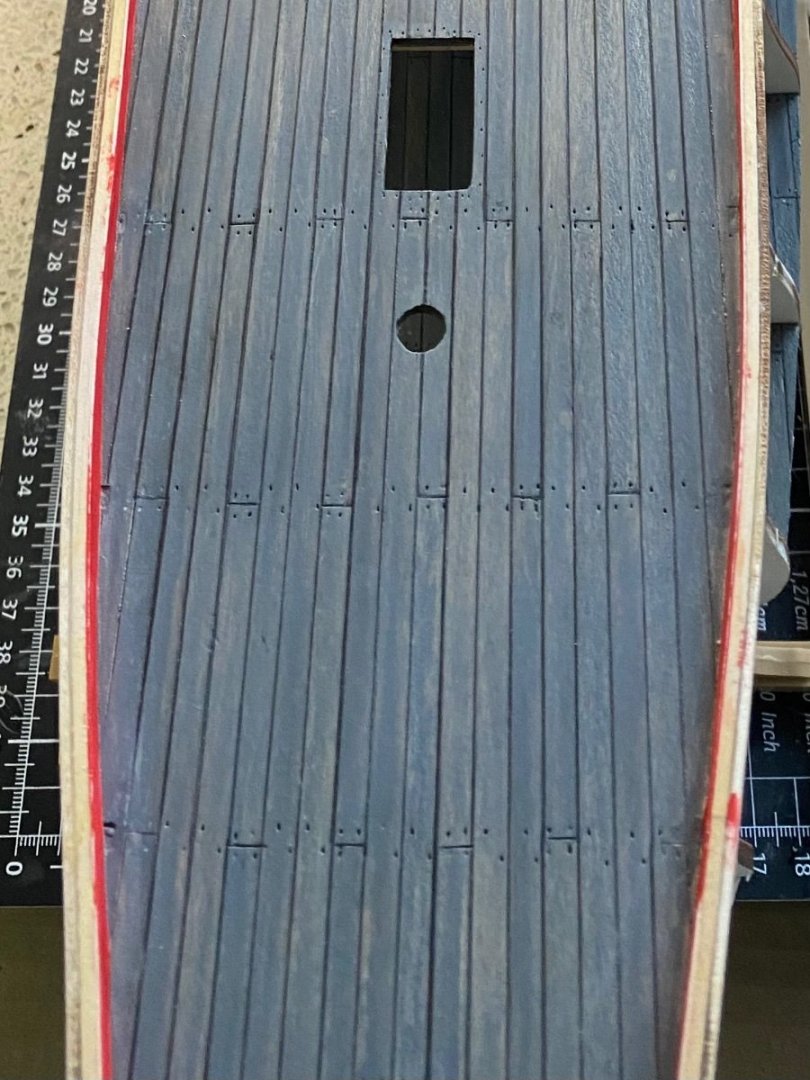
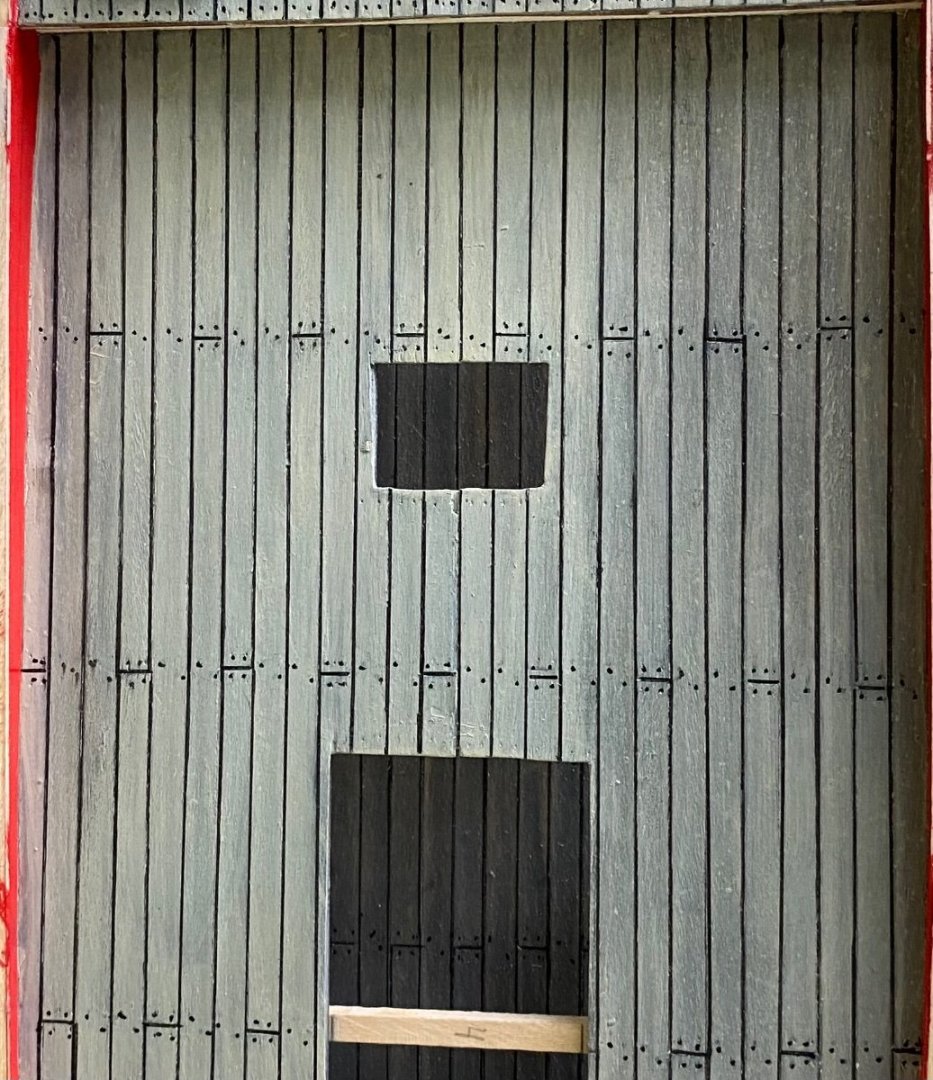
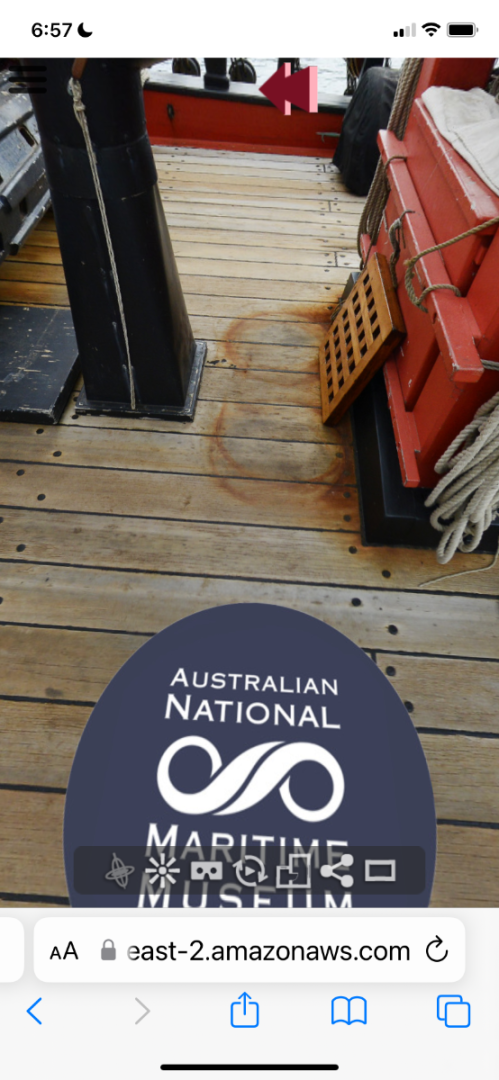
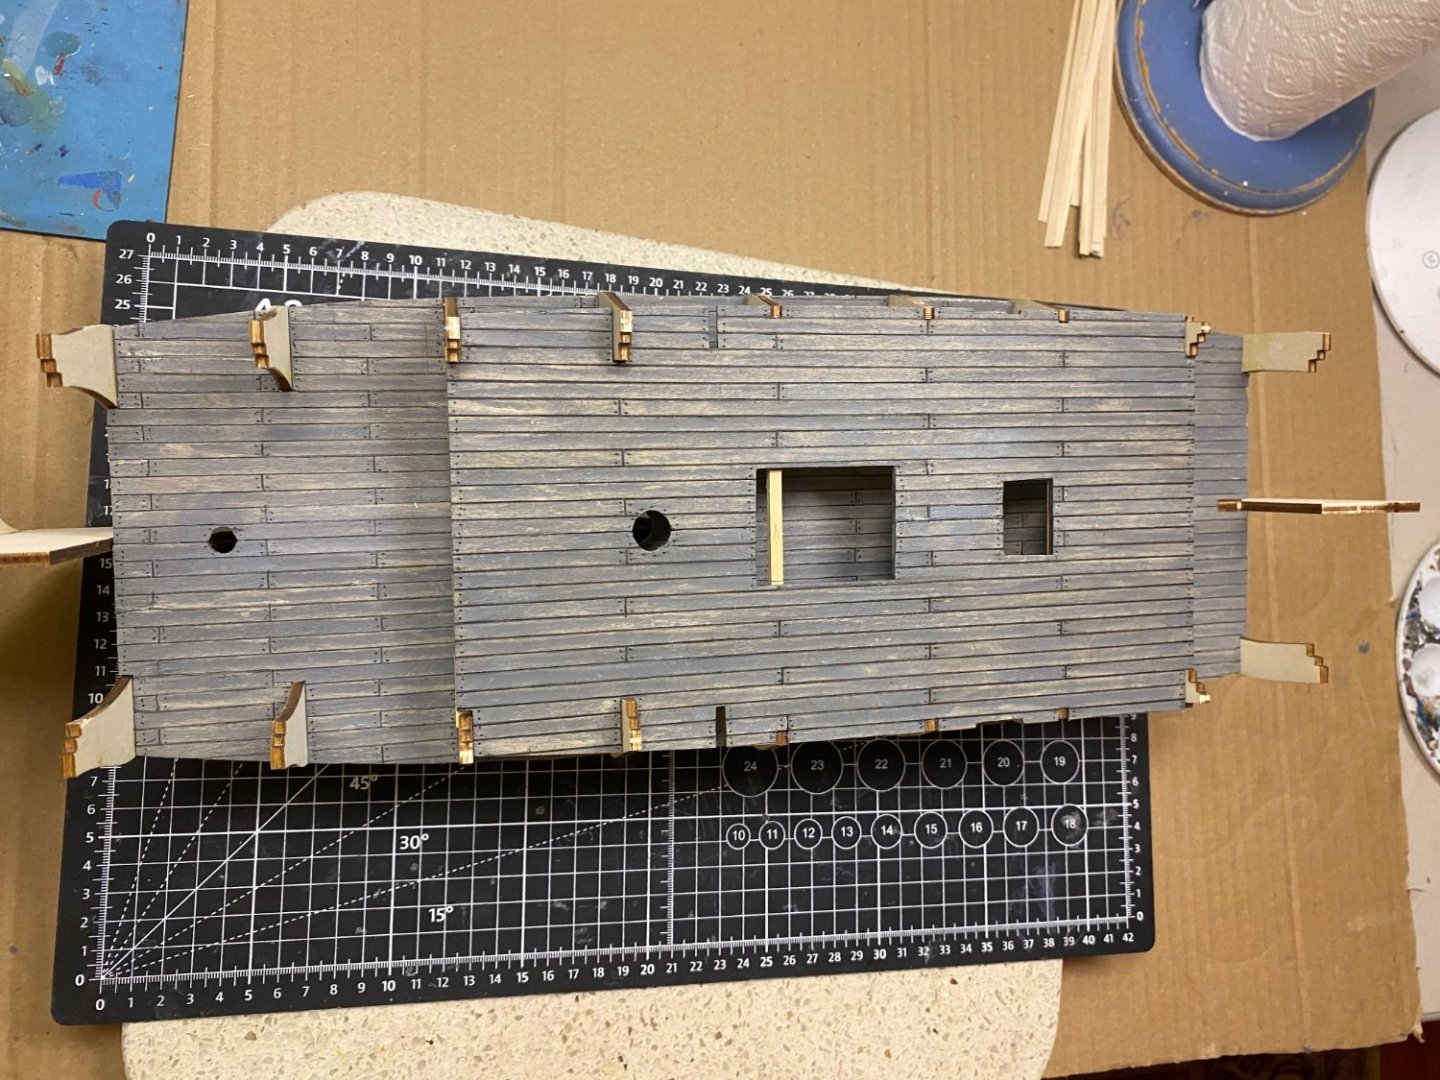
Marc you complimented me above on my deck weathering. I am looking at this picture of the replica of the Endeavour. As you can see the deck has a certain light brown weathering compared to mine that leans more gray. Of course I guess I would need to consider what harsh conditions the real Endeauvor deck experienced over the years at sea. The replica spending most of its time in Sydney harbor, I think. I am wondering which color would be more realistic. Should I attempt to add a light brown wash and risk screwing it up, or just leave it as is. Again I know we continue to say it is our build and we should do what we want. -
Endeavour by Bill97 - OcCre - 1/54
Bill97 replied to Bill97's topic in - Kit build logs for subjects built from 1751 - 1800
Yes Marc. The kit actually comes with the blocks of balsa to glue in the bow then trim down to the correct shape. -
Endeavour by Bill97 - OcCre - 1/54
Bill97 replied to Bill97's topic in - Kit build logs for subjects built from 1751 - 1800
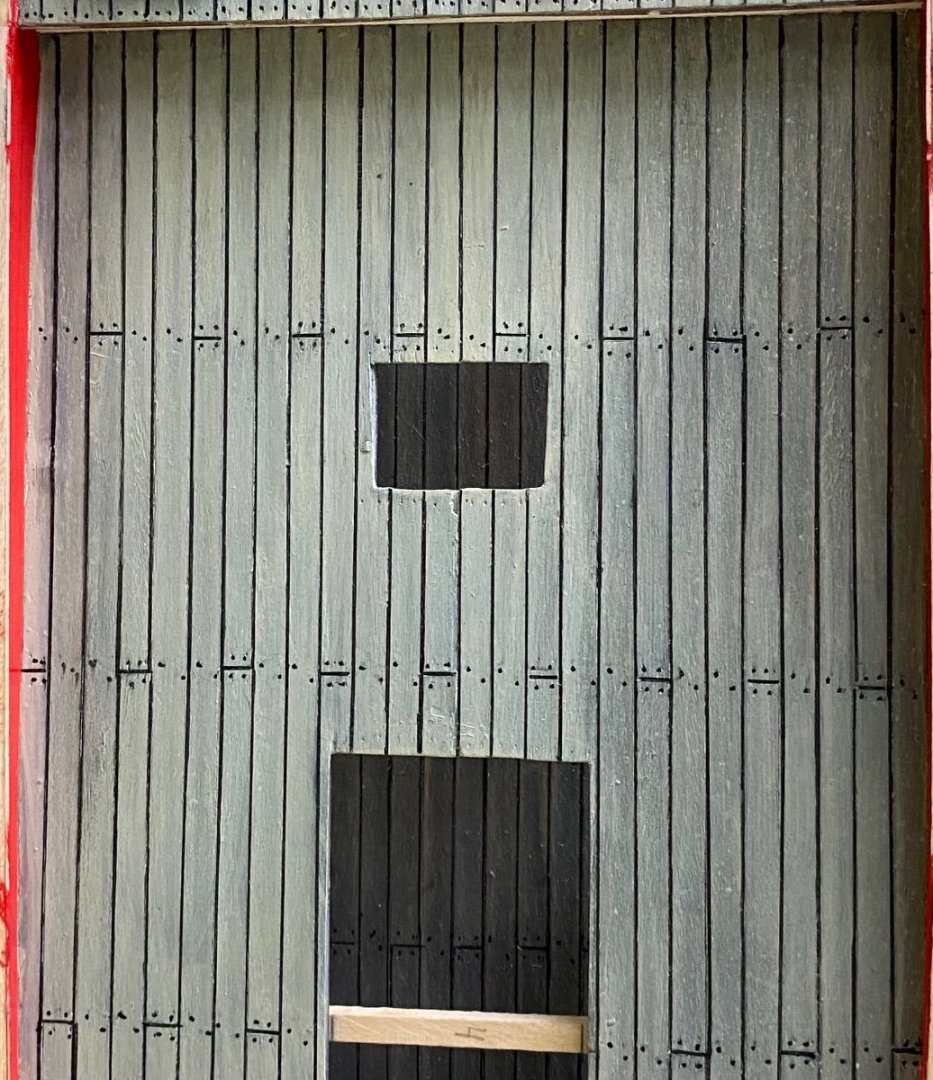
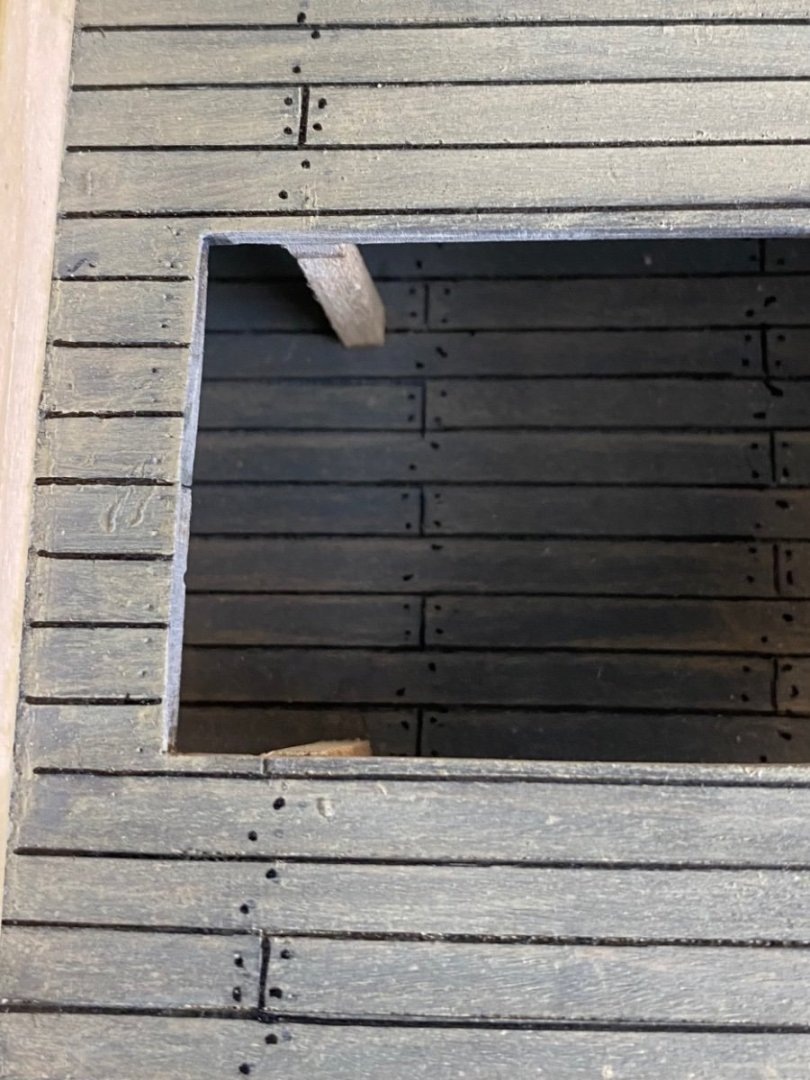
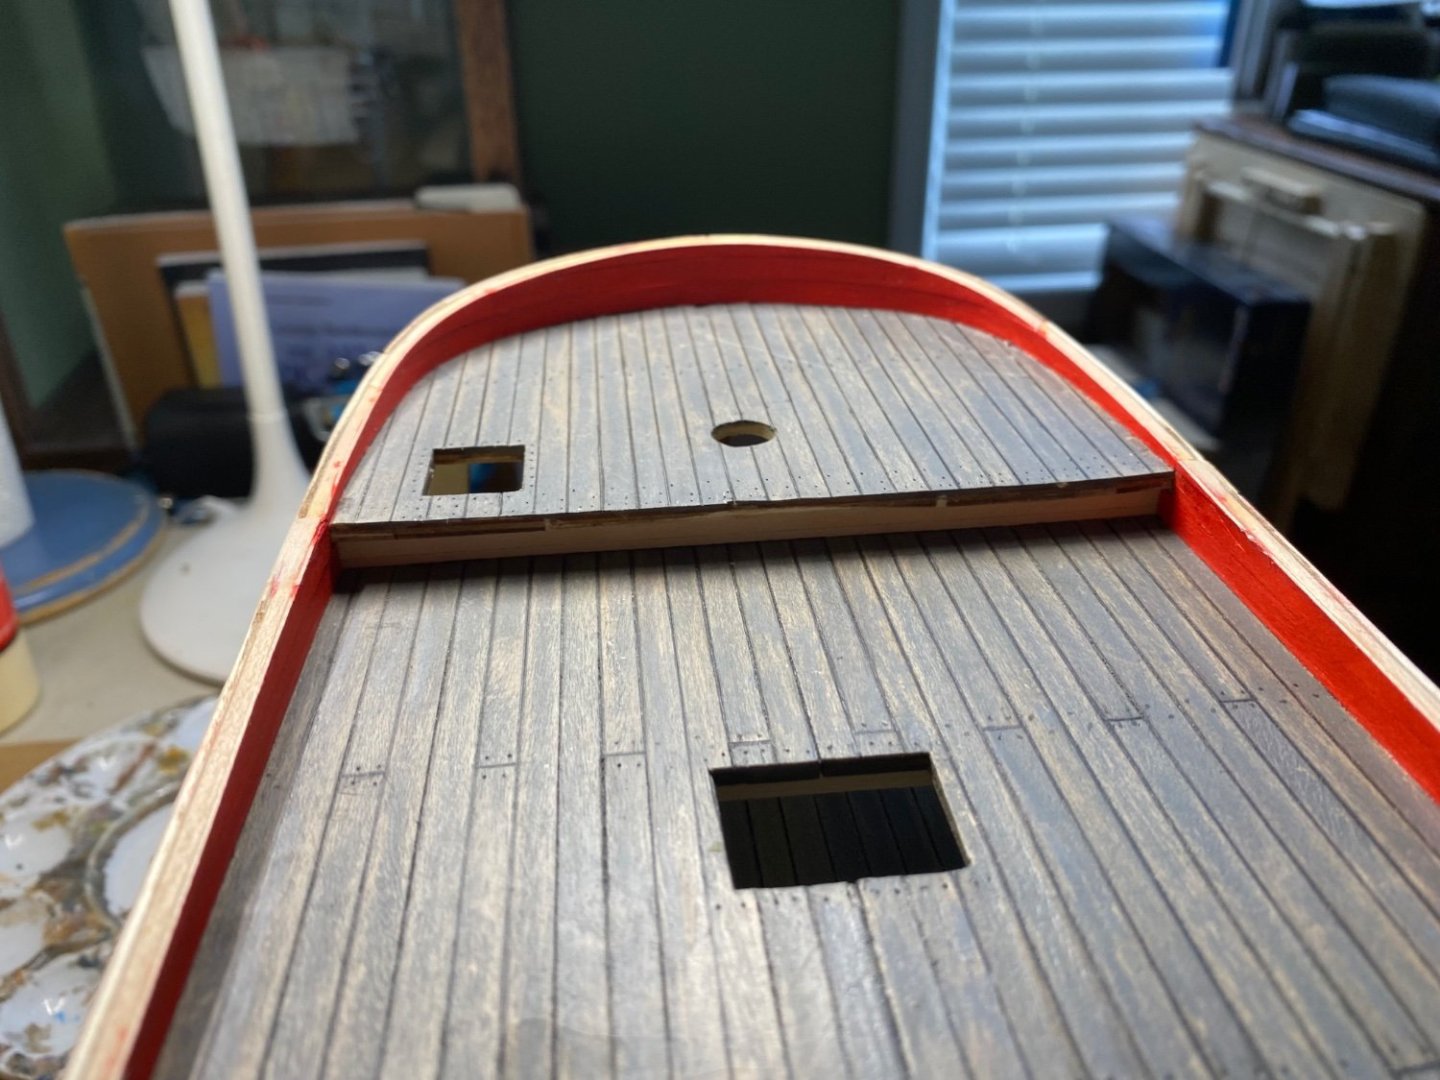
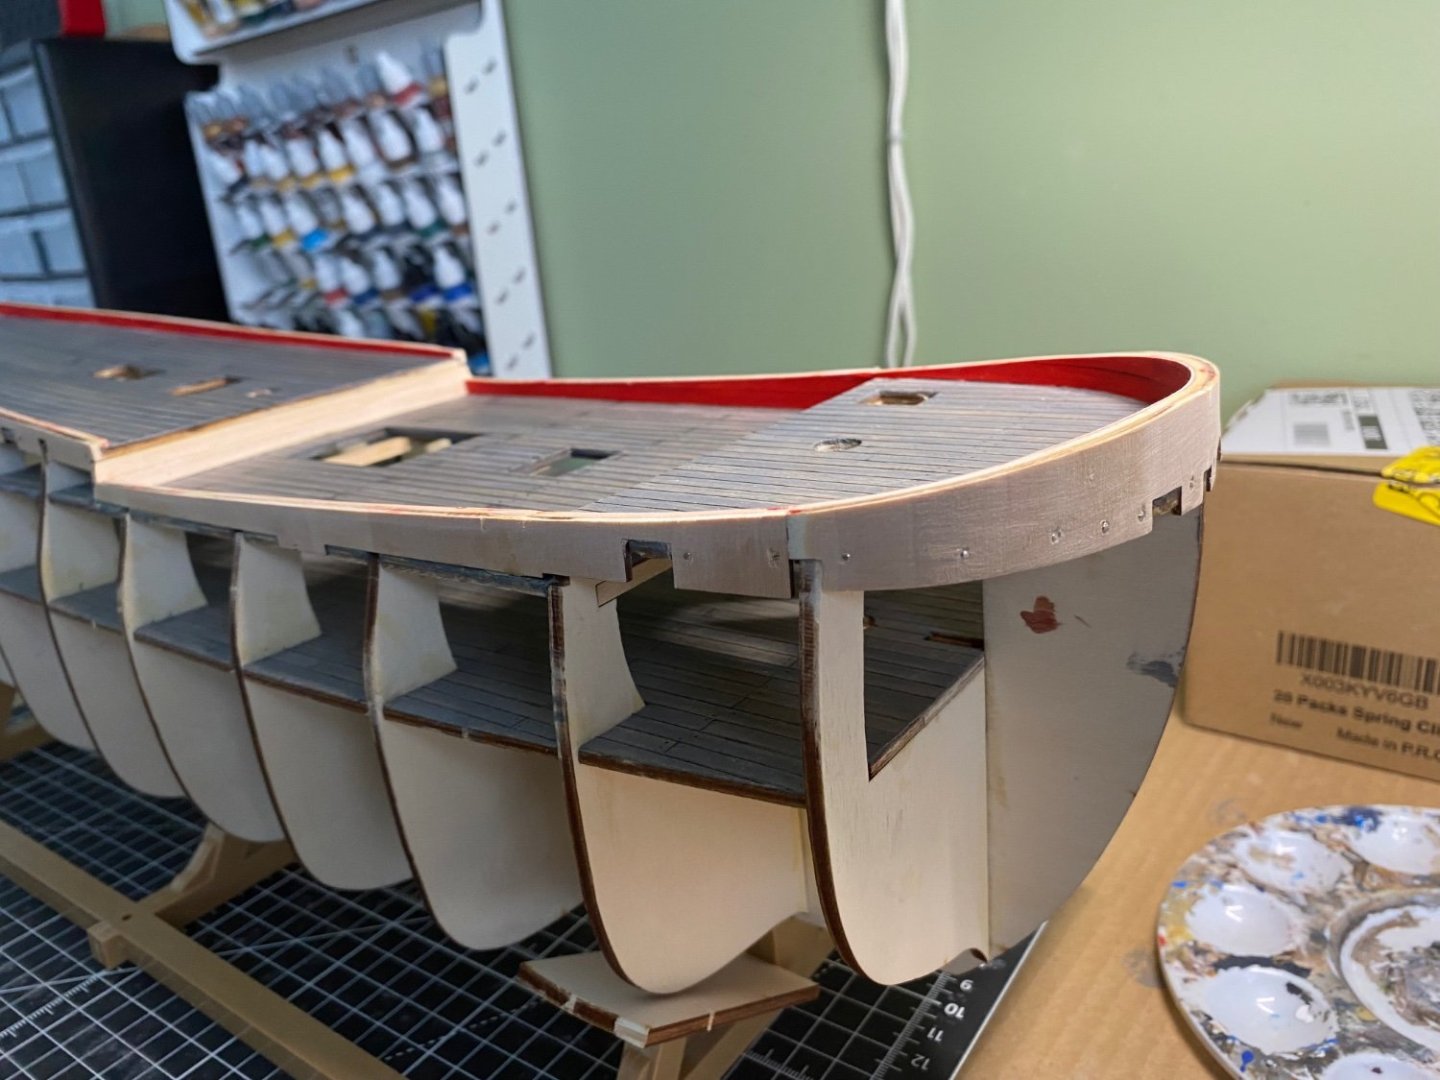
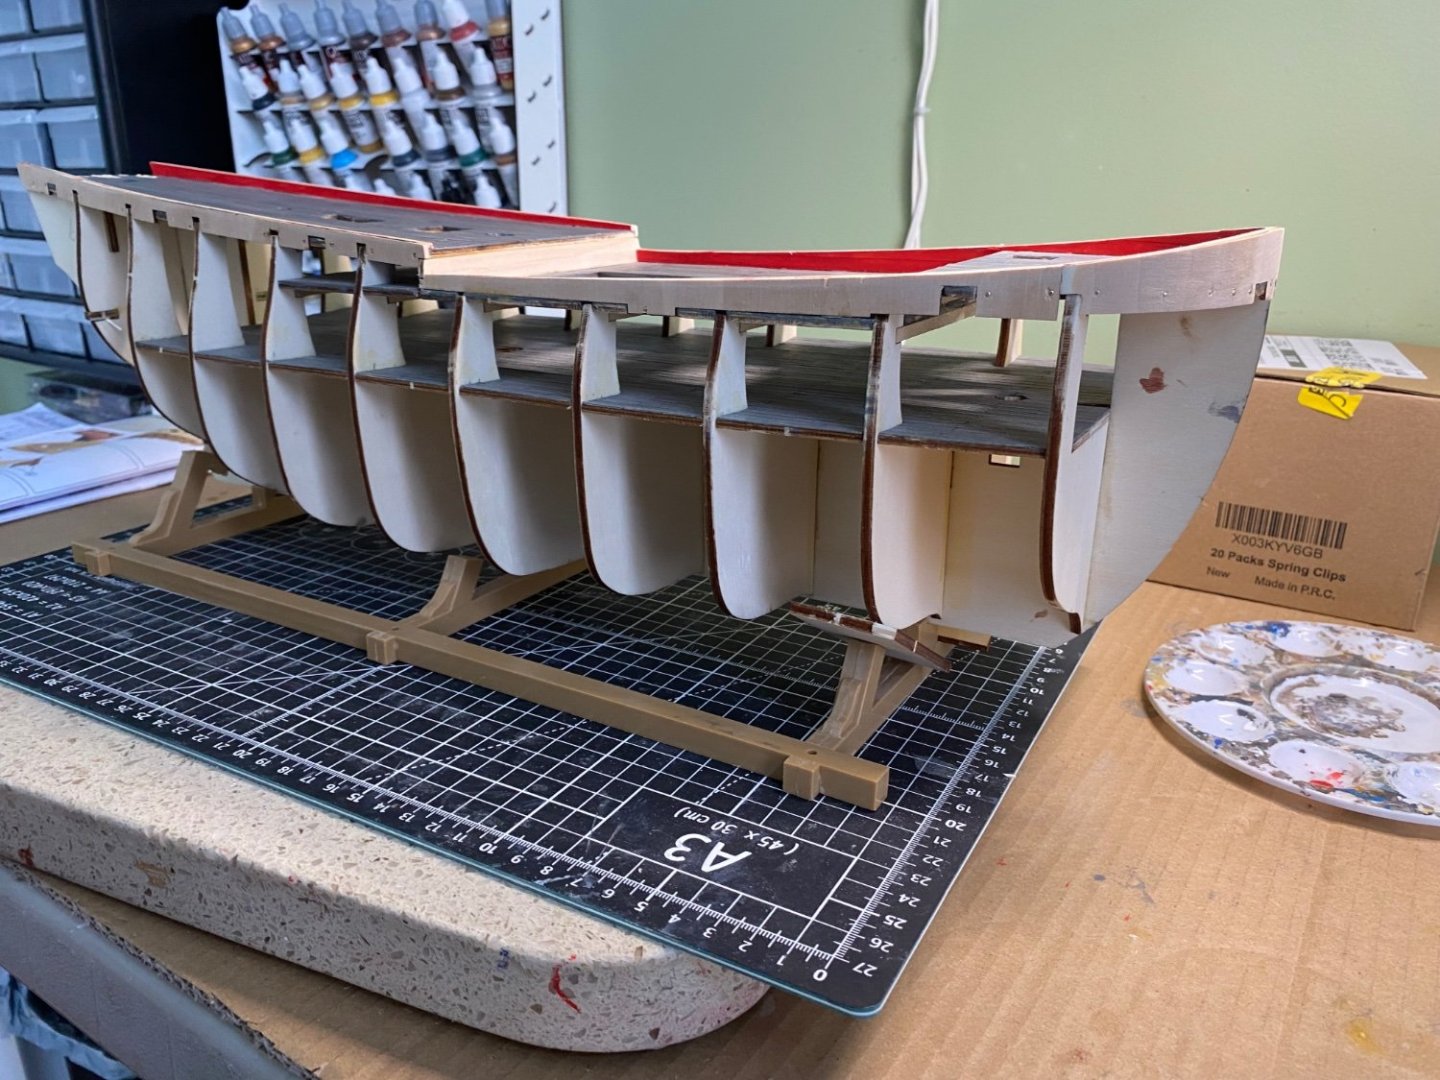
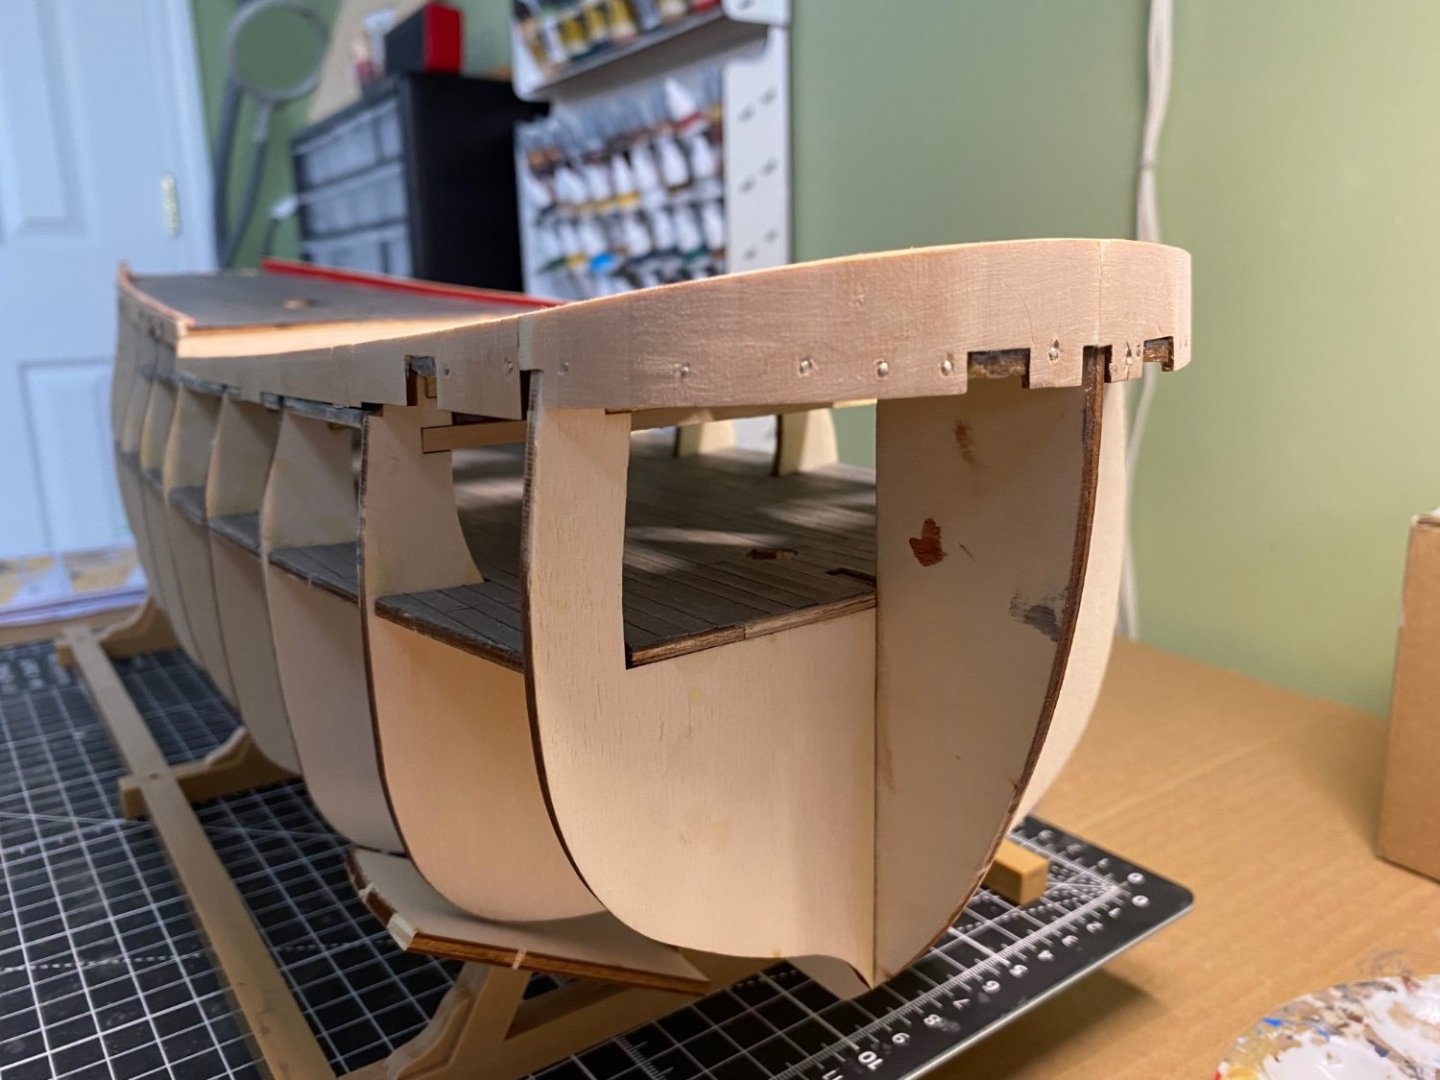
Bulwarks installed and lining added to the inboard side. I checked pictures online of the replica and saw that the inboard side is painted red. To avoid messing up my weathered deck I painted the lining wood strips before gluing them in place and trimming. The Endeavour has a very distinctive snub bow.
About us
Modelshipworld - Advancing Ship Modeling through Research
SSL Secured
Your security is important for us so this Website is SSL-Secured
NRG Mailing Address
Nautical Research Guild
237 South Lincoln Street
Westmont IL, 60559-1917
Model Ship World ® and the MSW logo are Registered Trademarks, and belong to the Nautical Research Guild (United States Patent and Trademark Office: No. 6,929,264 & No. 6,929,274, registered Dec. 20, 2022)
Helpful Links
About the NRG
If you enjoy building ship models that are historically accurate as well as beautiful, then The Nautical Research Guild (NRG) is just right for you.
The Guild is a non-profit educational organization whose mission is to “Advance Ship Modeling Through Research”. We provide support to our members in their efforts to raise the quality of their model ships.
The Nautical Research Guild has published our world-renowned quarterly magazine, The Nautical Research Journal, since 1955. The pages of the Journal are full of articles by accomplished ship modelers who show you how they create those exquisite details on their models, and by maritime historians who show you the correct details to build. The Journal is available in both print and digital editions. Go to the NRG web site (www.thenrg.org) to download a complimentary digital copy of the Journal. The NRG also publishes plan sets, books and compilations of back issues of the Journal and the former Ships in Scale and Model Ship Builder magazines.

